Photographed and written by
John M. Young
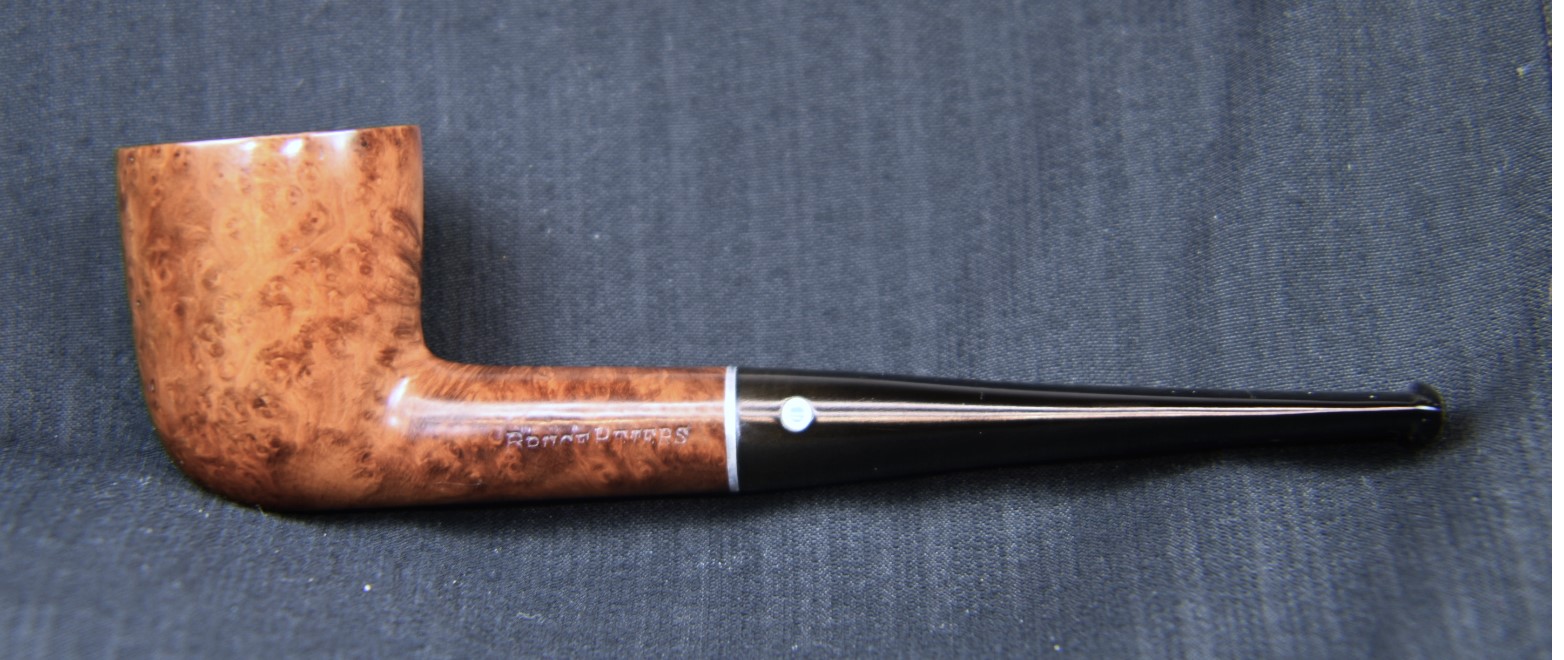
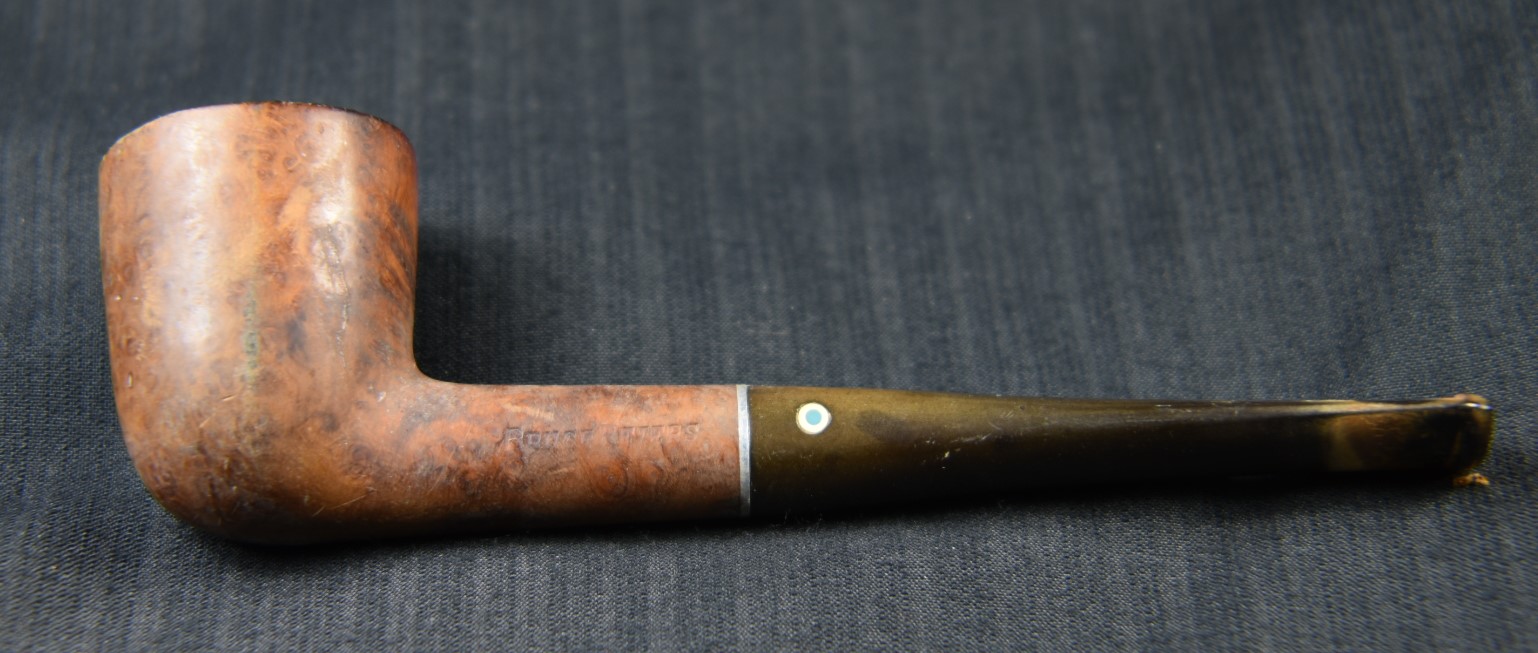
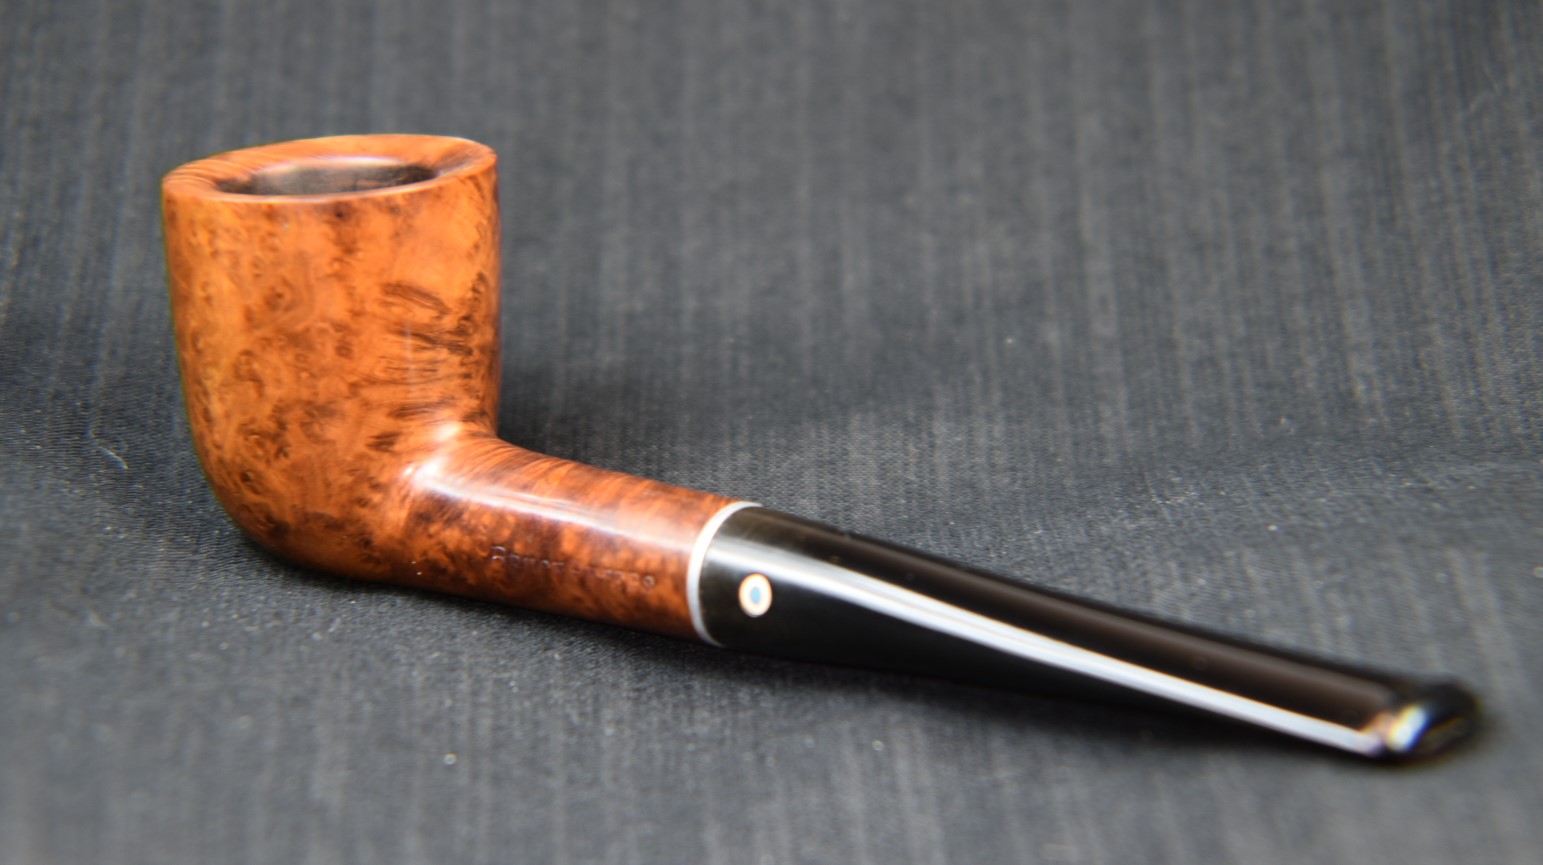
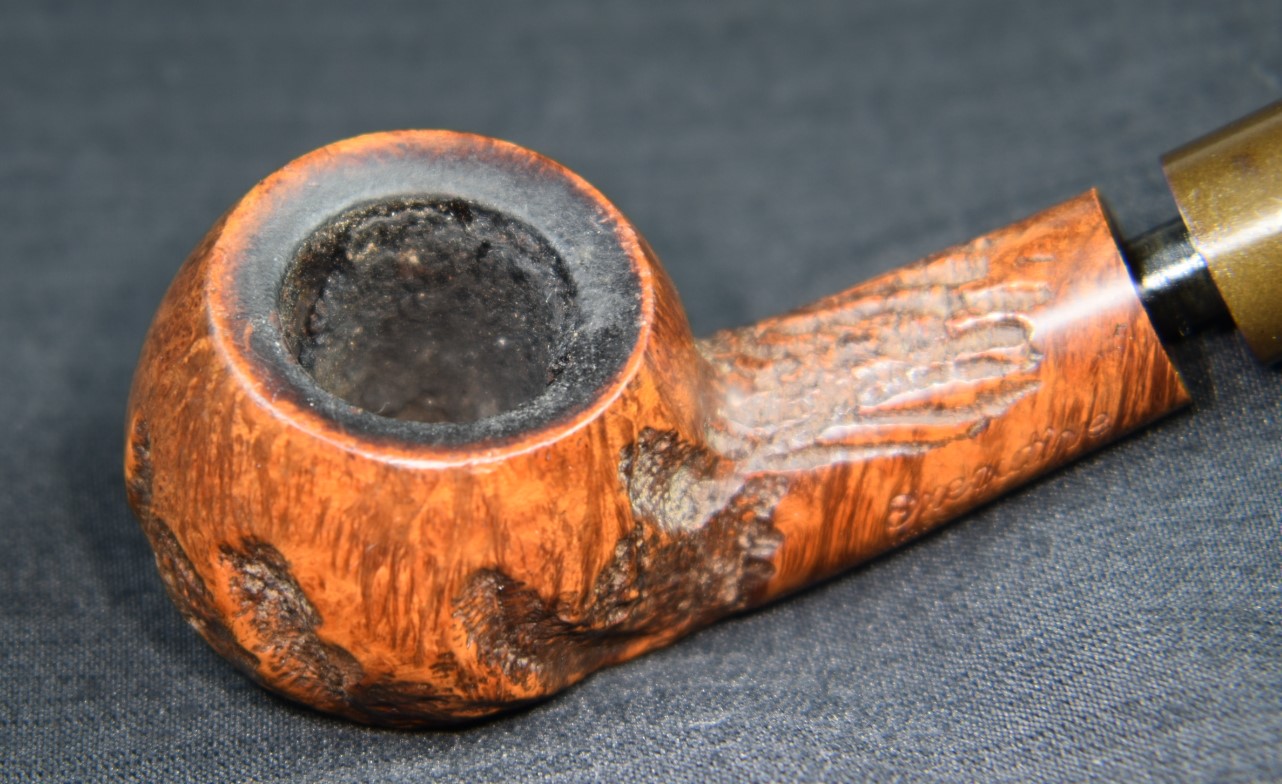
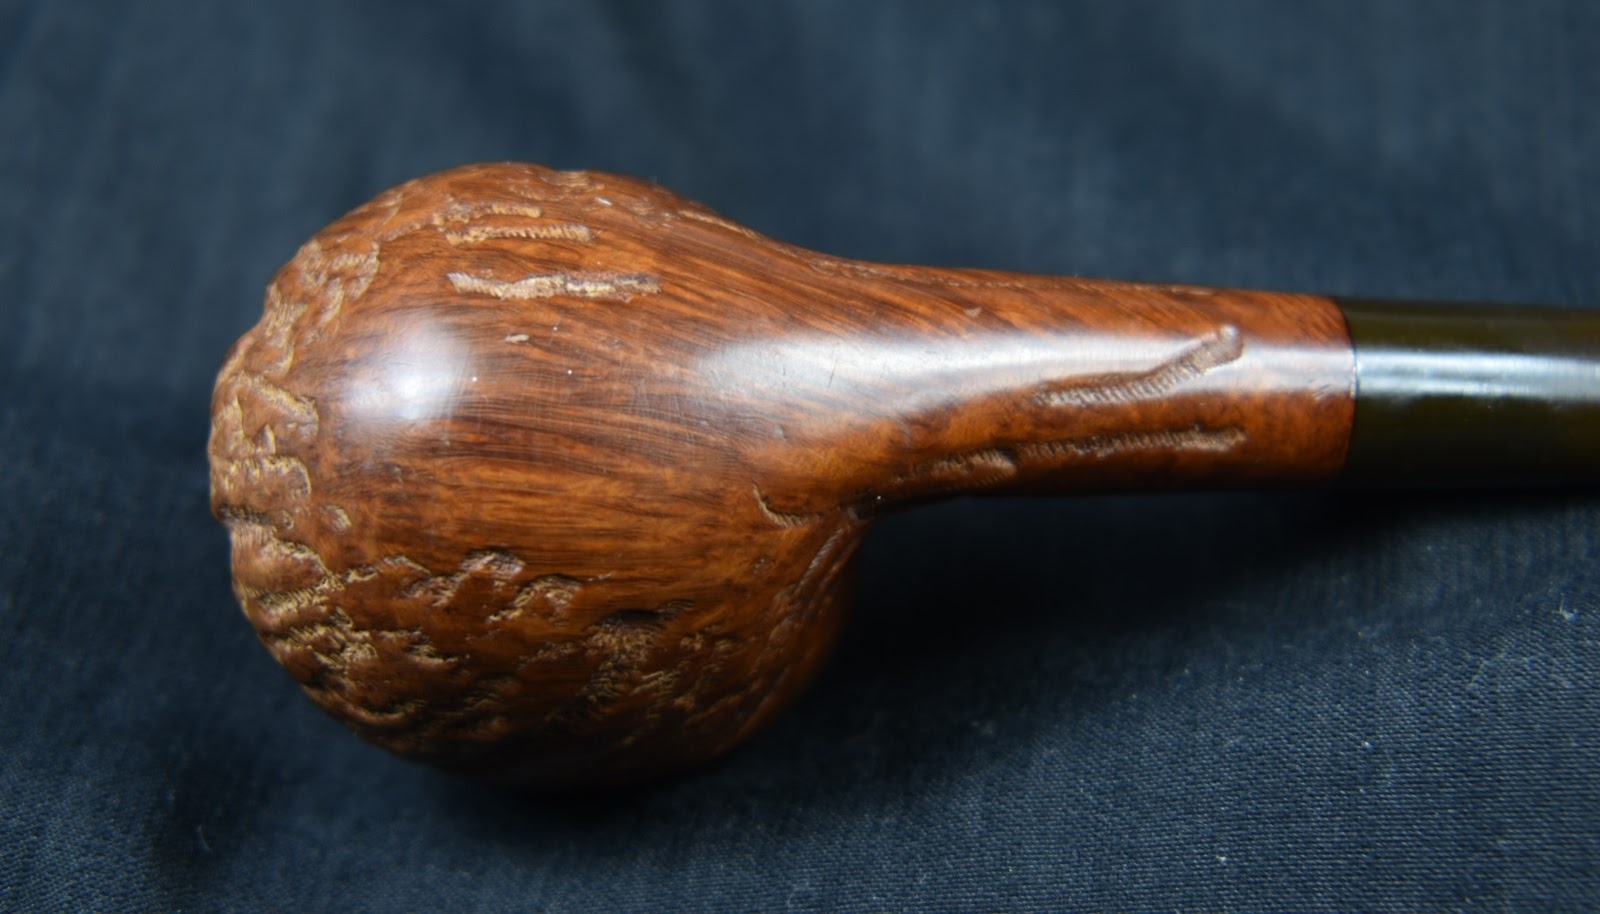
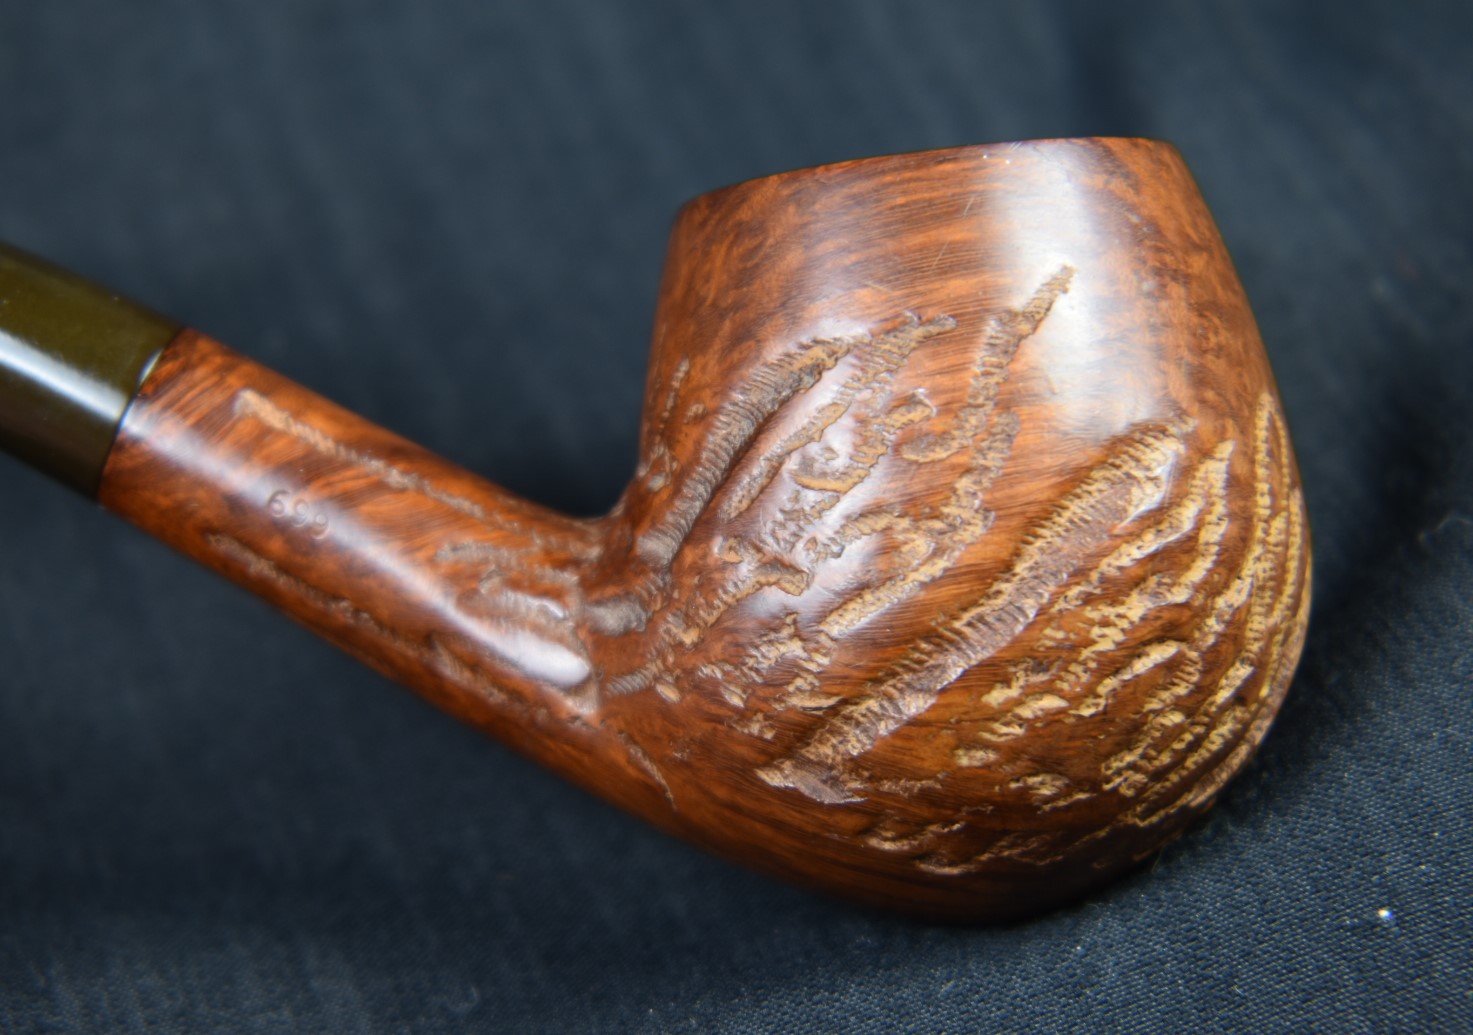
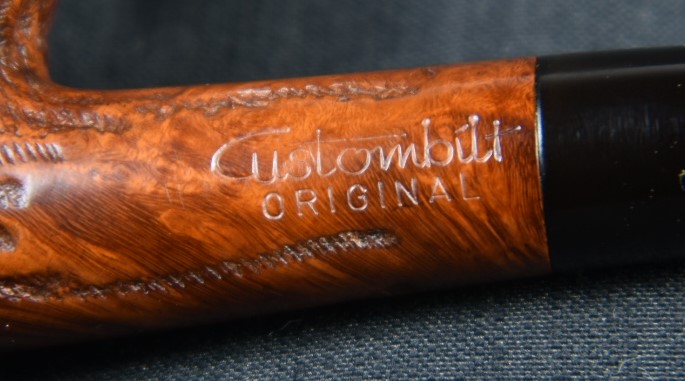
I am starting to feel like I work at a lumber yard. This is the third Kaywoodie HandMade restored in the past couple of weeks. Good thing they are fun to work on. The first one had a push stem and no Kaywoodie logo on the stem. The second was a tapered stem with a white circle with a black 3 leaf clover logo. This one is all decked out with a saddle stem and the same white and black logo as the tapered stem. That logo was discontinued after 1955, according to pipedia.org and the shape first appeared in the 1947 catalog.
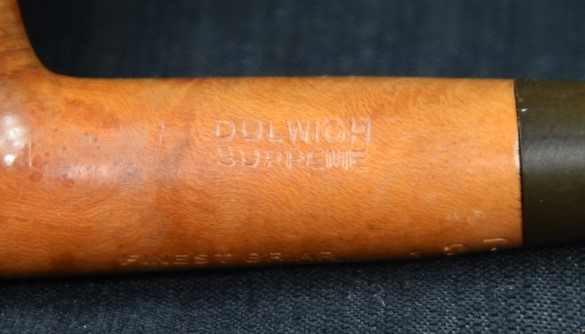
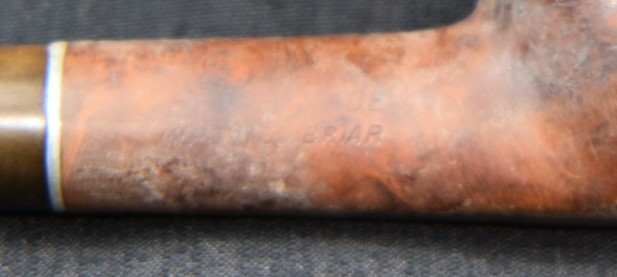
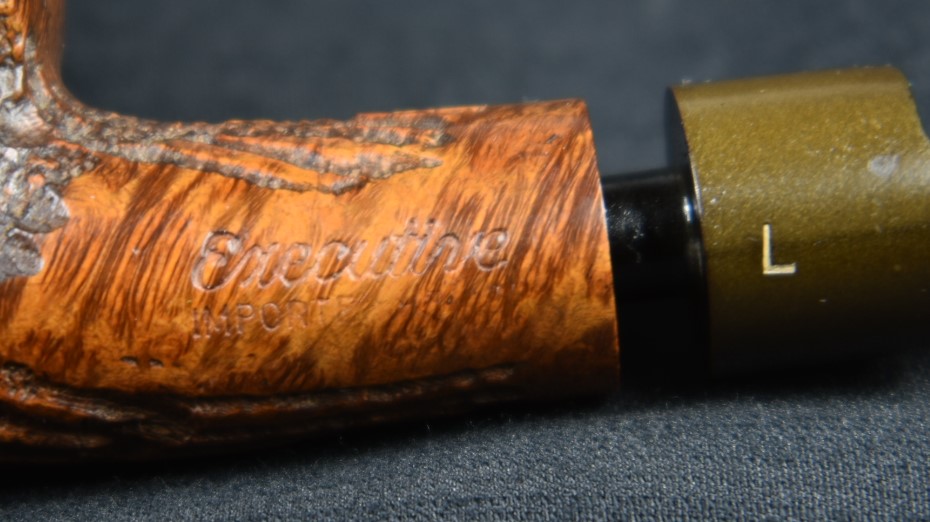
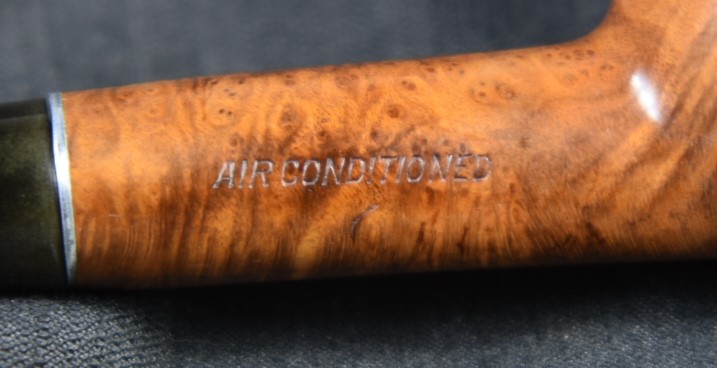
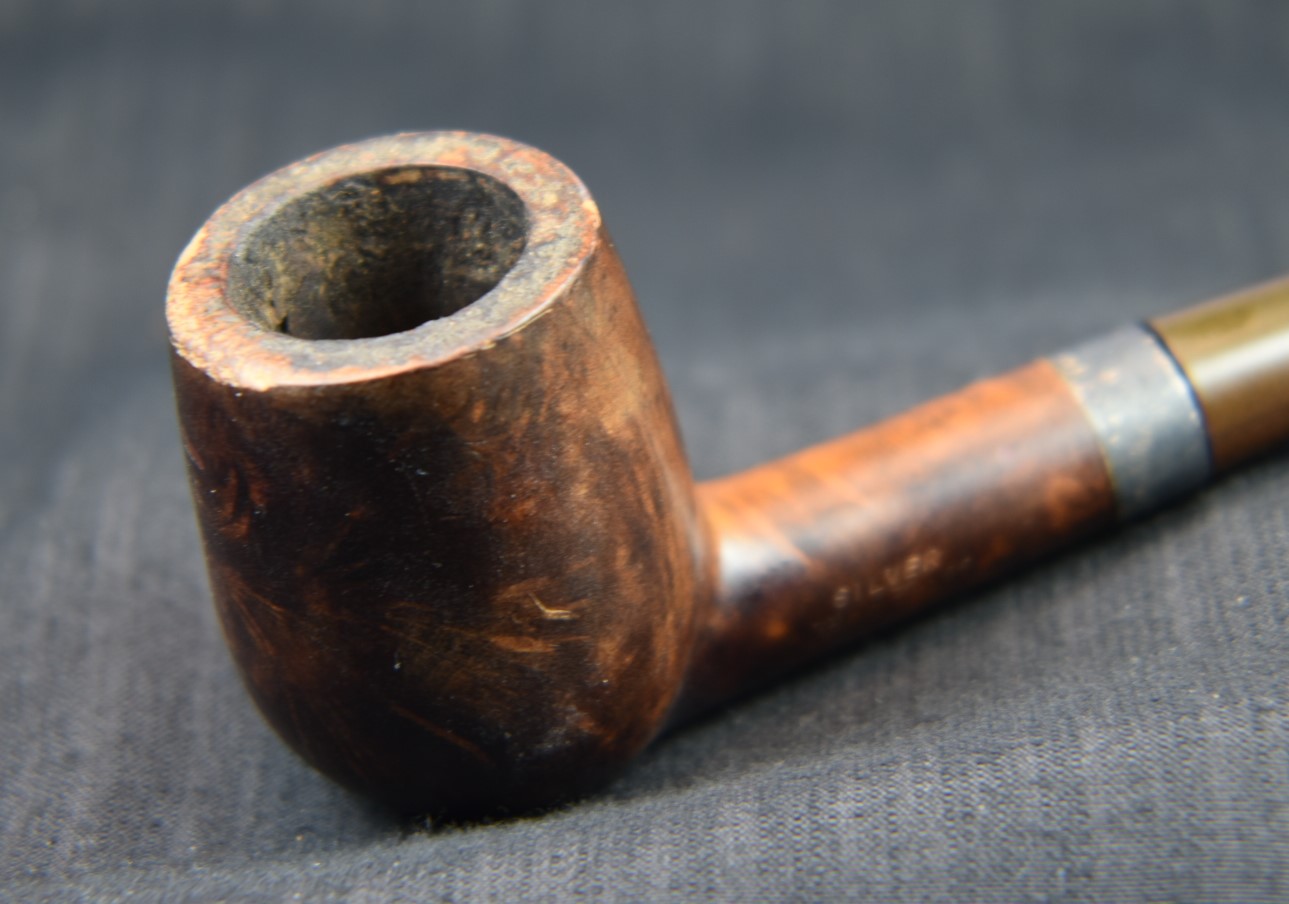
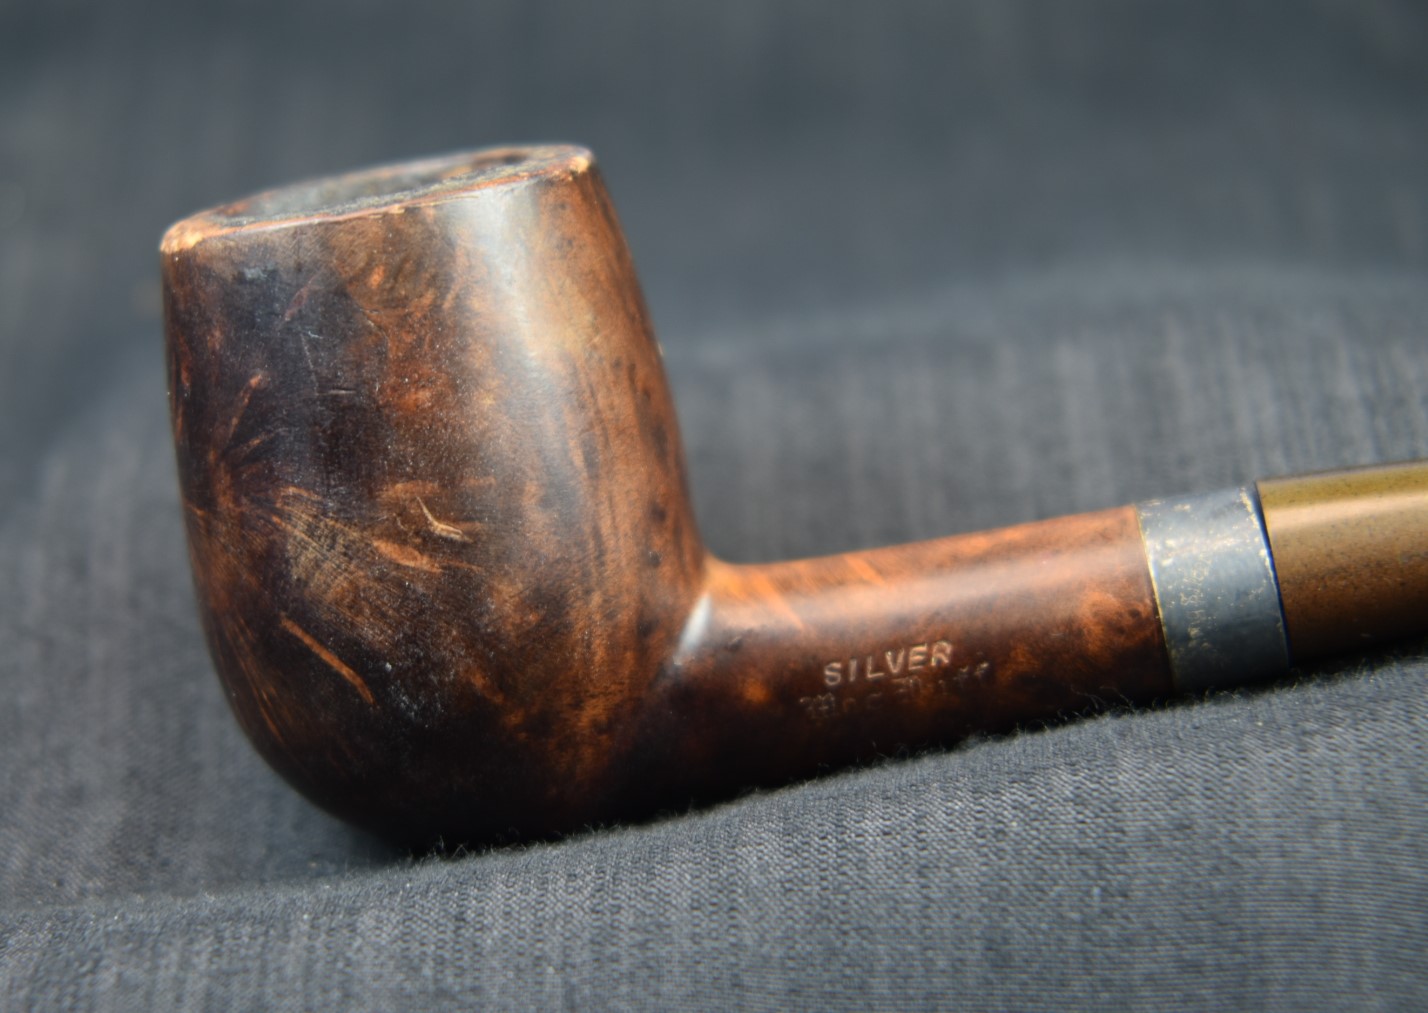
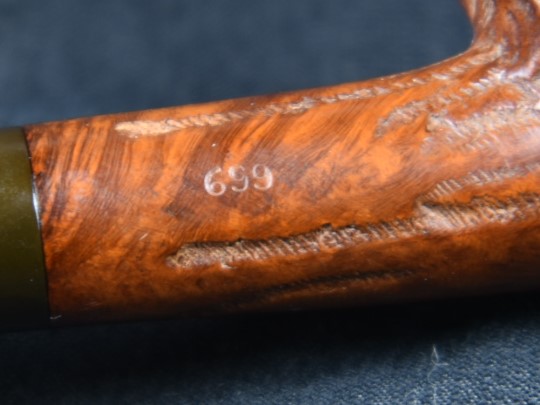
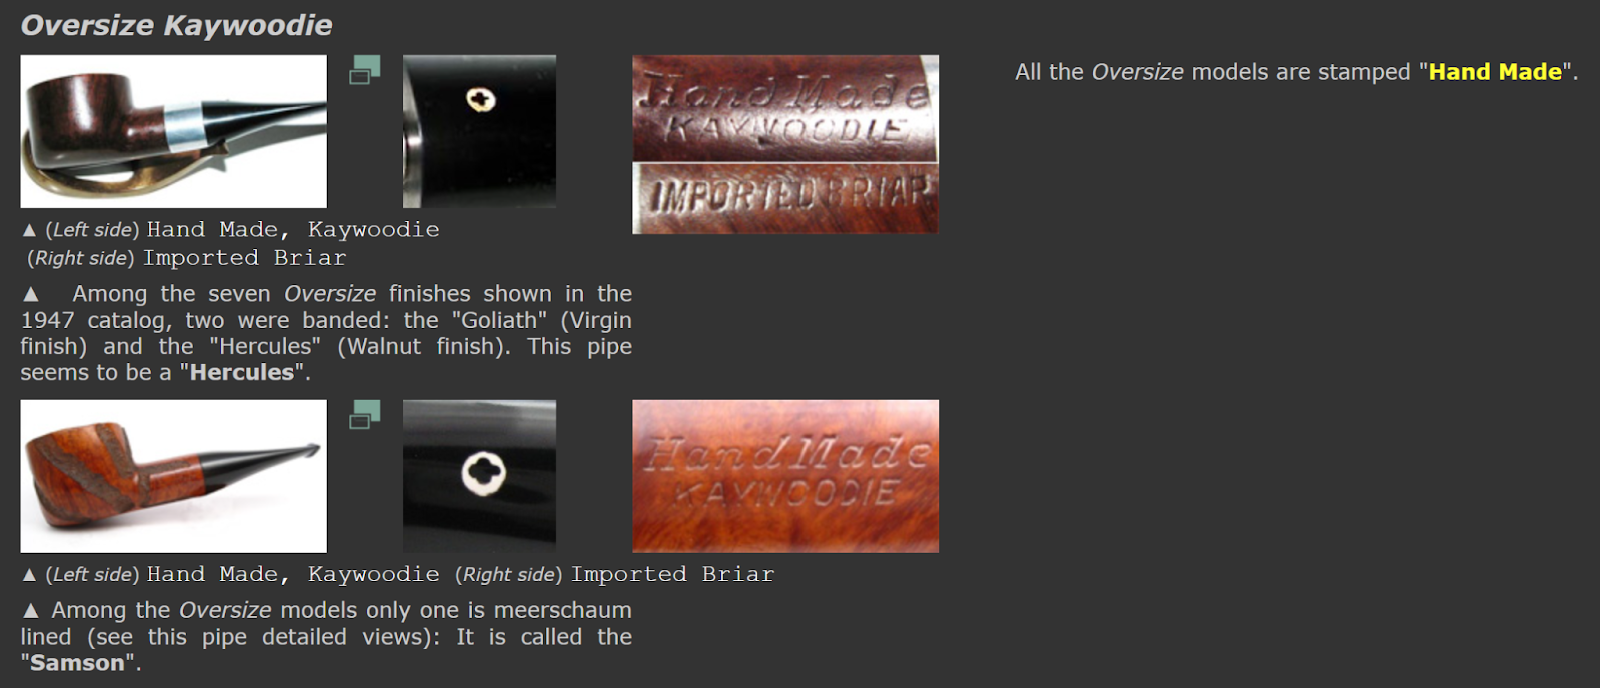
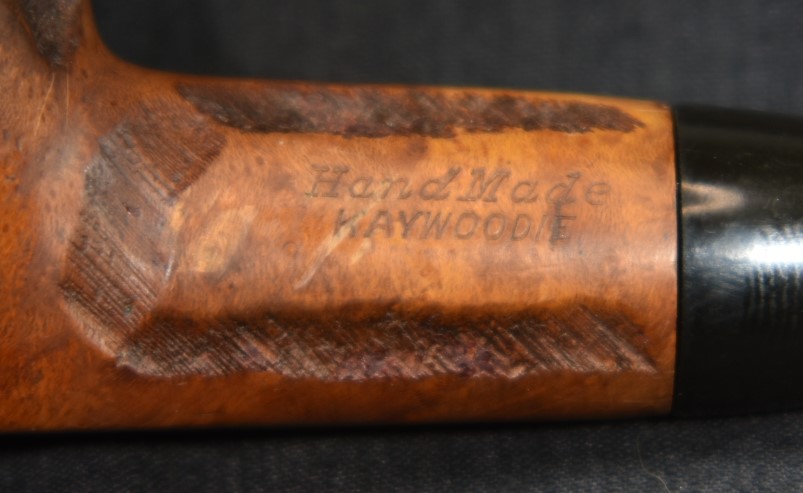
I’m just going to copy the historical information from the first HandMade restoration.. I am pretty sure that nothing historical has changed in the last few days.“Kaywoodie name first appearing in February of 1919.” (Kaywoodie History – Greywoodie LLC) The history of Kaywoodie pipes is fortunately well documented thus, allowing rather precise dates for a Kaywoodie collector to declare the provenance of their charges. The above pictured Kaywoodie is stamped HANDMADE over KAYWOODIE (left) and IMPORTED BRIAR (right). No shape number is present.
Using this information and referring to the Kaywoodie Collectors’ Guide listed on pipedia.org I found that these pipes were made during the following years:
“Handmade-Oversize-Carved 1947-1955 on and off” (https://pipedia.org/images/3/3d/Kaywoodie_Pipe_Names.pdf) and that
“The Oversize Kaywoodies were, as the name implies, “Giants”. Lowndes notes that these pipes were stamped simply, “Hand-Made”. The pipes were all roughly “bulldogish” in appearance and were available in the following styles and grades7 : • Hand-carved “Colossus” ($10) • Walnut finish, banded “Hercules” ($20) • Hand-carved “John Henry” ($10) • Virgin finish, specimen grain “Paul Bunyan” • ($25)Virgin finish, banded specimen grain “Goliath” • ($25)Walnut finish “Atlas” • ($20)Hand-carved, Meerschaum-Inlaid “Samson” ($15)” (Kaywoodie Collector’s Guide – p10.pdf)
Looking into the stampings, I went to piphil.eu for confirmation. ThereI was able to find an exact match of this pipe’s stampings.

(Kaywoodie series from L to Z — Pipes : Logos & Markings (pipephil.eu))
Well, that was easy. This large Kaywoodie Hand Made, though not very “bulldogish” was most likely made between 1947 and 1955 at the West New York, New Jersey factory. If you would like to see the 1947 Kaywoodie catalog here is a link: Kaywoodie_1947.pdf (pipedia.org). It is a fascinating read with great old marketing photos and illustrations. Just out of curiosity I wondered what $10 in 1947 was equivalent to today. According to a bis.gov inflation calculator it is $131.09 (Using Dec. 1947 and Dec. 2023)(CPI Inflation Calculator (bls.gov)). I highly recommend reading the above links for further Kaywoodie history.
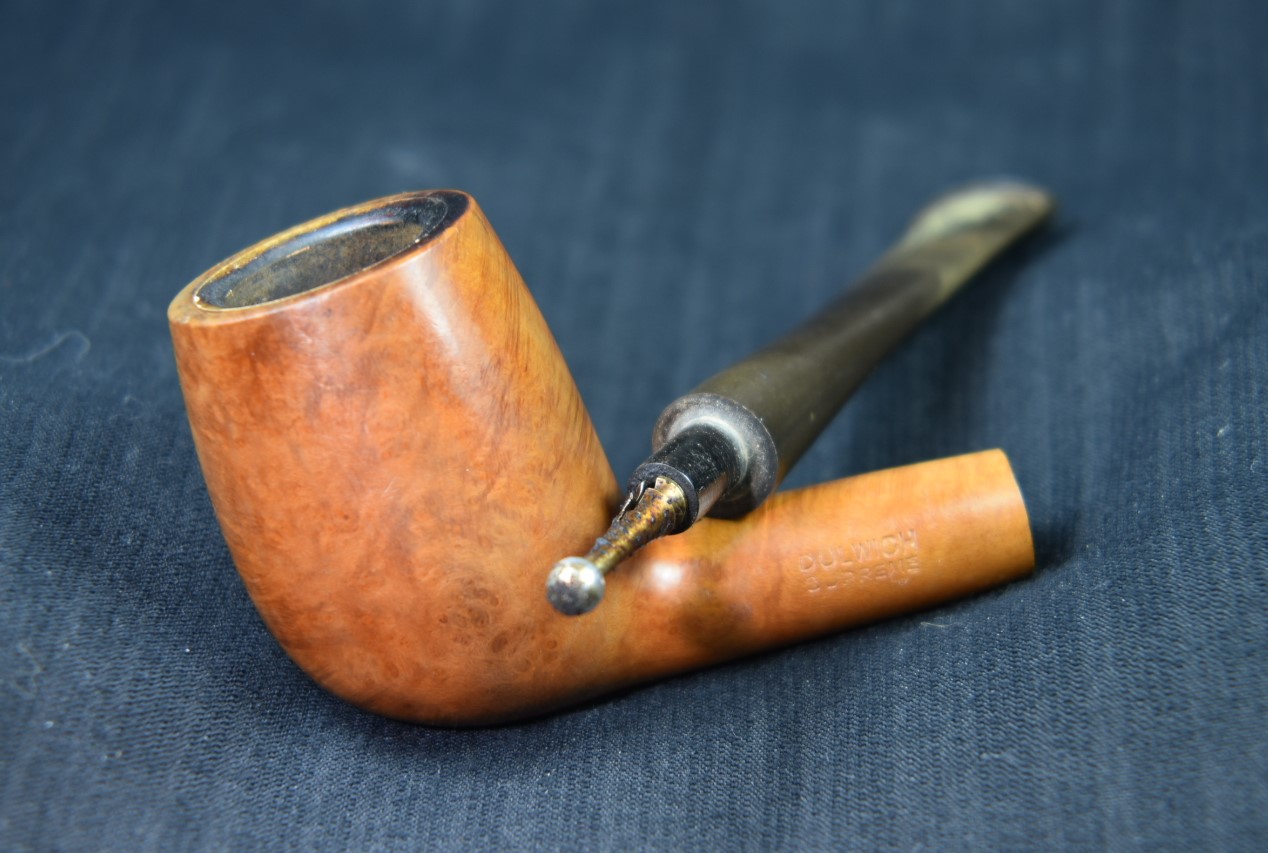
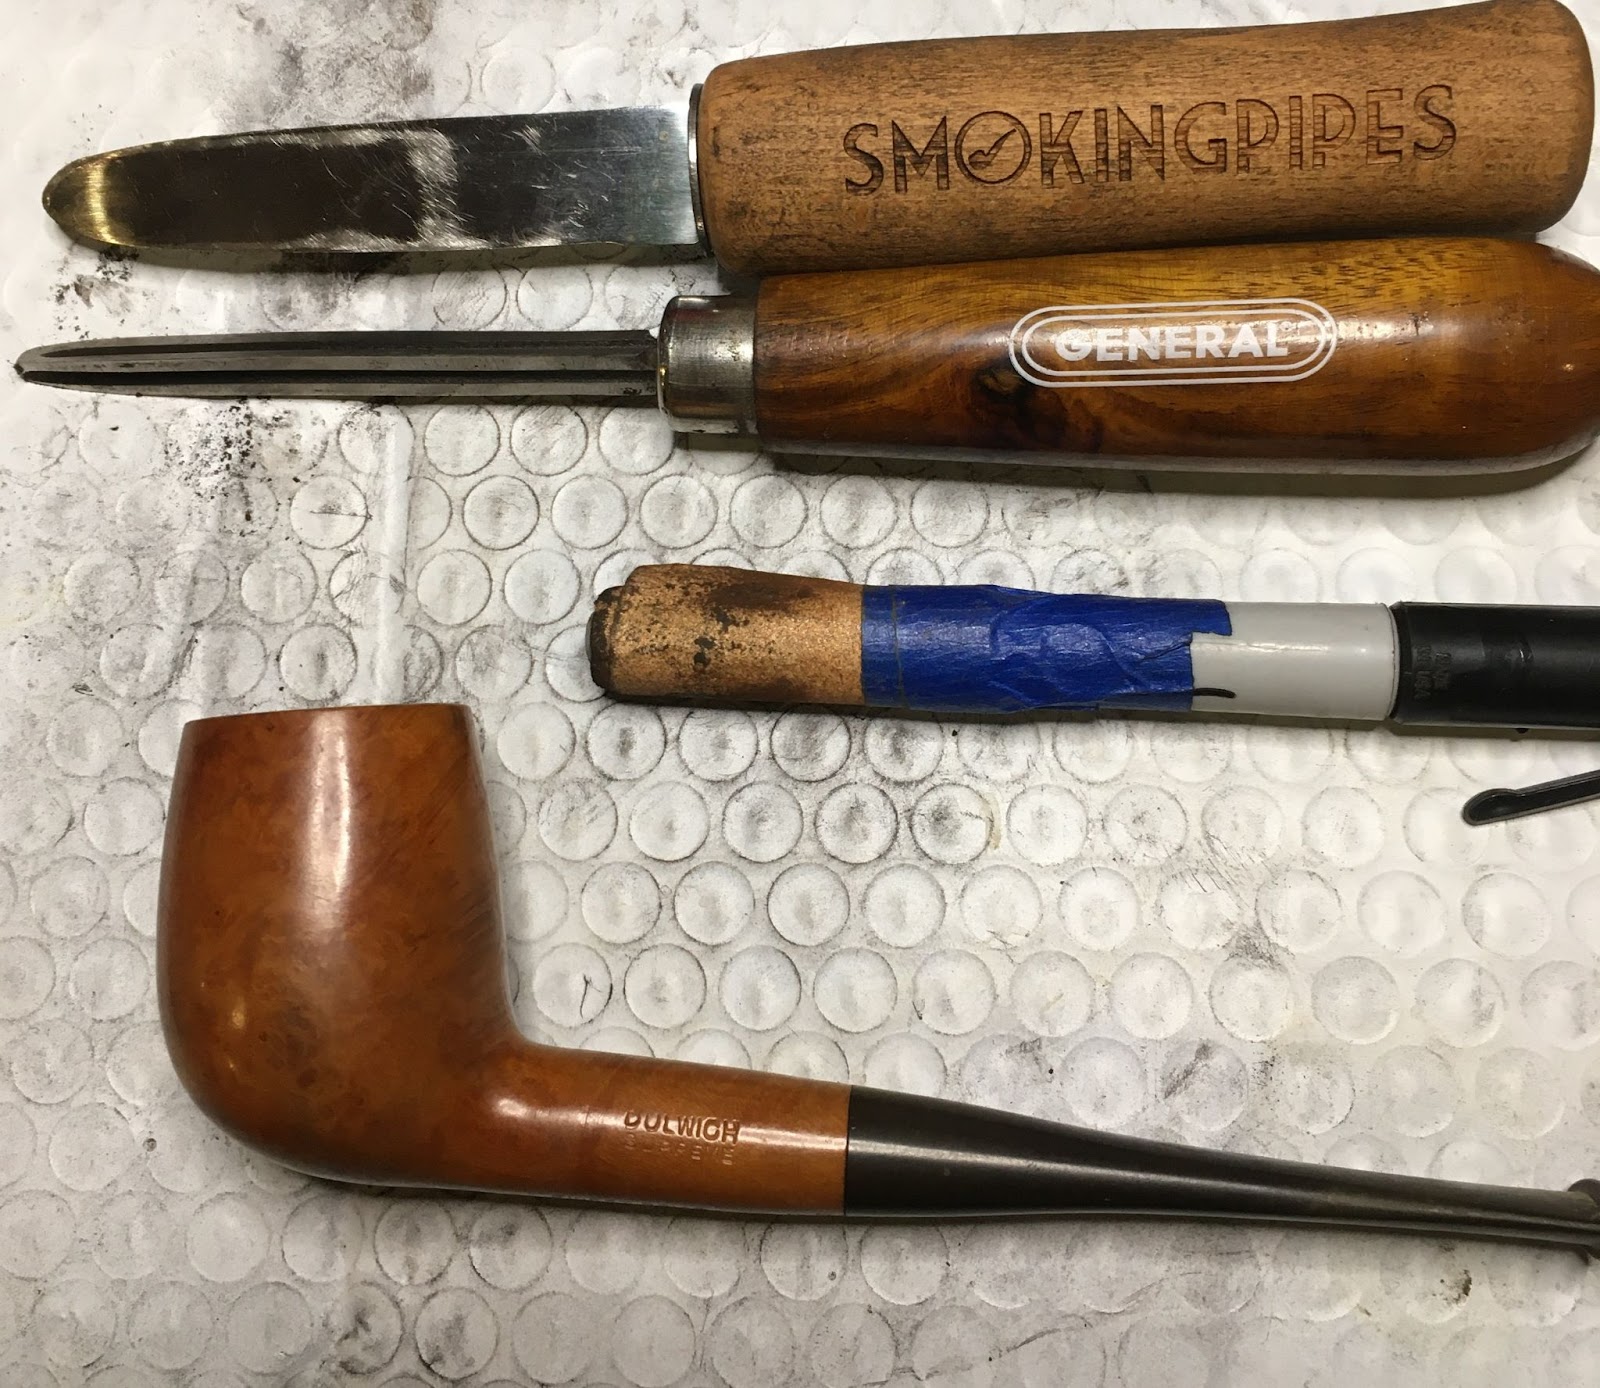
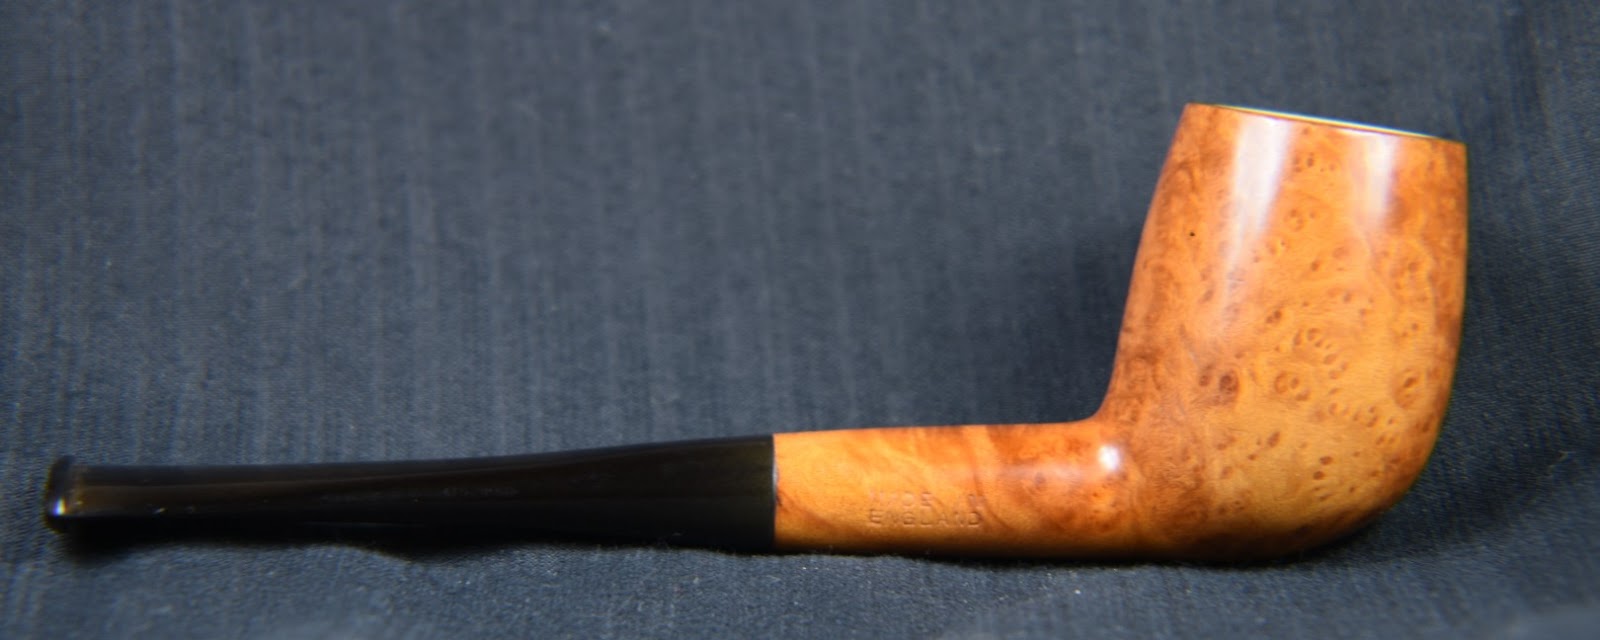
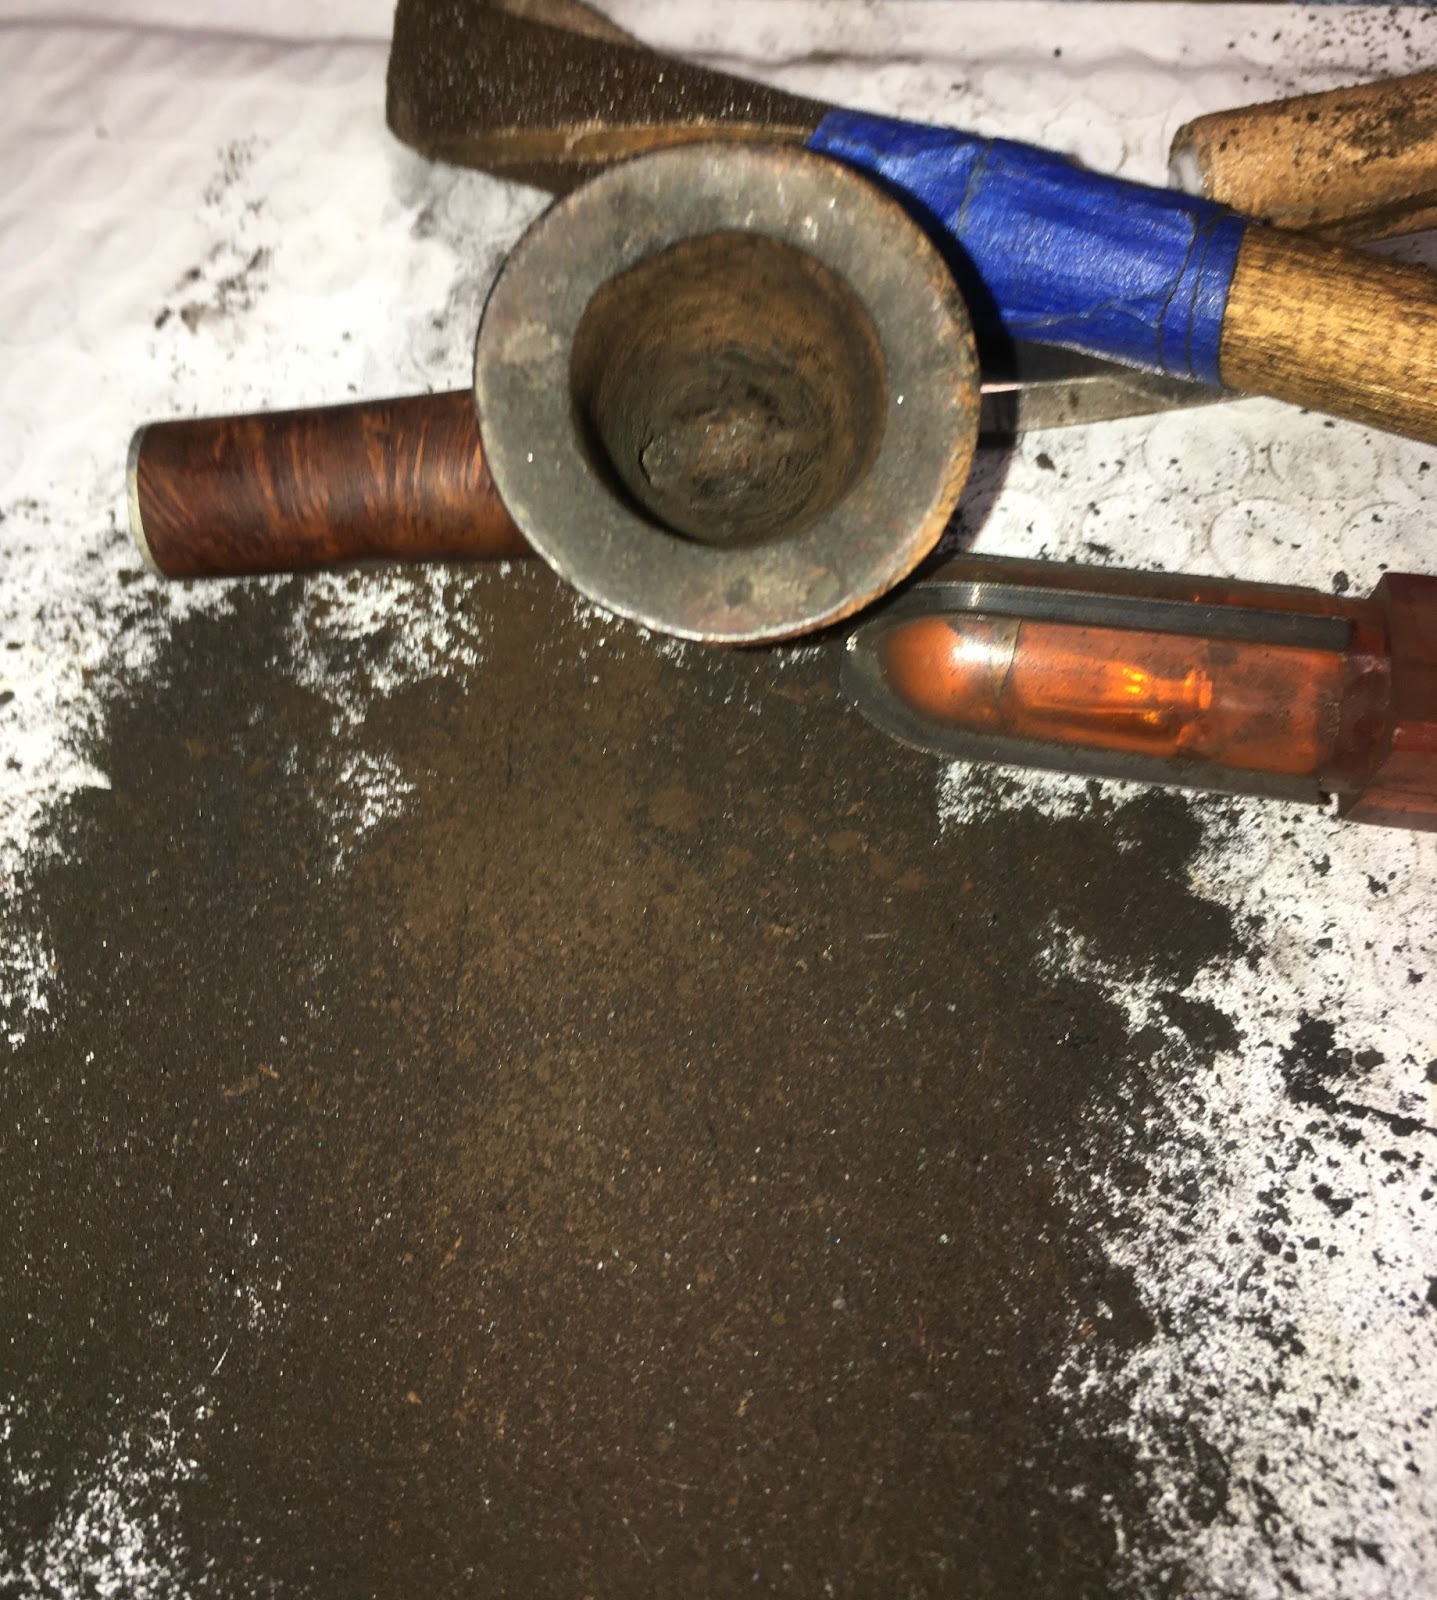
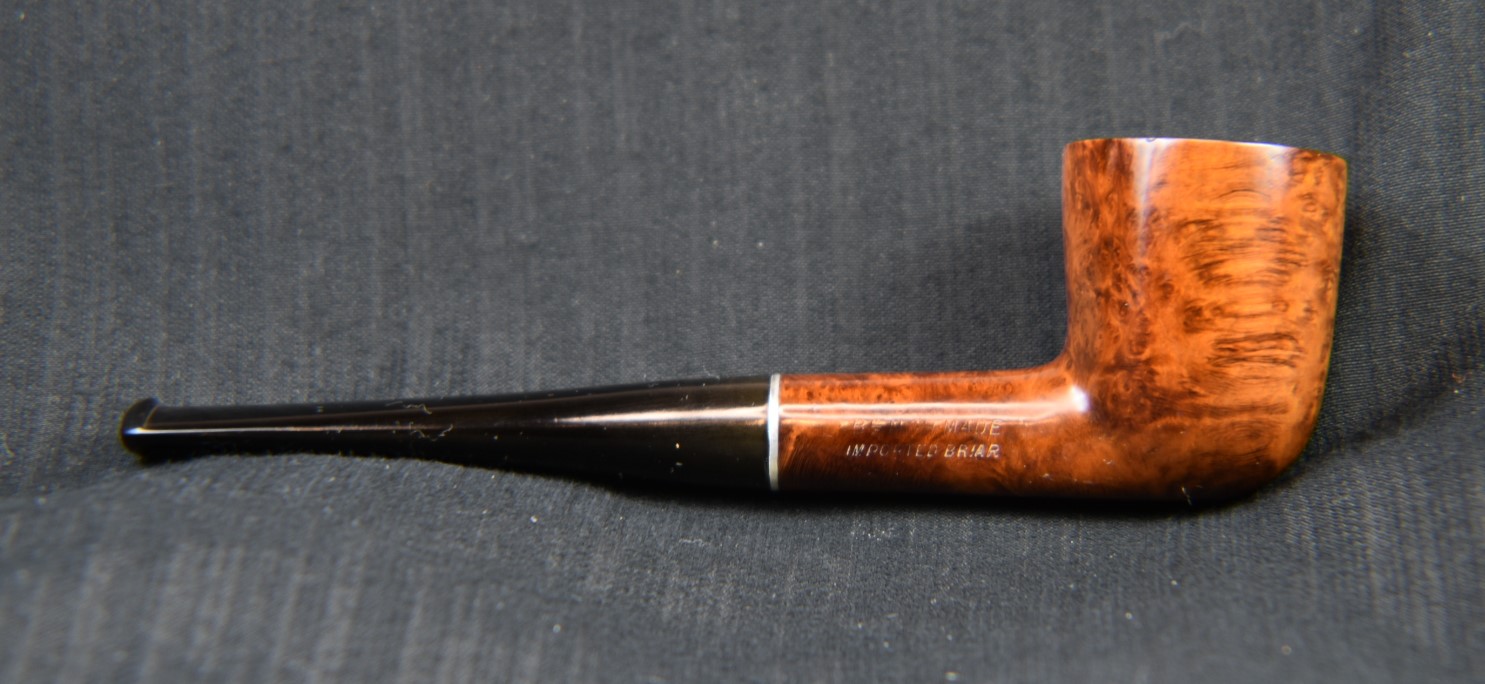
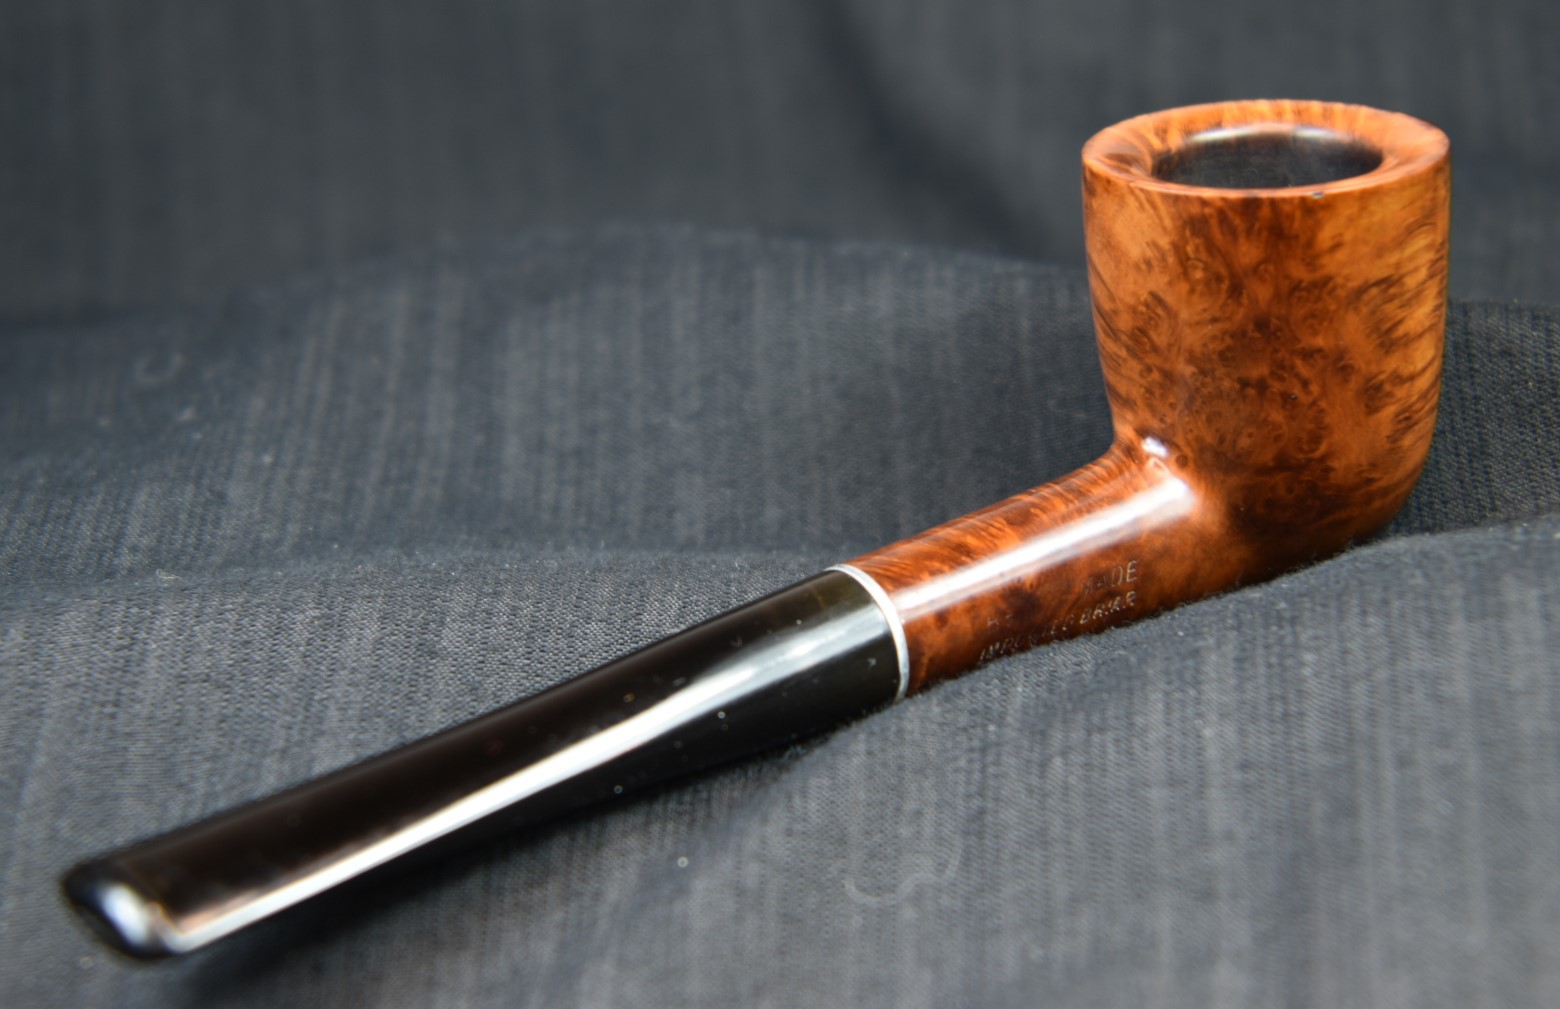
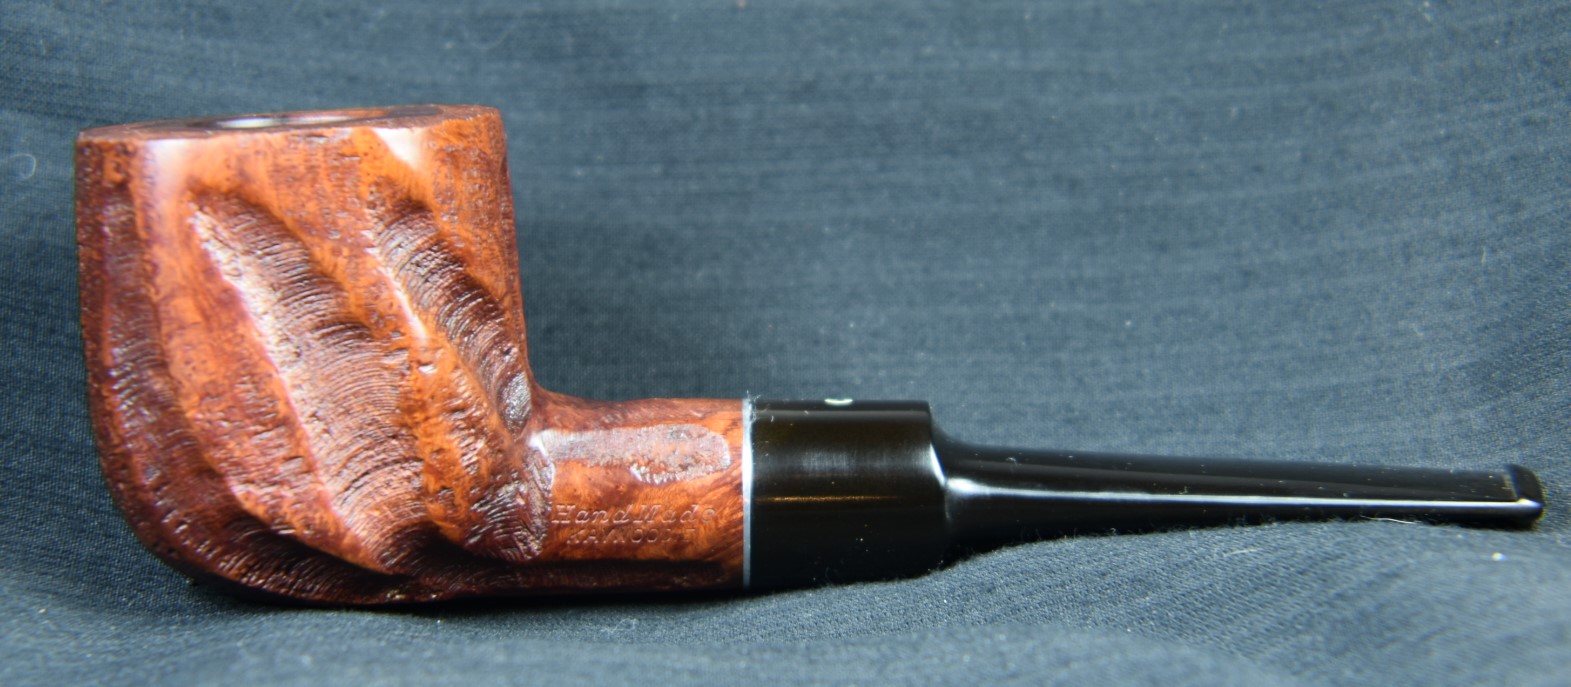
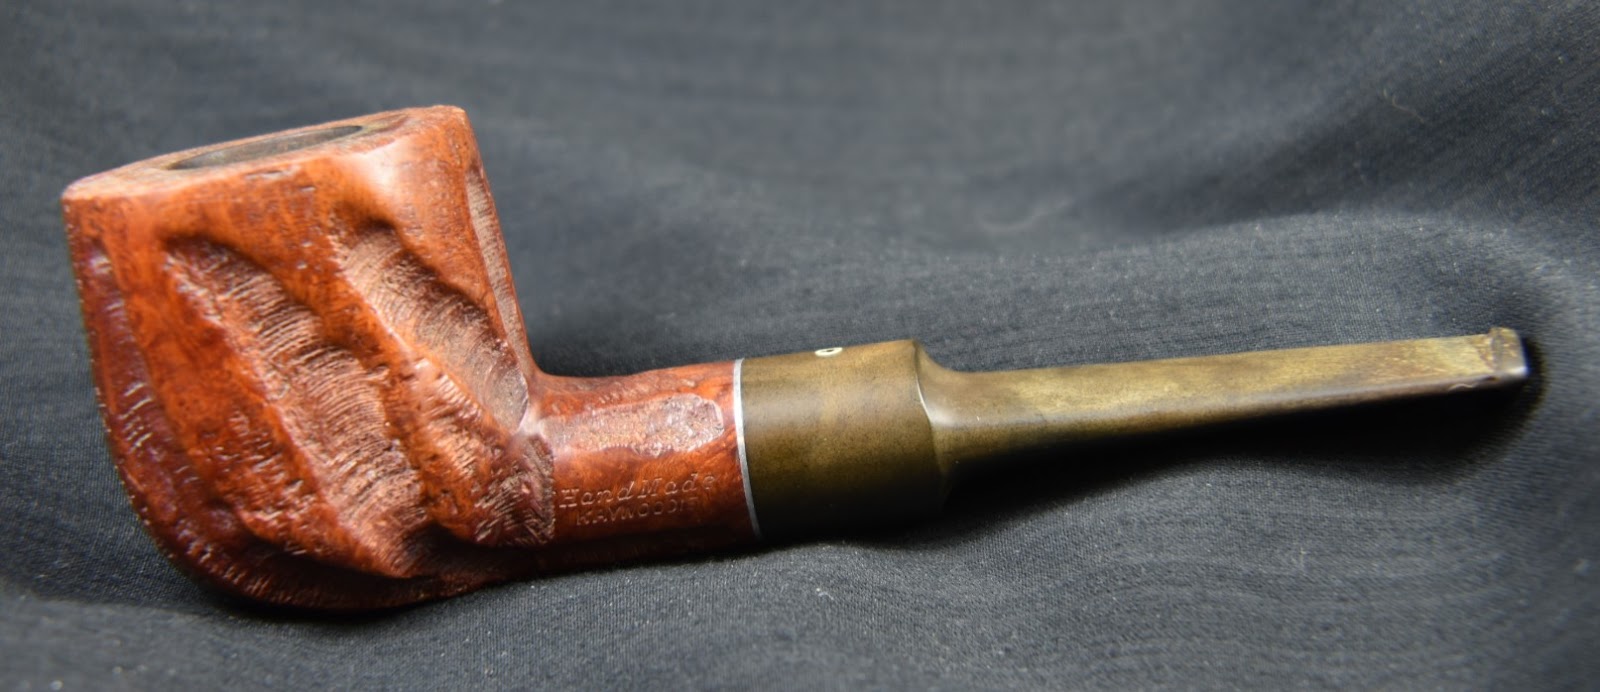
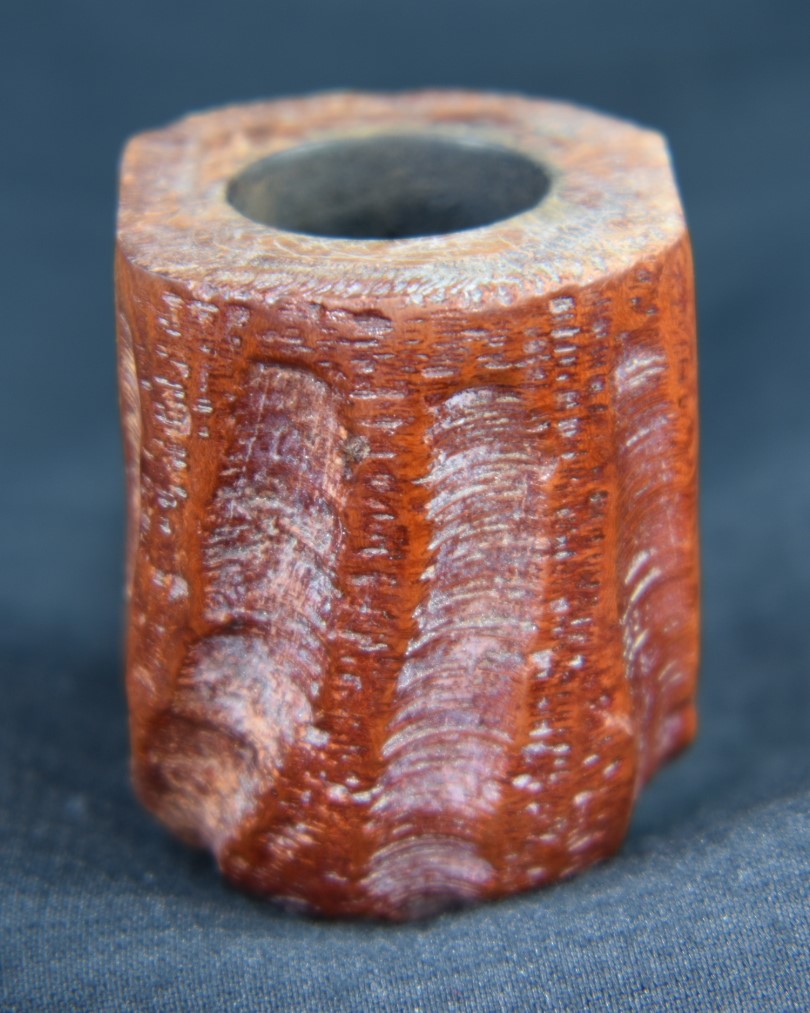
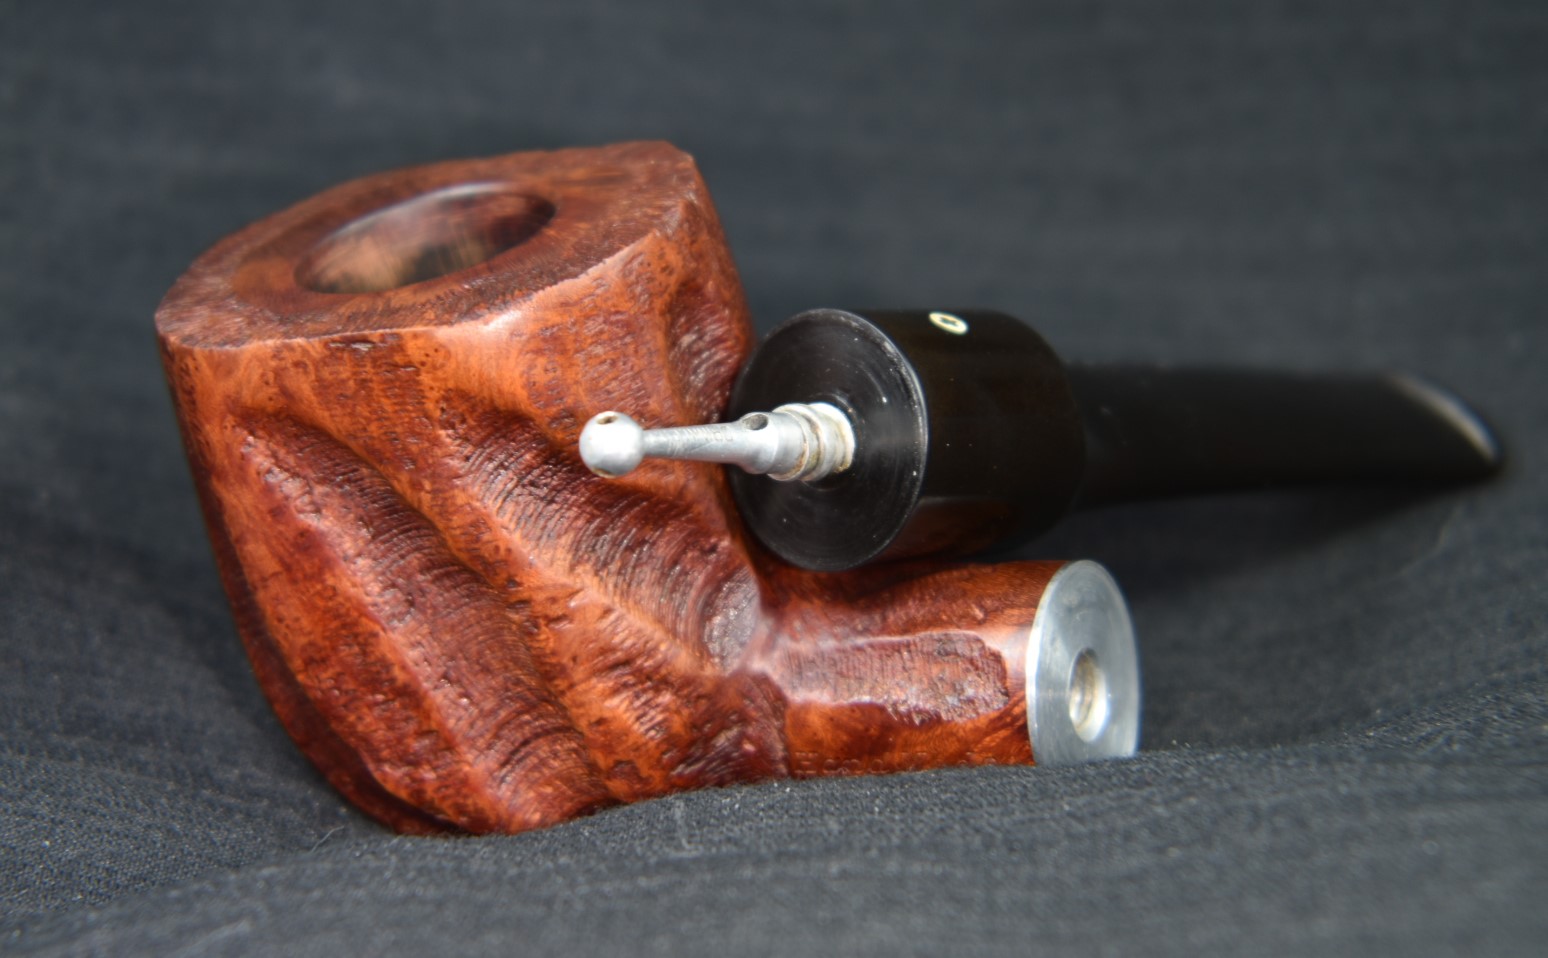
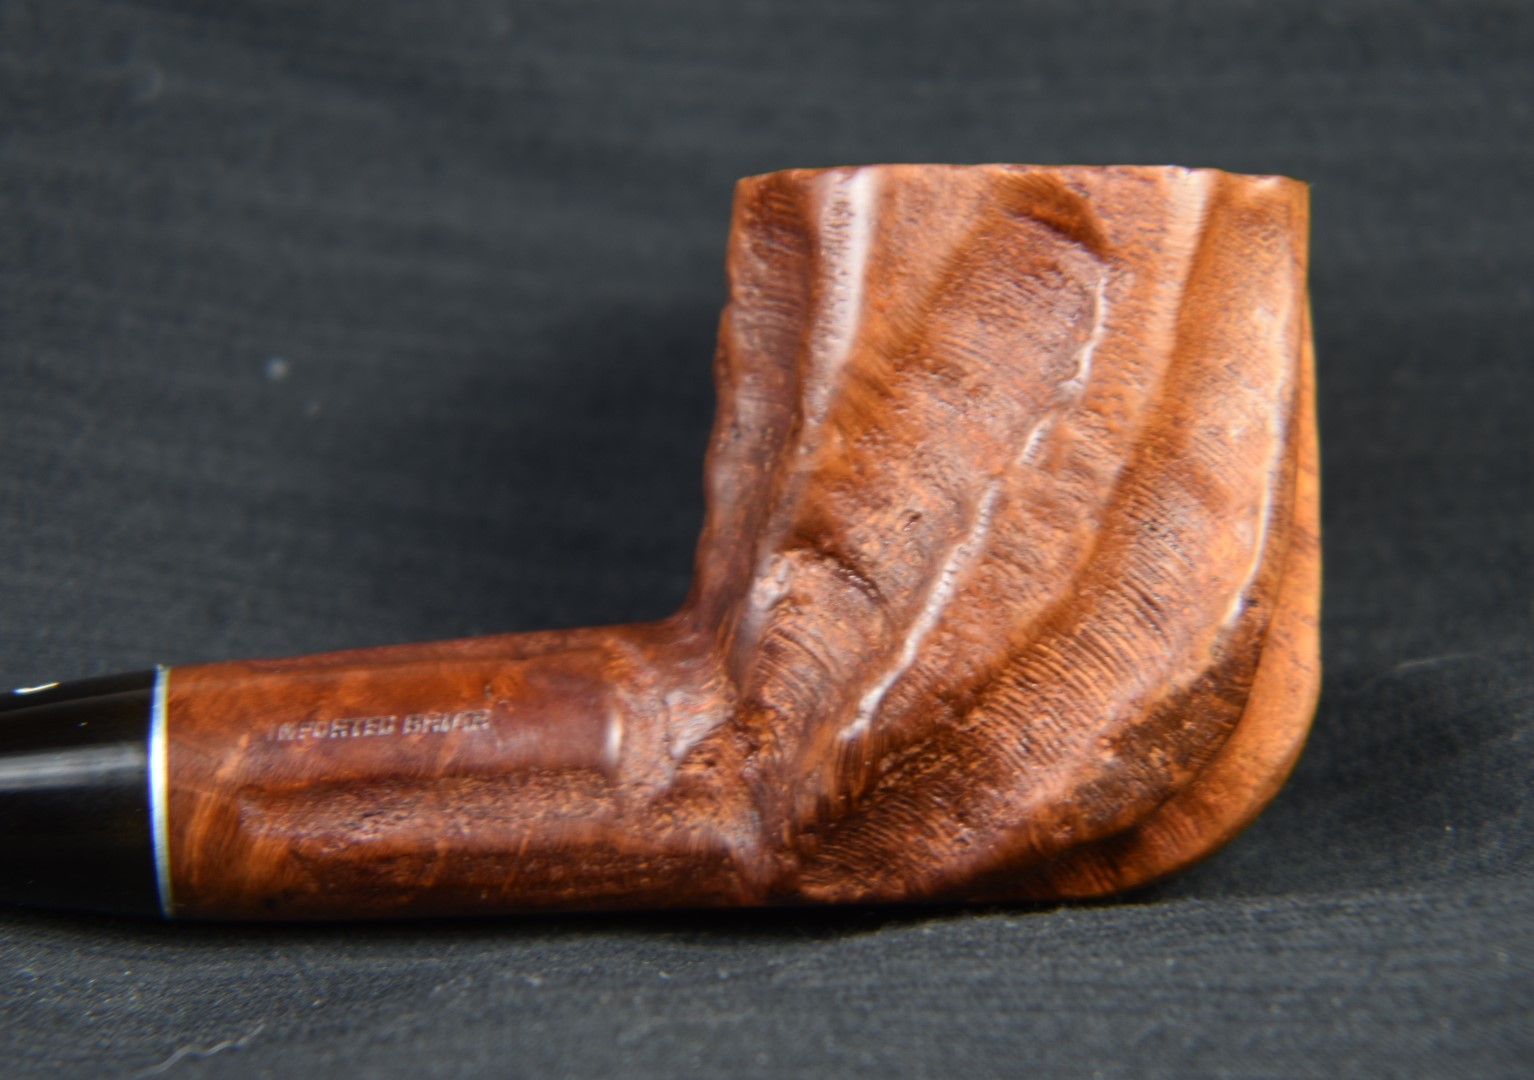
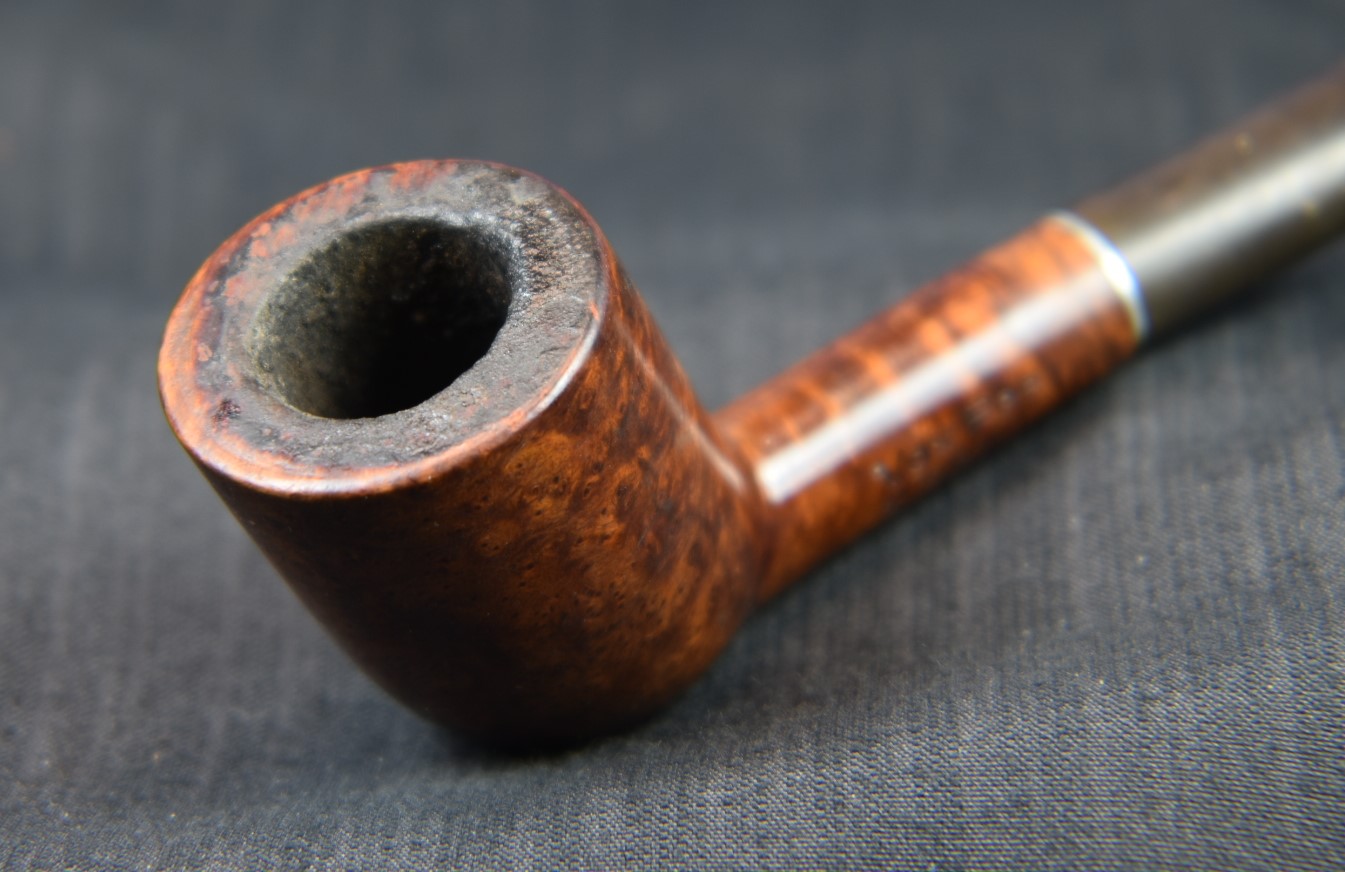
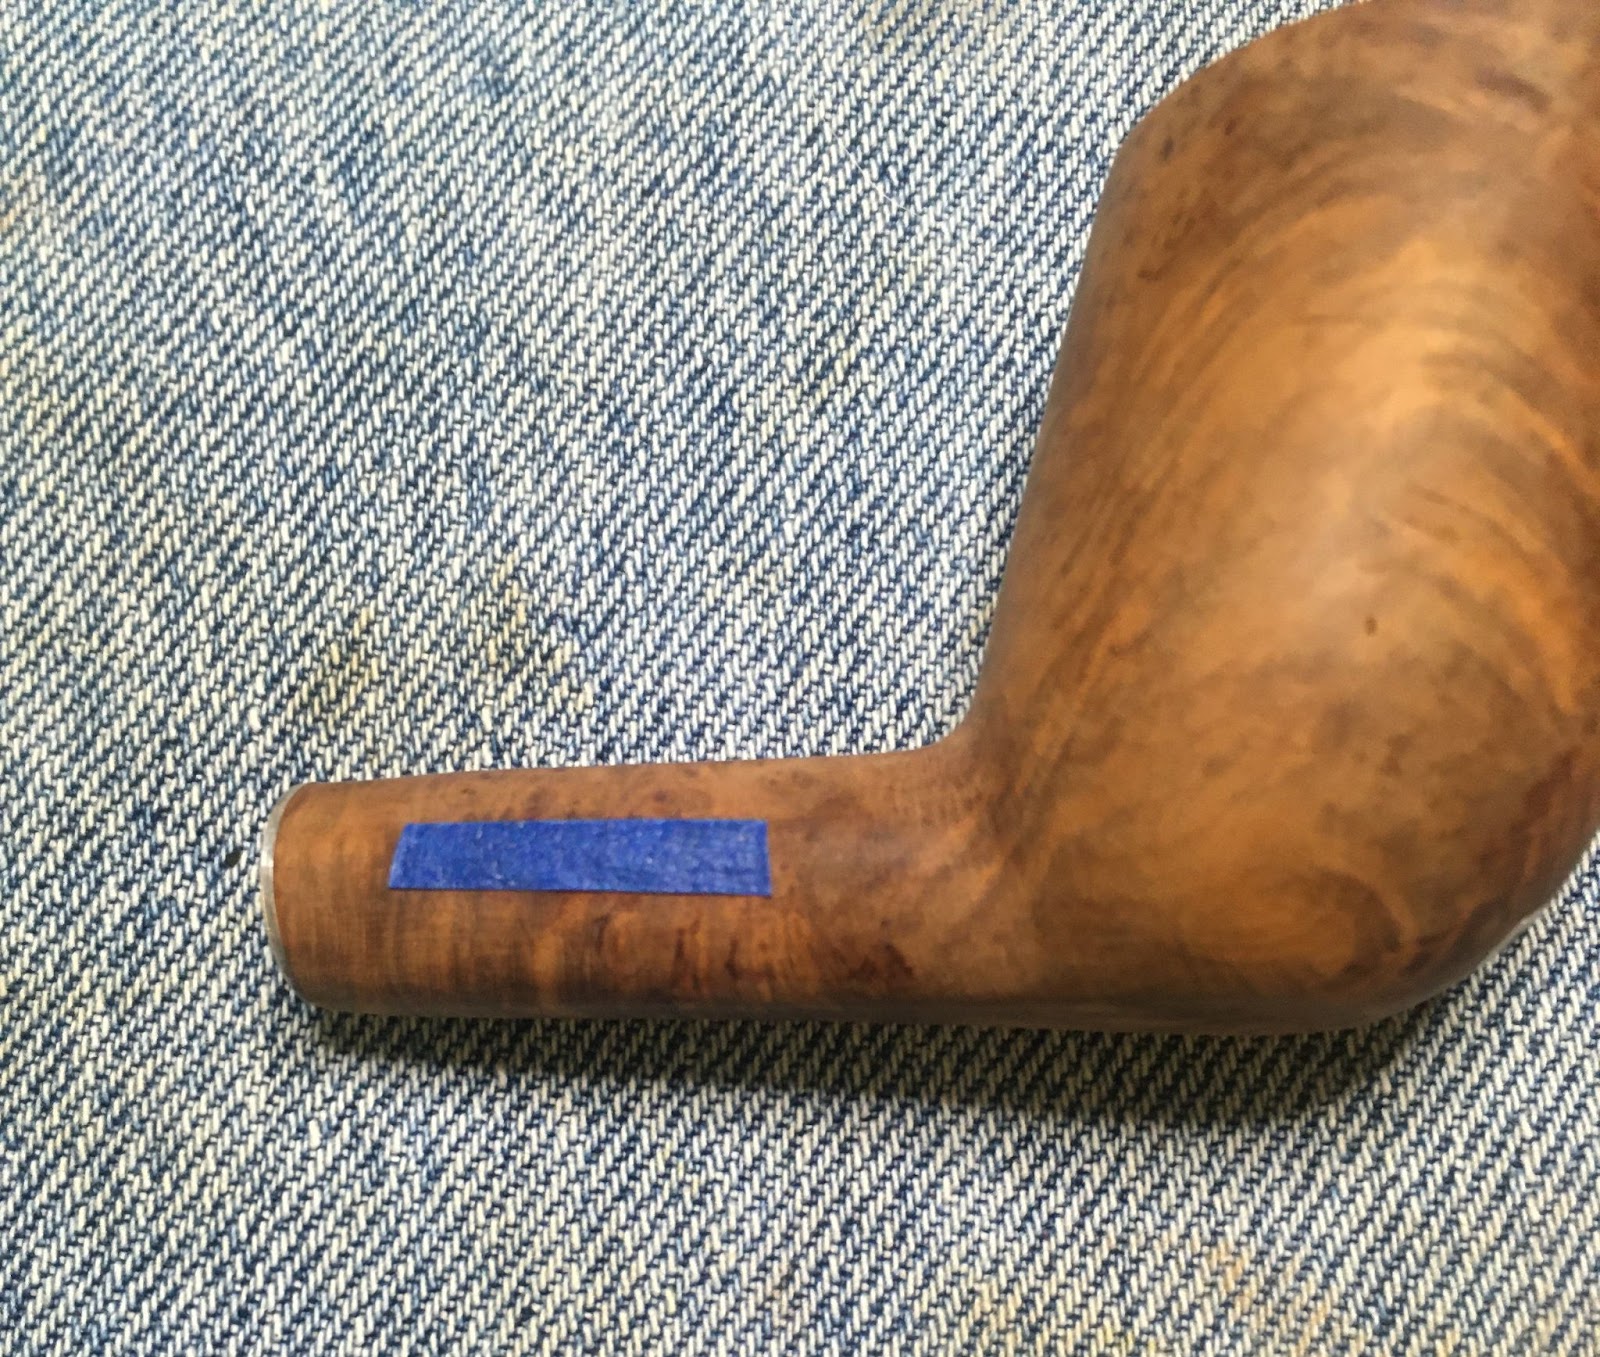
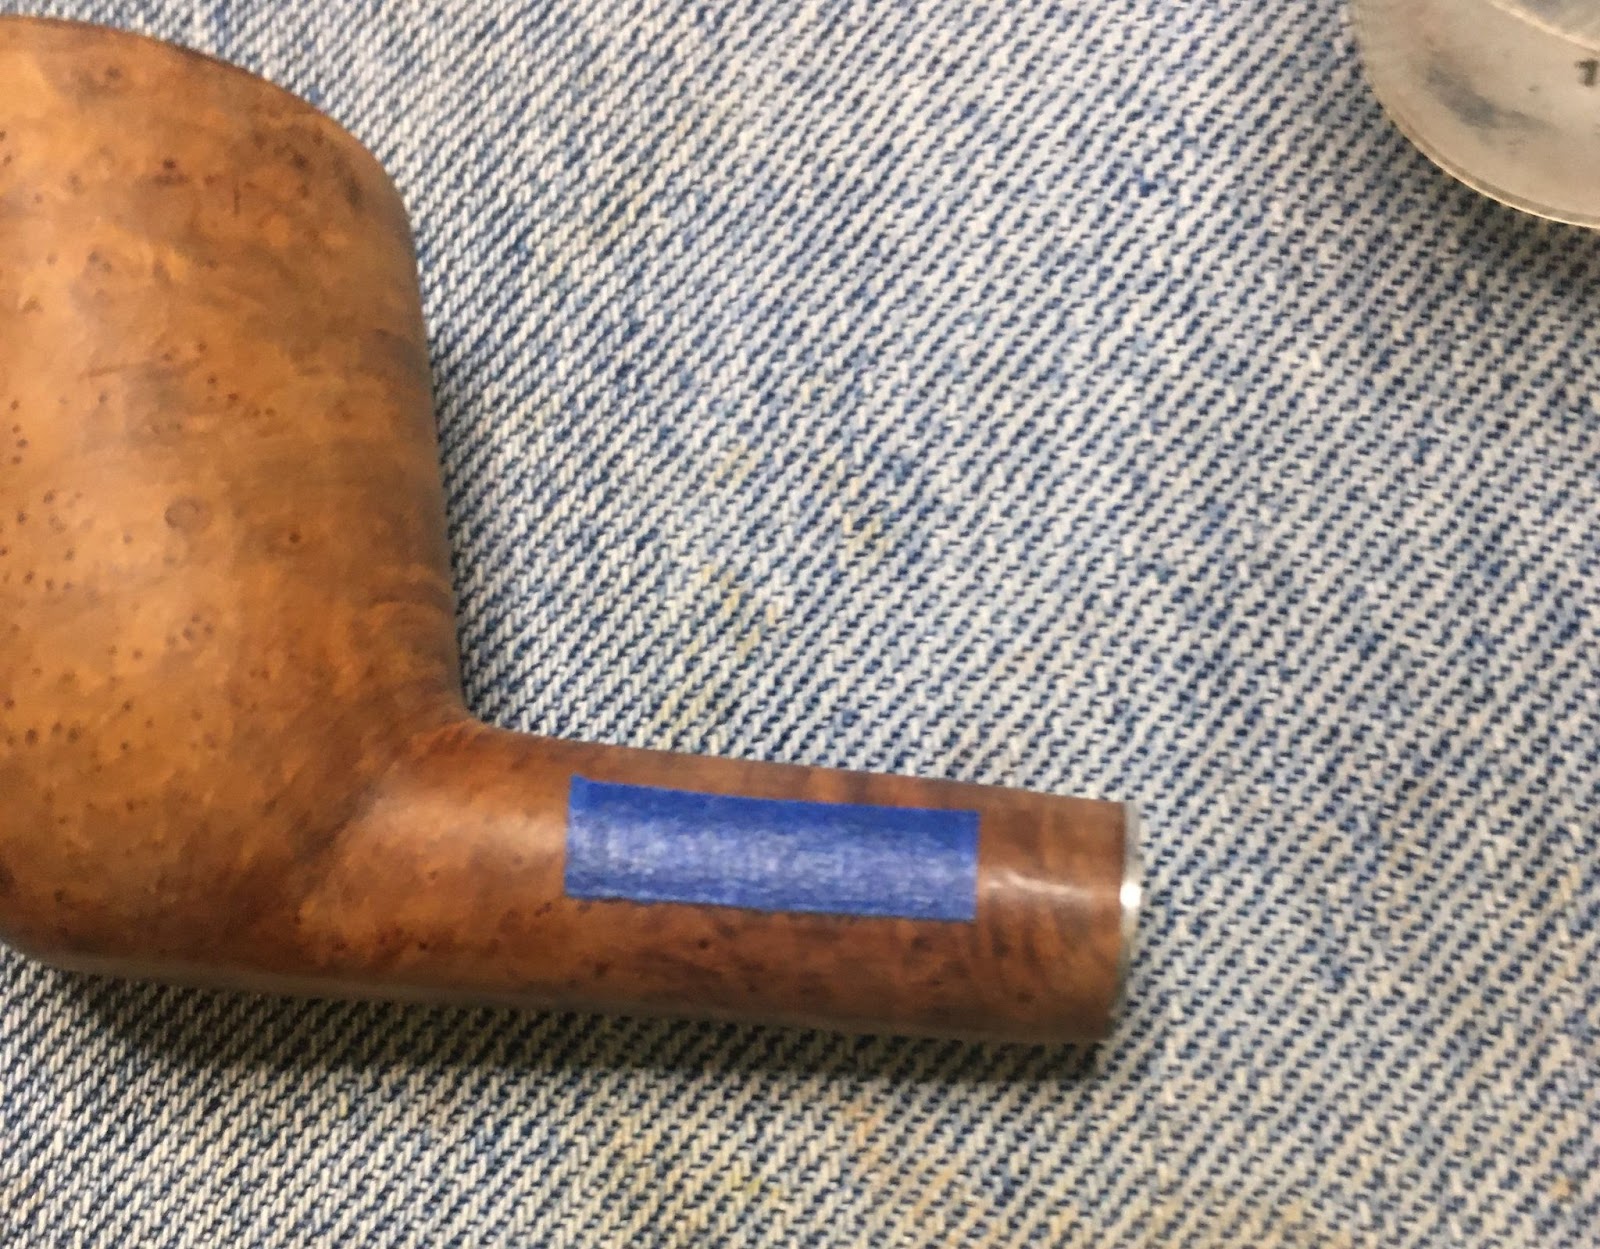
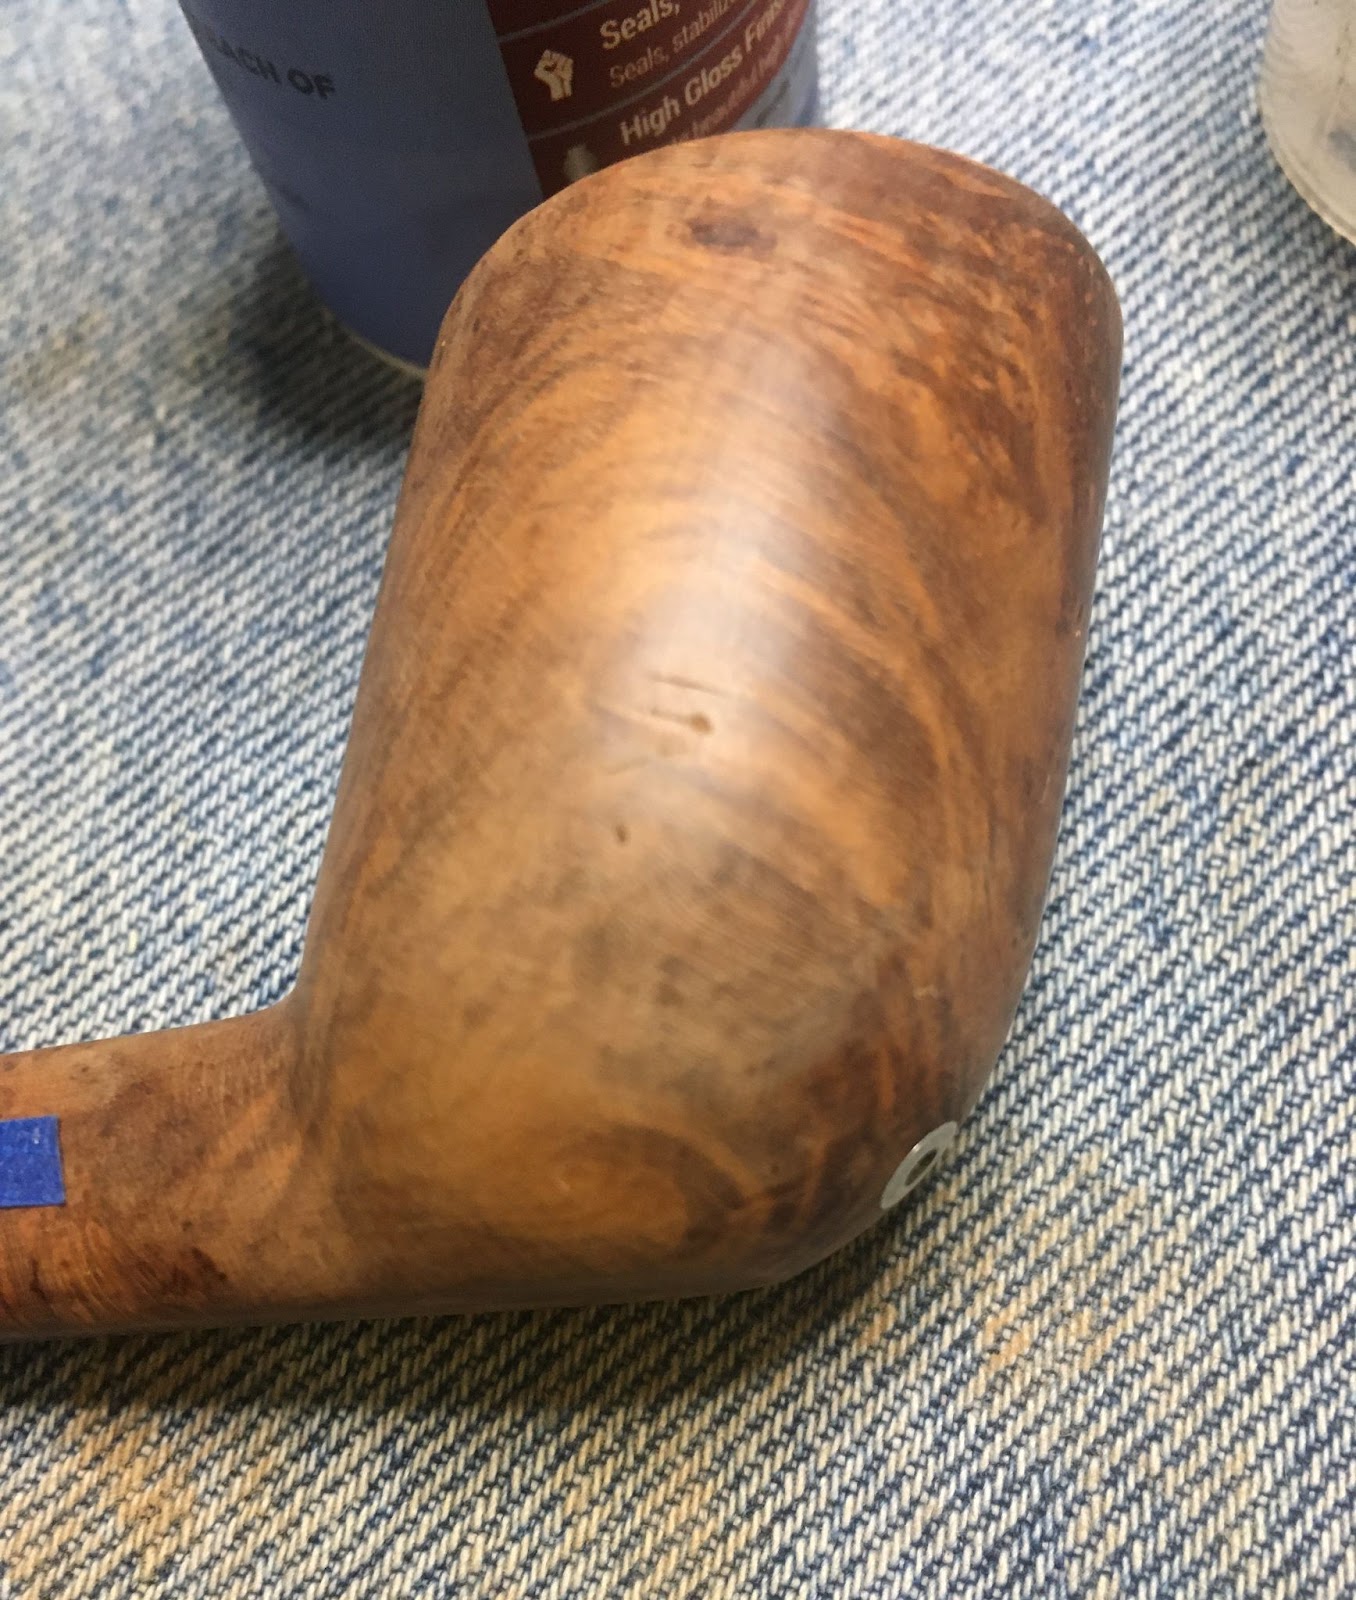
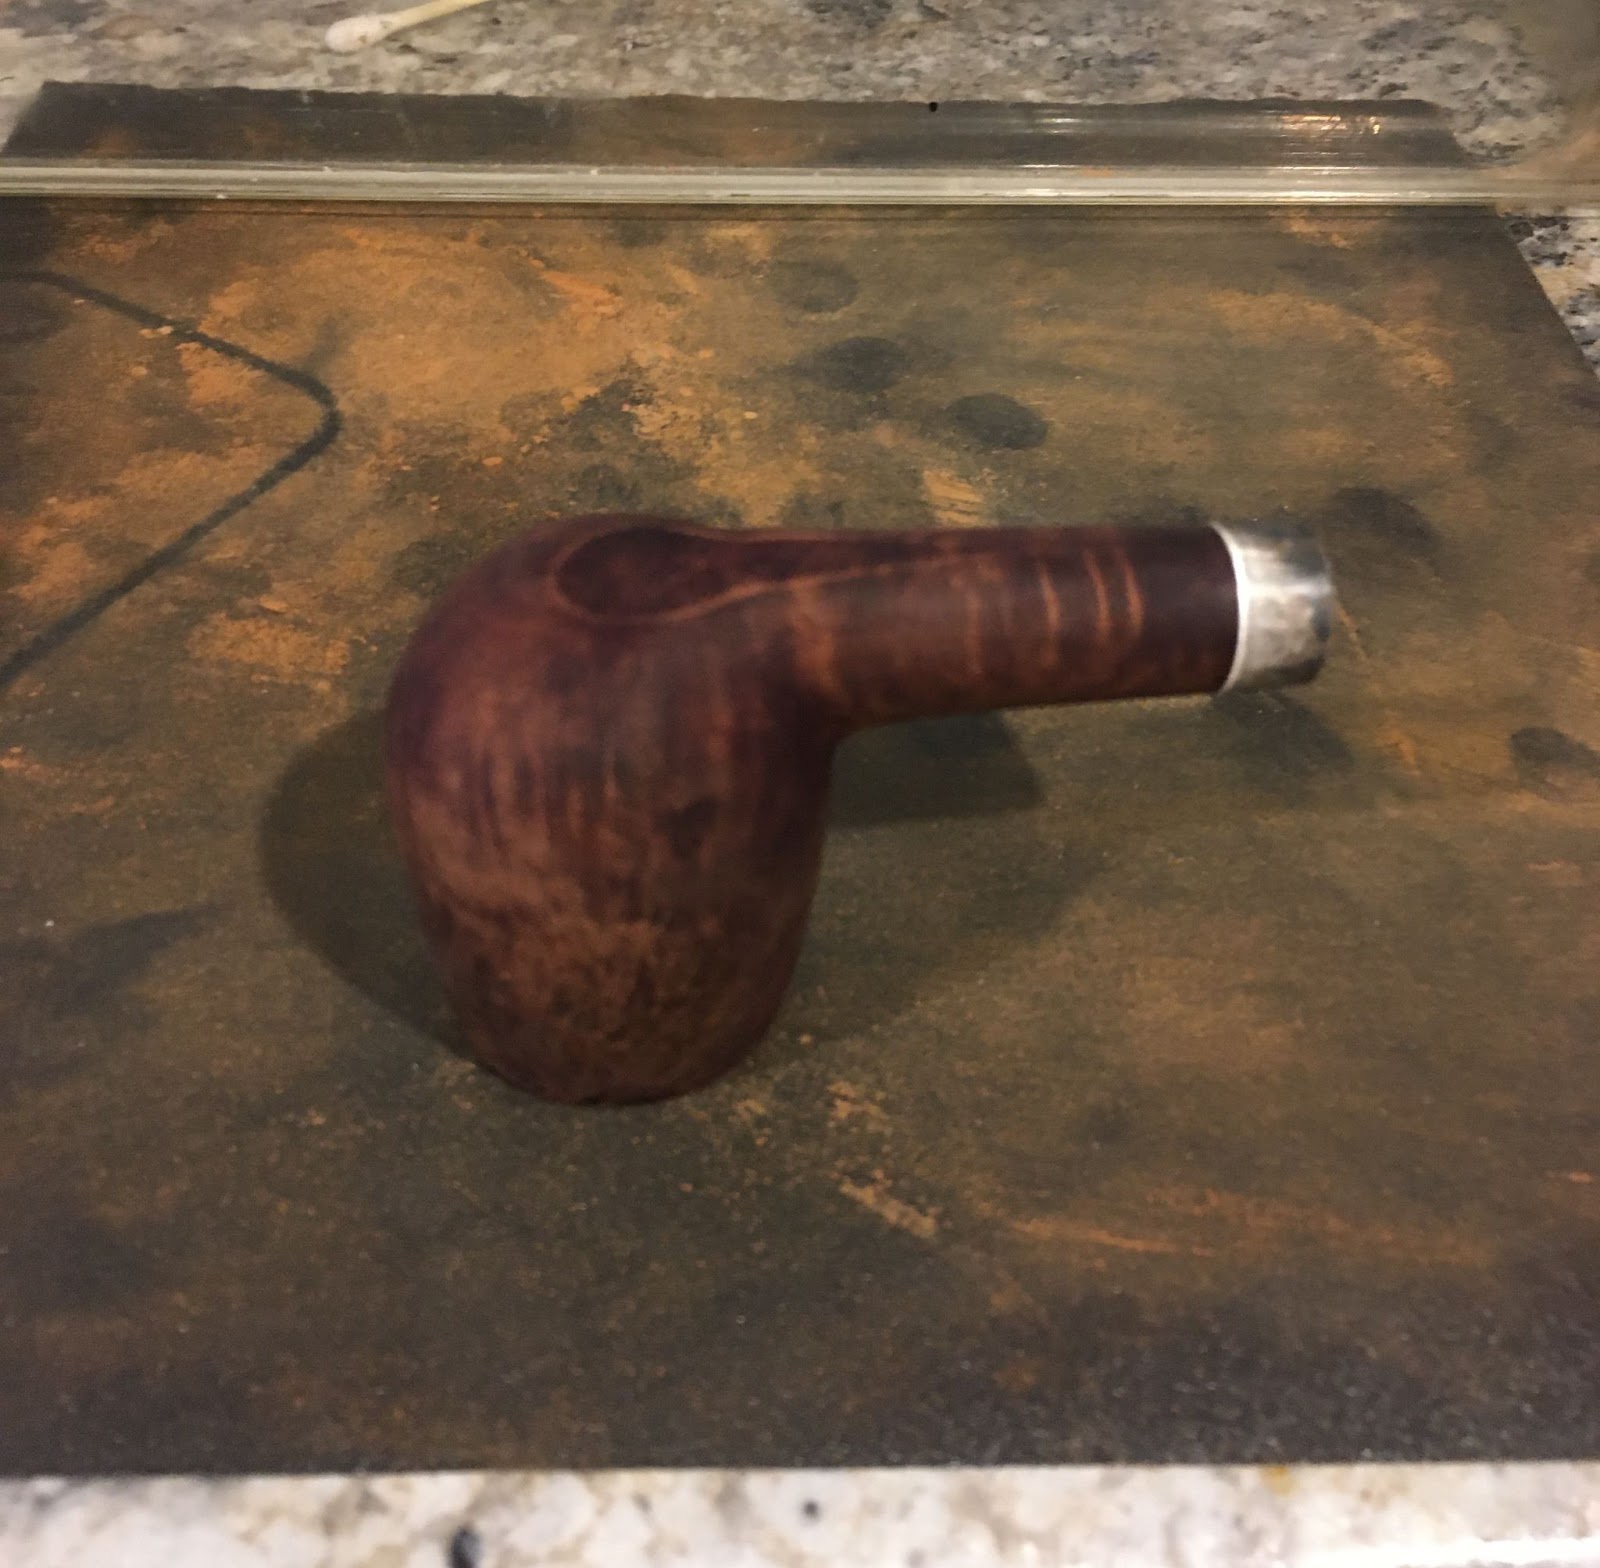
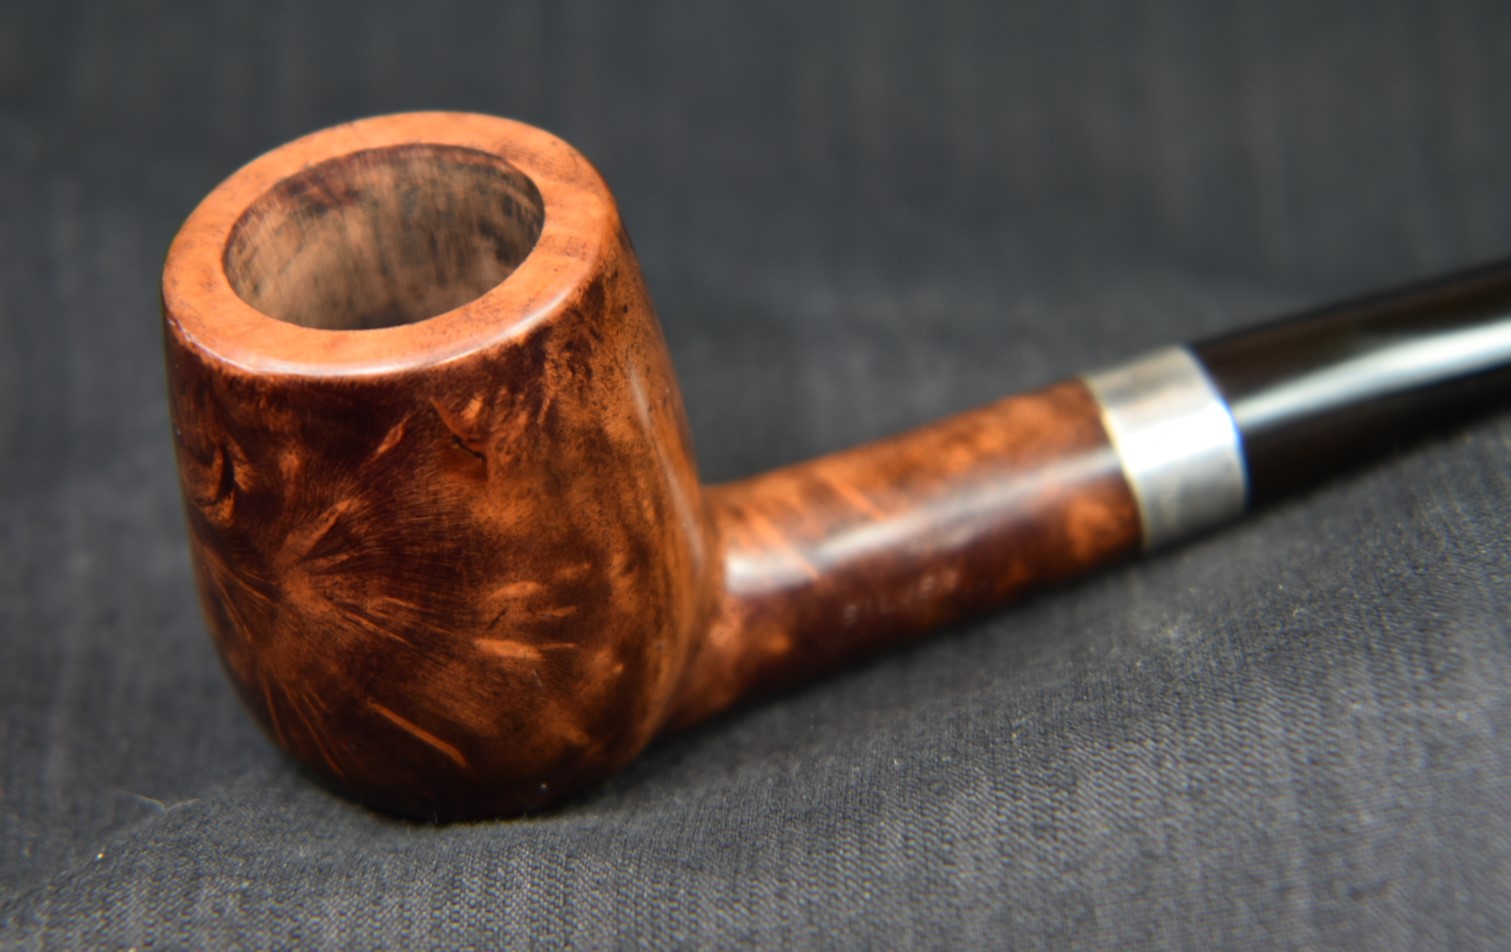
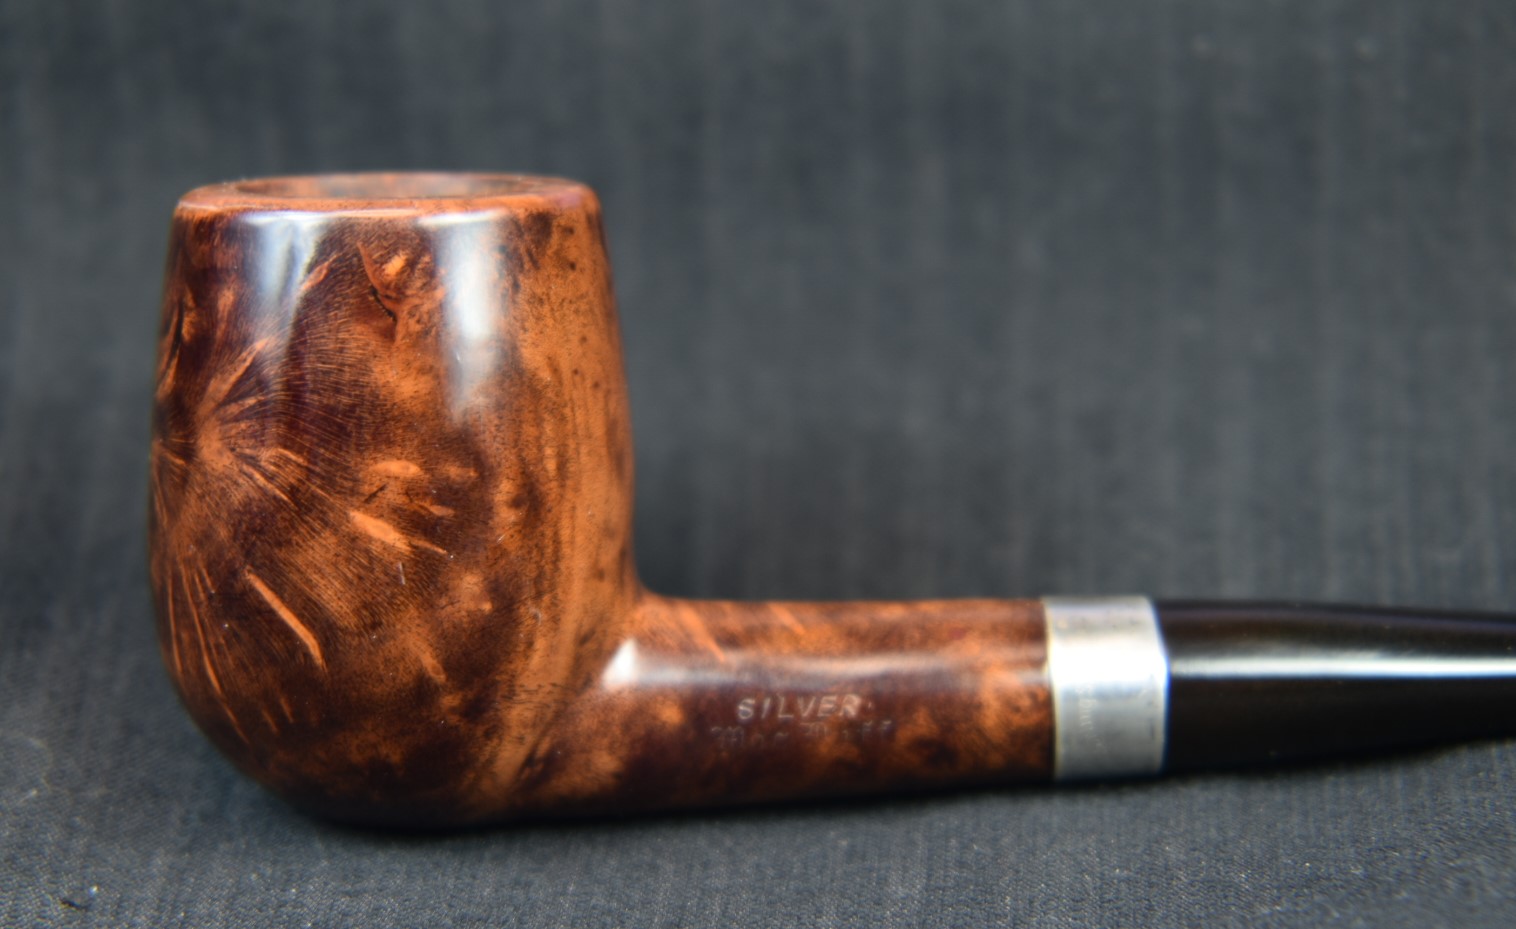
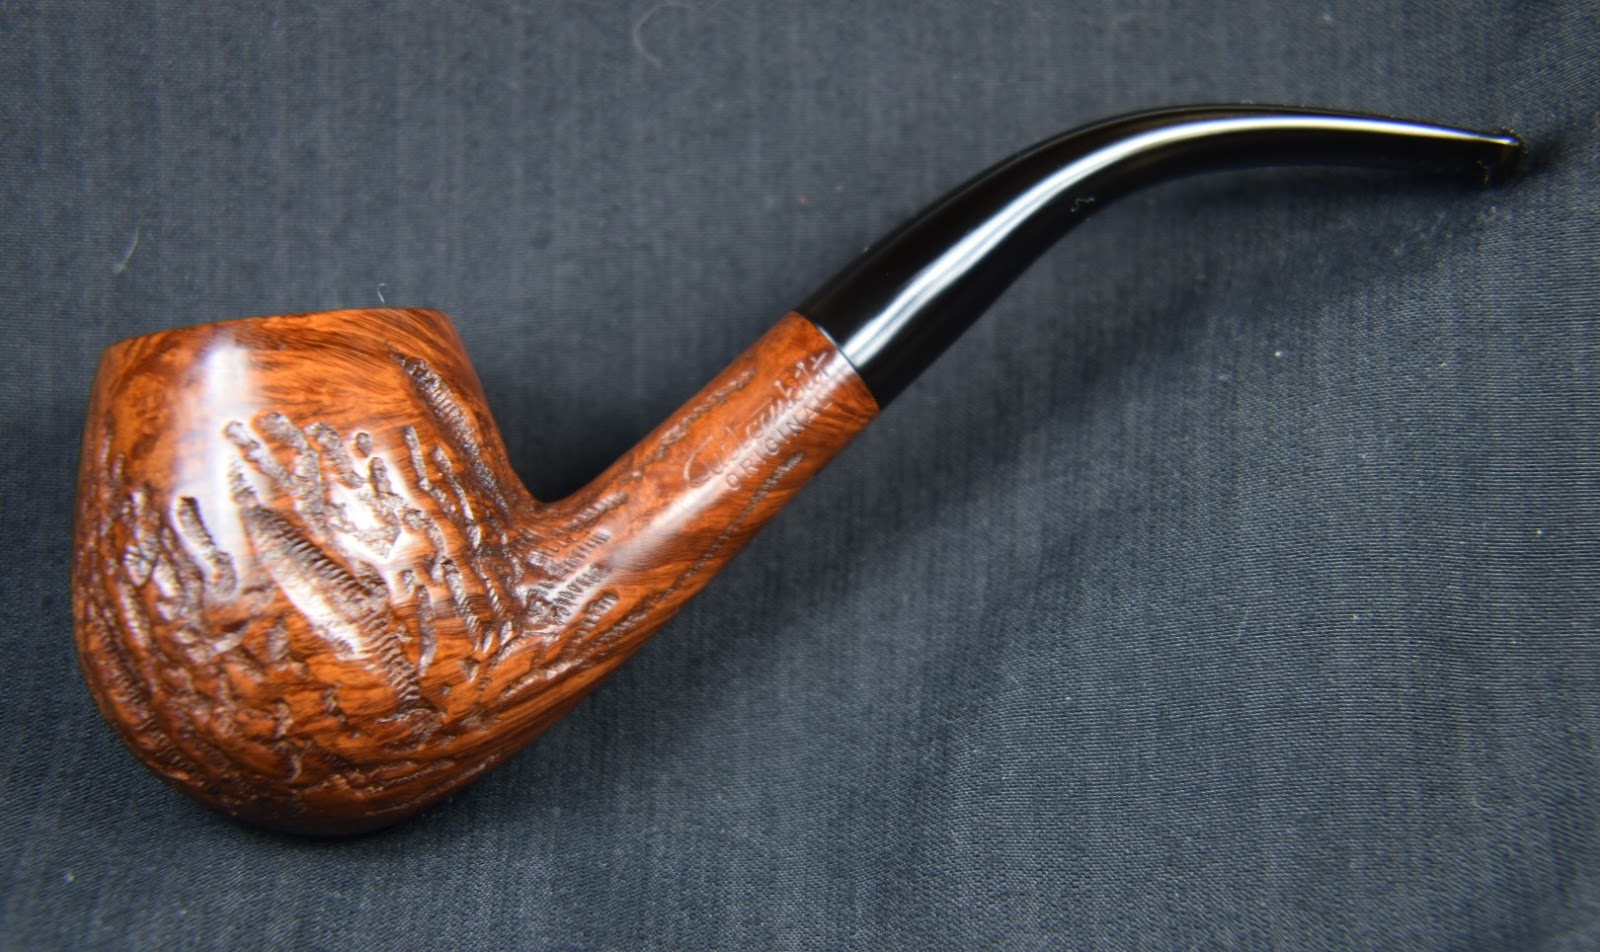
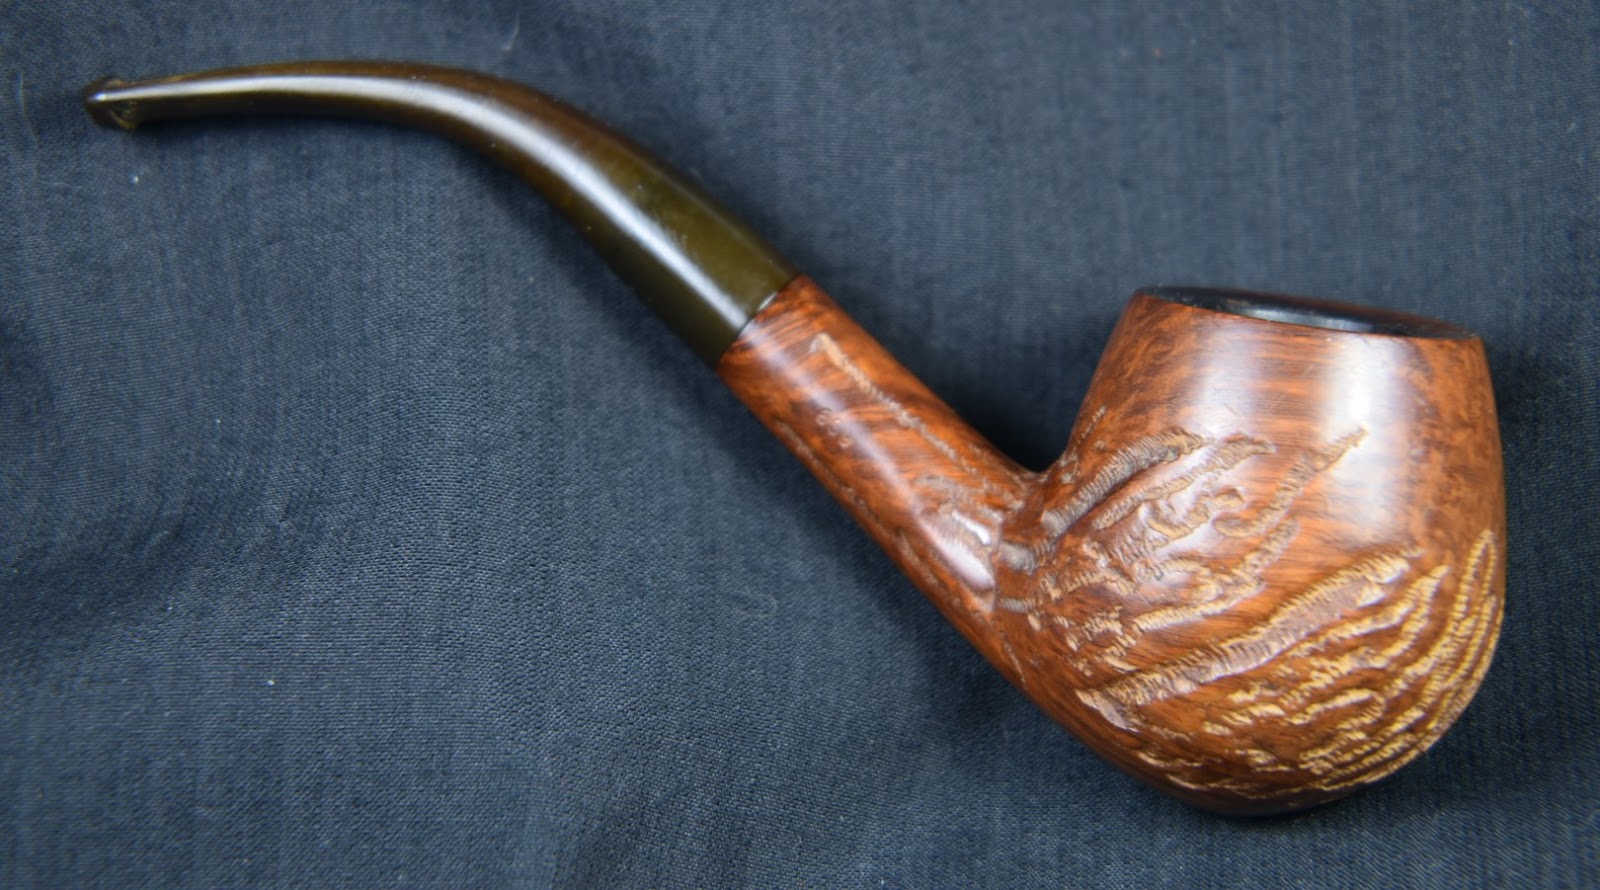
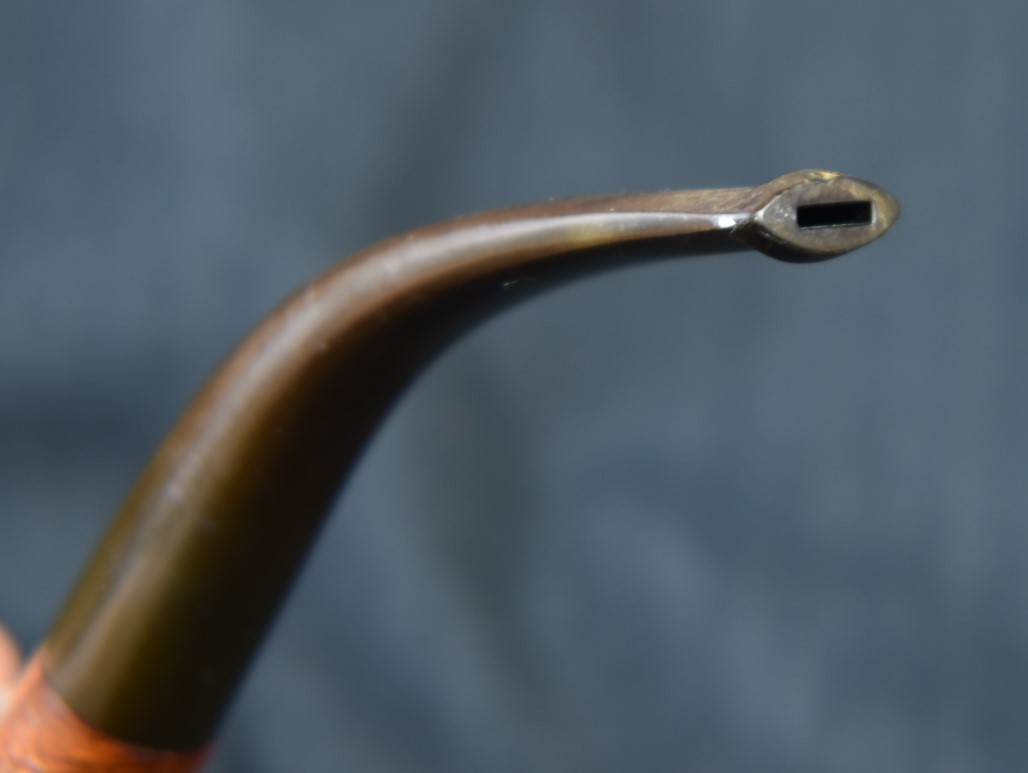
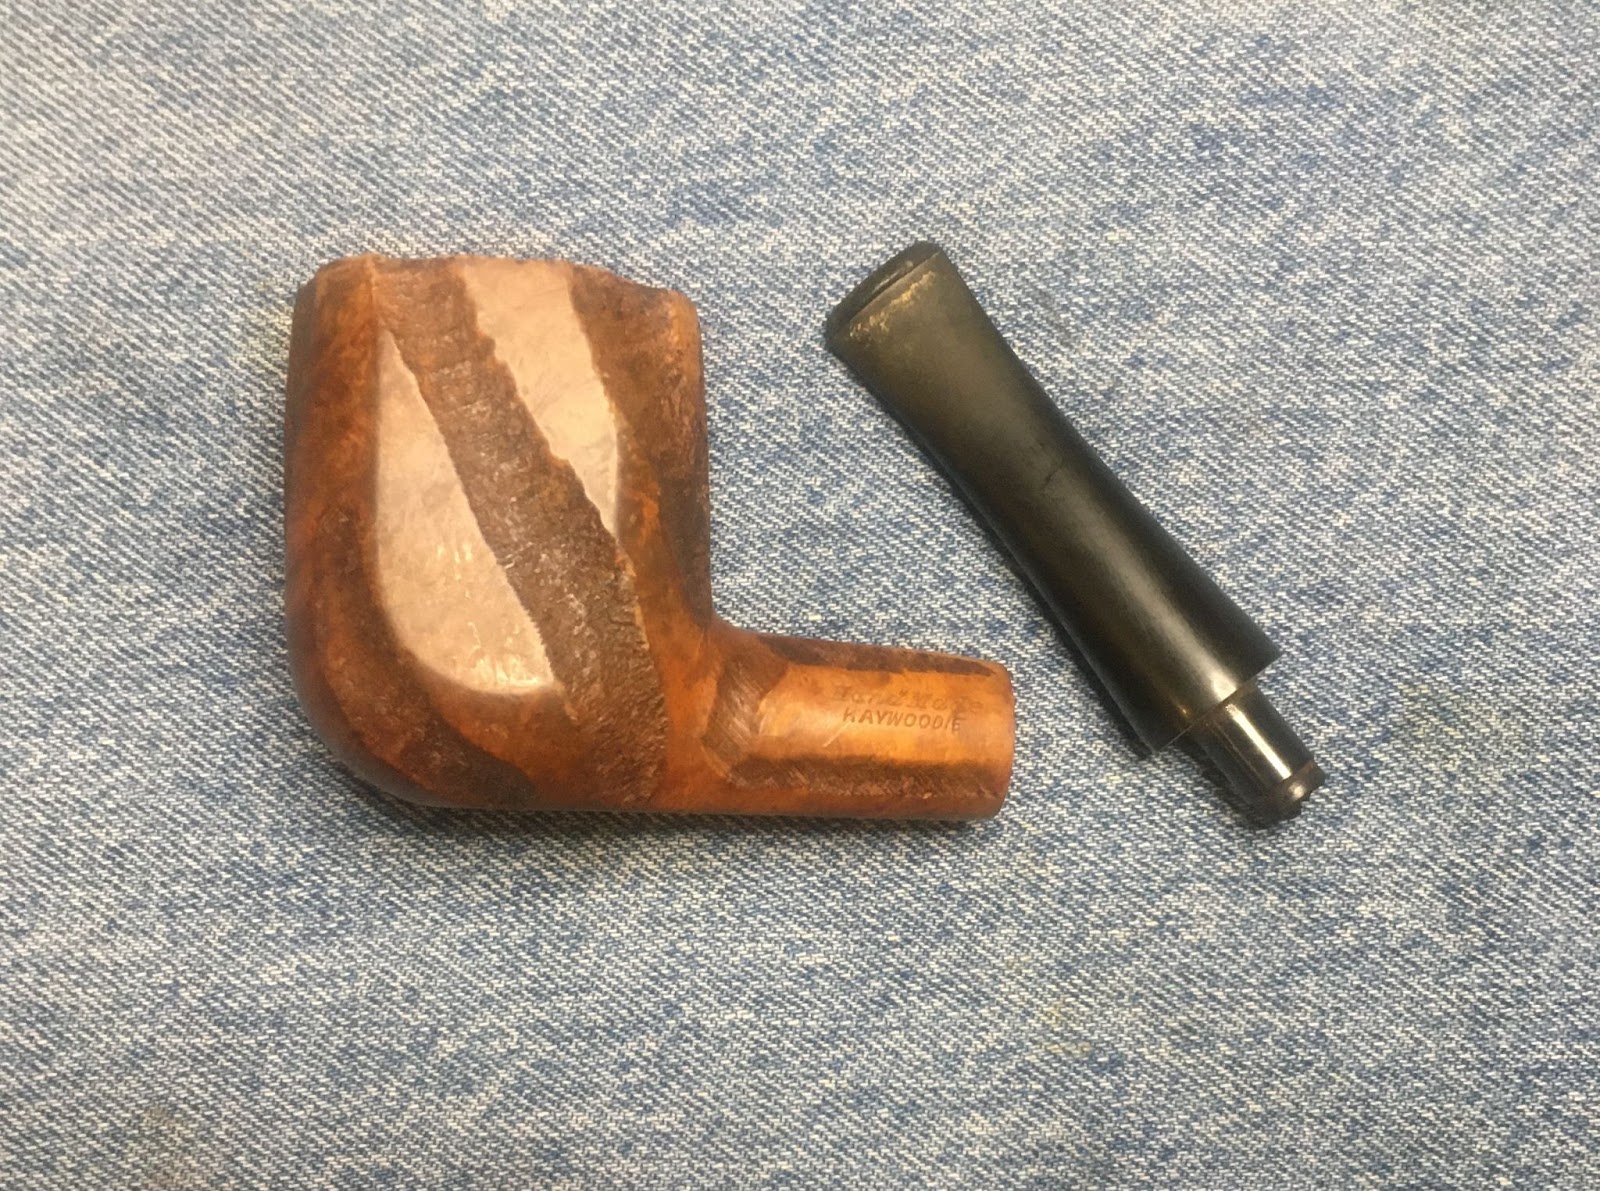
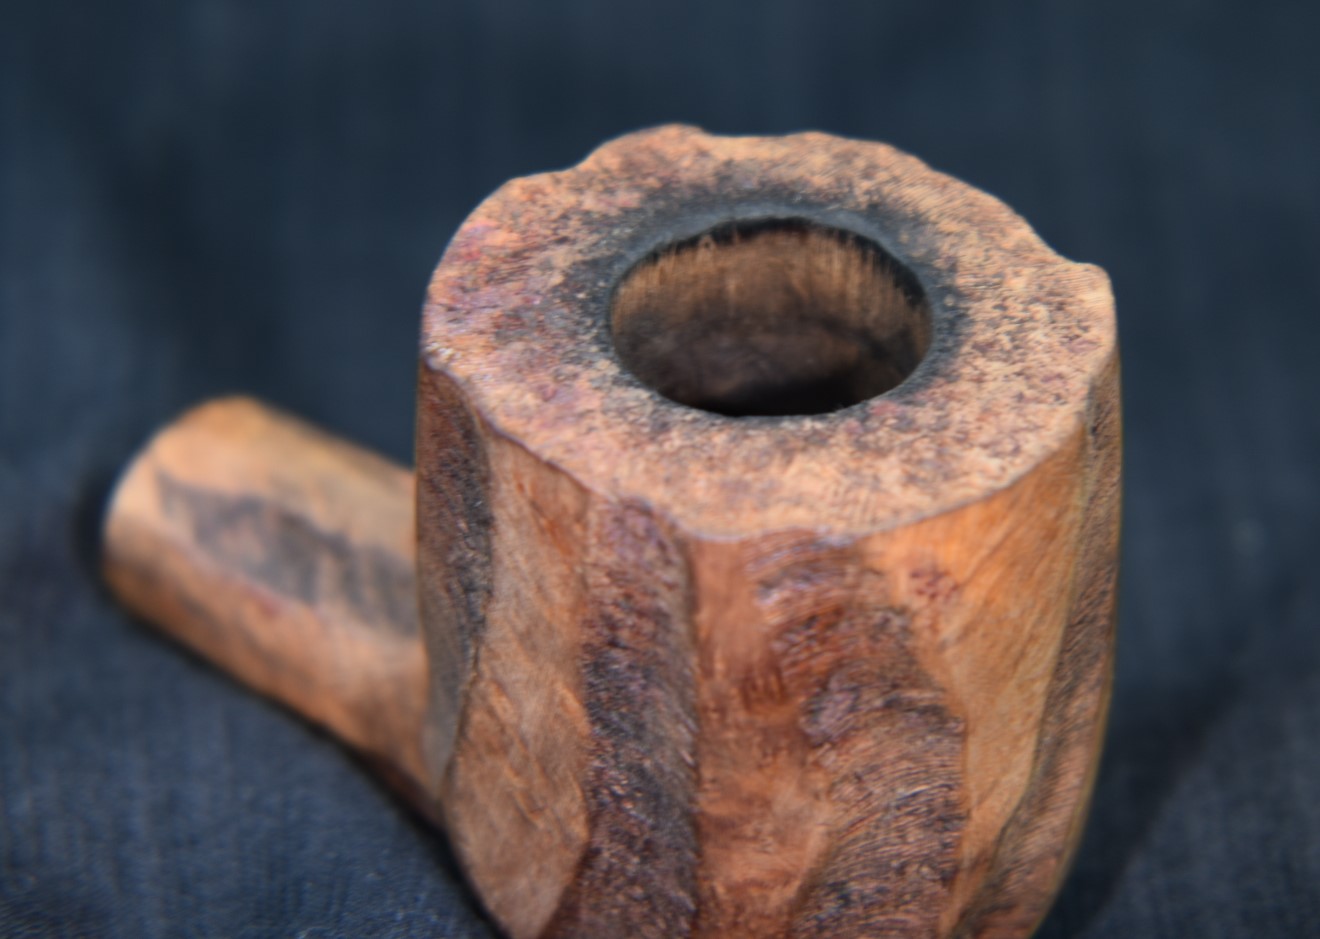
This Kaywoodie HandMade saddle stem came from Las Vegas Nevada to southeast Nebraska. All three Kaywoodie HandMades were from the same seller. The first one bought on a whim the second two were negotiated for. I will link the first two restorations for you, if you are interested in reading about them: Hand Made 1 and HandMade 2. This third pipe was stamped HANDMADE over KAYWOODIE on the left shank and IMPORTED BRIAR on the right. No stampings were on the bottom. Below are photos of how the pipe appeared upon arrival.


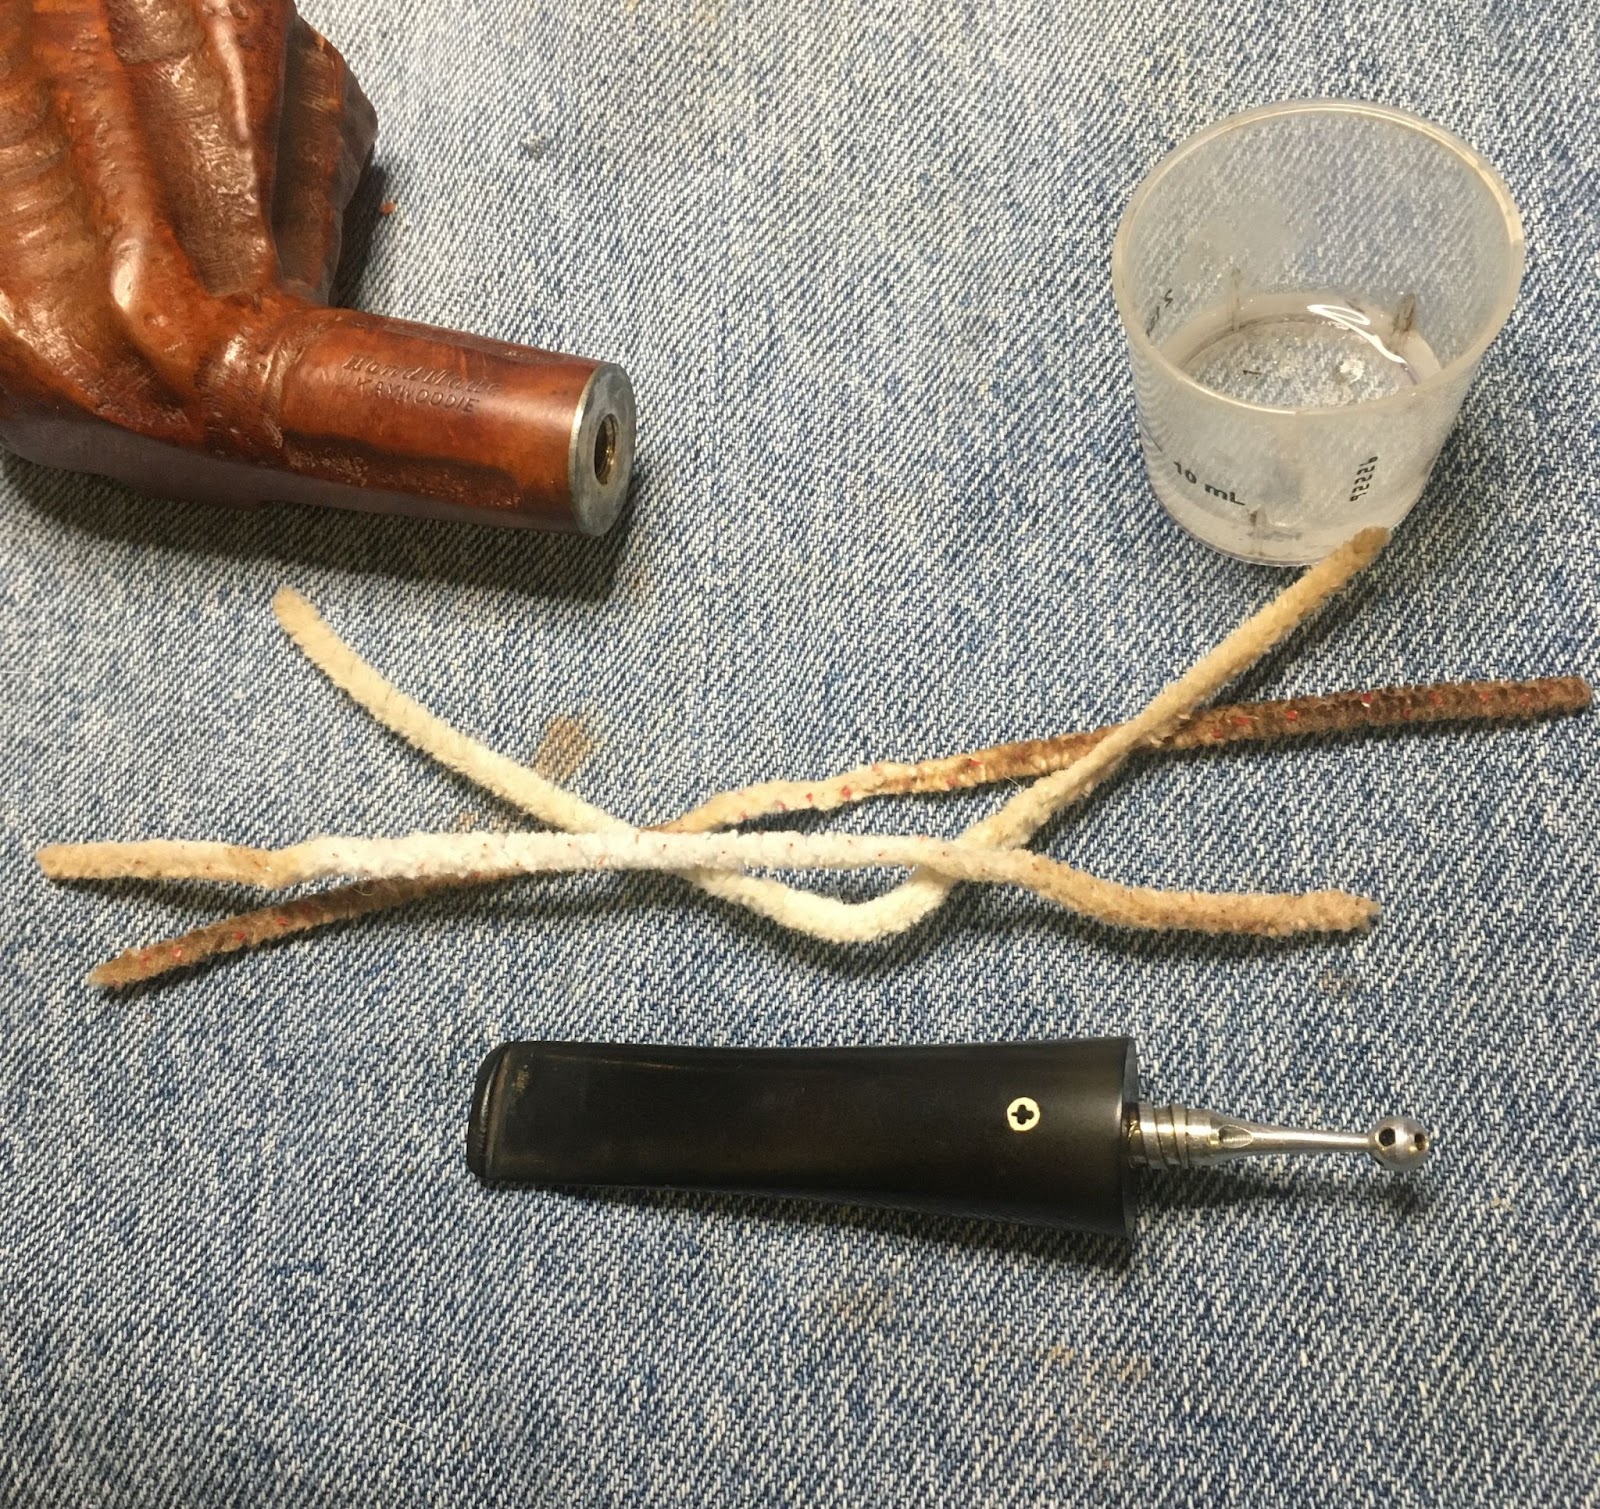
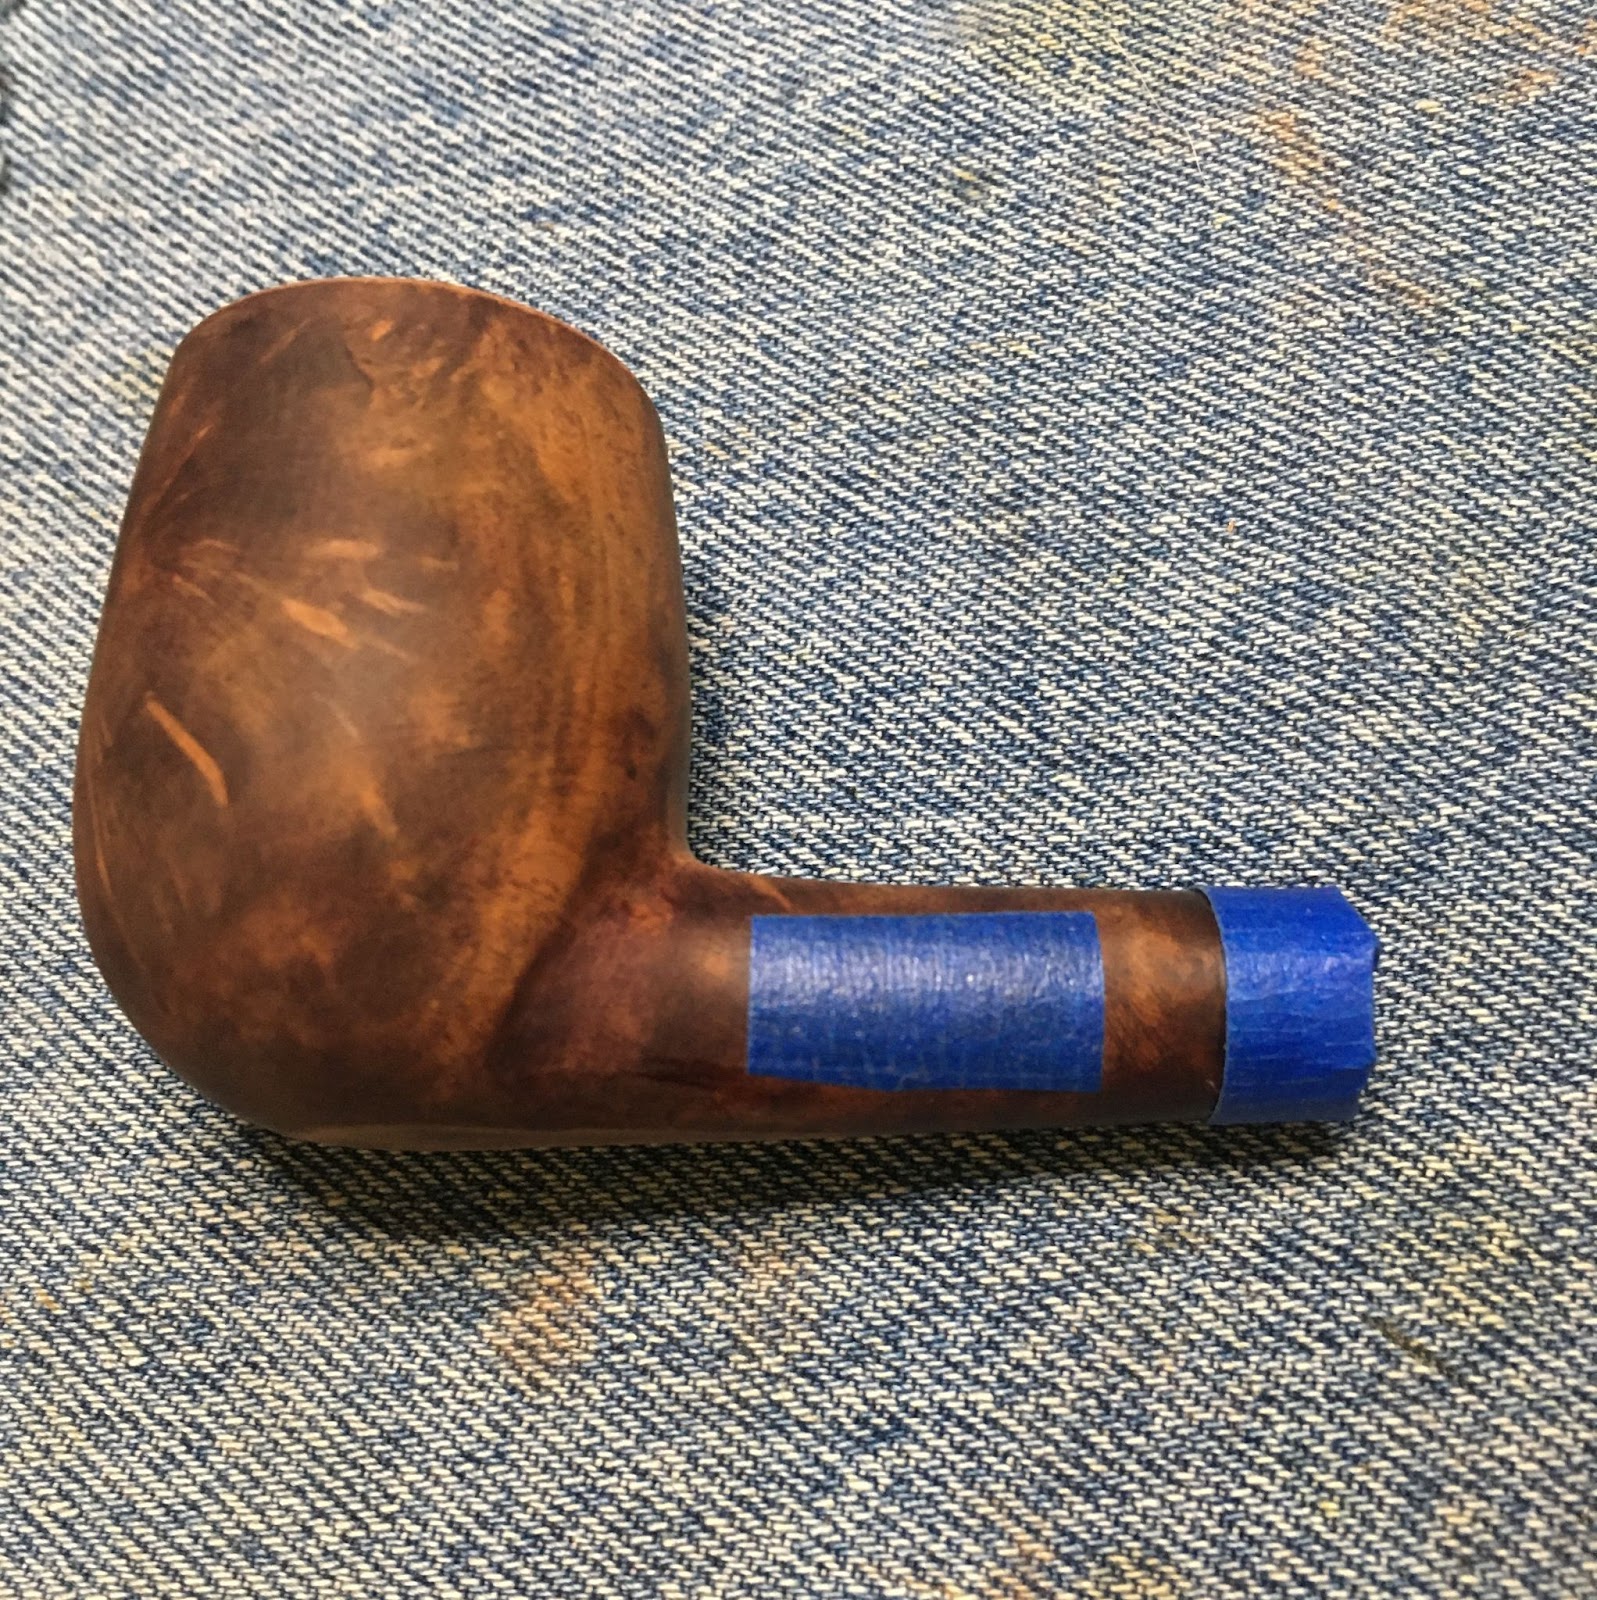
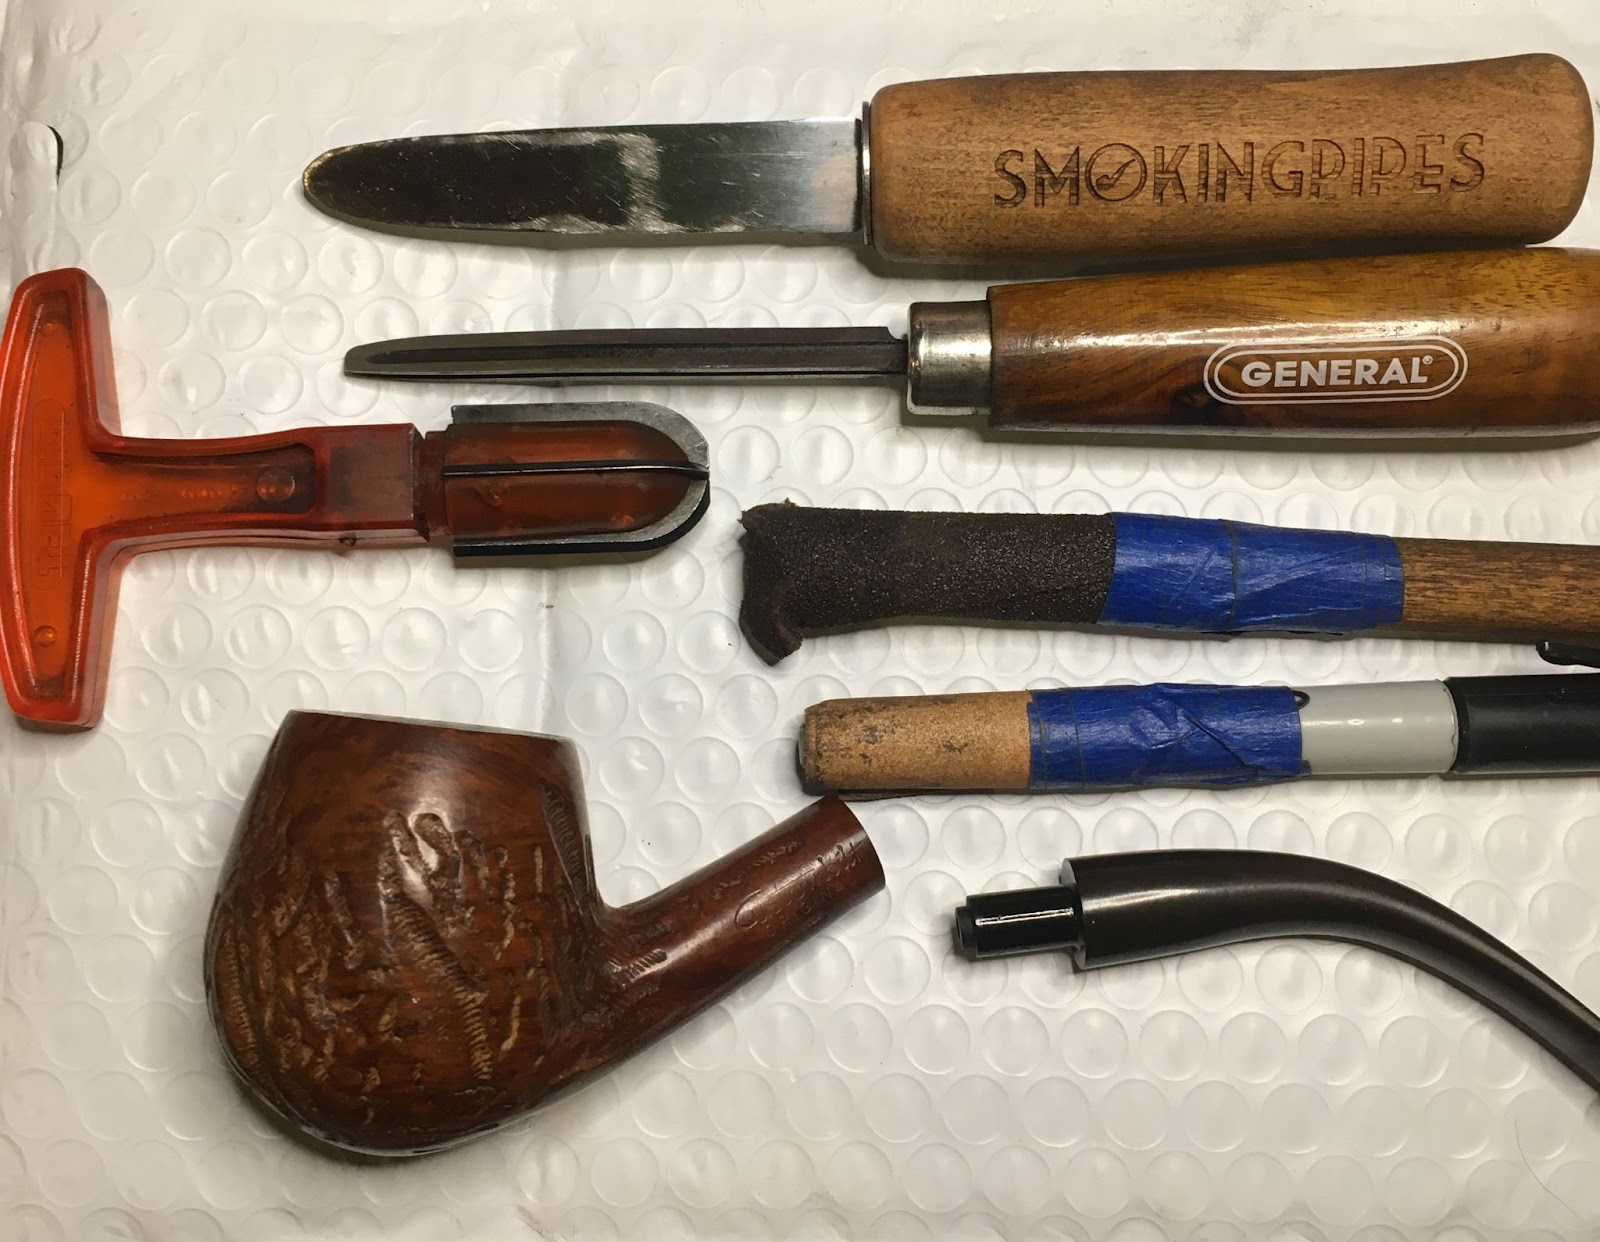
This restoration began like most others with a fresh clean denim piece for the work surface. I should show the final version of the denim, I’ll probably forget but it’s worth a shot.
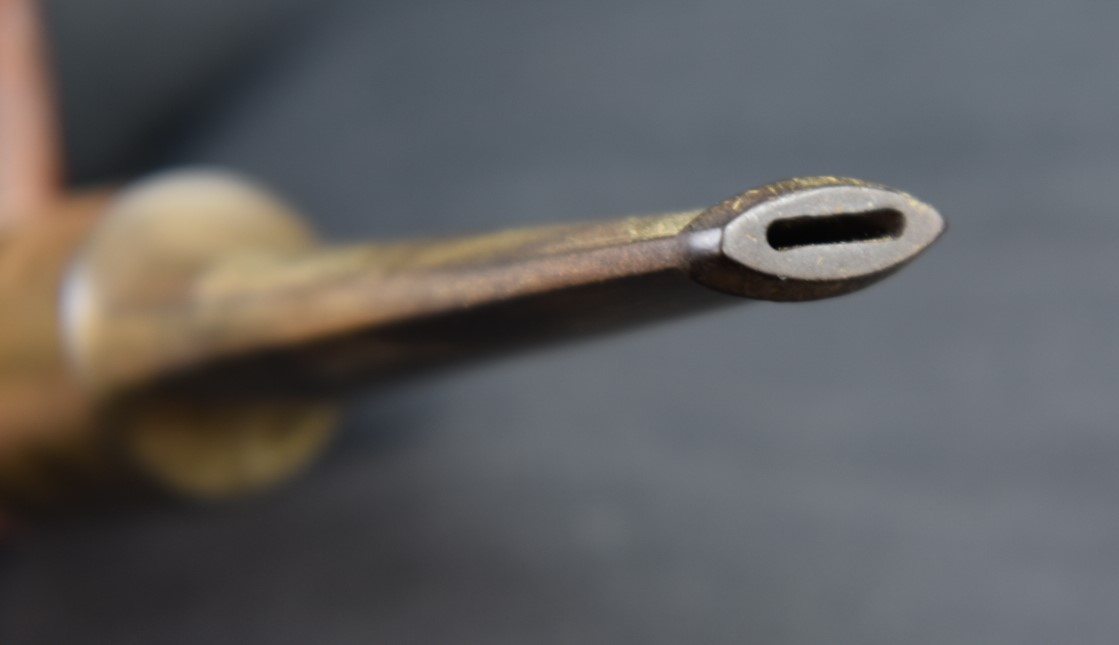
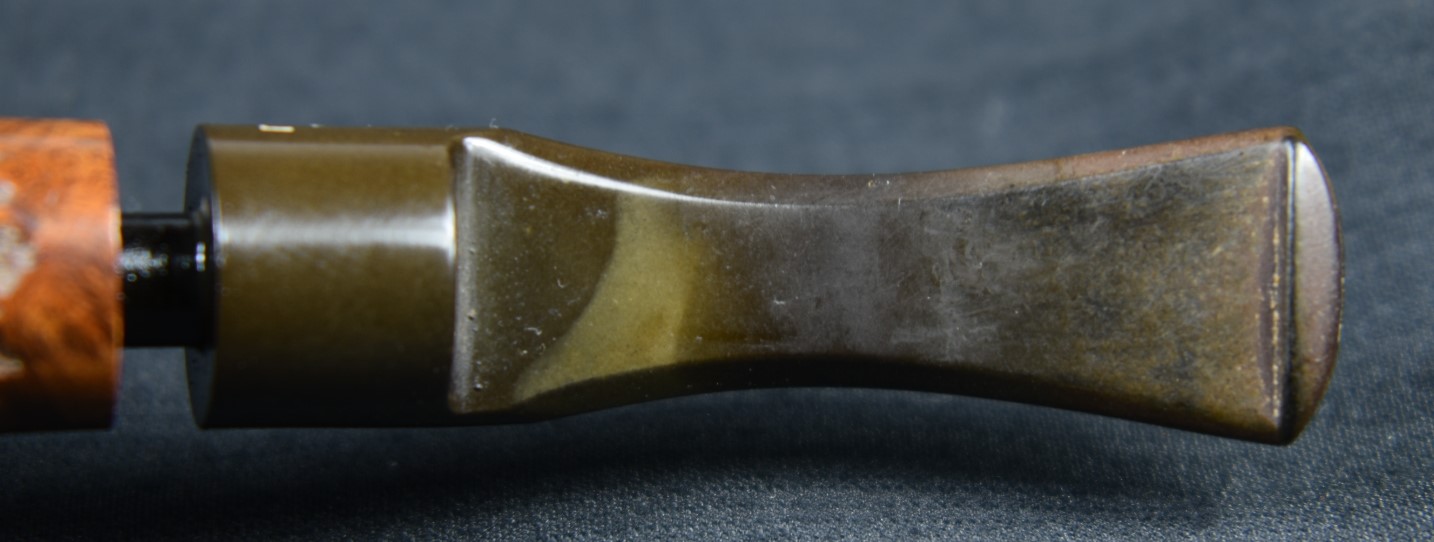
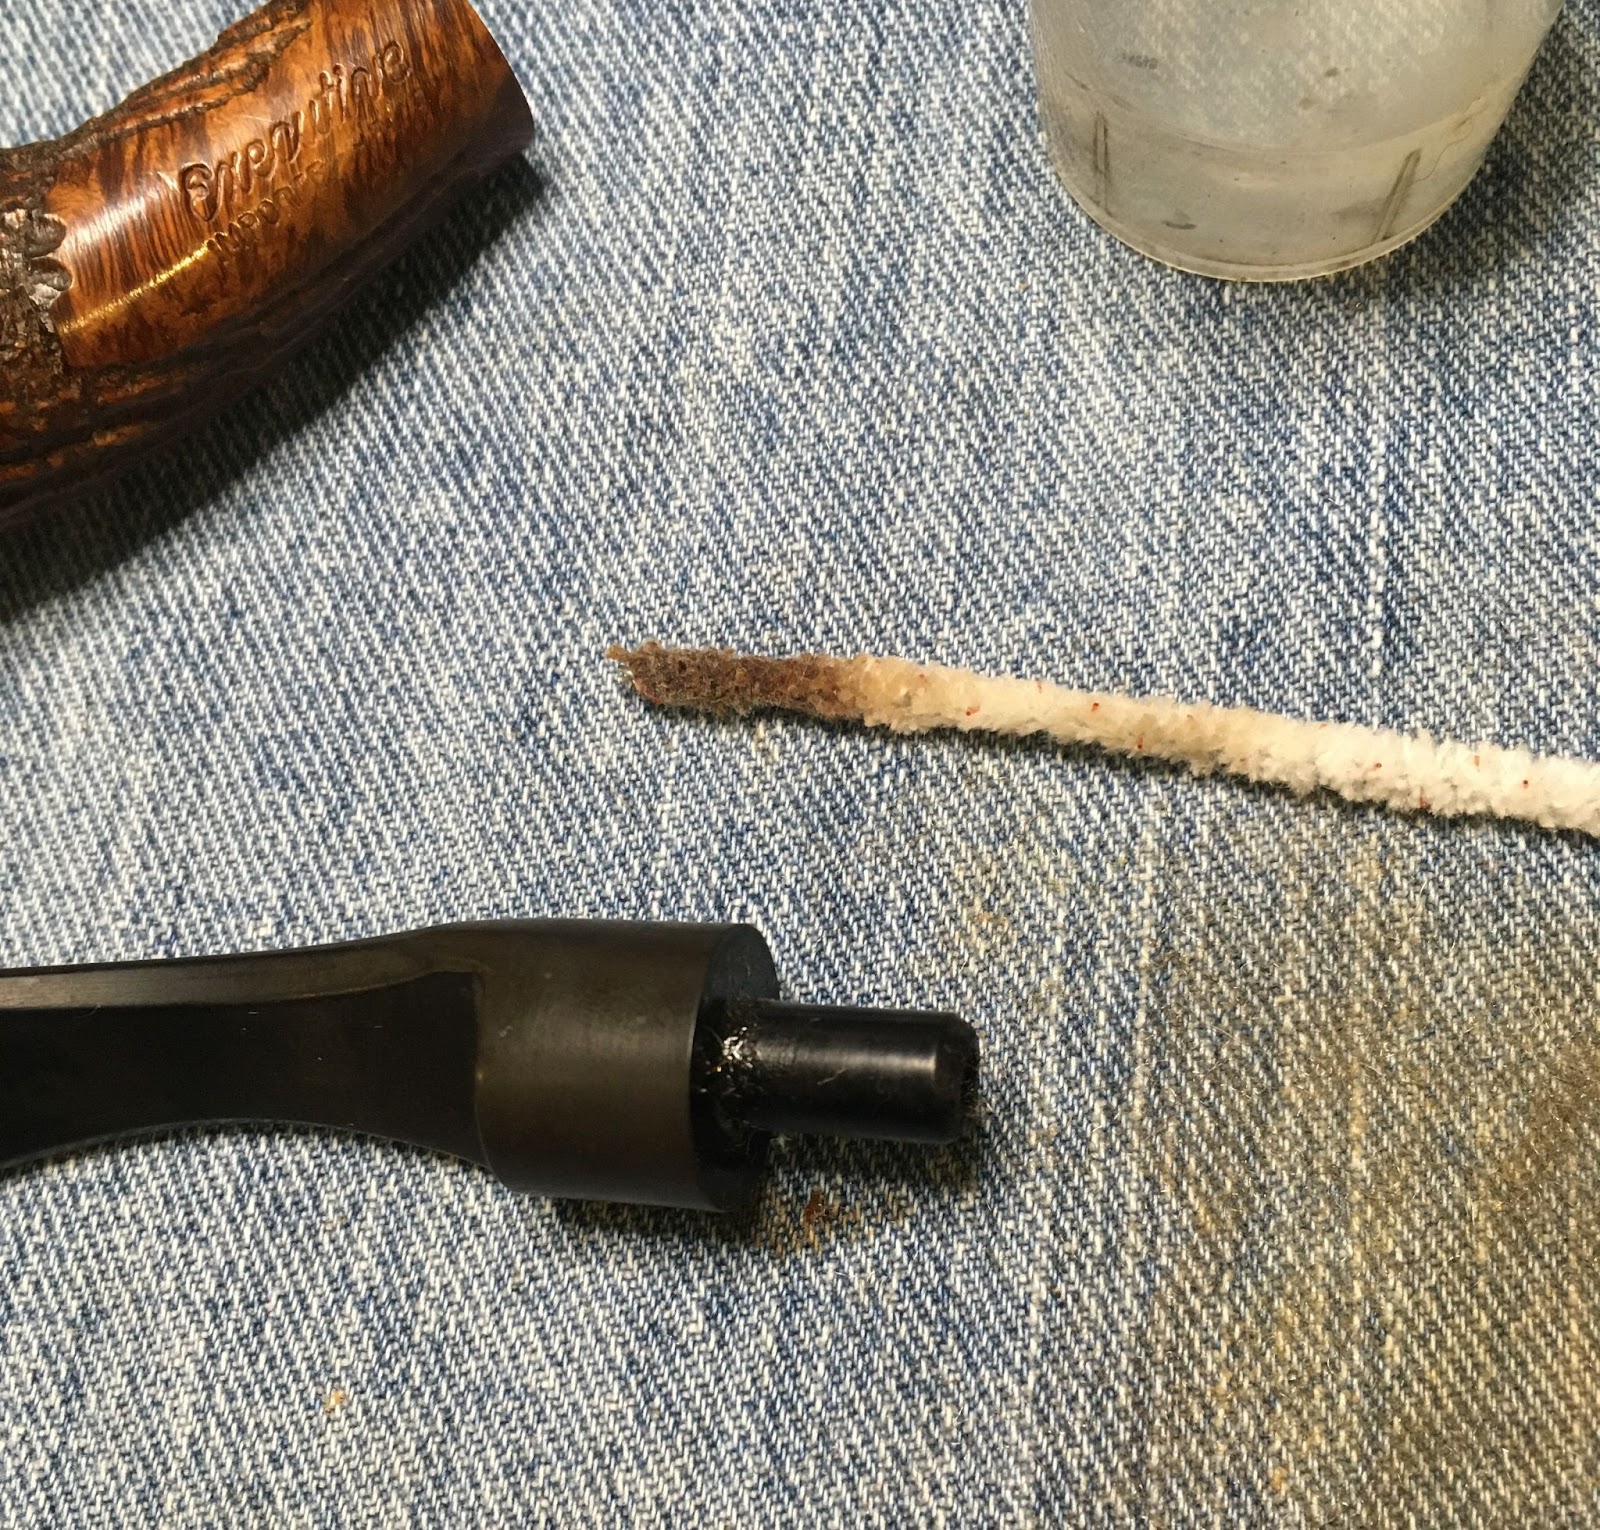
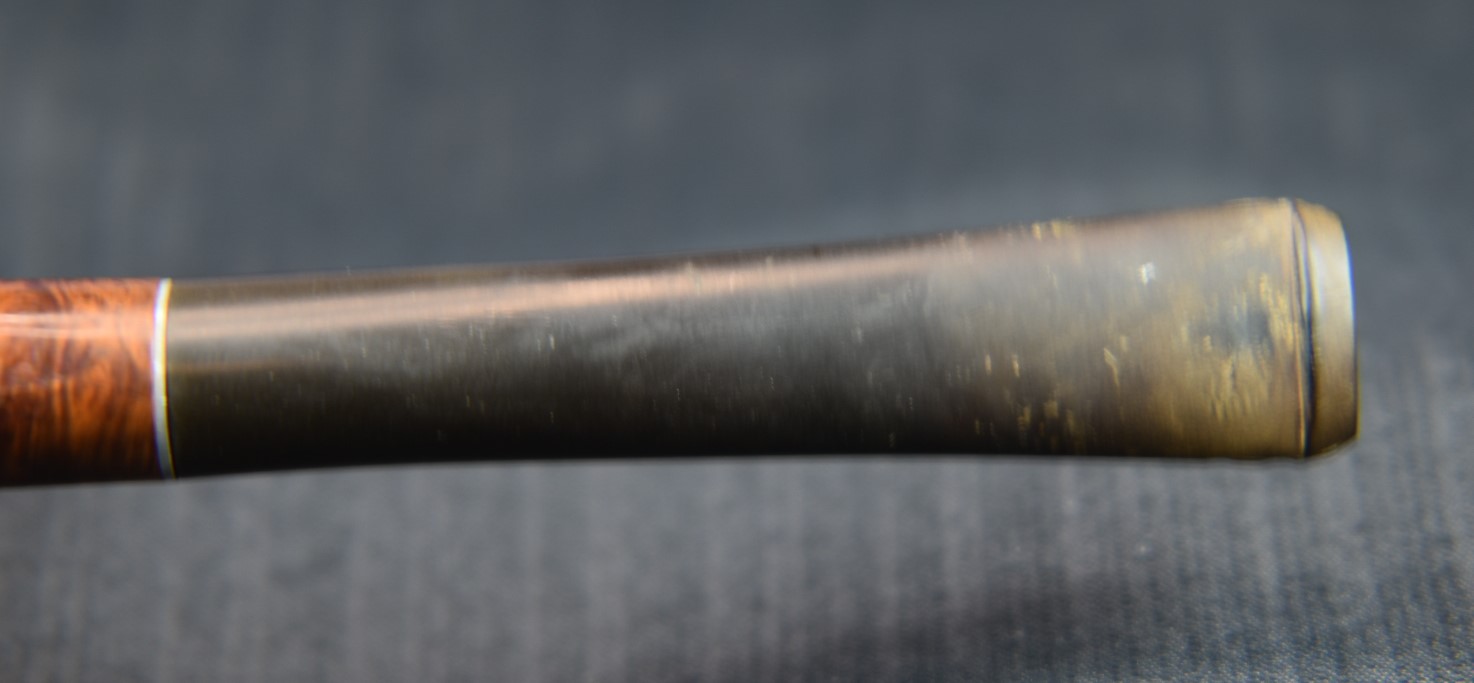
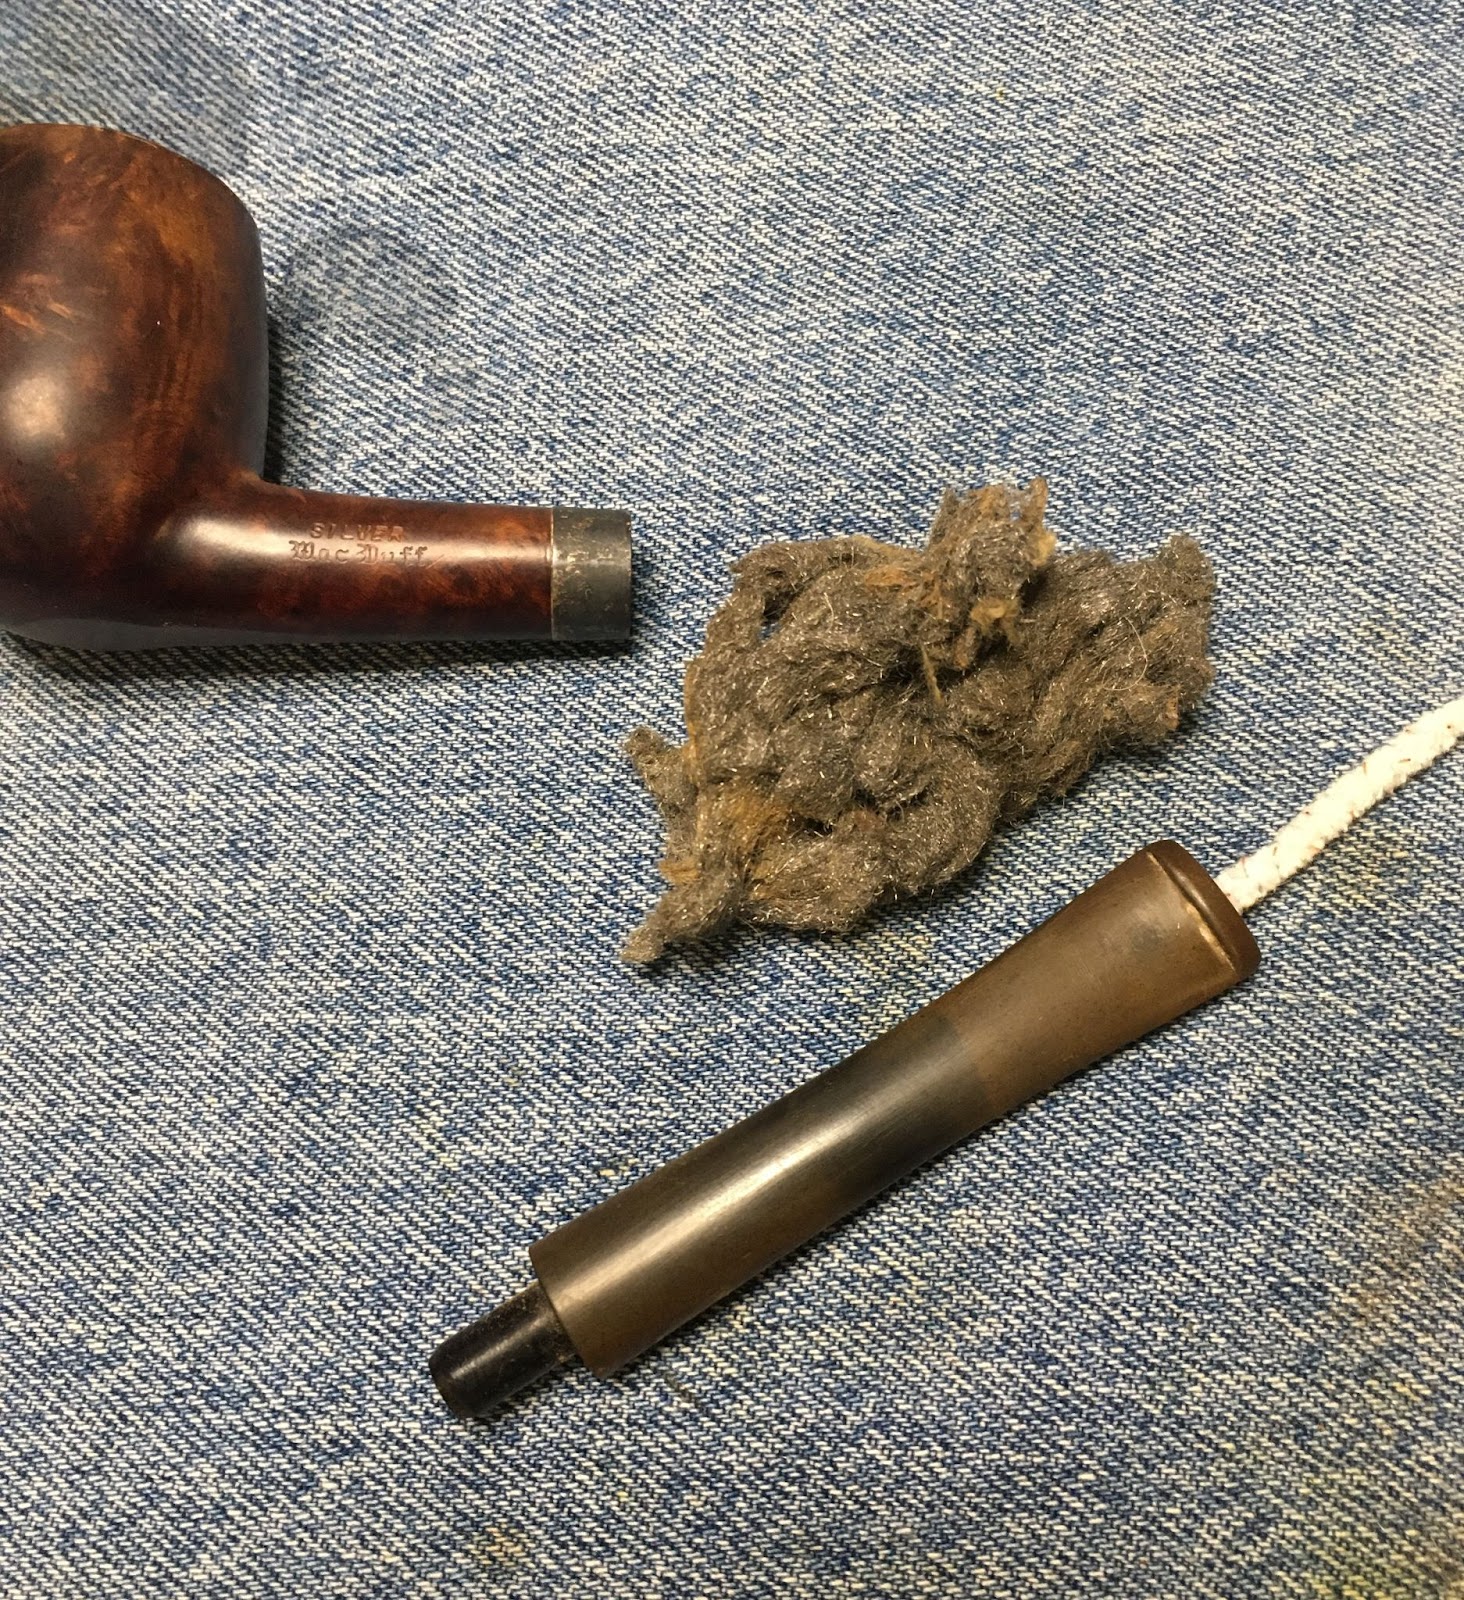
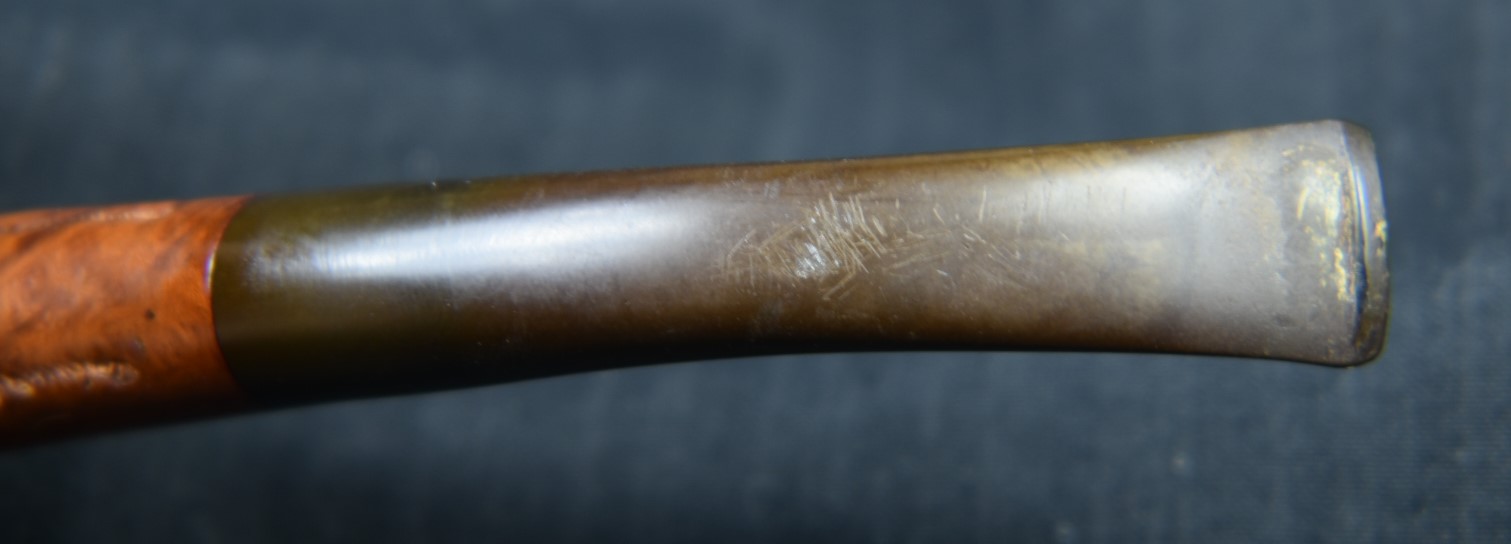
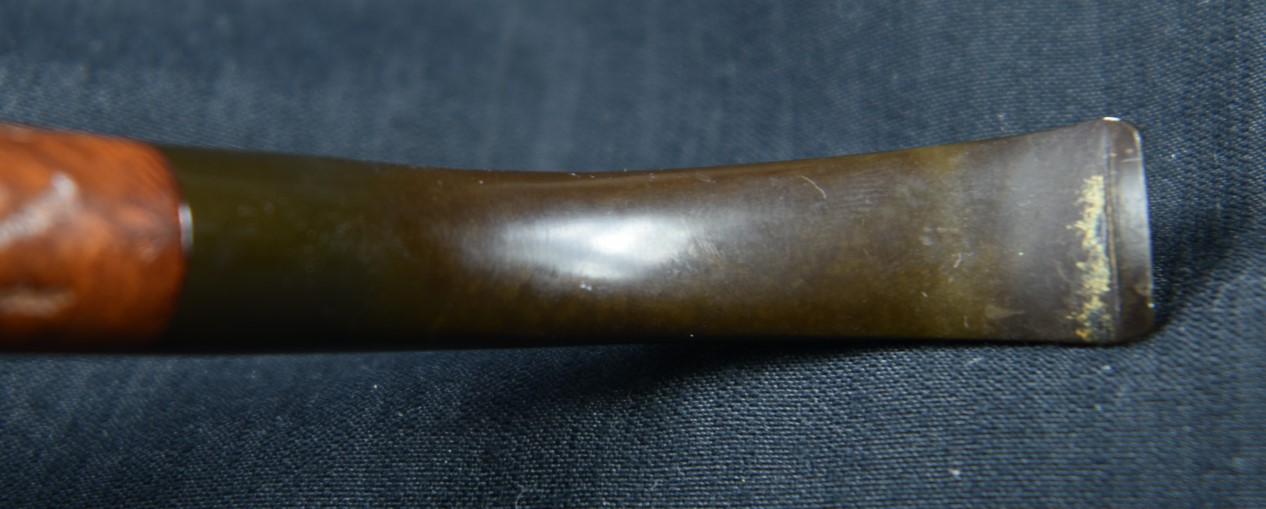
Since this stem was badly oxidized I decided to give it a several hour long soaking in the Before and After Deoxidizing Solution. I first sanded the stem with a 400 grit sanding sponge and cleaned out the interior with several alcohol dipped bristle pipe cleaners. The final pipe cleaner You see in the photo above, inserted into the stinger.

The stem was too long to hang in the solution. I ended up using a wood sanding block to tilt the jar of Deoxidizing solution (deox, as I like to call it).


It wasn’t perfect but I was certain that it would work. At this point I actually went upstairs to type up the restoration of the second Kaywoodie HandMade. Oh, this is confusing. About 4 hours later, I returned to the deox jar to retrieve the stem. After allowing most of the excess solution to drip off the stem, I like to use a coarse cotton shop rag to vigorously rub off the remaining solution.

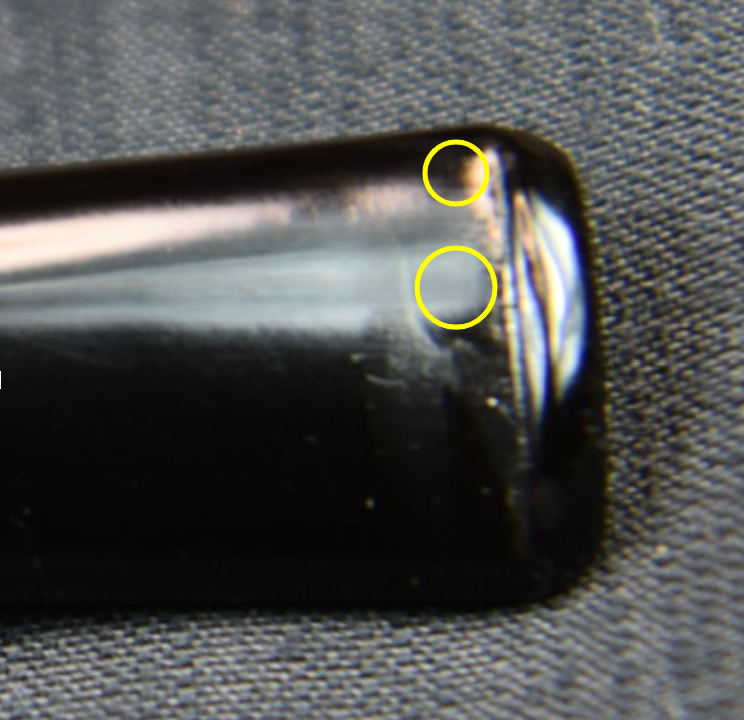
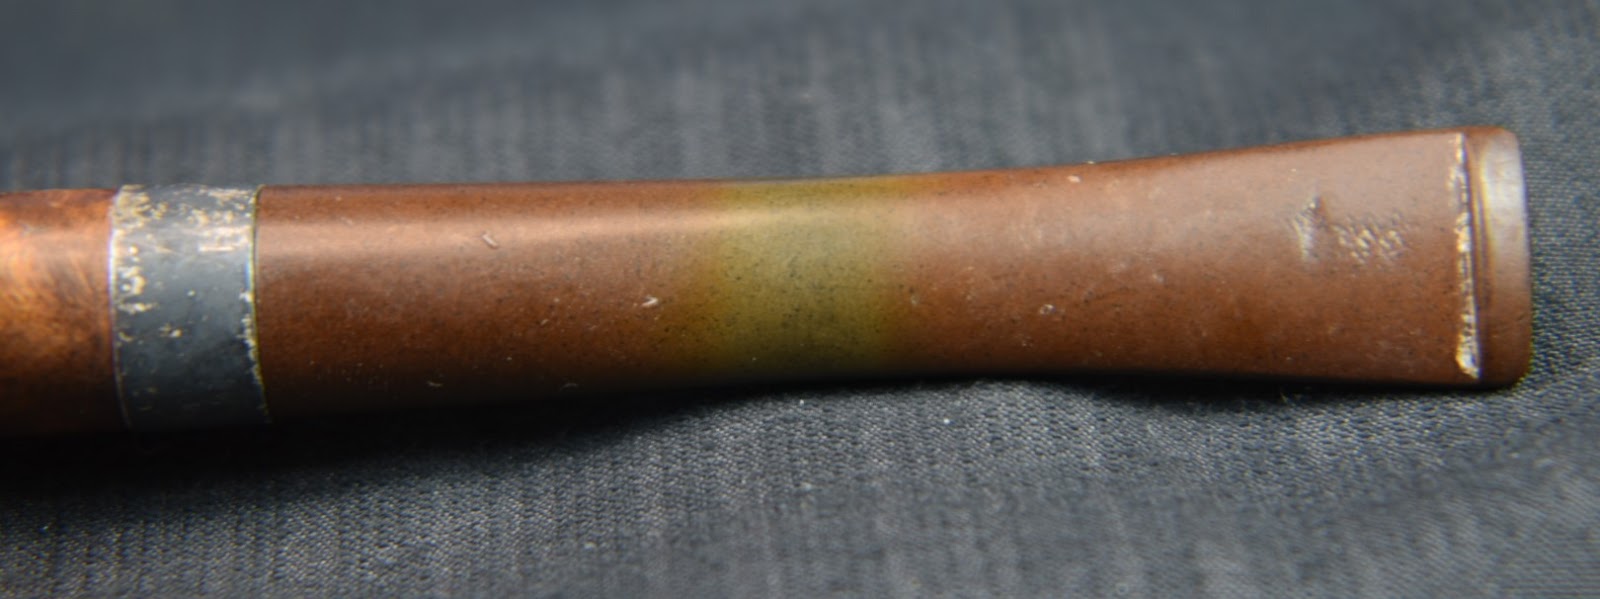
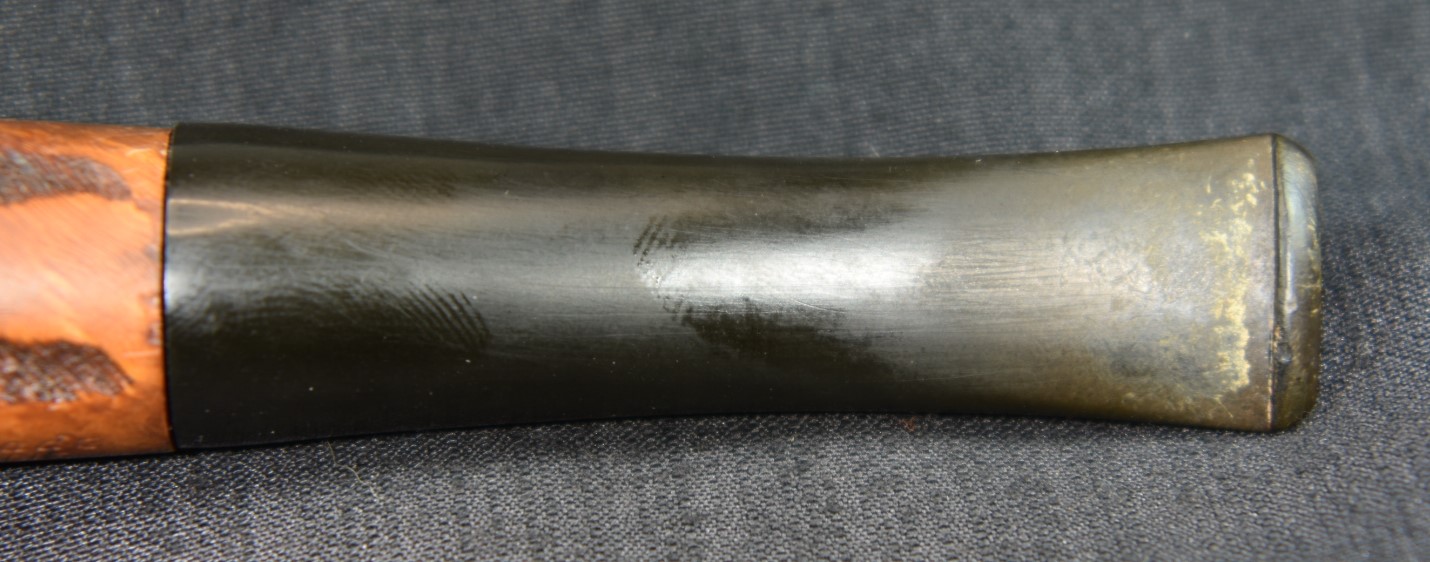
The stem looked much better. You can see the black has returned but the surface was rough and pitted.

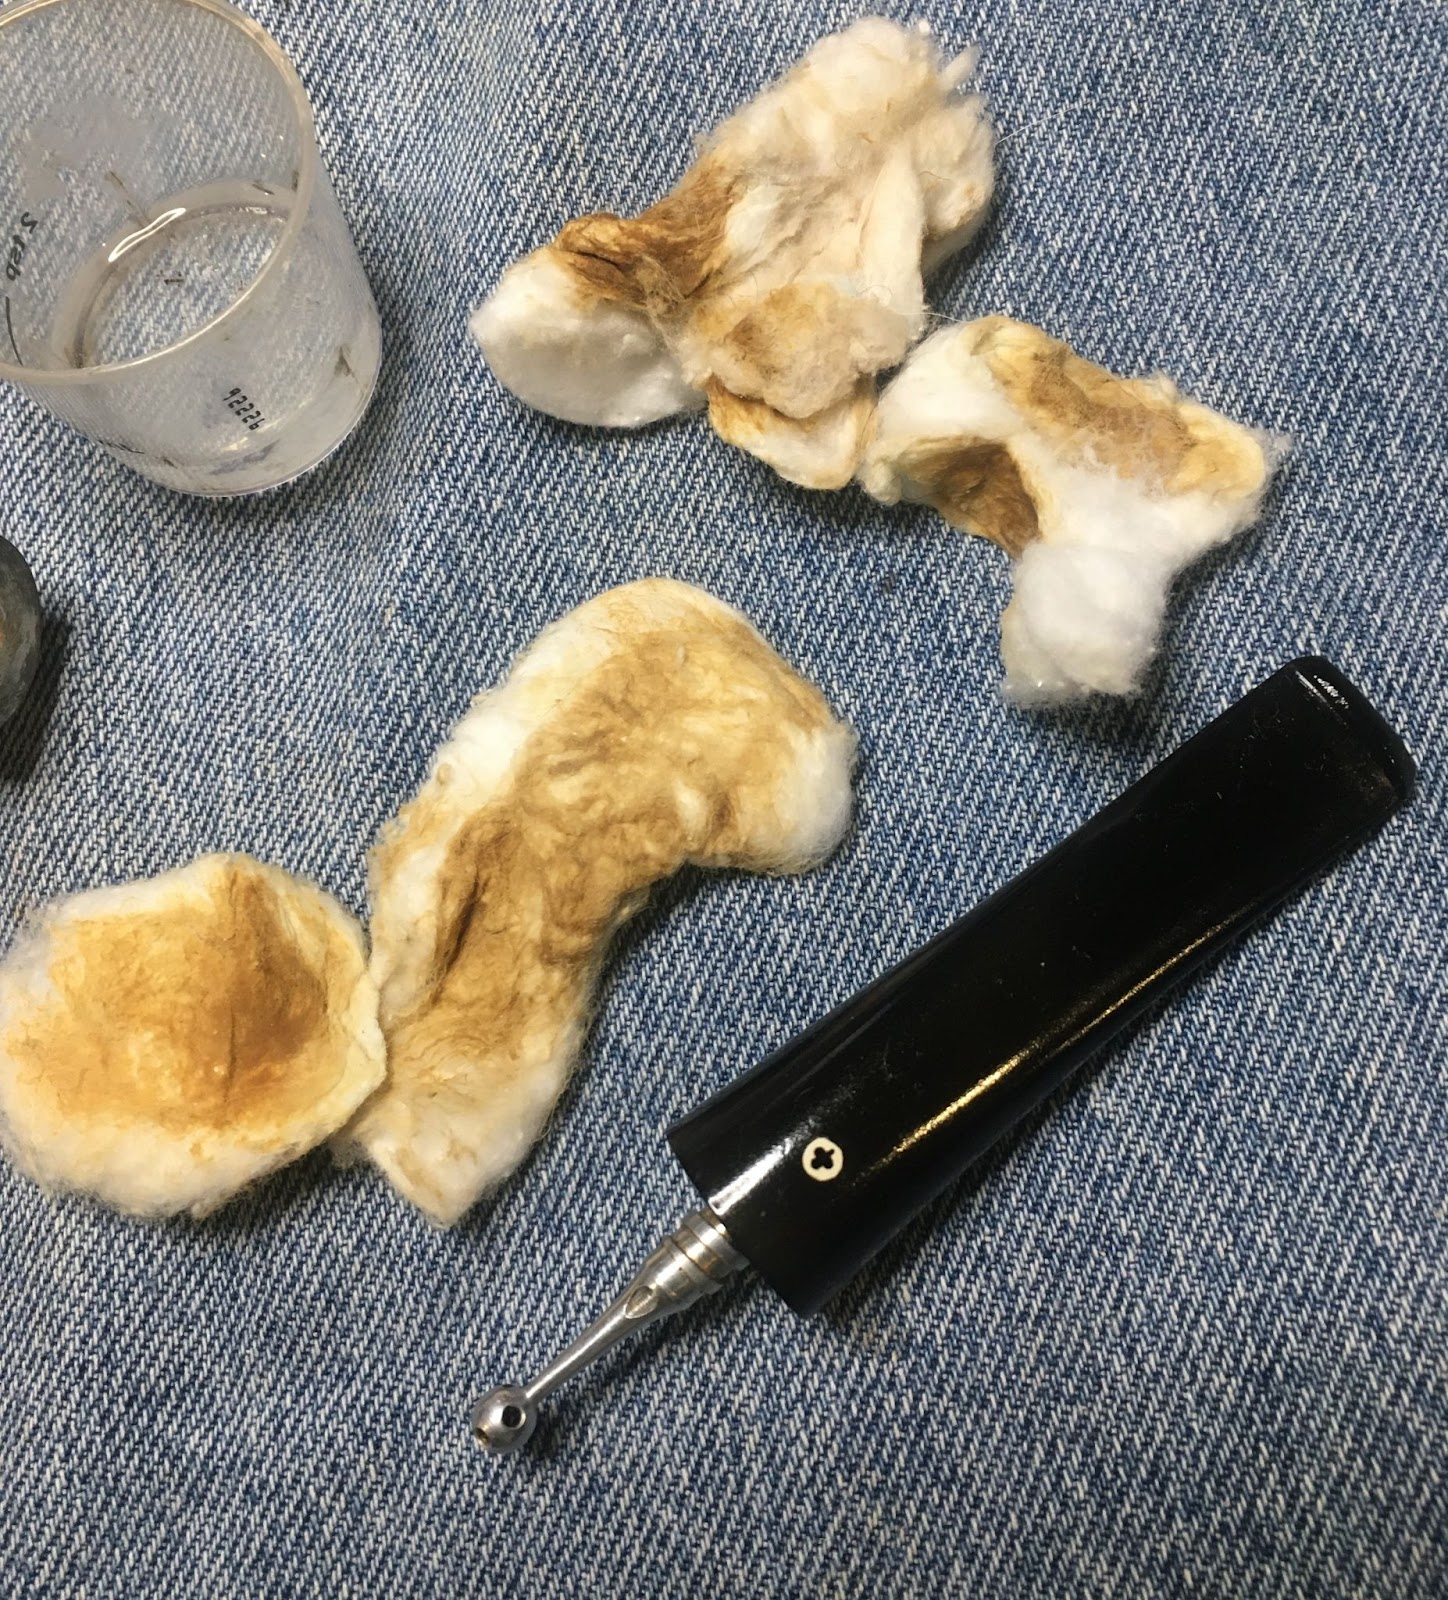
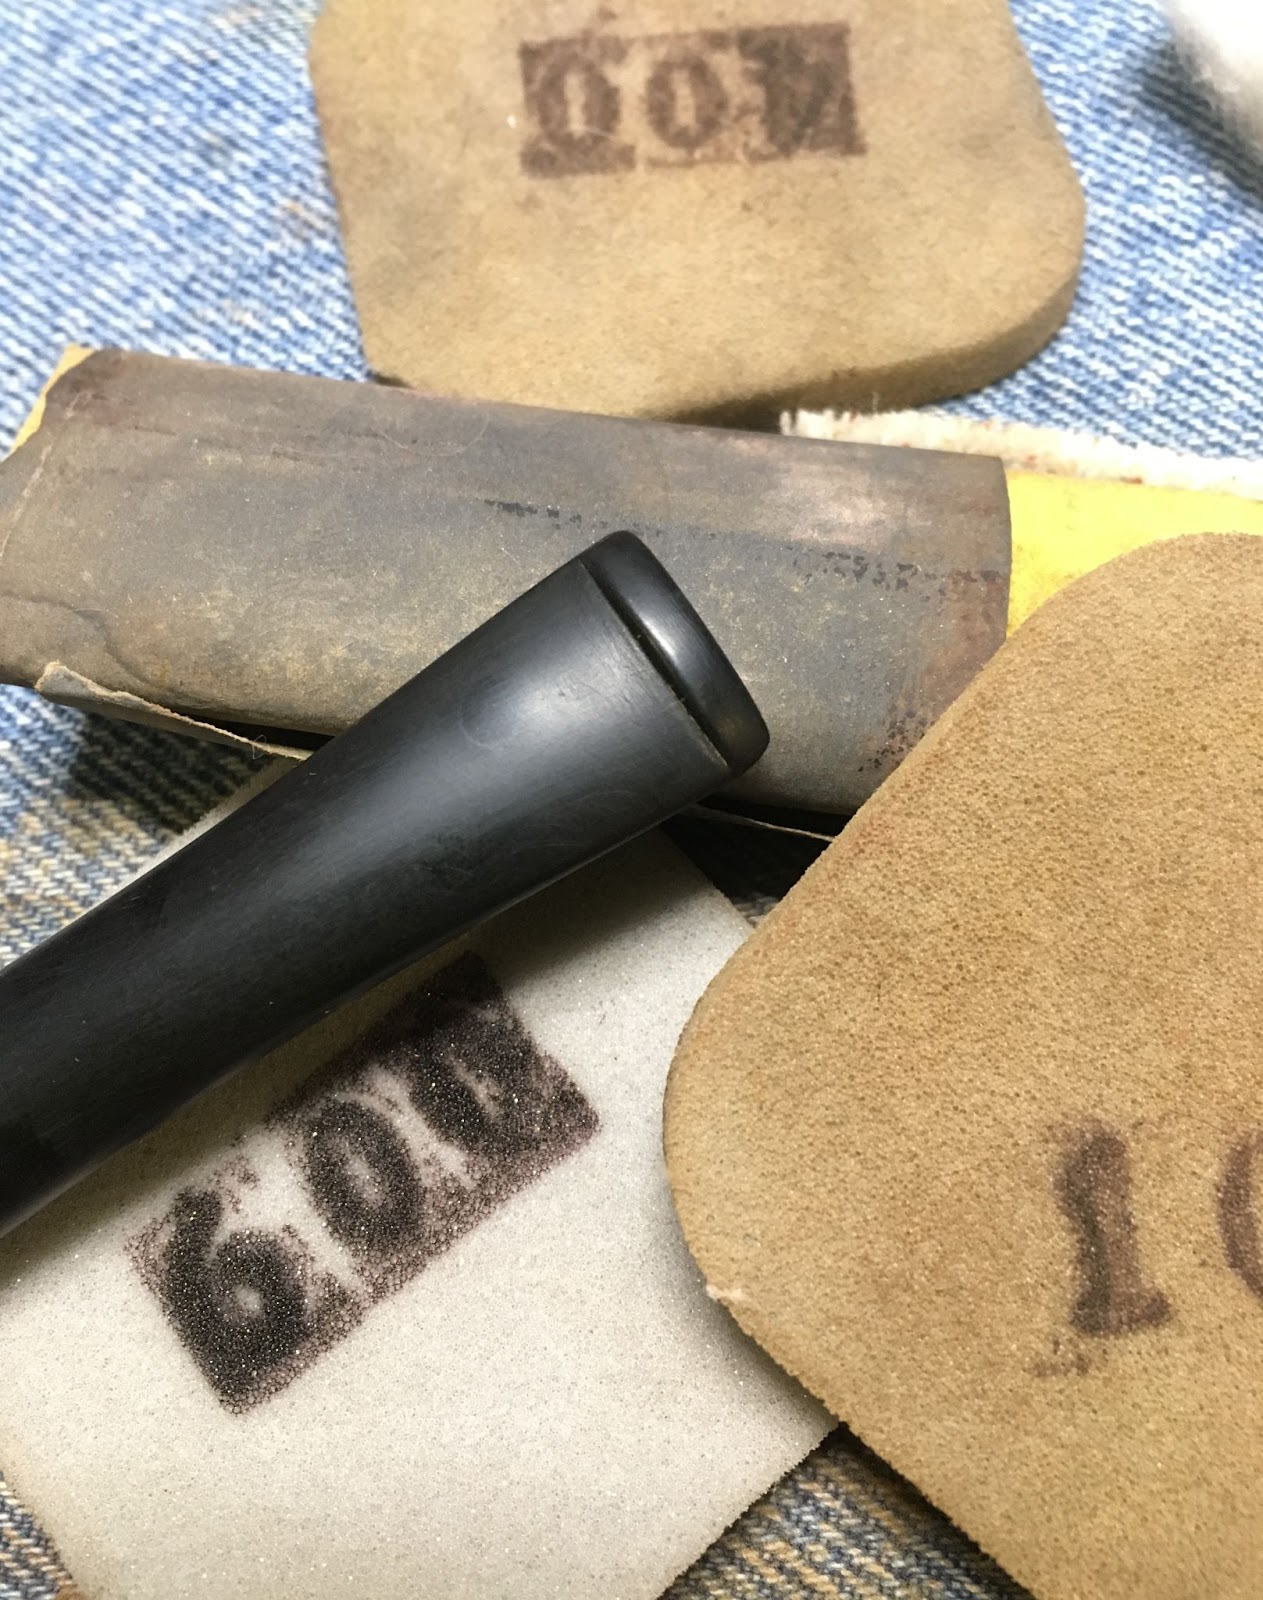
I used Soft Scrub on make-up pads to rub off the remaining oxidized vulcanite.
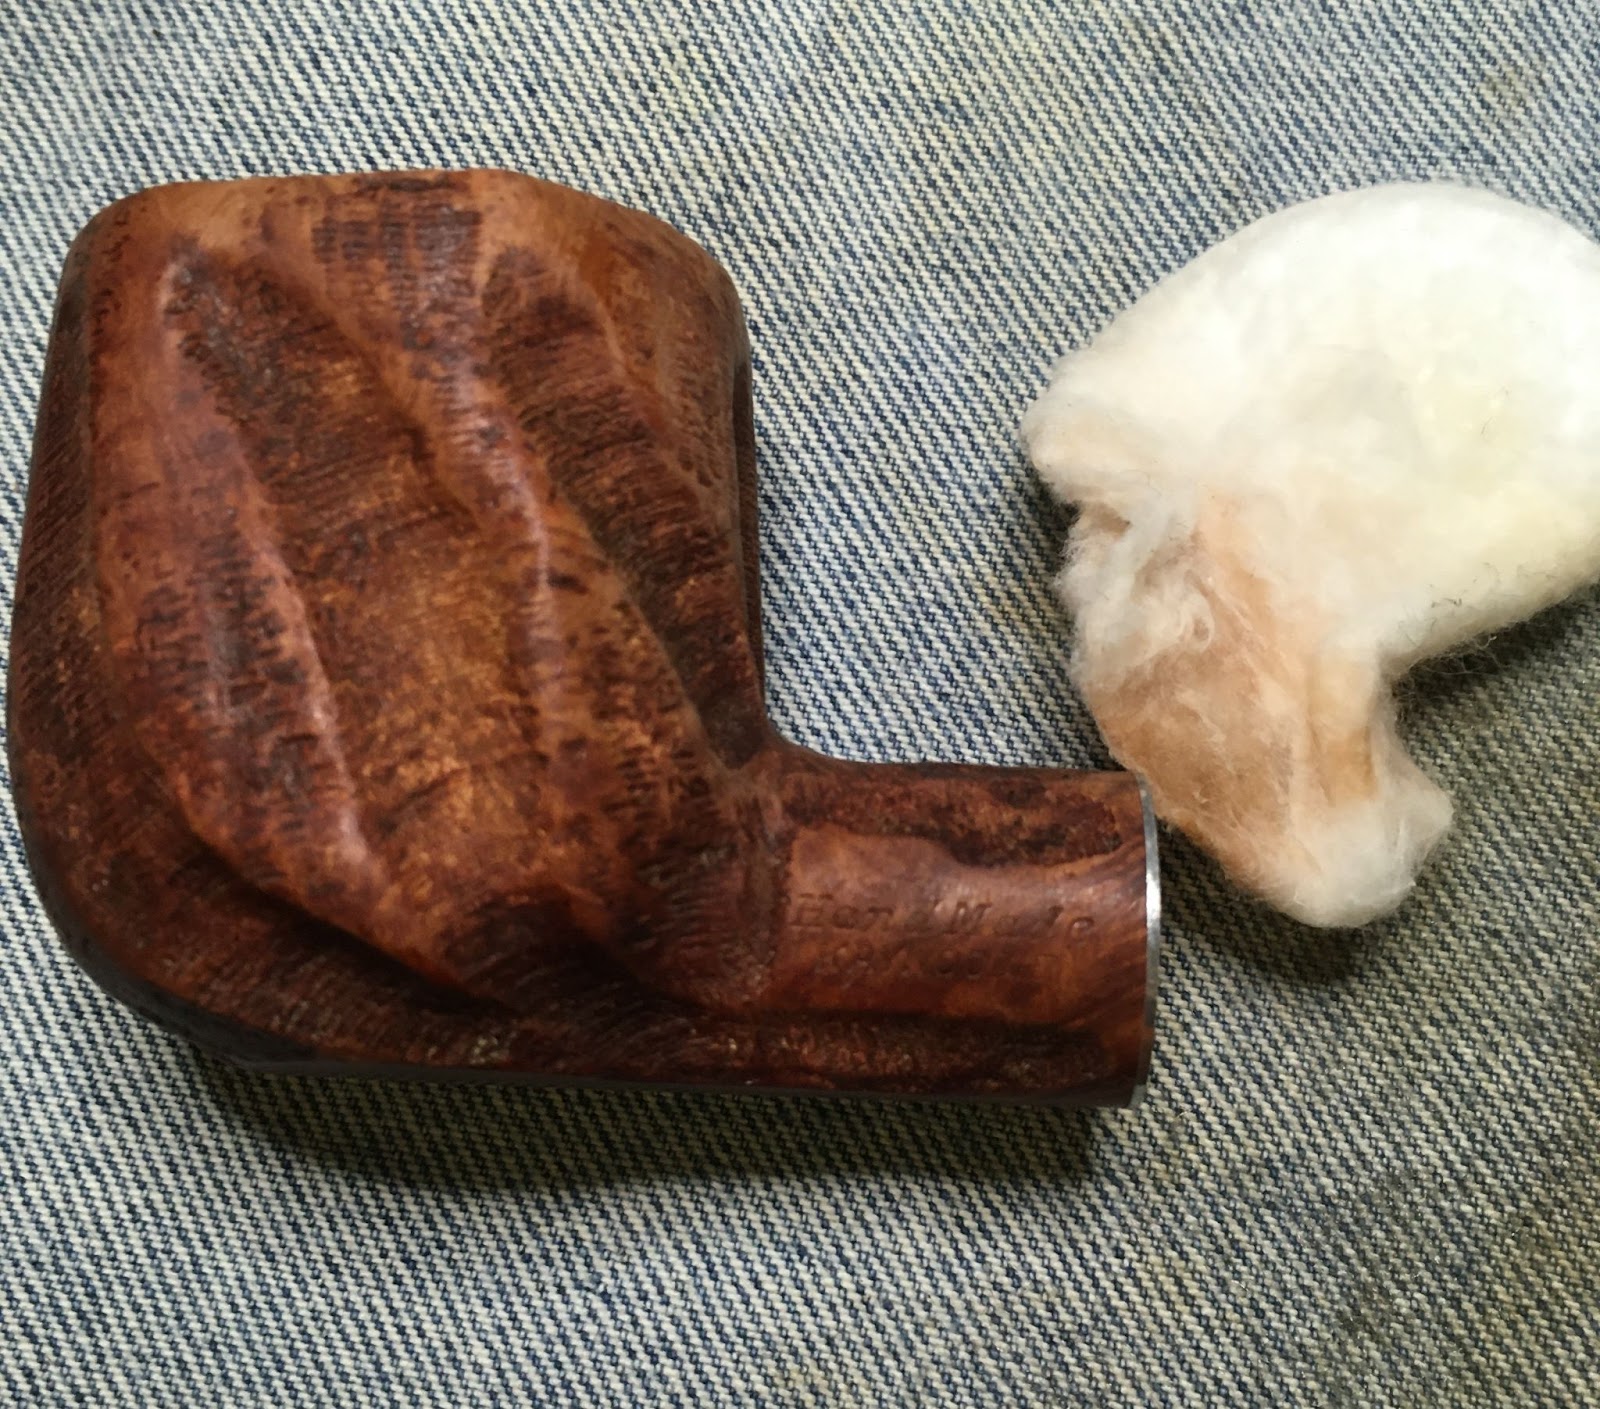
After the Soft Scrub I oiled the stem with a coating of mineral oil and allowed it to soak up the oil while I started work on the stummel.
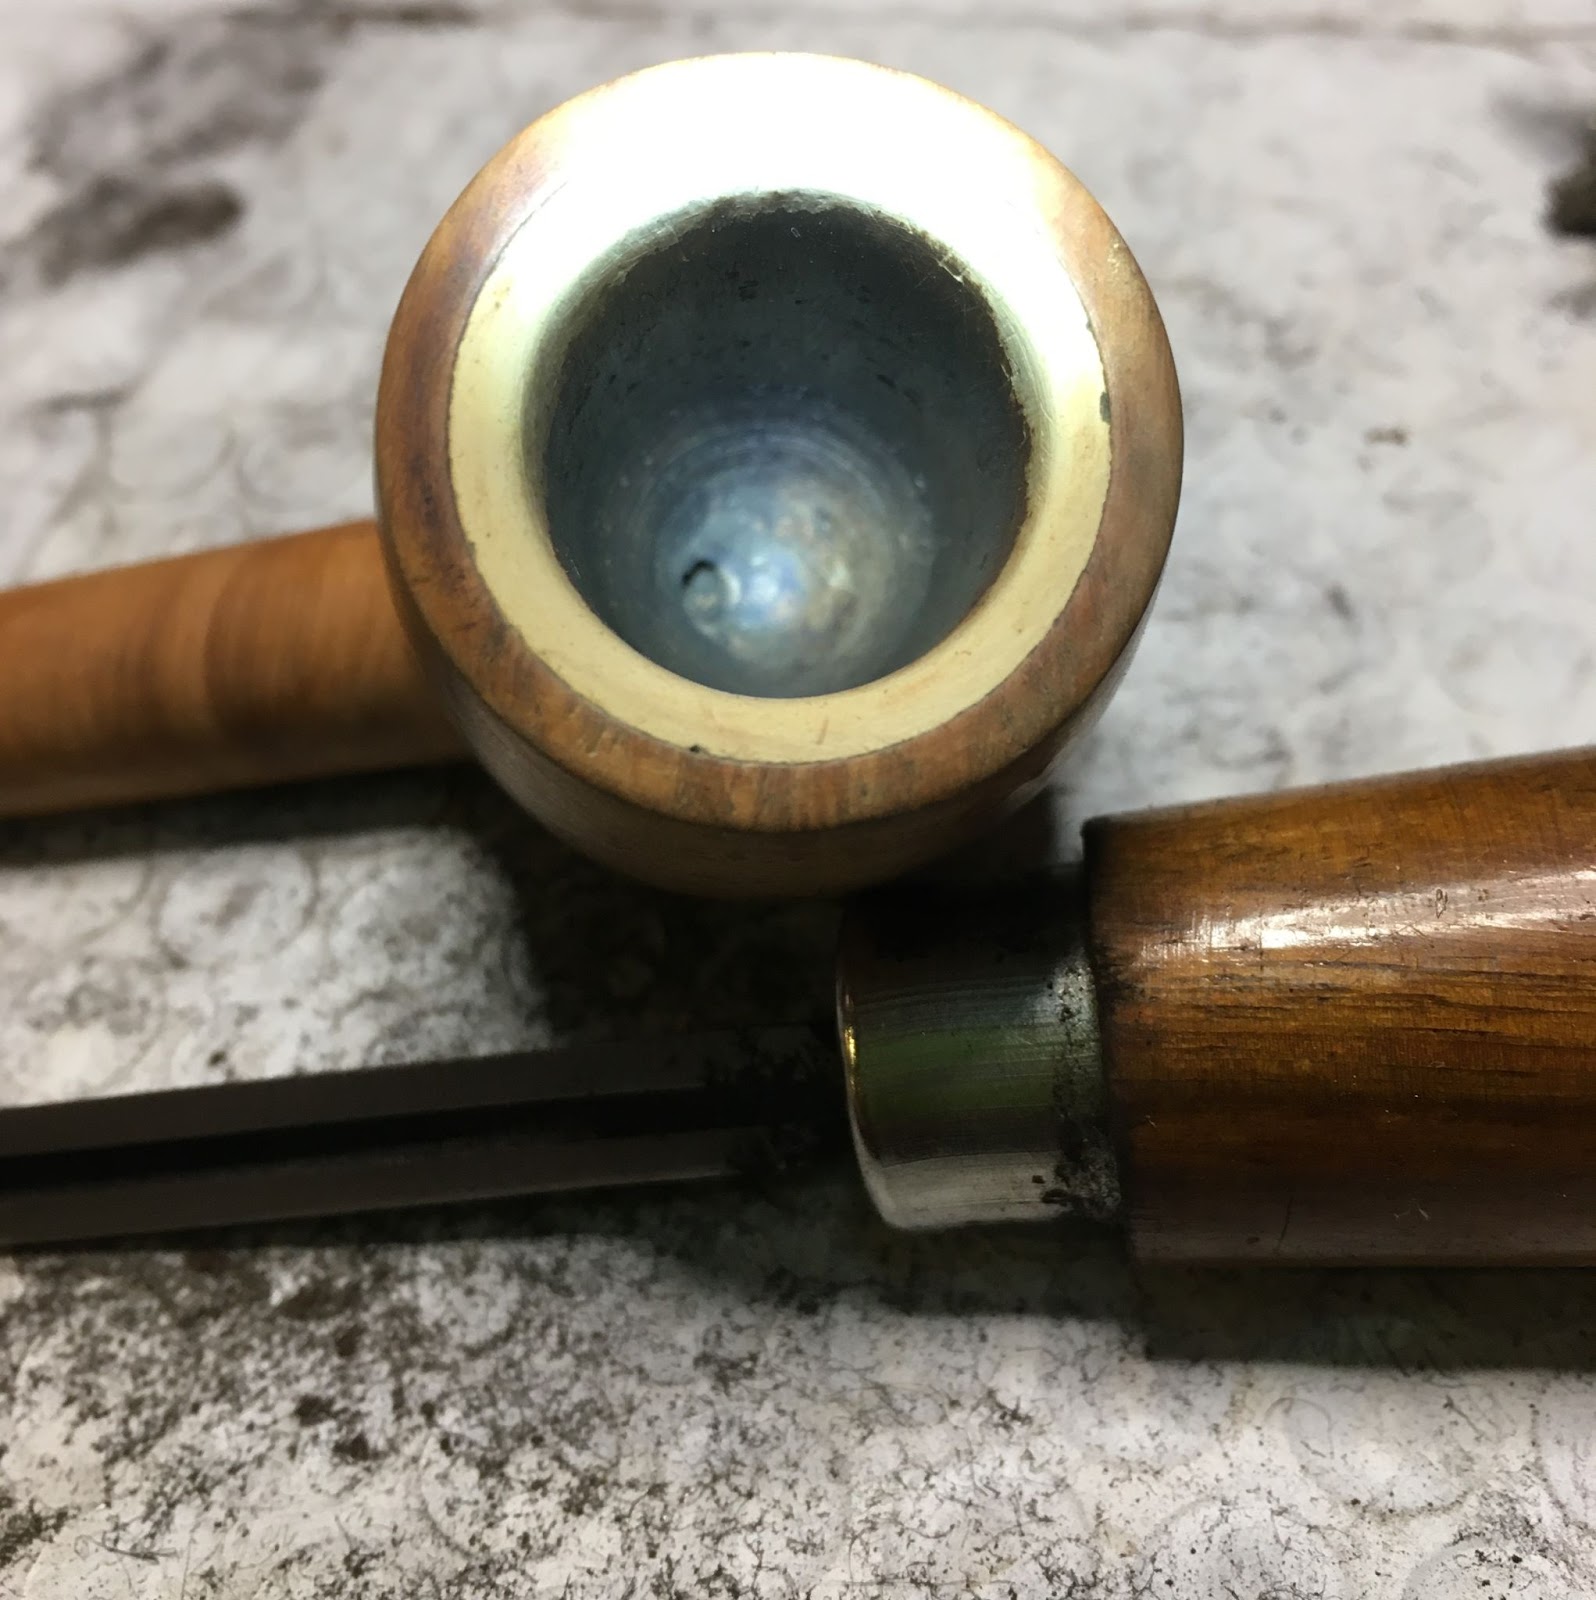
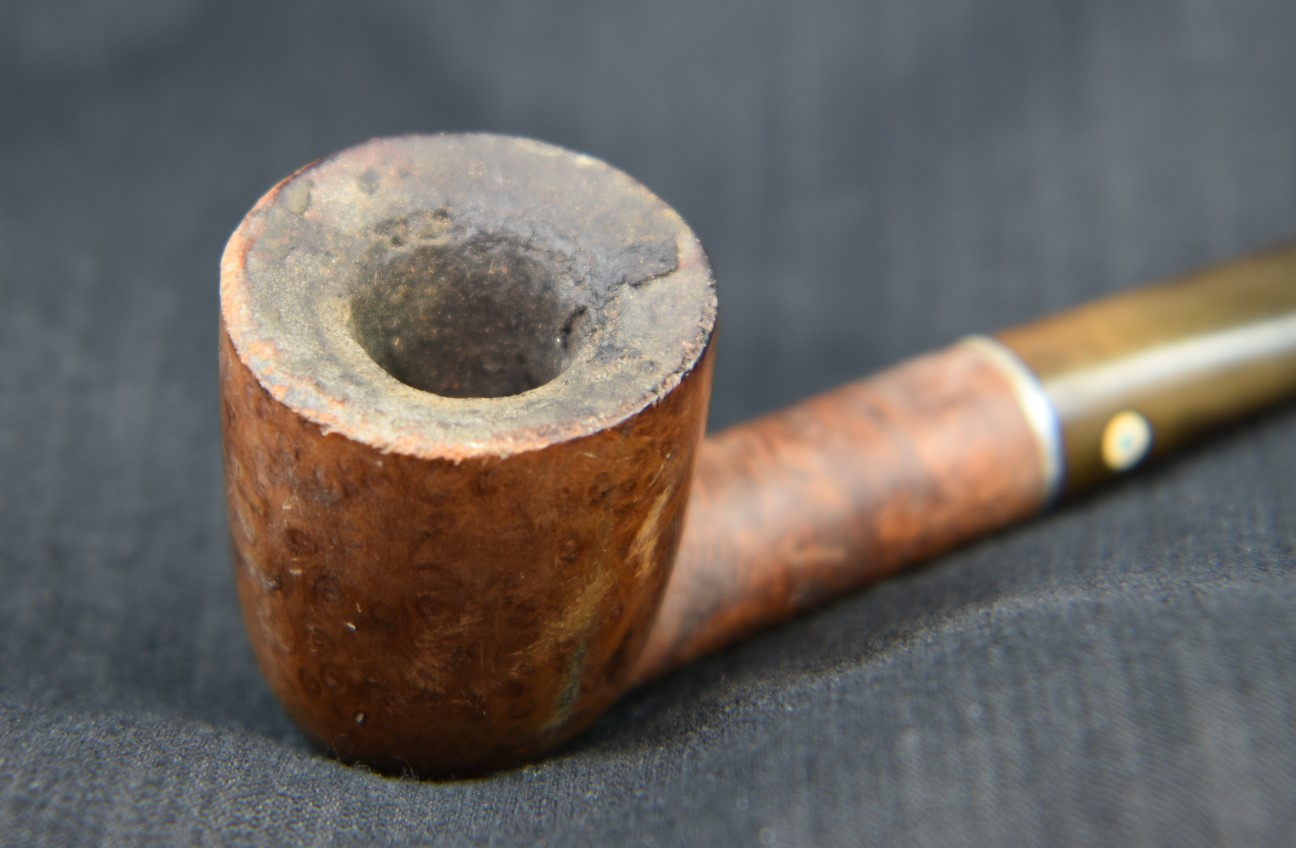
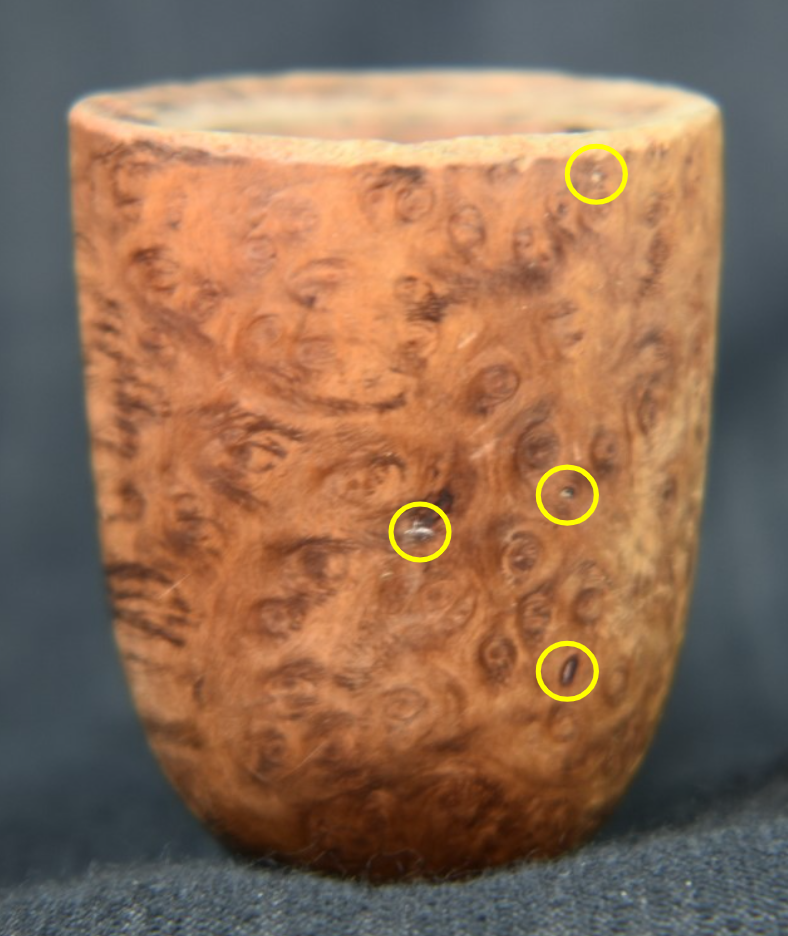
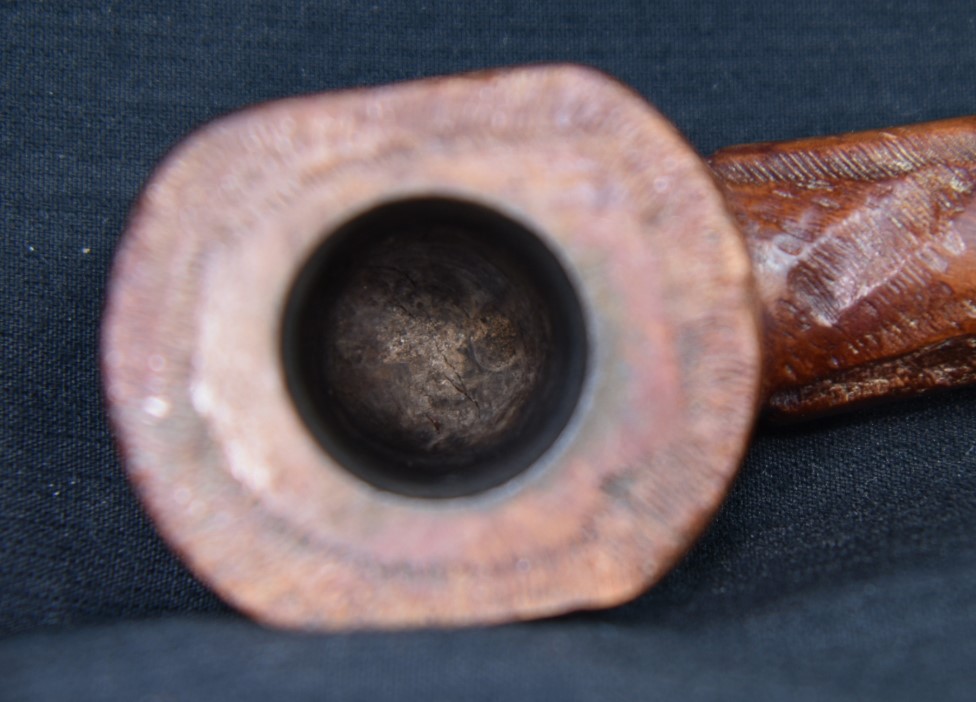
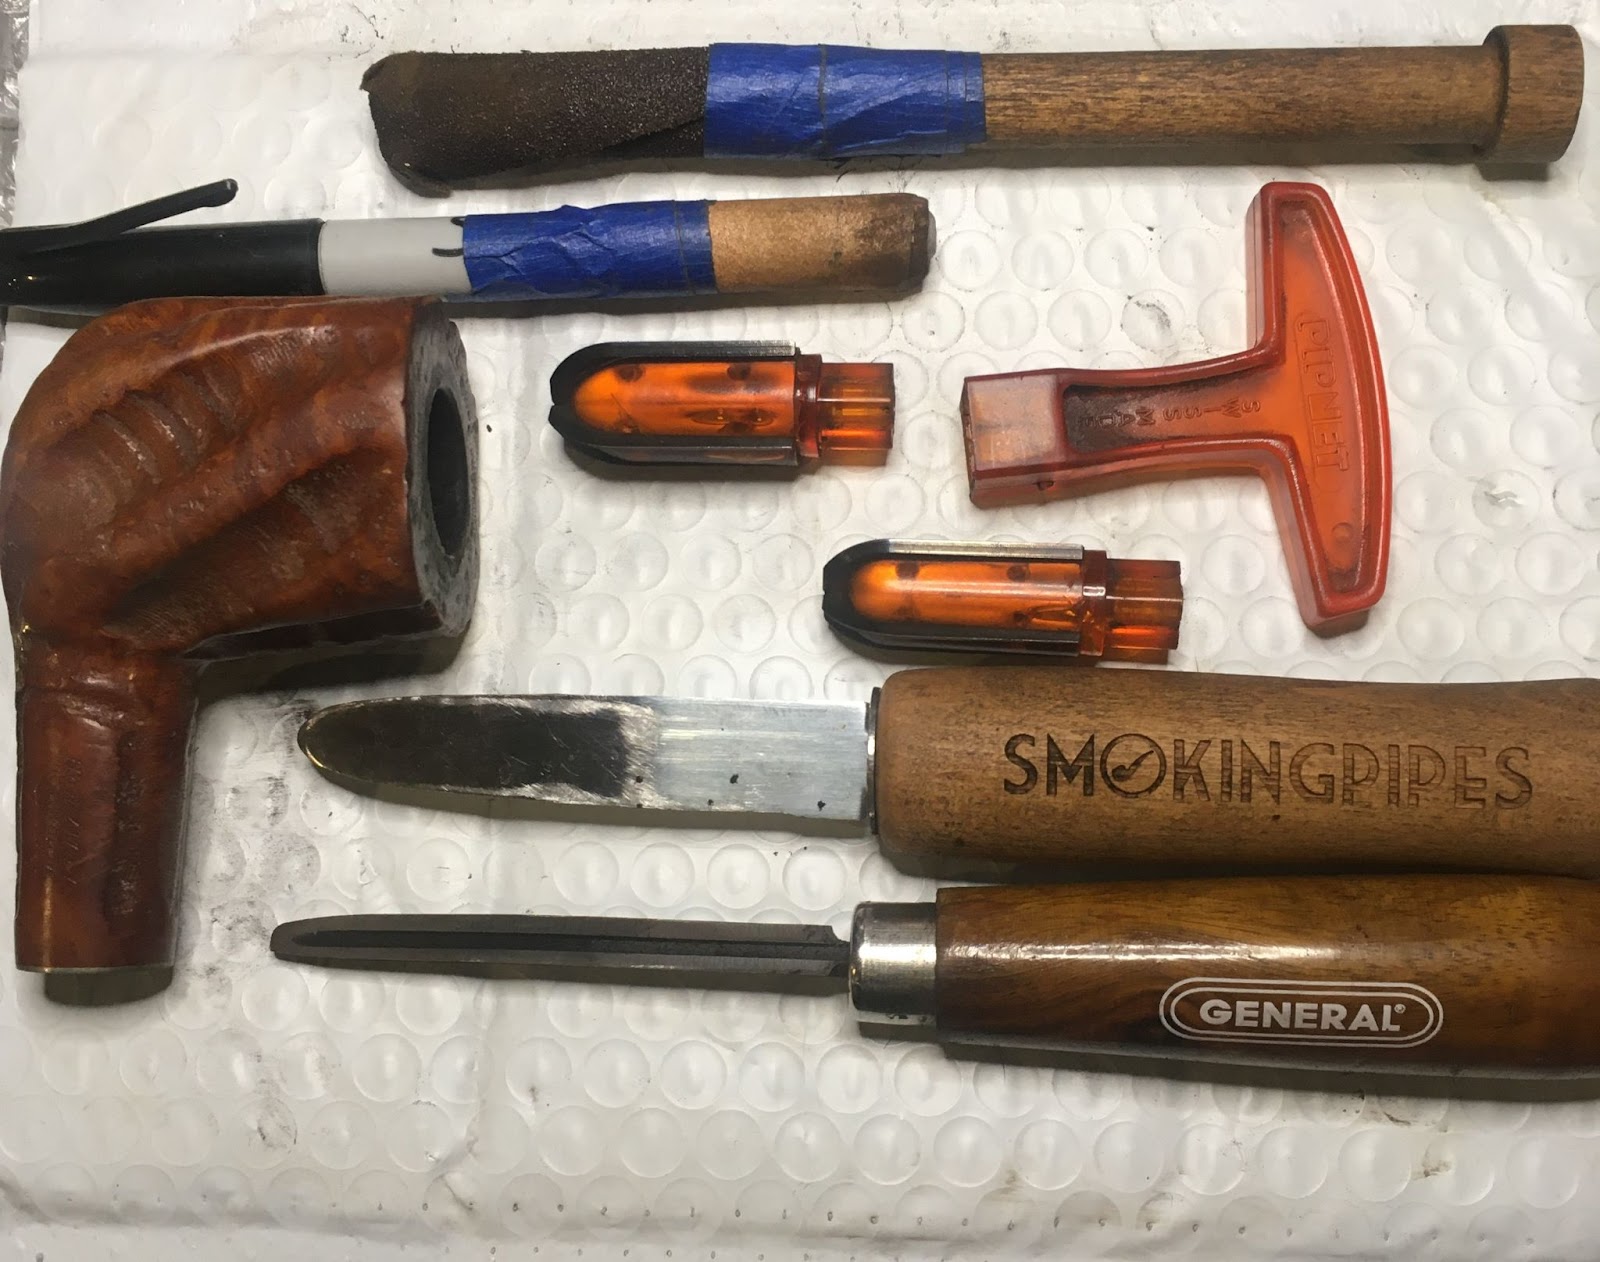
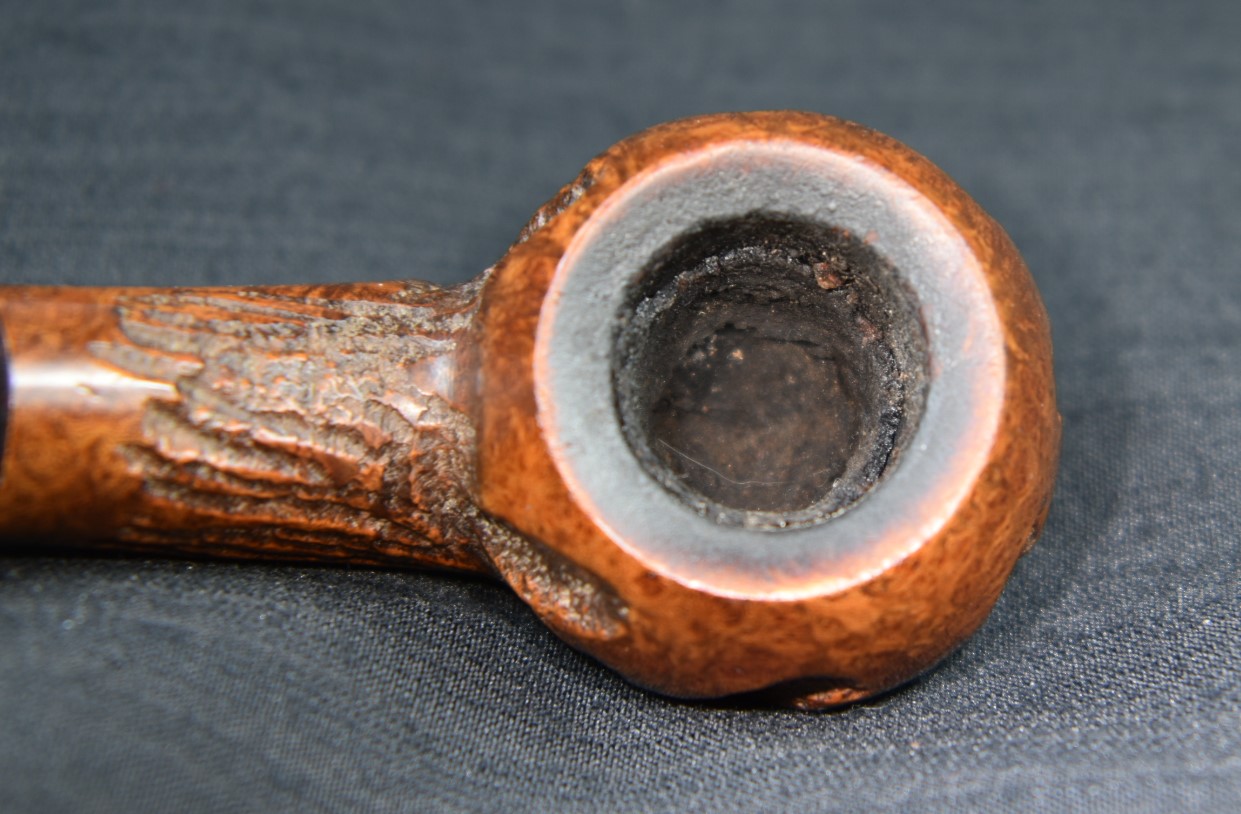
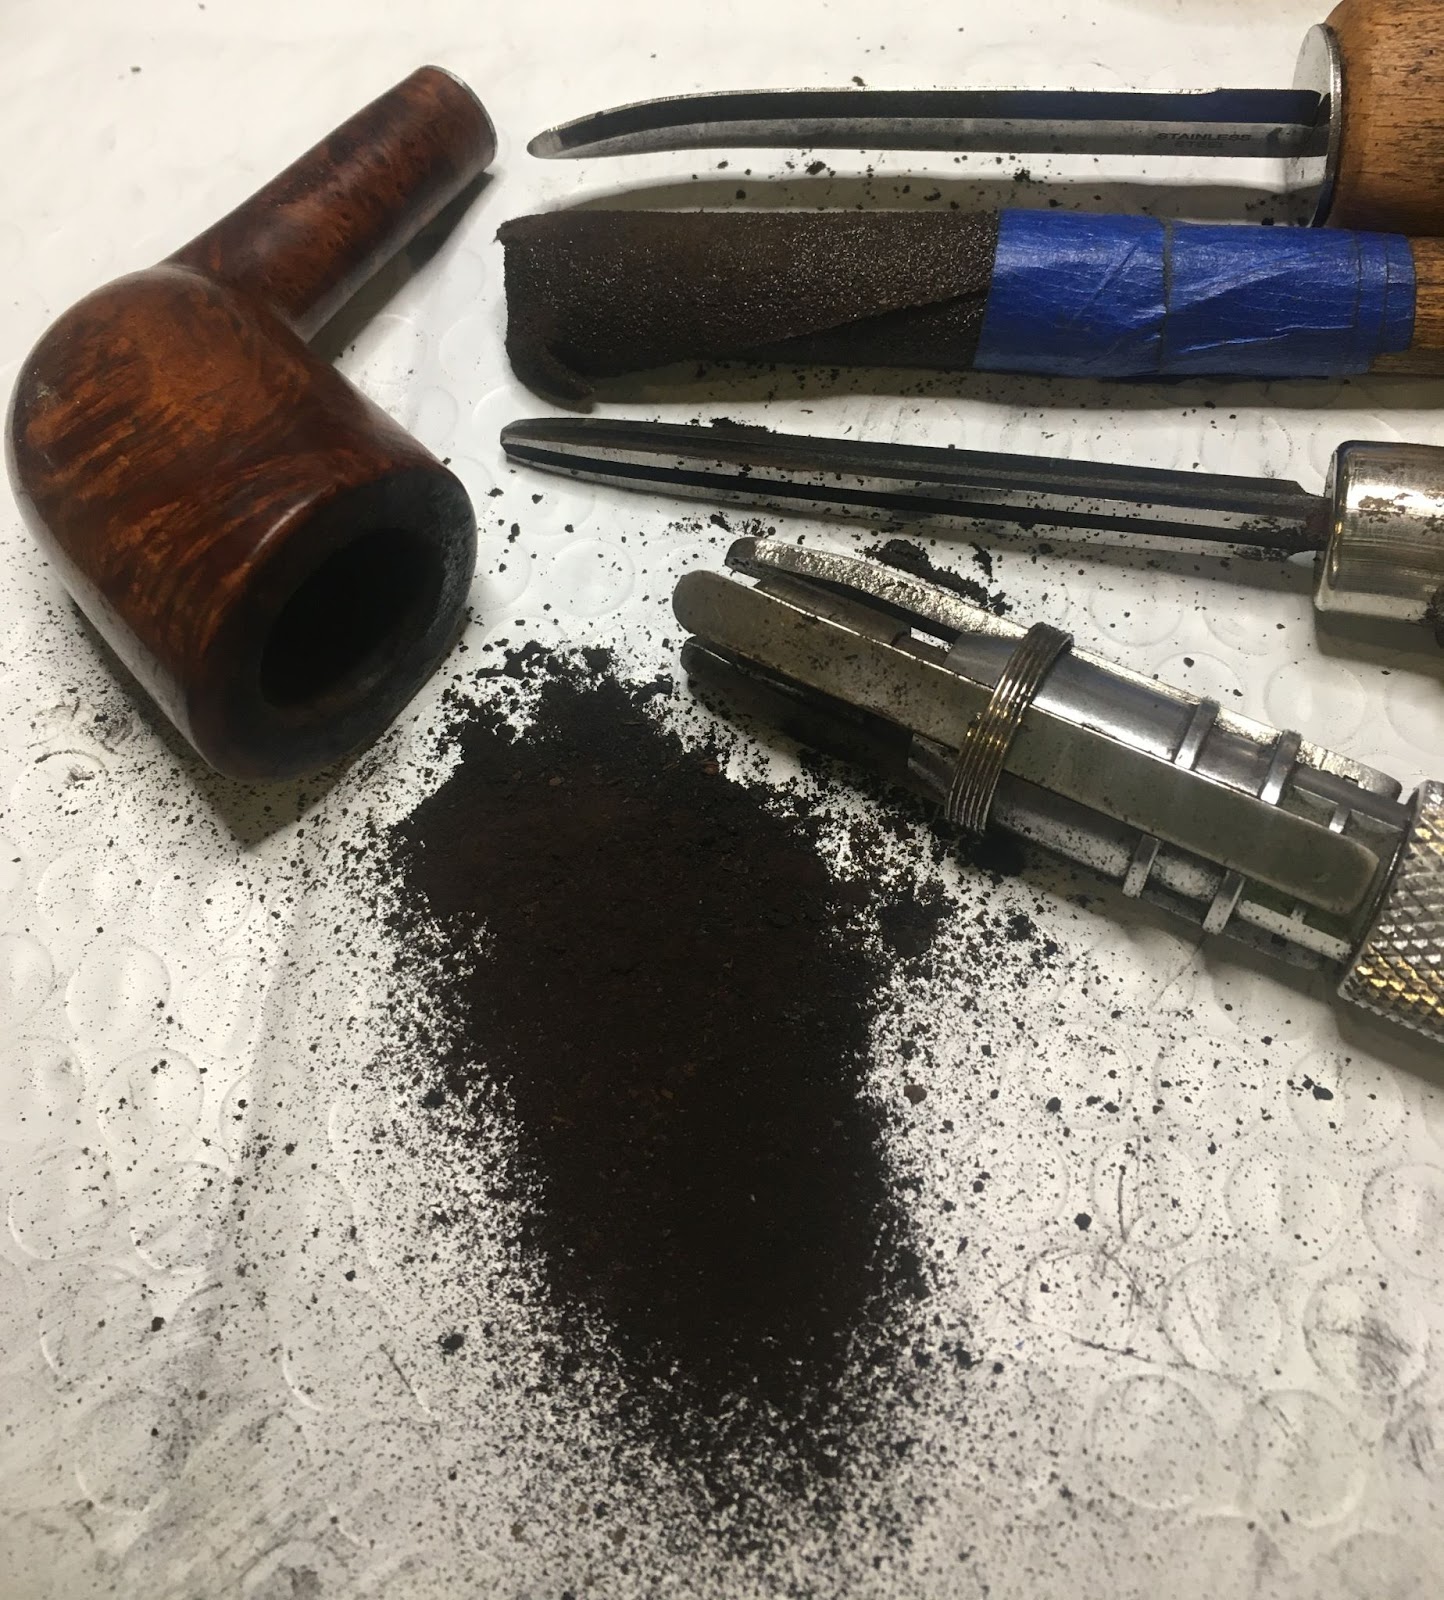
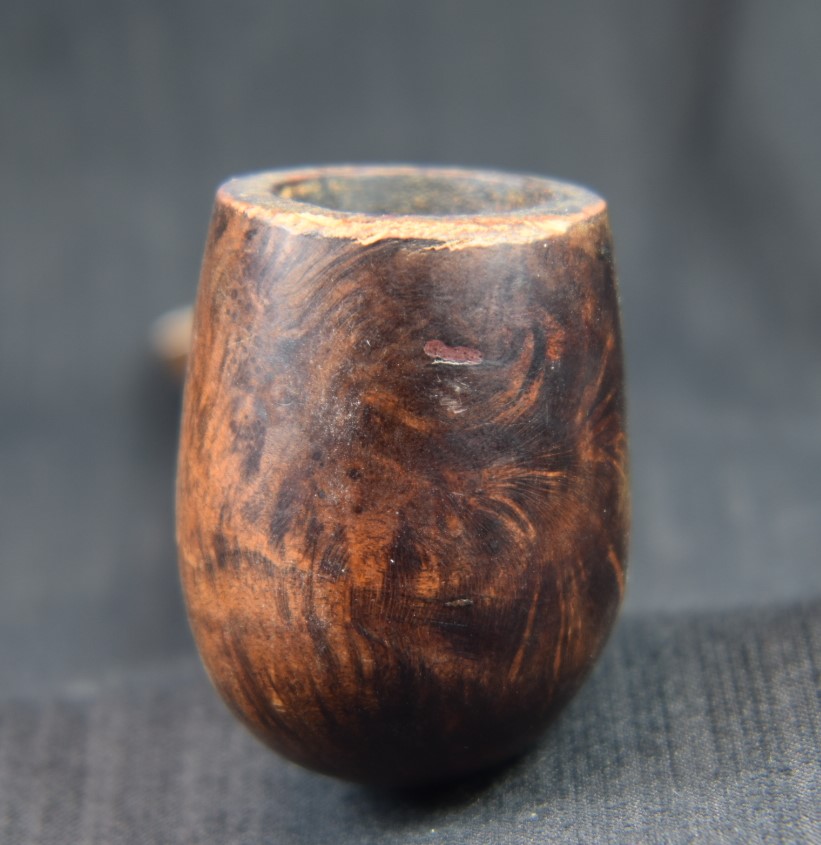
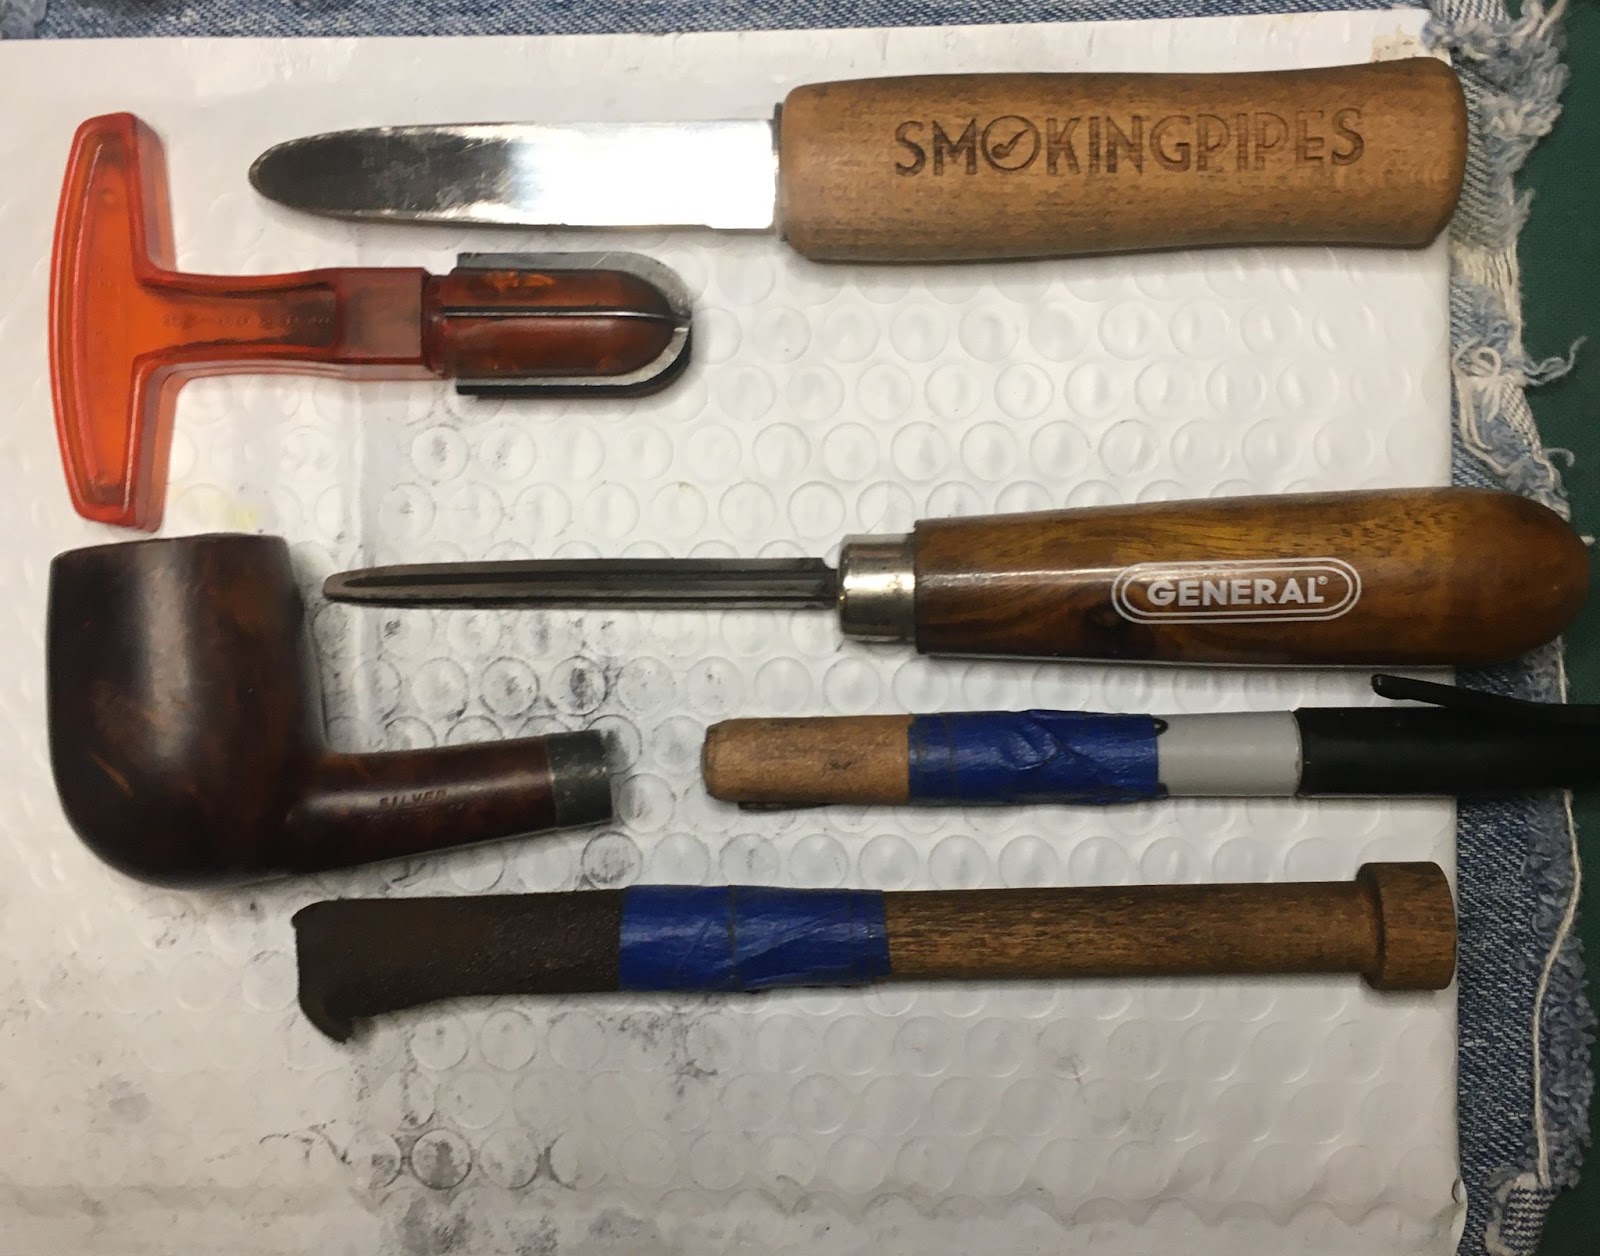
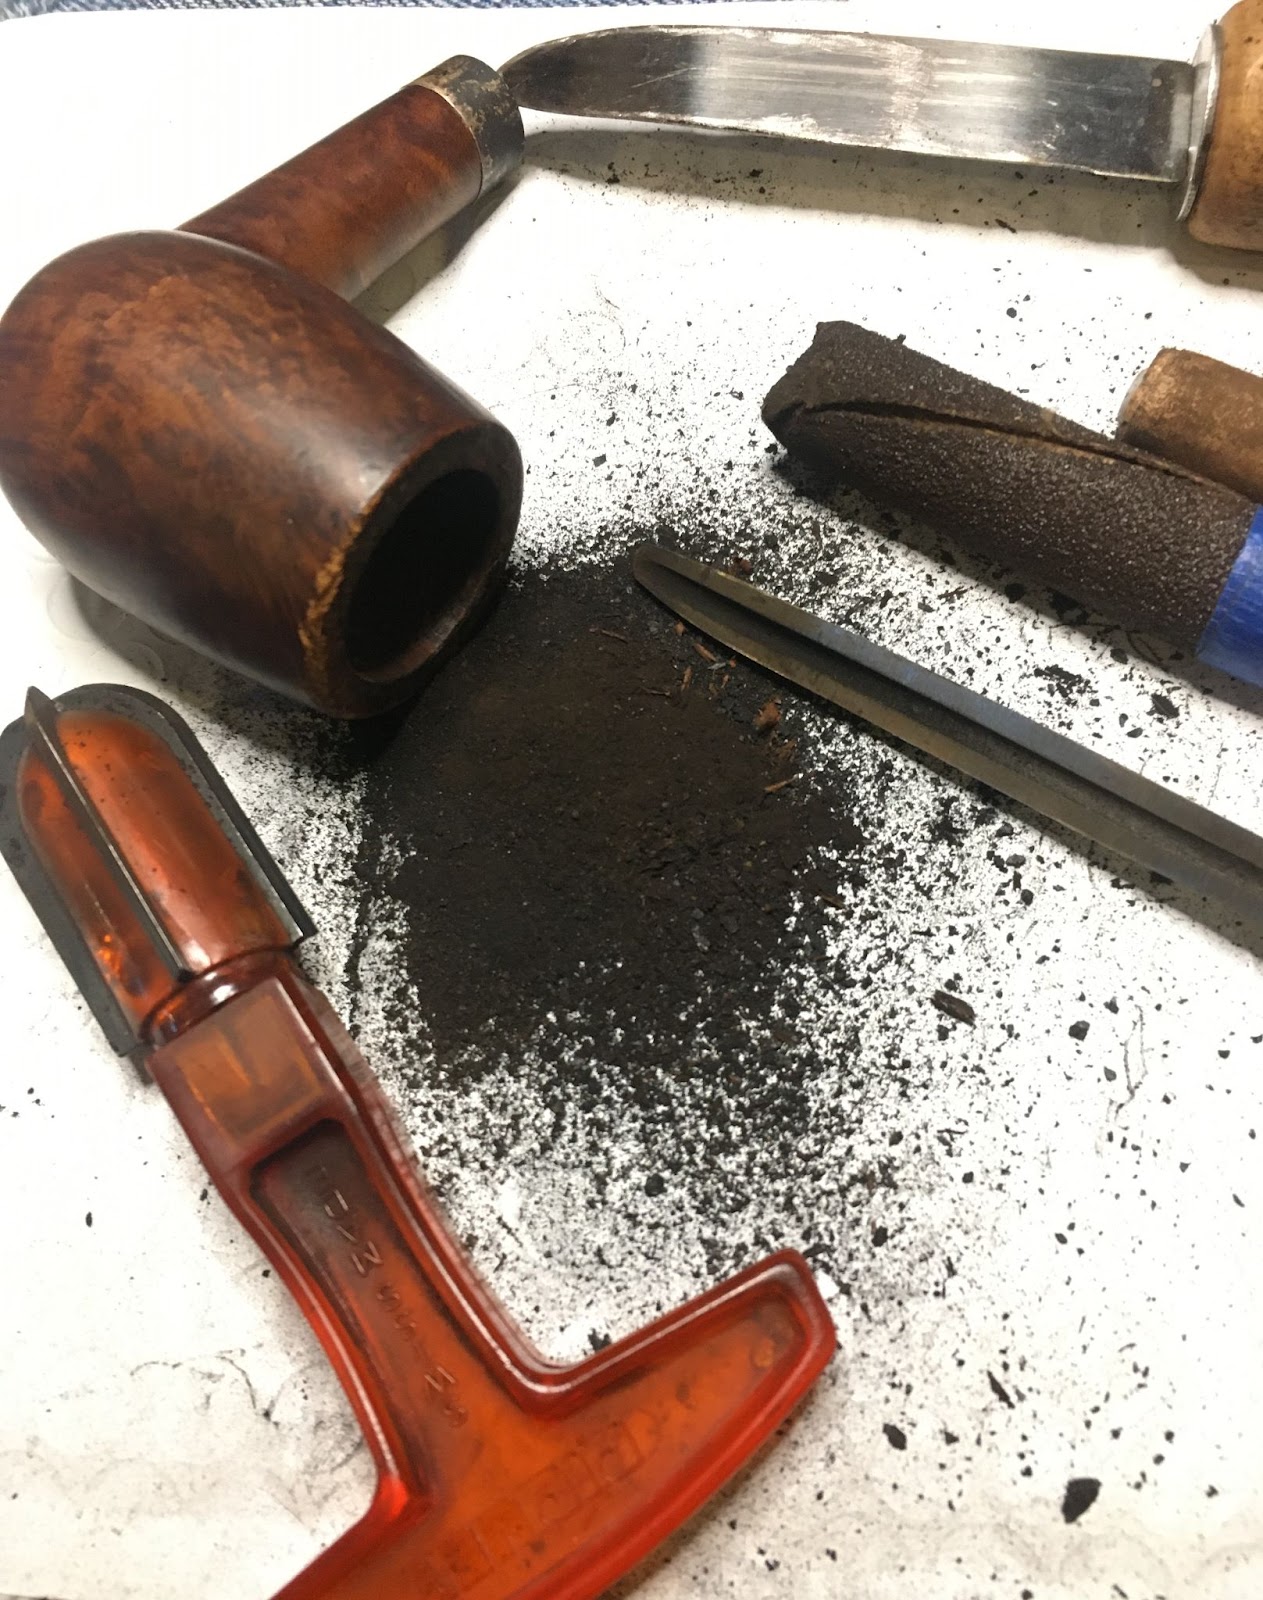
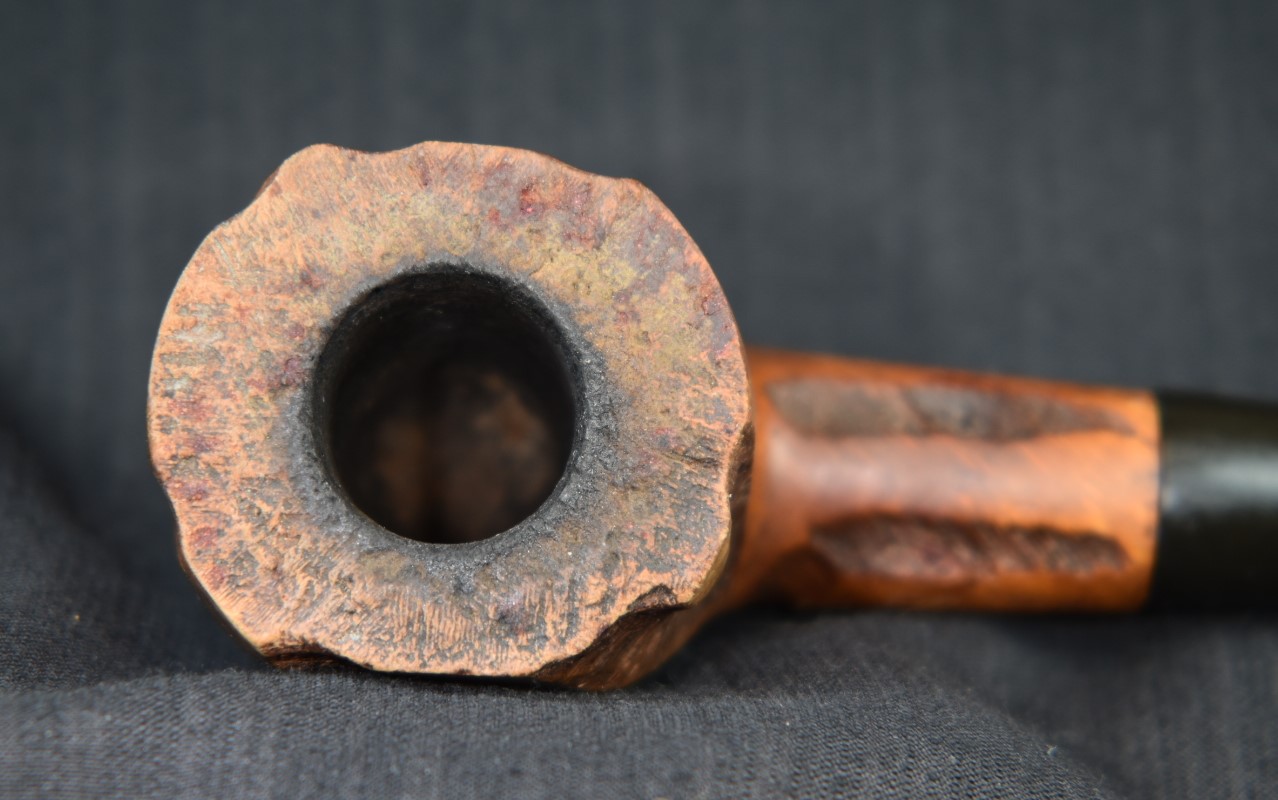
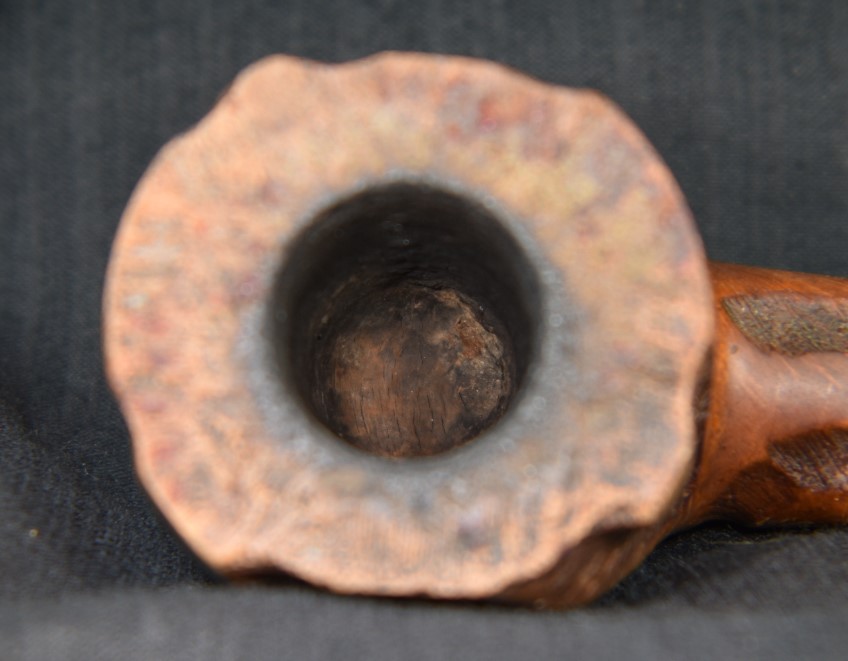
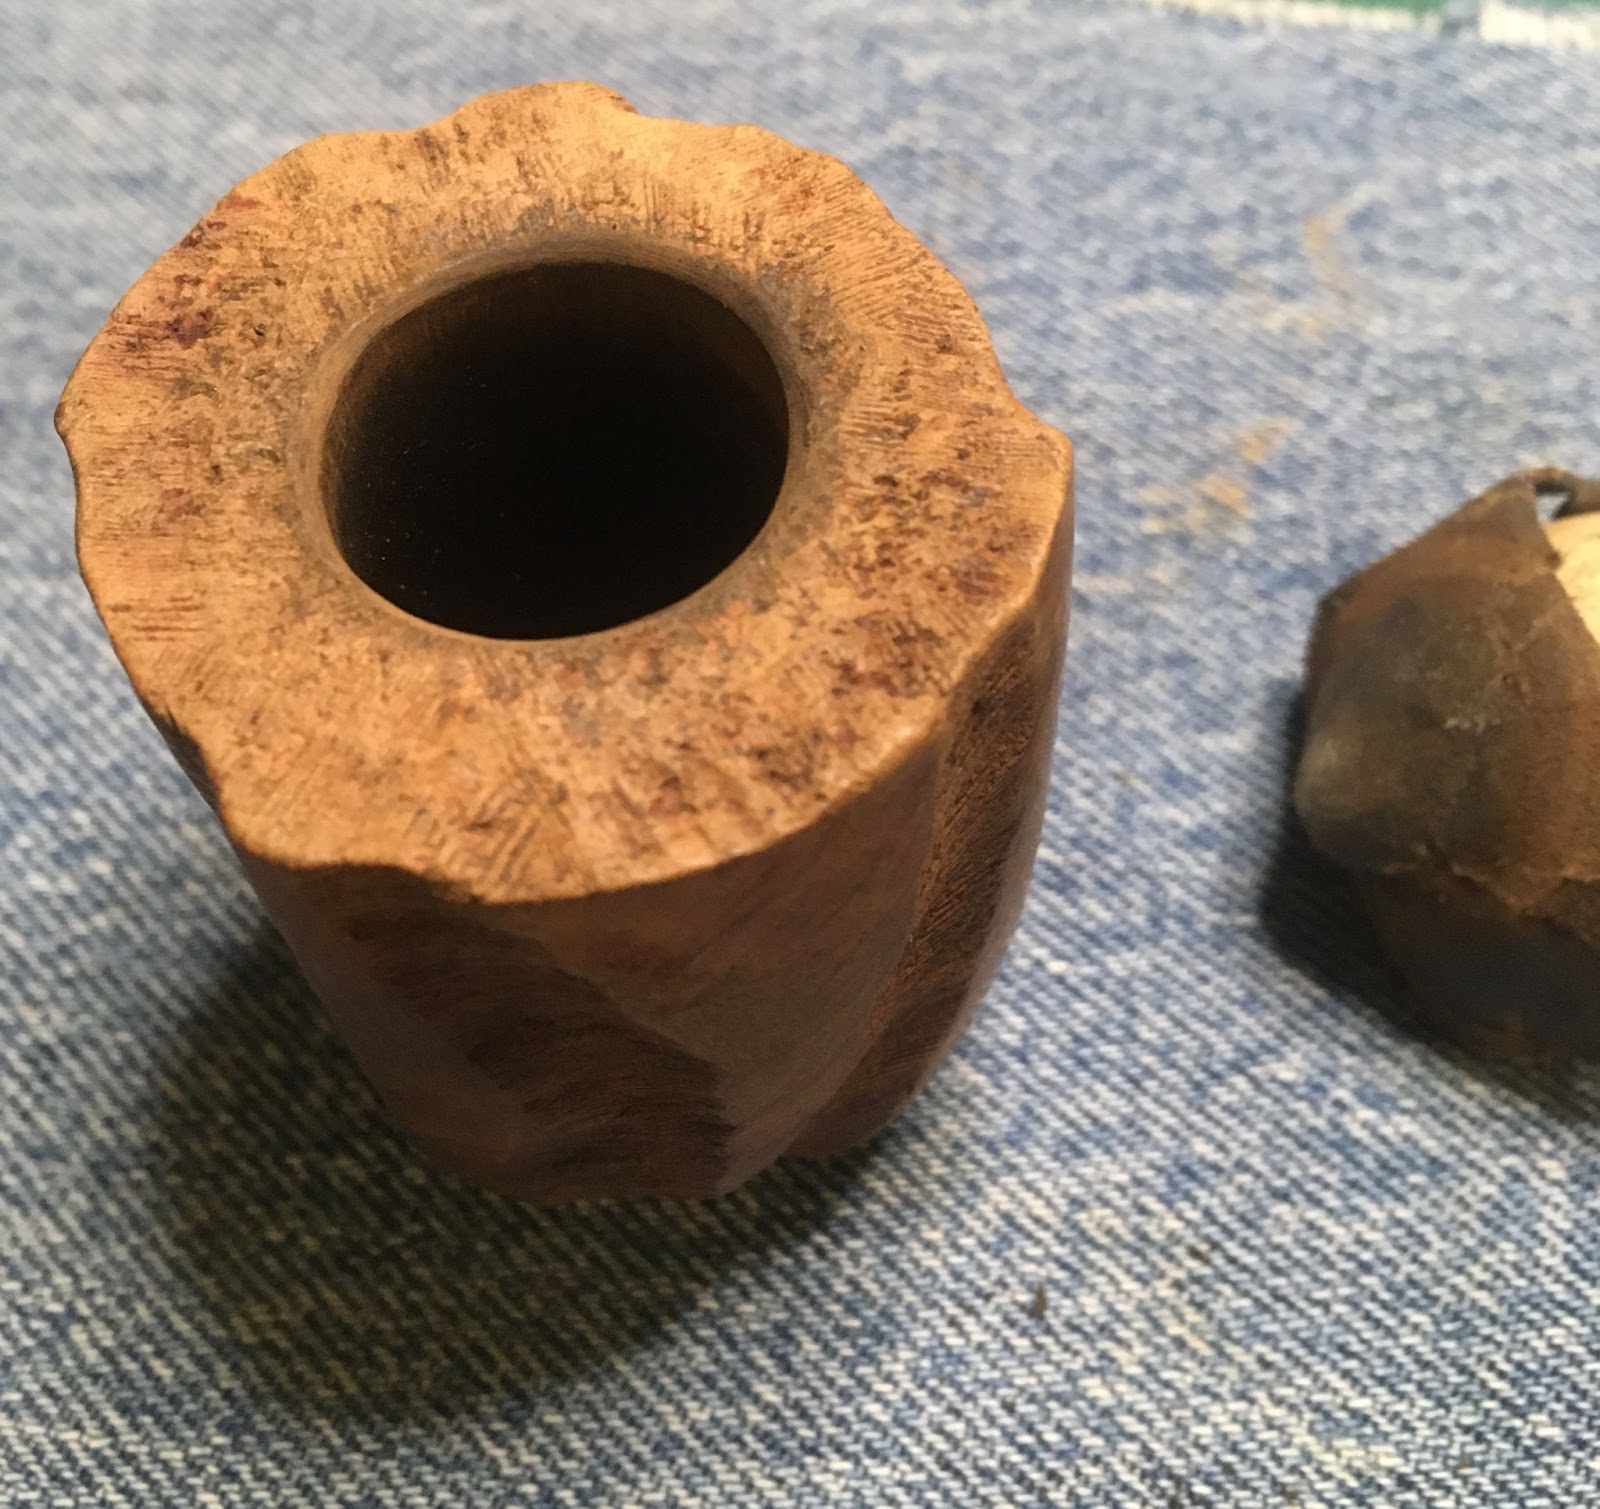
Looking back at my photos I apparently neglected to photograph the reaming of this HandMade. Don’t worry, you are not missing much. This pipe had been smoked very little as you will see when I describe the shank cleaning. The reaming was very quick and uneventful. I used the PipNet with the #3 blades to barely mess up my plastic drop surface. The scraper and knife were not used and the tobacco chamber was sanded with 220 sandpaper on a wood dowel followed by 320 sandpaper wrapped around a Sharpie marker. The most interesting part was that there was a shallow groove inside the chamber that ran along the left side. I remembered that the second Kaywoodie HandMade also had a groove in it’s chamber. Upon looking very closely at both with a bright flashlight I saw what appeared to be a thin crack in both chambers. It did not go from the top to the bottom; rather it was about ½ to ¾ inches long in the center of the chamber on both pipes. It almost looked like it was a crack from improper drying or the chamber was bored out while the wood was not completely dried. I then remembered that both of these pipes had come from Las Vegas Nevada, a place not known for their humidity. Perhaps years of storage in the desert had not been good for the pipes. Either way I thought it would be best to mix up some J.B. Weld and fill the crack from within the chamber. Allow the epoxy to set and sand it smooth with the chamber surface. I thought that I would come back to do that step with both pipes when I was finished with the restoration.
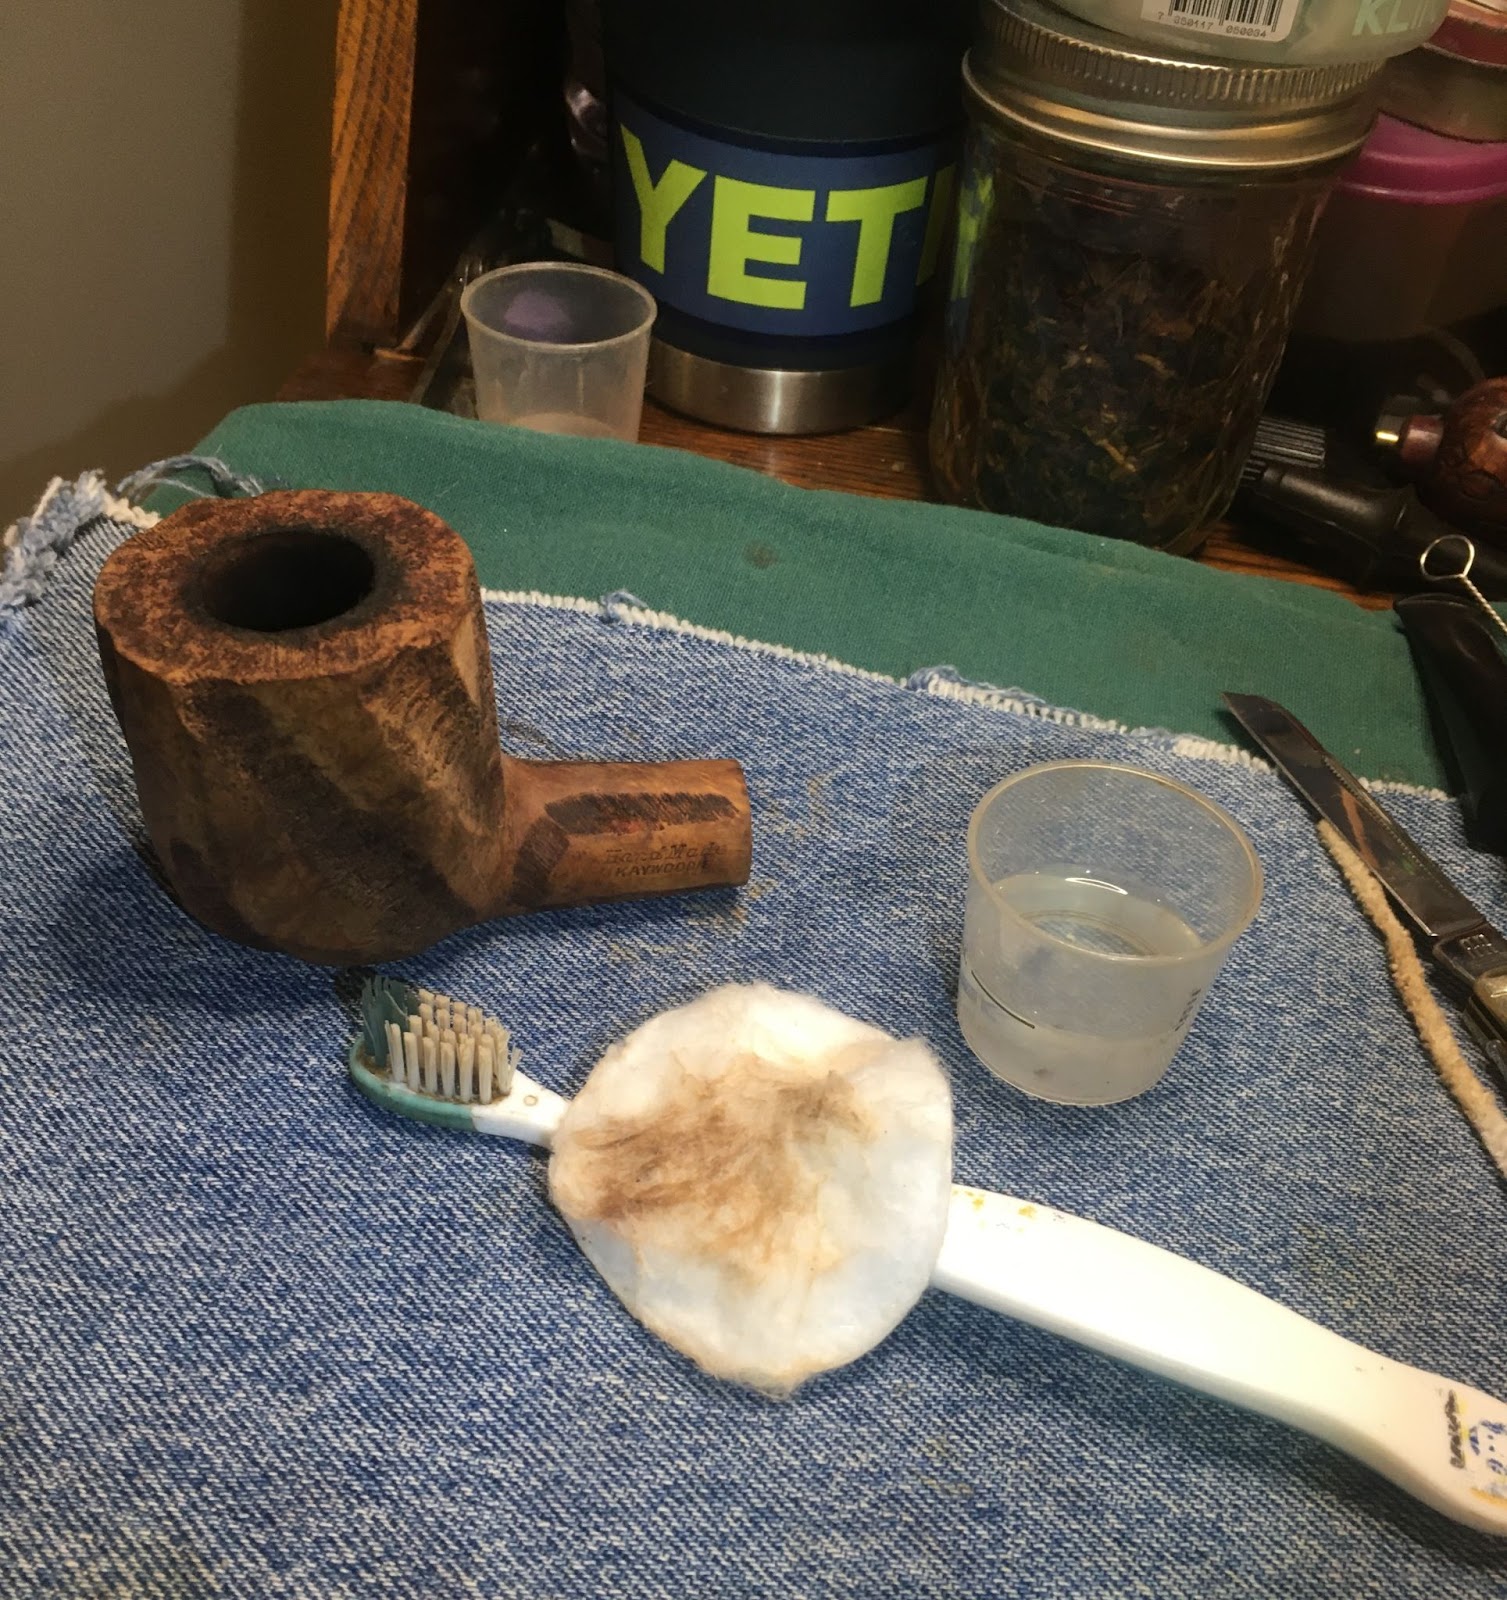
I took the stummel to the sink. There I scrubbed the stummel with undiluted Murphy’s Oil Soap and a medium bristle toothbrush. The years of dirt and grime were evident in the lather. The stummel was rinsed in warm water and dried with a cotton dish towel.


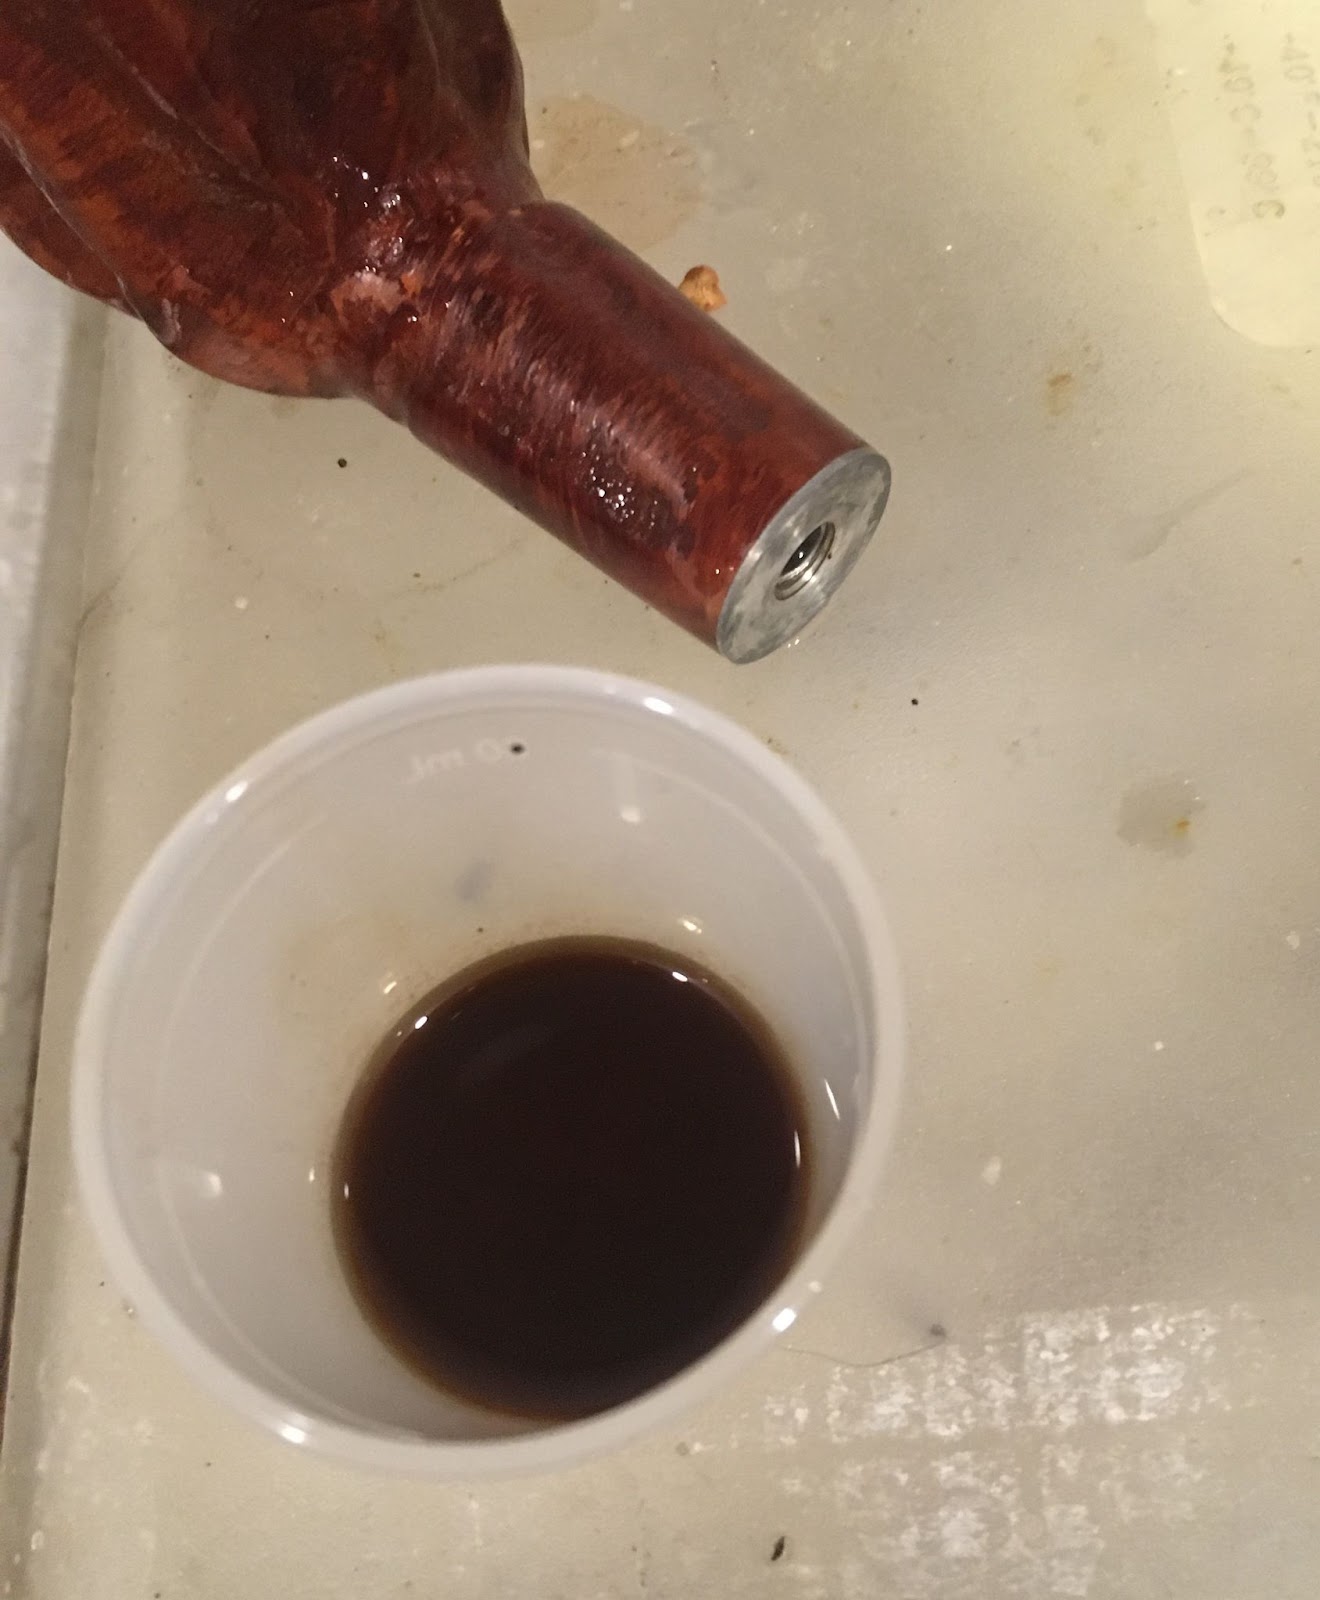
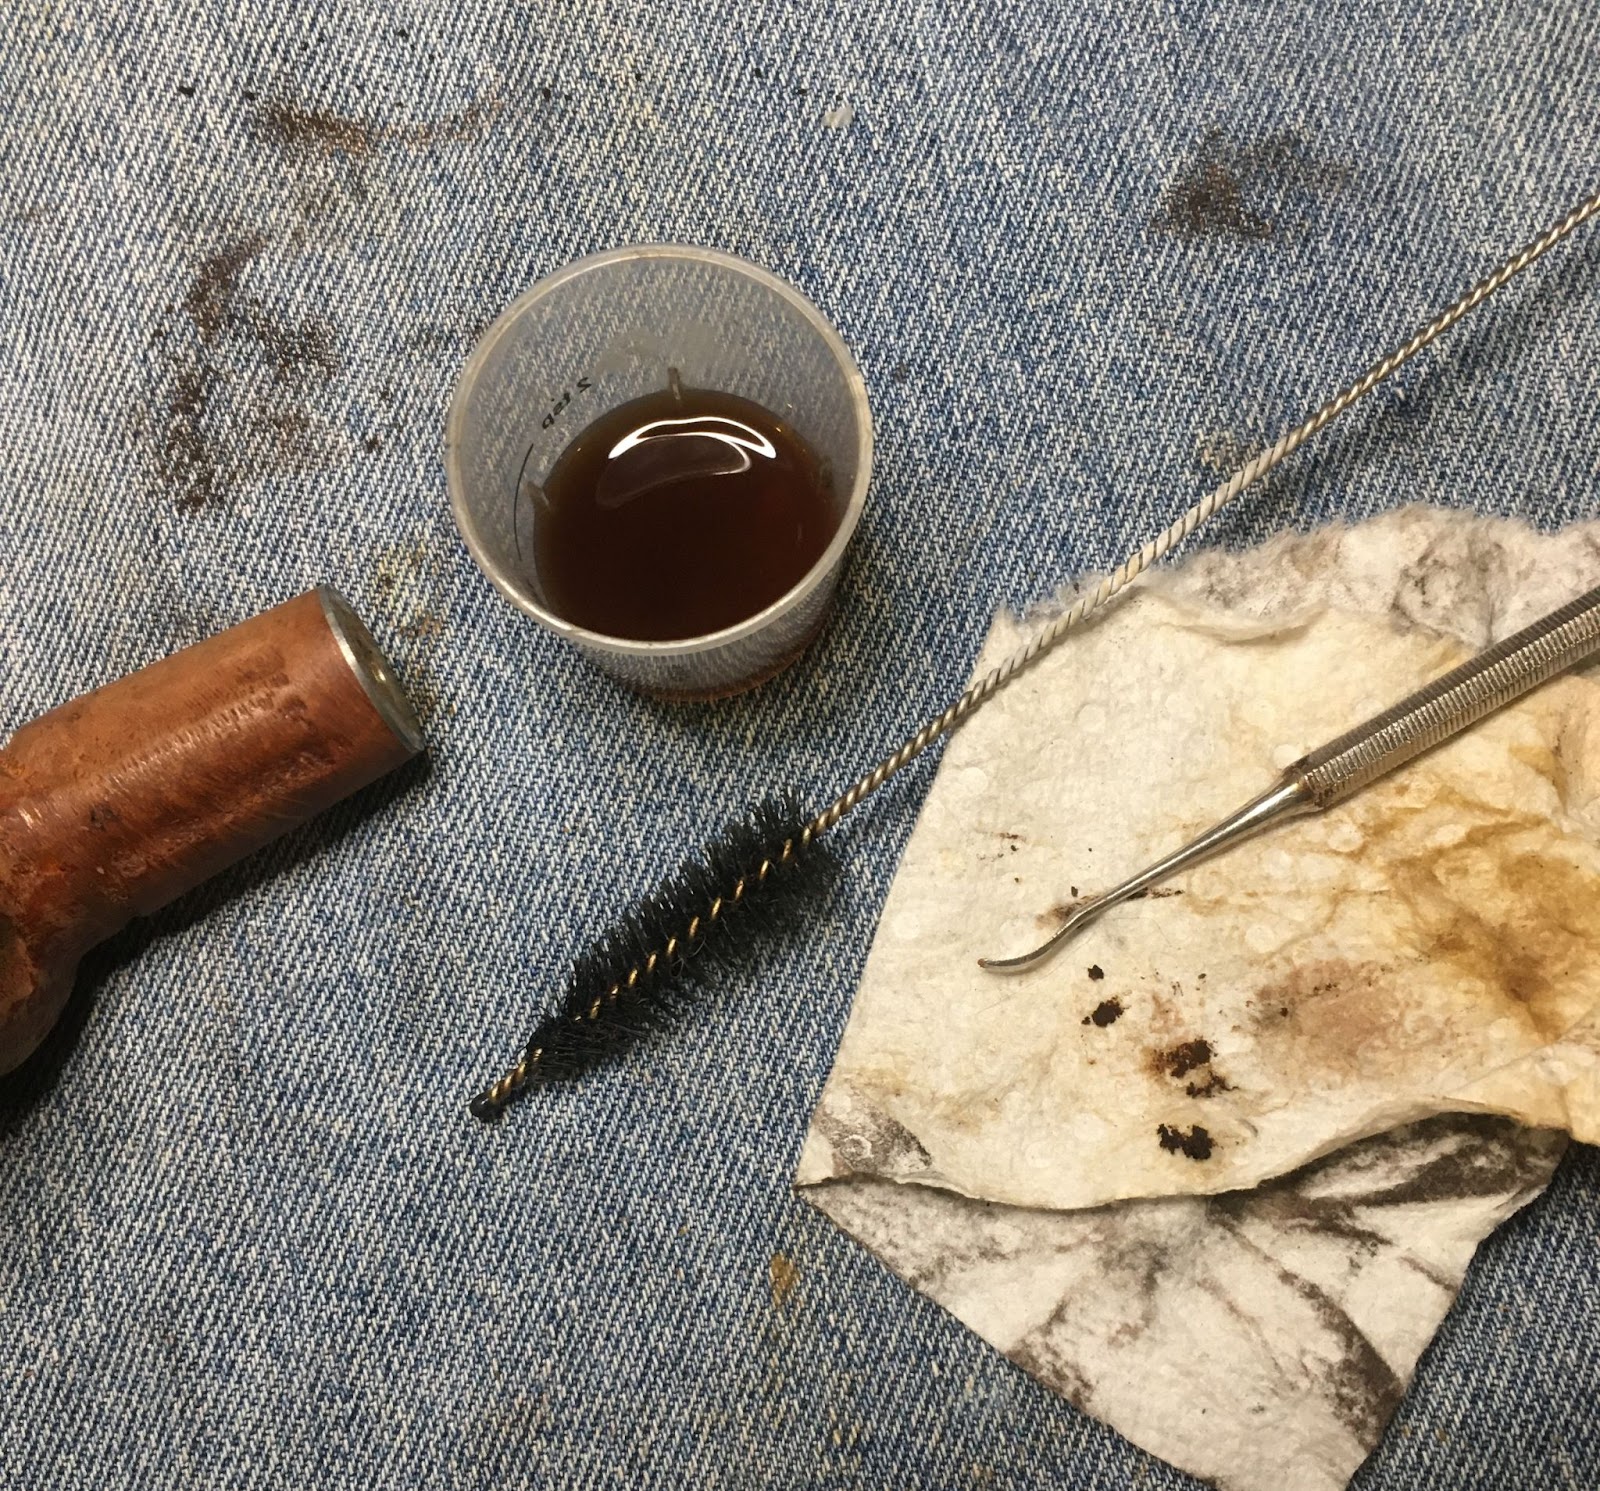
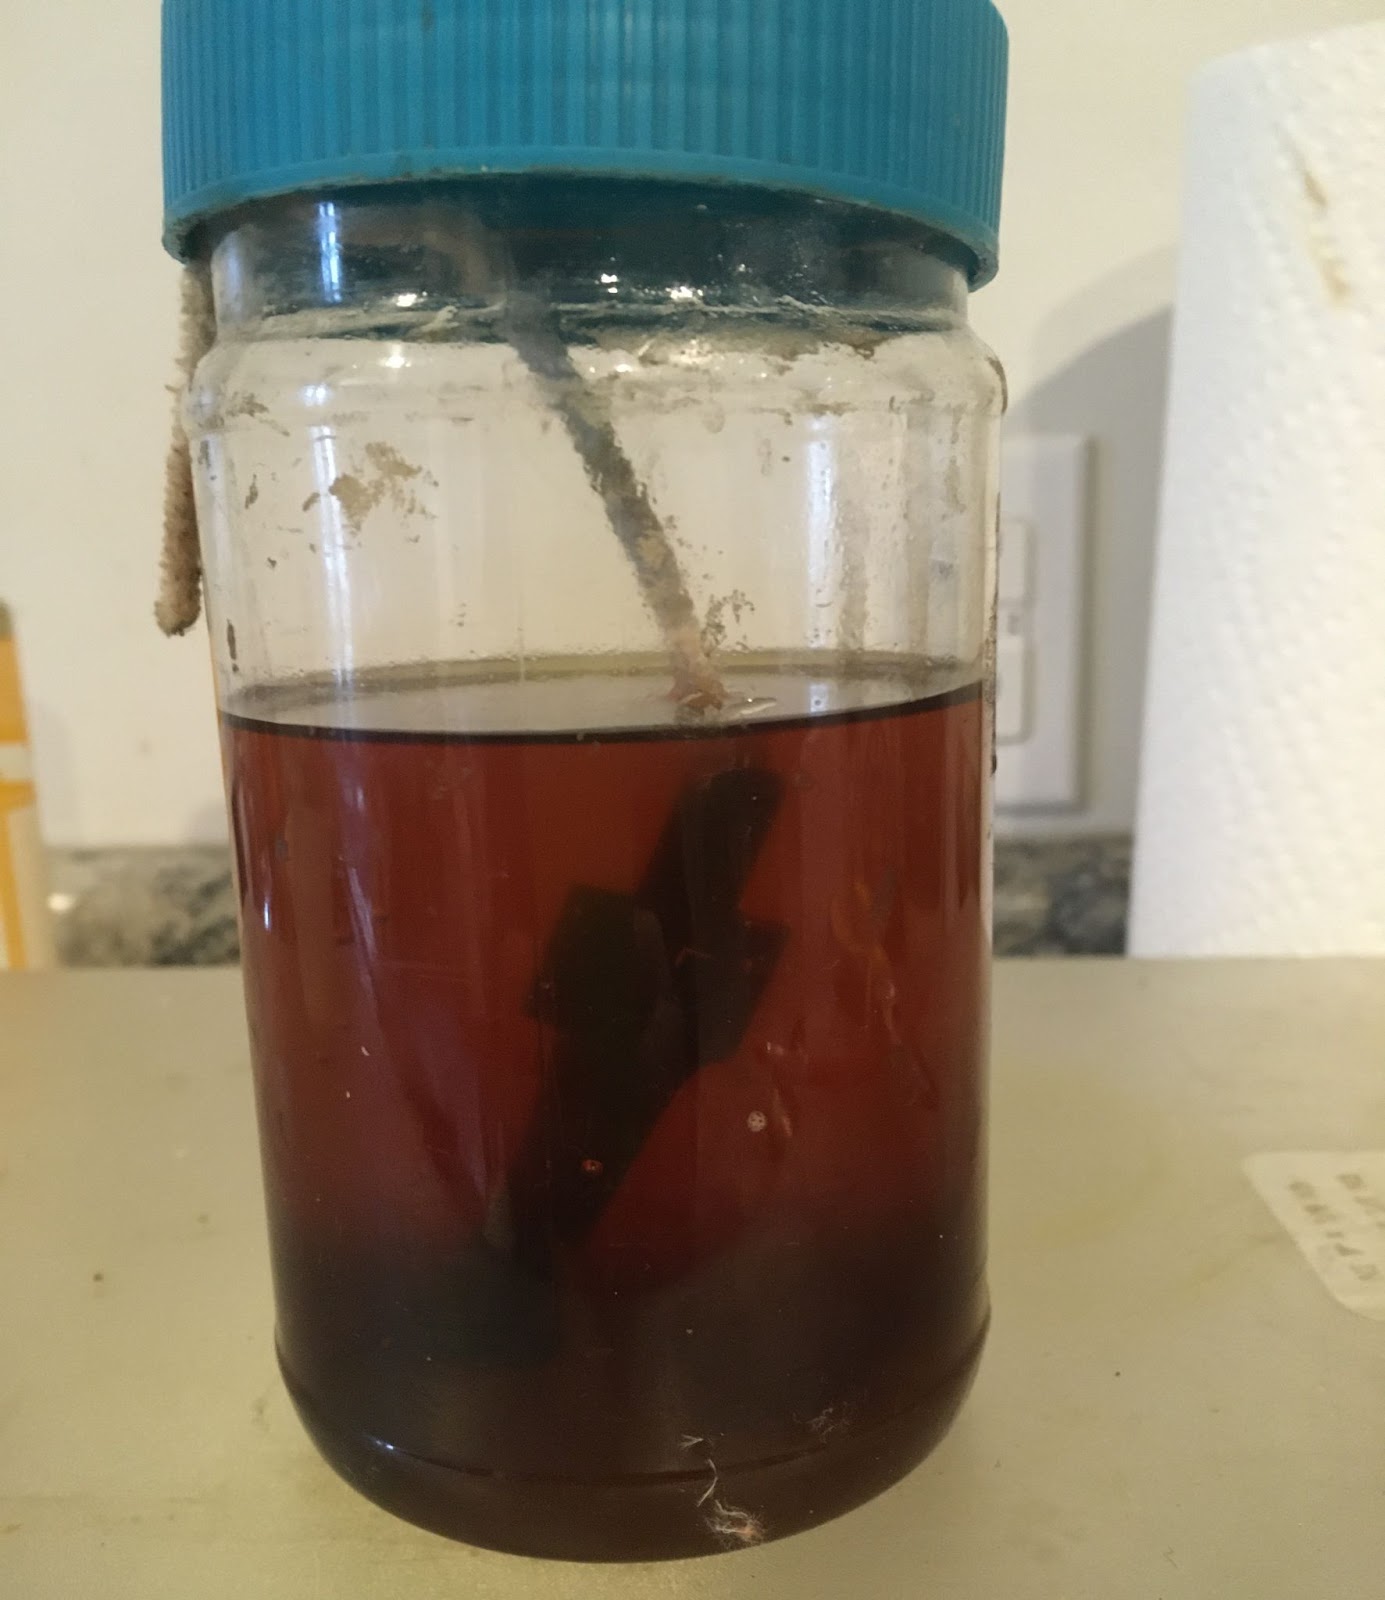
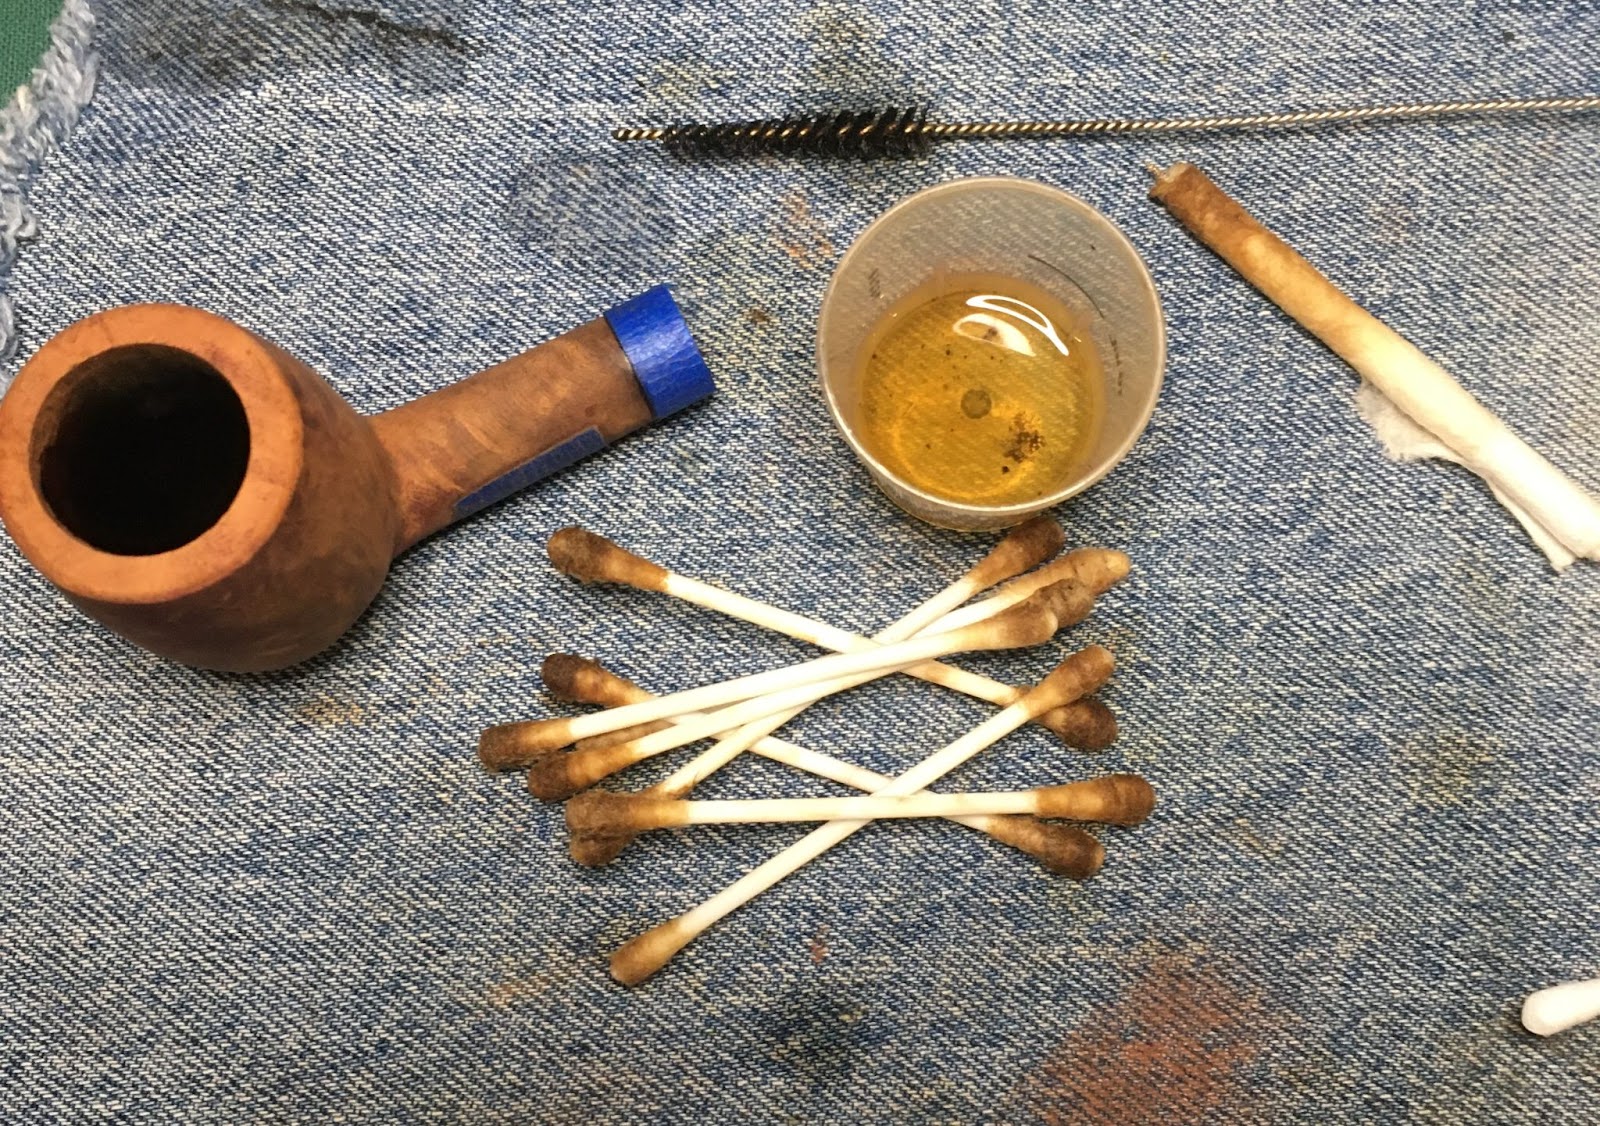
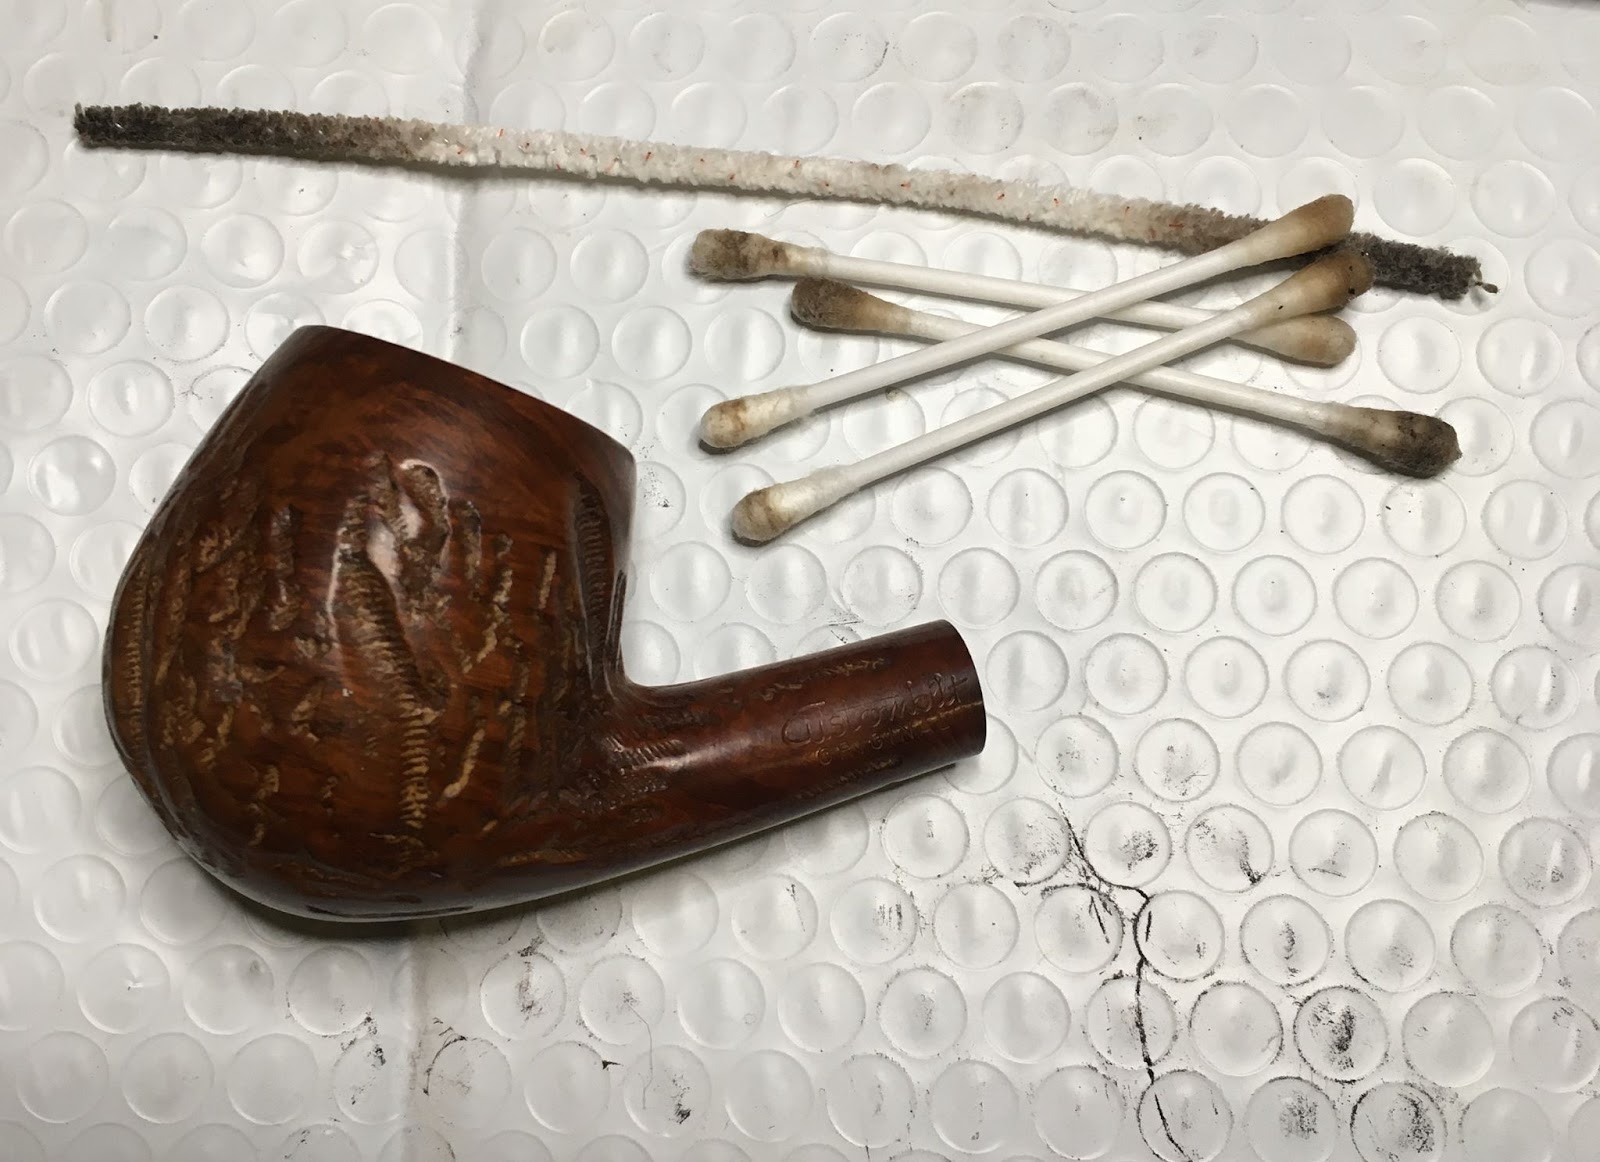
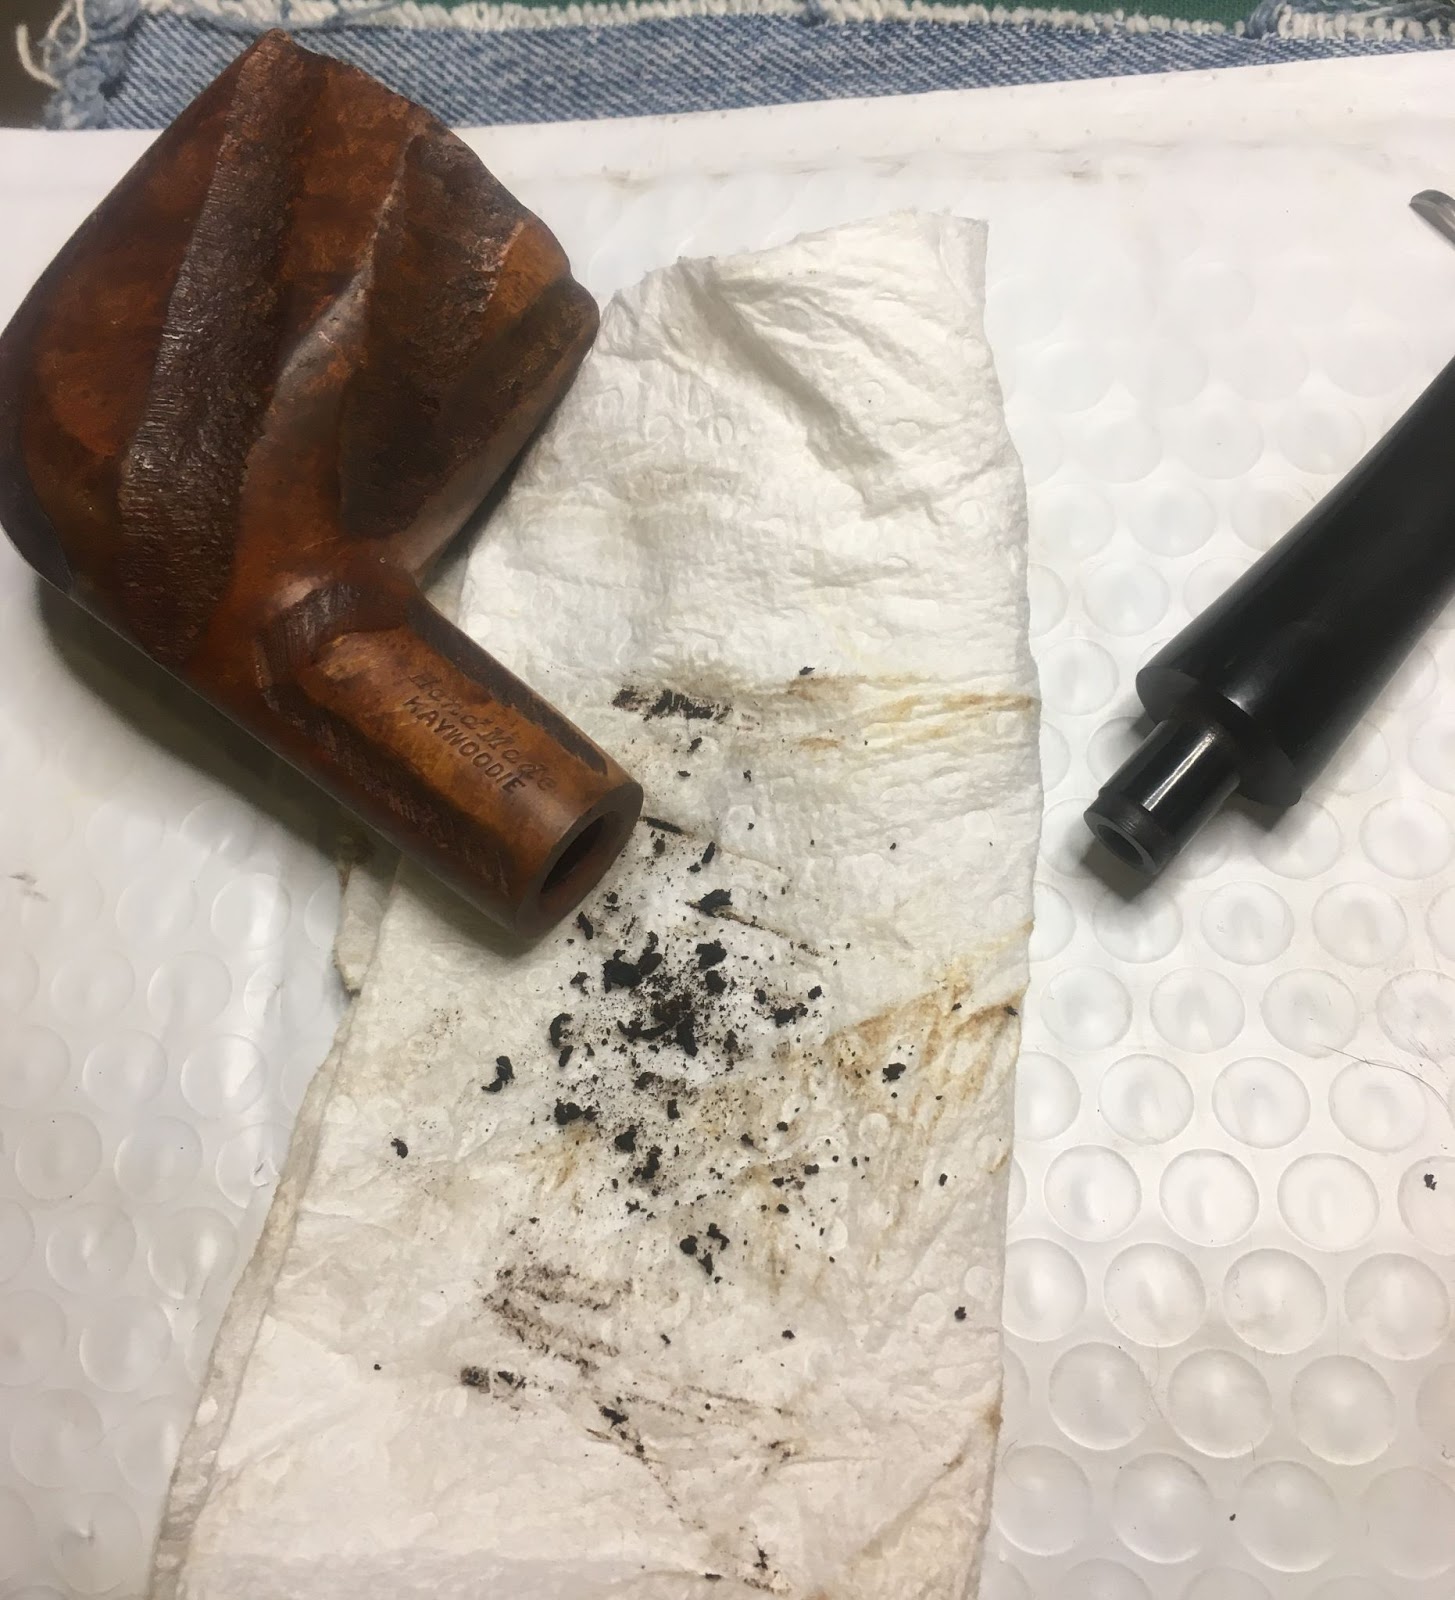
When finished drying I poured 5 ml of 95% ethyl alcohol into the tobacco chamber and allowed it to flow into the shank. Without pouring the alcohol out I used a nylon shank brush to scrub the airway within the shank with the alcohol. This alcohol was poured into a medicine cup. The color indicated the extent of the tar accumulation in the airway.

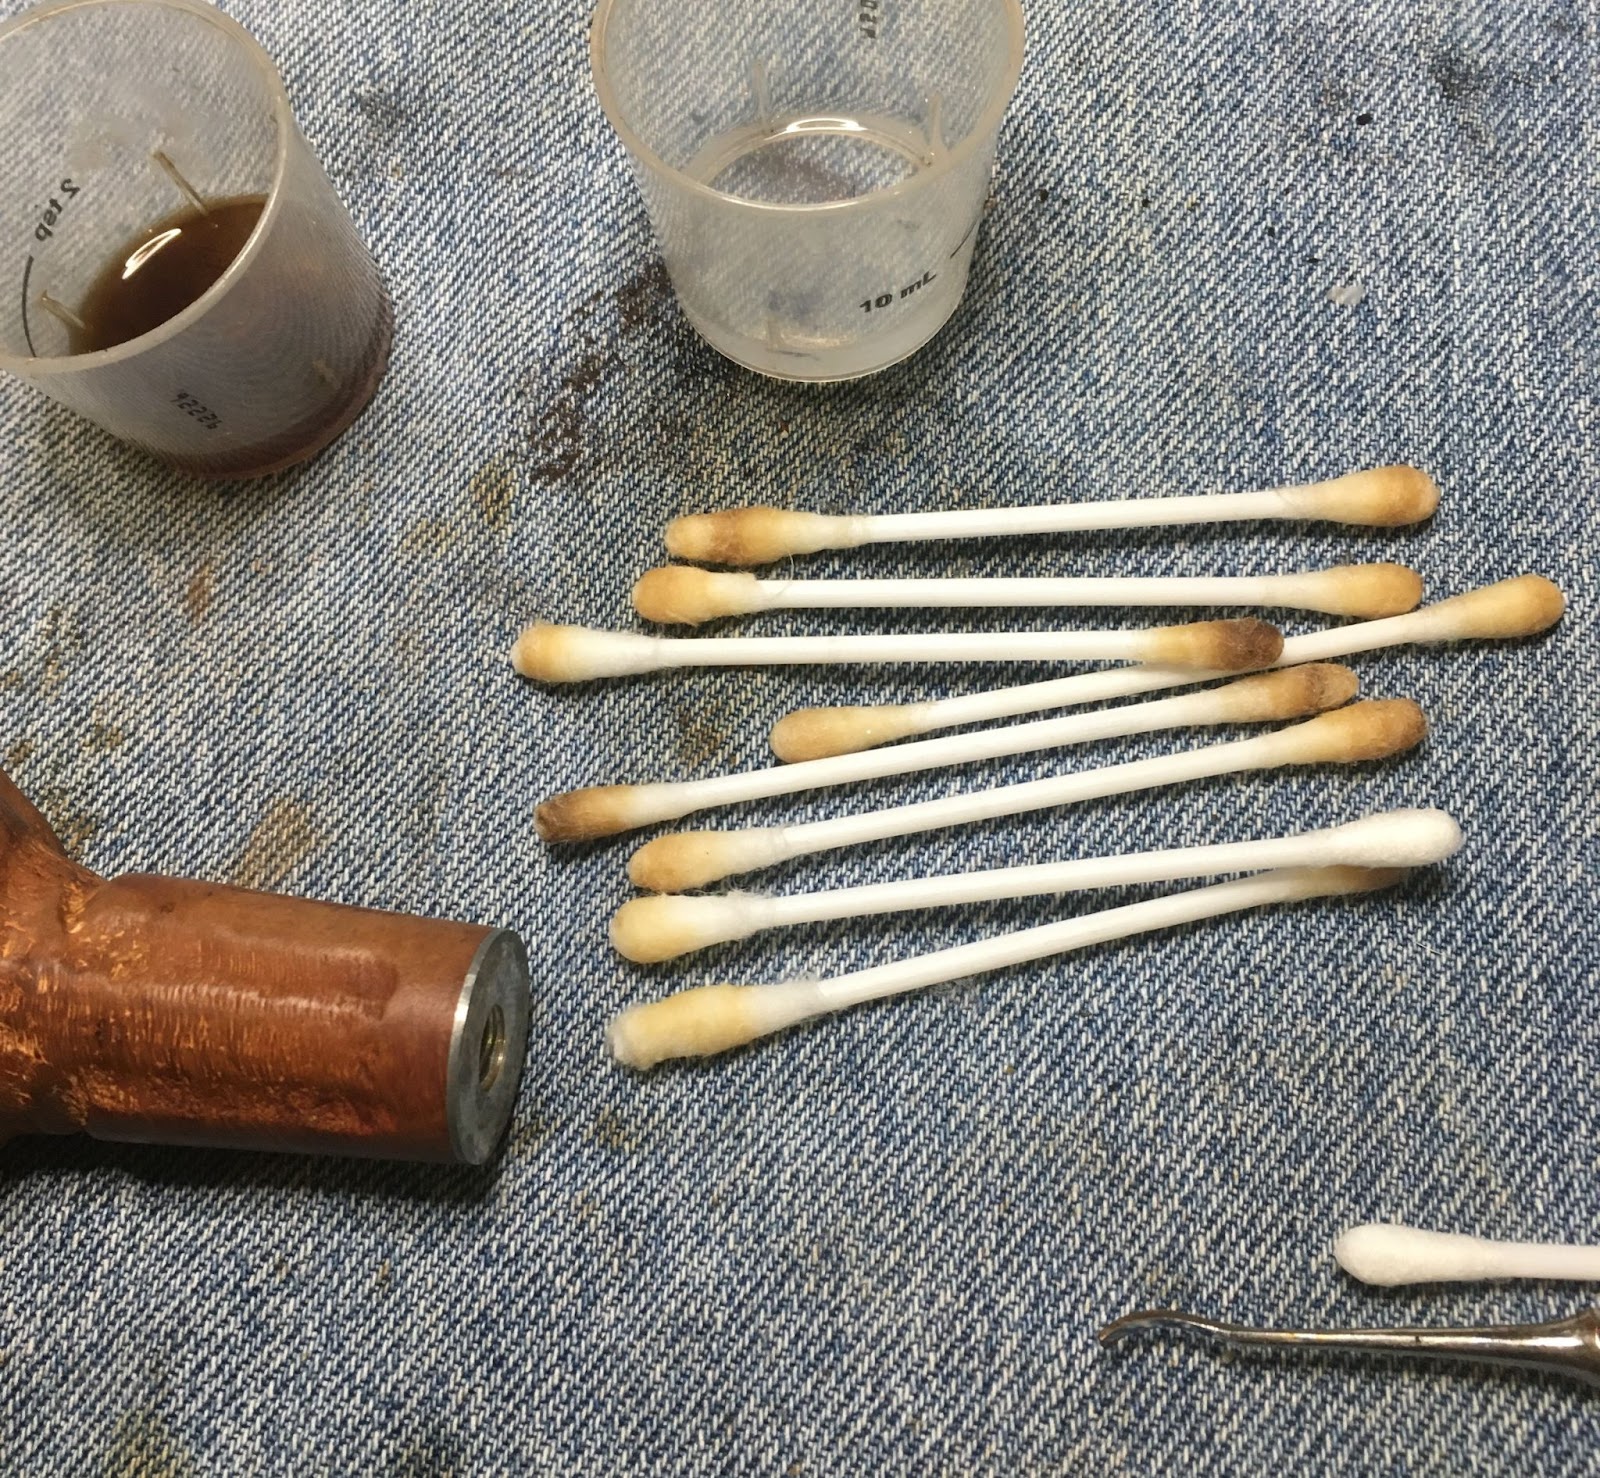
THe very light color of the alcohol led me to believe the shank was relatively clean. A few alcohol dipped cotton swabs confirmed this.

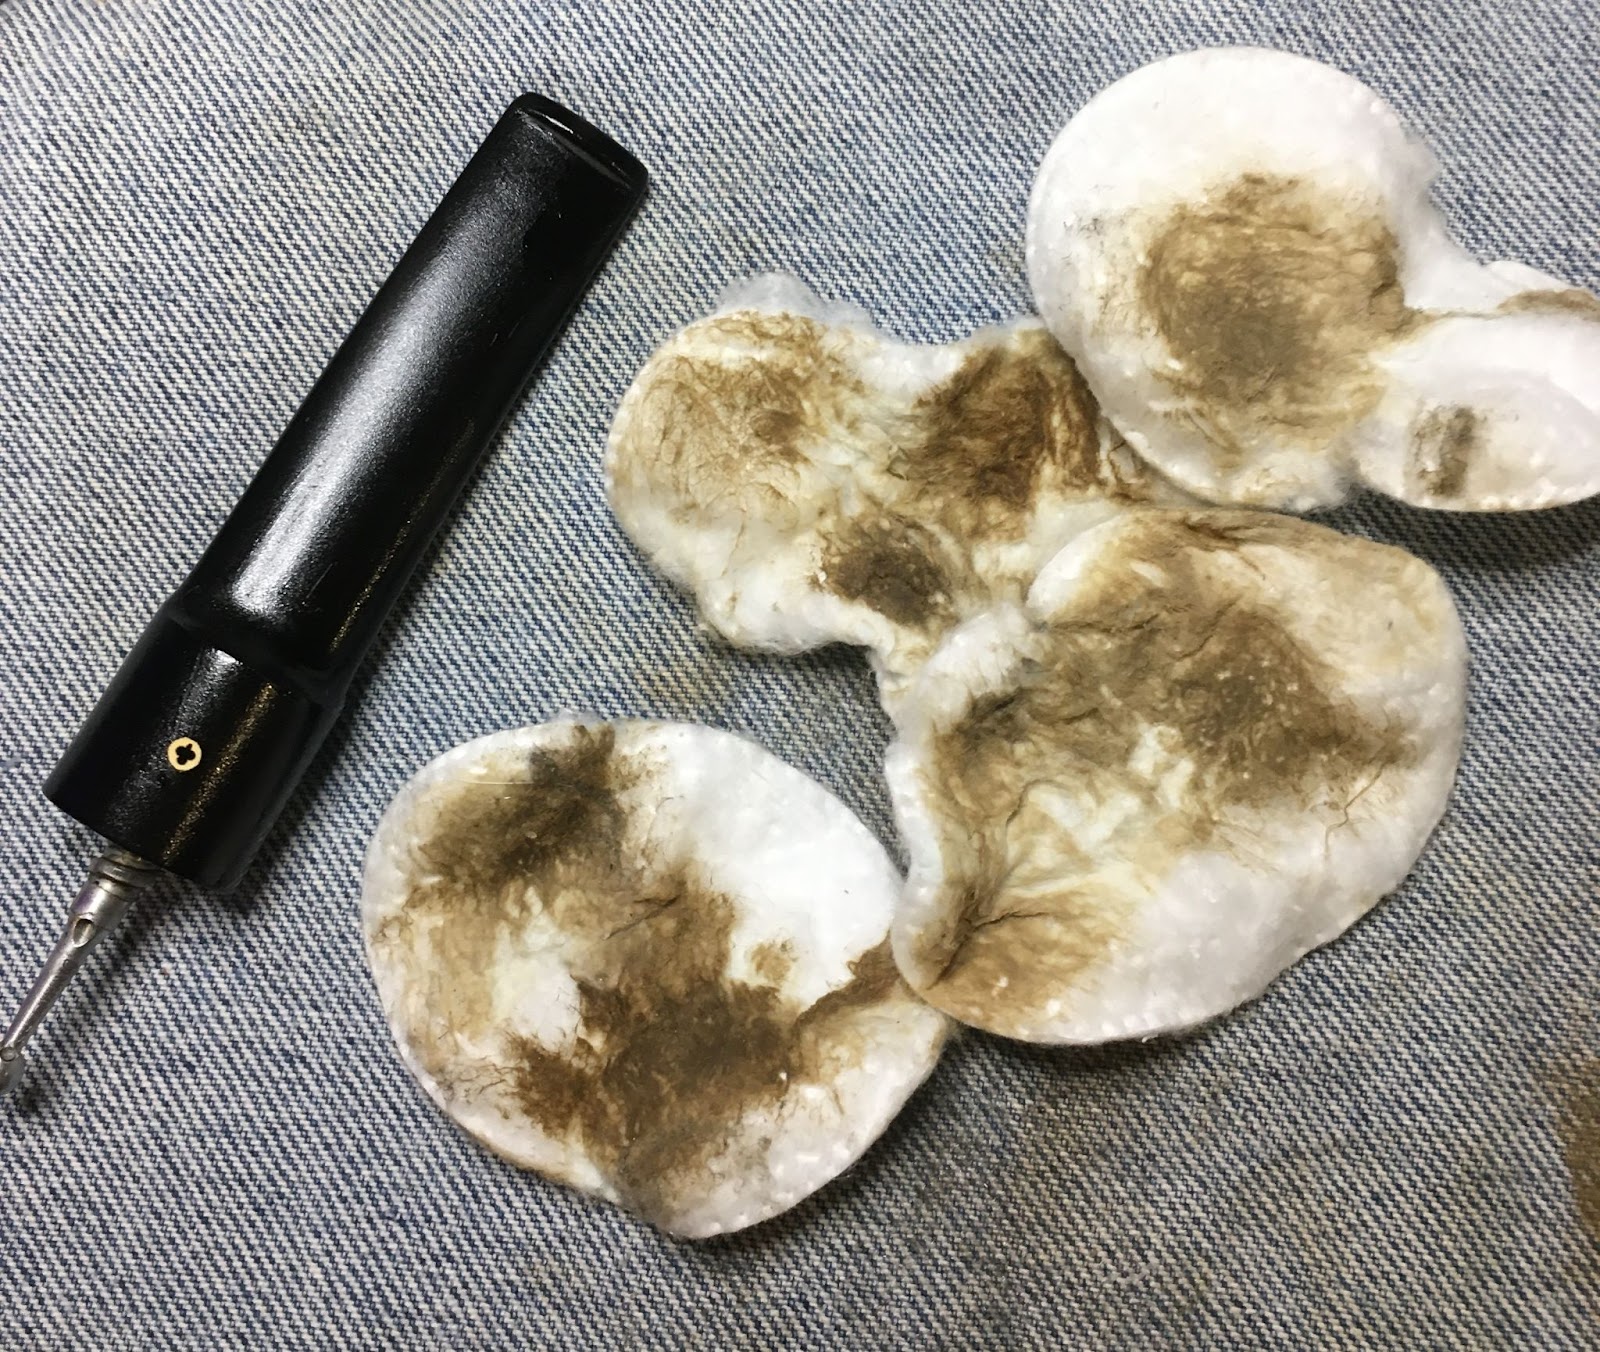
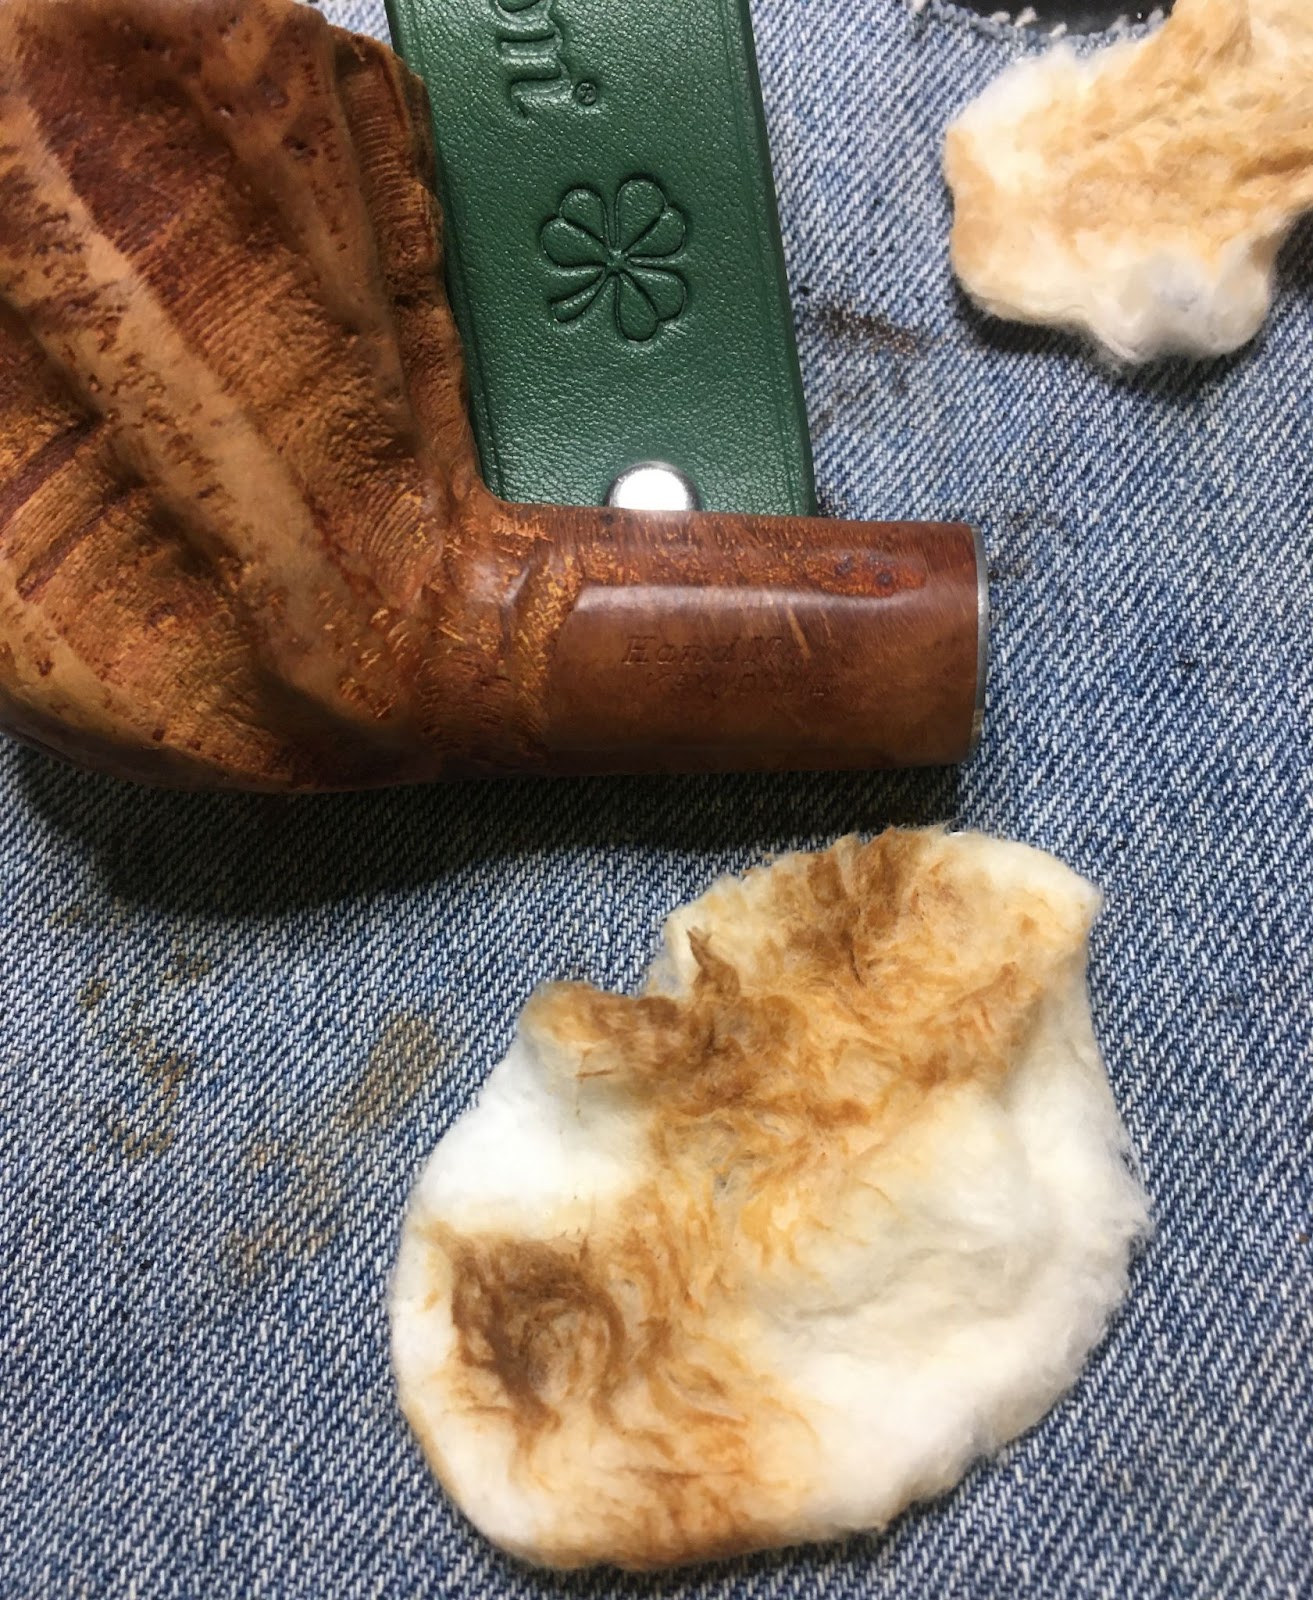
With the internals cleaned out I returned to the exterior of the stummel. There seemed to be some yuck (the technical term for unwanted debris) in the grooves of the carvings. I wetted a make-up pad with 95% ethyl alcohol and wiped-down the exterior of the stummel. Very little color came off.
I then used a stiff nylon bristle brush dipped in the alcohol to scrub the carvings. Again I wetted a make-up pad and wiped the surface. This time the grooves looked deyuckified and it showed on the make-up pad.
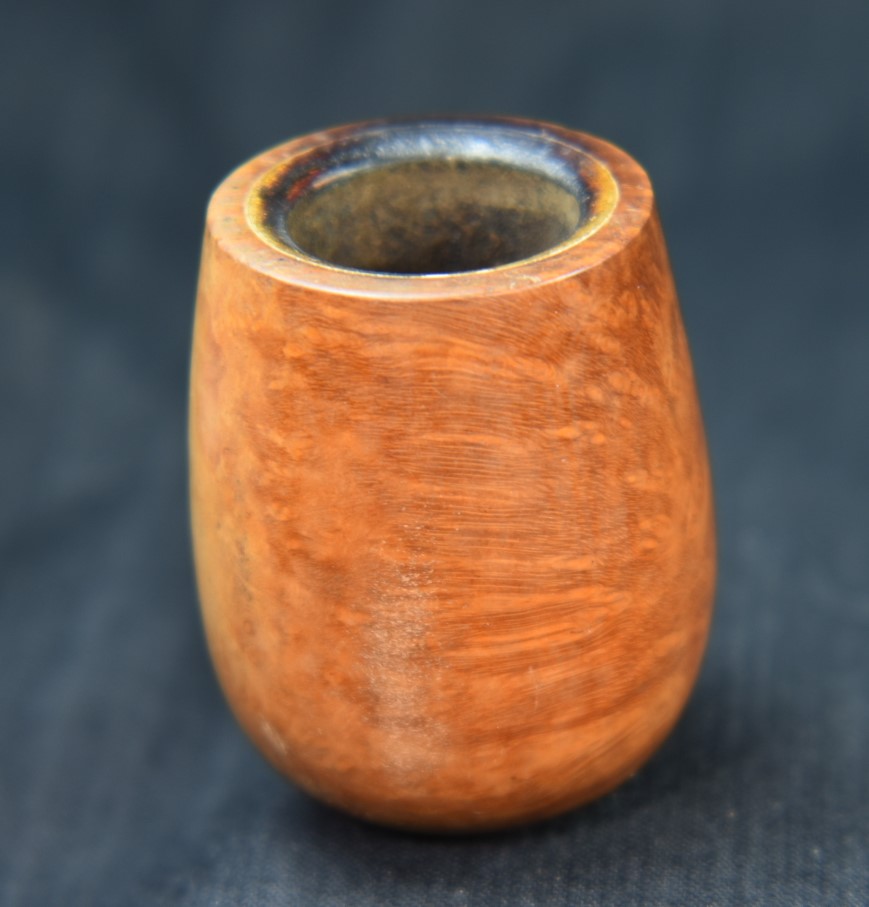
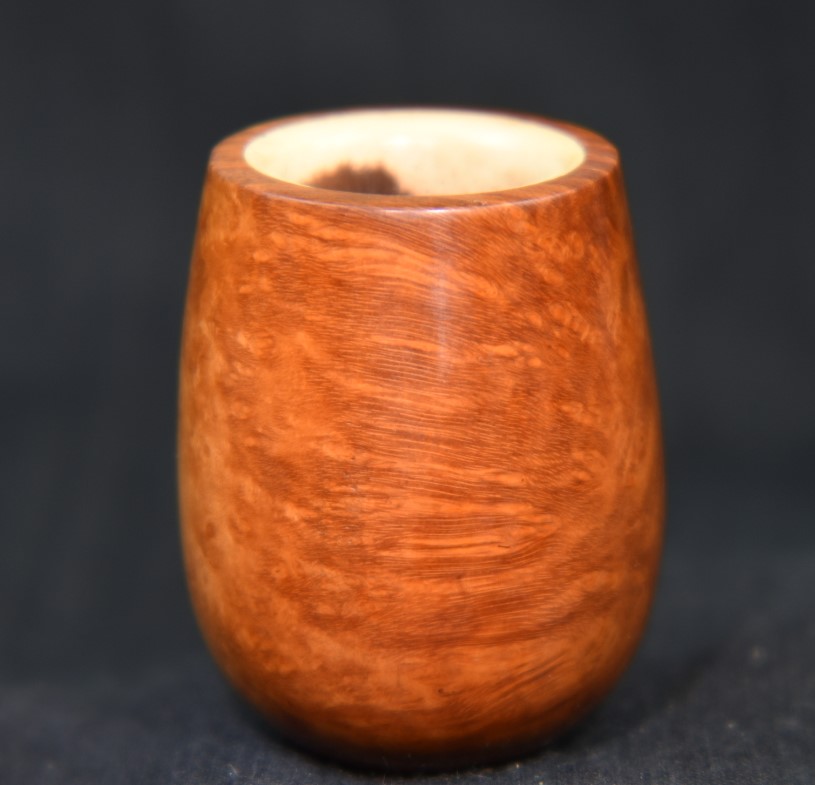
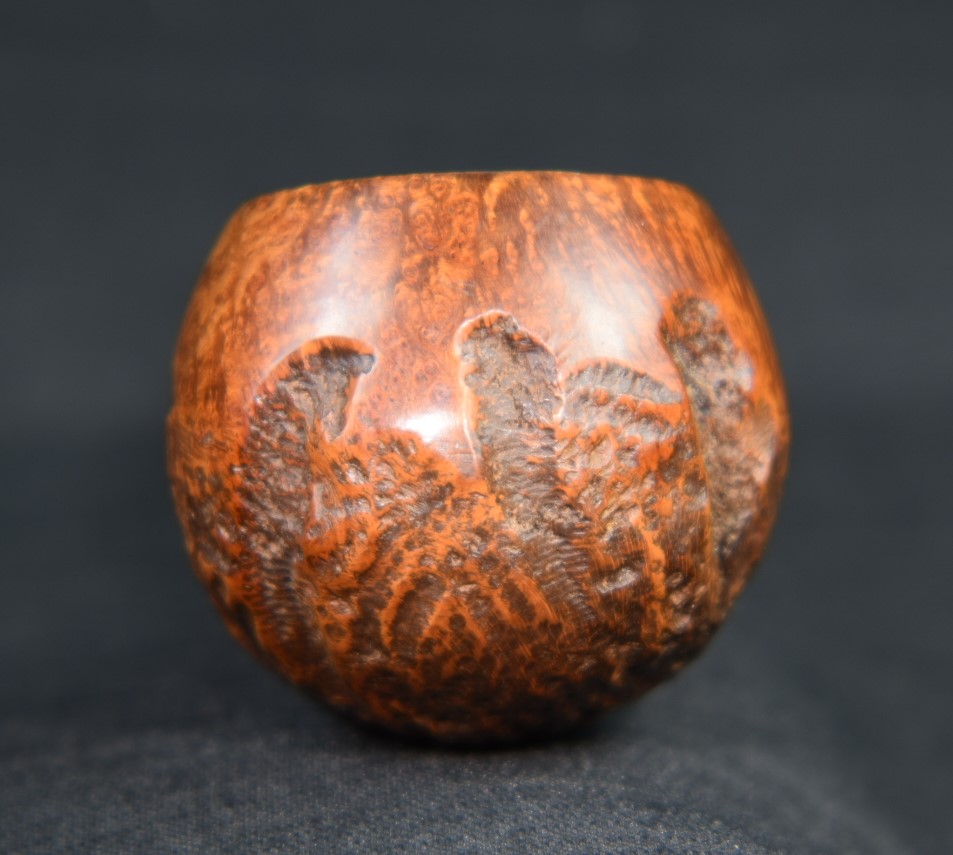
The rim looked very clean after the alcohol and nylon brush scrubbing. Although it did show a bit of charring around the inside edge of the rim.
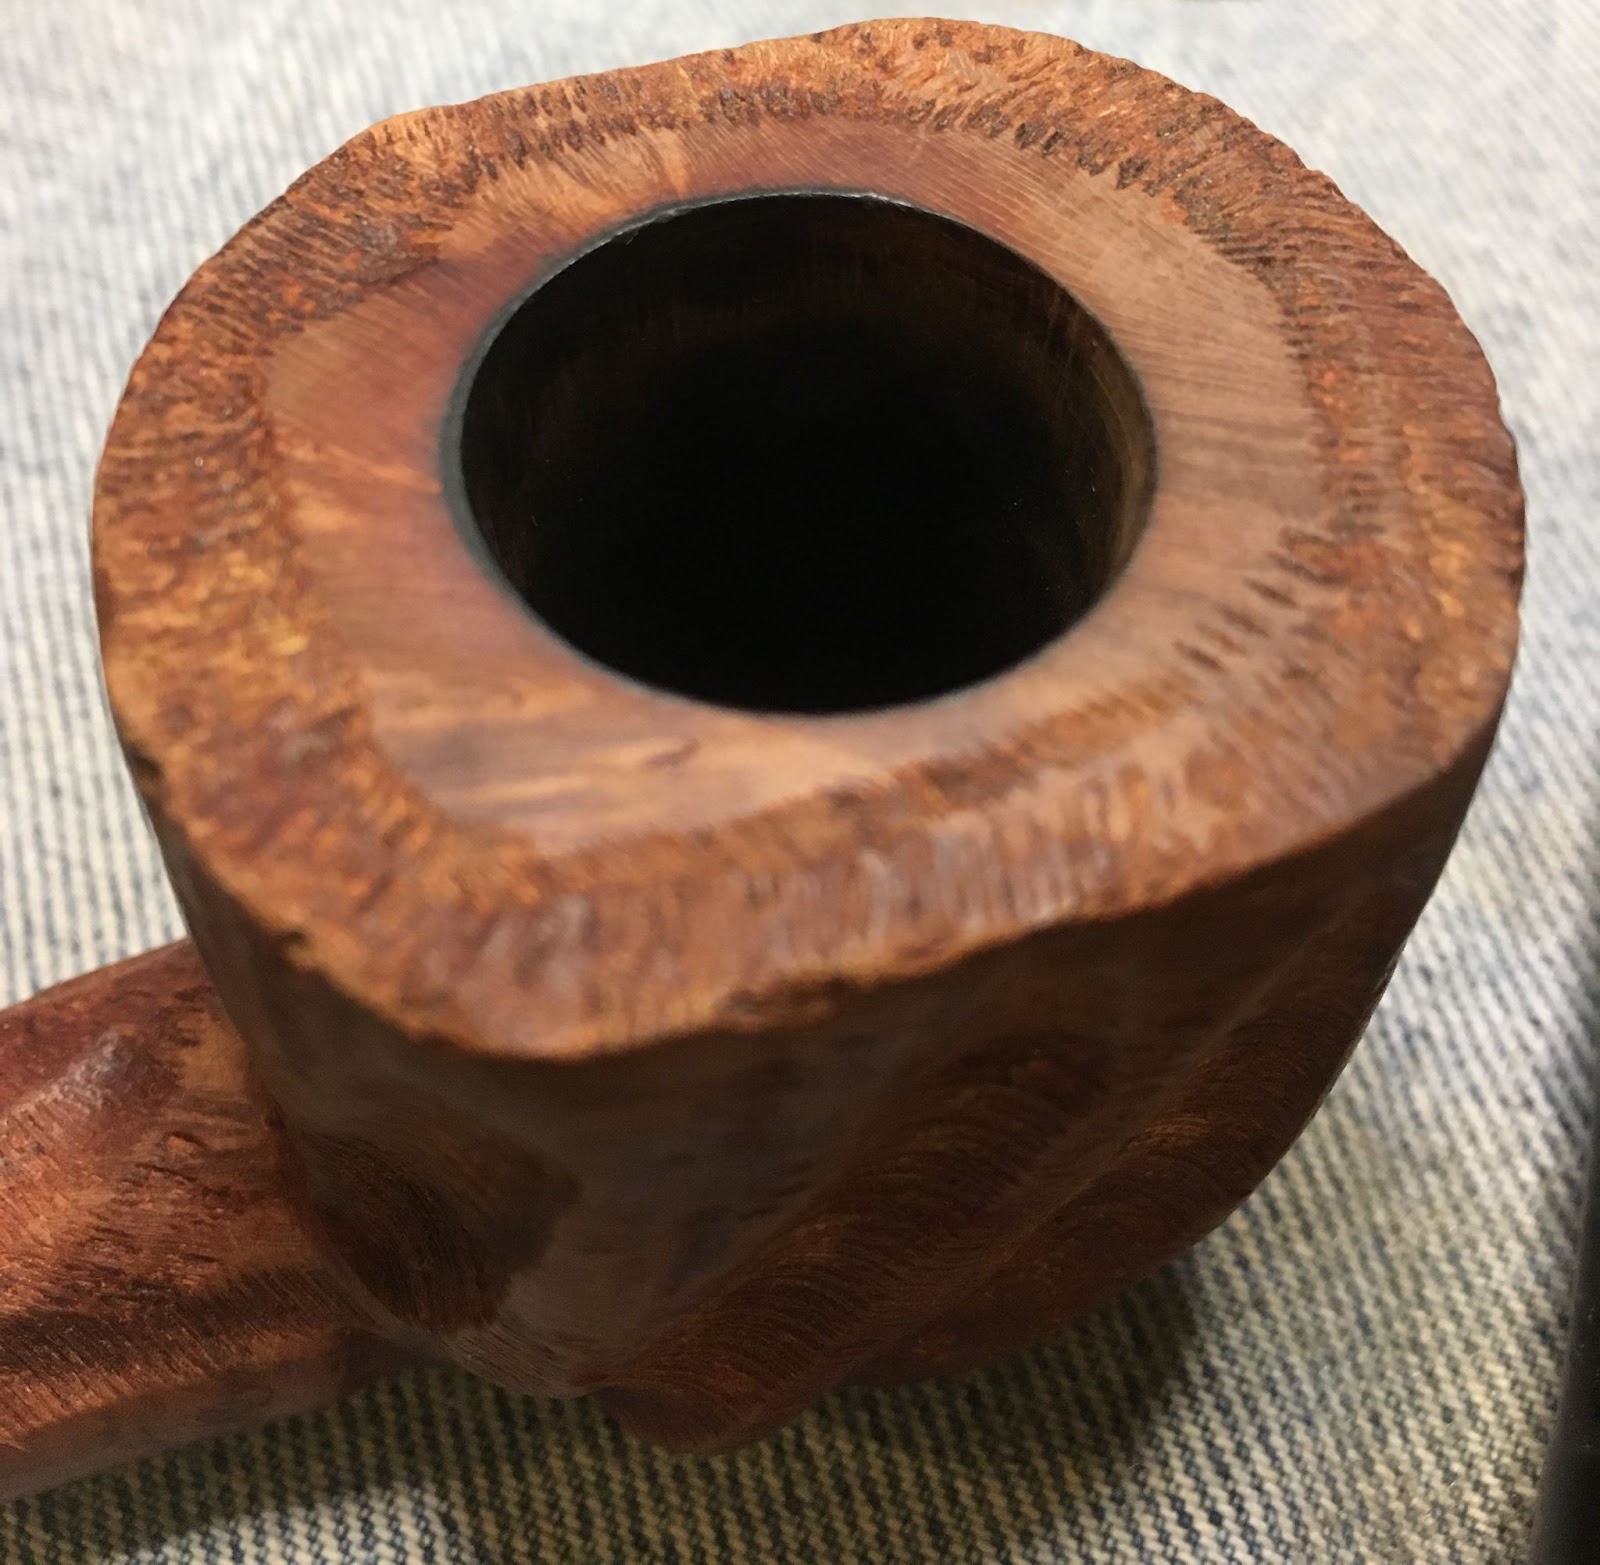
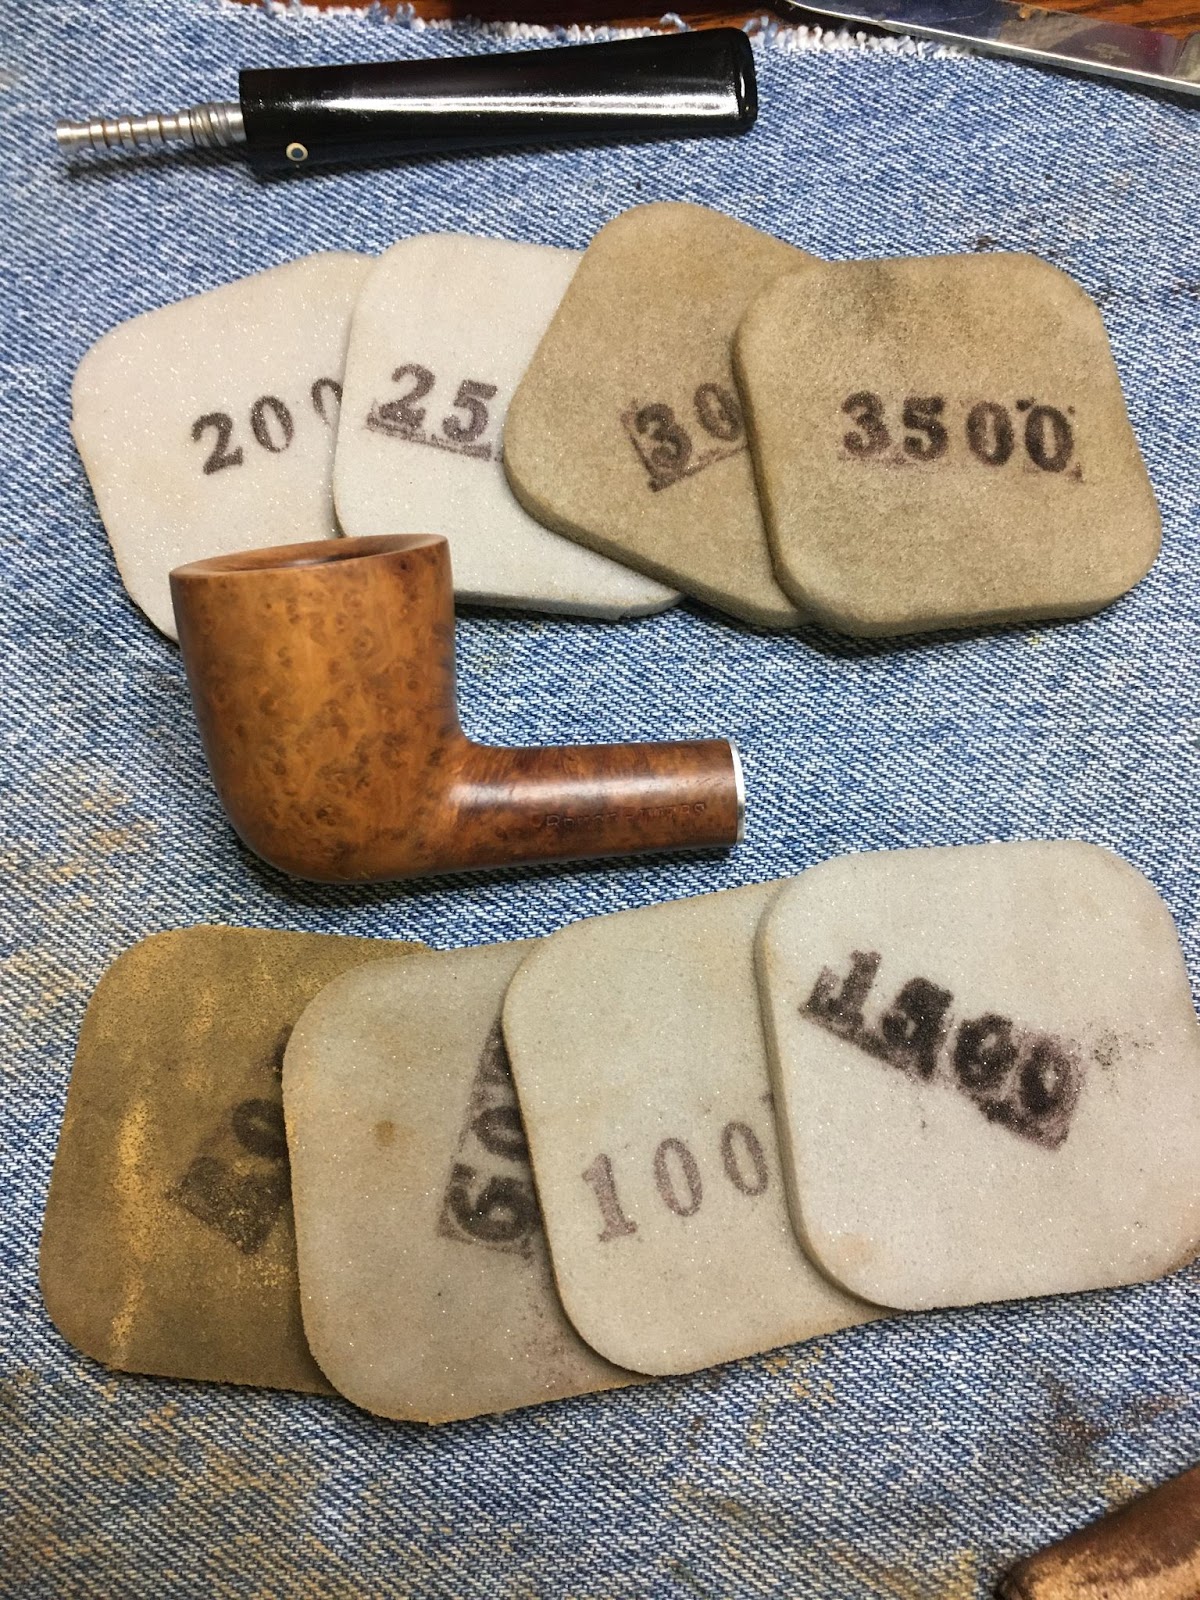
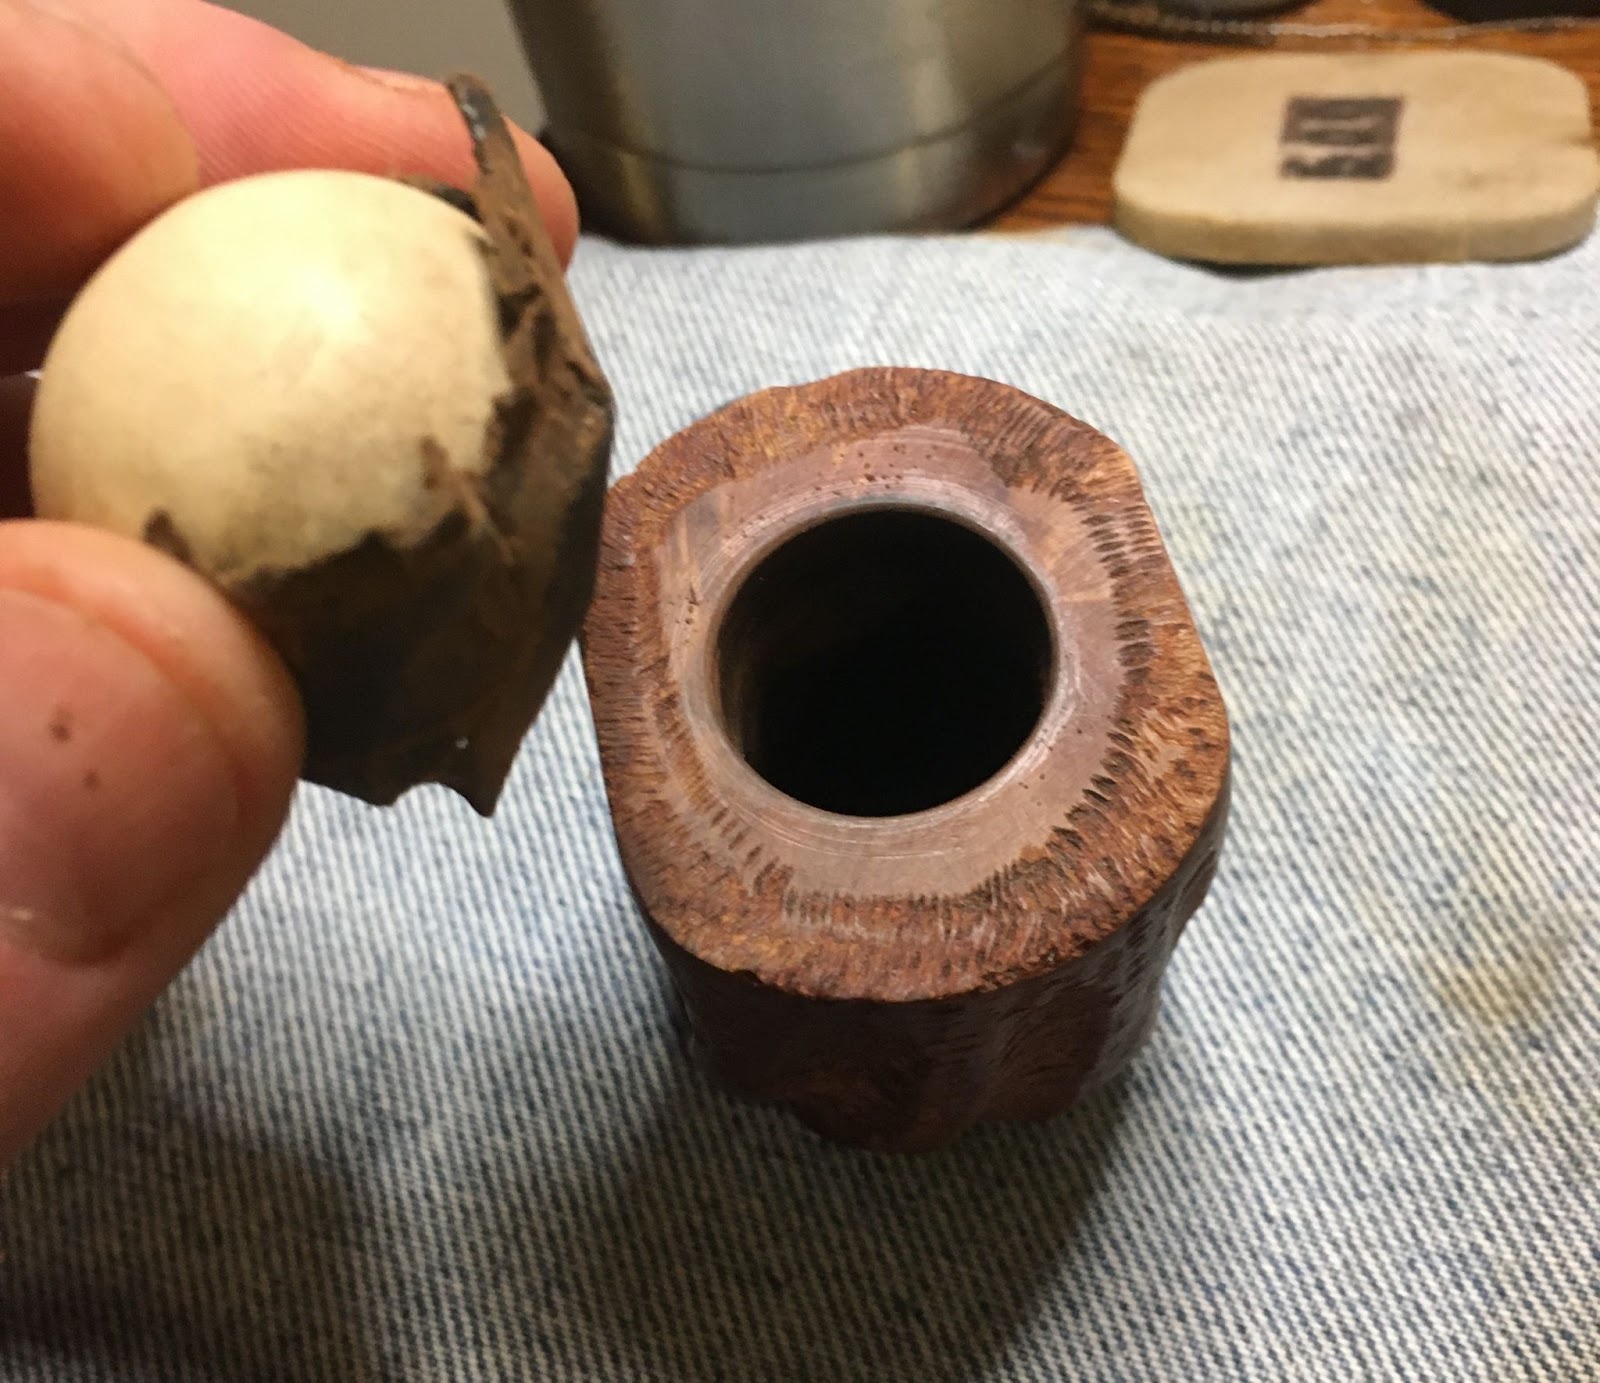
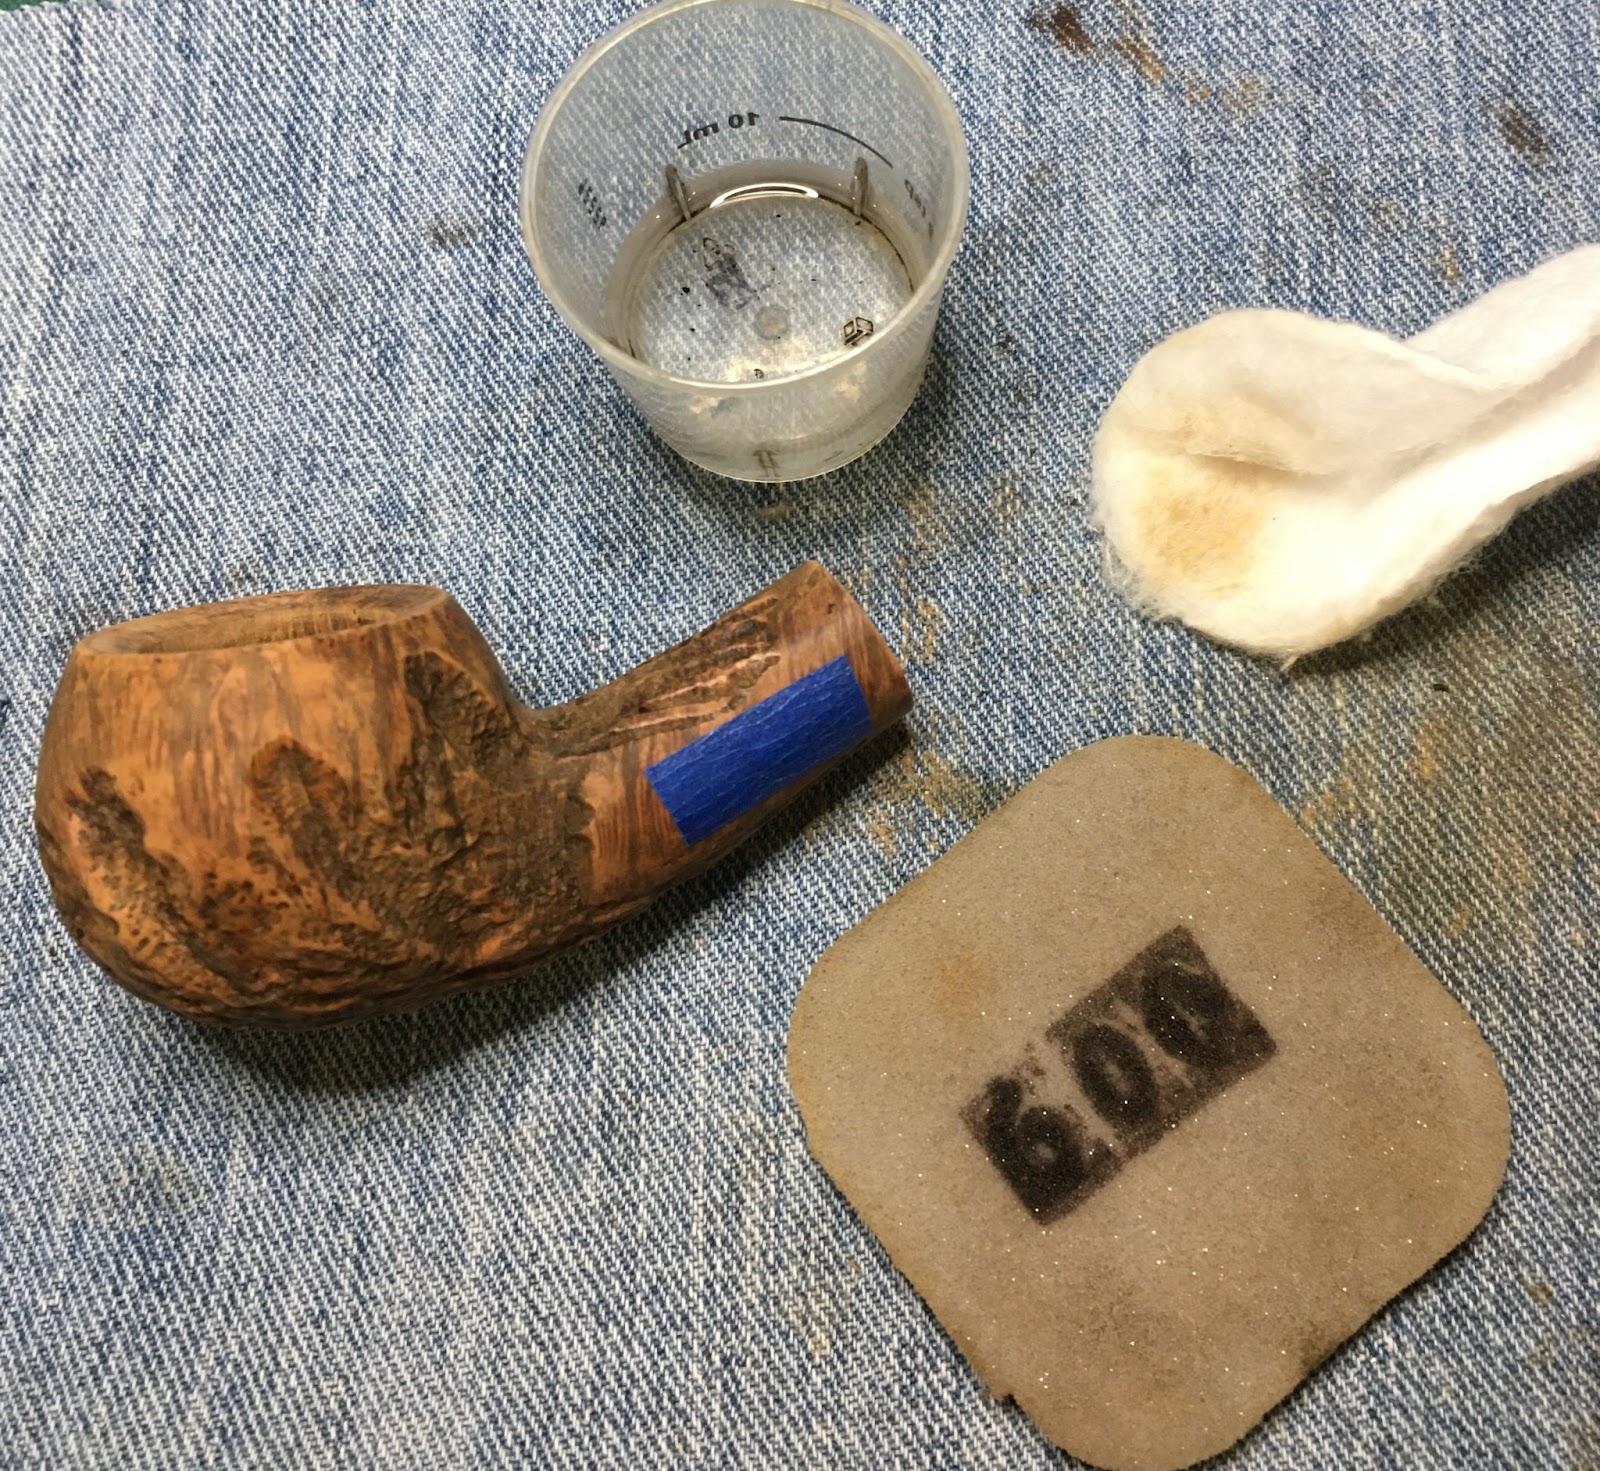
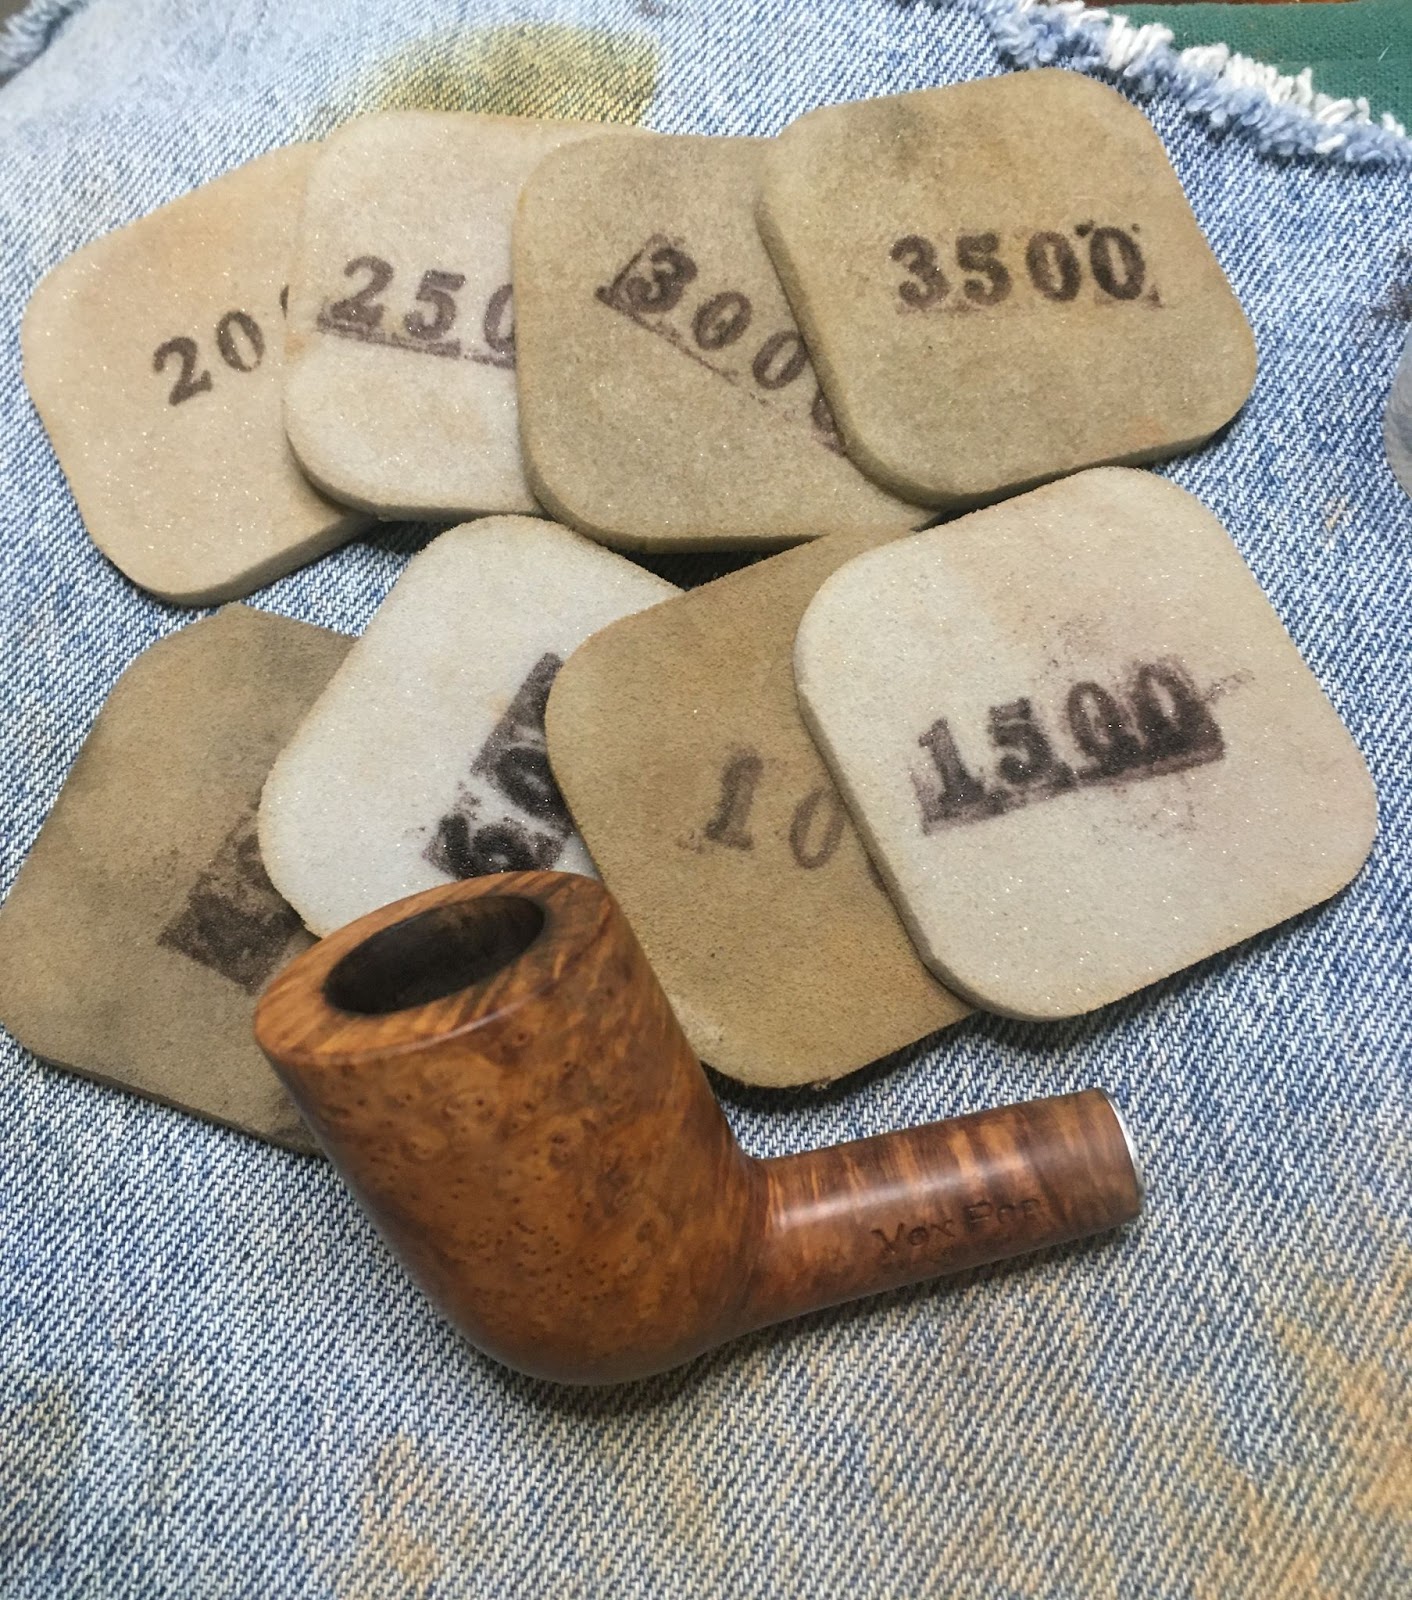
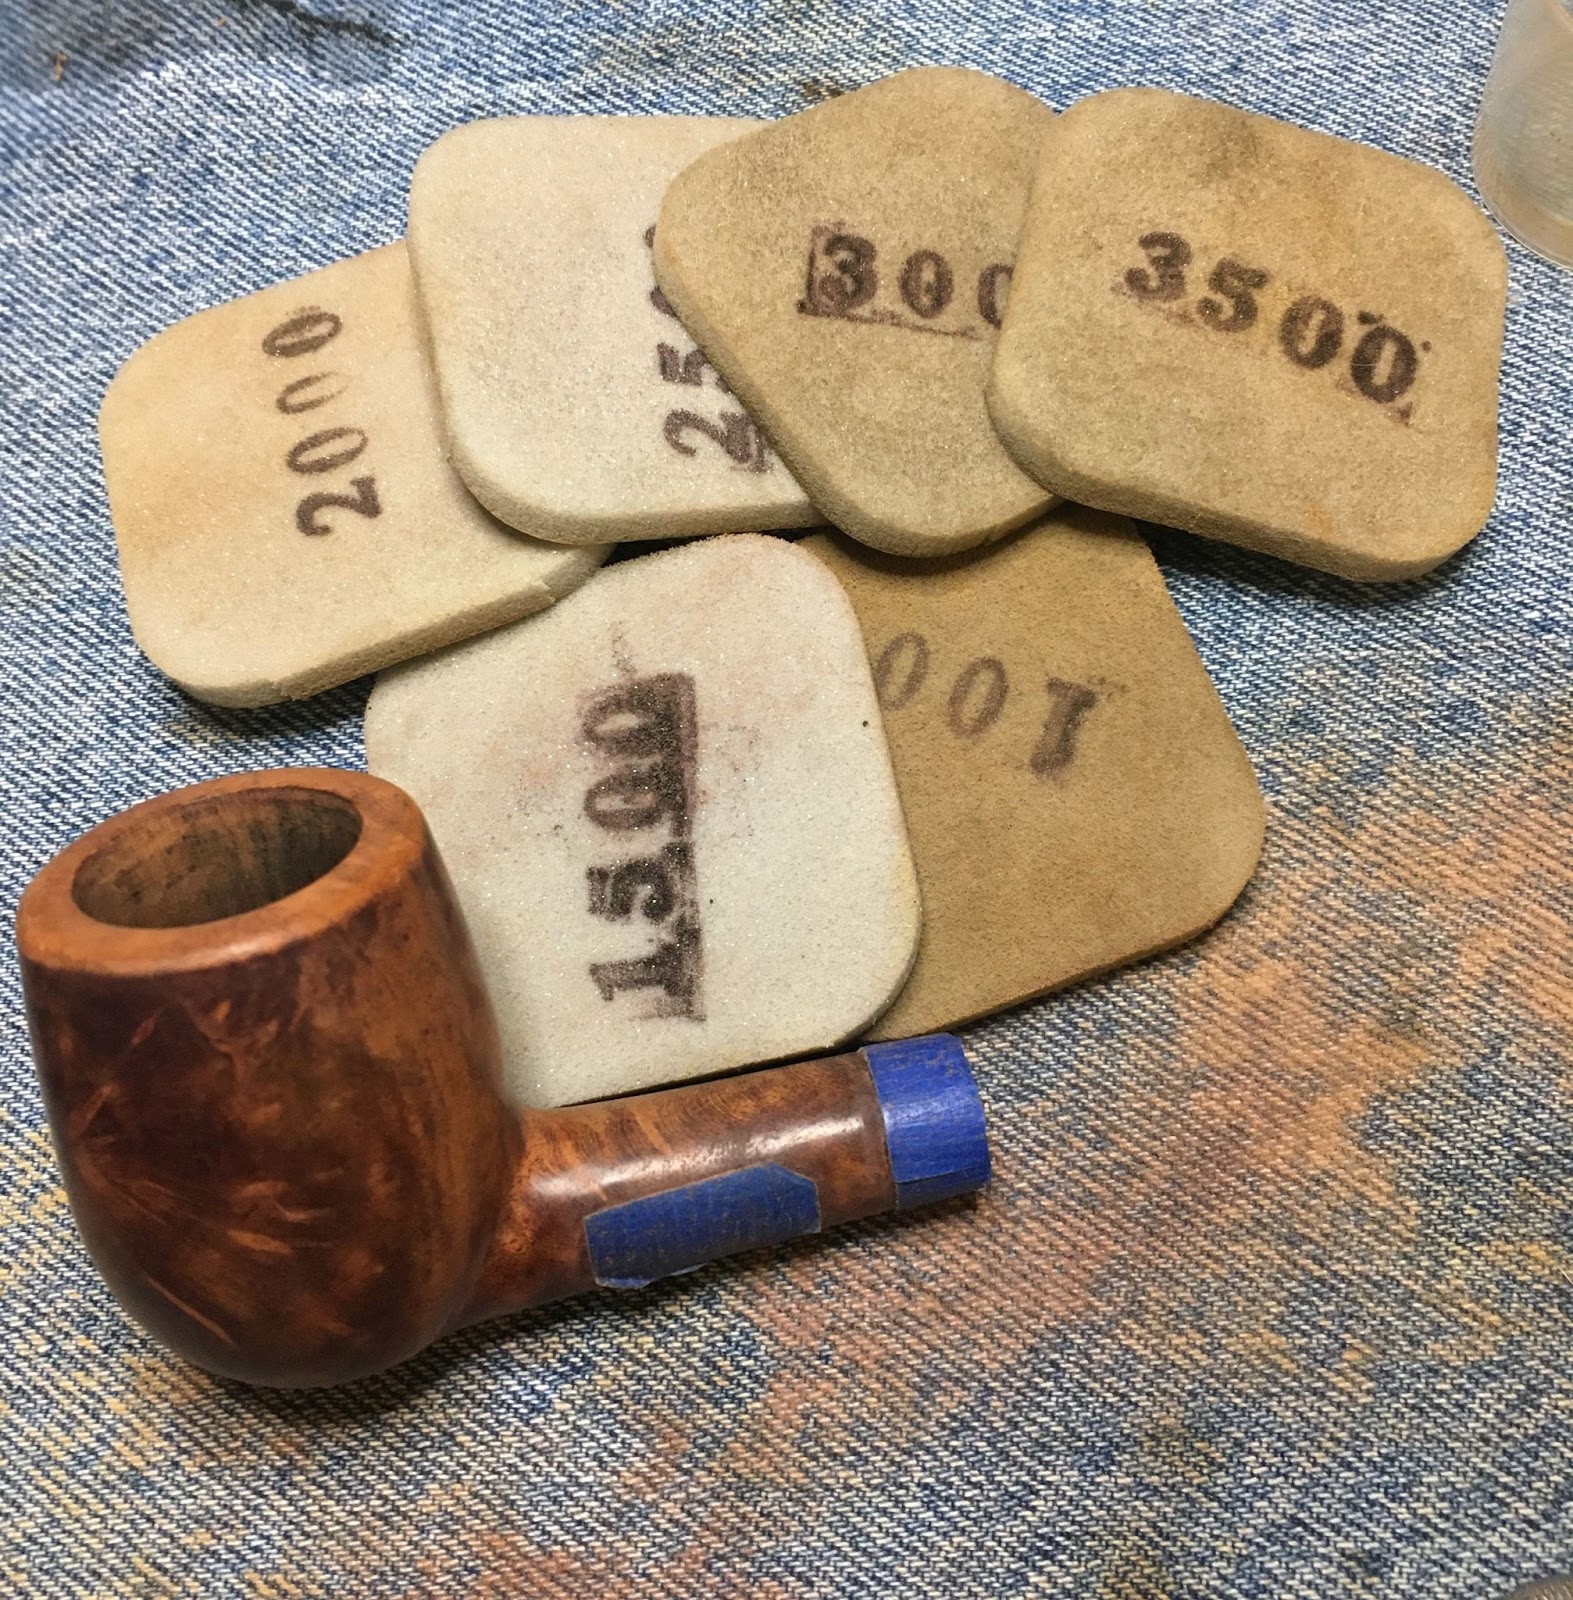
Now to deal with that charring. I used a wood sphere with a piece of 220 sandpaper. The sphere provided an even angle for a bevel and erased the charred briar. THe bevel was then sanded smooth with the sanding sponges by using the 400, 1000, 1500 and 2500 sponges in sequence.
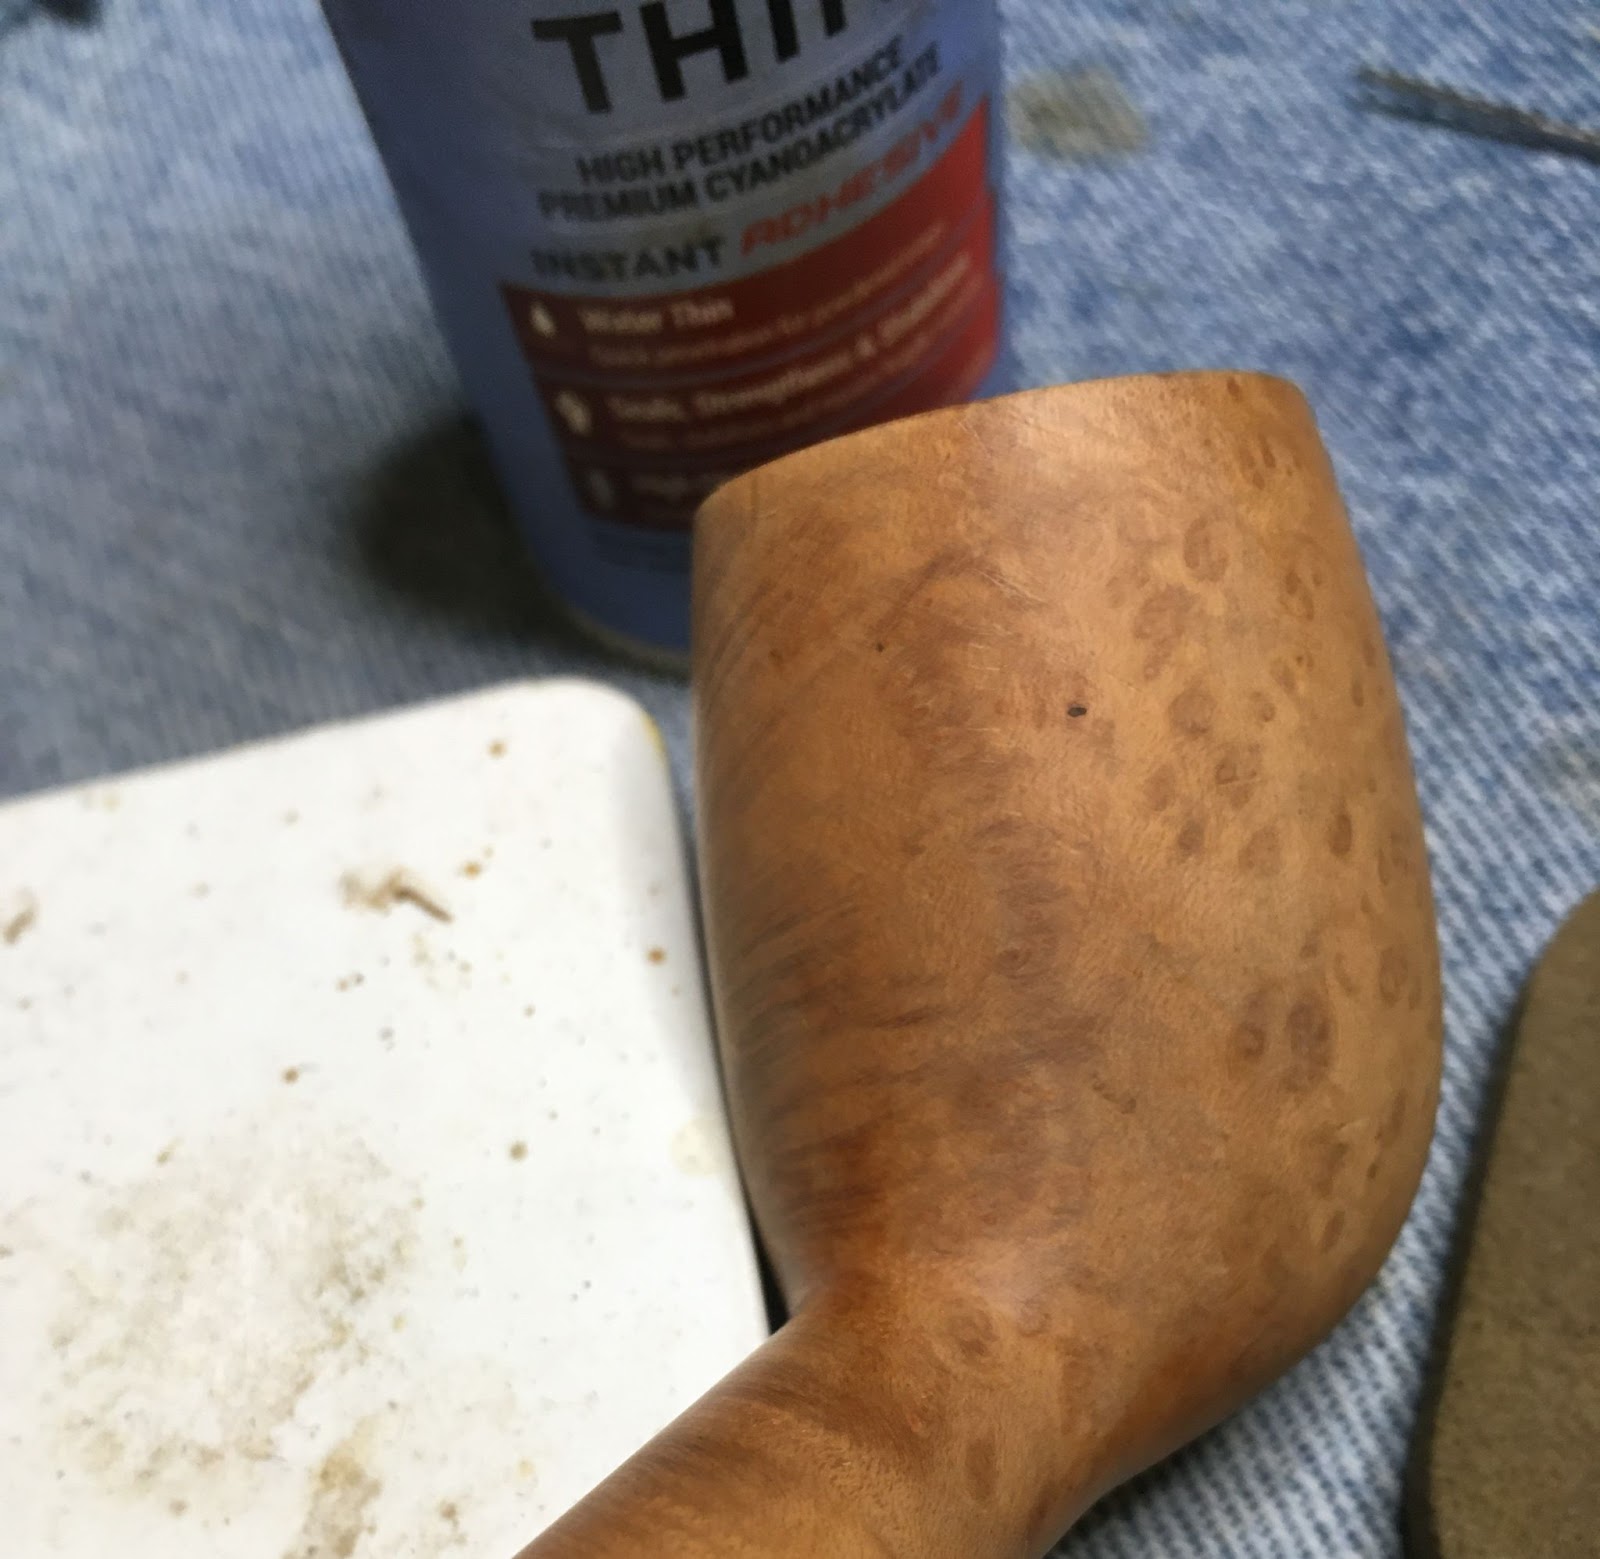
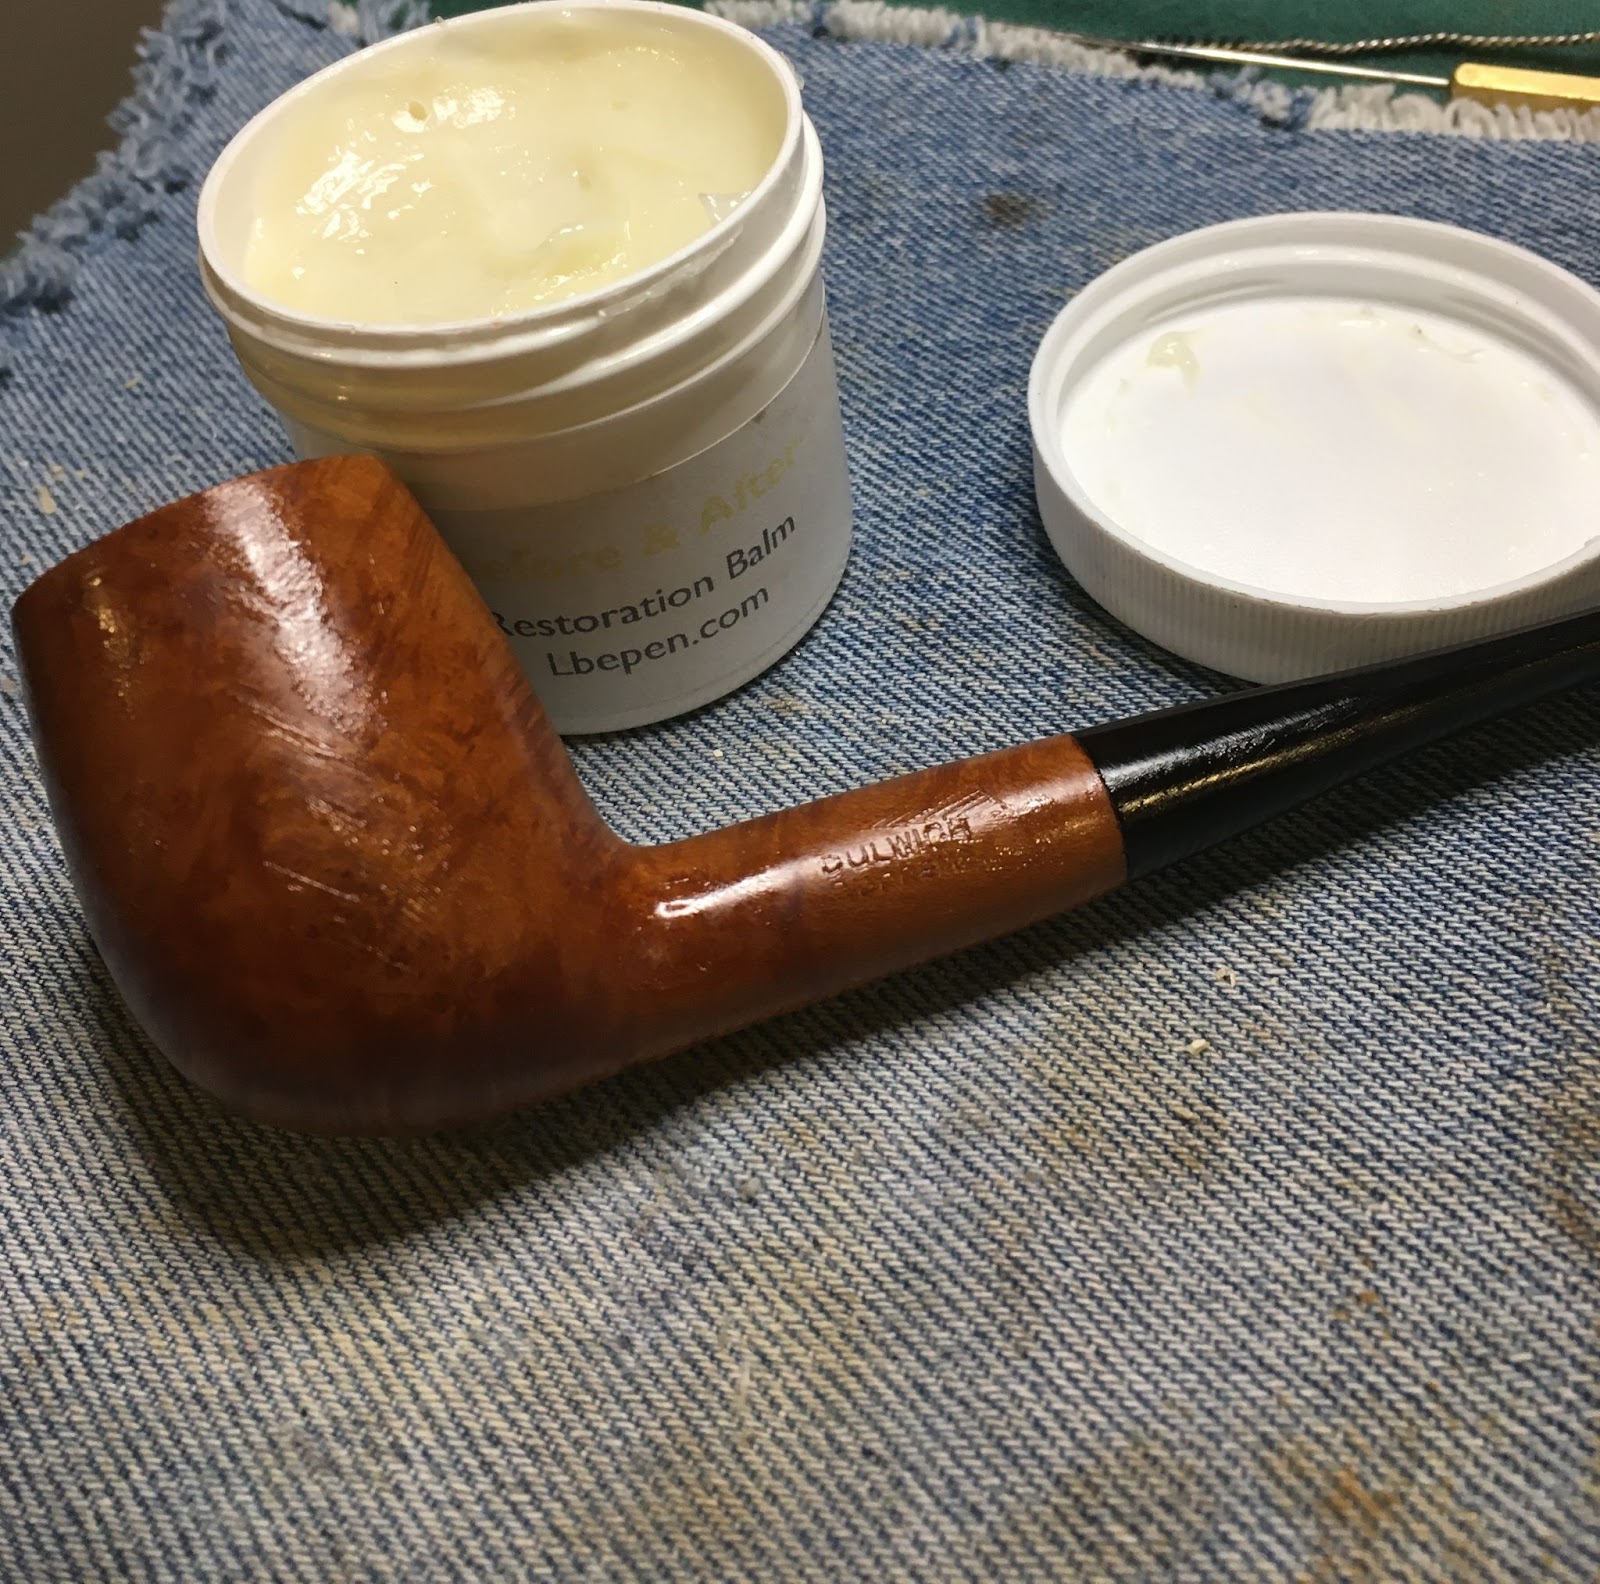
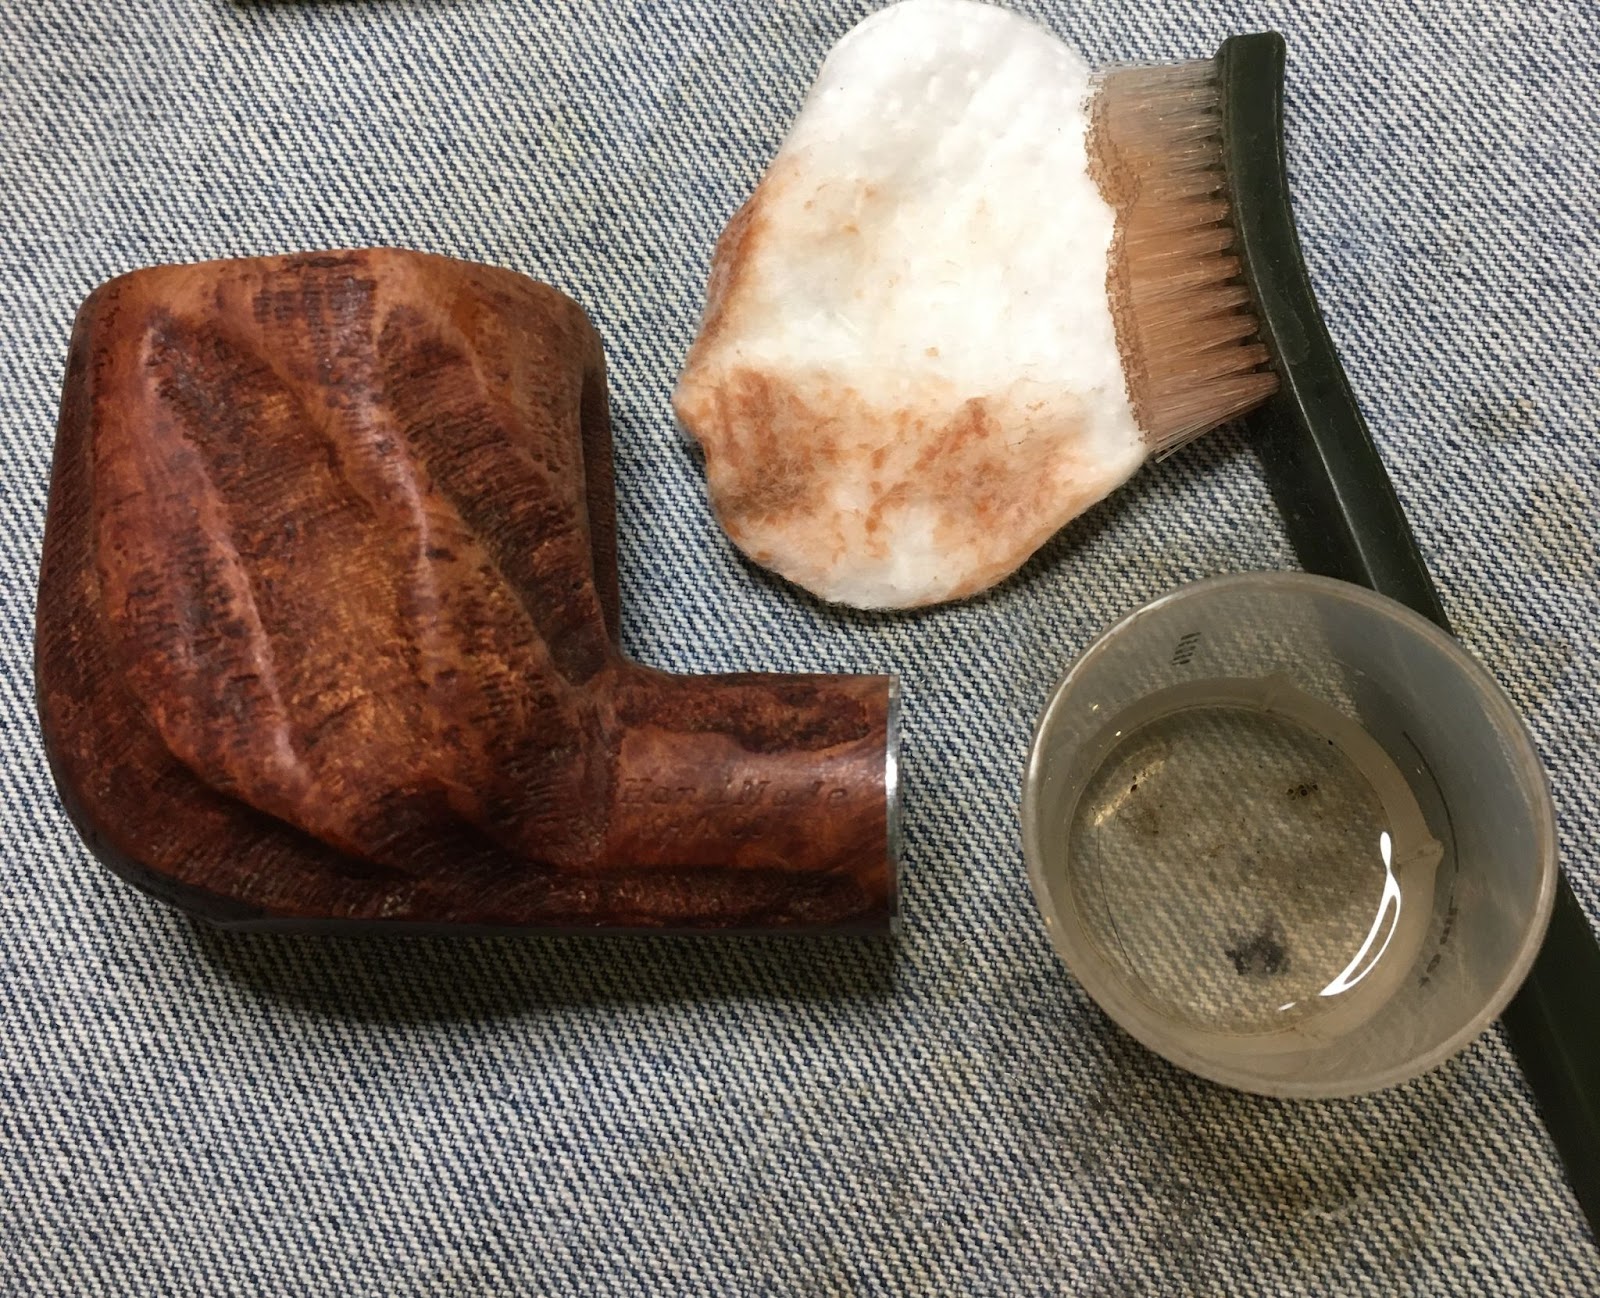
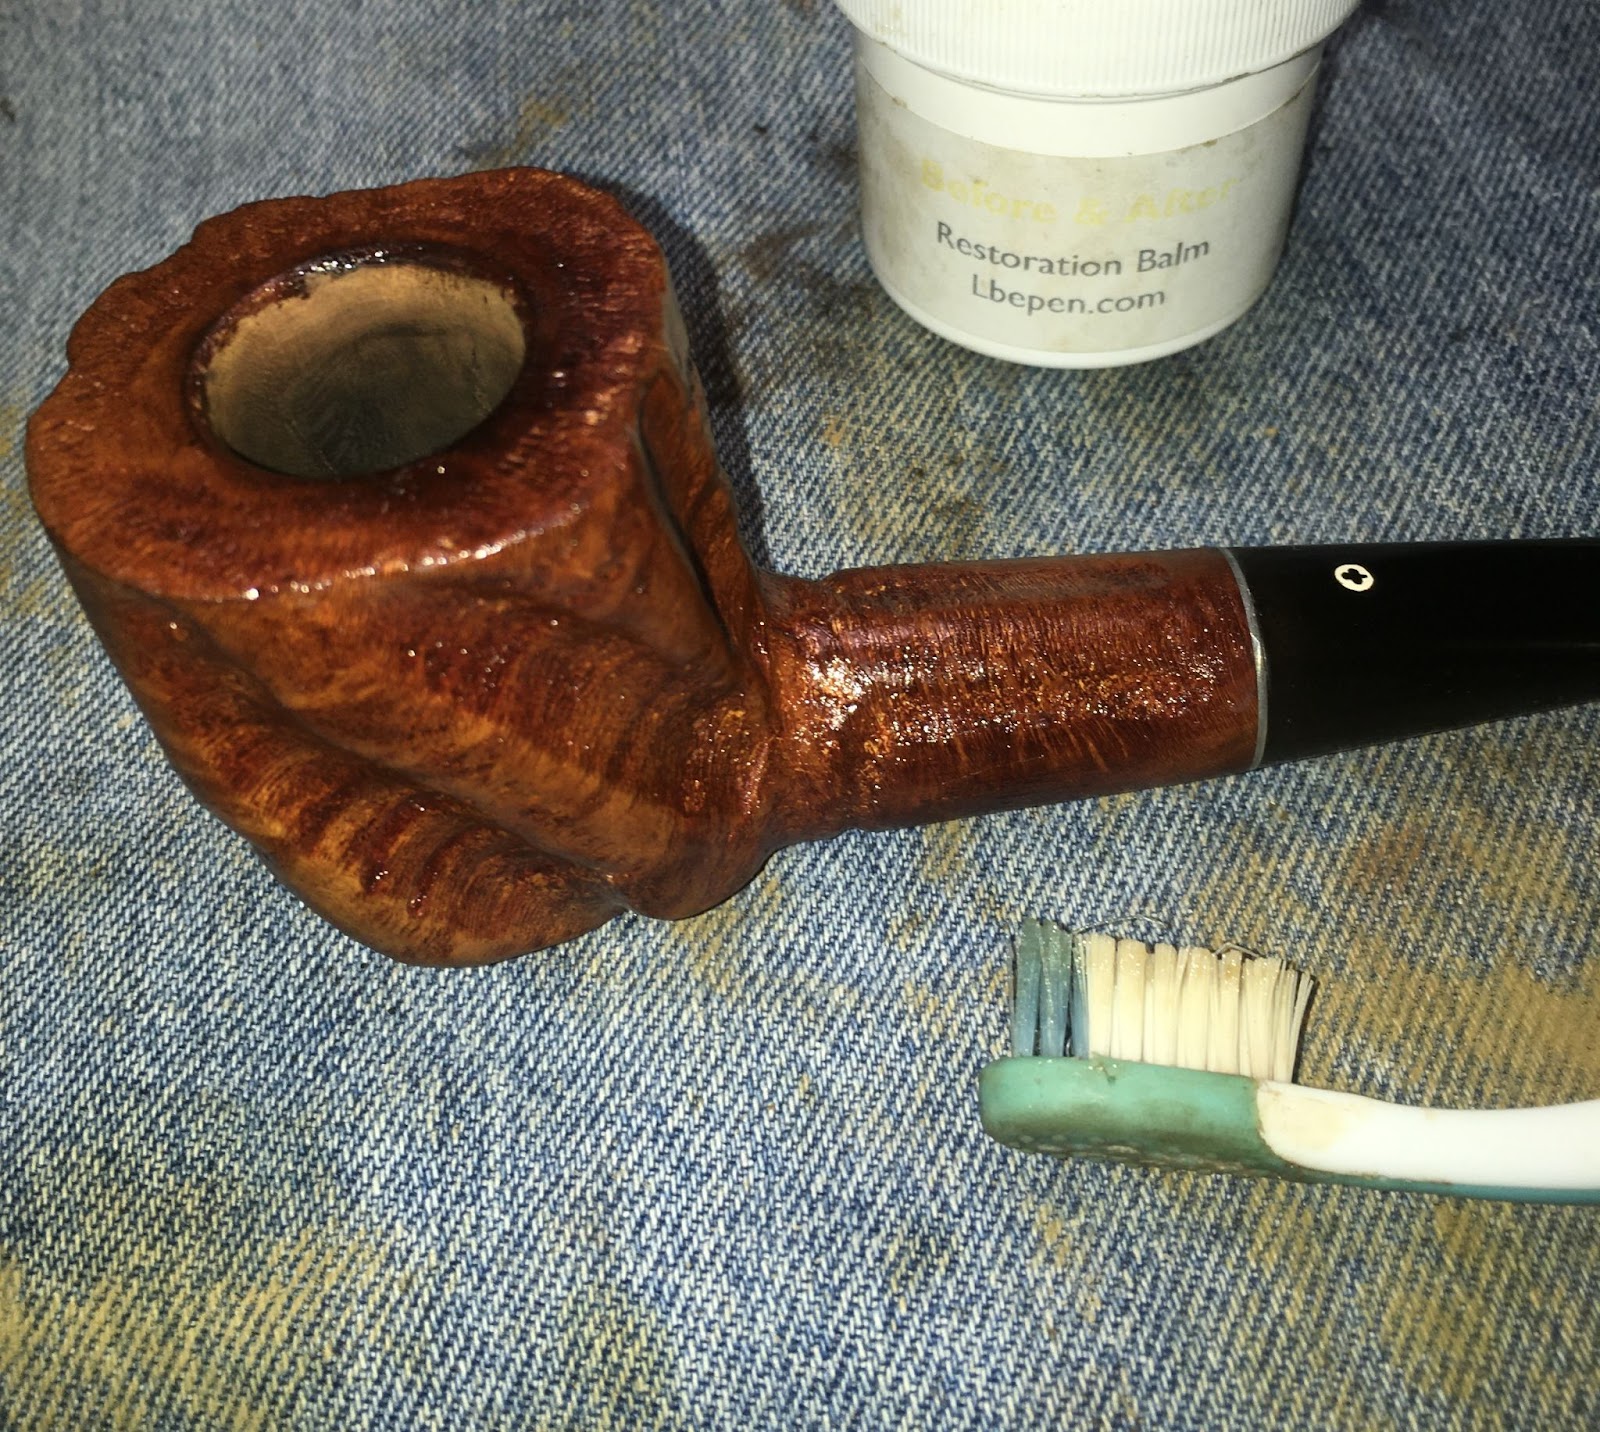
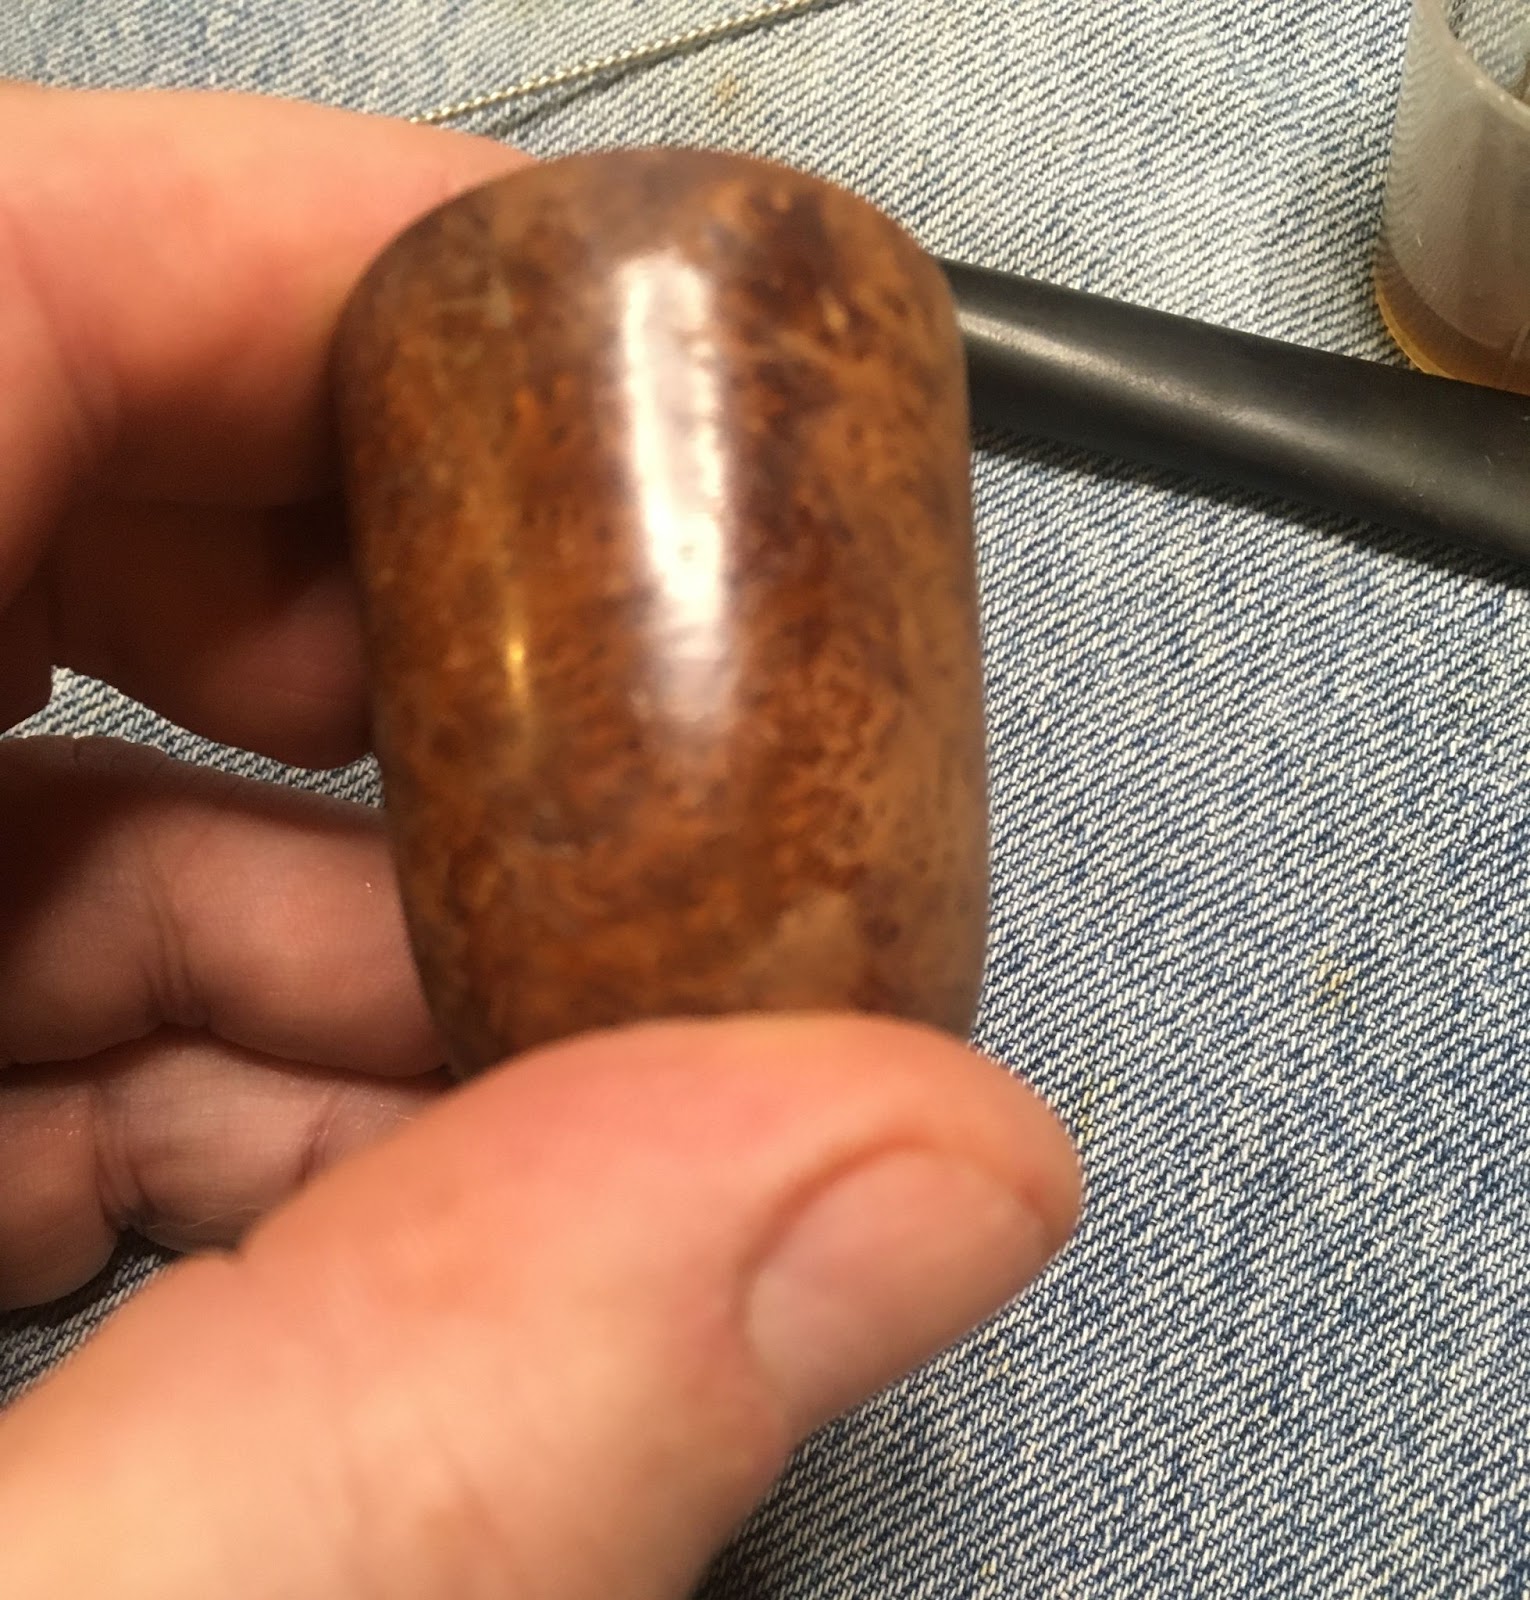
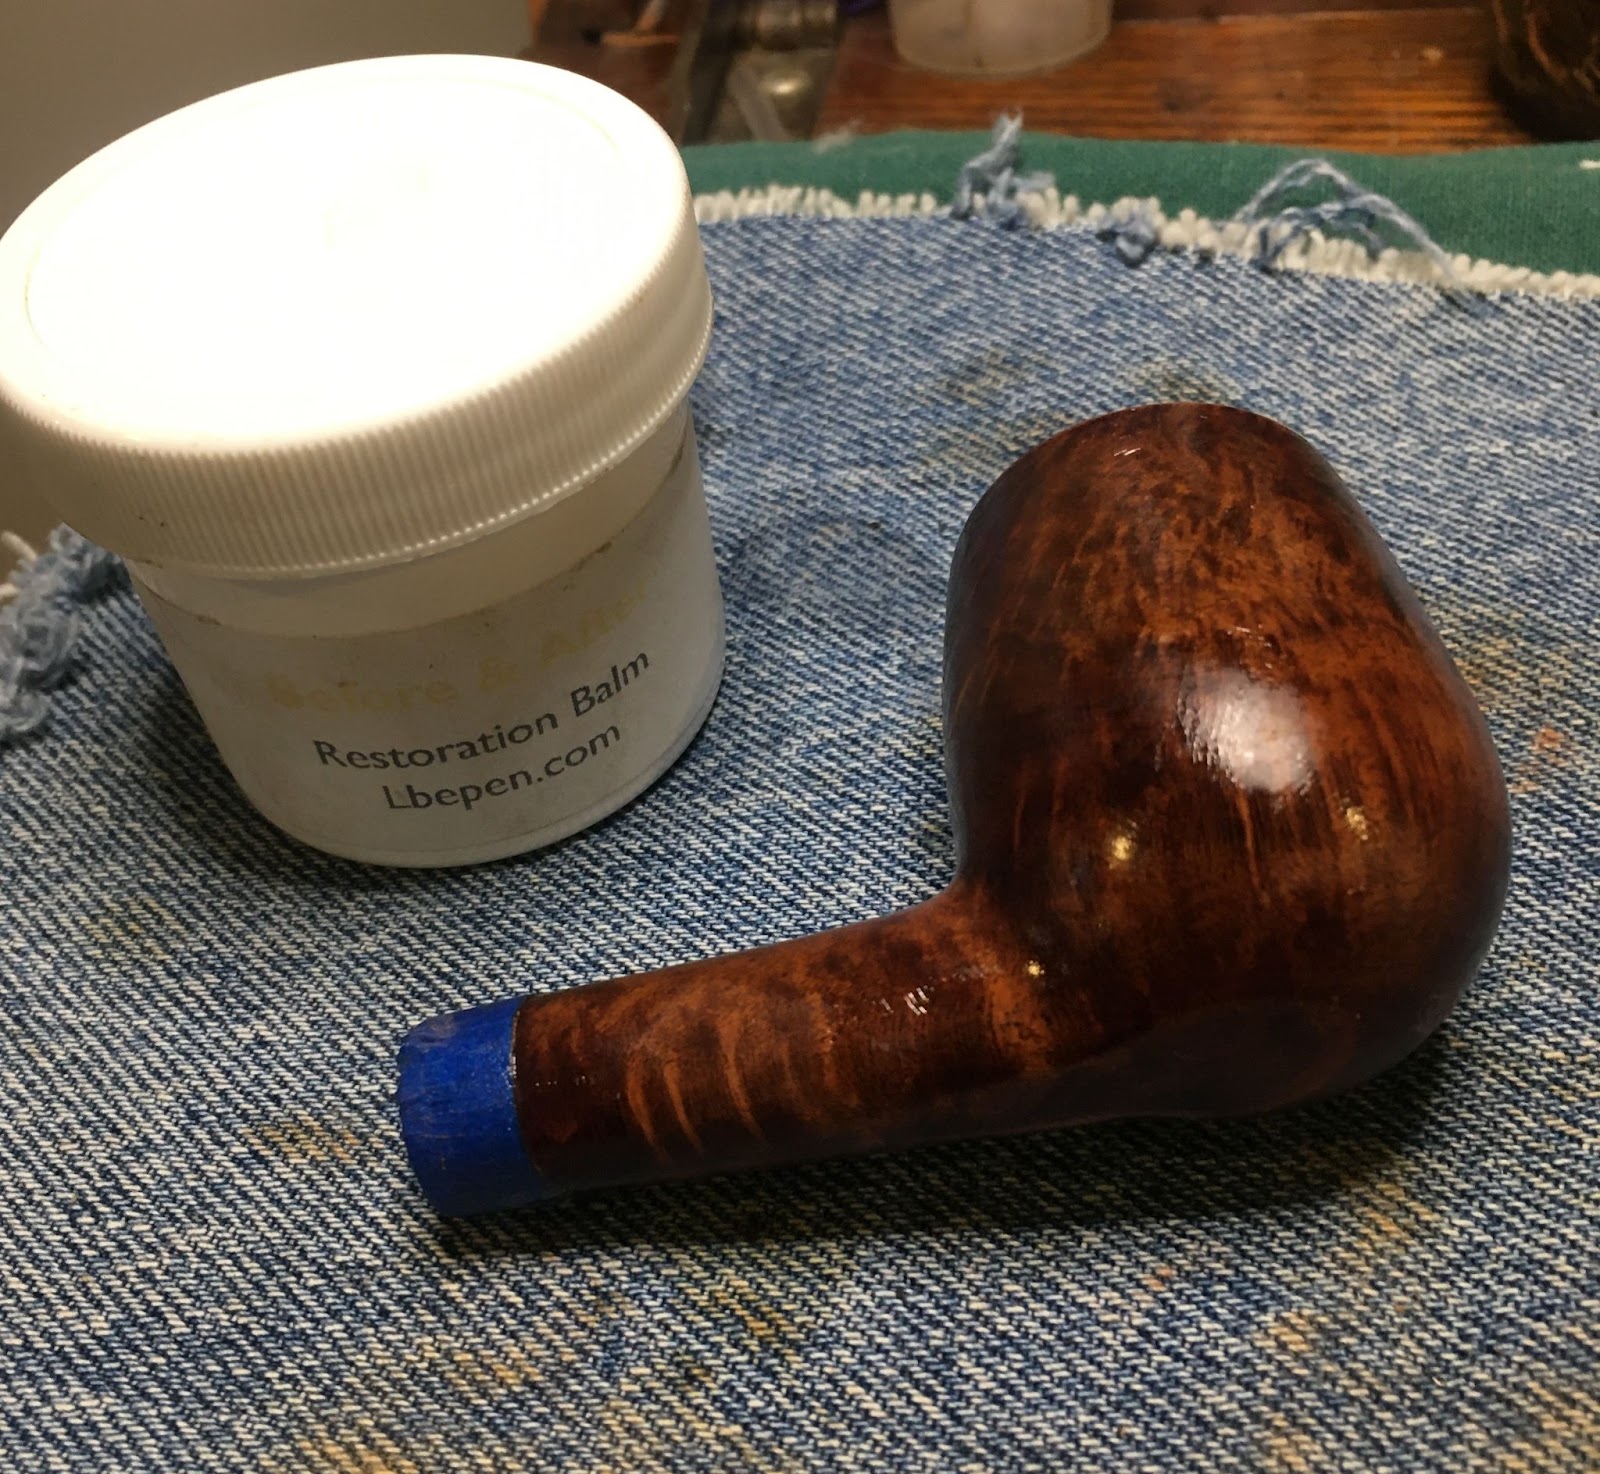
The stummel required no real sanding other than a light buff with the previously mentioned sanding sponges. I wiped the stummel off with an alcohol dampened make-up pad and let it dry. The stummel was then coated with Before and After Restoration Balm and allowed to sit overnight.

In the morning the Restoration Balm was hand buffed from the stummel using the inside of an athletic sock. The terrycloth of the sock worked excess balm from the rustications of the carvings and left a very pretty shine on the stummel.

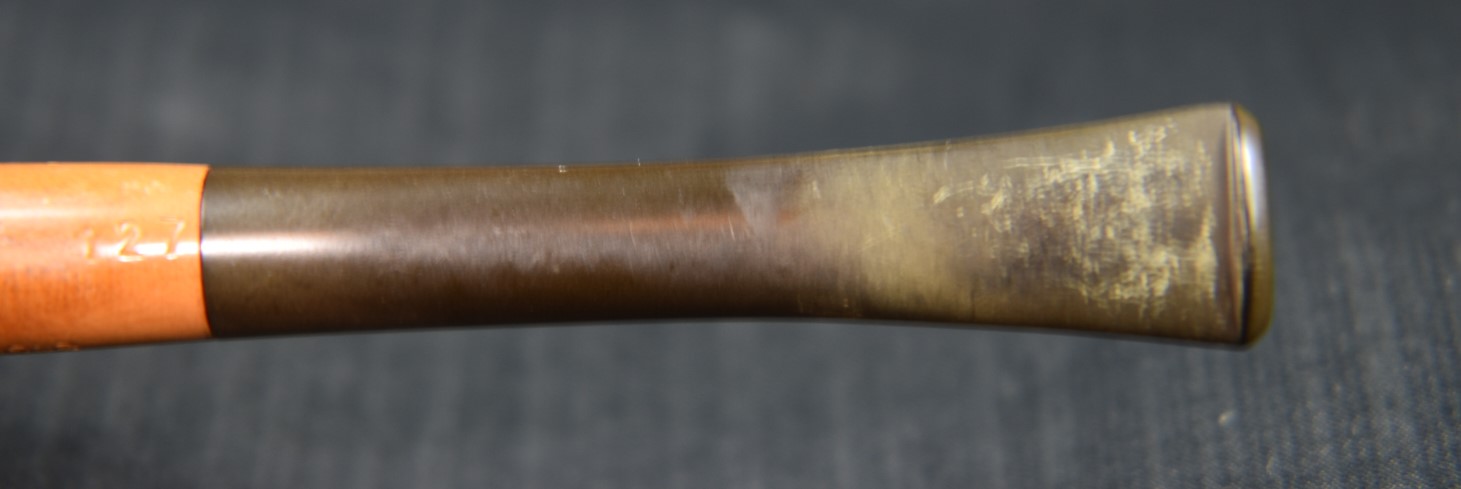
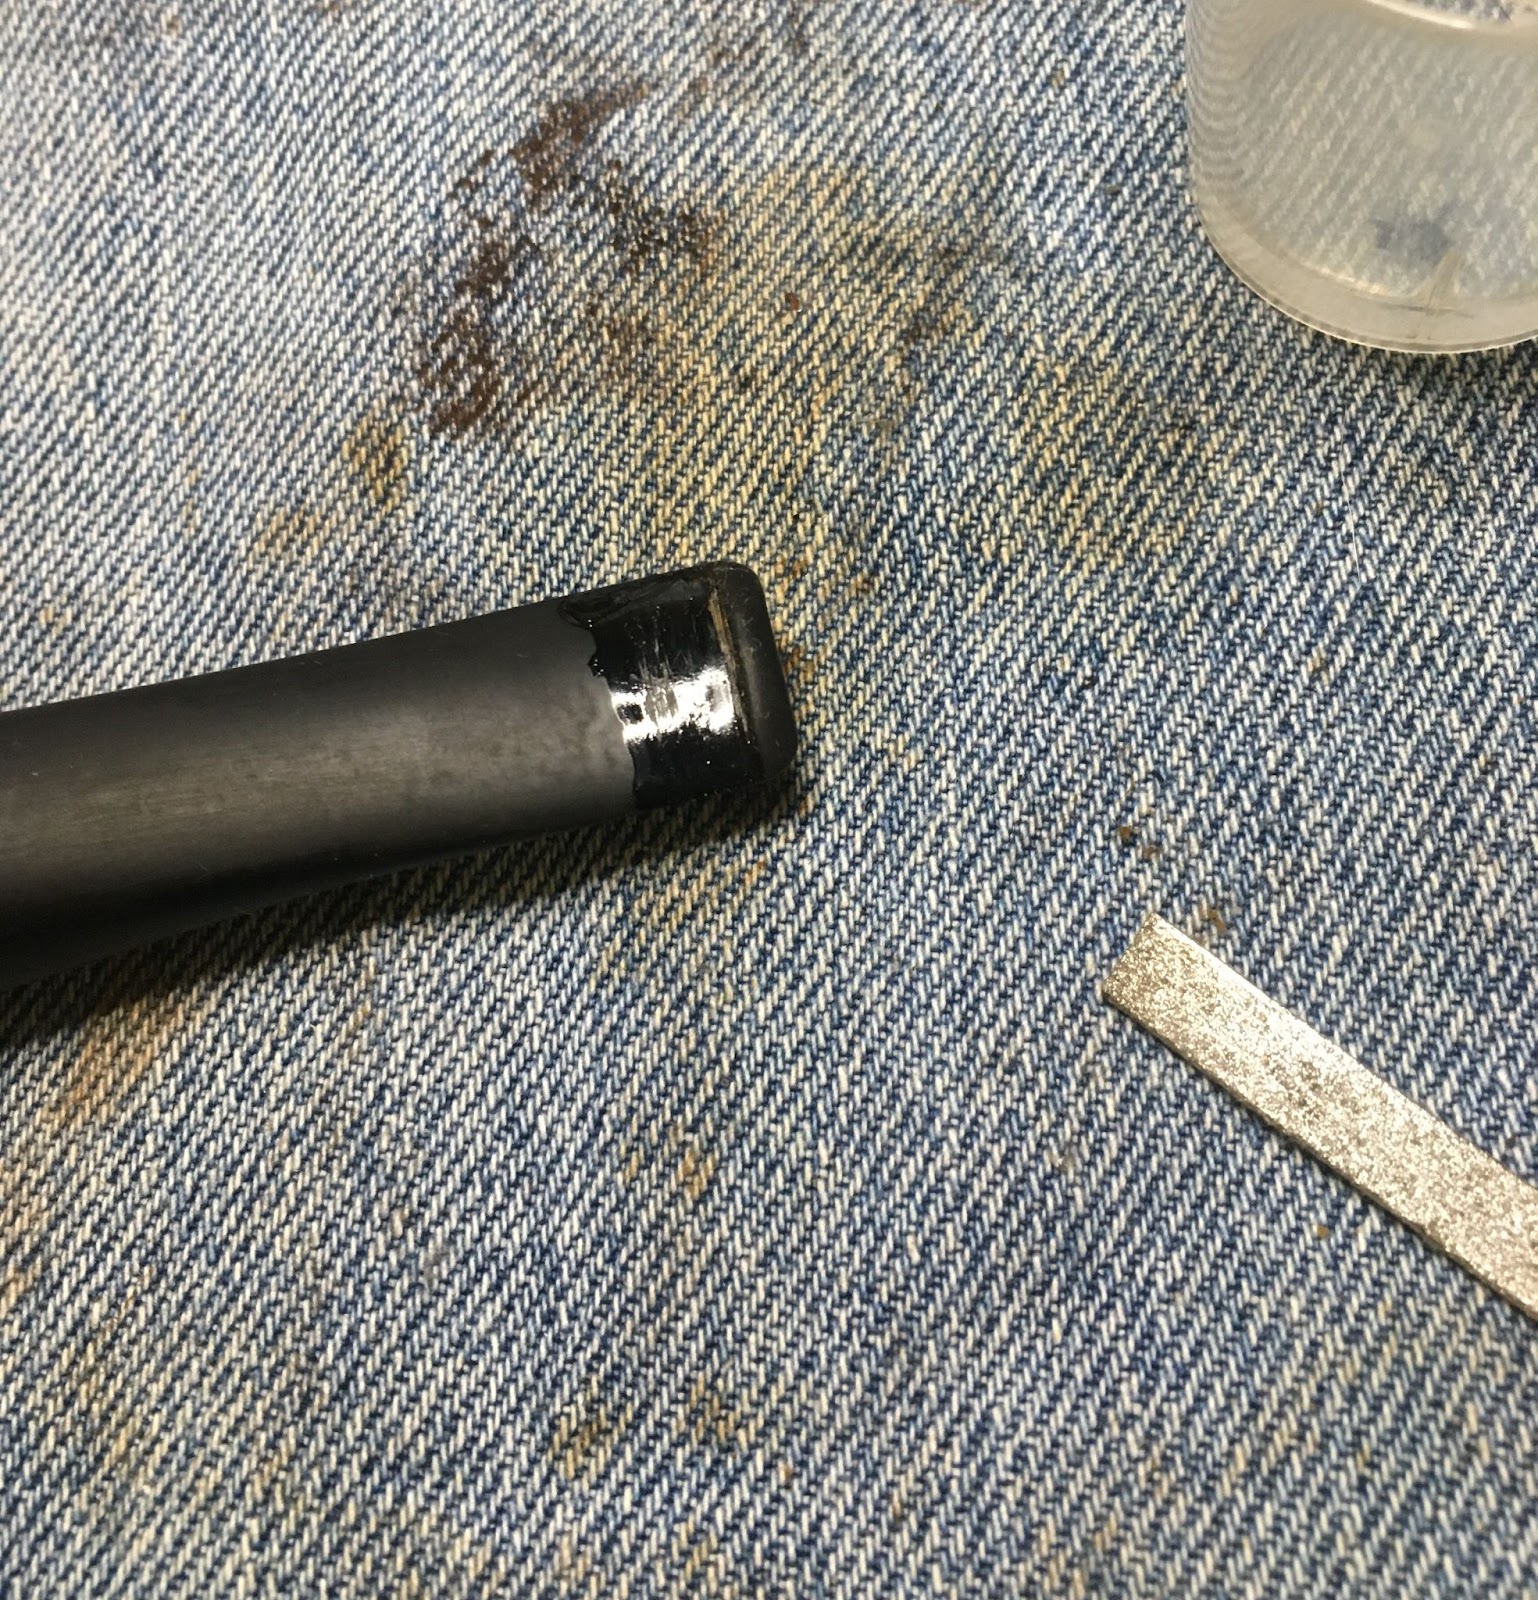
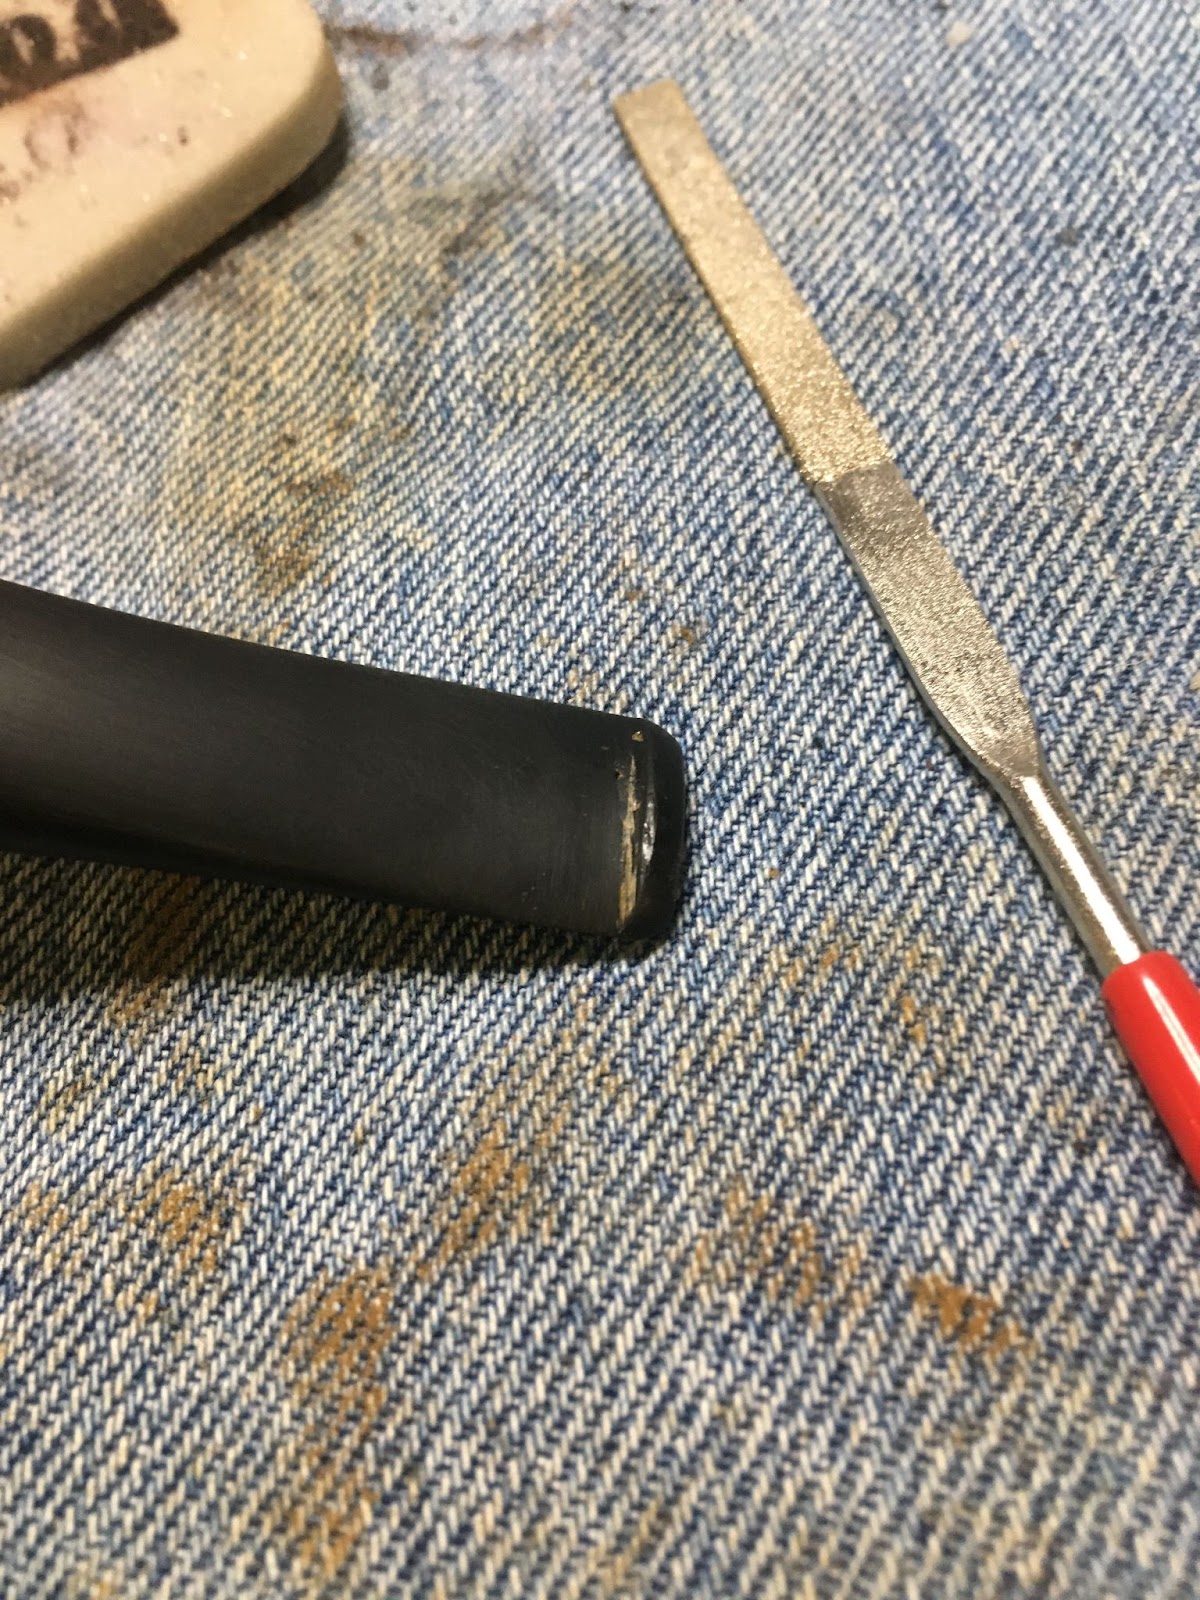
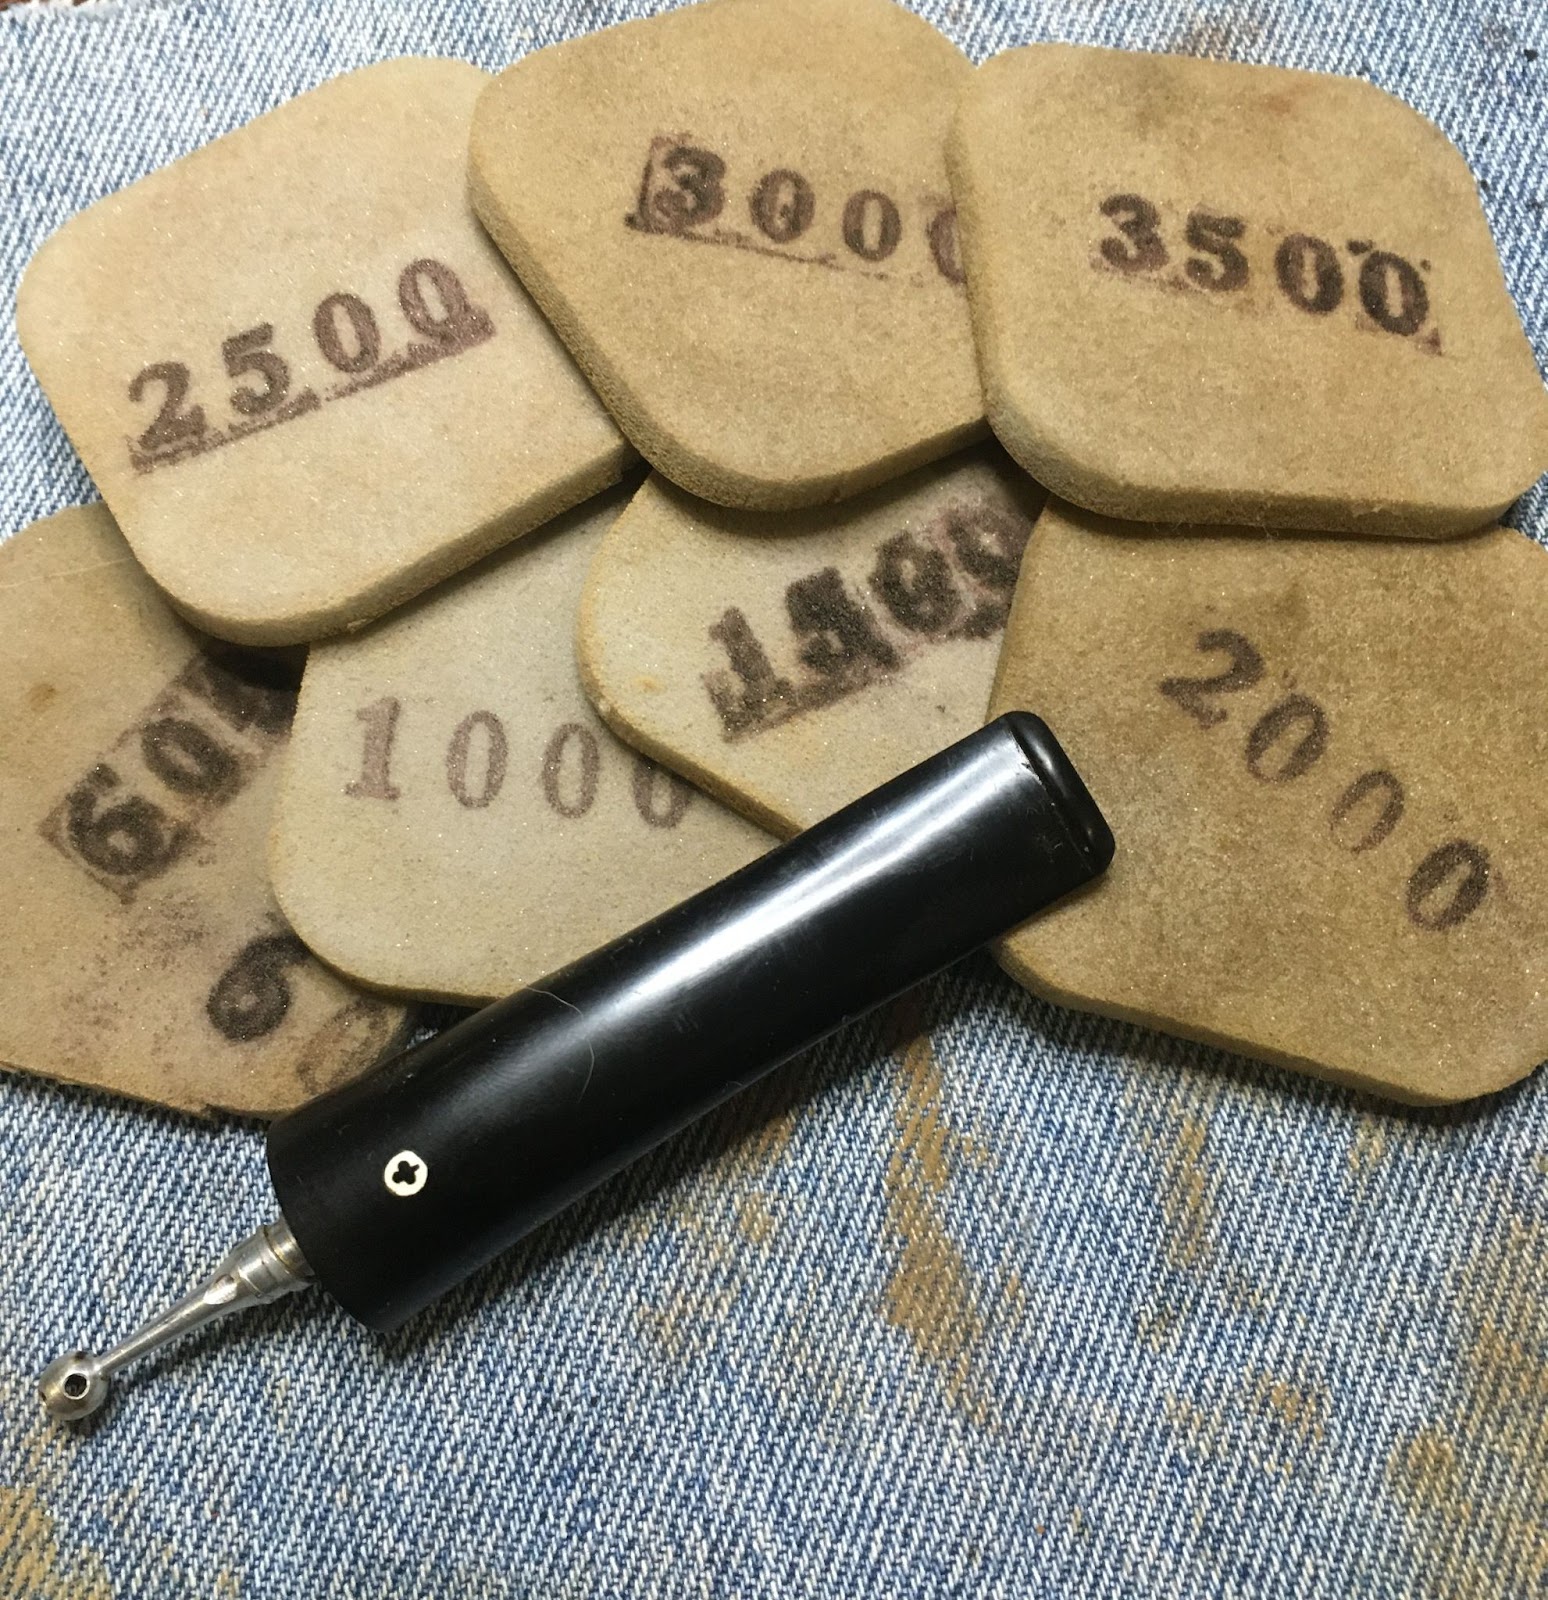
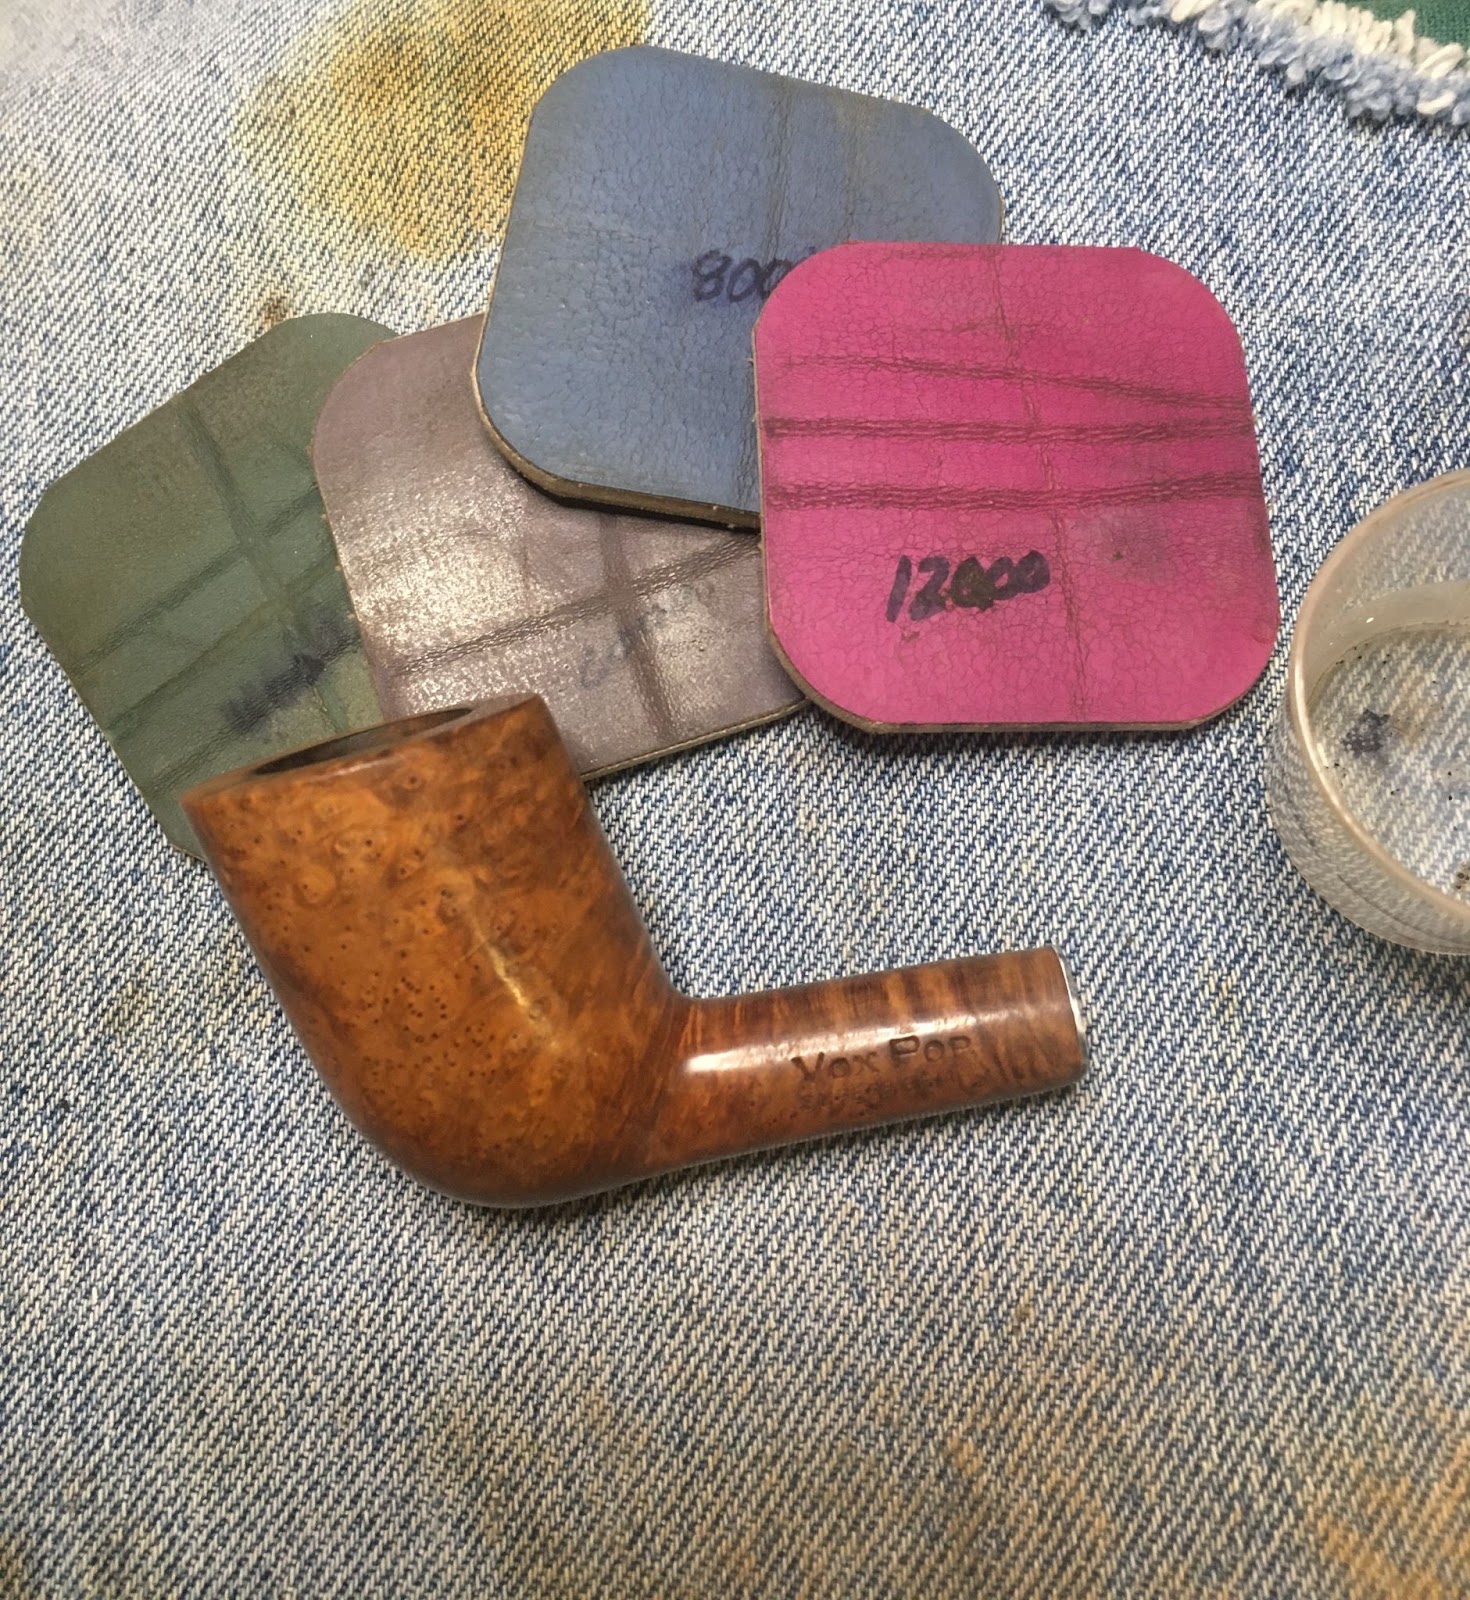
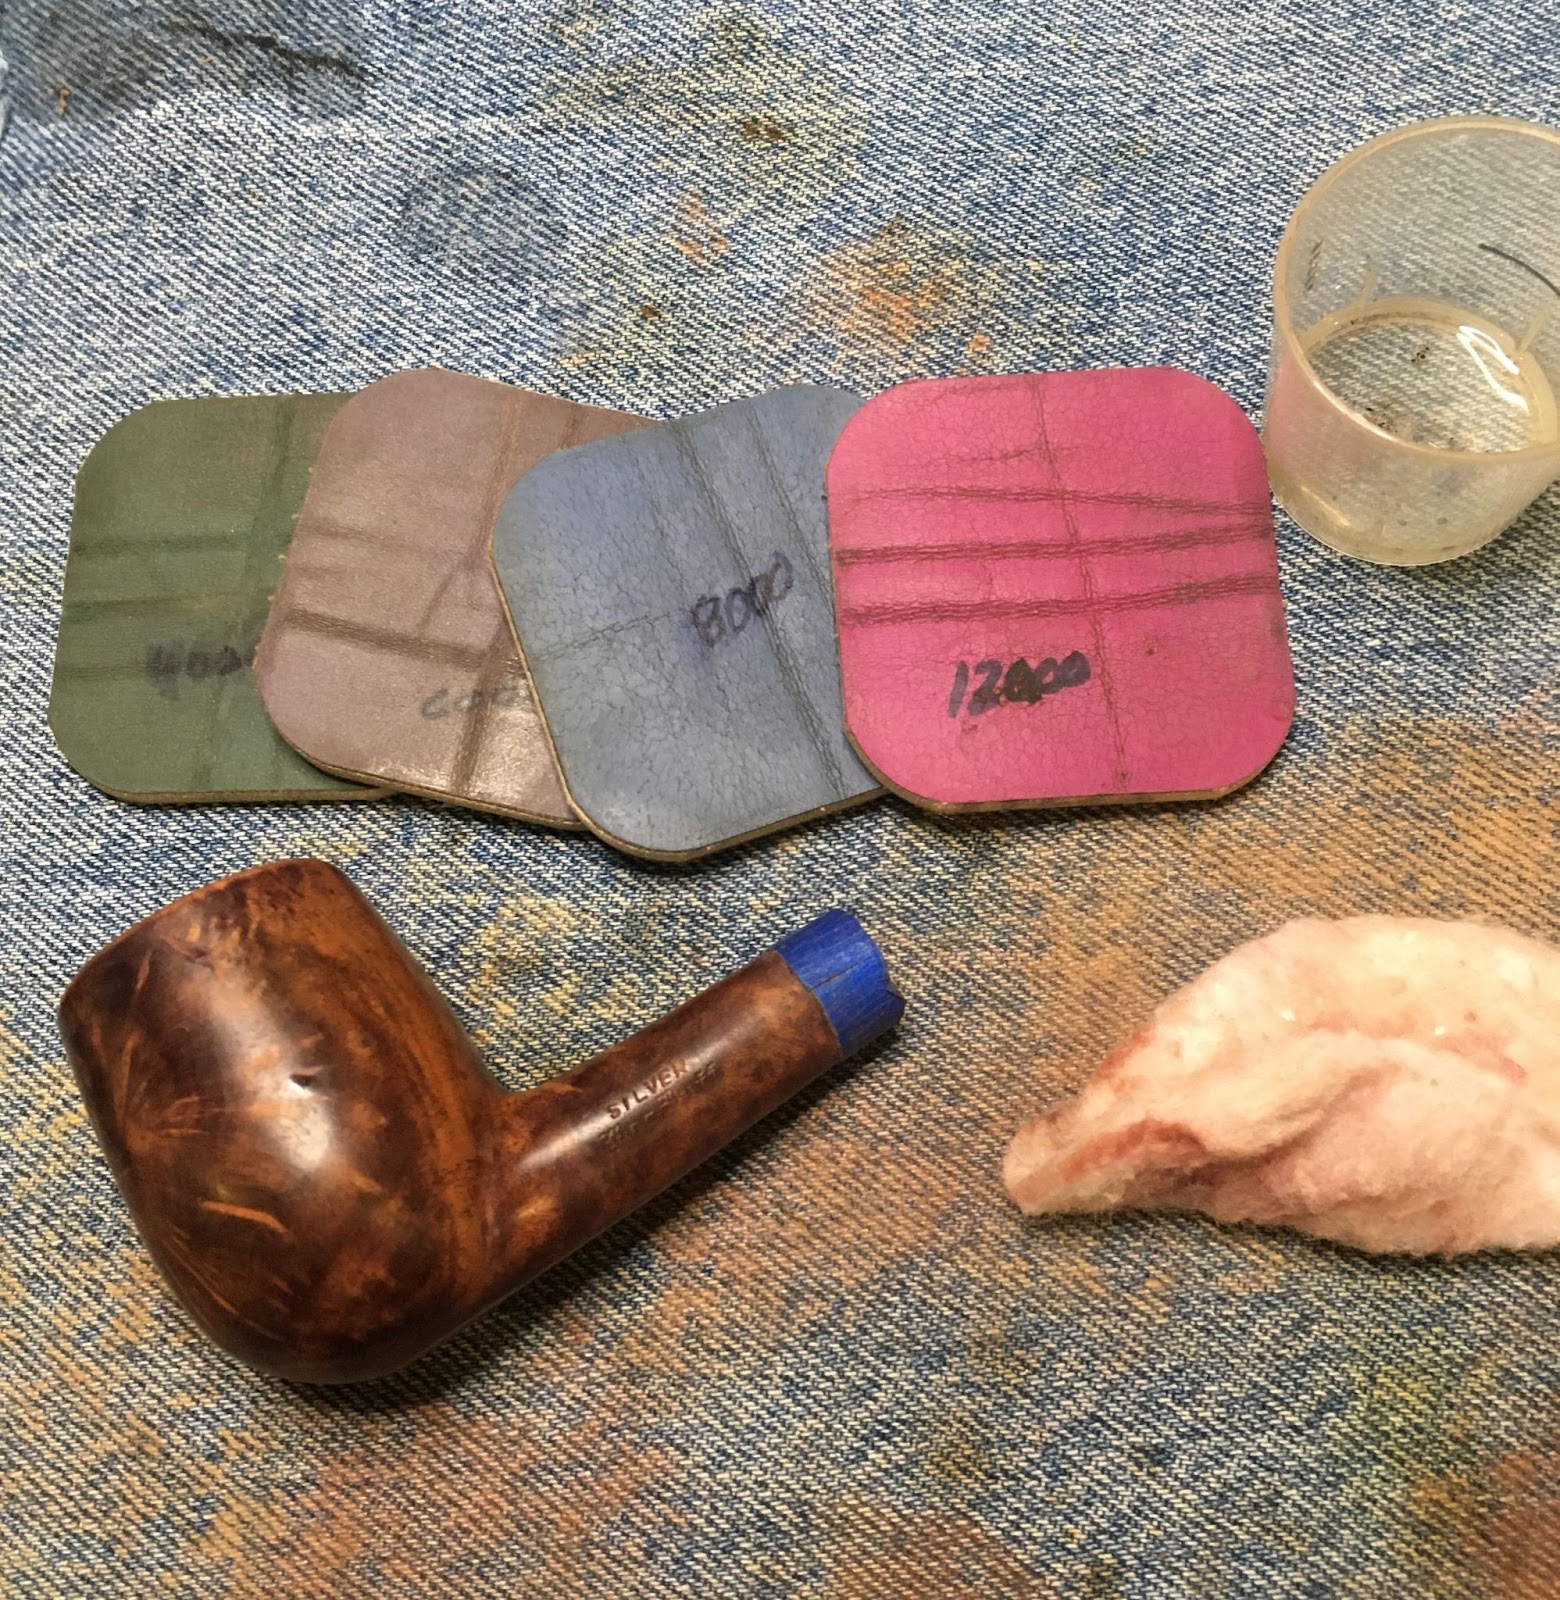
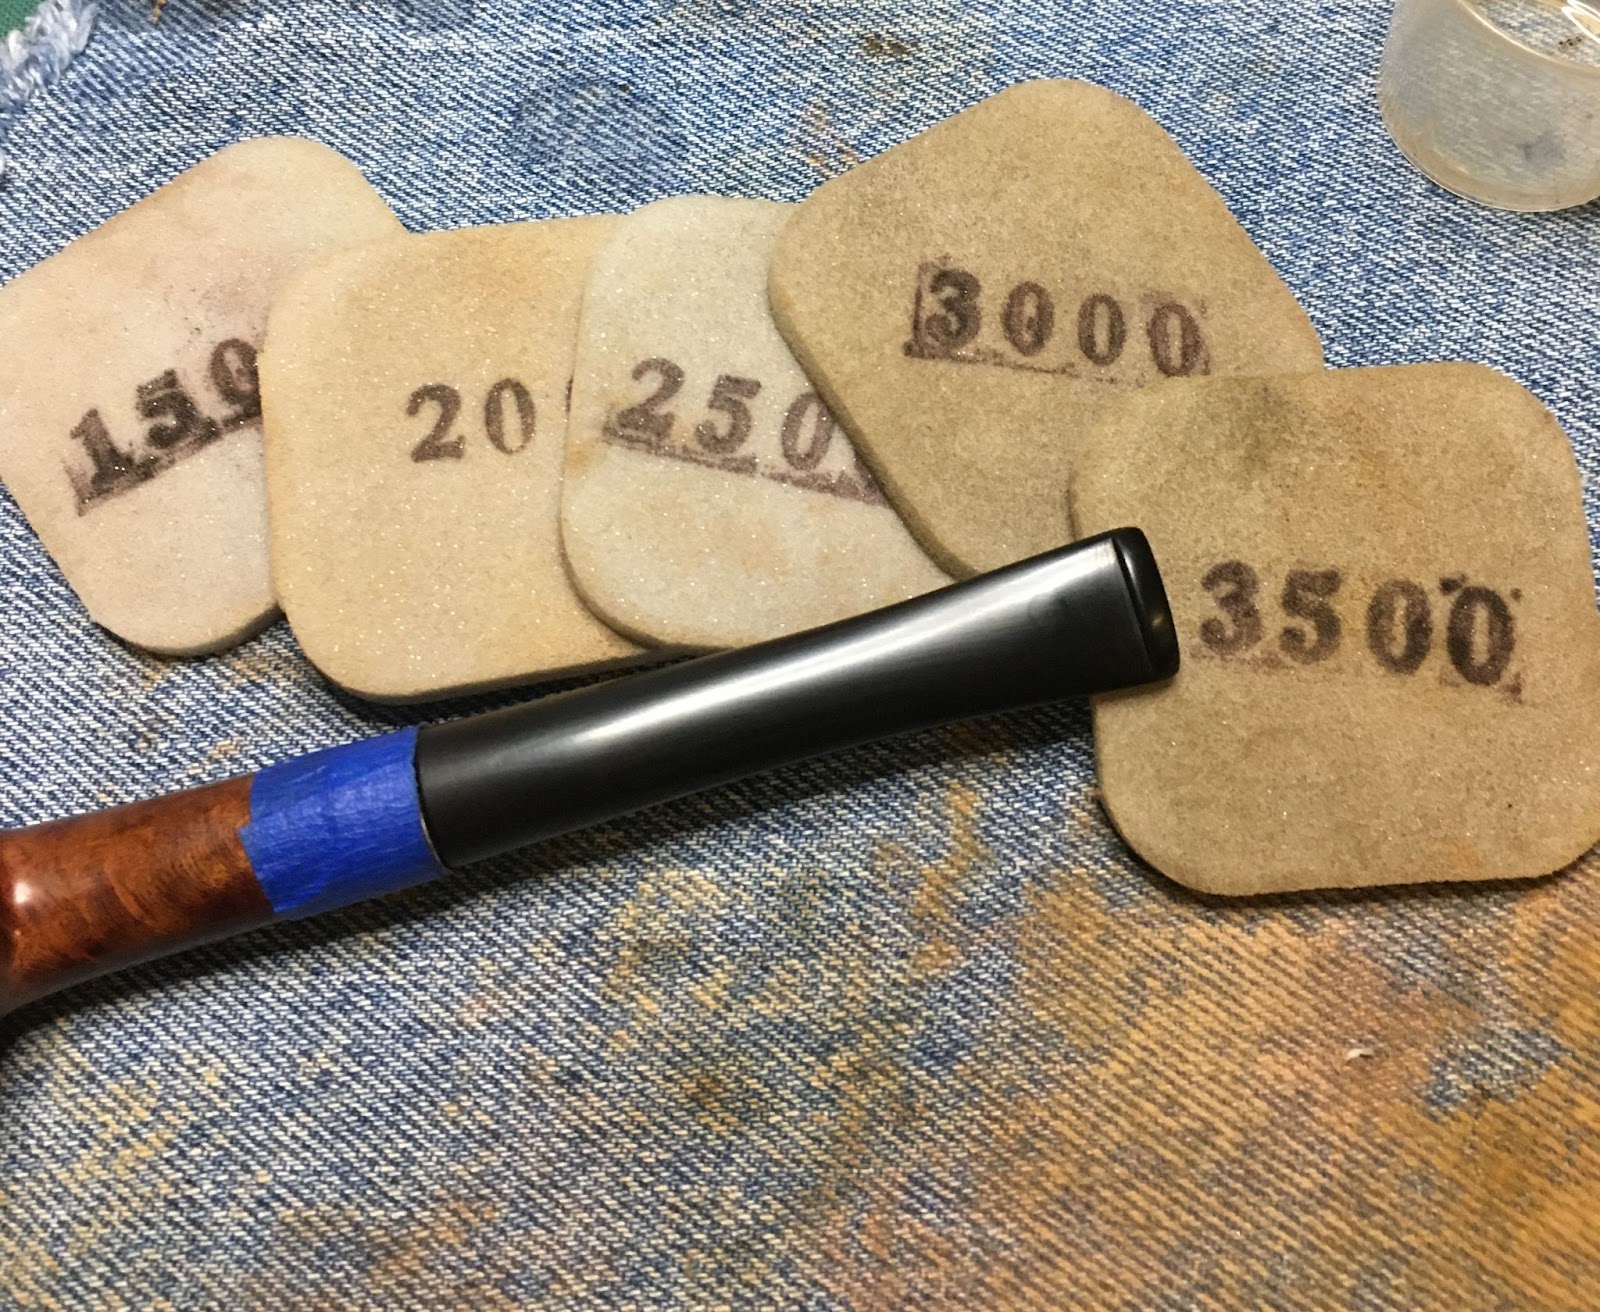
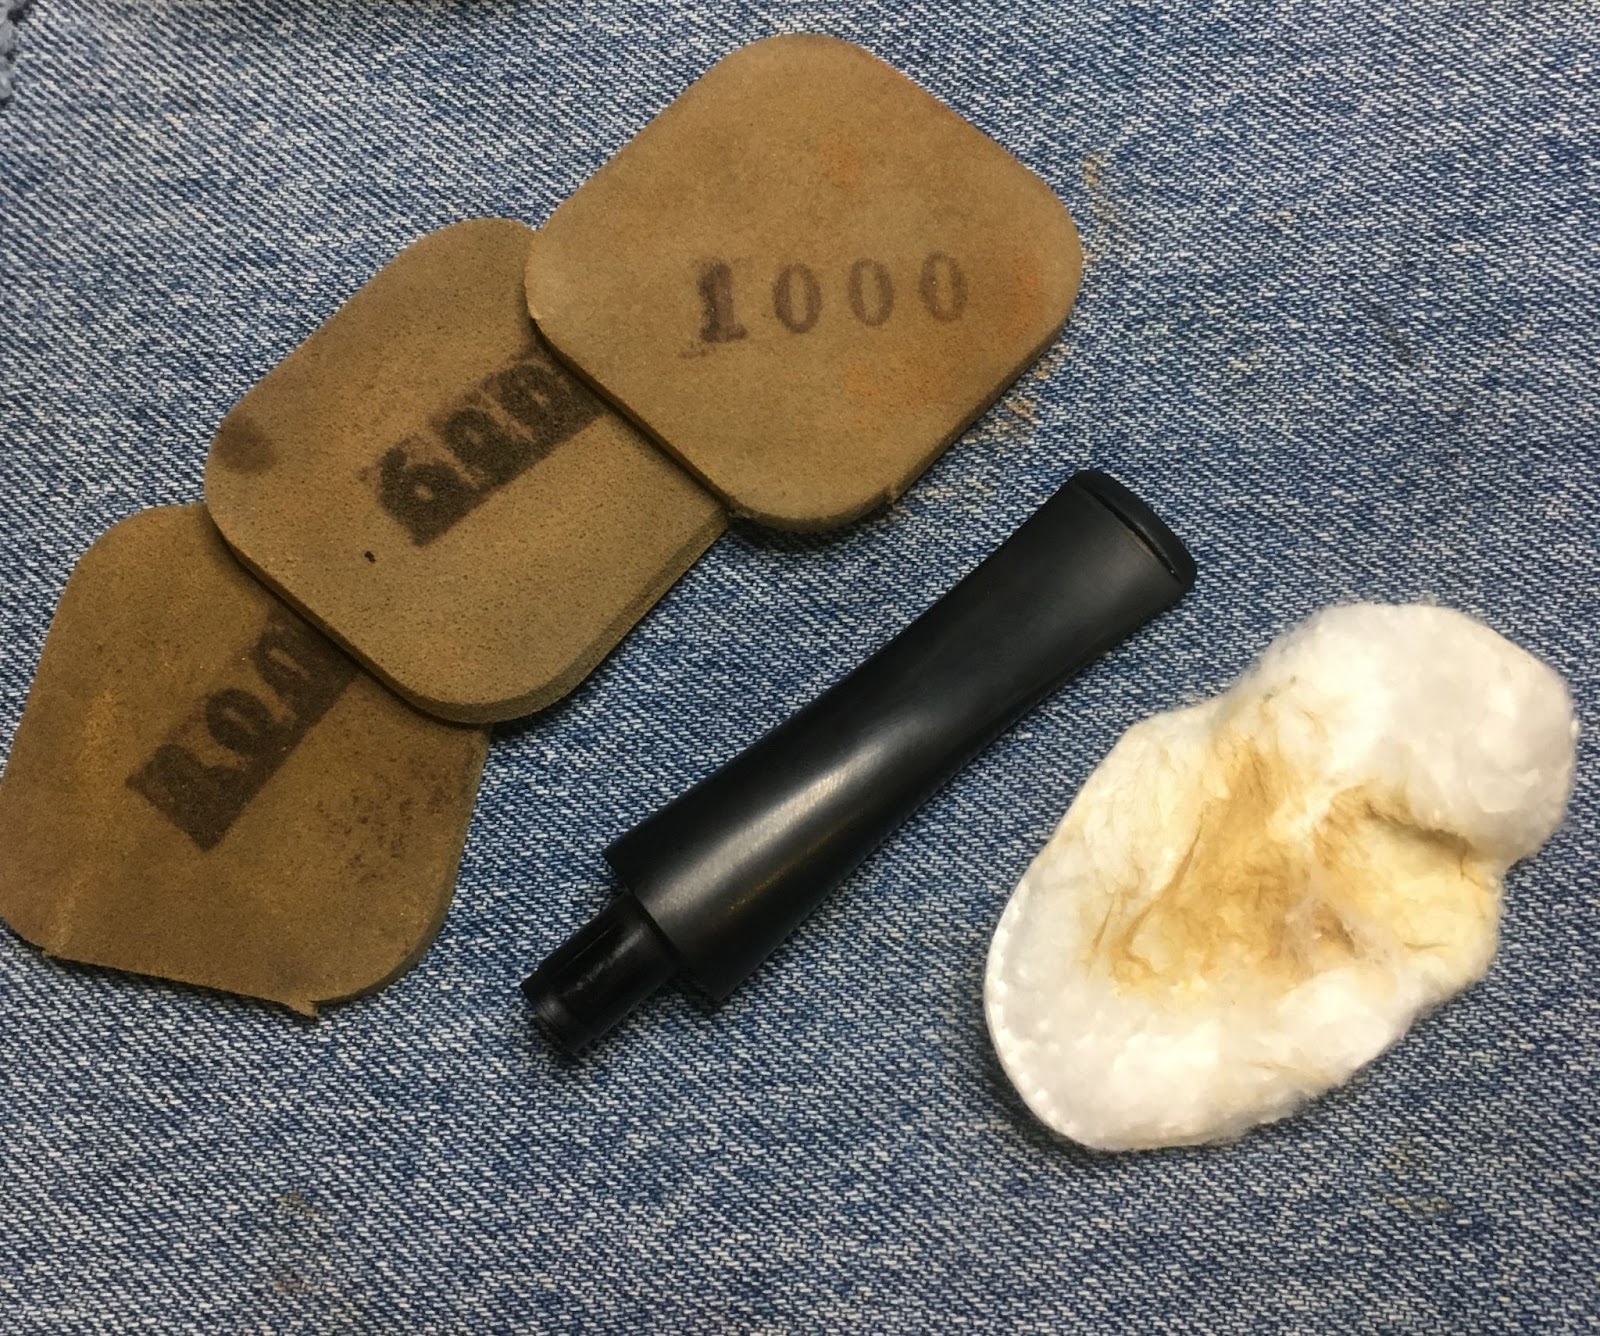
The stummel needed an equally attractive stem, so back to work. I wiped the excess mineral oil from the stem and began sanding with the series of sponges – 1000-3500. Between each sponge I would dip my finger in the mineral oil, rub the stem and wipe it dry with a paper towel. I would also wipe the sponge off on the denim to keep the sponges kind of clean.

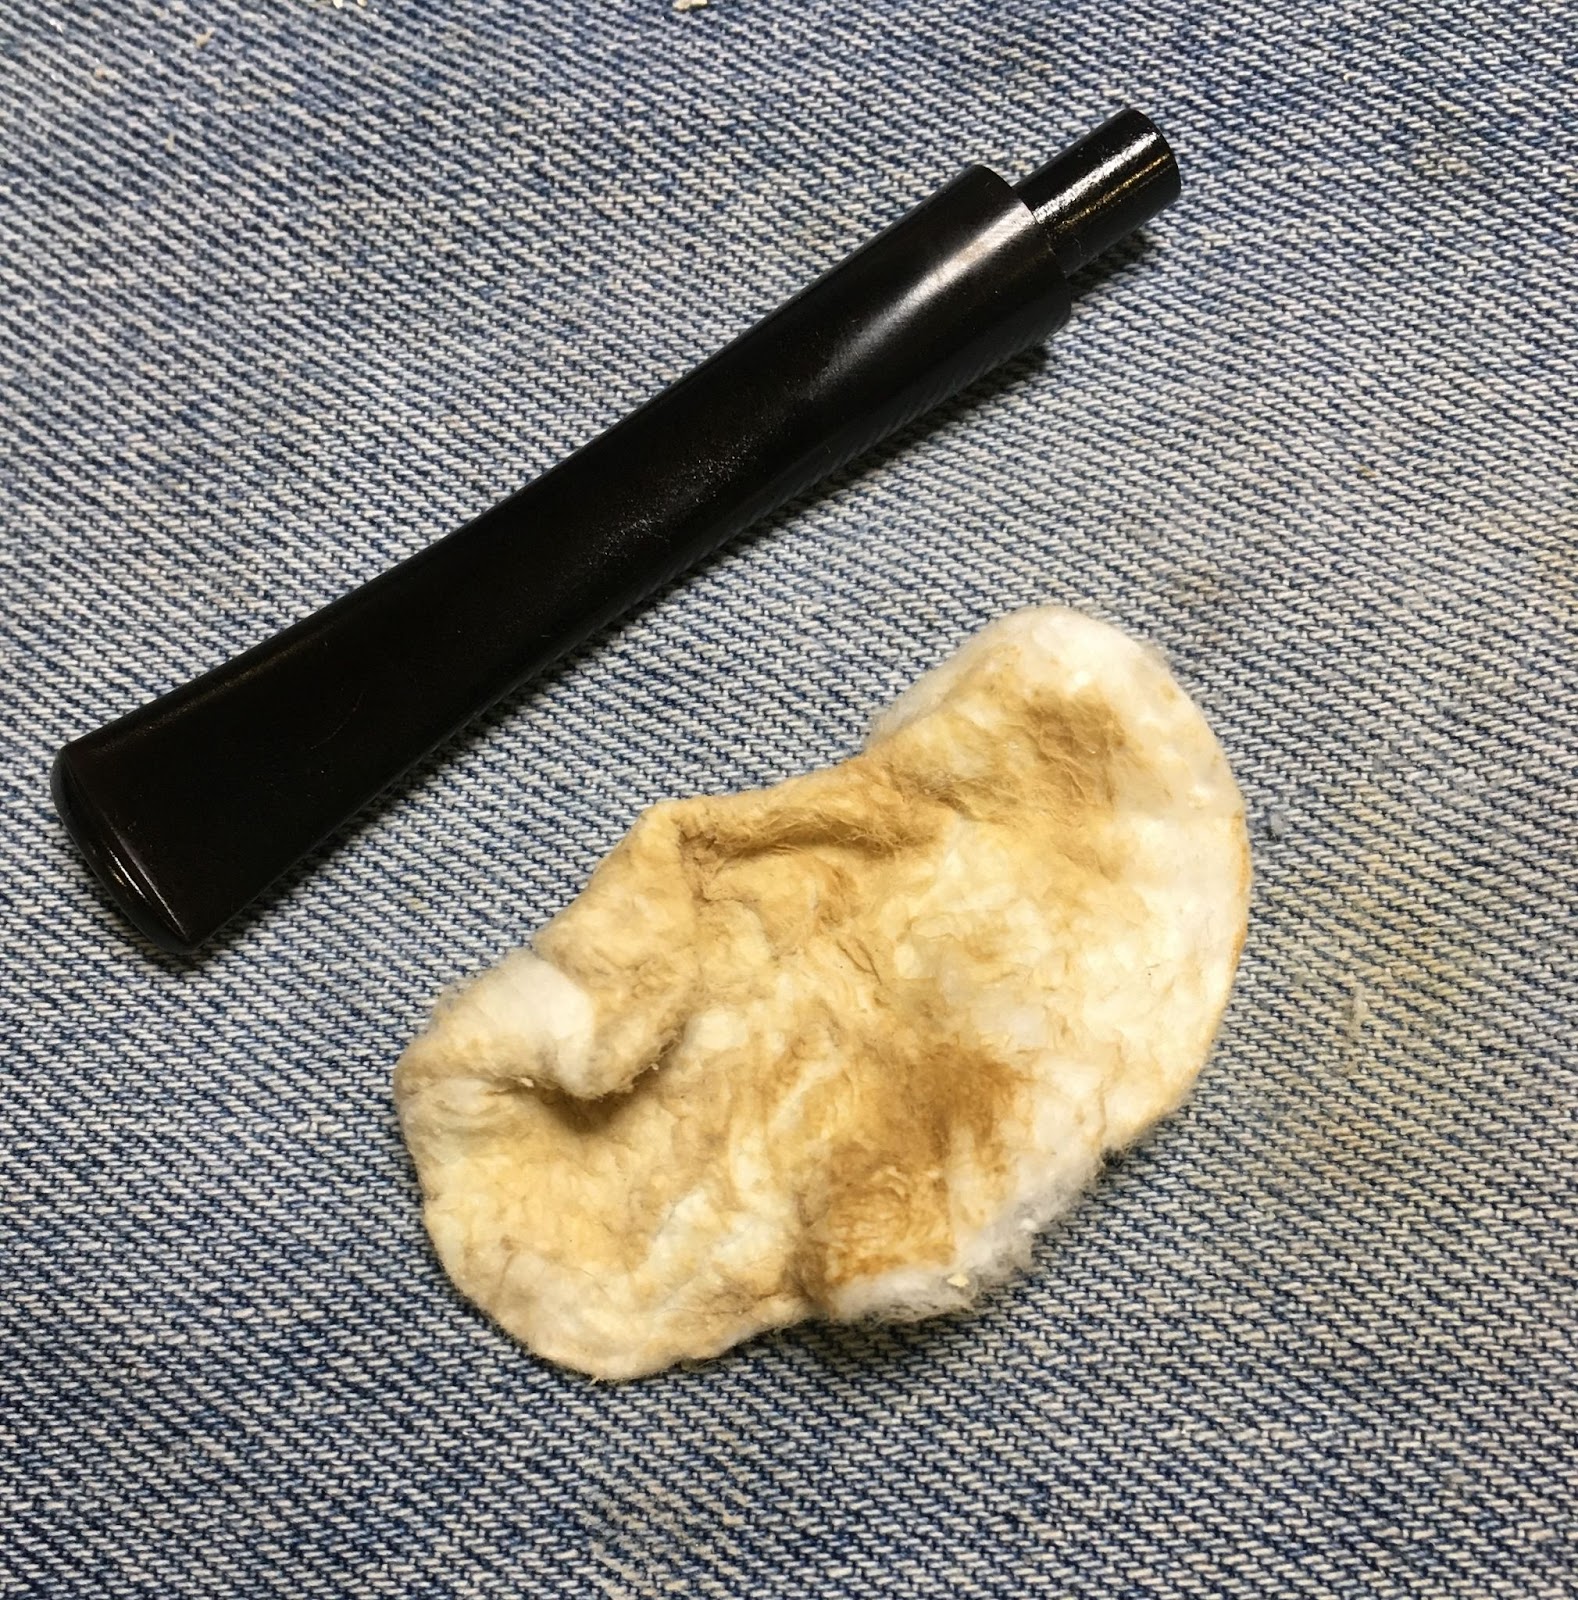
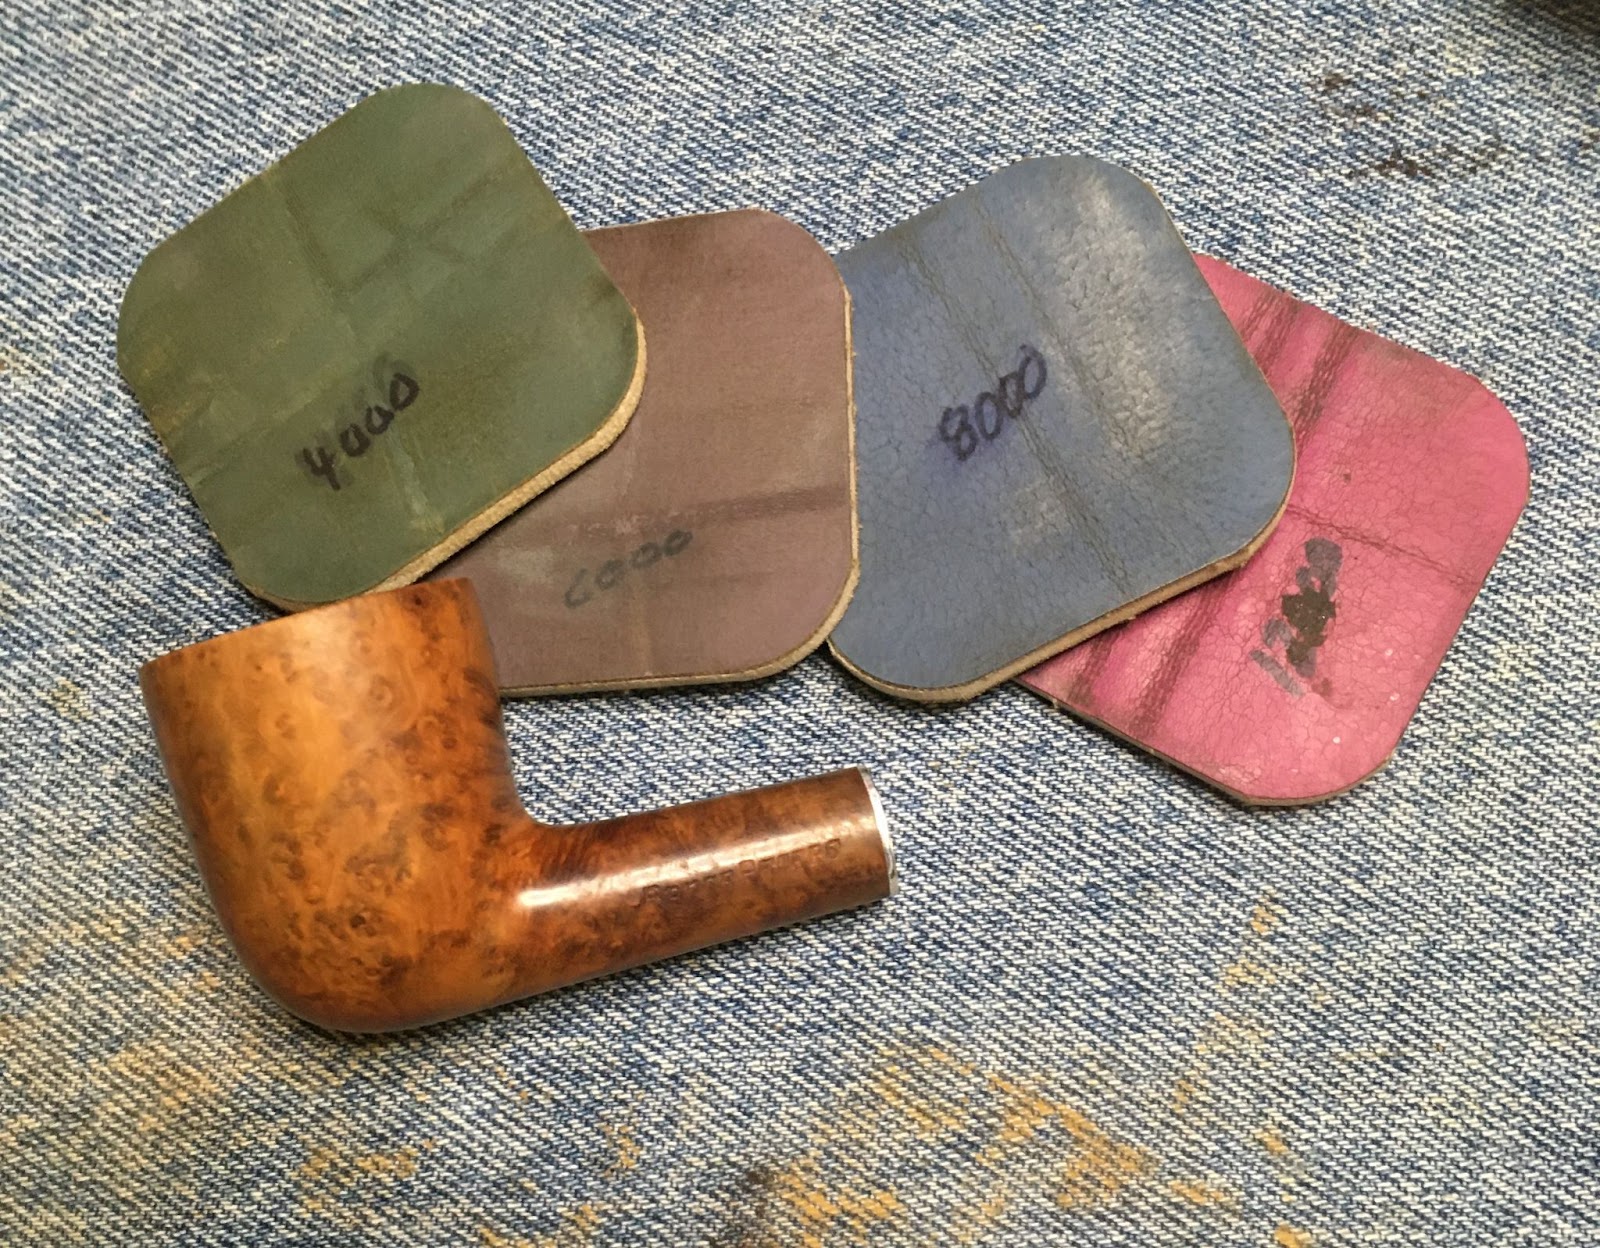
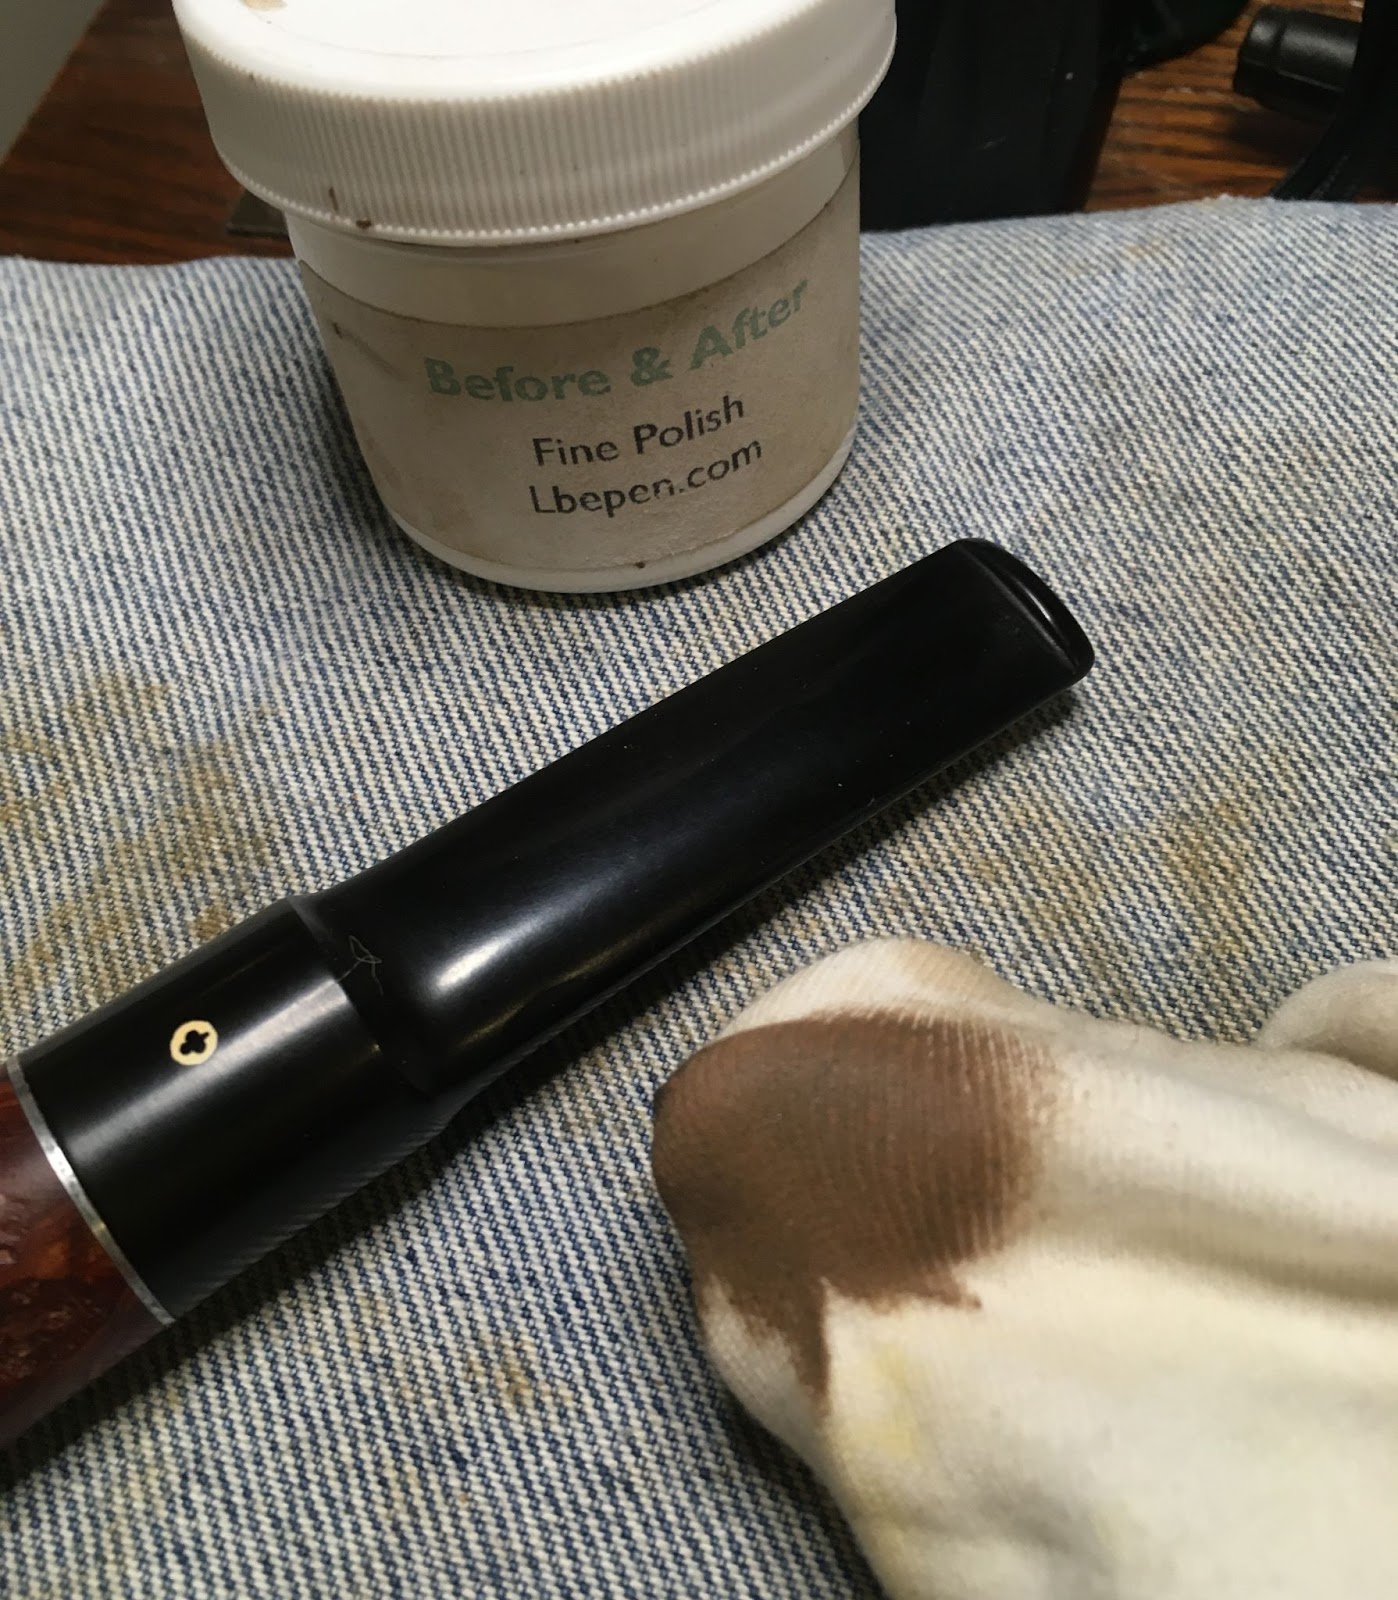
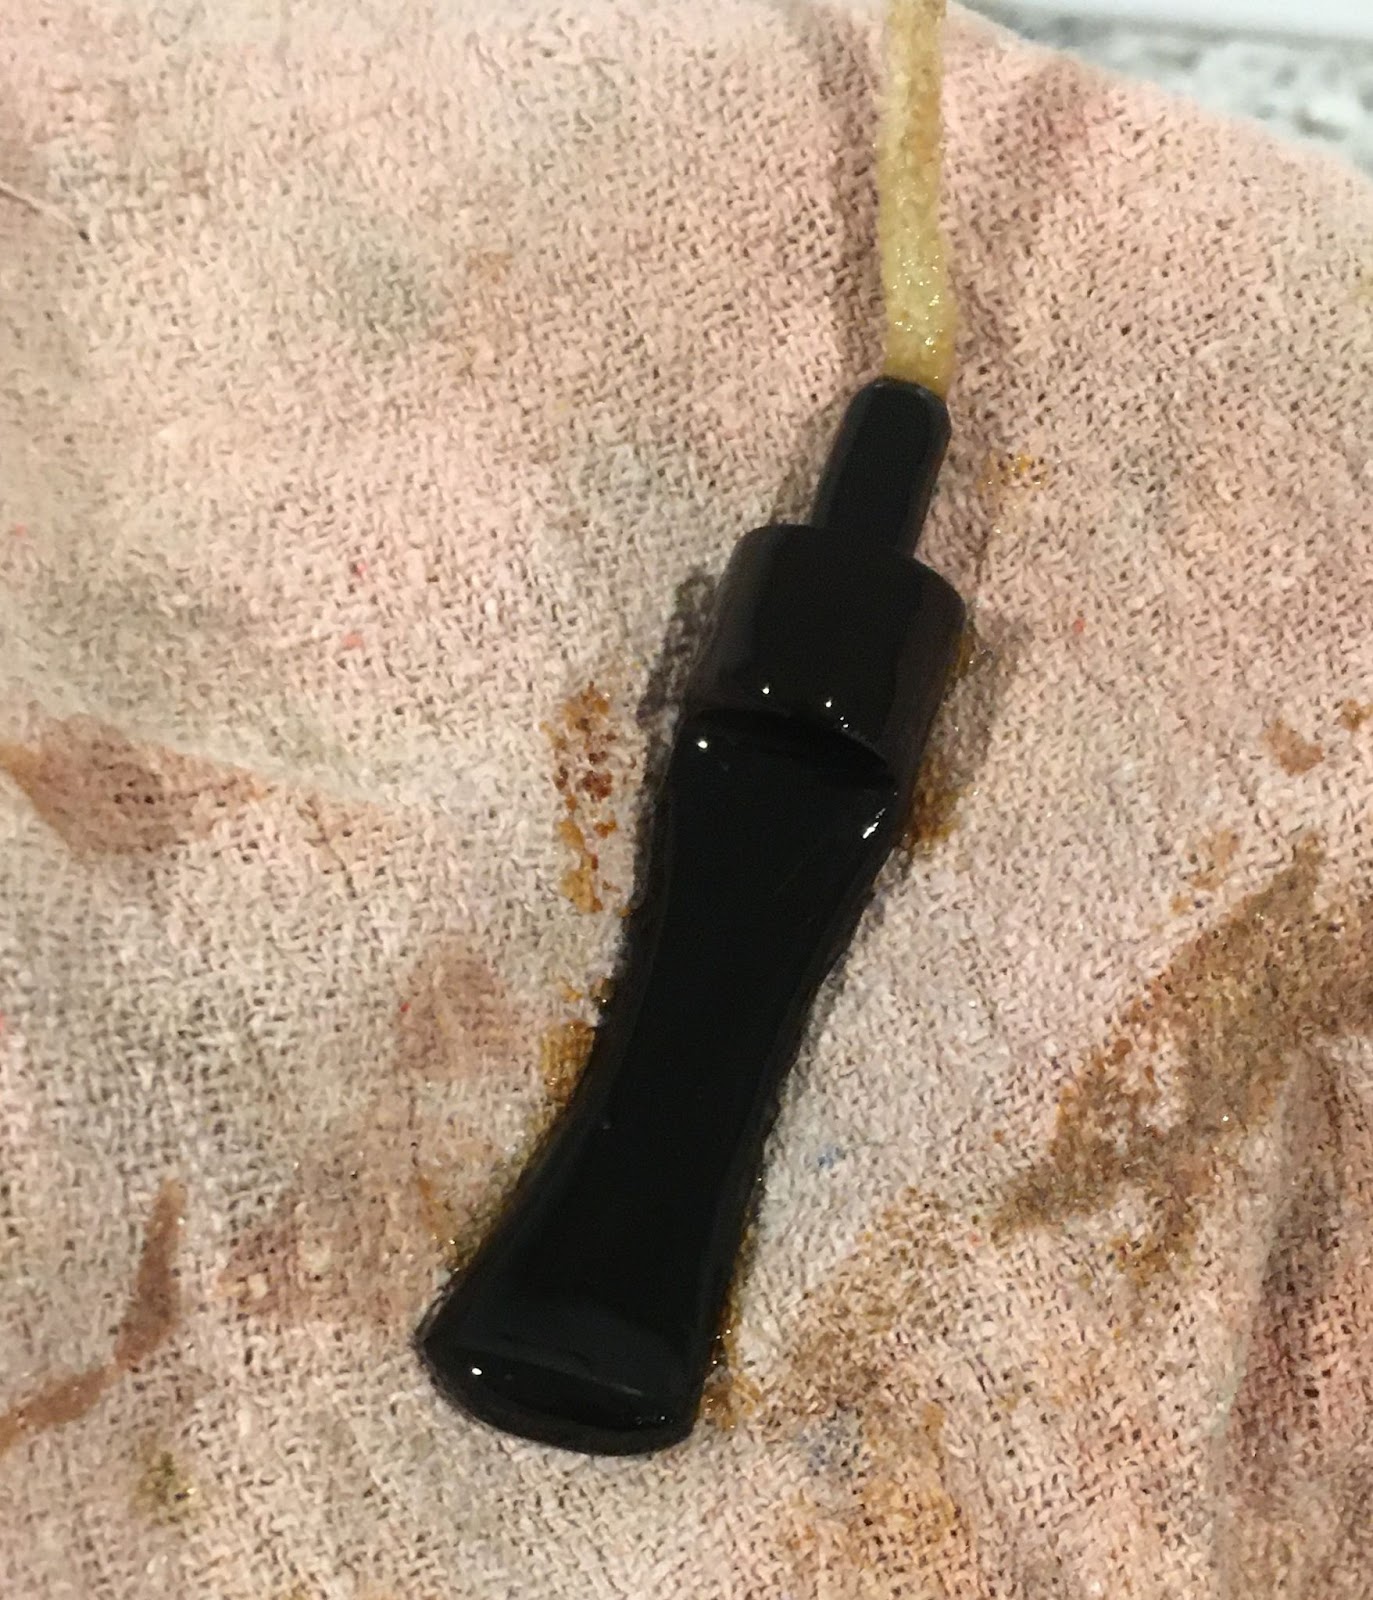
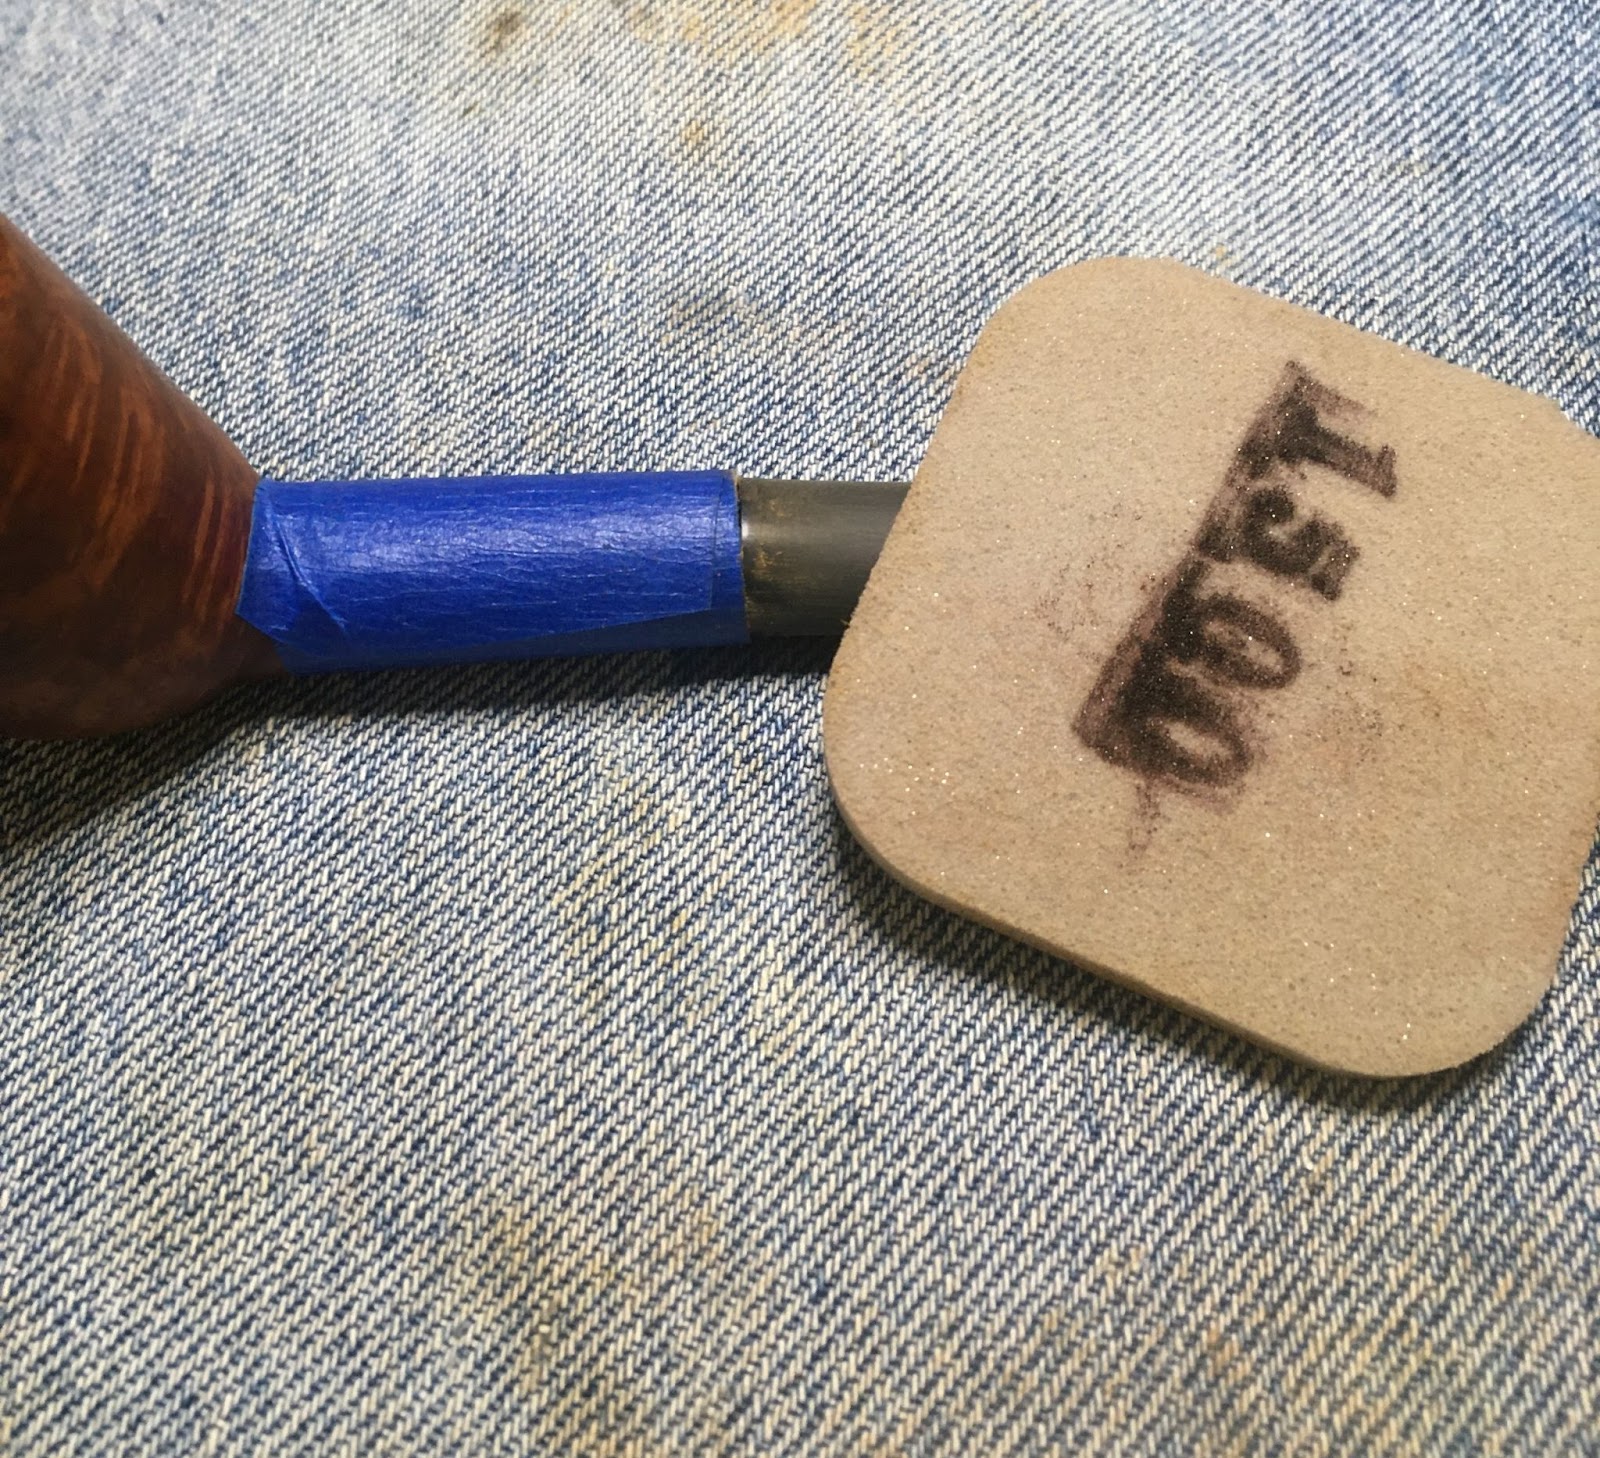
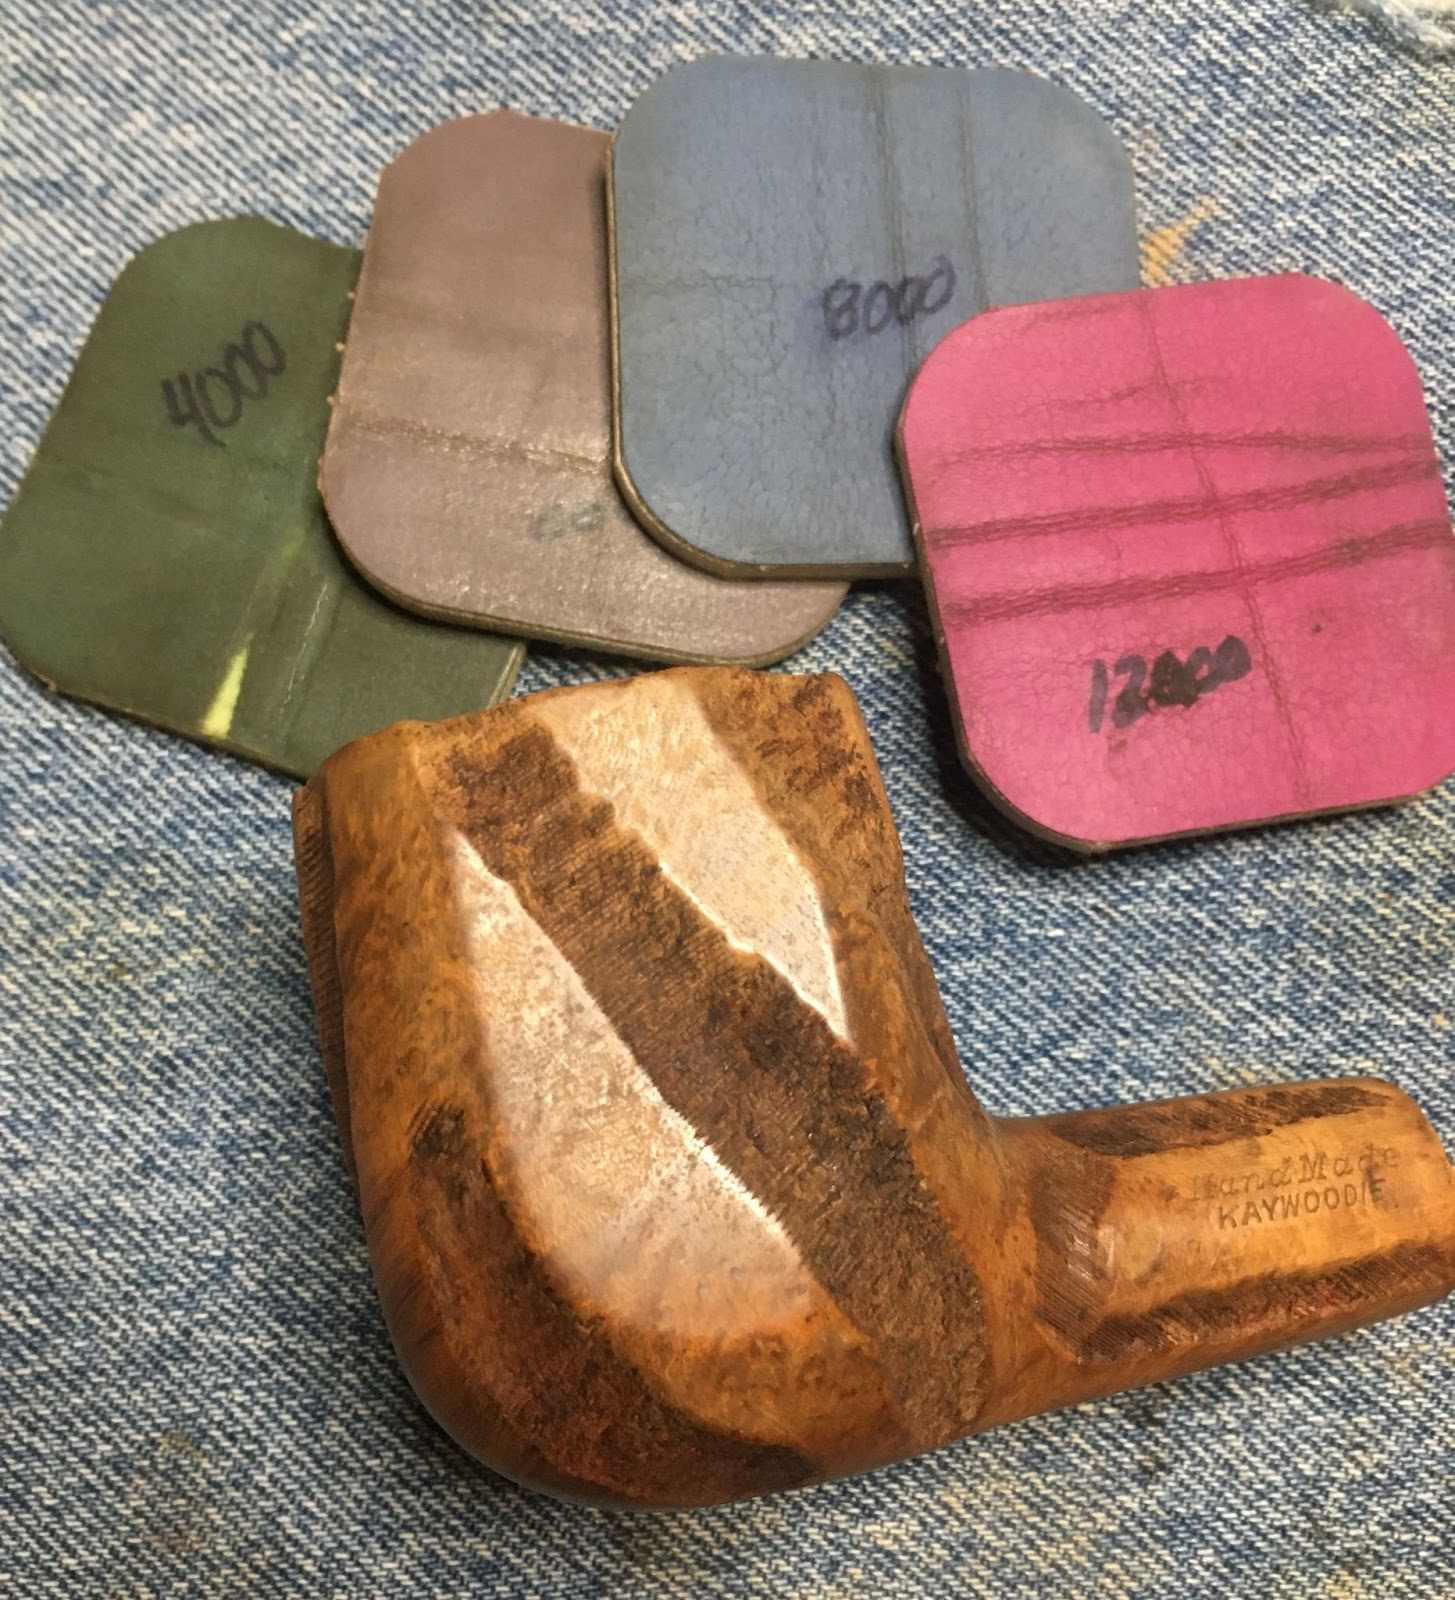
After the sanding I started to micro-mesh the stem. Here I used the 4000-12000 micro-mesh pads in sequence. Between each pad I applied a drop of Obsidian Oil. The oil was rubbed in with my finger and wiped away with a paper towel.

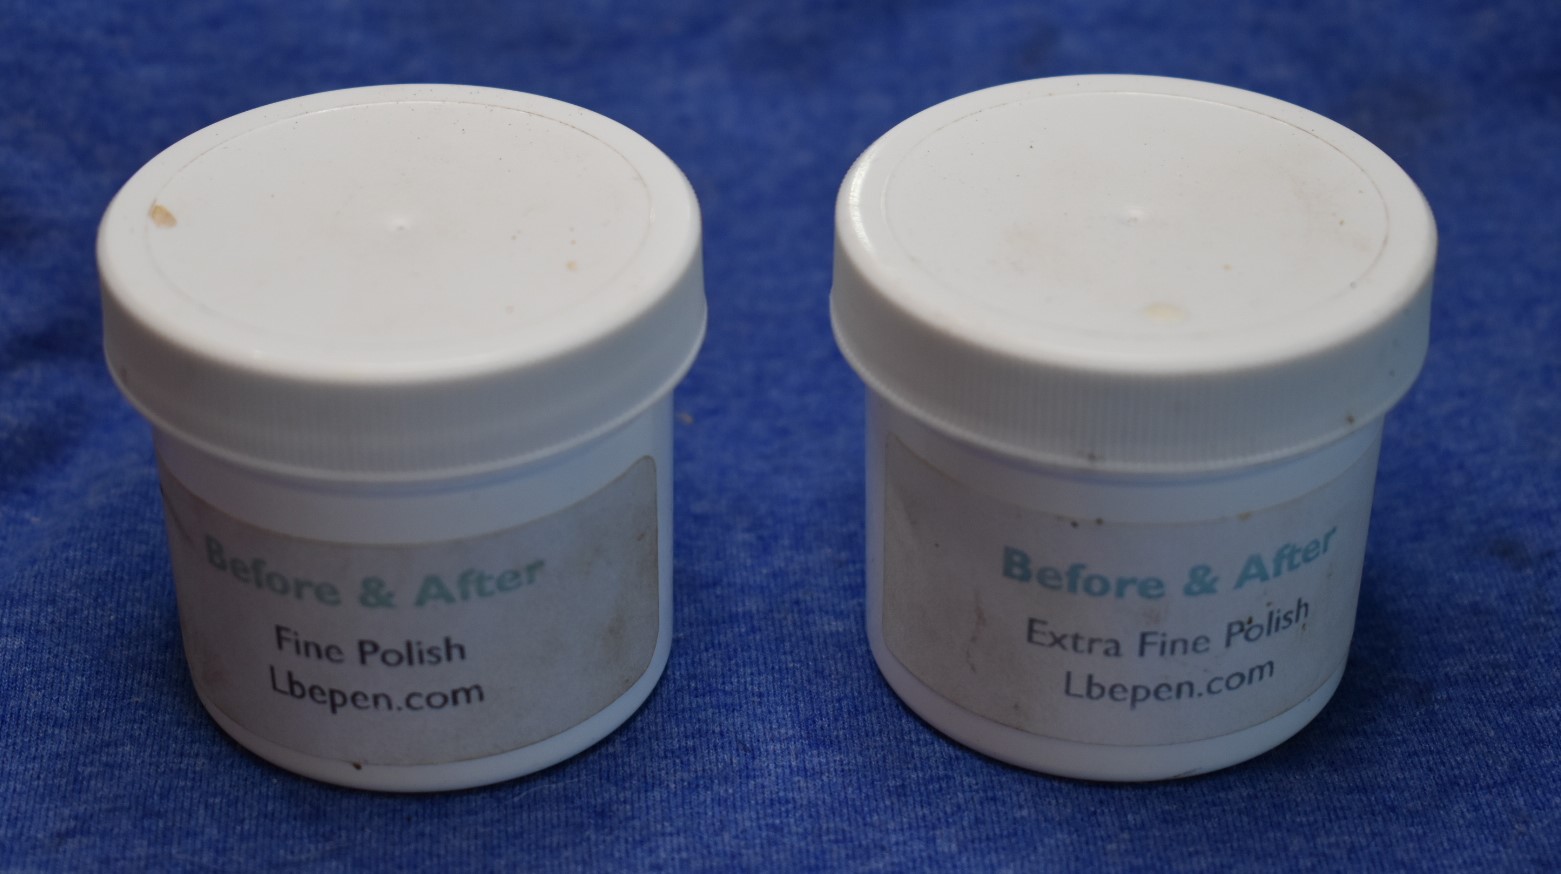
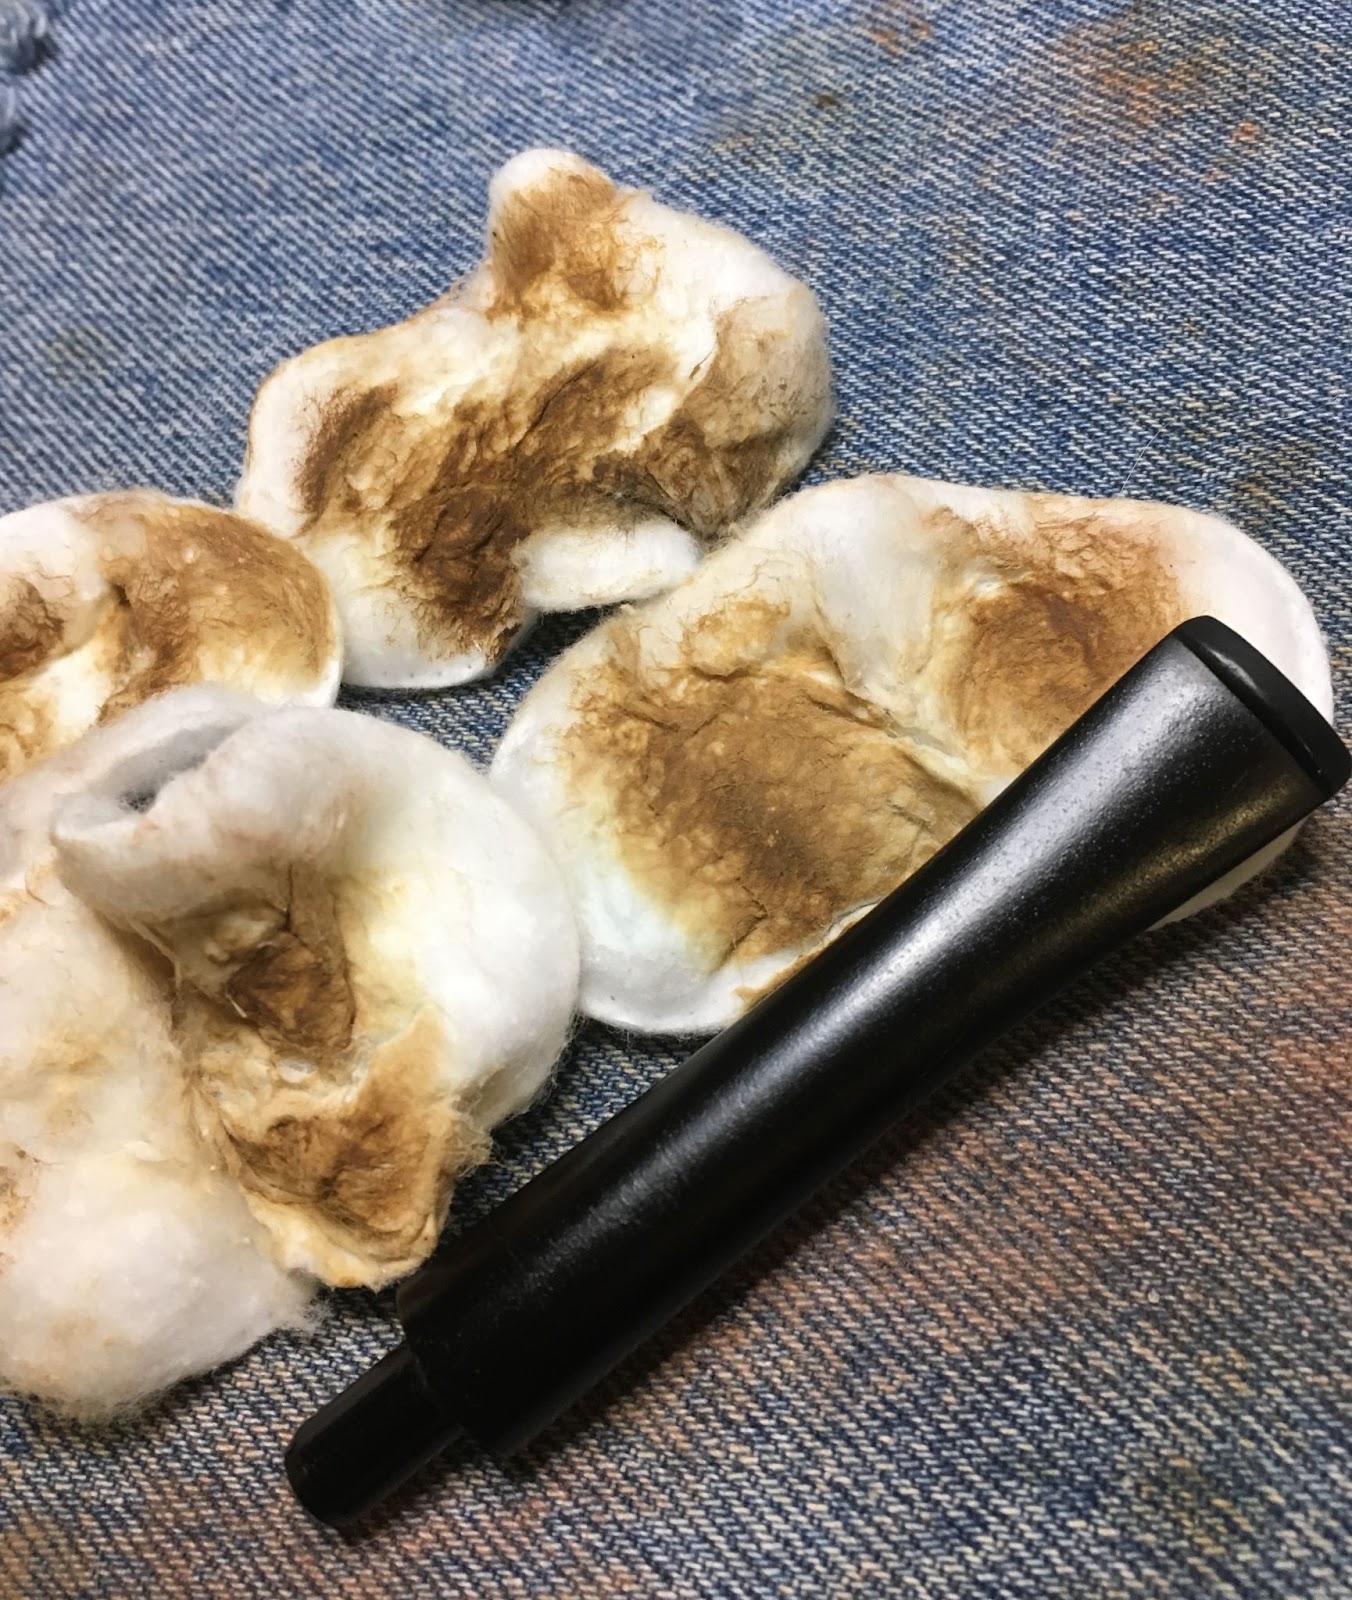
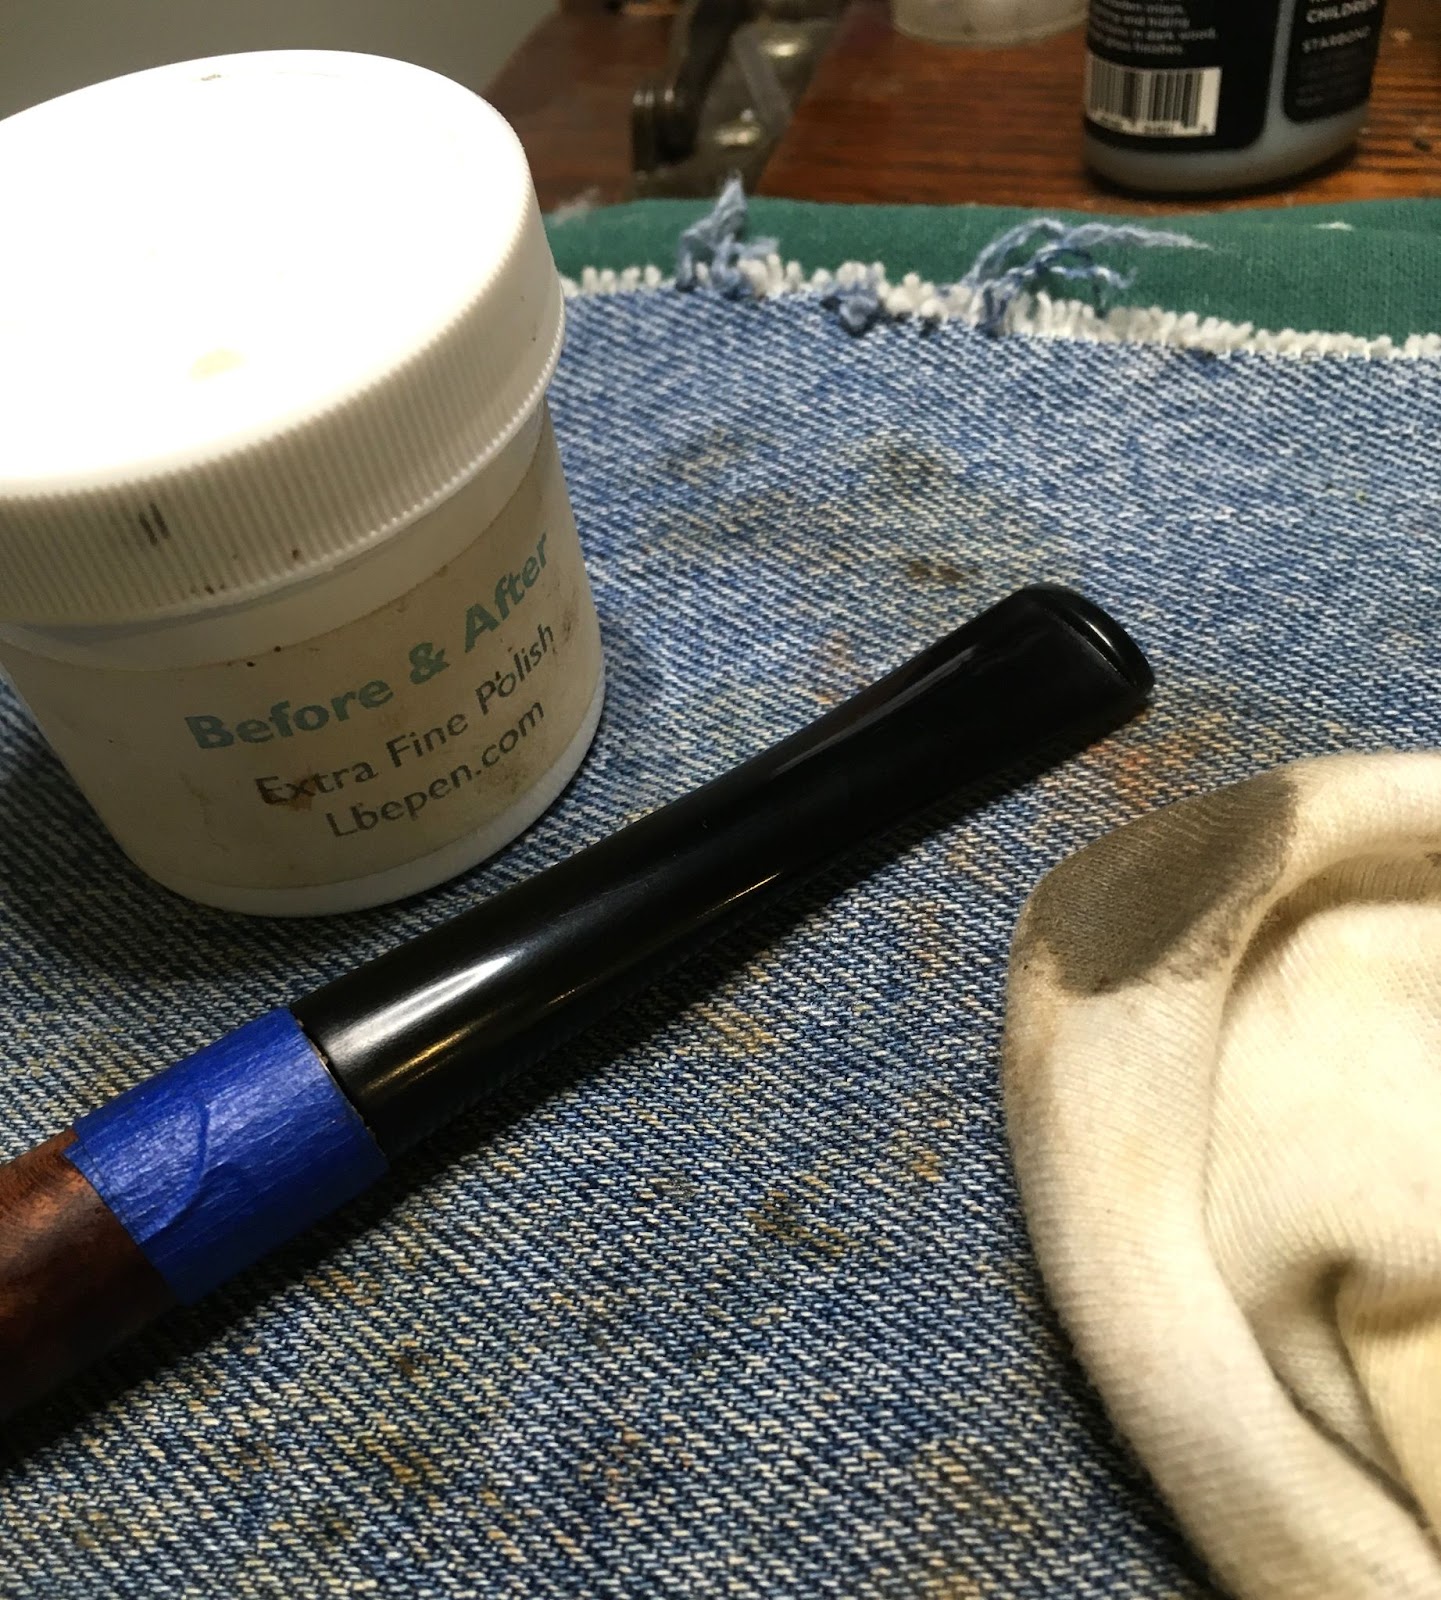
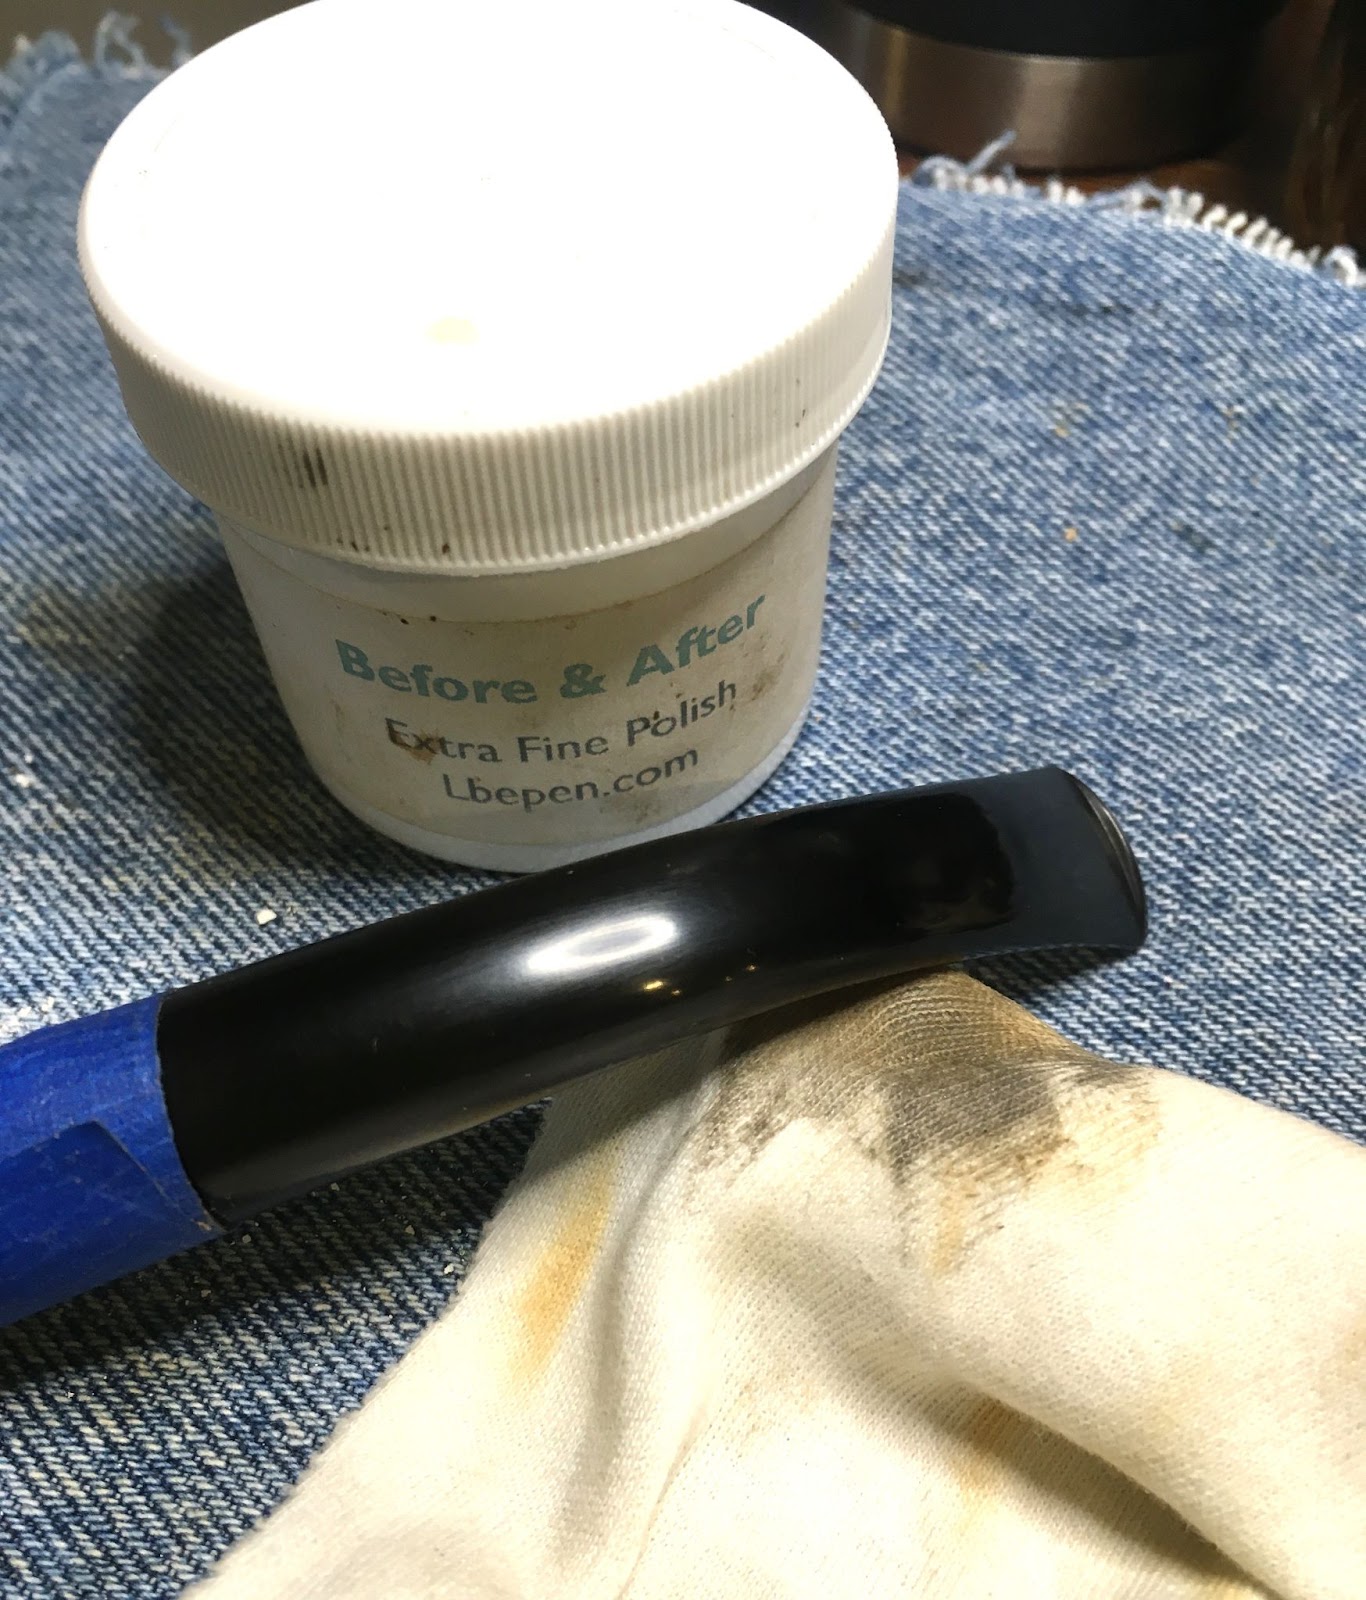
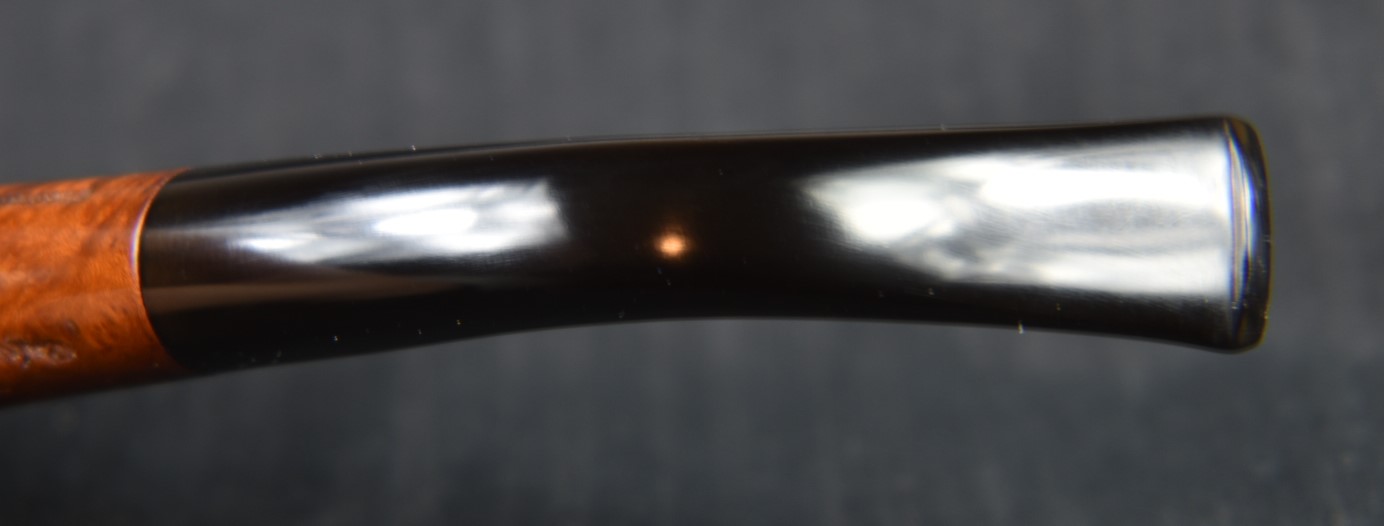
The final steps in polishing the stem were done with Before and After Fine and Extra Fine Polish. The polish was applied by finger tip and hand rubbed with a soft cotton rag. Fine Polish followed by the Extra Fine Polish.

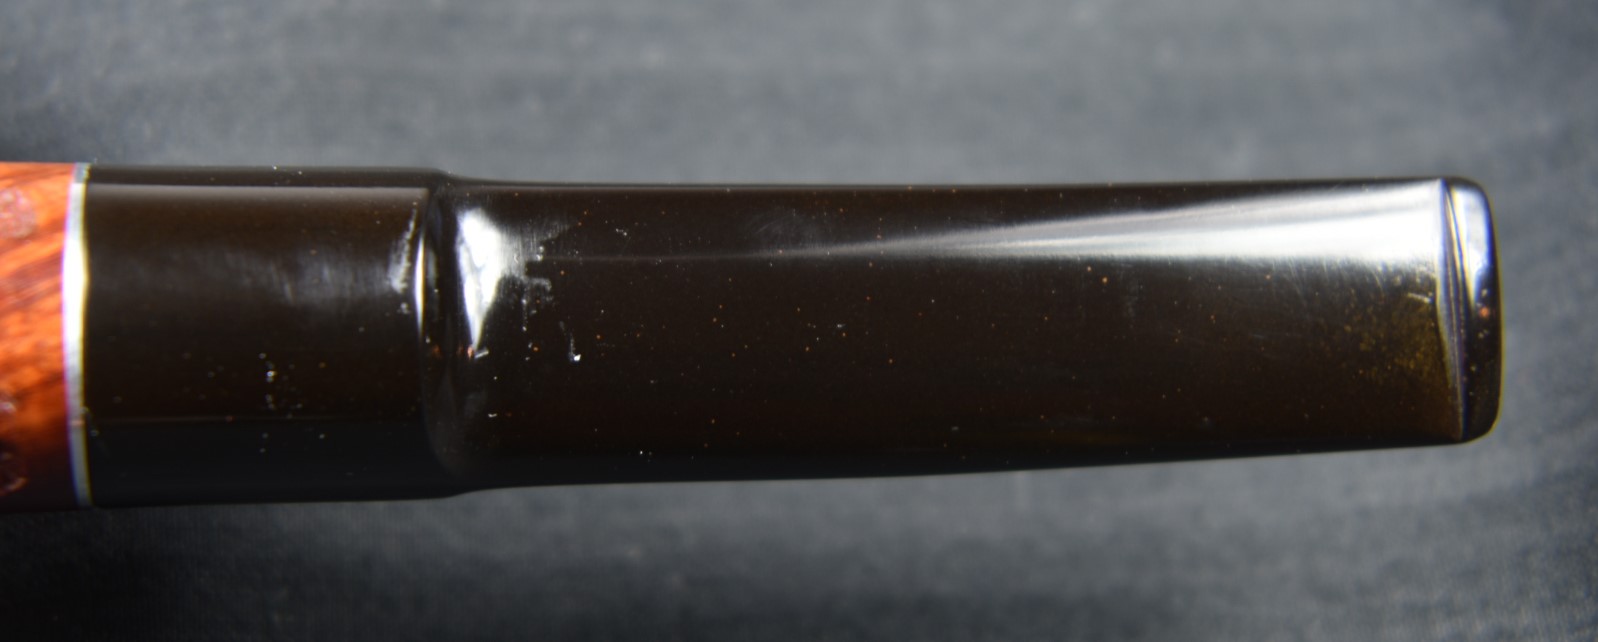
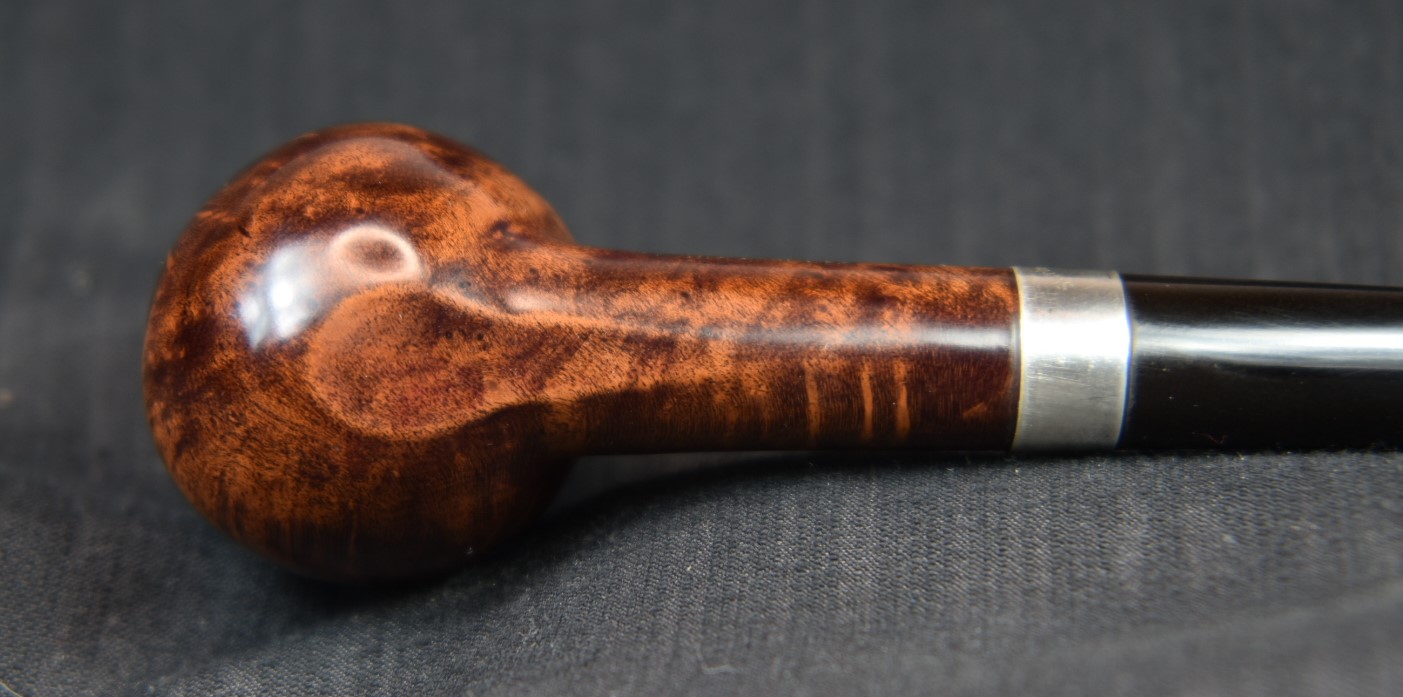
The final touch was the application of several coats of carnauba wax with the buffer. I tried to only apply the wax to the high area but gave up on that. I used the edges of the buffing wheel to work the wax into the carvings. When I was finished I replaced the waxing wheel with a clean flannel wheel. I used this wheel without any wax and used the corner edge of the wheel to get into the carving grooves. My thought was to melt and absorb as much of the wax from the grooves as possible while still leaving a thin coating to protect the briar. It looked good.
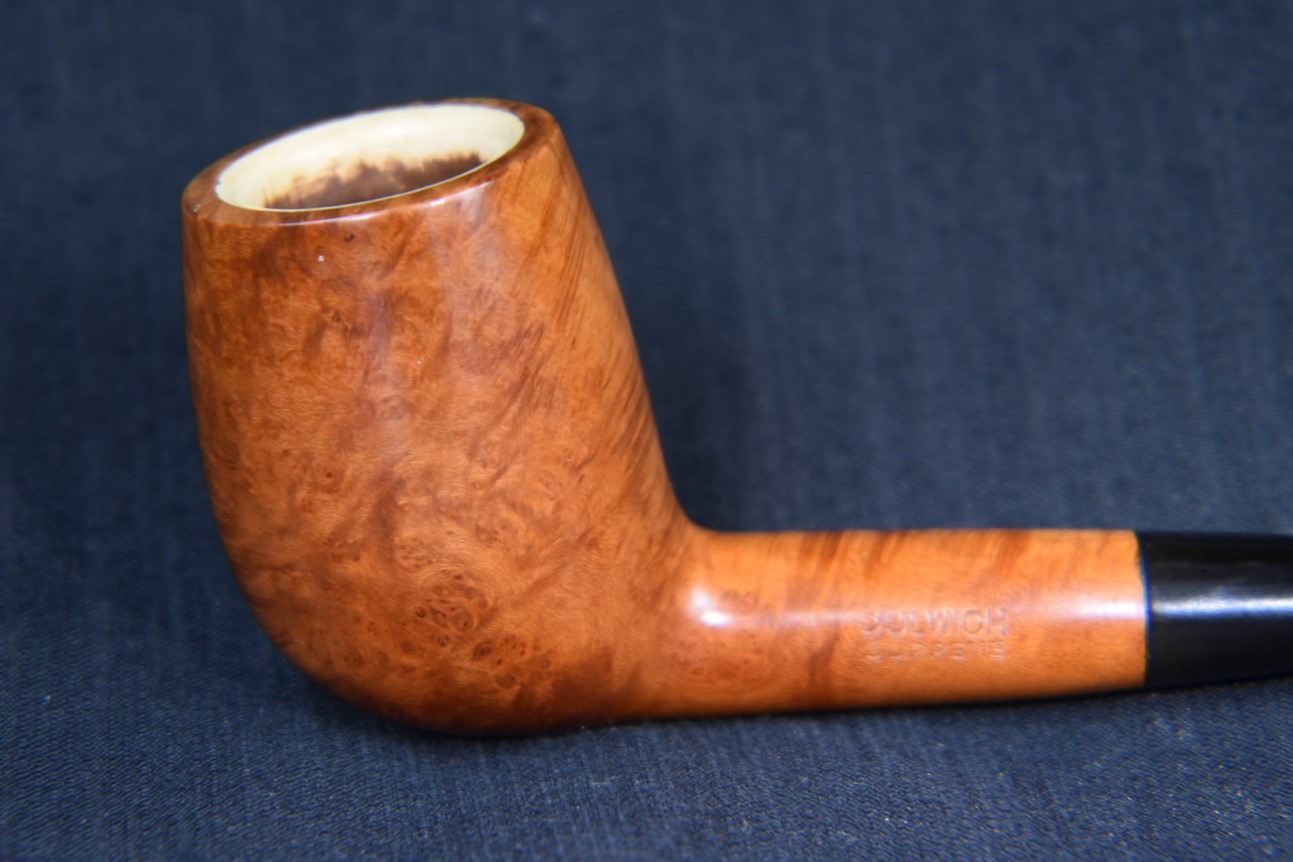
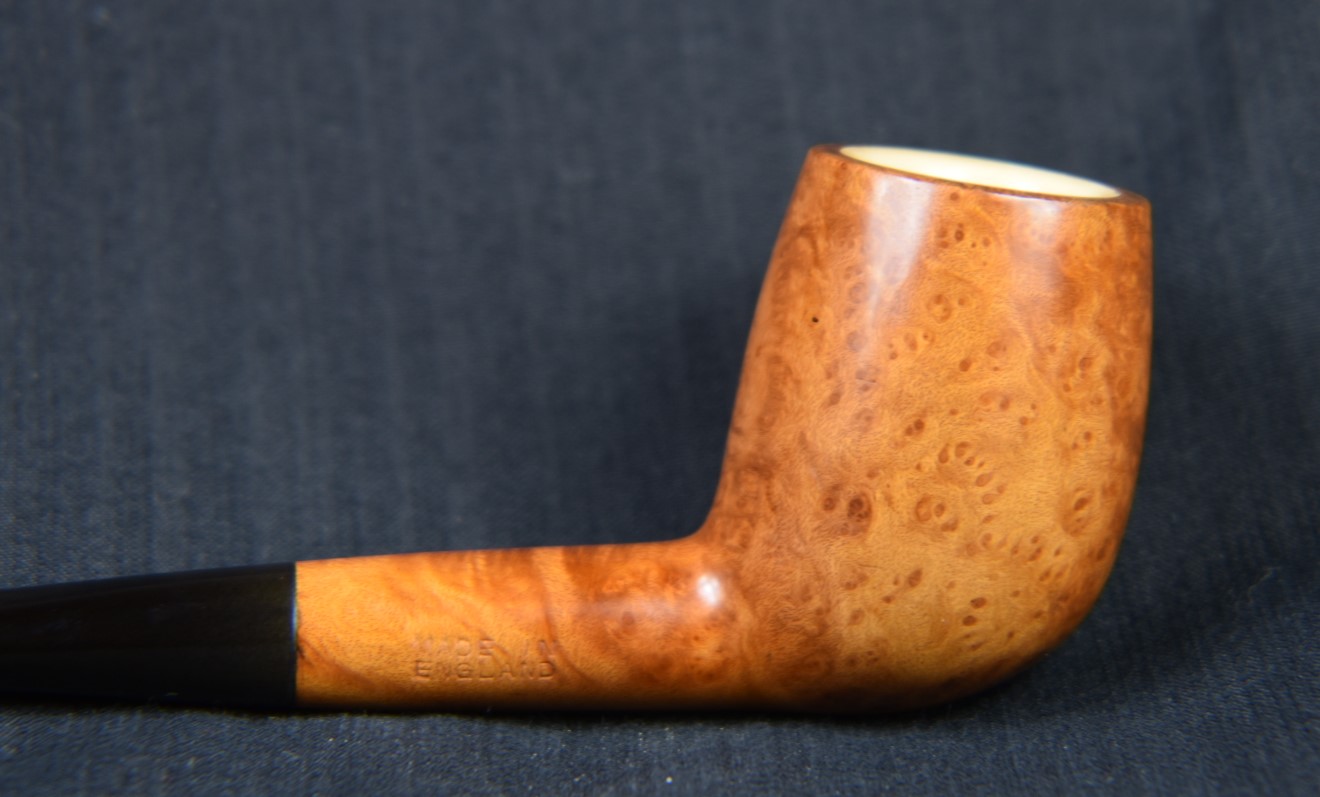
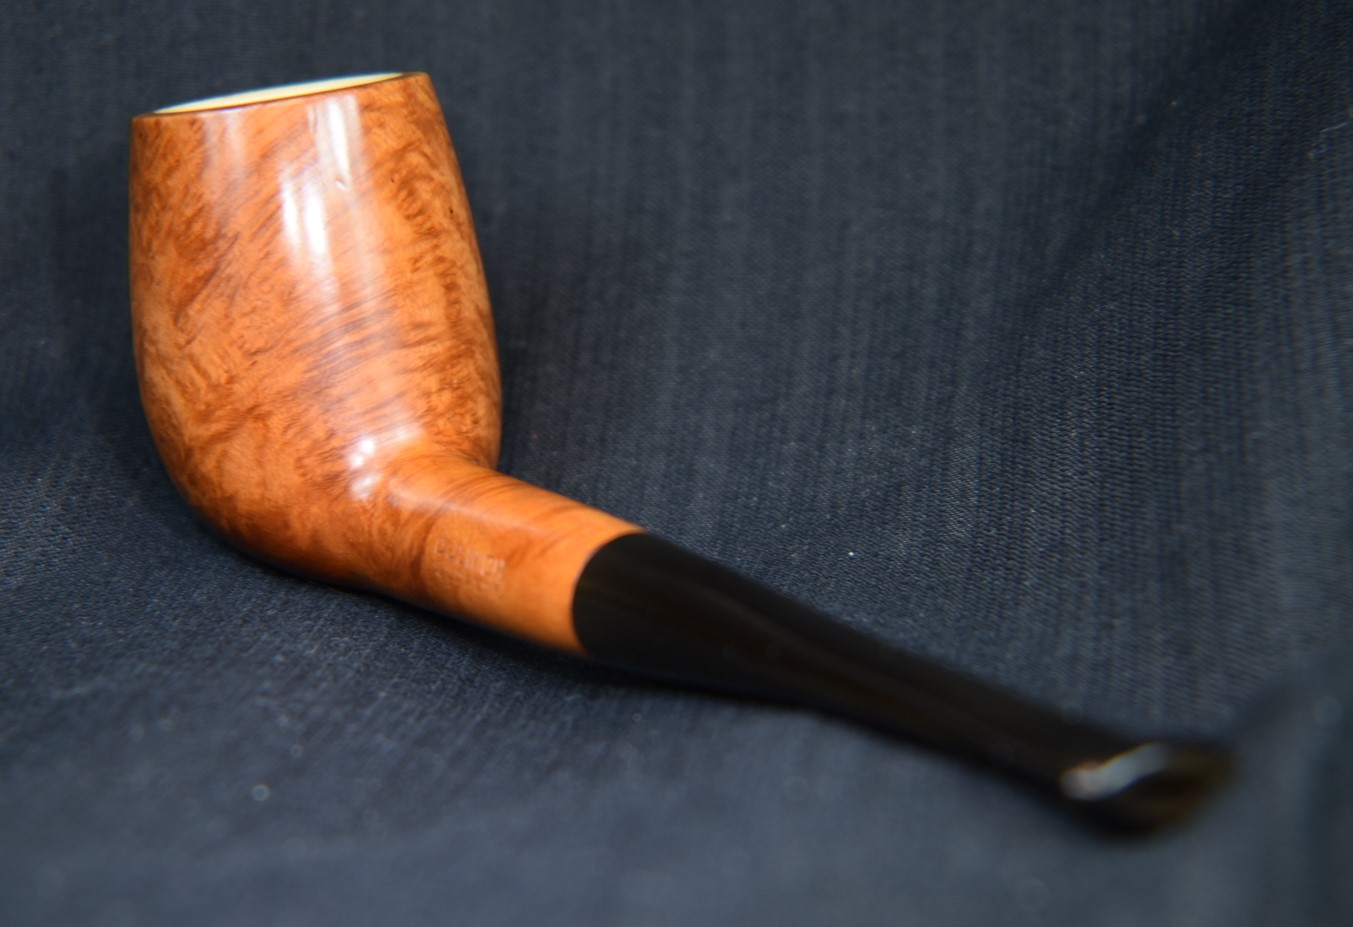
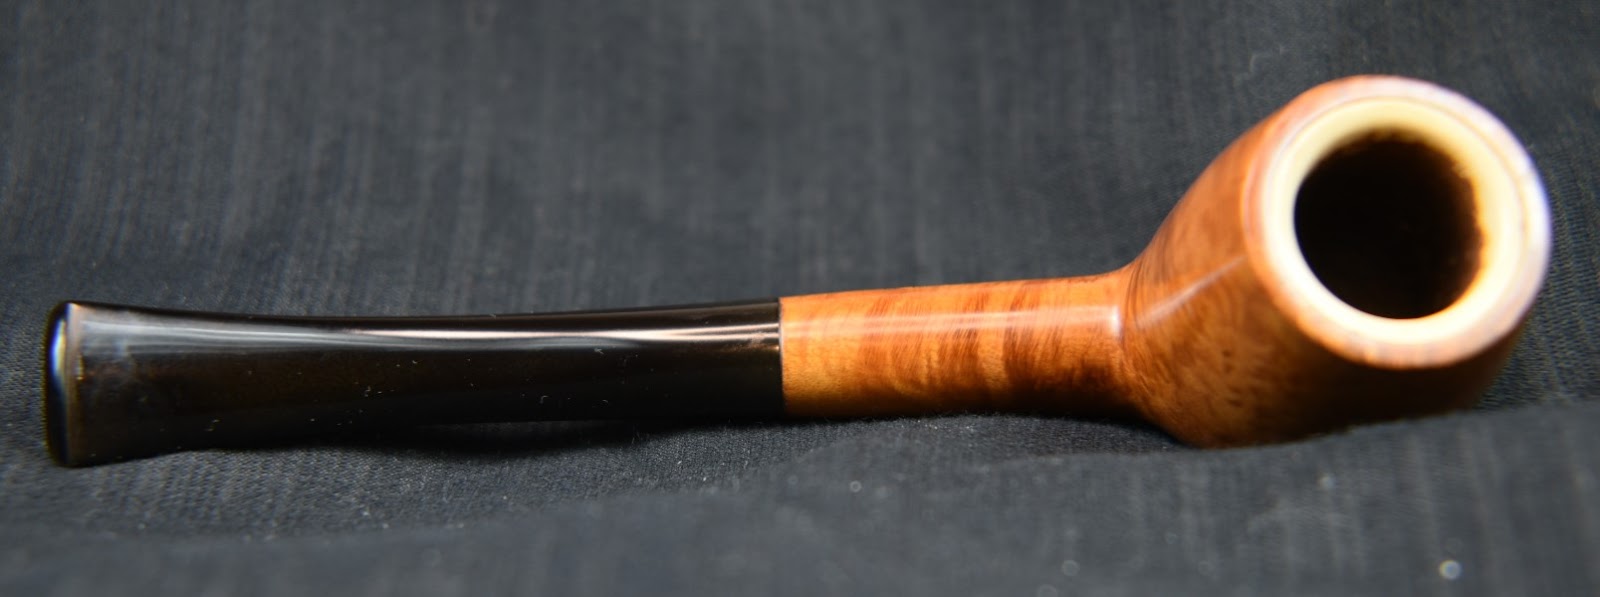
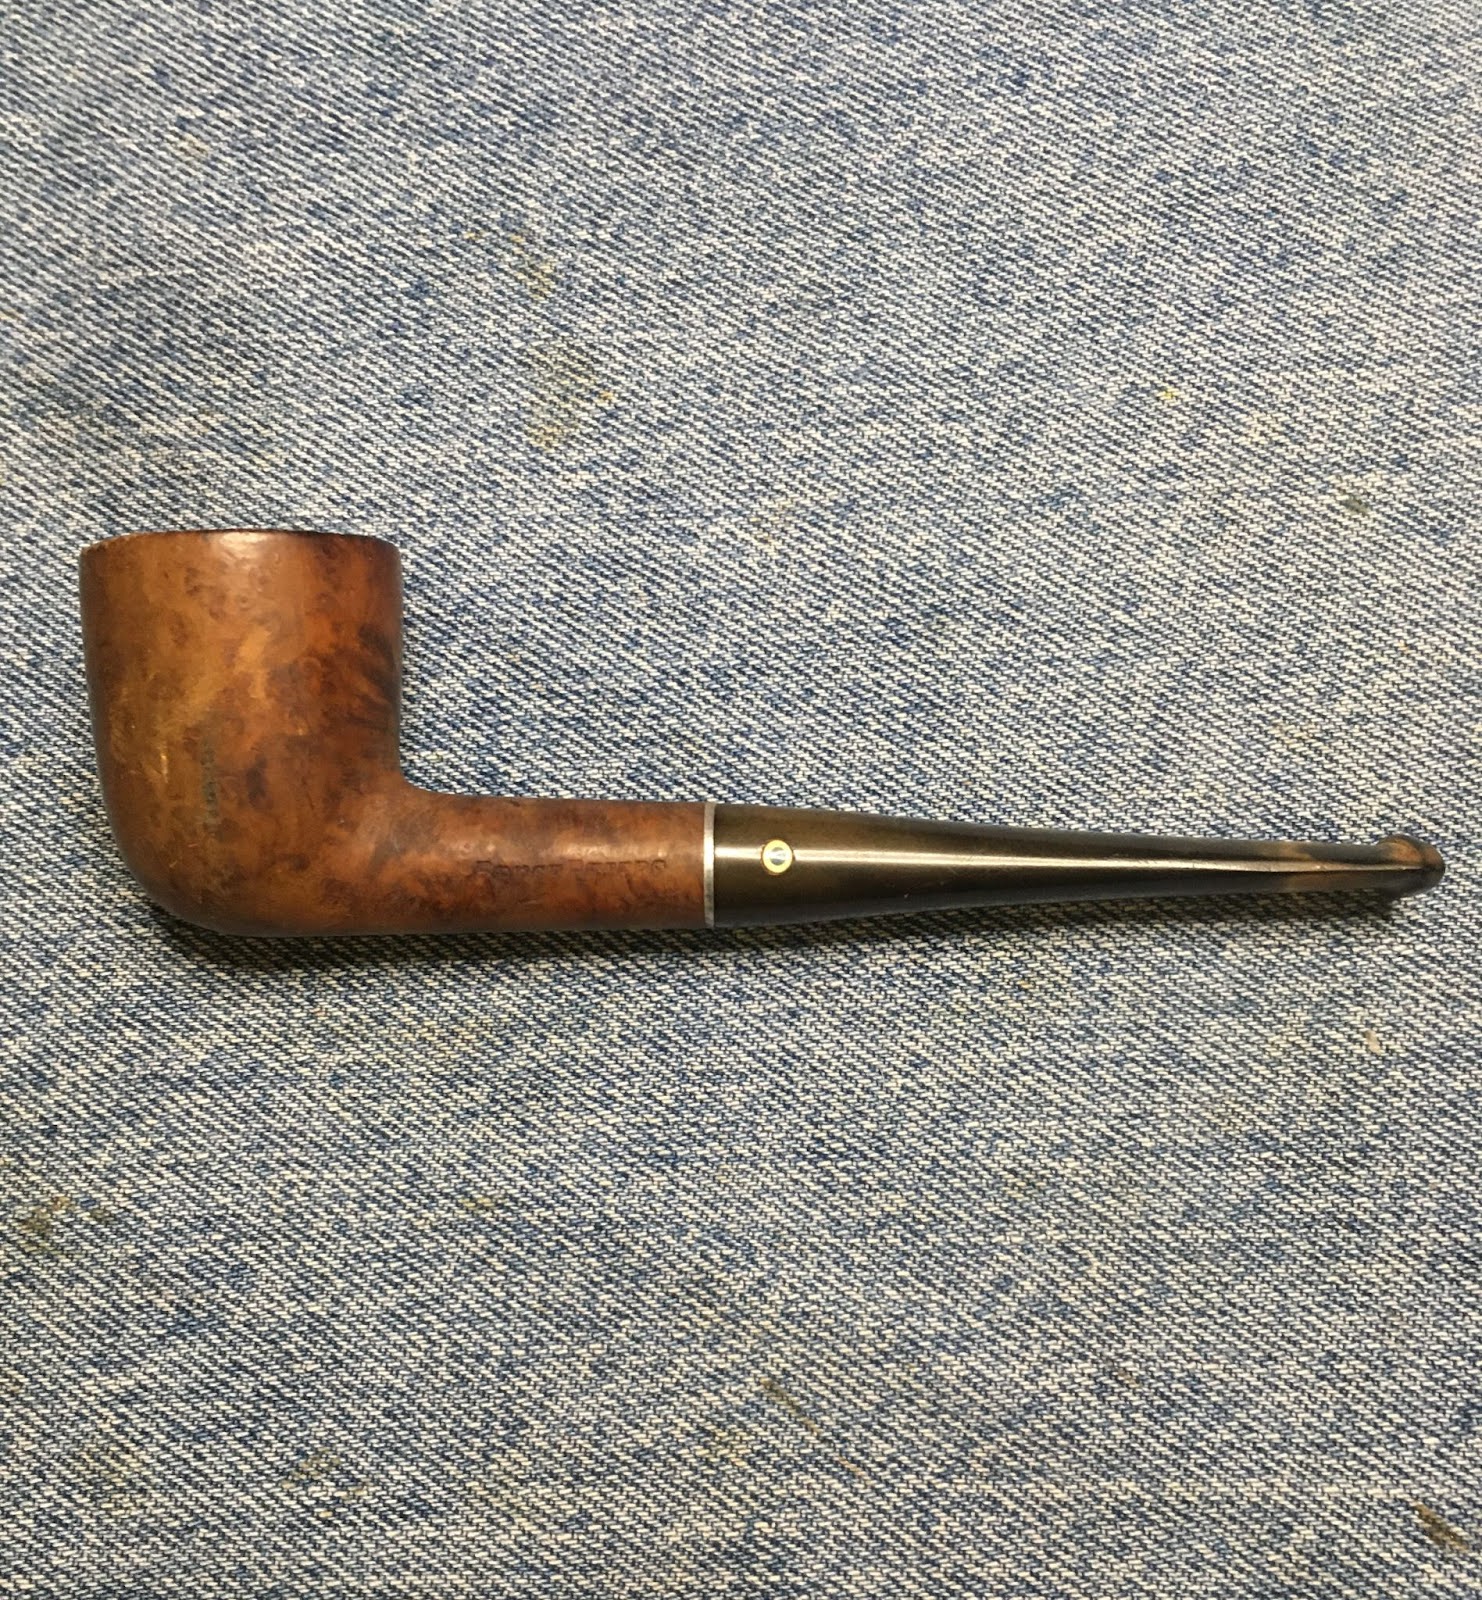
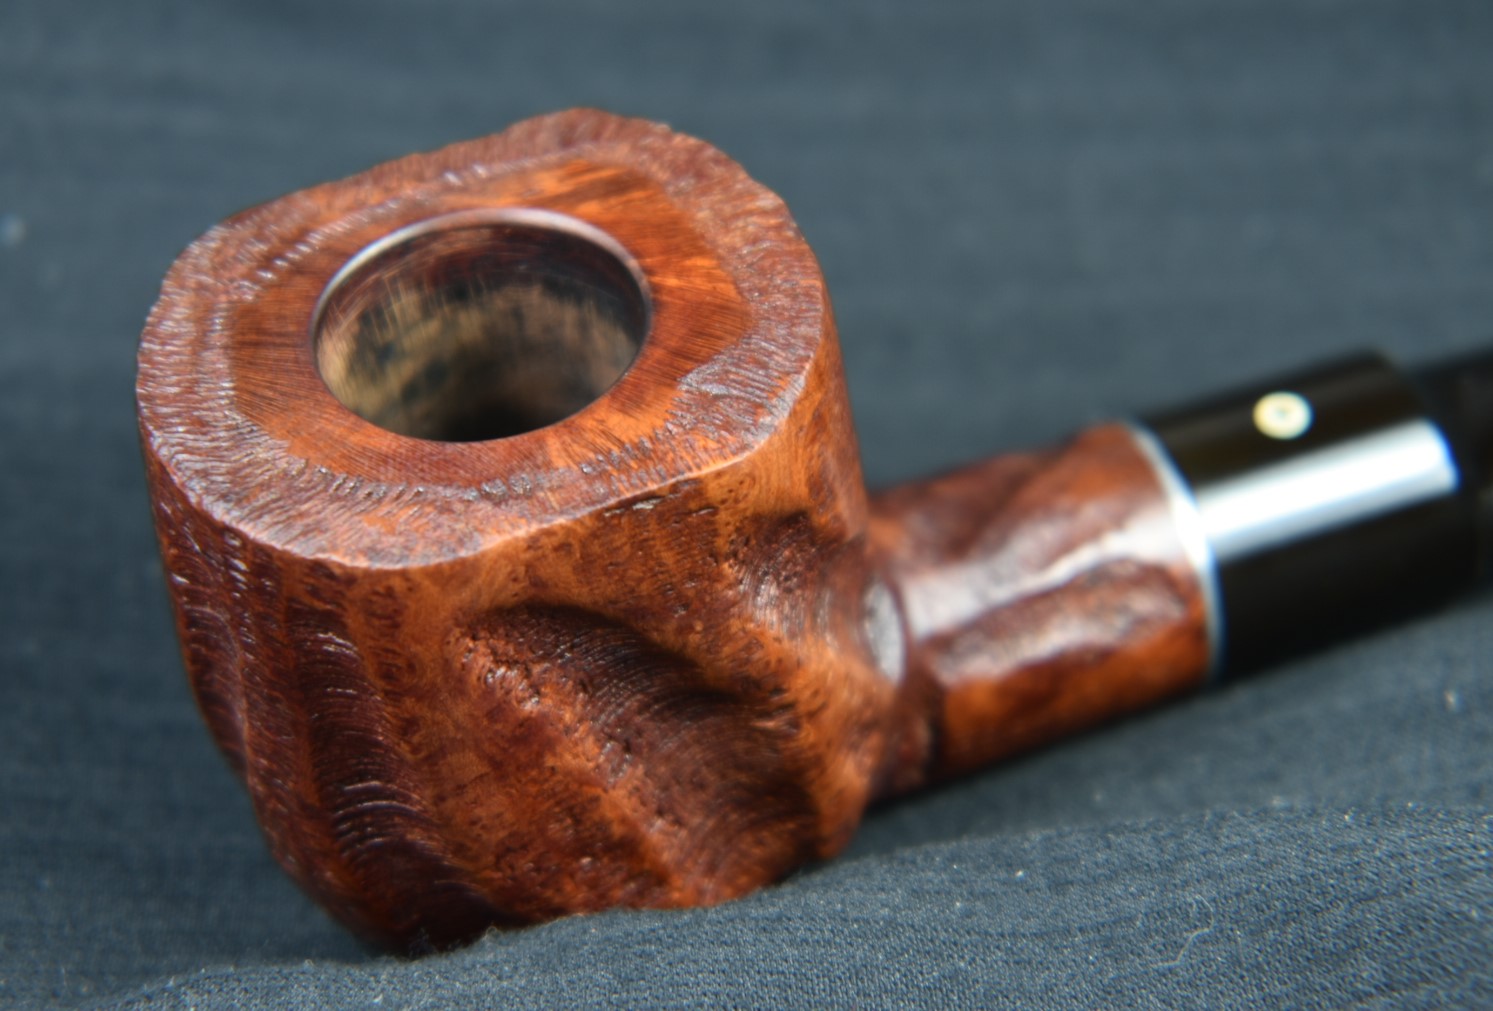
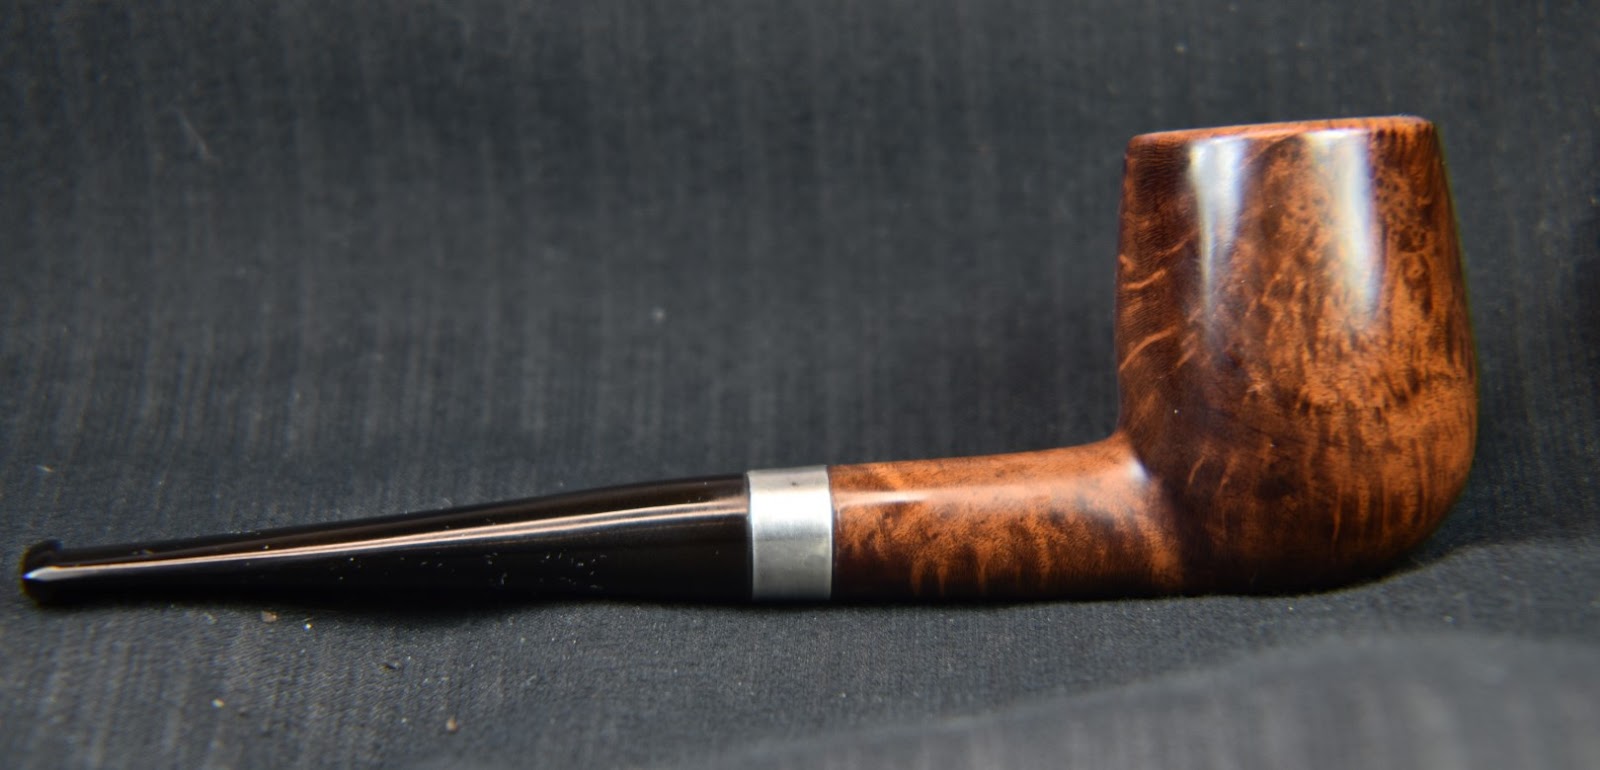
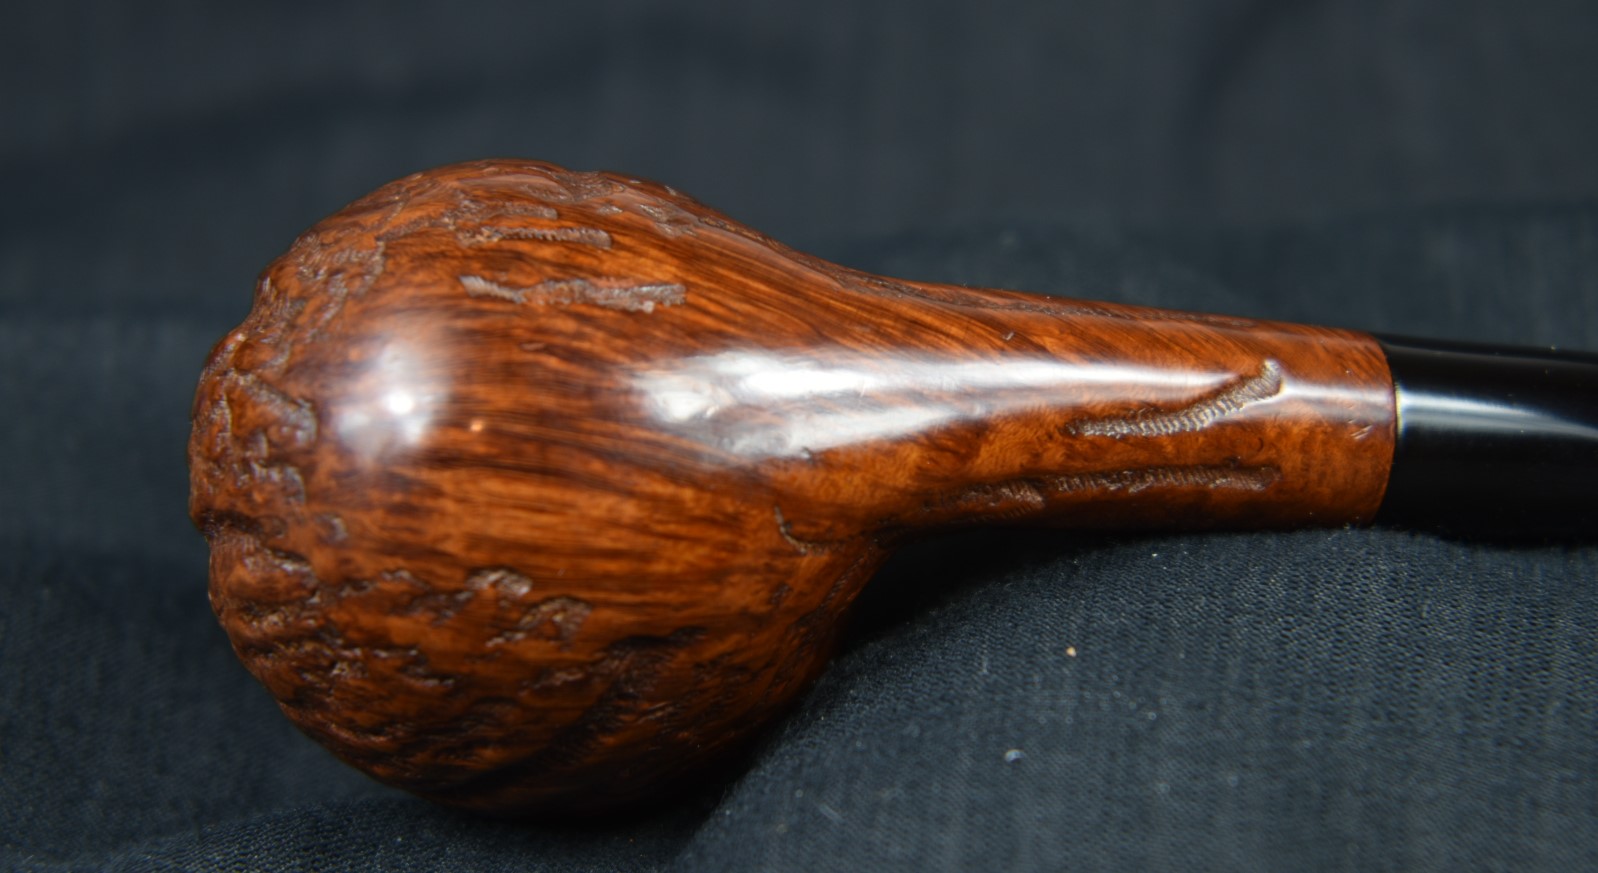
Overall I was very pleased at how well this Kaywoodie turned out. These were fun pipes to work on and their size makes you feel like you have accomplished a real feat. The briar cleaned up beautifully and the stem again shines like new vulcanite should. As for the dimensions of this pipe, as I said it is large, the dimensions are as follows:
Weight: 3.12 ounce/ 88.45 g.
Length: 6.42 in./ 163.07 mm.
Bowl Height: 2.18 in./ 55.37 mm.
Chamber Depth: 1.85 in./ 46.99 mm.
Chamber Diameter: 0.84 in./ 21.34 mm.
Outside Dimension (side-side): 1.60 in./ 40.64 mm.
Outside Dimension (front-back): 1.91 in./ 48.51 mm.
These are not pipes that you can clench while raking leaves or shoveling snow. This pipe demands you attention. I am sure the reward for such demands is a very nice cool smoke. I do hope that you have found this to be useful and entertaining. If you enjoy this sort of thing, please click the like and subscribe. I thank you for reading the ramblings of an old pipe lover.
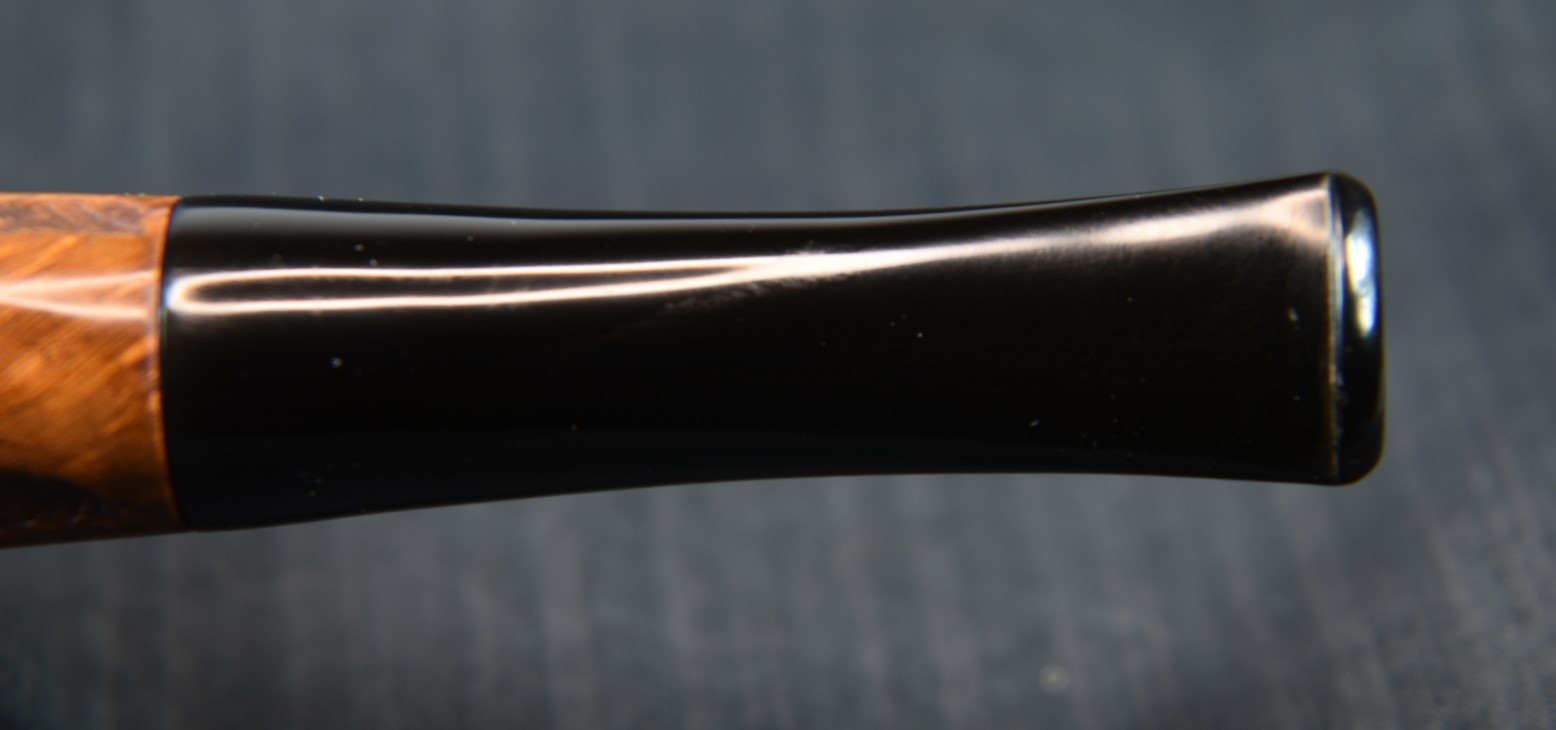
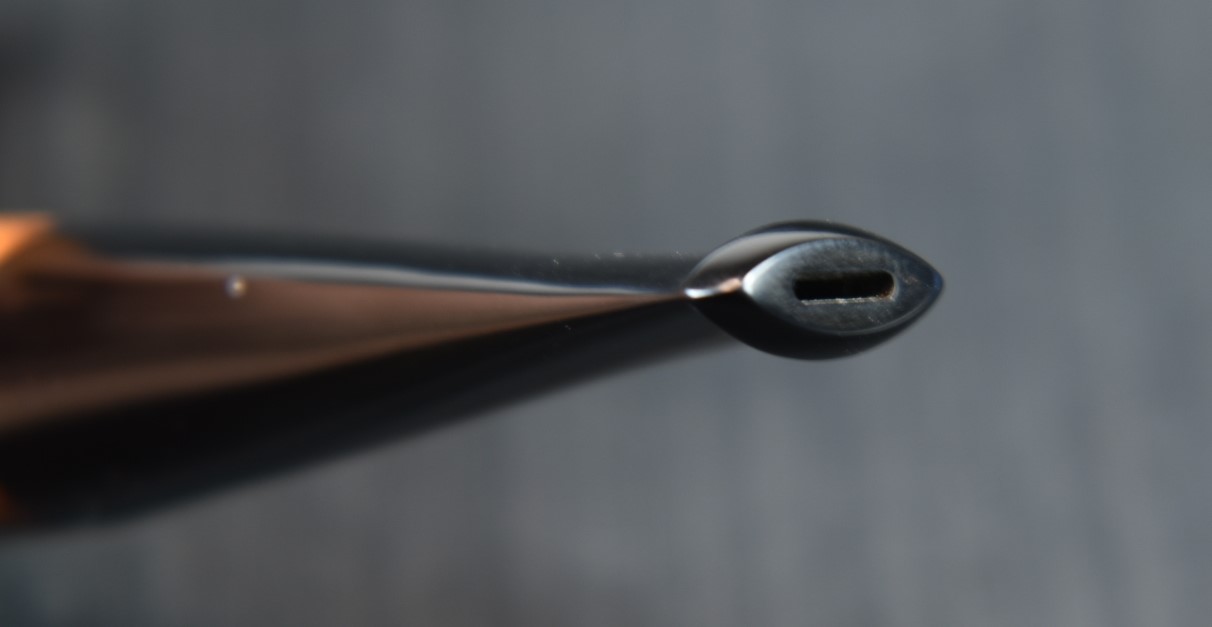
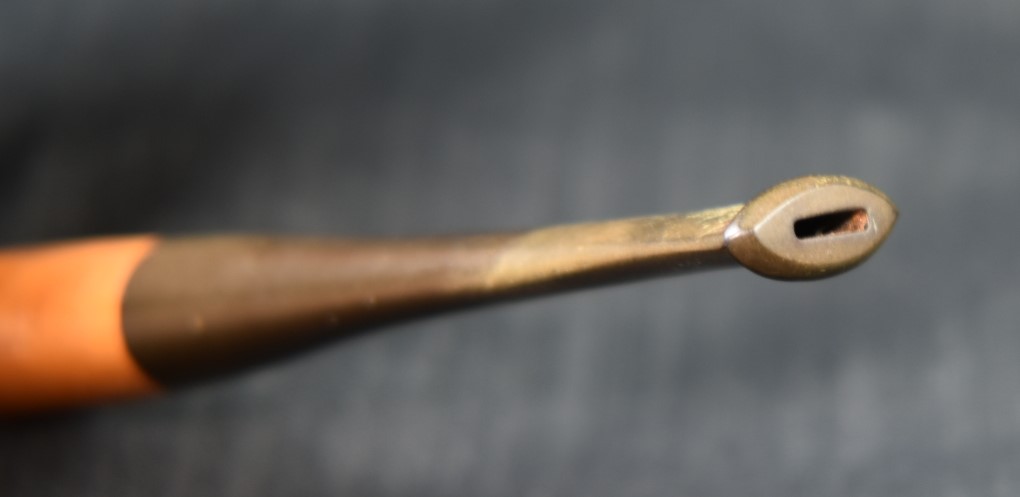
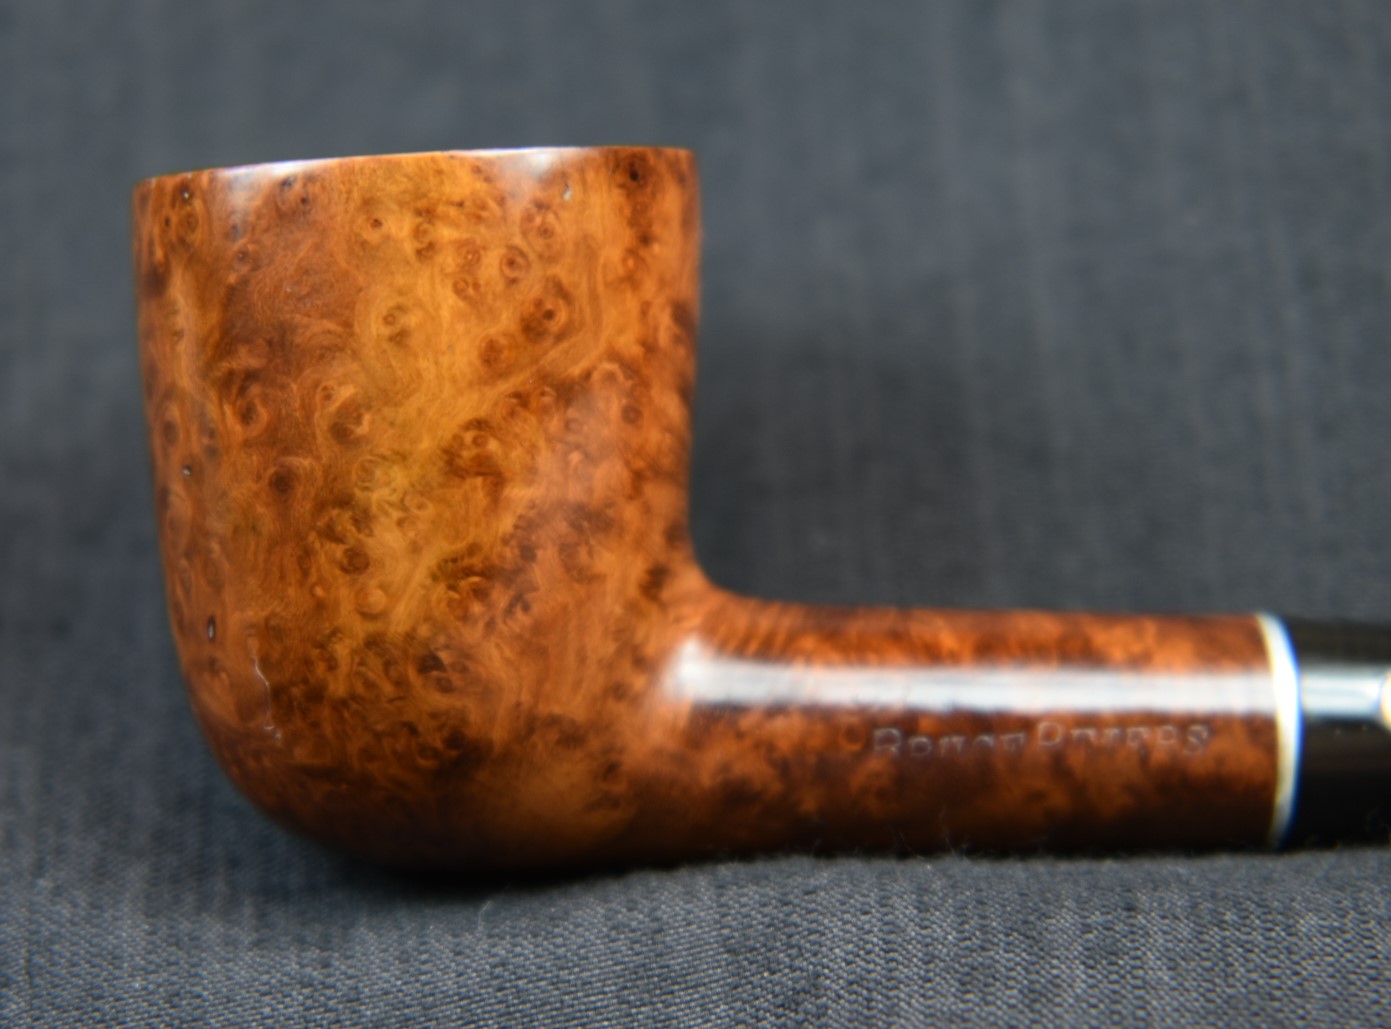
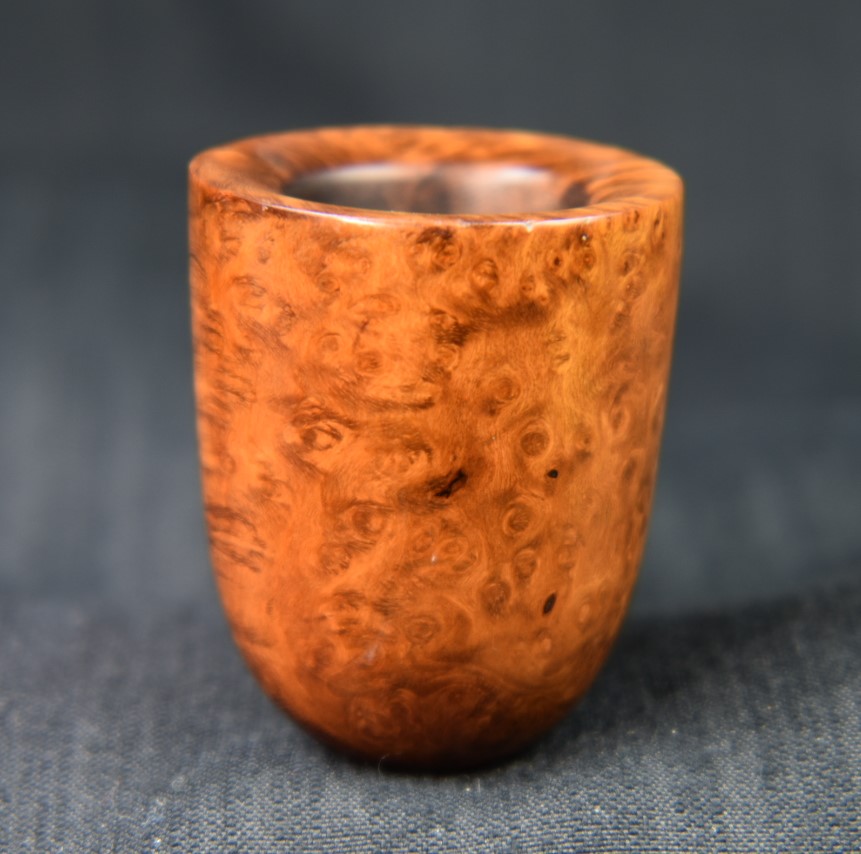
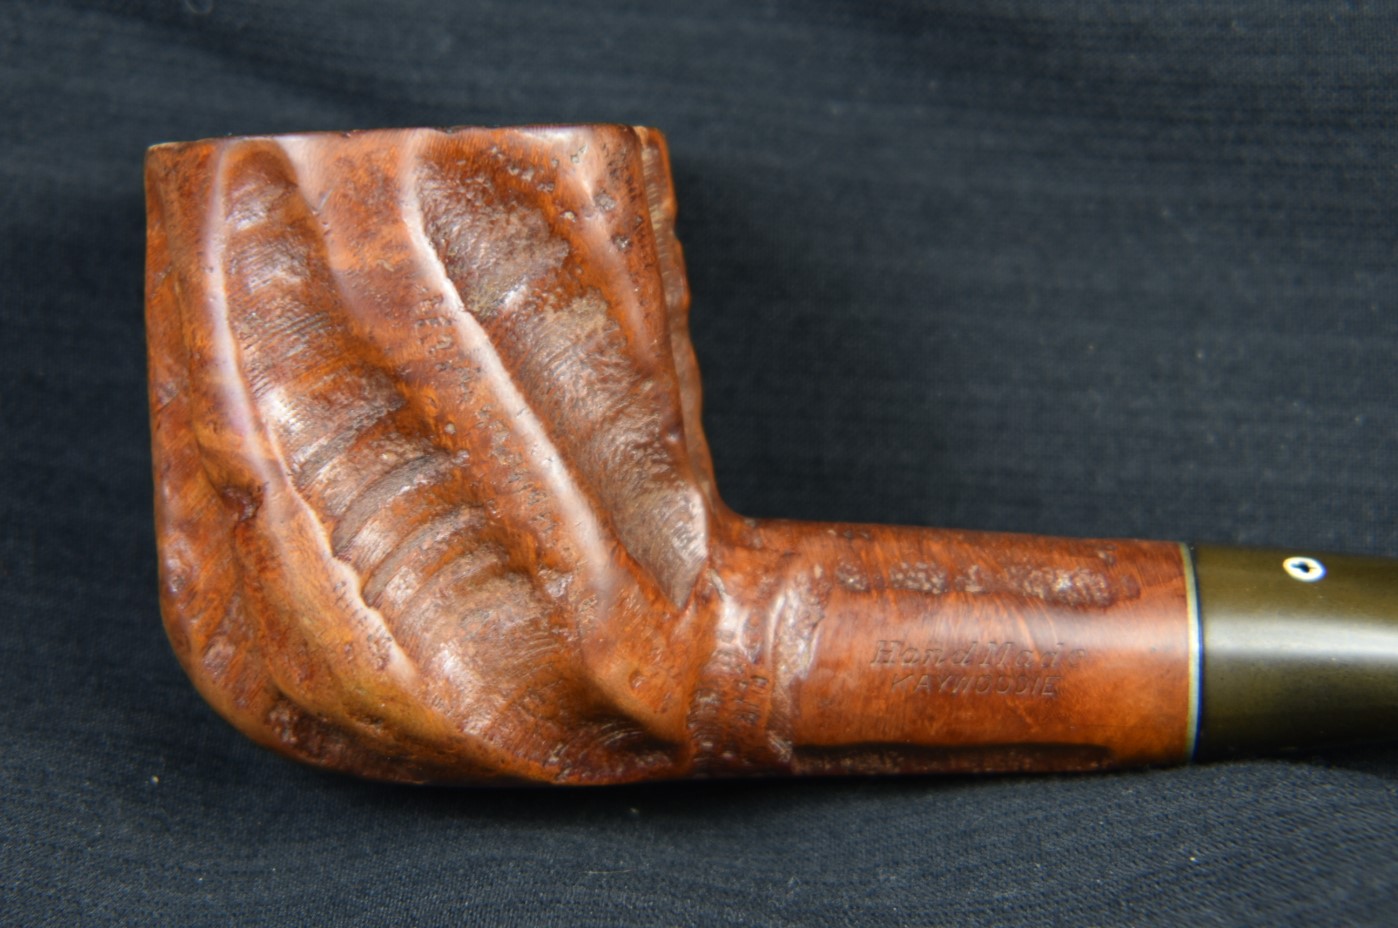
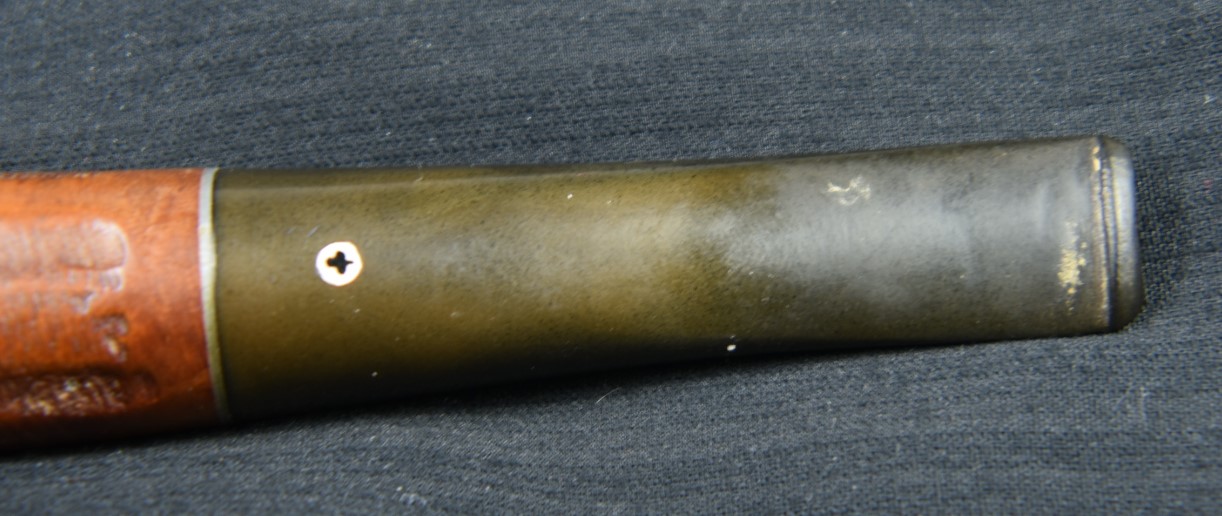
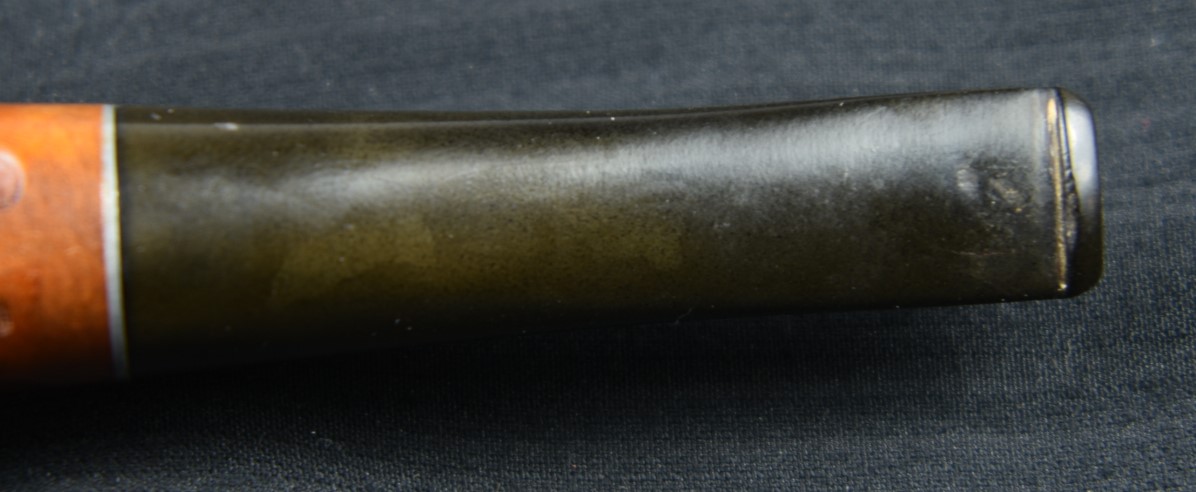
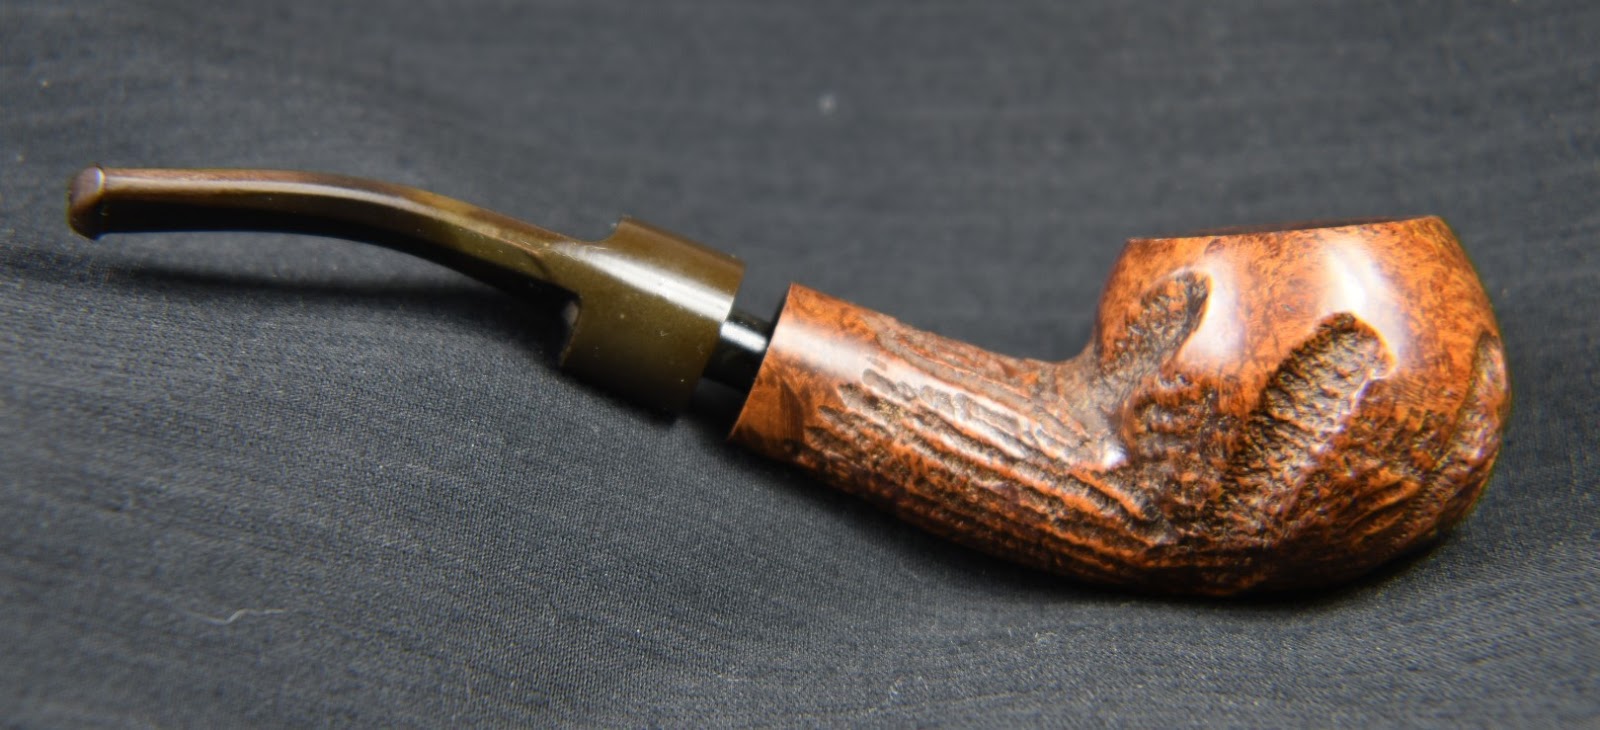
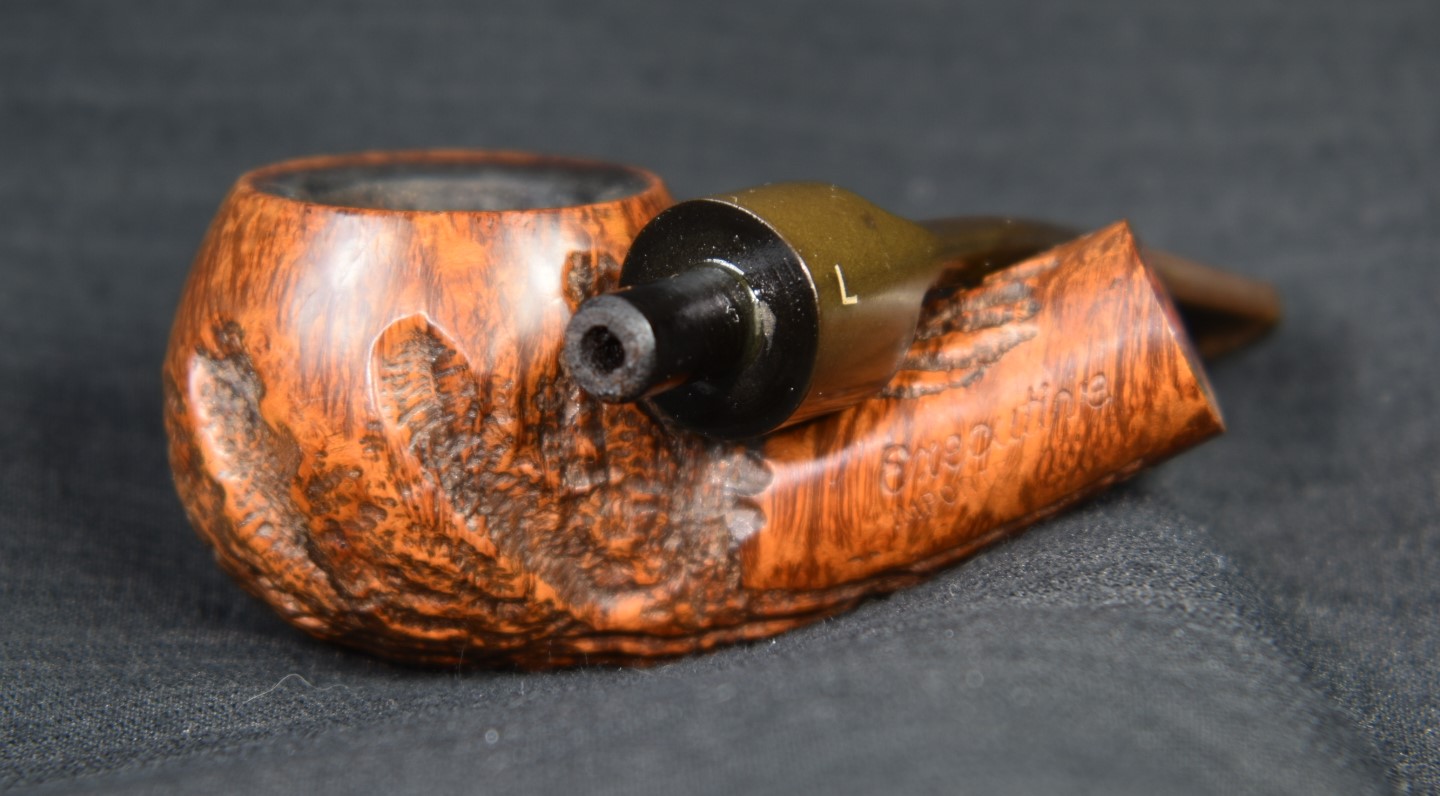
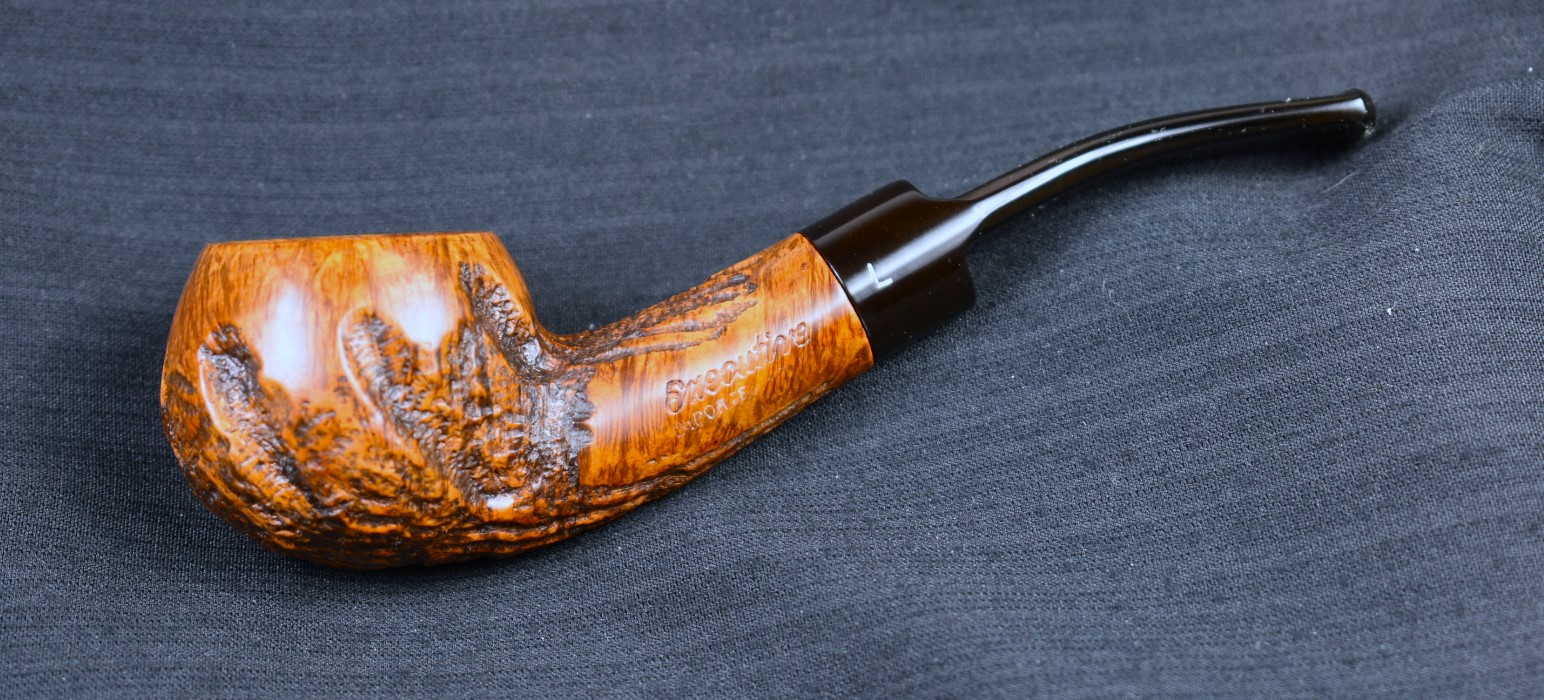
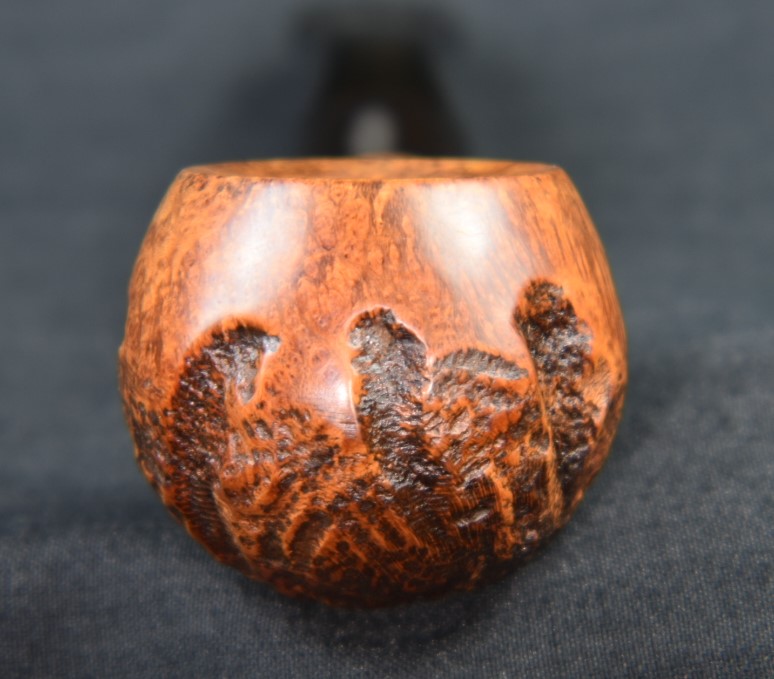
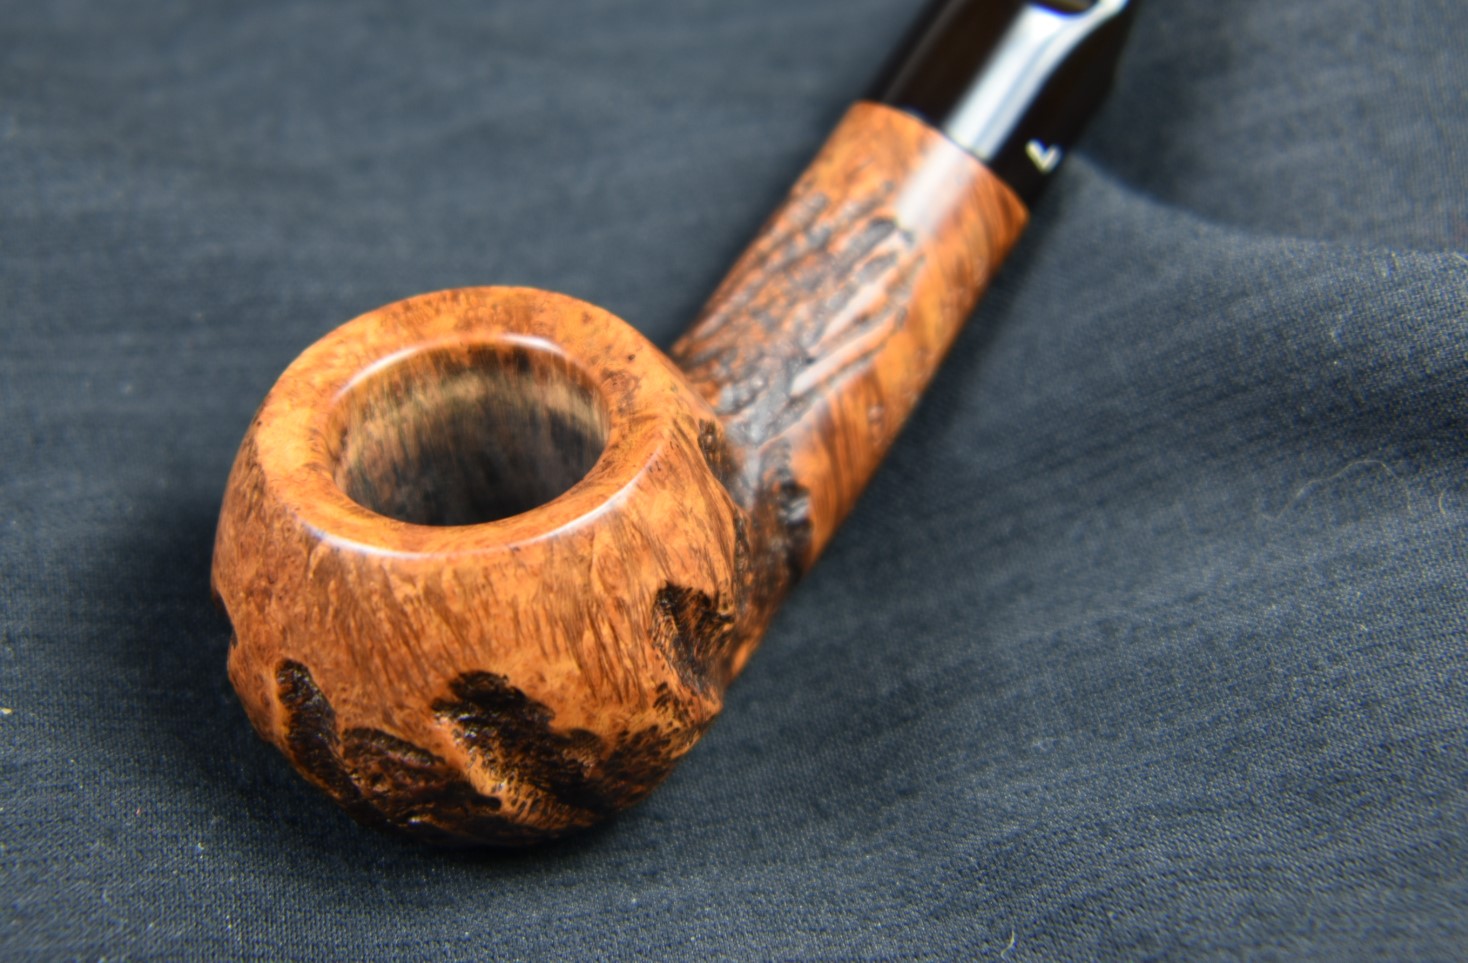
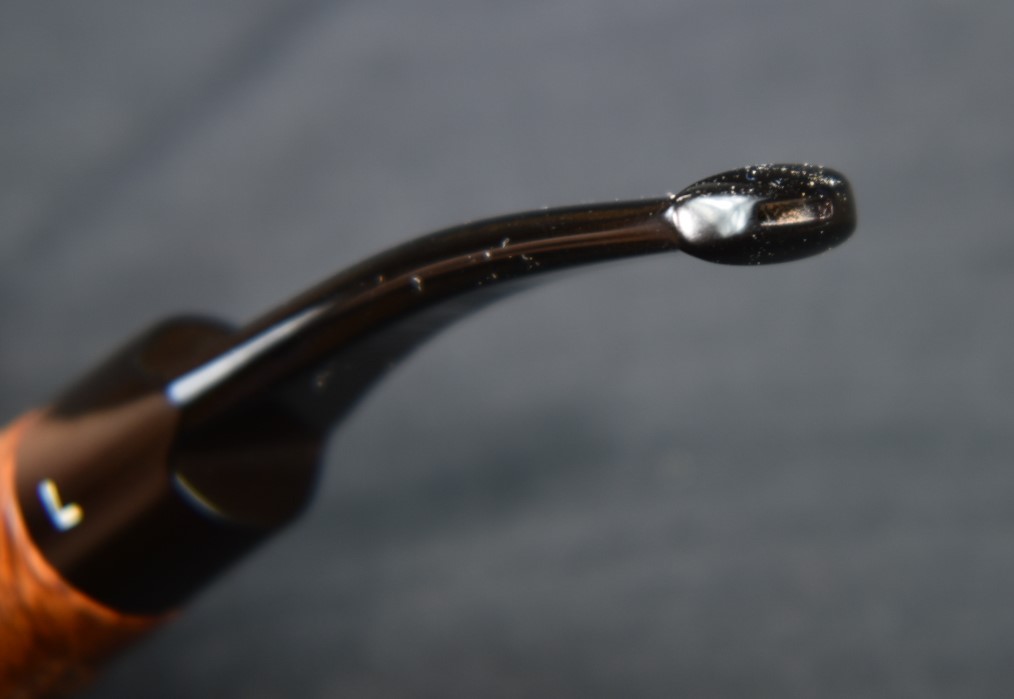
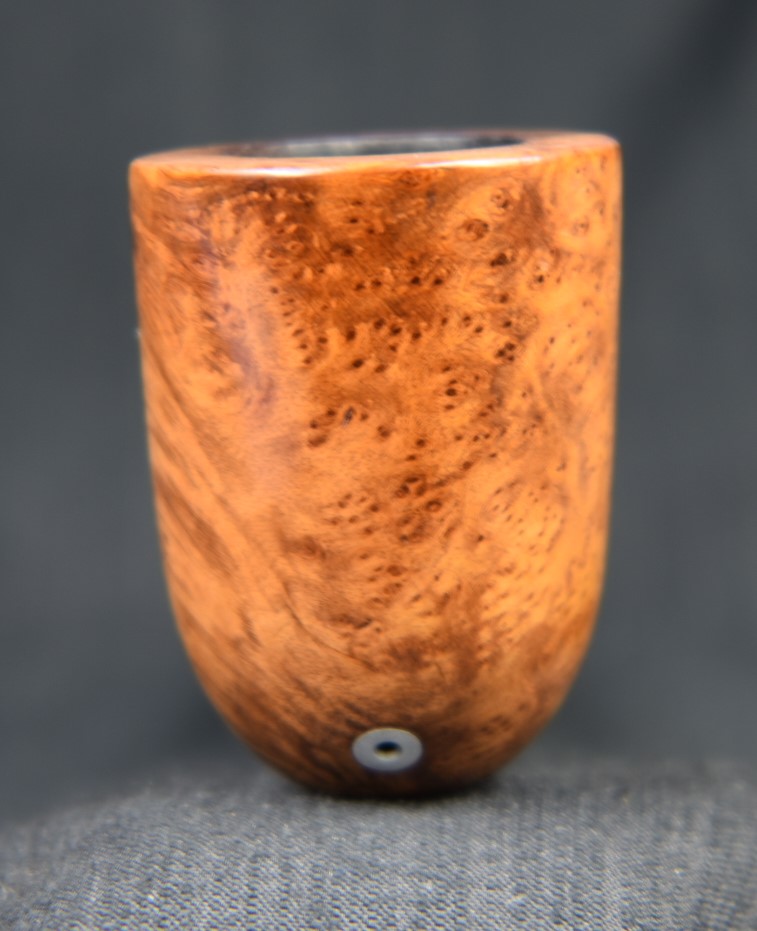
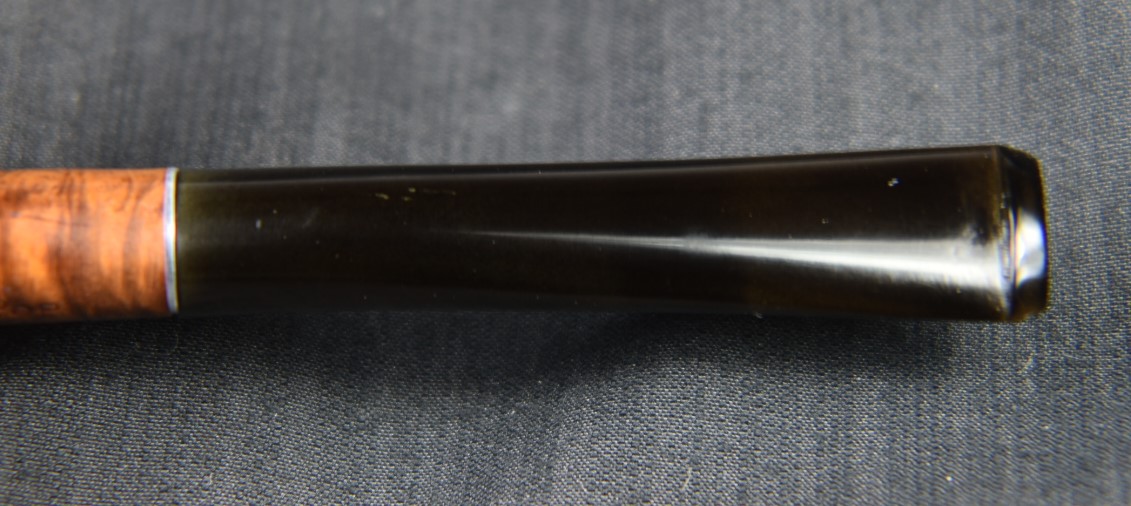
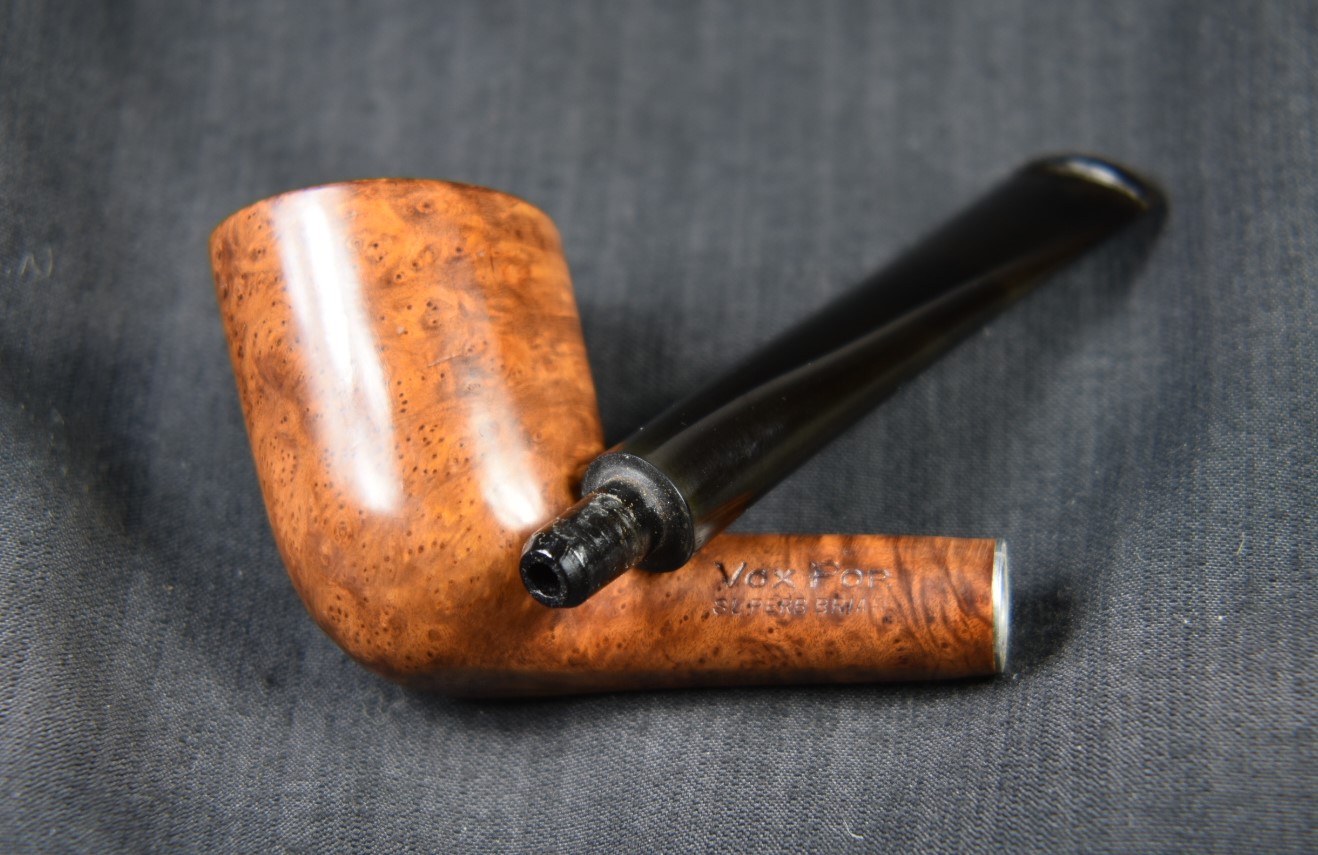
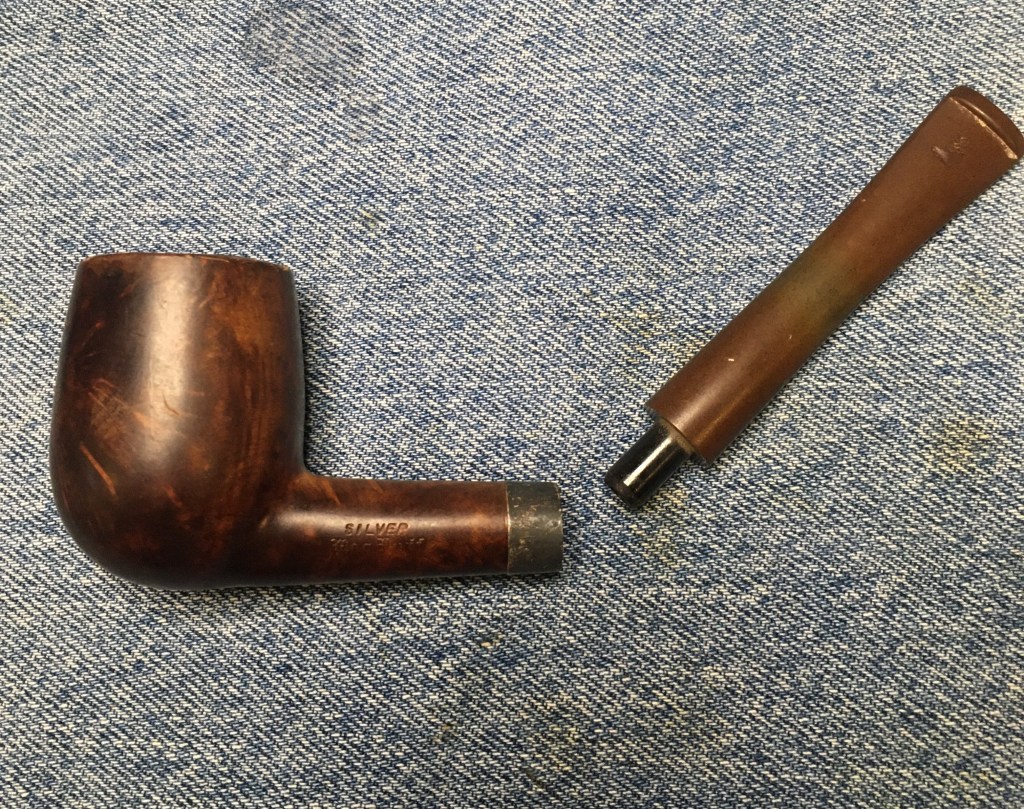
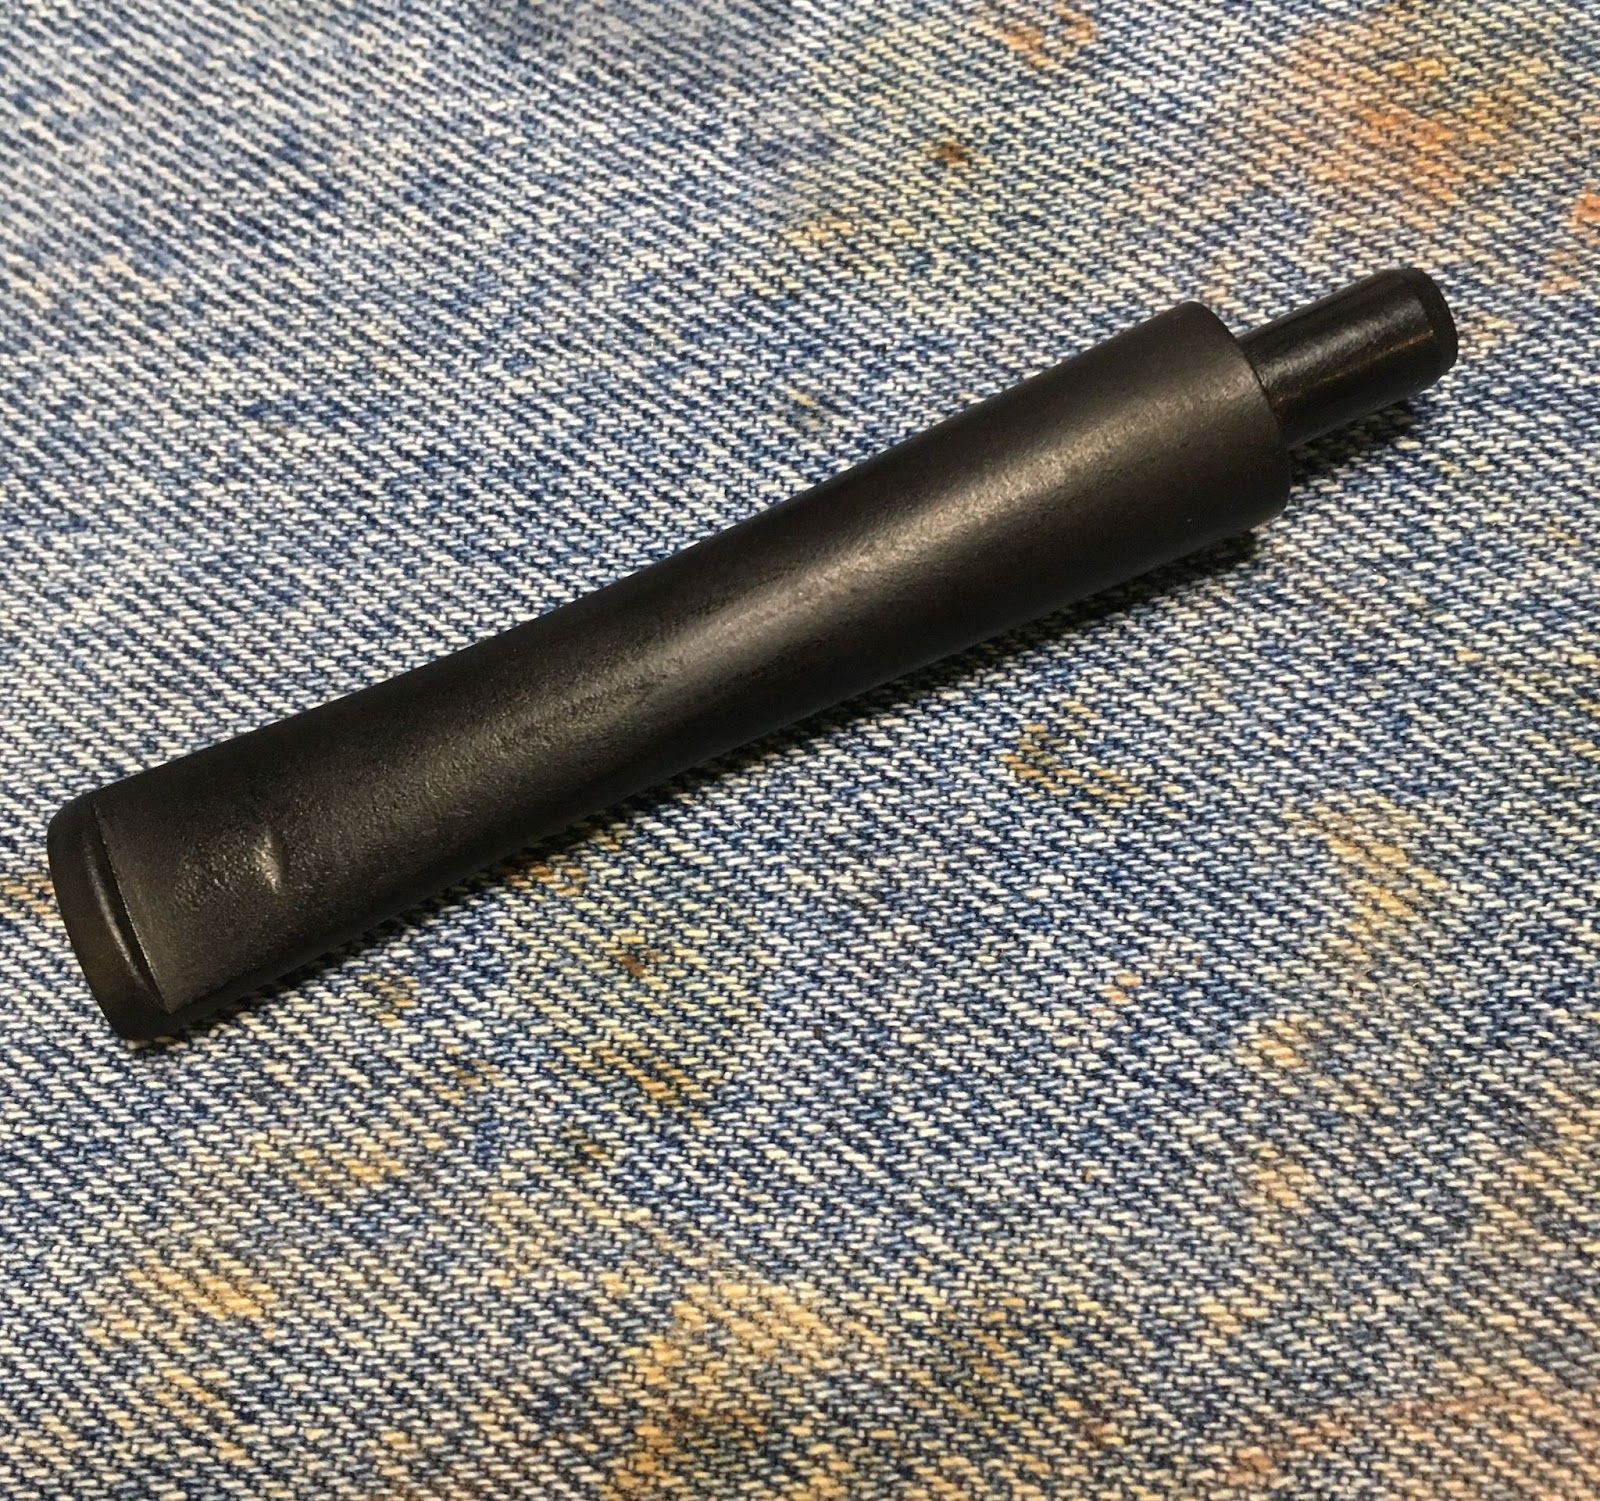
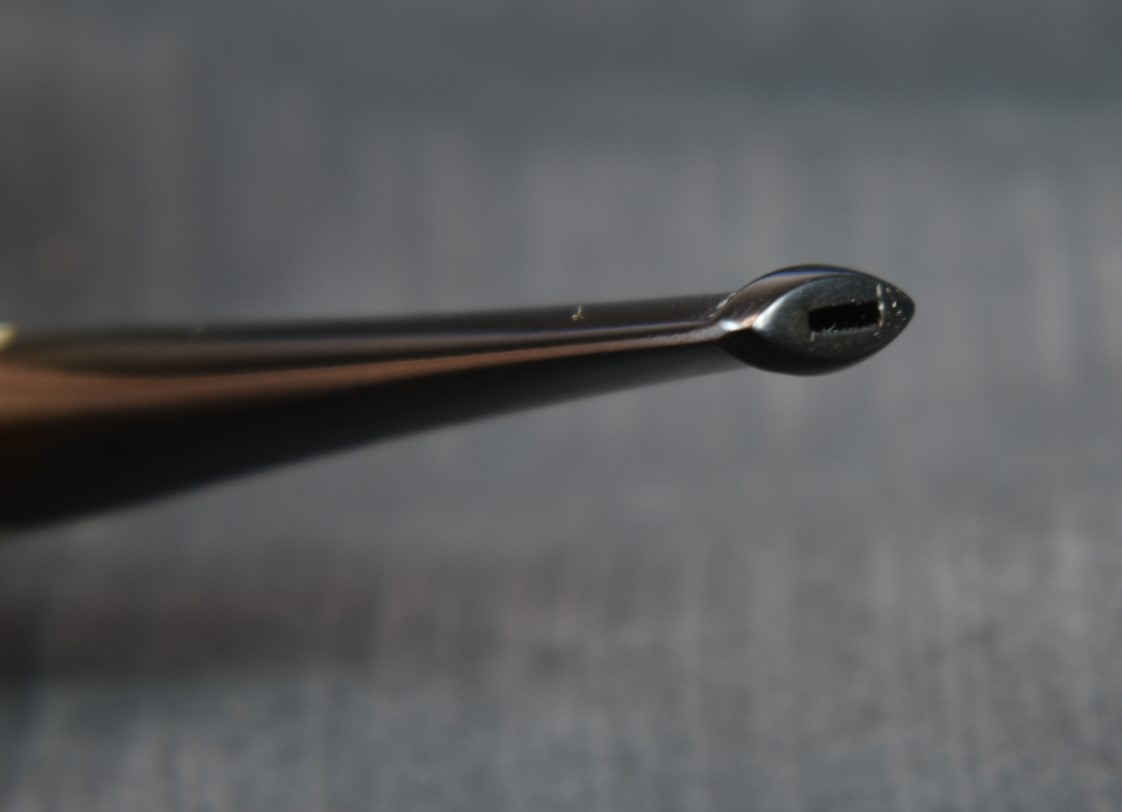
Below are some photos of the Kaywoodie HandMade Saddle Stem.


Well, I’ll be darned. I didn’t forget.


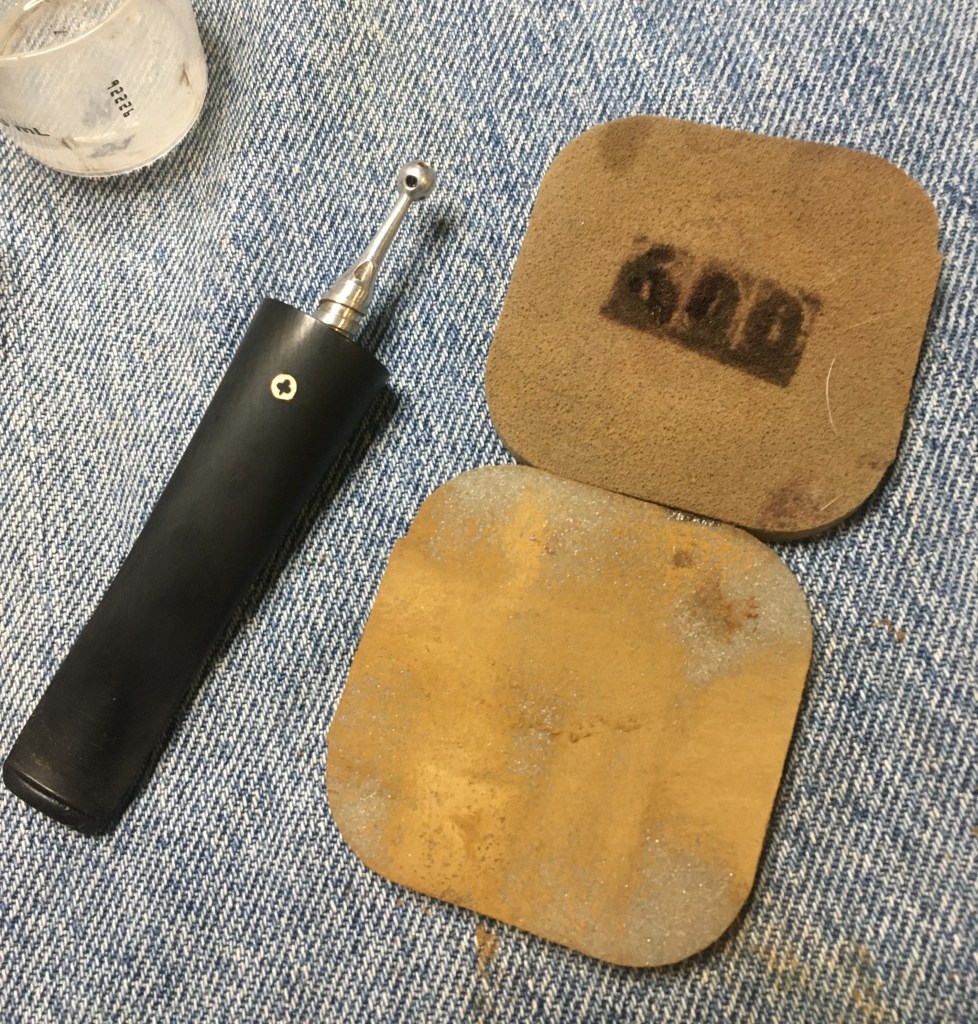


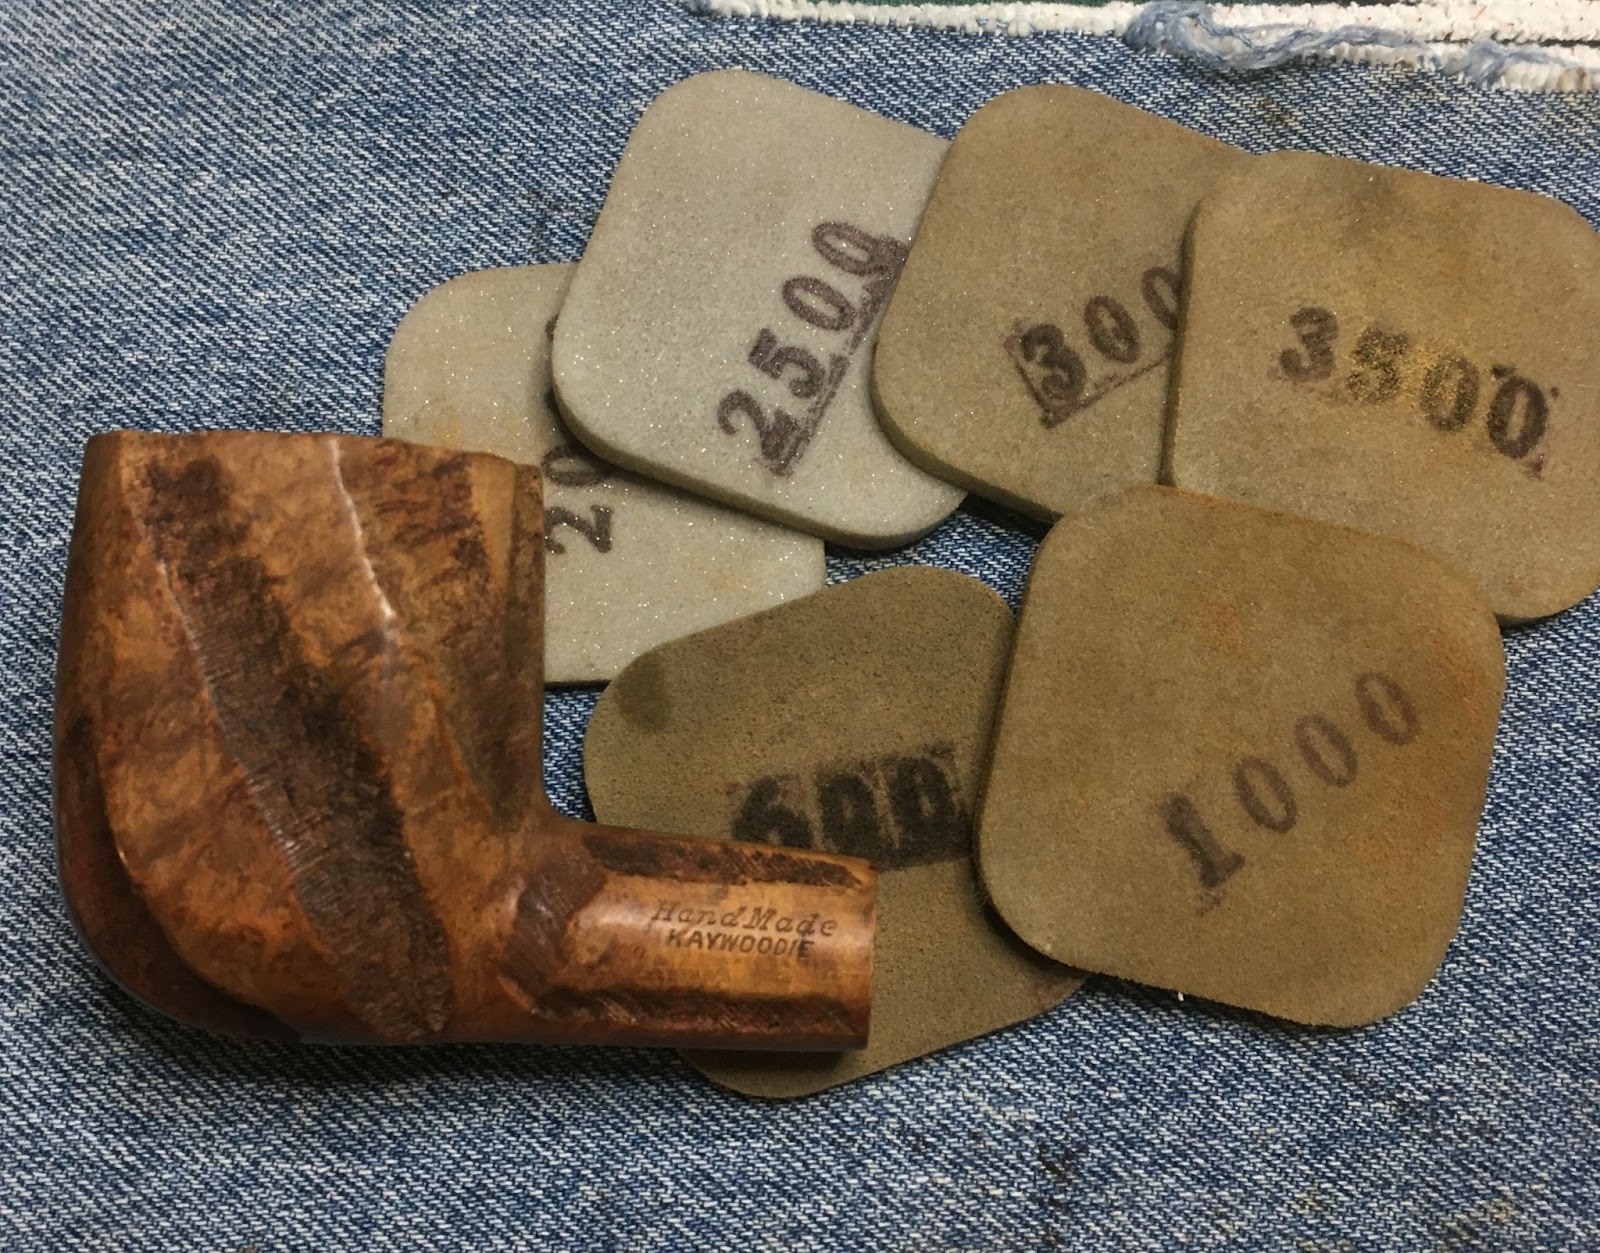
 I worked on the stem with the sanding sponges from 600-3500 in sequence. Between each sponges I applied mineral oil from my finger and wiped the stem with a paper towel.
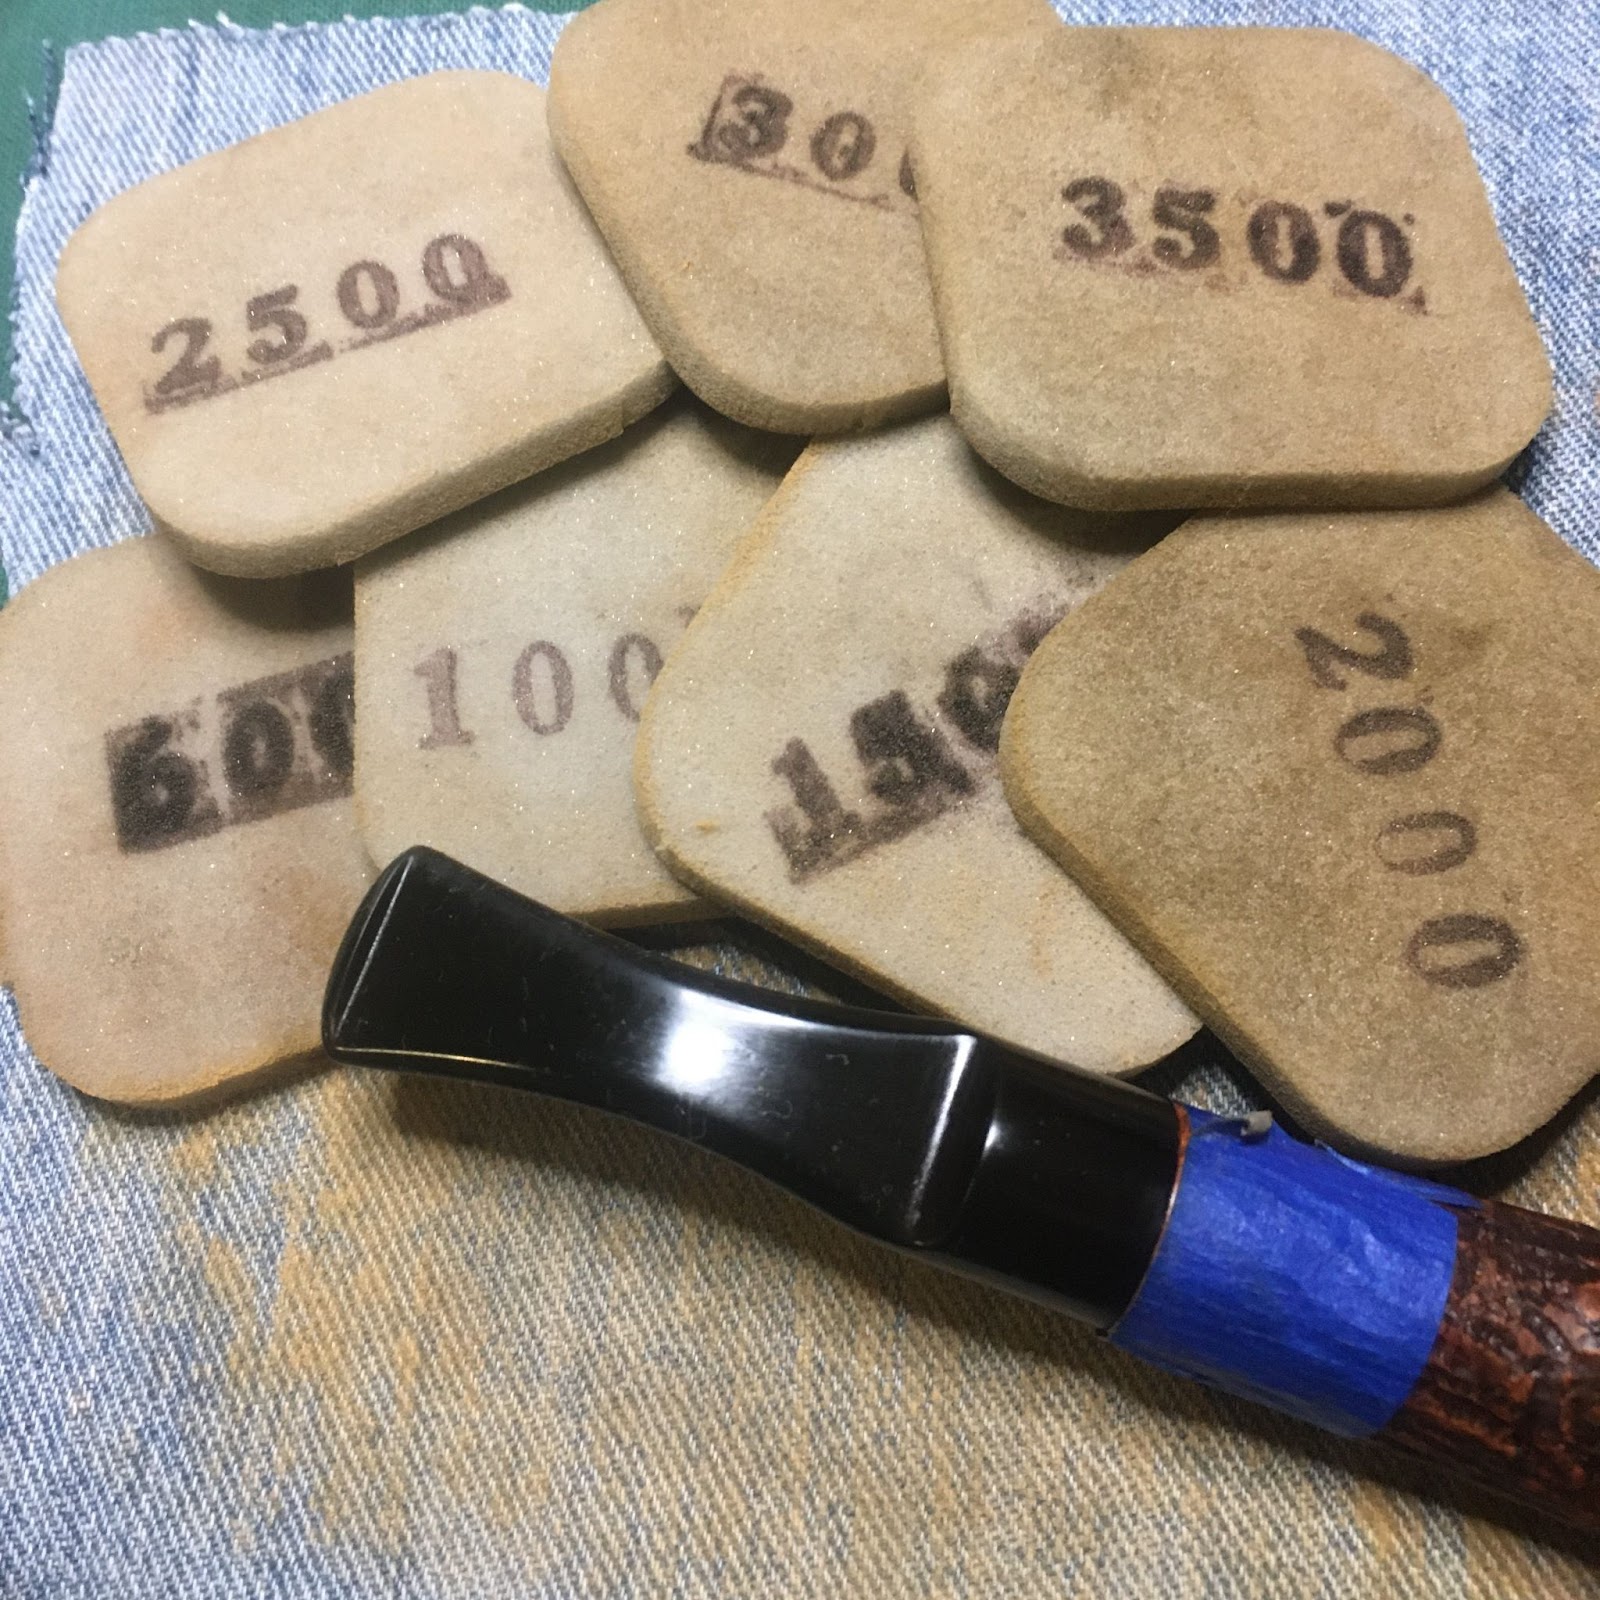


 After 20 minutes, the remaining Restoration Balm was wiped away with the inside of an athletic sock. The terry cloth material was great at getting into the rough surfaces and wiping away the excess balm.