Photographed and written by
John M. Young
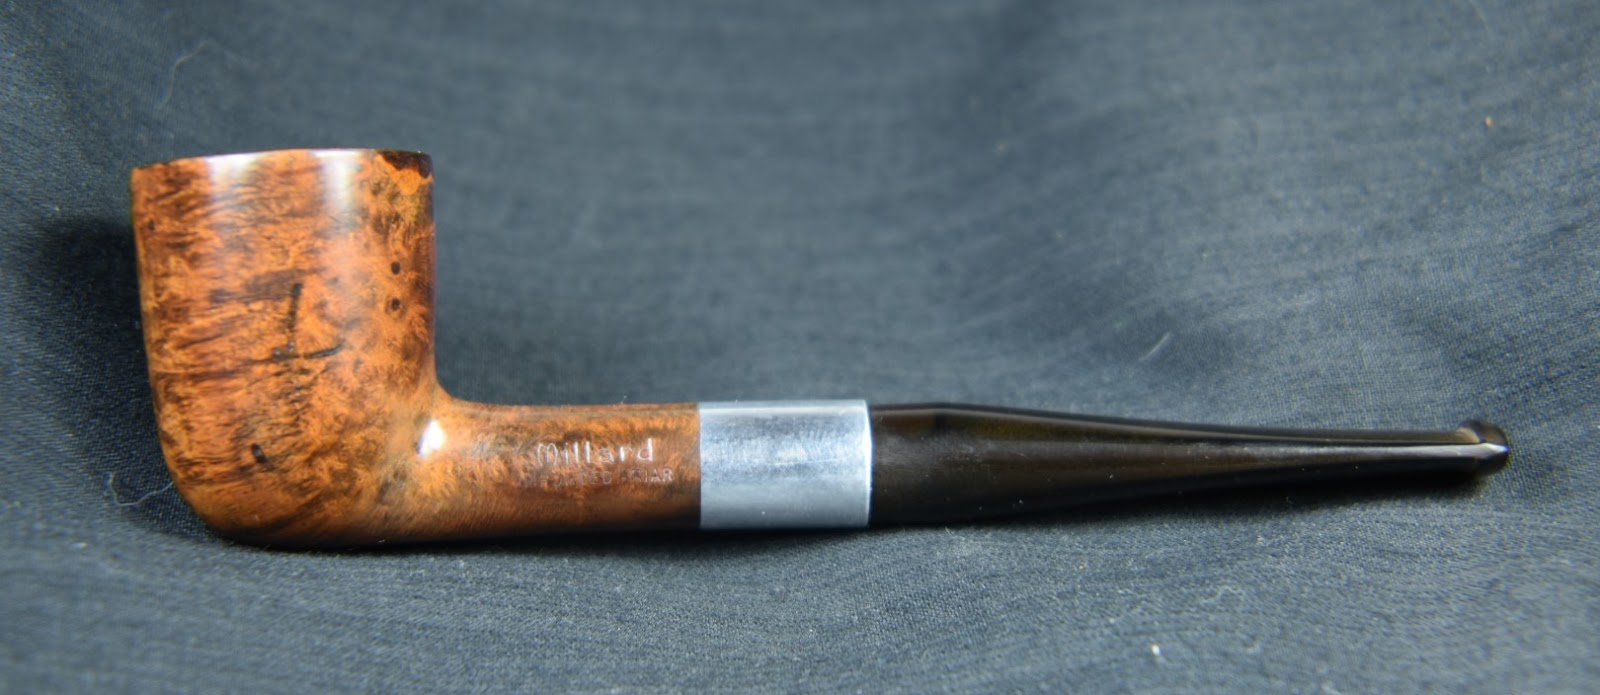
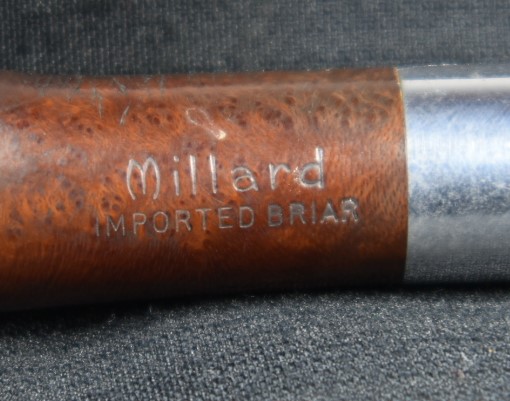
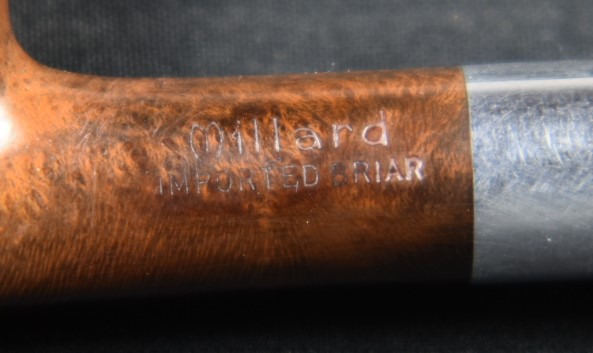
The first time I saw a Millard pipe I thought, “Cool”. This would have been several years ago long before I started blogging about restorations. I had always liked researching the pipes I was working with. I figured they had to have been made after WWII due to the amount of aluminum in the mortise and tenon. In my searching I found Steve Laug’s blog about two Millard pipes that he had restored back in 2015. I was fascinated by his blog and restorations. This may have actually been one of the first times I had visited Steve’s blog rebornpipes.com.
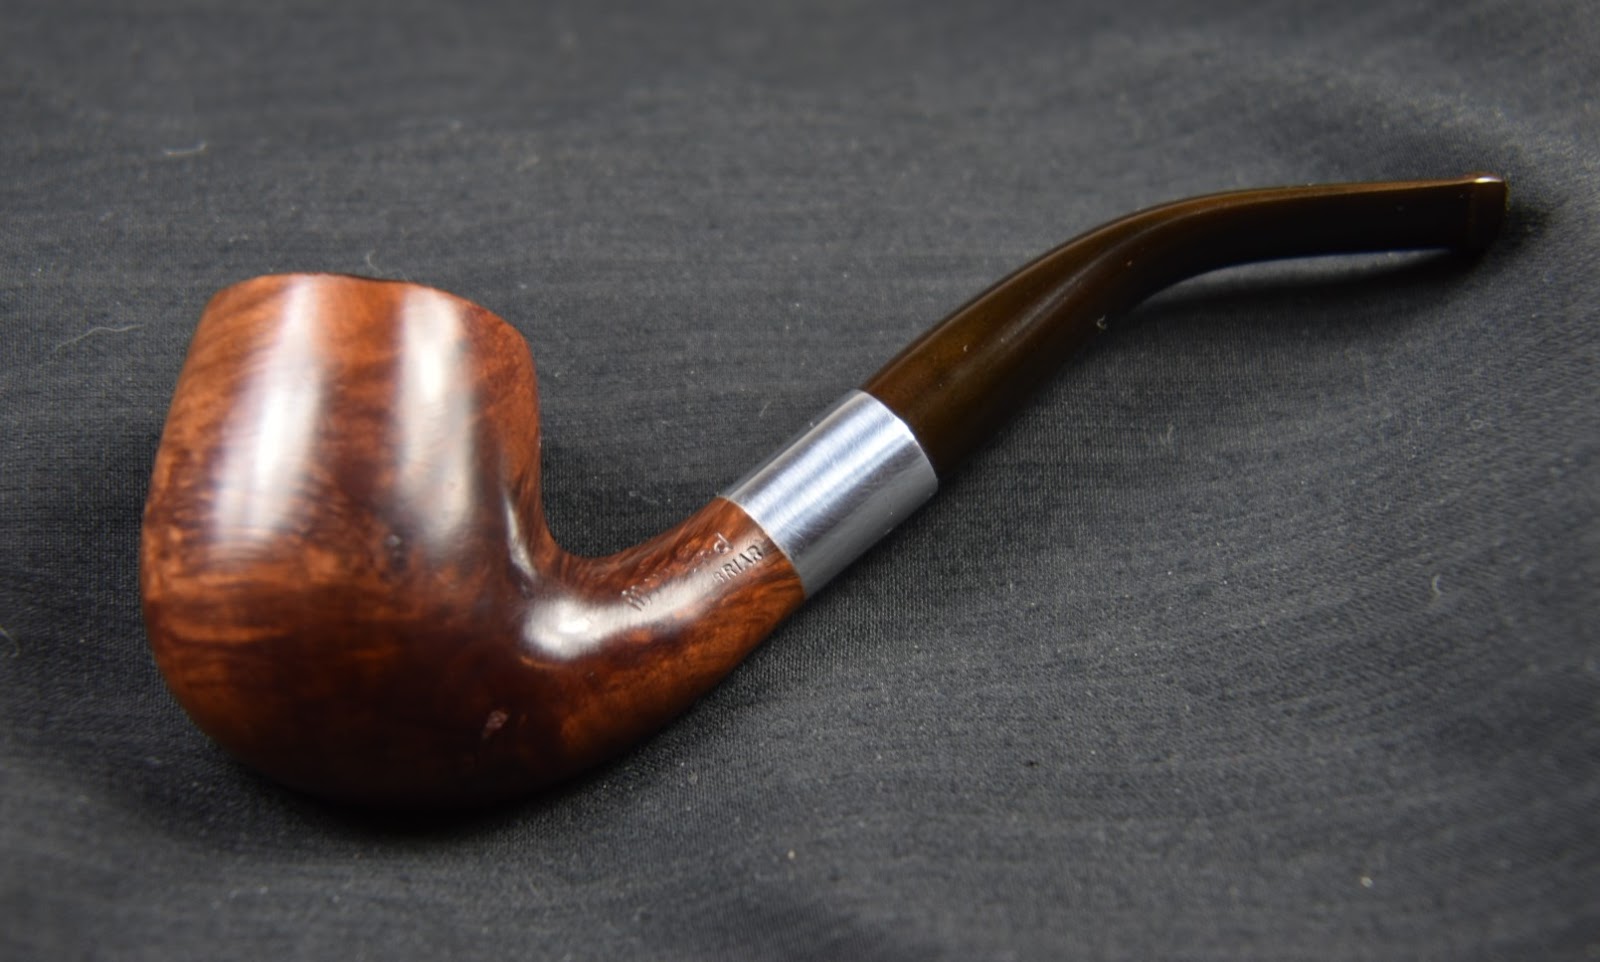

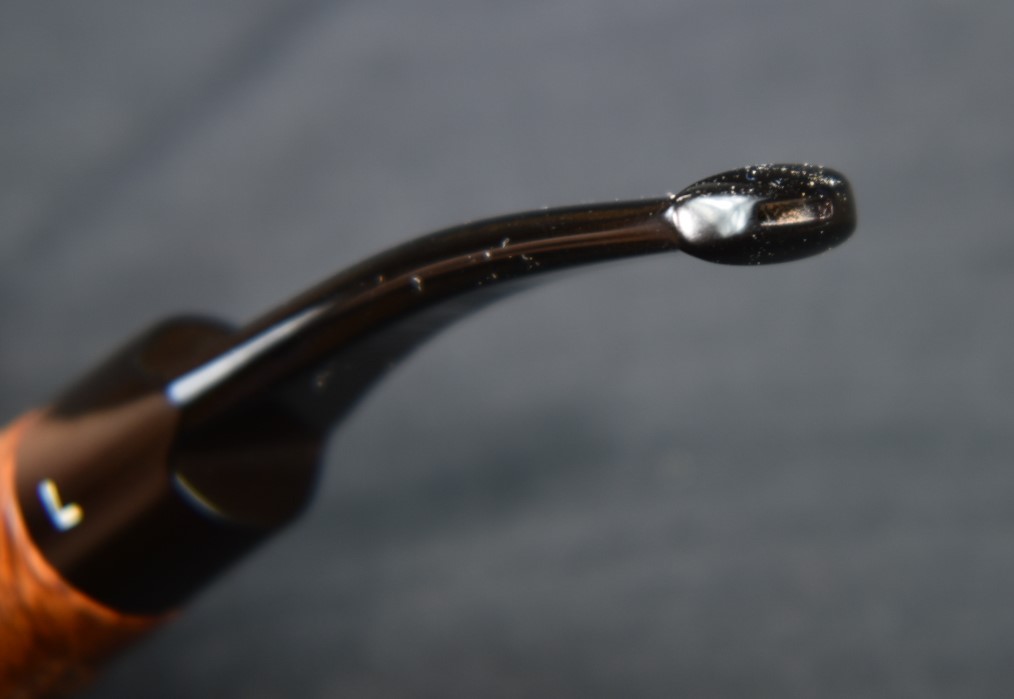
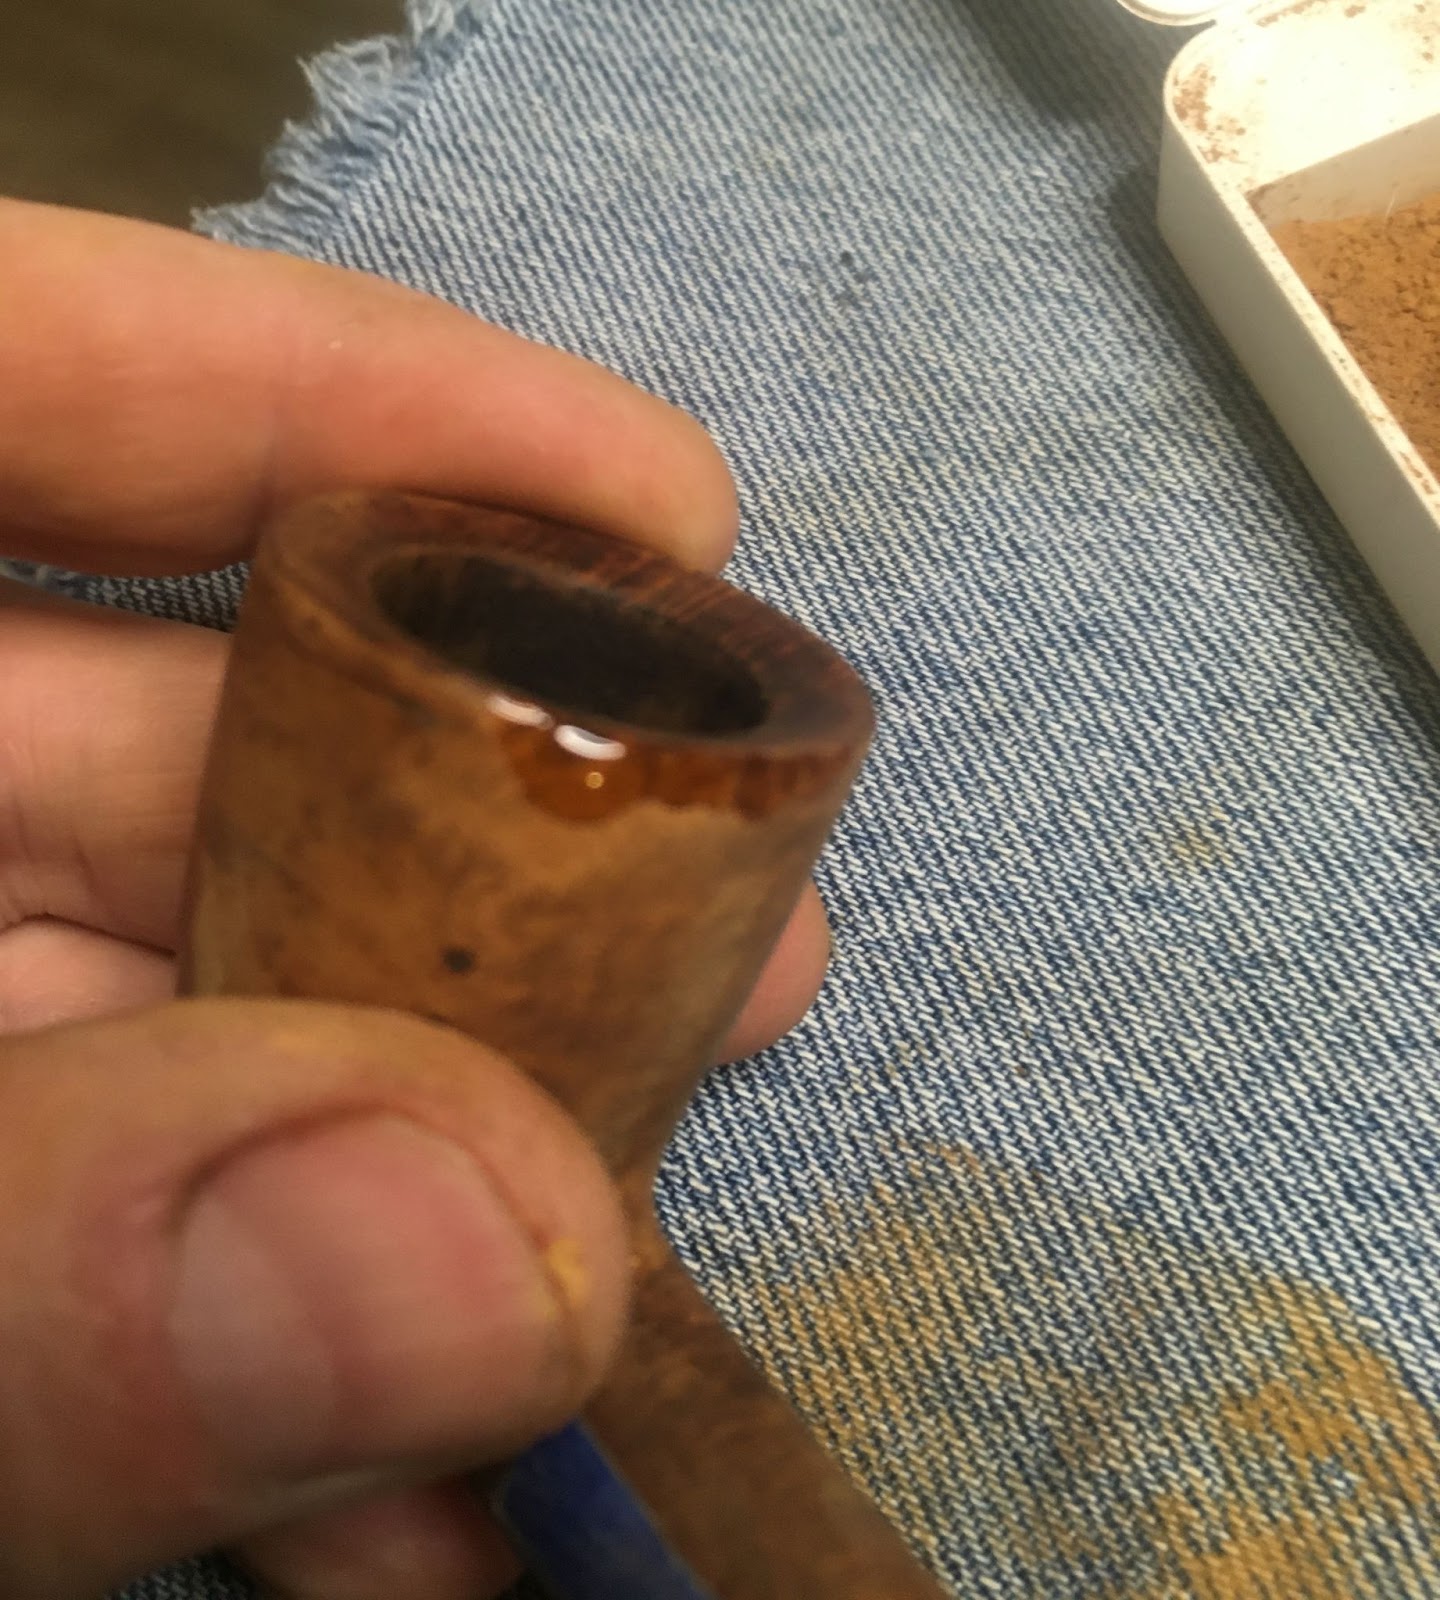
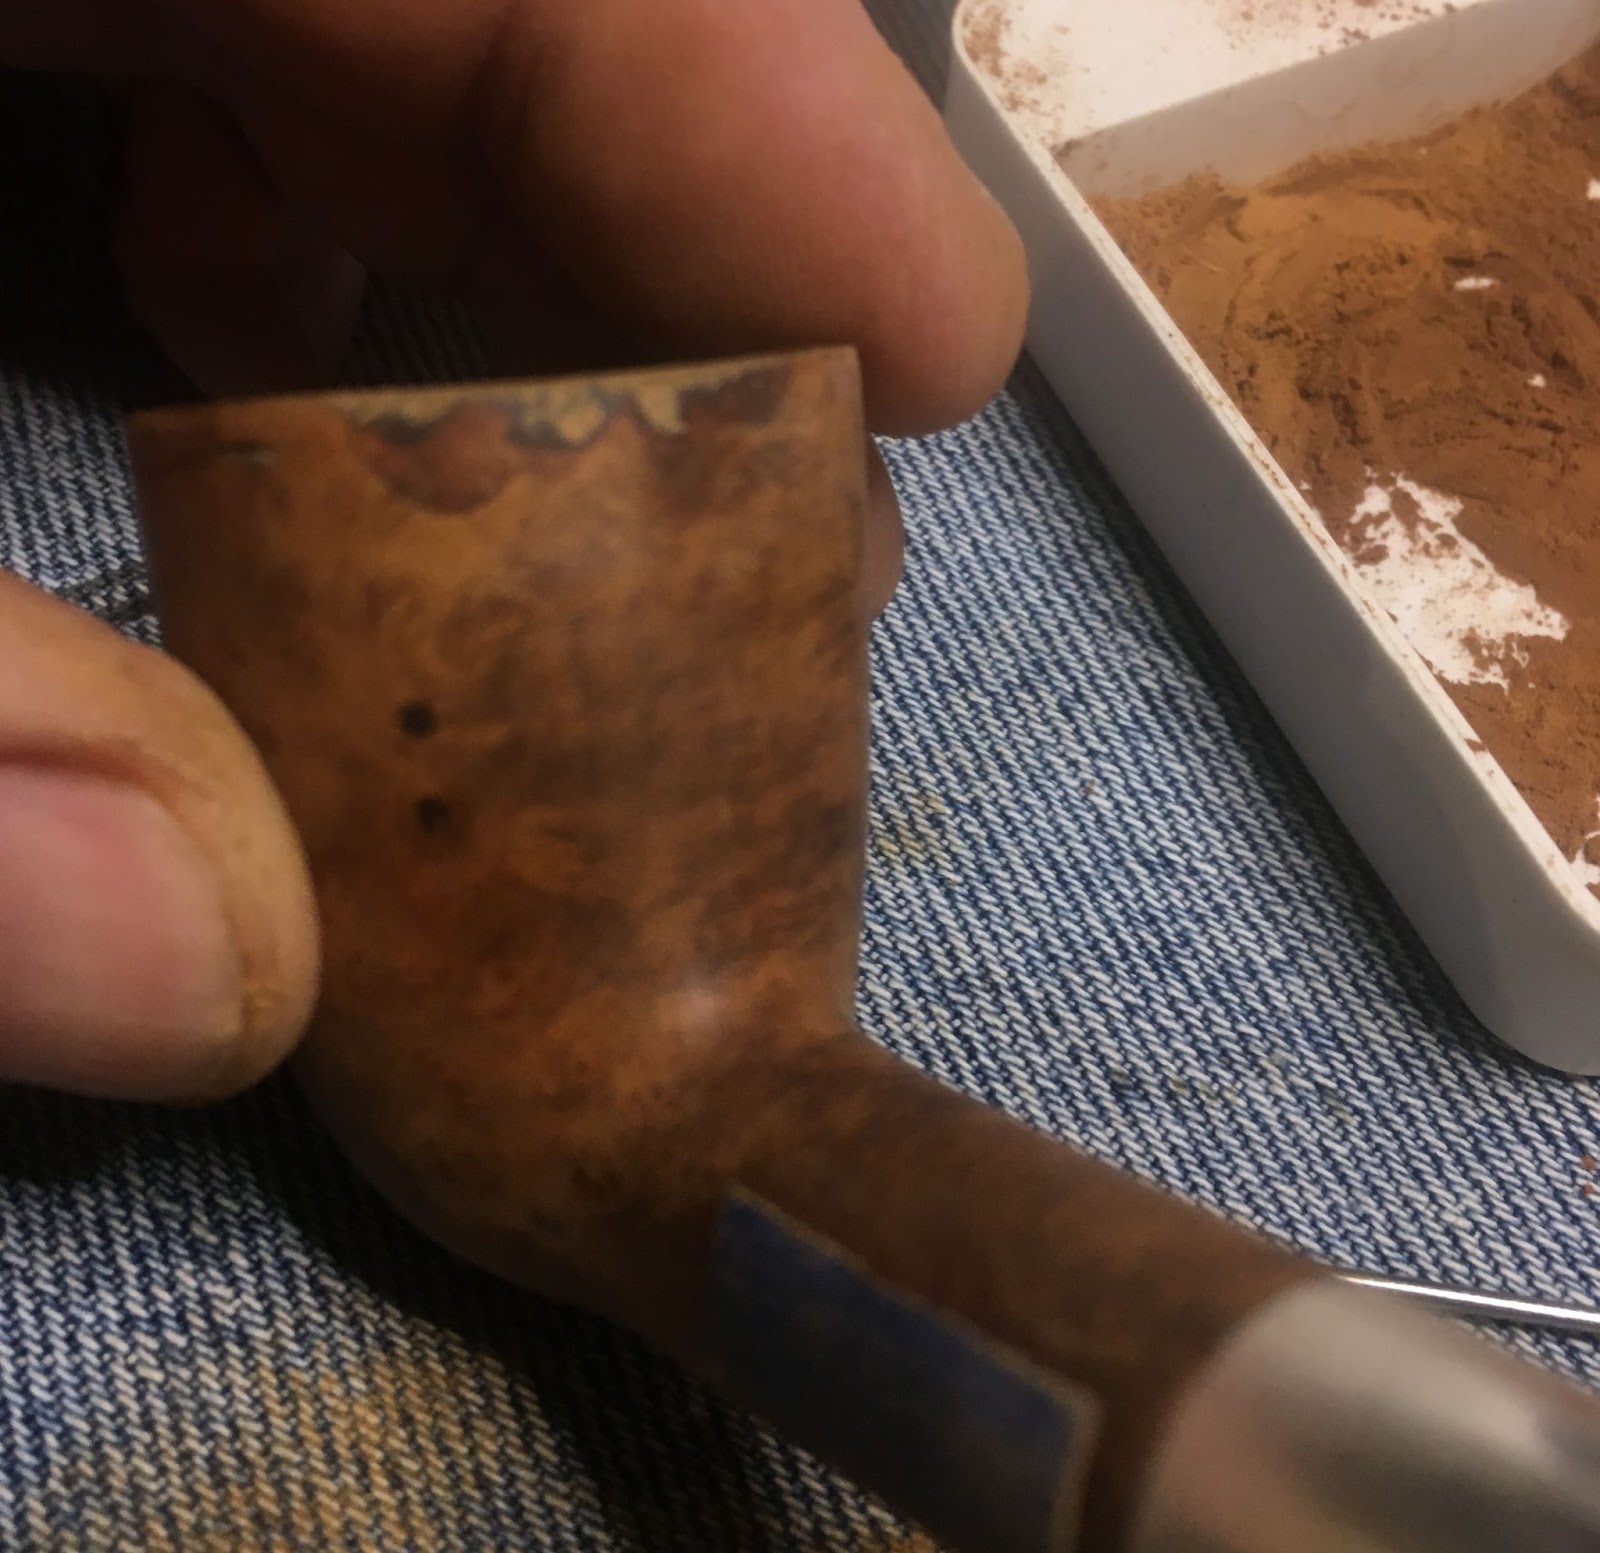
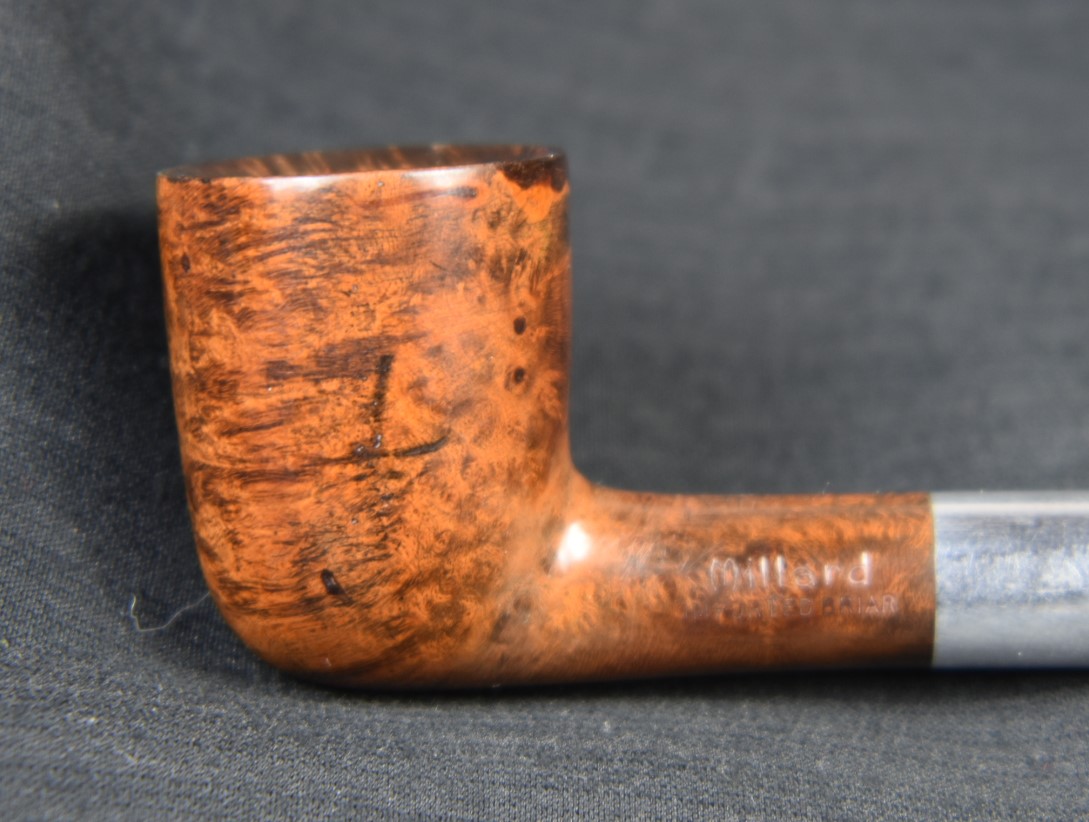
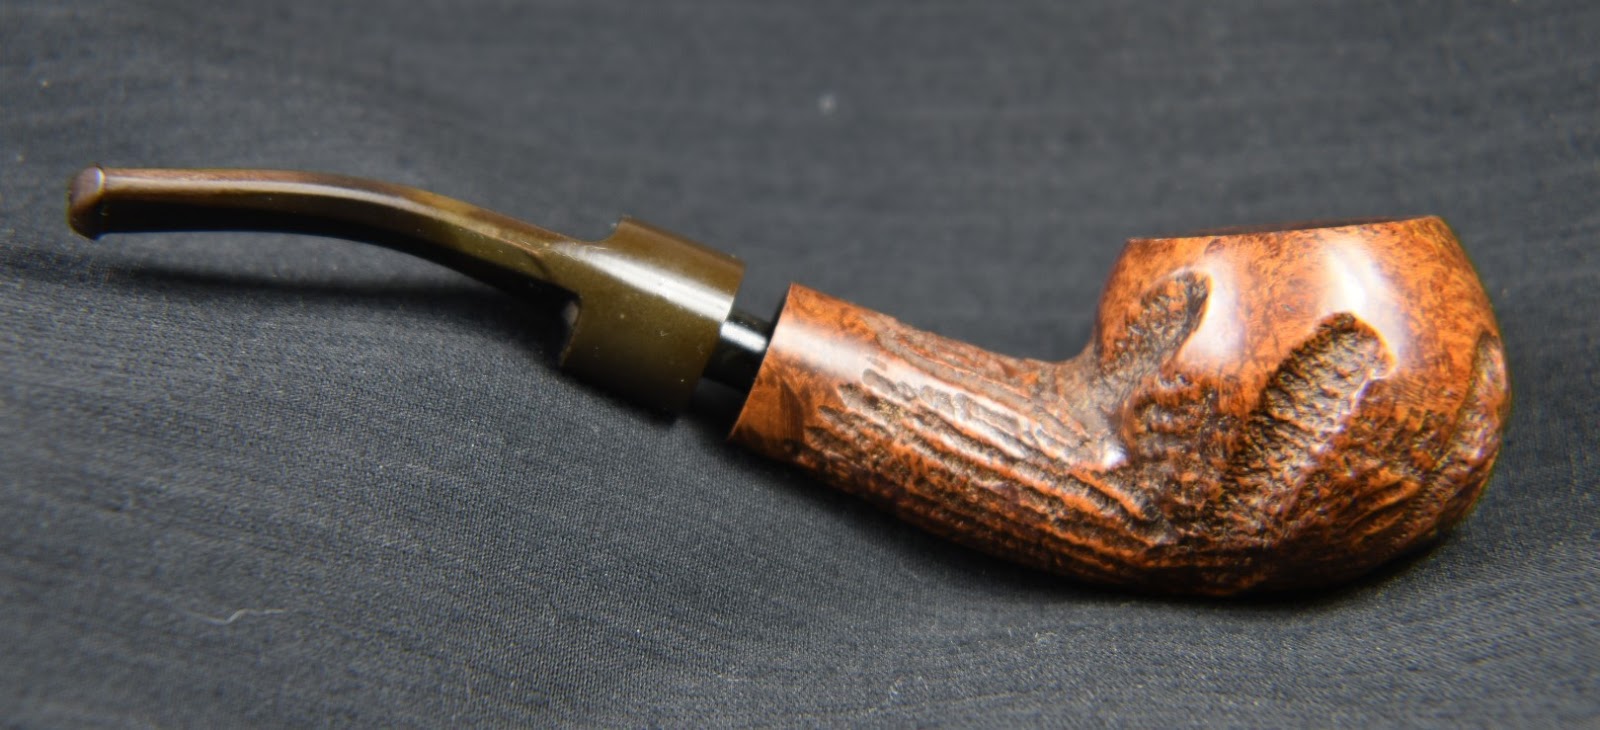
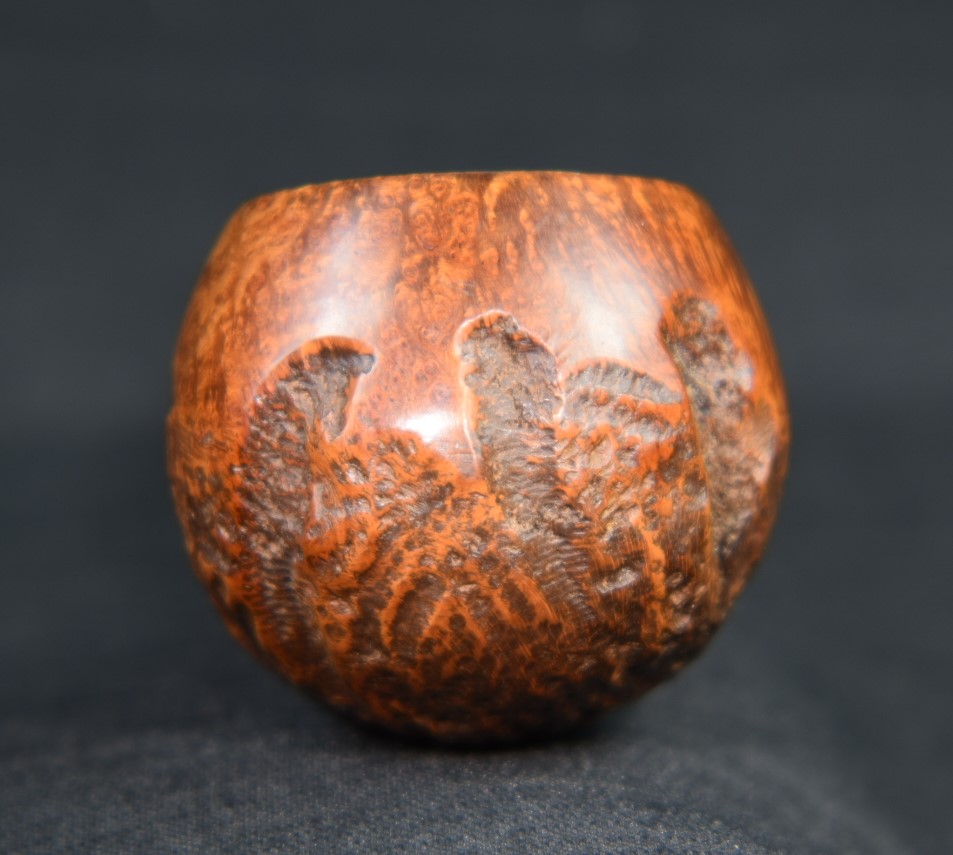
The two above photos are my first Millard pipe. I loved the shape and how well it smoked.
I recently acquired another Millar pipe, the subject of this restoration. The Millard Dublin was not specifically the target of the bid and subsequent win, it was just a bonus. The lot came to me from Fort Lauderdale Florida. The Dublin shape has long been a favorite of mine and I was looking forward to the restoration. It however did have to wait in que for about a month for its turn at the workbench.
The Pipe
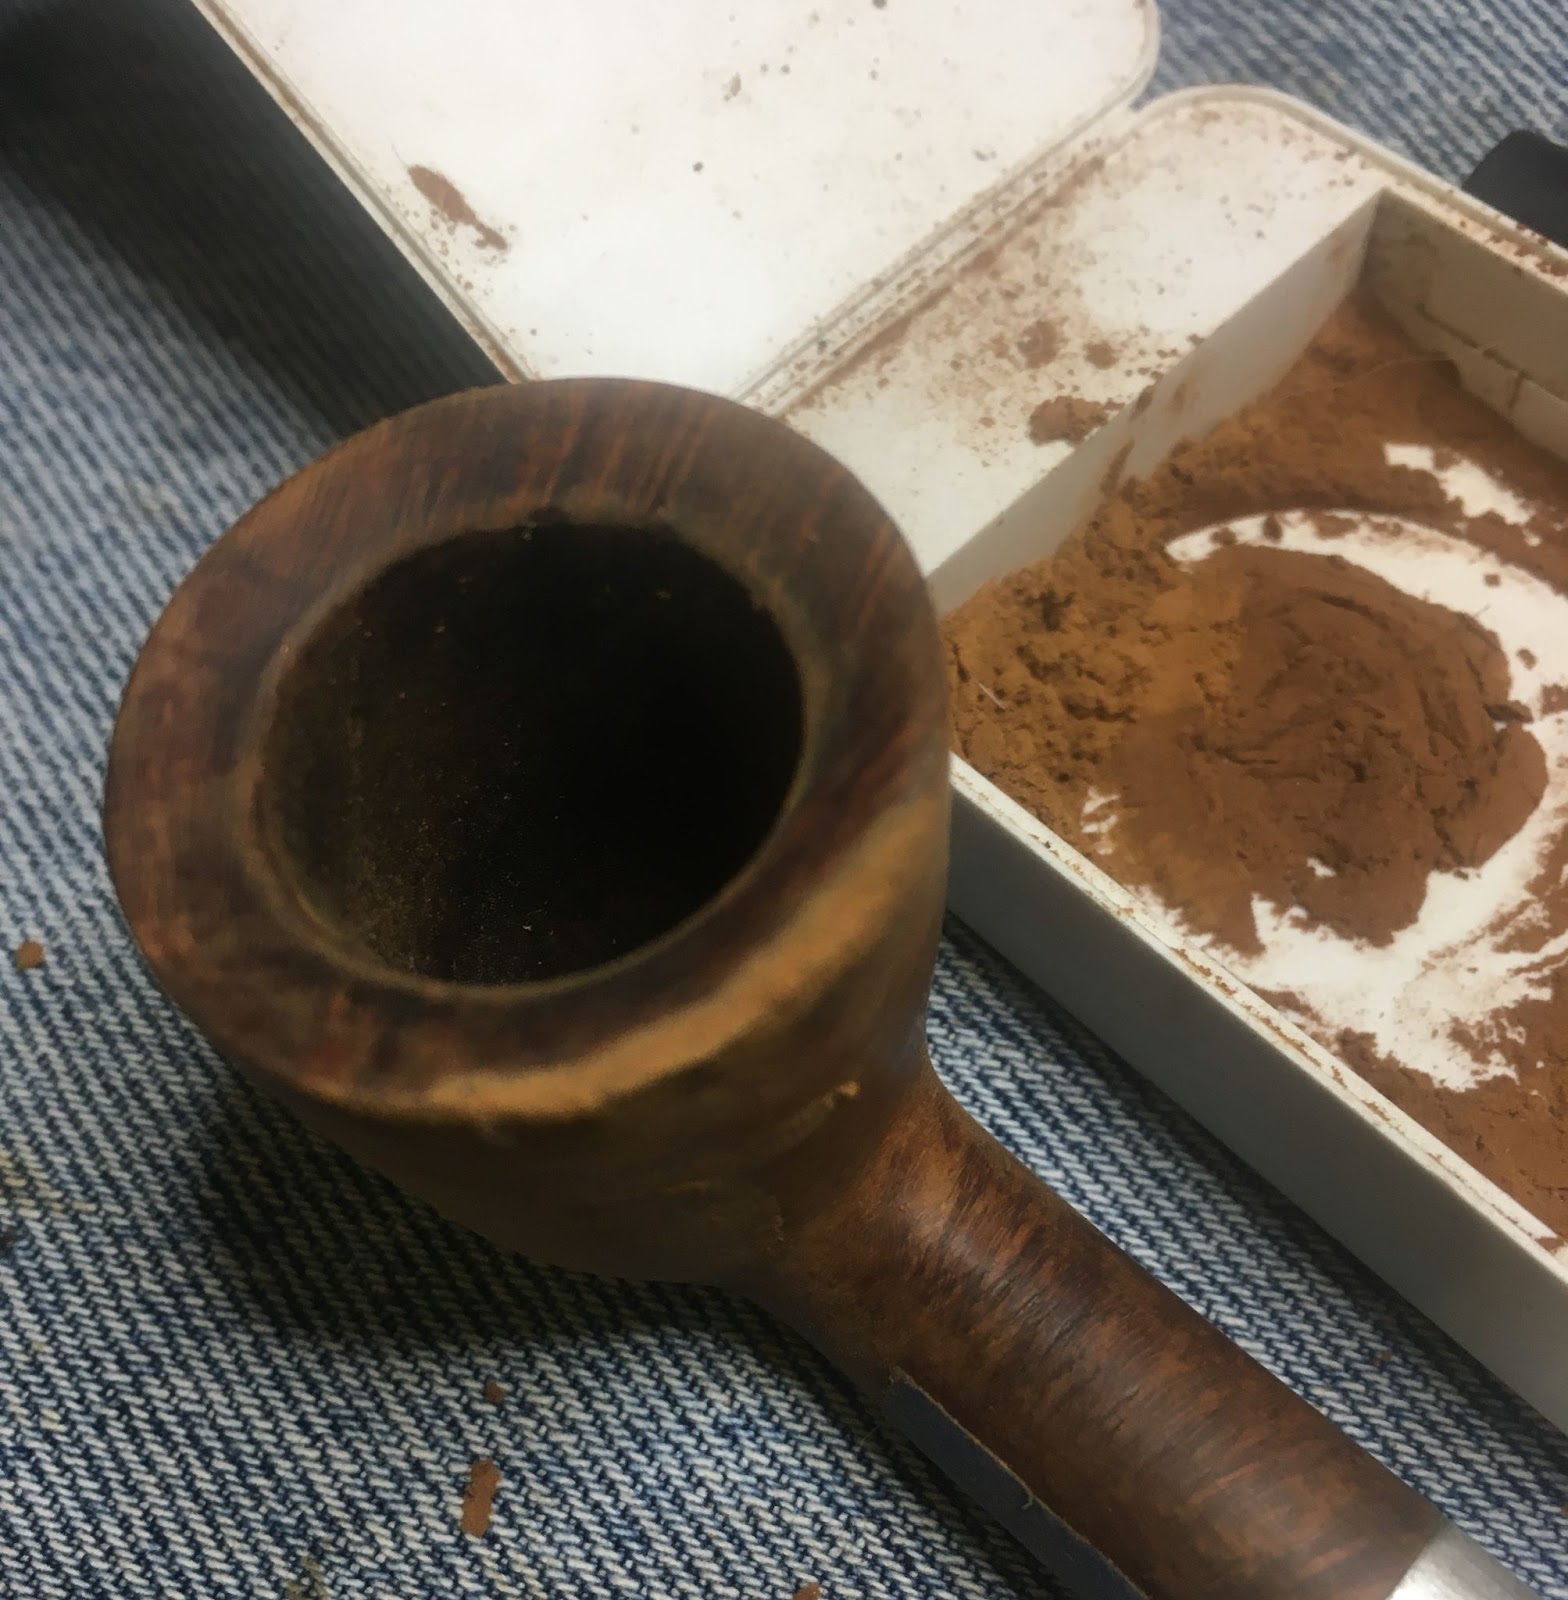
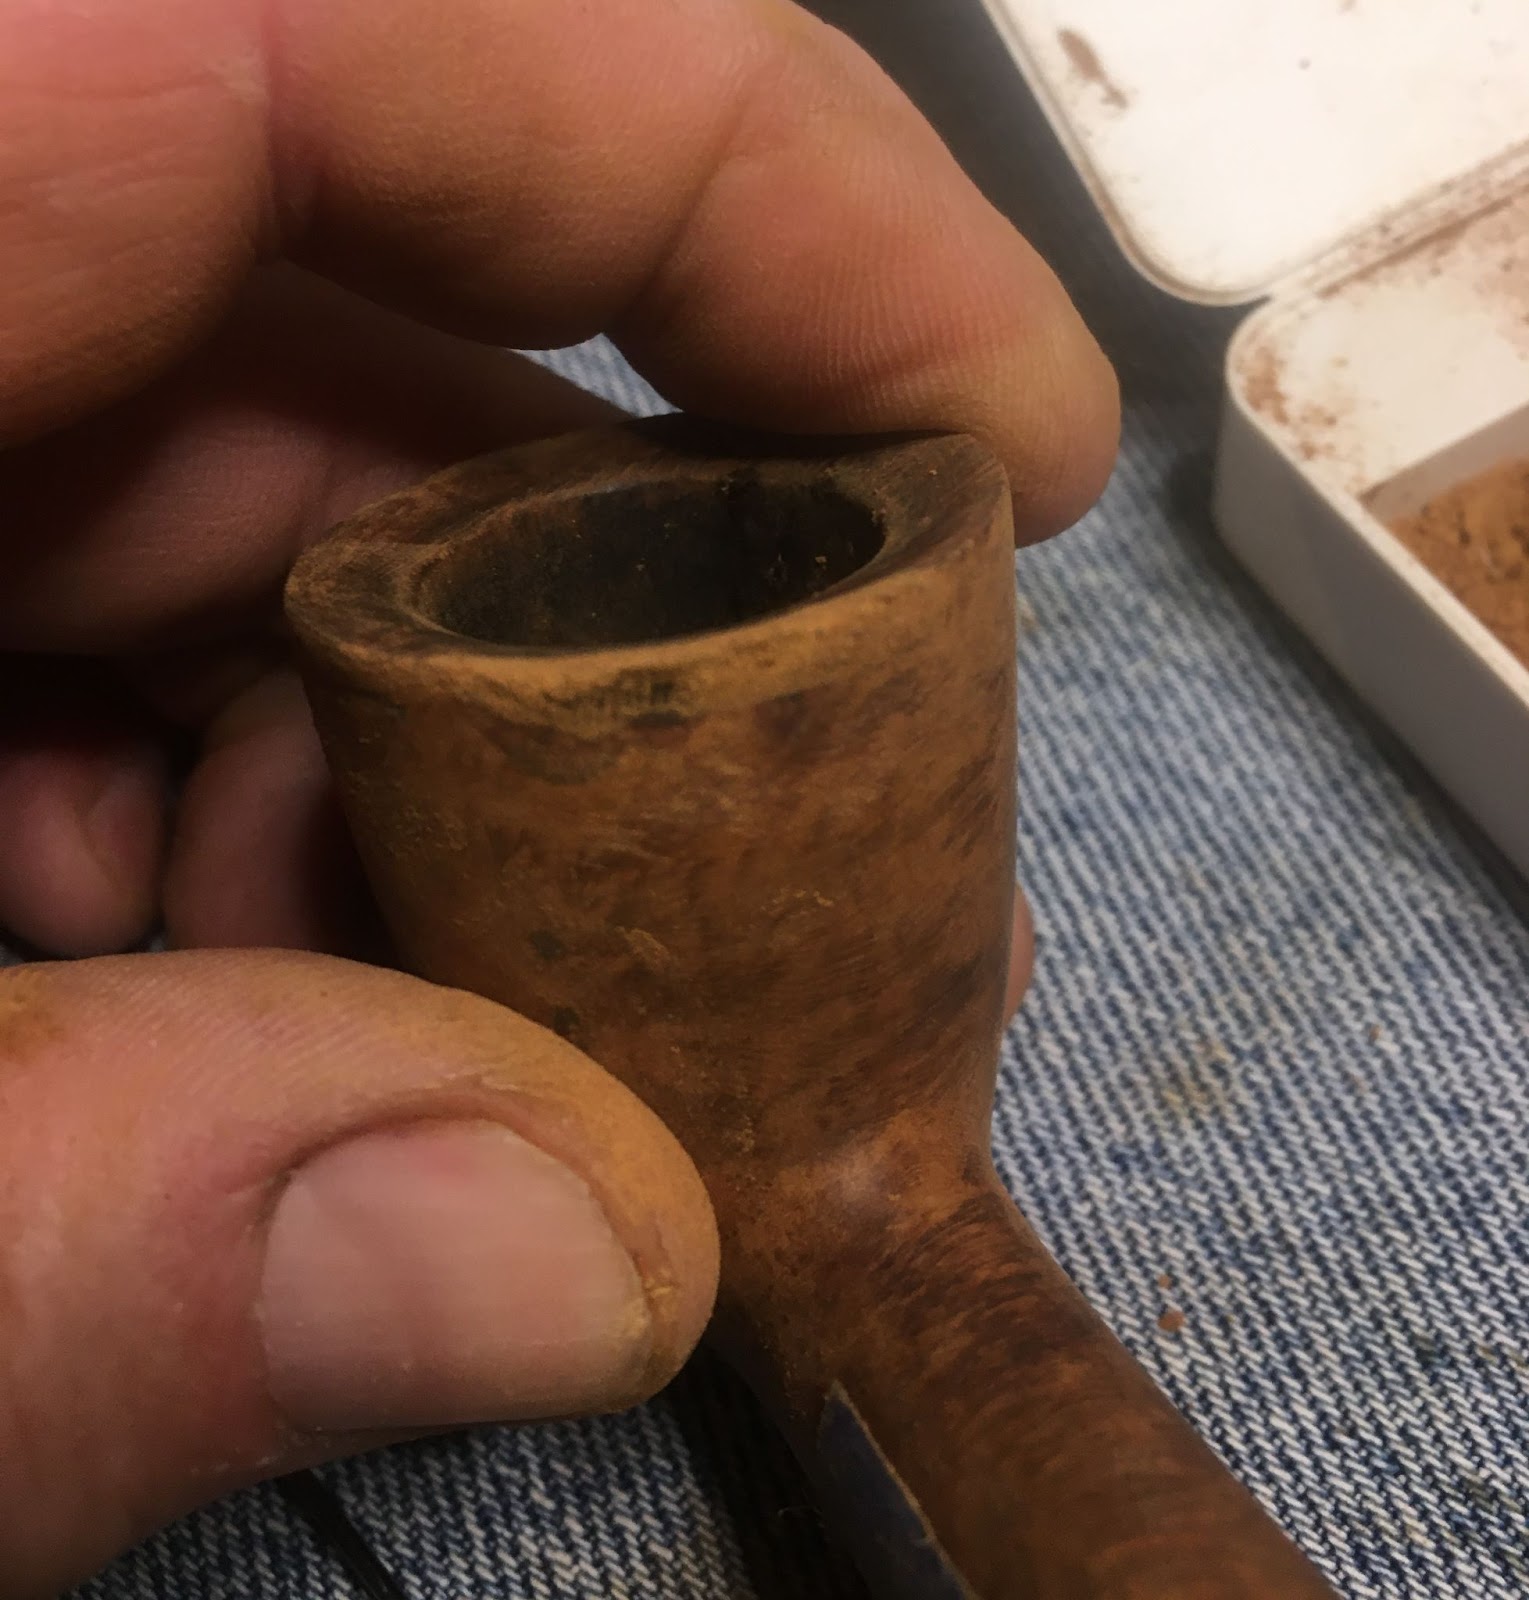
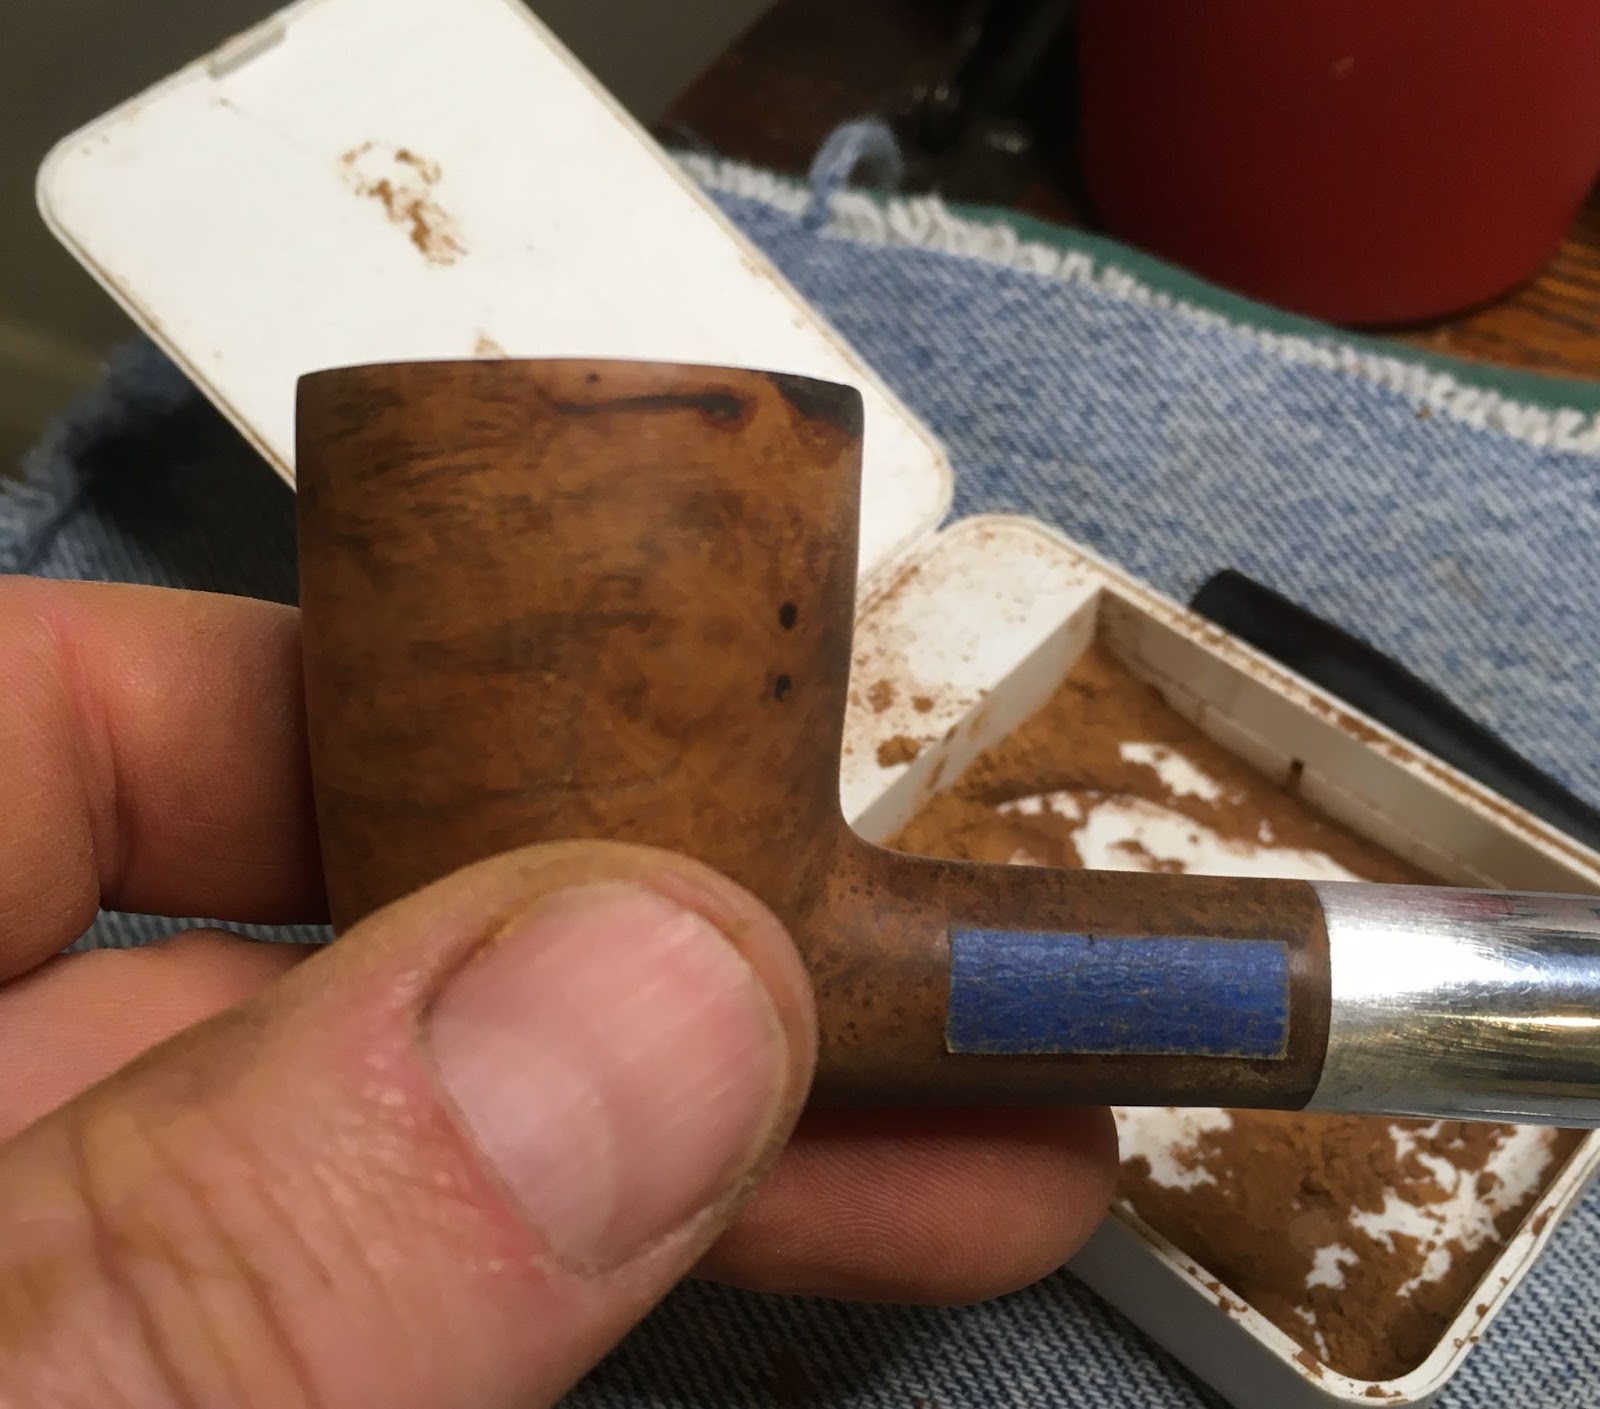
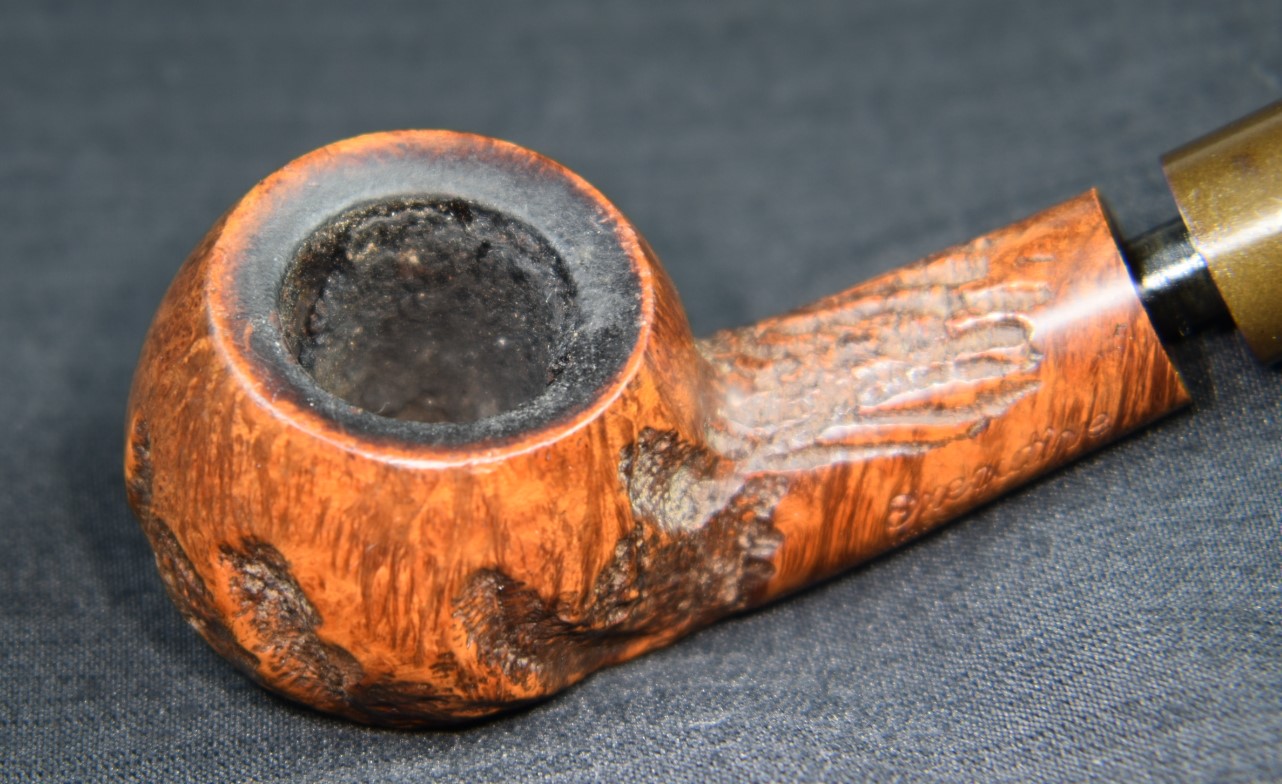
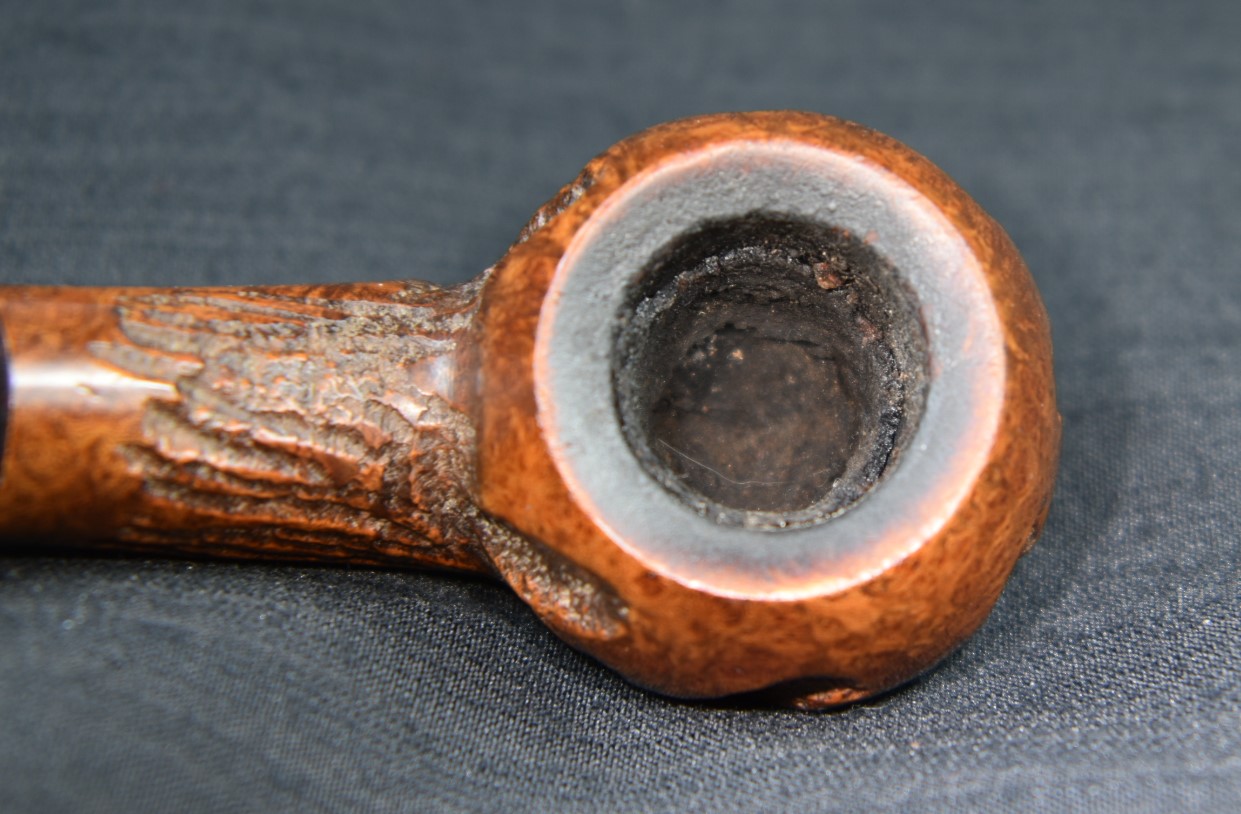
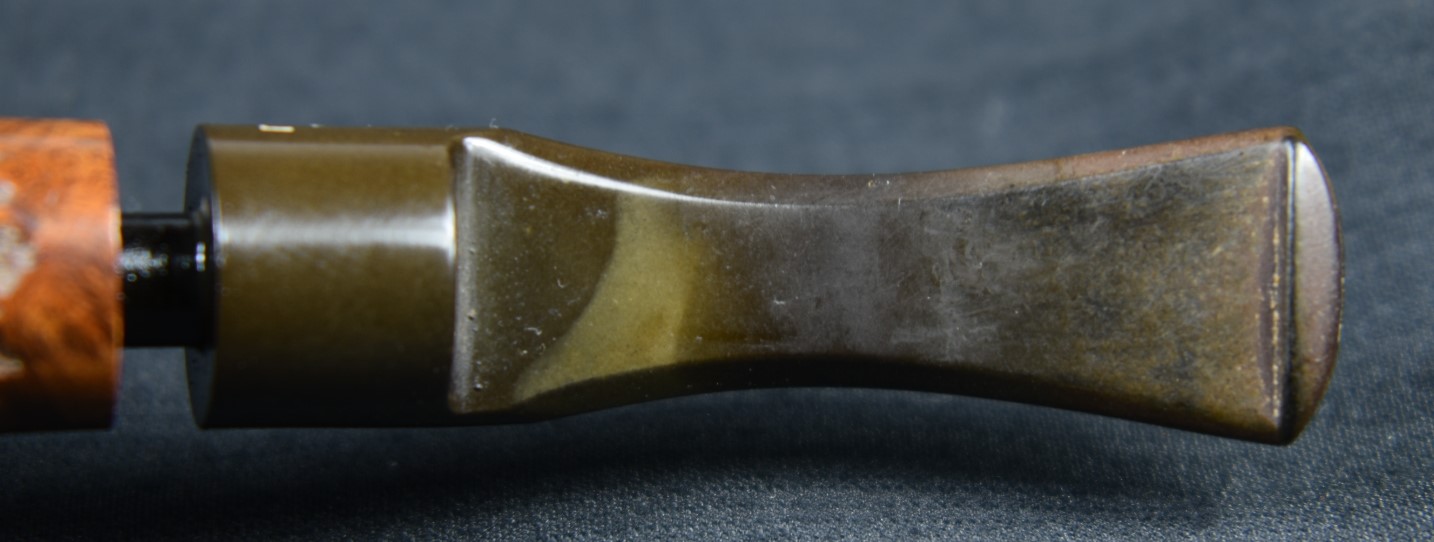
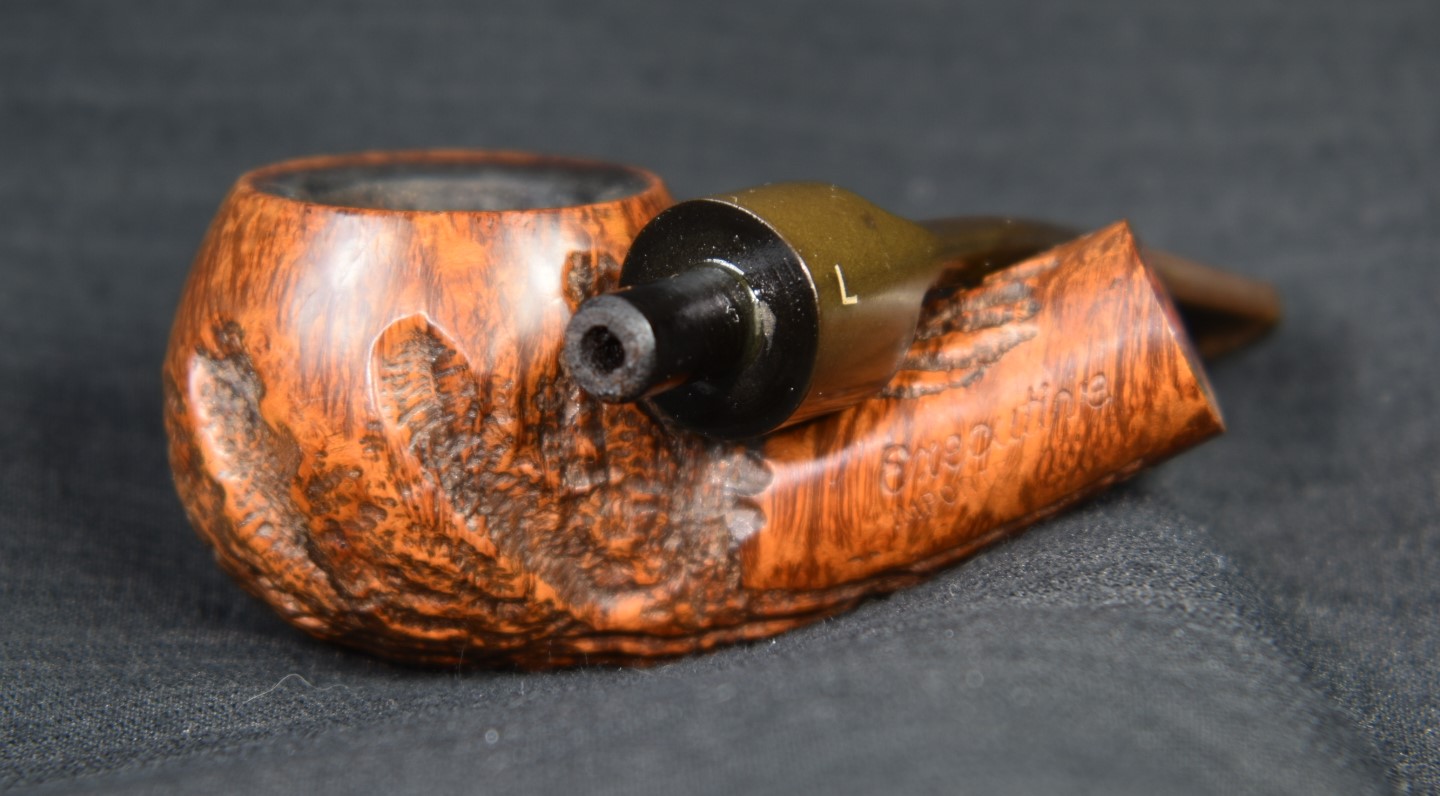
When the pip arrived it appeared to be in well used condition. Below are some photos of the Millard Dublin prior to any work being done.

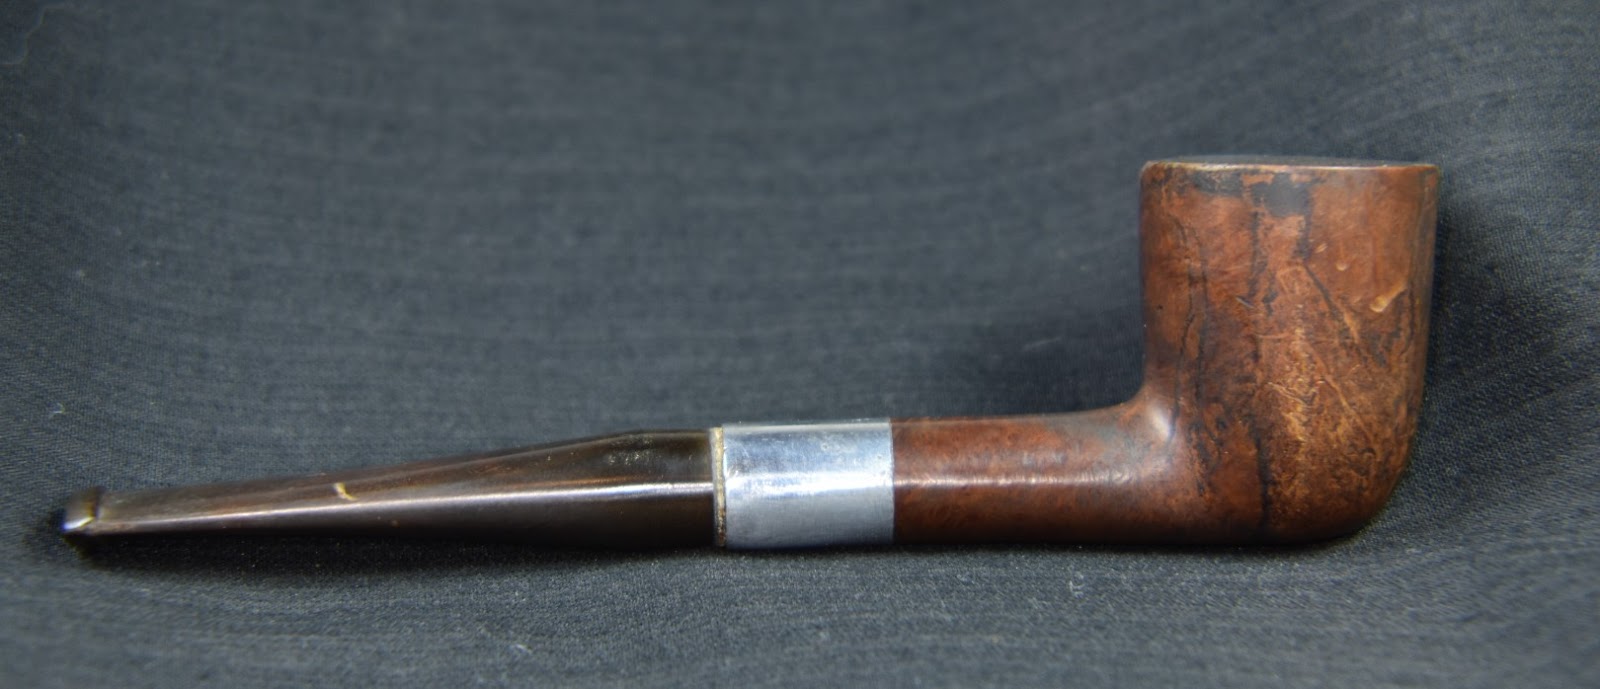


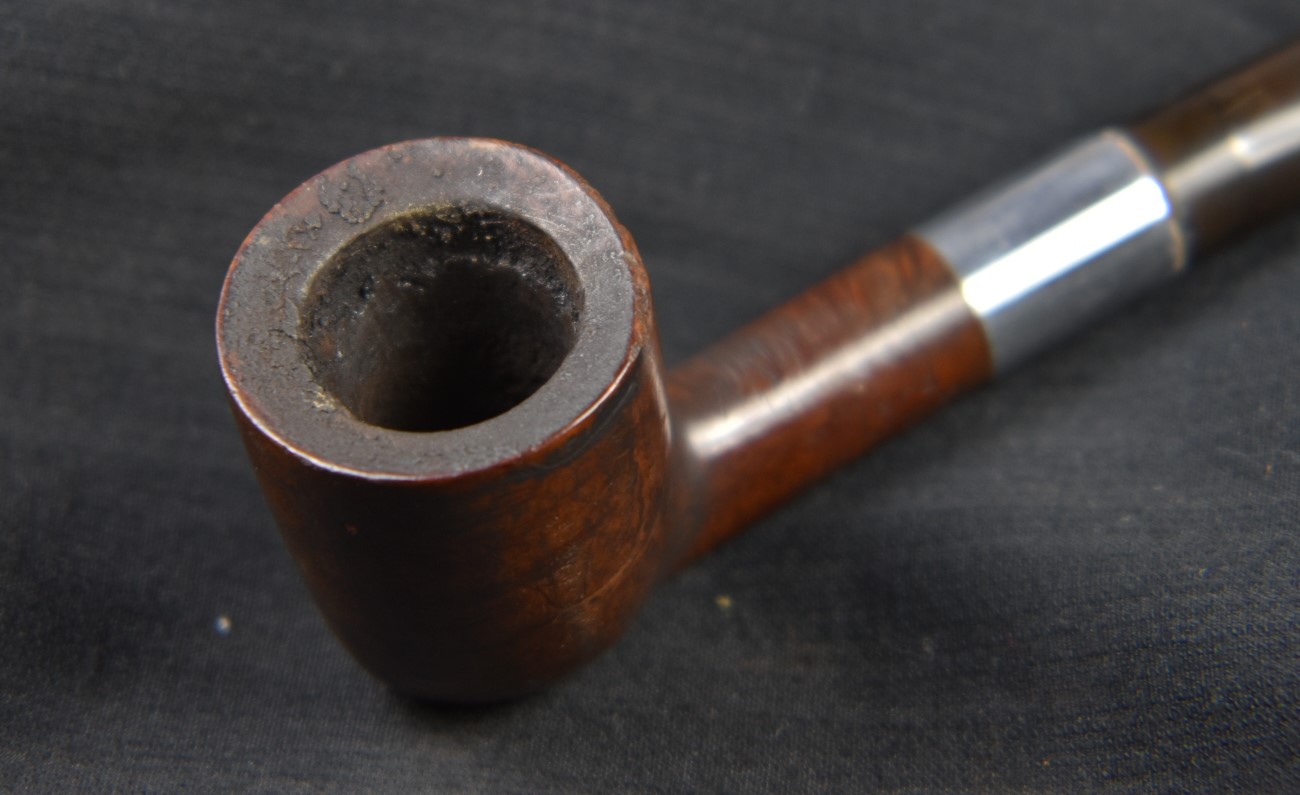
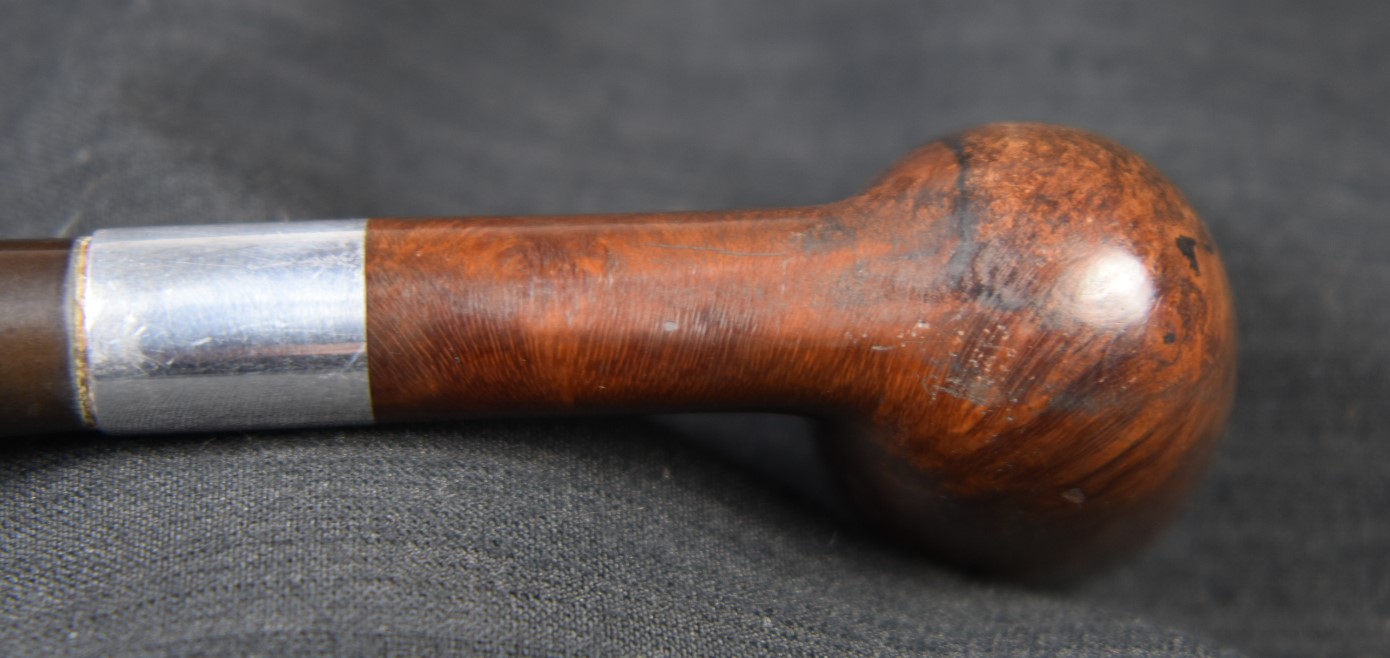

This Dublin needed some work. It did not look like it had any serious issues, just a lot of small ones. The most egregious was the damage to the rear rim. There was the typical dirt and grime of an old pipe, lava build up on the rim, a substantial cake in the tobacco chamber, an oxidized stem and numerous dents and dings on the briar. All of these things indicated a pipe that had been carried and smoked a good deal by a previous owner. It also indicated a good smoking pipe.
A bit about Millard Pipes
Millard pipes were another brand that I refer to as coupon pipes. Back in the late 1940s through the 1960s many pipe tobacco brands would enclose a coupon or certificate within the pipe tobacco packaging. These coupons could be collected then mailed, usually with a small amount of cash, to the company in exchange for a new pipe. Kentucky Club was one brand of pipe tobacco that used this marketing technique. Kentucky Club was a part of the Penn Tobacco company. I did a series of 4 Penn Tobacco co. pipes earlier this year, they included the following which I will link to their respective names: Vox Pop, Broadcaster, Bruce Peters and Silver Mac Duff. I will defer to Steve Laug’s well explained history of Millard:
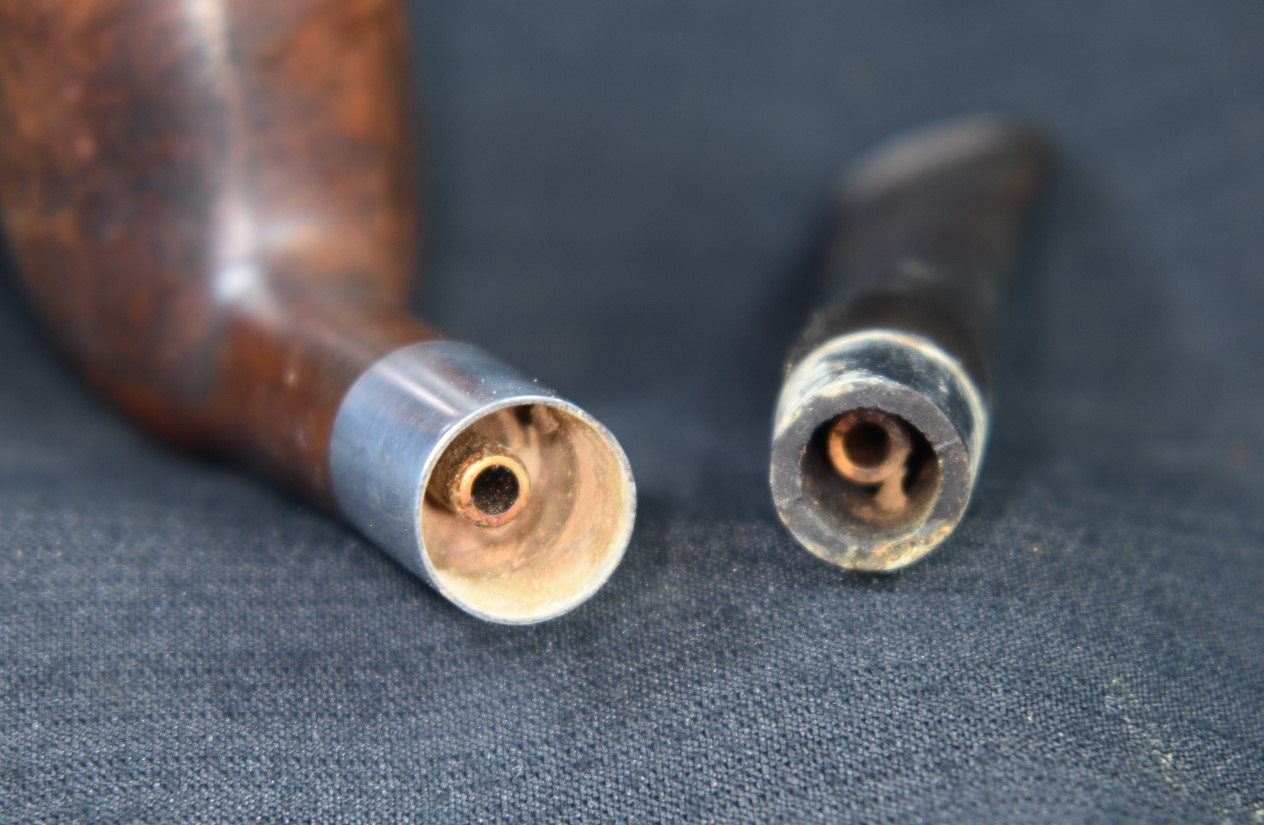
“When I came across the Millard – the Perfect Pipe coupon in the two boxes of Kentucky Club that I found I was fascinated with the look of the pipe. It reminded me of the Keyser Hygienic pipes that I had restored over the years. The stem that fit into the metal mortise shank insert and the tubes on the inside of the stem and the shank were similar. While the Keyser tubing in the shank looked identical the one in the stem was different. Keyser was directed downward while the Millard was two straight tubes that met in the mortise. They did not touch but the metal chamber became a condensing chamber, or as they call it an Action Trap, for the smoke and collected the moisture before it continued through the tube in the stem. I looked up the brand online and found the following advertisement postcard that shows the way the system works. I found that the stems were interchangeable between the shapes that the pipe came in. The straight stems could be easily transferred from pipe to pipe. In fact the pipe originally came with an extra or replacement stem. The pipe came in a sandblast and a smooth finish in six shapes – apple, Dublin, billiard, pear, pot and bent. It came in two sizes: medium or large. In the advertisement below you can see that the pipe cost $3. I also found that Mastercraft supplied the pipes through the coupon sales. Knowing a bit of history about the company I know that they did not make pipe so they were sourced from the original manufacturer.”
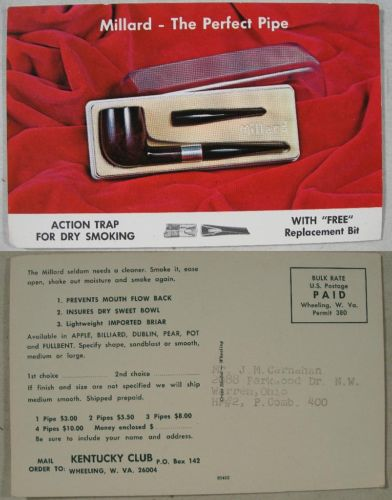
Used with permission of Steve Laug – personal communication.
(https://rebornpipes.com/2015/12/11/a-pair-of-millard-perfect-pipes-a-sandblast-apple-and-dublin/)
The Restoration
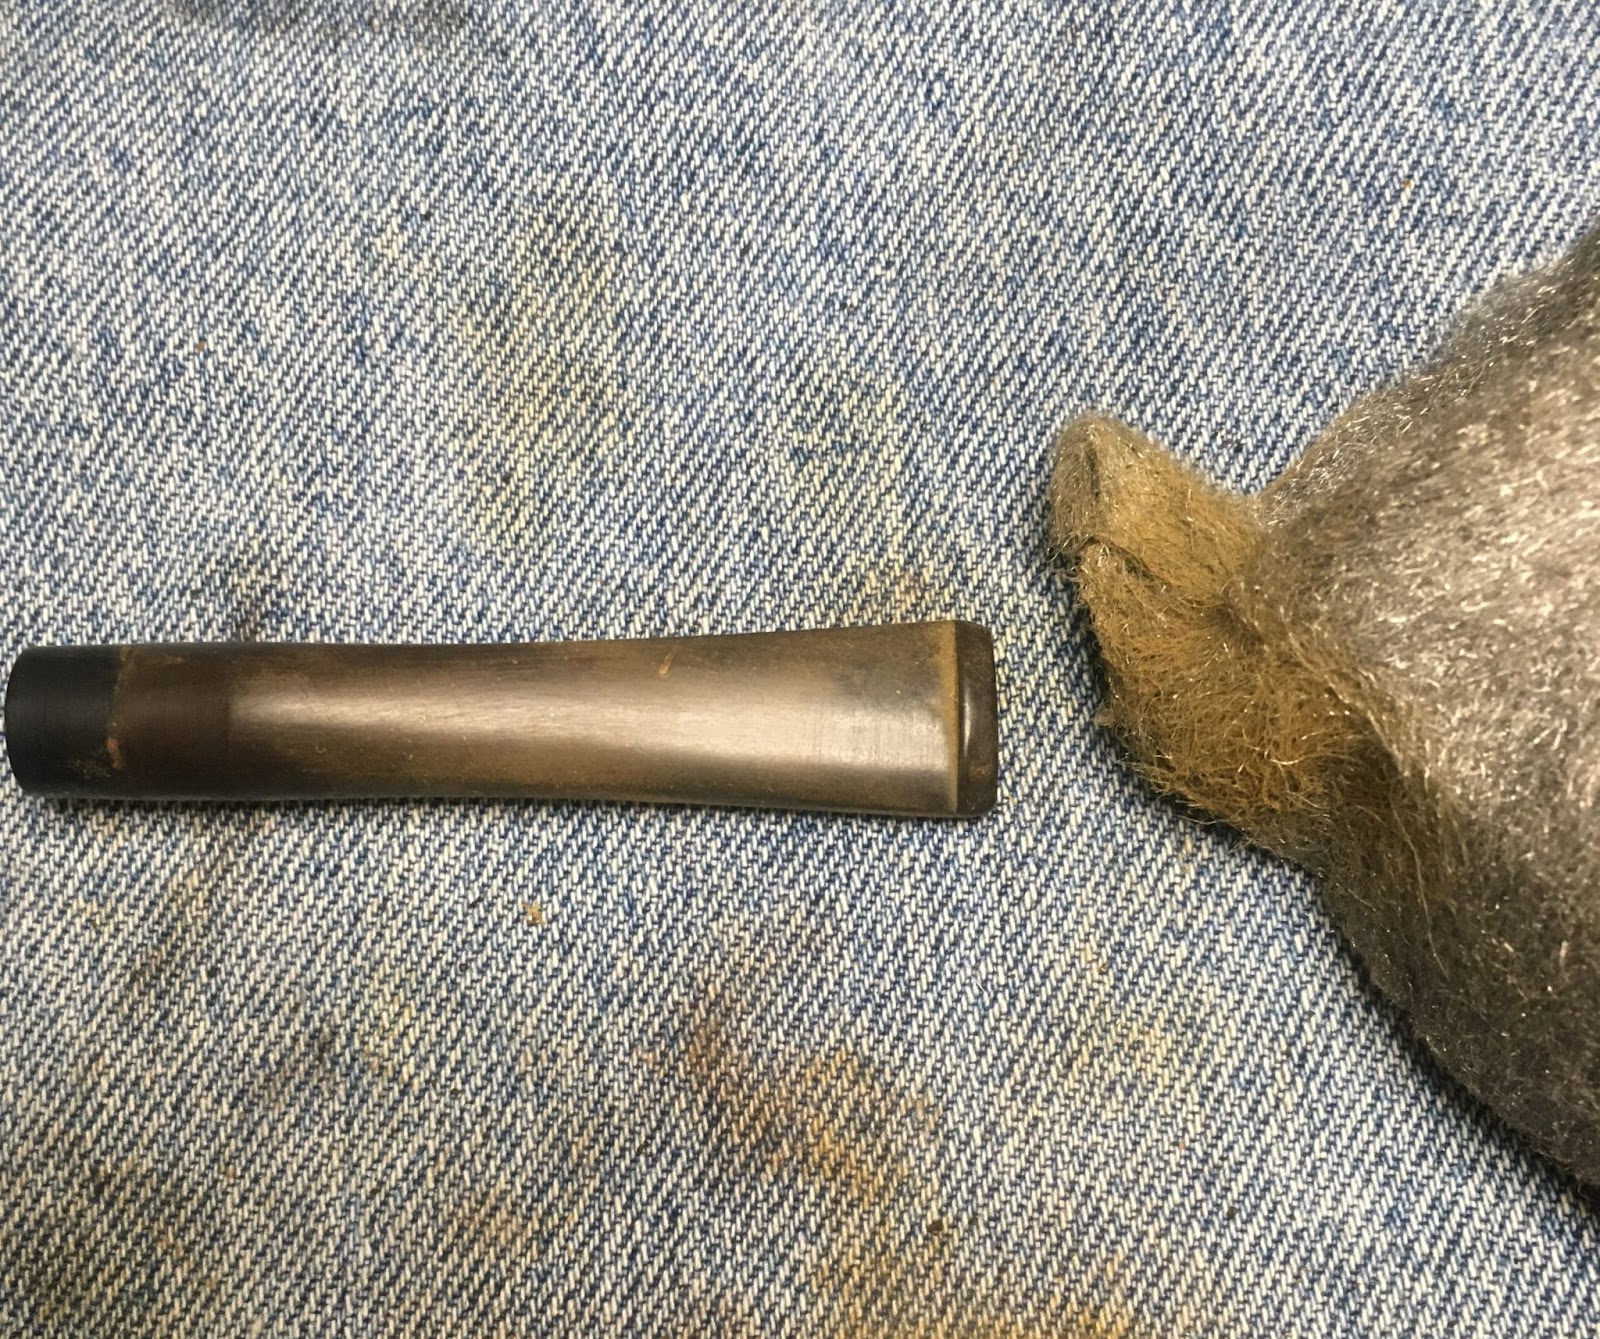
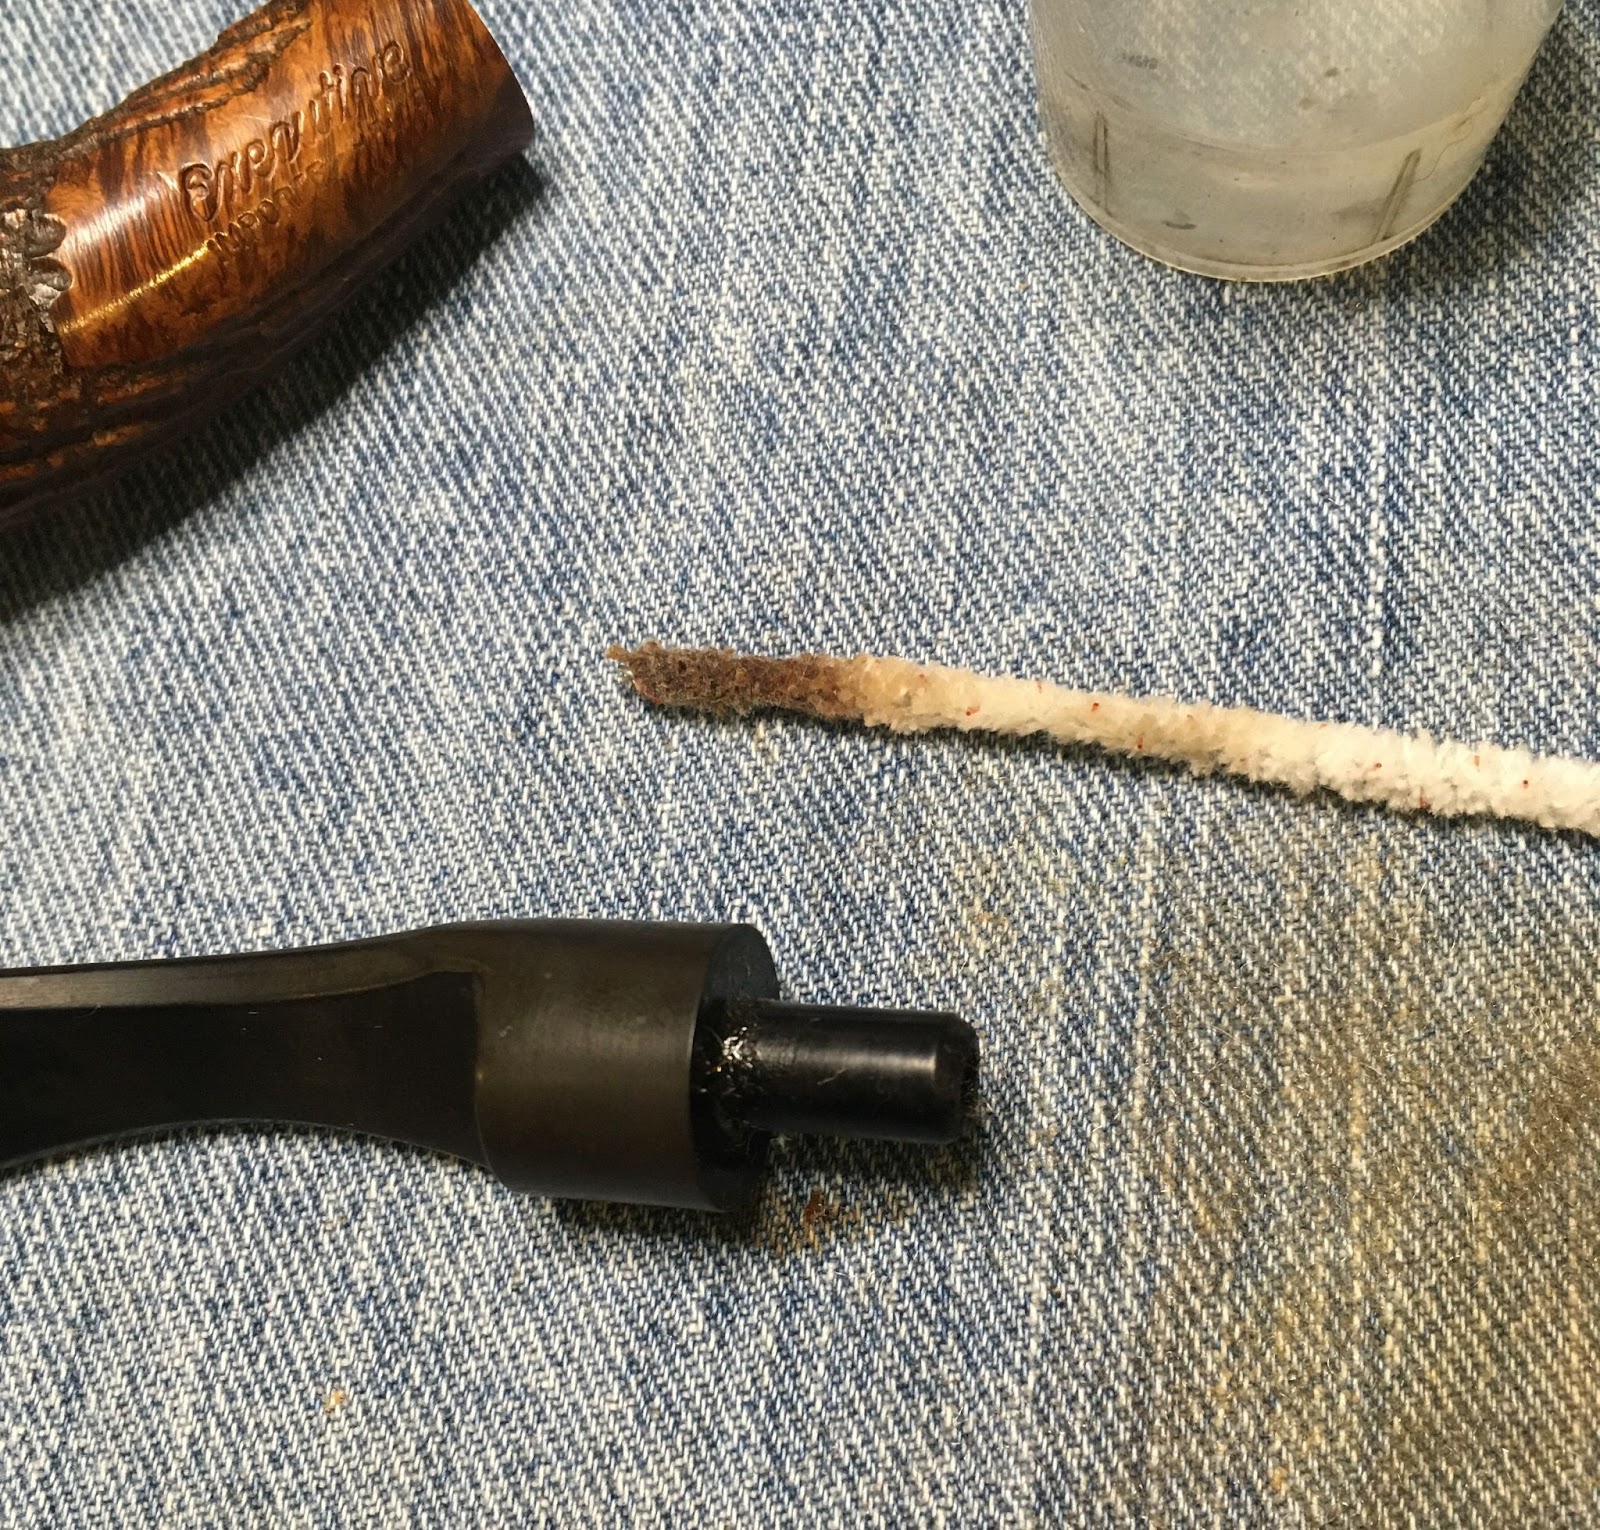
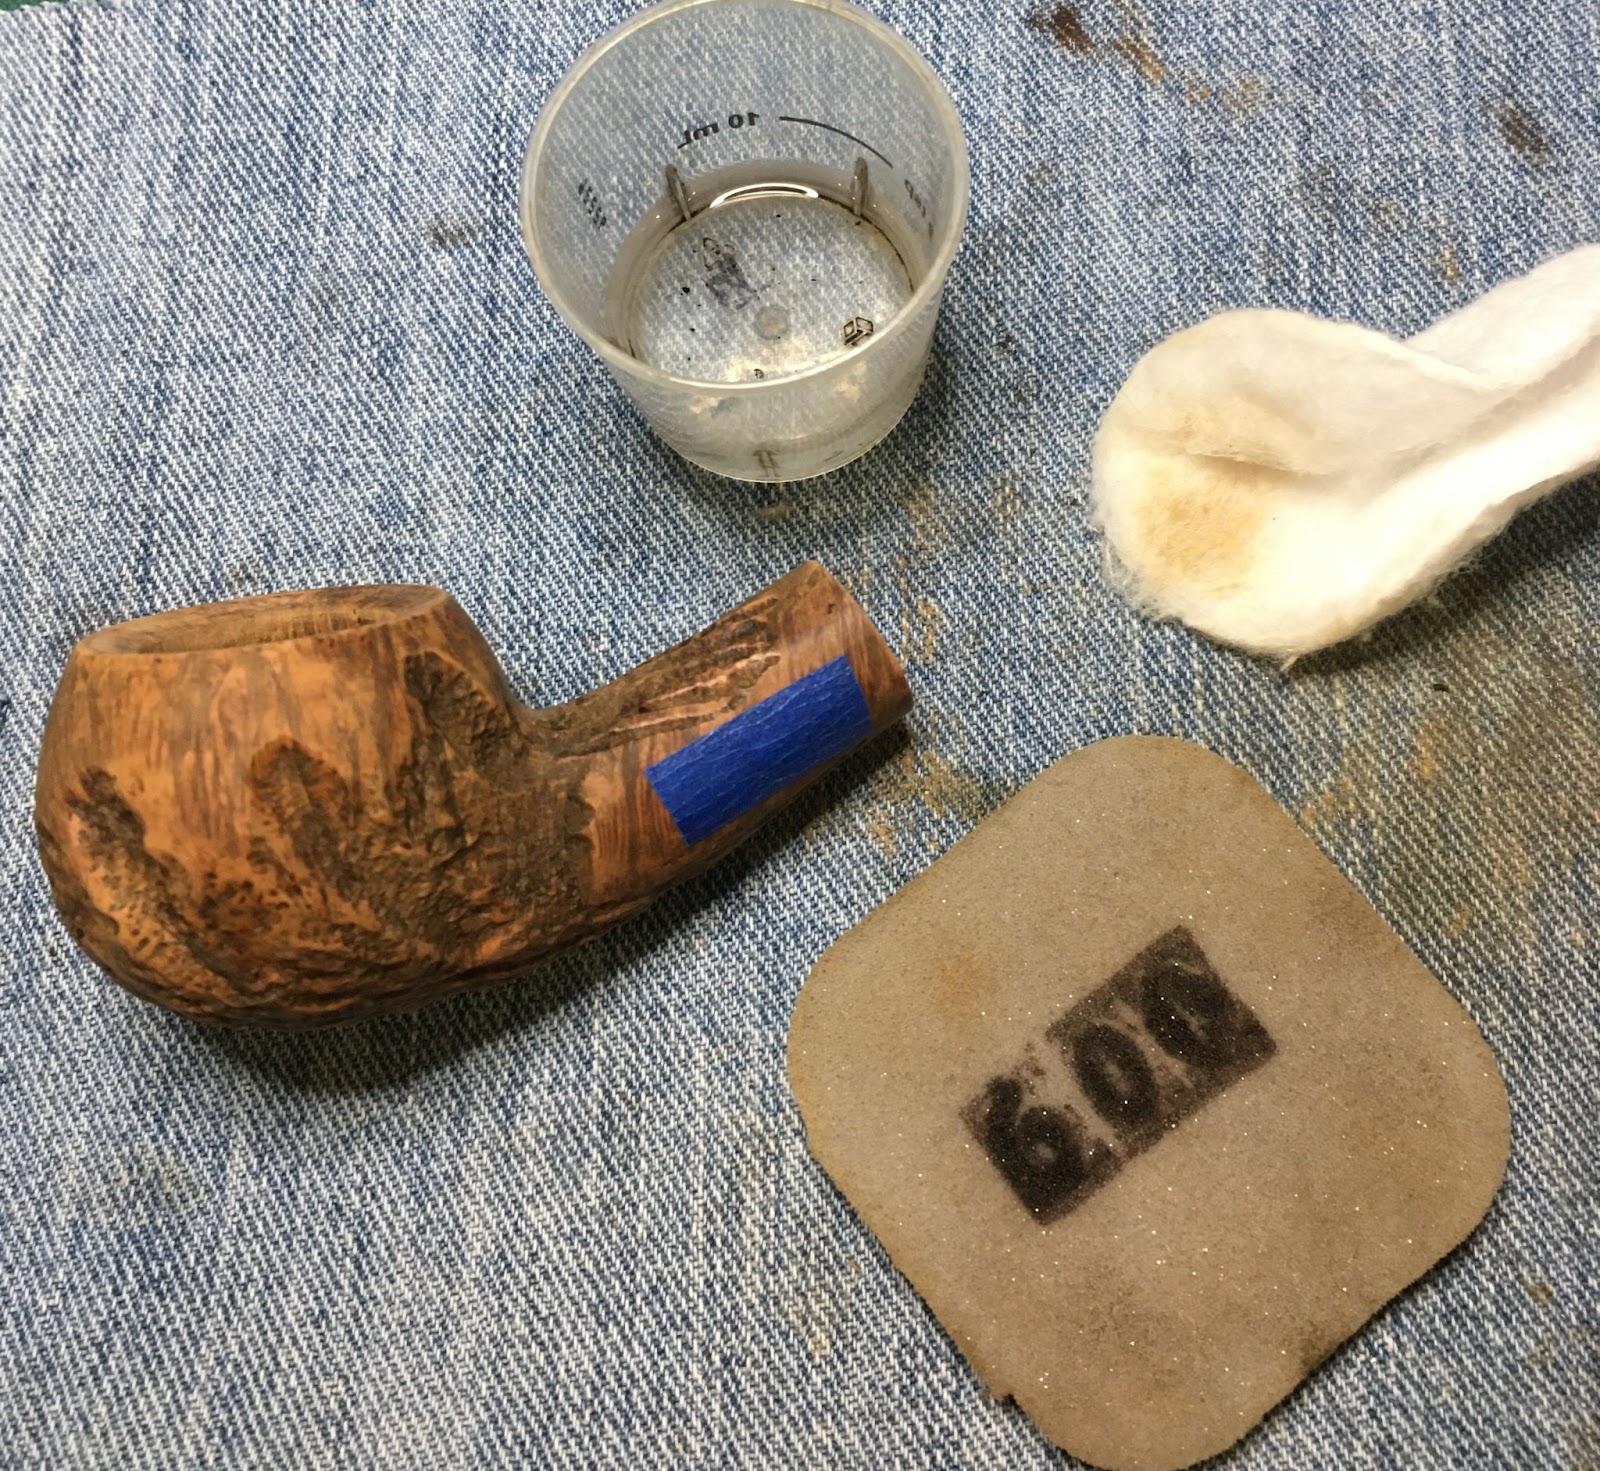
I started with a clean denim piece on the work surface. The stem of the Millard Dublin was very oxidized. I remembered my previous experience with the Millard Bent Billiard. It too had severe oxidation that I was not able to get rid of. Though that was my earlier days of restoring pipes.

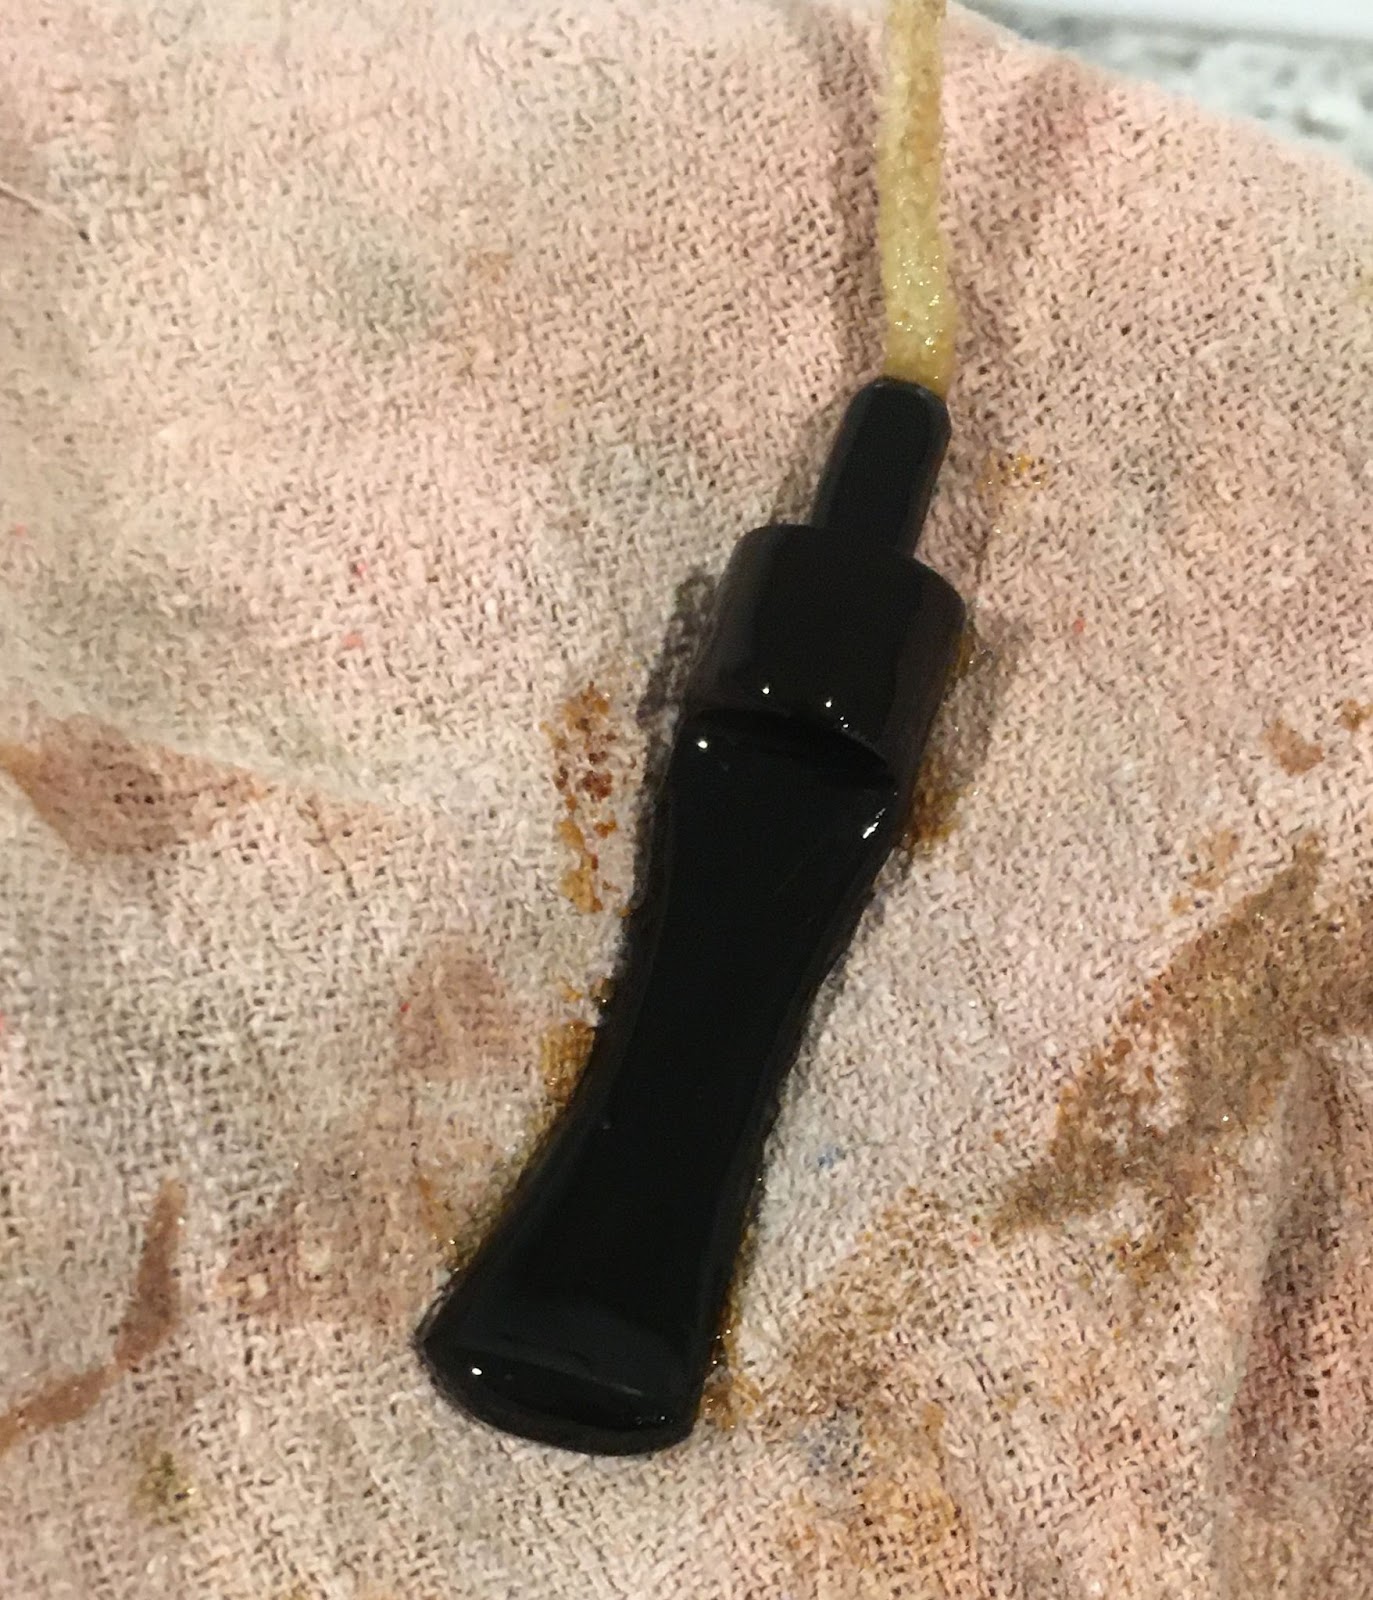
I began with rubbing the surface of the stem with 0000 steel wool. I hoped to get rid of the outer layer of oxidized vulcanite and allow the Before and After Deoxidizing solution access to the underlying rubber. Even after the steel wool the brown was very evident.
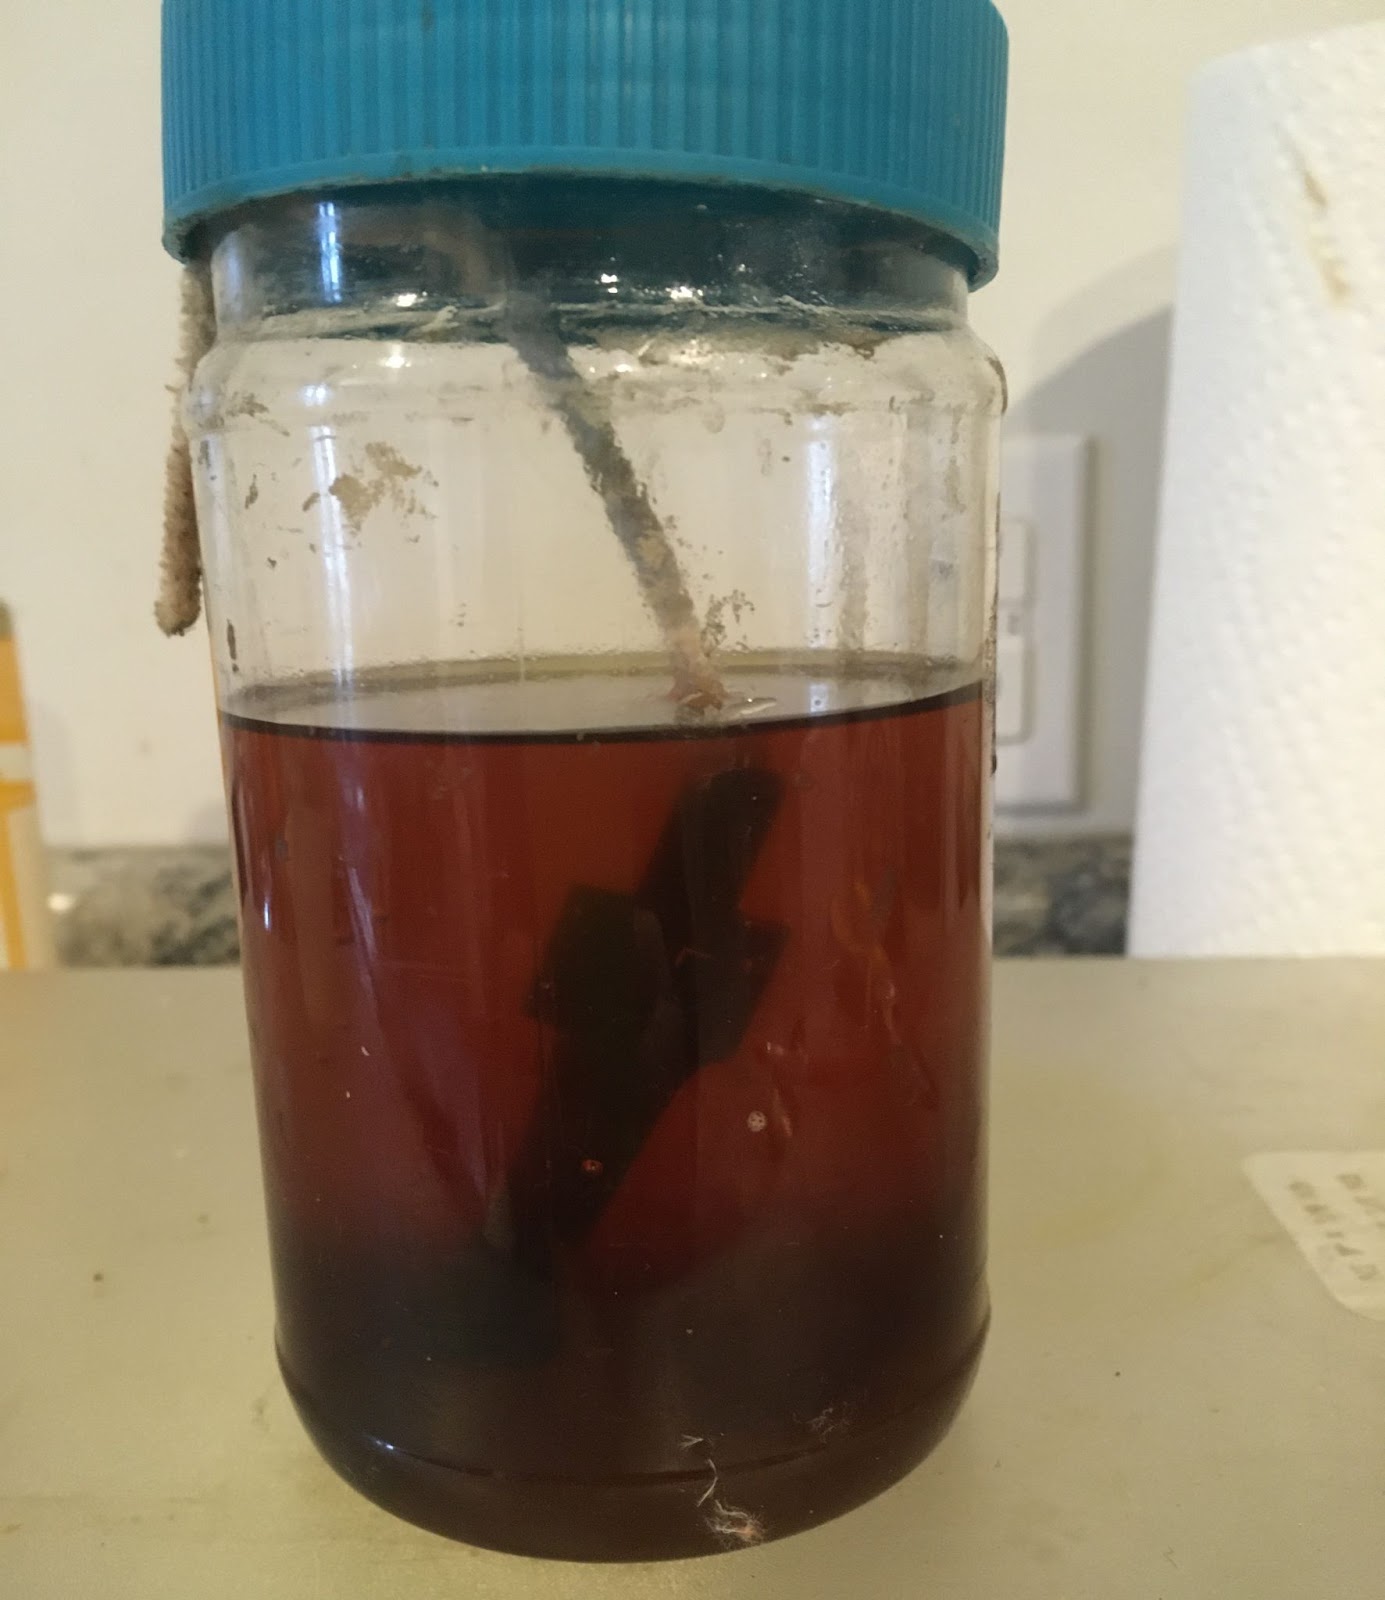
I inserted a pipe cleaner into the stem to act as a hanger and submerged the stem into the Deoxidizing (deox, as I call it) solution. I figured that it would have to be in the solution for at least a couple of hours.

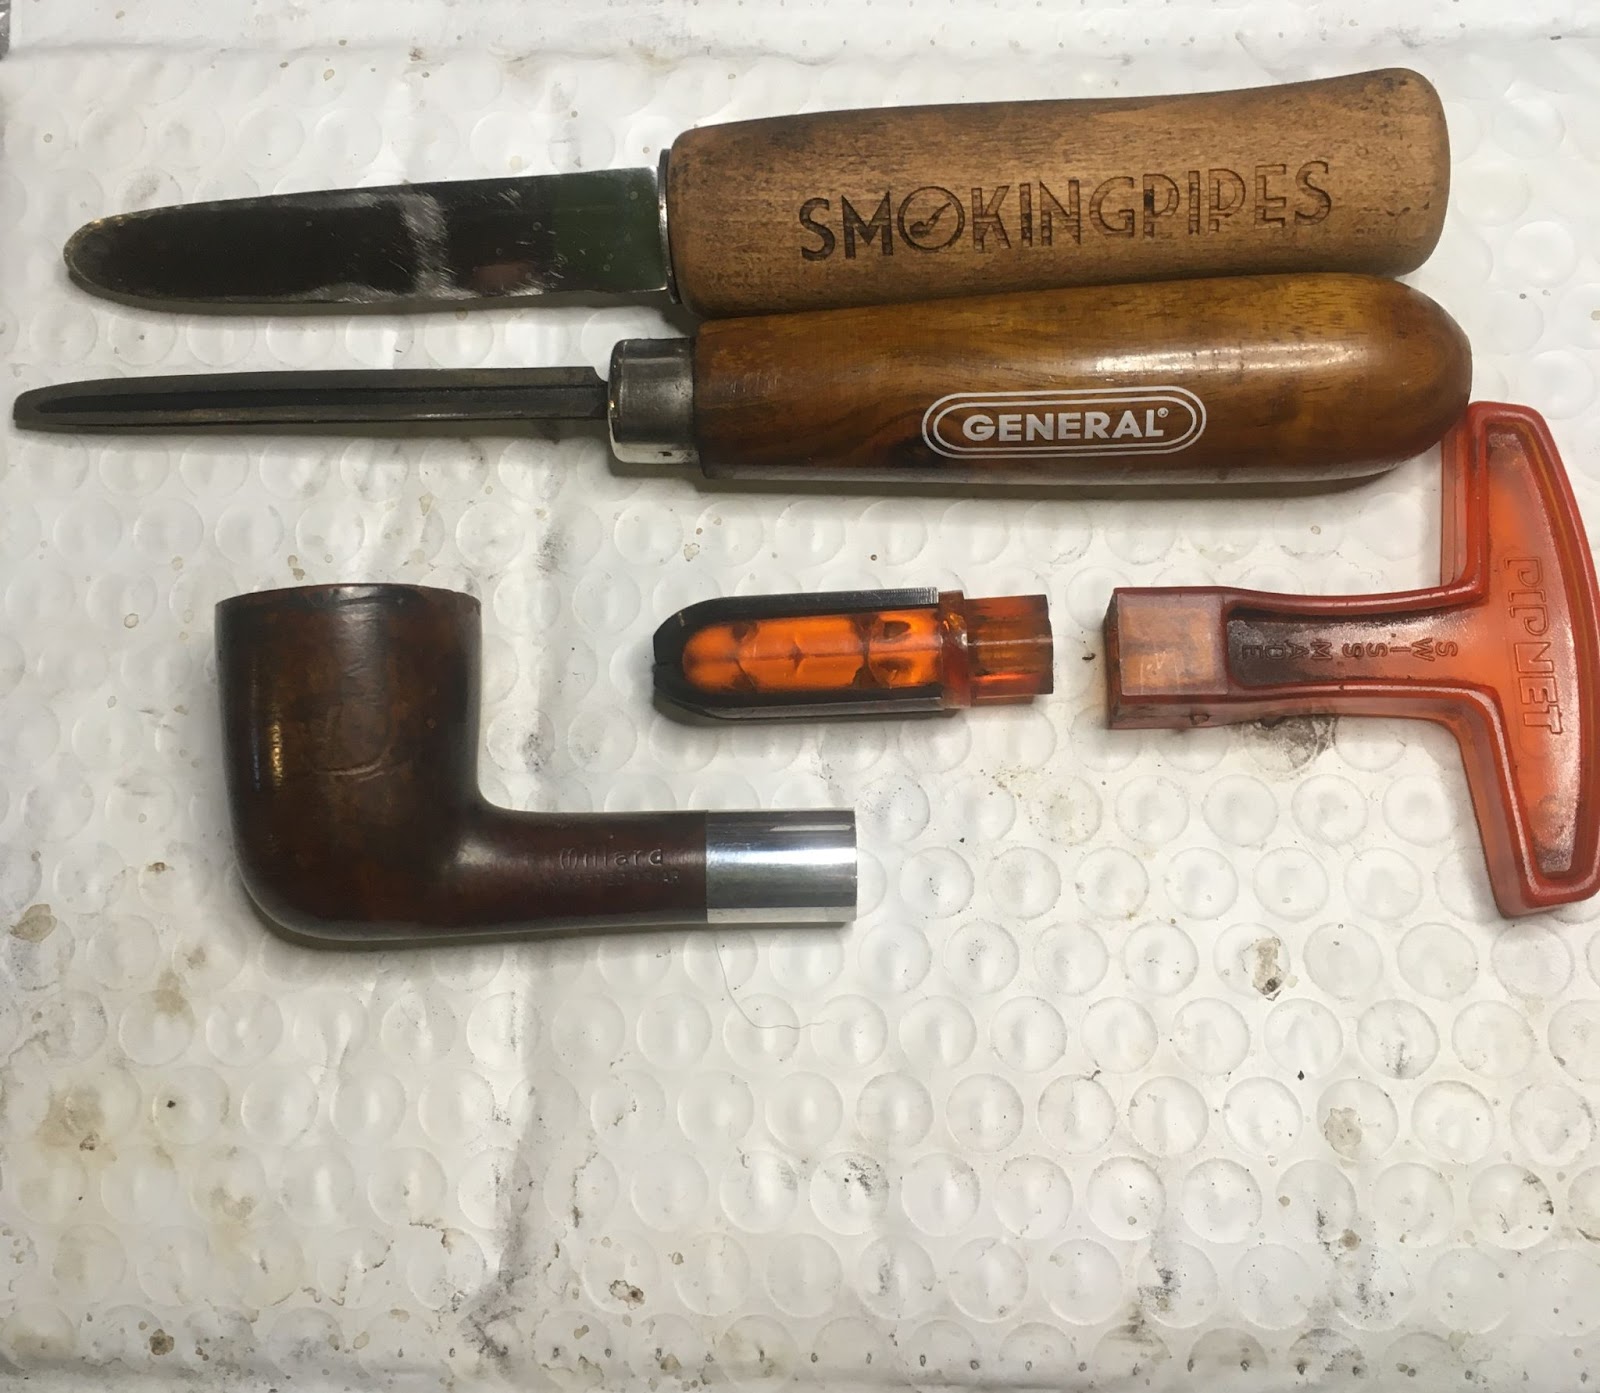
While I was waiting to forget the stem, I started reaming the stummel. I gathered the reaming gear; PipNet with #2 blades , Smokingpipes Low Country knife and the General triangular scraper on the plastic coated envelope.

The cake was hard and very brittle but succumbed to the PipNet without much trouble. Further scraping was done with the other two tools and the chamber was sanded with 220 sandpaper wrapped around a wood dowel and 320 sandpaper wrapped around a Sharpie marker. The bare briar of the tobacco chamber was free of any damage and looked good.
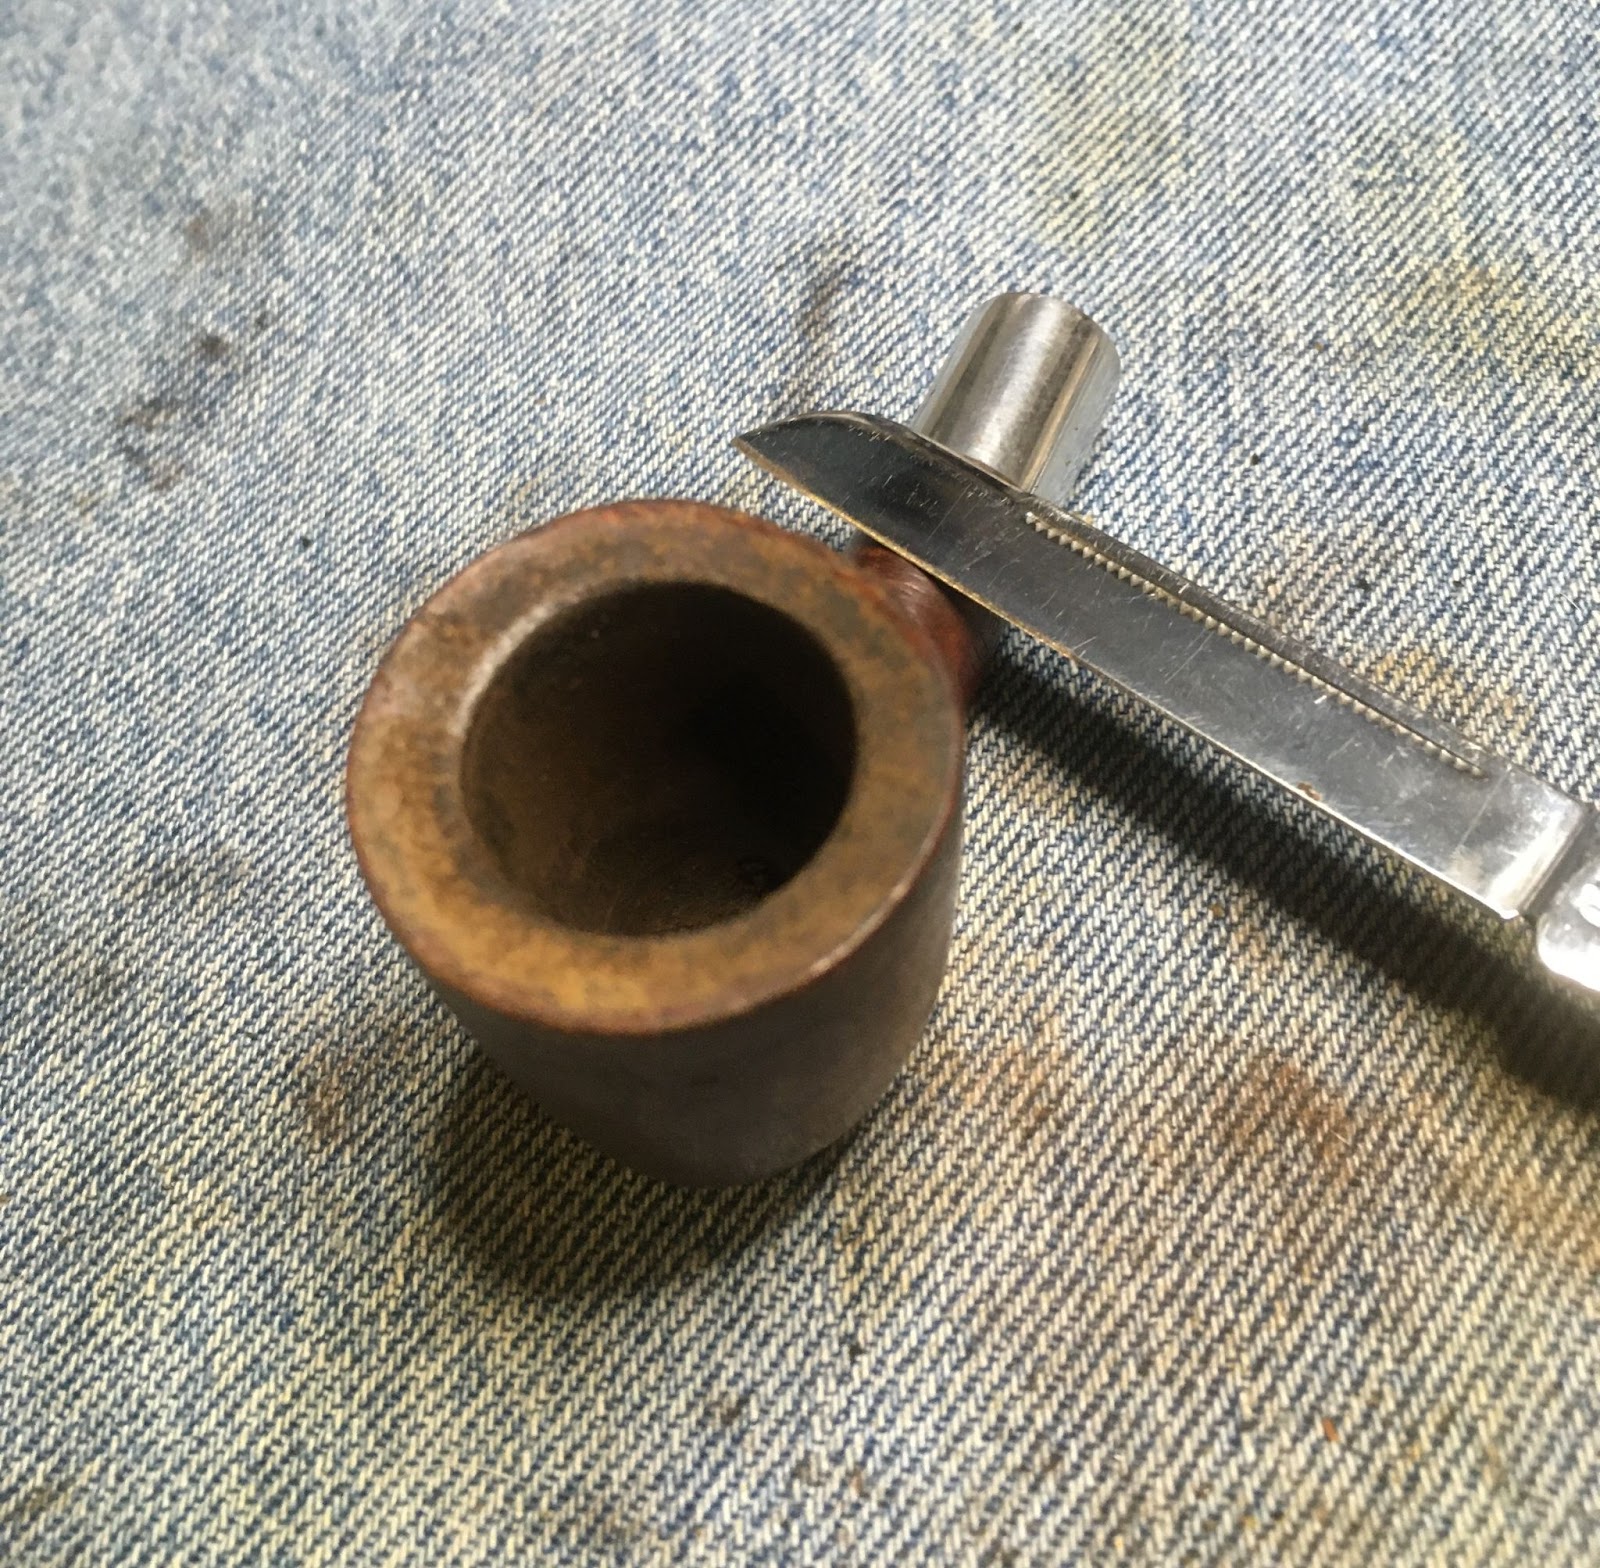
Next was the scraping of the rim.The rim had an inward angled bevel that was covered in a layer of lava. This was scraped off with a sharp pocket knife with careful scraping and scrubbed with a scotchbrite pad dipped in 99% isopropyl alcohol.

With the rim mostly clean, the stummel was taken to the sink and scrubbed with undiluted Murphy Oil Soap and a medium stiff toothbrush. The stummel was rinsed with warm water, dried with a cotton dish towel and returned to the workbench. I then moistened a make-up pad with 99% isopropyl alcohol and wiped the stummel. Some discoloration

occurred to the pad indicating that some of the finish and original stain were being removed. Most of the discoloration came from the rim. I used a 1000 grit sanding sponge with the corner dipped in alcohol to lightly scrub the rim. I guess it was dirtier than I thought it was.

I do not like working on more than one pipe at a time. I will inevitably forget to do something to one while getting sidetracked on the other one. In this case I forgot two things, one was to document the shank cleaning and two, the stem in deox. It was about six hours from where I left off with the Millard Dublin and when I returned. I had forgotten the stem was in the deox and feared that it had been in for too long. I retrieved the stem and wiped the Before and After Deoxidizing solution from it. I ran a couple of pipe cleaners through the airway to make sure no solution remained. The airway was then cleaned with 99% isopropyl alcohol and bristle pipe cleaners on the inside and Soft Scrub on make-up pads on the outside.

The next task was picking out the old fill material. The manufacturers used a soft red tinted fill material that is not very becoming.
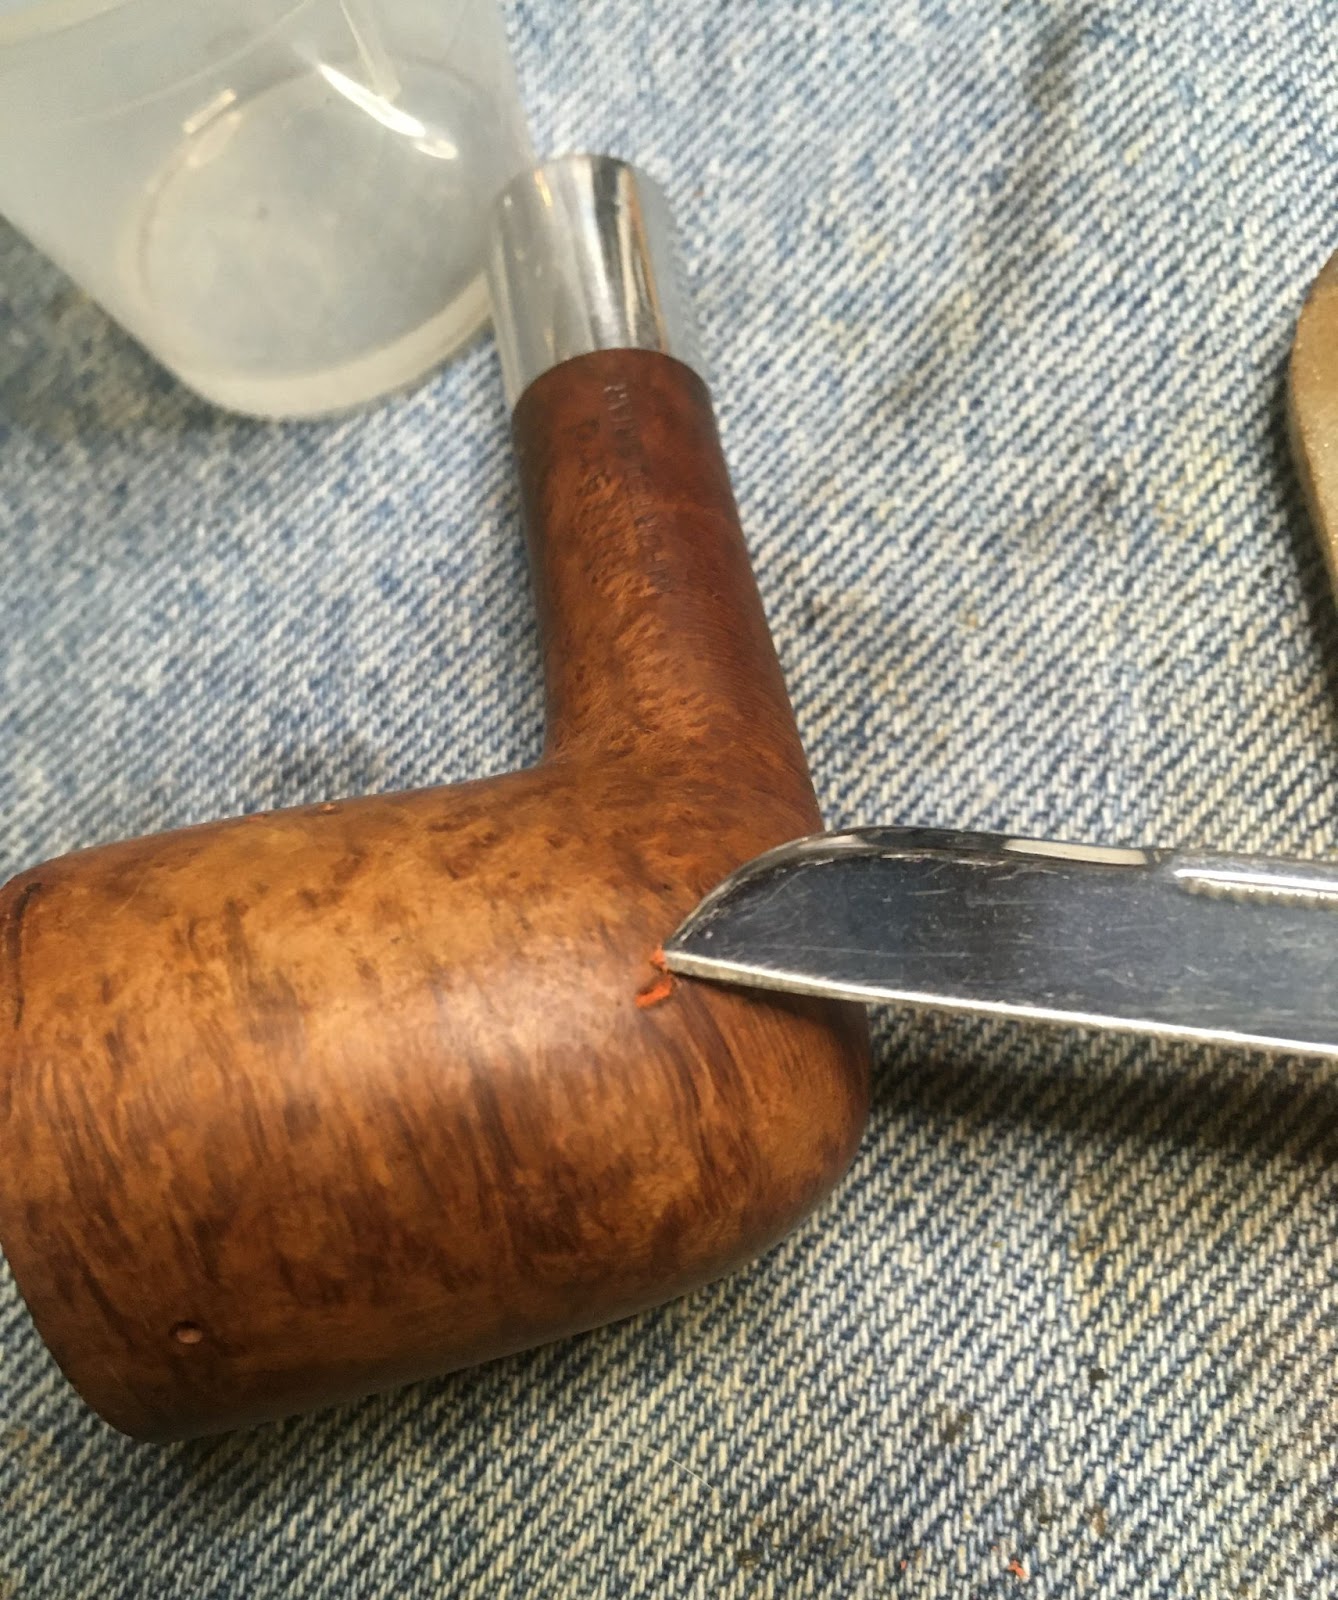
Ewwwe.
Next was the refilling of the pits, gouges, rim damage, etc… Since this would require sanding I taped the stamps with painters tape.

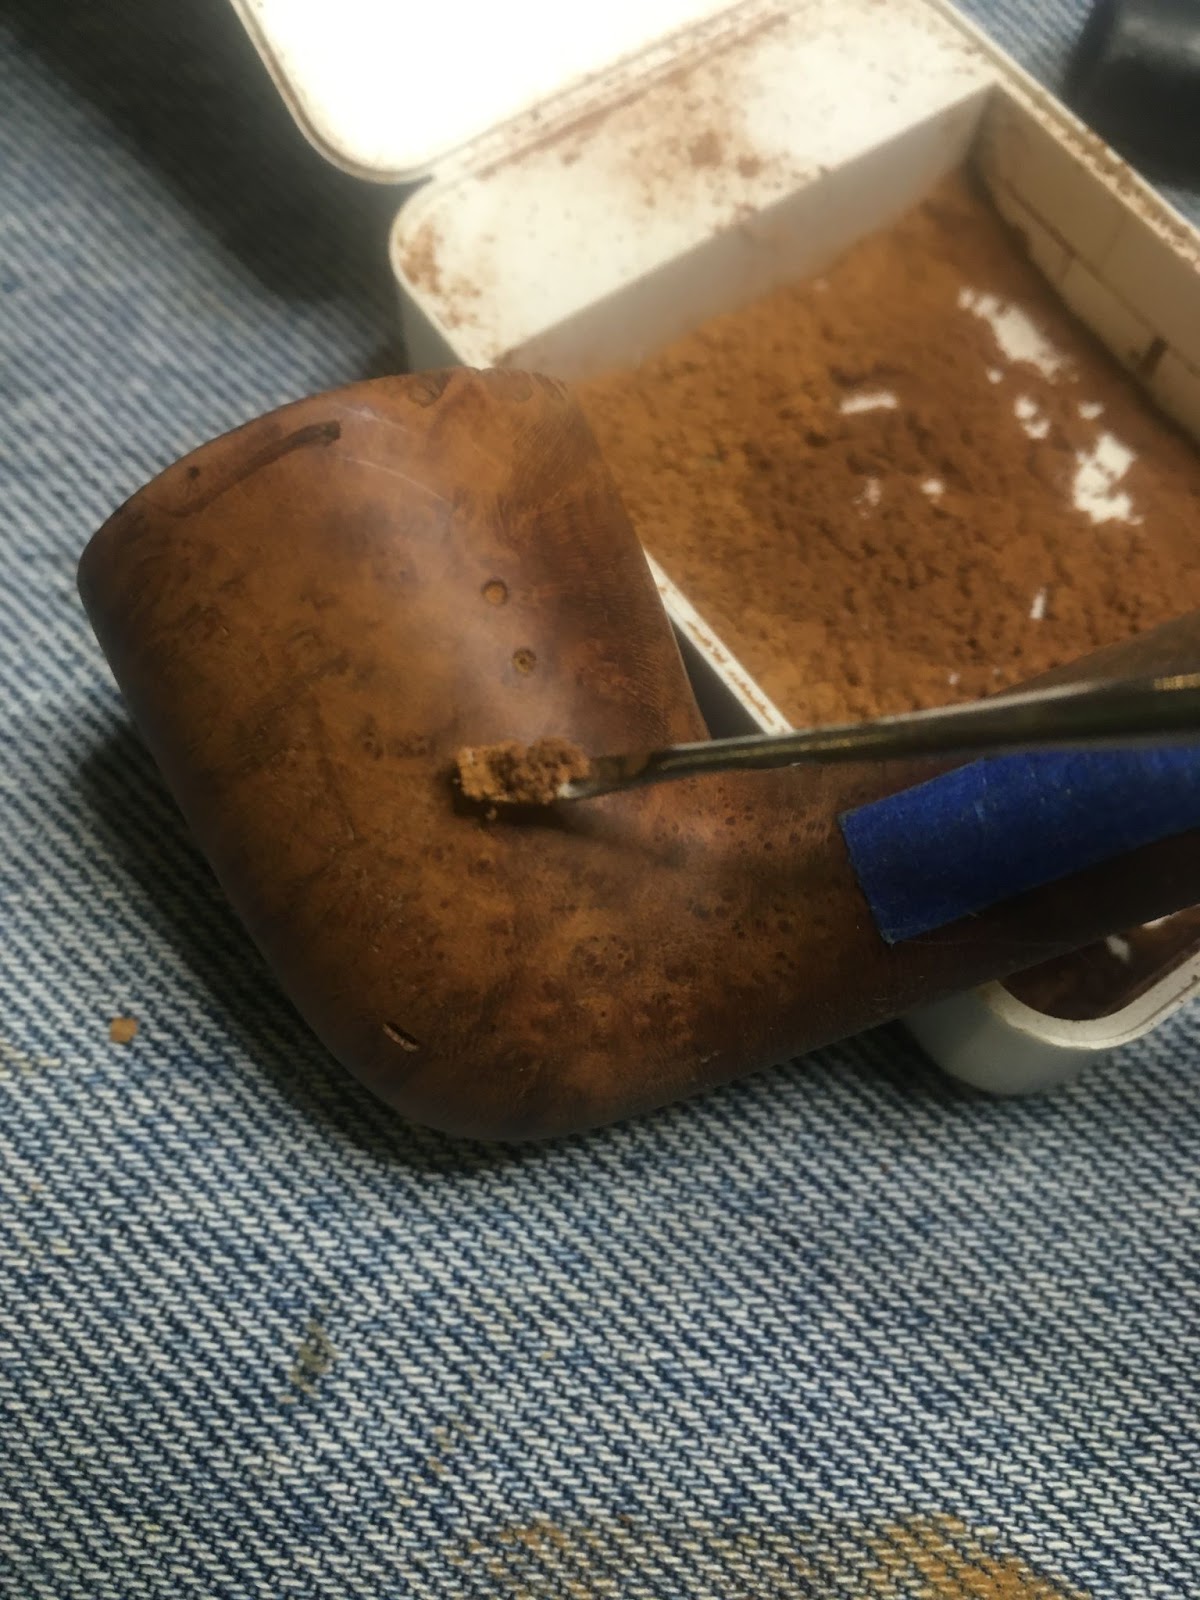
In order to show a step by step process for fills, I attempted to photograph each step. Some worked better than others but I think this may be helpful for those who haven’t done this many times. The things I use are briar dust mainly from the sandpaper when topping a stummel, brown cyanoacrylate (CA, super glue), Thin CA and a dental scraper. Oh, it’s also a good idea to wear nitrile gloves to keep the CA off your fingers. I usually forget this.
Below two pits are pictured.

I use the dental scraper to scoop up a little bit of the briar dust. The dust is placed onto the pit. I then use the back of the scraper to press the dust into the pit with a bit of pressure.
I then use the shaft of the dental scraper to brush off extra briar dust without knocking briar dust out of the pit.

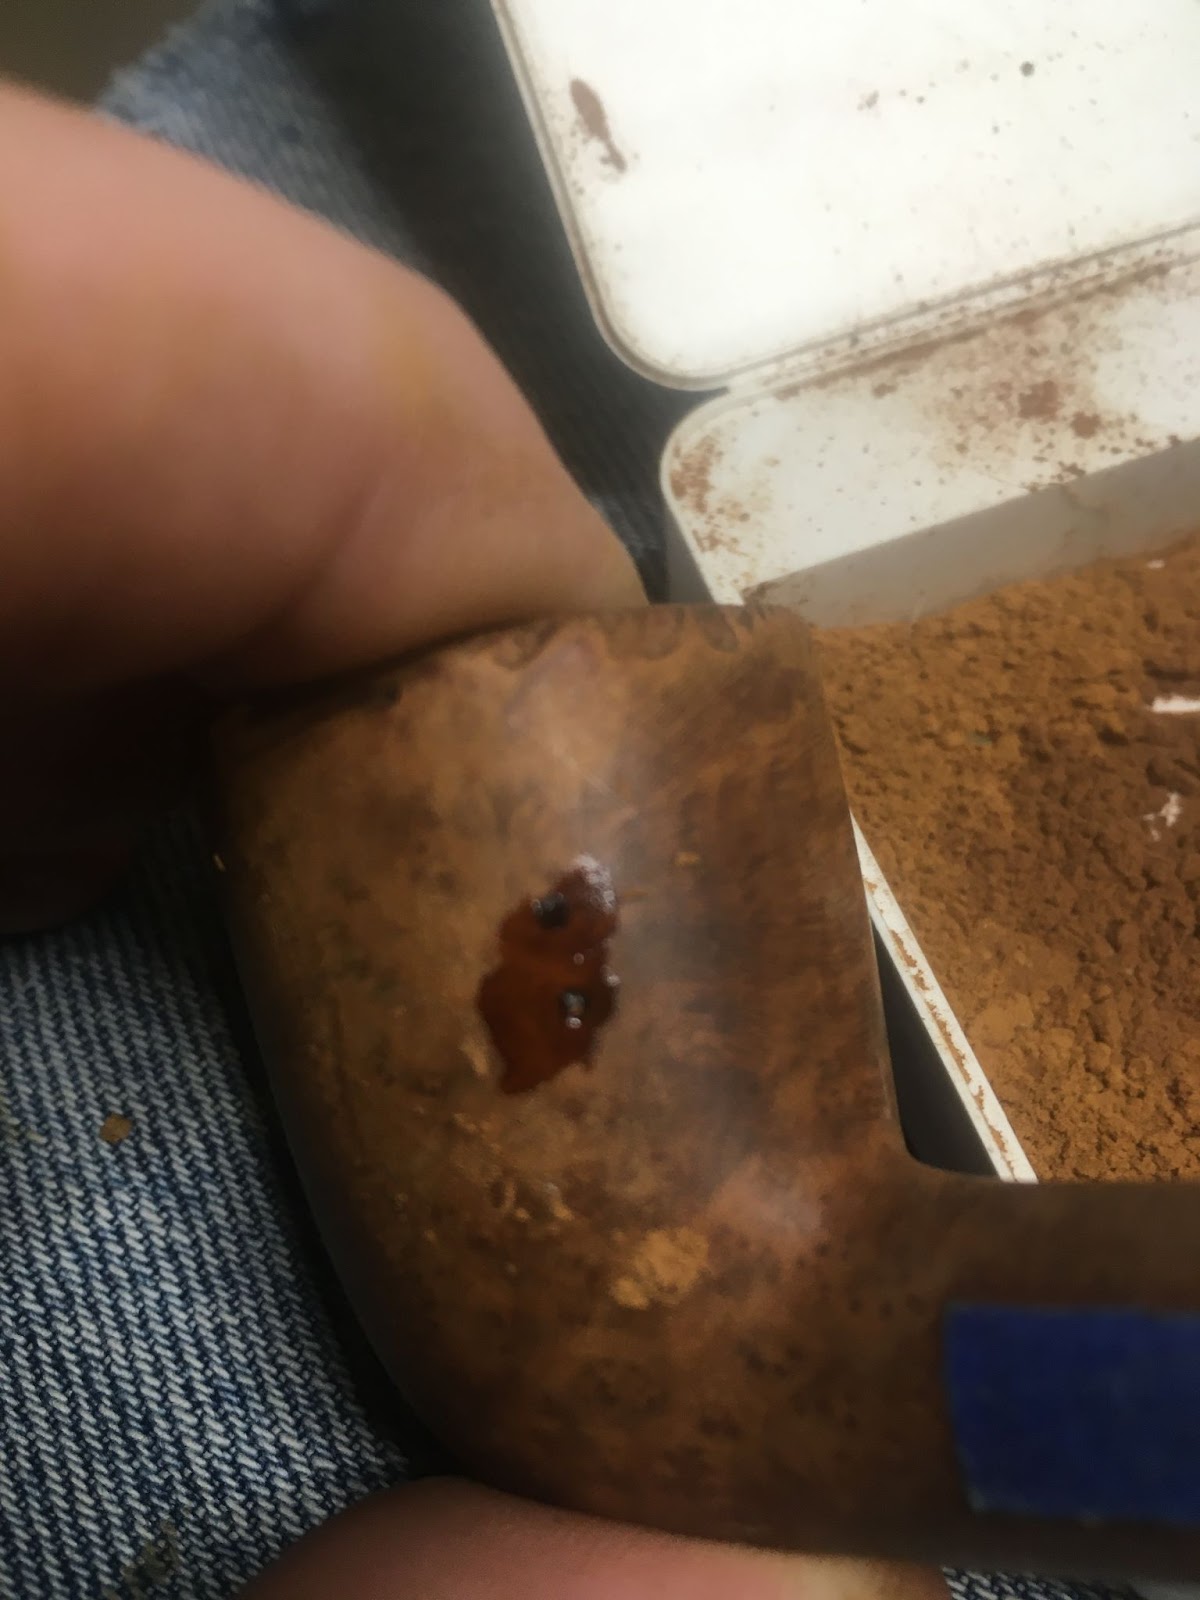
I then use a fly tying bodkin (long needle) to dip into the Thin CA and get some onto the bodkin. The CA is then touched to the edge of the spot to fill. The CA soaks into the dust and bonds the dust to the edges of the pit. I got a little carried away with the application in the photo below and used a bit too much CA. That just means more sanding.
The CA is then filed smooth with a flat needle file (I file because I am a bit lazy. Filing means I don’t sand as much) and 400 sandpaper or sanding sponge.
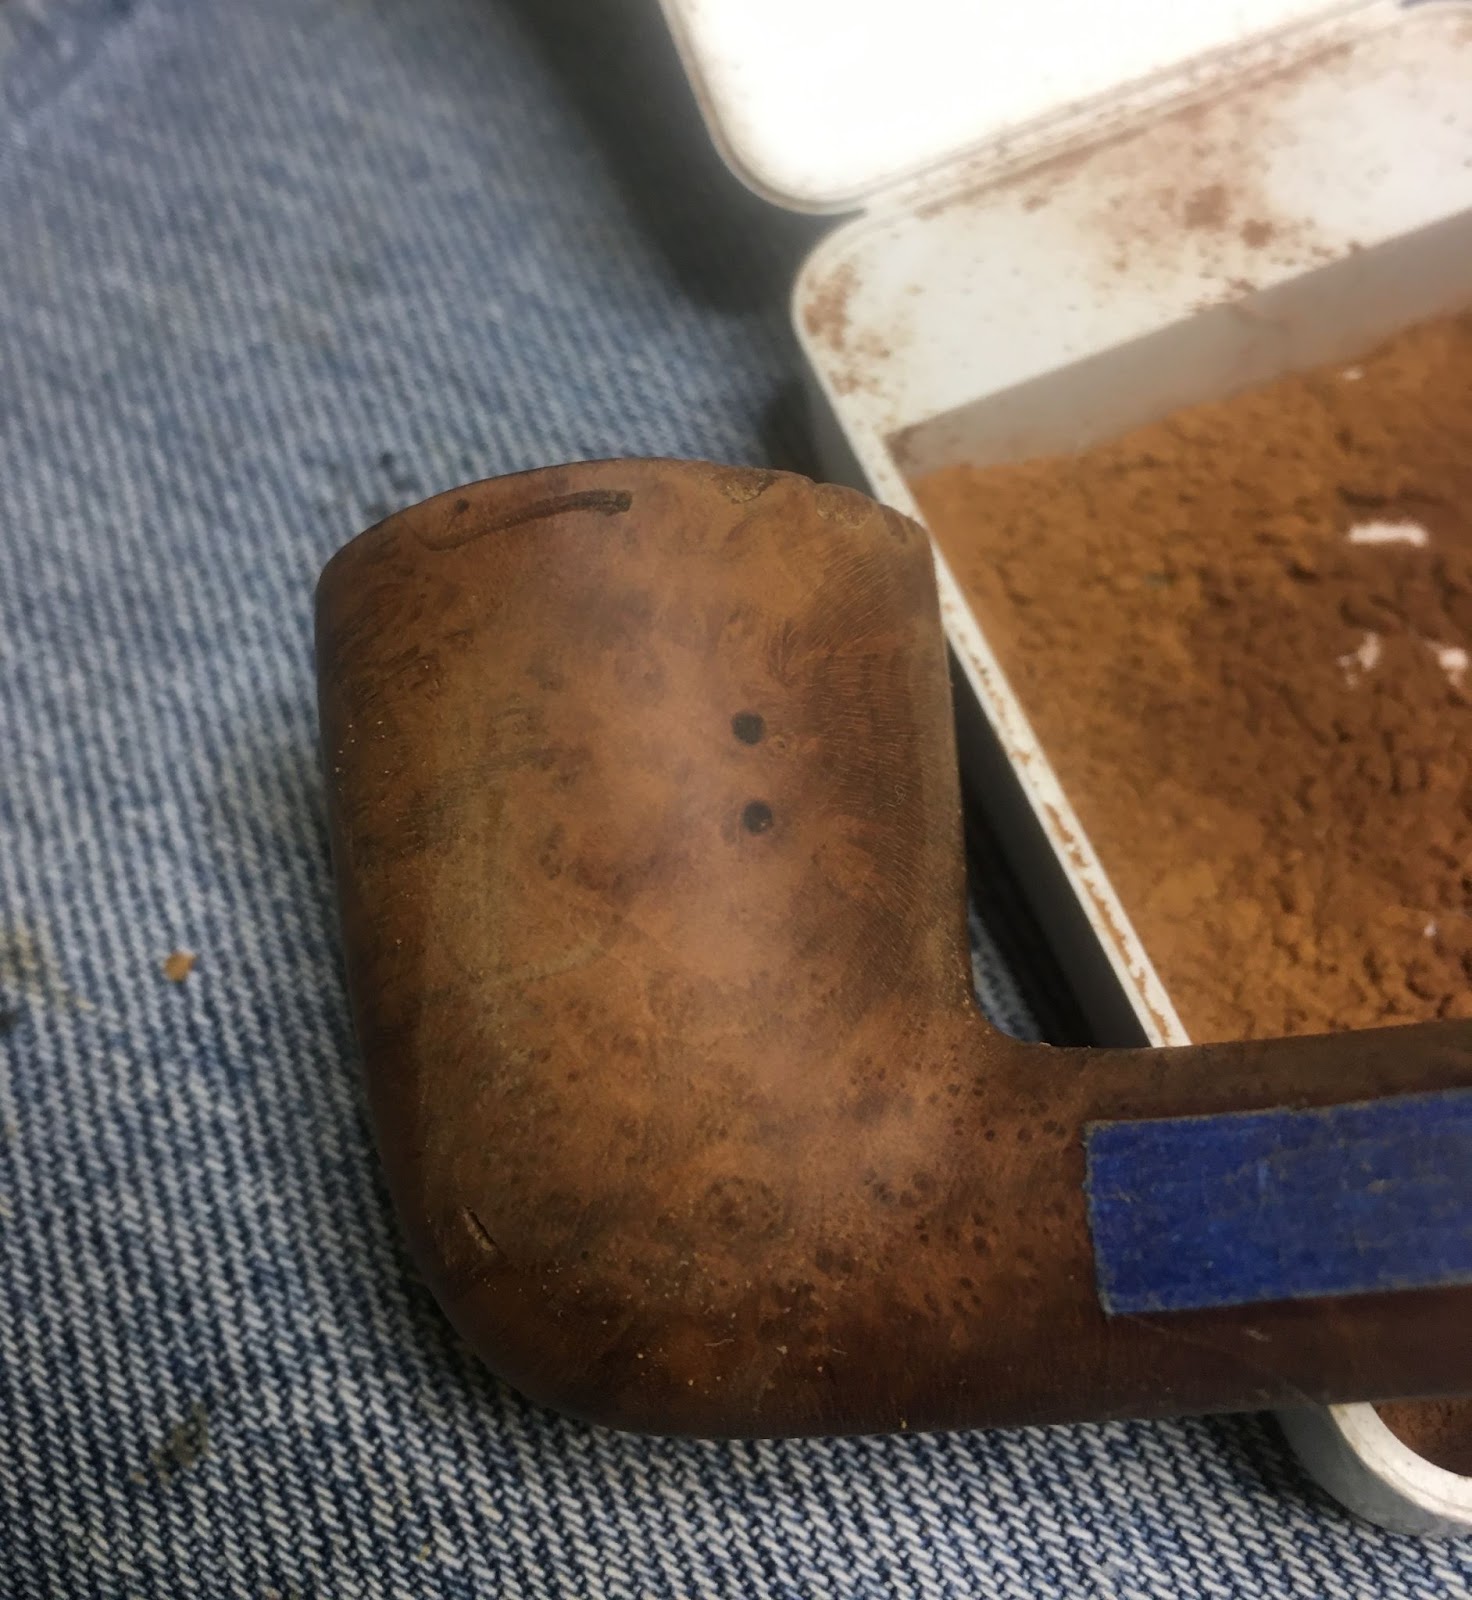
There were several pits and scratches on this stummel which required filling. Below are some more. The CA fills are dark but they are not gross red and they sand very smooth.

Rebuilding the damaged rim used a similar technique just with more layers. The additional layers were needed to build up the damaged area to maintain the lines and shape of the pipe. I did not want to top this stummel. The damage was localized to the rear and not the whole rim.
I attempted to photograph step by step again with this rebuilding.

Below is a close up of the damaged rim.

First I laid a bead of brown CA on the damaged area.
Then I dipped the wet CA into the briar dust pushing the stummel into the dust with a bit of pressure.

Next, I filed the surface to fit the existing shape of the stummel.

The excess CA/briar dust fill was filed away. The surface needed additional material to fill the damage. Next two photos try to show this.

Another bead of CA was applied to the rim. This time I pinched briar dust between my index finger and thumb and pressed this pinch onto the rim. The next two photos show this pinched fill.
This pinched fill was then filed and smoothed with a 400 sanding sponge.
In the photo below, you can see the briar dust appears “dry” or light colored. This is because it has CA bonding it from the bottom and not bonding it throughout. I applied the Thin CA to this “dry” briar dust. The Thin CA soaked into it and bonded it all together.

Below you can see the darker colored briar dust fill. This is dust that is fully bonded together with CA.

This fill was then smoothed with a 400 sanding sponge.

In the photos below you can see that I have tried to rebuild the sharp edge where the rim meets the side of the bowl.

Now all these dark fills are kind of an eyesore. I thought maybe a contrast dye with black Fiebing’s Leather Dye sanded away would accentuate the grain and mask all the dark fills. I gathered the dying gear. The pipe cleaner used from the last dye job was still there. Recycle.

The stummel was held by the aluminum of the mortise, dyed black and flamed. The flaming burns off the alcohol base of the Fiebing’s and sets the dye into the briar.

The stummel was then wiped with a paper towel and returned to the workbench. Back at the bench I started lightly sanding the stummel with a 320 sanding sponge. The sponge was wiped frequently on the denim of the work surface to clean the black briar dust from the sponge.

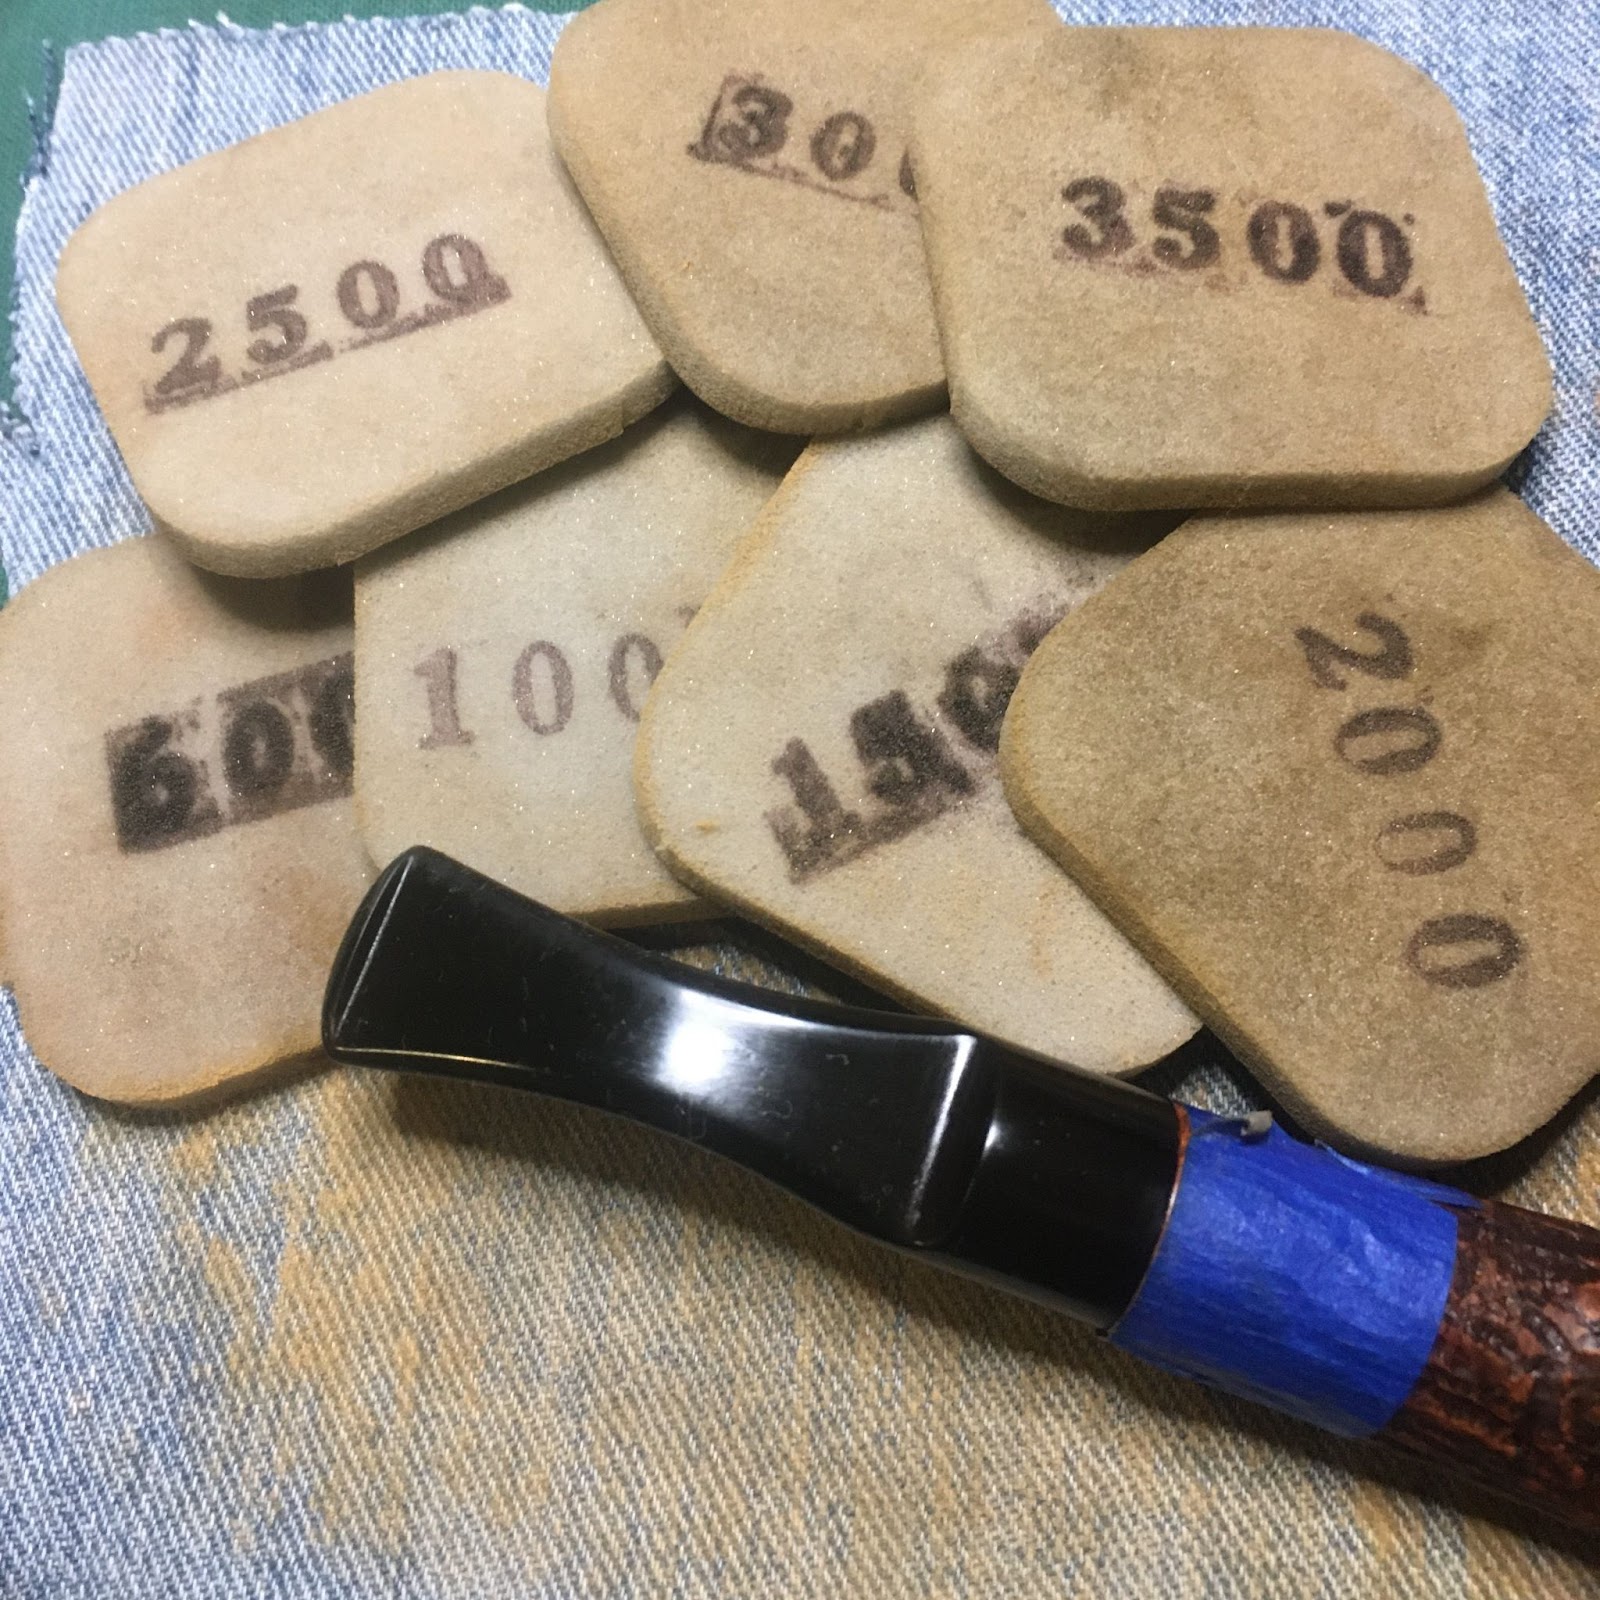
For brevity I will not go into great detail about the sanding and micro-meshing of the pipe and stem. I’ll just say that they were sanded together using the sanding sponges in sequence from 600-3500. Between each sponge the stummel was wiped with a make-up pad wetted with alcohol. The stem was wiped off with a paper towel. The micro-meshing was done with 4000-12000 micro-mesh pads in sequence. The stummel wiping was the same as above. The stem wiping included a drop of Obsidian Oil rubbed with finger and wiped with a paper towel.
The final step was to use the buffer to apply several coats of carnauba wax to the pipe.
Overall I am quite pleased with this pipe. I wish the stem would have cleaned up better. After all the time in the deox, scrubbing with Soft Scrub, the sanding, etc… it still is not the black that I would like it to be. The fills did turn out well. The reconstruction of the back rim also looks good. The contrast stain did exactly what I wanted it to do and I think it looks nice. I have yet to smoke this Millard but if it is anything like the bent Millard it will prove to be a great smoking pipe. I do hope that you have found something here useful towards your restorations or the care of your pipes. If you like this sort of thing, please click the like and subscribe. Thank you very much for reading the ramblings of an old pipe lover.
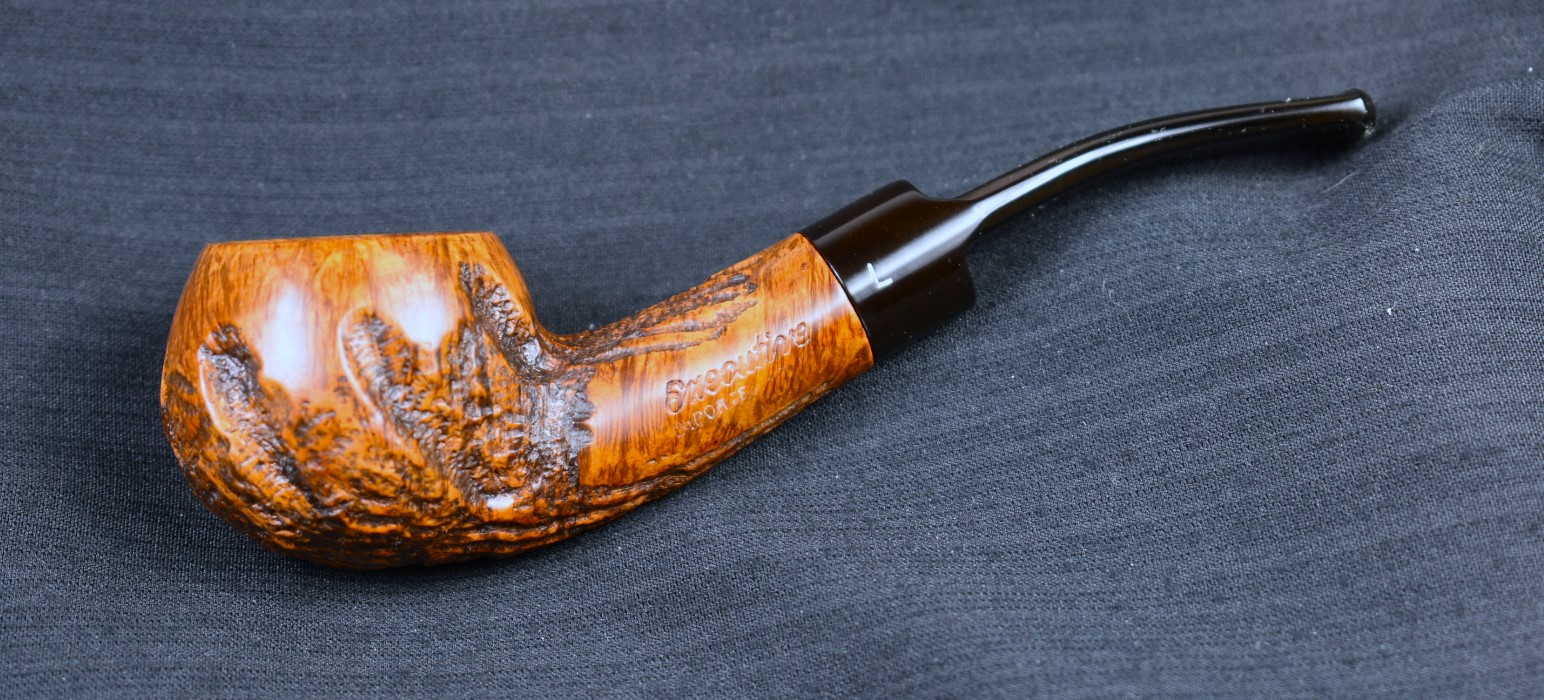
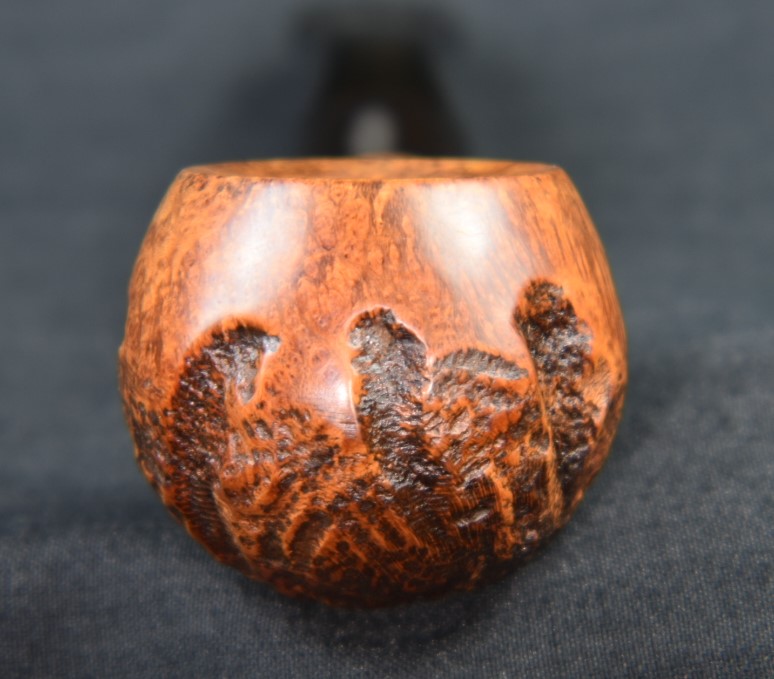
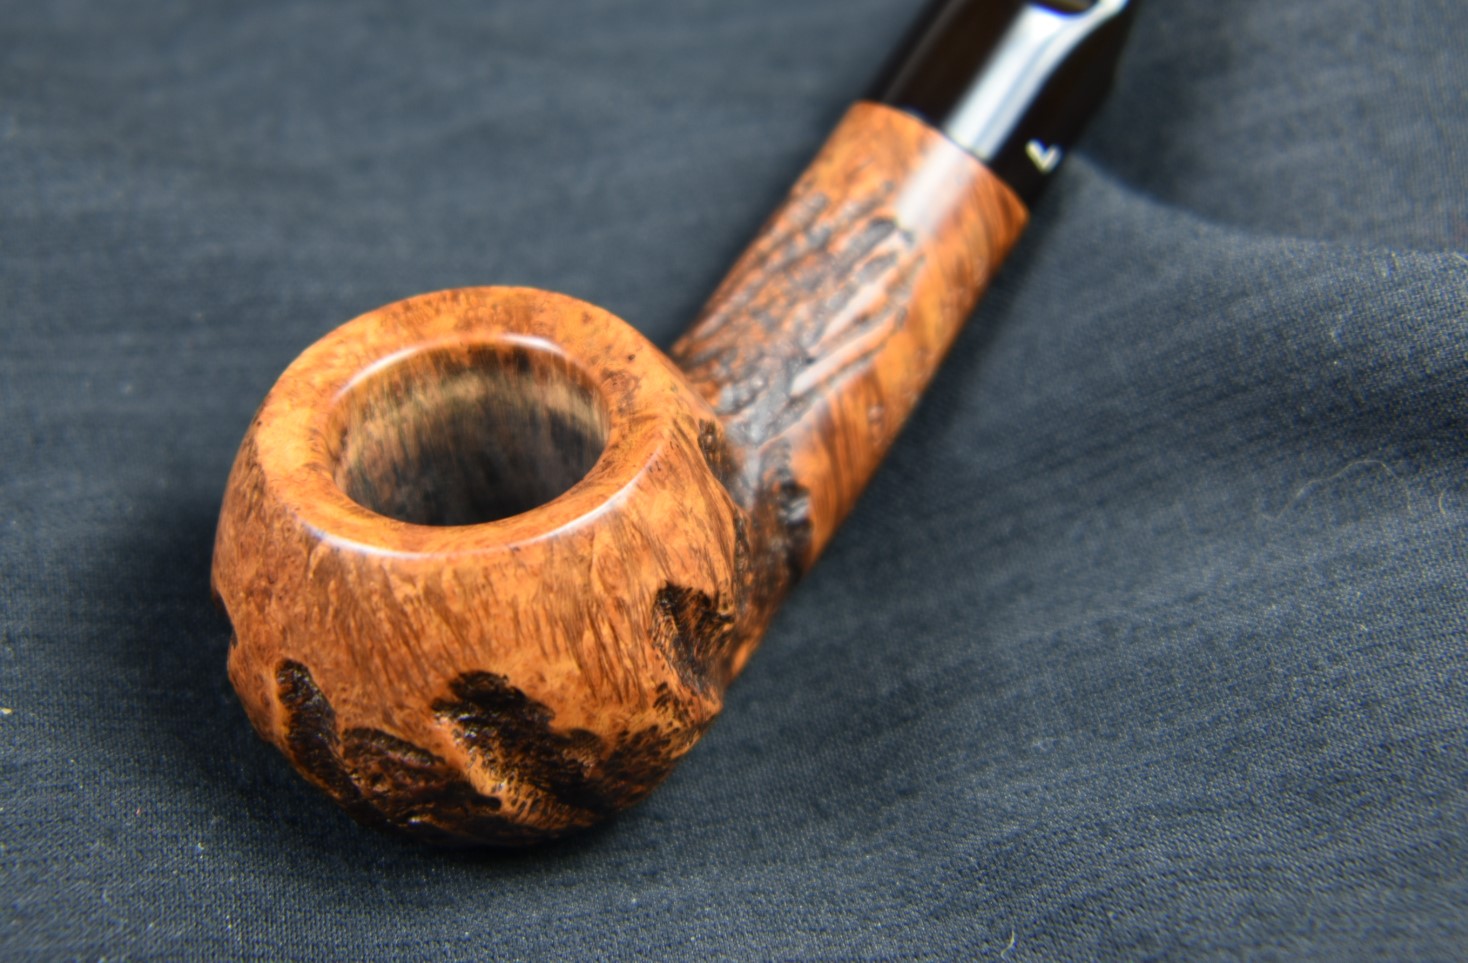
Below are some photos of the finished Millard Dublin.


 I worked on the stem with the sanding sponges from 600-3500 in sequence. Between each sponges I applied mineral oil from my finger and wiped the stem with a paper towel.