Photographed and written by
John M. Young
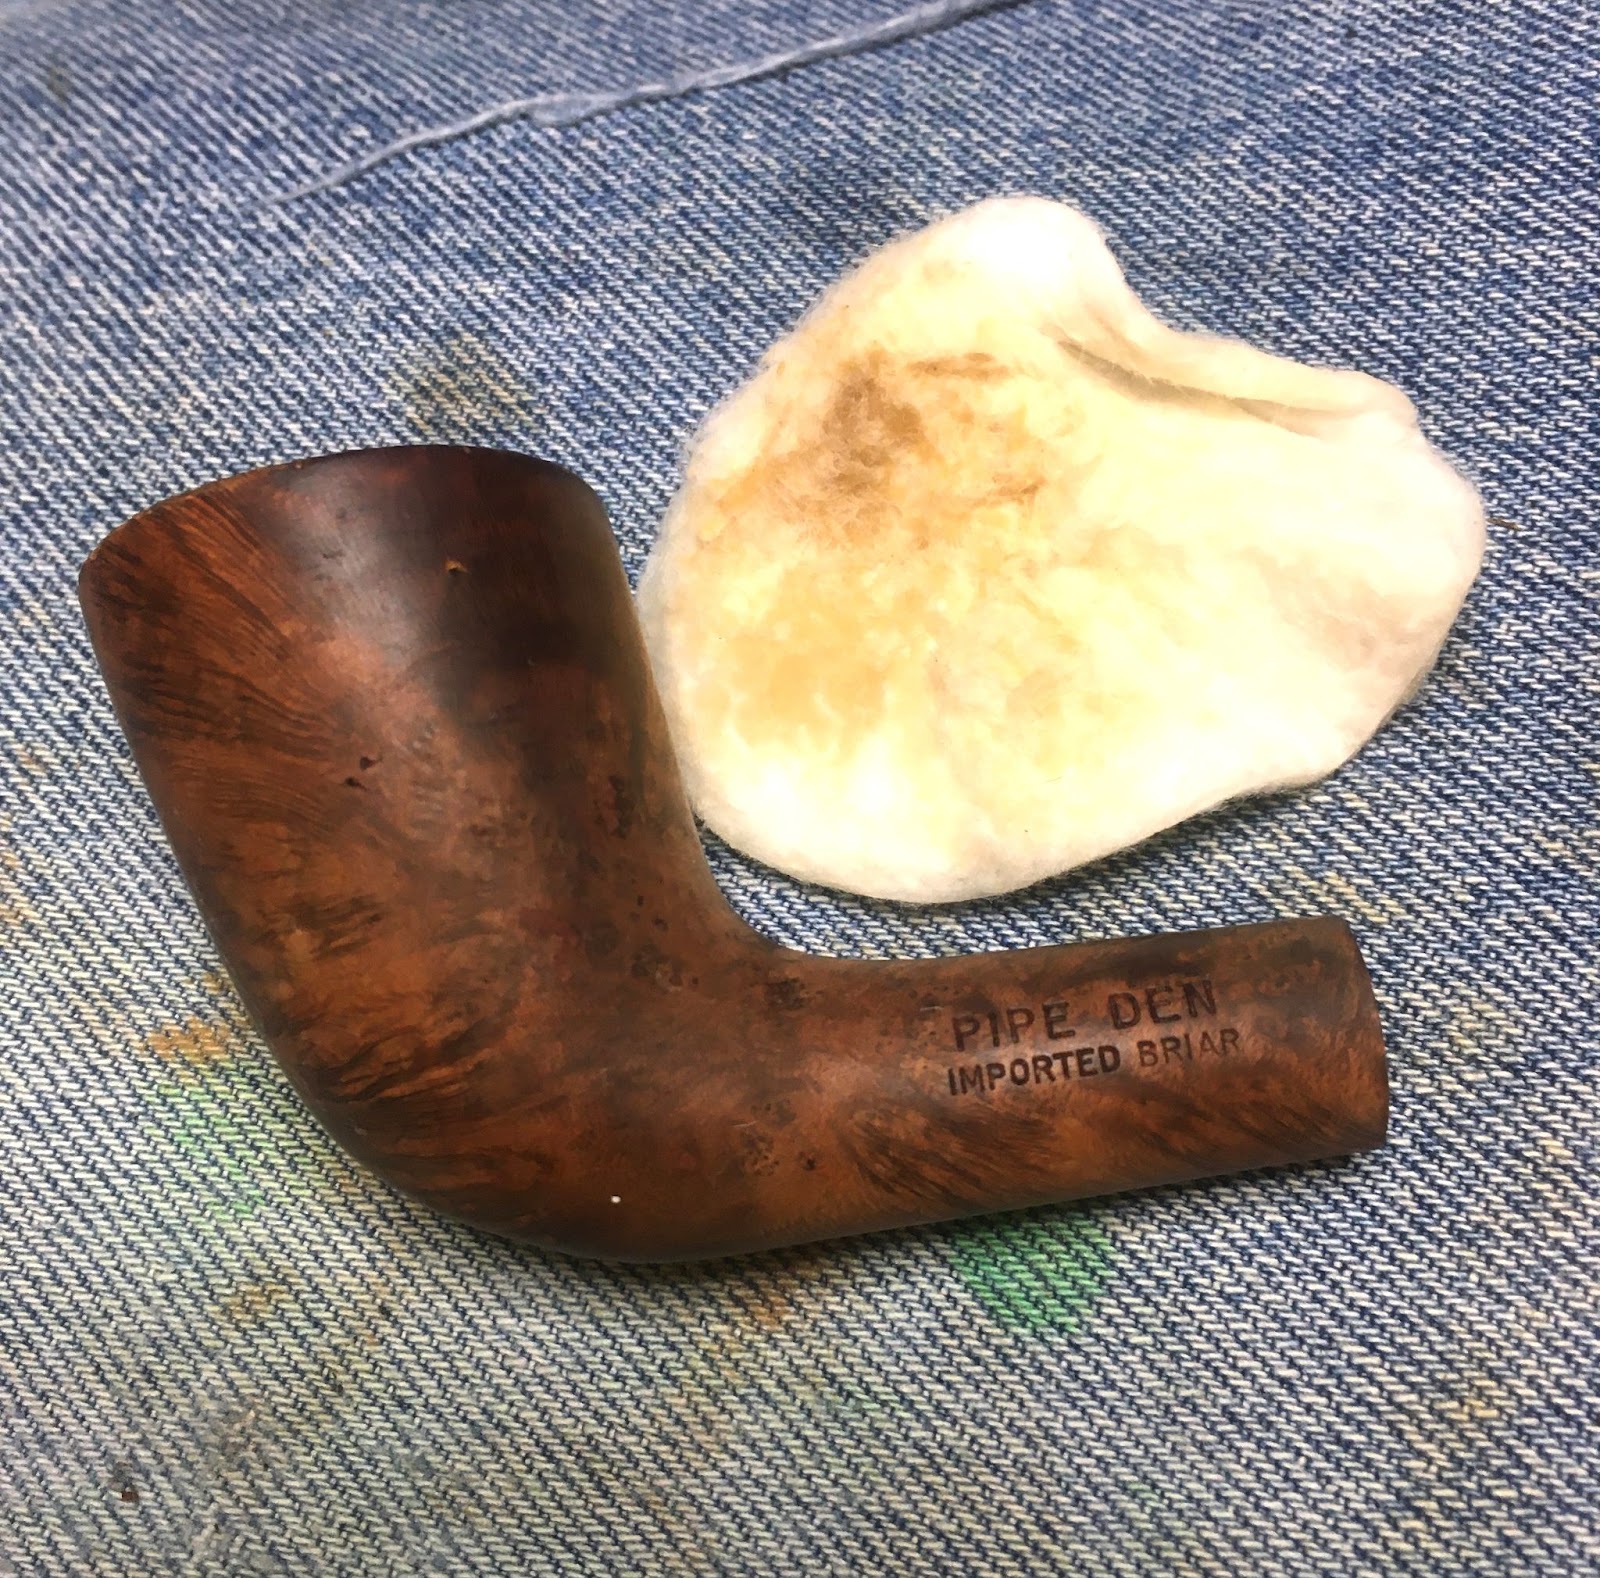
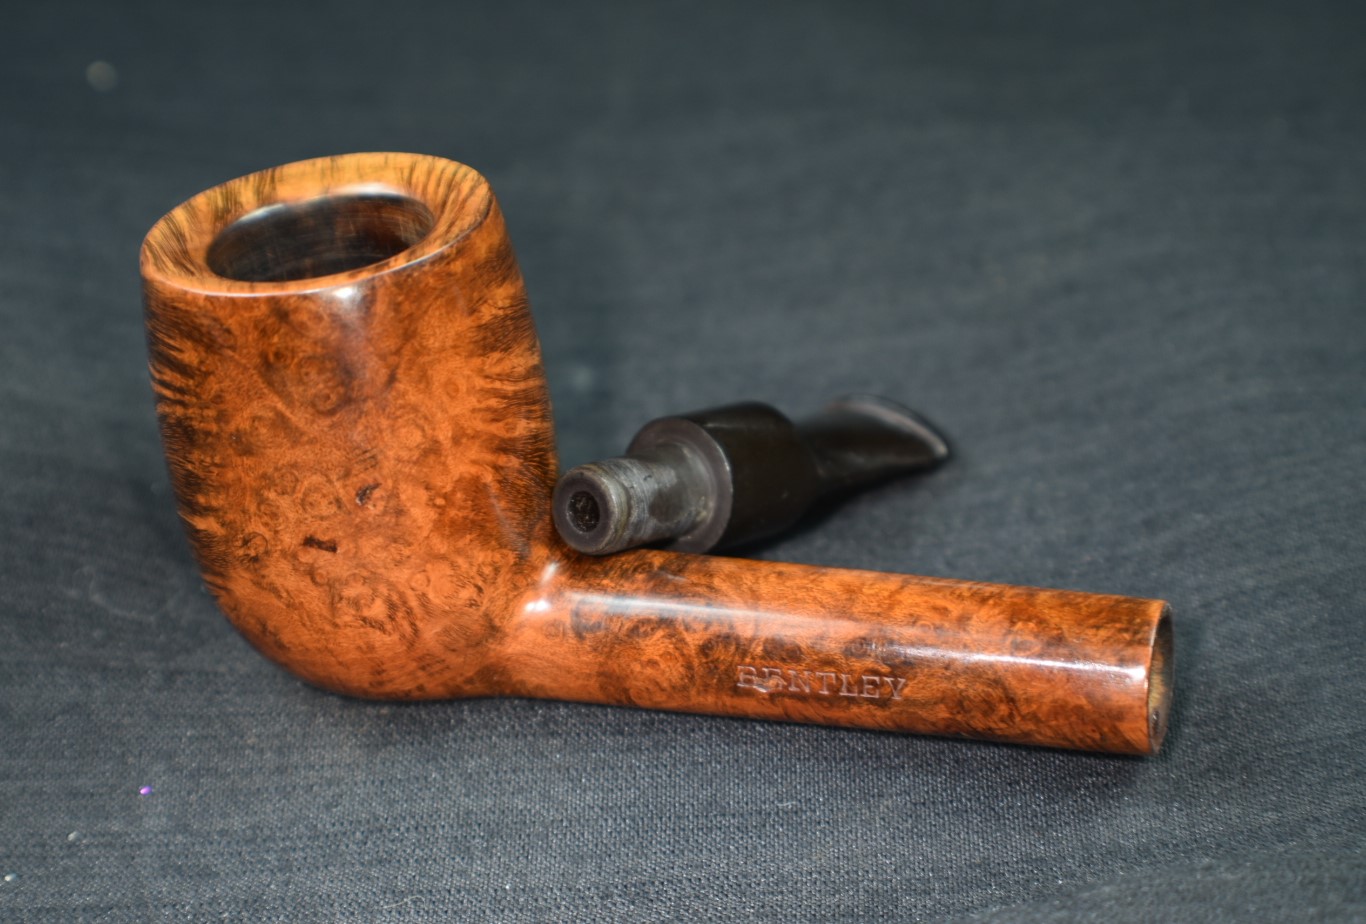
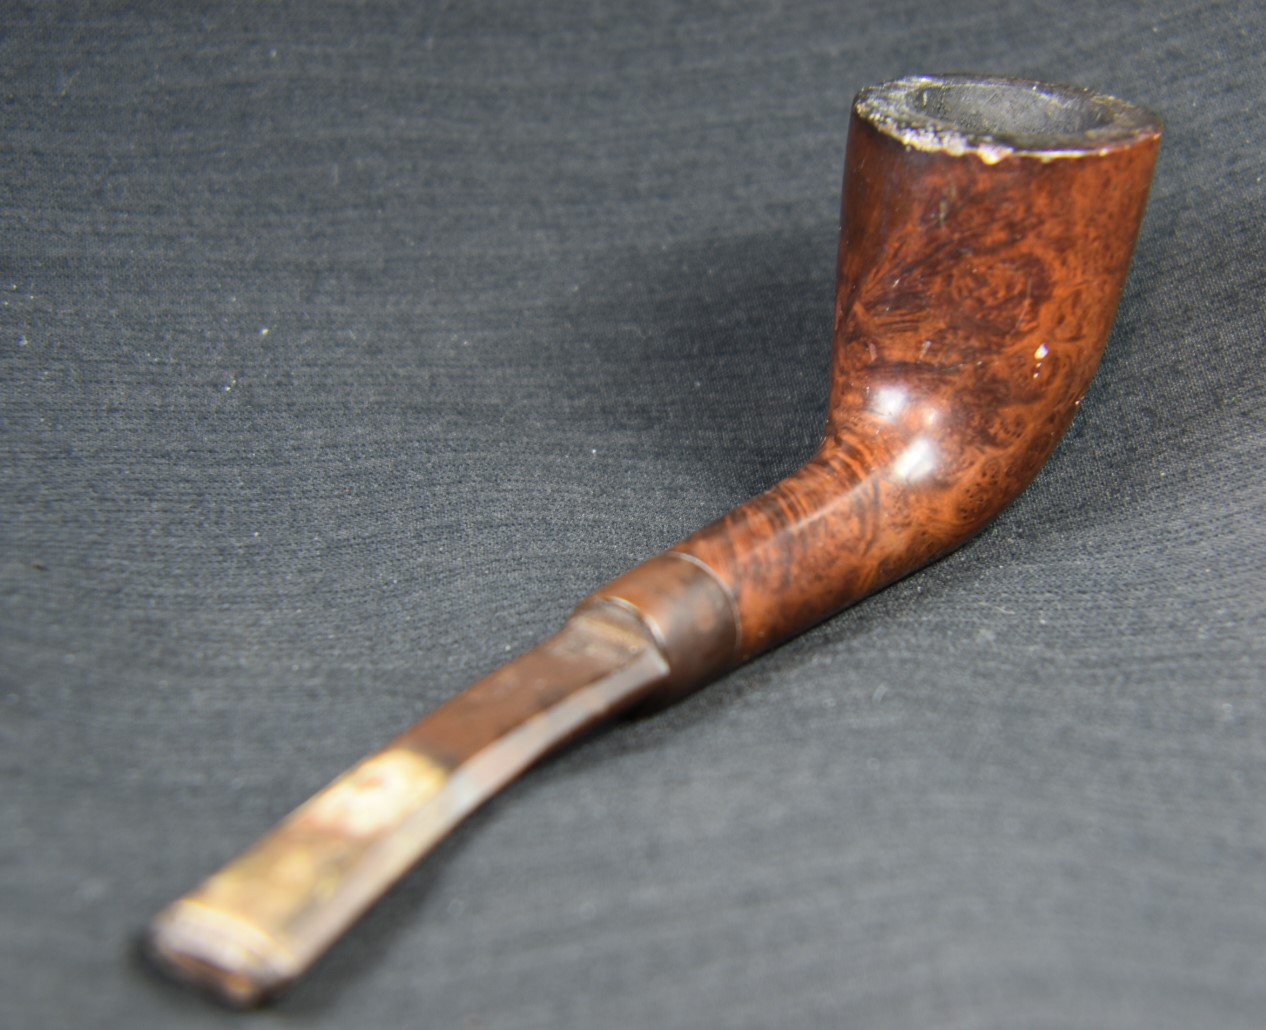
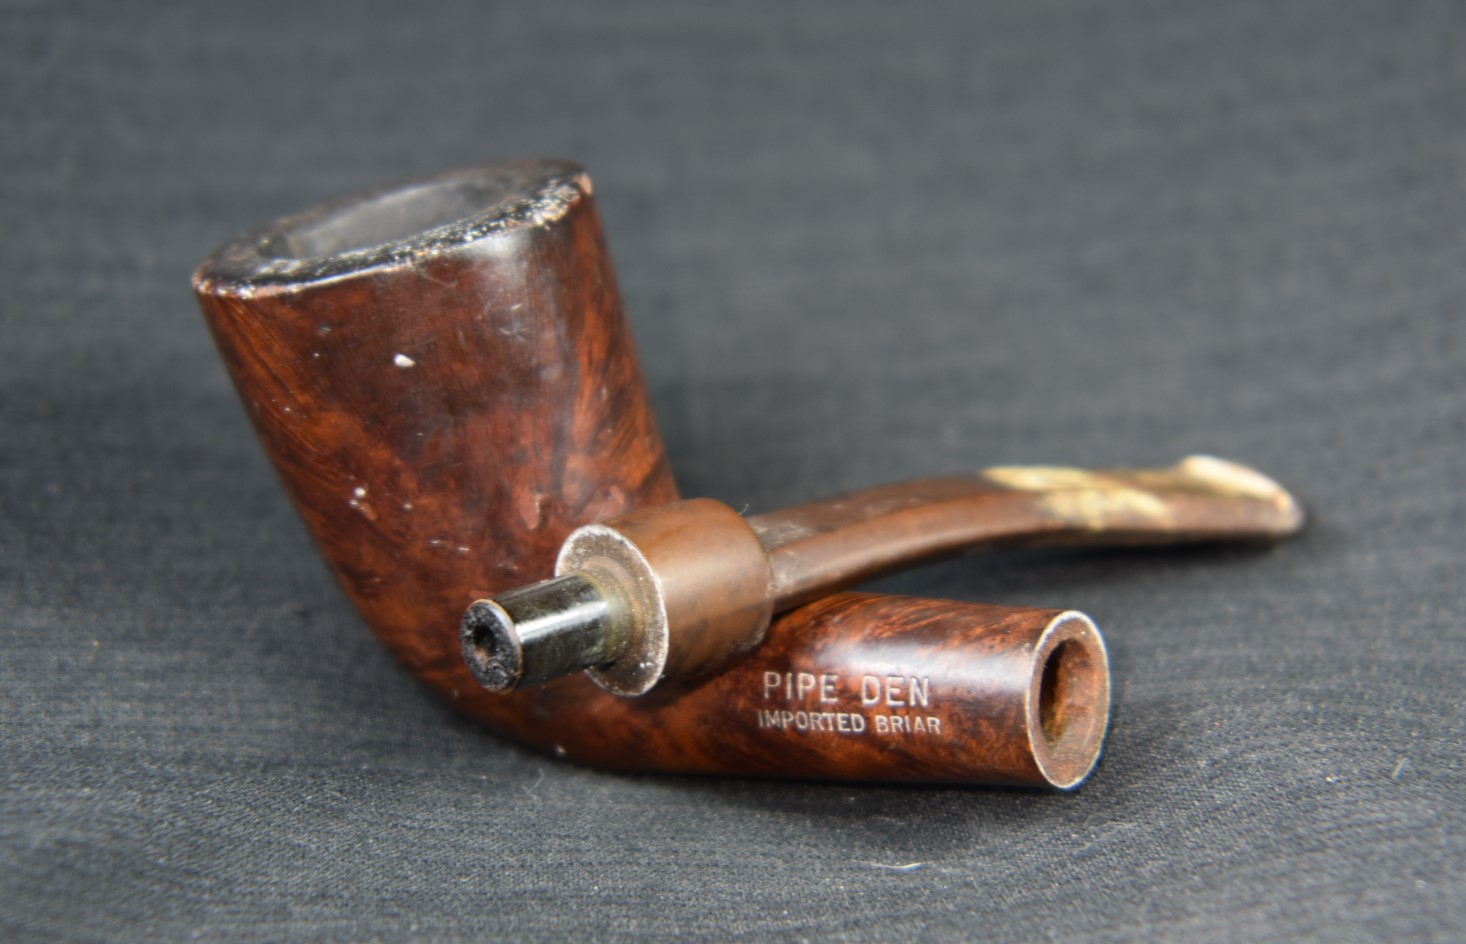
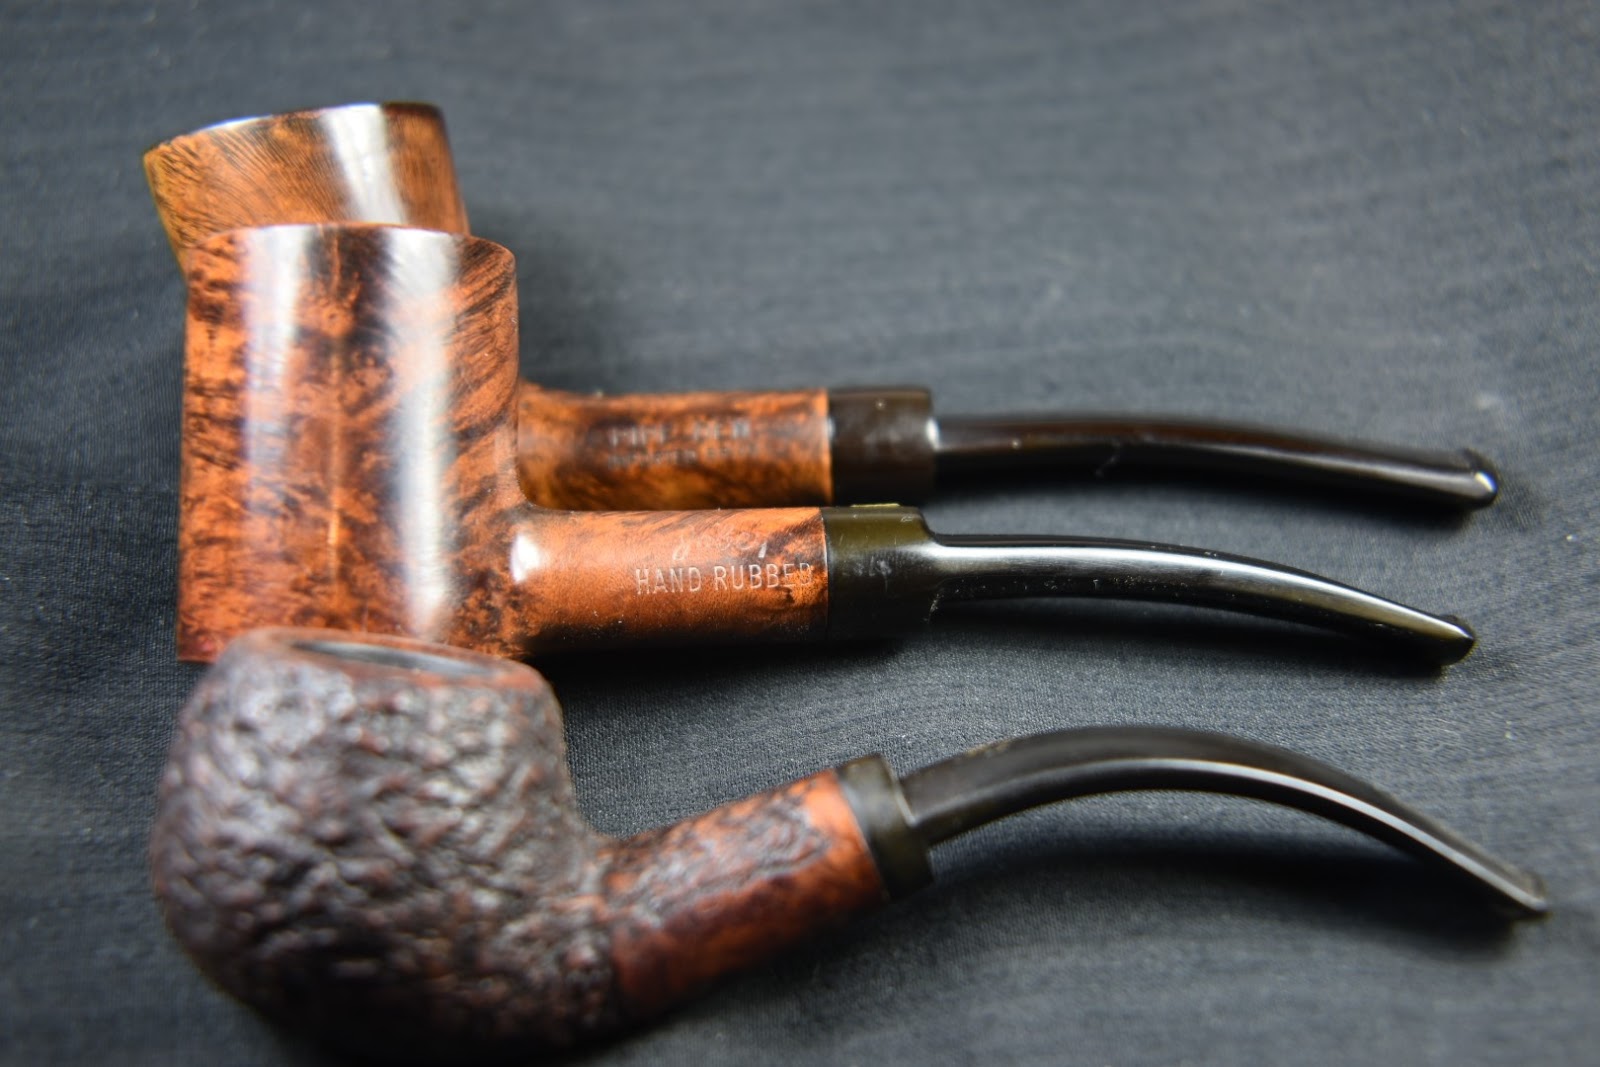
SilverKing a name that everyone has heard of and associates with … Umm, what? Haven’t heard of em, eh? Well neither had I but it is still a darn fine looking piece of briar. And it’s made in France, maybe. Okay, I am reaching for some enthusiasm . This lovely old billiard was one of six pipes that I won from ebay back in June of this year from Hollywood, Florida. The target of my desire was the Peterson meerschaum (2nd from the right) which was hiding amongst these pipes as seen in the photo below. I have restored all but one of the lot. As a matter of fact, the Barclay Rex was sold right after the restoration blog was published. I will add links to the restorations of the others for those who might be interested: Canted Dublin, Barclay Rex, Telford’s Canadian, Peterson meerschaum. The finished pipes look far better than their below photo.

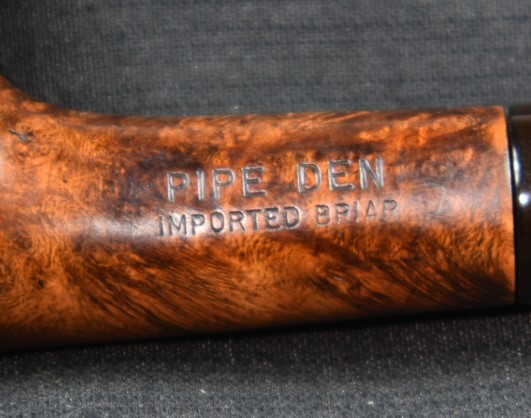
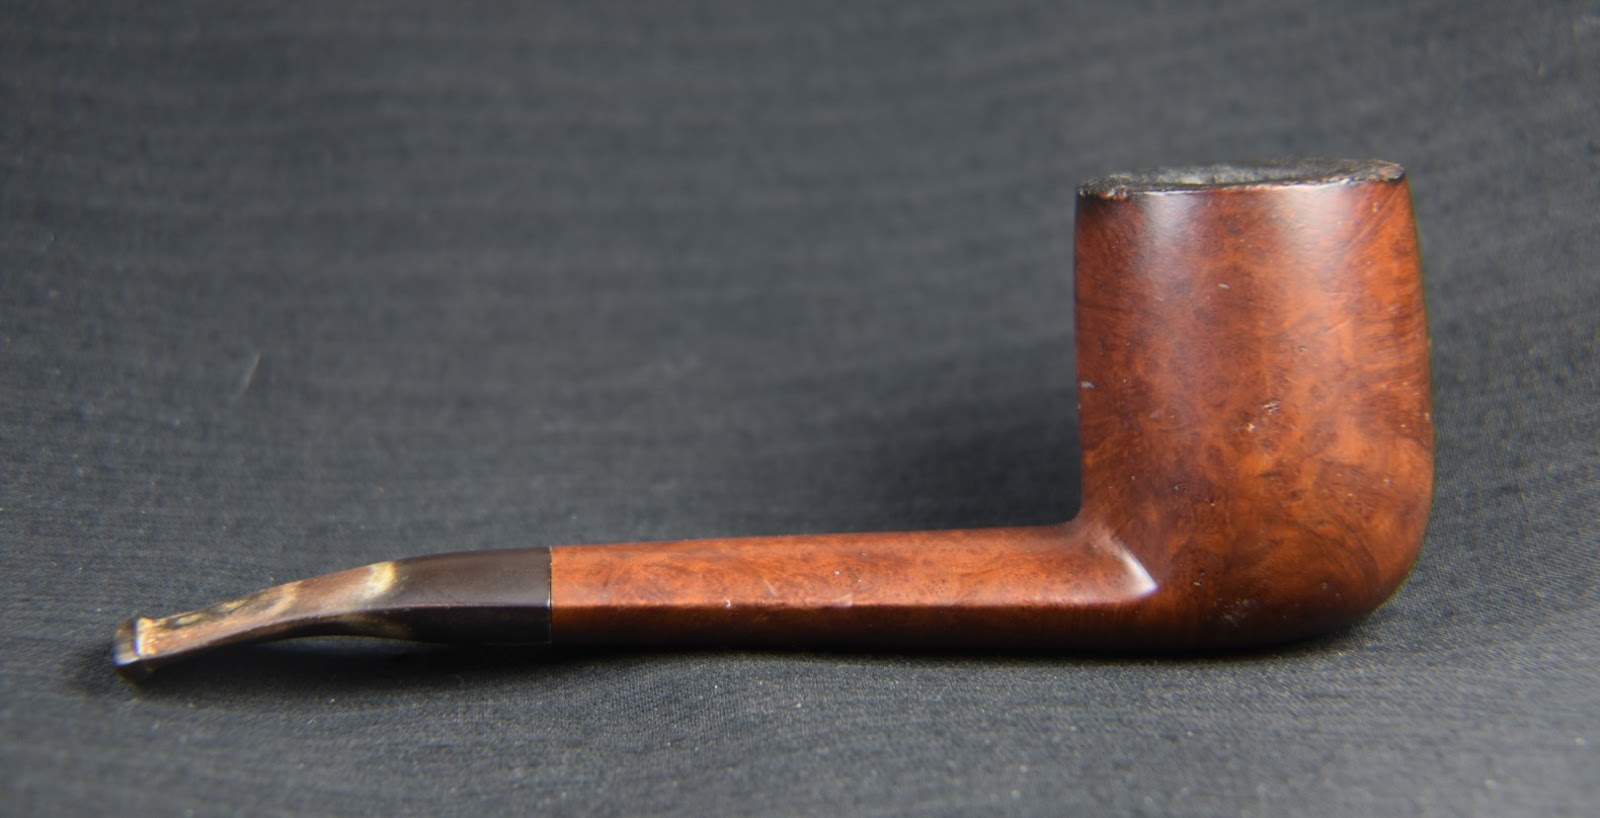
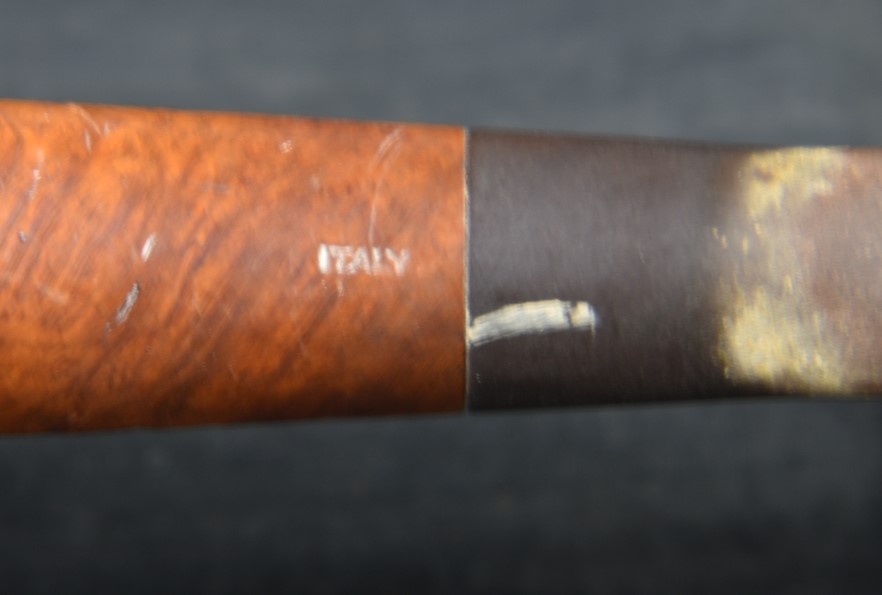
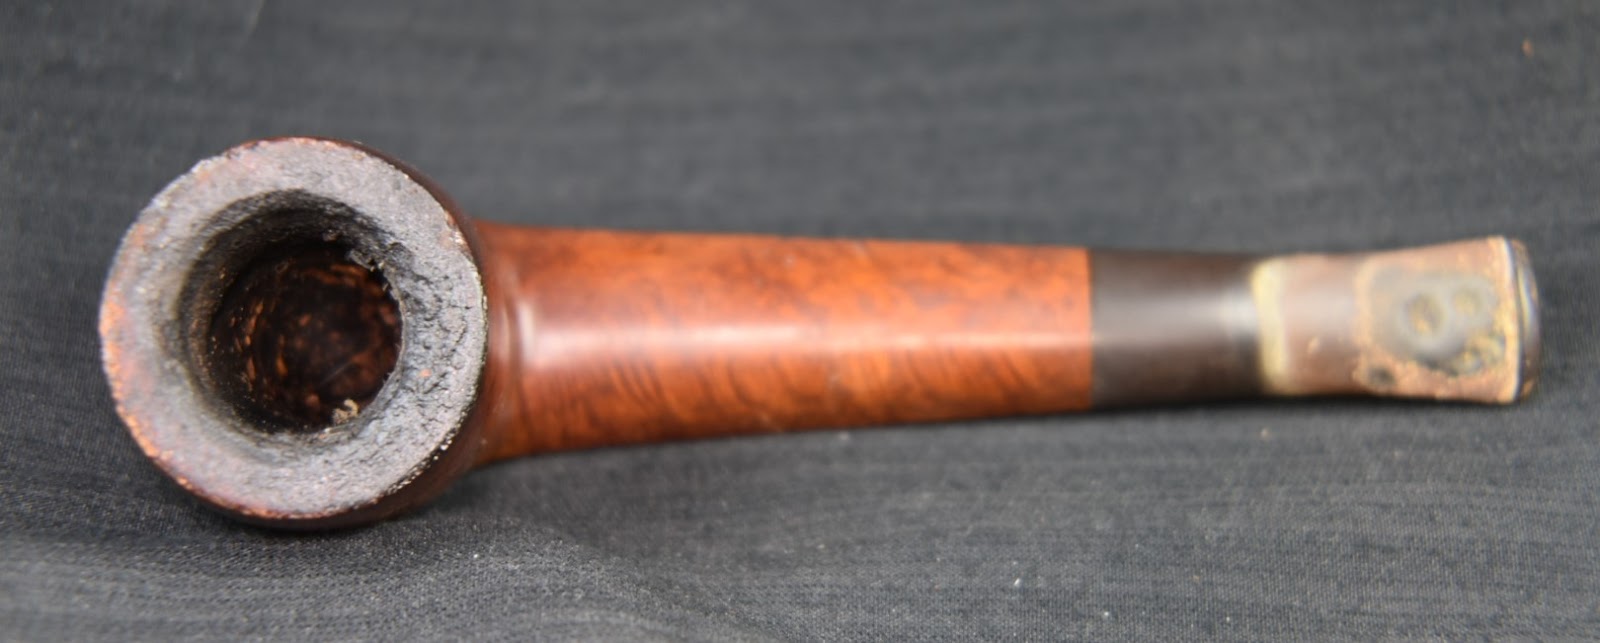
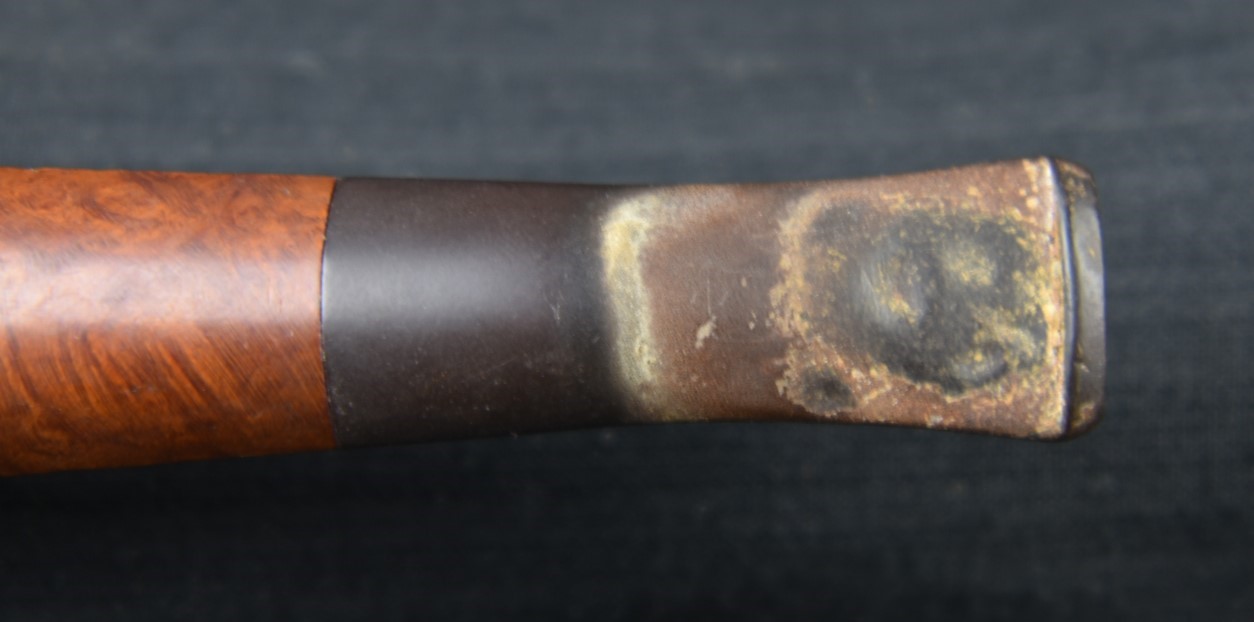
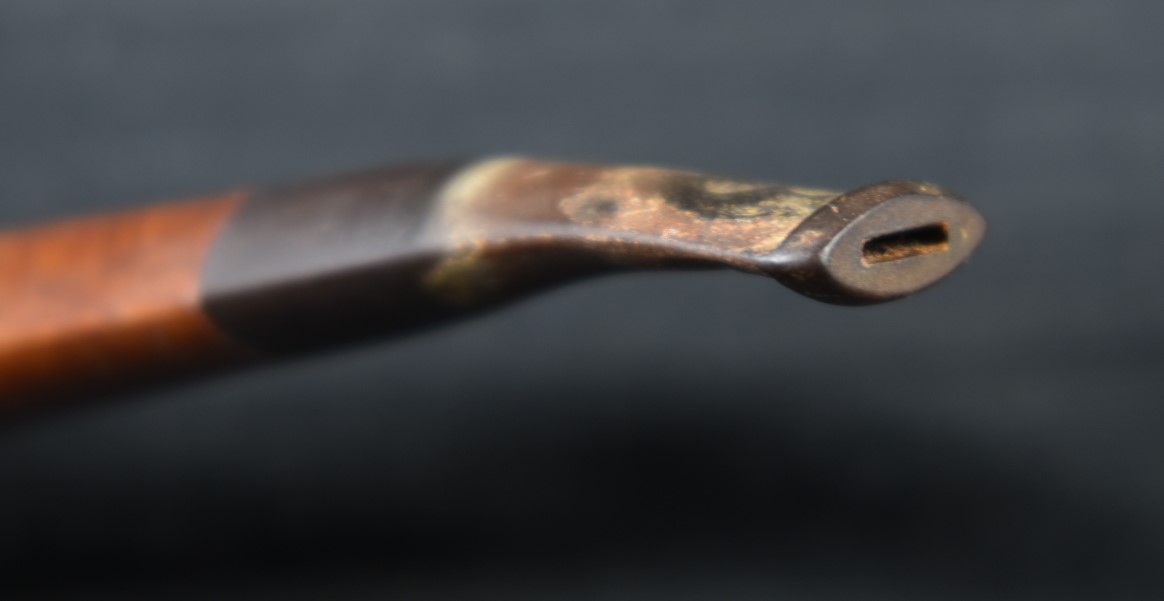
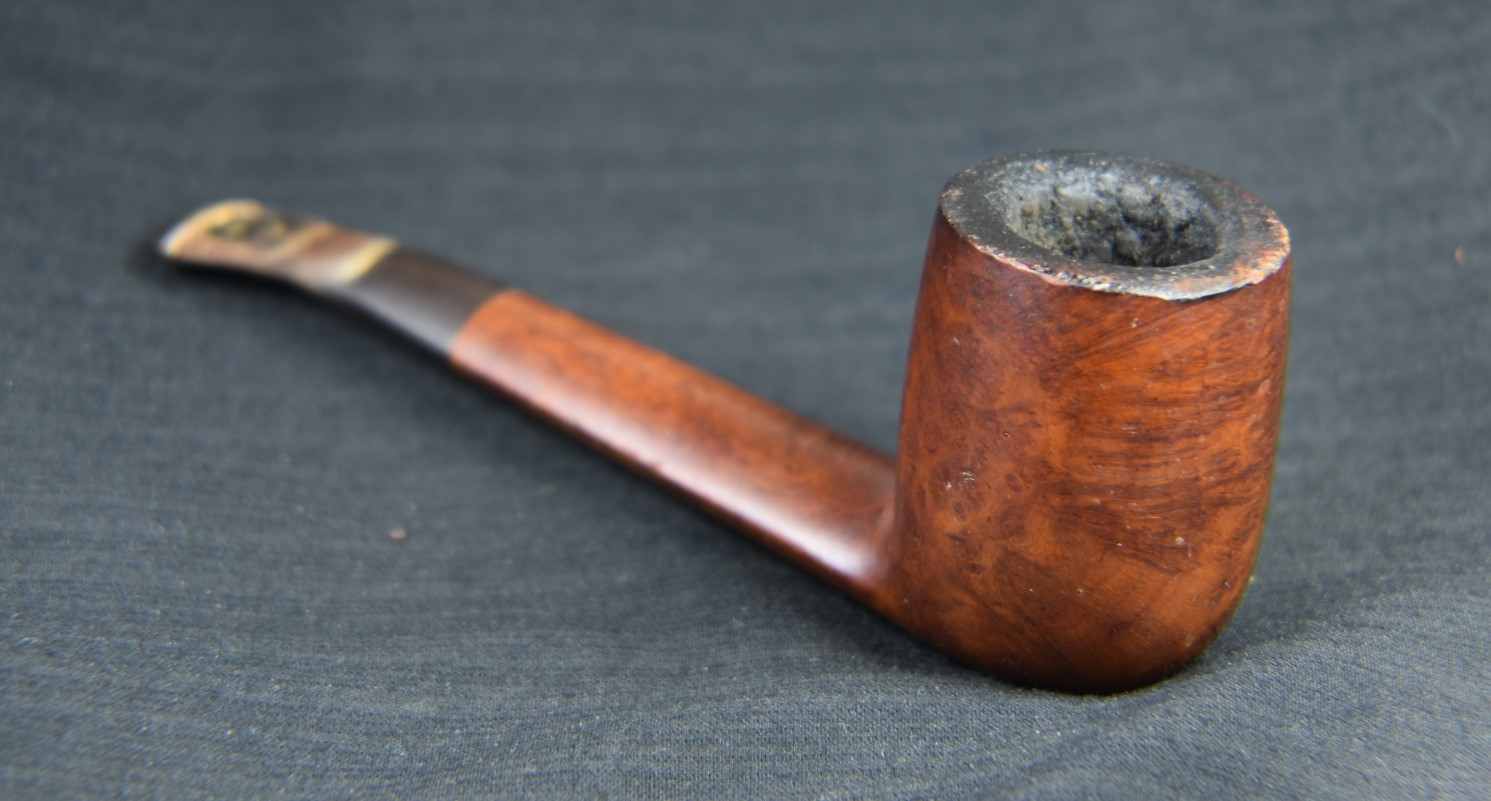
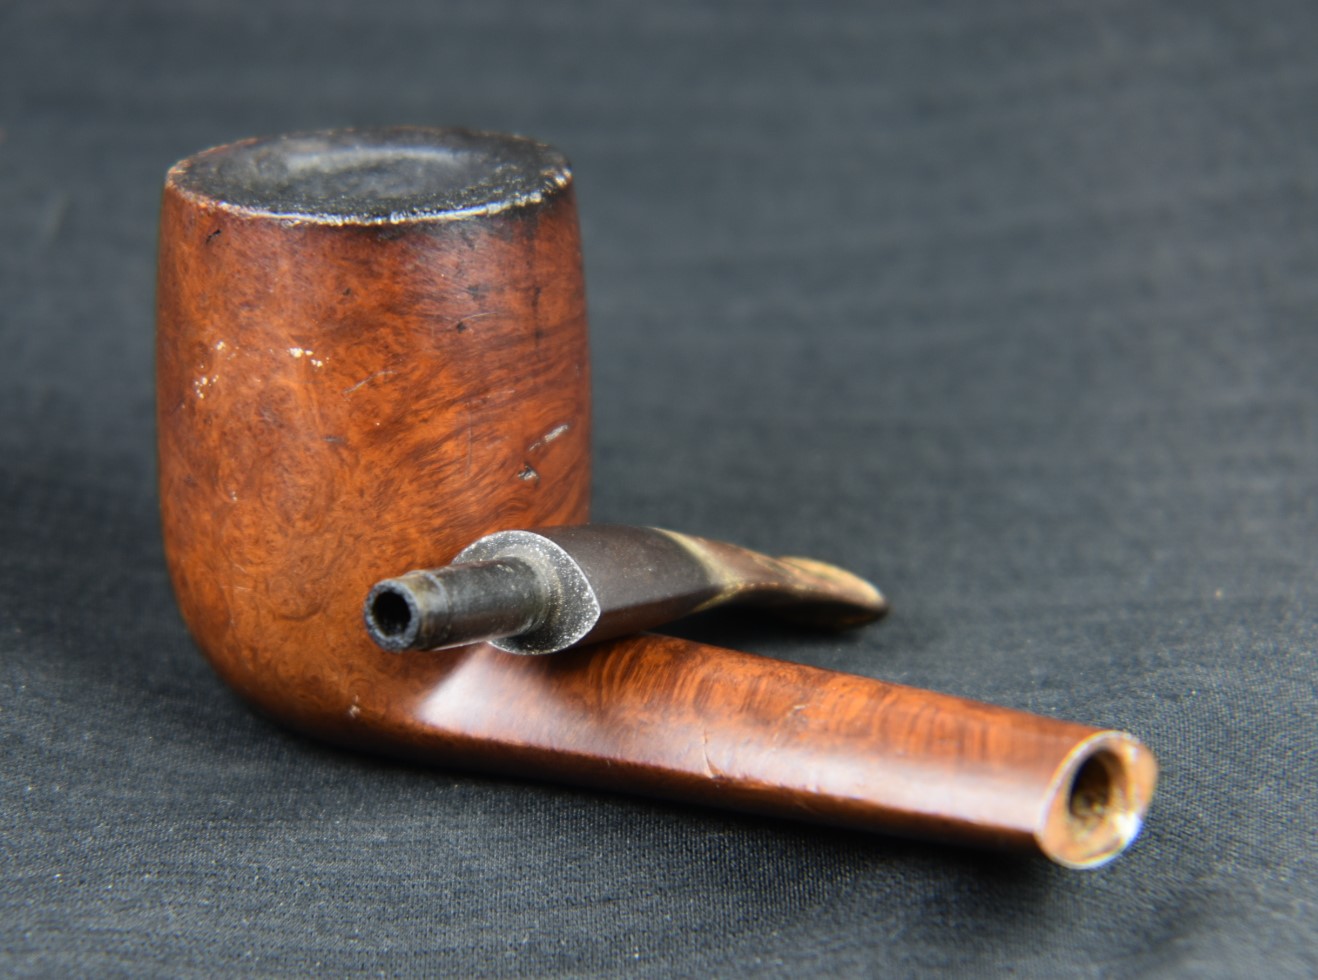
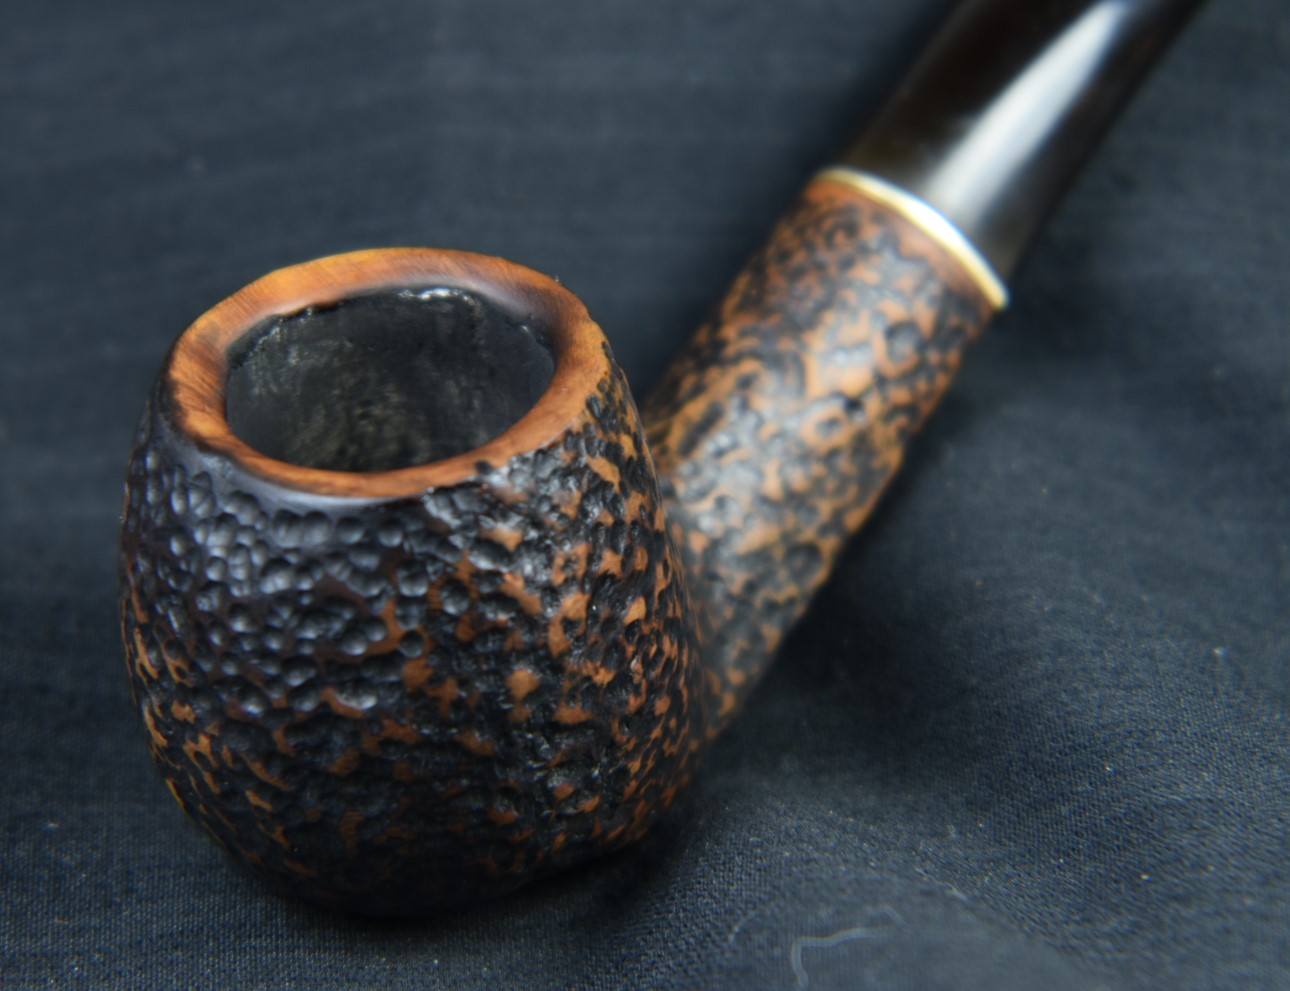
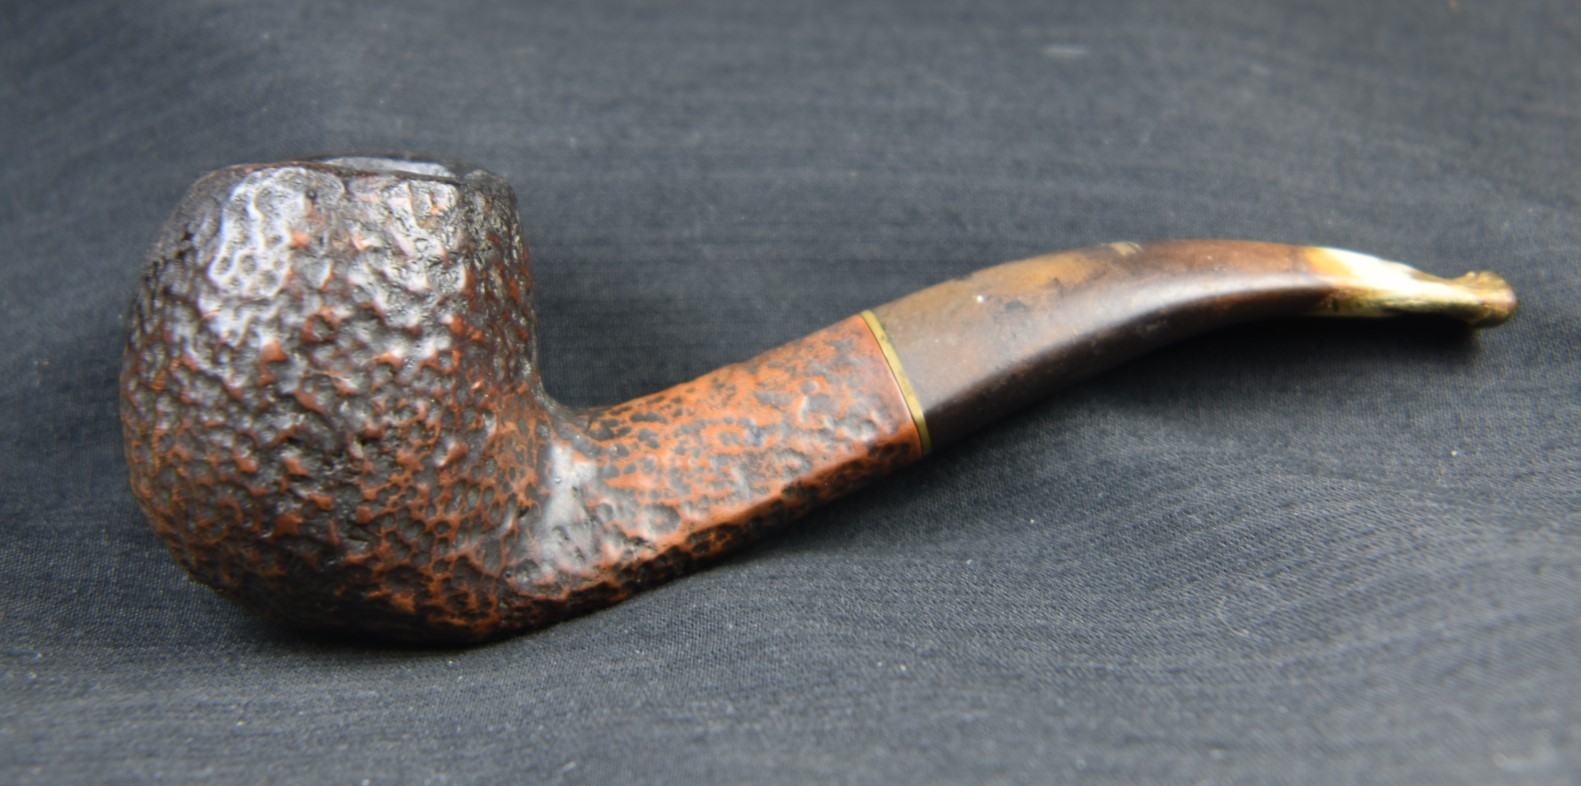
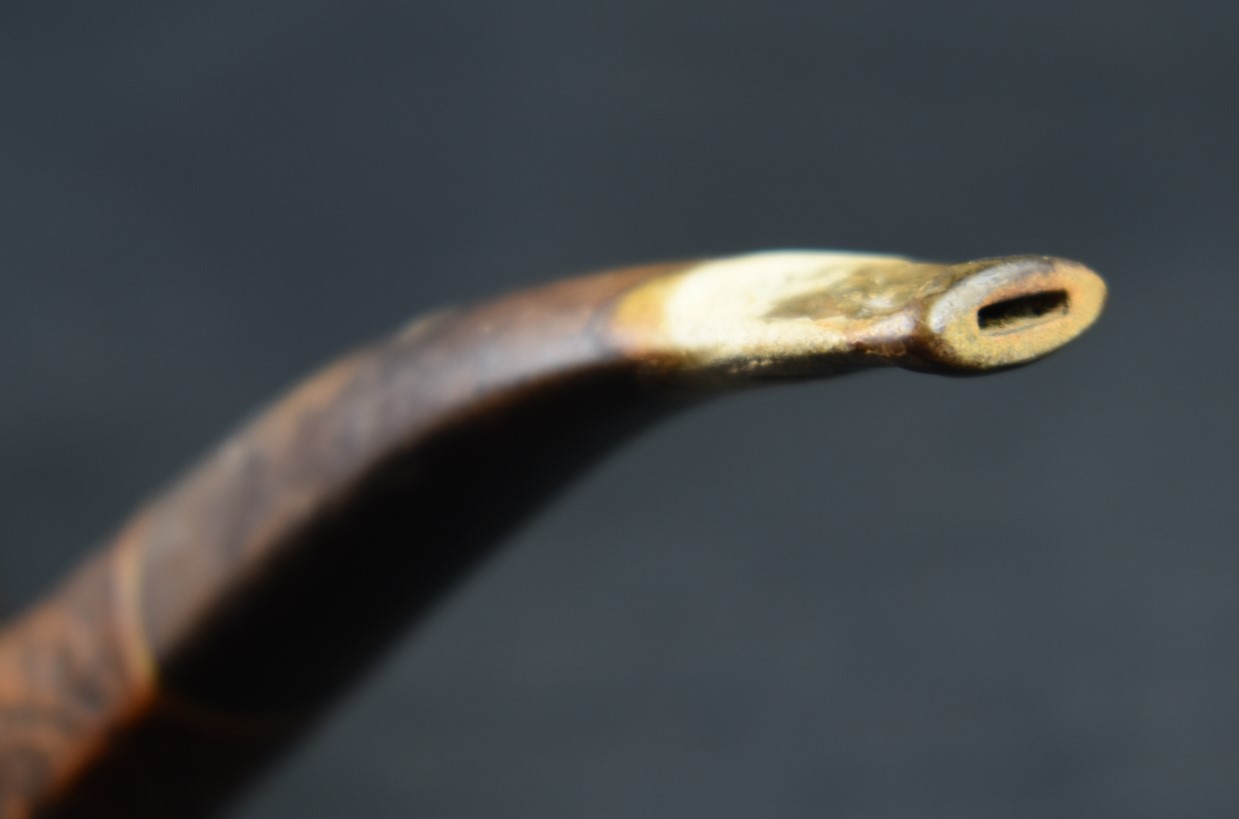
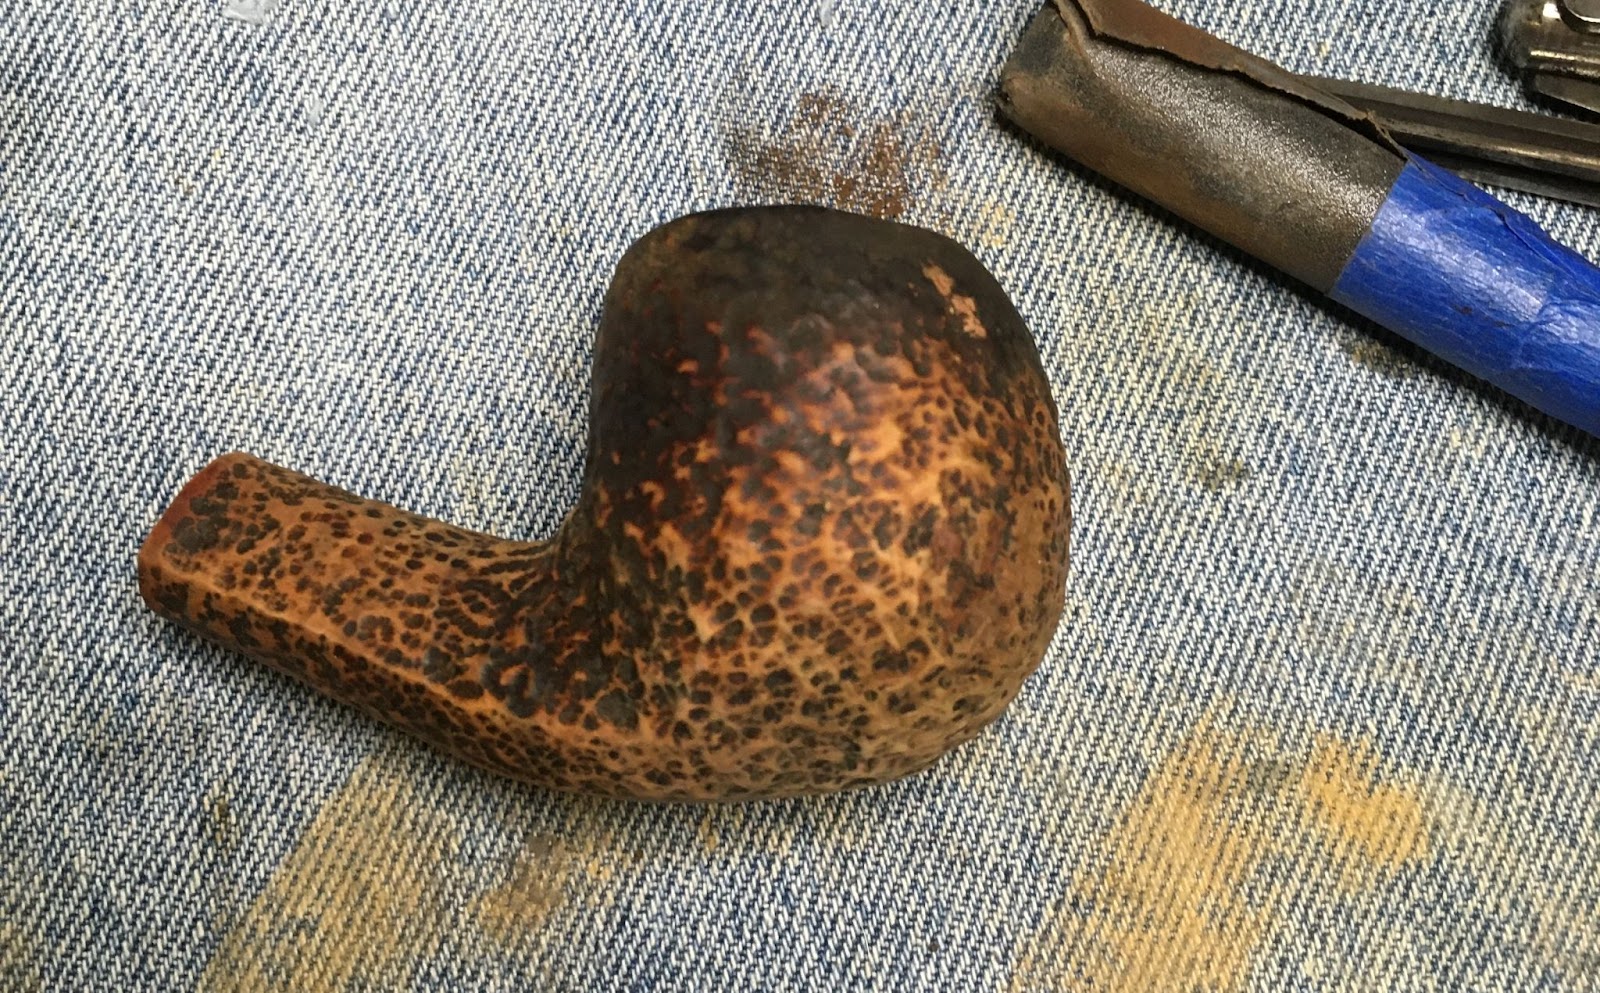
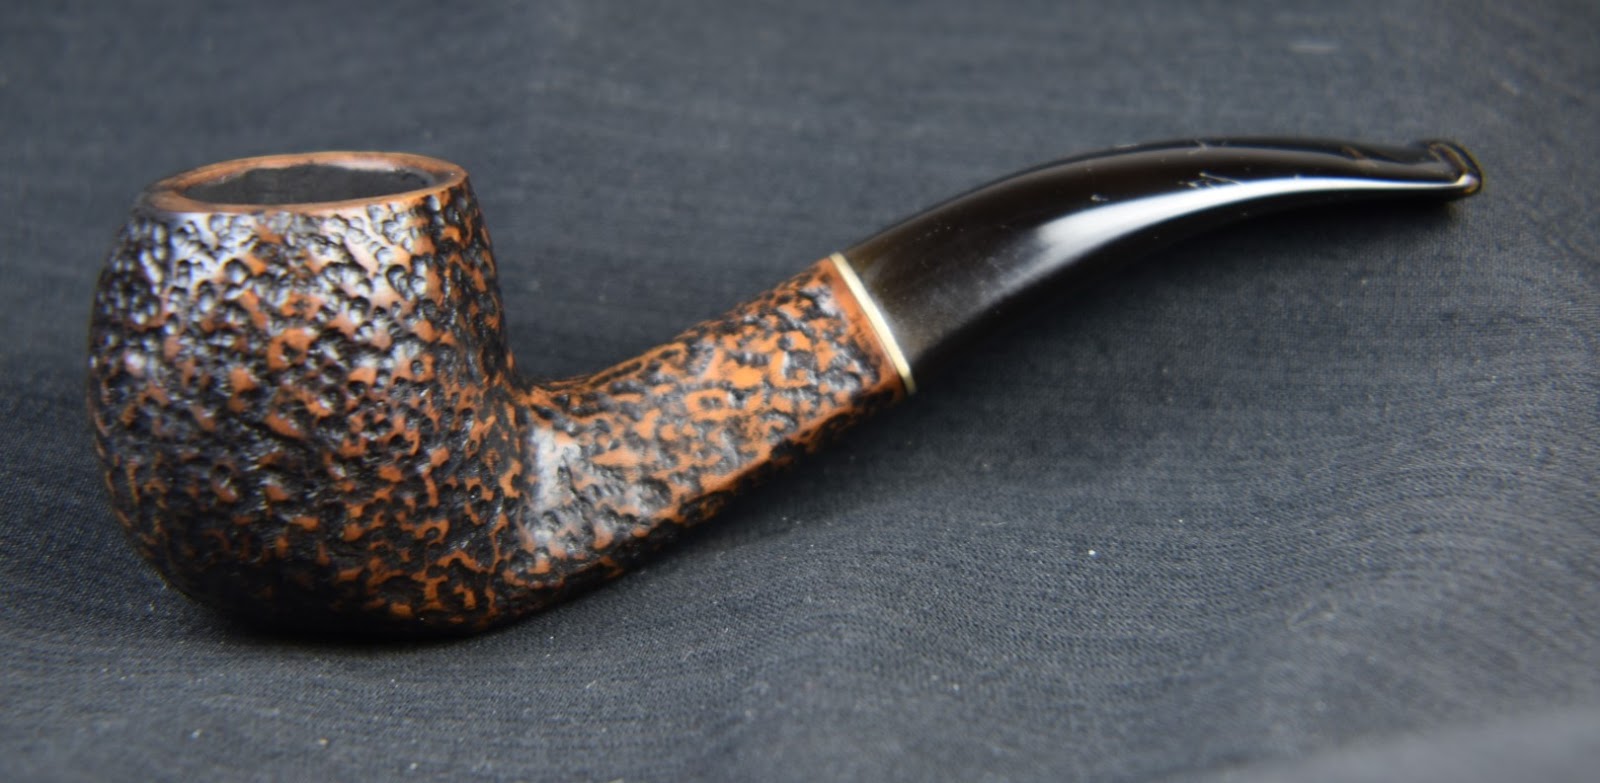
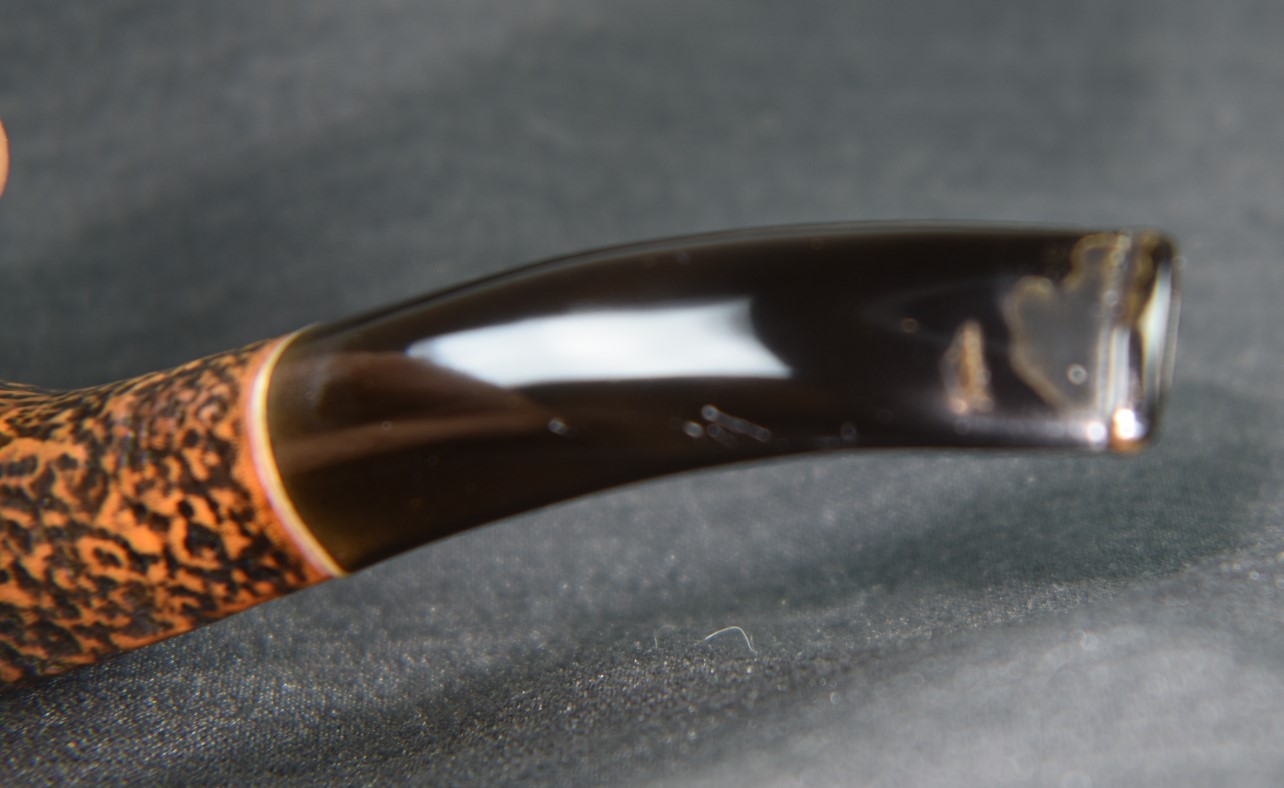
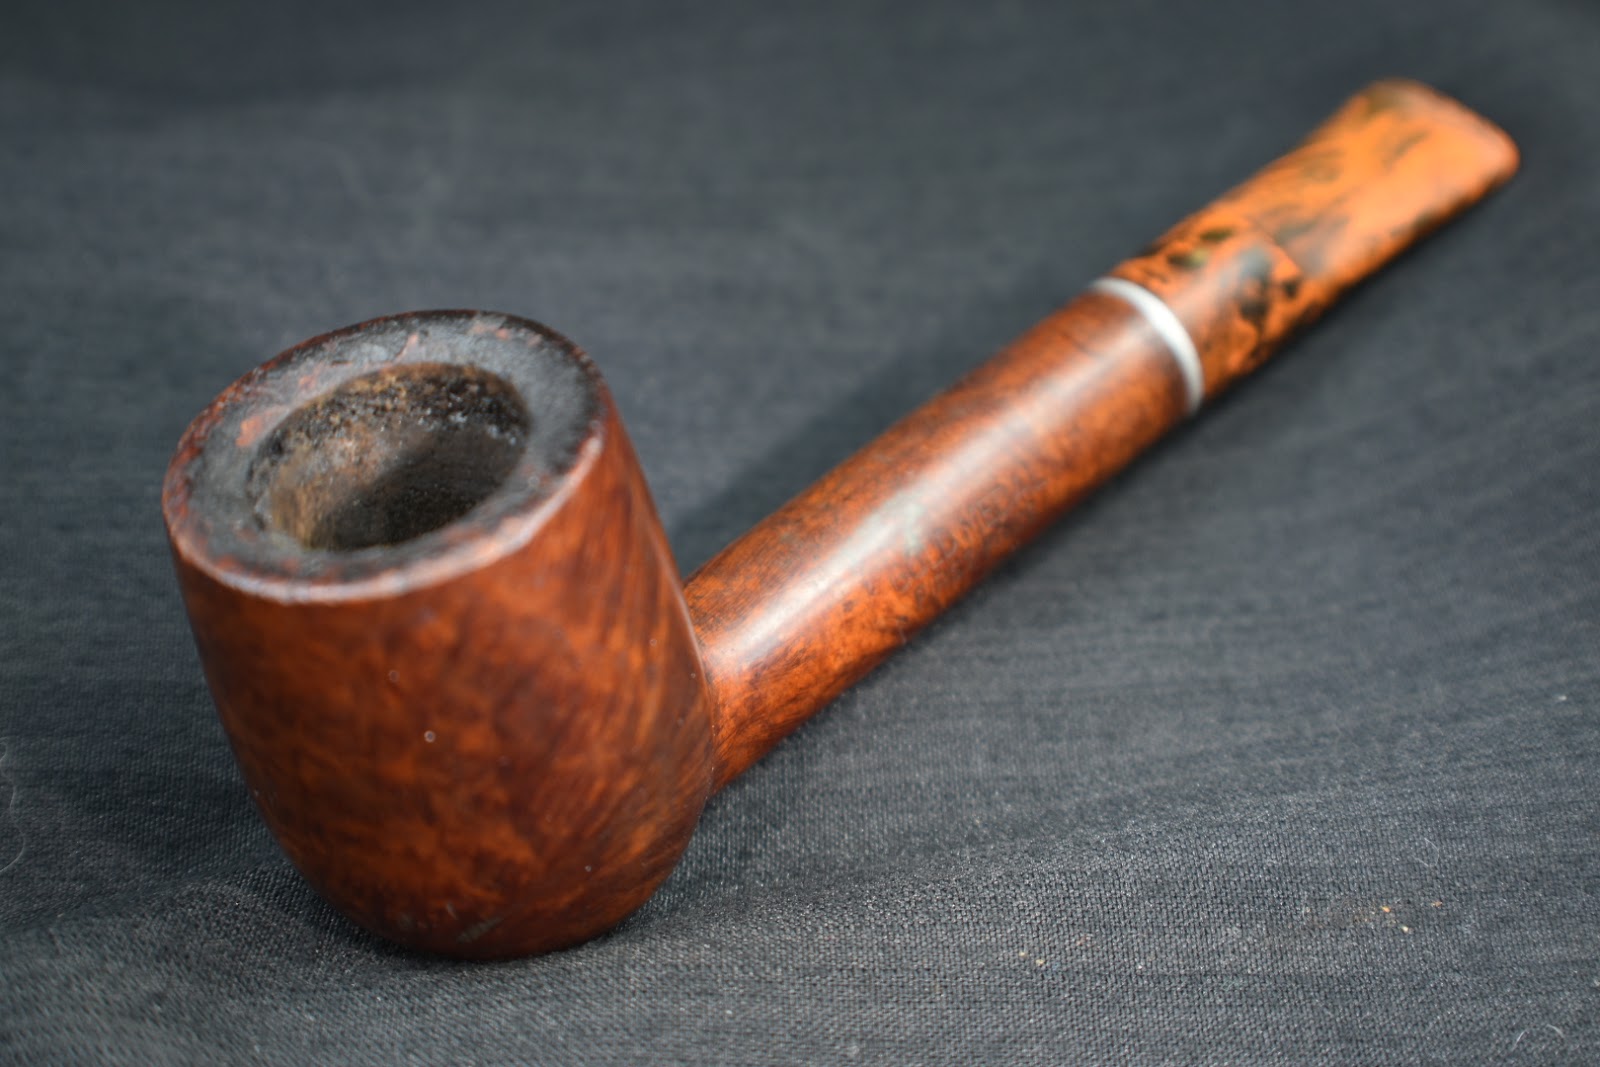
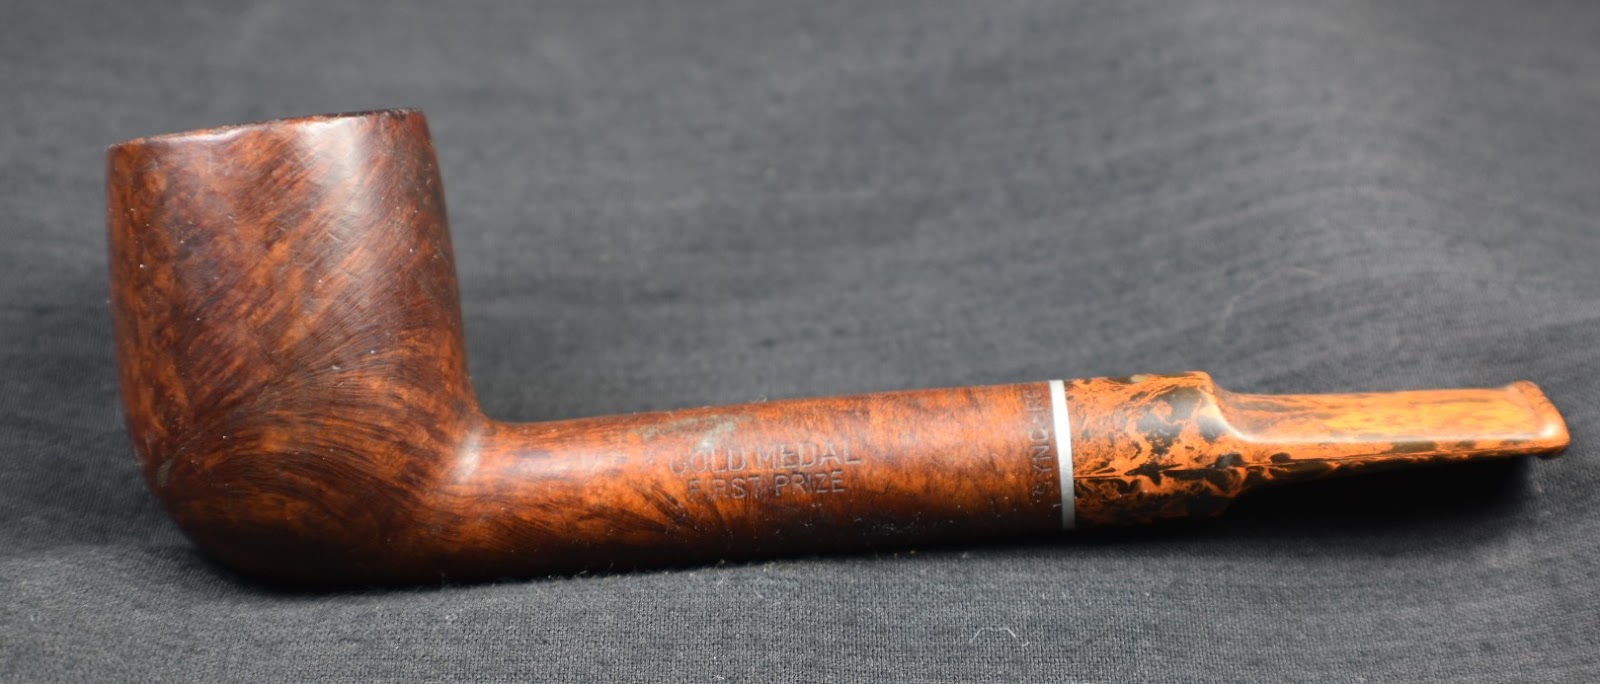
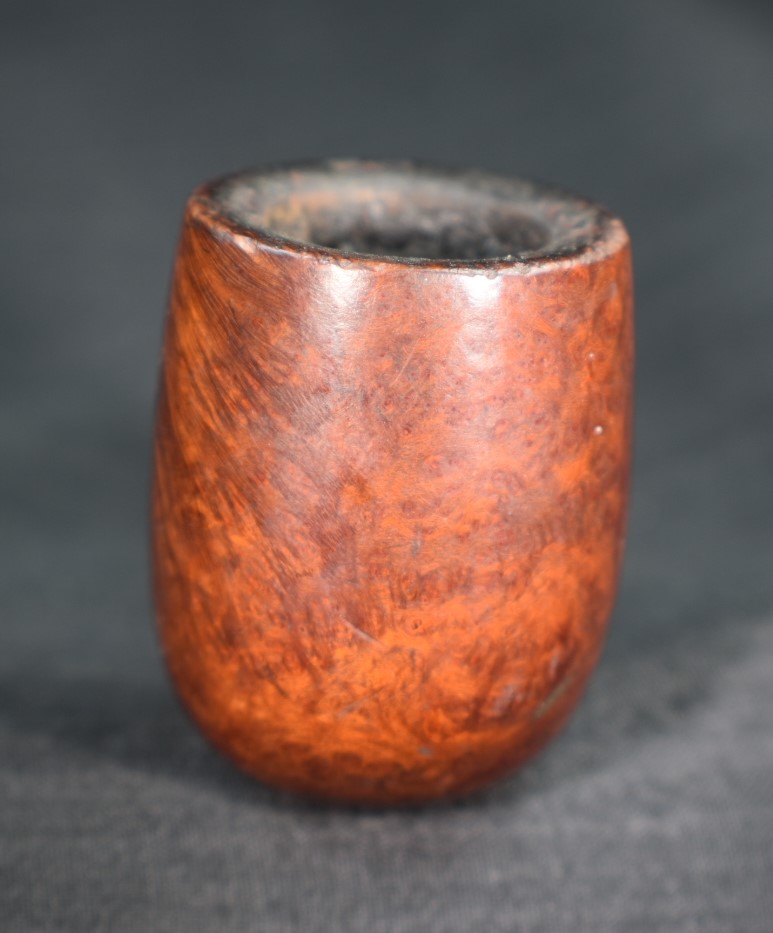
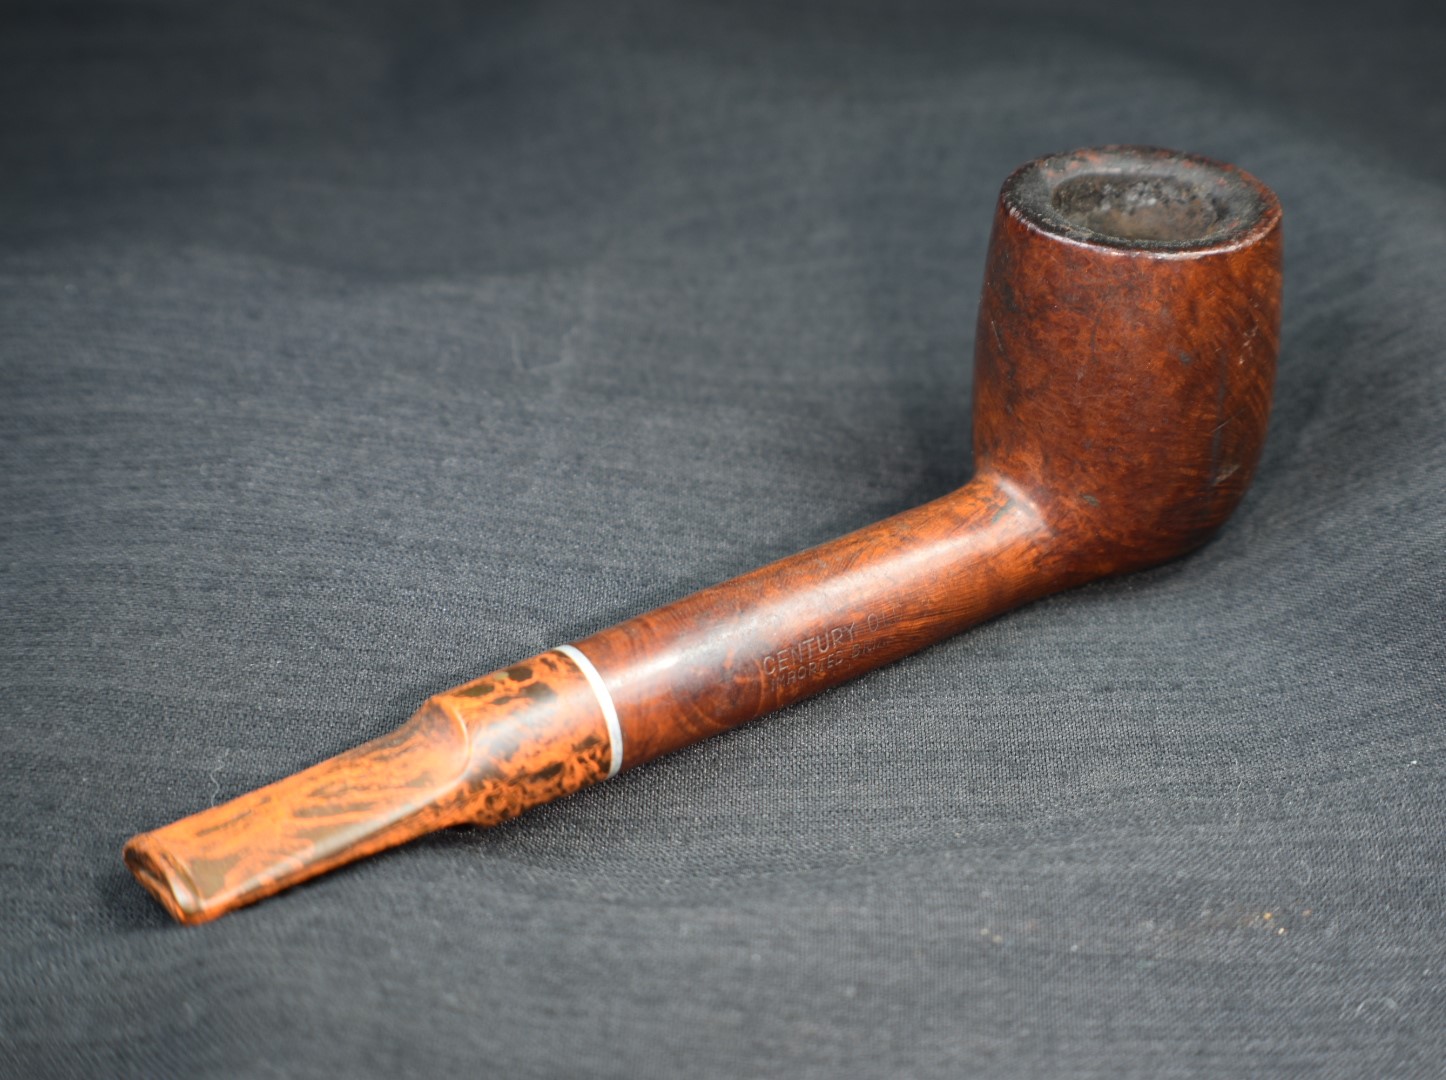
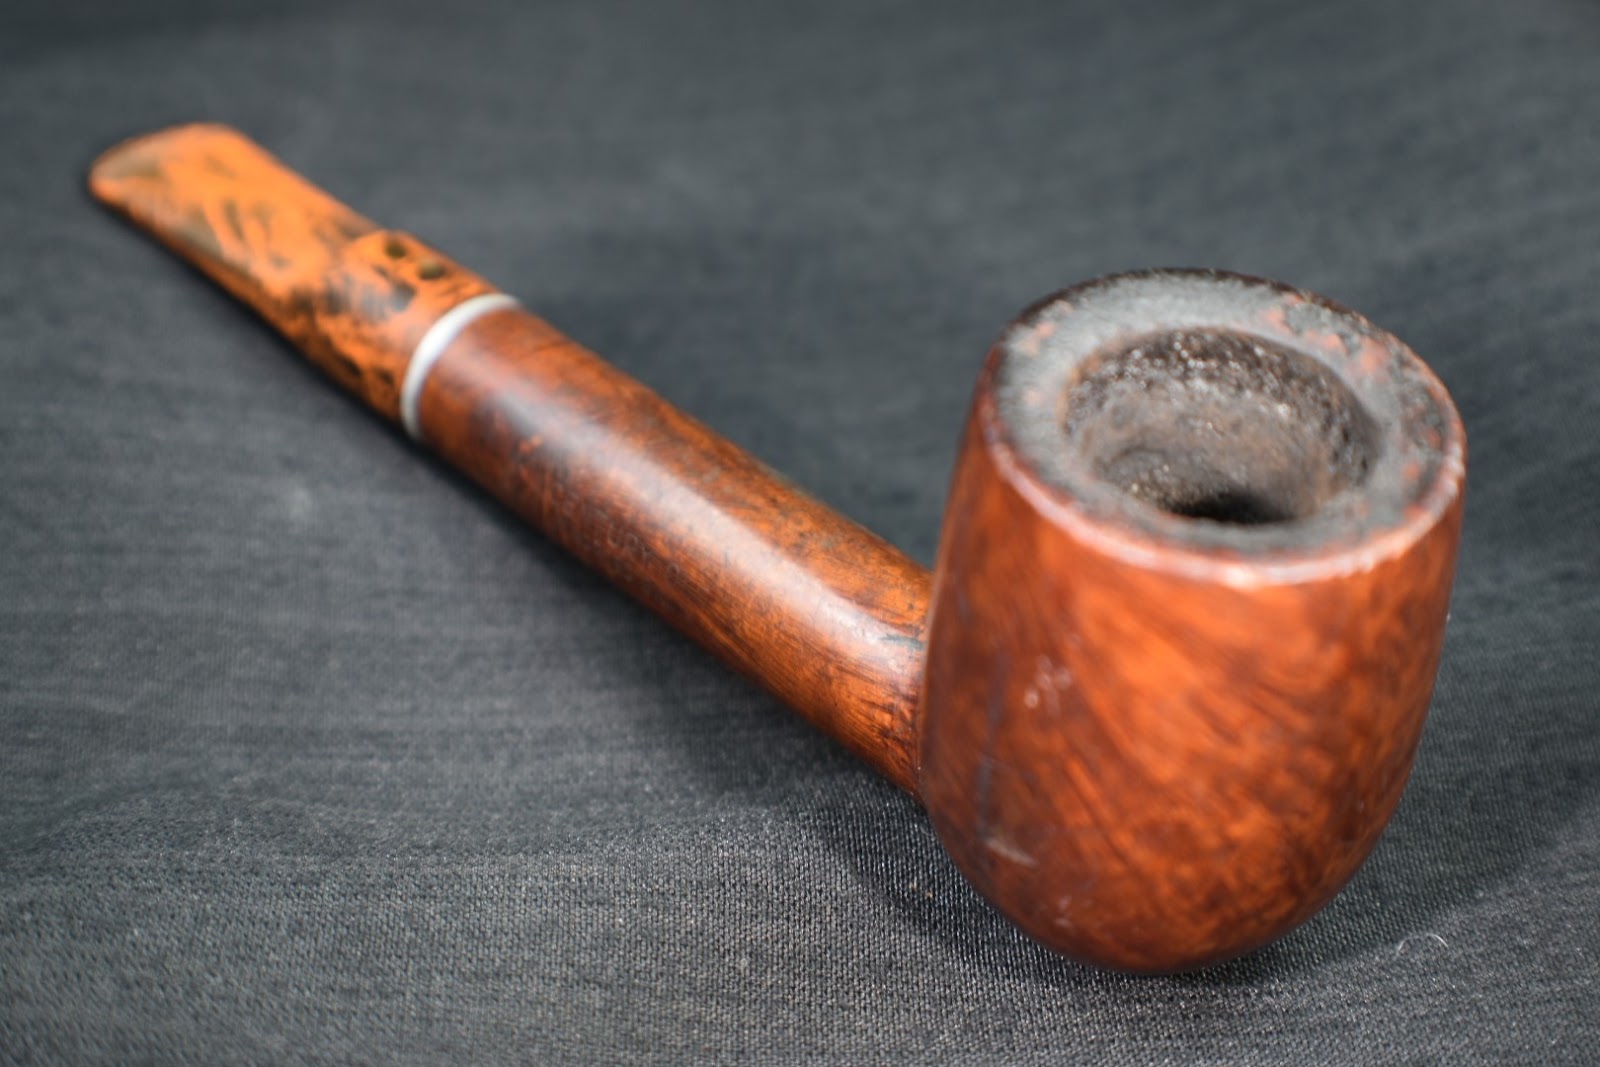
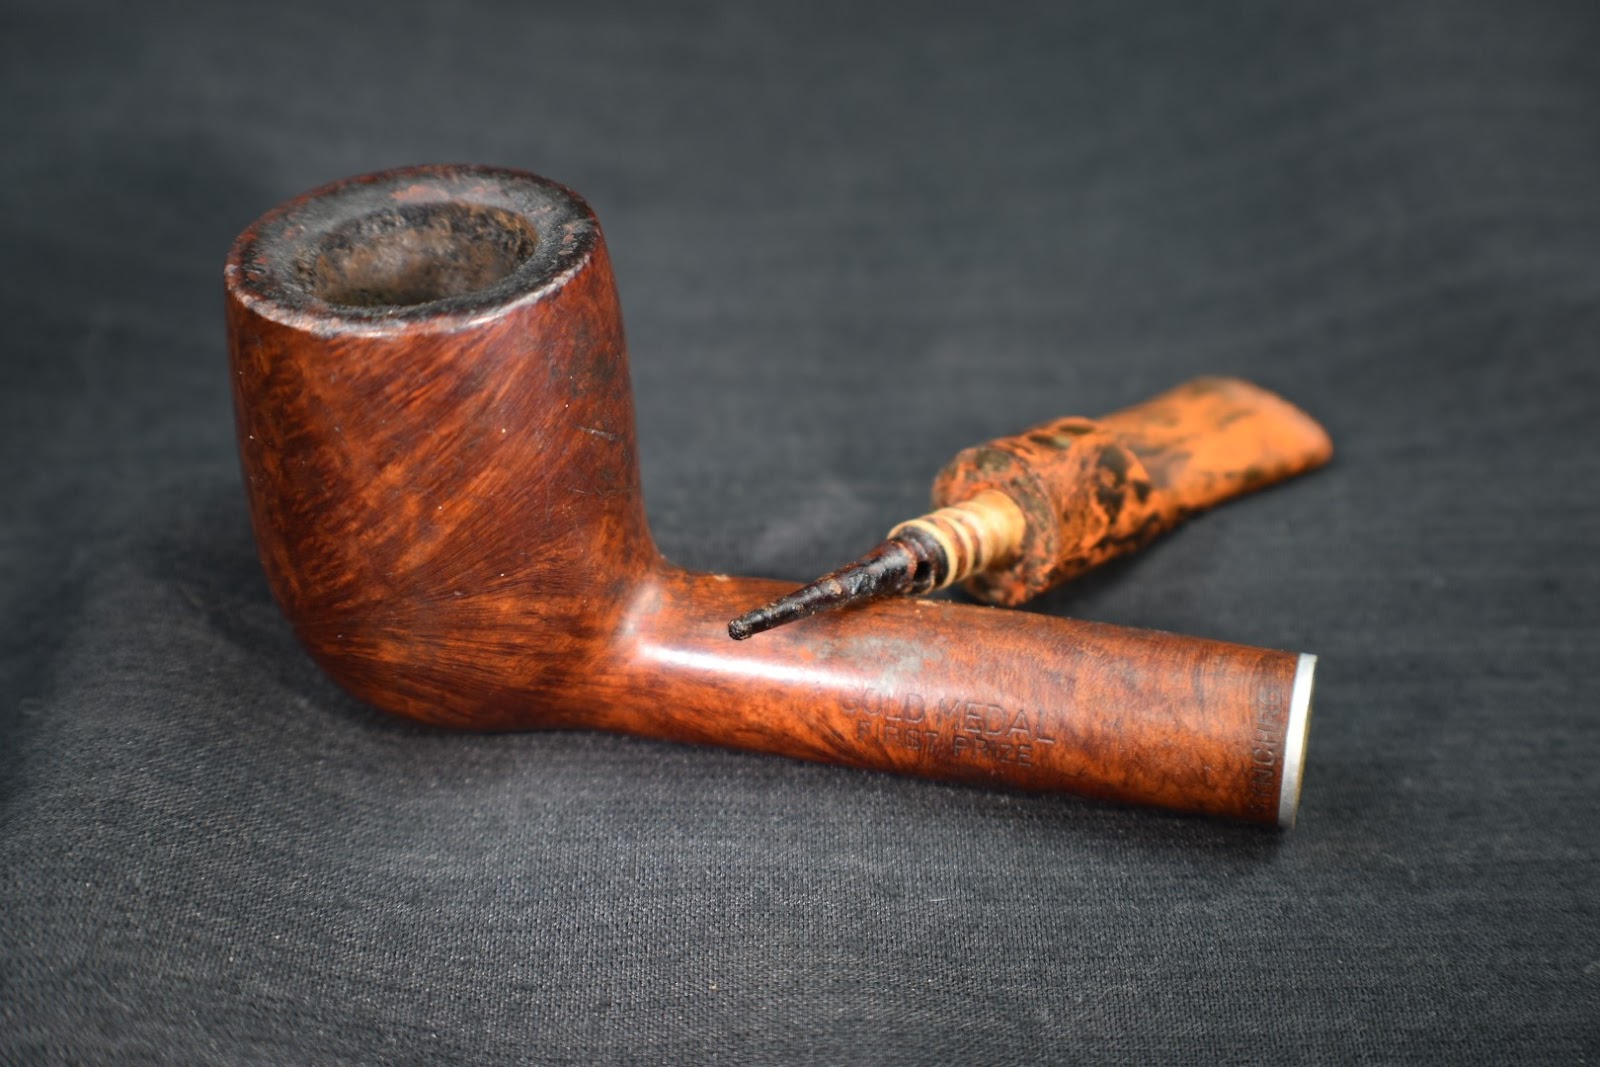
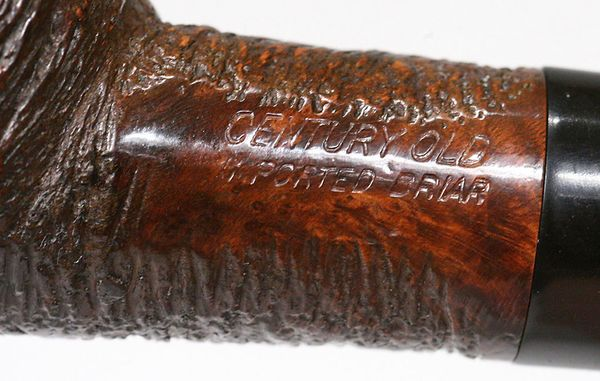
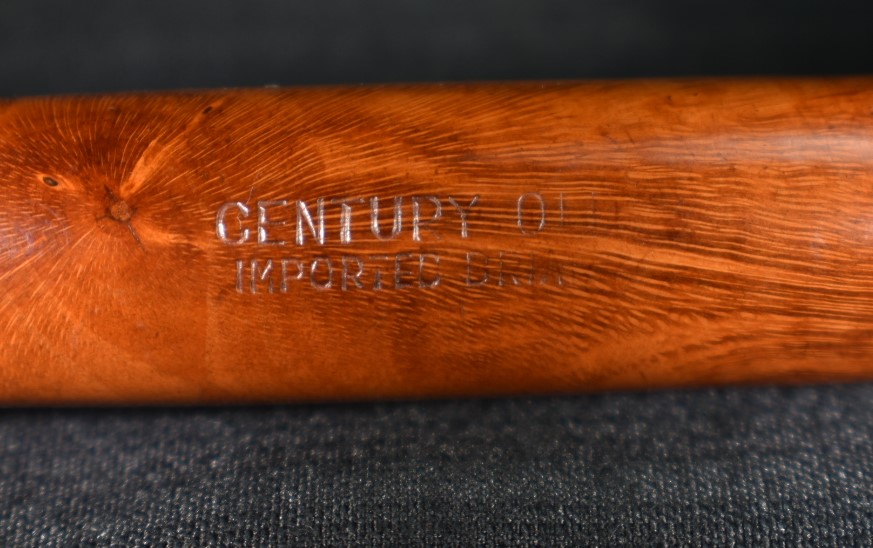
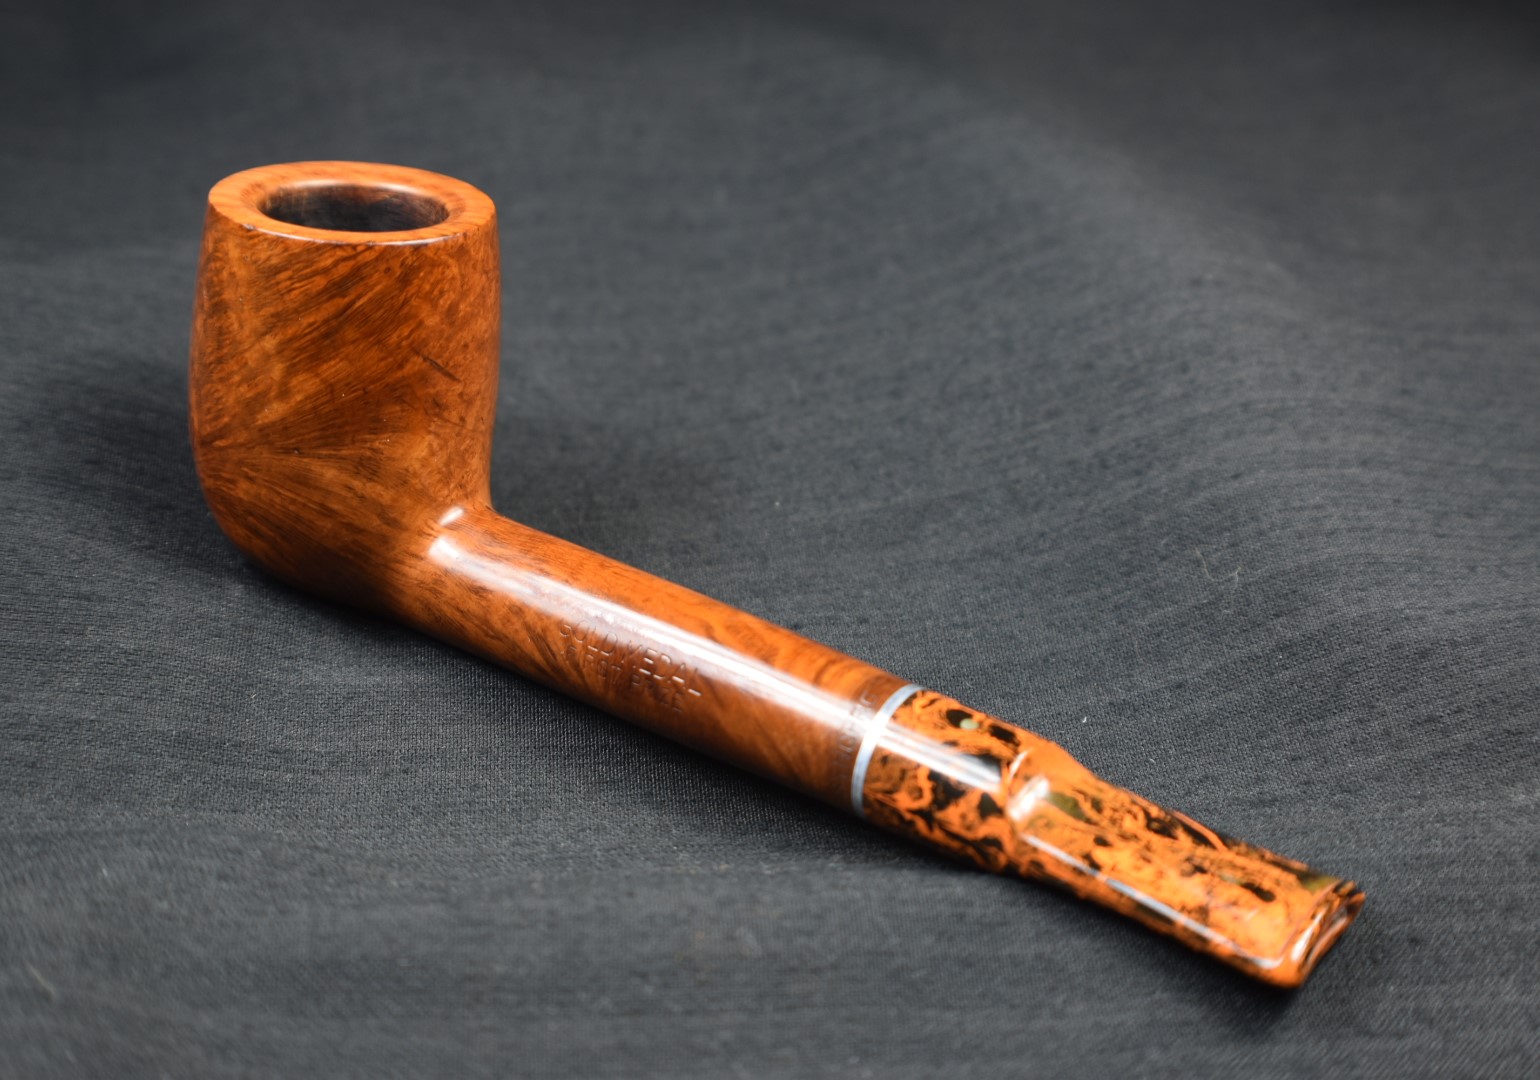
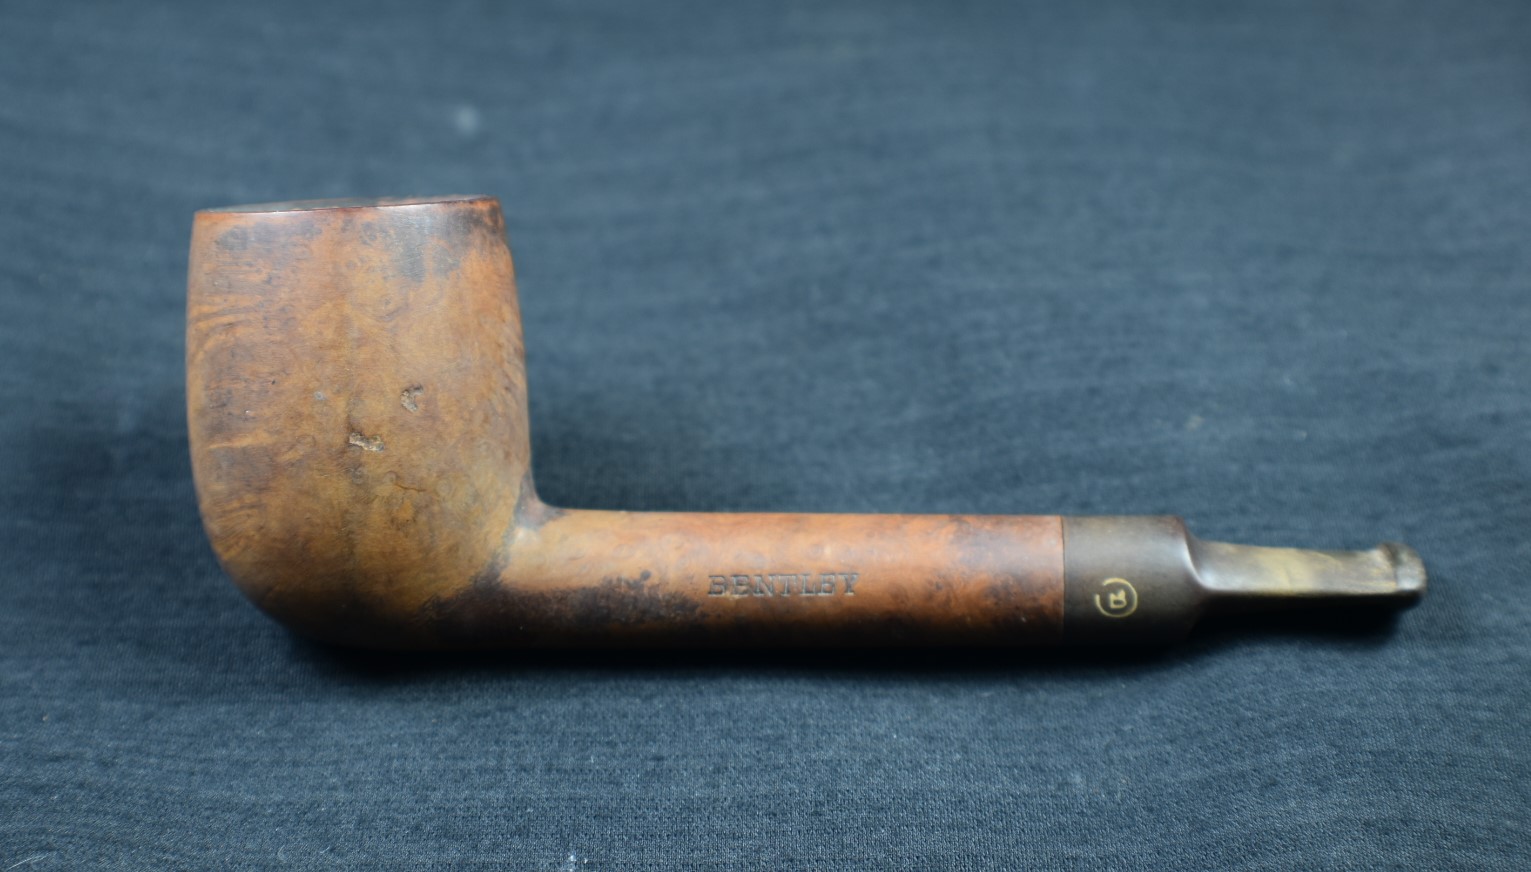
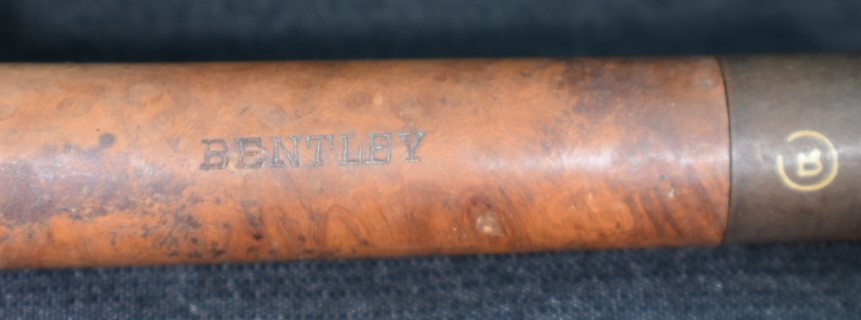
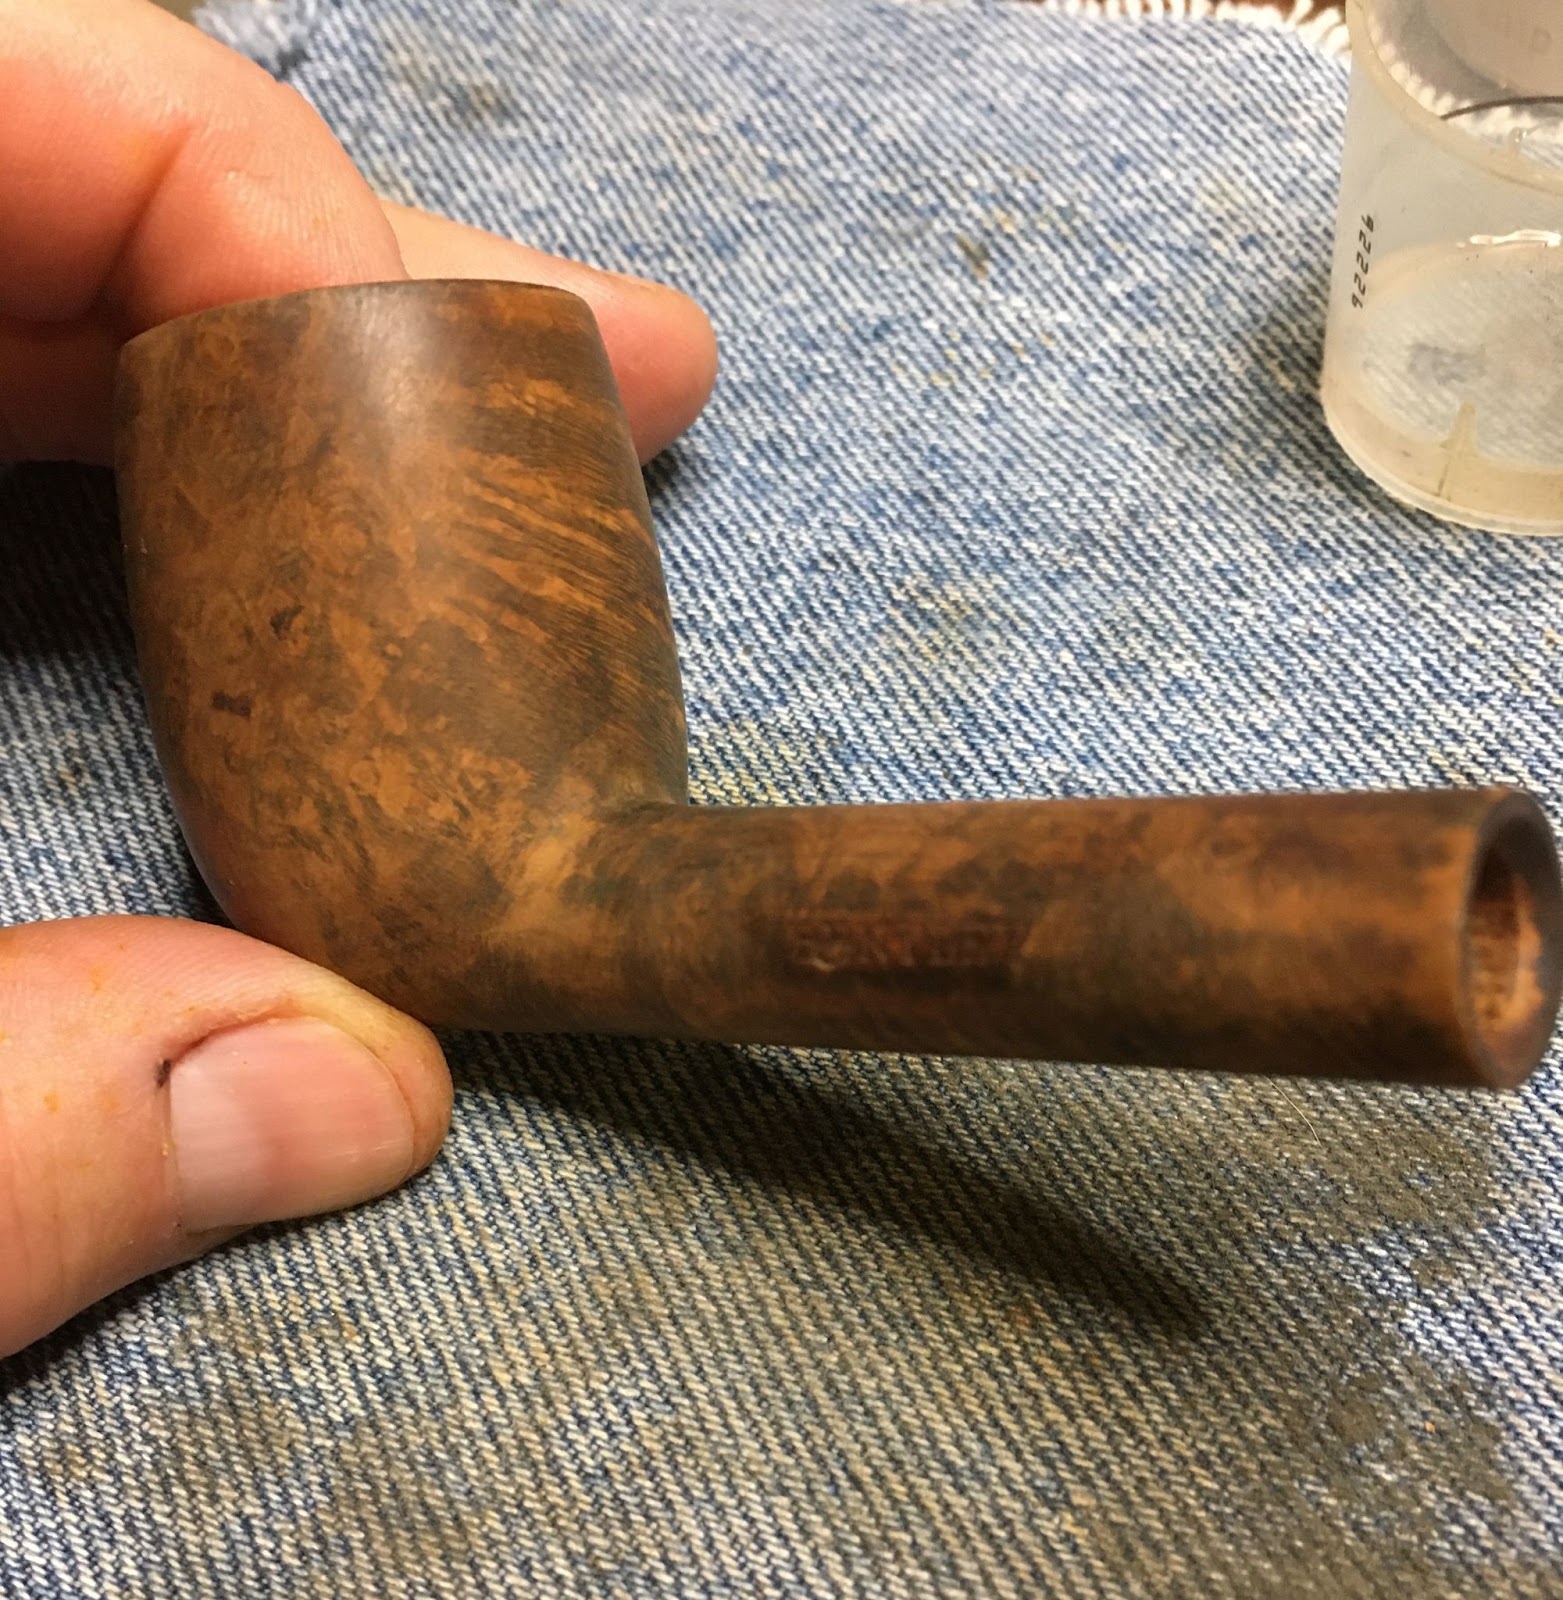
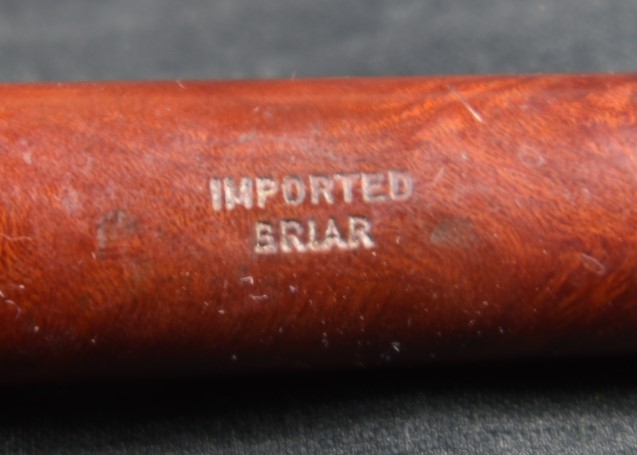
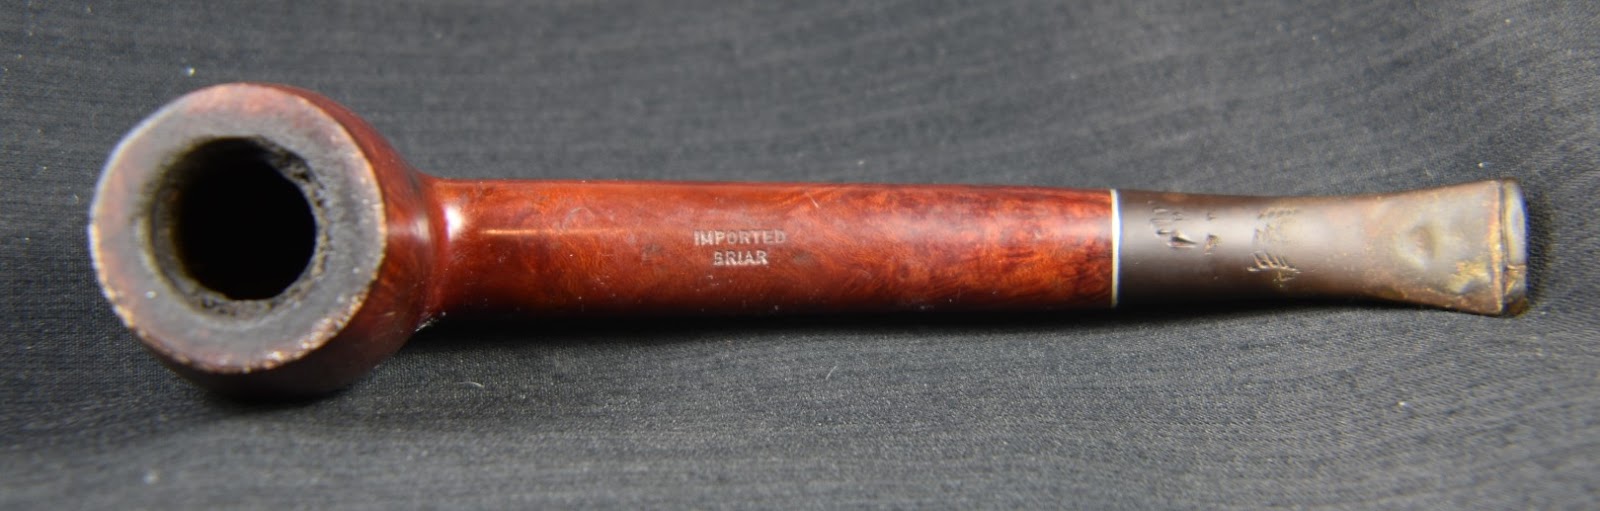
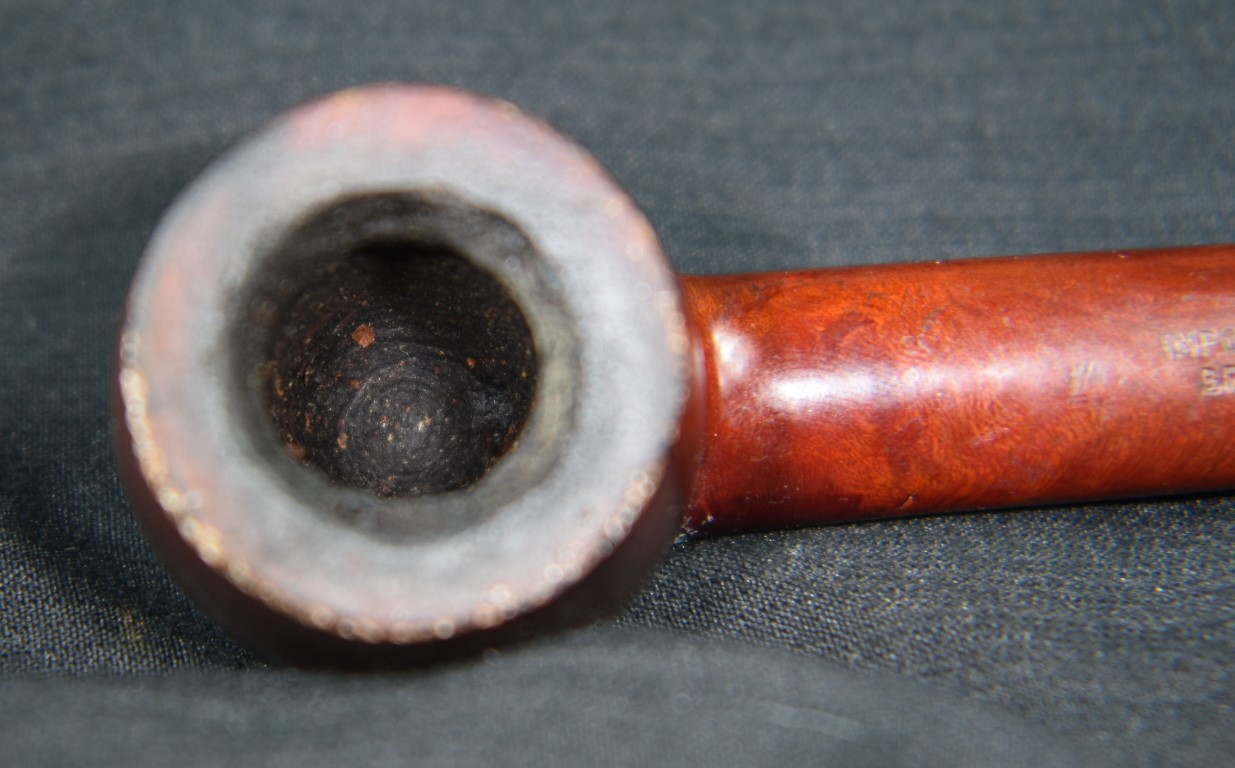
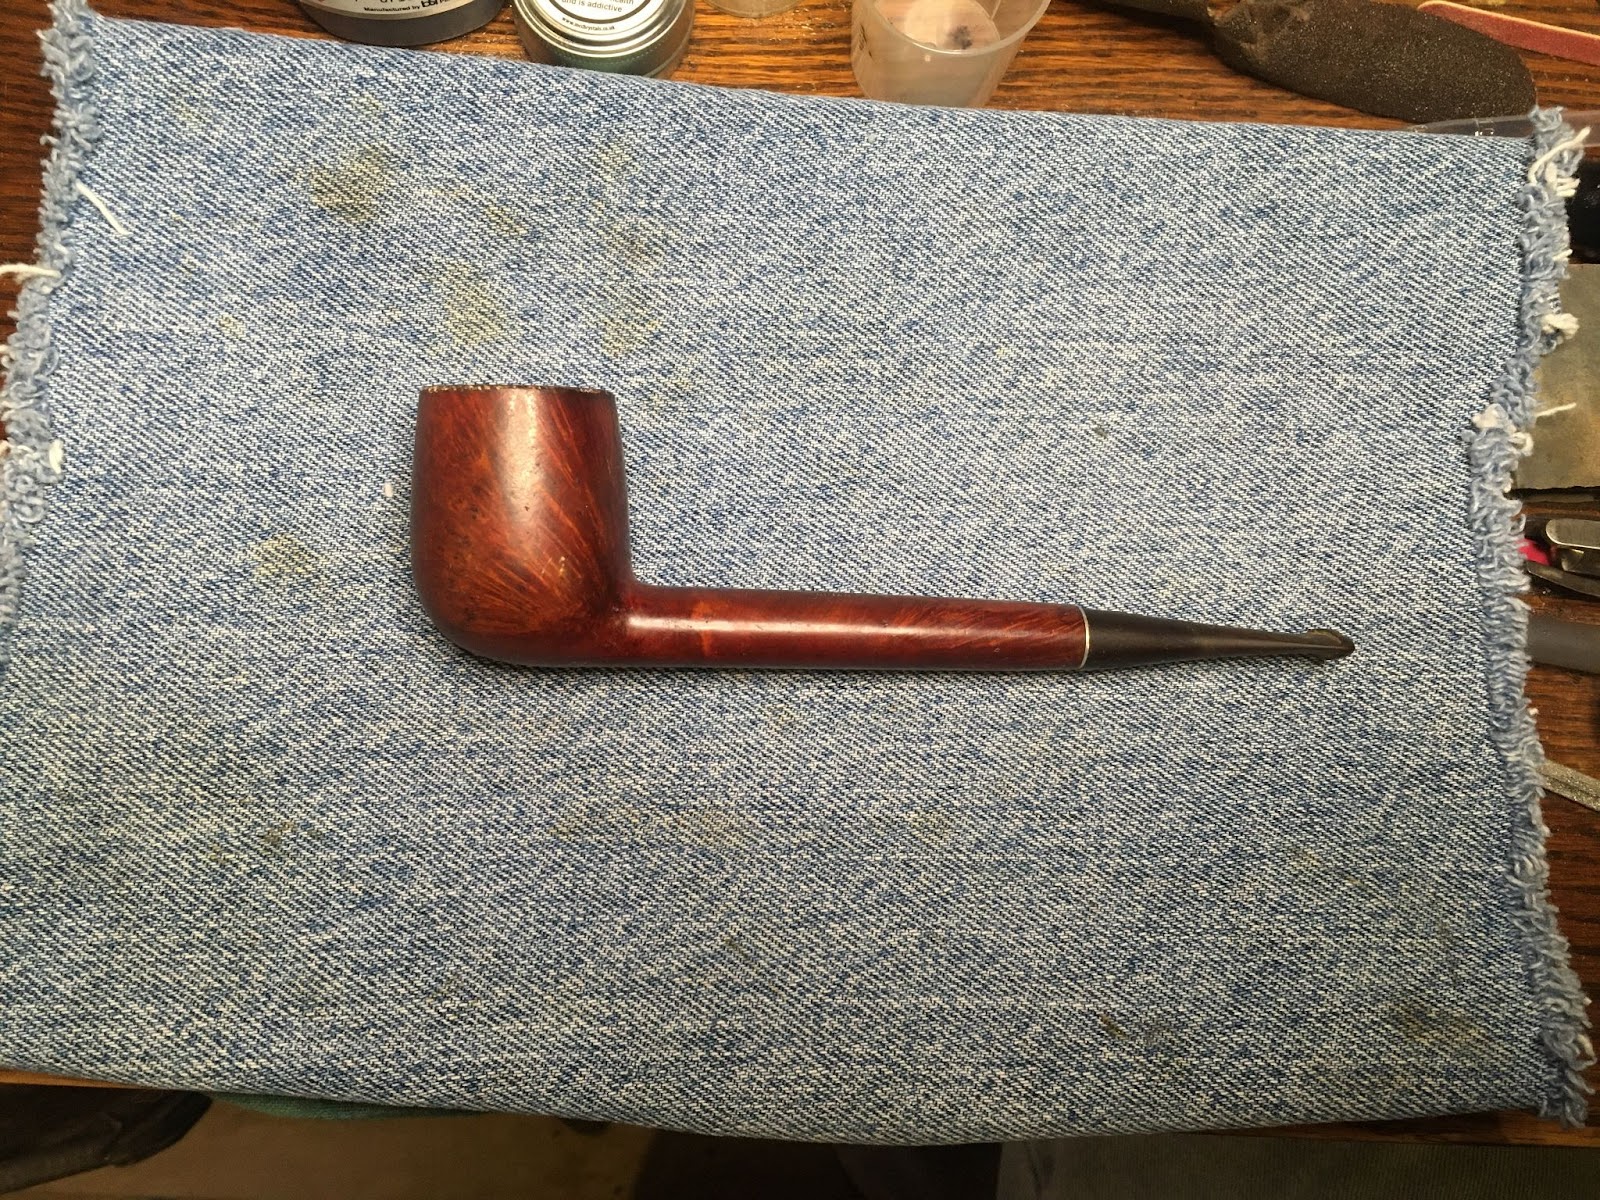
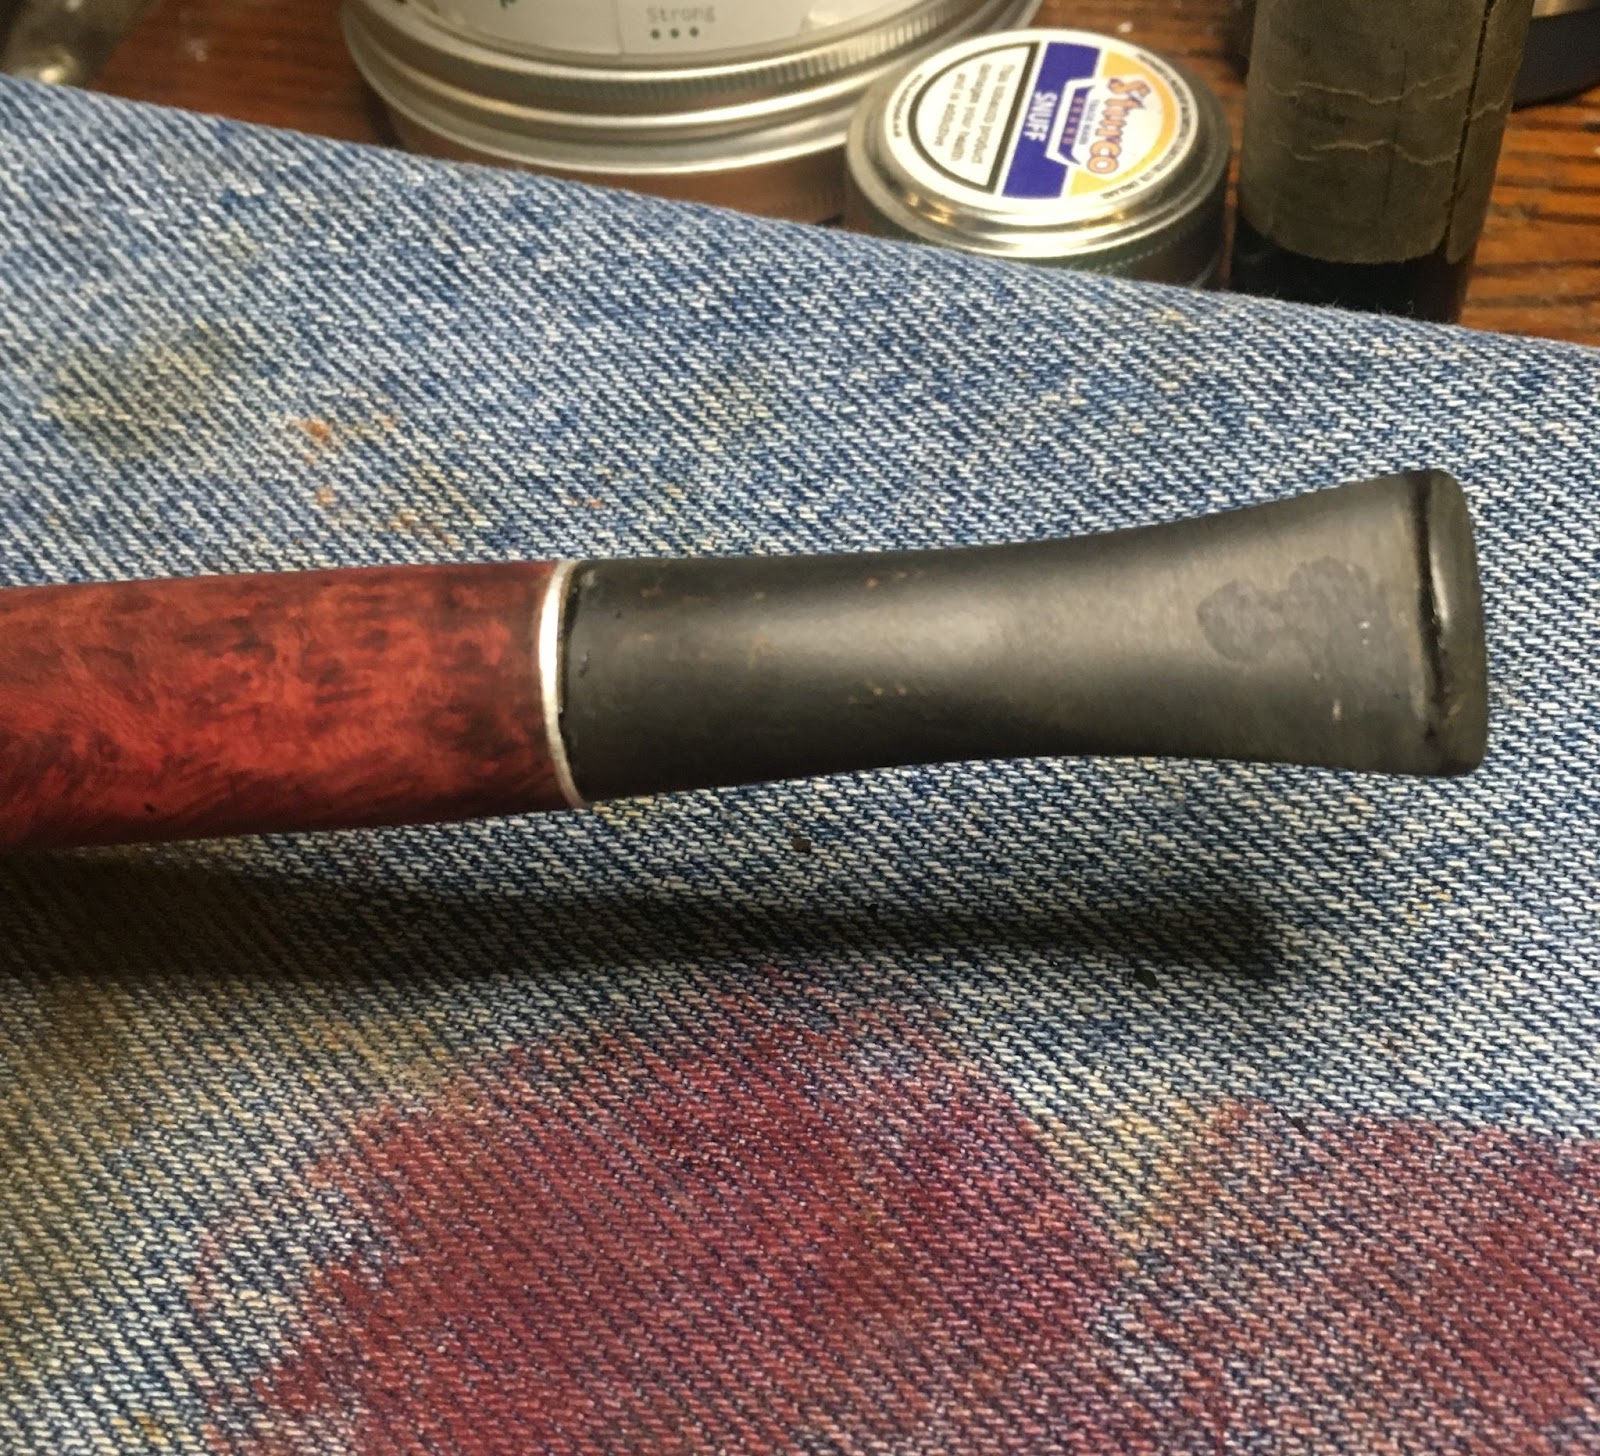
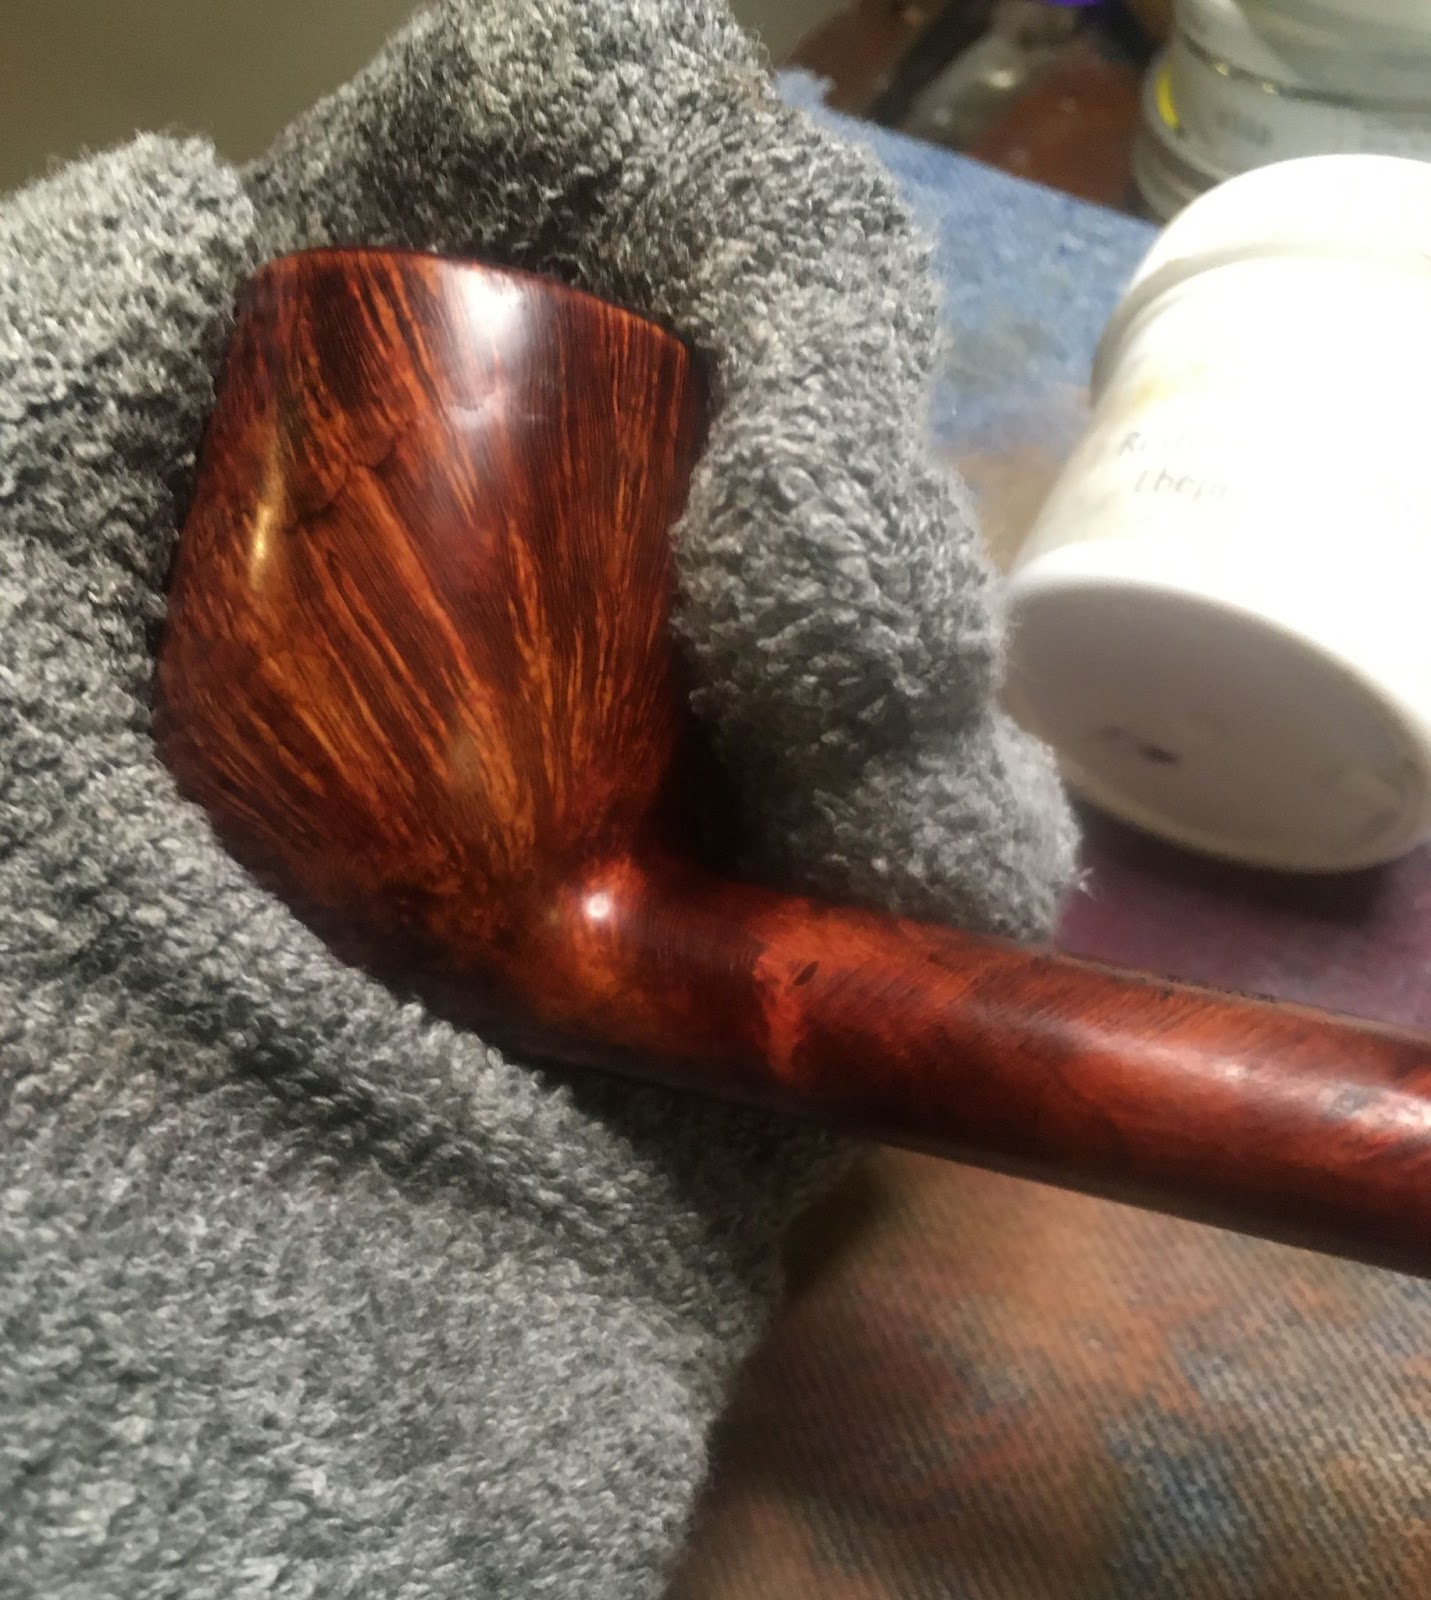
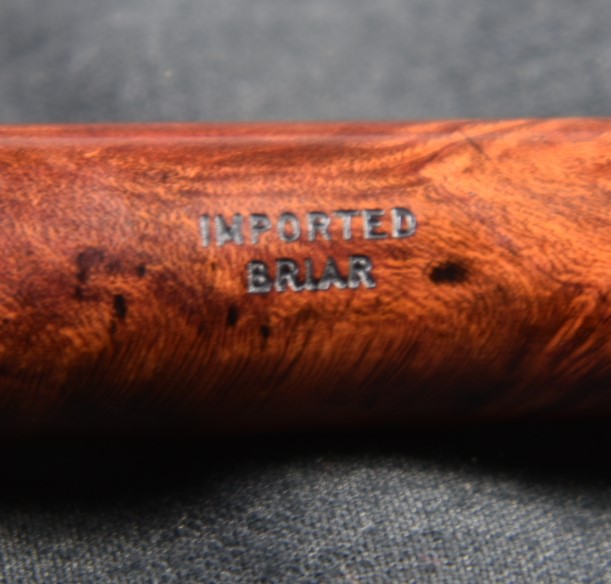
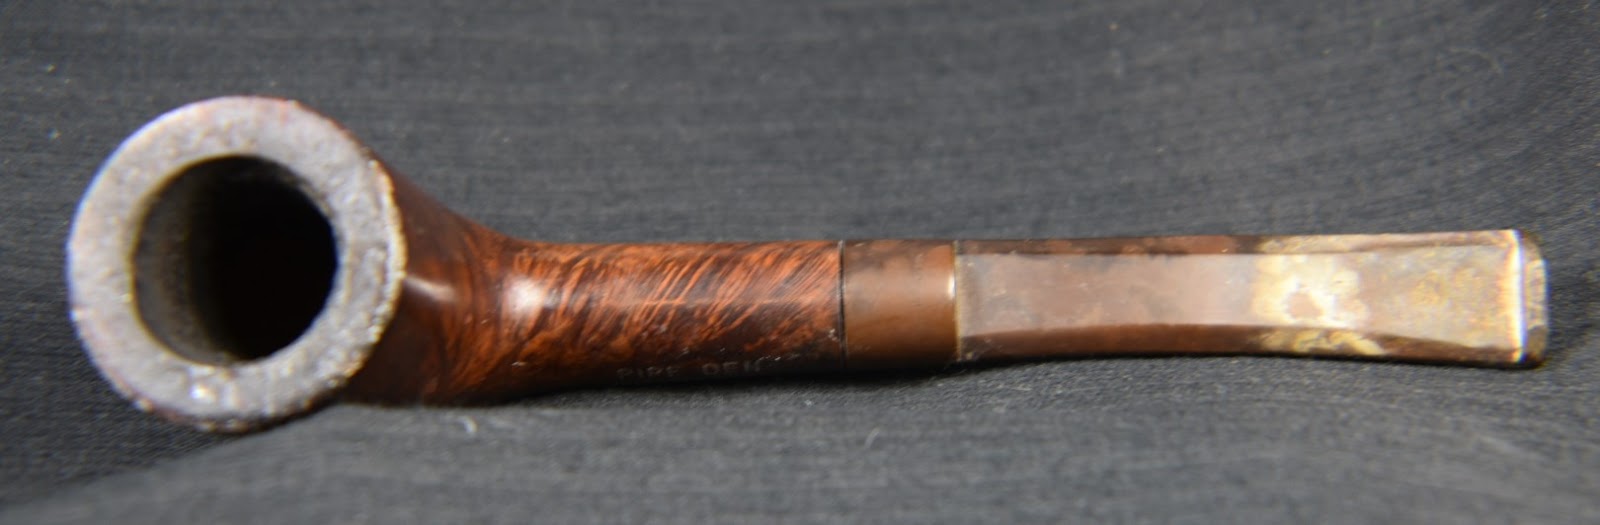
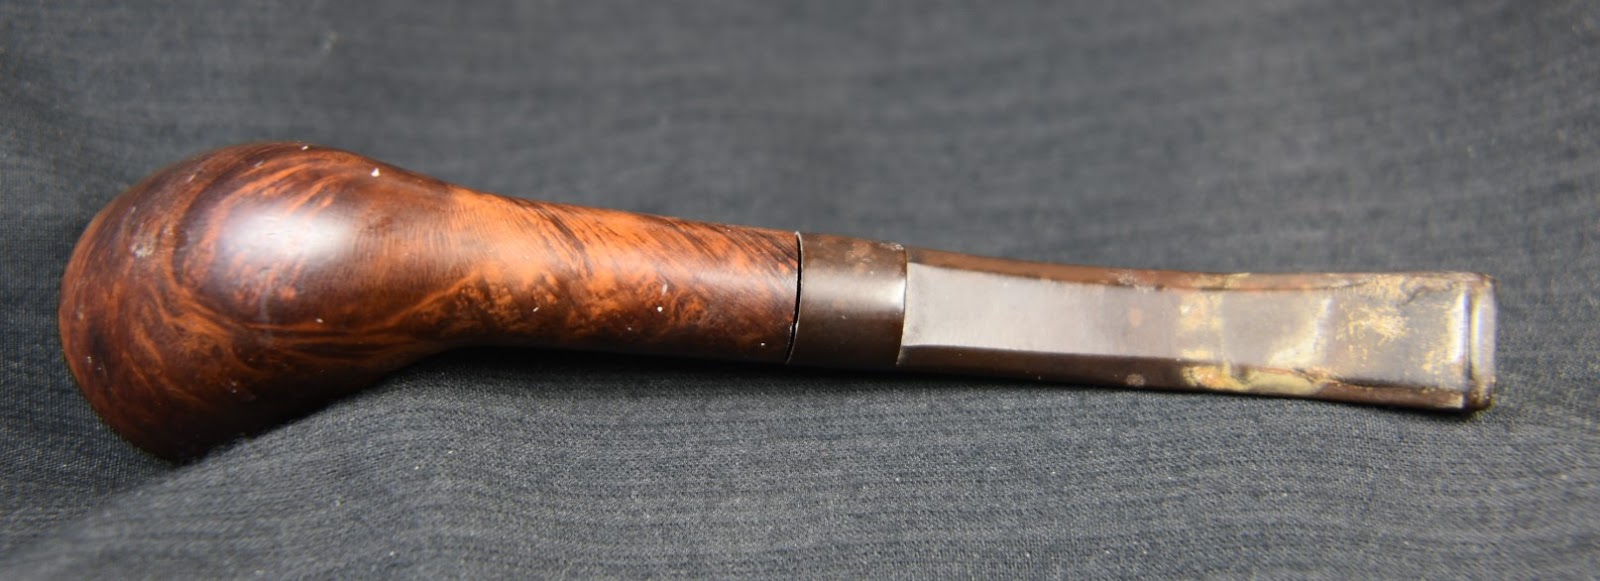
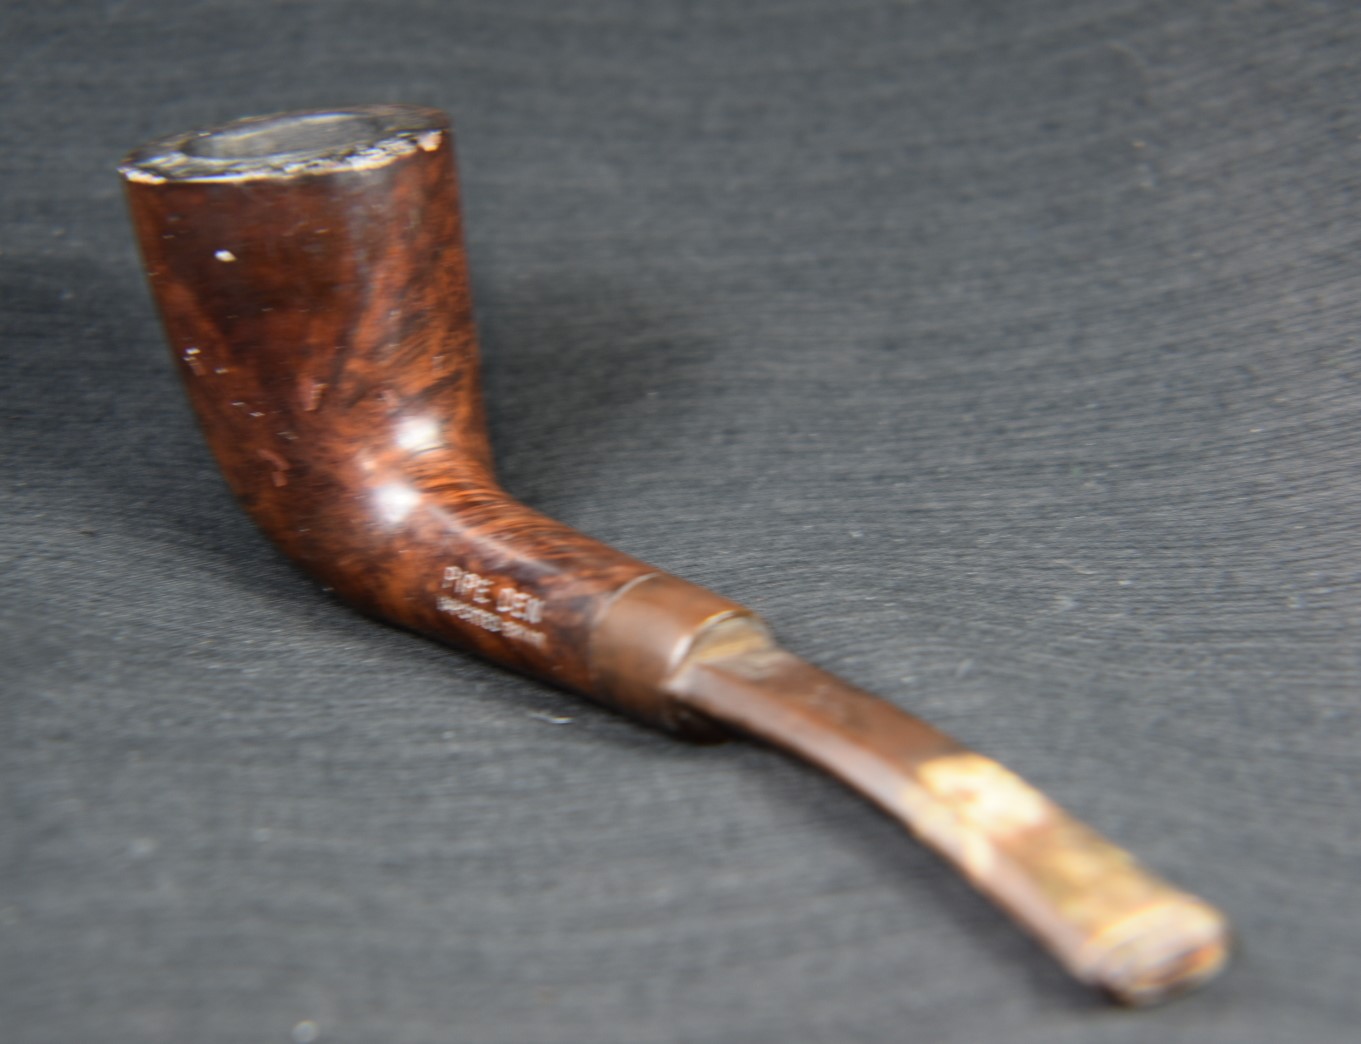
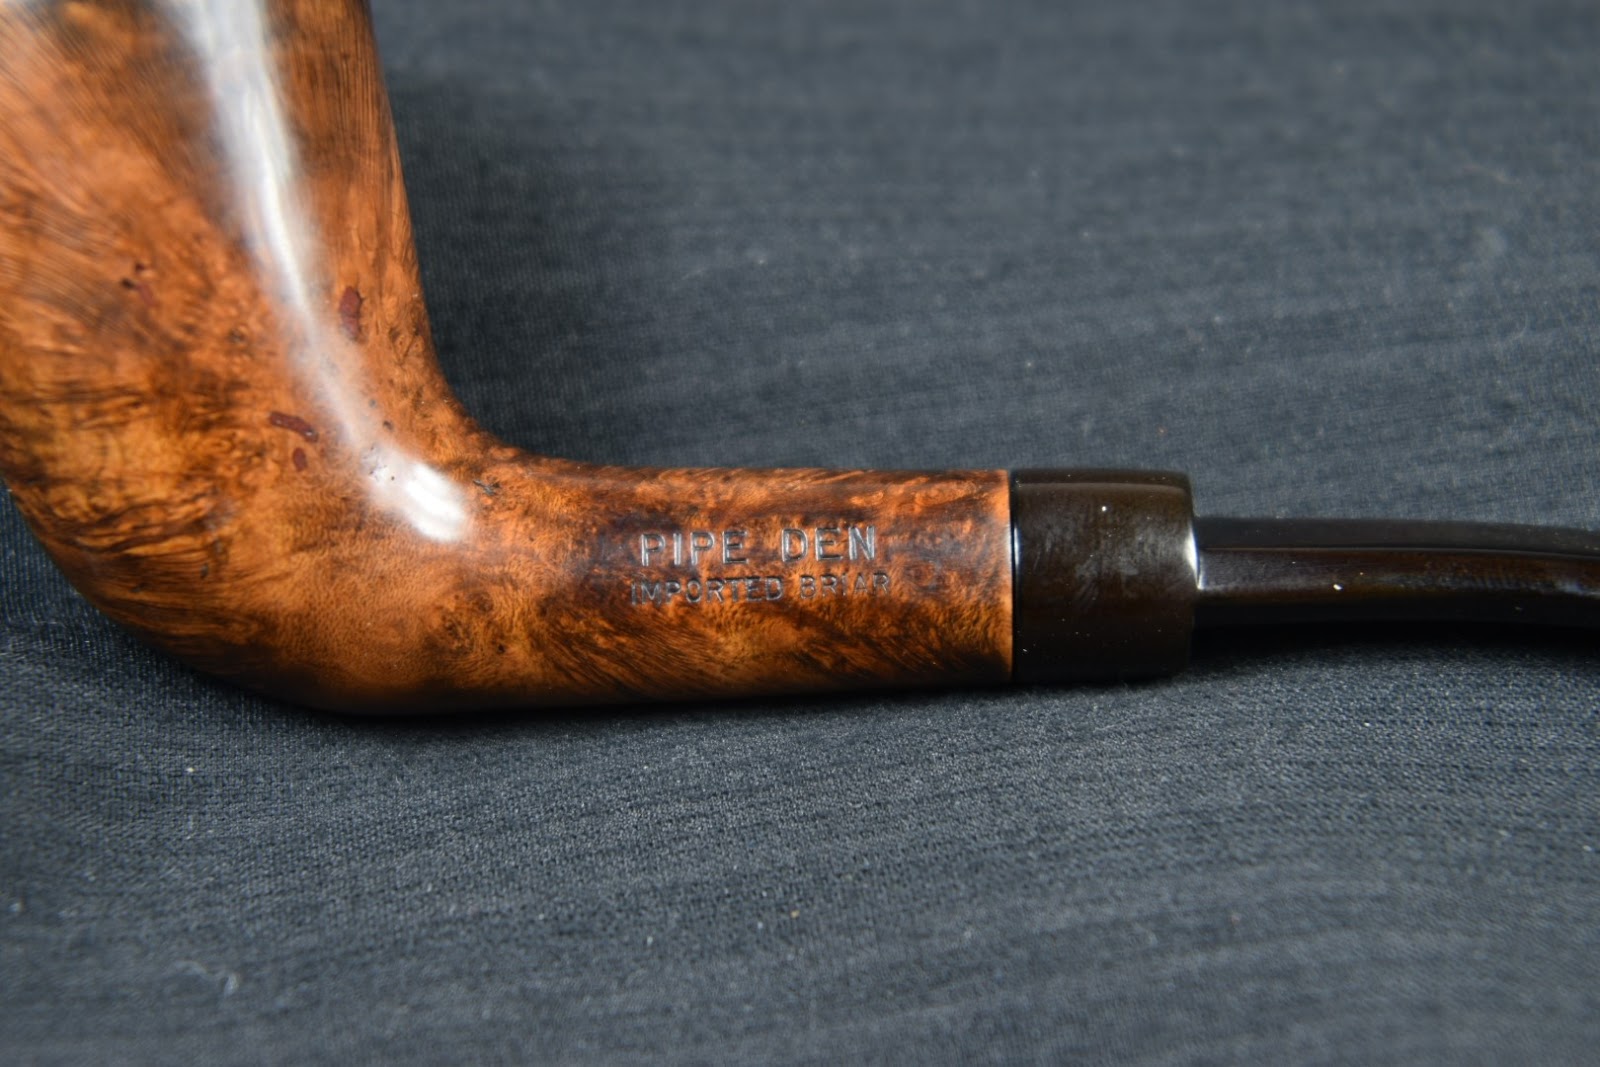
Back to the subject at hand, this lovely Silverking billiard. The pipe was stamped with SILVERKING over SYNCHROMATIC on the left shank and ALGERIAN BRIAR over FRANCE on the right shank. The stem has a crown stamped logo and the silver band is stamped EP within a diamond and three Hallmarks (middle and stem-ward worn to illegible). Below are photos of the Silverking billiard prior to working on it.


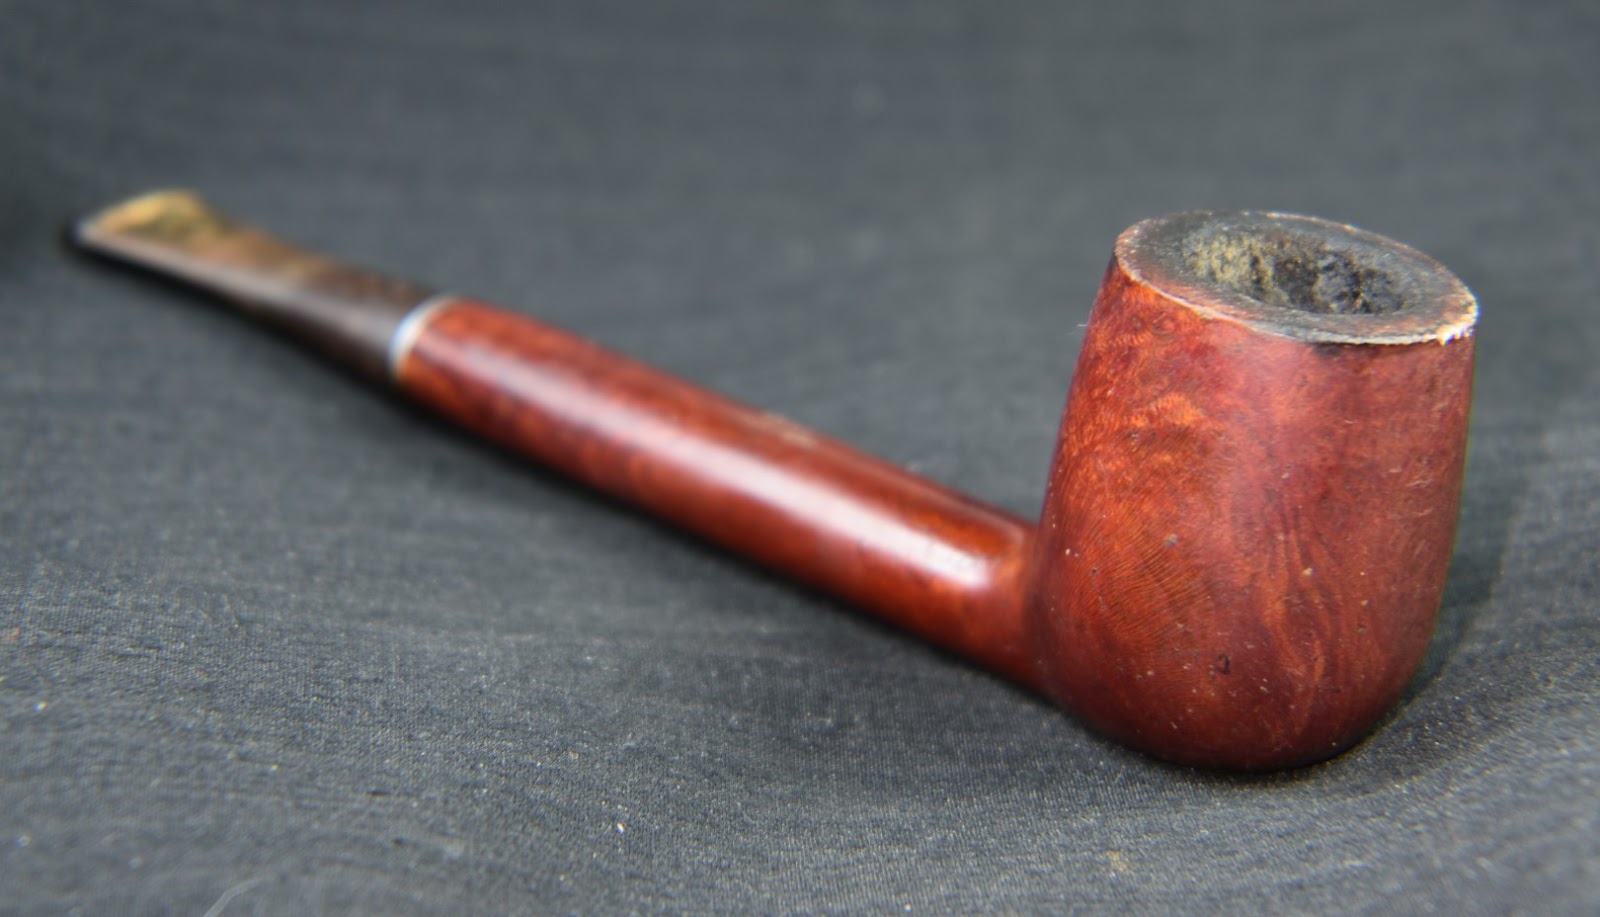
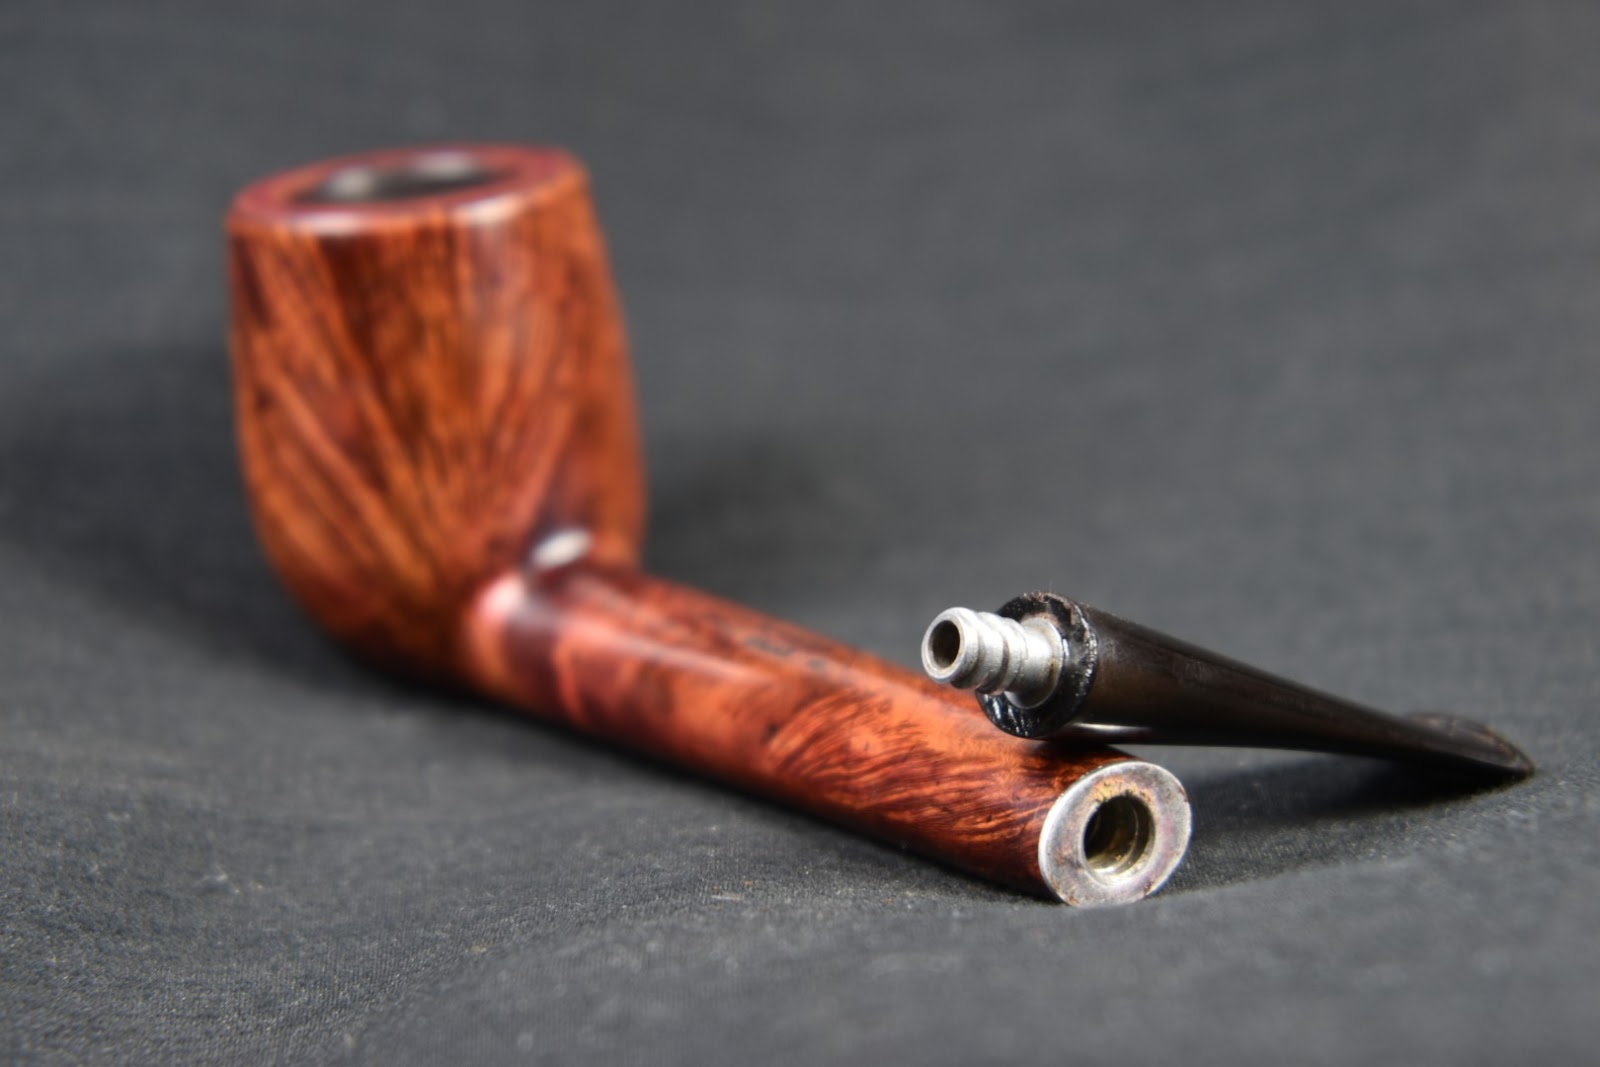
This looked to be a straightforward restoration with no glaring difficulties. There were a few deep fills to be made to the briar, a slightly overclocked stem and the missing stinger but other than that a nice relaxing afternoon in the basement avoiding the heat of mid-summer.
Background
I would love to be able to tell a good story about the trials and tribulations of the Silverking pipe factory but alas, there is scant information concerning this maker. If you have any additional information, please feel free to leave it or links in the comments. All I could find is the following from pipephil.eu:

(Si-Siq — Pipes: Logos & Markings (pipephil.eu)). Referring to the “?” at the top right of the screenshot below, I am not sure why there is a question about the country of manufacture (COM) of this pipe as it is clearly stamped MADE IN FRANCE or in the case of my Silverking FRANCE. “Made in France” is also stated in the text above.
I looked at the “Otherline from this factory” links and they are included here:

(Big Ben — Pipes : Logos & Markings (pipephil.eu))

(Go-Gq — Pipes: Logos & Markings (pipephil.eu))
Not much to work with. A quick search on pipdedia.org resulted in the following quote,
“This is probably not a brand but rather the name of a line of an unknown french factory.
Other line from this factory: Big Ben Reputation , Gold King”(Silverking – Pipedia).
It looked like pipedia.org got their information from pipephil.eu as well.
Now we can assume a bit of information about the date of production. Algeria had been a source of briar from the mid to late 1800s and into the early 1900s. During the years of World War Two briar production was severely limited. After the war briar production returned. Algeria was a French colony and like many colonies during the mid 20th Century, experienced a wave of anticolonialism. The French attempted to squelt this anticolonialism leading to the Algerian war of independence from 1954-1962. During this time Briar production from Algeria was greatly reduced. According to the Wikipedia.com article fatalities of the conflict were, “between 400,000 and 1,500,000 Algerians,[40][24][22] 25,600 French soldiers,[15]: 538 and 6,000 Europeans.” (https://en.wikipedia.org/wiki/Algerian_War).
A more complete story of the military operations is available here: https://www.armyupress.army.mil/Portals/7/military-review/Archives/English/MilitaryReview_20081031_art012.pdf
Well that about sums up all I know about this old pipe. It was made in France of Algerian Briar. Most likely between the second world war and 1954.
The Restoration
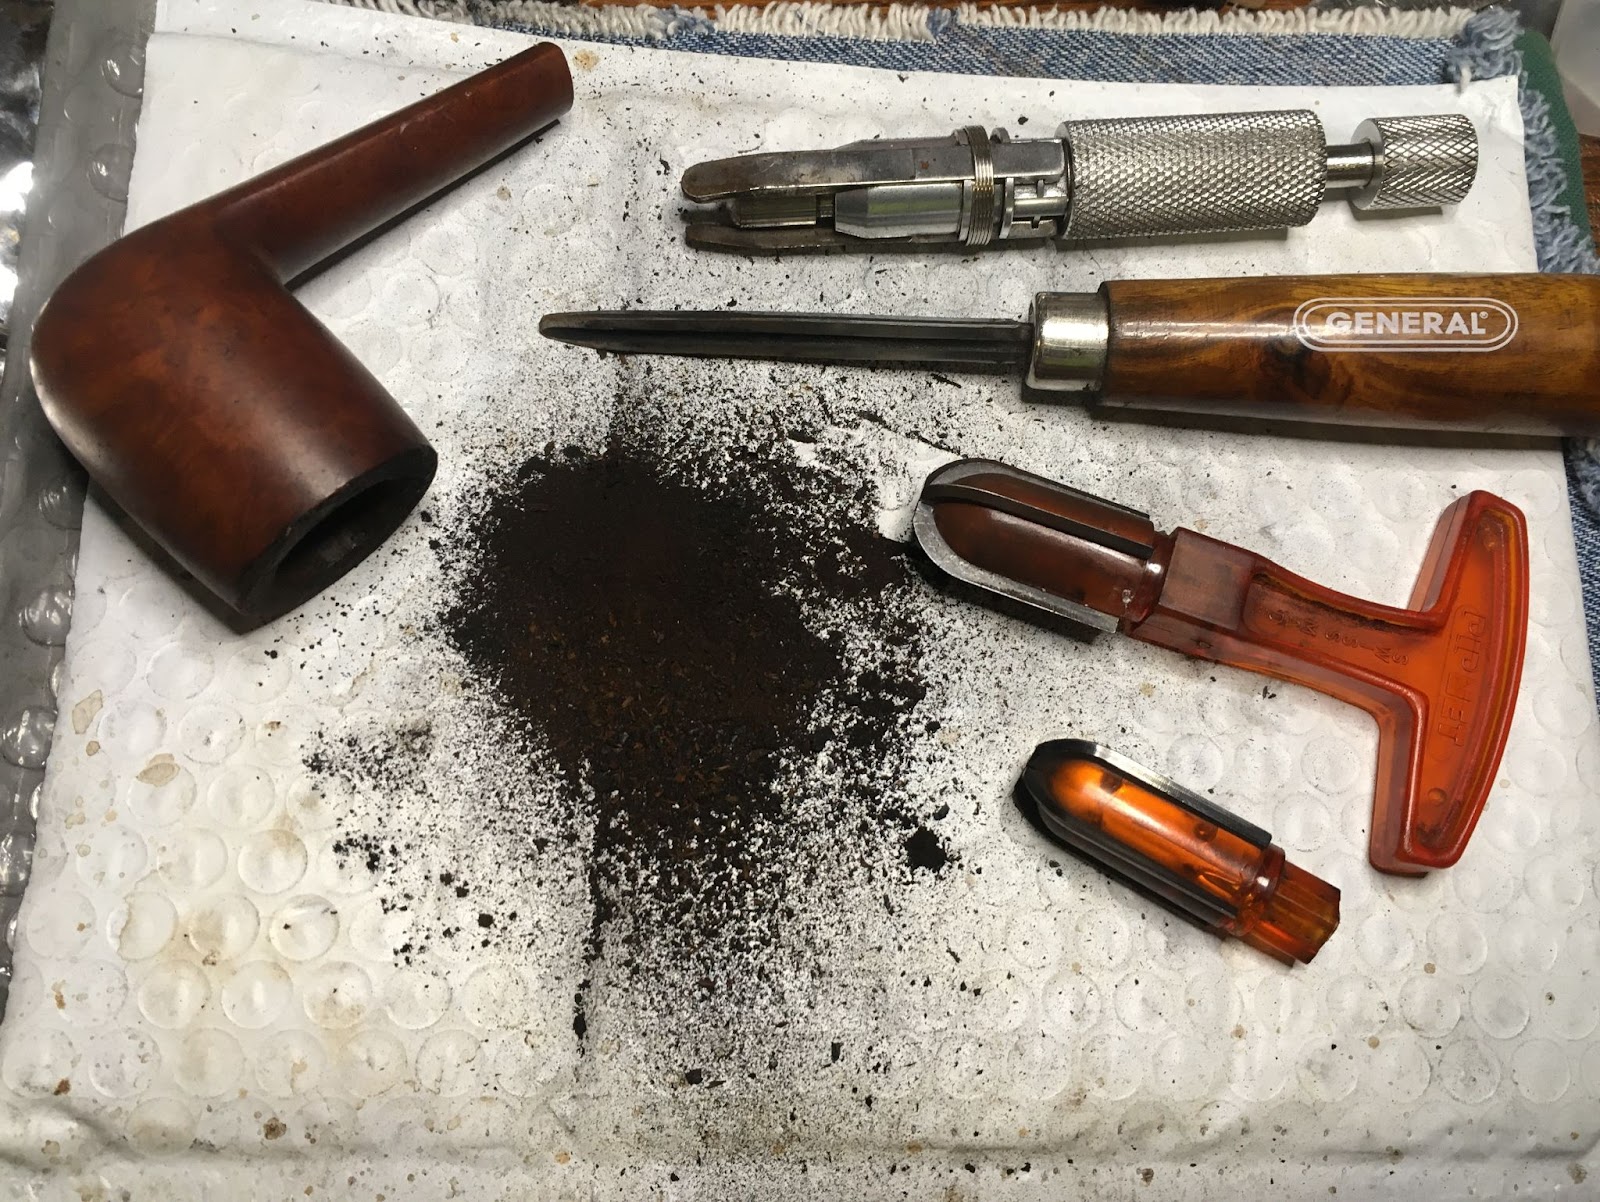
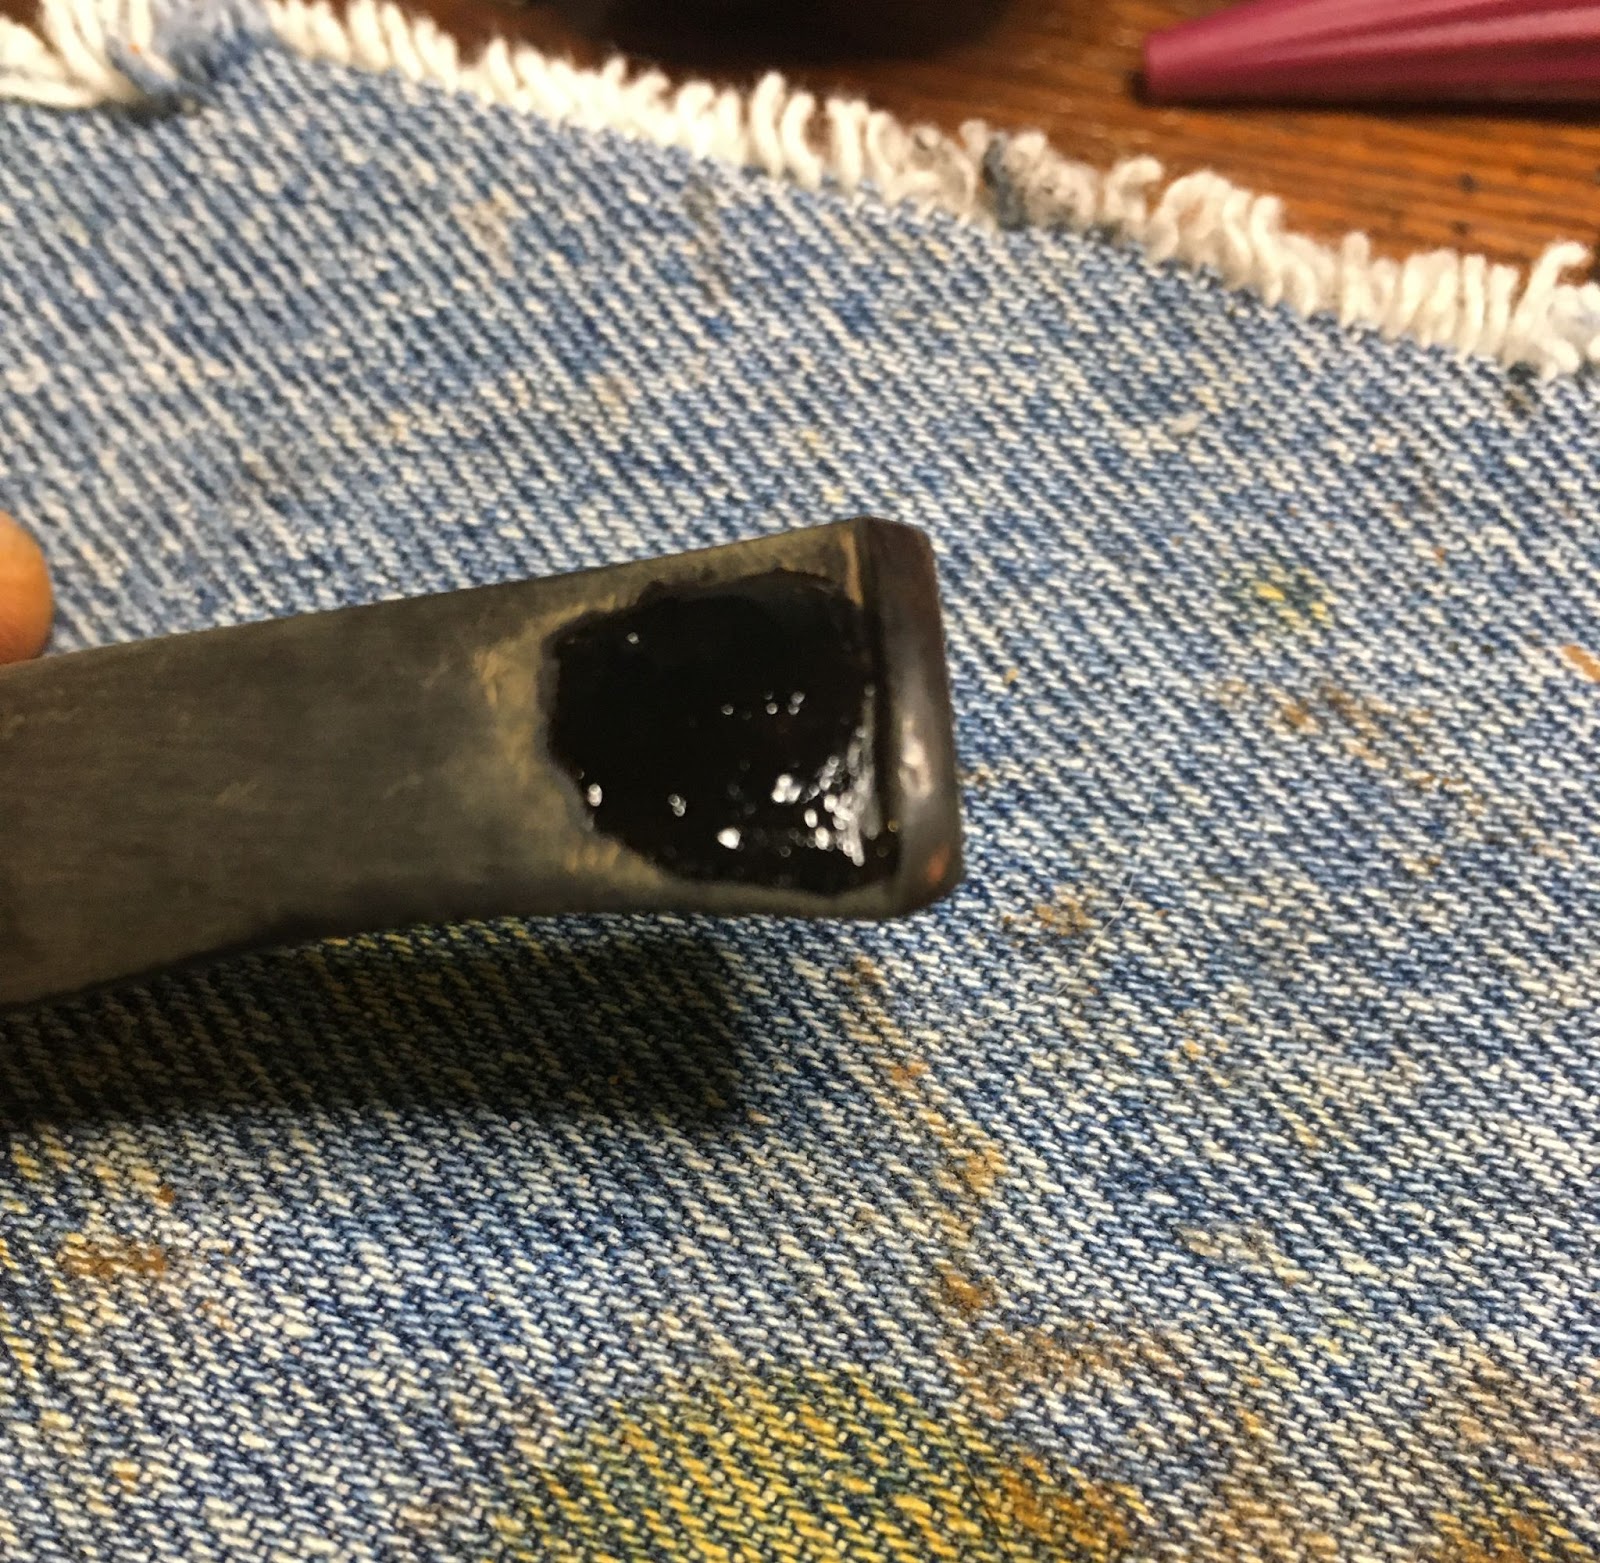
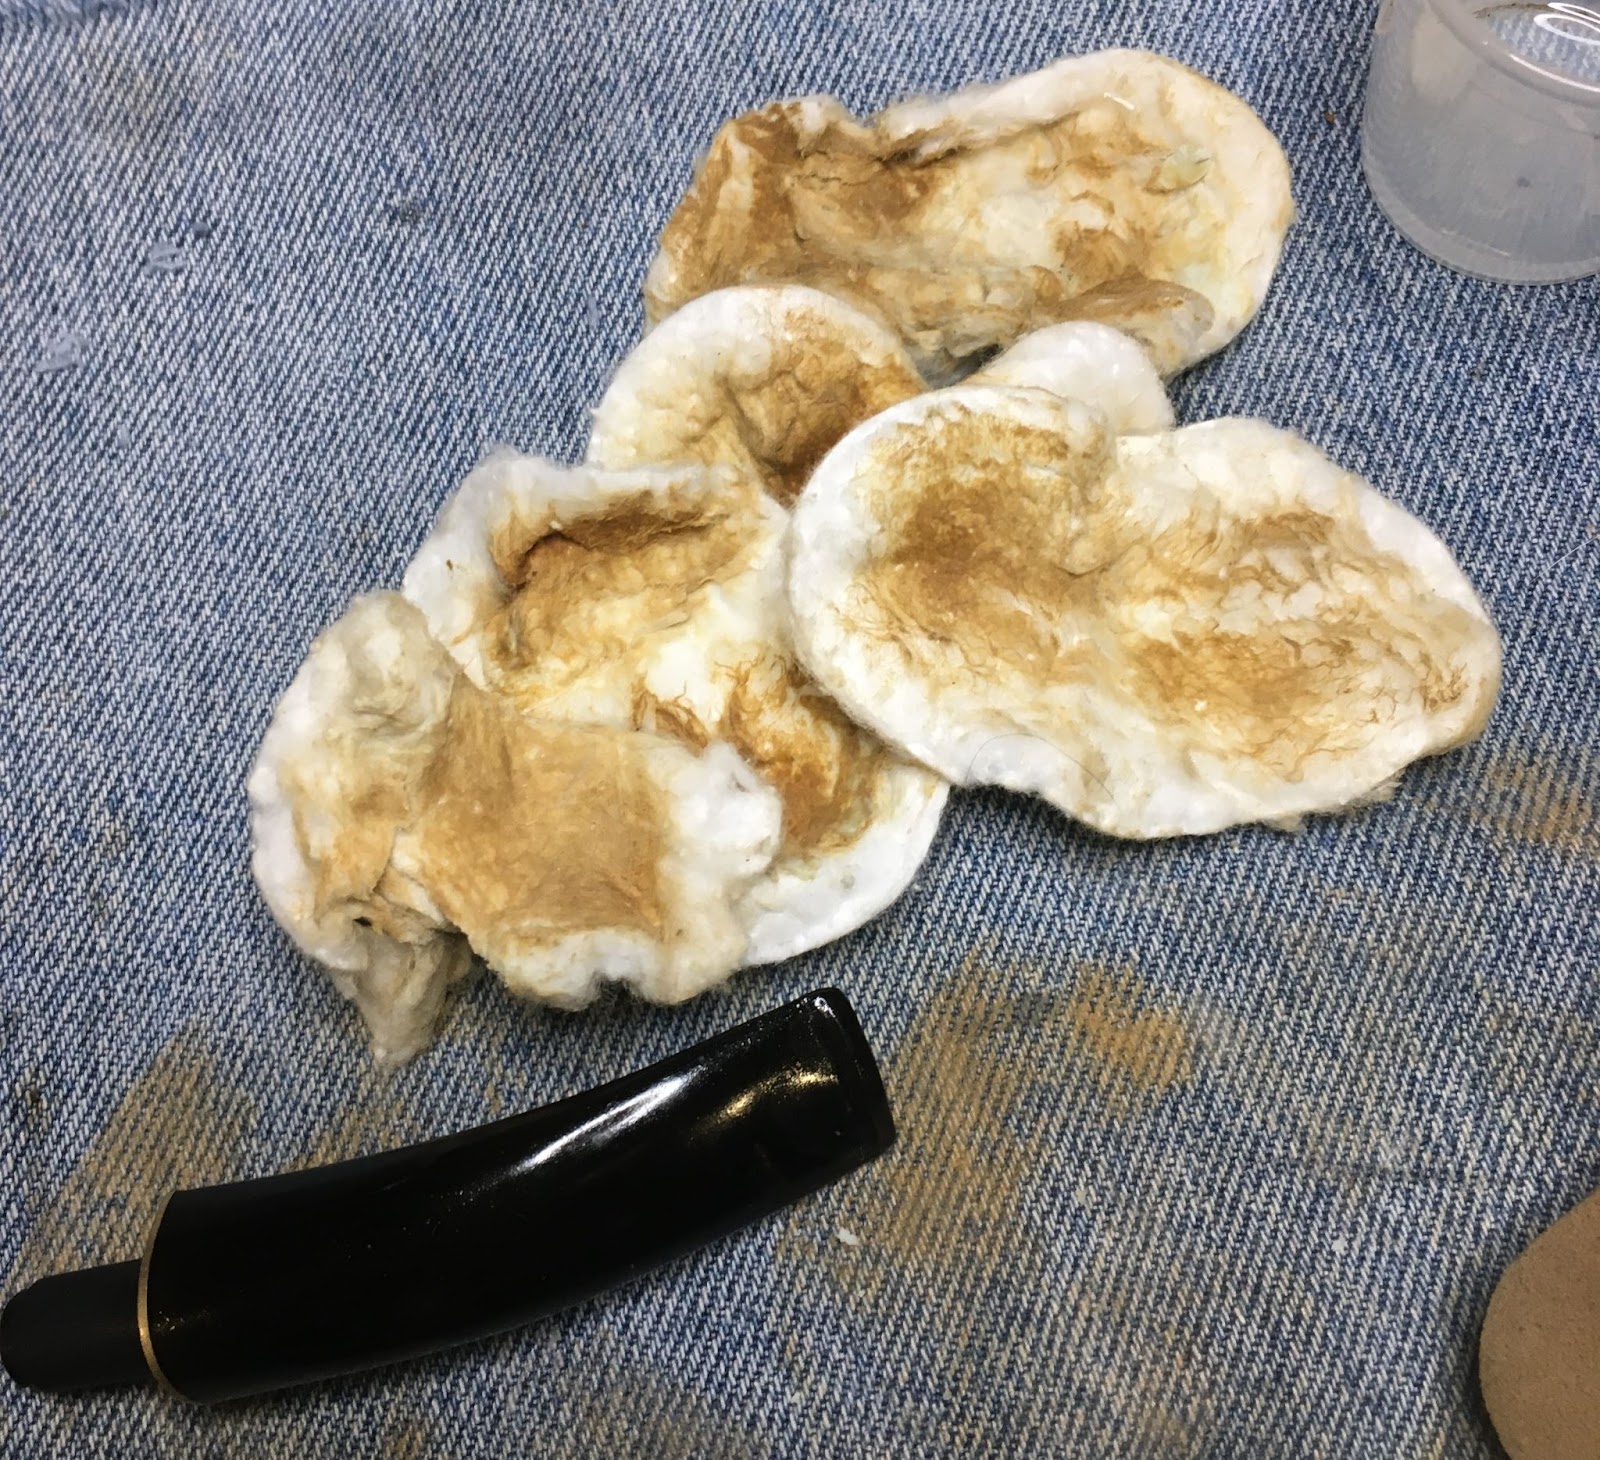
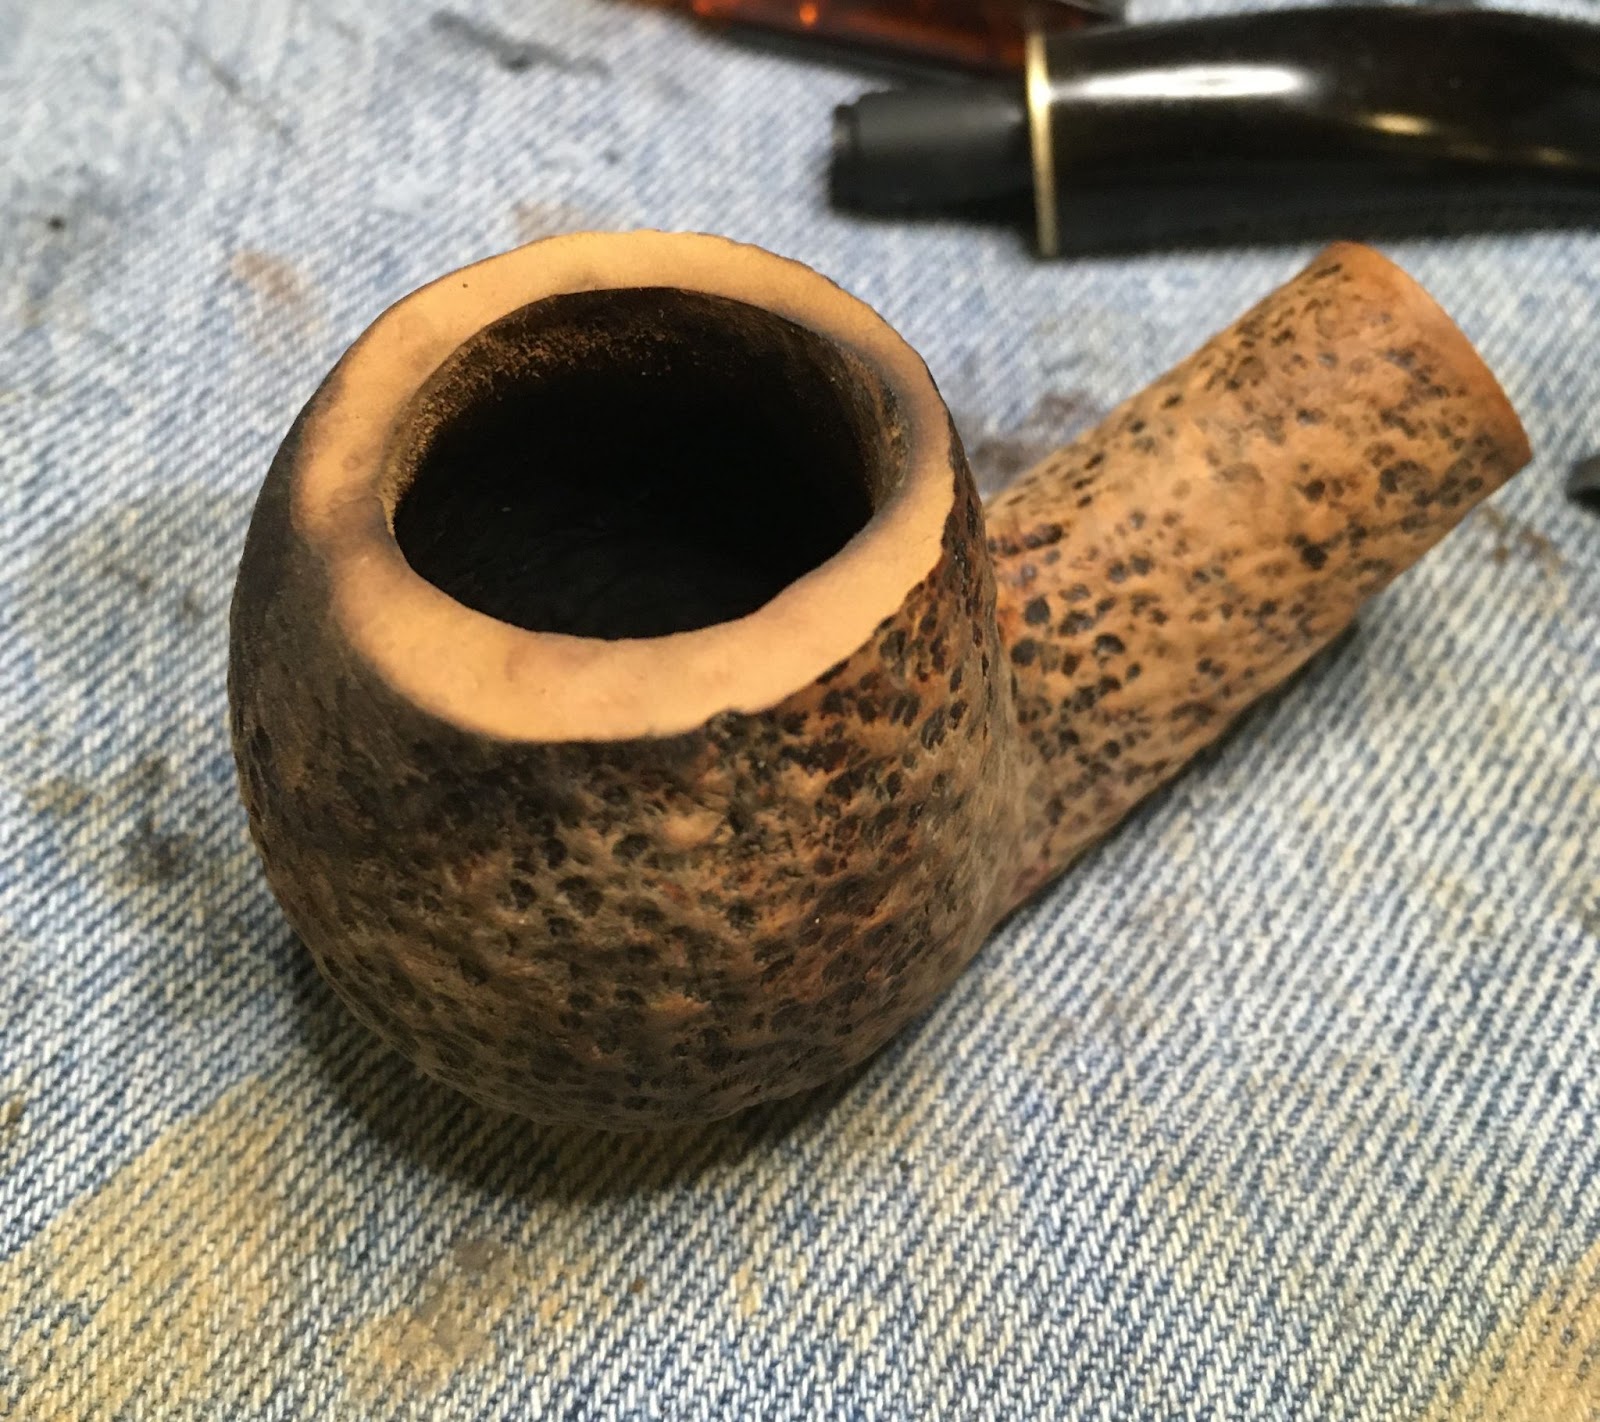
As typical this restoration began with a relatively clean denim piece as a work surface.

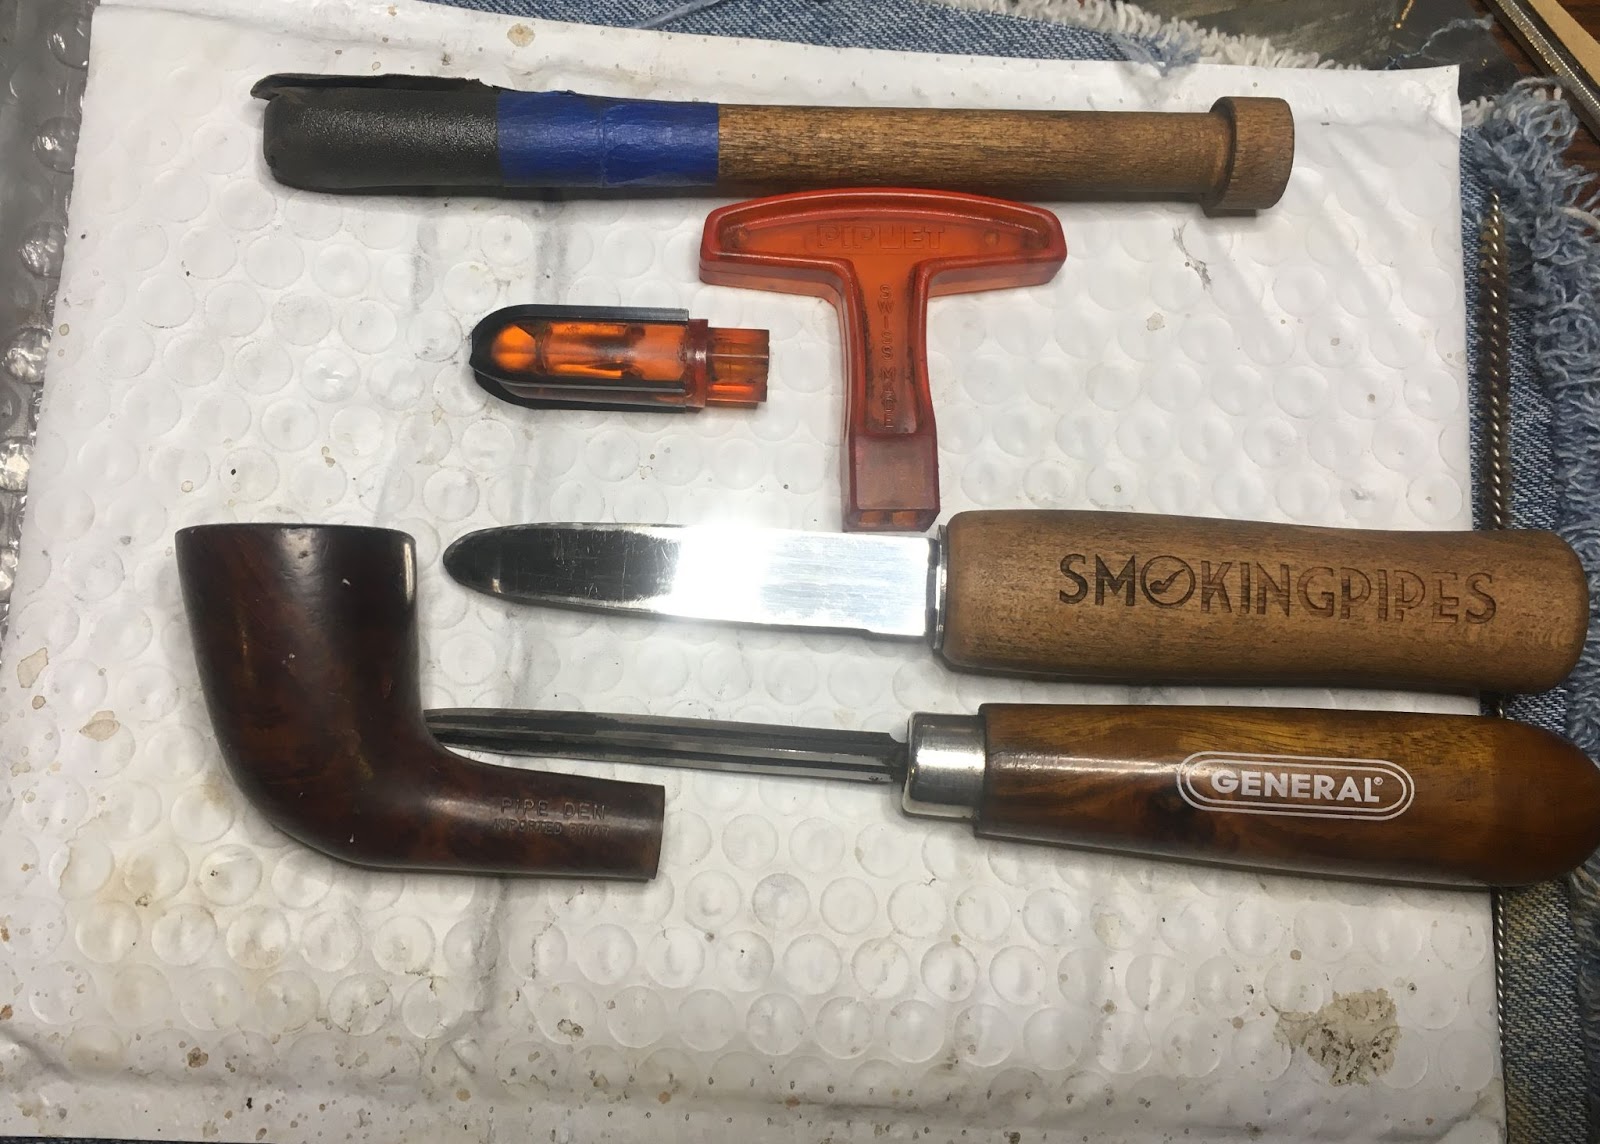
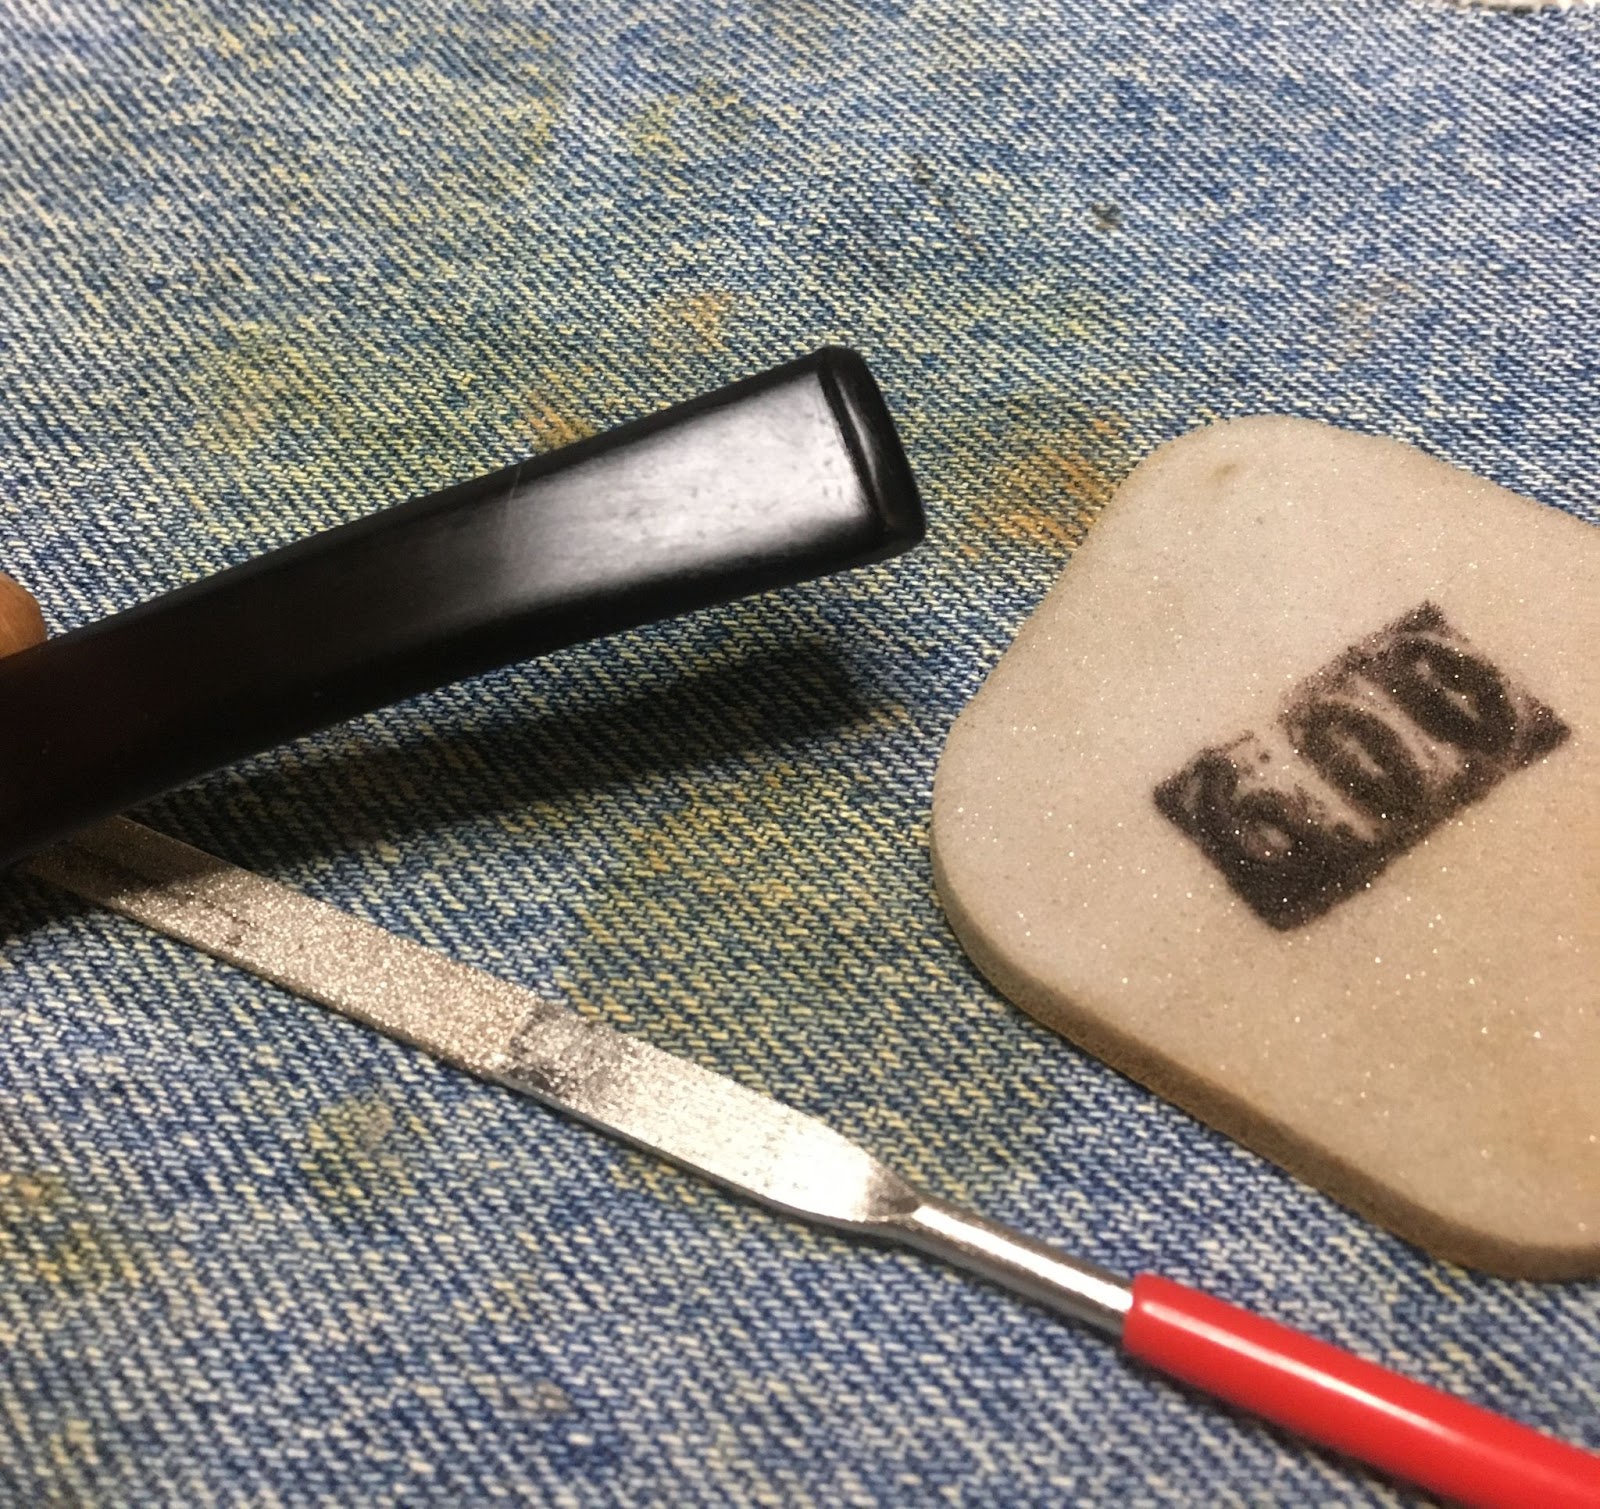
The reaming tools were gathered and included the Scotte Stainless Steel reamer rather than the traditional PiNet reamer due to the narrow tobacco chamber and the fact that my PiNet #1 blade suffered a catastrophic failure. The Scotte did a fine job and only required a small amount of scraping with the Smokingpipes Low Country Reaming knife and the General triangular scraper.

After the reaming the chamber was sanded with 320 sandpaper wrapped around a wood dowel. No heat damage was observed in the chamber.

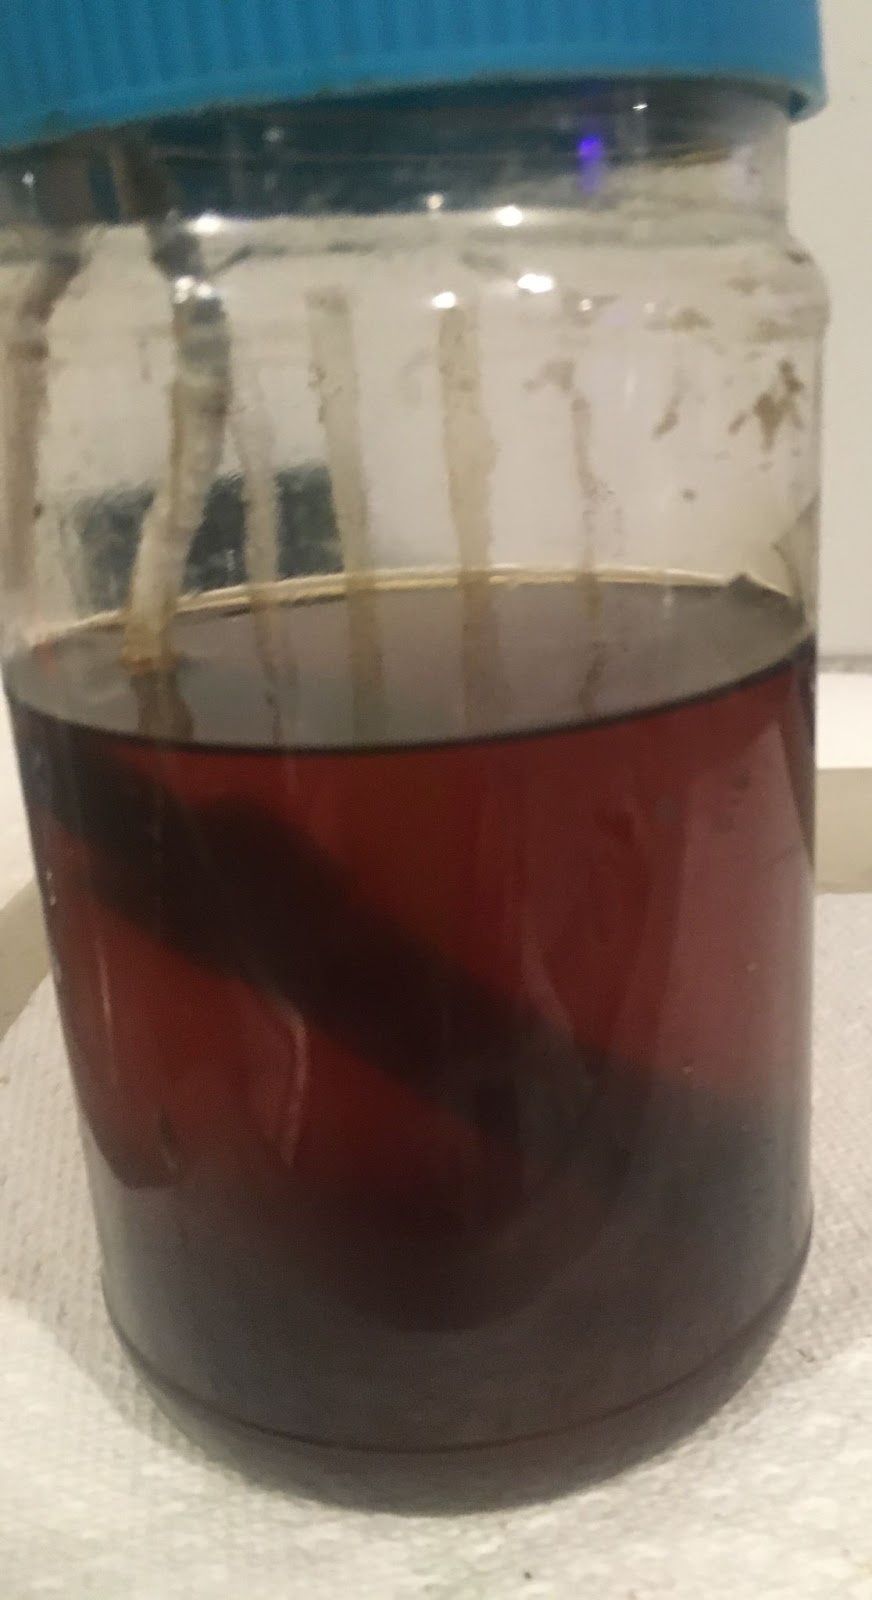
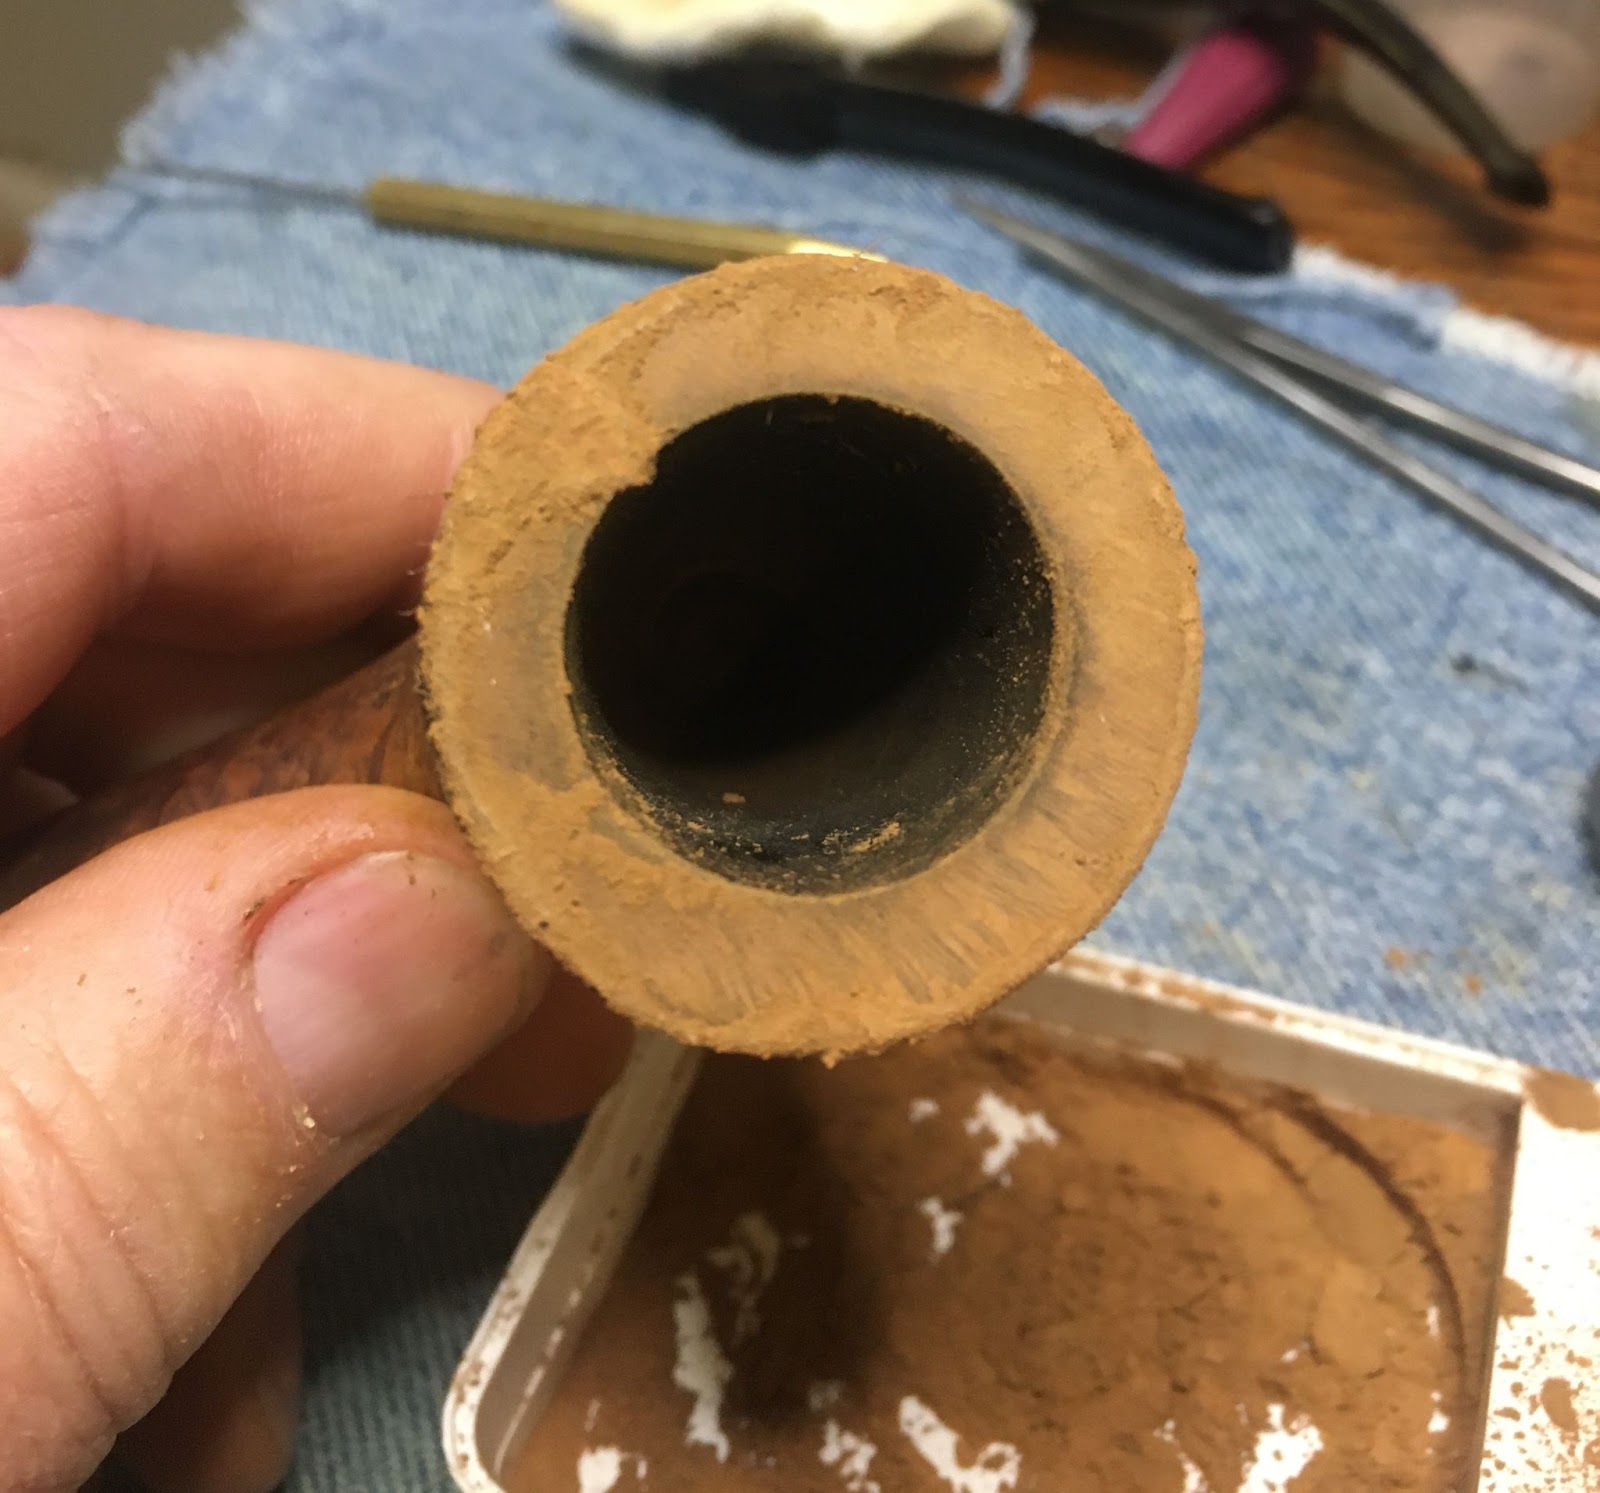
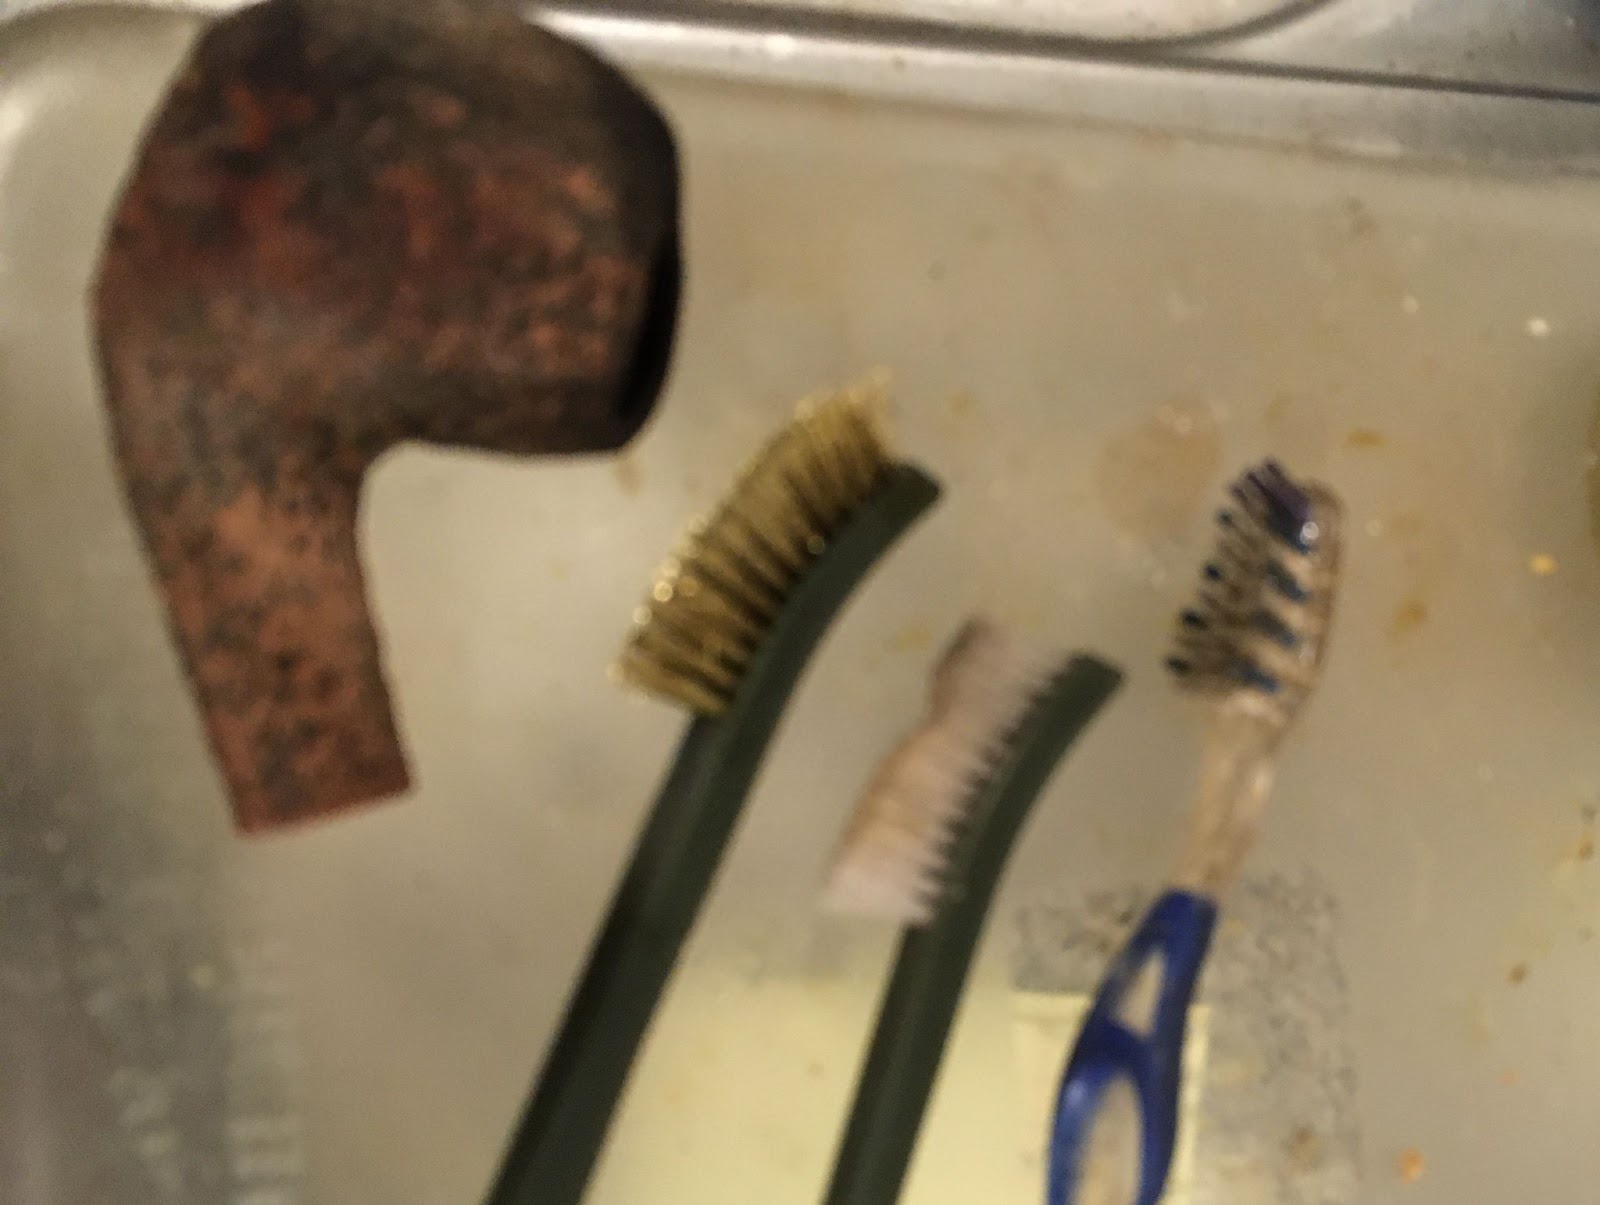
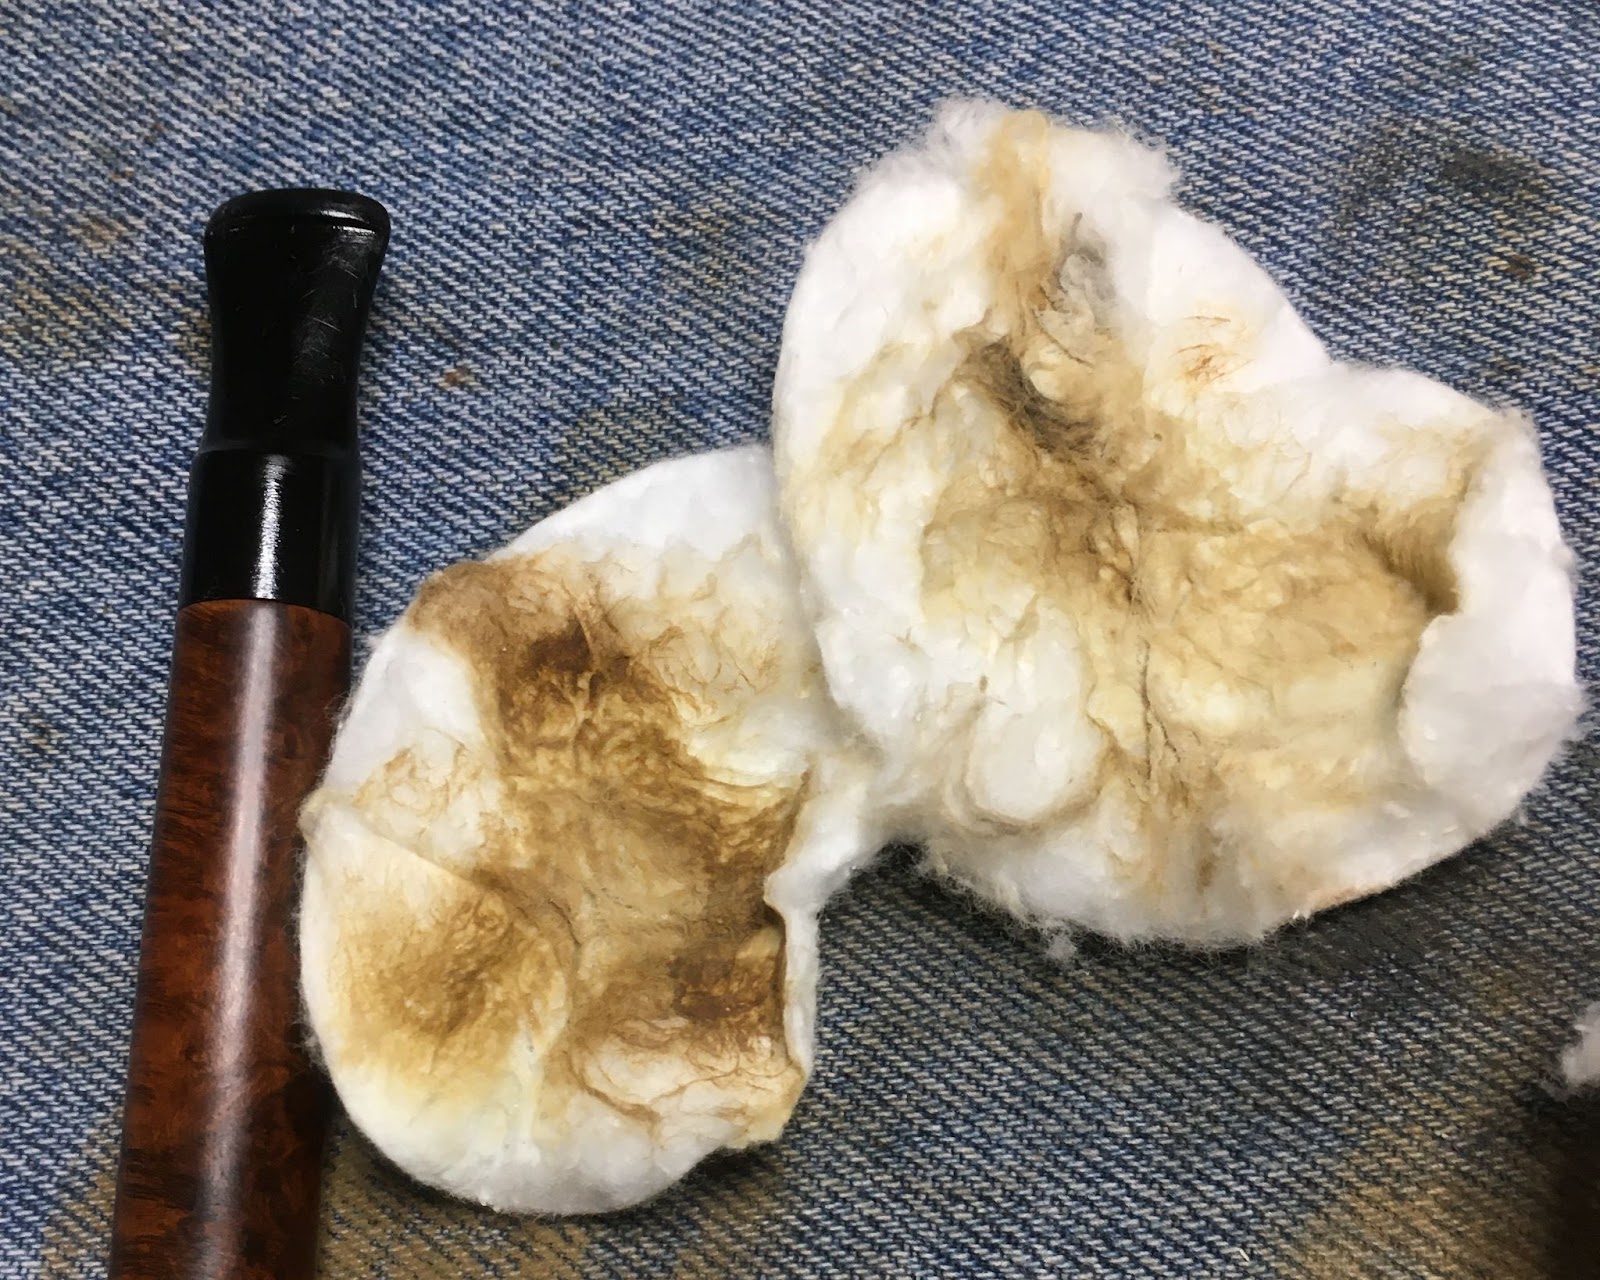
The shank cleaning was done with 95% ethyl alcohol, a nylon shank brush, bristle pipe cleaners and cotton swabs.

After the shank was cleaned I turned my attention to the stem. Here the ethyl alcohol and bristle pipe cleaners were used to clean the airway of the stem.

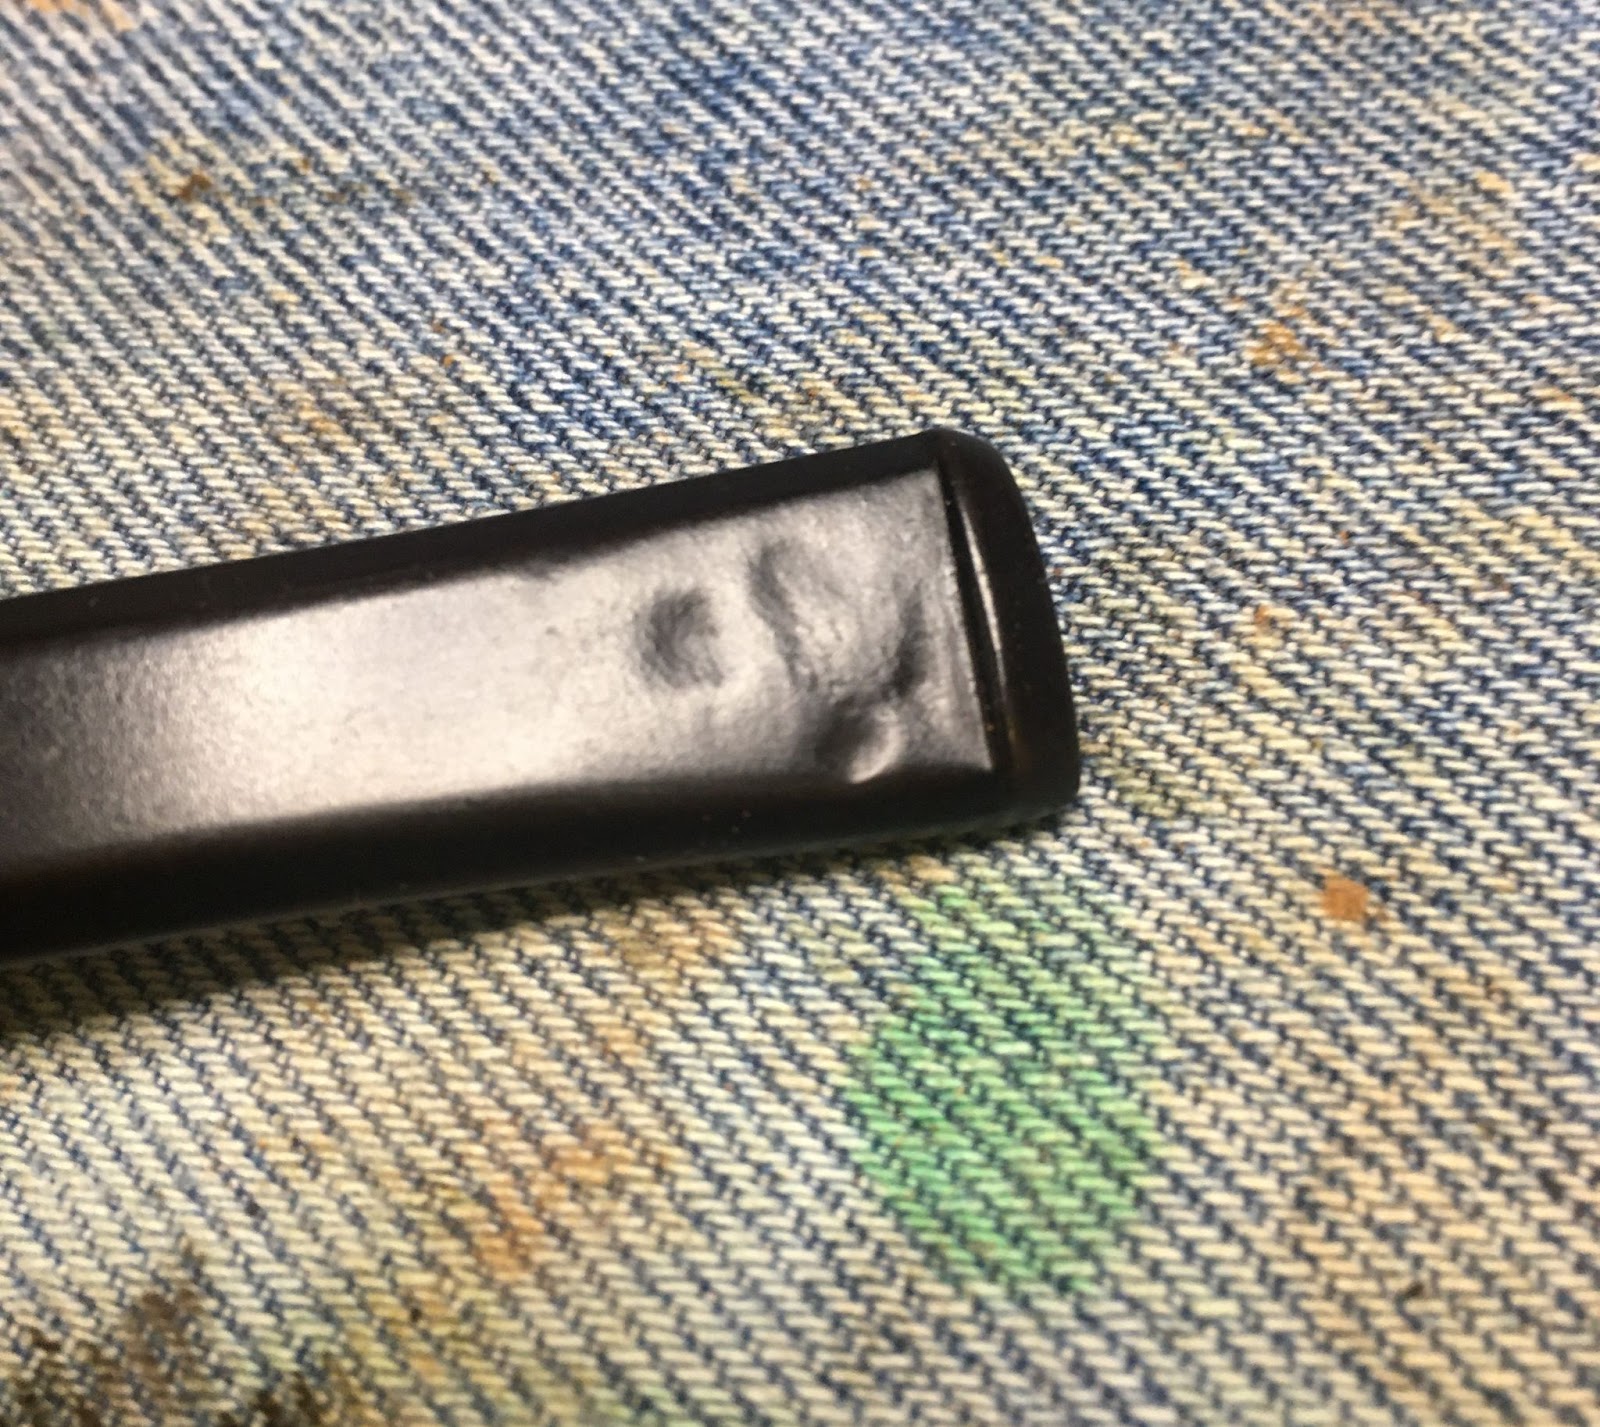
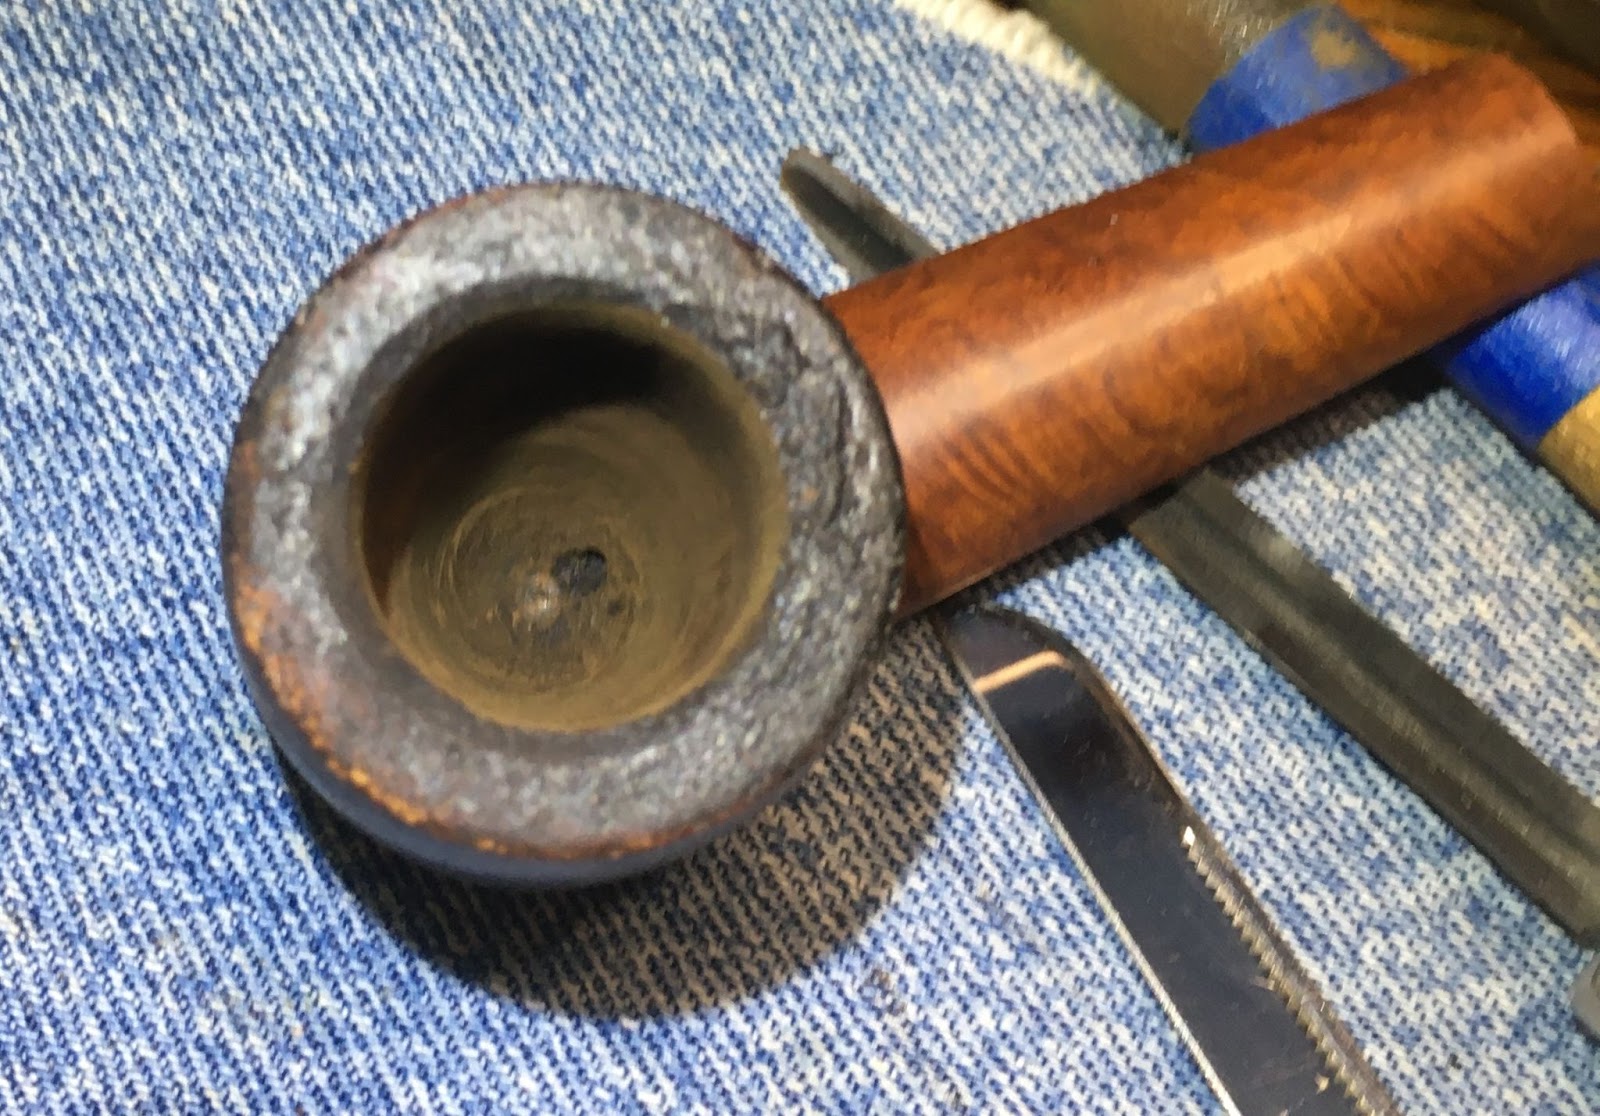
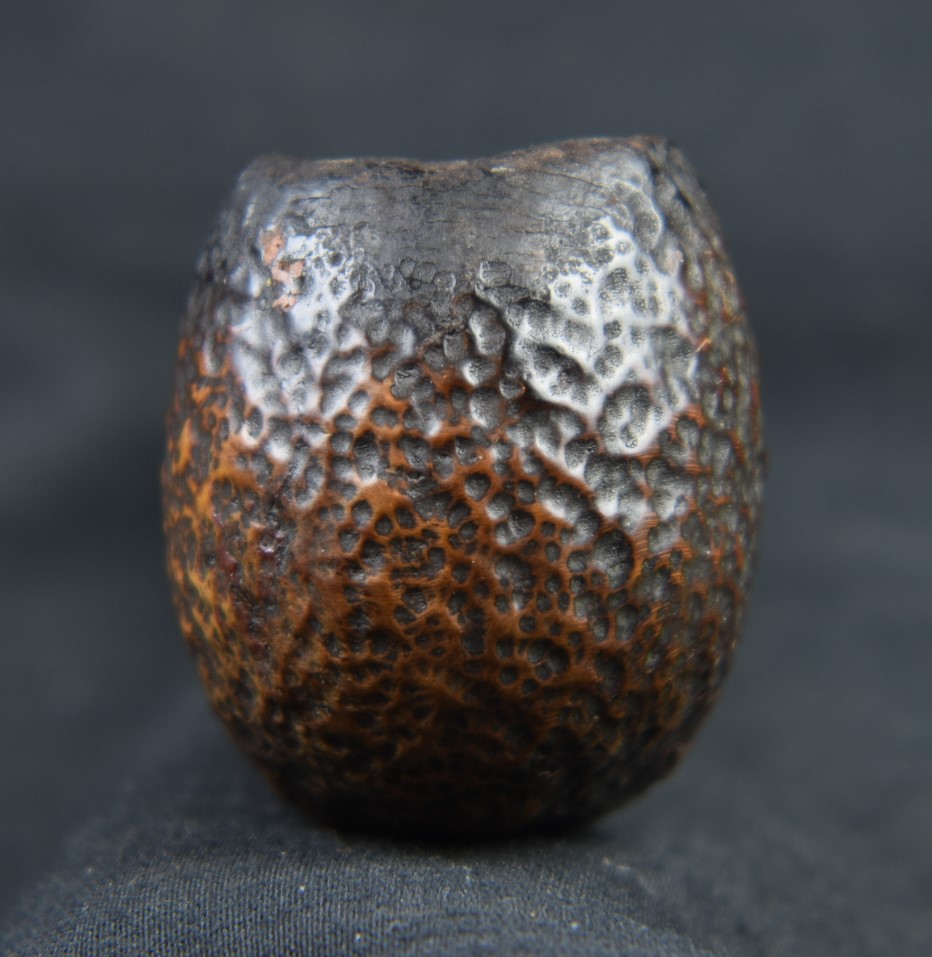
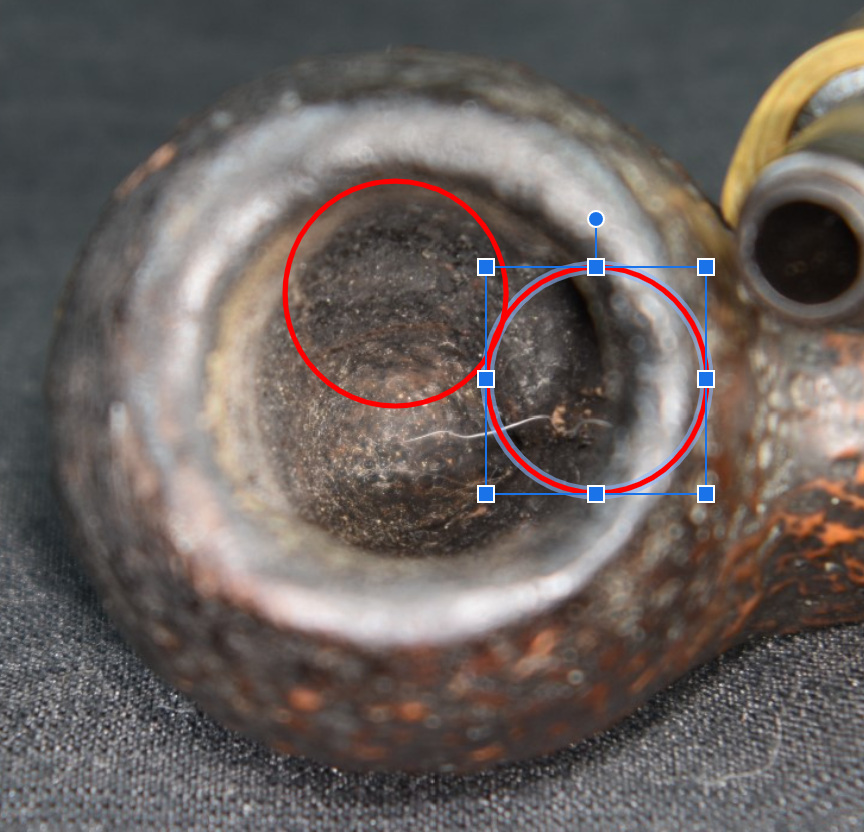
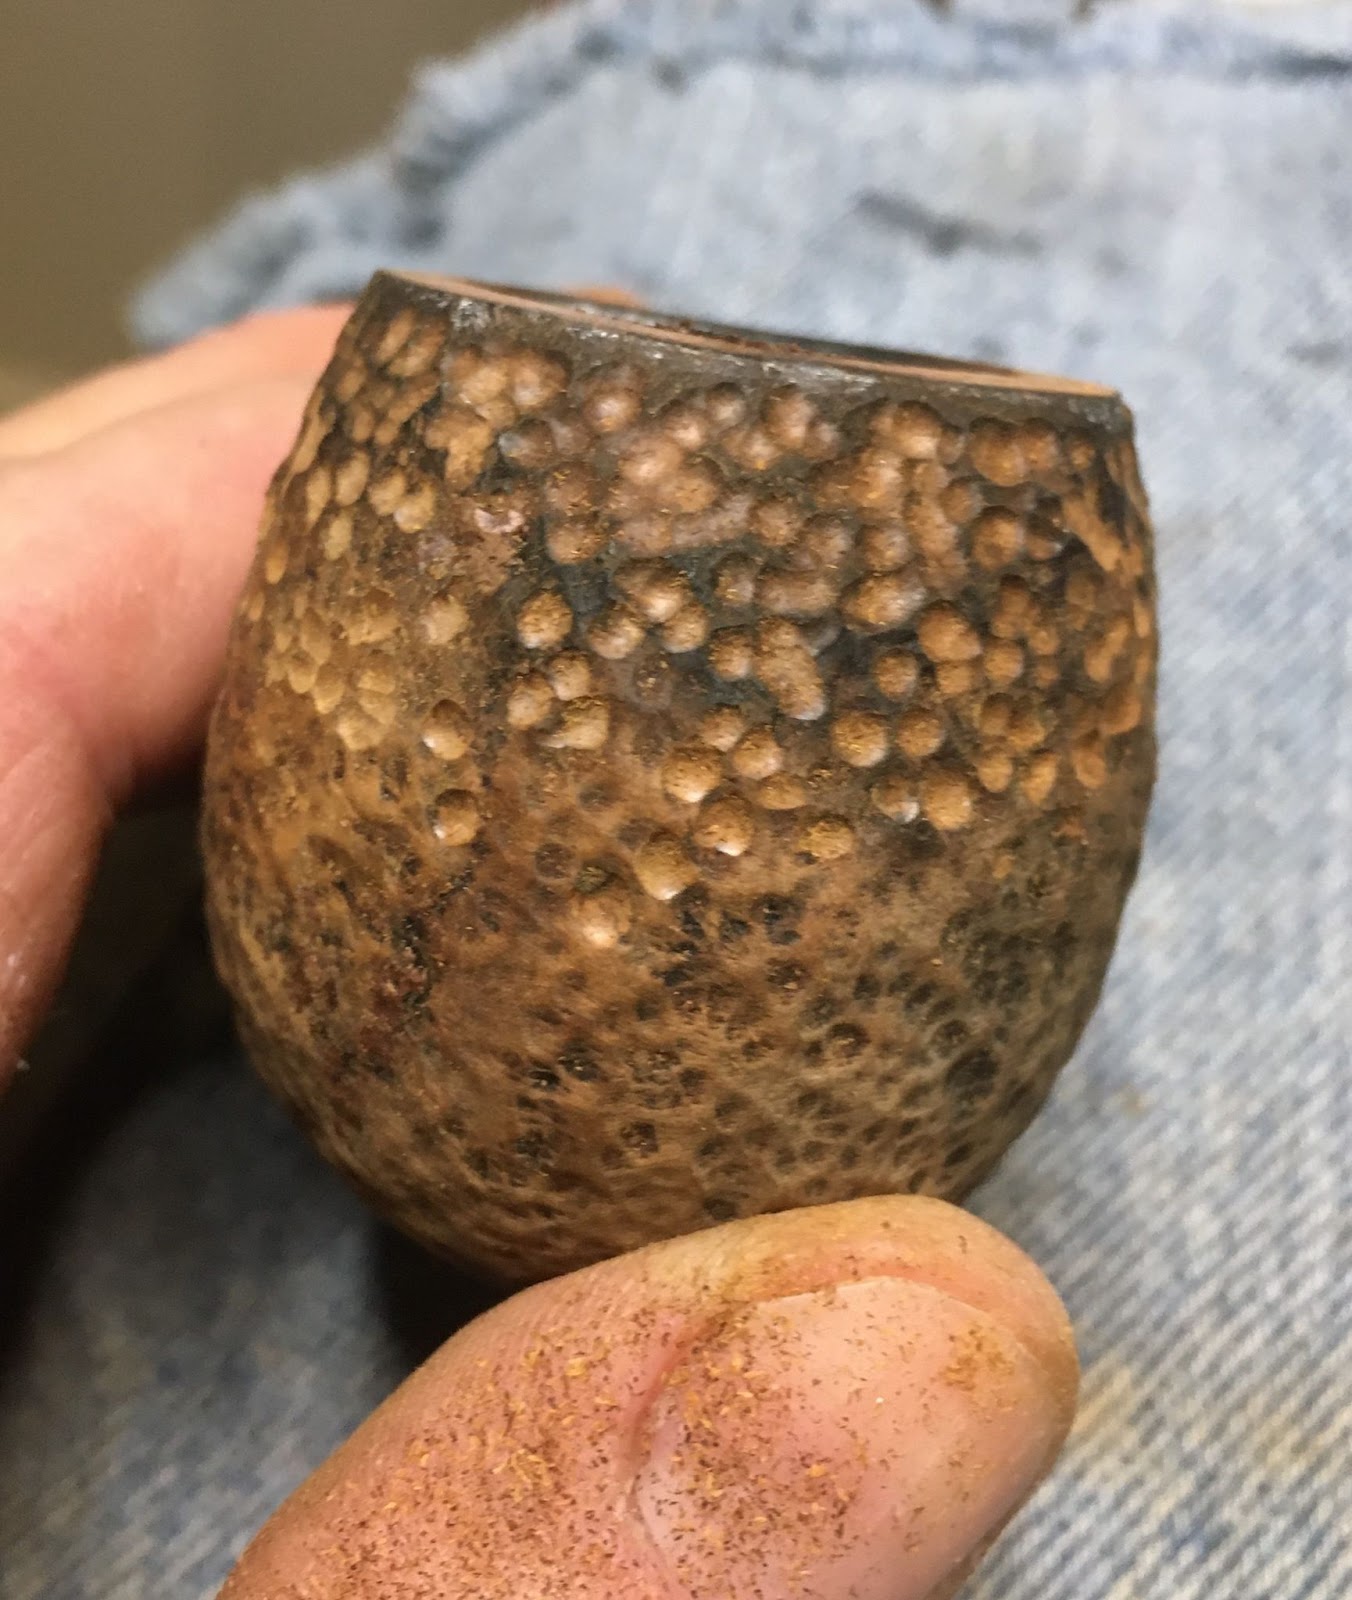
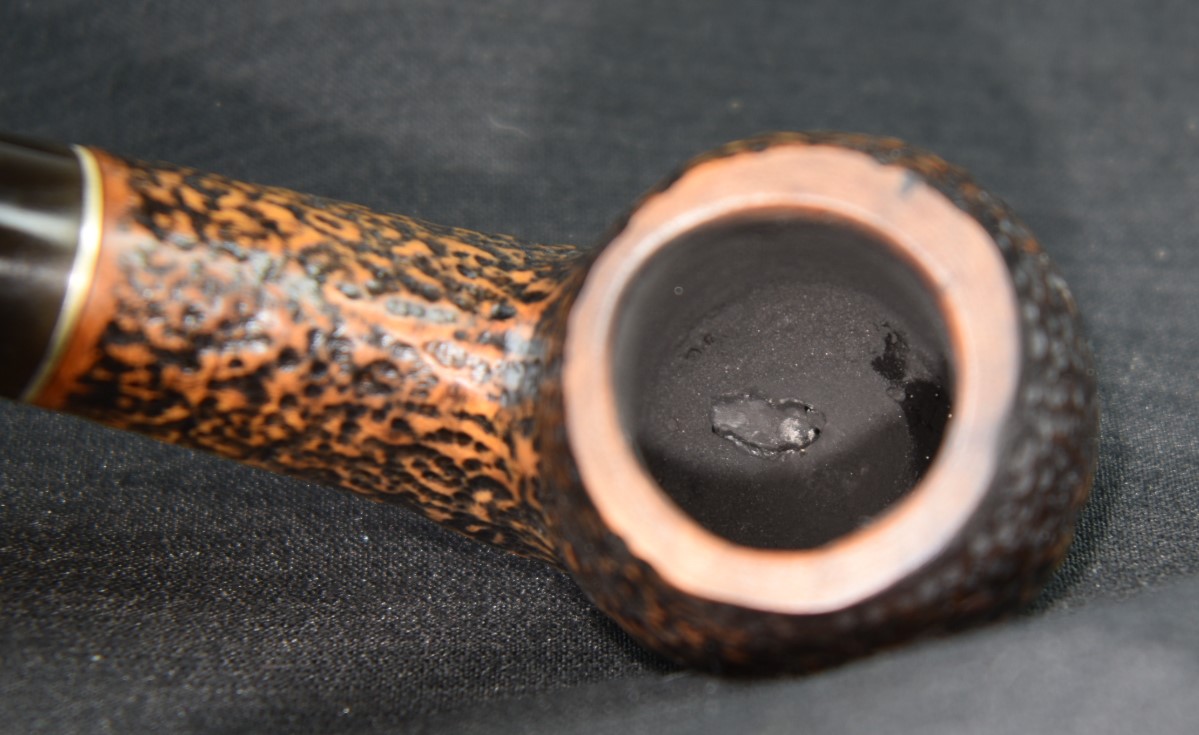
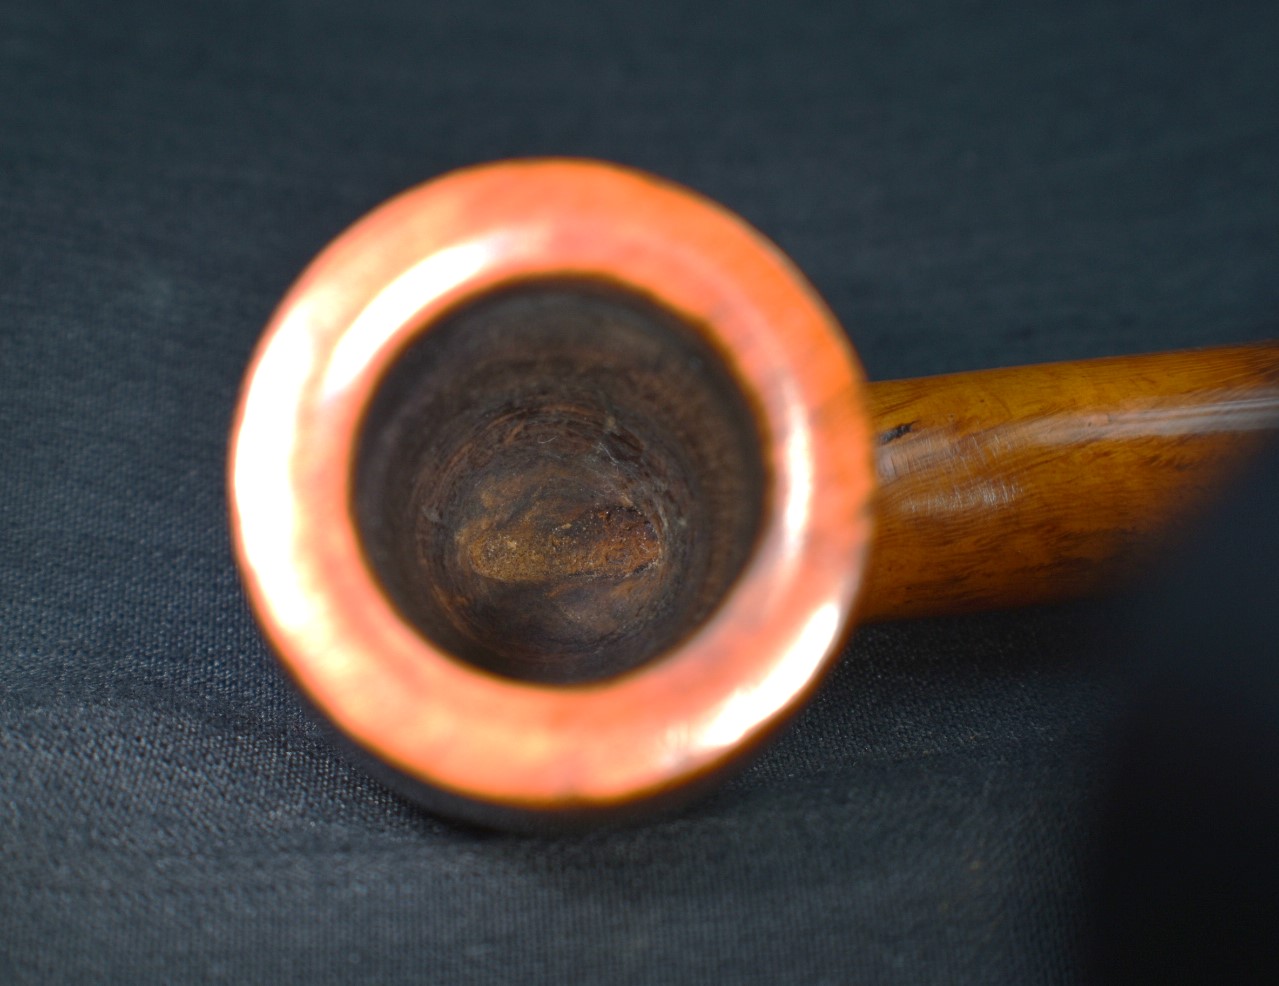
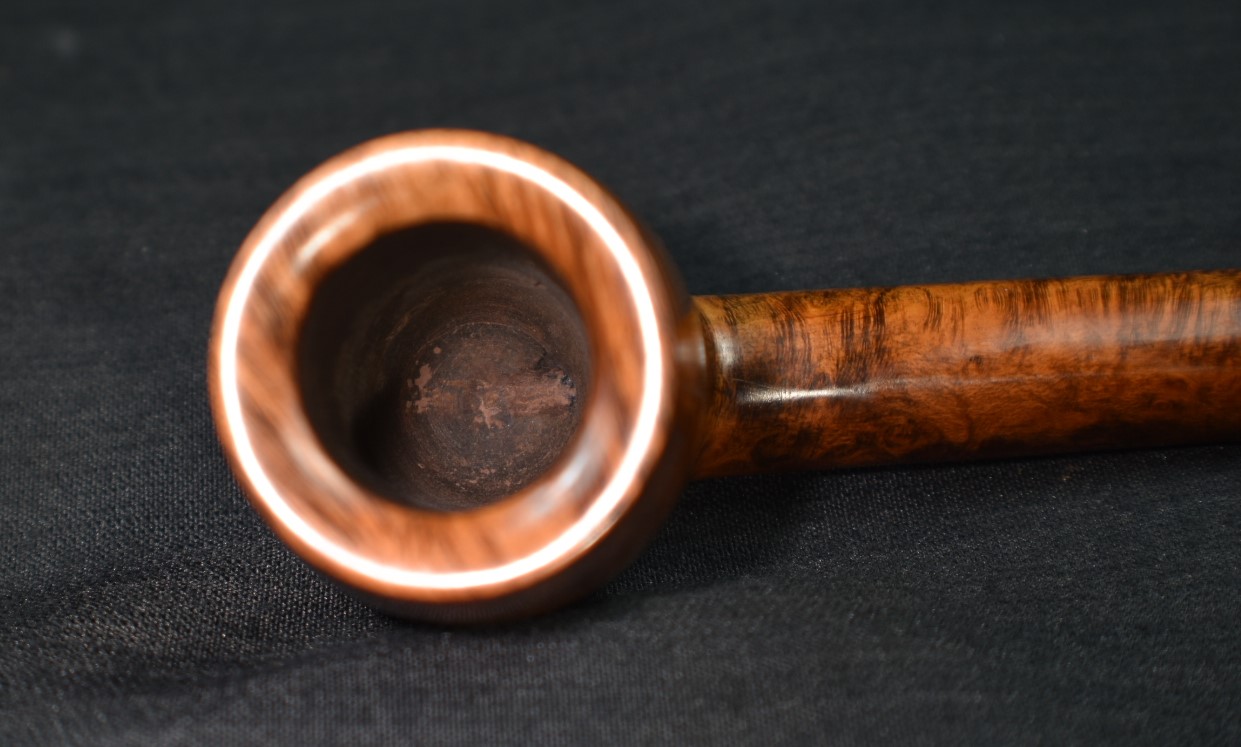
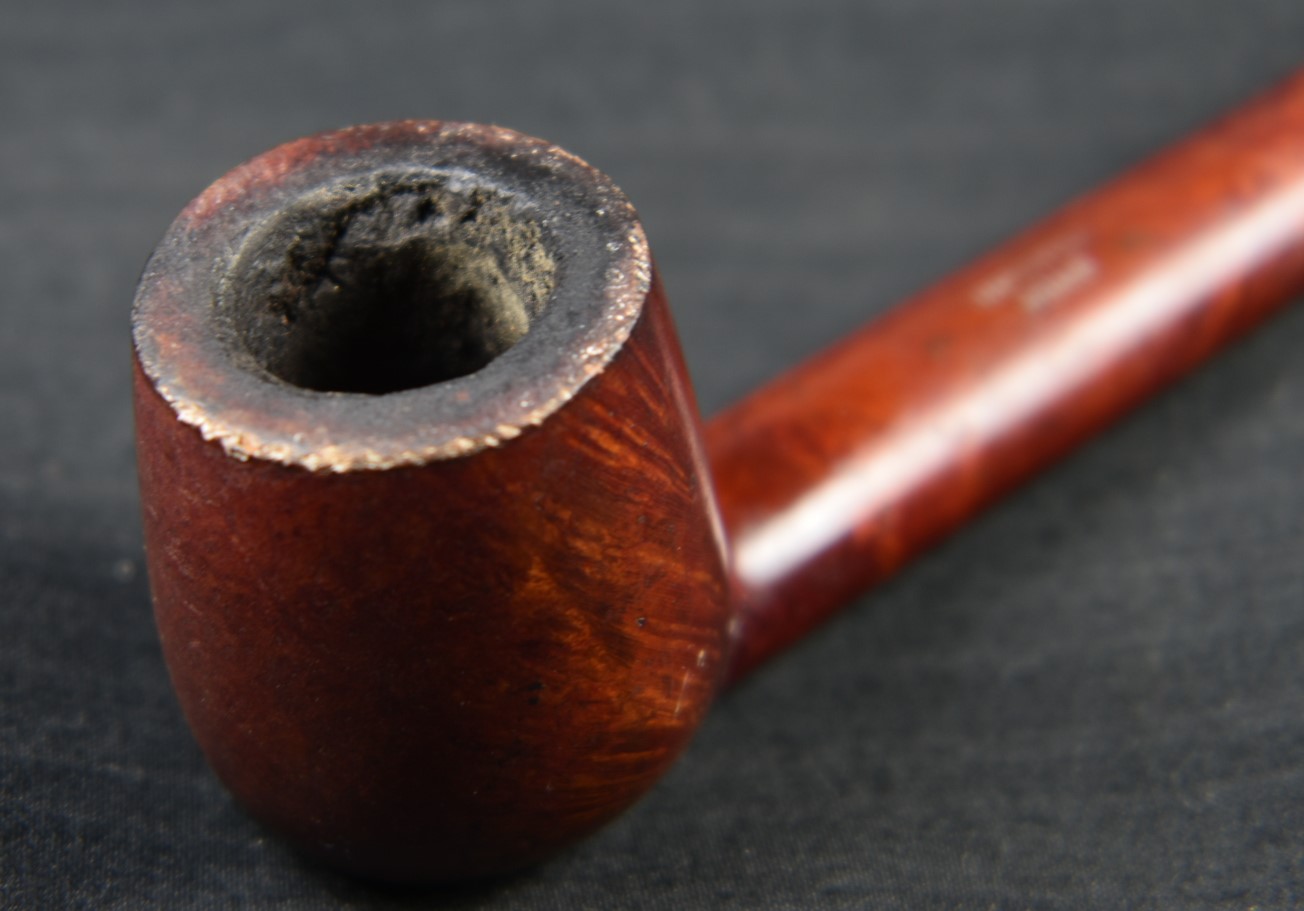
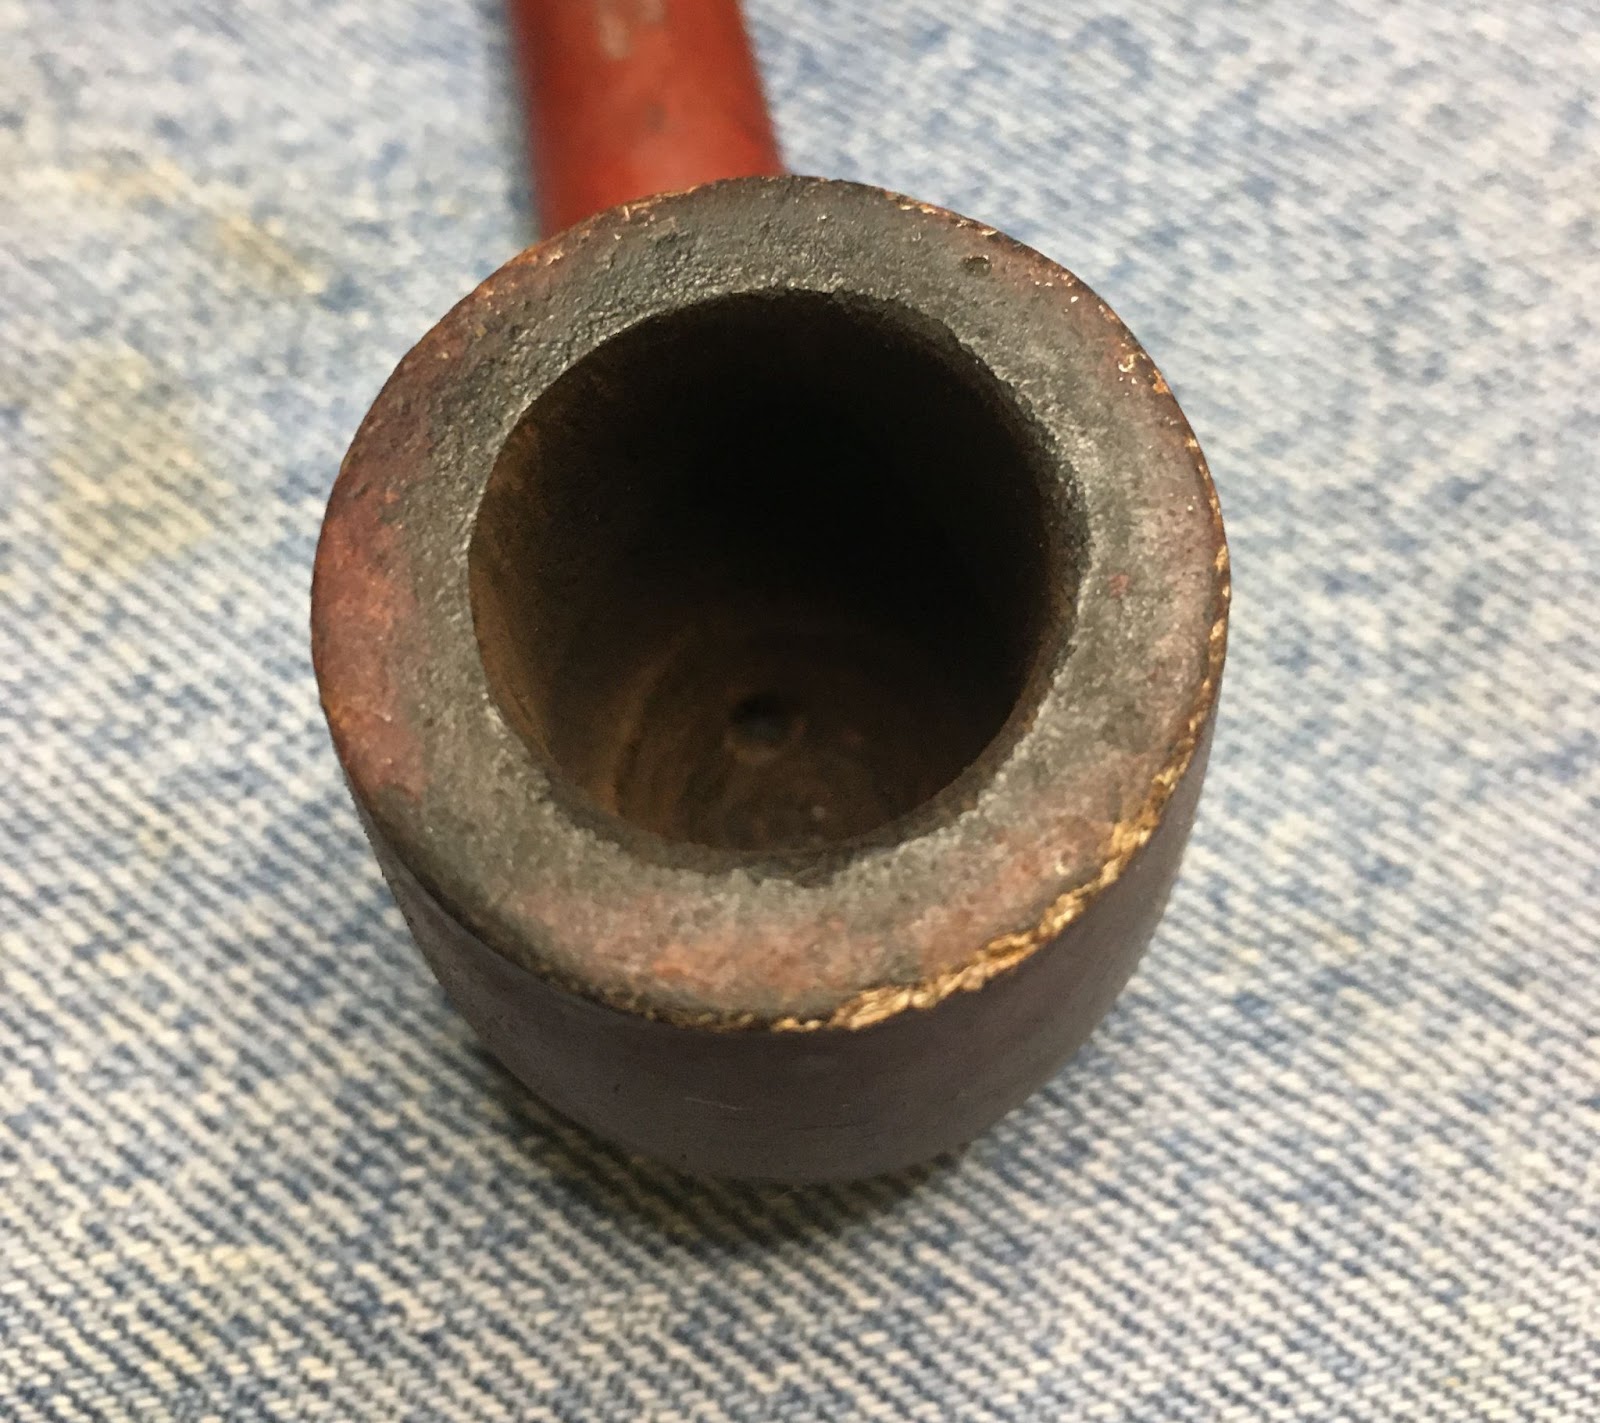
The rim of this old French billiard had definite lava accumulations. This was softened with saliva and scraped with a sharp pocket knife.

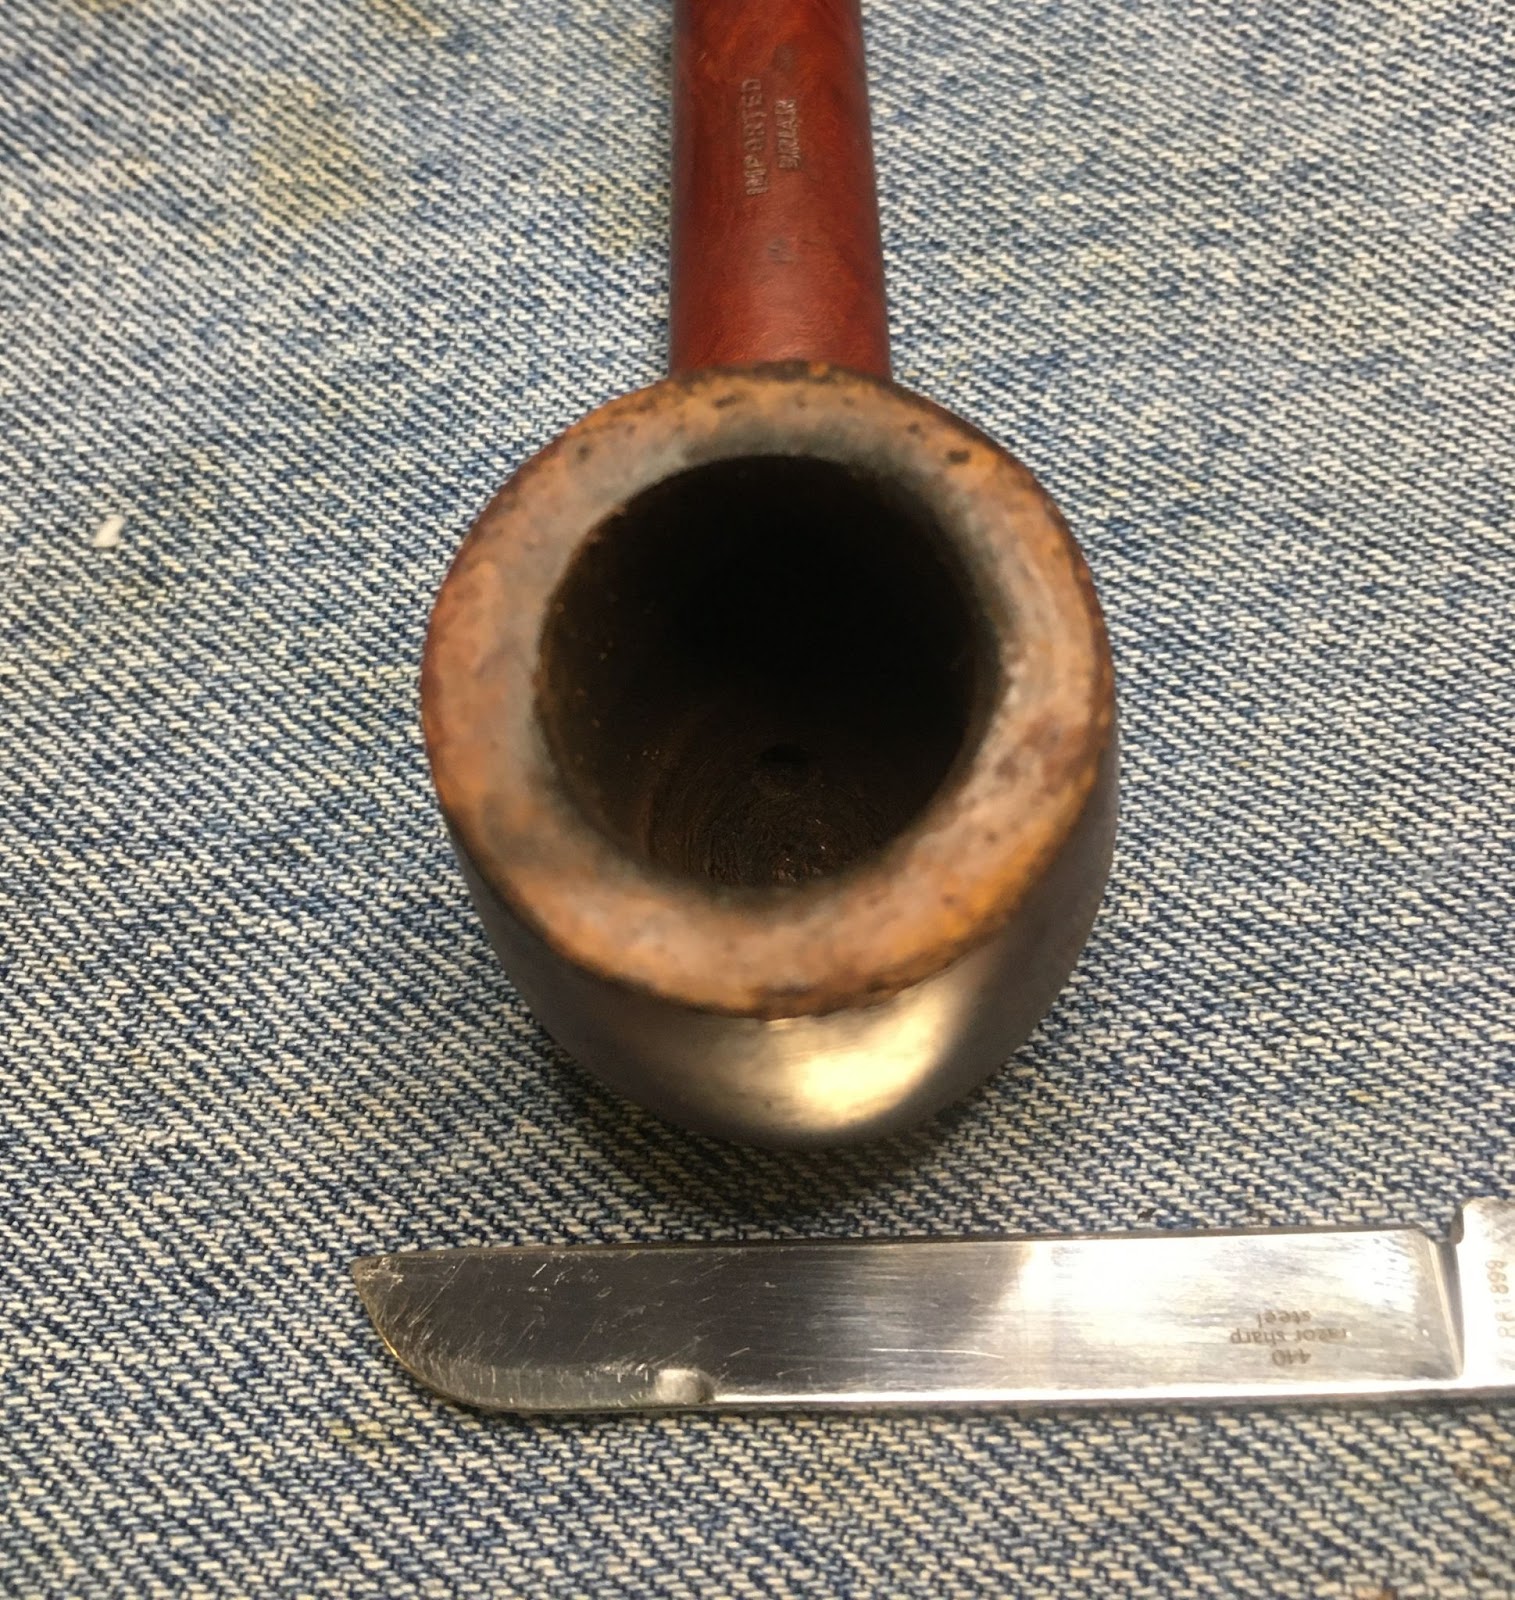
The scraped rim looked better but would require a good scrubbing.

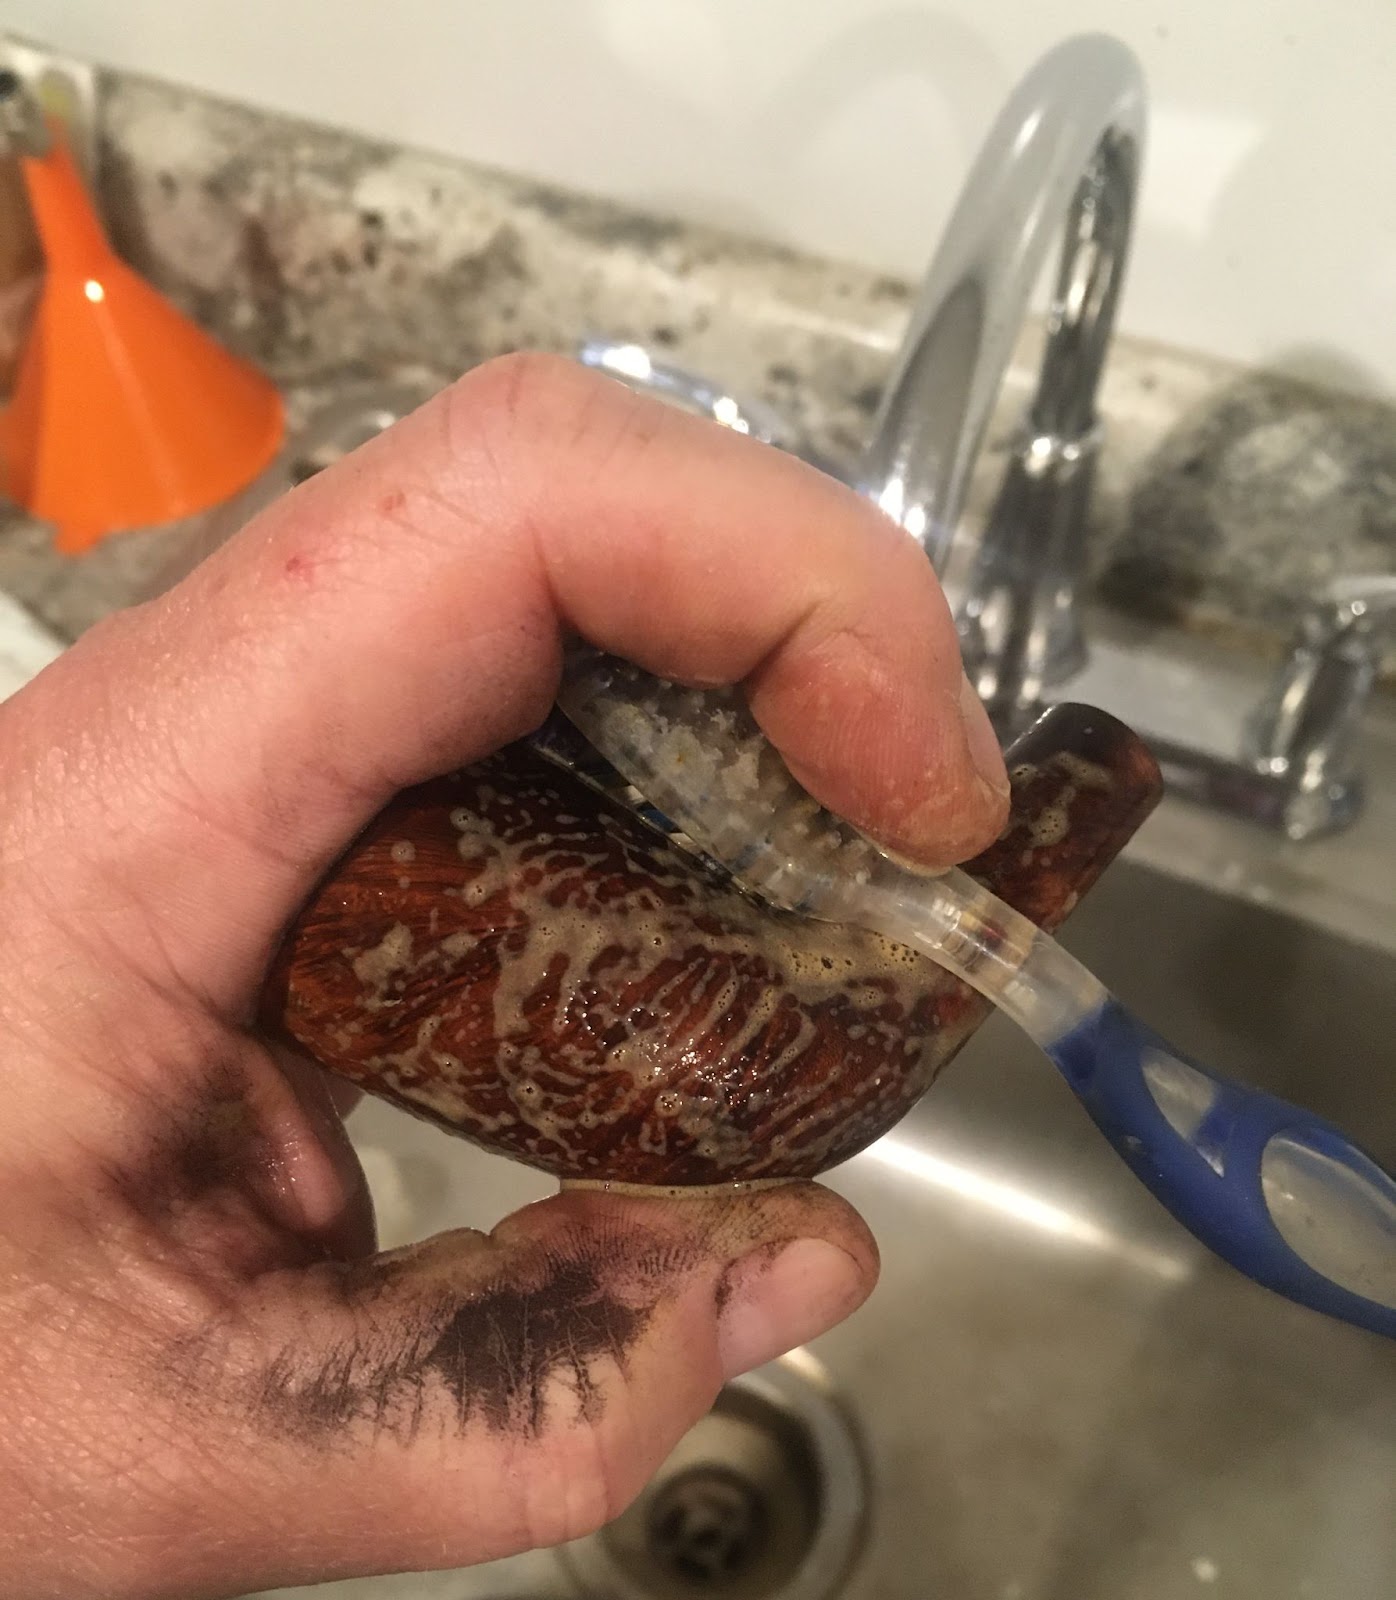
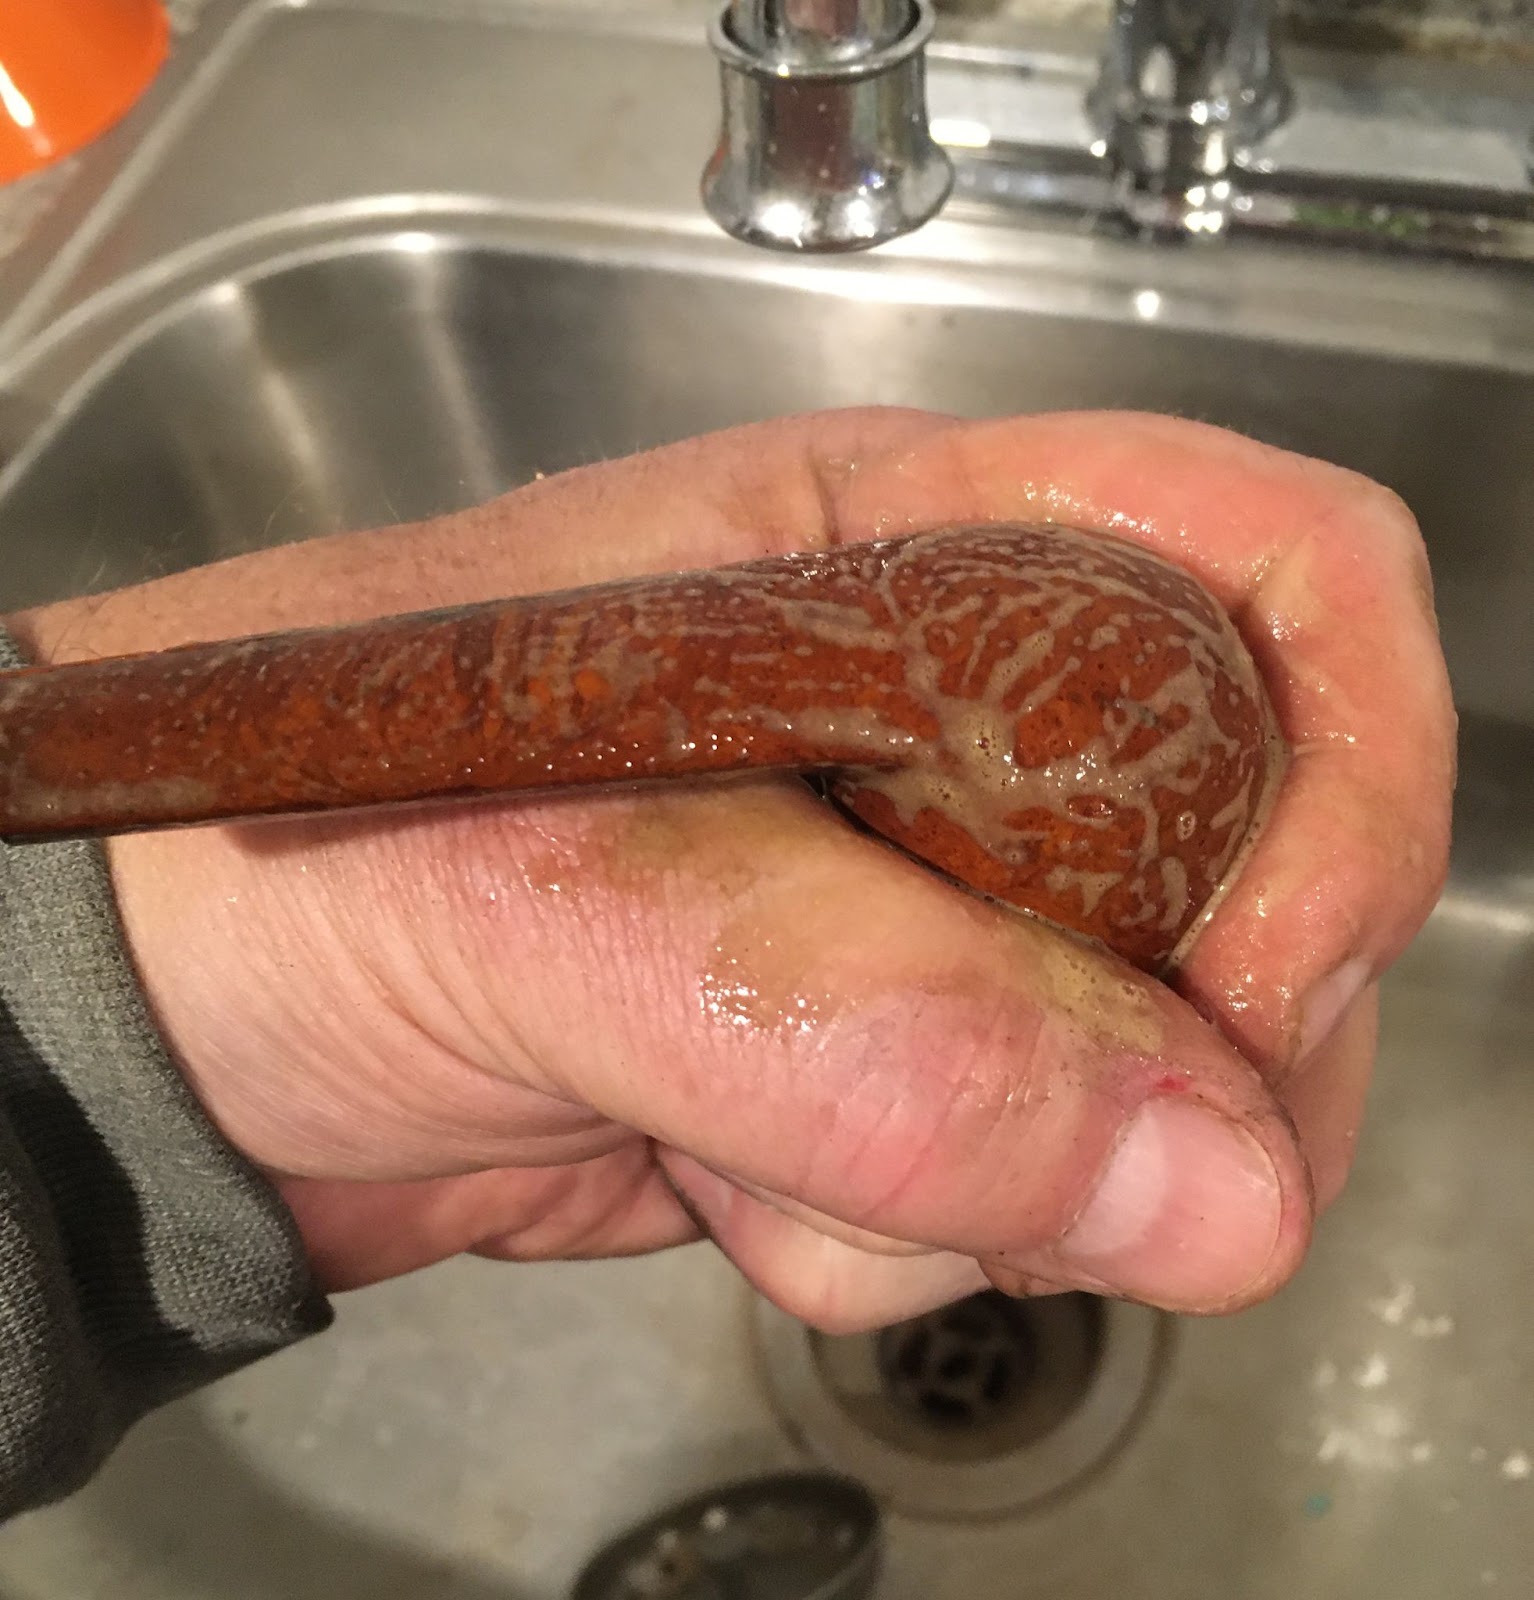
Seque to the scrubbing. The stummel was taken to the sink for a scrubbing with undiluted Murphy Oil Soap and a medium toothbrush. The soap was rinsed with warm water and the stummel was dried with a cotton dish towel.

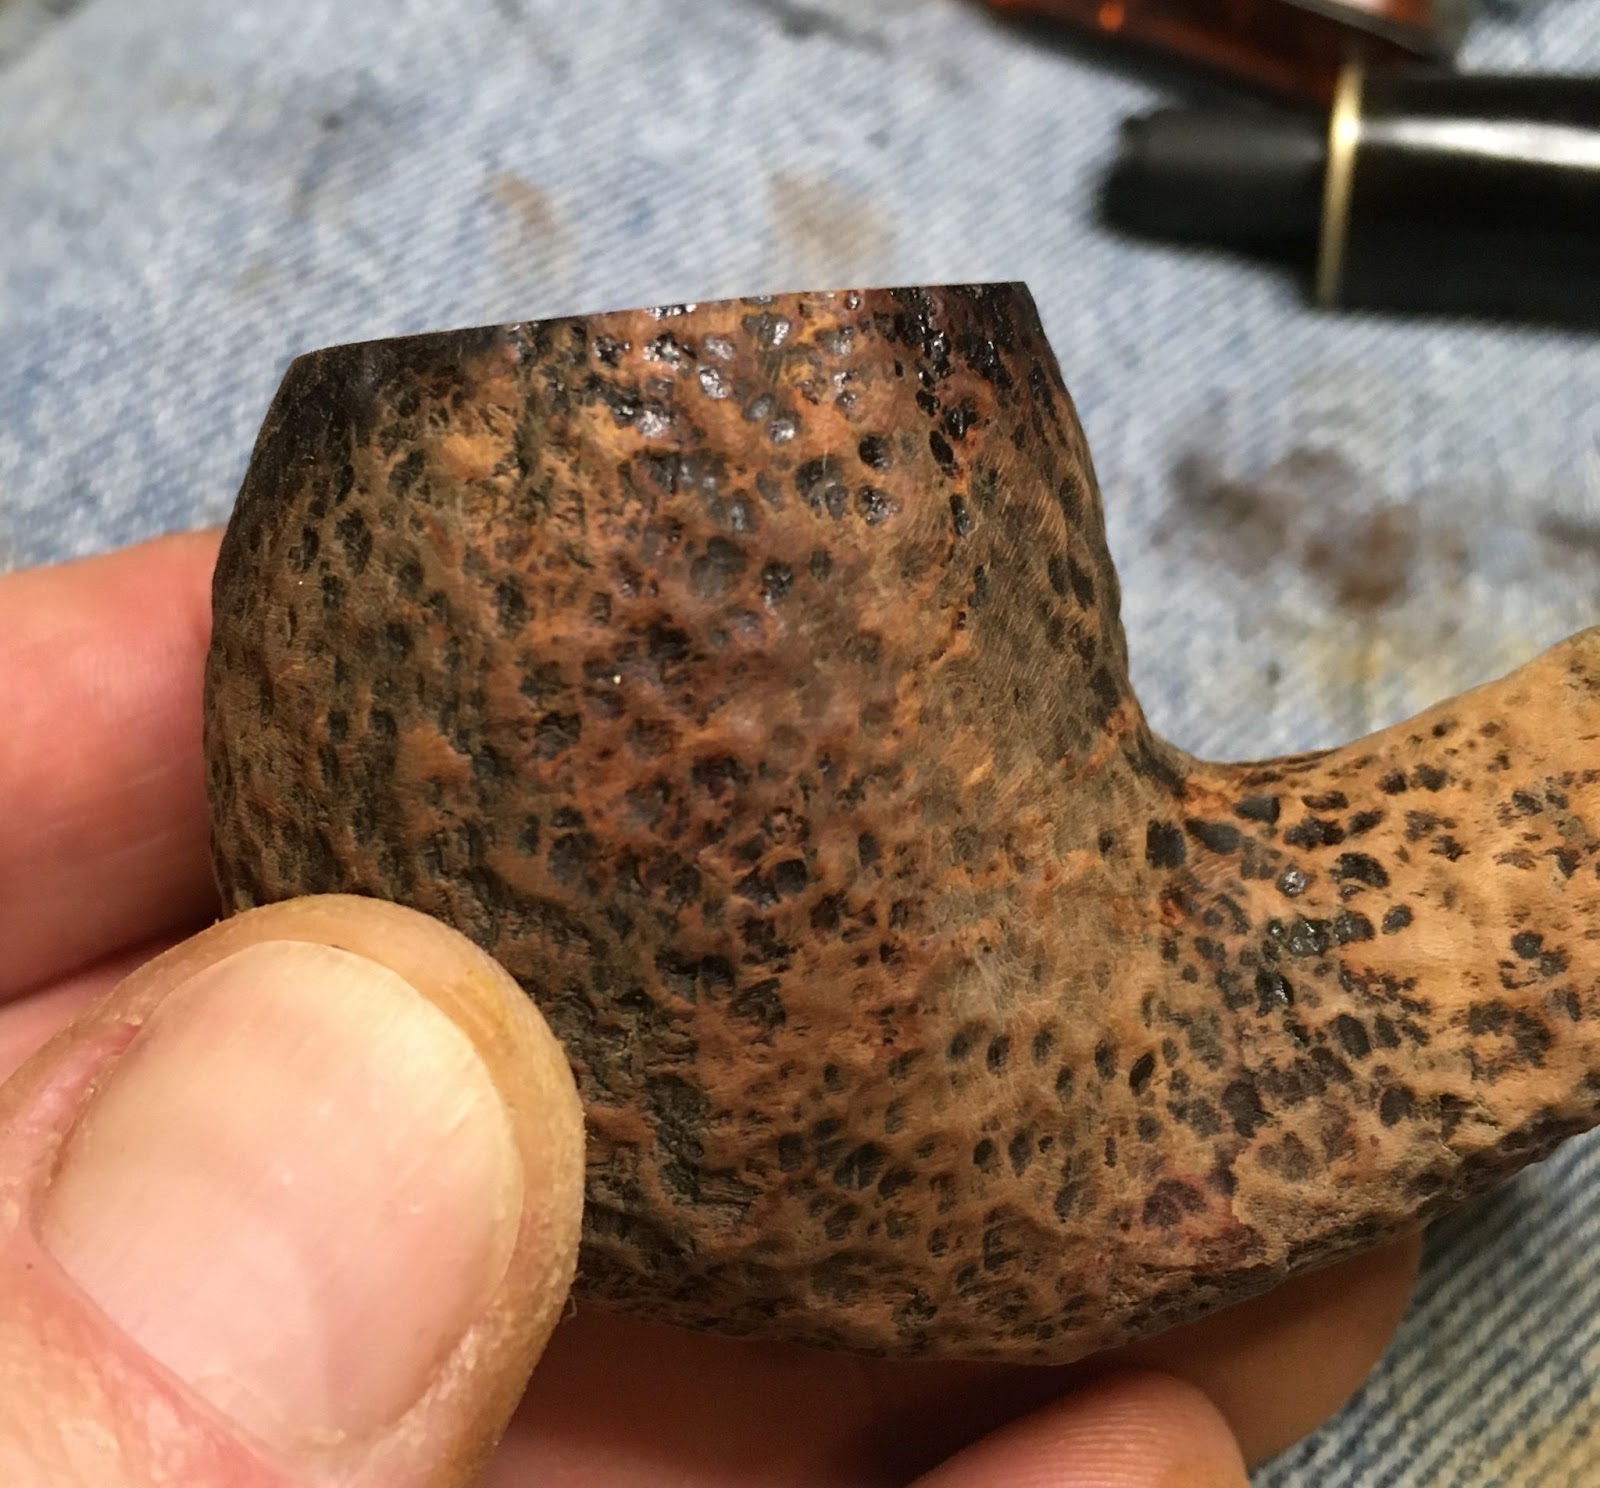
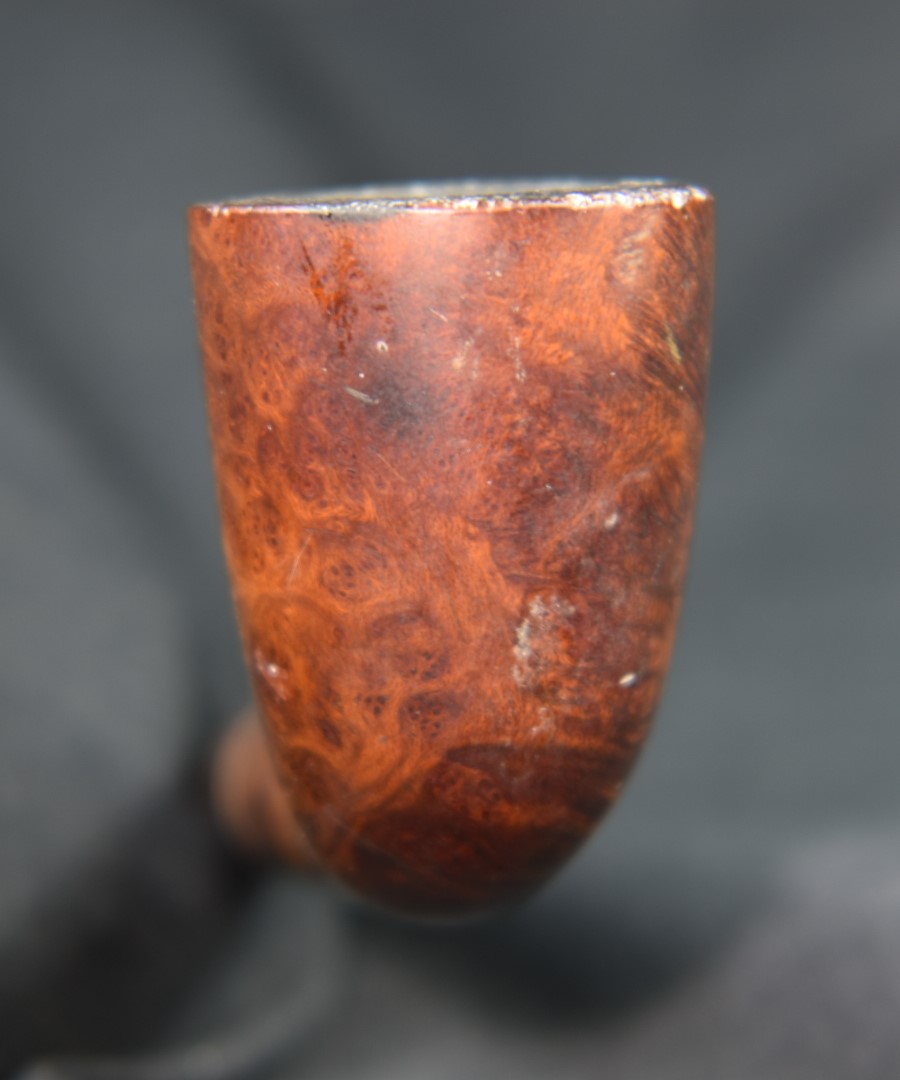
Back at the workbench the stummel appeared to have most of the finish removed during the scrubbing. The briar looked dull and flat except in a few areas where some finish remained.


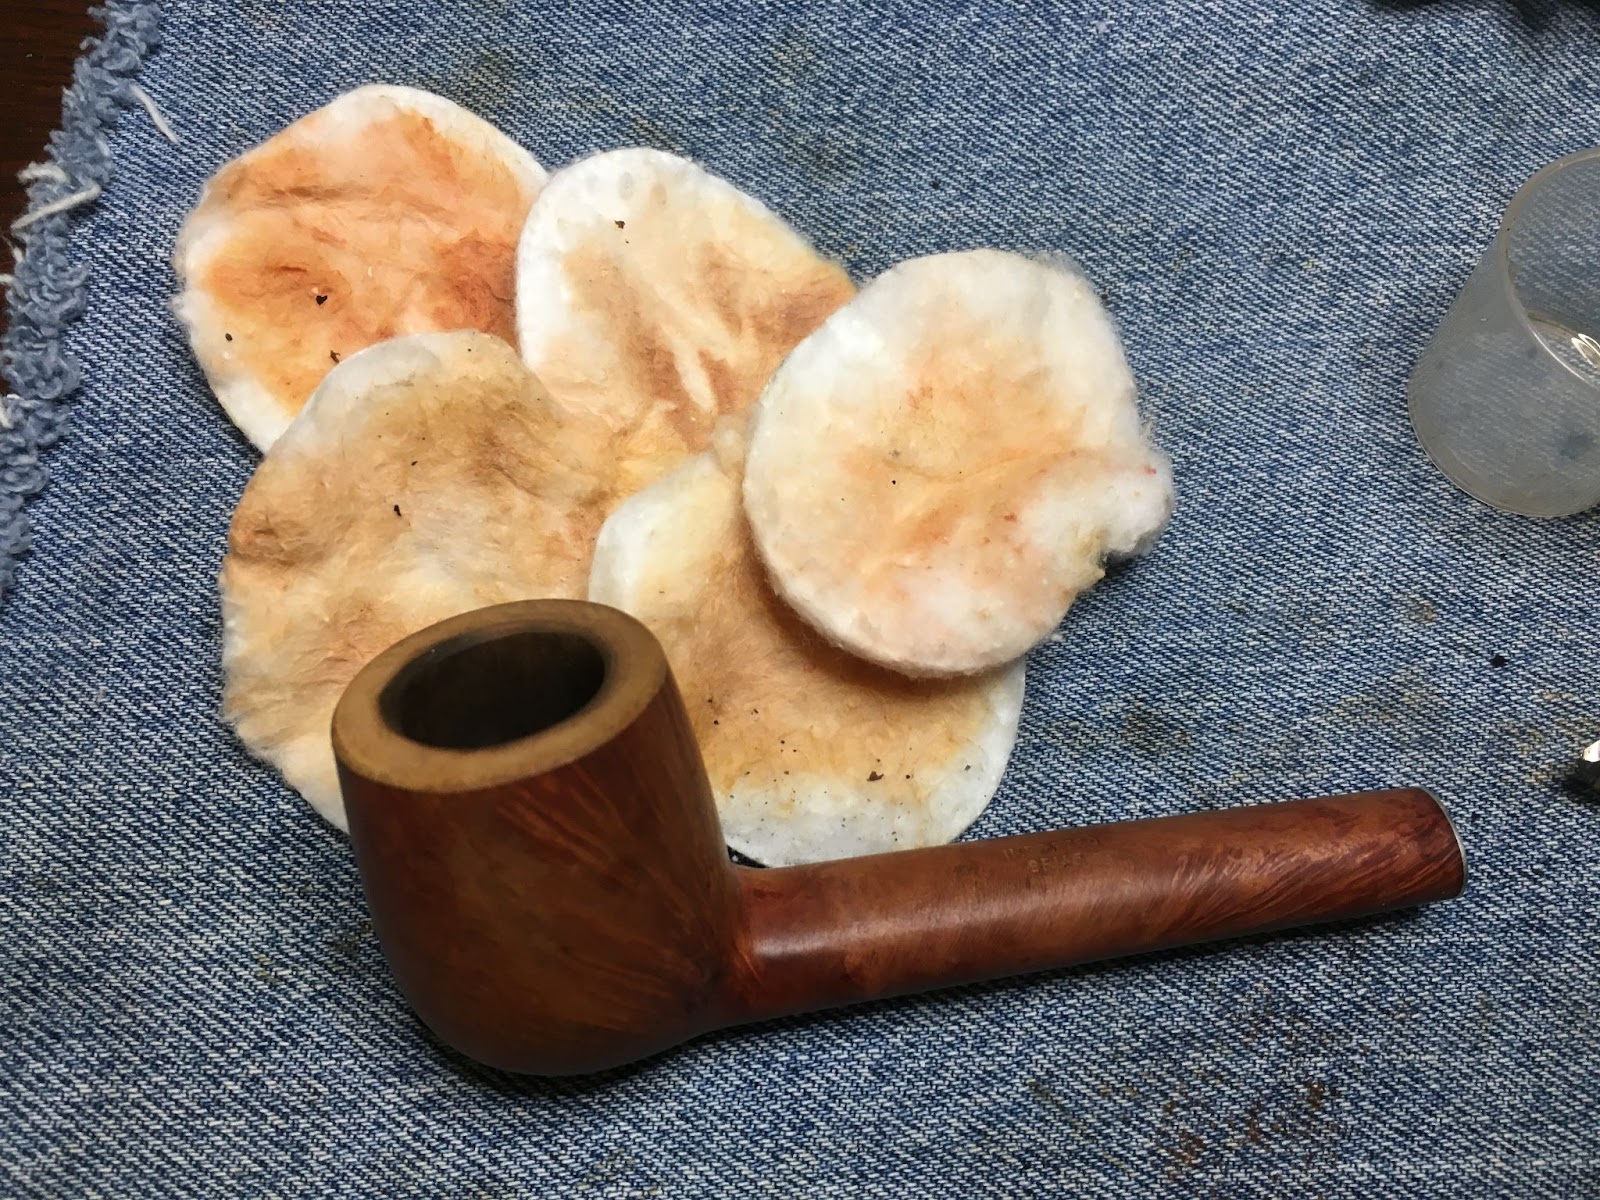
An 95% ethyl alcohol wetted make-up pad was used to scrub the stummel. A good deal of color came off the stummel. This indicated that wax, finish and stain were being removed.

A second alcohol wipe yielded more color.

To make sure no coatings remained a wipe with a make-up pad with acetone was used. This time only a little bit of stain was present on the pad.

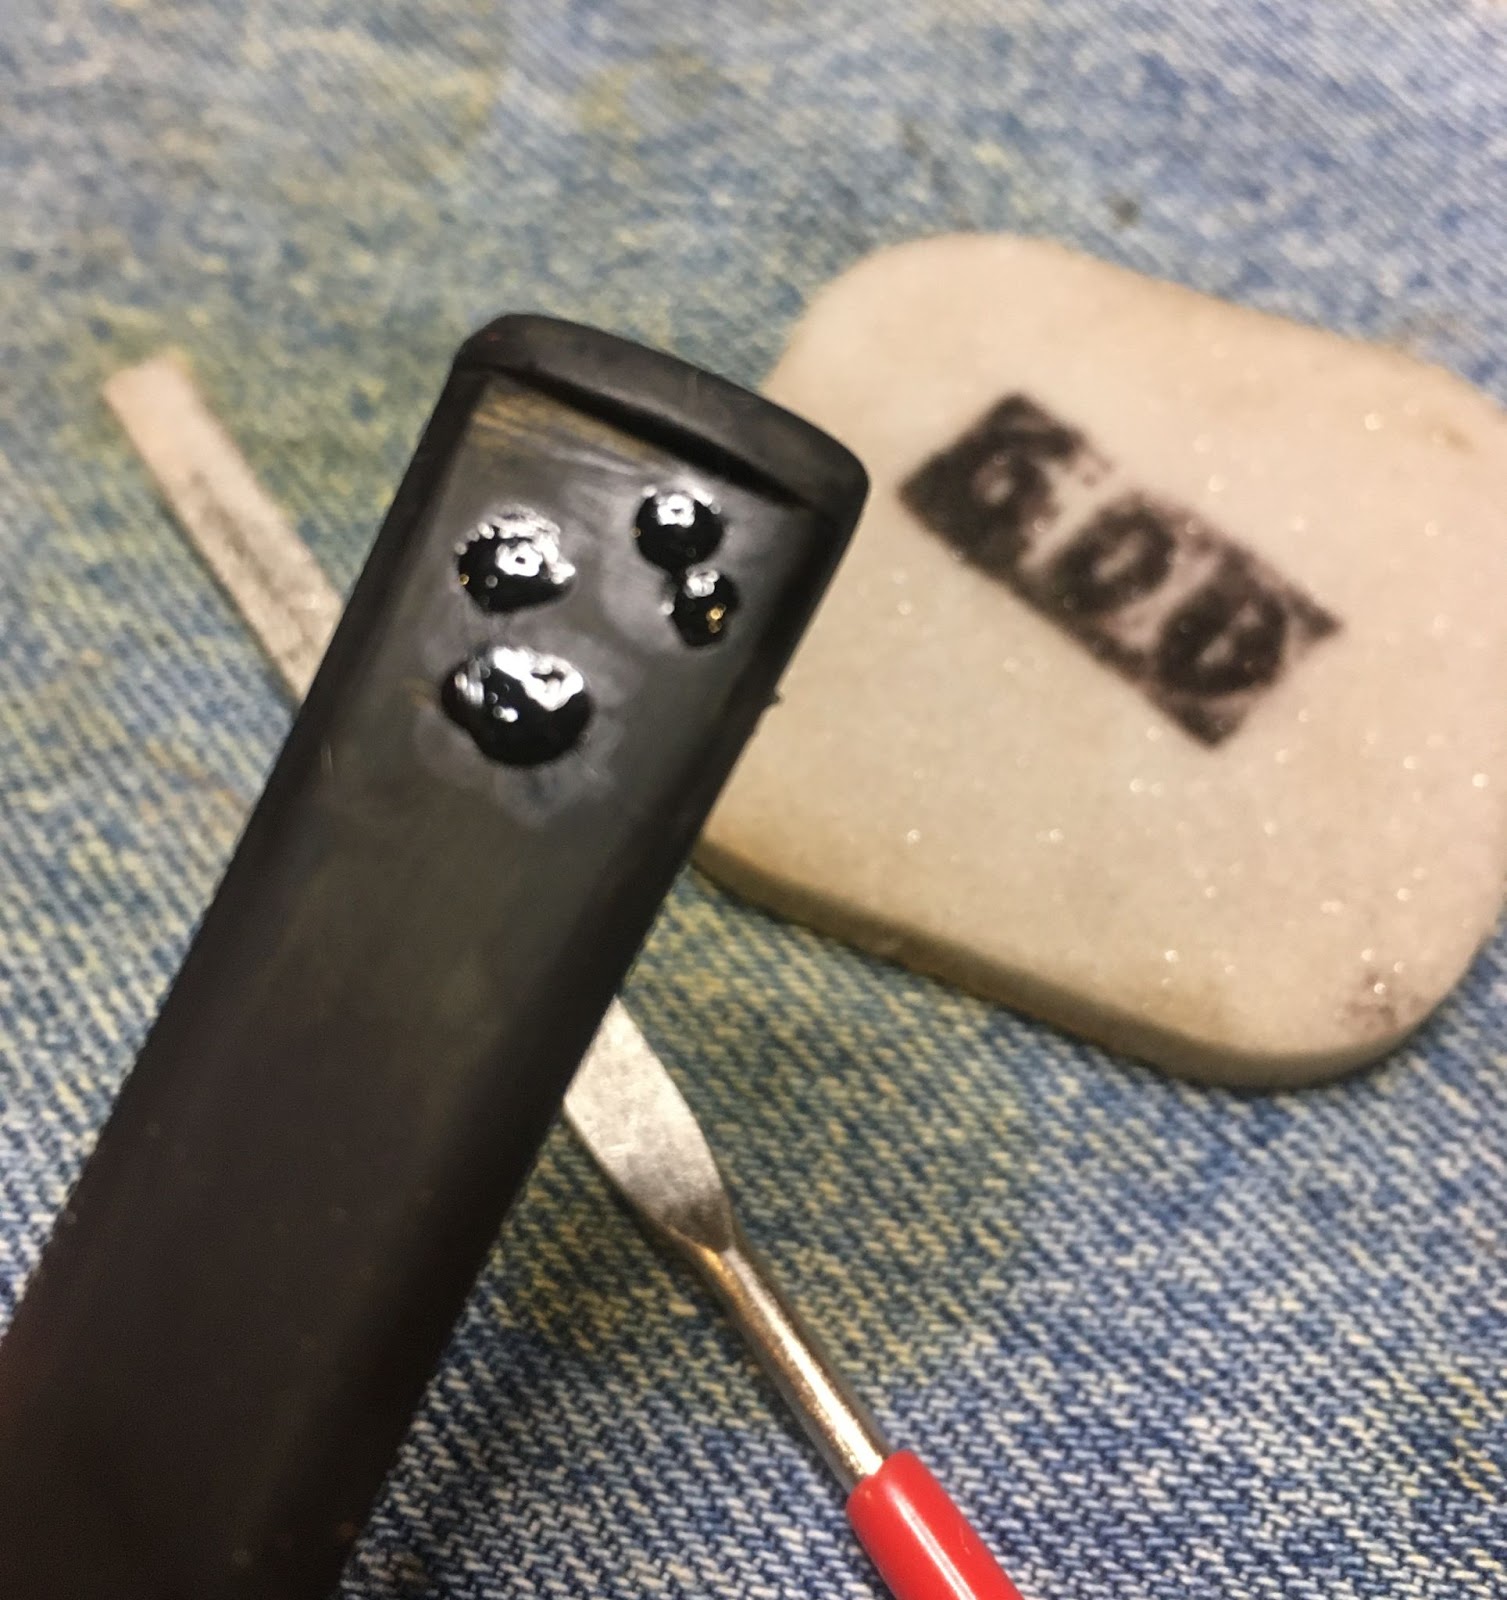
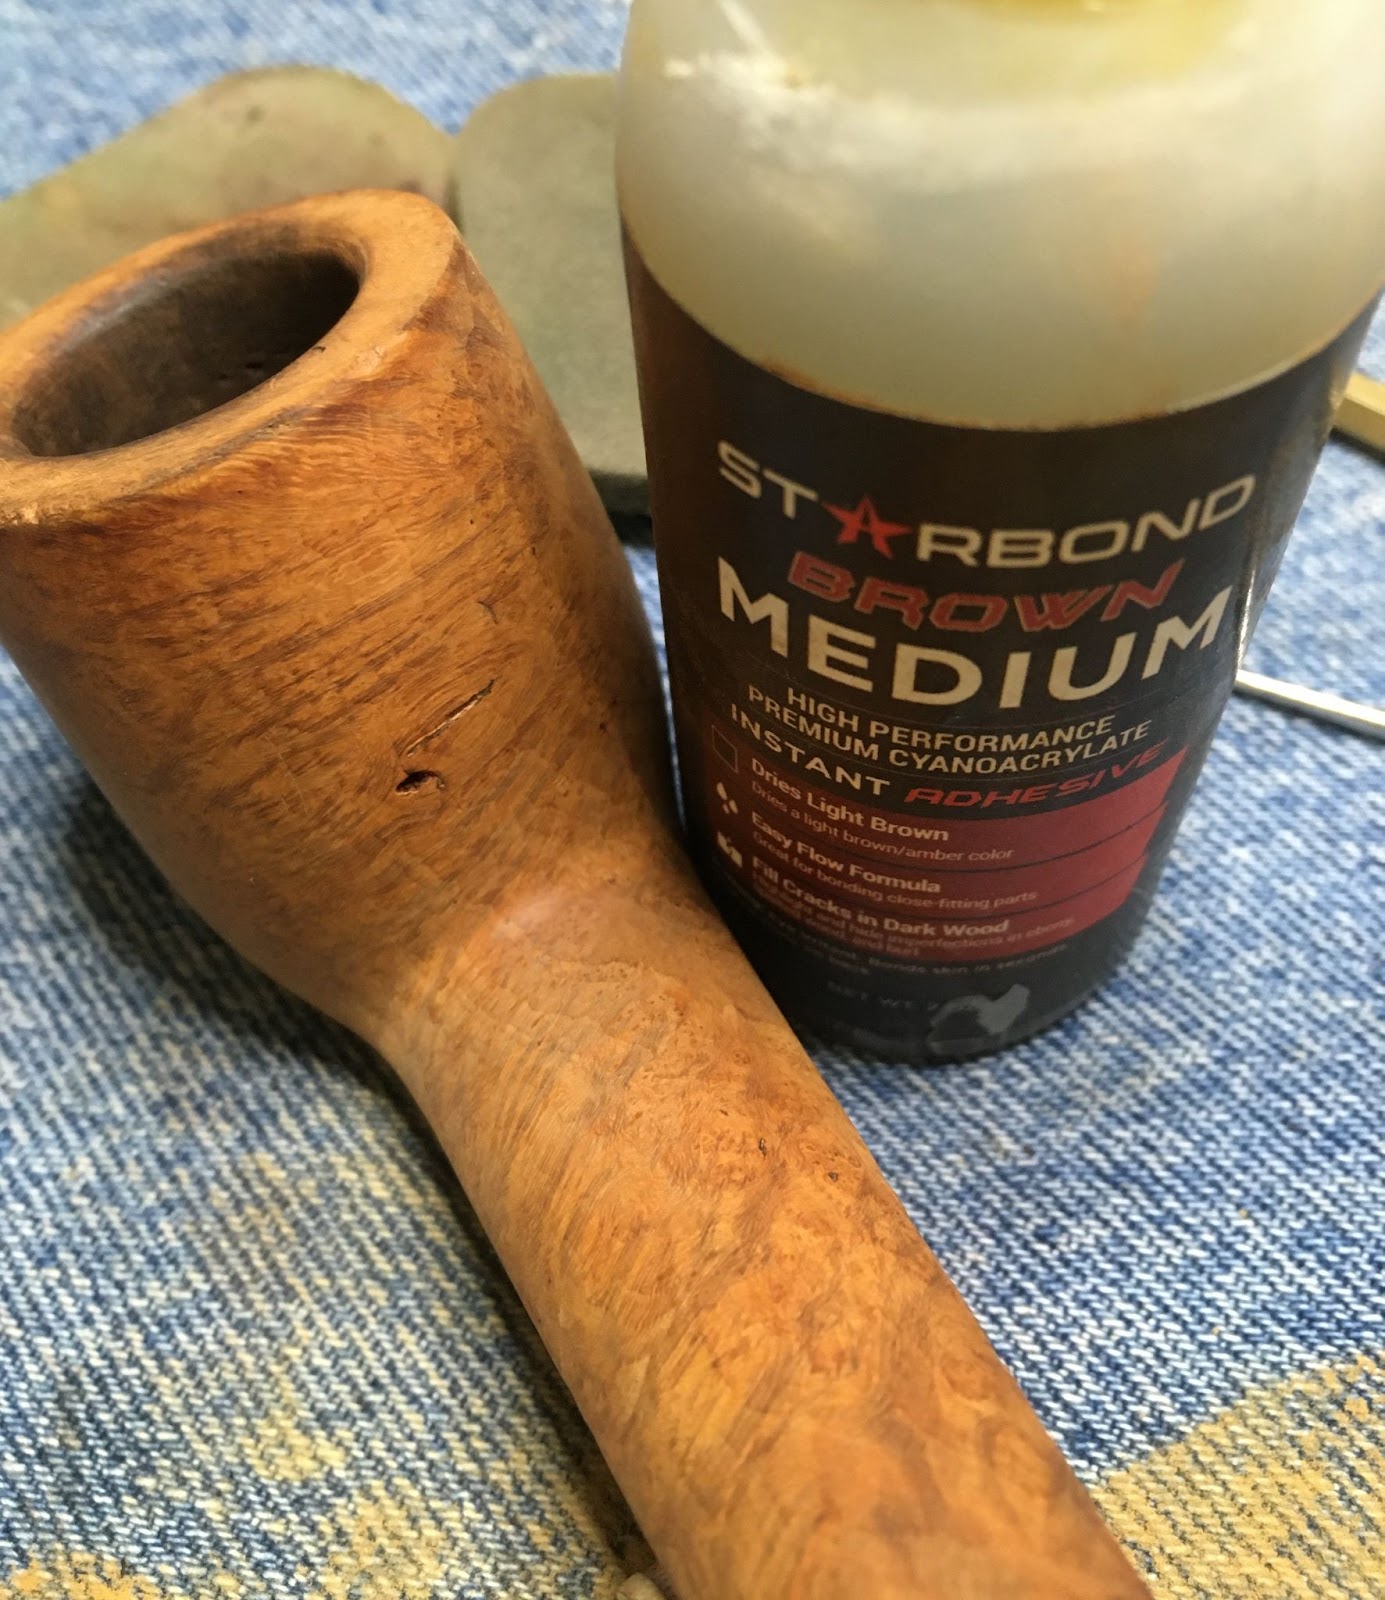
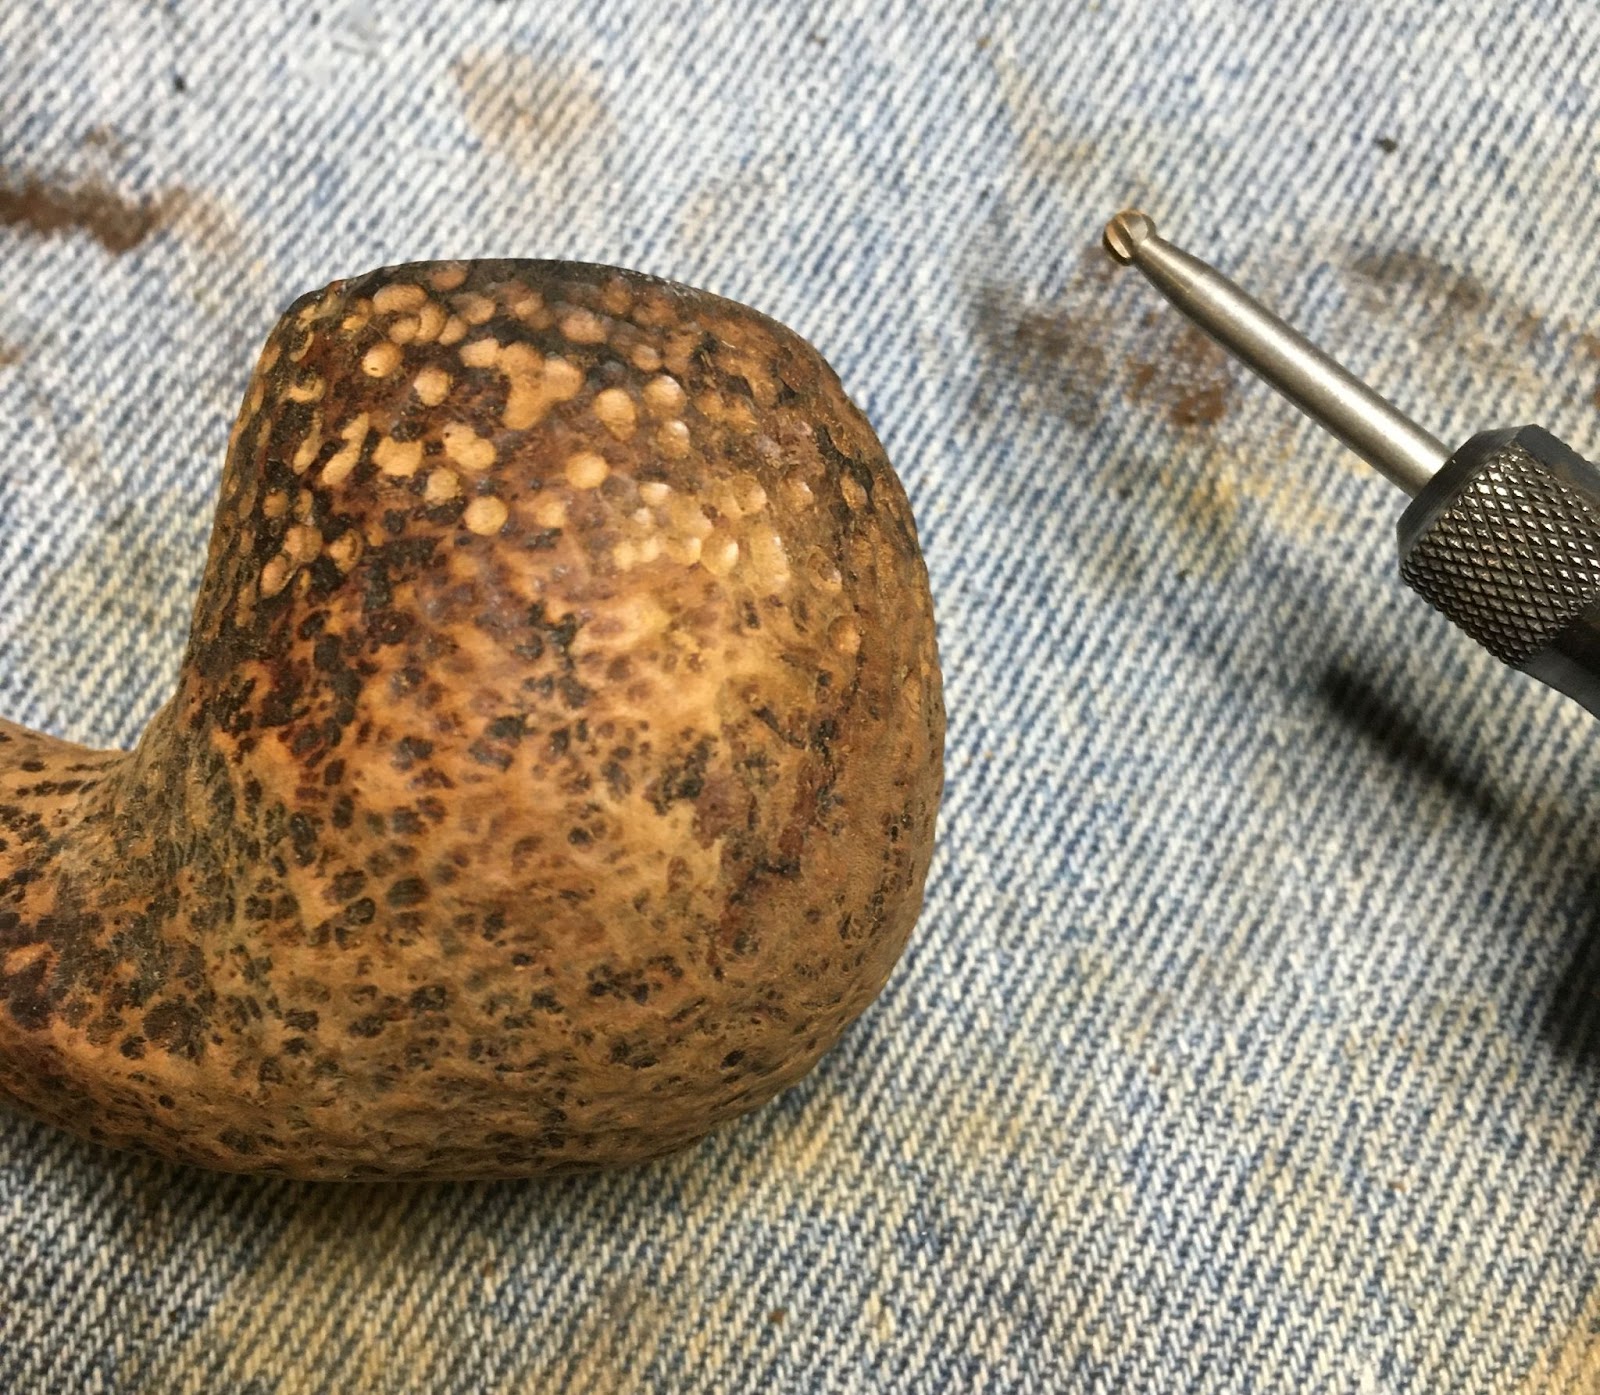
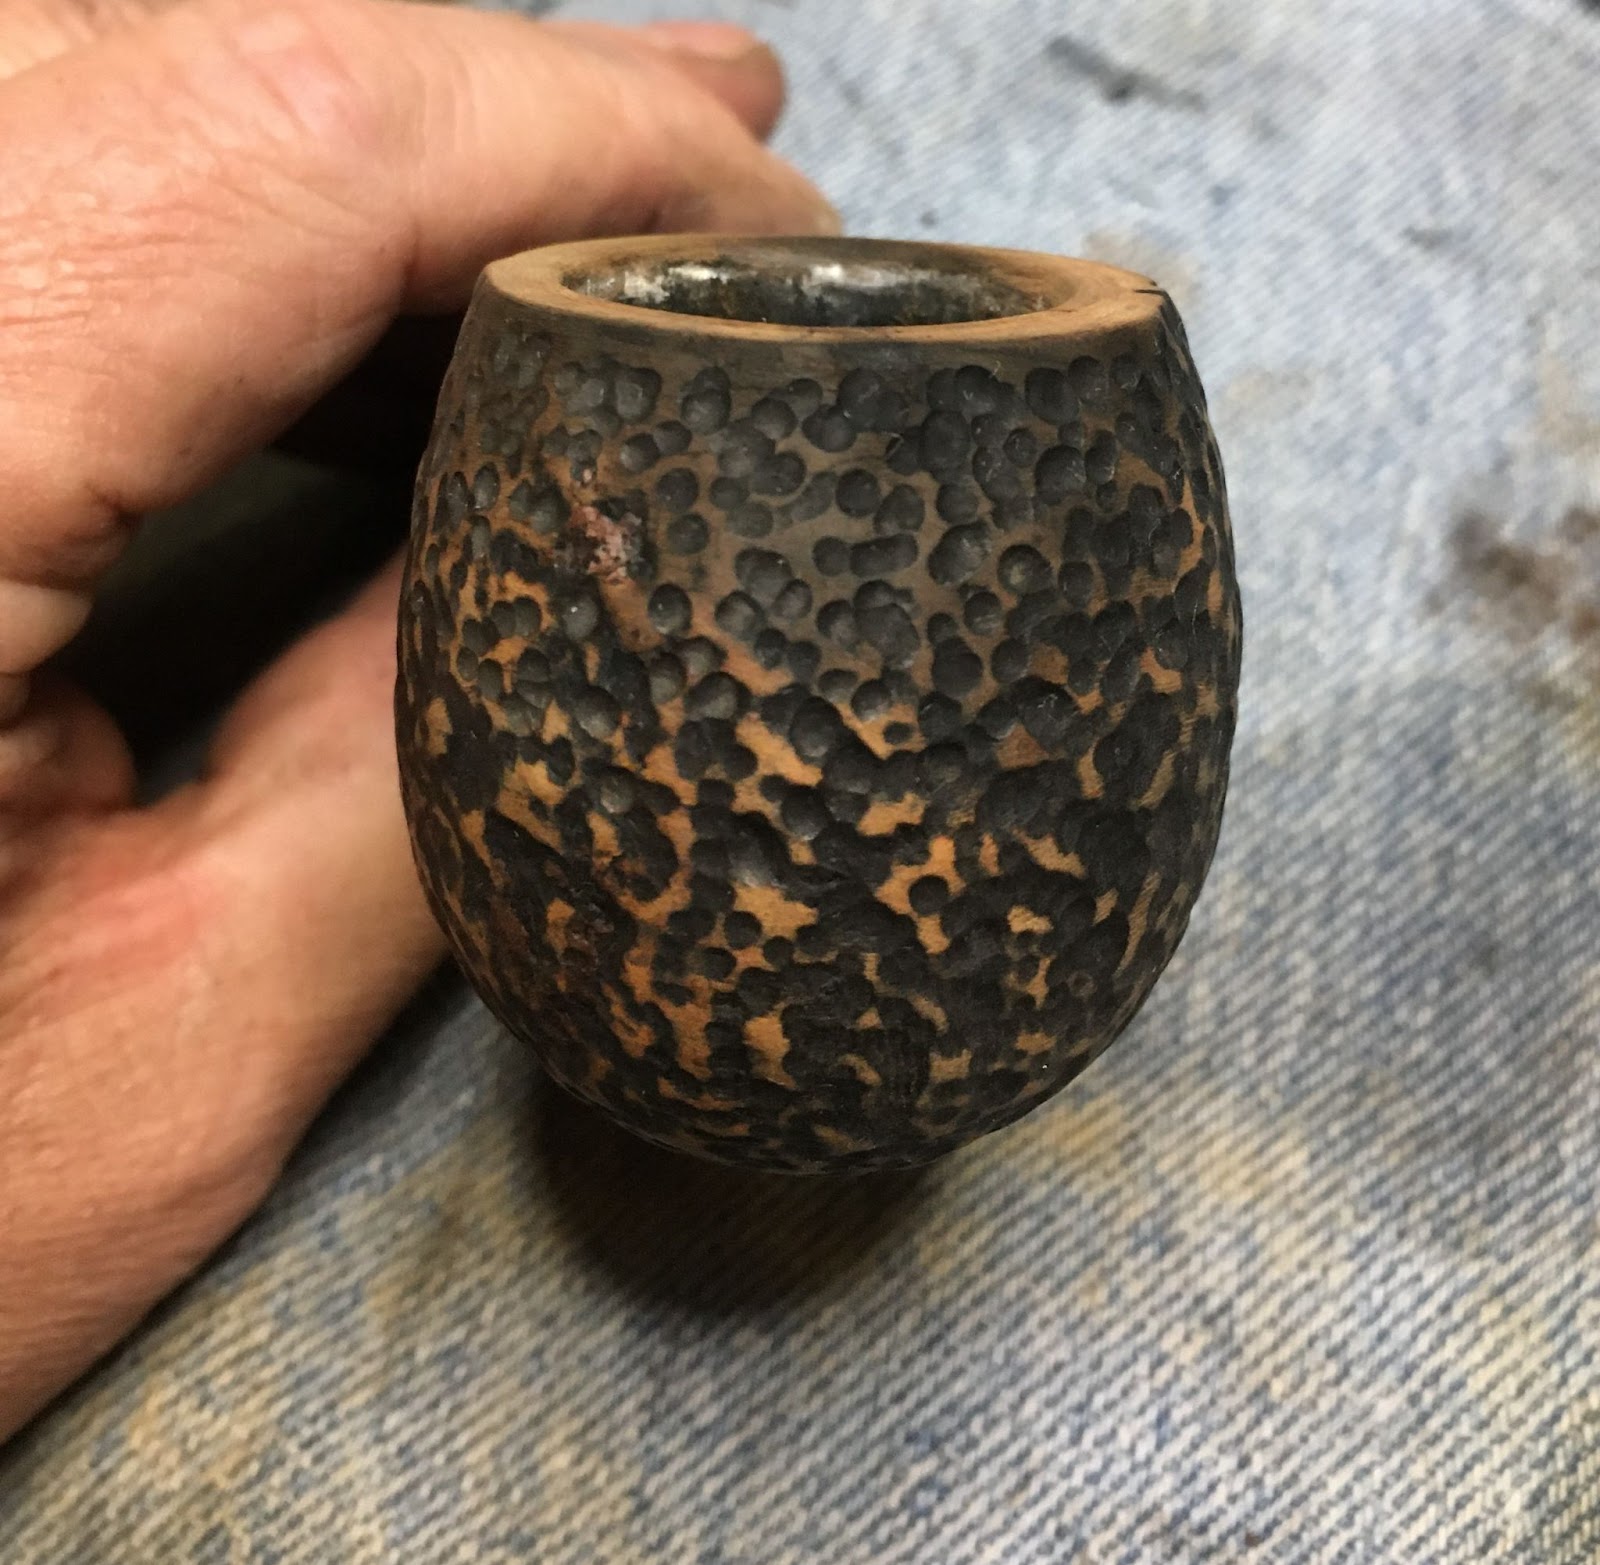
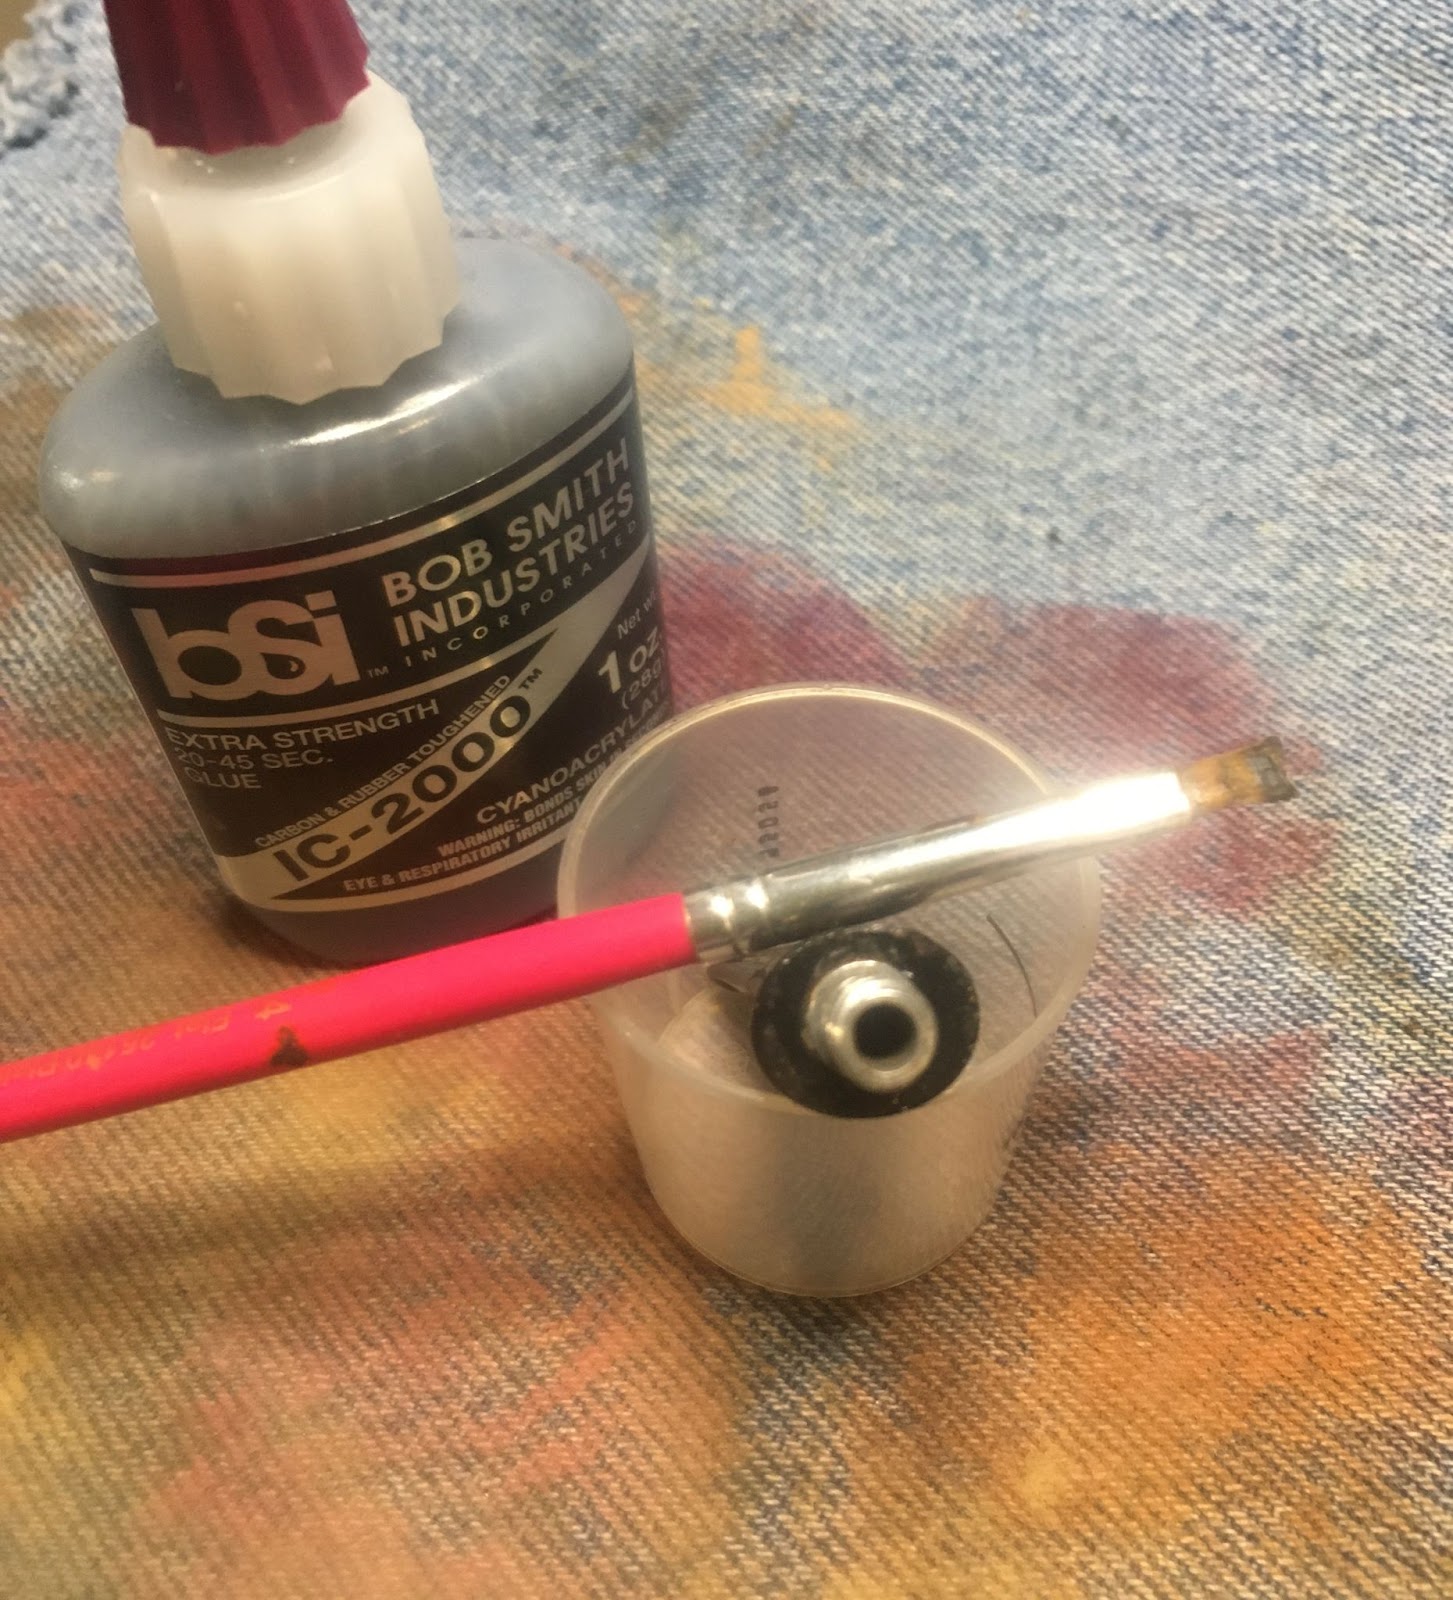
All of the scrubbing and wiping allowed me to see the pits and damage to the stummel. These would require a fill of brown cyanoacrylate (CA, super glue) and briar dust.

The gouges received a small drop of CA applied with a fly tying bodkin. While the CA was still wet I scooped a small amount of briar dust with a dental scraper and placed the dust on the wet CA. This was then pressed into the wet CA in the depressions..

The briar dust causes the CA to cure almost instantly so once the dust is placed, pressing had to occur immediately. The excess dust was brushed off with a brass brush.

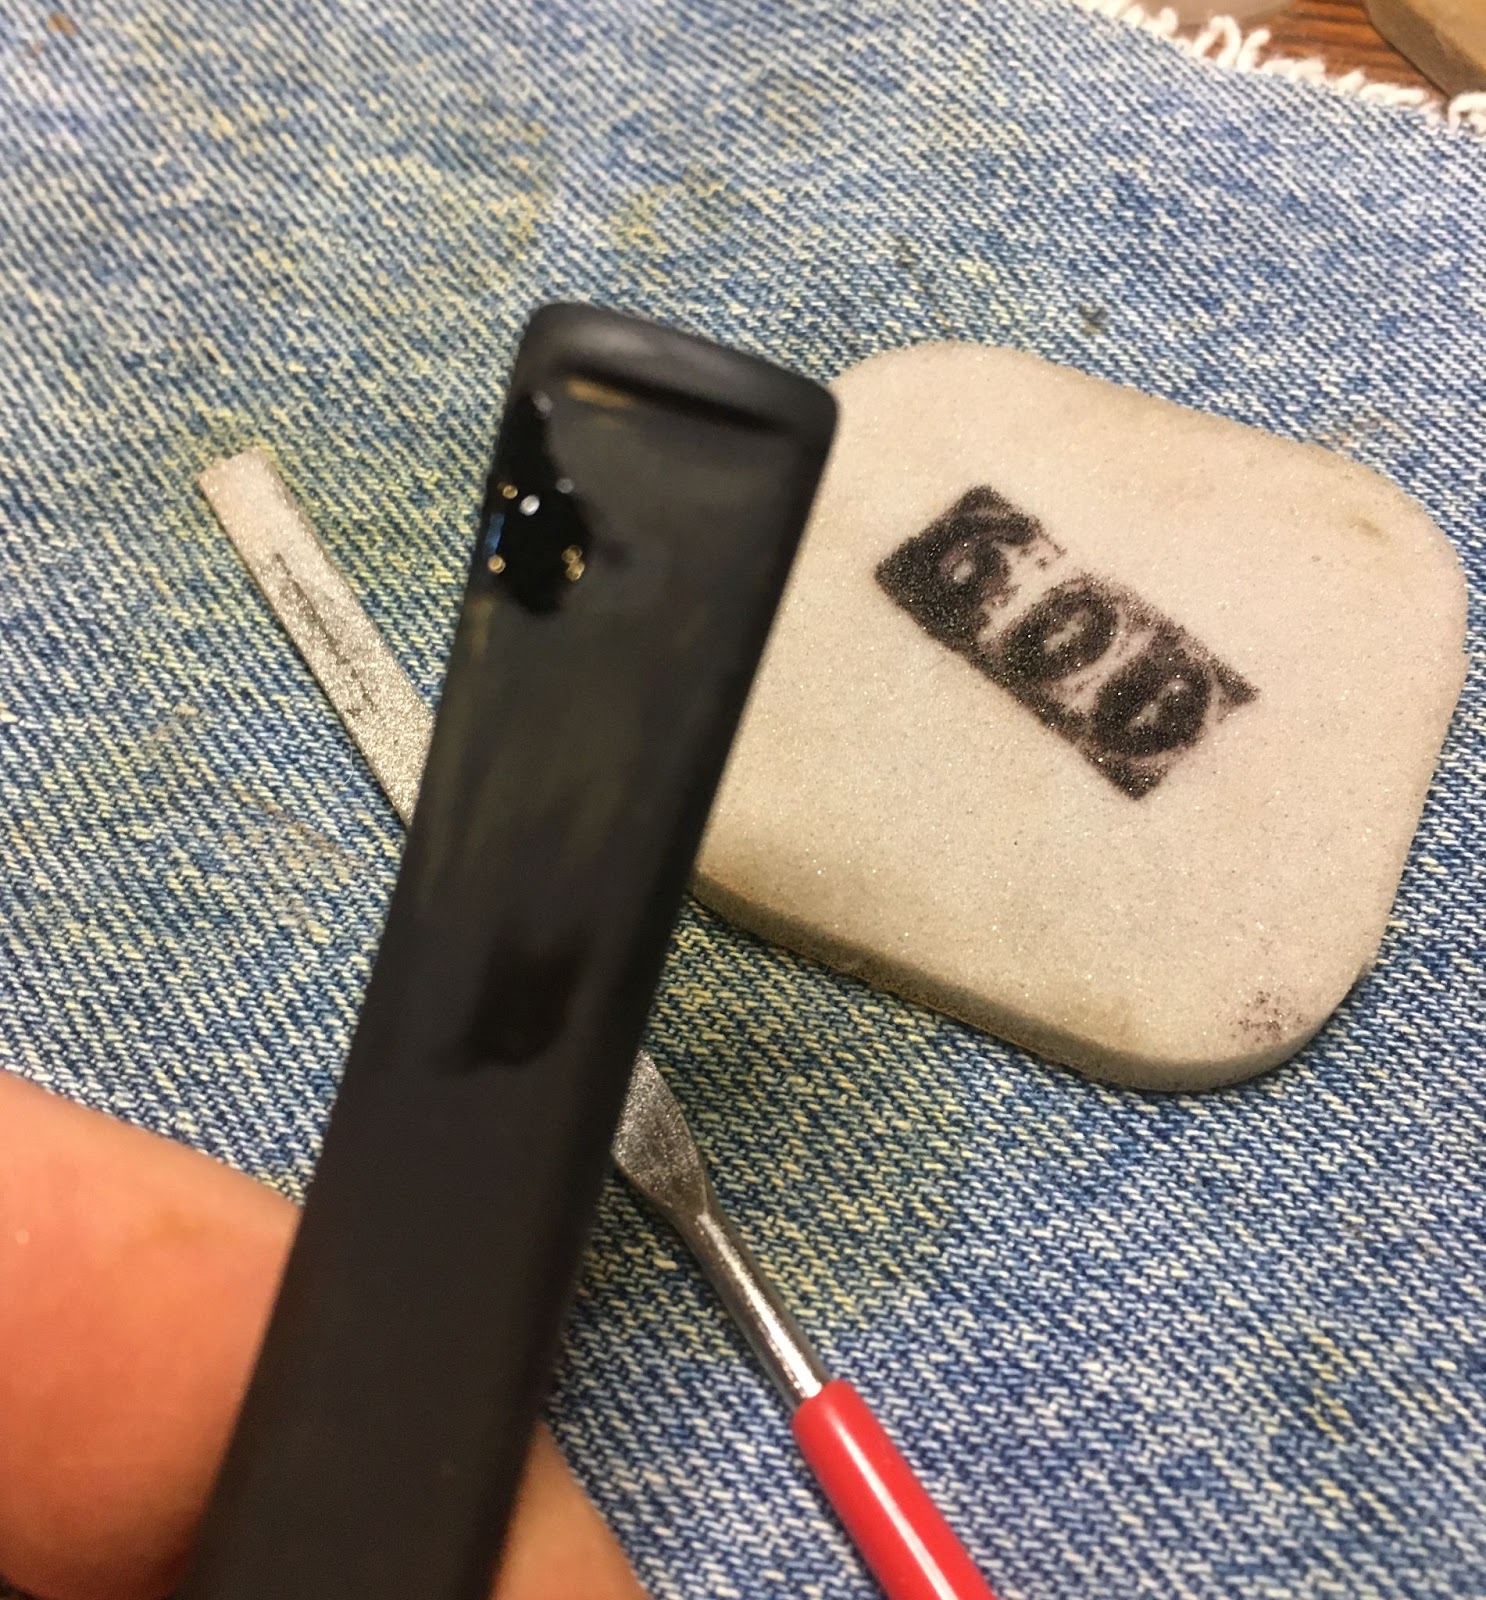
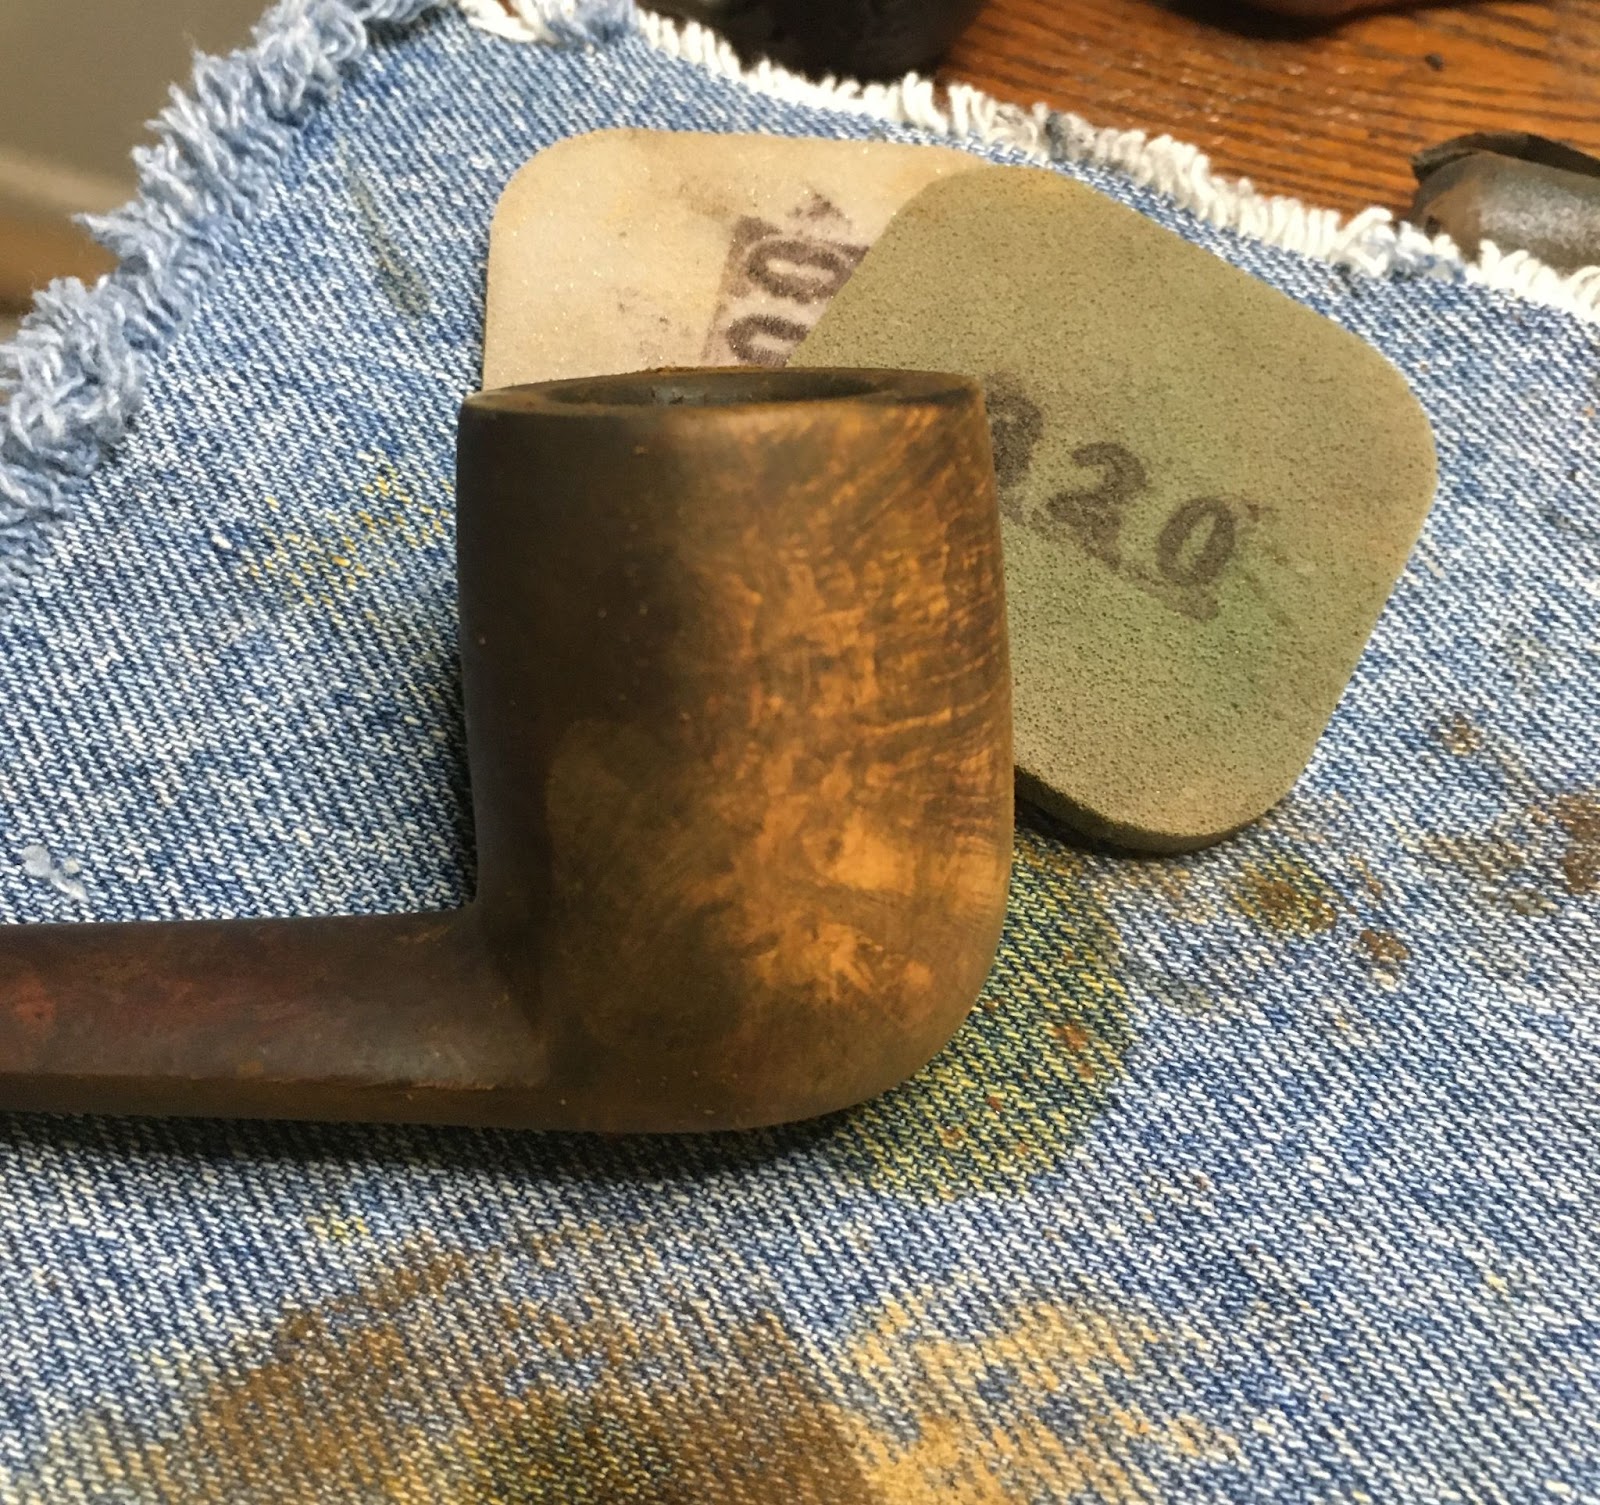
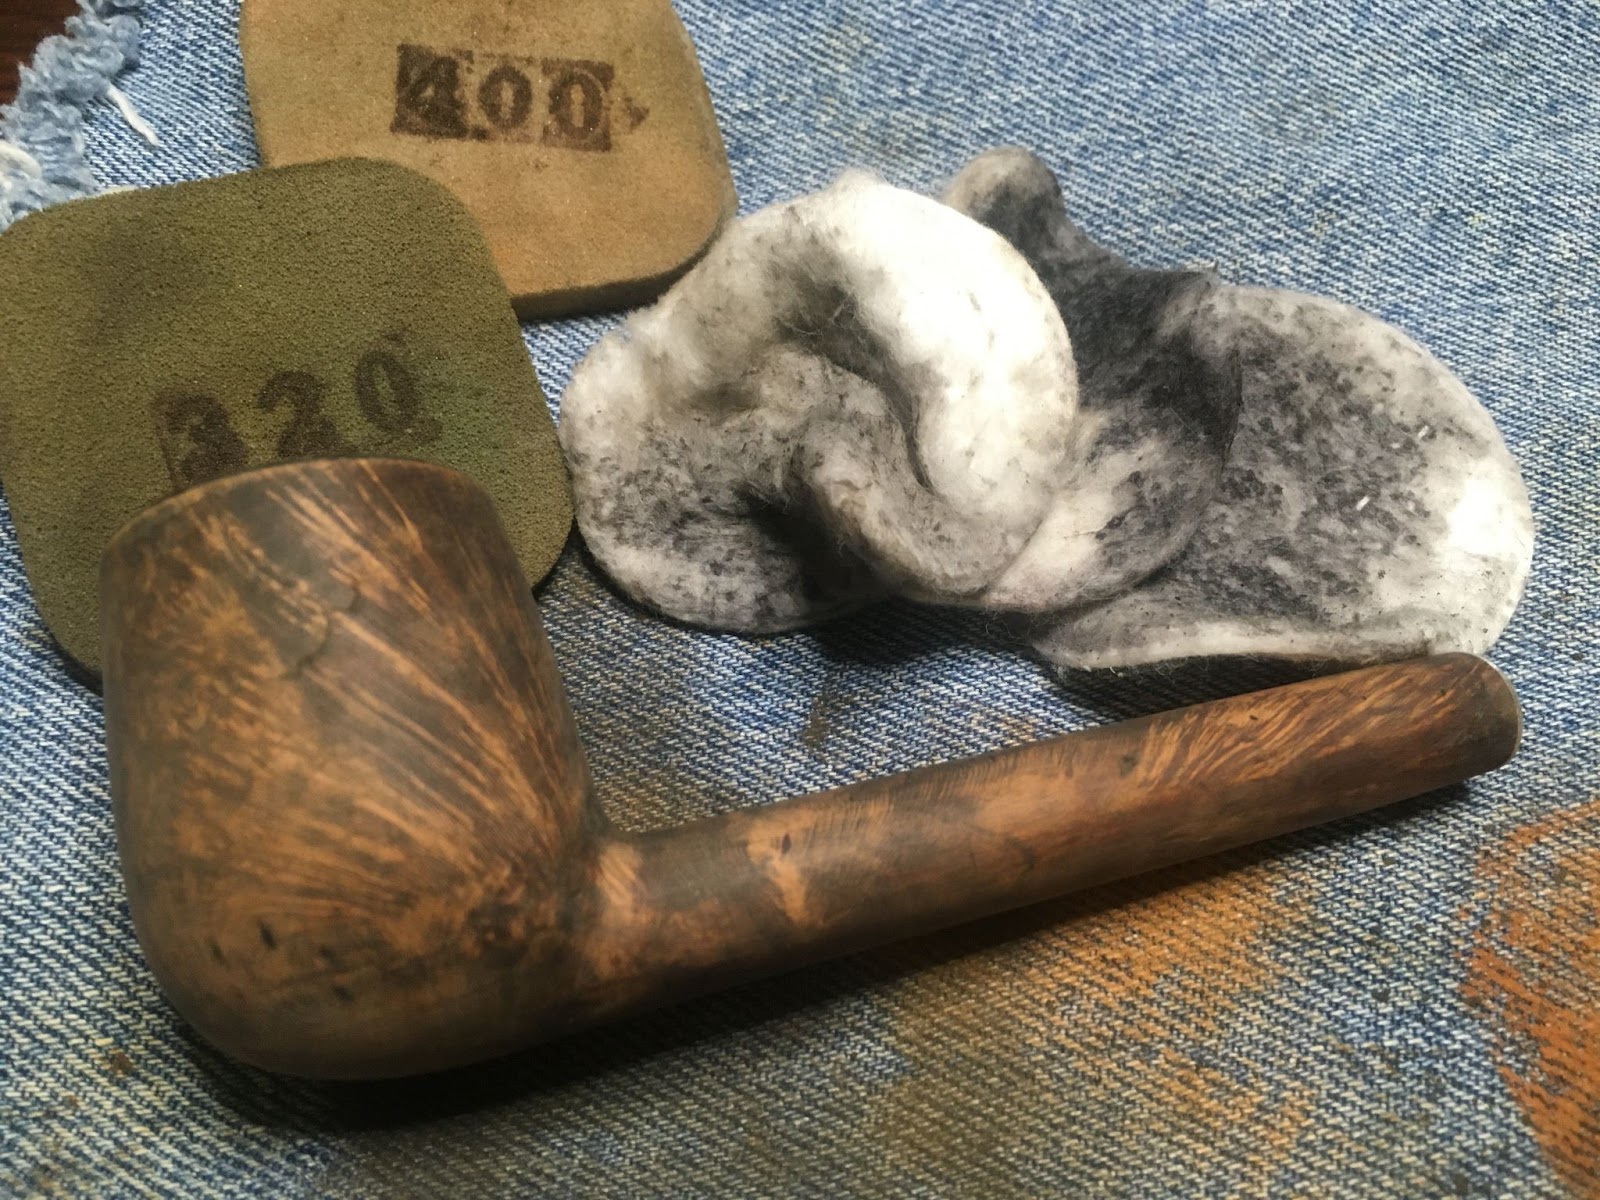
The new fill was filed with a flat diamond needle file to remove and smooth the fill then was sanded with a 400 grit sanding sponge.

In deeper fills this process was repeated until the fill was complete. The completed fills appear much darker than the surrounding briar. The light spots seen below are slight depressions with dry briar dust from sanding in them. A final coat of clear thin CA was applied to the dry spots and they were sanded with a dusty 400 grit sanding sponge. The dust was incorporated into the slight depression with the clear thin CA to fill the last of the low spots.

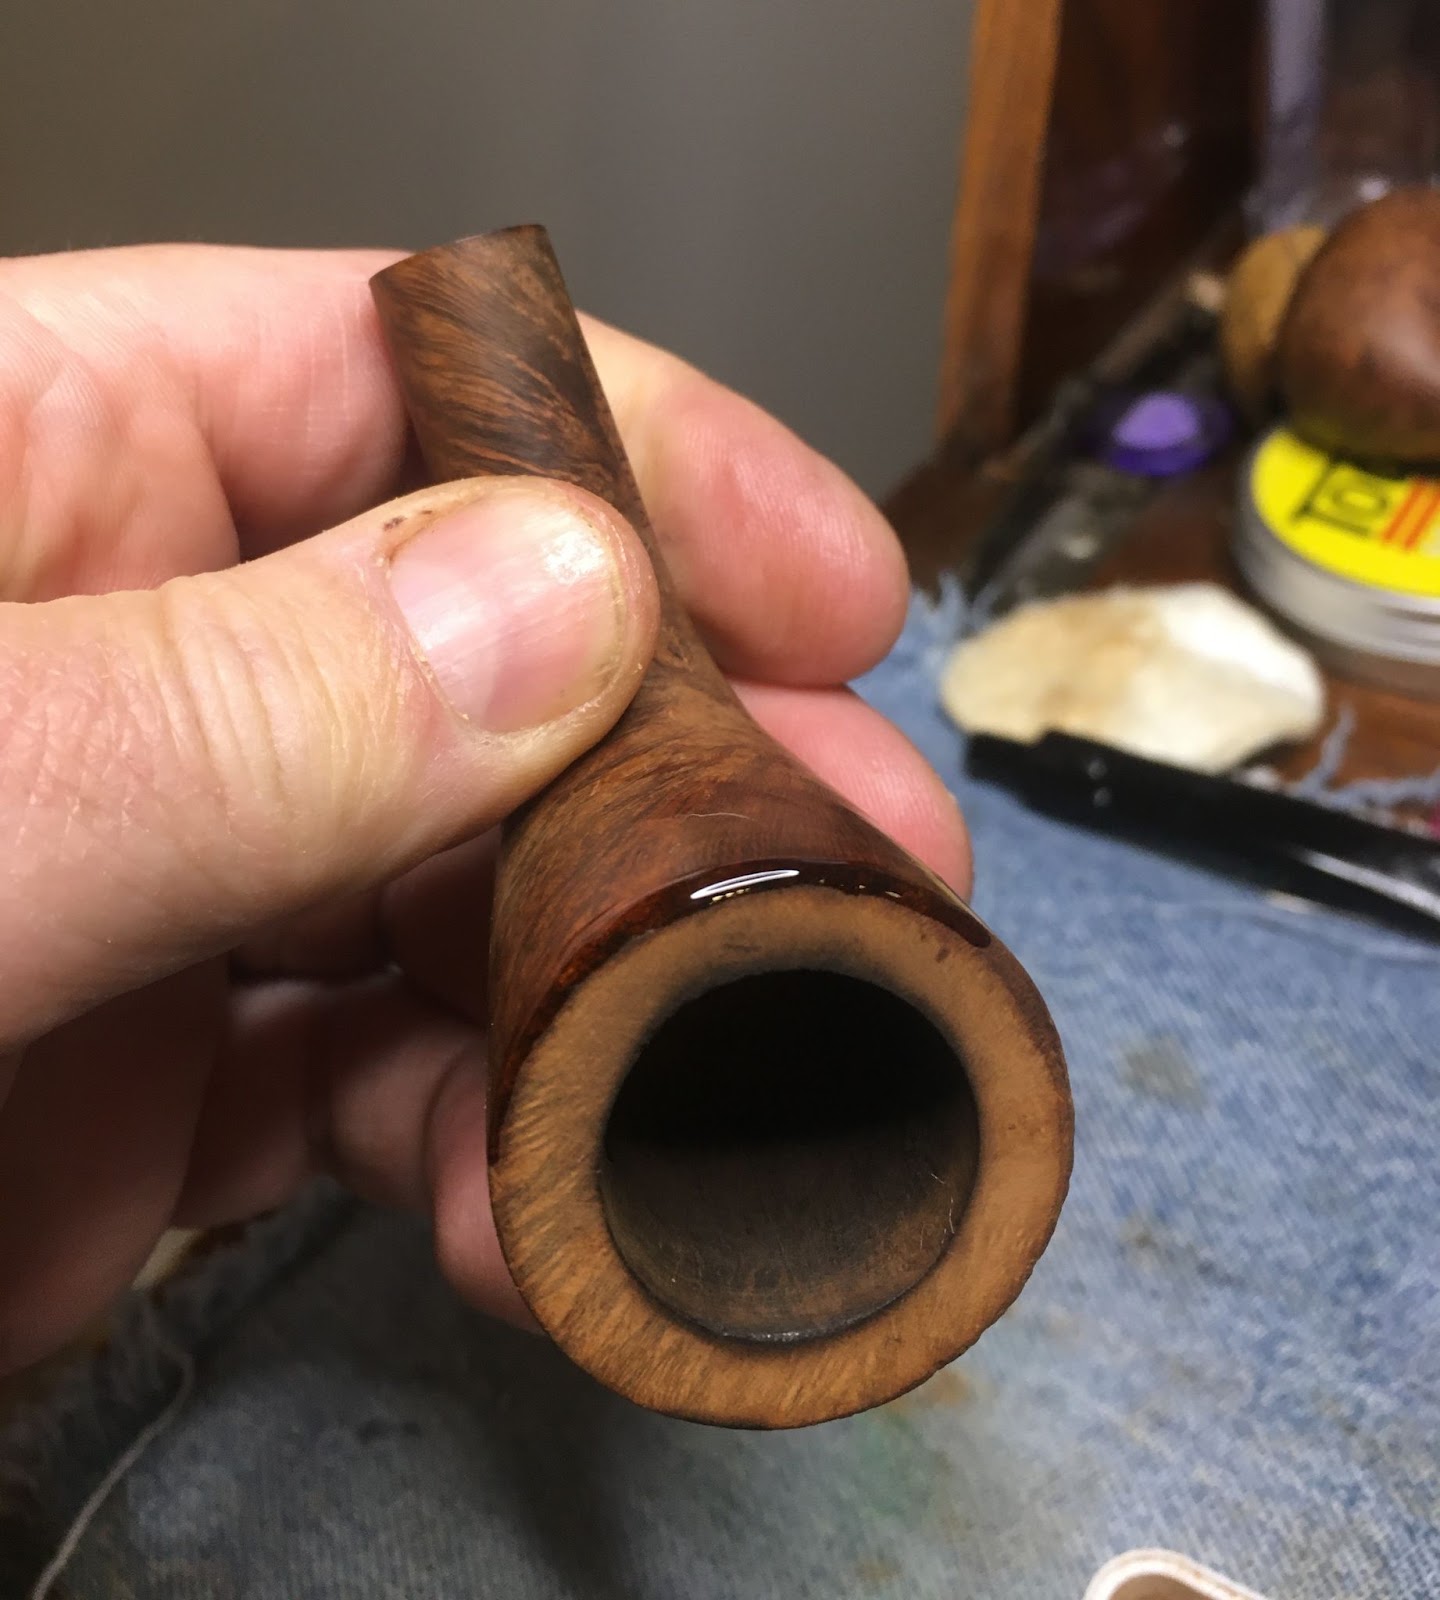
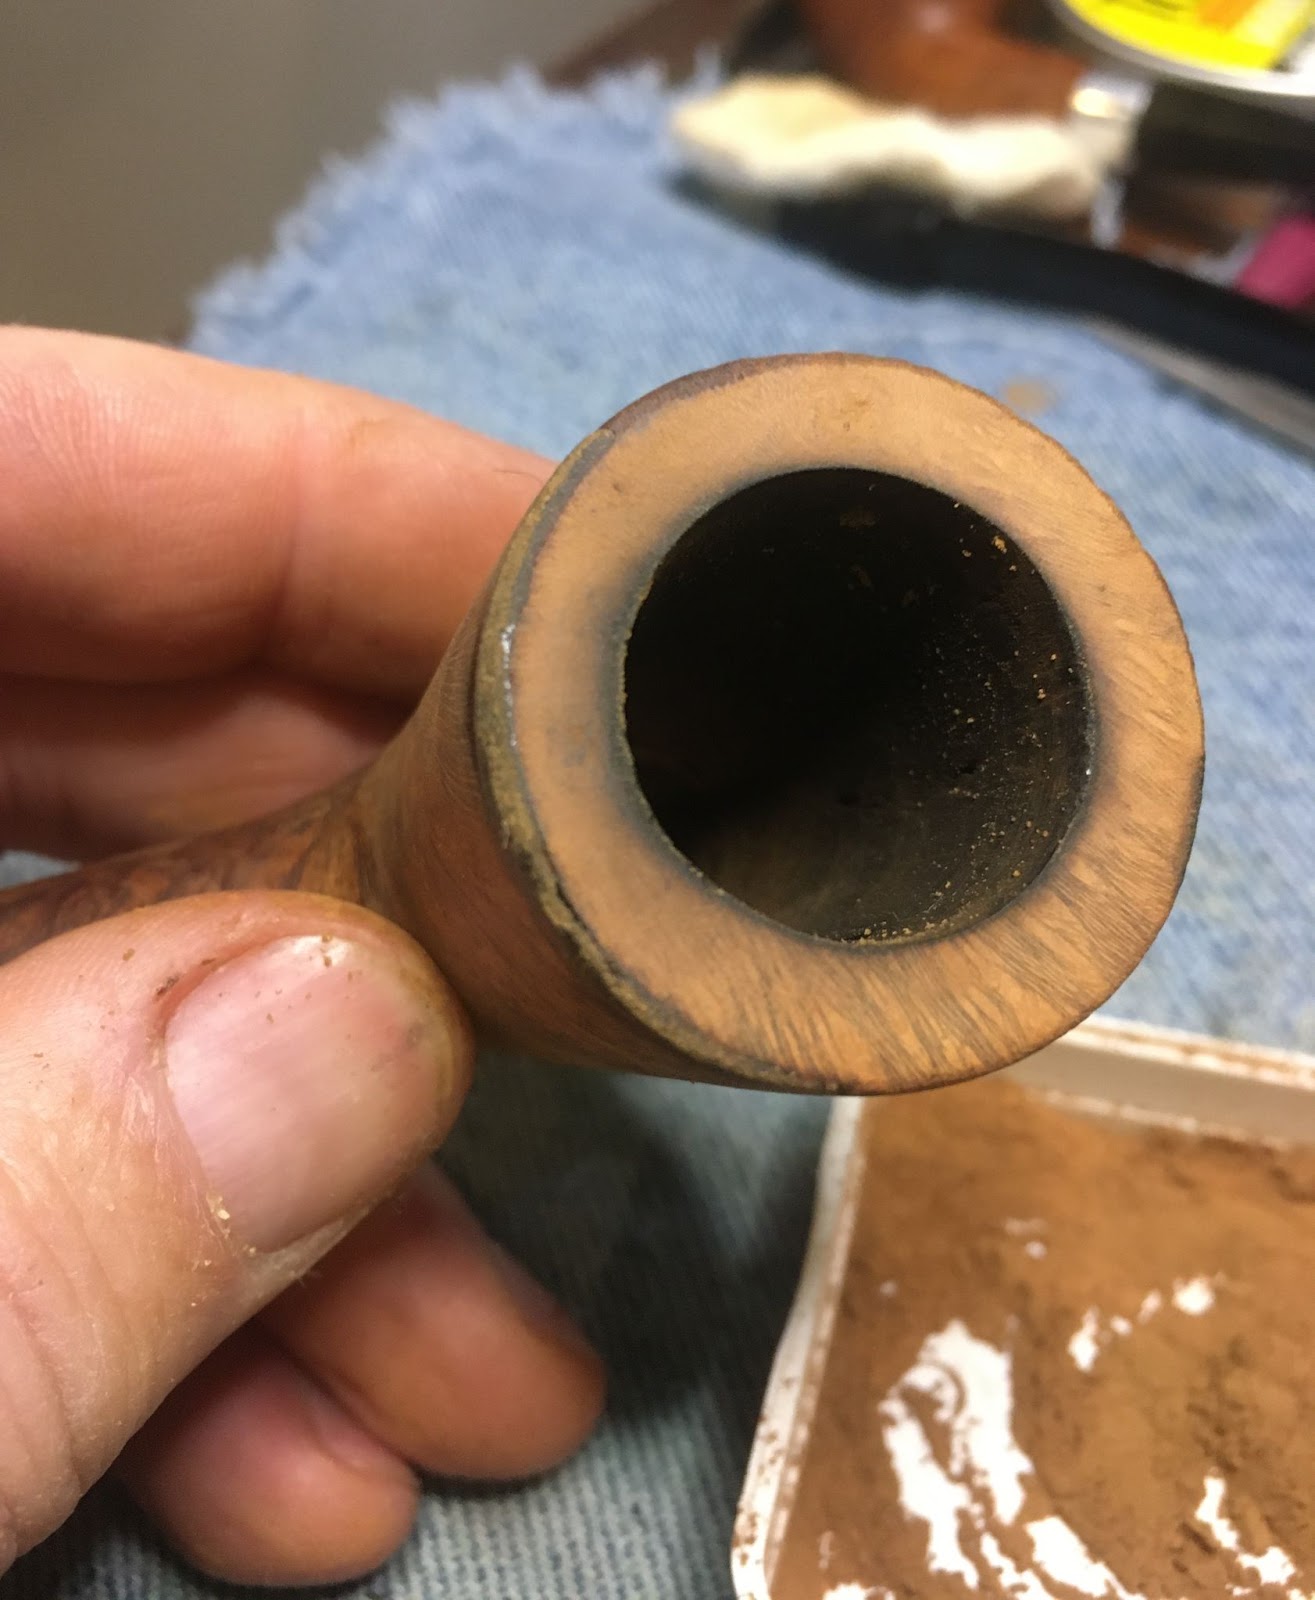
The above procedure was used to fill pits of the shank.

And the heel of the stummel.

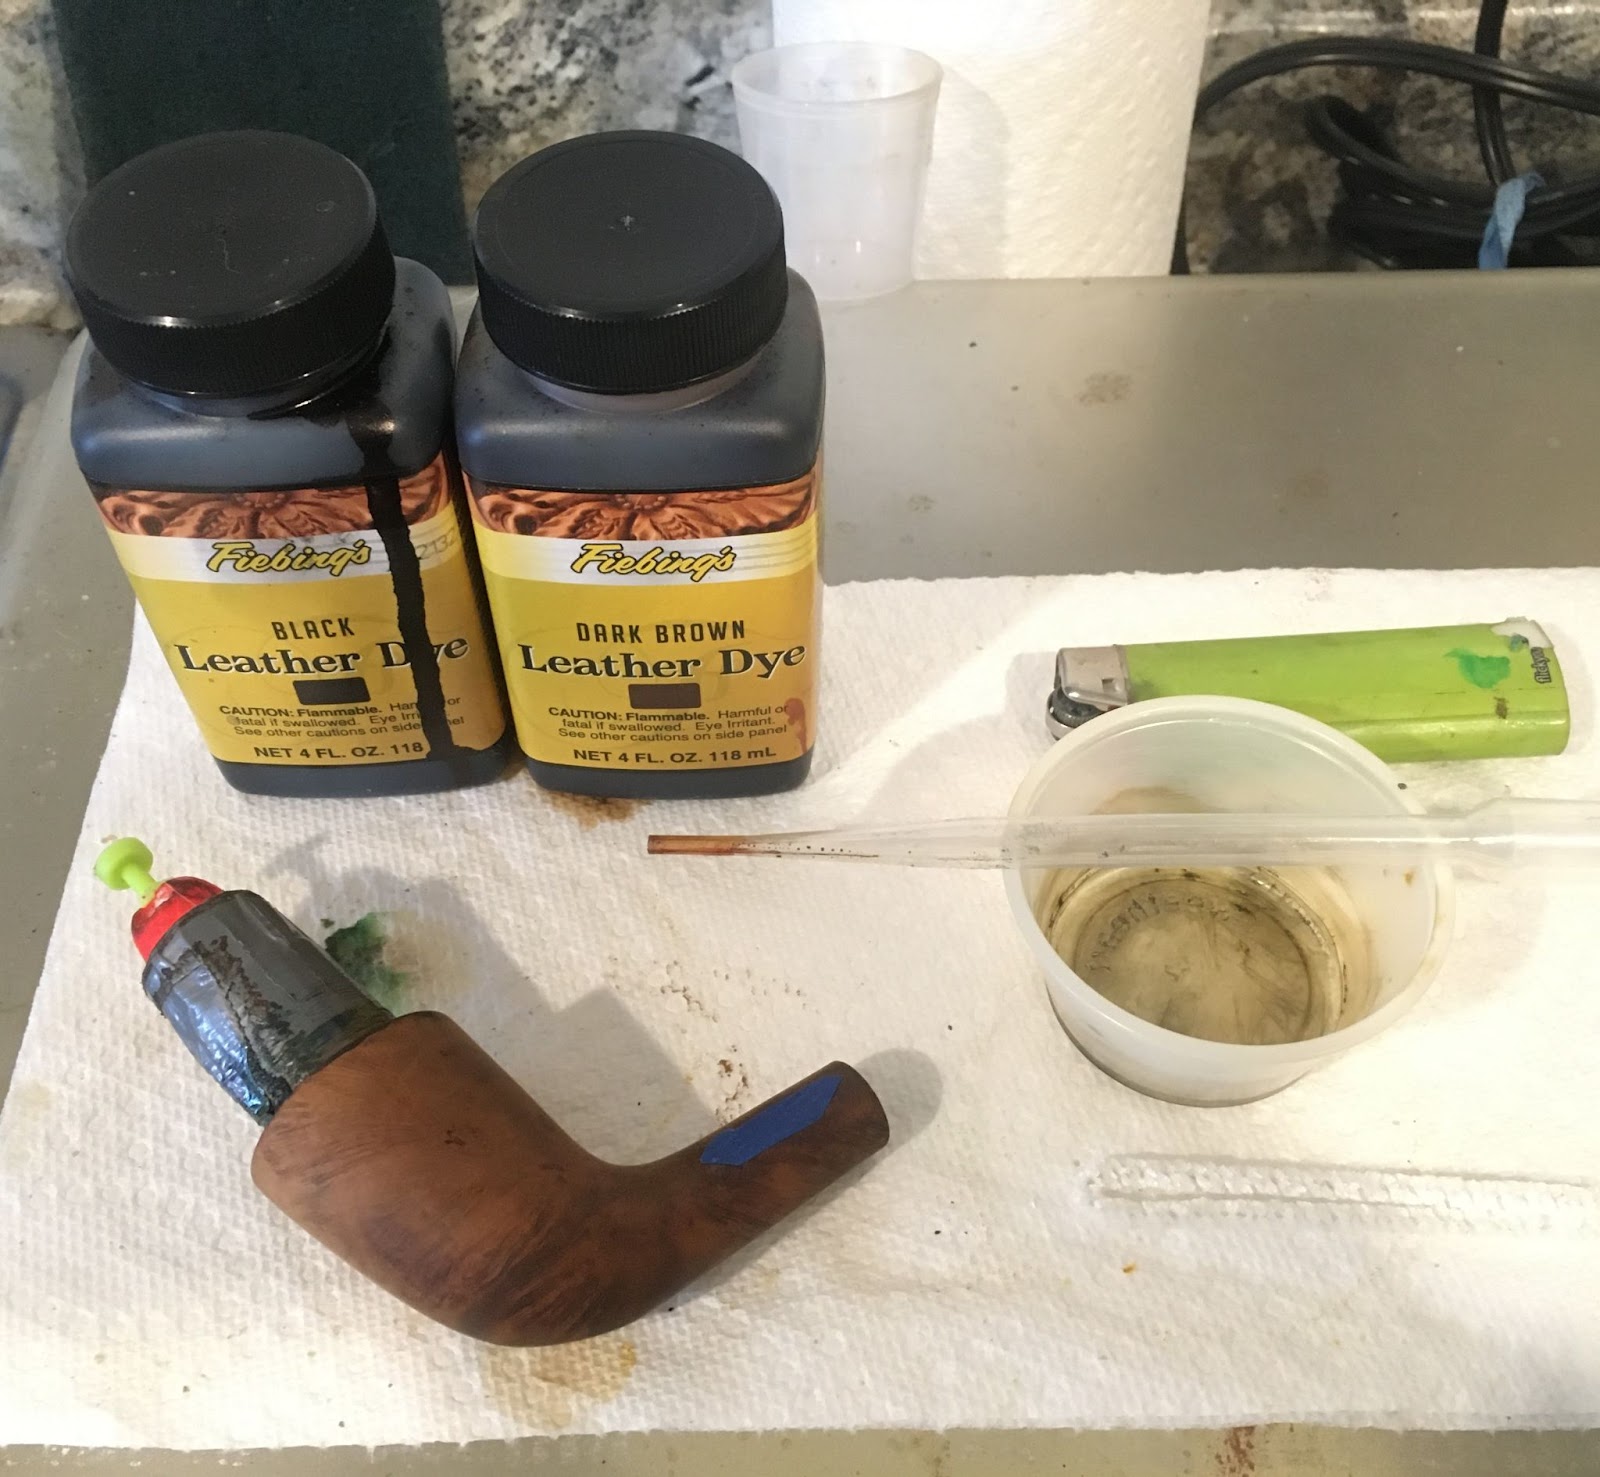
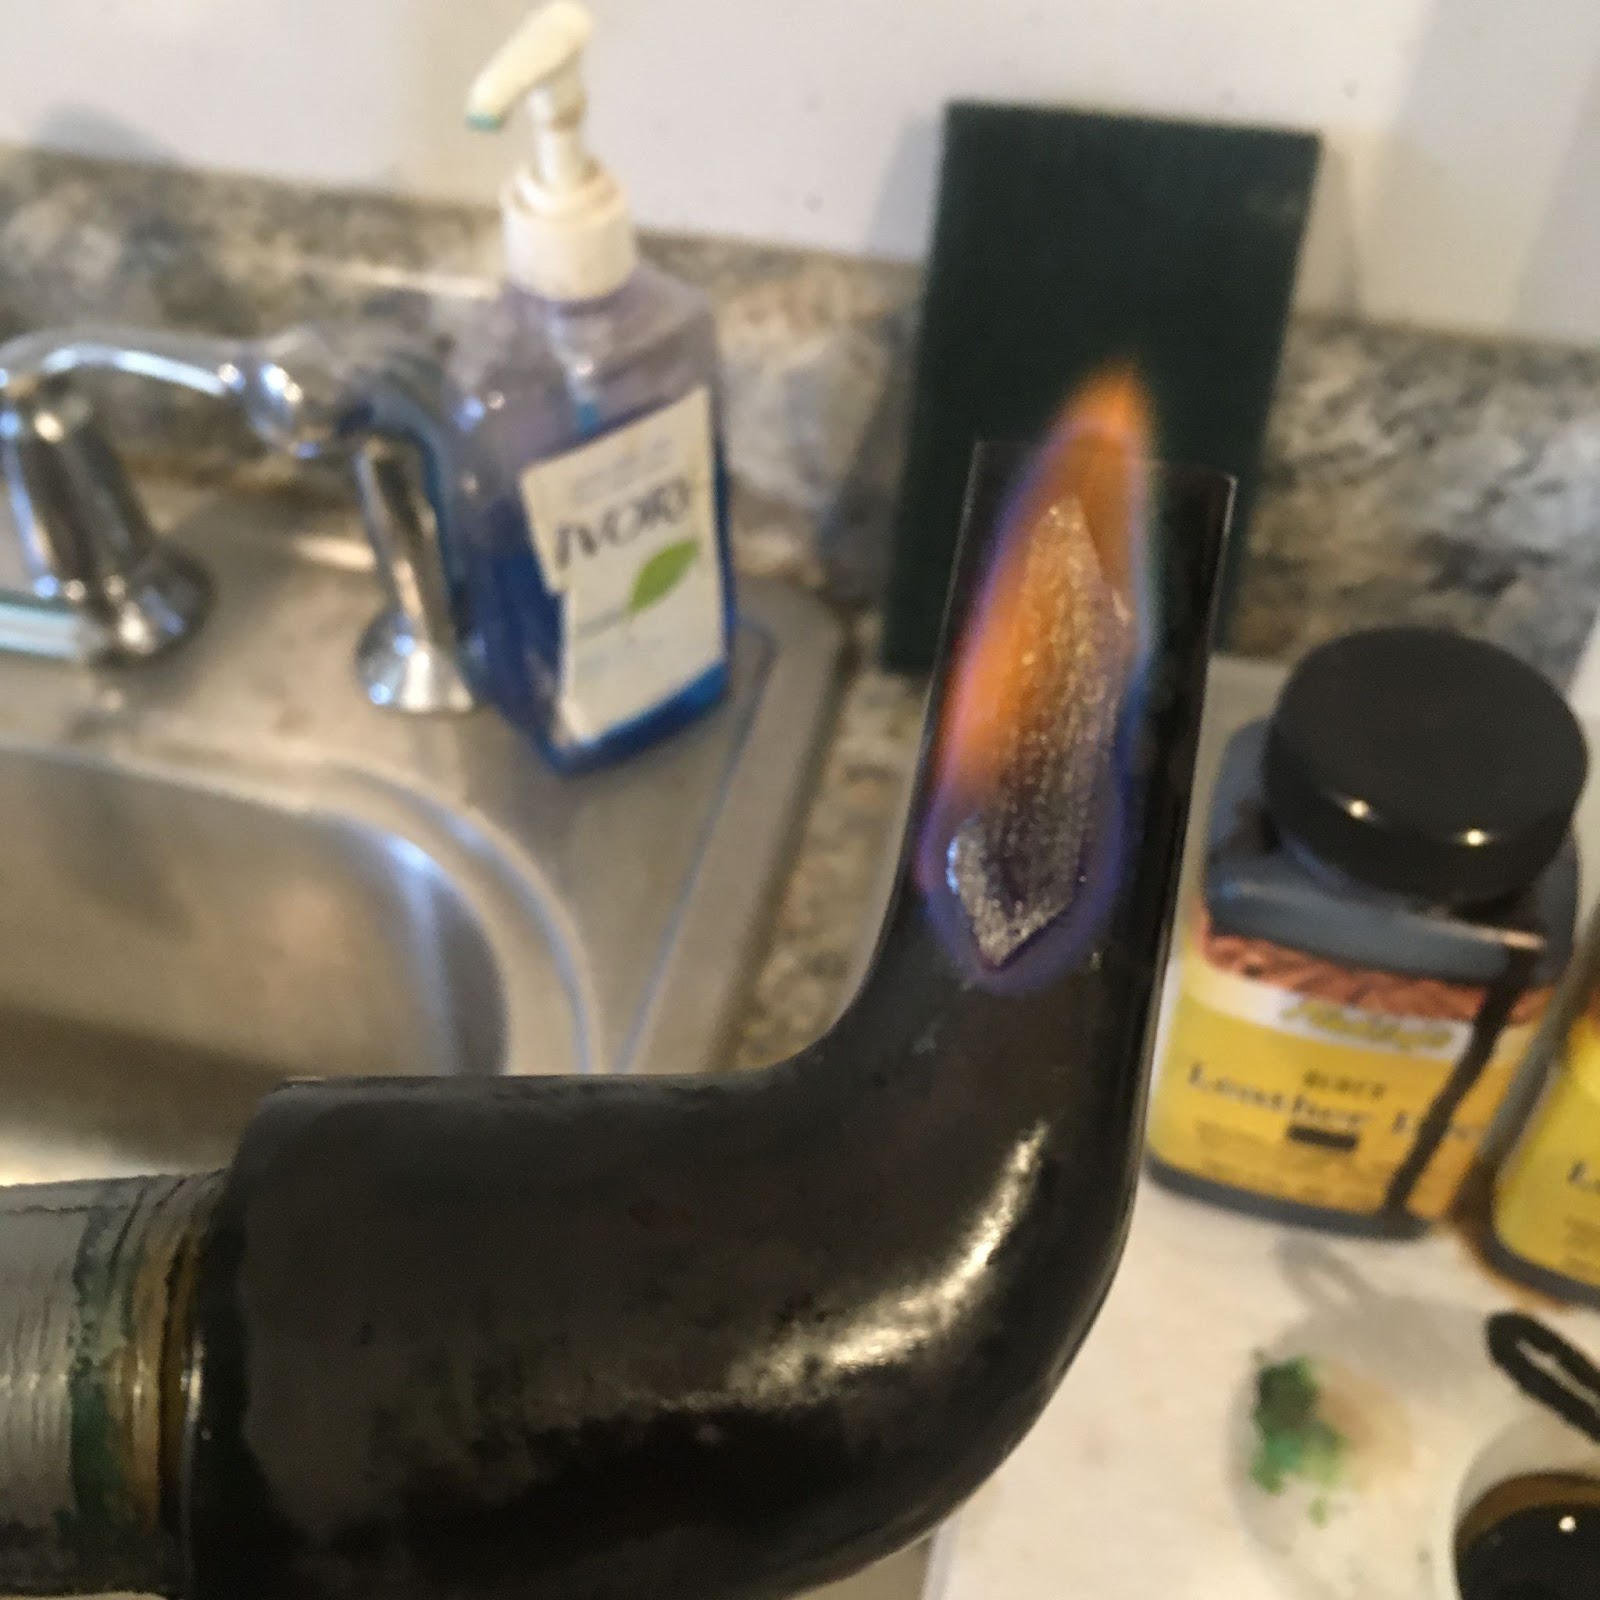
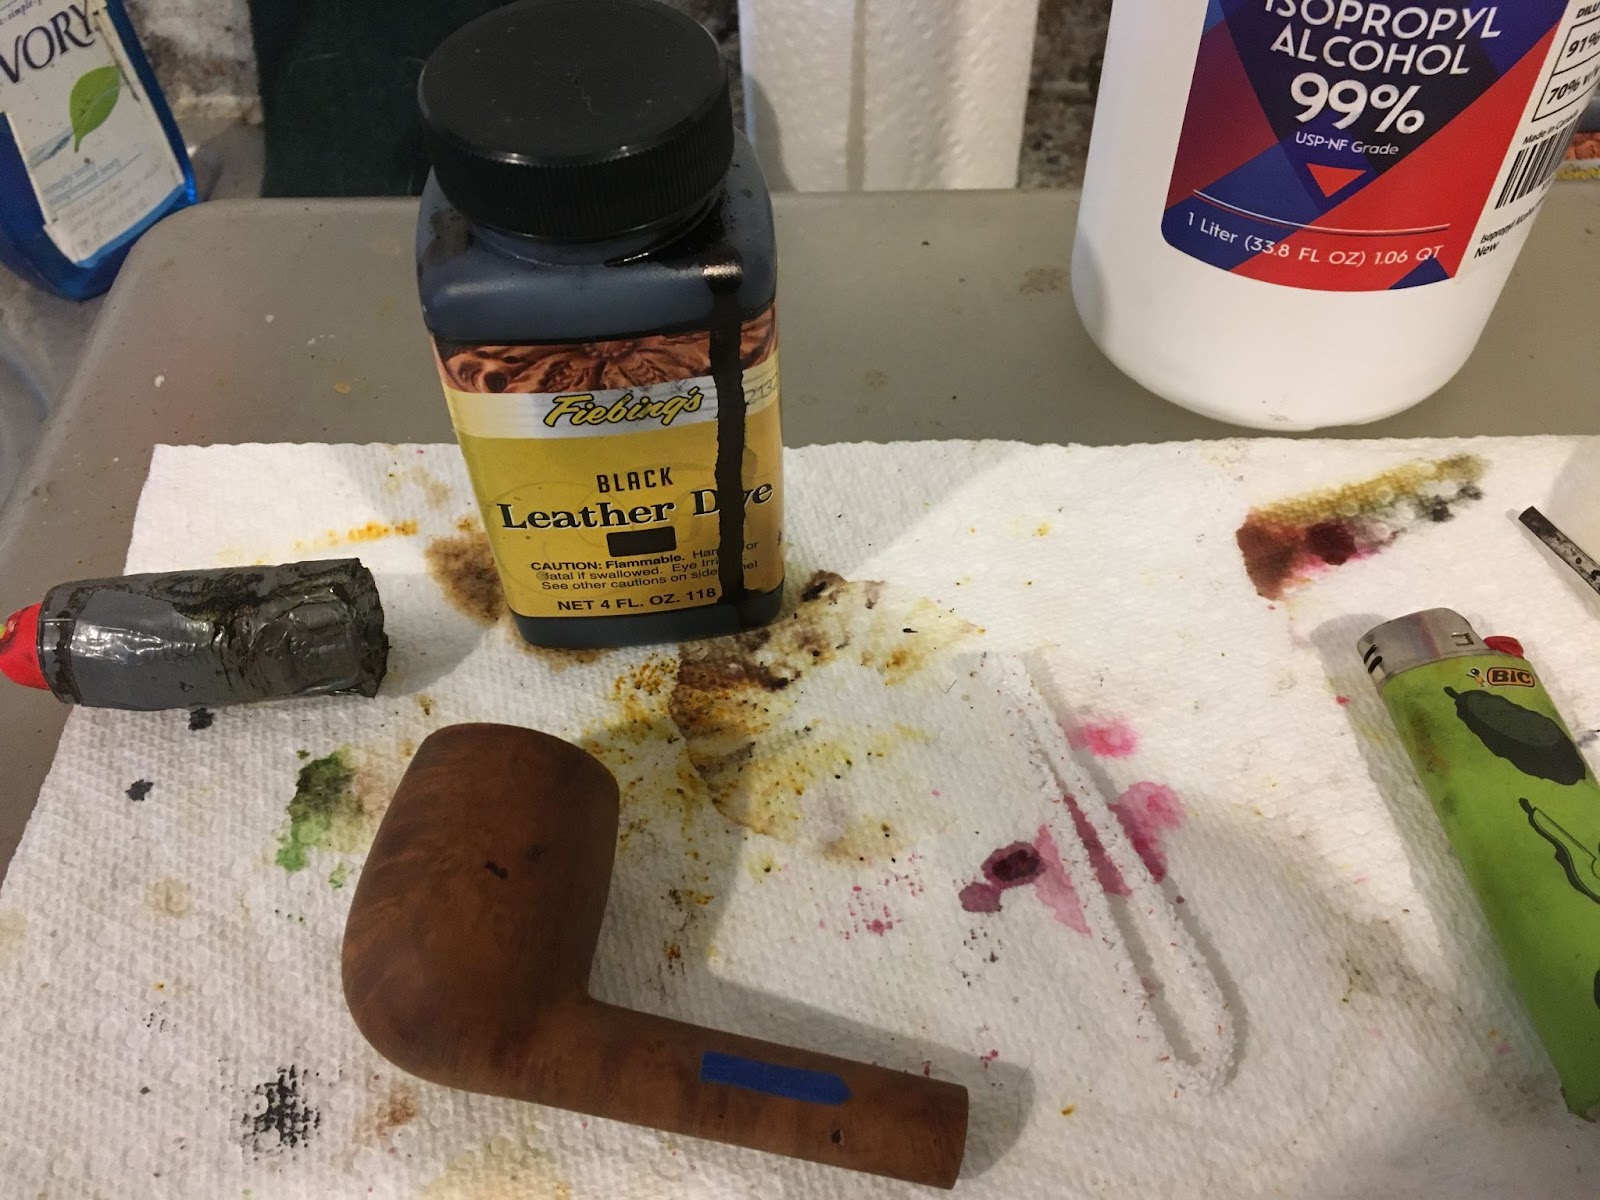
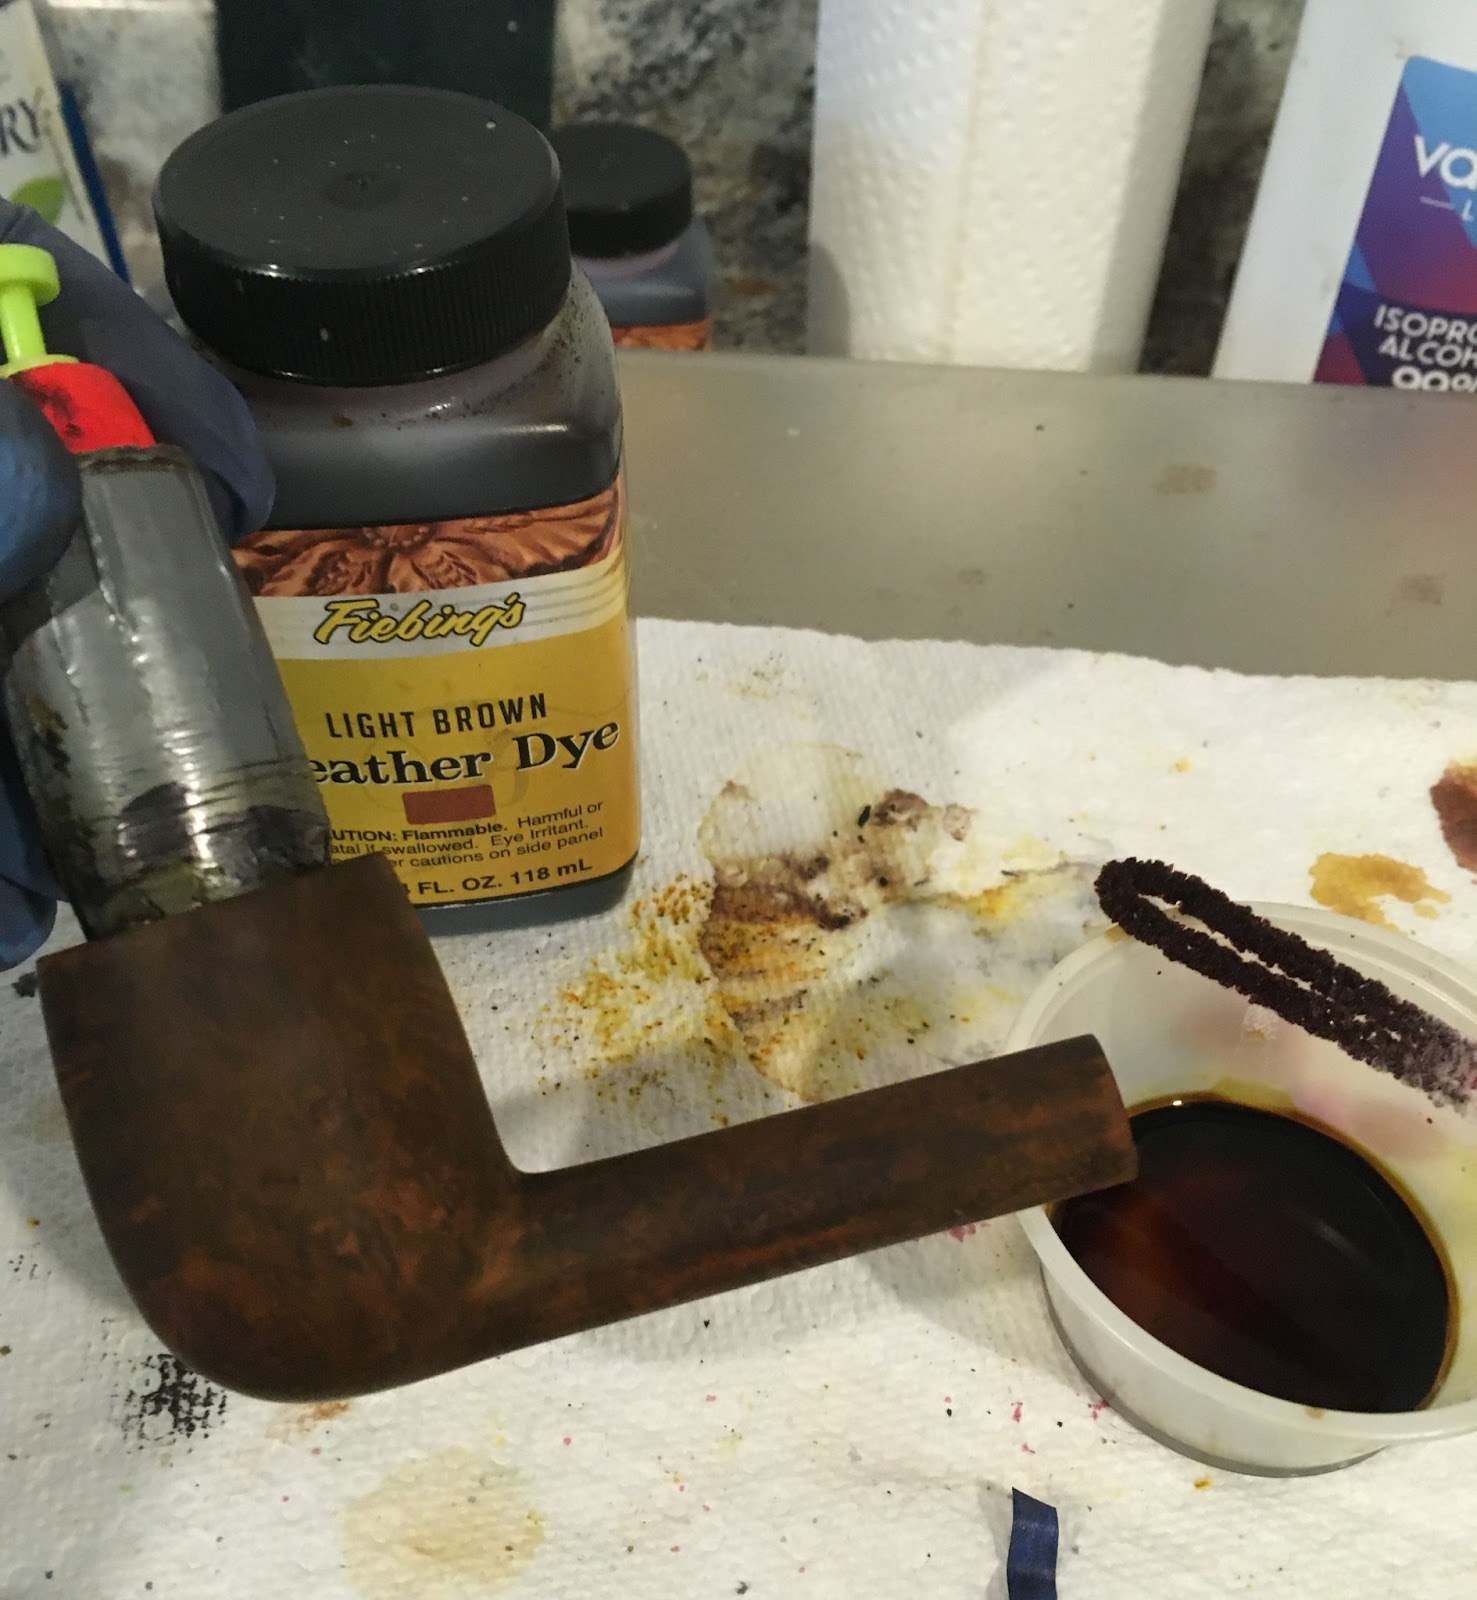
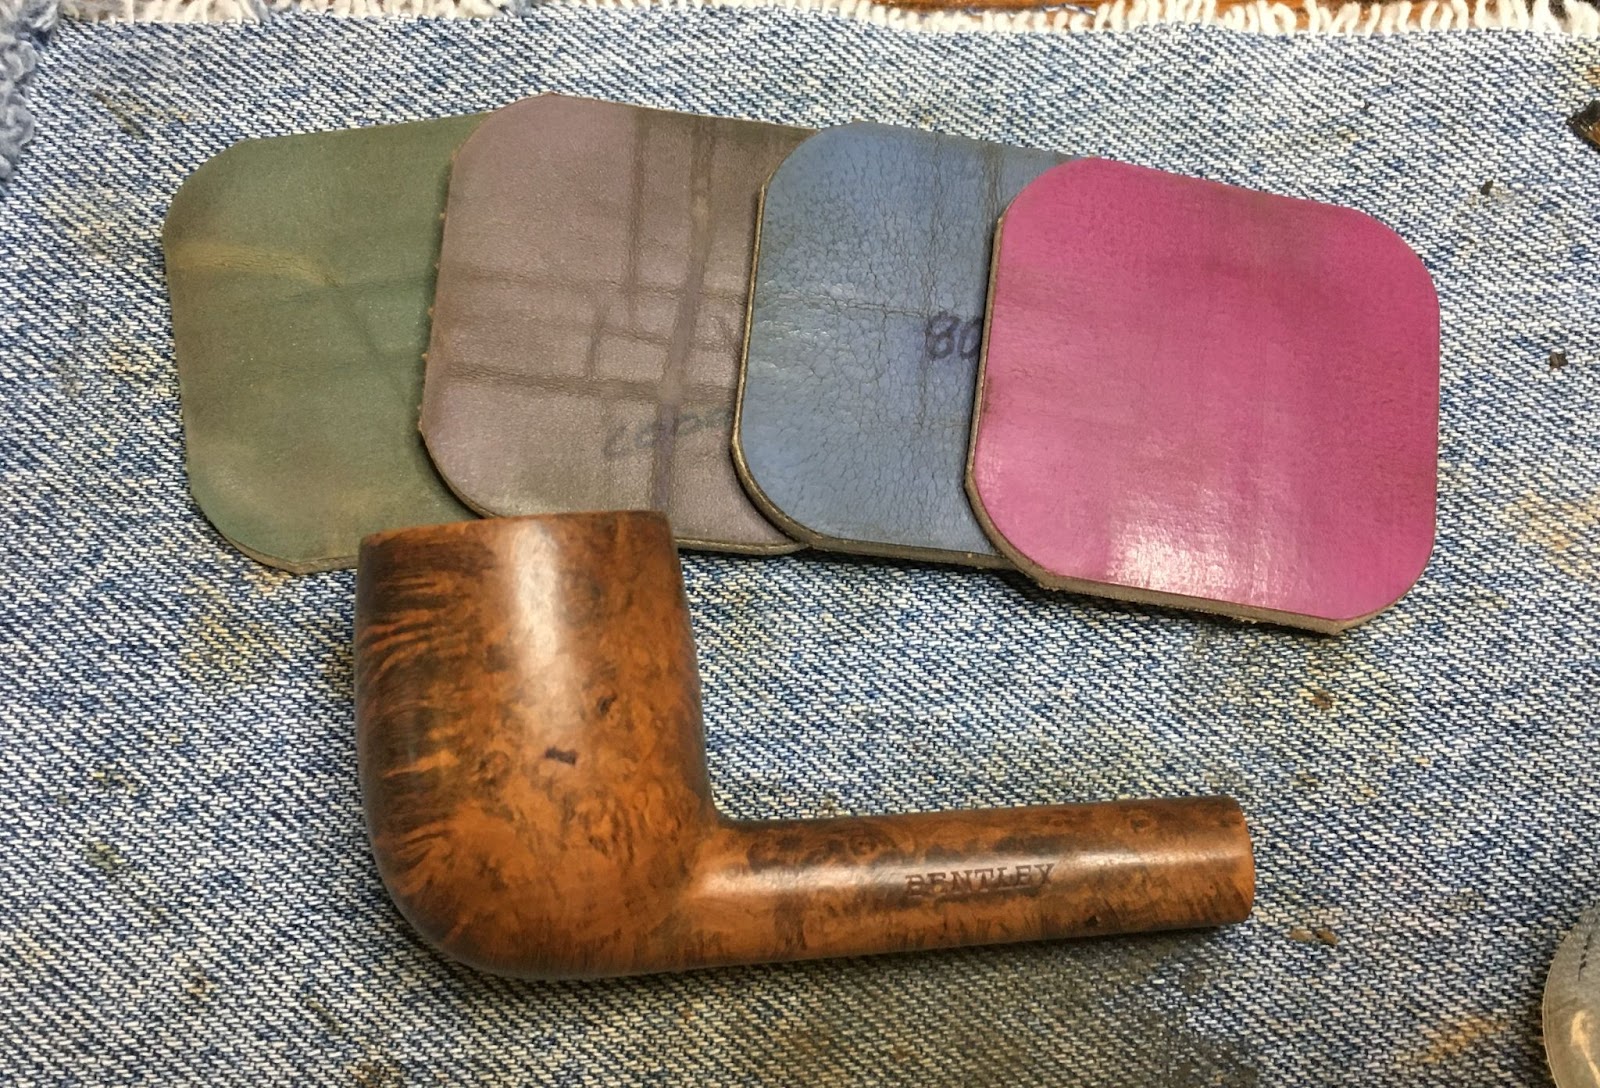
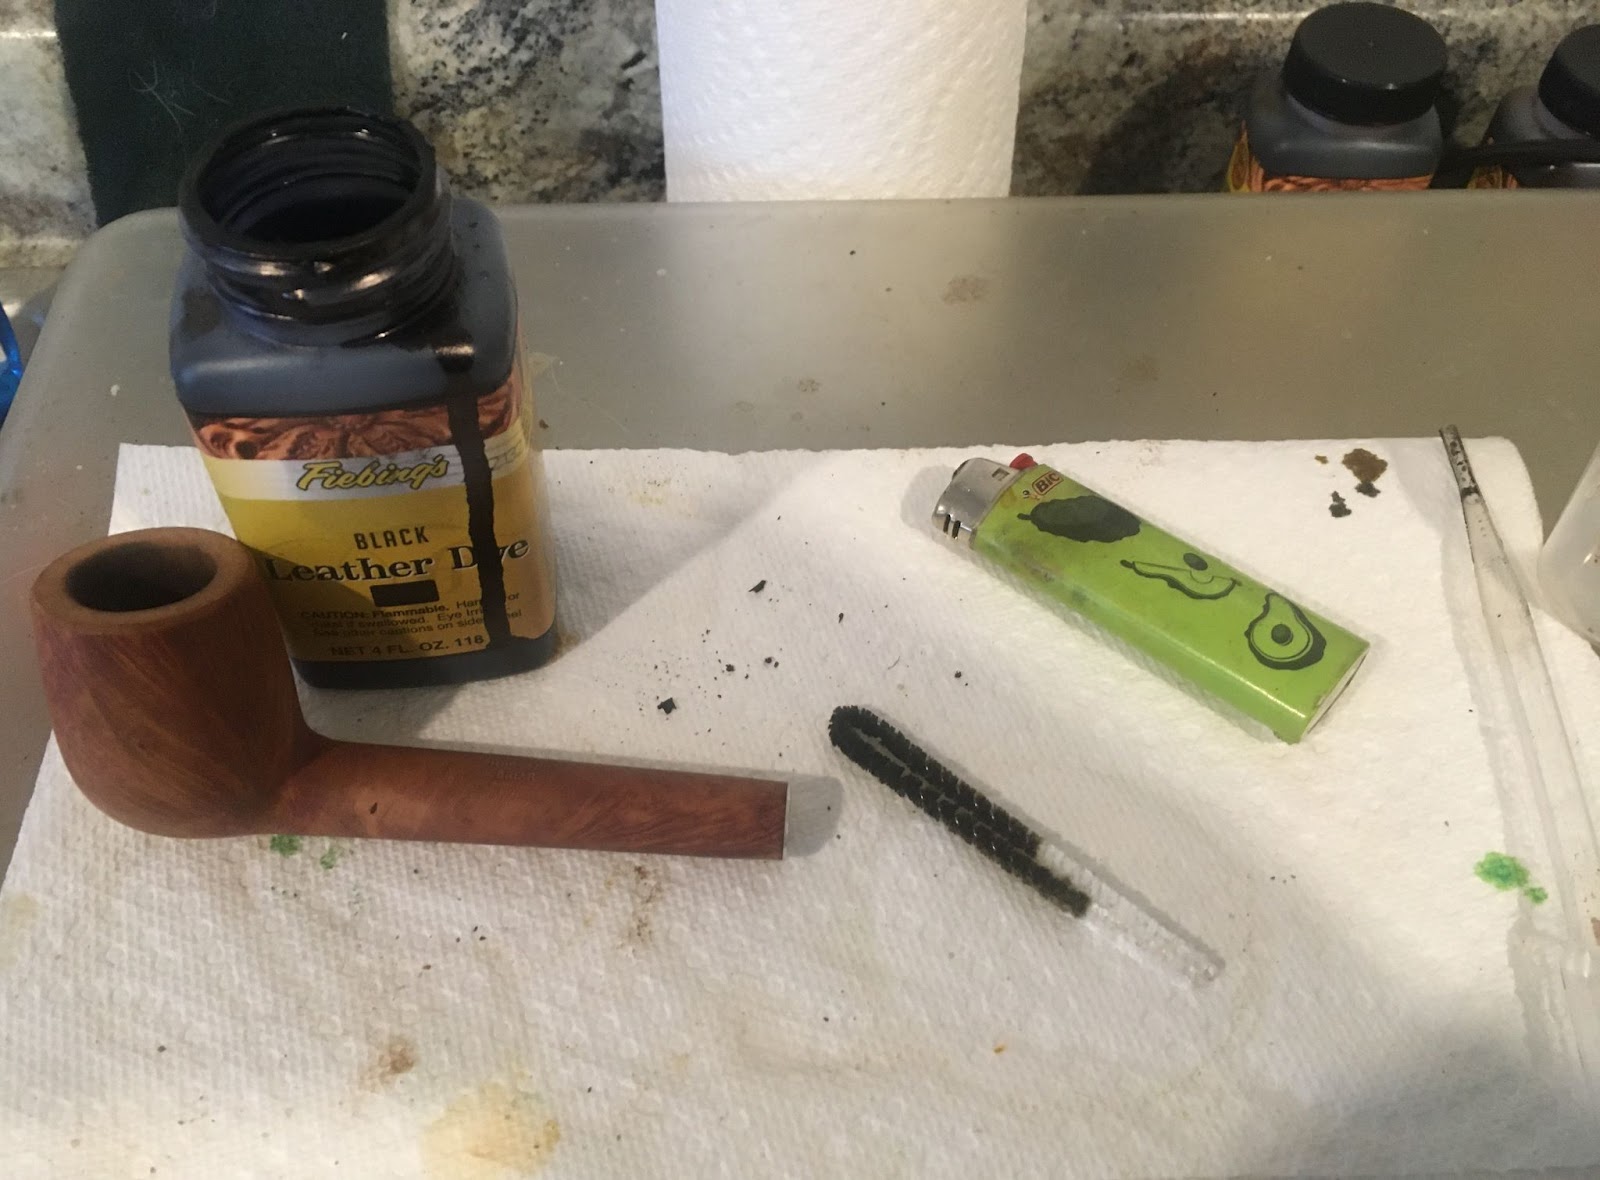
To conceal the fills and to add contrast to the briar grain, I decided to contrast dye this stummel. Black Fiebing’s Leather Dye was chosen for this. The duct tape wrapped fishing bobber acts as a plug to keep dye out of the tobacco chamber and as a handle. The folded pipe cleaner is the applicator for the dye while the lighter provides a flame when burning off the alcohol solvent of the dye fixing it to the briar. Notice that I used painters tape to cover the stamps. This is done to keep the dye from penetrating the briar on the stamp. Were that area to become darkly dyed, extra sanding/buffing would have reduced the stamps.

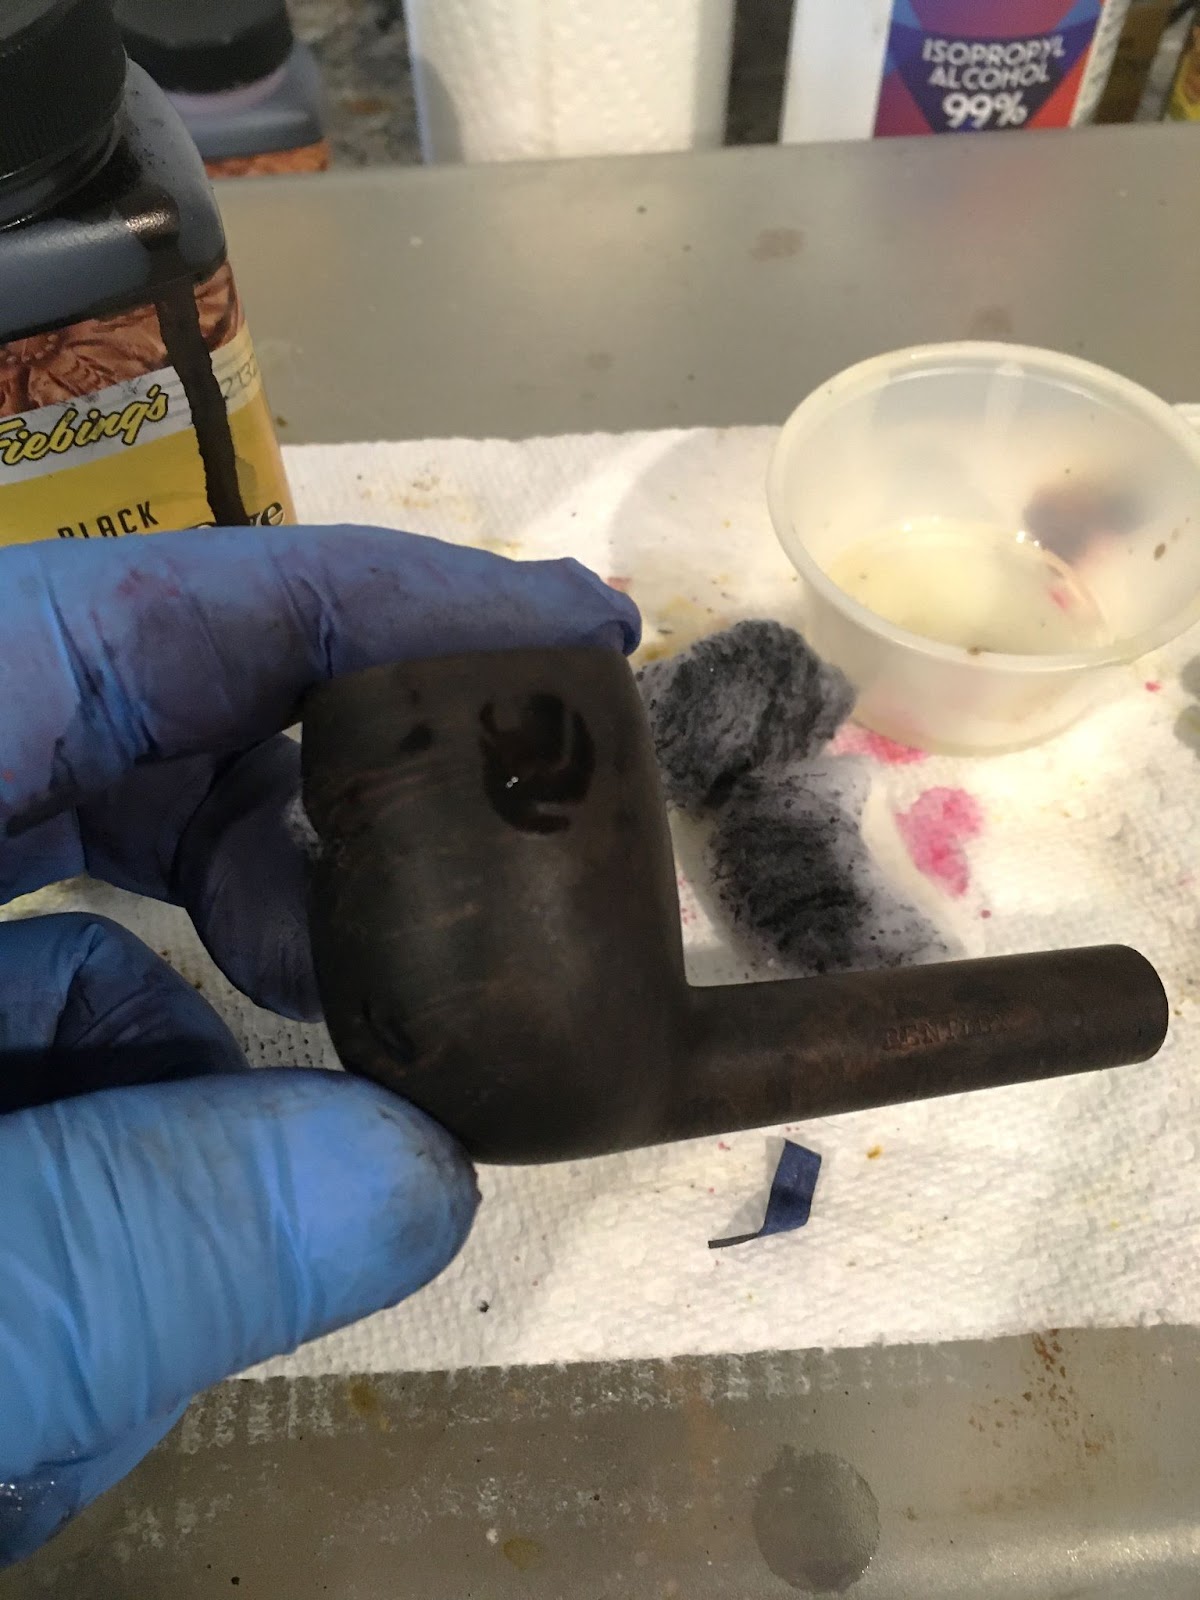
Below is the black dyed stummel, still wet with Fiebing’s Leather Dye.

I wiped off the remaining damp dye with a paper towel. This also removed my painters tape stamp protectors. Here you can see that the stamped area received less dye thus reducing the amount of sanding/buffing that the stamp will be exposed to.

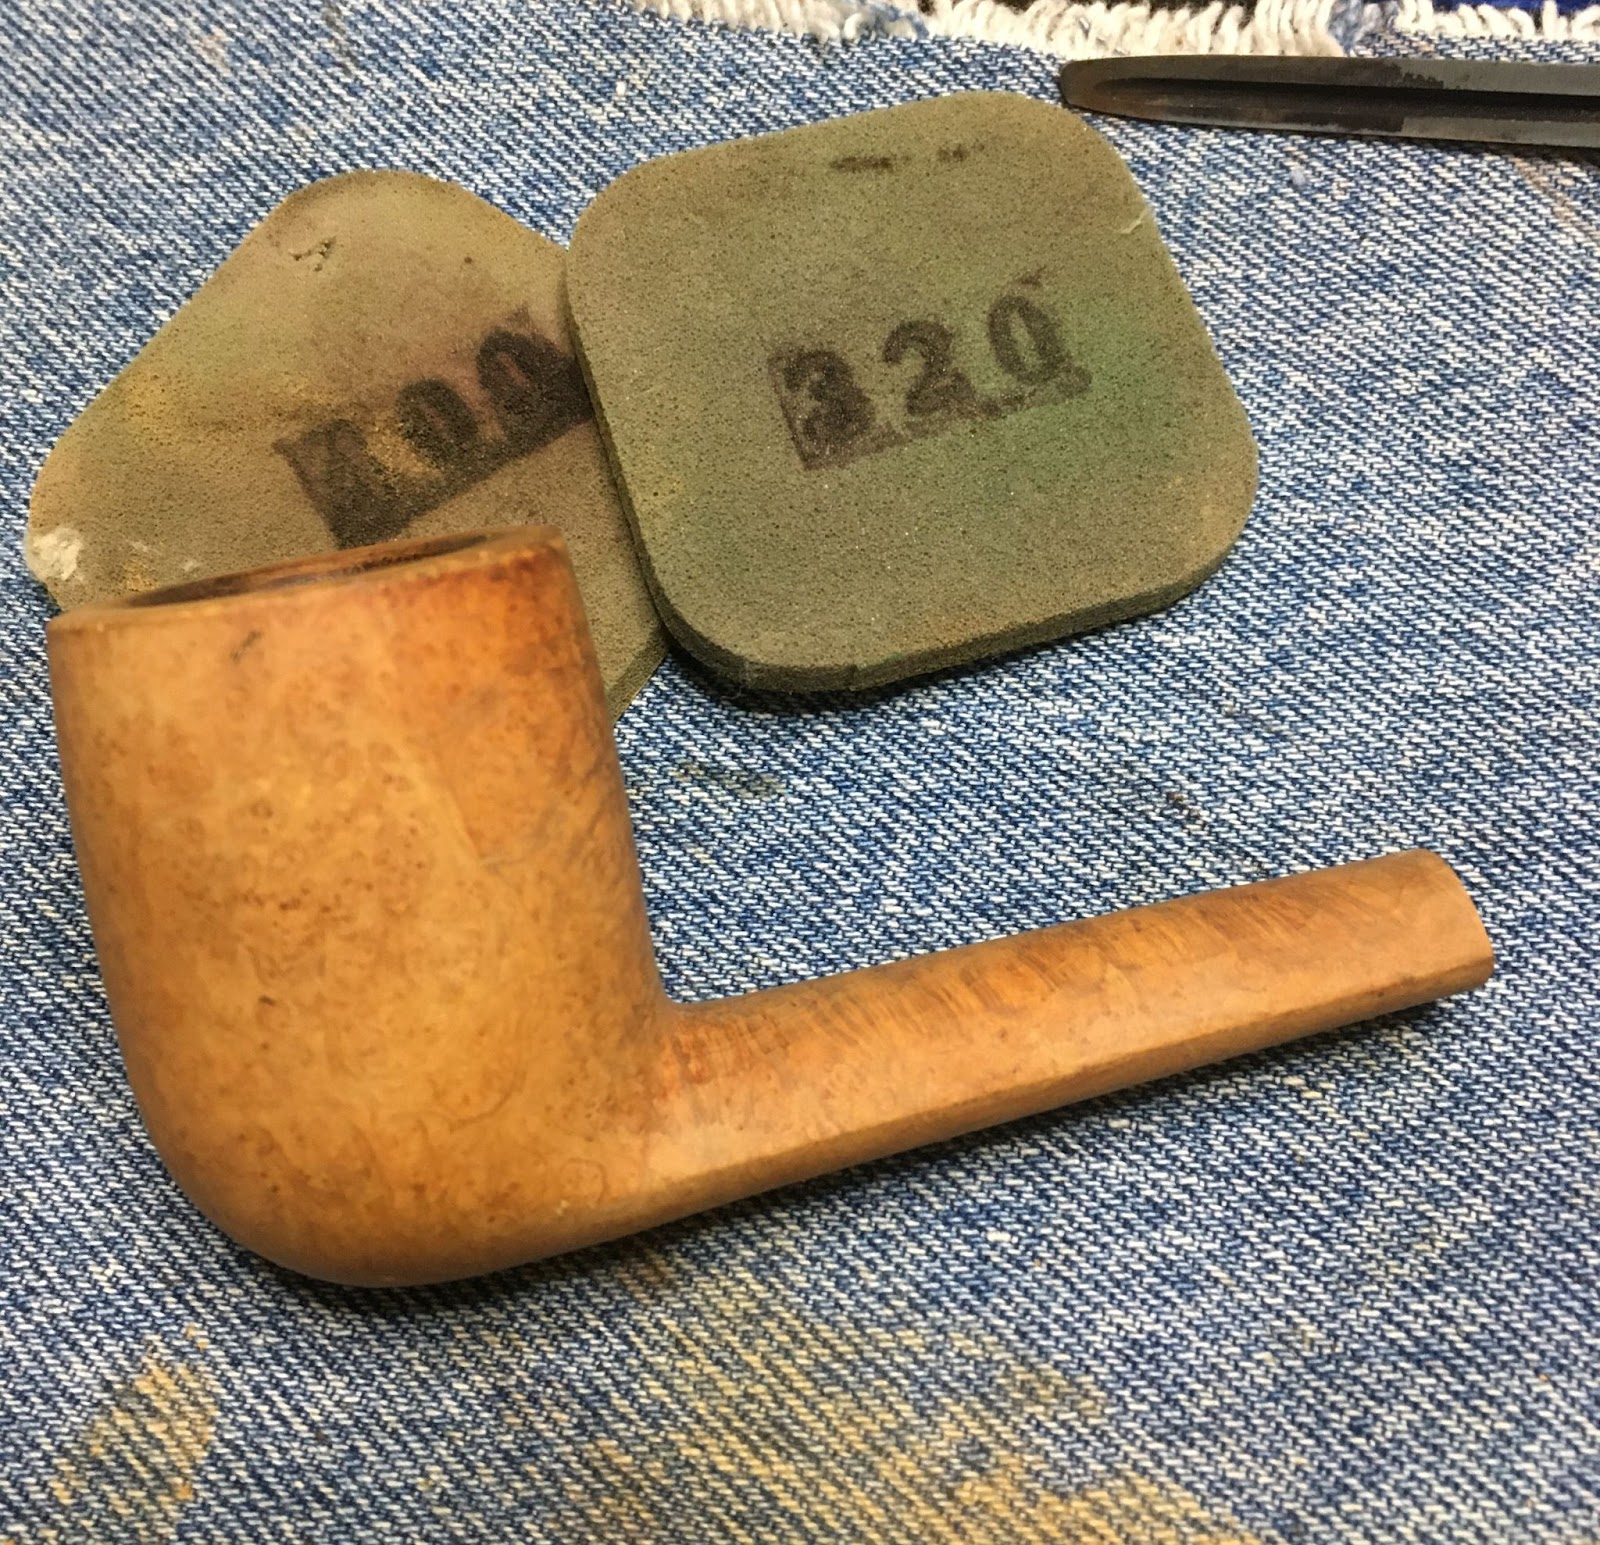
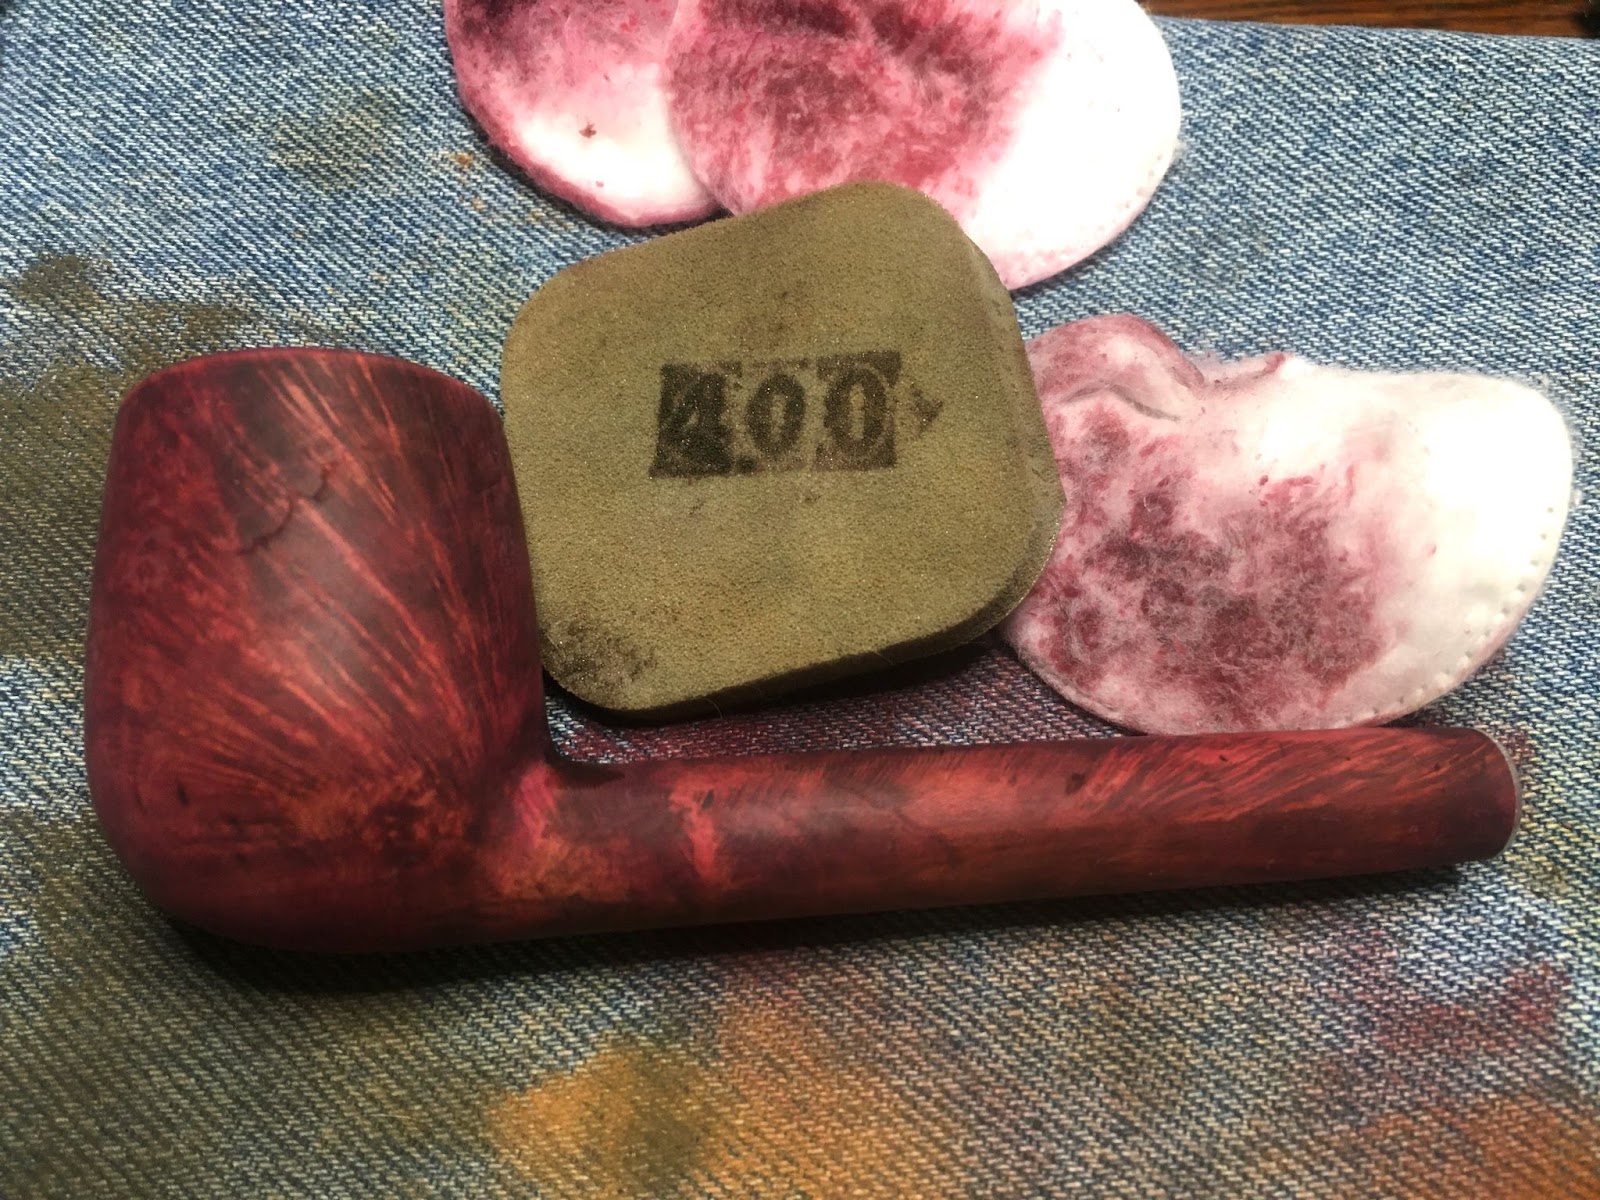
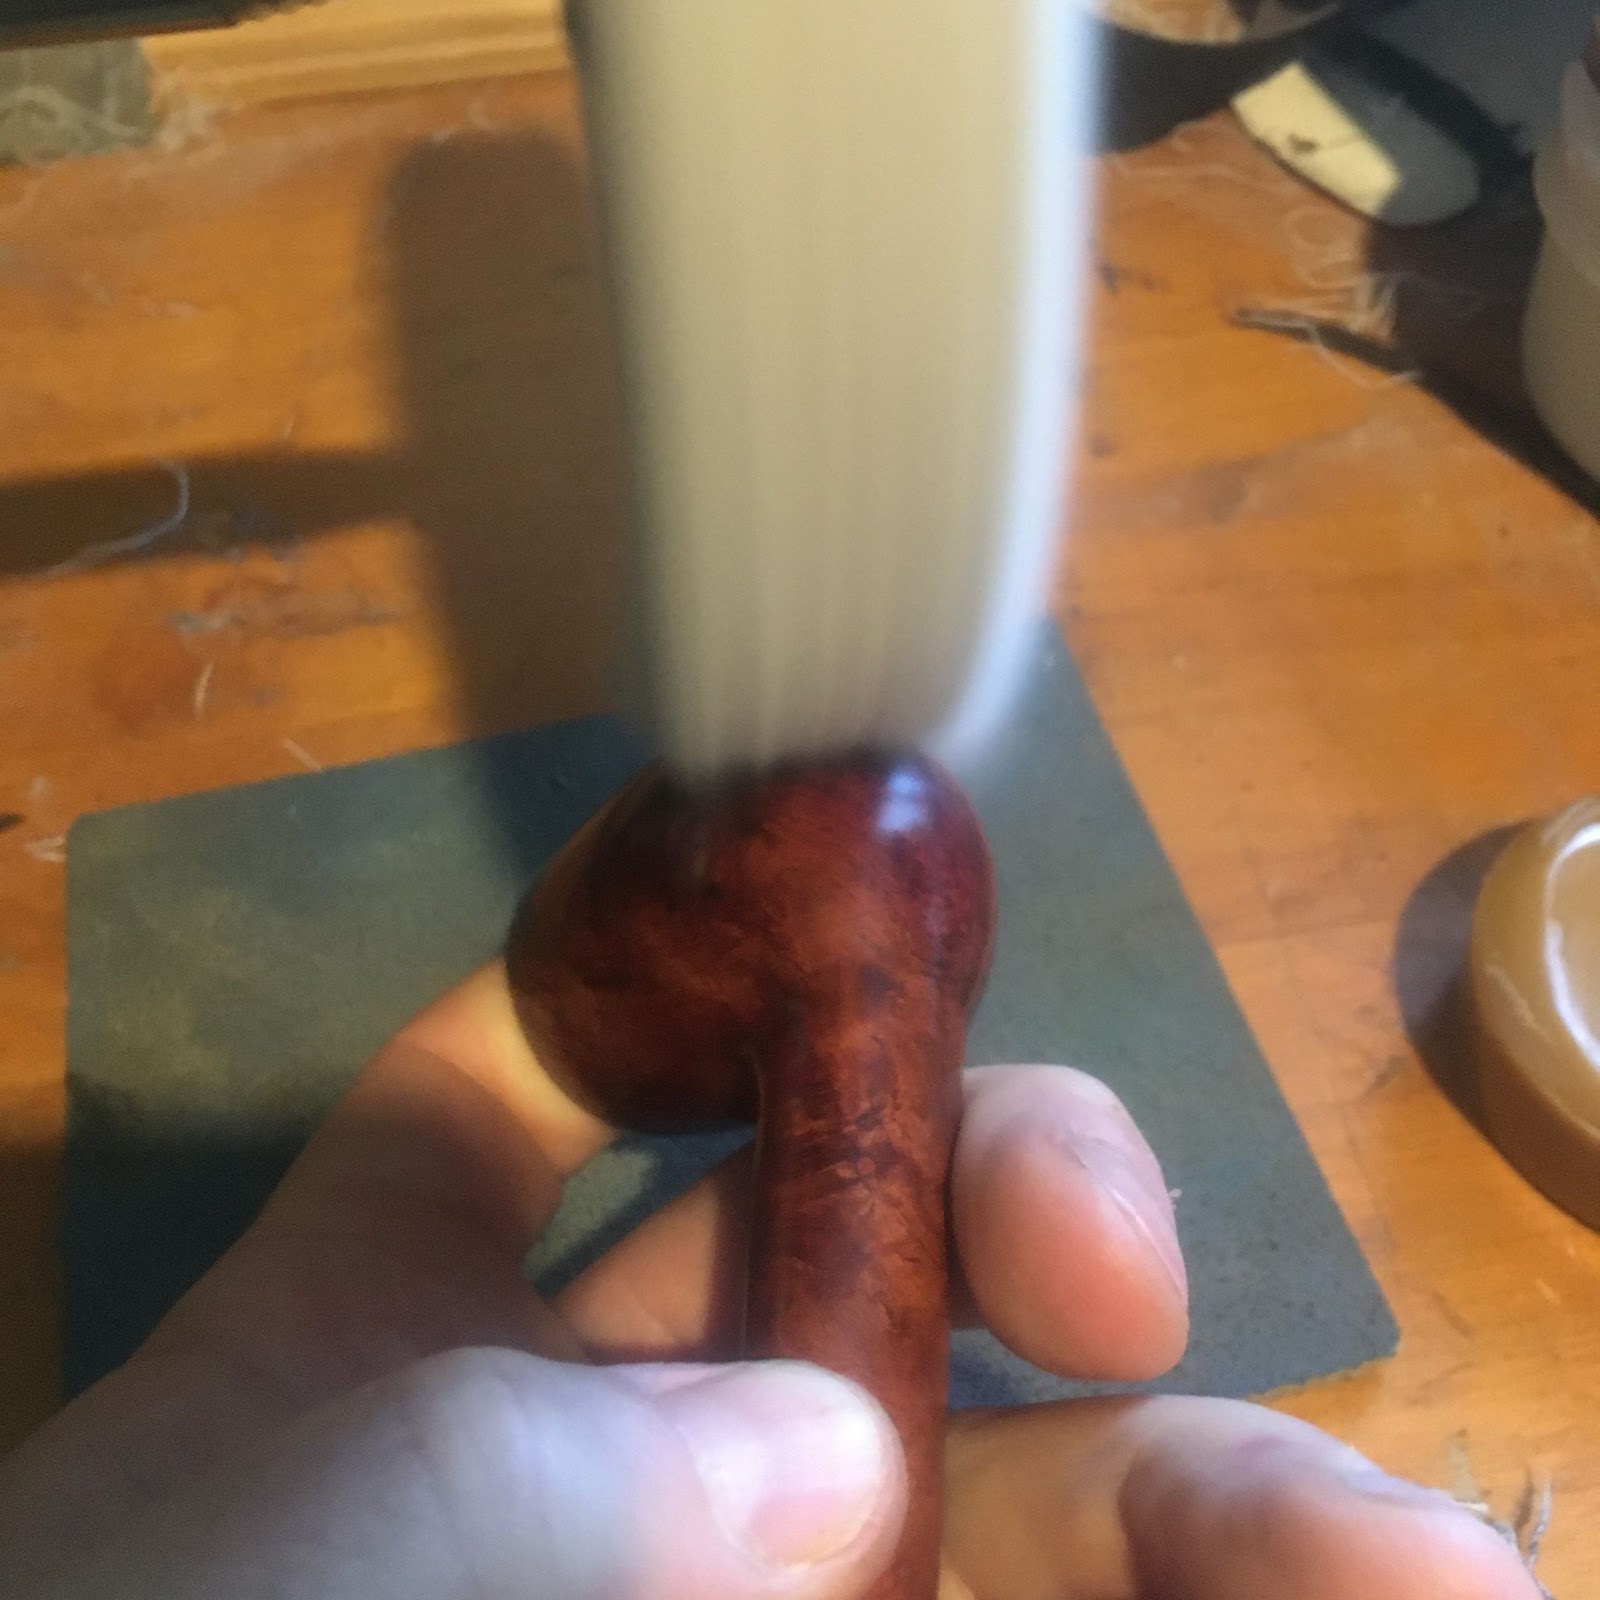
The blackened stummel was taken to the buffer where rouge buffing compound was used to buff away the router black dyed briar. The results looked good but I wanted the stummel to be lighter overall in color.

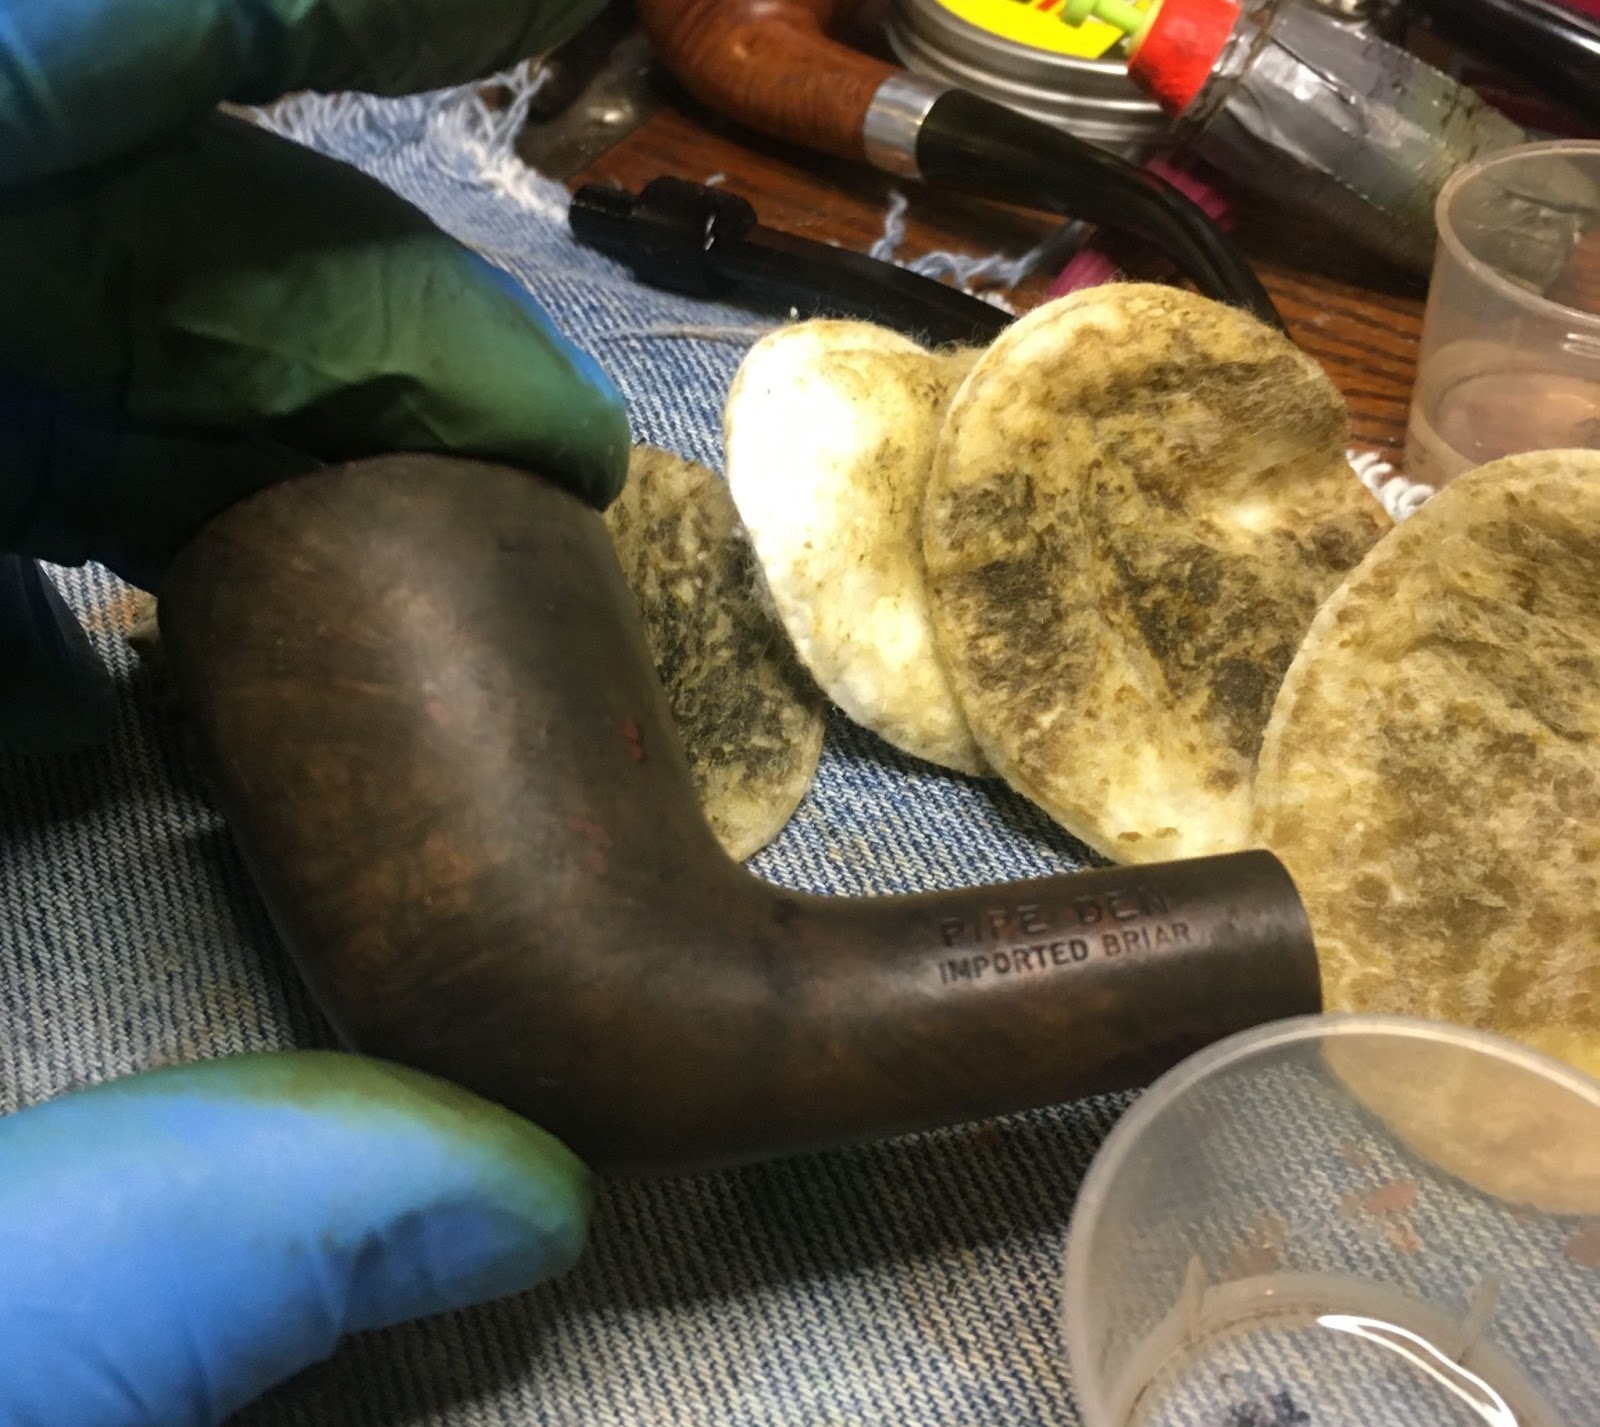
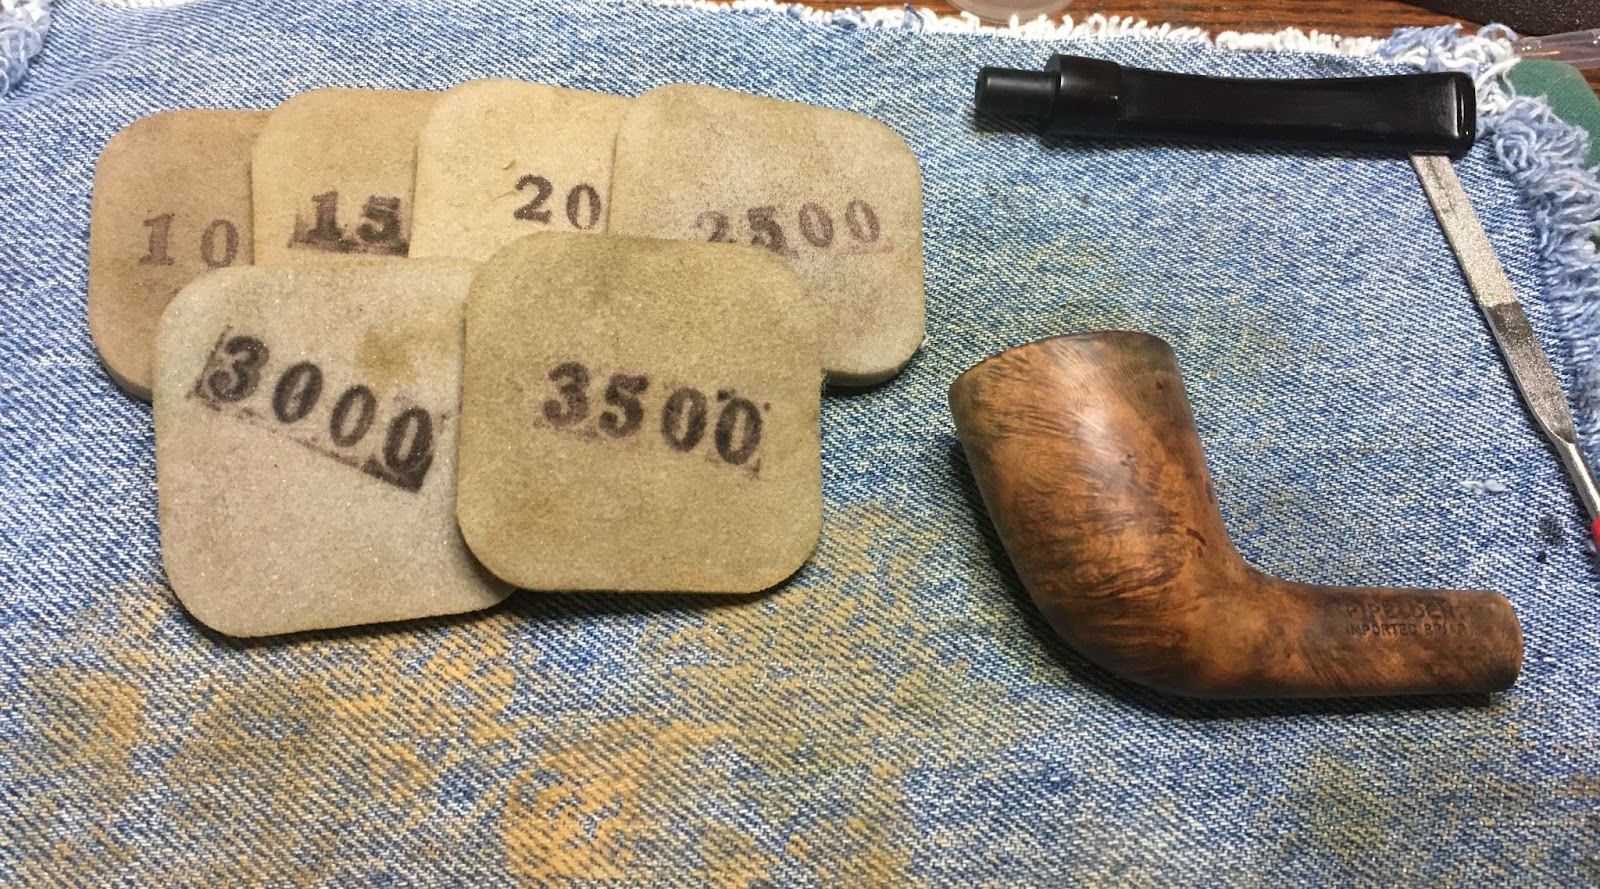
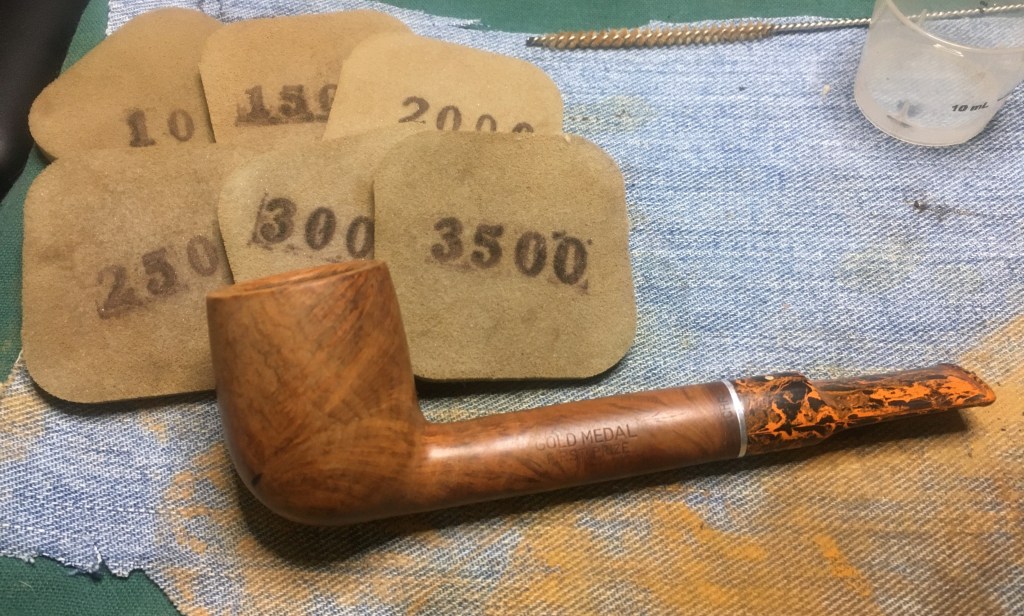
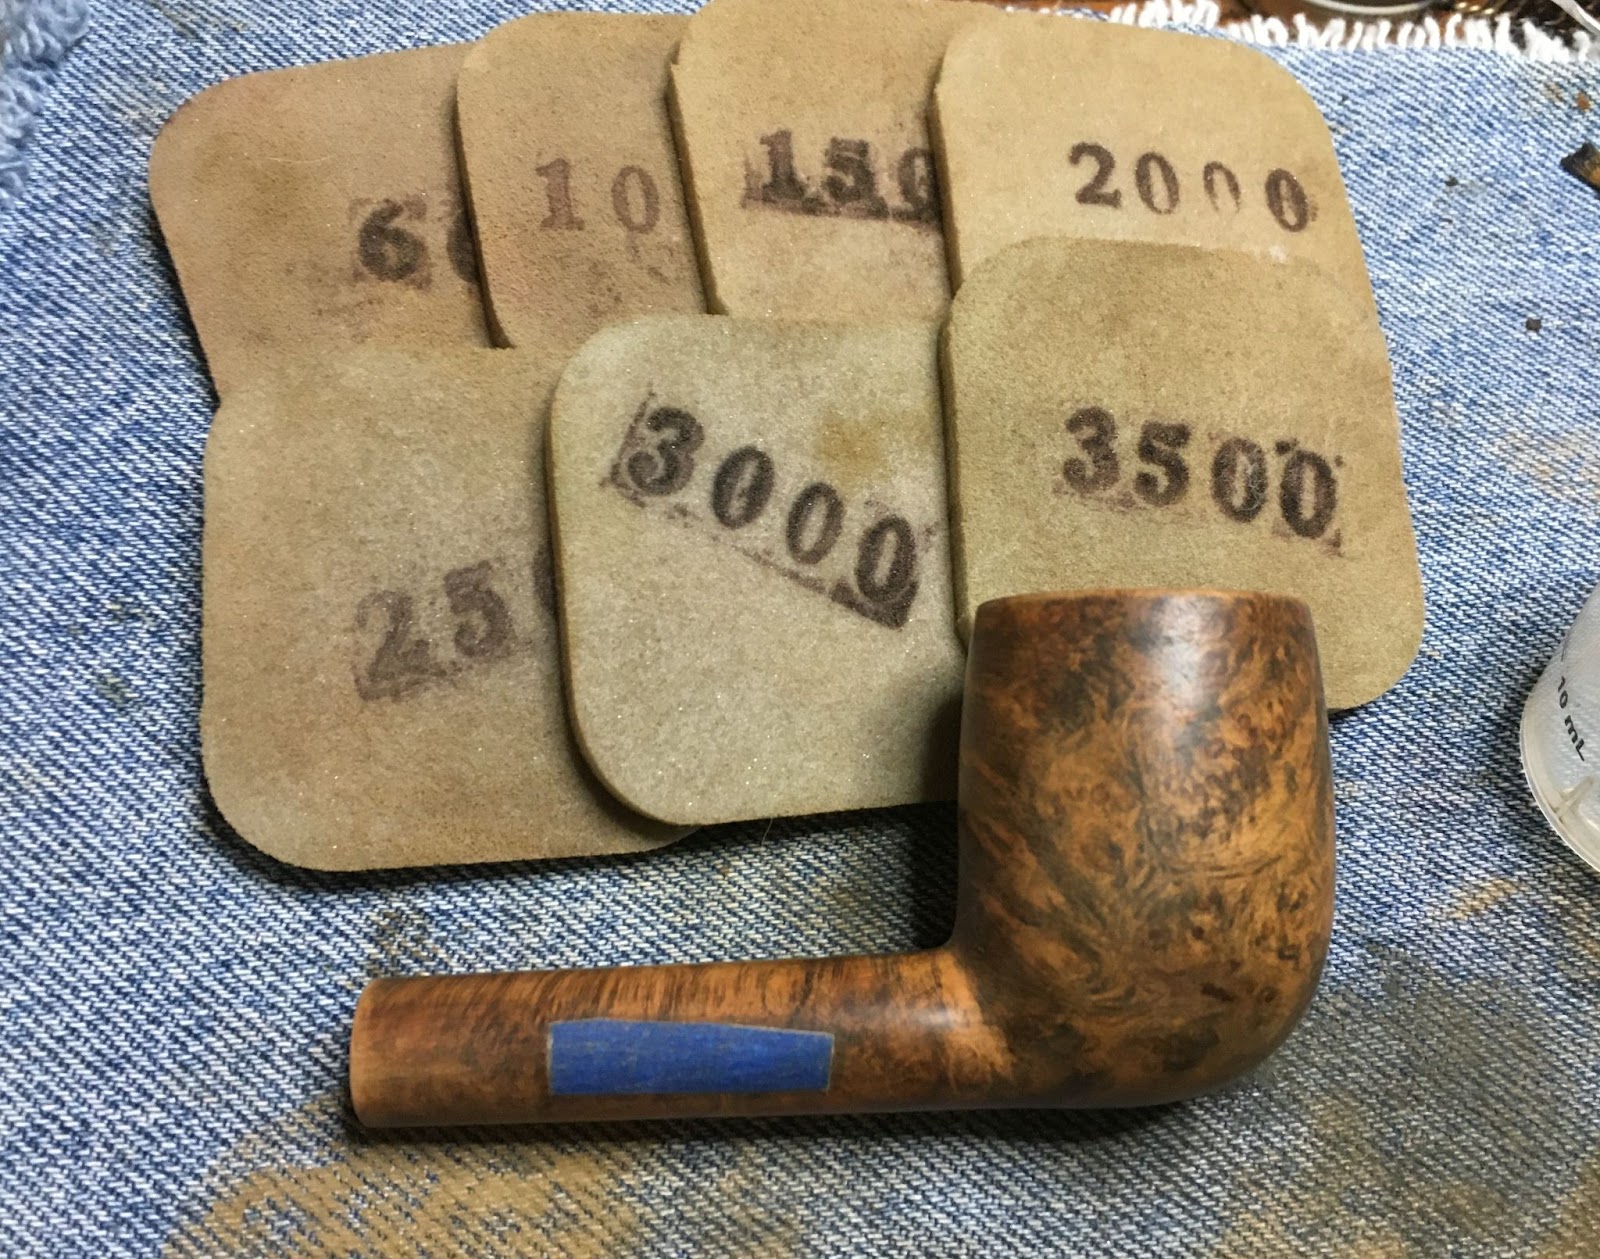
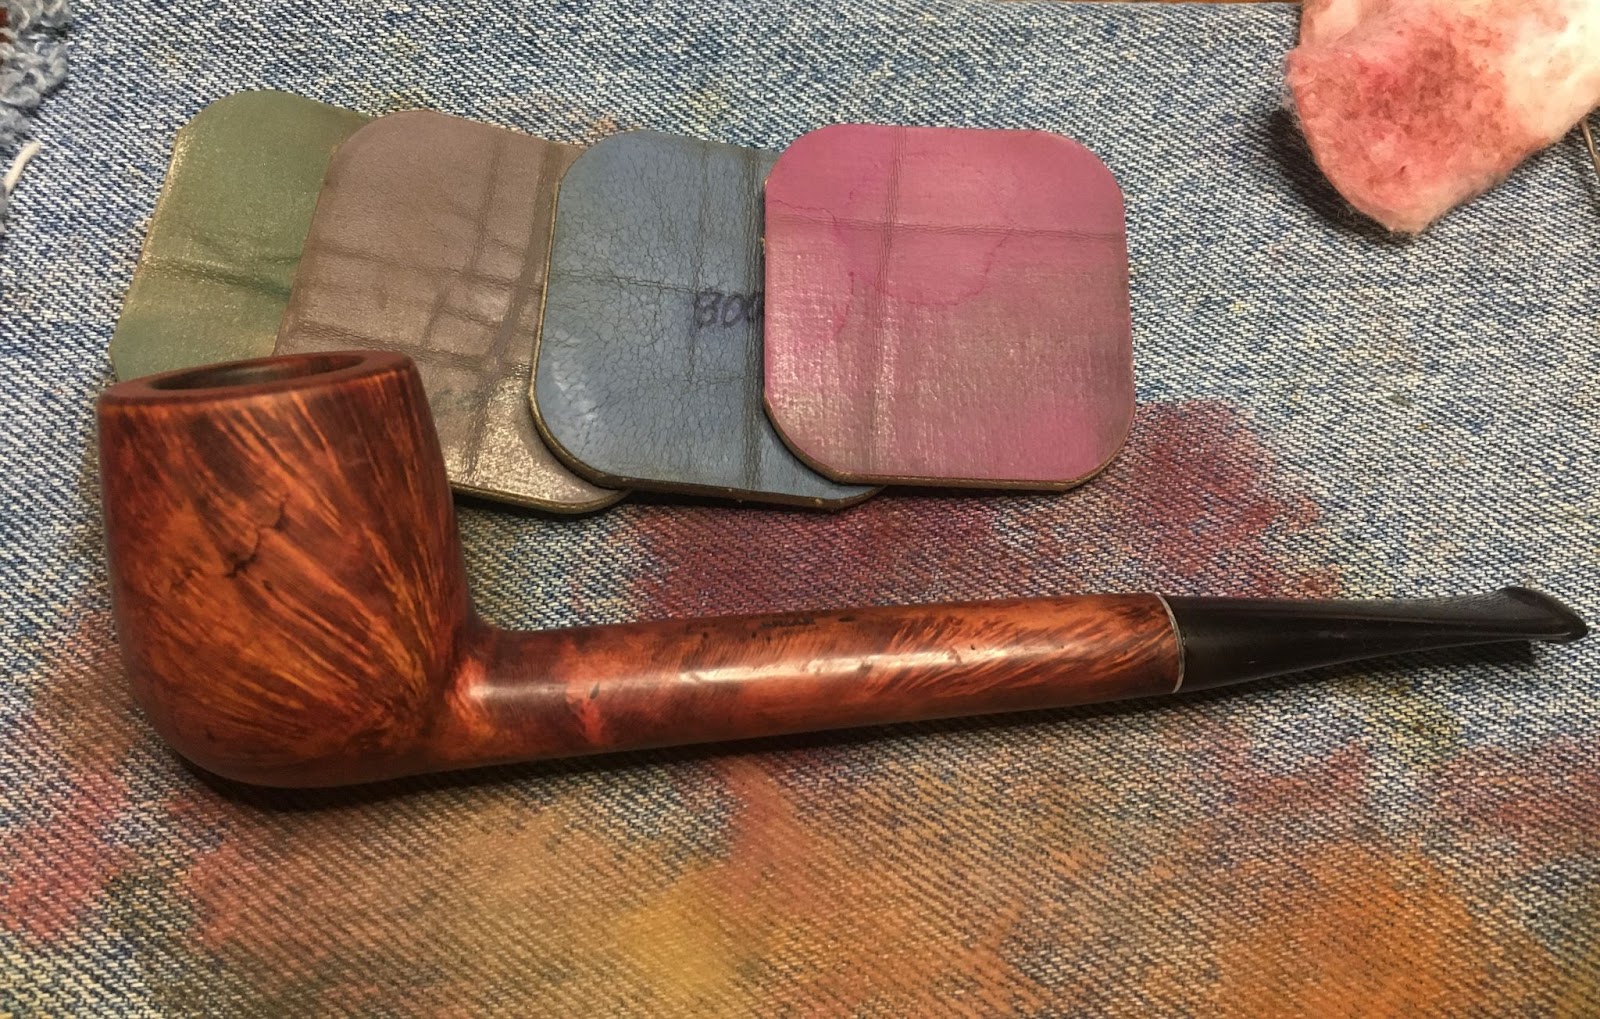
To further lighten the briar I lightly sanded the stummel with 320 and 400 grit sanding sponges. This removed more of the black dyed briar. When I was happy with the shade, I sanded the stummel with a series of sanding sponges 600-3500 grits and wiped the stummel with an alcohol dampened make-up pad between each sponge..

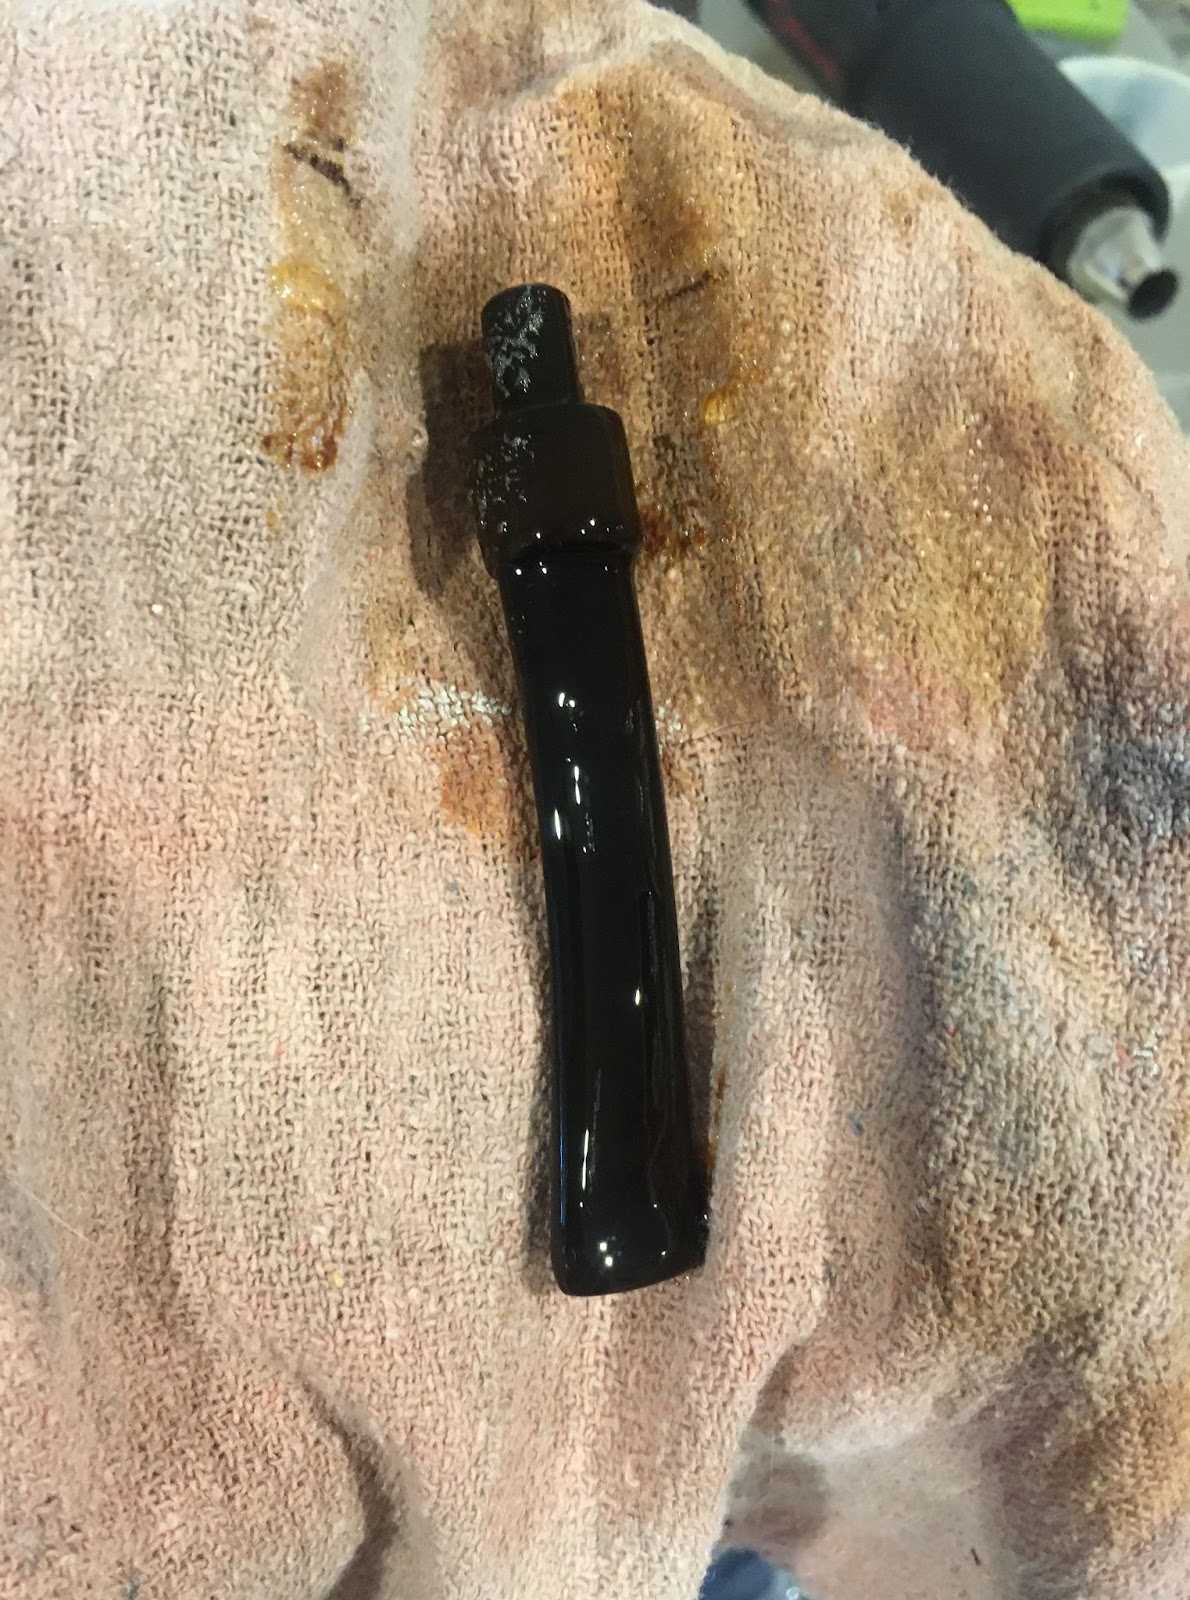
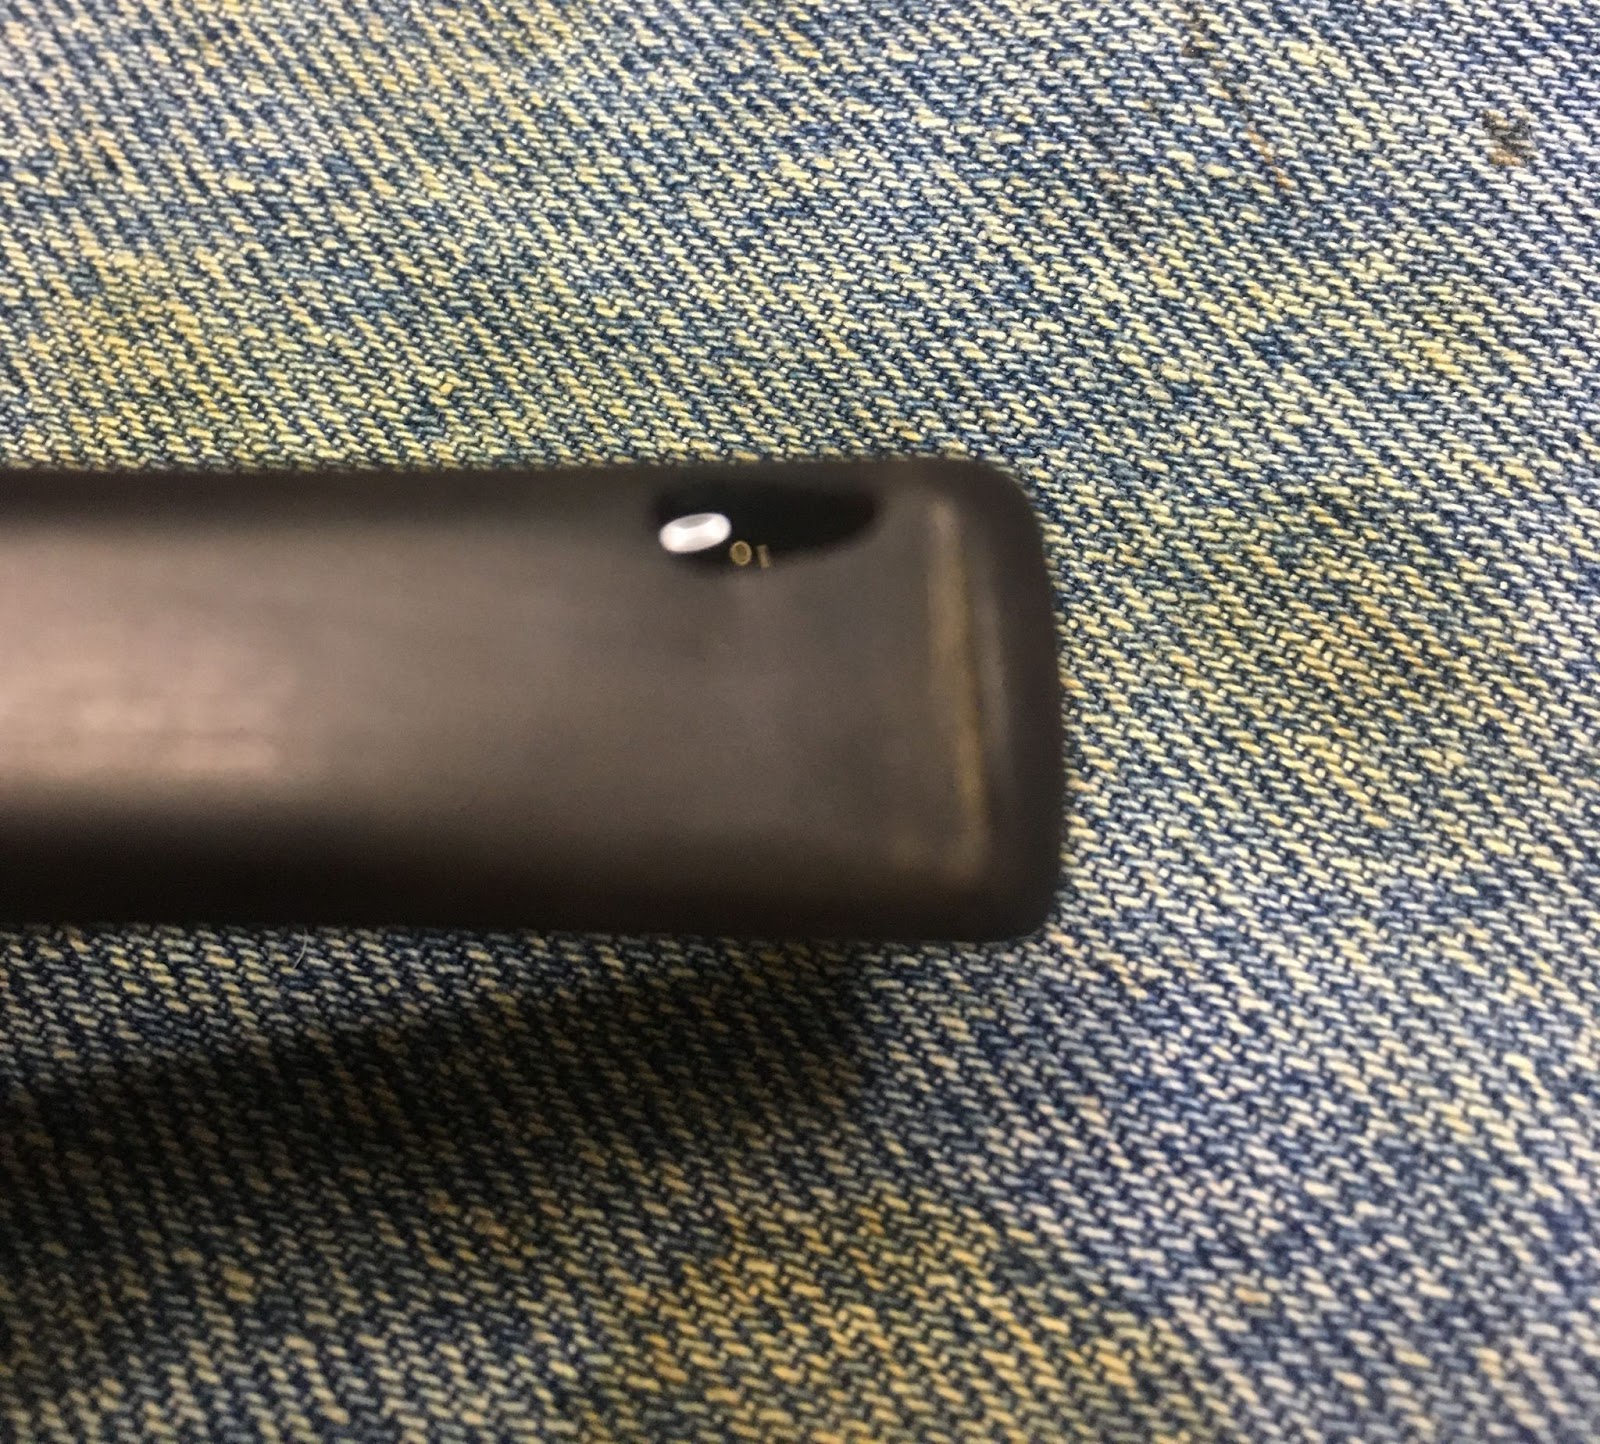
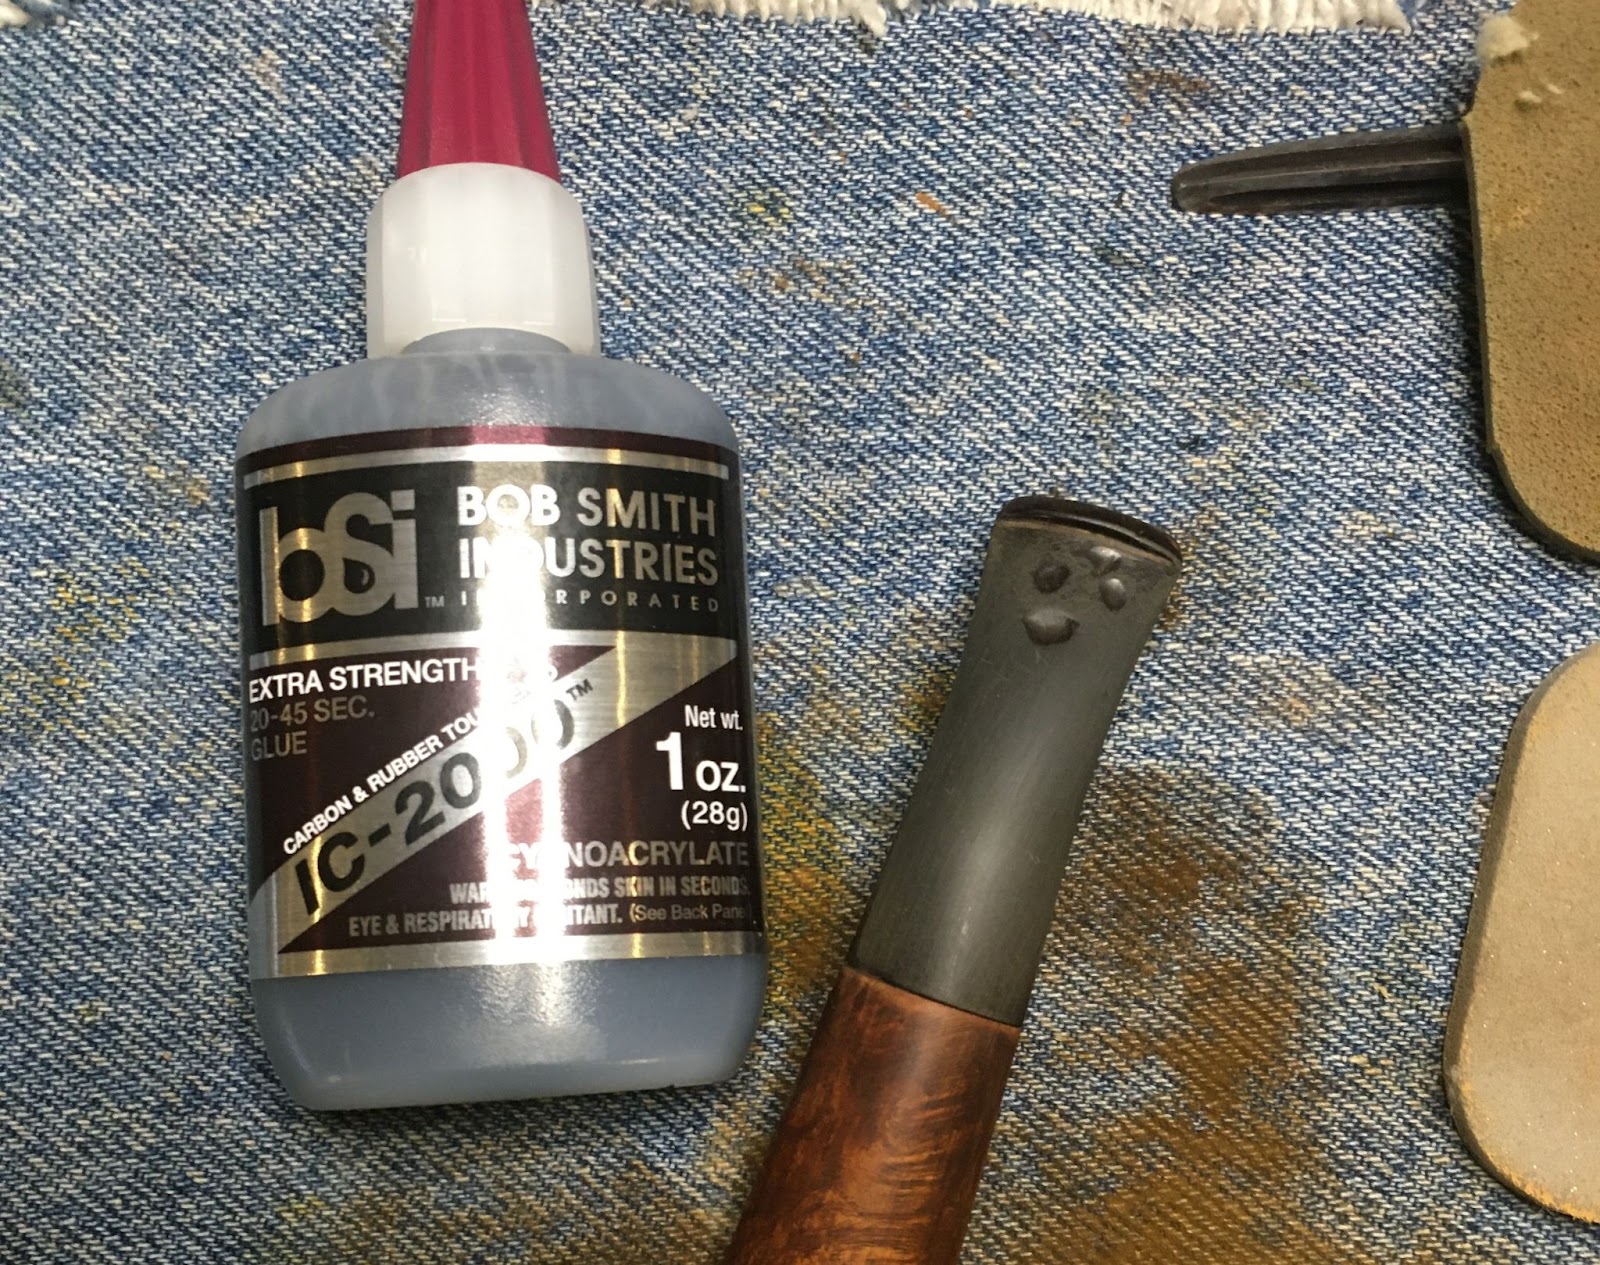
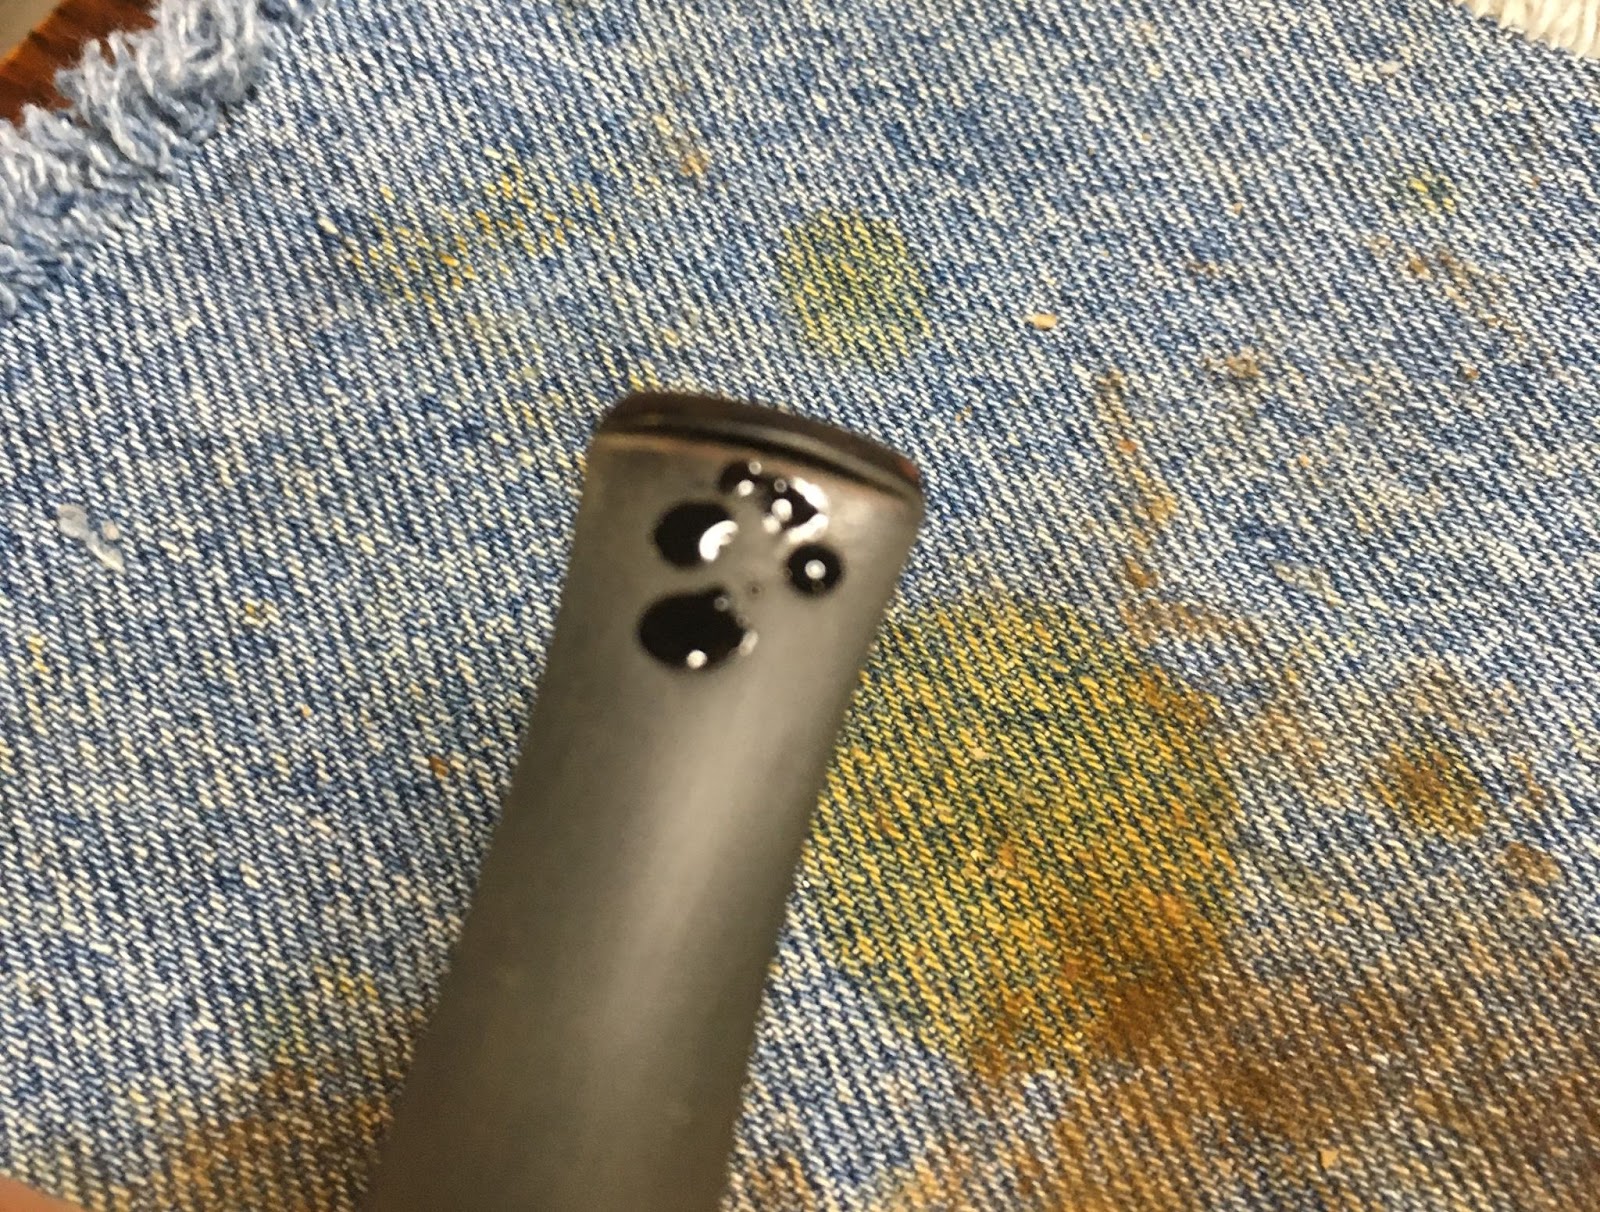
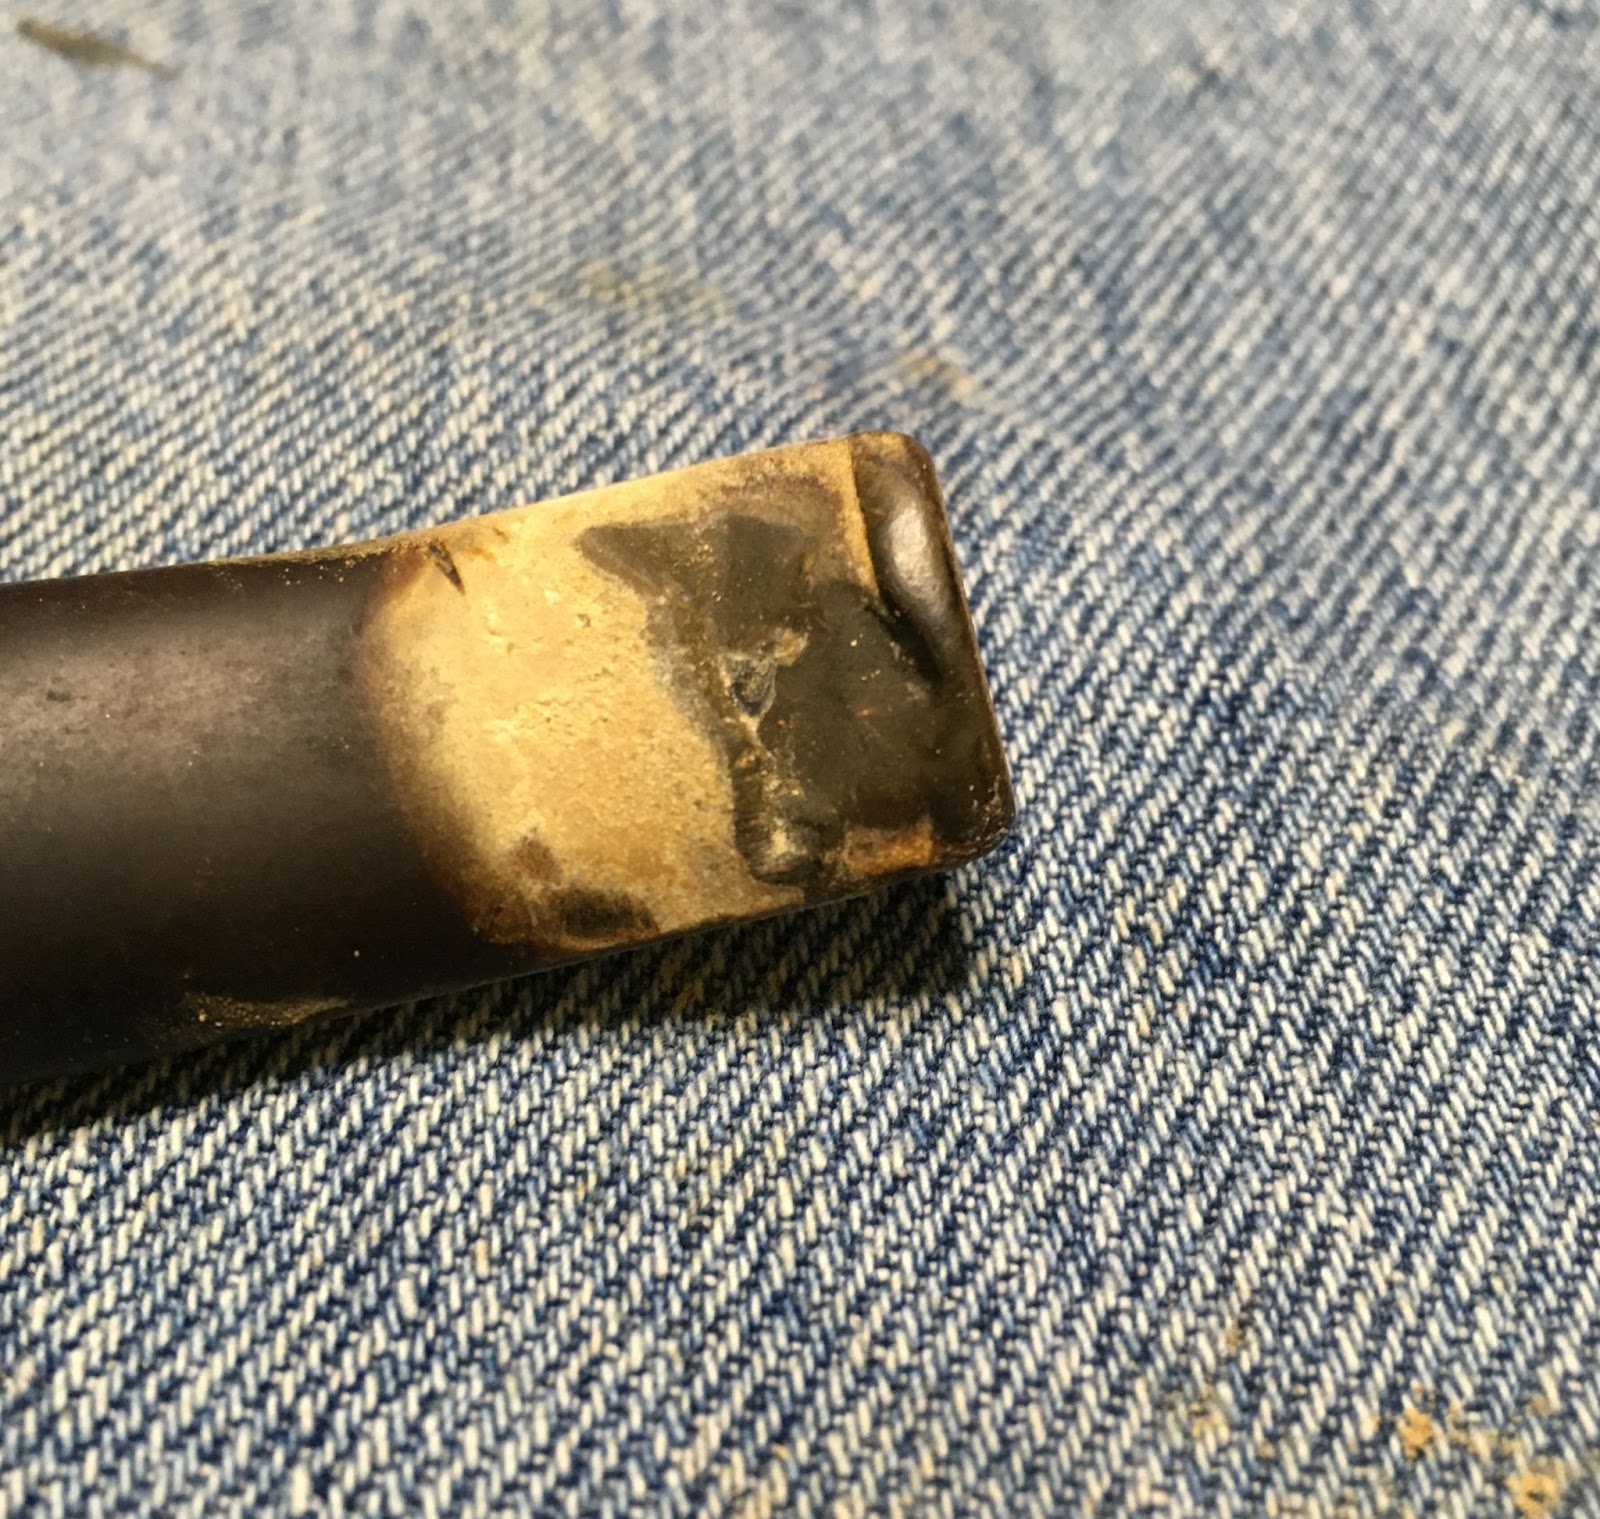
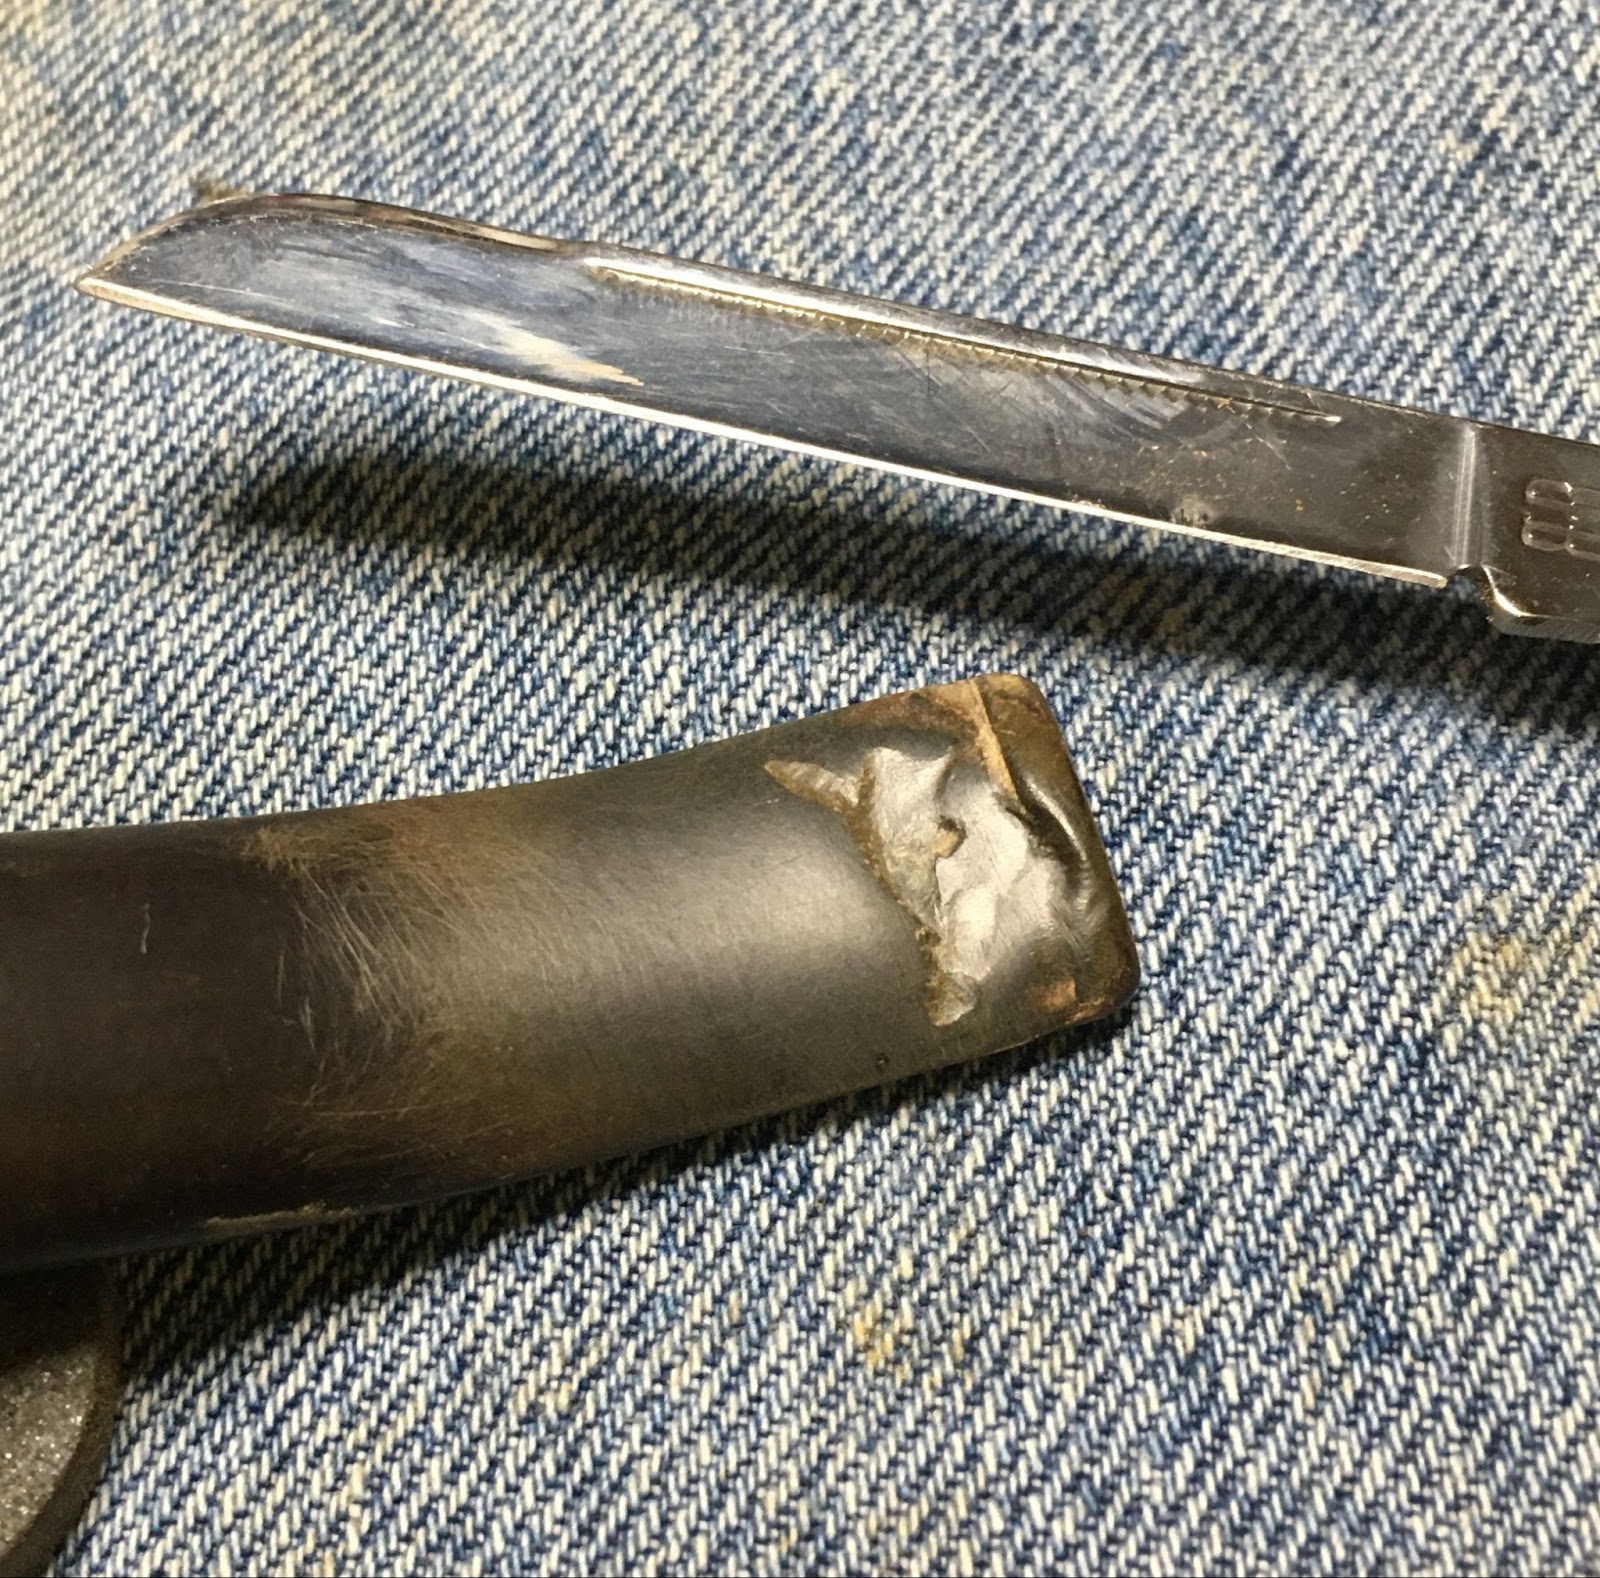
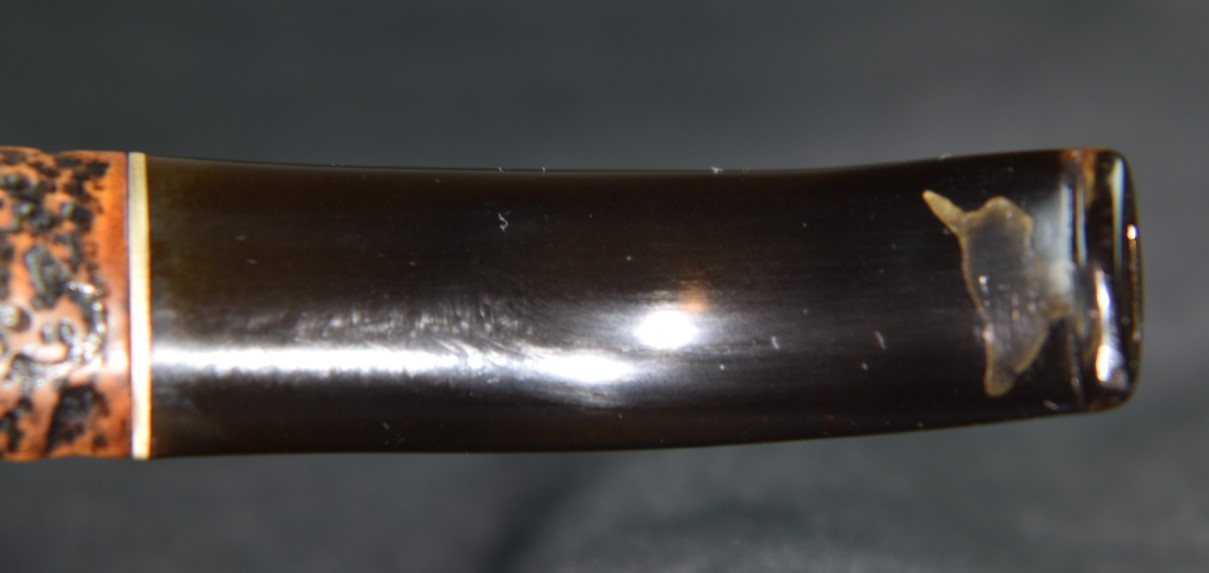
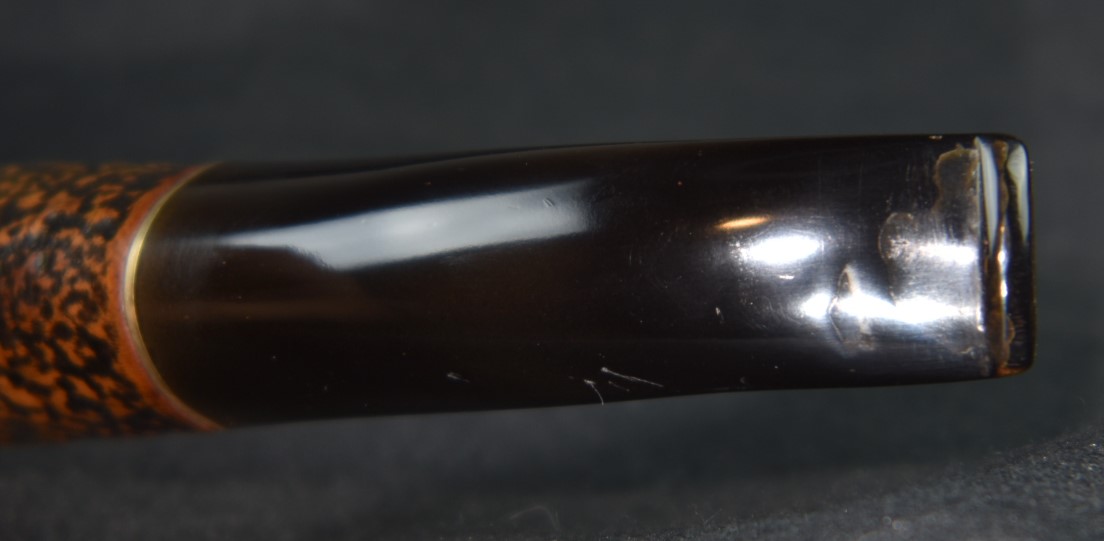
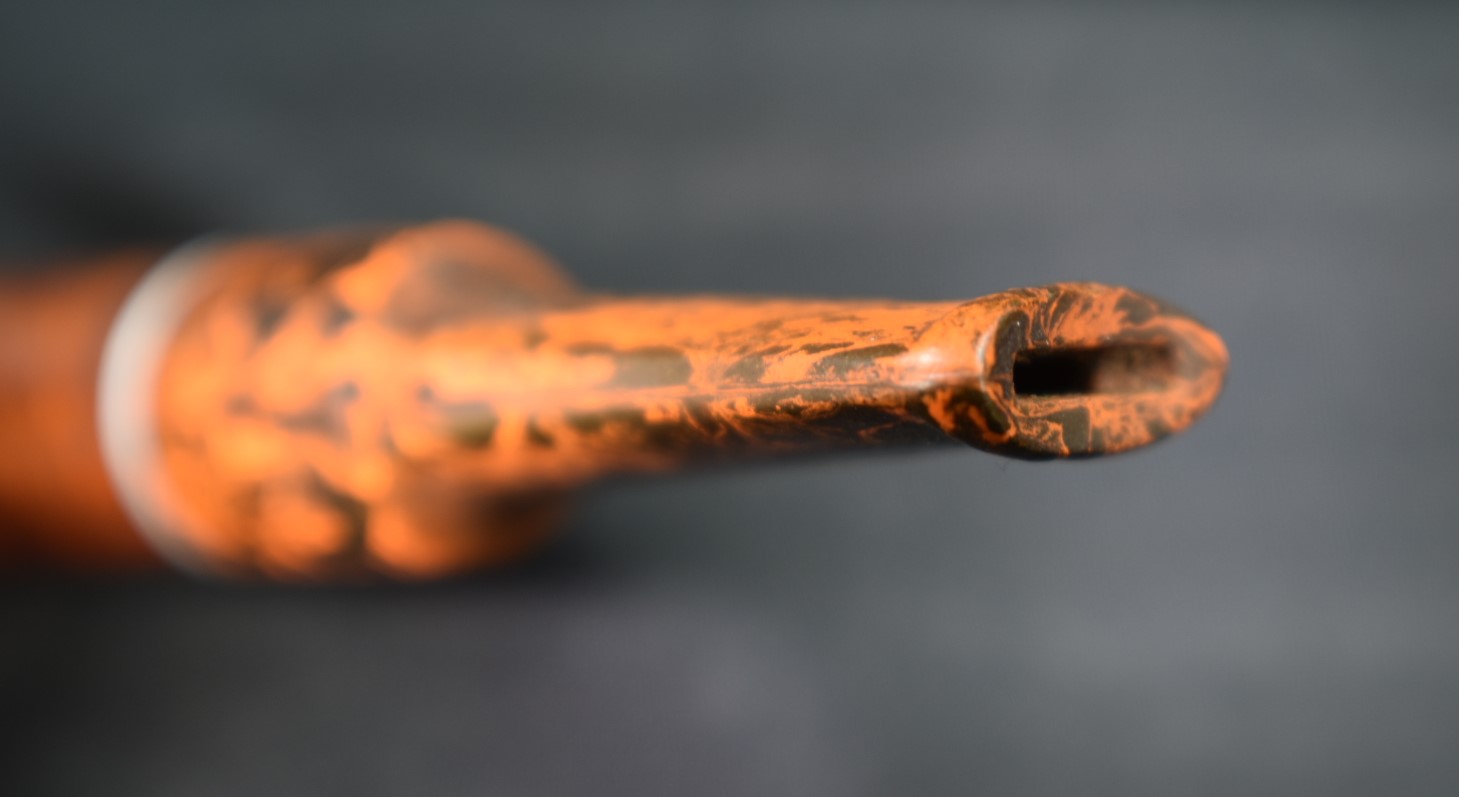
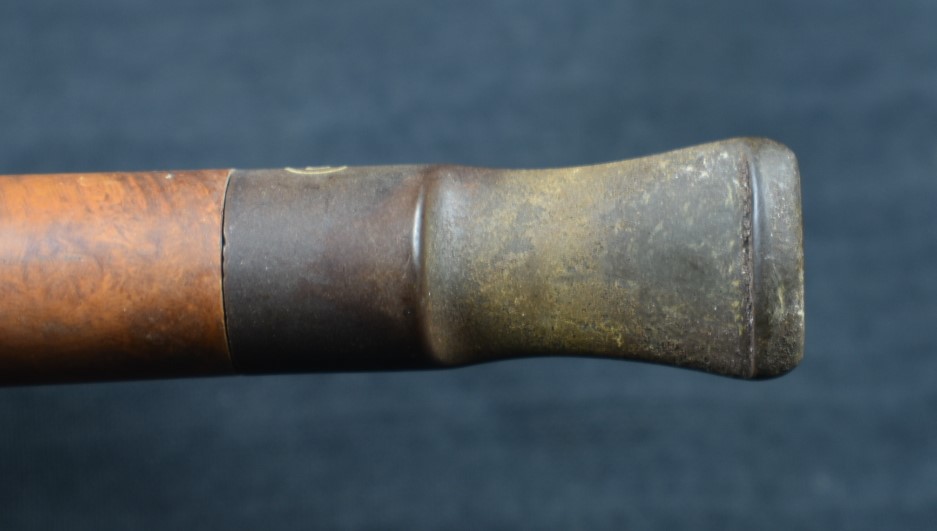
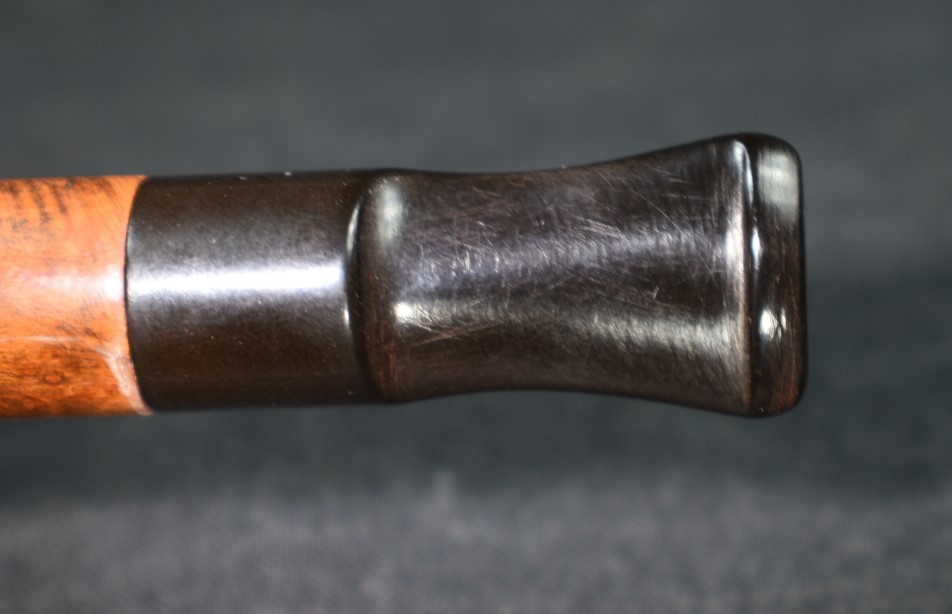
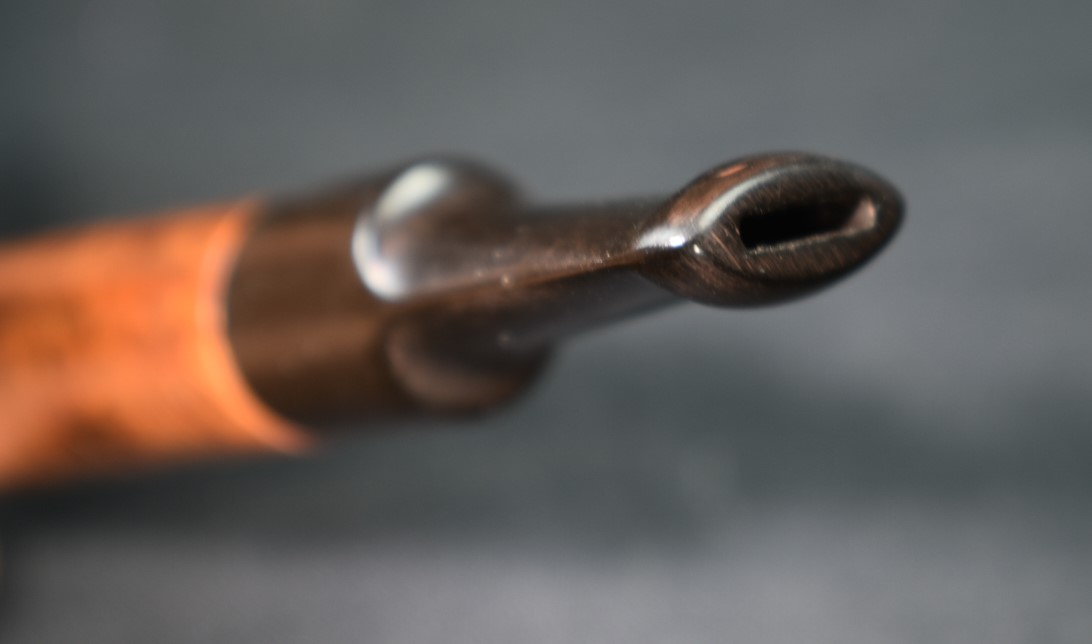
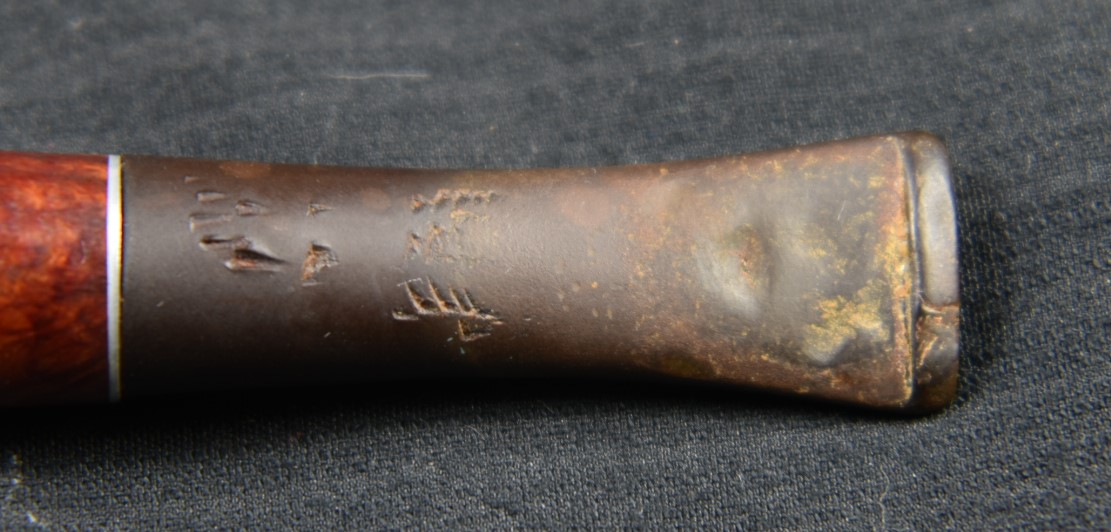
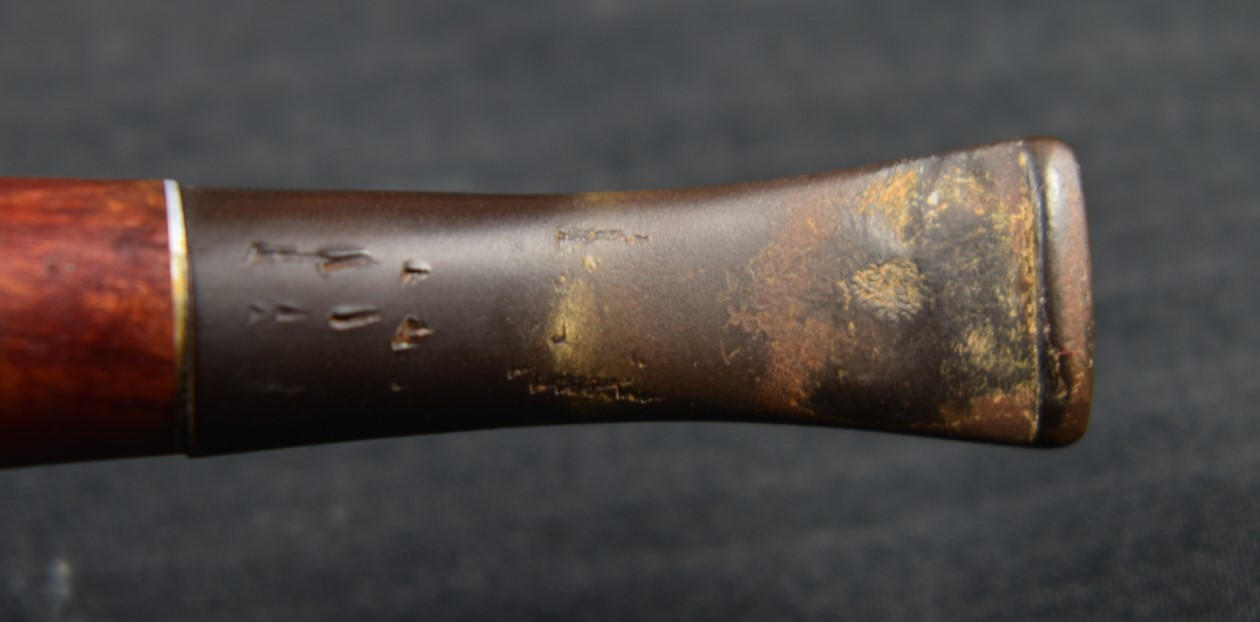
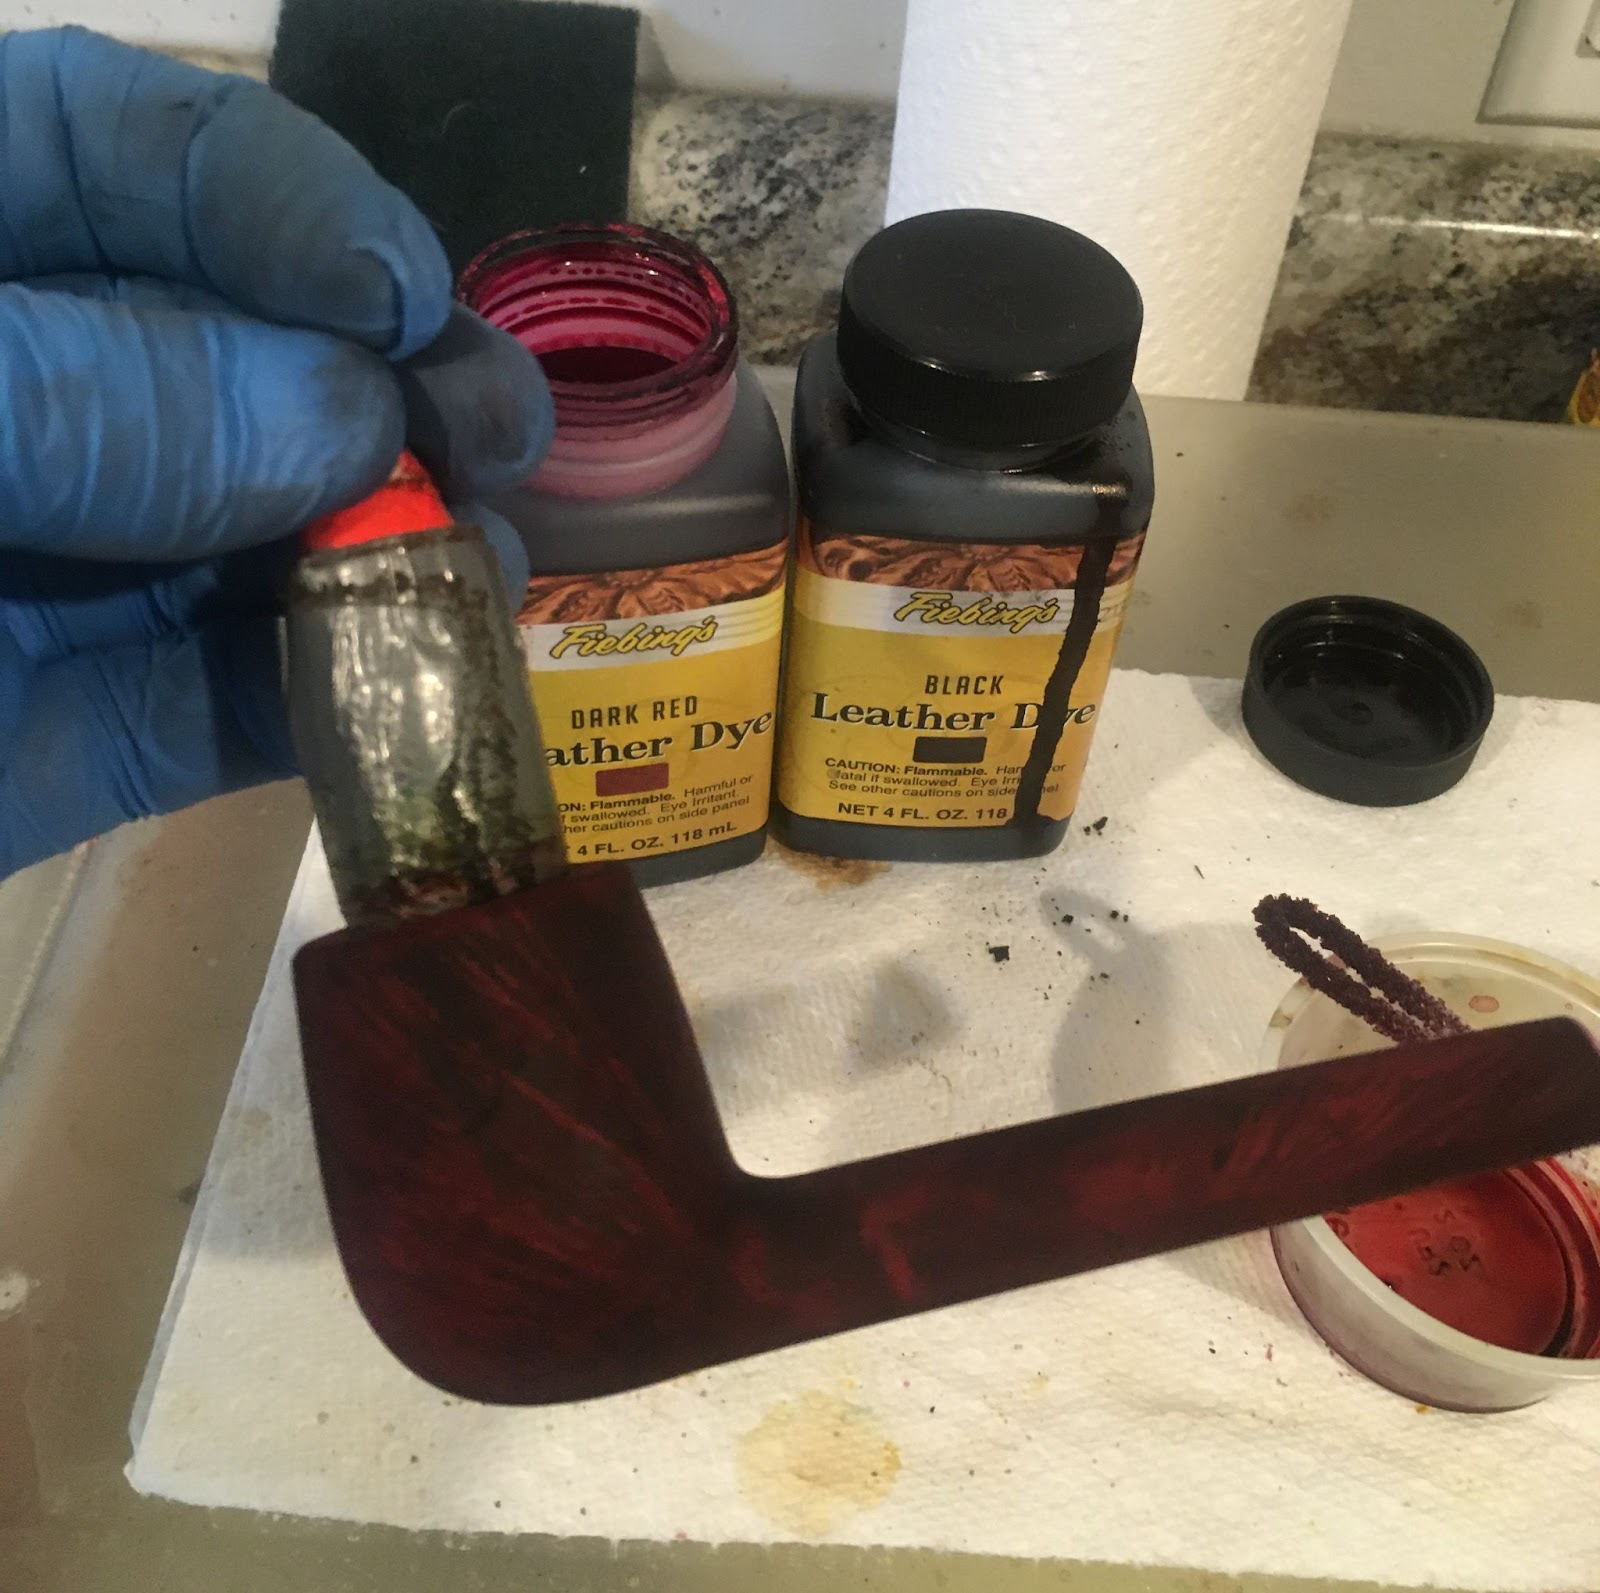
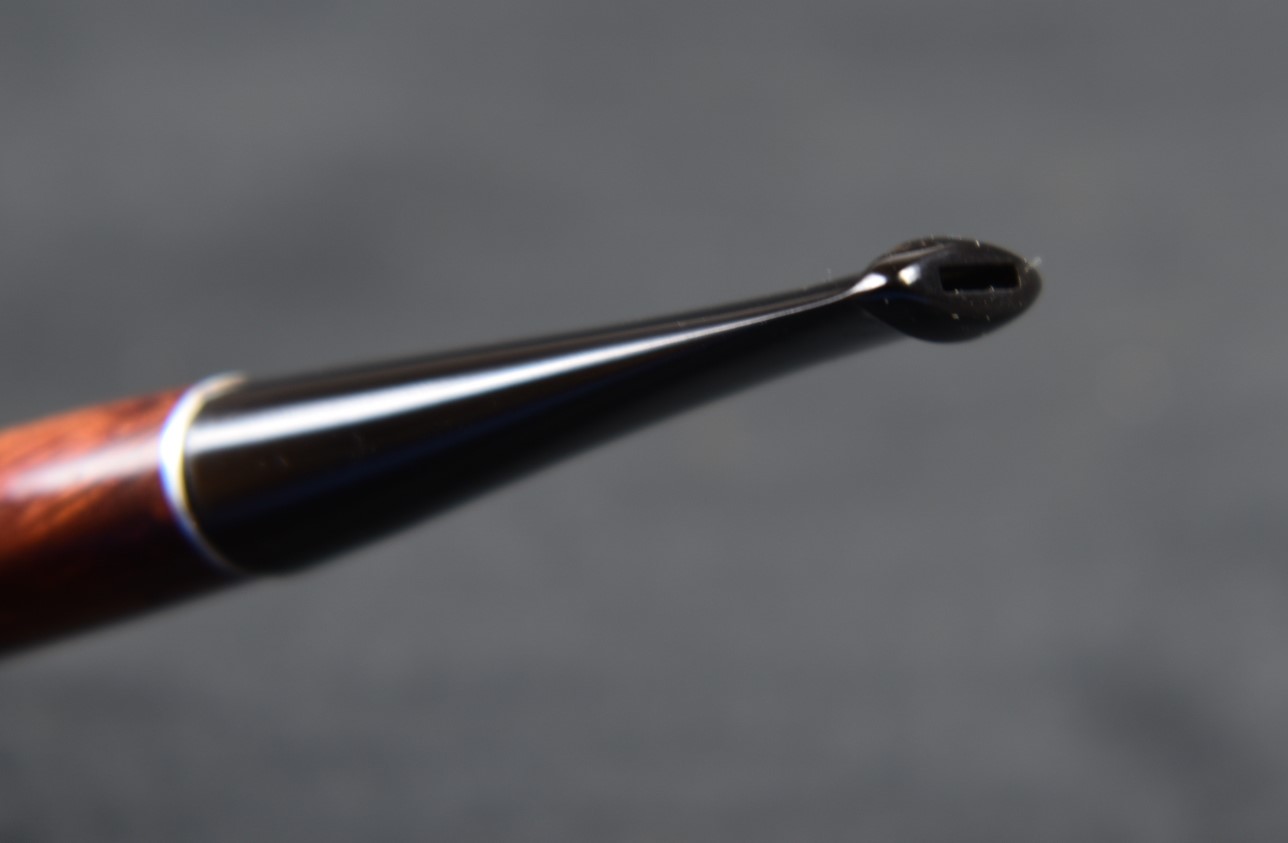
I turned my attention to the stem. The slightly over-clocked stem could have been adjusted a couple of different ways; by heating the aluminum threads until the rubber softened and then turning the aluminum slightly or to add a bead of black cyanoacrylate to the end of the stem. I chose the later as the overclocking was so slight. Here I sanded the stem from about its middle to the button with 320 and 400 grit sanding sponges.

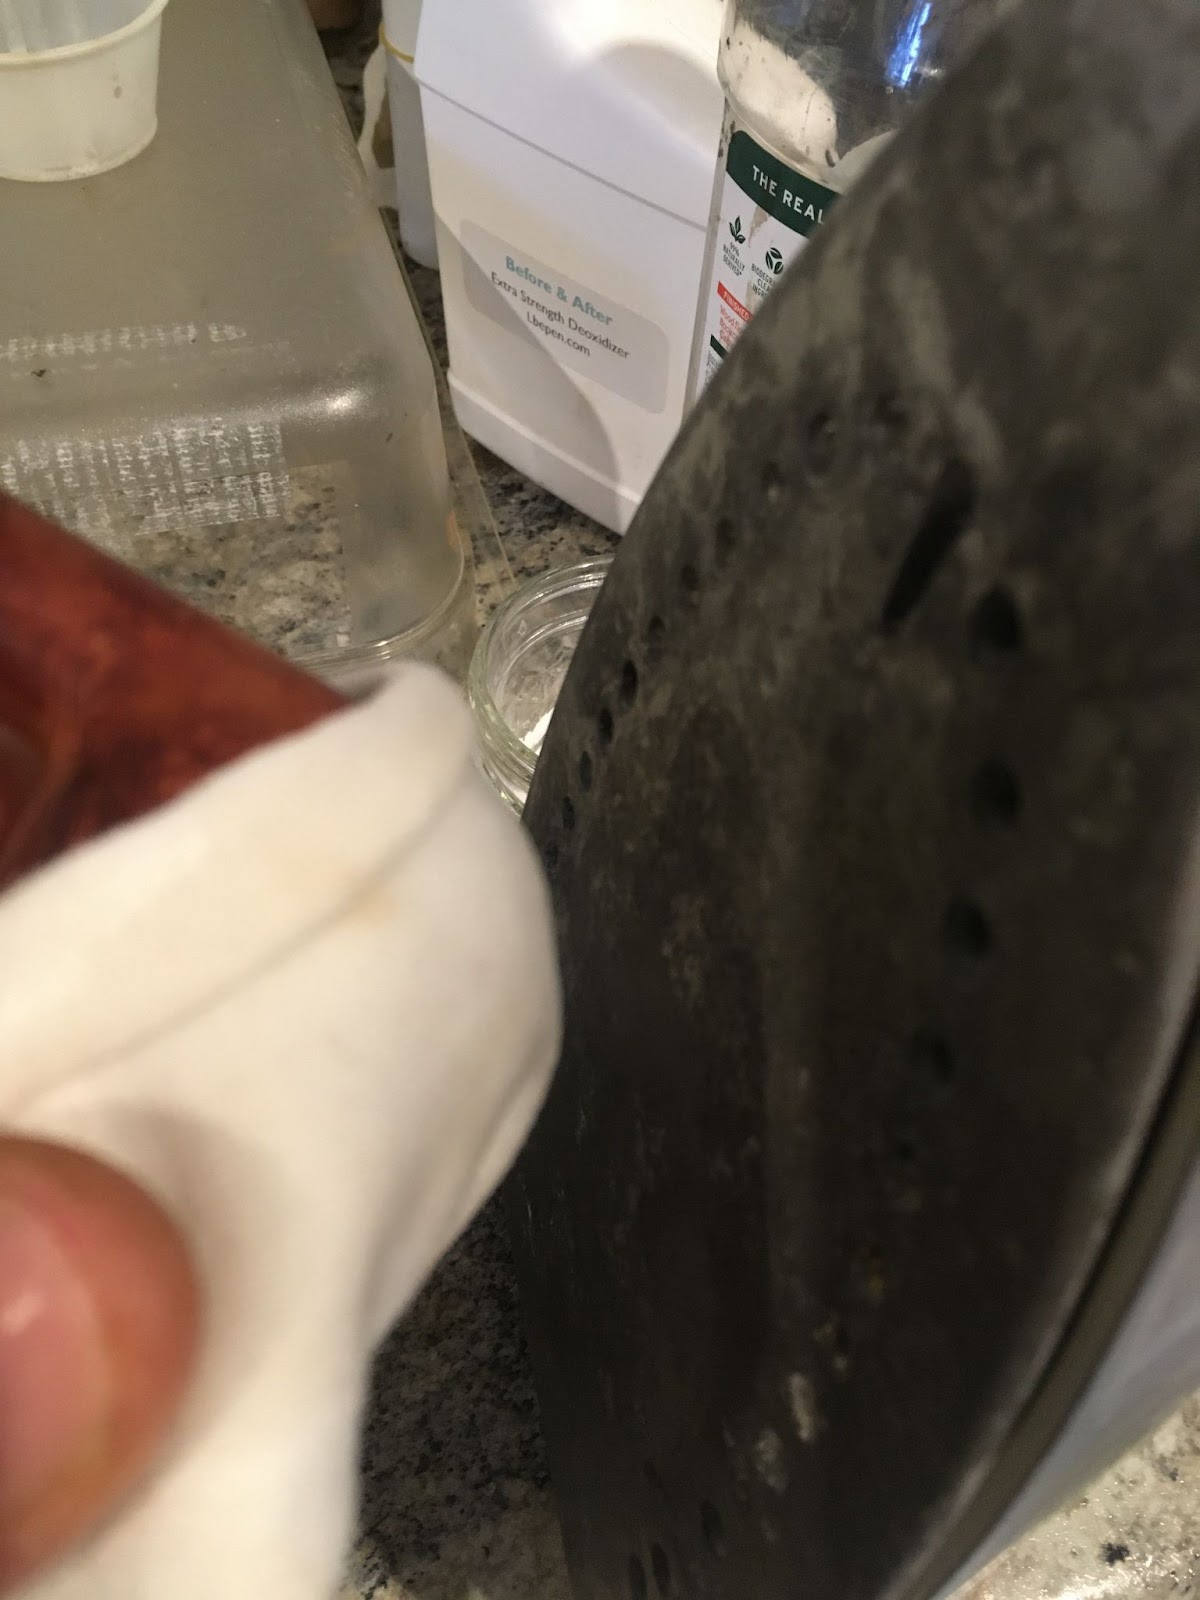
I then used Soft Scrub cleanser on make-up pads to scrub the entire stem. The pads became very dark with oxidized stem material. I was uncertain as to the material used with this stem. Normally oxidized vulcanite yields a brown color on the make-up pad. This was nearly black. I coated the stem with mineral oil and allowed it to sit for 30 minutes. After the sitting, the stem looked black with no signs of a brown oxidized stem.

The stem was then sanded with a sequence of sanding sponges from 600-3500 grit. I did cover the stem logo with a small piece of painters tape to protect it from the sanding. Between each sponge I rubbed mineral oil onto the stem with my fingertip and wiped the stem with a paper towel.

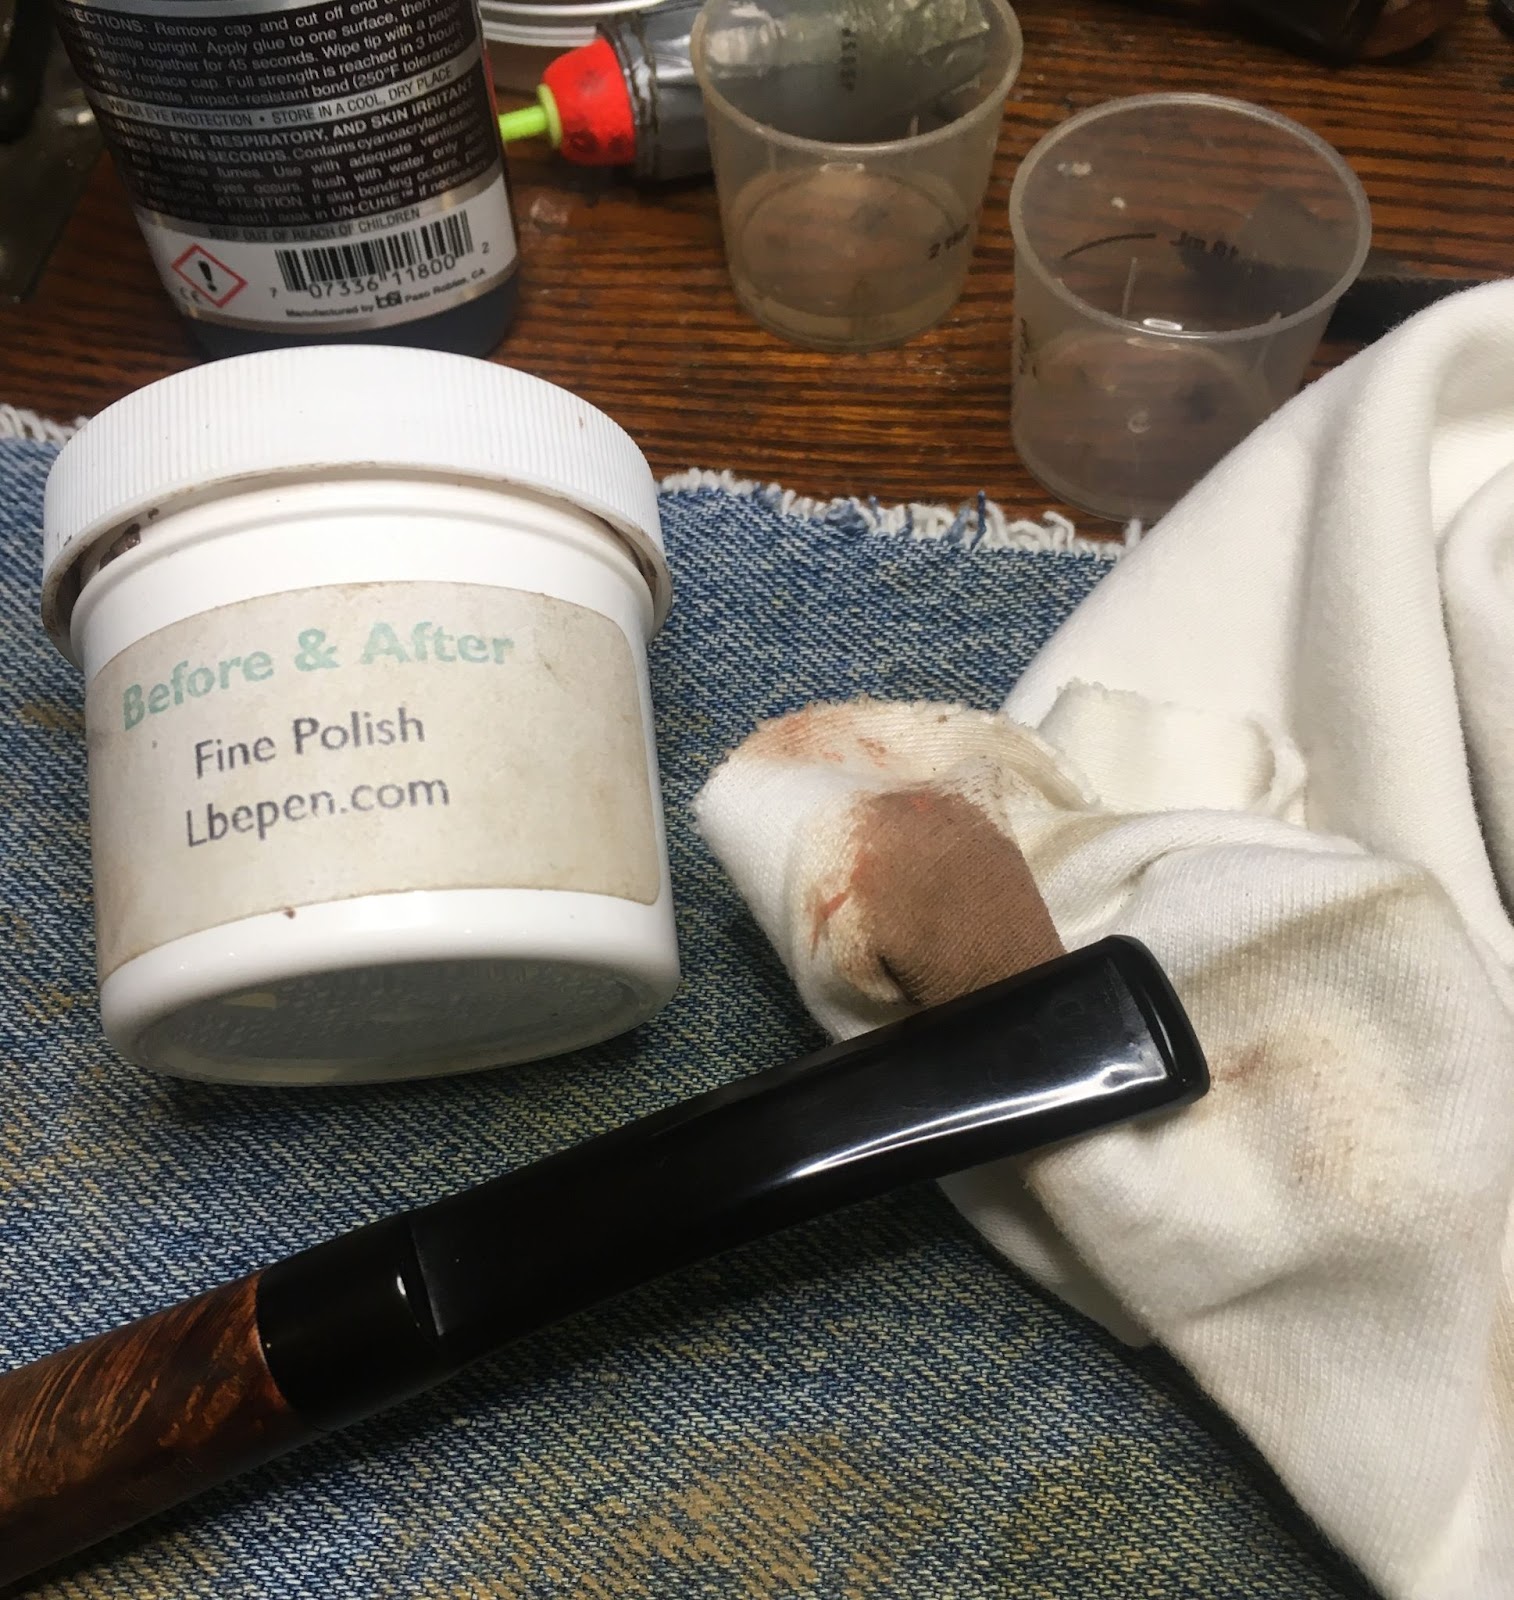
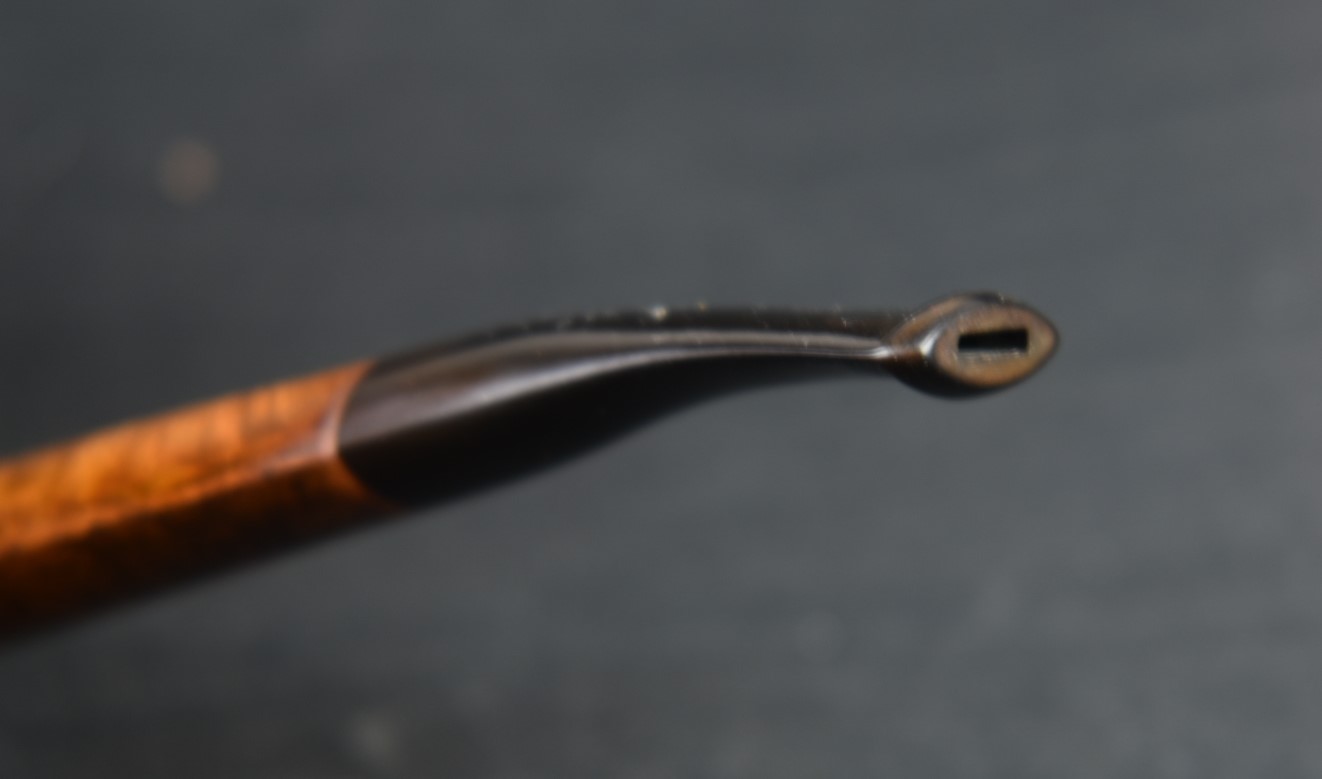
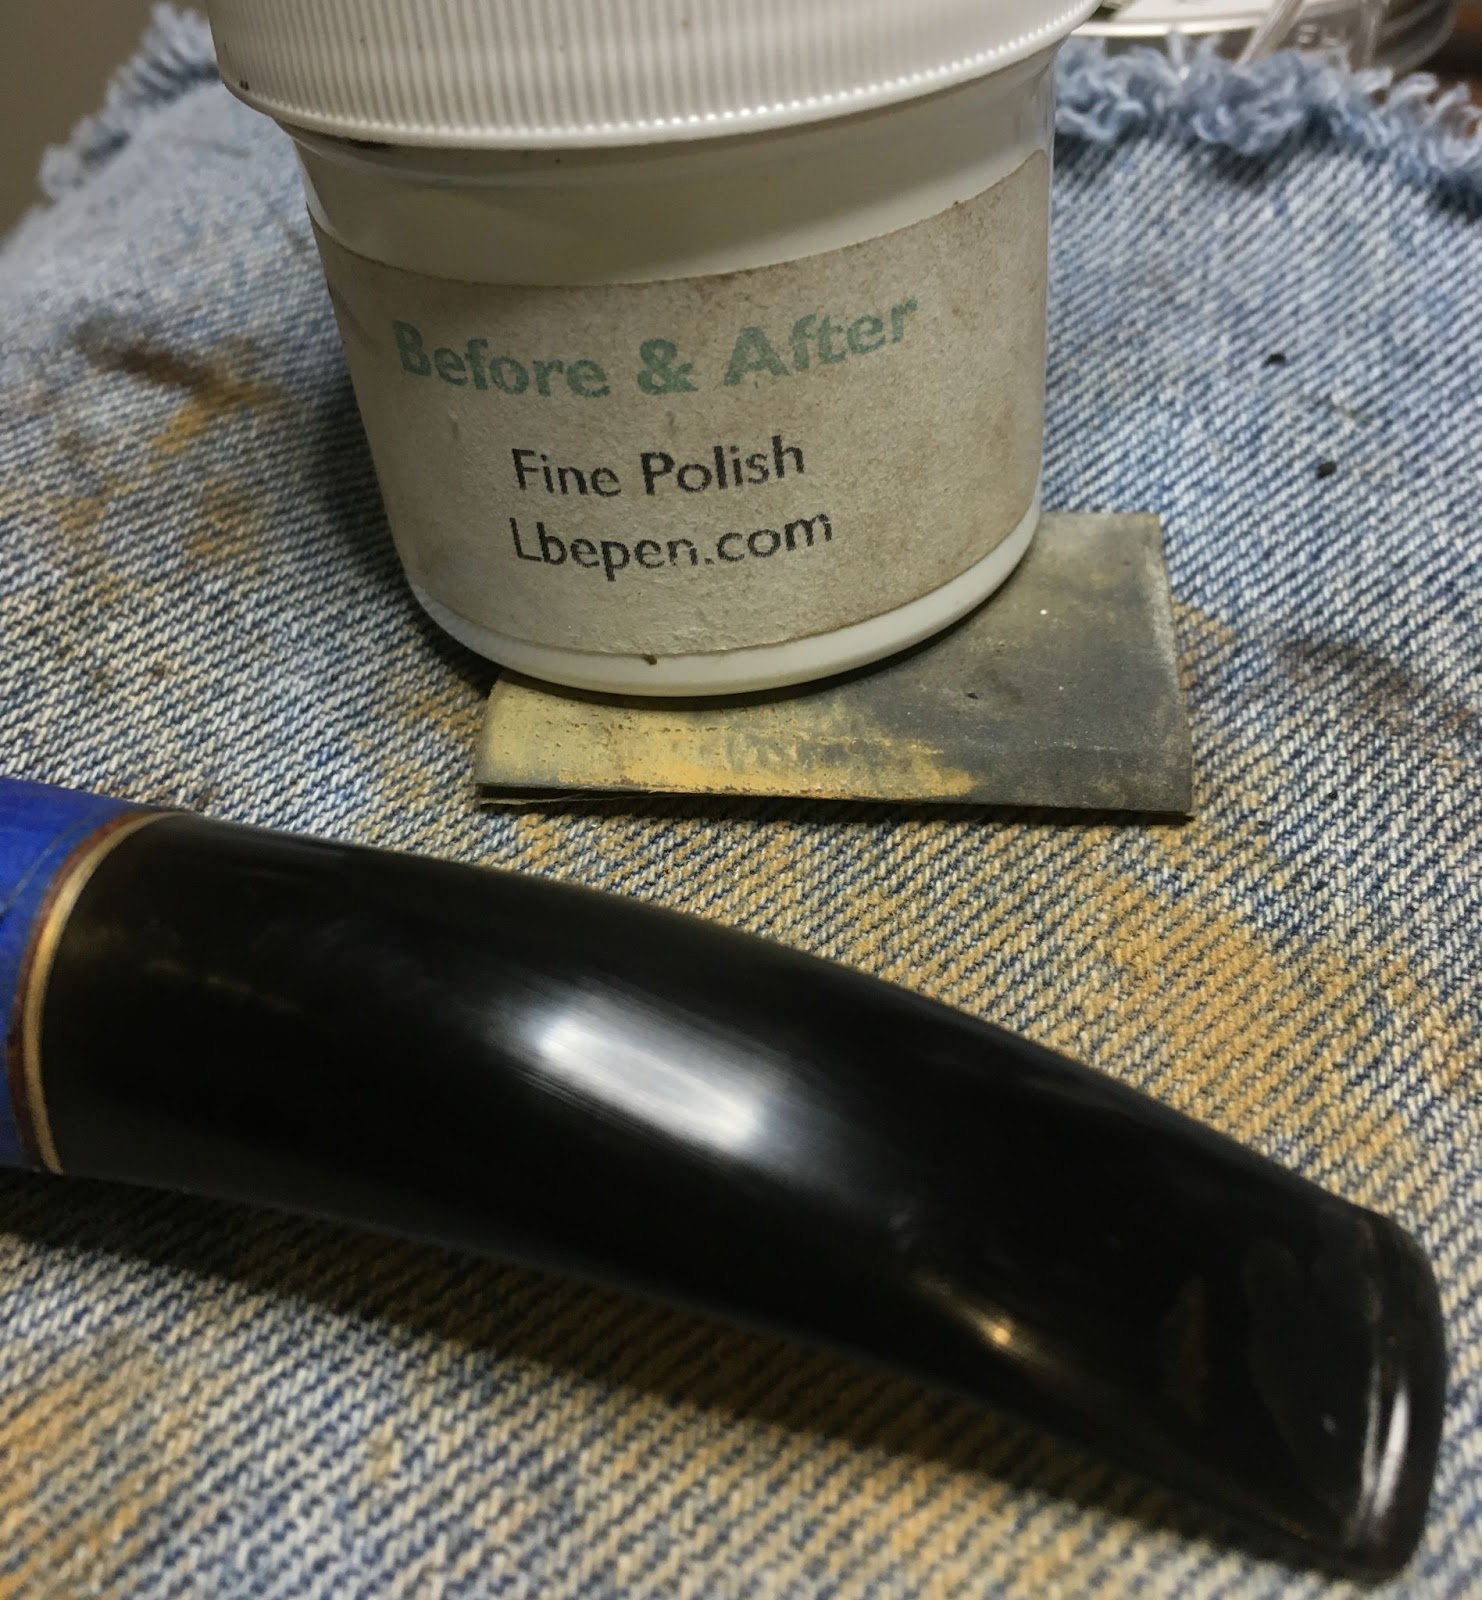
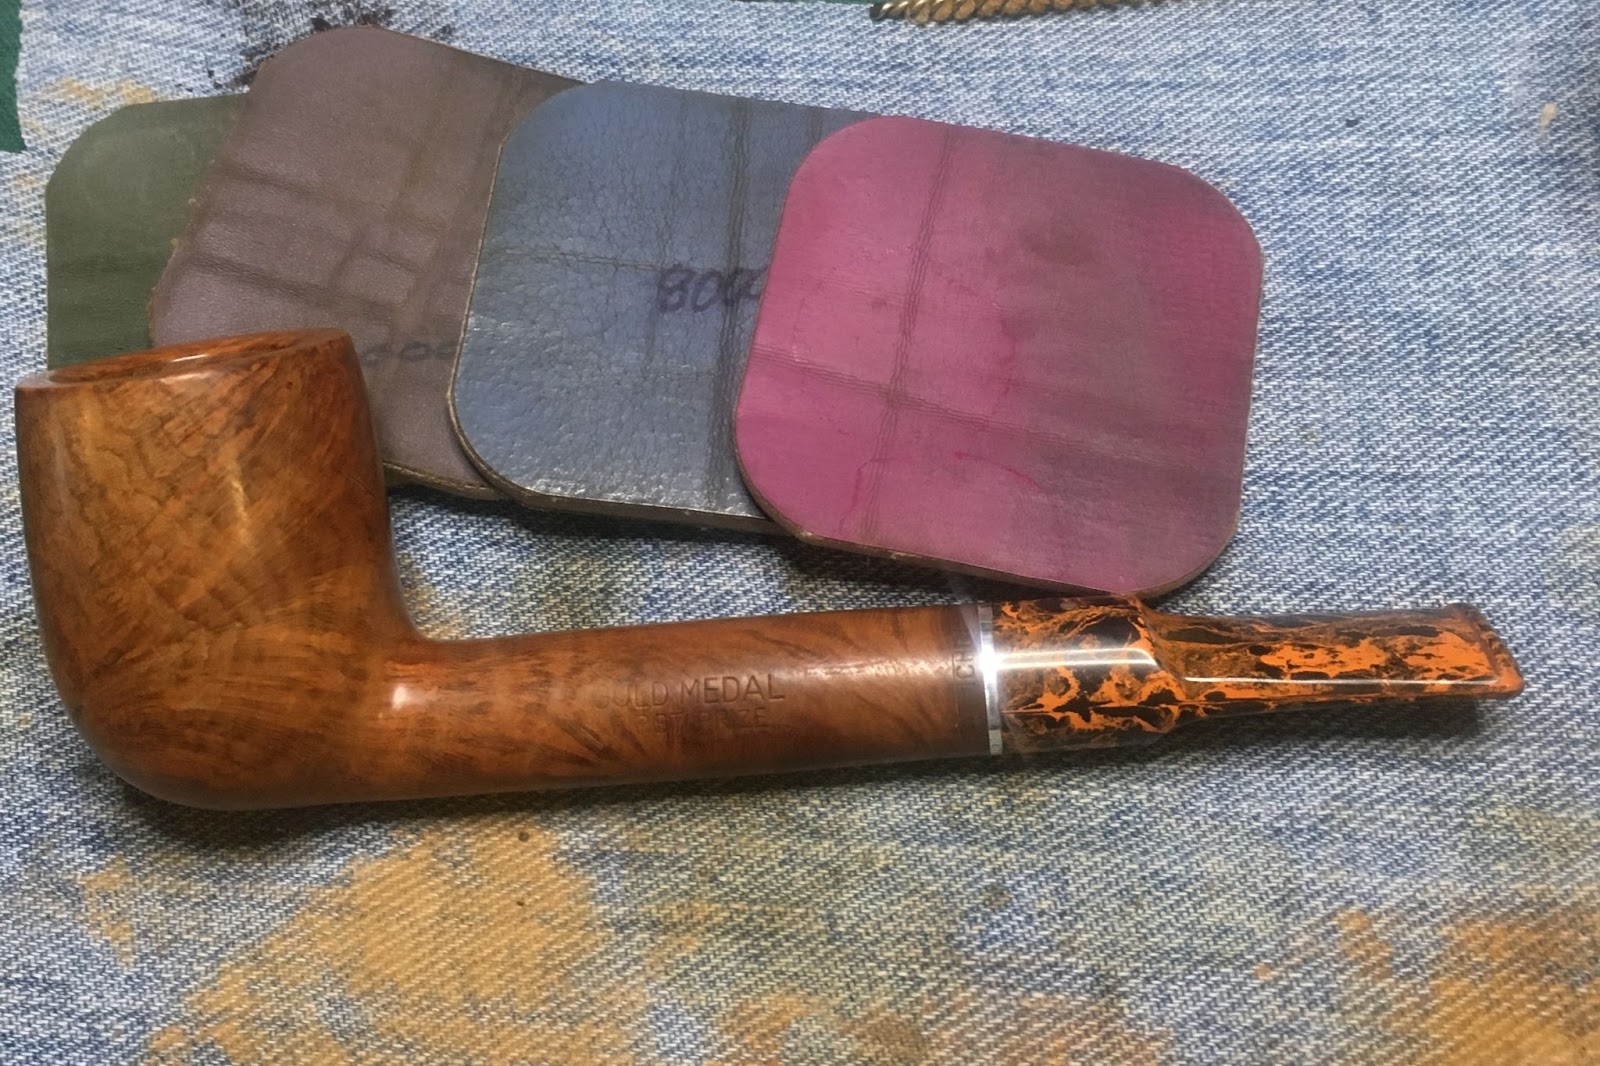
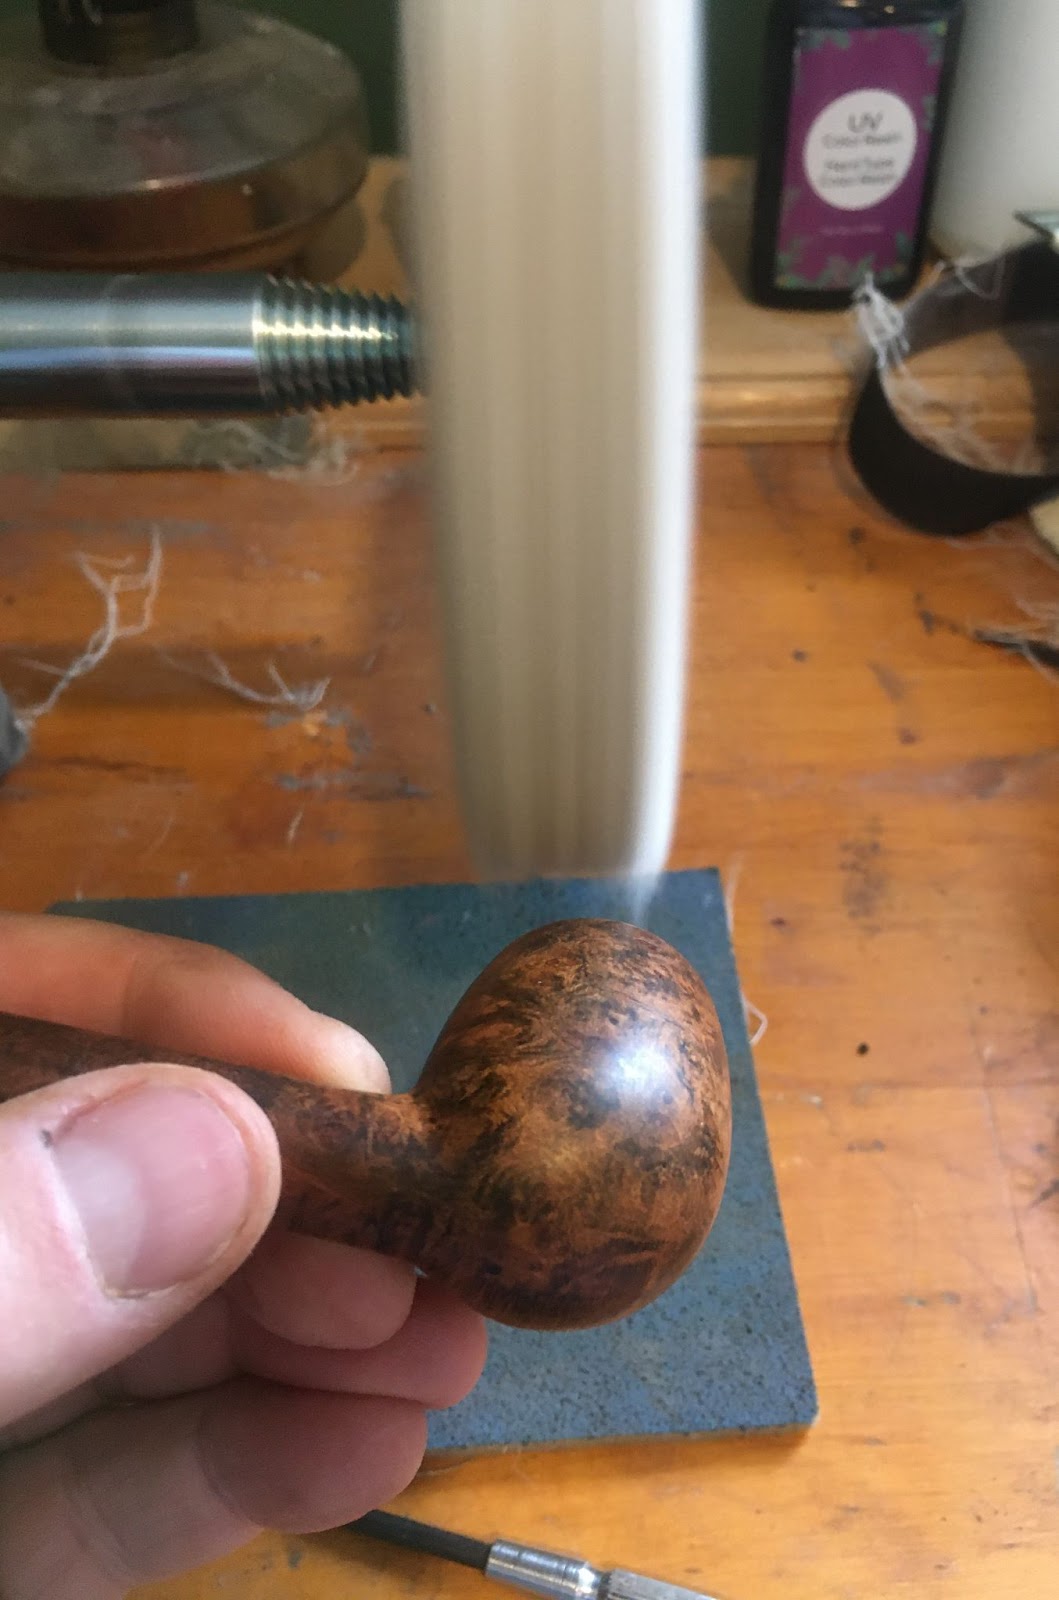
After the sanding sponges the stem was polished with 4000-12000 micro-mesh pads. Between each pad I applied a drop of Obsidian Oil to the stem, rubbed it in with a fingertip and wiped the stem with a paper towel.

After micro-meshing the stem, I cleaned the logo area with a cotton swab dipped in alcohol to remove any oil.

I then used Silver Leaf Rub’nBuff on the logo. The silver was worked into the stamped logo, allowed to dry for a couple minutes and buffed with a paper towel to remove the excess. I know, the pipephil.eu information said that the Silverking used white on the logo but I thought that silver would look a touch more classy.

The stummel was micro-meshed in a similar fashion except without the Obsidian oil. Here I wiped the stummel with an alcohol dampened make-up pad between pads.

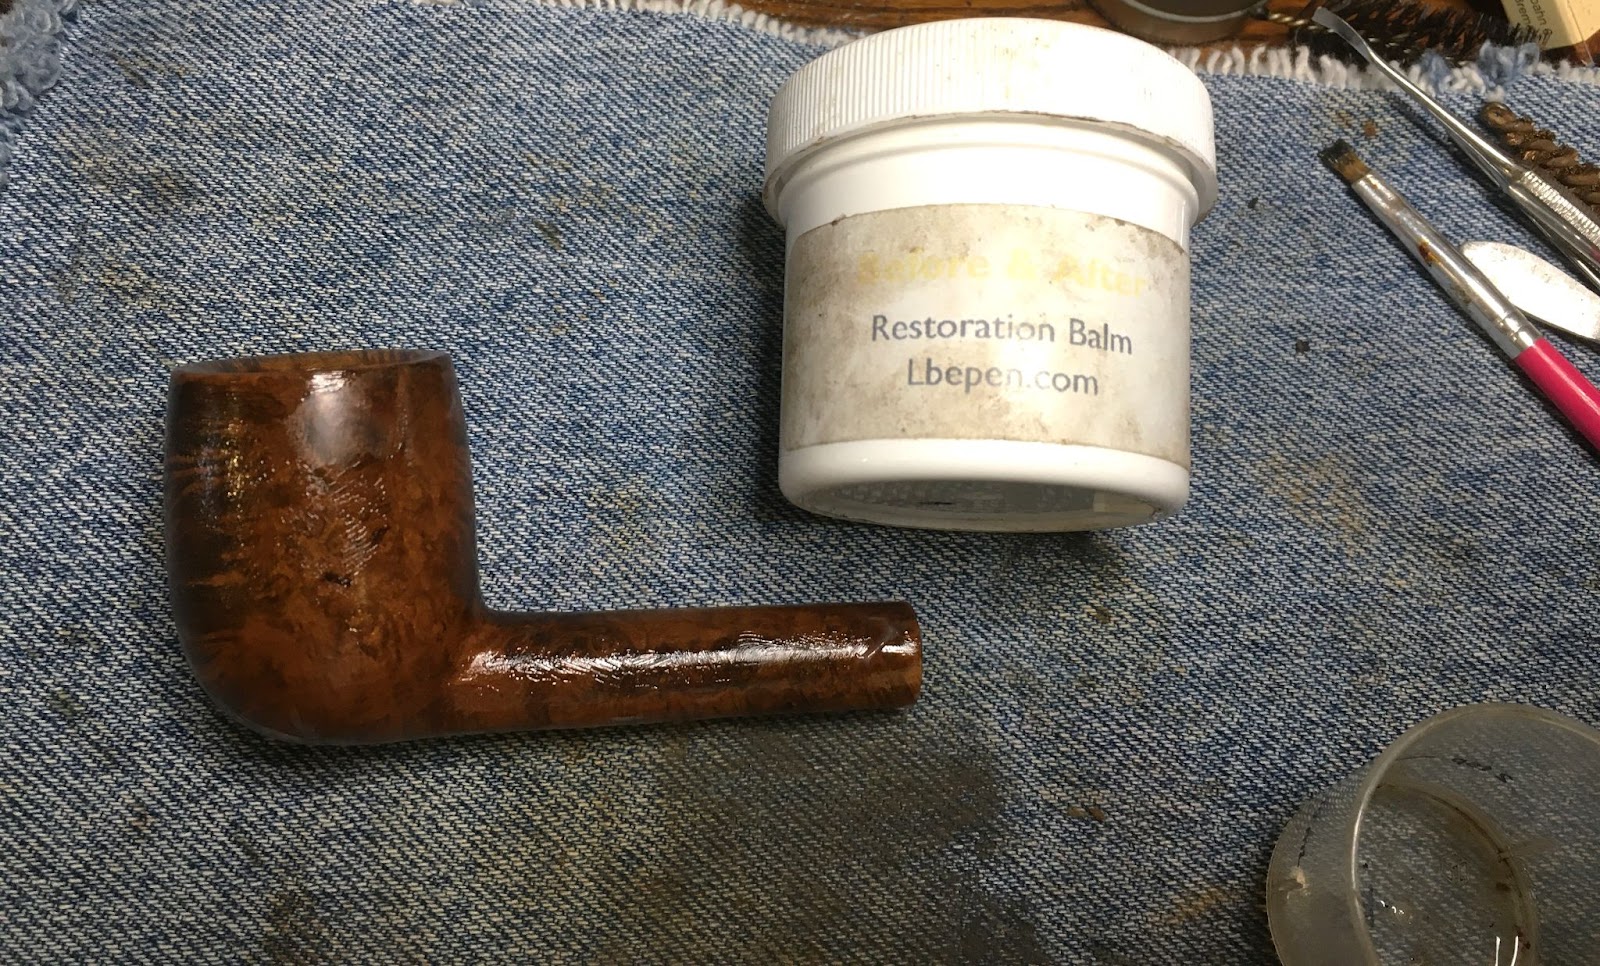
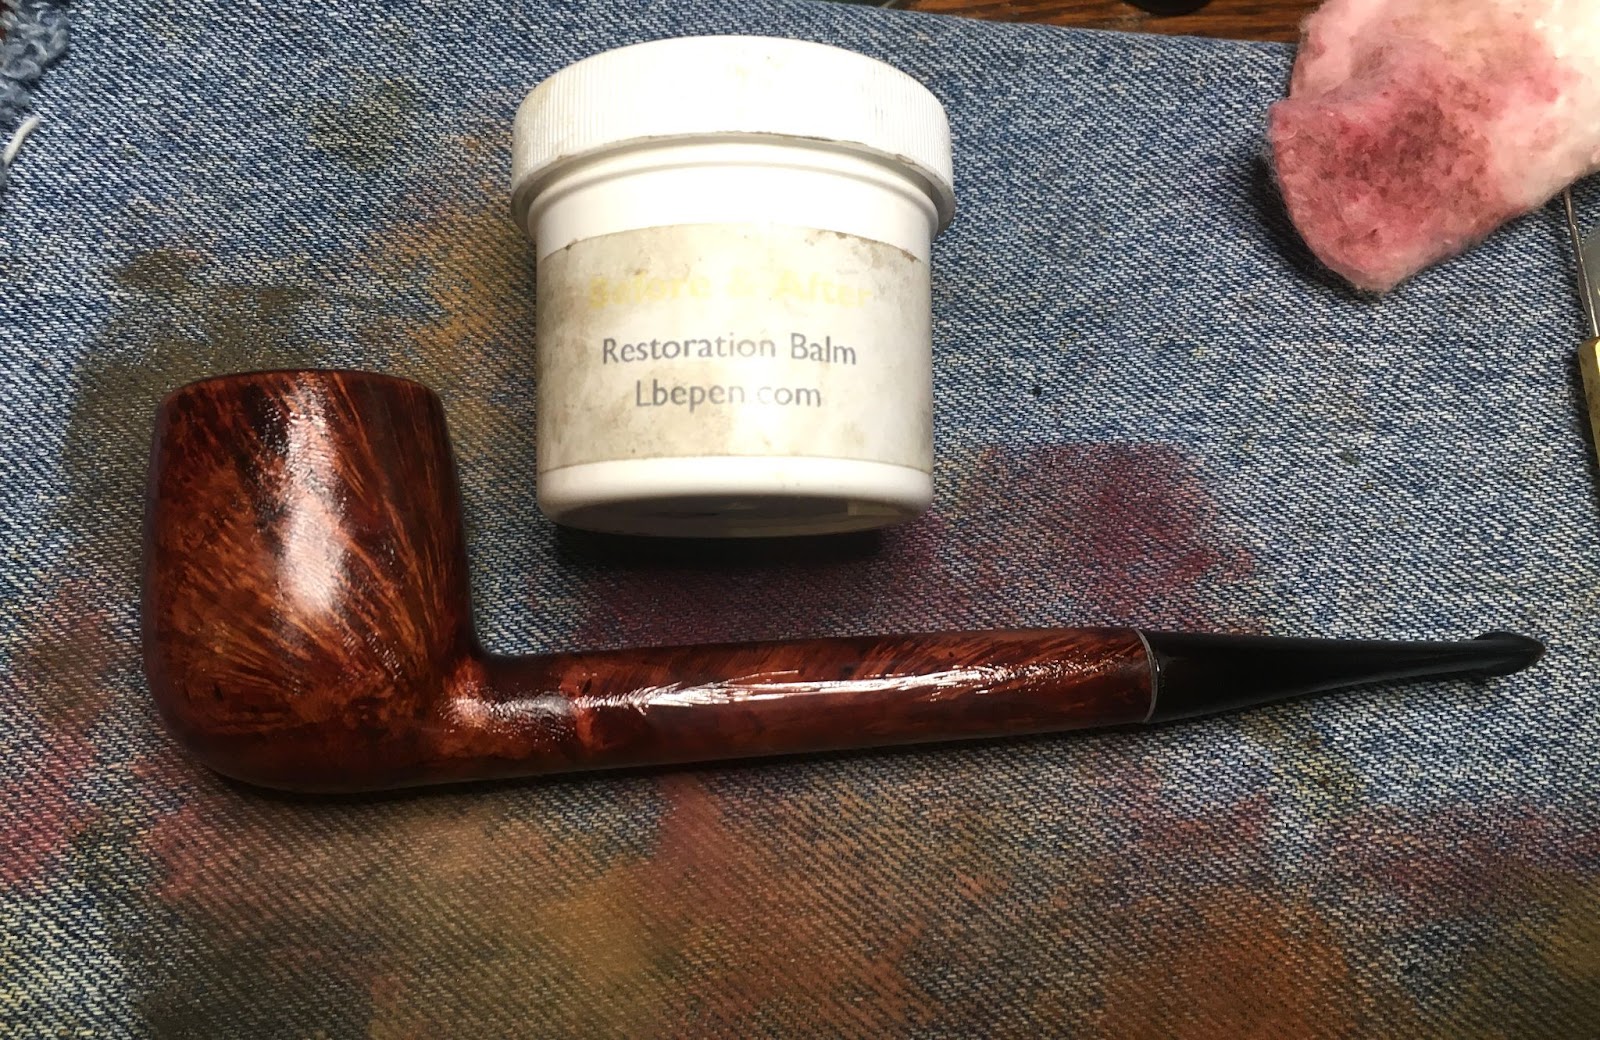
The stummel was given a coat of Before and After Restoration Balm and allowed to sit for 20 minutes. I failed to photo this step. After 20 minutes the Restoration Balm was wiped off with an inside out athletic sock. I failed to photo that as well. The final step was to take the pipe to the buffer for several coats of carnauba wax.
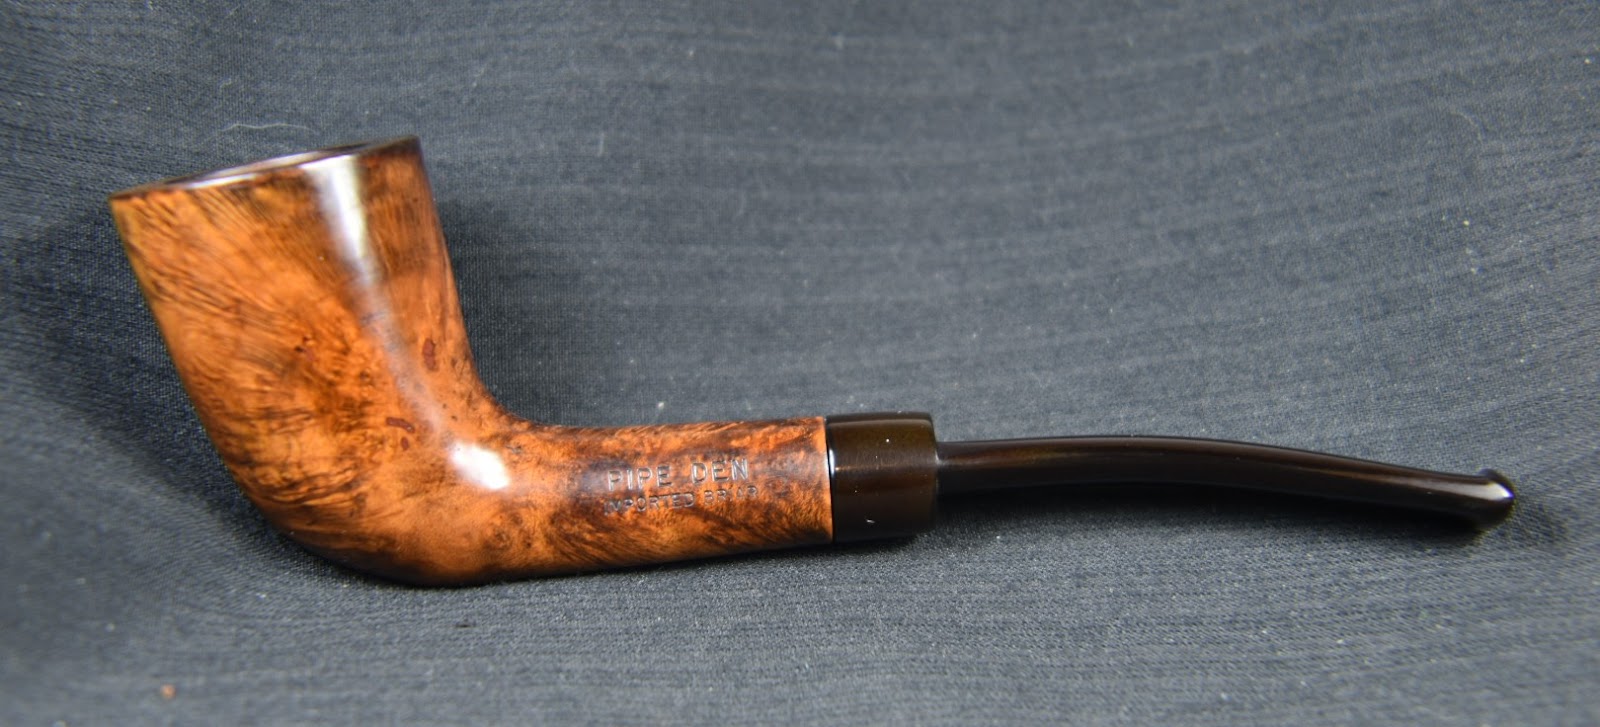
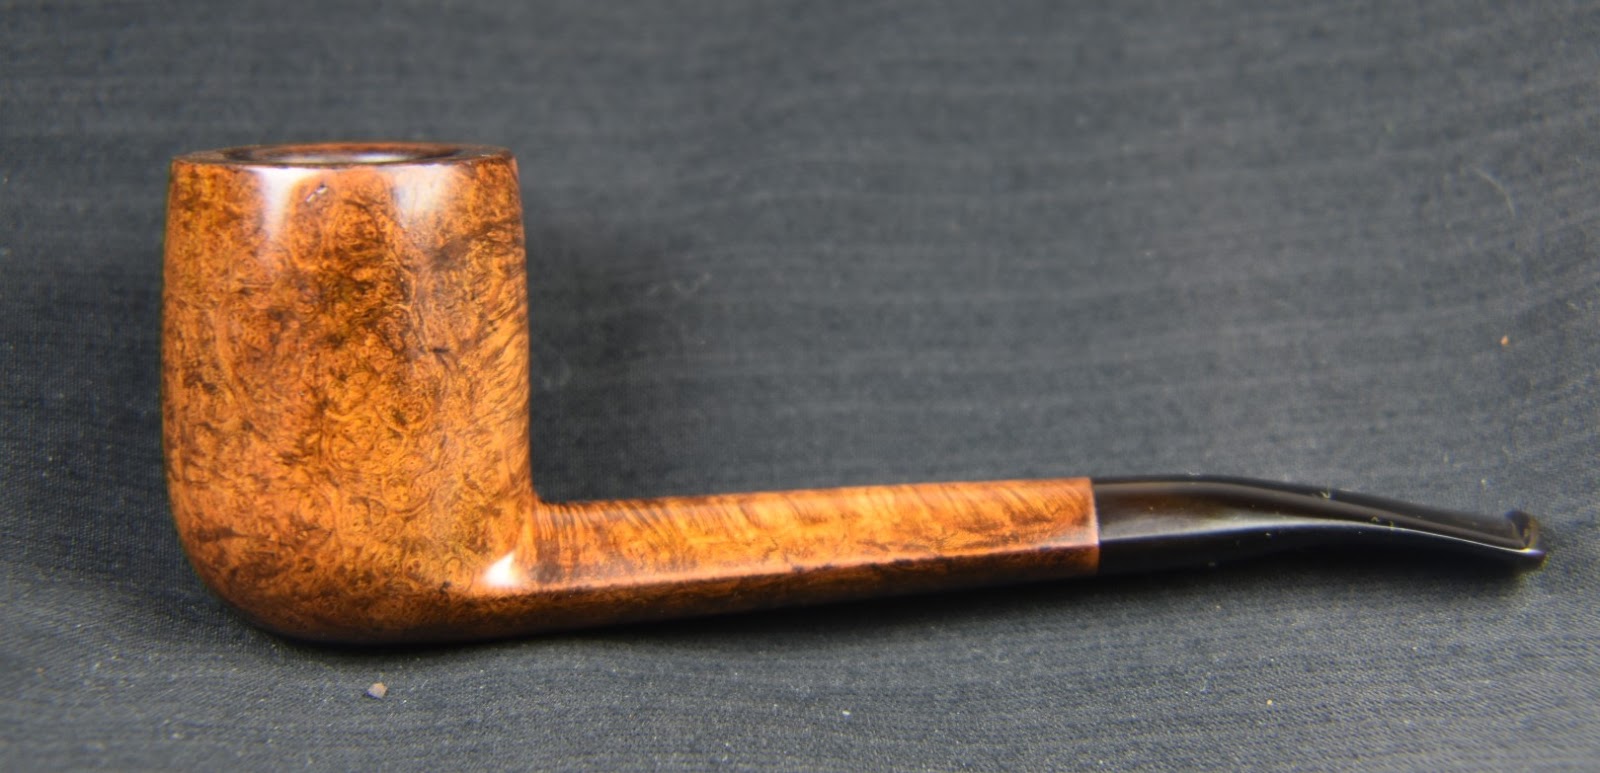
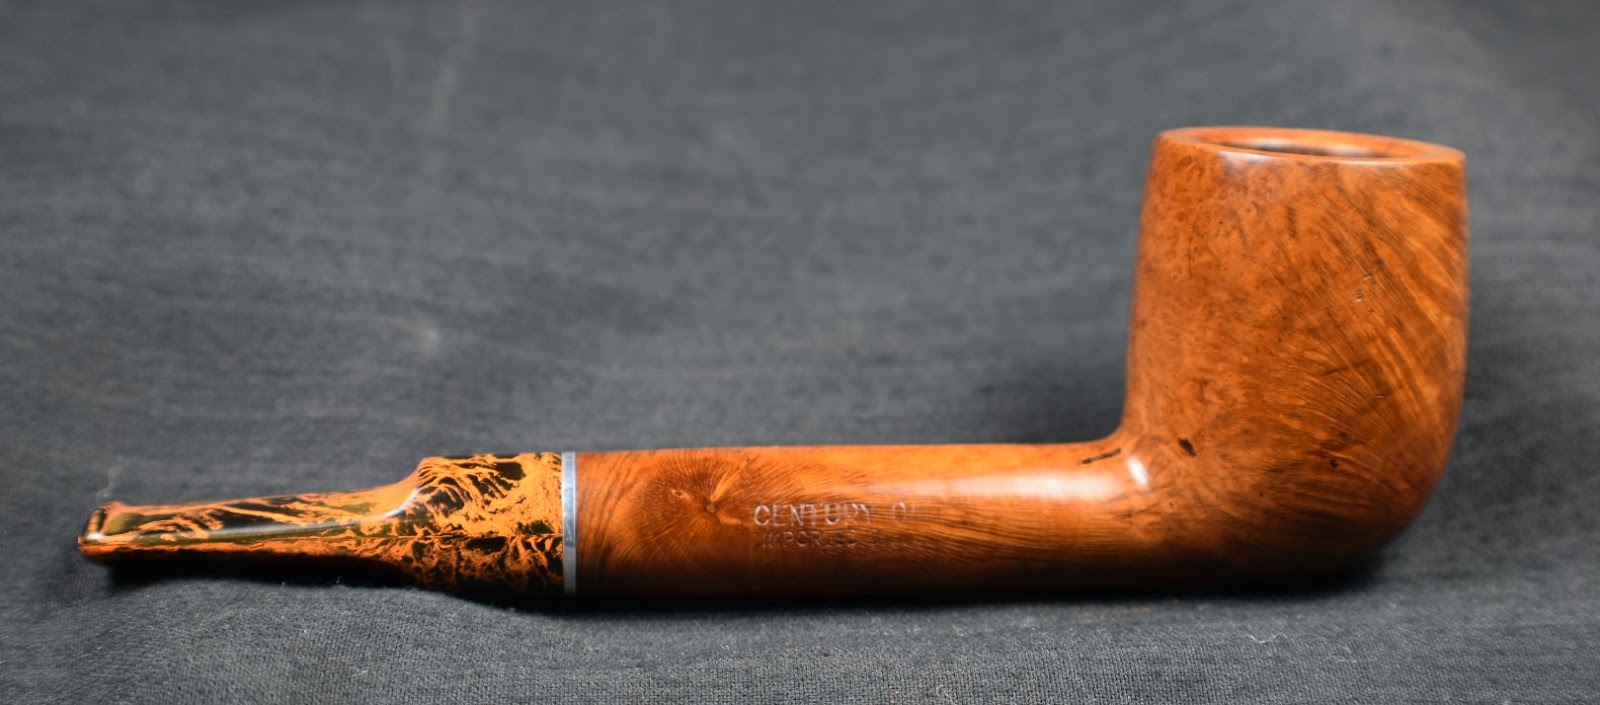
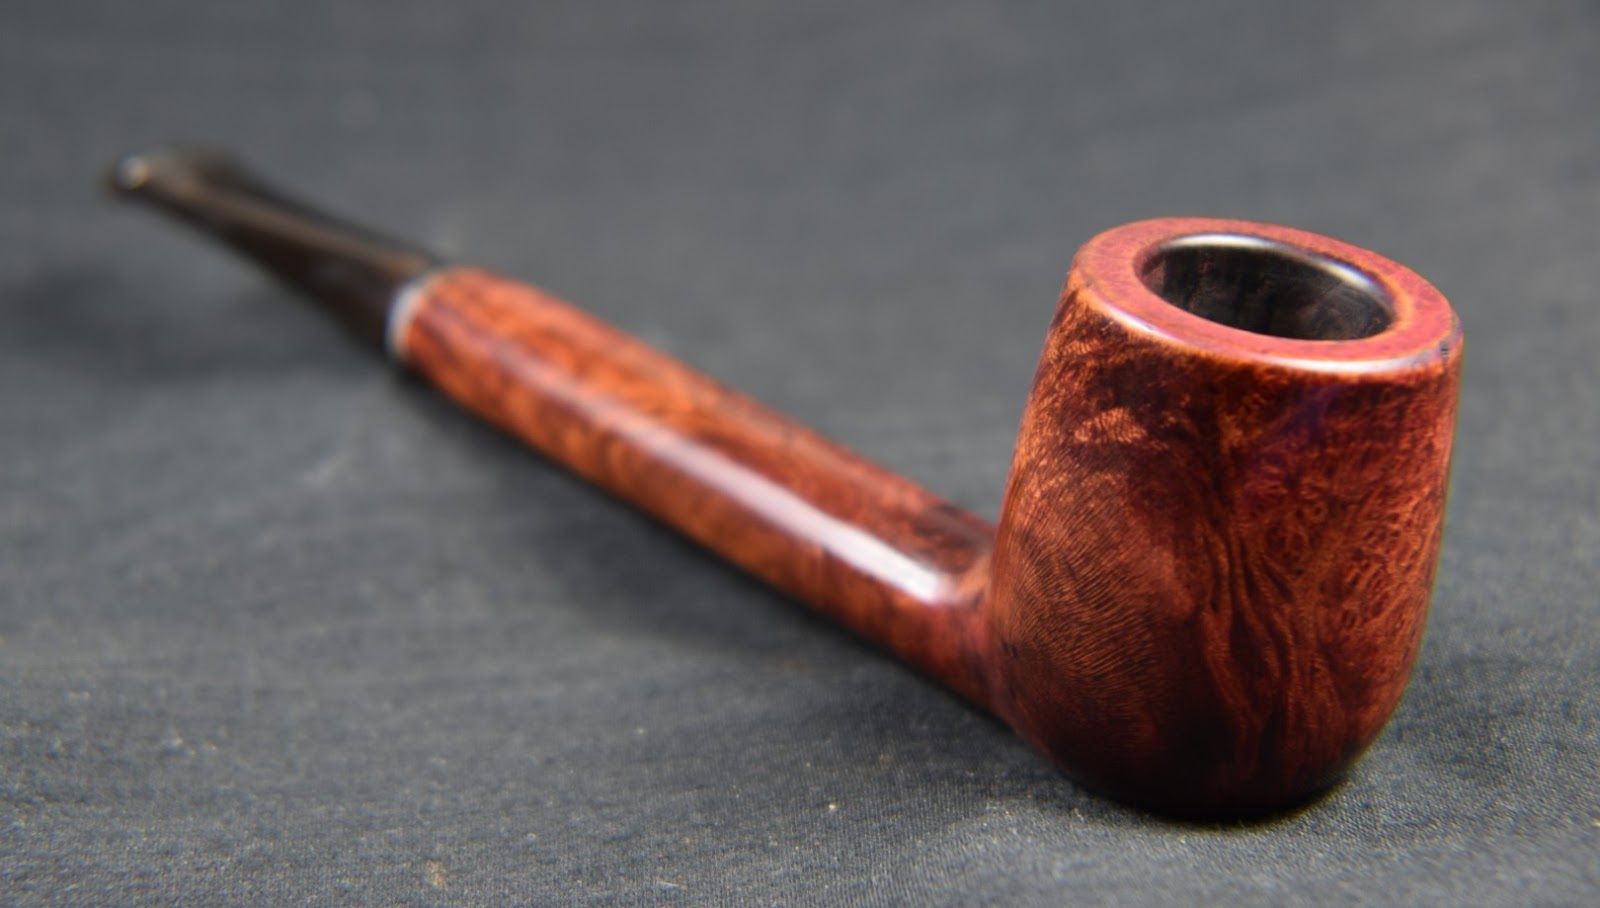
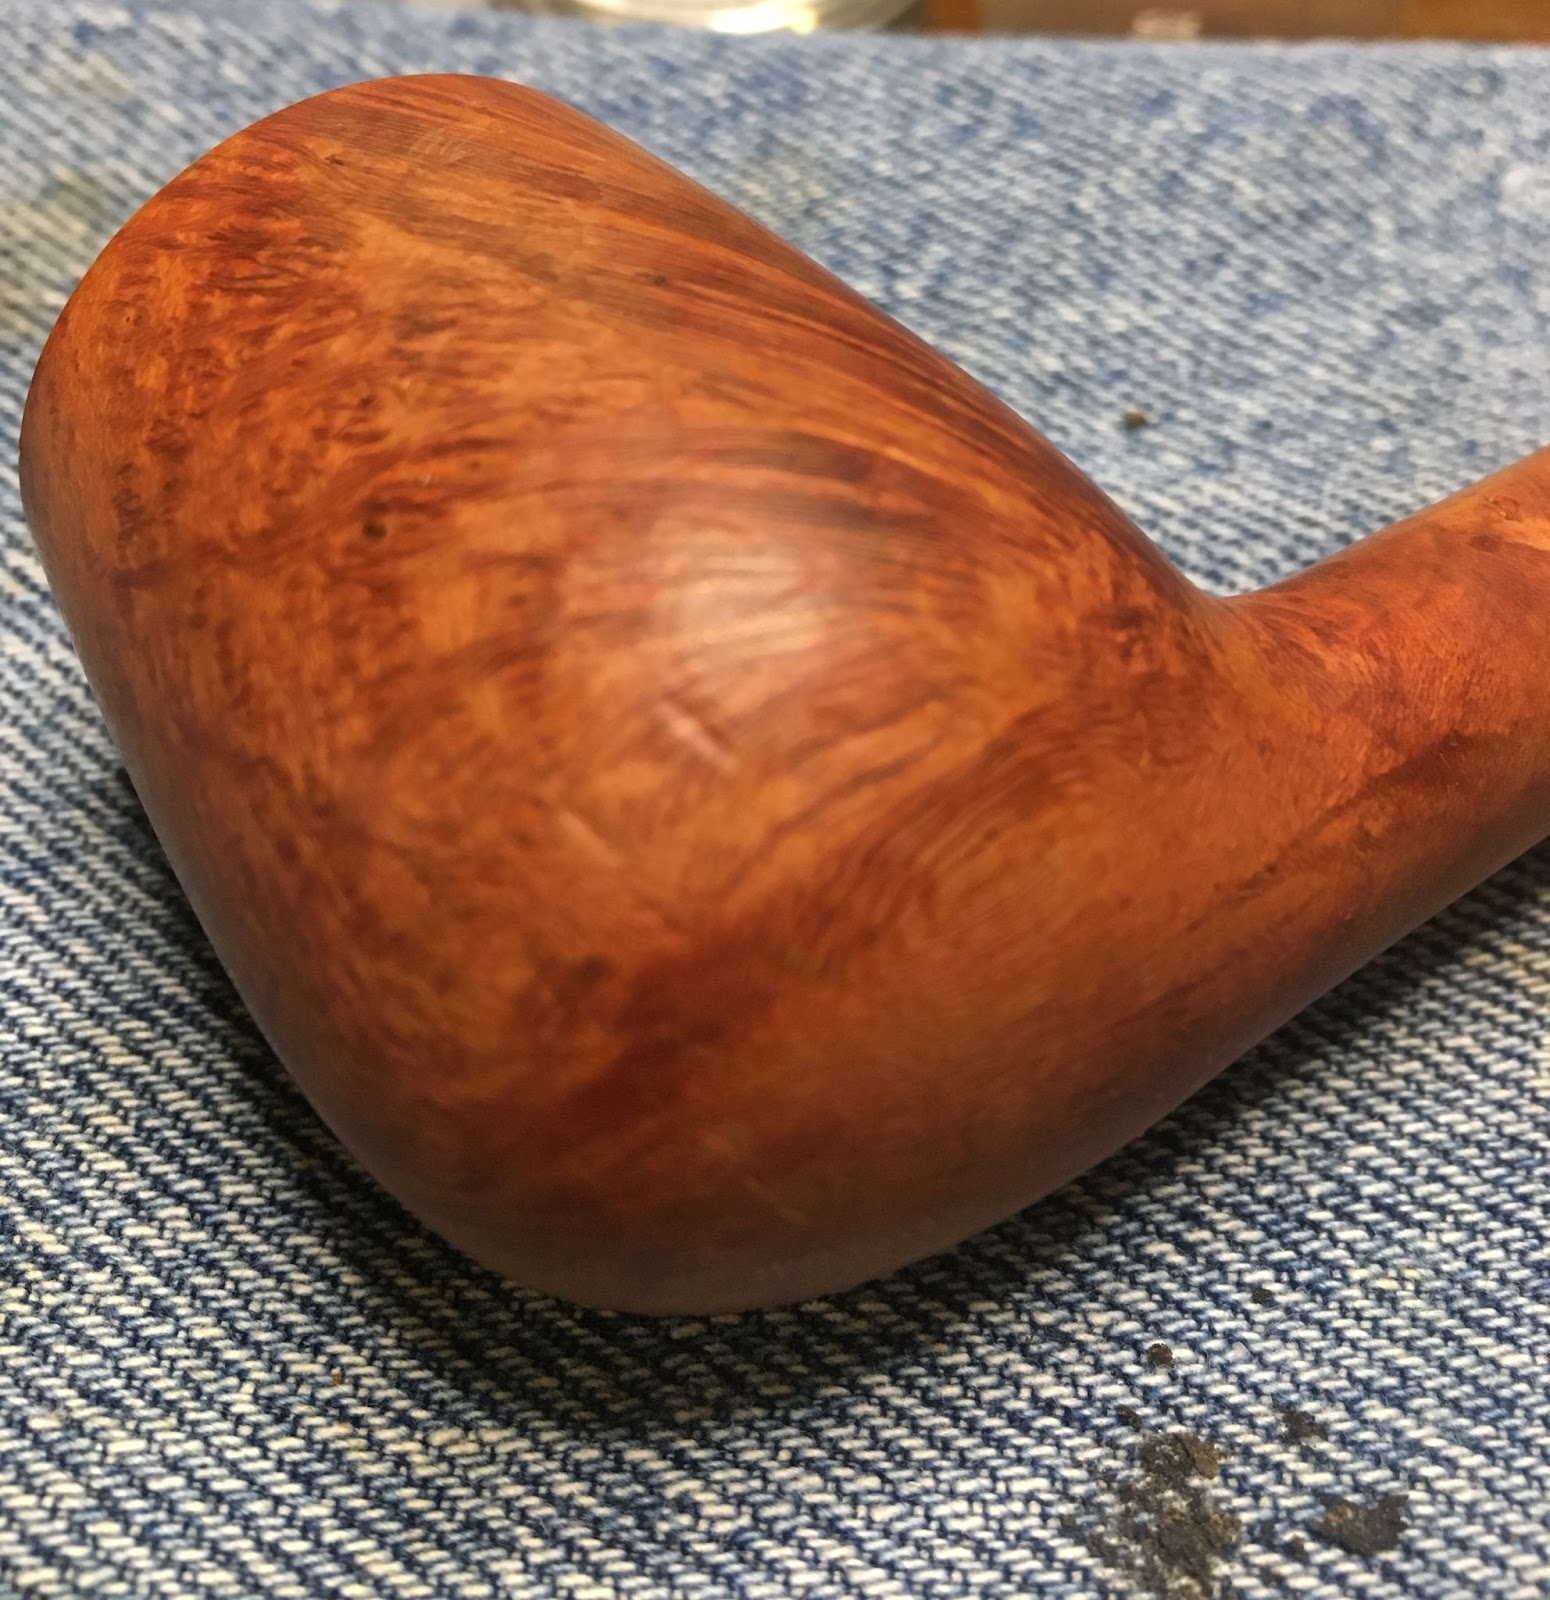
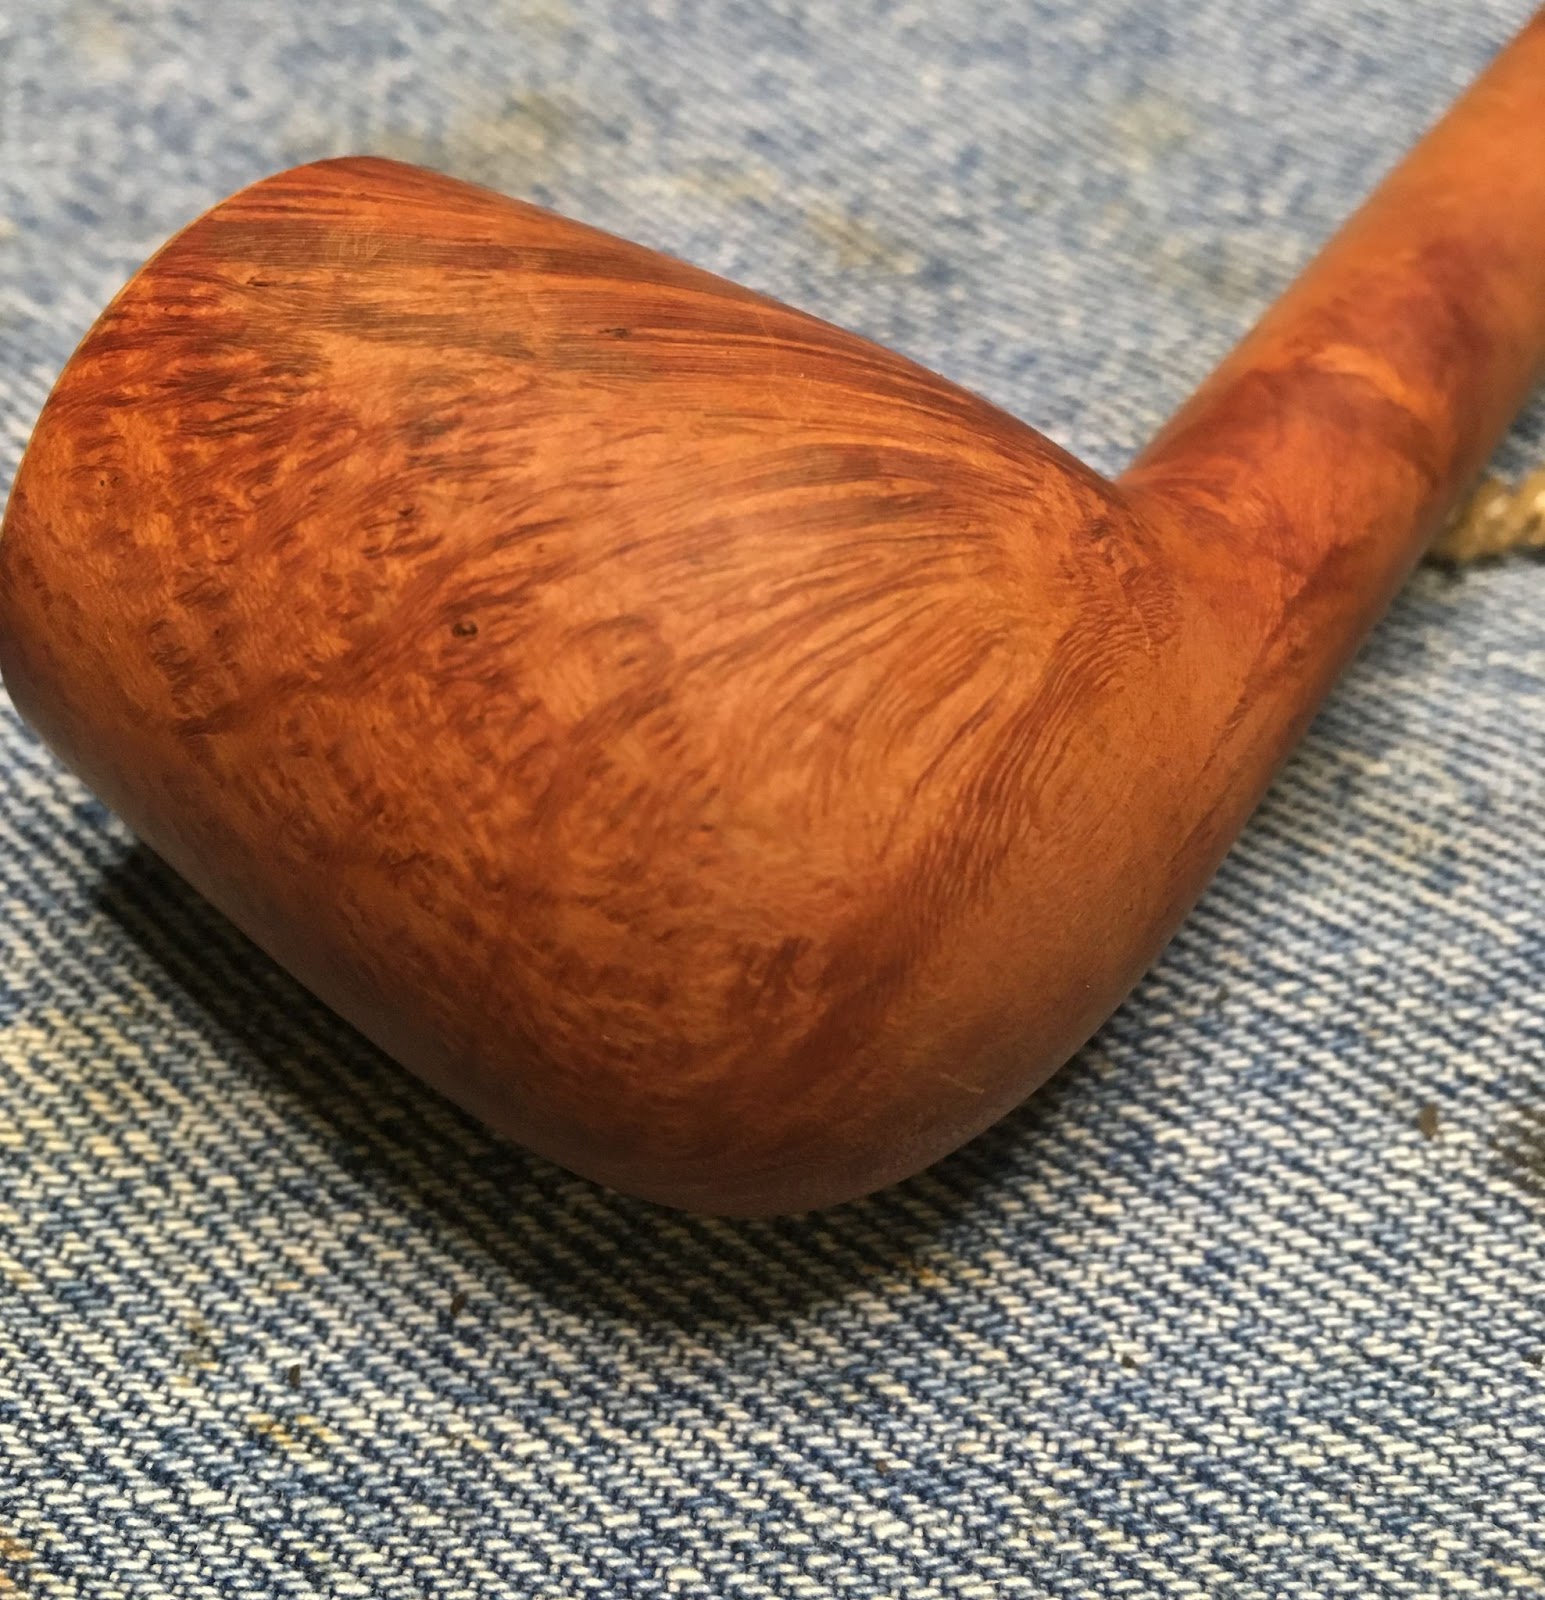
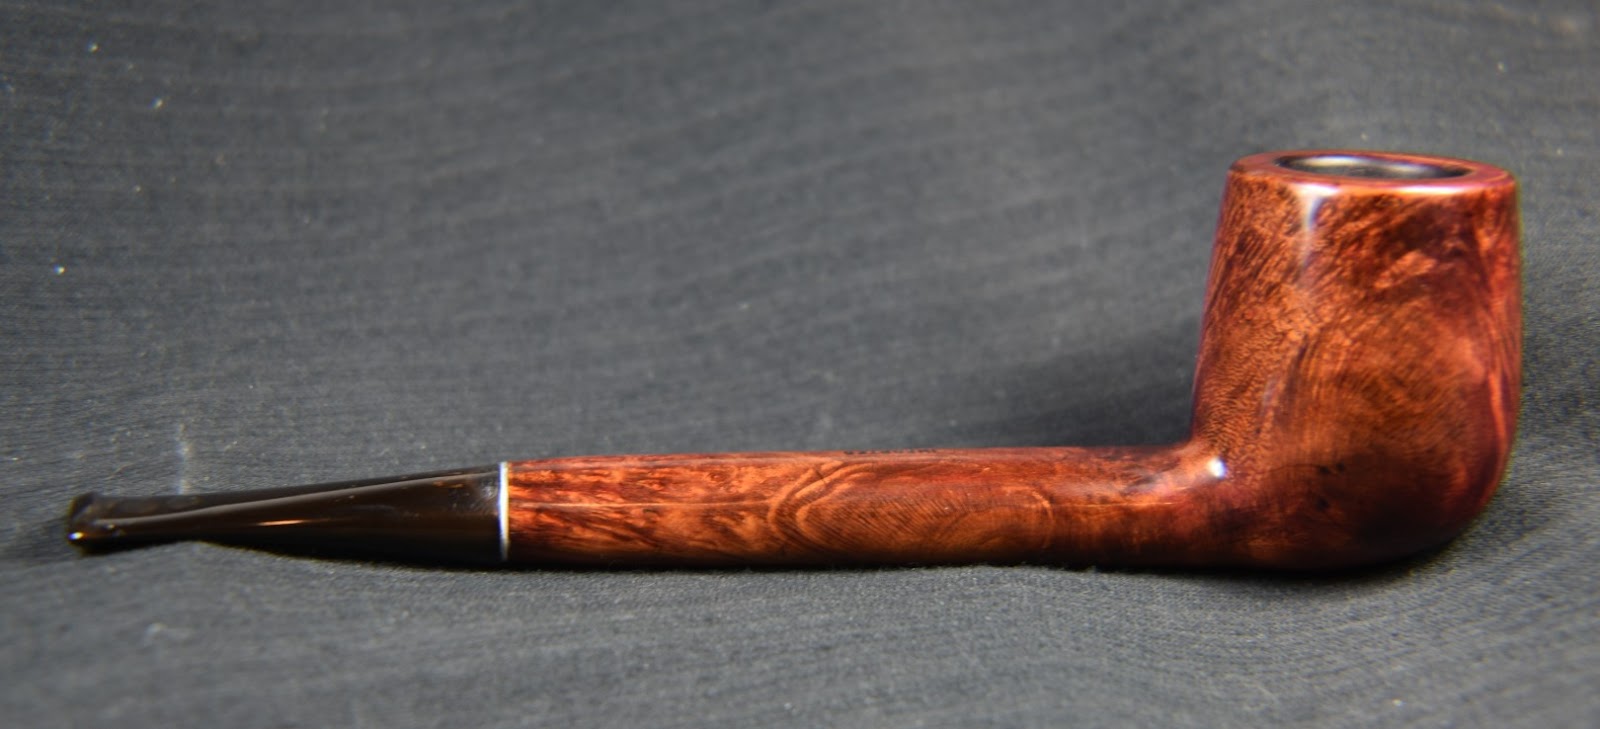
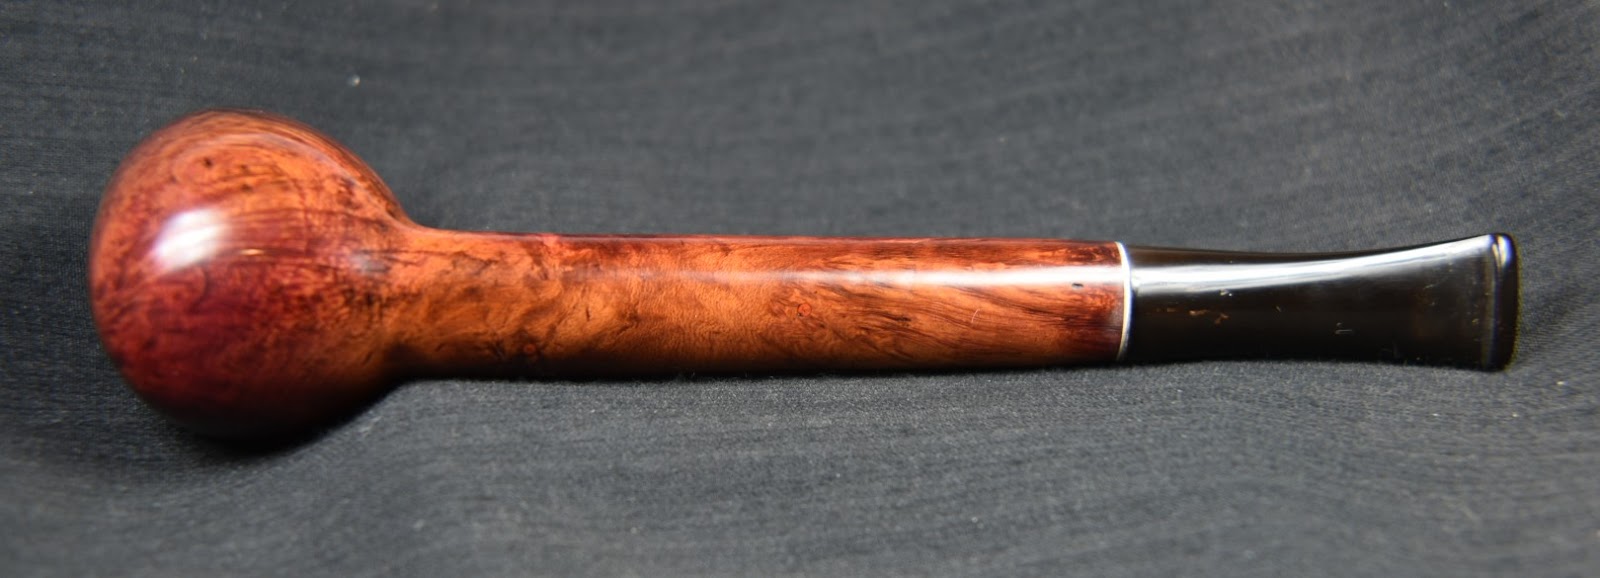
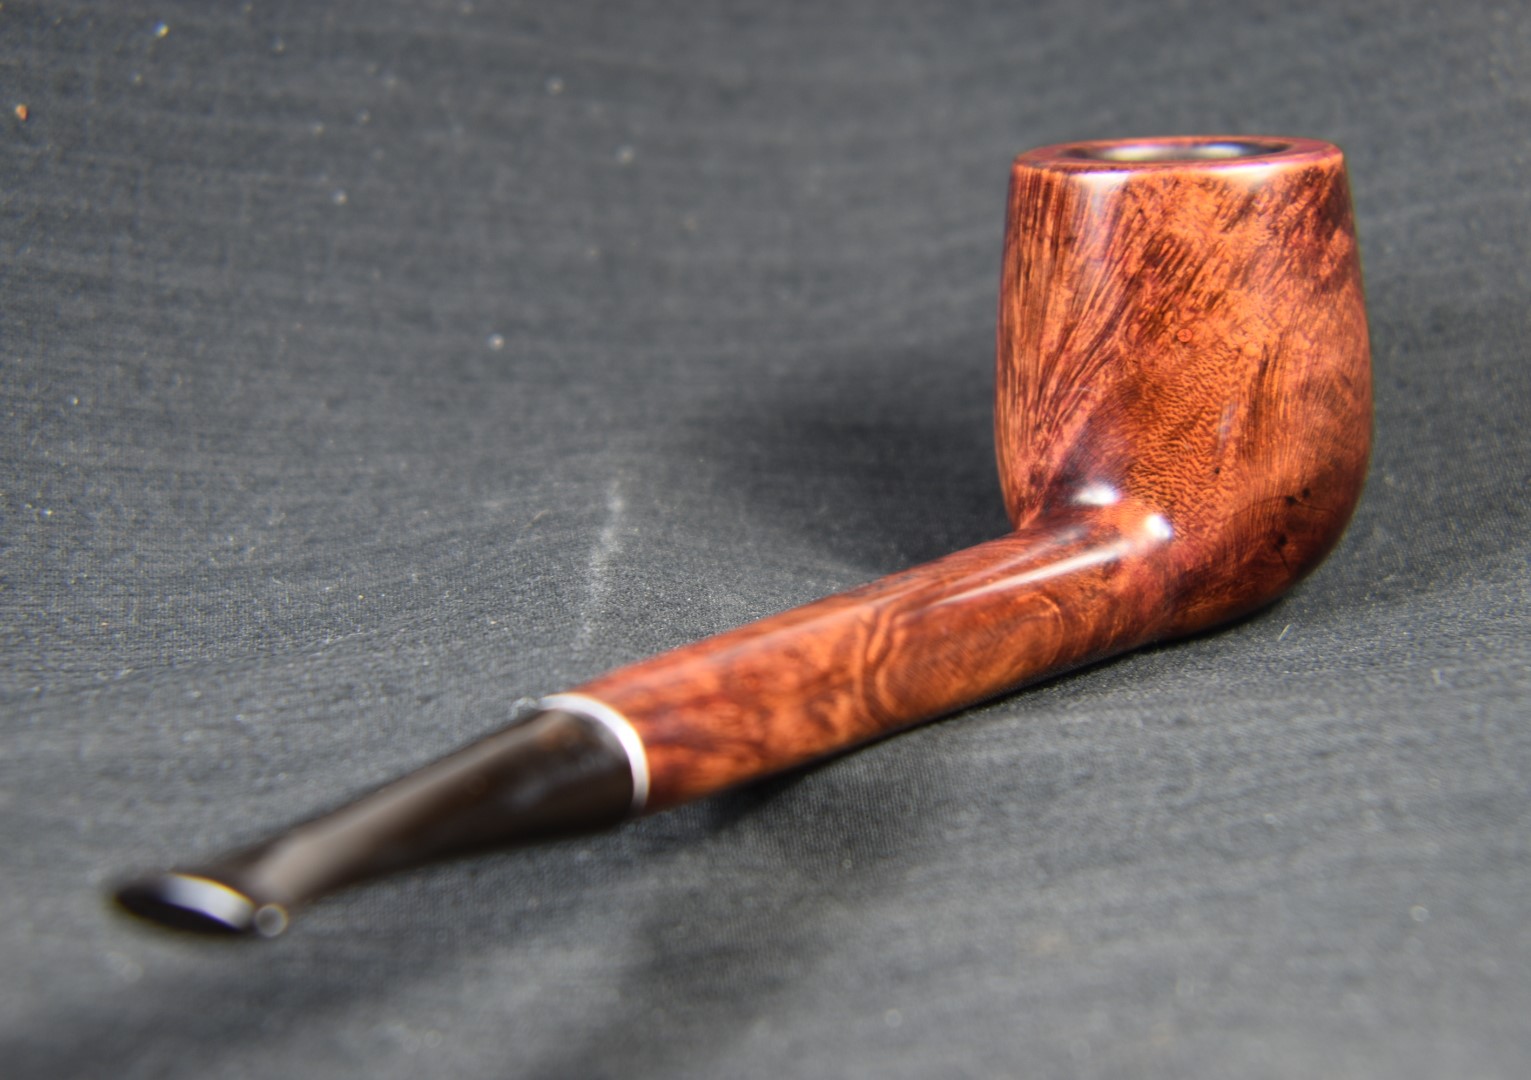
This pipe turned out very well. I really like how the contrast staining brought out the differences in the grain. It made the bird’s eyes stand out much better than I hoped it would. The stem polished up well. I still do not know exactly what the stem material is but it looks good and didn’t turn my lips black when I sampled the draw of the pipe. I do wish the stinger was intact though the draw is very nice without it. I am sure this will be a nice smoking pipe for someone who loves a long billiards. With it’s relatively tall and narrow tobacco chamber I expect it would make a fine Virginia or Virginia Perique blend pipe. The dimensions of this French beauty are:
Length: 6.34 in./ 161.04 mm.
Weight: 1.38 oz./ 39.30 g.
Bowl Height: 1.83 in./ 46.48 mm.
Chamber Depth: 1.53 in./ 38.86 mm.
Chamber Diameter: 0.69 in./ 17.53 mm.
Outside Diameter: 1.46 in./ 37.08 mm.
I do hope that you have found something here useful to your own pipe care, maintenance or restorations. If you like this sort of thing, please click the like and subscribe buttons. Thank you for reading the ramblings of an old pipe lover.
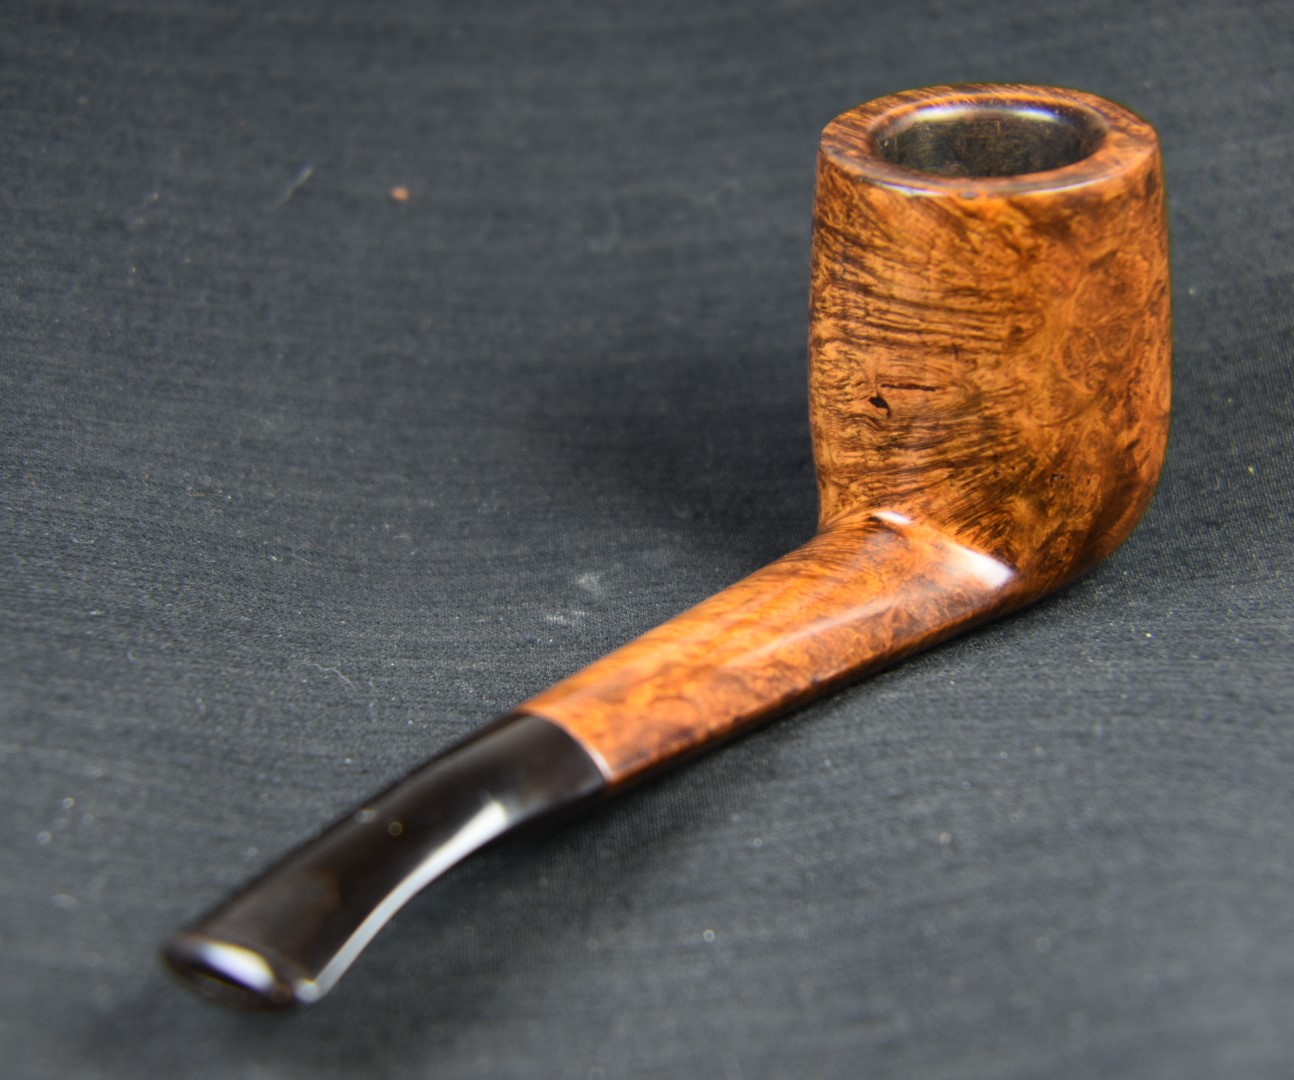
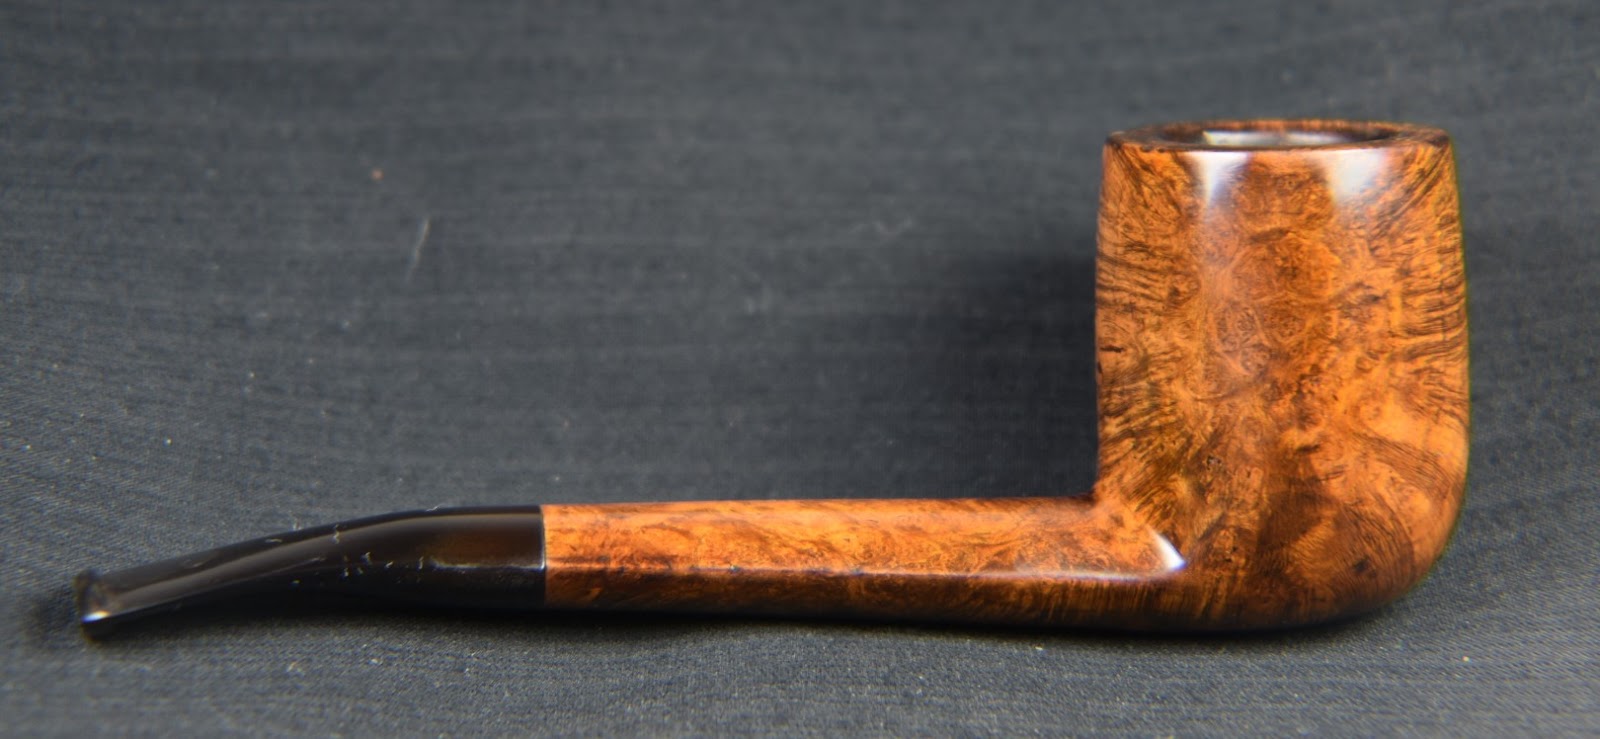
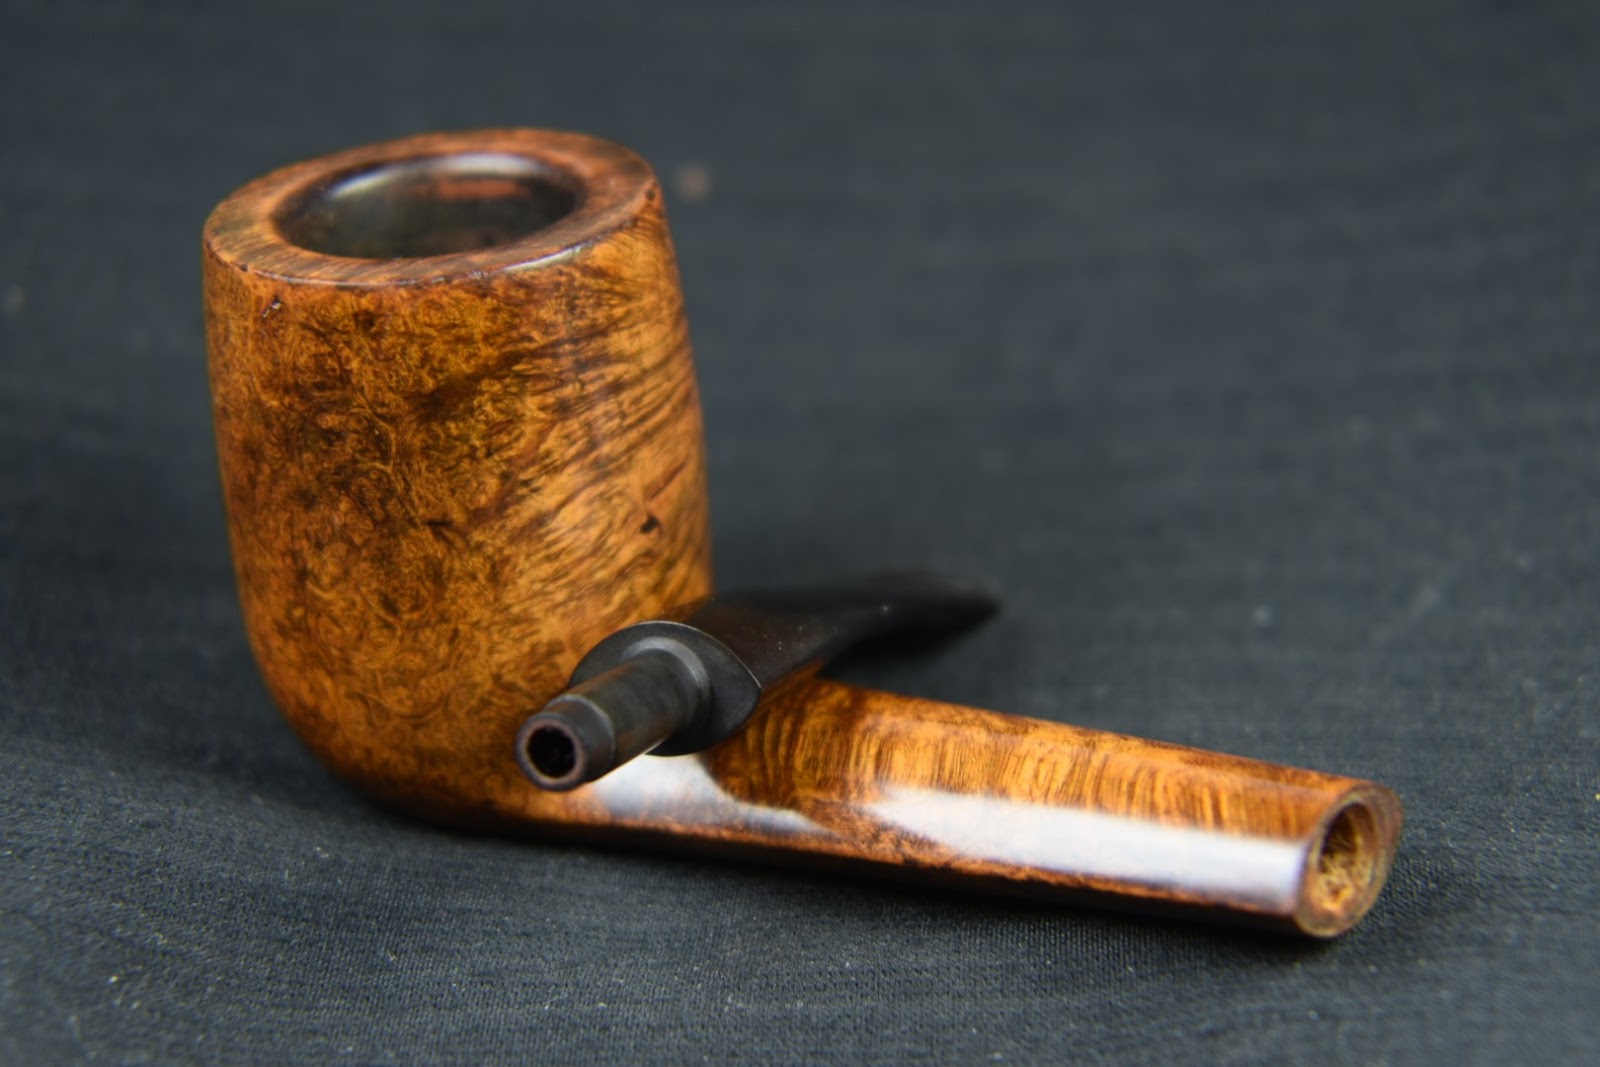
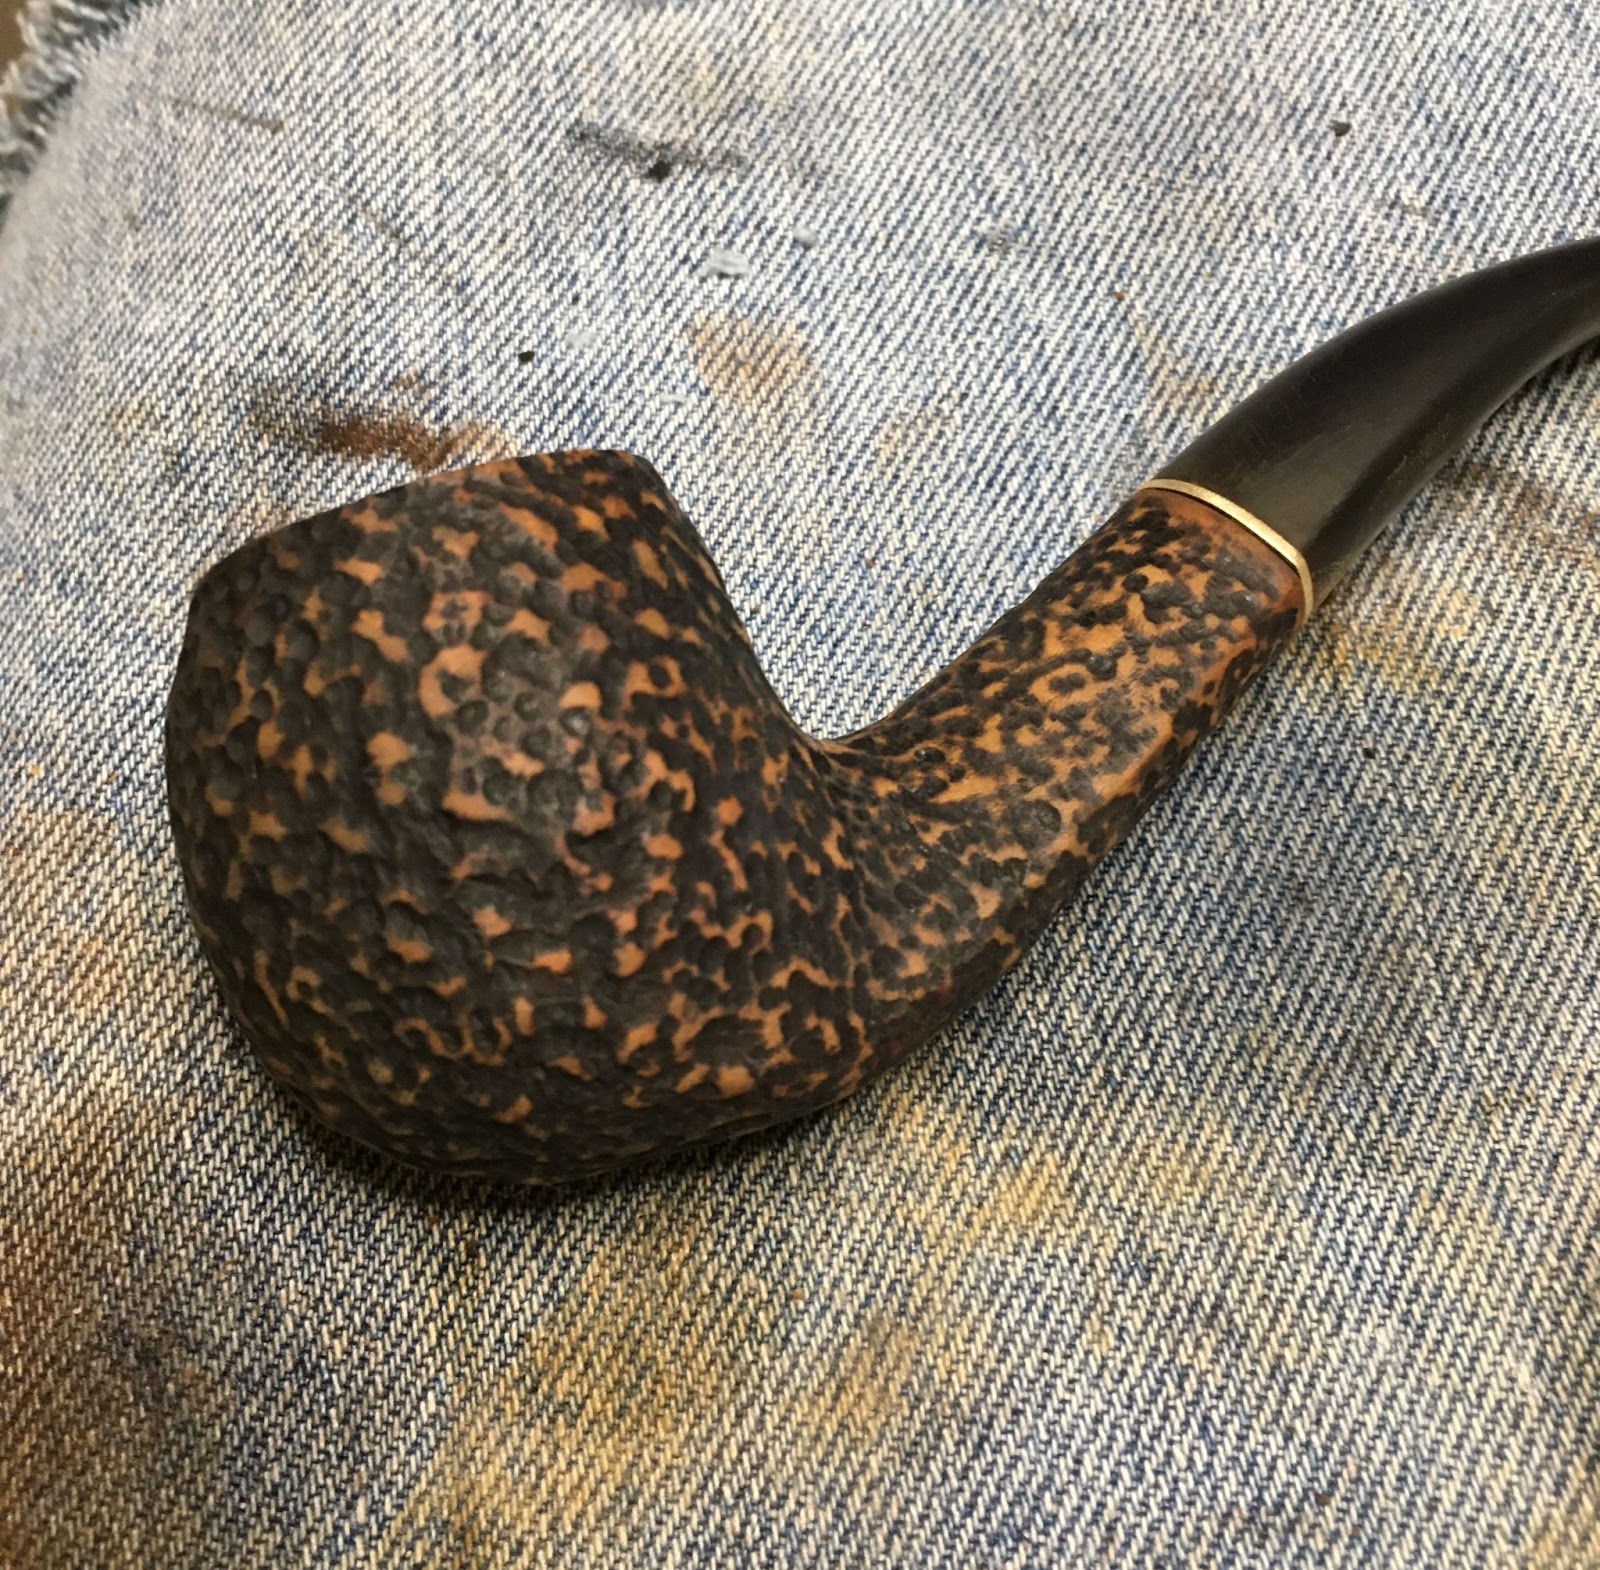
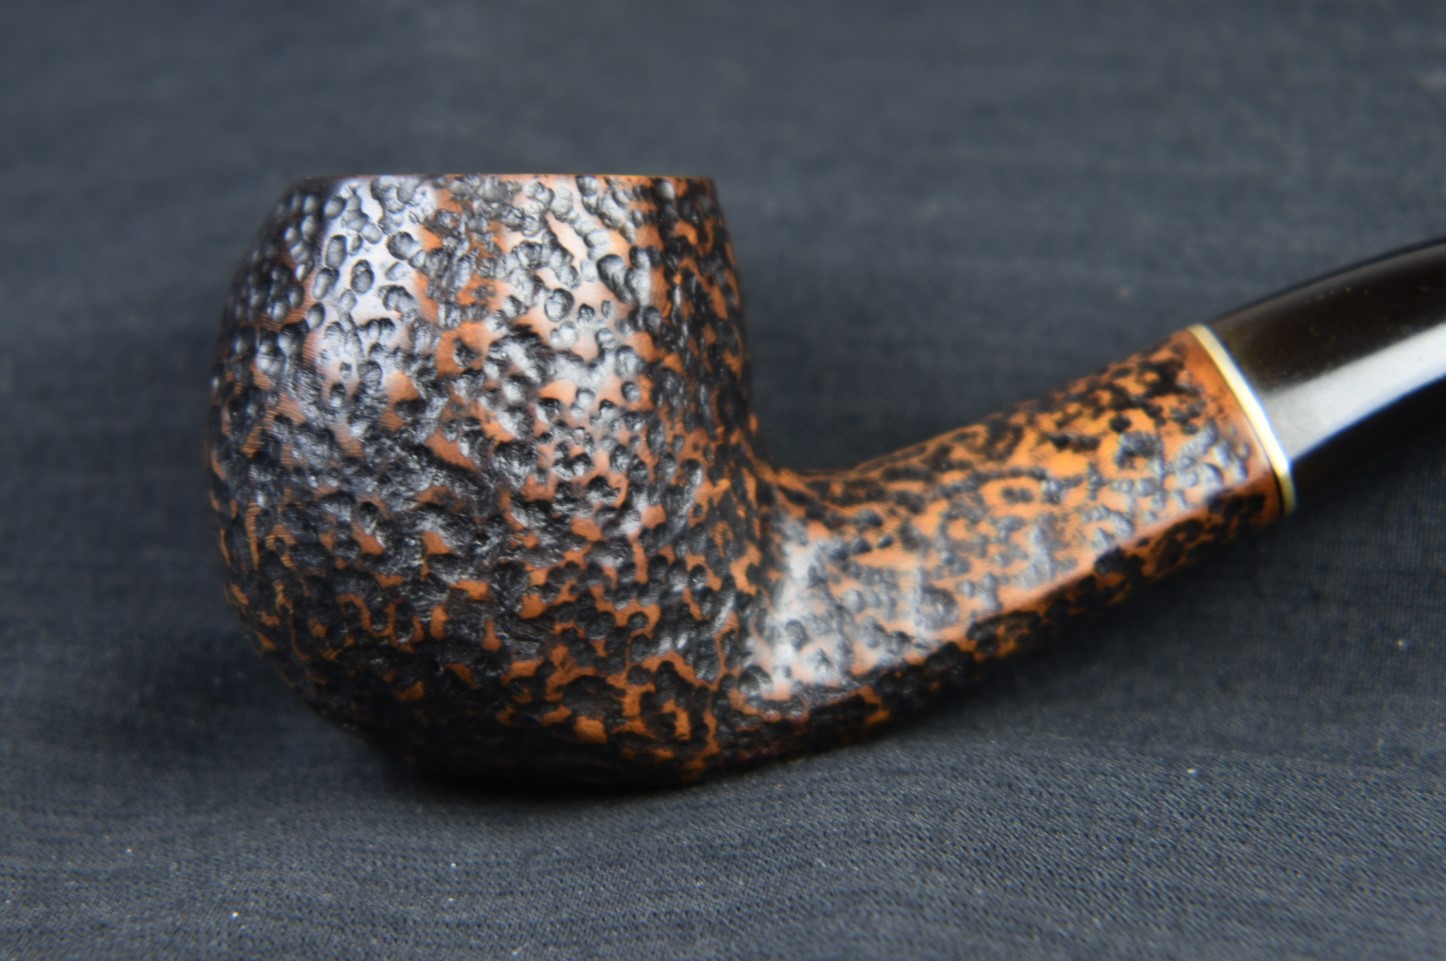
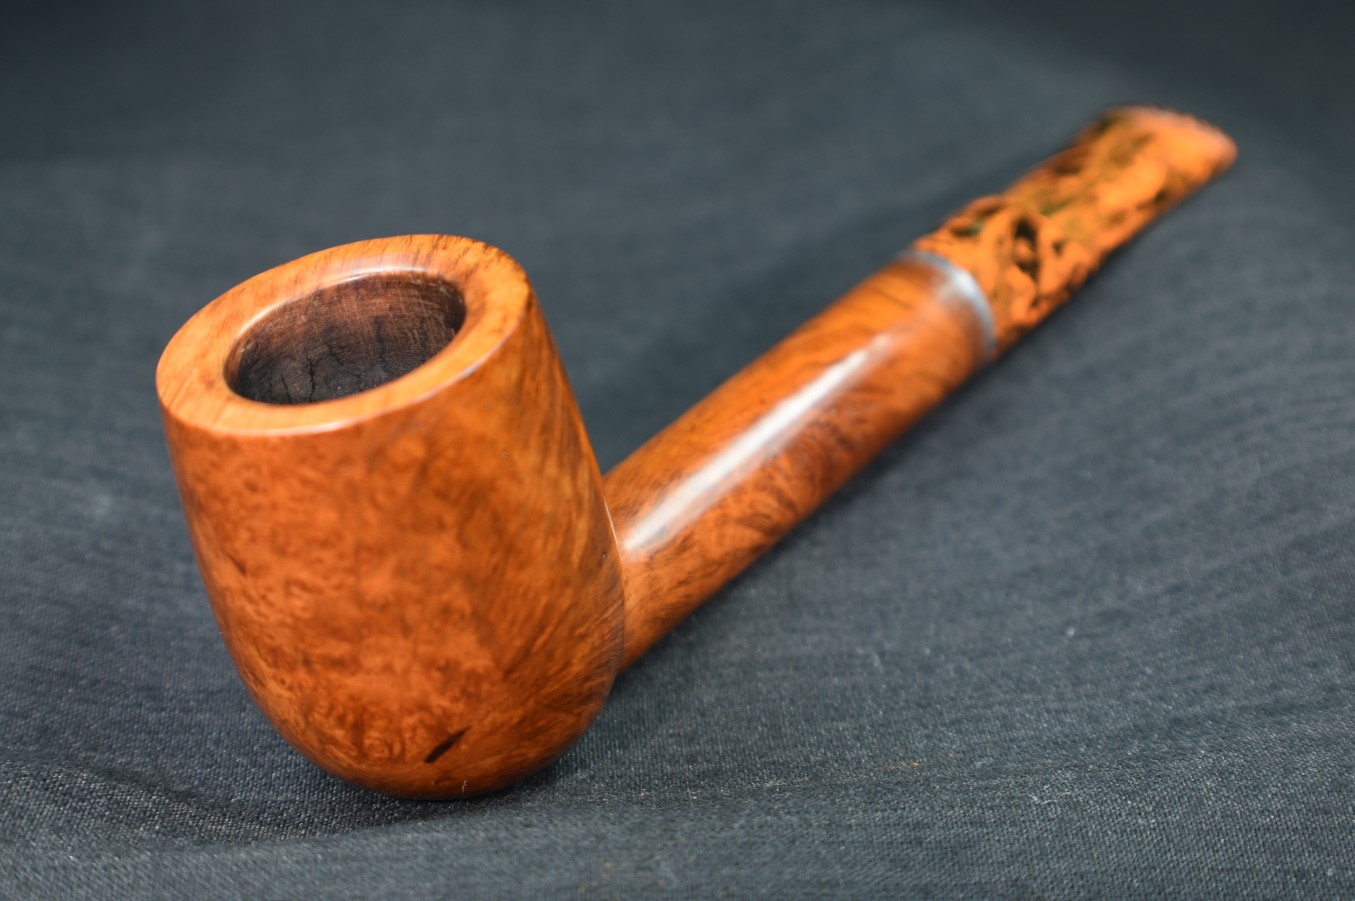
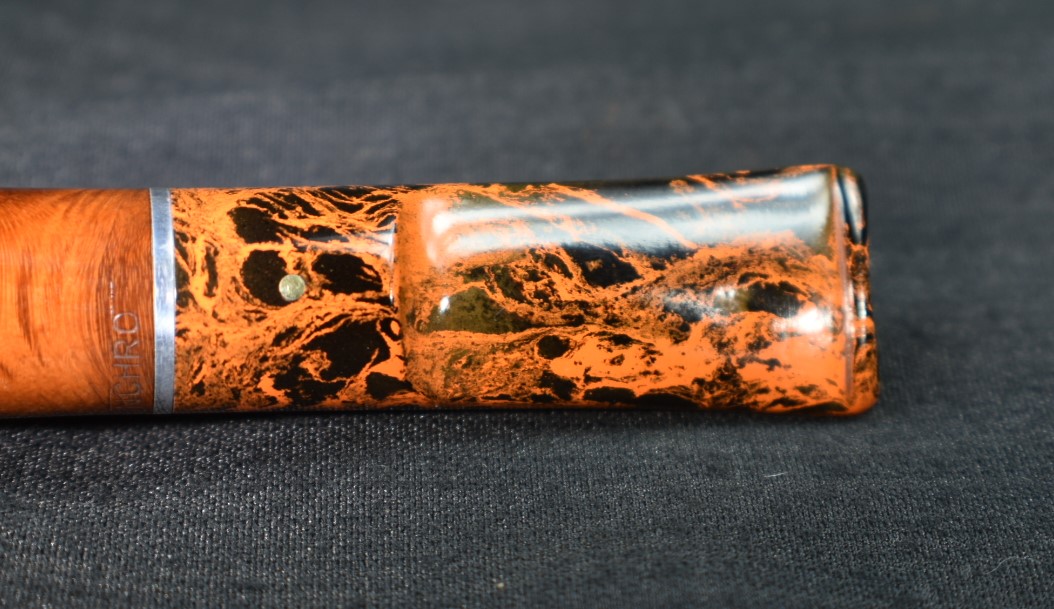
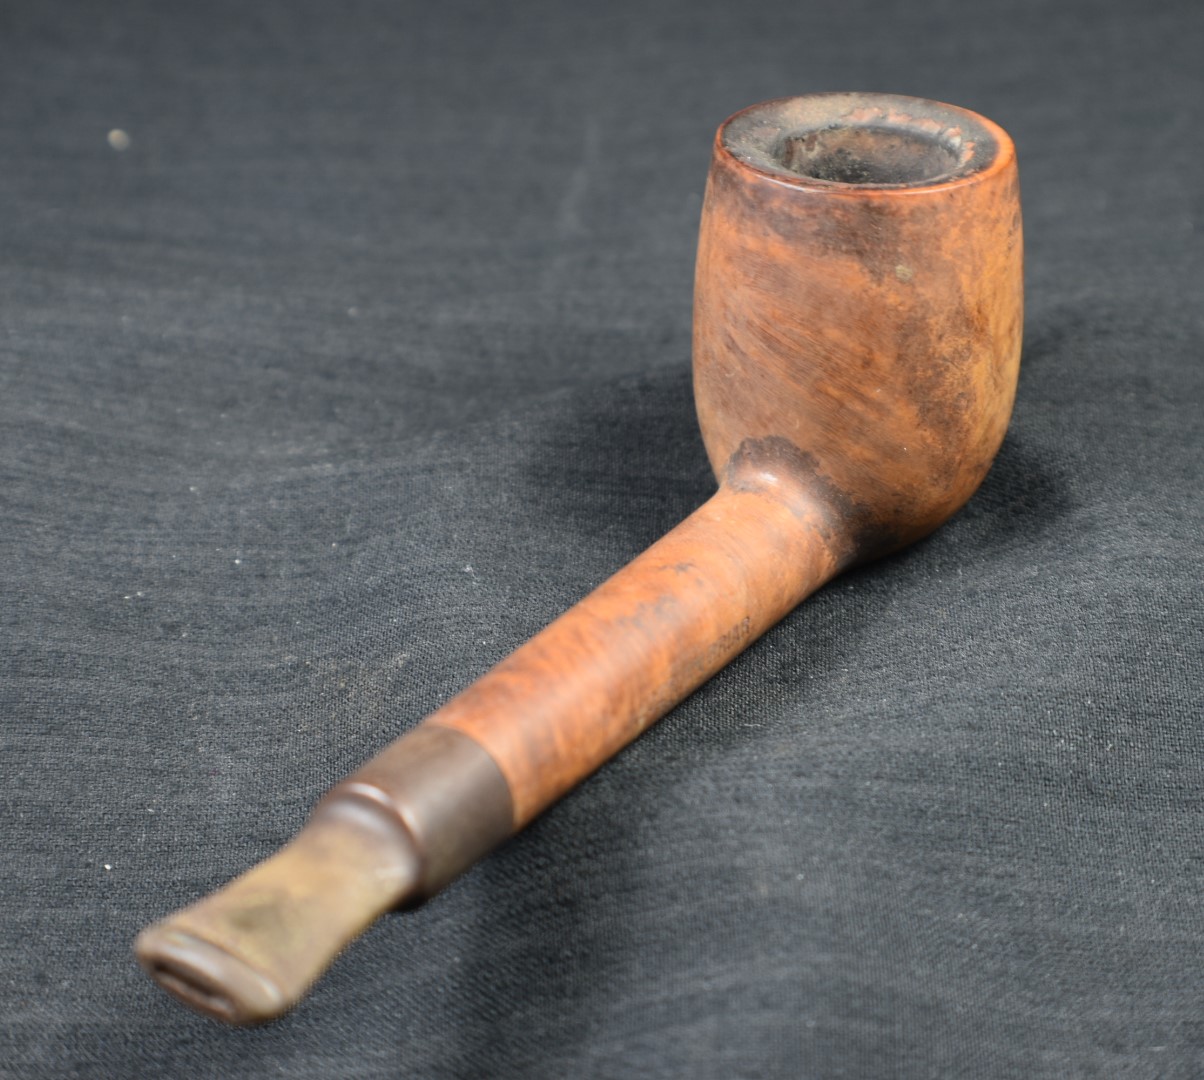
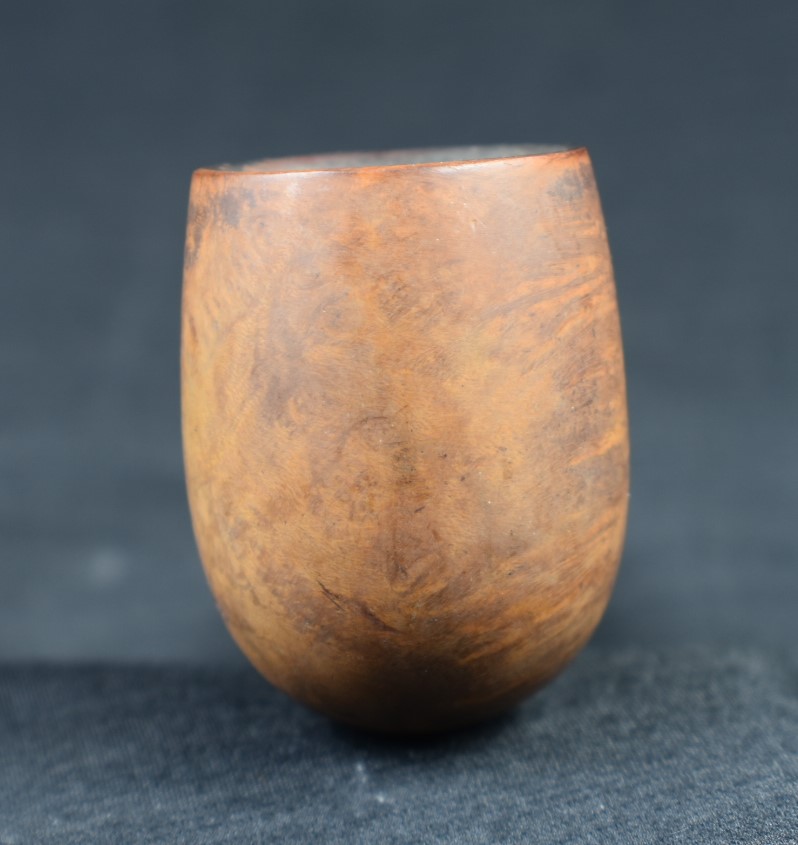
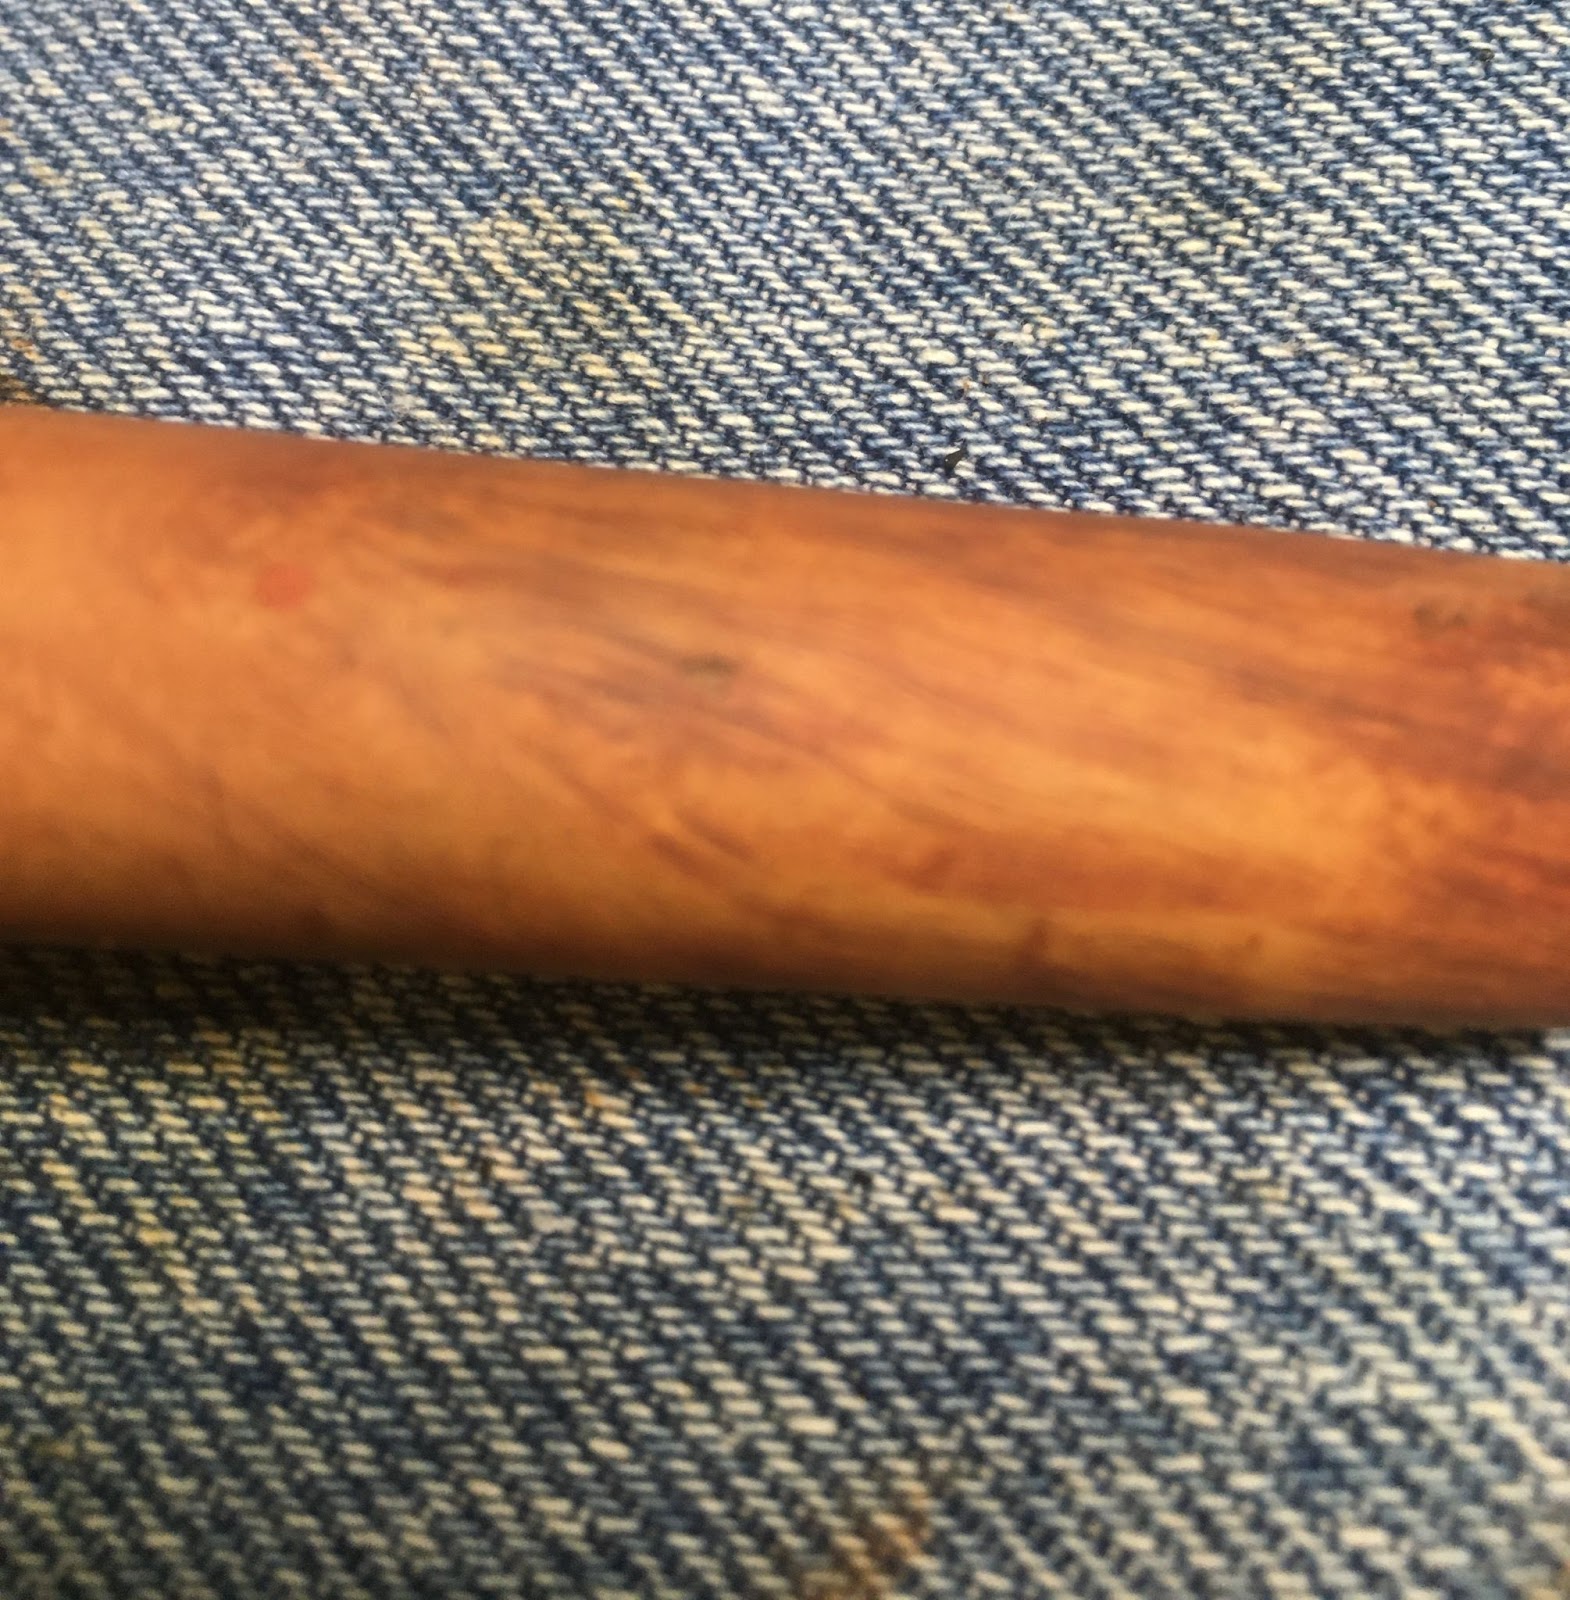
Below are some photos of the finished Silverking Synchromatic billiard.


 ” (
” (


 ”
”


 The quality of briar and the original stain color also match quite well. Given those last two qualities are hardly good indicators of a shared heritage but they do look similar. When looking up Jobey on pipedi.org, the first sentence of the entry says, “English – American – Danish – French… Sadly, solid information about Jobey is scamt…”(