Photographed and written by
John M. Young
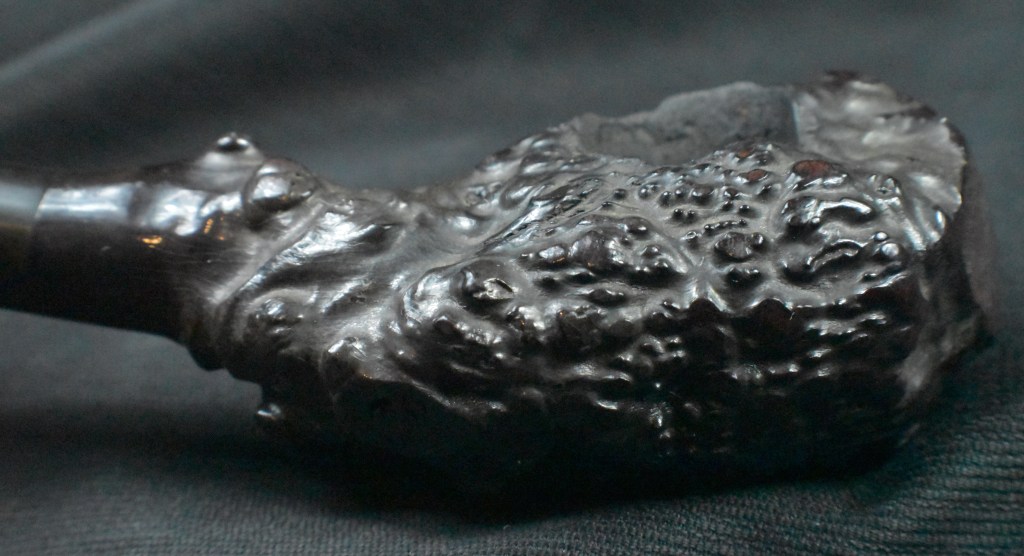
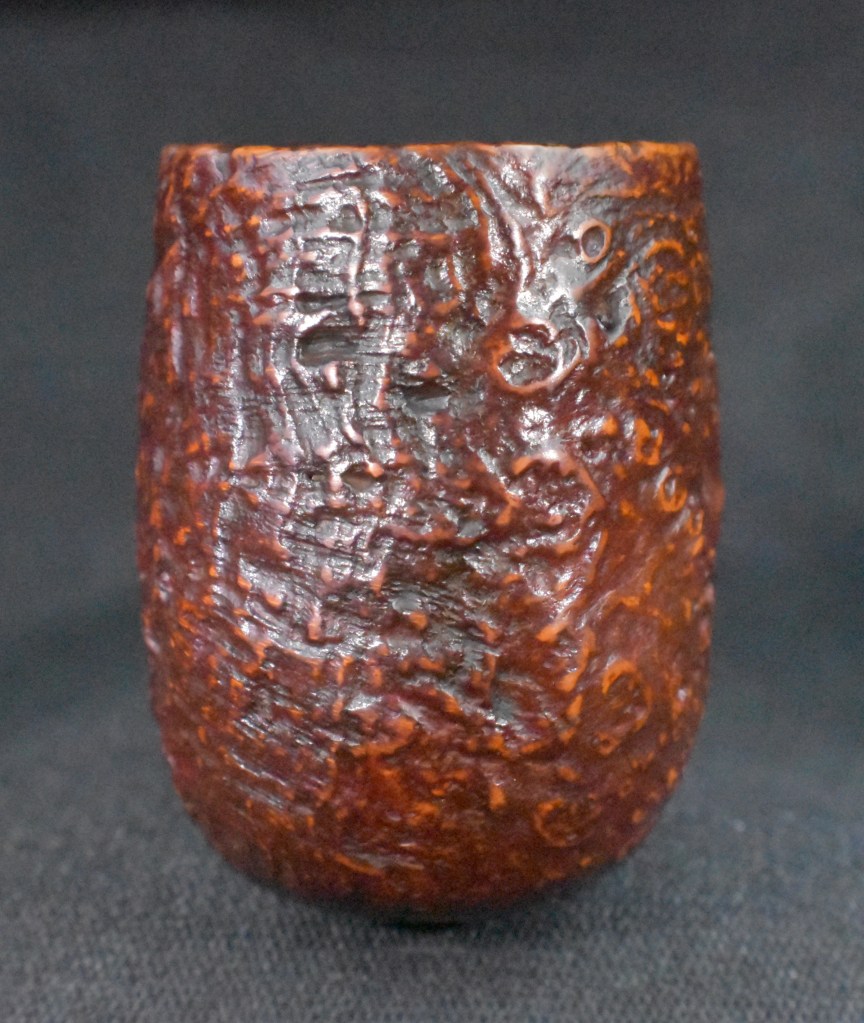
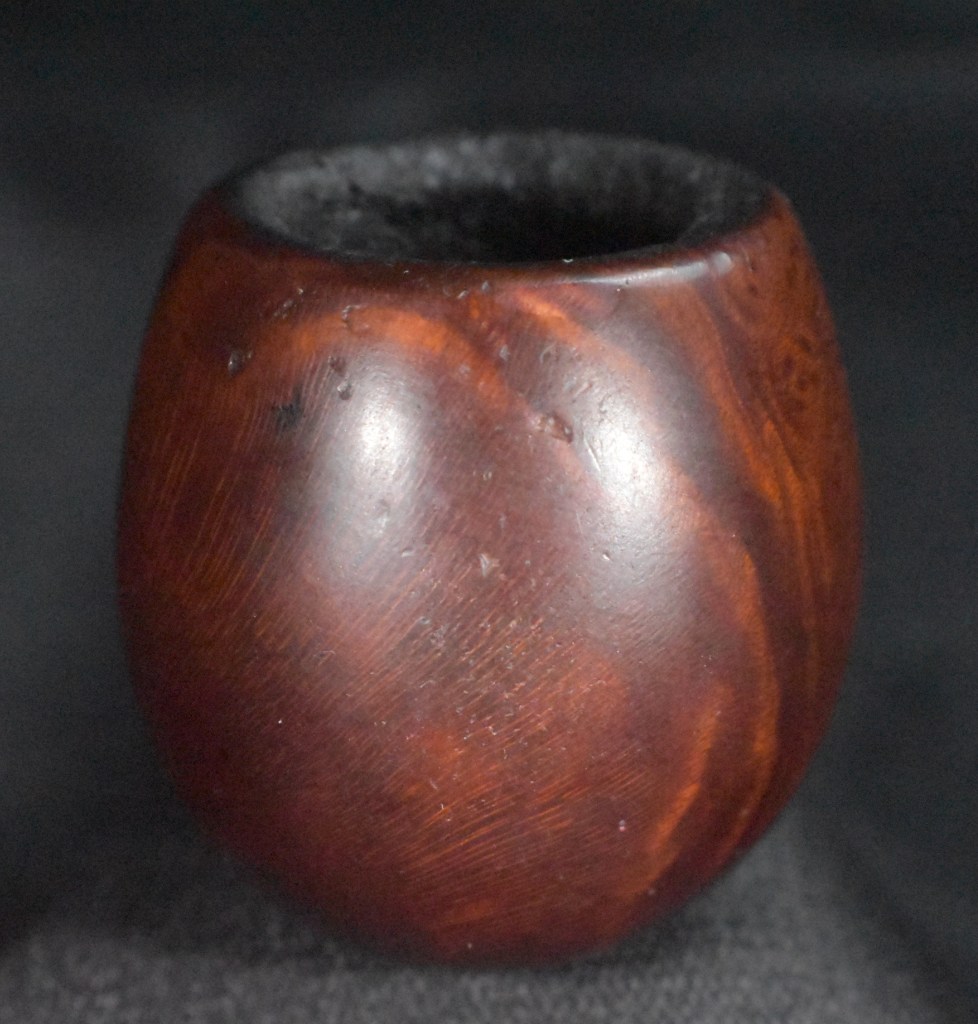
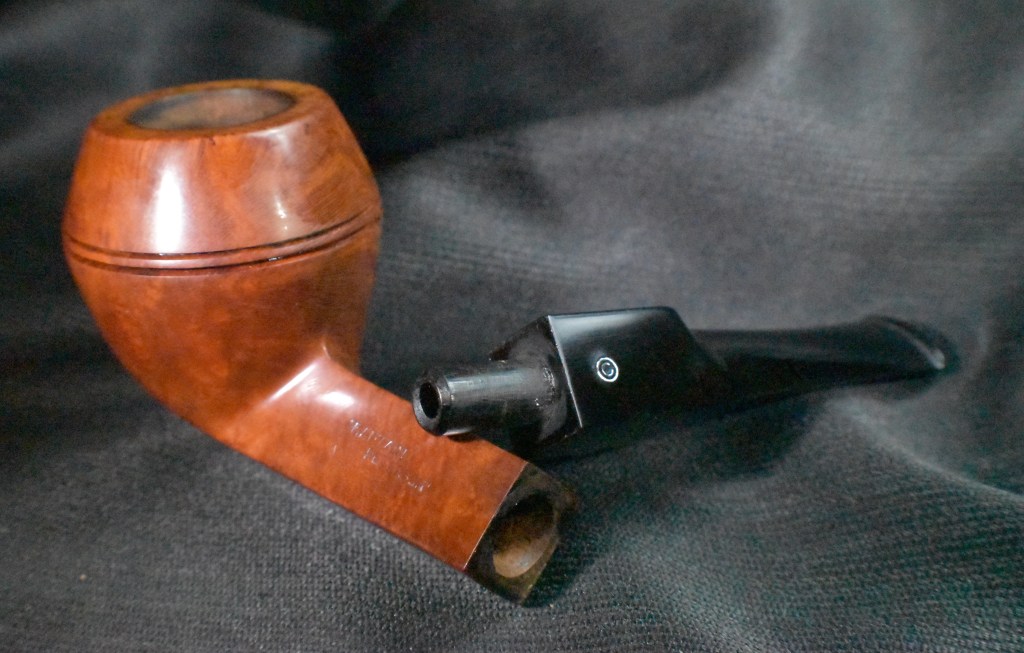
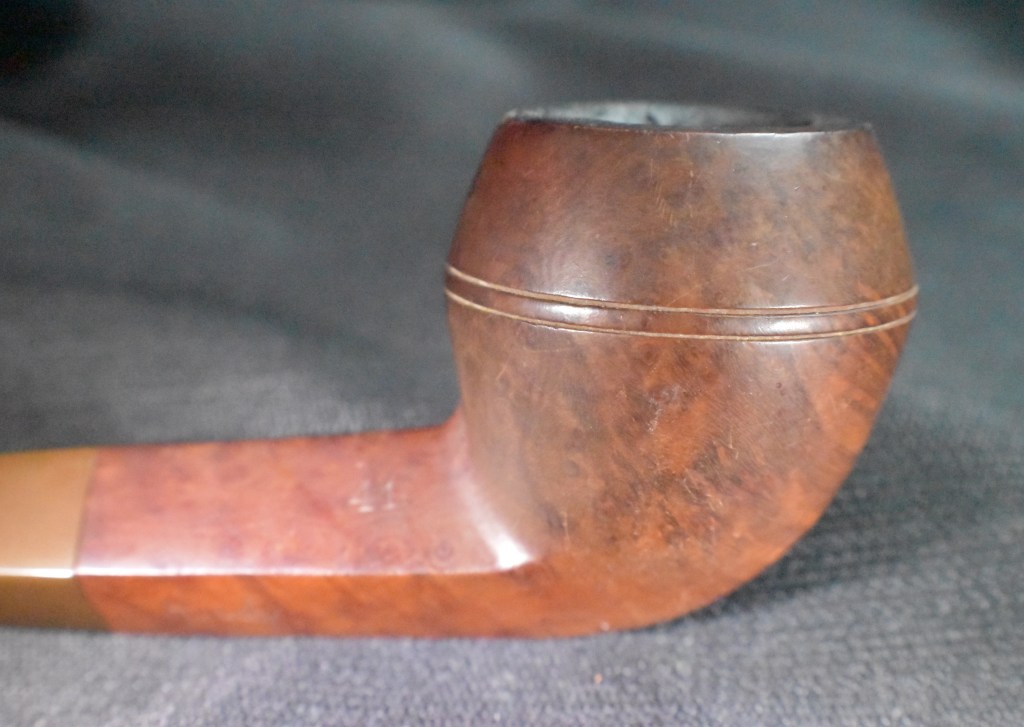
I don’t know if freehand is the correct term for this pipe. I’m not even sure if burl is, either. All I know is that I came across one several years ago just as a stummel and decided that the weird little thing needed me as an owner. I restemmed it and we have been getting along quite well.
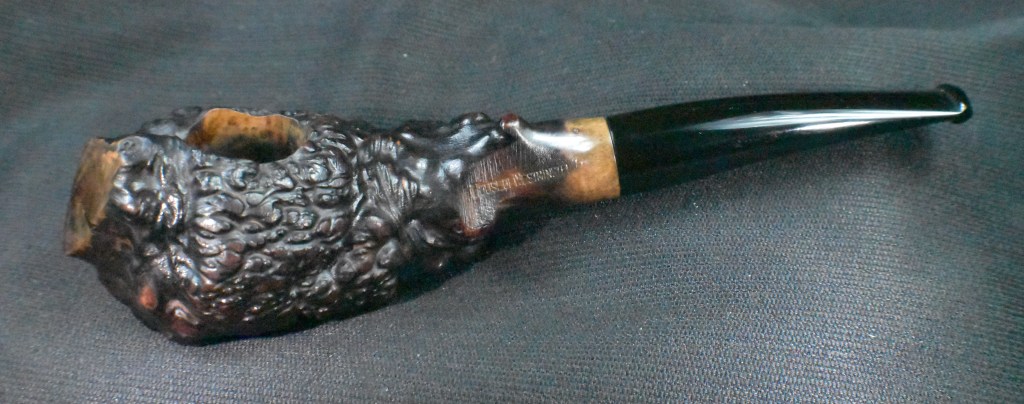
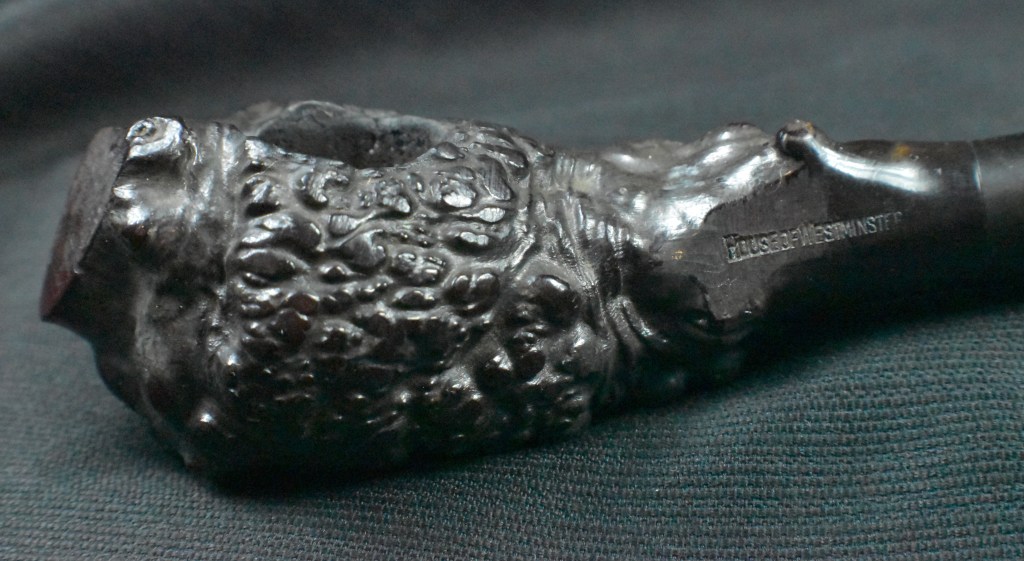
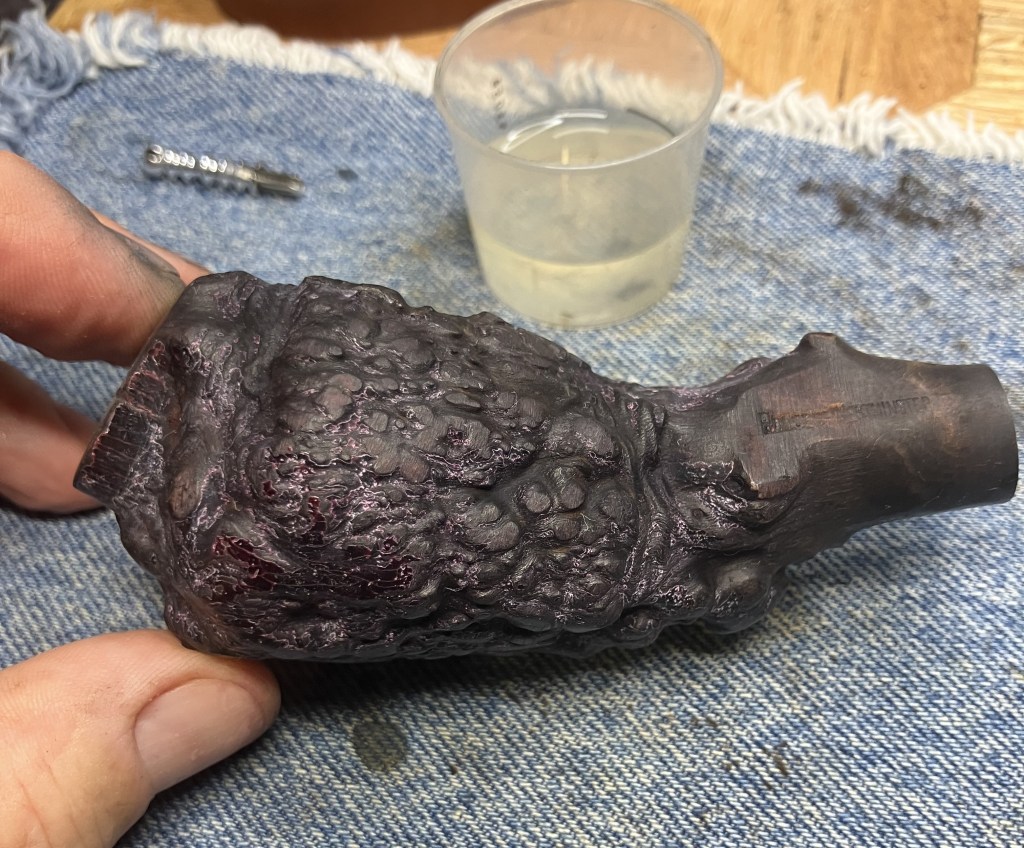
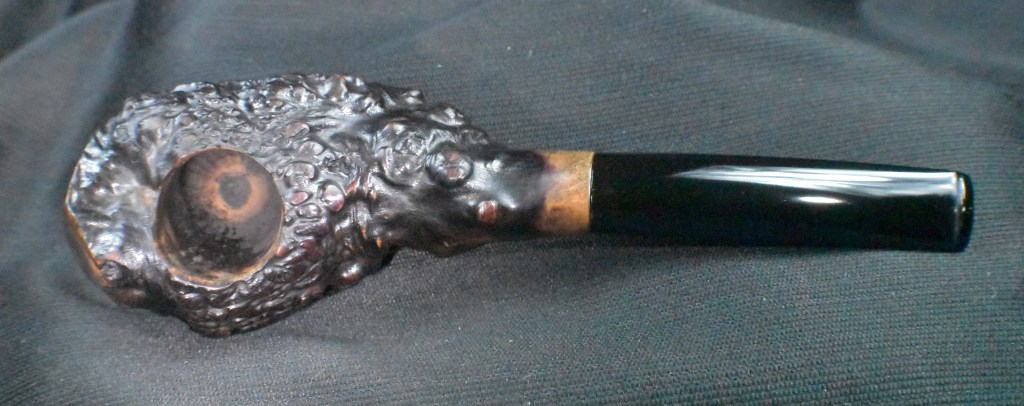
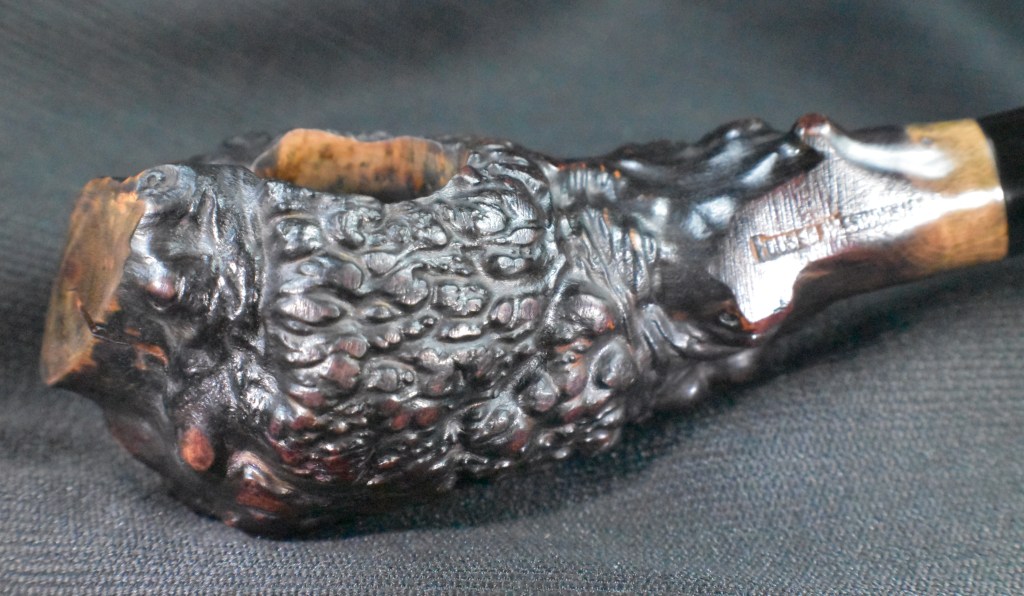
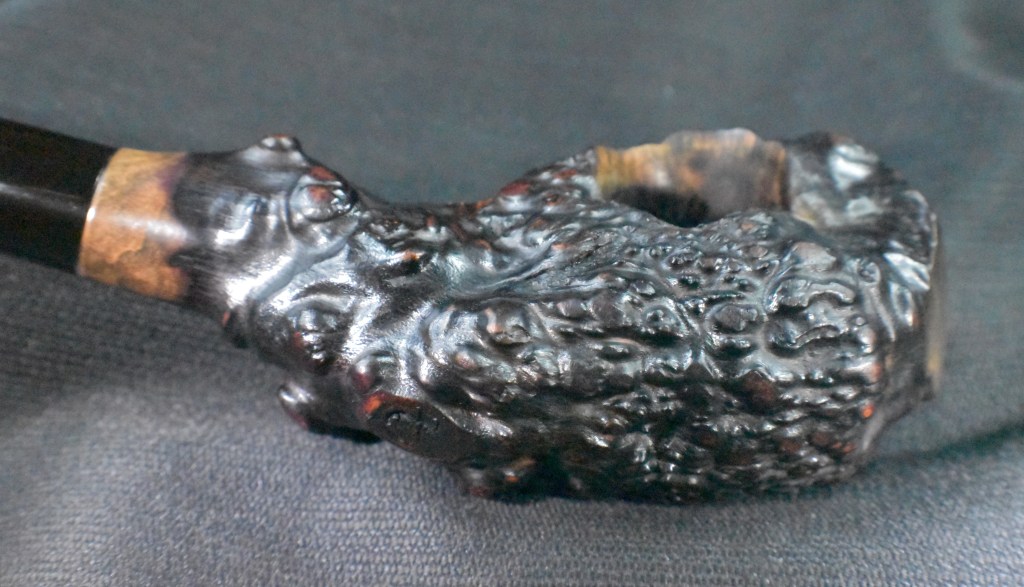
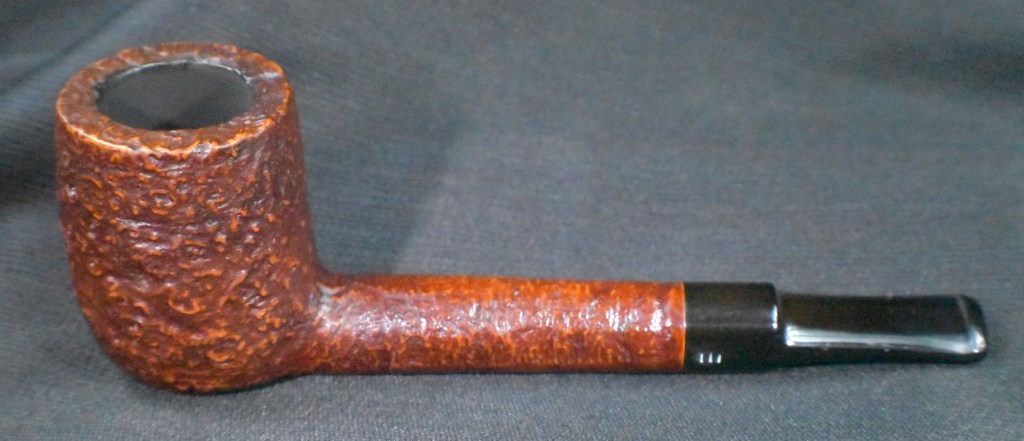
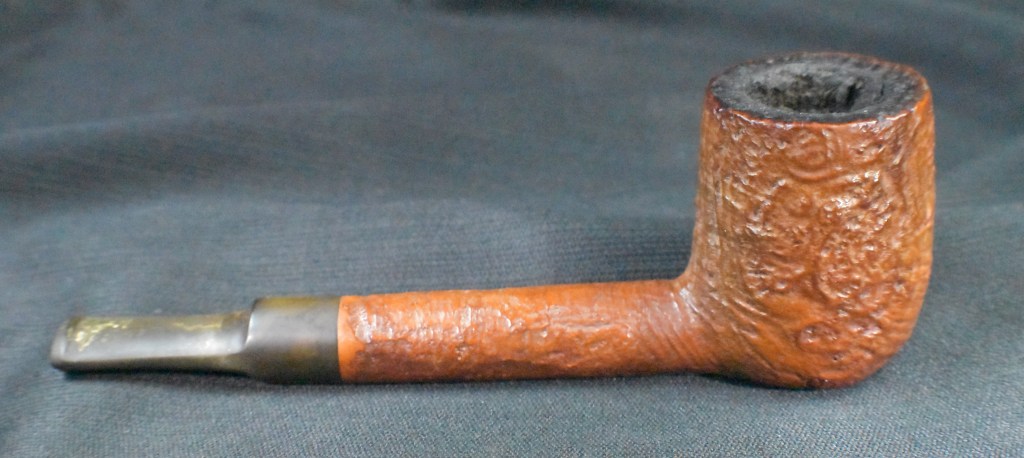
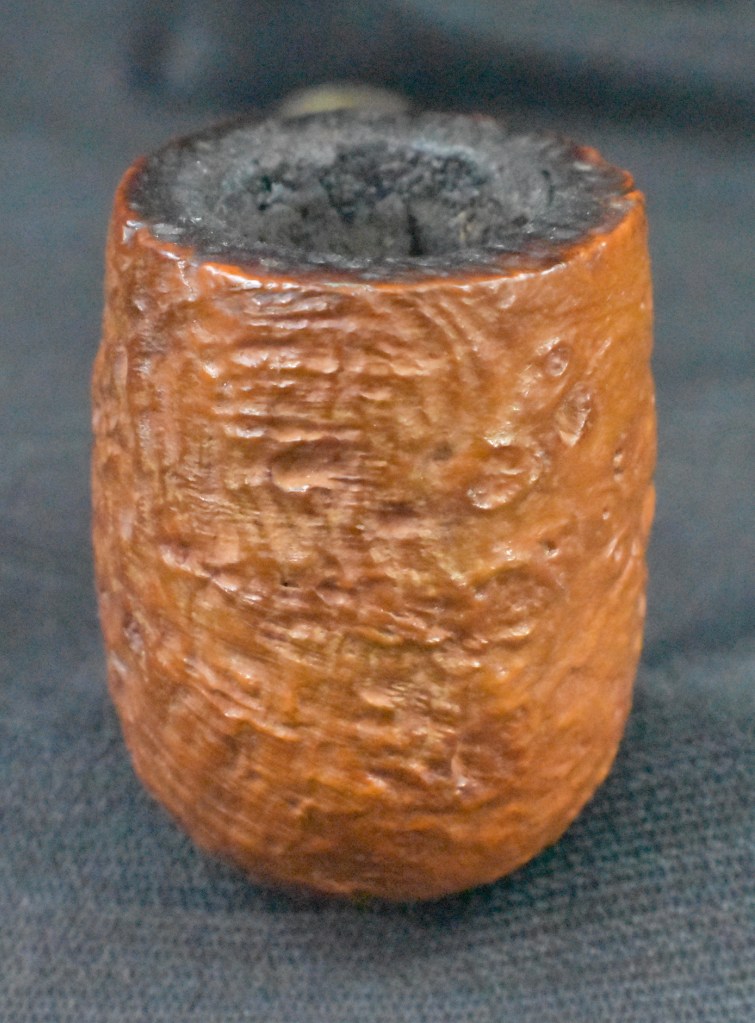
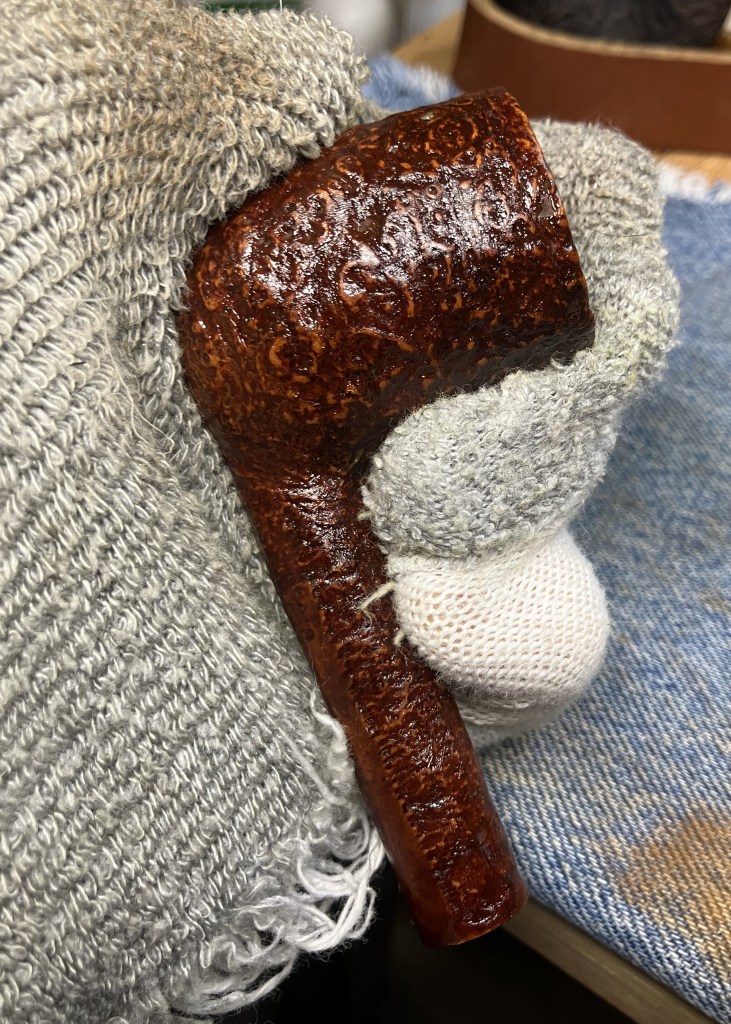
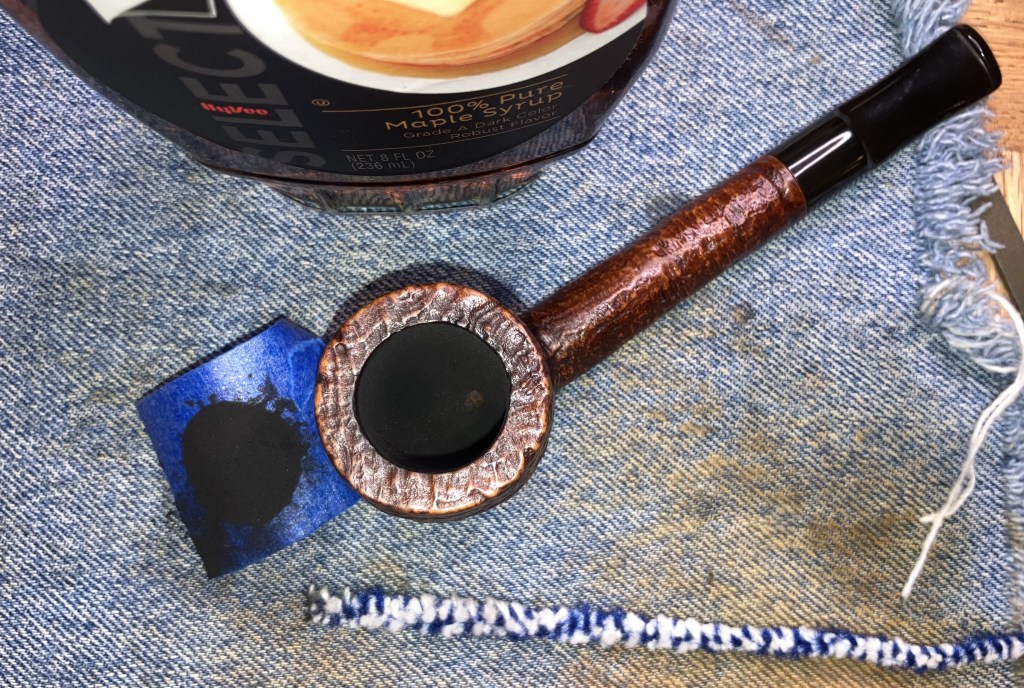
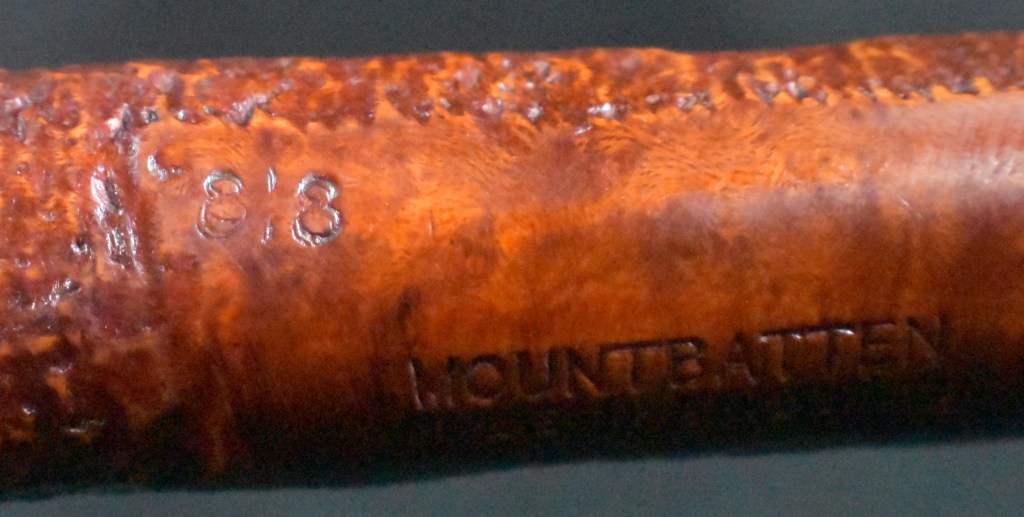
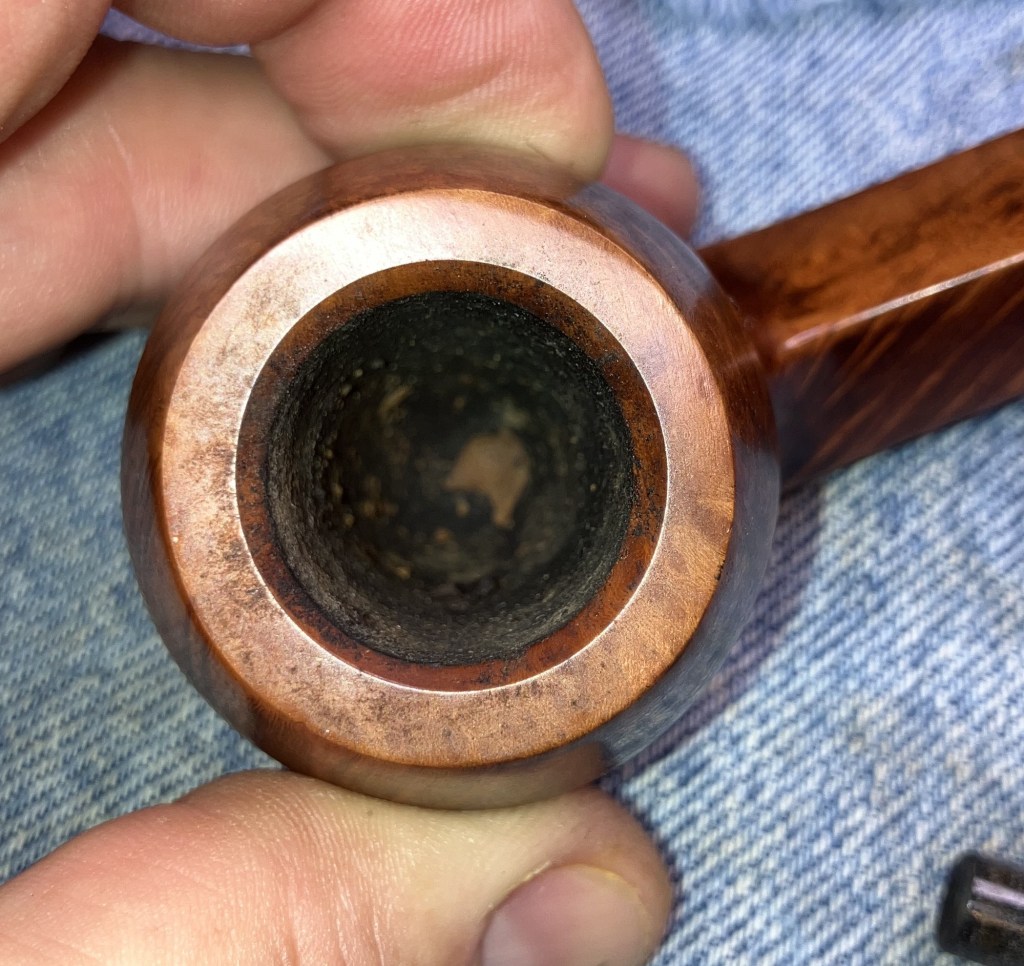
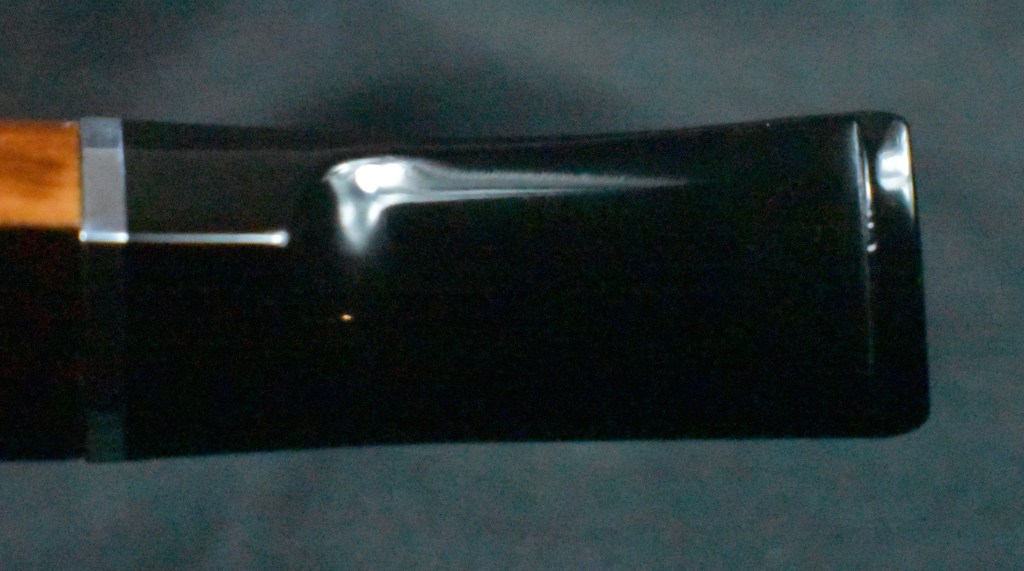
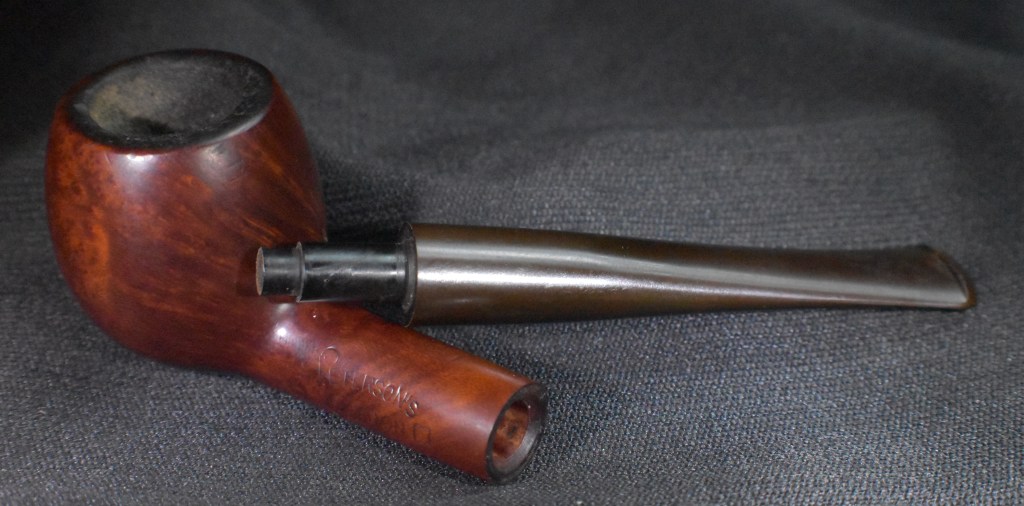
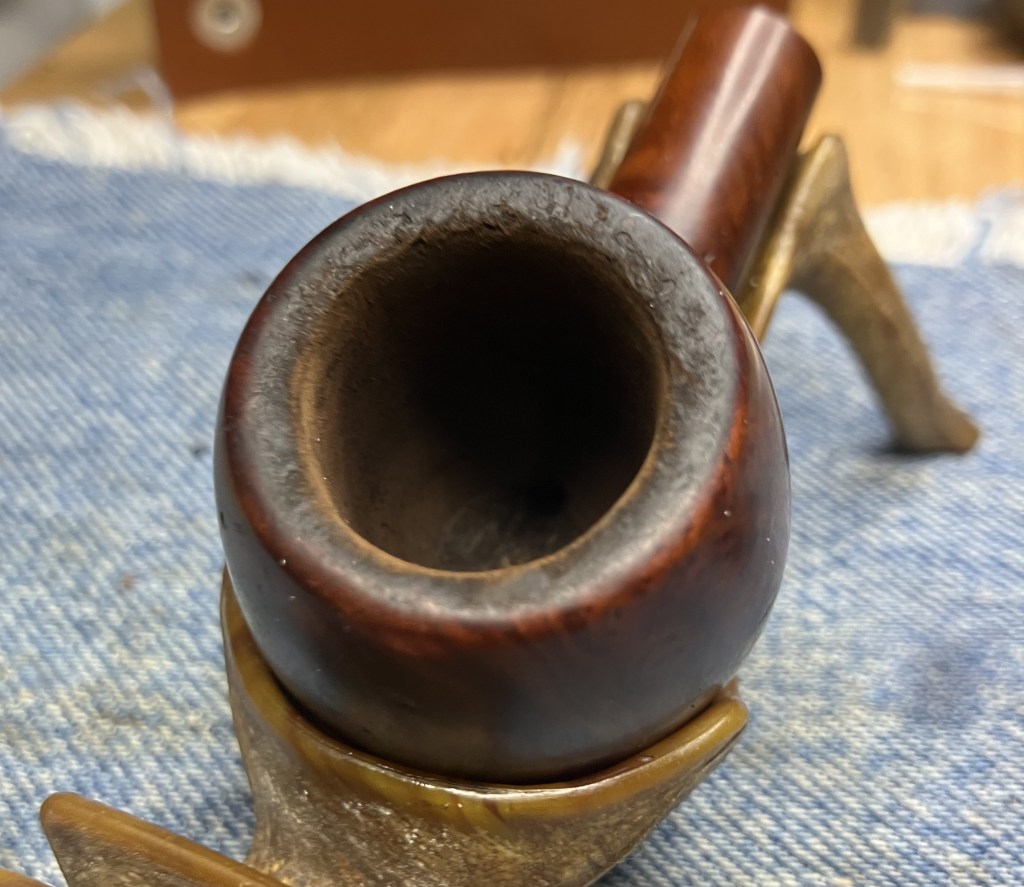
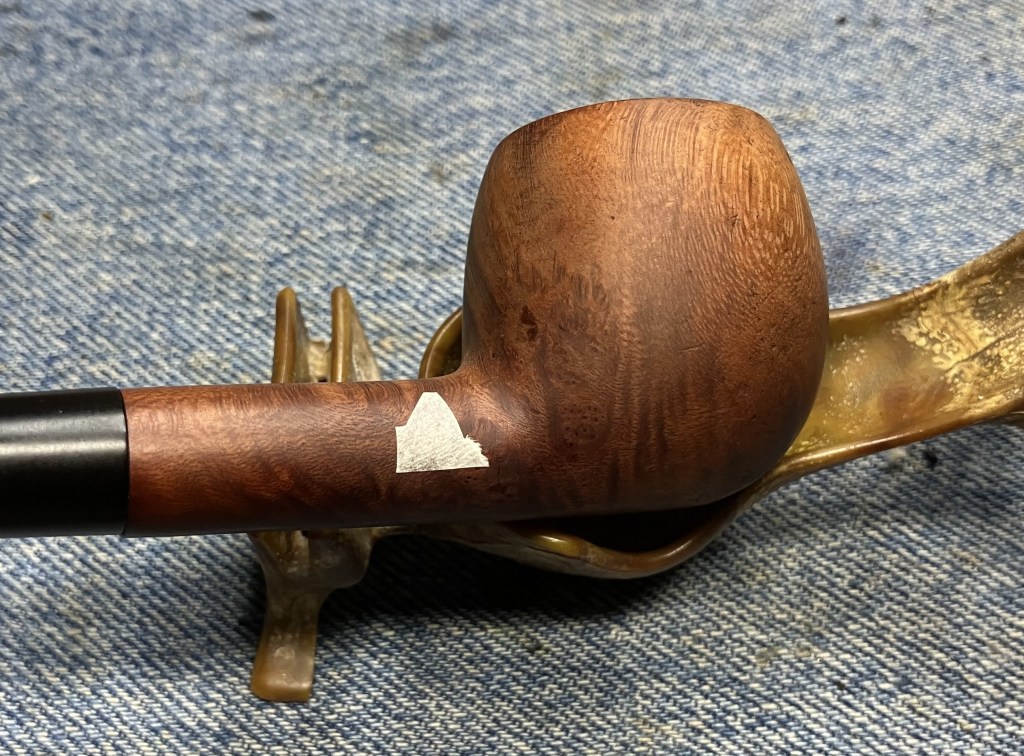
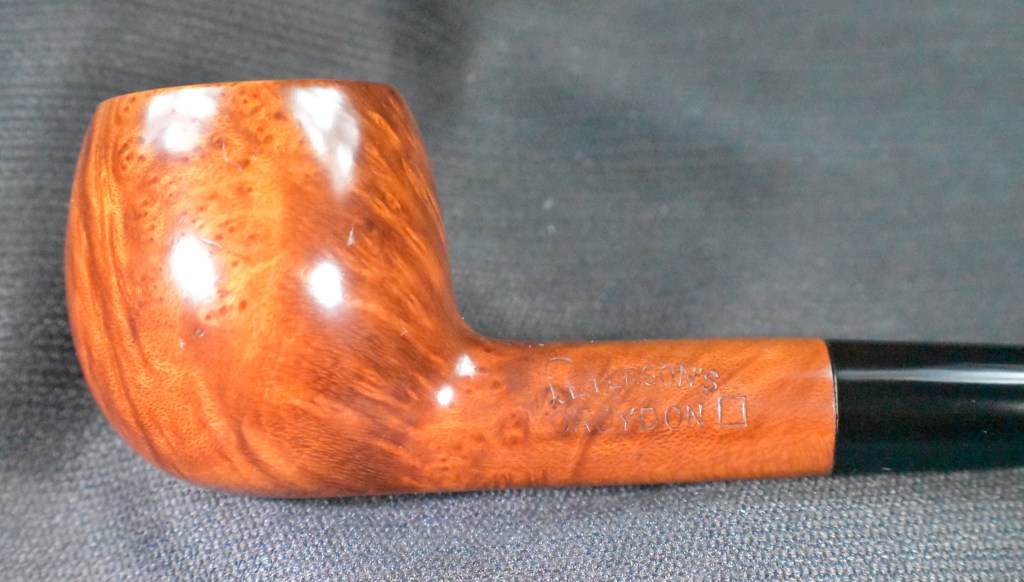
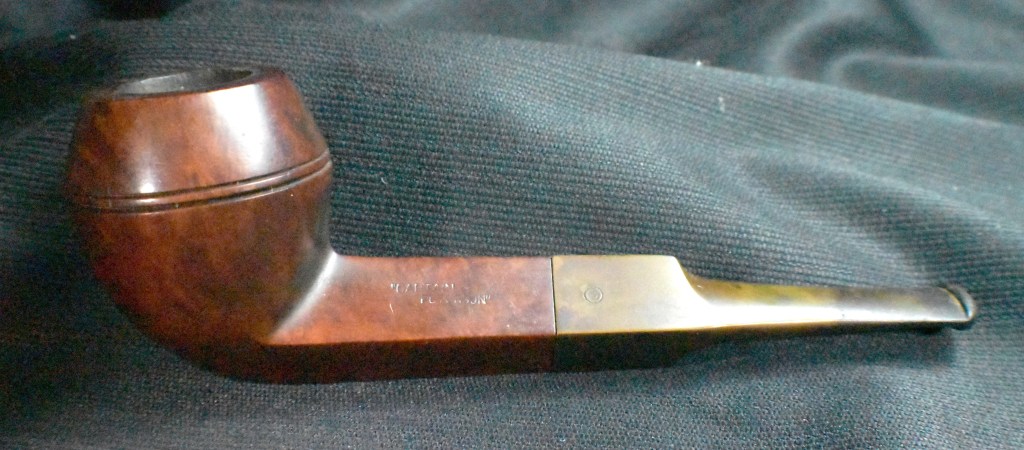
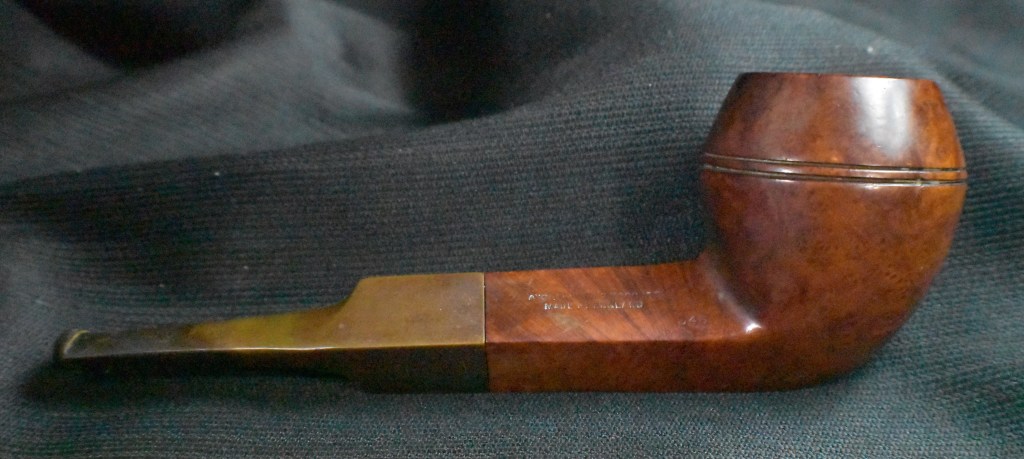
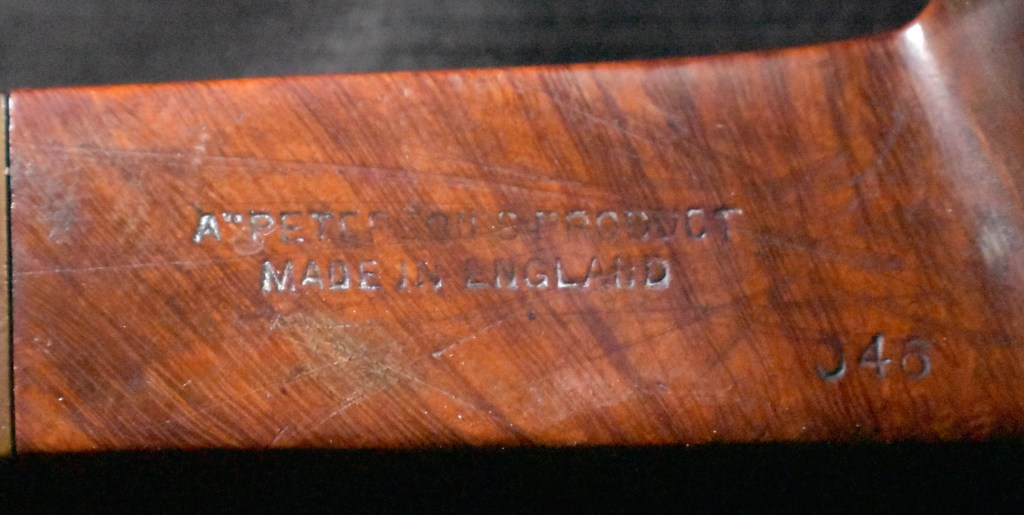
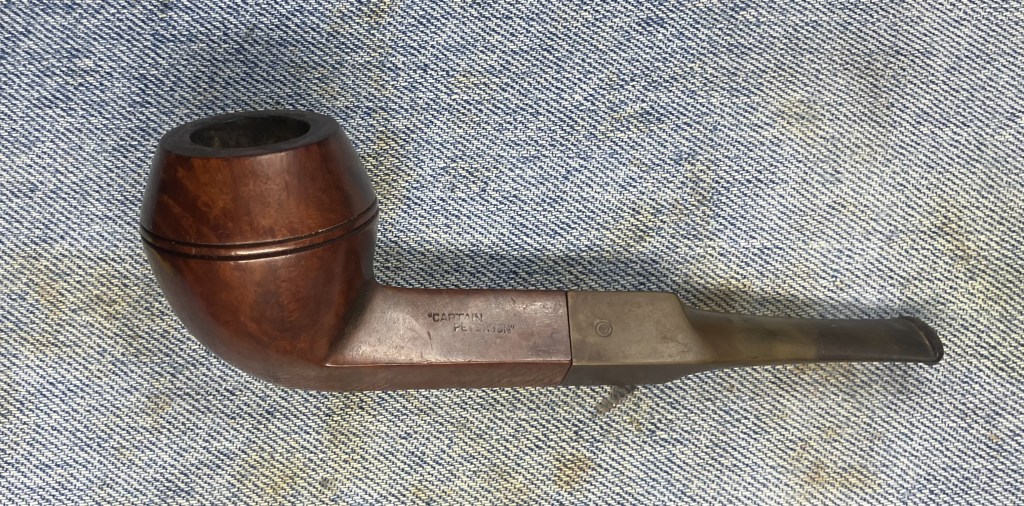
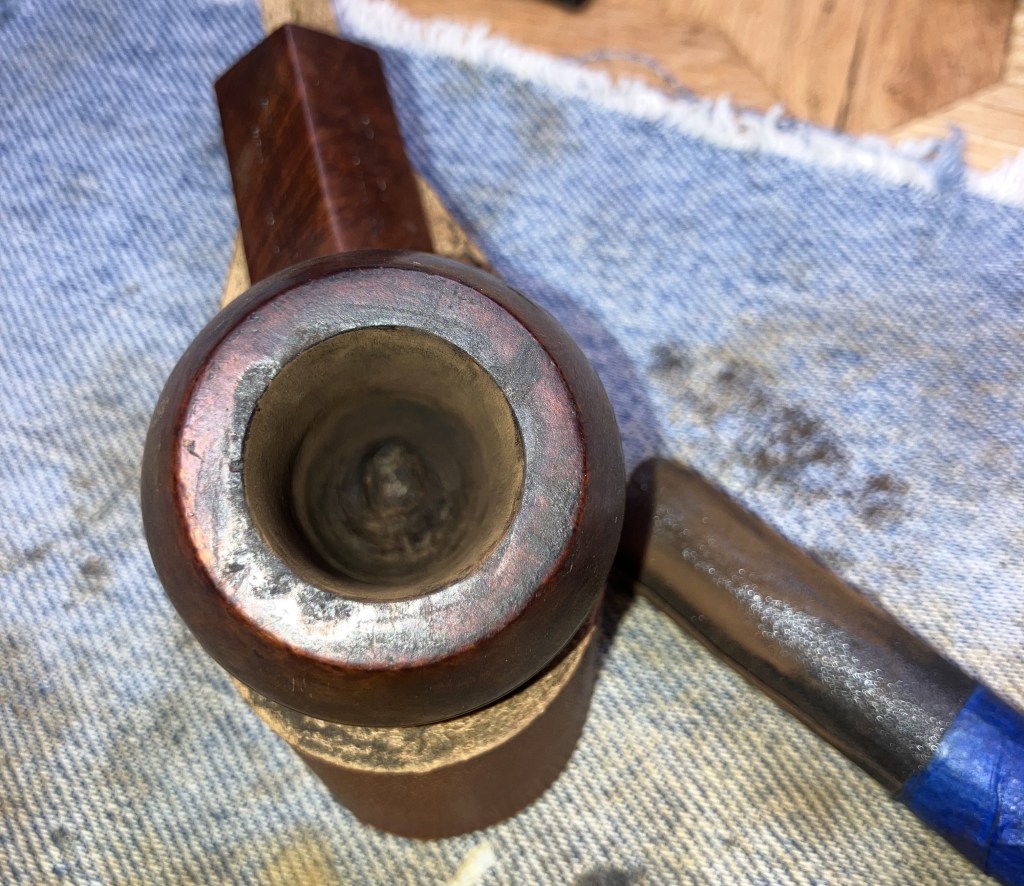
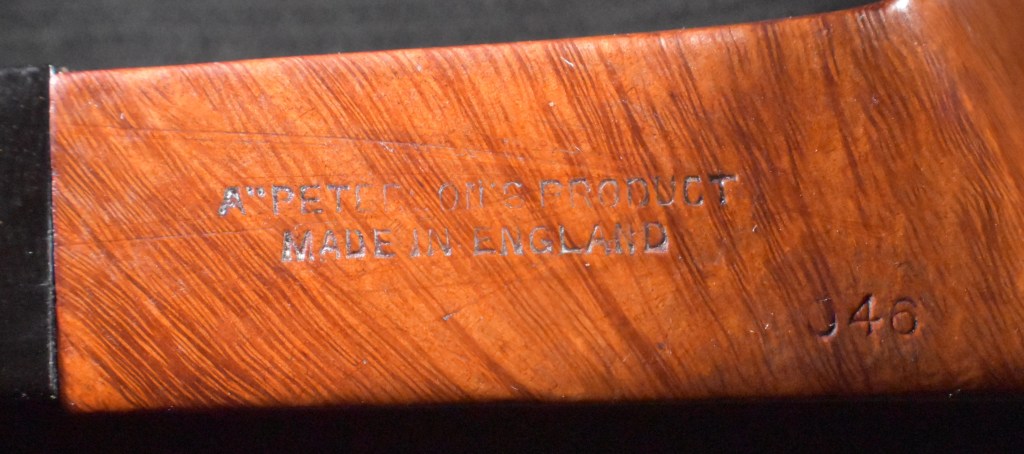
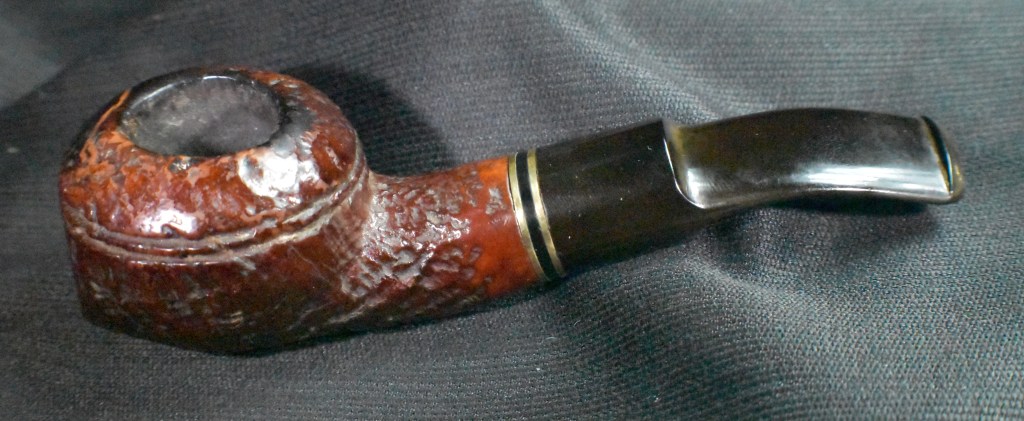
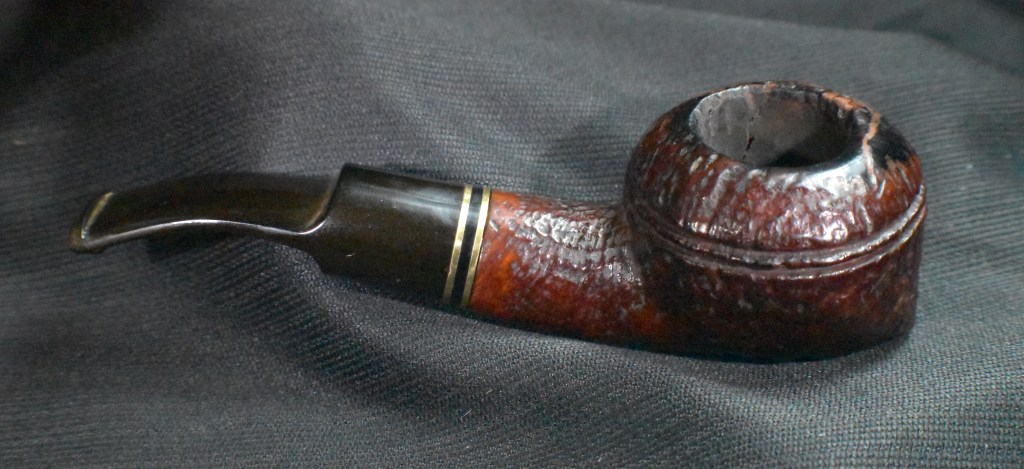
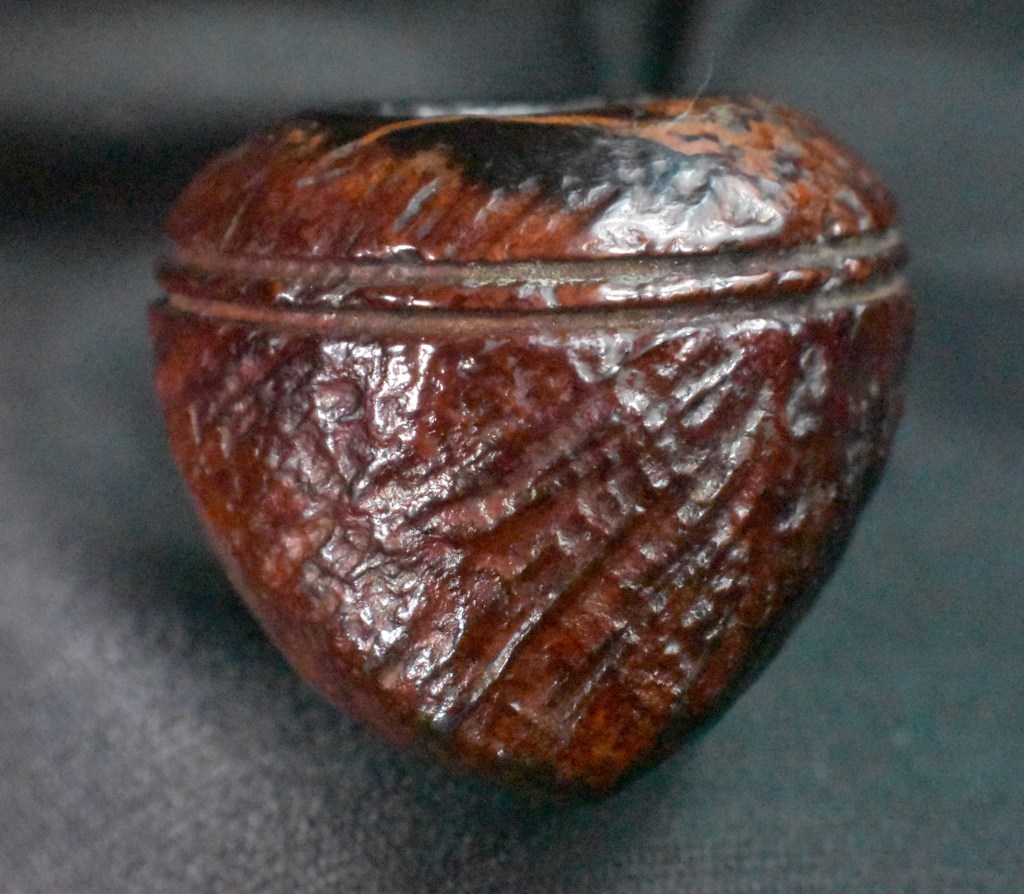
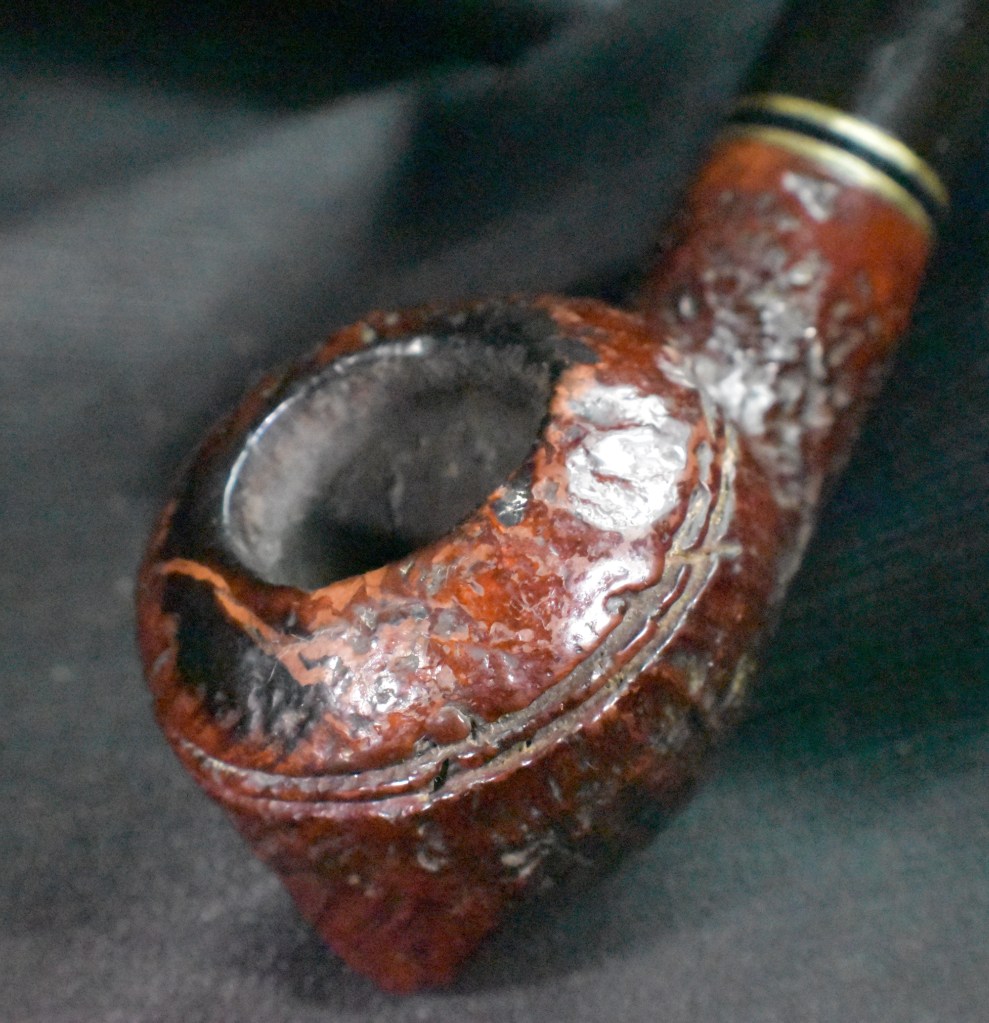
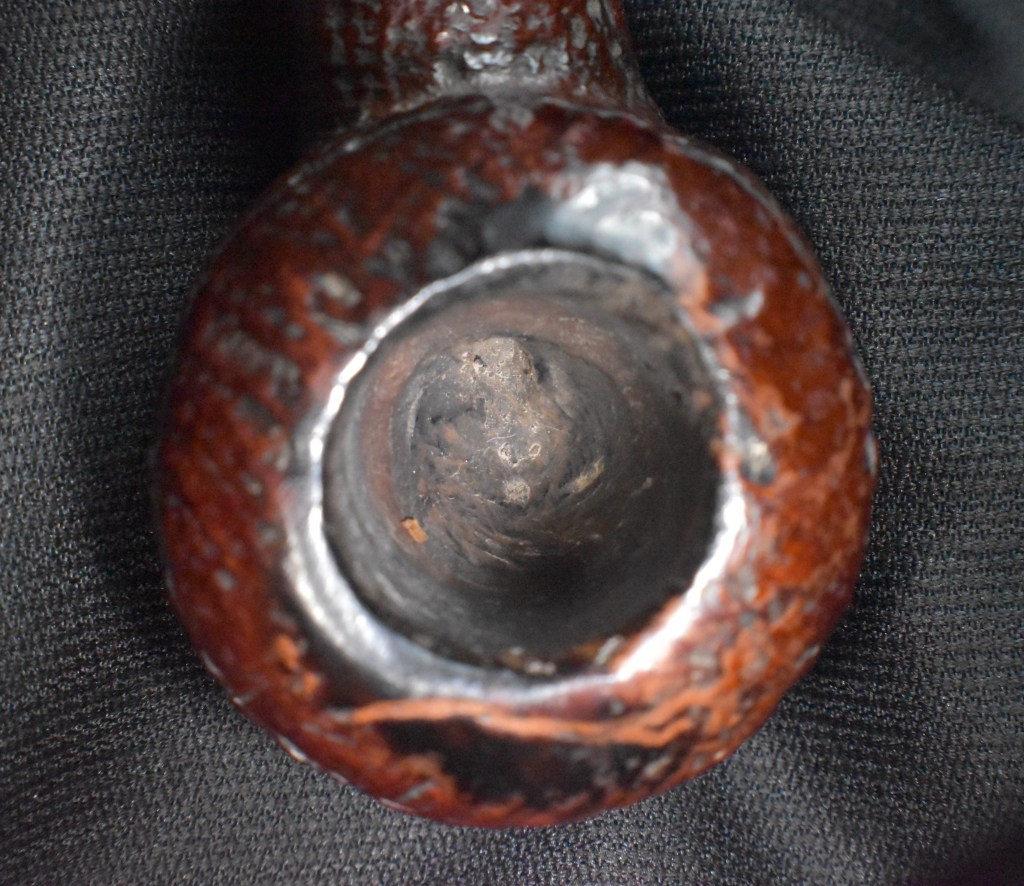
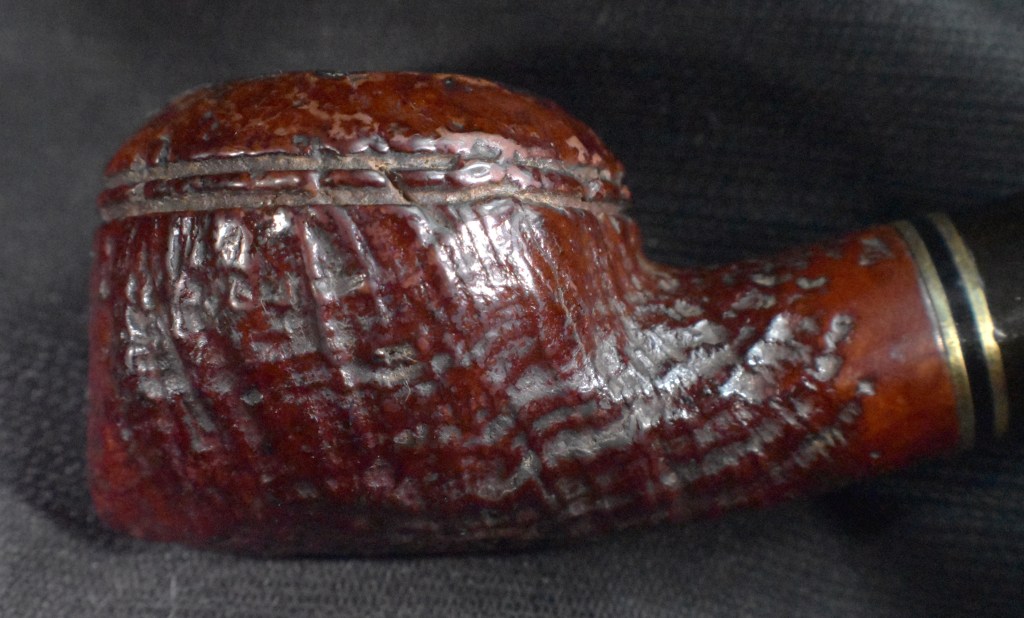
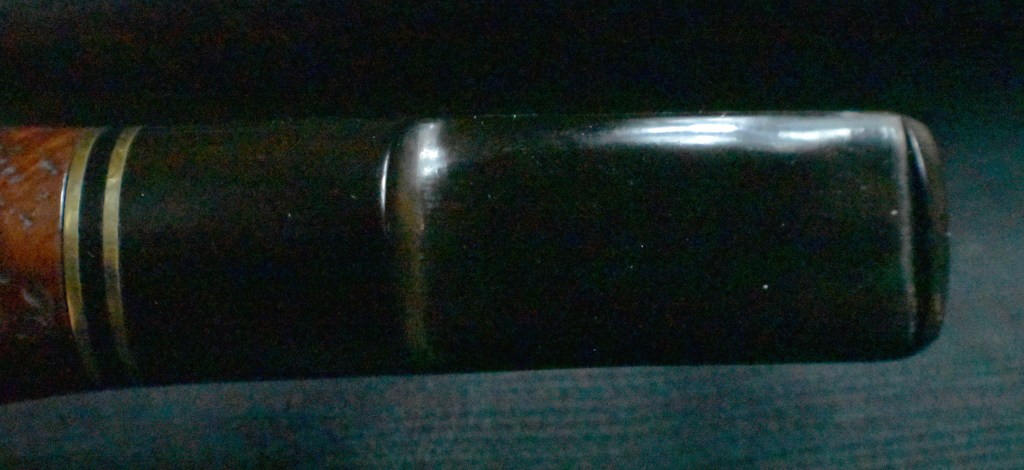
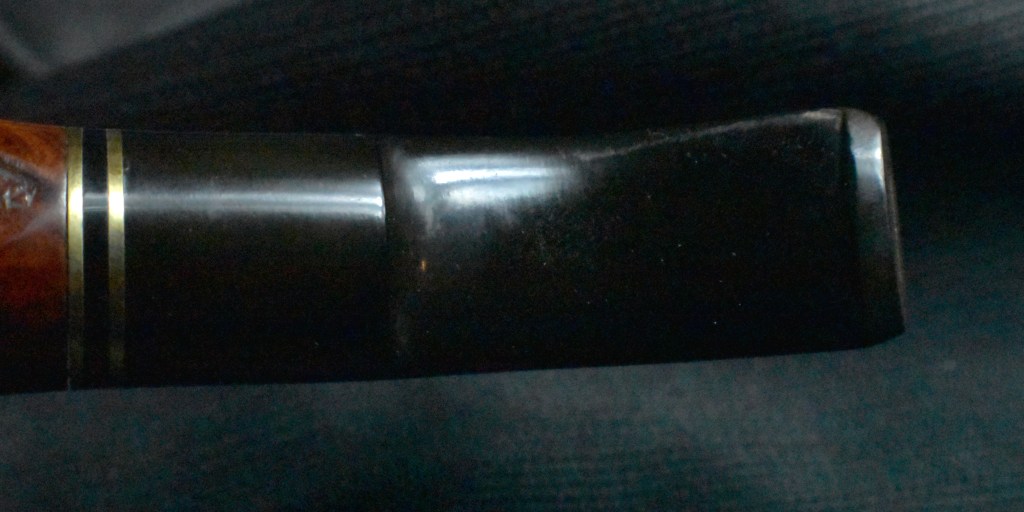
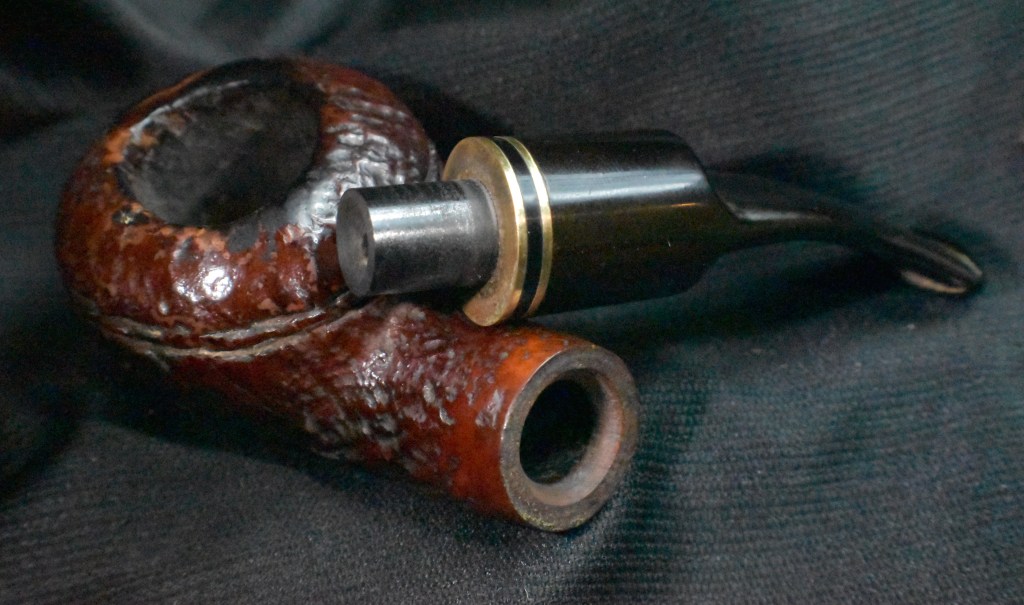
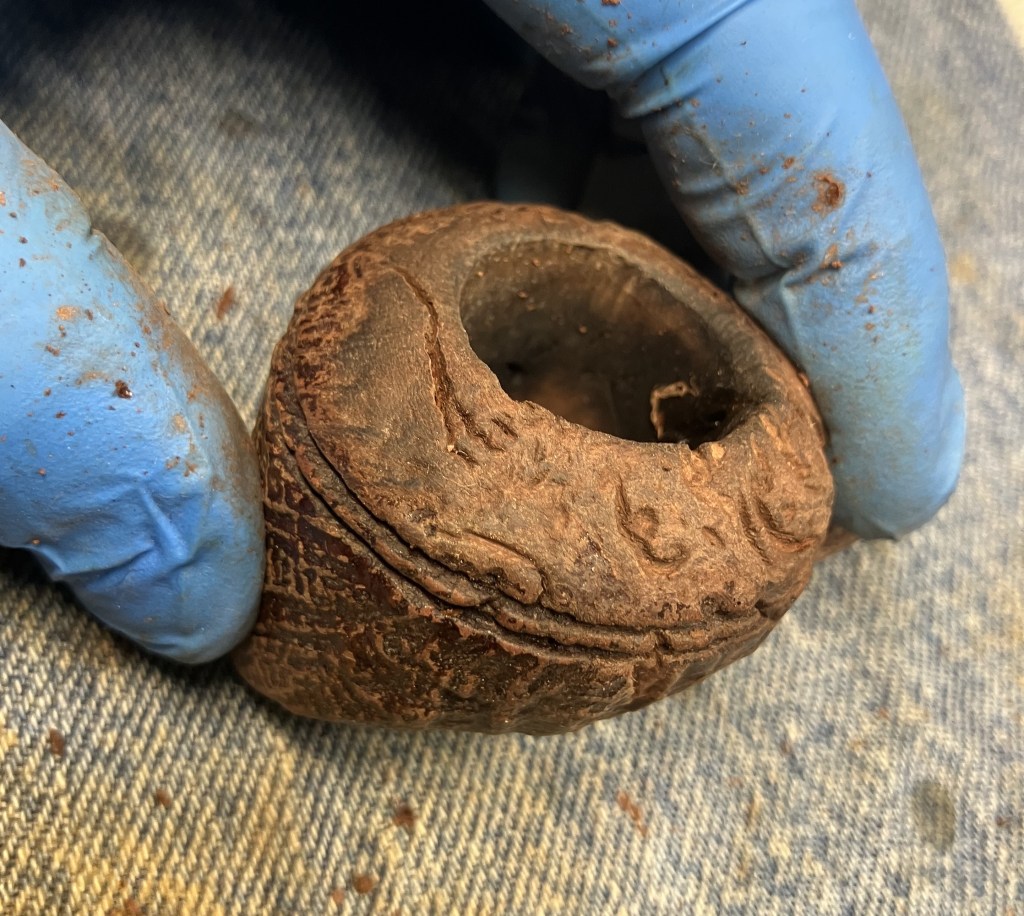
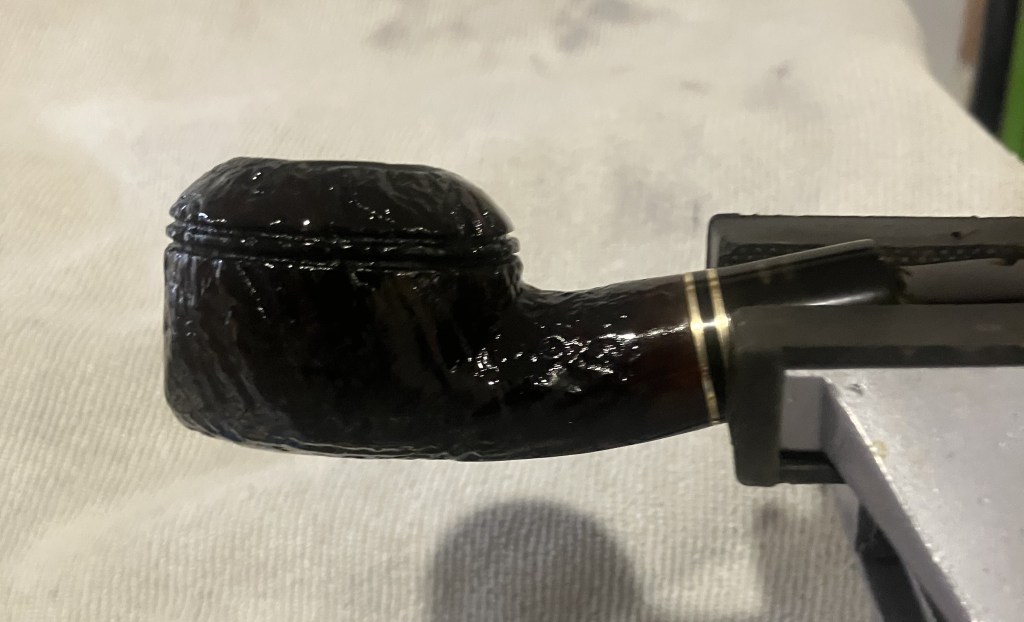
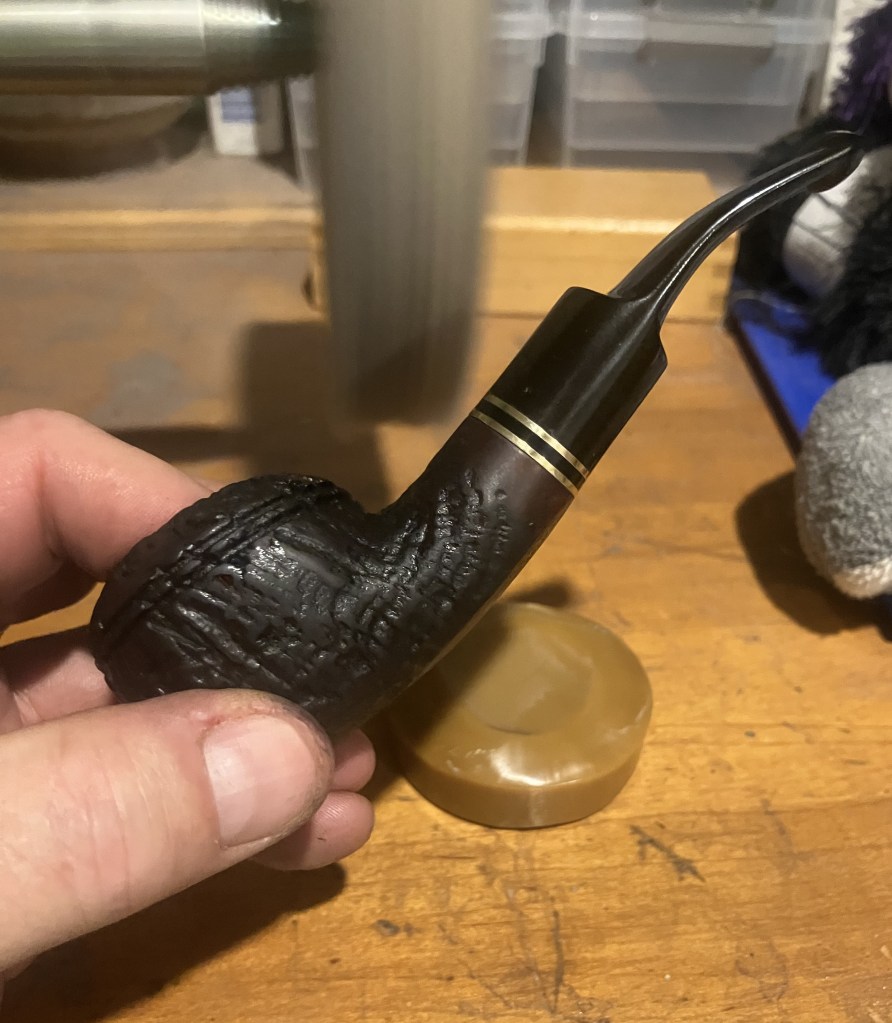
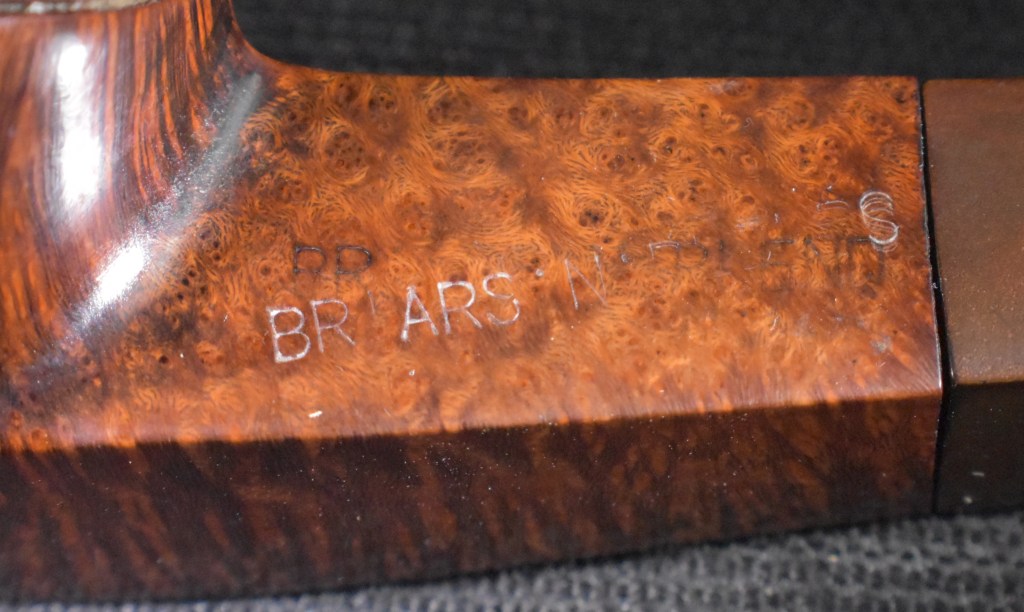
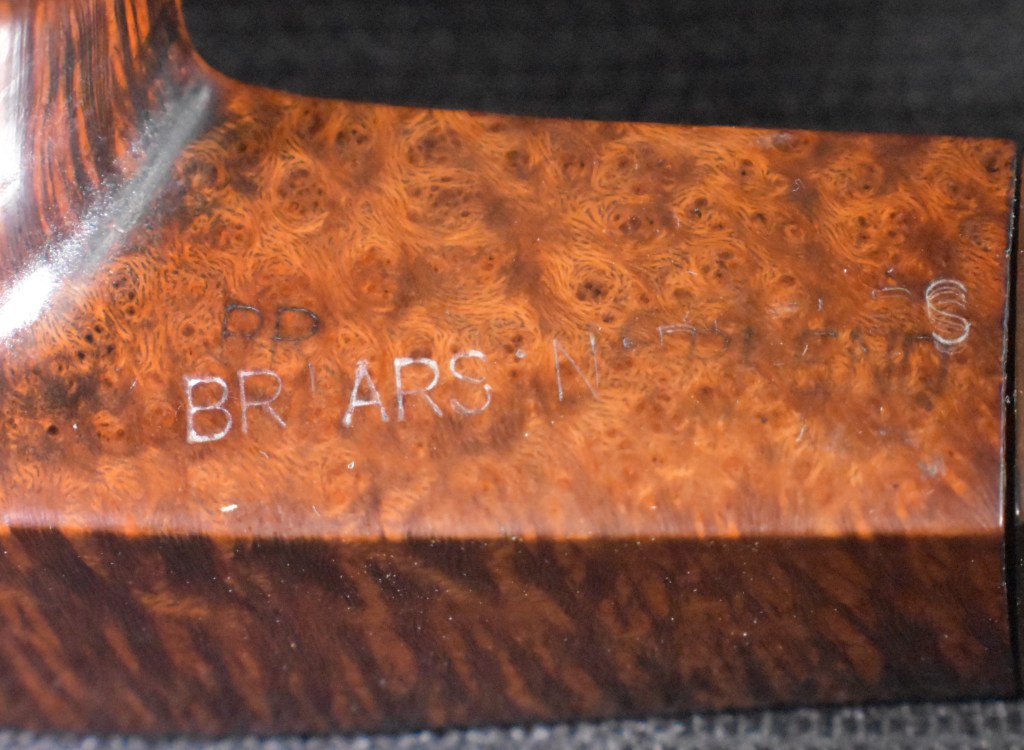
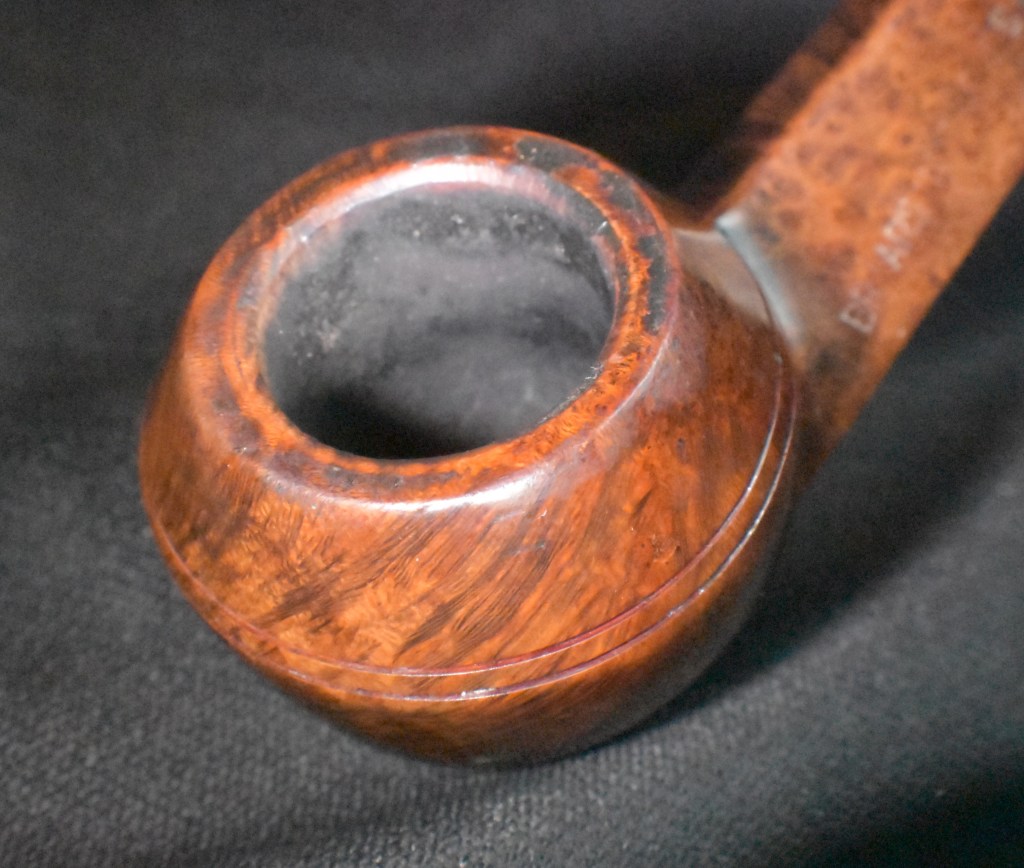
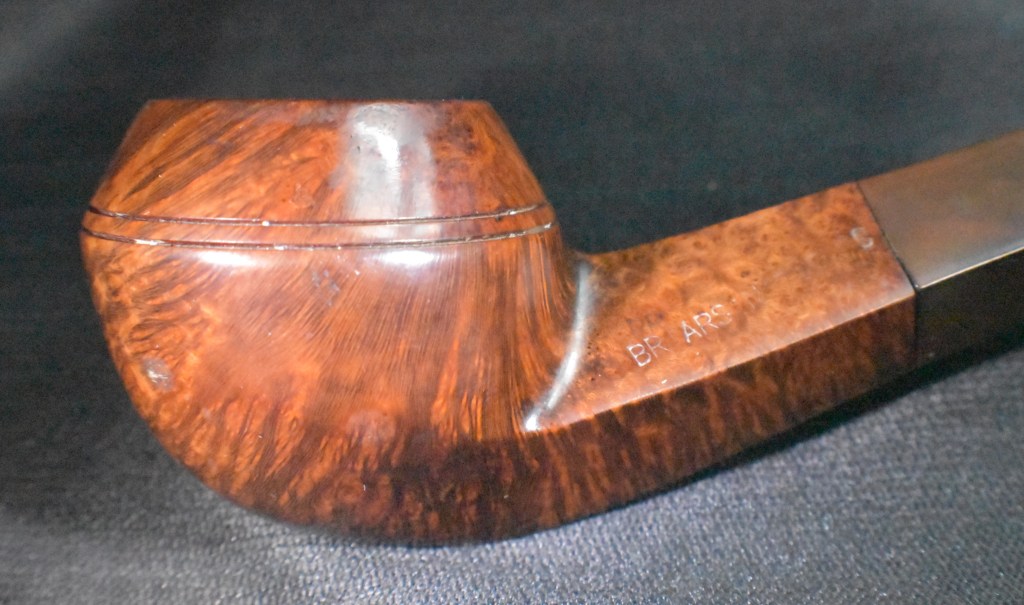
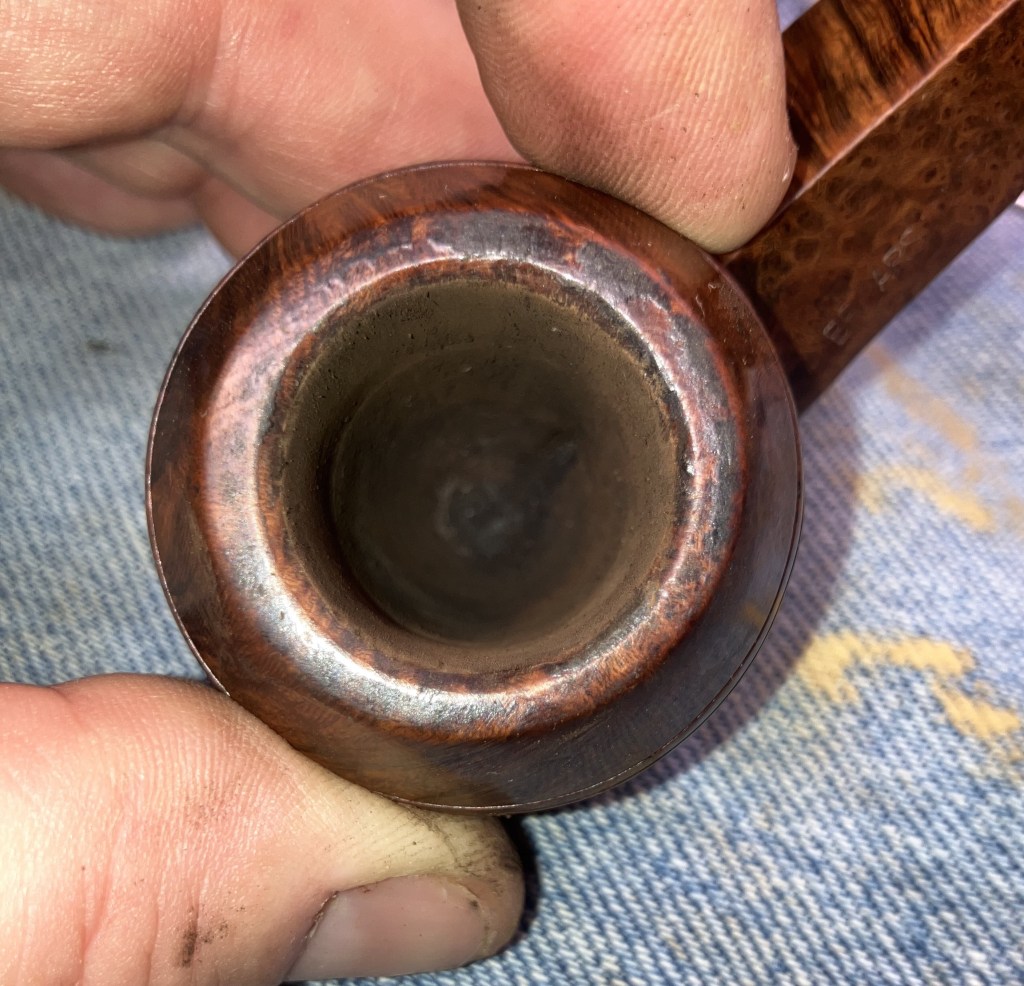
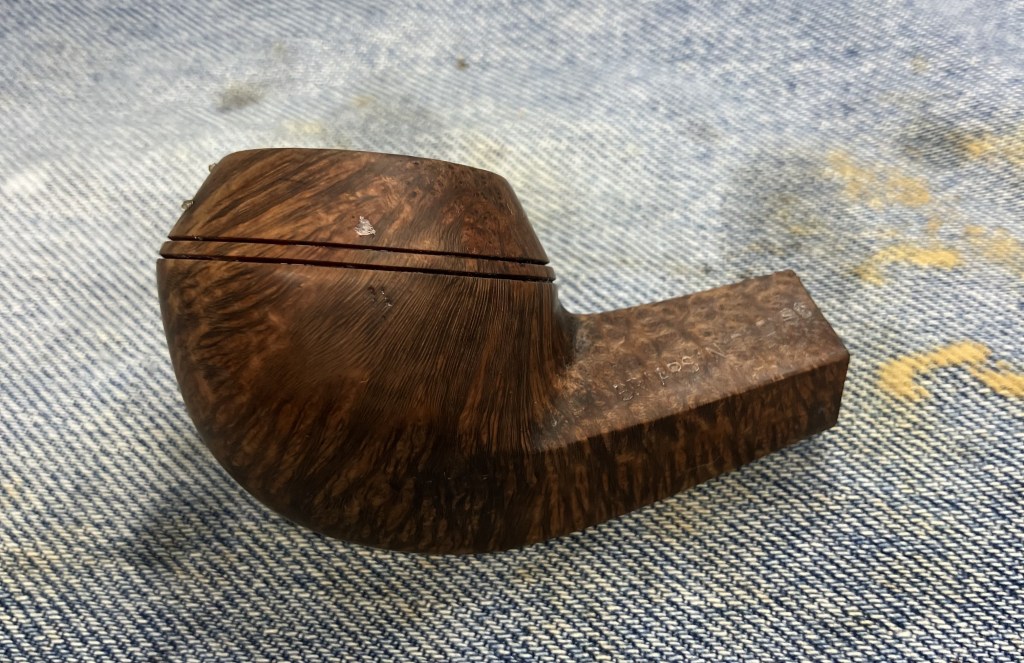
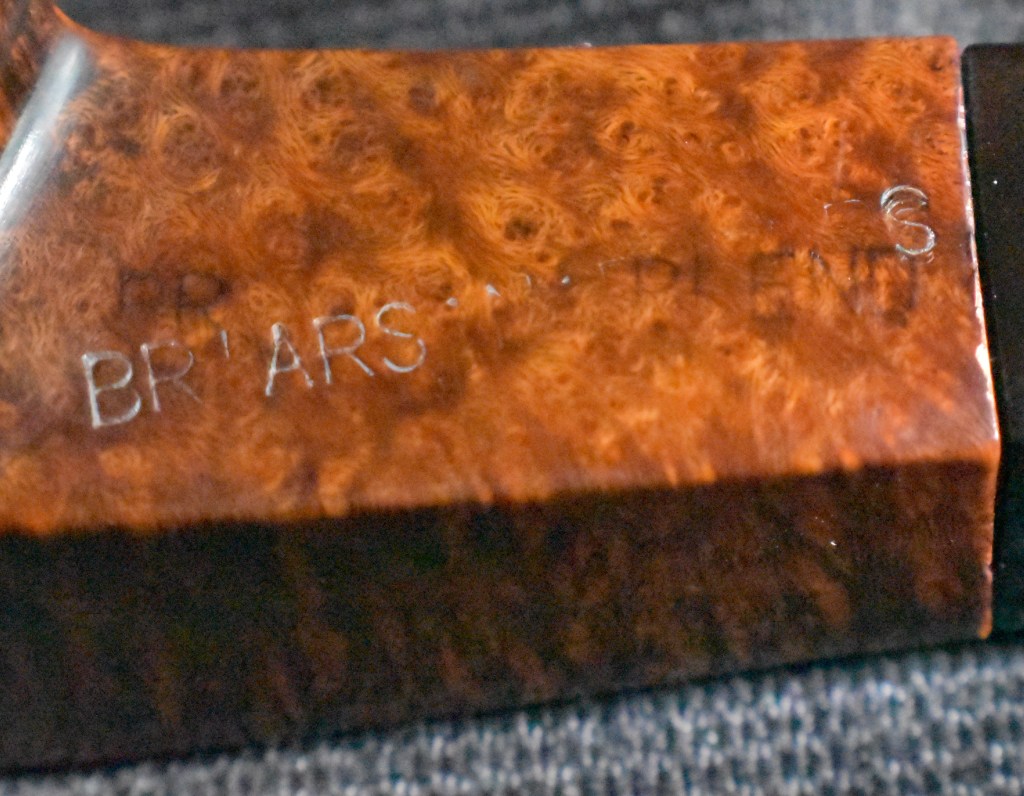
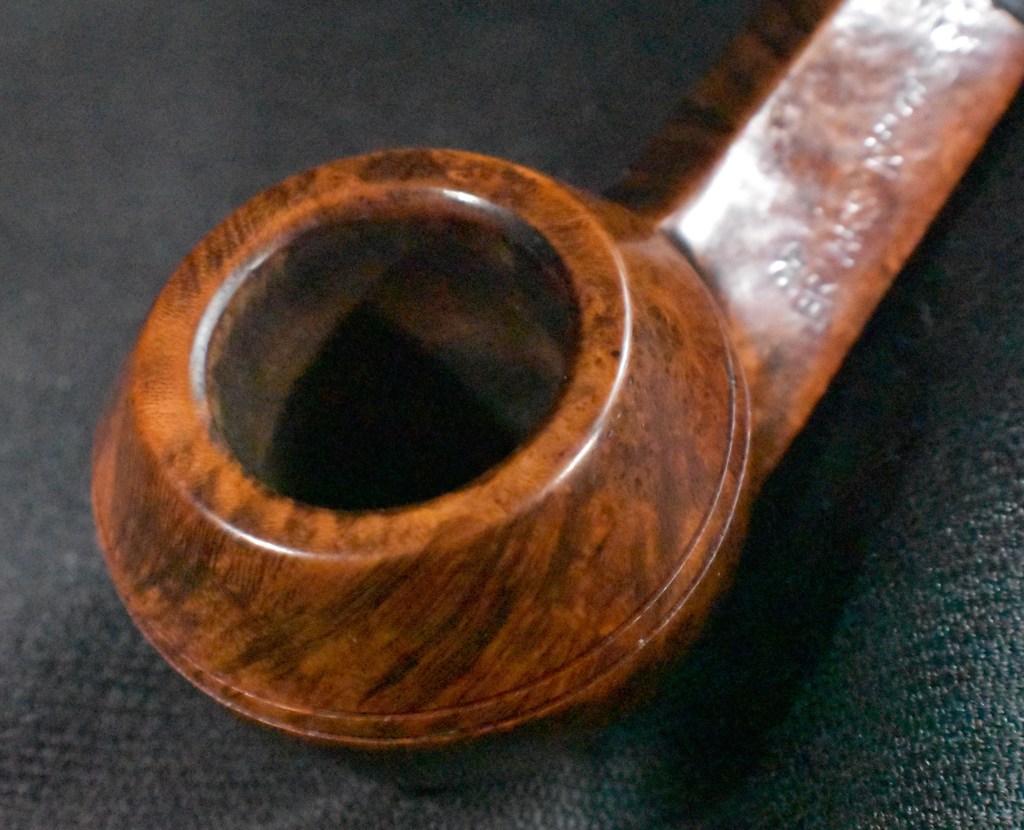
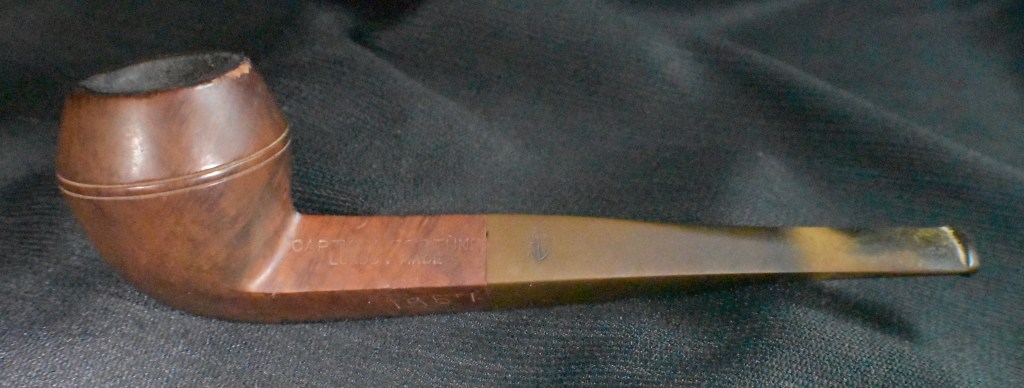
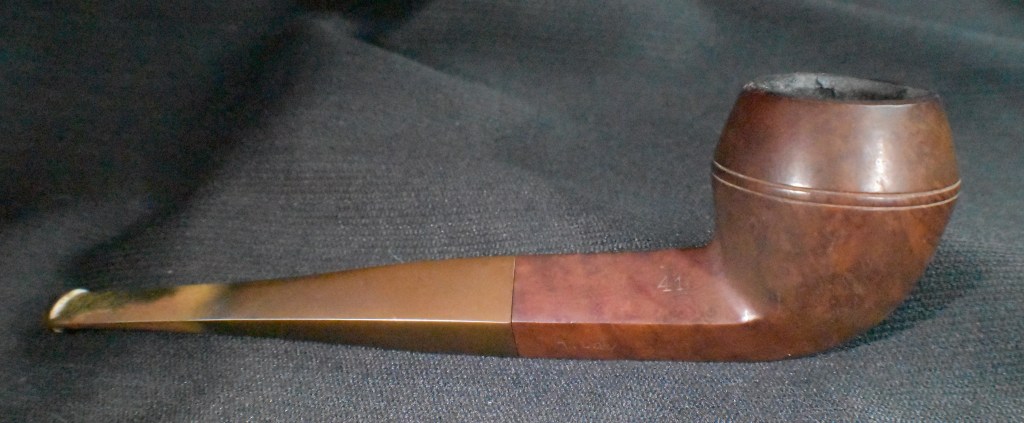
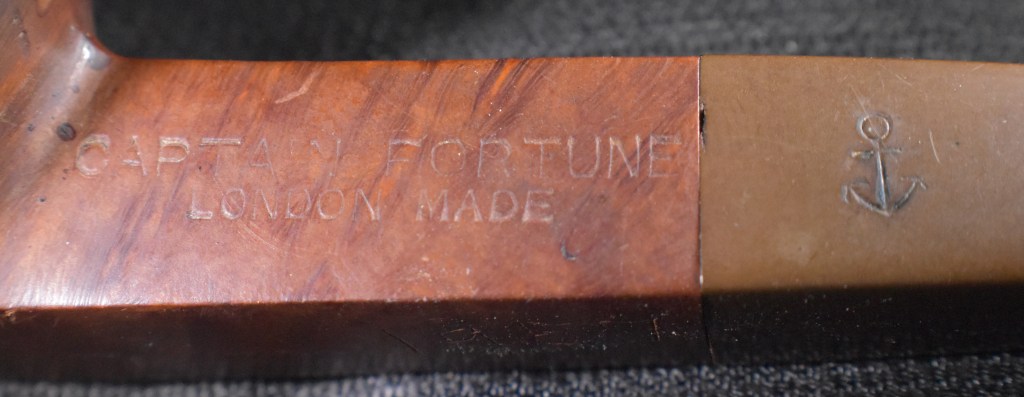
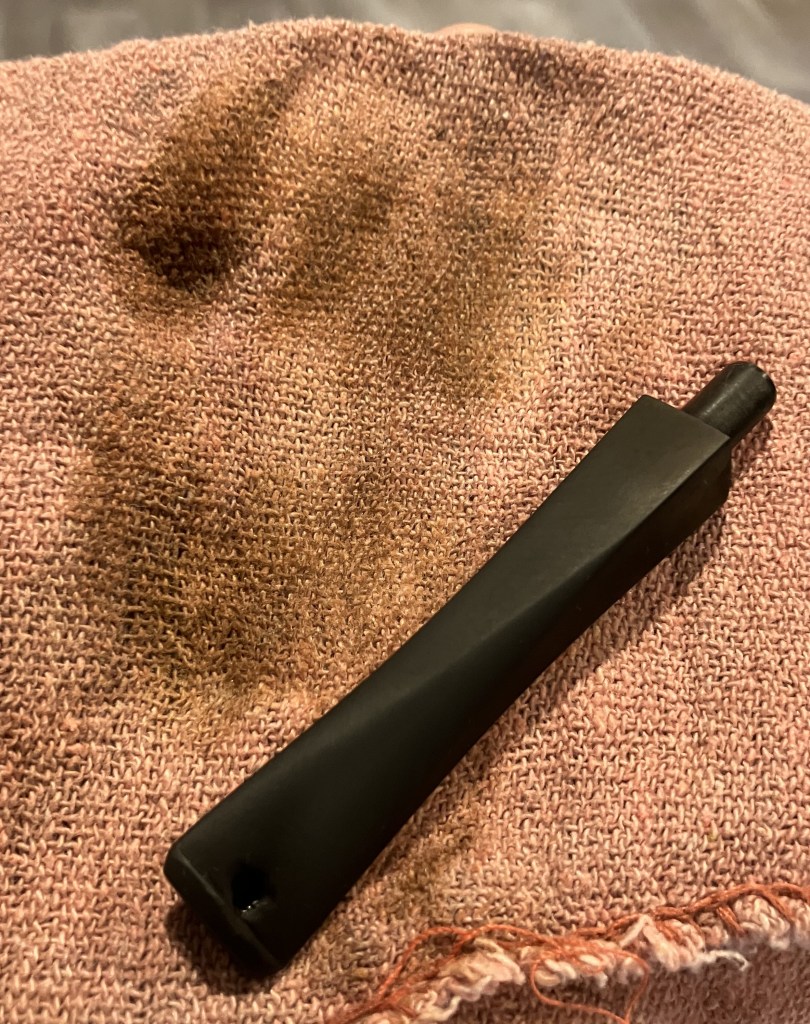
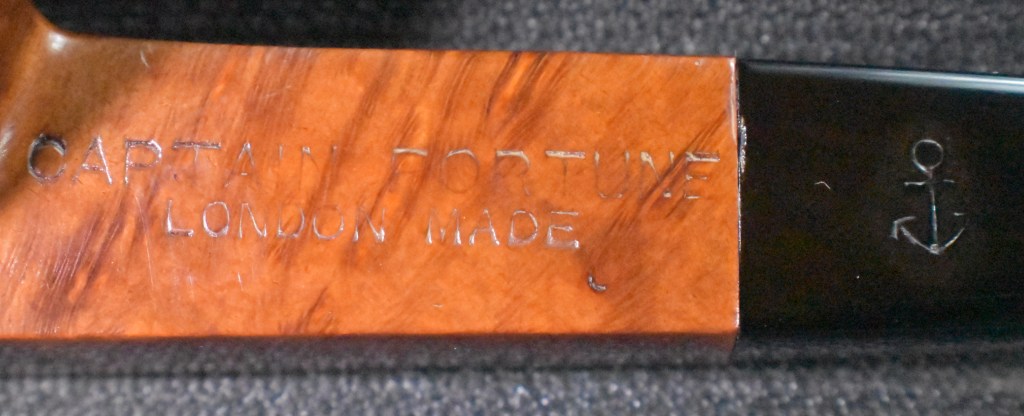
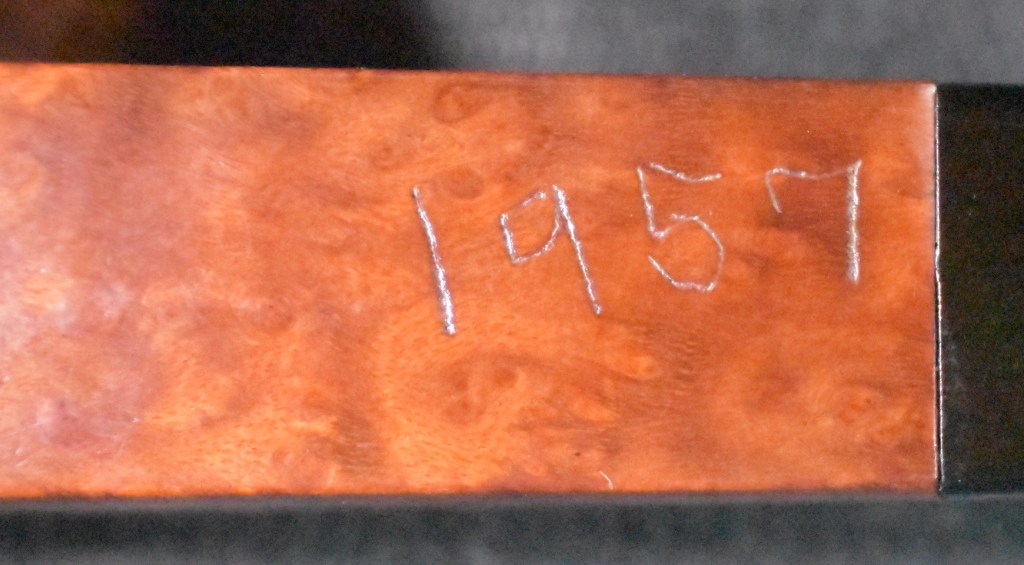
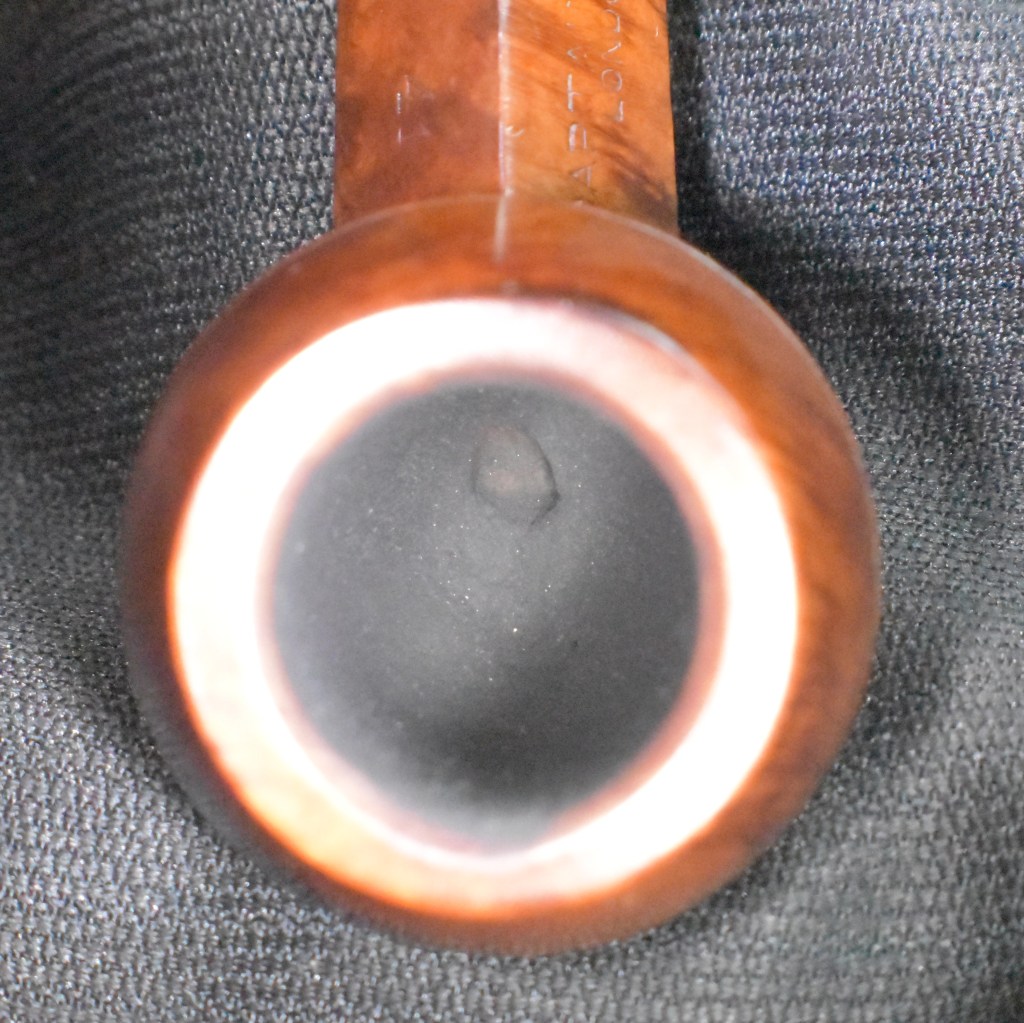
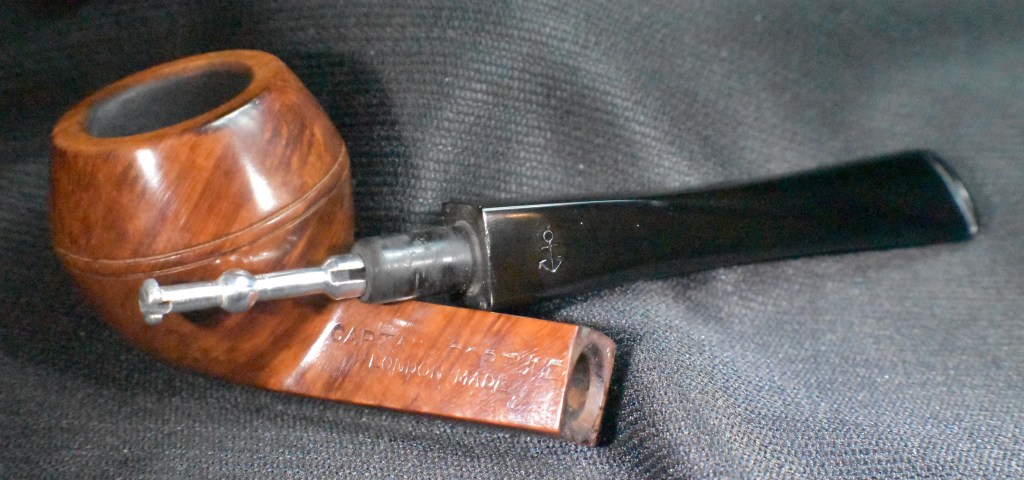
I have seen one other pipe similar to this and it was stamped “Wally Frank”. Of course, I didn’t collect a photo of that example. The subject of this blog was seen on eBay back in August of 2025 and was quickly purchased. The fact that it was from Sioux City, Iowa, a mere 125 miles from my home was interesting, support local businesses, eh? The similarities between the two pipes was stunning. Both were formed from what appeared to be small briar burls. Having seen photos of briar burls which are large enough to be cut into numerous blocks for pipe making is the norm. I wondered if these small burls were not small individual plants which were dug up while the digger was excavating a larger “target” burl. Both of the burl pipes had the same general shape with the shank forming the trunk of the shrub and a “V” shaped cut to remove, what I thought was, the more spindly root. The only stamping on the newly acquired pipe was HOUSE OF WESTMINSTER in a single line on a panel of the shank. Below are some photos of the burl pipe prior to work.
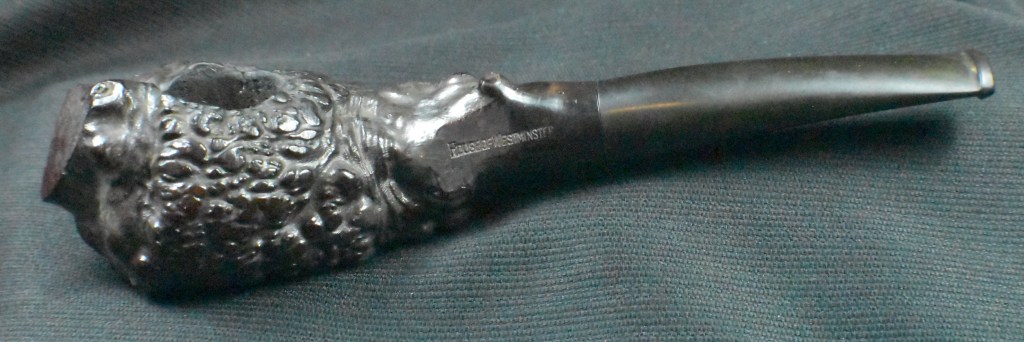

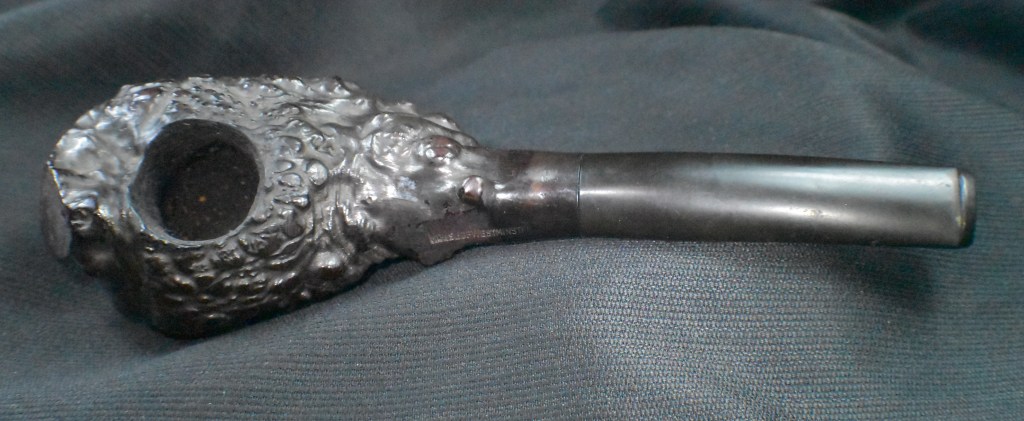
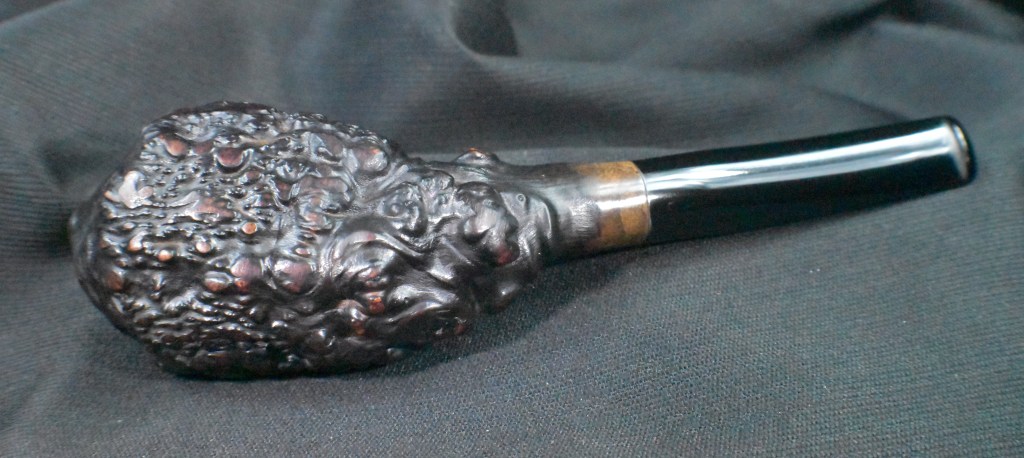

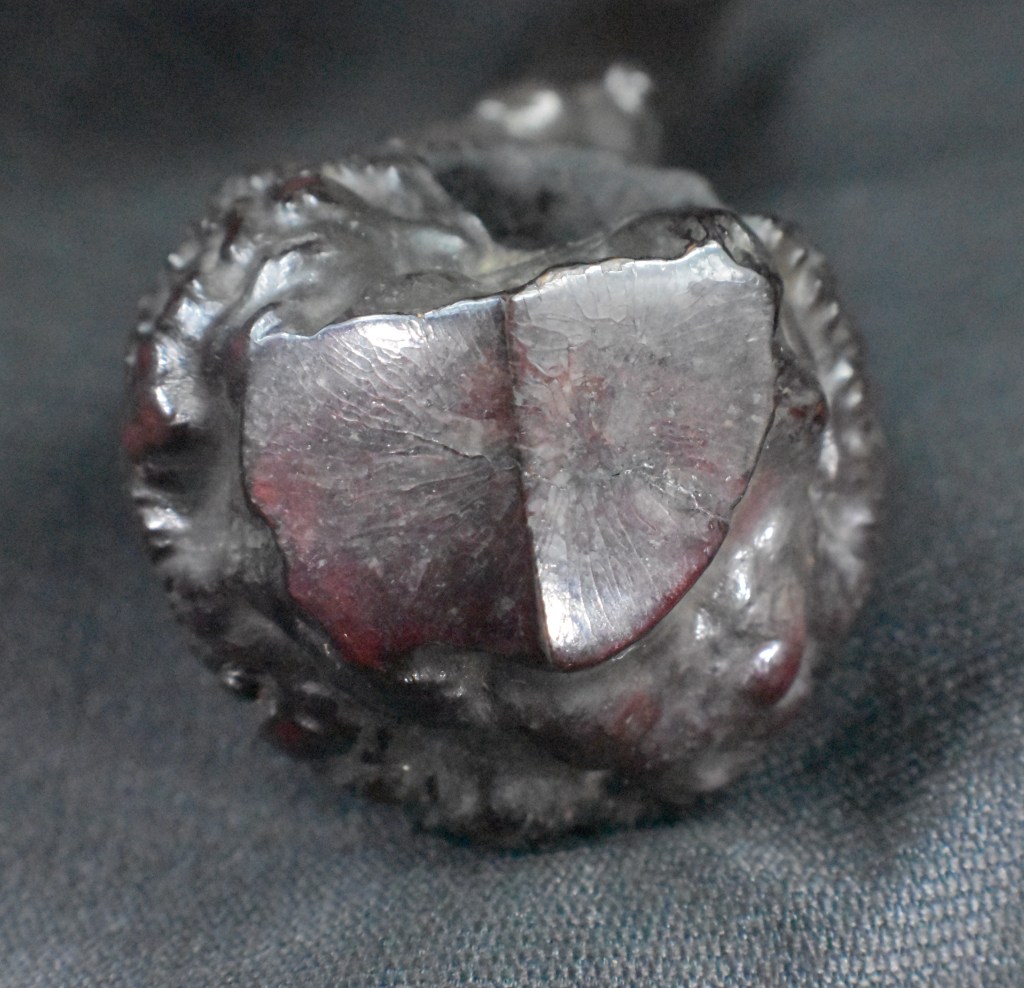


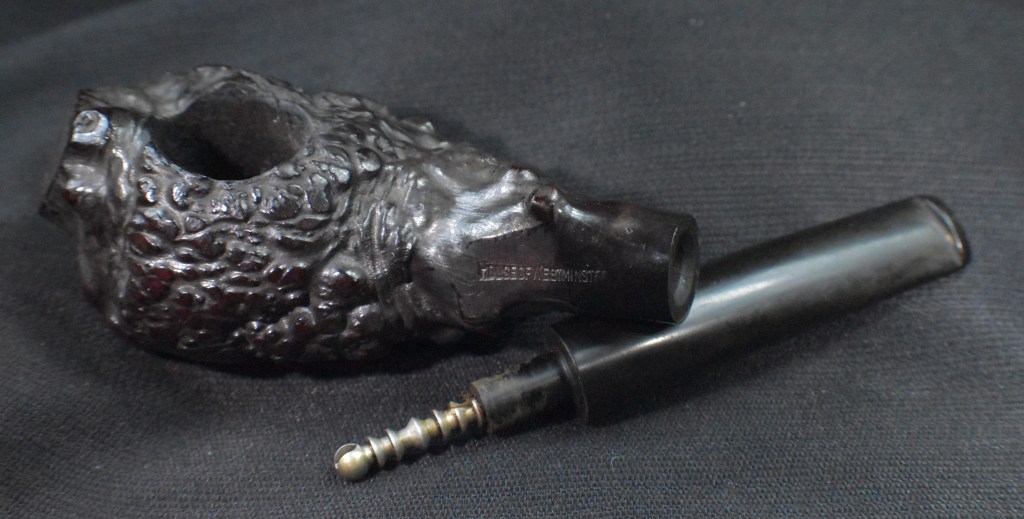
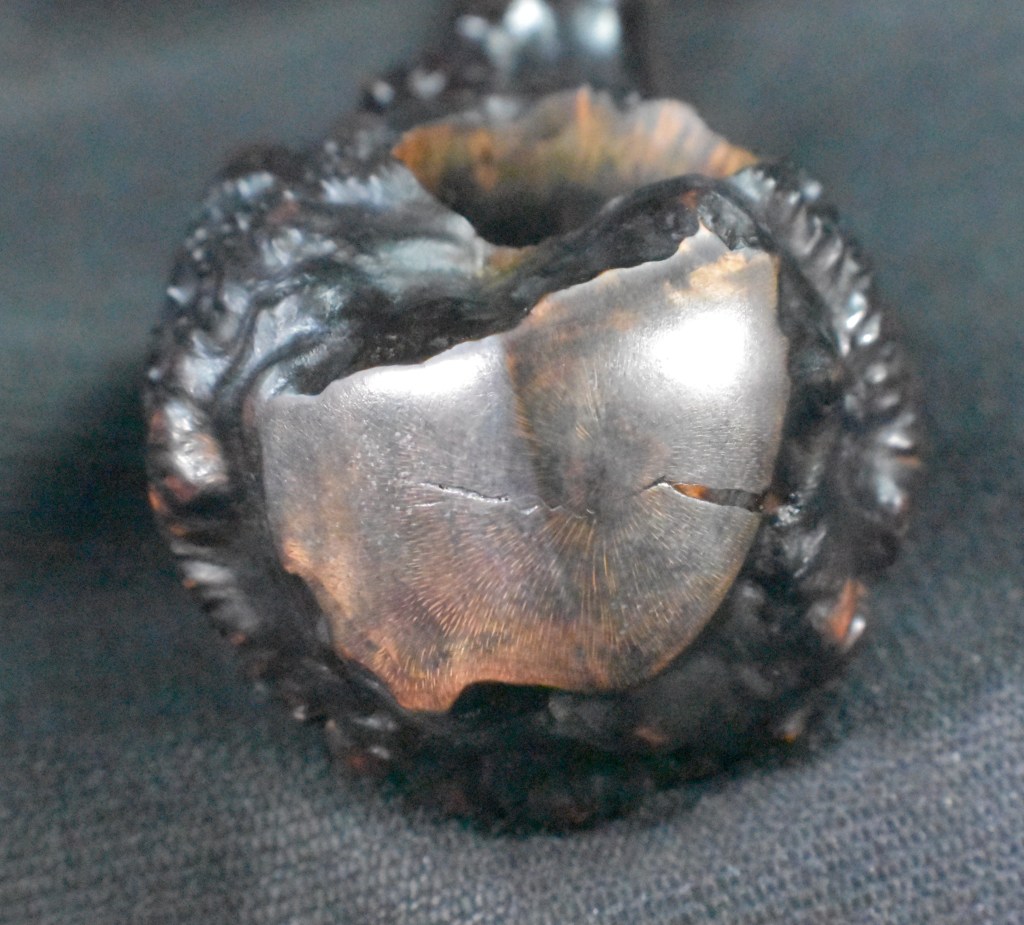
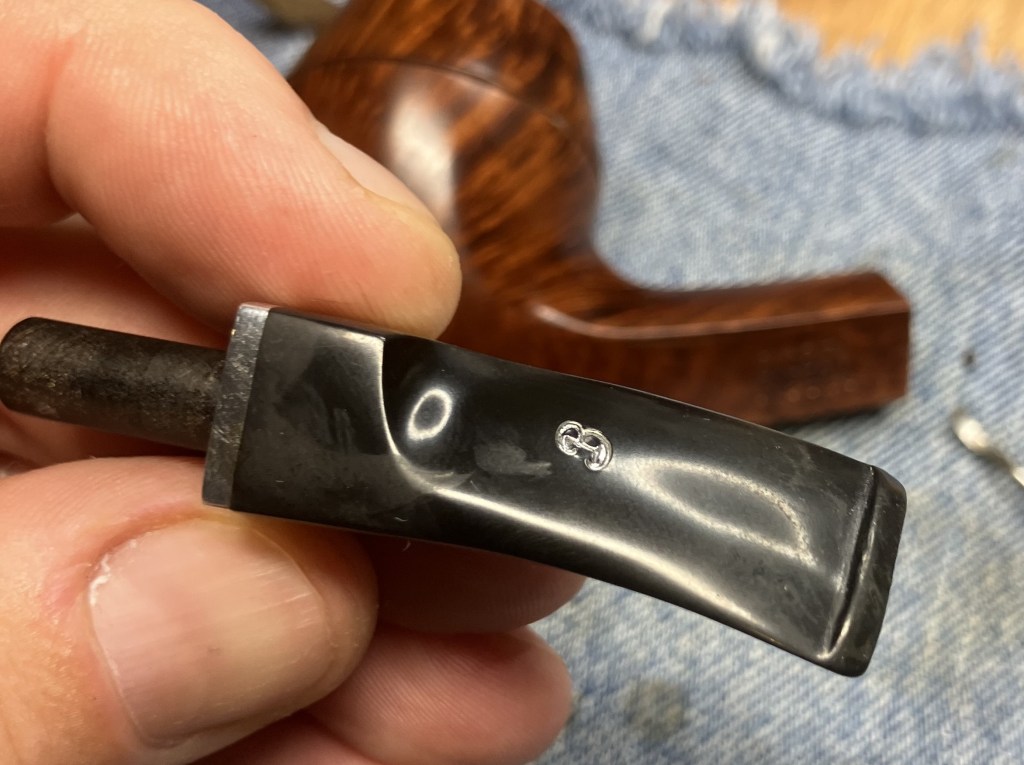
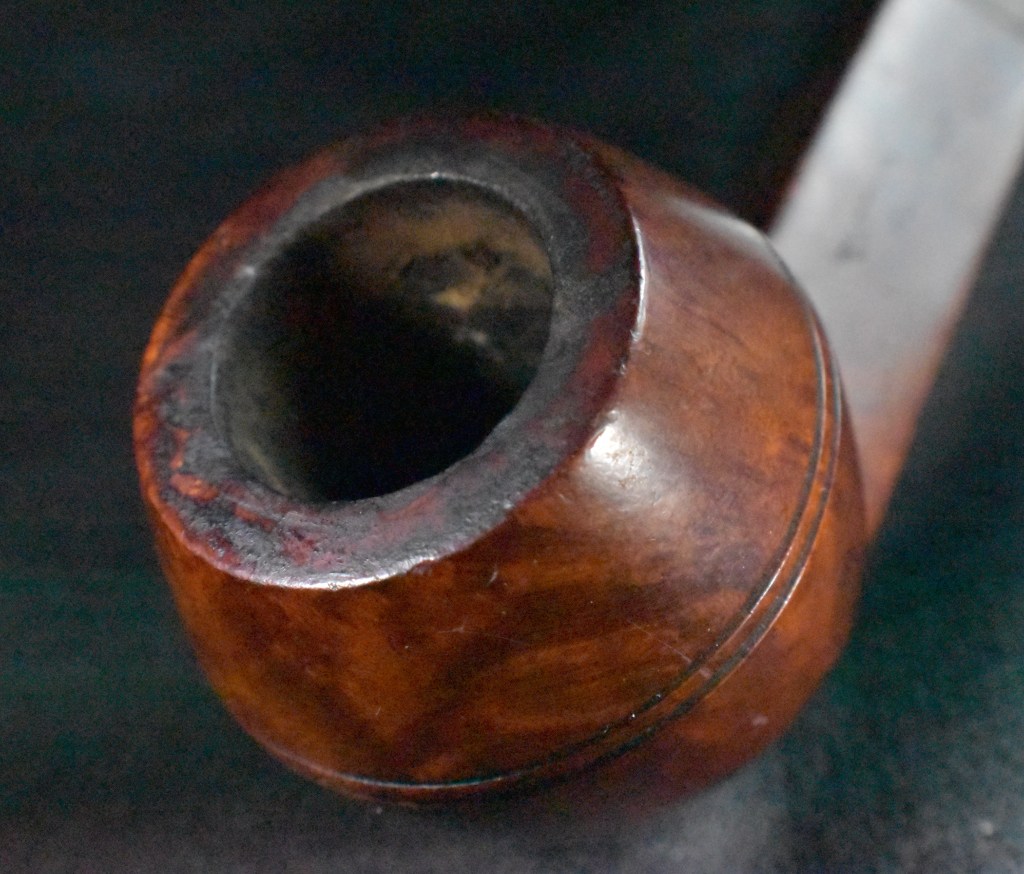
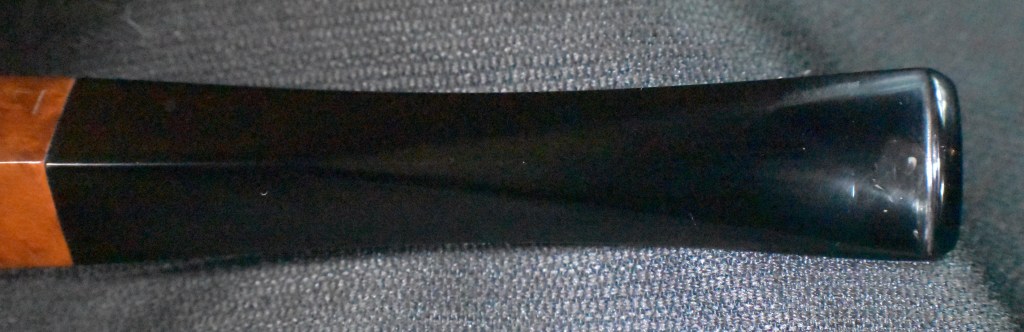
The first thing I noticed was the thick clear coating applied to the pipe. It looked as though it had been sprayed or dipped several times into a finish. The briar was also heavily stained masking any of the wood’s natural color. There was a crack on the cut V at the front of the pipe. The stampings were crisp and well defined leading me to think the stamp was pressed prior to the application of the finish. The stem was oxidized with some slight tooth chatter near the button. Overall it looked to be a simple restoration.
Background
As I discussed earlier this appeared to be an entire, very small briar root. Perhaps something dug-up with a larger burl. Not wanting to waste a little bit of briar, I could imagine the diggers throwing it in with the larger burl and sending it off to the cutters for sale. Of course this is all just conjecture but it was a fun pursuit. Speaking of “fun”, not knowing what to call this pipe allowed me to reach out to Steve Laug (rebornpipes.com) and ask what he thought the shape might be called. His reply was amazing, “never seen anything like it…that is wild.” (Laug, Steve. Personal message). I have never stumped Steve before. With that in mind, I said that I’d call it a “Burl”. He replied, “I think that is good”, and so it was.
Normally a briar burl is a large mass below ground, photo below.

(Briar root on display in Chacom museum, Saint-Claude, France. : r/PipeTobacco). These are then cut into the blocks used by pipe carvers.I was able to find another example of a Burl pipe online:

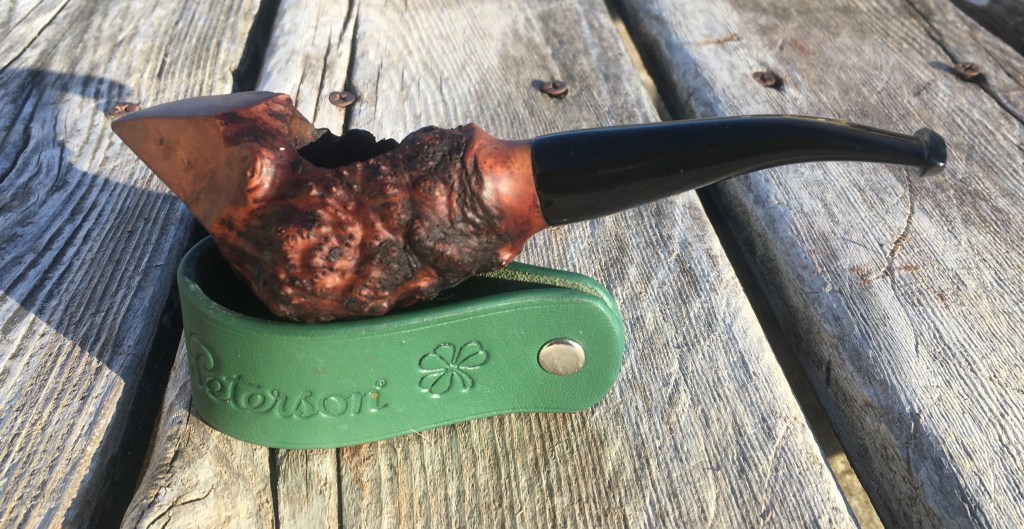
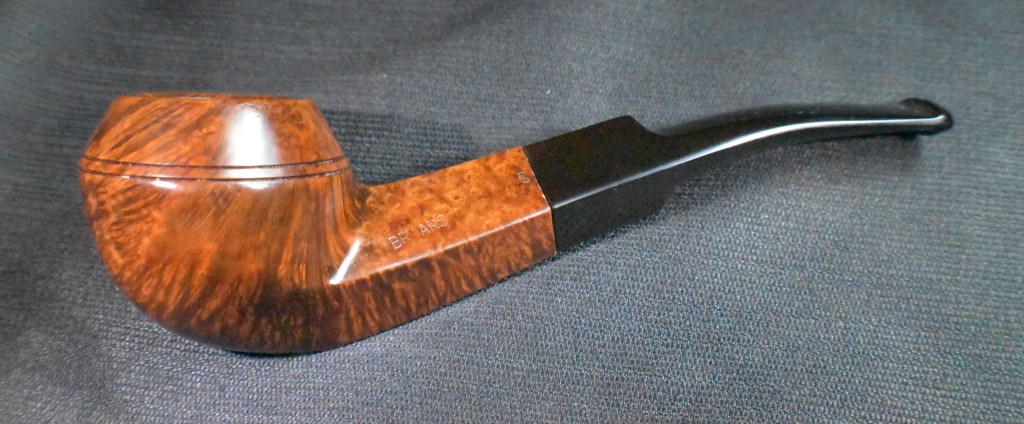
(Sybarite pipe). That makes four that I recall seeing either in the flesh or online. I am sure there are more but being lazy has its limitations.
I next did a search of the “House of Westminster” for pipe related sites/information. Nothing was found on the traditionally useful sites pipedia.org and pipephil.eu. I did get a hit from WorthPoint.com of an old auction listing:
“Gorgeous 1940s House of Westminster Ltd Real Briar Paneled Prince Tobacco pipe Made in France House of Westminster Ltd. Was a Tobacco company that sold Tobacco and tobacco Pipes from their Store in New York NY.The Use of “Real Briar” was a commonly used Nomenclature during WWII when Briar was Hard to come by and nearly impossible to import, and less desirable alternatives were often used, so to reassure the buyer that thier pipe was indeed The real deal, makers would often stamp “Real Briar”” (1940s House of Westminster Ltd. Paneled Prince Real Briar tobacco Pipe France | #4810546746). This pipe looked nothing like the burl in hand, though. The information included was quite vague and contained little detail.
I then came across a discussion of the House of Westminster on the Brothers of Briar forum. Below is the original post requesting any information on the House of Westminster and a forum member reply.

(Pipe brand: House of Westminster | Brothers of Briar – Pipe Tobacco Forum). L&H Stern was a name I’d heard of and had some experience with. With this lead, I returned to pipedia.org. According to that site:
“Ludwig Stern, a successful pipe manufacturer since 1893 and closing around 1960, reorganized his company along with his brother Hugo Stern, opening a factory in 1911. They named the company L&H Stern Smoking Pipes & Holders. The newly formed company was moved into a six story building on the corner of Pearl and Waters street Brooklyn, NY.” (LHS – Pipedia)
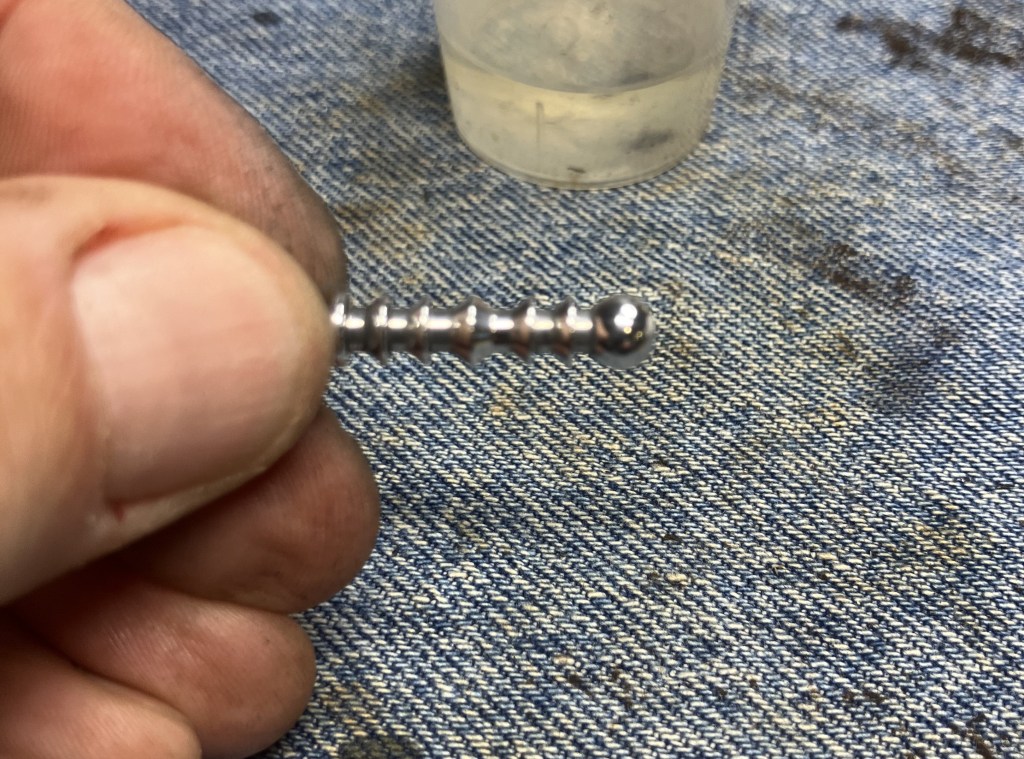
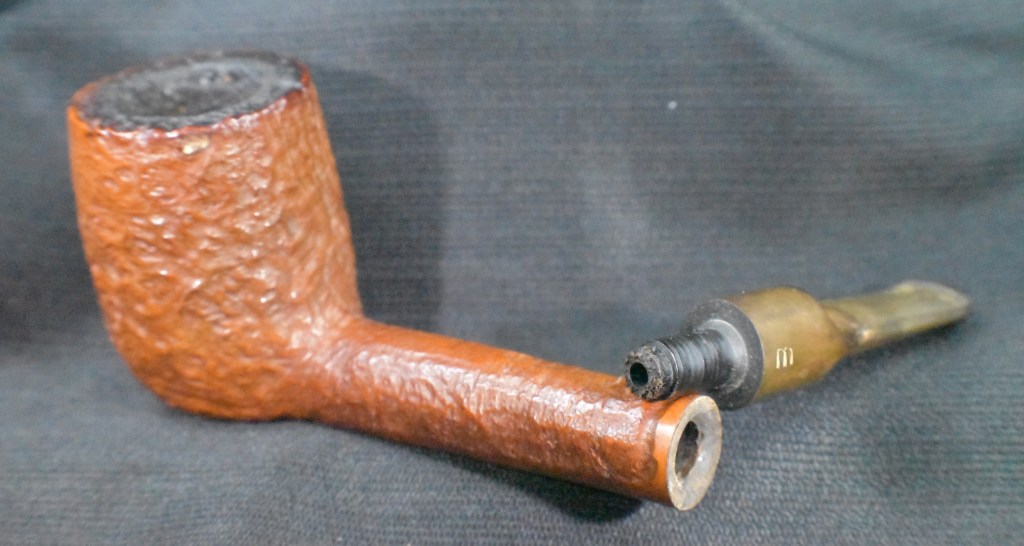
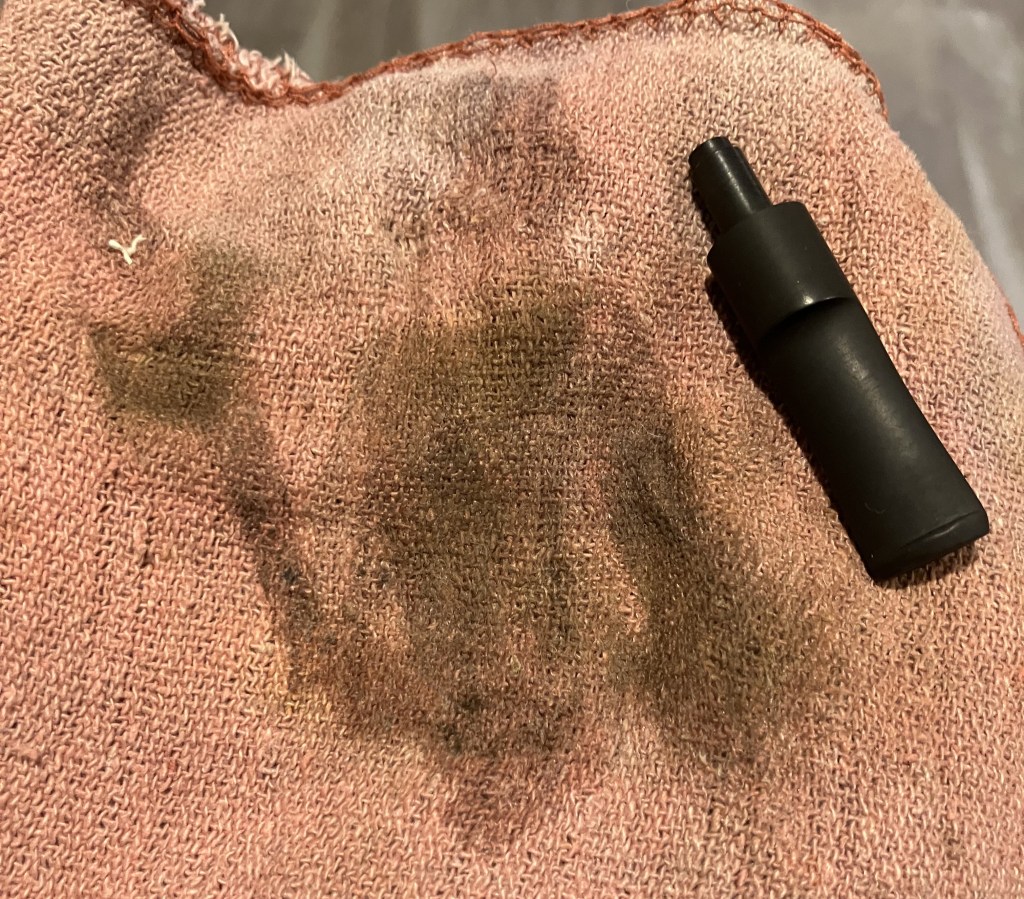
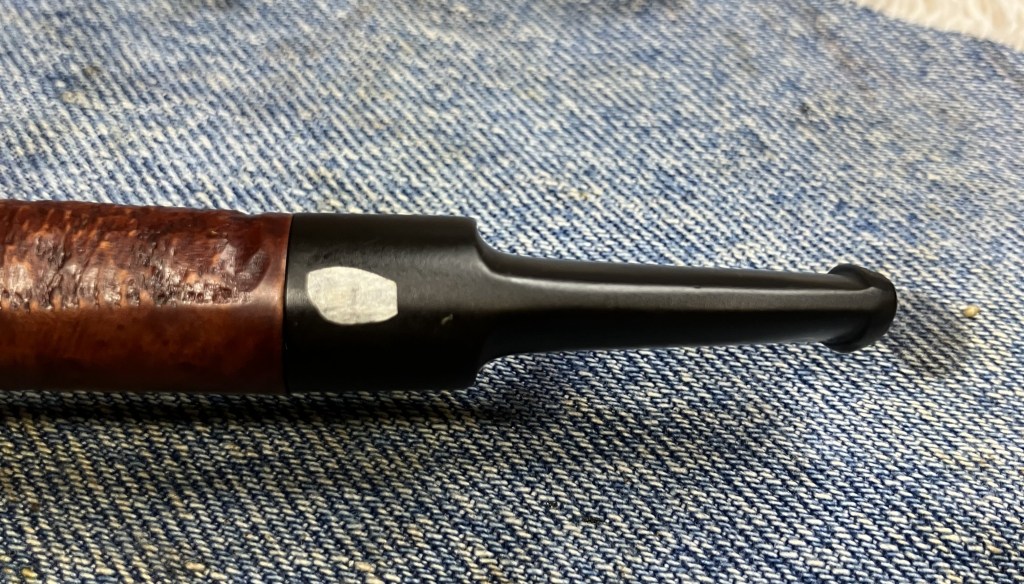
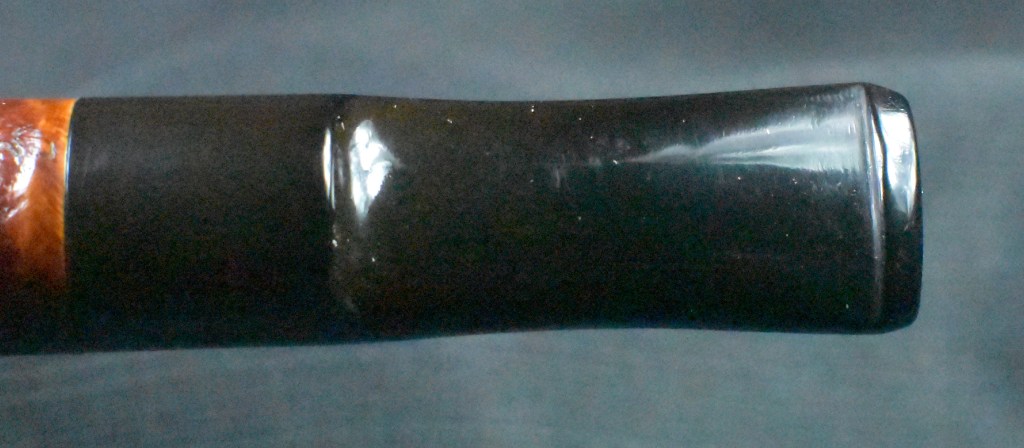
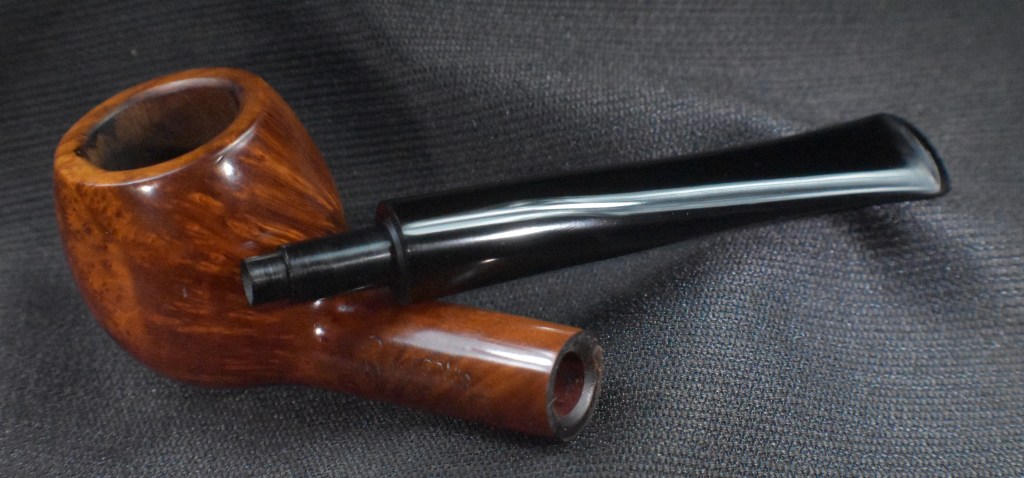
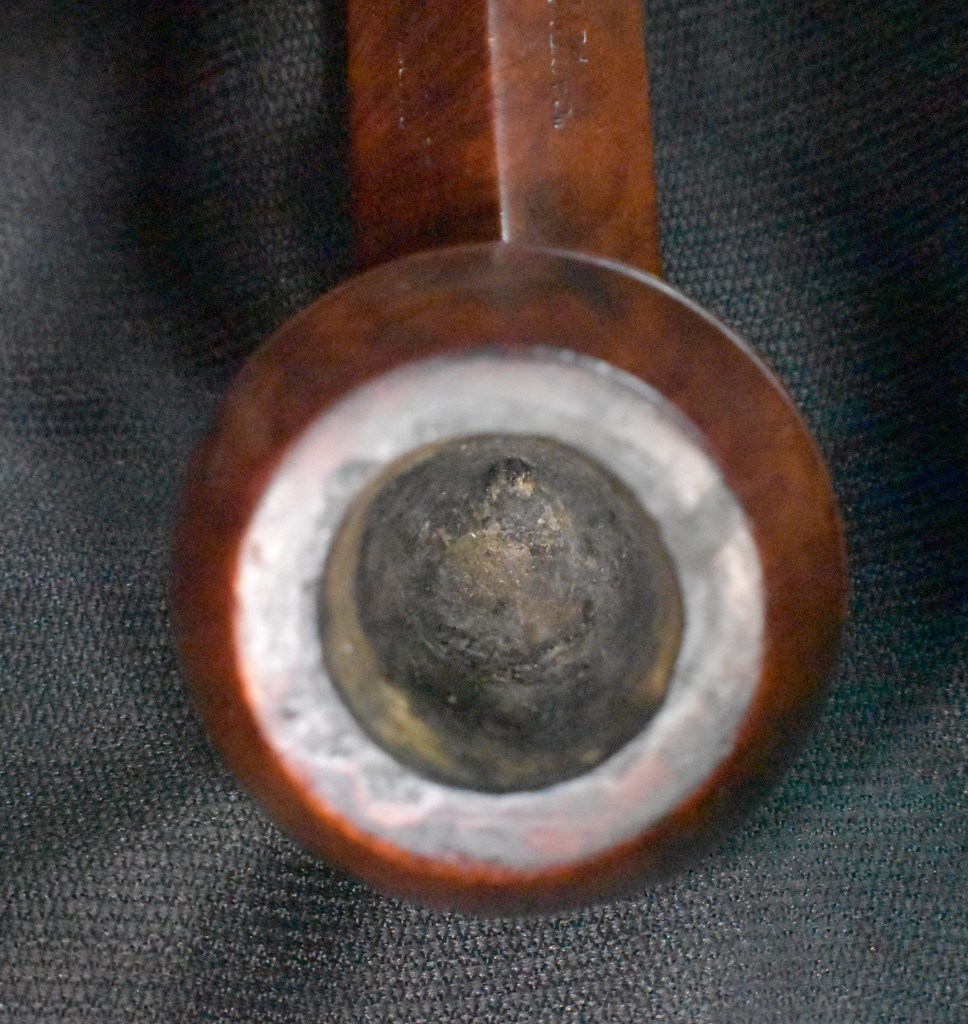
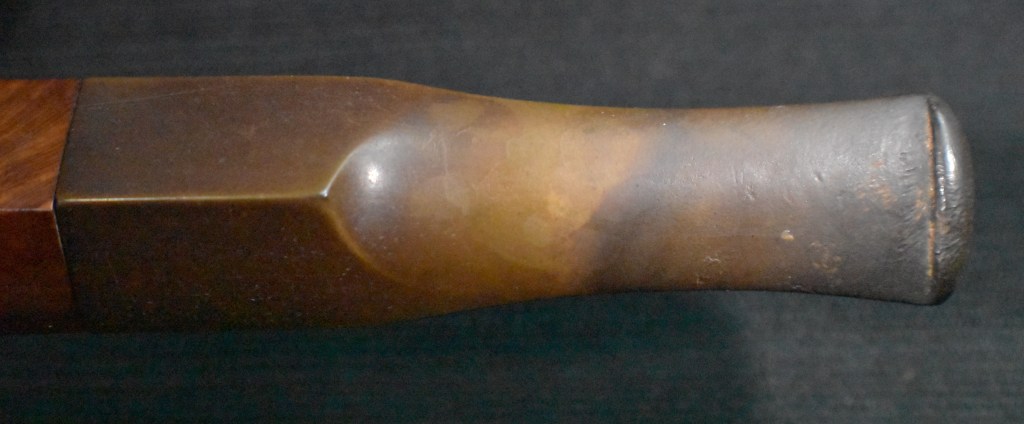
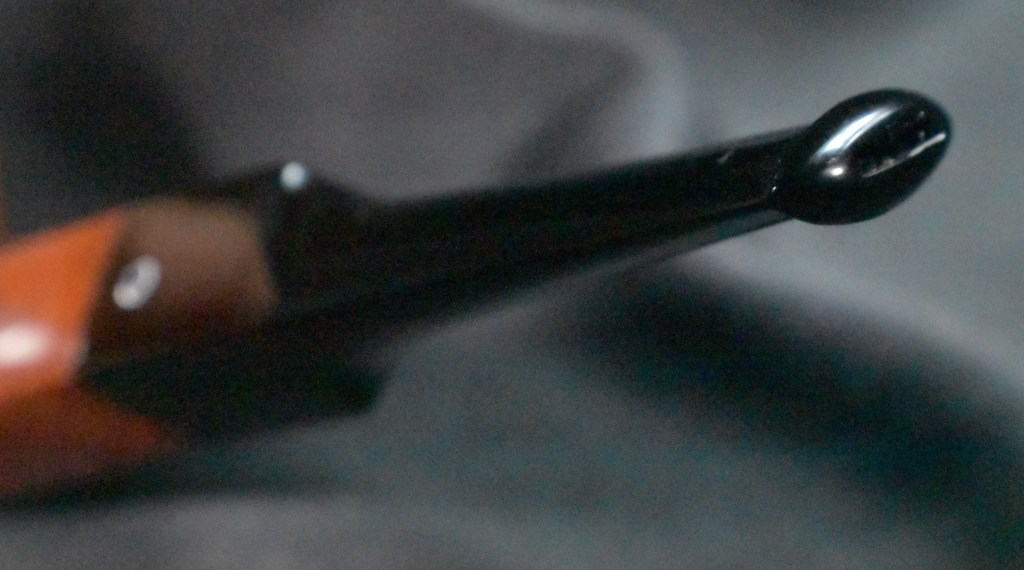
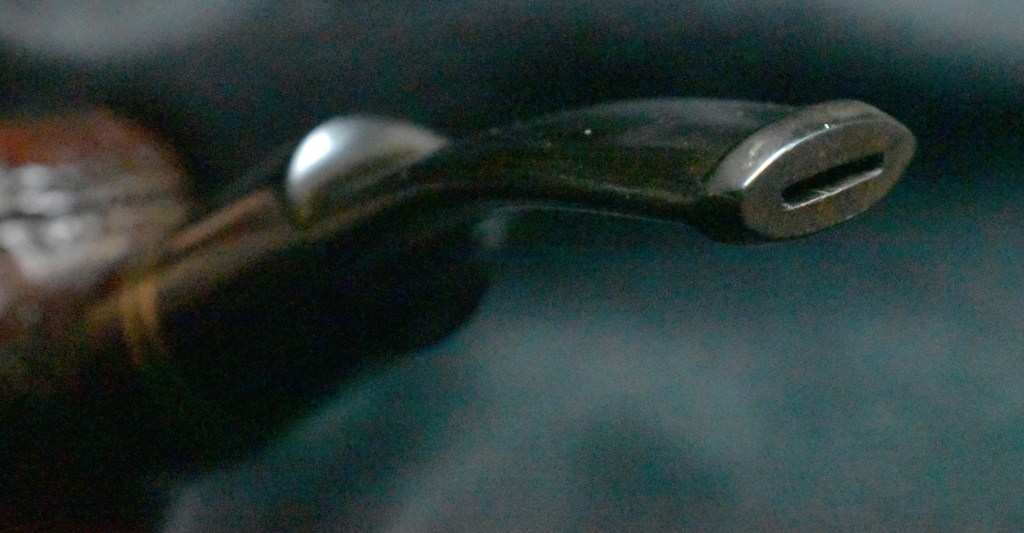
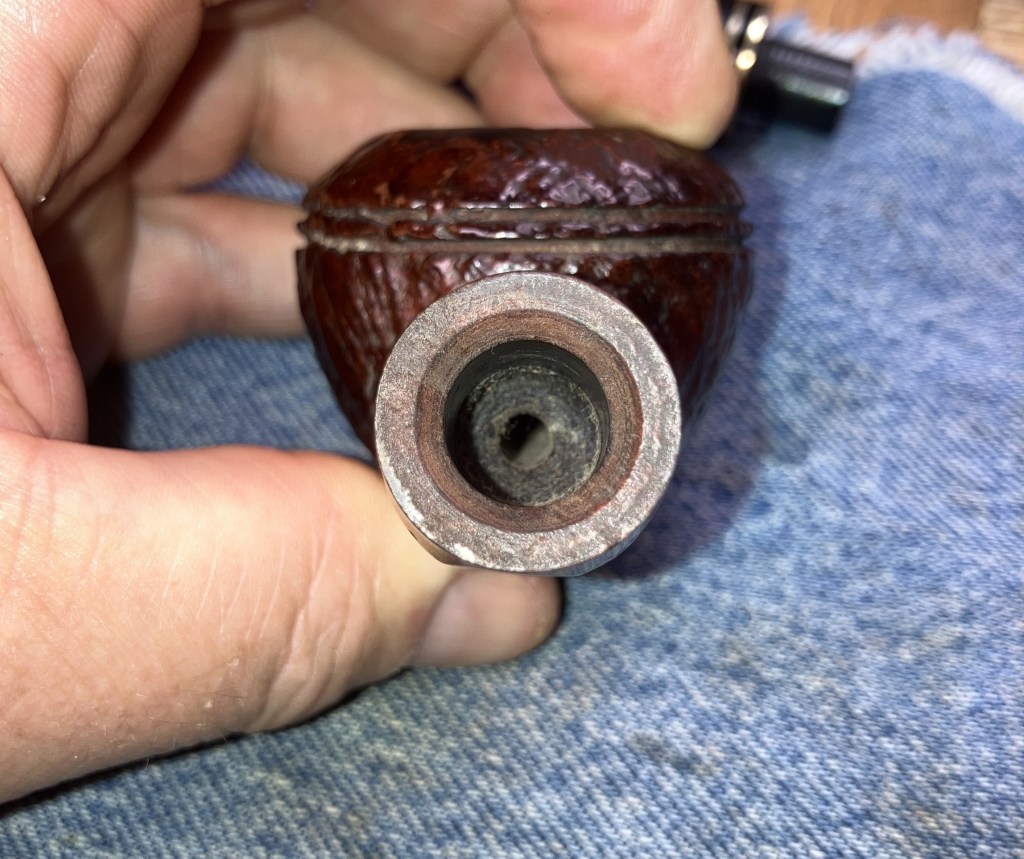
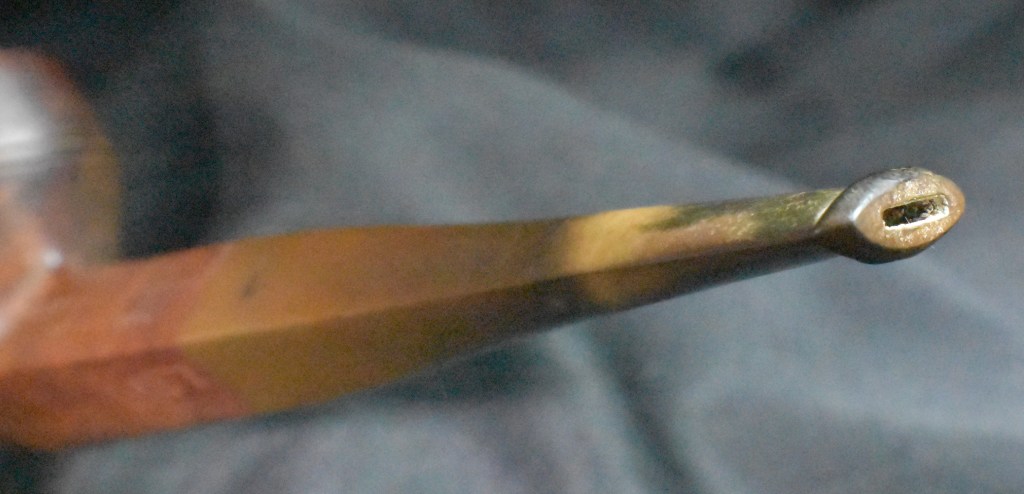
Continuing with that lead, I searched through all of the photos on the pipedia.org LHS page. I did not find any mentions of House of Westminster nor any photos of a burl pipe, but I did find an exact match of the stinger. This was not some ordinary aluminum tube, it was very unique. Below is the photo from pipedia.org:

And here is a photo of the stinger from the House of Westminster burl pipe, I tried to match the color and positioning of the burl stem to the previous photo:

For me, that settled who the maker was. House of Westminster was a L&H Stern product likely produced after the second world war and before the company closed down in 1960.
The Restoration
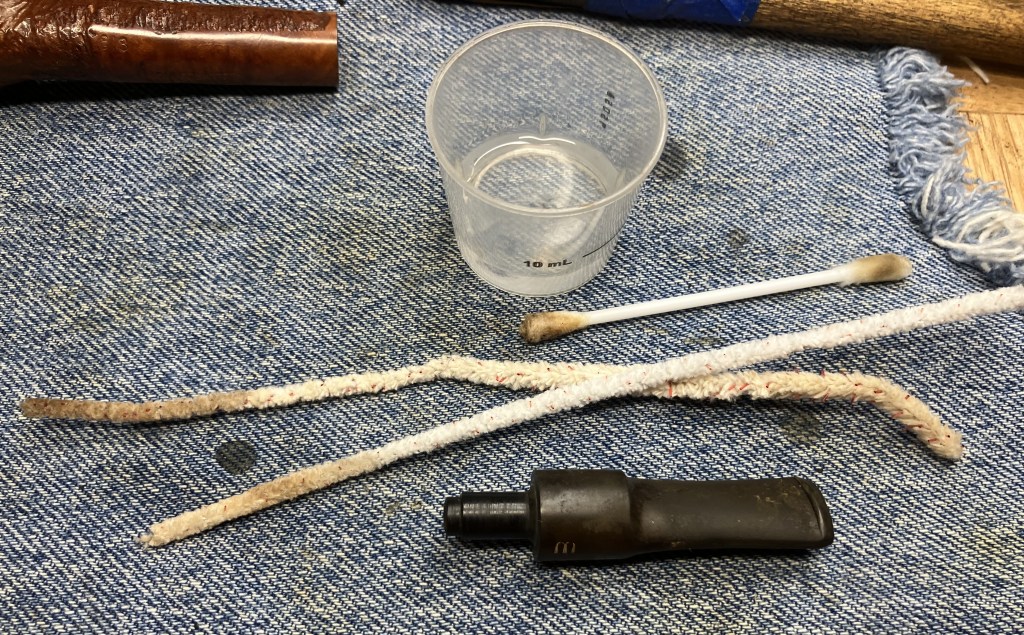
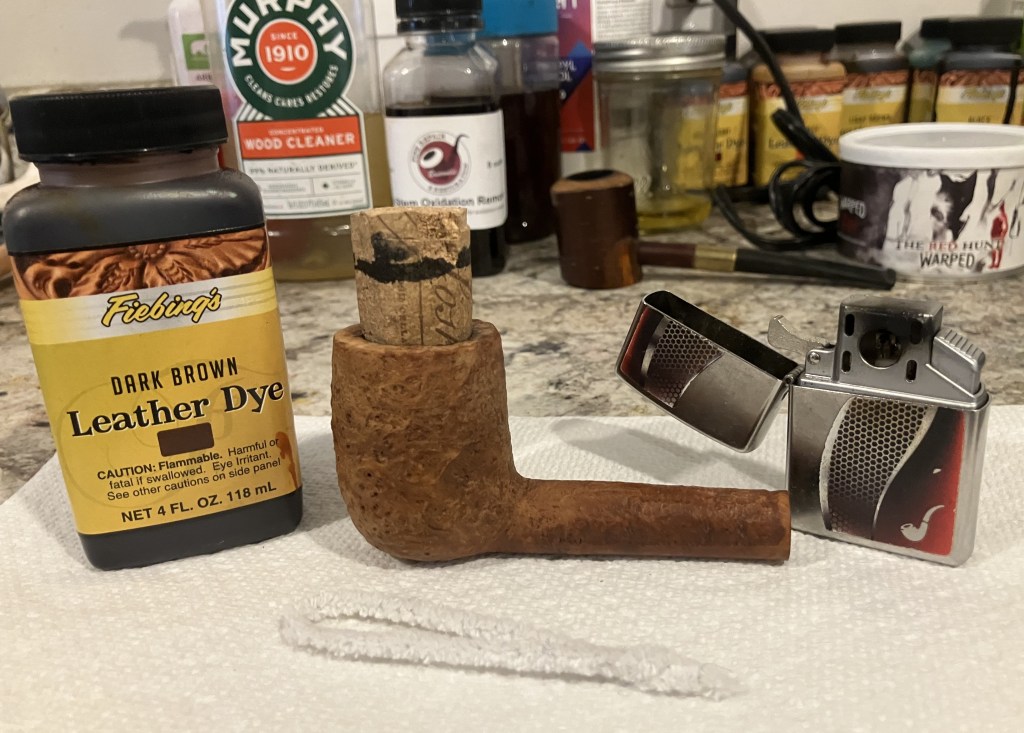
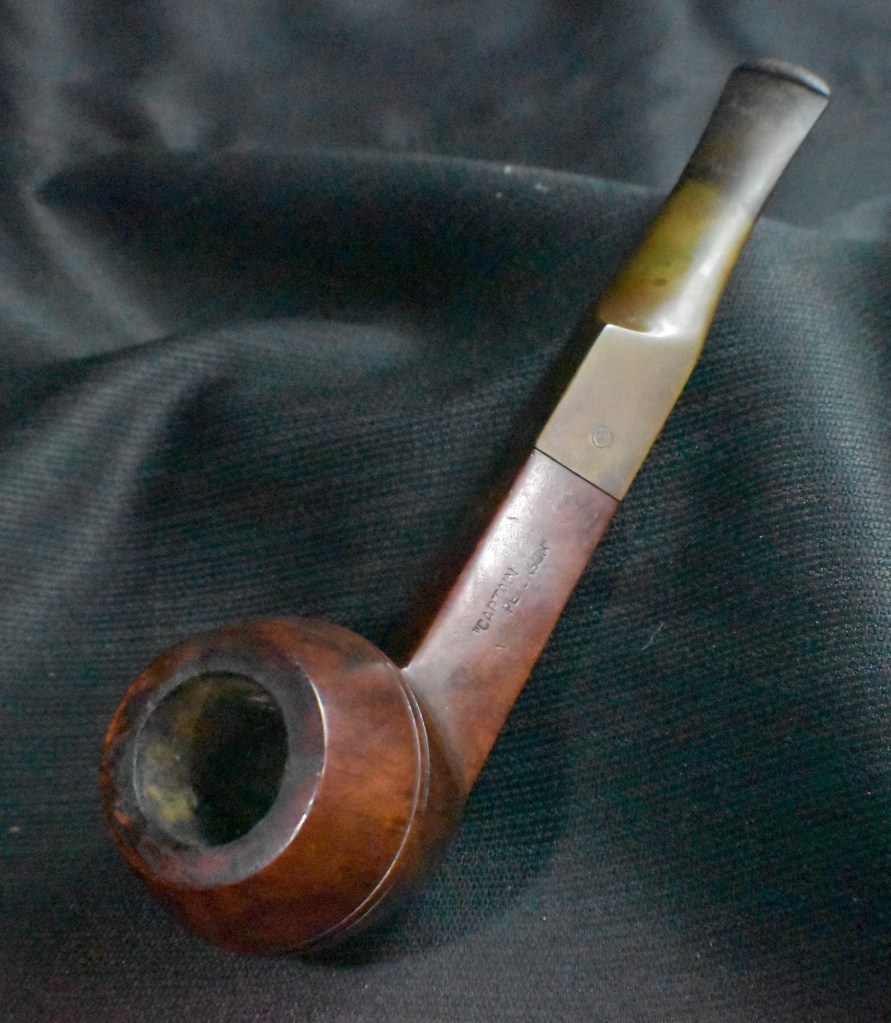
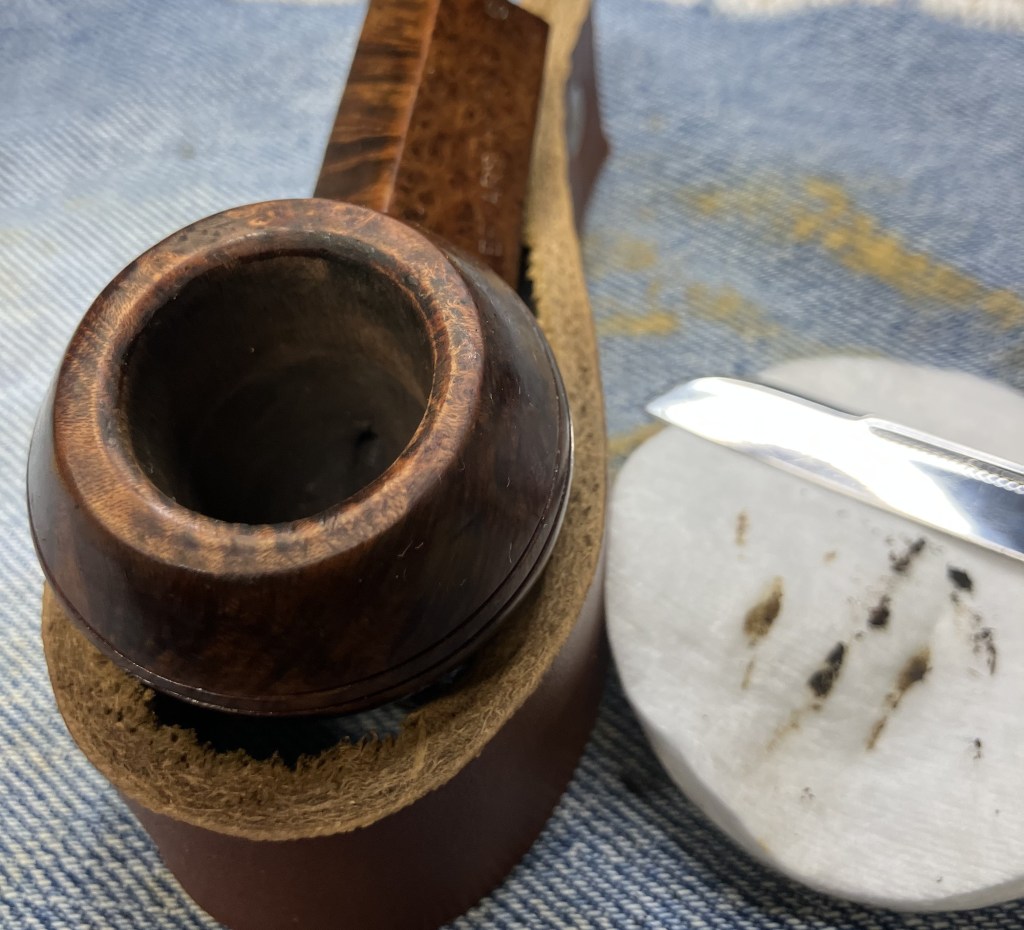
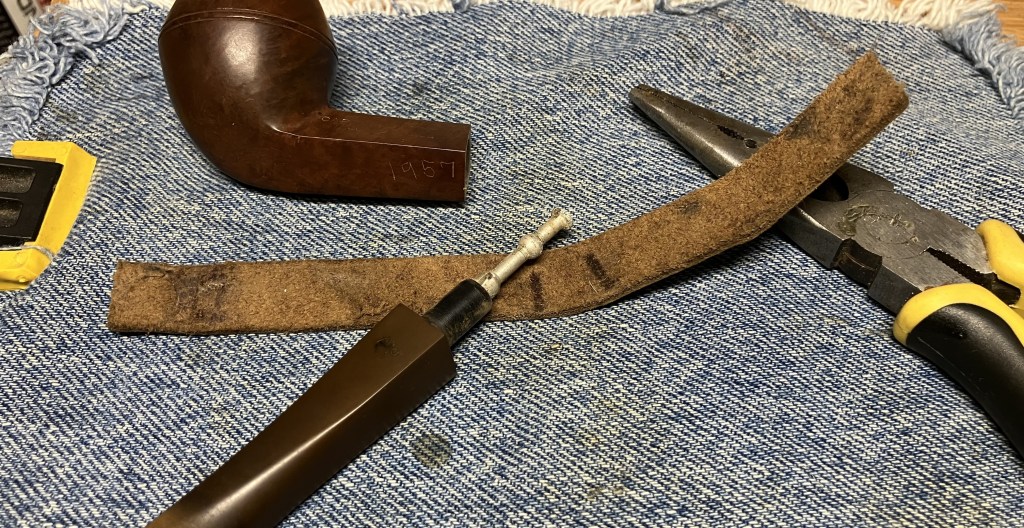
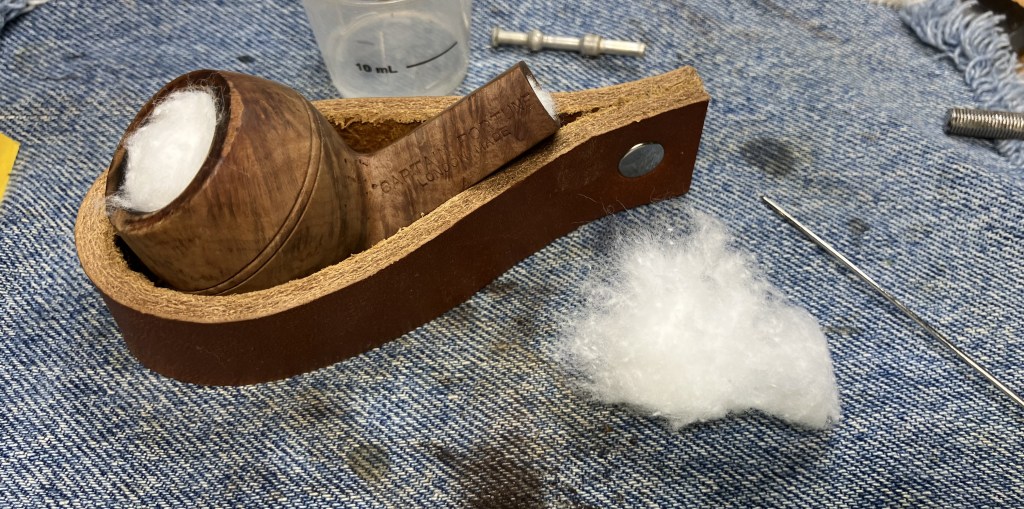
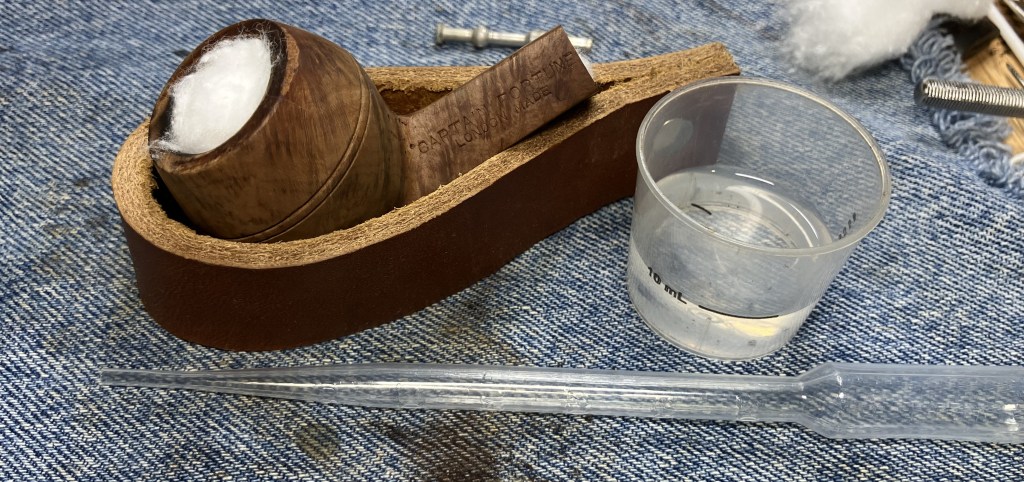
After the before photo shoot I took the Burl to the workbench where I placed it on a cleaned denim piece.

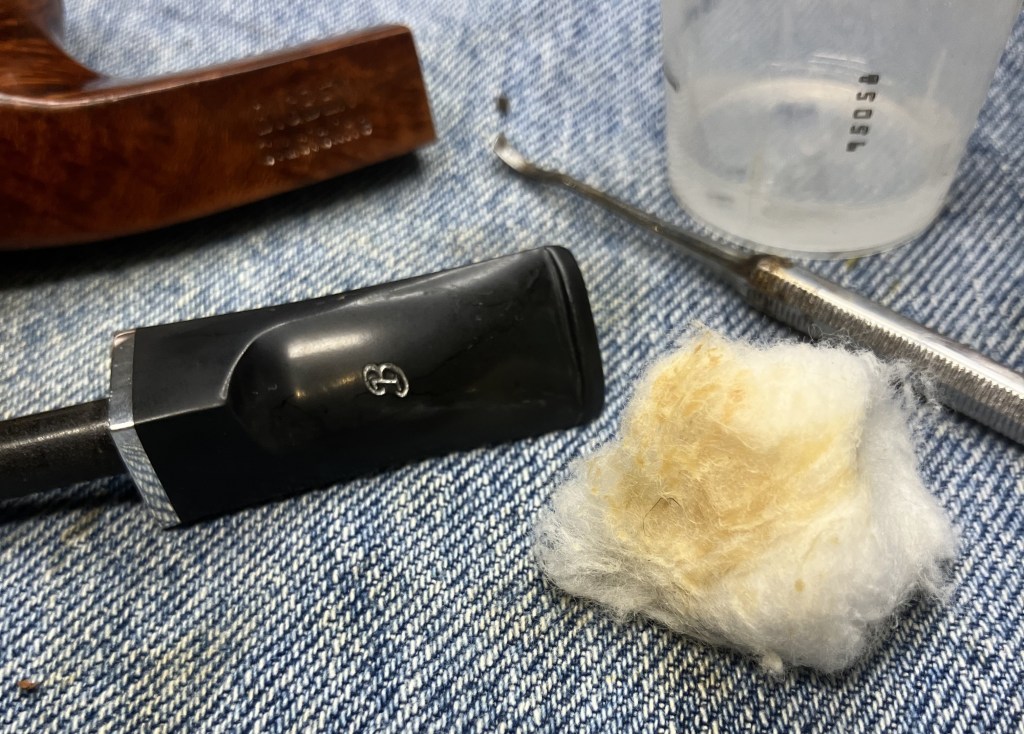
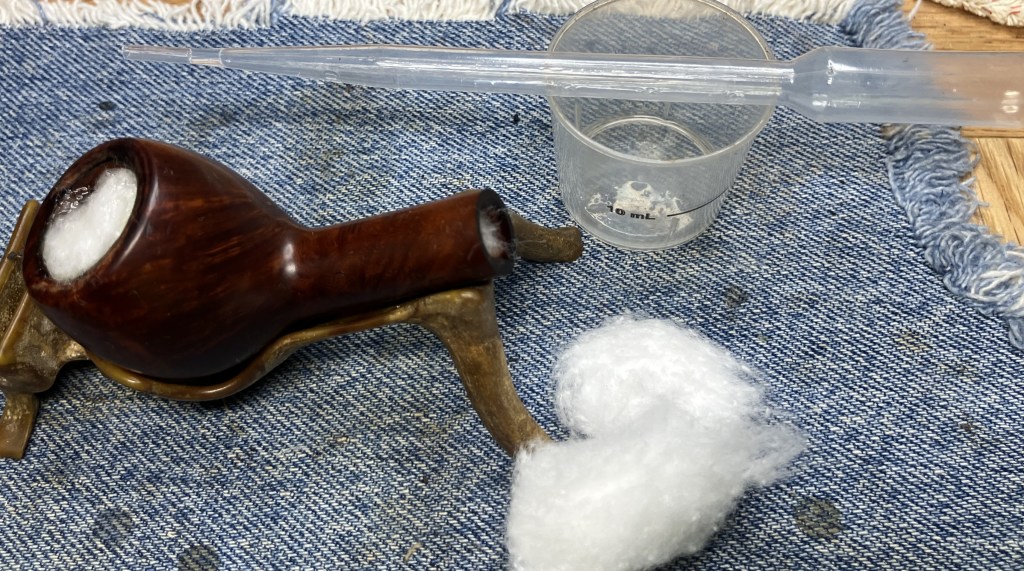
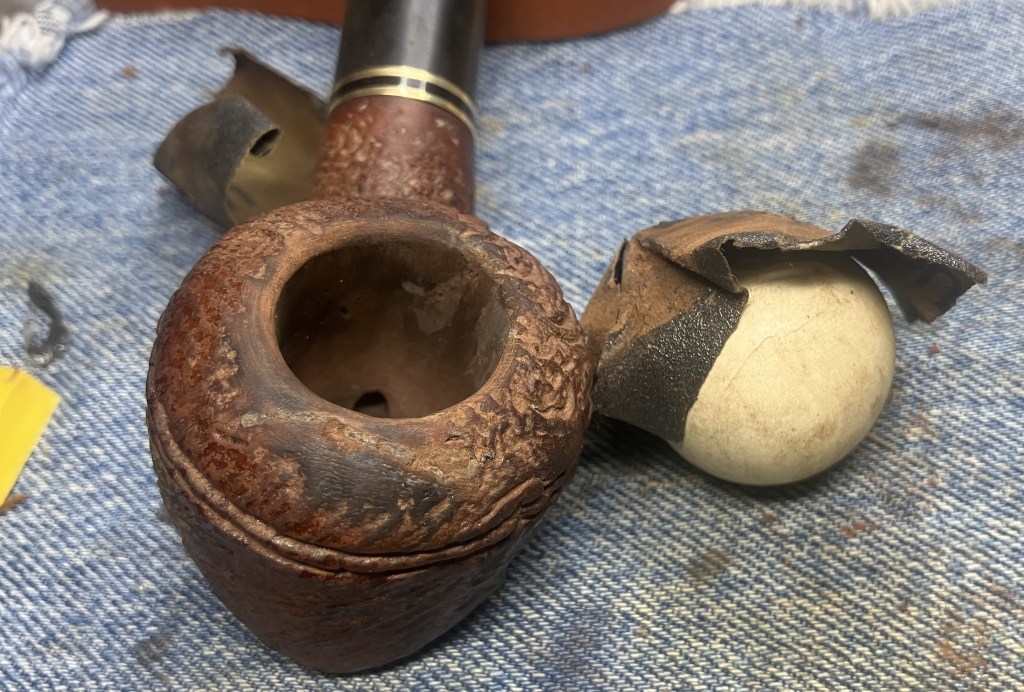
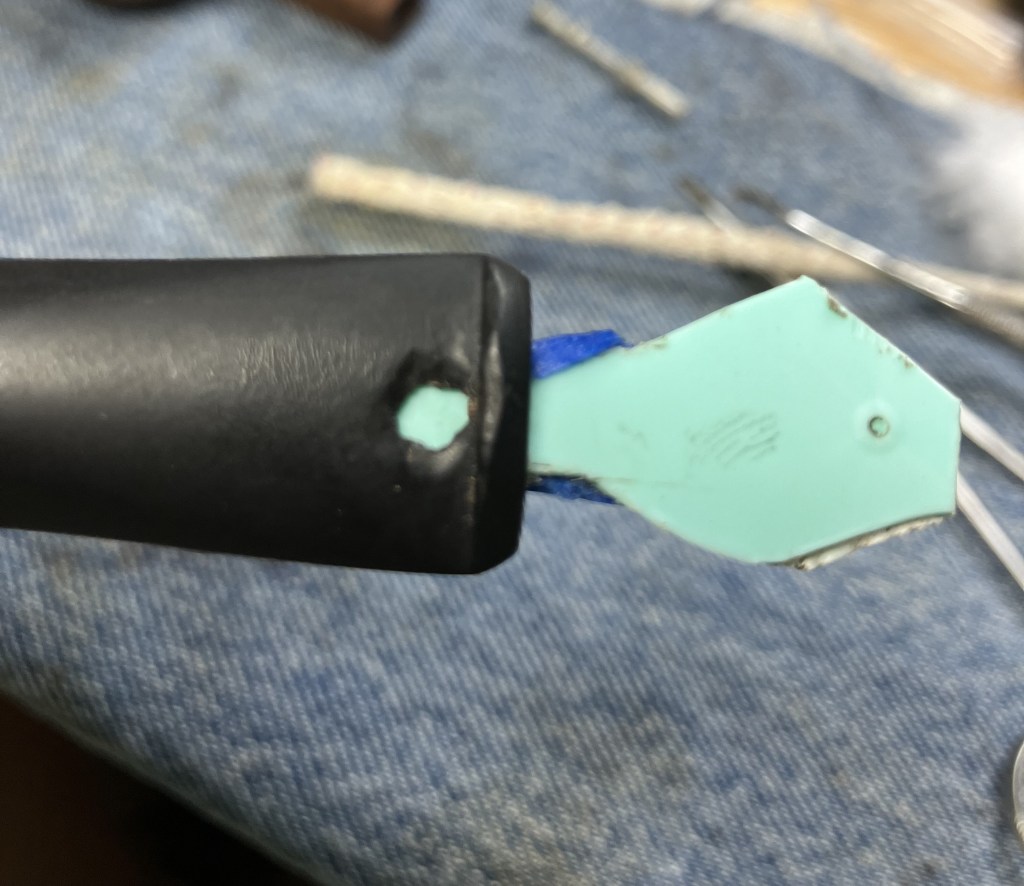
I was able to pull the stinger from the stem without much difficulty. I placed it in a medicine cup with 10 ml of 99% ethyl alcohol.

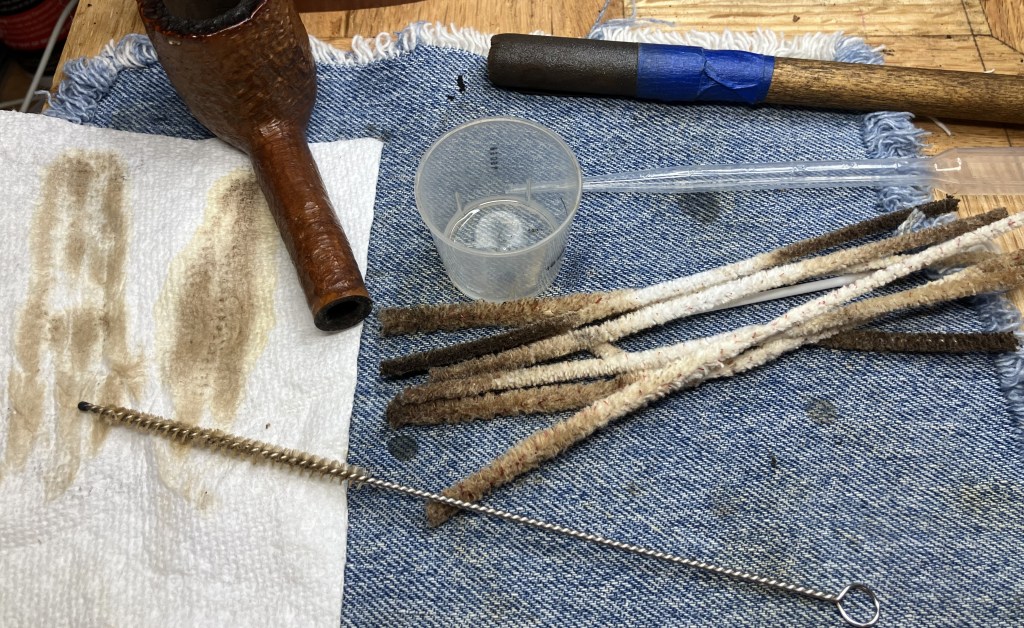
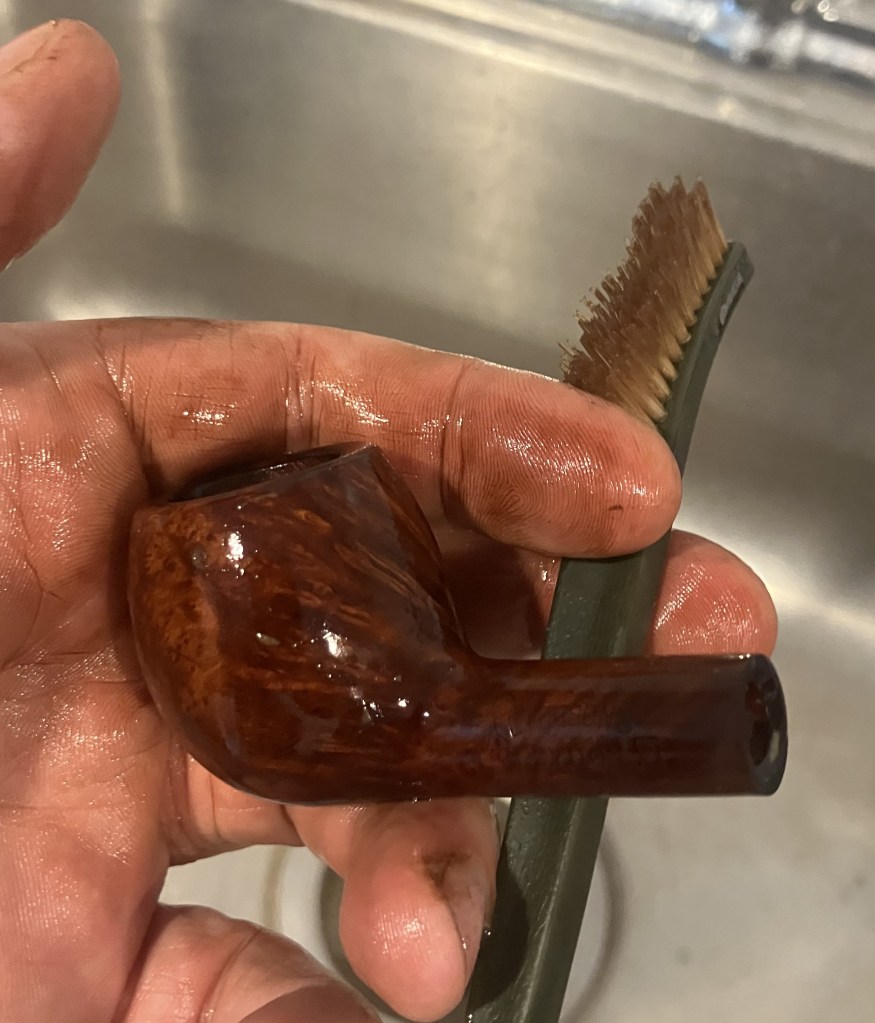
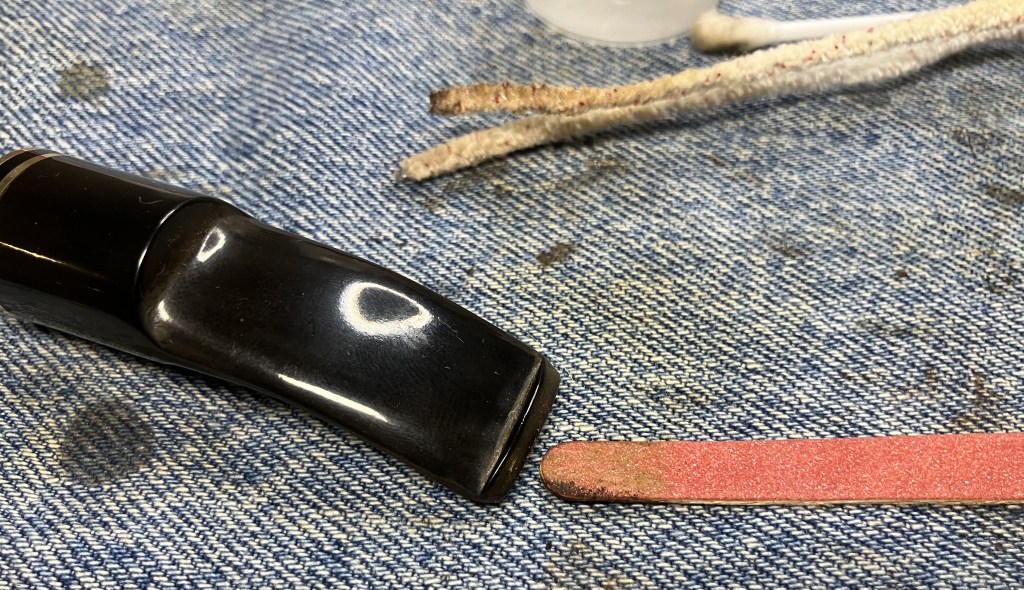
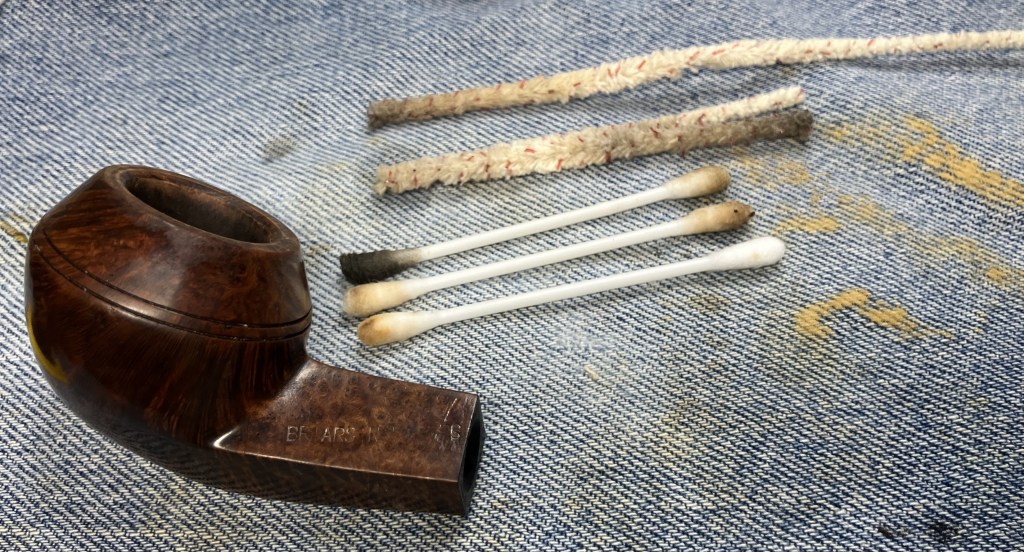
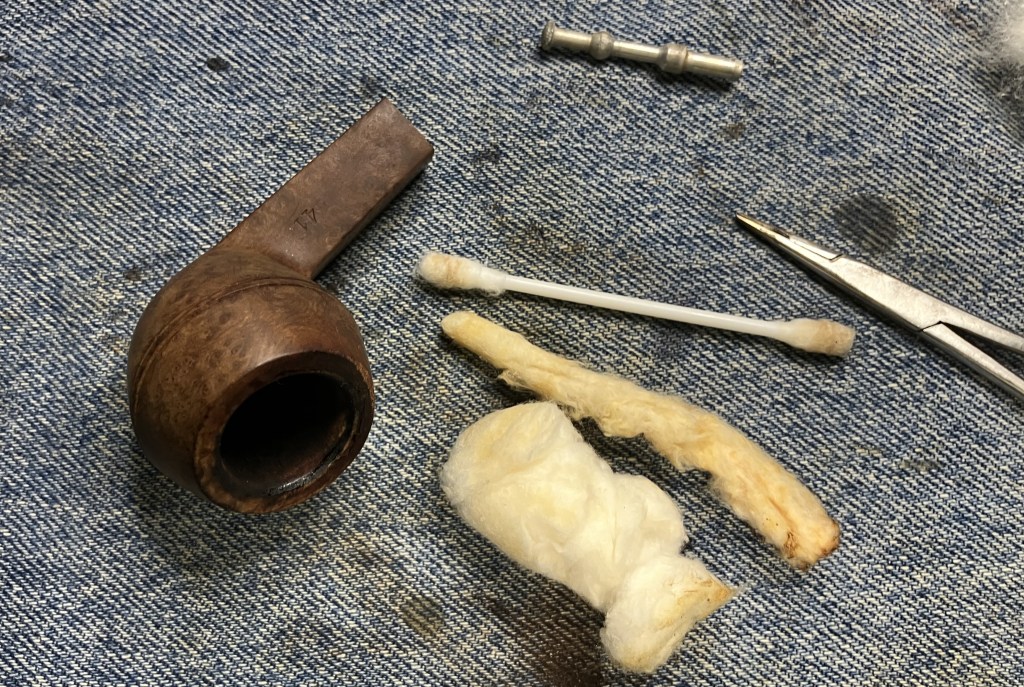
The stem was cleaned with ethyl alcohol and bristle pipe cleaners. The airway on the button end seemed rough and a bit constricted. I opened the airway with a Vermont Freehand Slot Tool (Slot Tool (with handle) – Vermont Freehand) and emery boards cut at an angle.

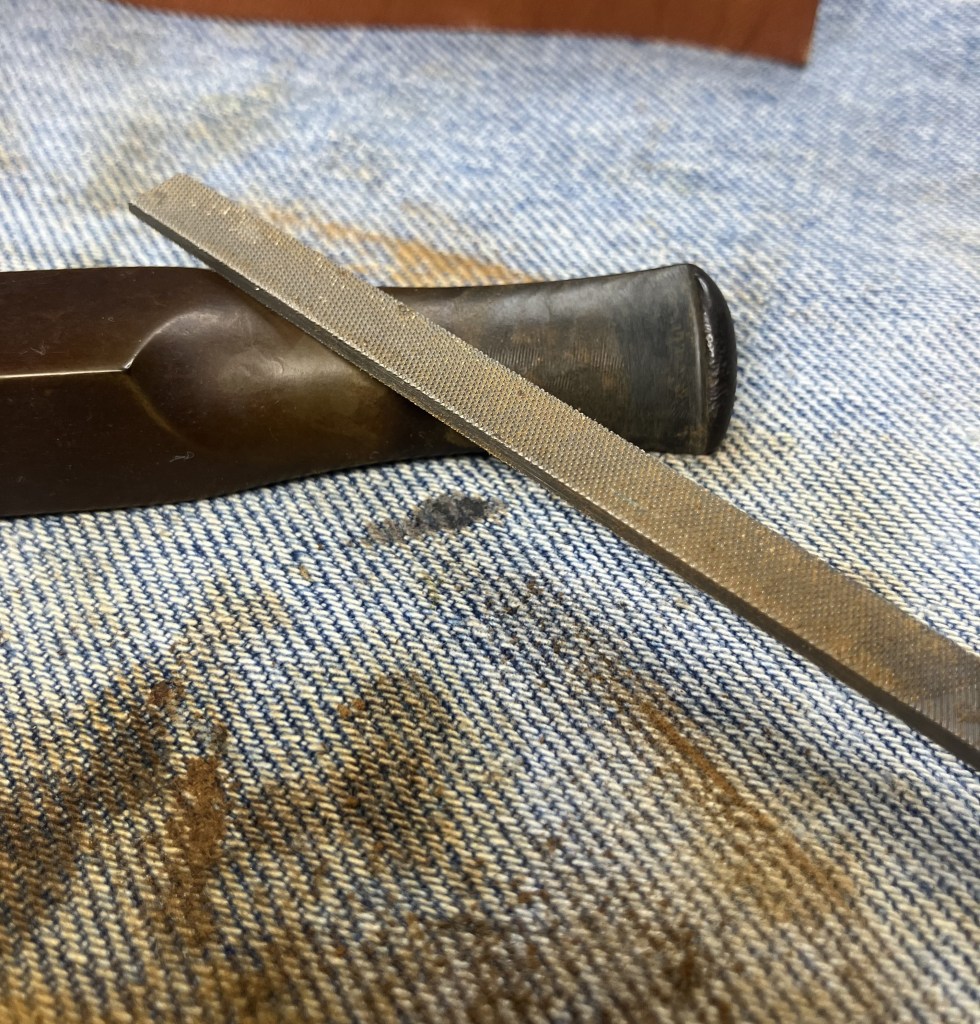
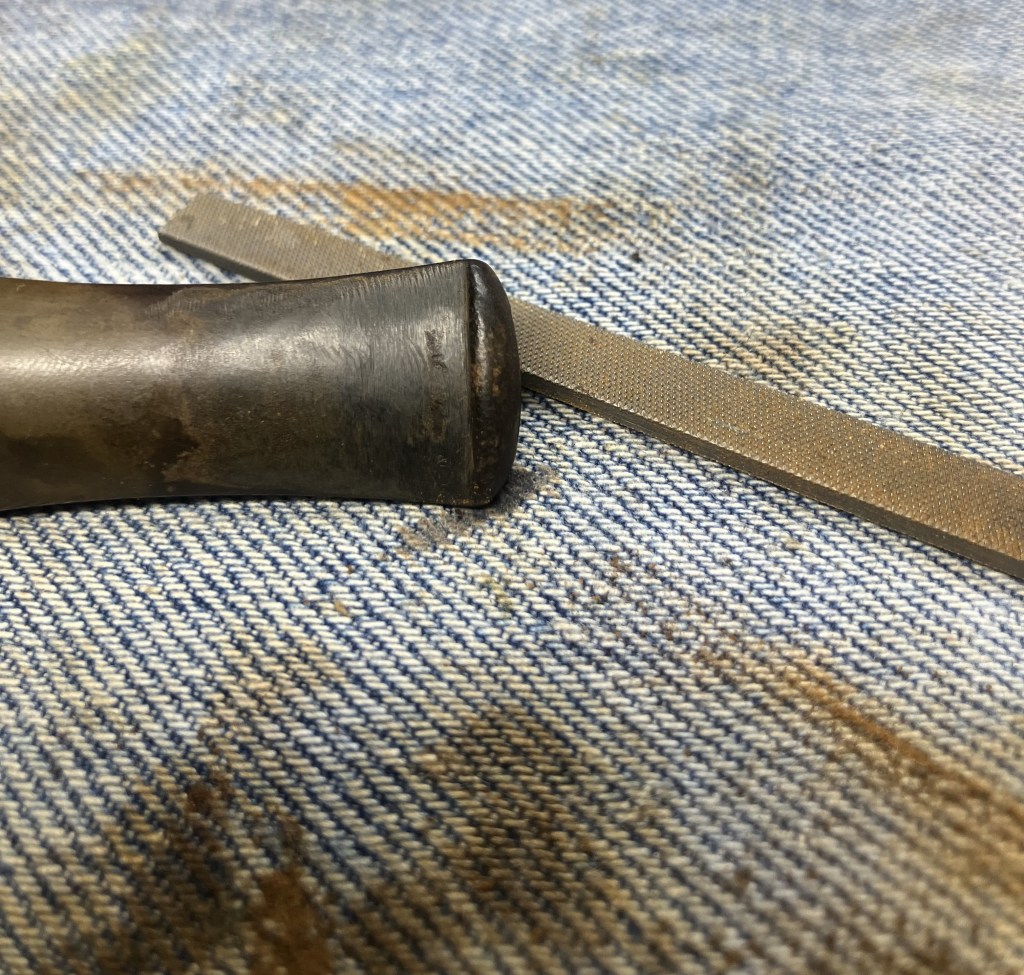
The bite zone above the button was filed with a small flat file to remove the tooth dents and chatter.

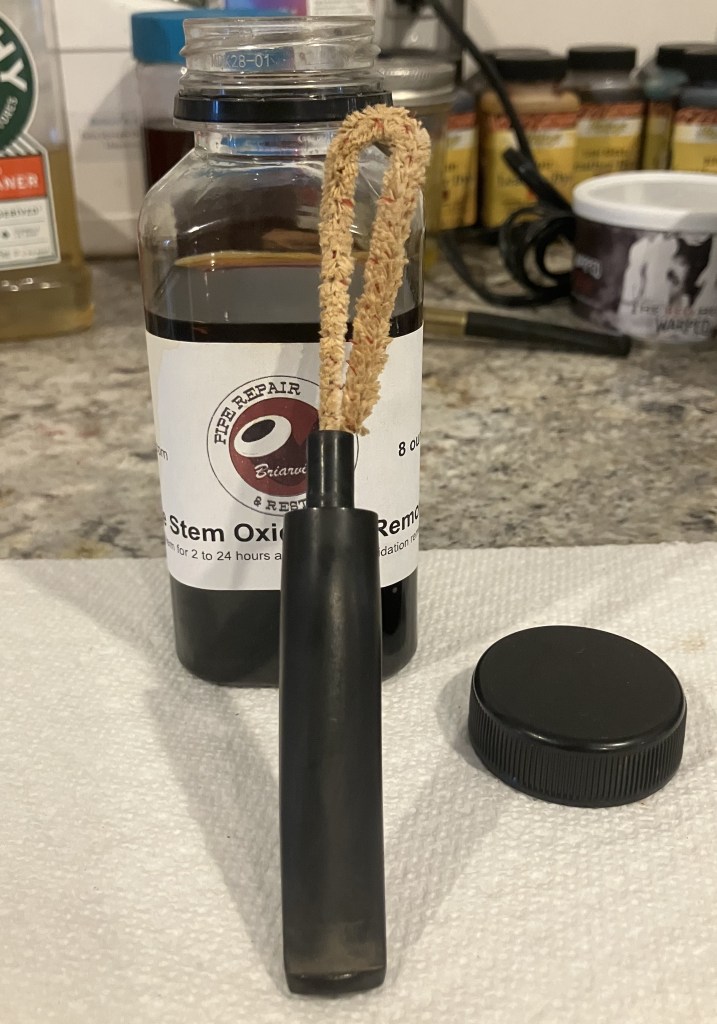
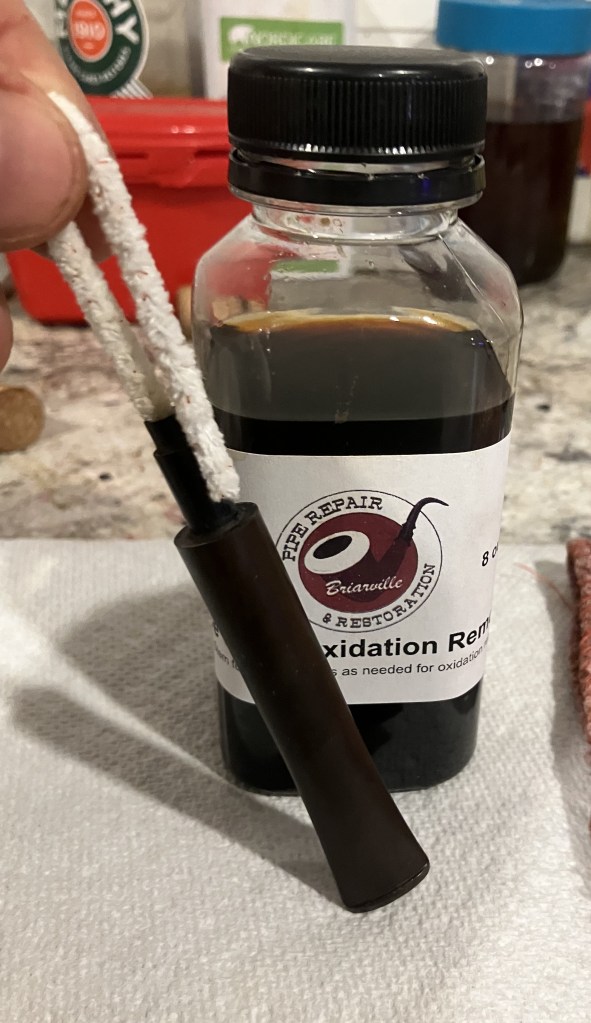
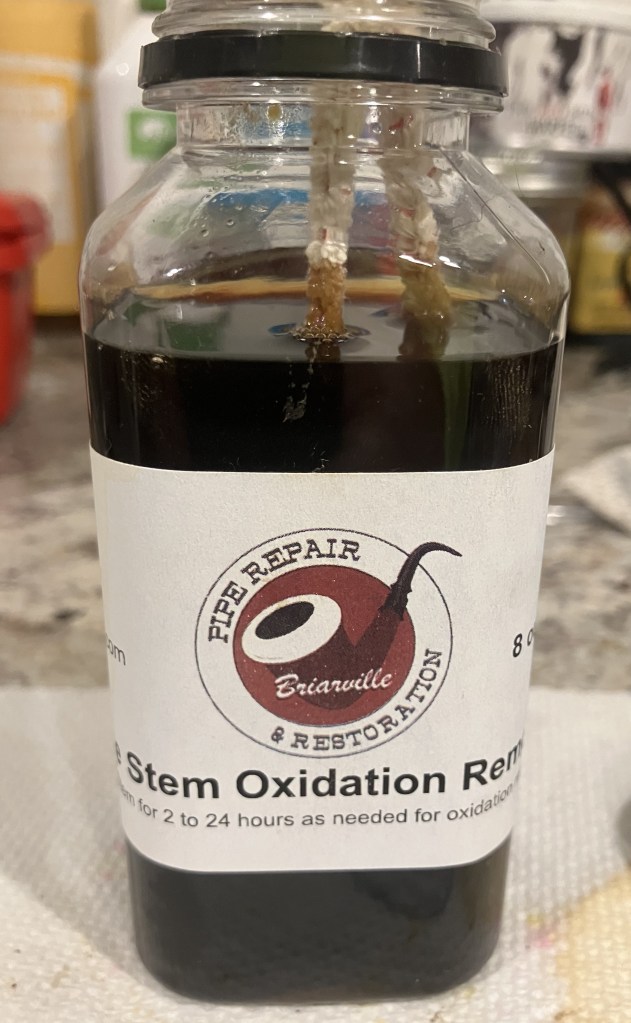
Sanding the stem lightly with a 400 grit sanding sponge was then done to prepare the stem for a bath in Briarviles’ Pip Stem Oxidation Remover (deox, as I like to call it).

A pipe cleaner was inserted into the stem to act as a handle for easy removal after the 2 hour deox bath.
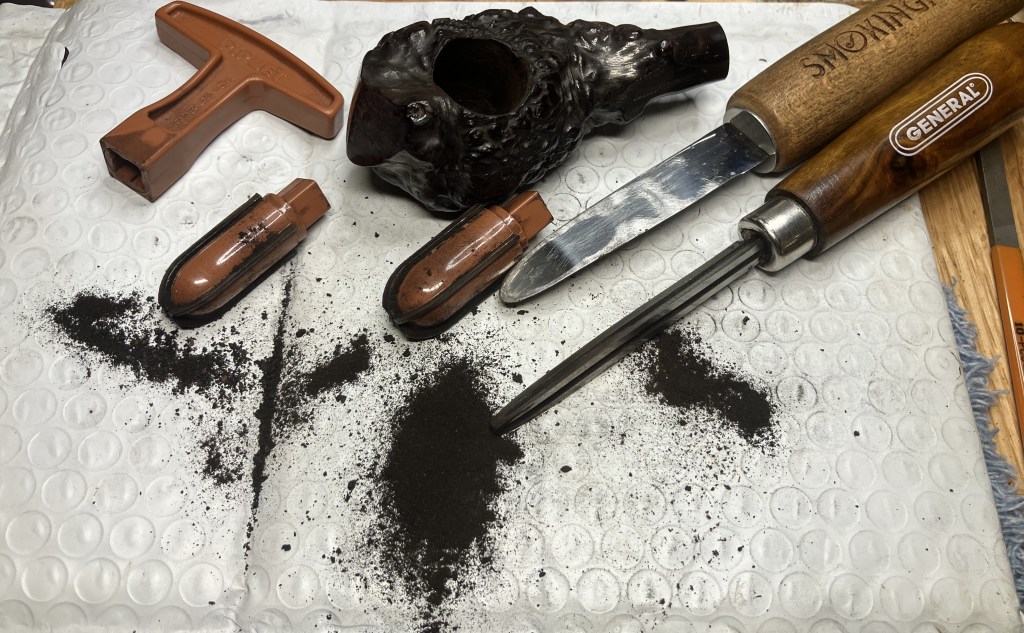
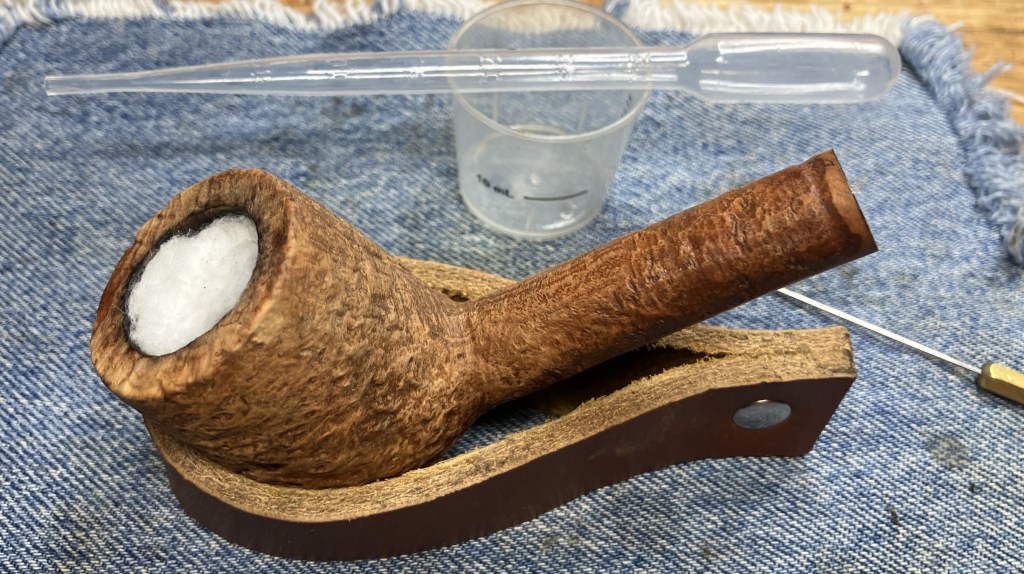
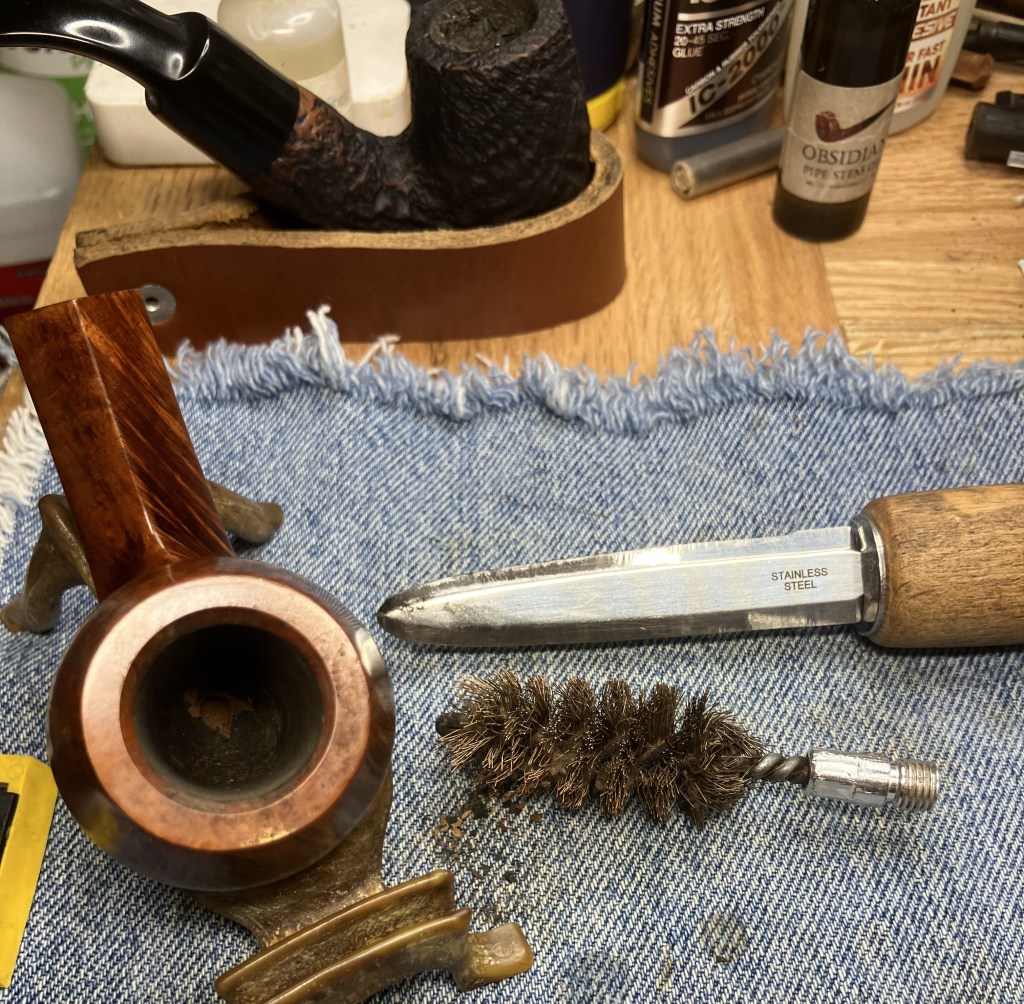
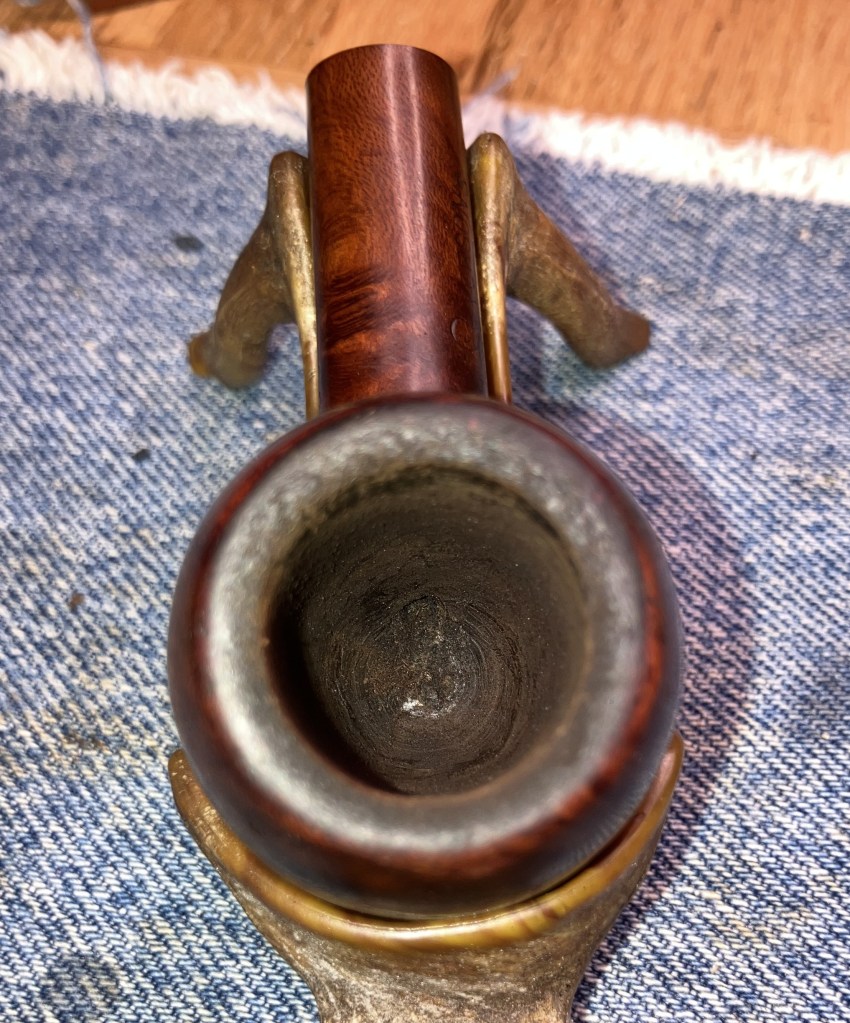
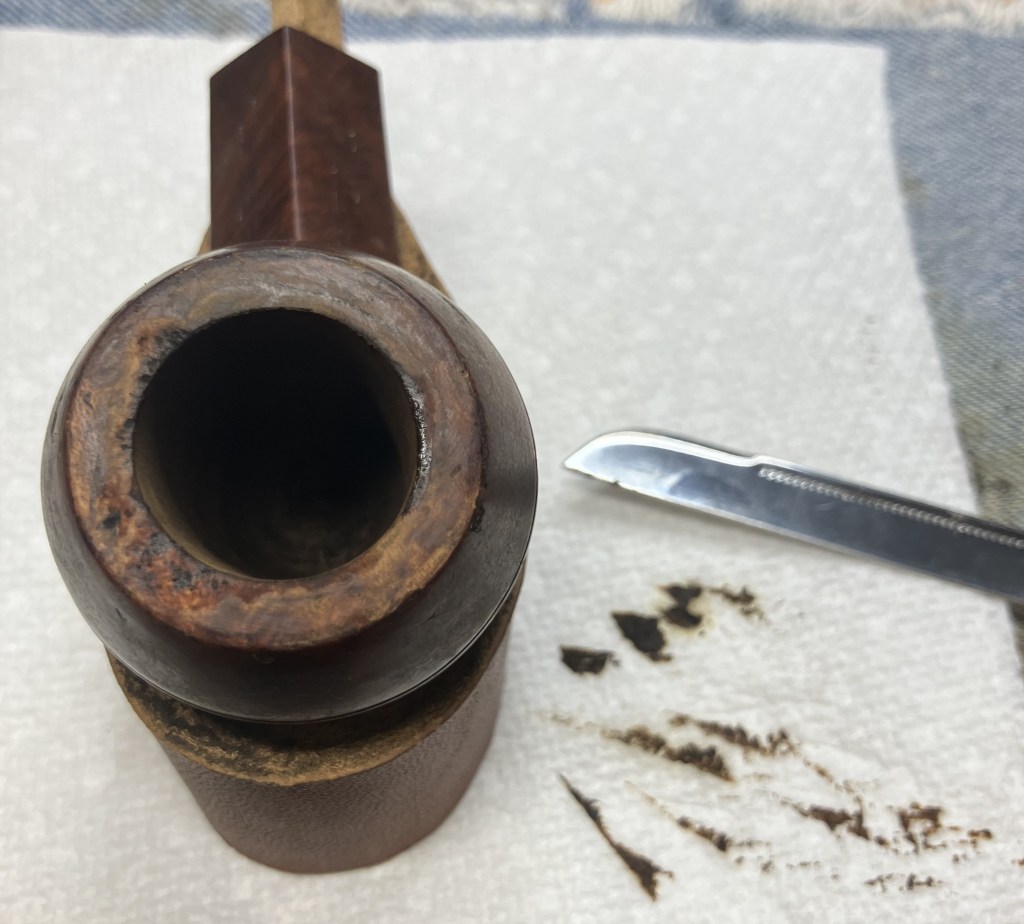
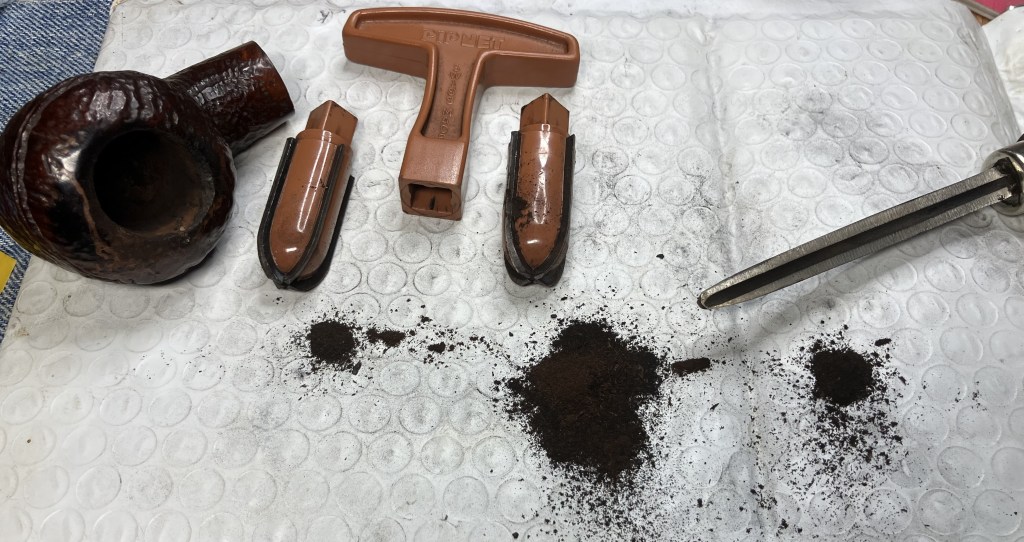
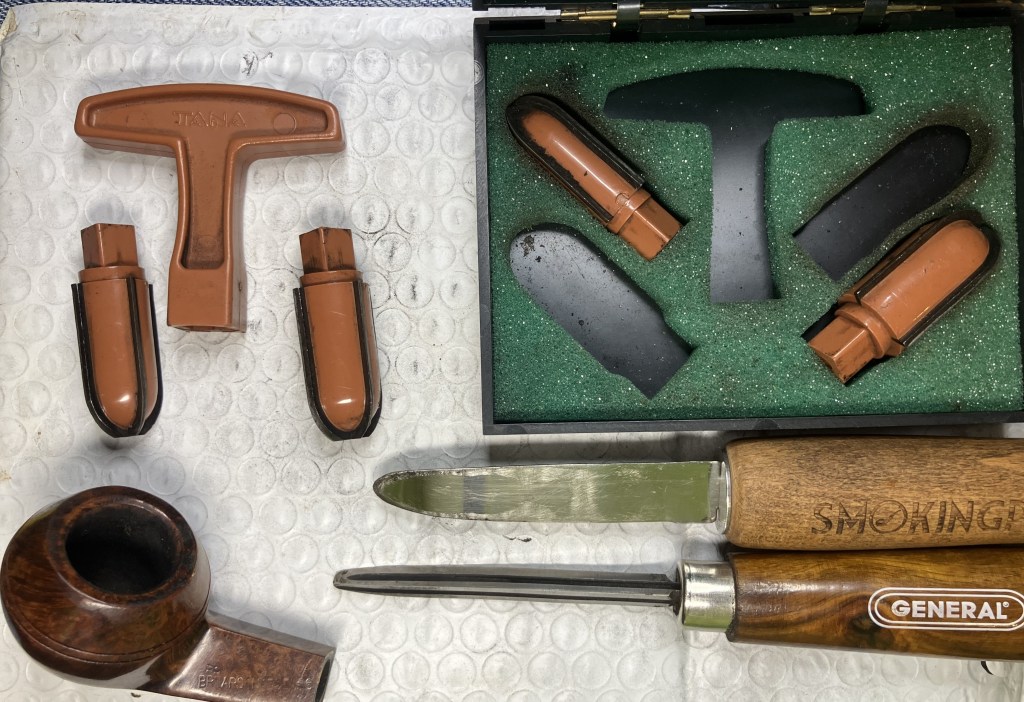
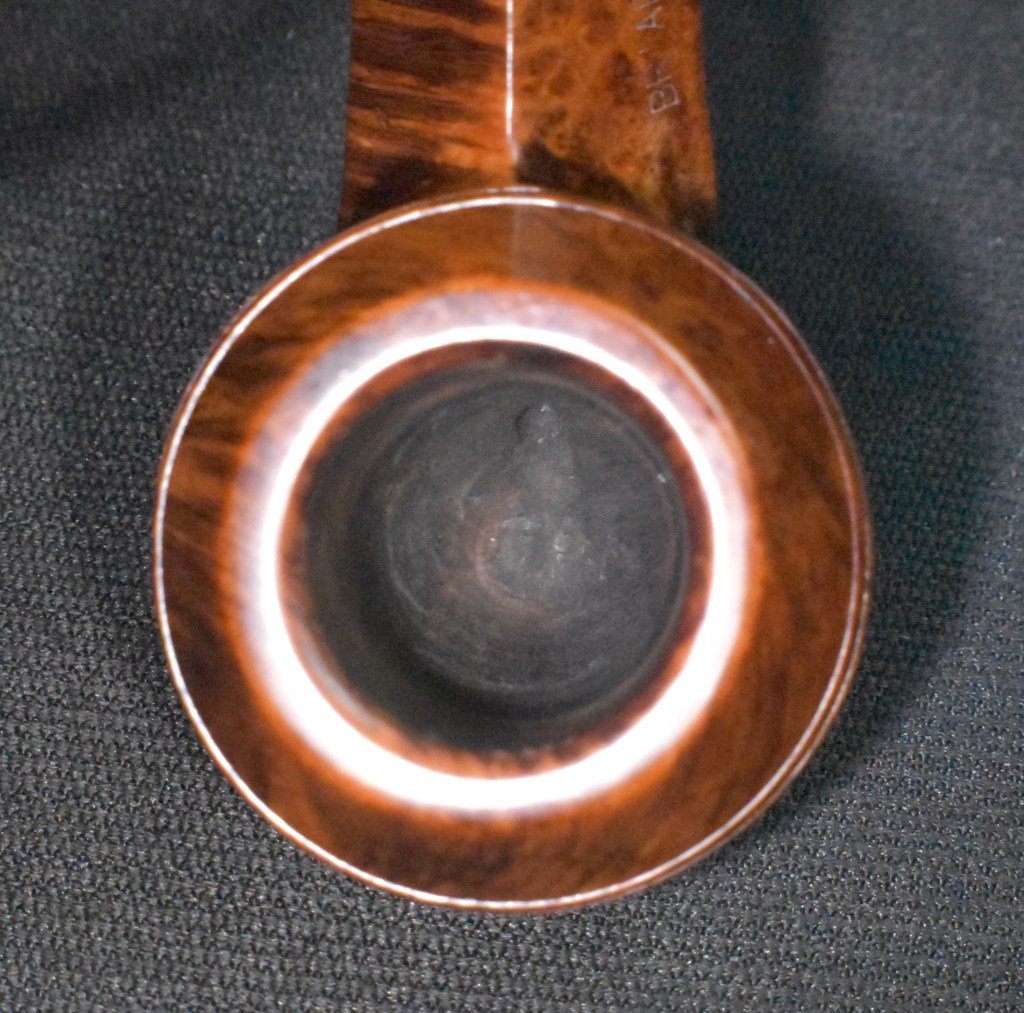
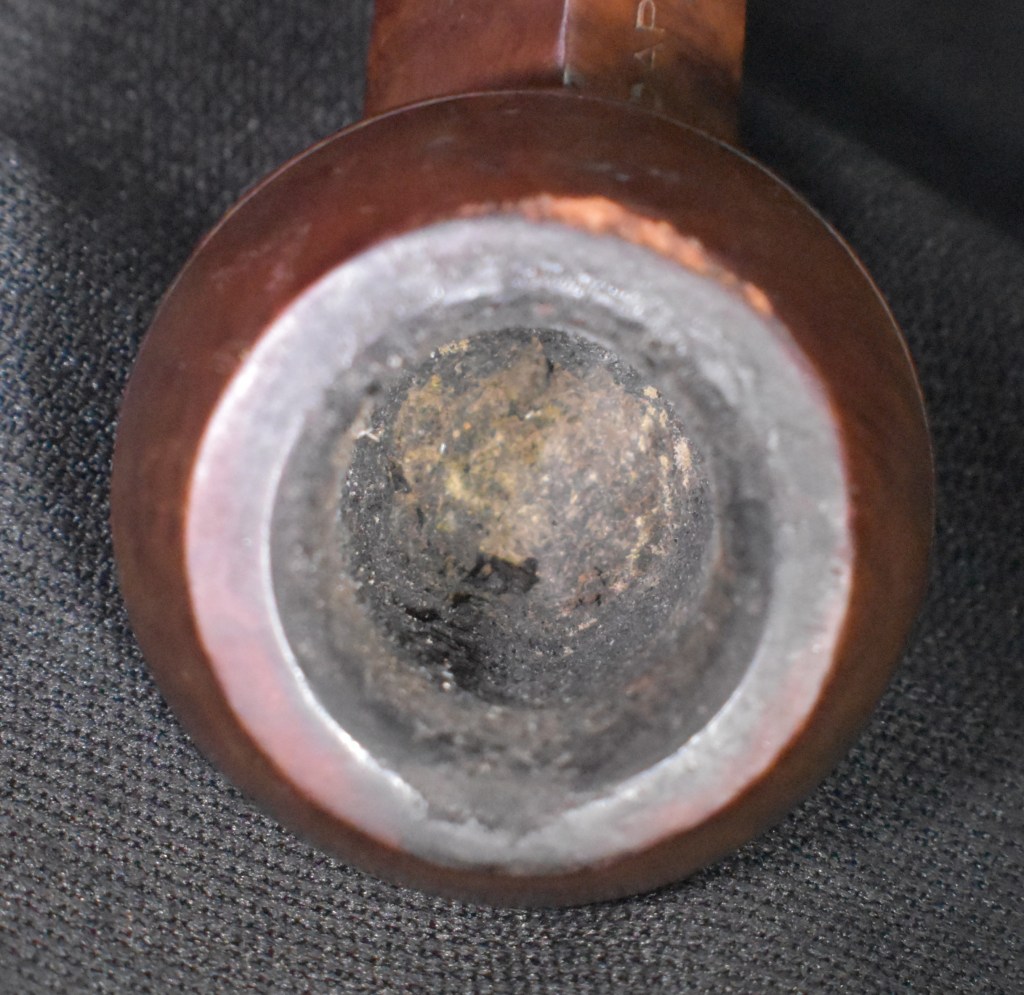
With the stem soaking, I turned my attention to the reaming of the stummel. The ream team was gathered; PipNet with the #2 and #3 blades, General triangular scraper and the Smokingpipes Low Country reamer.

The PipNet and #3 blades did the majority of the cake removal.
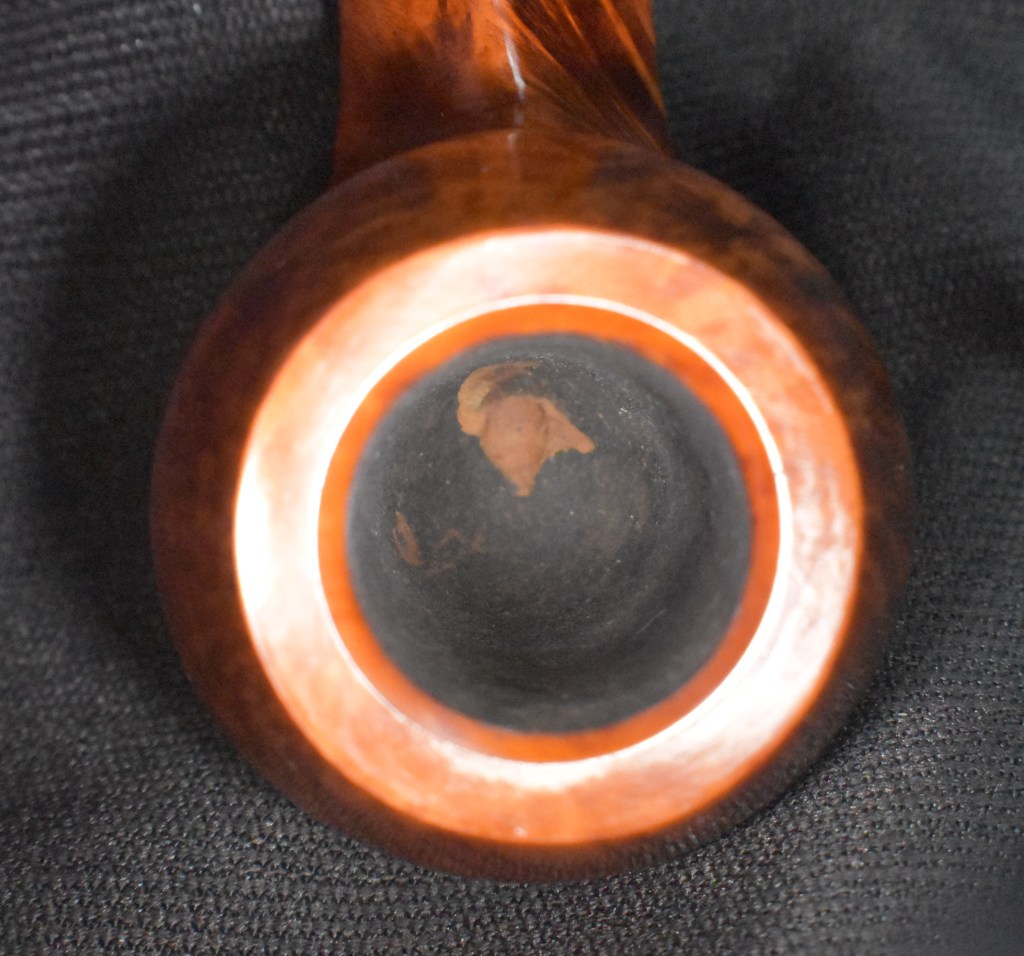
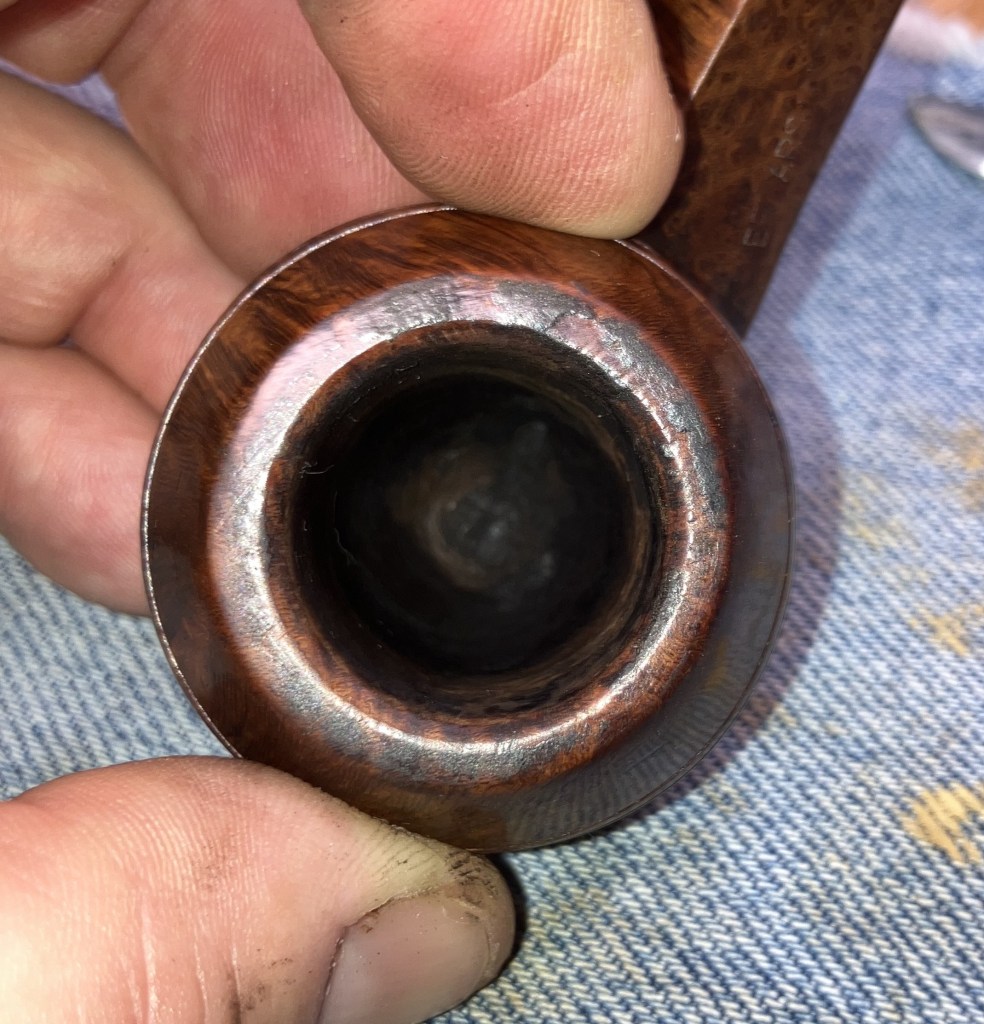
The reamed tobacco chamber looked much better.

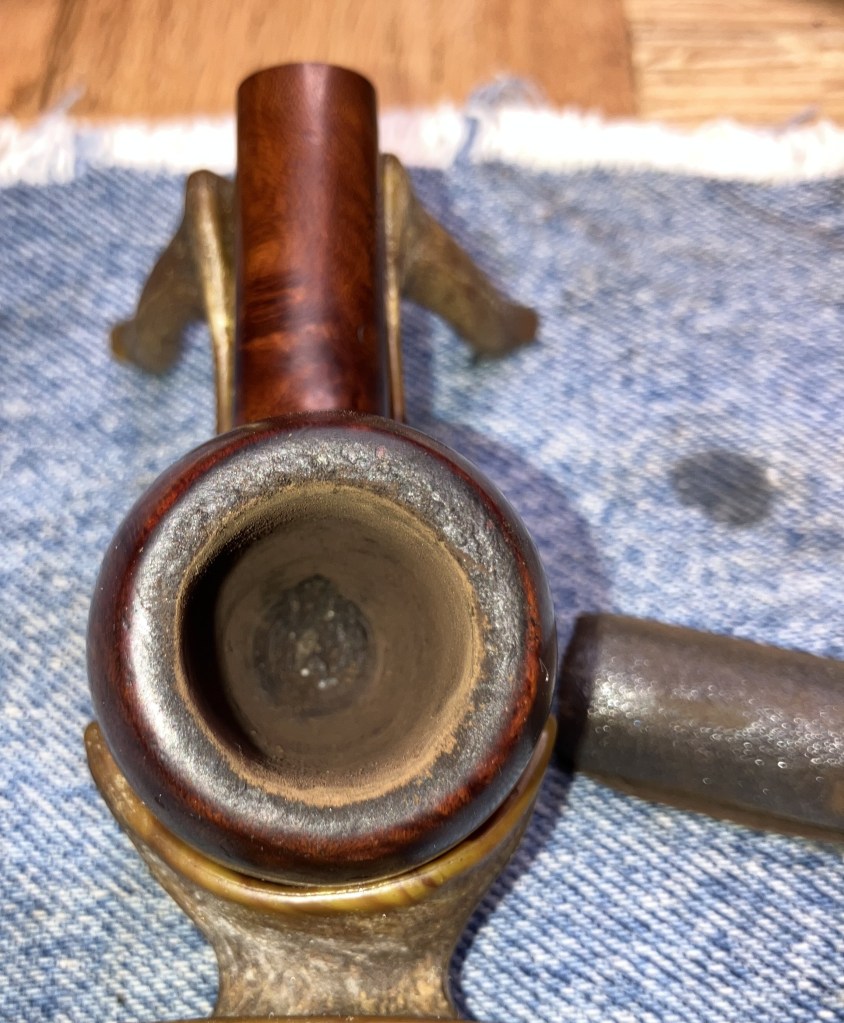
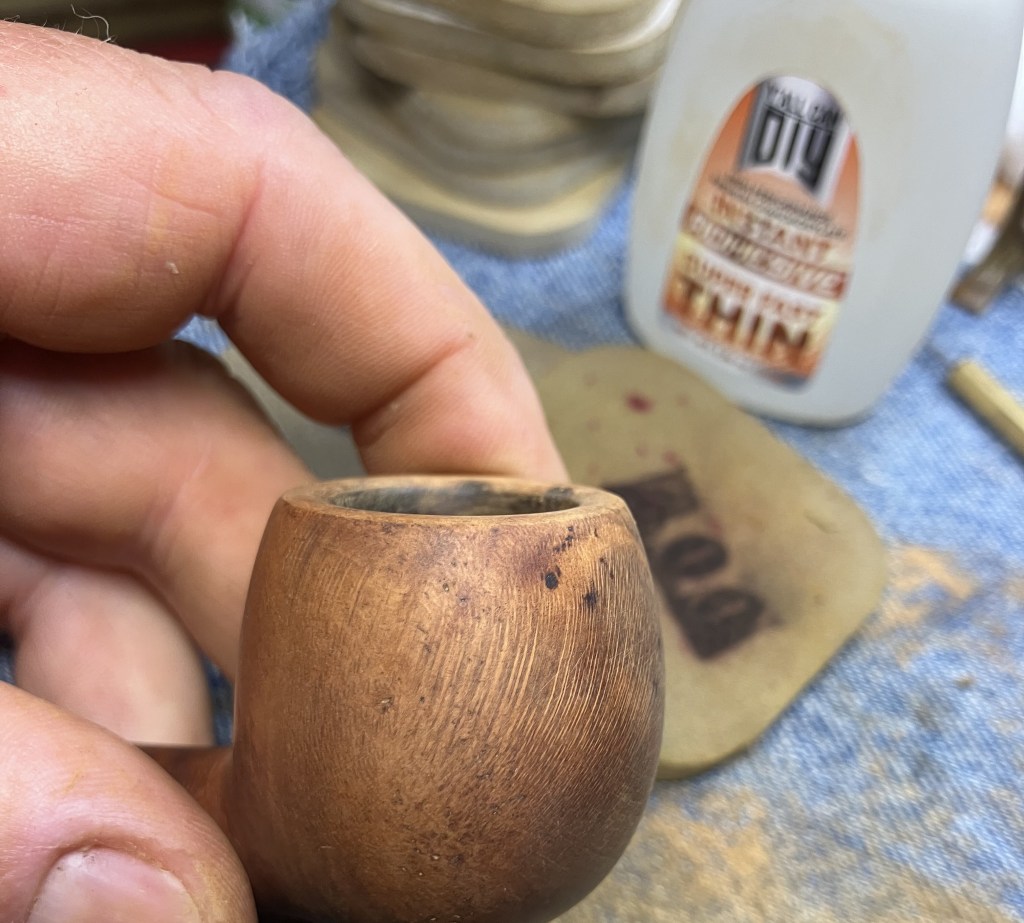
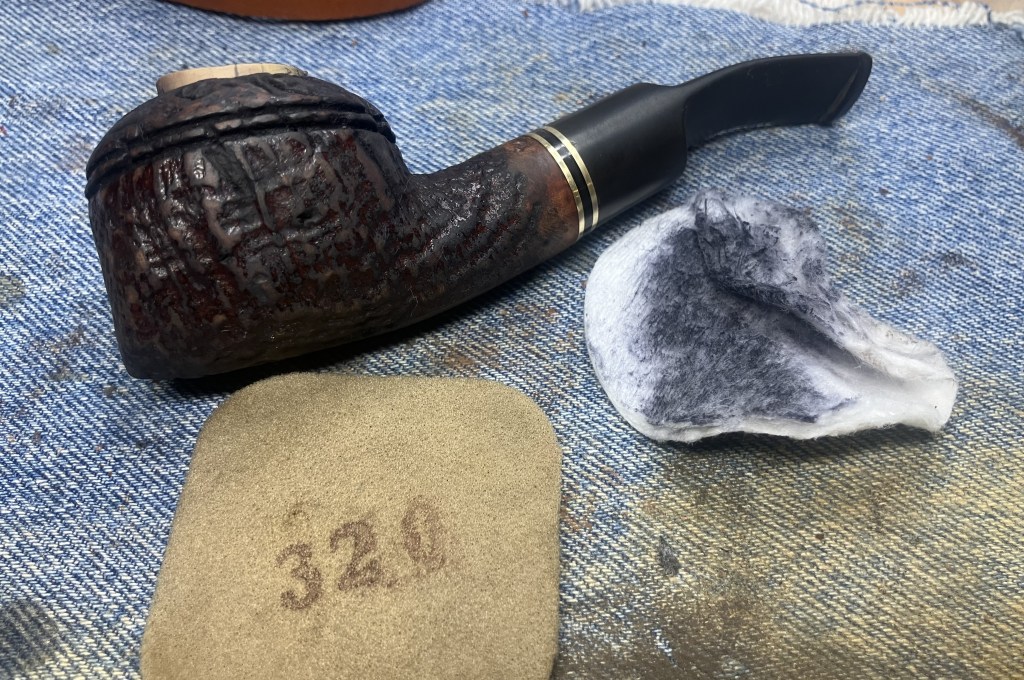
The chamber was then sanded with 320 sandpaper wrapped around a wood dowel. The sanded chamber showed no signs of heat damage.

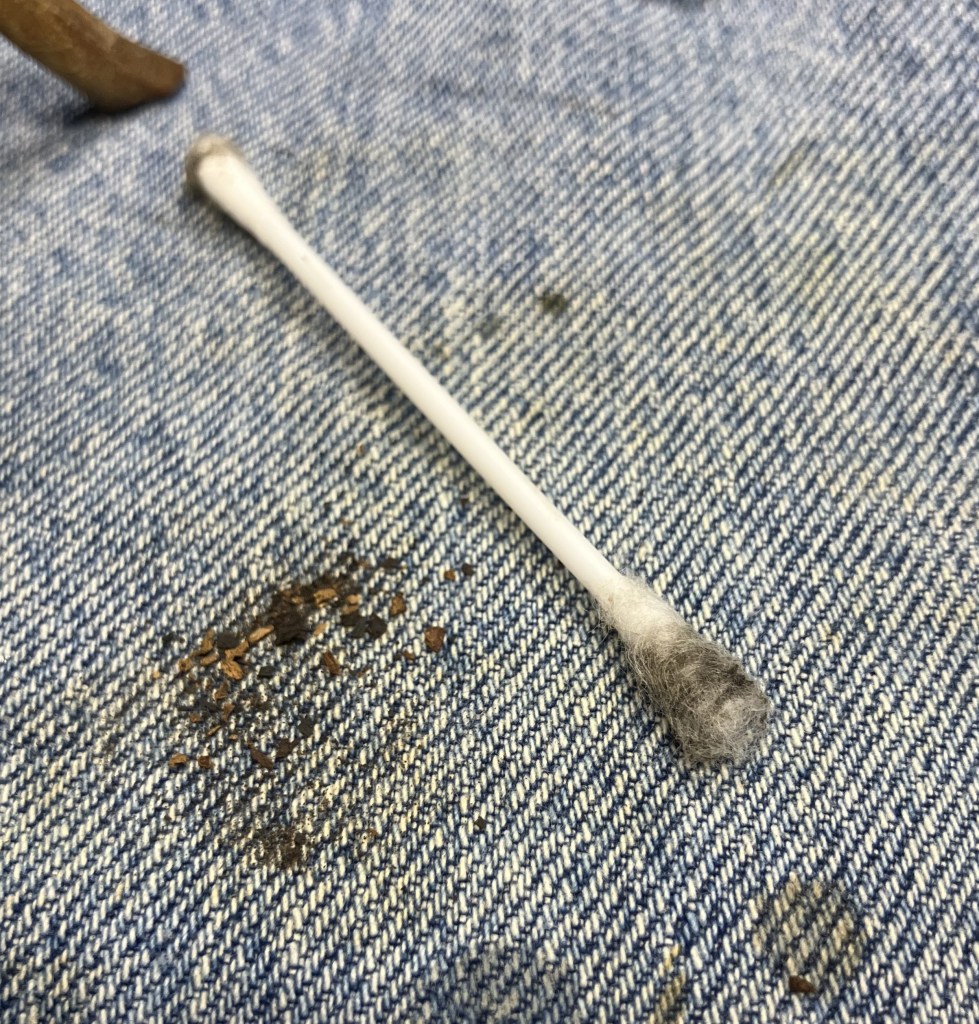
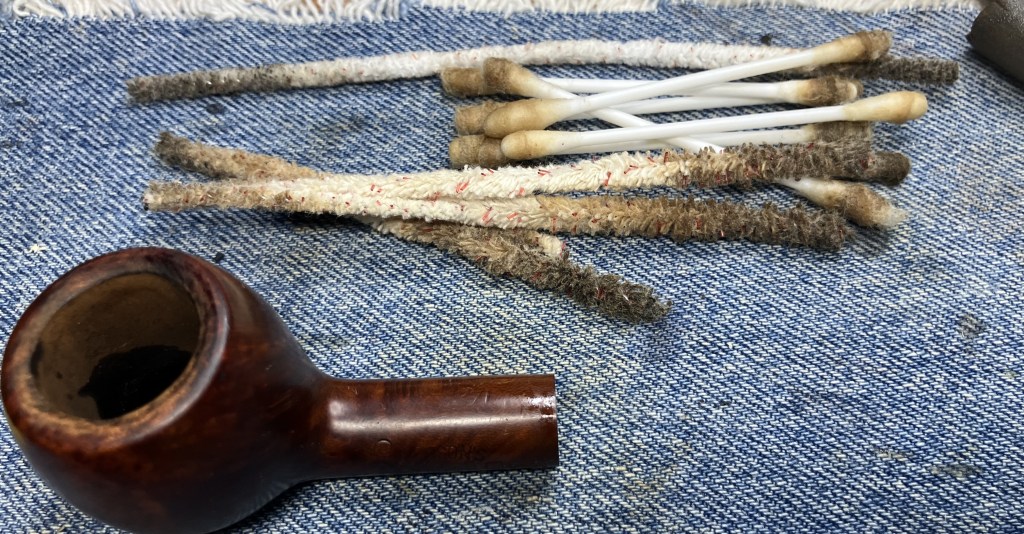
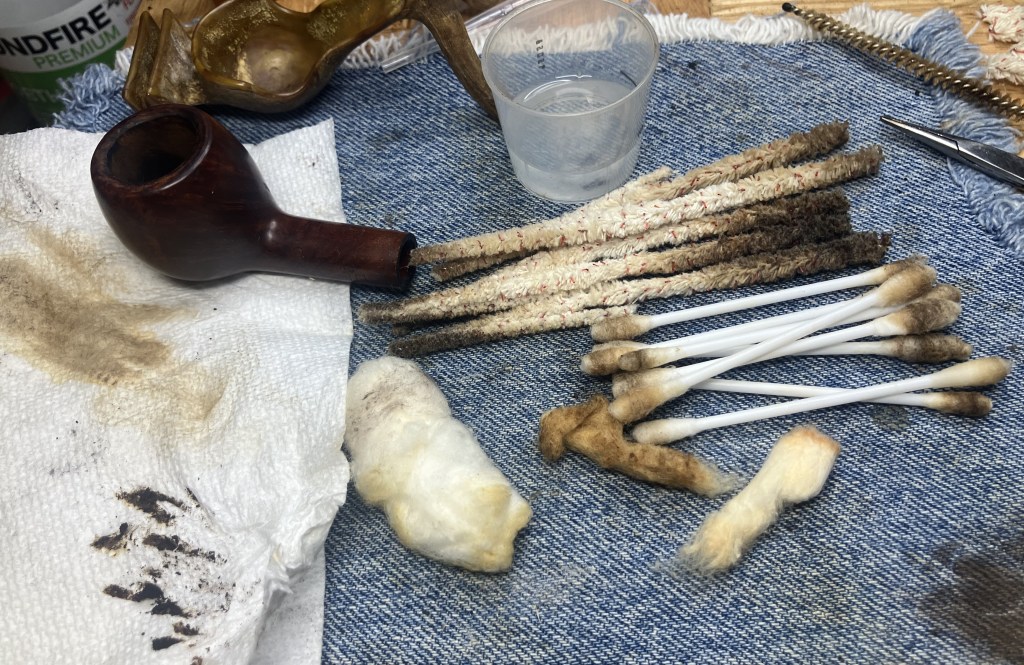
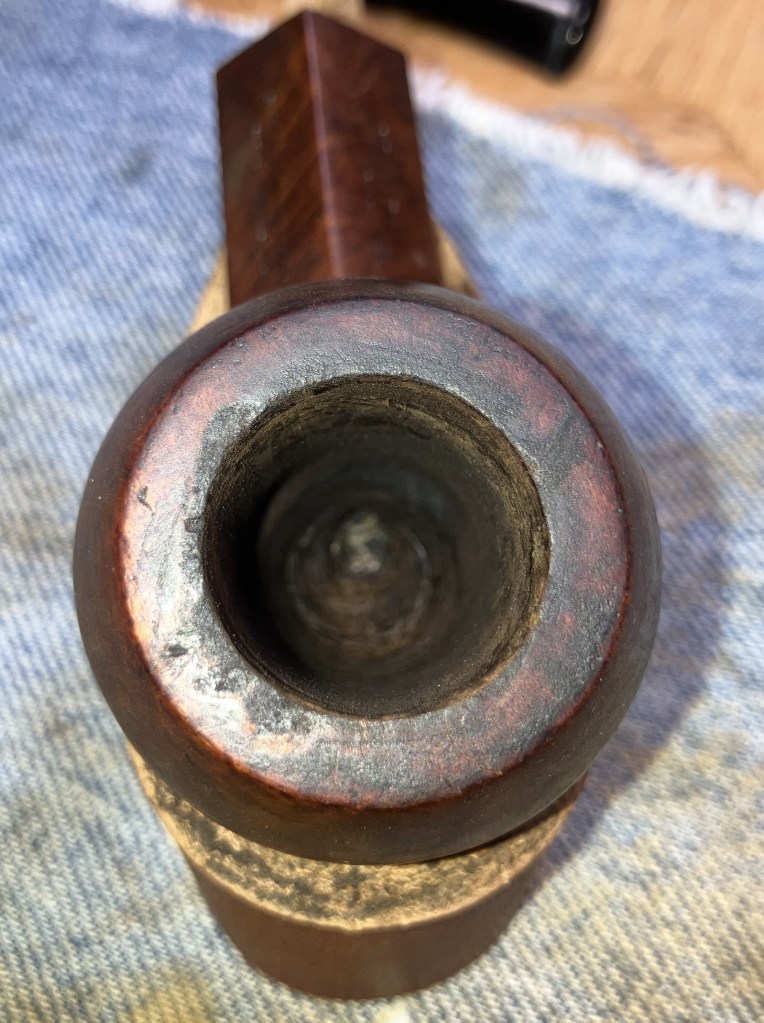
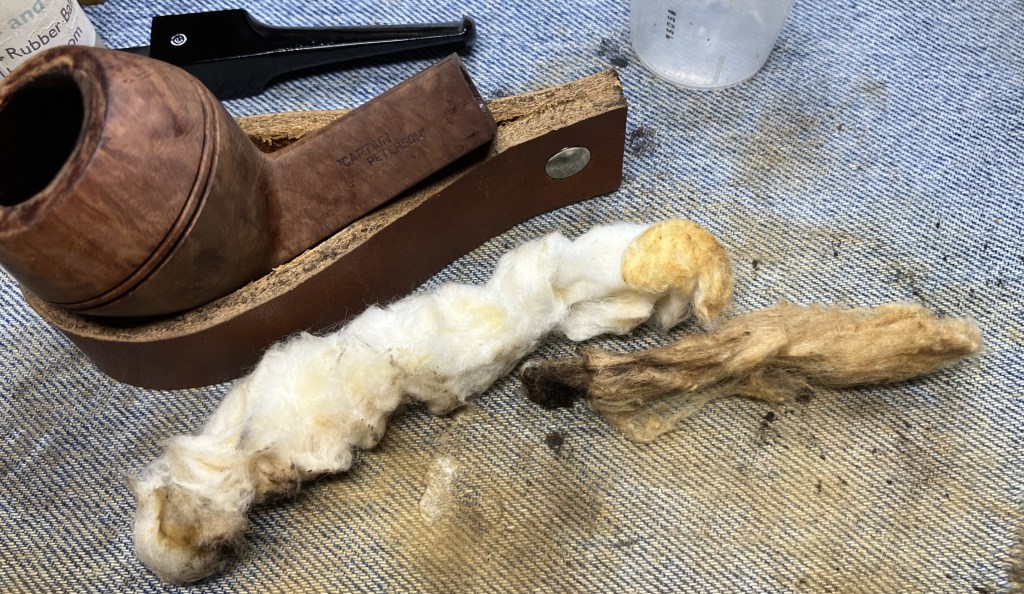
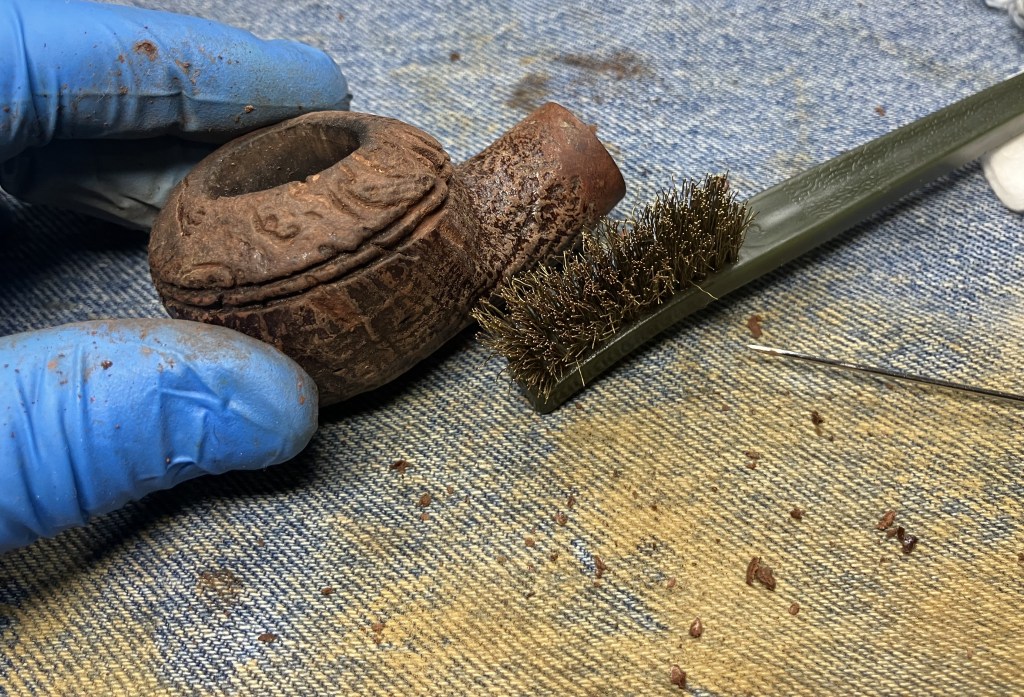
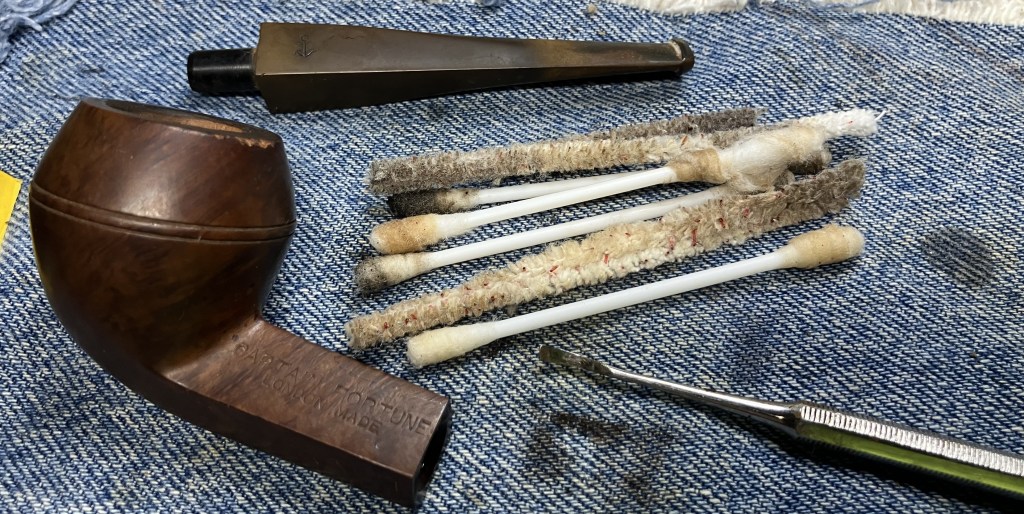
I then cleaned the airway of the shank. This was done by softening the accumulated smoking residue with ethyl alcohol on cotton swabs as I cleaned the mortise. The softened yuck was then scraped using a dental scraper. Alcohol dipped bristle pipe cleaners and alcohol dipped cotton swabs were also used.

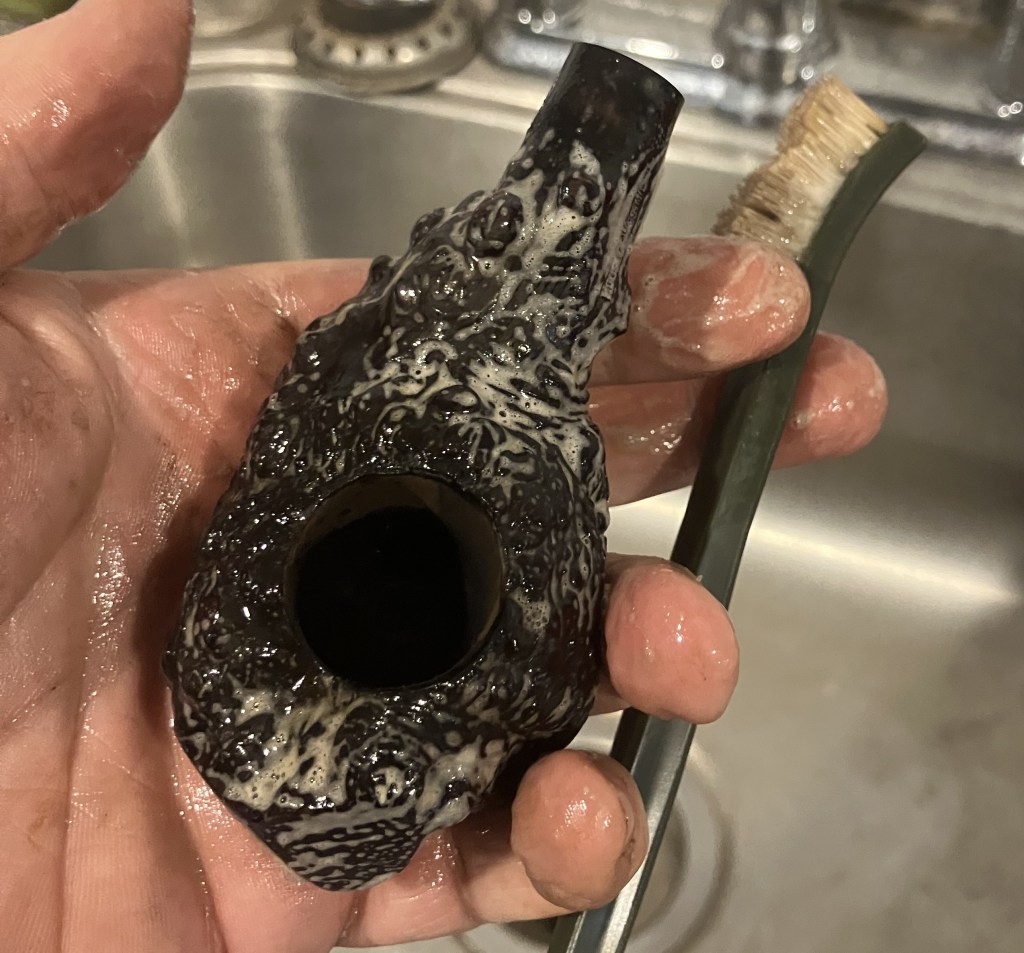
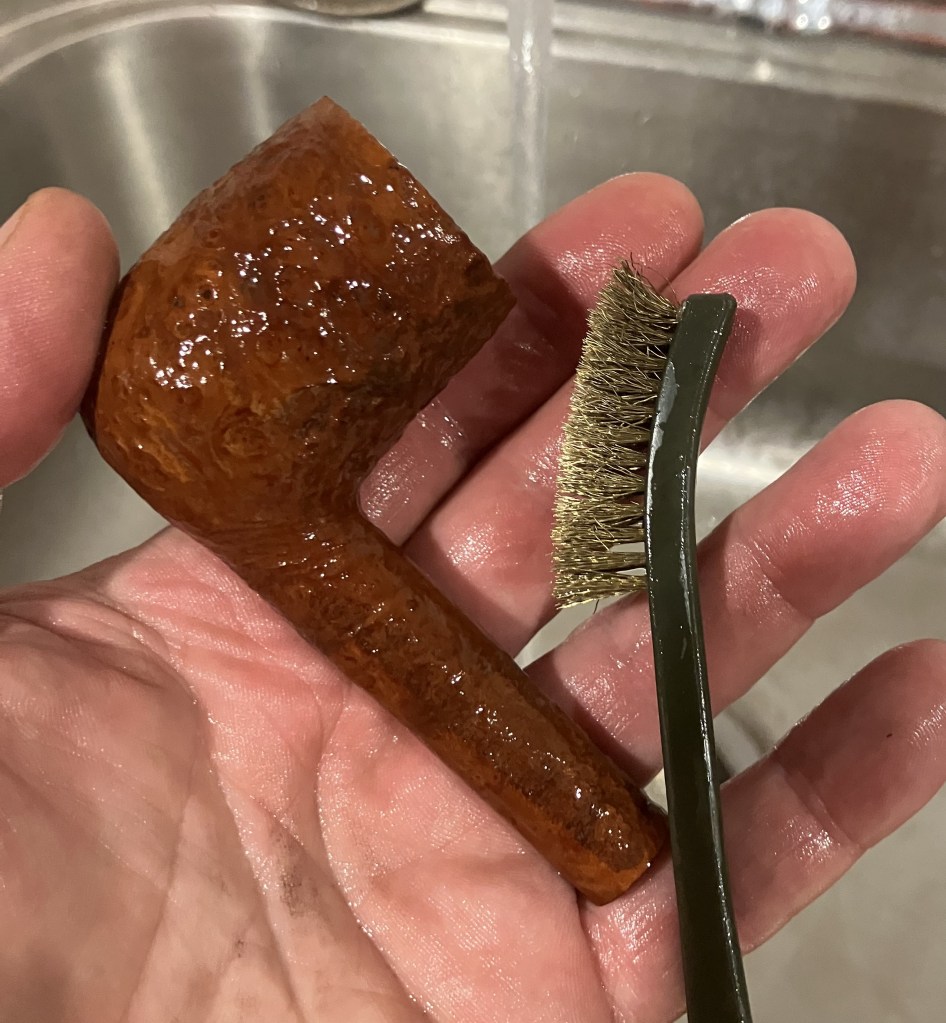
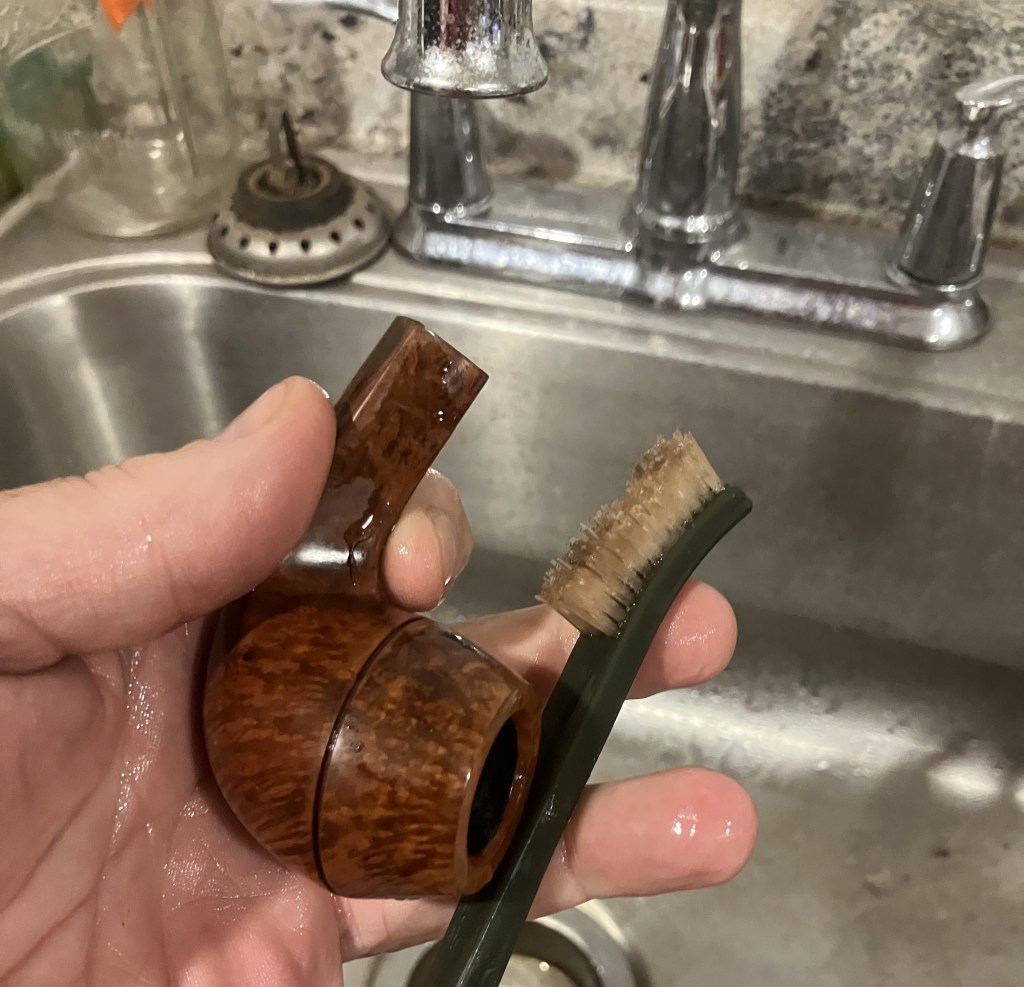
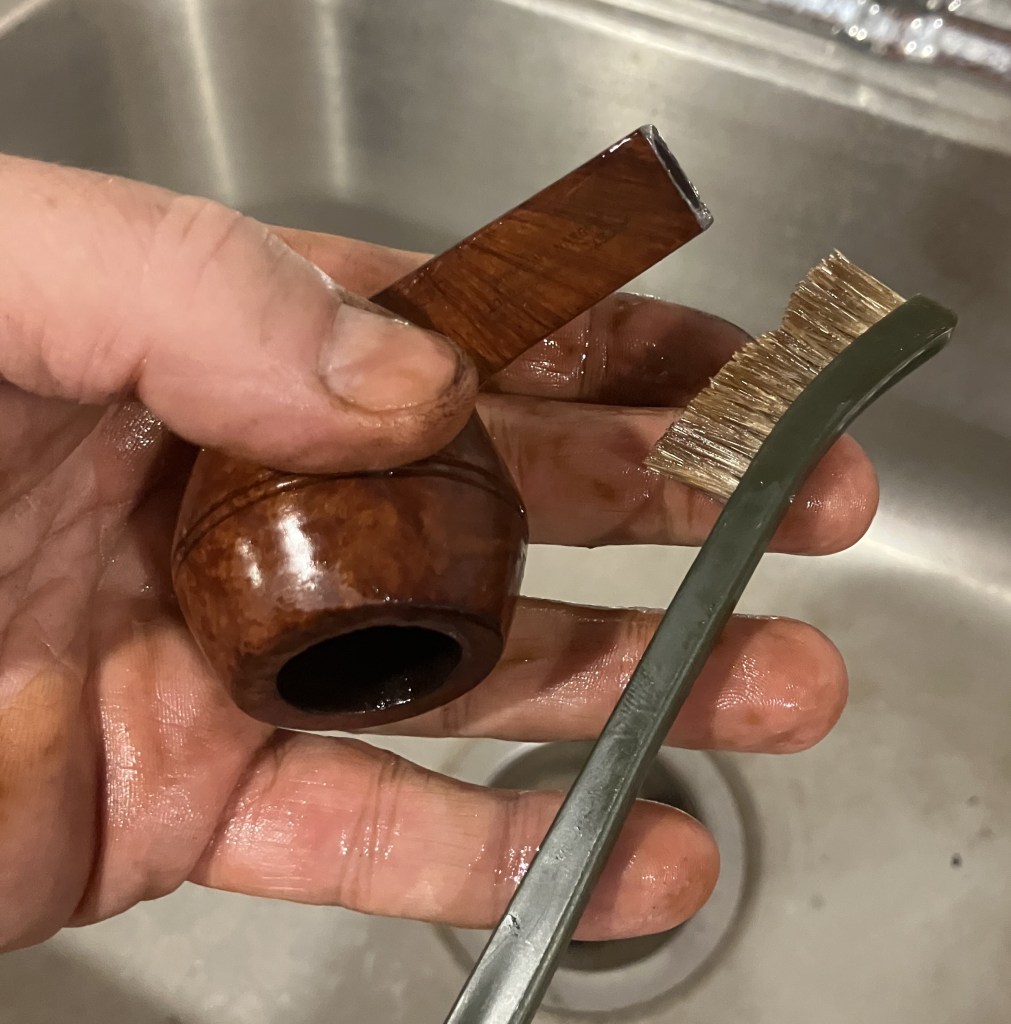
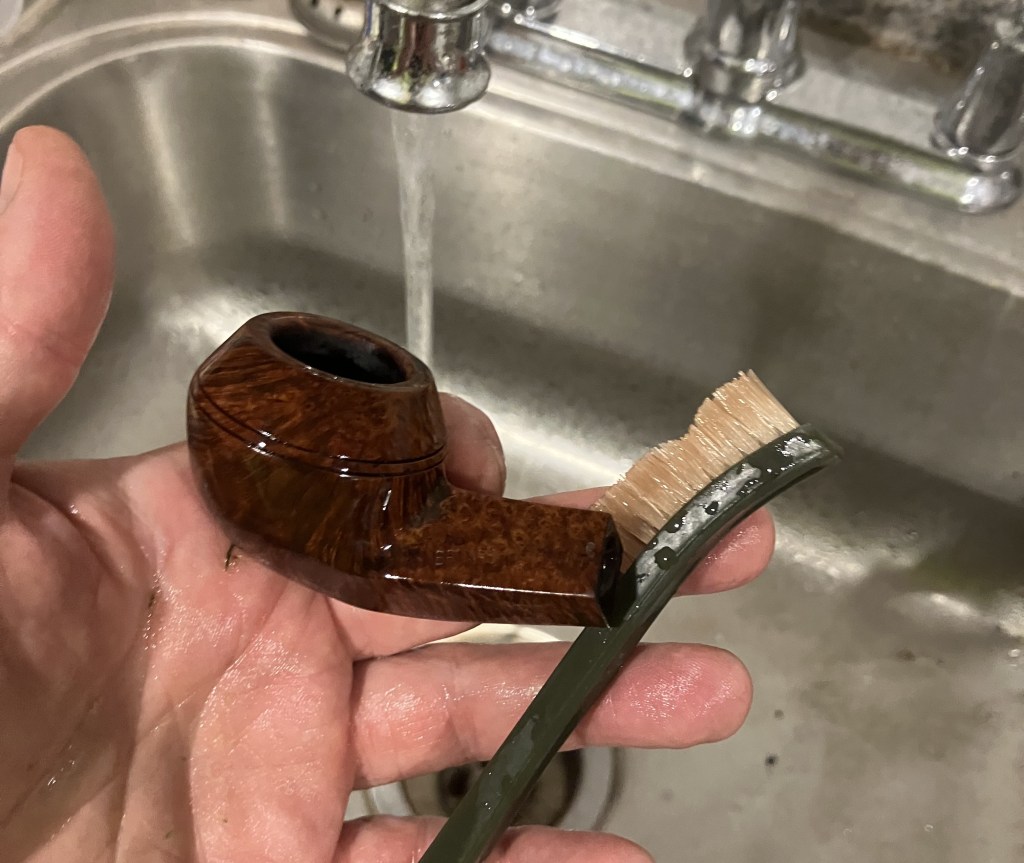
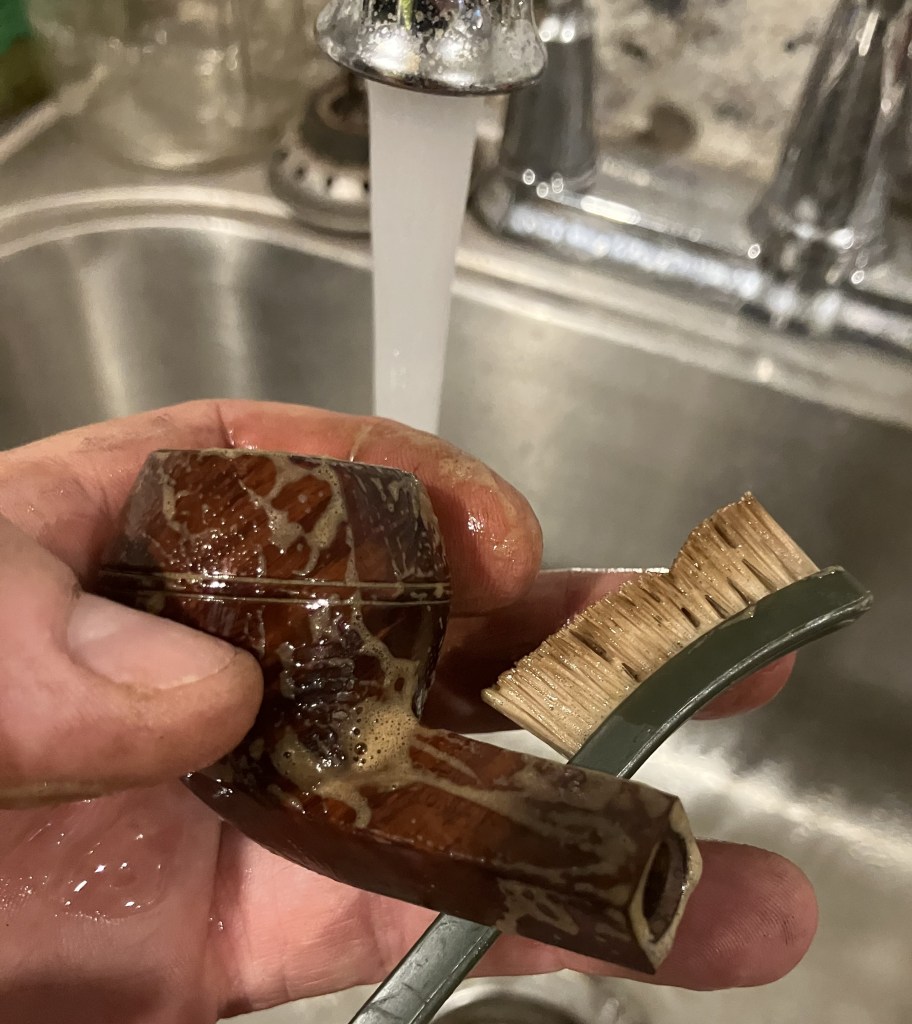
The stummel was then taken to the sink for a scrub with undiluted Murphy Oil Soap and a nylon brush. The soap was rinsed with warm water and the stummel dried with a cotton hand towel.
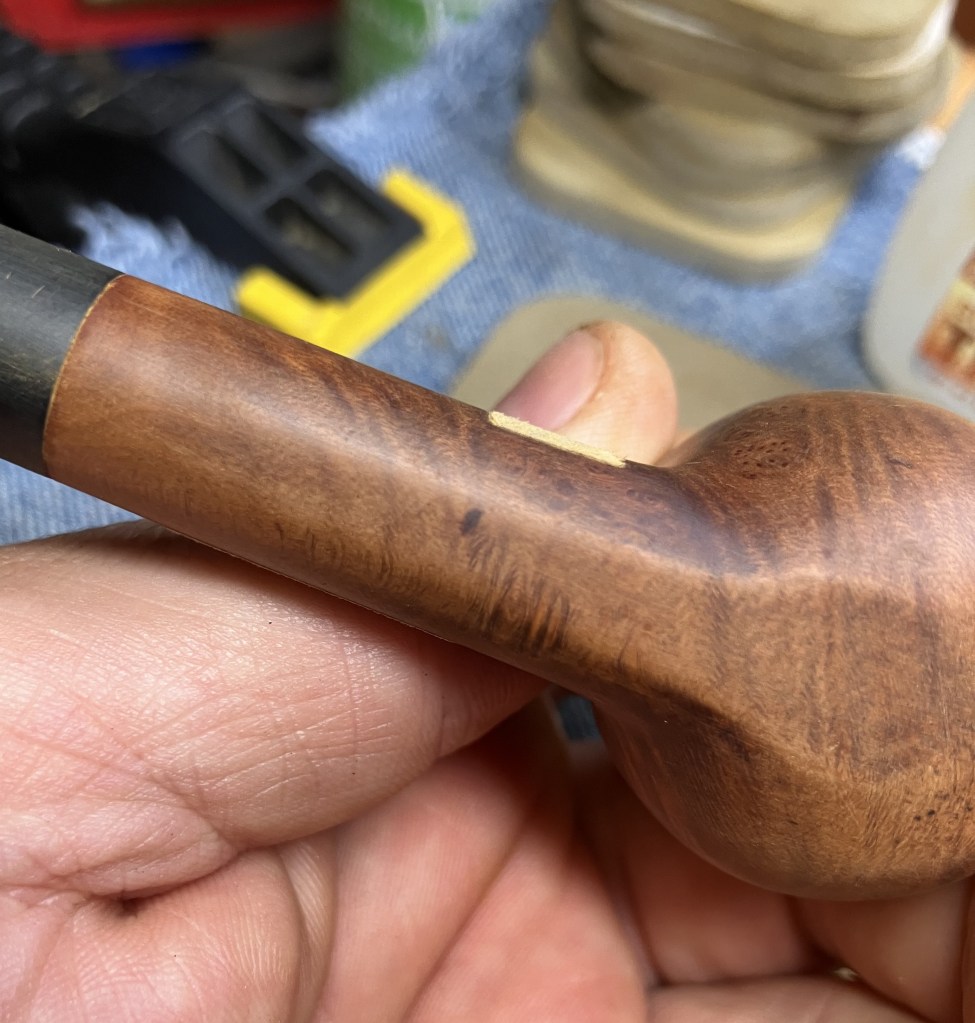
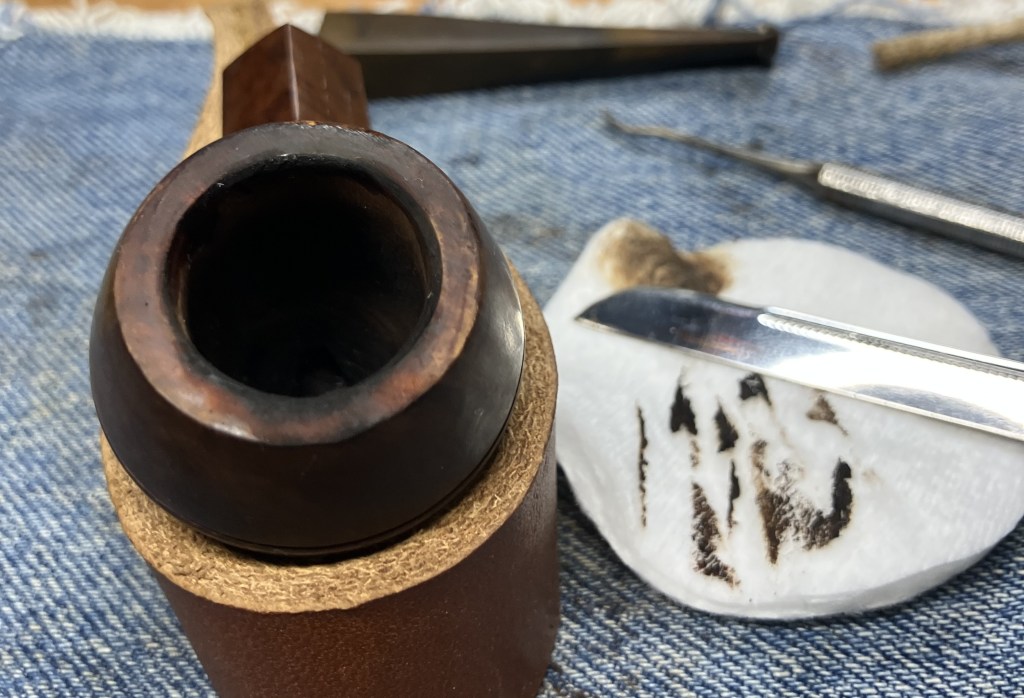
Back at the workbench, I wiped the stummel’s stamp panel with 99% ethyl alcohol on a make-up pad. This removed a lot of the shellac and some of the stain/dye. You can see in the photo below that the shellac had filled in the scratched on the panel. This layer of finish was quite thick.

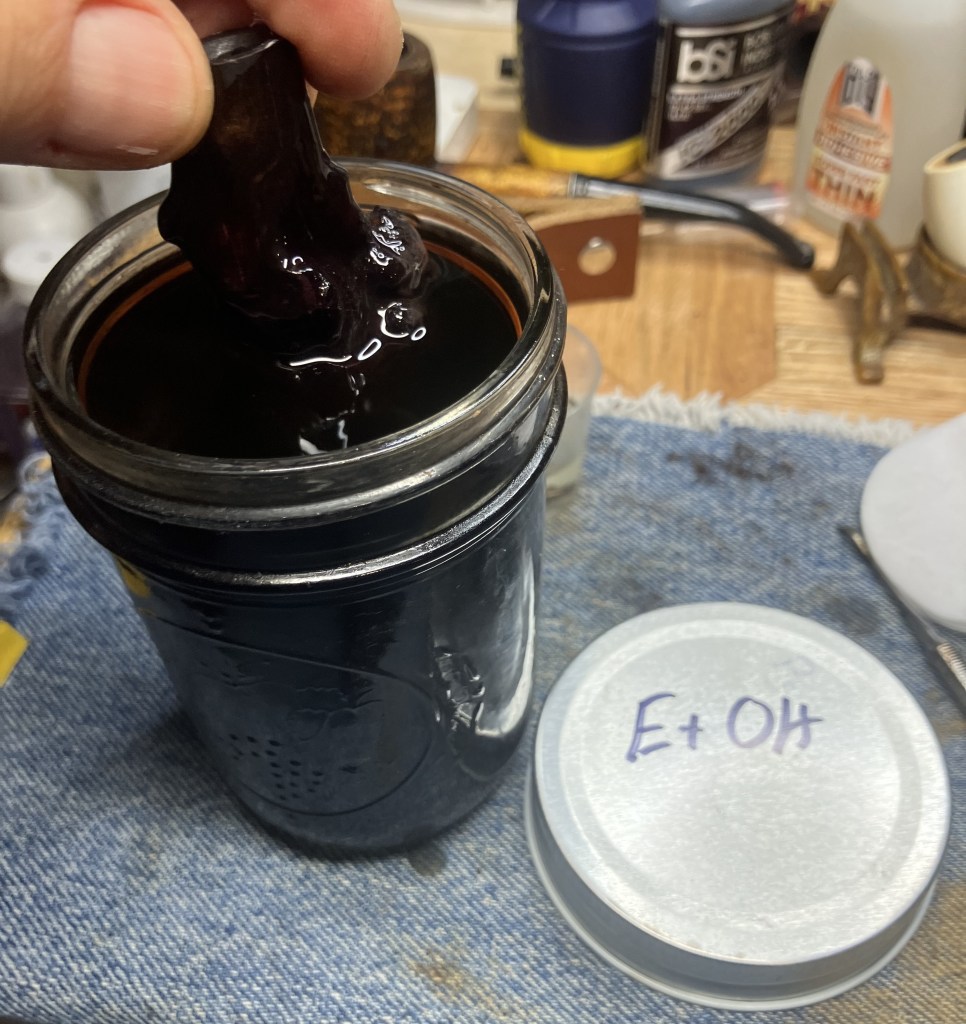
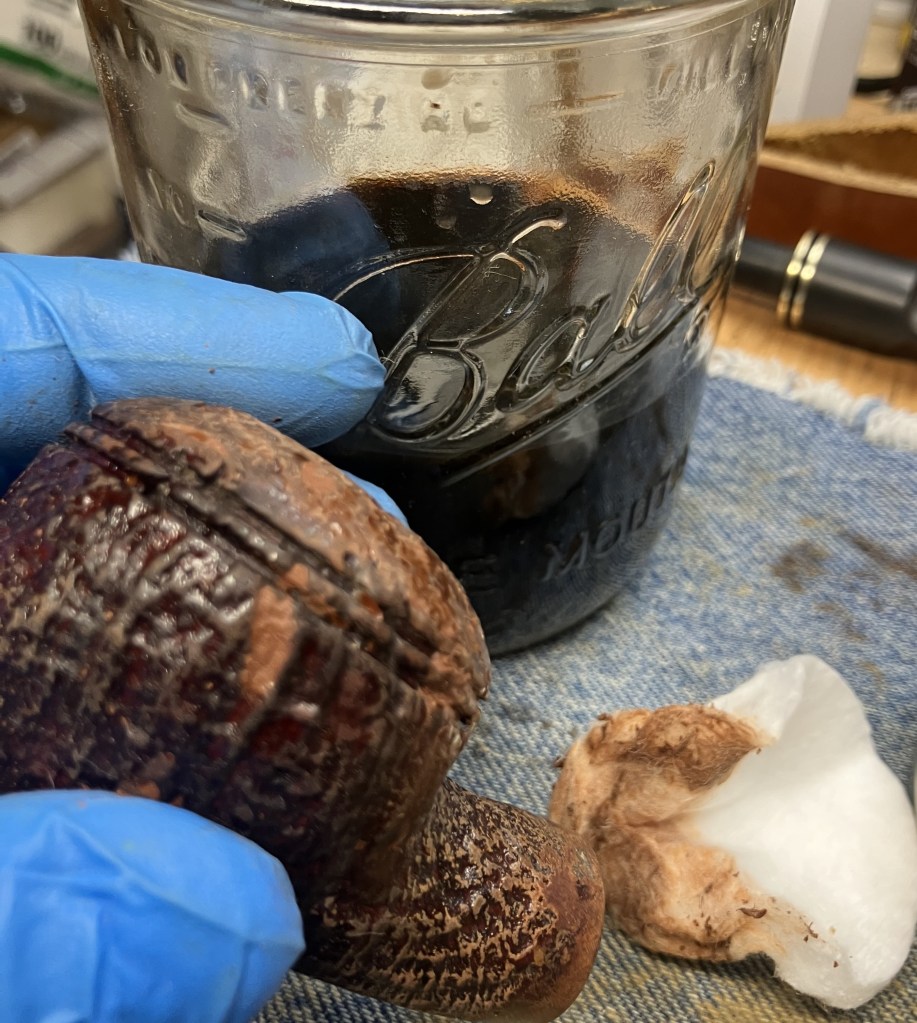
I wanted to get rid of the old finish to see the briar detail more clearly and maybe some of the color of the wood. Shellac is soluble in ethyl alcohol (EtOH, an old organic chemistry abbreviation), so I gave the stummel an hour long bath in a jar of EtOH.
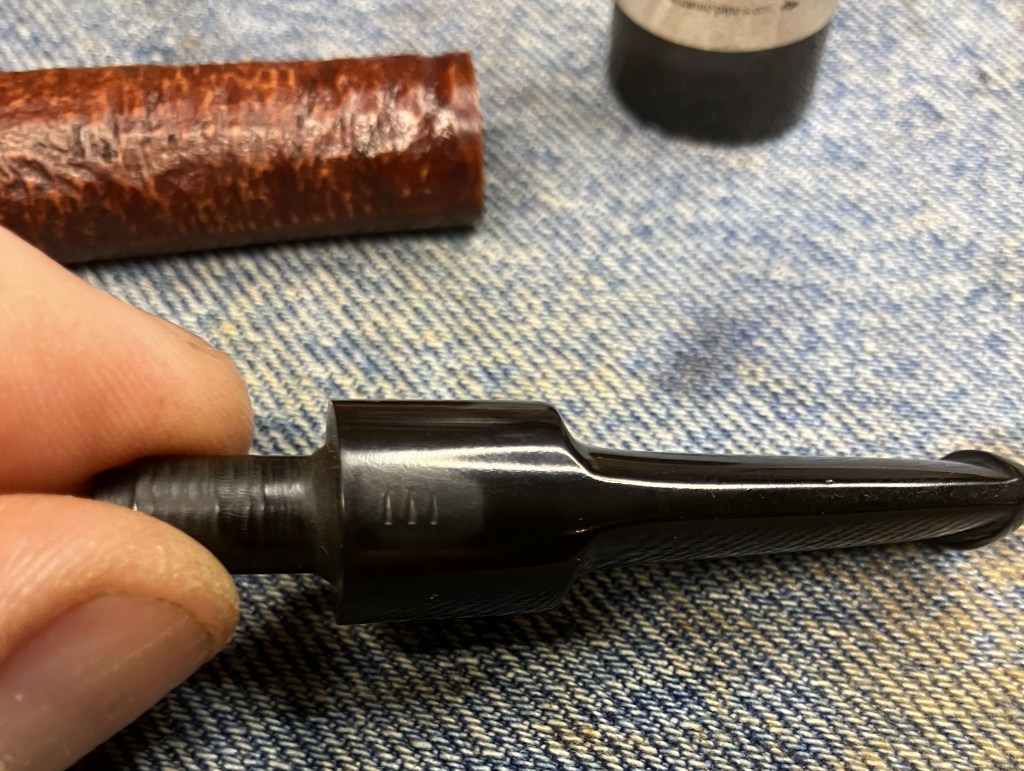
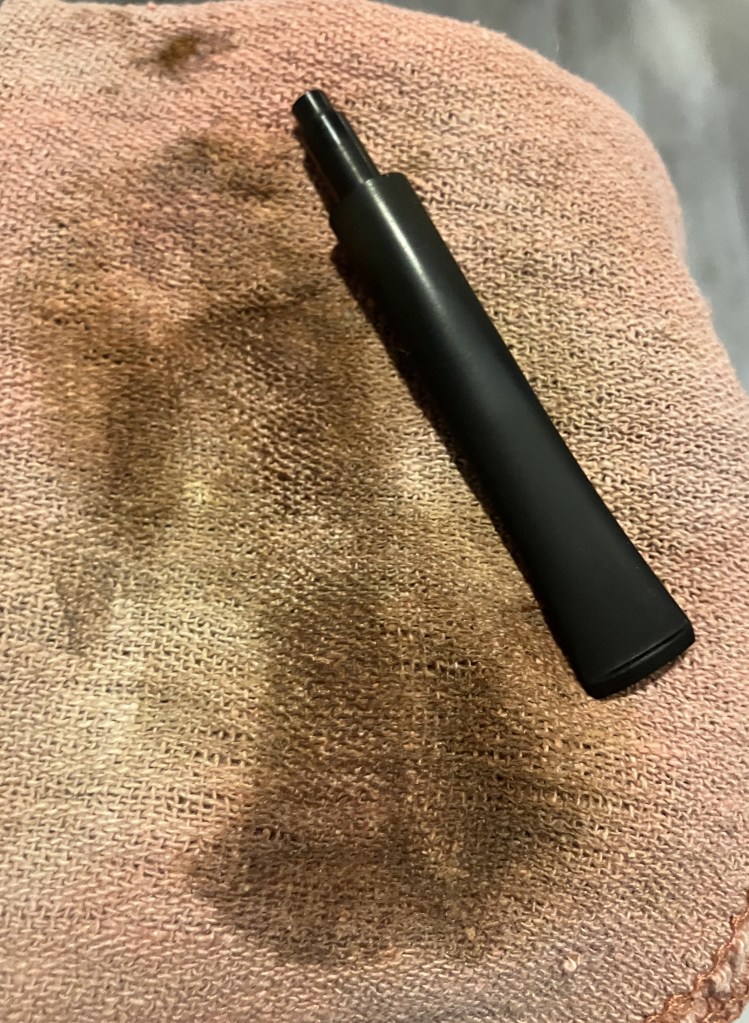
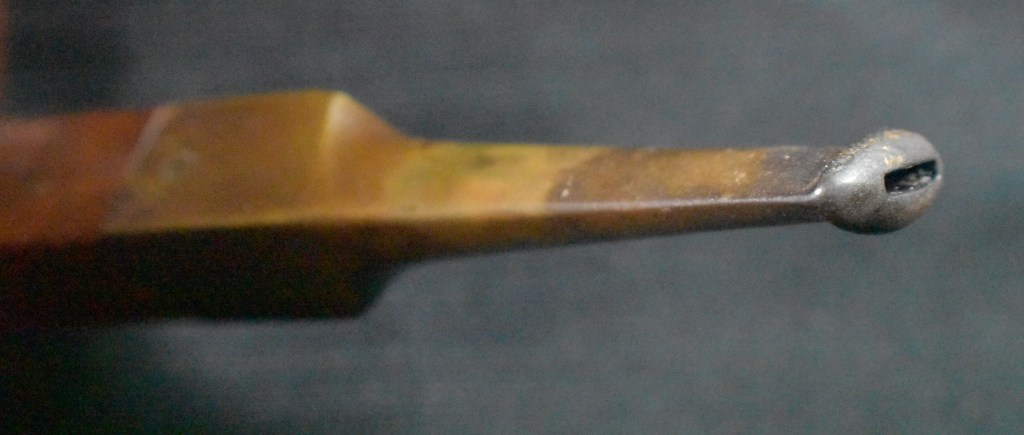
This allowed me some time to clean and polish the stinger. It was removed from the 10 ml of EtOH and scrubbed with a bristle pipe cleaner. I used another pipe stem to hold the stinger while I work.

The stinger was then buffed with white buffing compound on the white compound wheel.

After cleaning off any remaining buffing compound the stinger looked great.
After the hour-long soak in EtOH I scrubbed the stummel again but this time using the EtOH rather than Murphy’s. You can see from the photo below that there was a great deal of dye and shellac liberated from the stummel.

Again, back at the workbench the burl was looking less finish coated but it still had spots of shiny shellac in the low spots and a whole lot of purple.

With the airway residues further softened, I cleaned this out again with cotton swabs and EtOH.

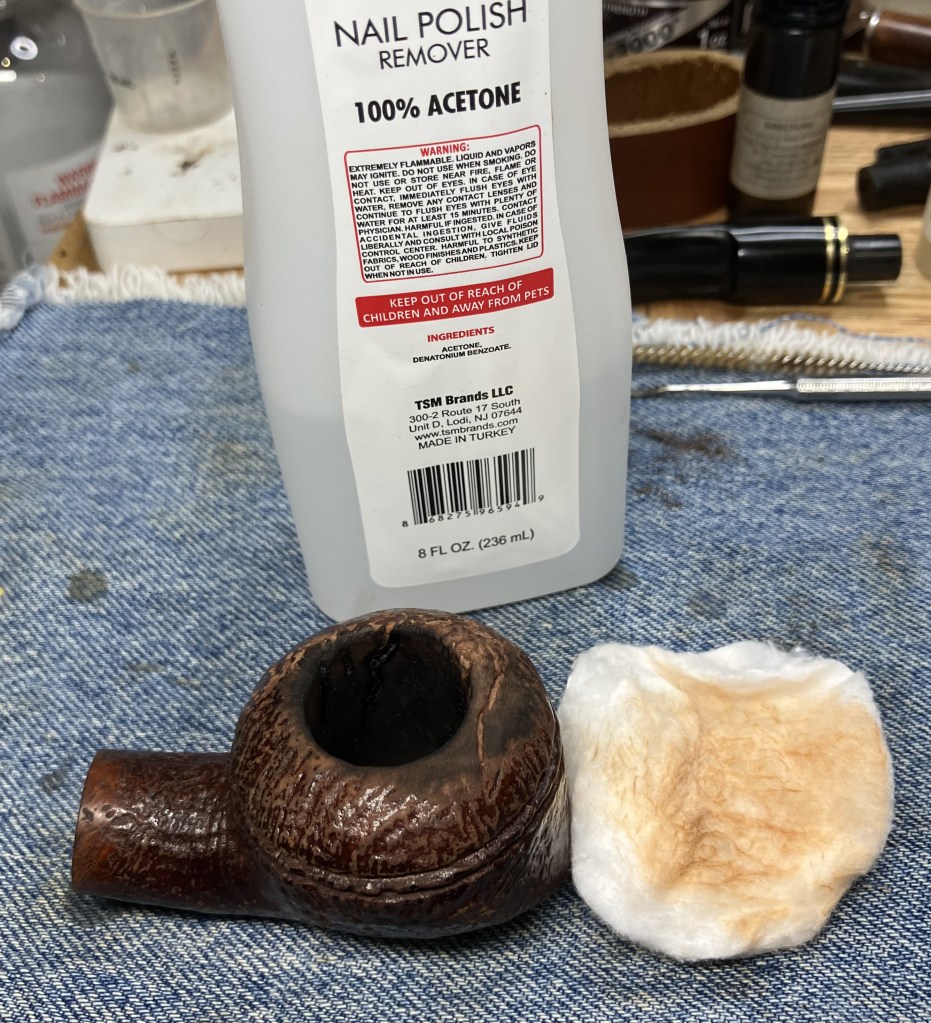
I tried wiping the stamp panel again, as a test, with acetone on a make-up pad. I was amazed at how much color came off.

I decided to give the stummel a 30 minute bath in acetone.

After 30 minutes I removed the stummel.

The stummel was then taken to the sink where I scrubbed it with a nylon brush and additional acetone.

I used Castile soap and the nylon brush to scrub away acetone from the surface of the pipe. This was rinsed with water. I then placed the stummel outside in the sun to allow the acetone to evaporate from the briar. The stummel was left in the sun for over an hour.
I retrieved the stem from deox and vigorously rubbed it with a coarse shop rag. This removes some of the oxidized vulcanite softened by the deox solution.

The stem looked much better with minimal pitting.

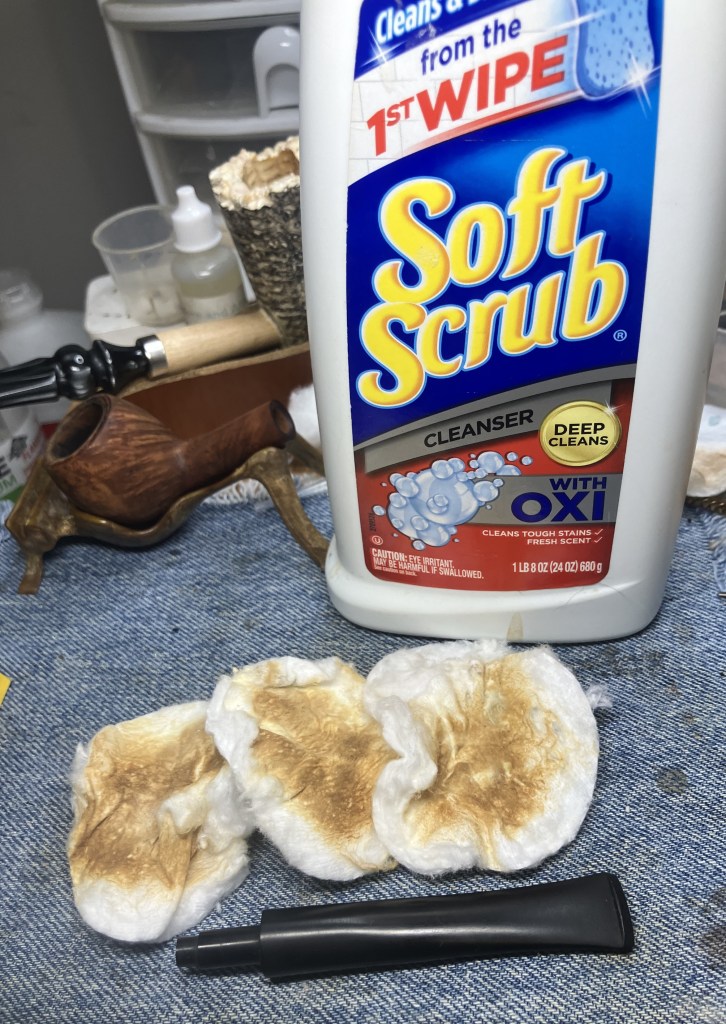
Soft Scrub cleanser was used on make-up pads to scrub the stem.

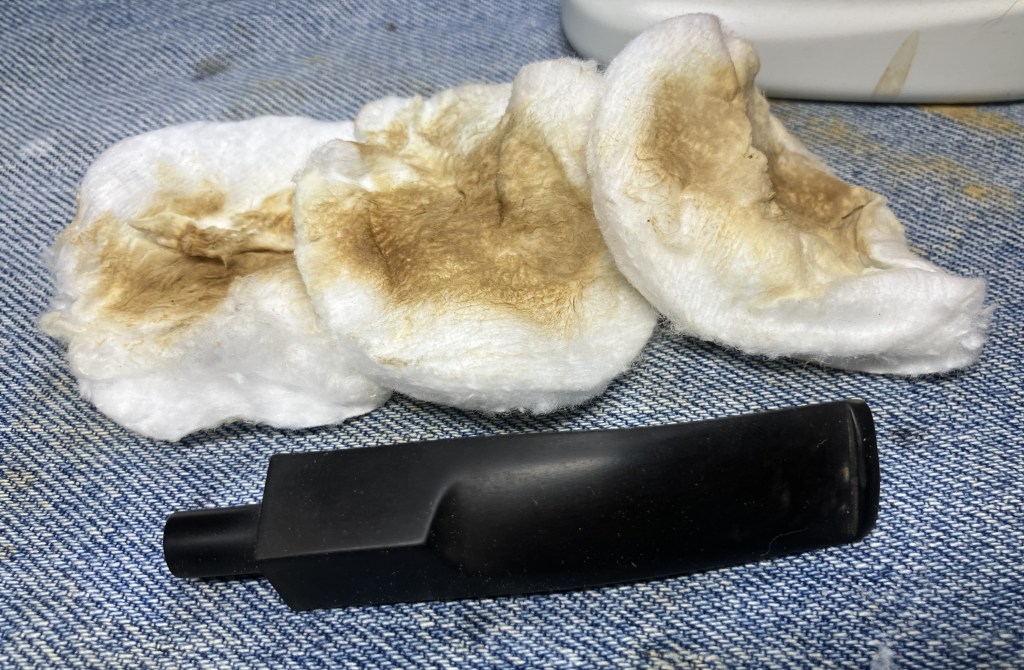
The first pad removed a good deal of oxidized vulcanite.

The second make-up pad removed significantly less material.

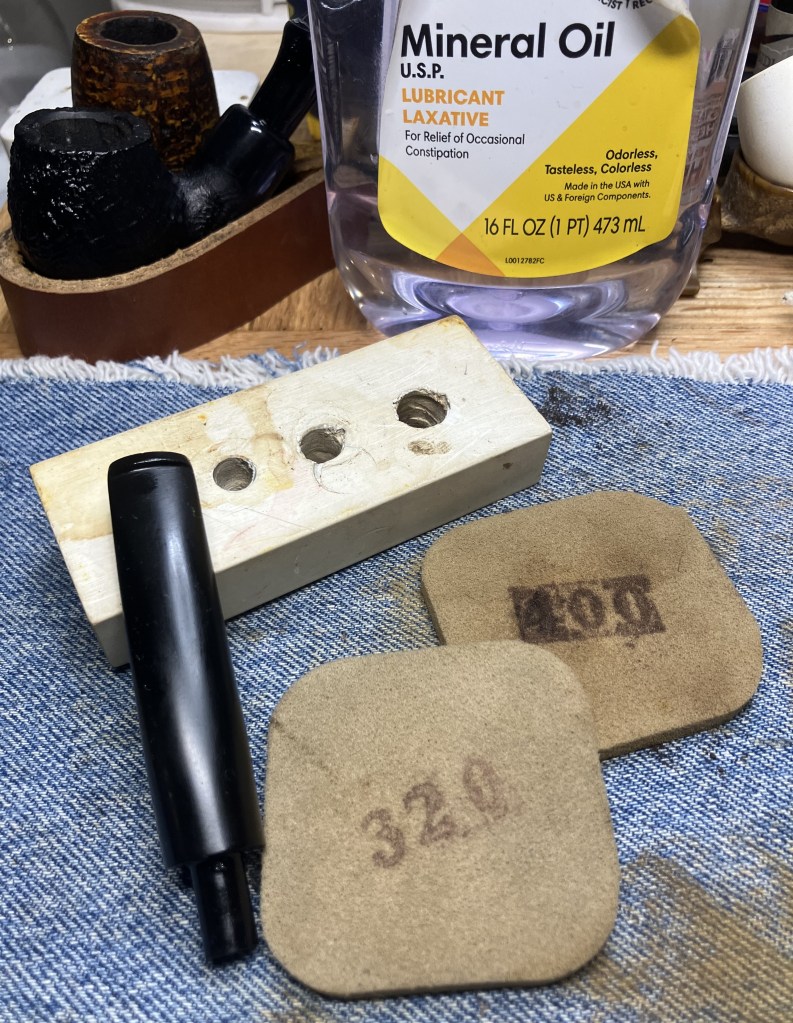
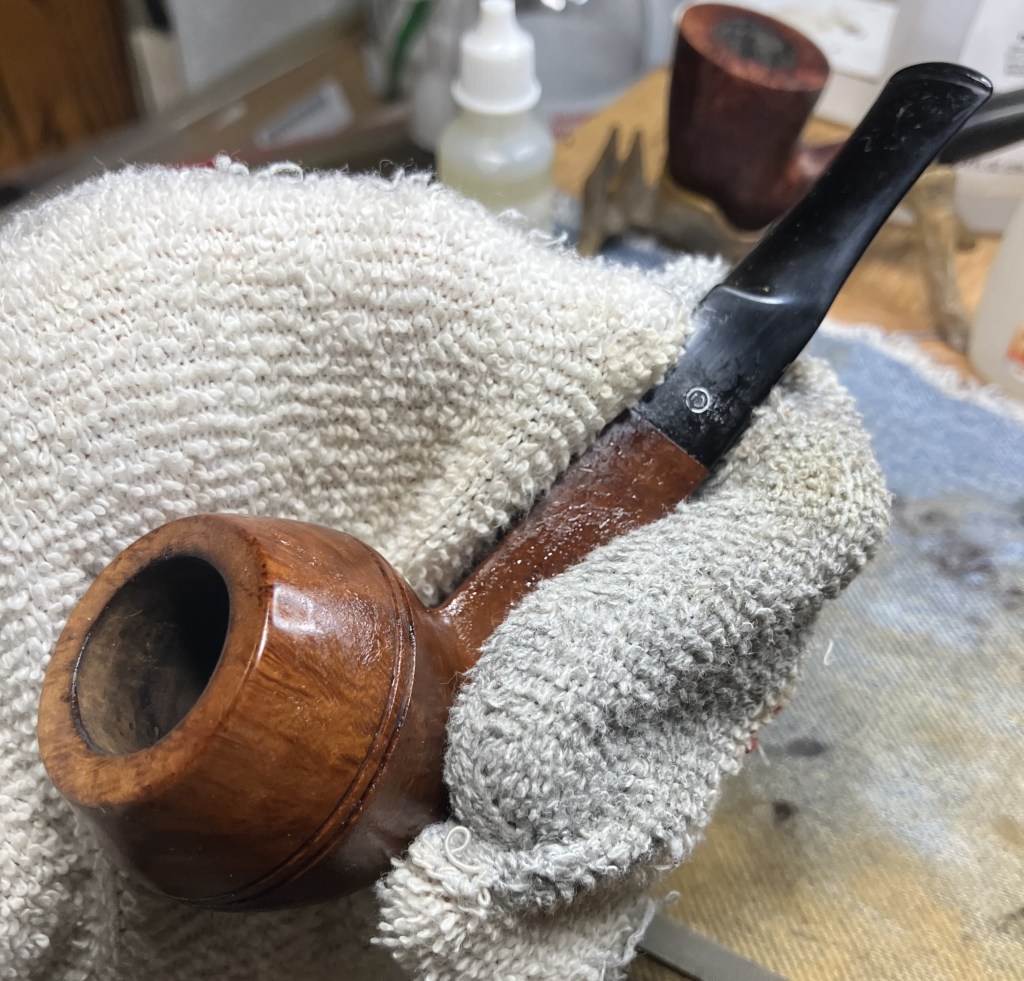
Since the stummel was drying in the sun, I used a wood block with holes drilled for different diameters to hold the stem while I sanded it. I like to either have the stem connected to the stummel of a block like this to keep from rounding off the joint where the stem meets the shank.
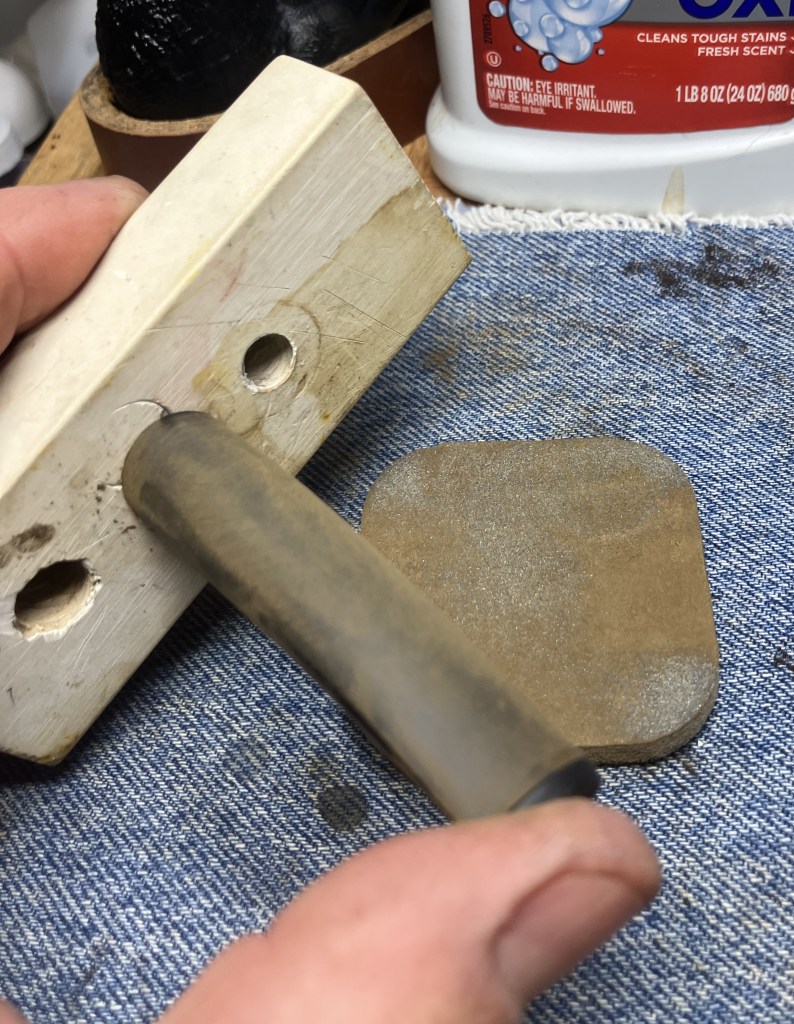
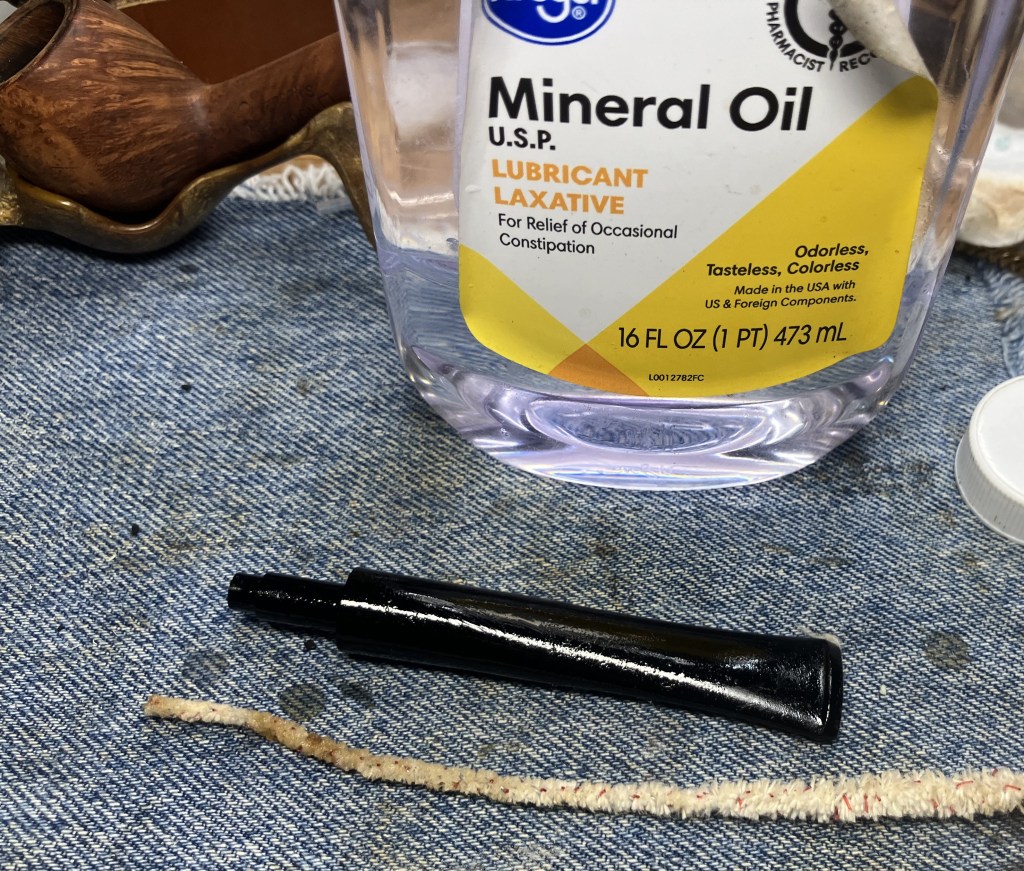
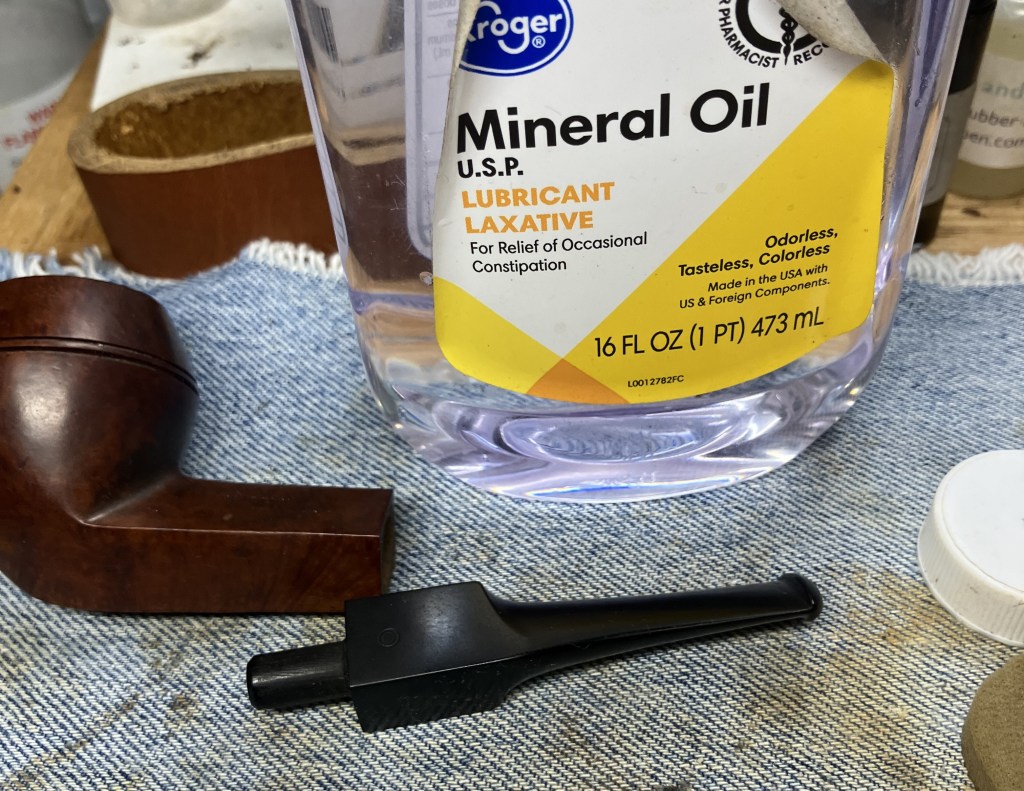
After sanding with a 320 and a 400 grit sponge the stem was rubbed with mineral oil.
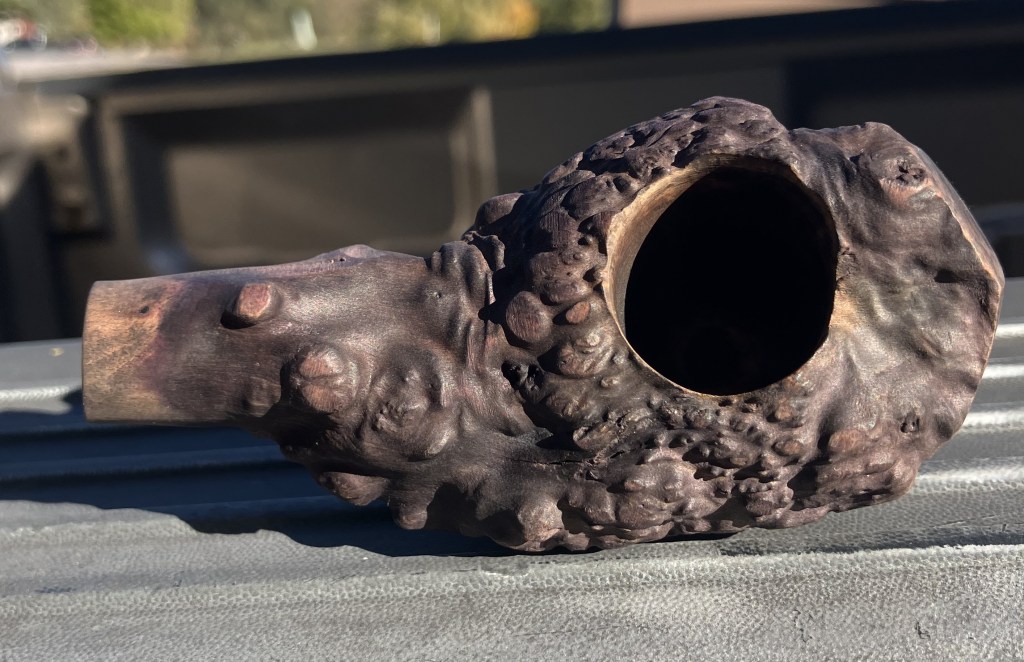
I checked back with the stummel after an hour. It still had a slight acetone smell so I knew it was not thoroughly dry. I did take a few photos of the stummel in the sun to show how much finish had been removed. Sorry, these shots were taken on the side-wall of my truck, not the best backdrop.

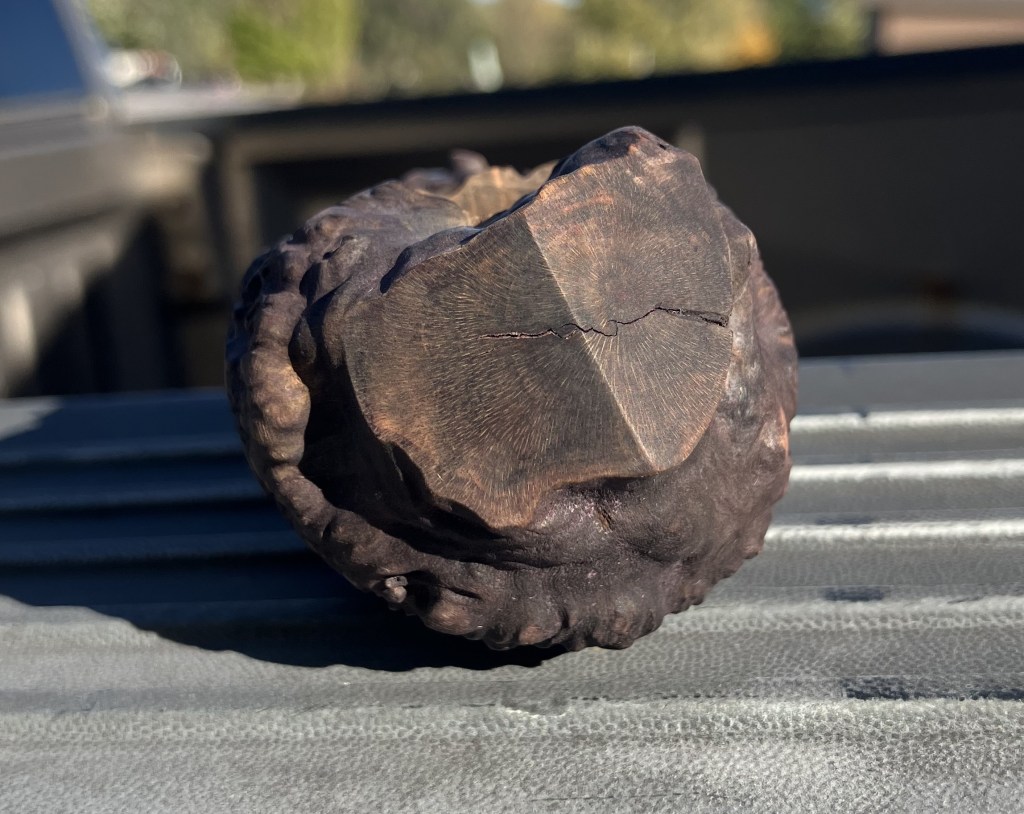

I was glad to see that I could tell this was wood and not some weird plastic or space-age-epoxy-resin. Still I wanted to lighten the briar further. I thought about my successful (and some unsuccessful) uses of oxalic acid to bleach stained wood. I thought that it might work here.

The saturated oxalic acid solution was applied with a cotton swab. This was allowed to sit for 30 minutes. After the 30 minutes I again scrubbed the stummel with warm water then an additional scrub with Castile Soap and a final rinse with warm water.

I returned to the workbench and wiped the stummel with 99% EtOH on a make-up pad. The pad in the photo below is after the entire stummel was wiped. There was still a lot of dye coming off. I declared defeat, the remaining dye would remain. The oxalic acid treatment seemed to do little. I had been defeated by the purple plague.

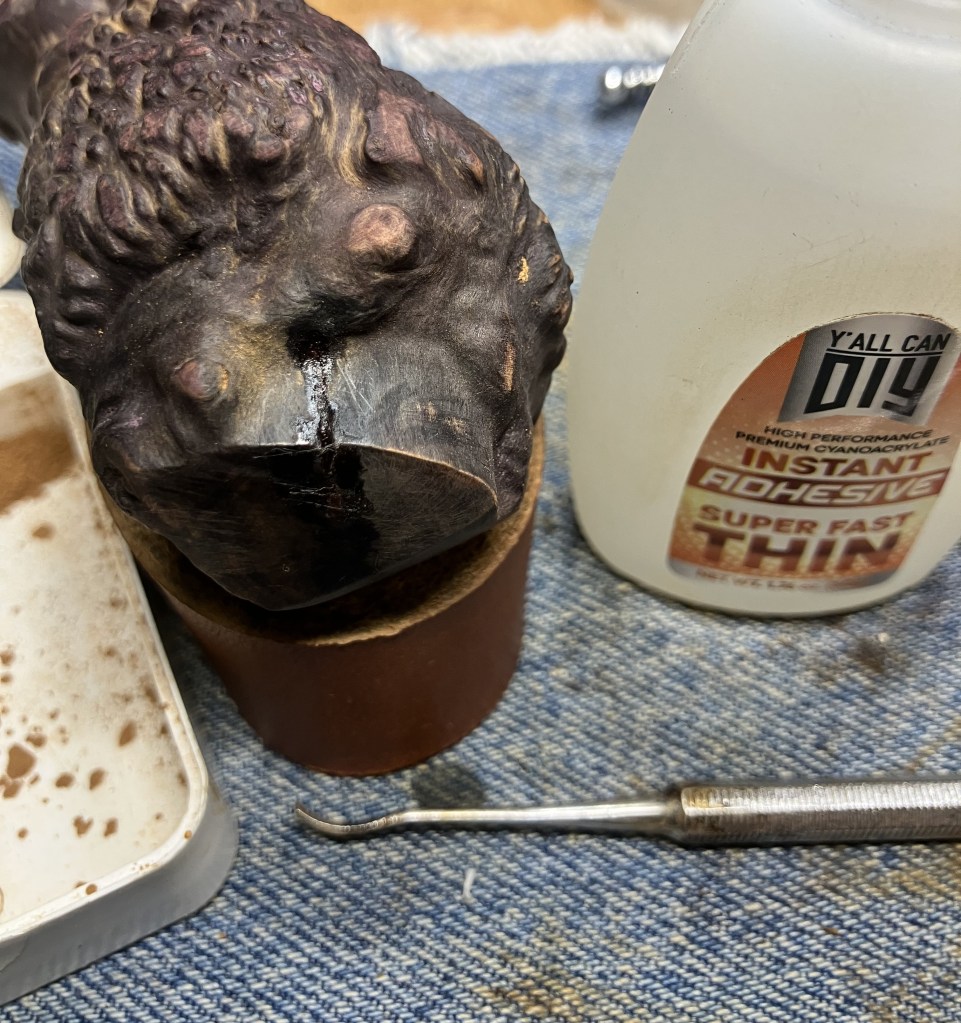
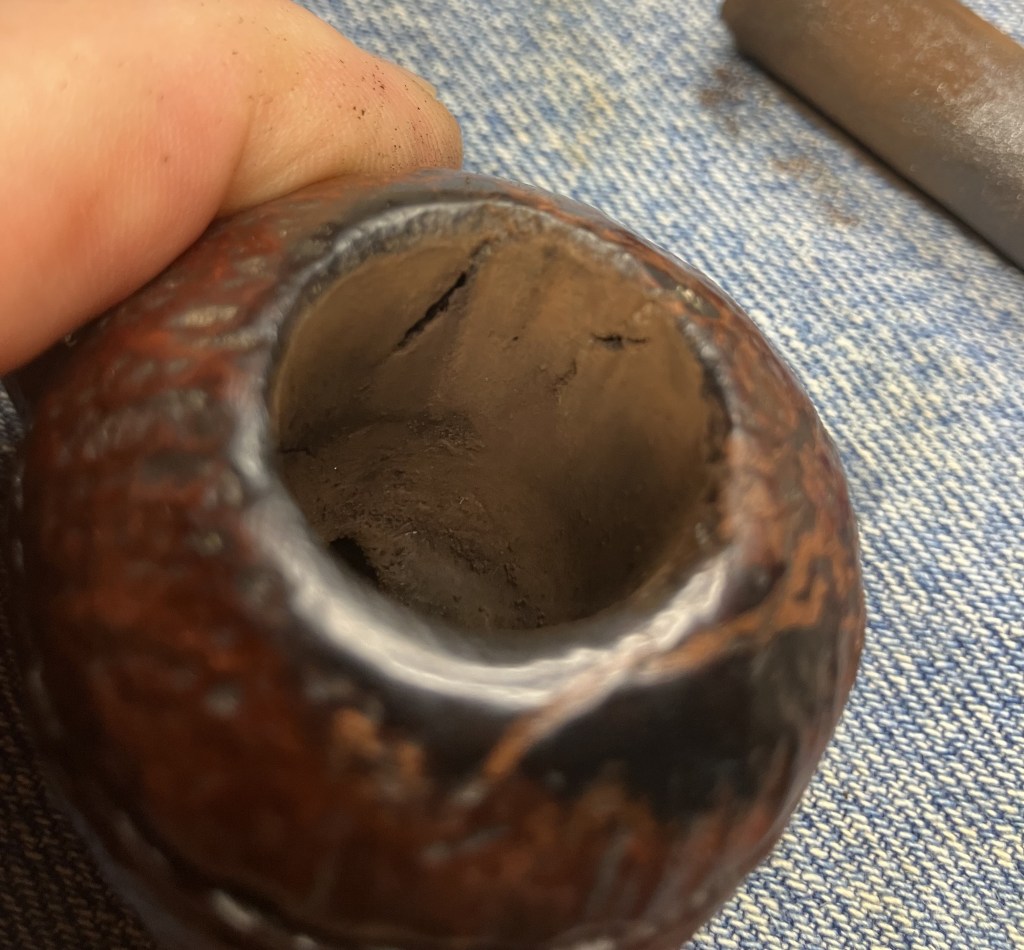
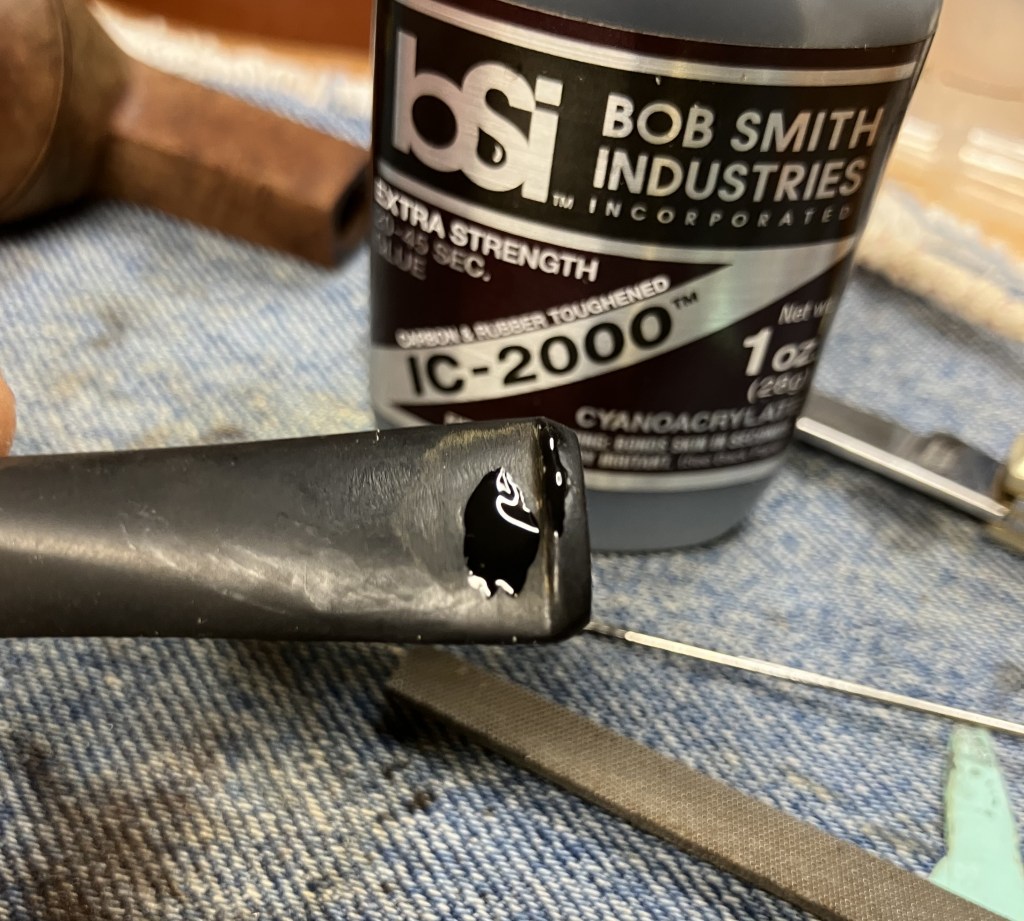
All of these baths had made the slight crack in the front of the pipe to expand. I used a fly tying bodkin to pick the old fill from the crack.

The crack could not be compressed and it appeared to be superficial and not structural. I decided to just refill it using briar dust and cyanoacrylate (CA, super glue). I pressed briar dust into the crack and tamped it with the bodkin.

Thin Ca was applied with a very narrow plastic tip.

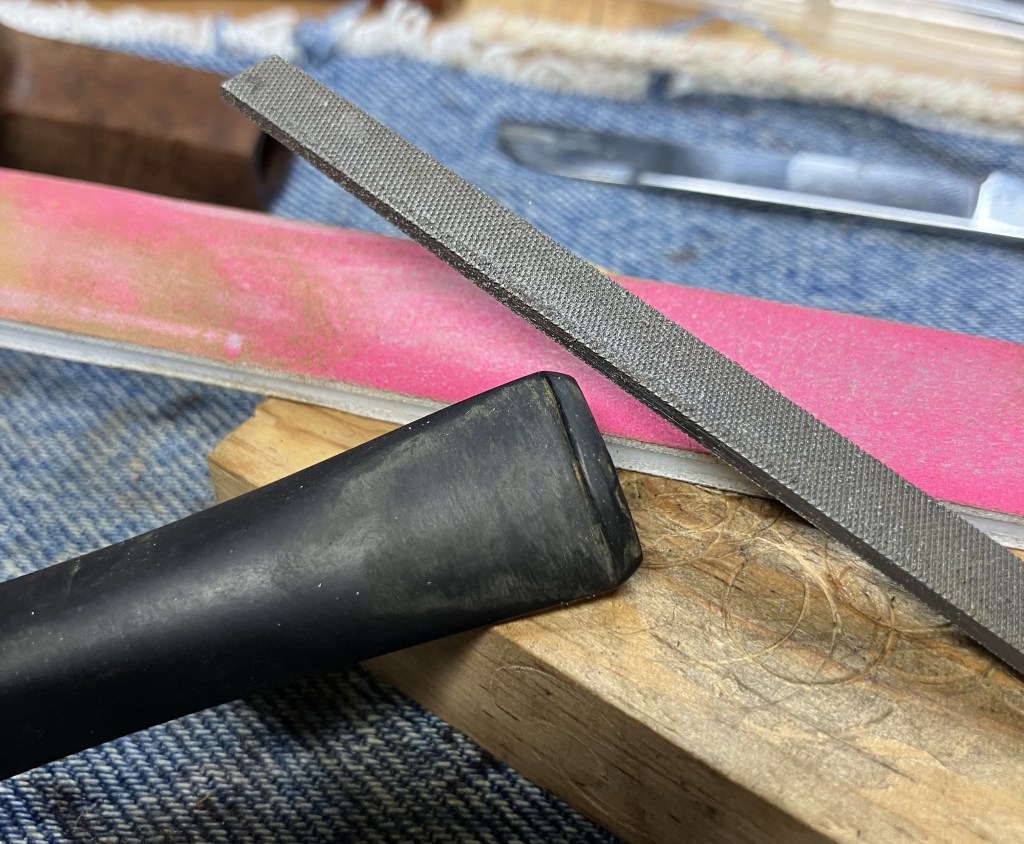
The Thin CA soaked into the briar dust and bonded it to the existing briar. I repeated the filling of the crack with a second coating of briar dust and another drop of Thin CA. The excess new-fill was filed with a small flat file and sanded with a 400 grit sanding sponge.
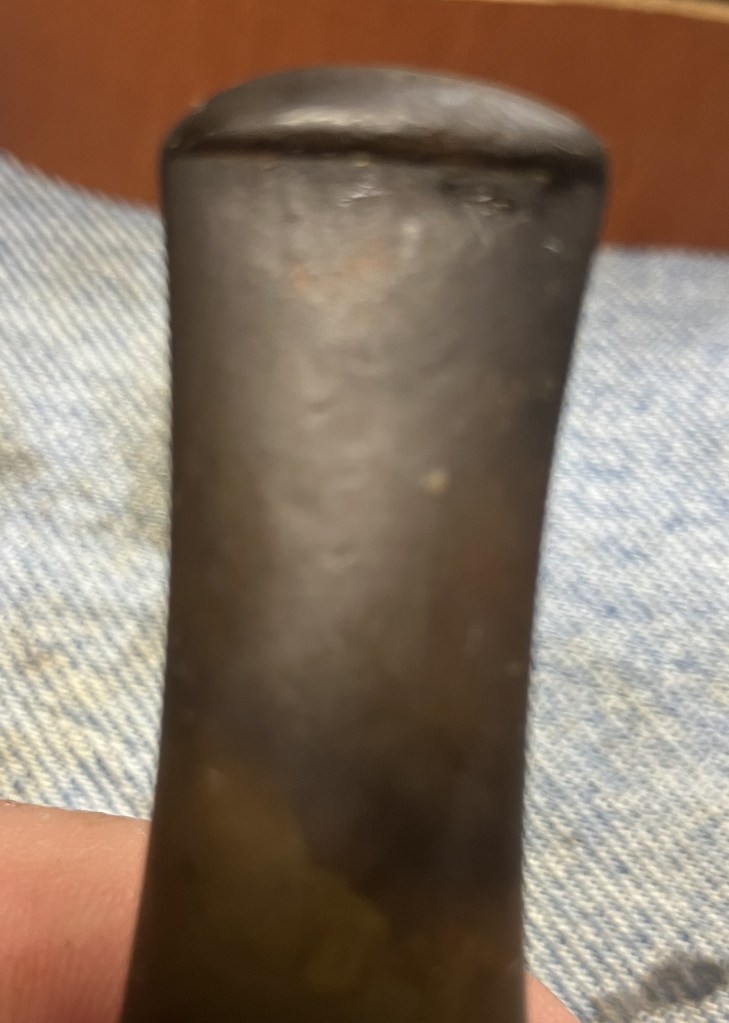
Below is the fill as seen from head-on.

And from the side with poor focus.

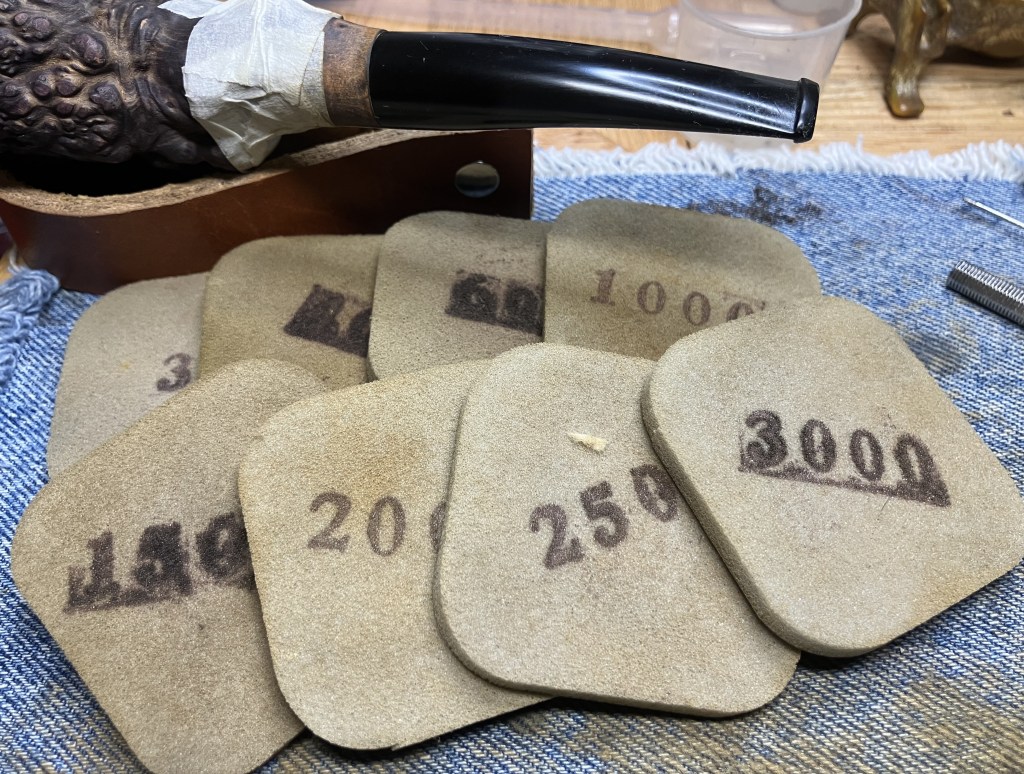
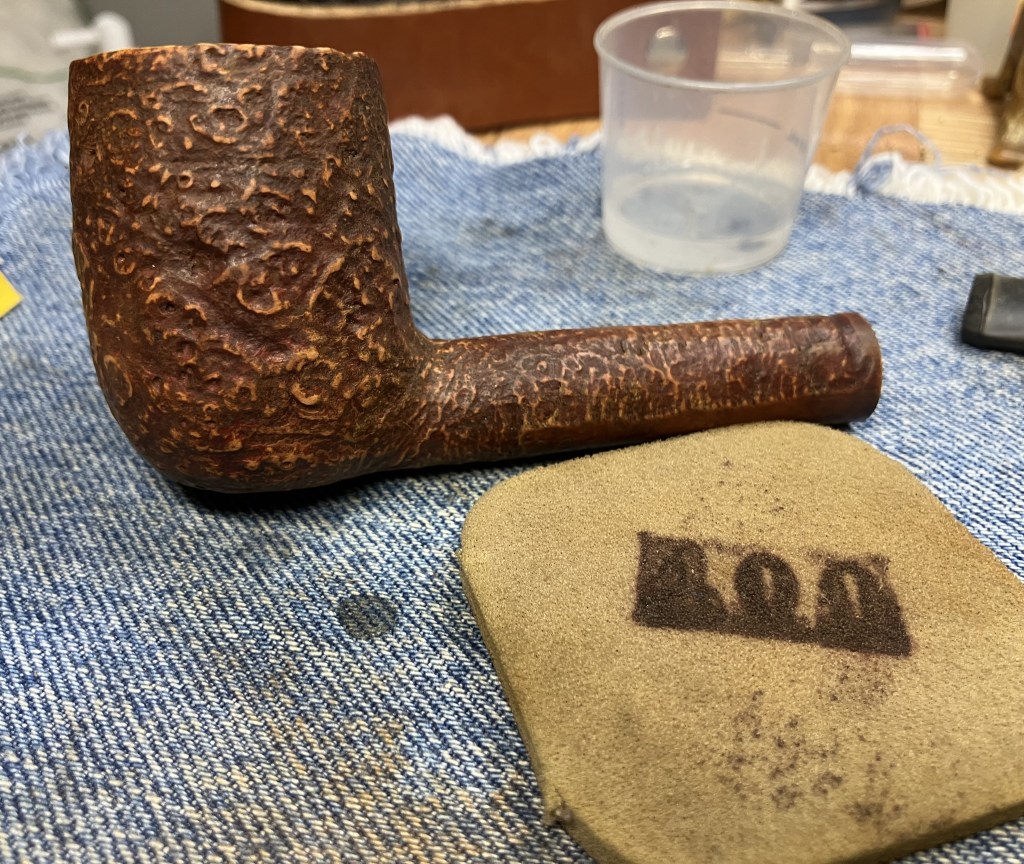
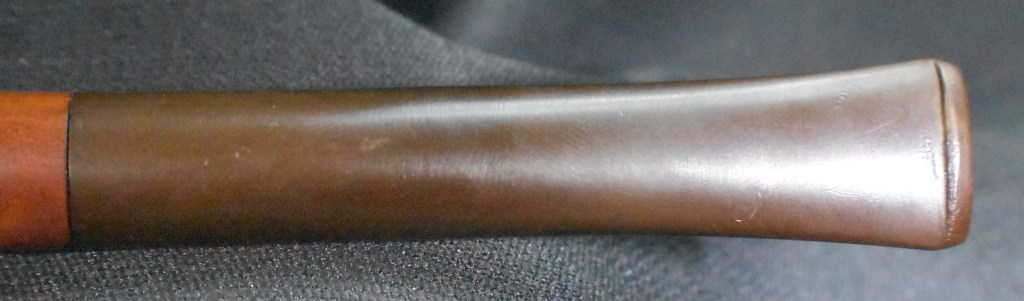
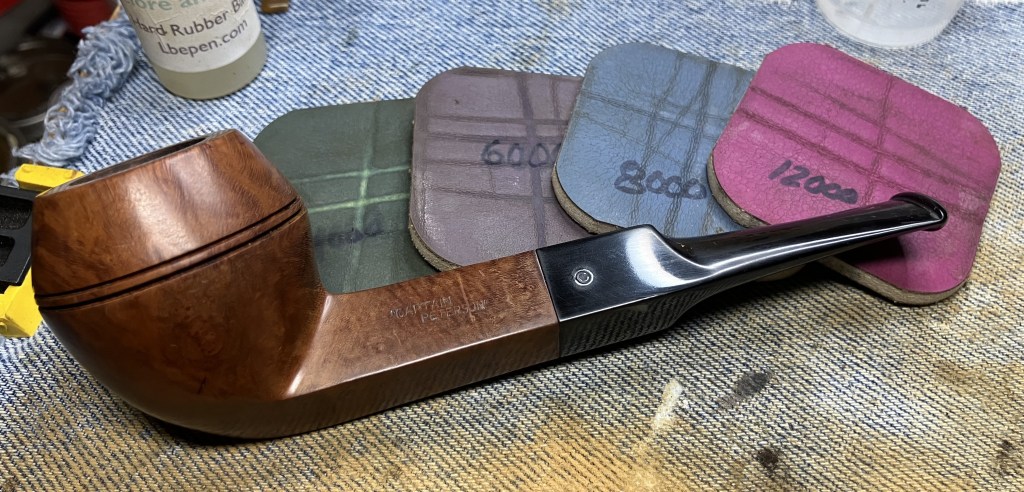
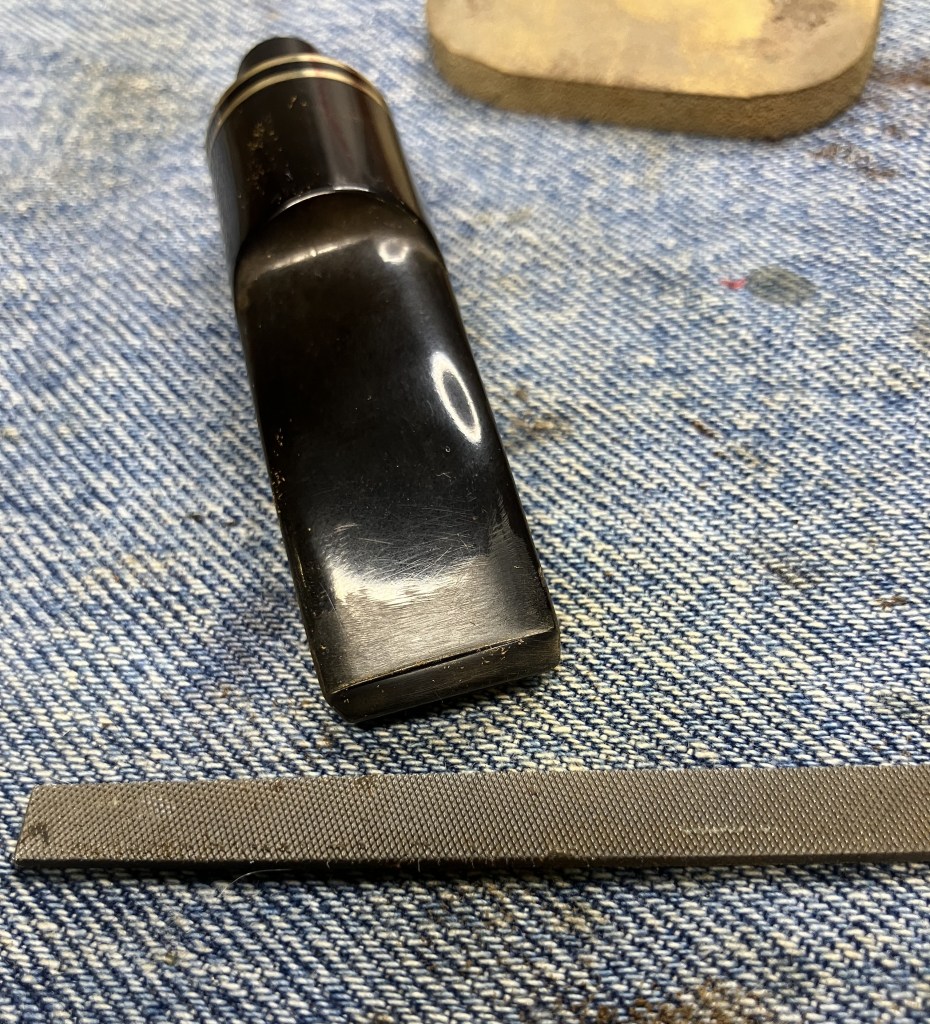
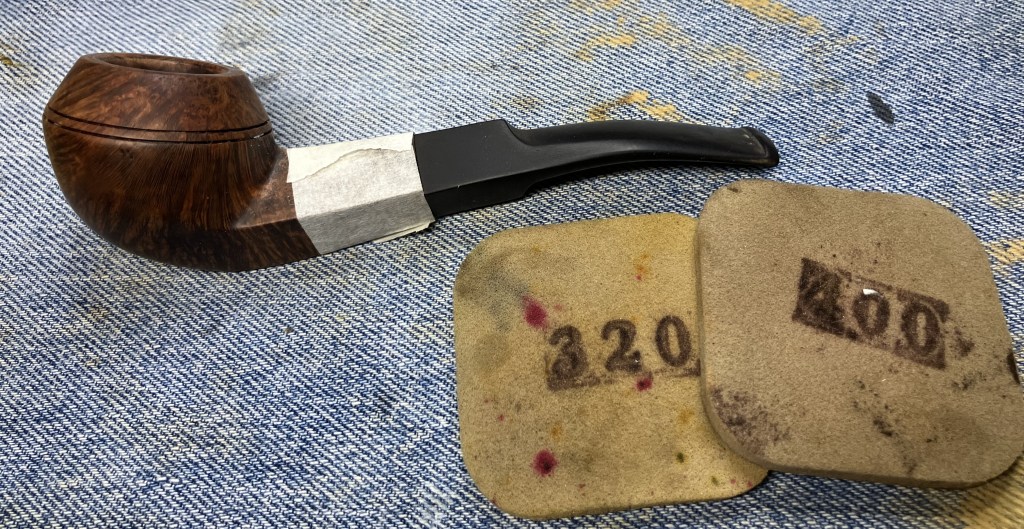
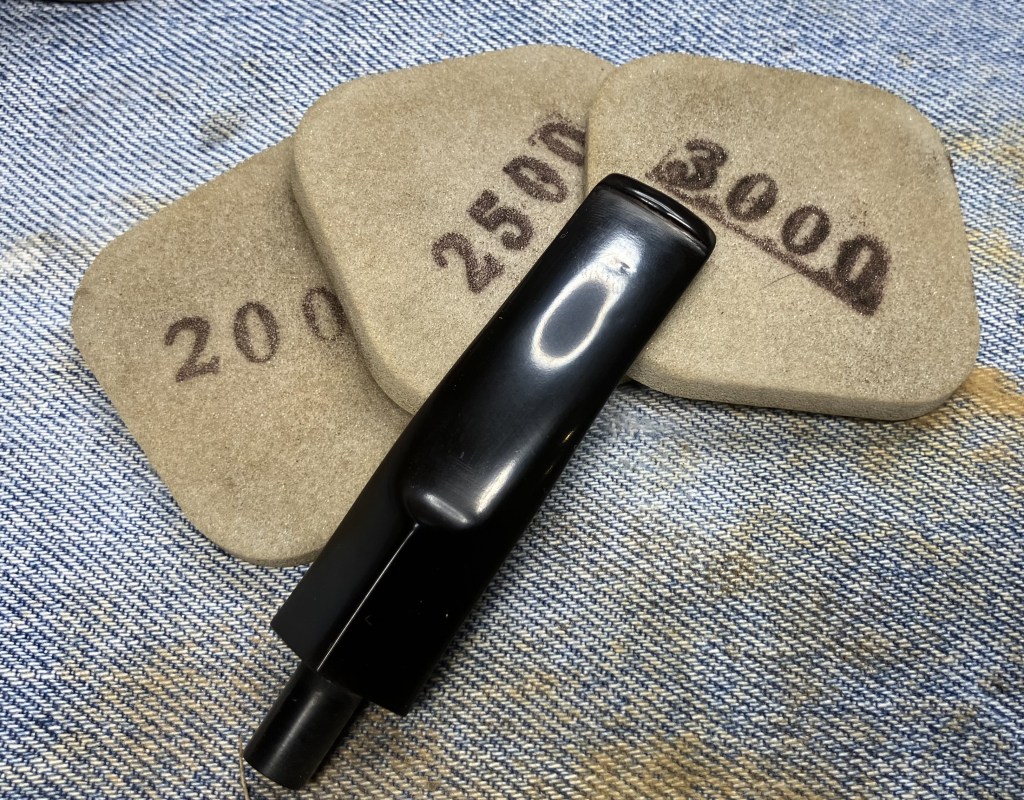
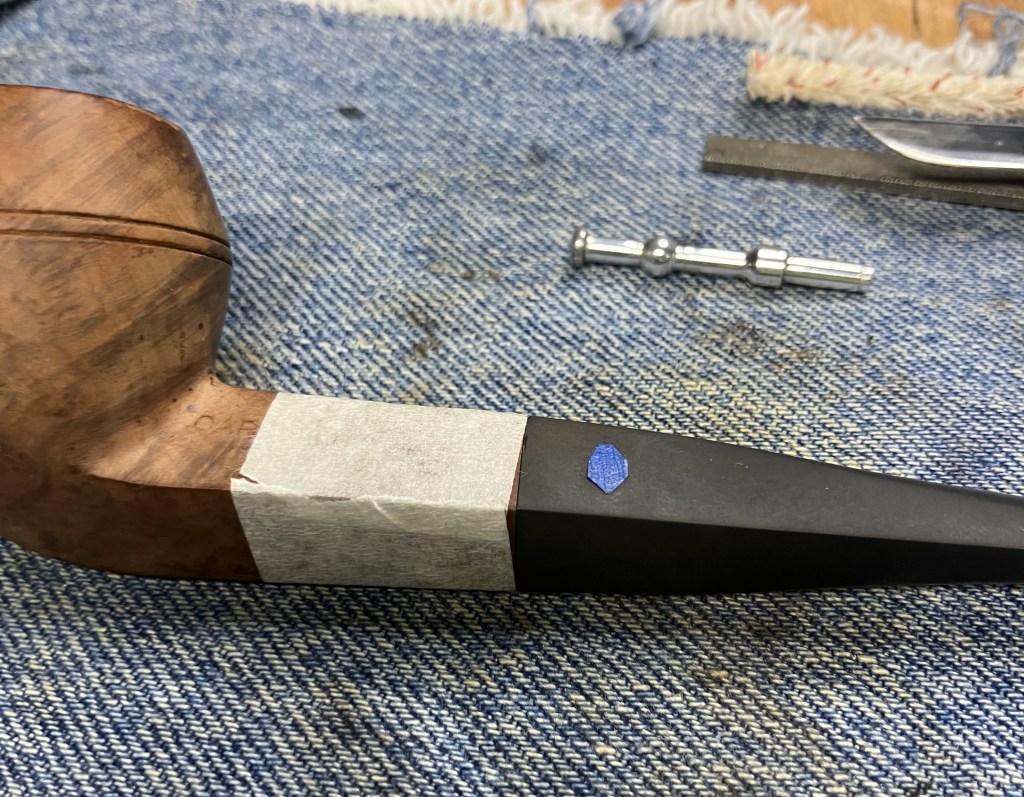
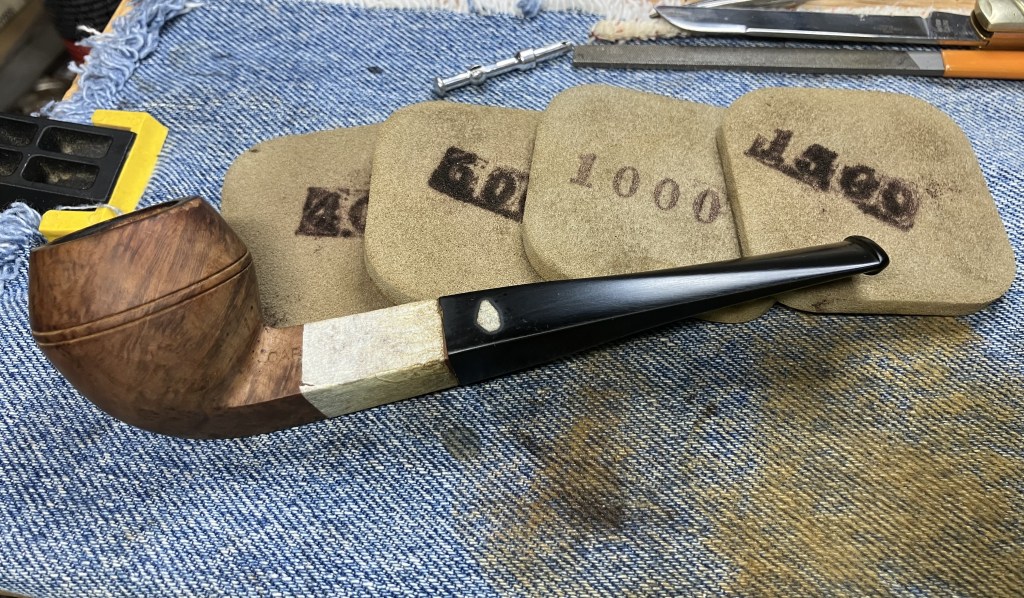
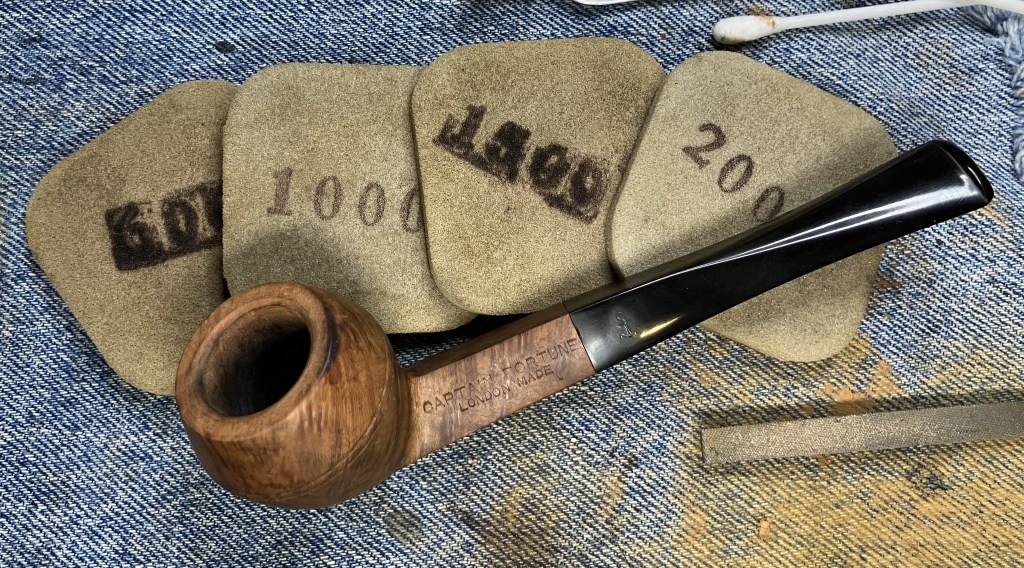
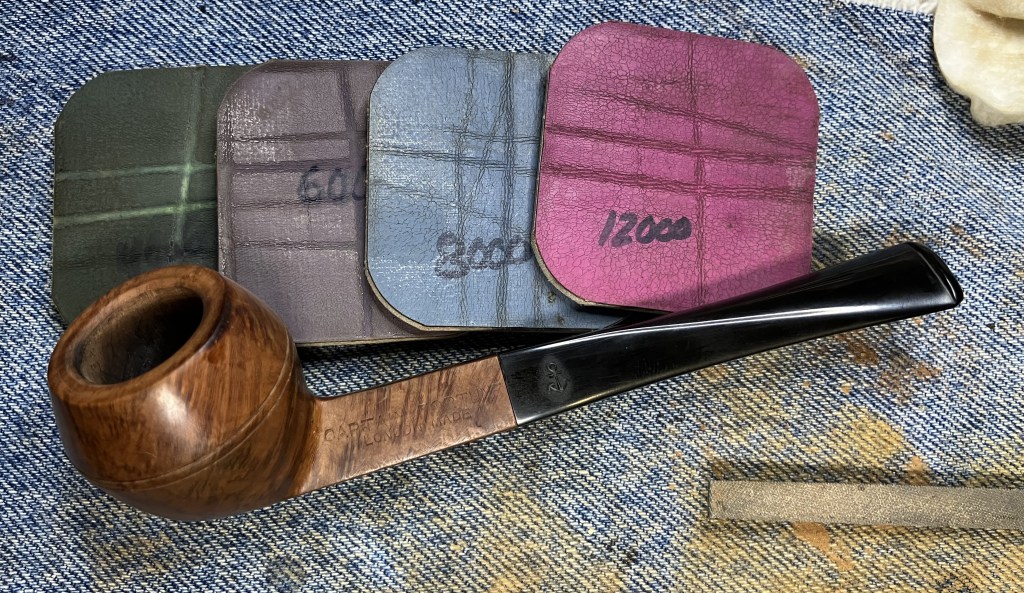
It was time to sand the stem and the shank-end. The area that I did not want sanded was taped with masking tape.

A series of sanding sponges were used in grits 320-3500. Between each sponge the stem was rubbed with mineral oil and wiped with a paper towel.
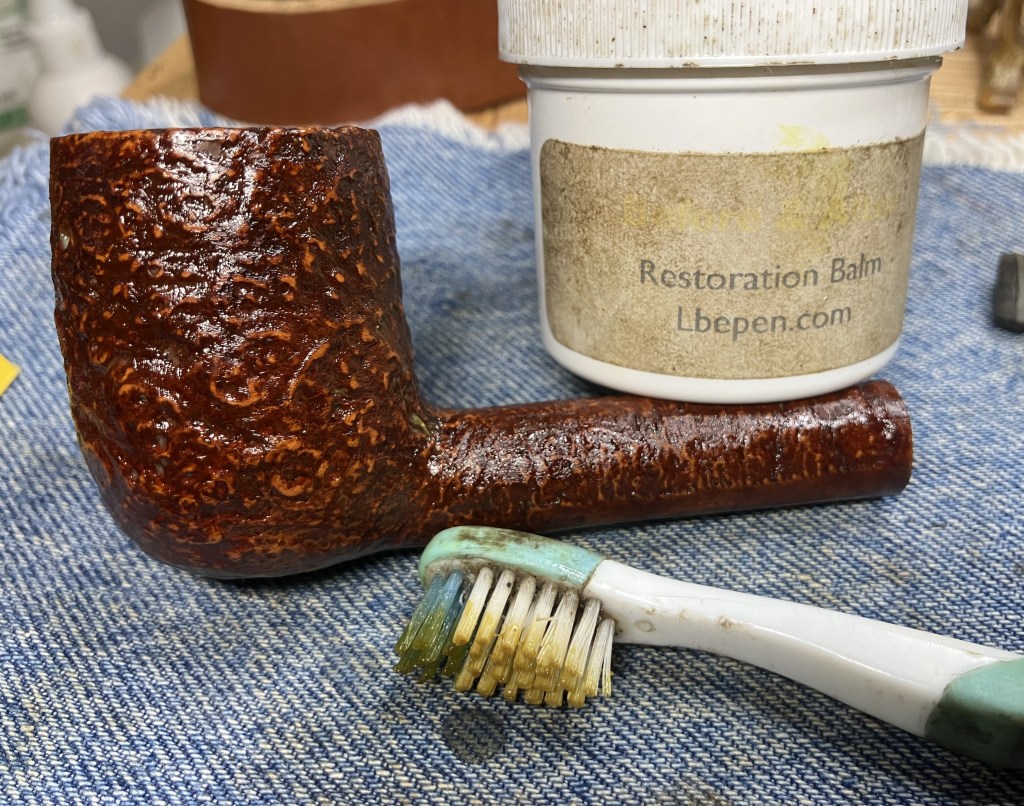
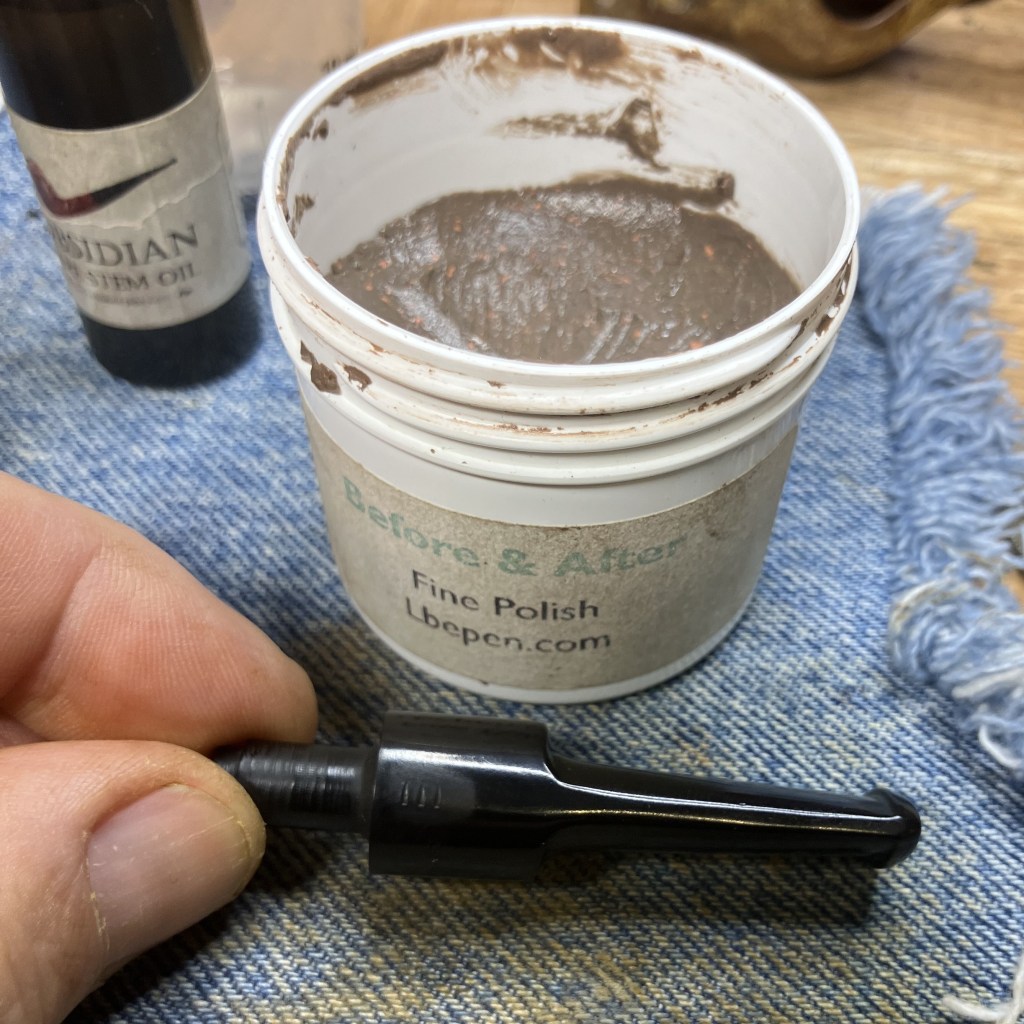
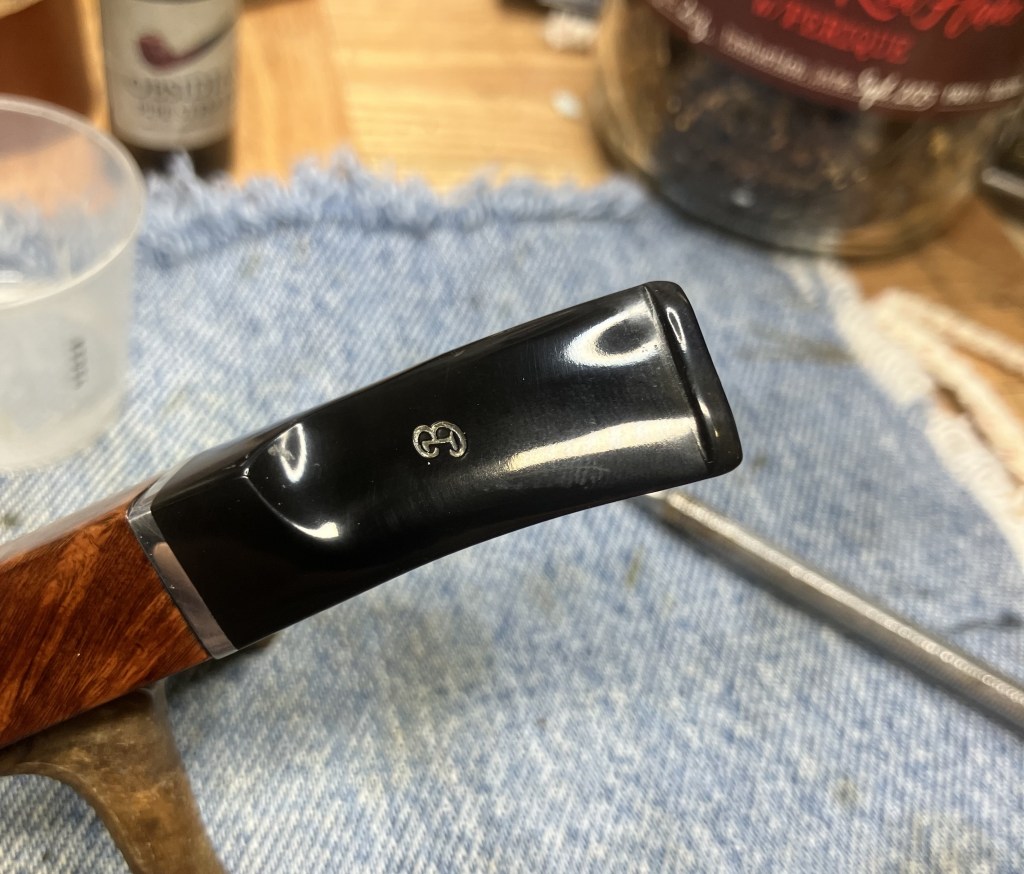
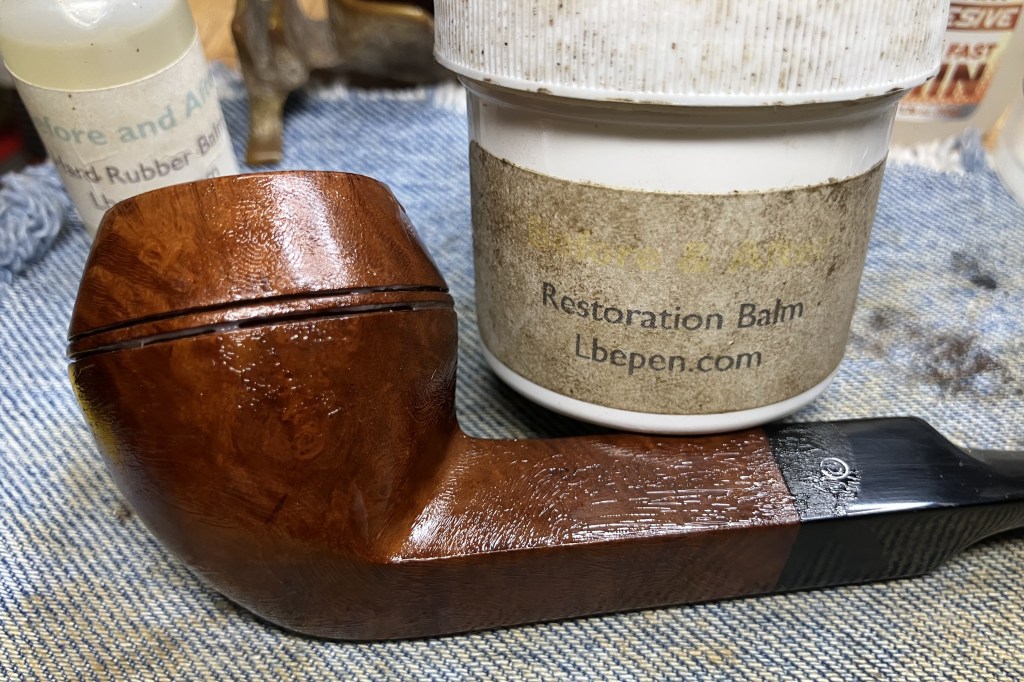
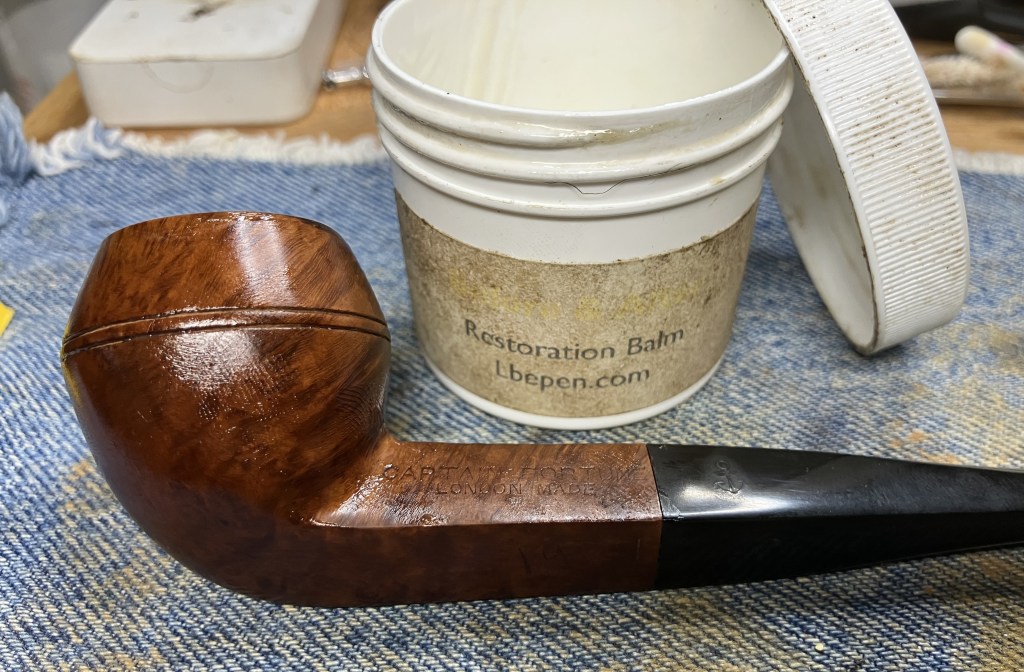
After the 3500 sponge the stem was taken to the buffer and the shank-end and stem were buffed with rouge buffing compound followed by a buffing with white buffing compound. I returned to the workbench and wiped the remaining buffing compound from the pipe. The stummel was then coated with Before and After Restoration Balm applied with a baby toothbrush. This was allowed to sit for 30 minutes.
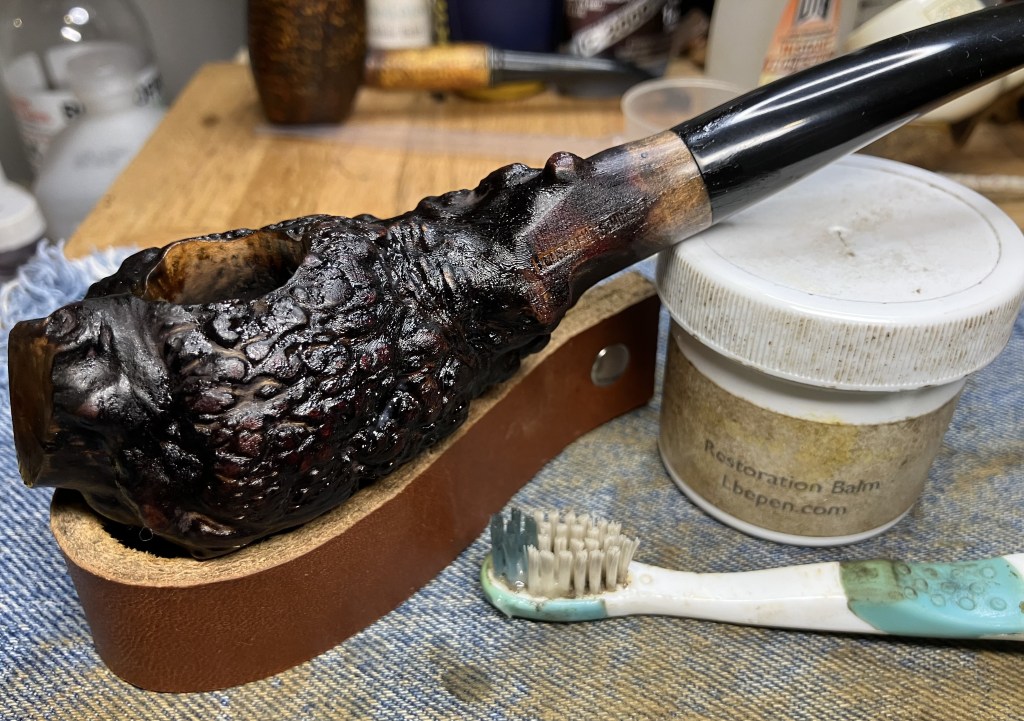
The stummel was hand buffed with an inside out athletic sock to remove the remaining balm.

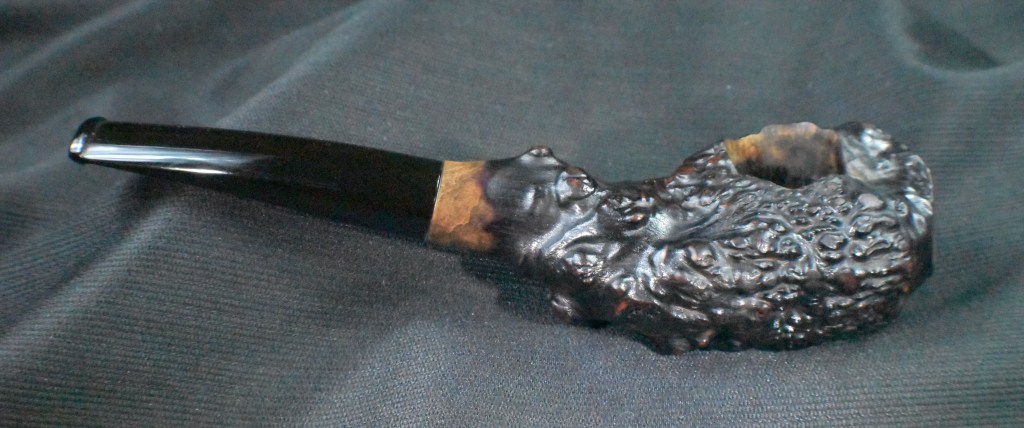
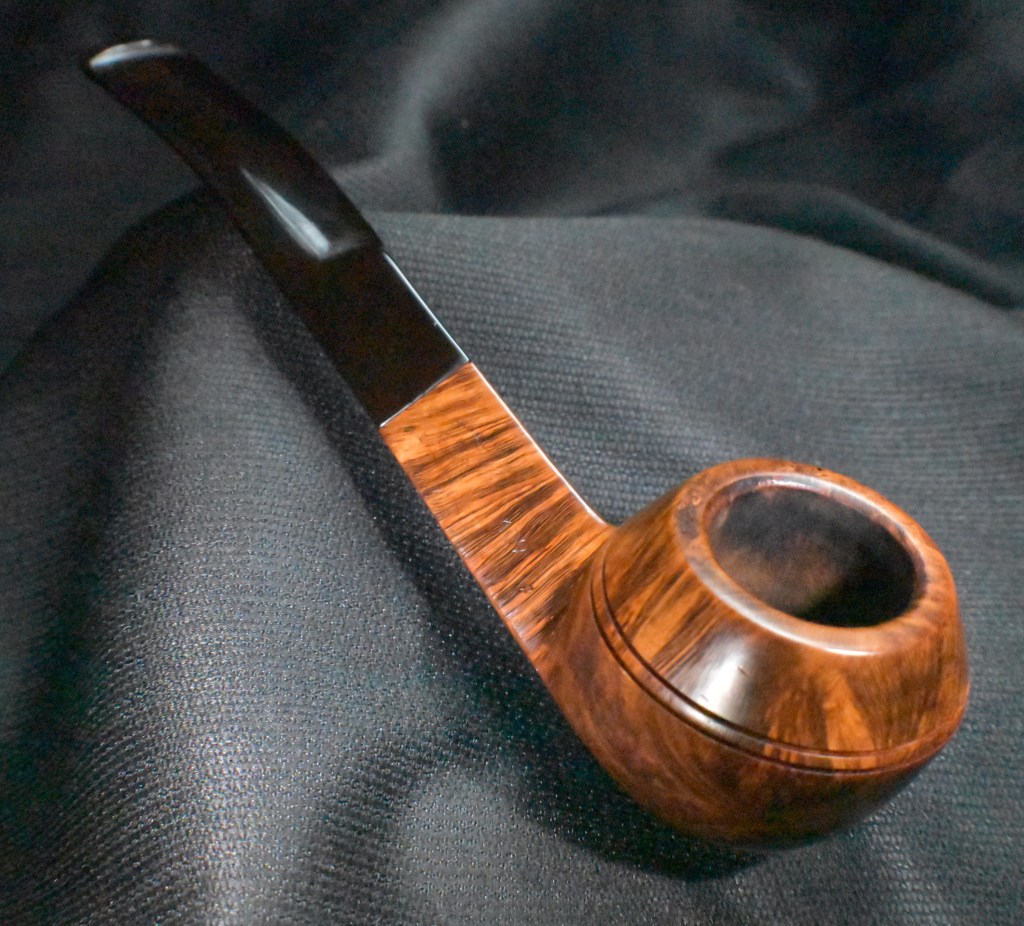
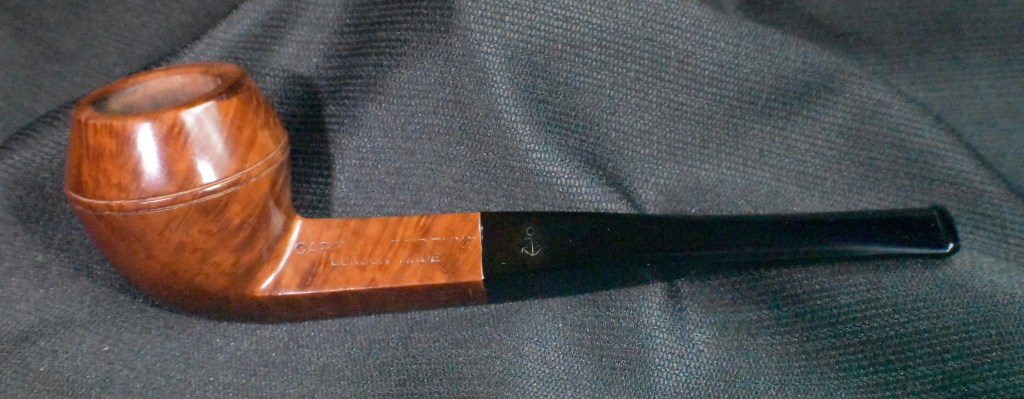
The pipe was then returned to the buffer where several coats of carnauba wax were applied. Care was taken to work the carnauba into and out of the rough texture of the briar. The final step was a hand buffing with a microfiber polishing cloth then off to the photo table.
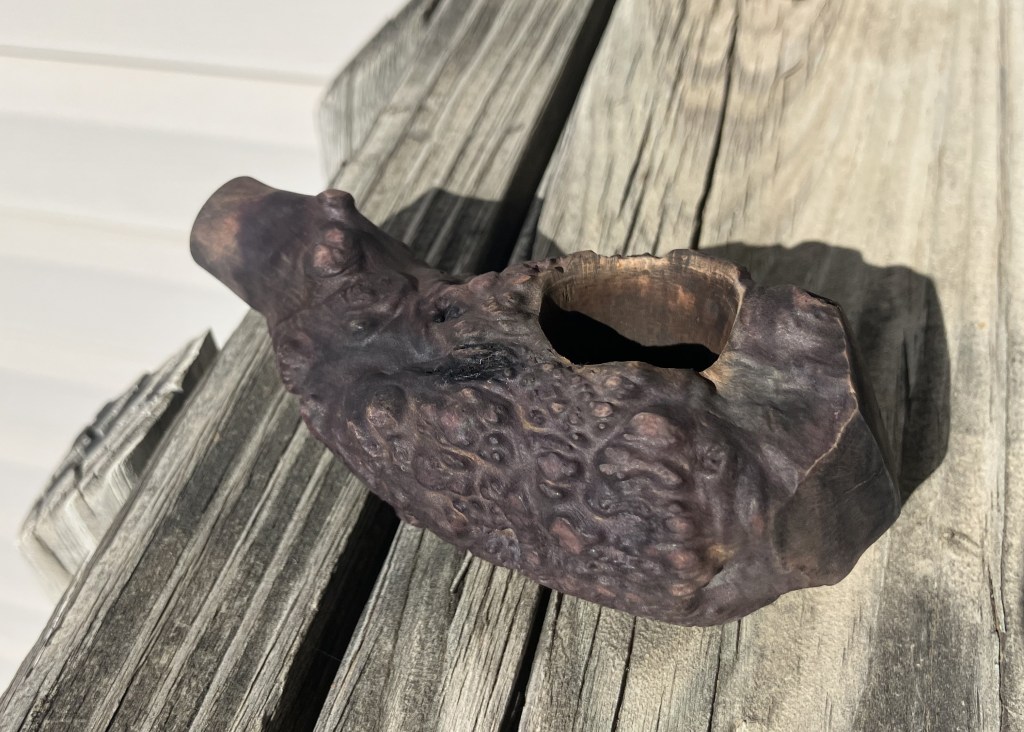
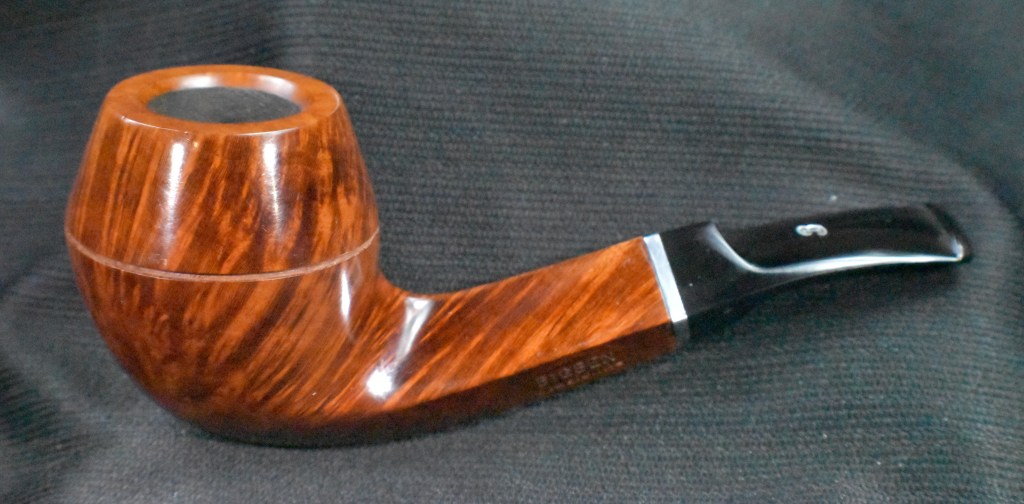
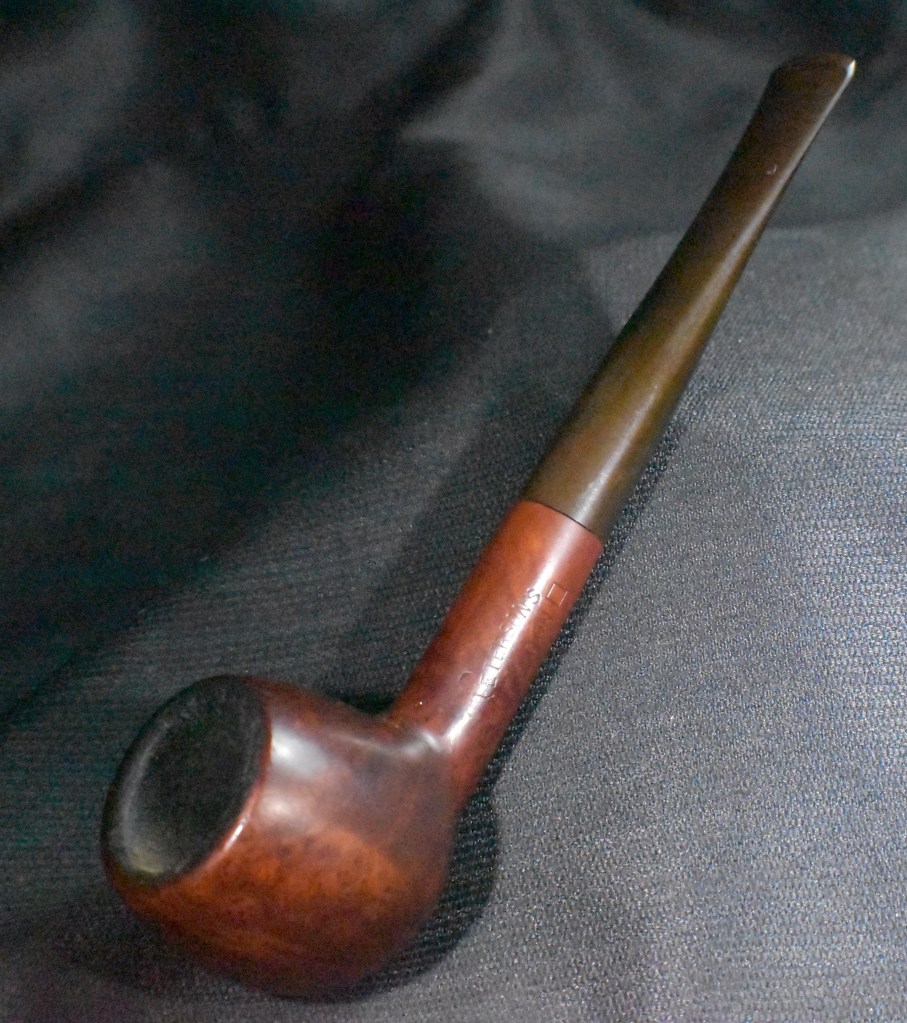
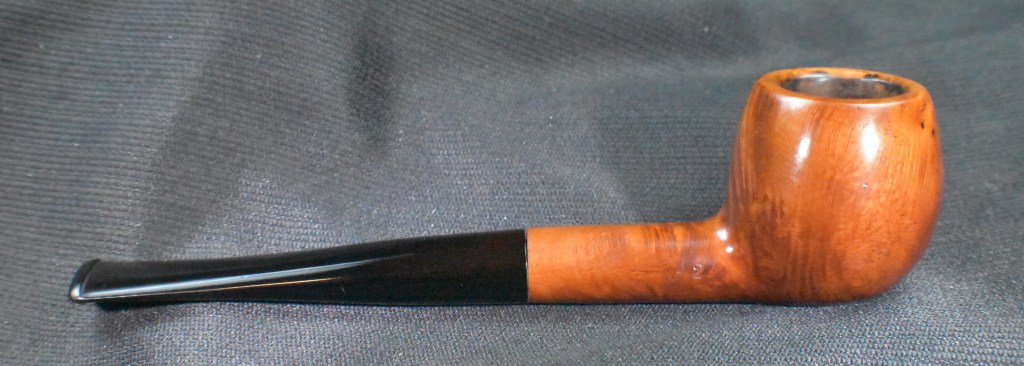
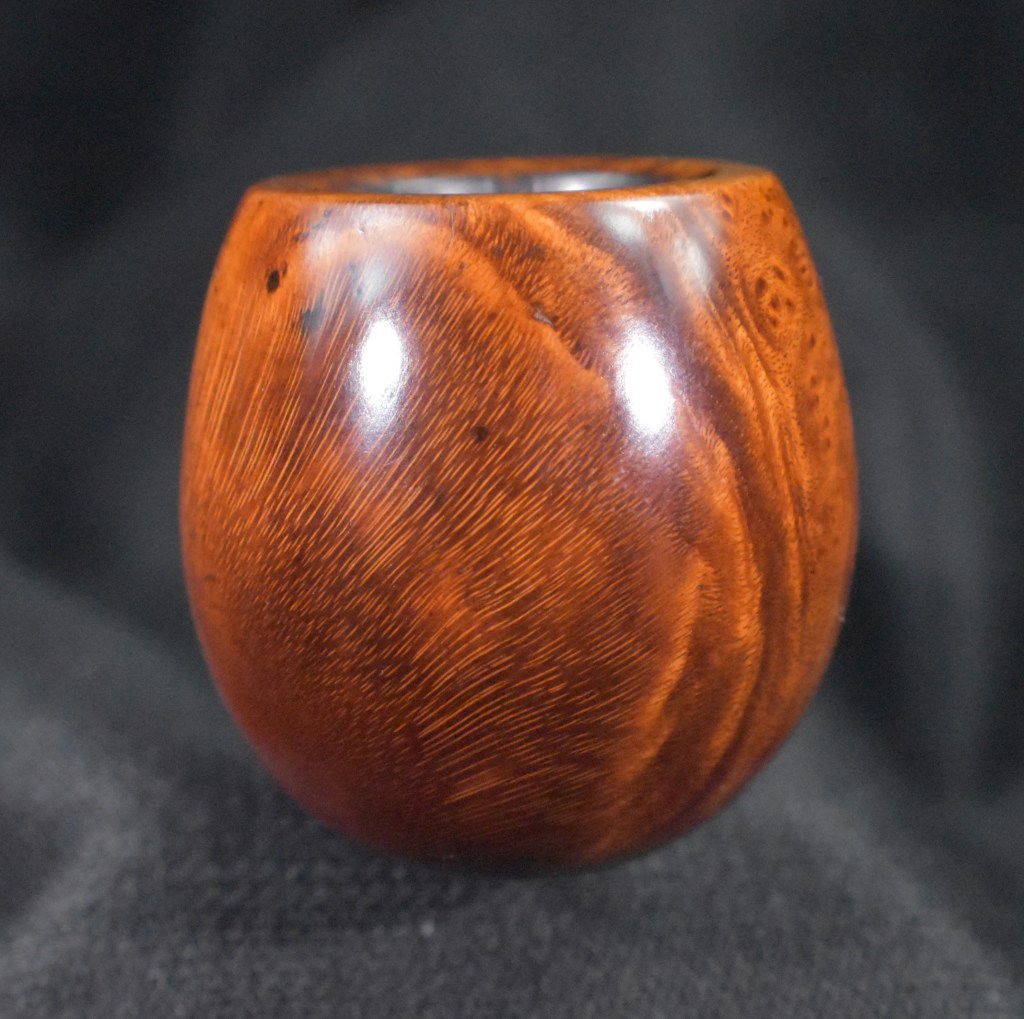
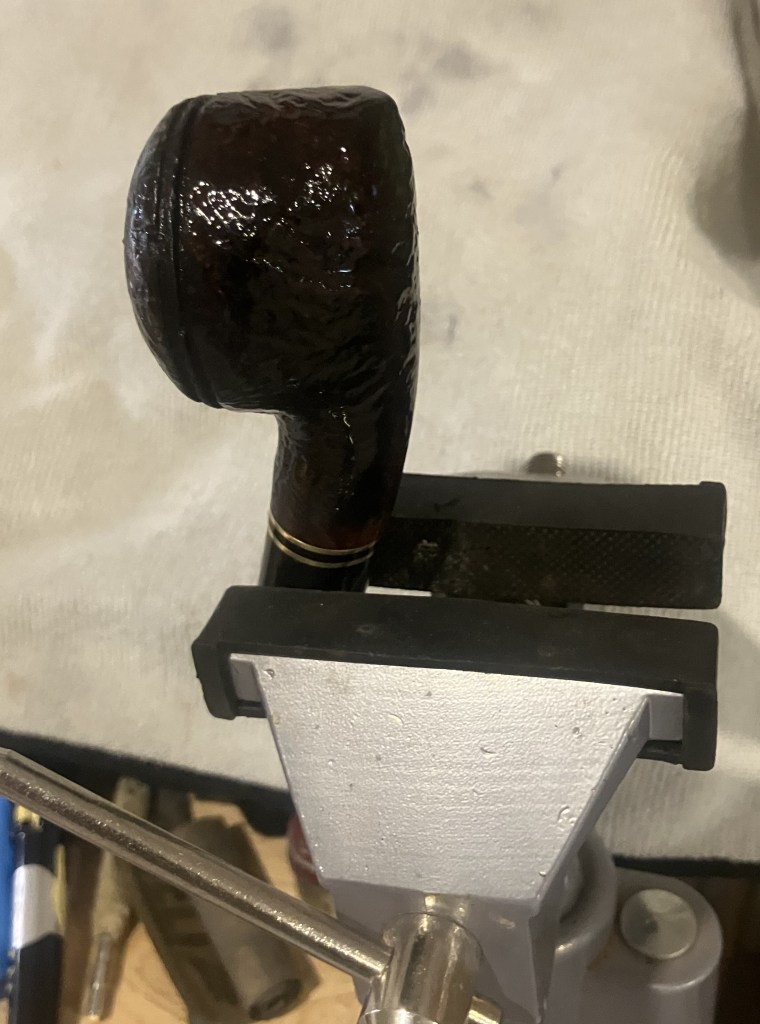
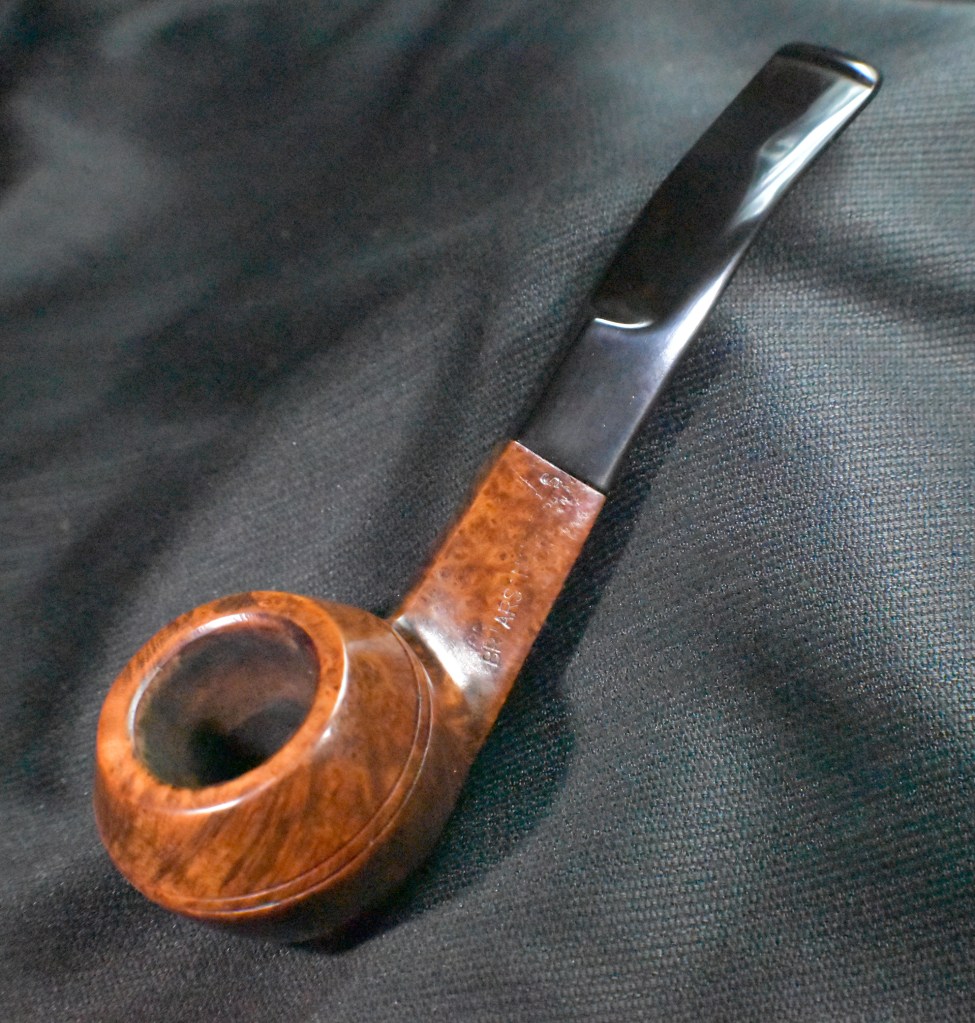
This House of Westminster burl turned out well. I do wish it had a more natural color rather than purplish brown, but at least the clear coat is gone.The texture of the pipe is amazing to hold. It is like a natural rustication and has a wonderful hand feel. The smooth organic texture gives way to the polished stem, which turned out very nicely. Overall this pipe is a unique piece which will undoubtedly provide years of enjoyment to the next owner. The dimensions of the House of Westminster Burl are:
Length: 6.72 in./ 170.69 mm.
Weight: 2.40 oz./ 68.04 g.
Bowl Height: 1.51 in./ 38.35 mm.
Chamber Depth: 1.28 in./ 32.51 mm.
Chamber Diameter: 0.80 in./ 20.32 mm.
Outside Diameter: 1.90 in./ 48.26 mm.
I do hope that you have found something here useful to your own pipe care, maintenance or restorations. If you like this sort of thing, please click the like and subscribe buttons. Thank you for reading the ramblings of an old pipe lover. If you are interested in purchasing this pipe or any other from previous blogs please feel free to contact me at scimansays1787@gmail.com.
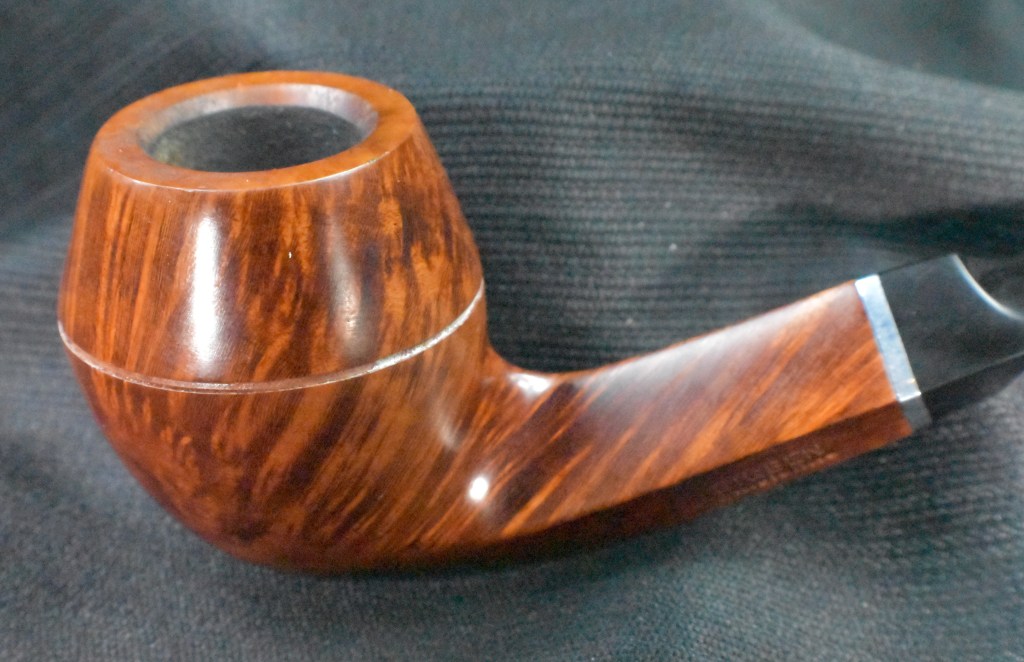
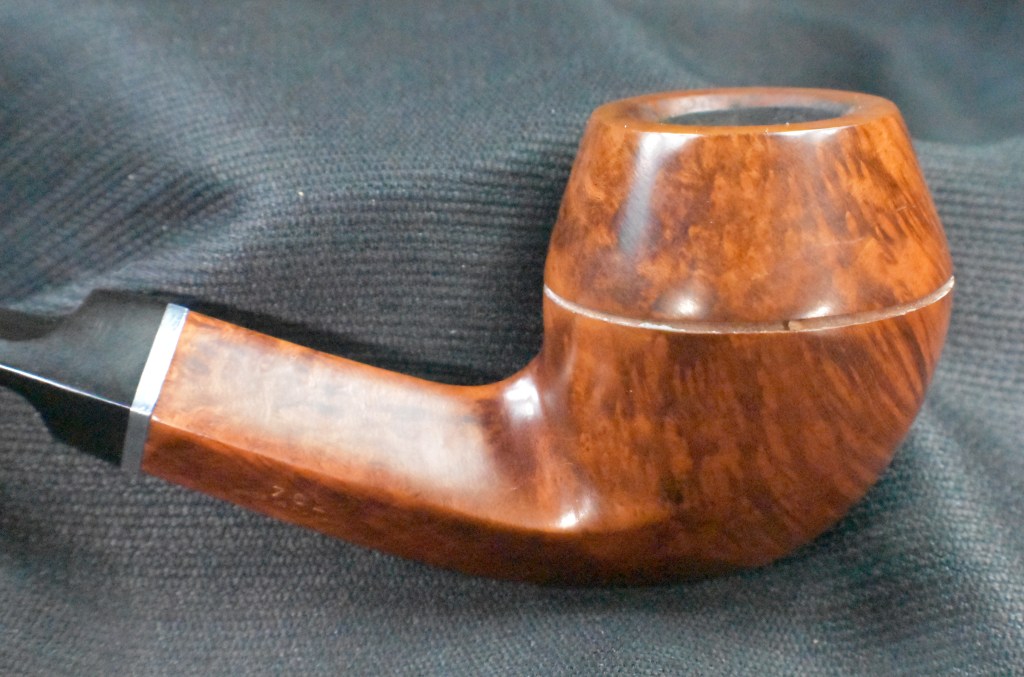
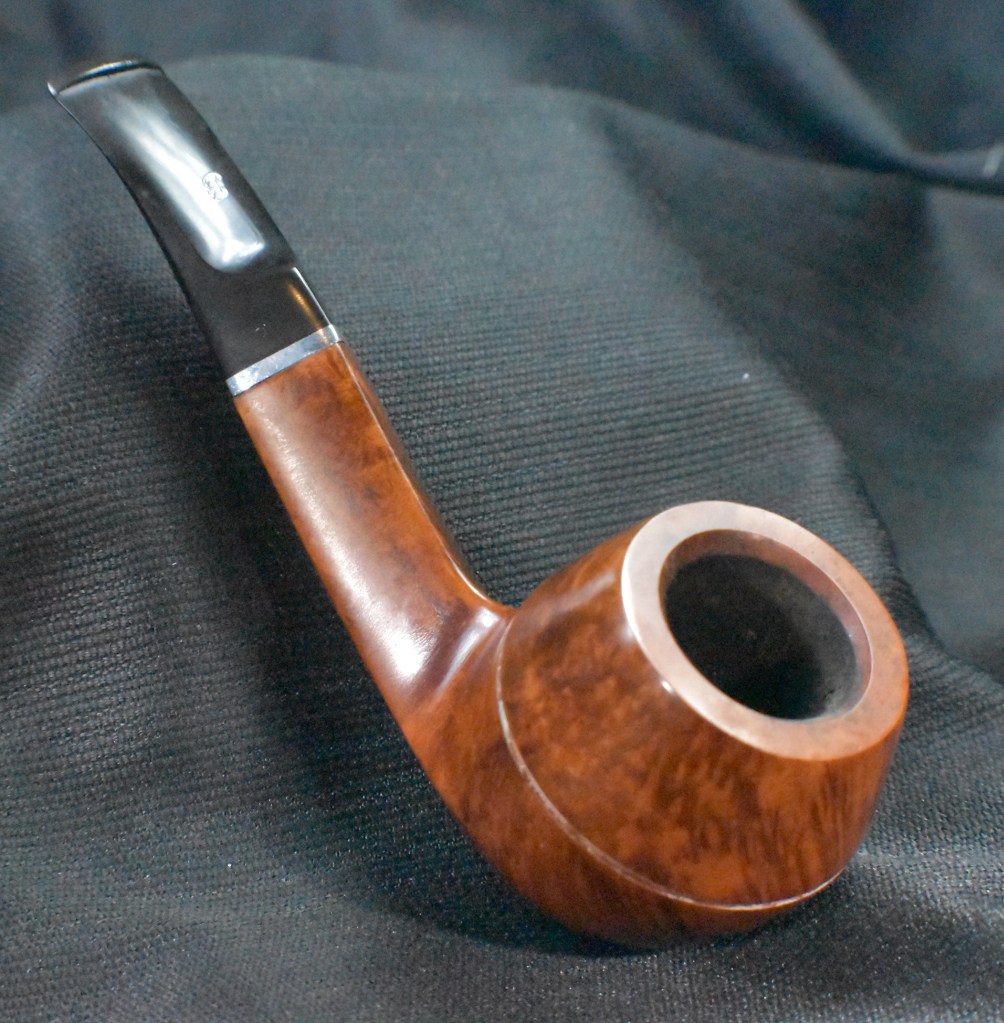
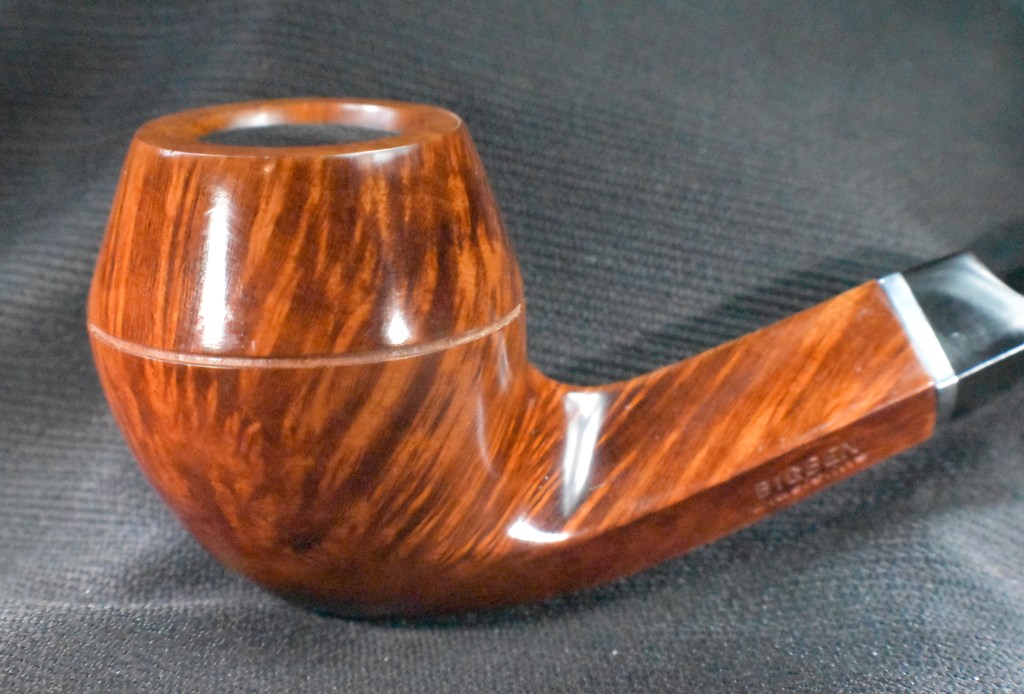
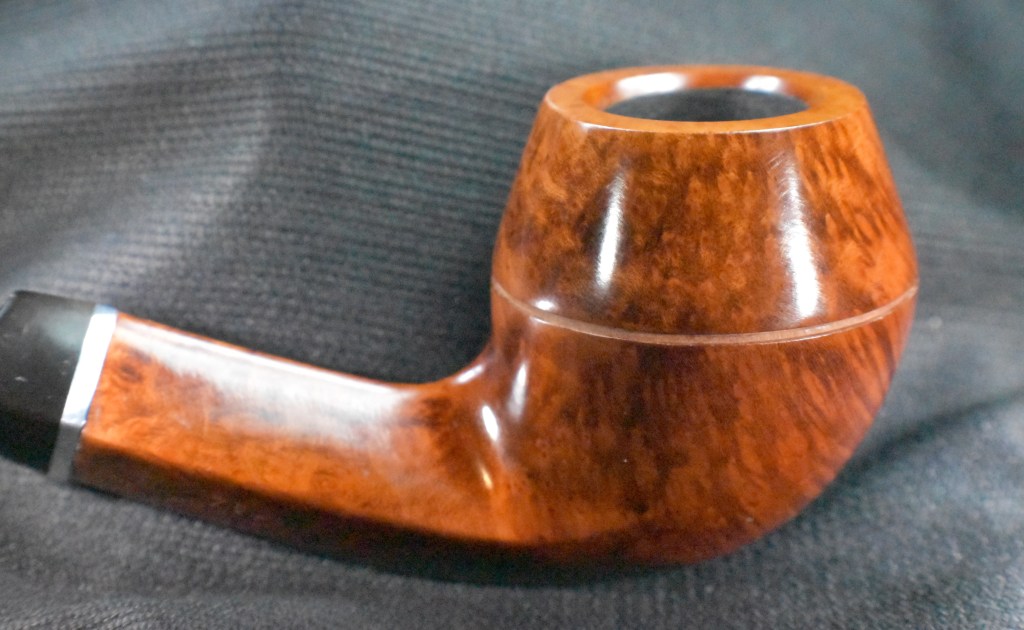
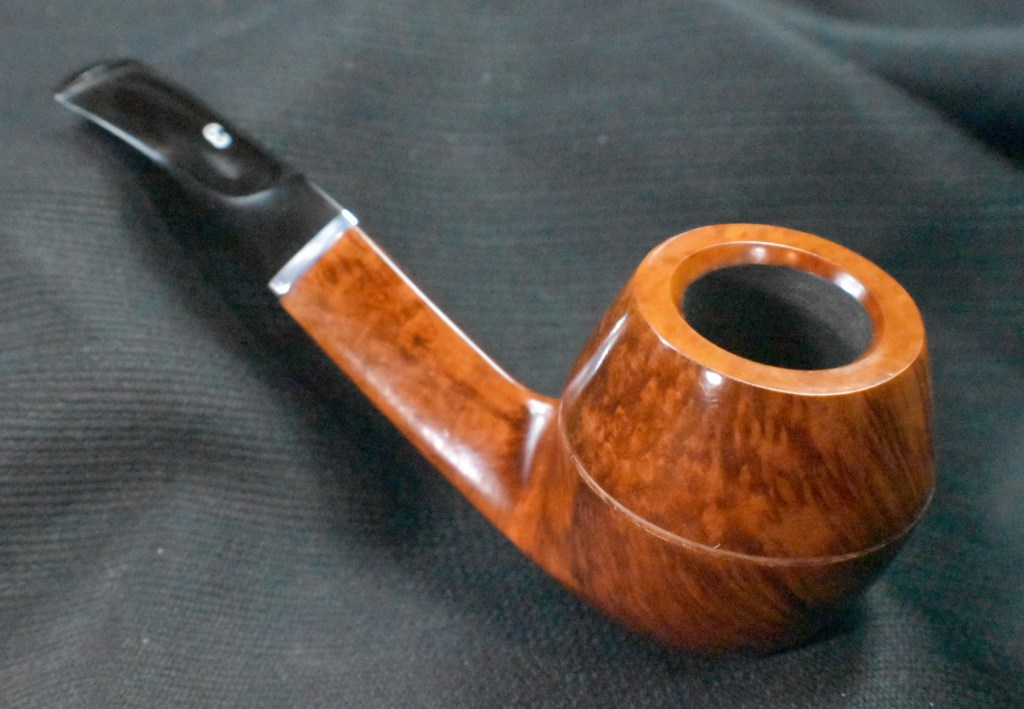
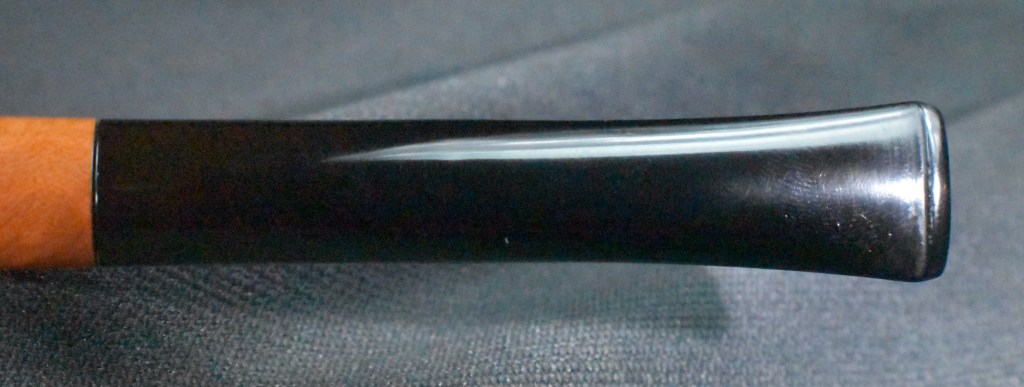
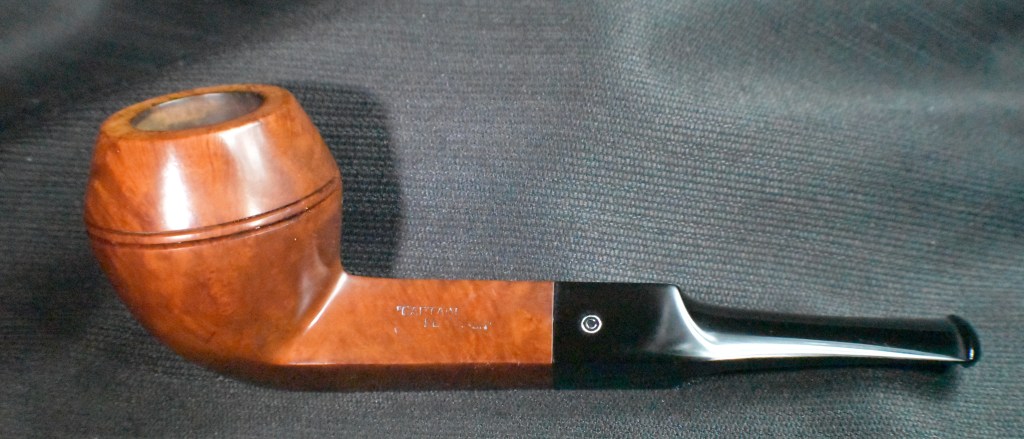
Below are some photos of the finished House of Westminster Burl.


