

Photographed and written by
John M. Young
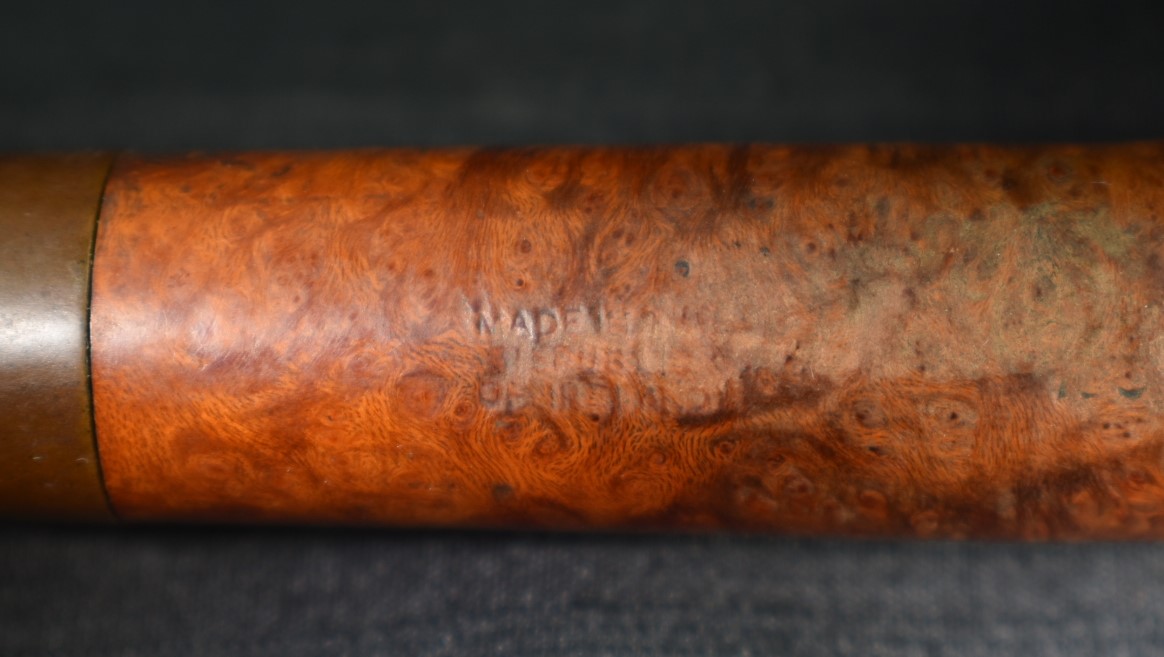
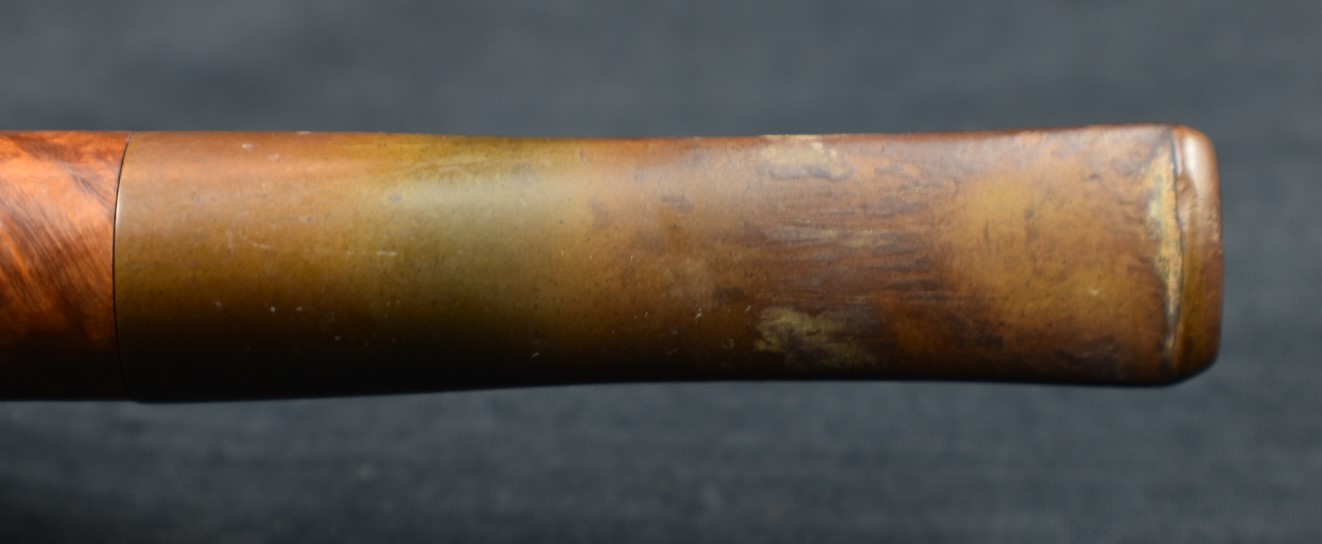
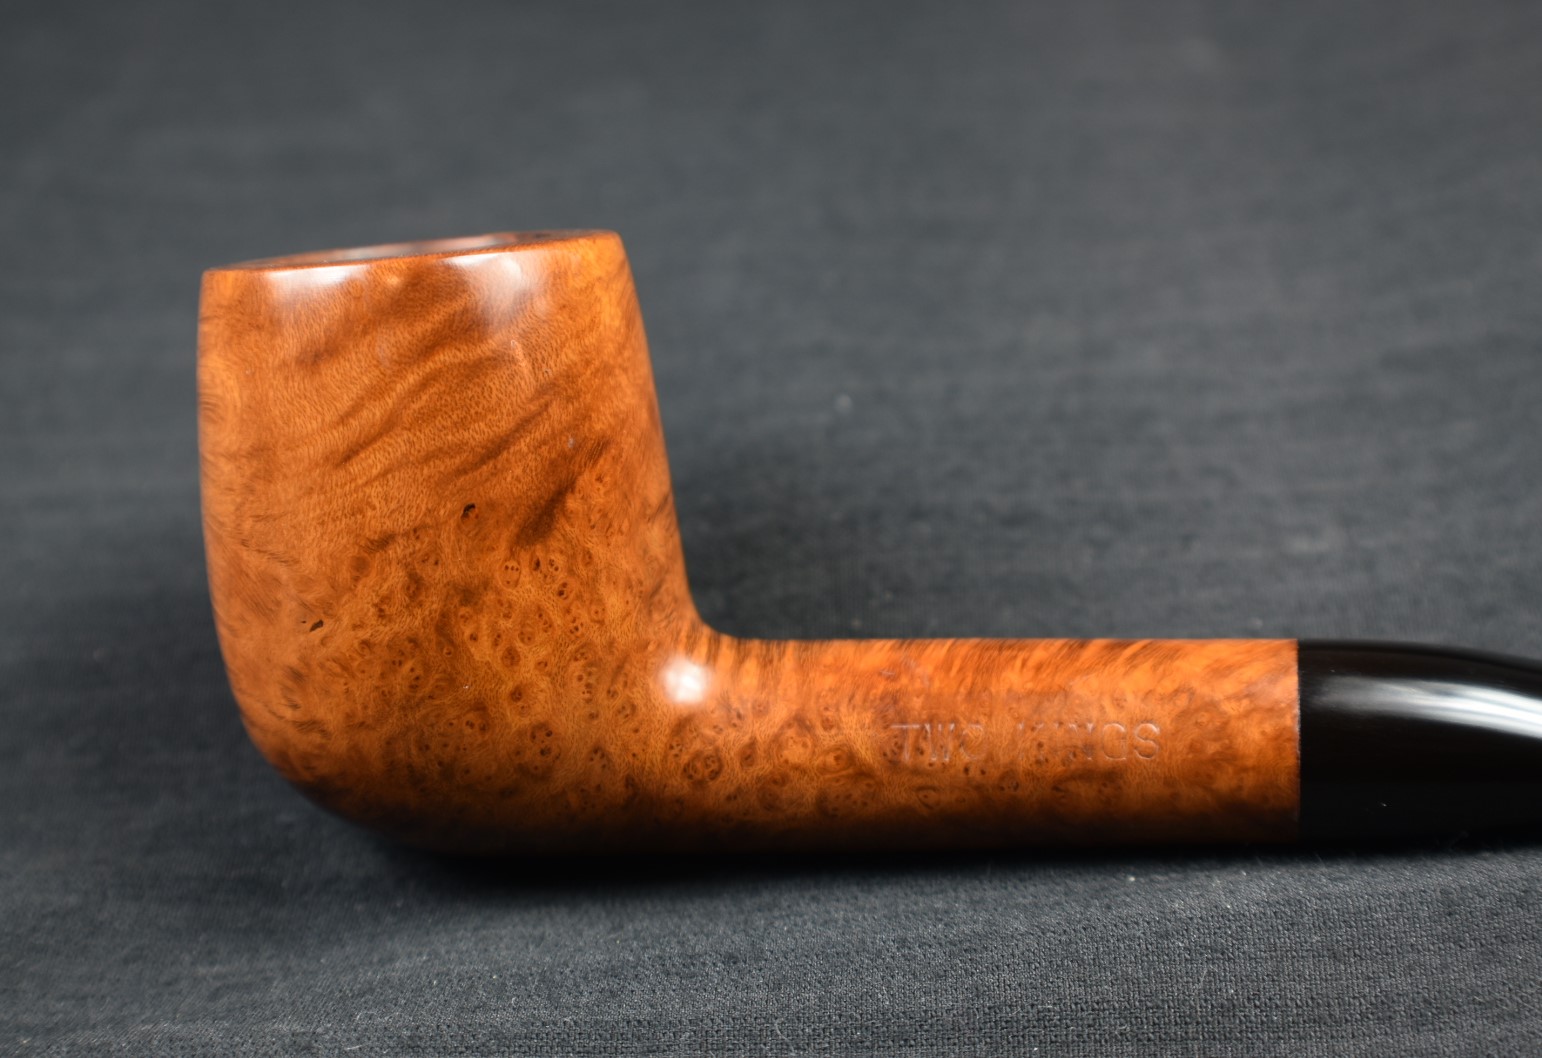
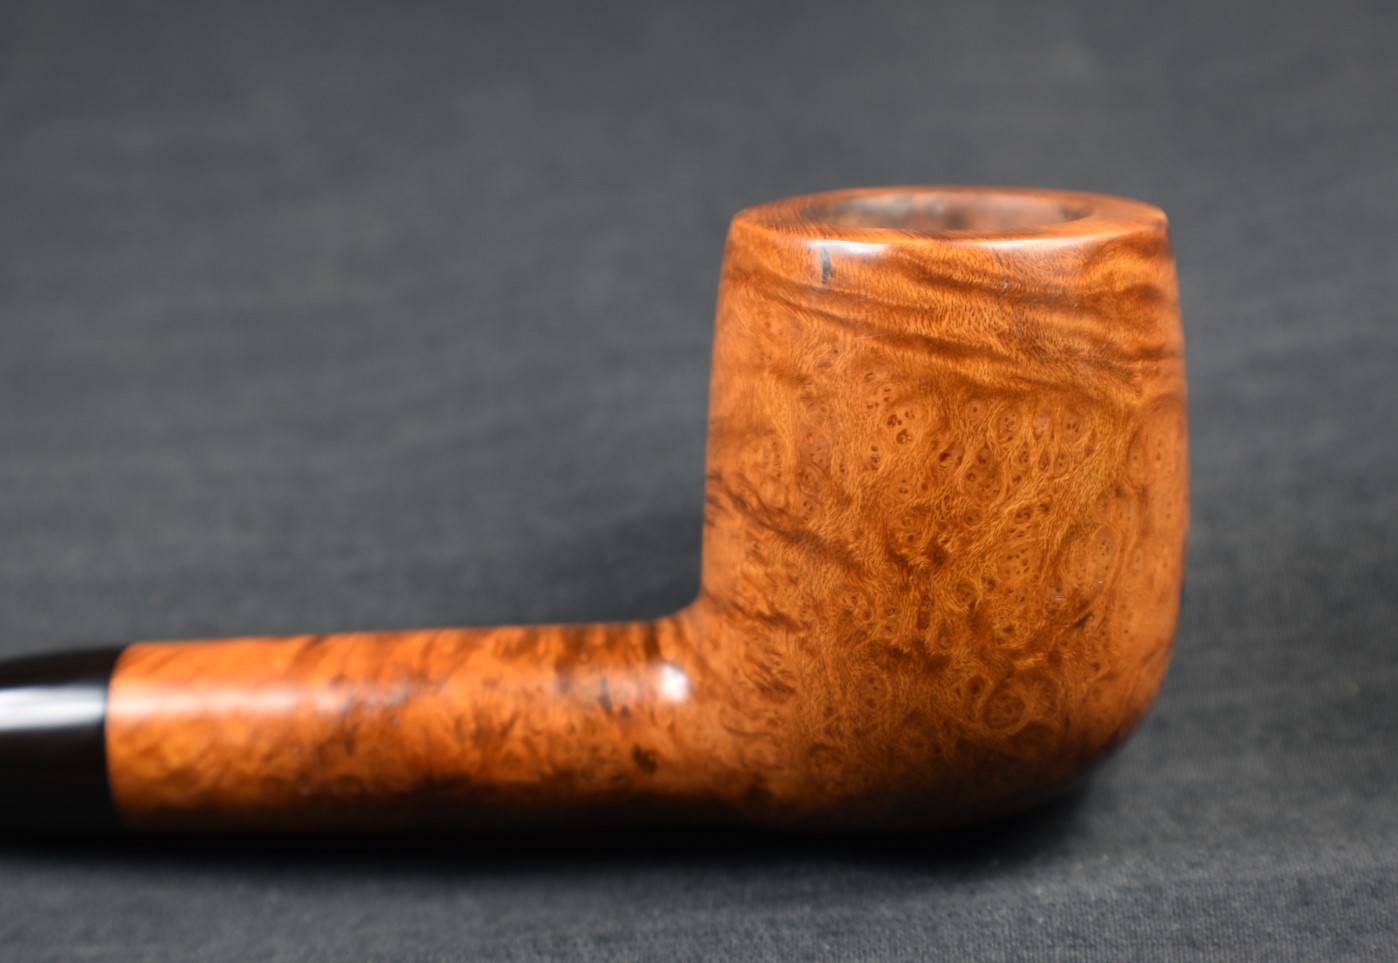
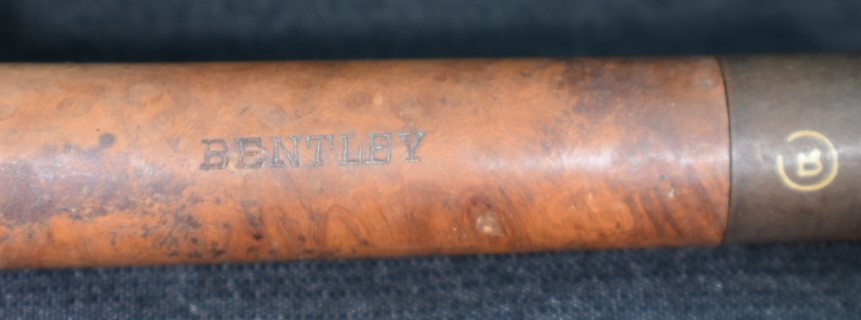
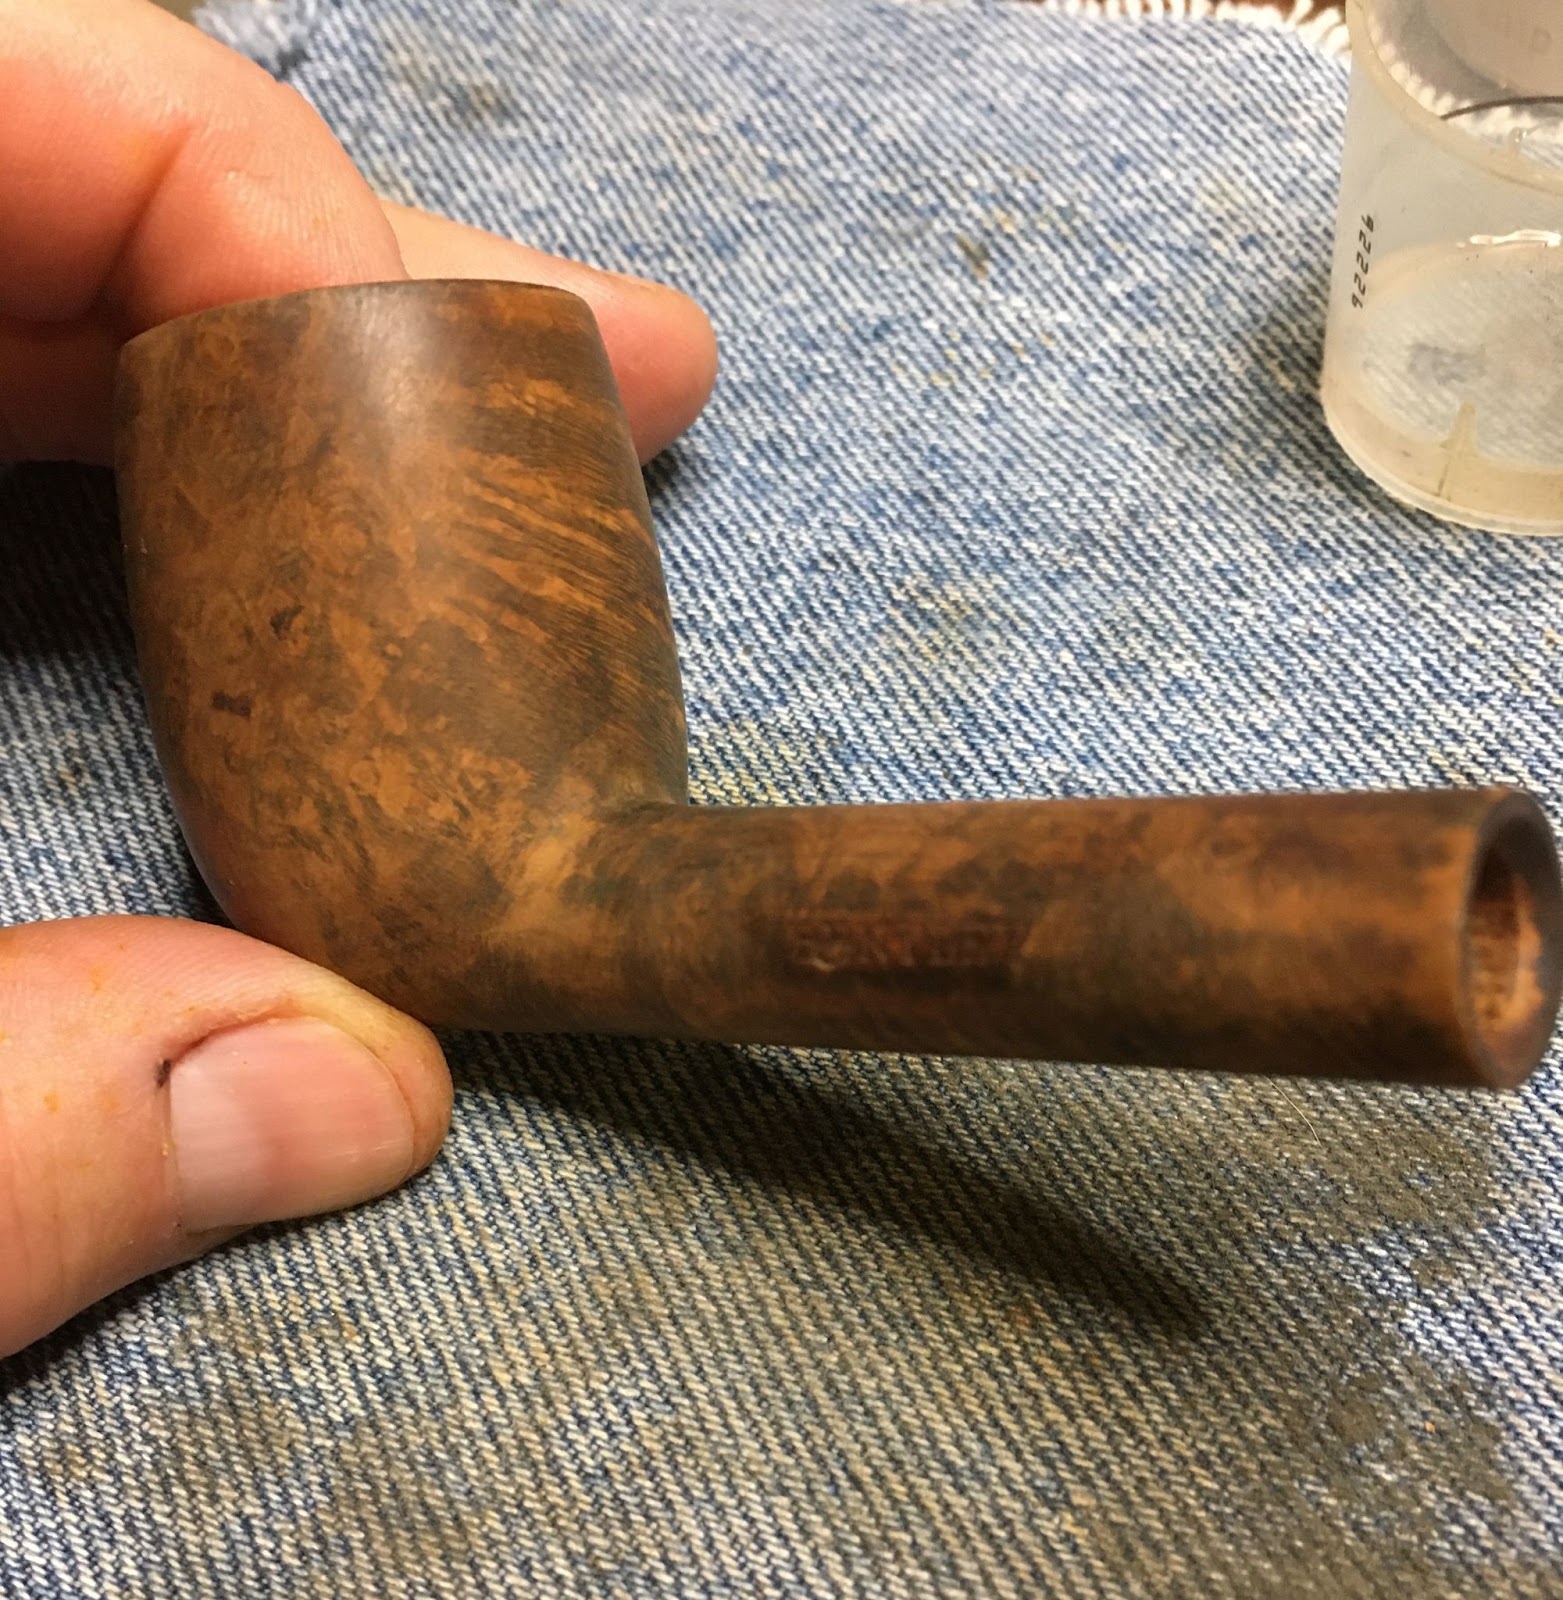
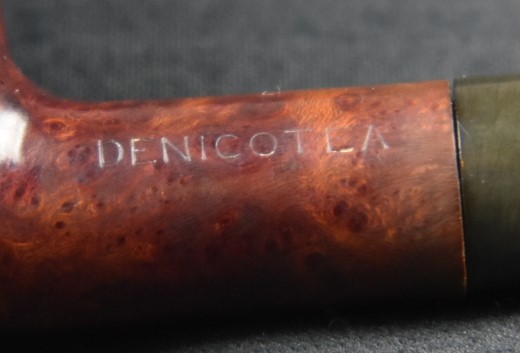
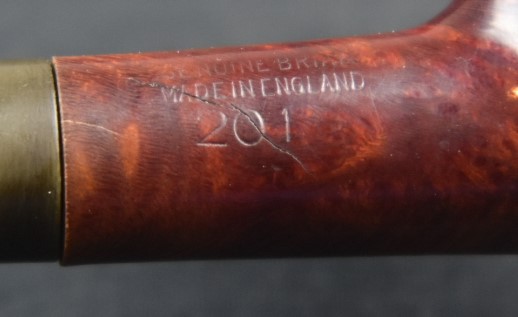
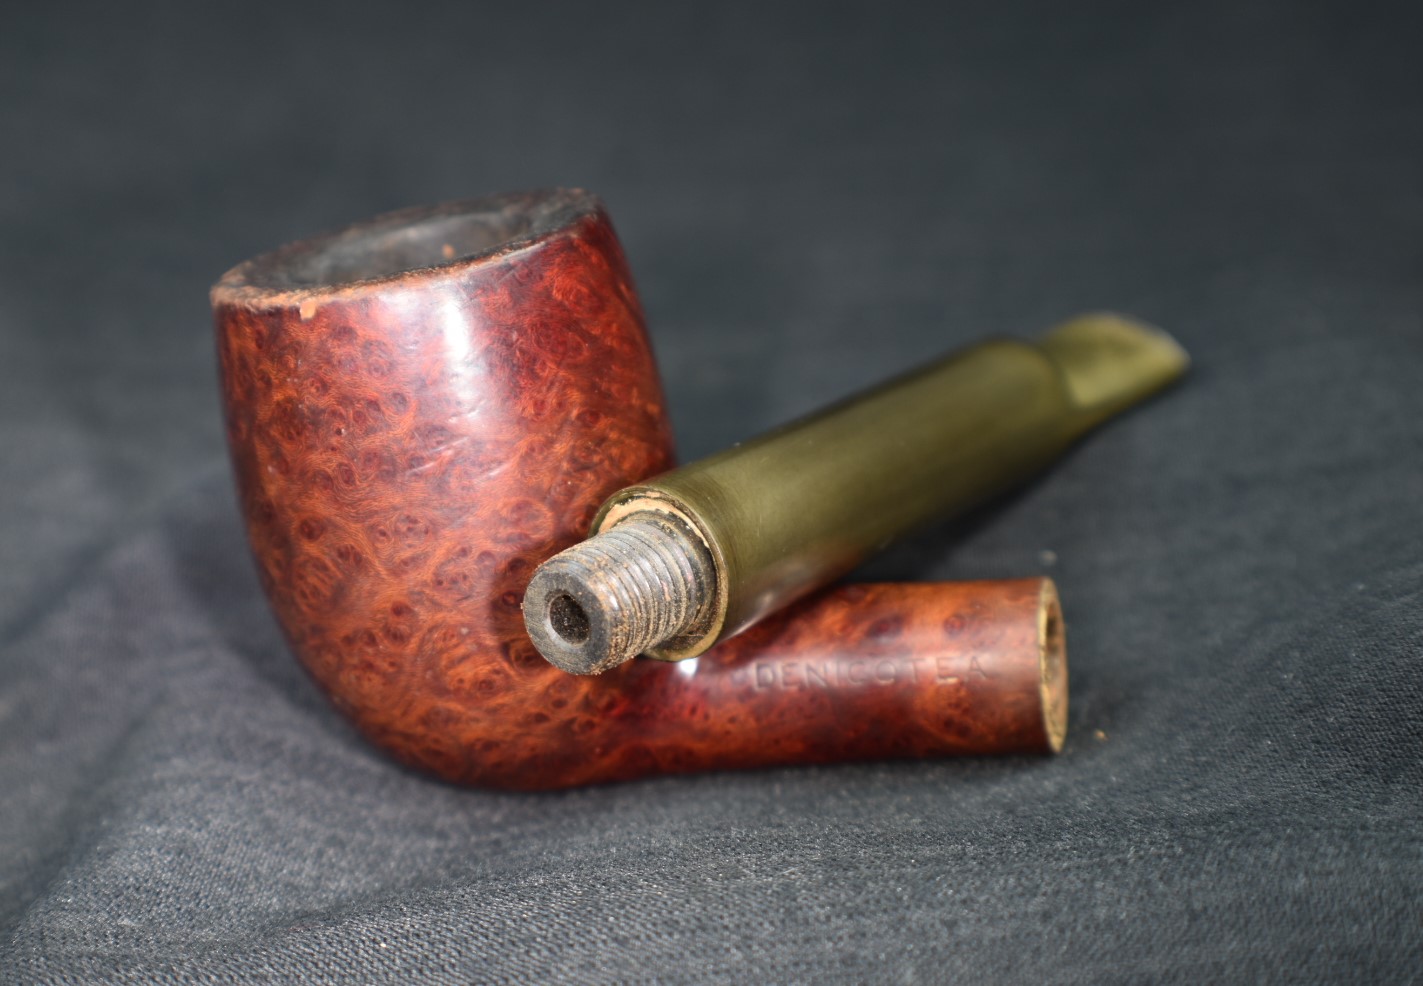
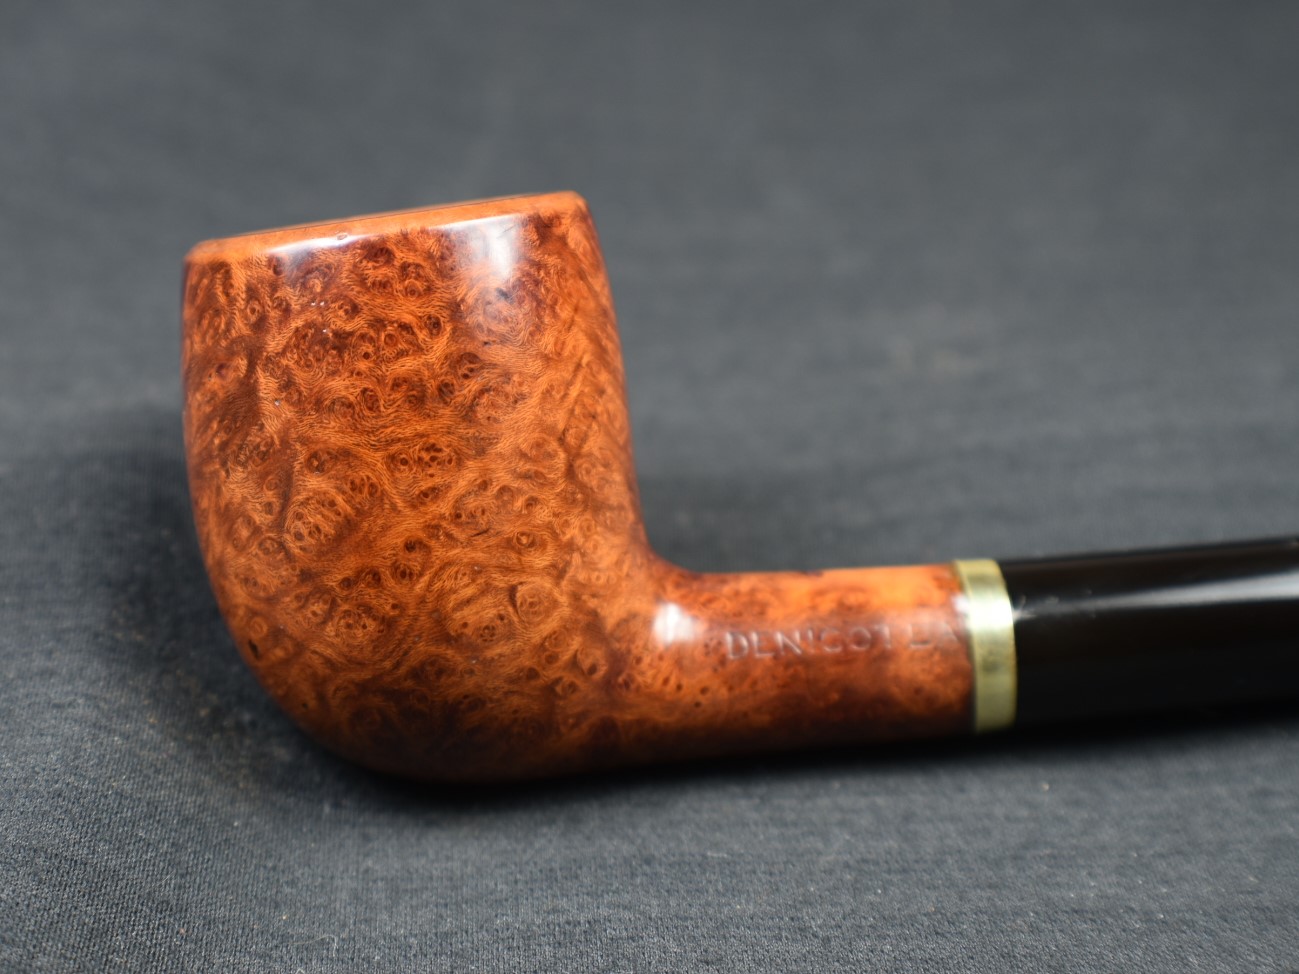
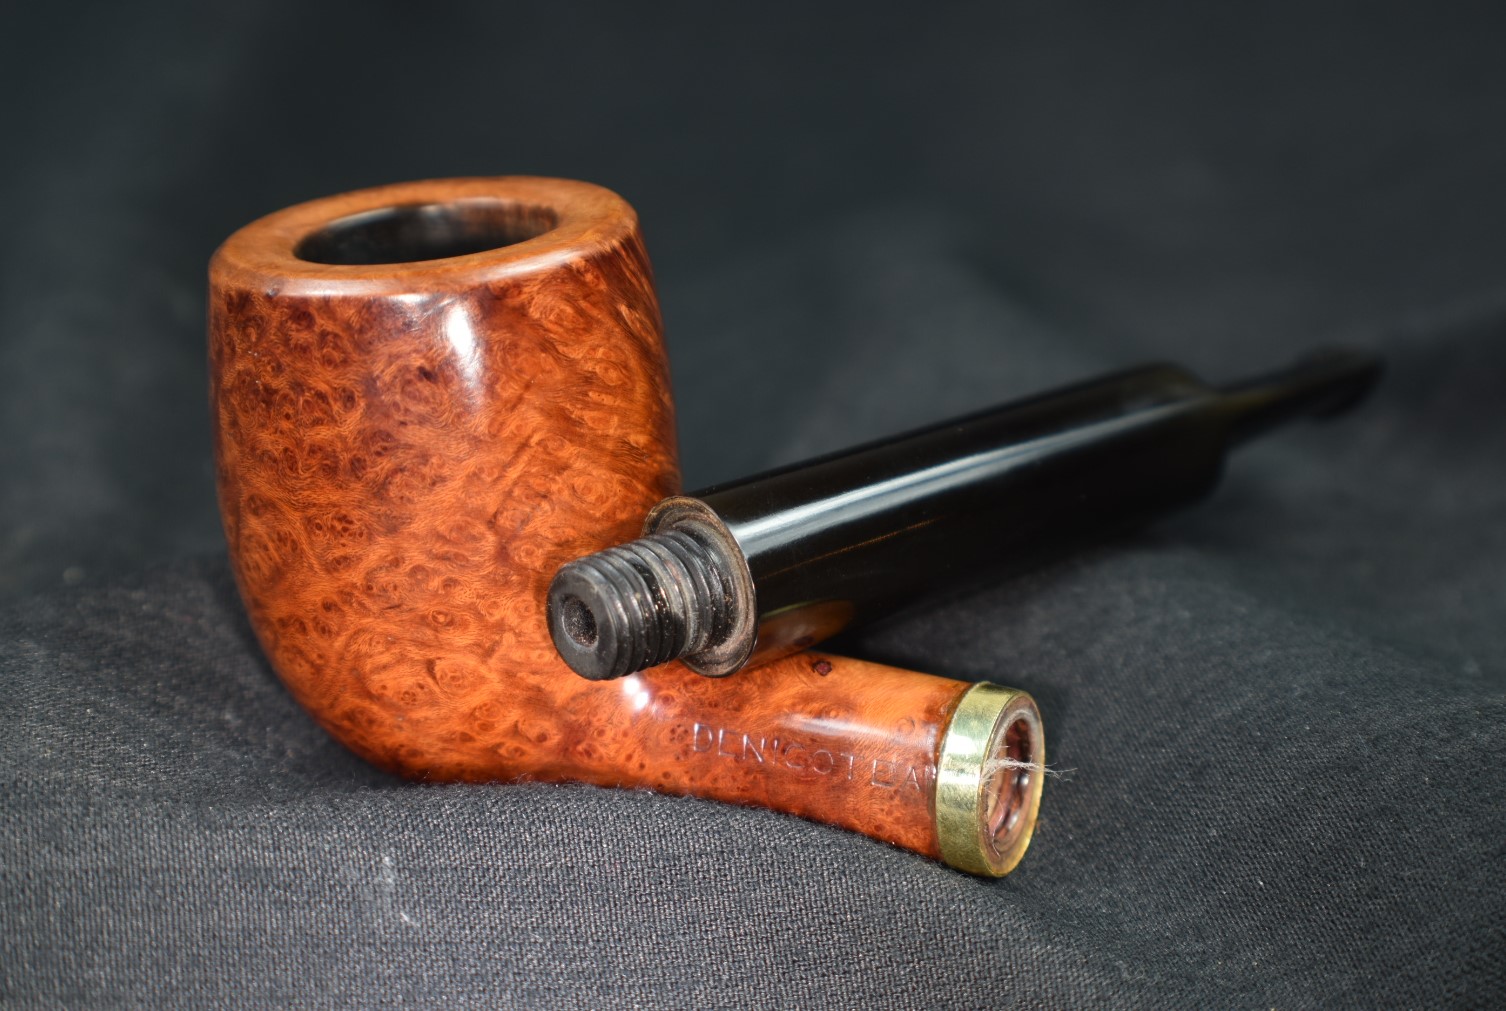
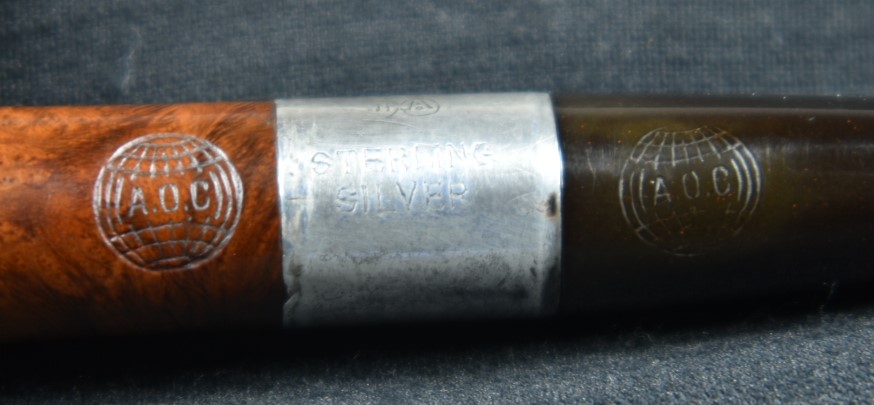
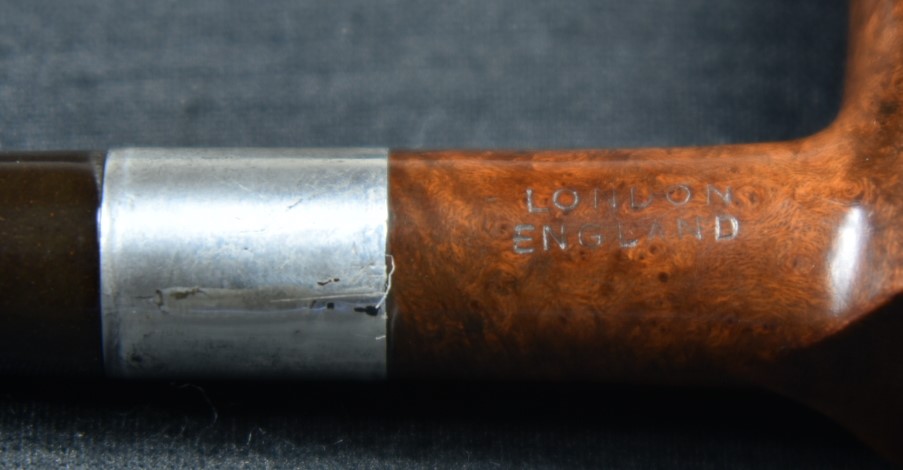
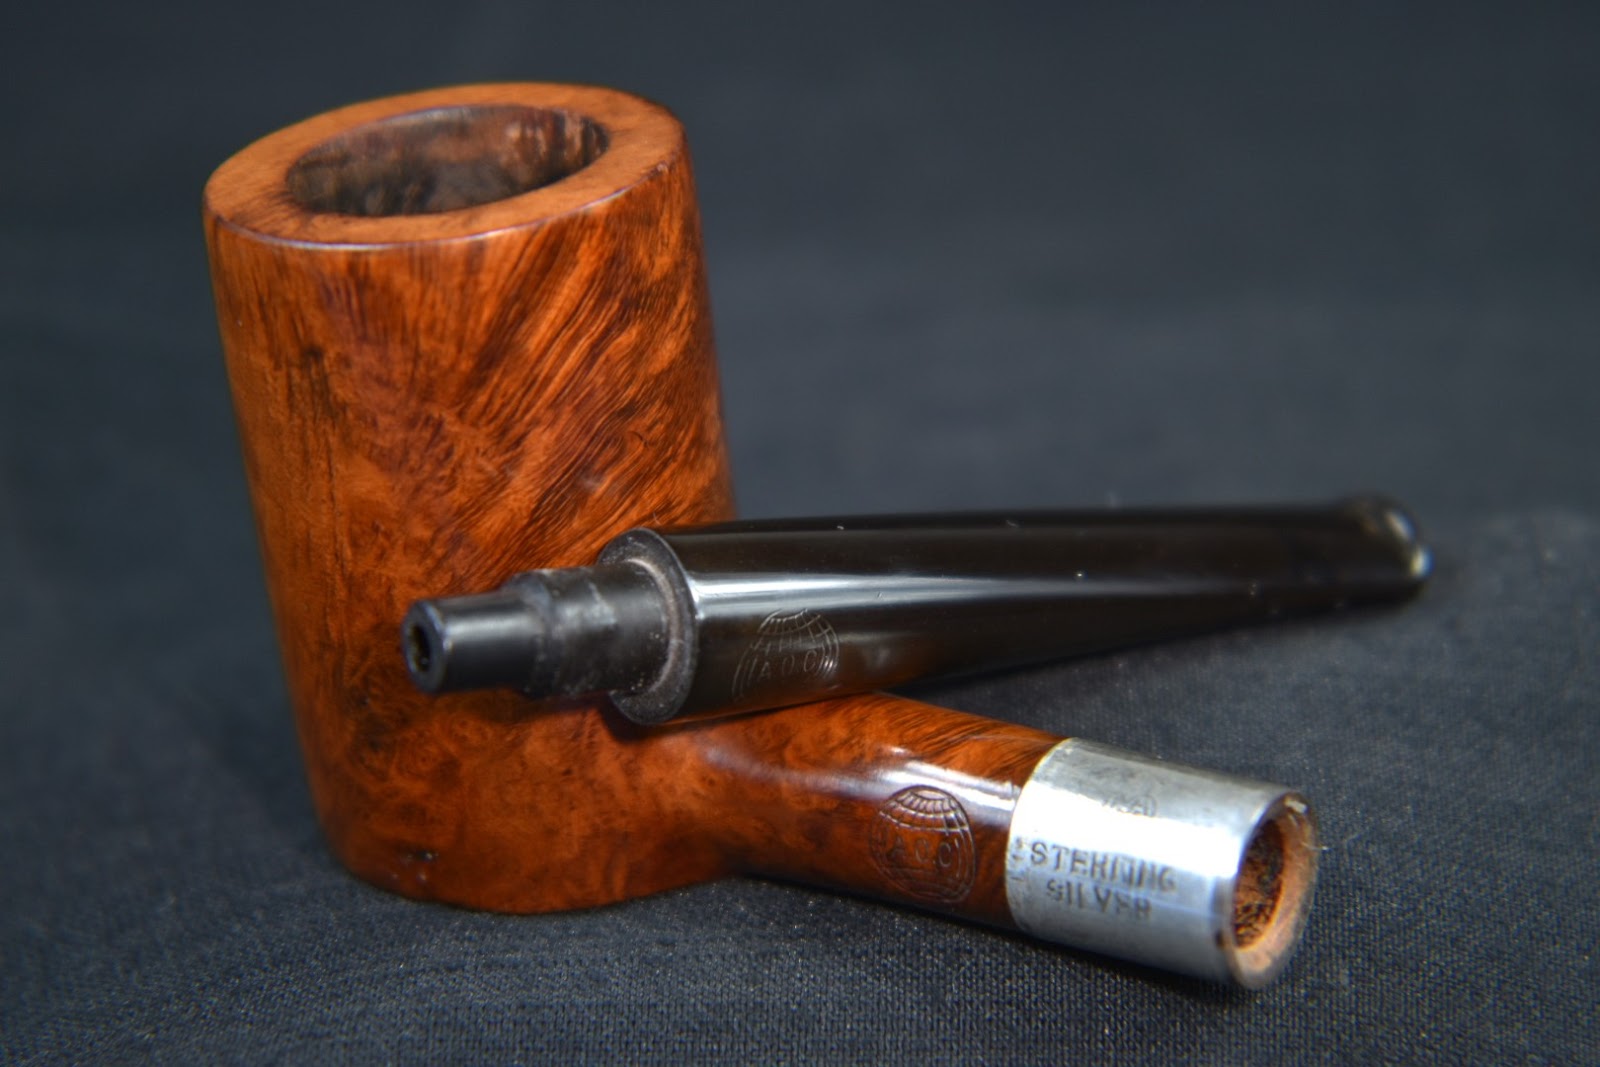
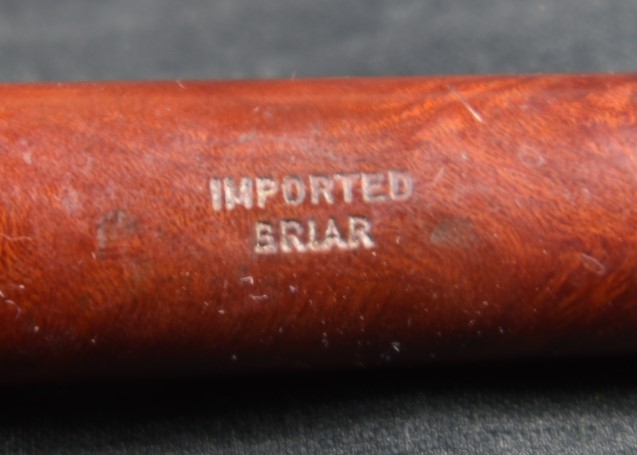
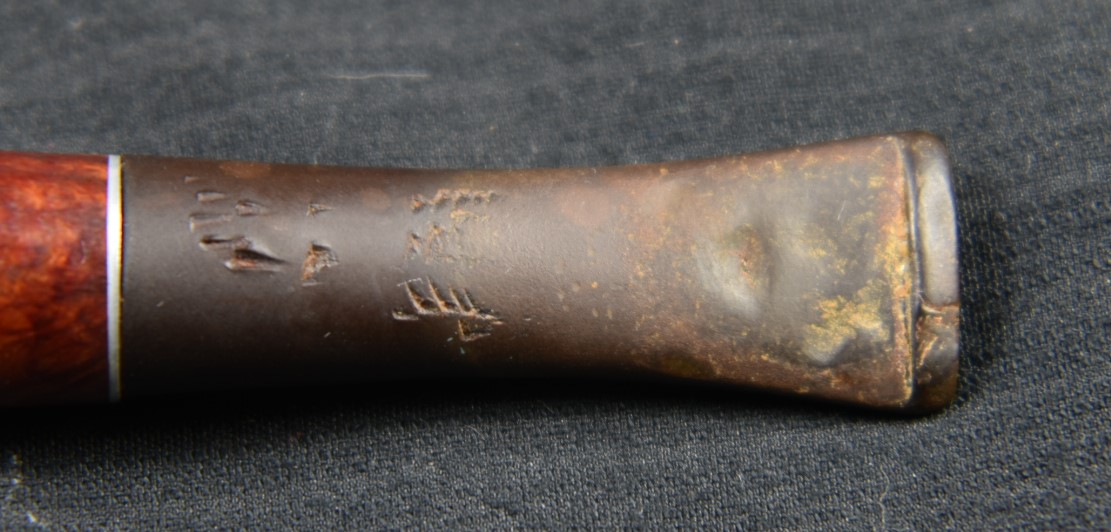
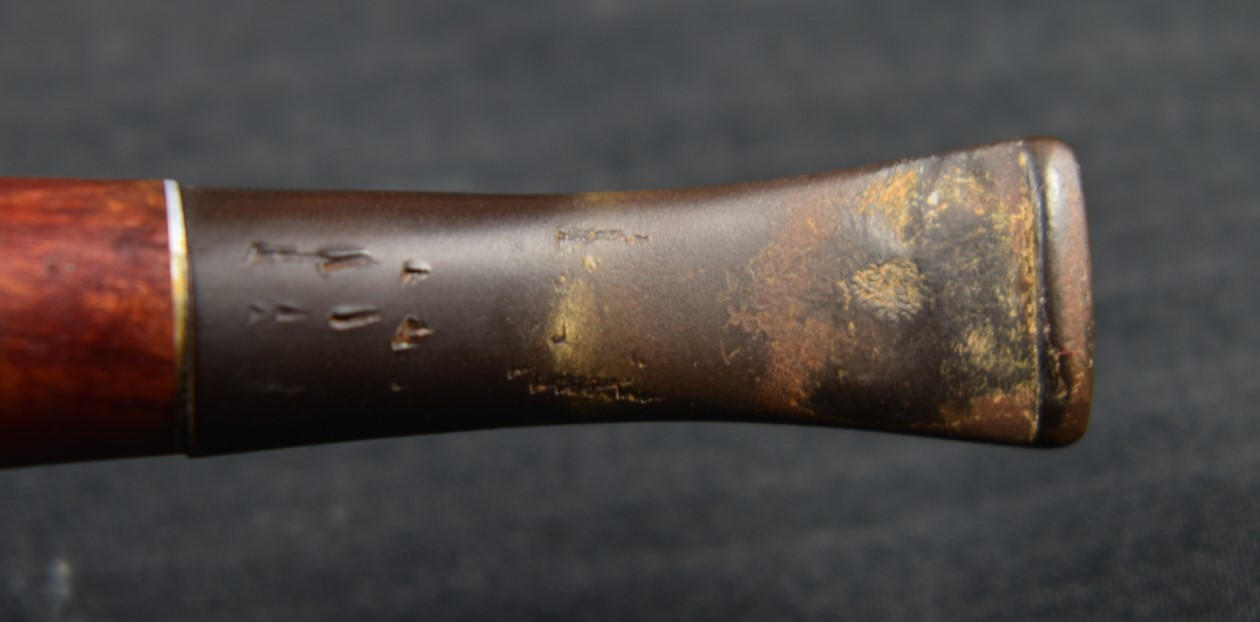
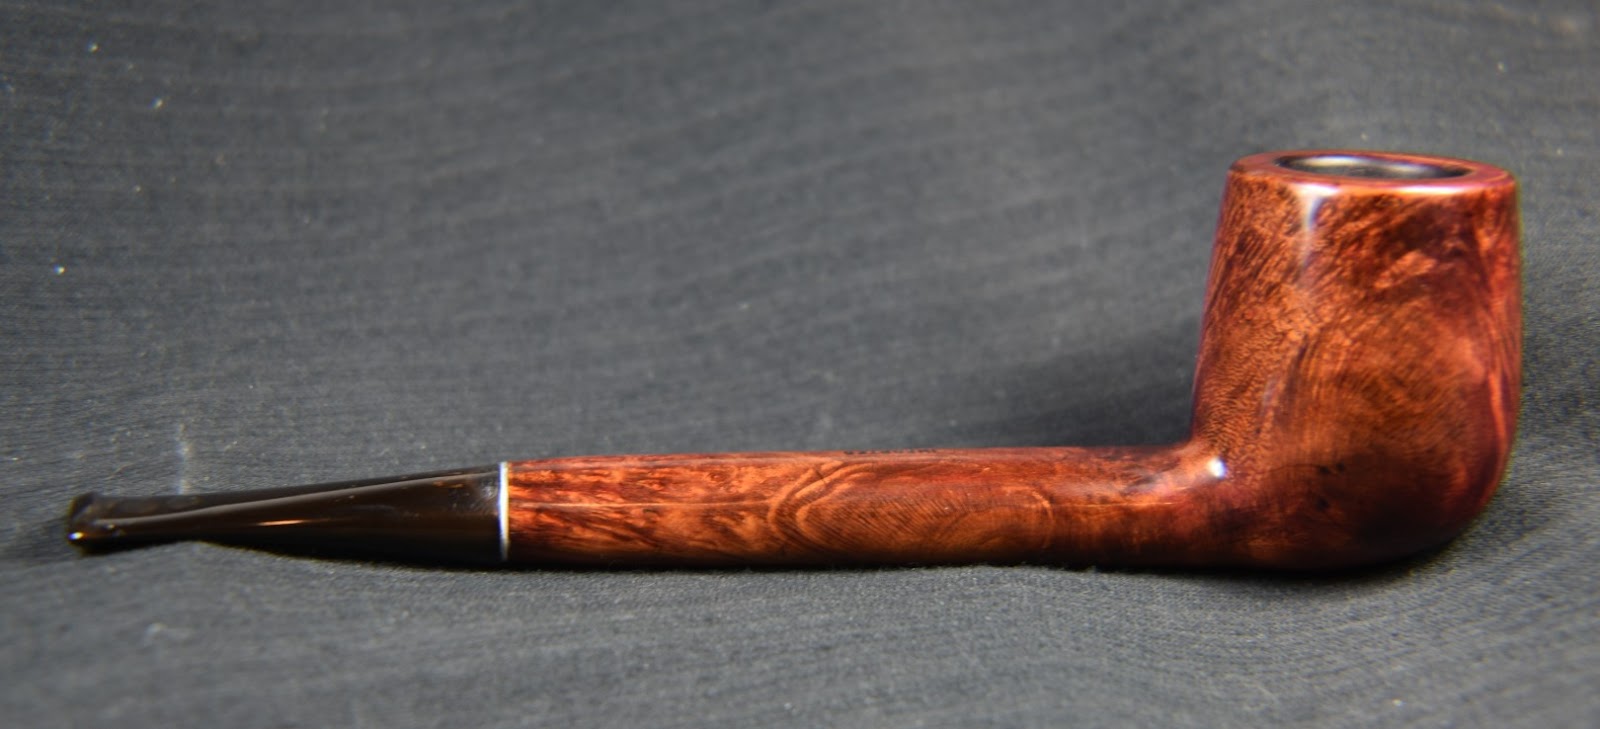
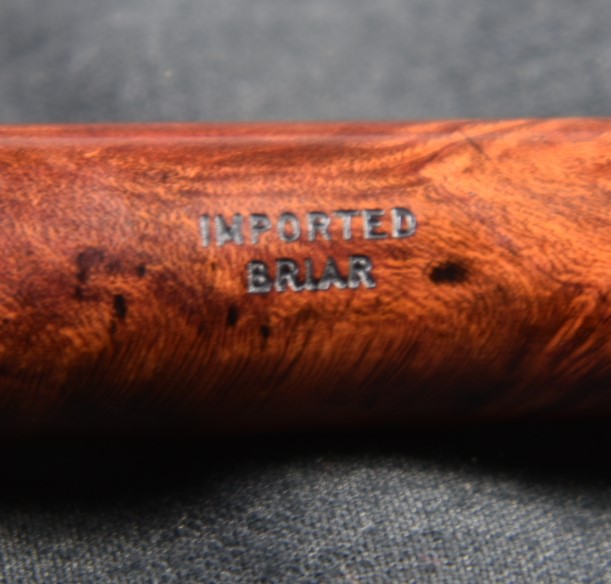
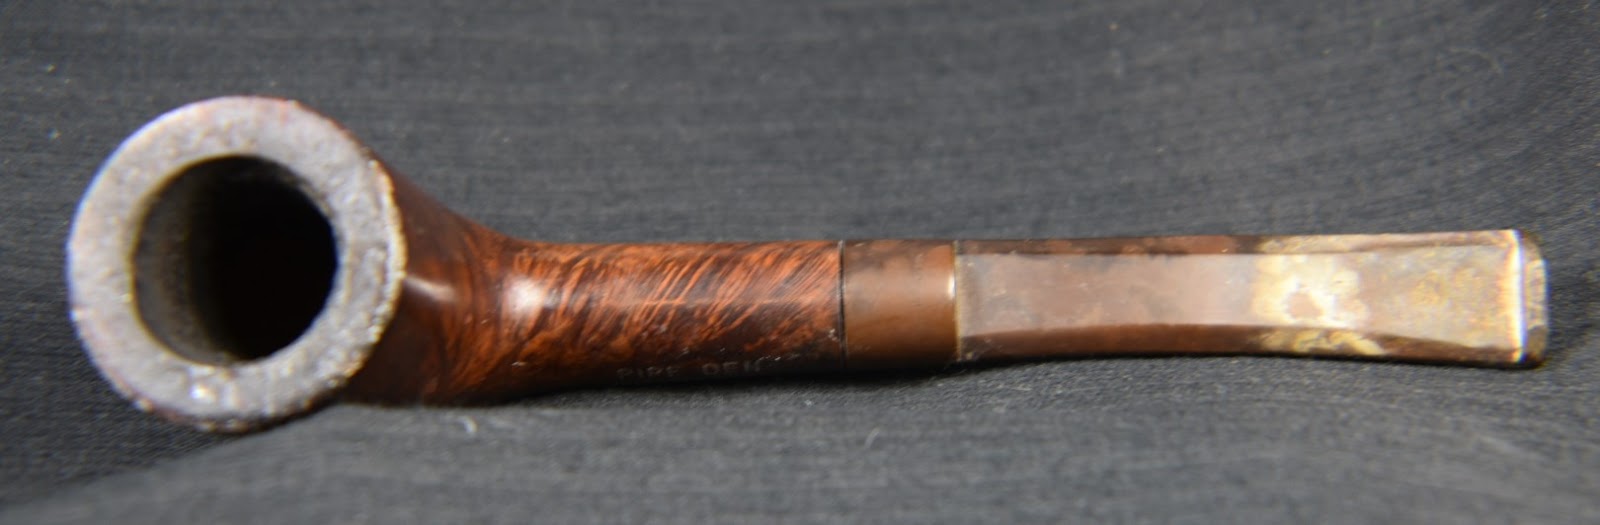
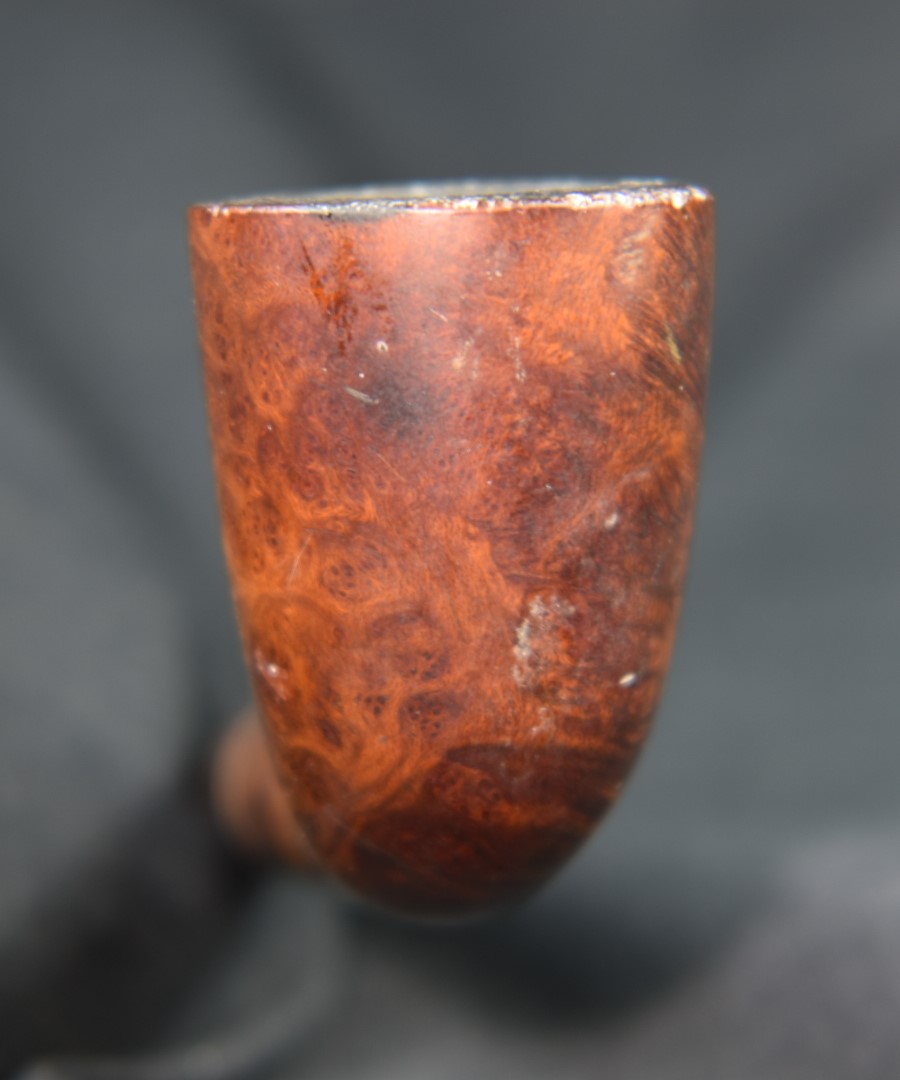
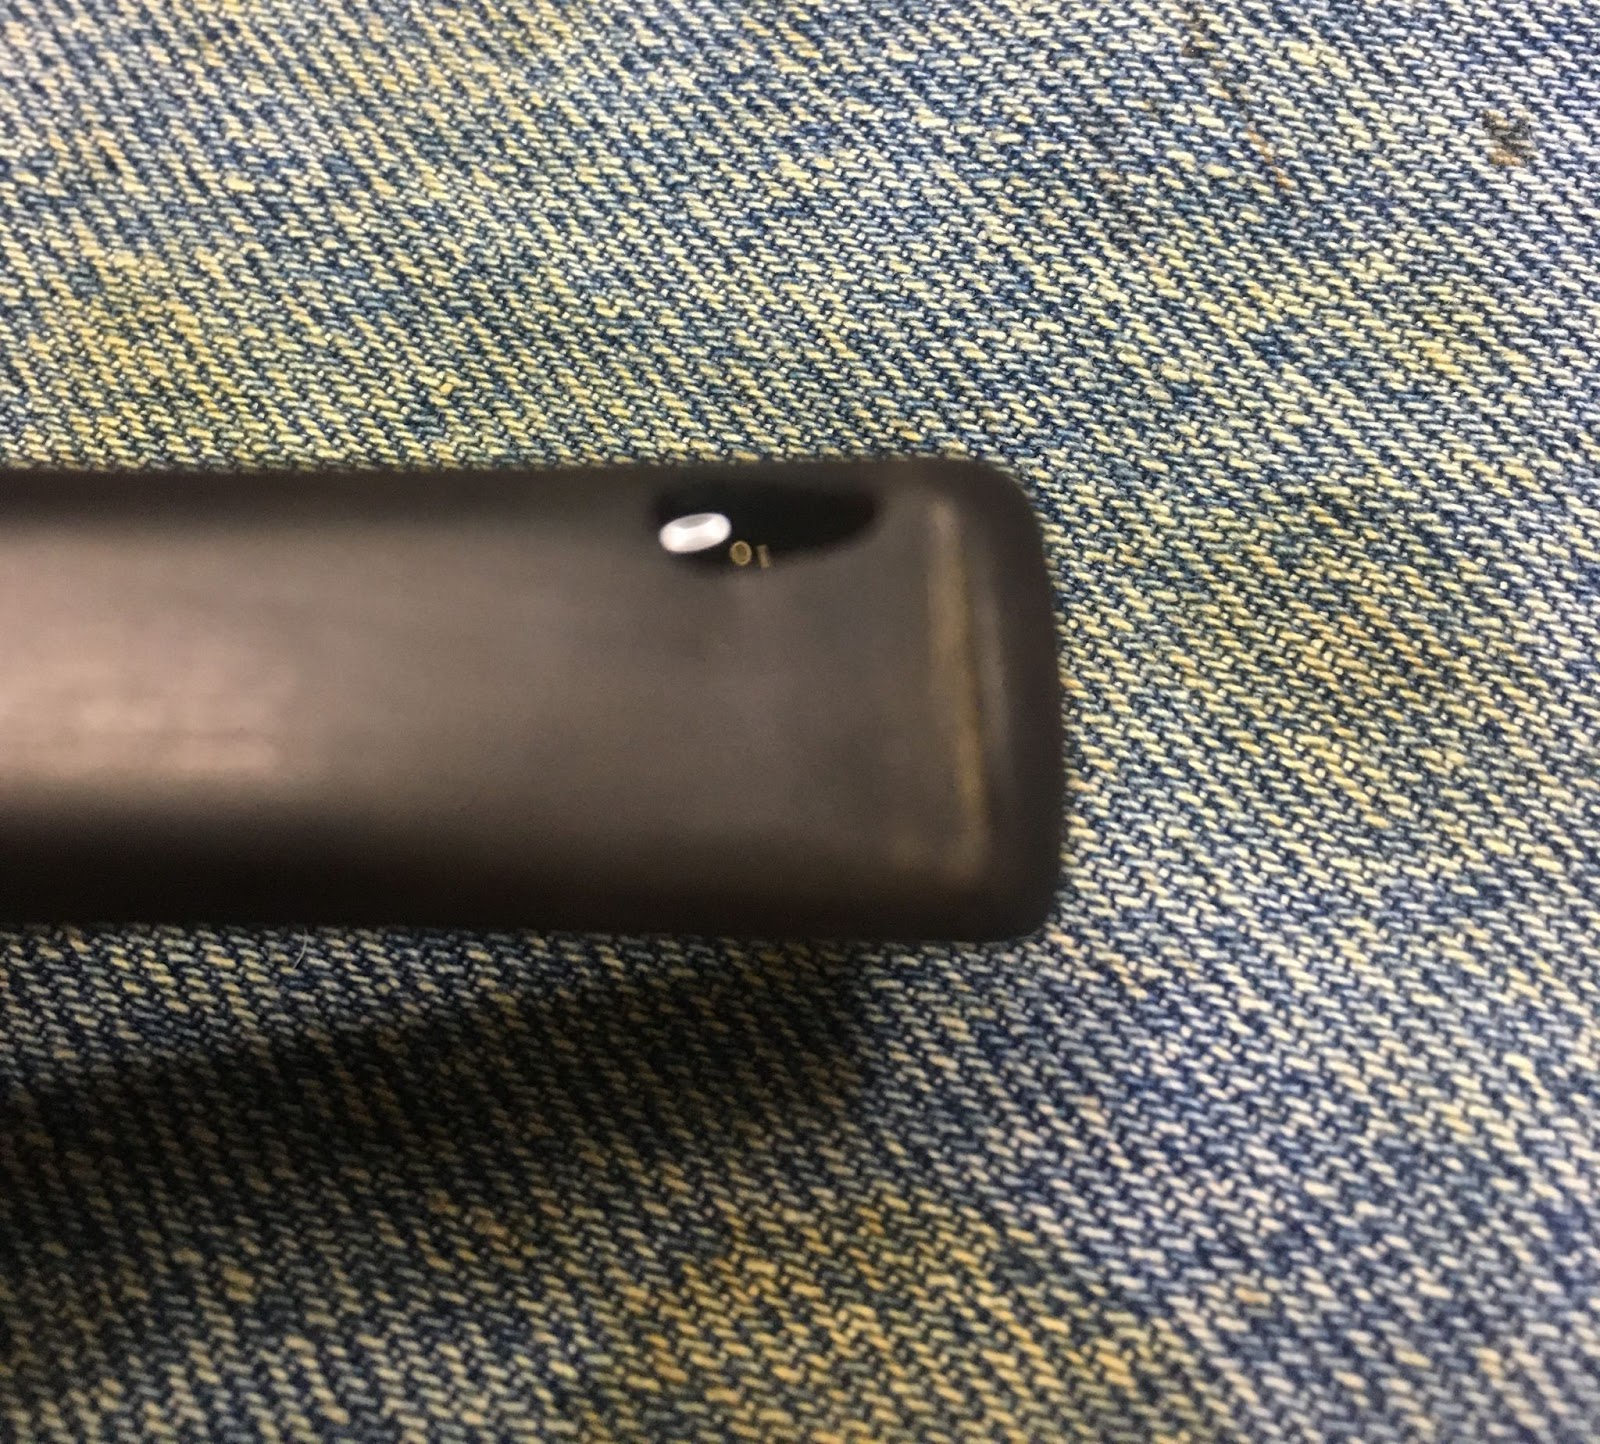
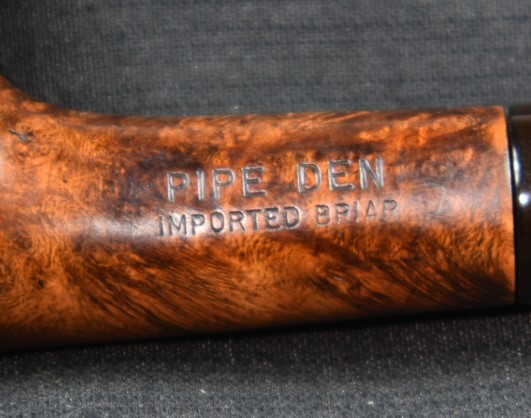
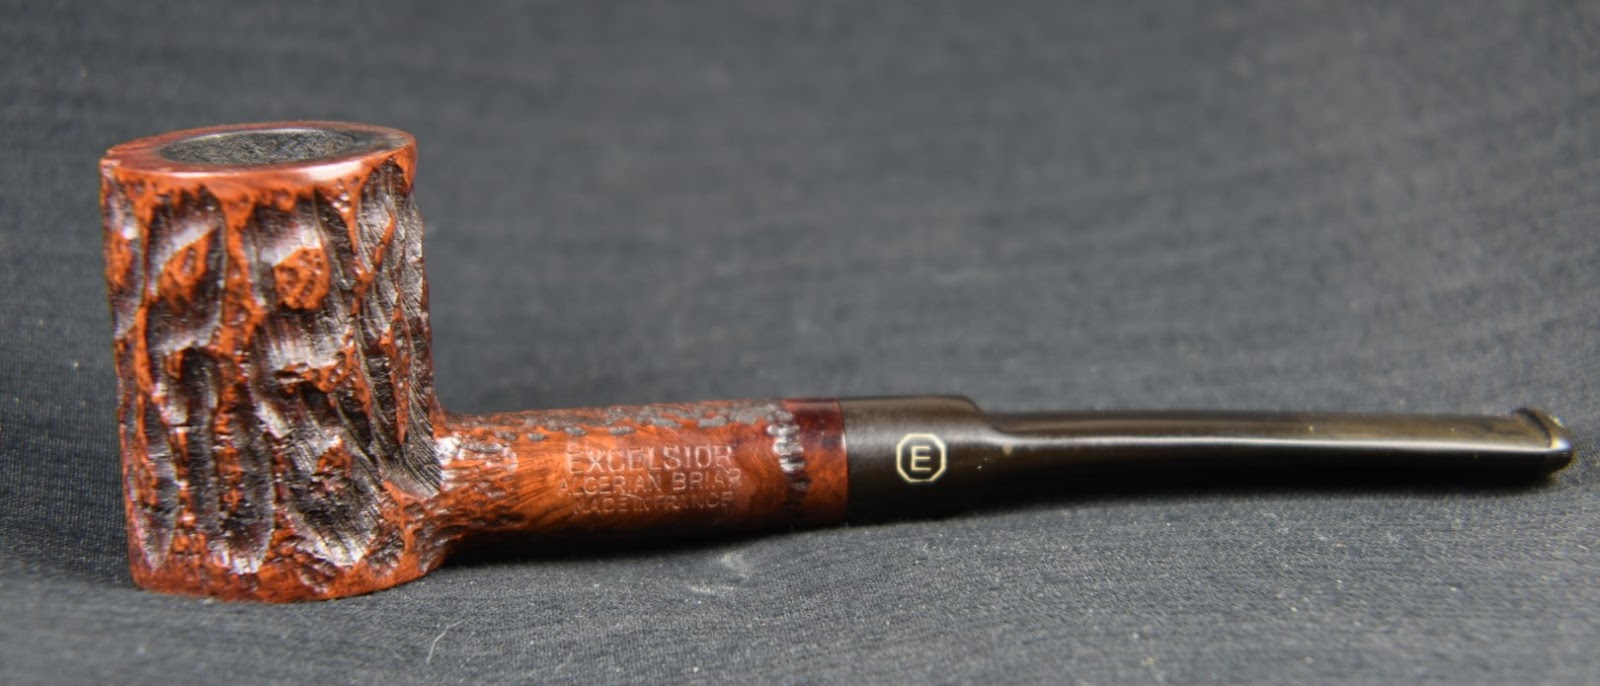
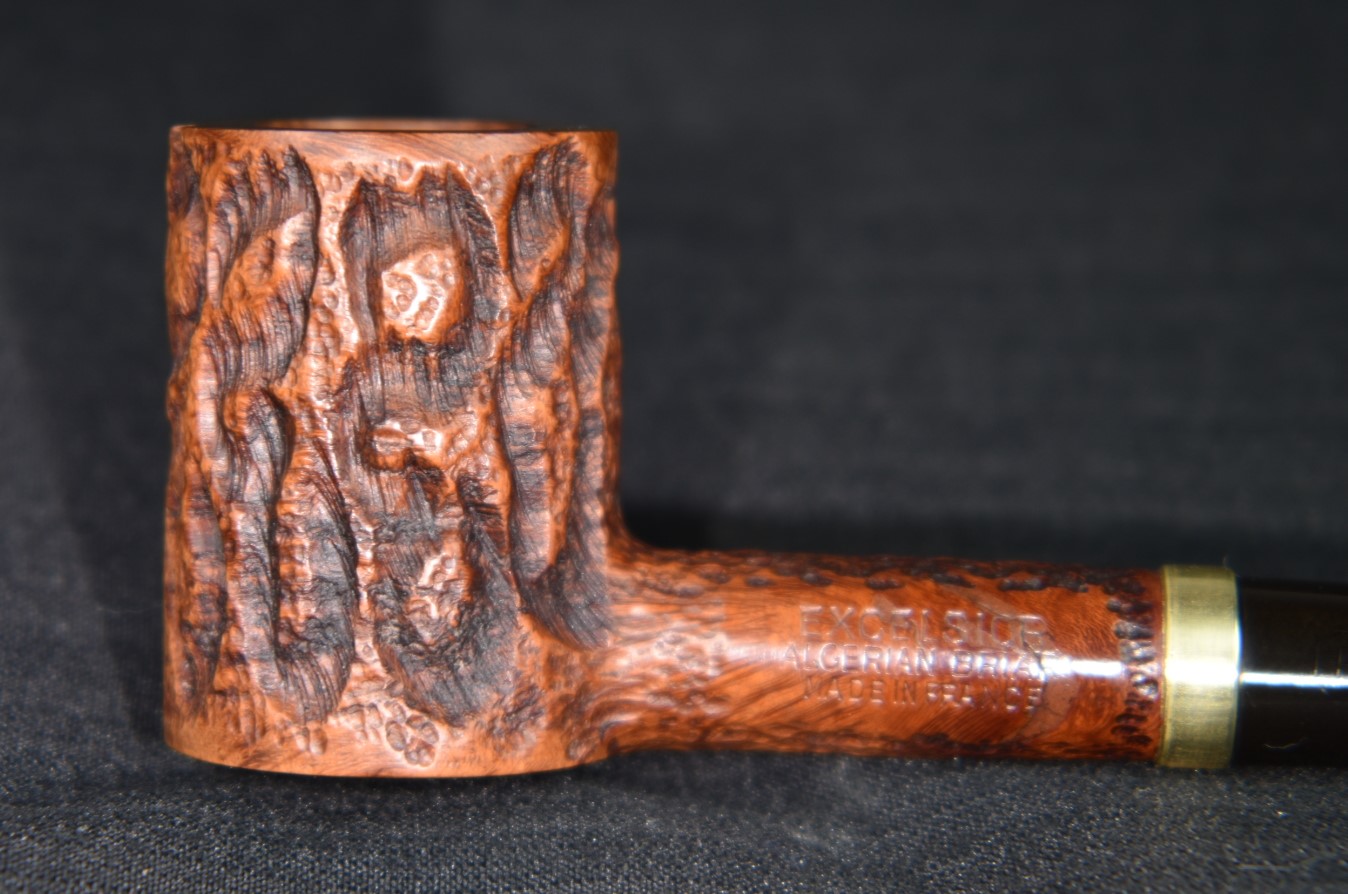
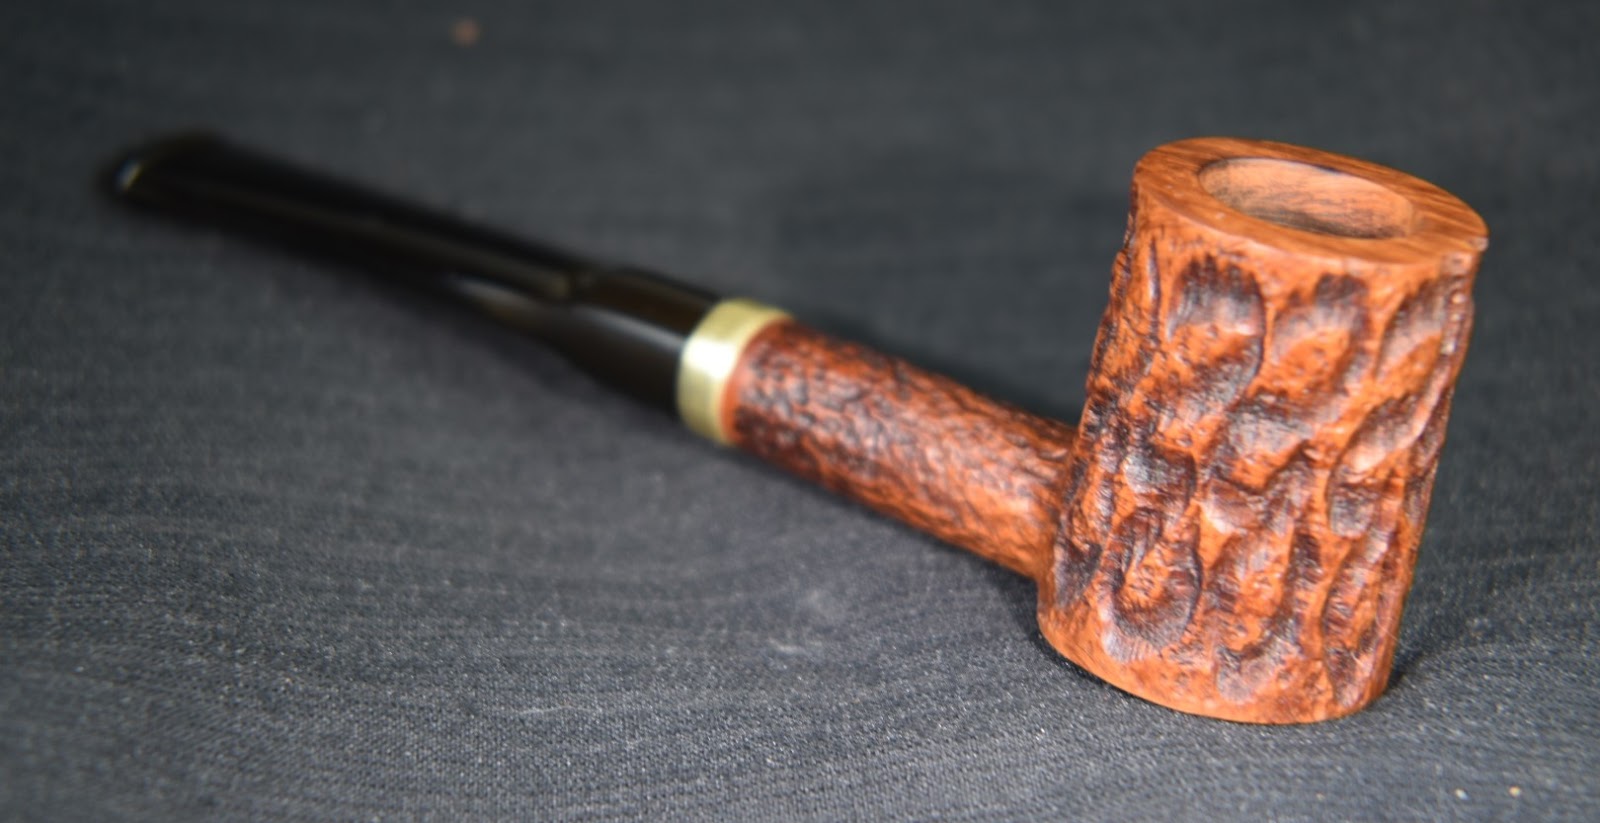
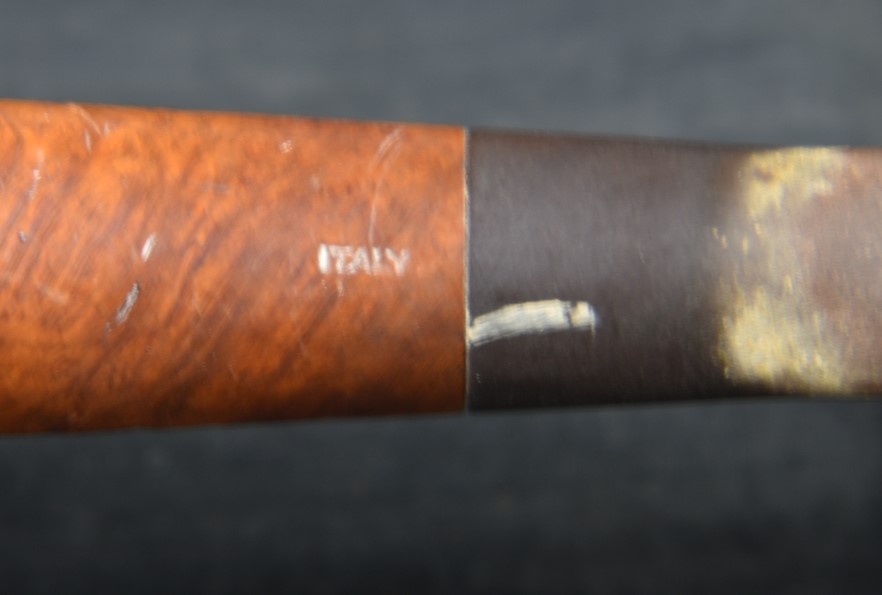
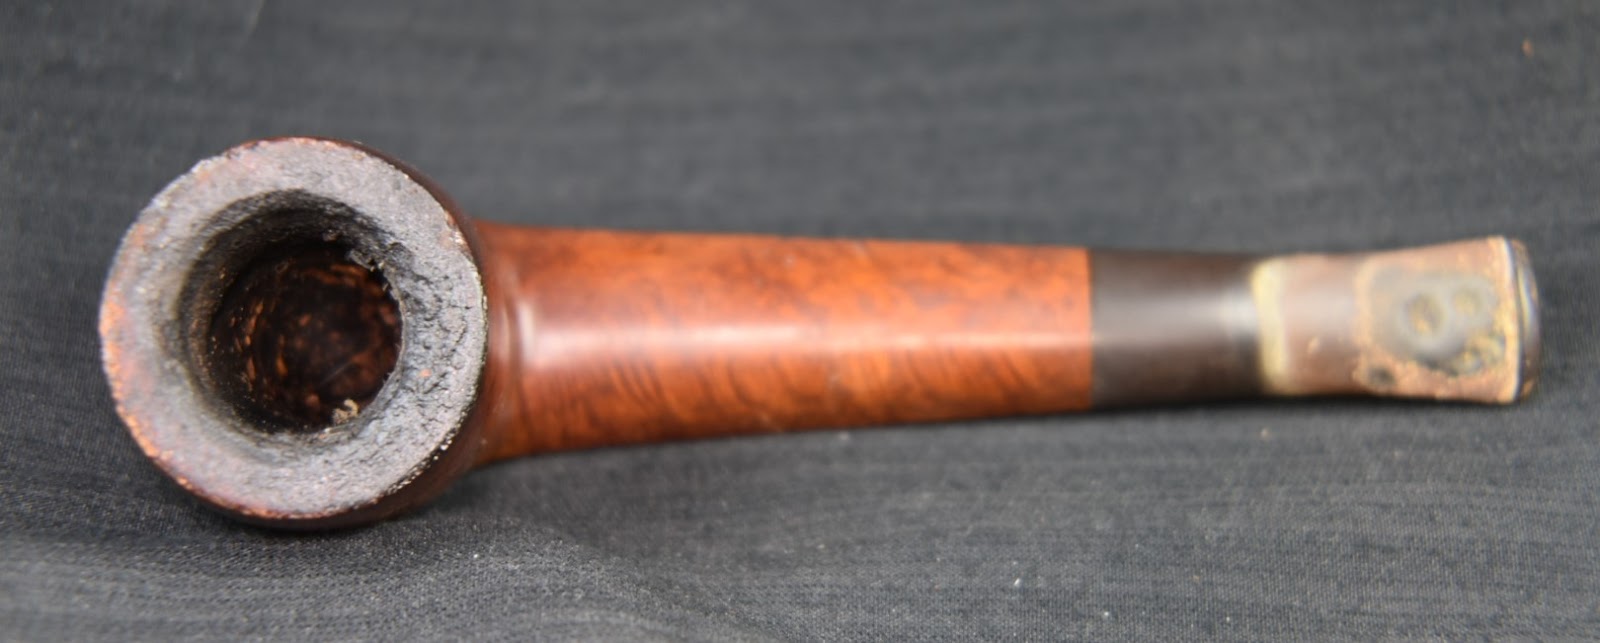
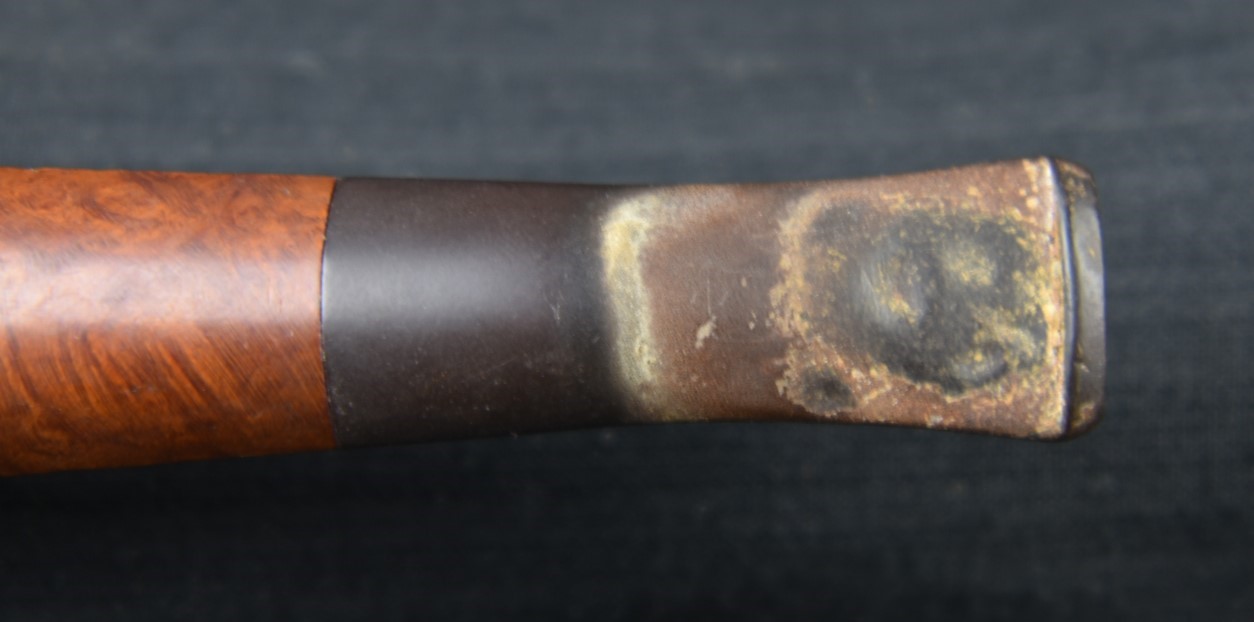
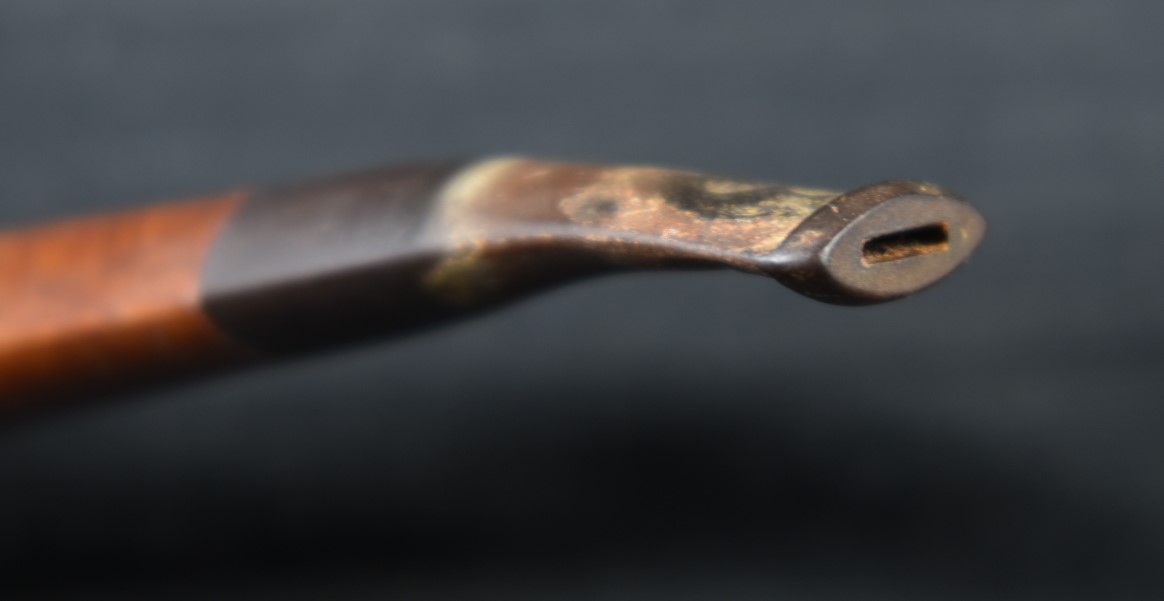
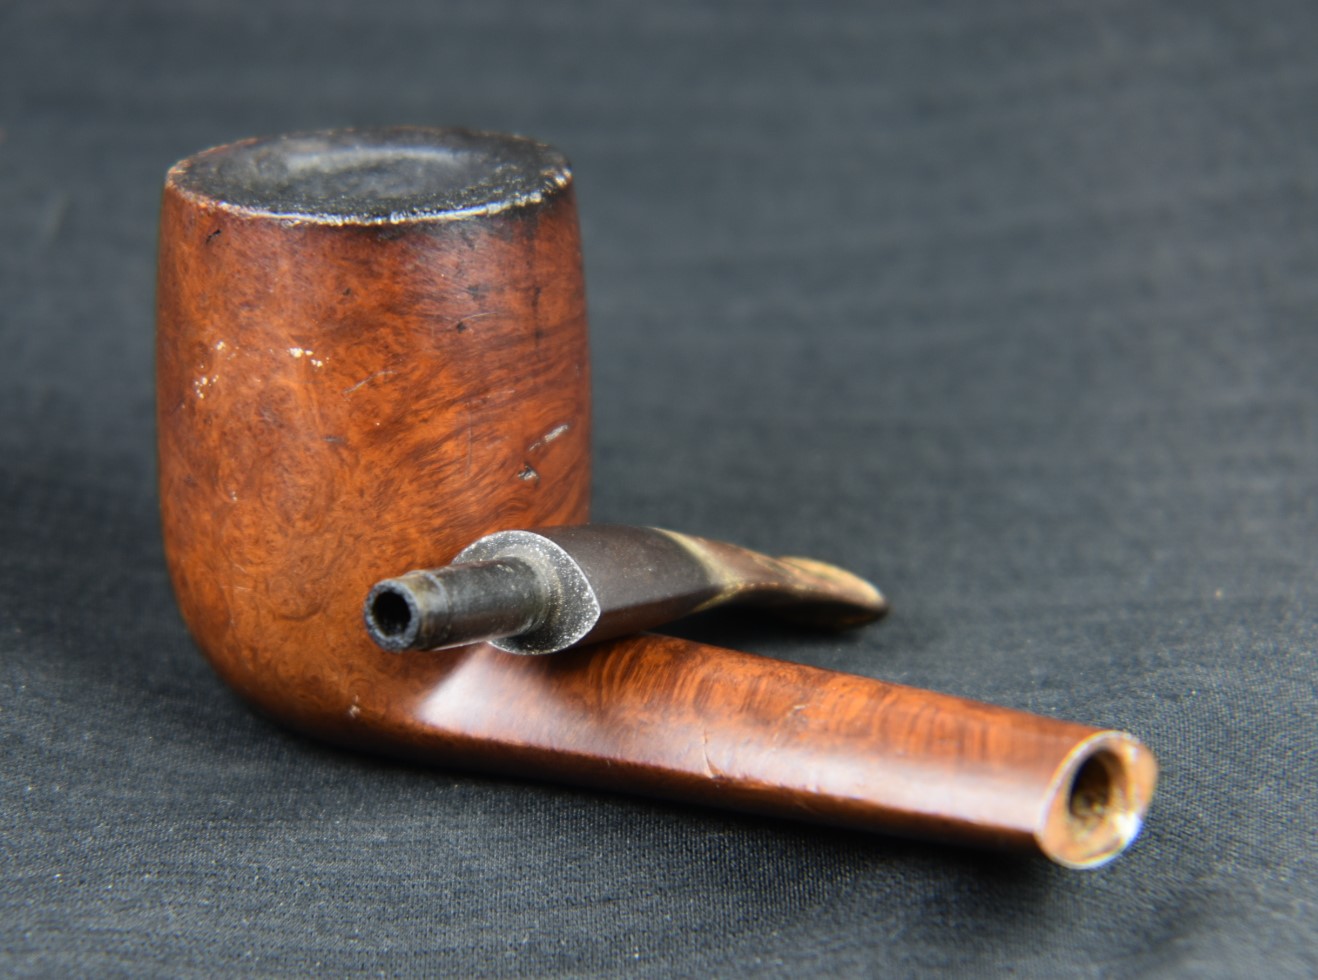
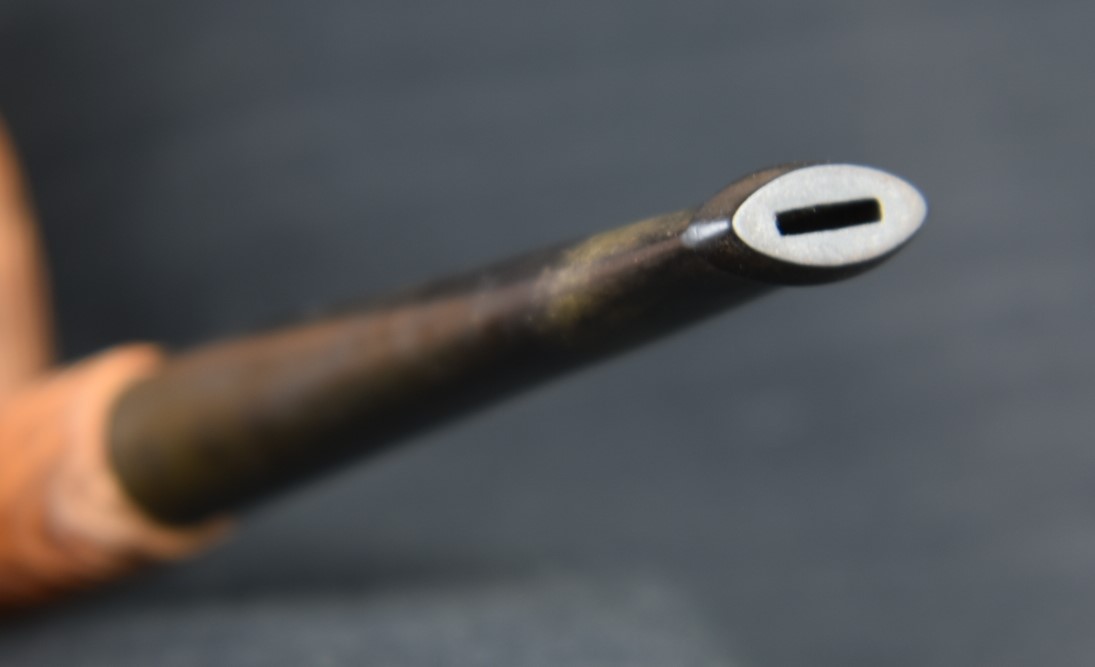
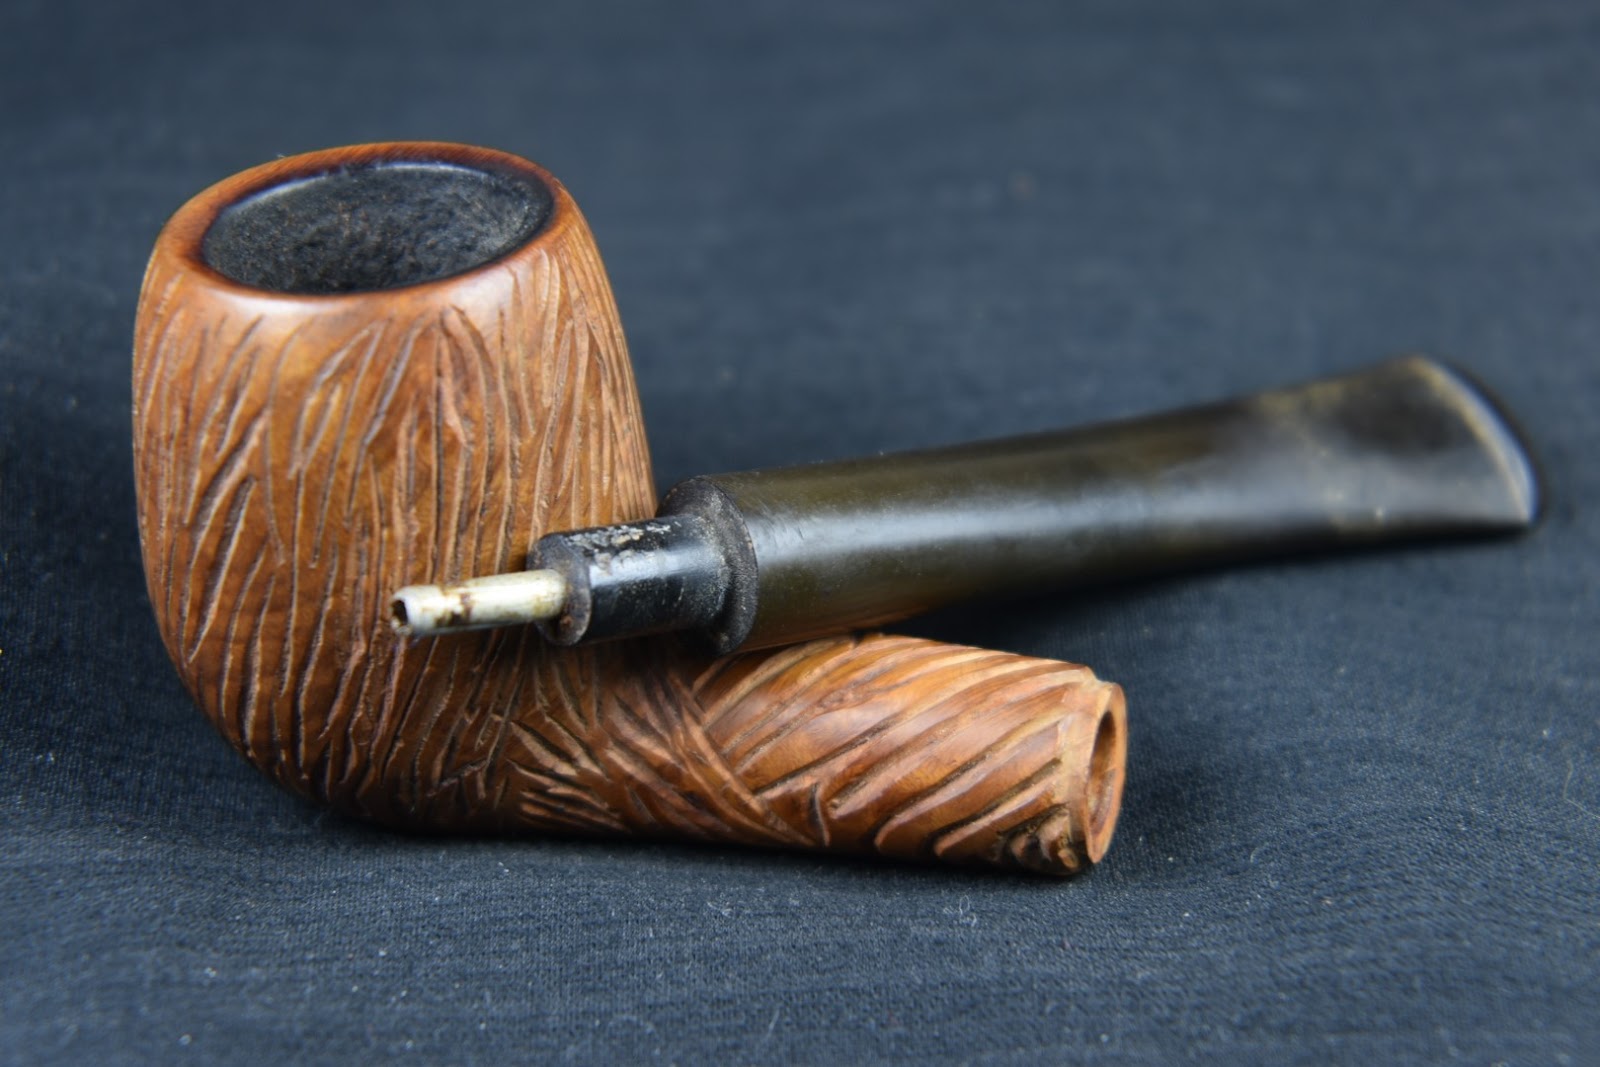
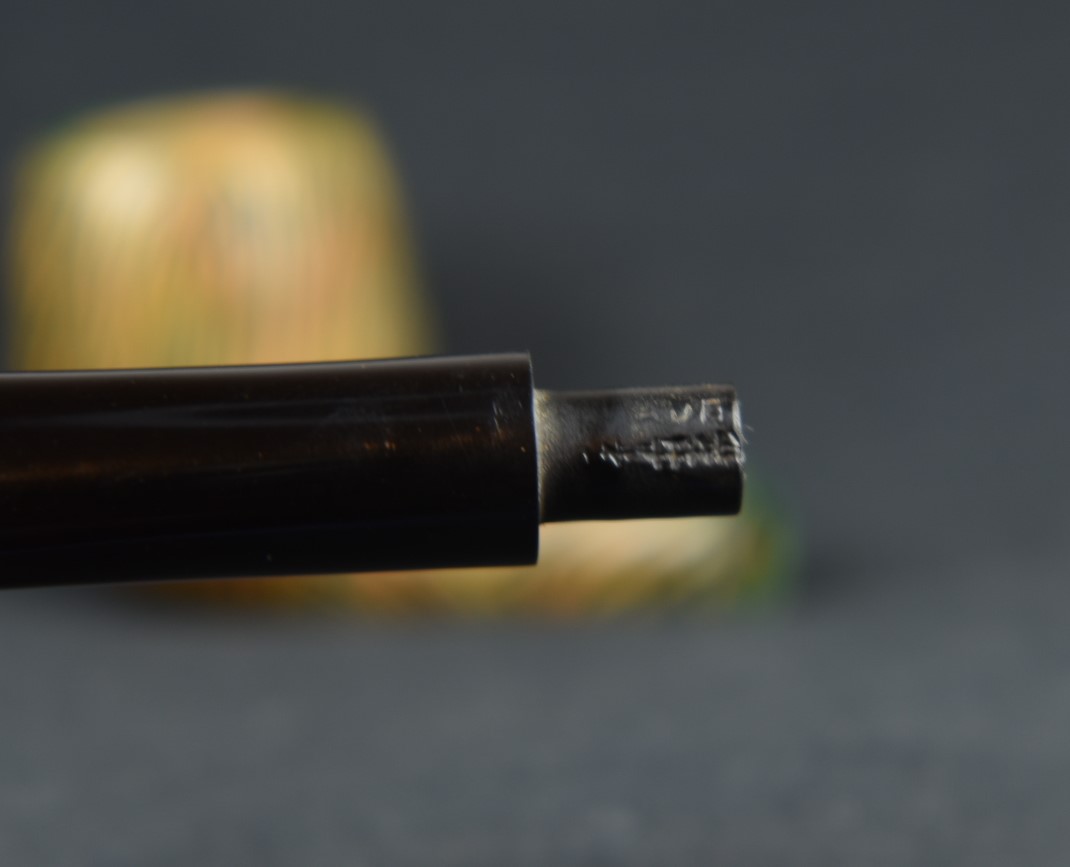
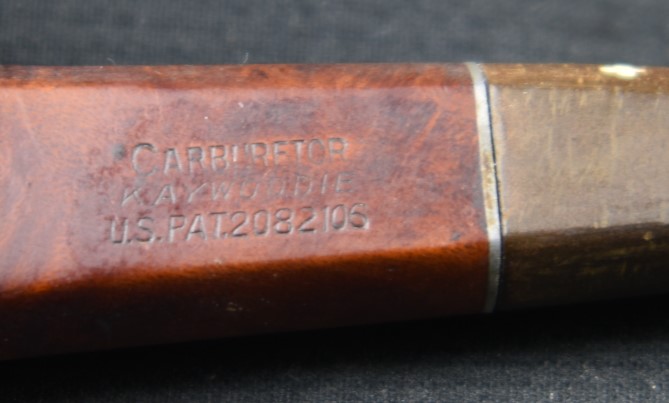
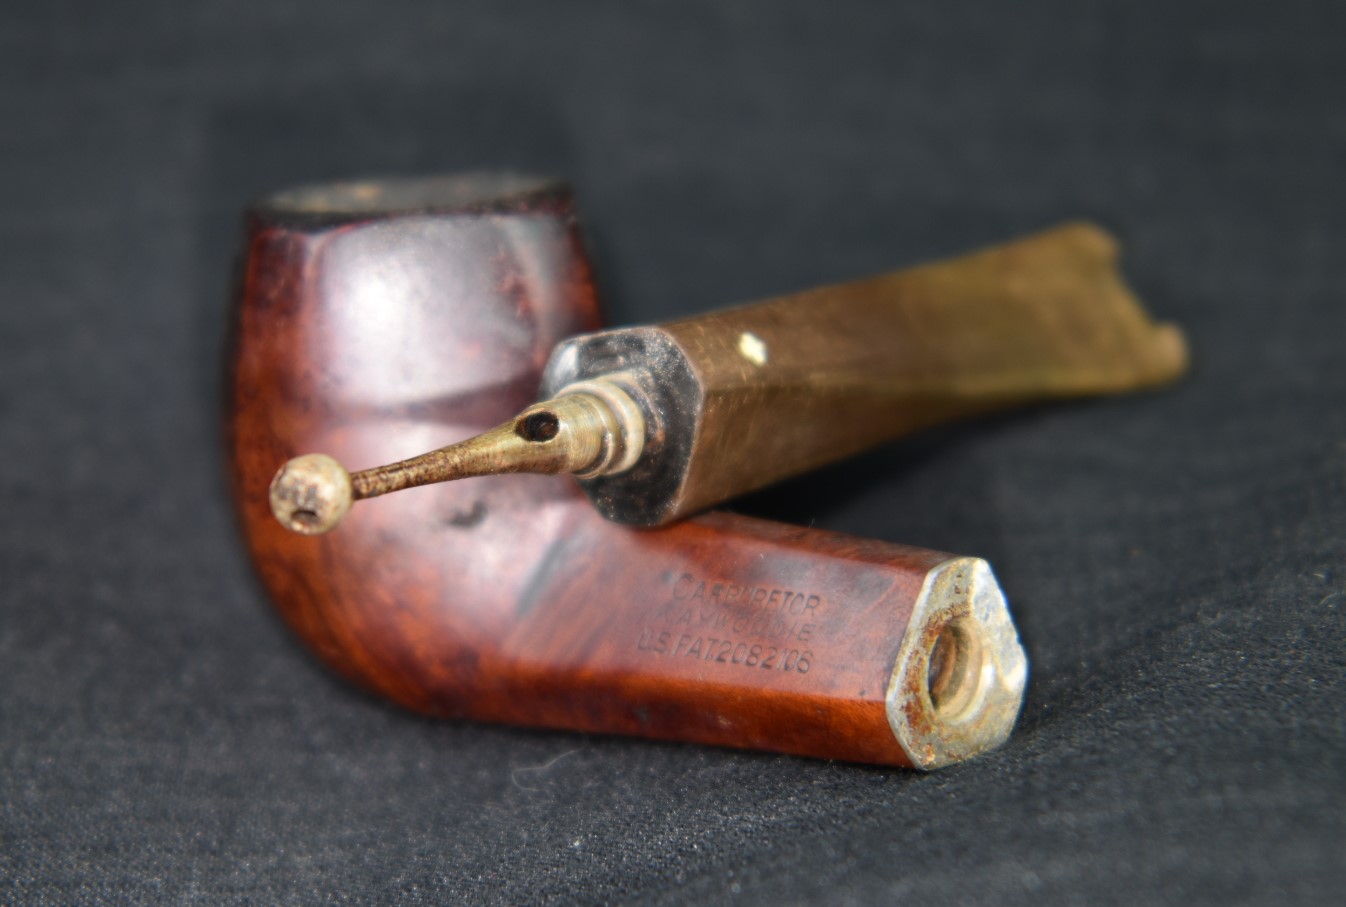
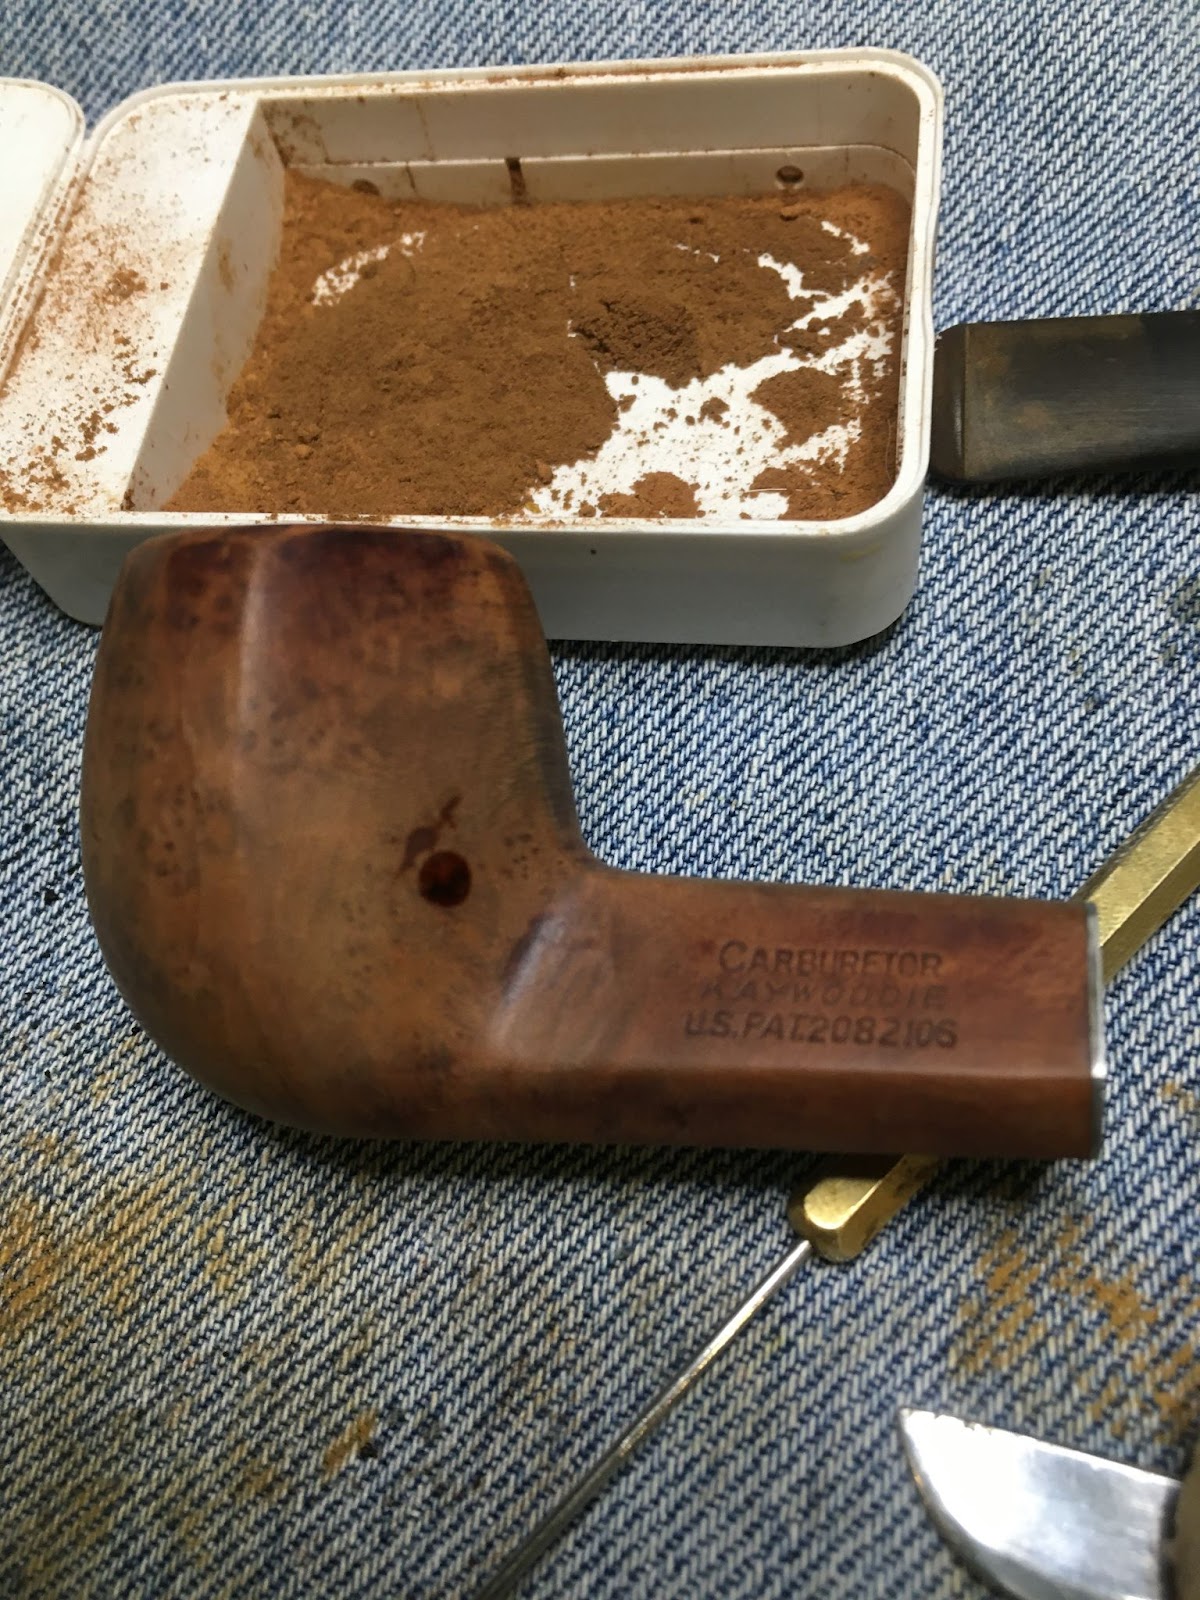
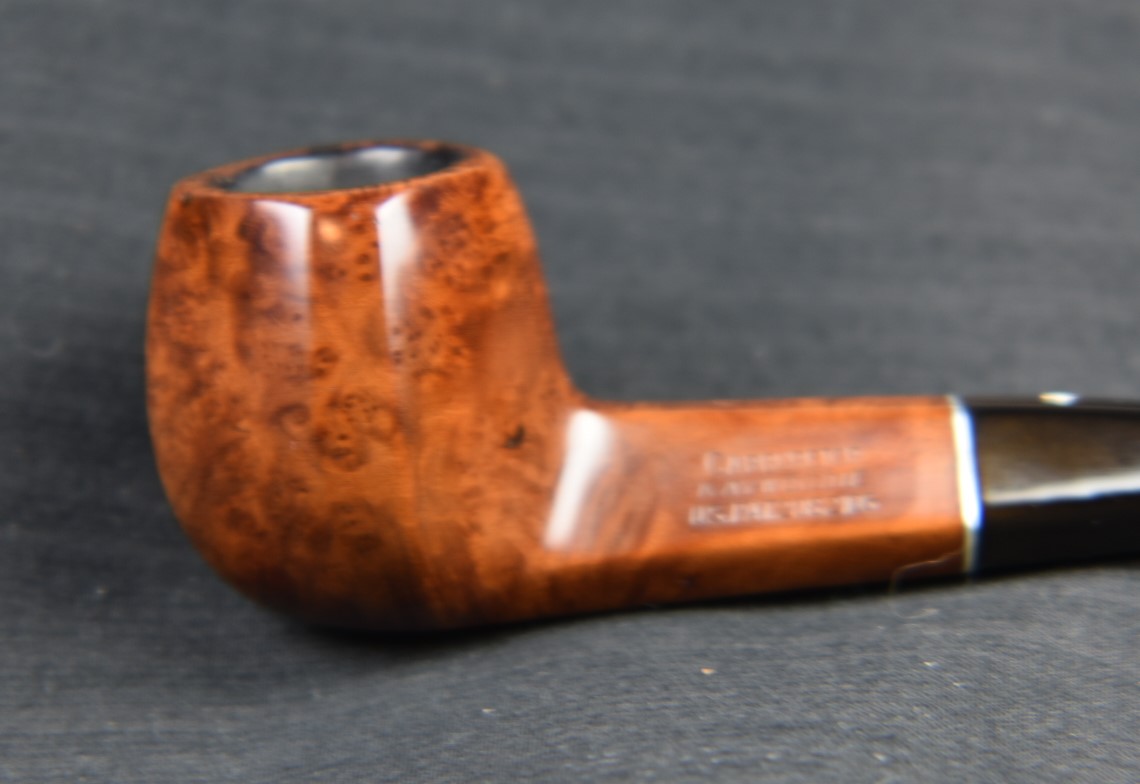
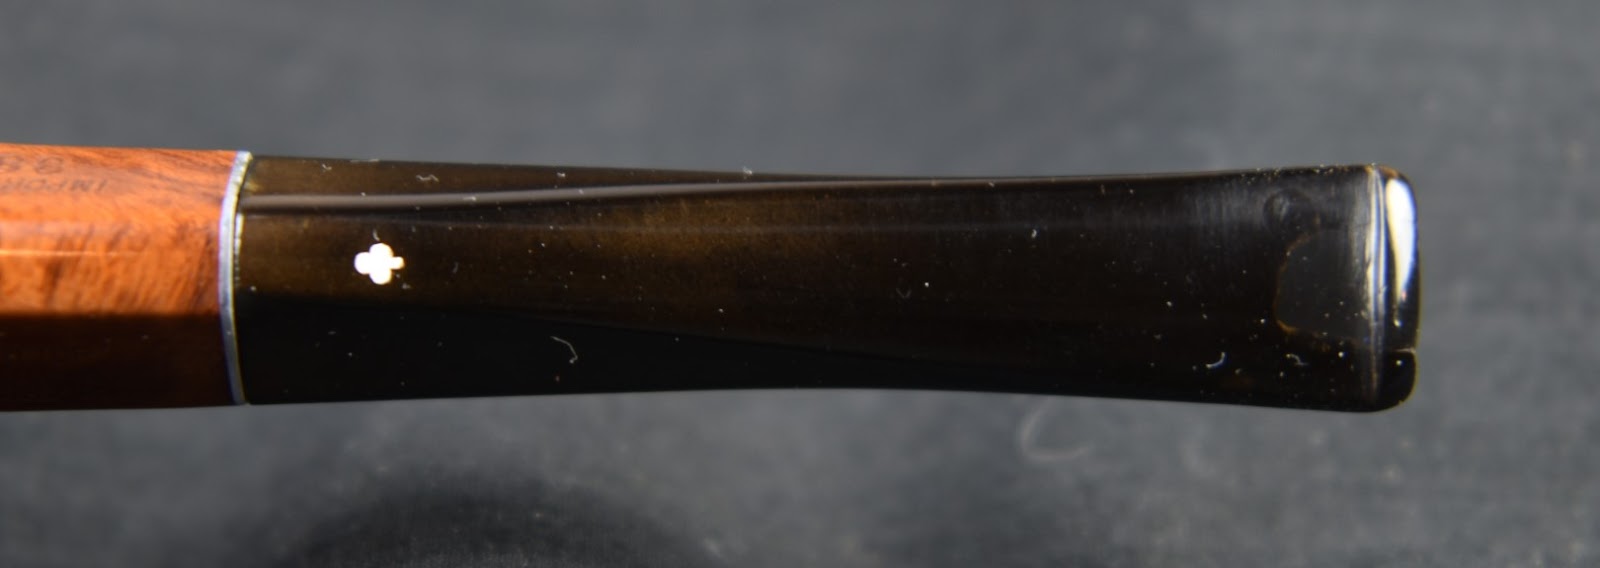
This pipe is an enigma. The shank is stamped with MADE IN ThE over REPUBLIC over OF IRELAND. I will refer to this stamp as MITROI from here on.
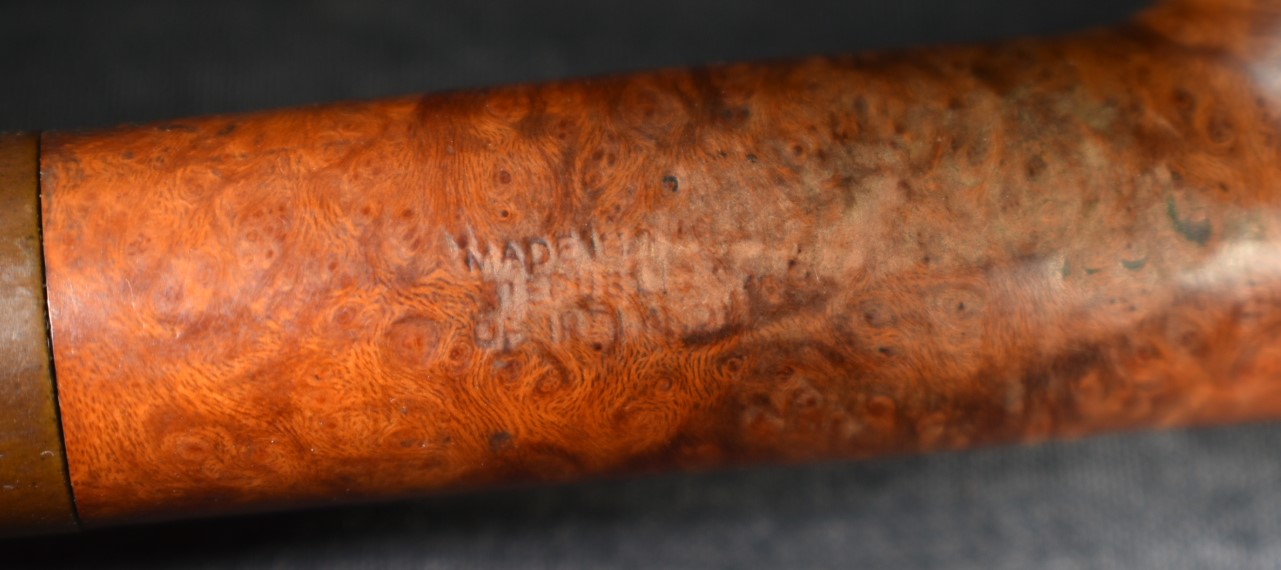
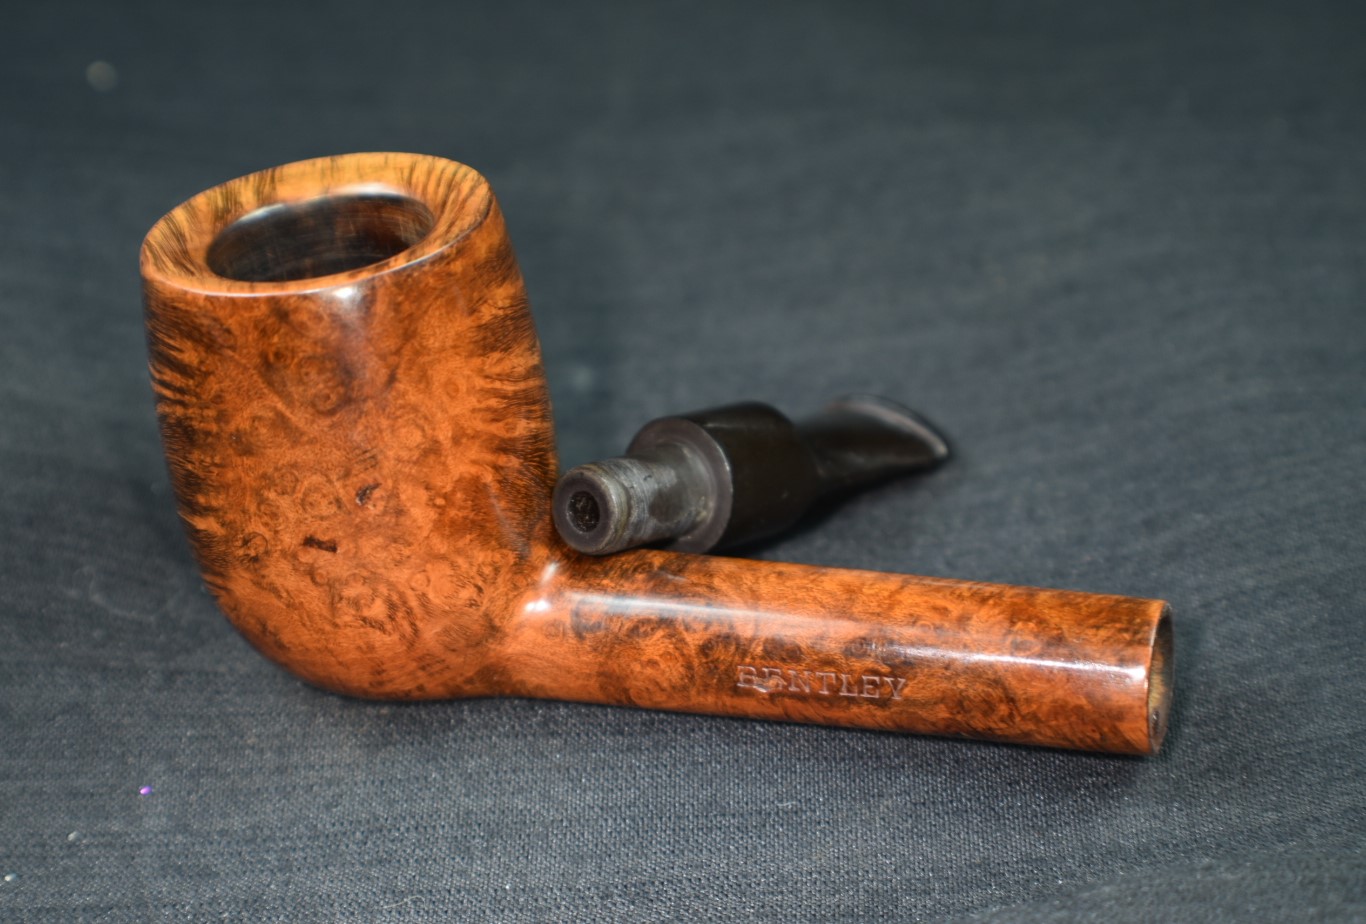
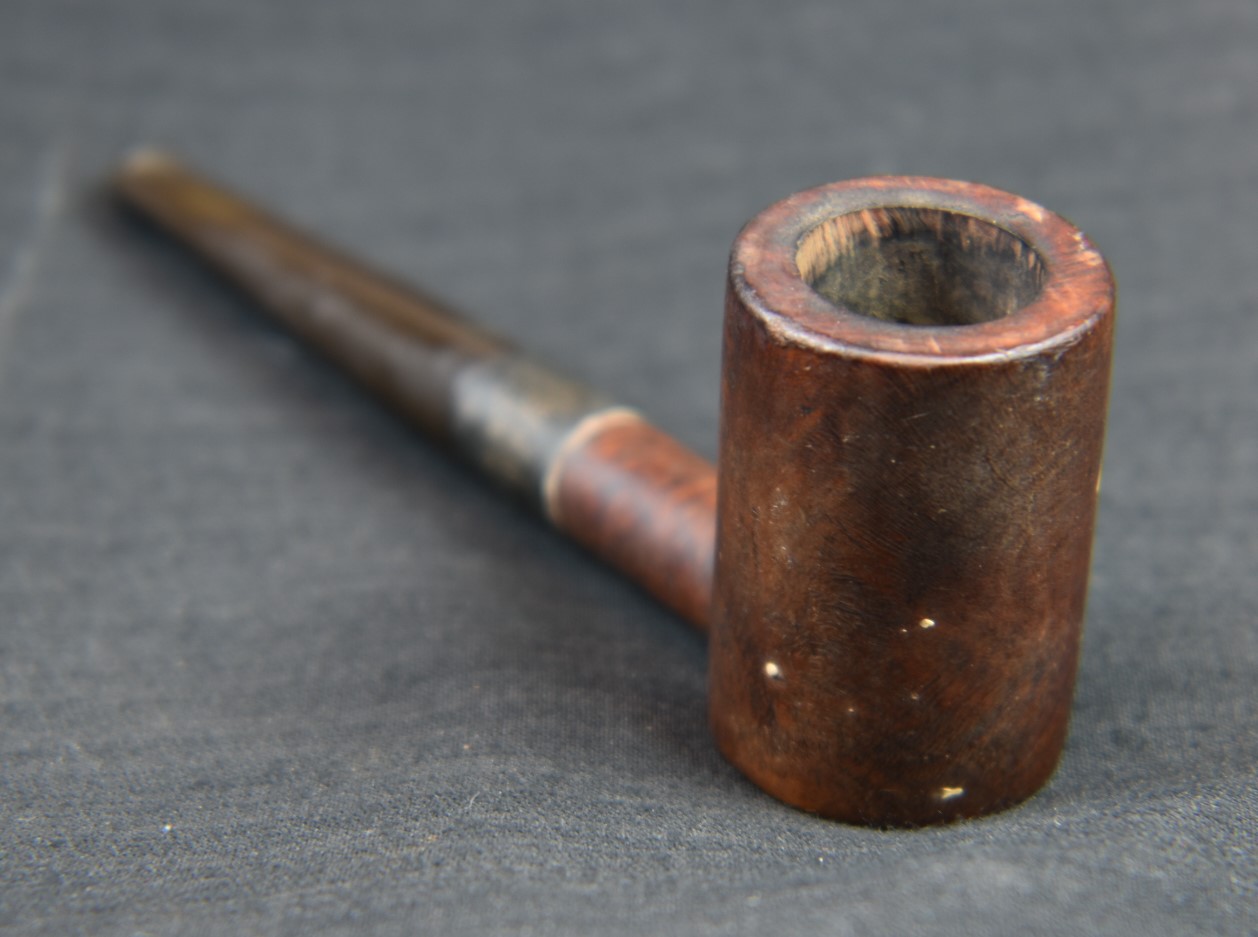
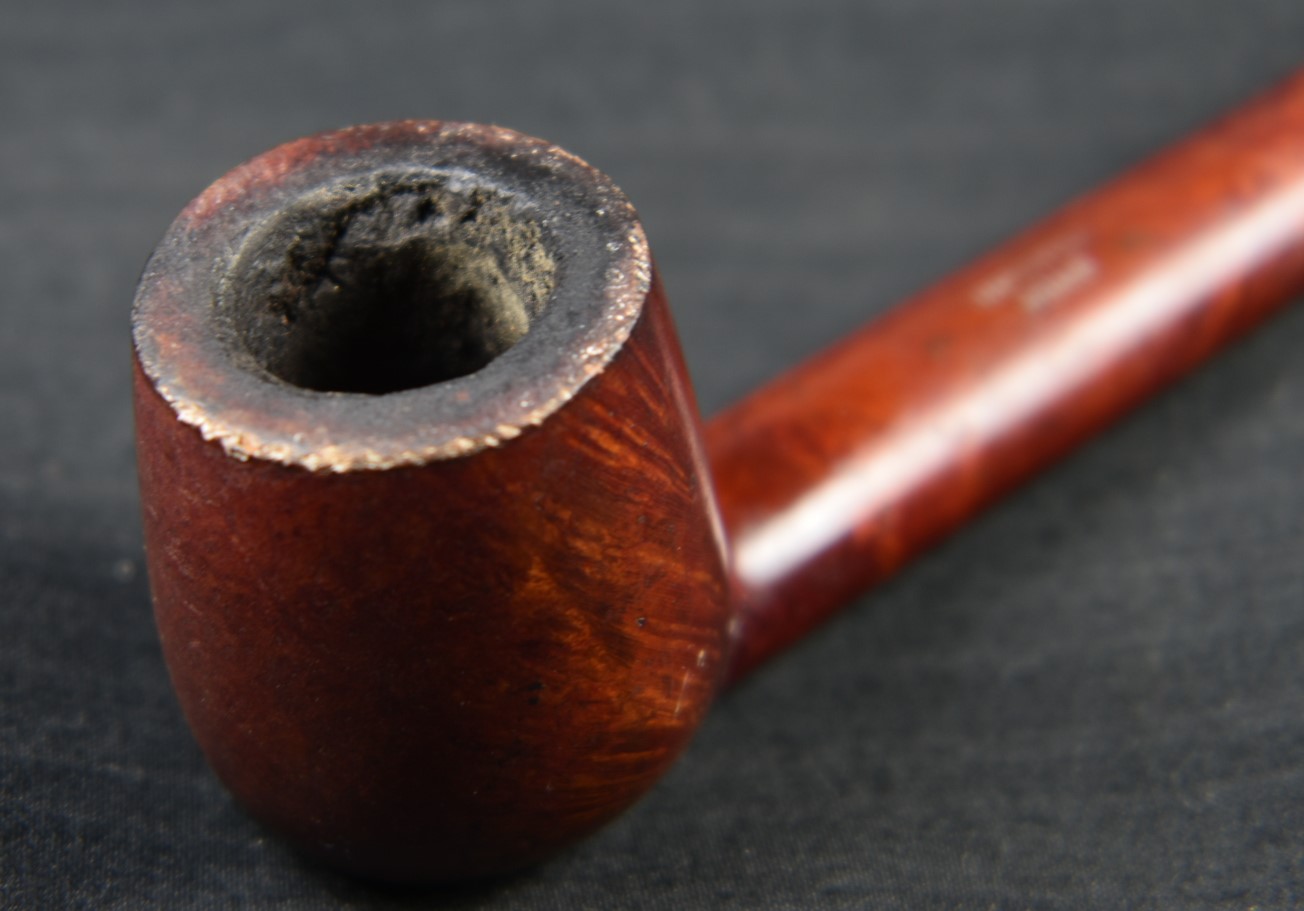
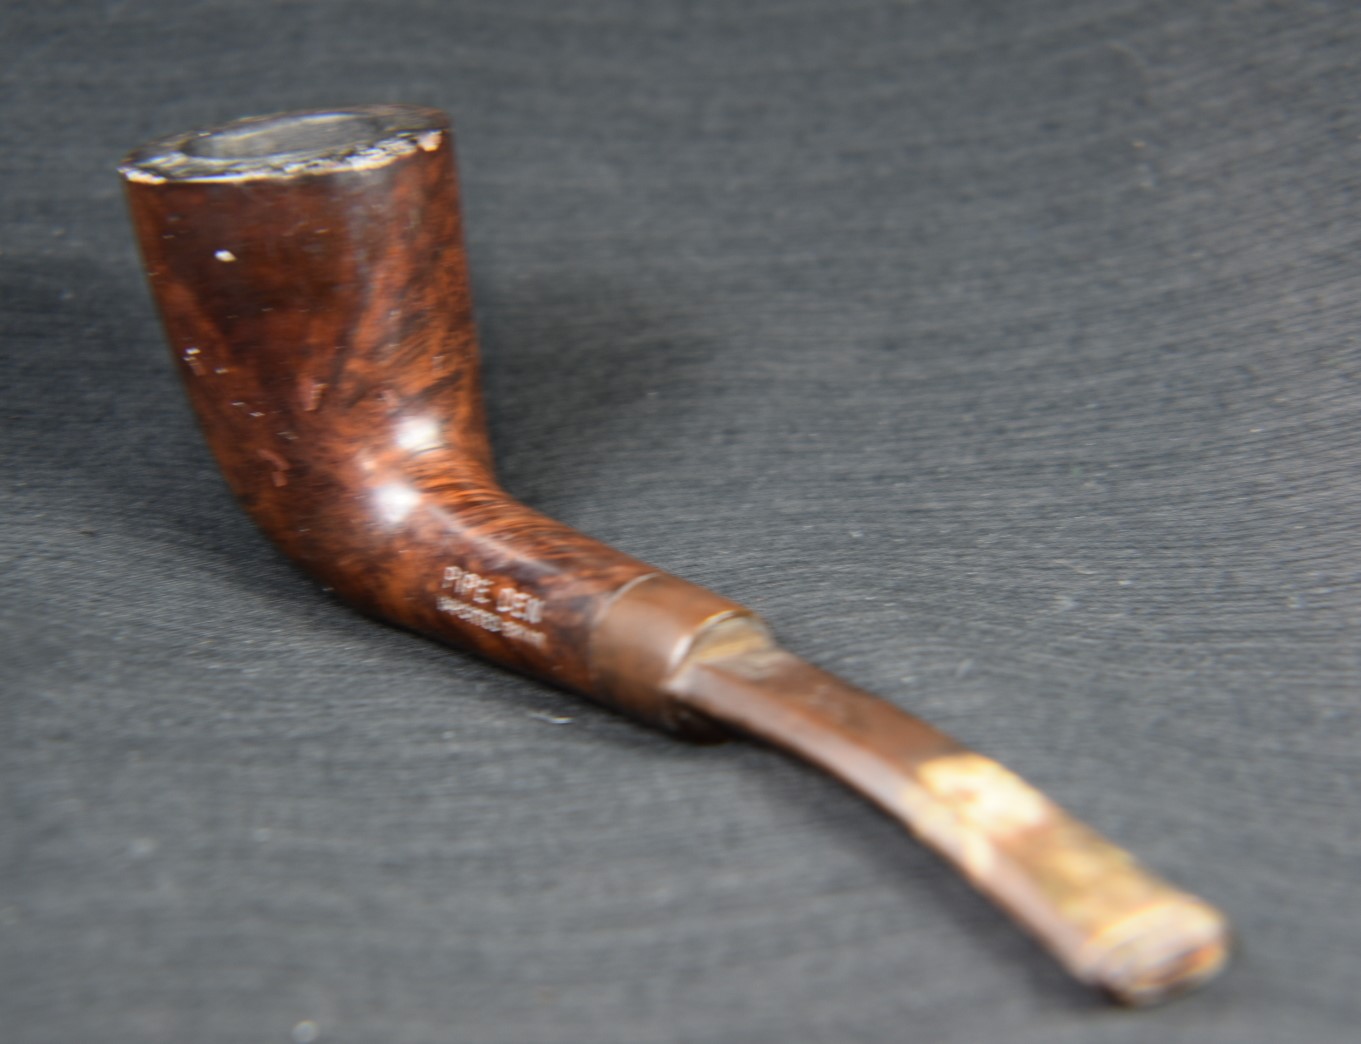
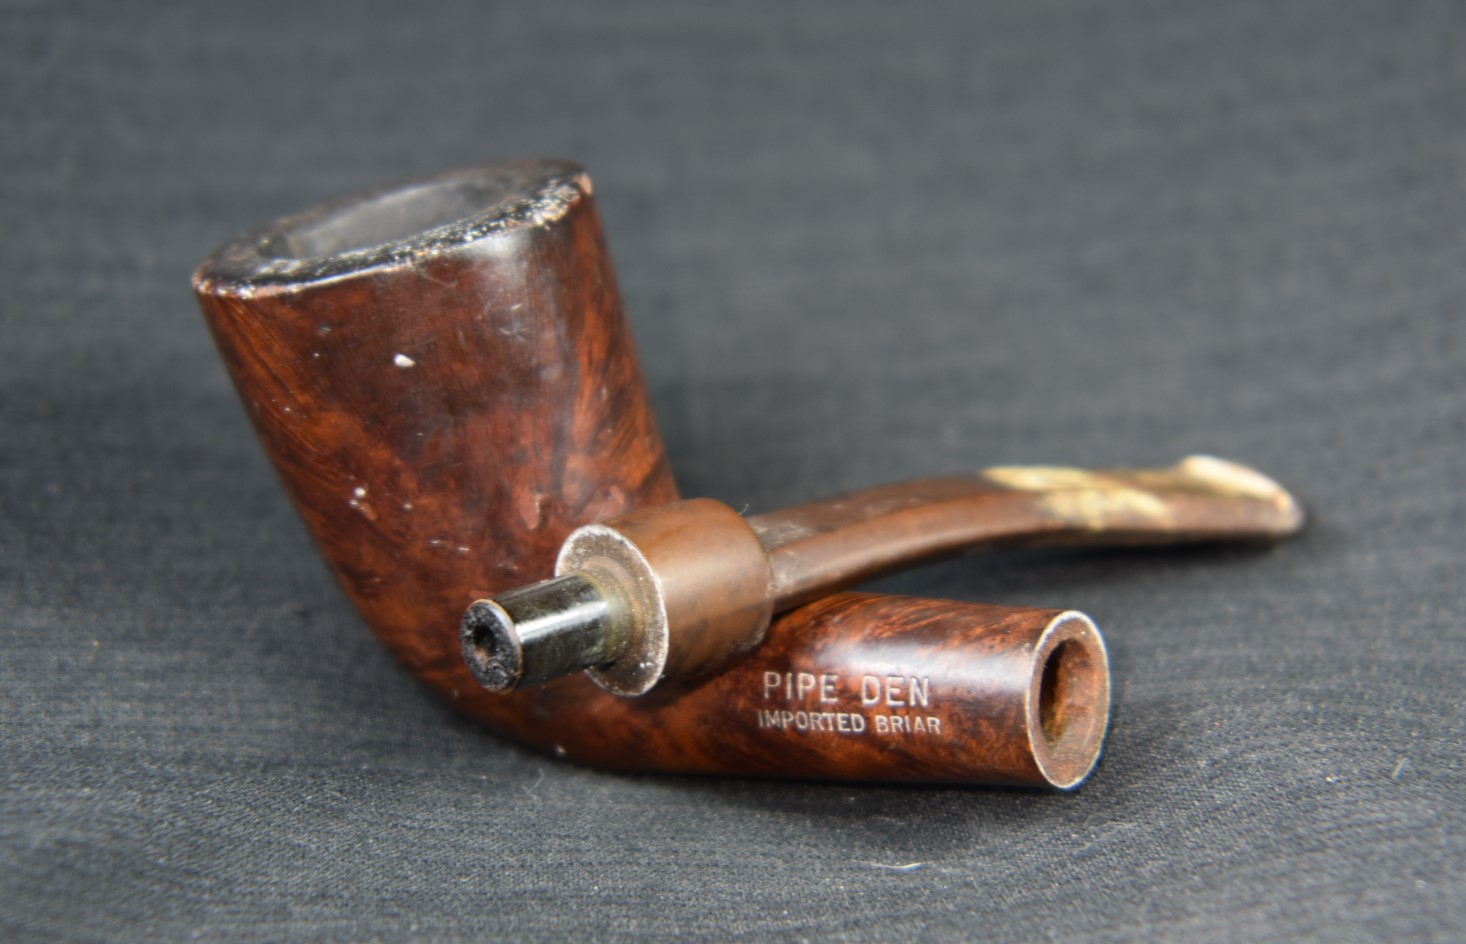
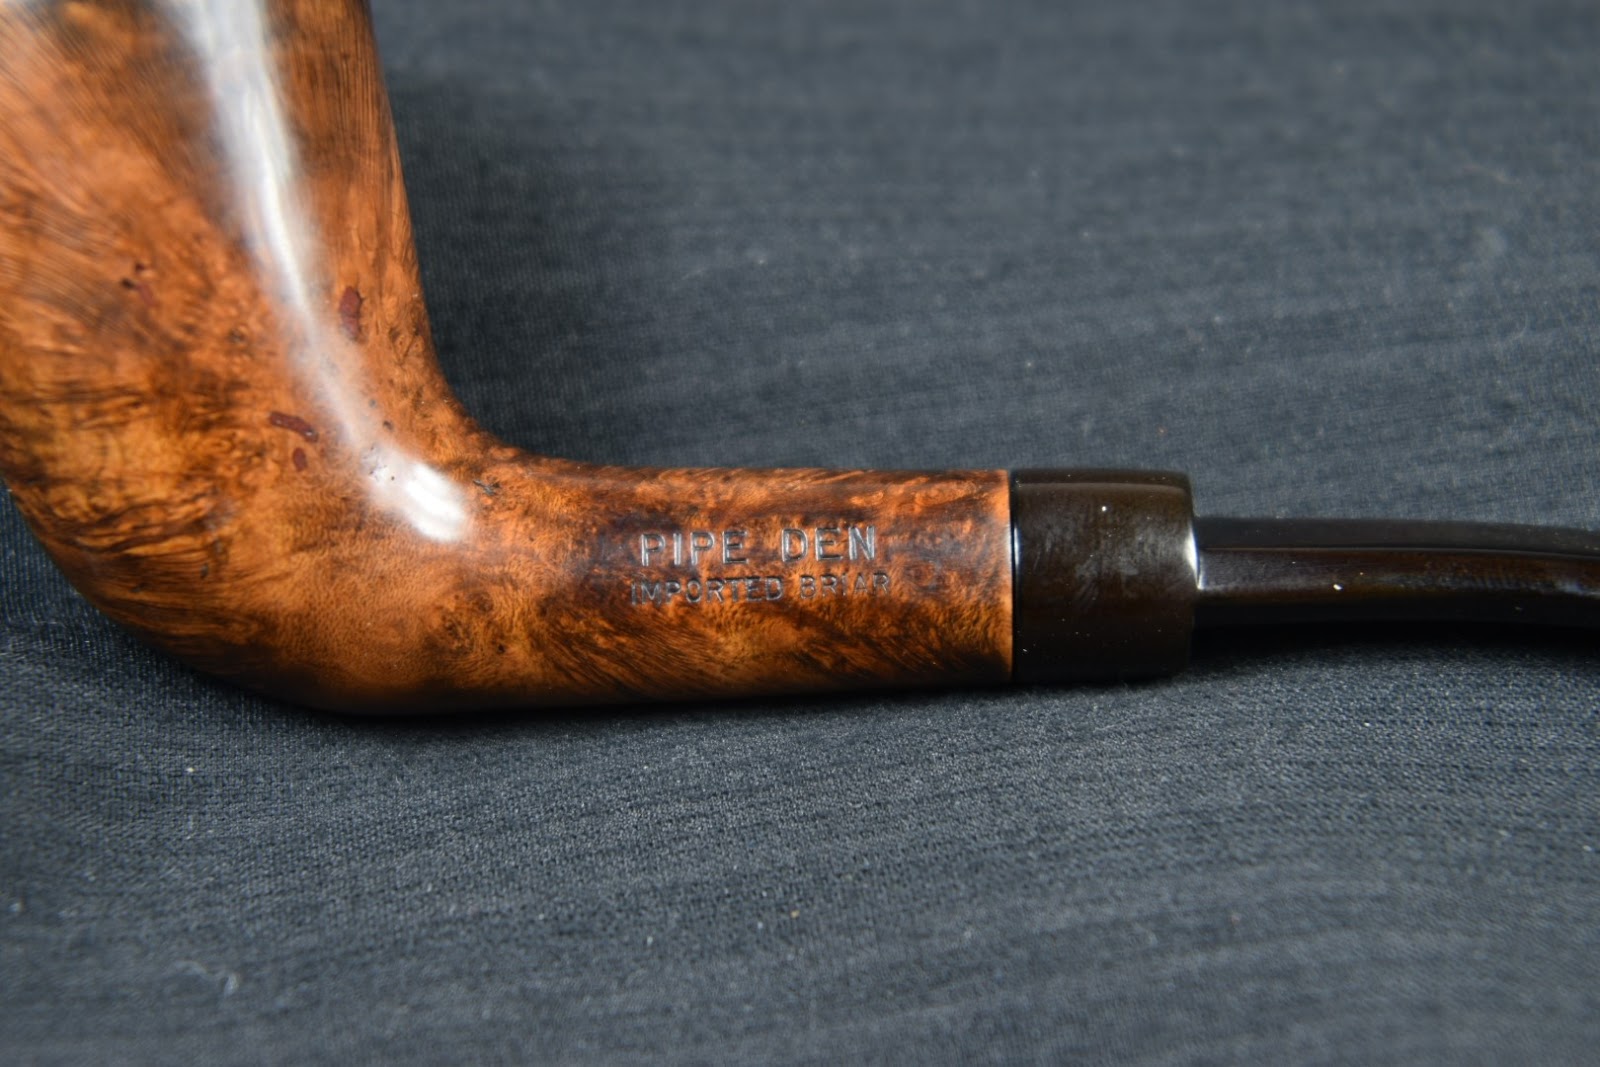
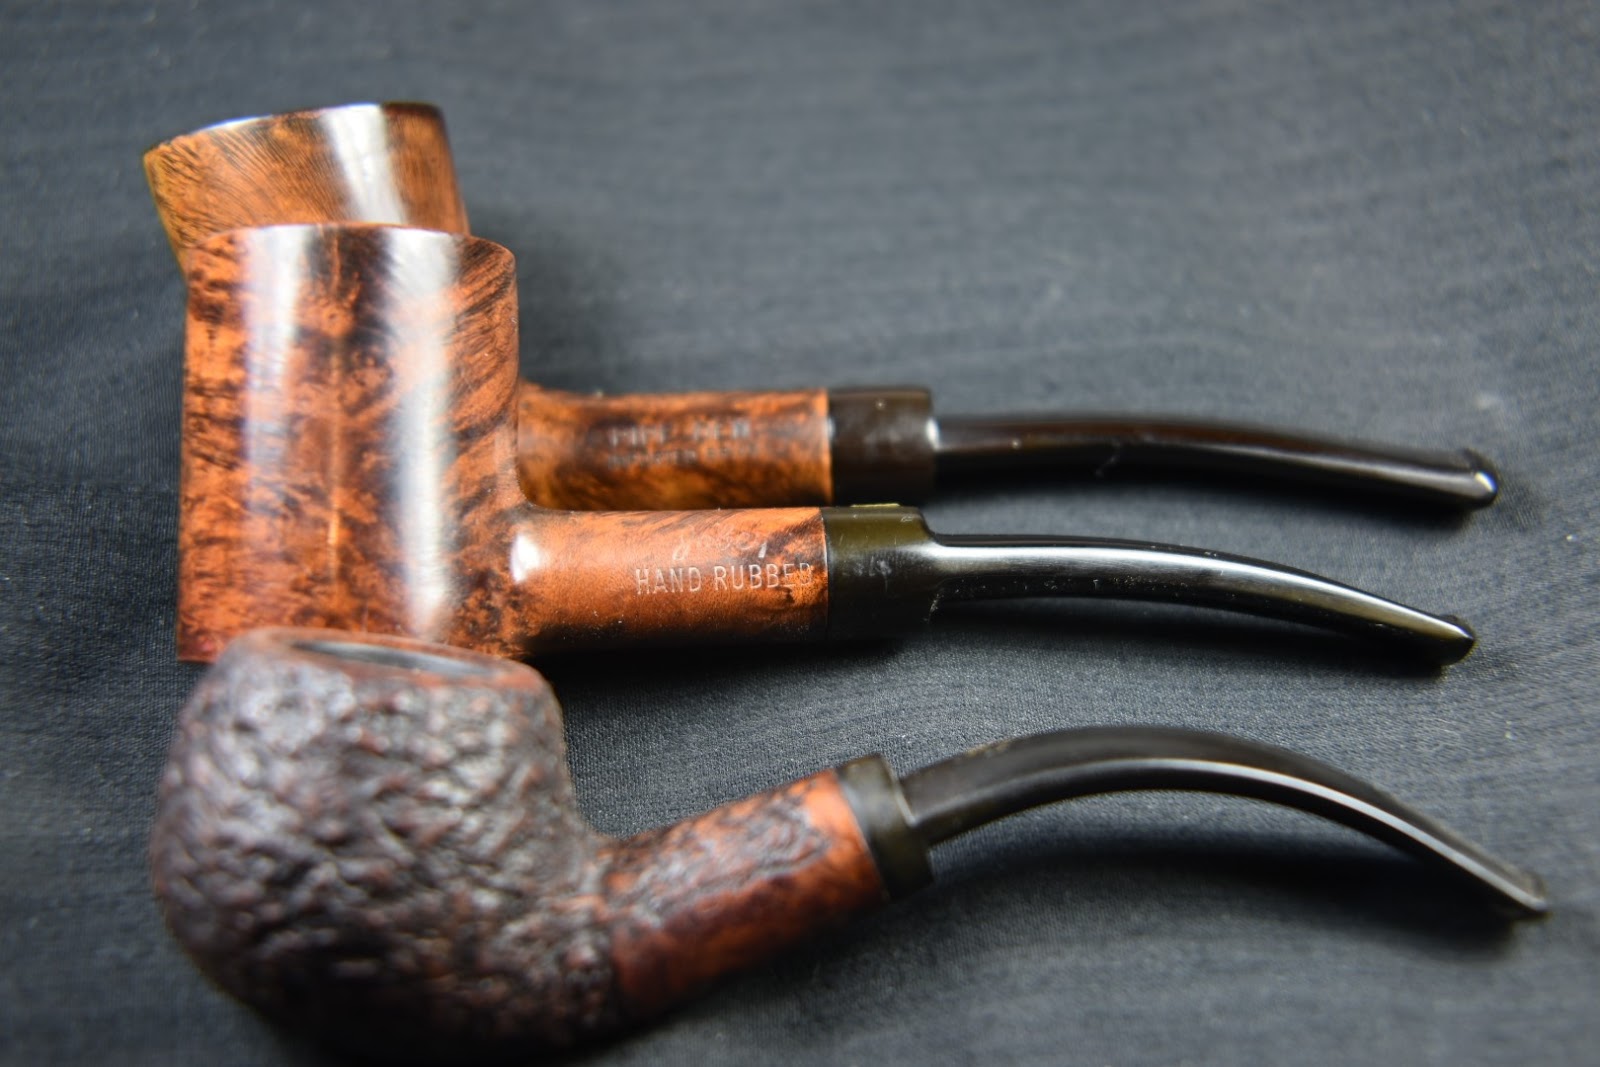
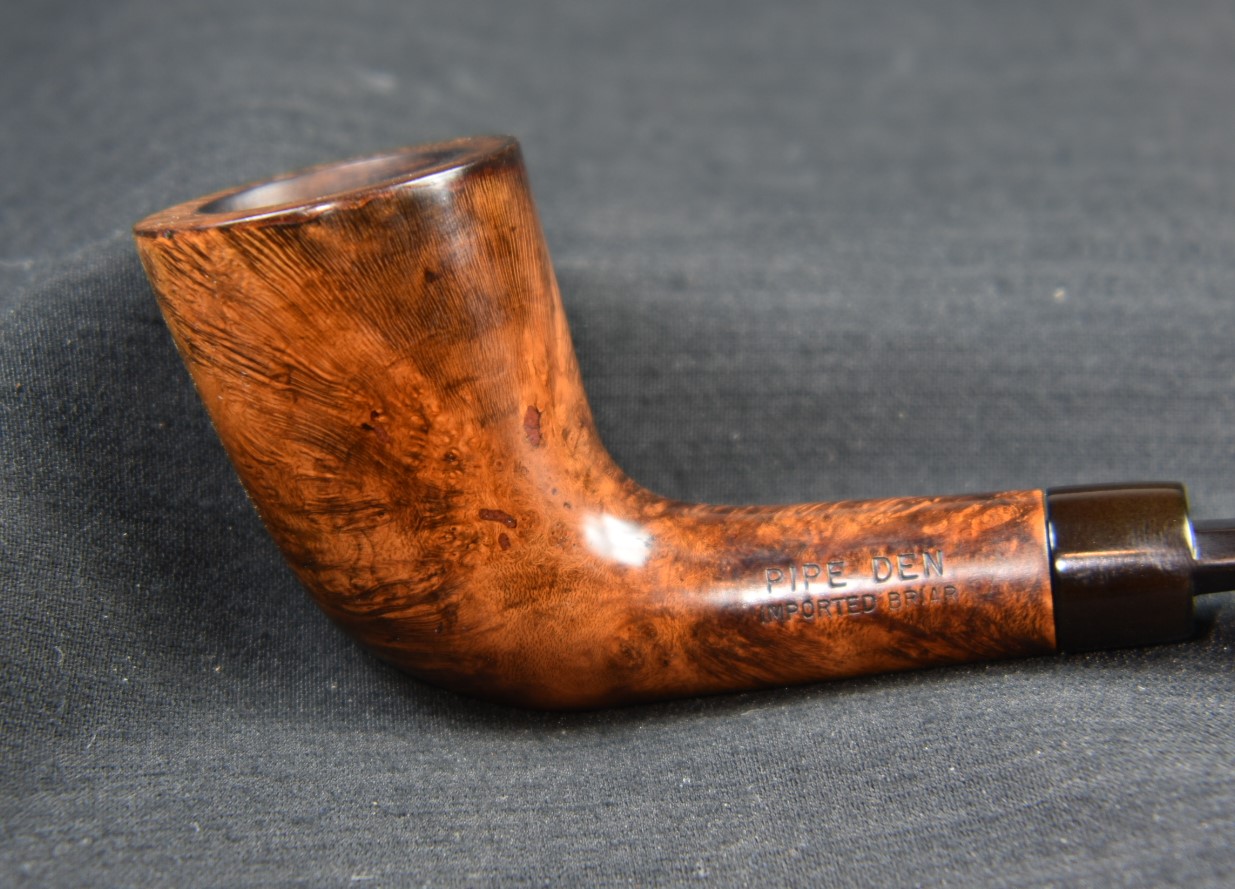
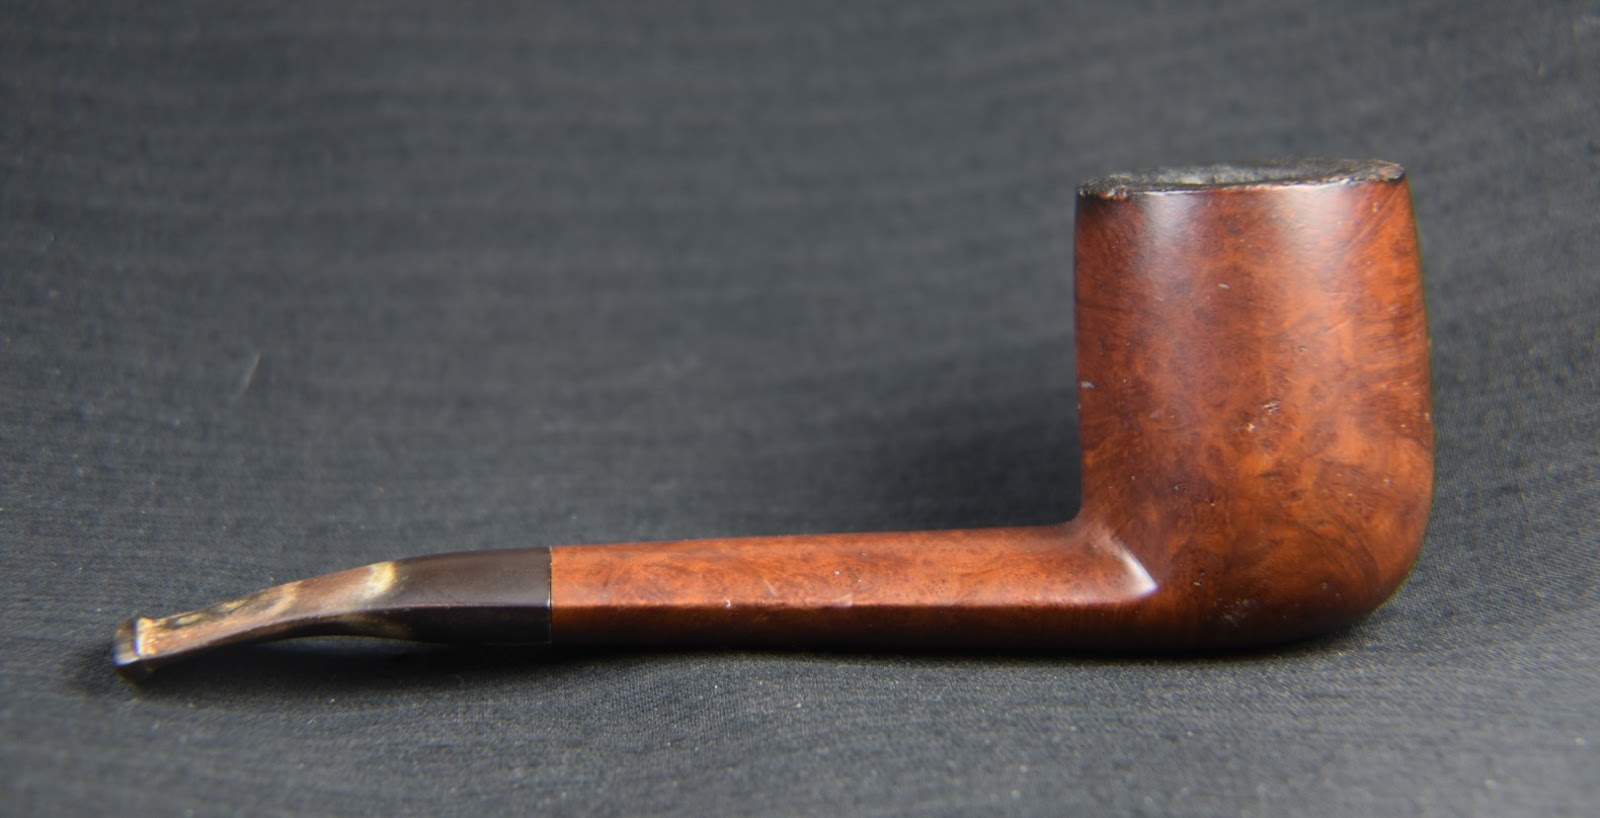
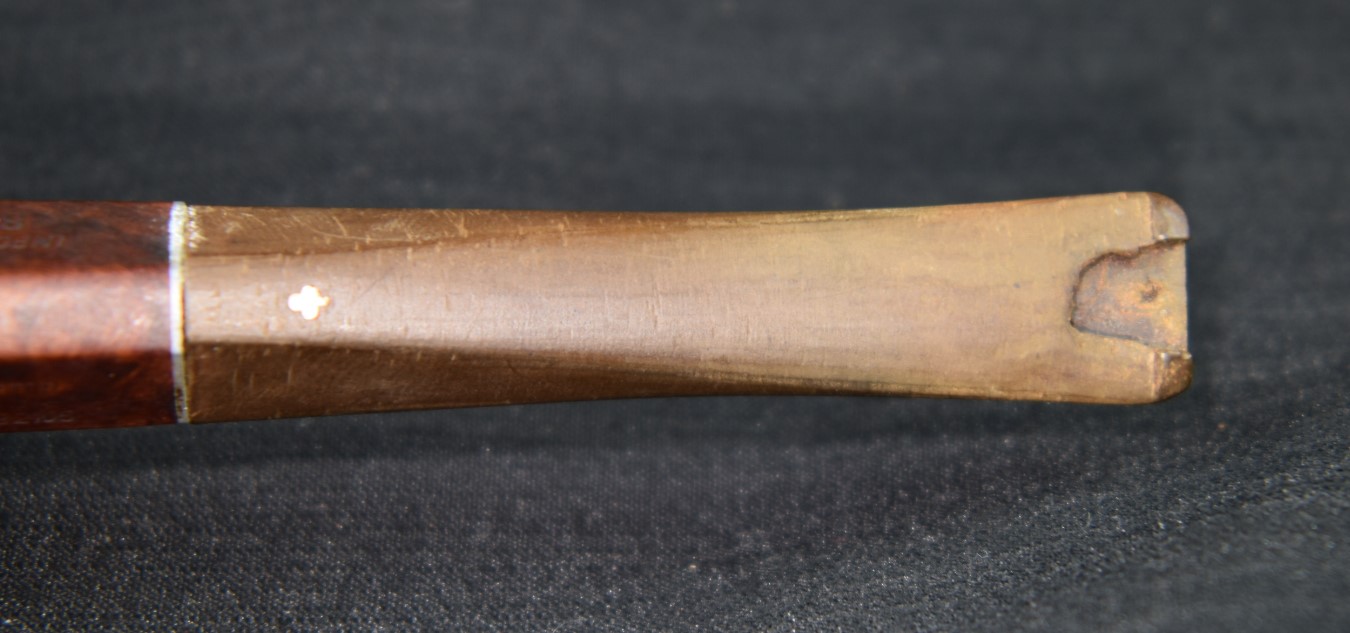
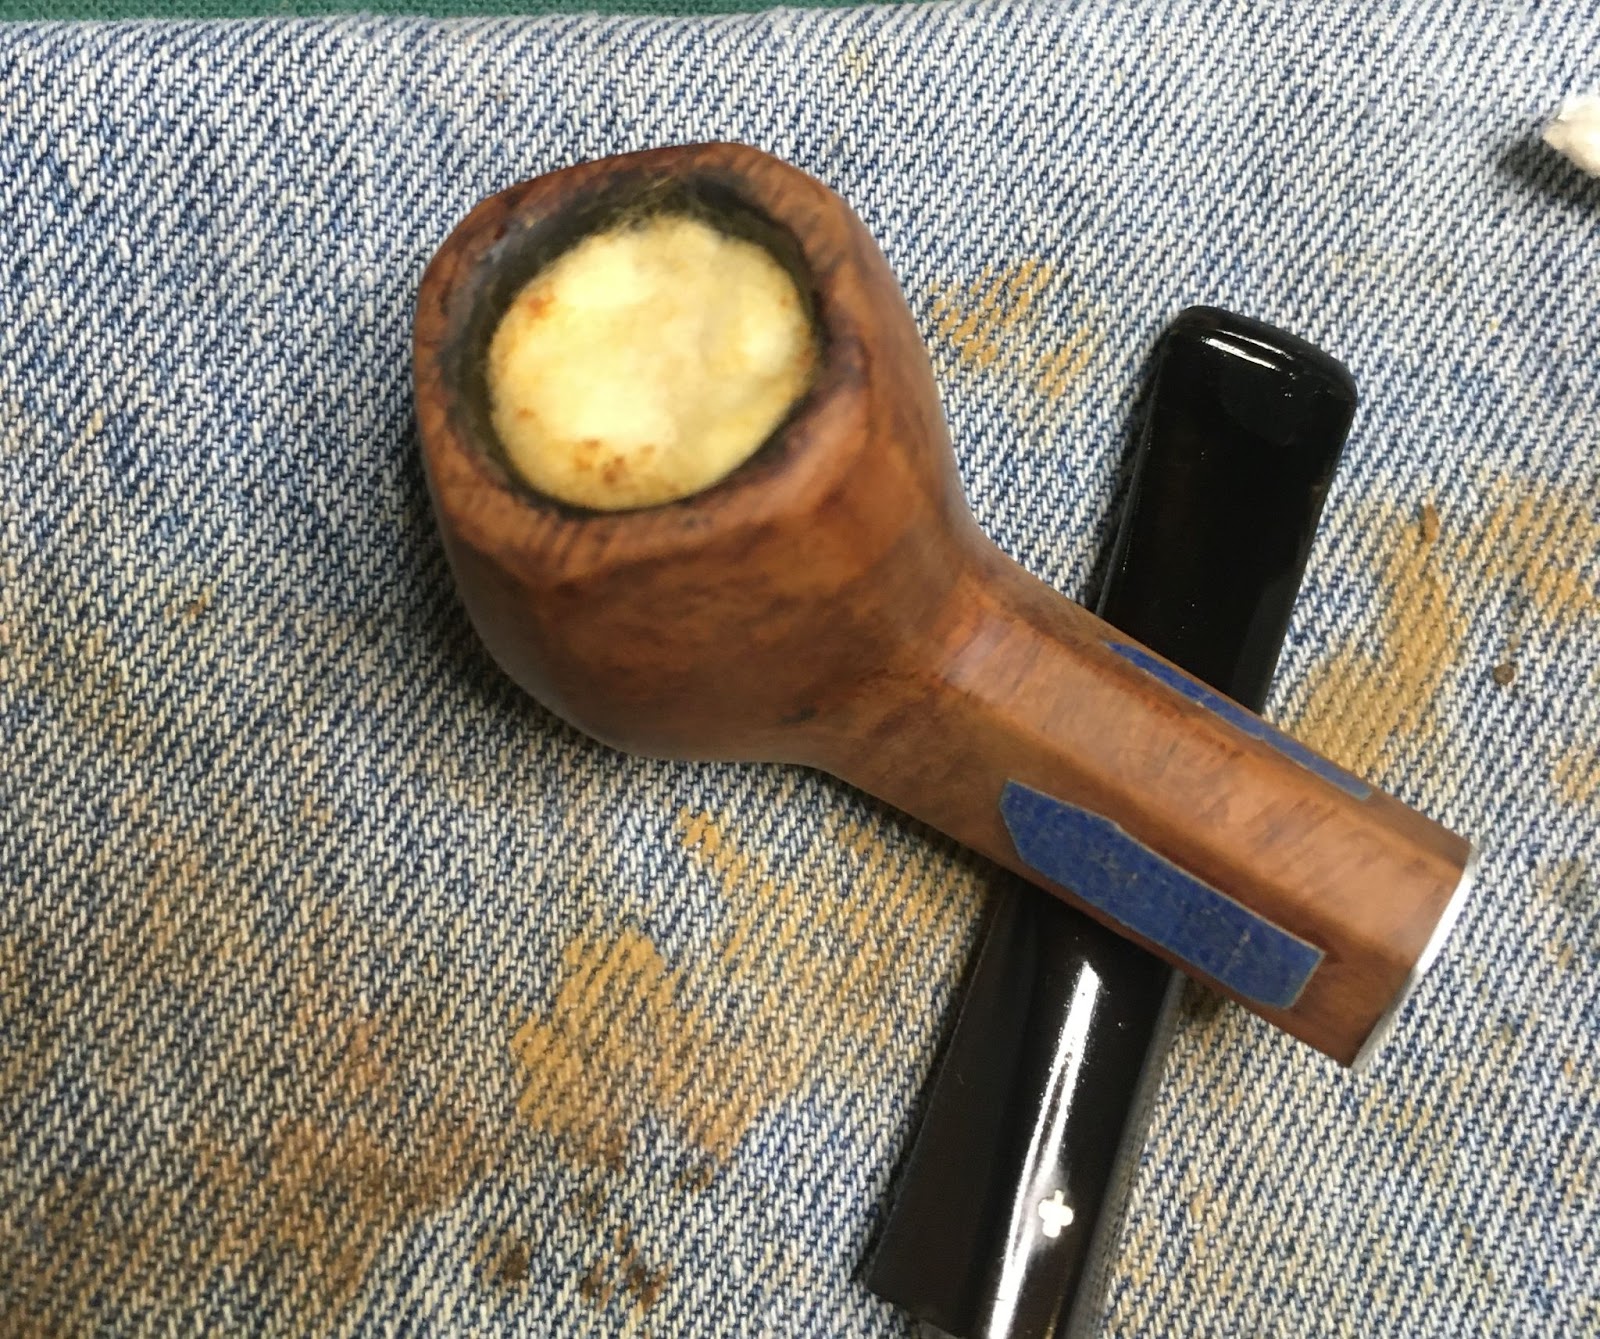
The stamp above is faint and this was taken prior to the cleaning or any restoration work. The only pipes that I know of that bear a stamp like this are Peterson pipes. It was for this reason that this pipe was purchased from eBay. There was another pipe in the lot and it was a cute little GUILDHALL apple shape.

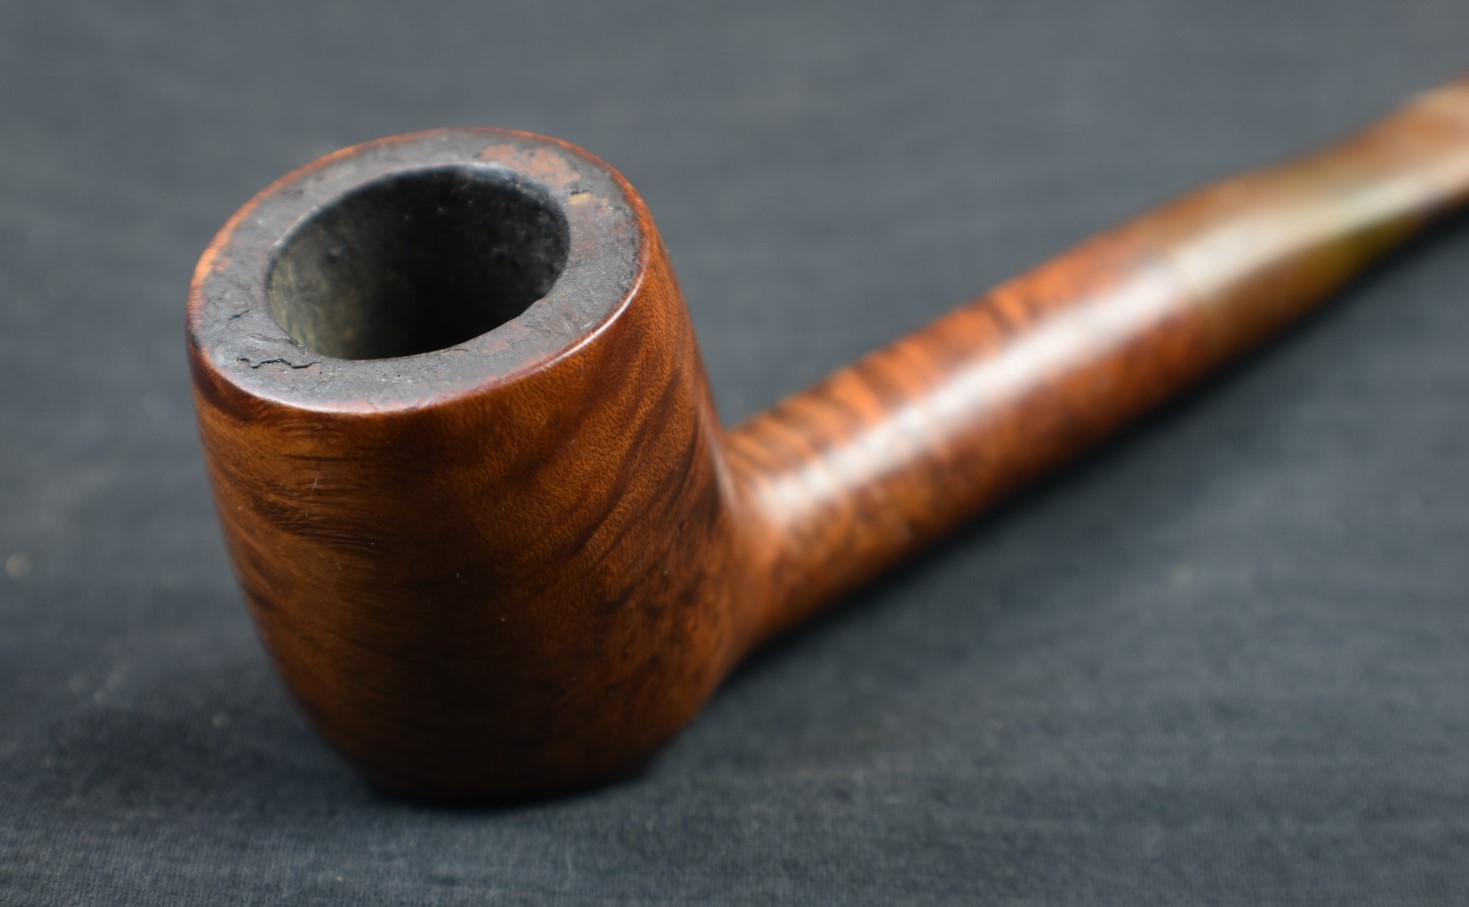
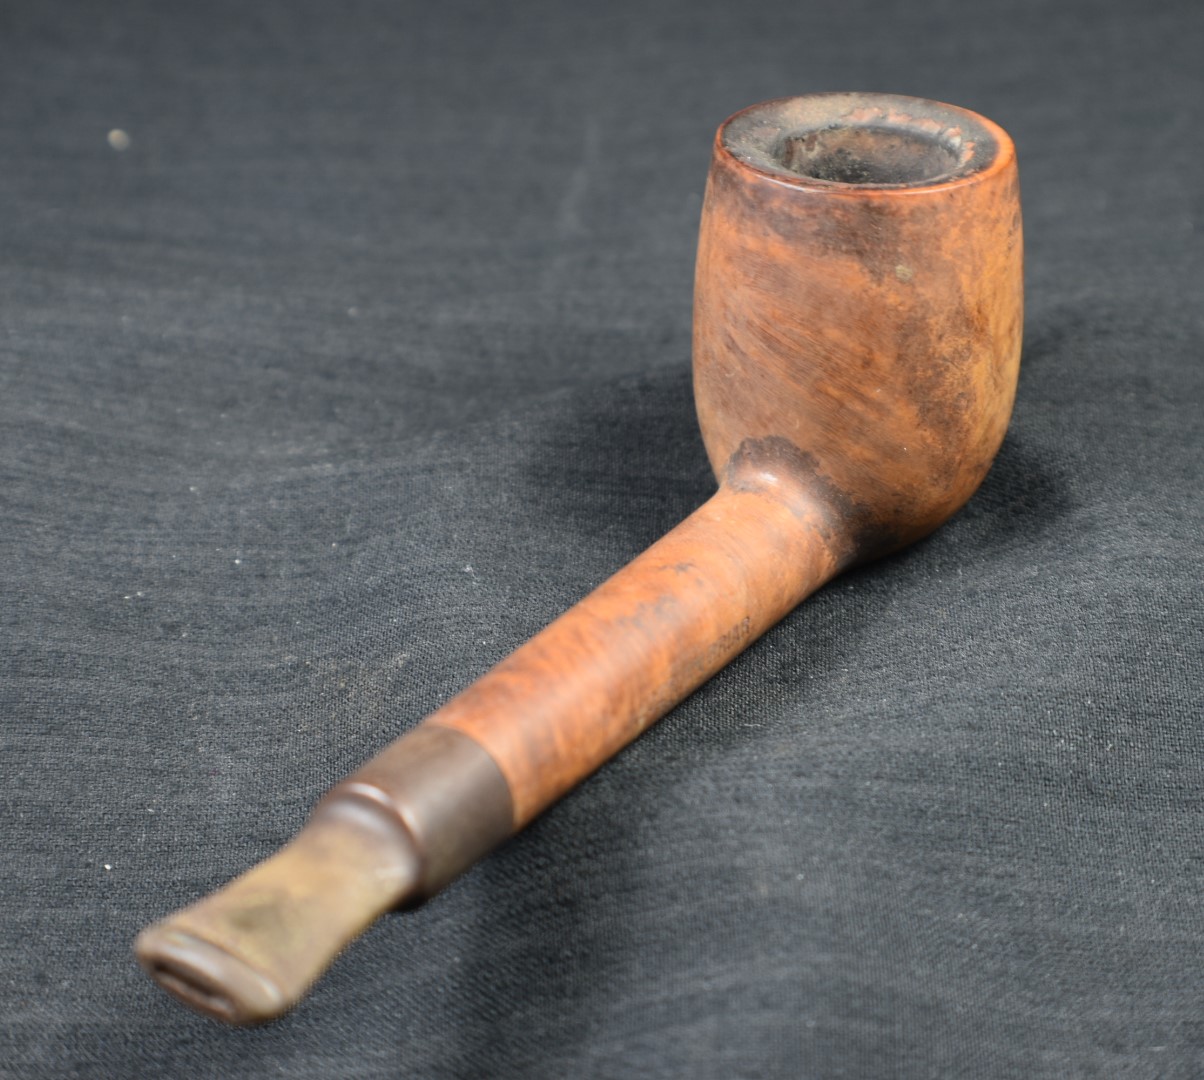
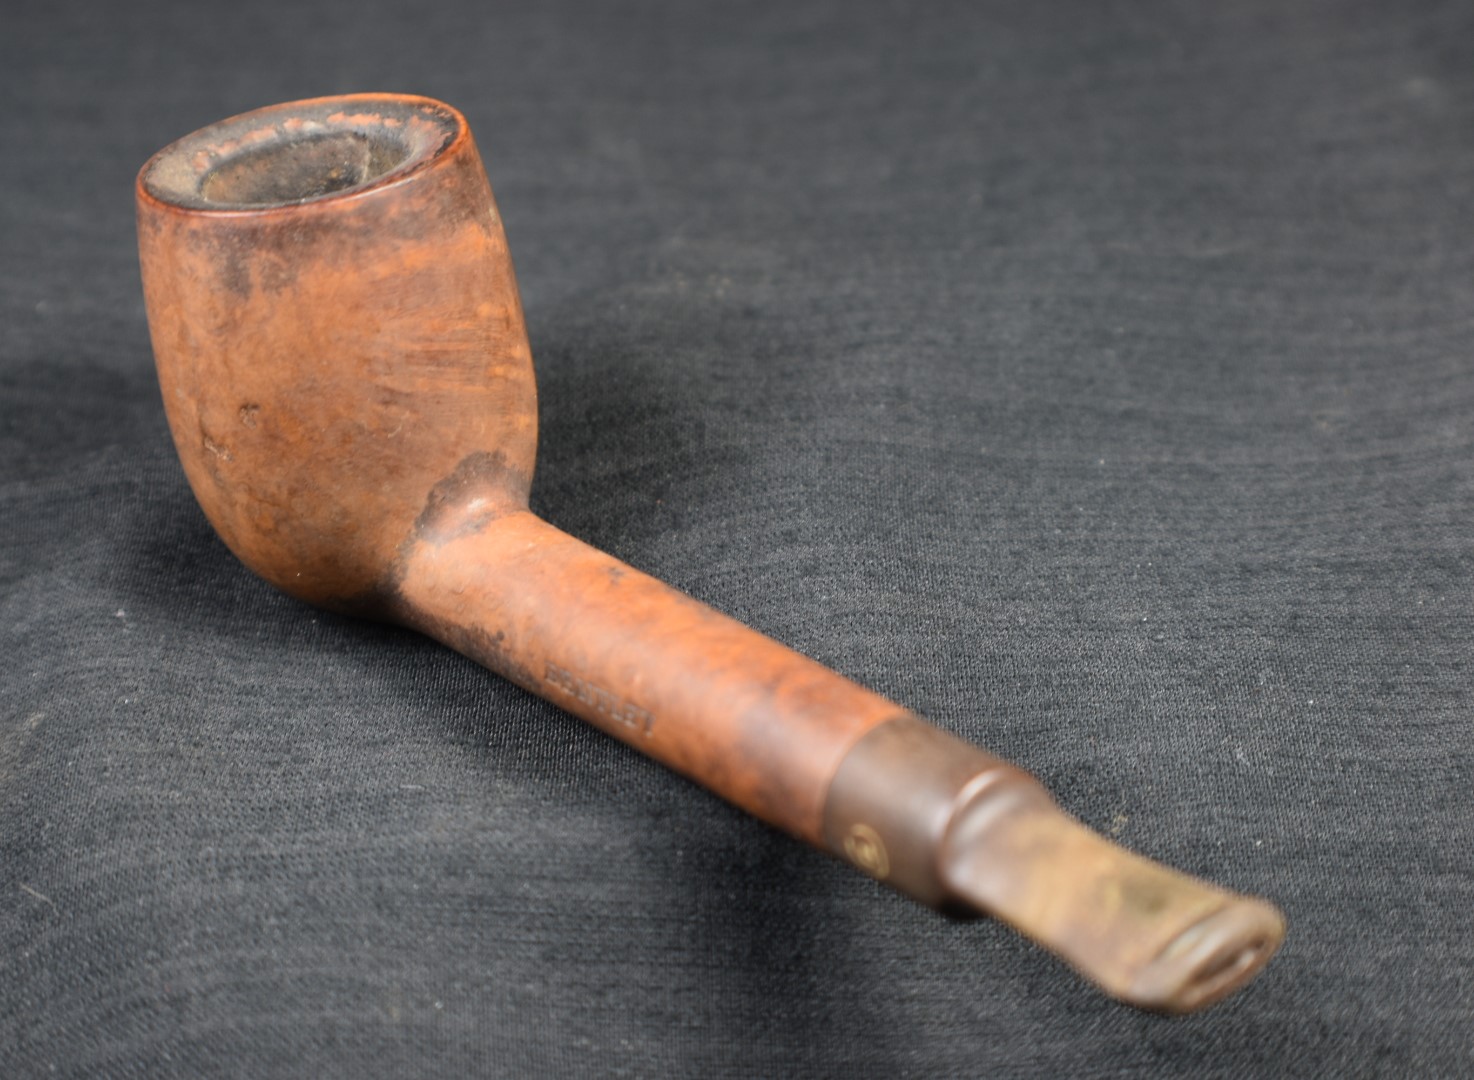
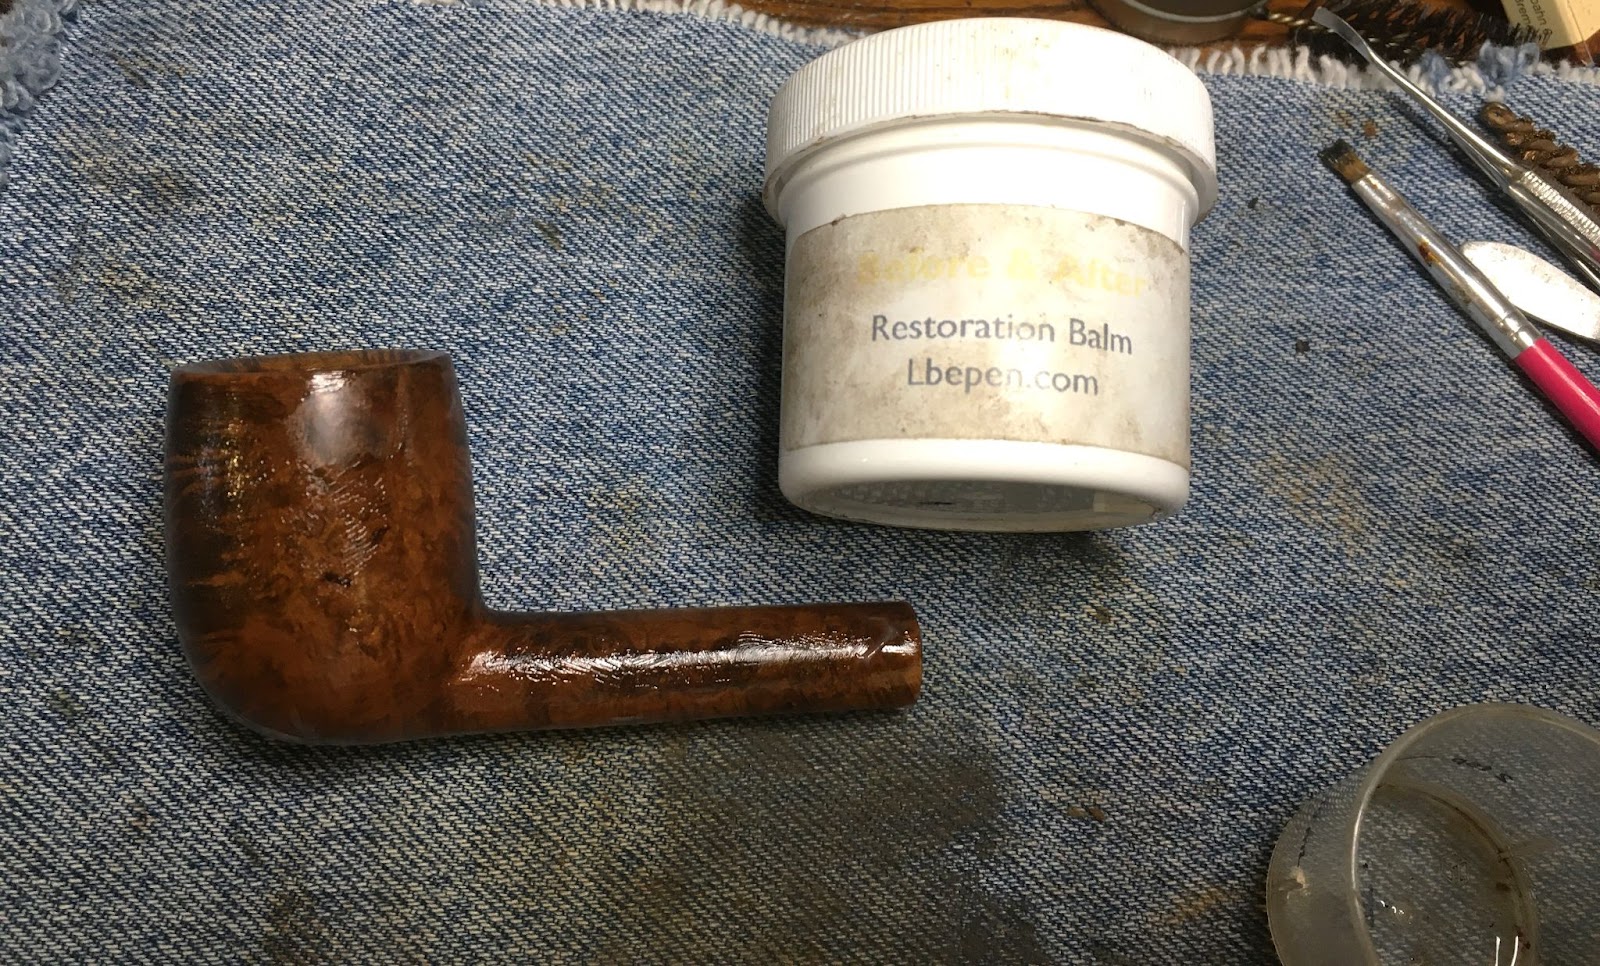
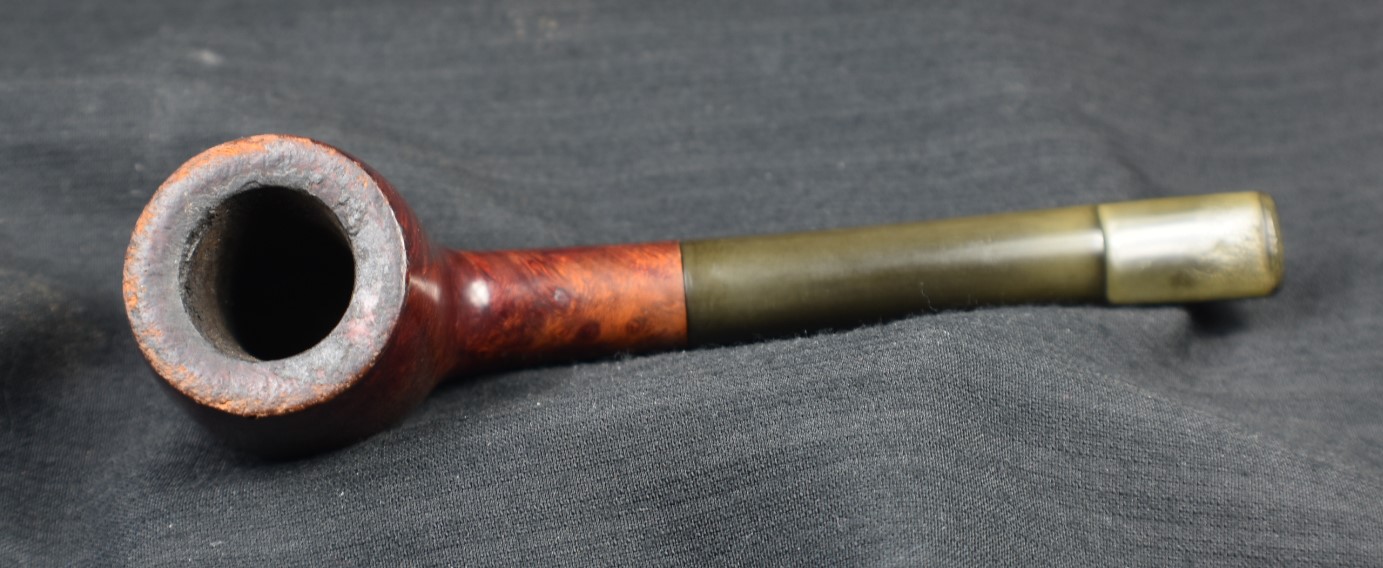
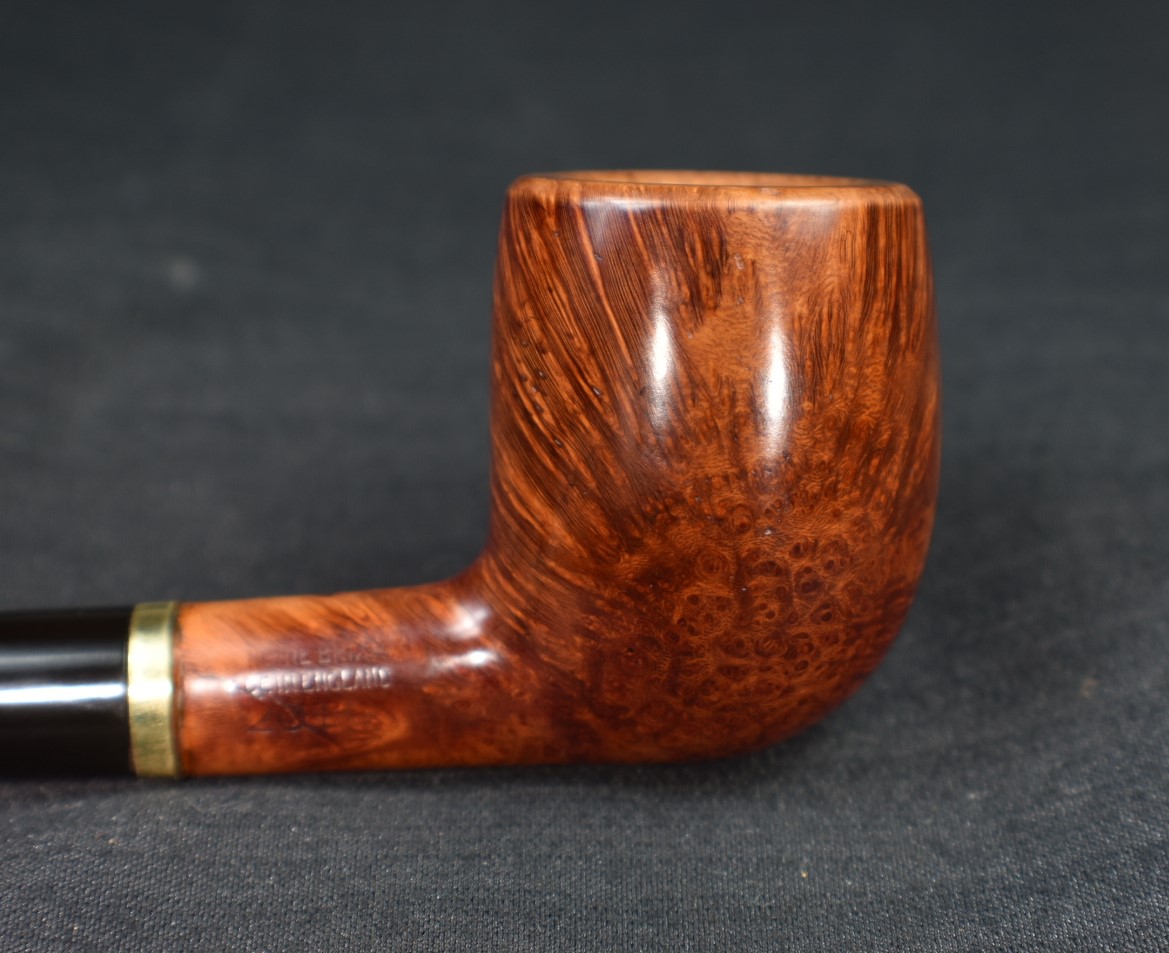
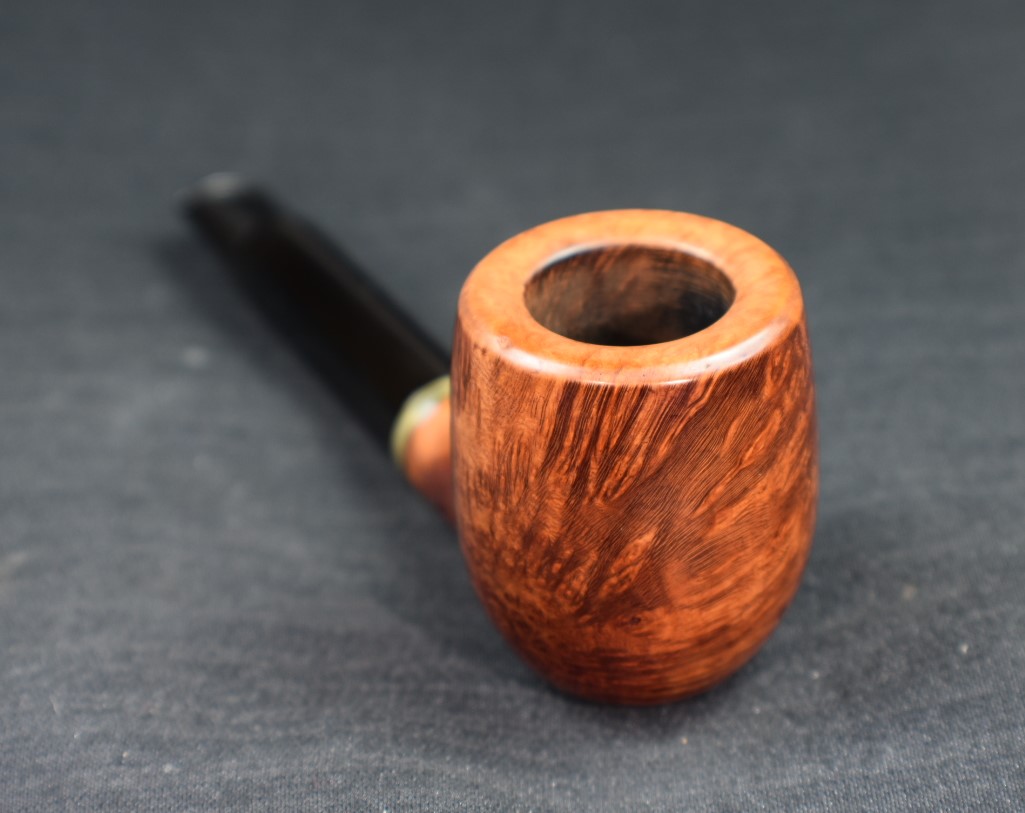
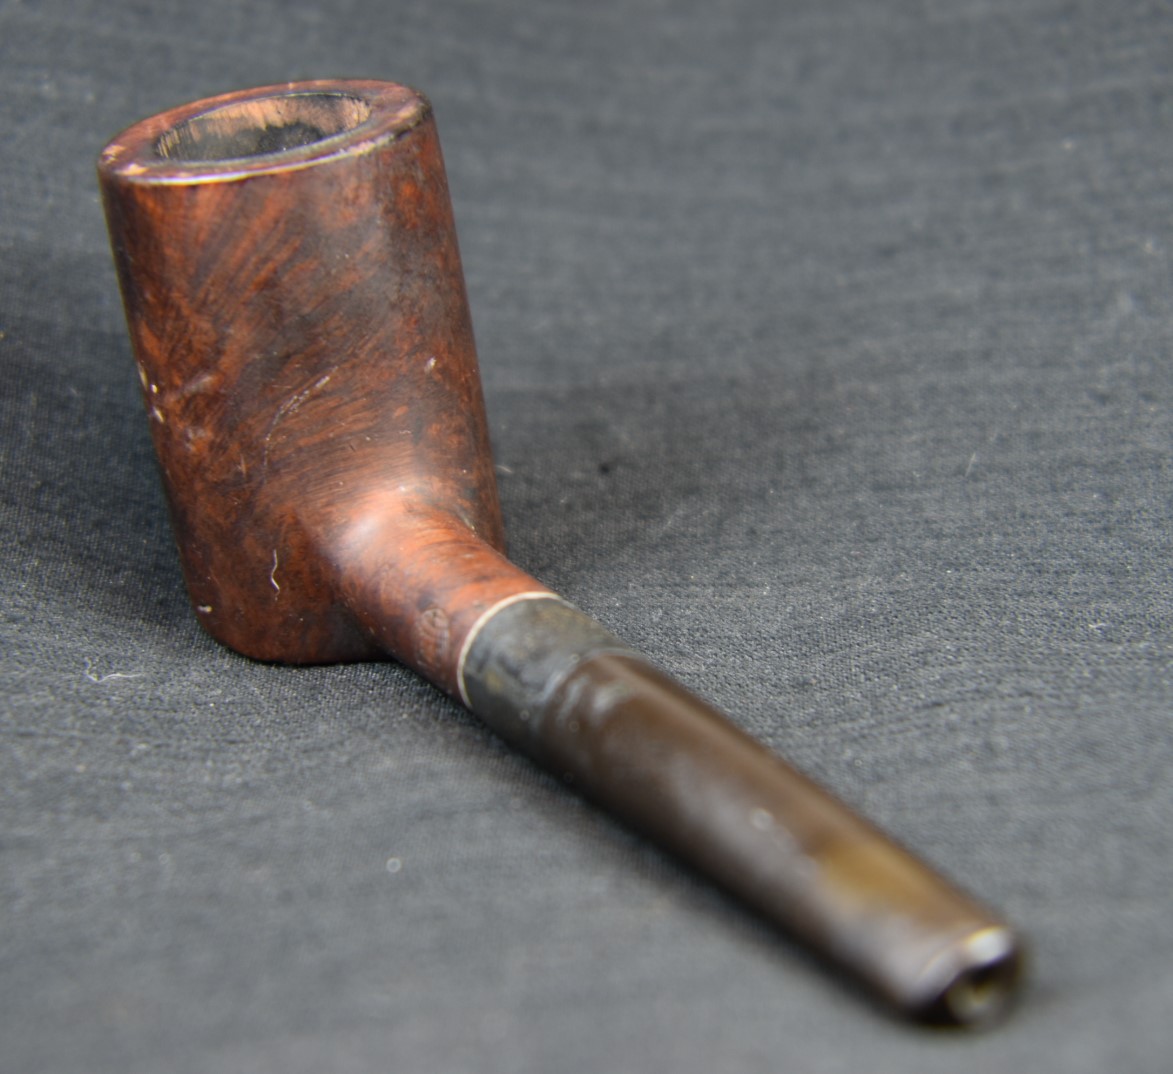
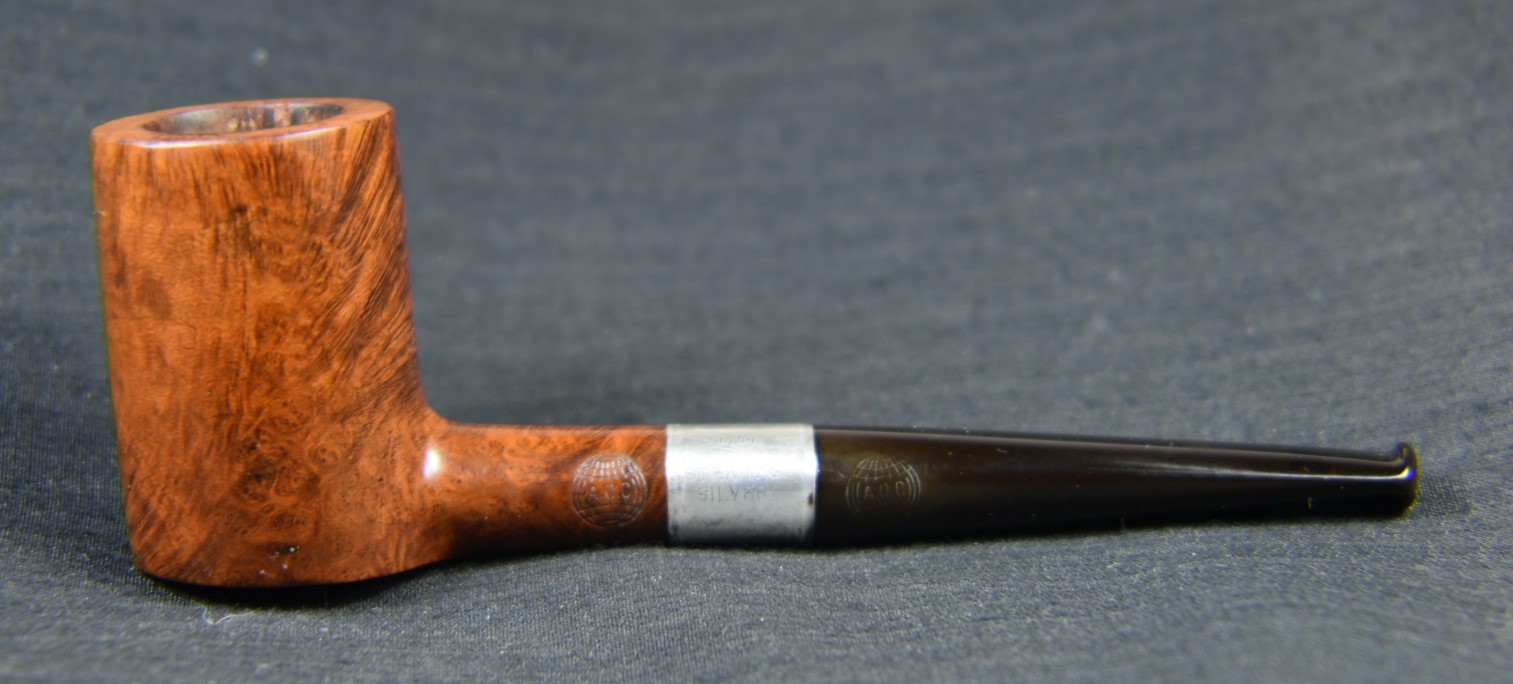
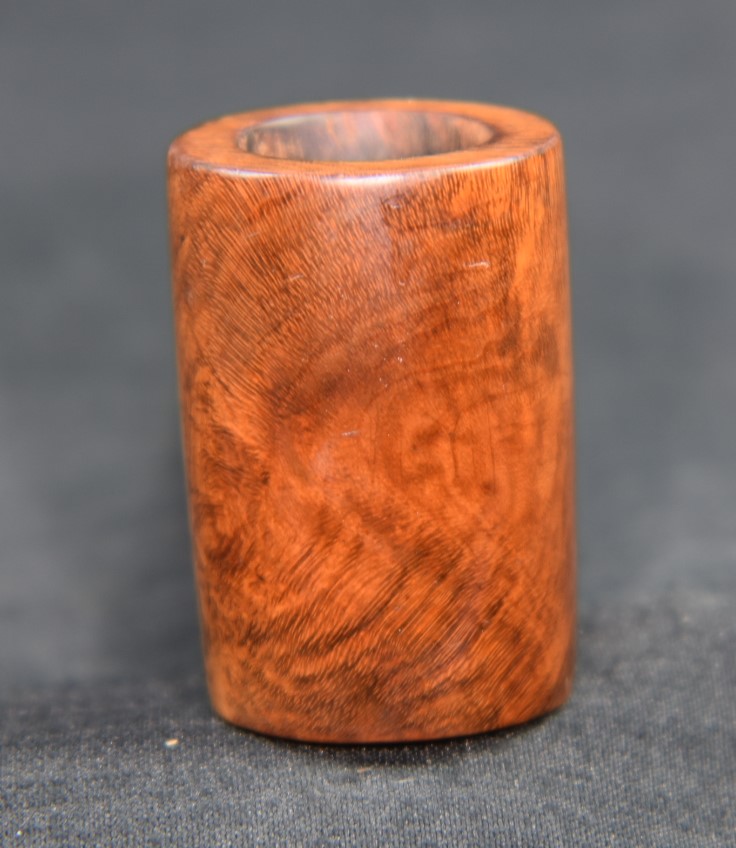
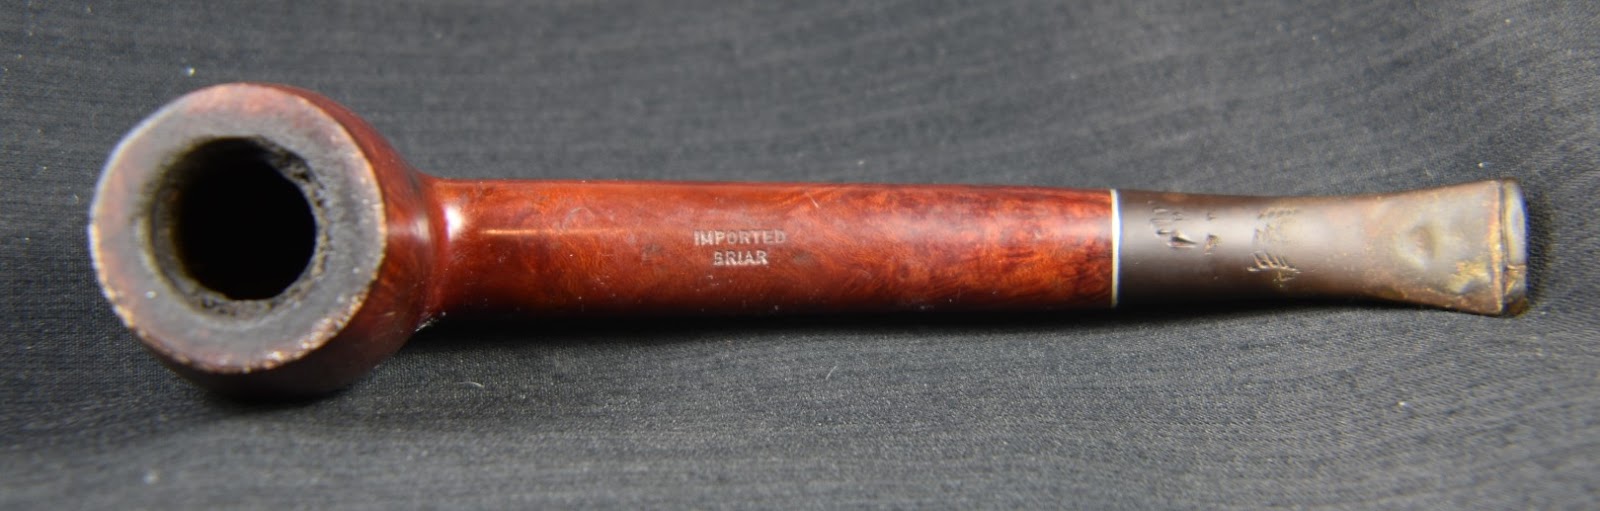
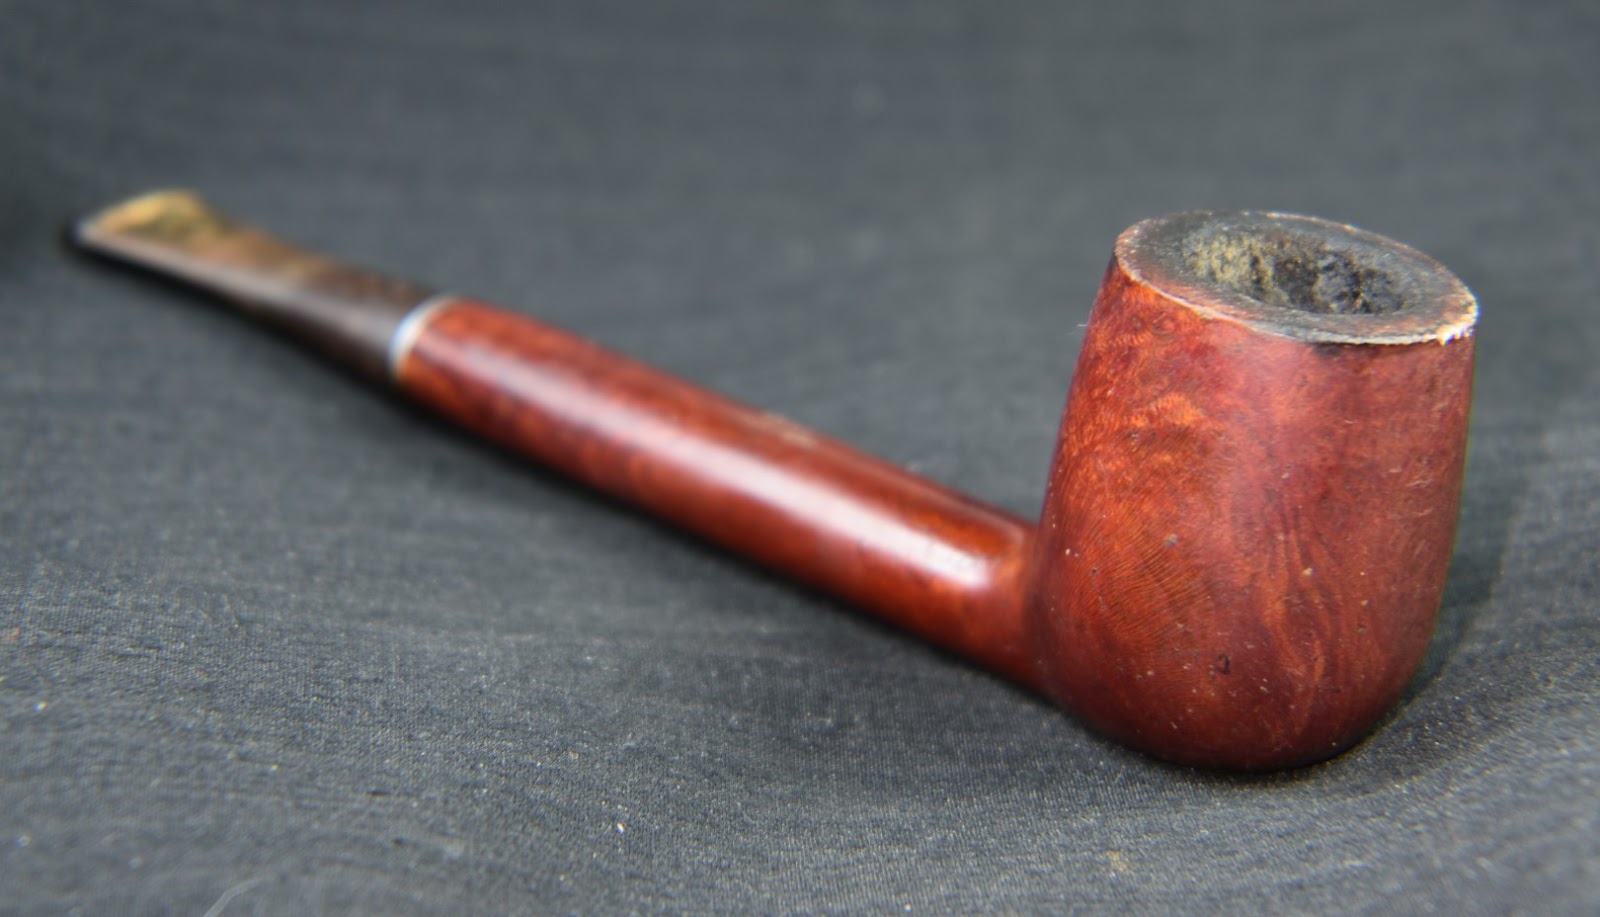
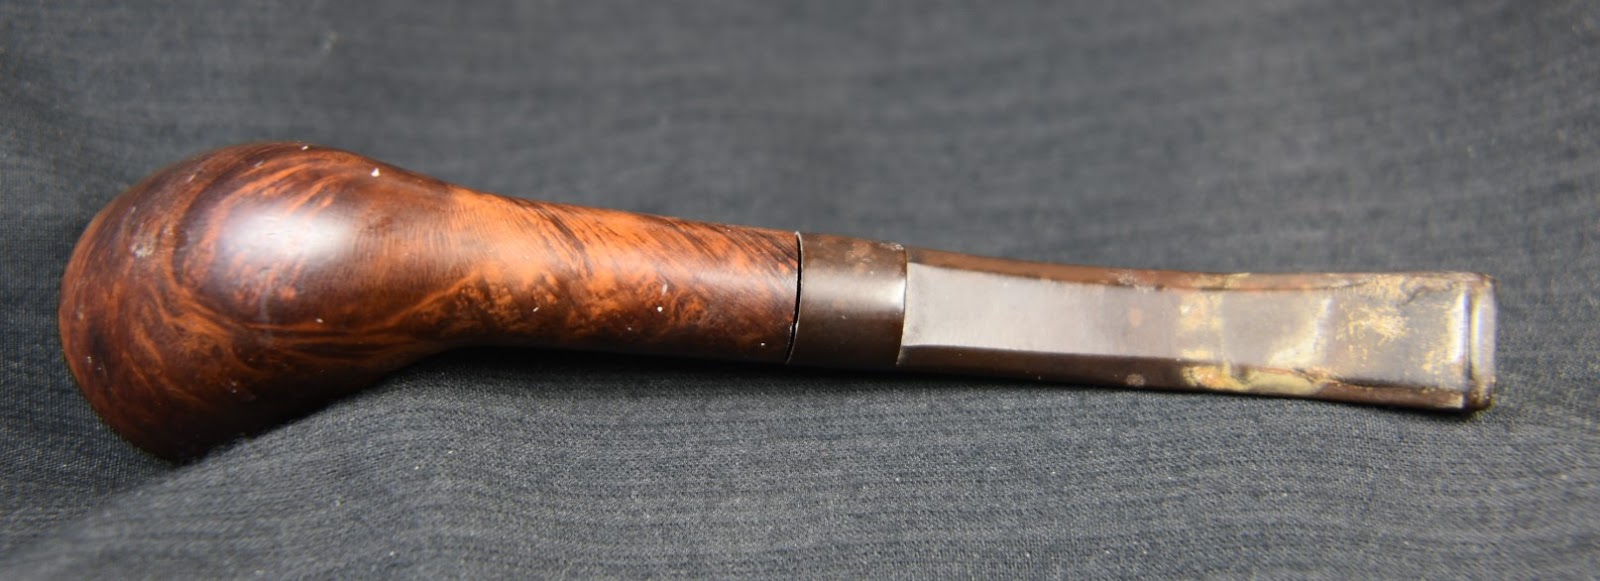
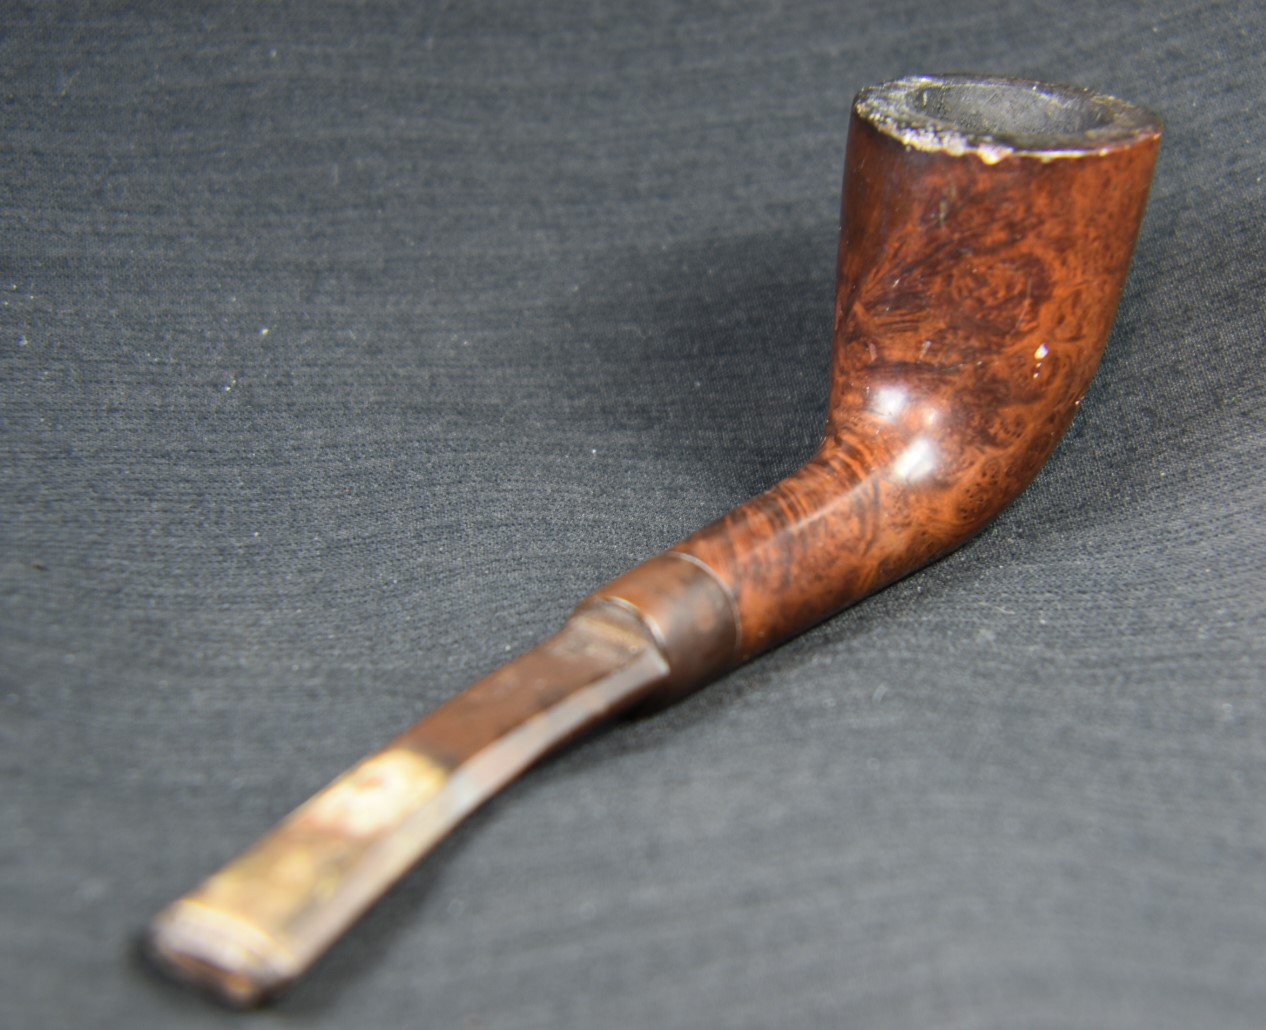
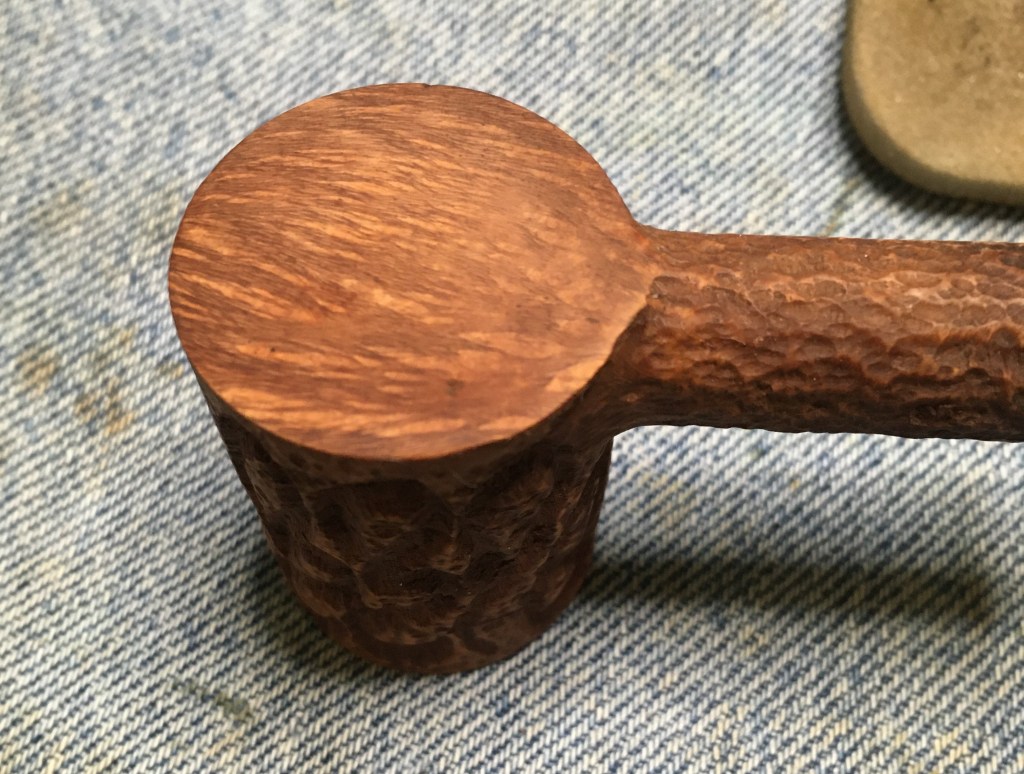
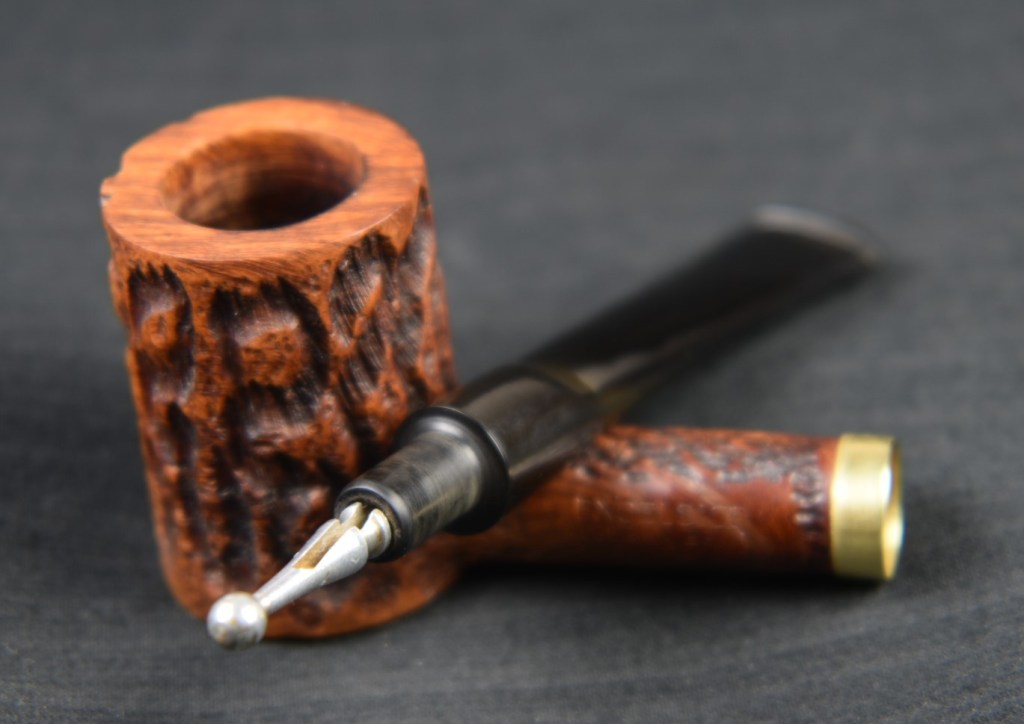
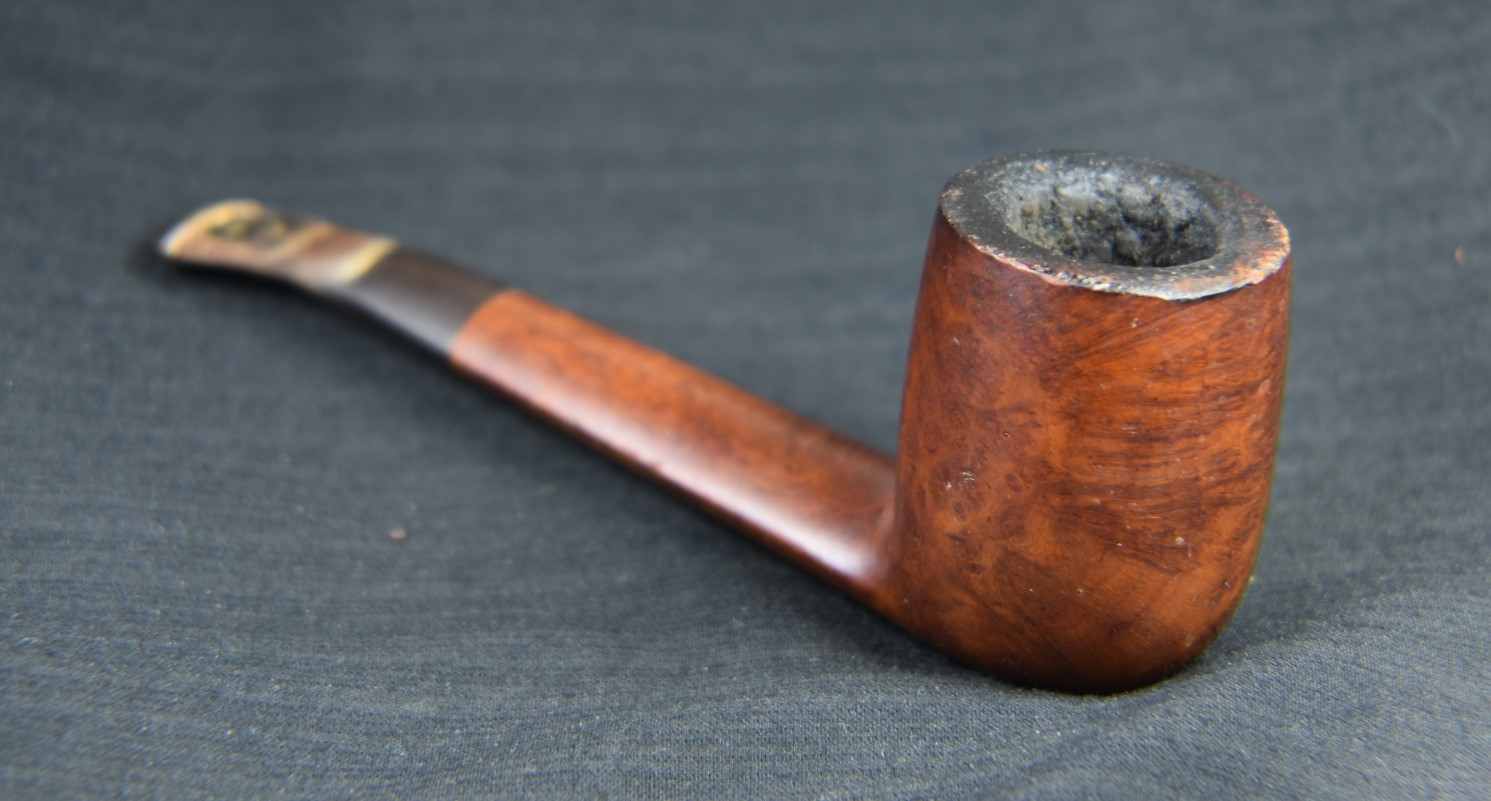
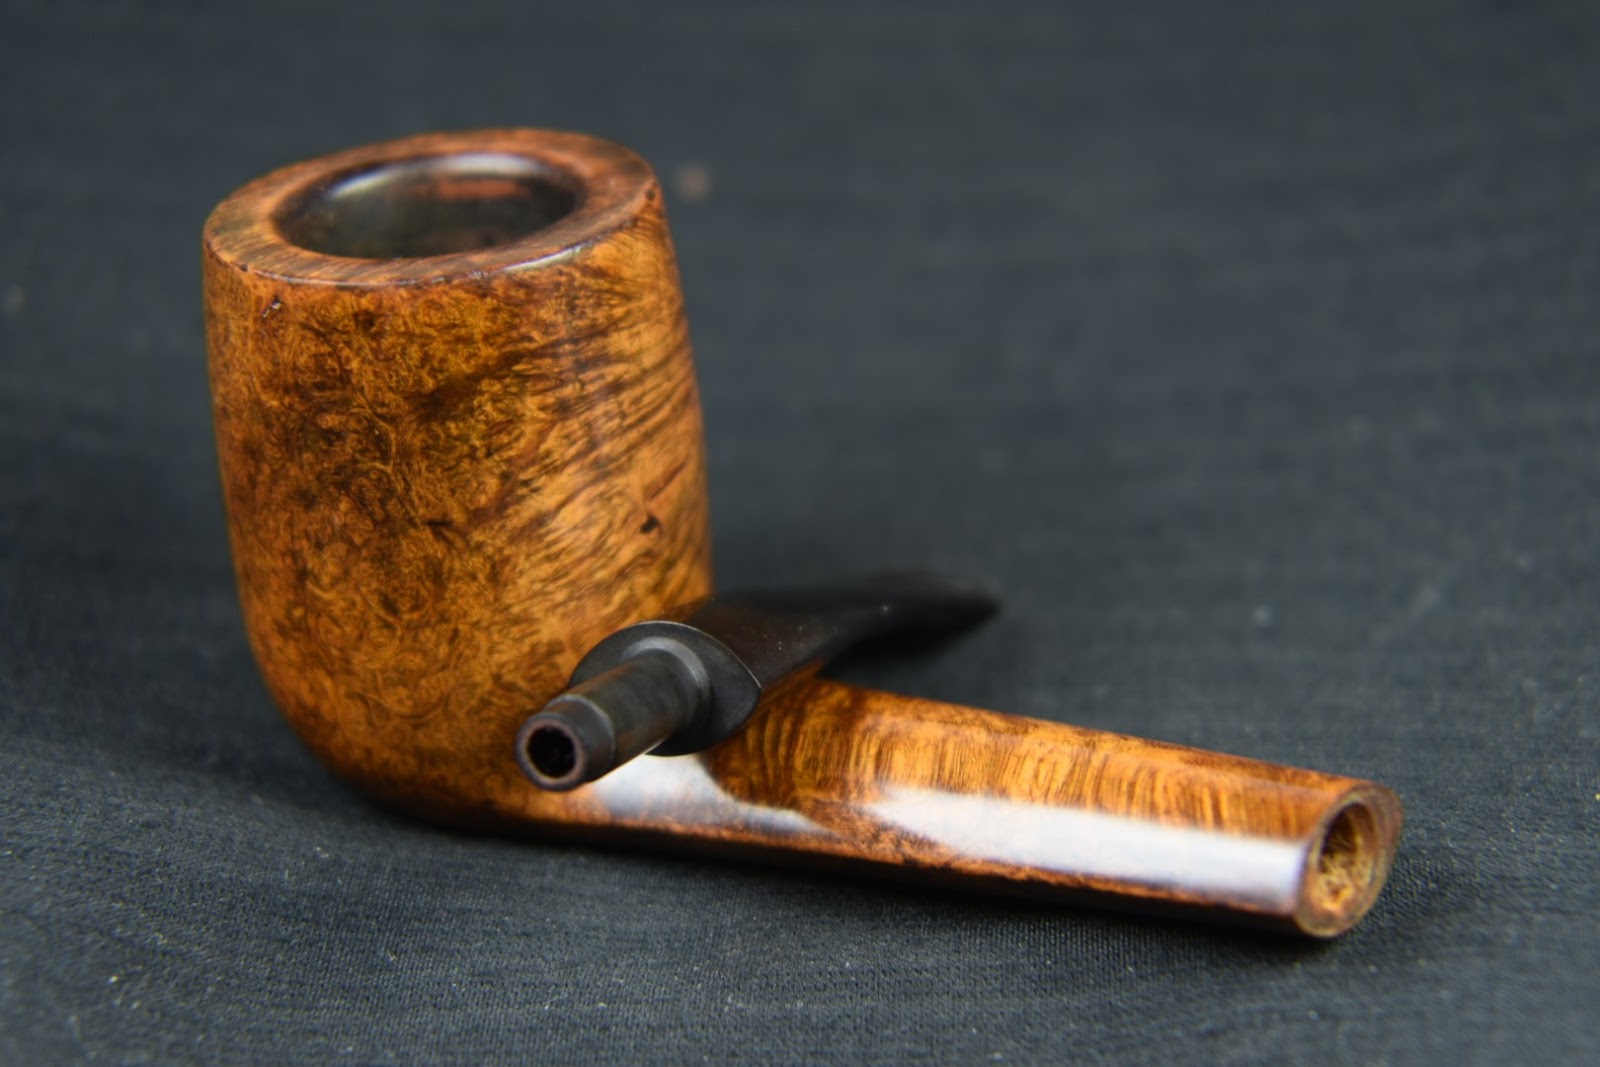
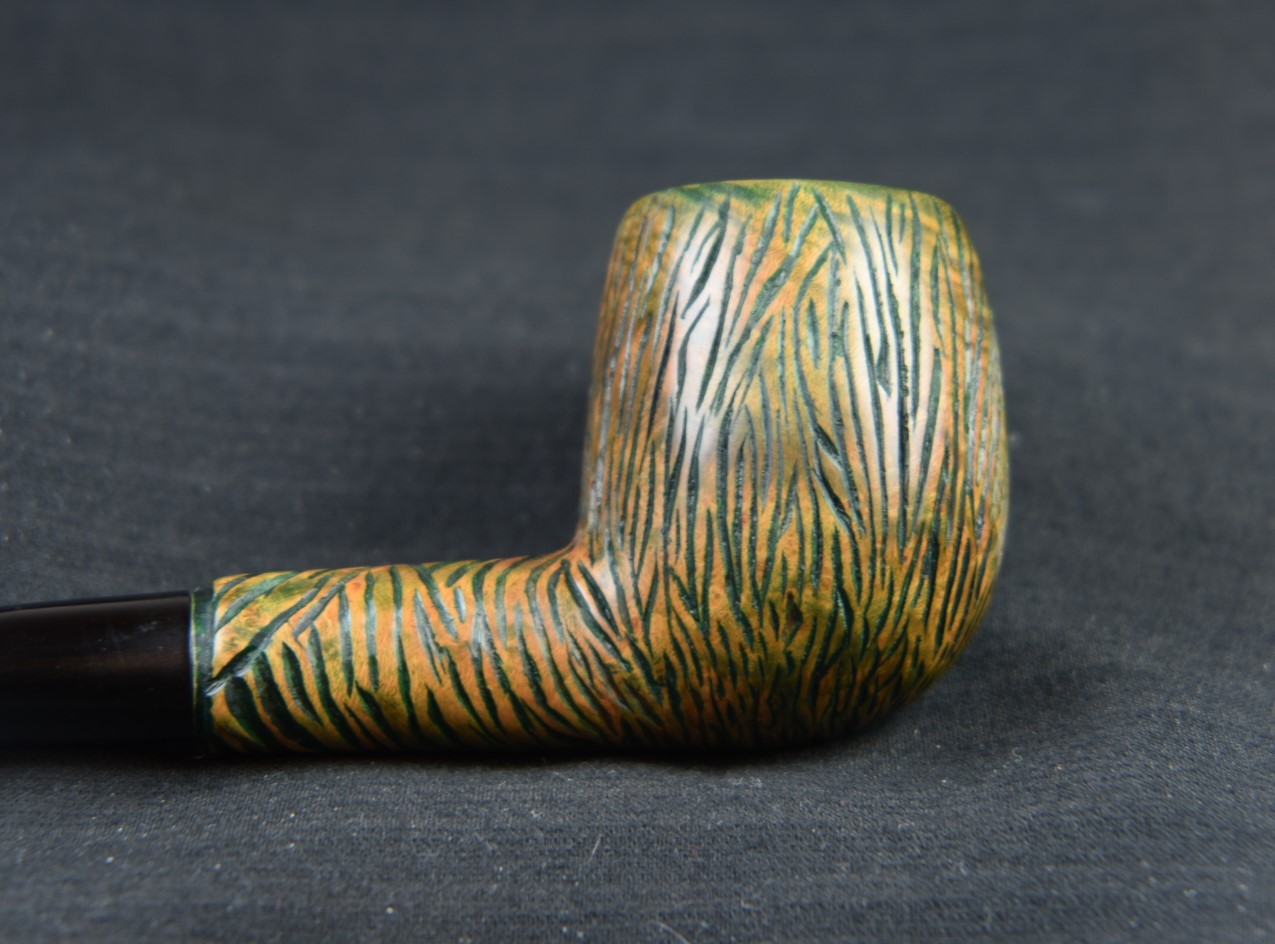
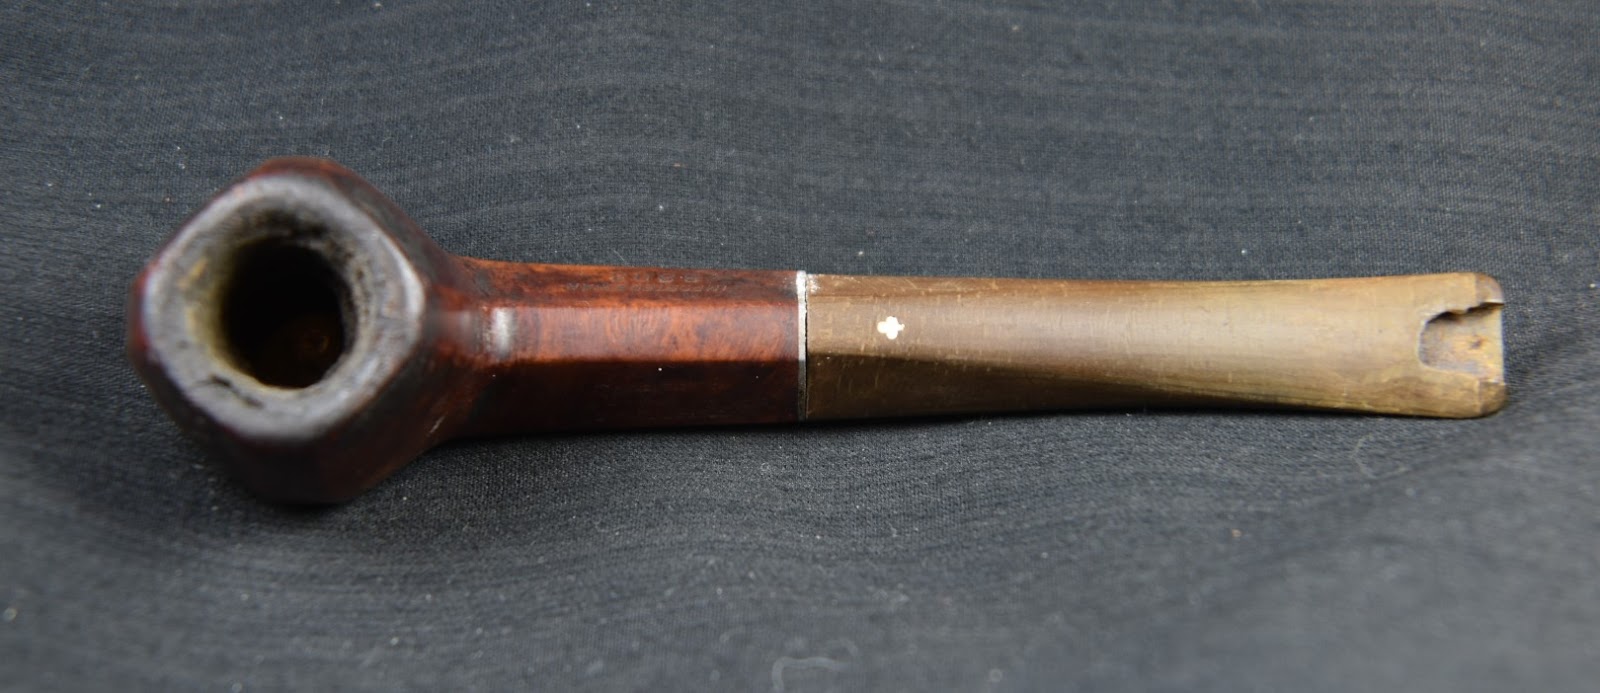
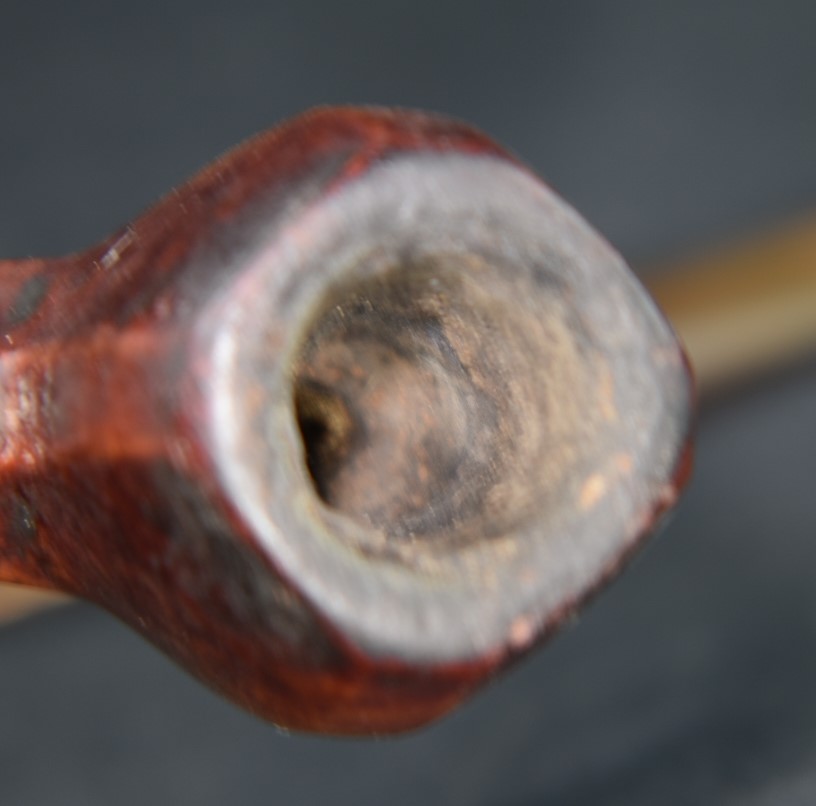
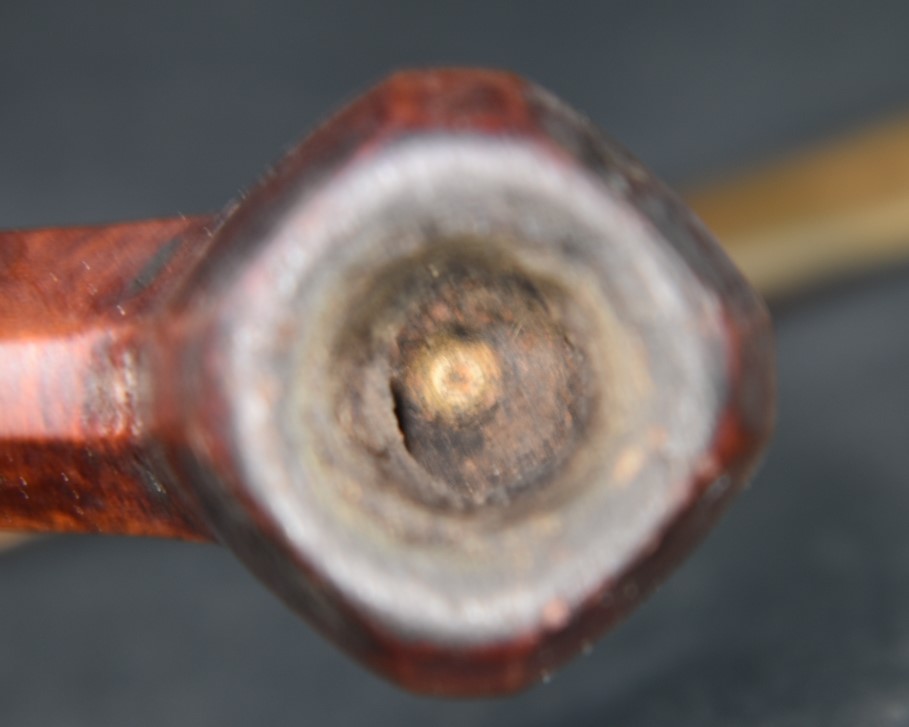
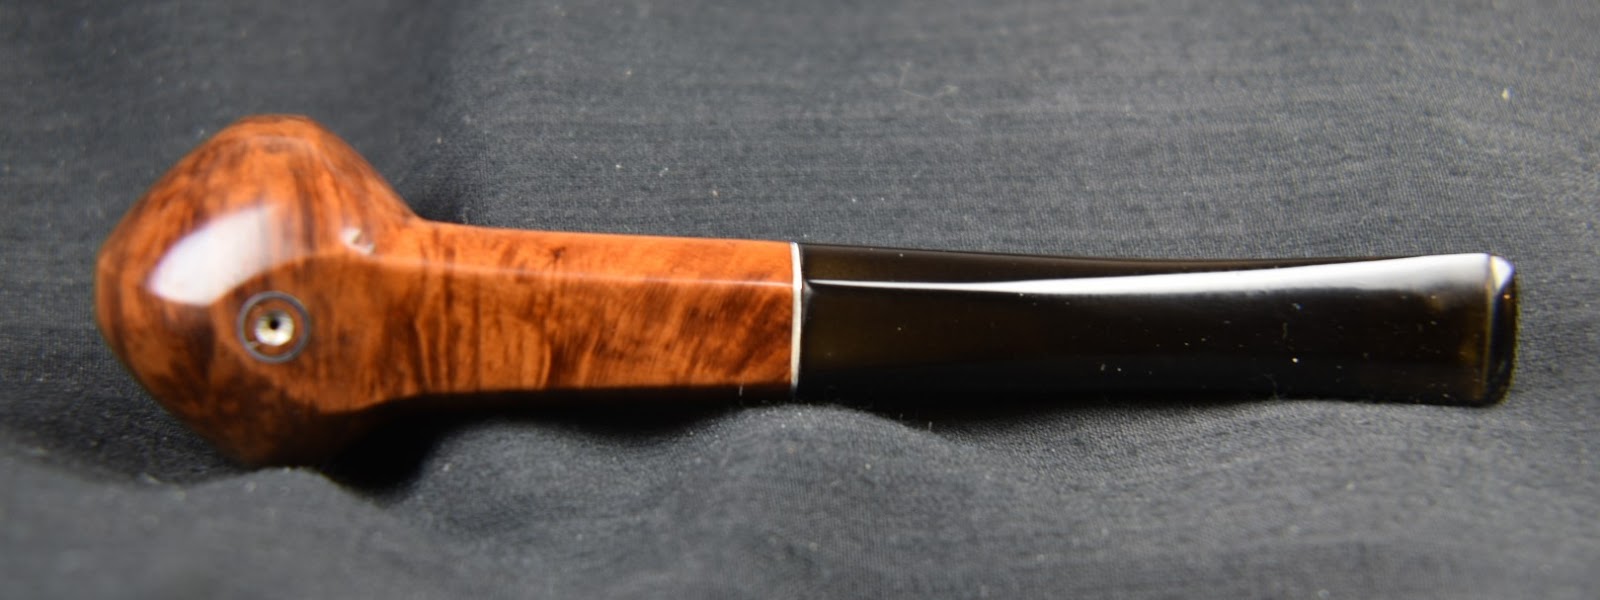
If you have followed this blog for a while you may have picked up on the fact that I am a big fan of Marxman, Dr Grabow Westbrook and Peterson Pipes. The number of Peterson I own far exceeds their representation in the blogs due to the fact that I have been restoring pipes for several years and only been blogging about restorations since the end of October of 2023. Most of the Petersons had been restored long before I started blogging. Perhaps I shall start to make them the subjects of the blog in the future. Below are some photos of the object of my confusion prior to having any work done.
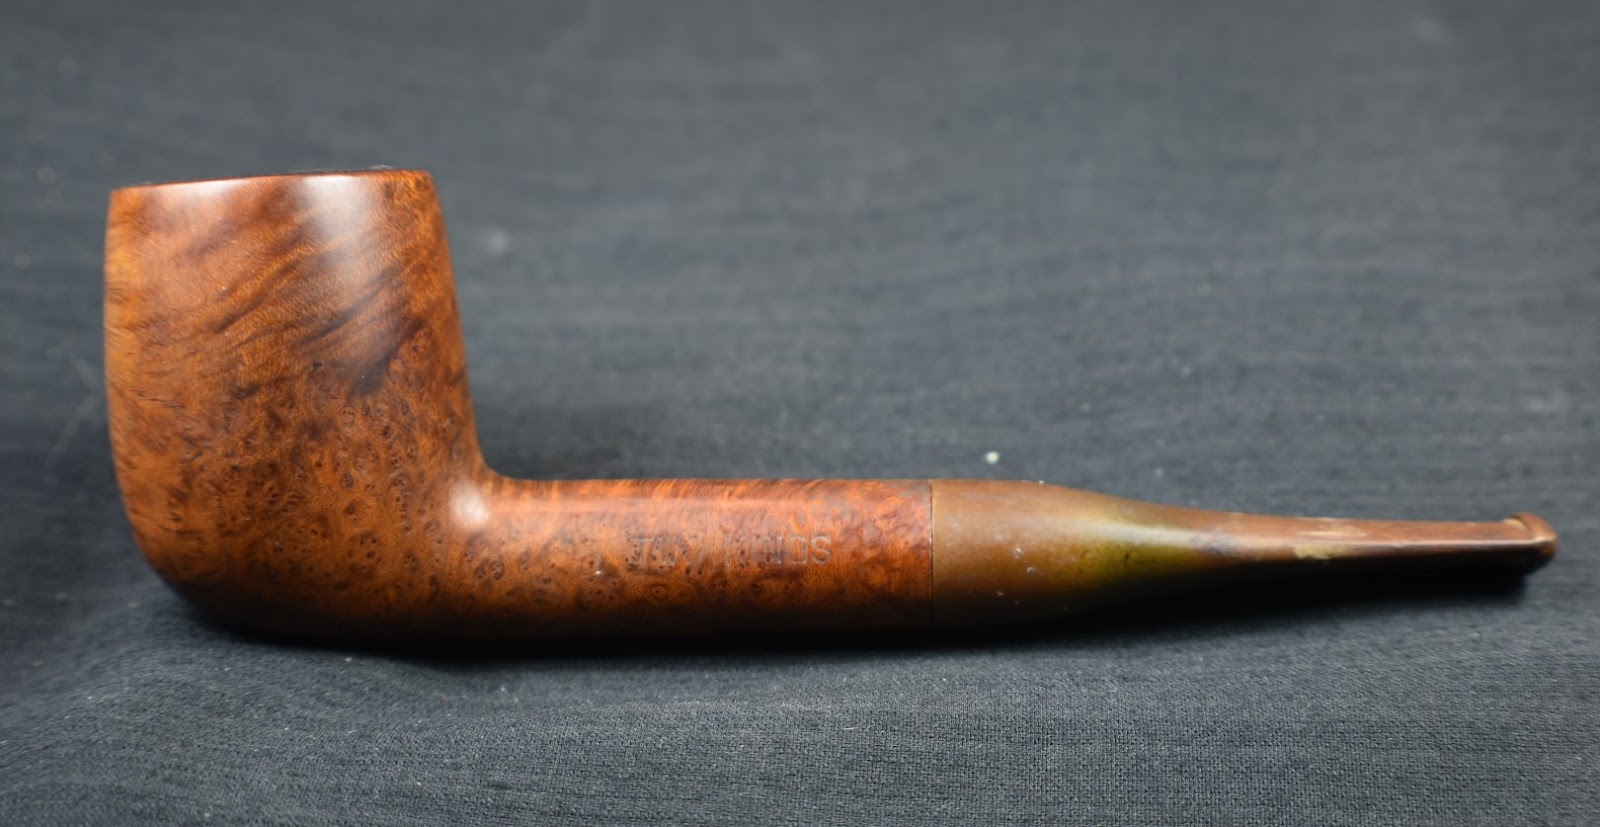


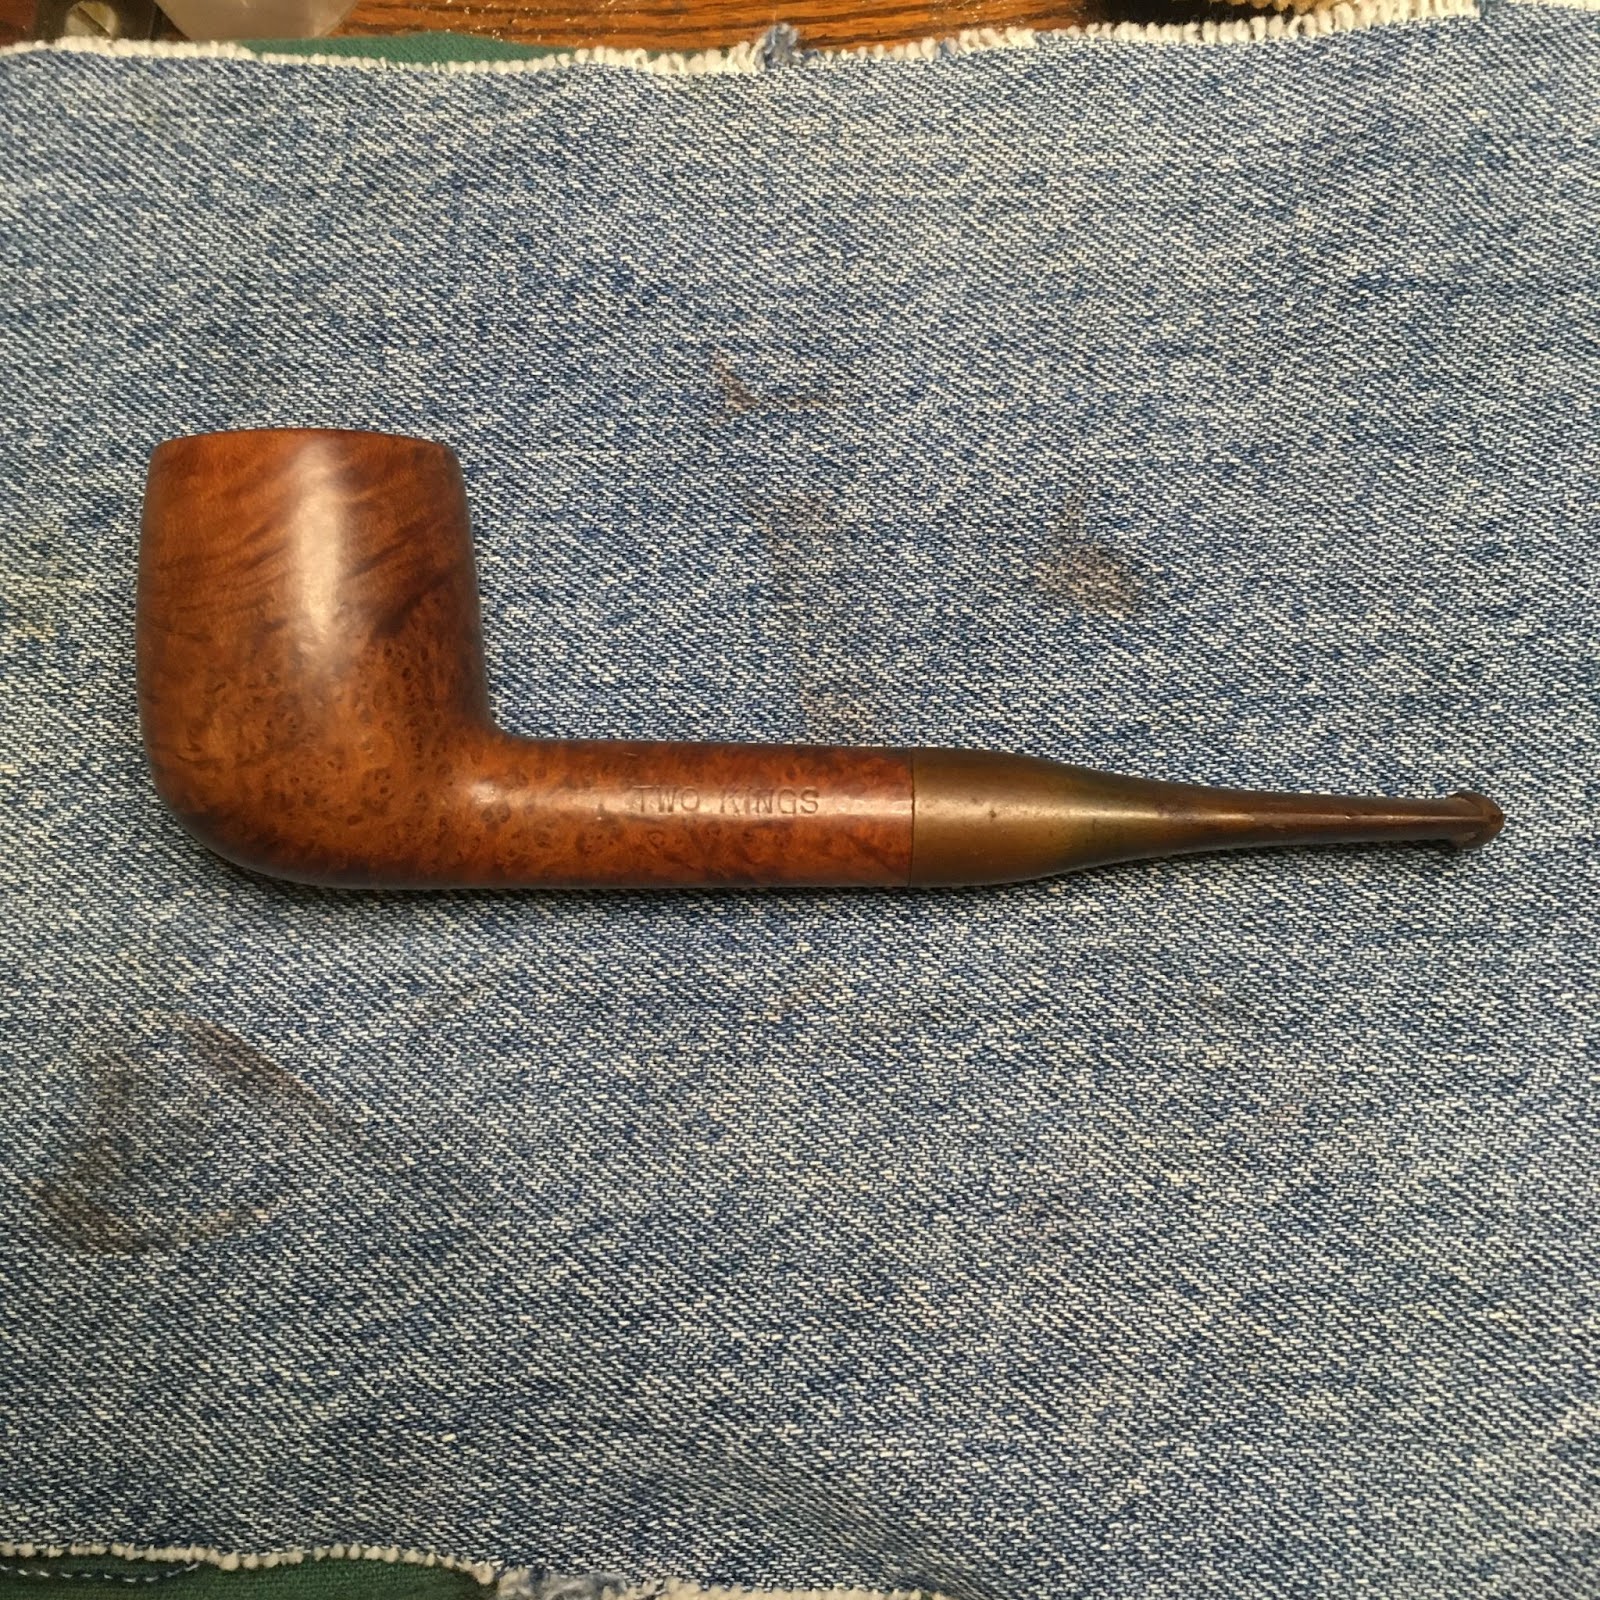
Two Kings Background
I am not sure why I made the above bold. There is nothing on Two Kings. Nothing on pipedia,org, pipephil.eu, Google search, Google images, nothing. I am pretty sure that this pipe may evaporate at any second leaving the only record of its existence in these photos.
So, what does one do when facing questions about all things MITROI? Email Mark Irwin, of course. Mark is one of the authors of the great Peterson Pipe book.
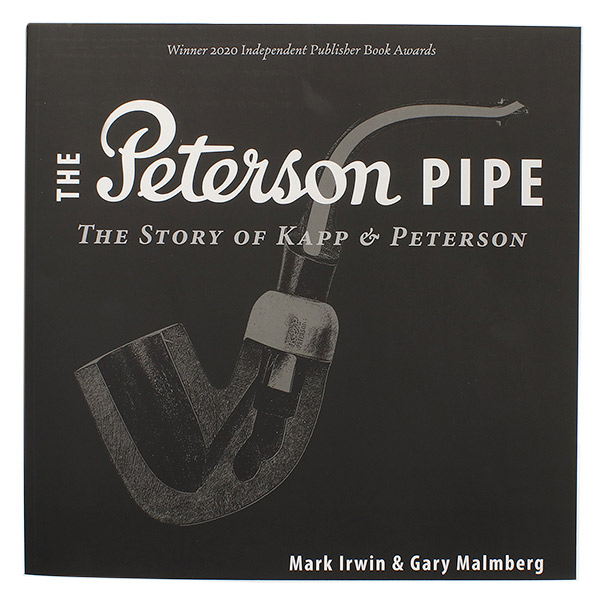
(Available at https://www.smokingpipes.com/accessories/books/moreinfo.cfm?product_id=471478)
The below is an email exchange I had with Mark Irwin.
Me: “I’m looking forward to reading the X Pipe. Congrats on that by the way. I’m emailing you with a question: What have I found? I recently picked up a TWO KINGS (left shank stamp) with MADE IN THE over REPUBLIC over OF IRELAND. The stamps are light and dirty, as I’ve not started the restoration yet. The dimensions of the pipe are:
- Length: 5.99 in./ 152.15 mm.
- Weight: 1.54 oz./ 43.9 g.
- Bowl Height: 2.01 in./ 51.05 mm.
- Chamber Depth: 1.65 in./ 42.00 mm.
- Chamber Diameter: 0.78 in./ 19.81 mm.
- Outside Diameter: 1.50 in./ 38.10 mm.
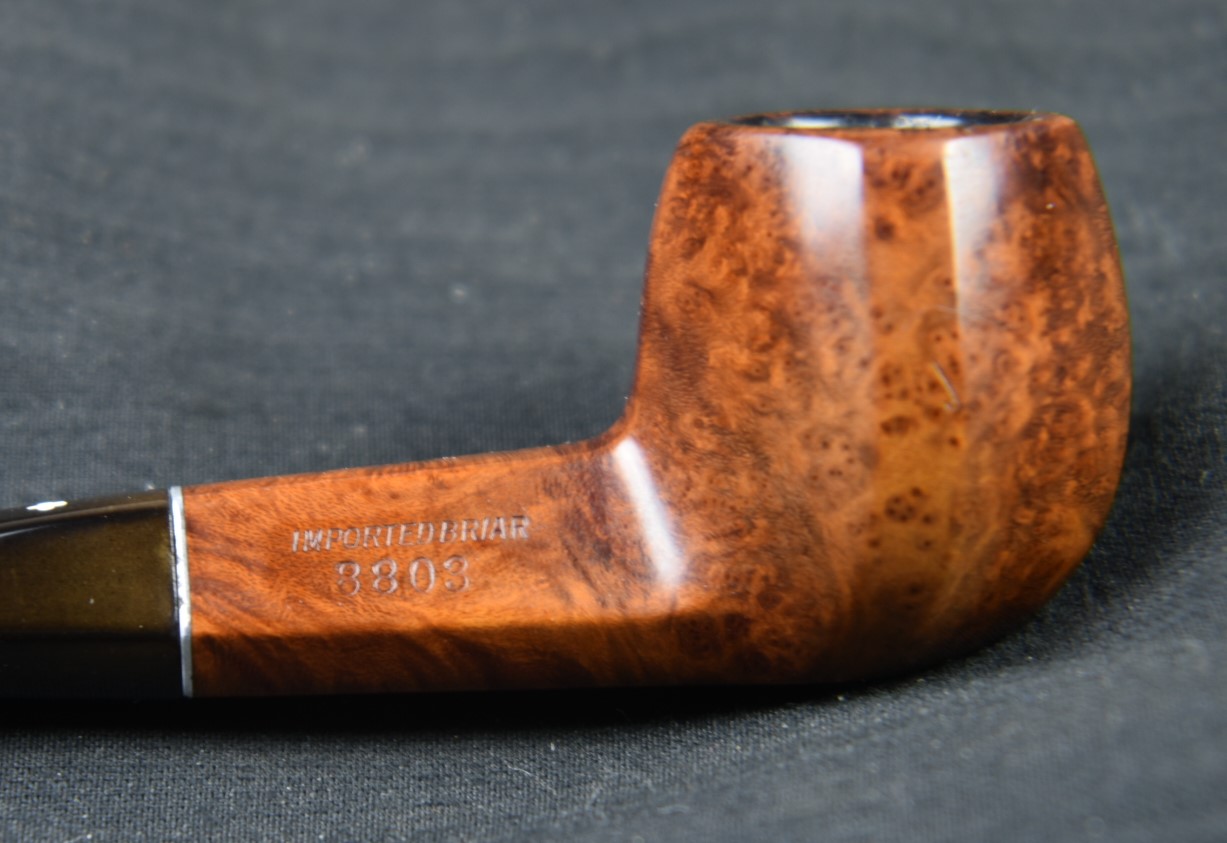
All fit within the range of a 105. Have you ever heard of “Two Kings”. I cannot find anything on it.
(I included some photos of the Two Kings which you saw above.)
Thank you for you time,
John”
(Personal email)
Mark Irwin’s reply:
“Hi John,
I suspect the TWO KINGS is similar to the B.P.L. pipes, i.e., someone connected to K&P was buying stummels already stamped with the MITROI, then stamping their own brand. You can read about B.P.L. pipes at the blog. I agree, this looks like a 105.
Best,
Mark”
(Personal email)
For those of you who were as curious as I was about this B.P.L. which stands for Briar Pipes Limited. I have included the two links below. They are both to Mark’s Peterson Pipe Notes blogs regarding B.P.L. and a wonderful restoration of a B.P.L. carved pipe by Charles Lemon.
Mark Irwin’s response to the MITROI stamp:
Restoration of a B.P.L.:
So the mystery is kind of solved. This is a pipe that was based on a stummel carved by Peterson. It was stamped at the Peterson factory then sold to an unknown party who then finished the pipe and stamped it with their own product name. The time frame for this was probably about the same as the B.P.L. pipes; 1970-1980s. I think I will call this subterfuge a Peterson made Peterson knock off. I don’t think the descriptor will stick but it was fun to think of.
Well if I’m going to start imagining scenarios then here goes another: Late one evening in 1972 a group of Antarctic Atlantean terrorists broke into the newly opened Peterson factory at Sallynoggin. They were hoping that the move to the new factory had created the confusion needed for their evil plot. They loaded up backpacks with stummels from the factory floor, careful not to select any stummels stamped with PETERSON as this would prove far more difficult for them to fence. The terrorists then snuck from the factory and entered their get-away lorry. It may not have been a lorry but, I’ve always wanted to use that word in a sentence and I can mark that off my “bucket list”. They sped off into the dark Dublin suburbs. At the top secret Antarctic Atlantean terrorist hide out they repackaged the pipes and contacted their devious network of underworld underlings each would deliver the MITROI stamped pipes to Tobacconists throughout Europe where they would be stamped with the name of the respective establishment and confound MI6. The money from this illicit larceny was used as an attempt to reestablish the Atlantean State and end the exile of Atlanteans from their frosty abode in Antarctica. Yeah, where are the college demonstrators for restoring the homeland of the Atlantean Exiles?
Side note: Atlanteans were used in the above scenario to avoid hurting anyone’s “woke” feelings about real ethnic groups. No Atlanteans were harmed in the imagining of this scenario.
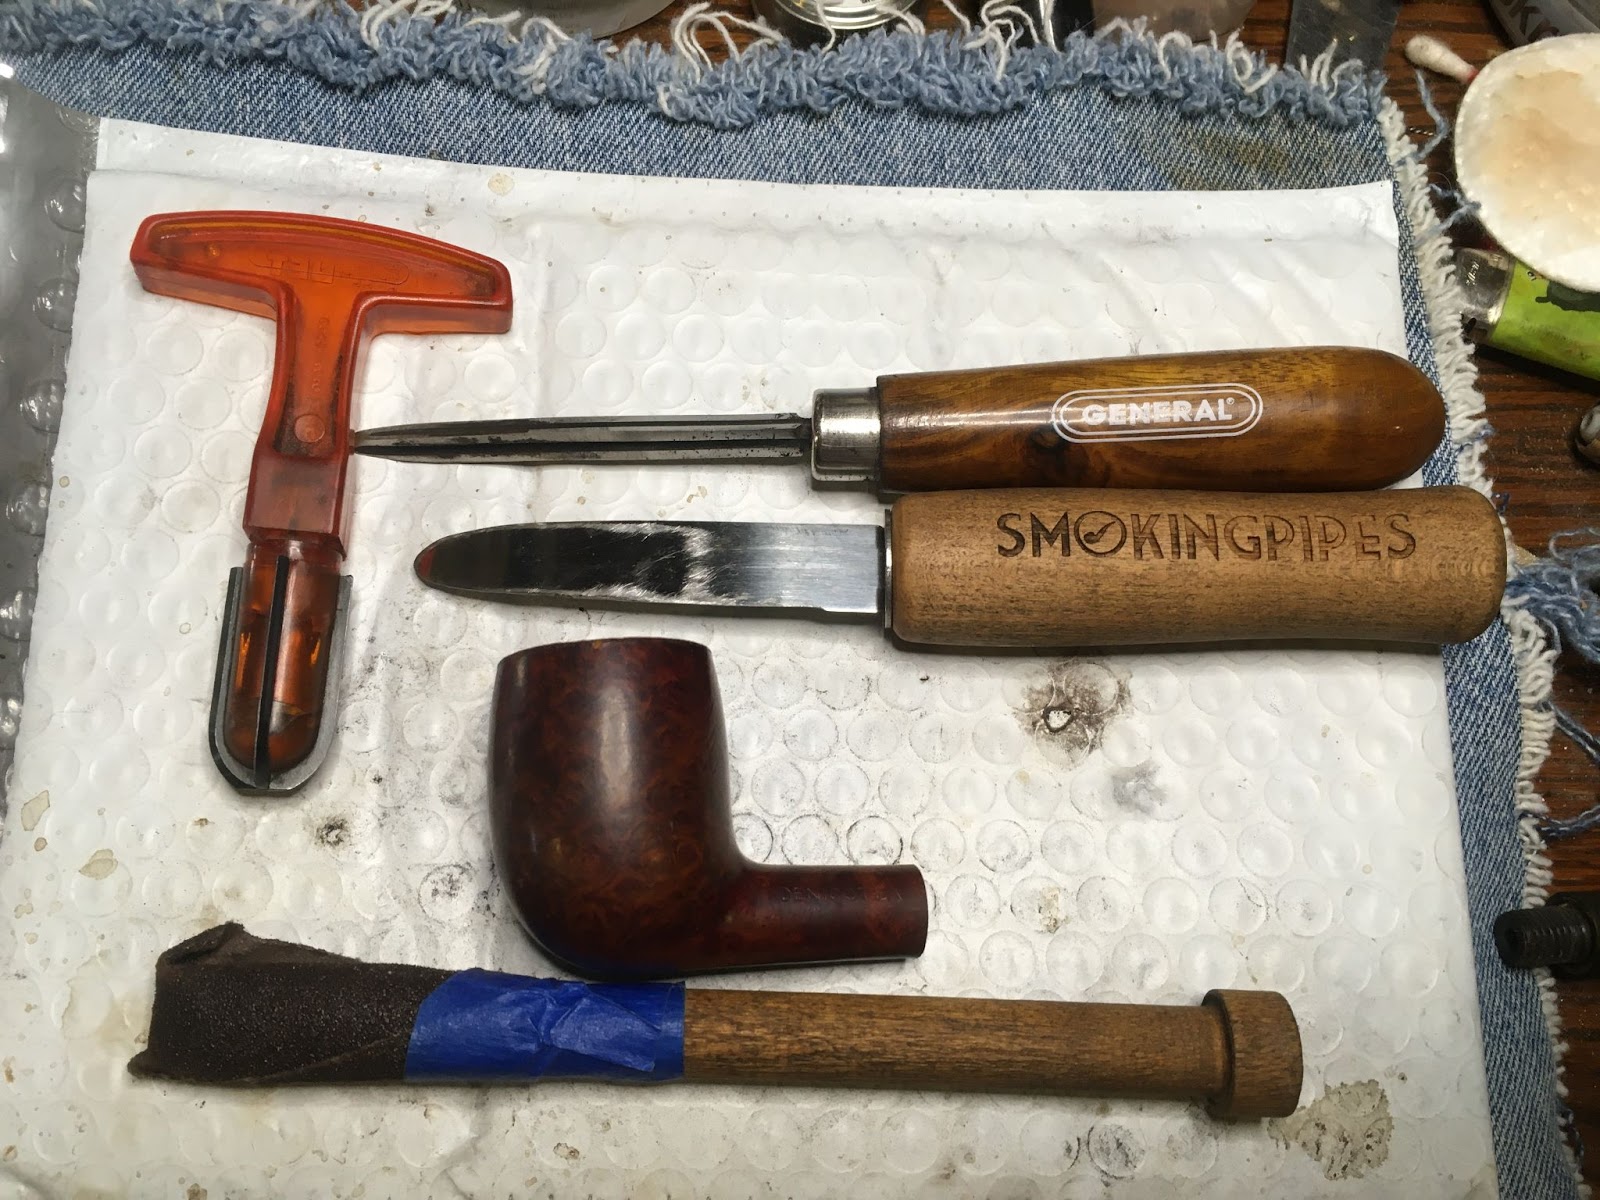
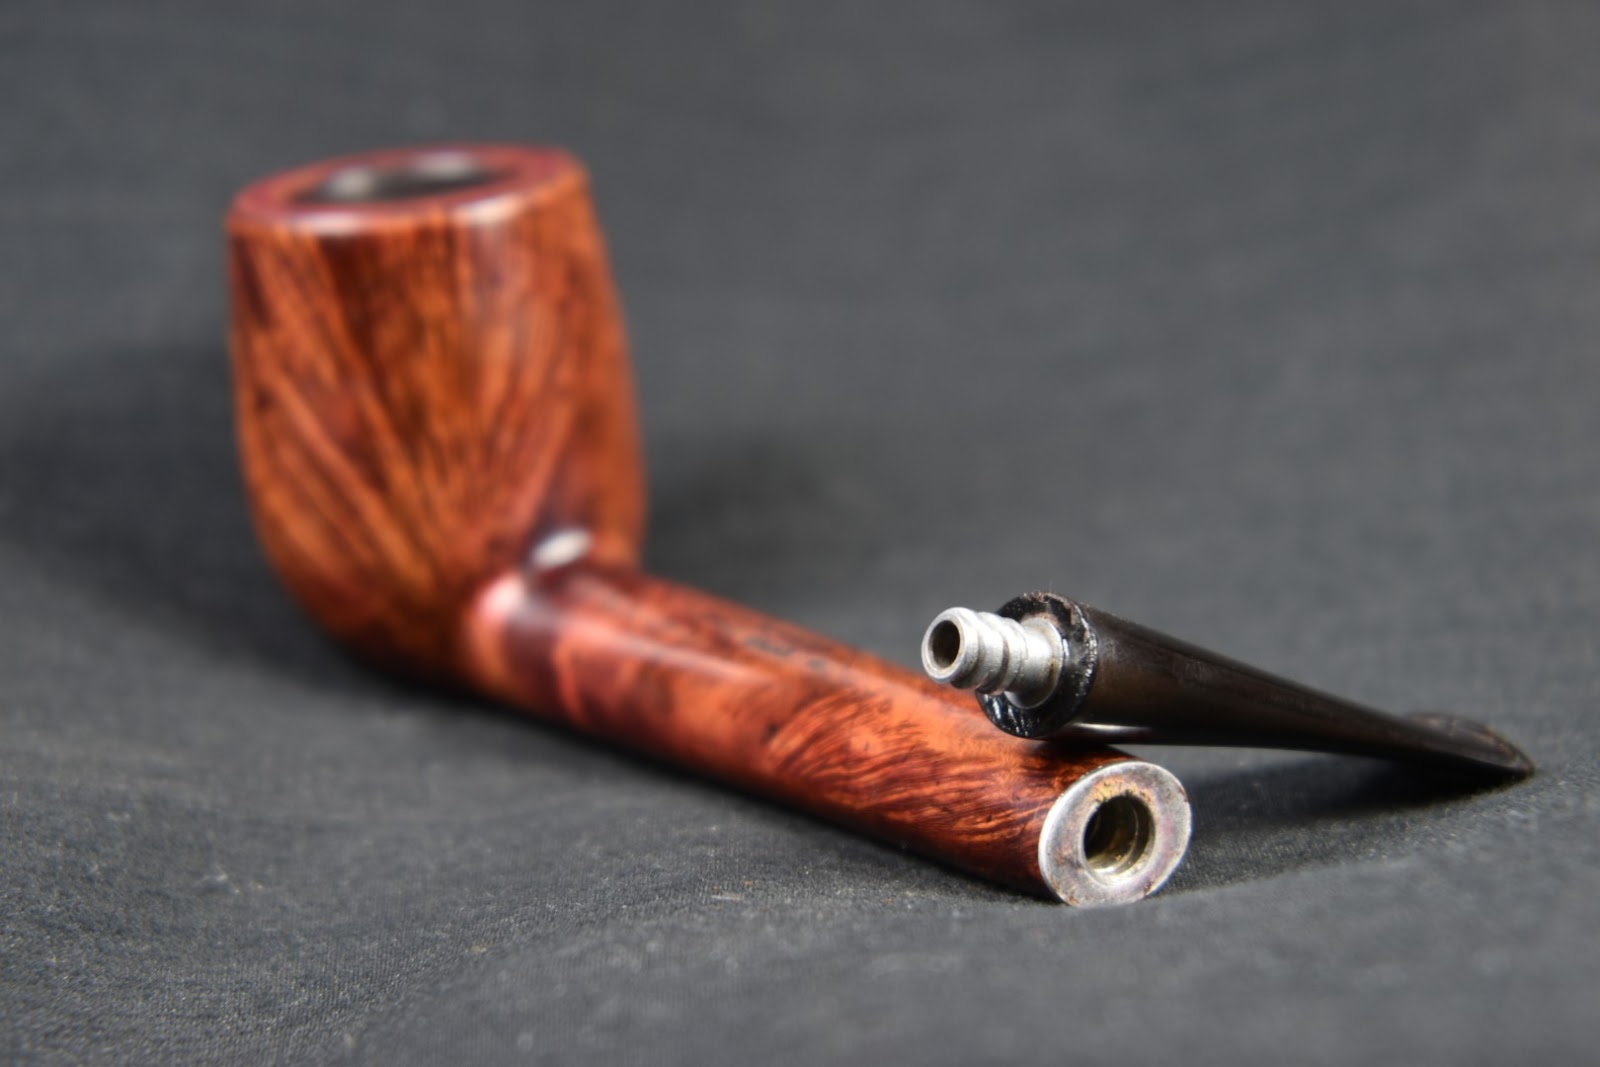
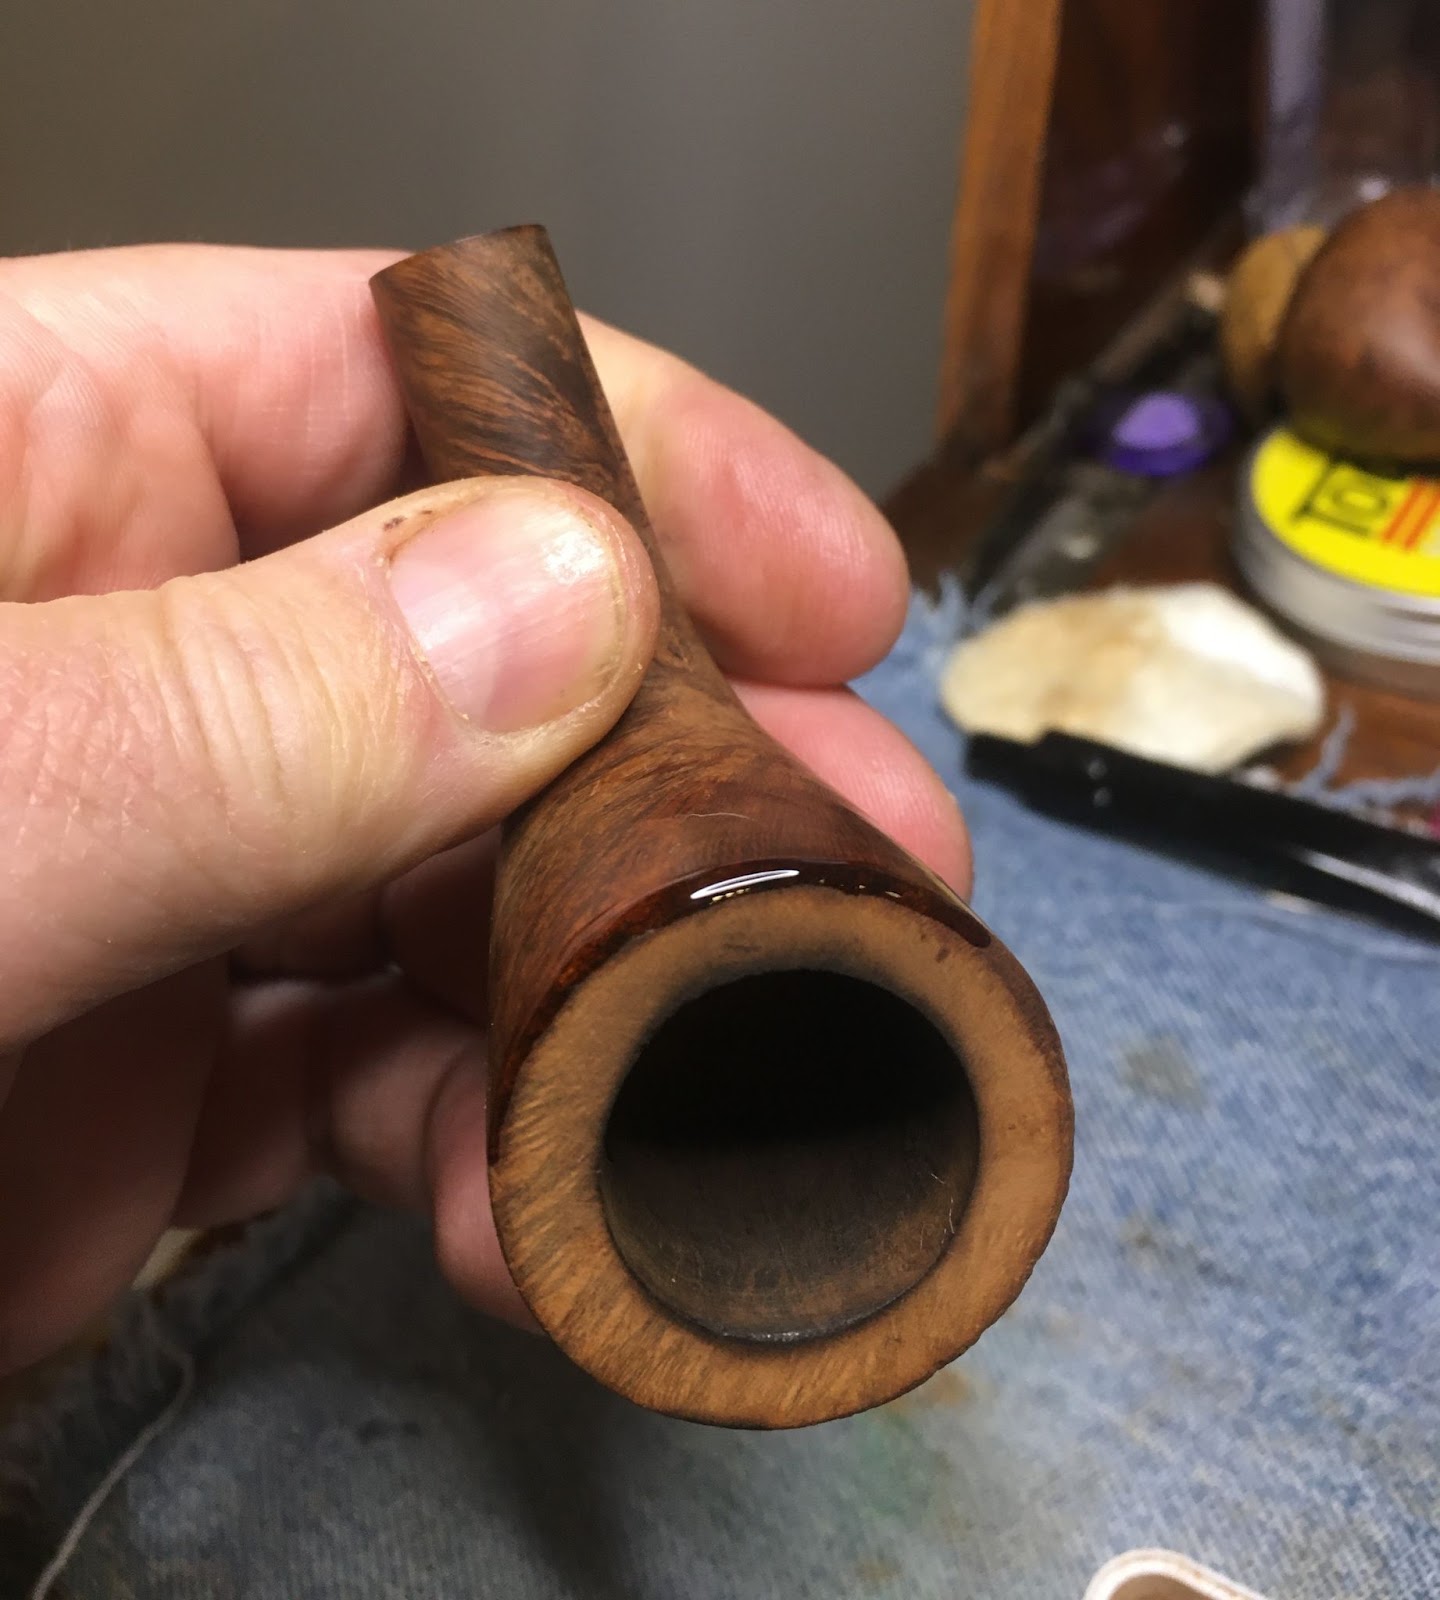
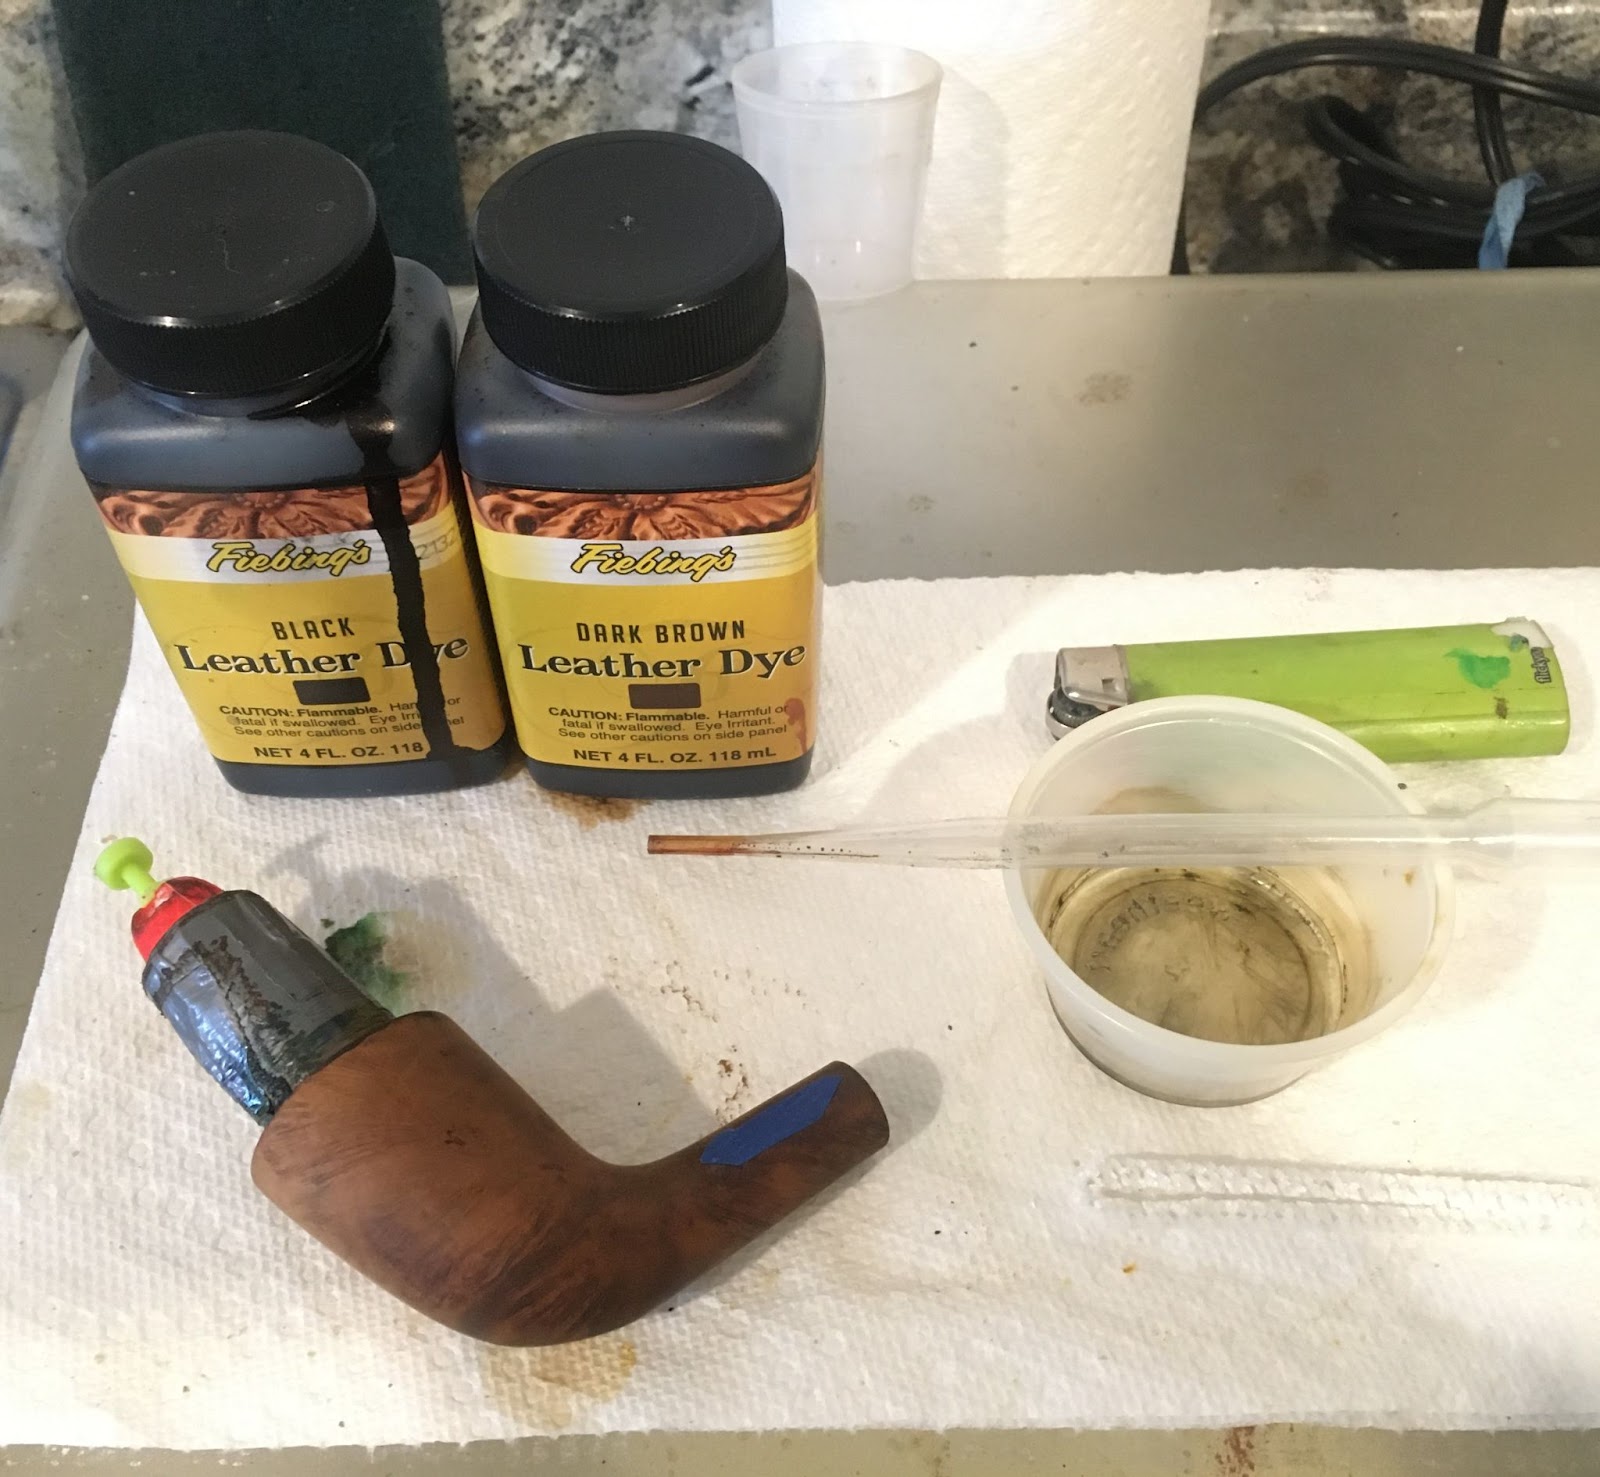
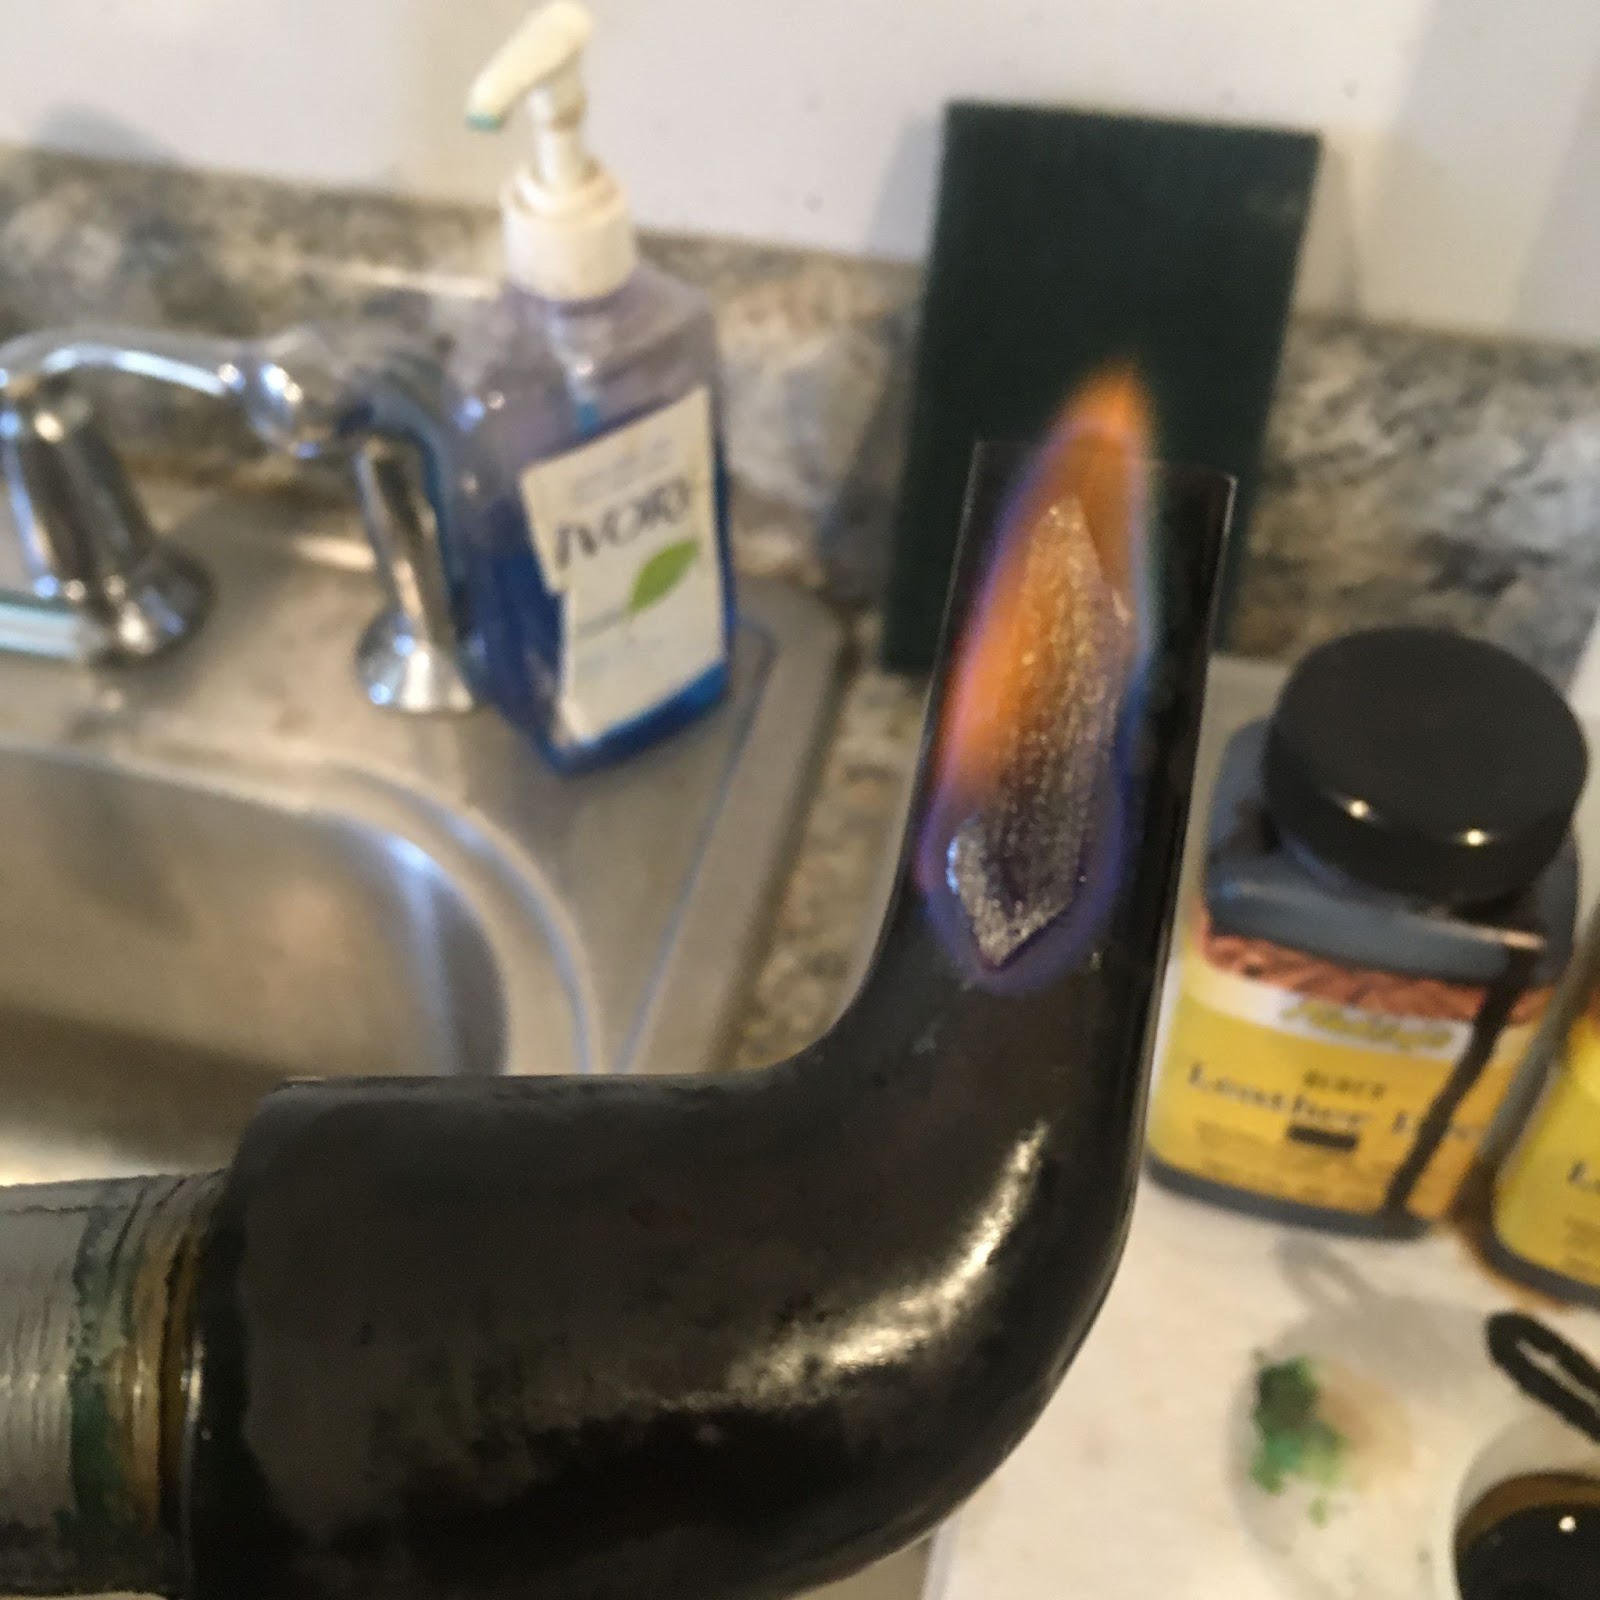
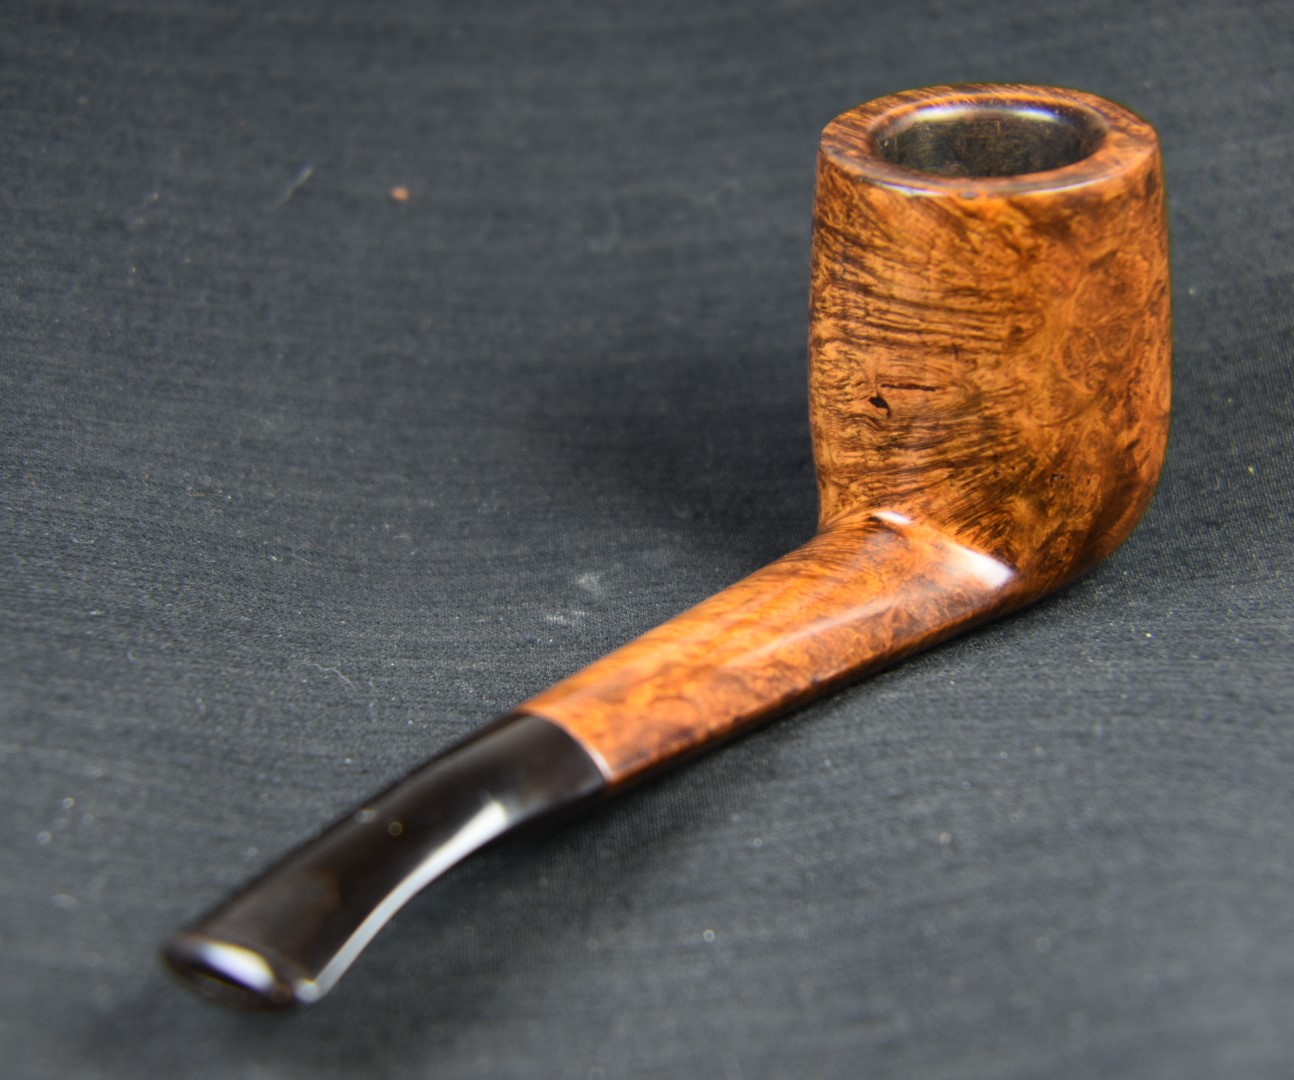
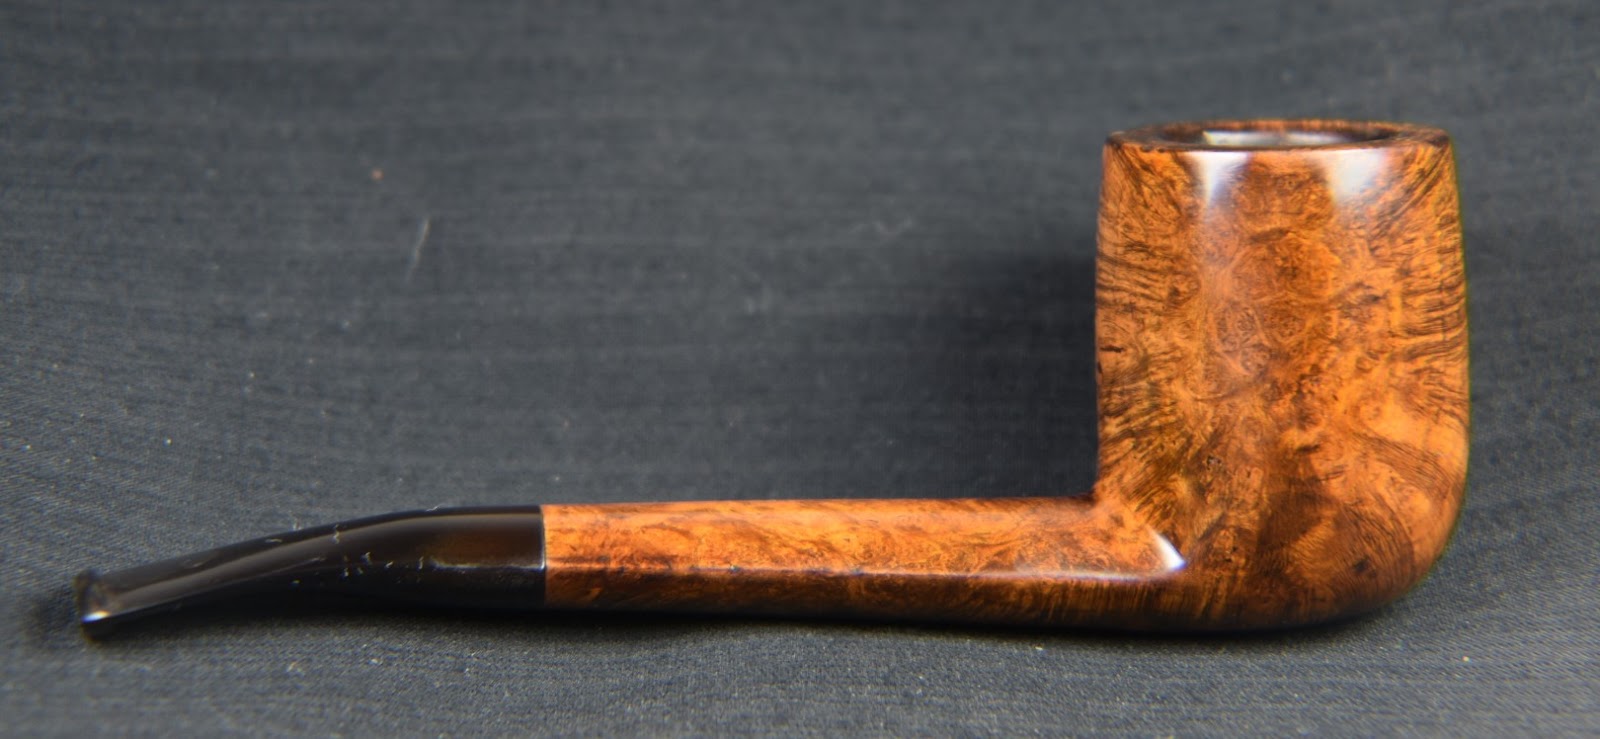
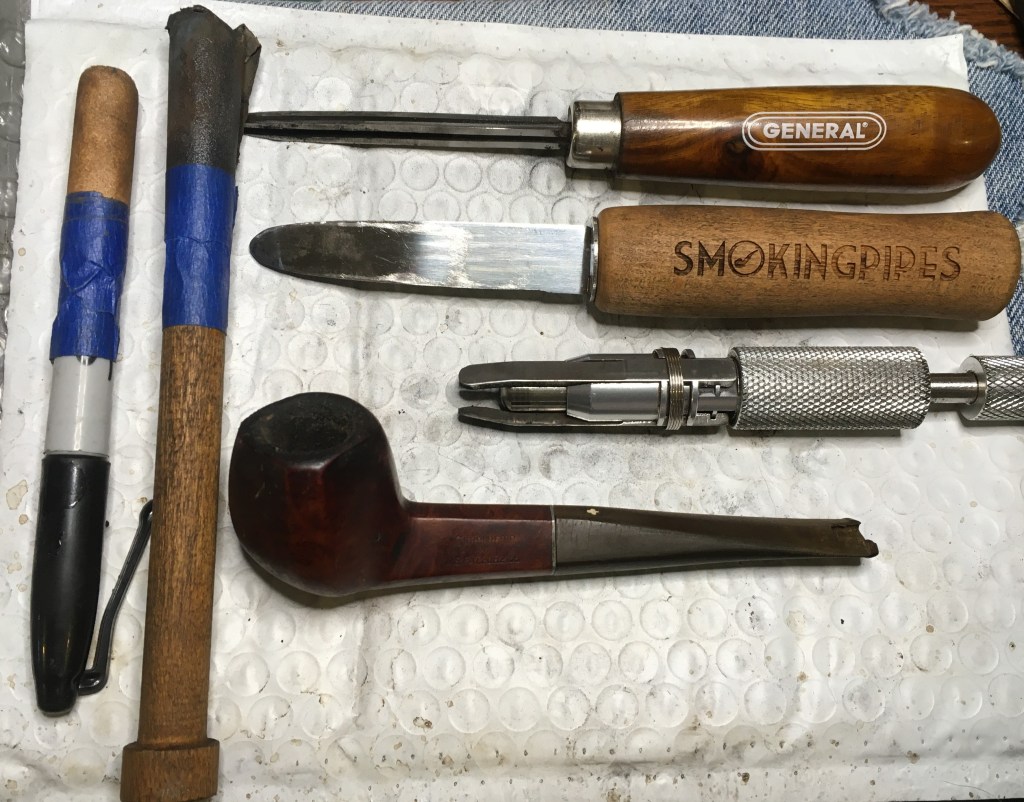
The Restoration
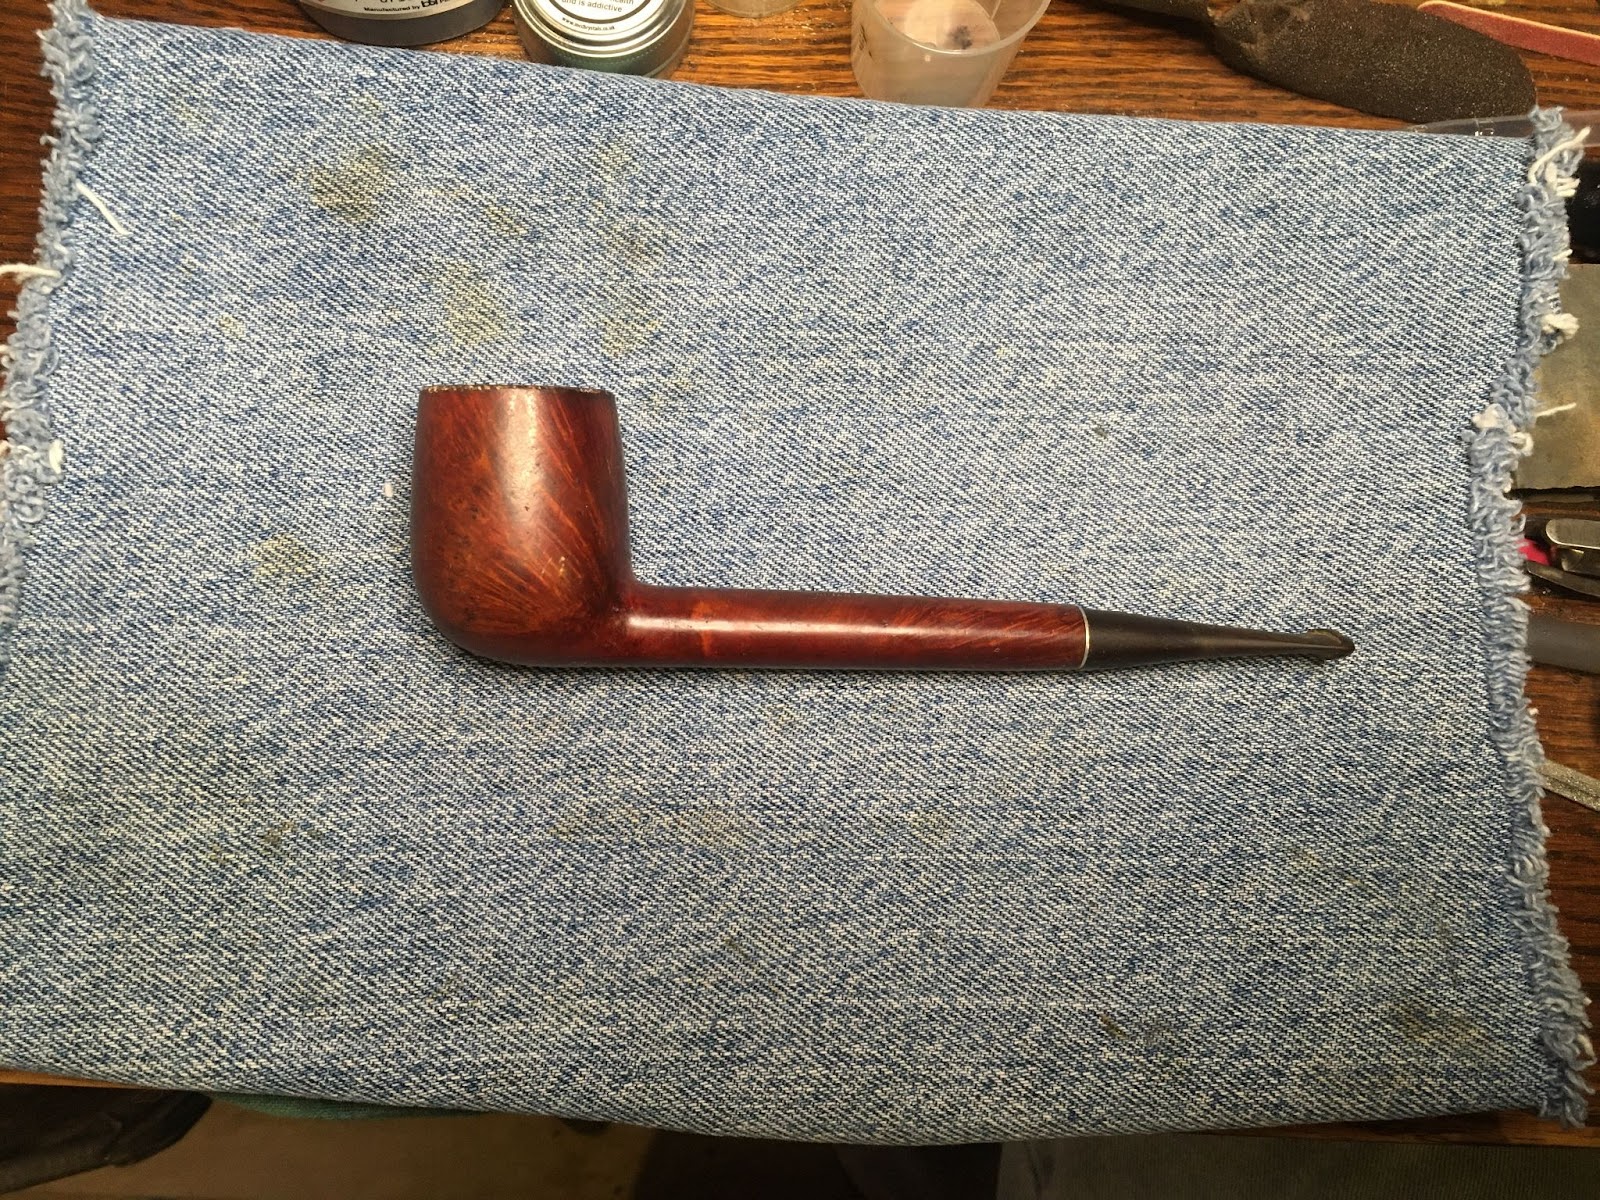
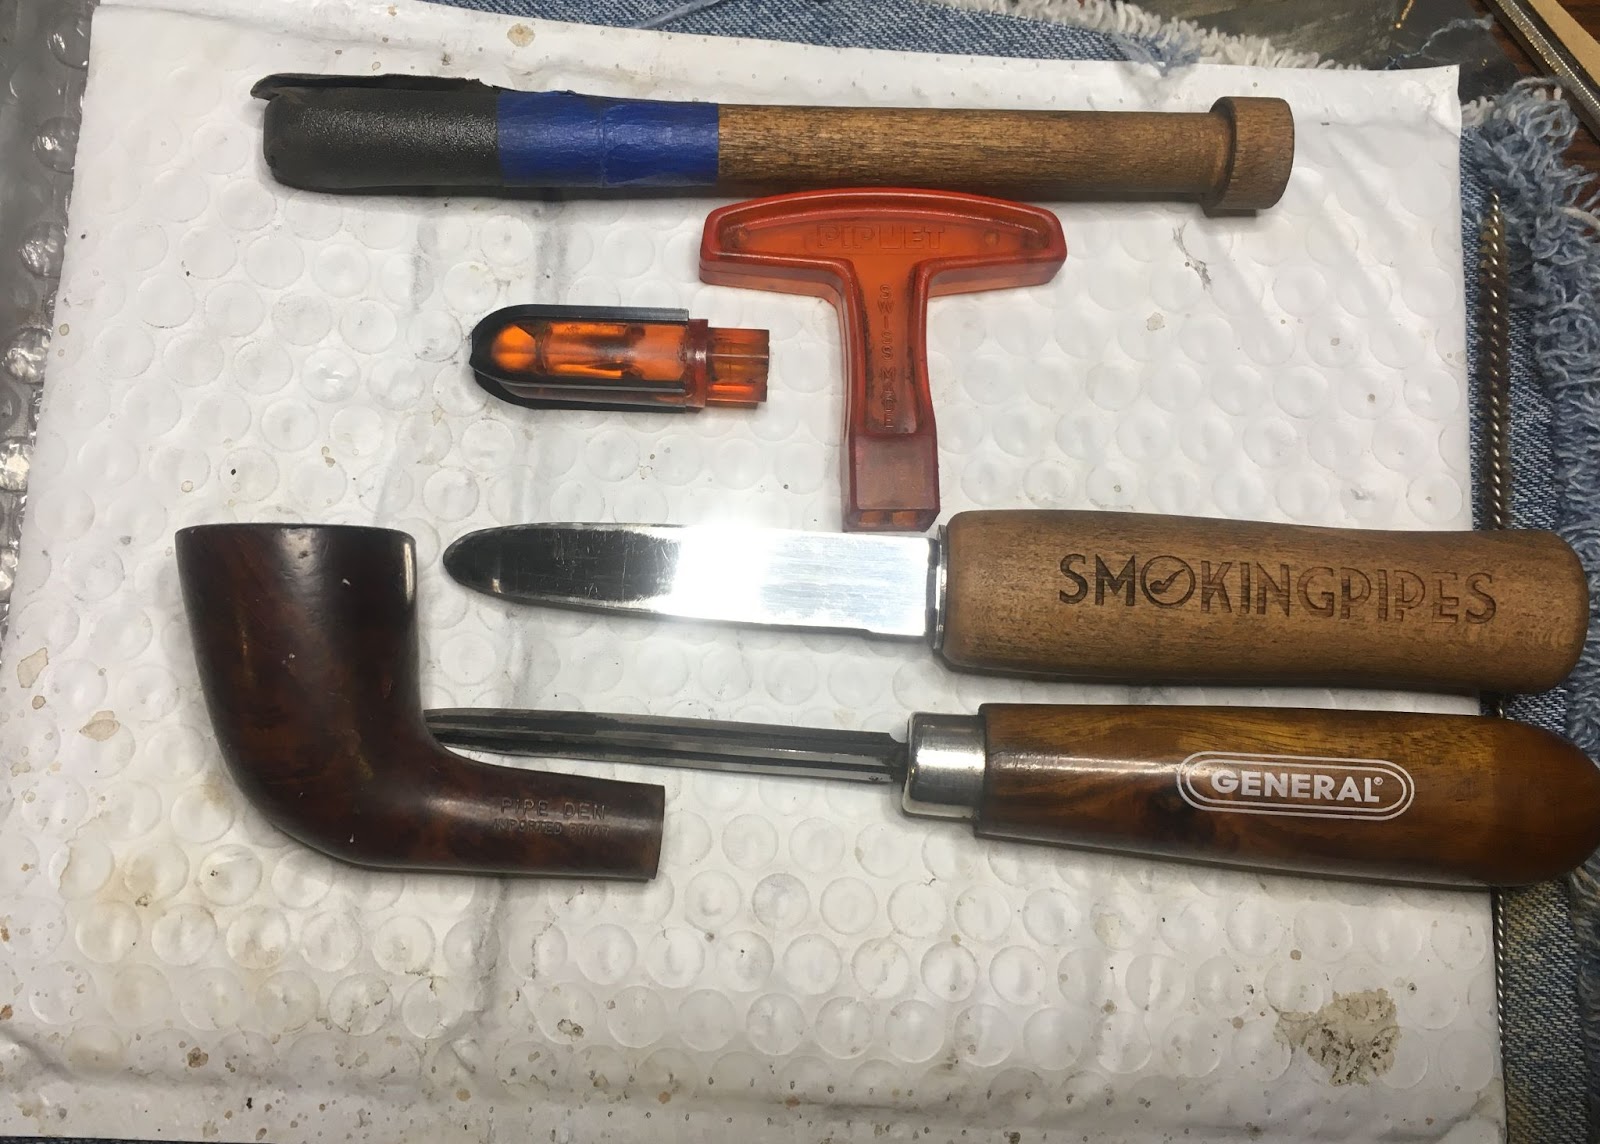
As usual the pipe received a clean denim piece after the “before pictures” photo shoot.
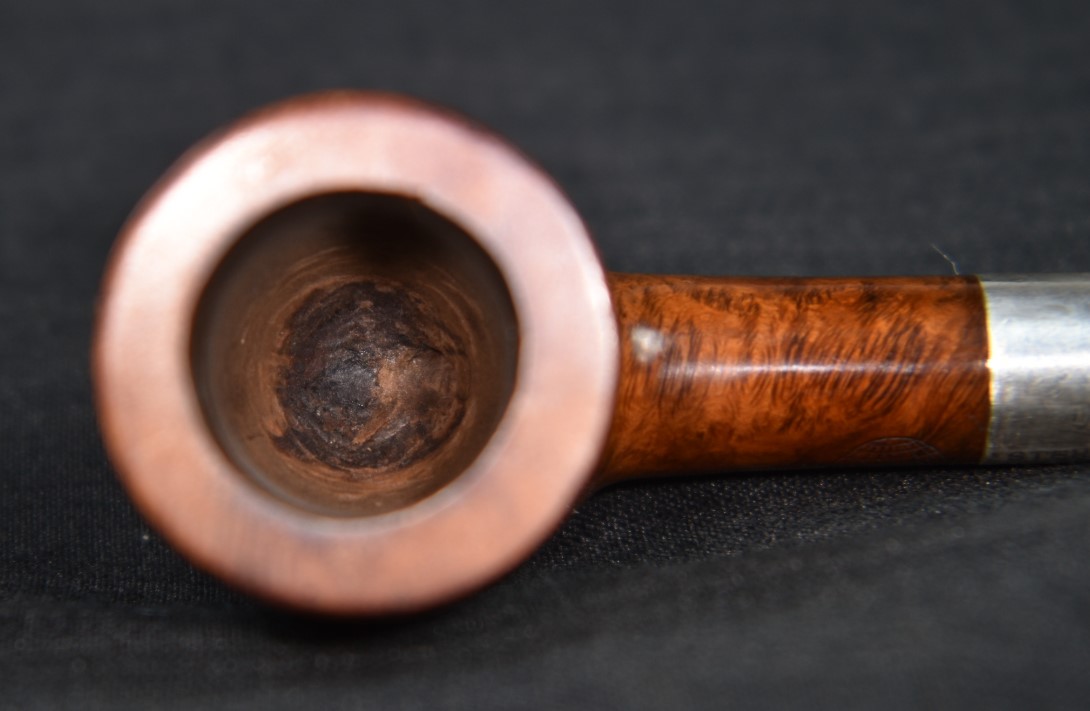
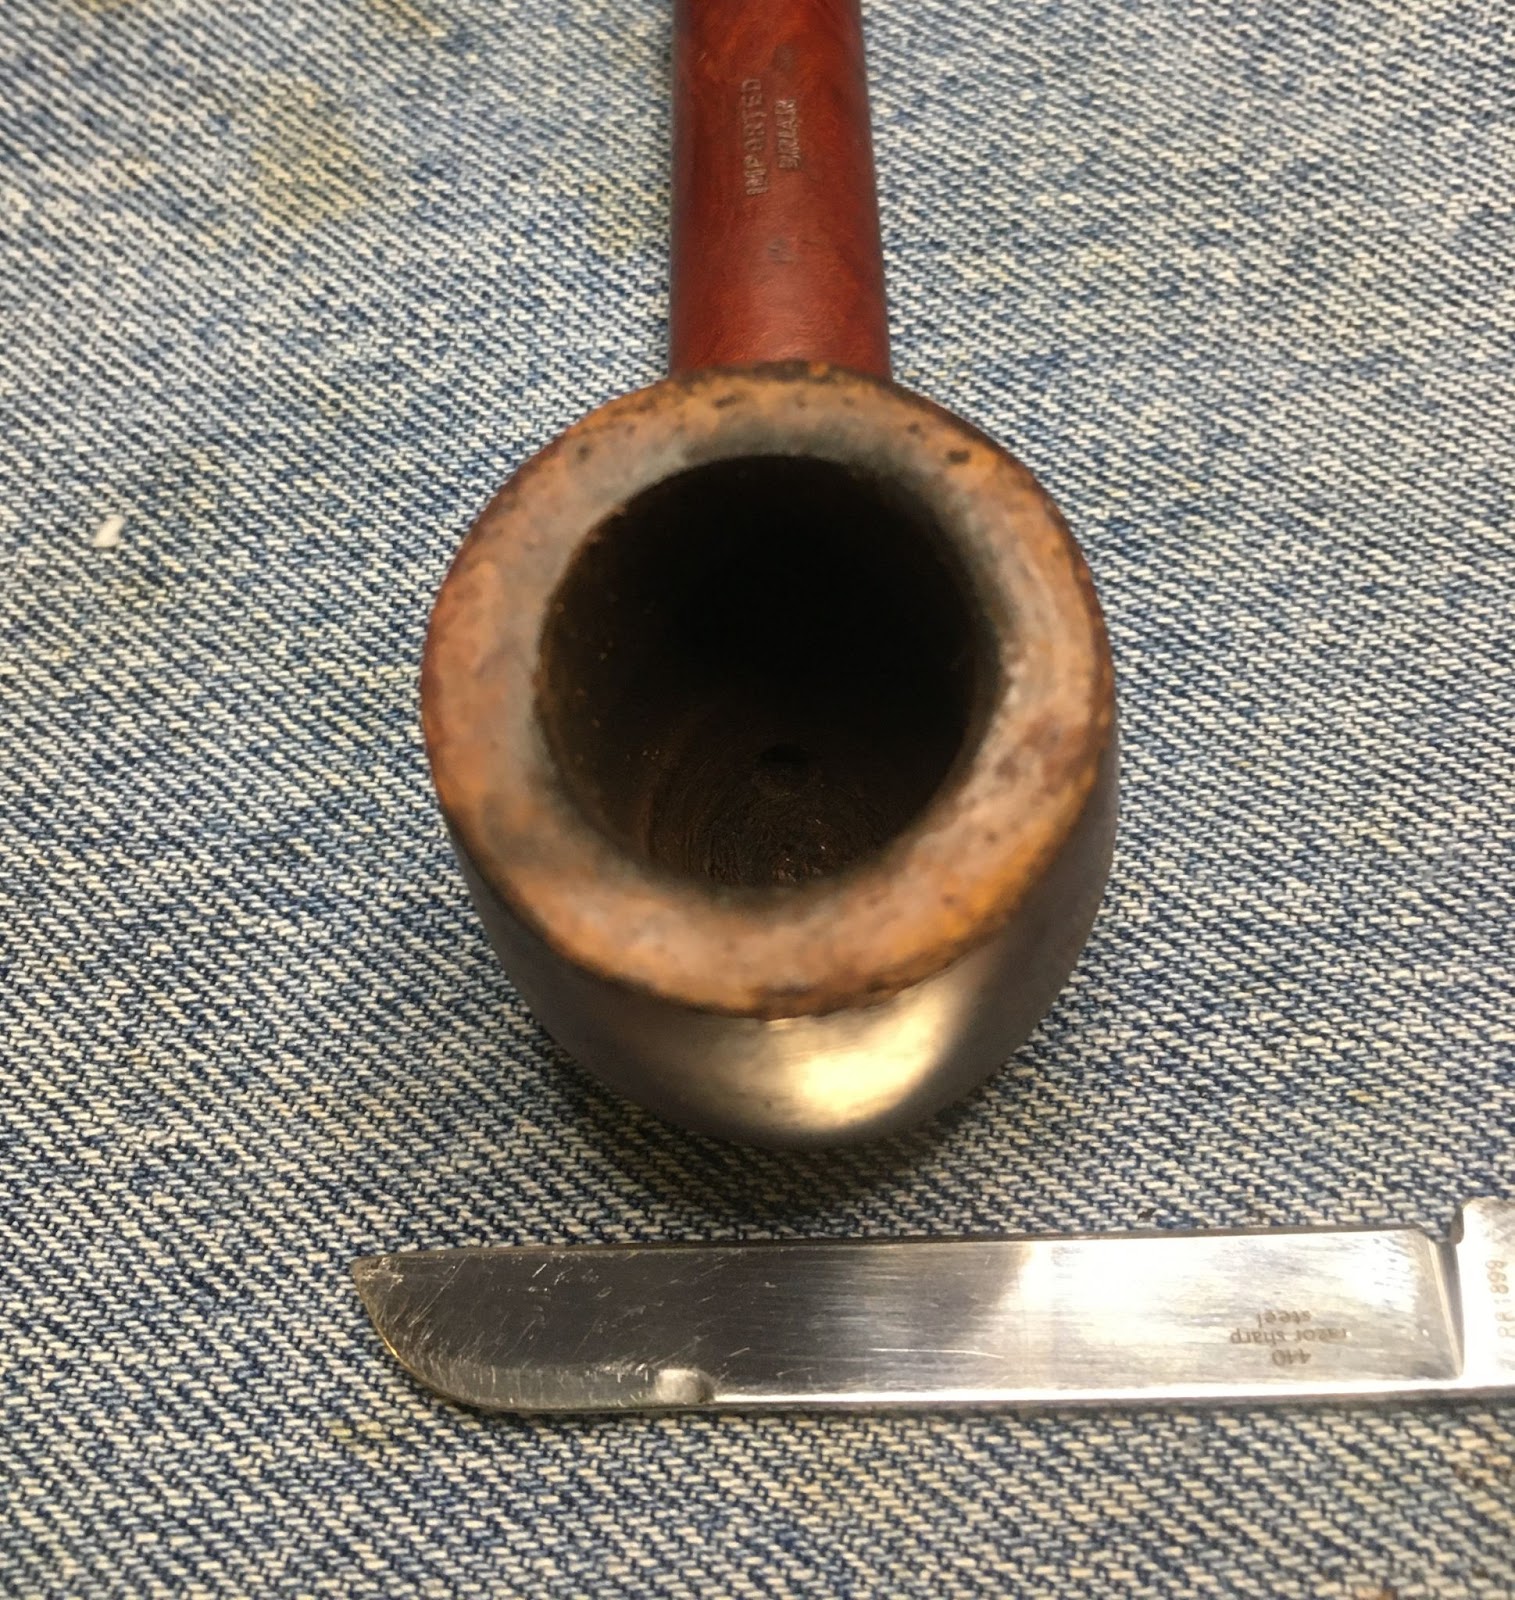
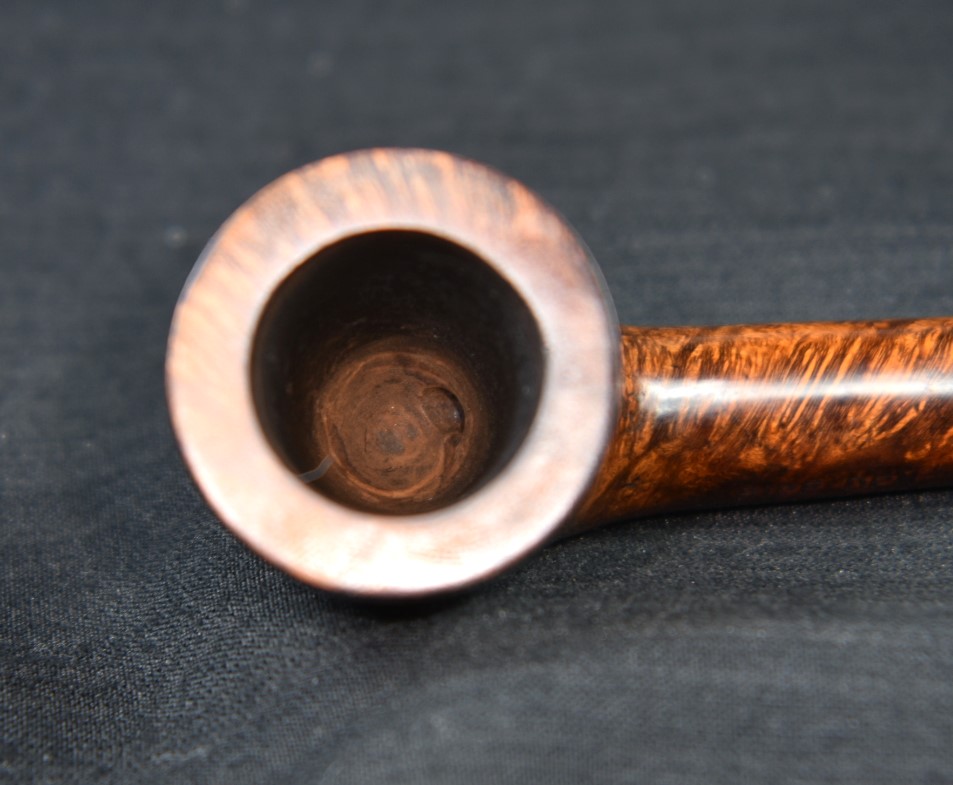
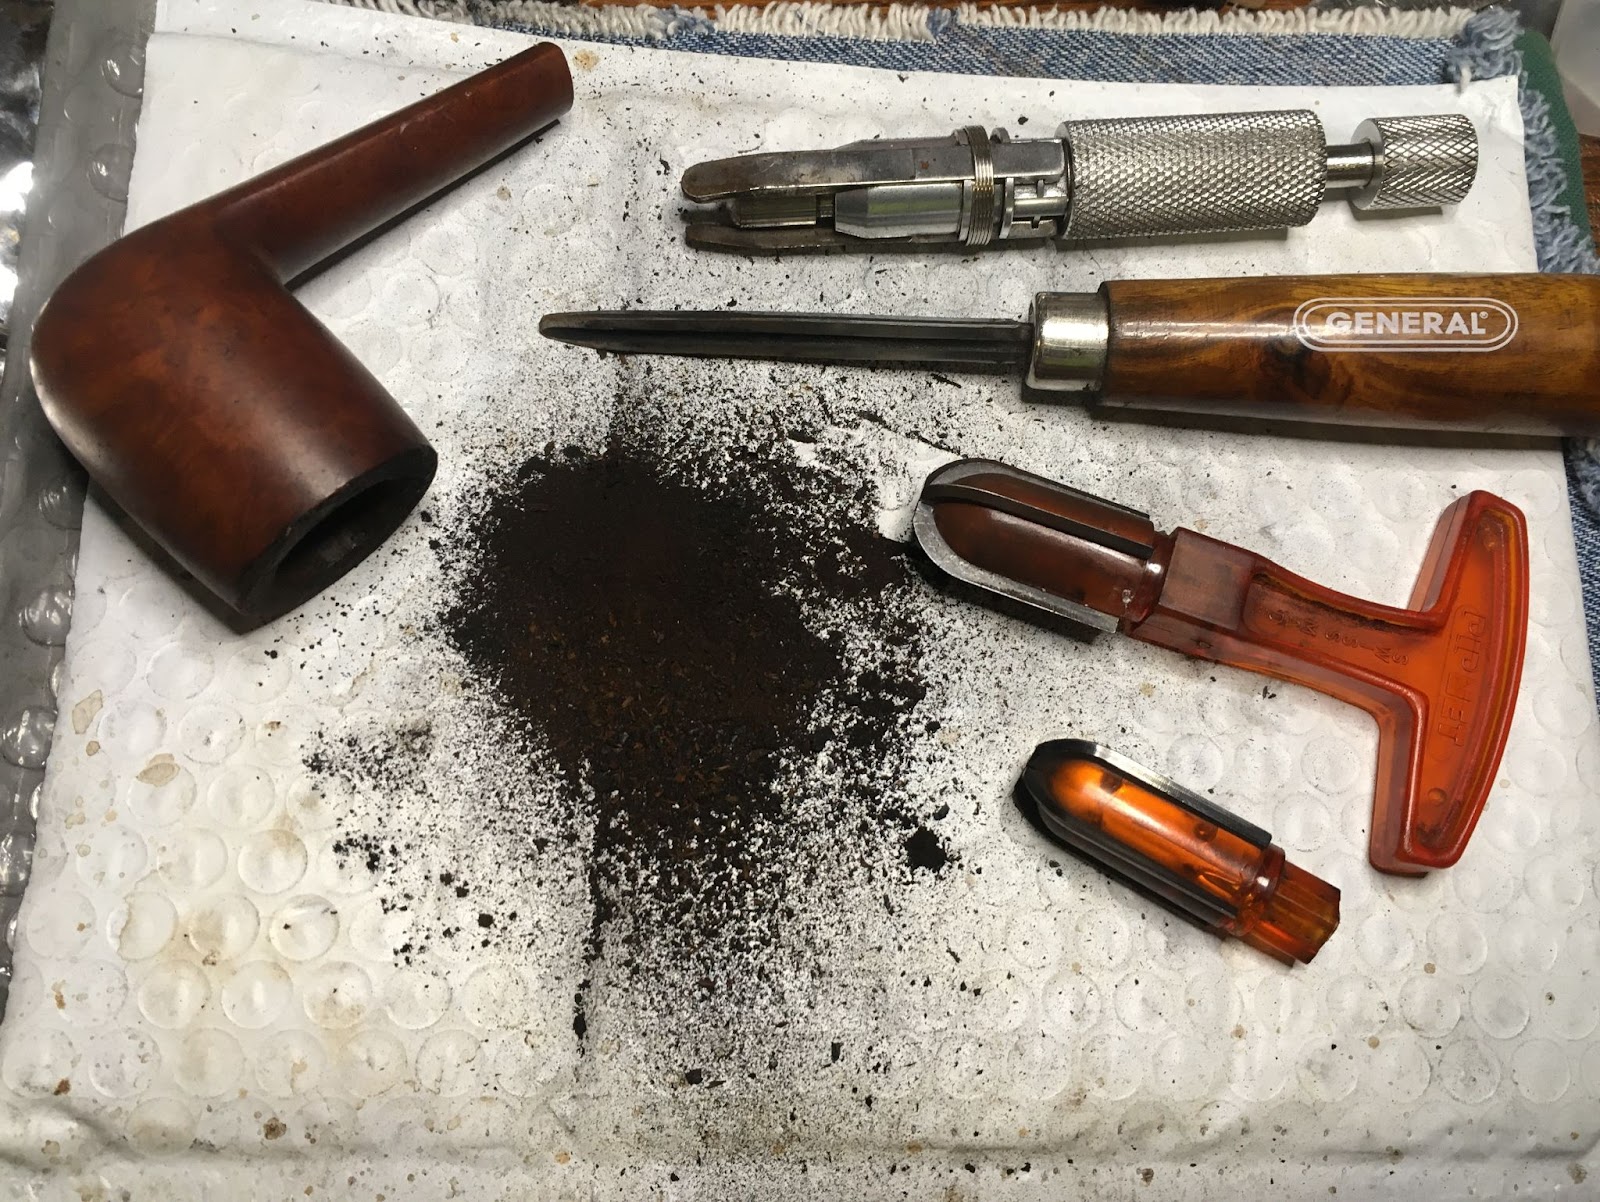
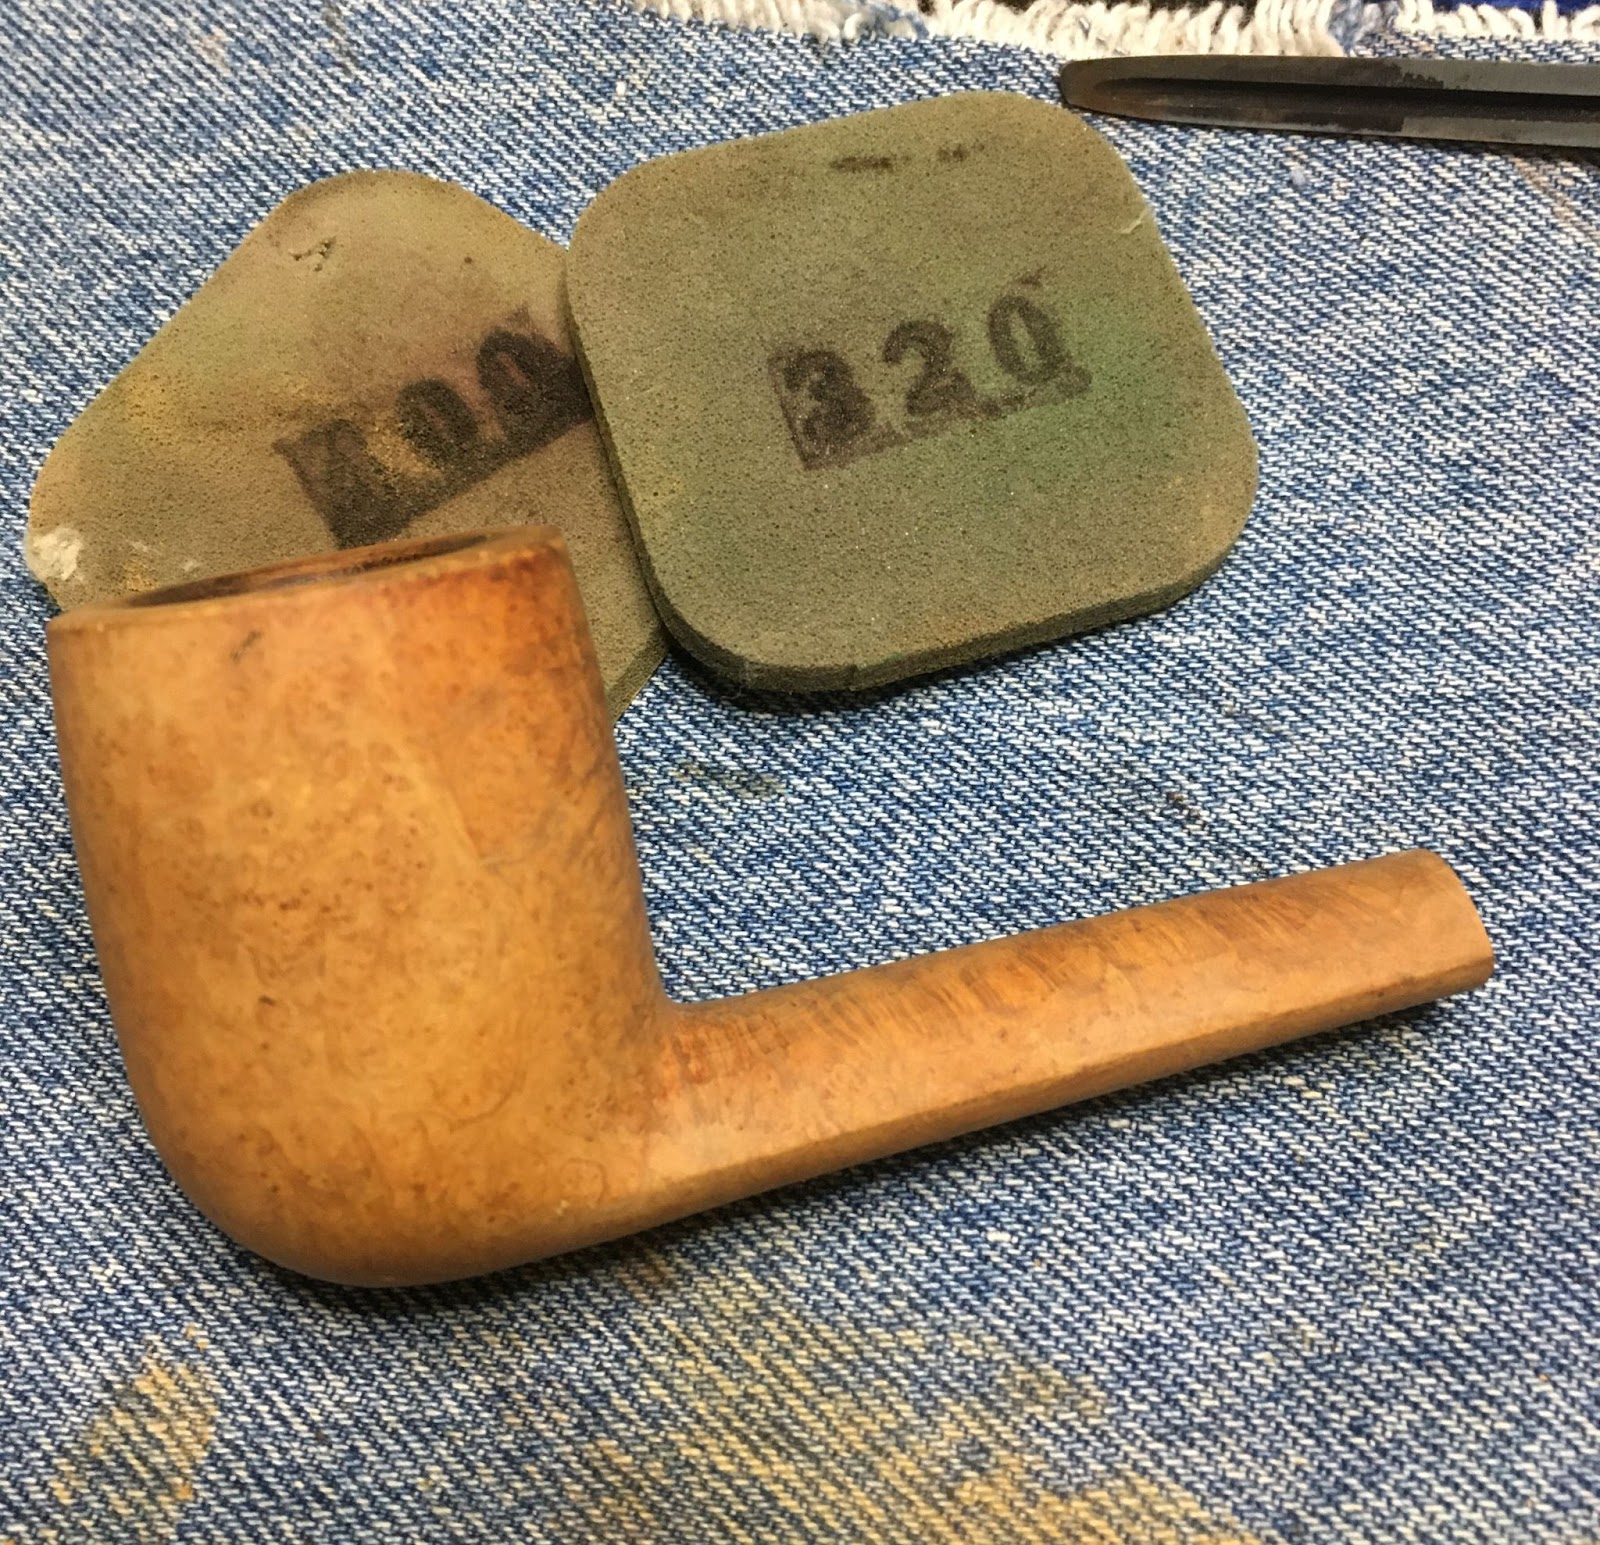
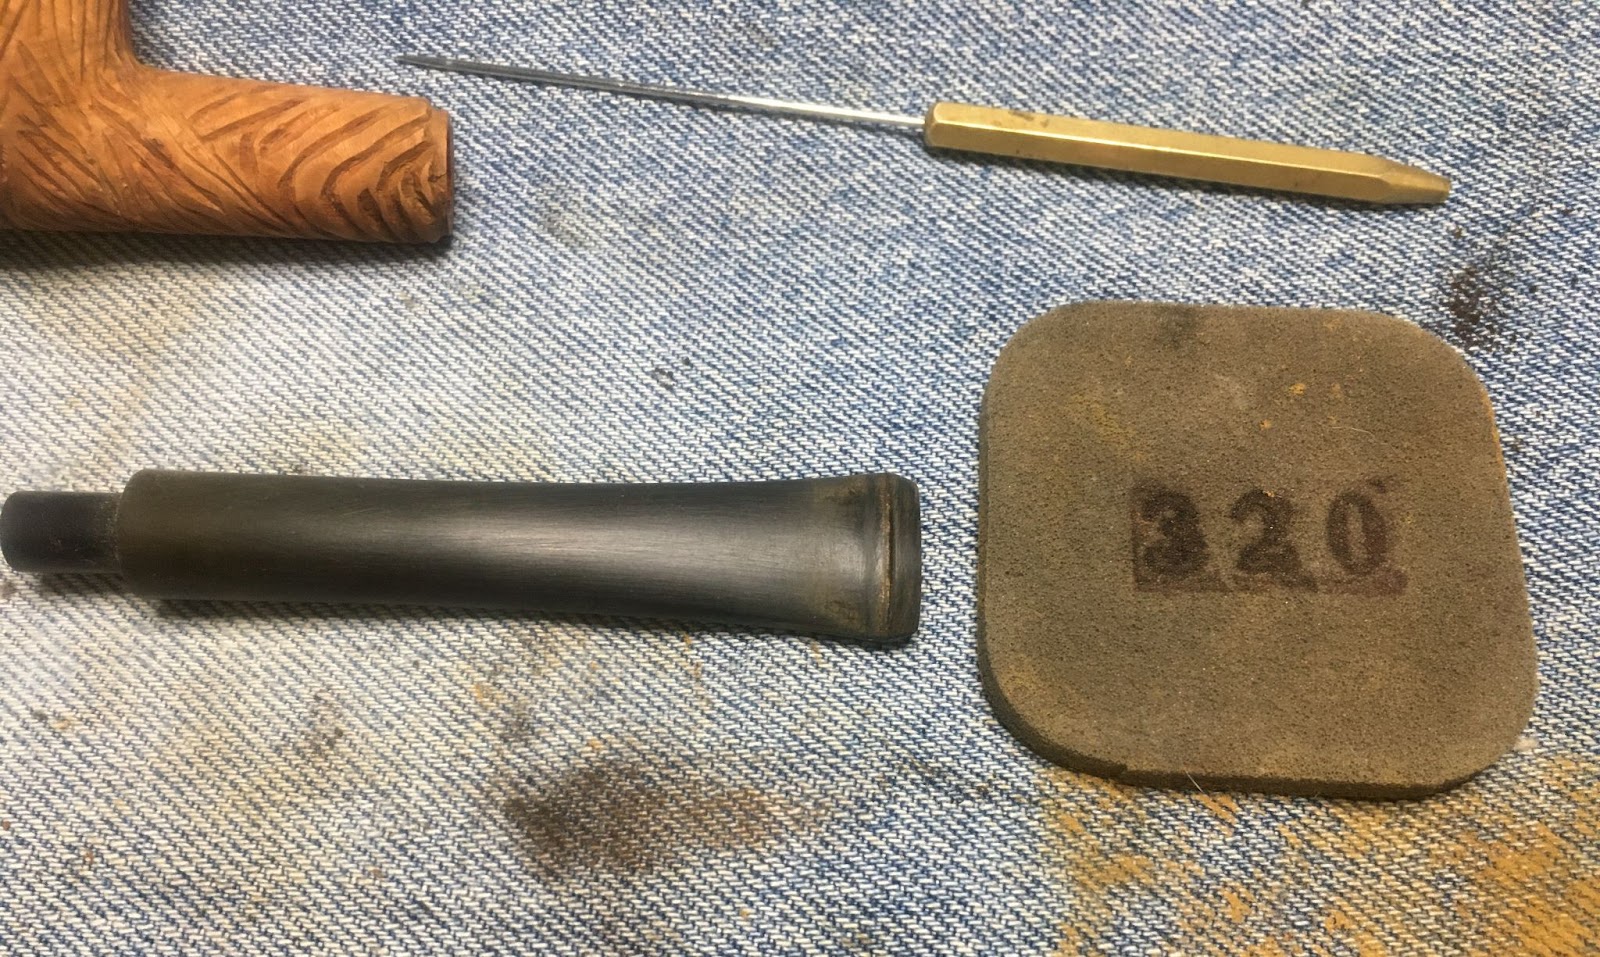
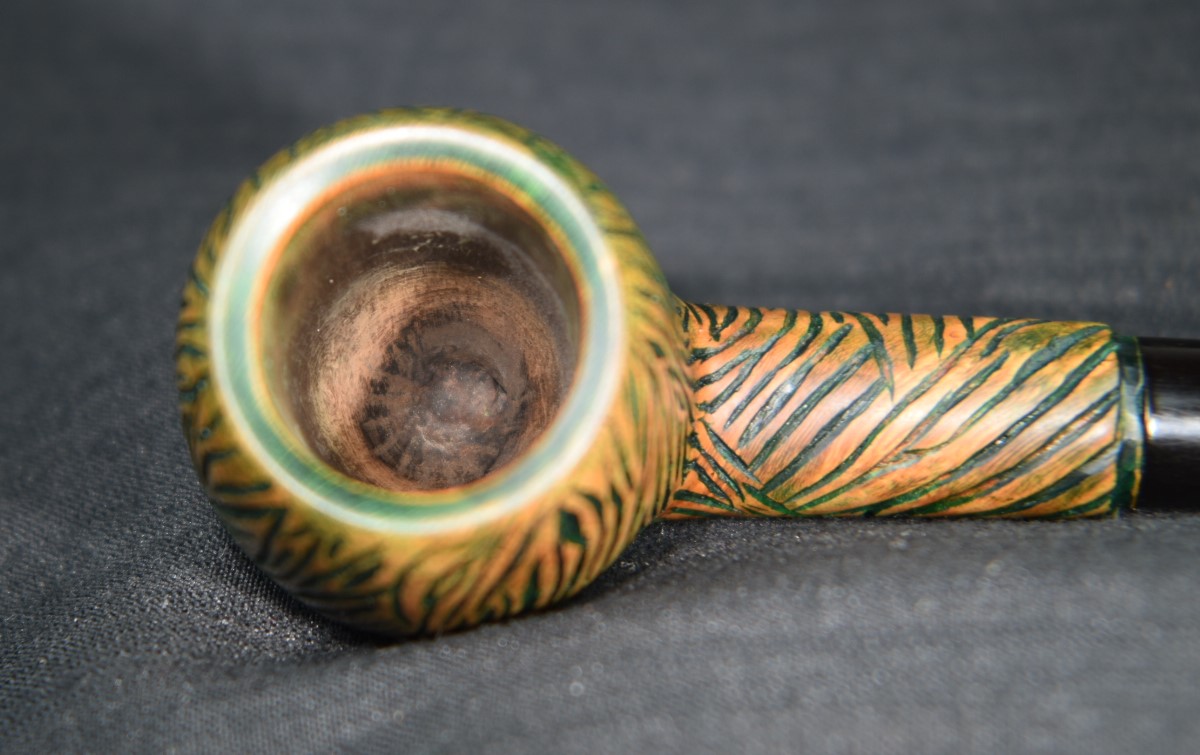
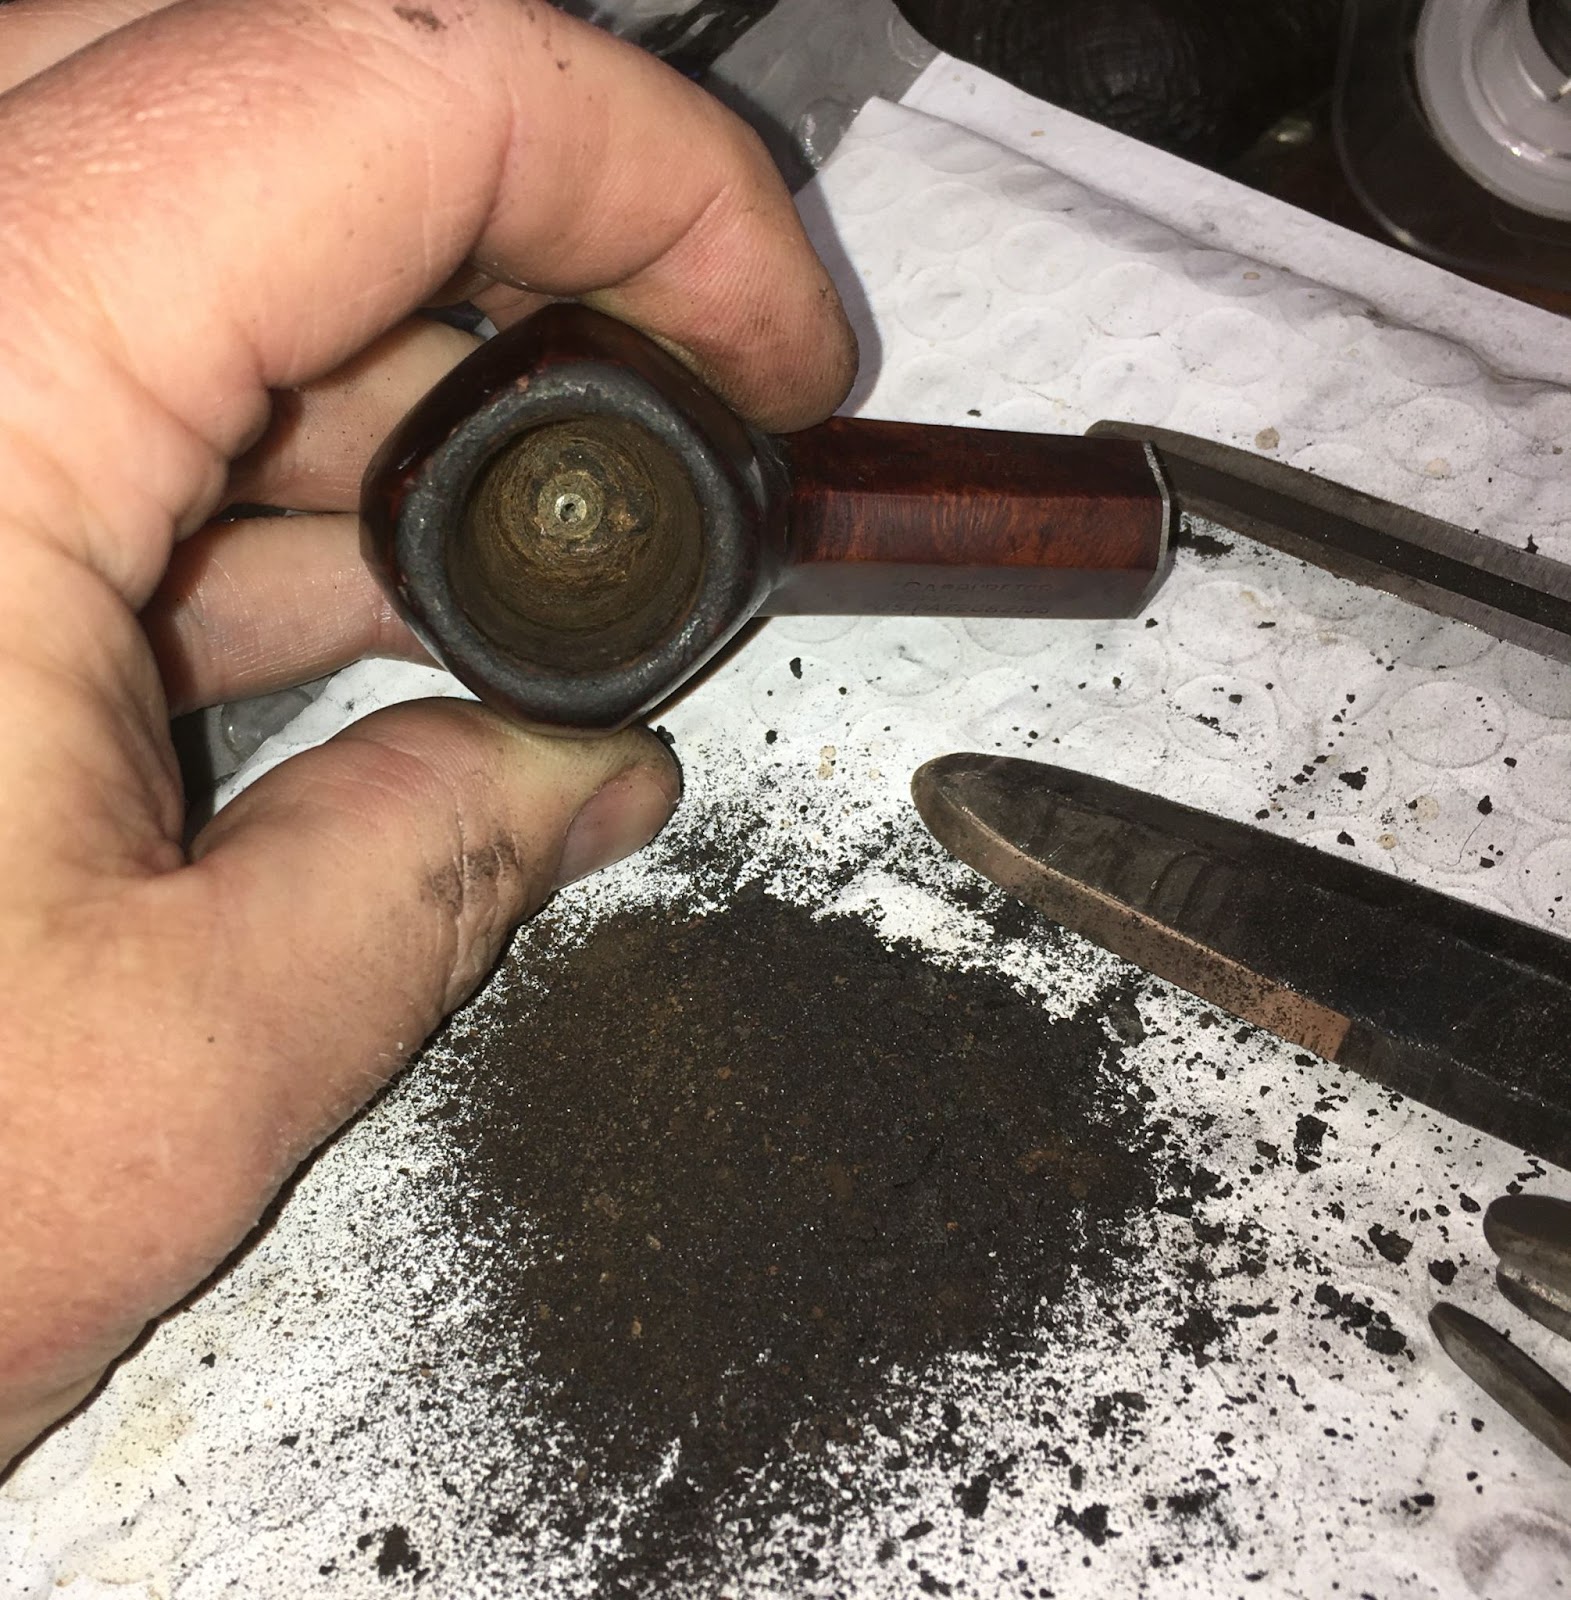
The first task was to ream the tobacco chamber. The PipNet with #2 blade did most of the world.
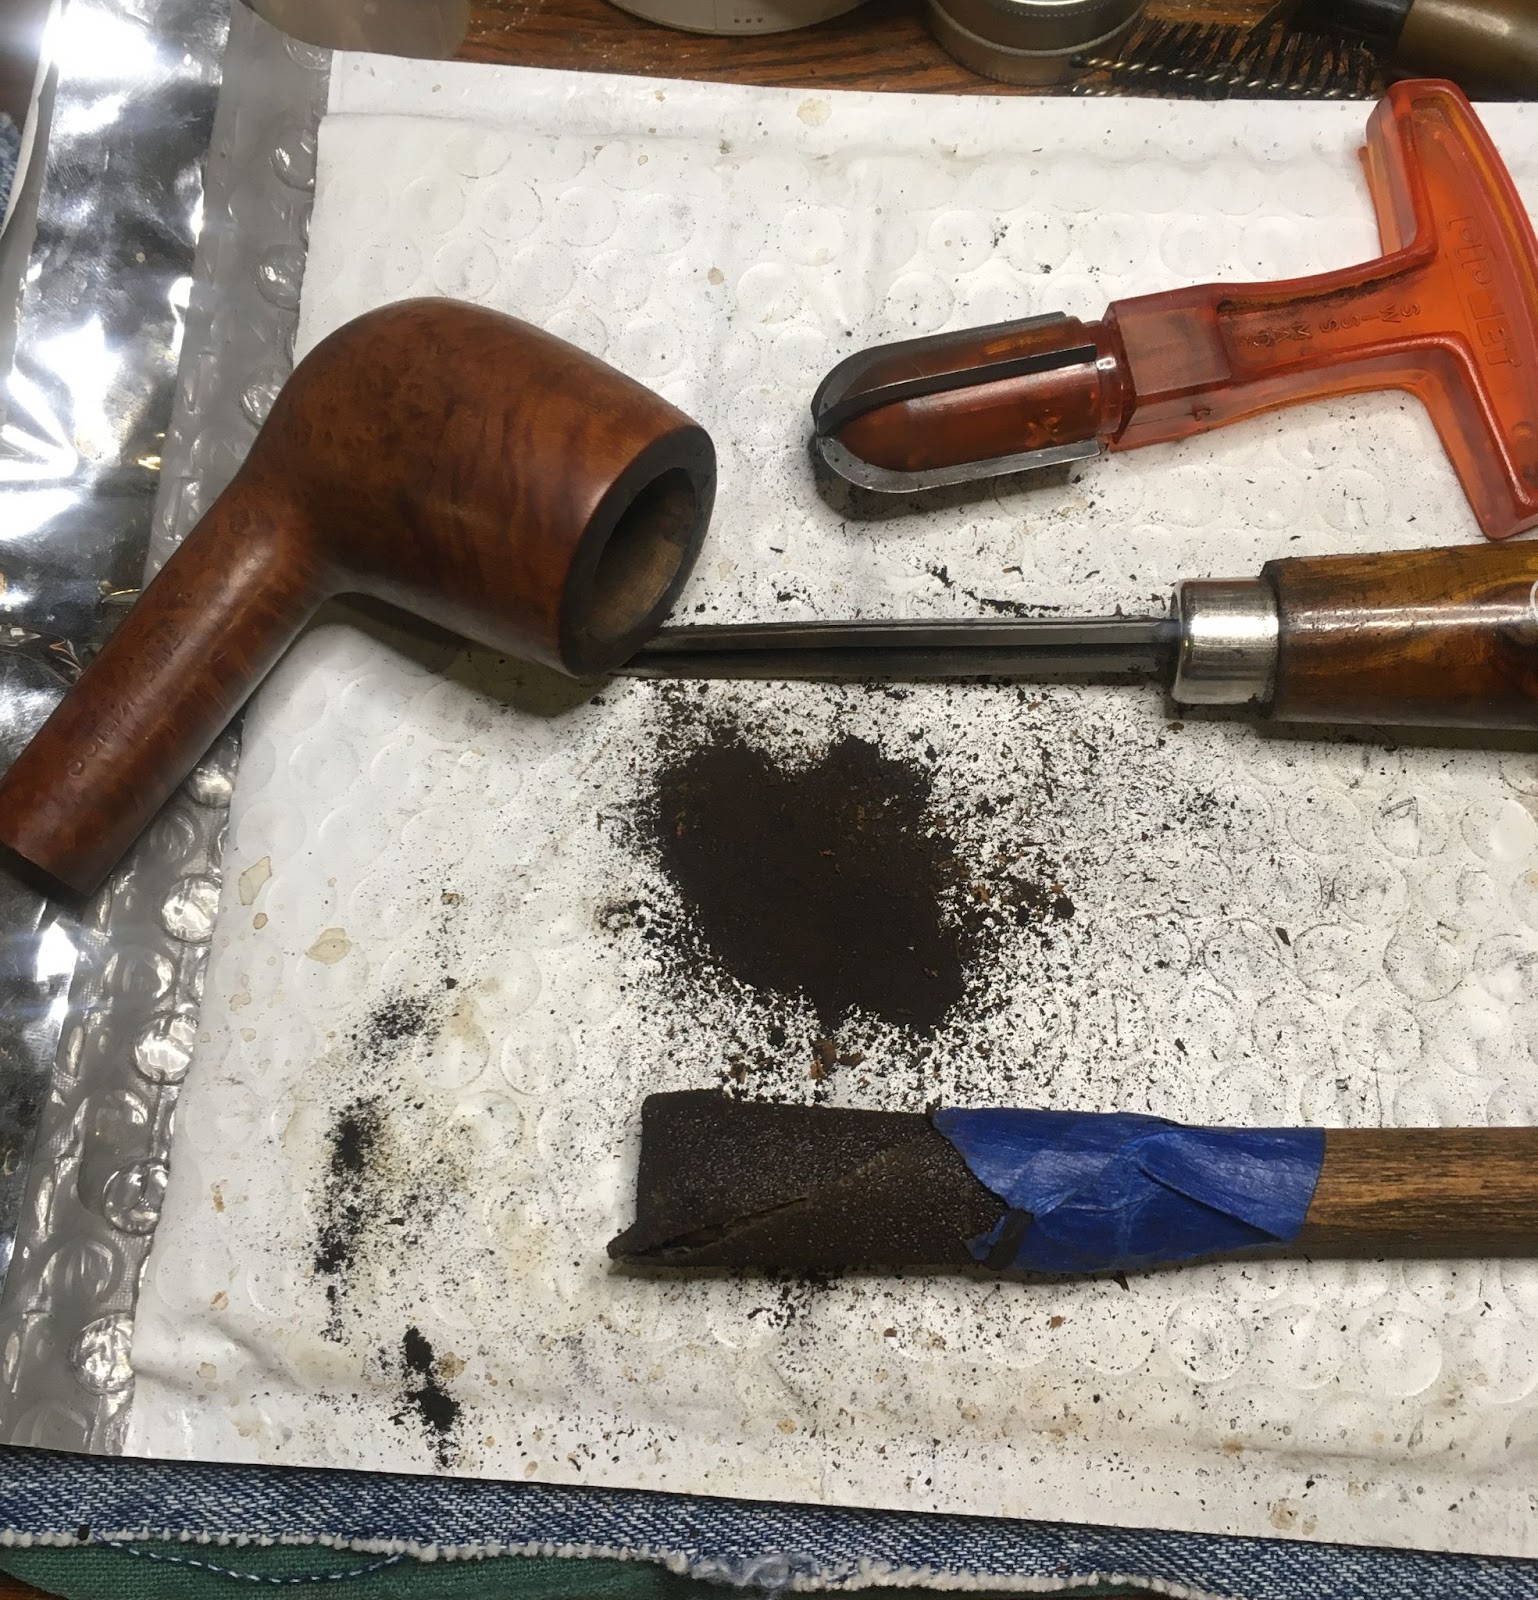
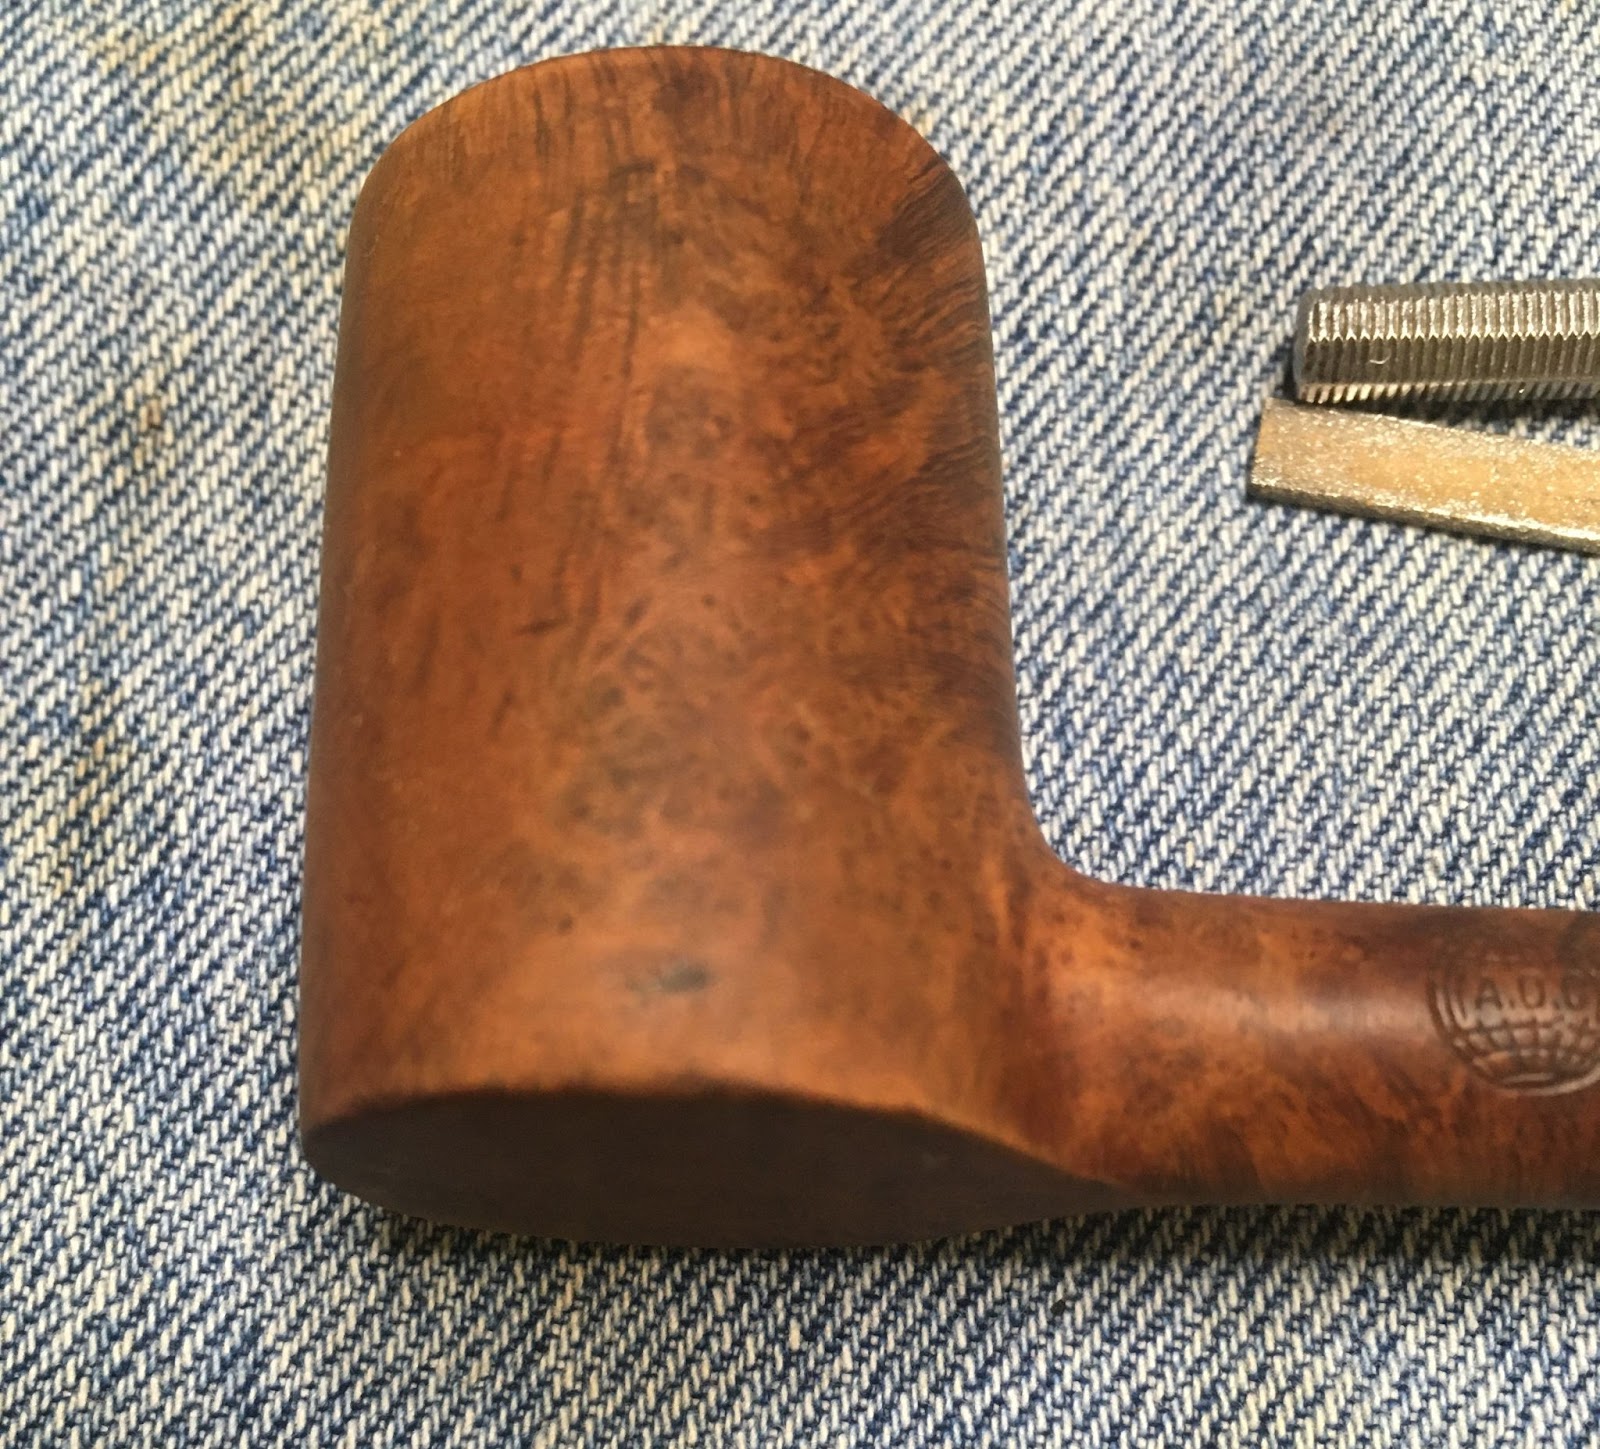
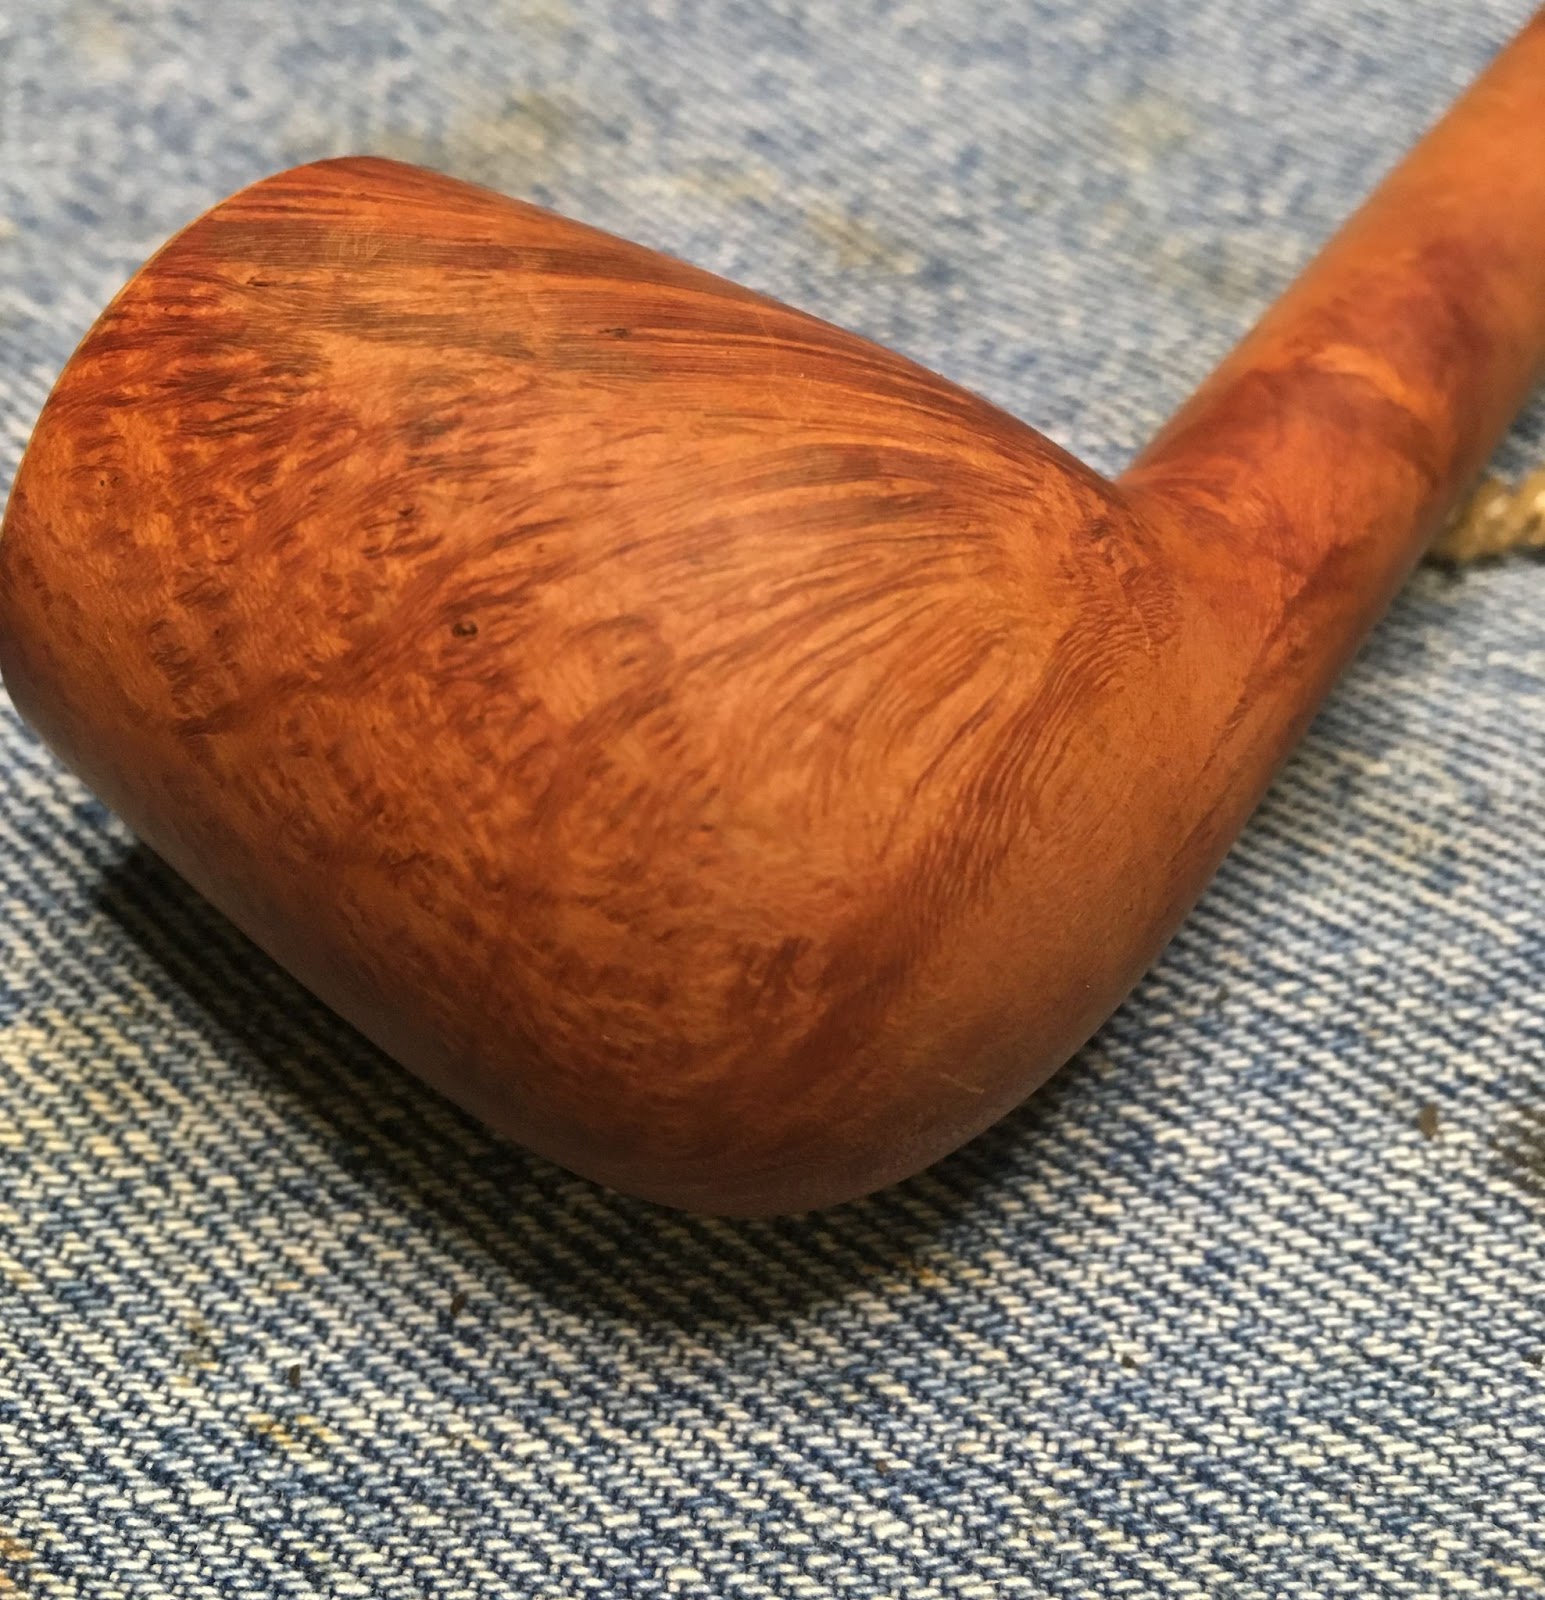
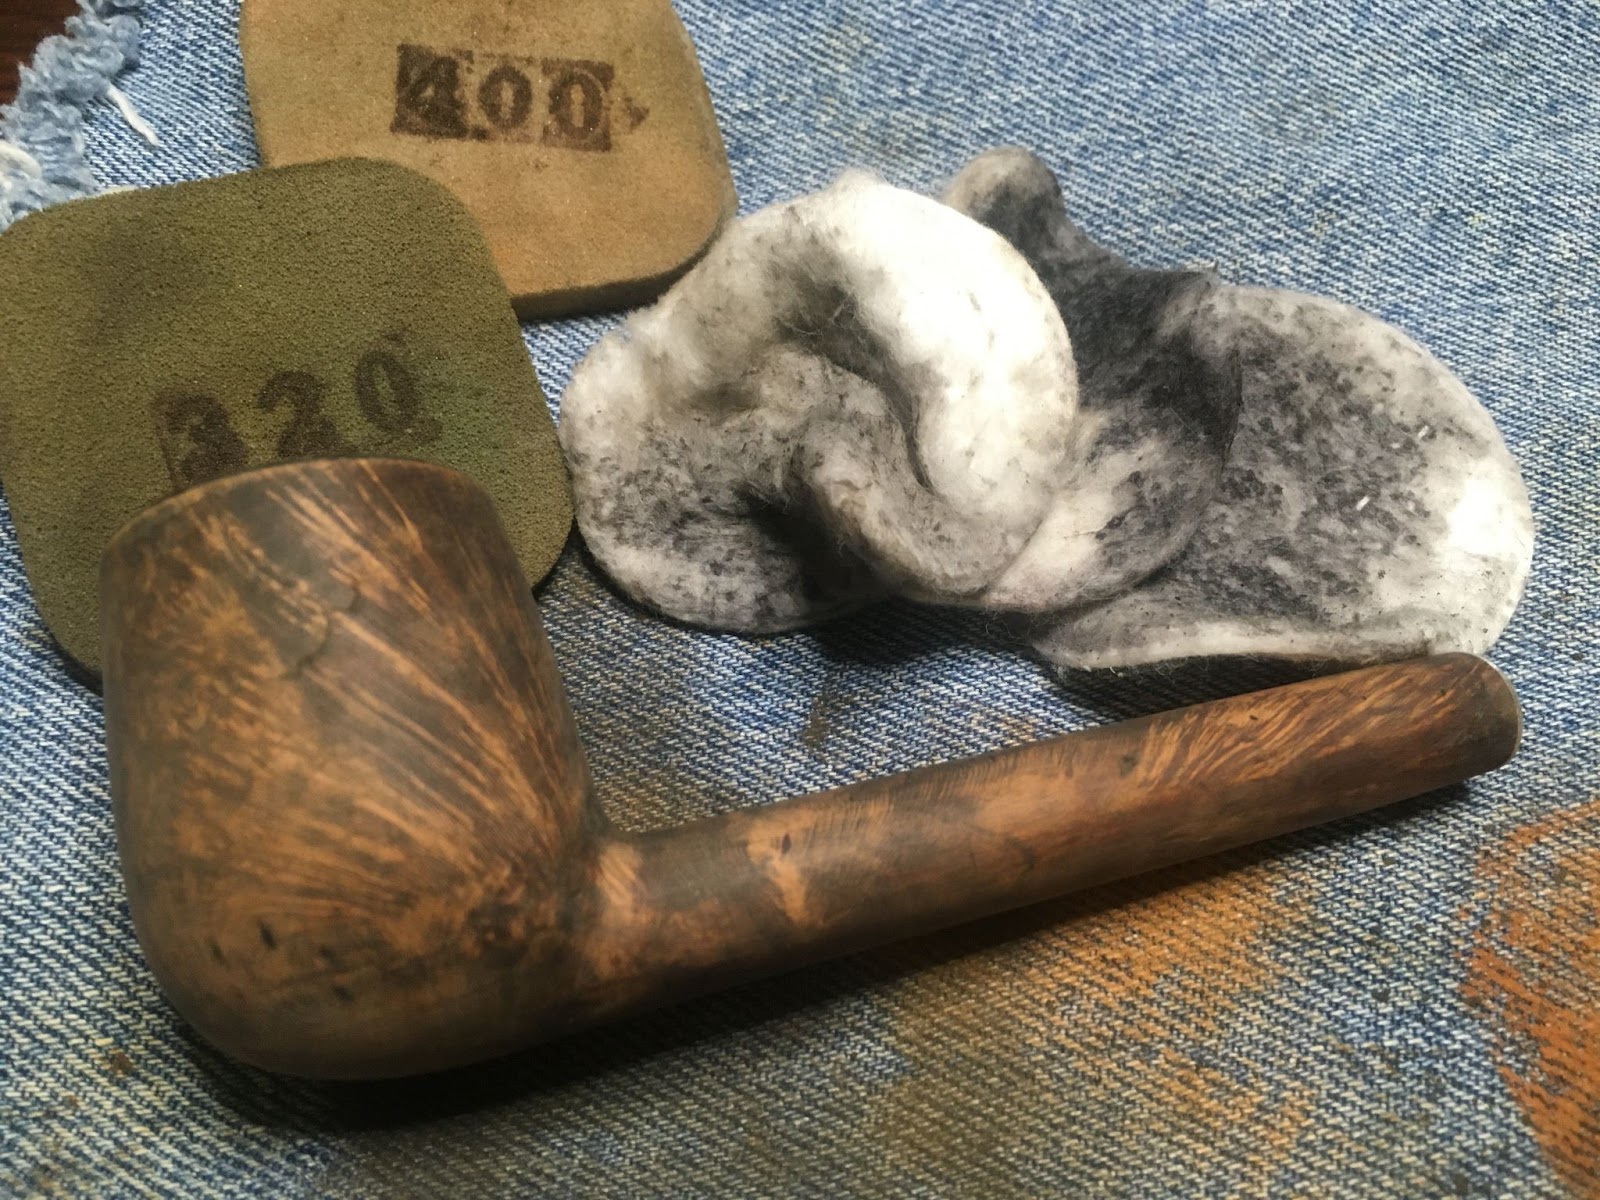
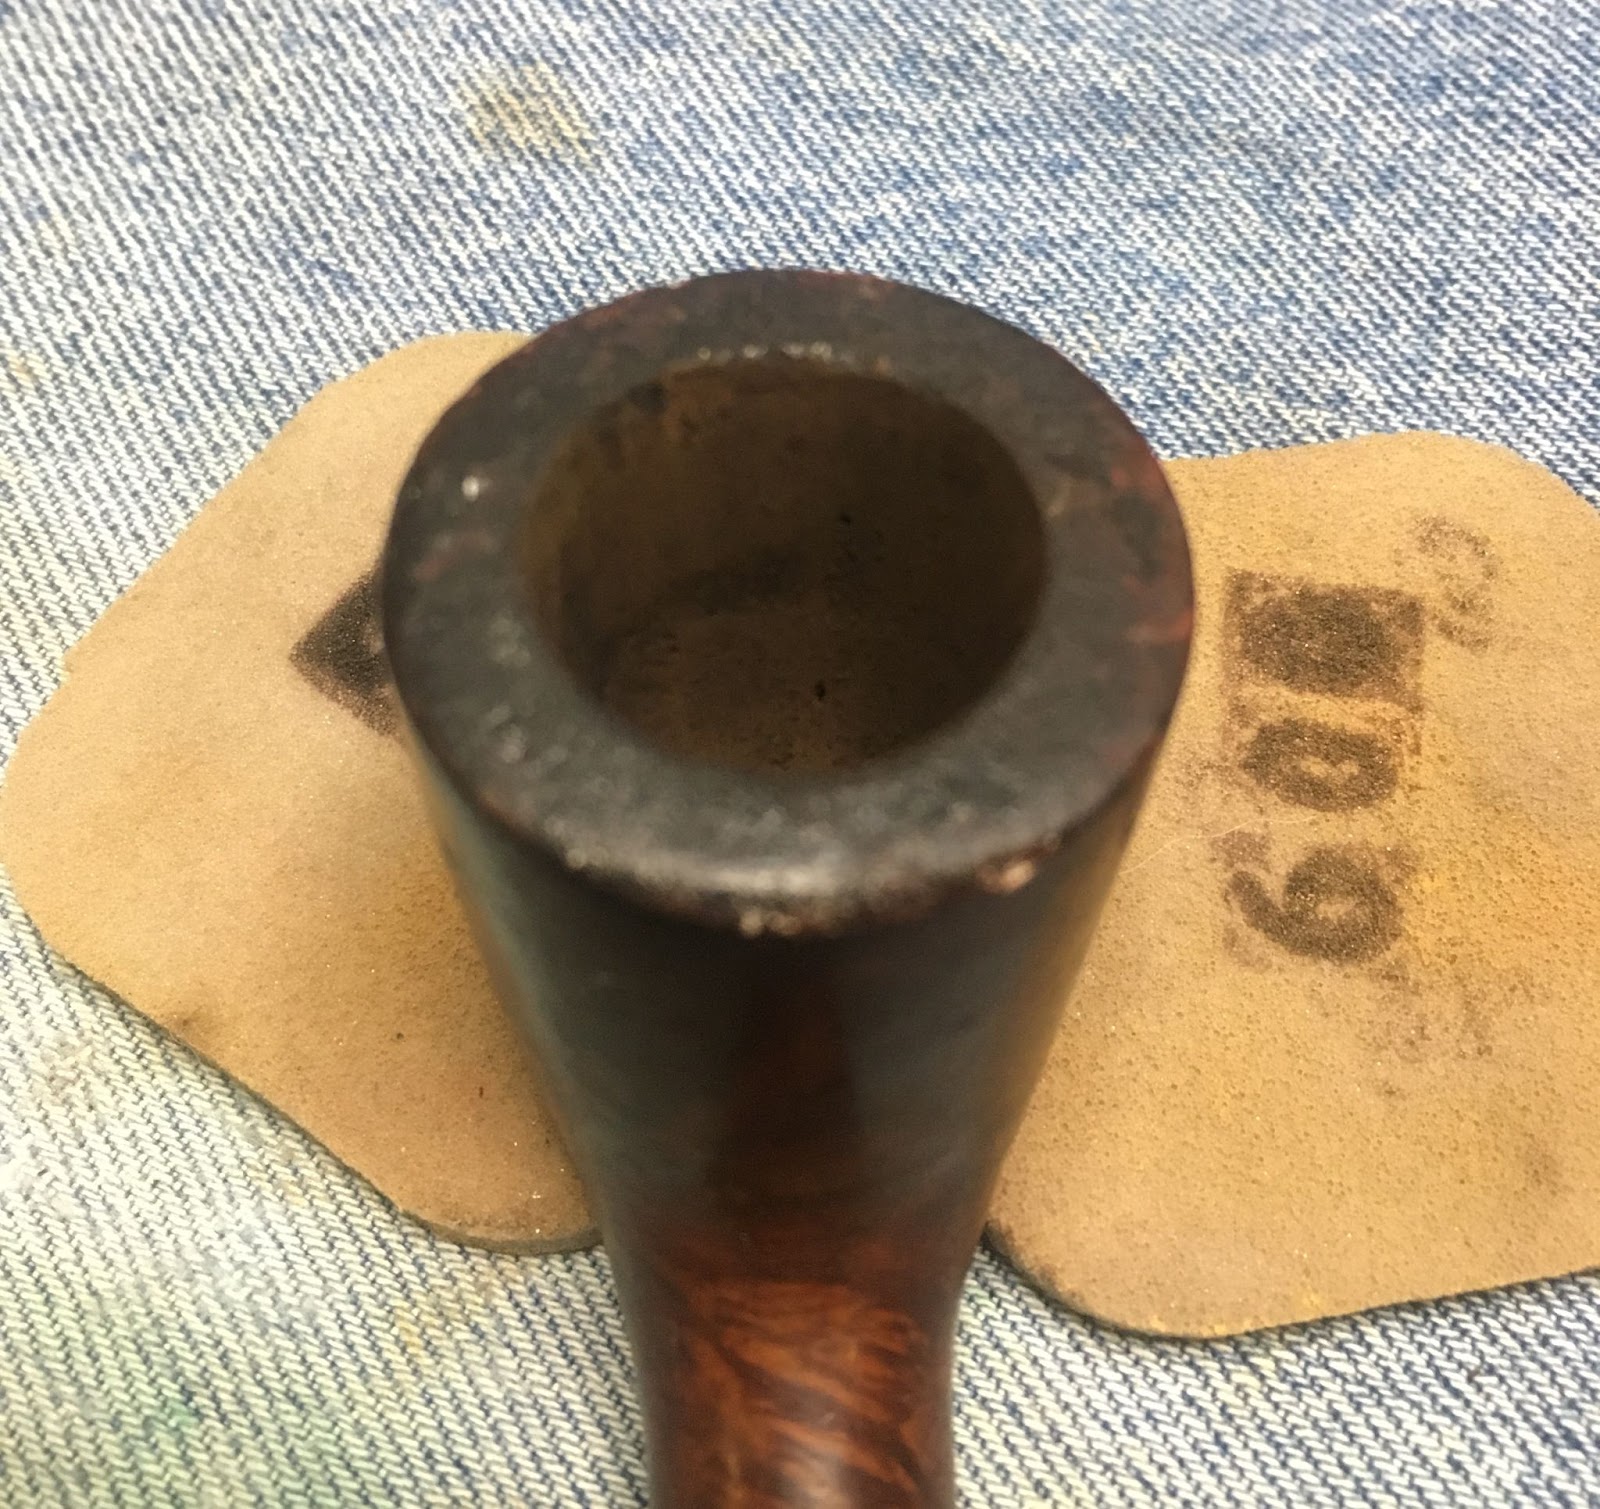
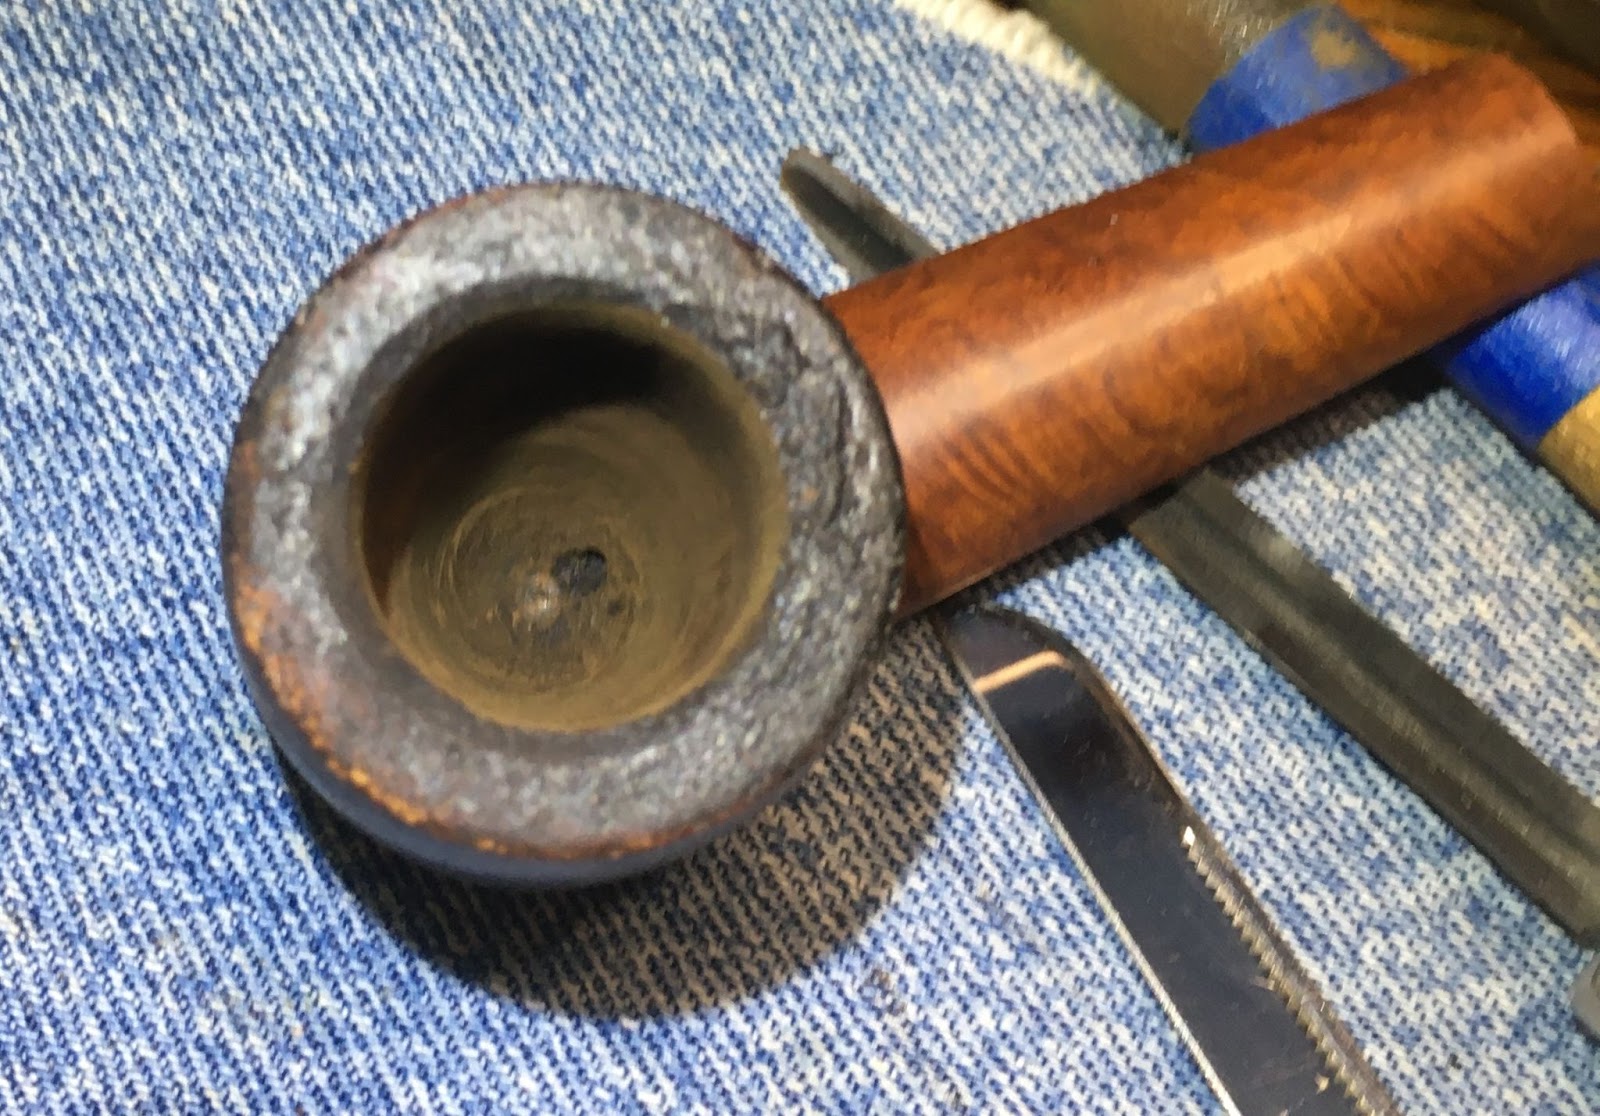
After sanding with 220 sandpaper wrapped around a wood dowel I could see no sign of damage to the chamber.

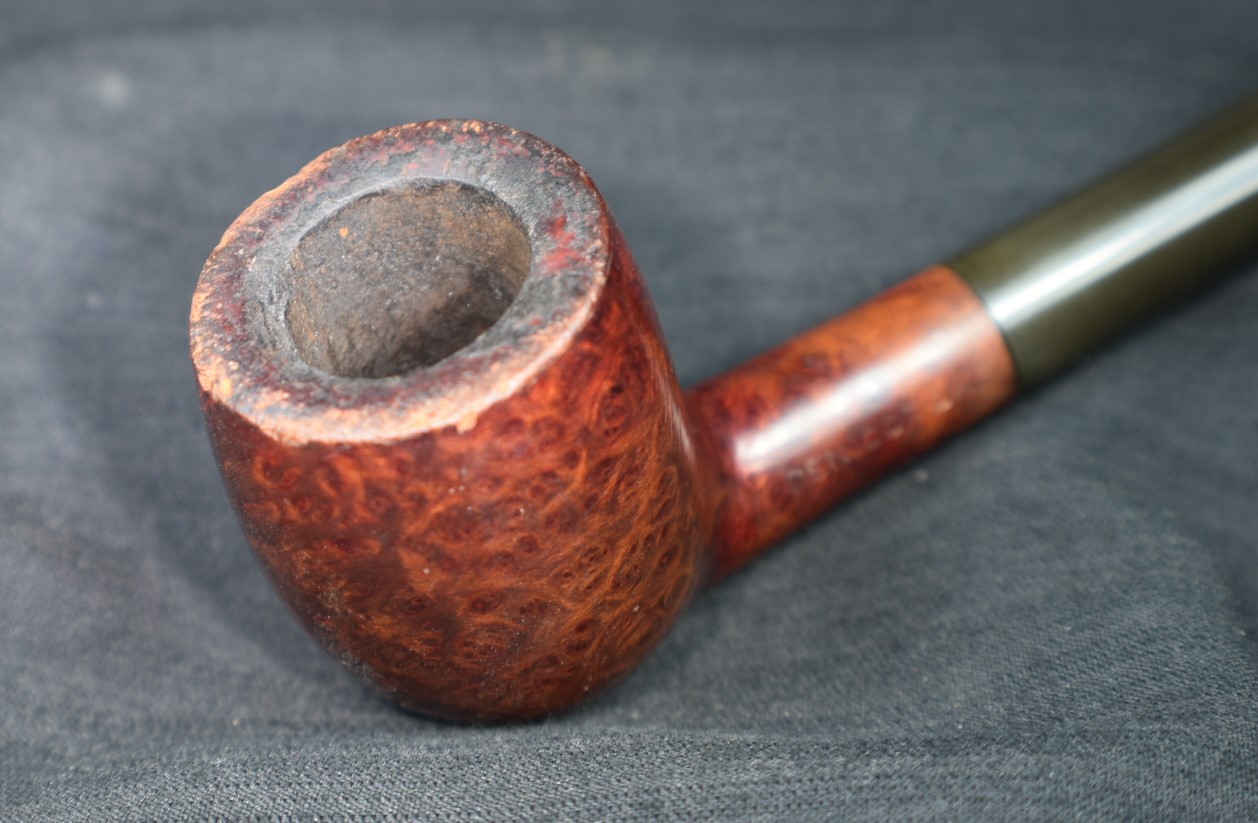
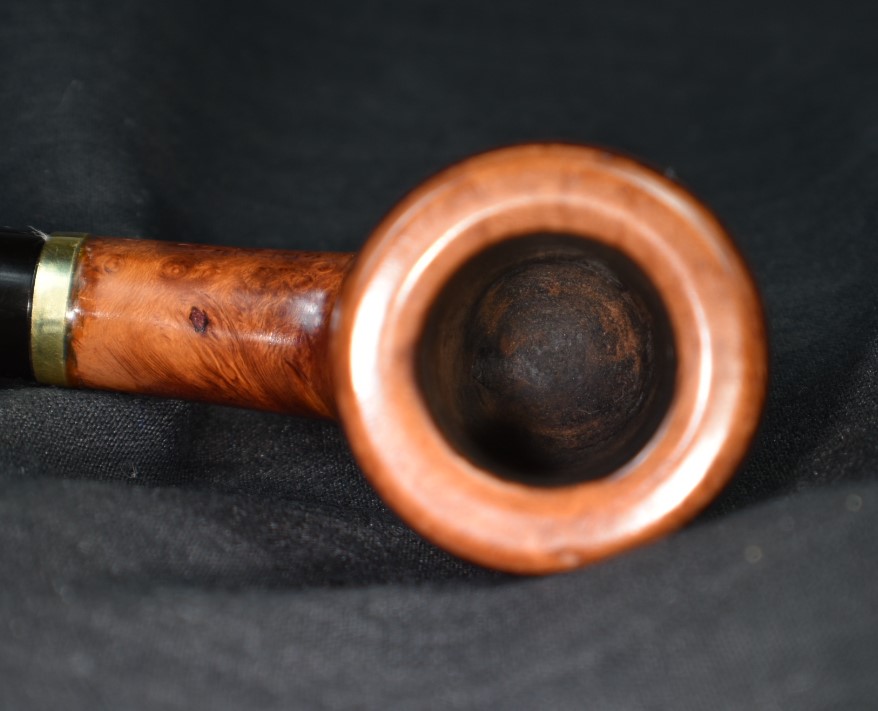
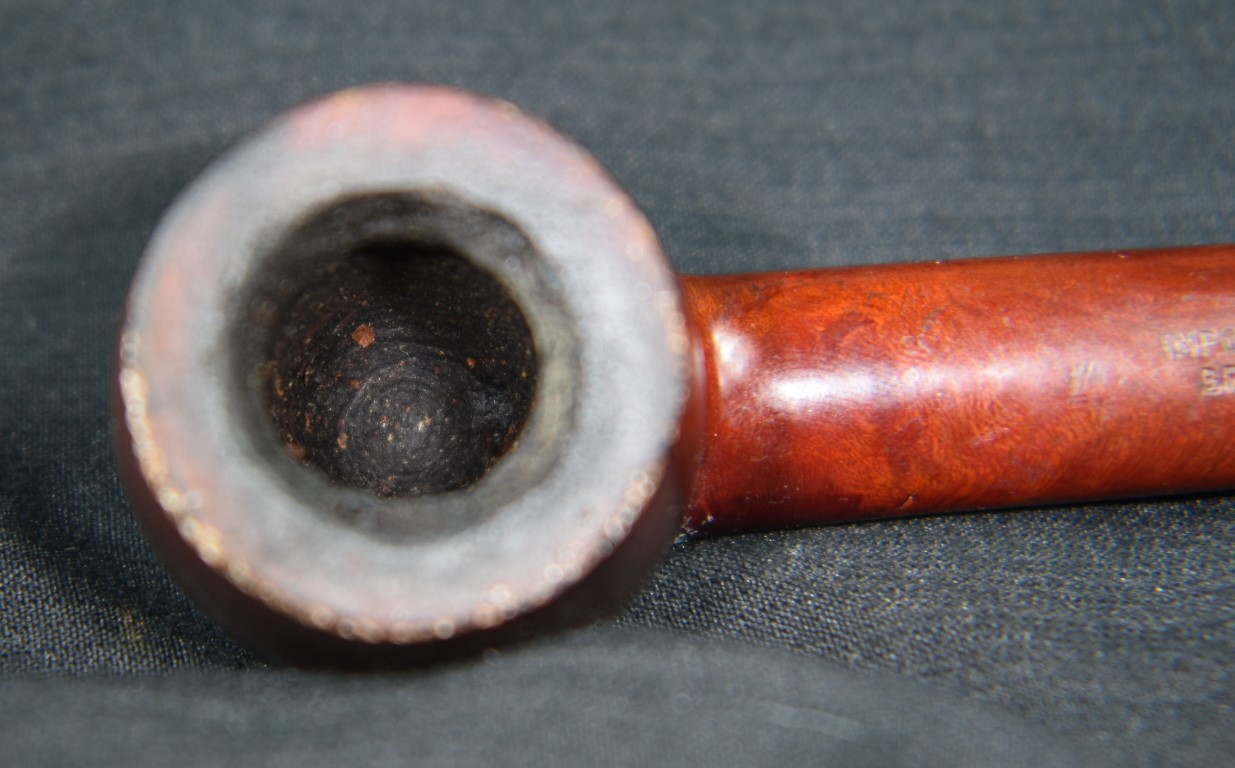
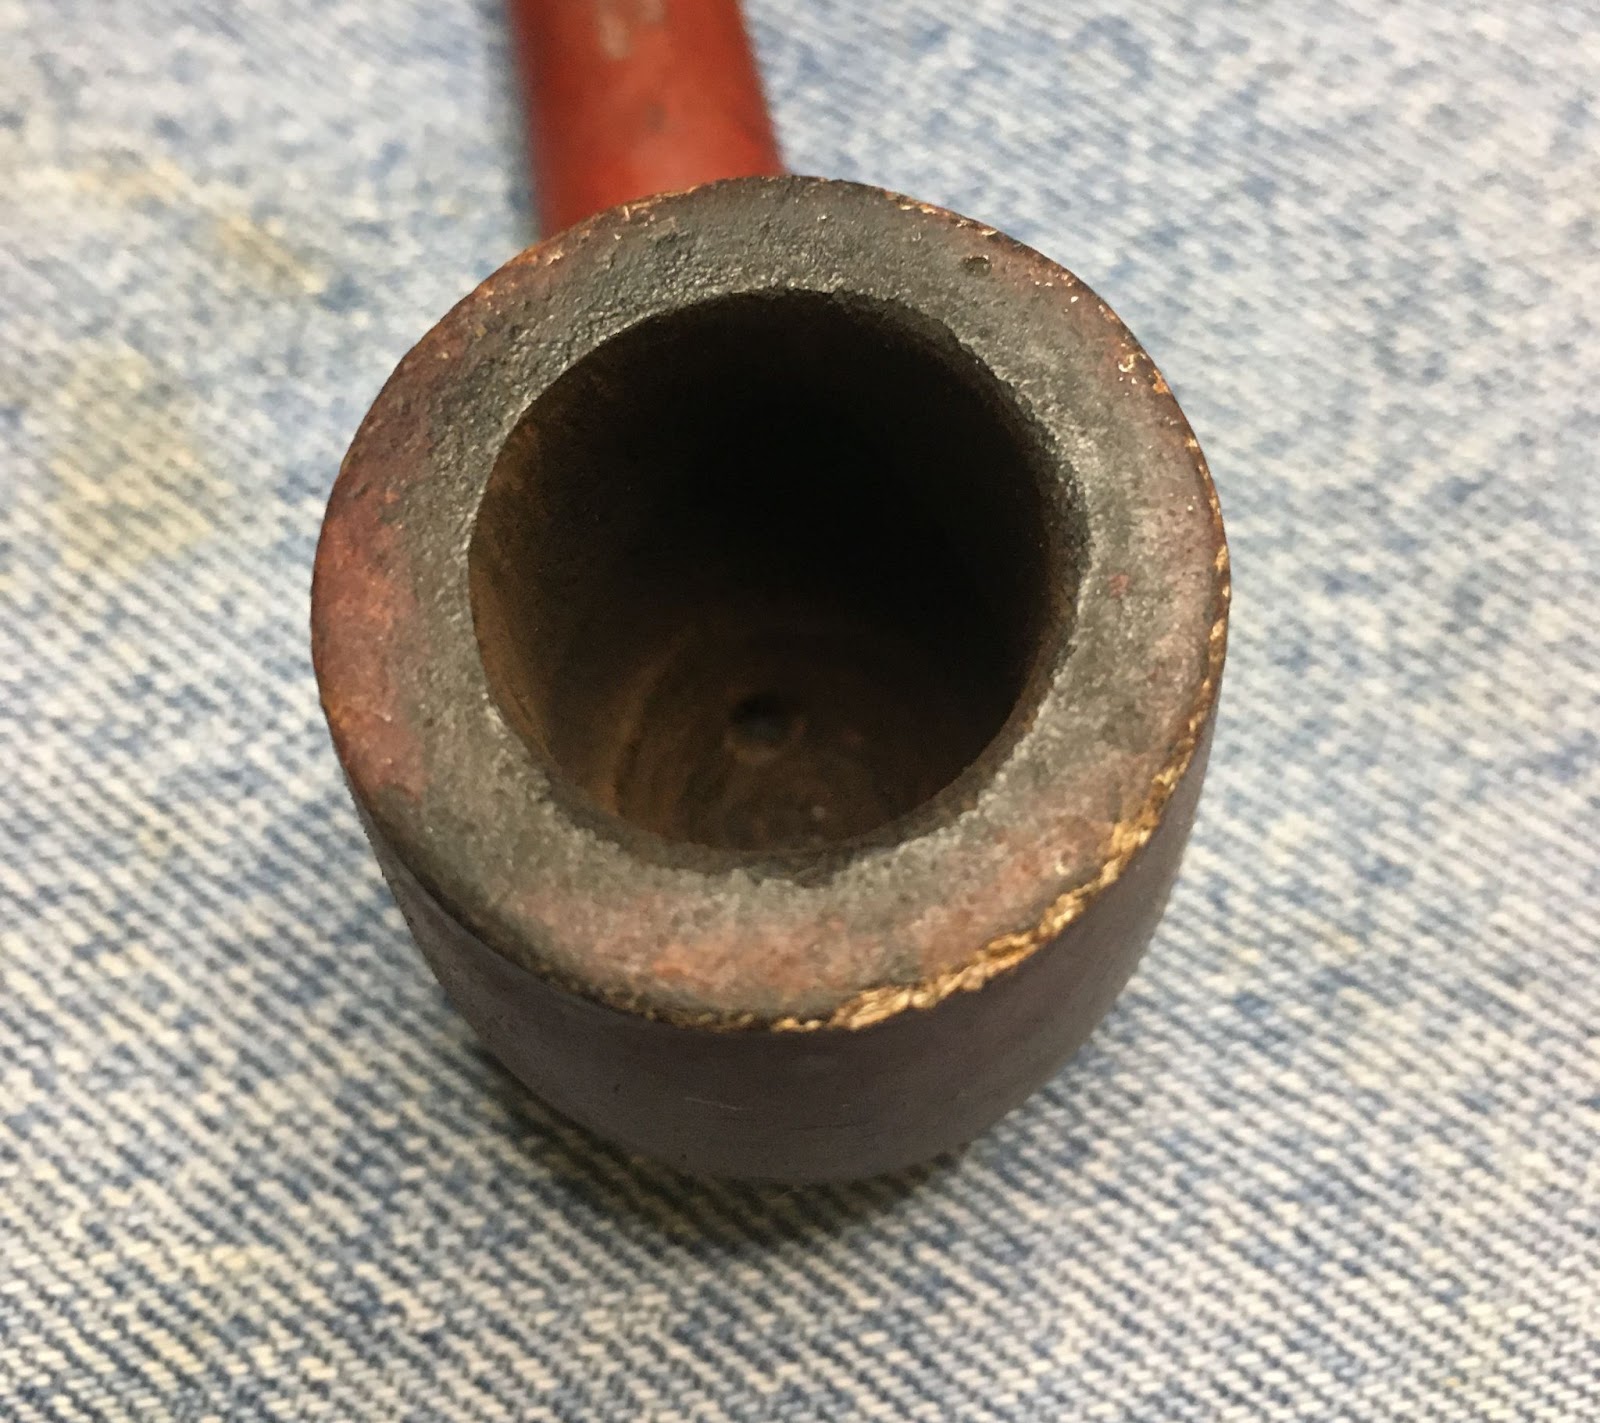
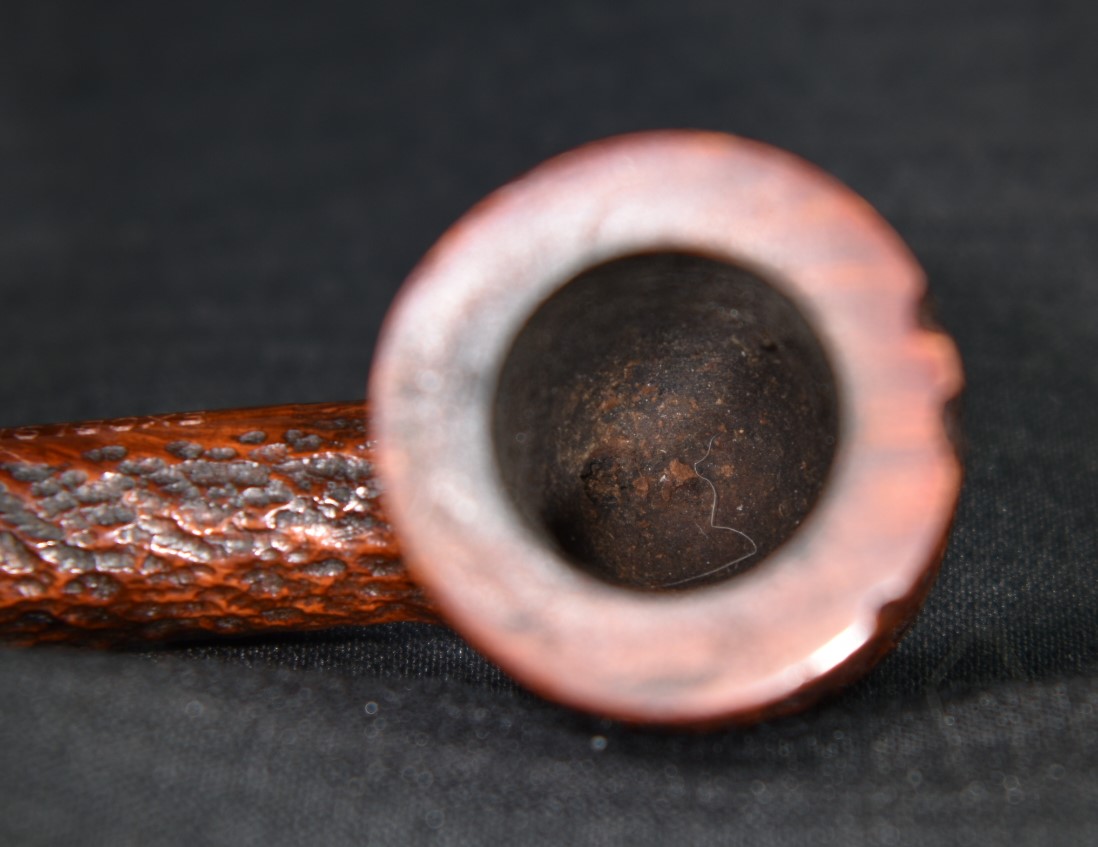
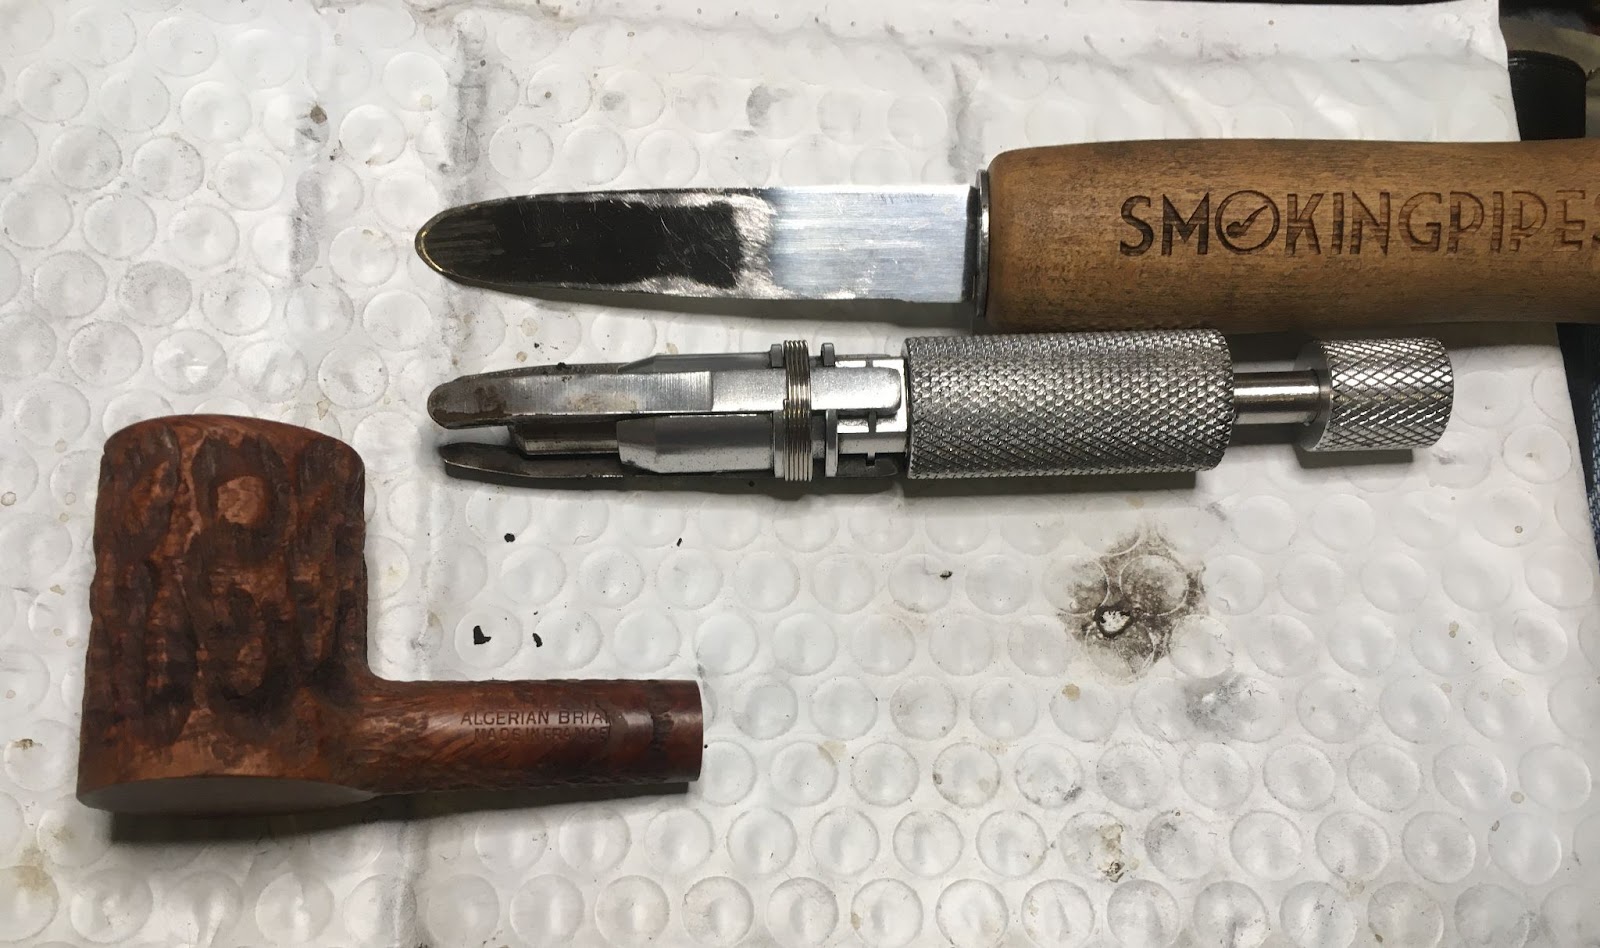
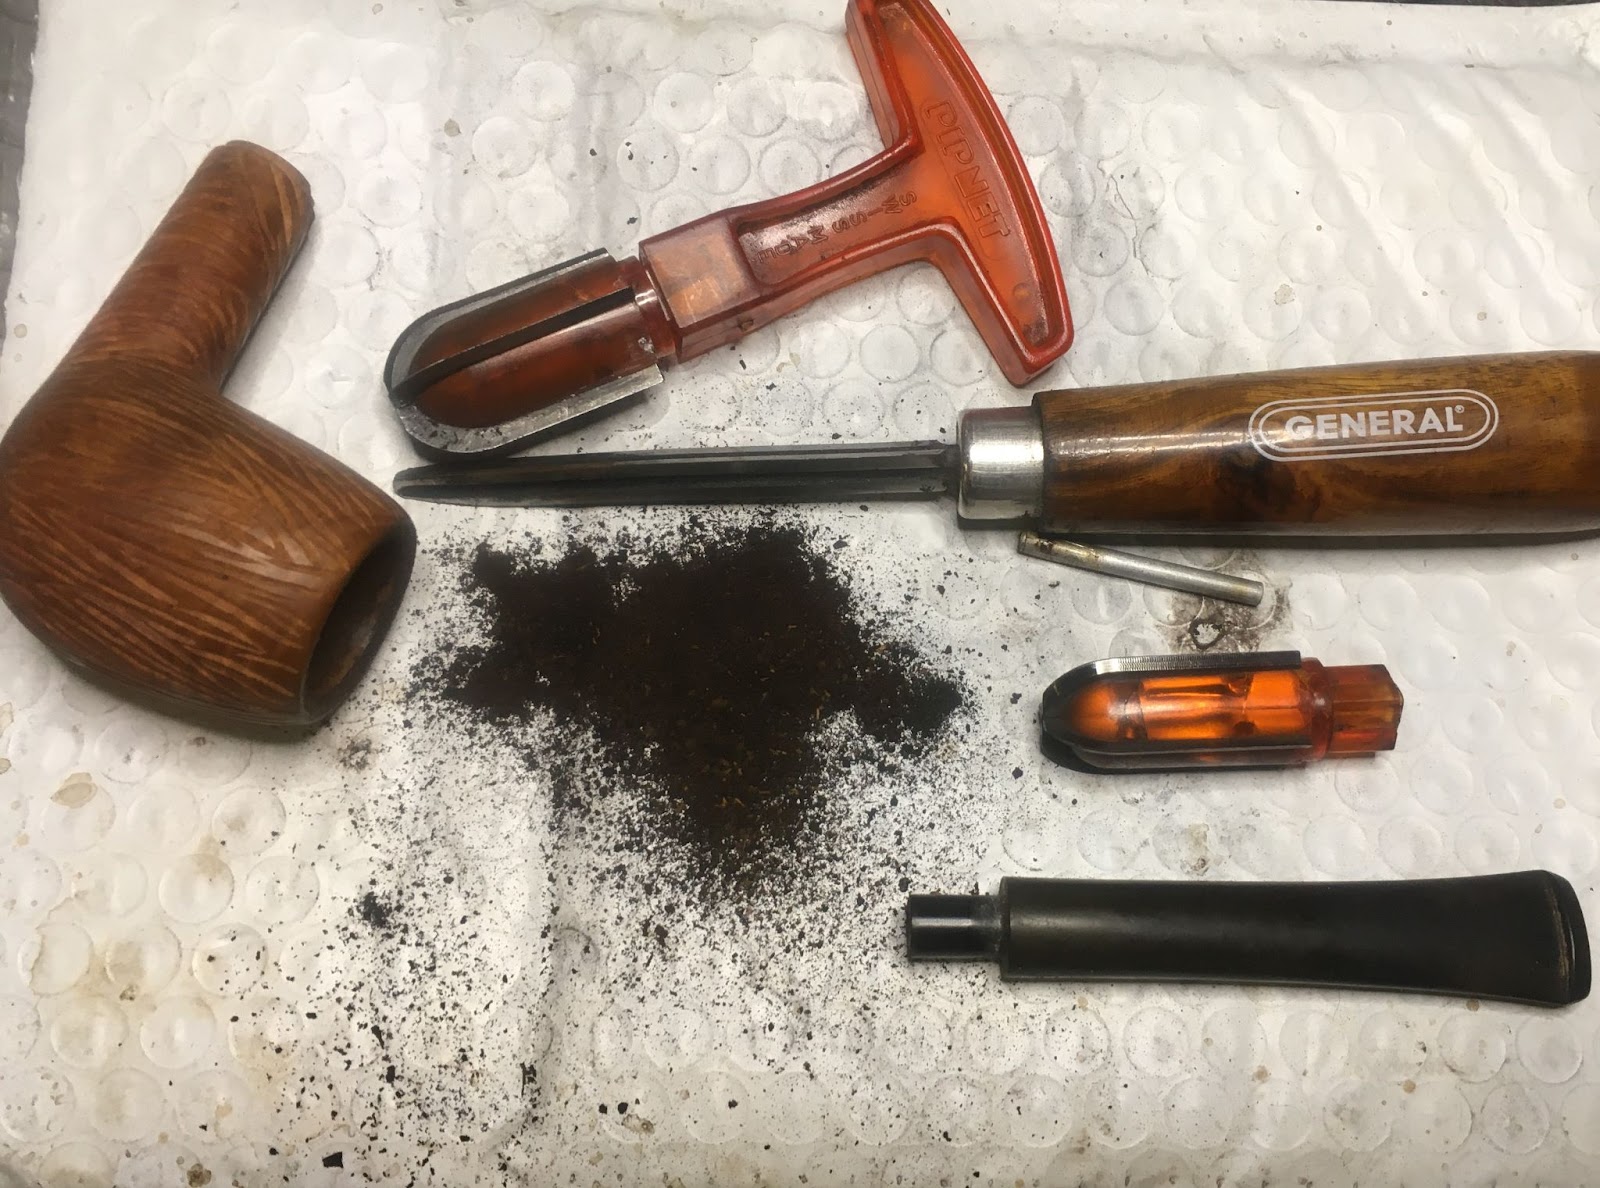
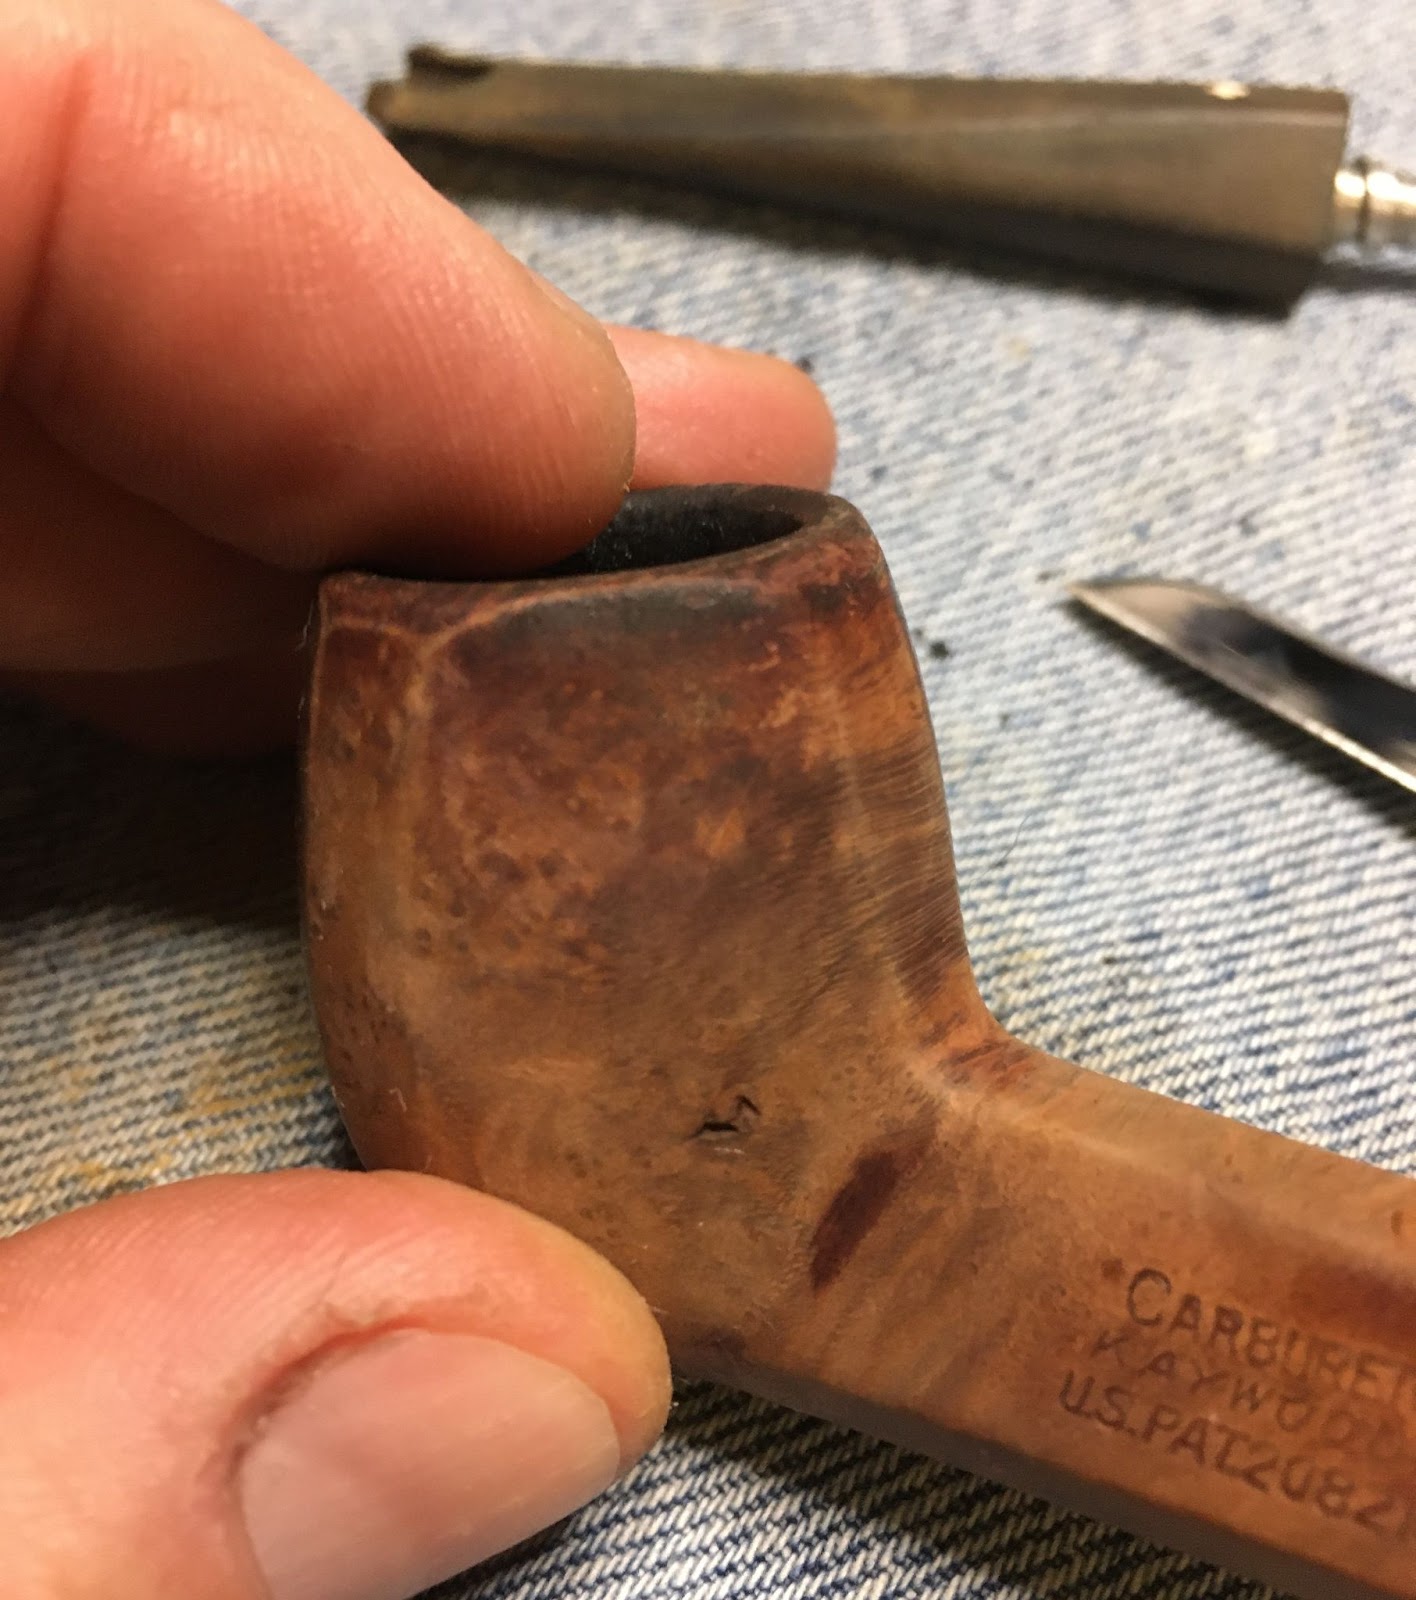
The rim was encrusted with lava. This was scraped from the rim using a sharp pocket knife and saliva.

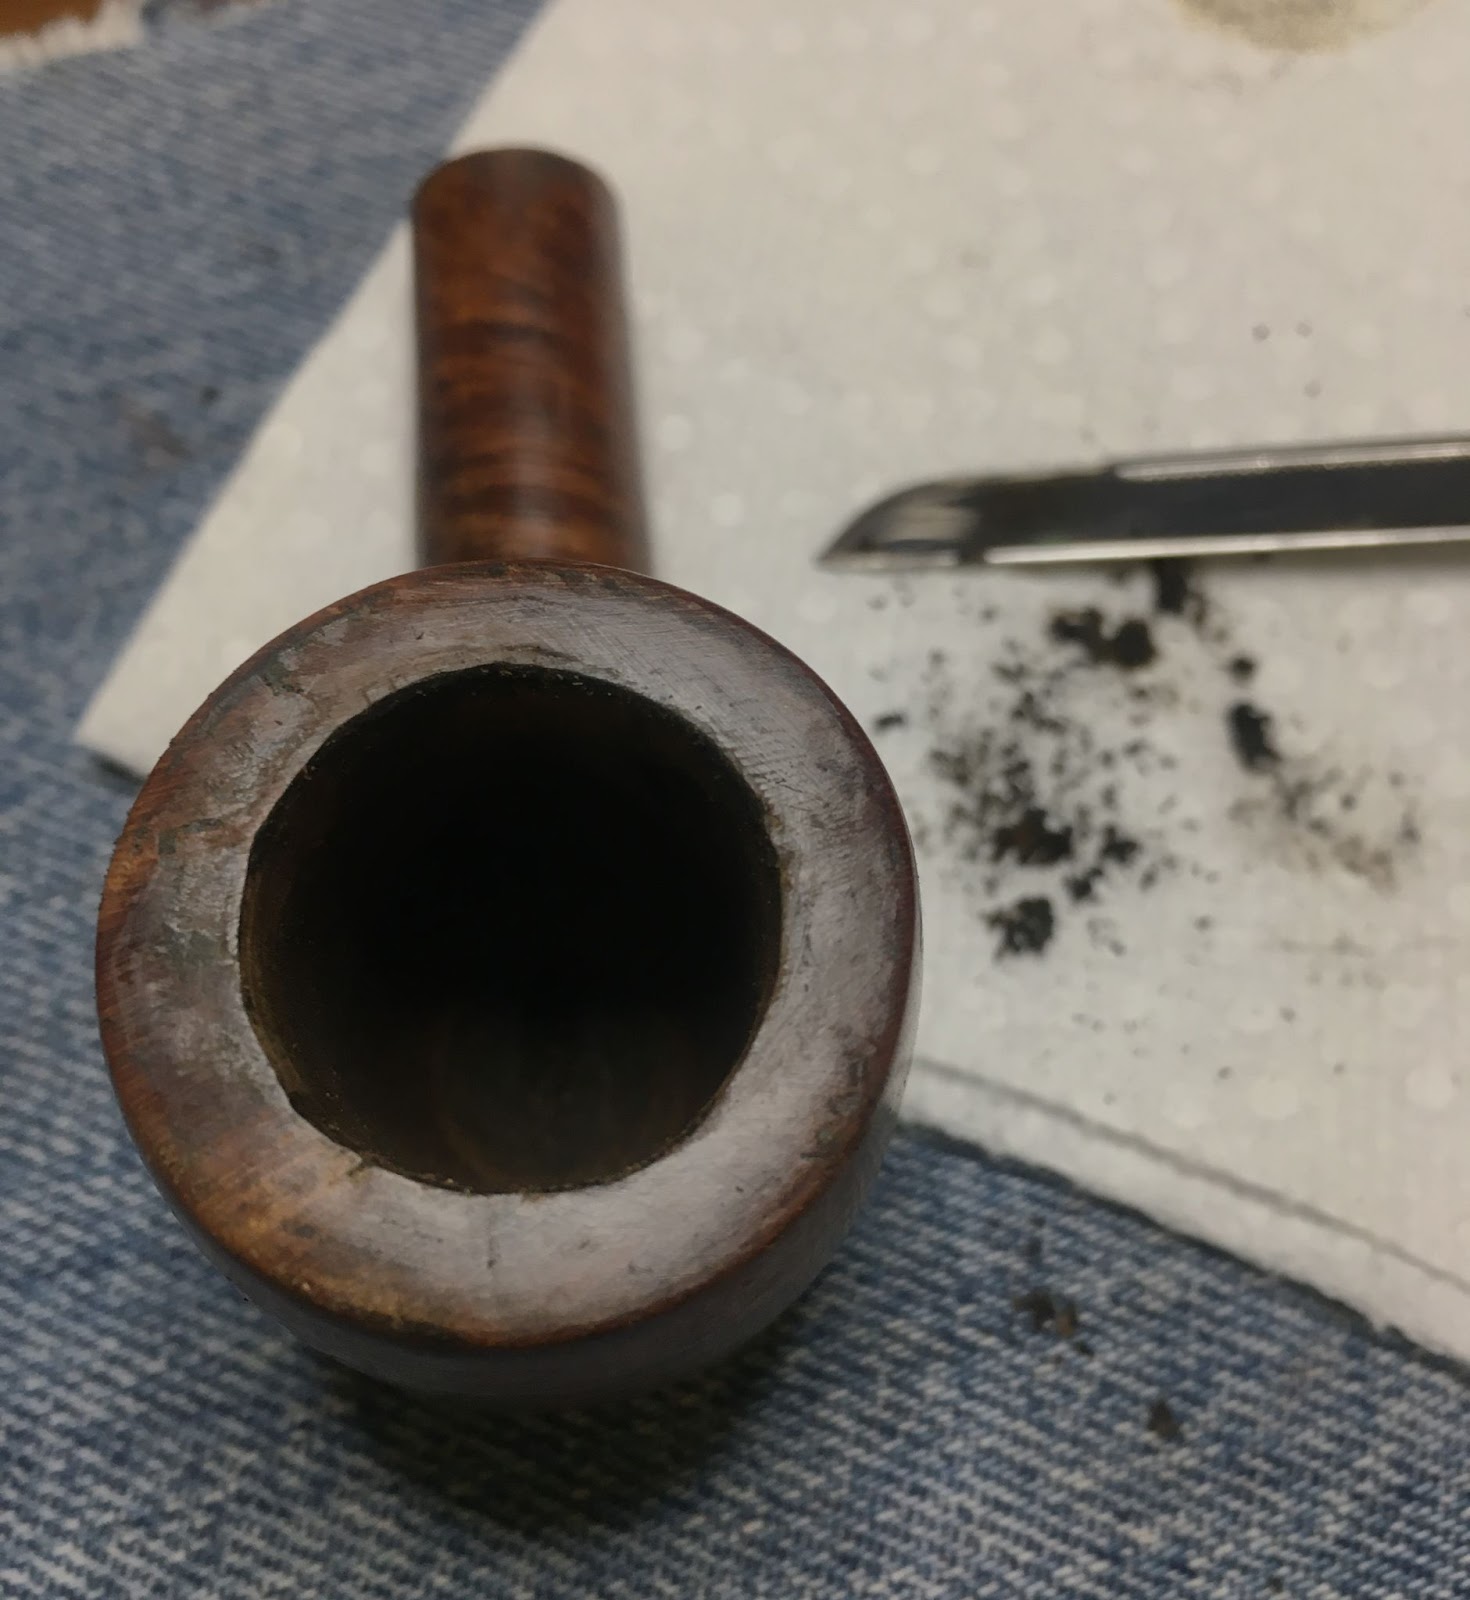
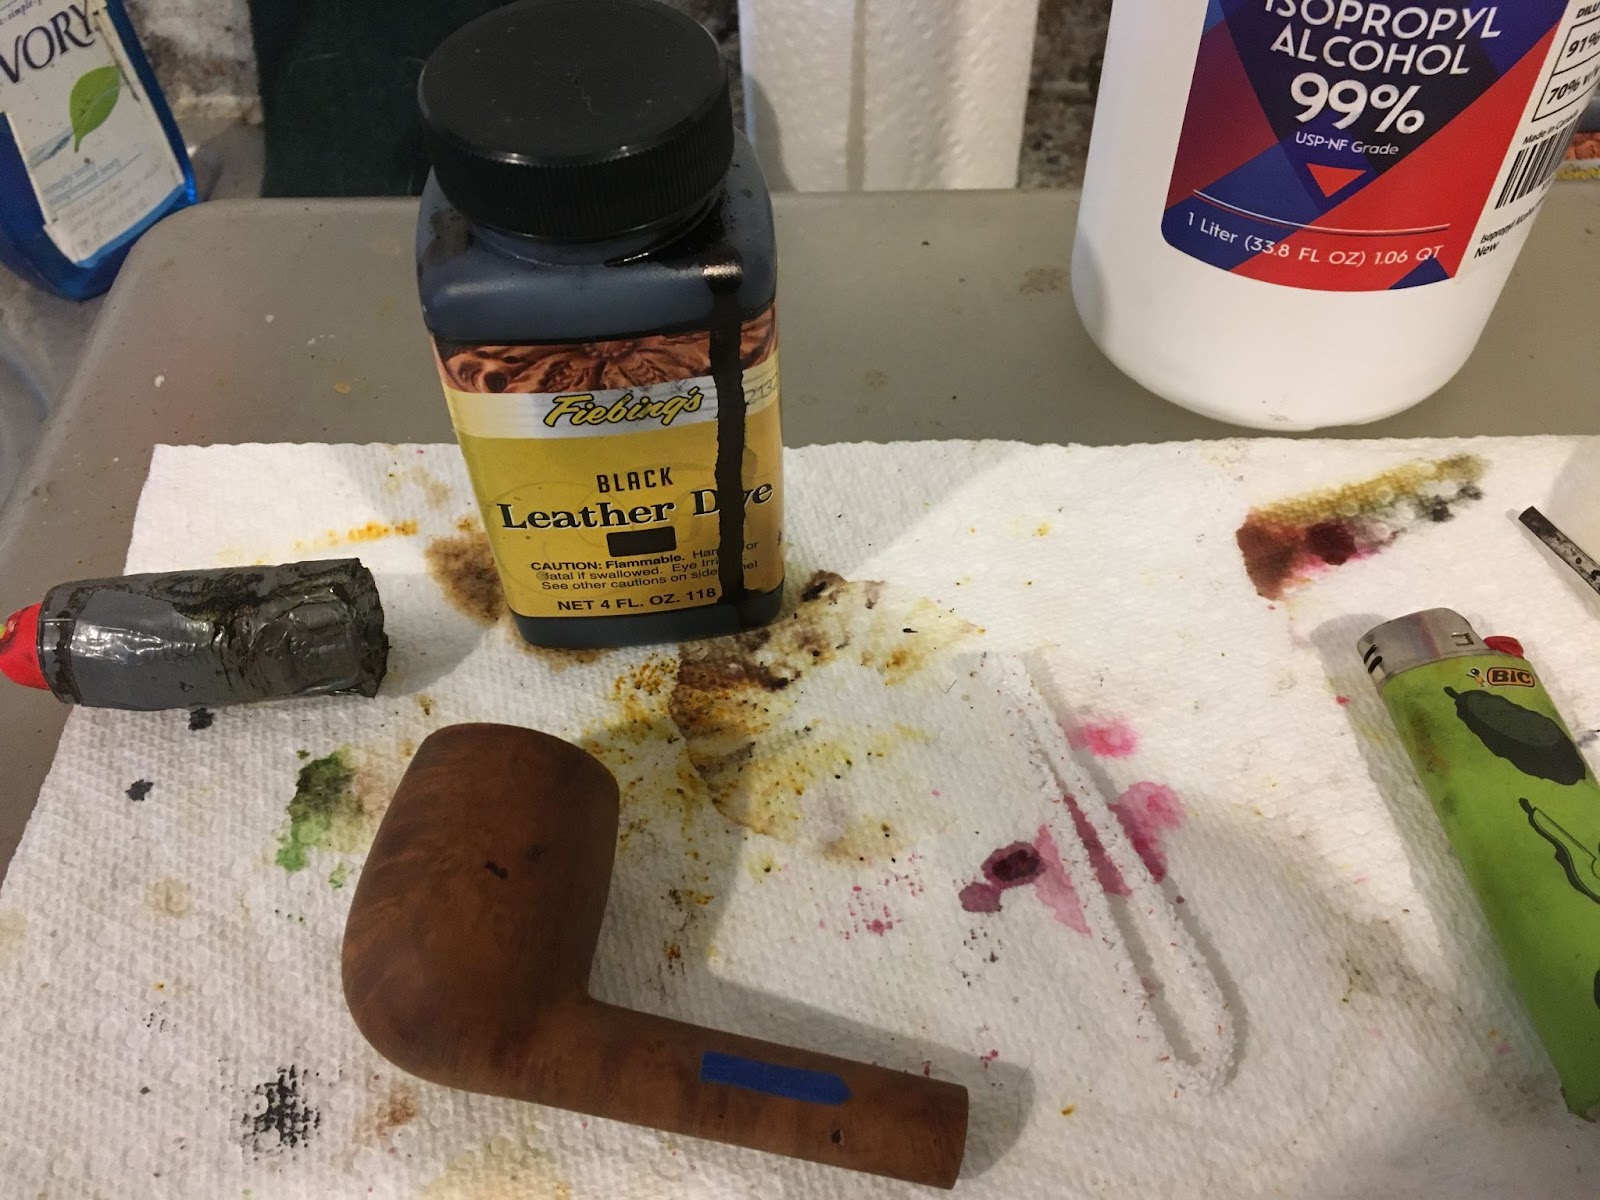
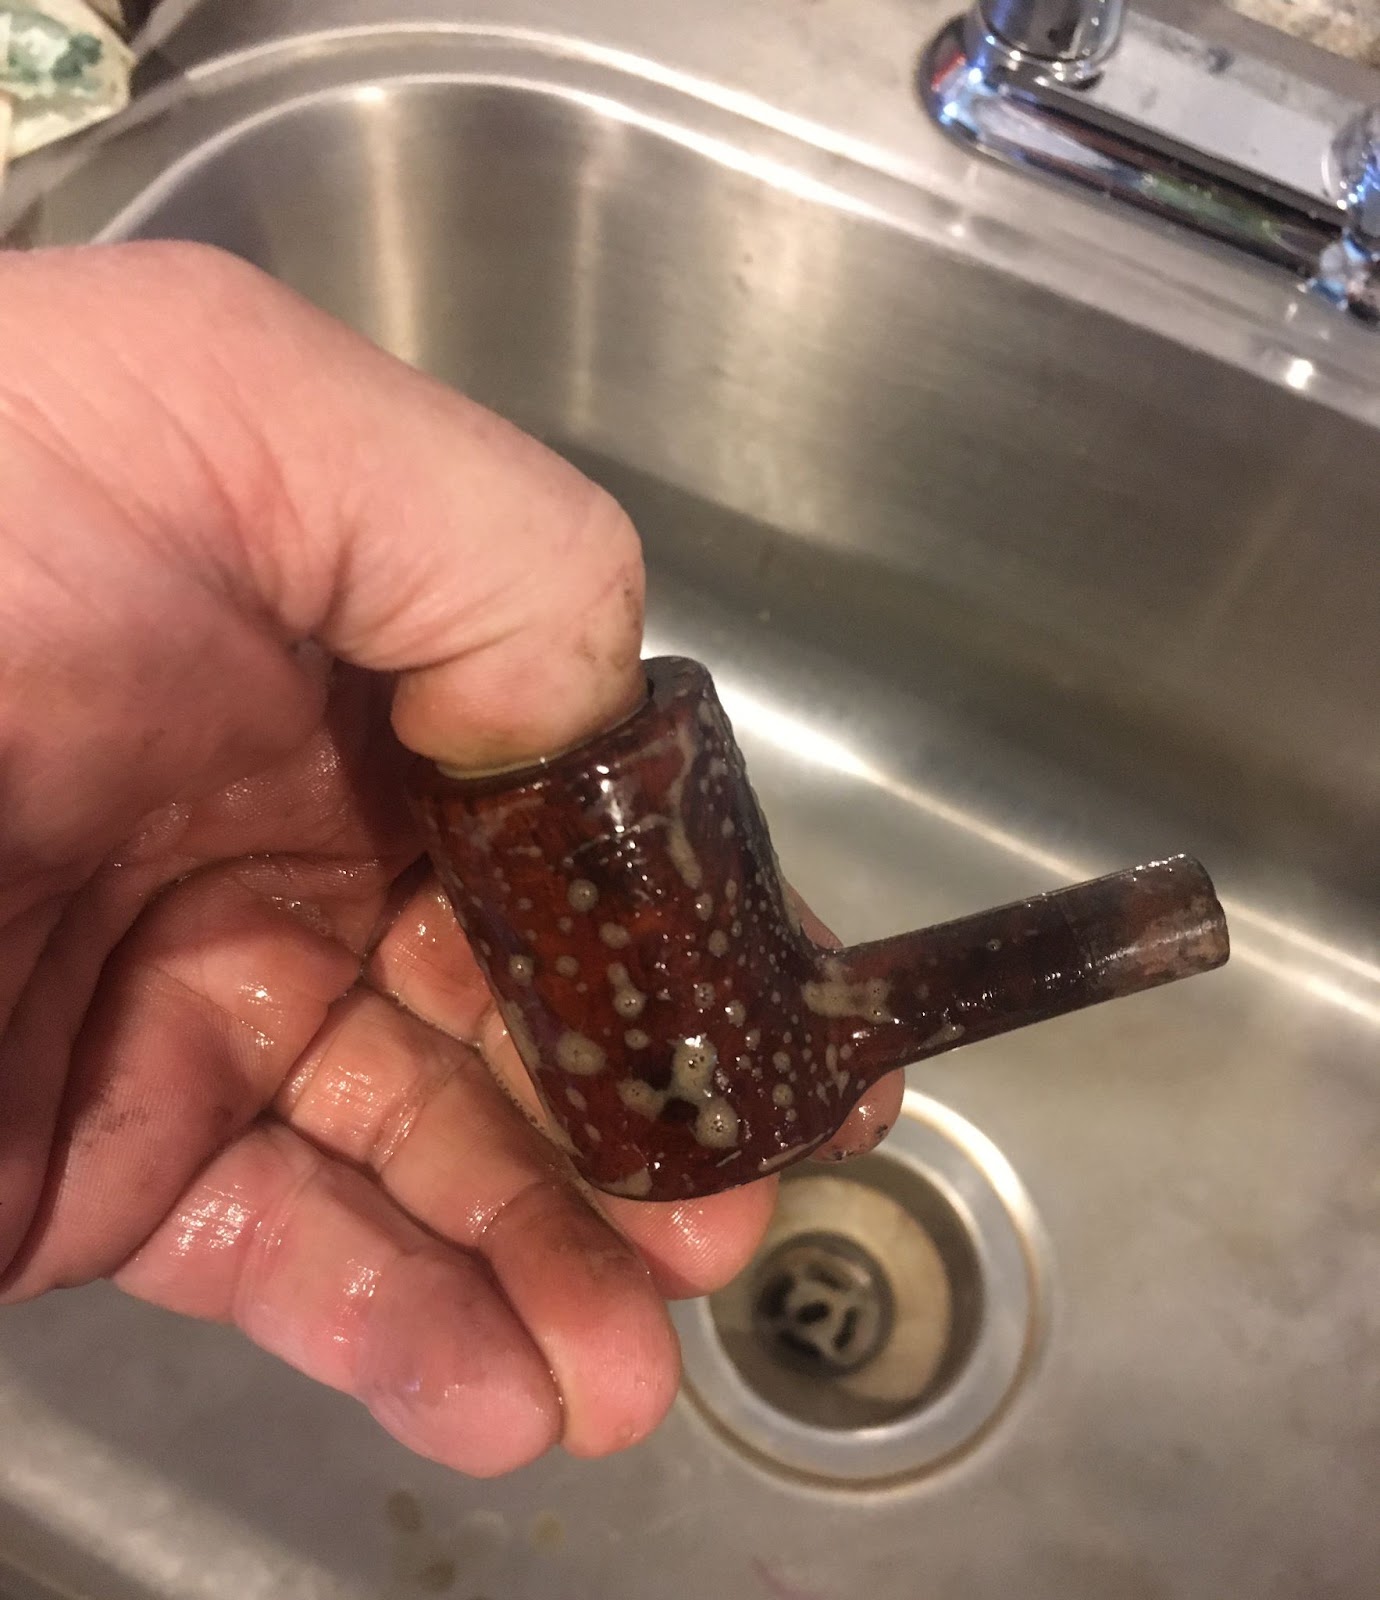
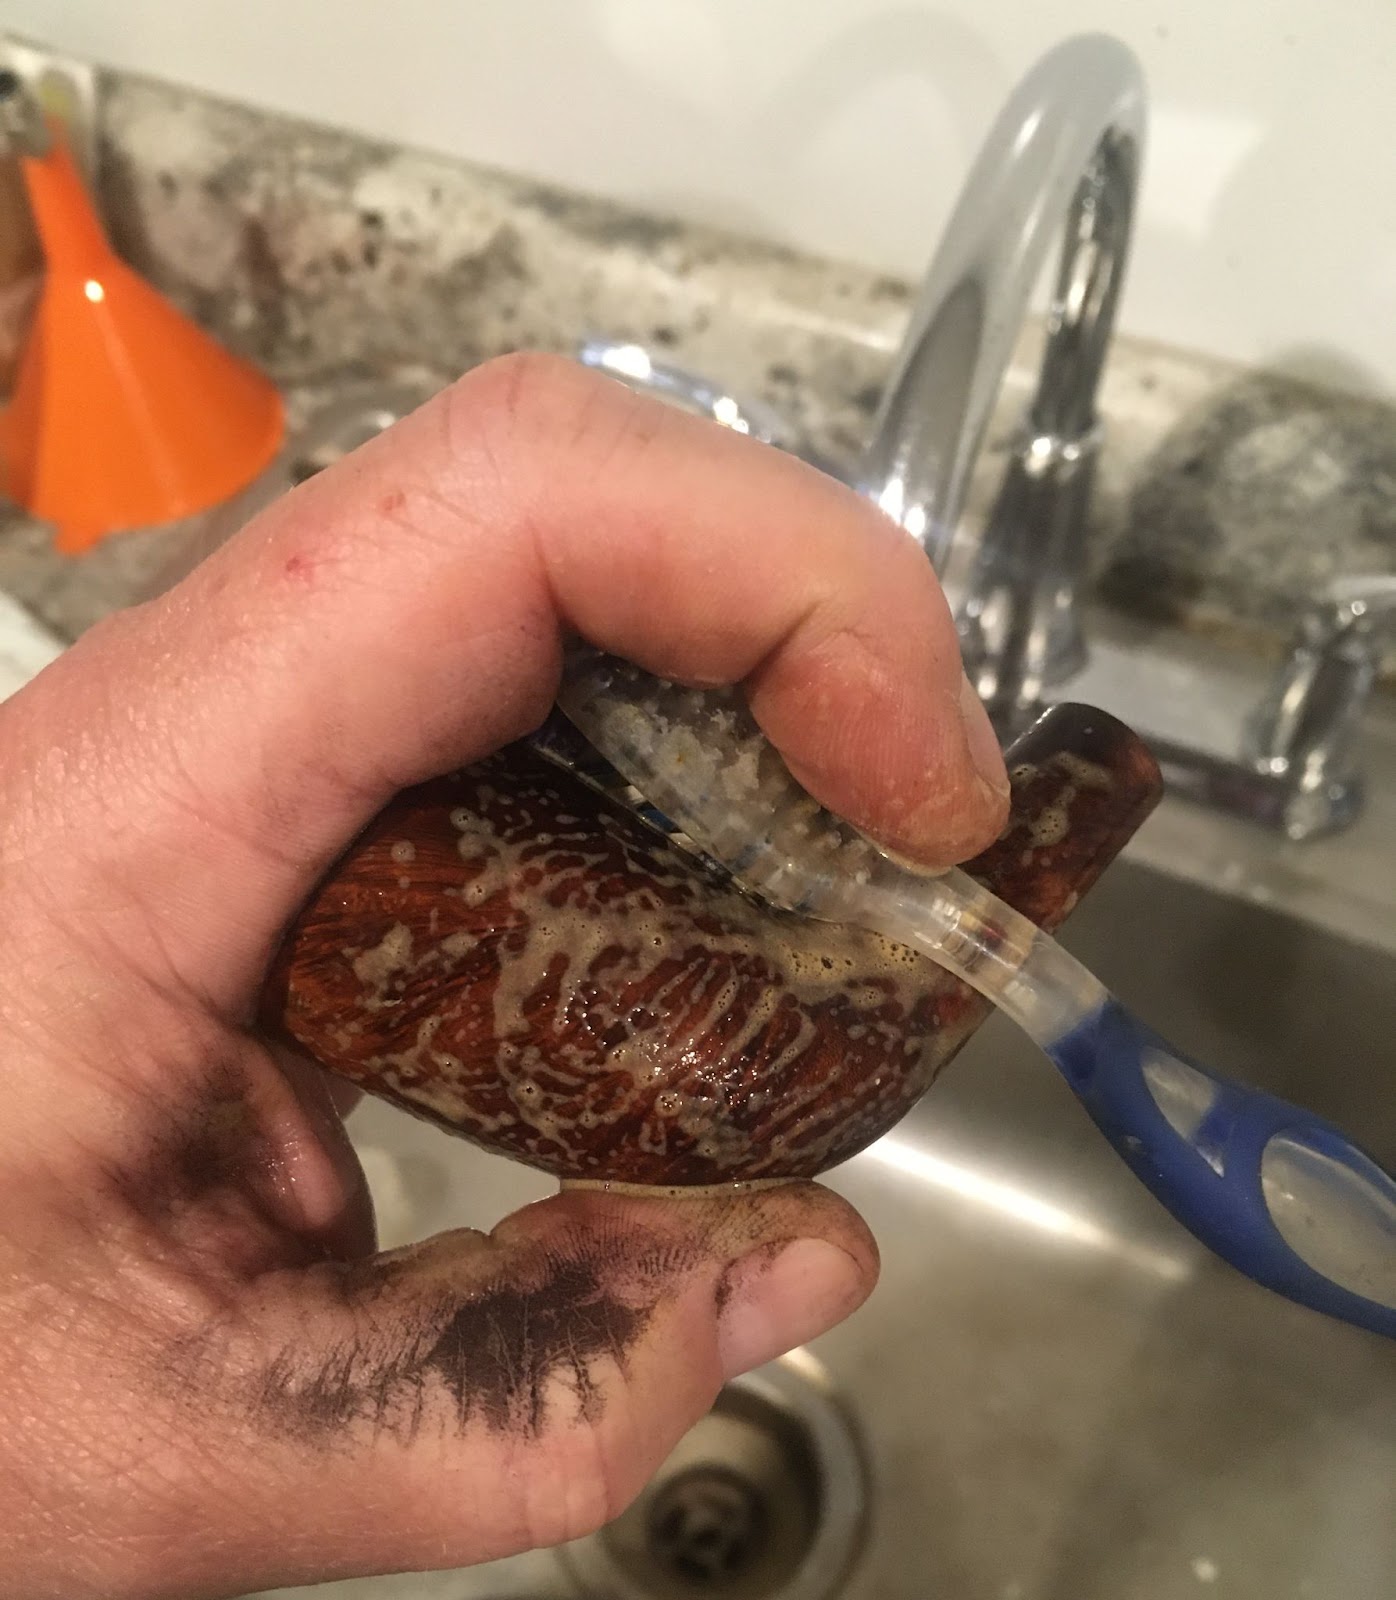
After the scraping the stummel was taken to the sink for a scrub. The scrubbing was done with a medium stiff toothbrush and undiluted Murphy Oil Soap. The soap was rinsed with warm water and the stummel dried with a cotton hand towel.

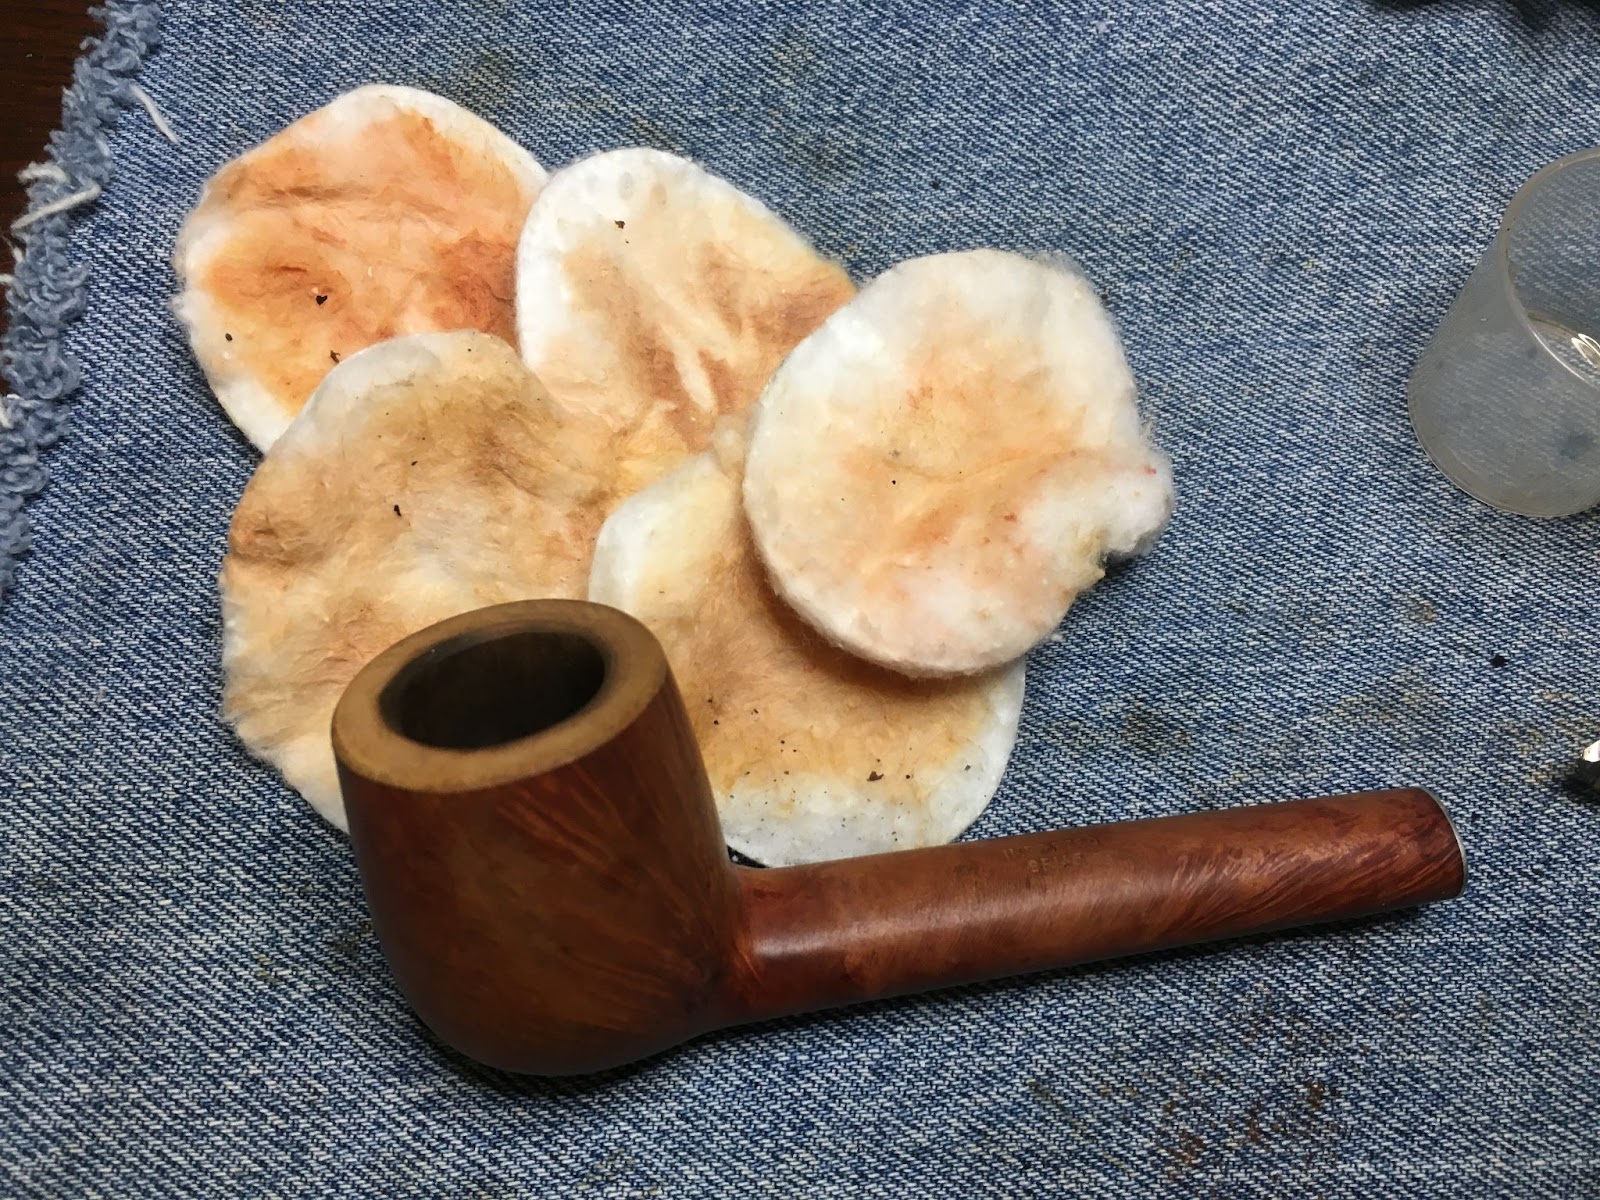
Back at the workbench the stummel was wiped off with a cotton make-up pad moistened with 95% ethyl alcohol. Some remaining grime and/or old wax was removed.

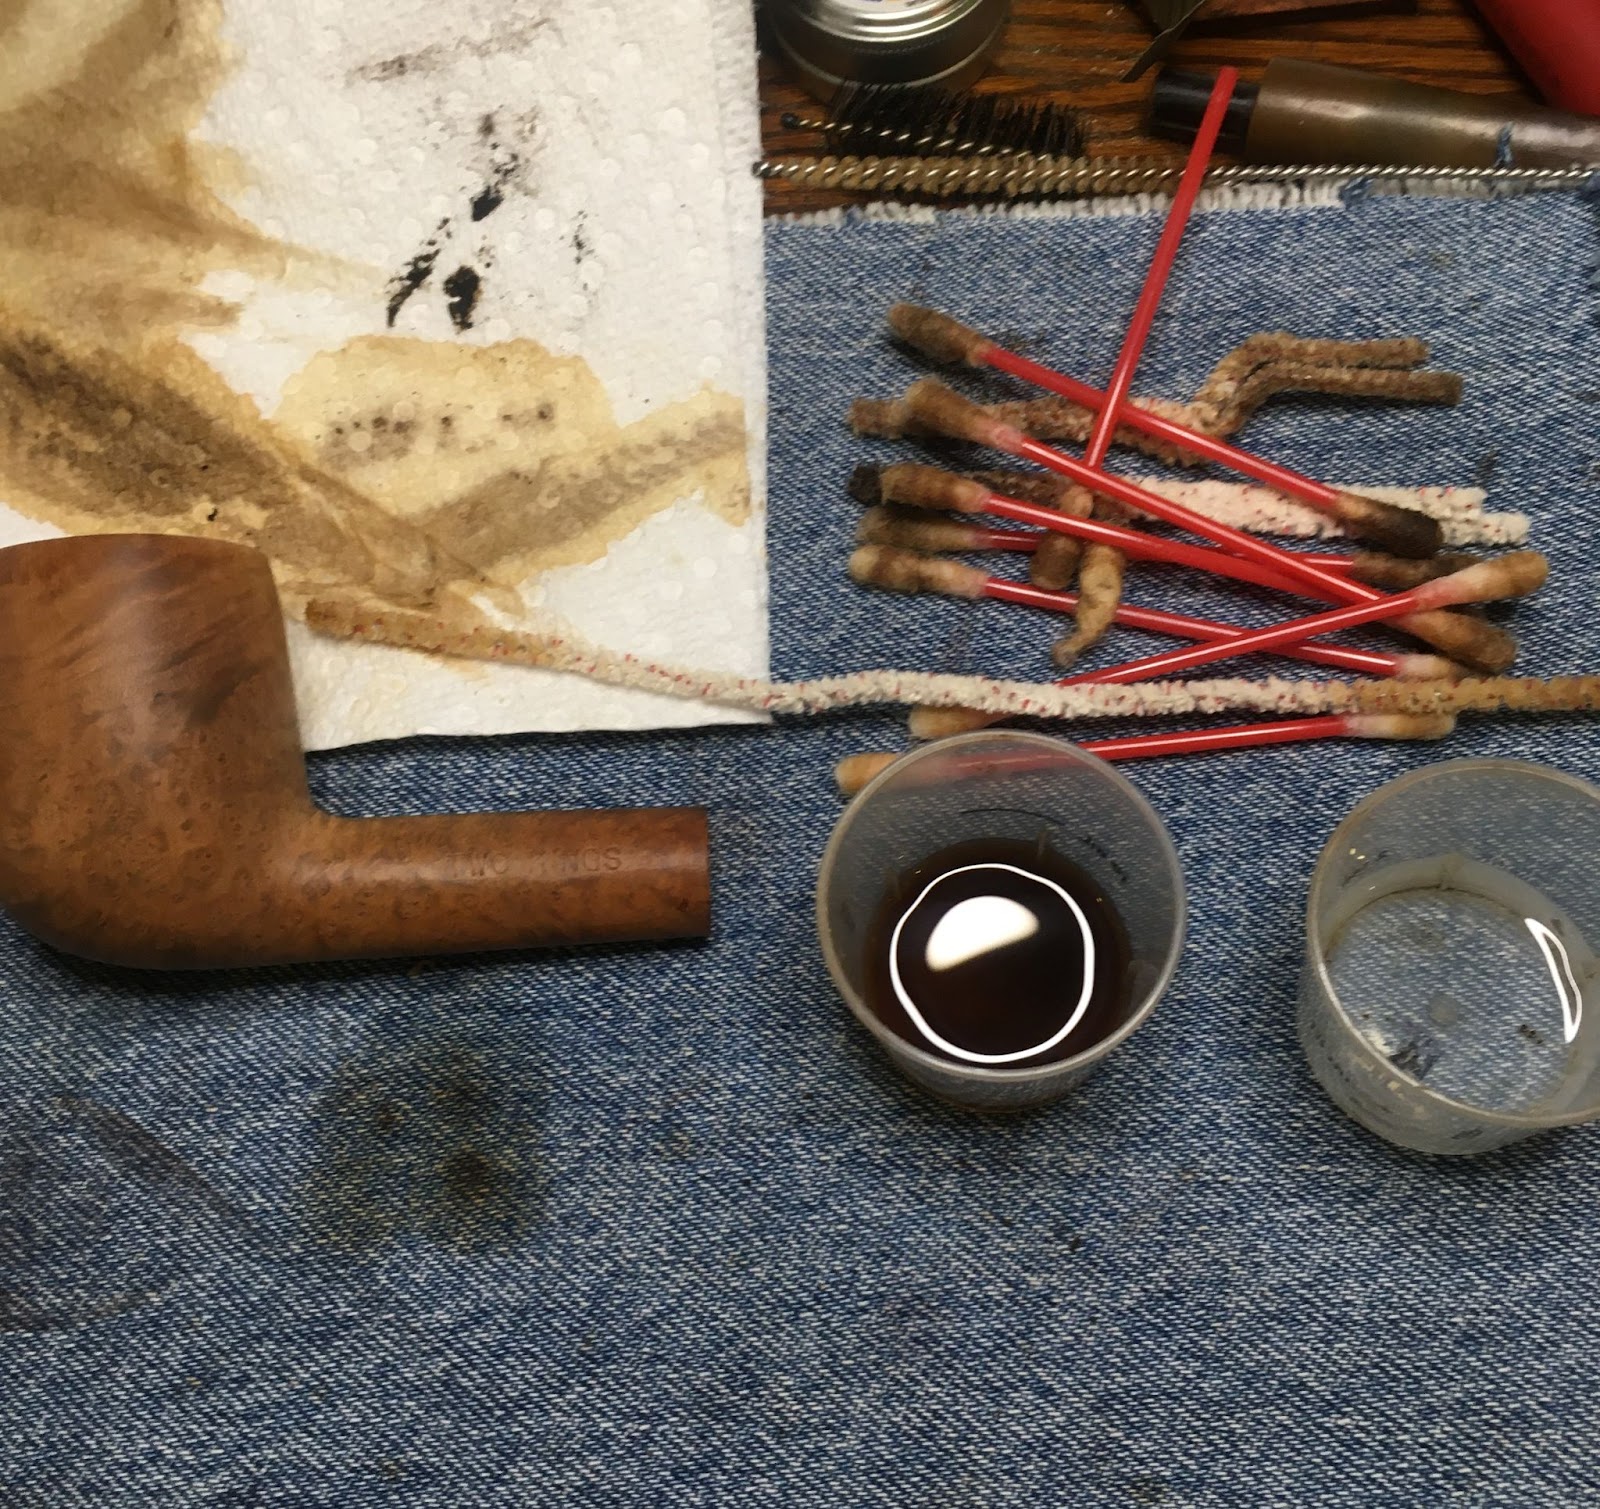
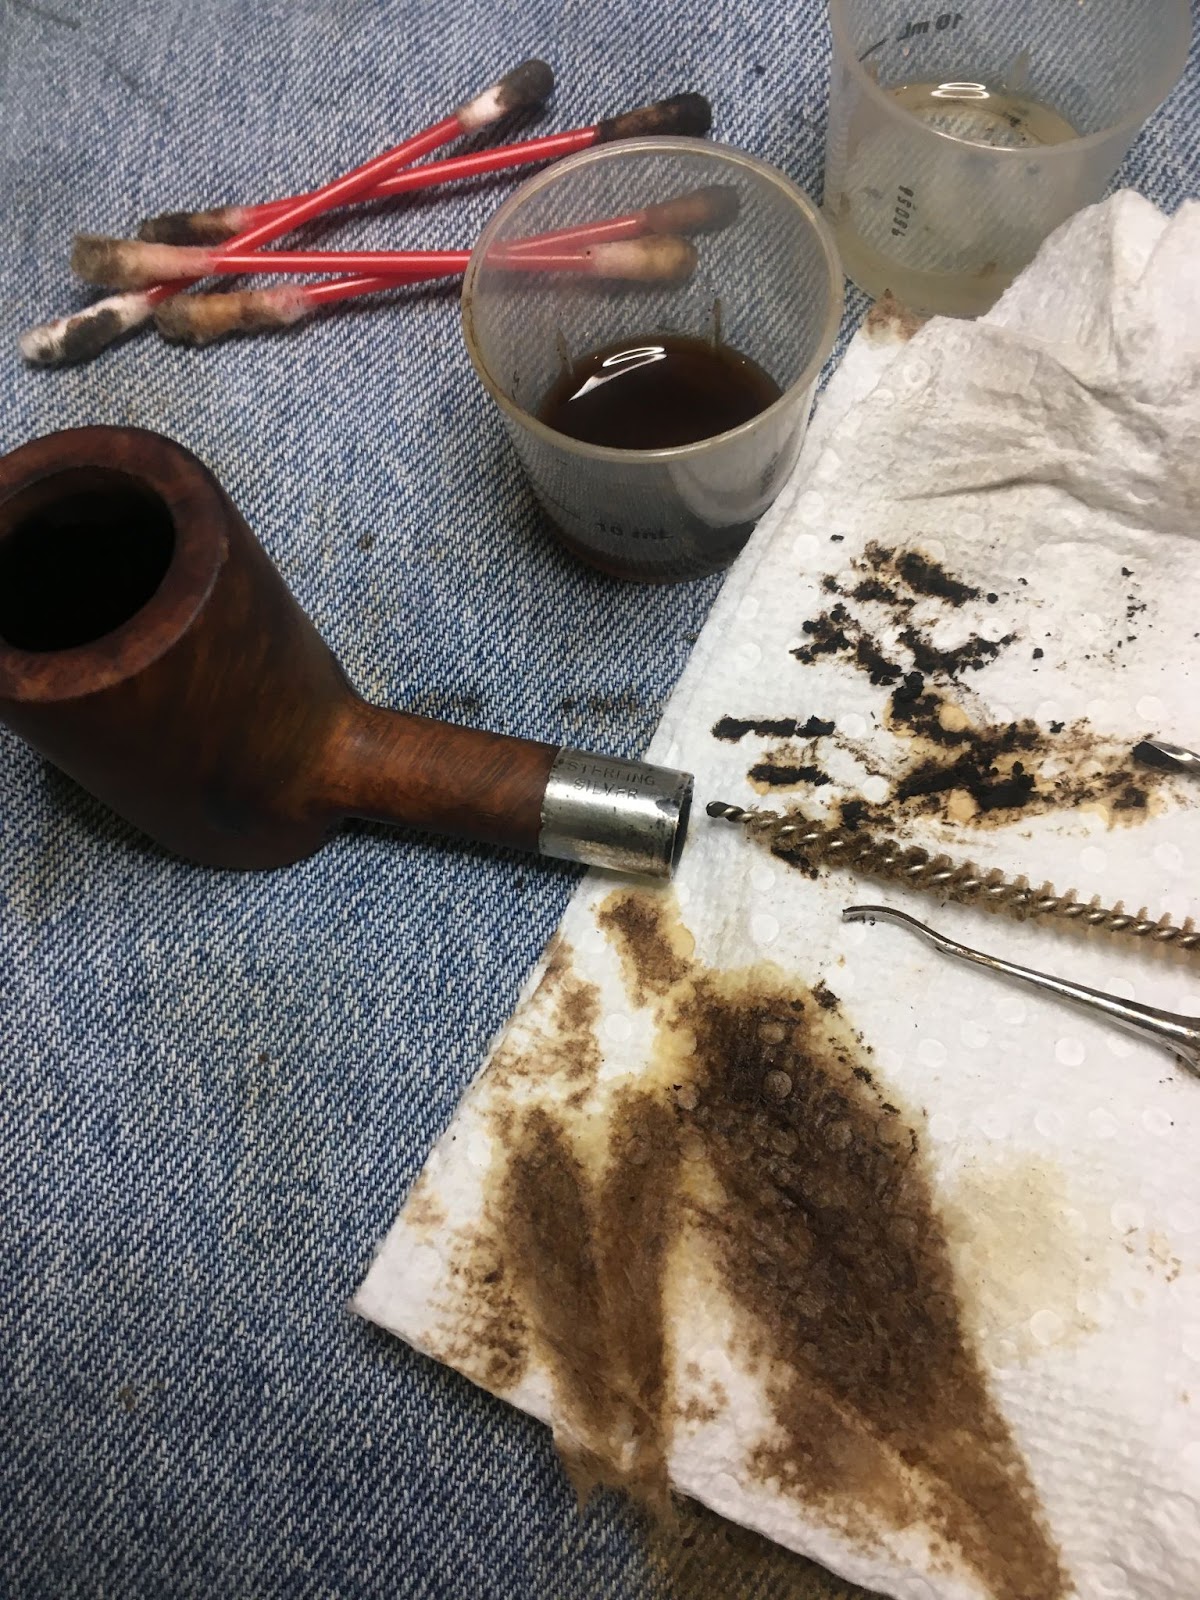
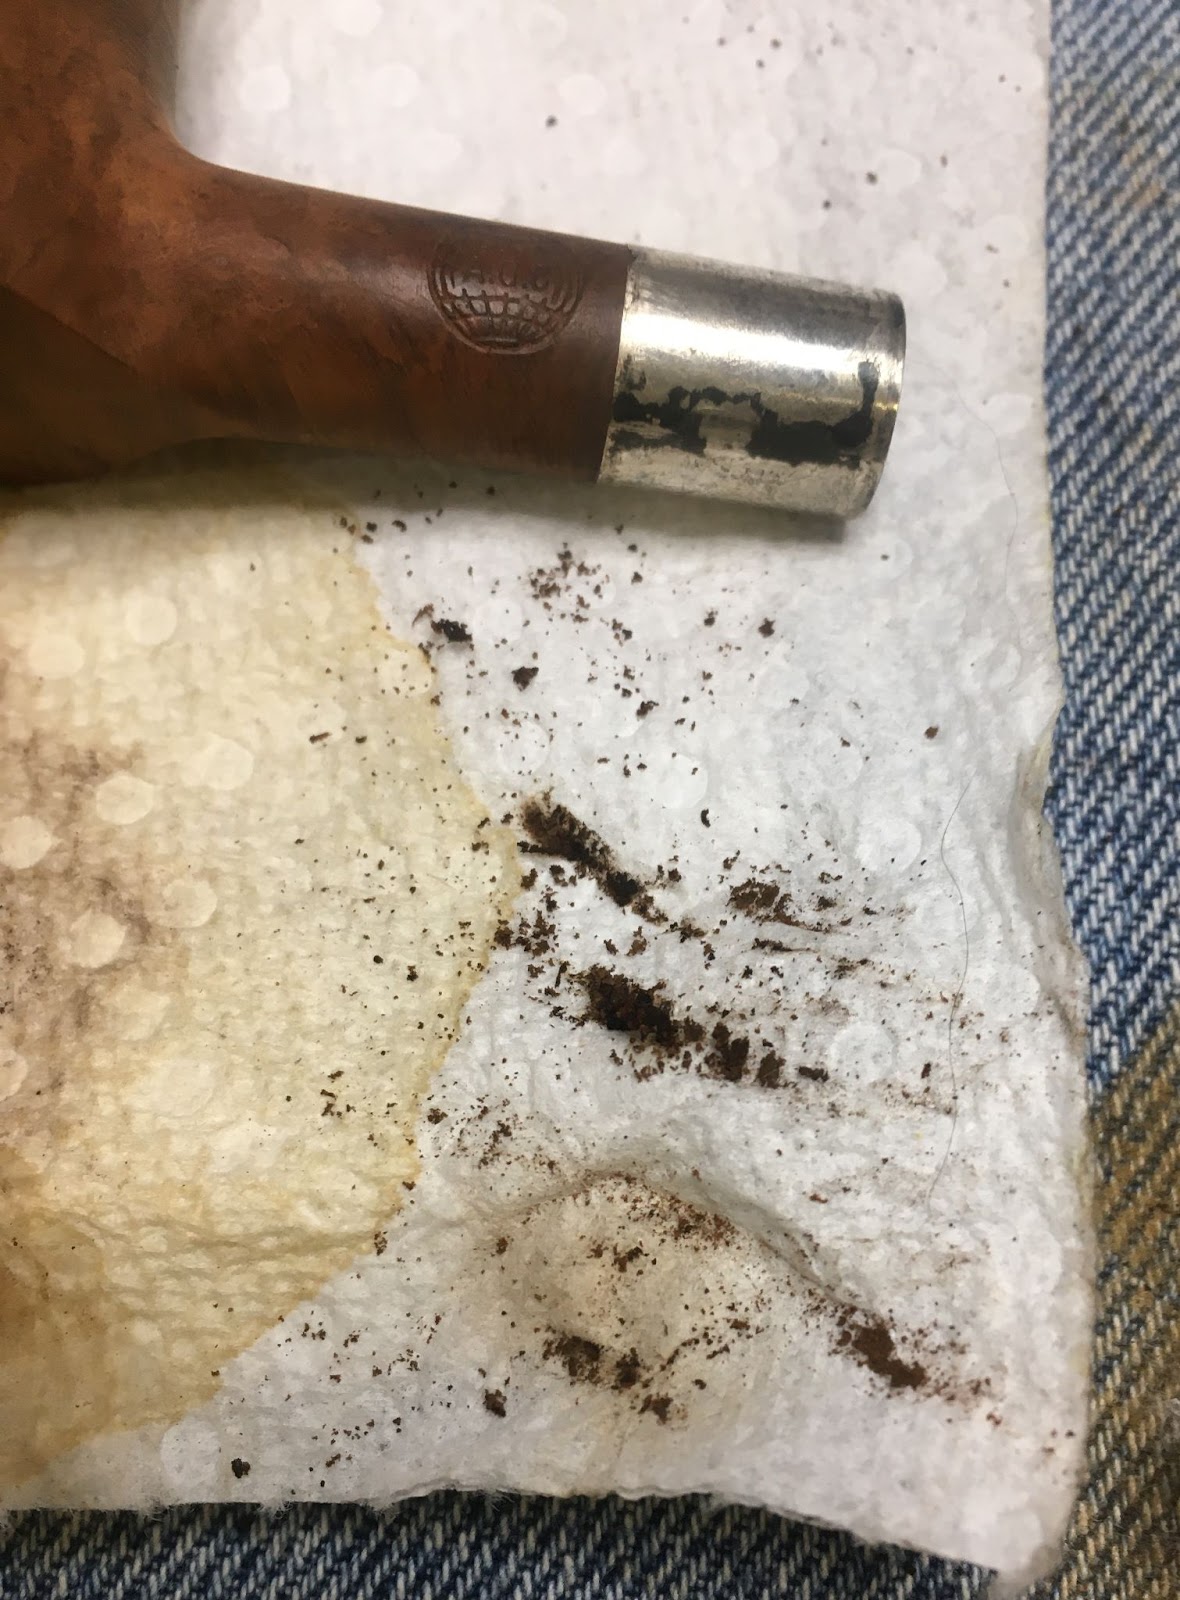
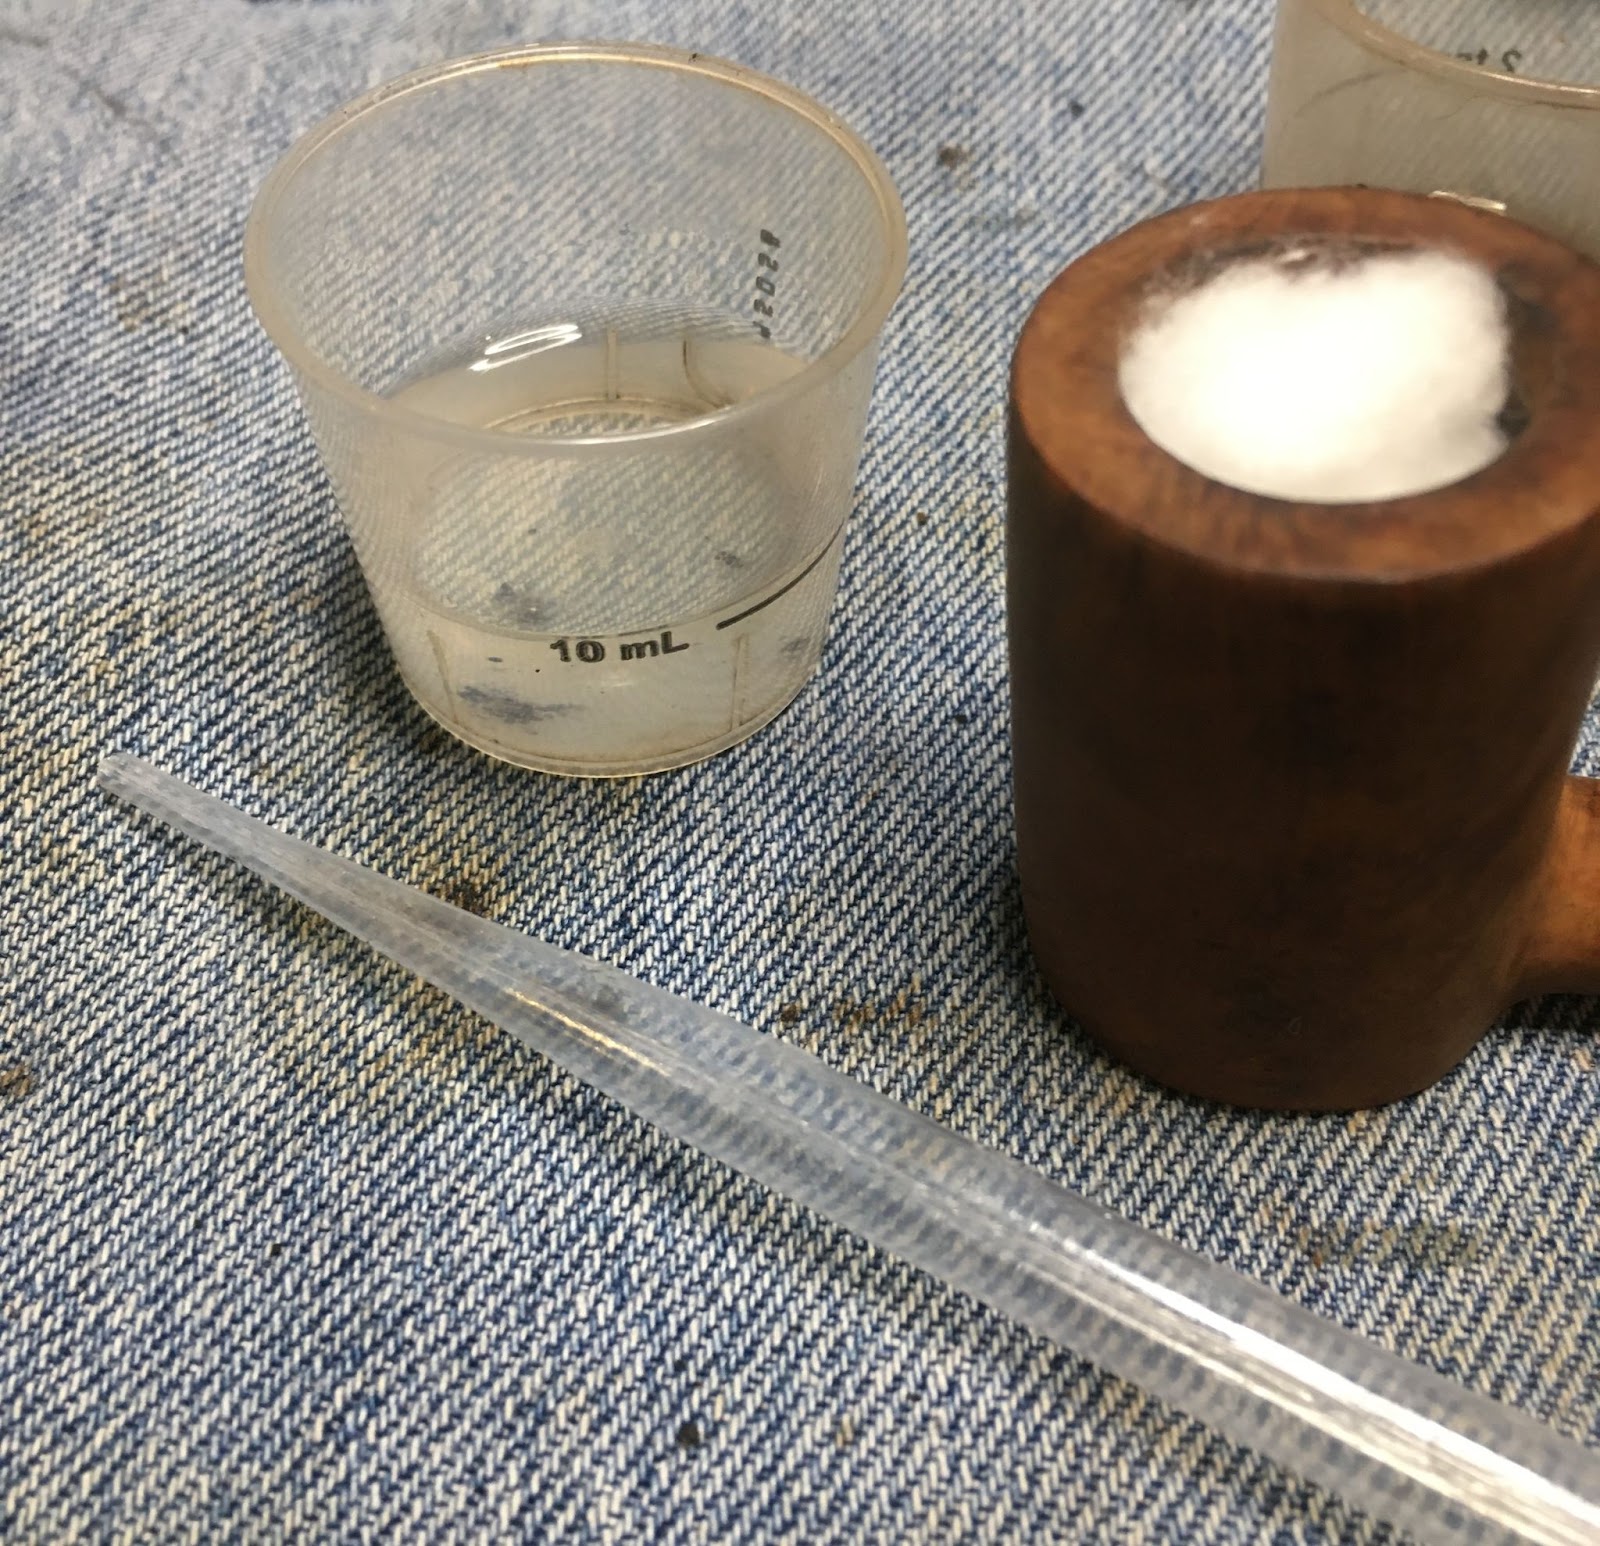
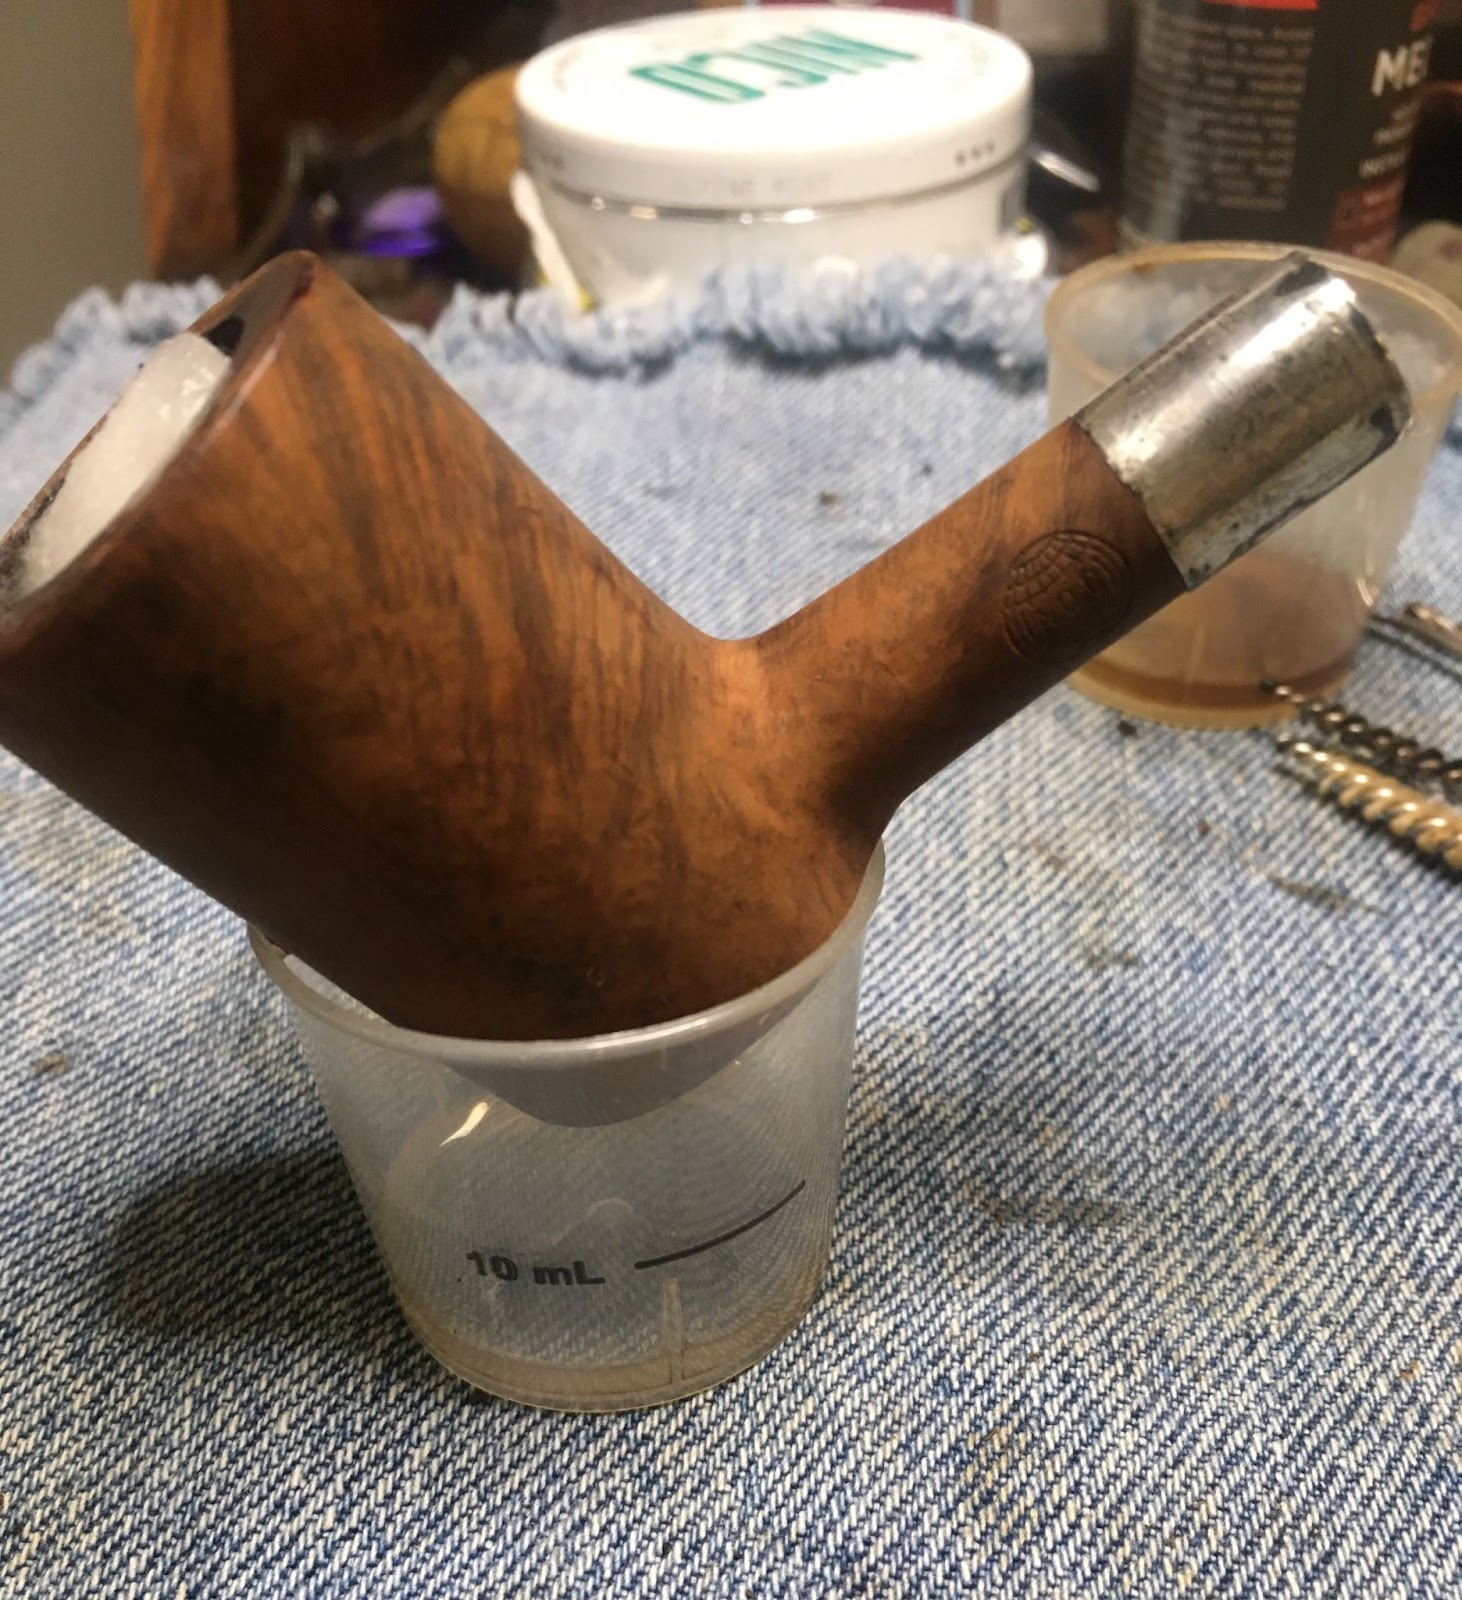
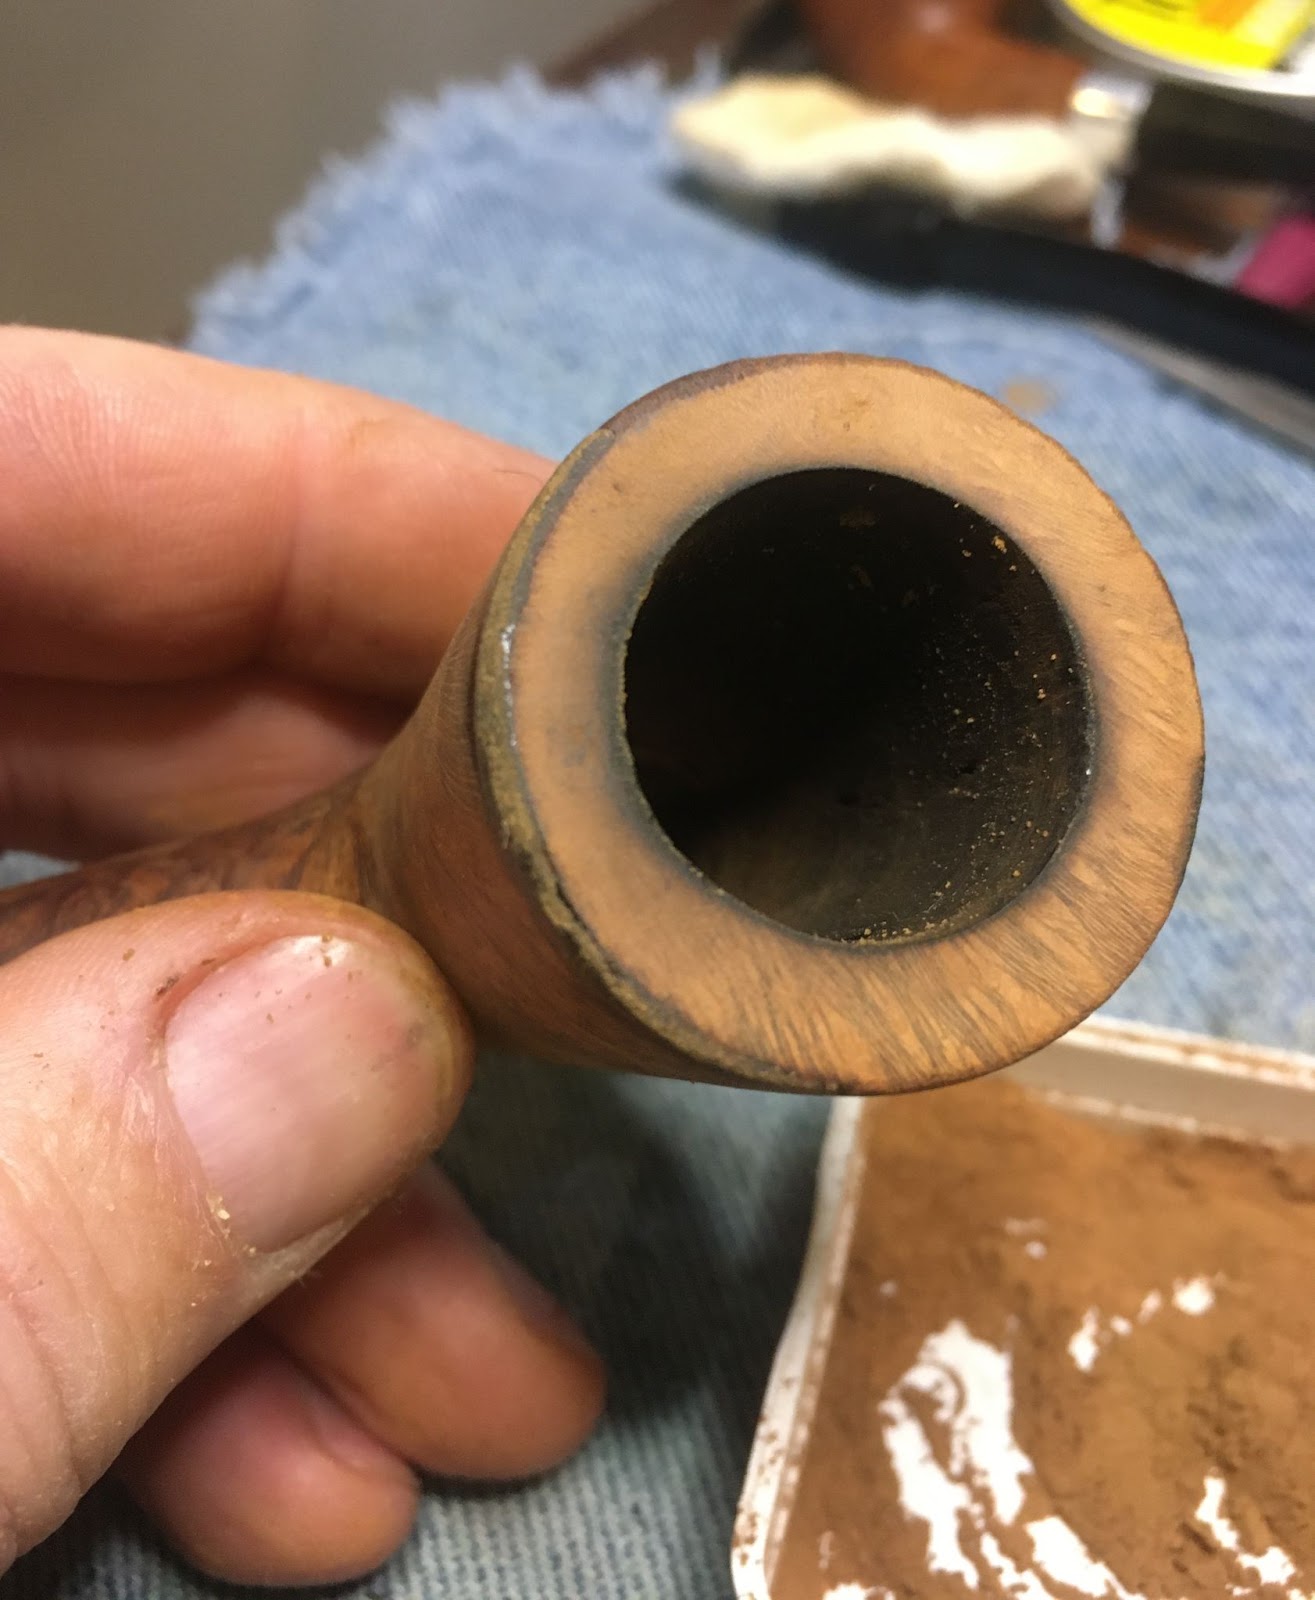
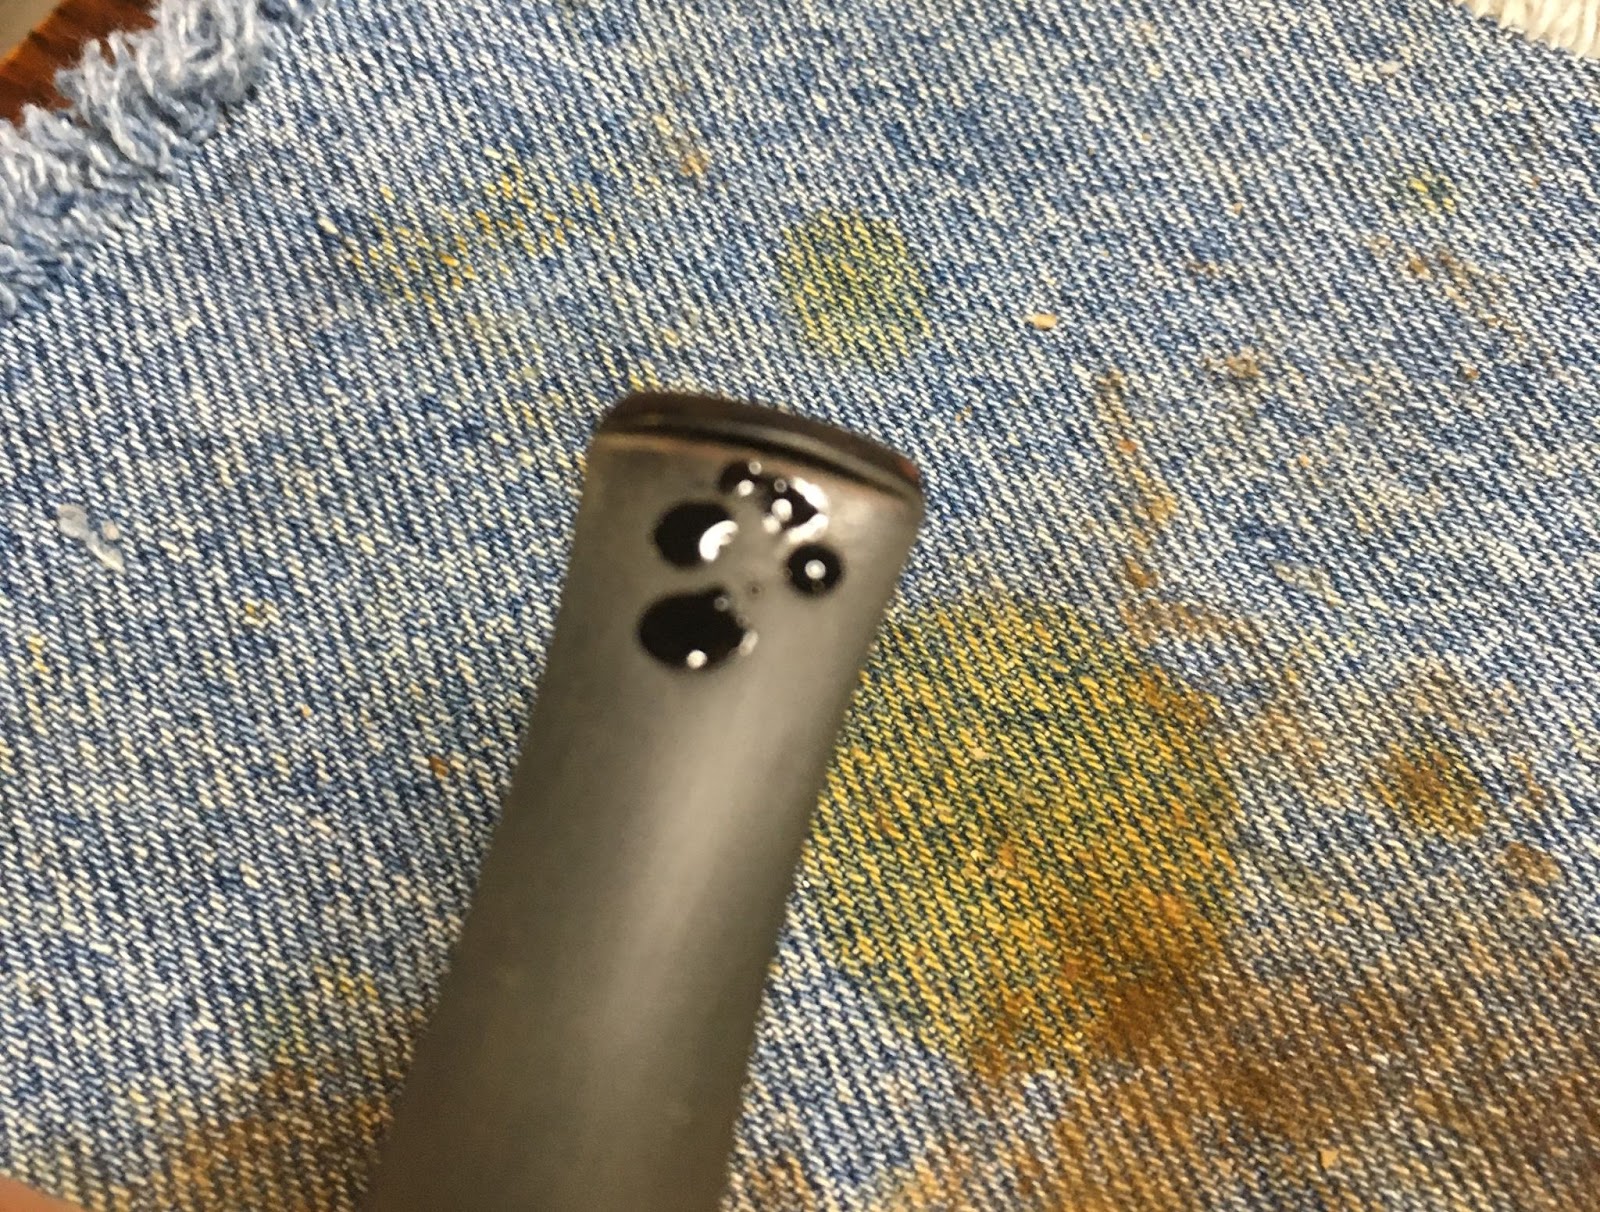
I started cleaning out the airway of the shank. I poured 3-5 ml of 95% ethyl alcohol into the tobacco chamber and allowed it to flow into the shank. I used a nylon shank brush to scrub the airway with the alcohol present. The alcohol was then poured into a medicine cup. I wiped the residue from the brush onto a paper towel.

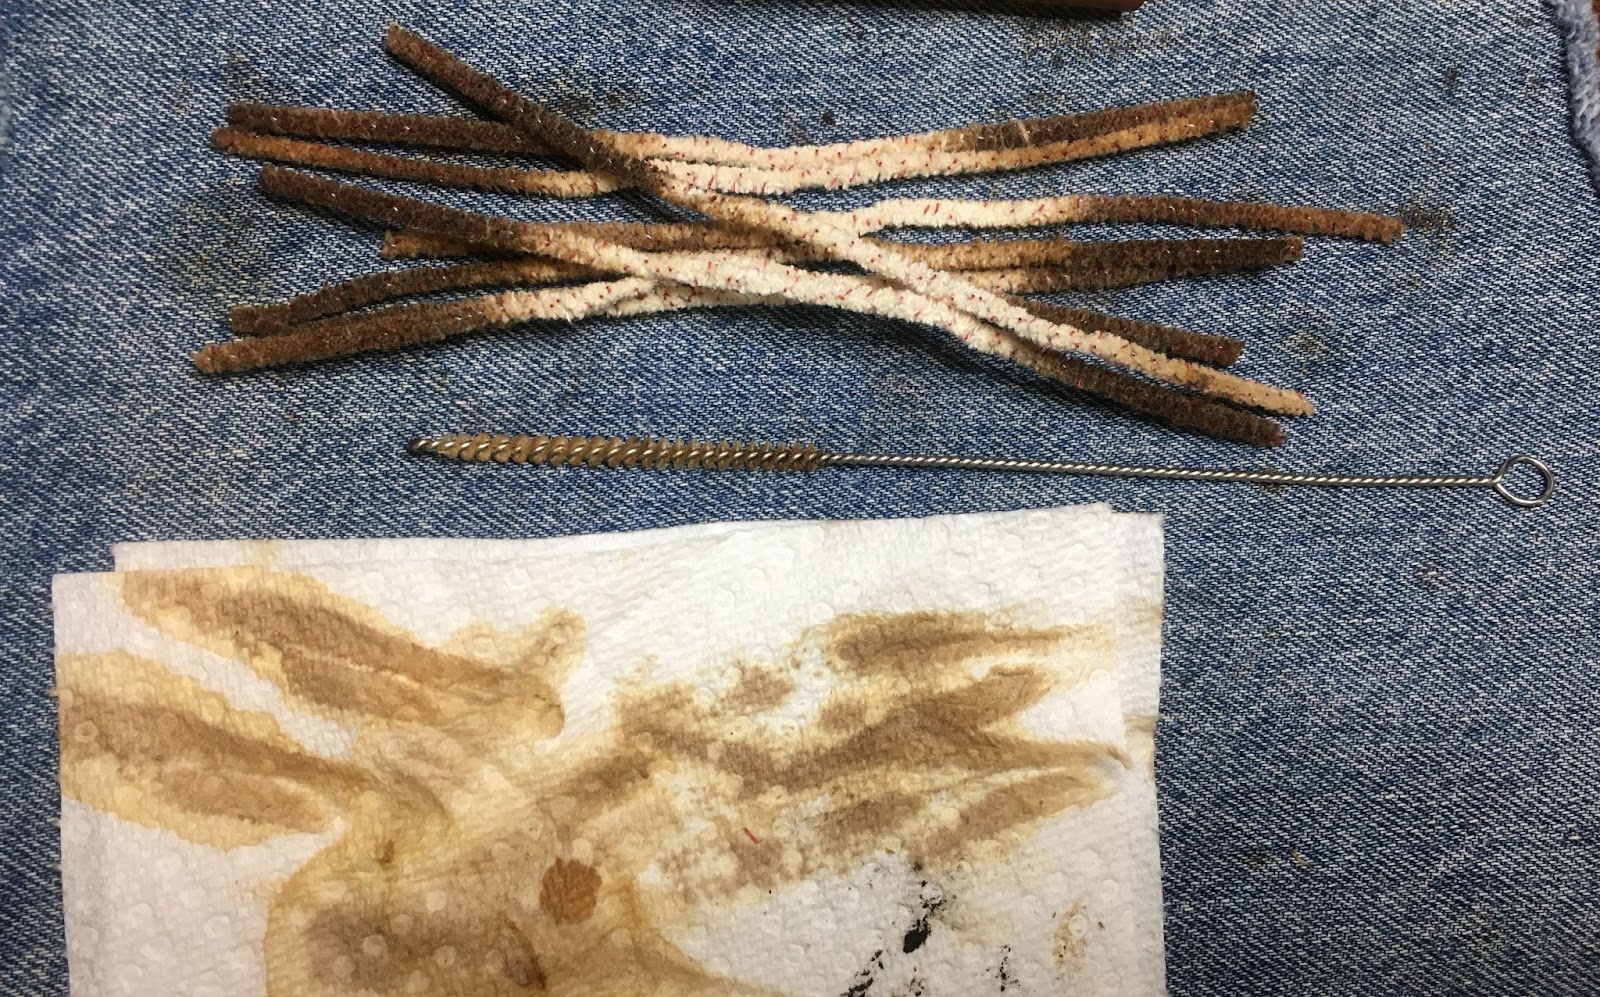
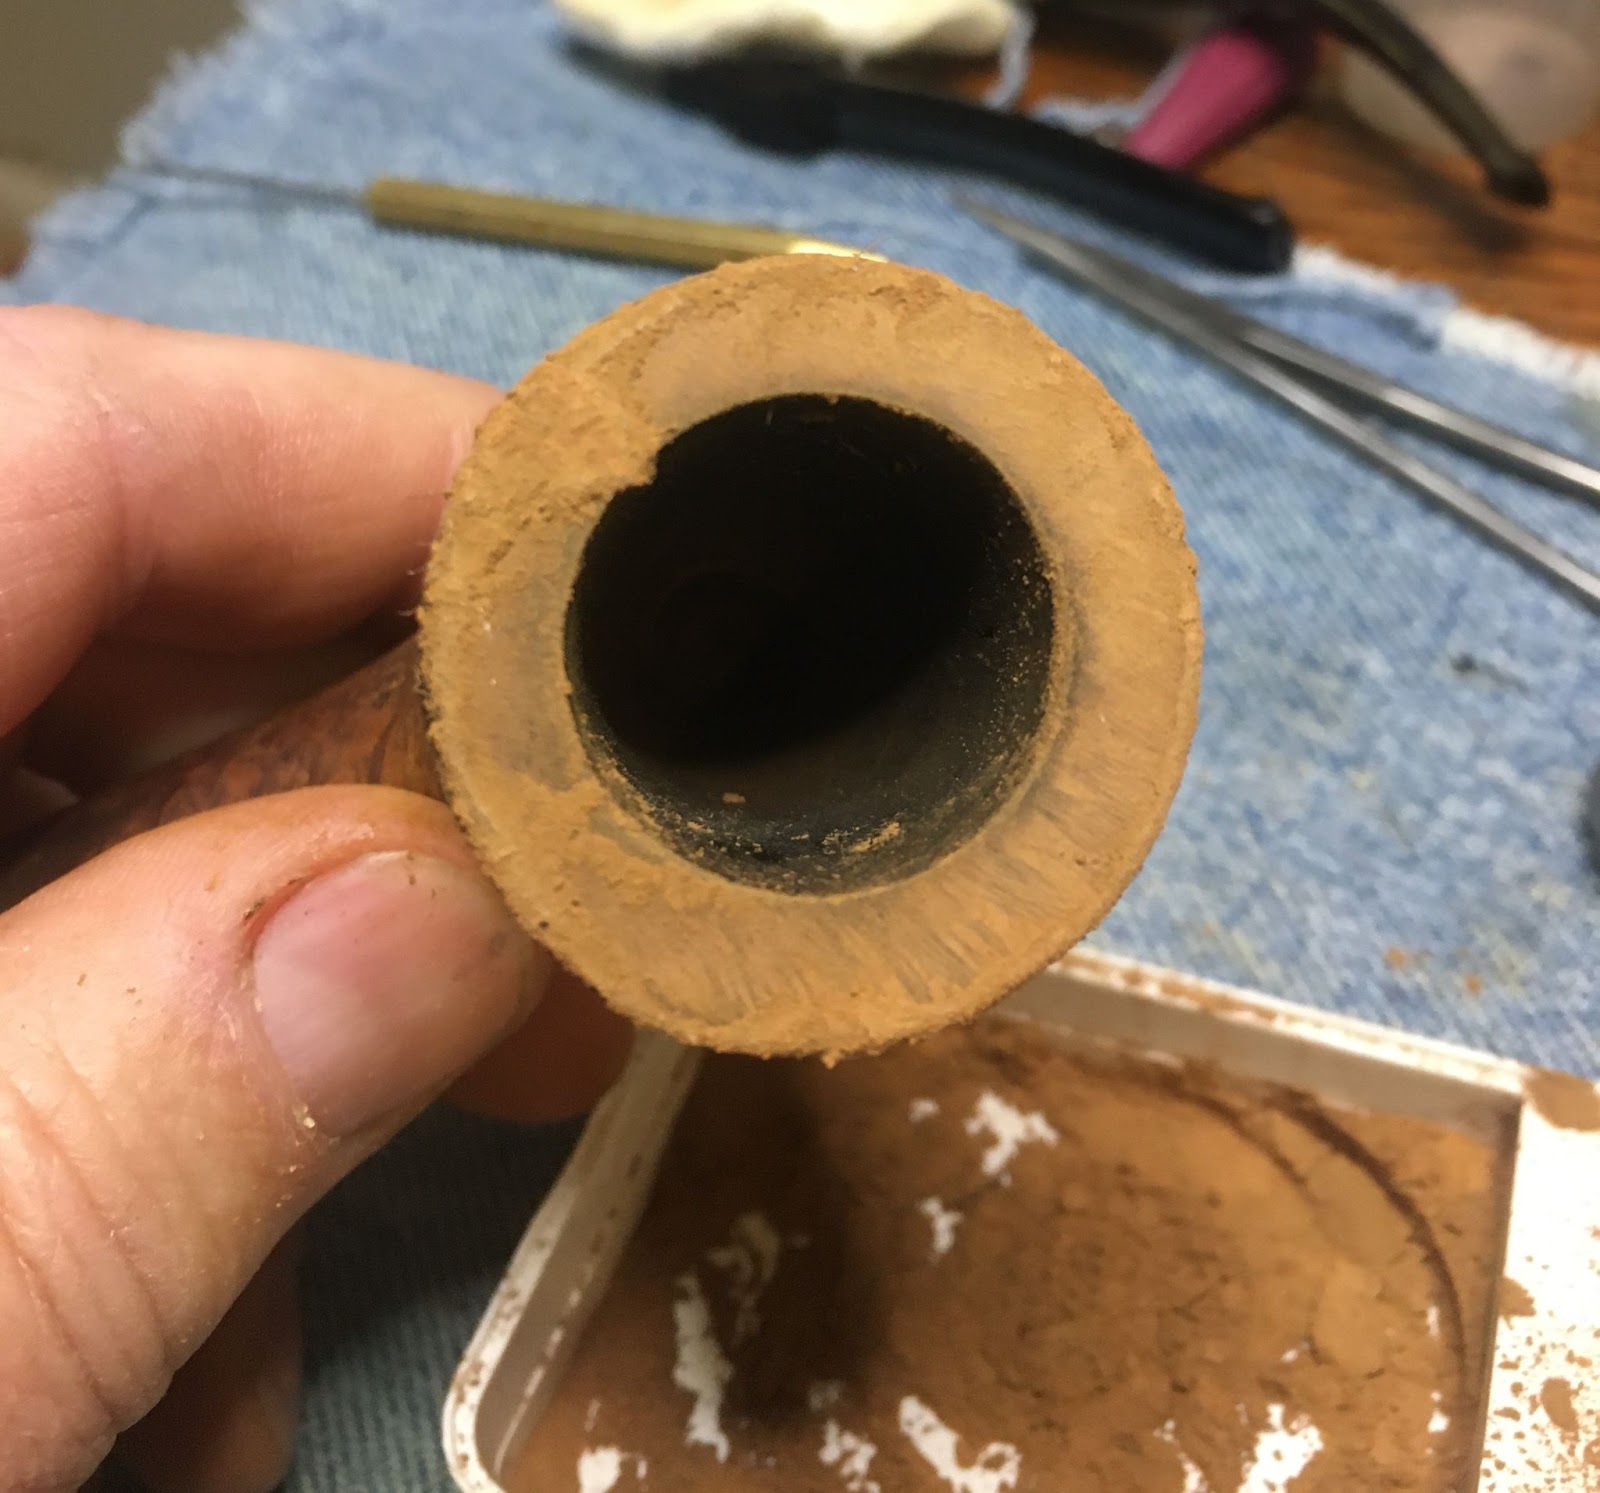
I used a dental scraper to scrape the airway as much as I could . Tar removed by scraping reduces the scrubbing dramatically. Cotton swabs dipped in alcohol were used to further scrub the airway and remove excess alcohol. I repeated the scraping, alcohol/nylon shank brush scrubbing several times.

Eventually the airway was cleaned.
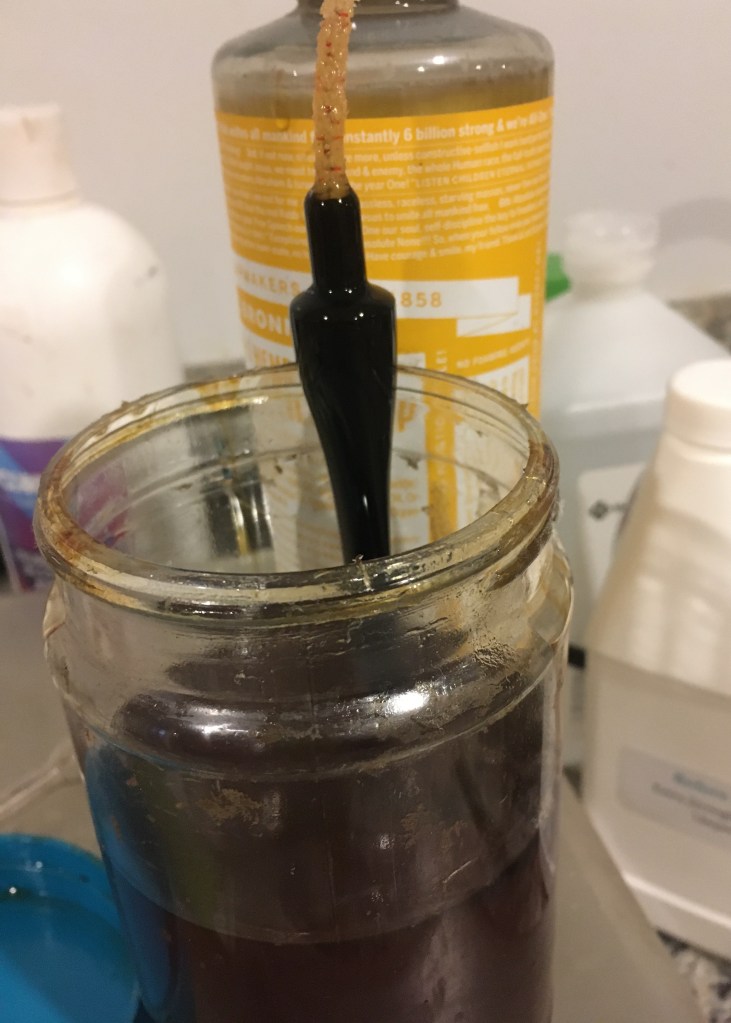
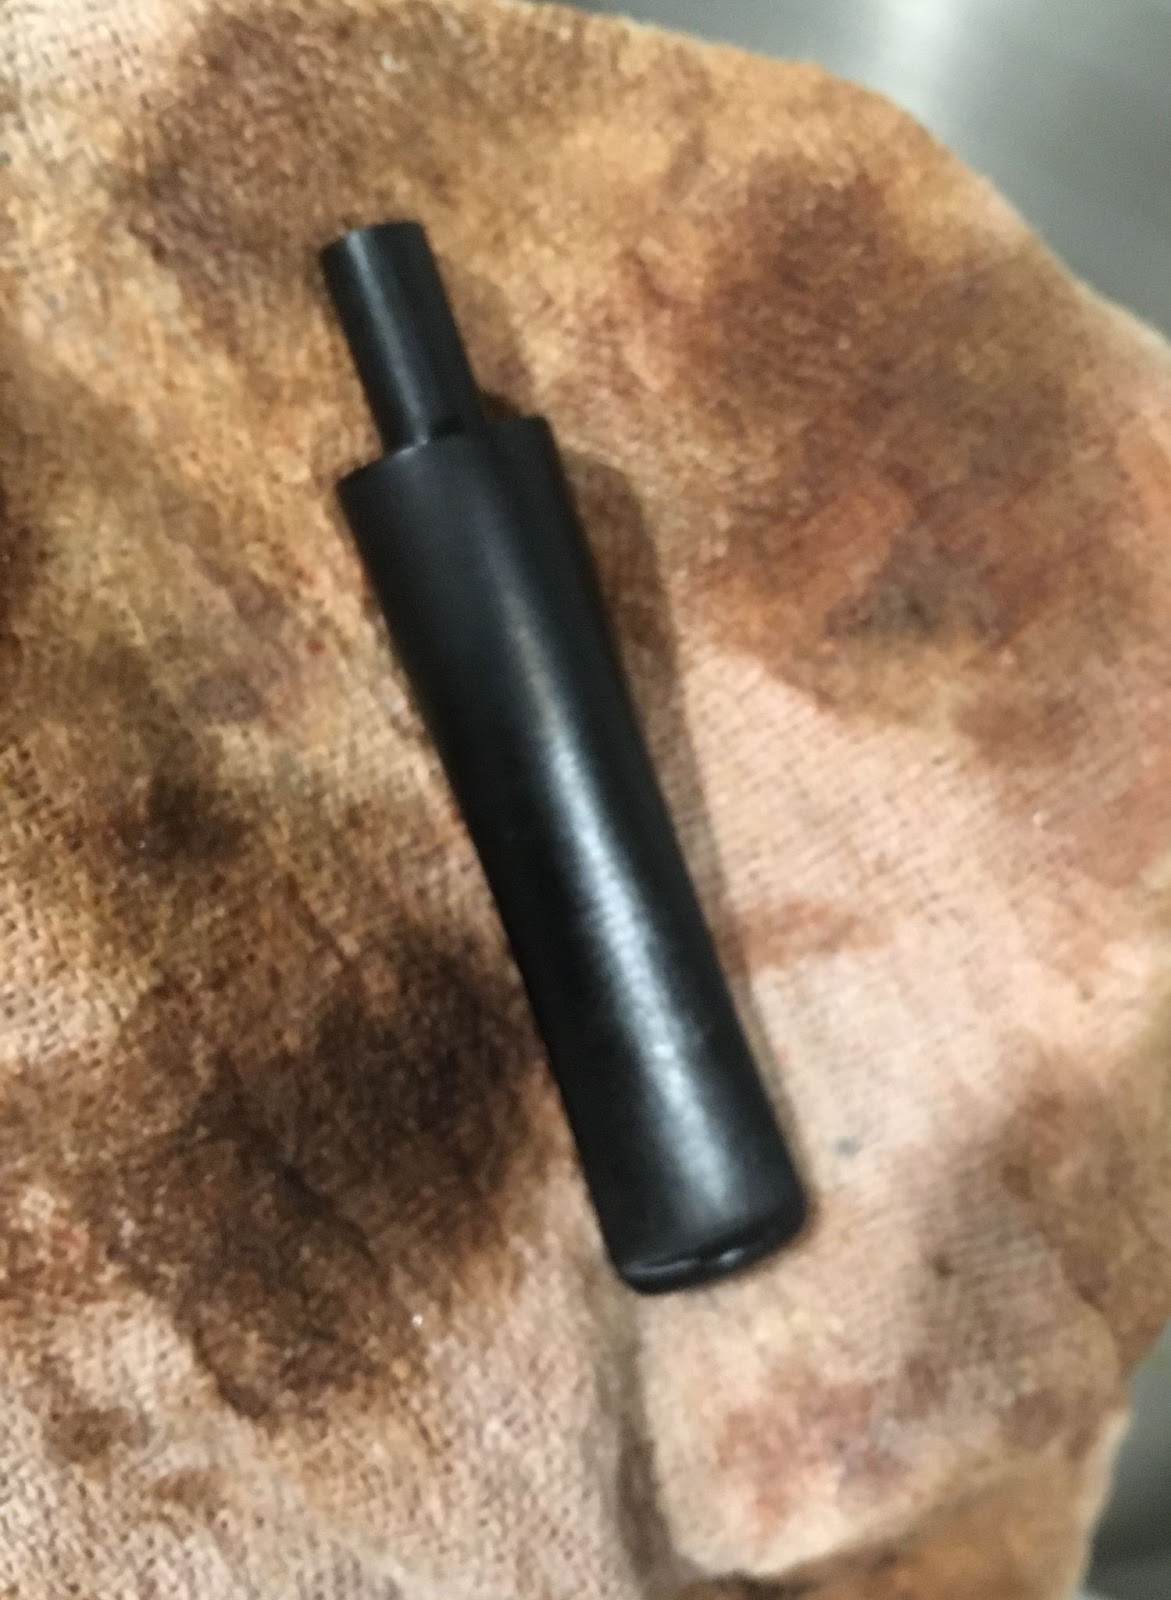
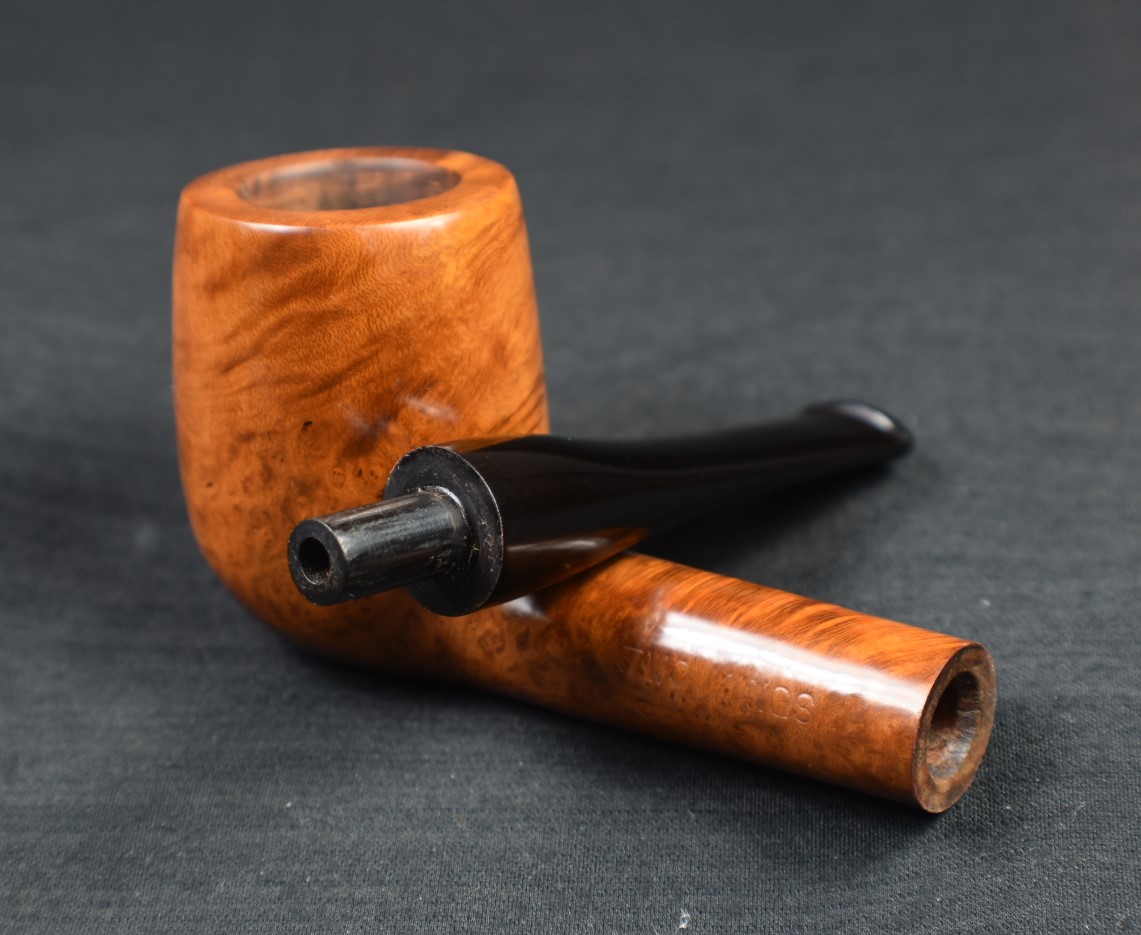
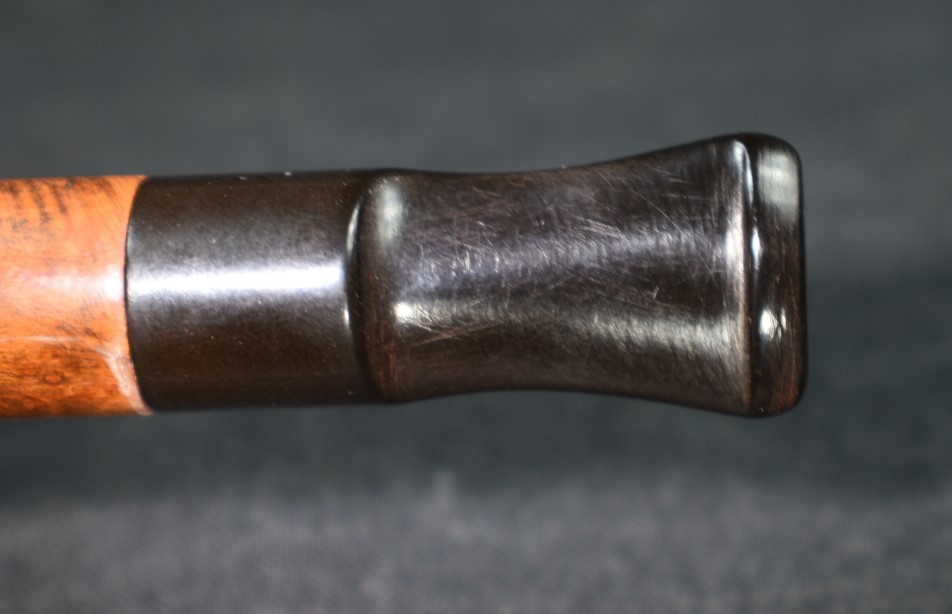
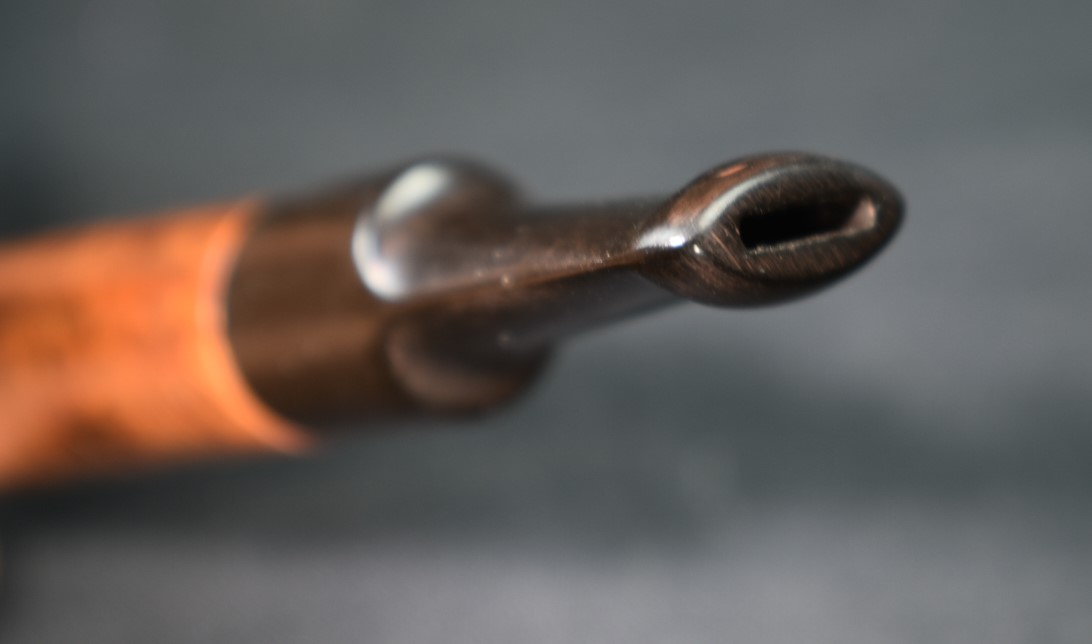
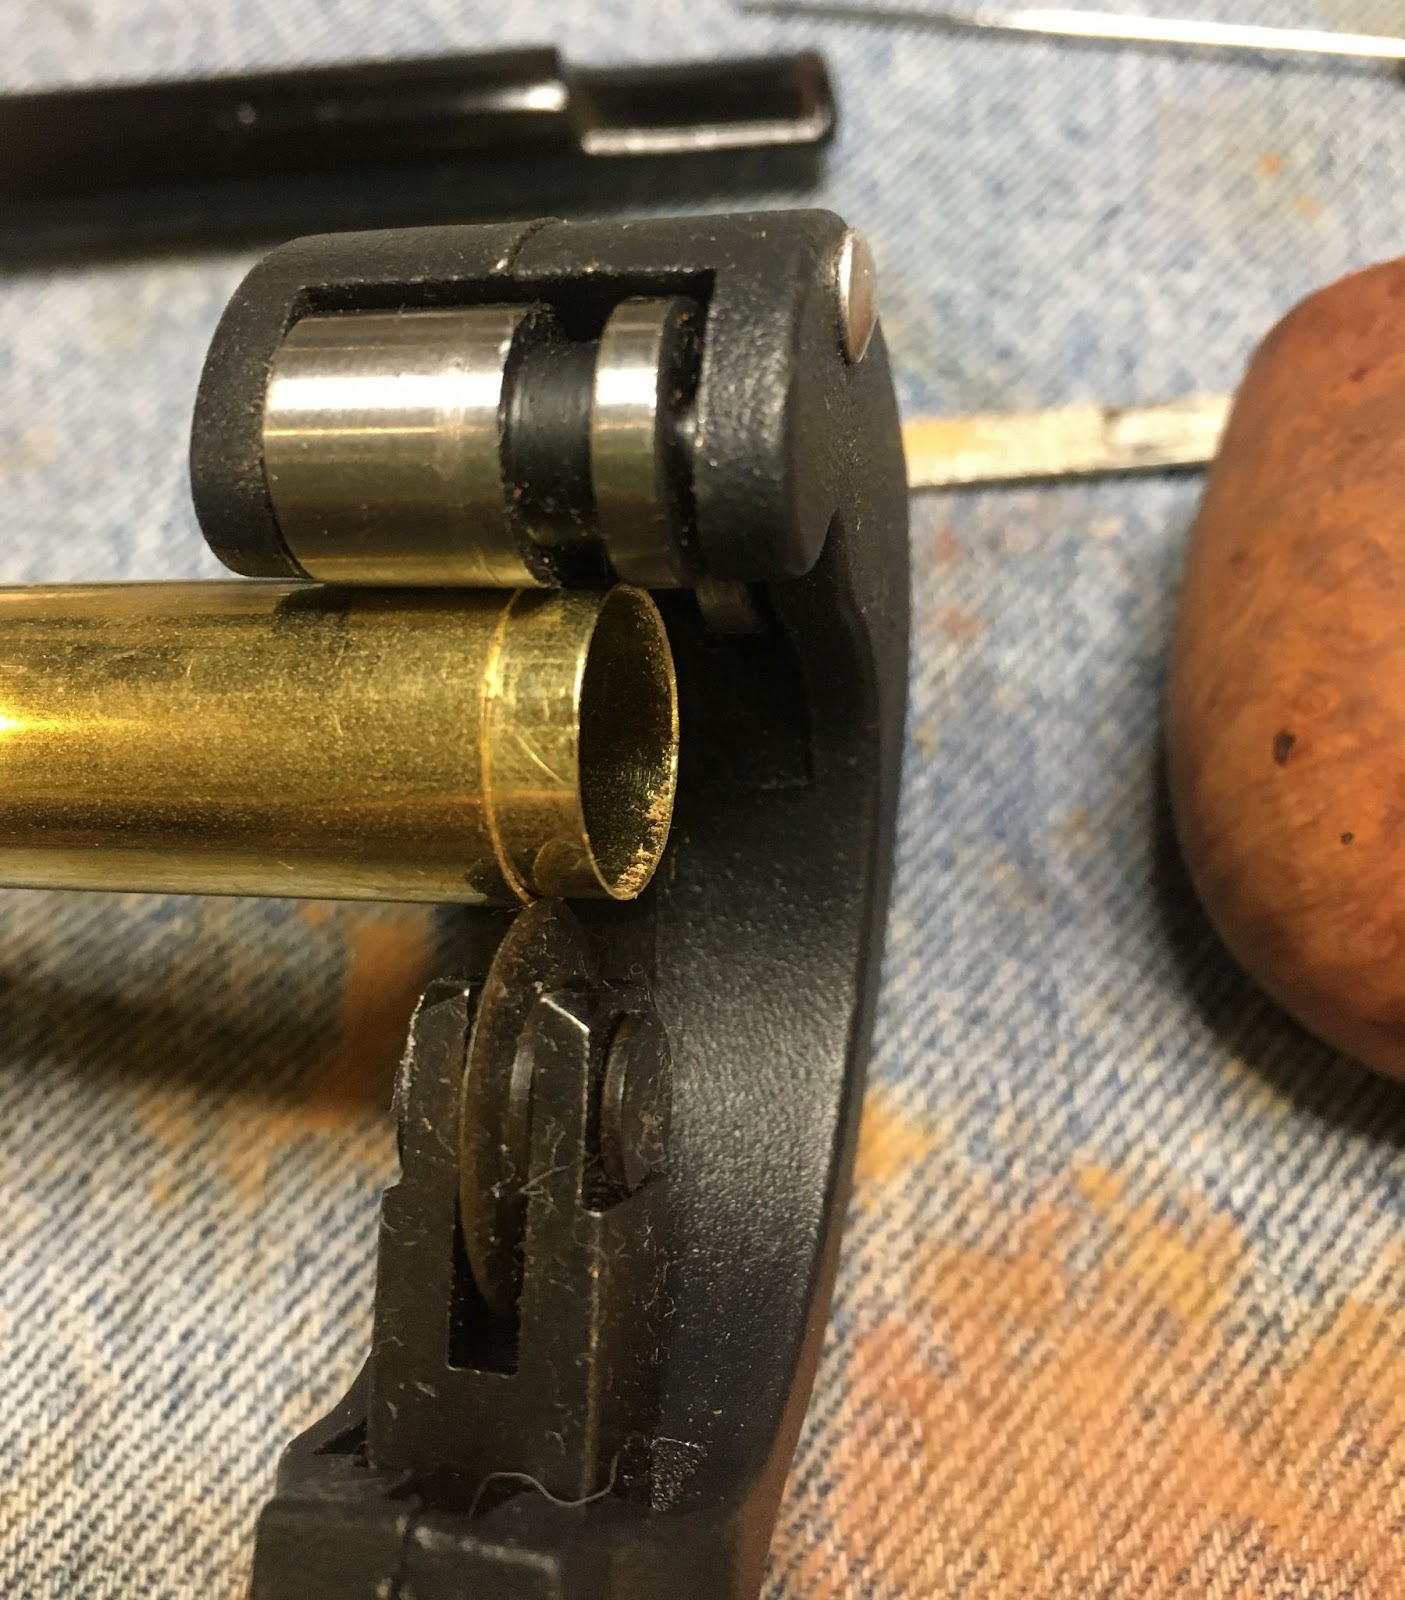
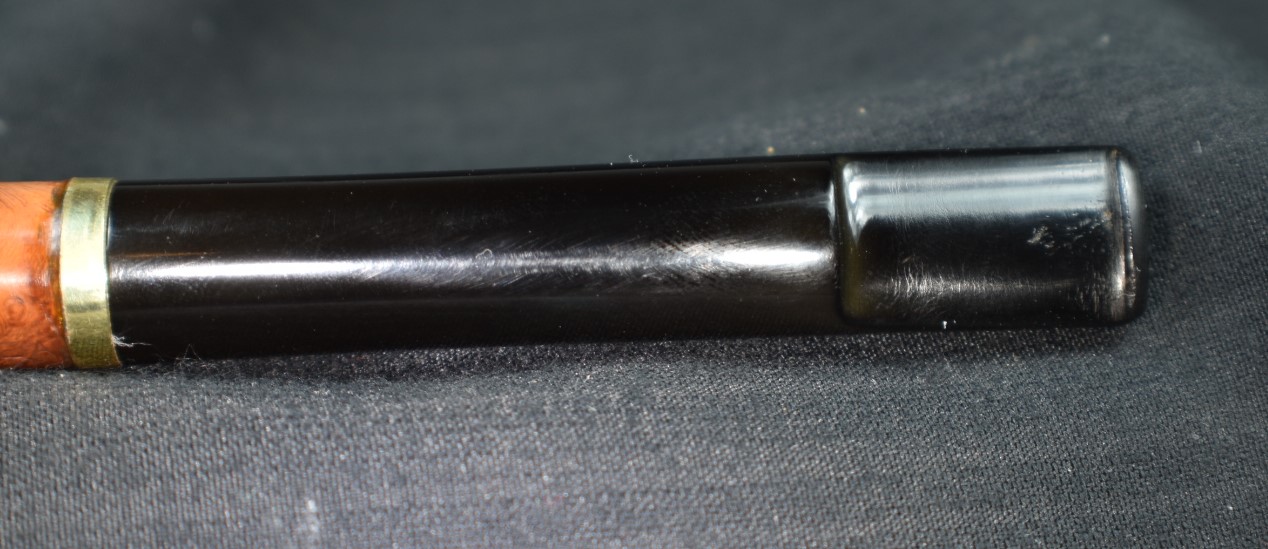
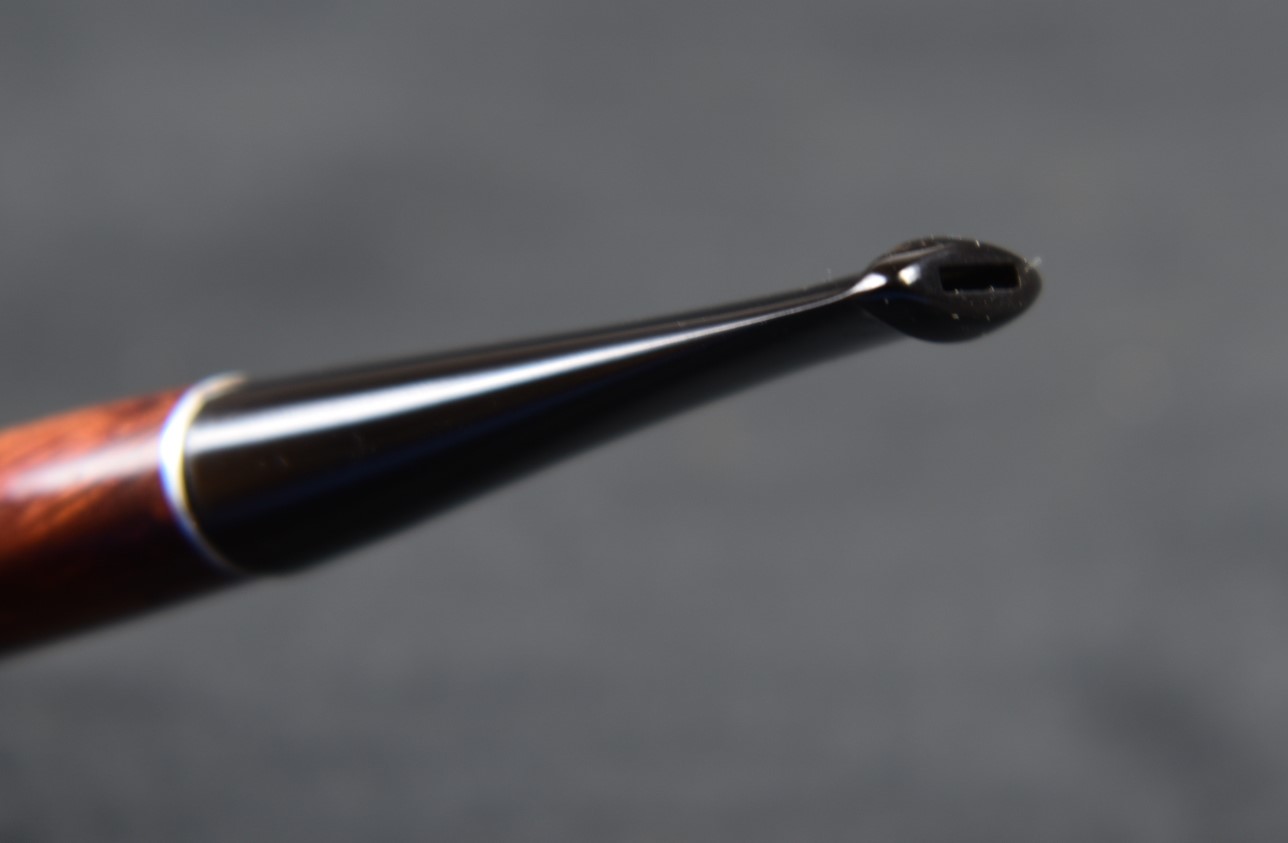
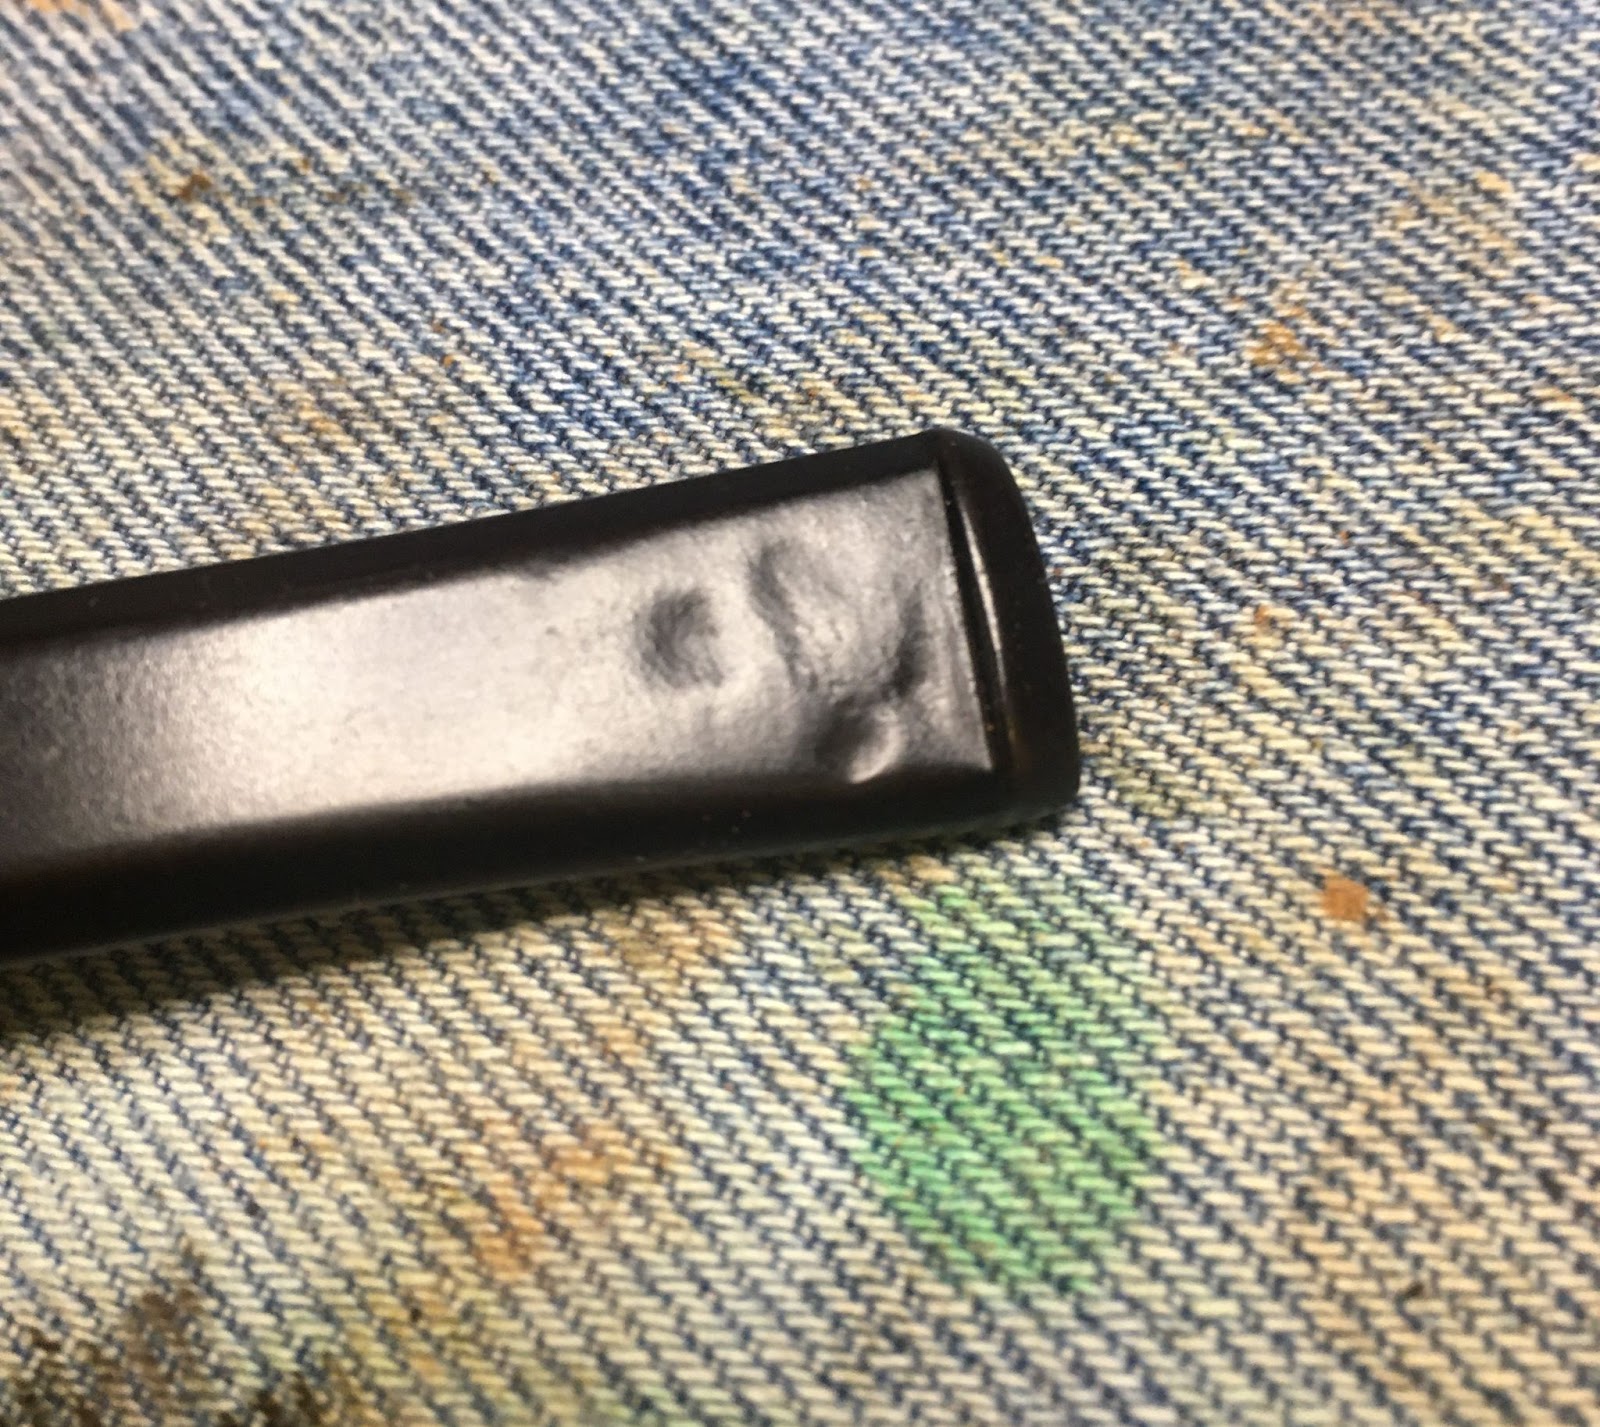
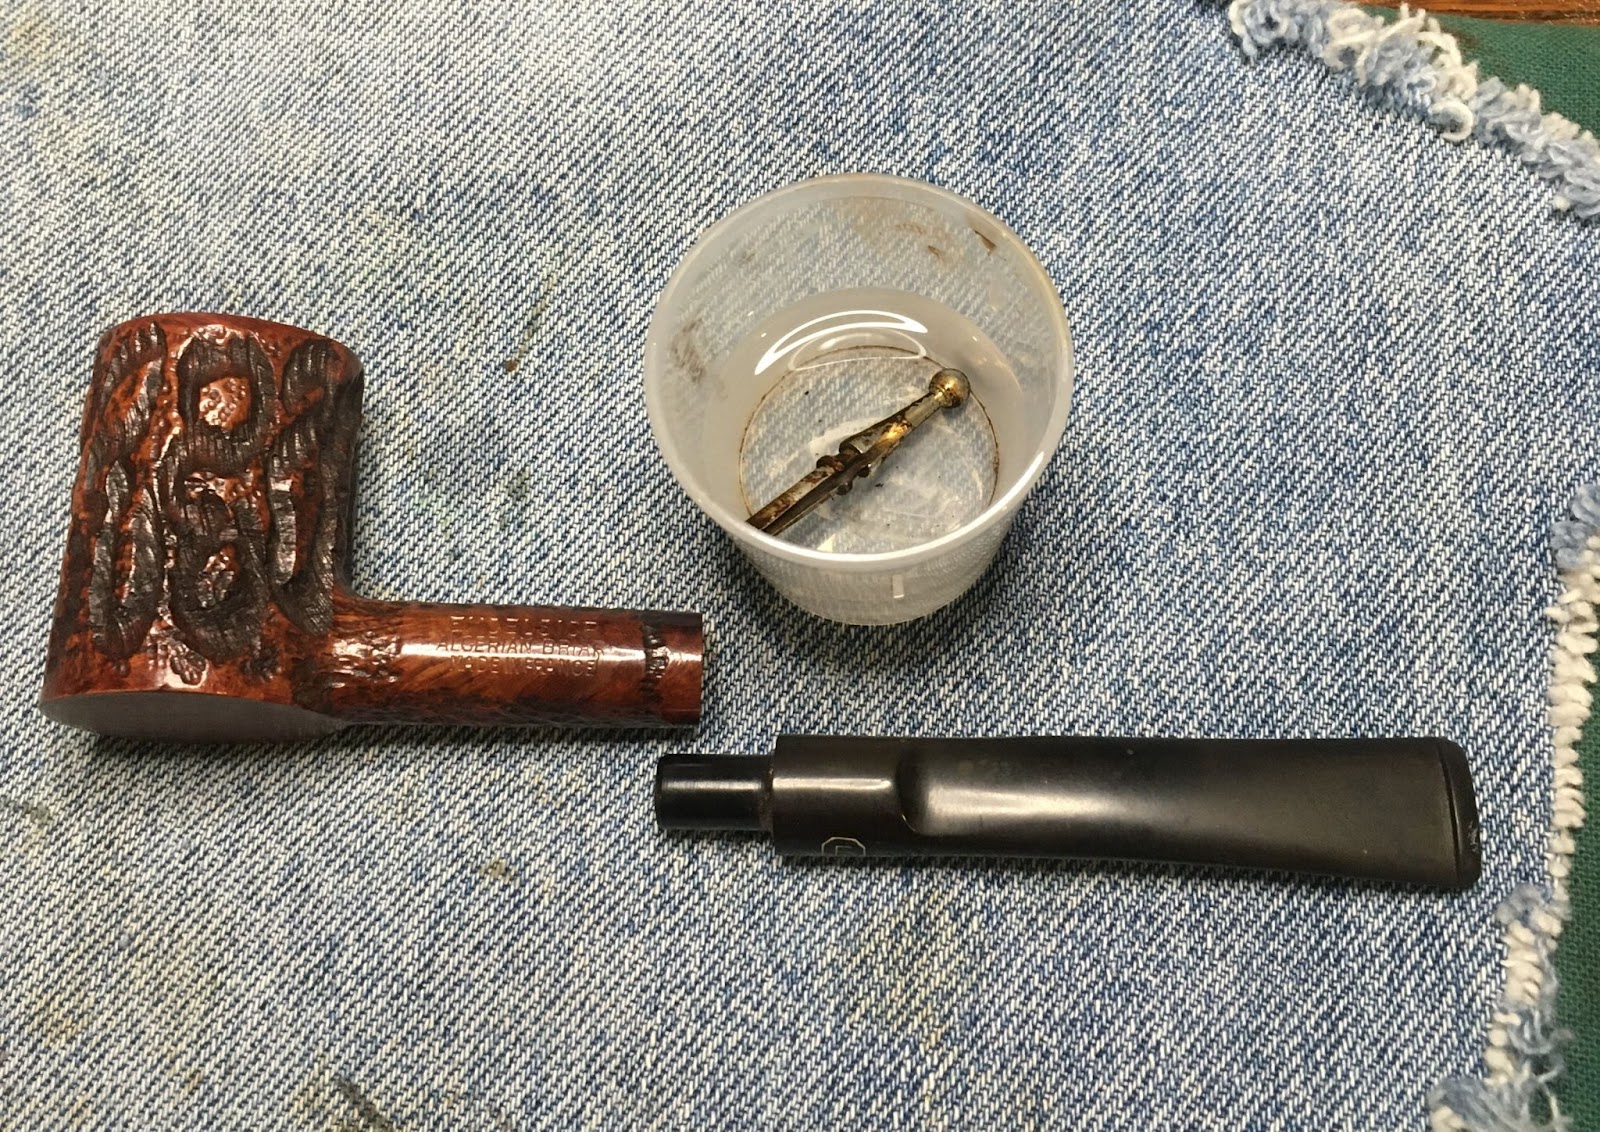
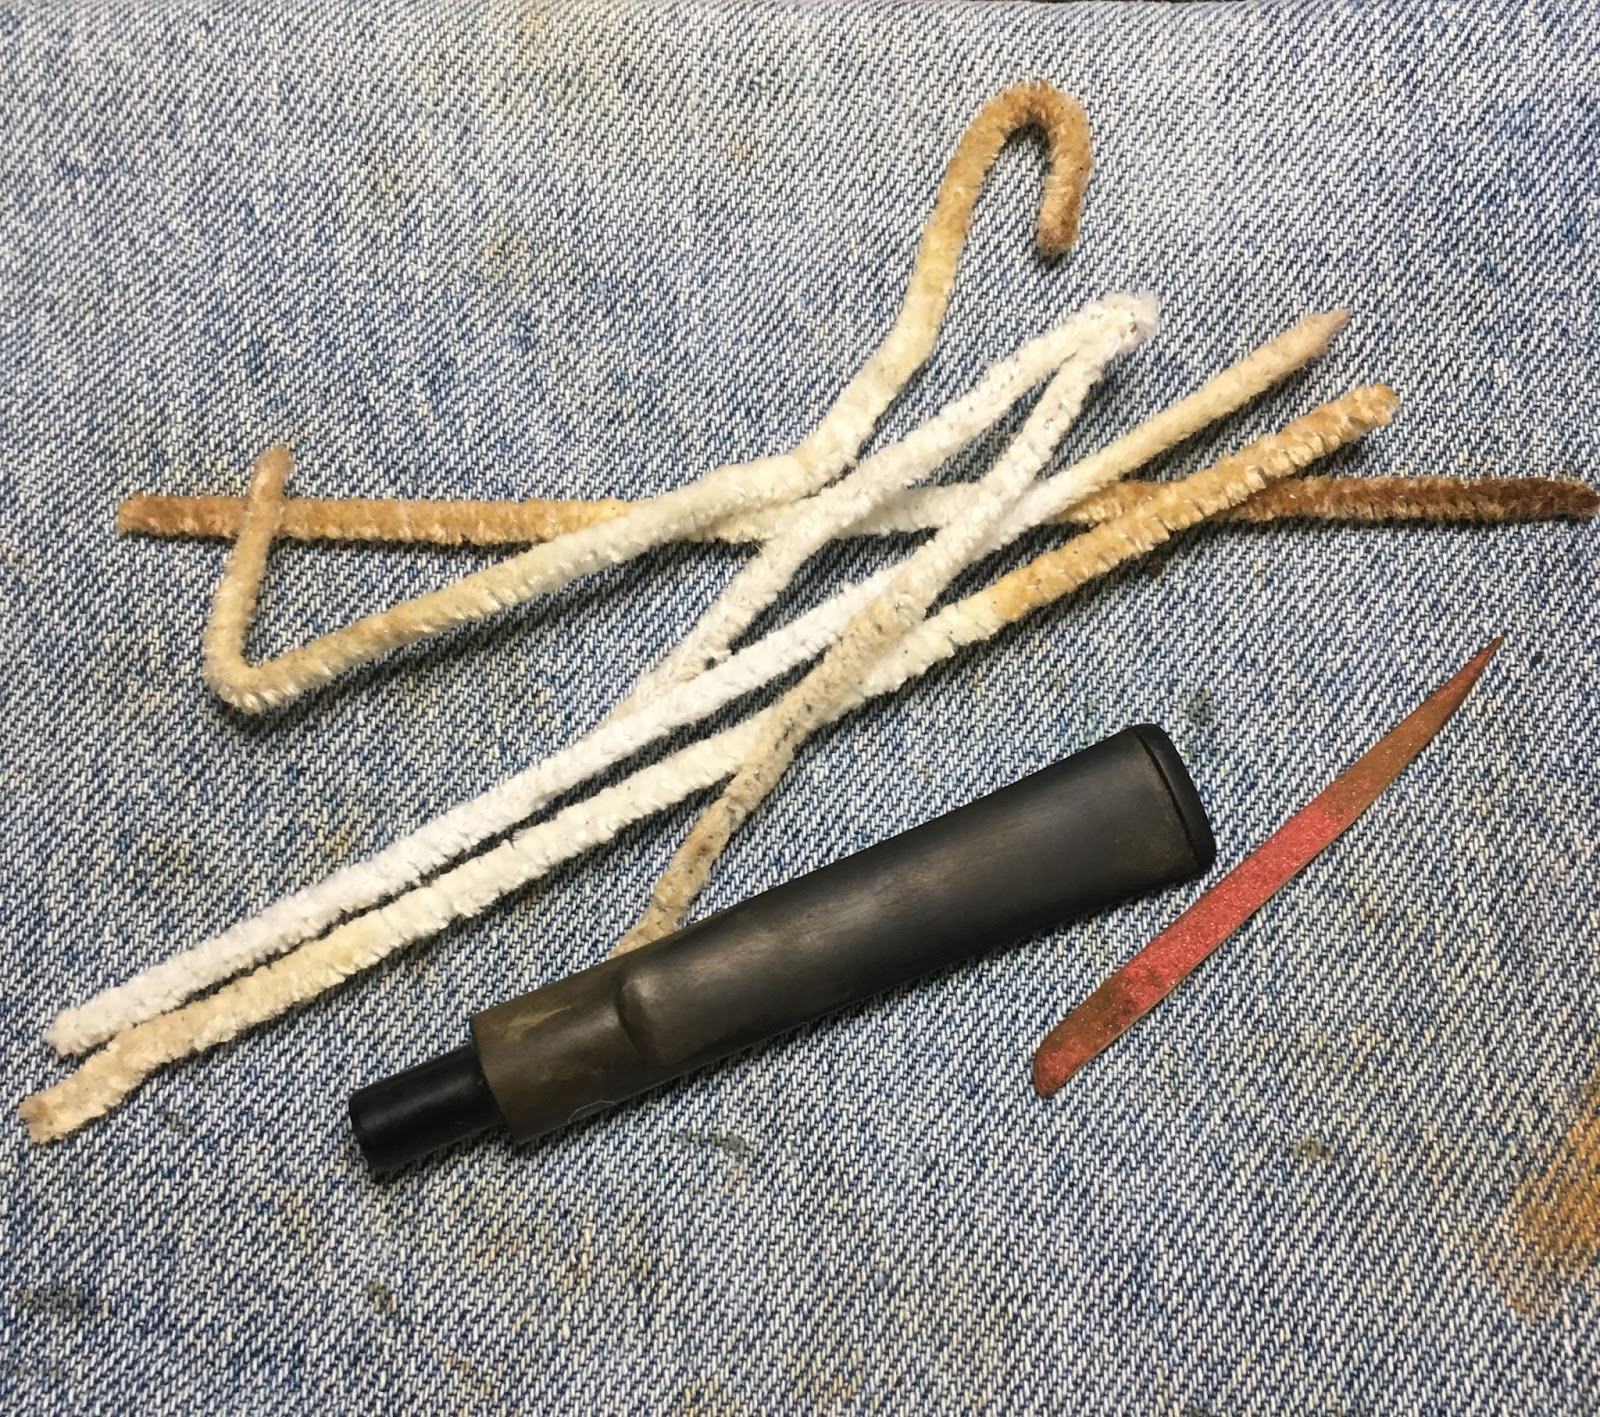
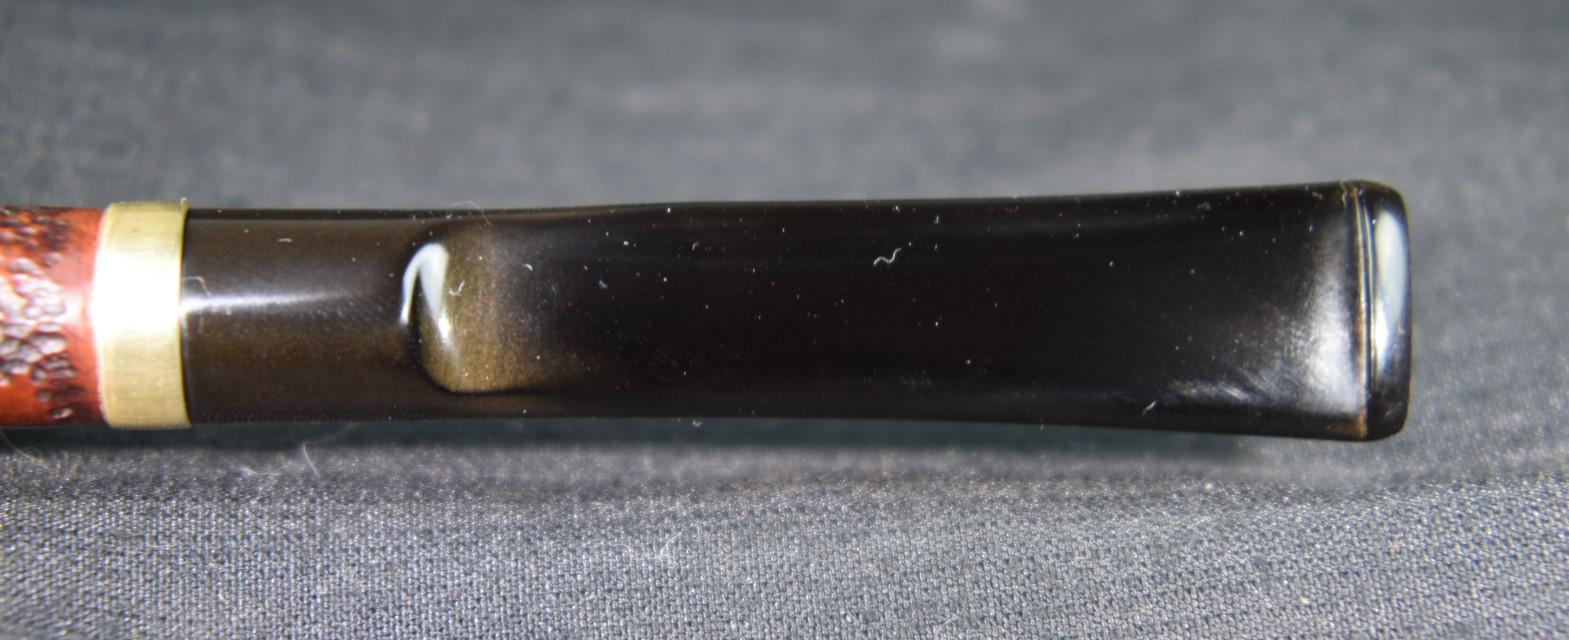
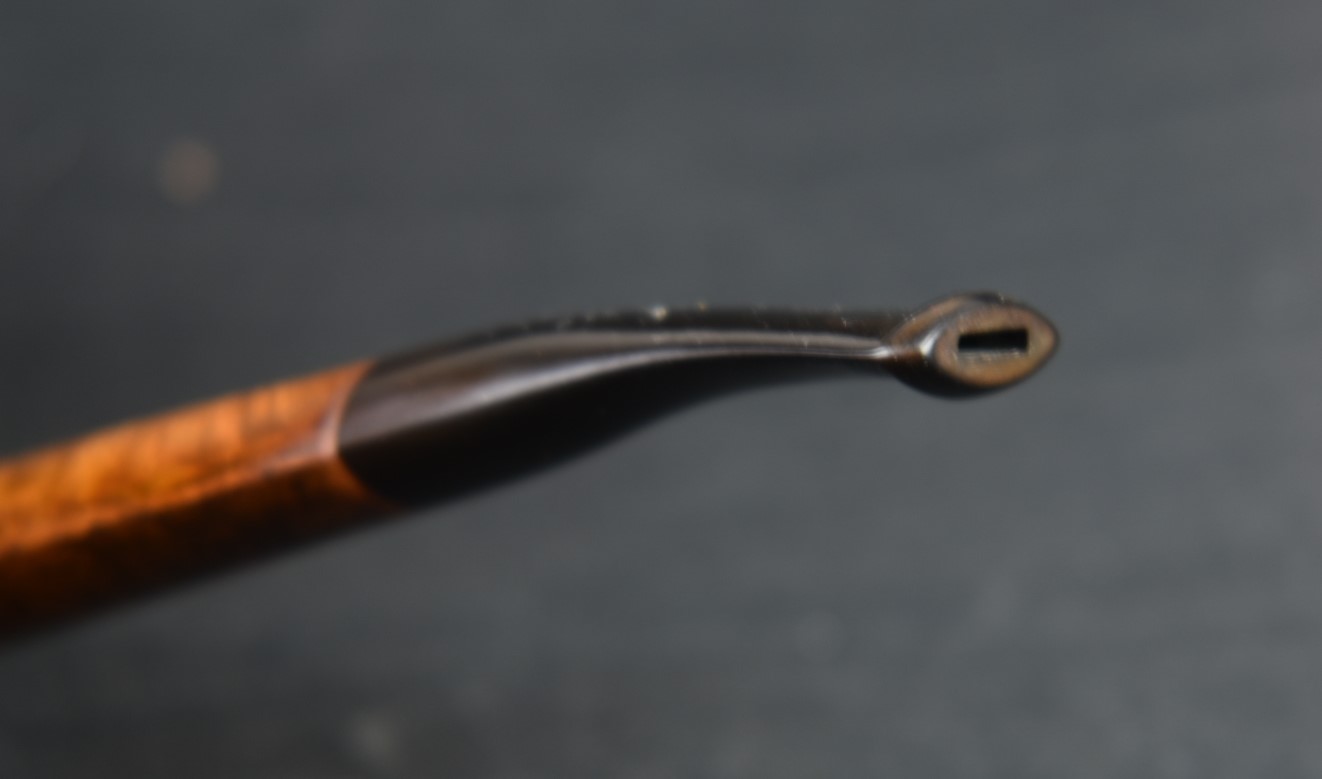
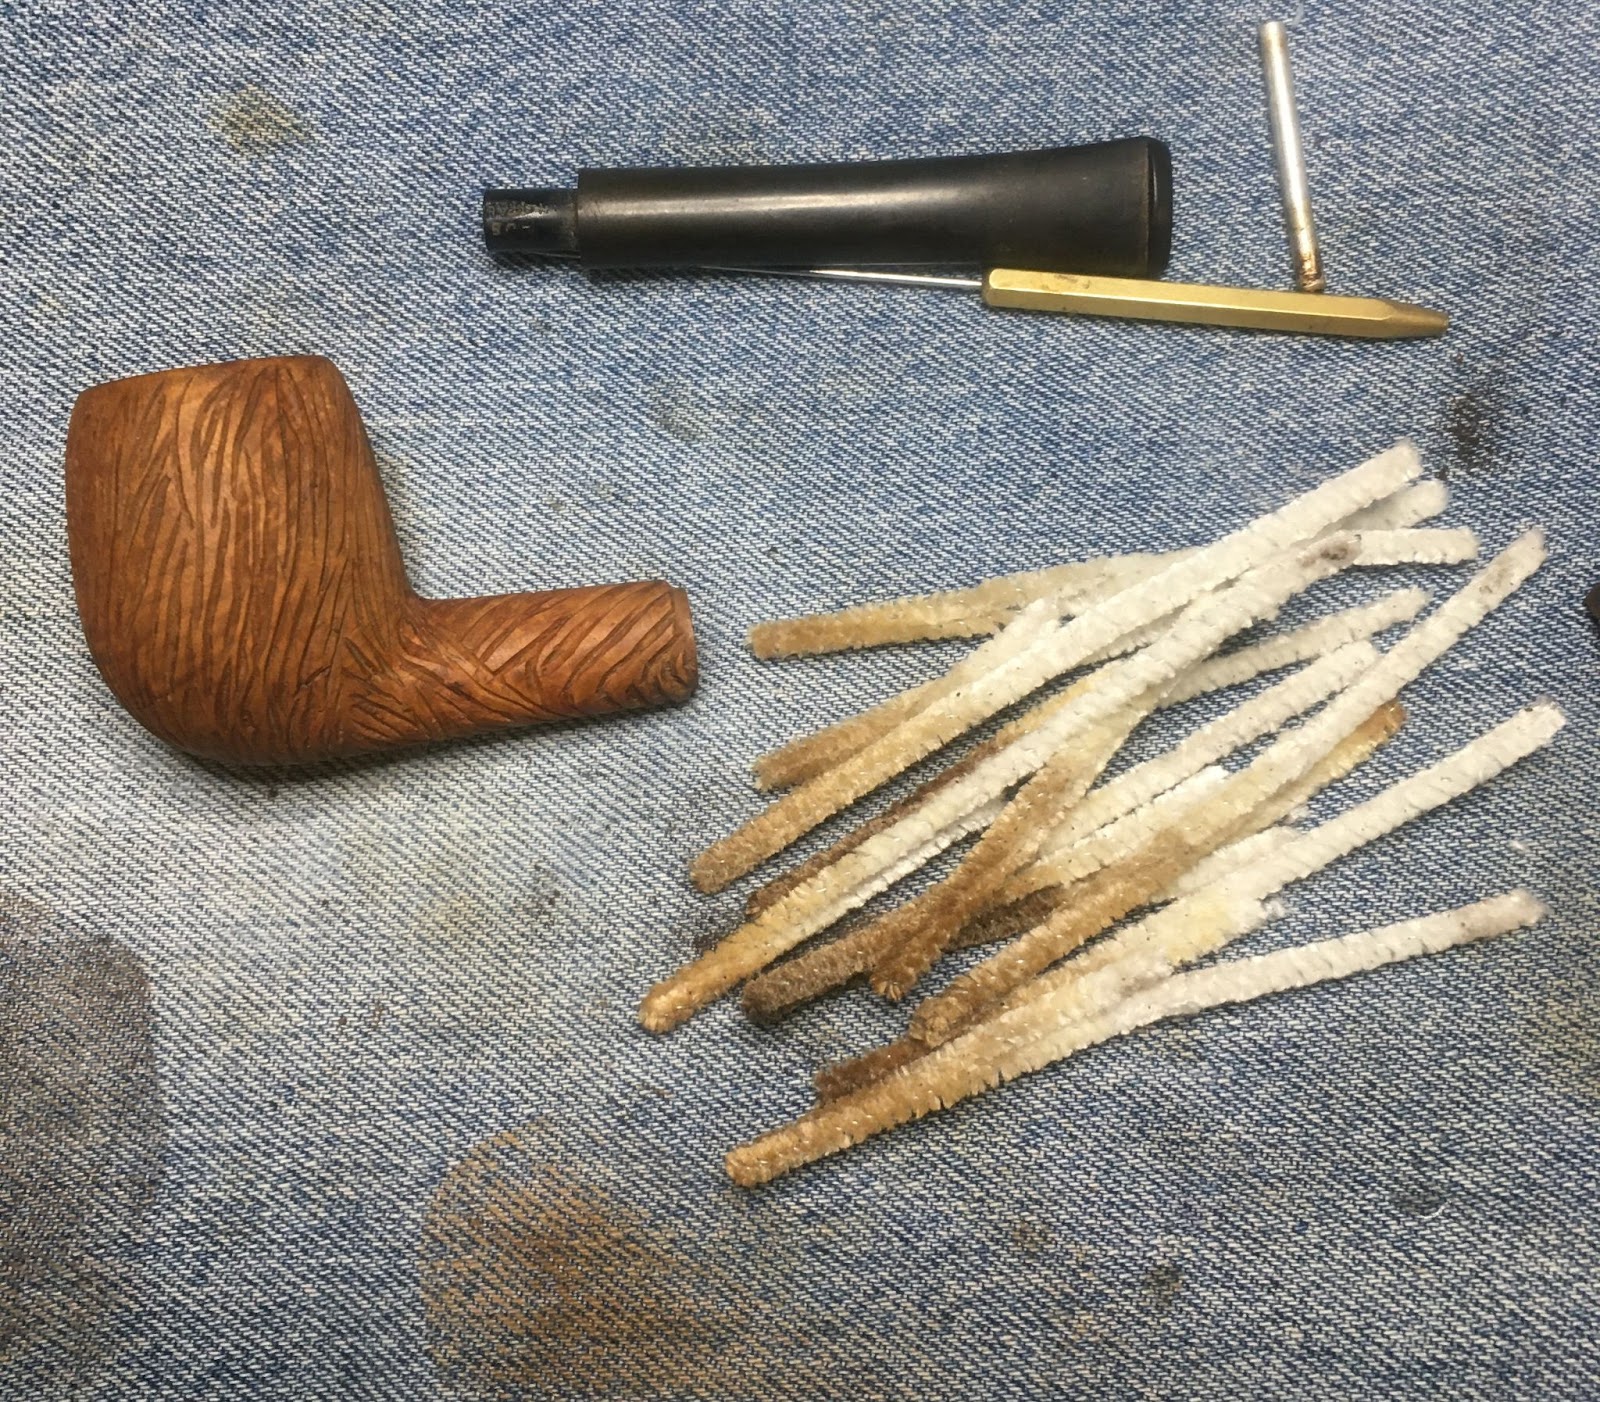
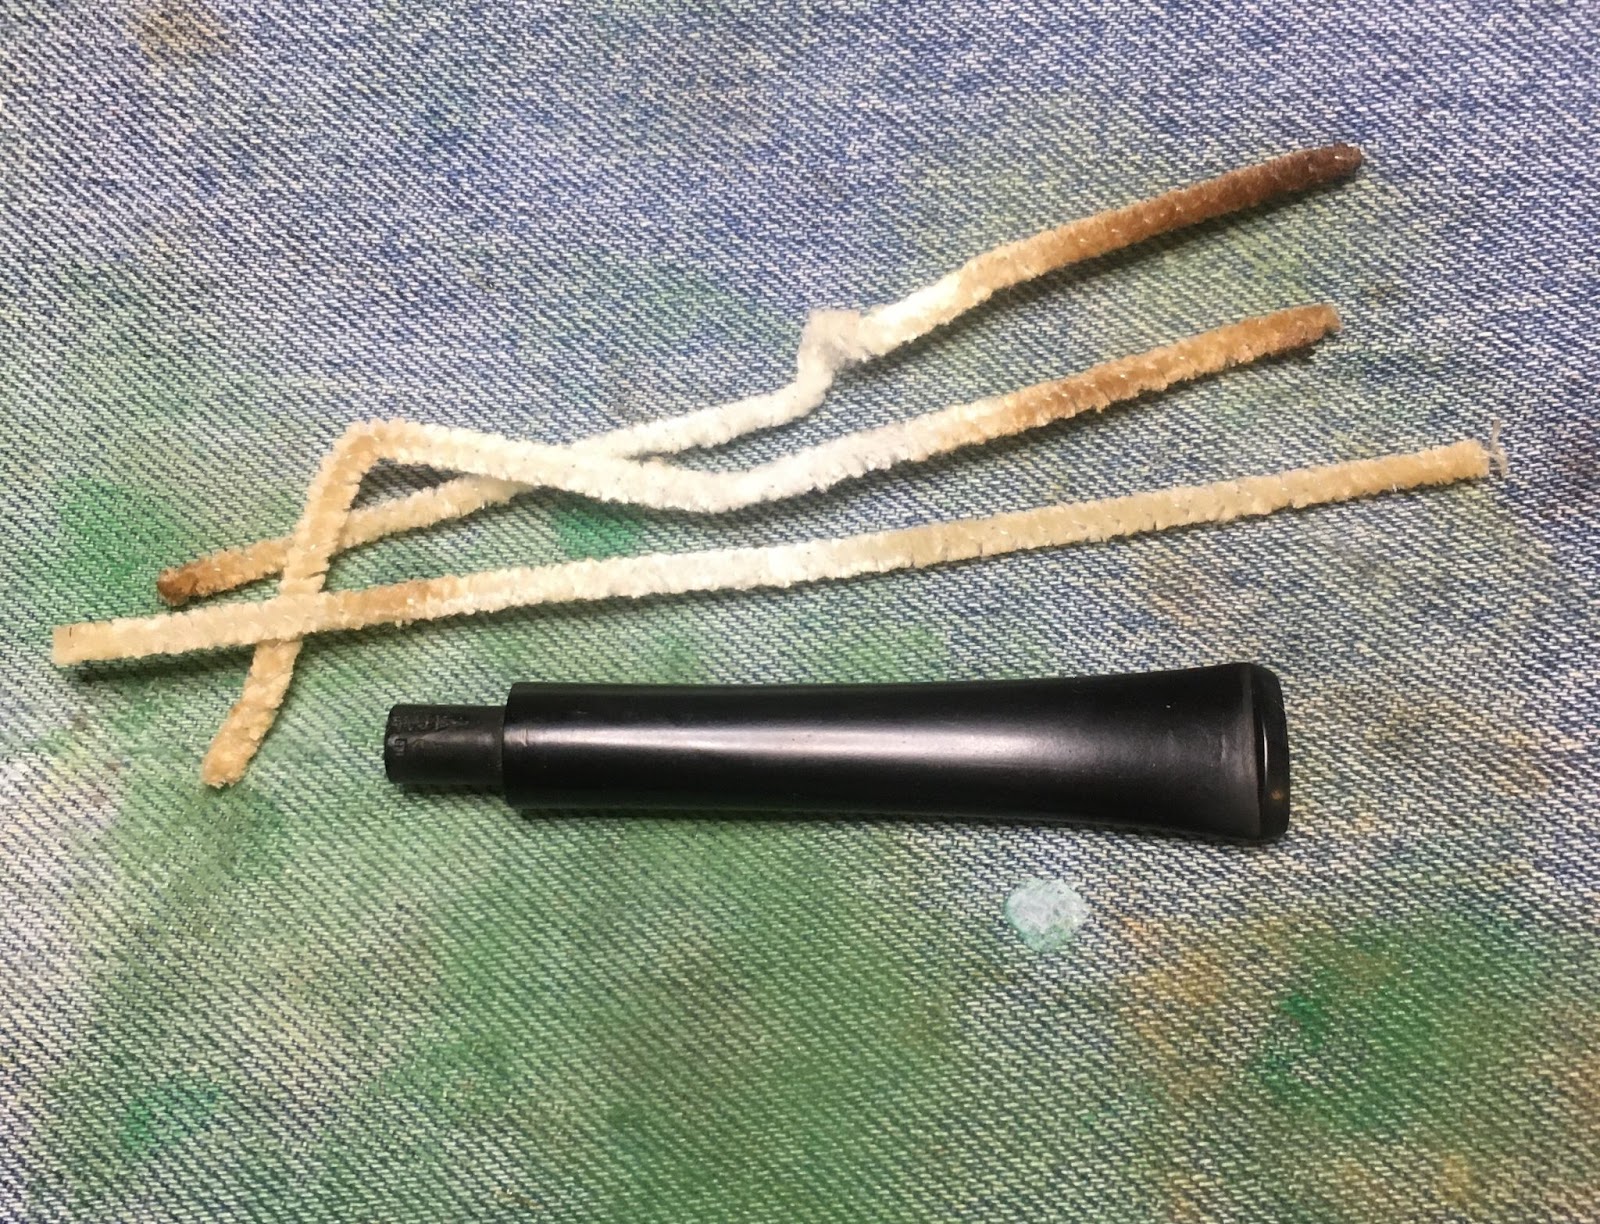
After the shank I set to work on cleaning the airway of the stem. Bristle pipe cleaners were dipped in alcohol and used to scrub the airway. I could get the nylon shank brush into the airway from the tenon end of the stem but not through the button. I scrubbed with the brush as well.
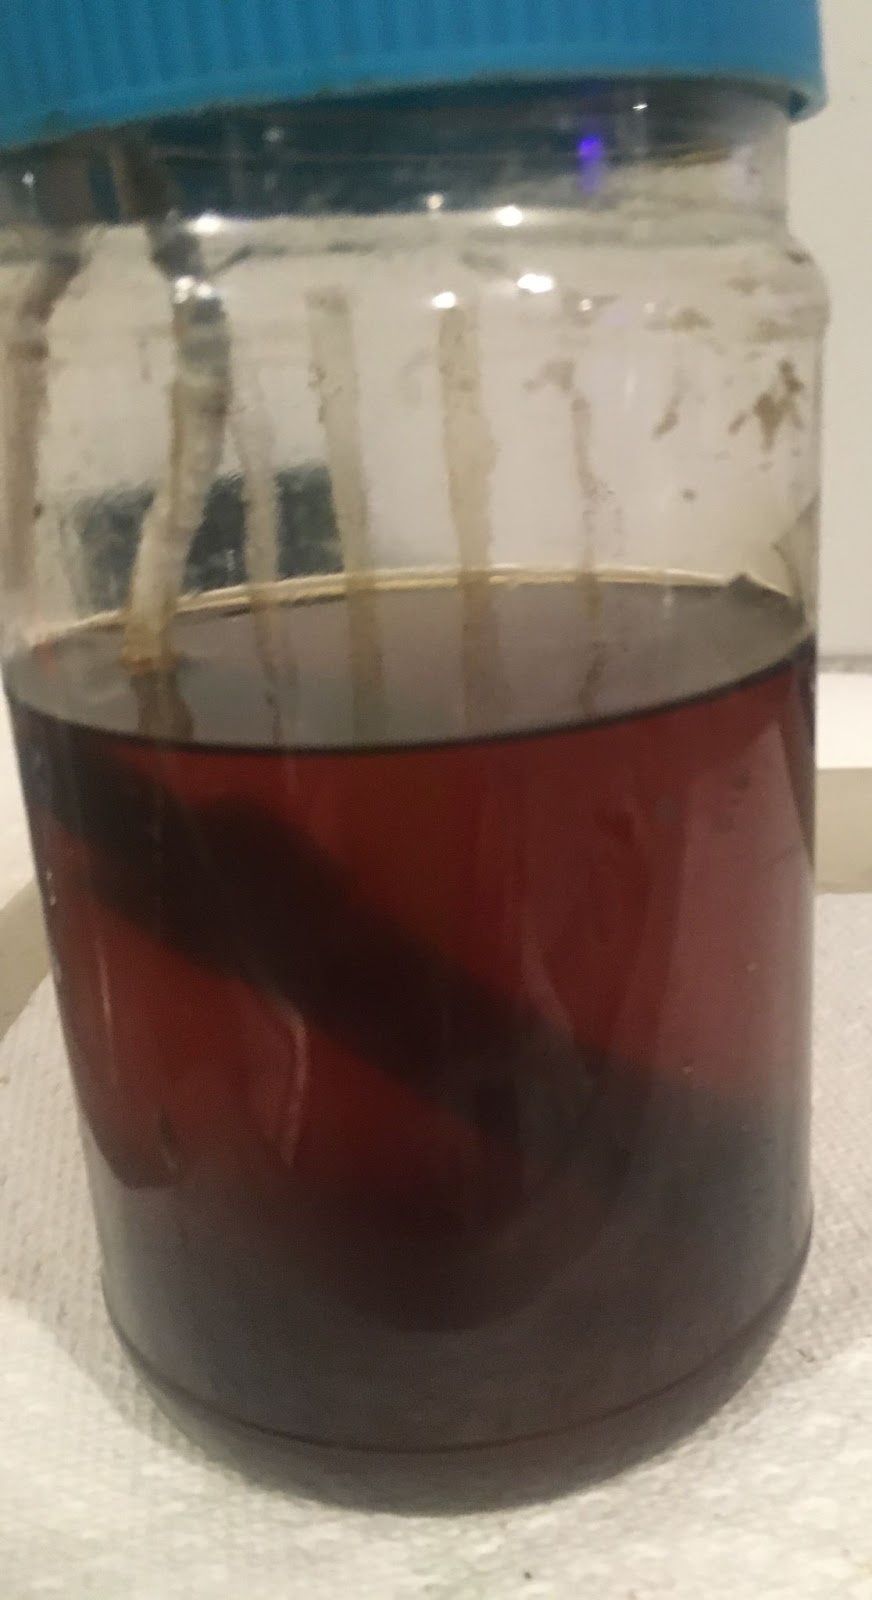
Once the interior of the stem was cleaned I sent the stem to deox. Okay, that means that I submerged the stem into the Before and After Deoxidizing solution. (deox). Normally I’ll leave a stem in for 2-6 hours. This time I forgot about it and left it in for about 20 hours.

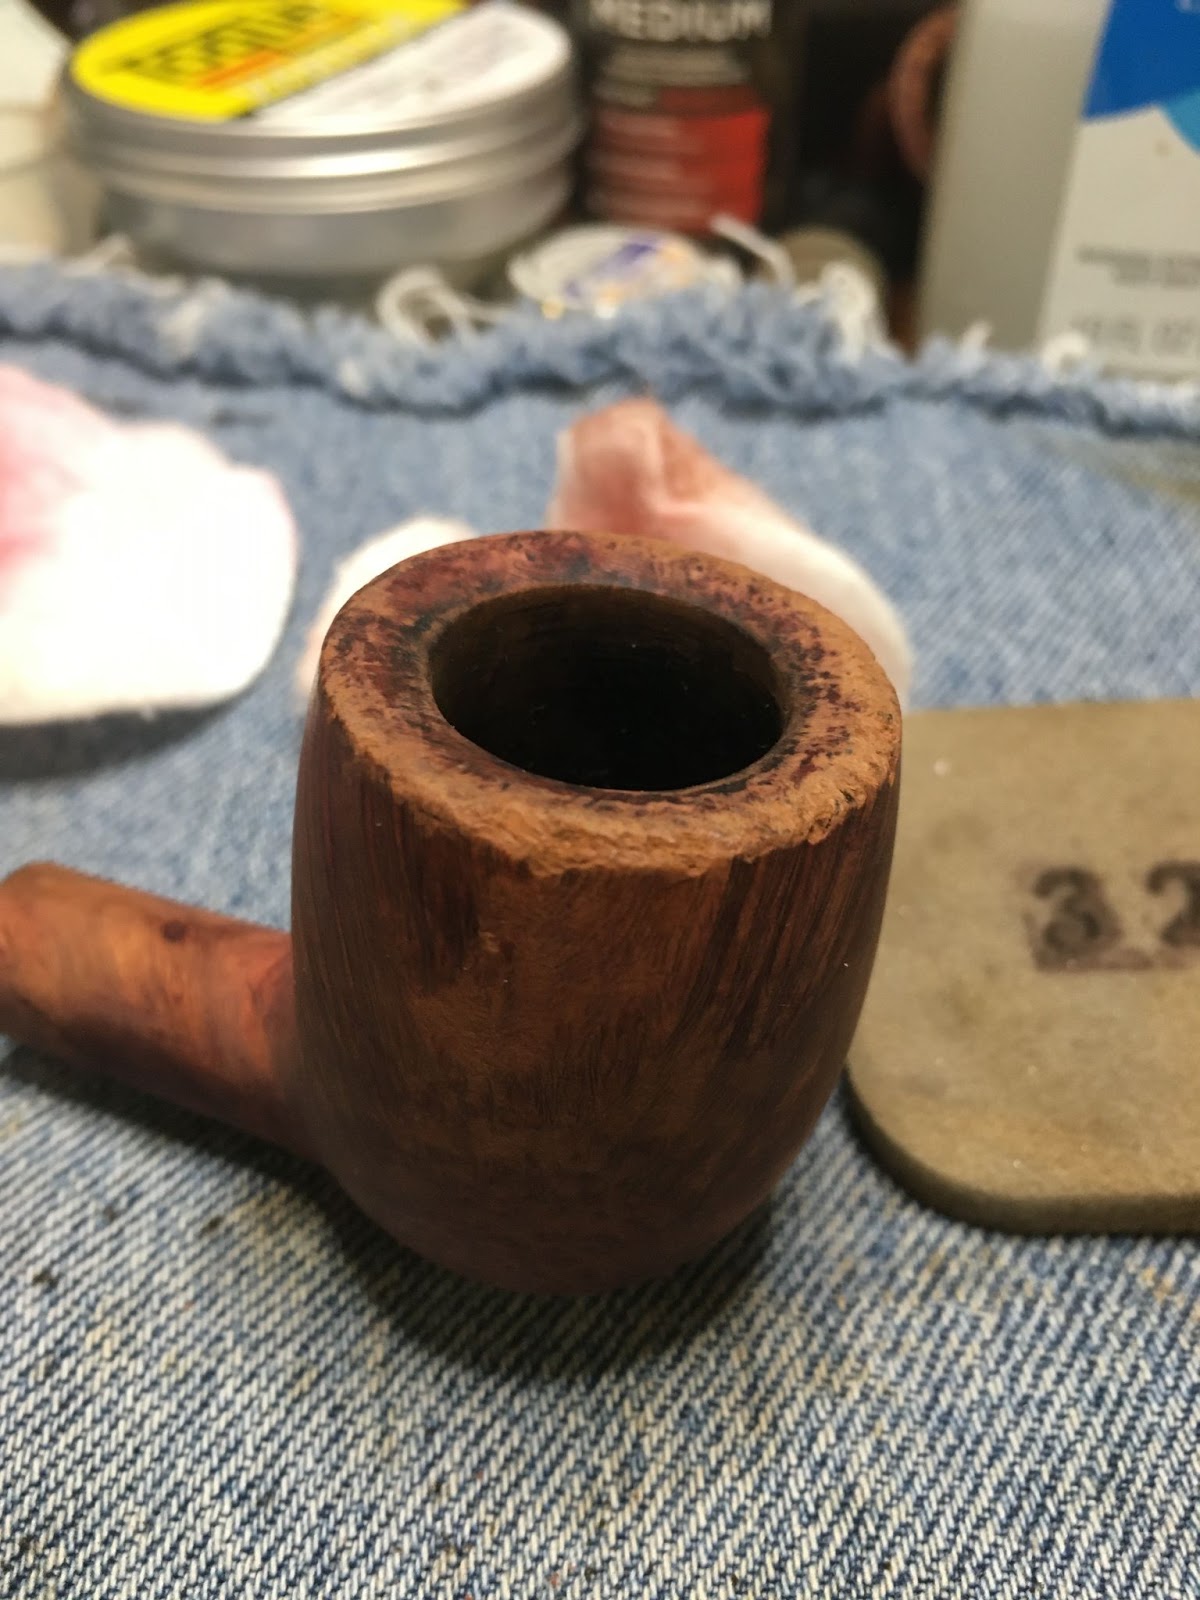
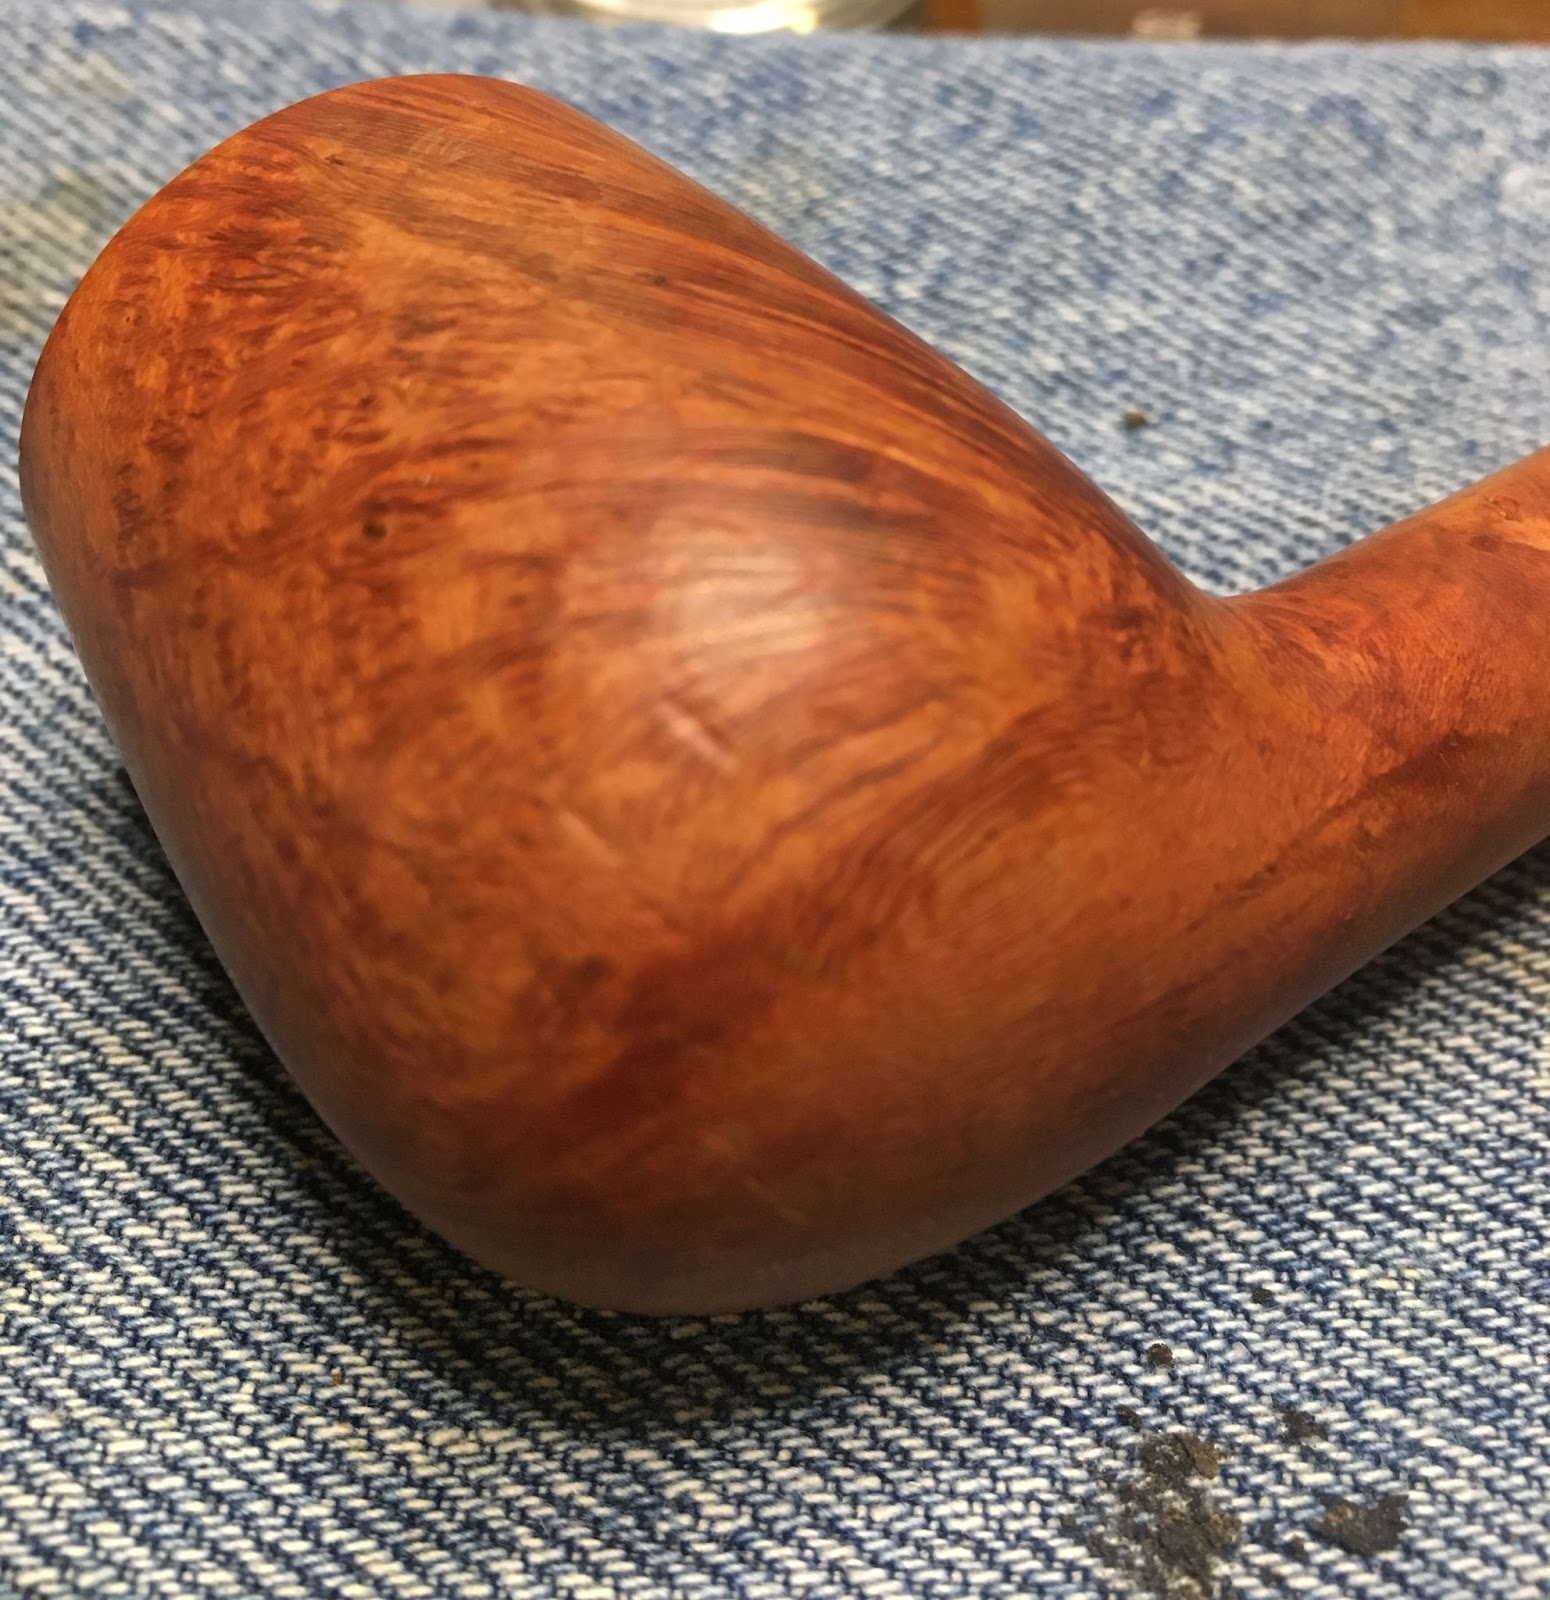
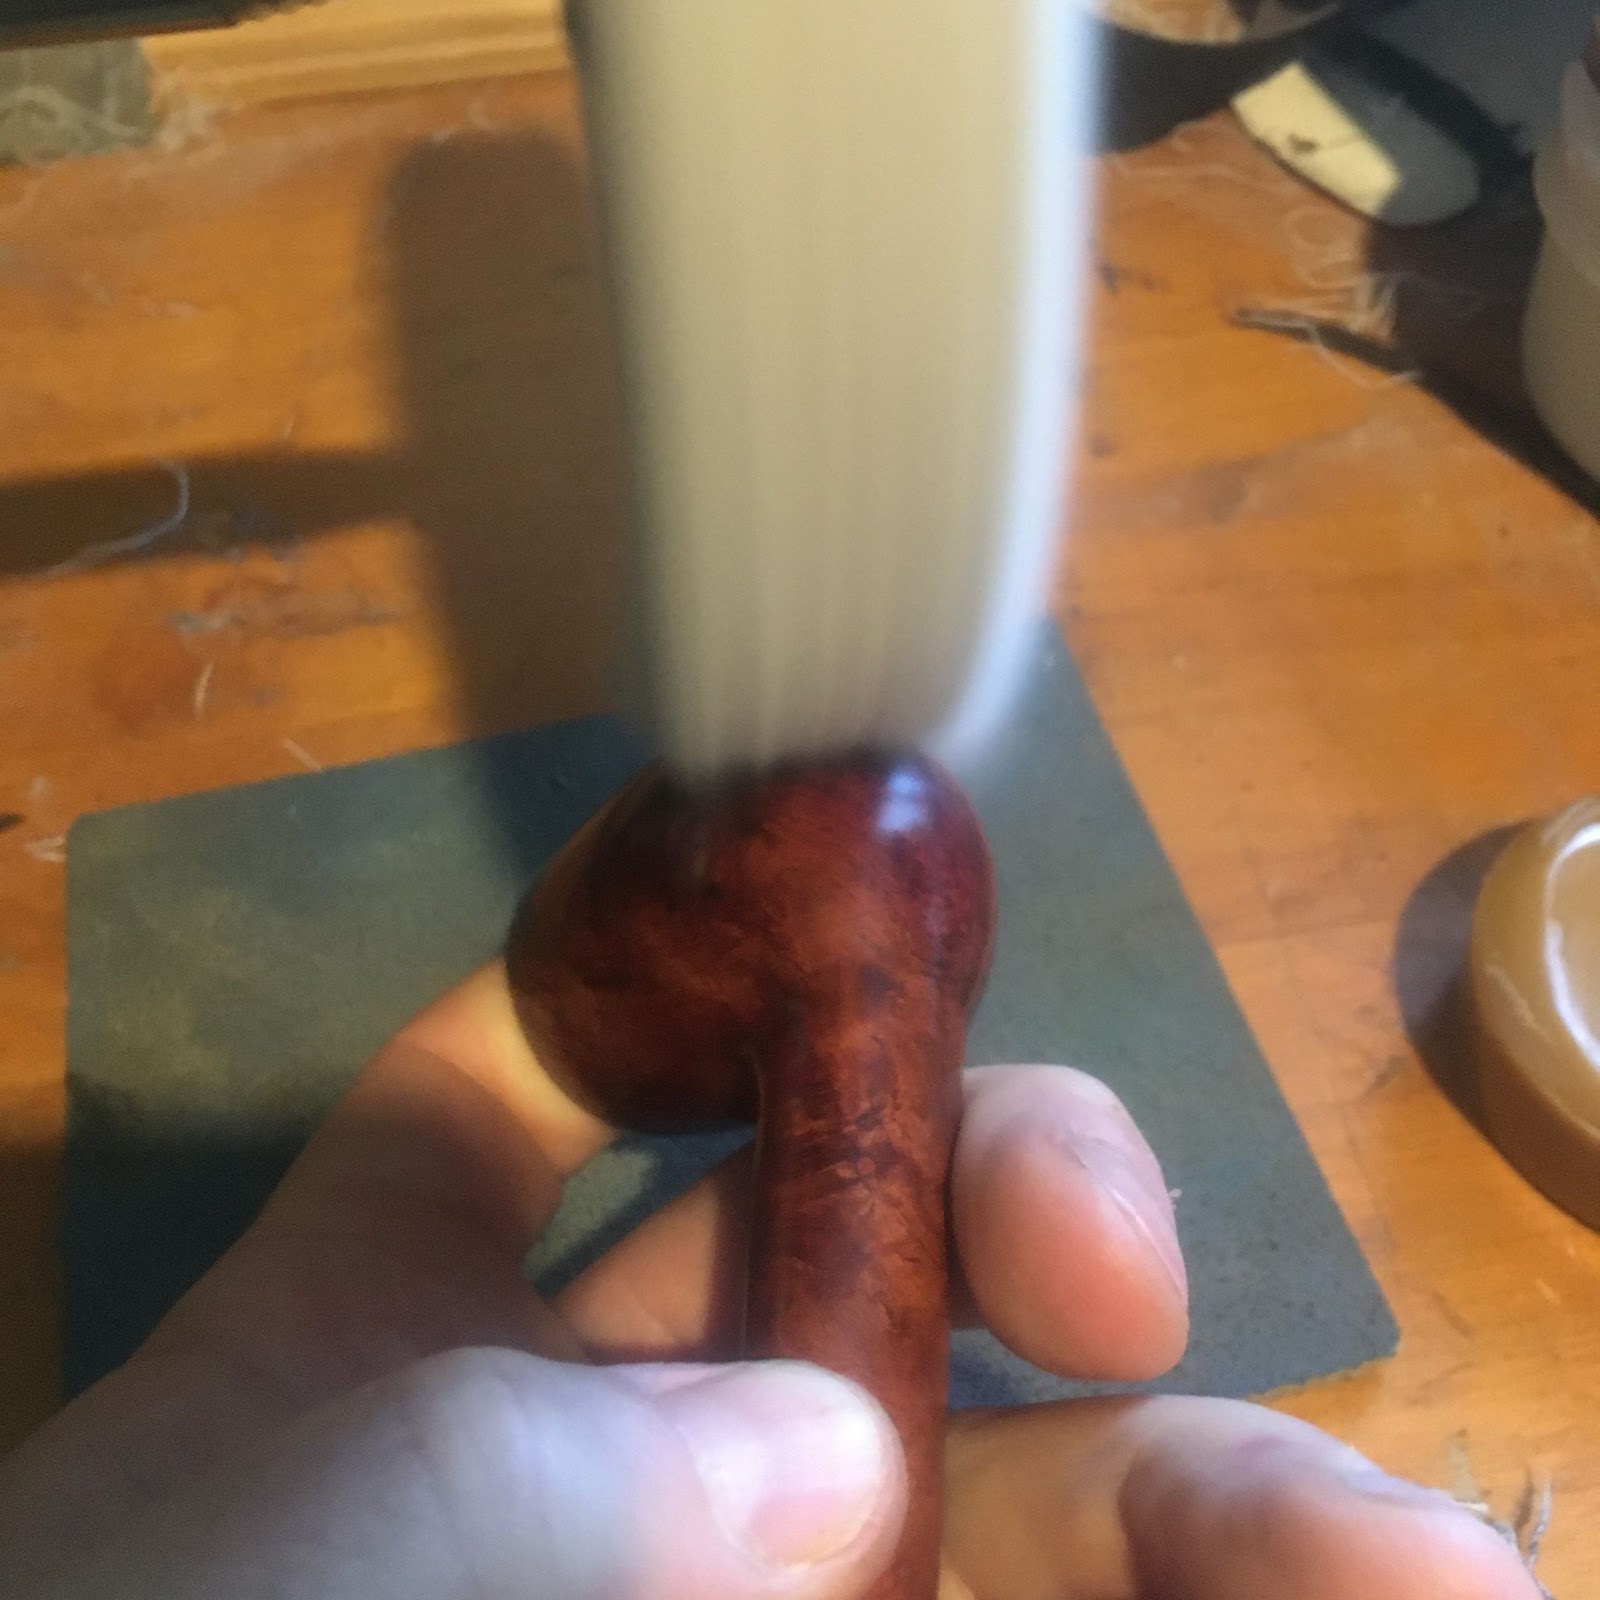
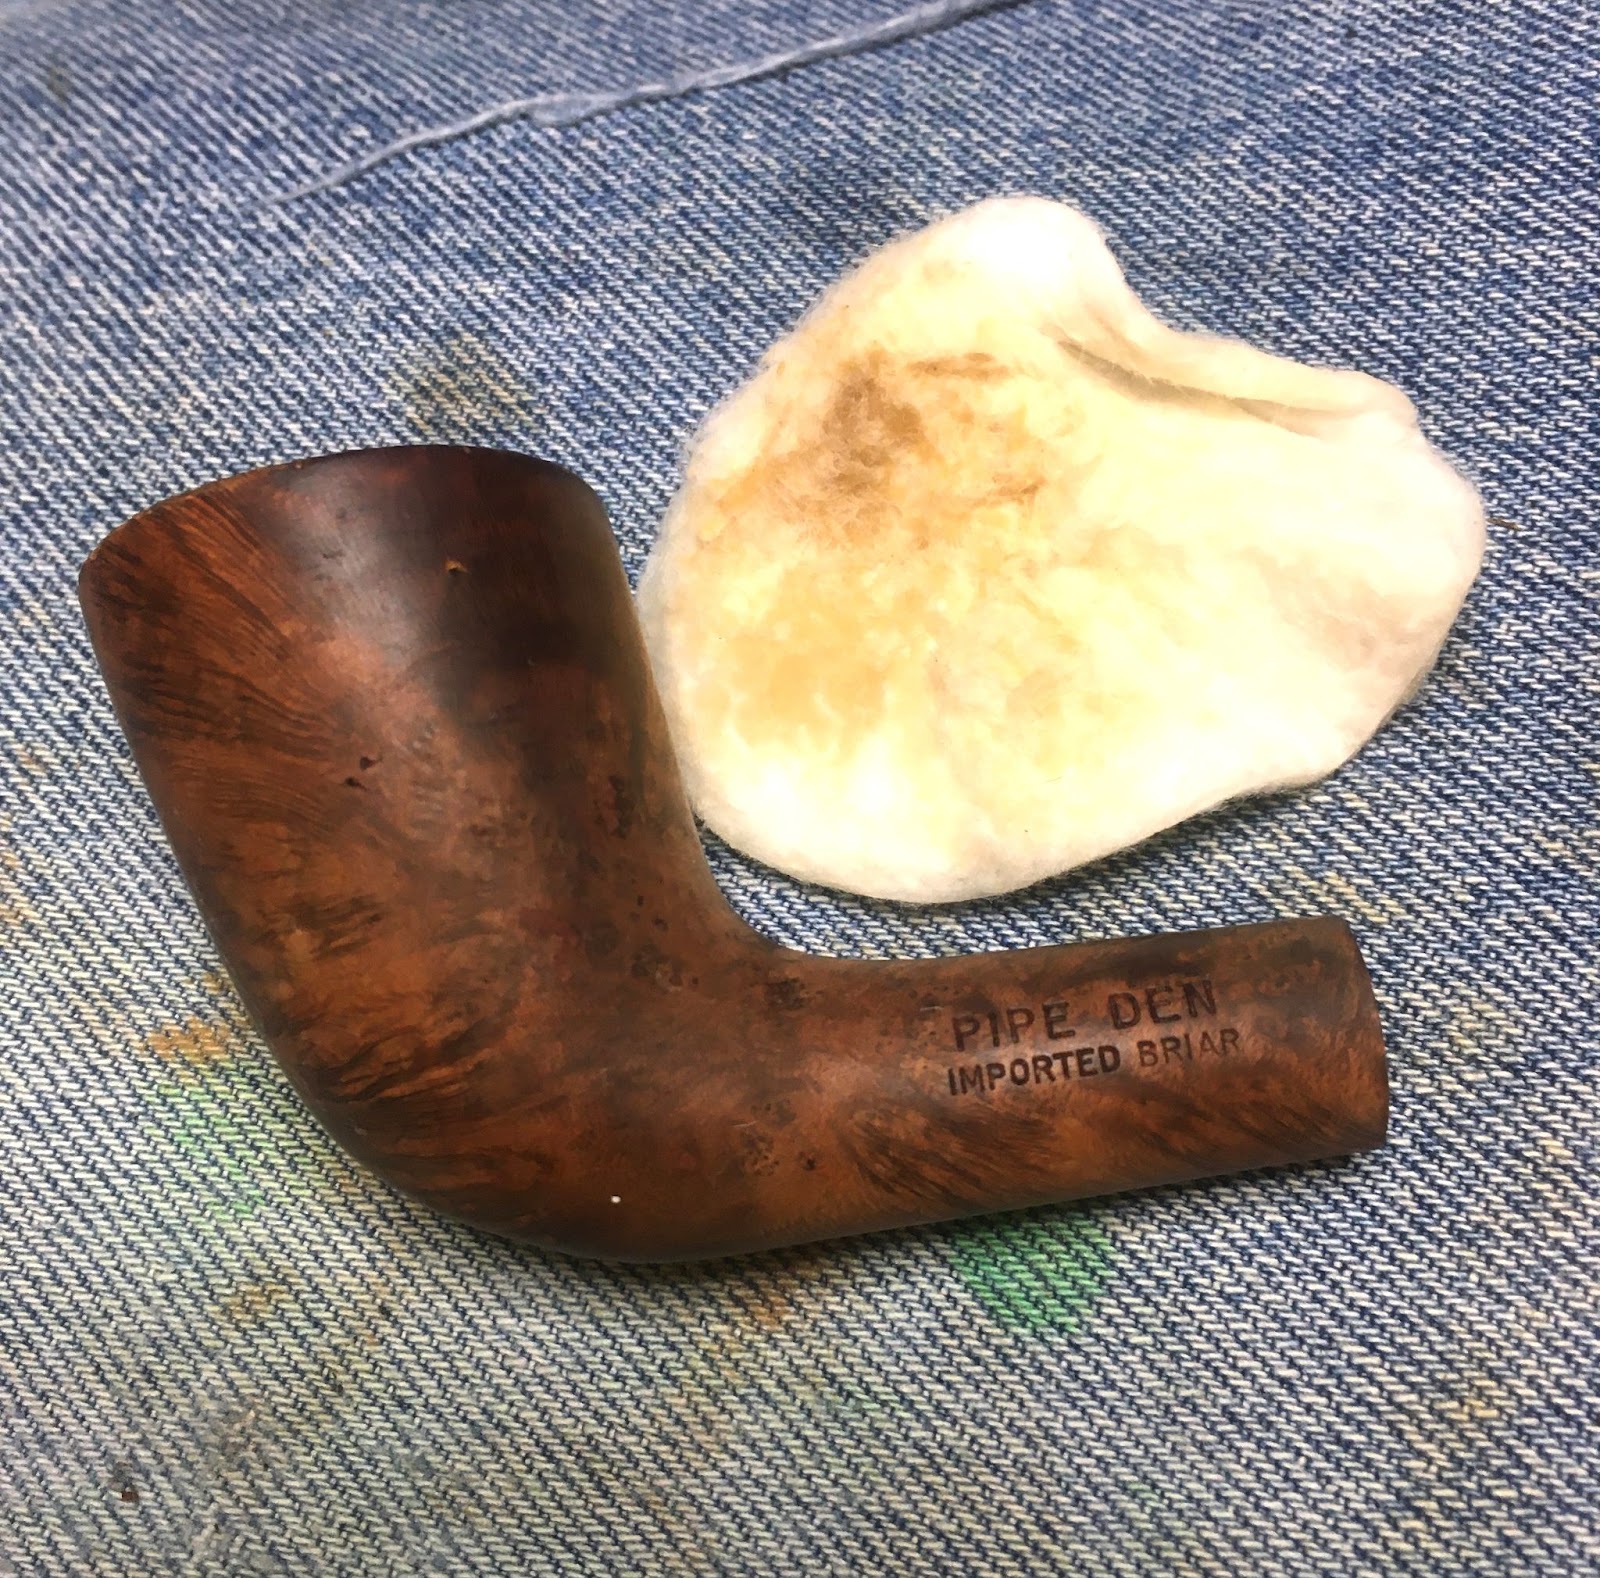
With the stem in deox, I returned attention to the stummel. The rim needed a light topping. This was done with a piece of 220 sandpaper laid flat on a countertop. I used a circular motion and rotated the stummel 90 degrees every 3-4 circles. This was done to keep the pressure equally distributed around the entire rim. The 220 sanding was repeated with 400.

That was a much improved rim.

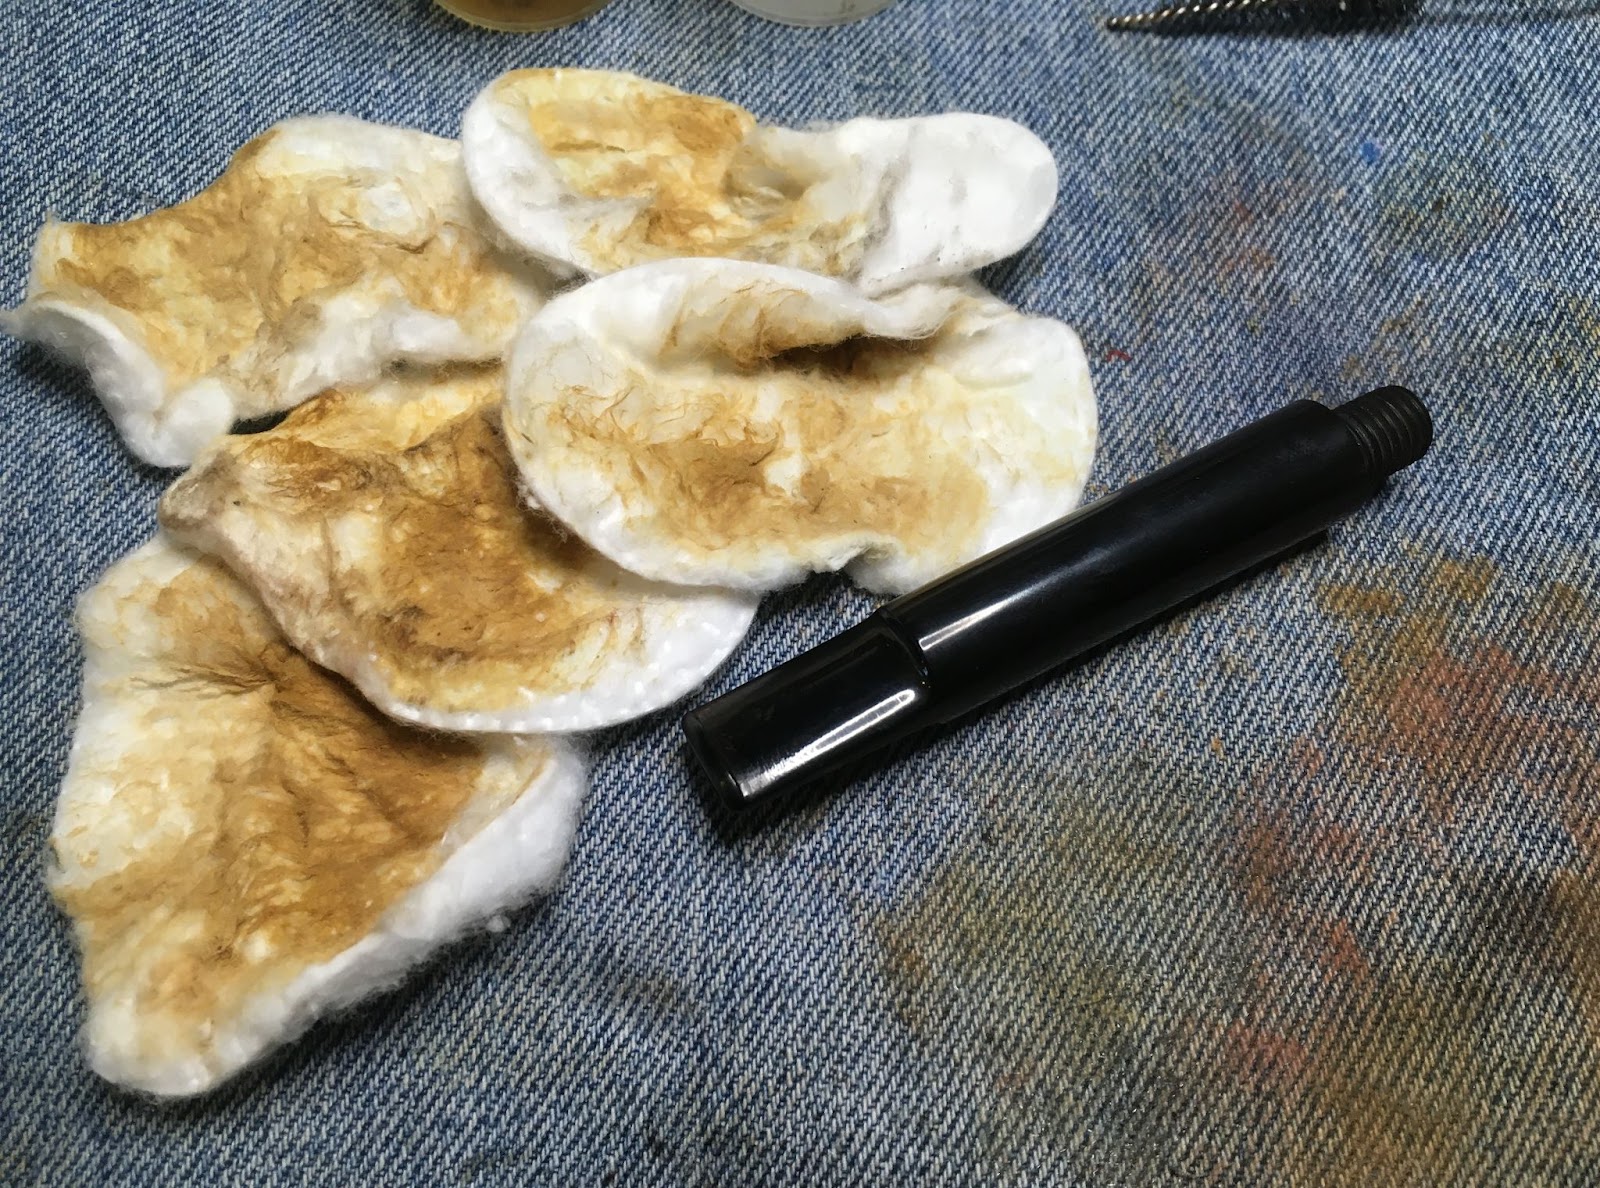
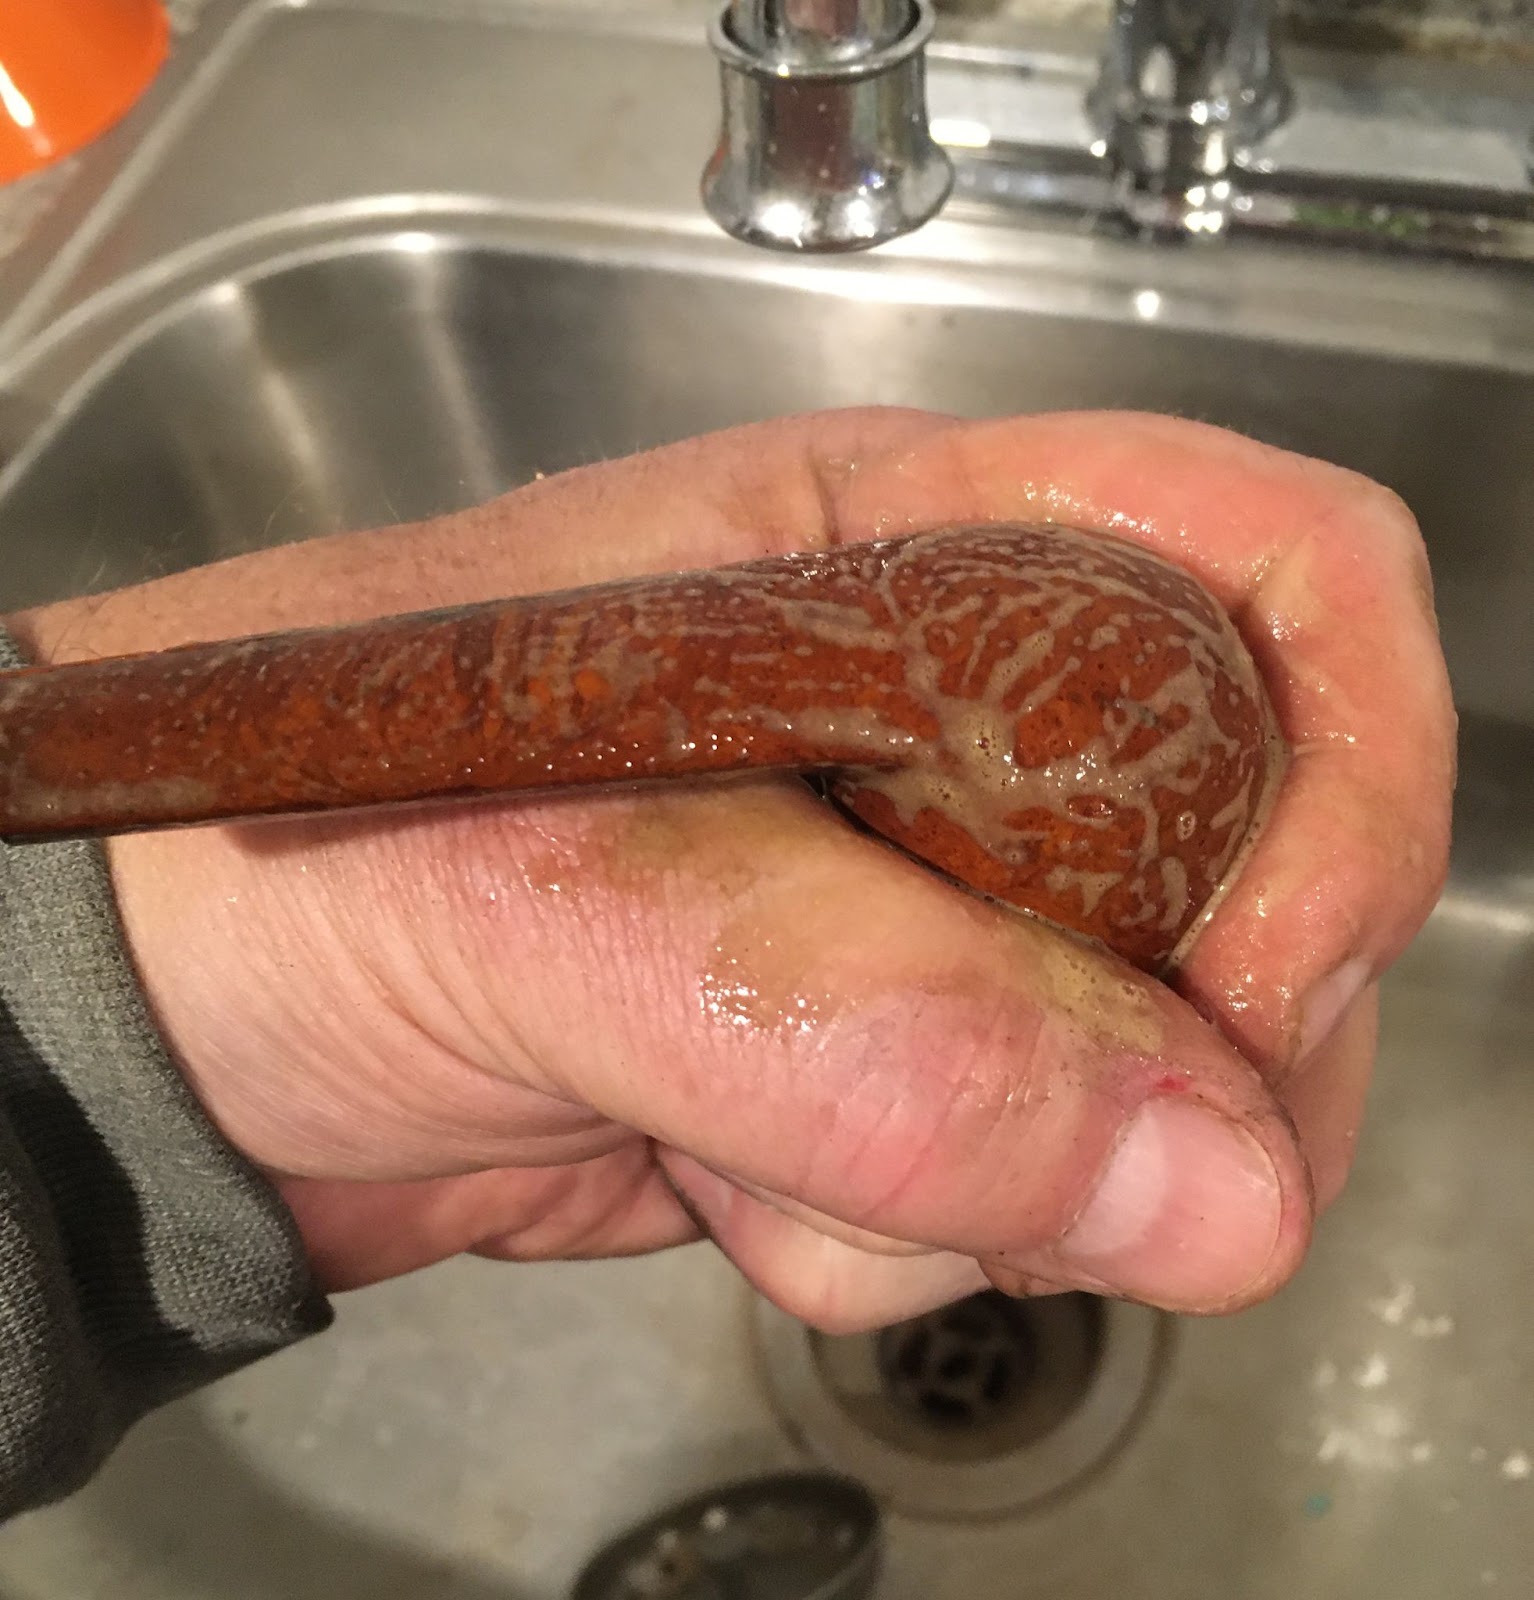
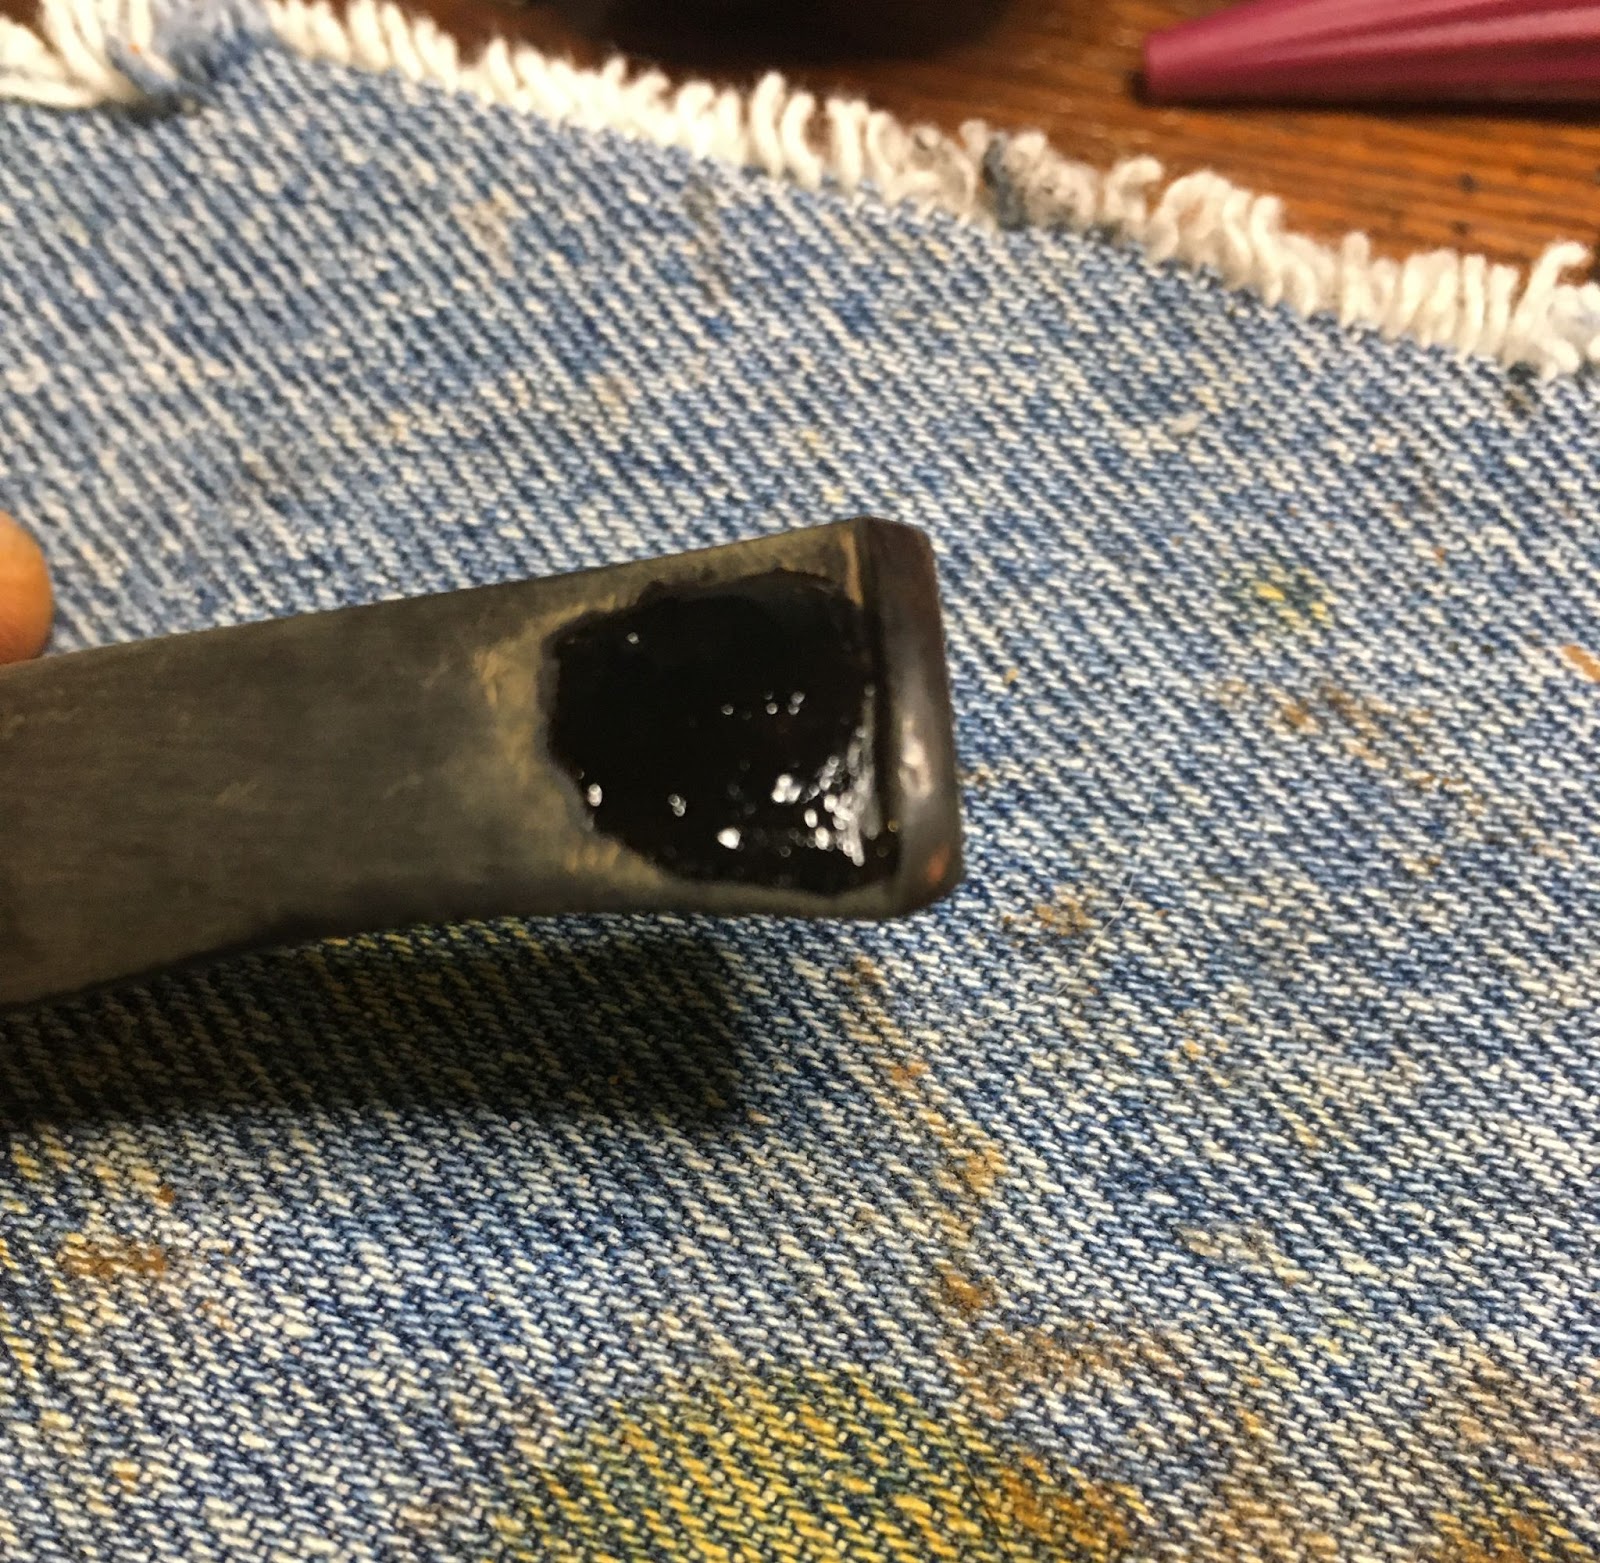
The extra time in deox had me a bit worried. I don’t normally forget stems. My name or what I was doing at that moment, yes, but not stems. What was I talking about again? Oh yeah, the stem in deox. 20 hours later I let the stem drip excess solution back into the deox jar.
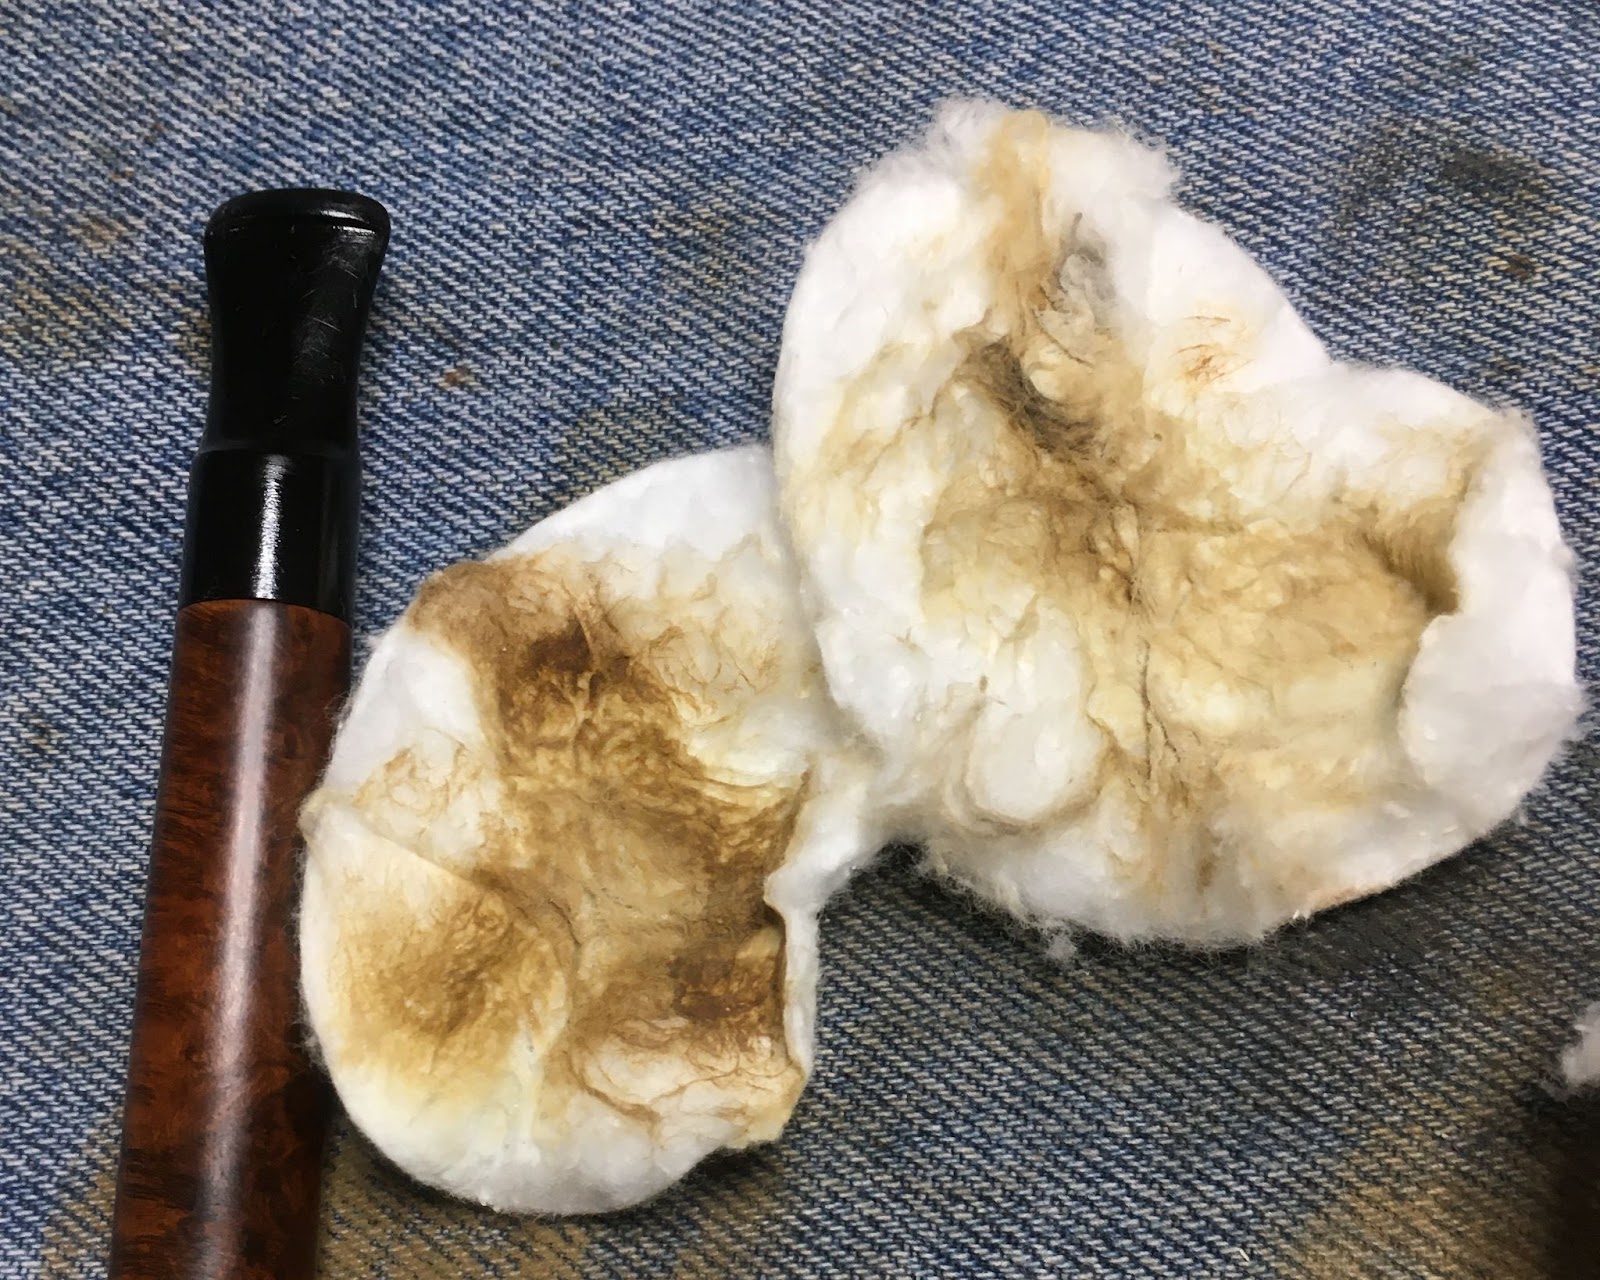
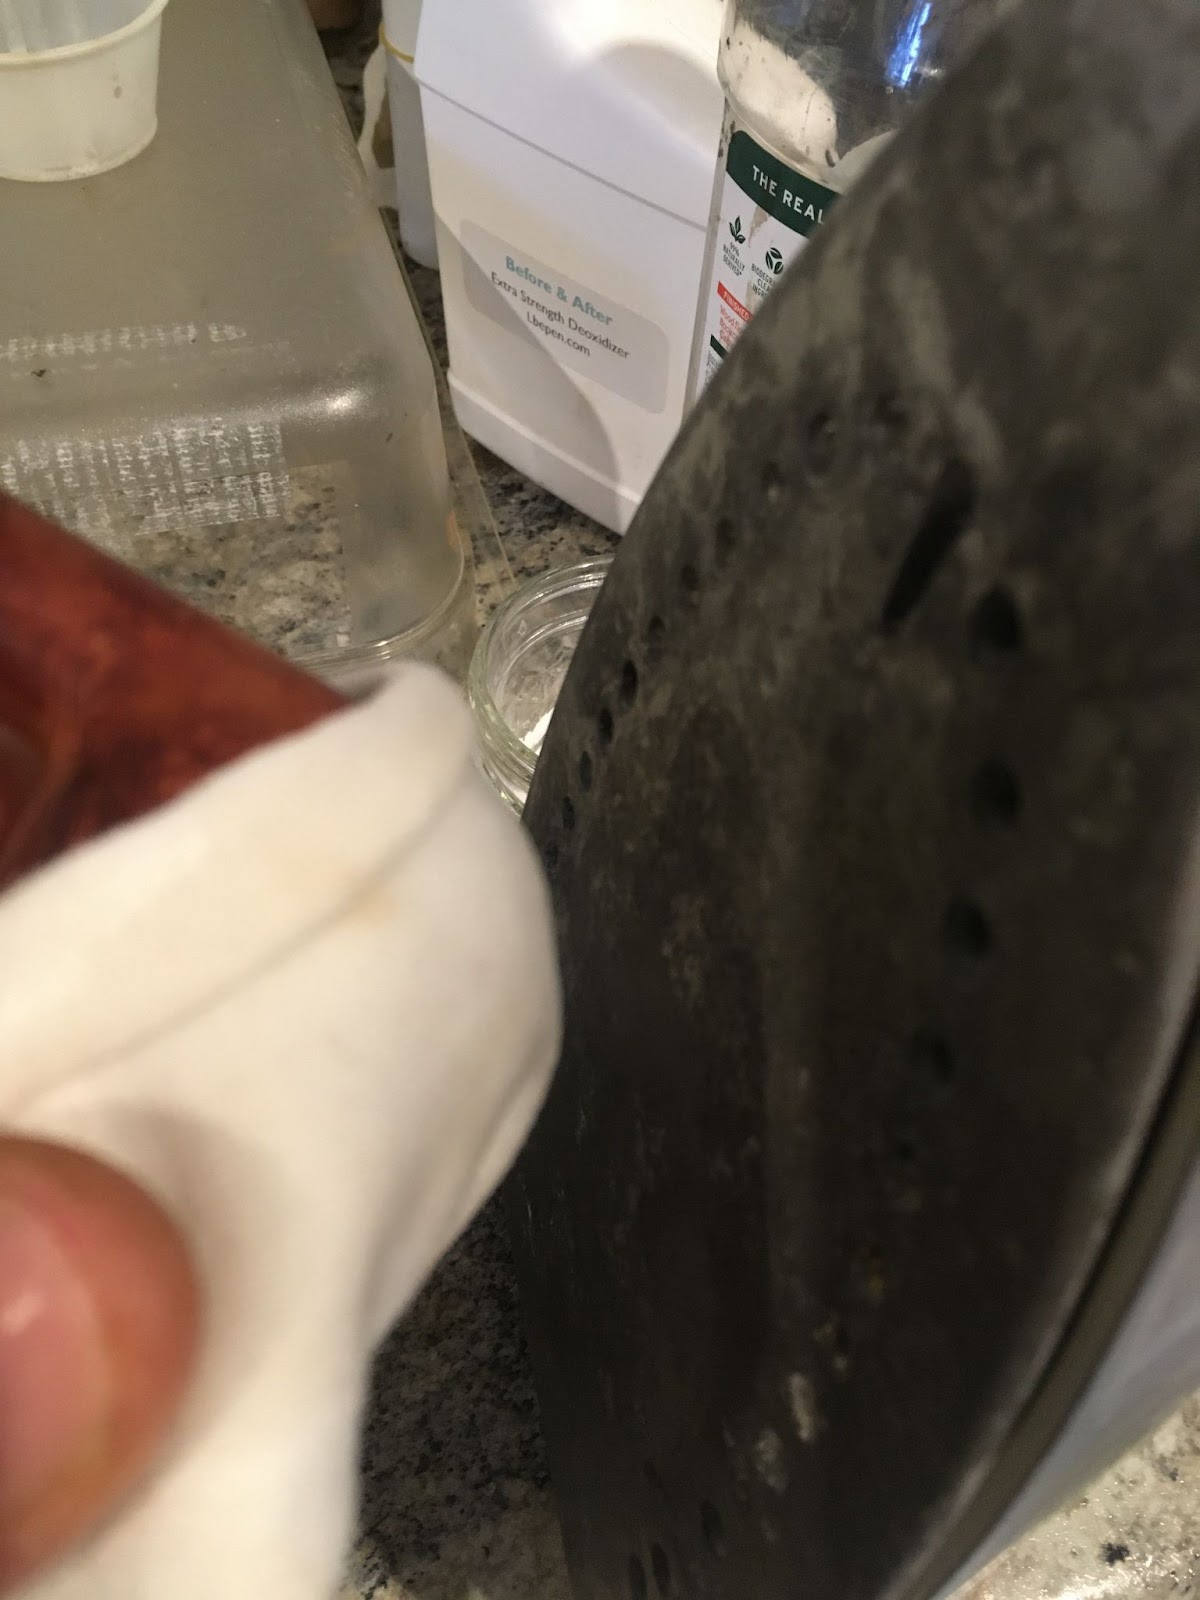
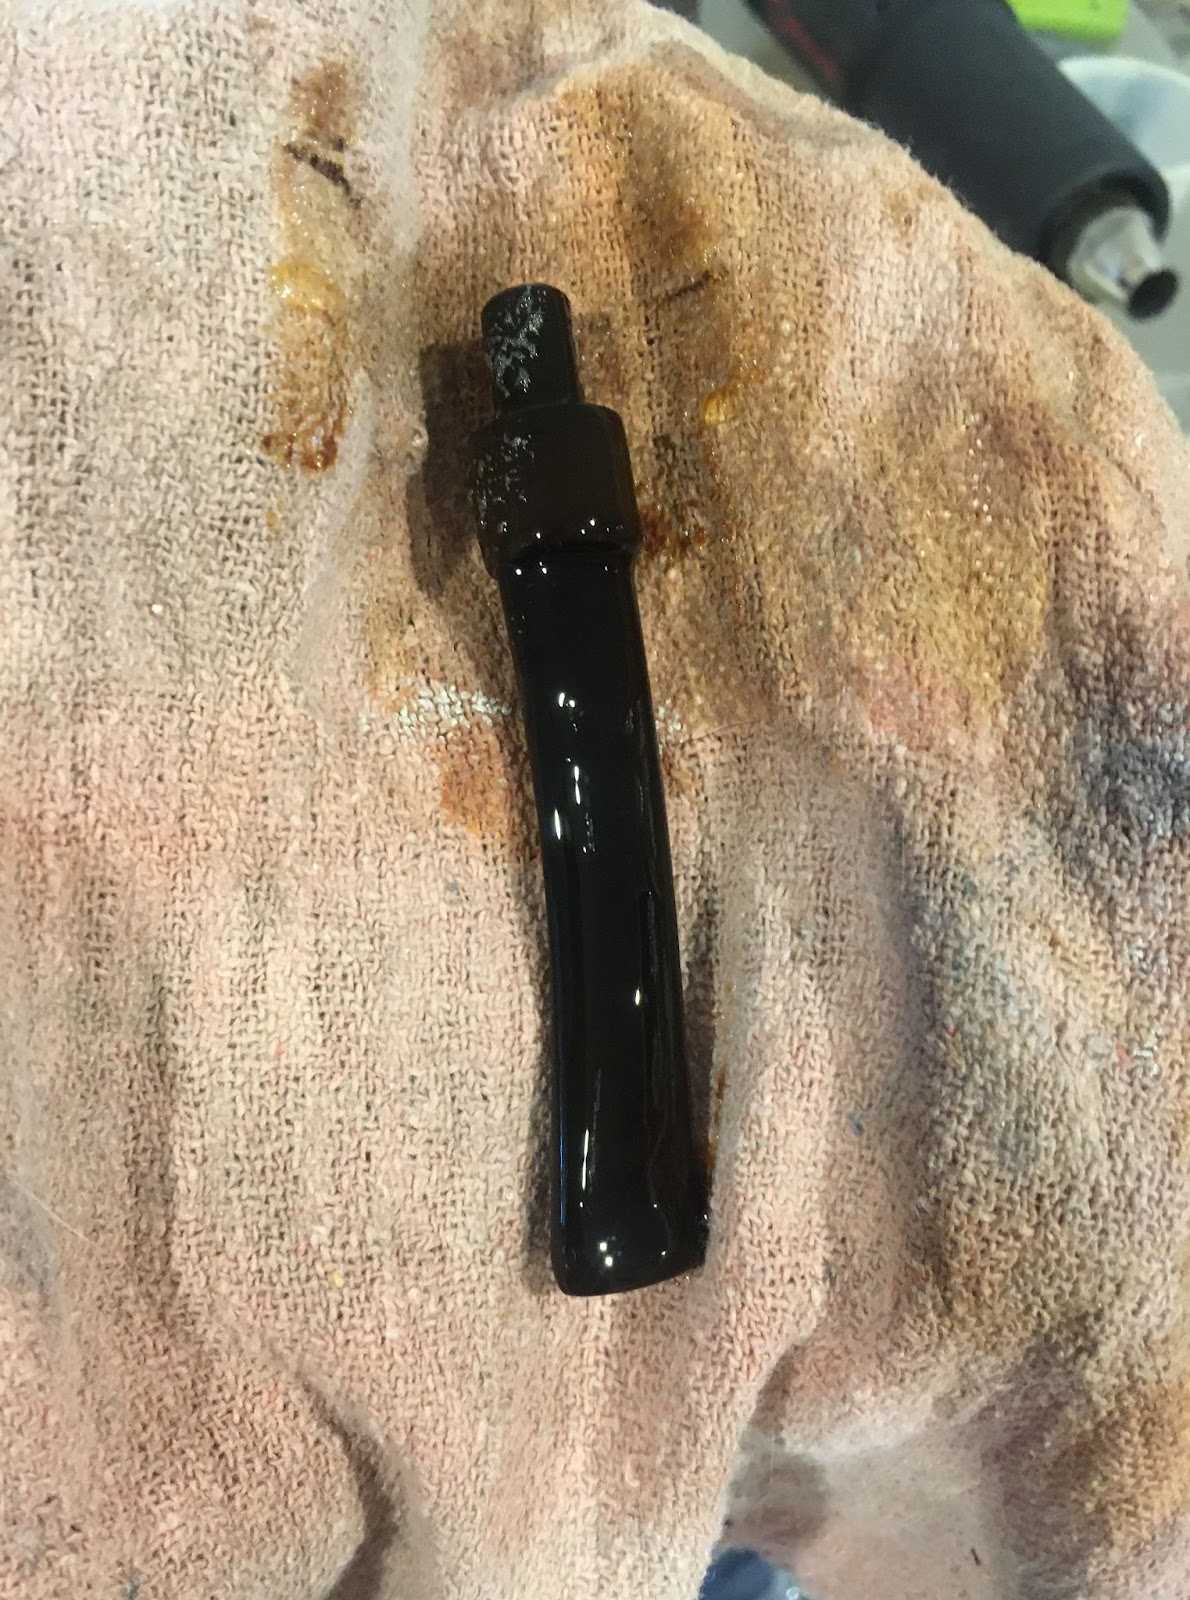
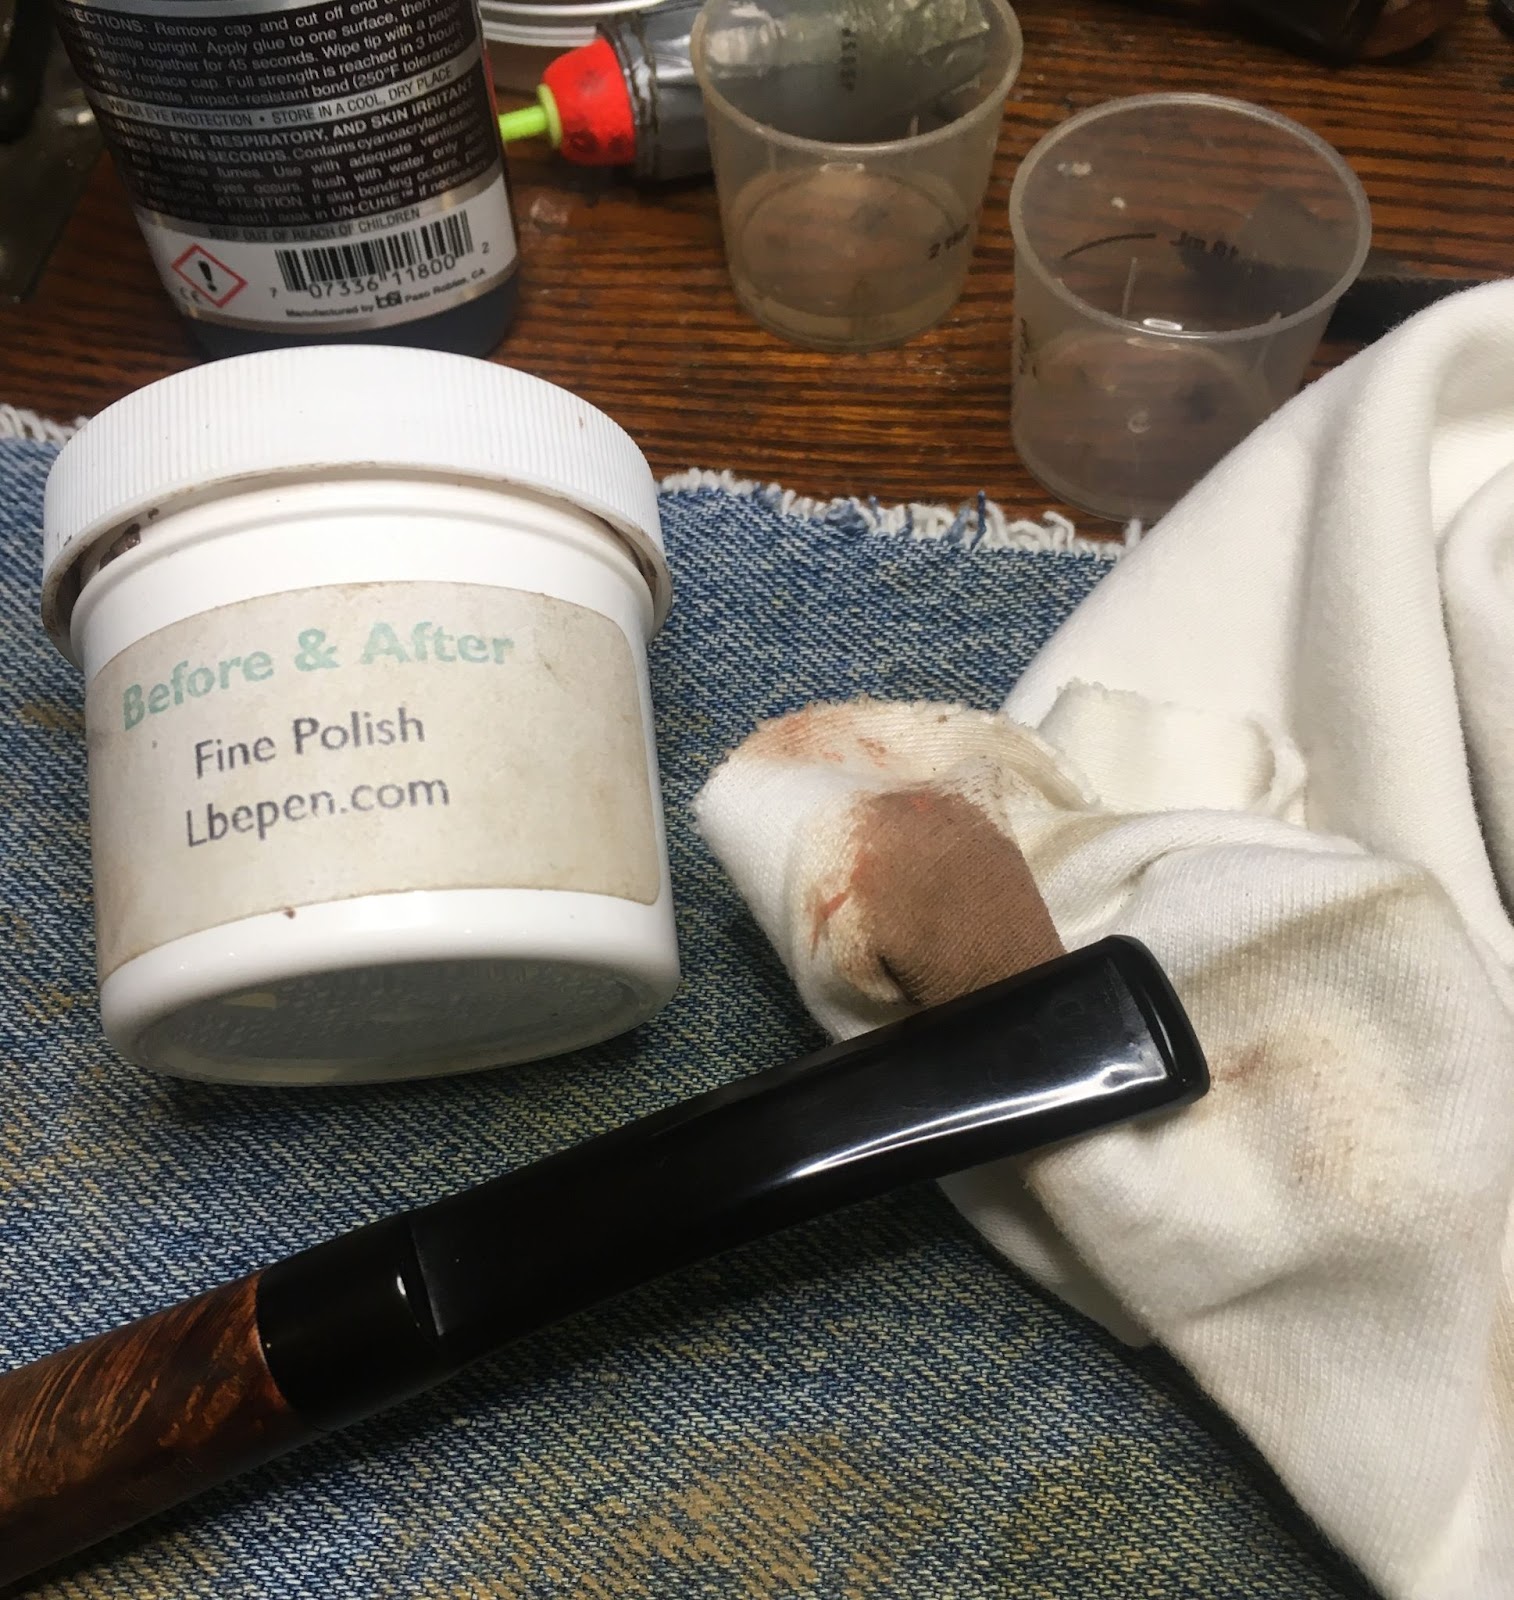
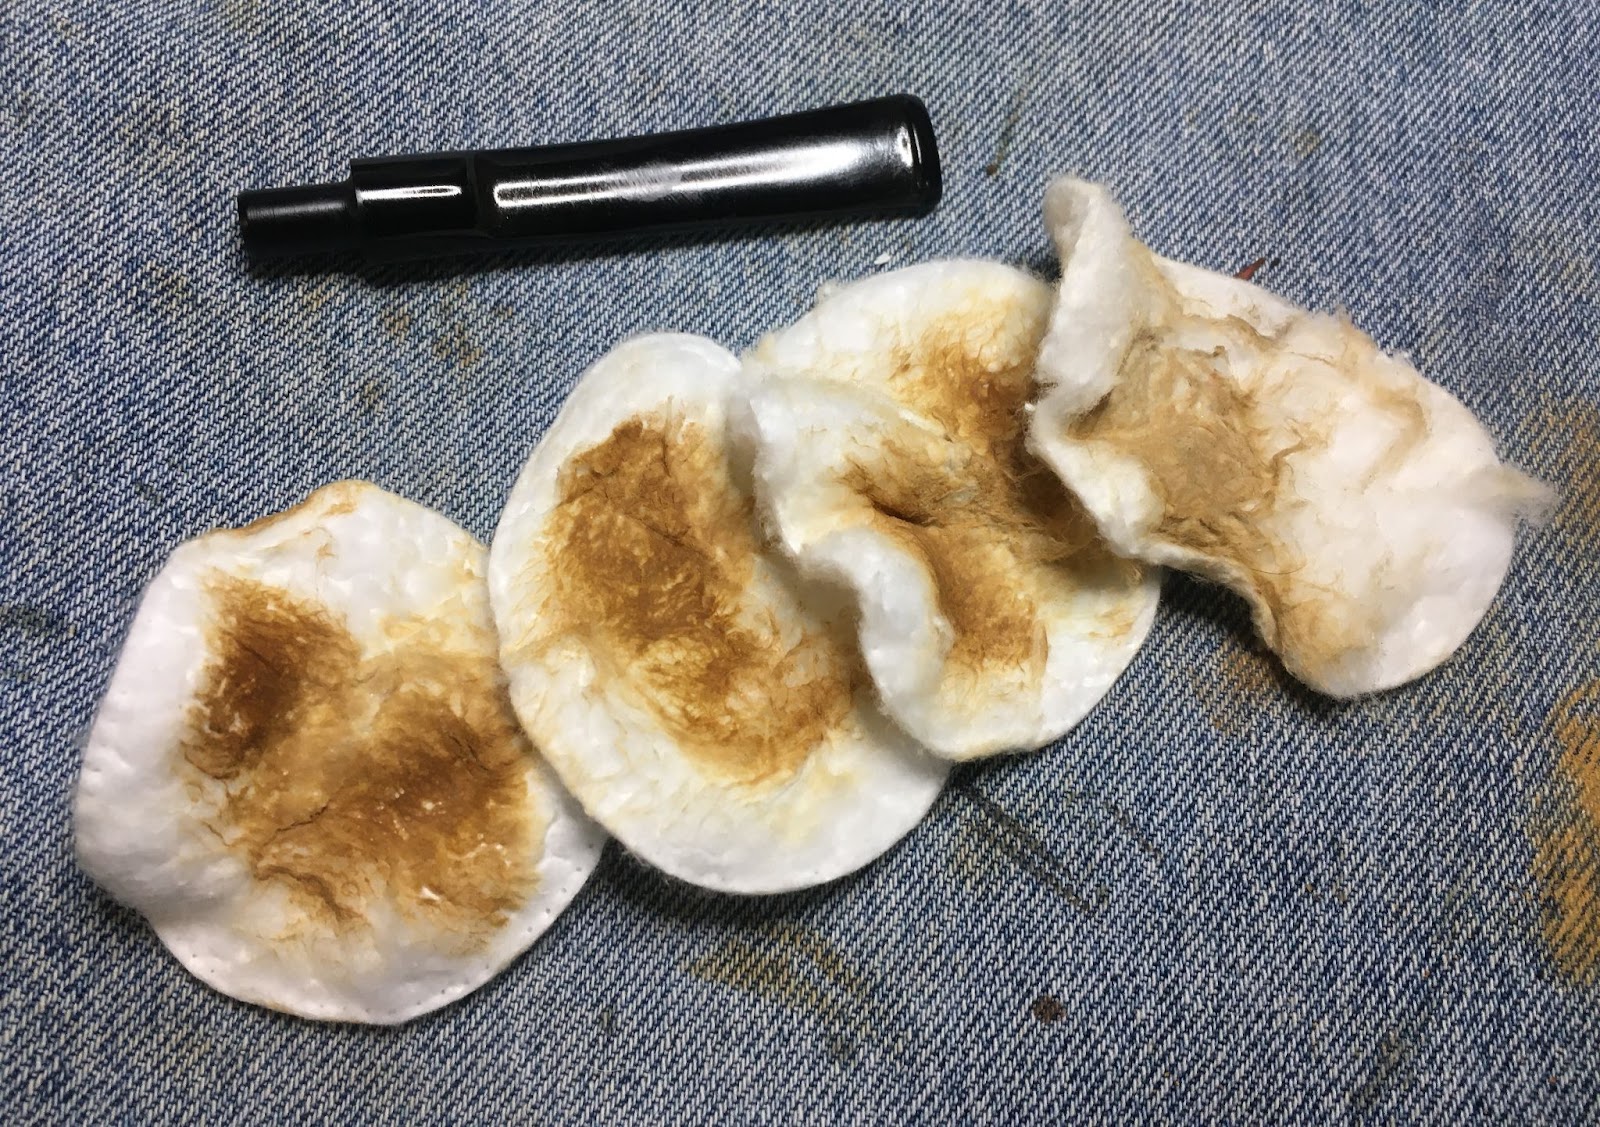
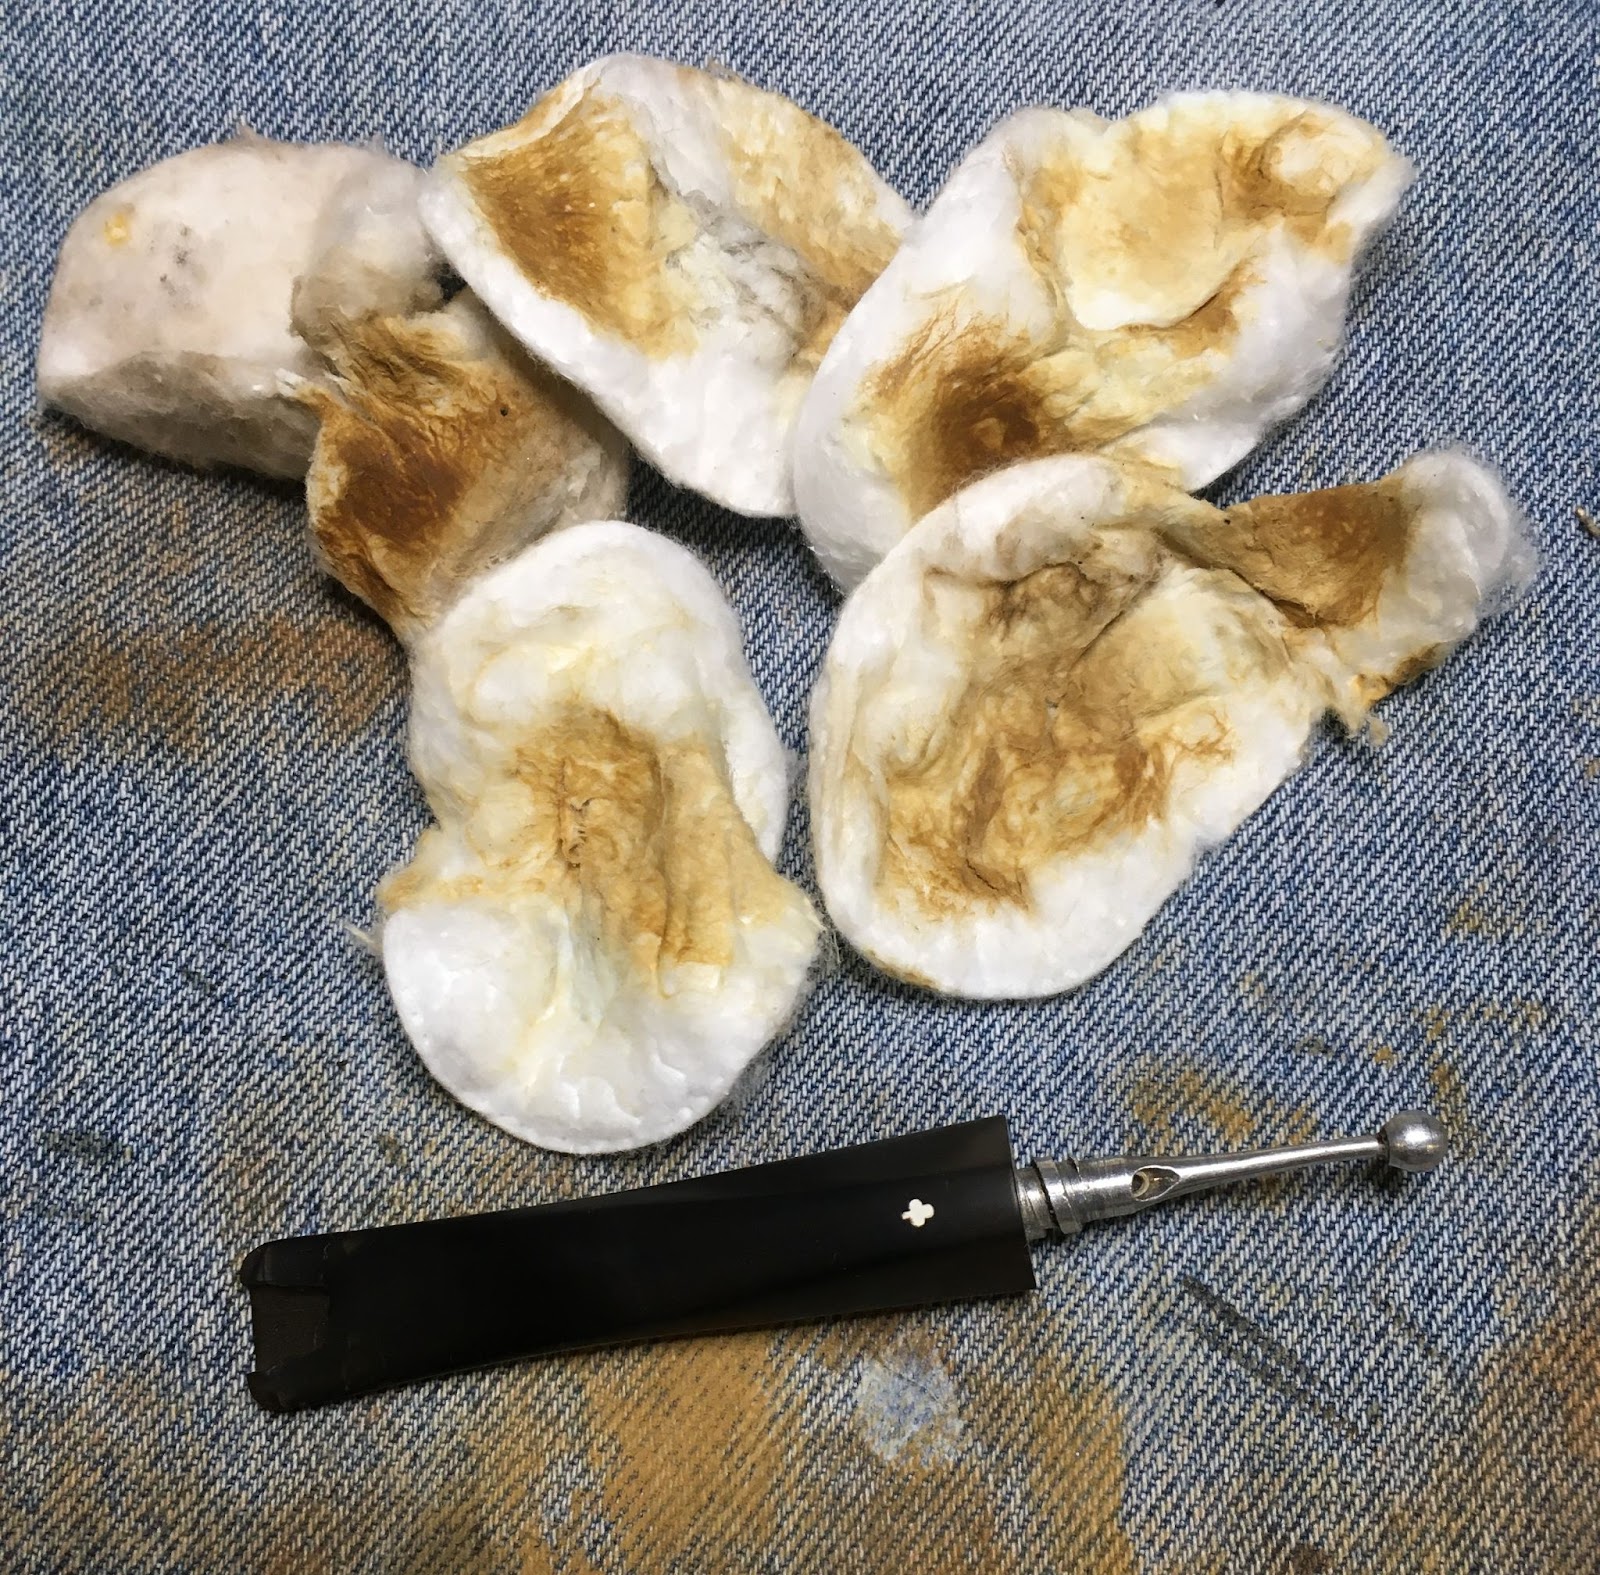
I like to use a coarse shop rag to wipe the deox solution from a stem. It absorbs the excess solution and is a bit more abrasive for removing oxidized vulcanite.
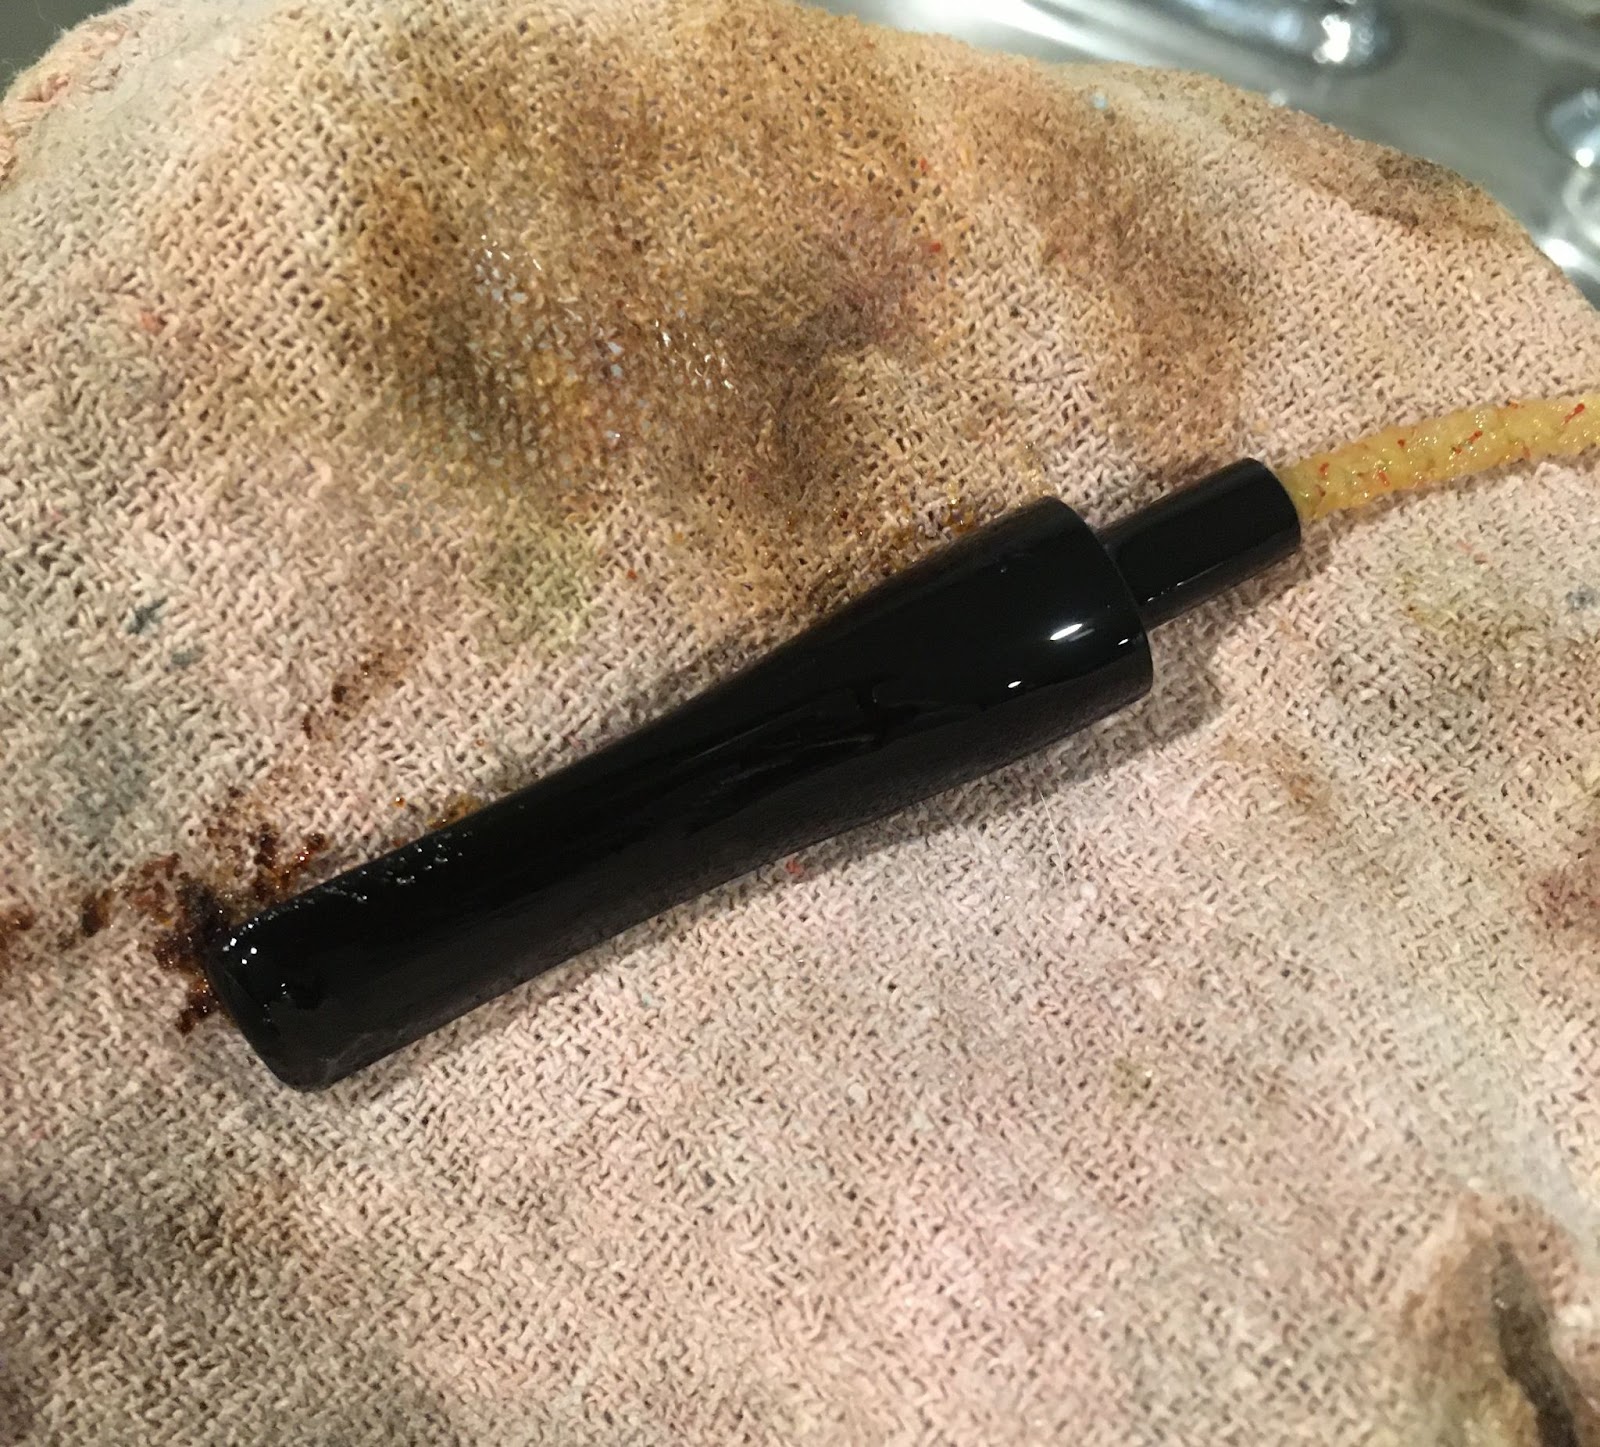
Below you can see the rag stained with brown oxidized vulcanite.
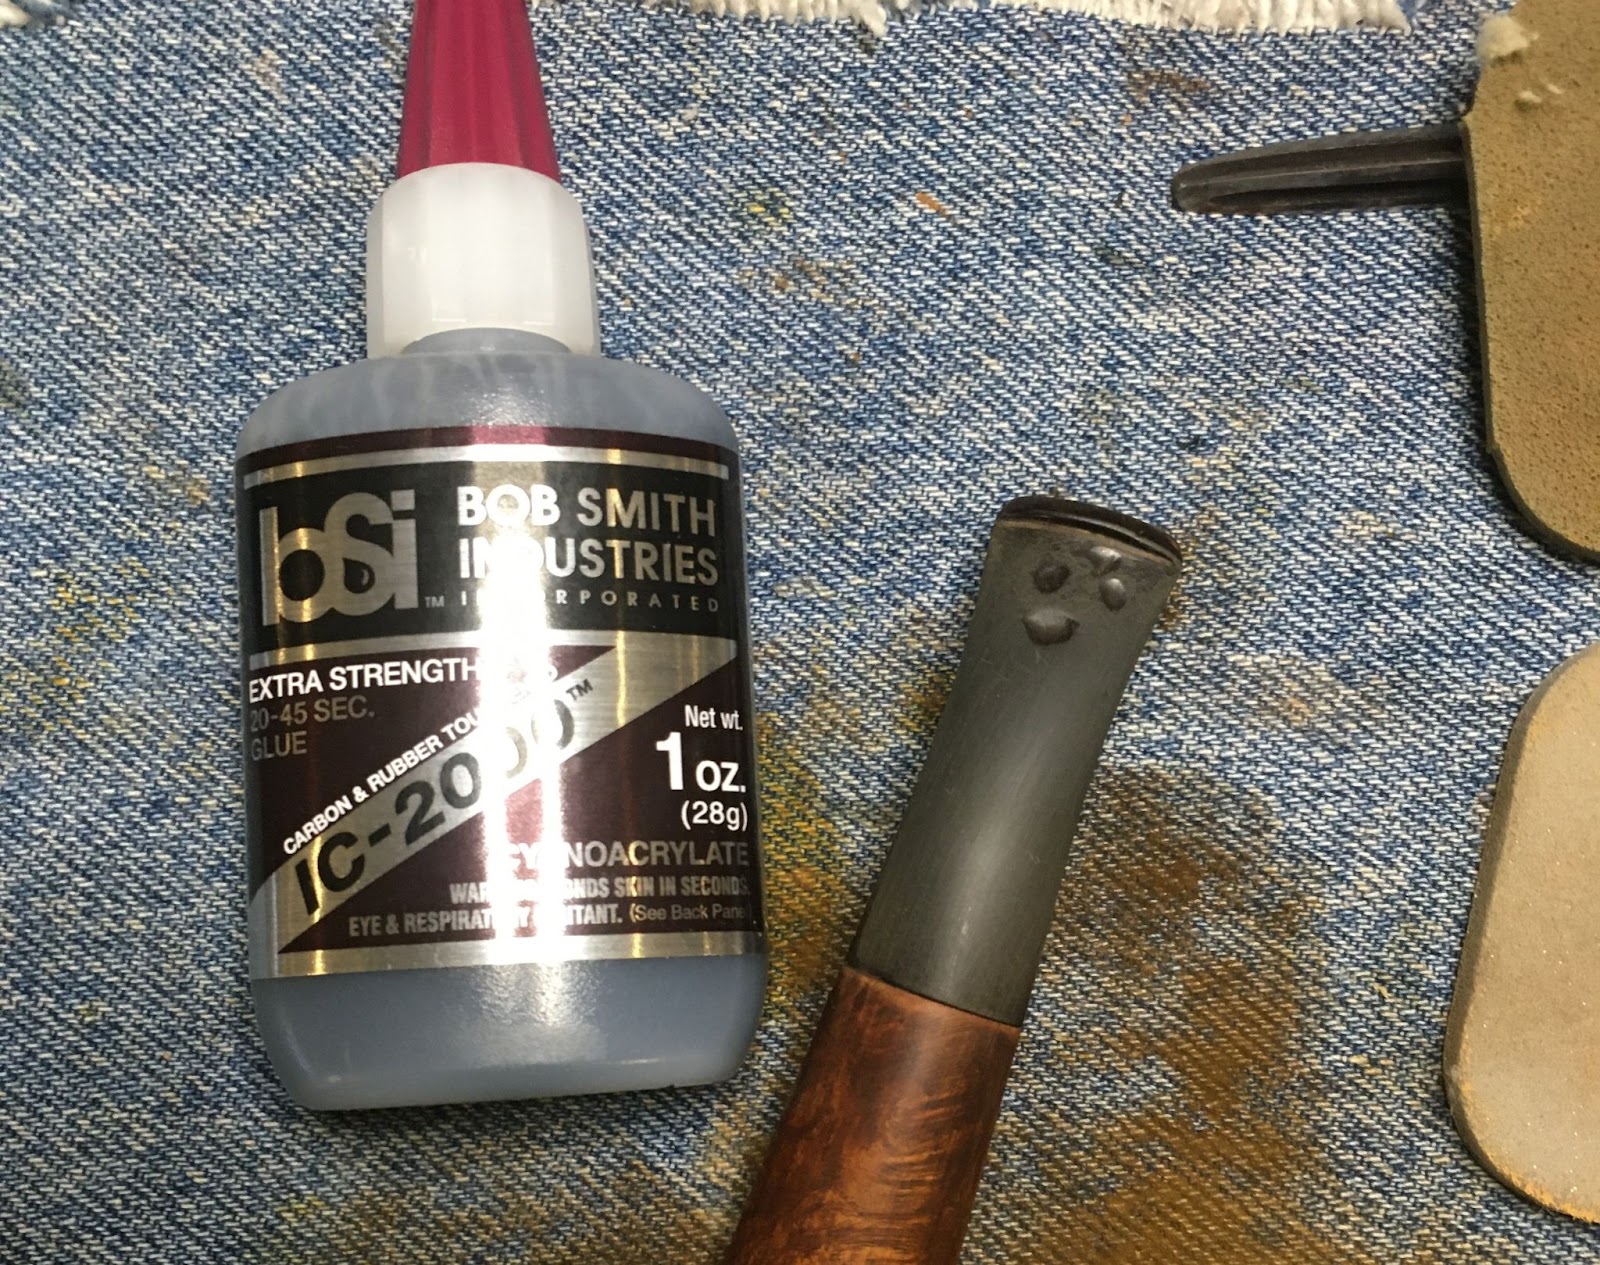
The stem was then scrubbed with Soft Scrub on make-up pads. This removed still more of the loosened up oxidized rubber.

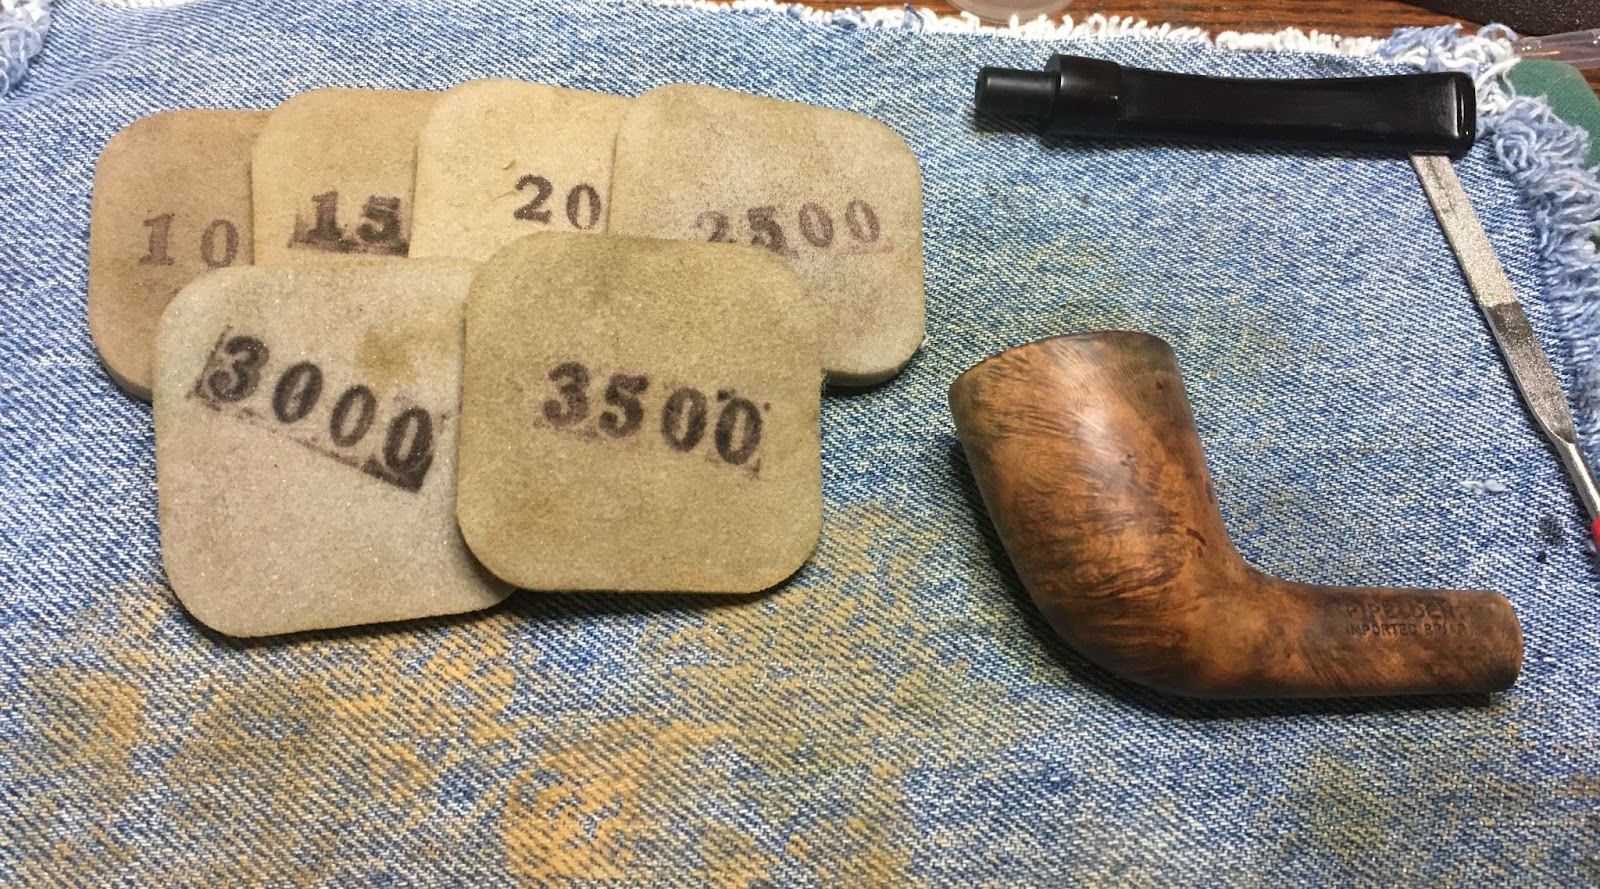
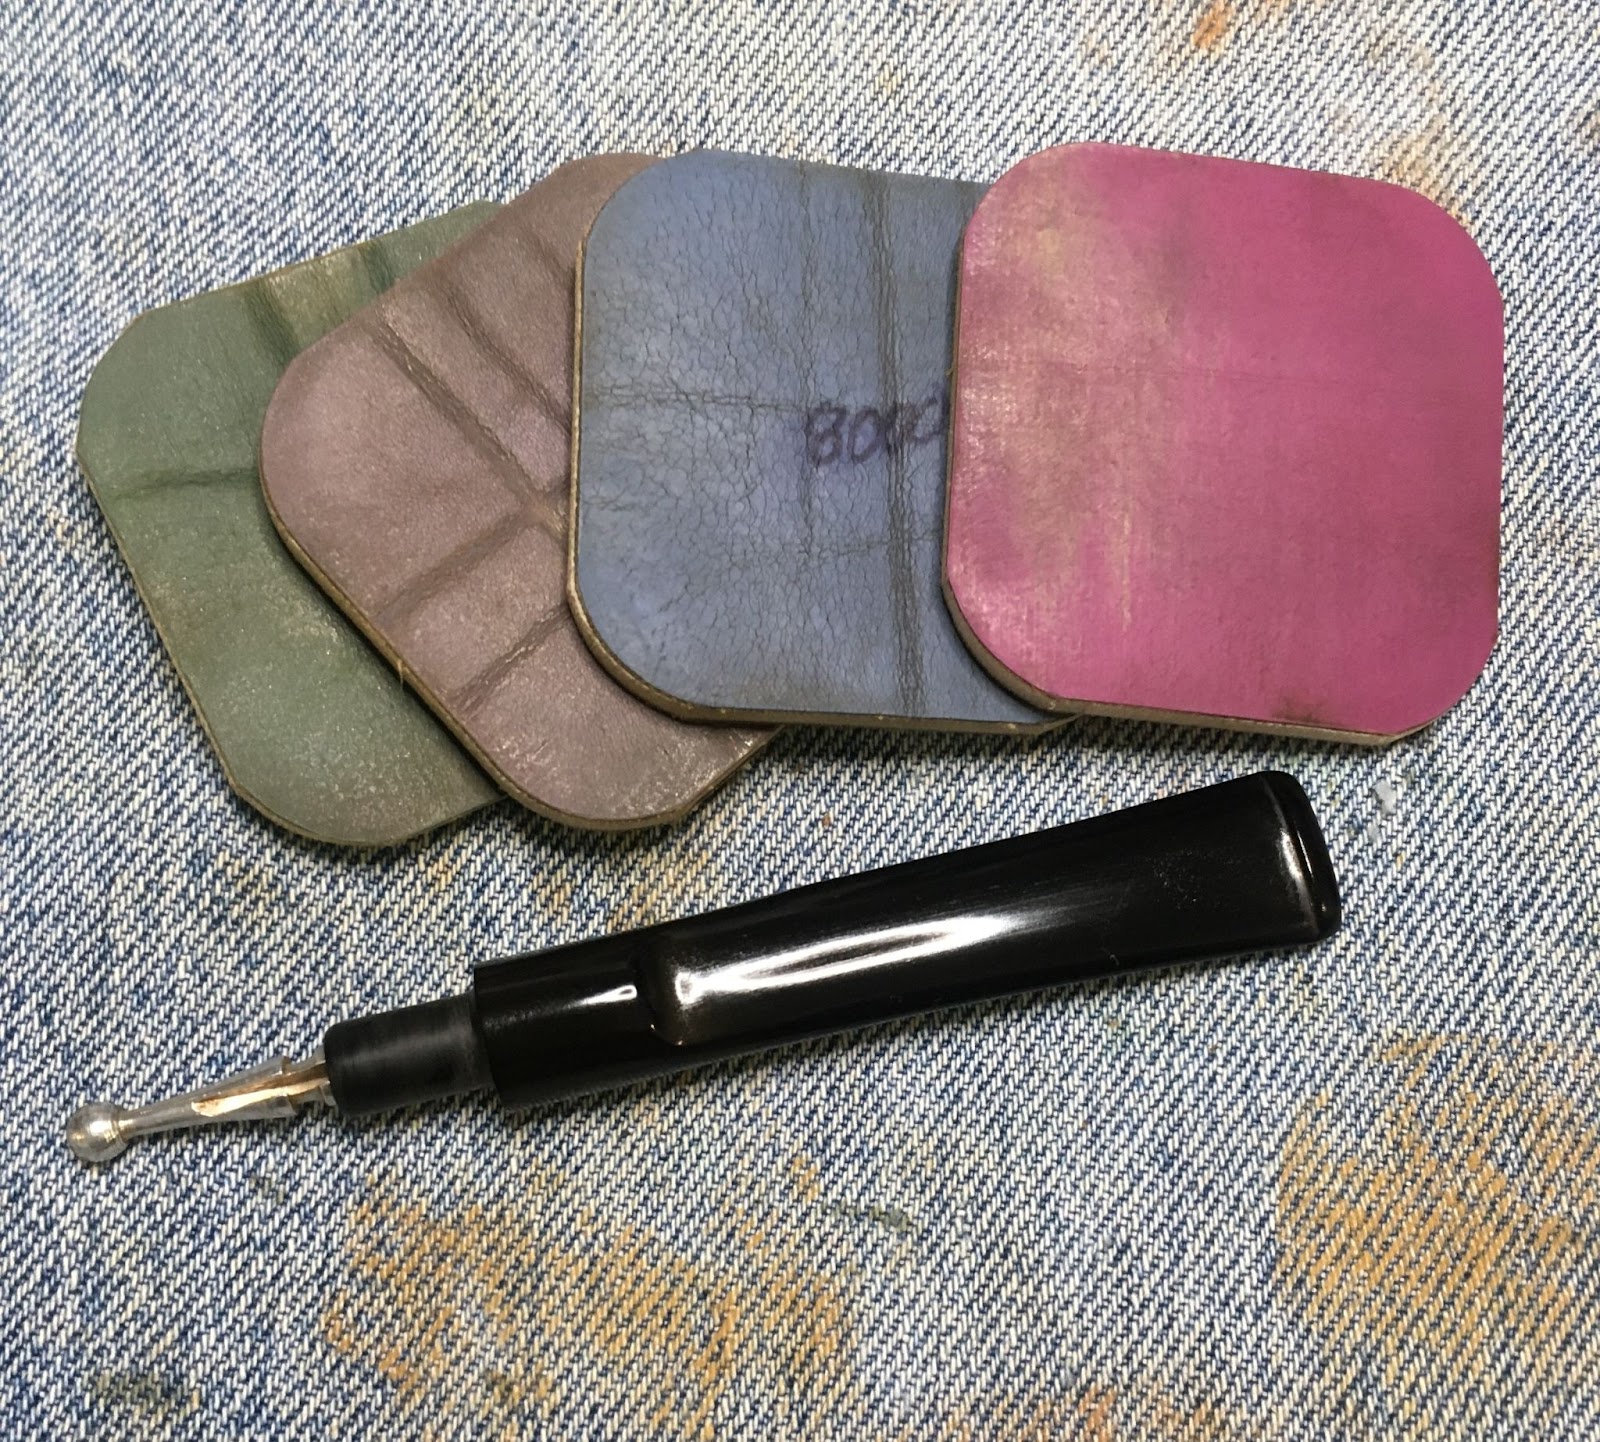
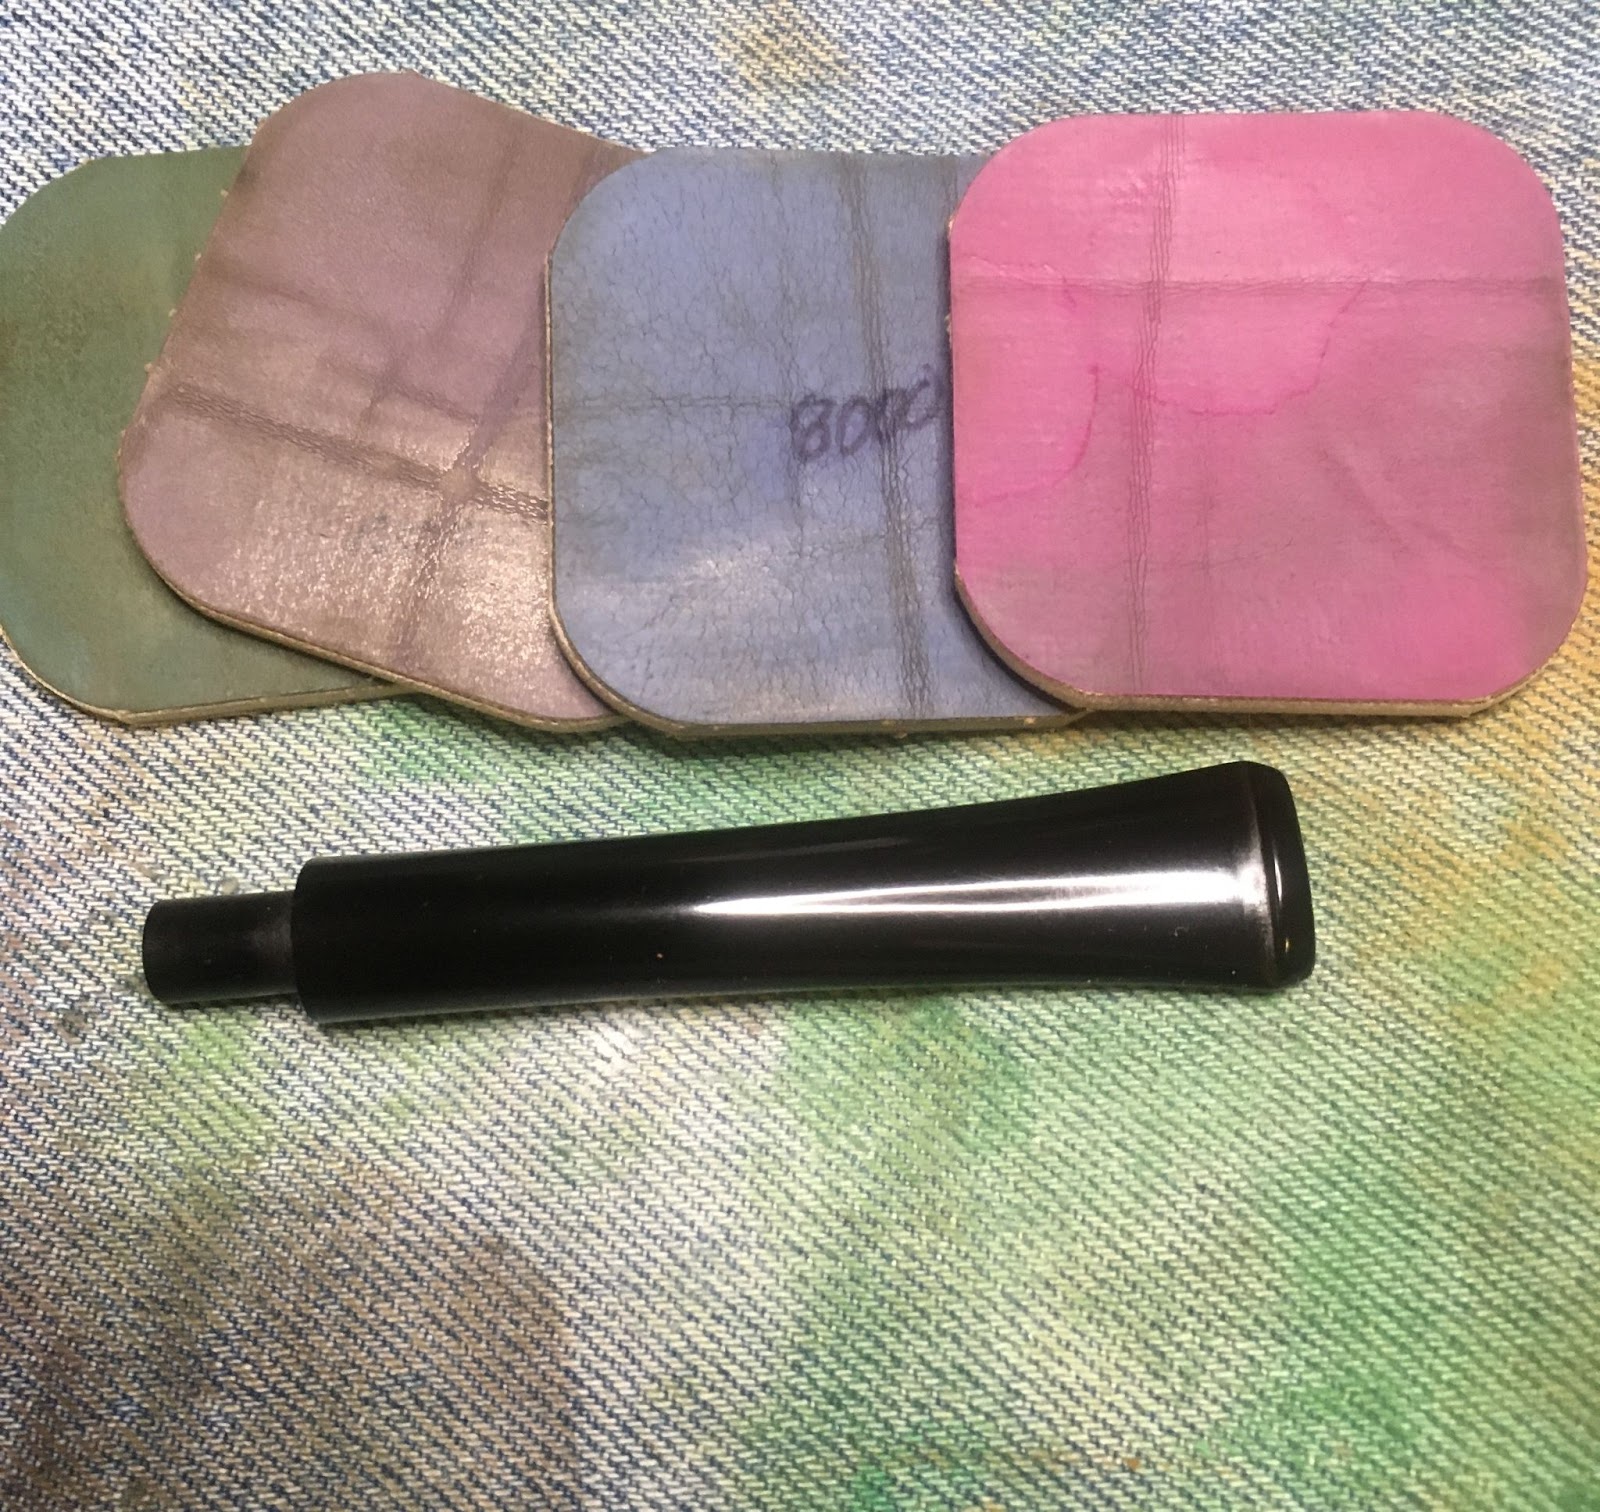
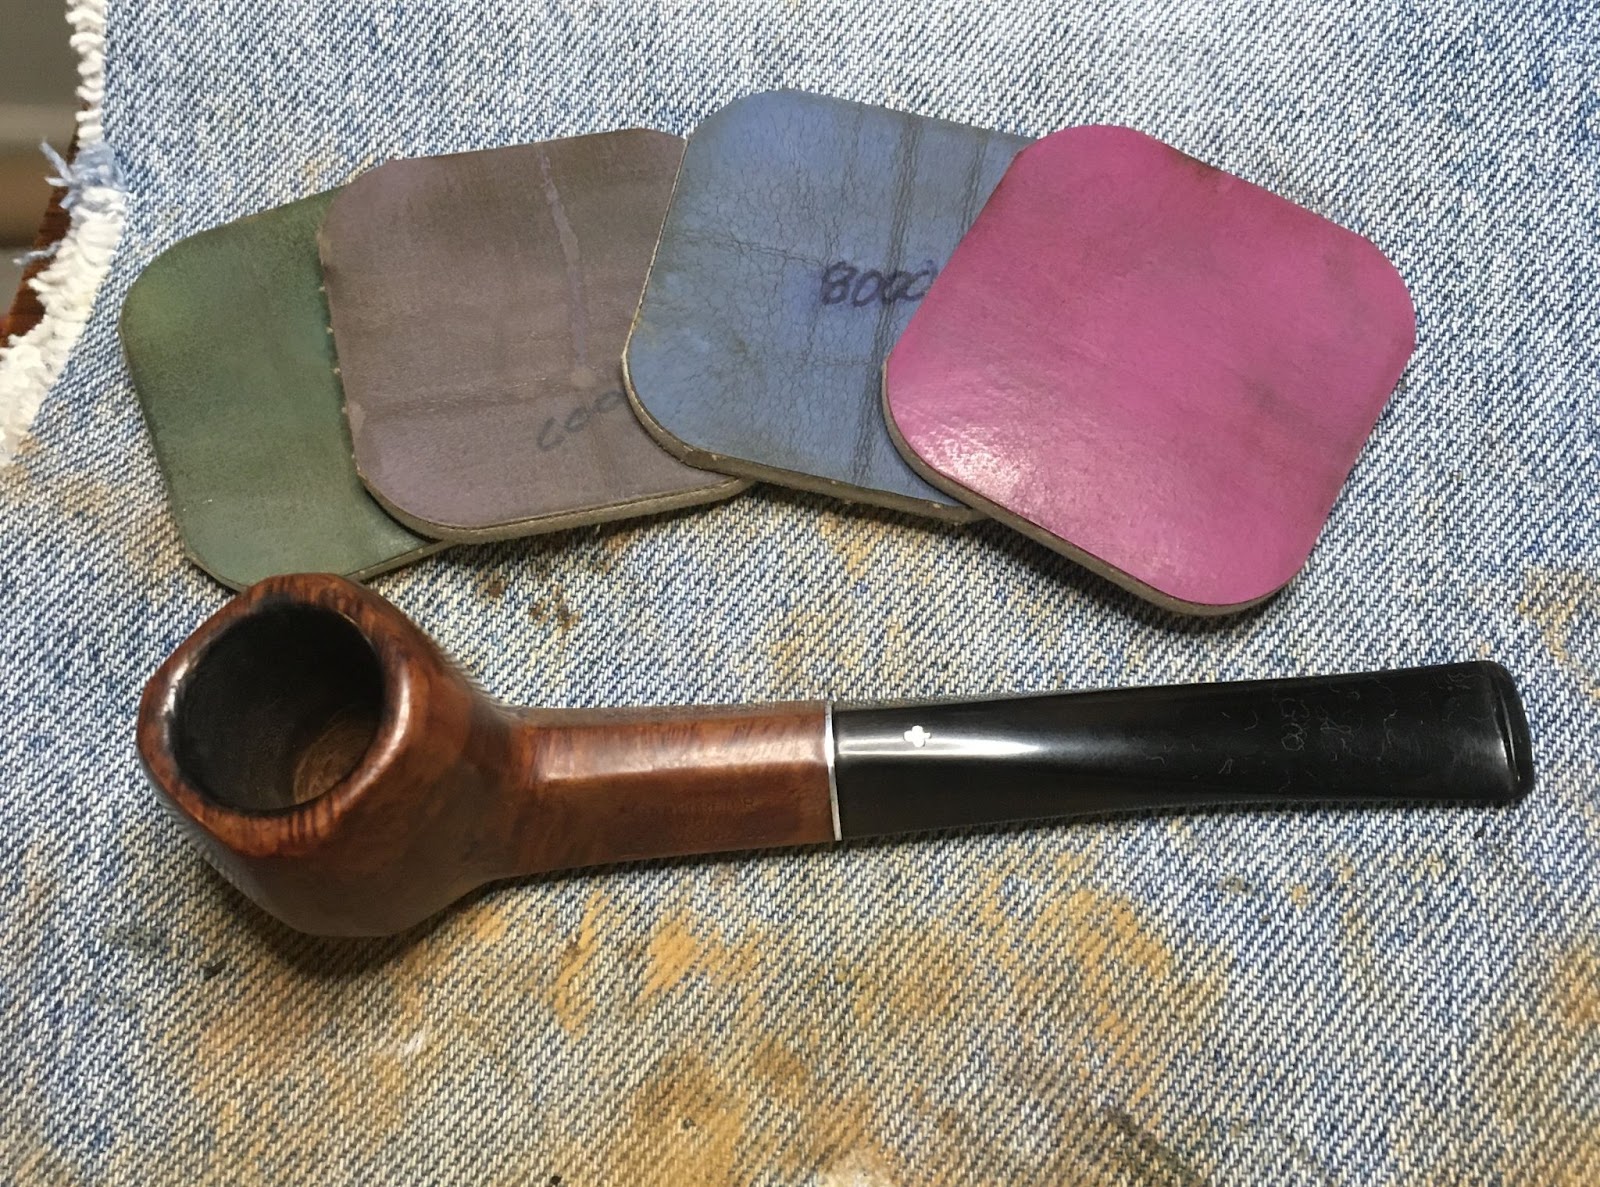
For a better grip while sanding the stem I taped the shank and inserted the sem into the stummel. I then sanded the stem with the sequence of sanding sponges from 400-3500 grit. Between each sponge I wiped the stem with a finger dipped in mineral oil then wiped the excess oil off with a paper towel. When finished the stem was oiled with mineral oil and set aside.

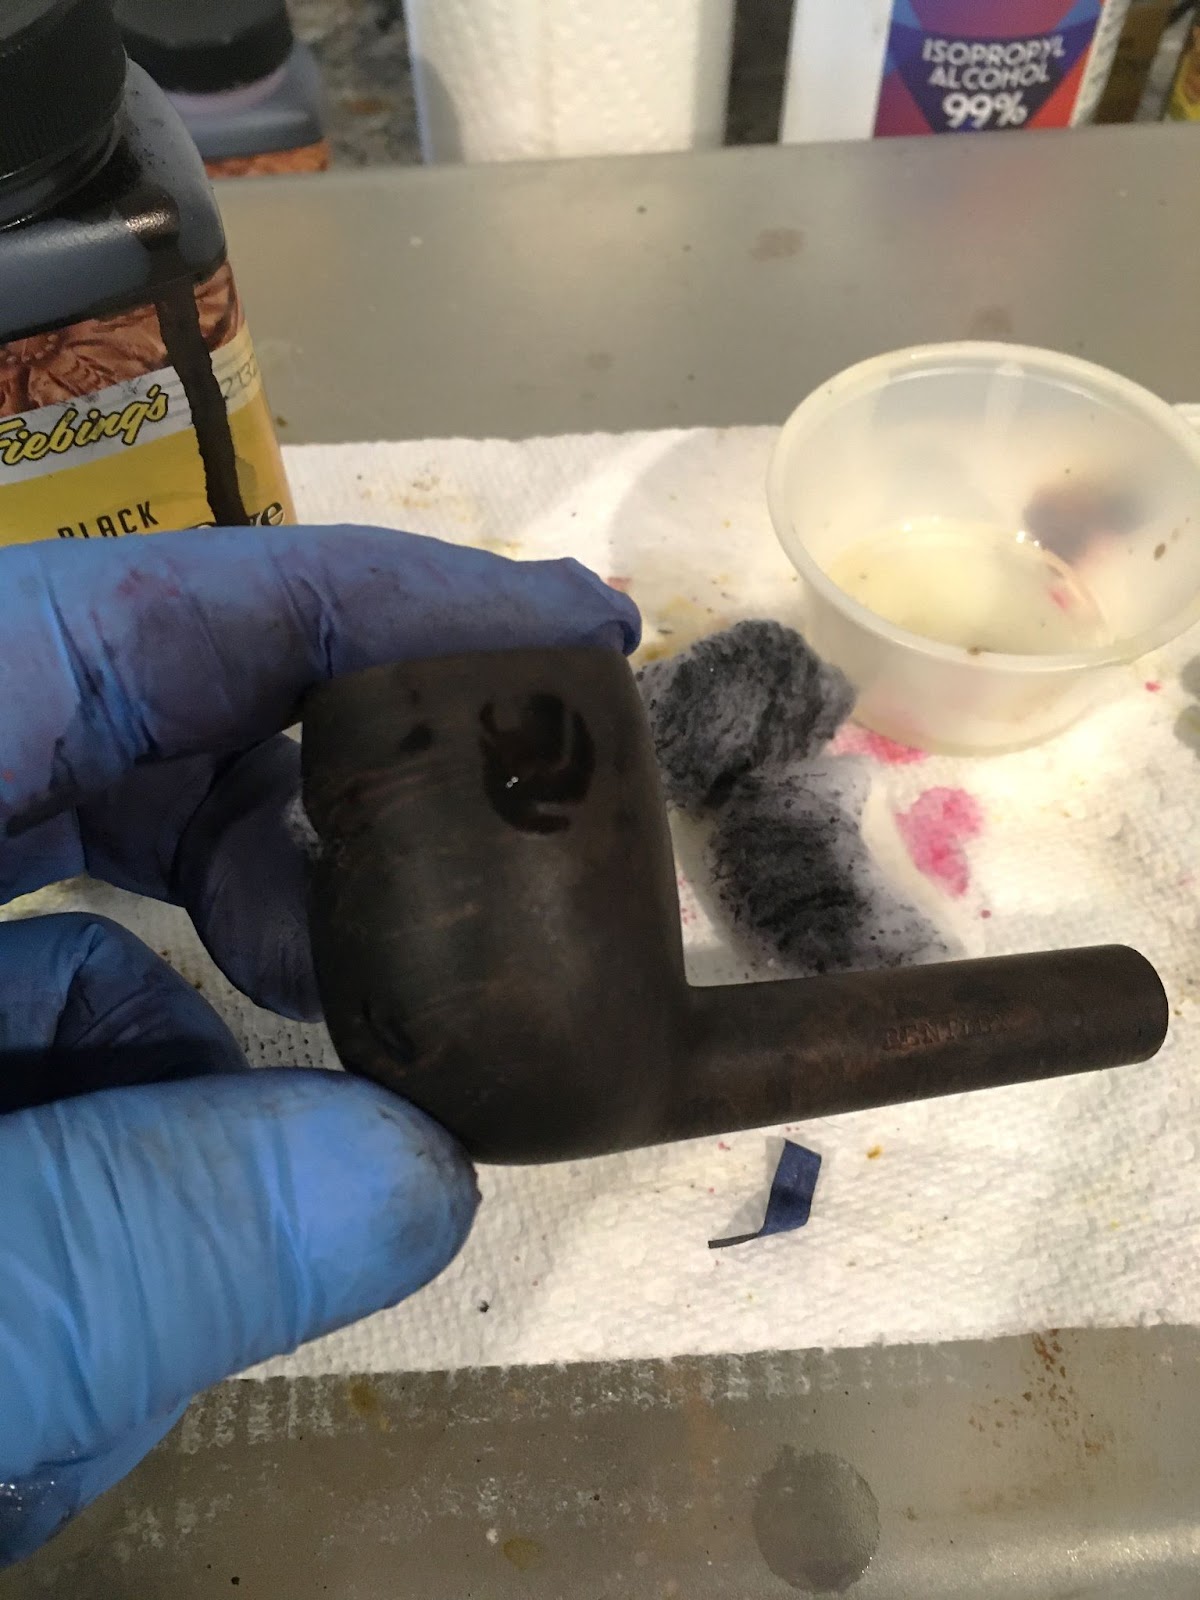
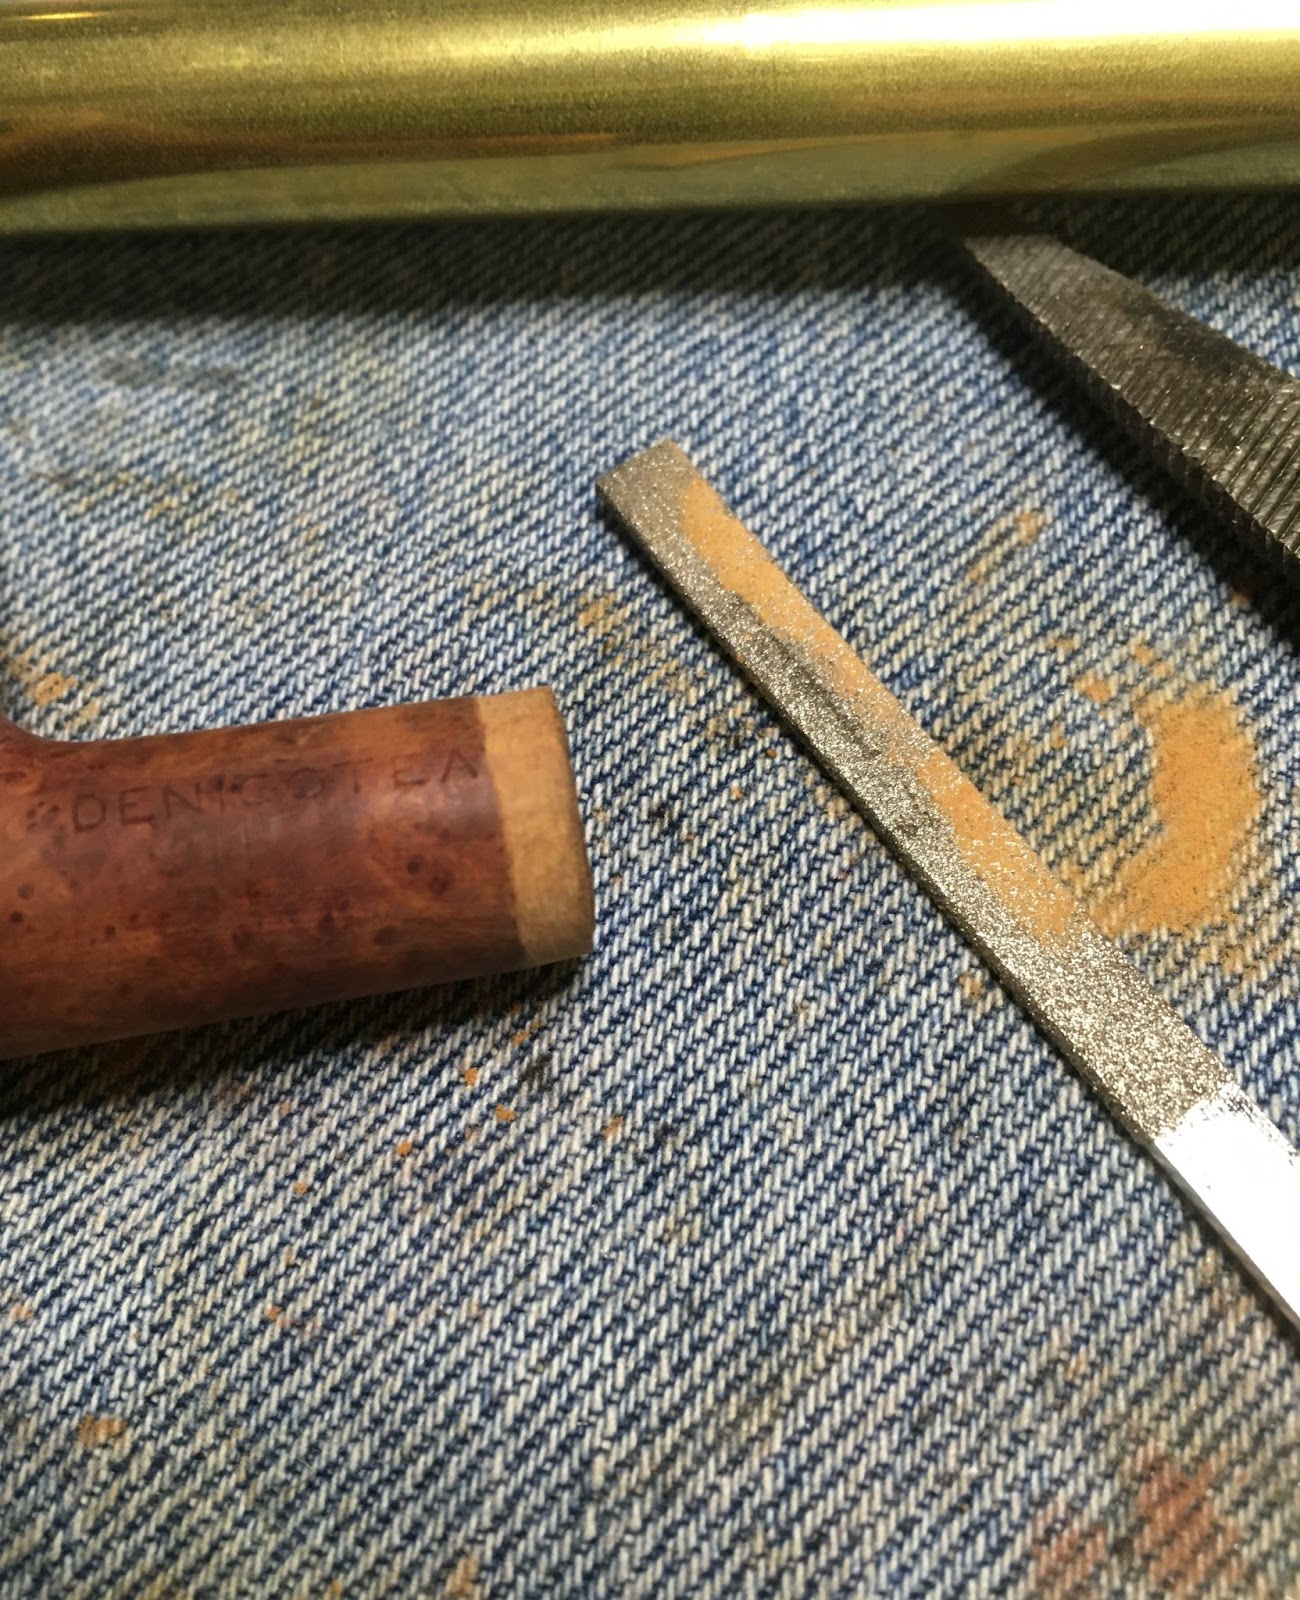
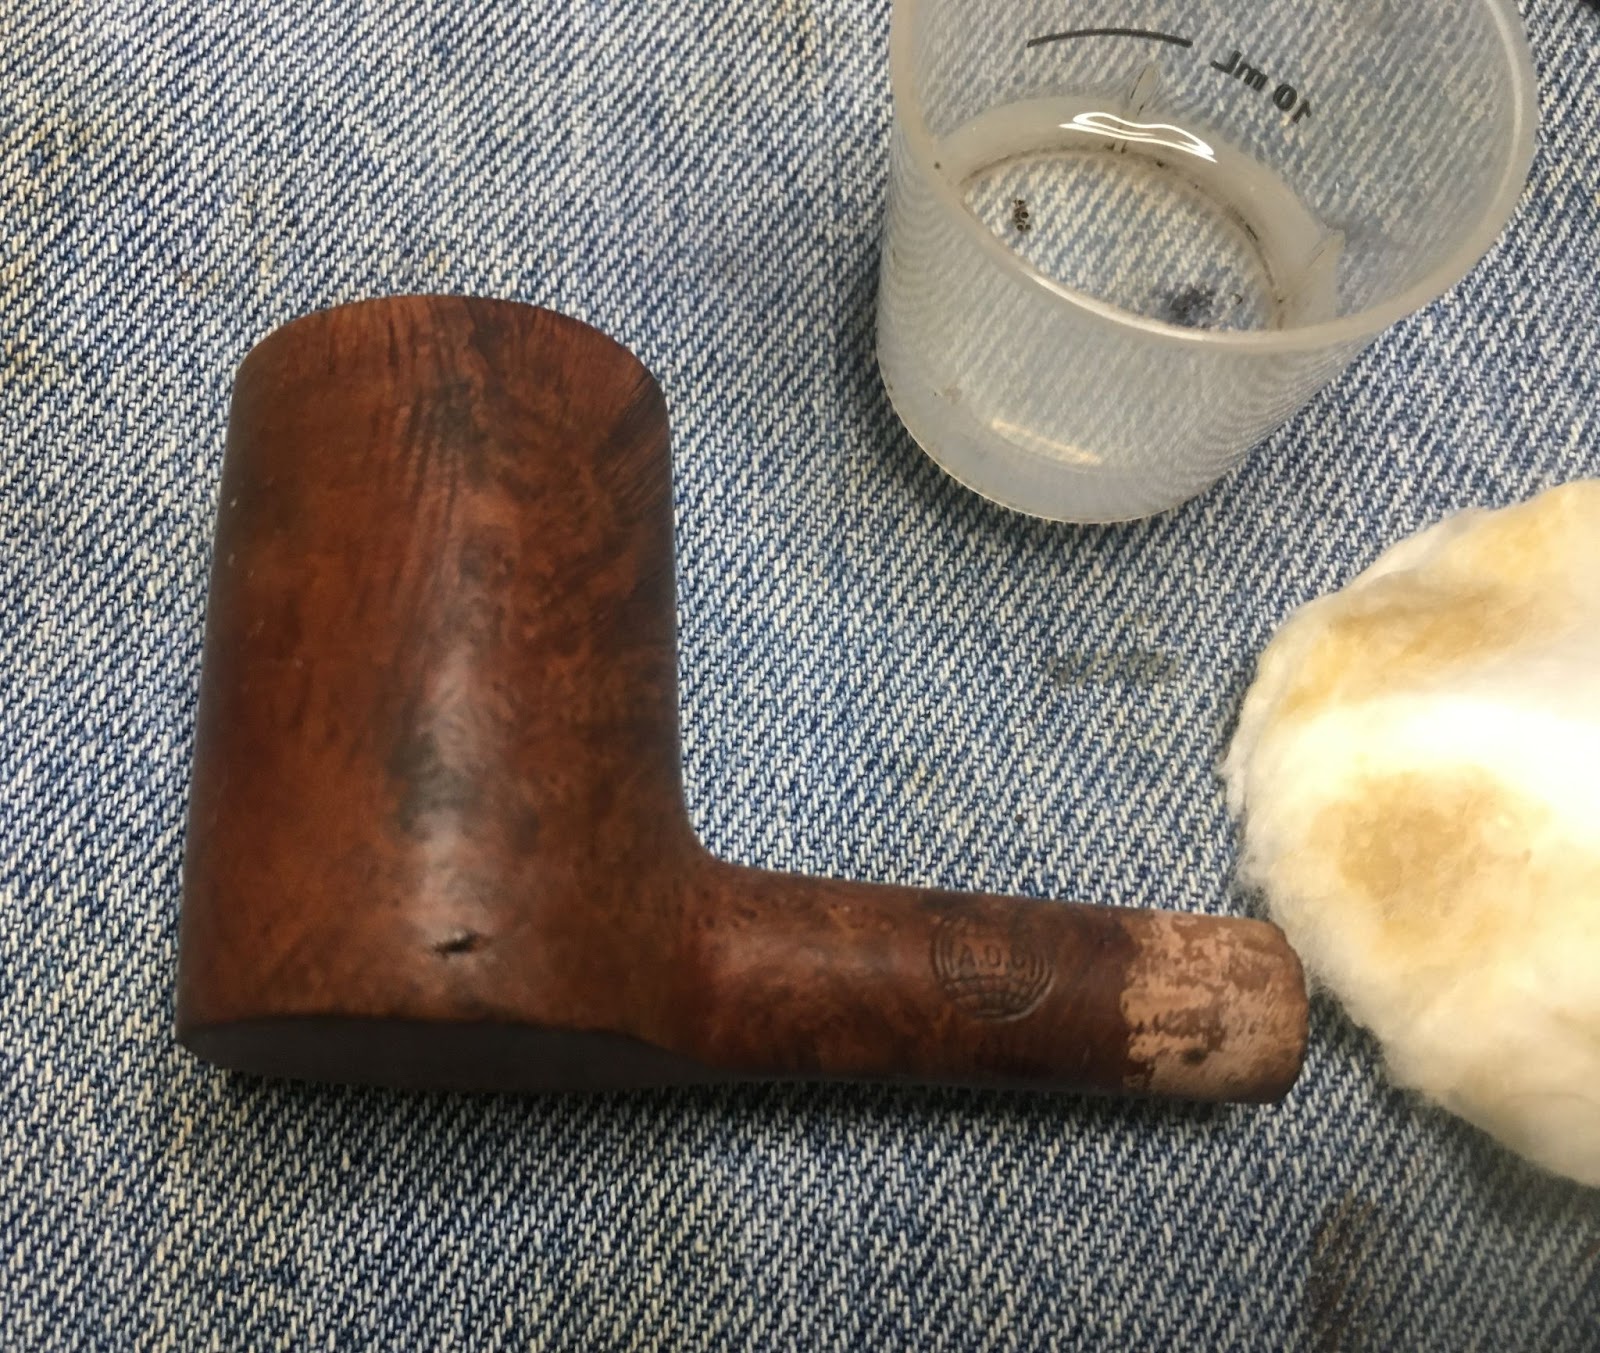
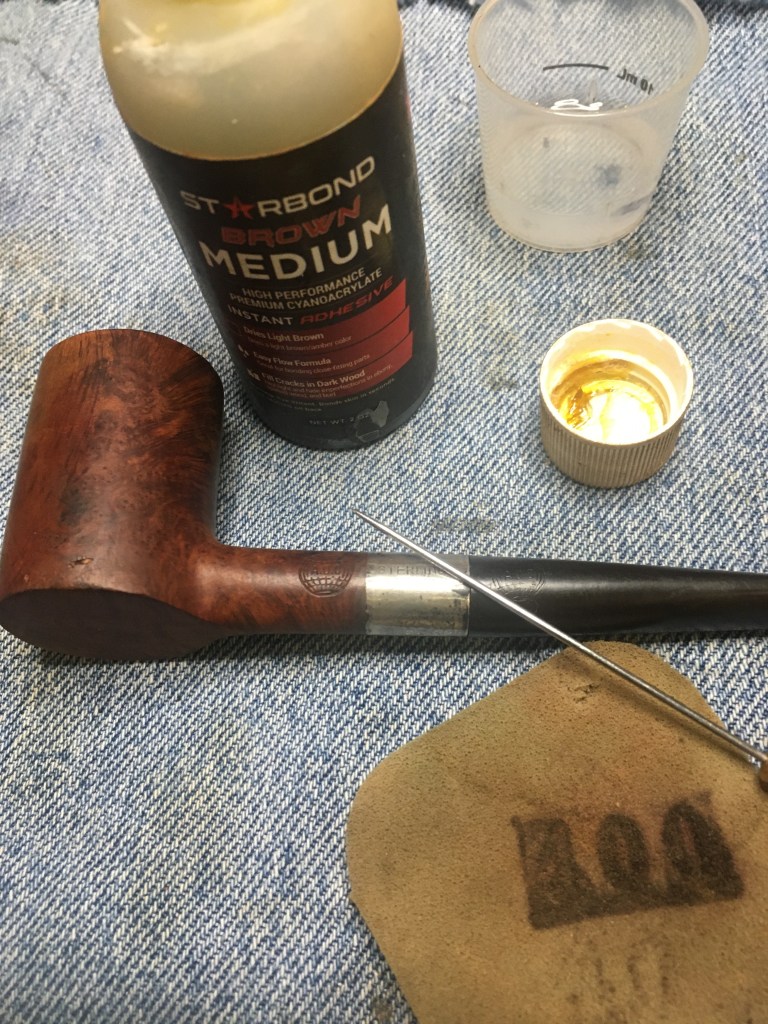
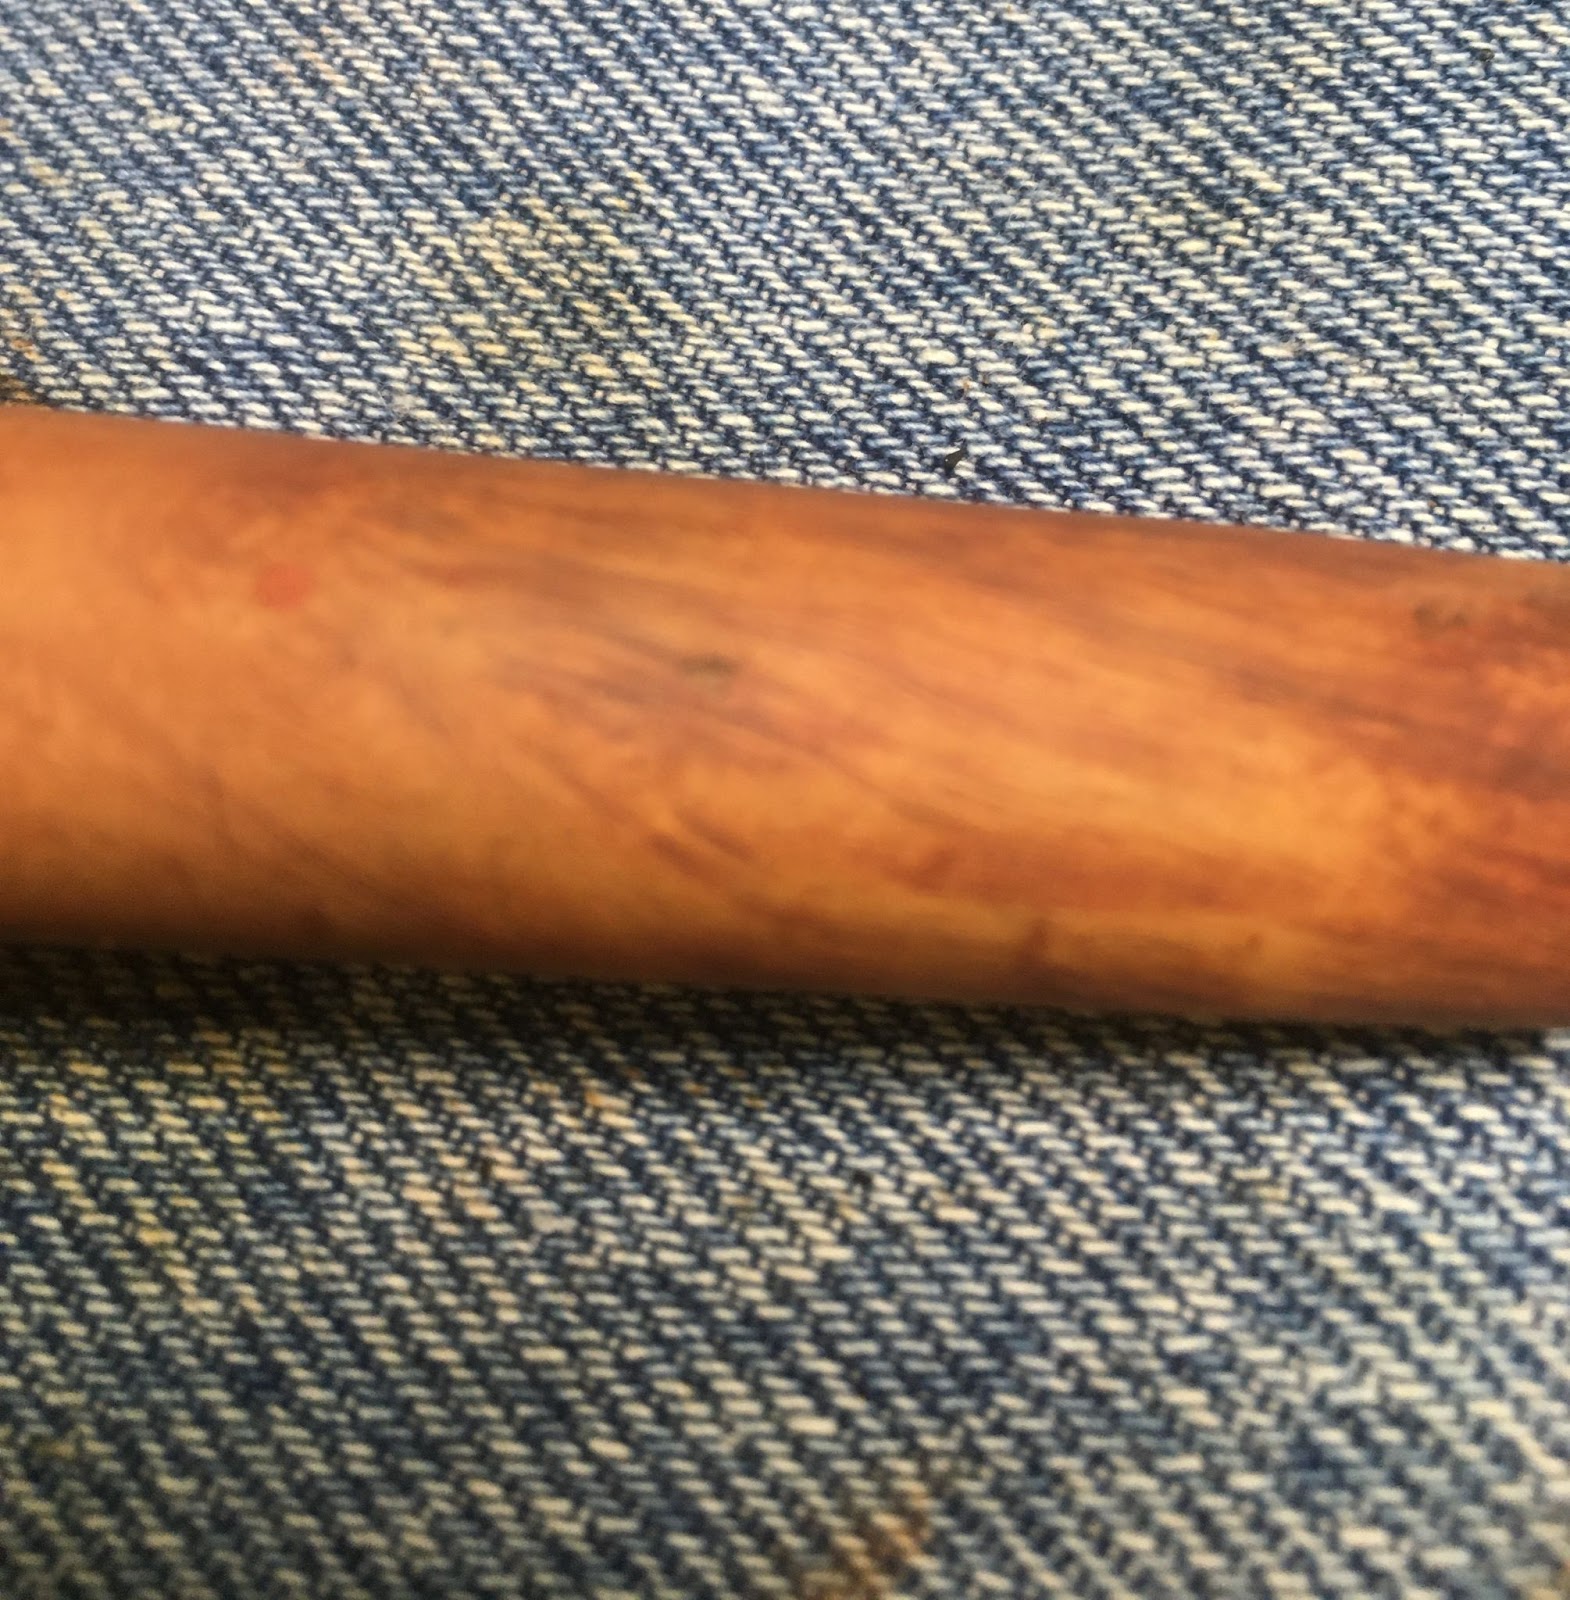
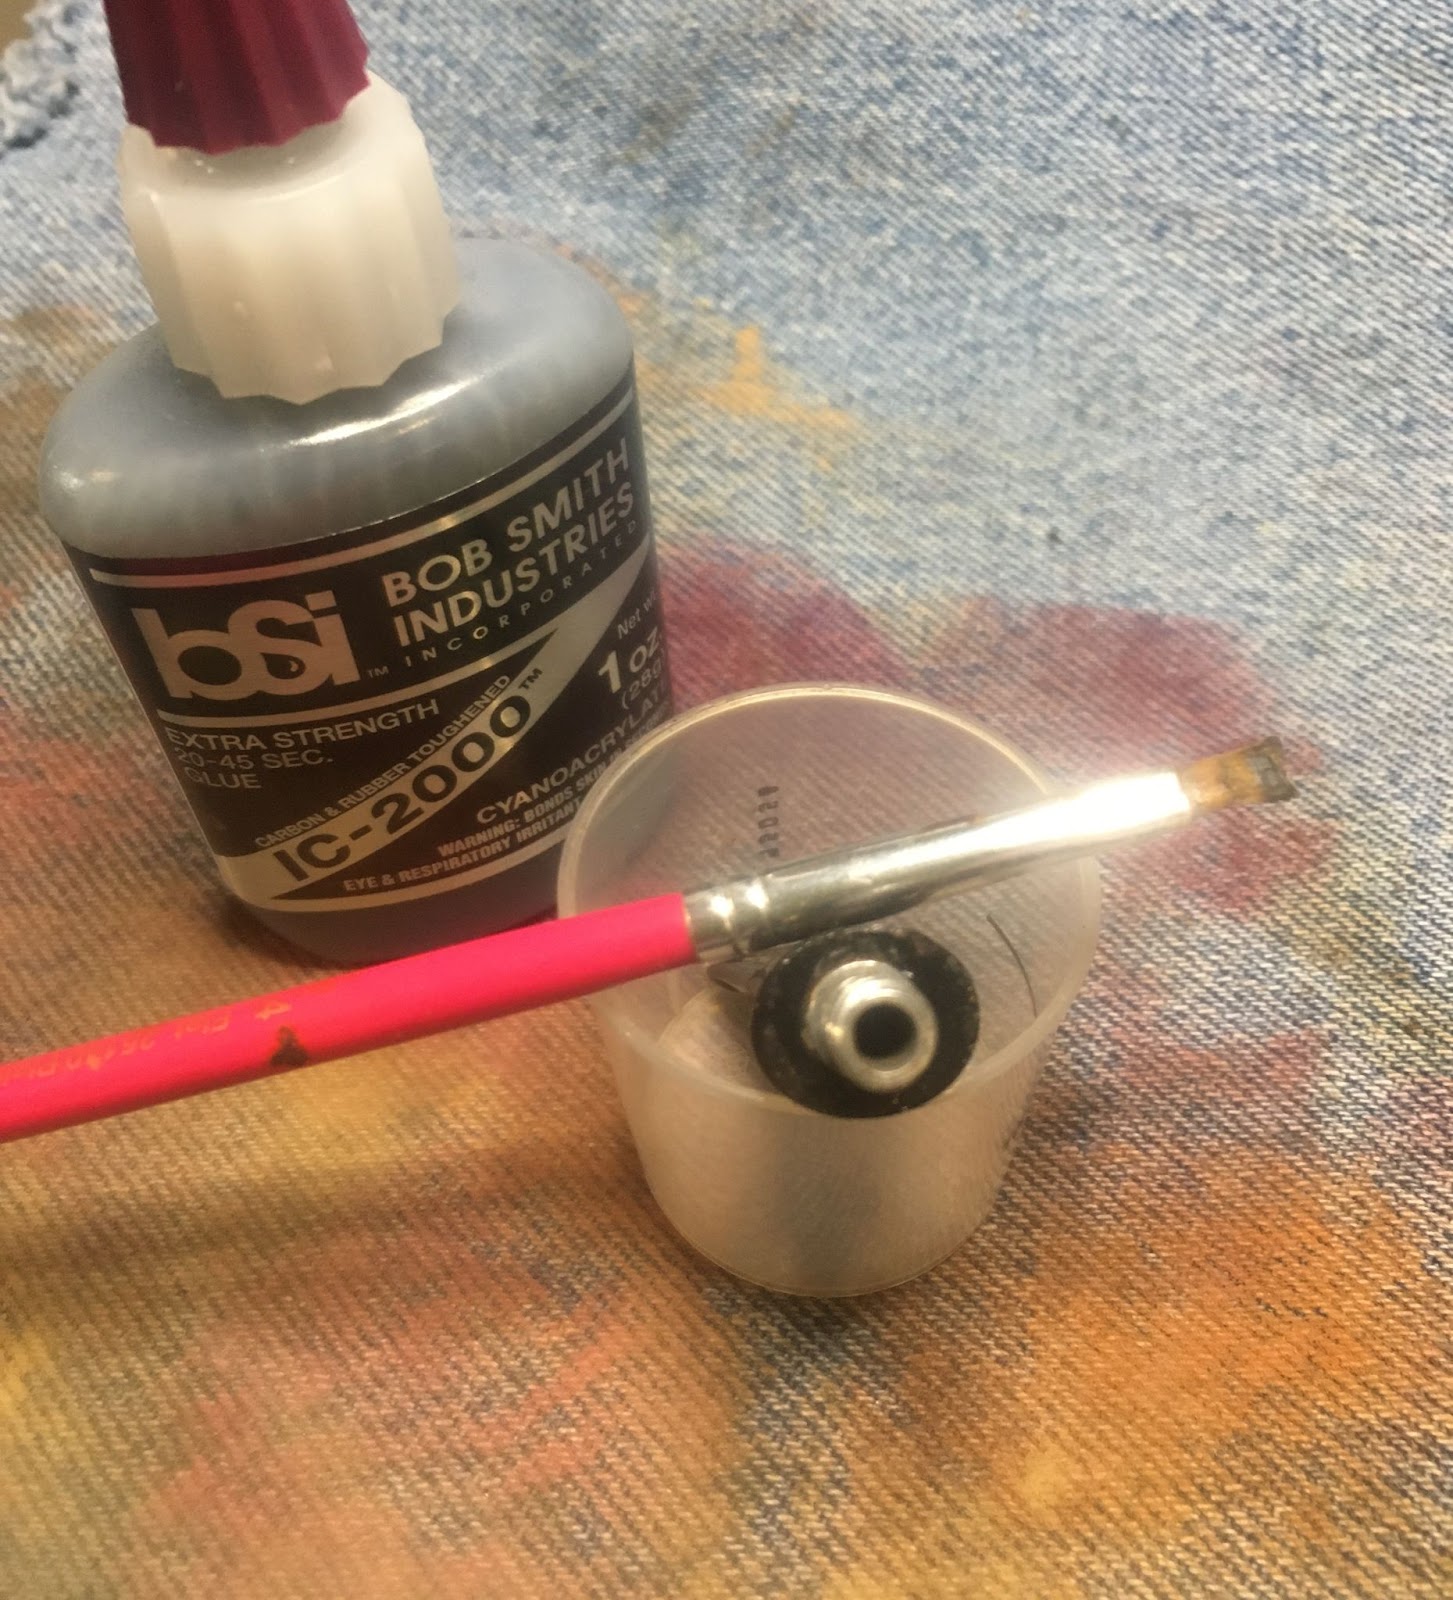
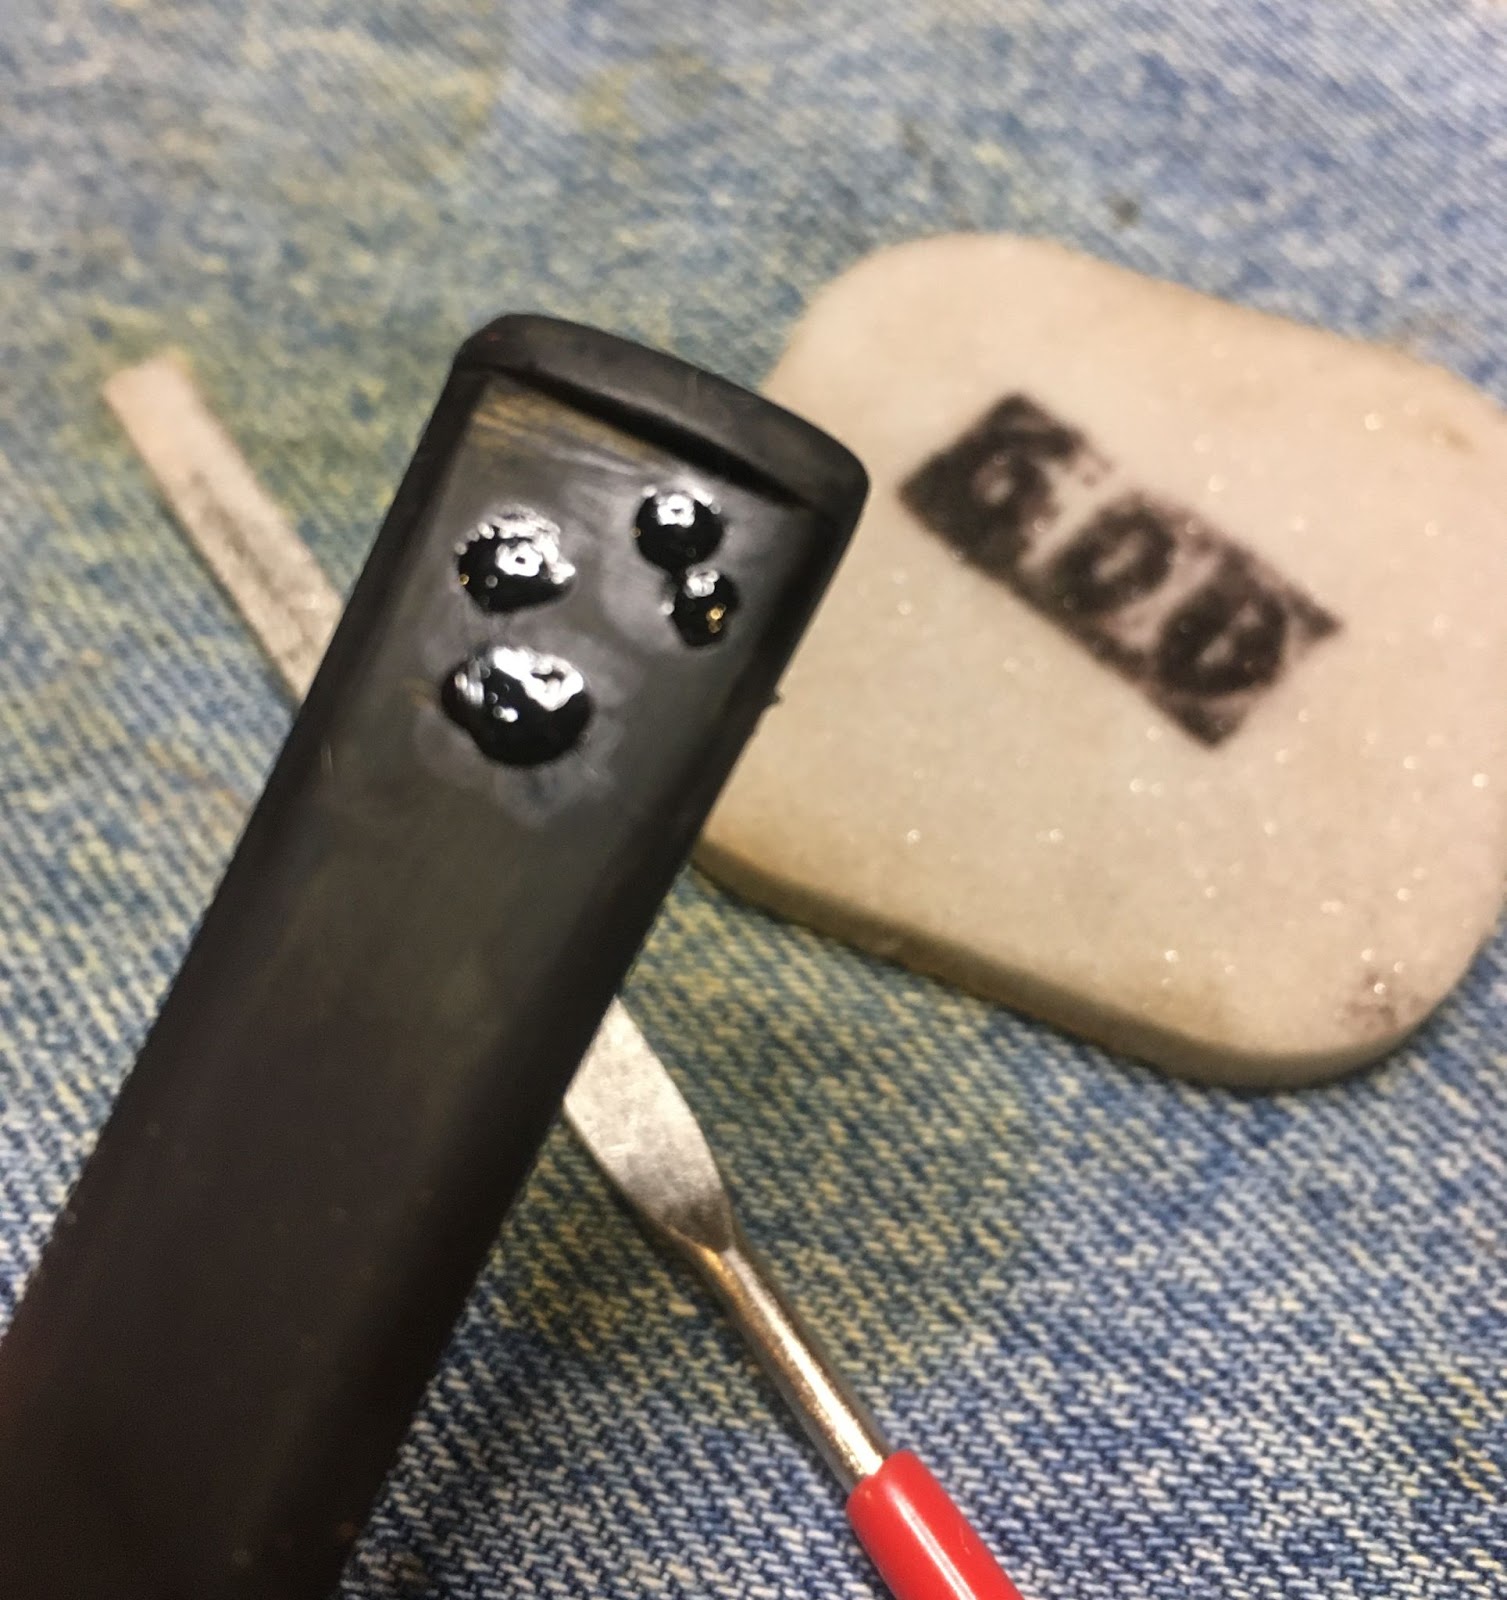
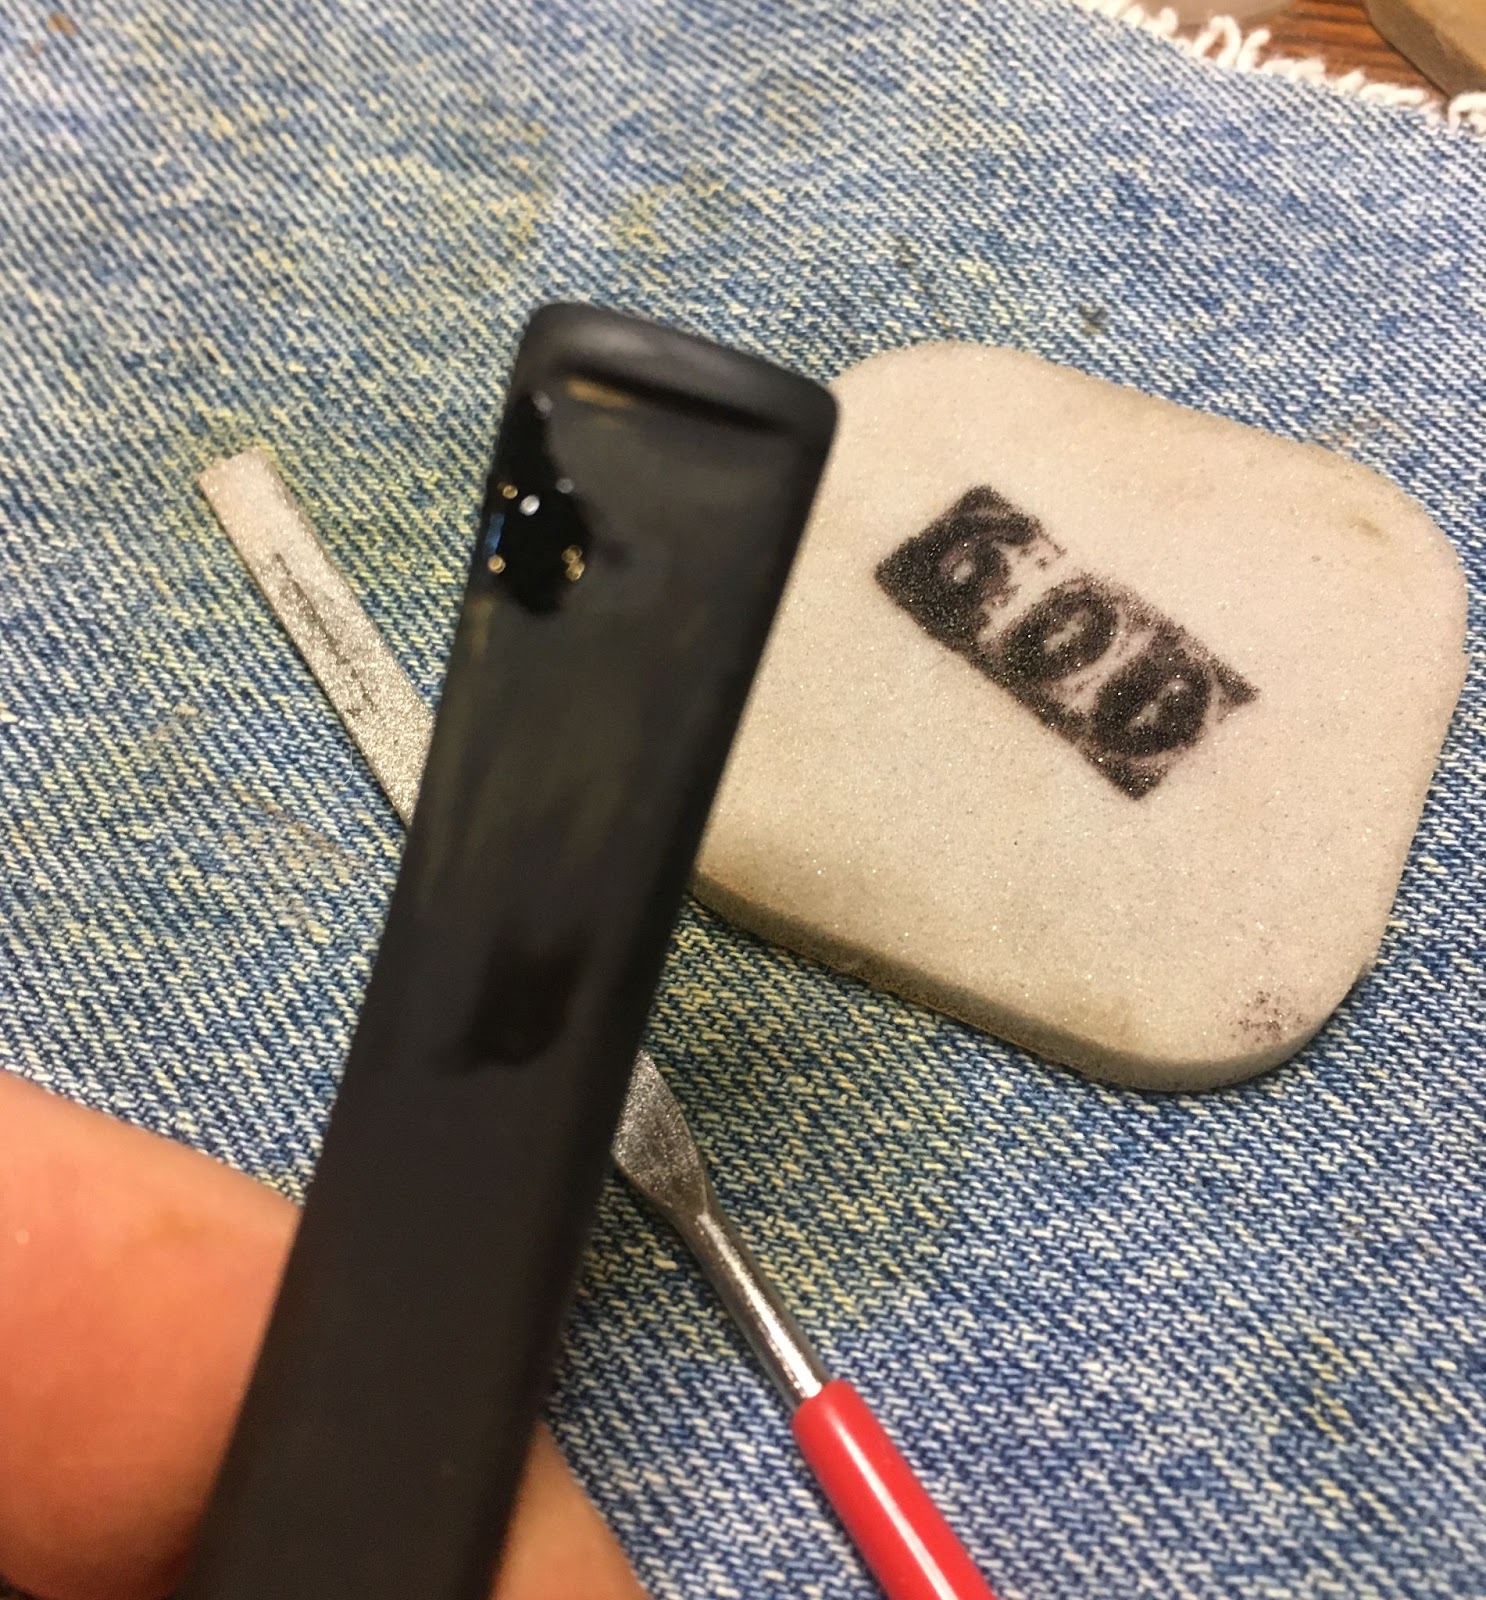
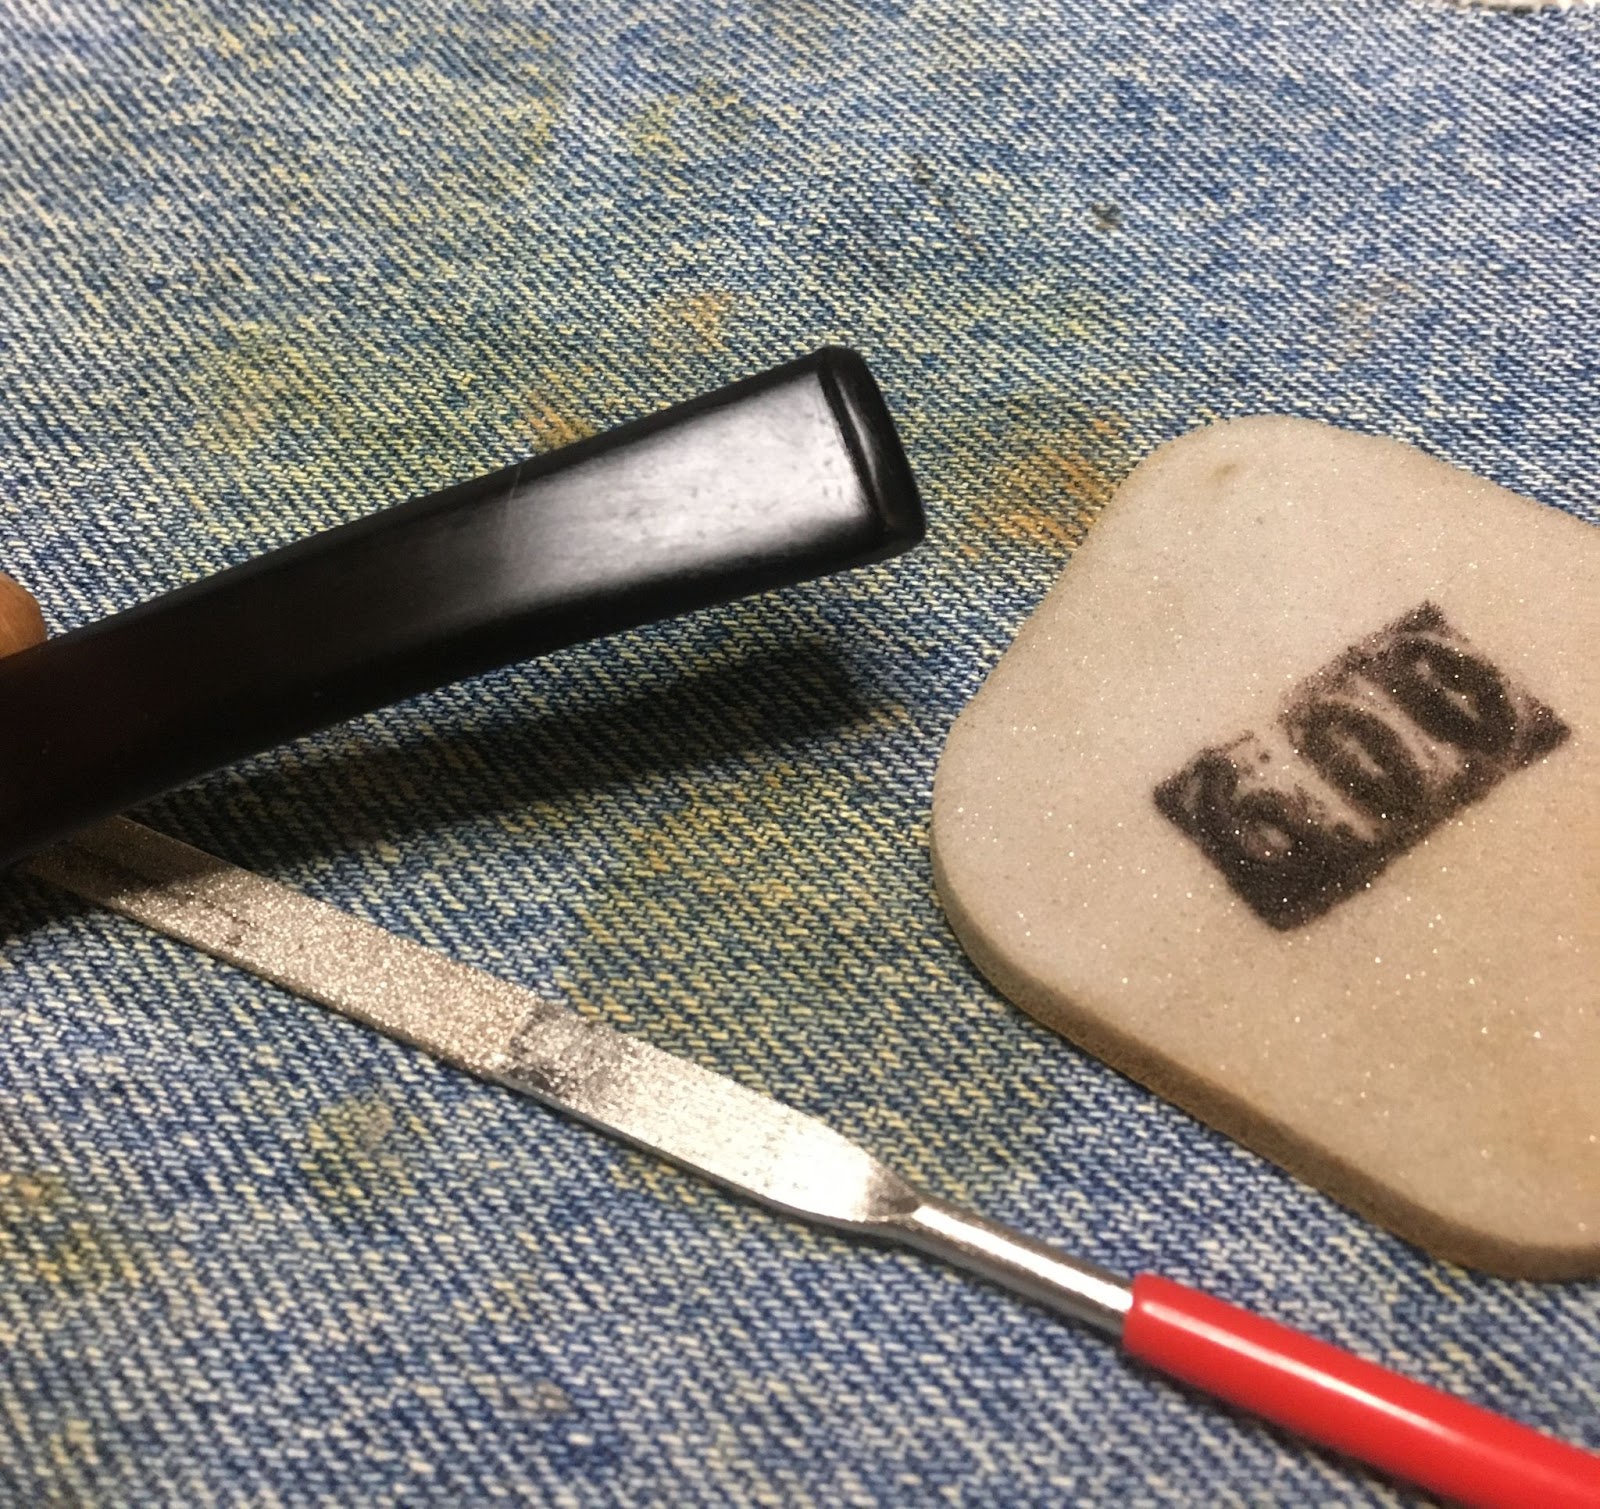
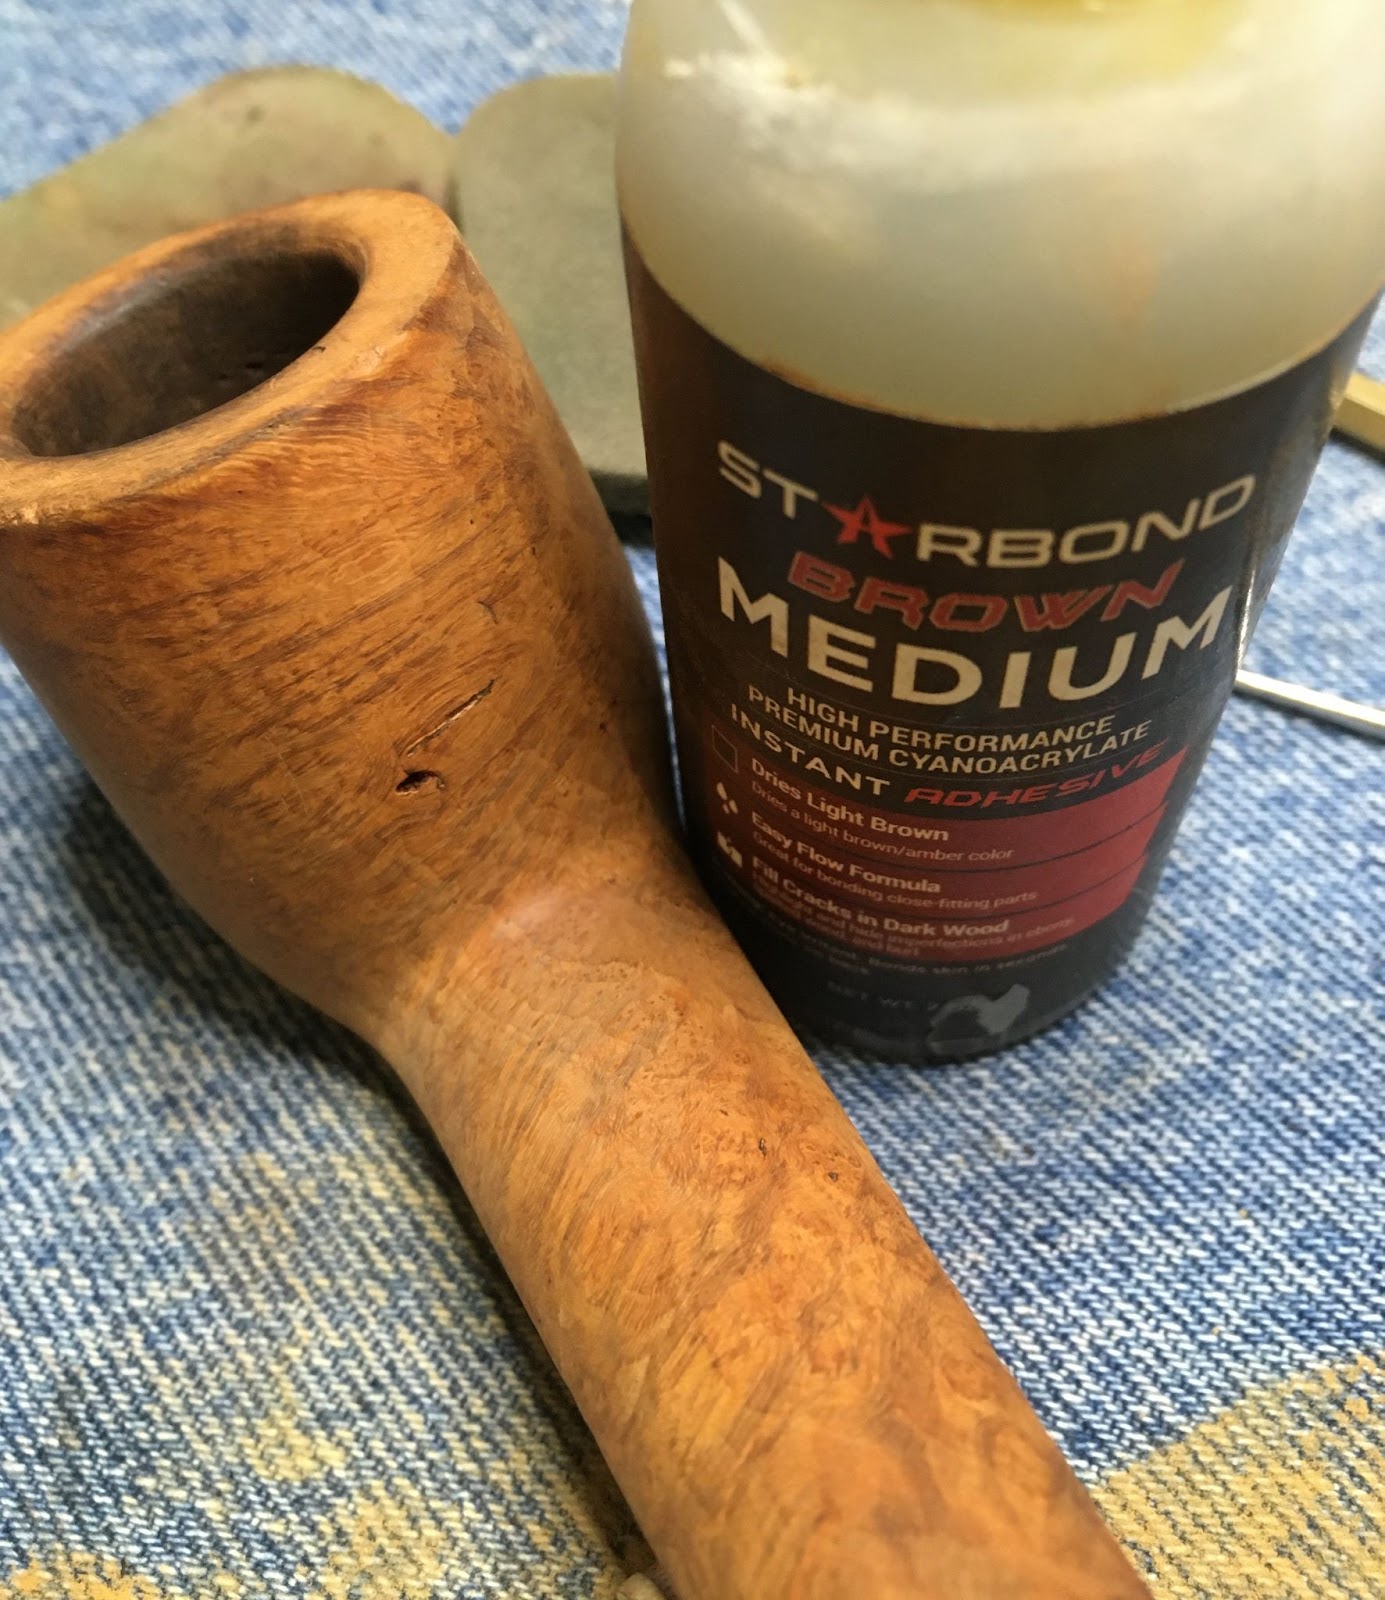
Back to the stummel. There were a few pits that needed to be filled. The below shows the largest of them. These were filled with a drop of brown cyanoacrylate (CA, super glue) and briar dust. The CA was placed in the depression, a pinch of briar dust is then pressed hard into the depression. You can try not to get the CA and briar dust onto your fingers or wear nitrile gloves. Personally I kind of like the brown speckled fingertips. The fill was then filed smooth with a flat needle file. Usually a second application of CA was needed. This was sanded with a 400 grit sanding sponge. The sponge provided the briar dust and smoothed the fill in the process.

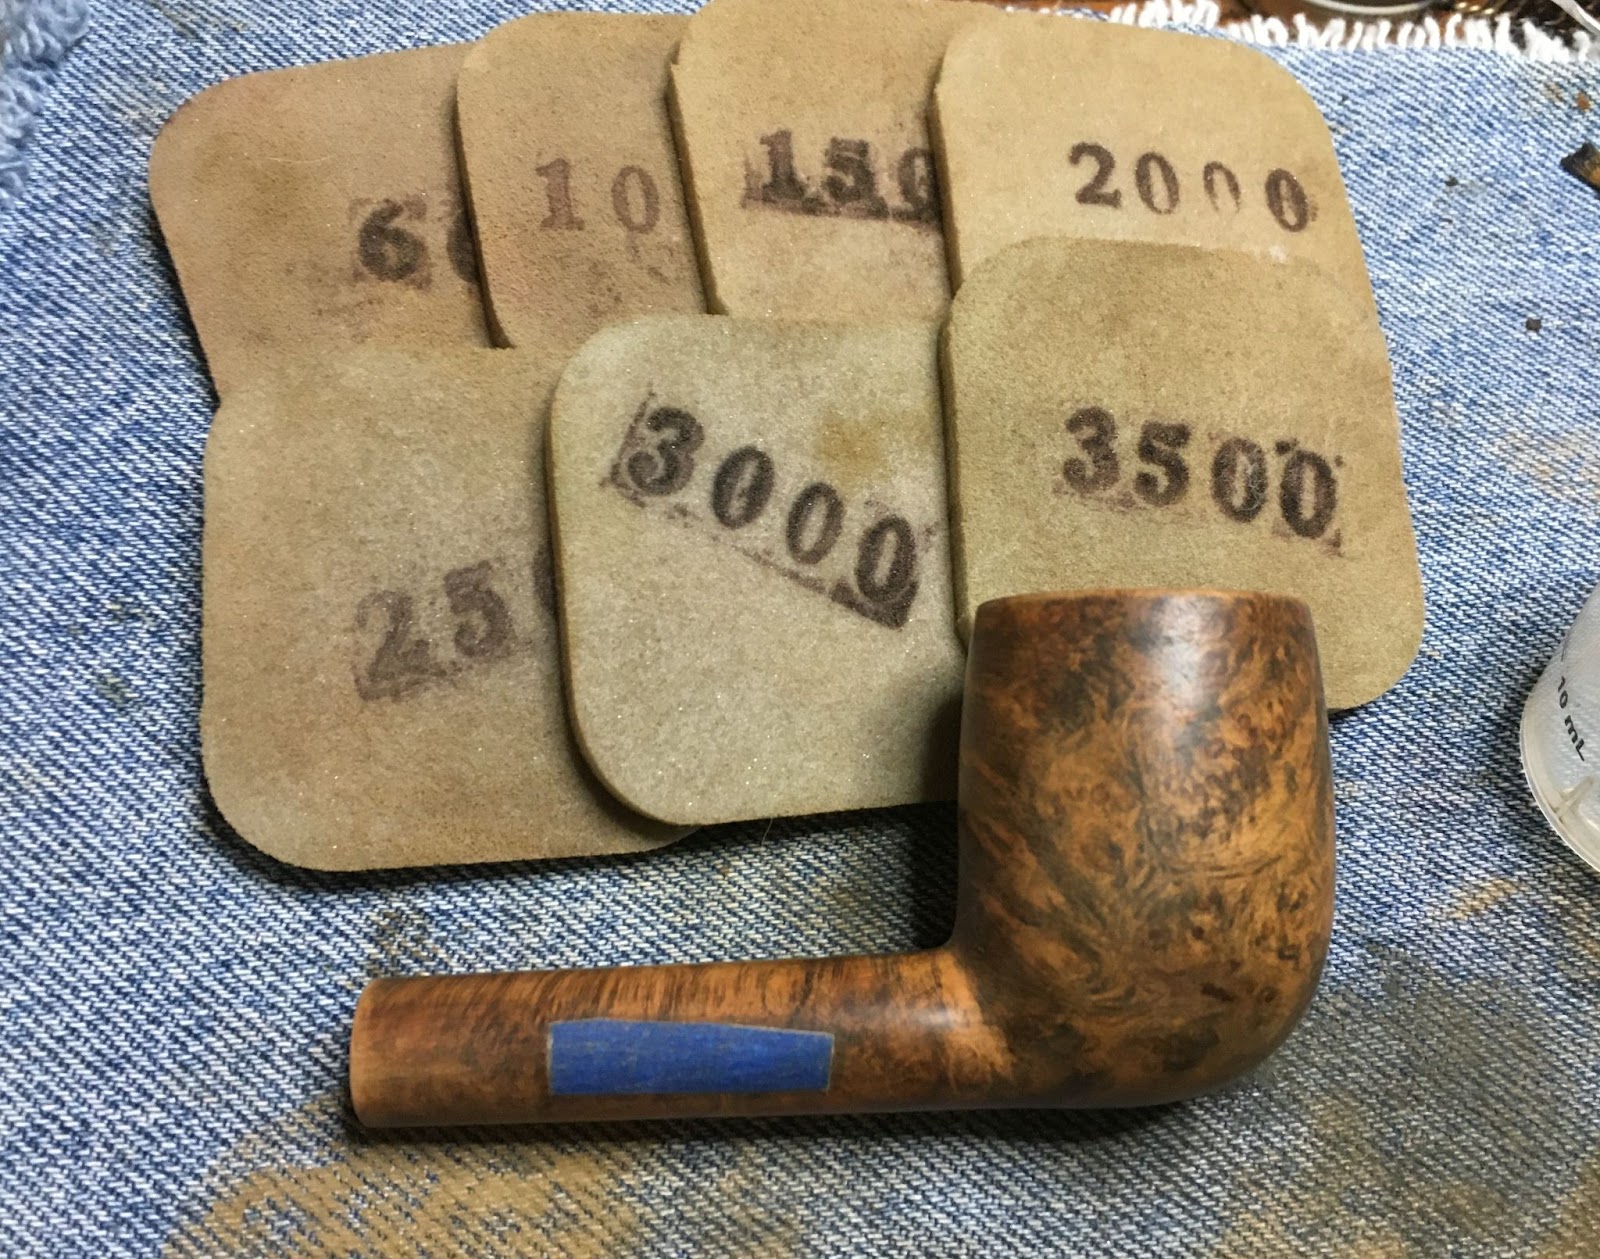
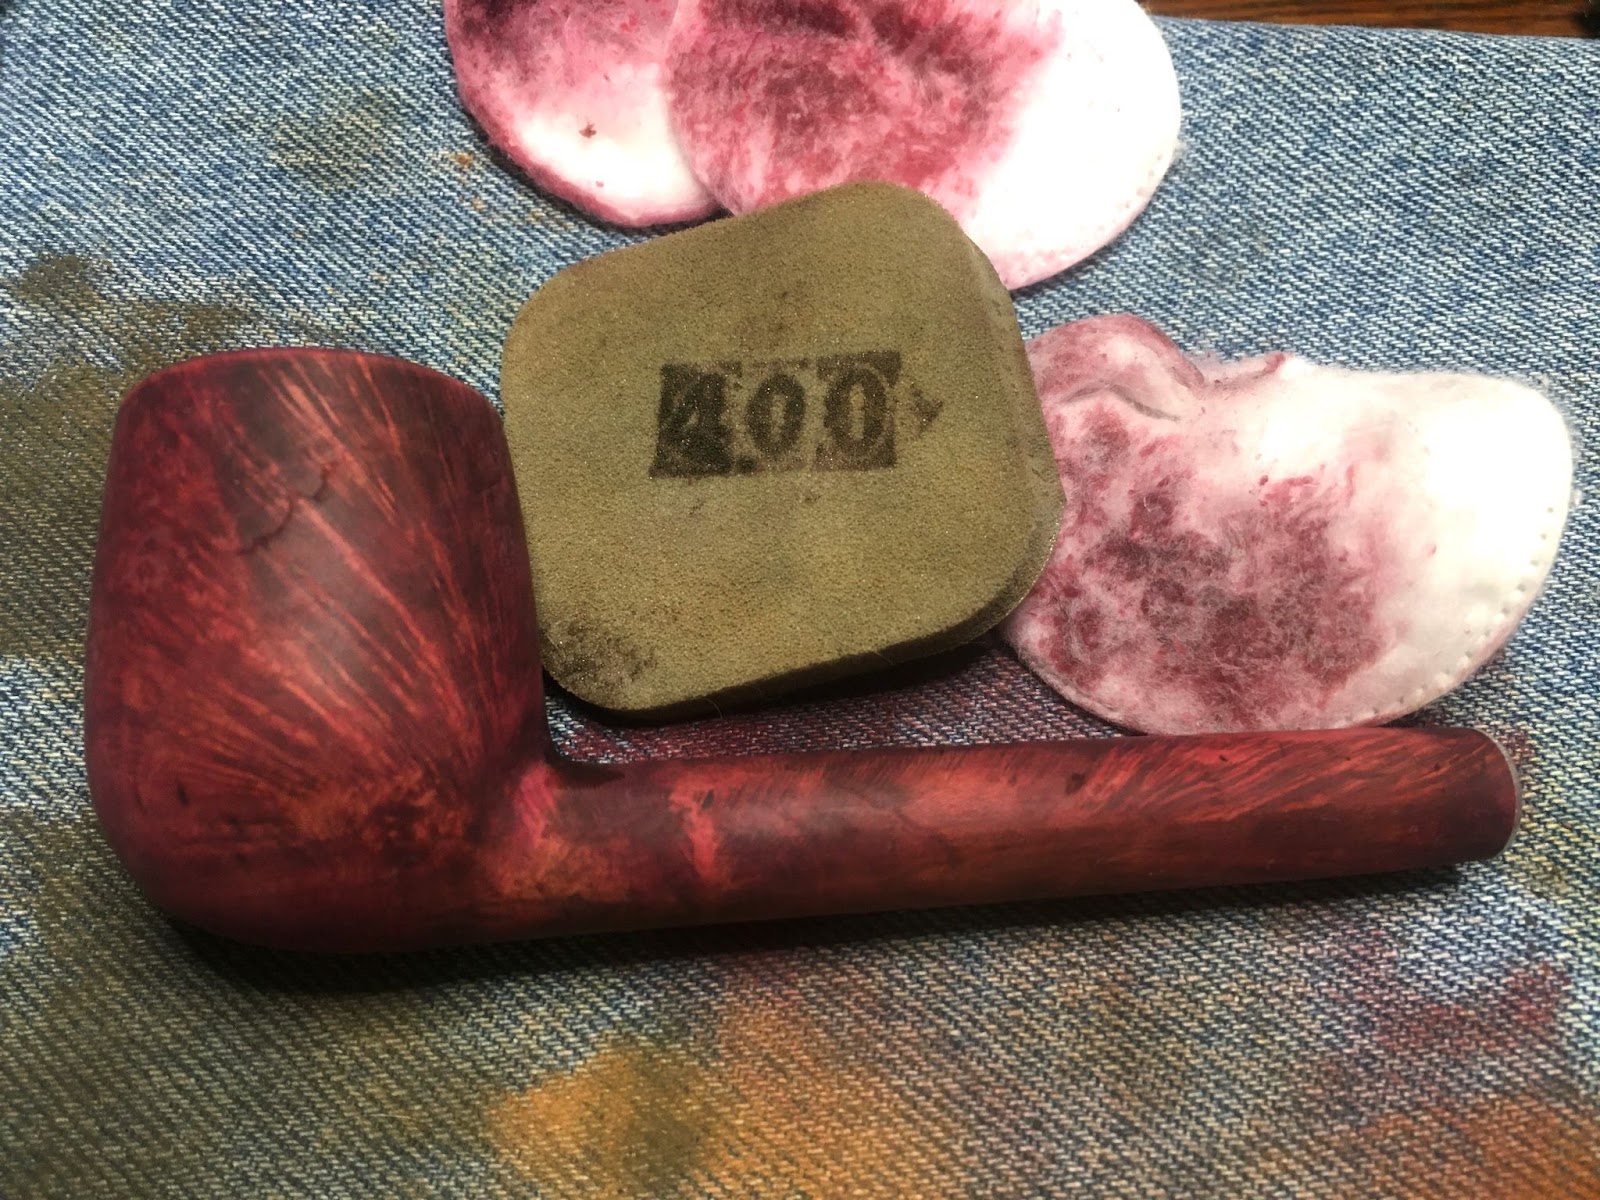
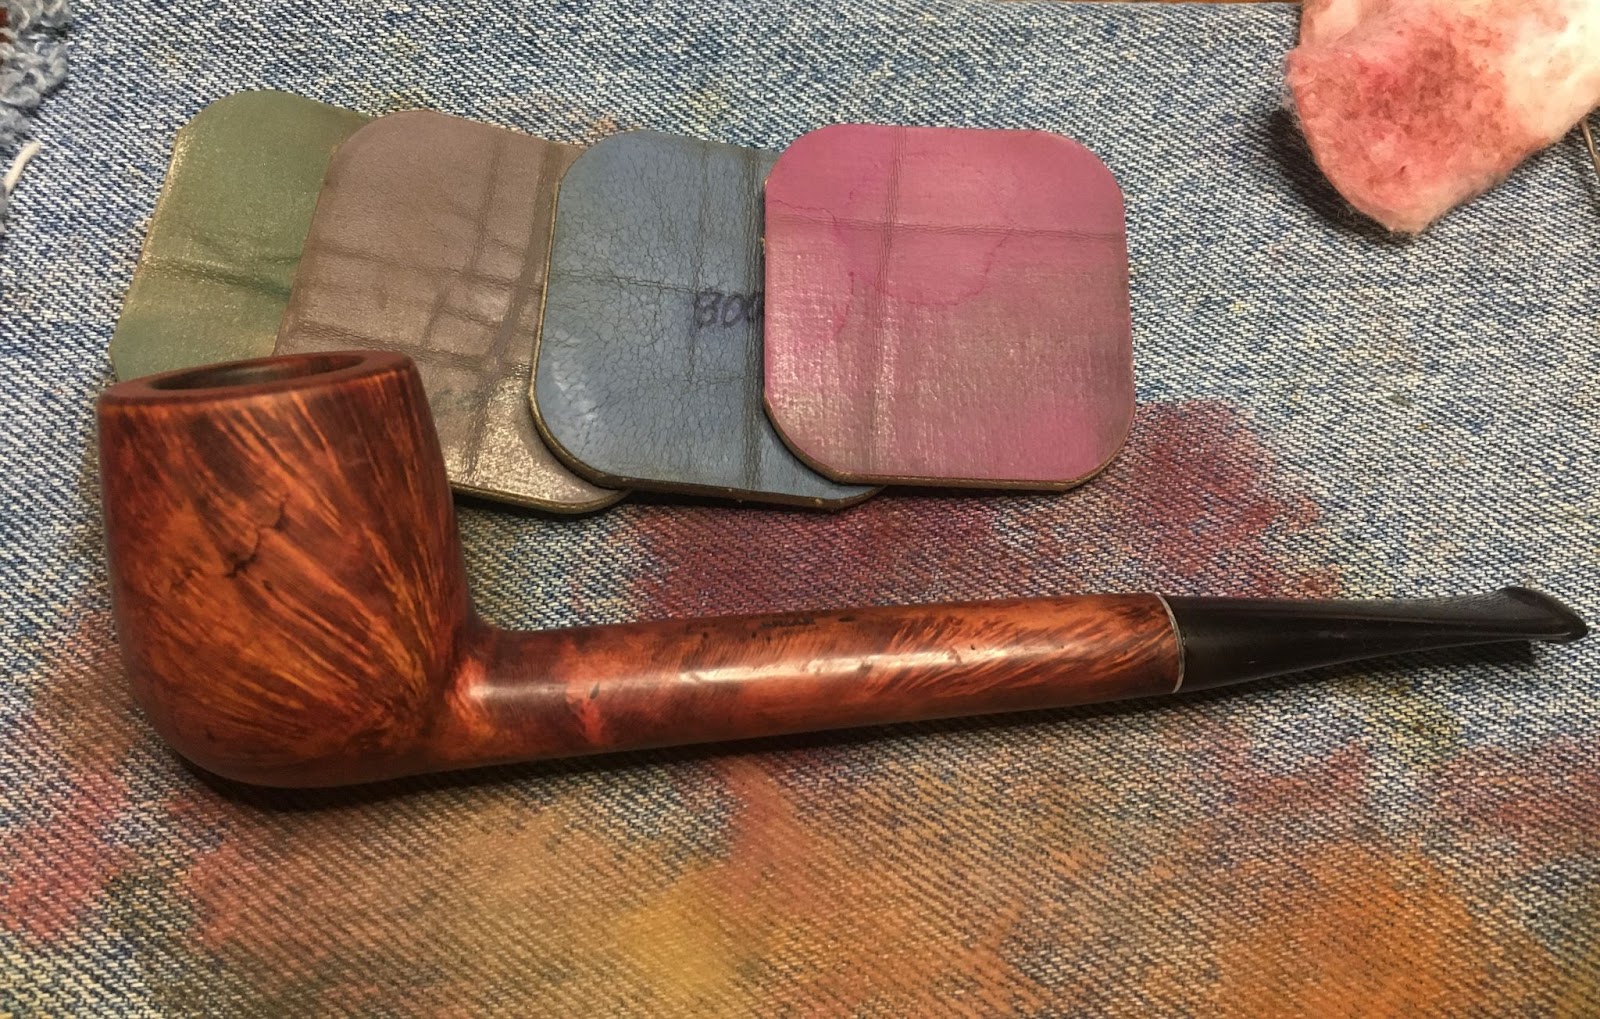
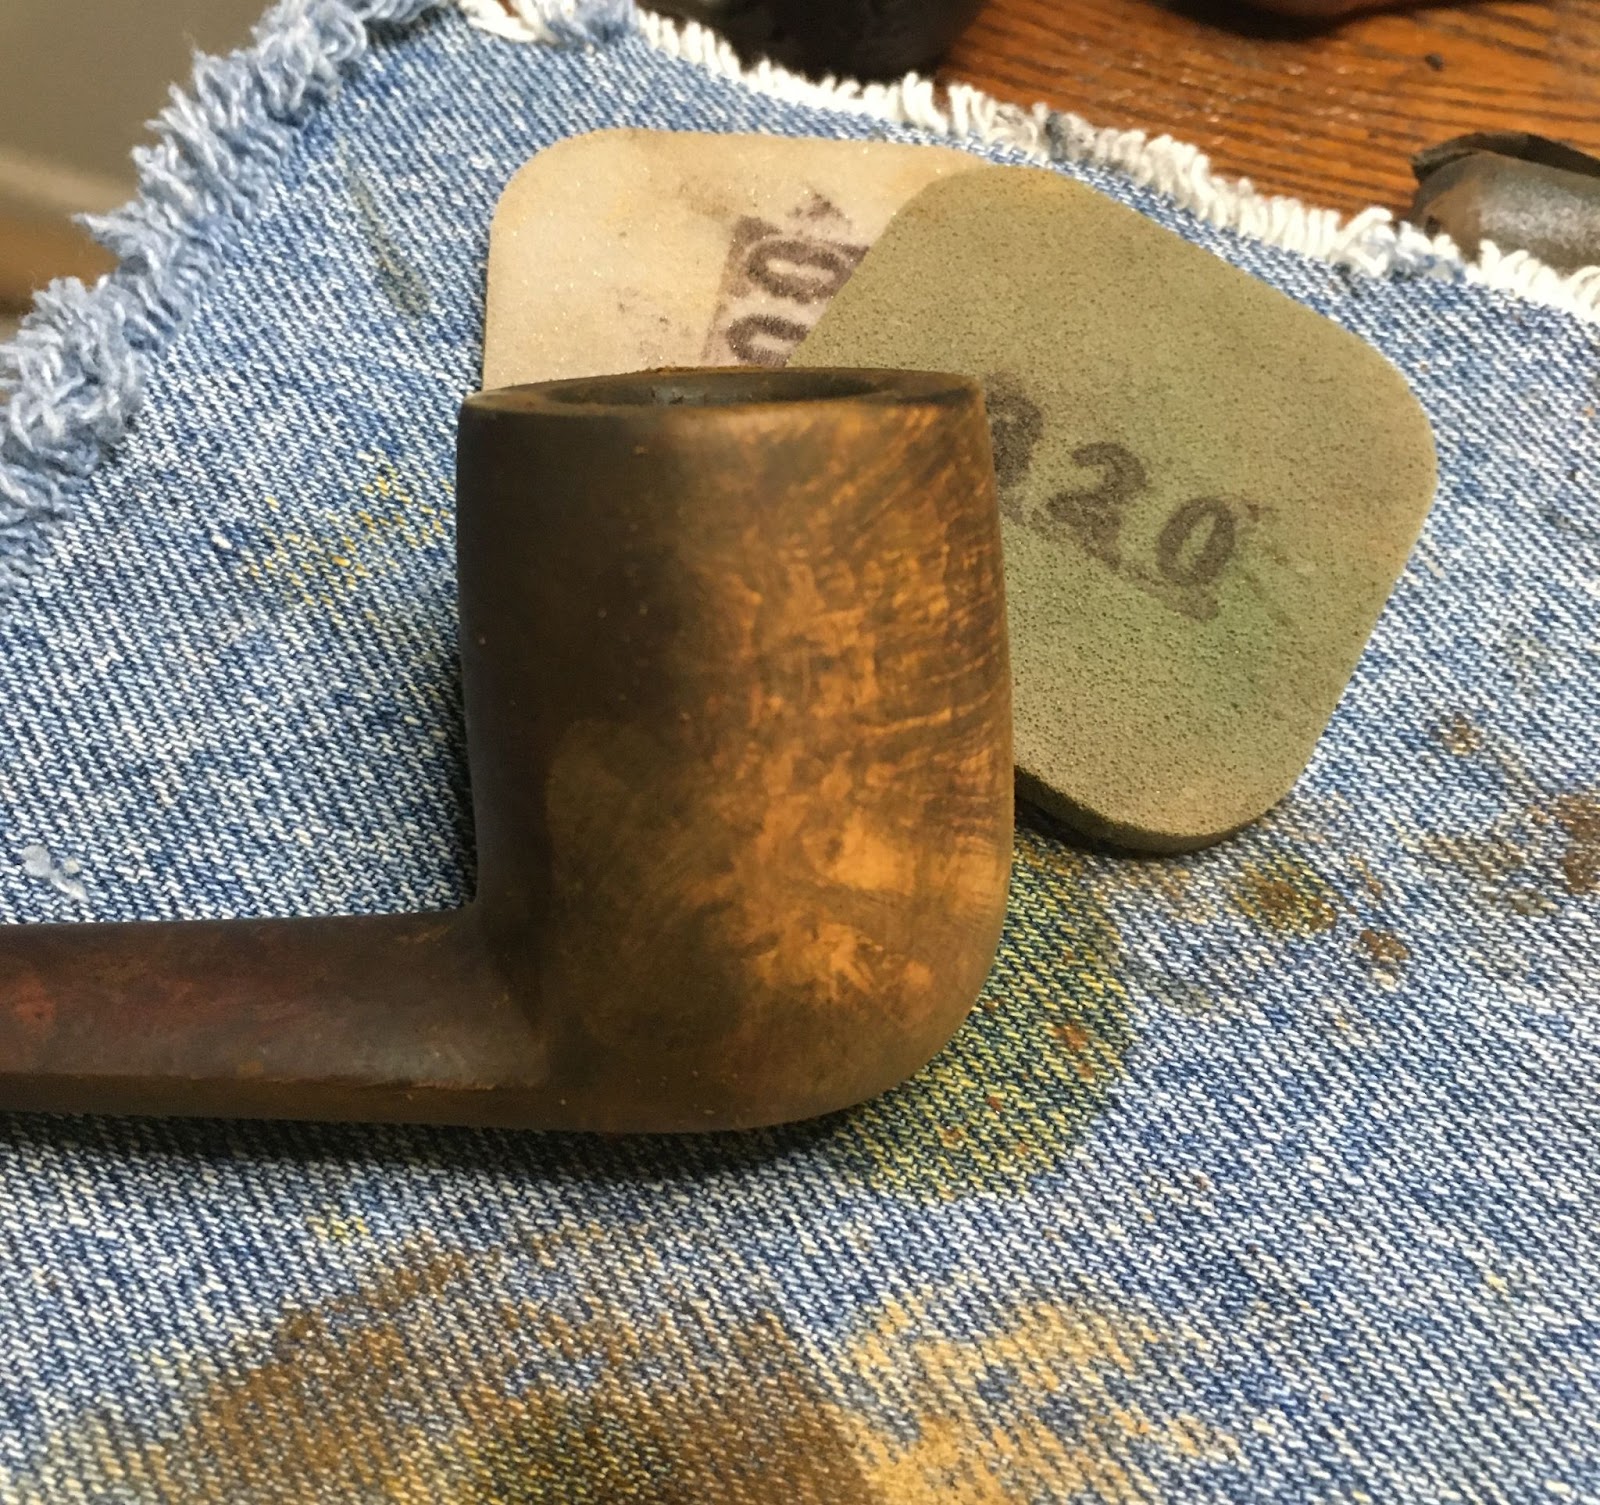
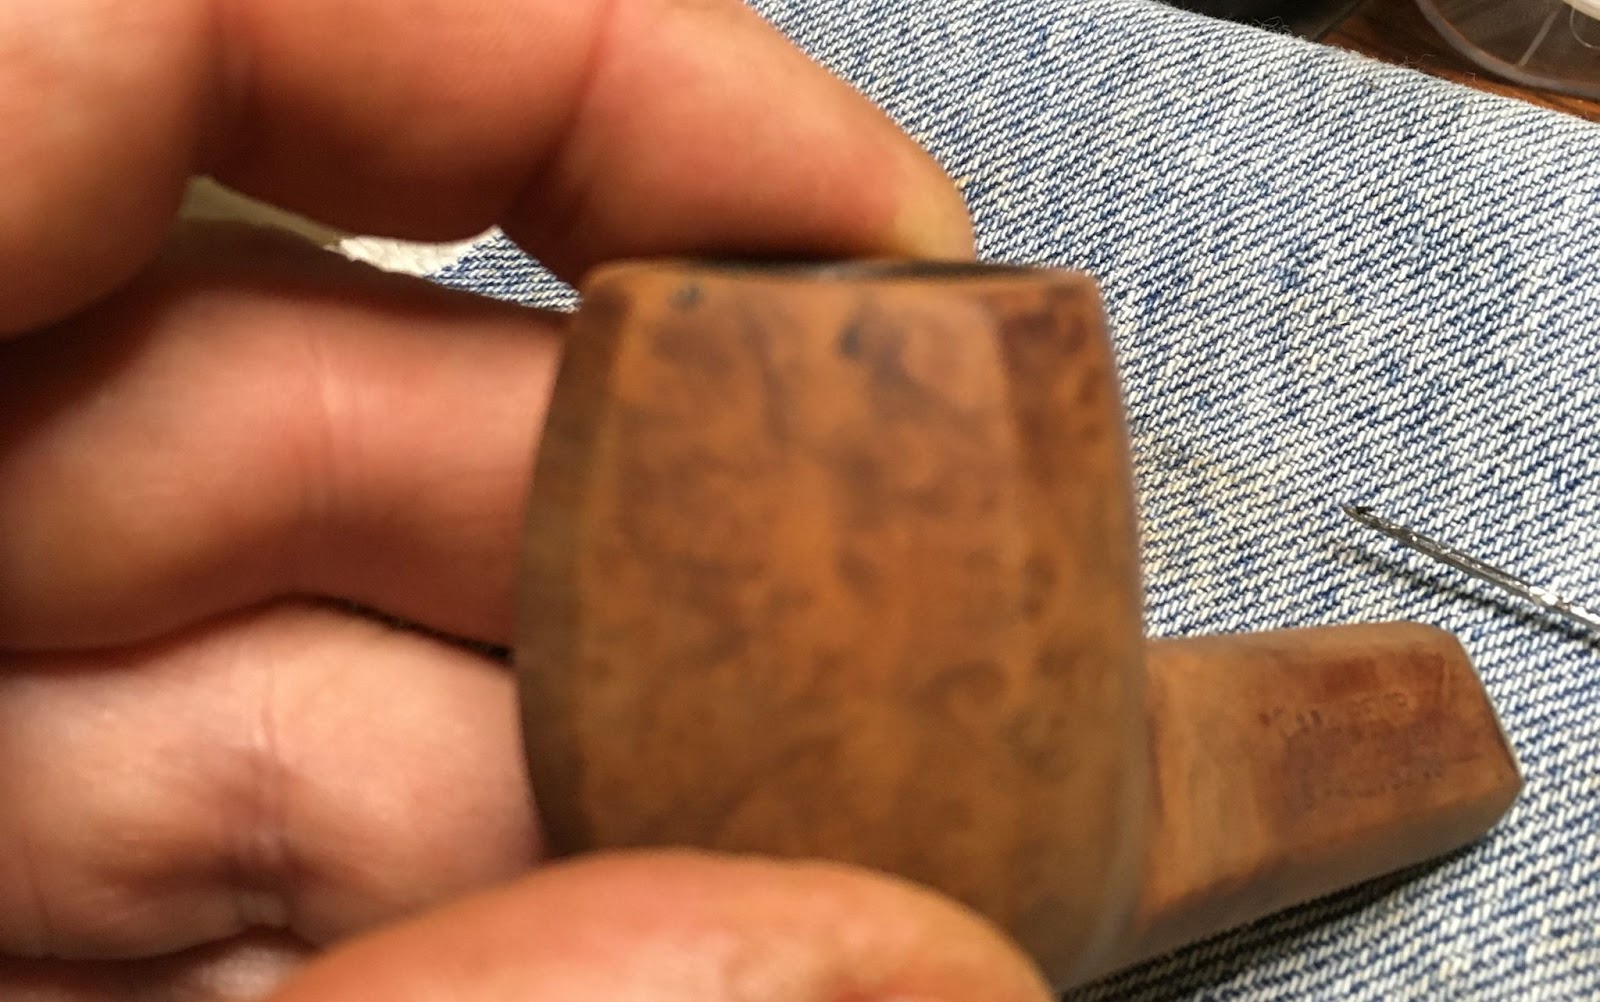
After the fills were finished the stamps were taped with painters tape and the stummel was sanded with the sequence of sanding sponges, 400-2500. Care was taken to not sand very much on the stem as it had already been sanded. Between each sponge the stummel was wiped with a make-up pad wetted with 95% ethyl alcohol. Below you can still see the adhesive from the painters tape around the TWO KINGS.

The final sanding with the 3000 and the 3500 sponges was done without the painters tape. The alcohol wiping was the same for each sponge.
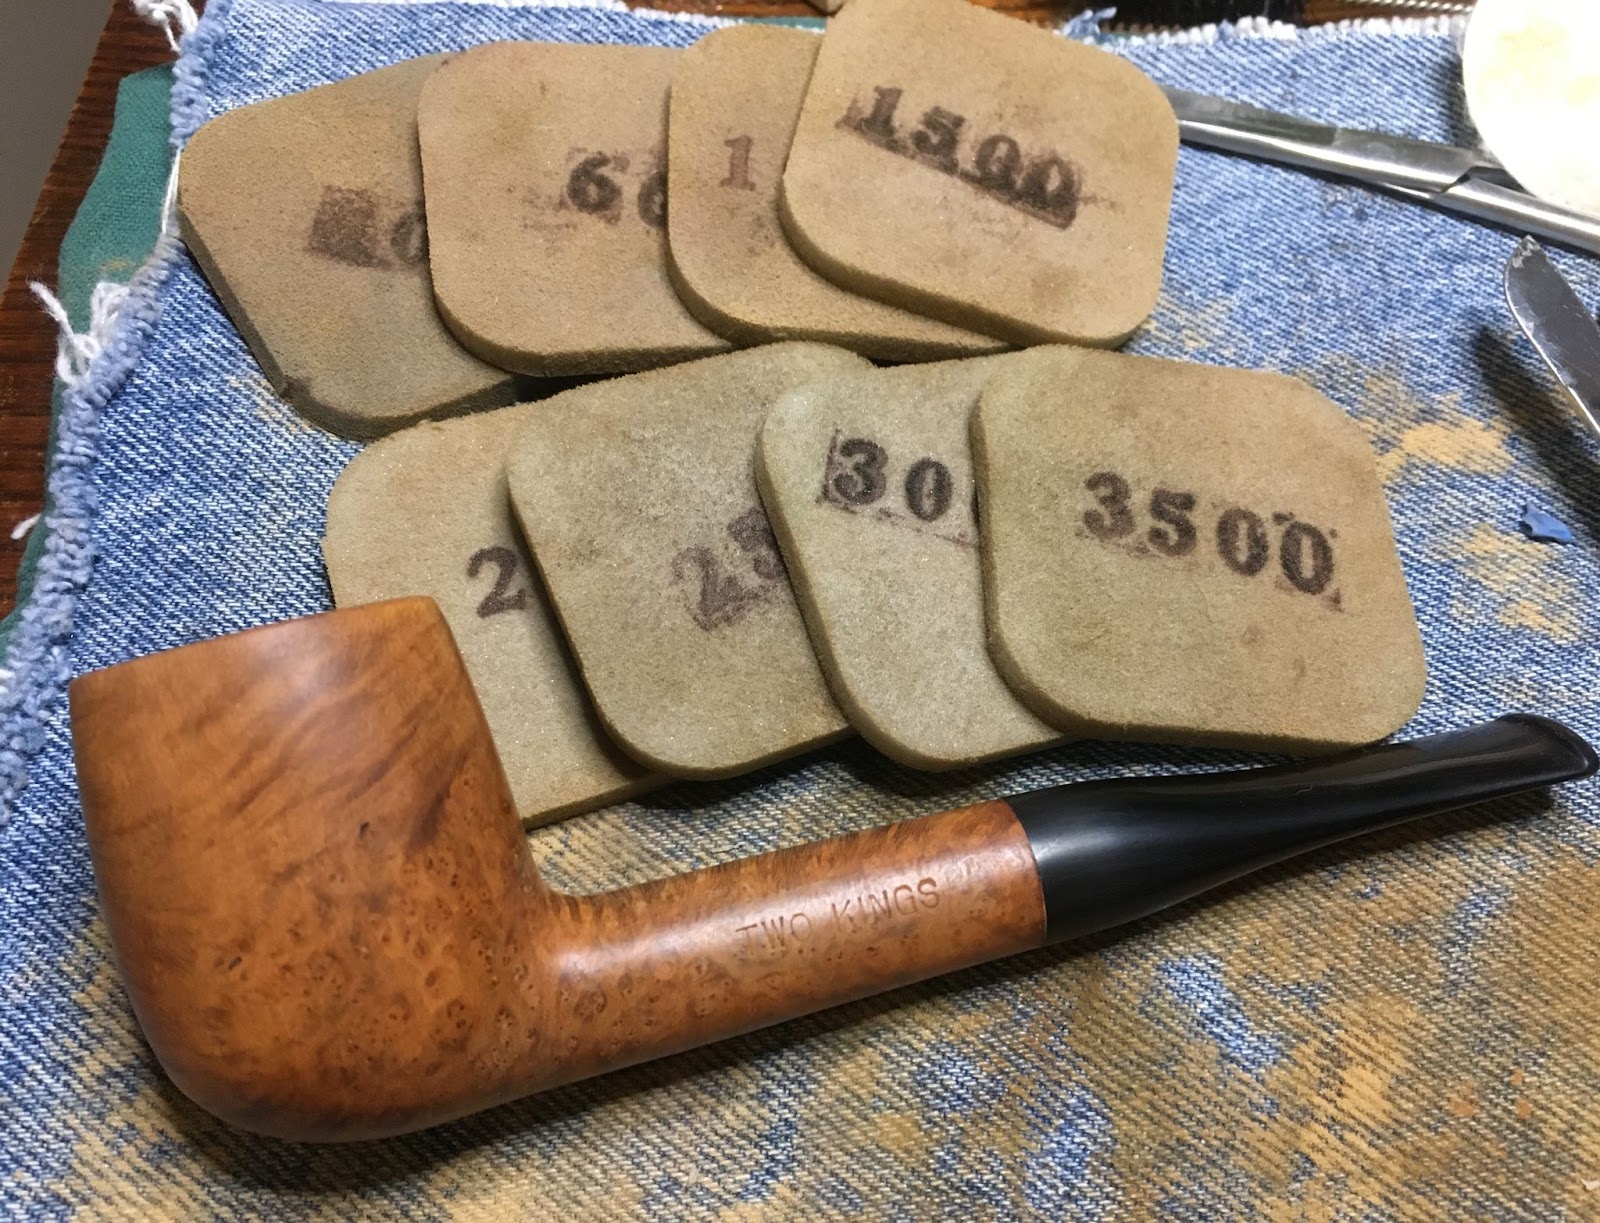
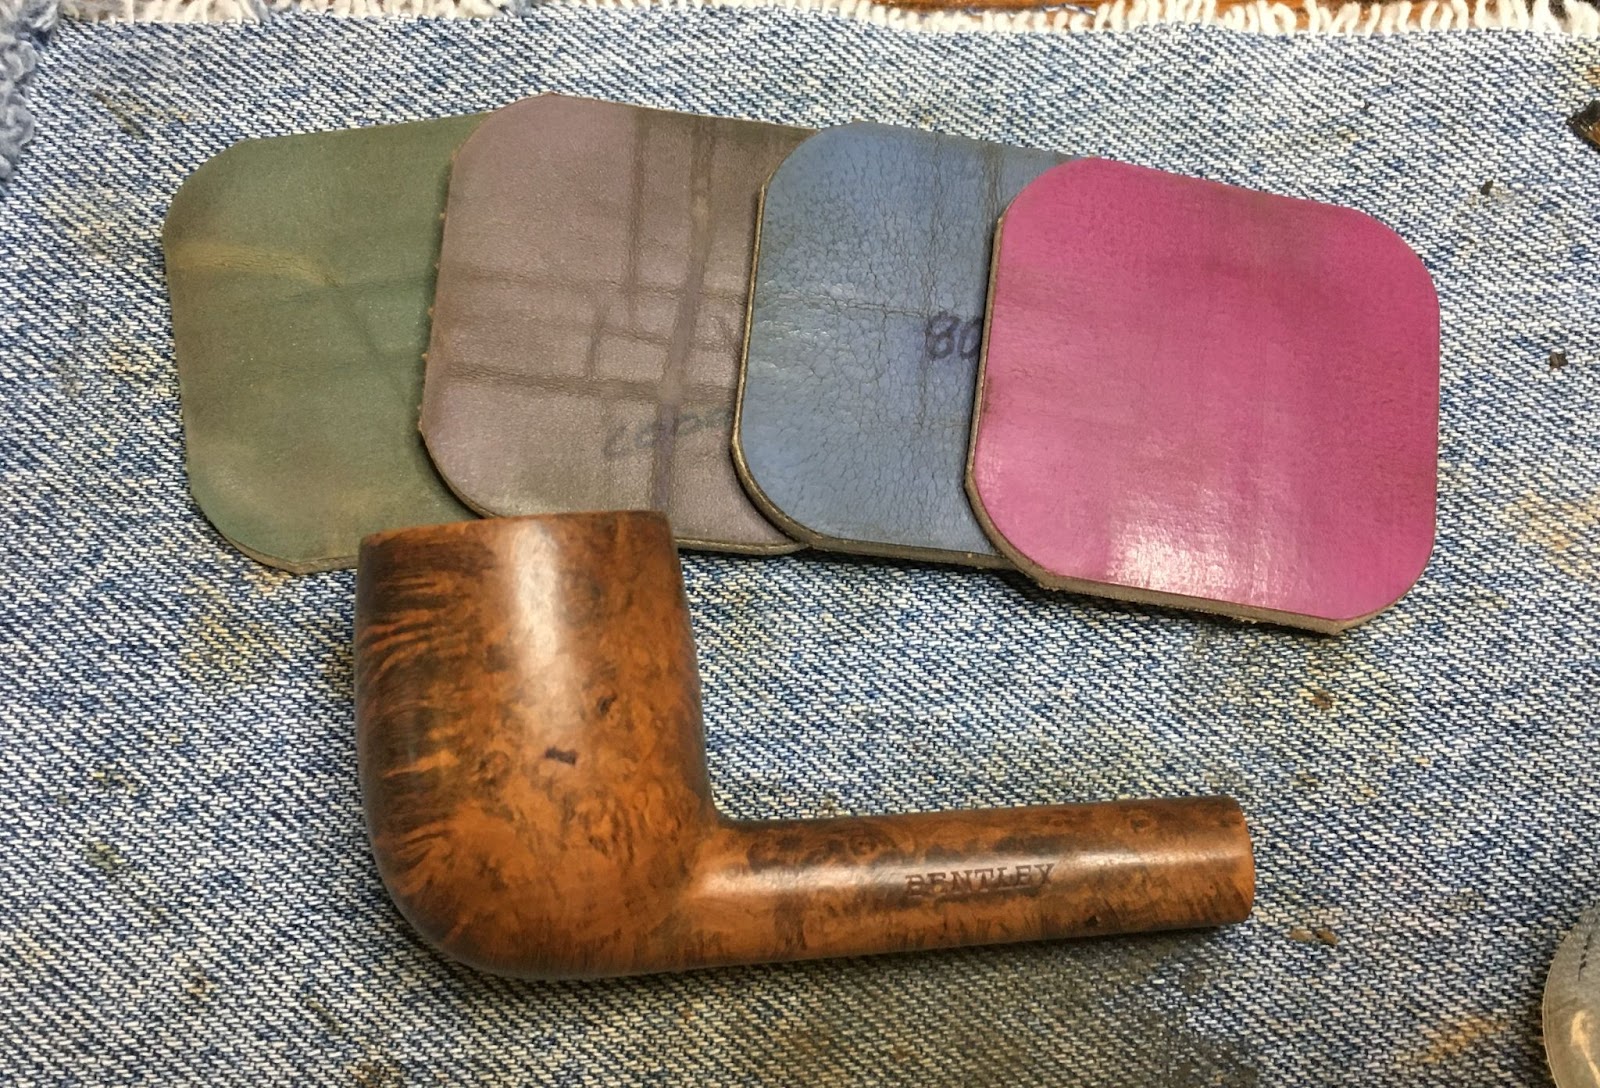
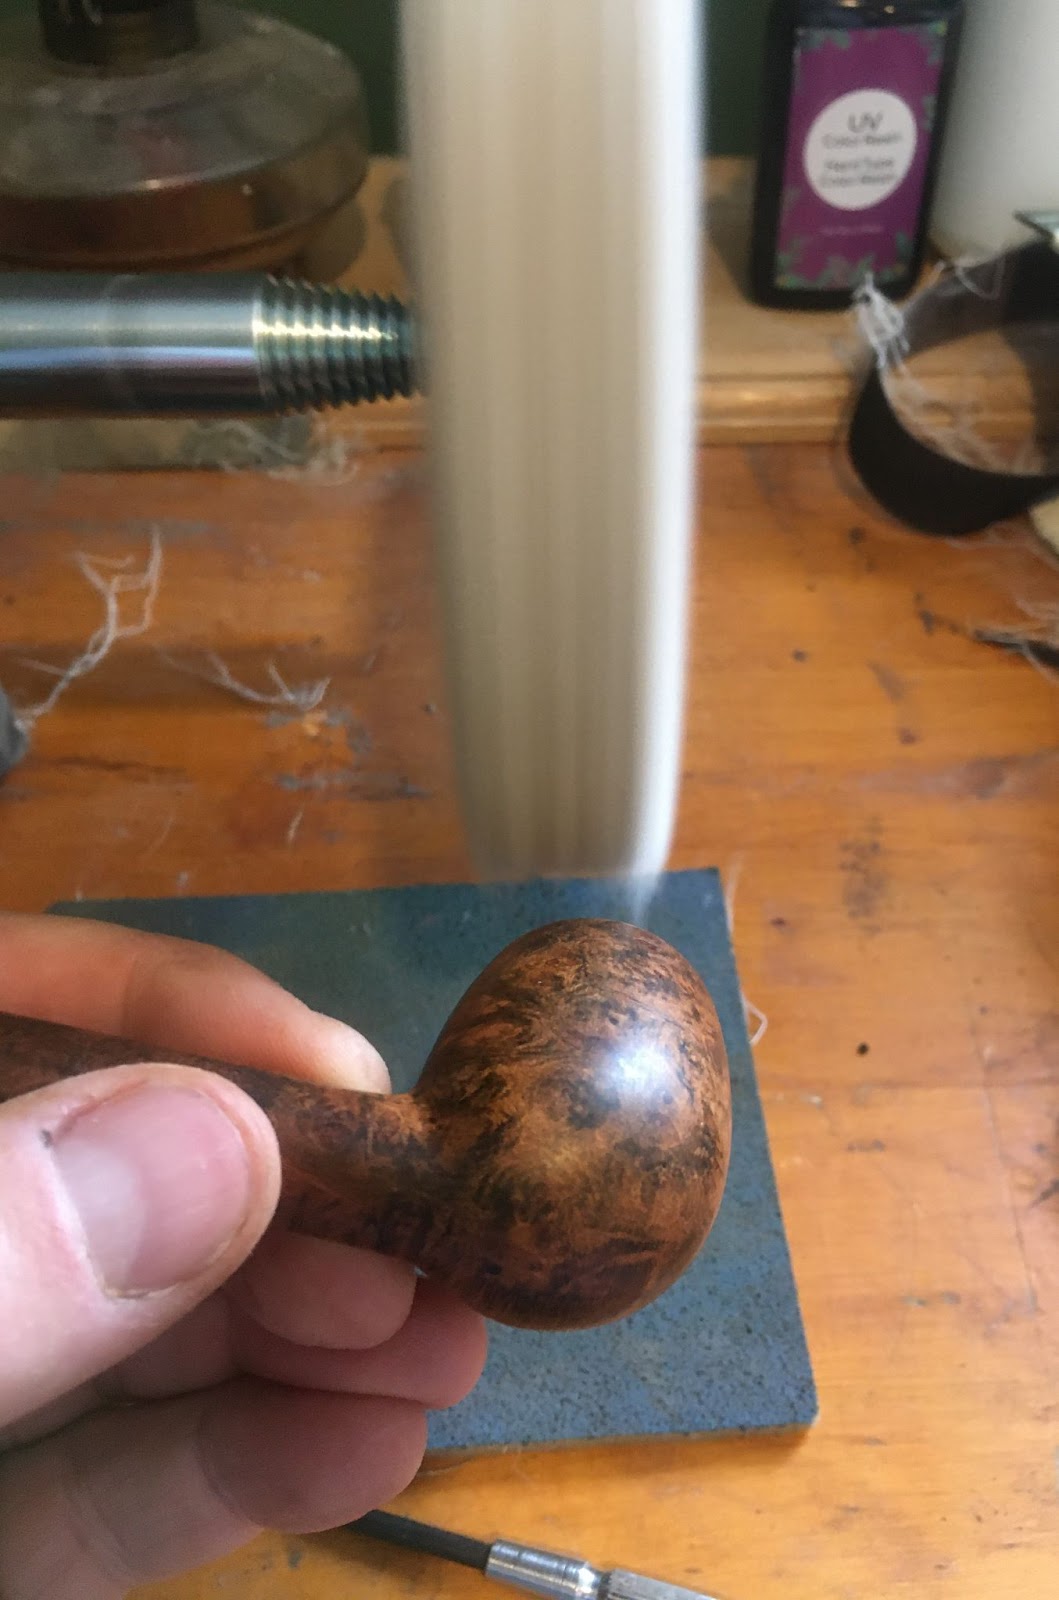
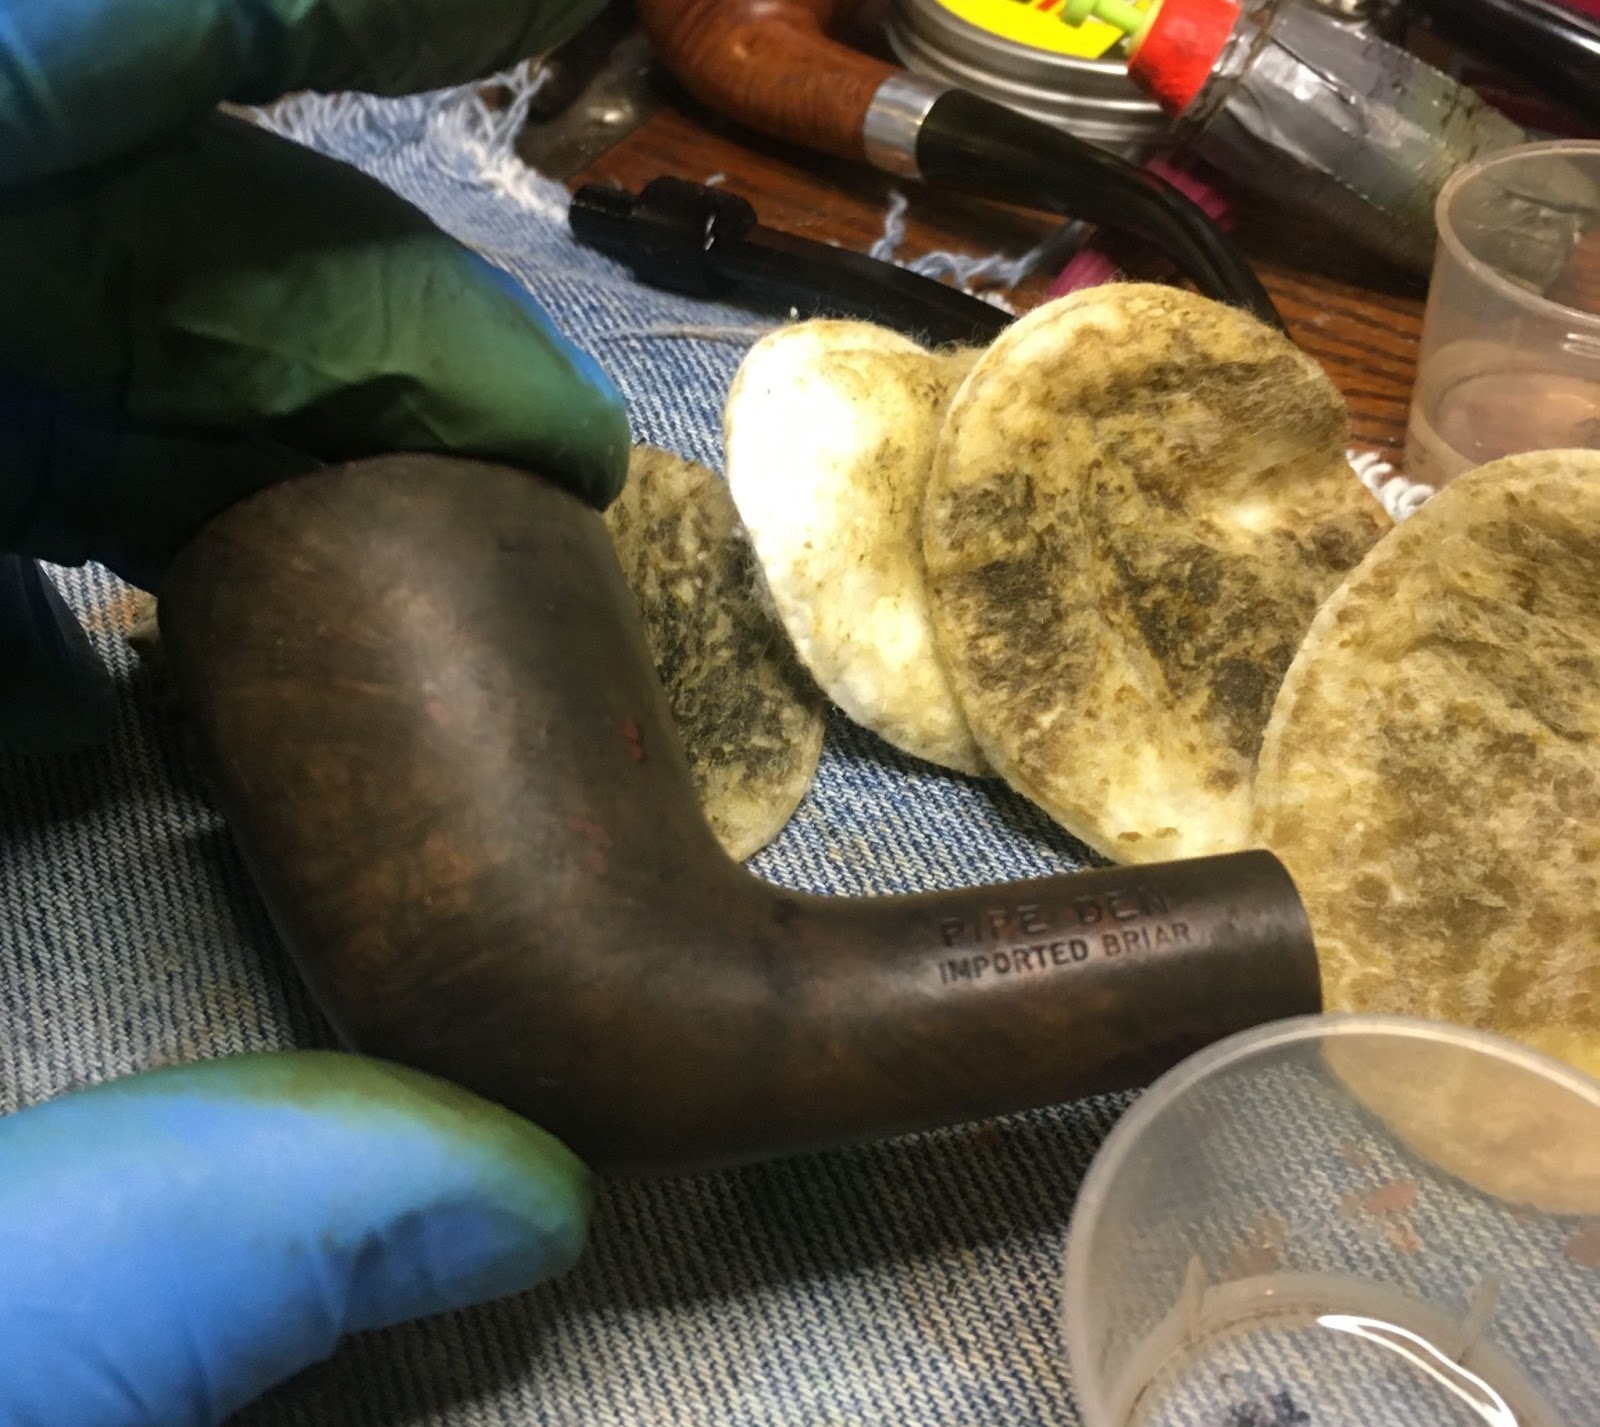
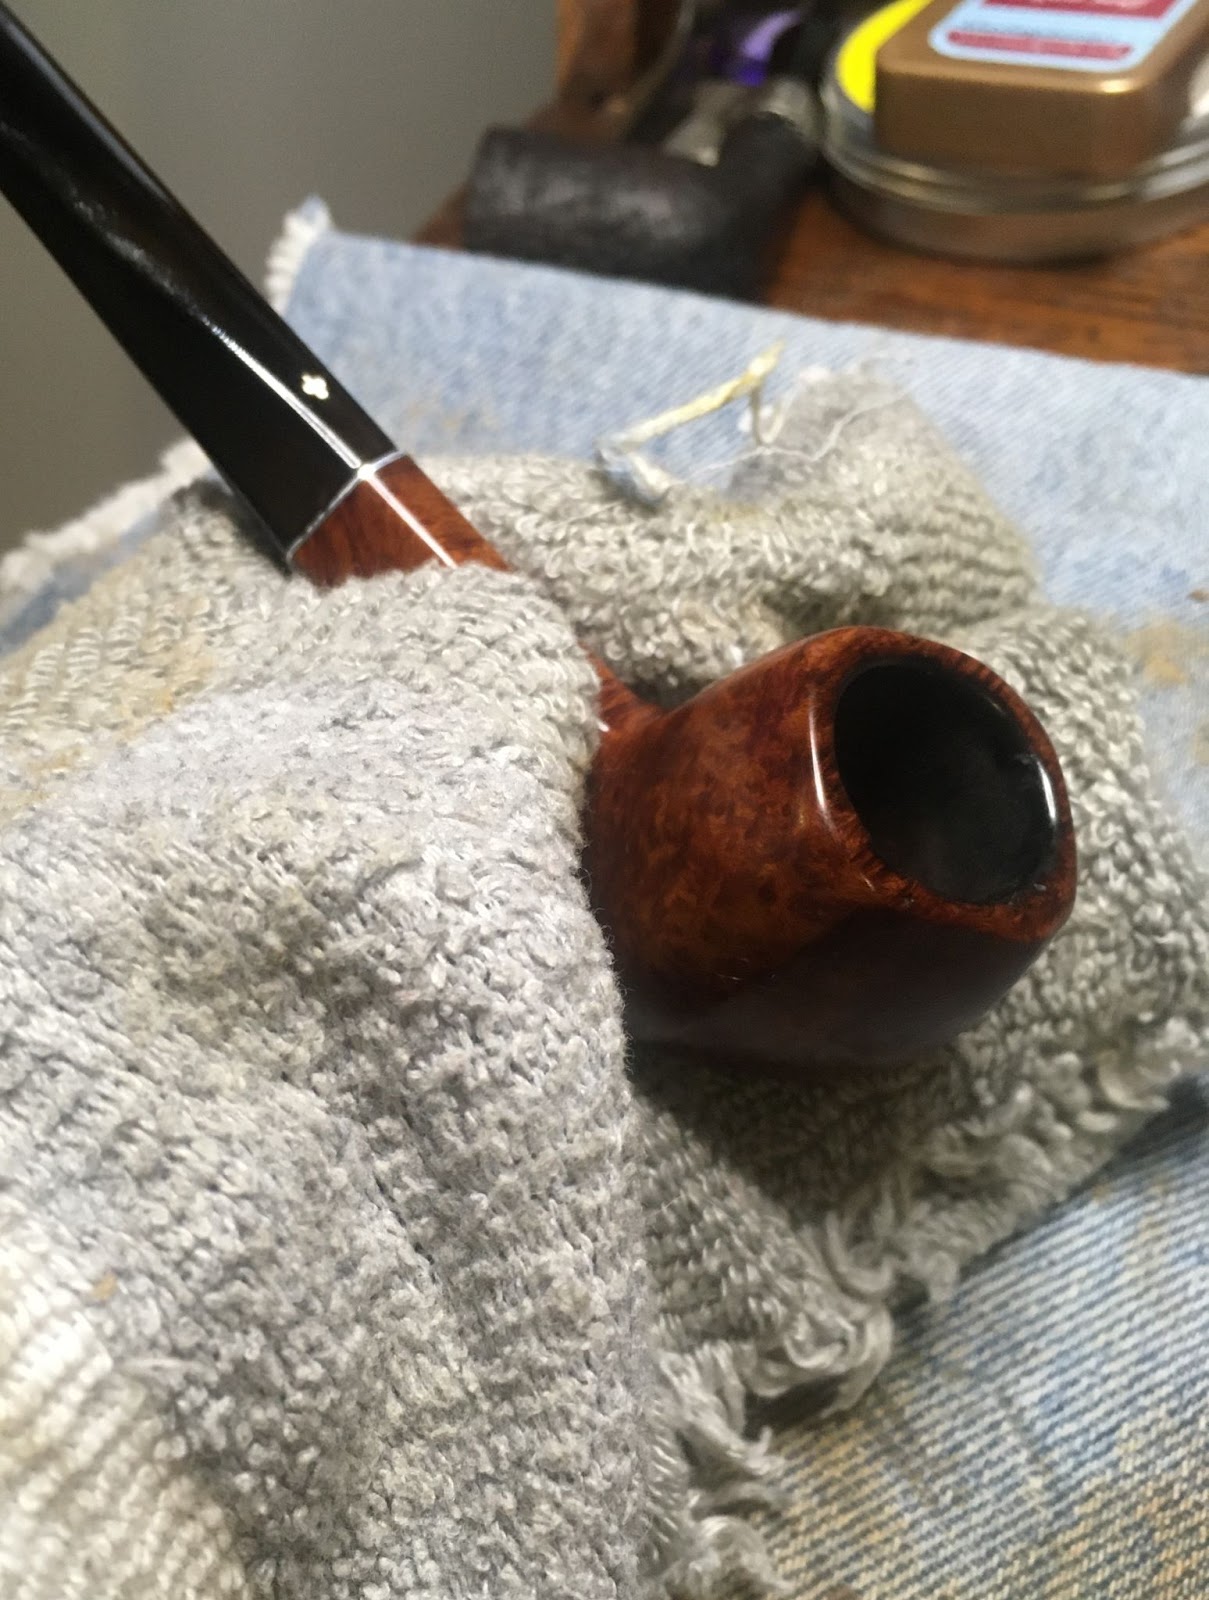
After the sanding sponges the stummel was micro-meshed with the 4000-12000 micro-mesh pads. Between the pads I wiped the stummel as with the sponges.

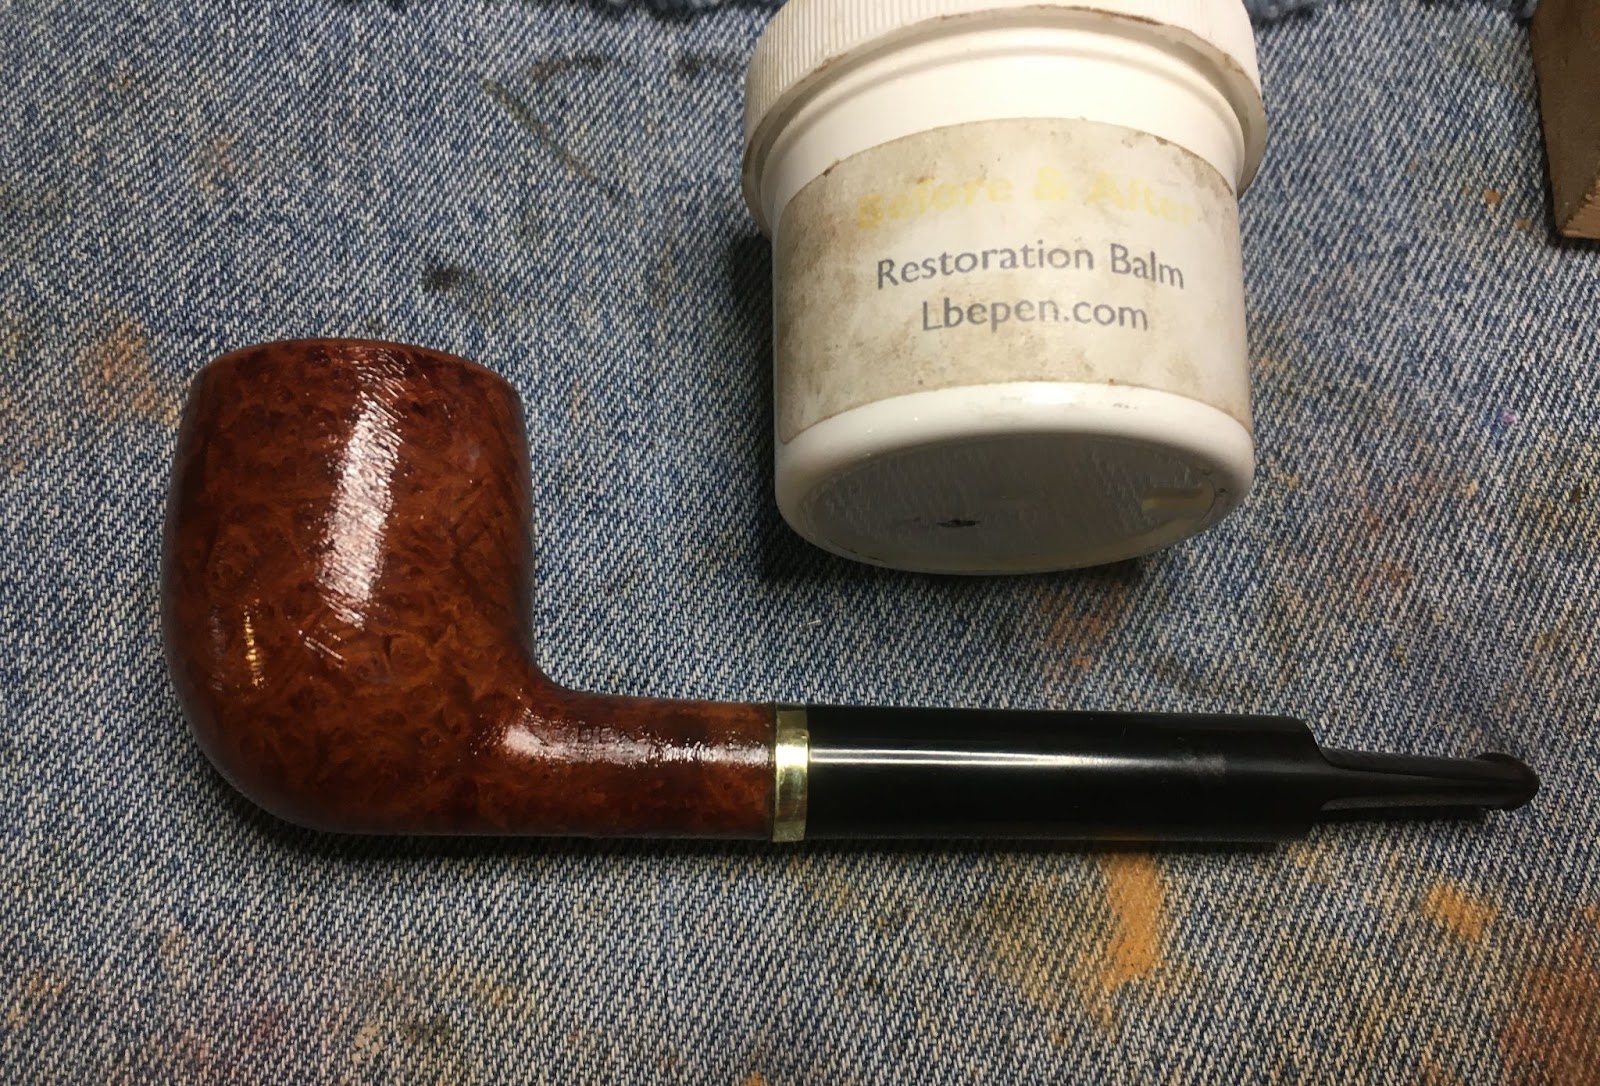
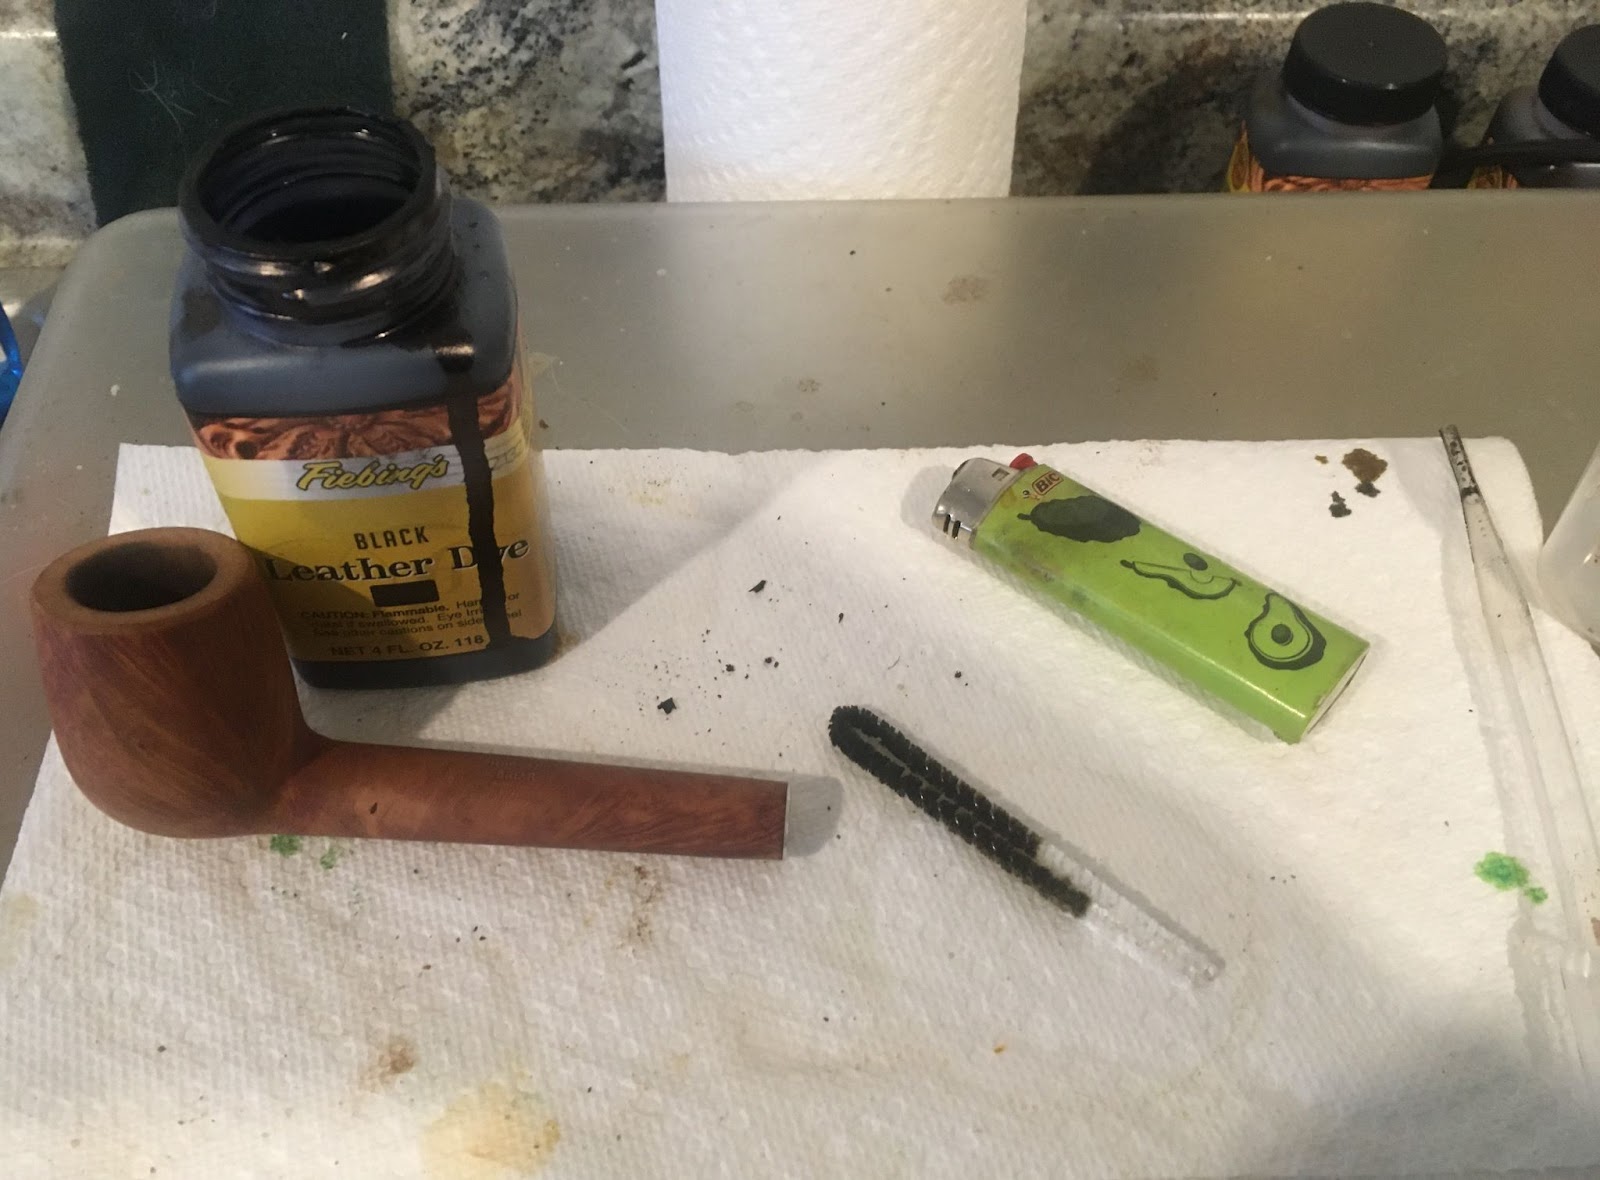
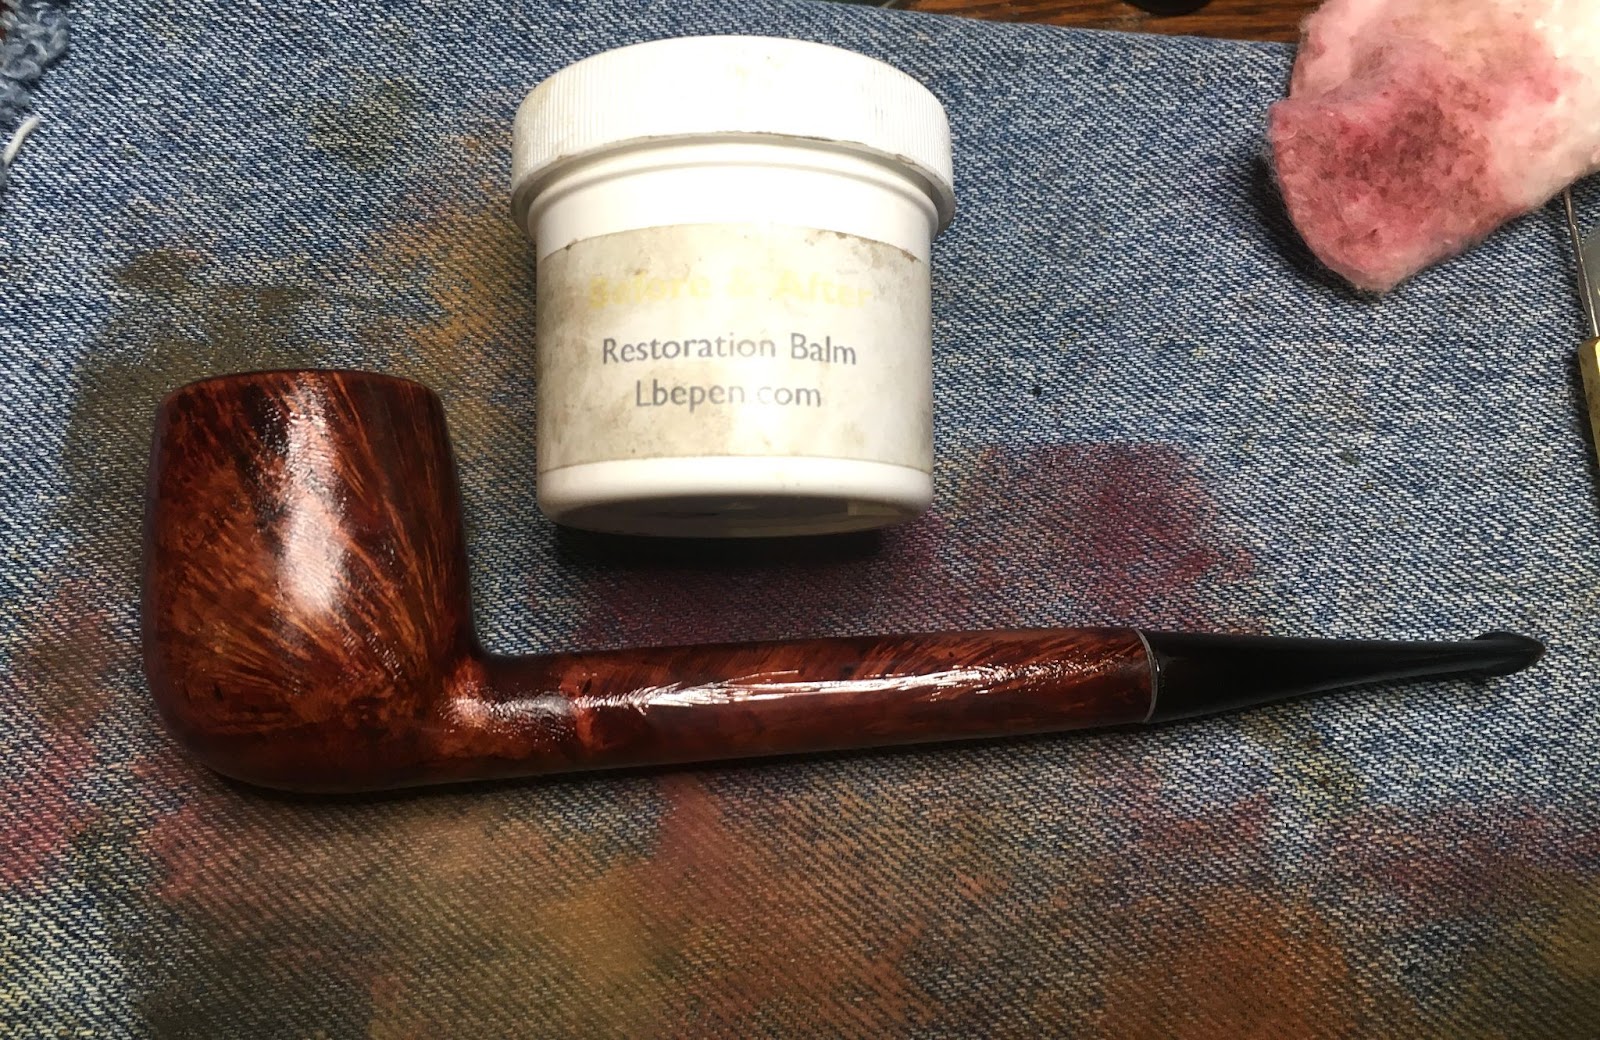
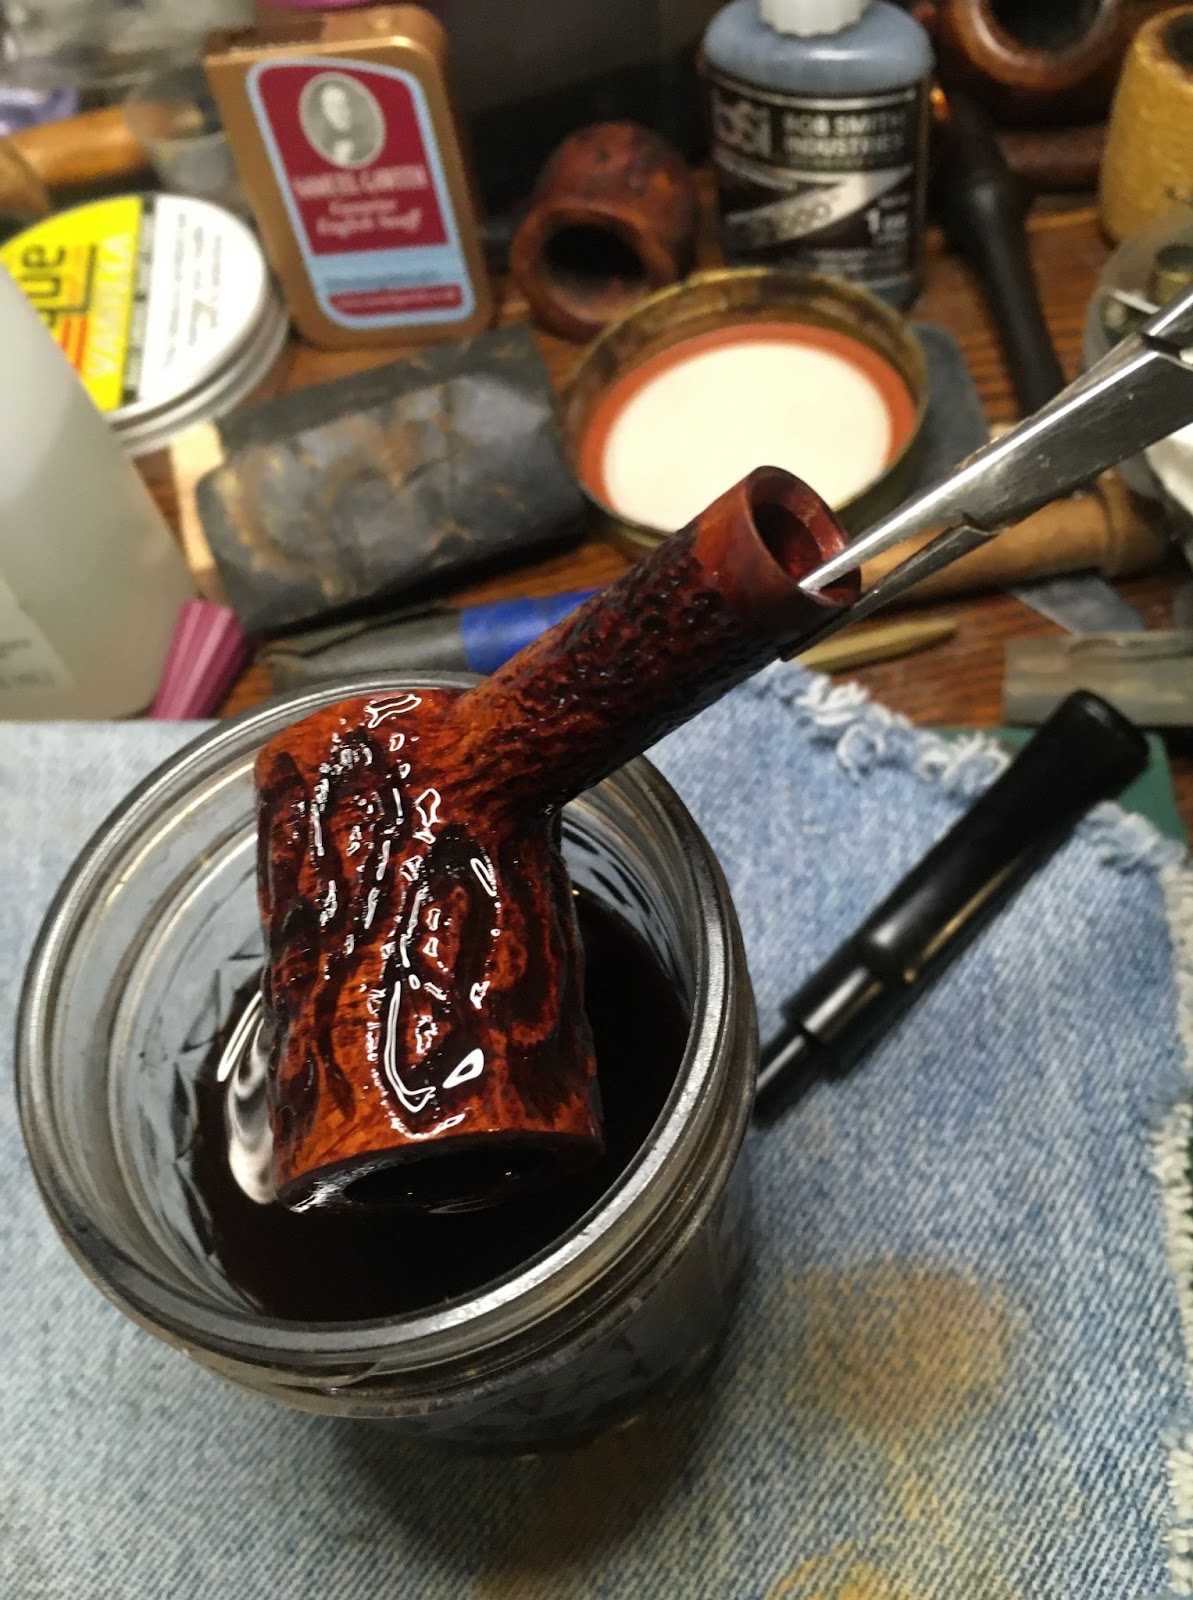
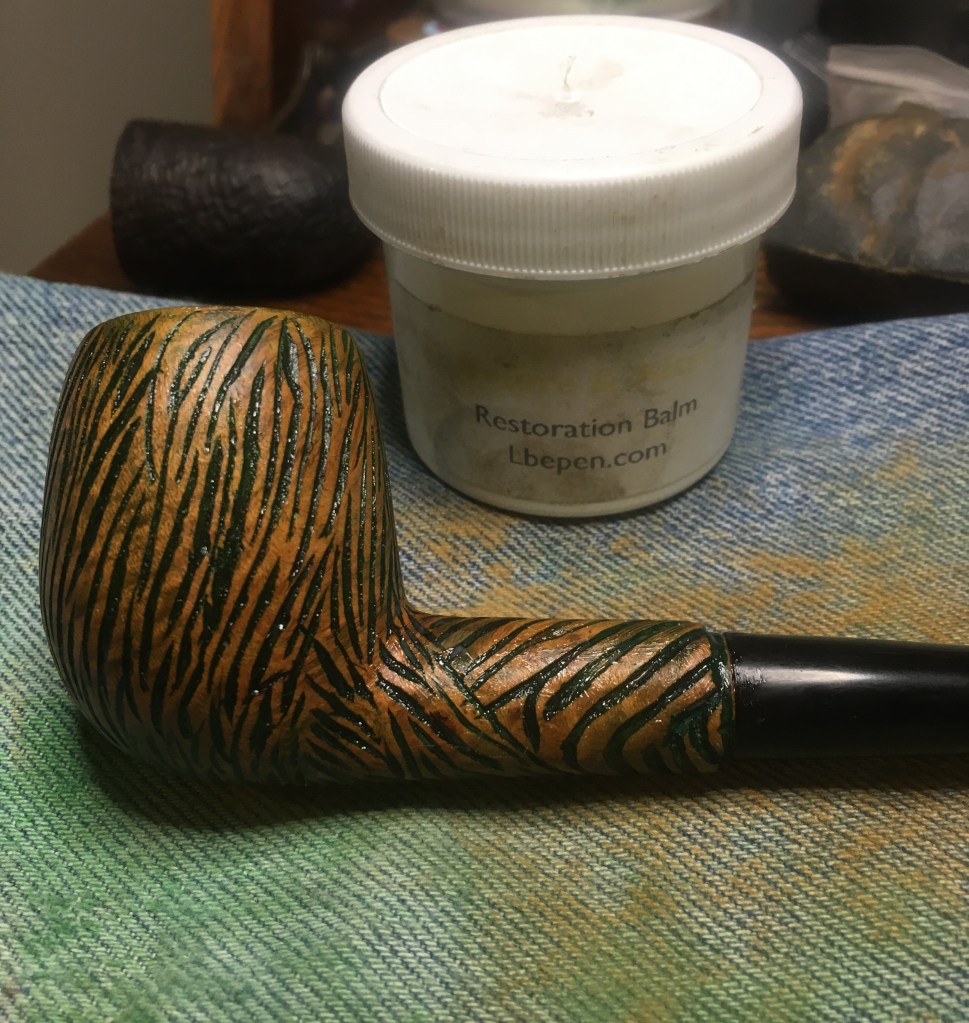
A coating of Before and After Restoration Balm was applied to the pipe, stem and stummel, and it was set aside.

12 Hours later I returned and was ready to finish the Two Kings restoration.

The excess Restoration Balm was wiped away with an inside-out athletic sock.

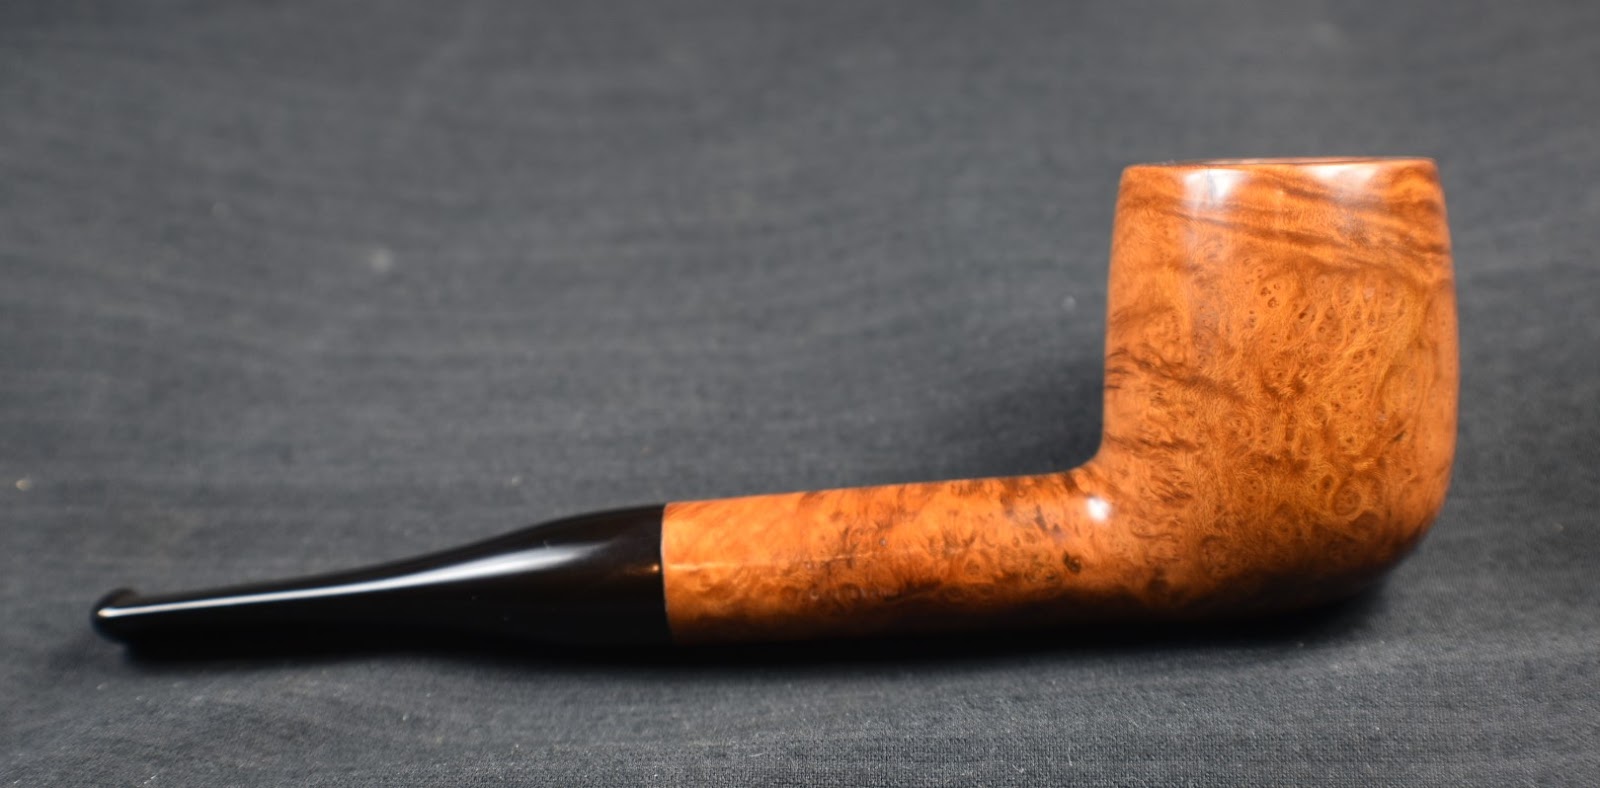
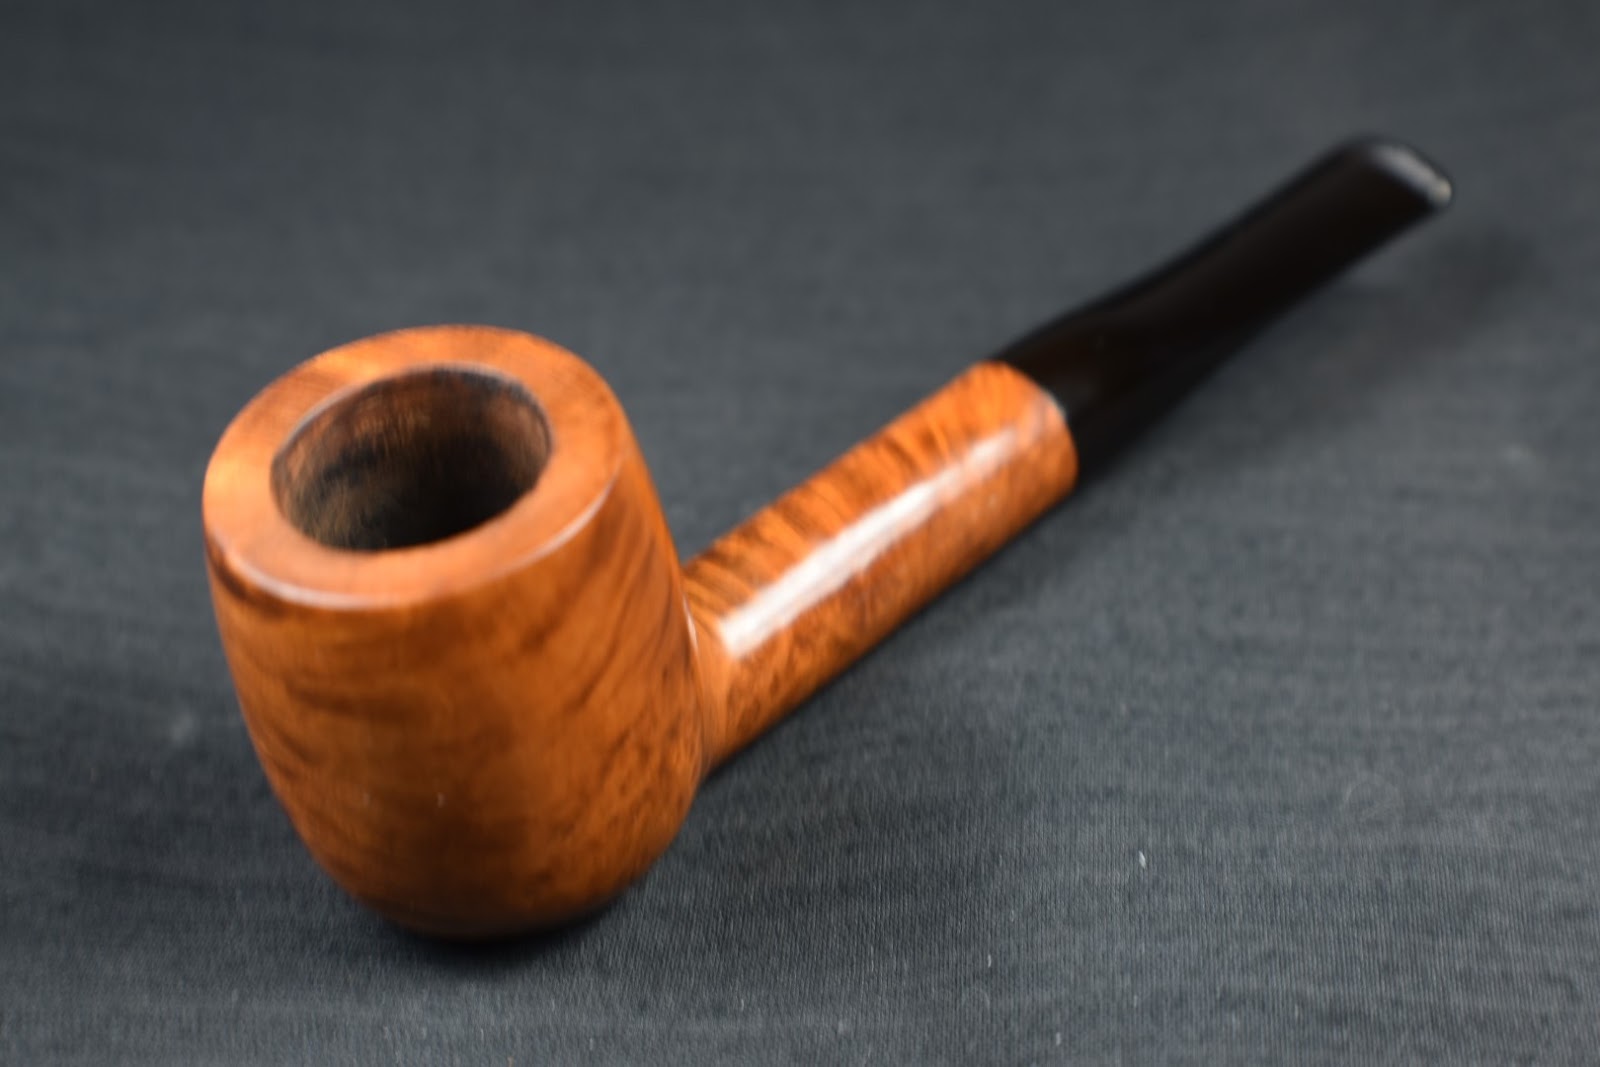
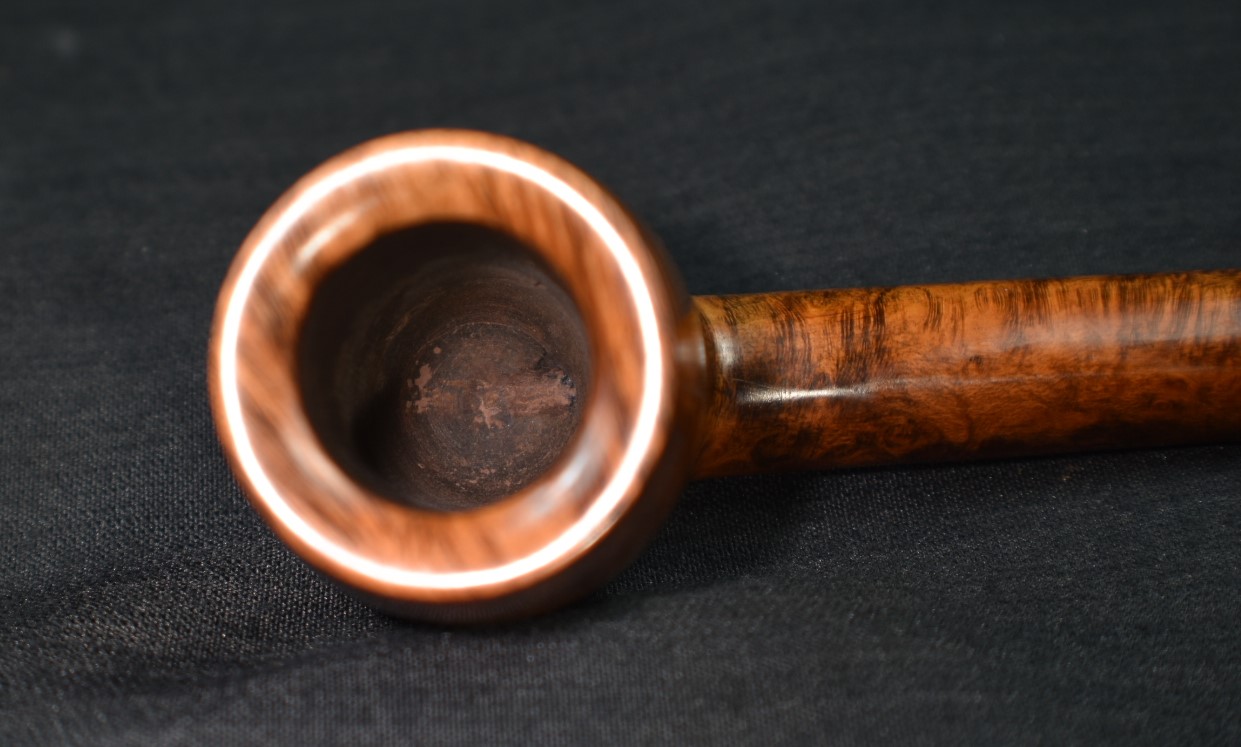
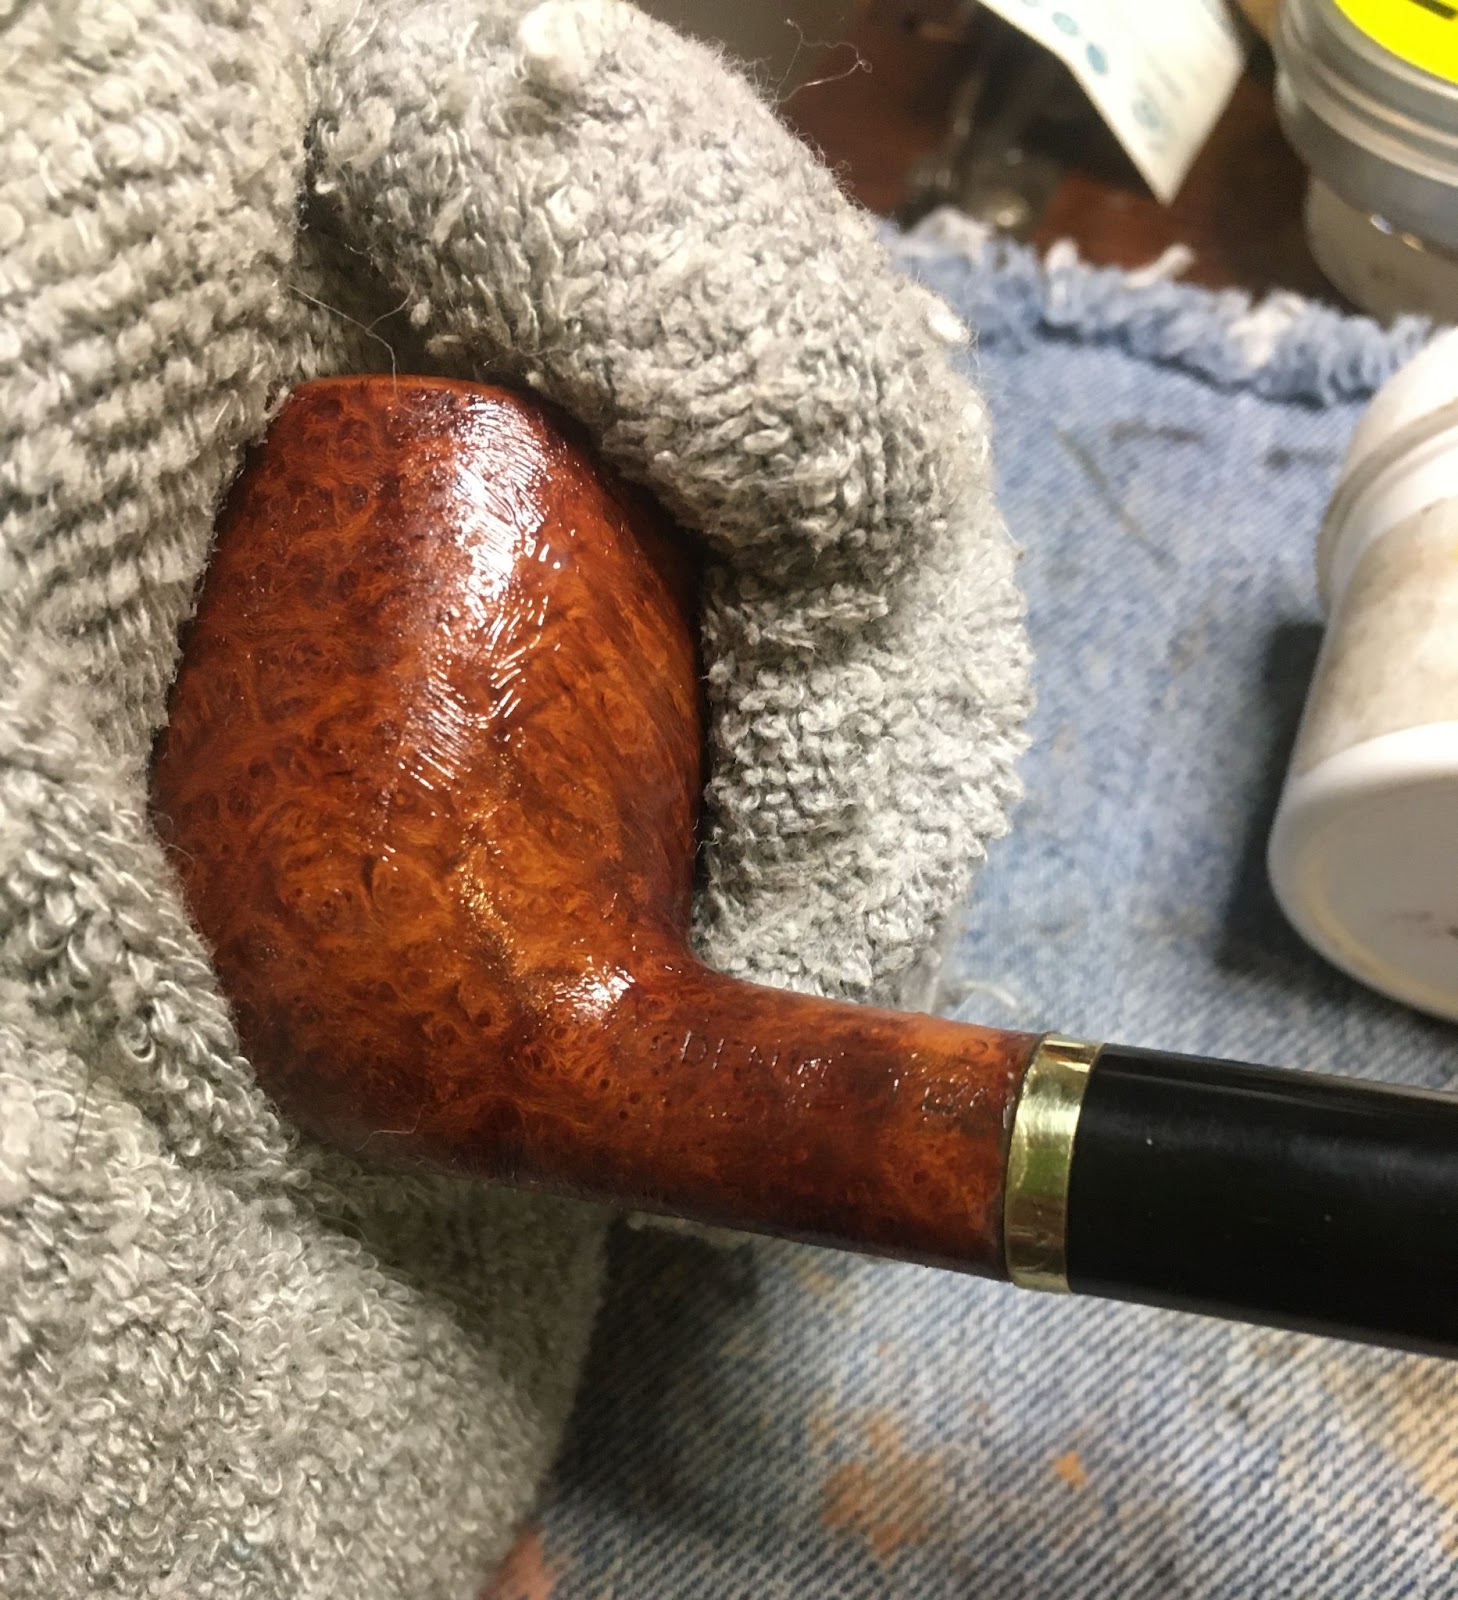
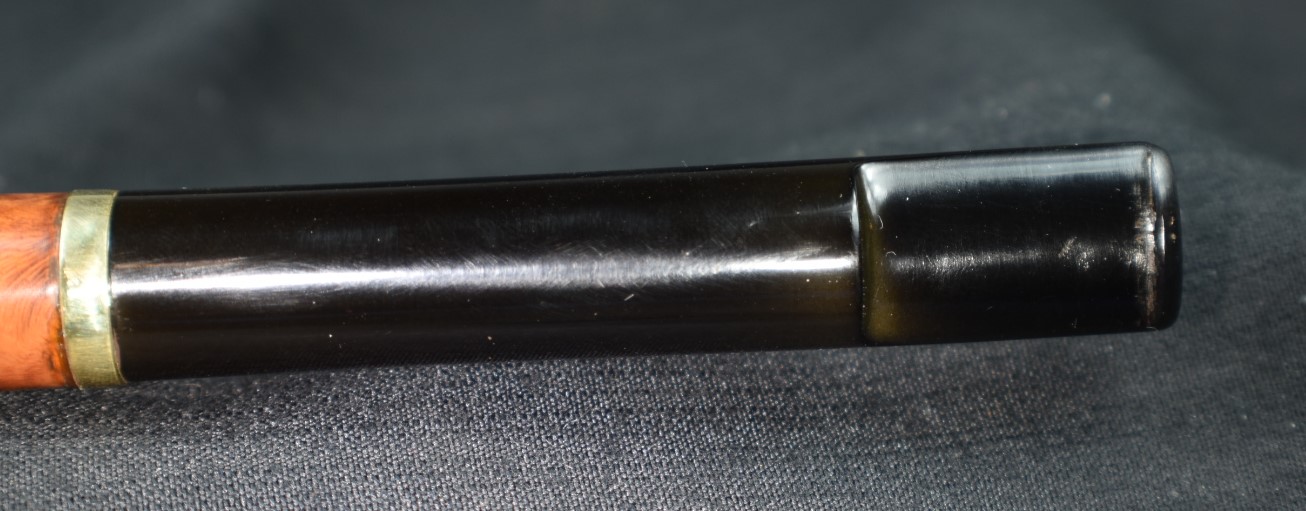
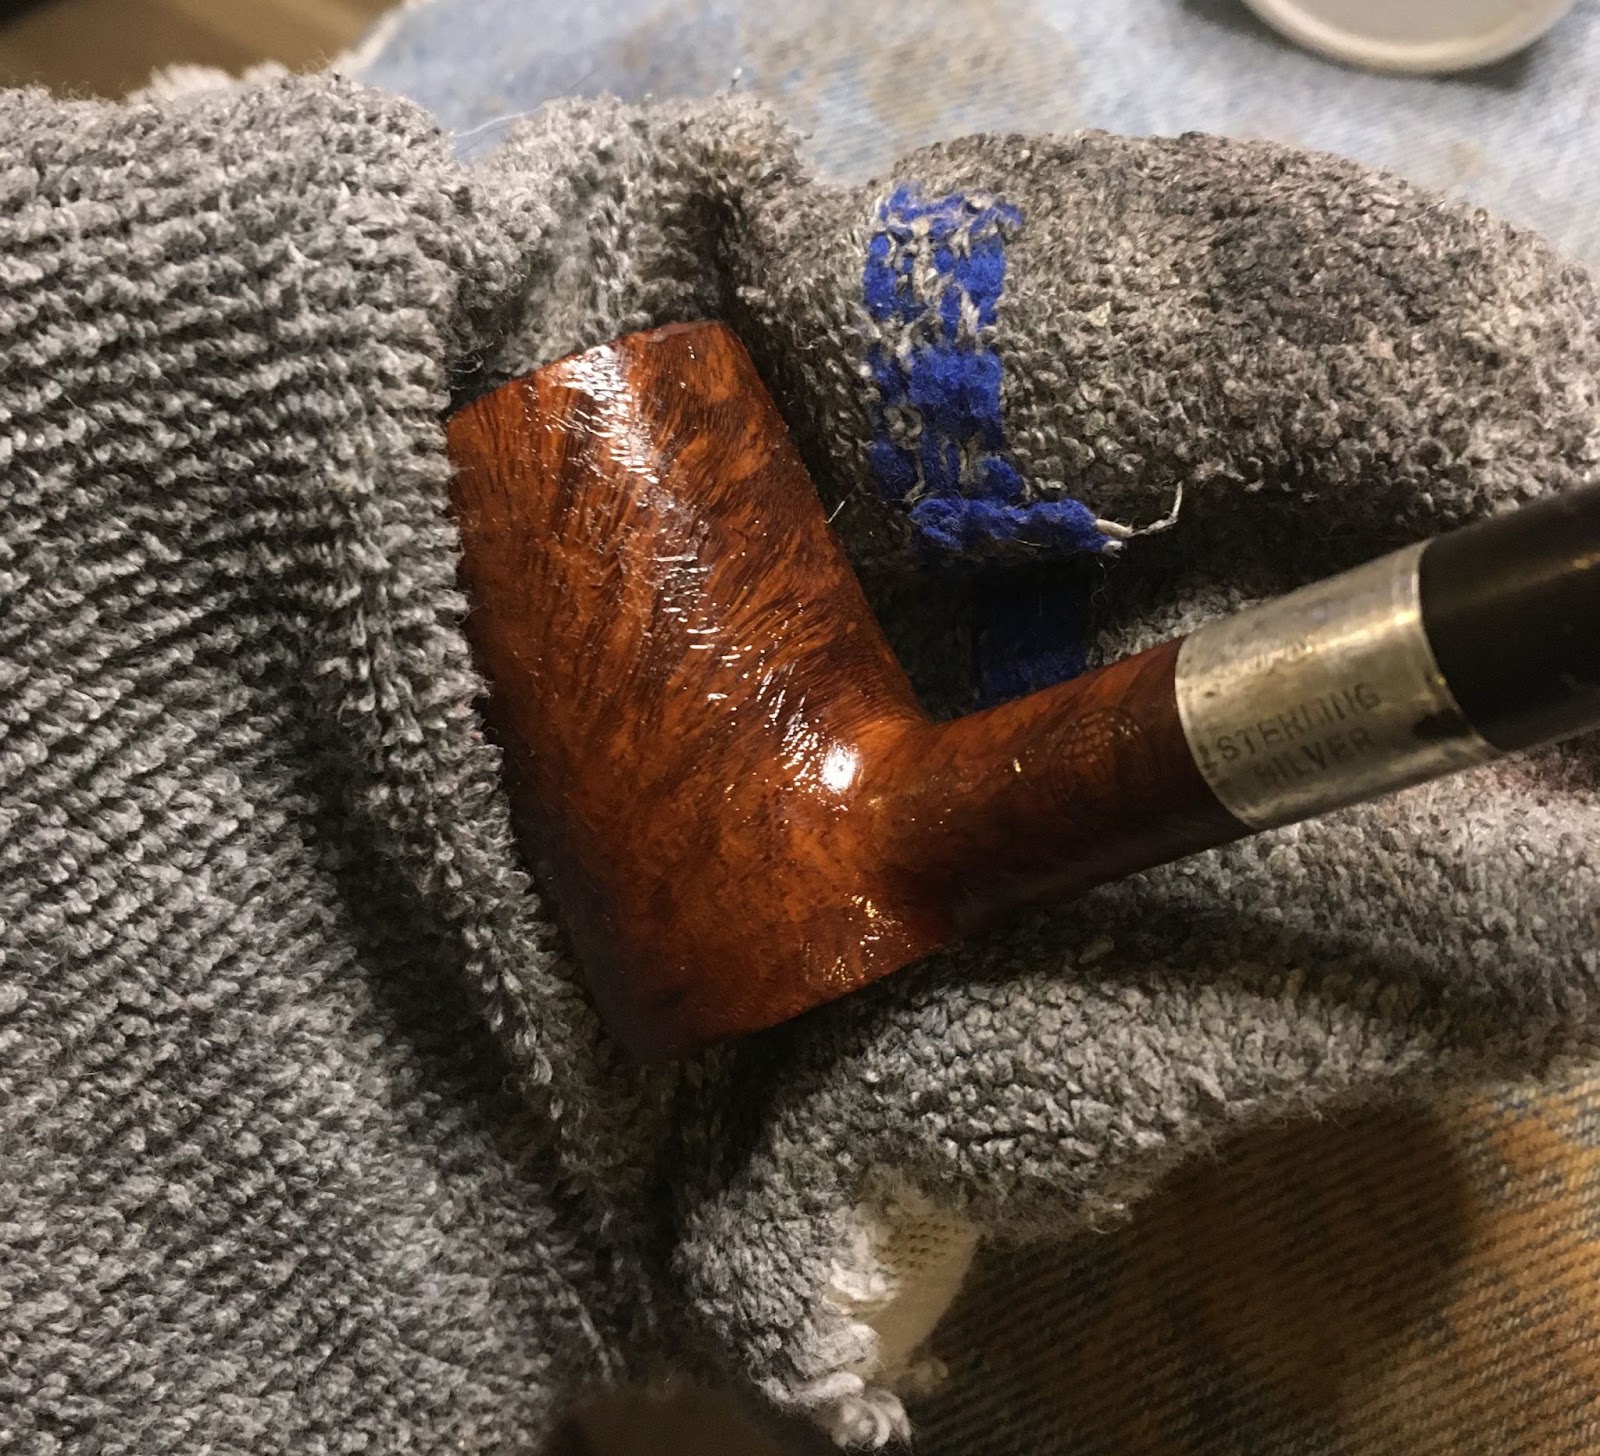
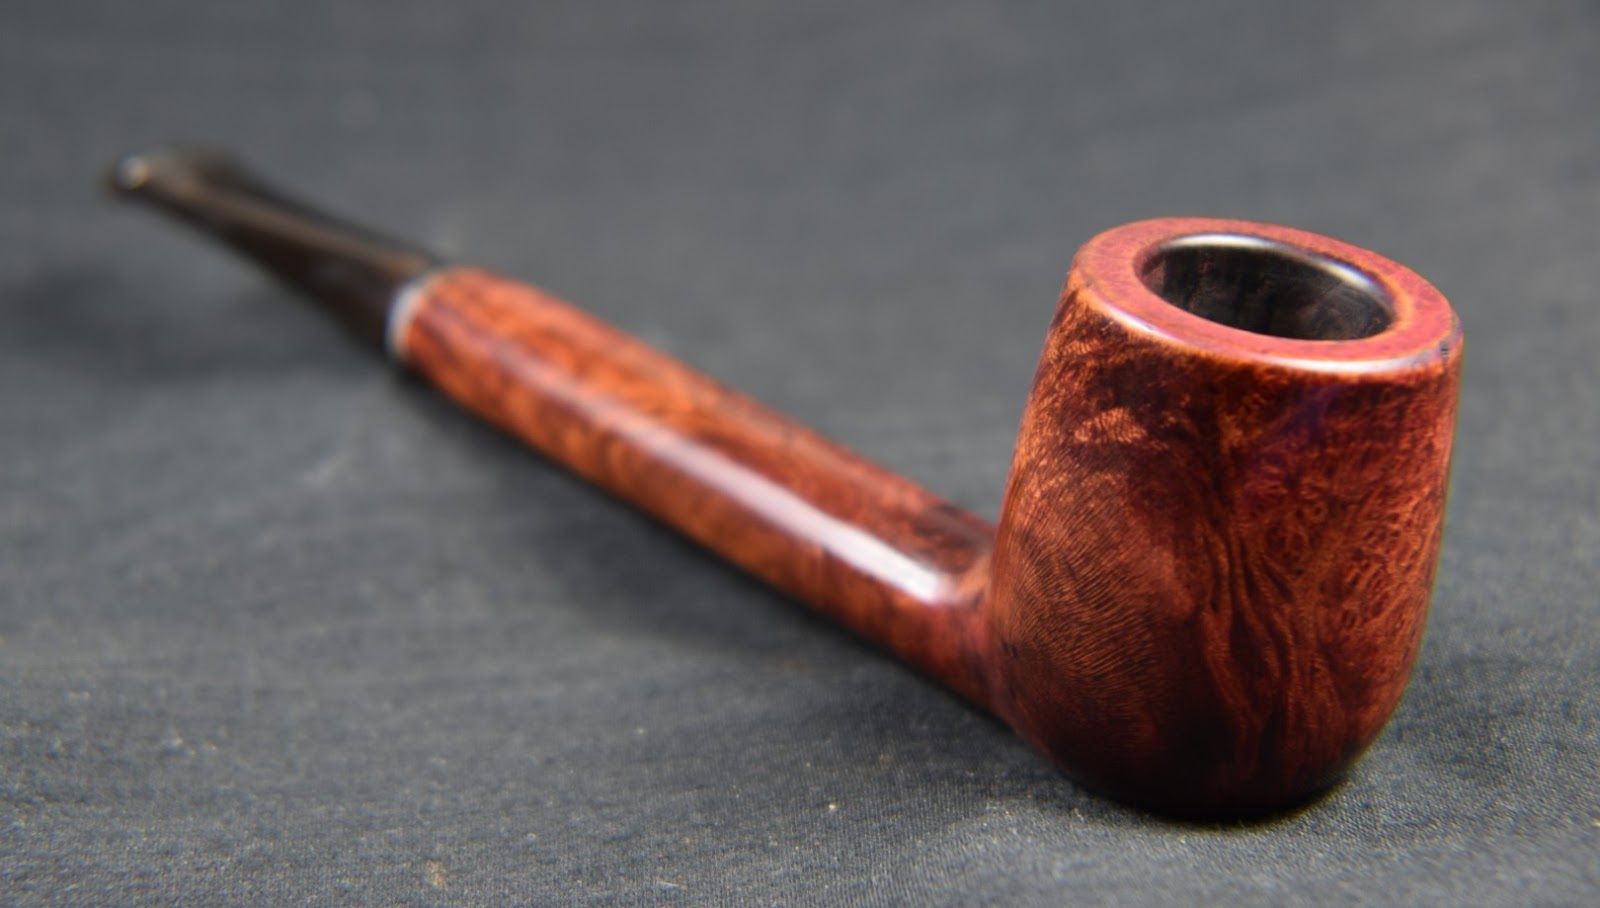
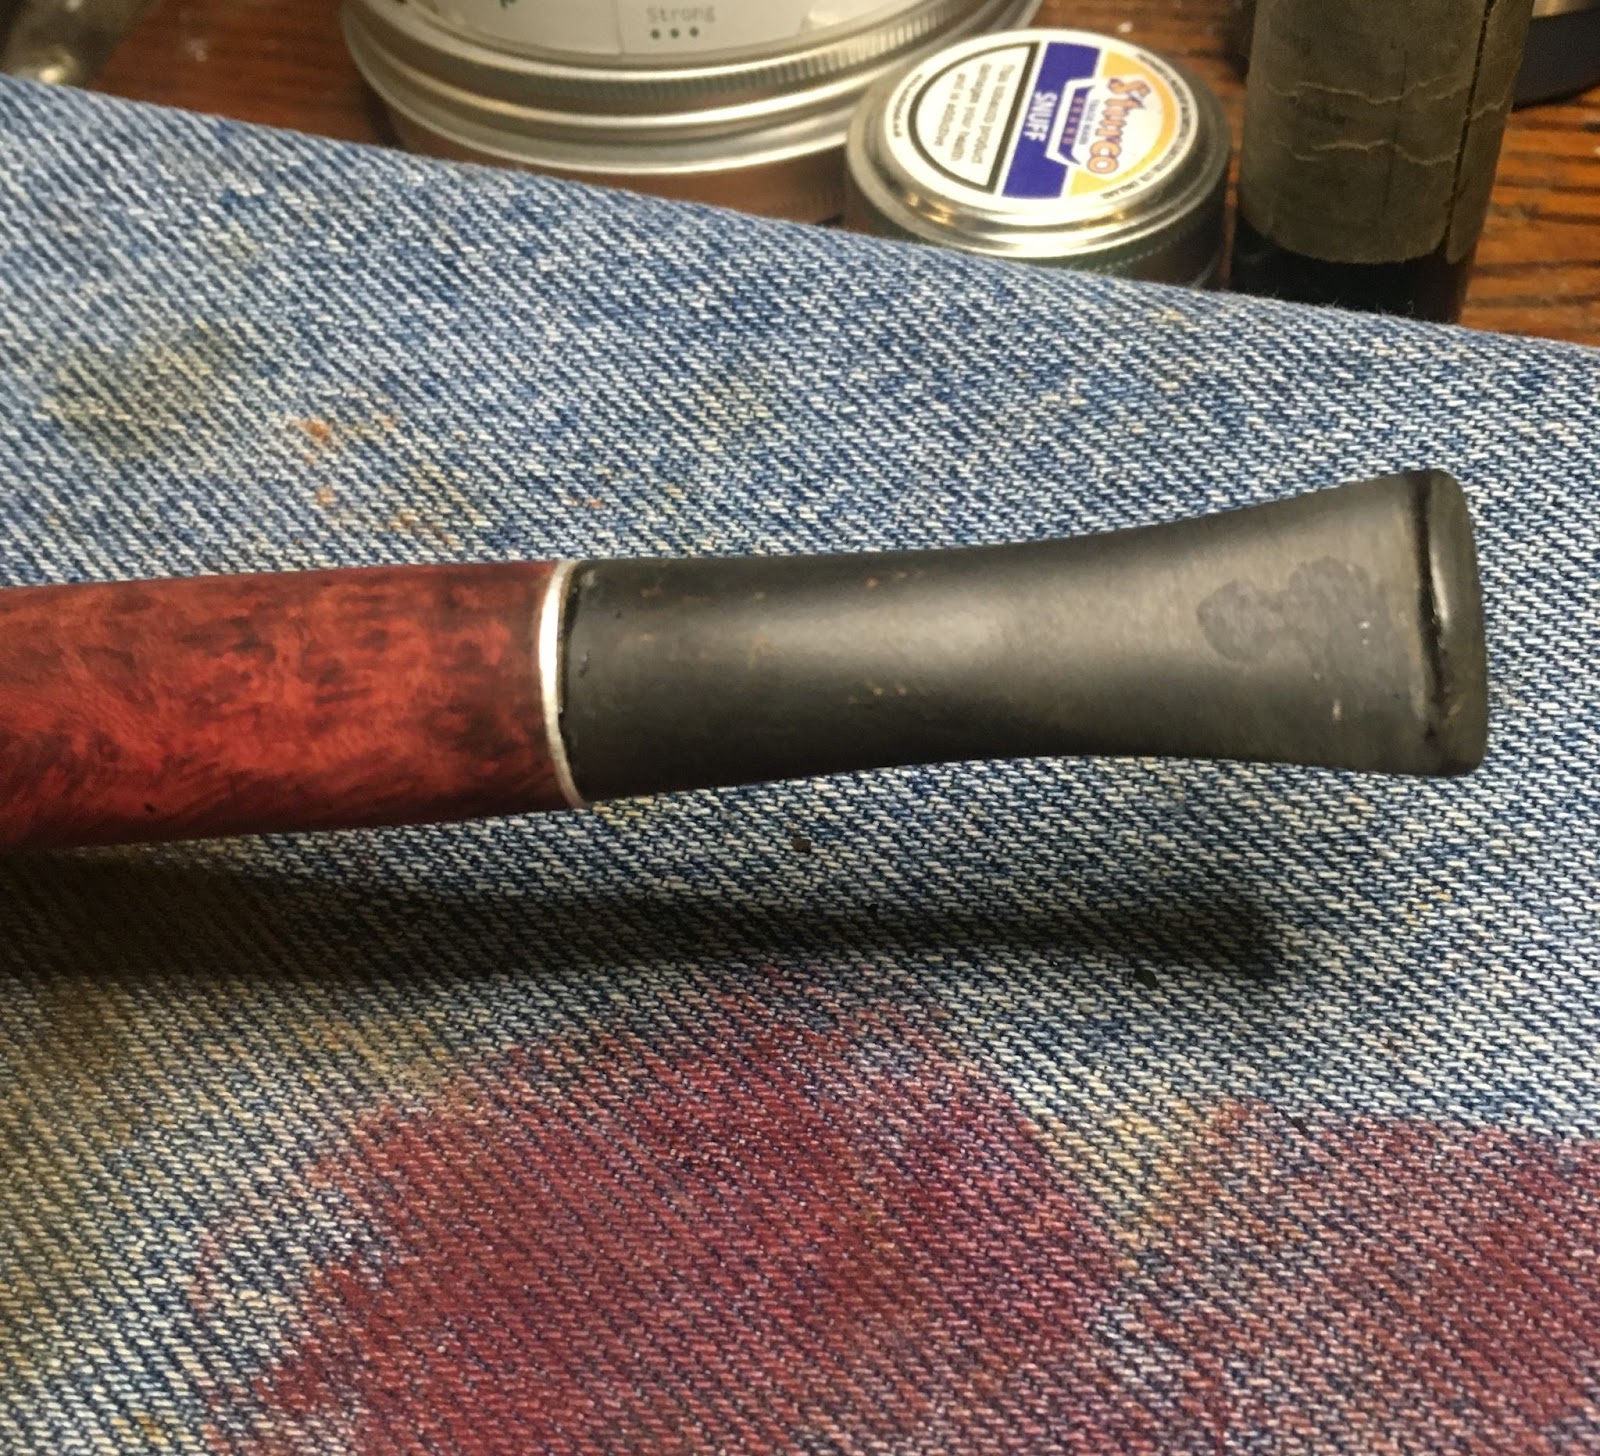
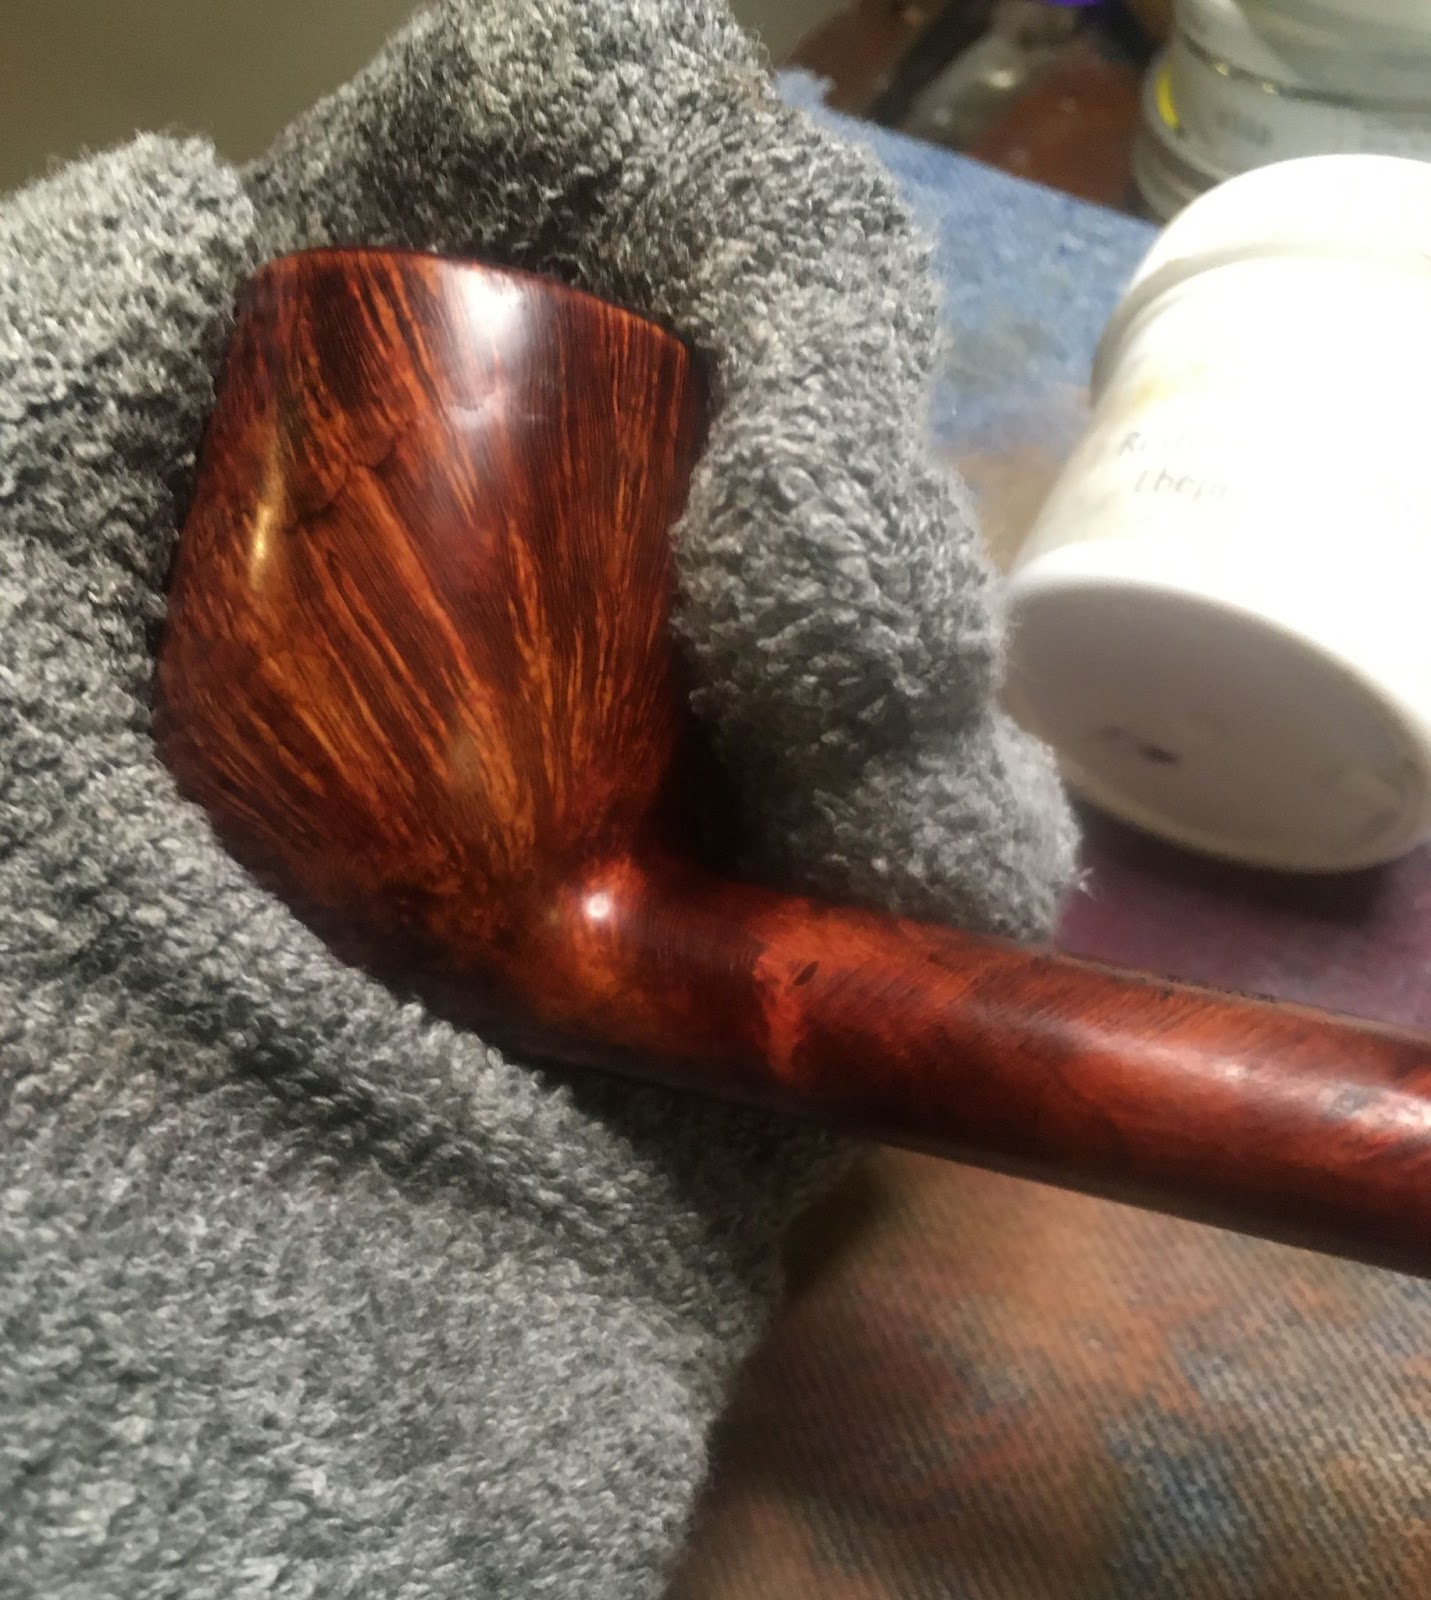
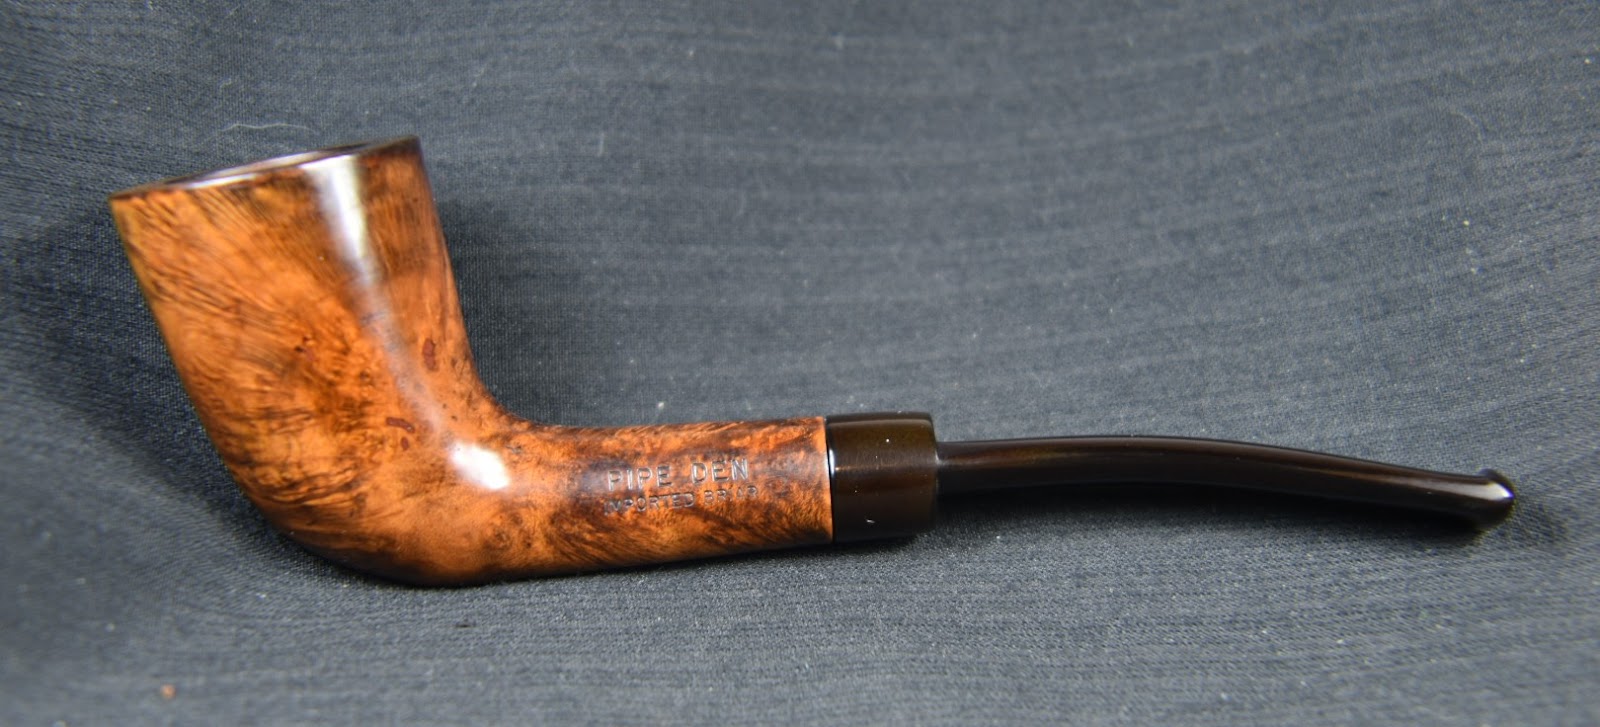
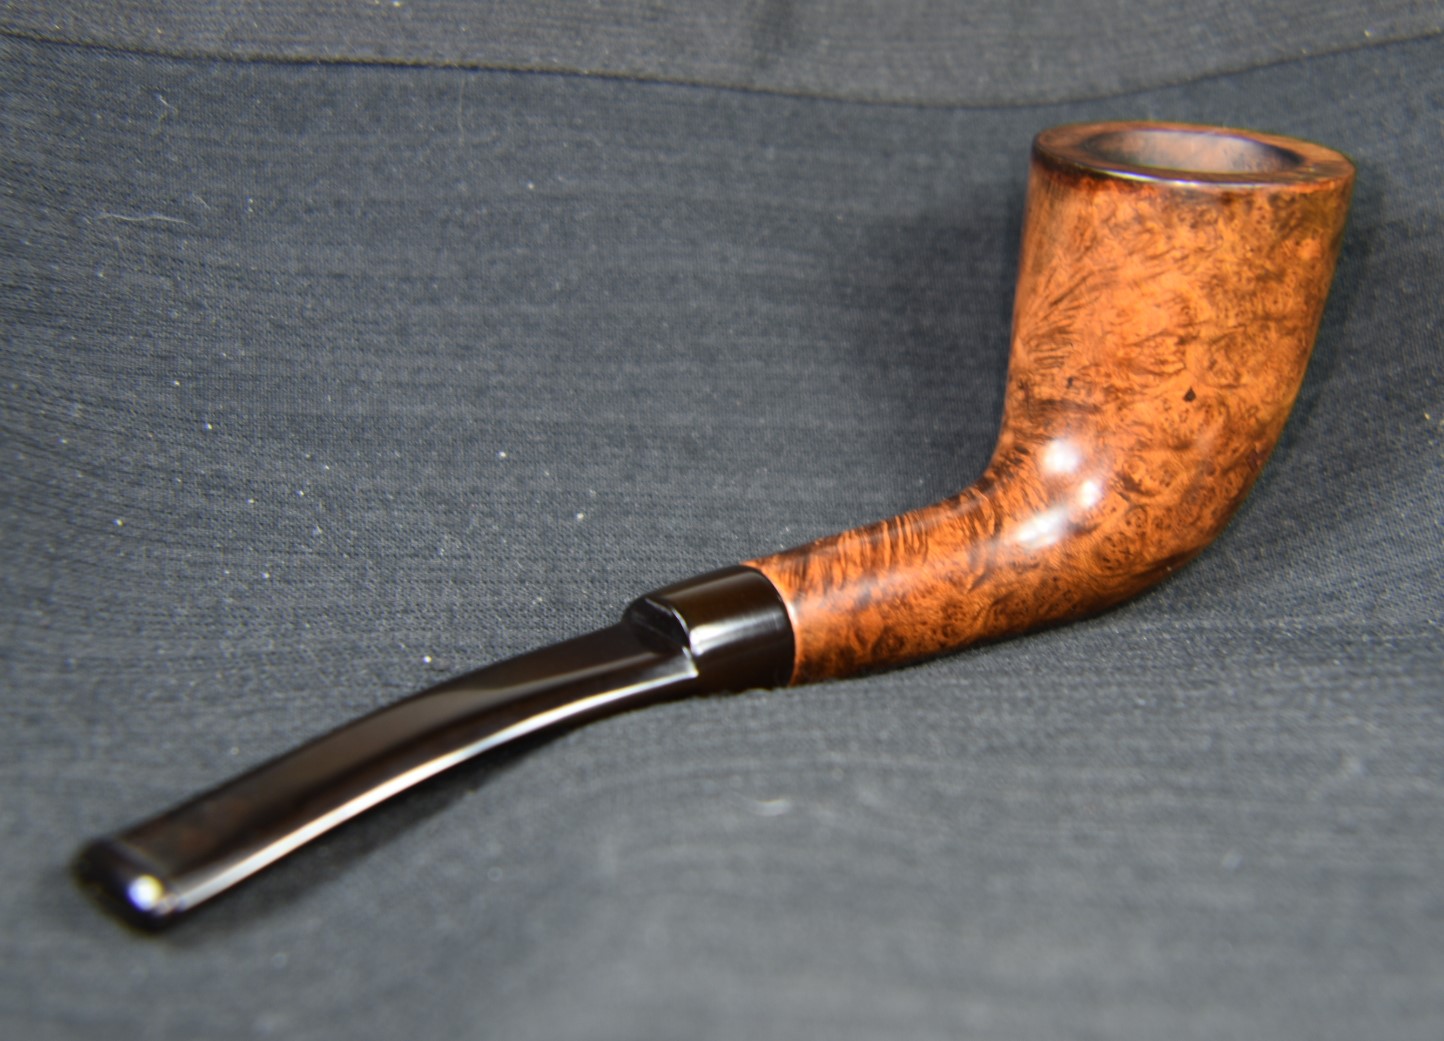
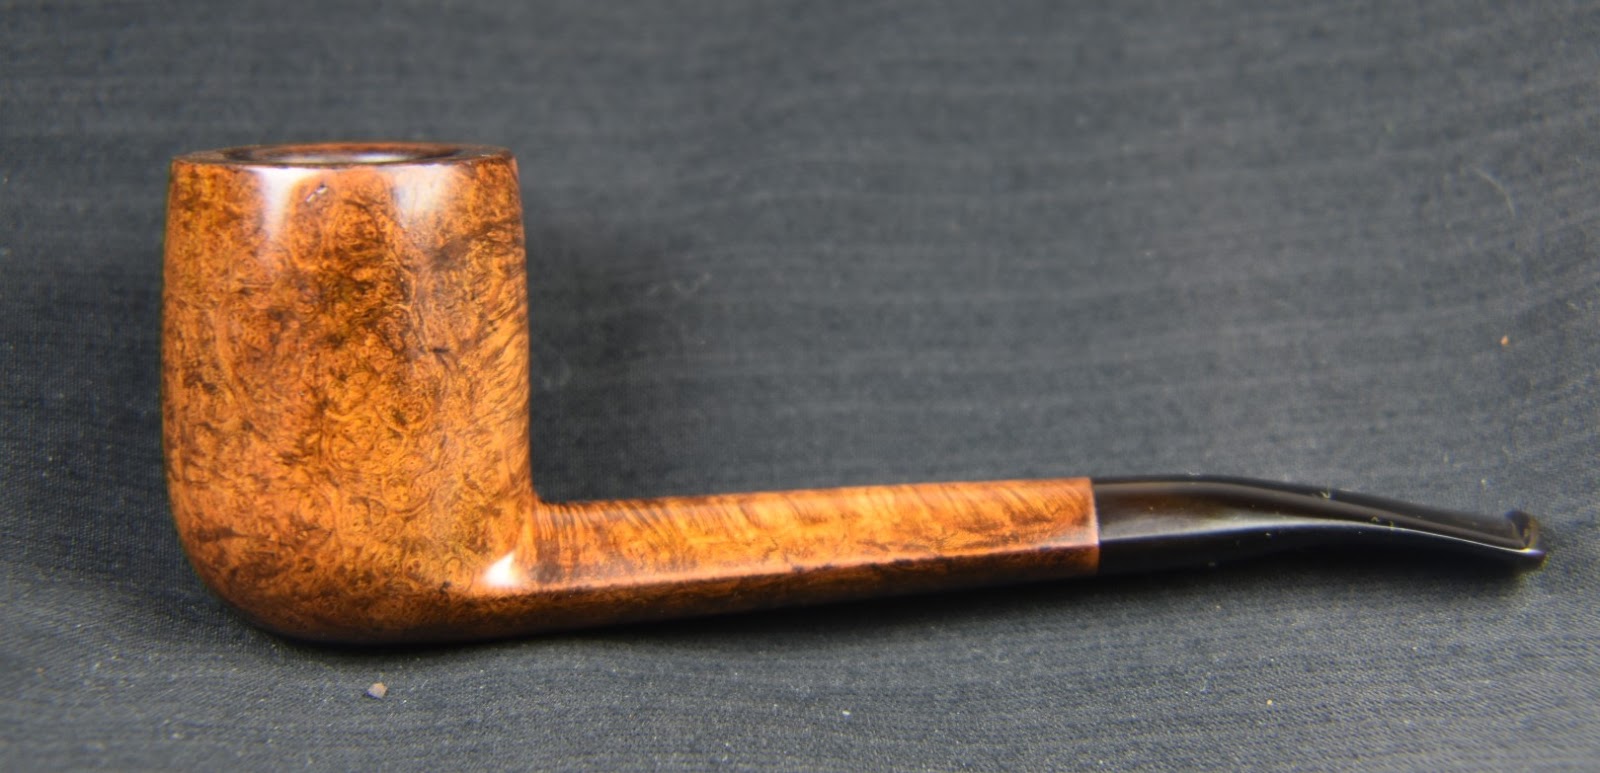
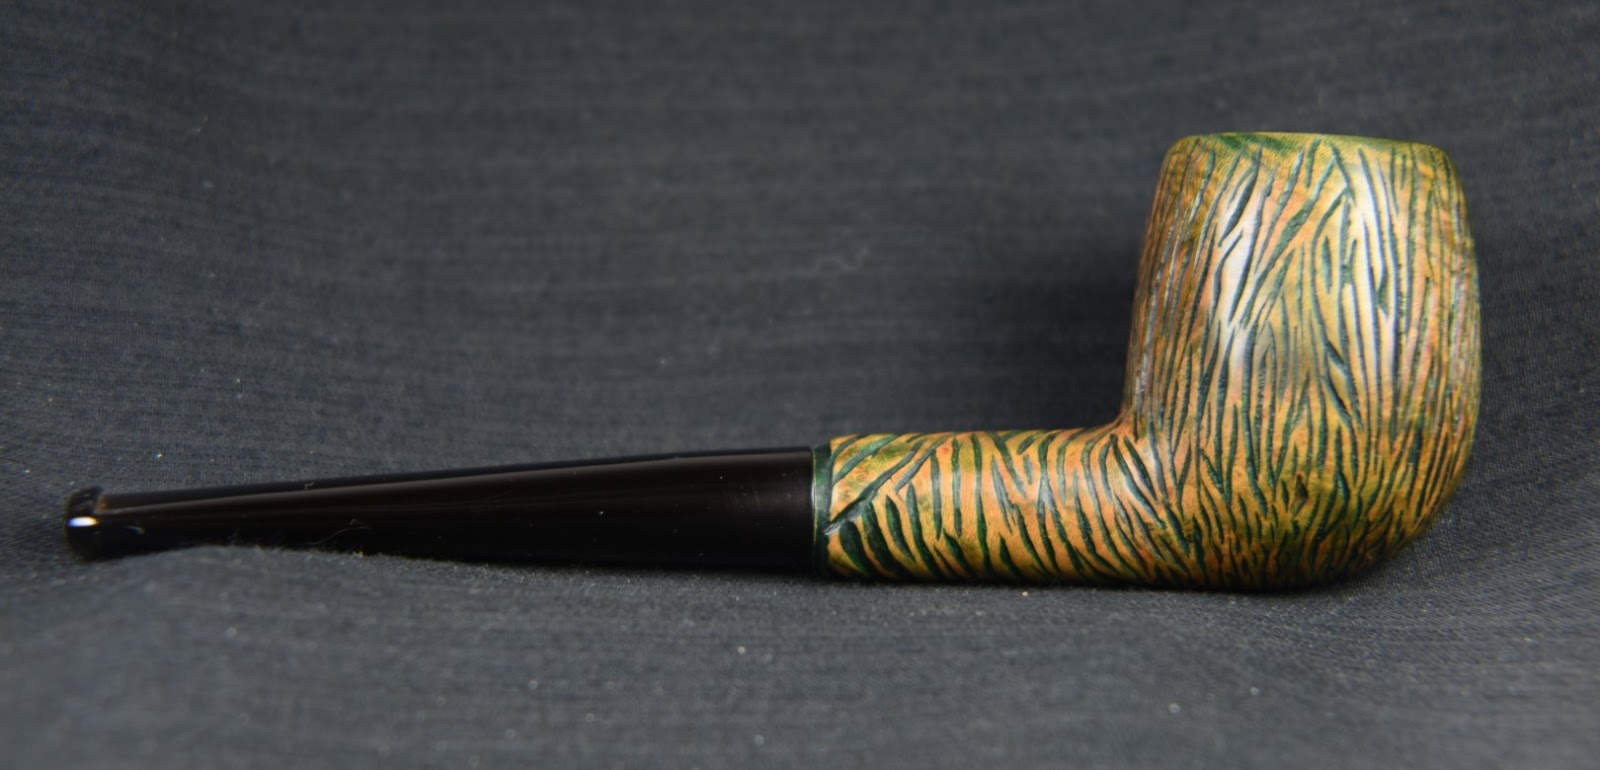
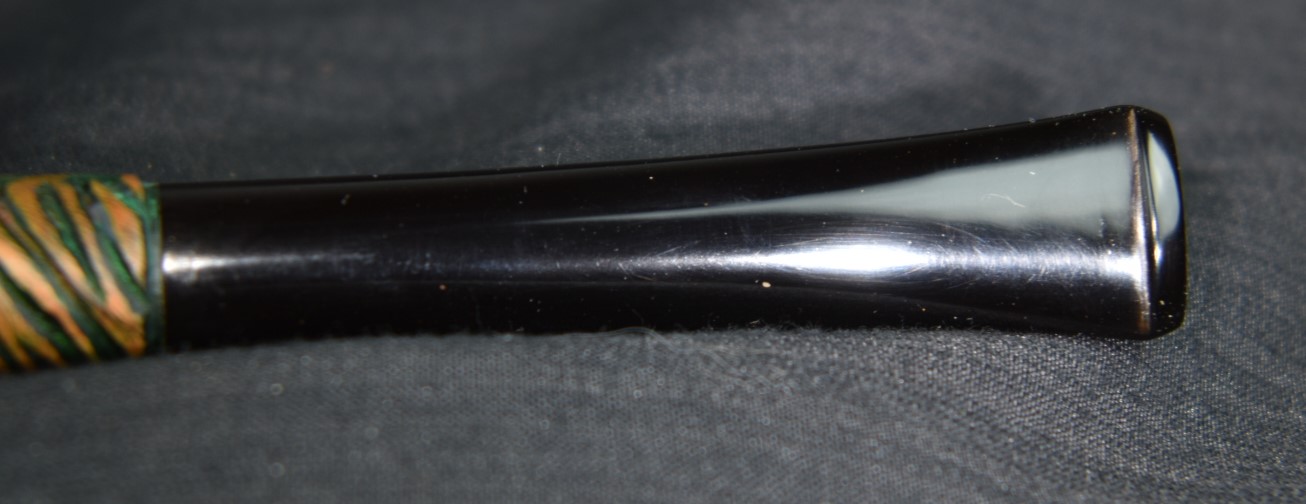
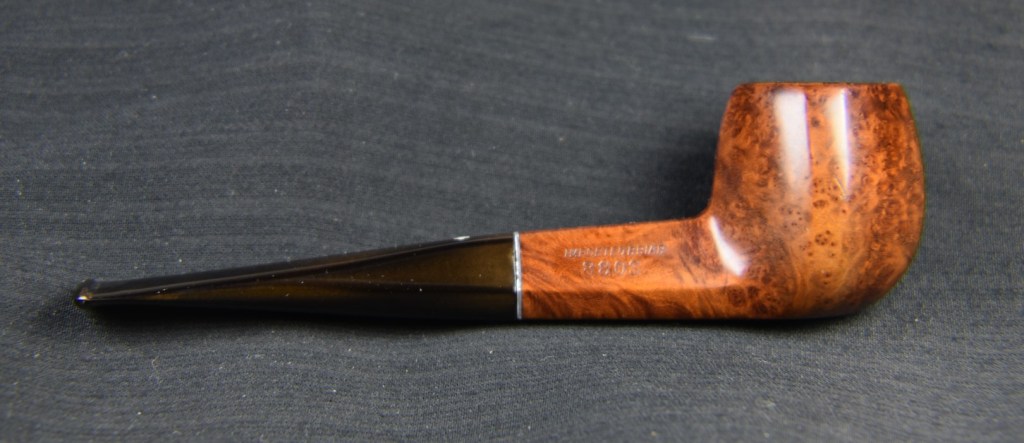
The pipe was then taken to the buffer where it received several coats of carnauba wax with the buffing wheel. A final hand polish with a nano-fiber polishing cloth and the Two Kings was ready for the “after” photo shoot.

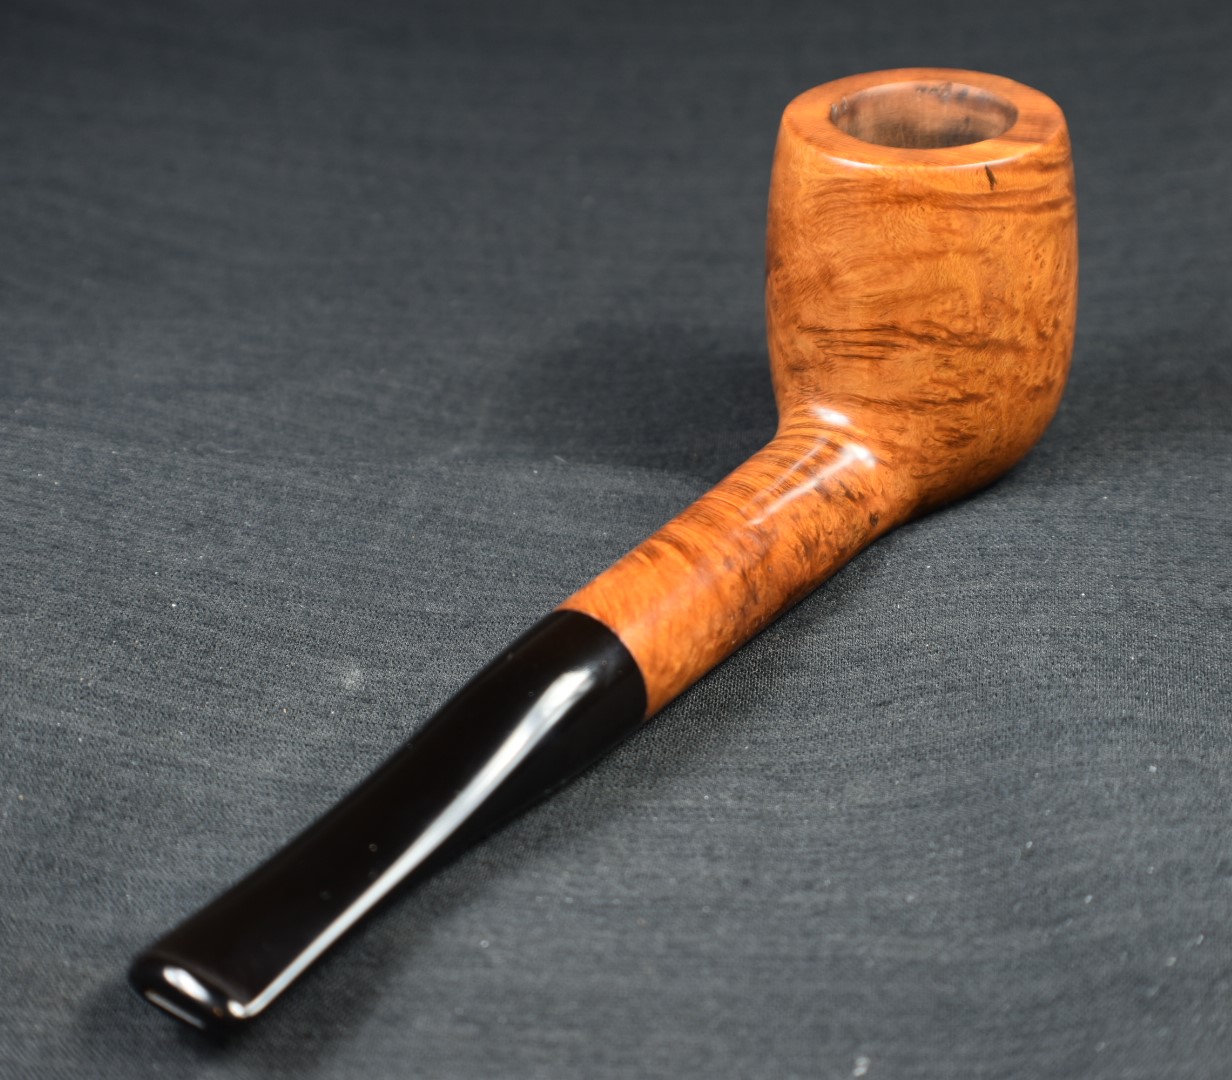
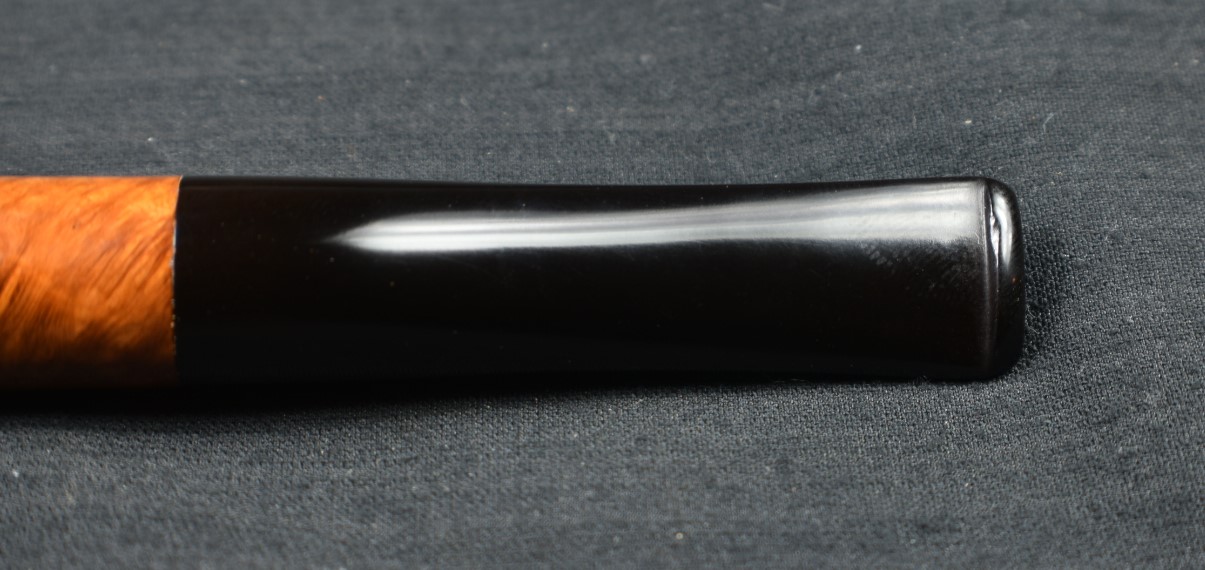
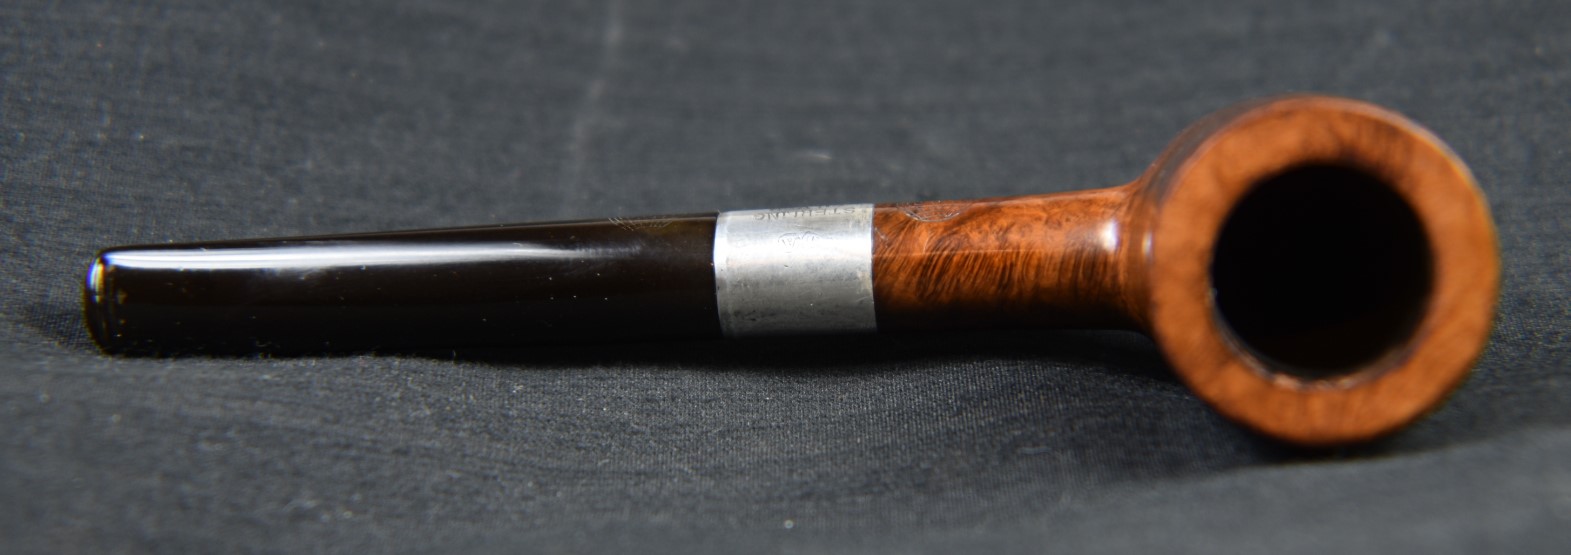
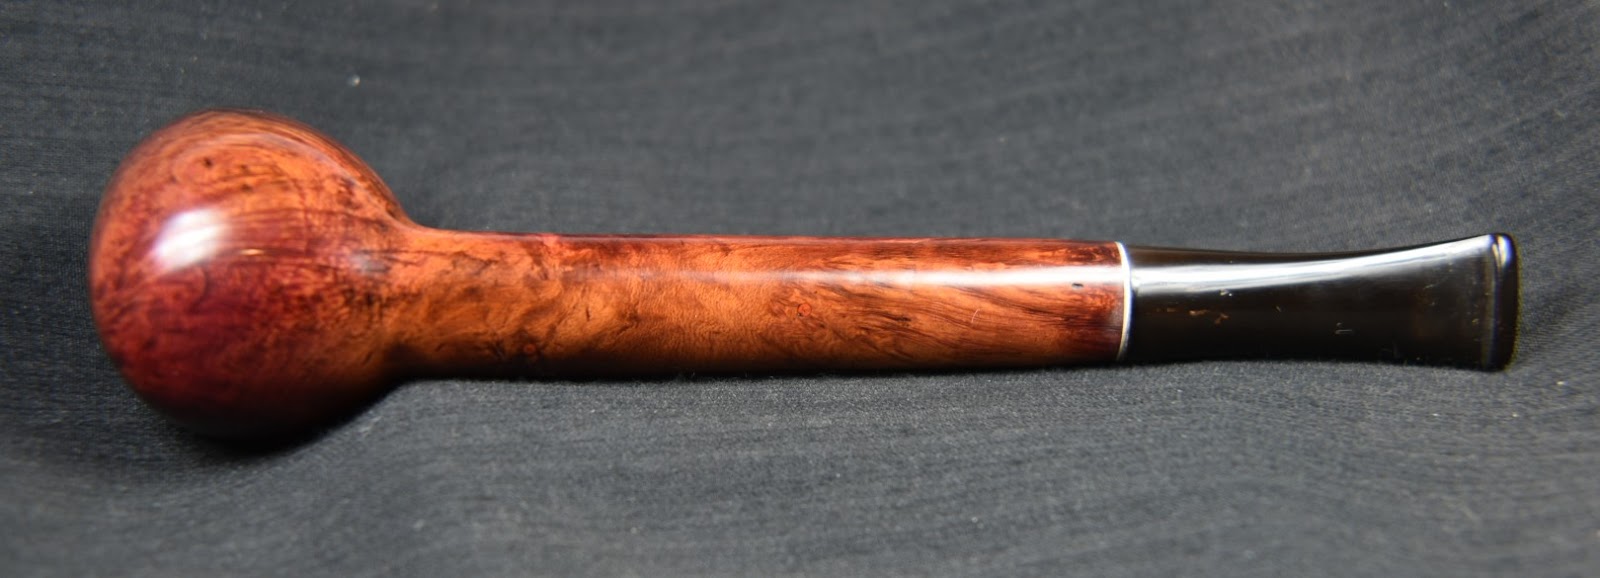
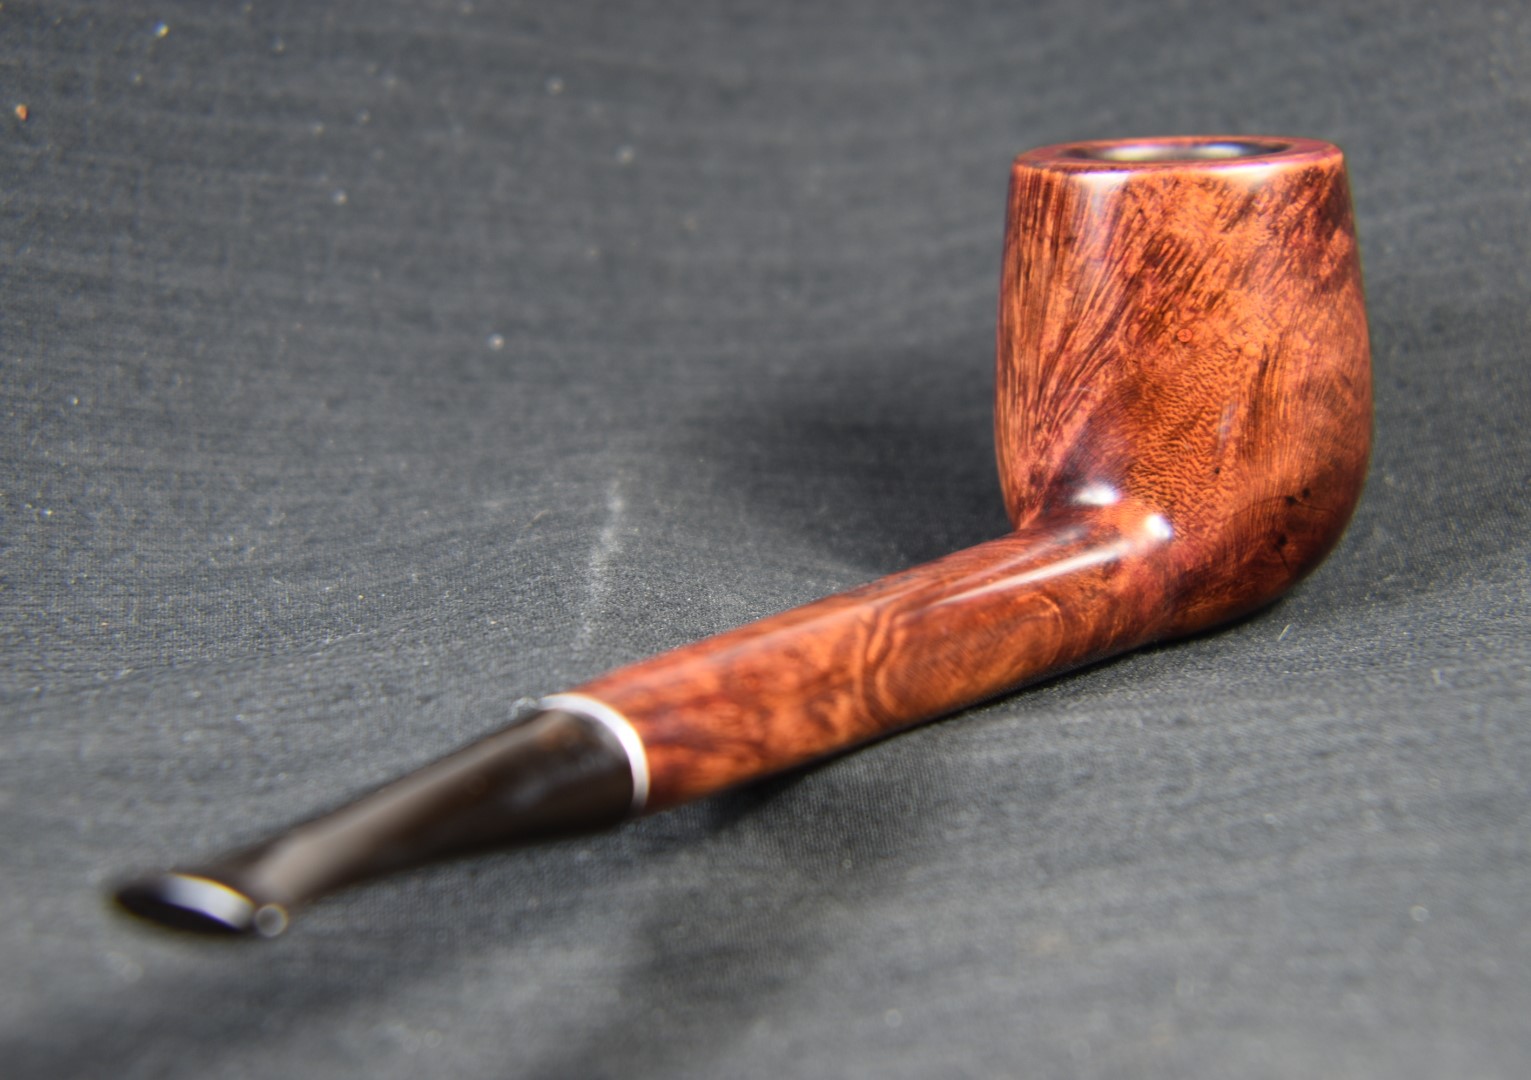
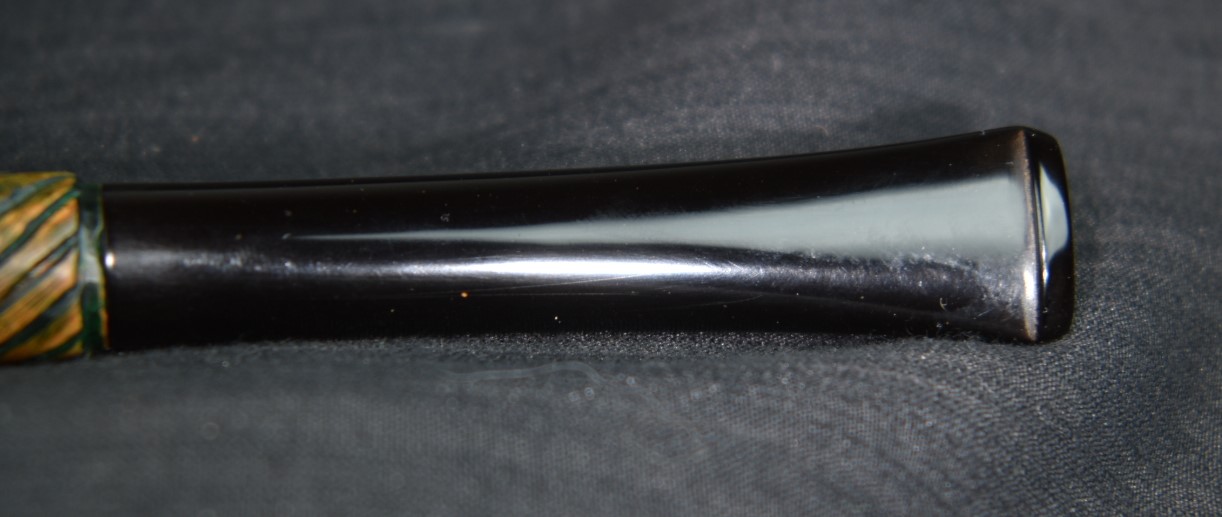
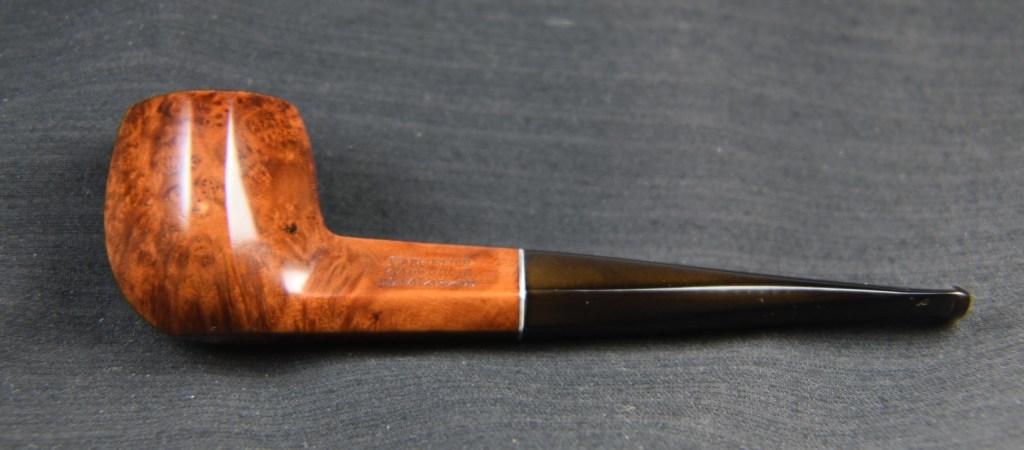
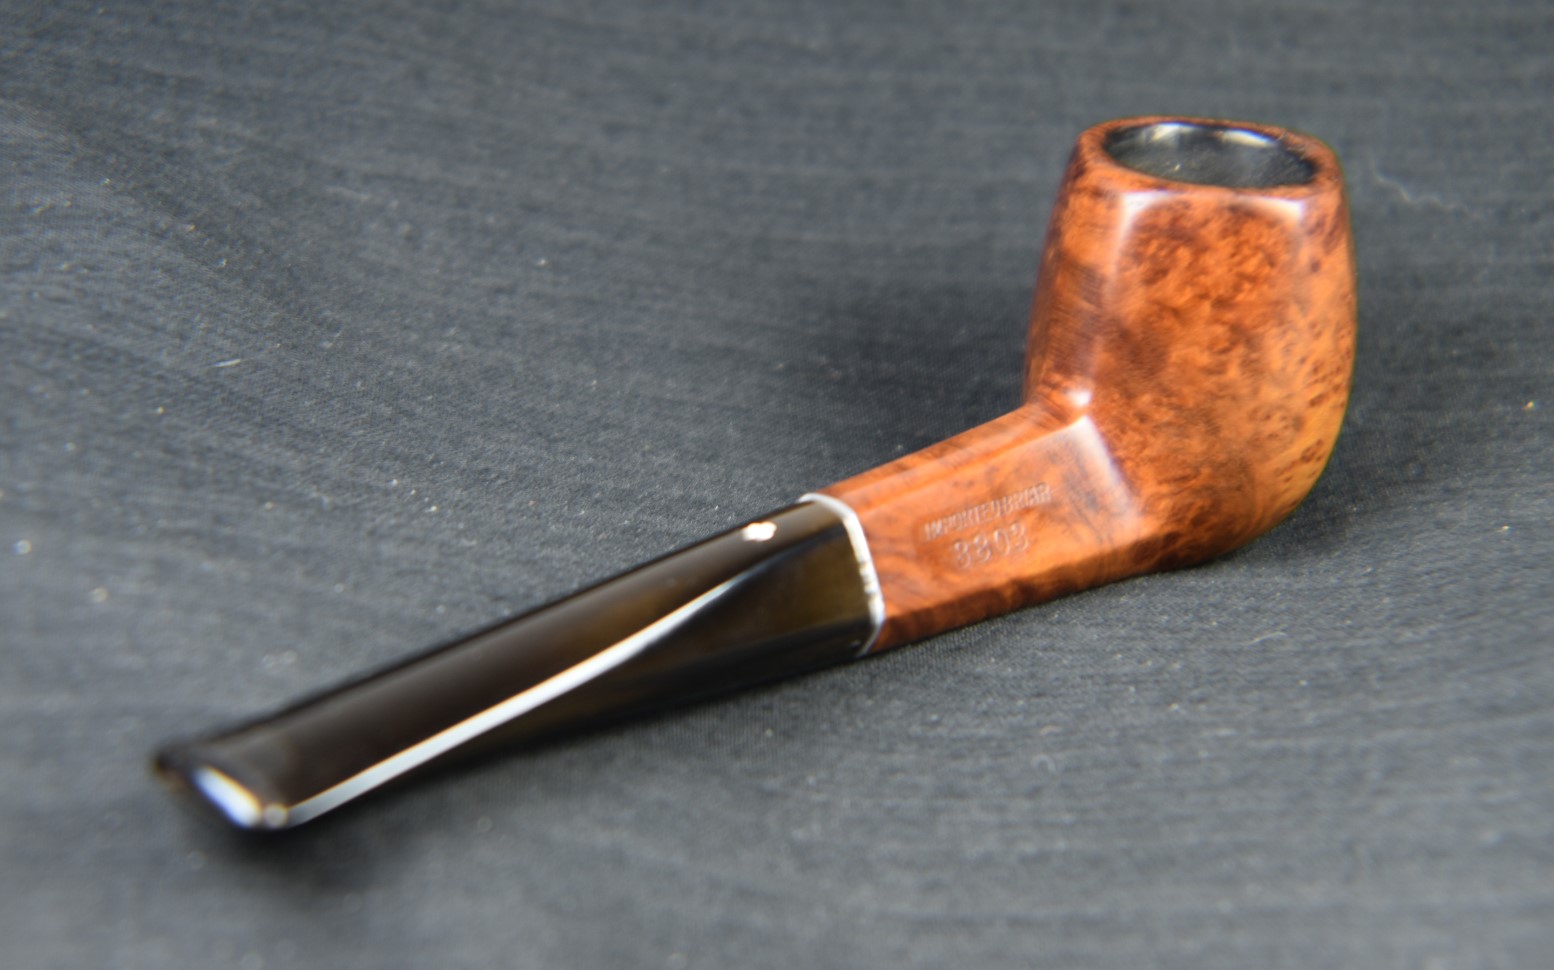
Overall I am very pleased with the restoration of this Two Kings billiard. It is a large pipe and feels very substantial in hand. The shape is typical of a wonderfully muscular Peterson billiard . The fishtail stem polished up nicely and its glossy black accents the natural grain of the briar. I am sure this will make someone a great smoking pipe for years to come. Maybe even one of the descendants of the Atlantean terrorists.
The dimensions of this Two Kings billiard are:
- Length: 5.99 in./ 152.15 mm.
- Weight: 1.54 oz./ 43.9 g.
- Bowl Height: 2.01 in./ 51.05 mm.
- Chamber Depth: 1.65 in./ 42.00 mm.
- Chamber Diameter: 0.78 in./ 19.81 mm.
- Outside Diameter: 1.50 in./ 38.10 mm.
I do hope that you have found something here useful to your own pipe care, maintenance or restorations. If you like this sort of thing, please click the like and subscribe buttons. Thank you for reading the ramblings of an old pipe lover.
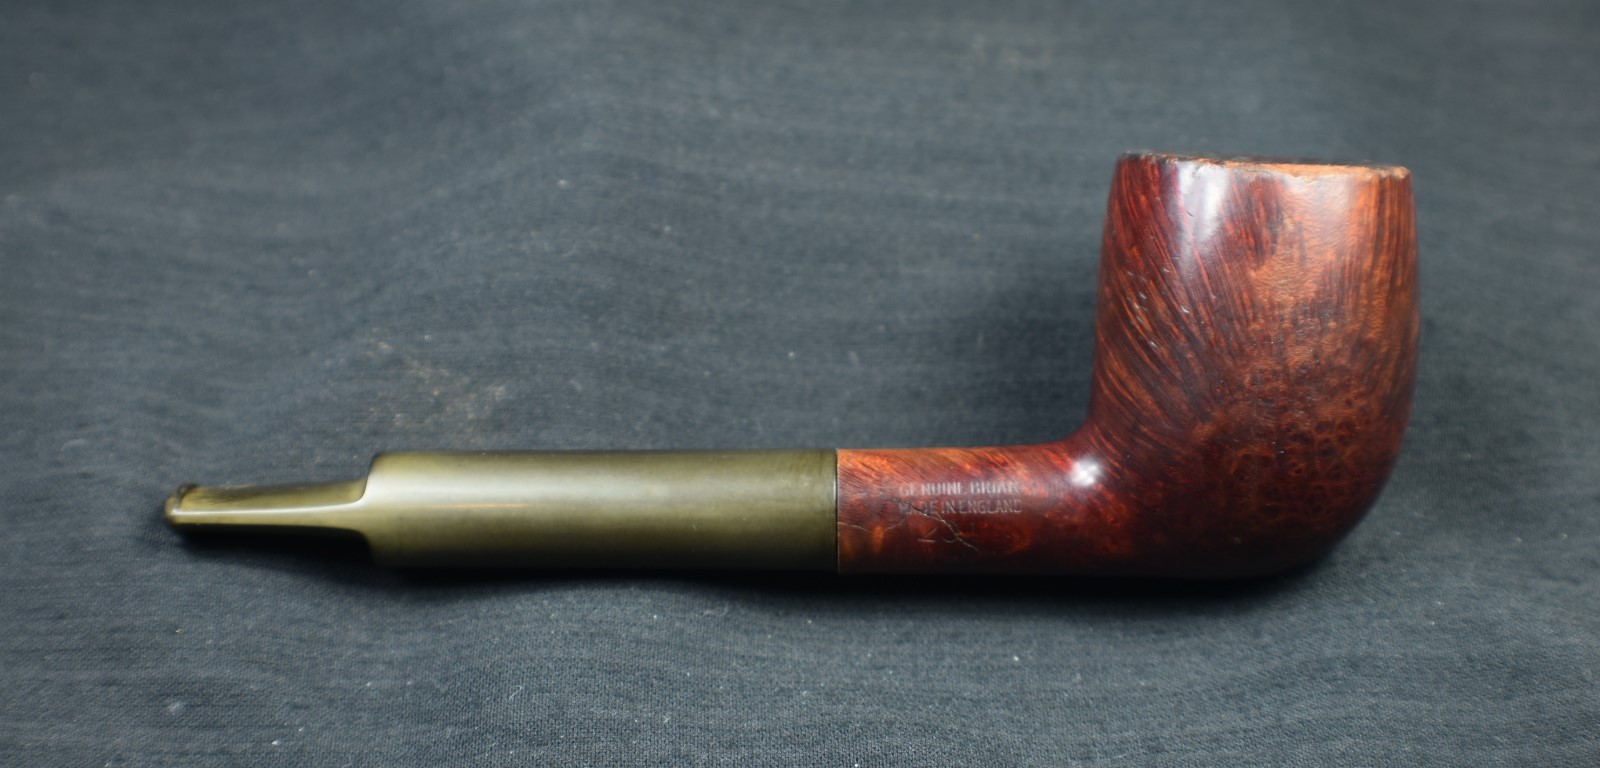
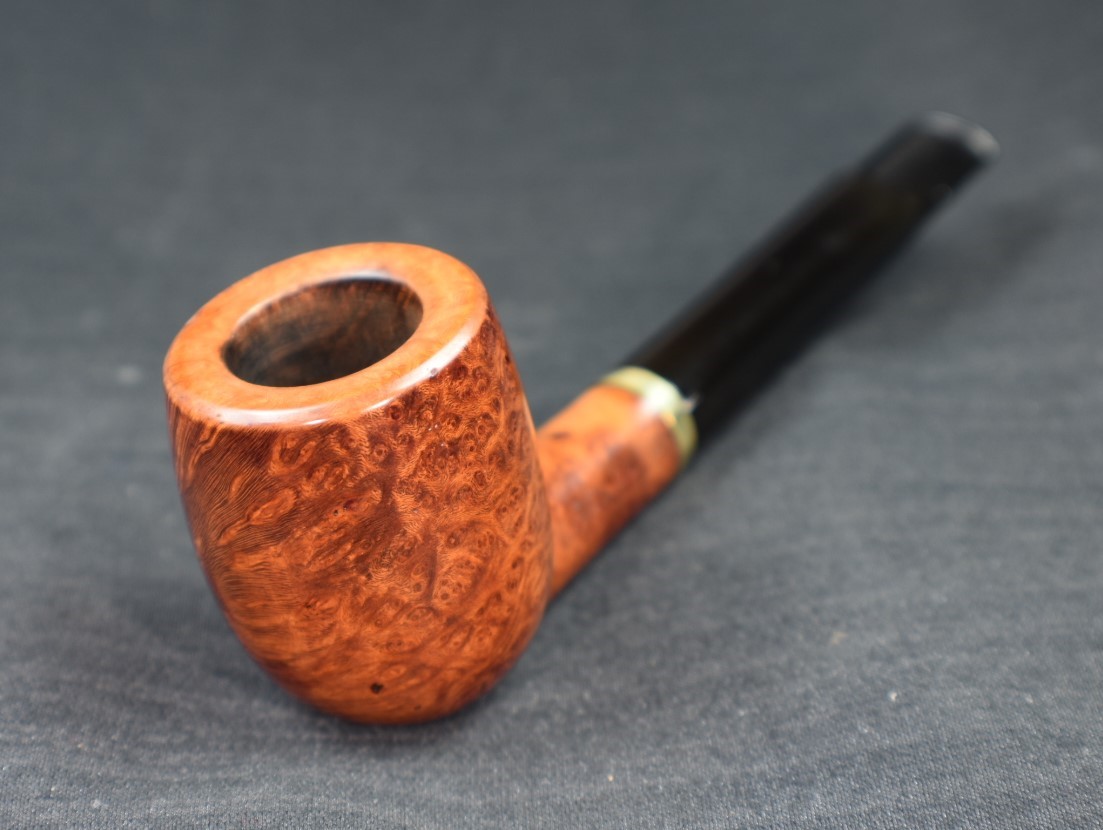
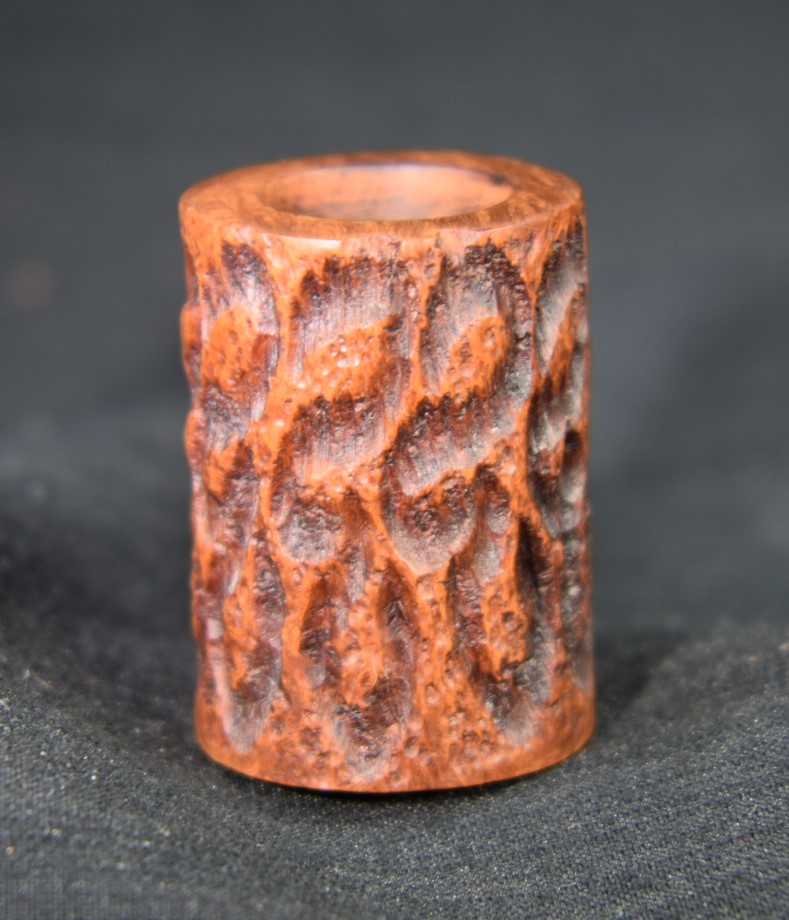
Below are some photos of the finished Tow Kings billiard.


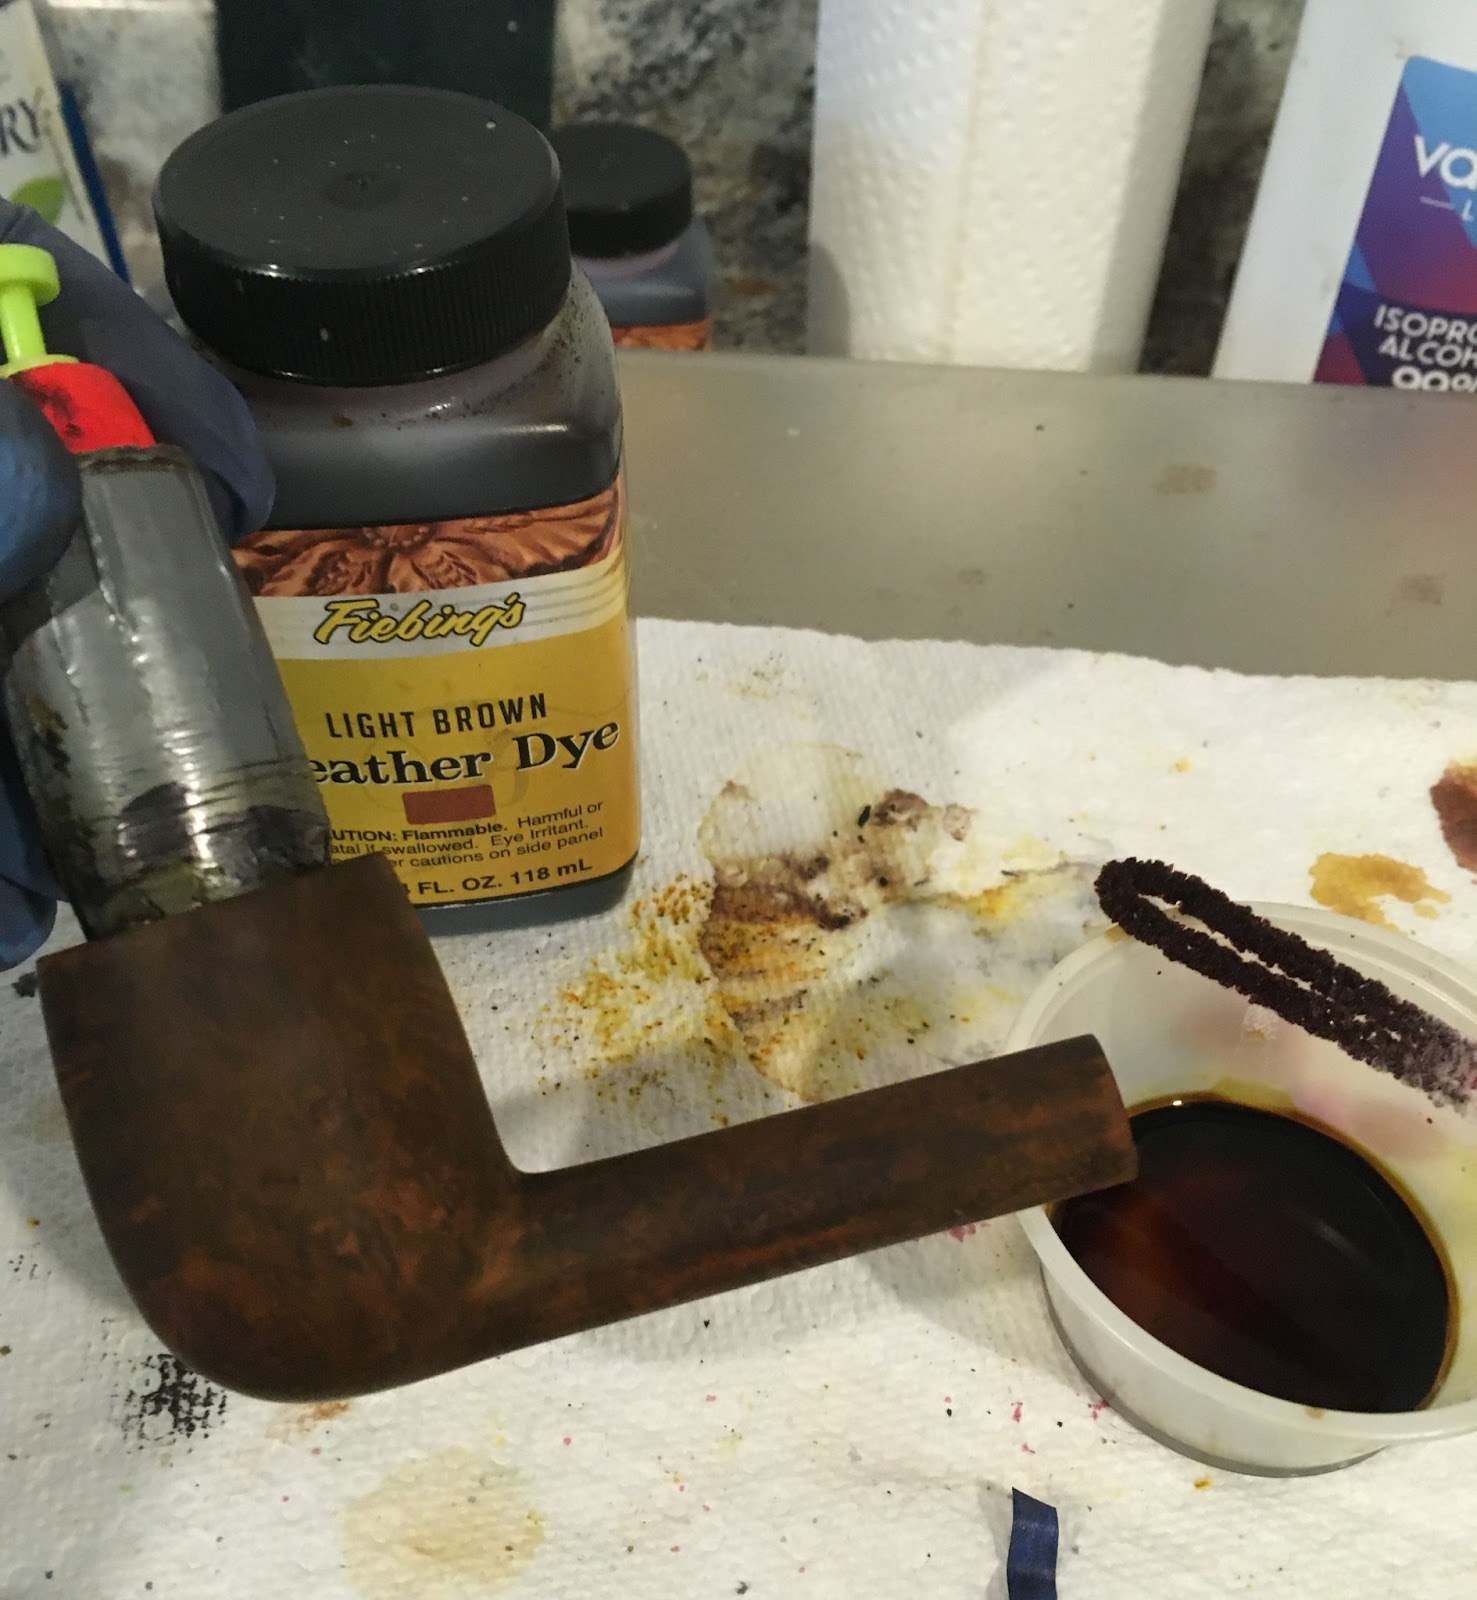


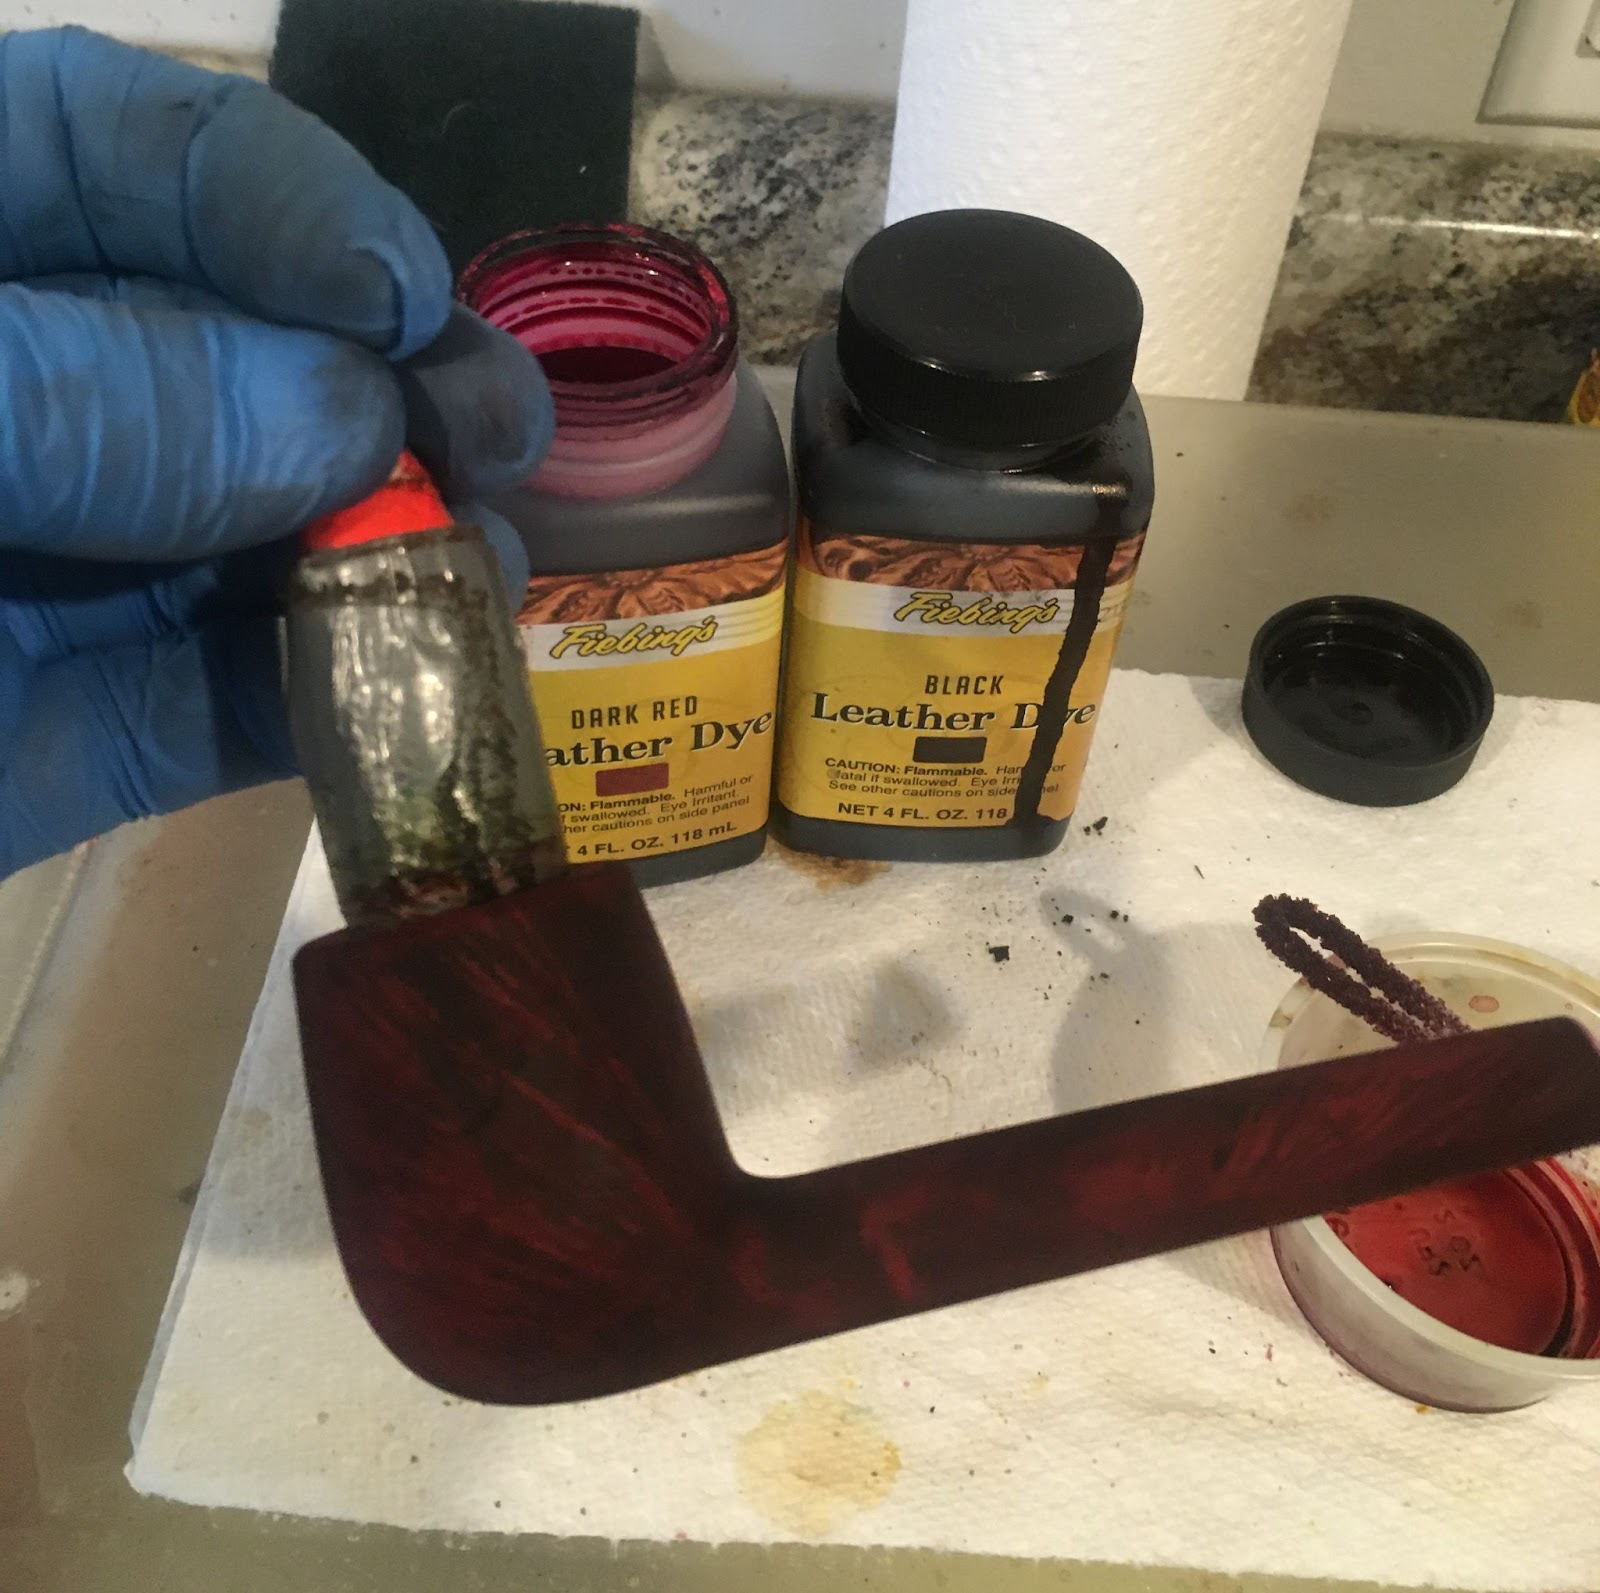
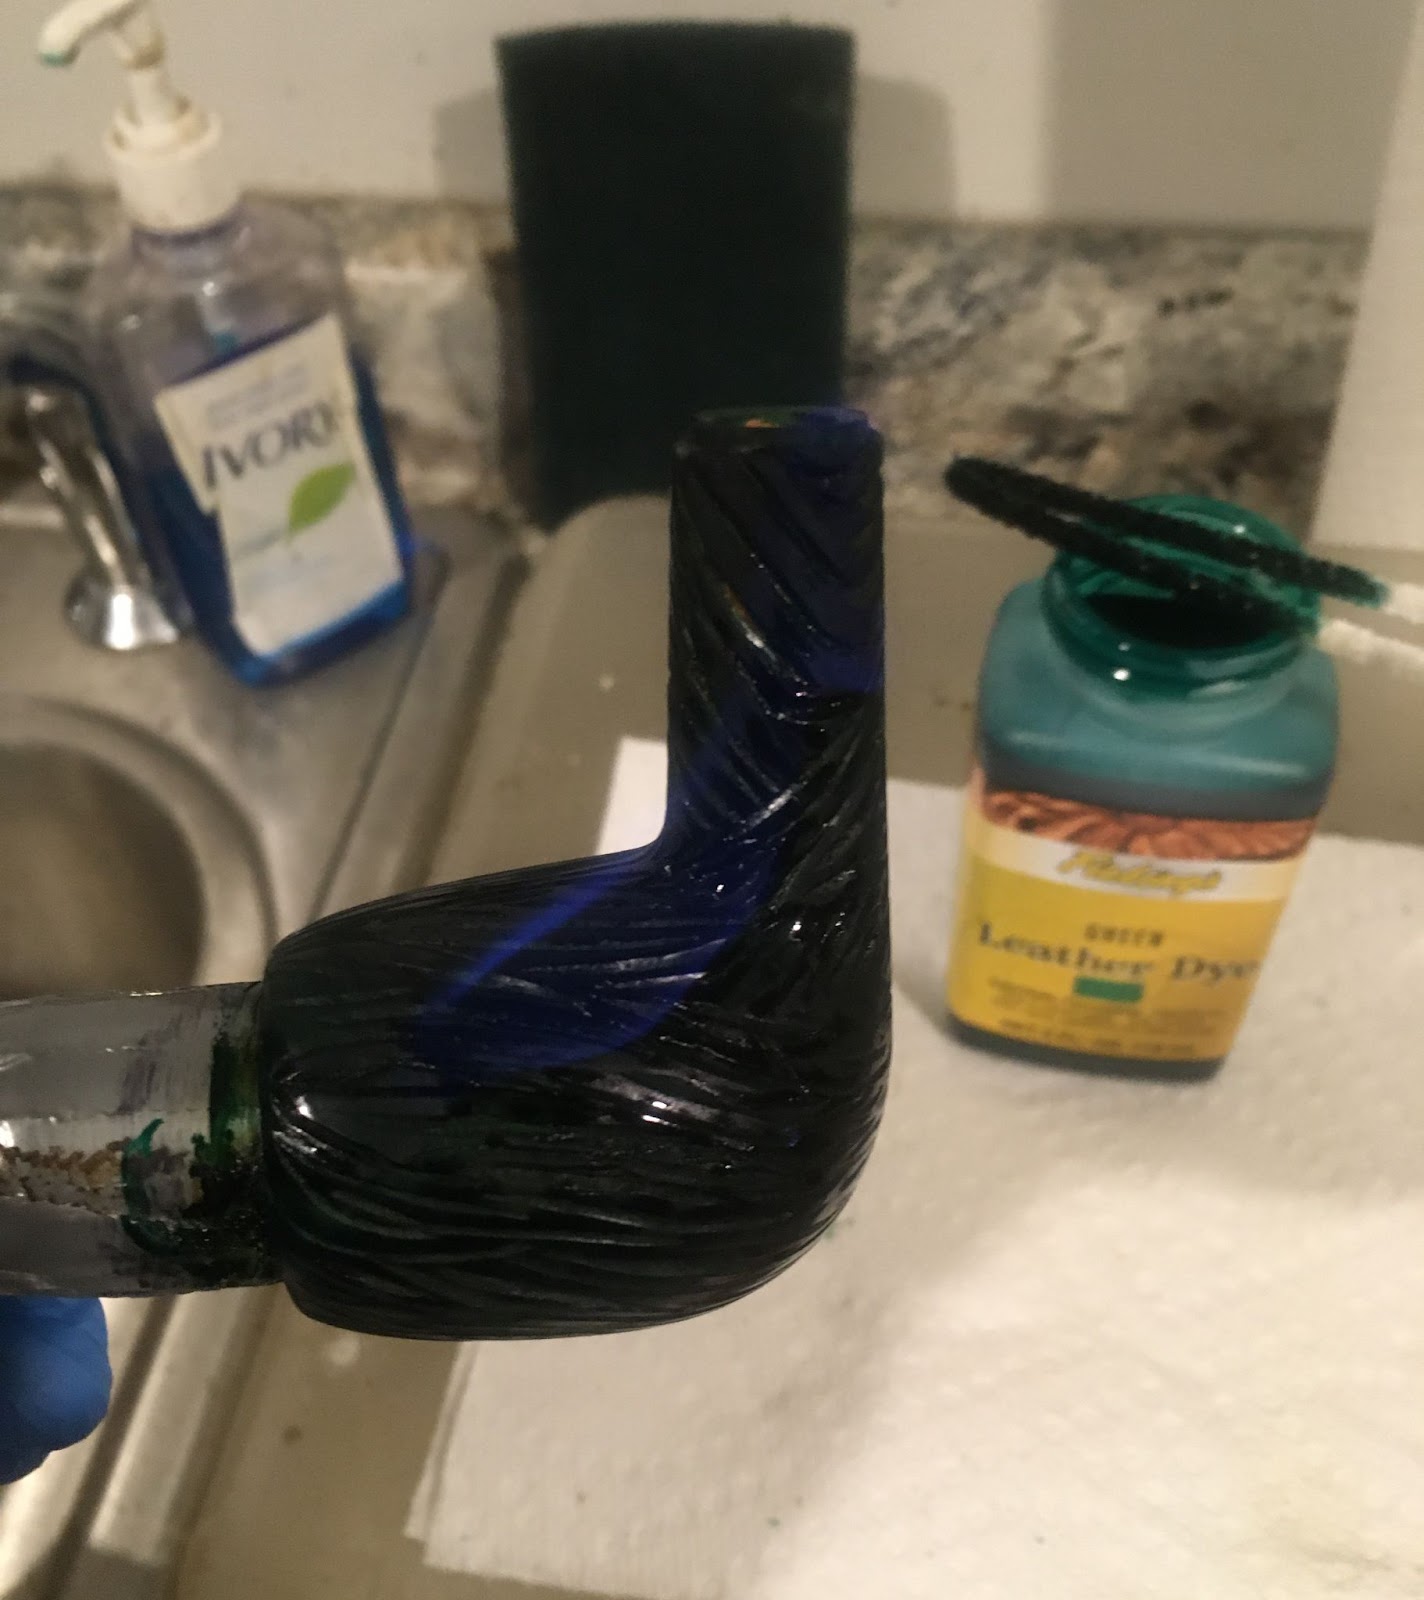
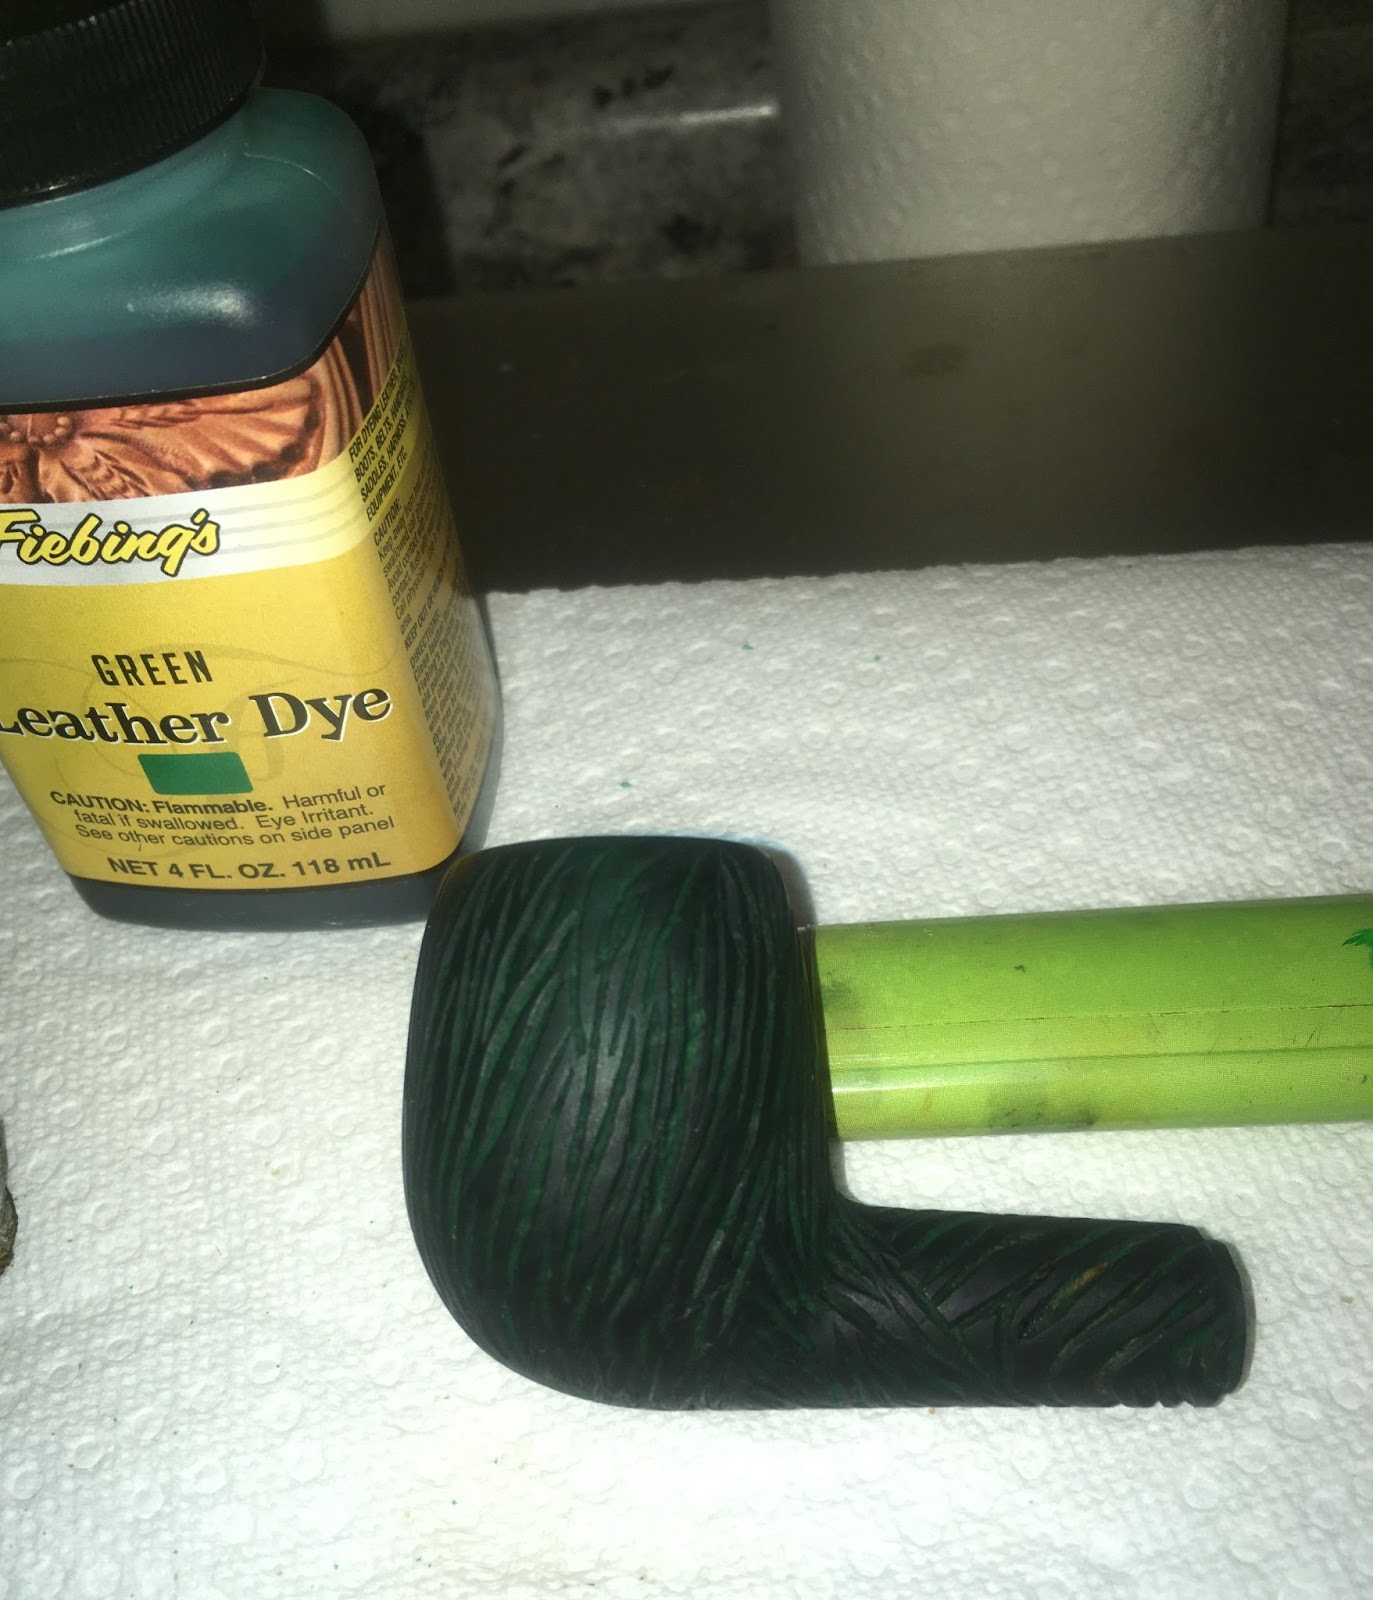
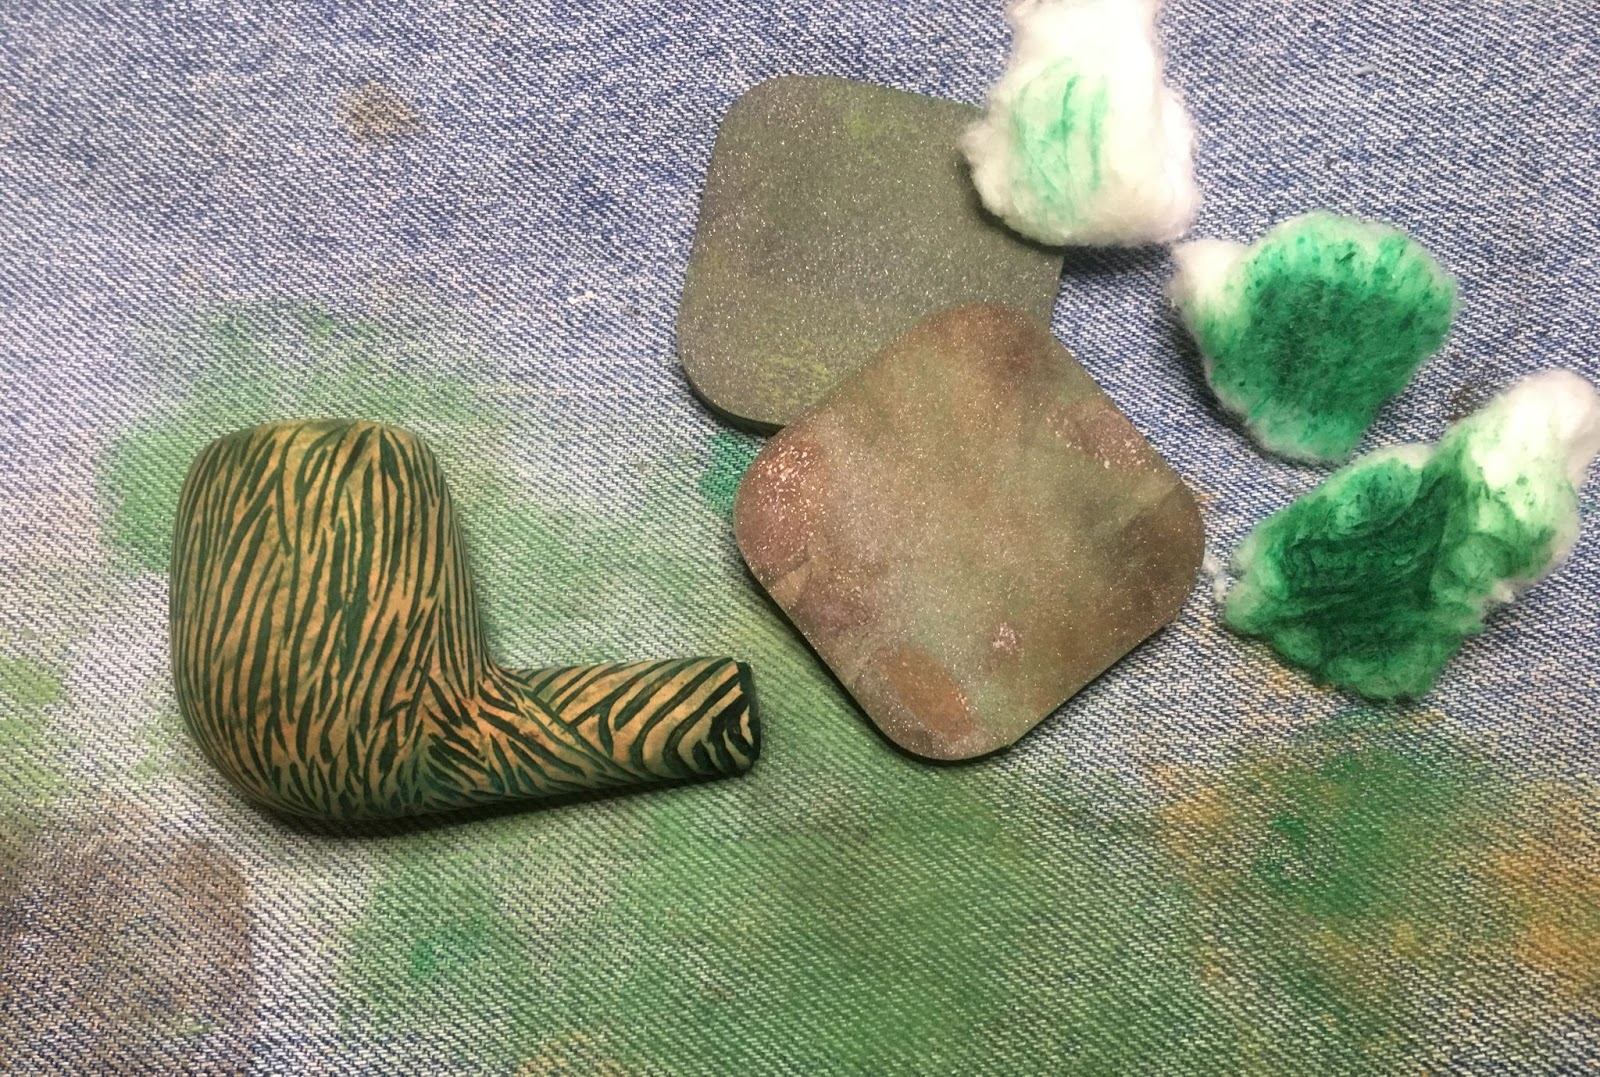
 A second make-up pad yielded similar results. I sanded the stummel with a 320 sanding sponge and wiped the stummel with a make-up pad wetted with acetone. The acetone also was removing red stain. Additional wipes finally freed the red from the briar and I was able to proceed.


 The quality of briar and the original stain color also match quite well. Given those last two qualities are hardly good indicators of a shared heritage but they do look similar. When looking up Jobey on pipedi.org, the first sentence of the entry says, “English – American – Danish – French… Sadly, solid information about Jobey is scamt…”(


