Photographed and written by
John M. Young
I really like Brick and Mortar (B&M) pipe shops and the thought of major pipe manufactures stamping individual shop’s name on a pipe for their store is a walk into the past for me. I cannot imagine that pipe smoking has become so popular again as to allow pipe shops to place an order for a large number of pipes with the name of the shop stamped on them. Ah, the good old days. When I saw this pipe listed on eBay in June of

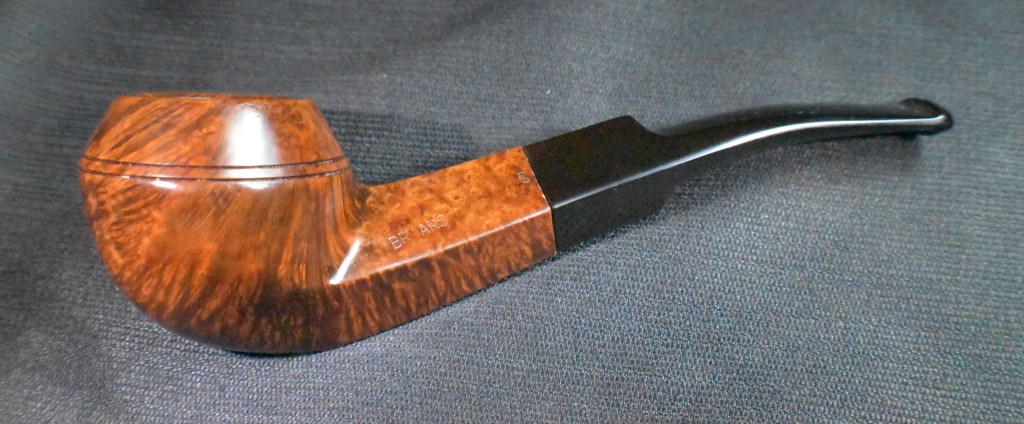
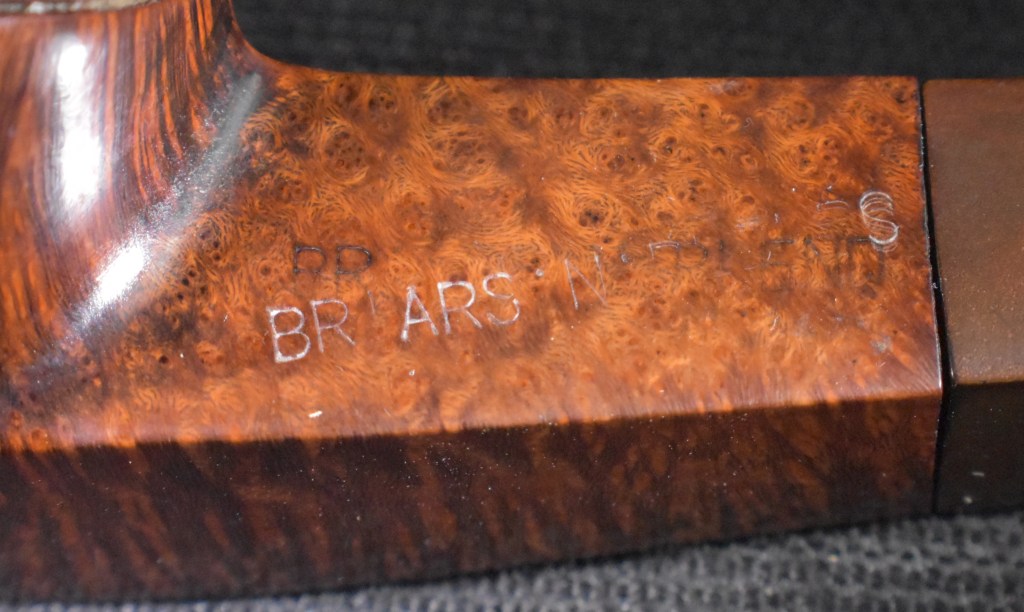
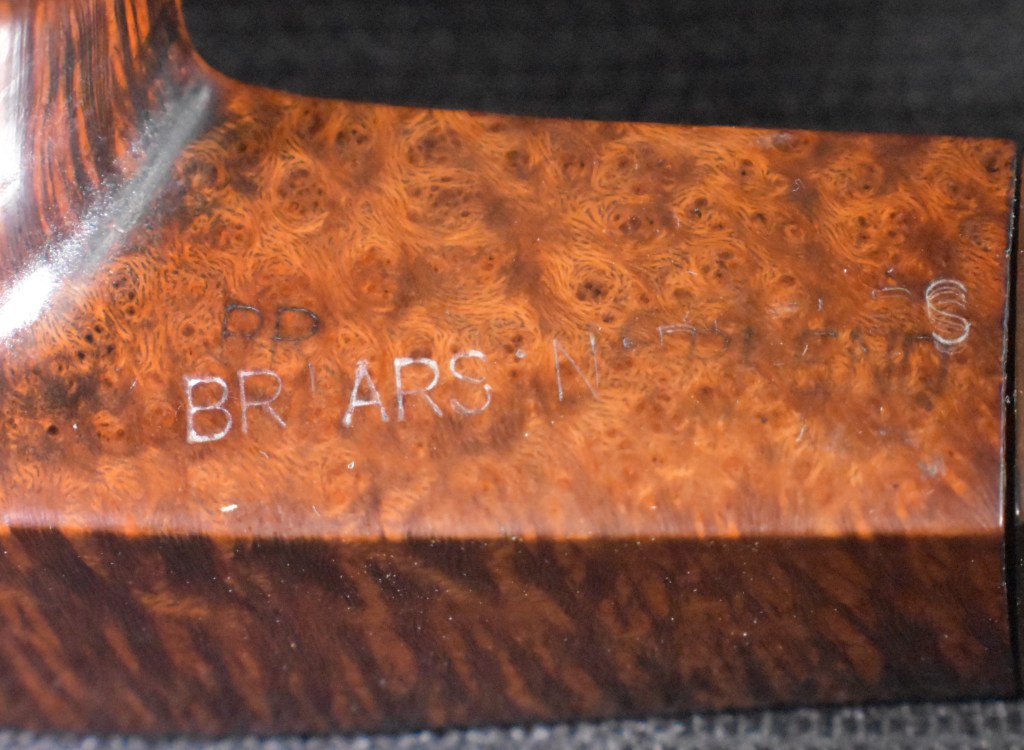
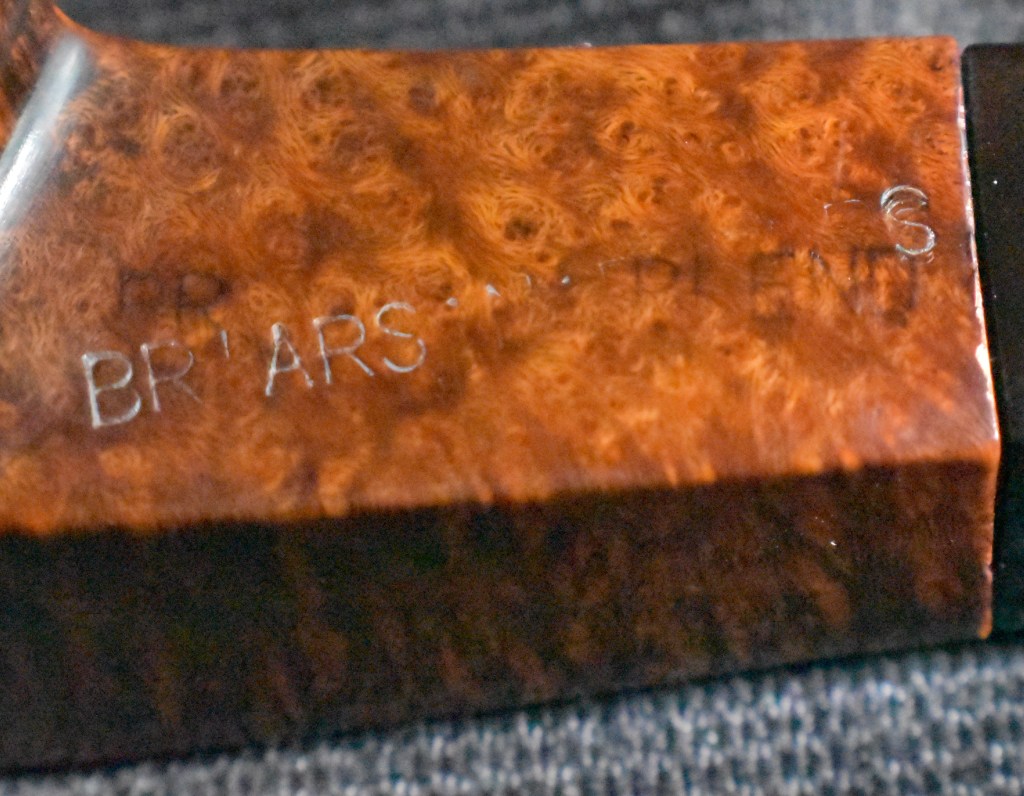
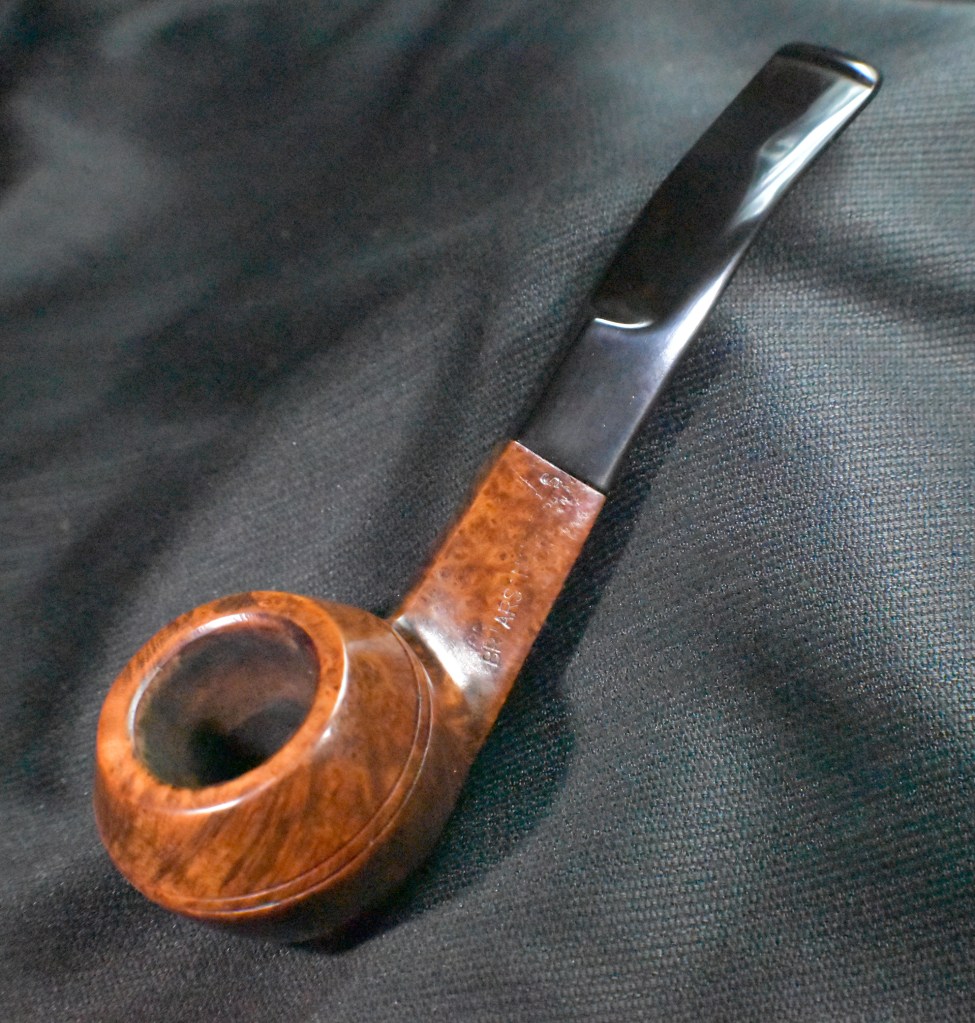
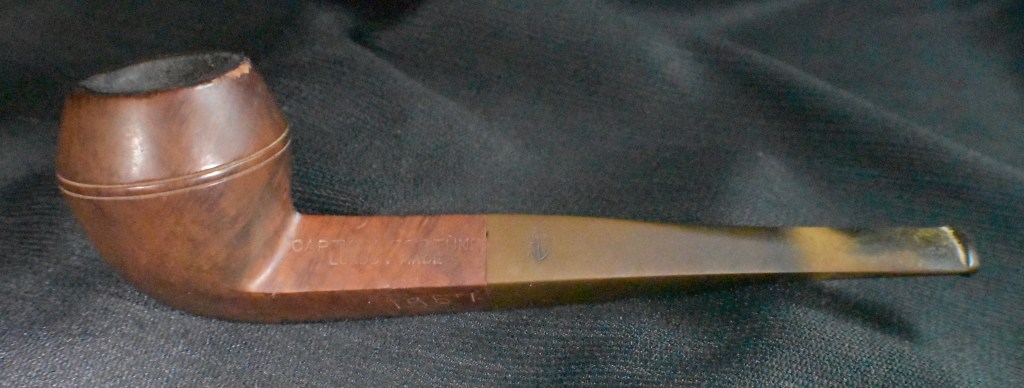
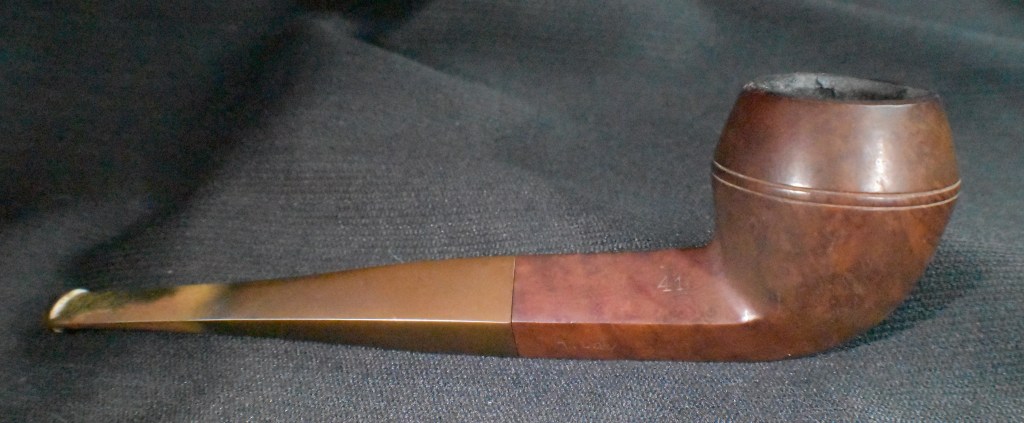
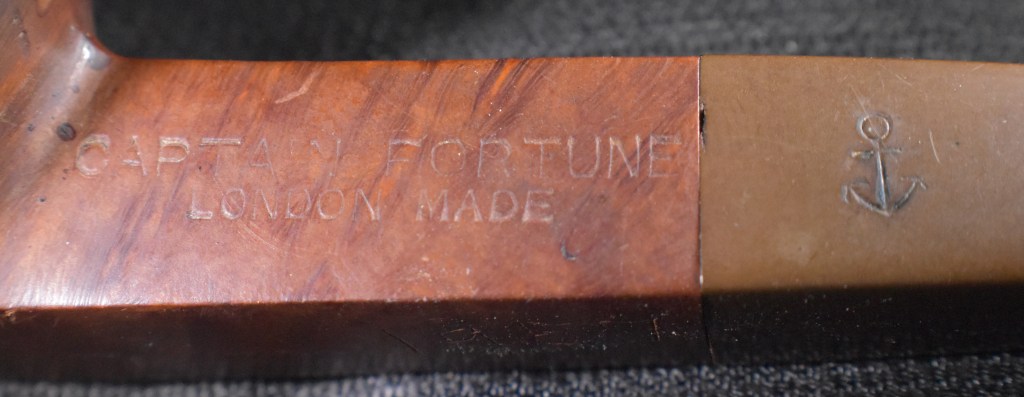
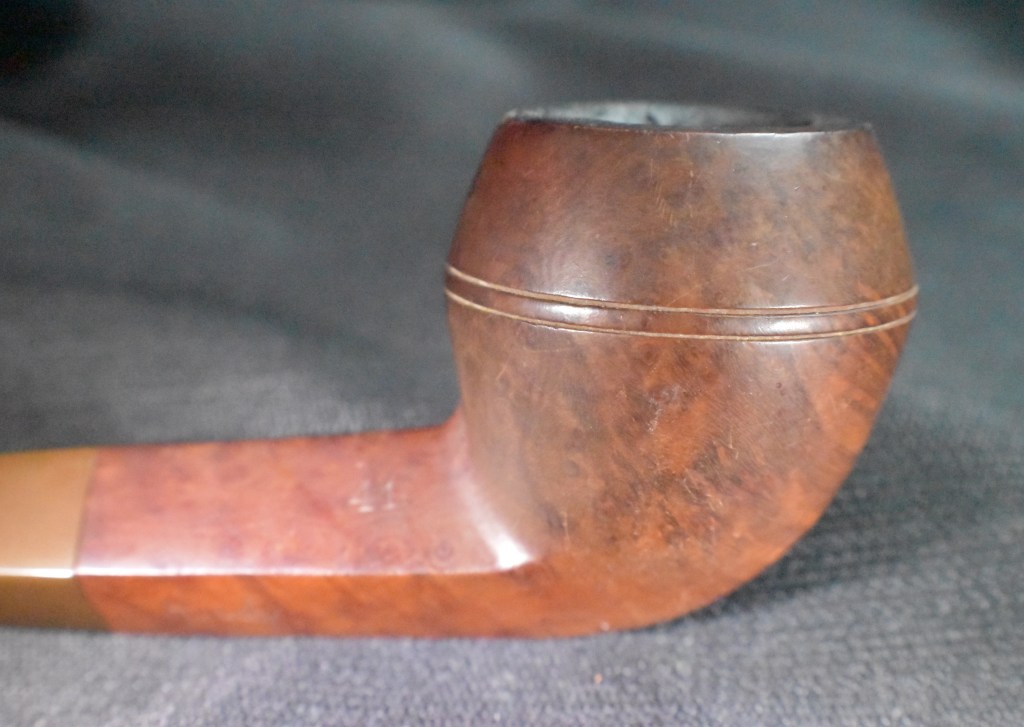
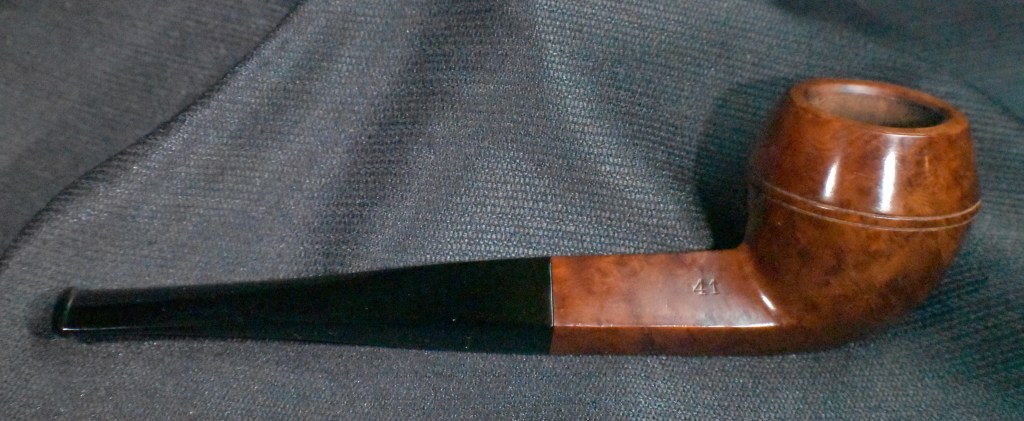
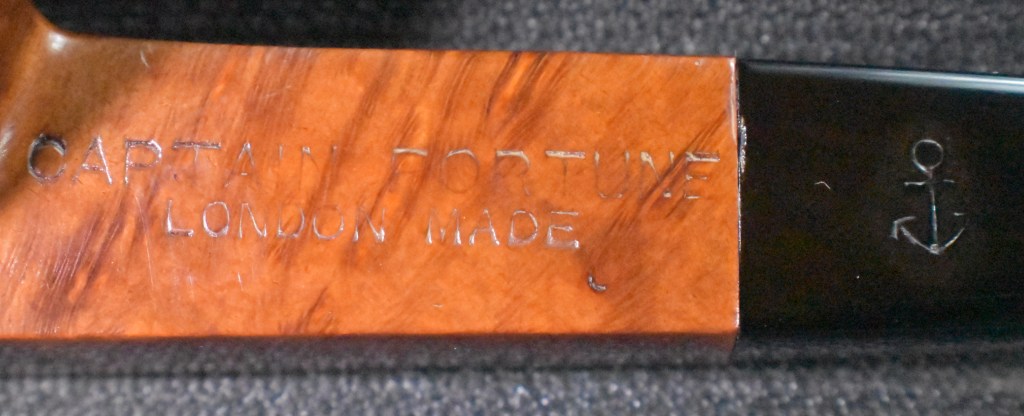
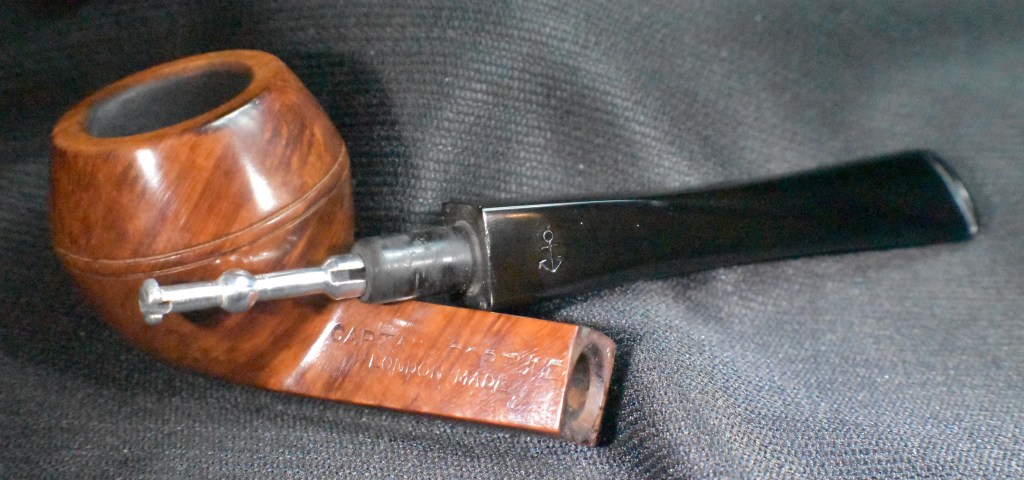
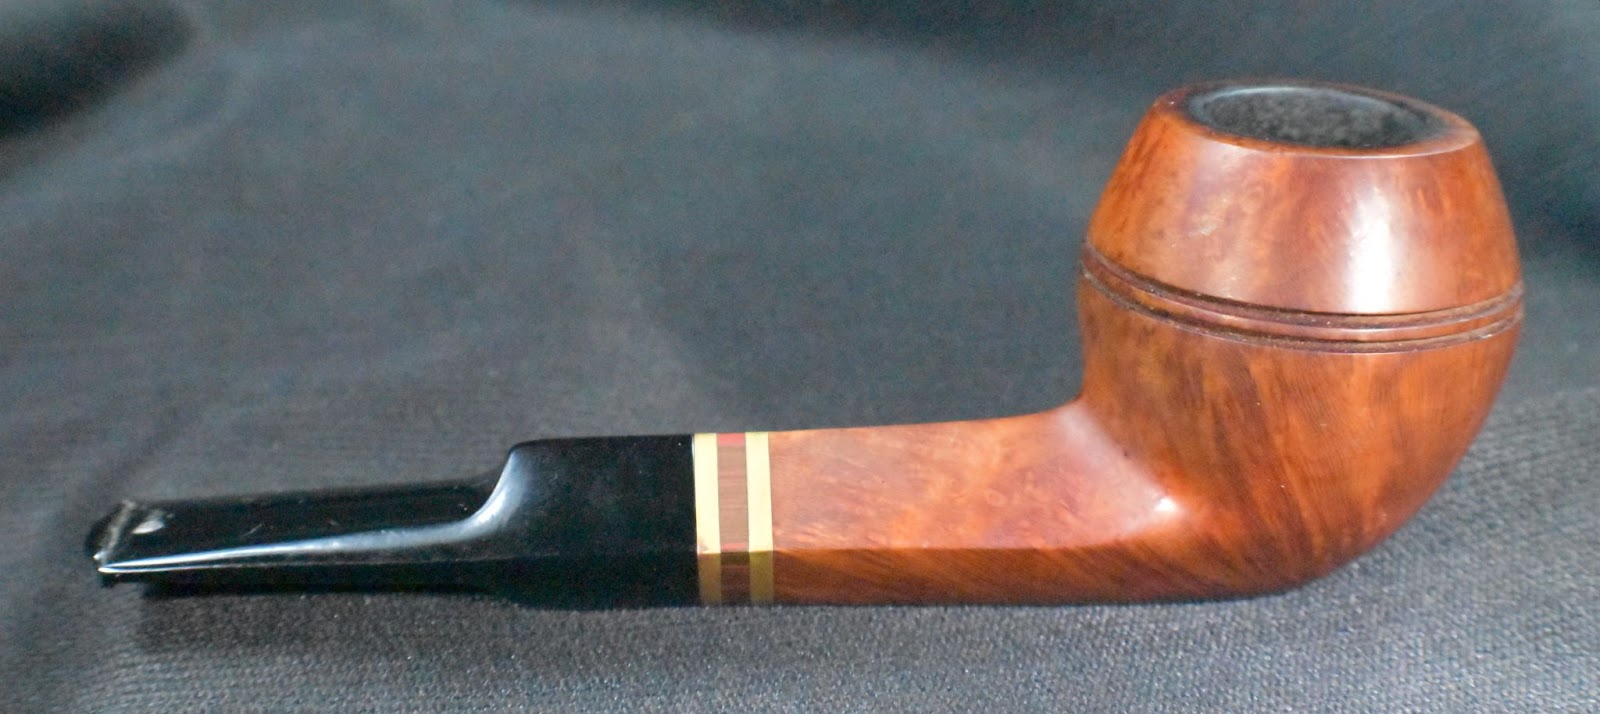
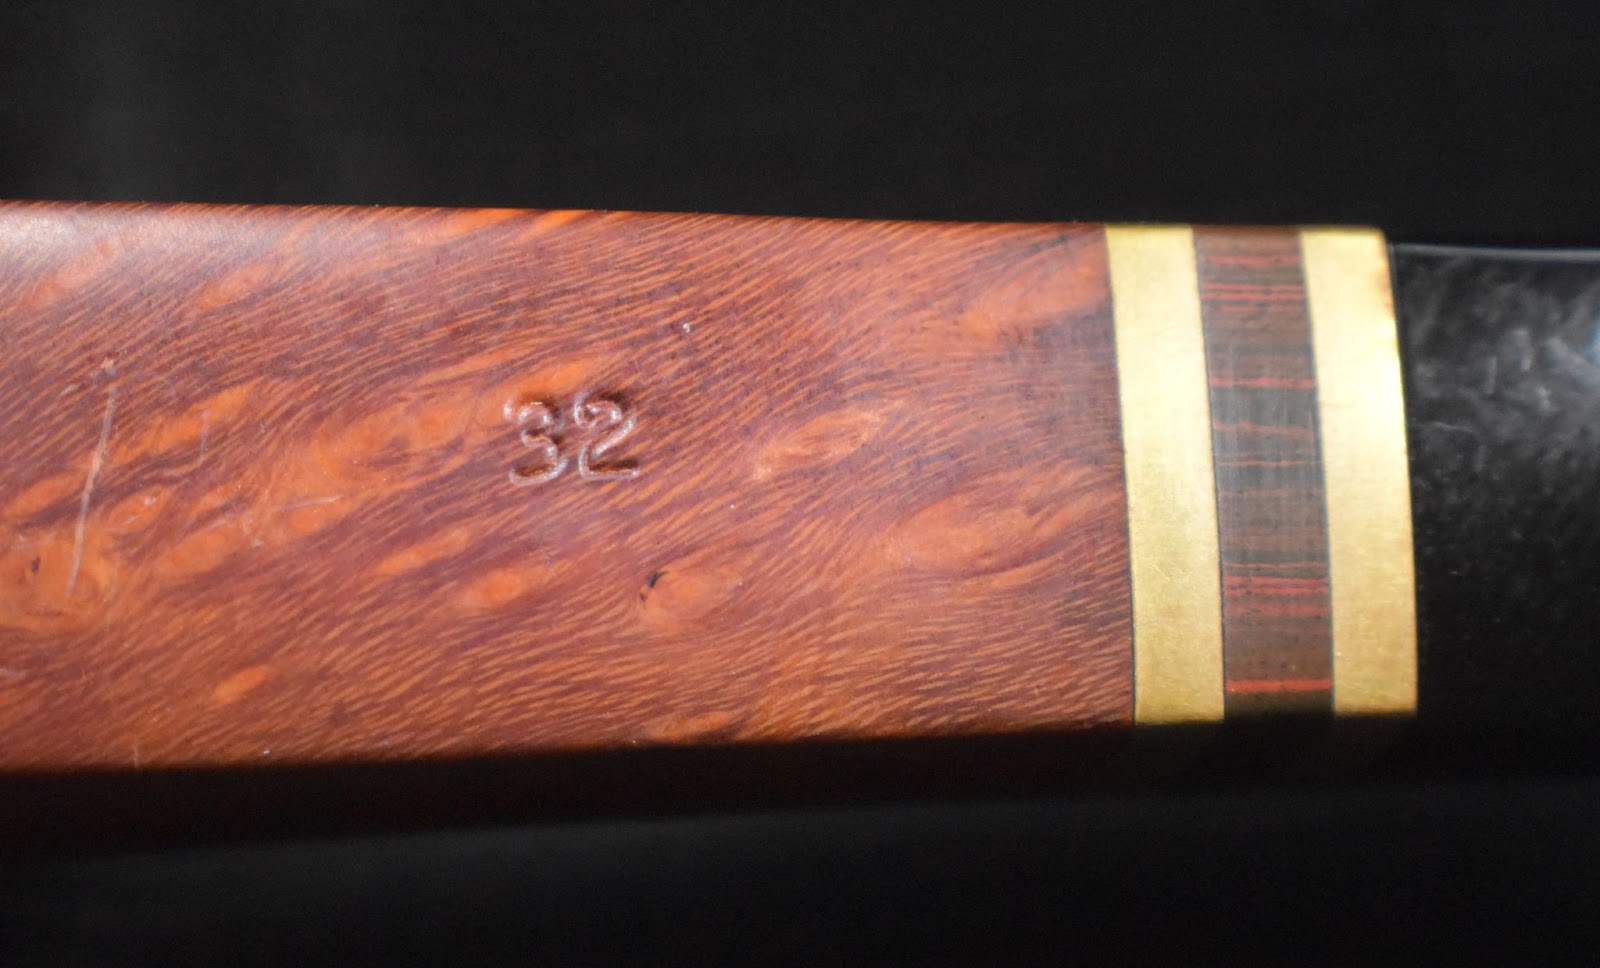
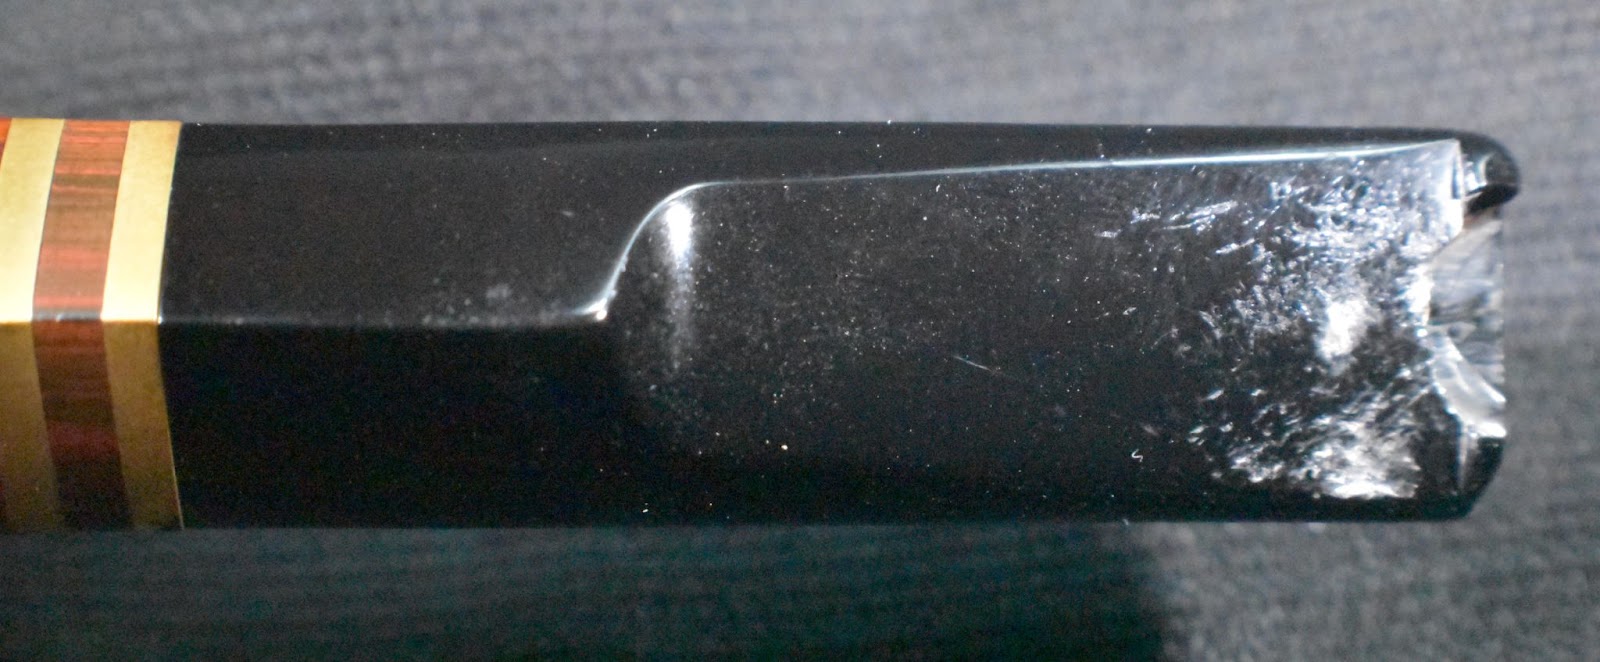
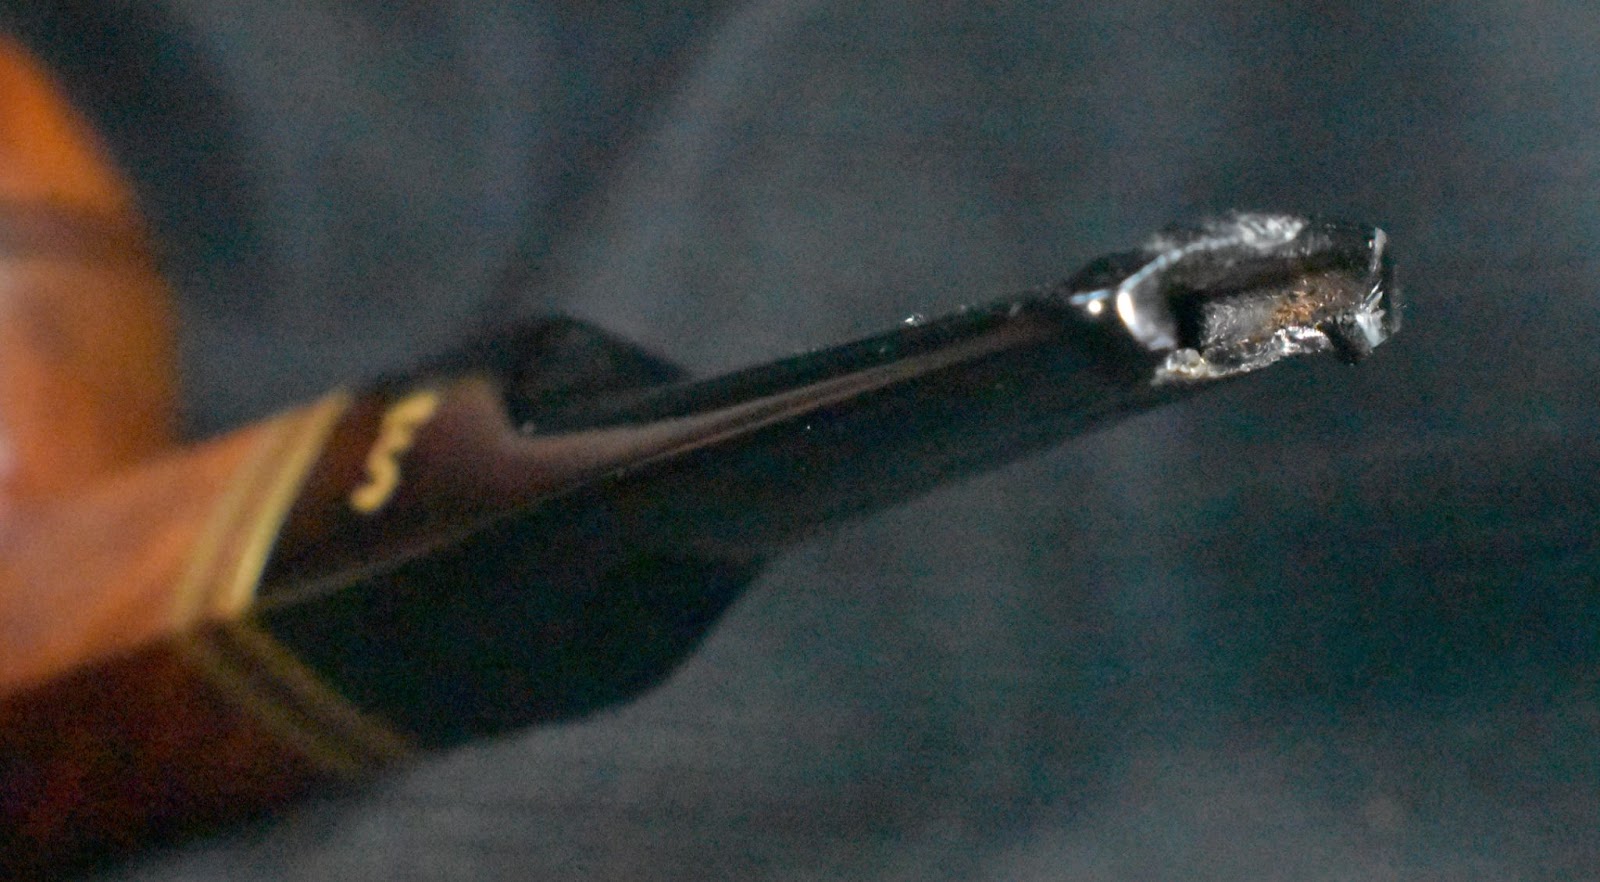
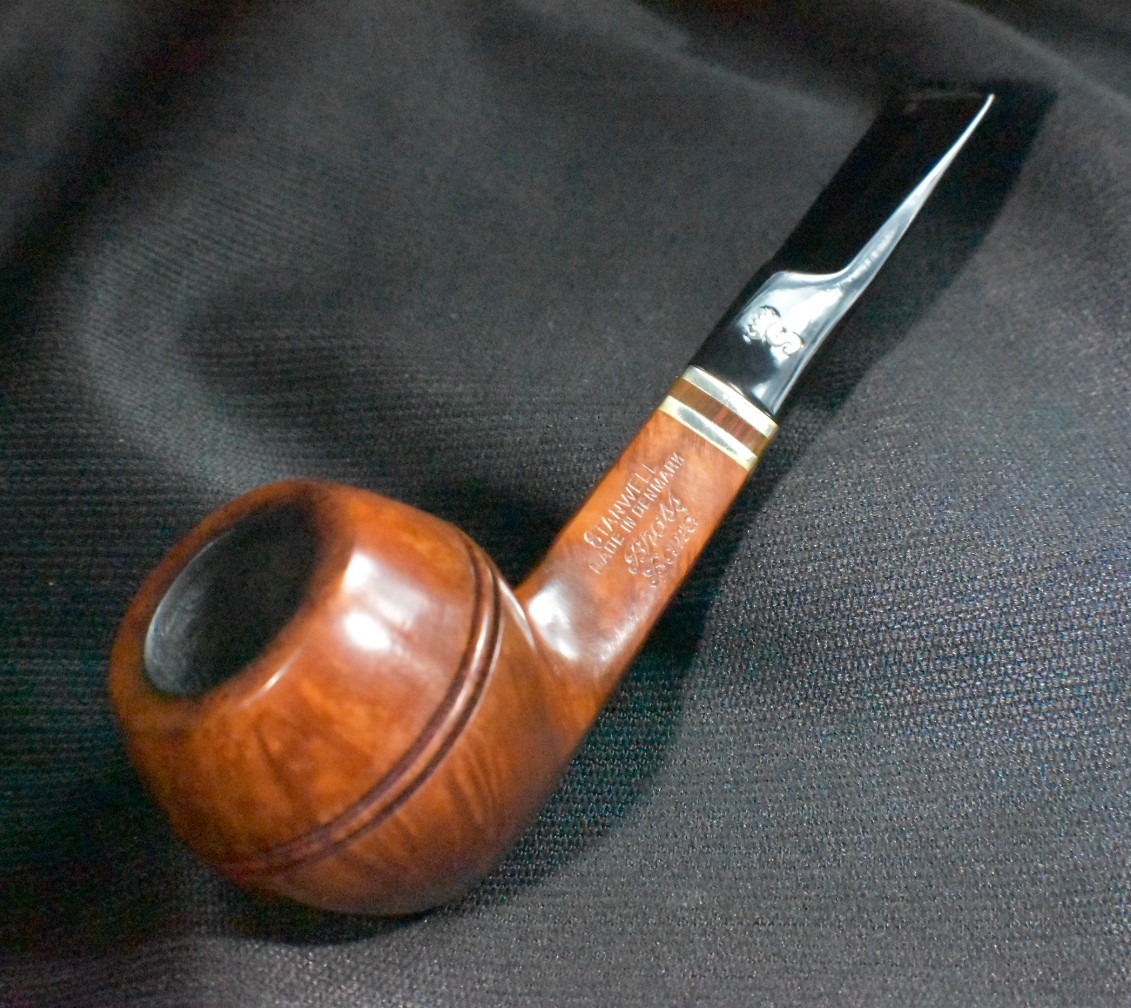
2025, I thought it looked interesting. I bid and won. I knew that Briars and Blends was not a pipe maker but the shape looked very familiar. It was a ¼ bent bulldog with classic English lines and an eye-catching grain. Upon arrival the pipe looked as though it had been pretty well cared for or cleaned. The seller made no claim to have cleaned nor restored the pipe, which is usually better for me. The stampings were kind of a confusing double stamp but BRIARS ‘N’ BLENDS could be made out on the left shank. I did use a hand lens in sunlight. On the right shank was the words MADE IN over LONDON as a circle, over ENGLAND. Offset toward the bowl was 409. Below are some photos of the pipe prior to any work.

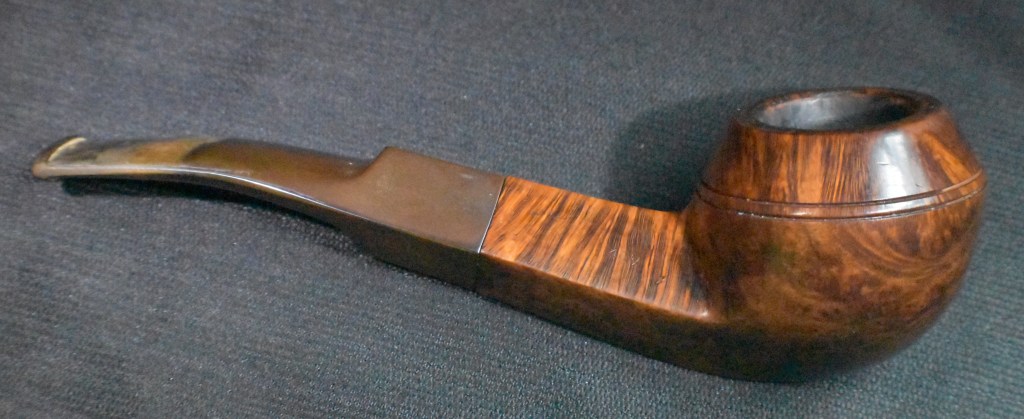


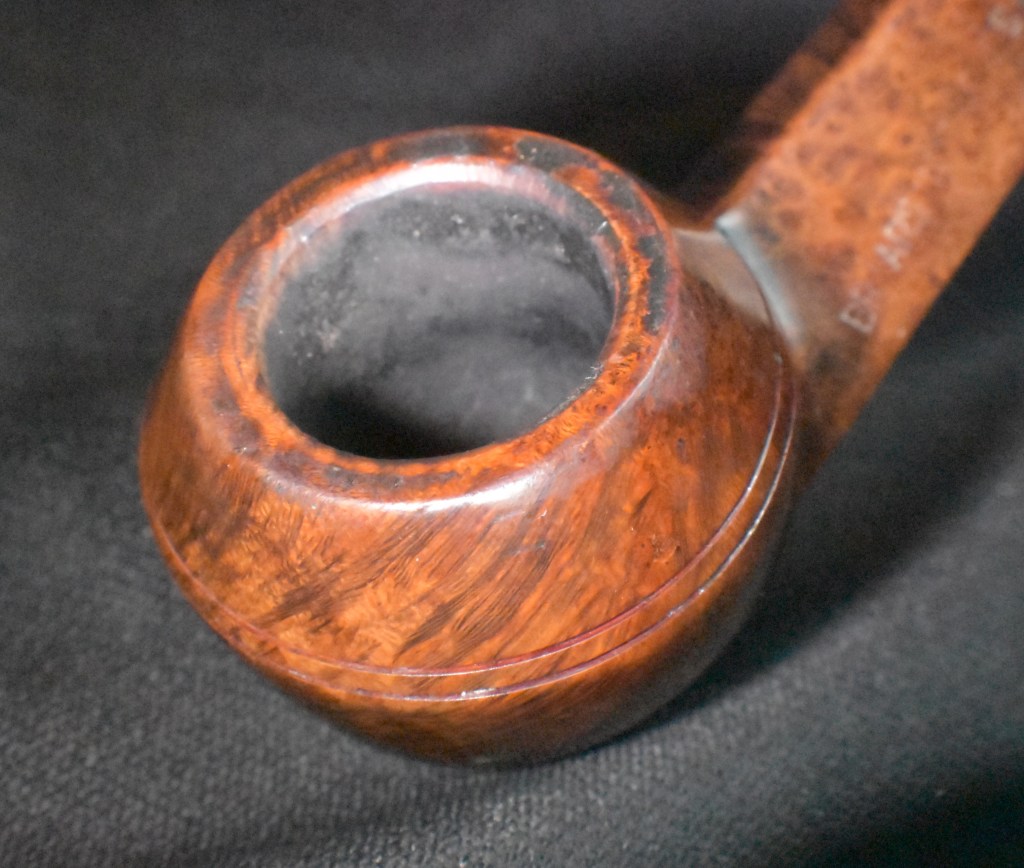

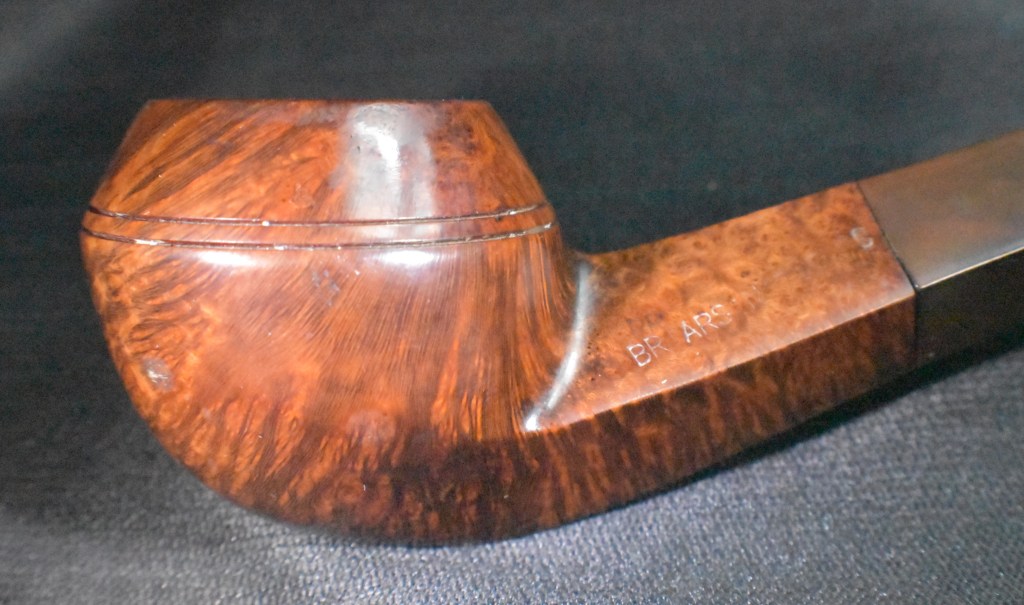


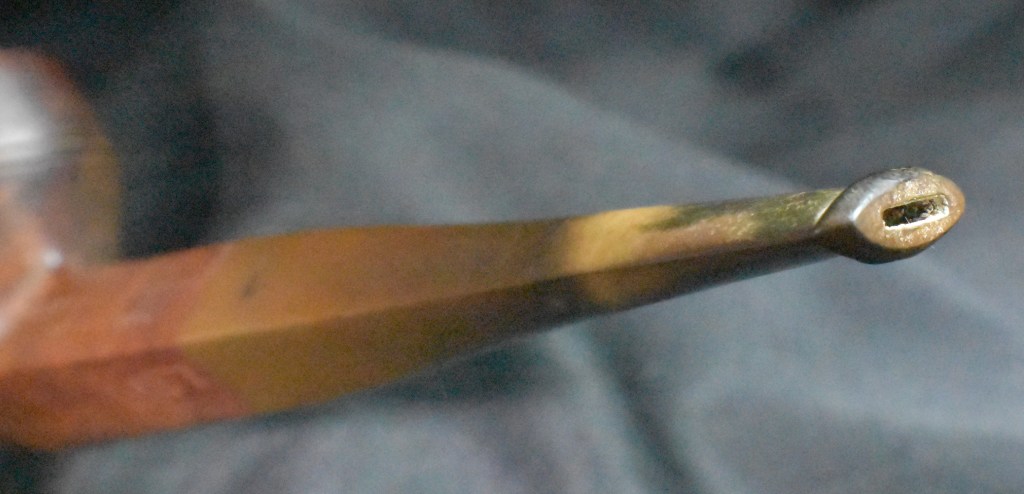
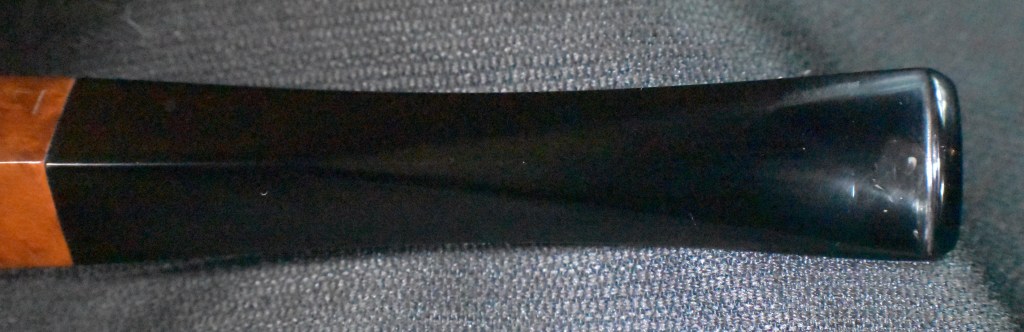
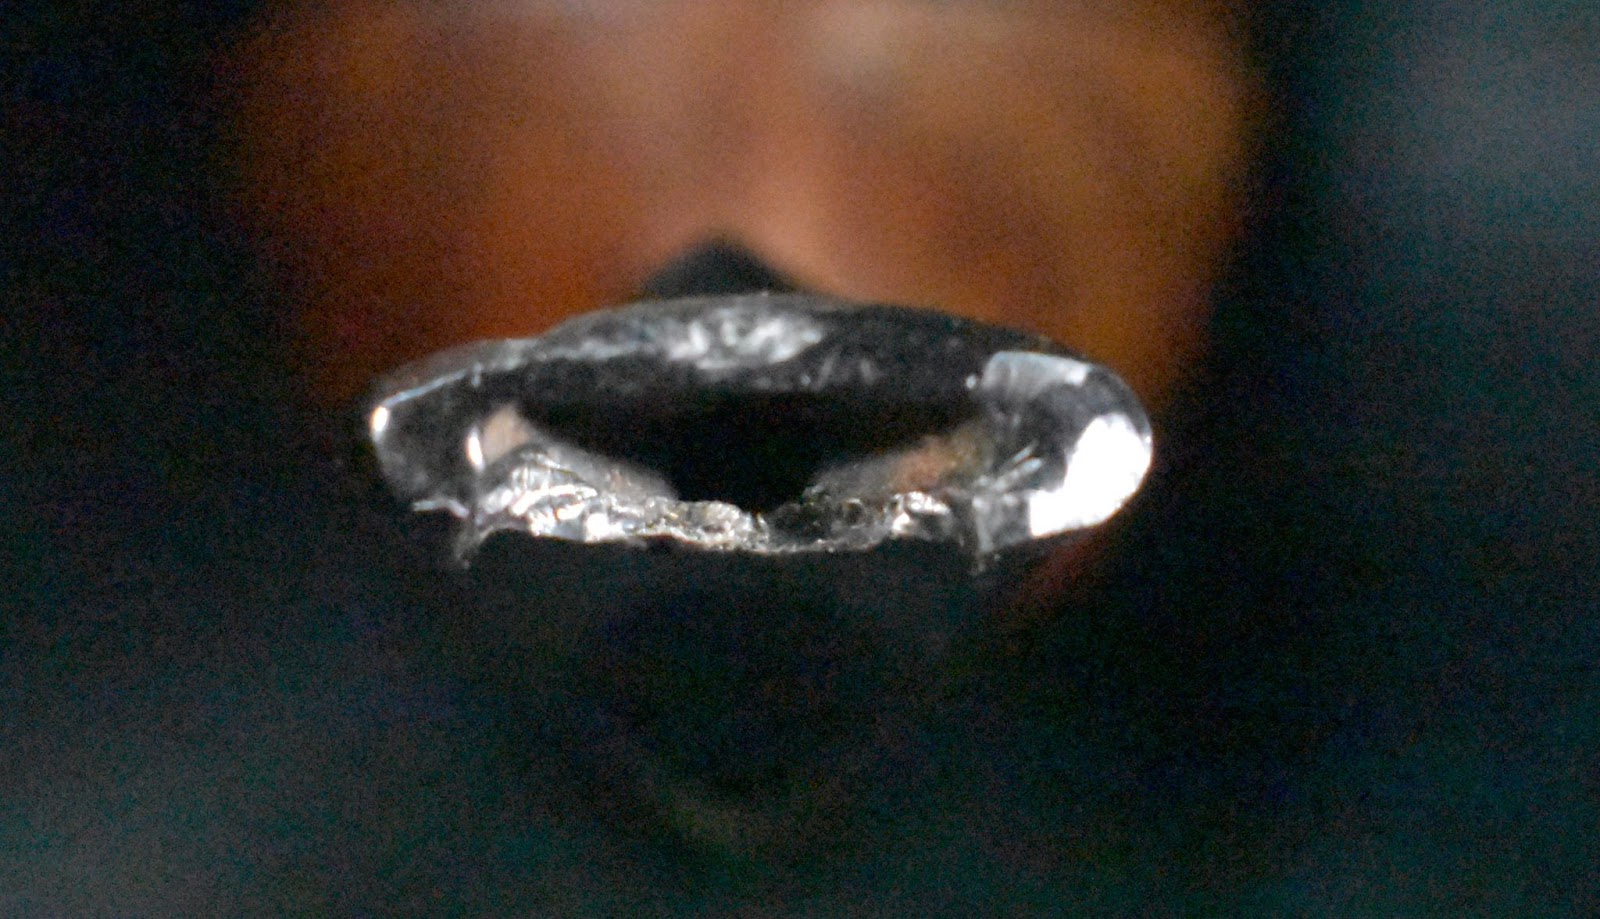
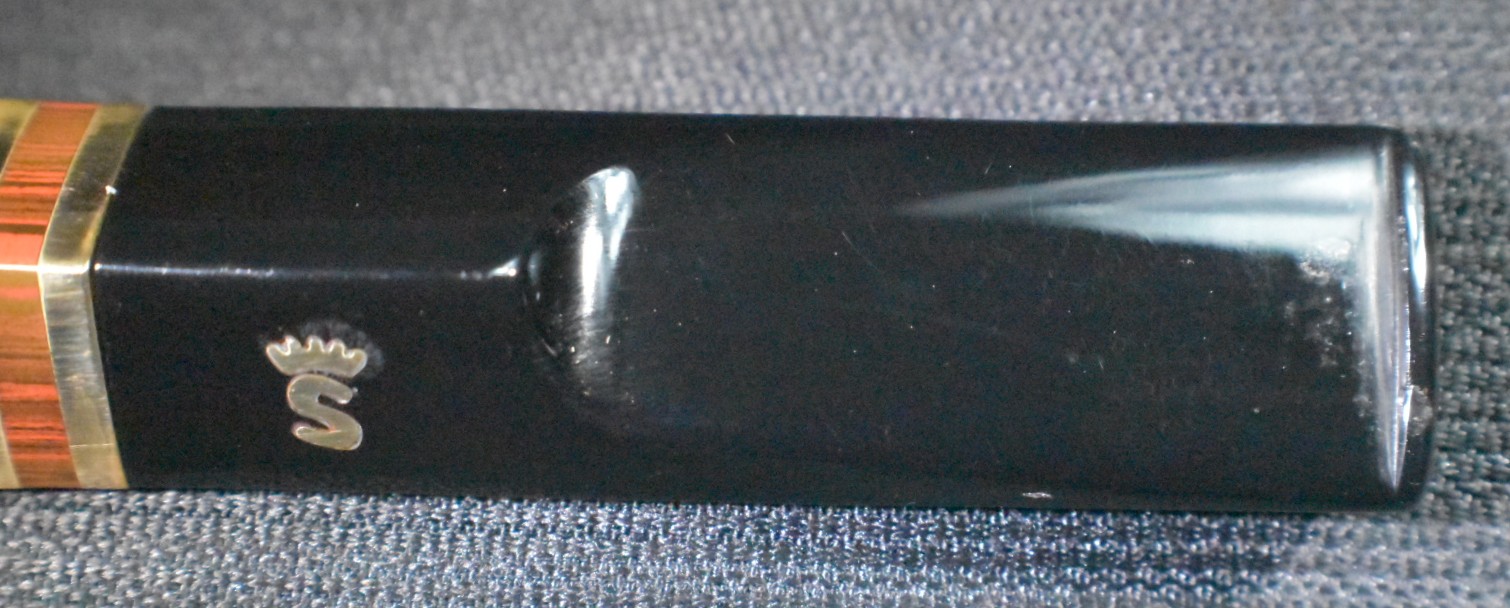
This looked like it would be a nice relaxing restoration. The stem was in need of the majority of the work. It was heavily oxidized, chewed on and had calcium deposits. The stumble looked great save for the faint double stampings.
Background
Last summer I worked on a Telford’s Canadian pipe (linked if you are interested). Telford’s is a pipe and tobacco B&M outside of San Francisco, CA. I talked to the owner on the phone and “He said that this pipe would have been for the 1970-1980s. During this time Comoy’s would offer lots, usually a gross, of their “seconds”. These were pipes that had imperfect blasts or fills which made them ineligible for sale as “Comoy’s” pipes. Mr. Telford explained that Comoys made a stamp for Telford’s and stamped the pipes for the shop (personal communication with Brian Telford 7-30-2024).” (A Telford’s Canadian Restoration – Google Docs). The “this pipe” referred to by Brian Telford was the Telford’s Canadian.
I thought that the Briar ‘N’ Blends pipe looked like a Comoy’s bulldog. It was just a feeling and though I have been quoted as saying, “feelings are irrelevant” by a daughter who is now okay, thanks to years of therapy, they can on occasion be useful. I used pipedia.org’s Comoy’s Shape Number Chart for the below screen shots:


(Comoy’s Shape Number Chart – Pipedia). Sure enough, the 409 is indeed a ¼ bent bulldog with a saddle stem.
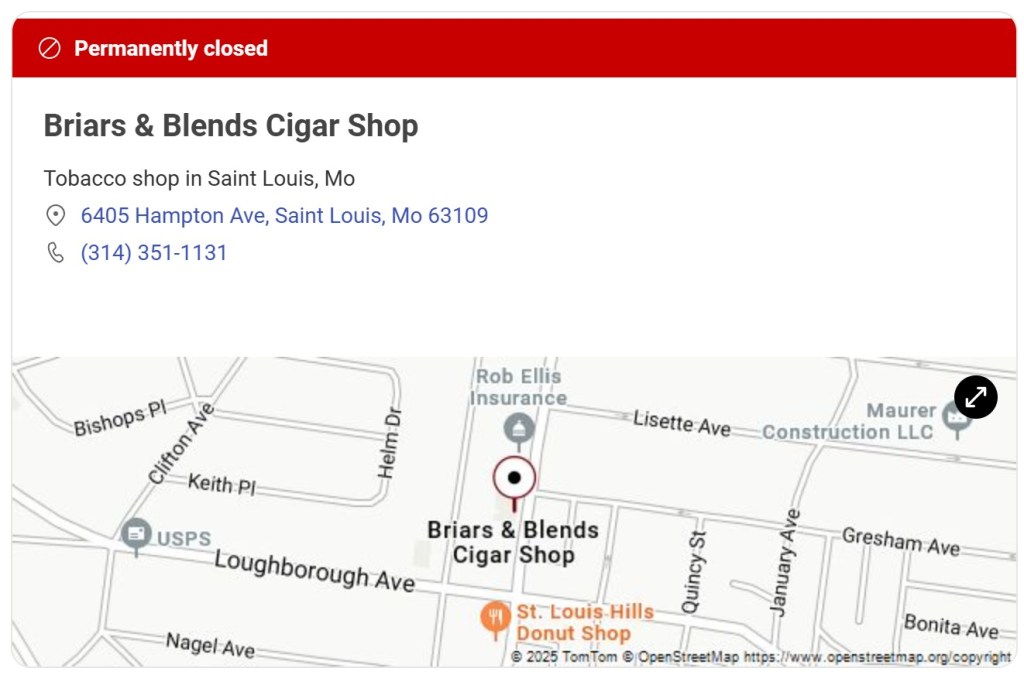
Next I wanted to find out anything I could about Briars ‘N’ Blends tobacconist. The only “hit” that I felt (oh no, another feeling) good about was one for Briars and Blends Cigar Shop of St. Louis, Missouri.
“Briars & Blends Cigar Shop LTD was founded in 1990. At this location, Briars & Blends Cigar Shop LTD employs approximately 3 people. This business is working in the following industry: Tobacco stores. Annual sales for Briars & Blends Cigar Shop LTD are around 807,000.
Employees: 3
Revenue: 807,000
Founded: 1990”
(Briars & Blends Cigar Shop LTD | (314) 351-1131 | St. Louis)
The “Permanently Closed” was saddening (ahh, another feeling). The date fell later than the 1970s-1980s referred to by Brian Telford as when his shop arranged to have Comoy’s stamp pipes for his shop, but it was fairly close. The 1990 were the boom years of the most recent cigar movement.
So, what does this tell us about the Briars’N’Blends bulldog? It is probably a Comoy’s 409 shape from the 1990s, made in London, England and was about to get a restoration.
The Restoration
I was really impressed by the grain of this pipe and was eager to get it restored.

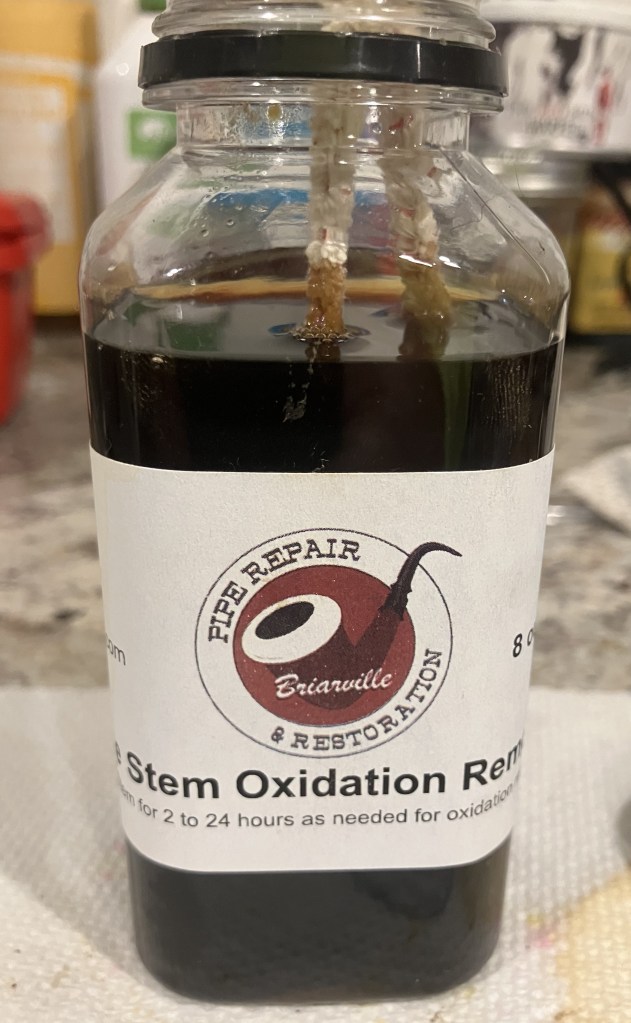
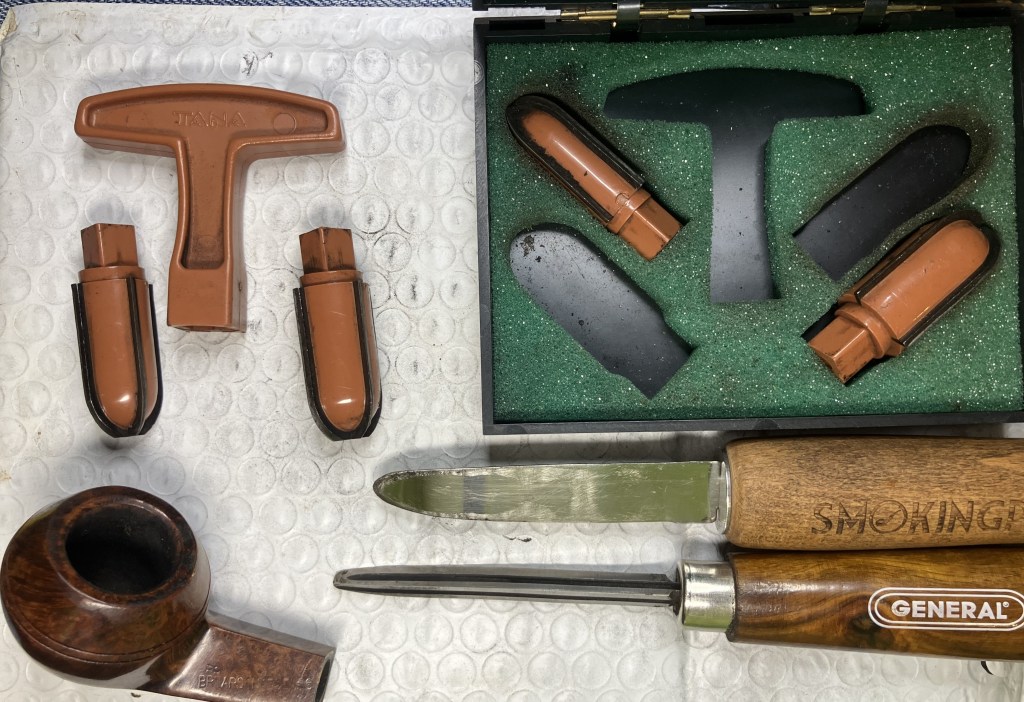
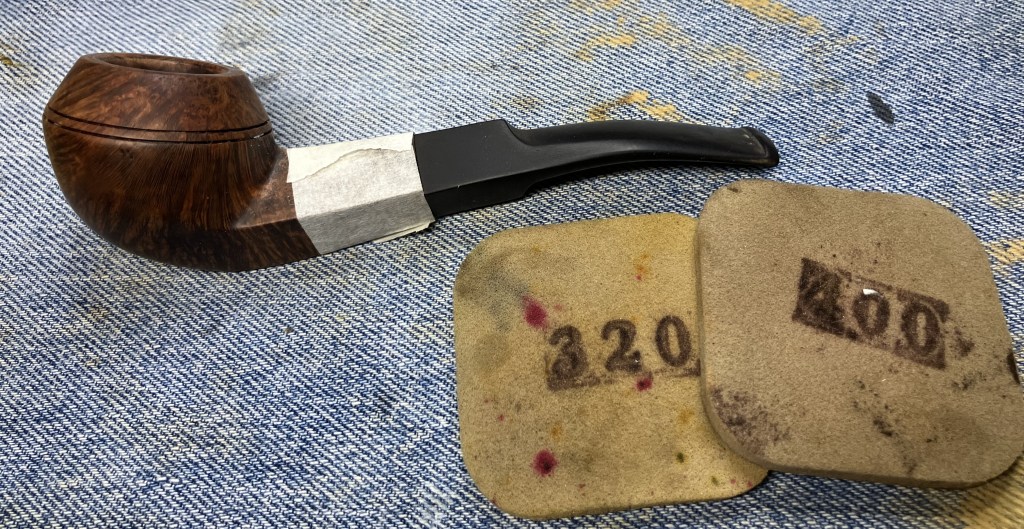
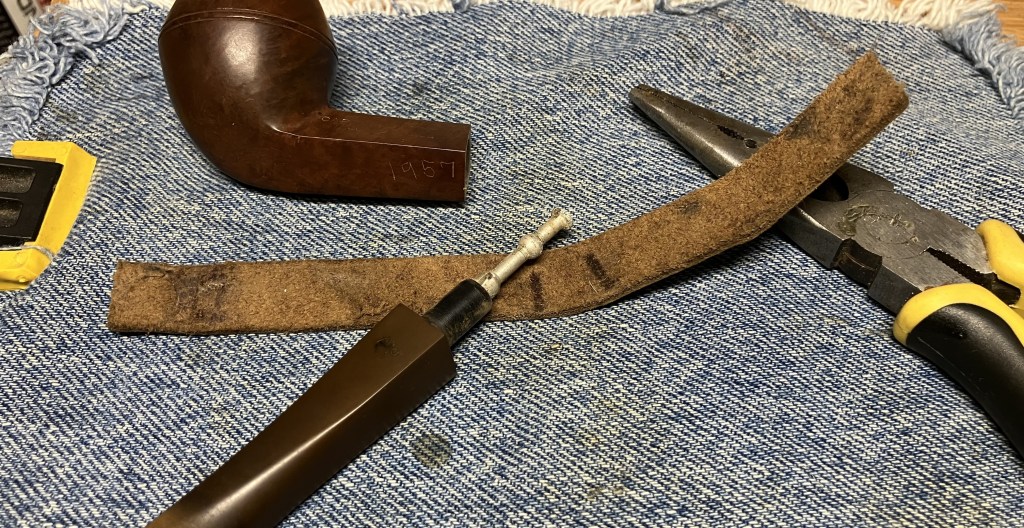
The first task was to submerge this stem into the Briarville Pipe Stem Oxidation Remover. Before I could do that though I wanted to clean the airway and lightly sand the outermost oxidation from the stem. The airway was surprisingly clean. The calcium deposits were scraped with a sharp pocket knife and the stem sanded with a 320 grit sanding sponge.

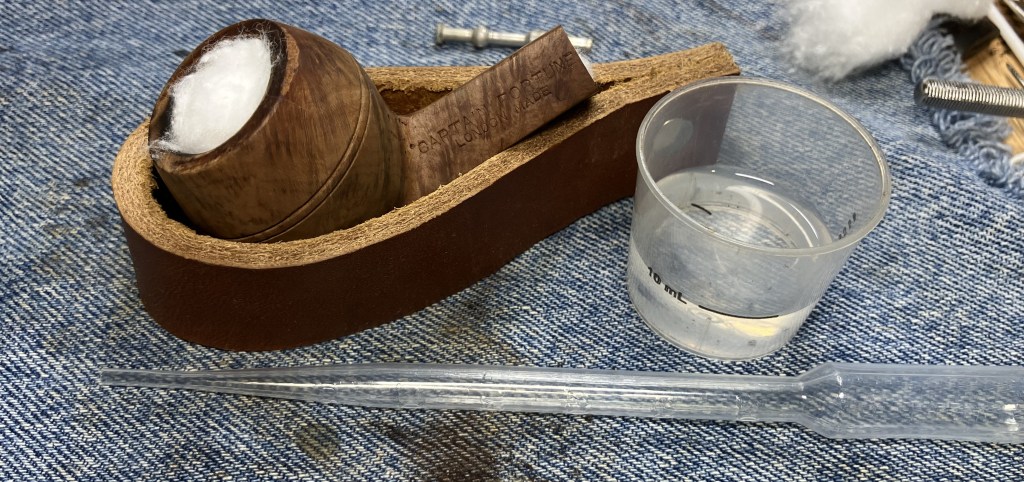
I placed a pipe cleaner in the tenon for ease of removal from the Briarville solution (deox) after an overnight bath.
The ream team was collected. This pipe’s bowl was wider and would require the #2 and #3 PipNet blades.
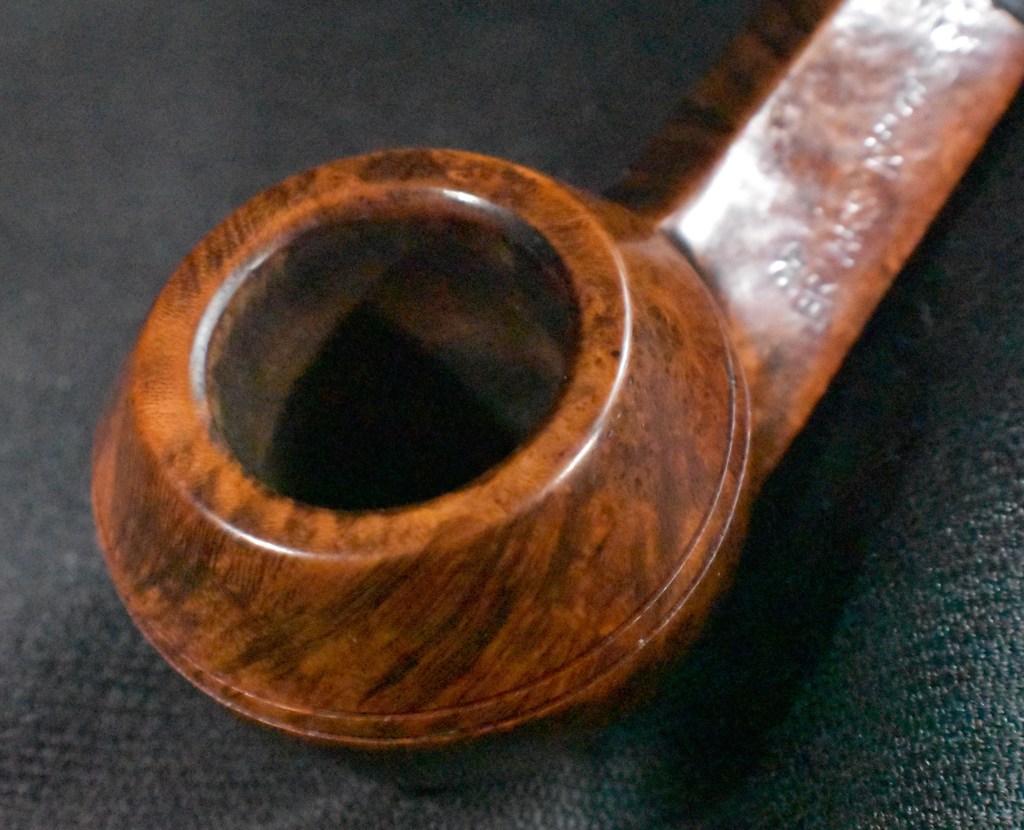
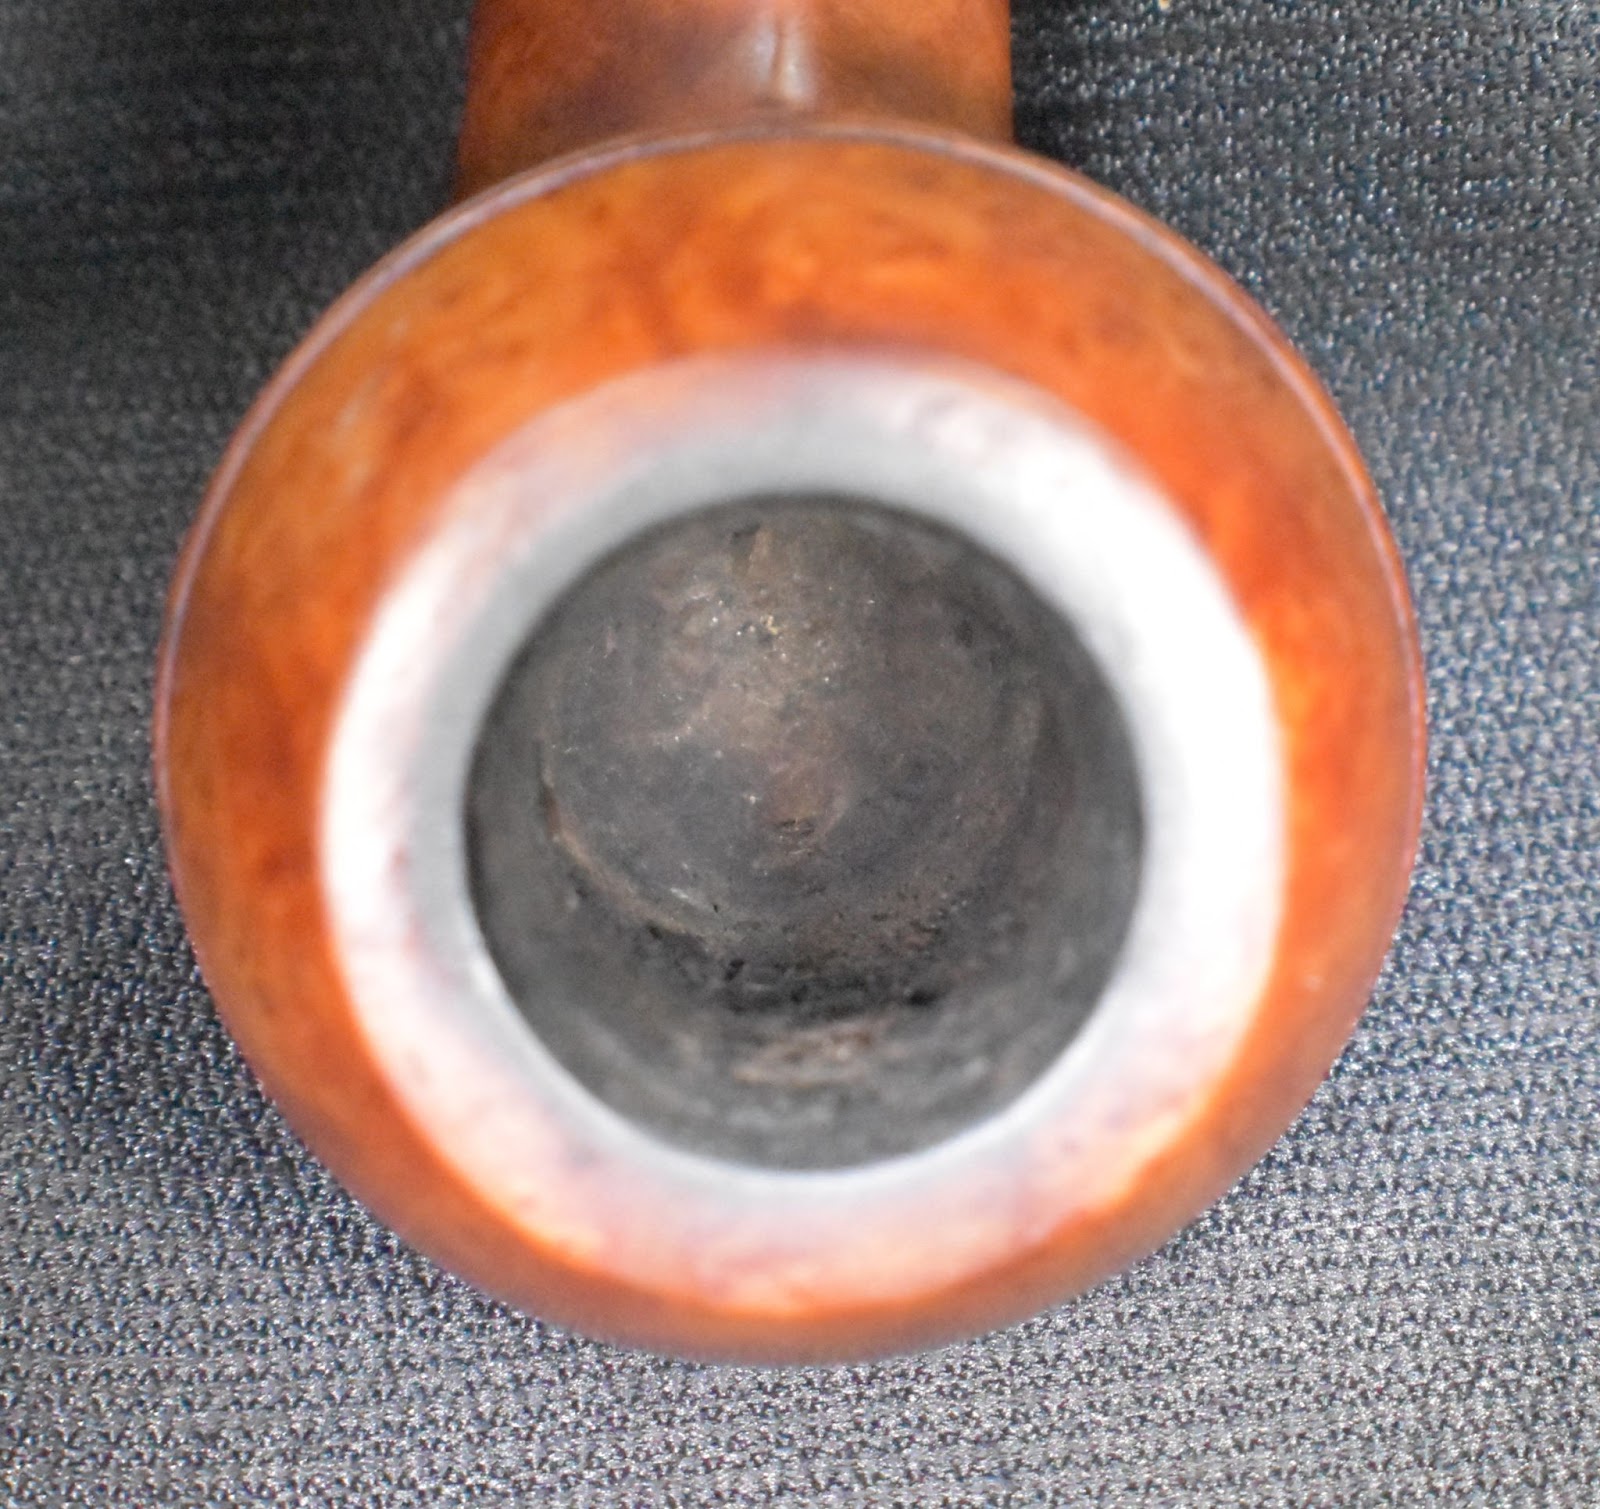
There was not very much cake accumulated in the tobacco chamber and it was quickly removed.

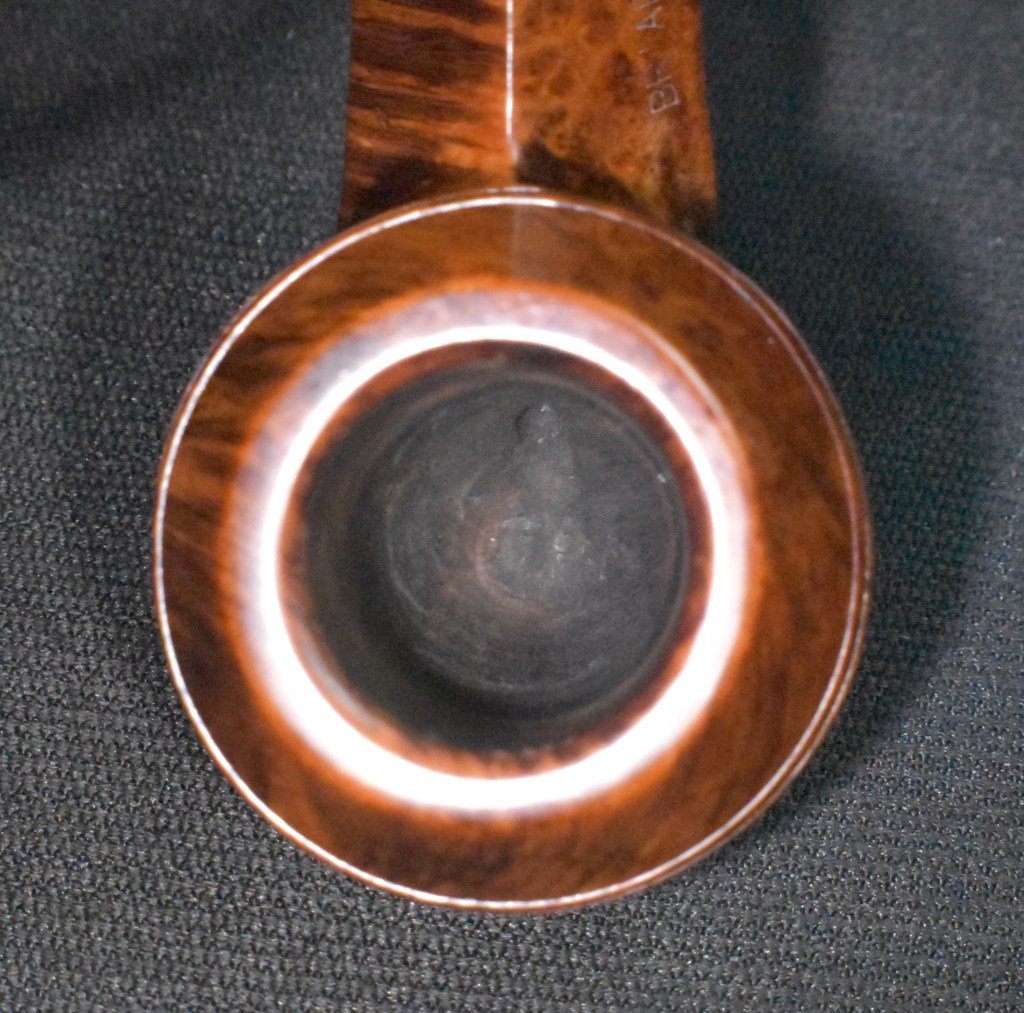
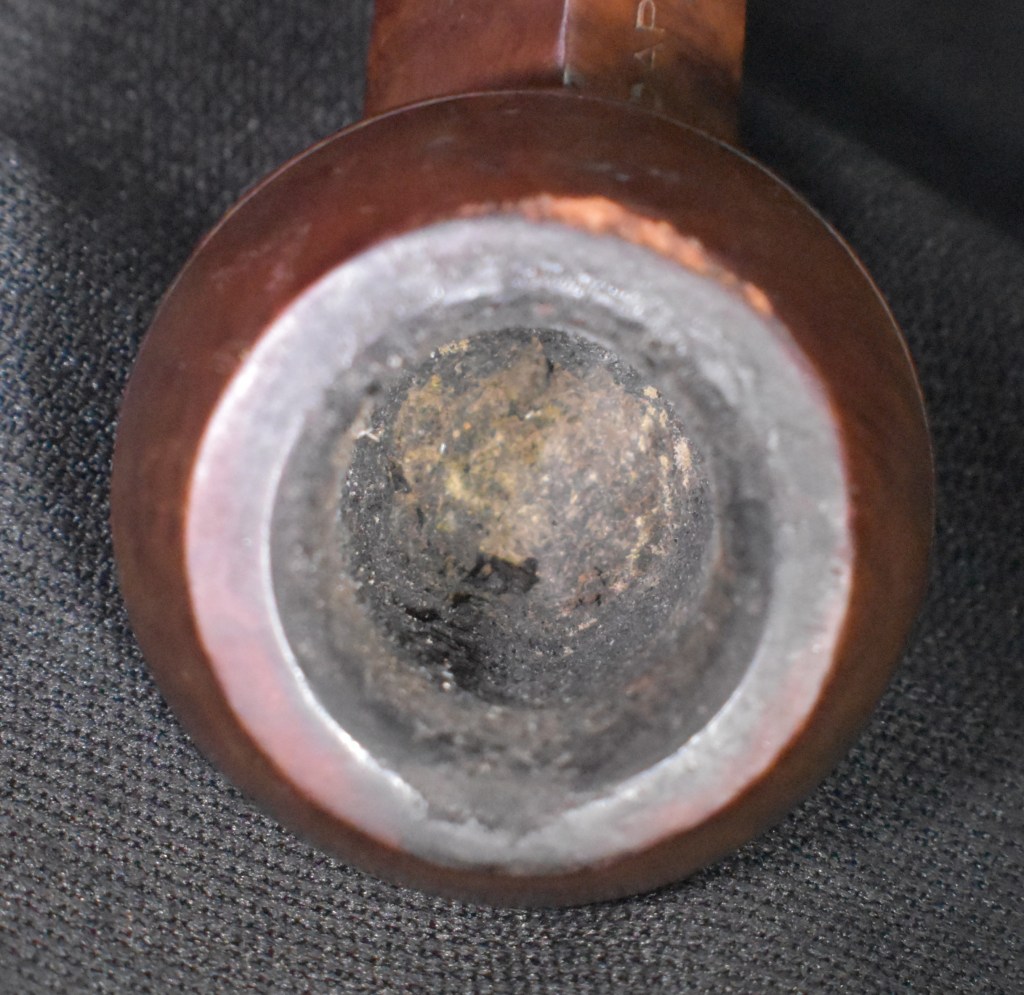
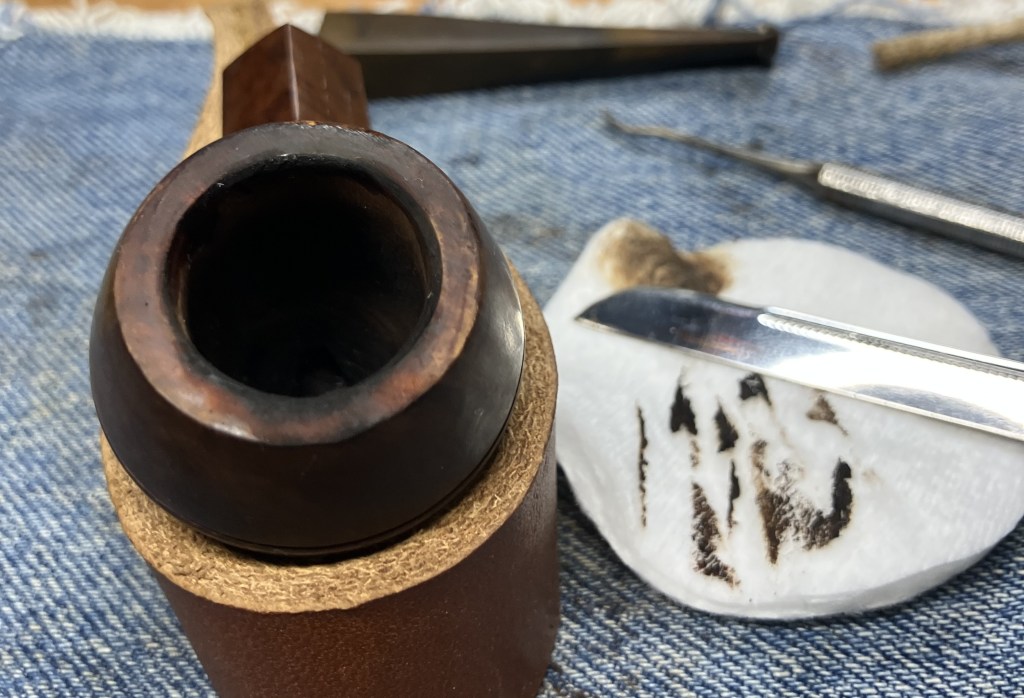
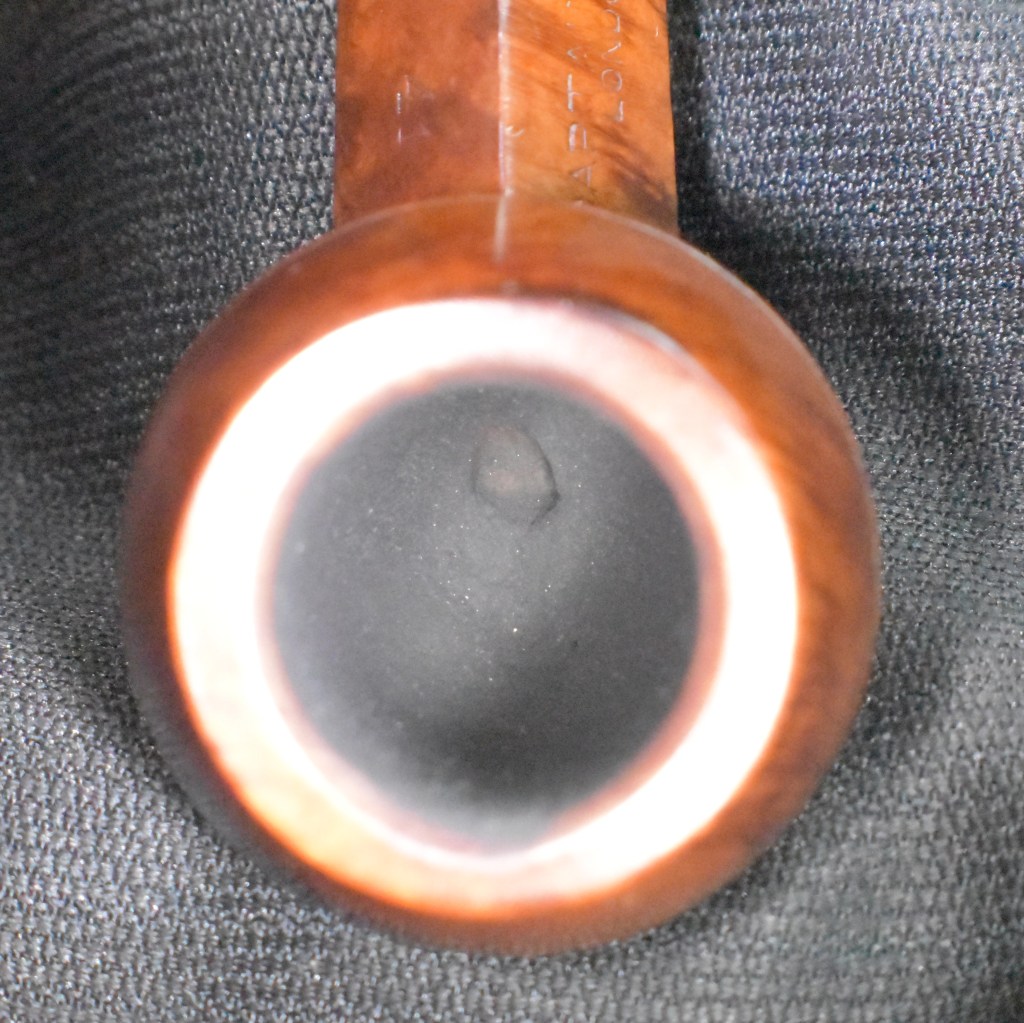
Below is a photo of the reamed chamber.
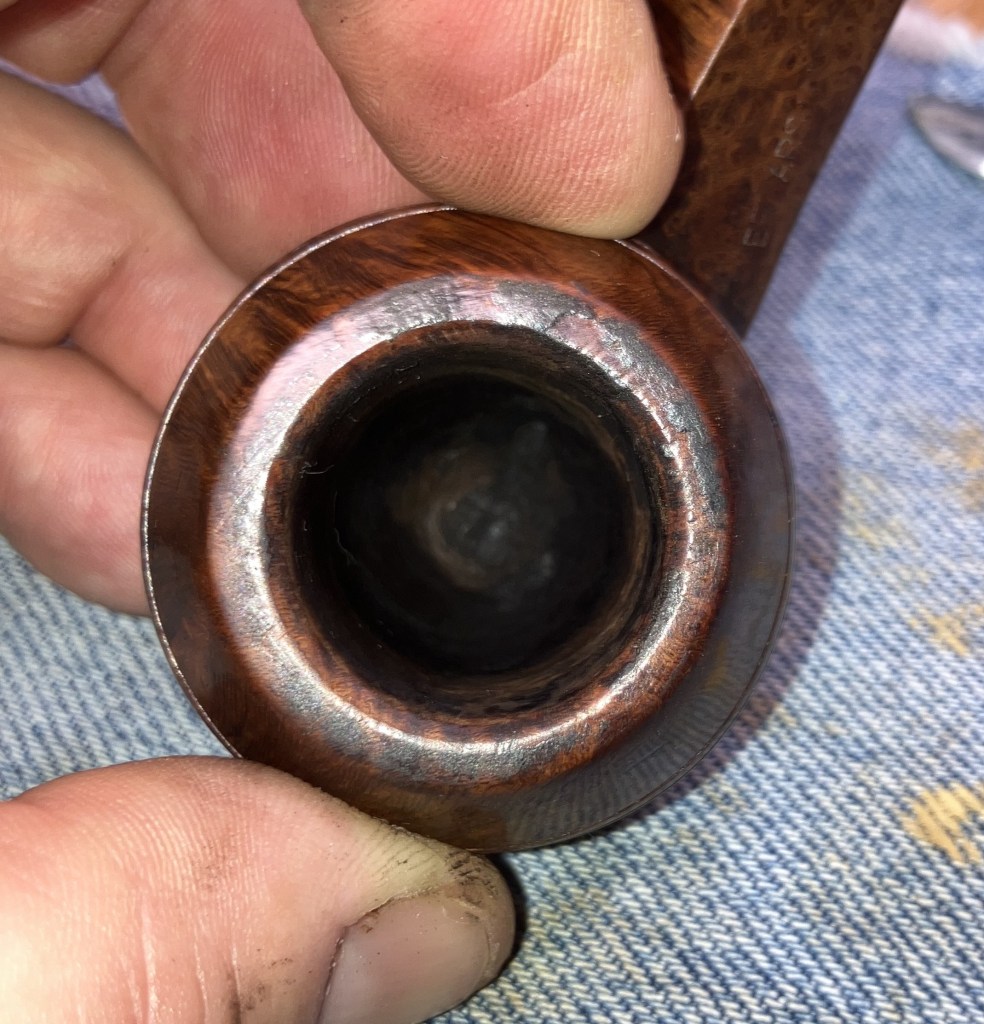
The chamber was sanded with 320 sandpaper wrapped around a wood dowel. The bare briar showed no signs of any damage from use.
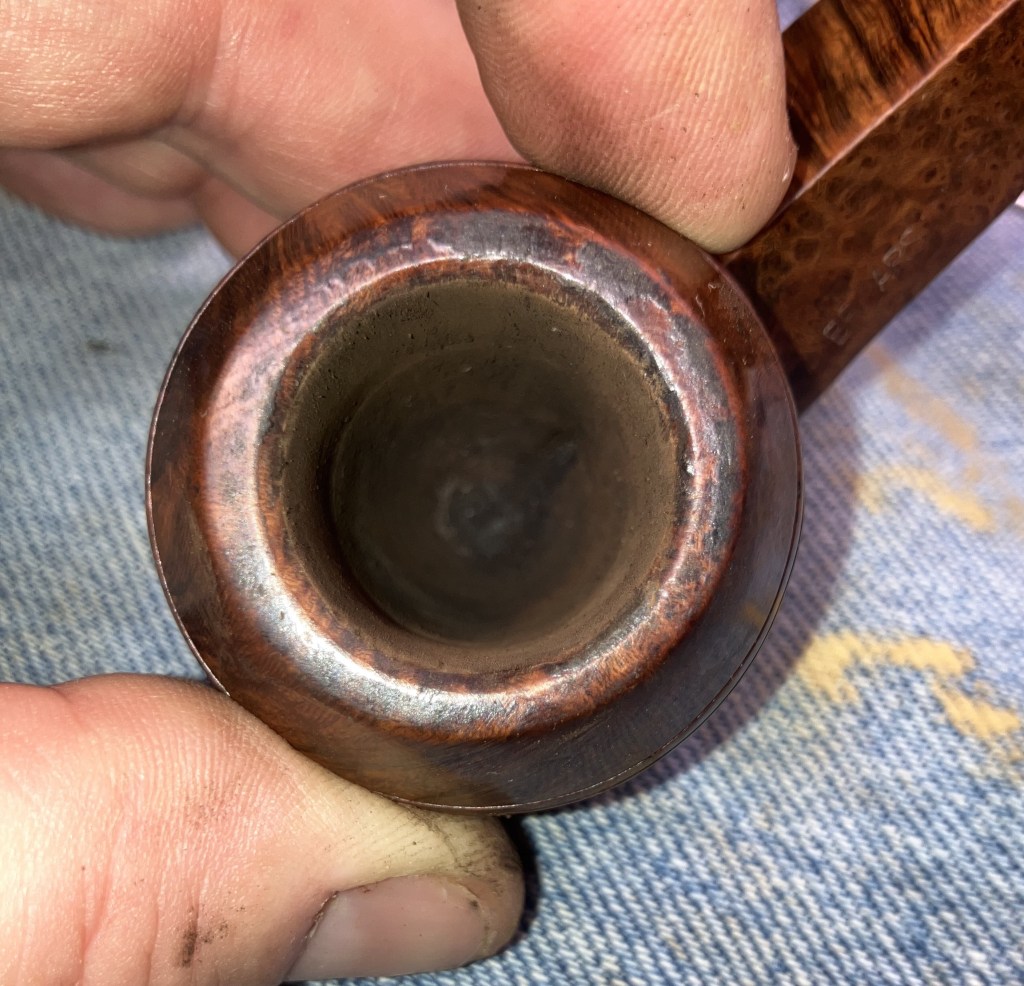
The rim had light deposits of smoking residue or lava and showed no signs of charring.

The lava was moistened with saliva and allowed to soften for a couple of minutes. The rim was then lightly scraped with a sharp blade of a pocket knife.
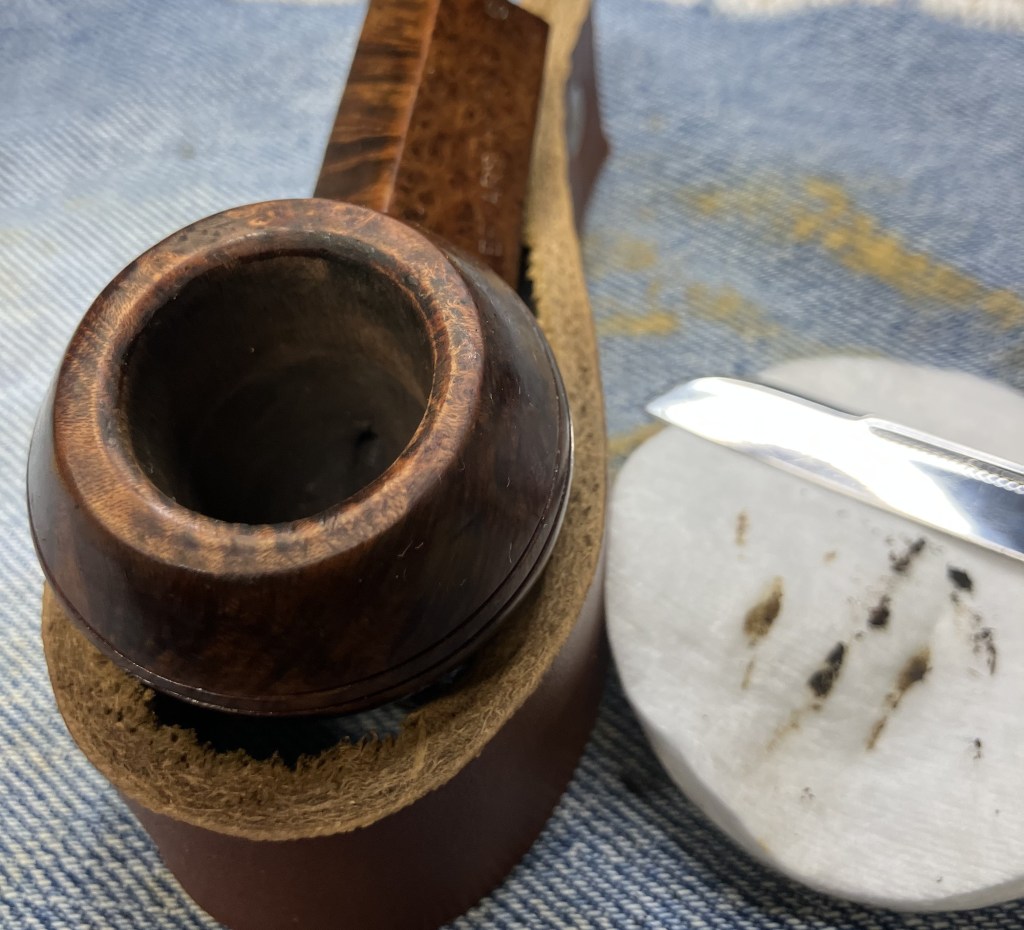
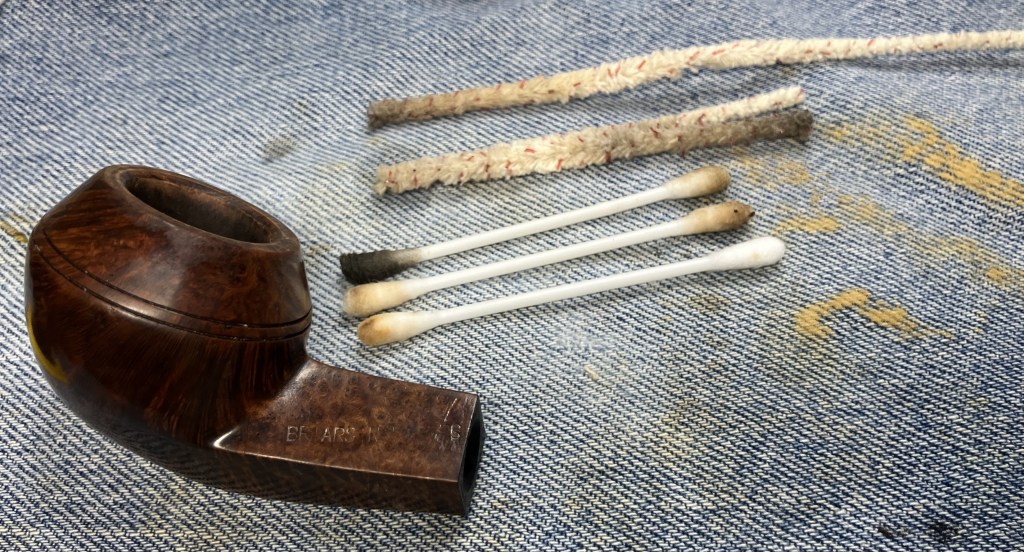
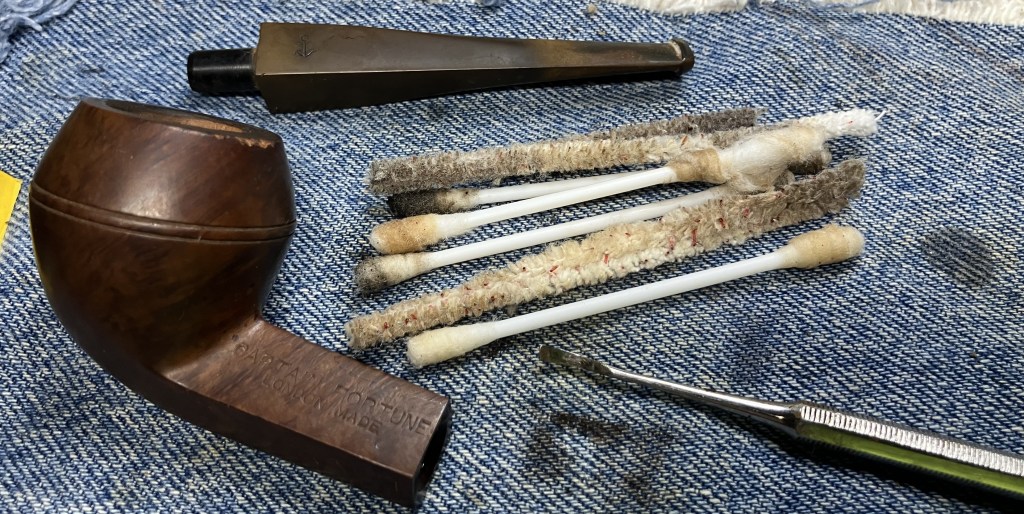
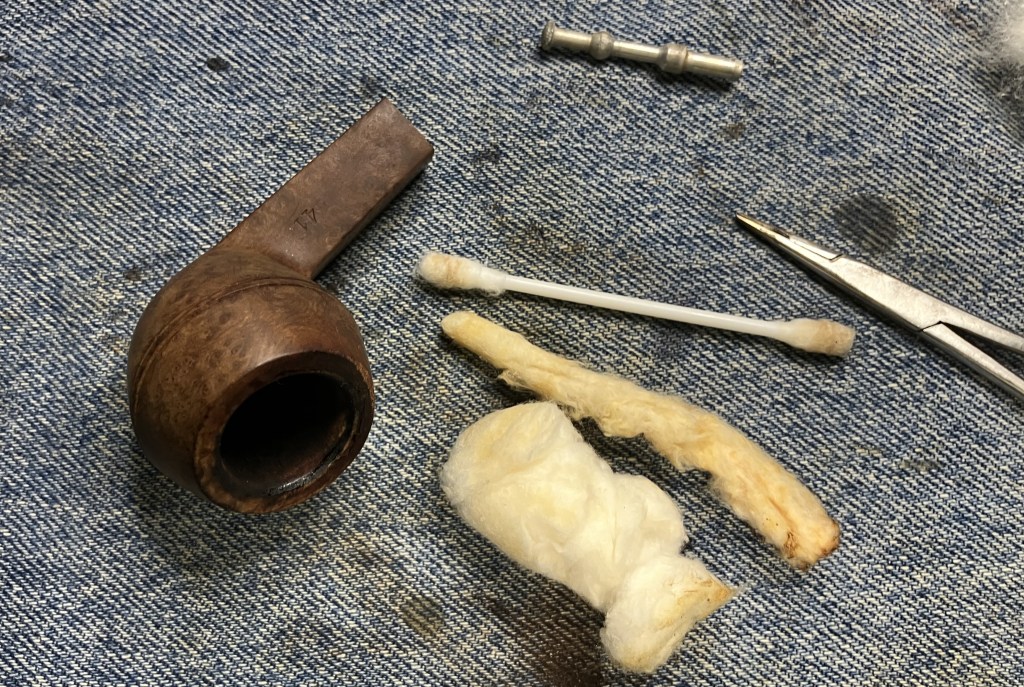
The shank was cleaned using 99% ethyl alcohol cotton swabs and bristle pipe cleaners. It was also quite clean. The first cotton swab below, blackened, was due to debris dislodged from the reaming and did not indicate a grimy airway.
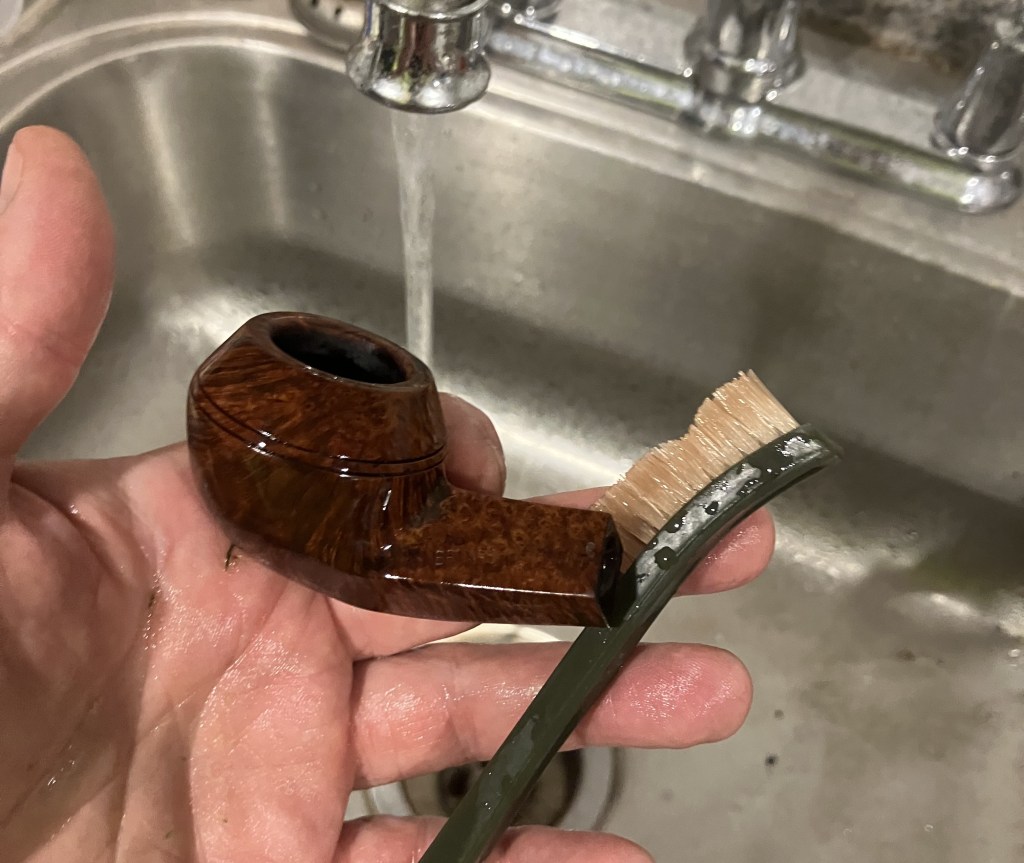
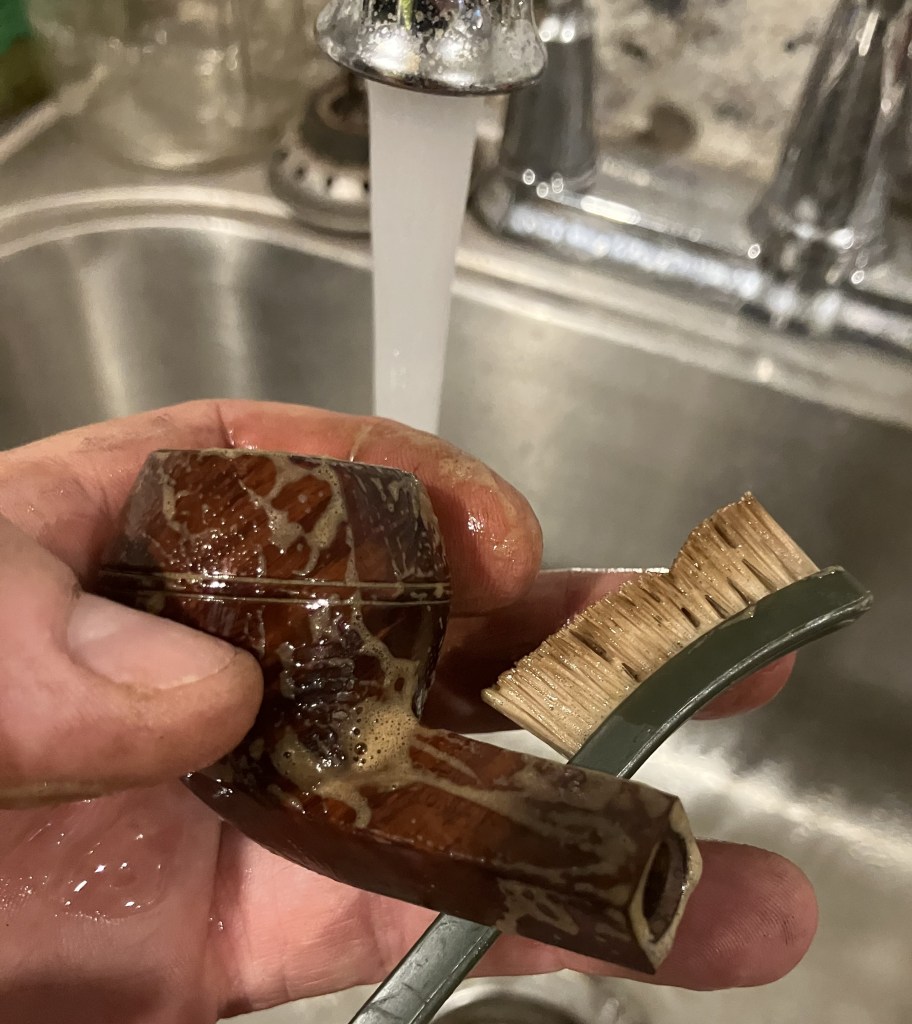
The stummel was taken to the sink and scrubbed with a nylon brush and undiluted Murphy Oil Soap. The soap was rinsed with warm water and the stummel dried with a cotton hand towel.
Below is a photo of the stummel after being scrubbed. I thought that there may have been a clear coating on the briar, but it must have just been a layer of wax.
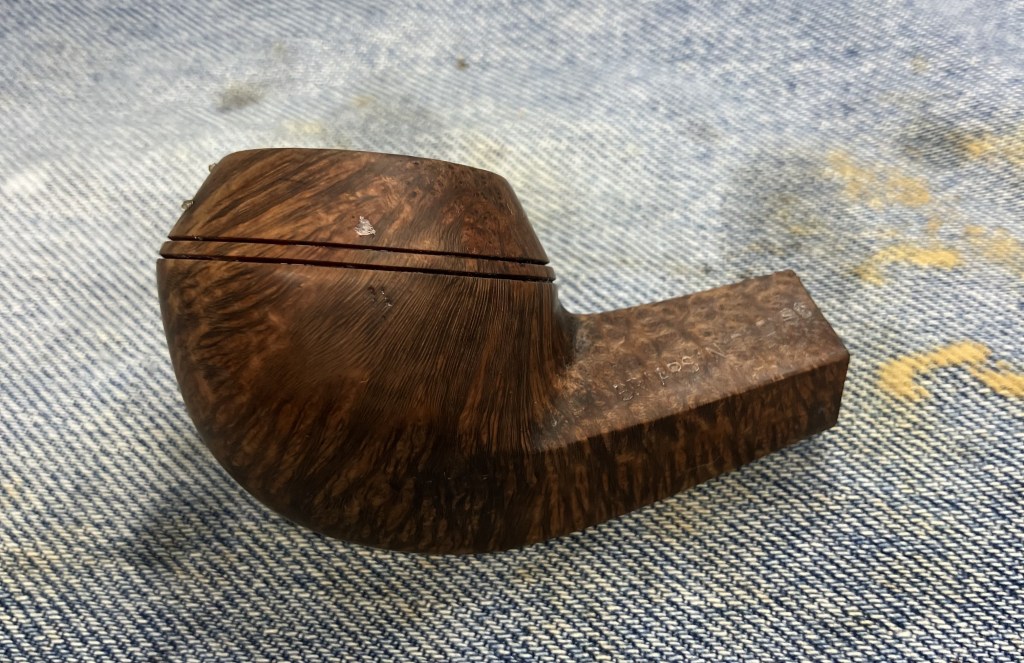
I wiped the stummel with a make-up pad wetted with 99% ethyl alcohol. Only a slight color came off the briar, probably some of the stain used in the manufacture of the pipe.

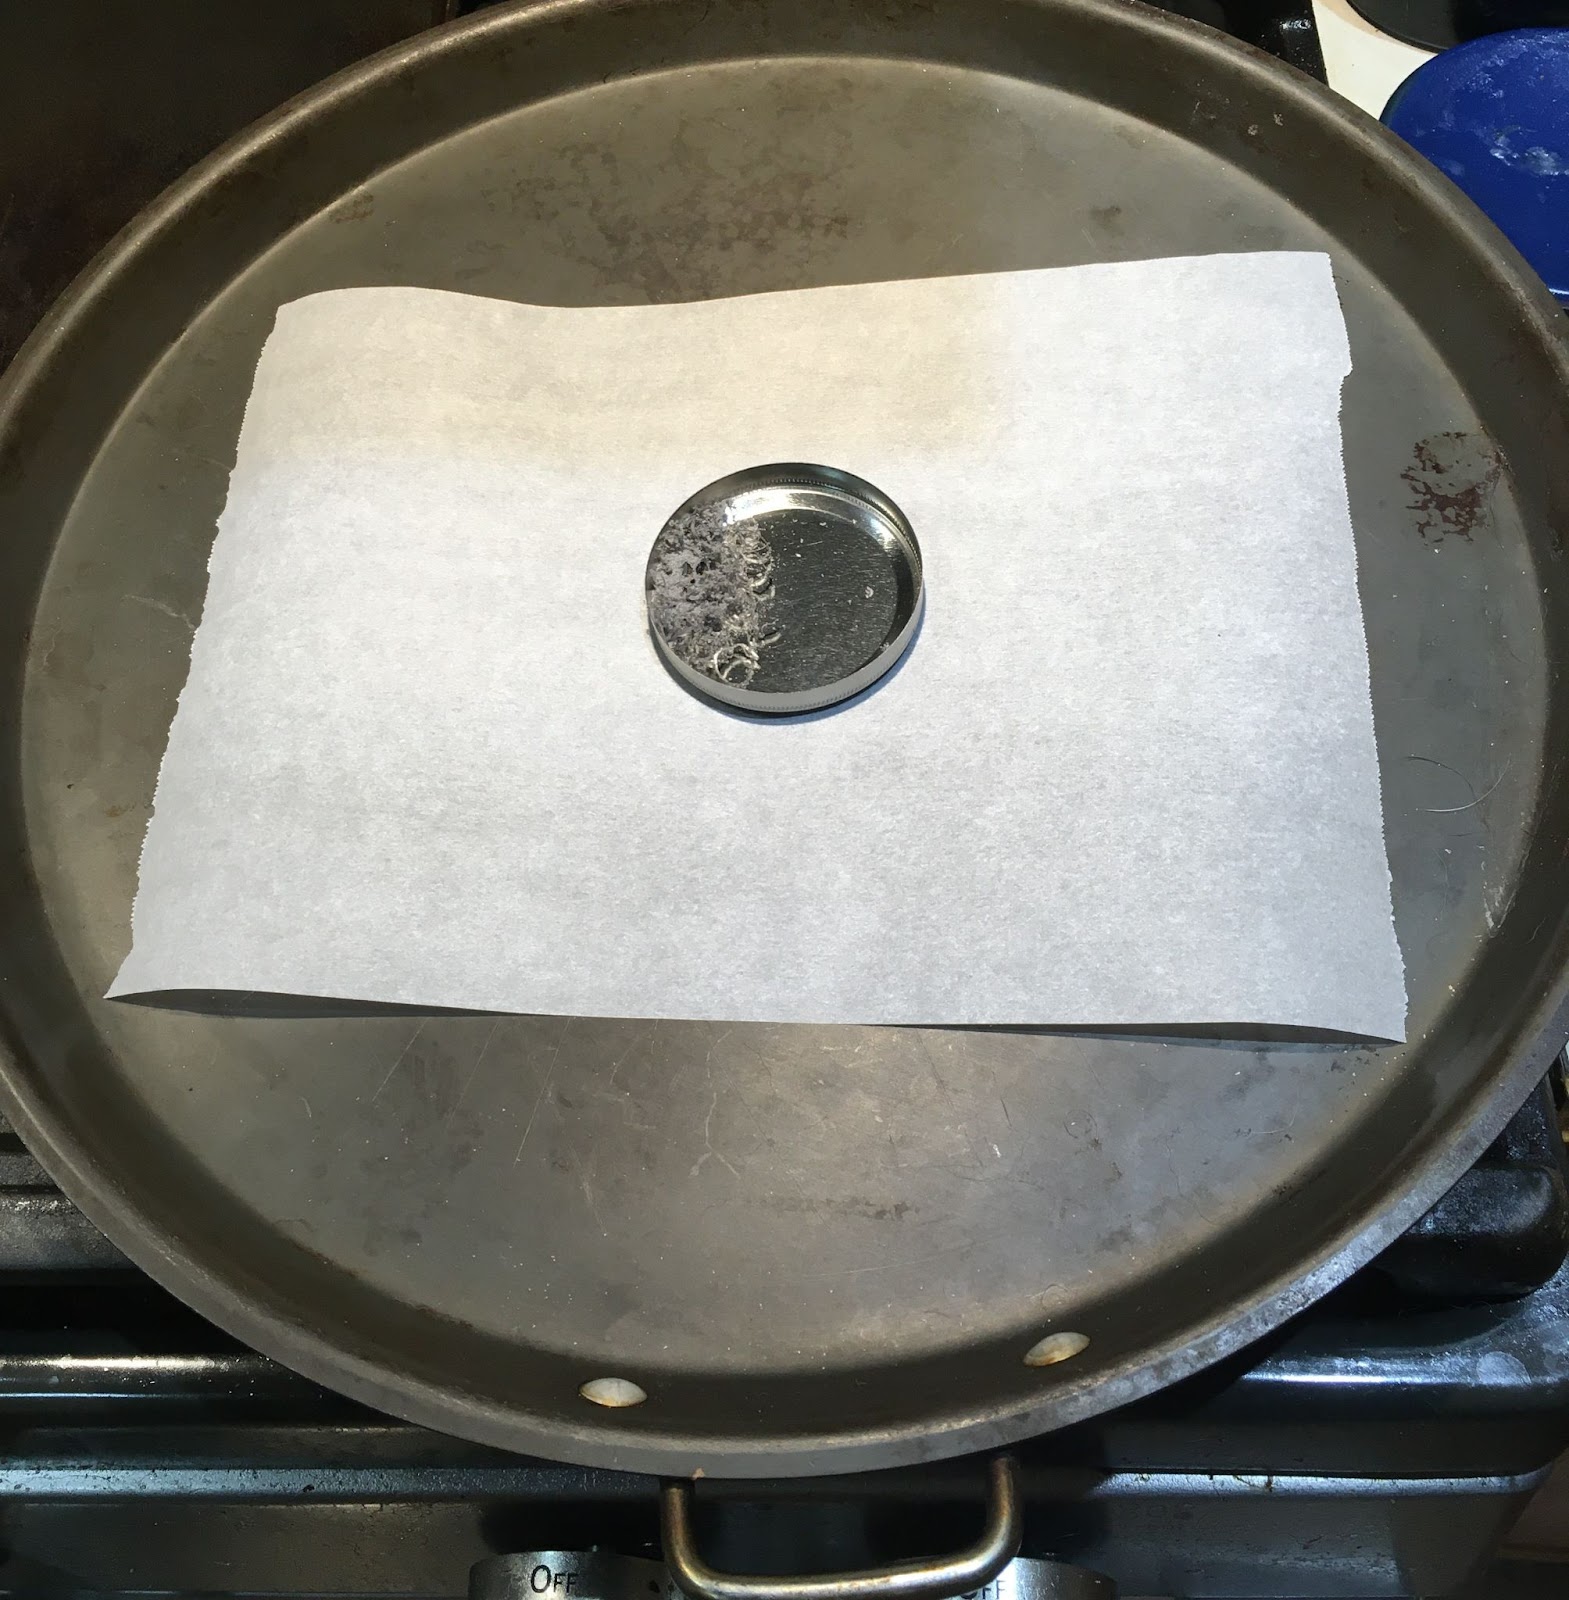
The next day, I removed the stem from deox. I vigorously rubbed it with a coarse shop rage. This rubbing helps to remove oxidized vulcanite and is left on the rag.

I ran a pipe cleaner through the airway to rid the stem of any deox solution. As it dried, there remained a stubborn layer of oxidized material on the stem. I wonder if it is time to replace my Briarville solution or, if this stem was just that badly oxidized.

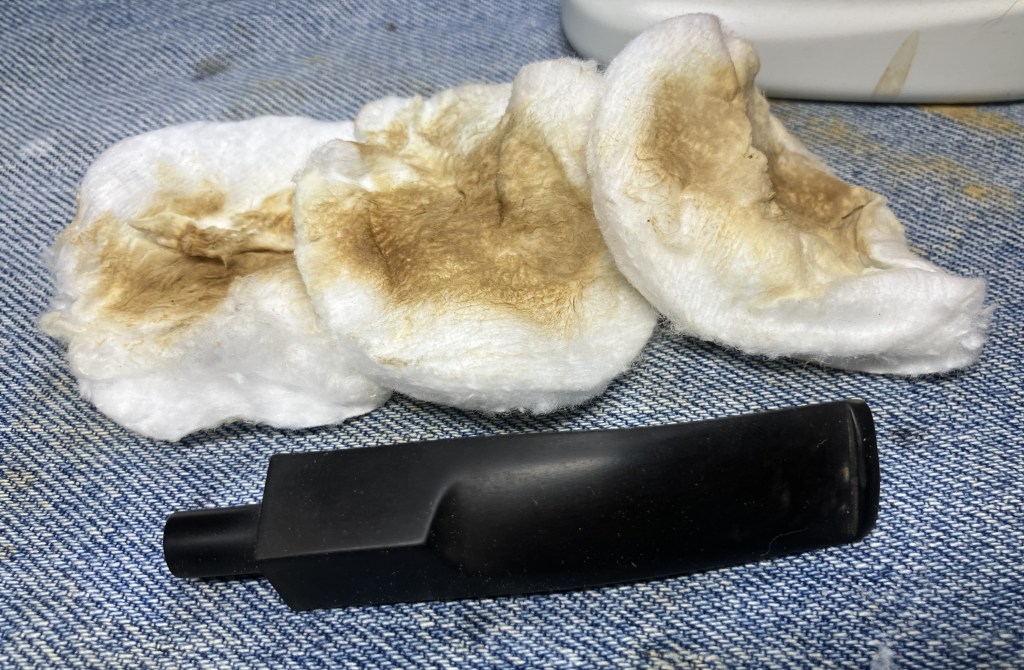
To remove the oxidation I used Soft Scrub cleanser on make-up pads. The stem was energetically scrubbed with these pads and produced a good deal of oxidized vulcanite.

And more oxidized vulcanite.
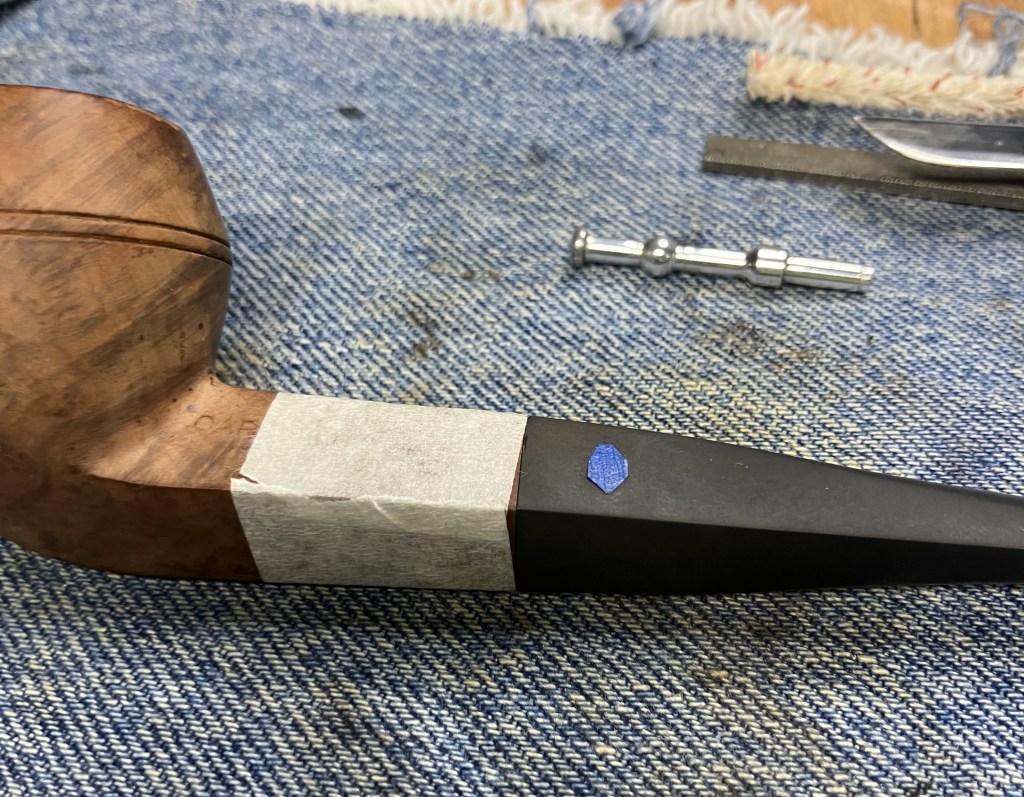
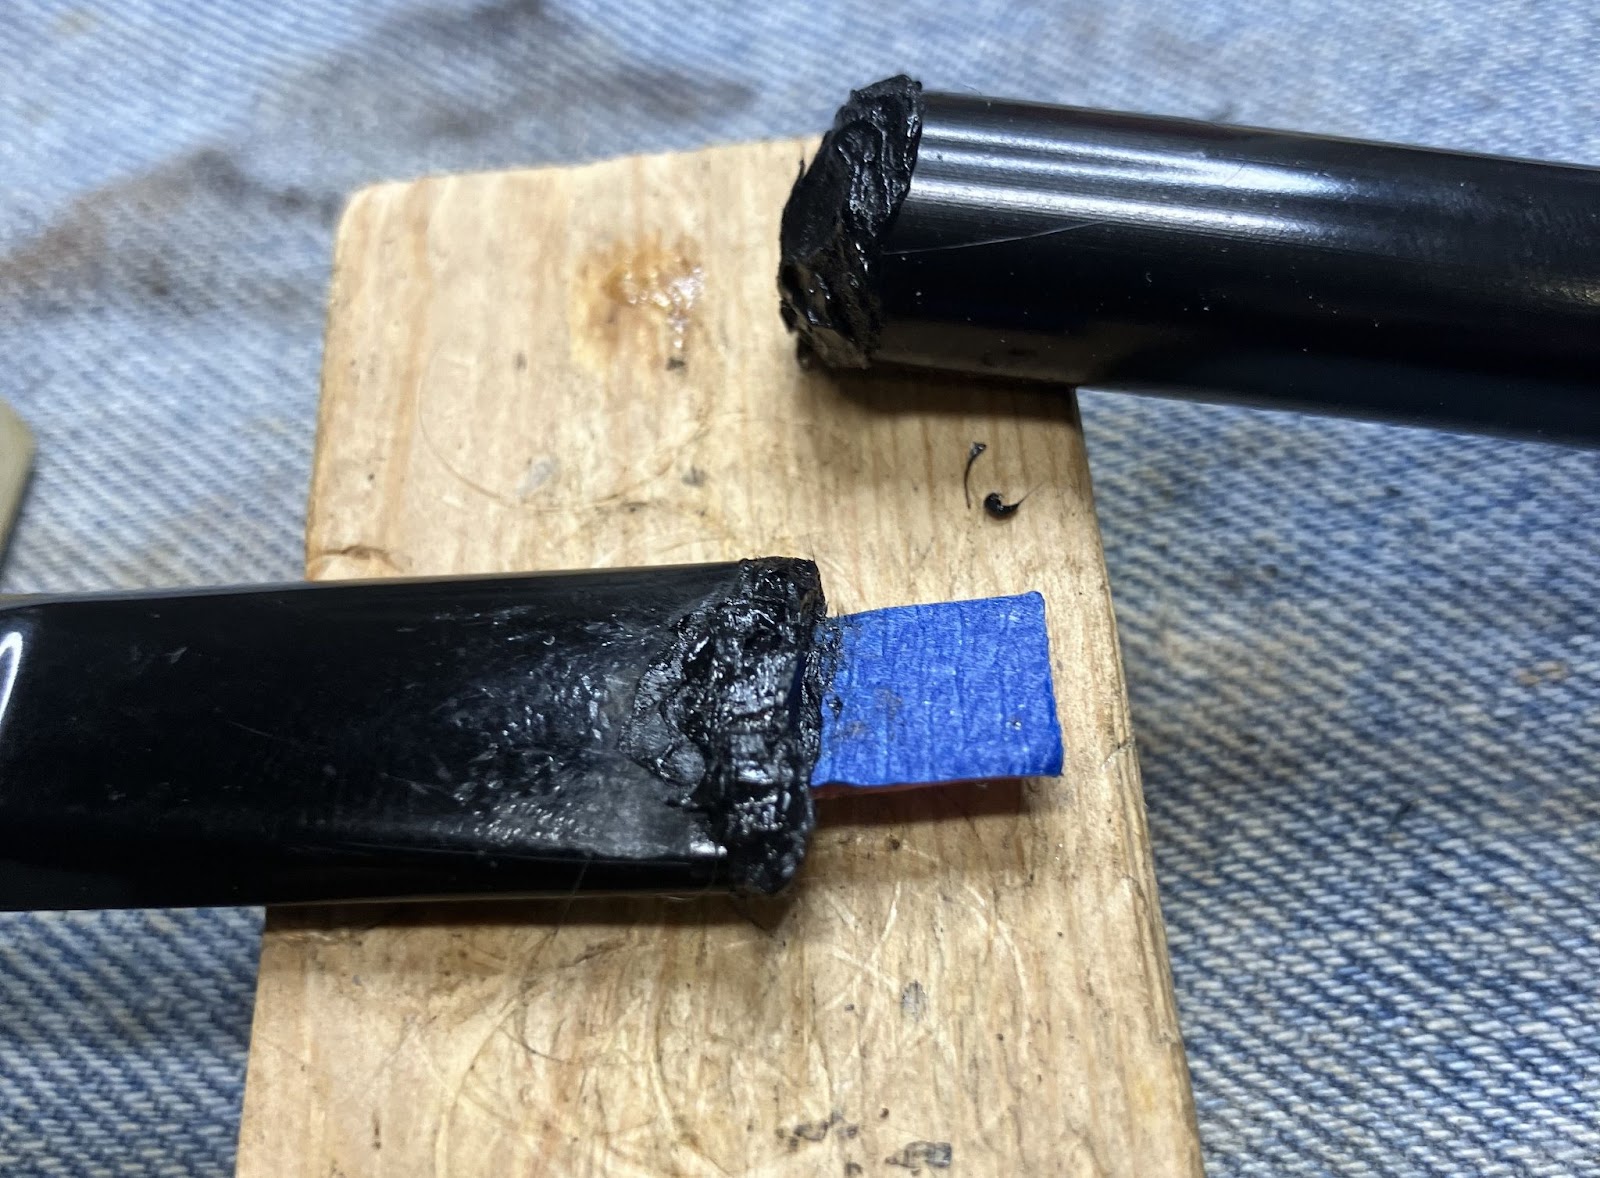
Finger cramping from scrubbing, I switched to some sanding of the stem. I wanted to keep the joint where the stem met the shank crisp so I sanded the stem intact. I wrapped the shank with masking tape to protect the briar.
The freshly sanded stem was coated with mineral oil to keep further oxygen away. It was looking much better.

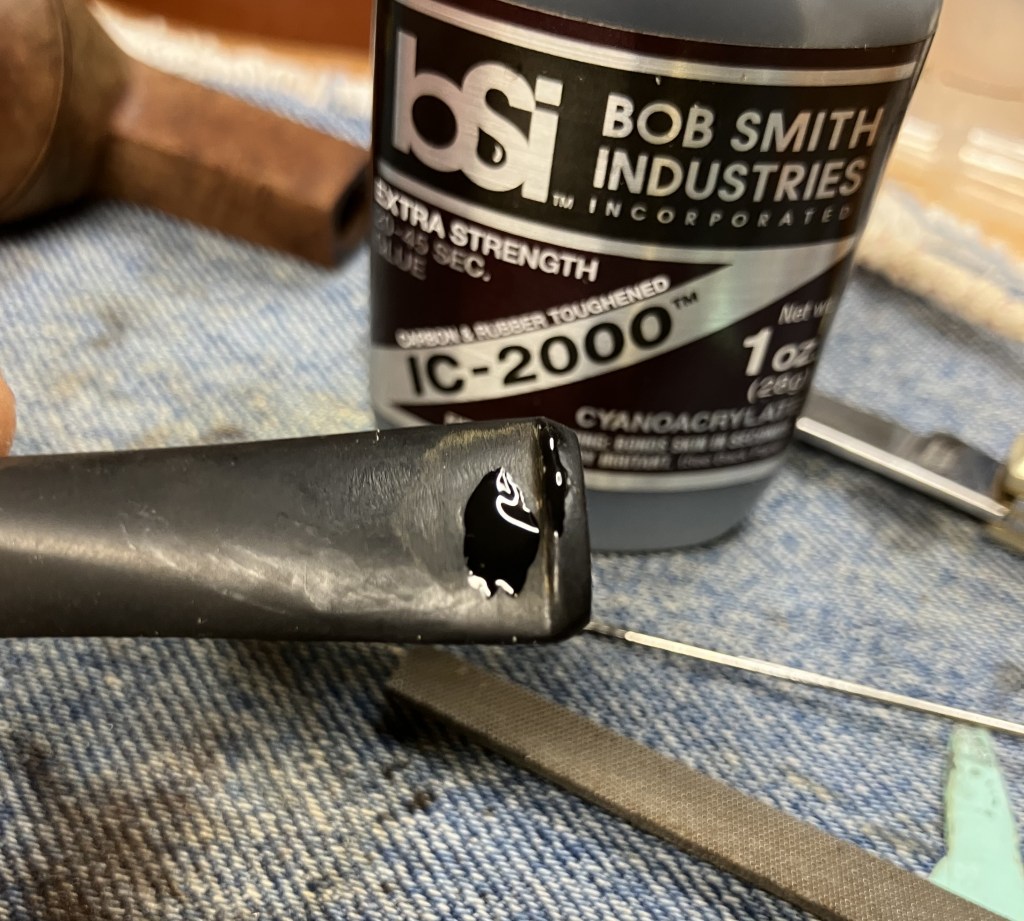
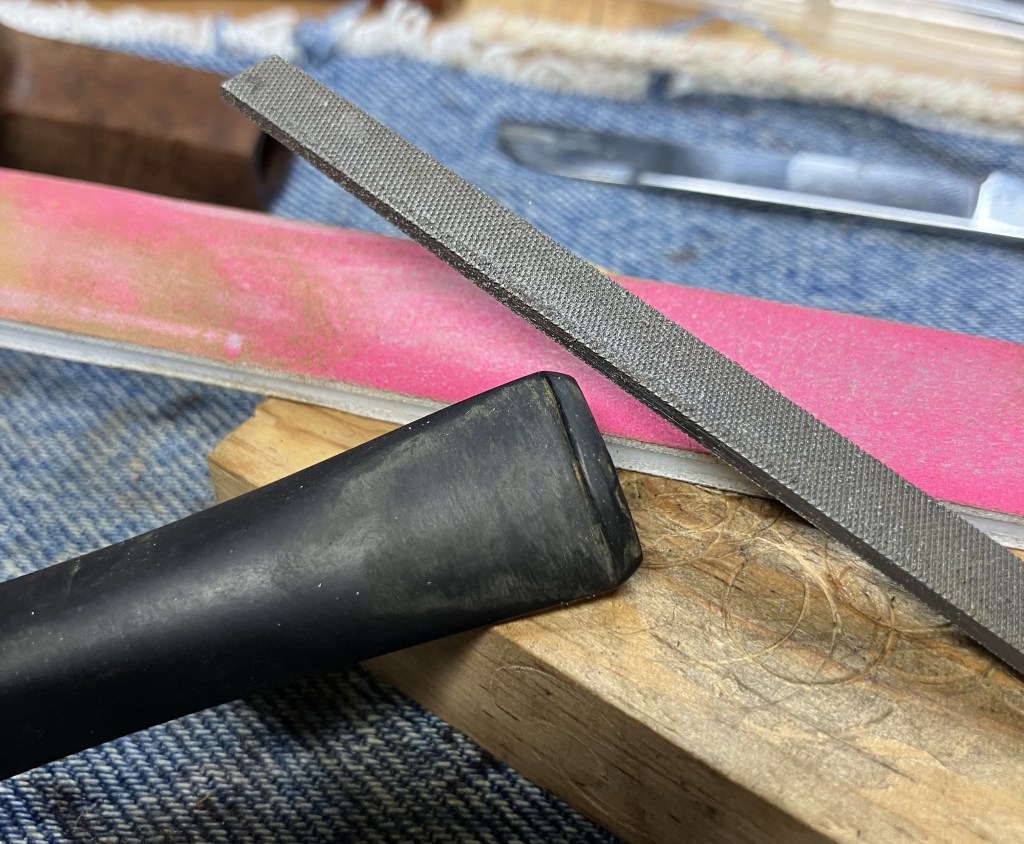
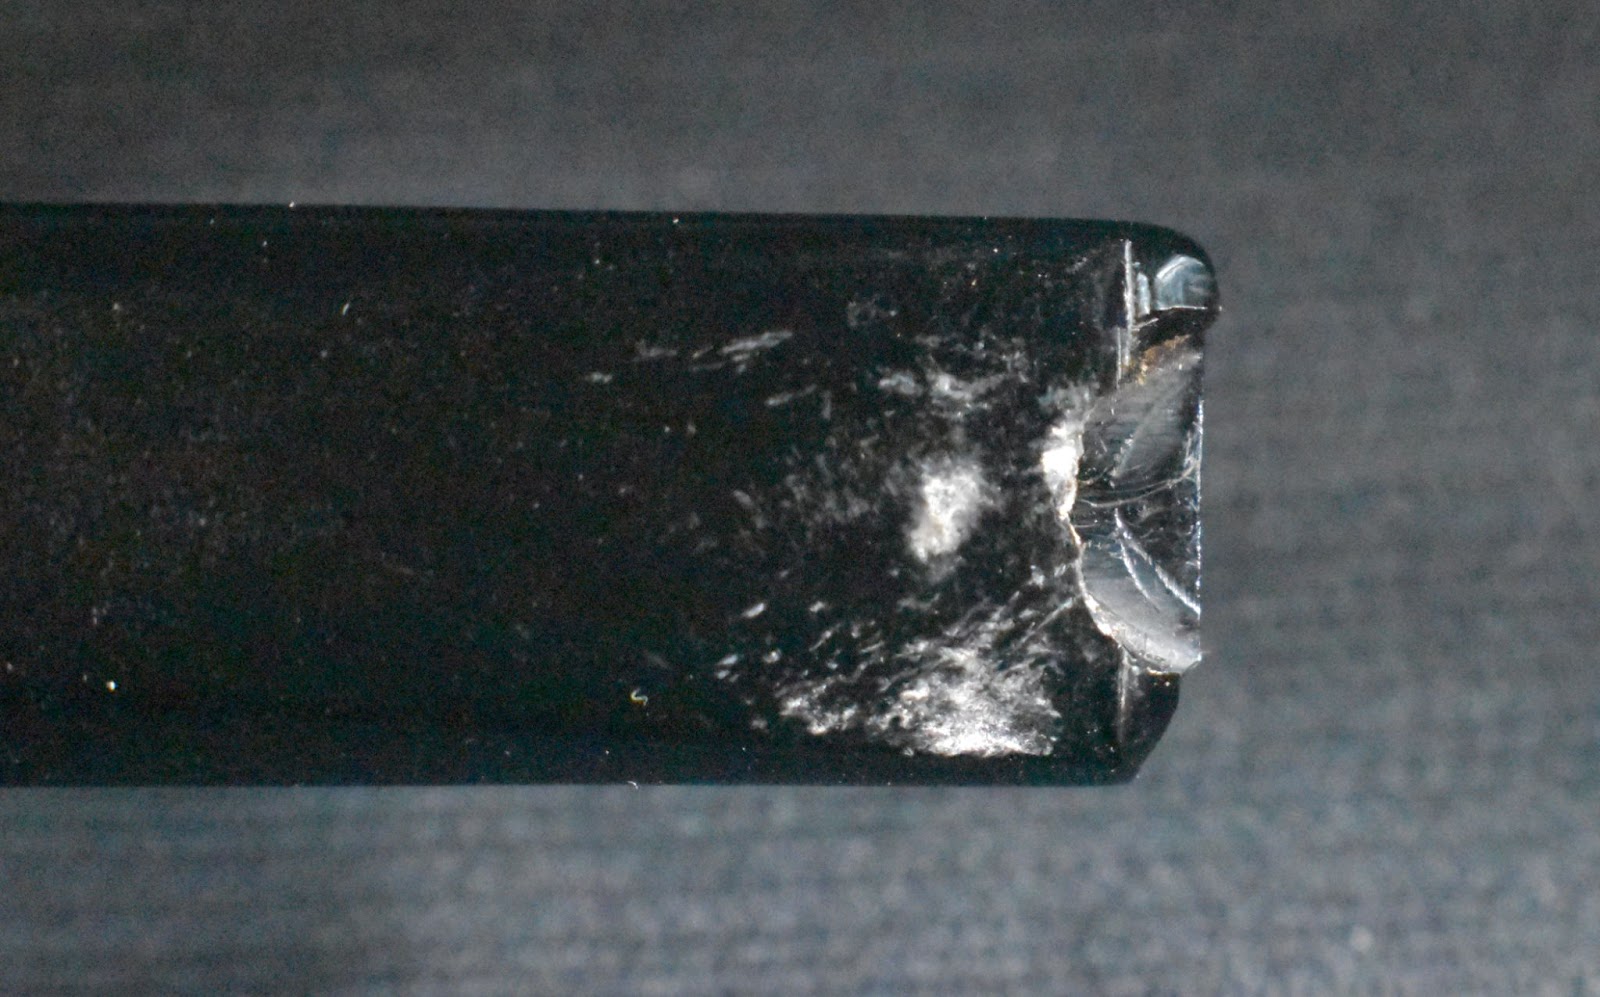
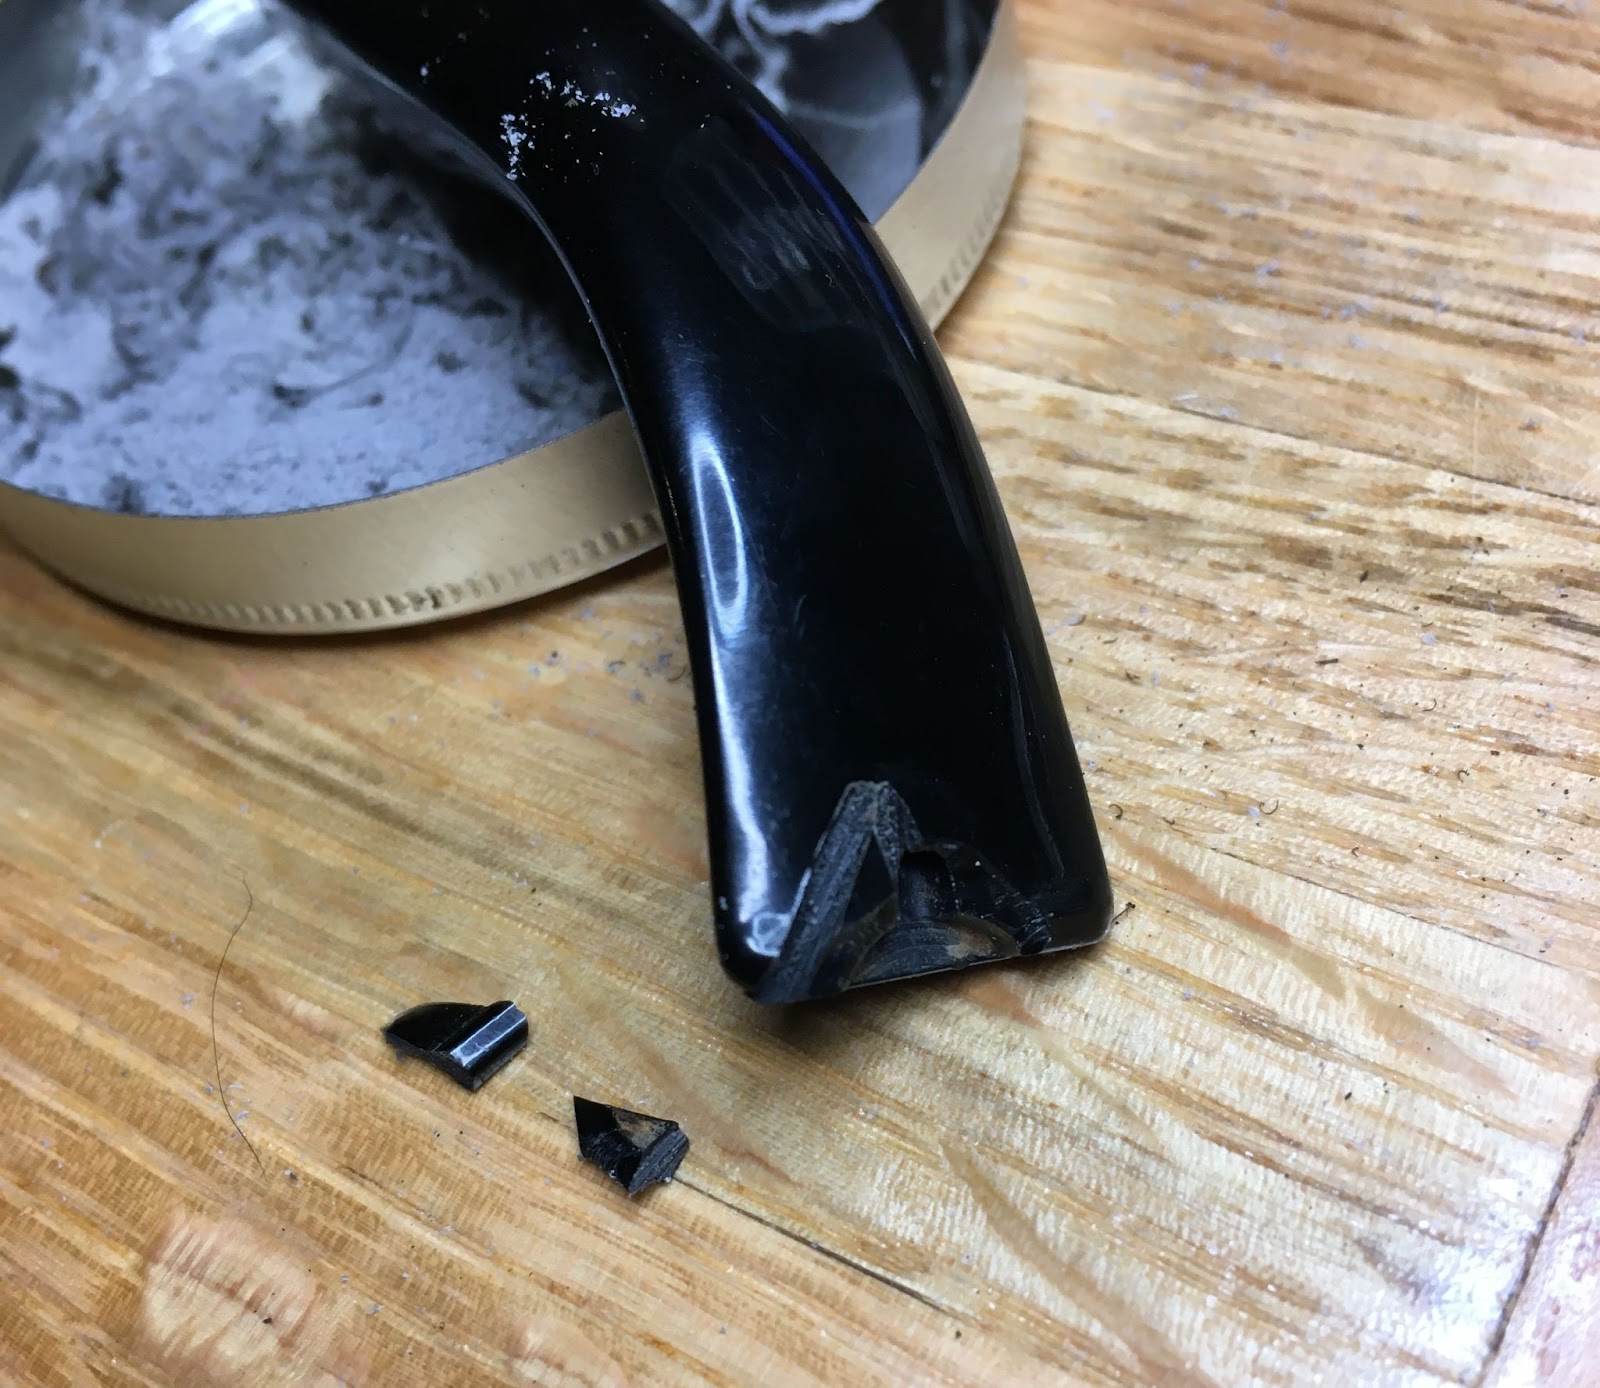
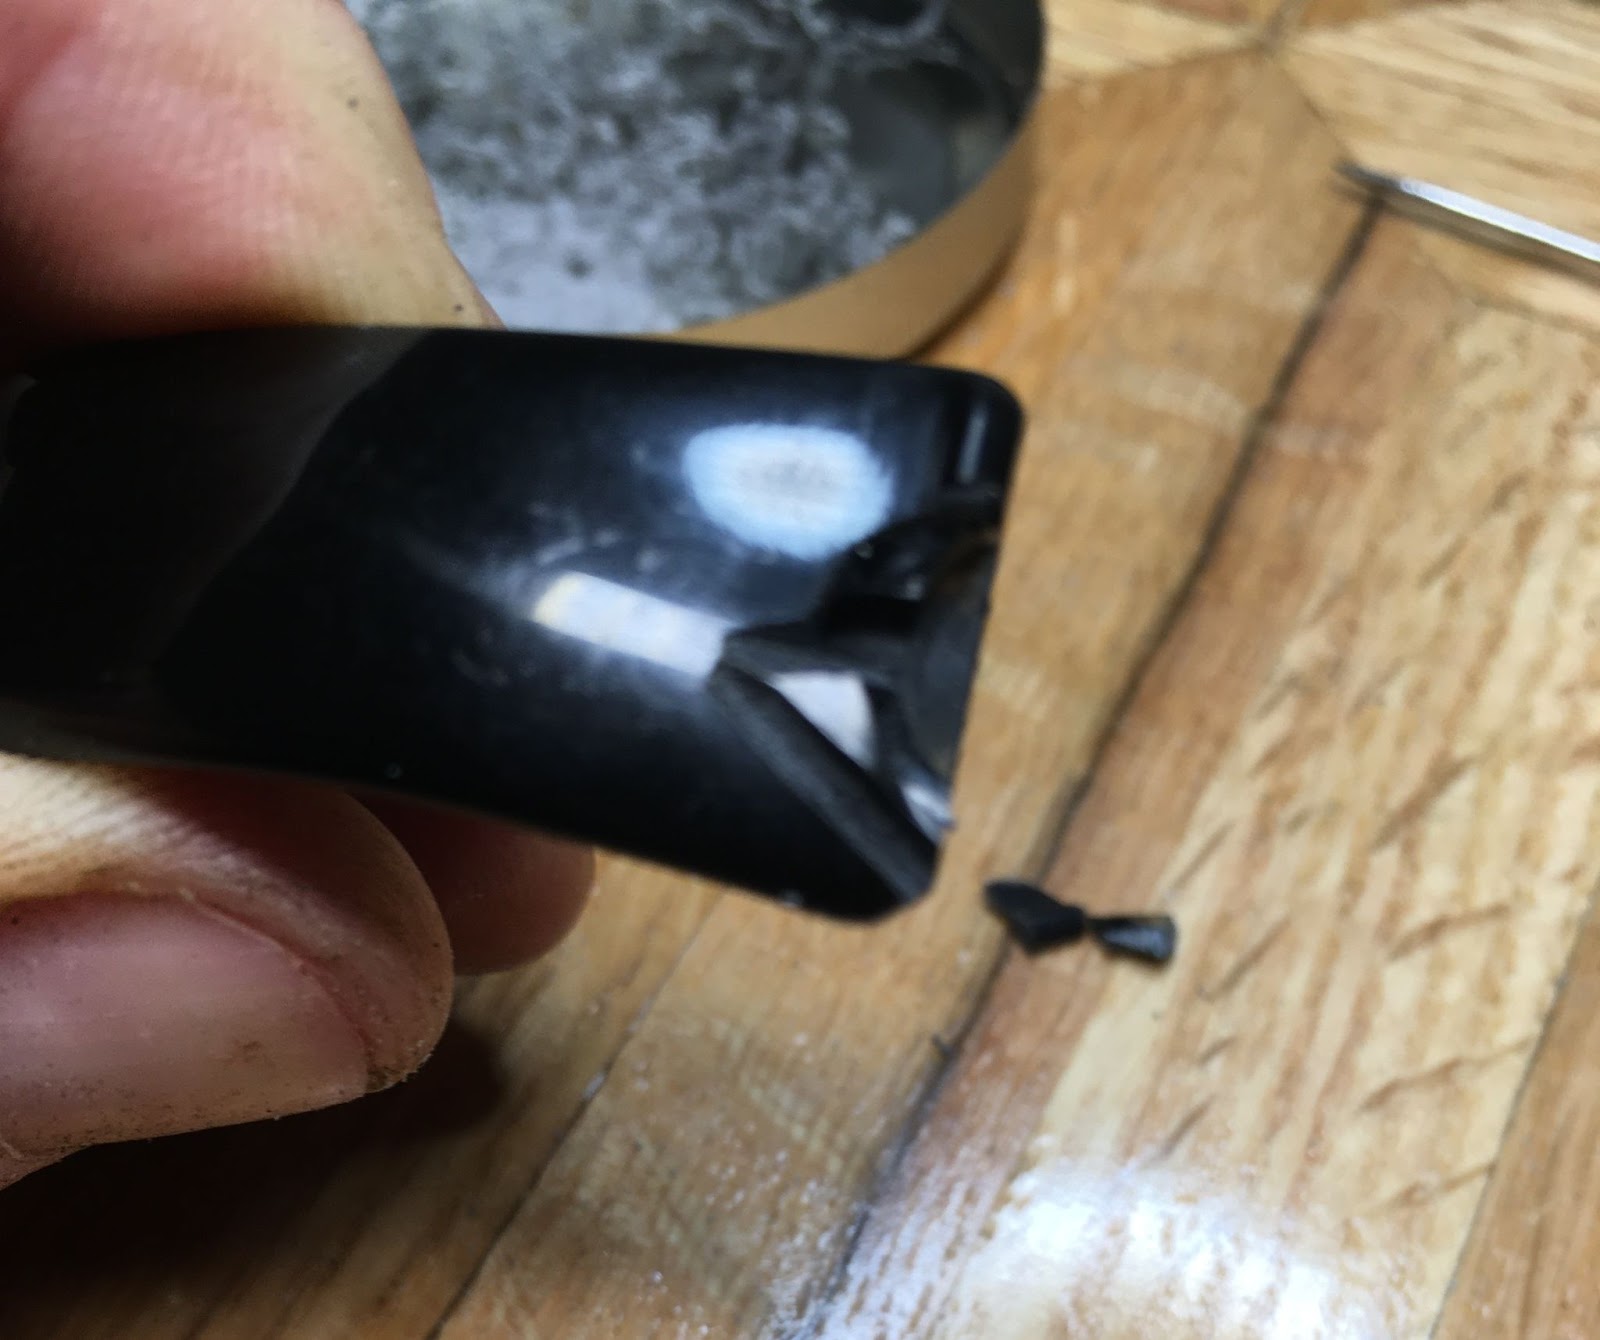
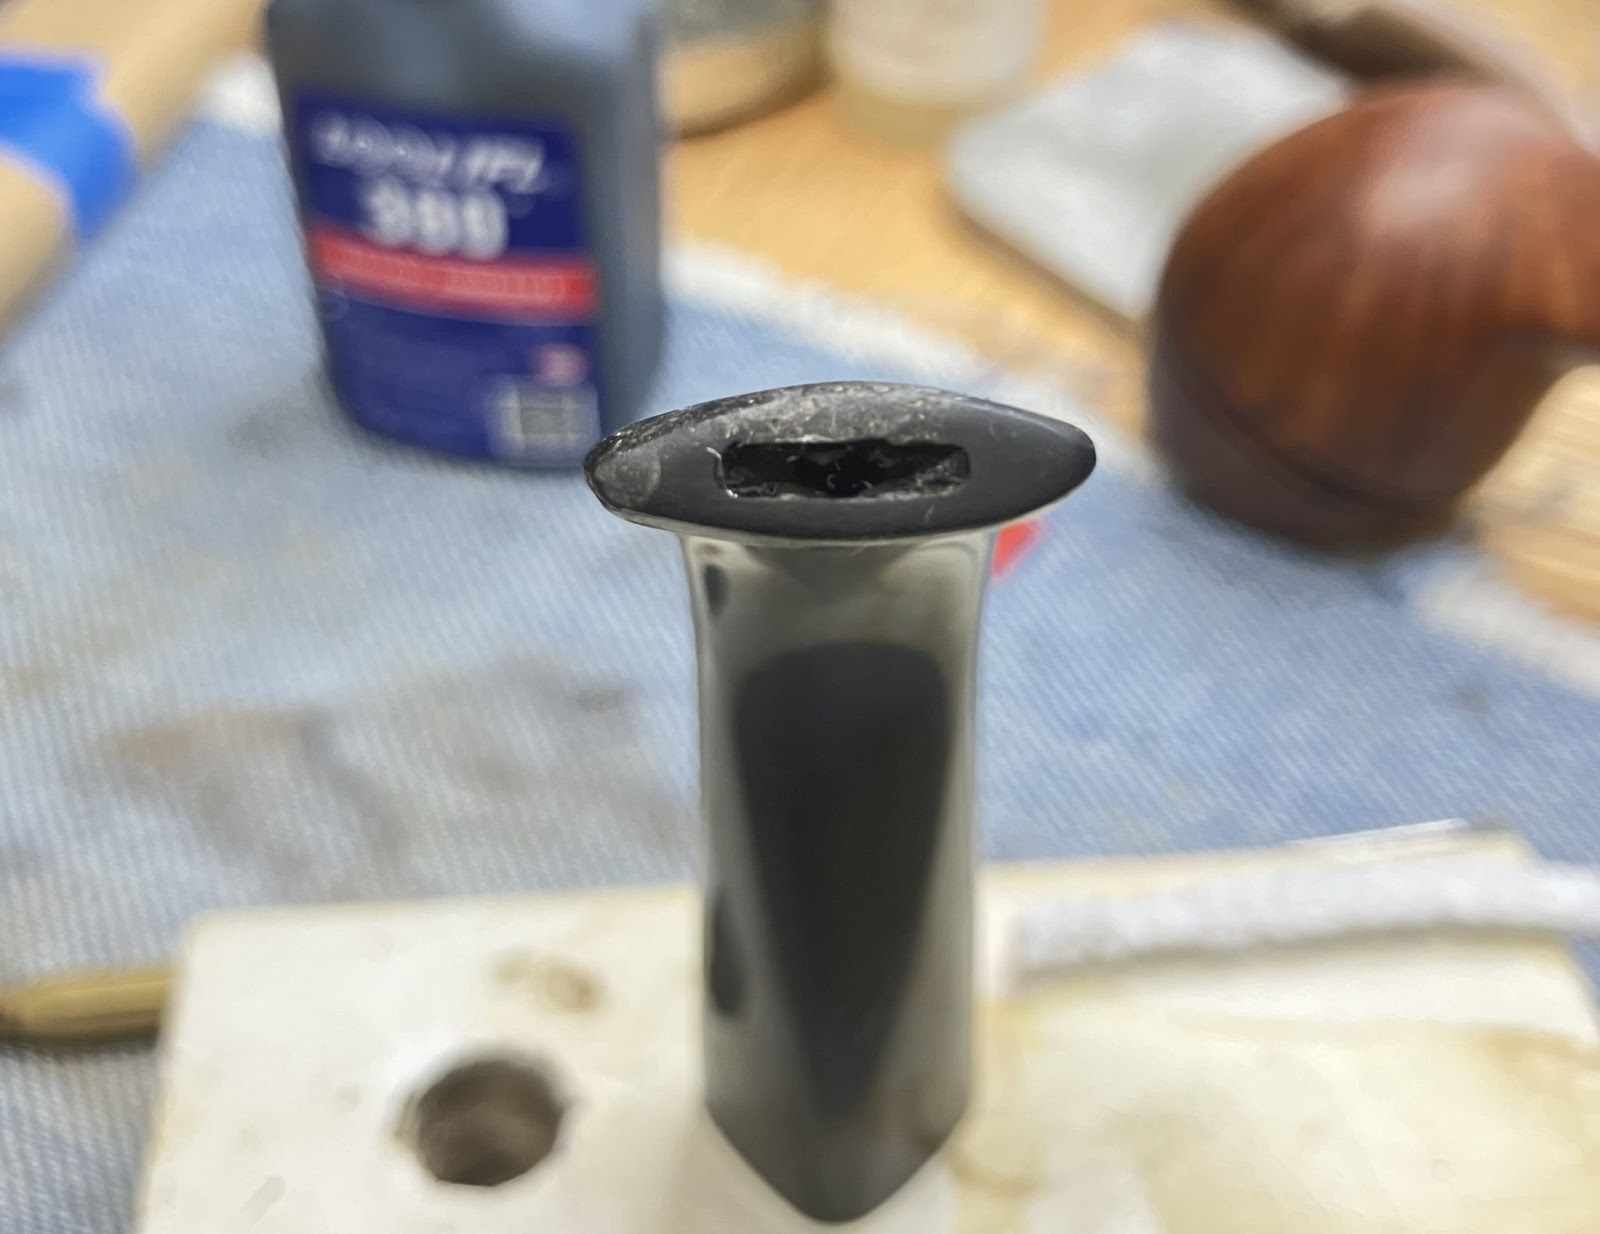
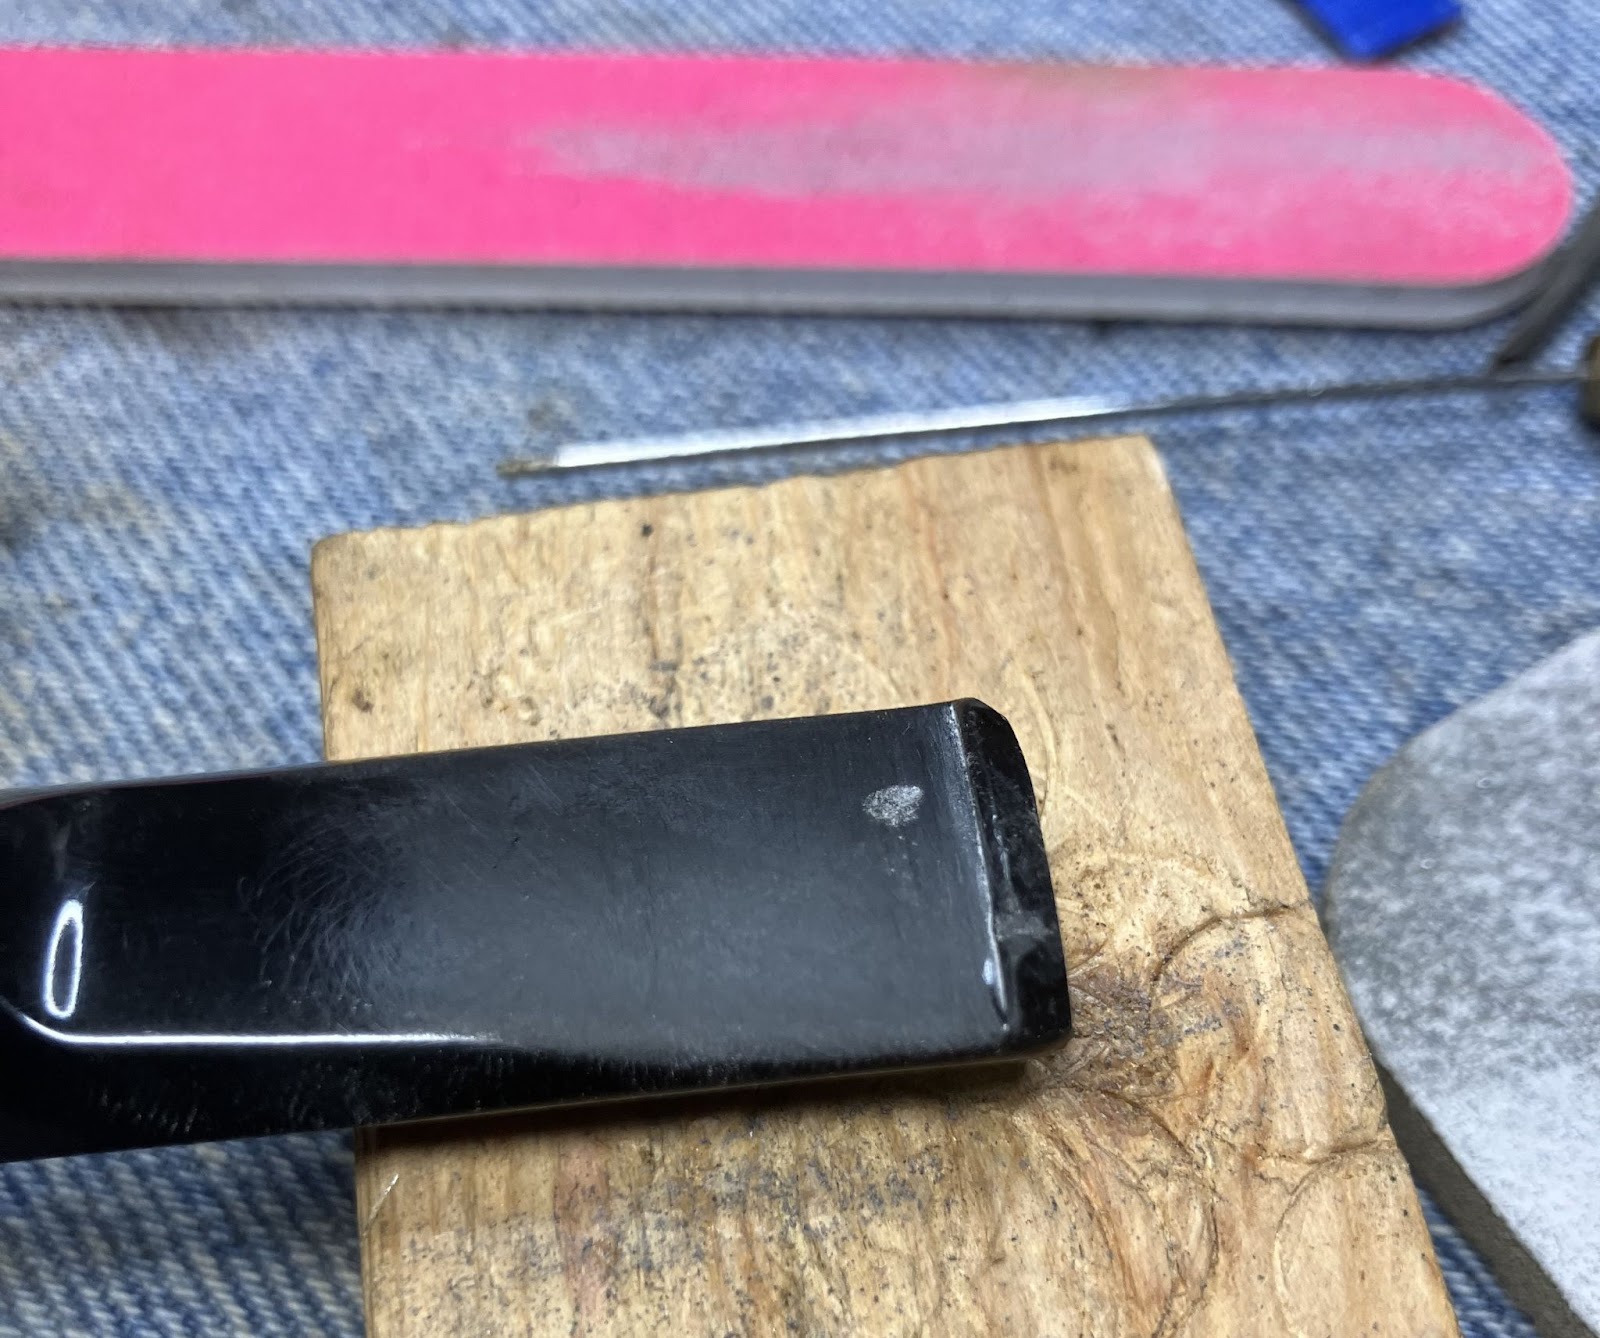
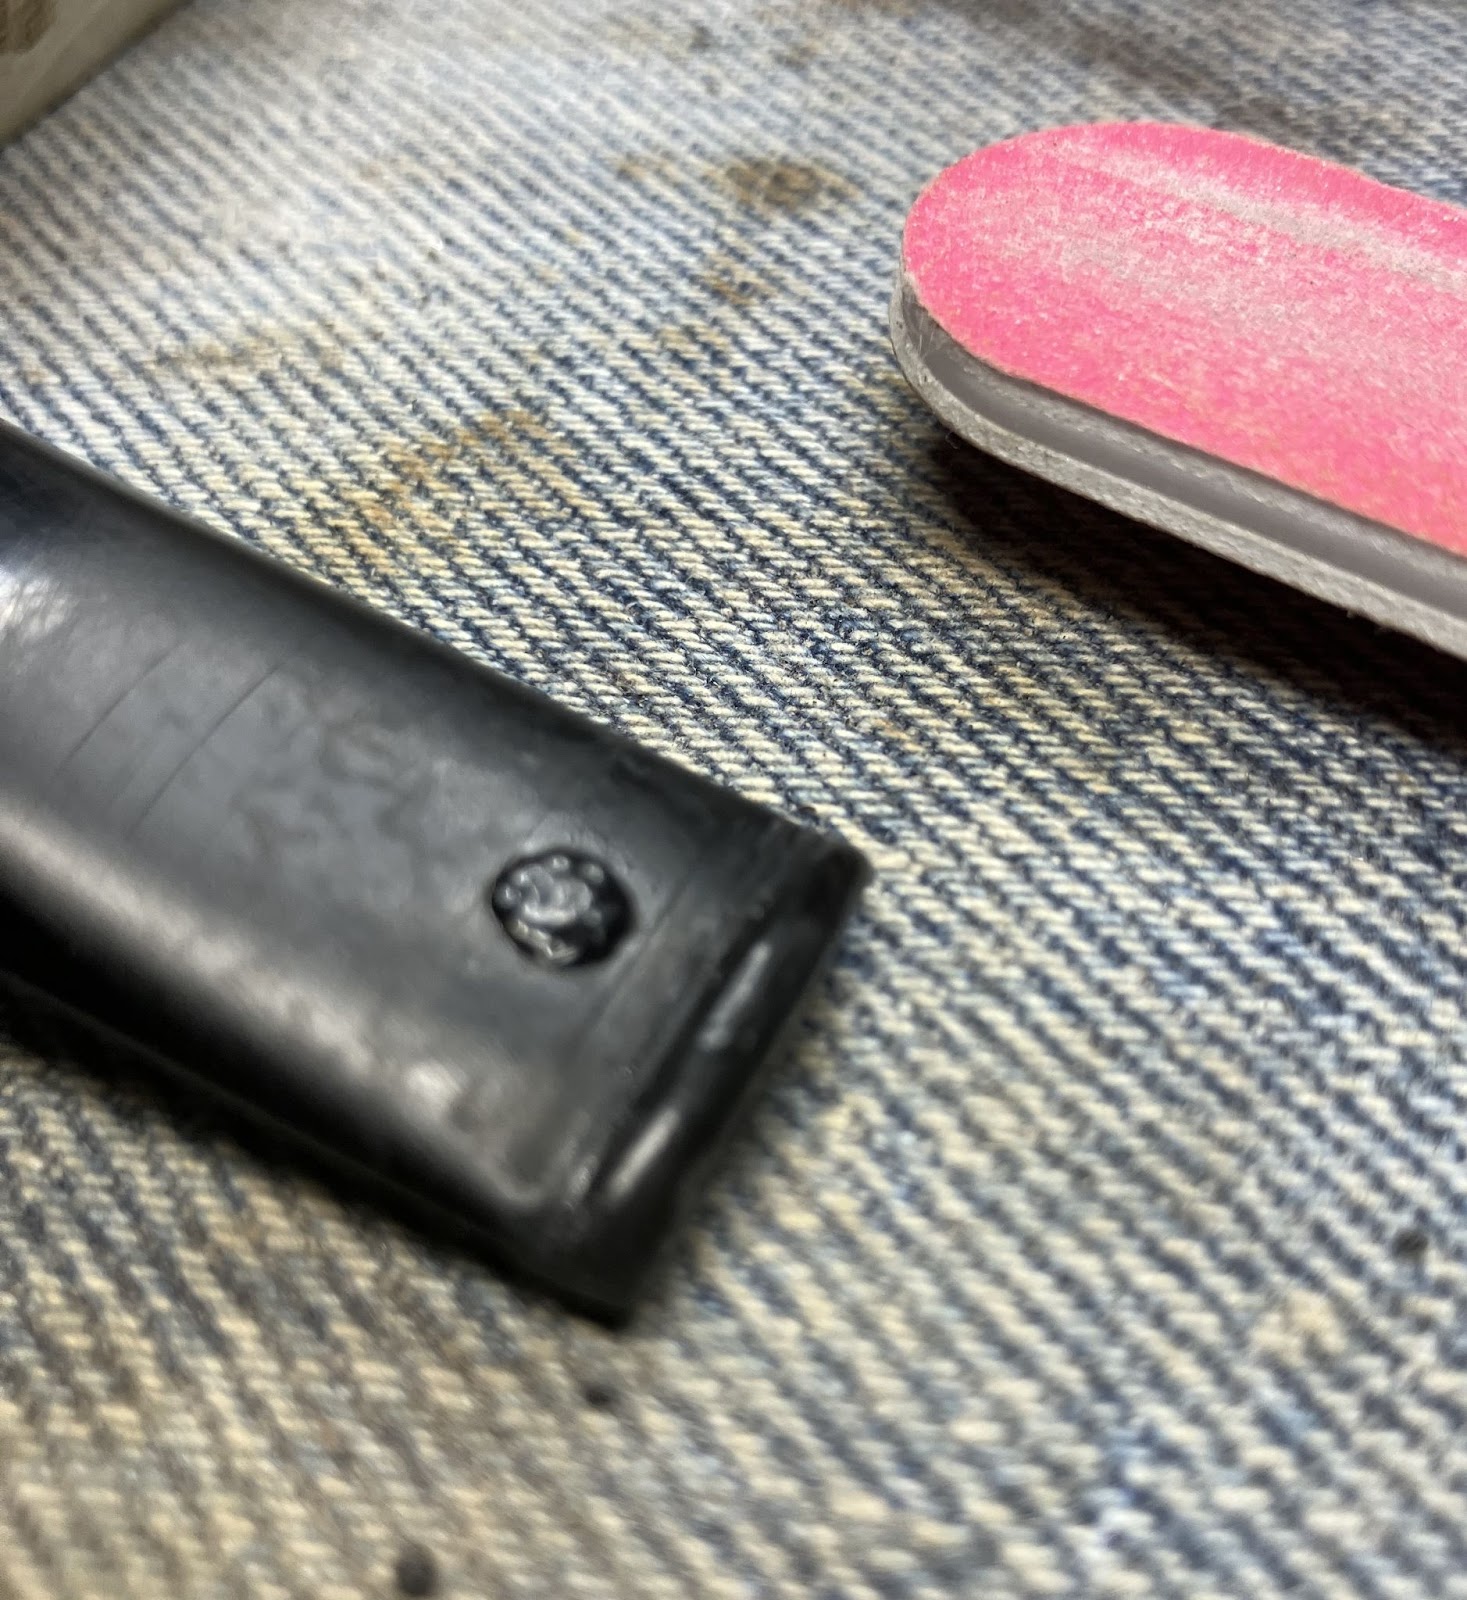
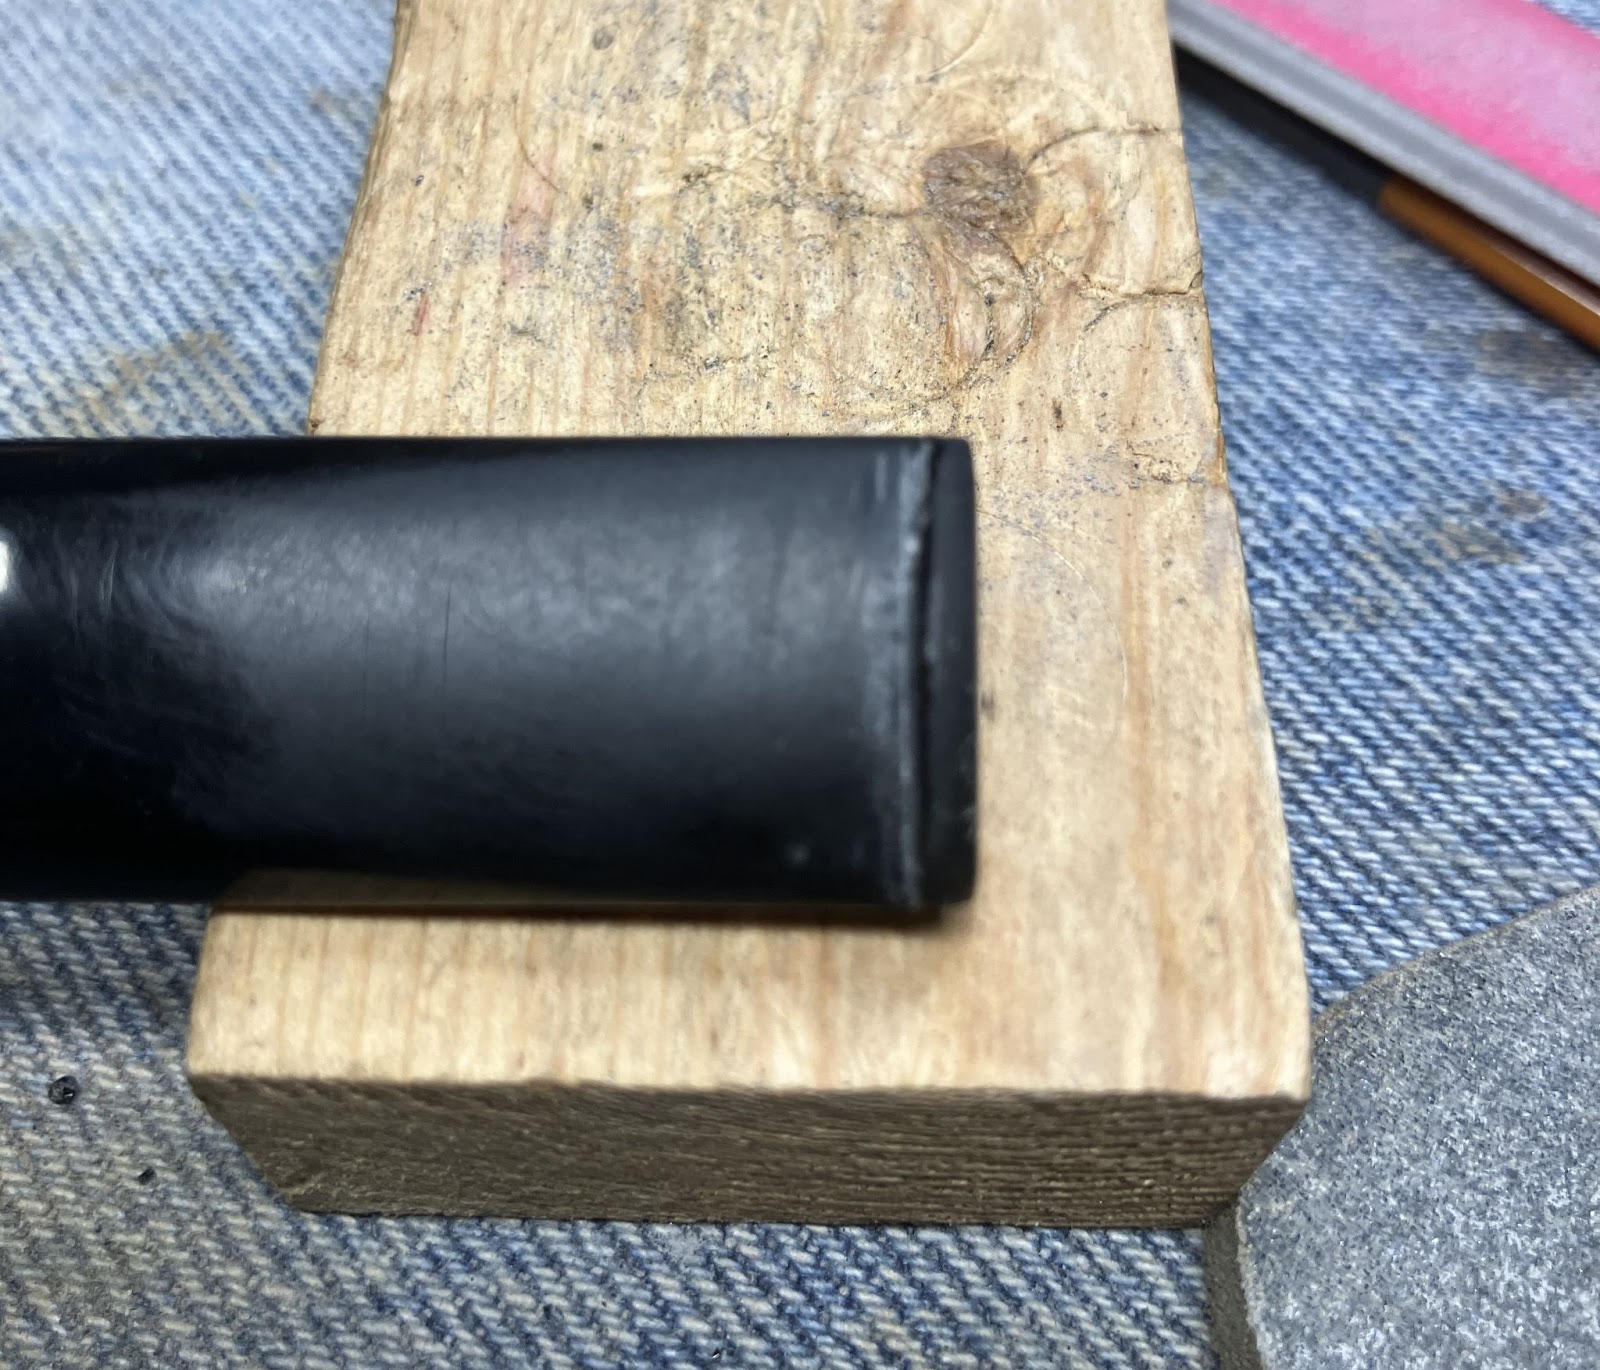
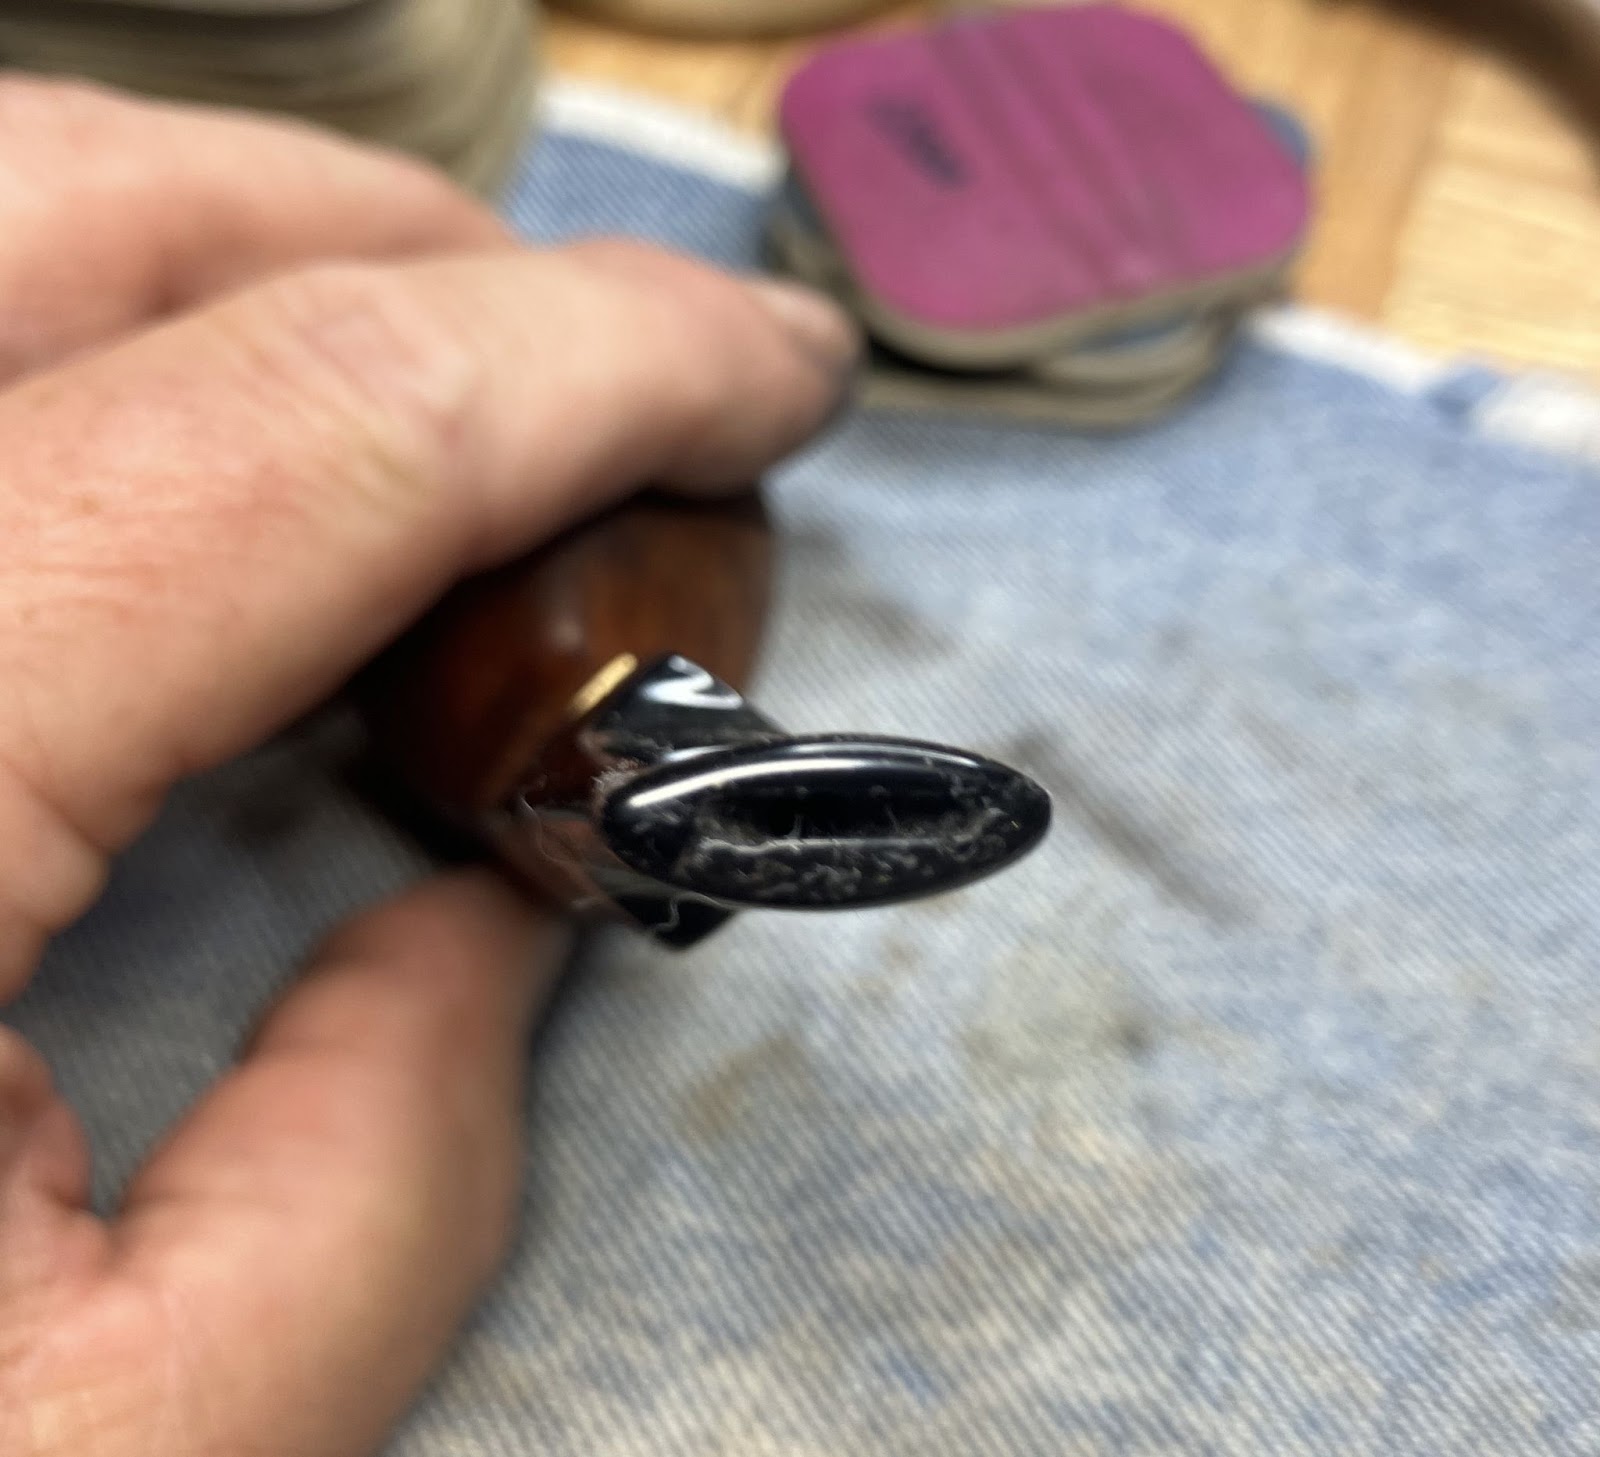
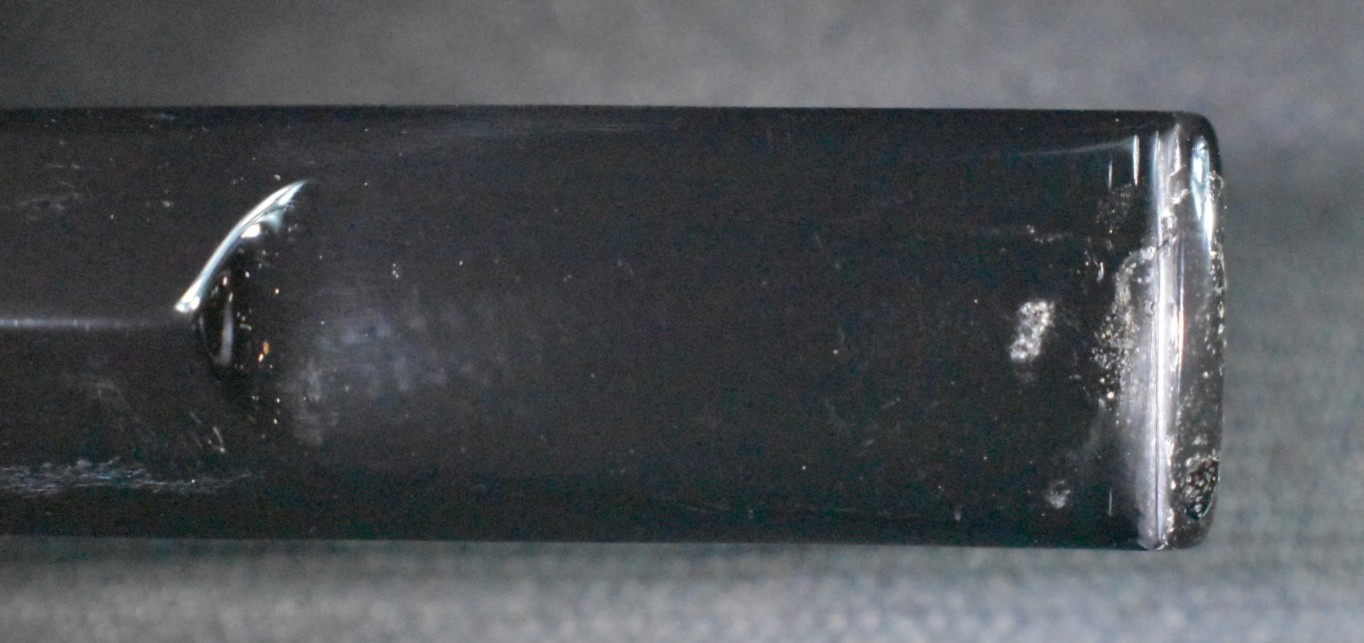
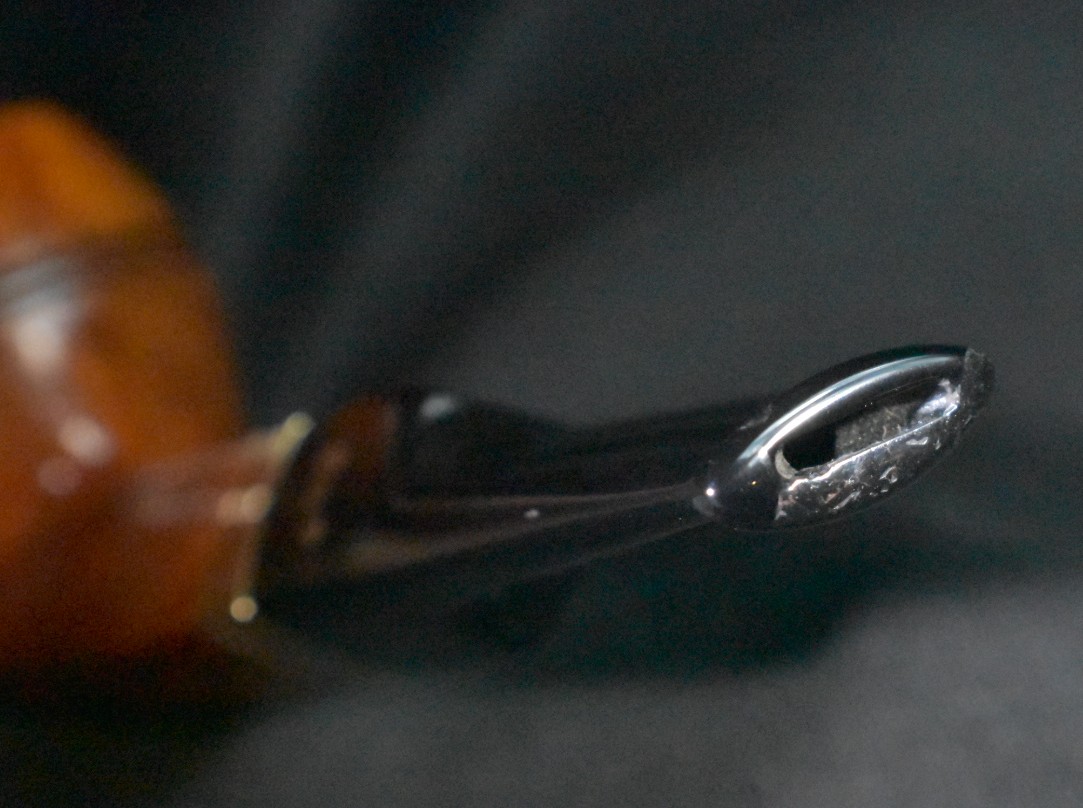
To deal with the bite marks I painted the dents with the flame of a lighter. The heating and expanding of the rubber can sometimes reduce the dent. It had little effect. Rather than filling these dents with cyanoacrylate, I decided to file the whole area flat and smooth. The stem material was thick enough and the dents were not severe.

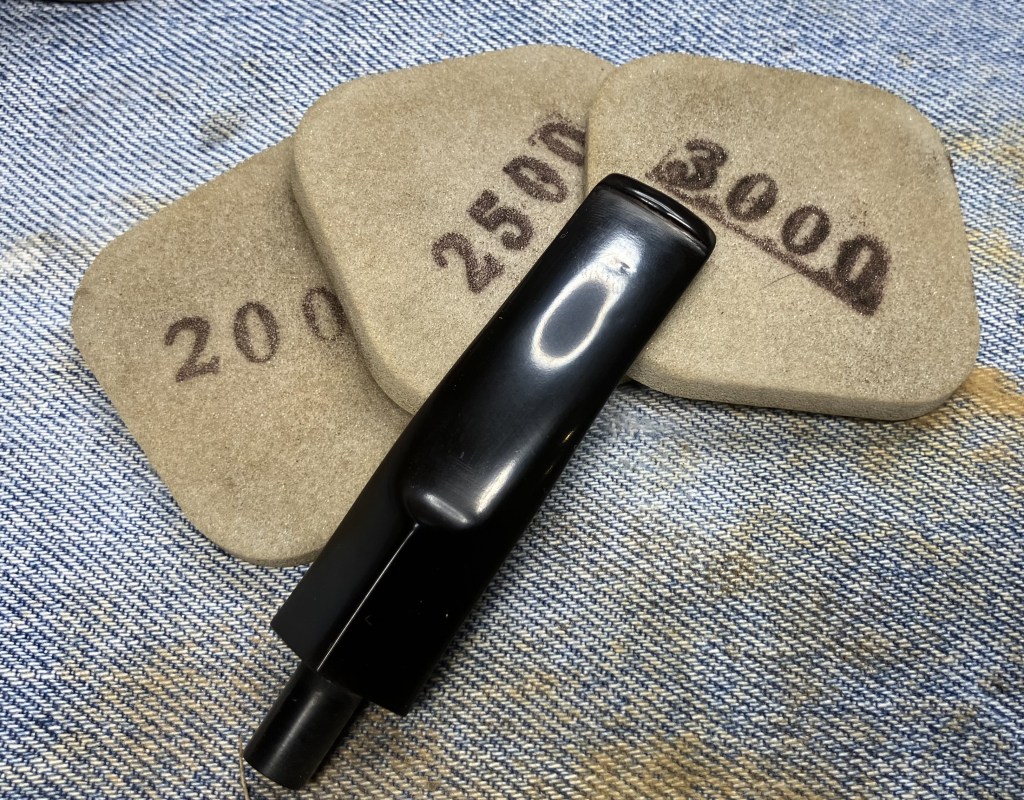
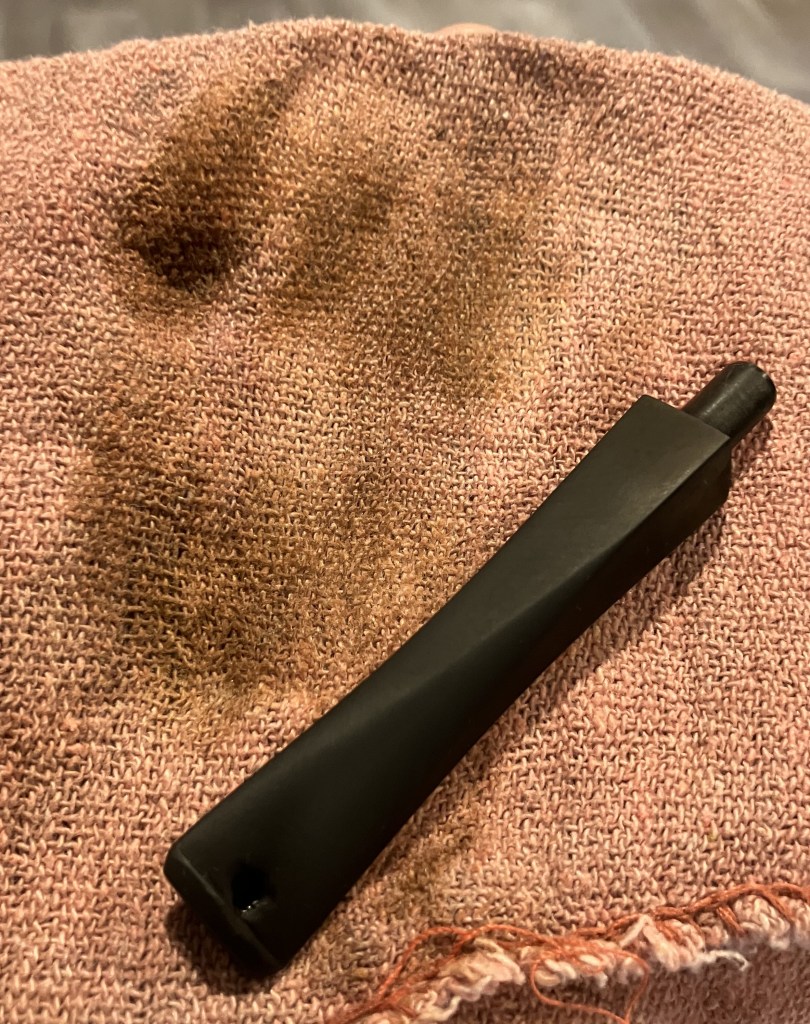
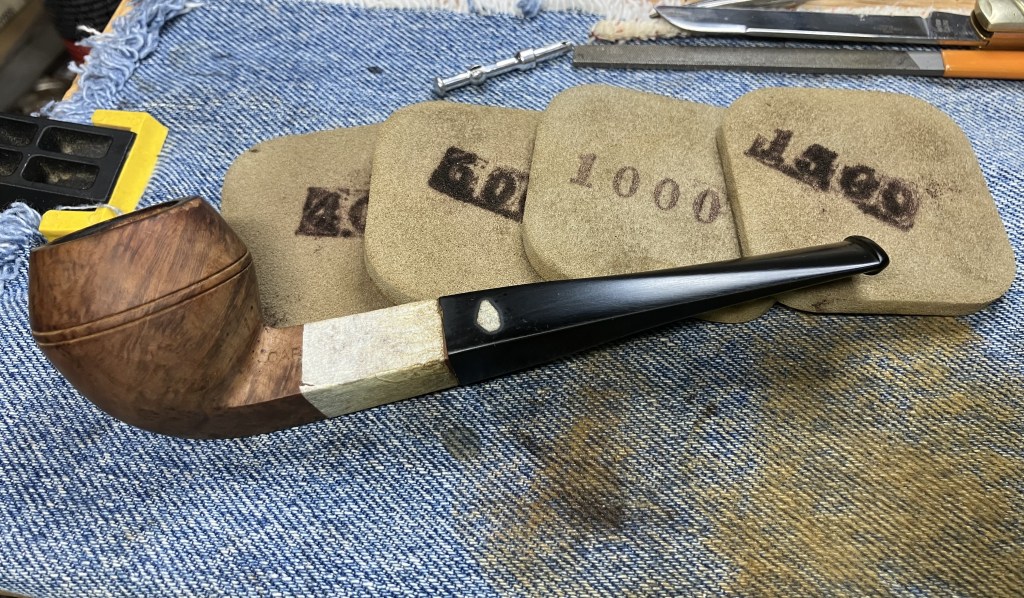
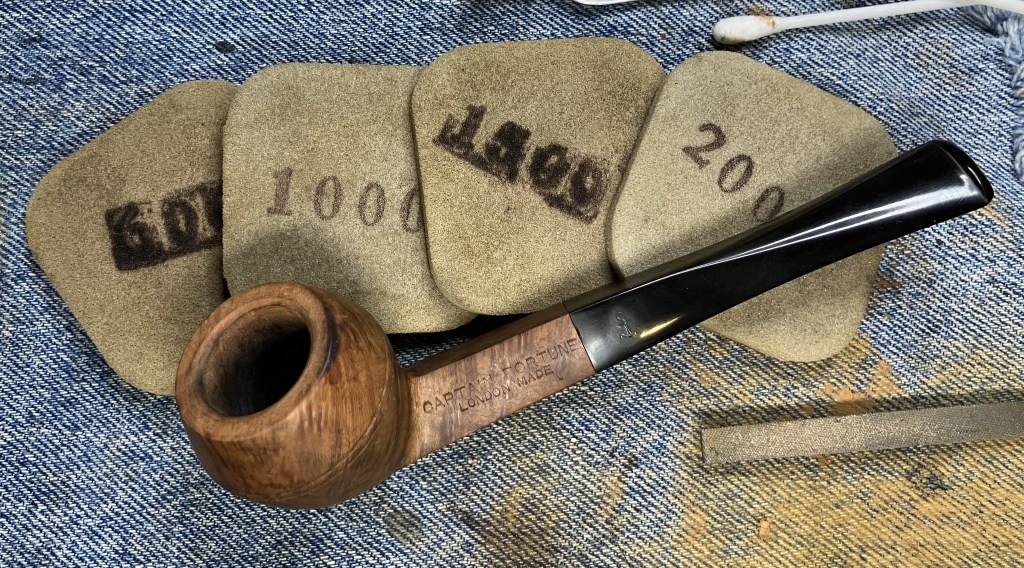
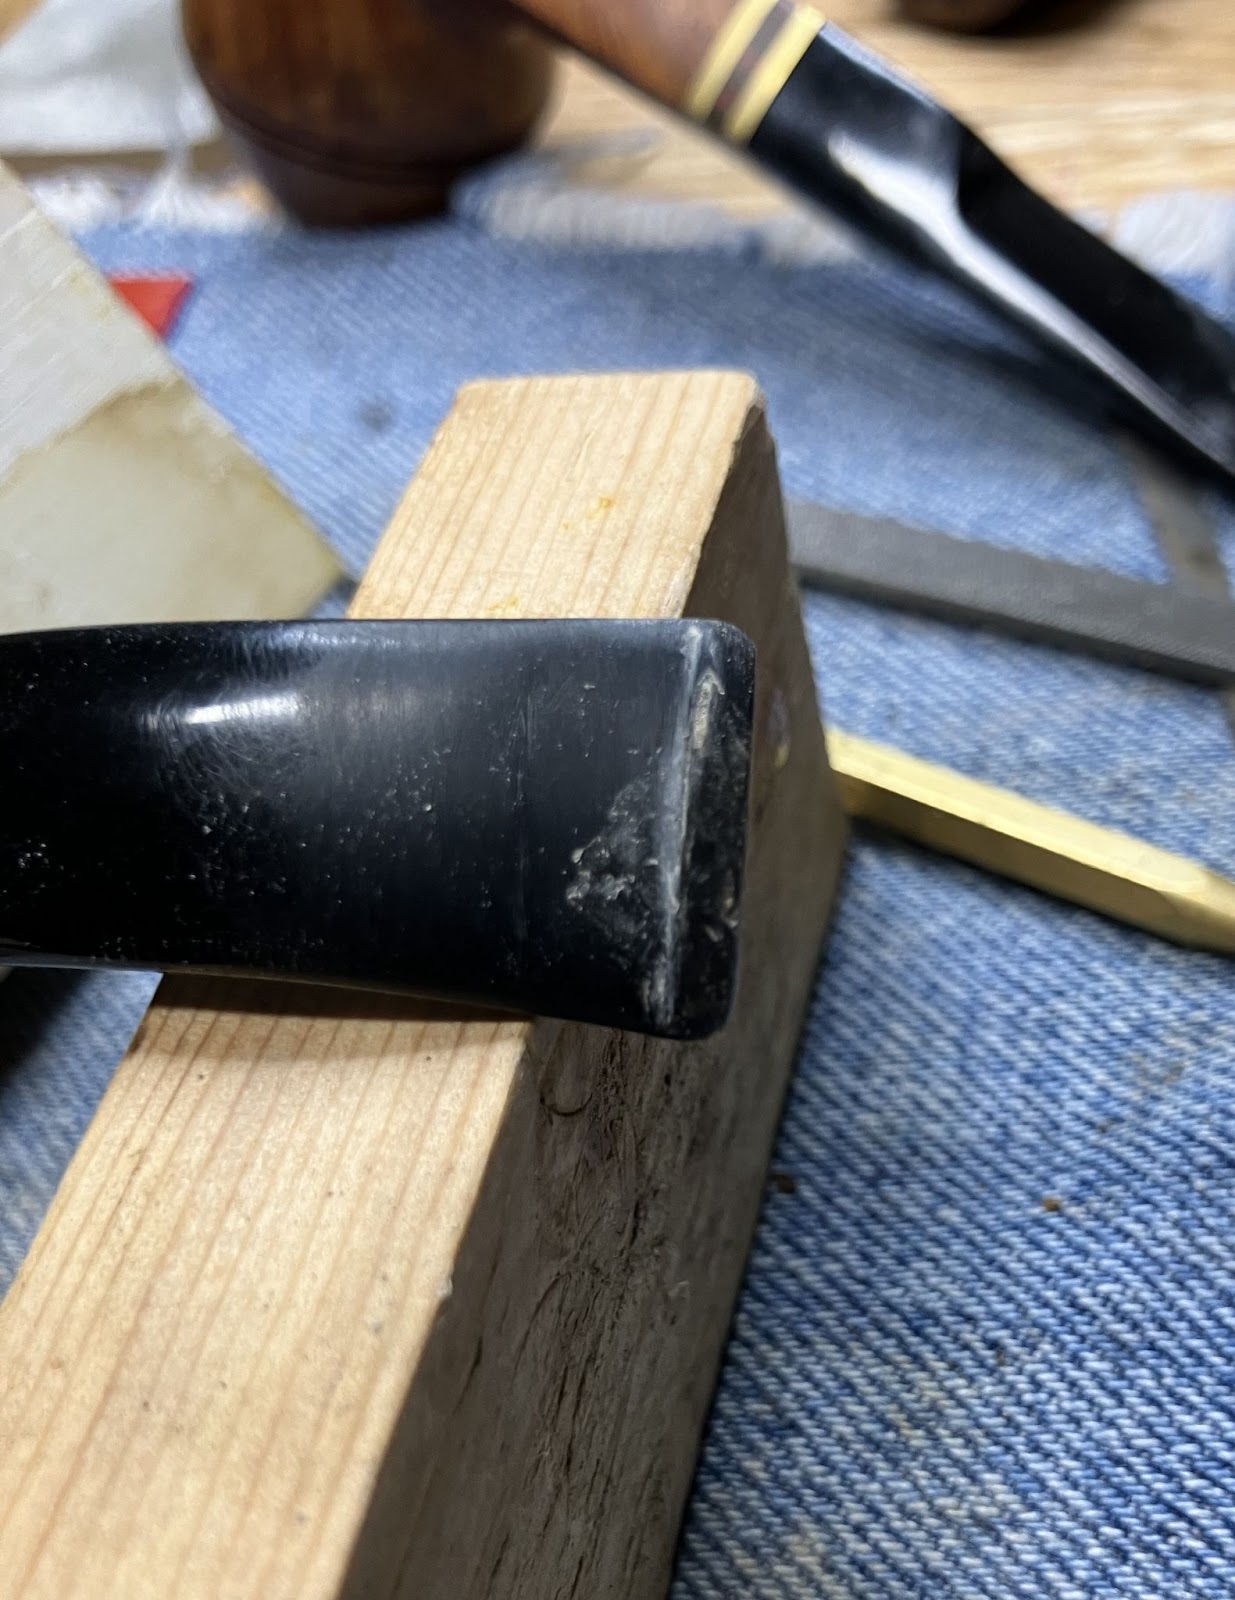
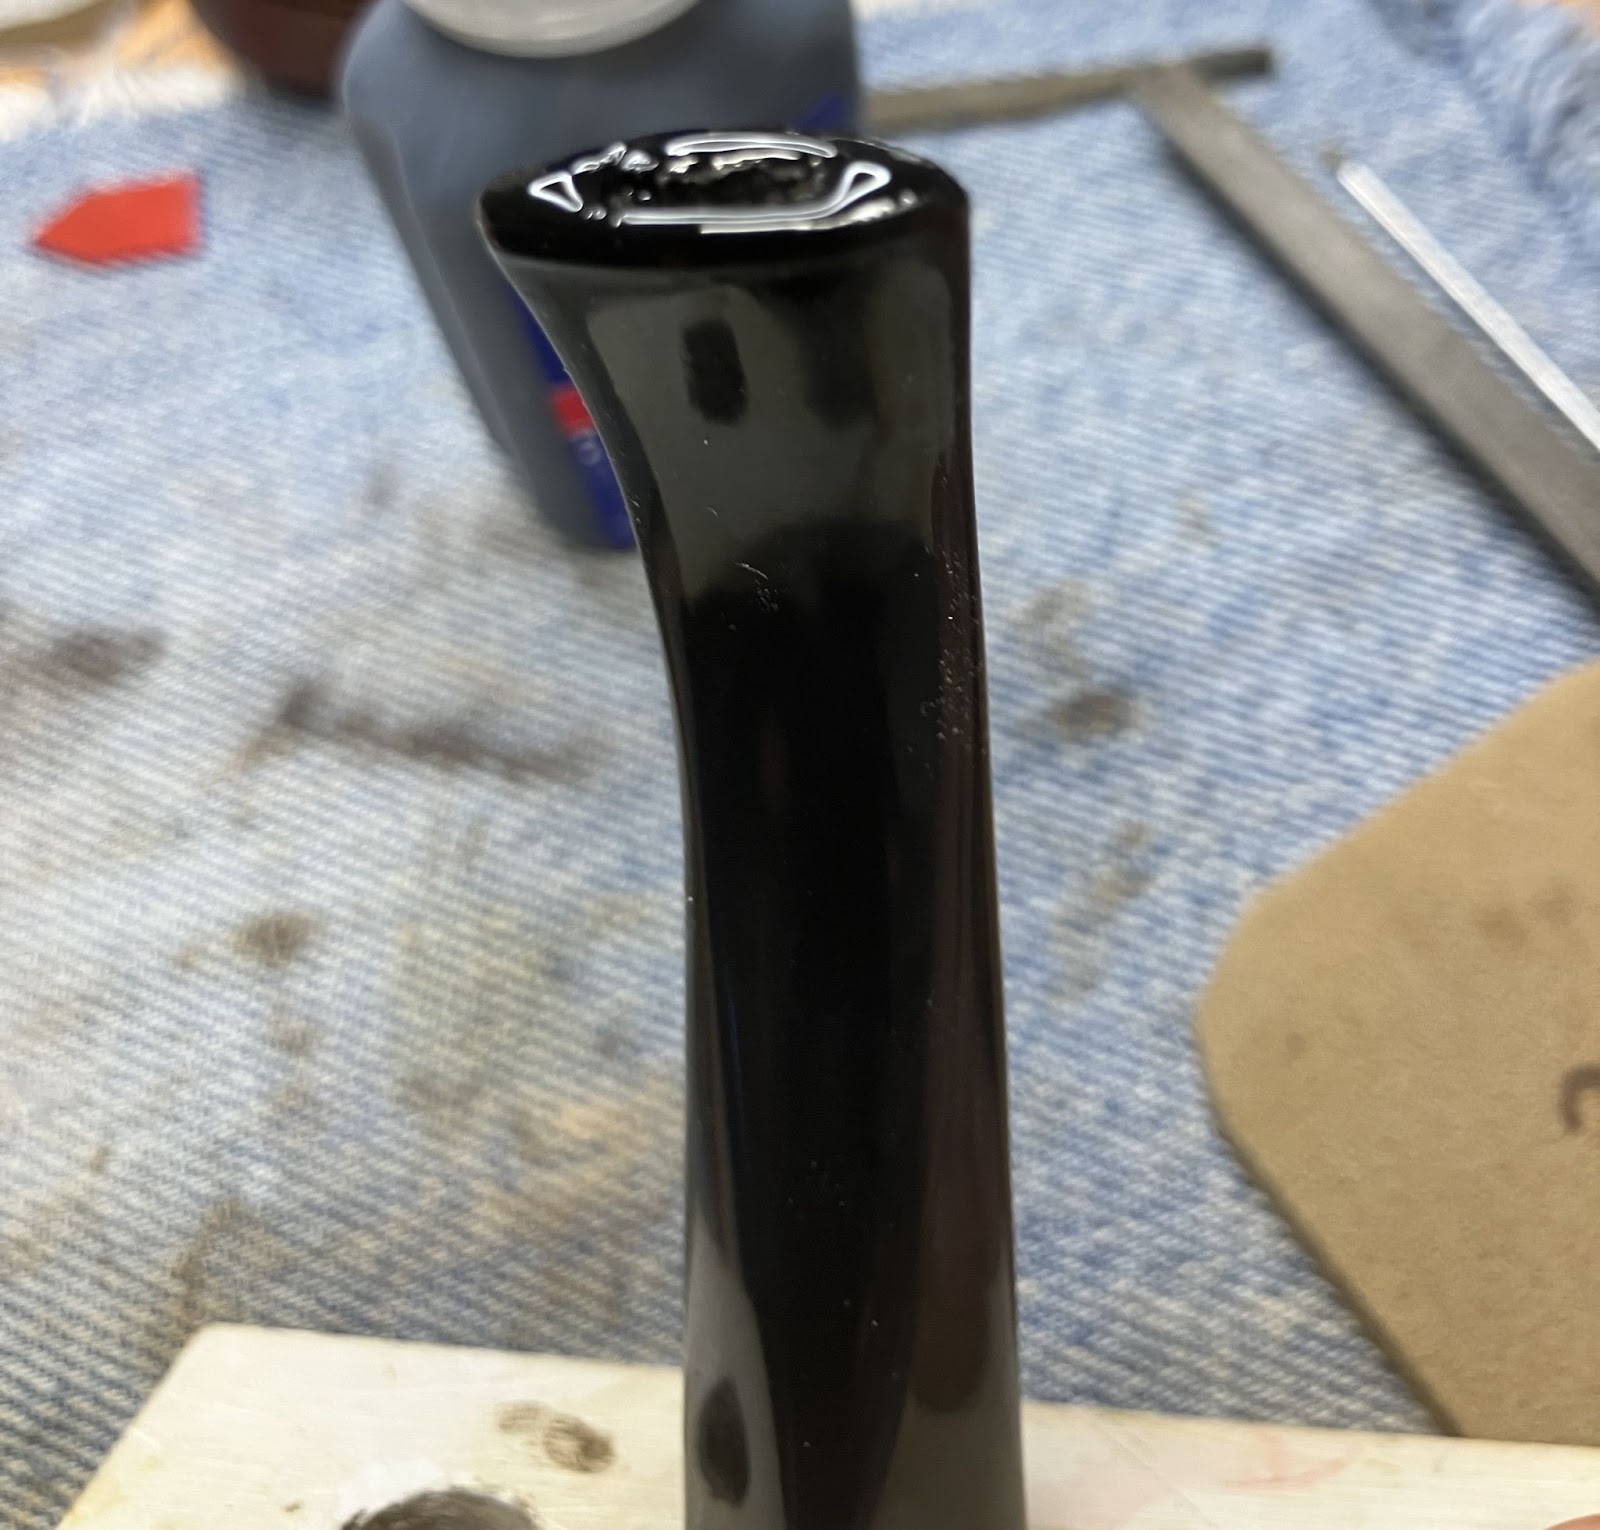
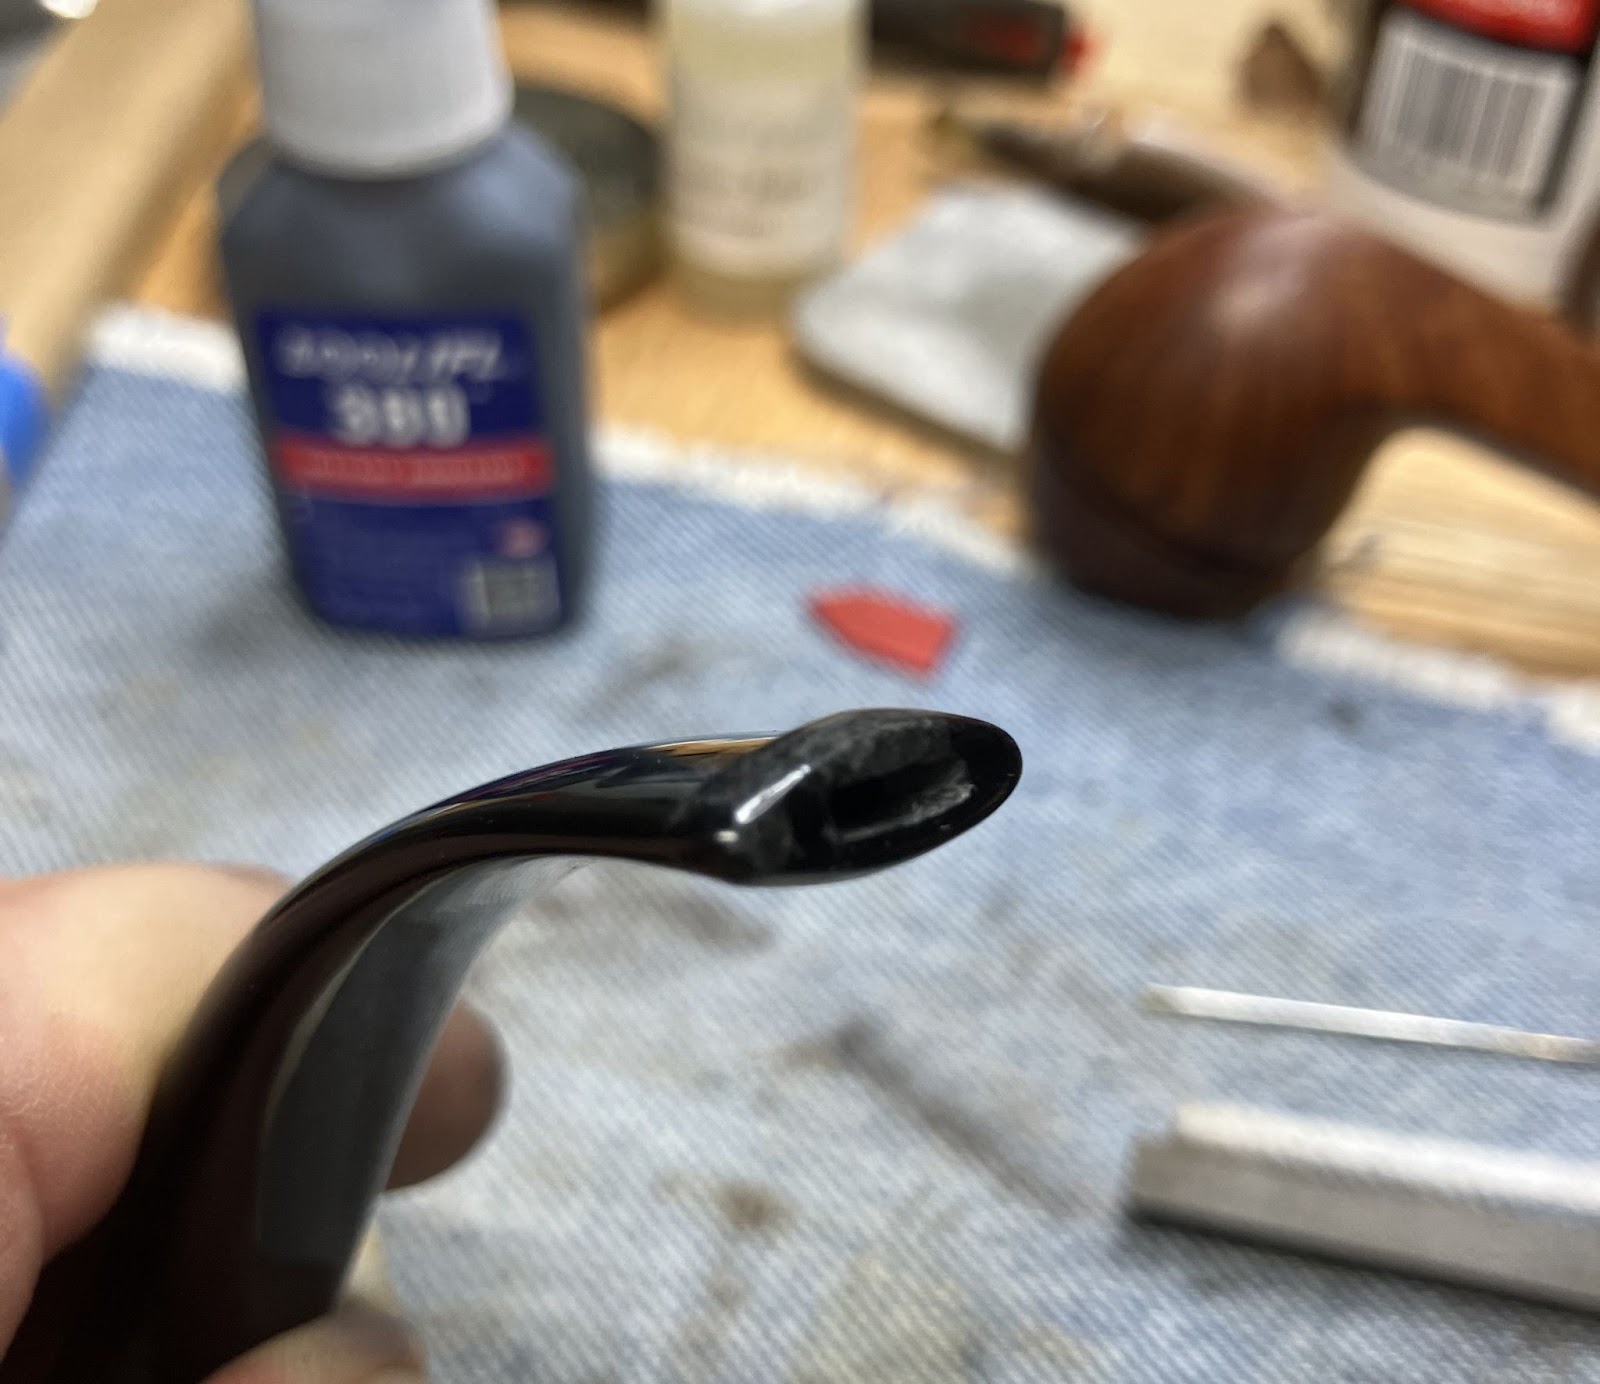
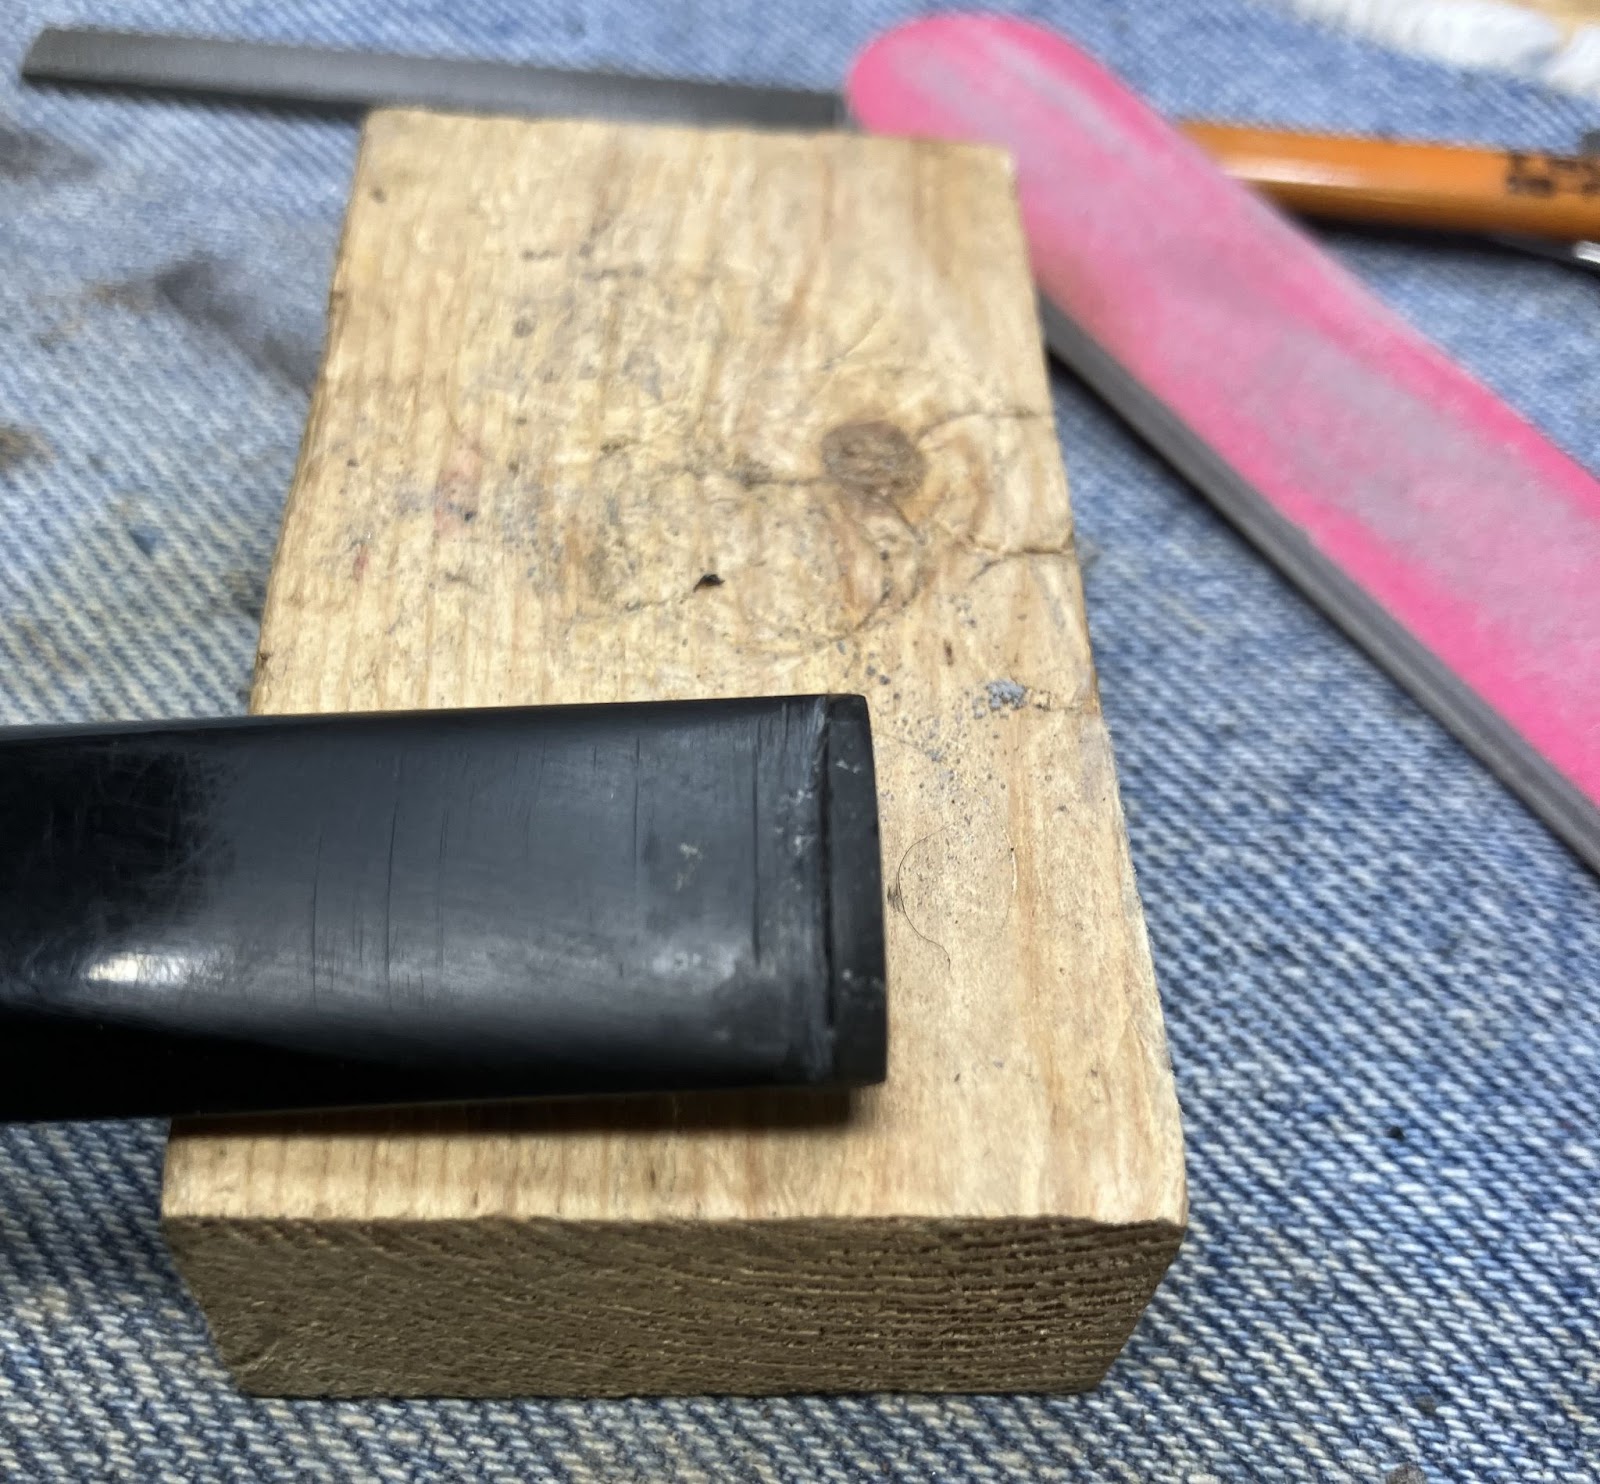
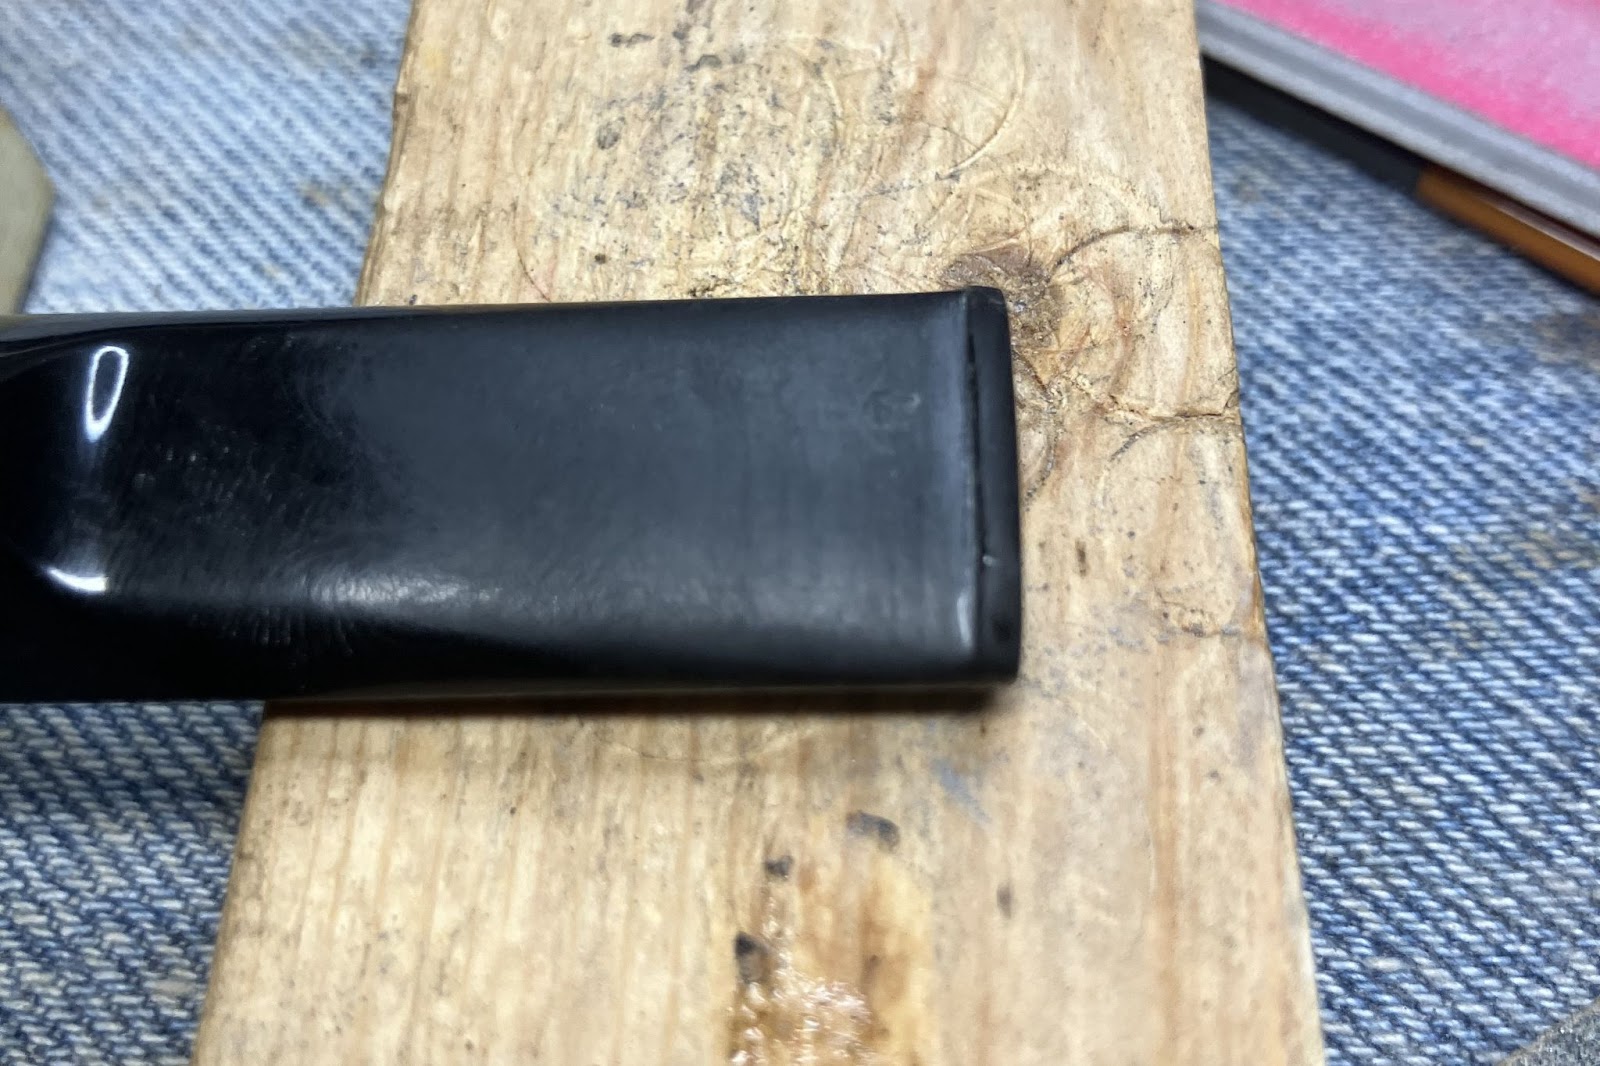
In the below photo you can still see the slight indentations from the tooth dents but it was very minimal. The stem was sanded with a series of sanding sponges from 320-1500 grit. Between each sponge the stem was rubbed with mineral oil and wiped with a paper towel.

The sanding continued from 2000-3500 grit with the same oiling and wiping.
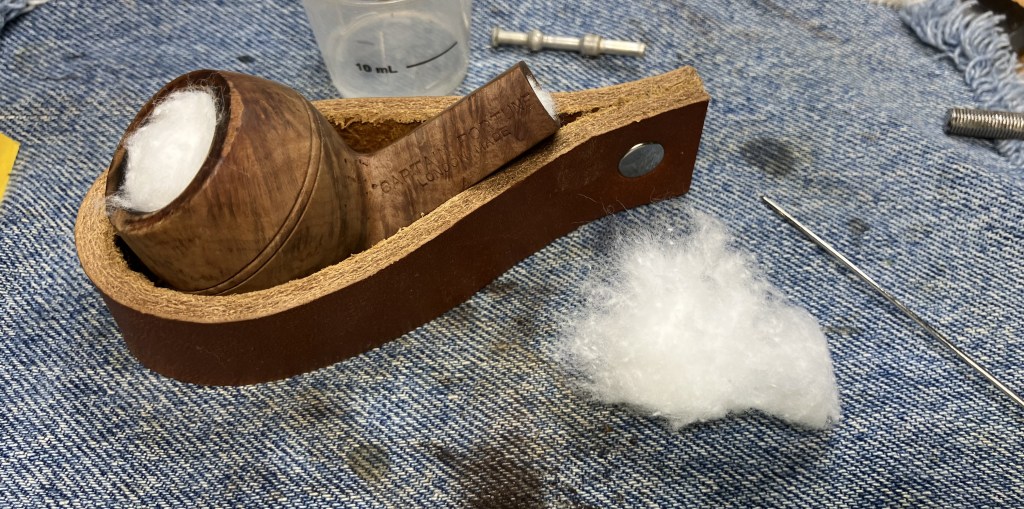
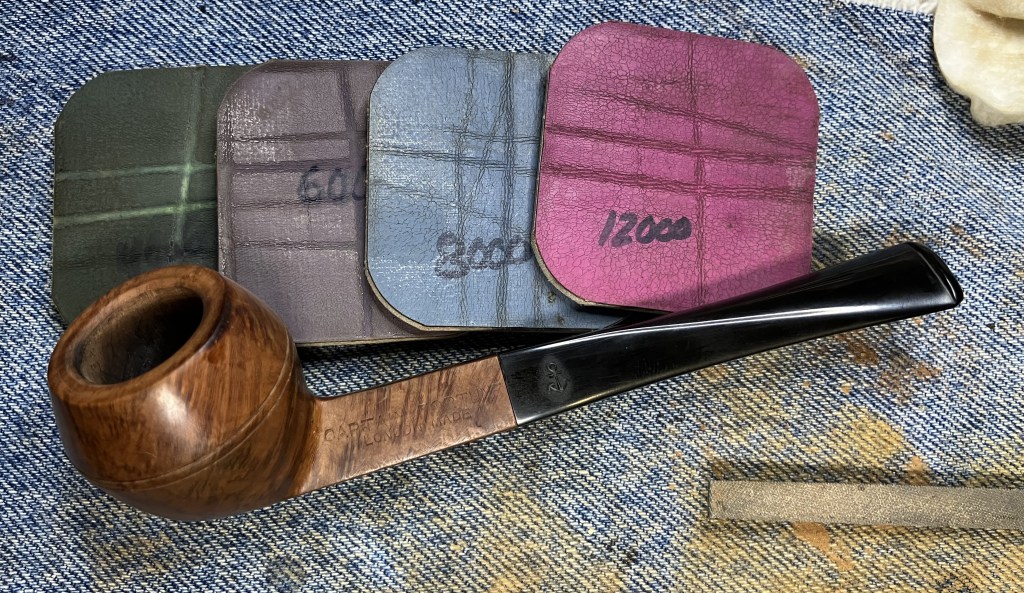
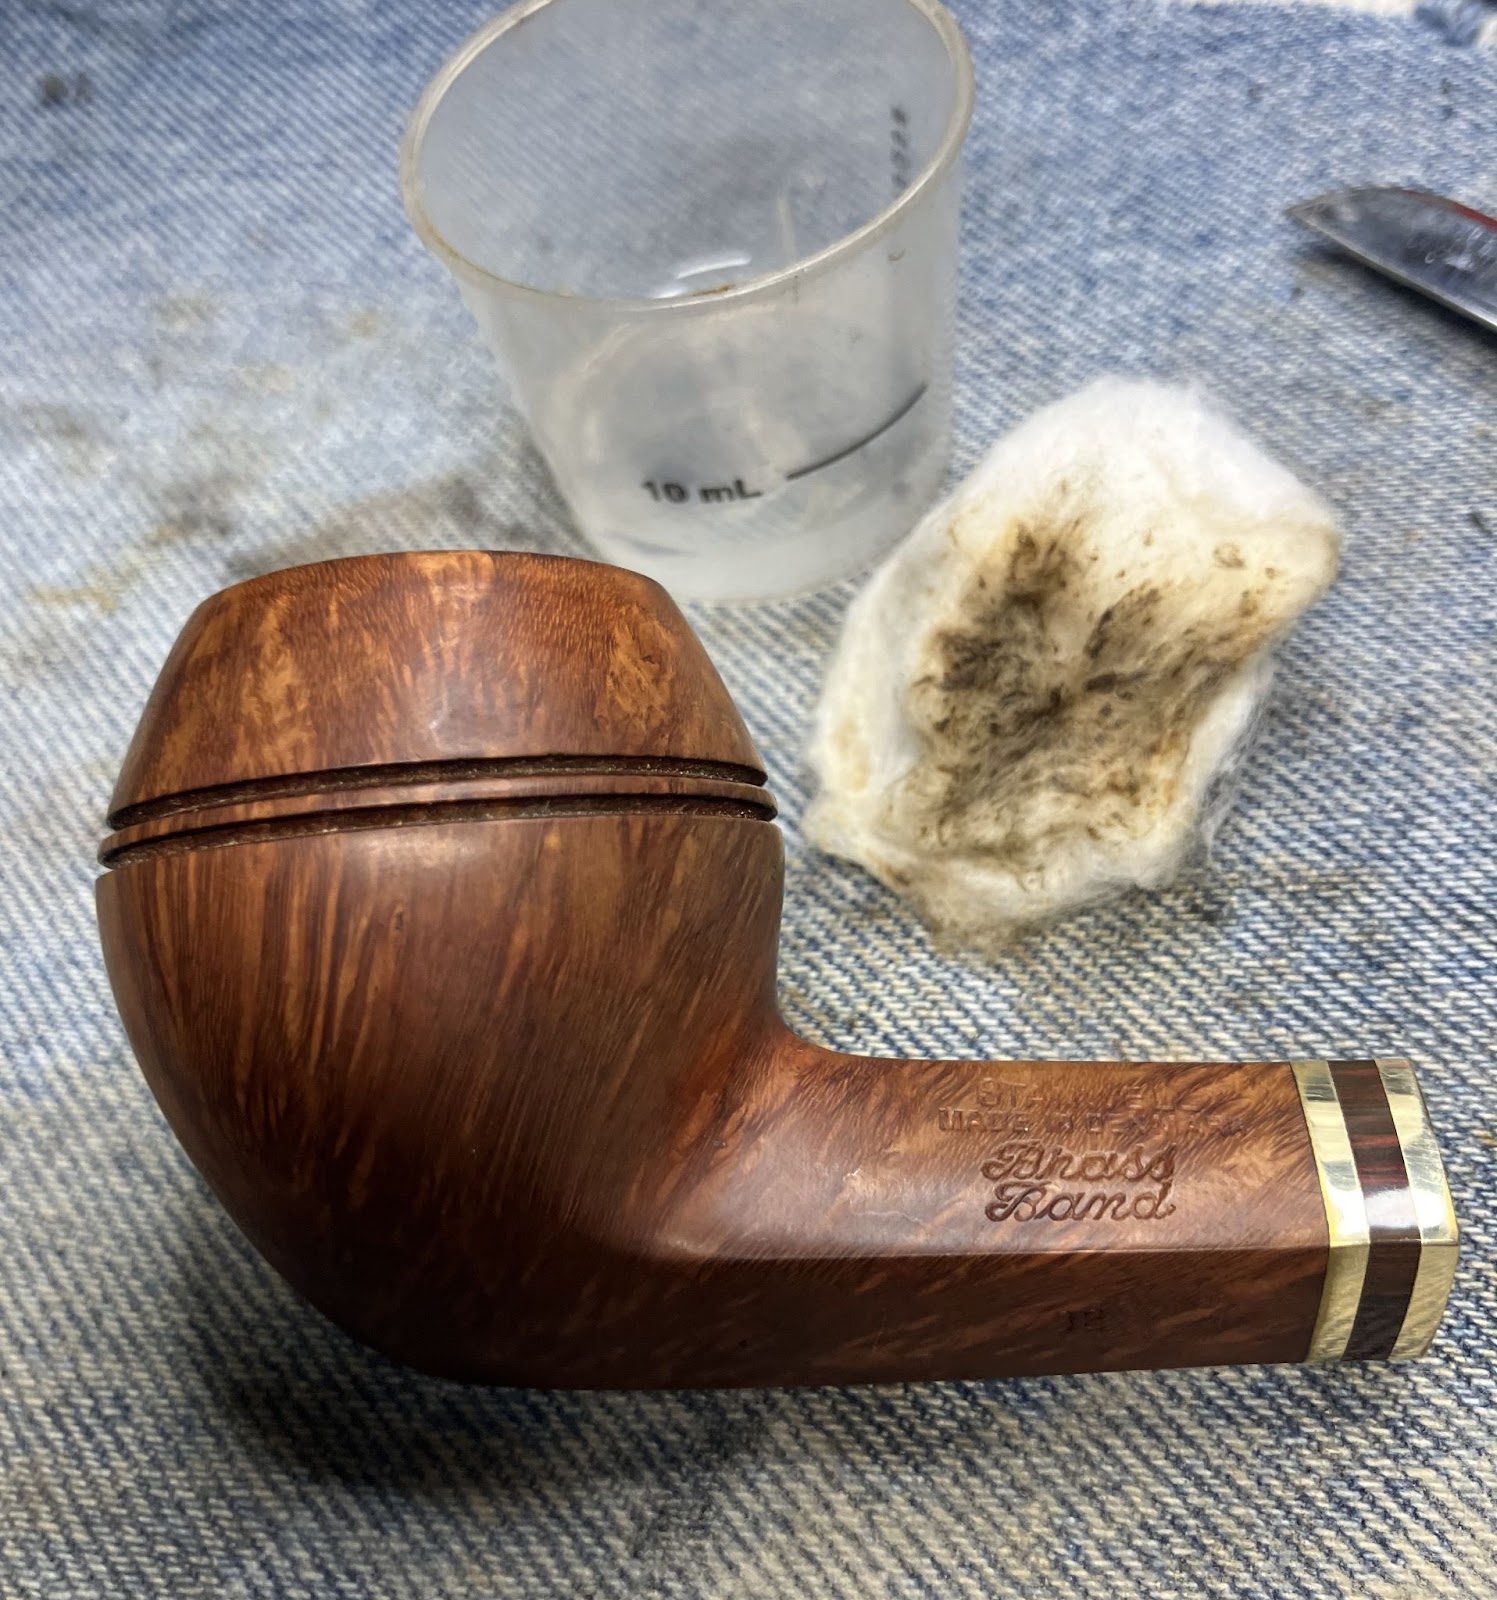
The stummel did not really need much sanding. There were no fills and only one little dent or pit which was so close to the shape number that I thought the risk of obscuring the stamping was worse than the pit. The stummel was sanded with a series of sanding sponges from 600-3500. I am not sure why the 3500 sanding sponge didn’t make the photograph, shy perhaps. The stummel was wiped with an alcohol wetted make-up pad between sponges to remove sanding debris. I should add that I did not sand the shank where there were any stampings. Only the bowl and lower shank was sanded.

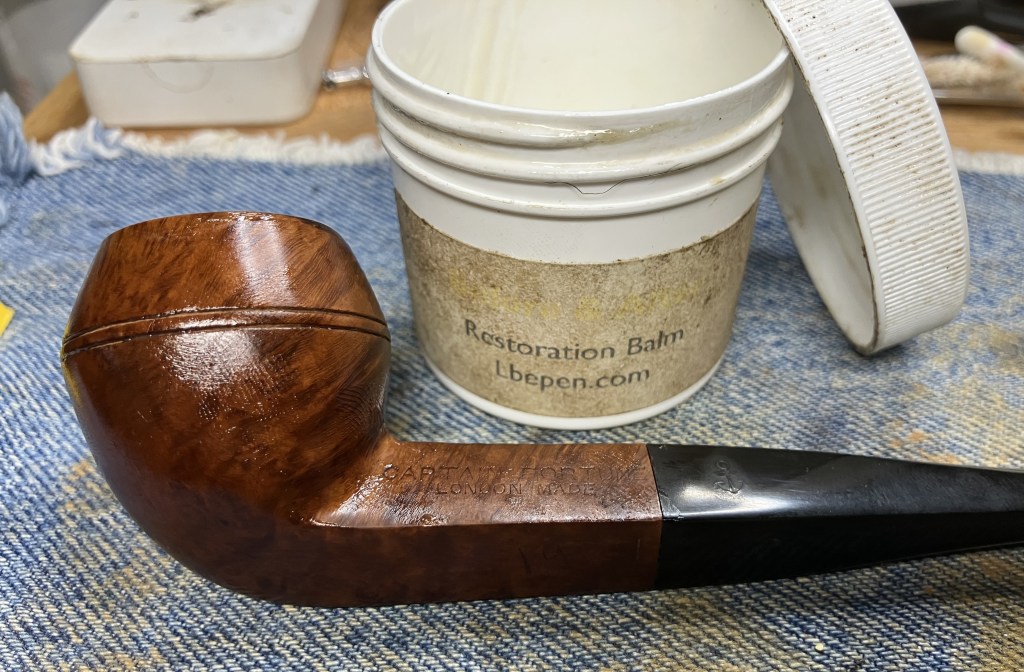
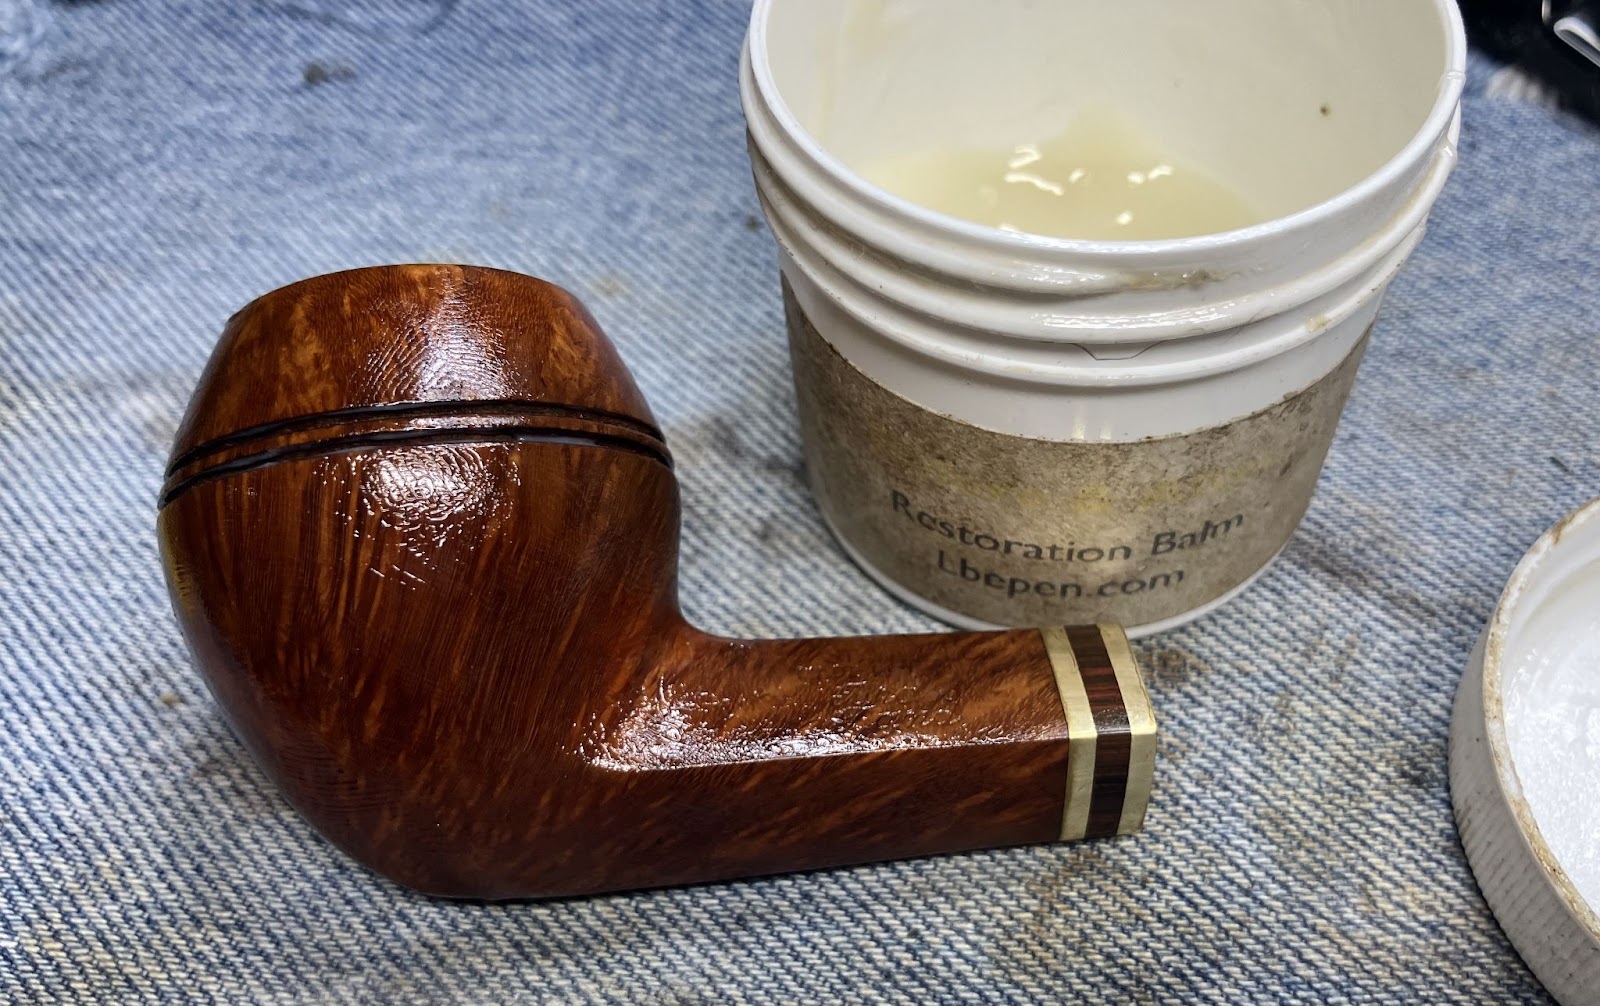
The stummel was then coated with Before and After Restoration balm while the stem was coated with Before and After Restoration Balm while the stem was coated with Before and After Hard Rubber Balm. These products remained on the pipe for about two hours as I had to go fishing for my evening attempt at catching catfish.

Upon my return, the Restoration Balm and the Hard Rubber Balm were hand buffed and wiped away with an inside out athletic sock.

The pipe was taken to the buffer for several coats of carnauba wax. After waxing I ran the flytying bodkin around the beading grooves to remove accumulated carnauba wax.
The final job was to hand buff the entire pipe with a microfiber polishing cloth.
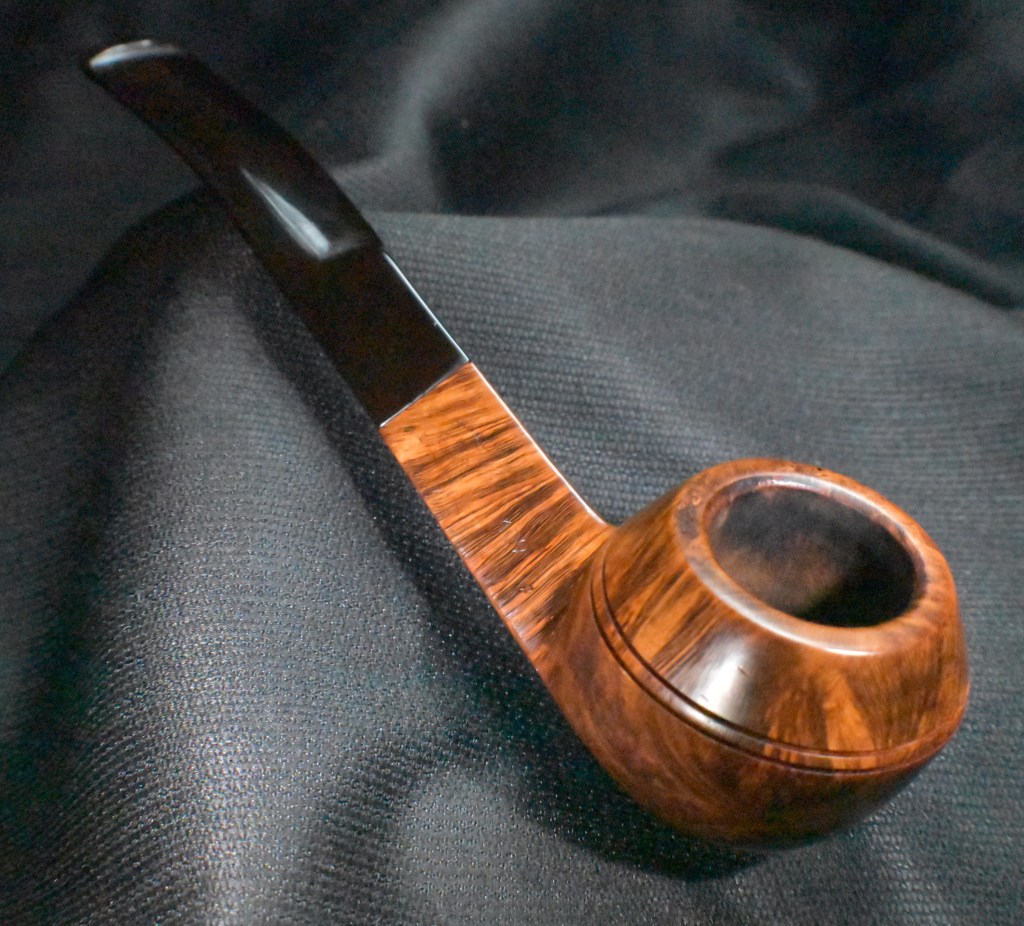
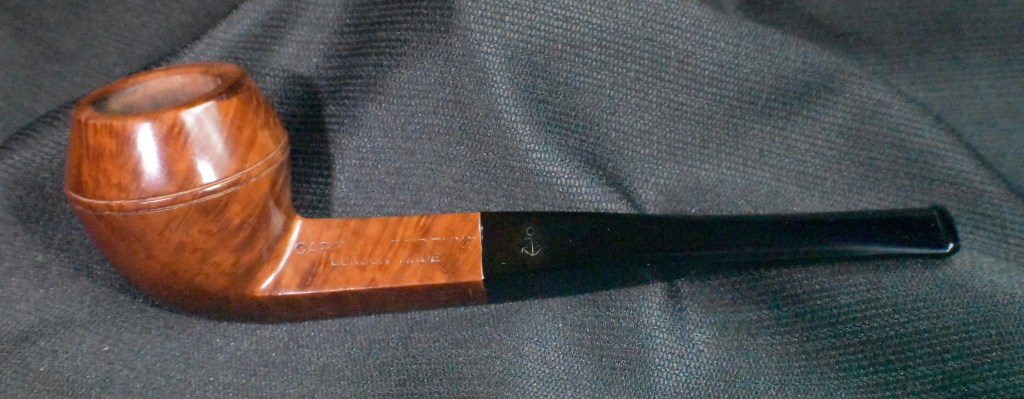
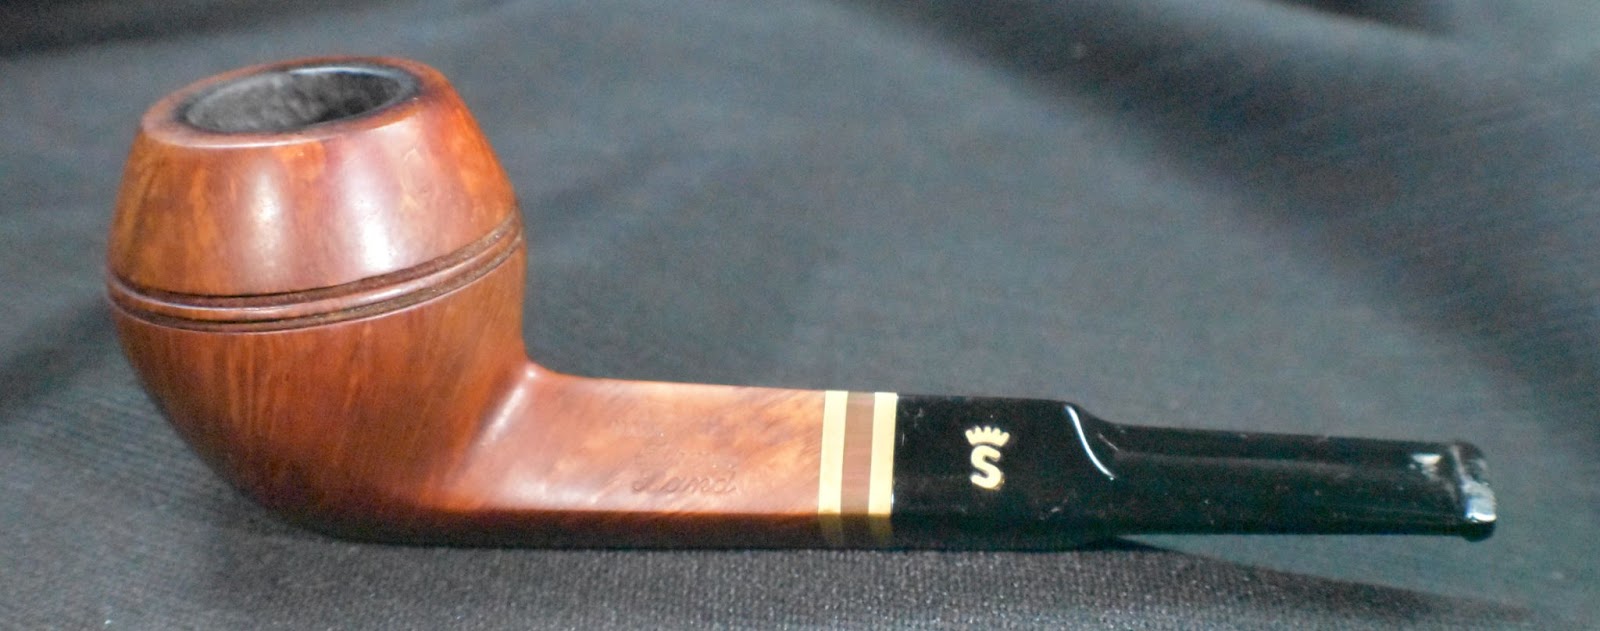
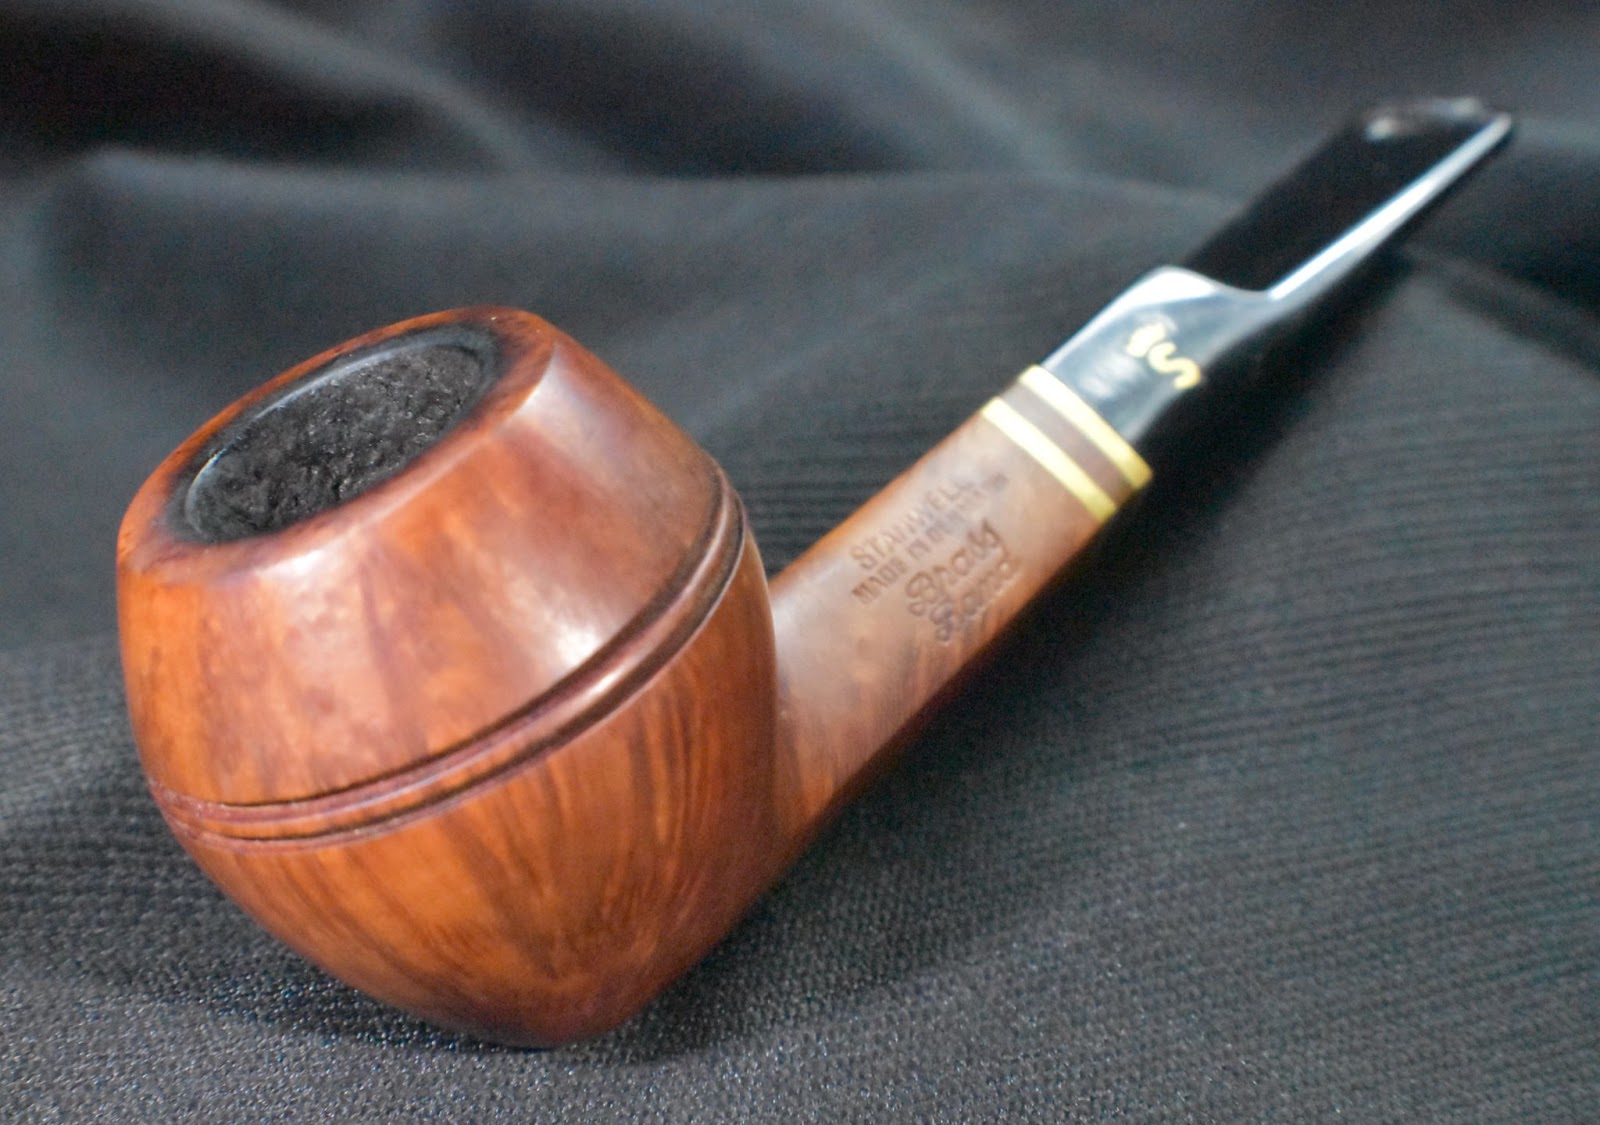
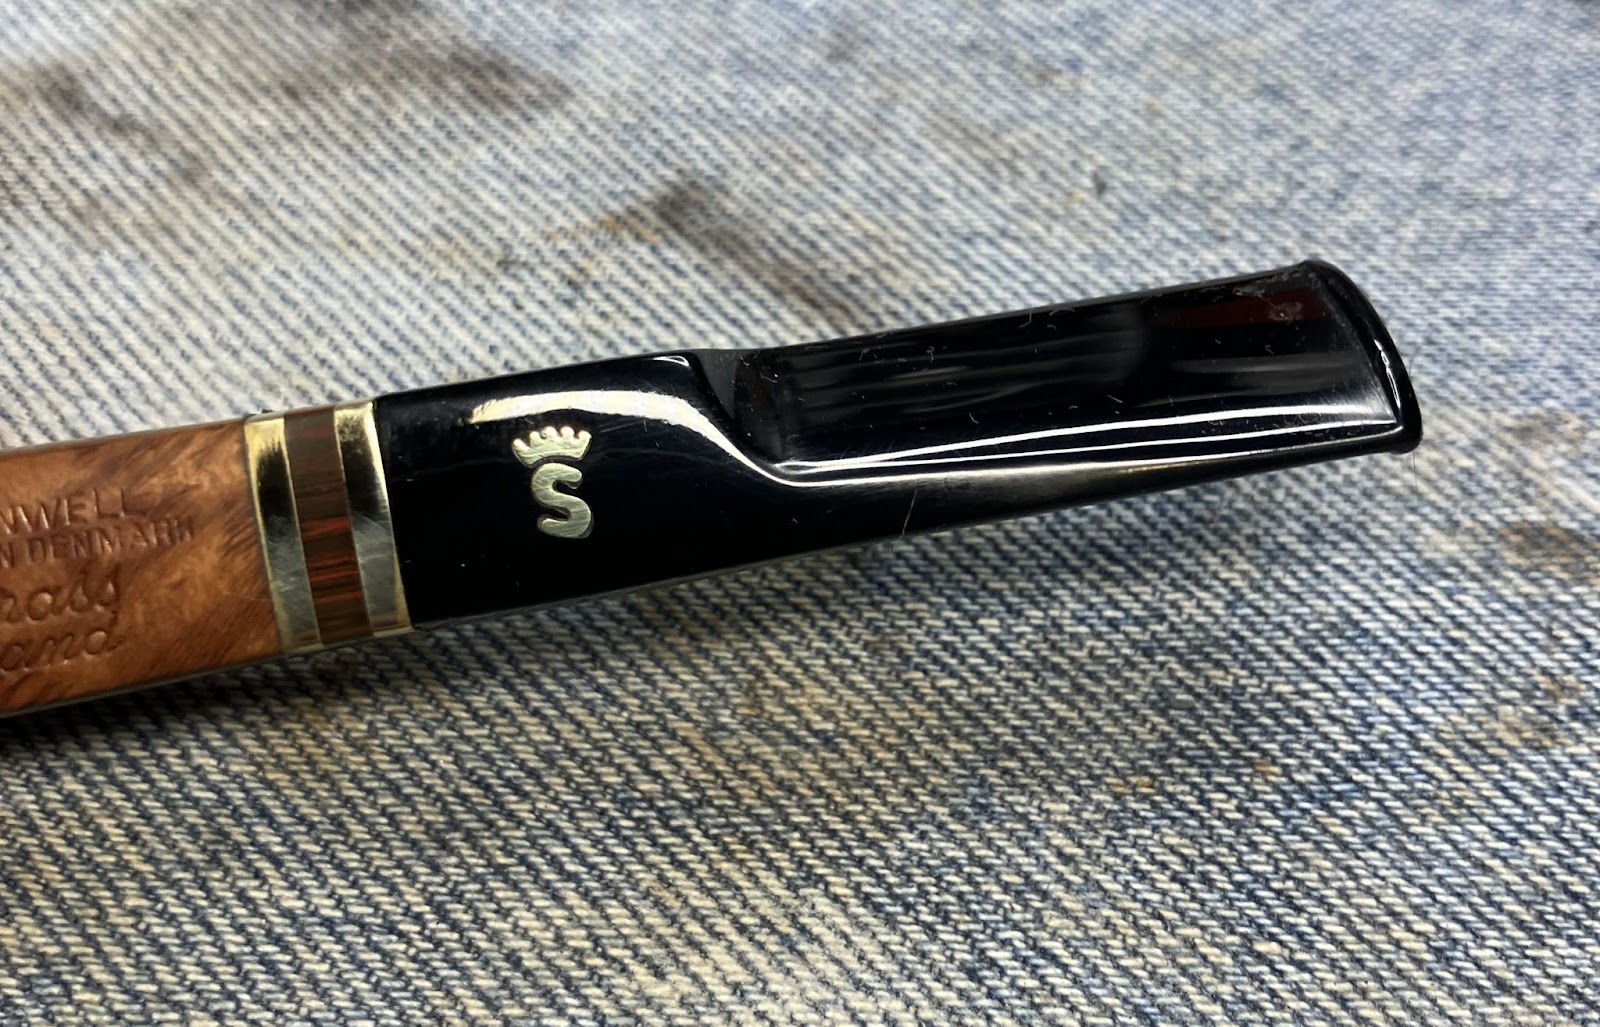
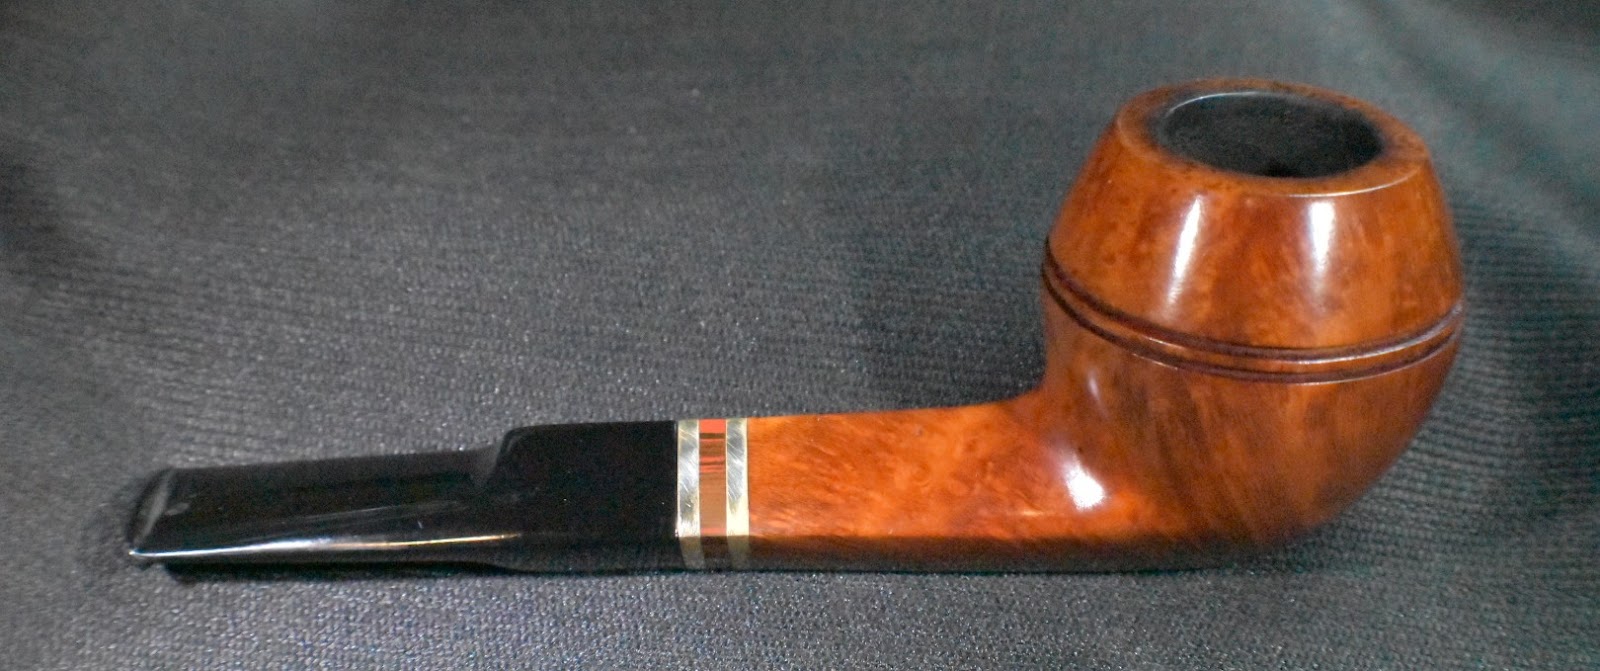
I think that this Briars ‘N’ Blends Bulldog is a gorgeous pipe. The shape is great to look at and it has a wonderful feel in hand. The briar grain is truly beautiful with the tiger-stripe shank and flame grain bowl. The walnut color is darker but still is contrasted well. The glossy black vulcanite polished-up better than I thought it would and the 1/4 bend curves of the stem give the pipe a smooth flowing appearance. This pipe will serve a new owner for many years to come and shows why Comoy’s has a look all its own.
The dimensions of this Blends’N’Briars Bulldog are:
Length: 5.51 in./ 139.95 mm.
Weight: 1.38 oz./ 39.12 g.
Bowl Height: 1.60 in./ 40.64 mm.
Chamber Depth: 1.31 in./ 33.27 mm.
Chamber Diameter: 0.76 in./ 19.30 mm.
Outside Diameter: 1.61 in./ 40.89 mm.
I do hope that you have found something here useful to your own pipe care, maintenance or restorations. If you like this sort of thing, please click the like and subscribe buttons. Thank you for reading the ramblings of an old pipe lover.
Below are some photos of the finished Blends’N’Briars Bulldog.


 (
(


 I took all of the aluminum parts to the buffer and polished the metal using white buffing compound on the flannel wheel dedicated to buffing this the white compound. I neglected to photograph any of this process partly out of the embarrassment caused by the oxymoronic black colored white compound wheel and partially/mostly because I forgot to. At this stage in a restoration I find it very helpful to go fishing during the half hour before and after sunset. This vital break allowed the CA the curing time it needed and me a break from sitting on my lazy butt.


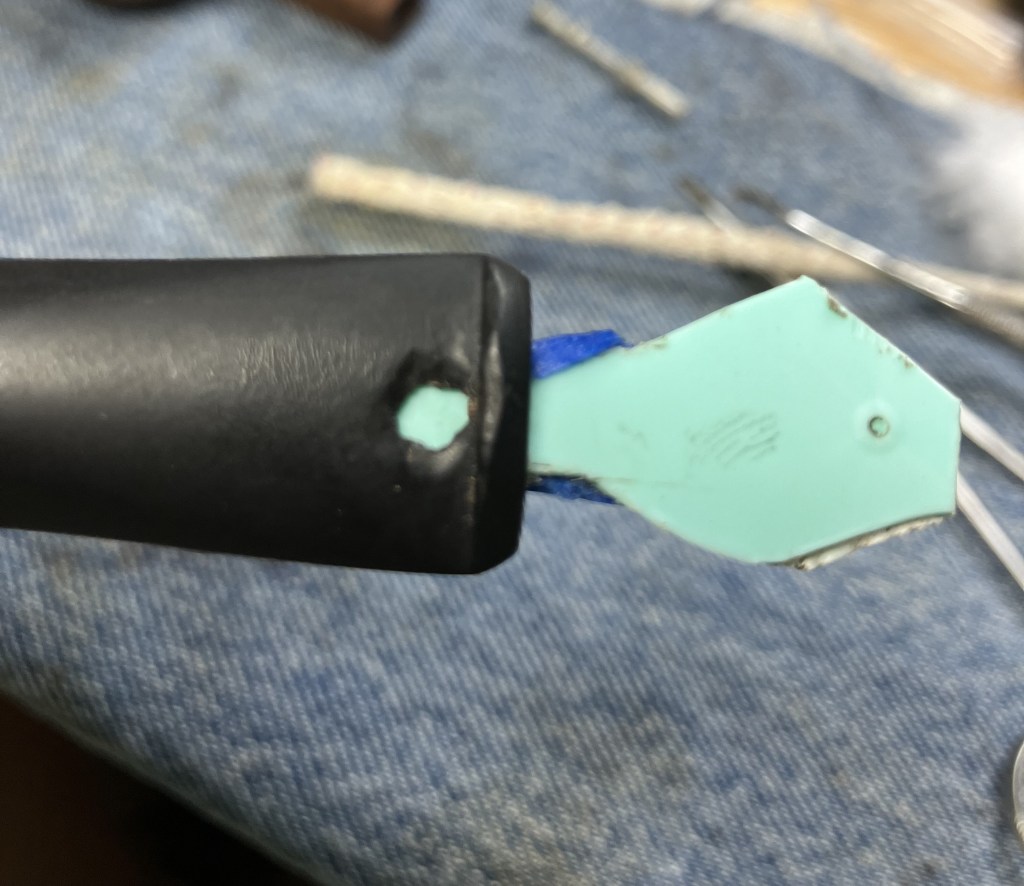
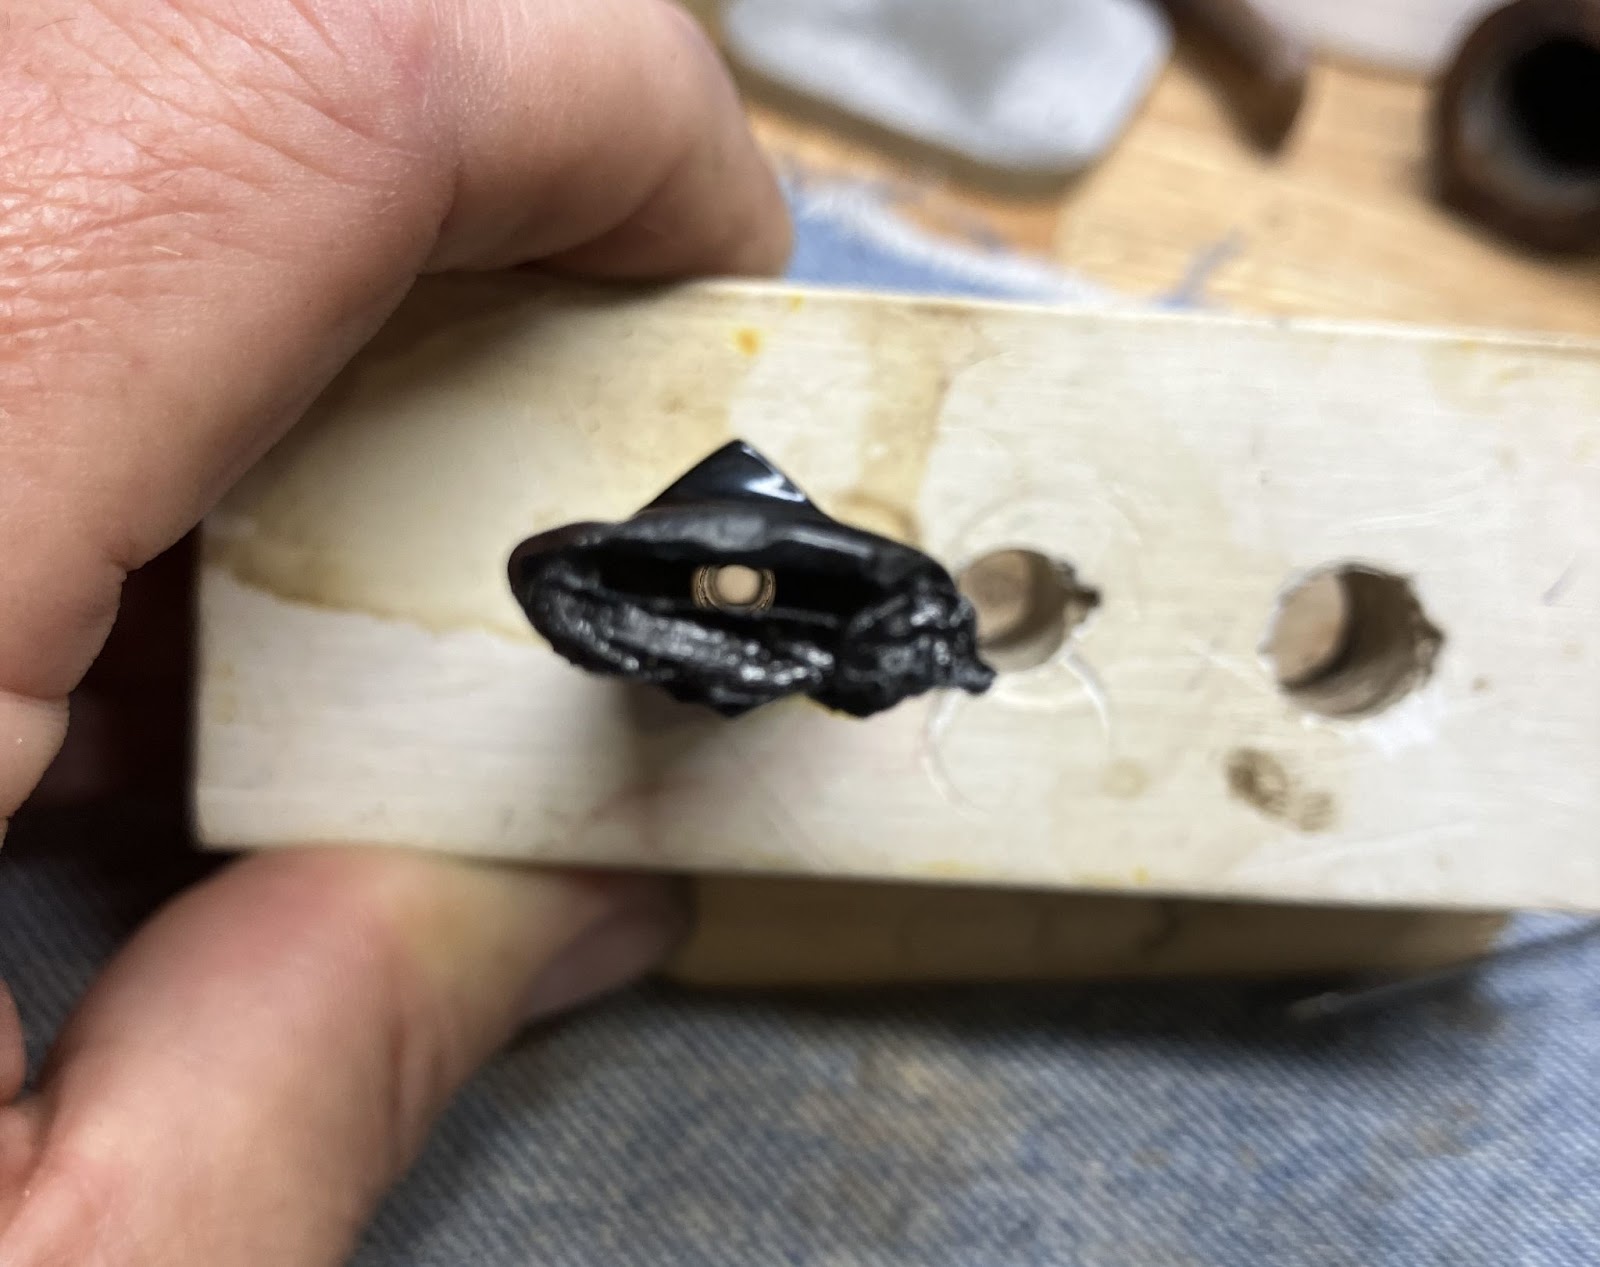
 I reattached the stem and tried the draw. Yikes! There was barely any airflow. I pulled the stem and tried it. The stem was clear. I looked into the mortise.


