
Photographed and written by
John M. Young
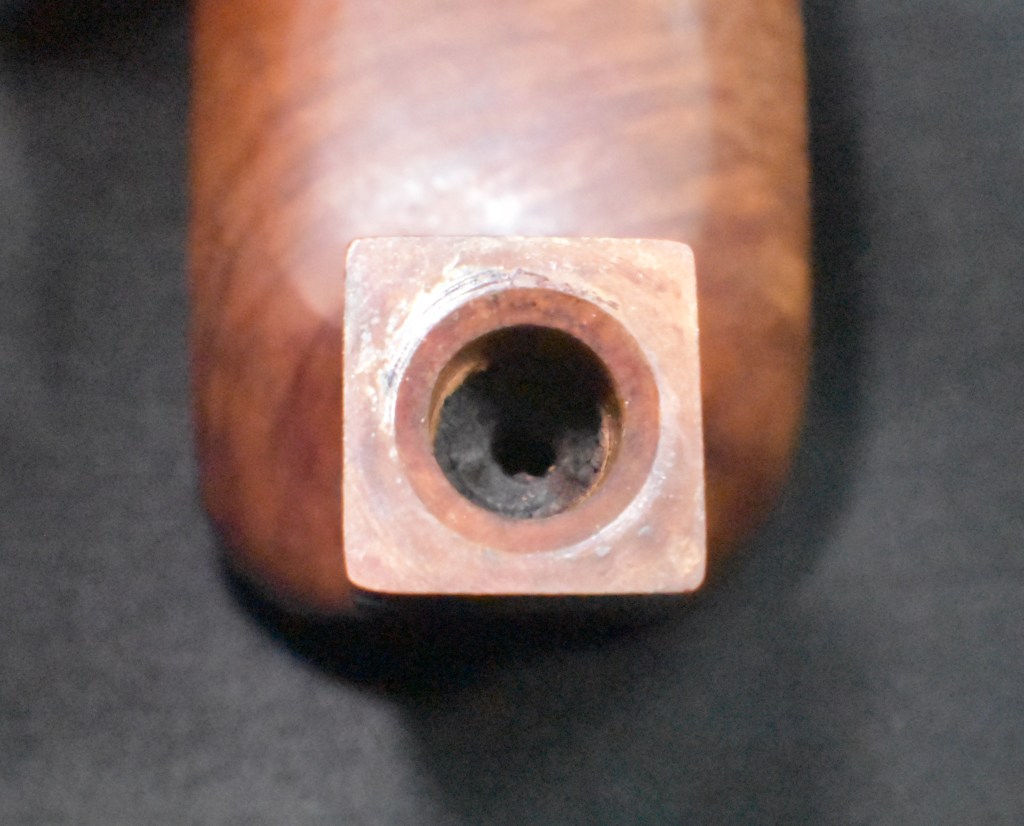
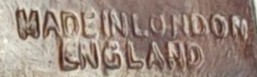
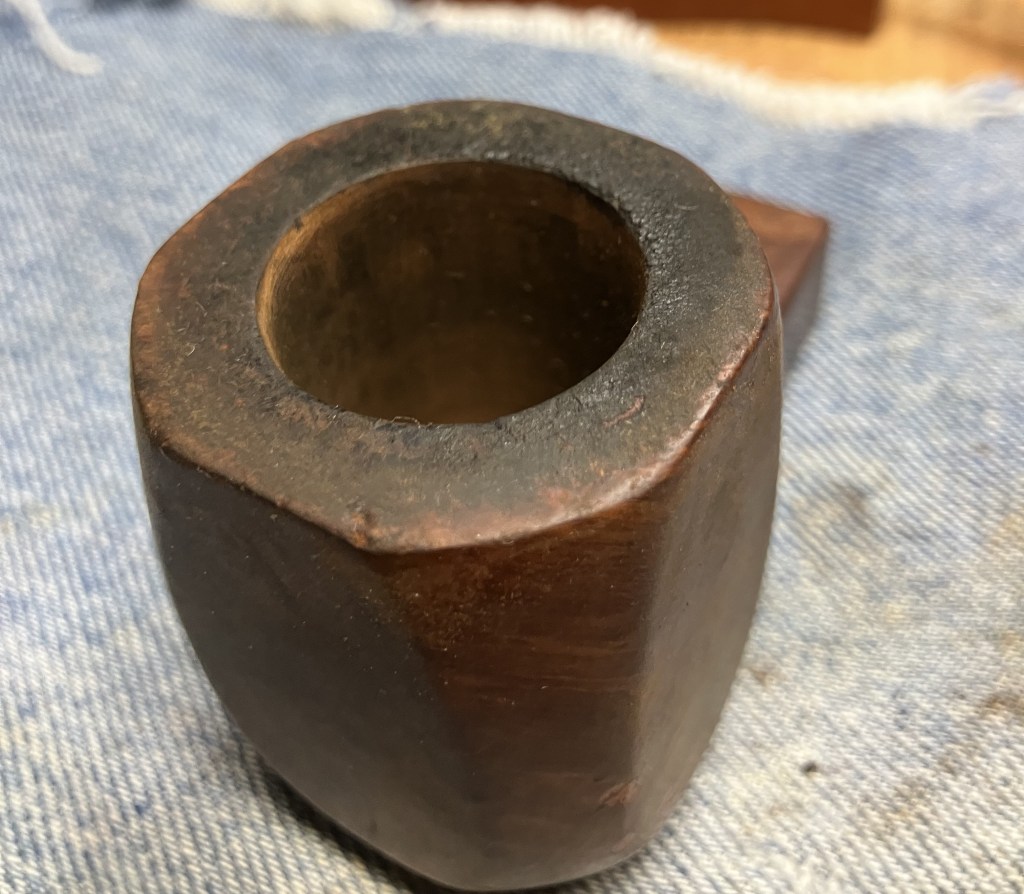
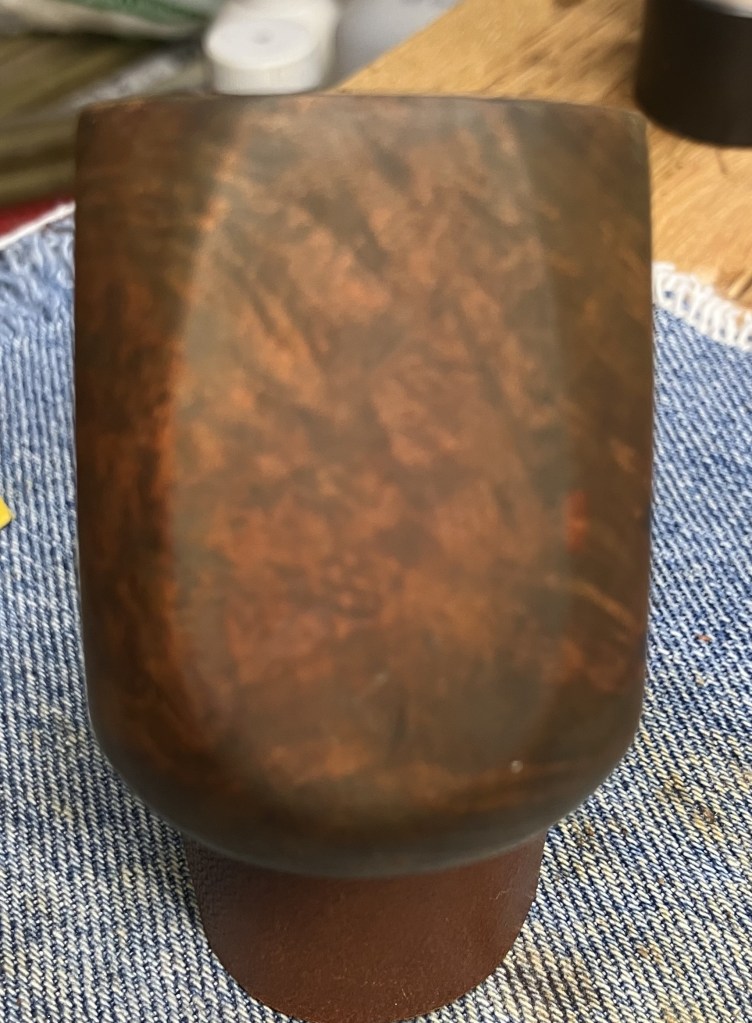
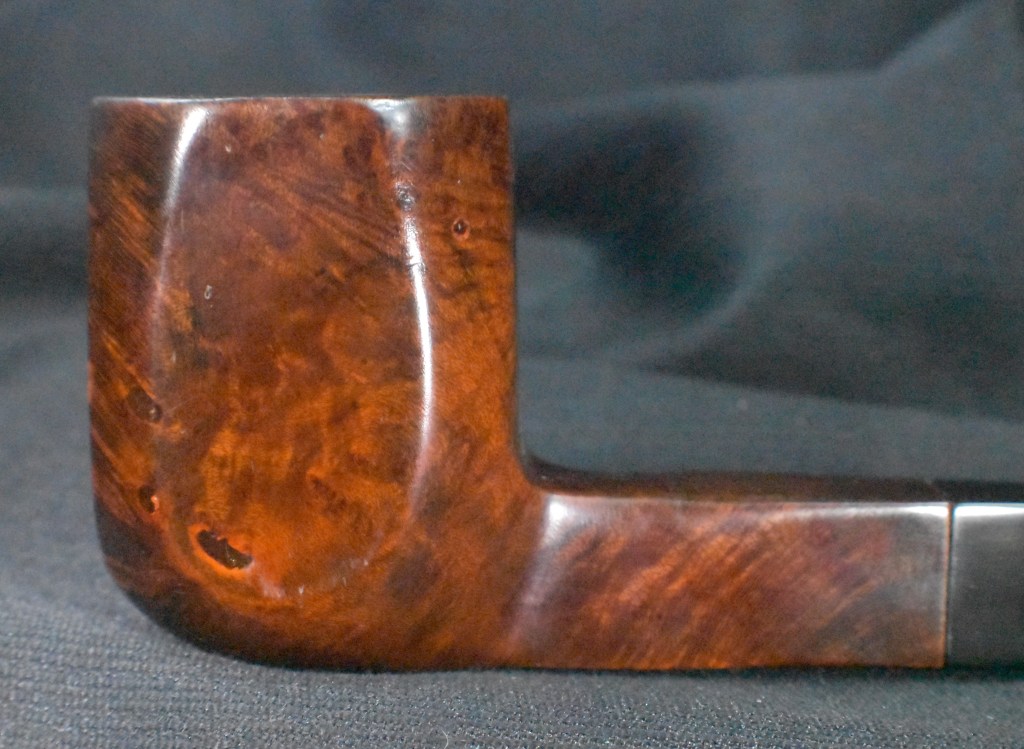
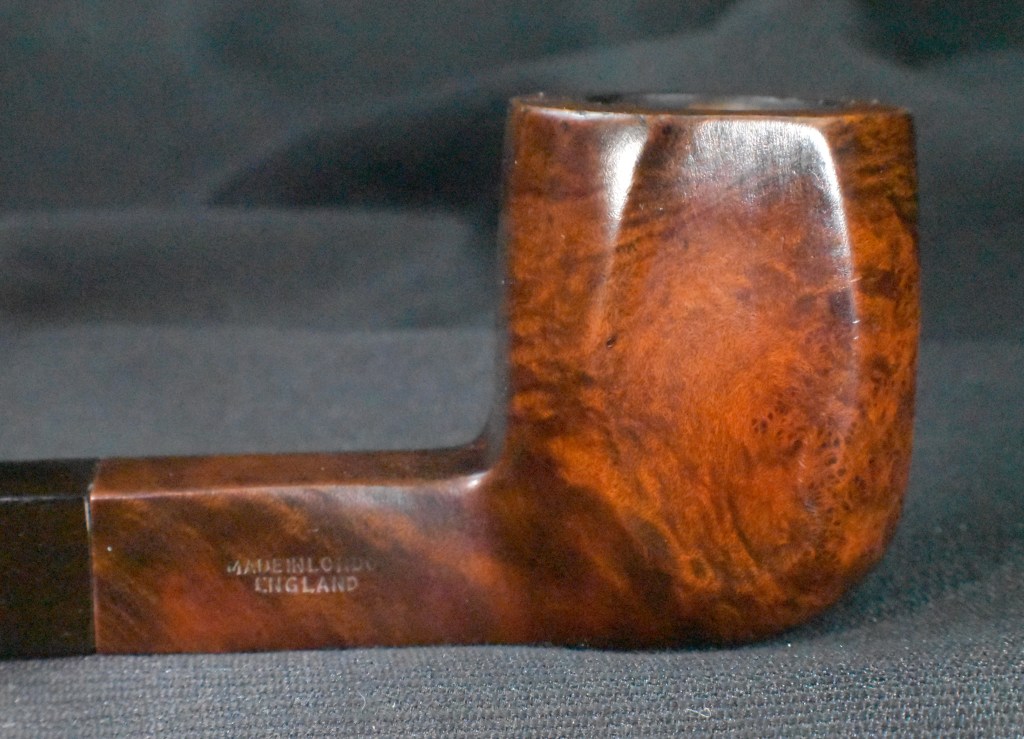
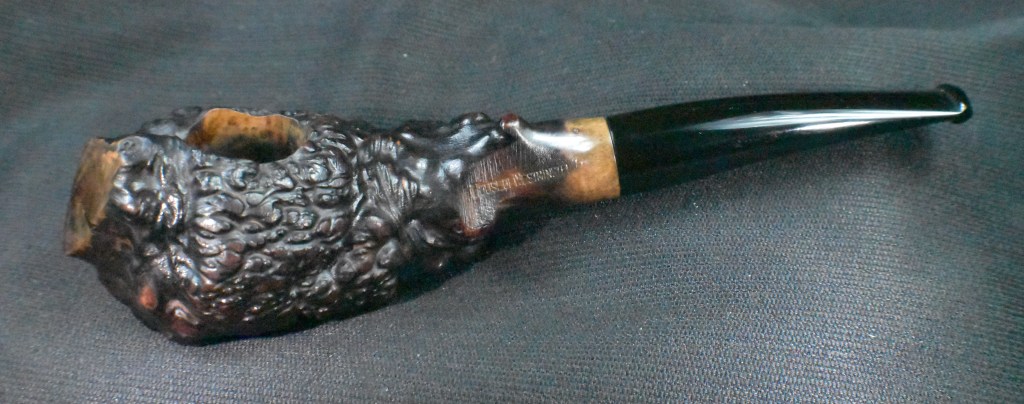
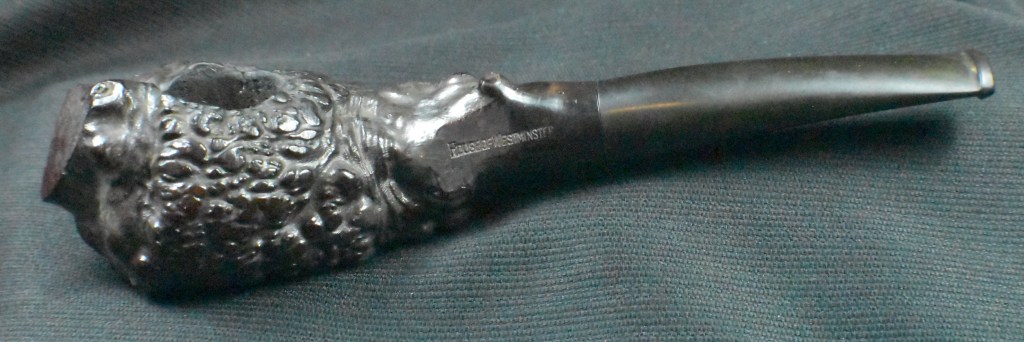
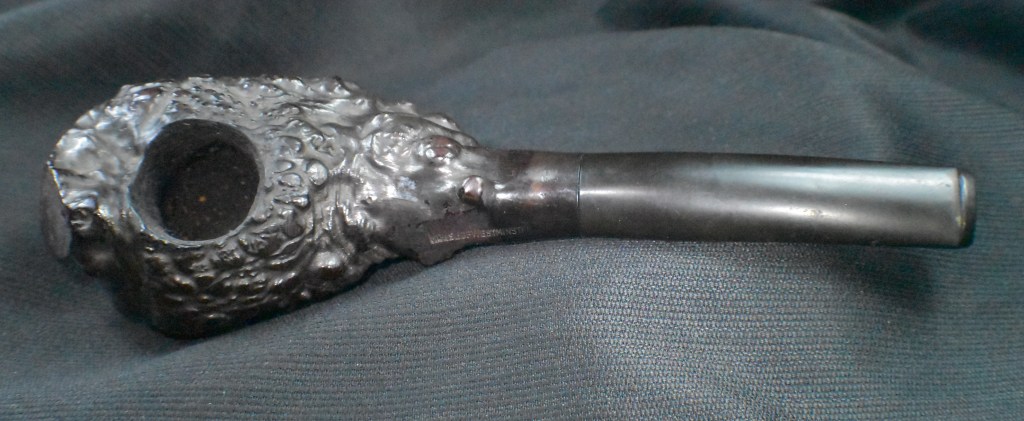
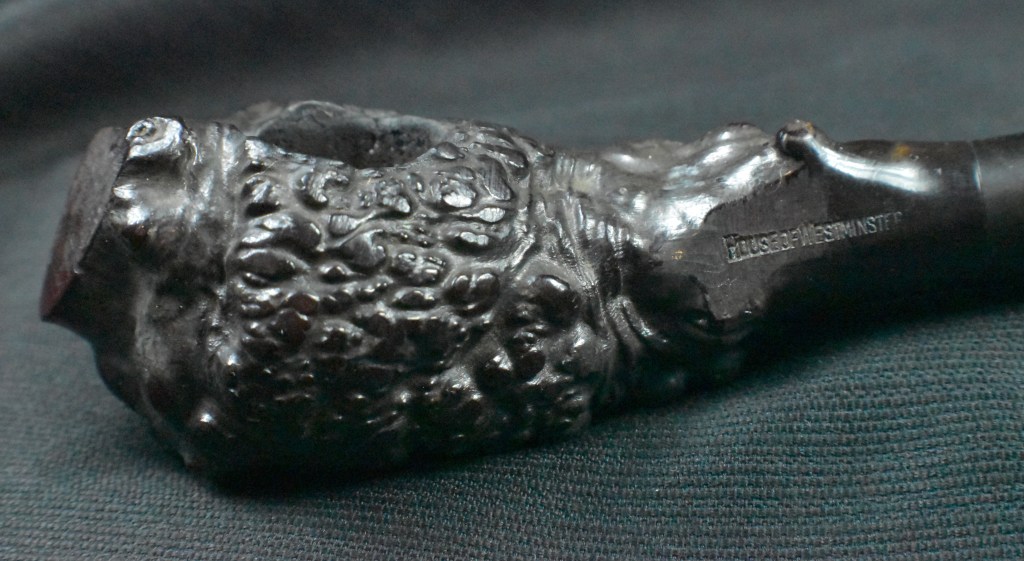
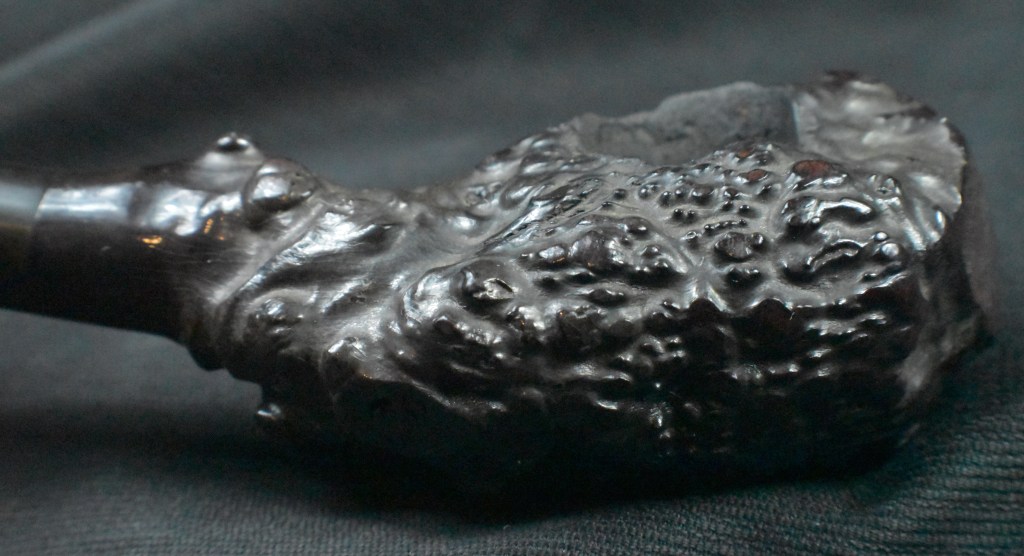
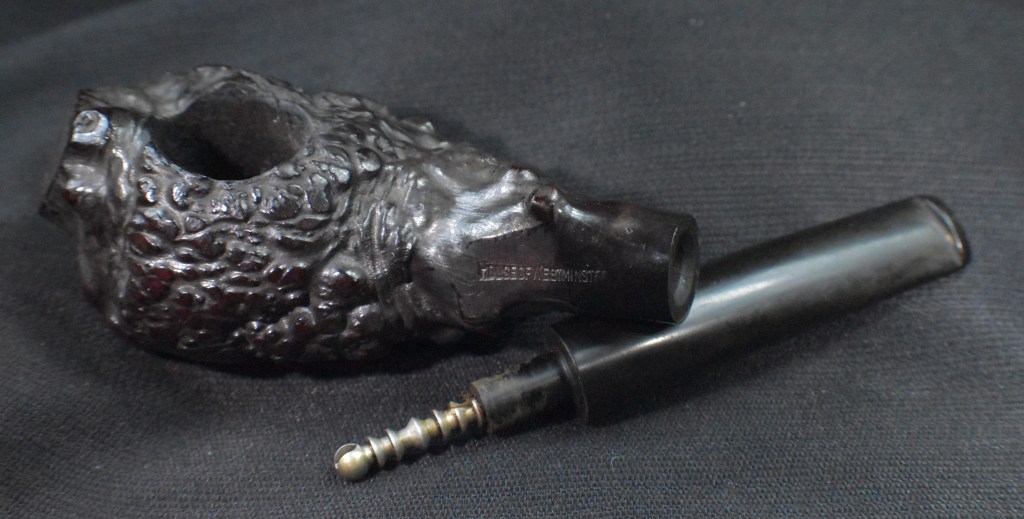
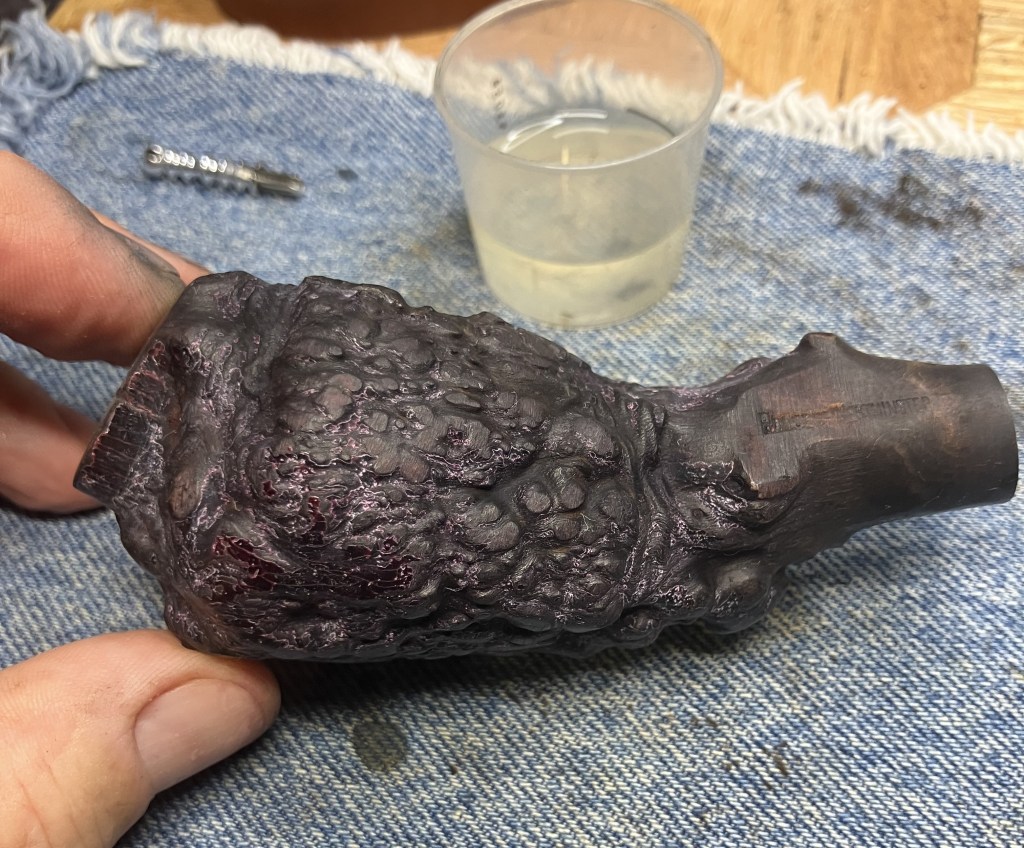
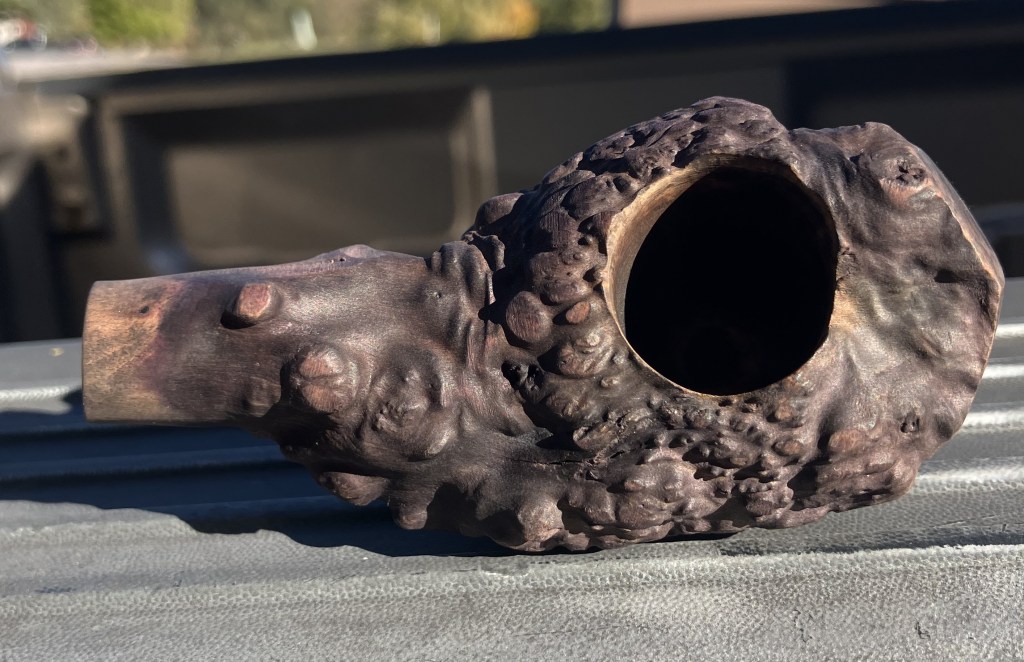
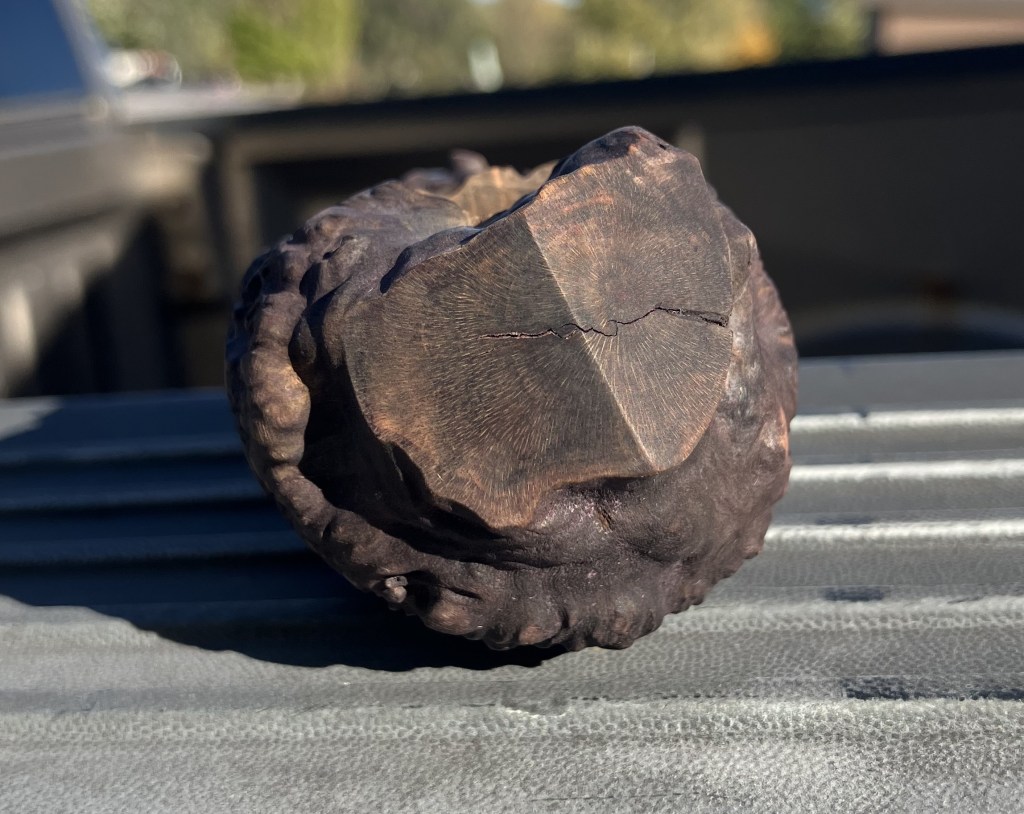
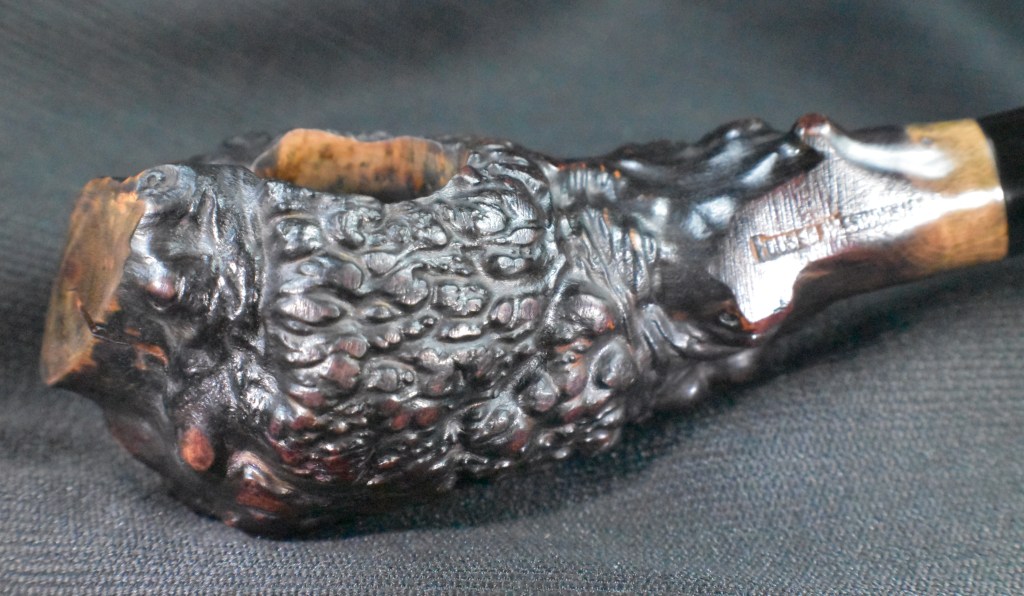
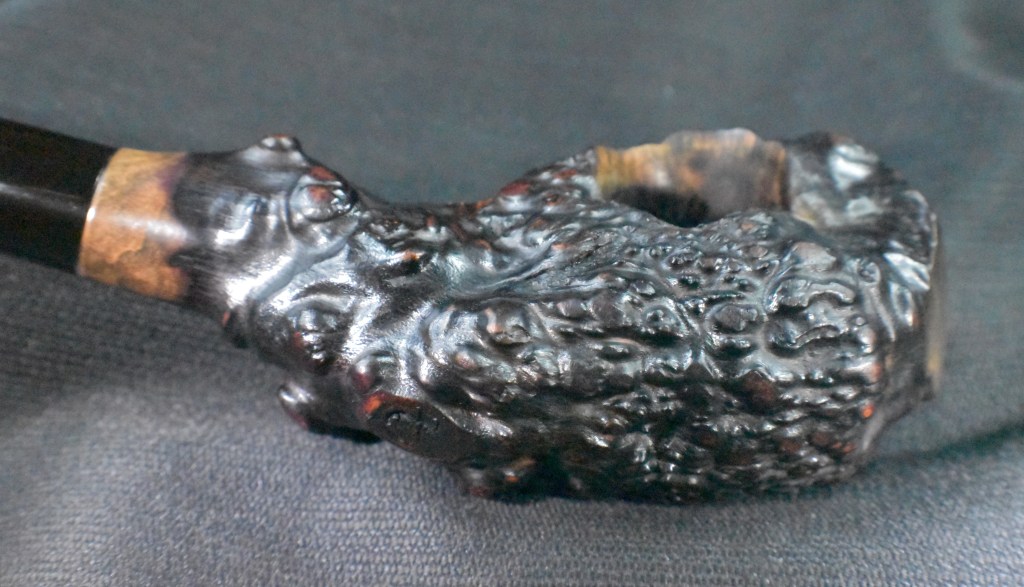
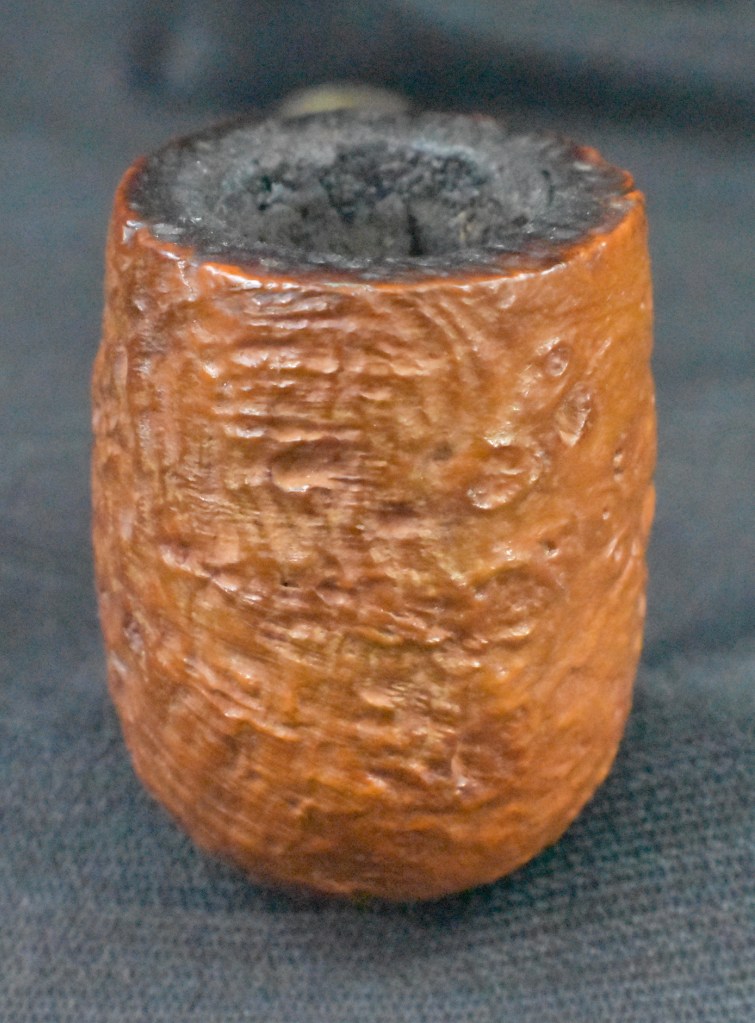
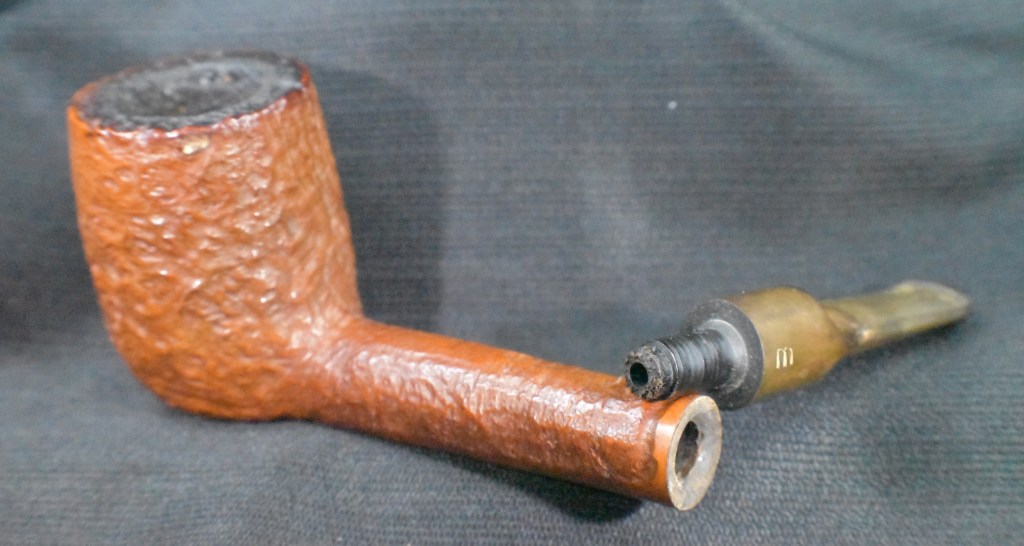
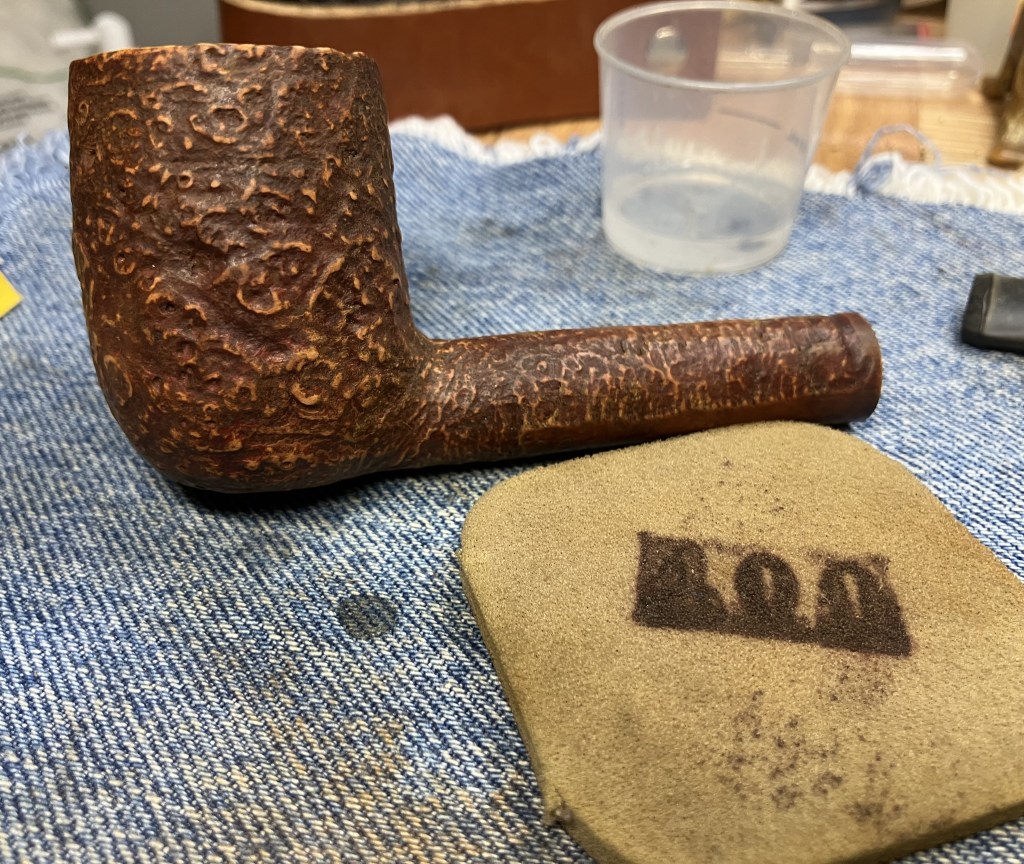
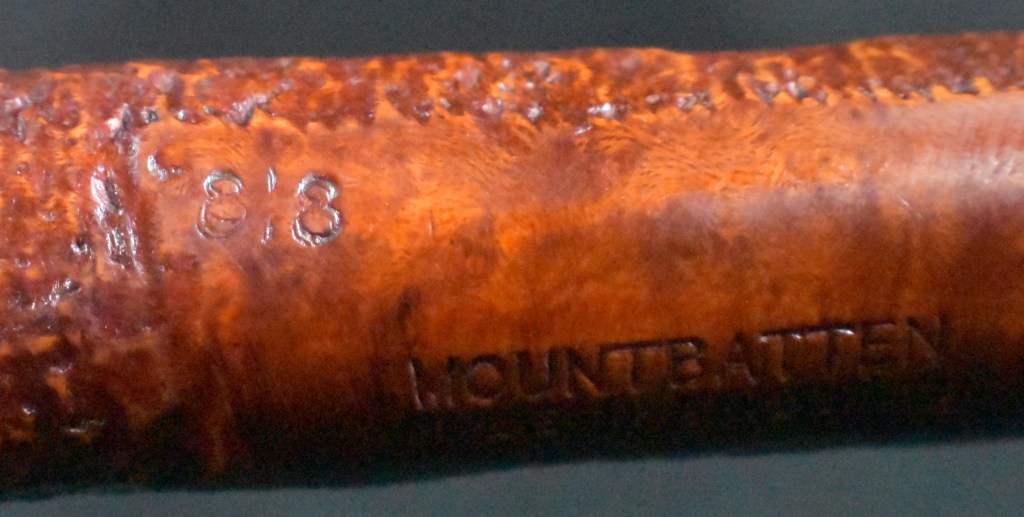
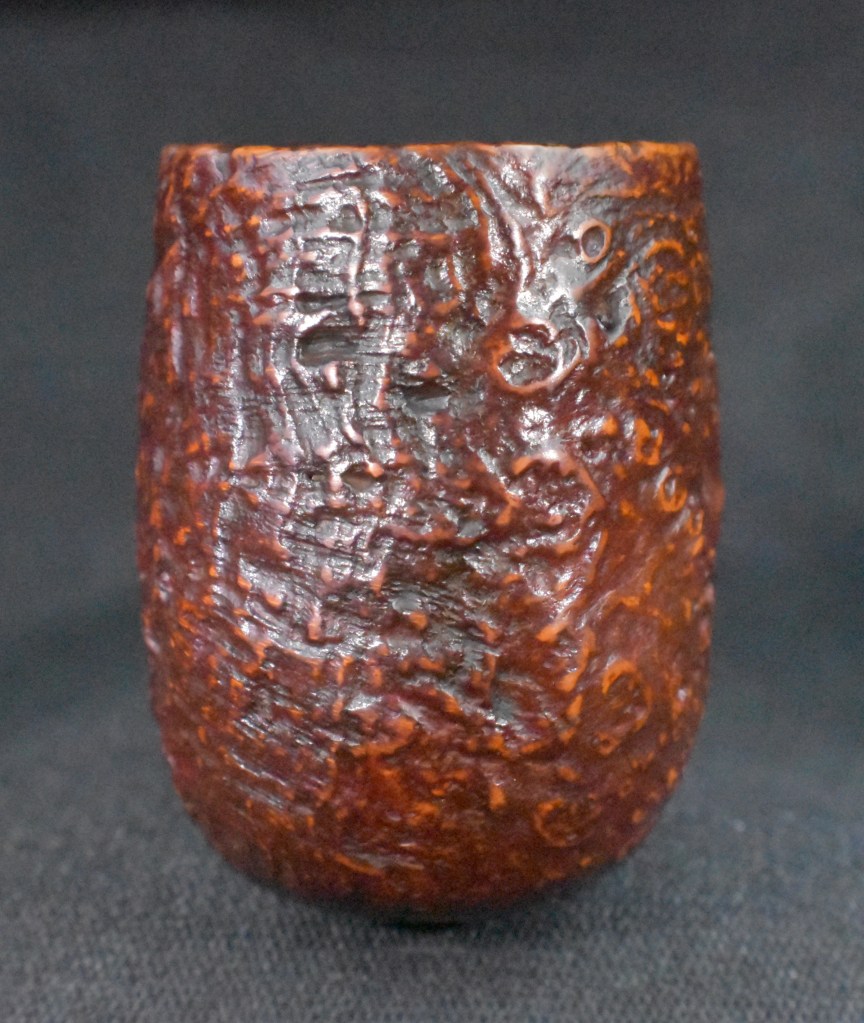
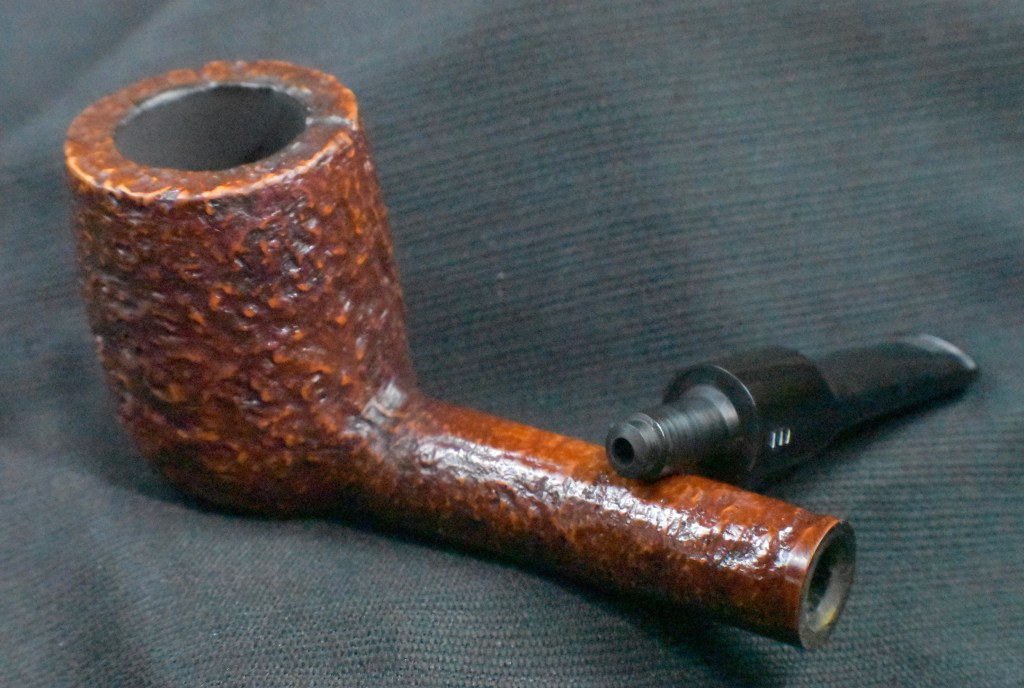
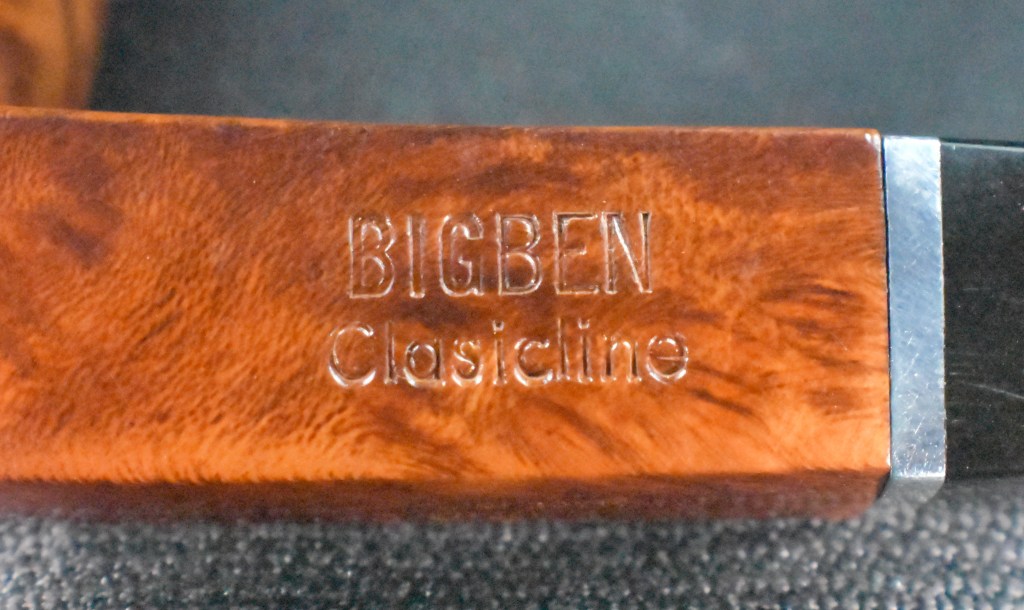
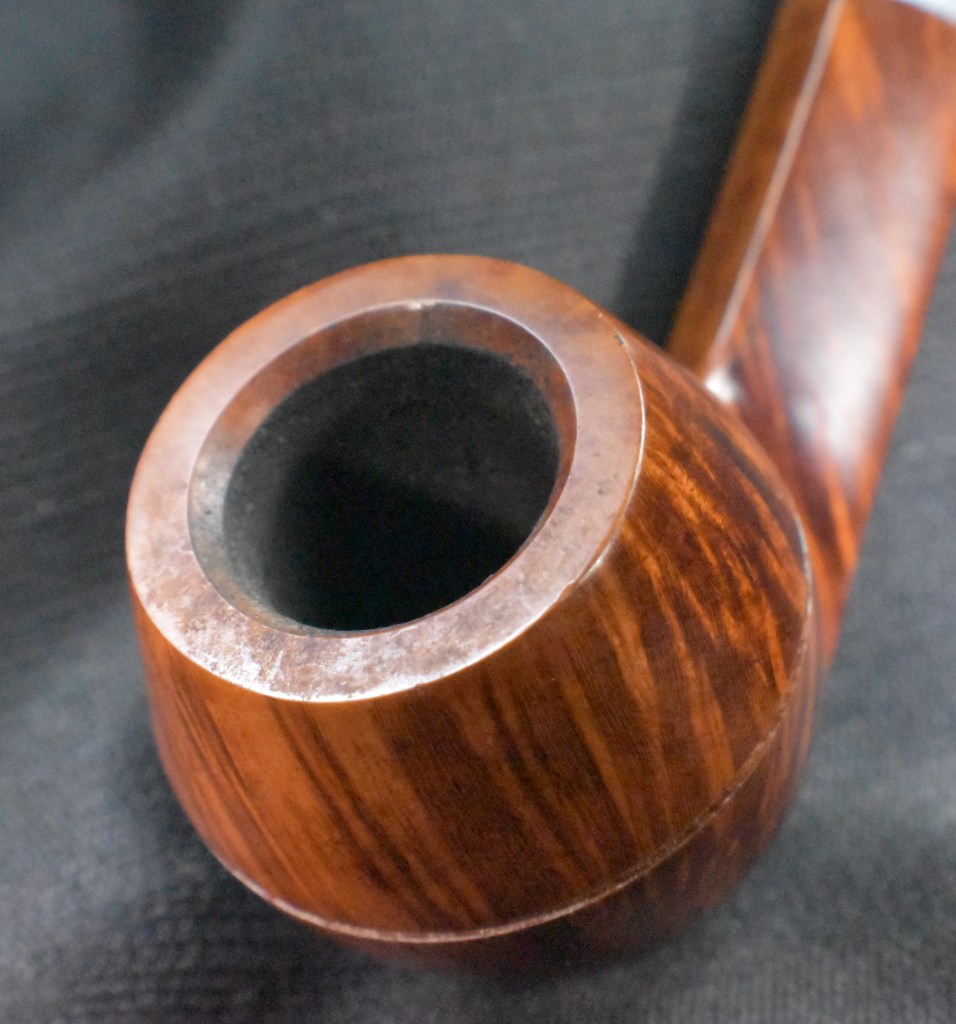
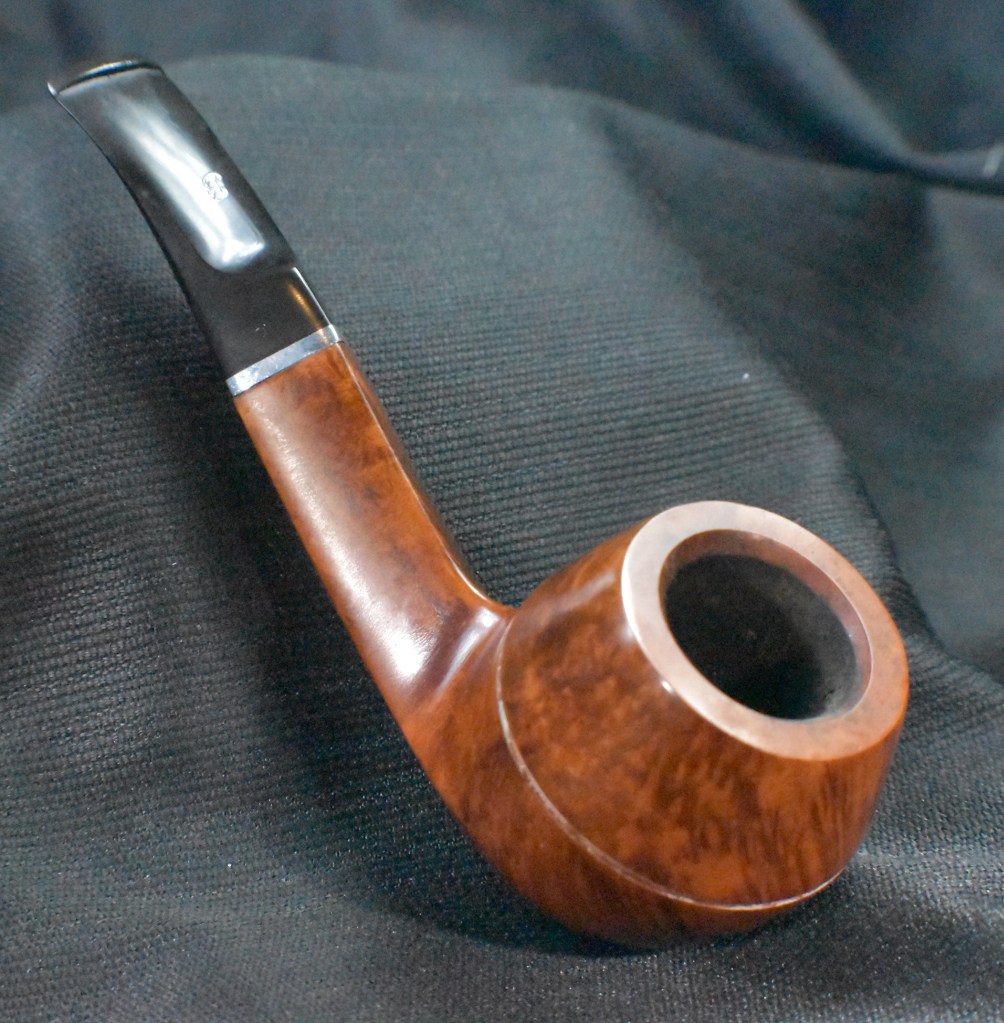
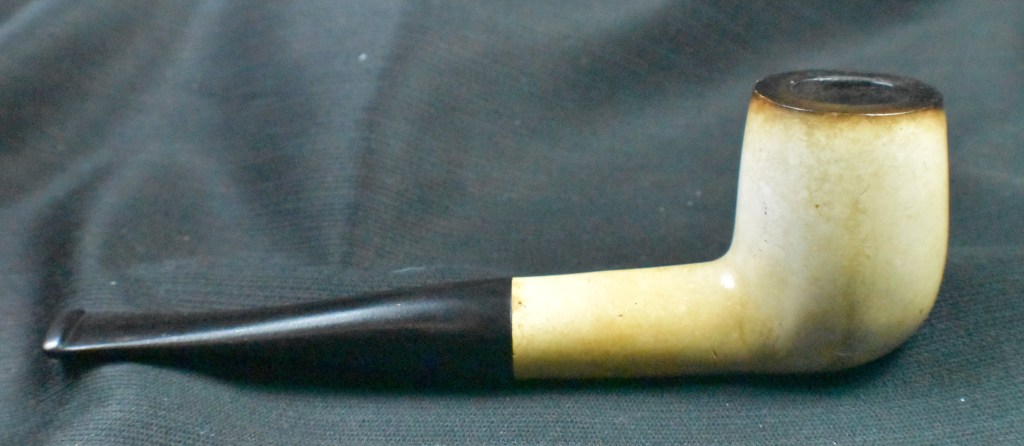
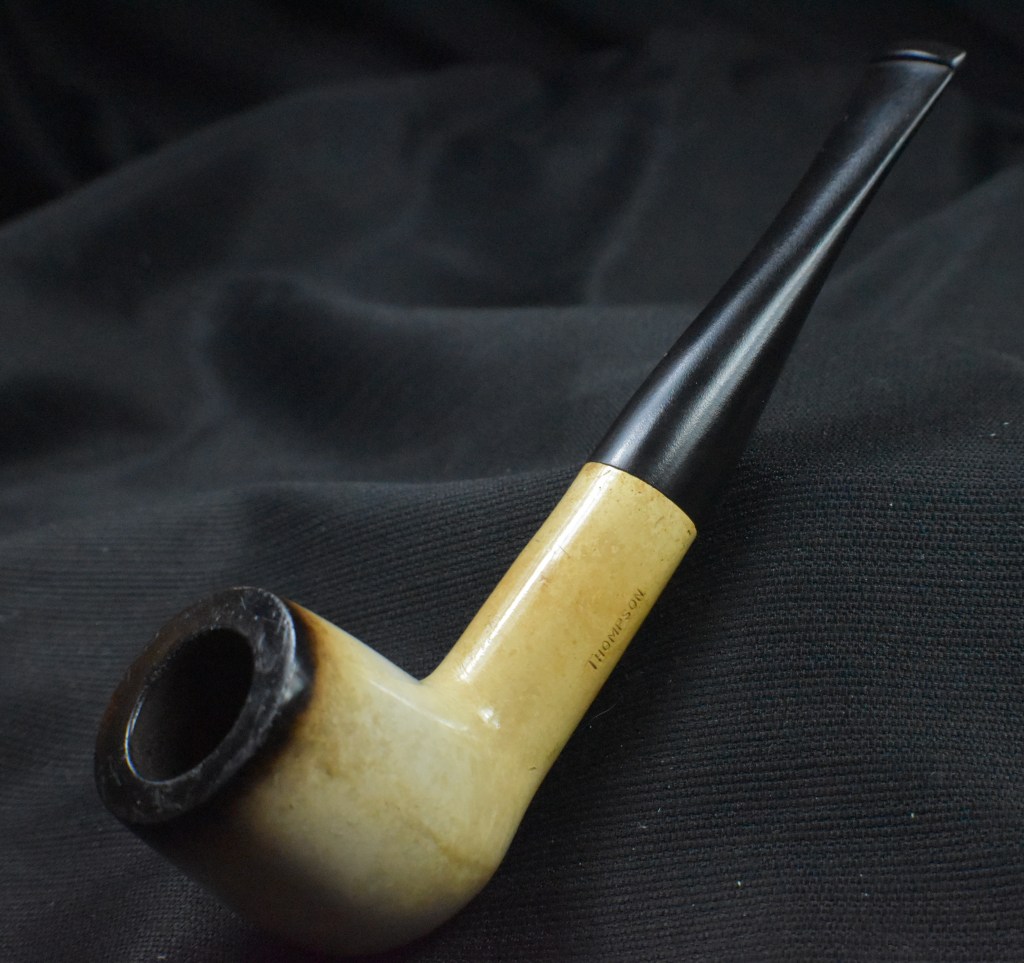
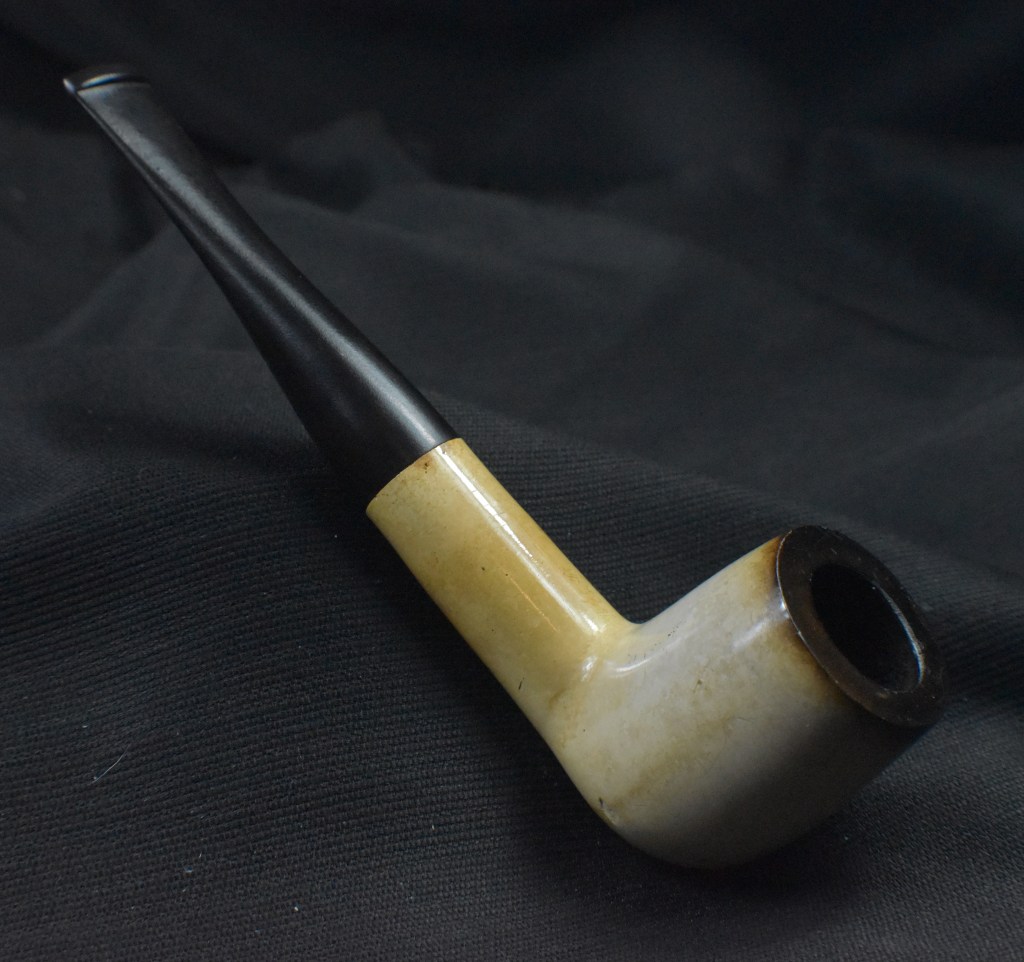
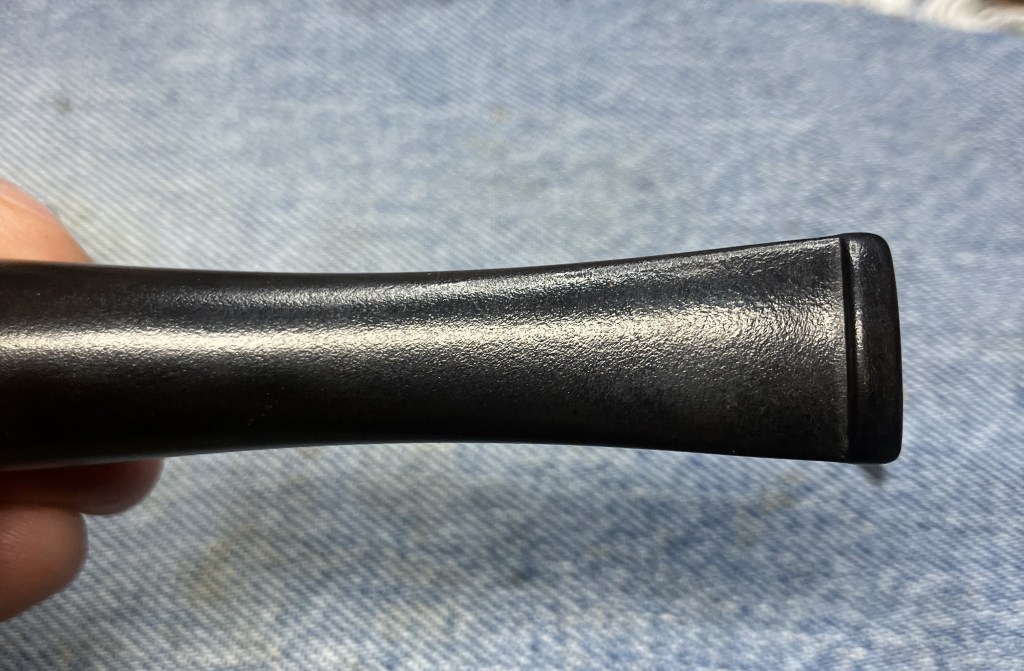
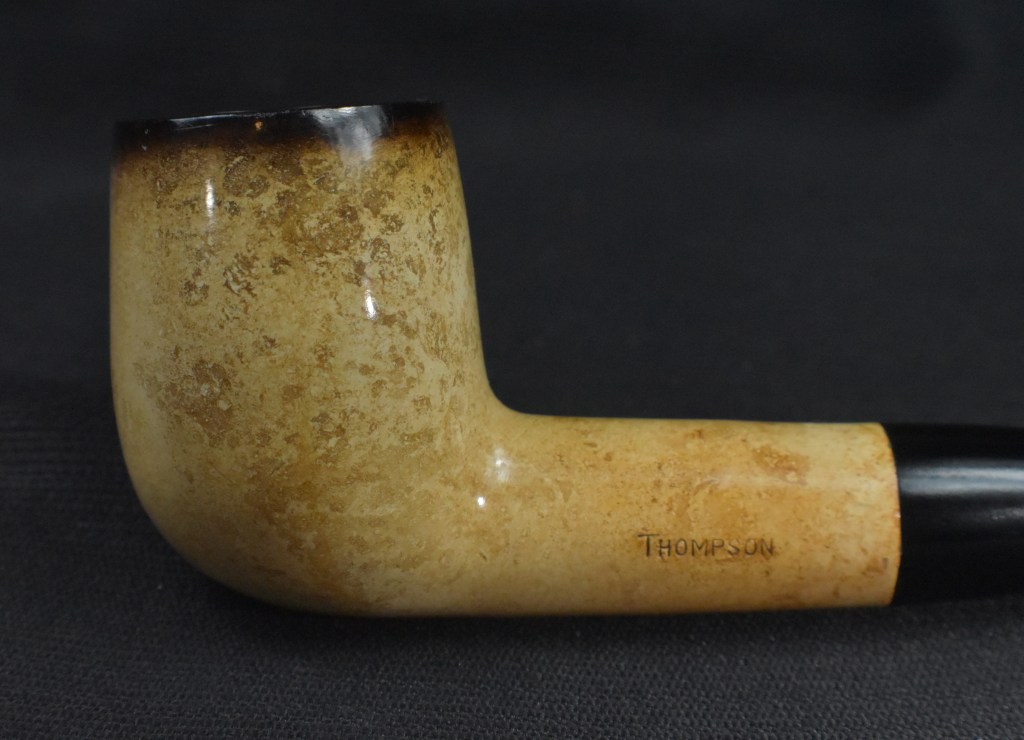
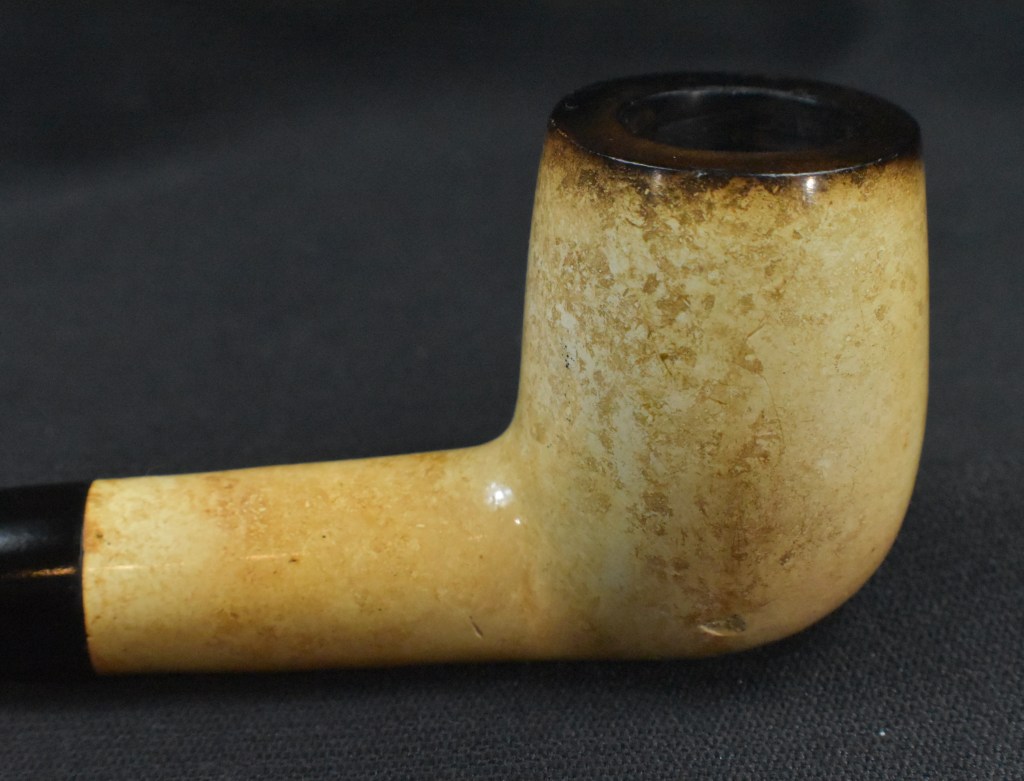
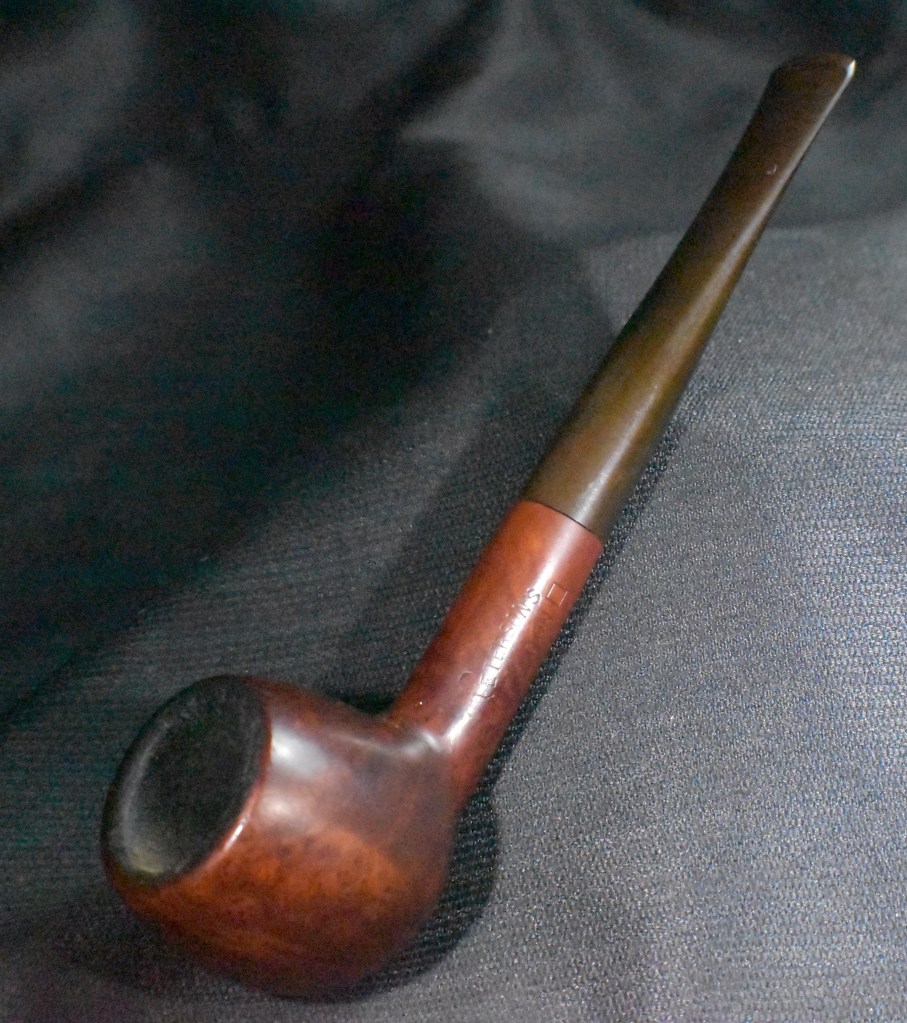
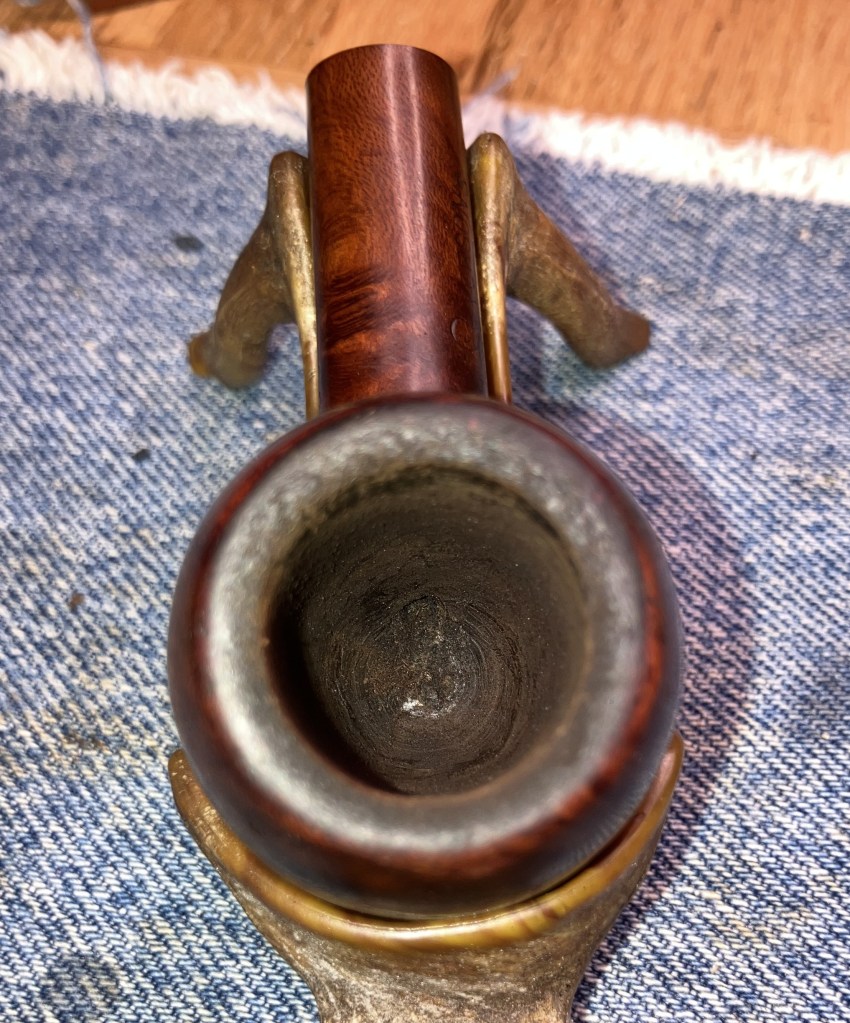
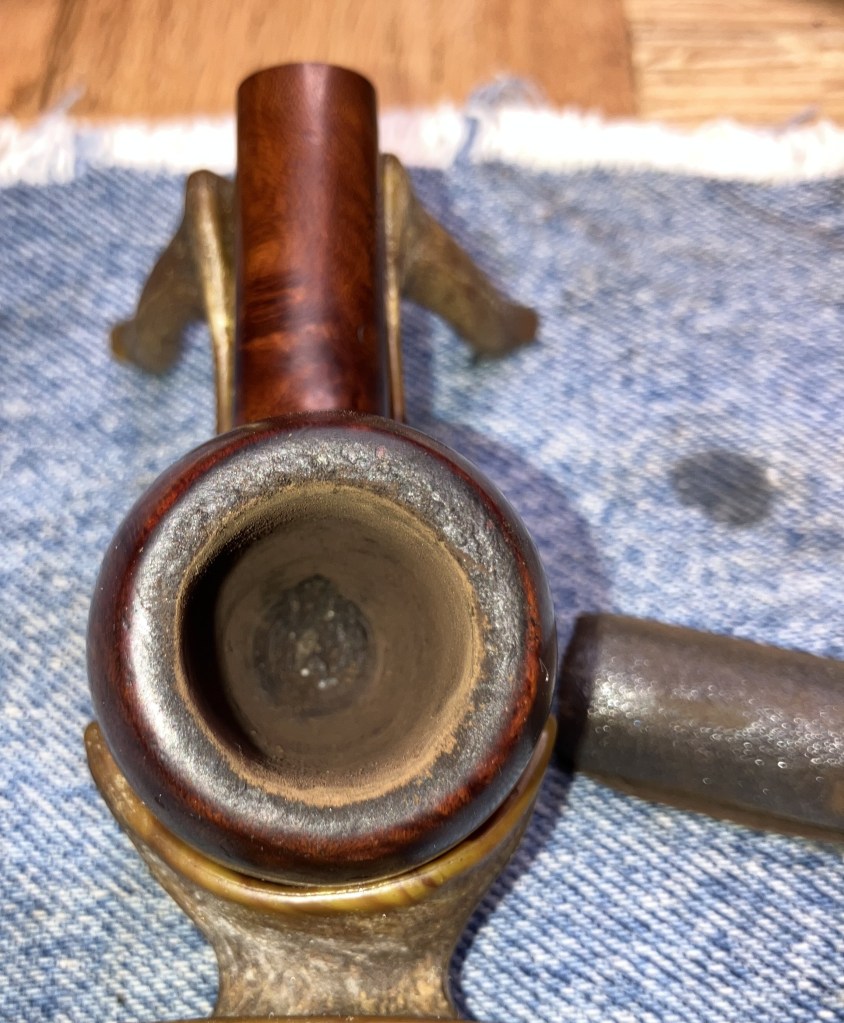
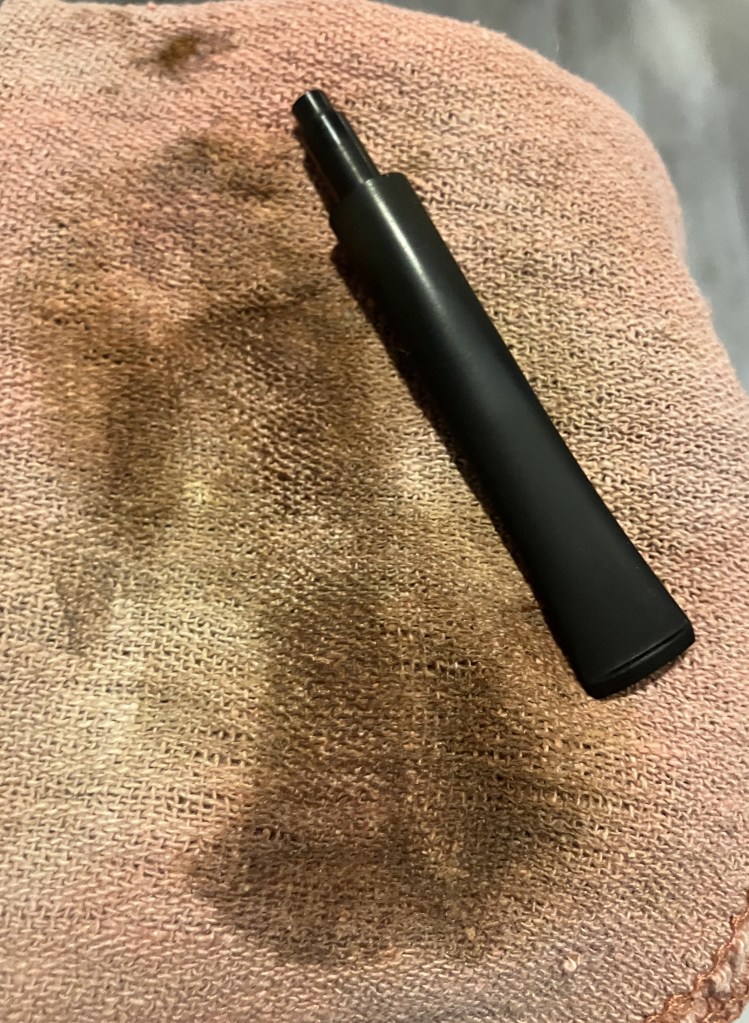
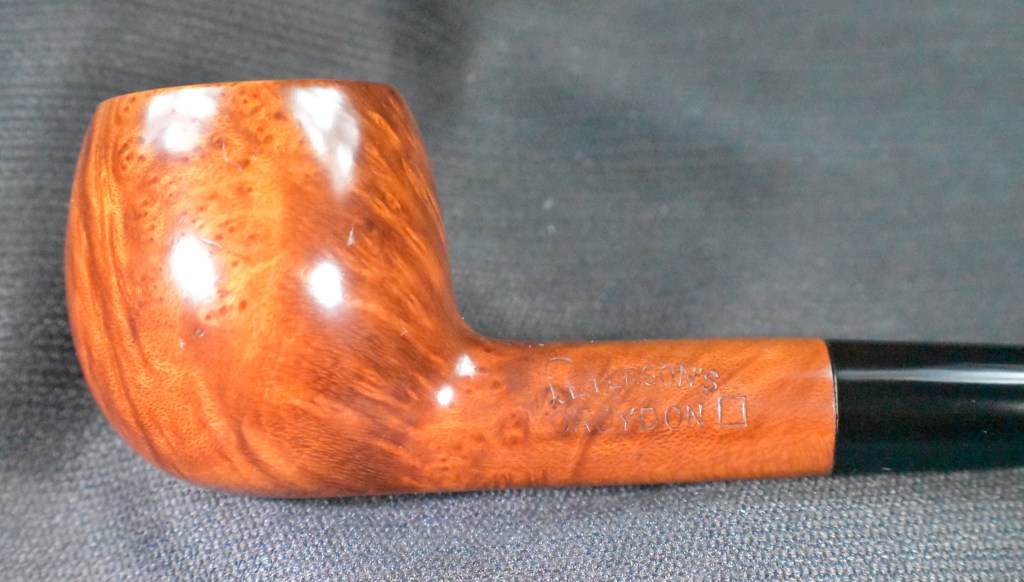
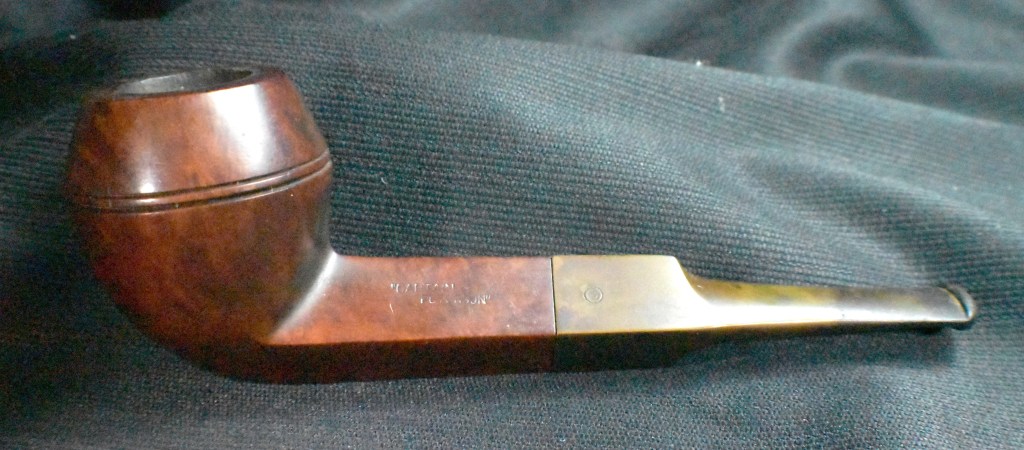
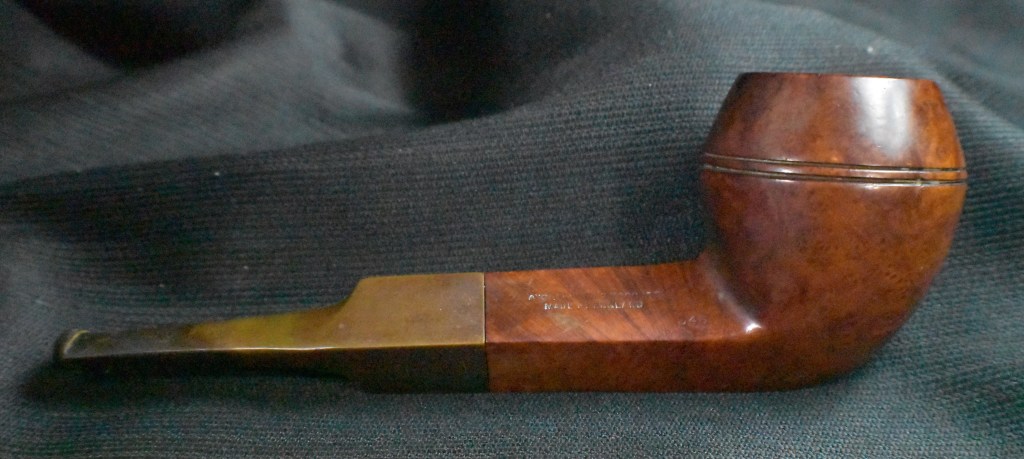
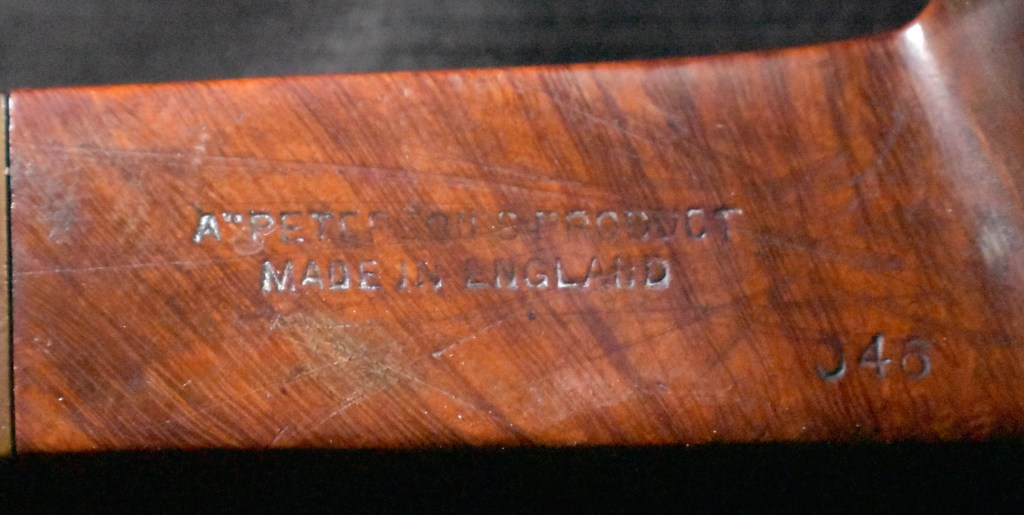
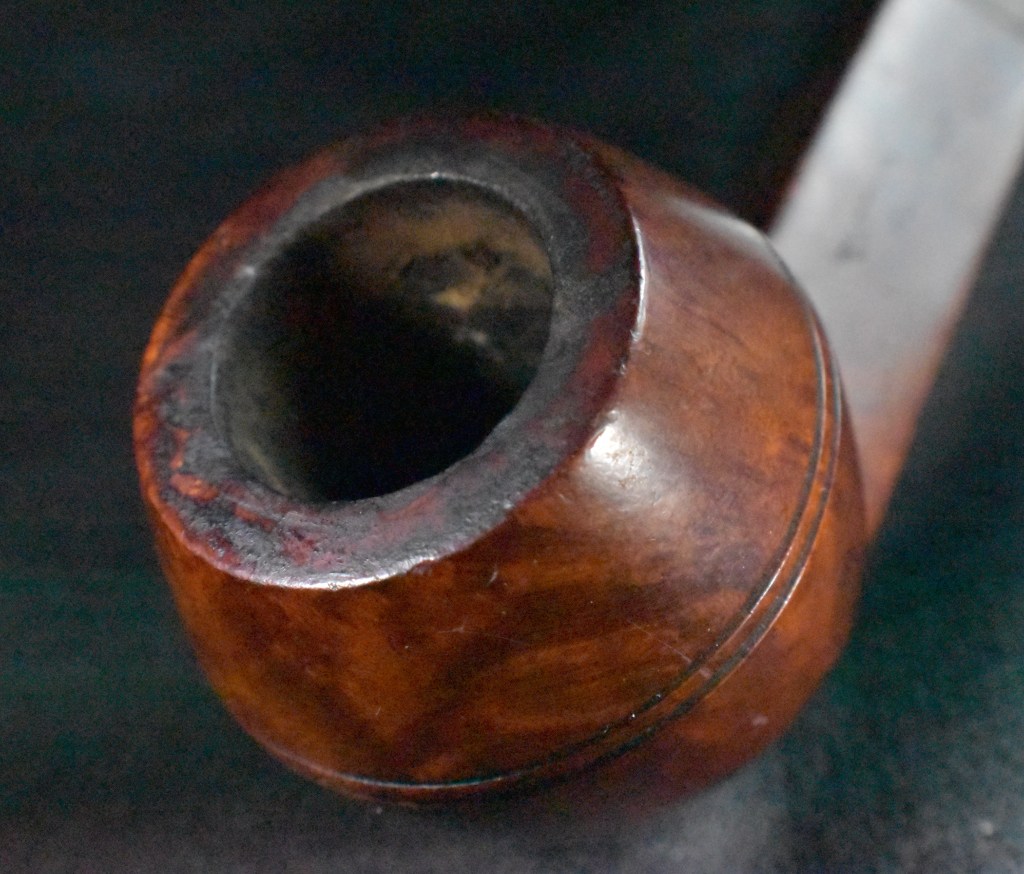
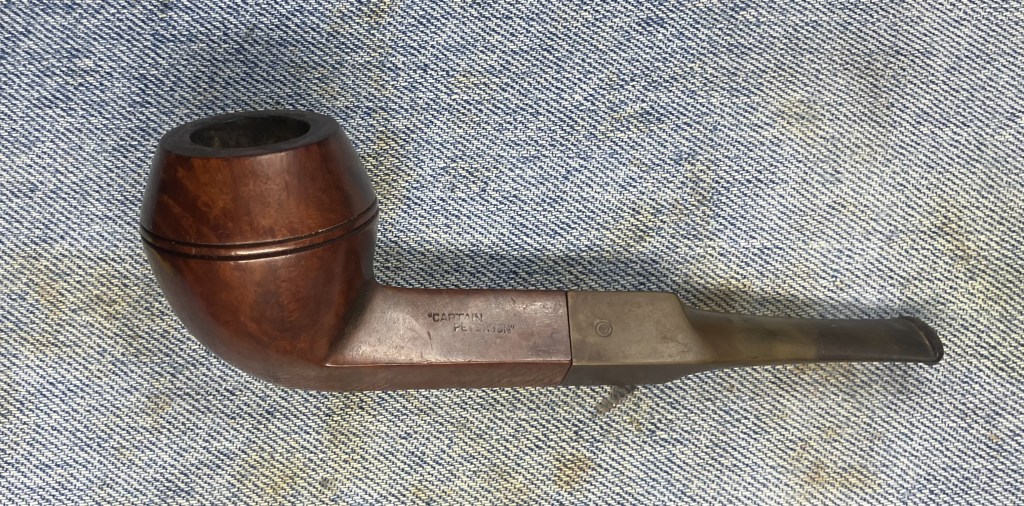
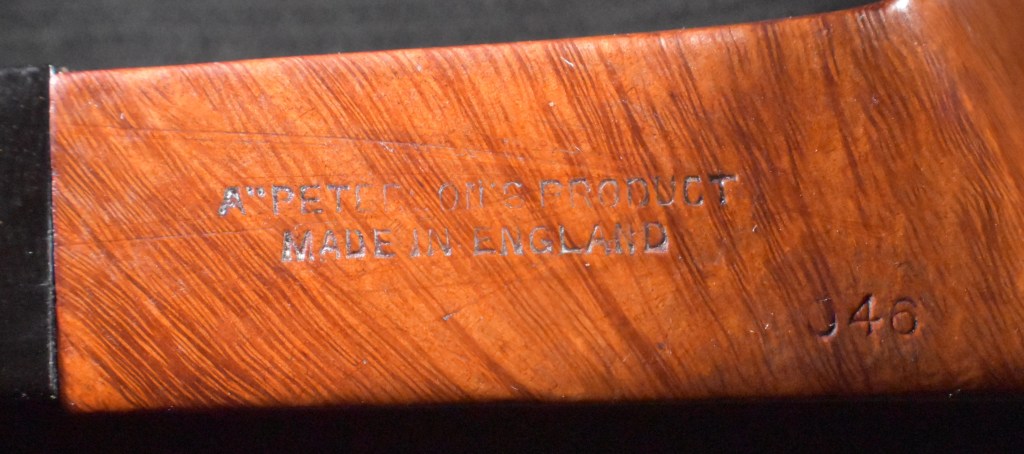
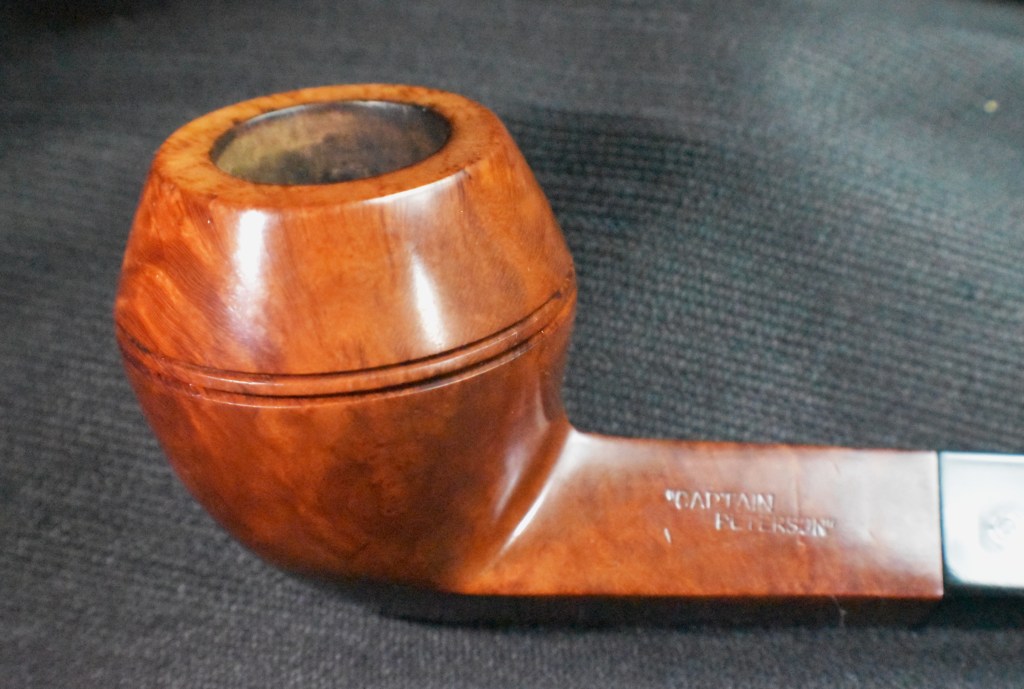
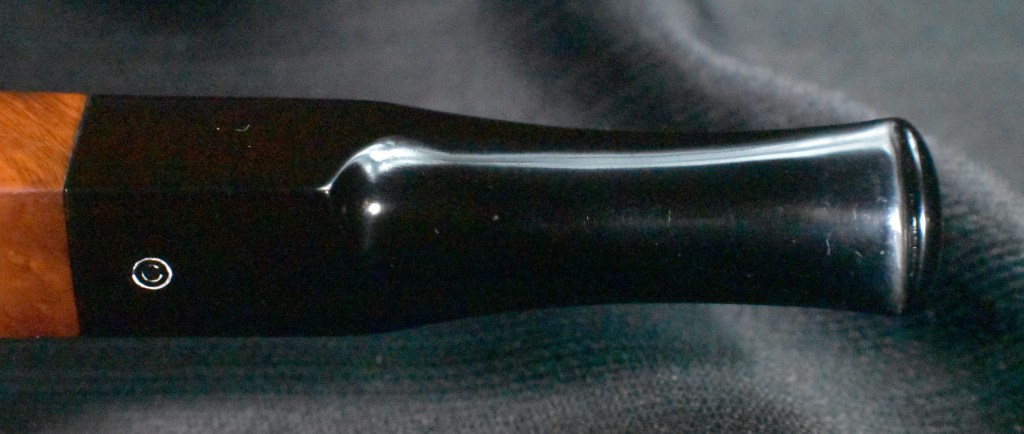
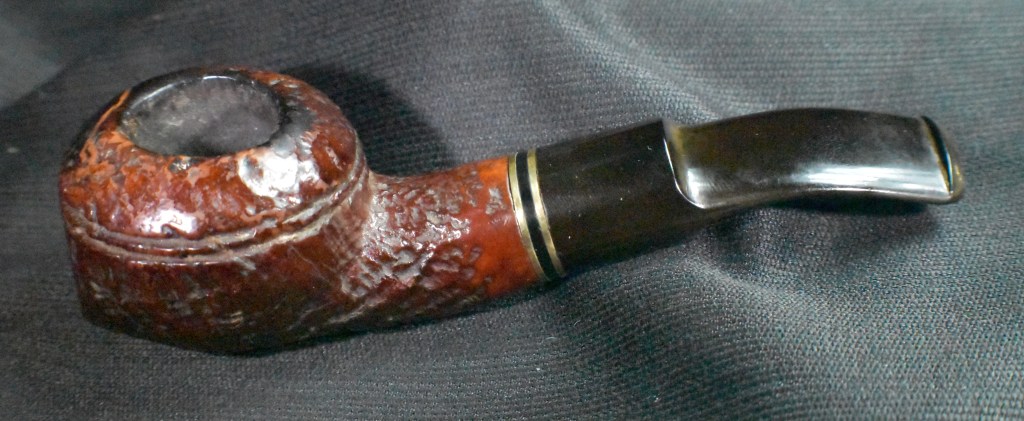
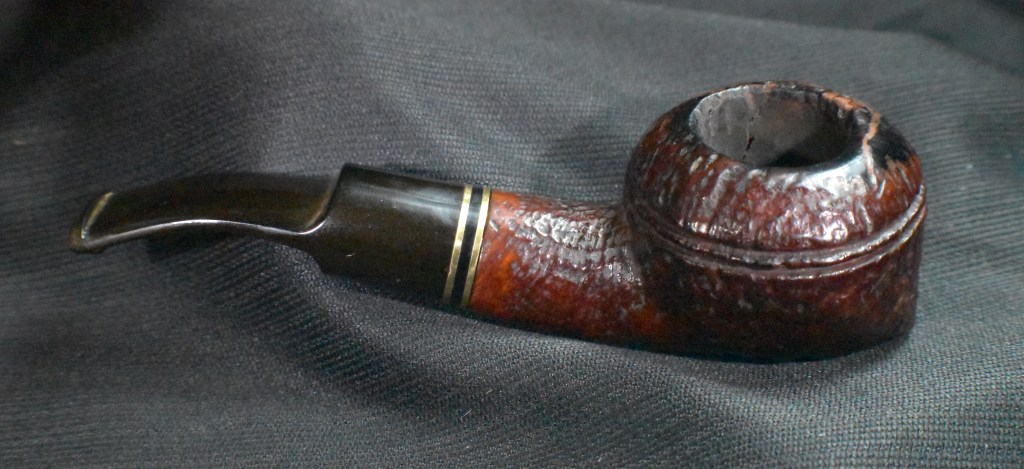
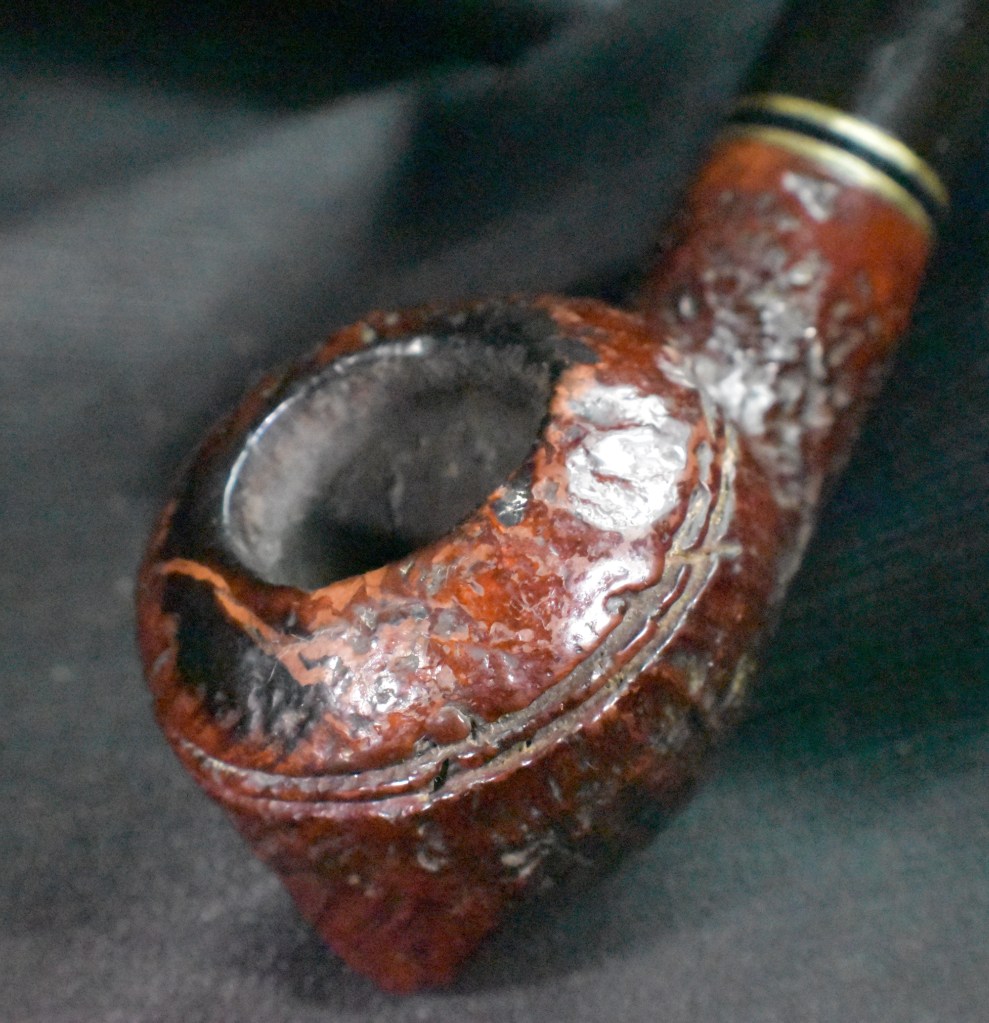
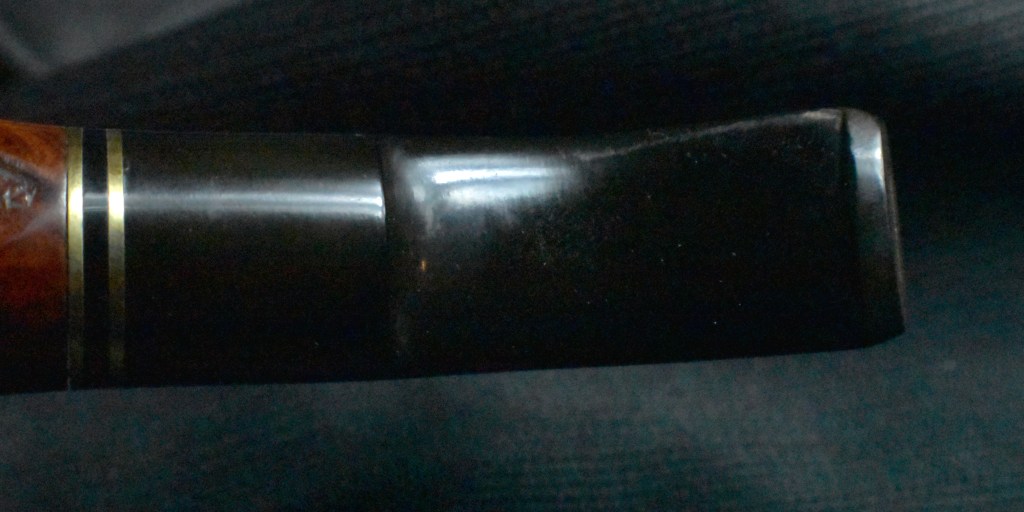
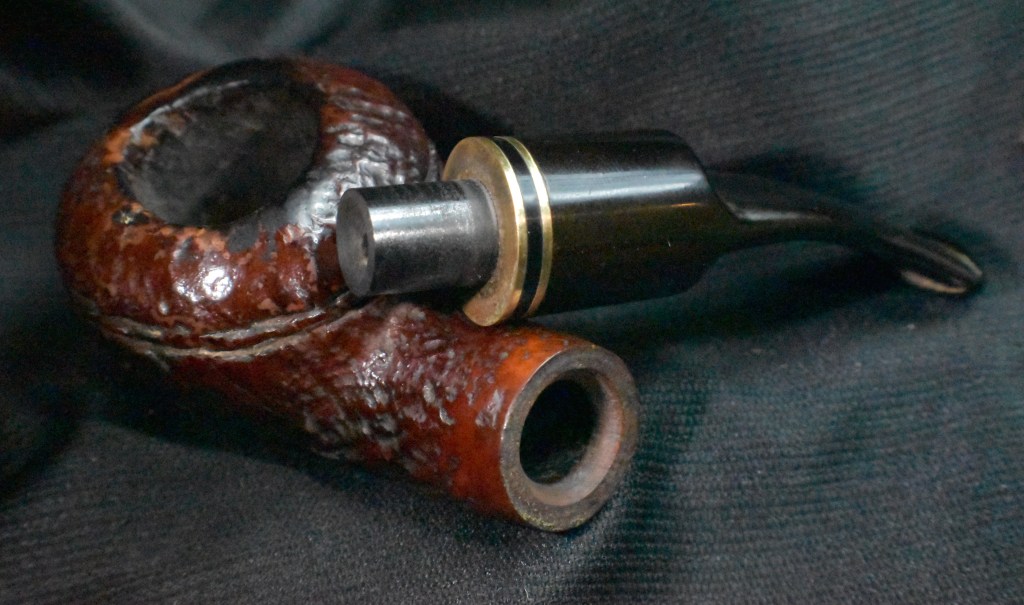
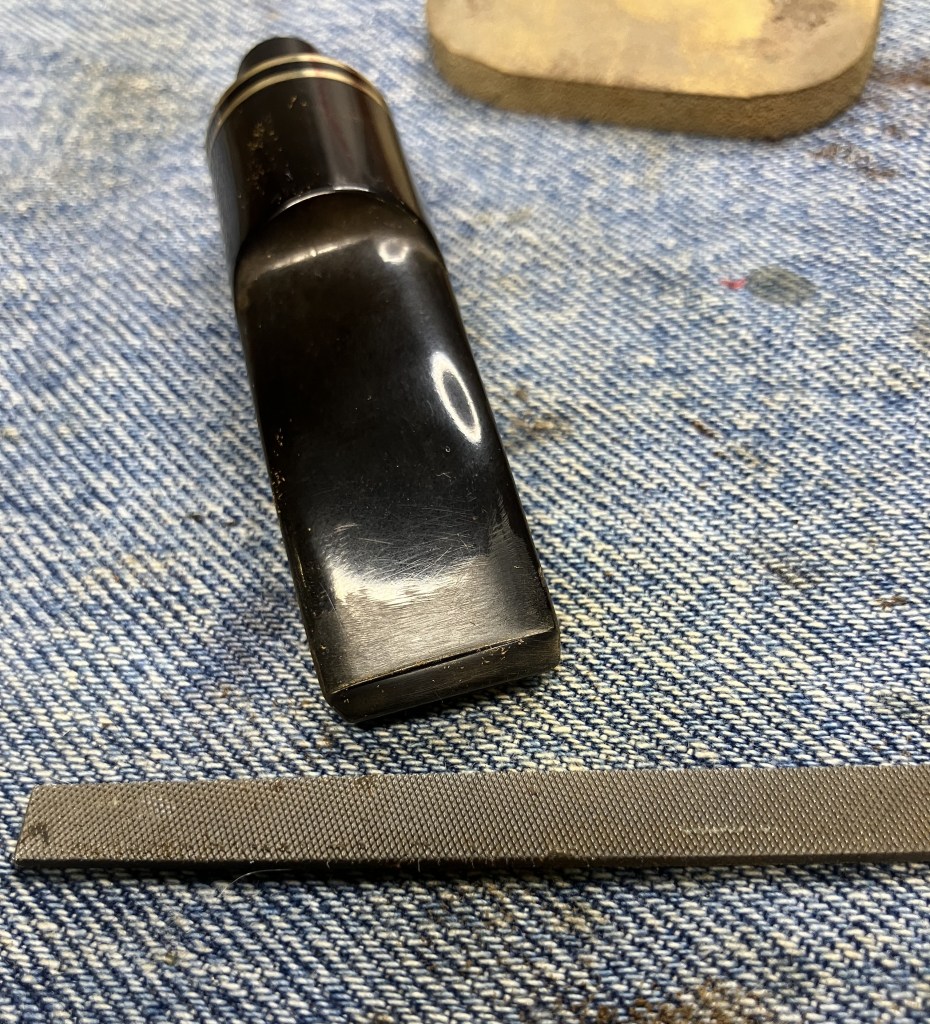
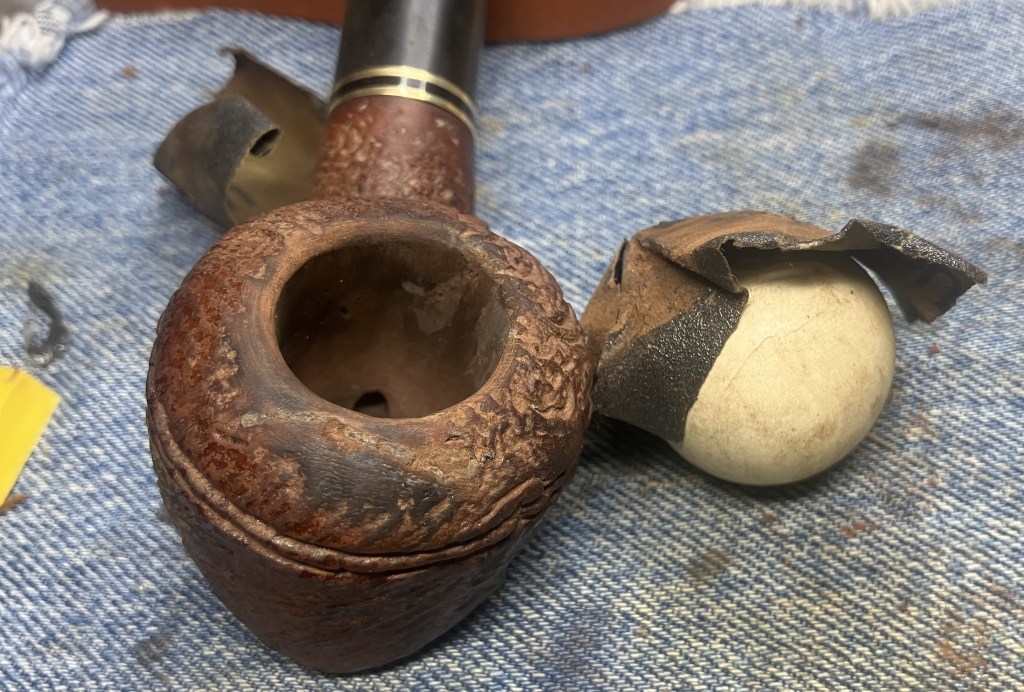
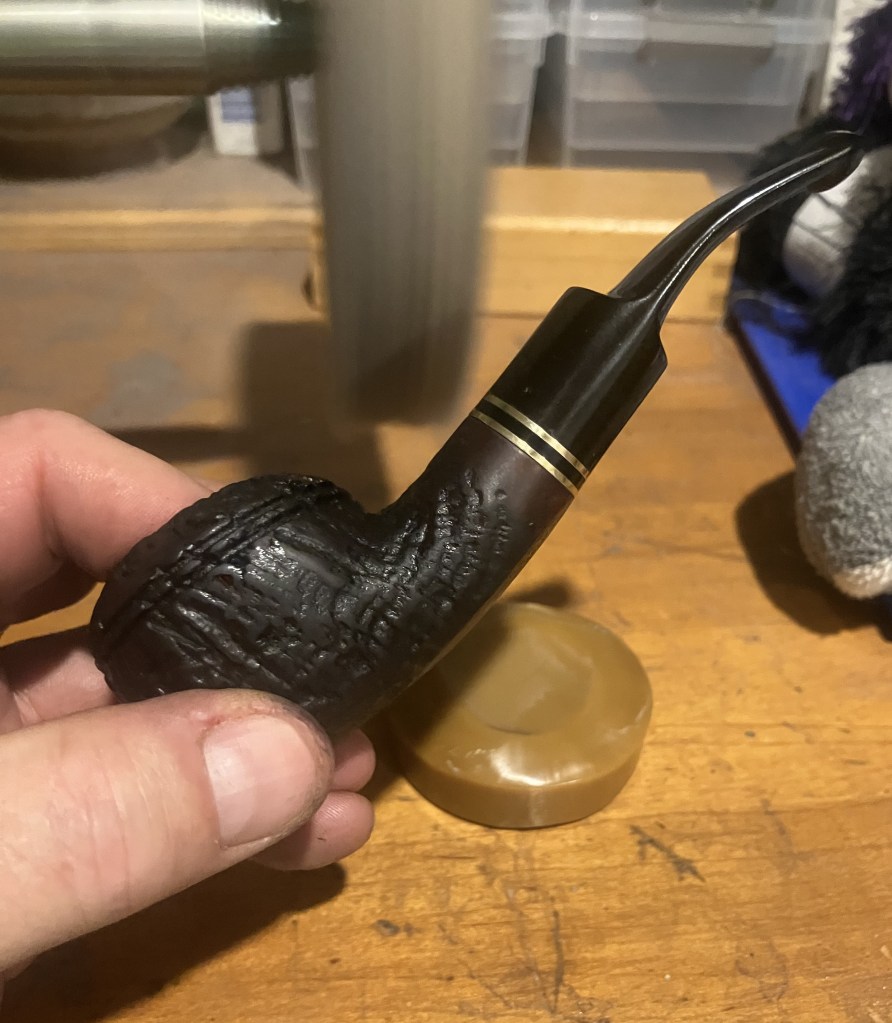
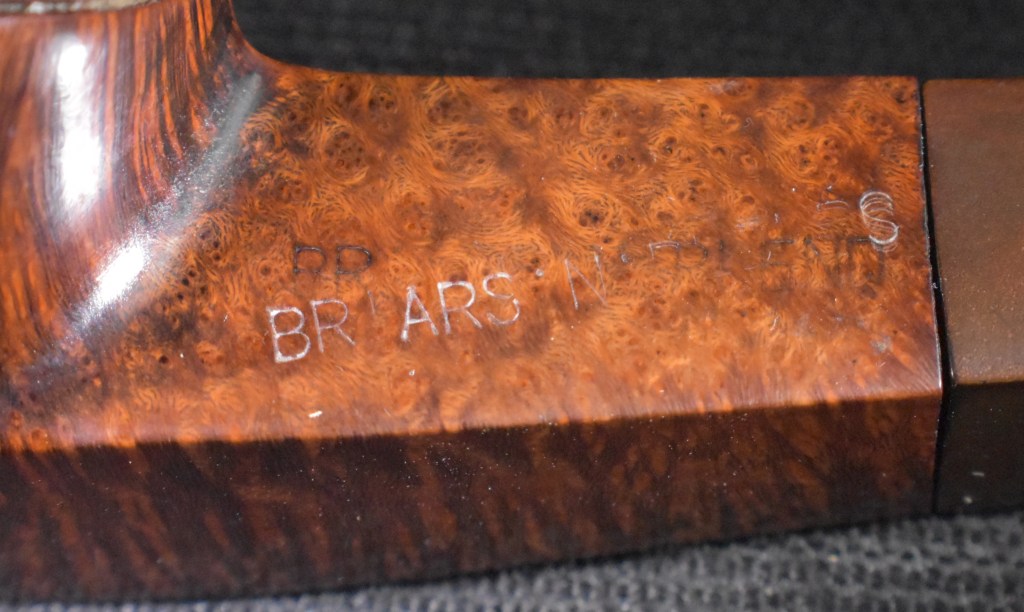
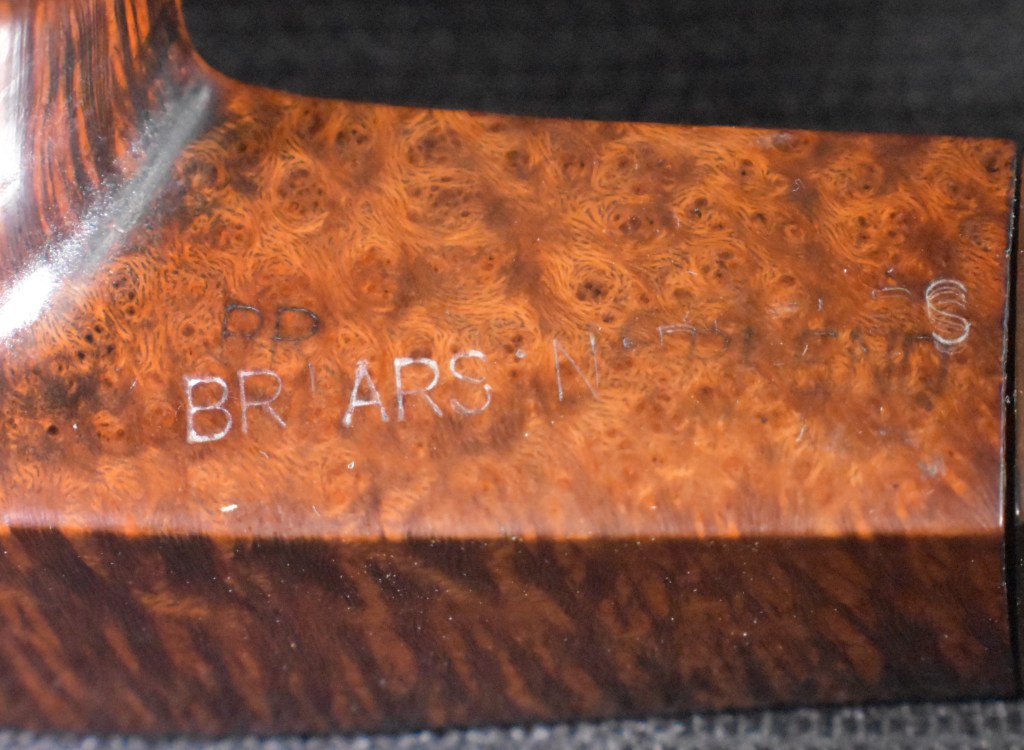
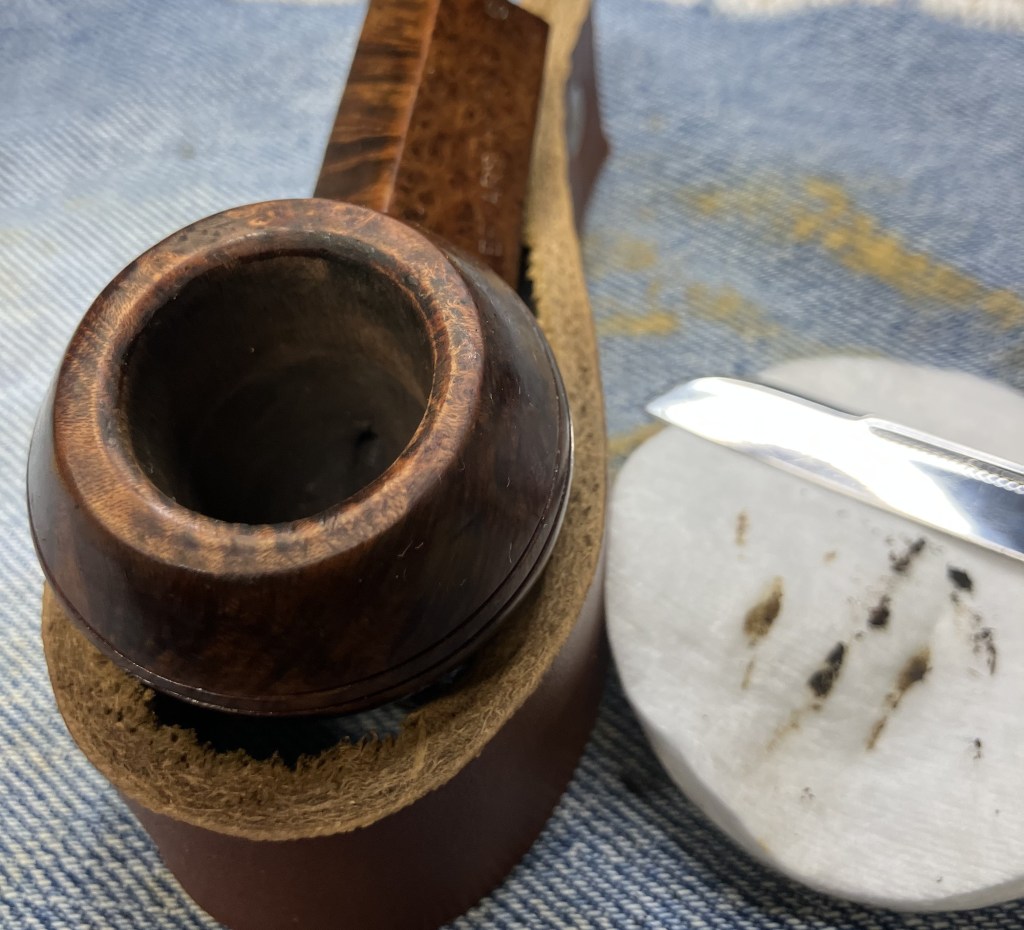
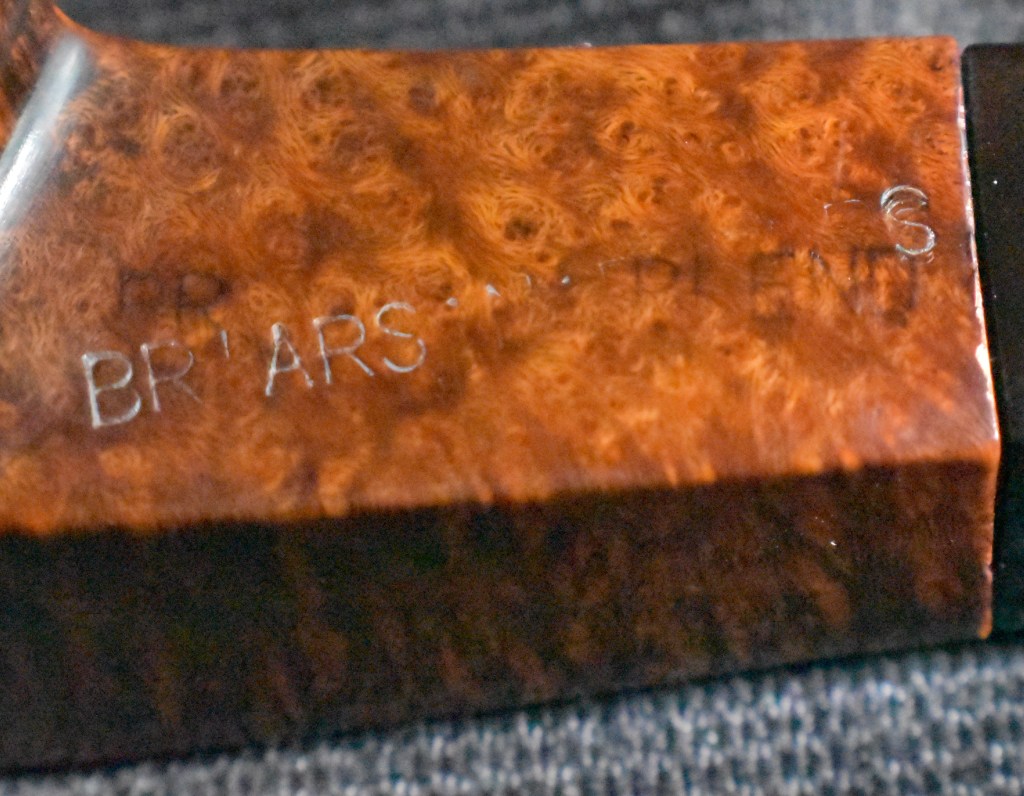
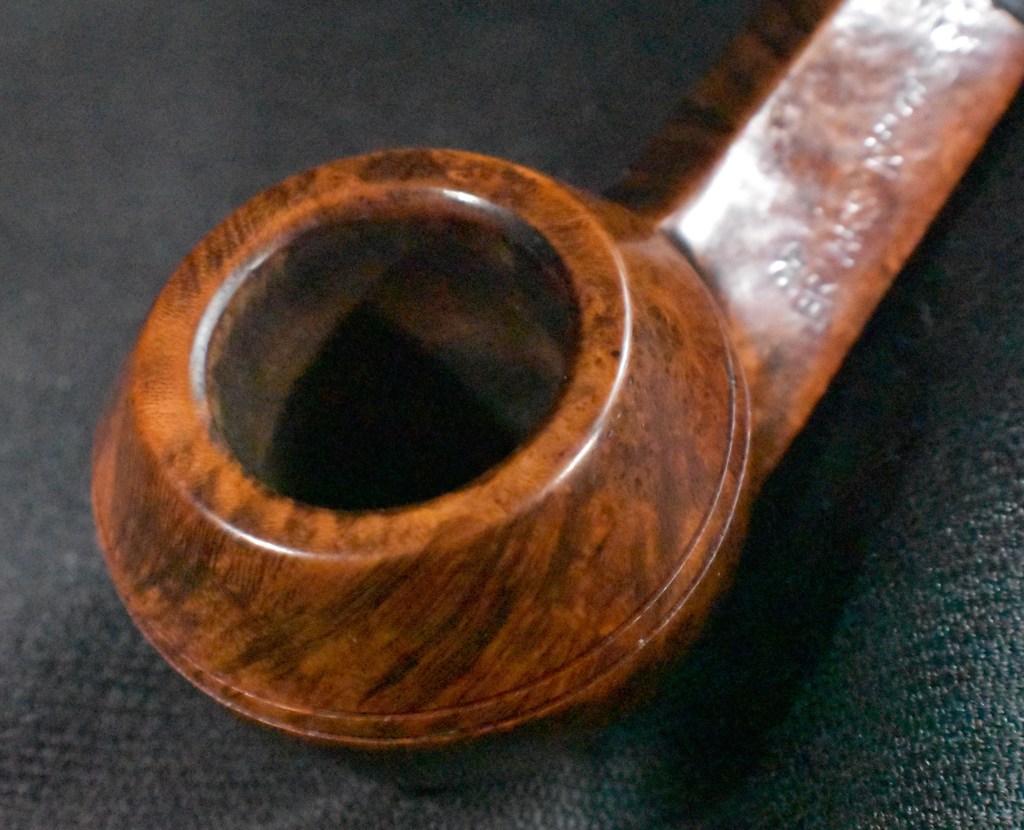
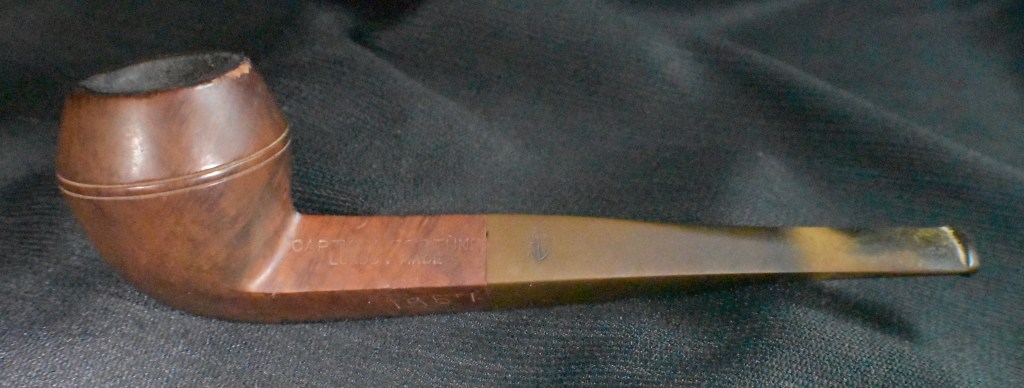
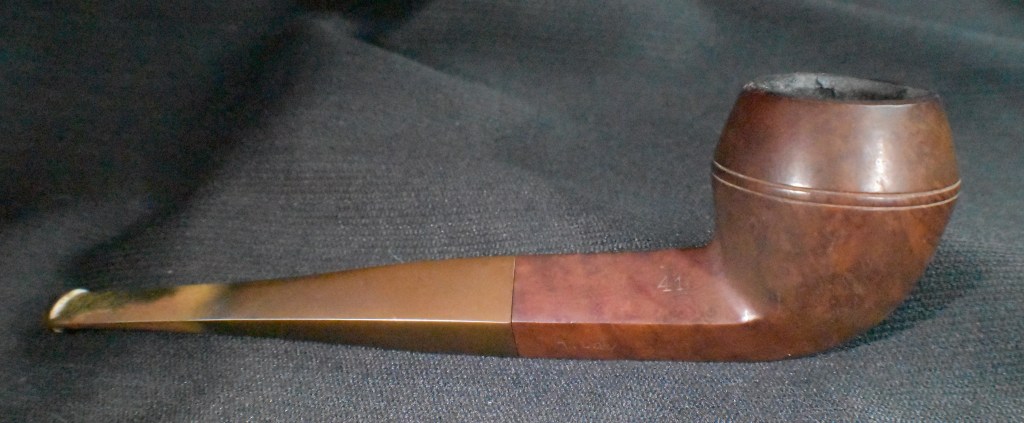
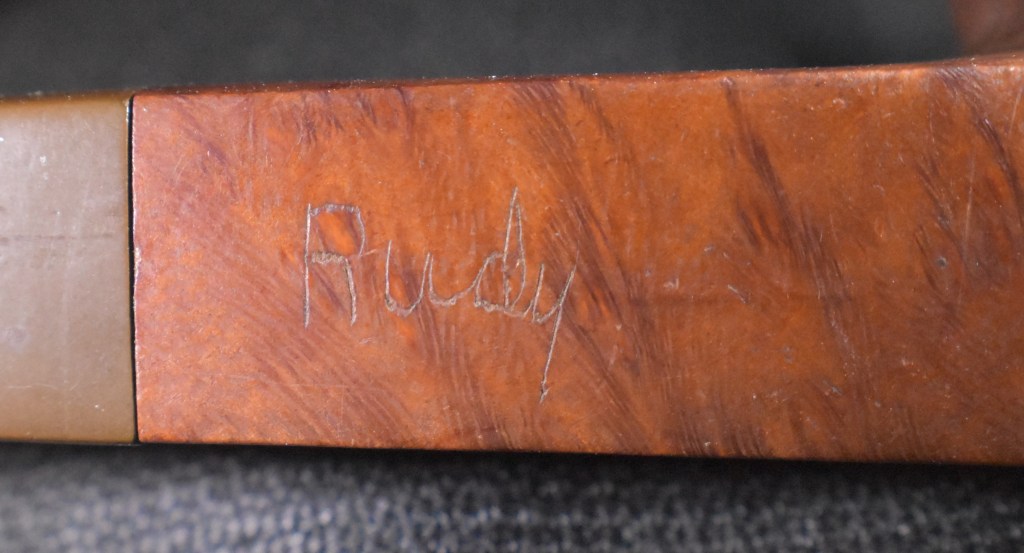
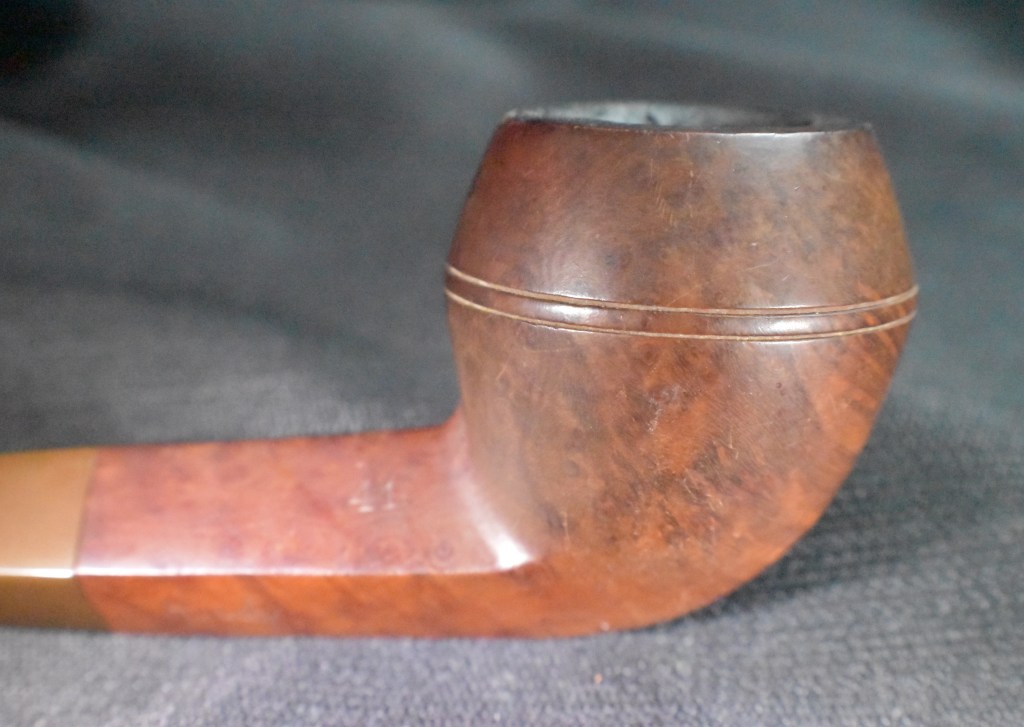
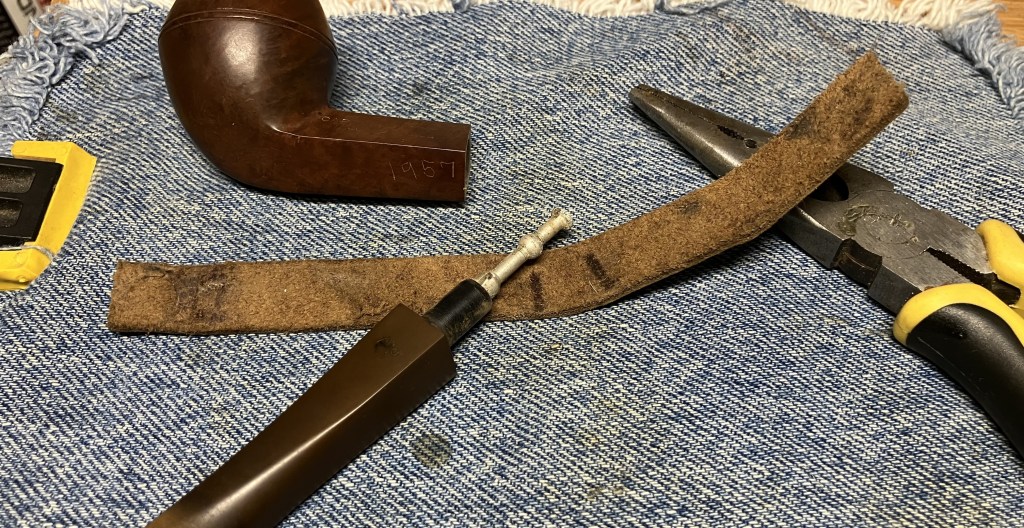
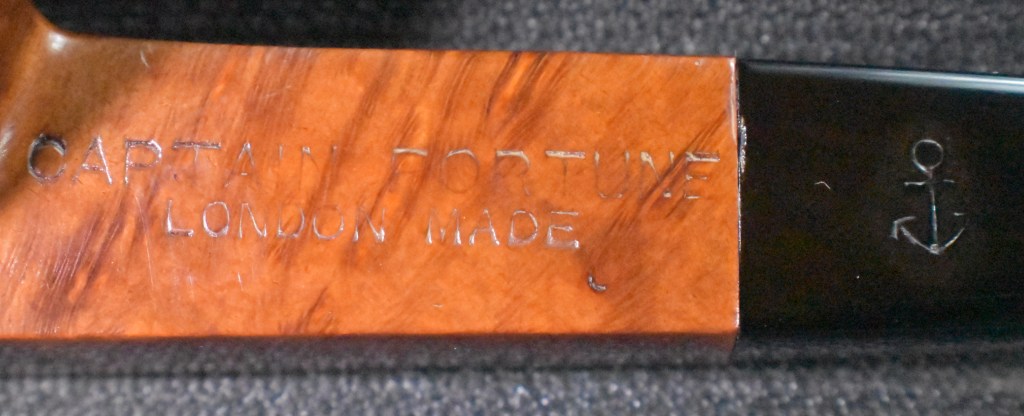
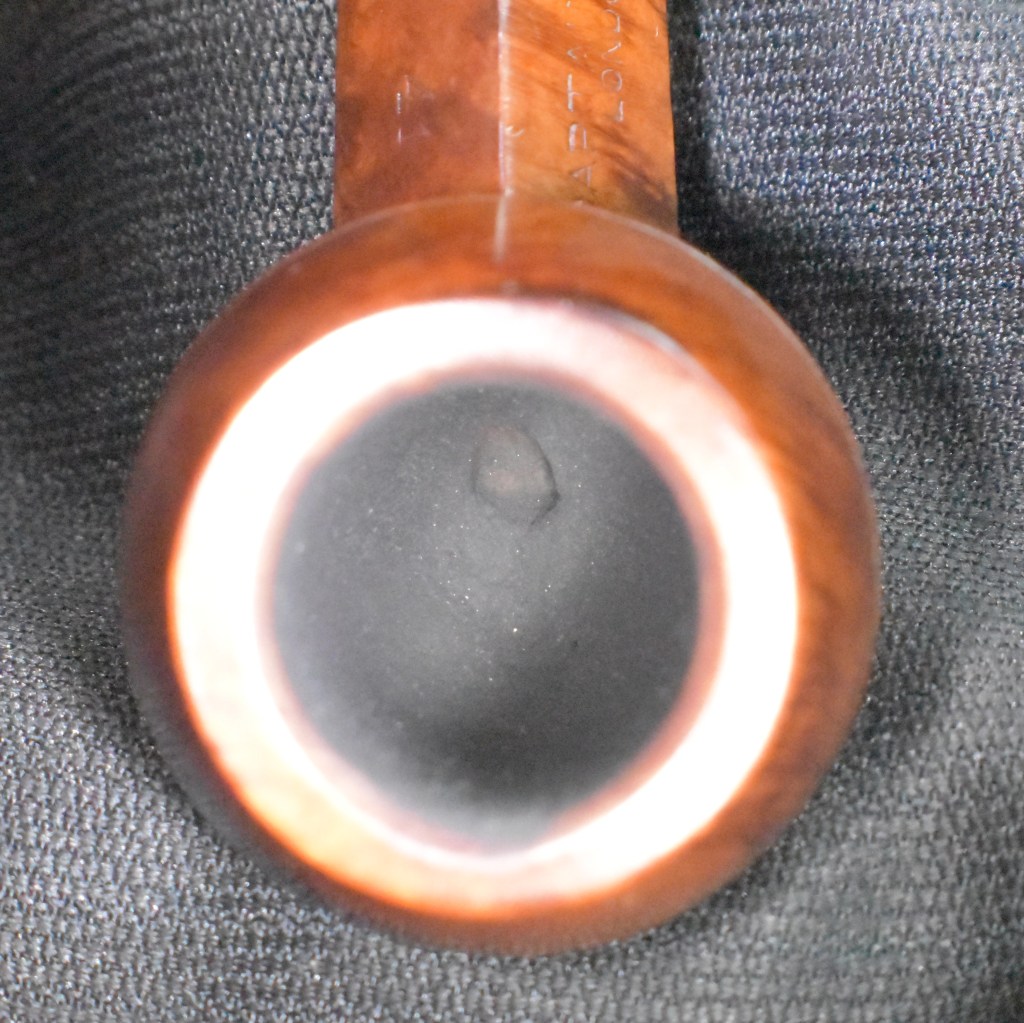
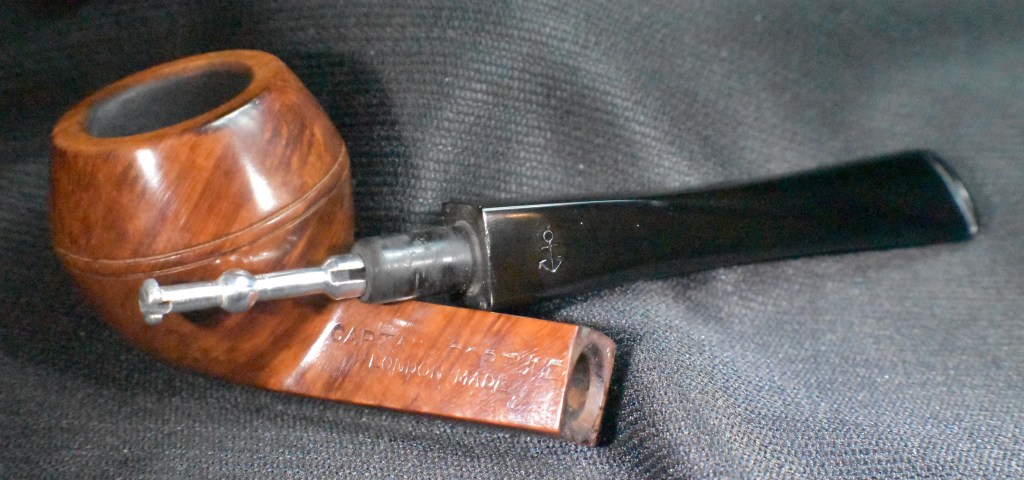
For some reason the Warren Zevon Werewolves of London was playing in my mind while I was restoring this pipe. In the mental soundtrack the line “He’s the heavy handed gent, ran amok in Kent” was substituted for “He’s the hairy handed gent gent, ran amok in Kent” (Warren Zevon – Werewolves of London Lyrics | Genius Lyrics). This pipe is large and would indeed fit well in the heavy hands of a gent from Kent. I have an affinity for panel pipes of various shapes. I do not recall how this one came into my possession but it was undoubtedly part of an estate lot. The pipe has no maker’s mark nor name, only the stampings MADEINLONDON over ENGLAND on the right shank. Below are some photos of the pipe prior to work.
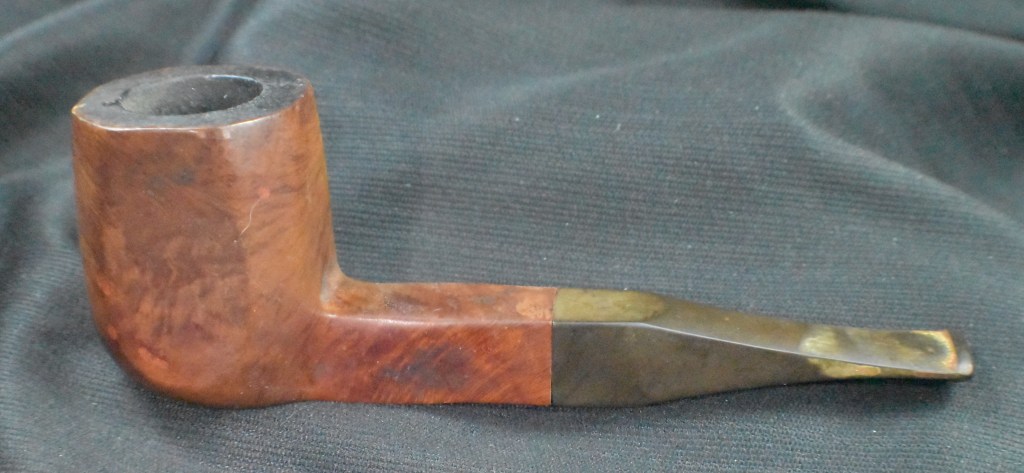


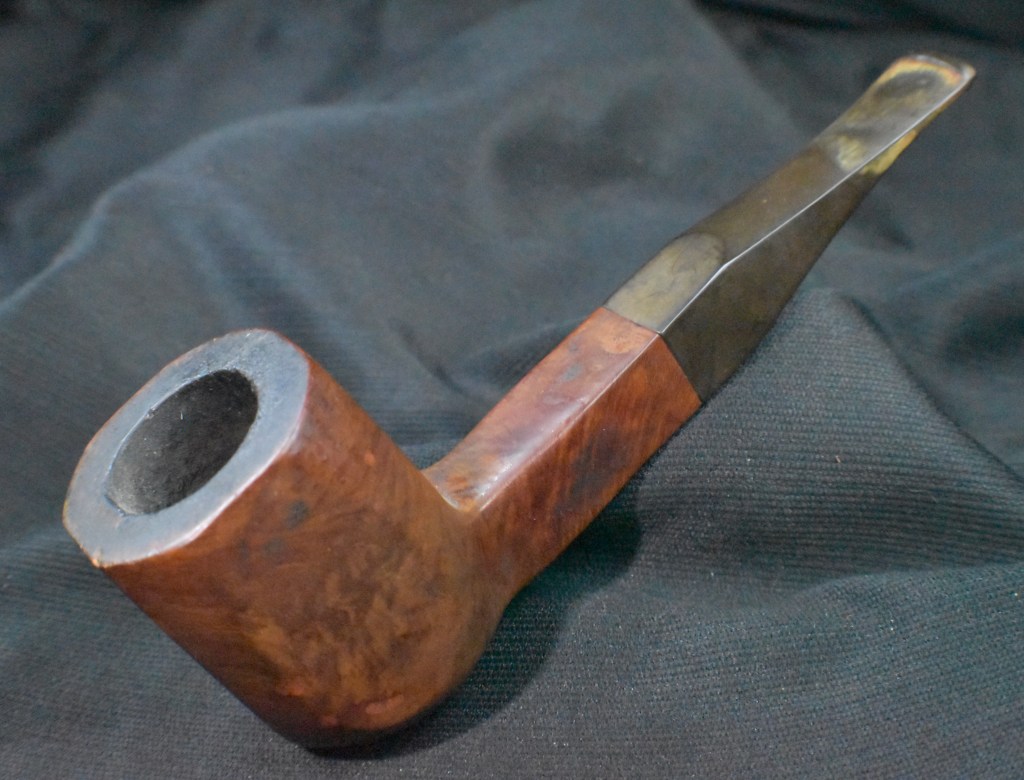


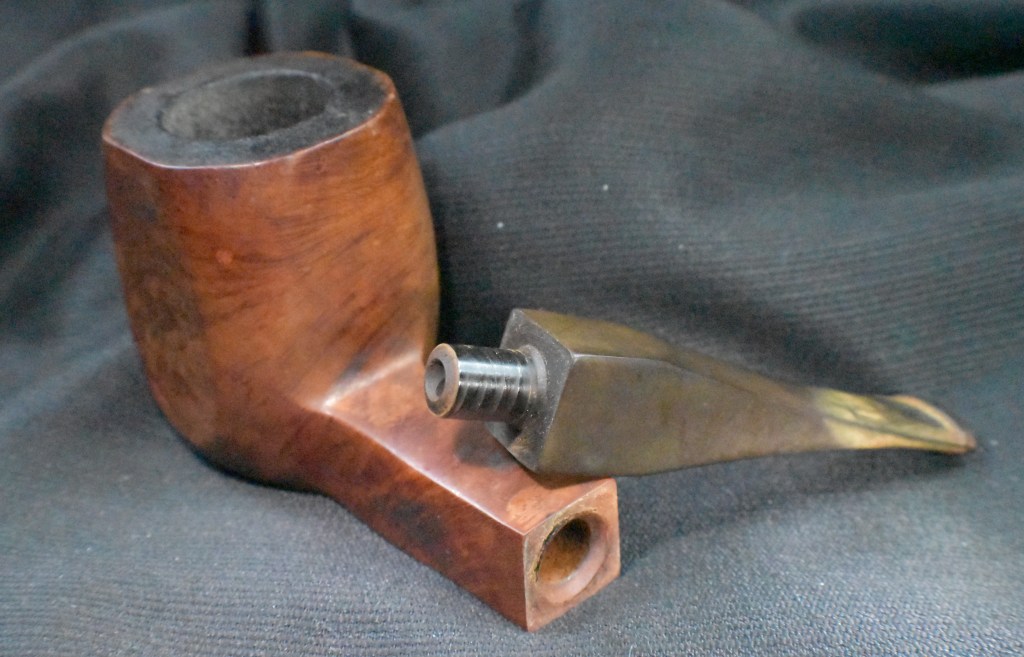
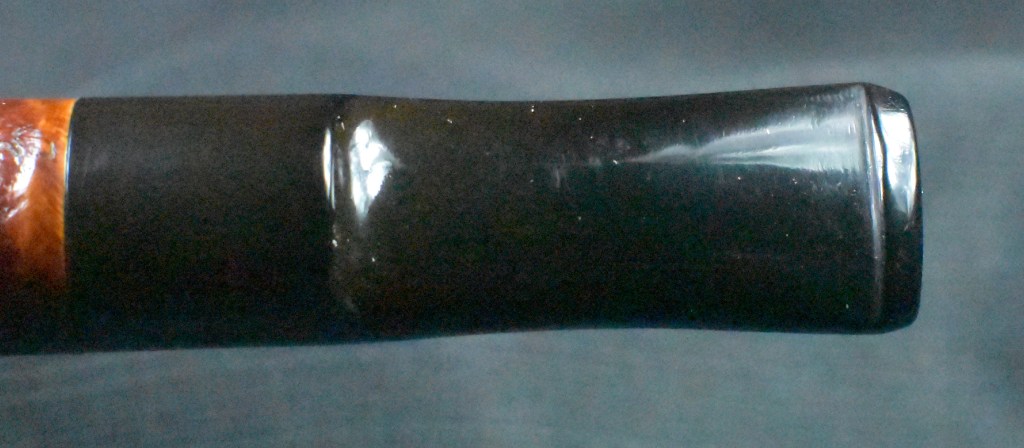
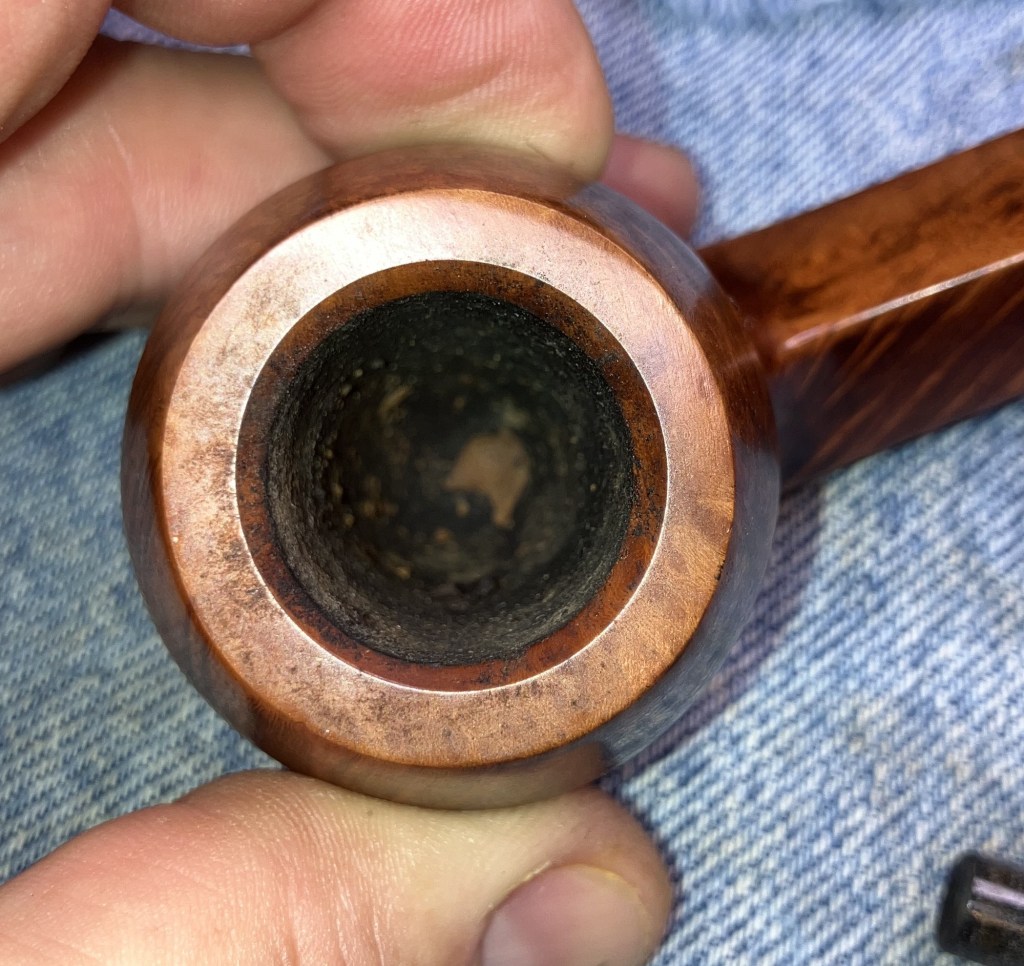
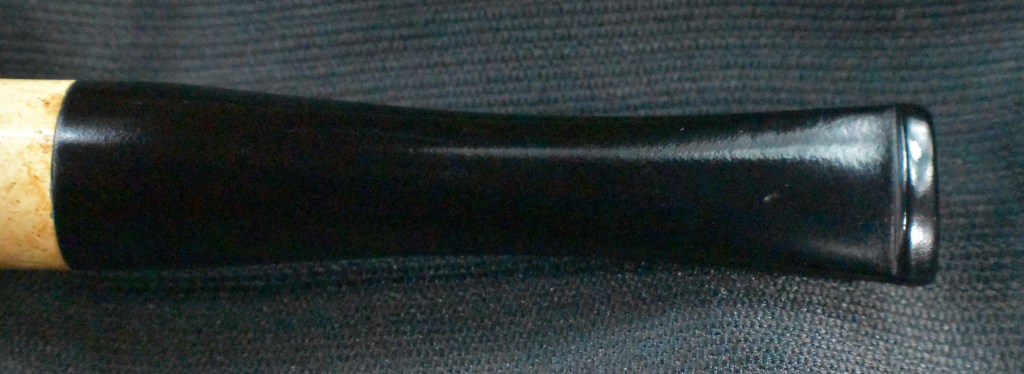
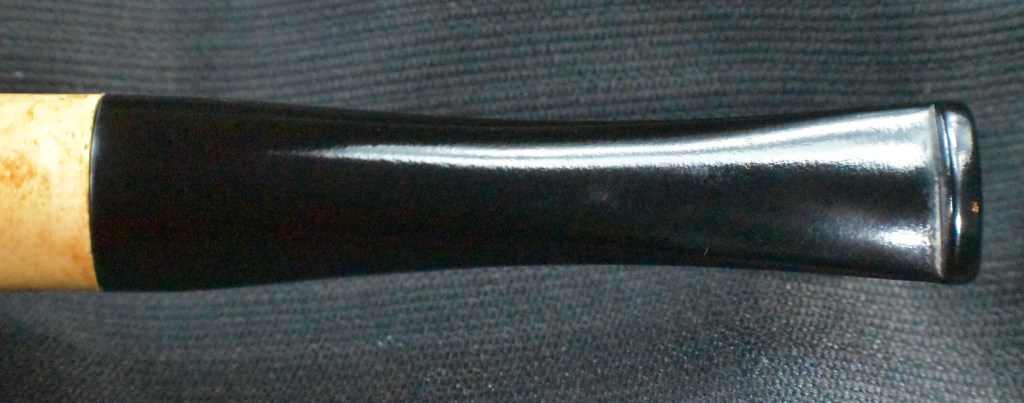
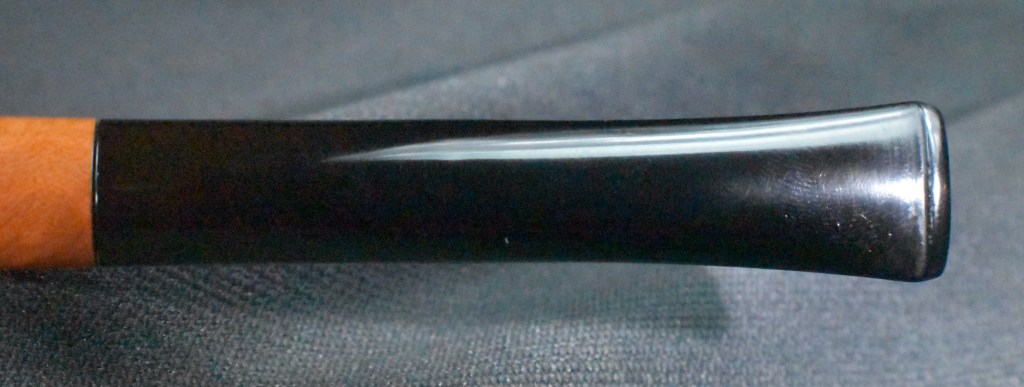
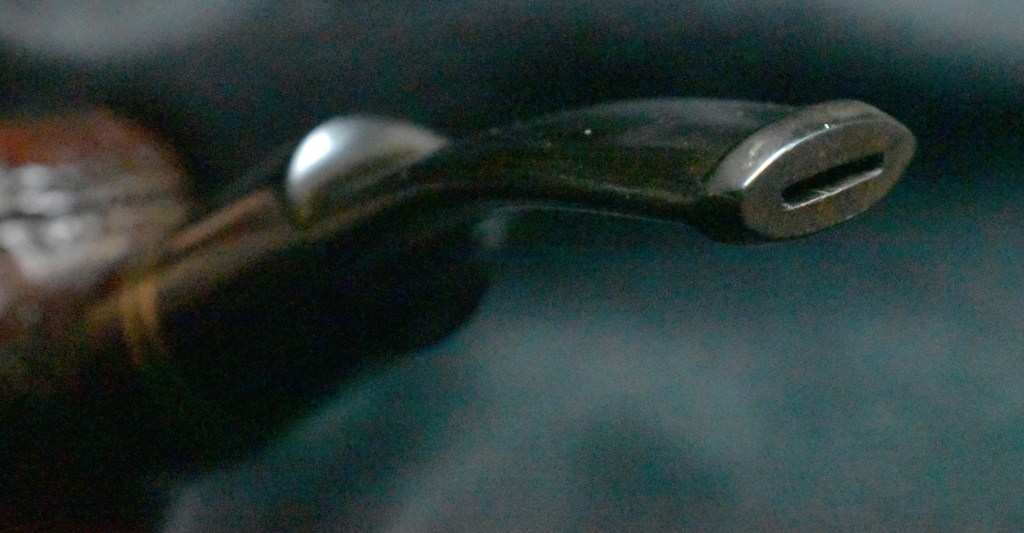
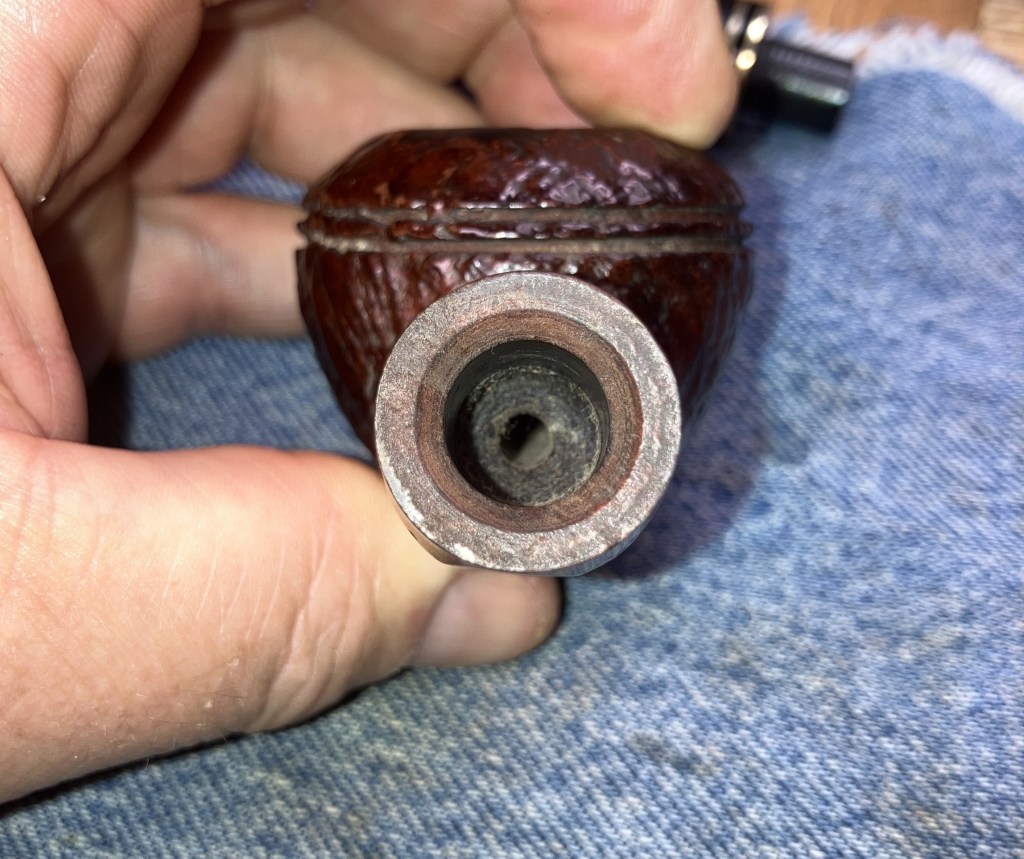
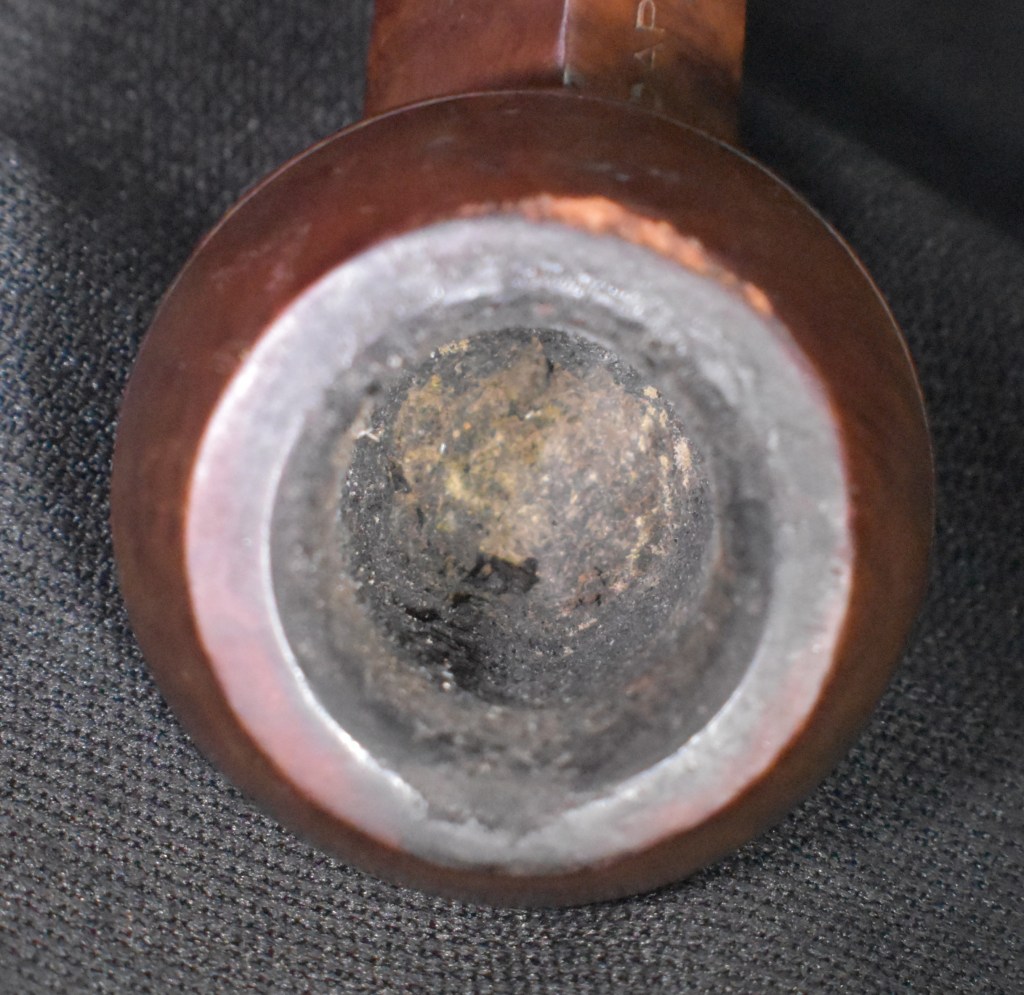
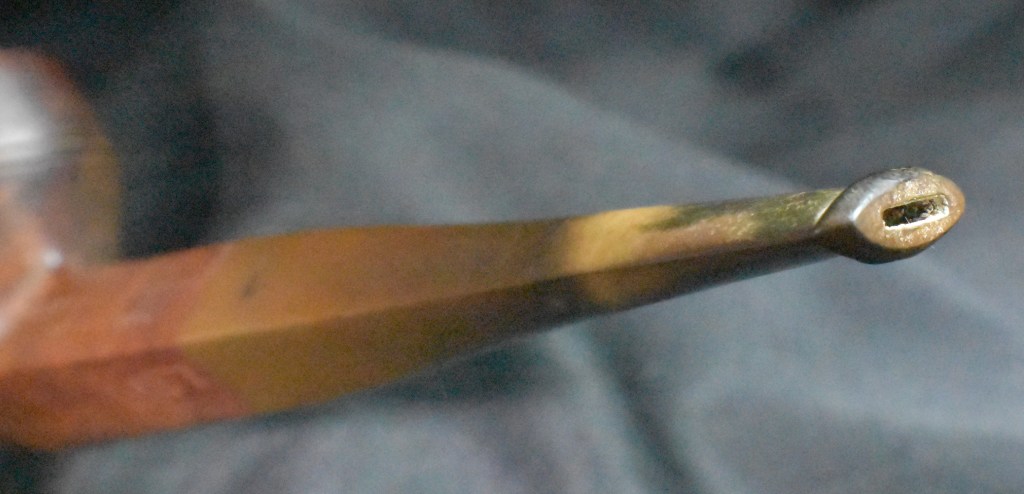
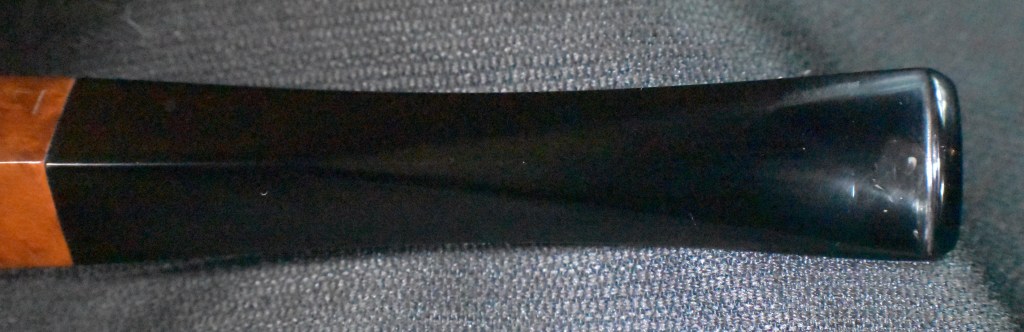
The pipe was solidly built with good drillings. The fit of the stem to the shank was pretty good but only well fit in a single position. The stem was quite oxidized, calcium deposits around the bite zone and several deep tooth dents both top and bottom. The stummel was dirty with old grime. There were also moderate lava deposits on the rim and several old fills with their less than appealing pink spots. Overall a fairly straightforward restoration of a well used pipe.
Background
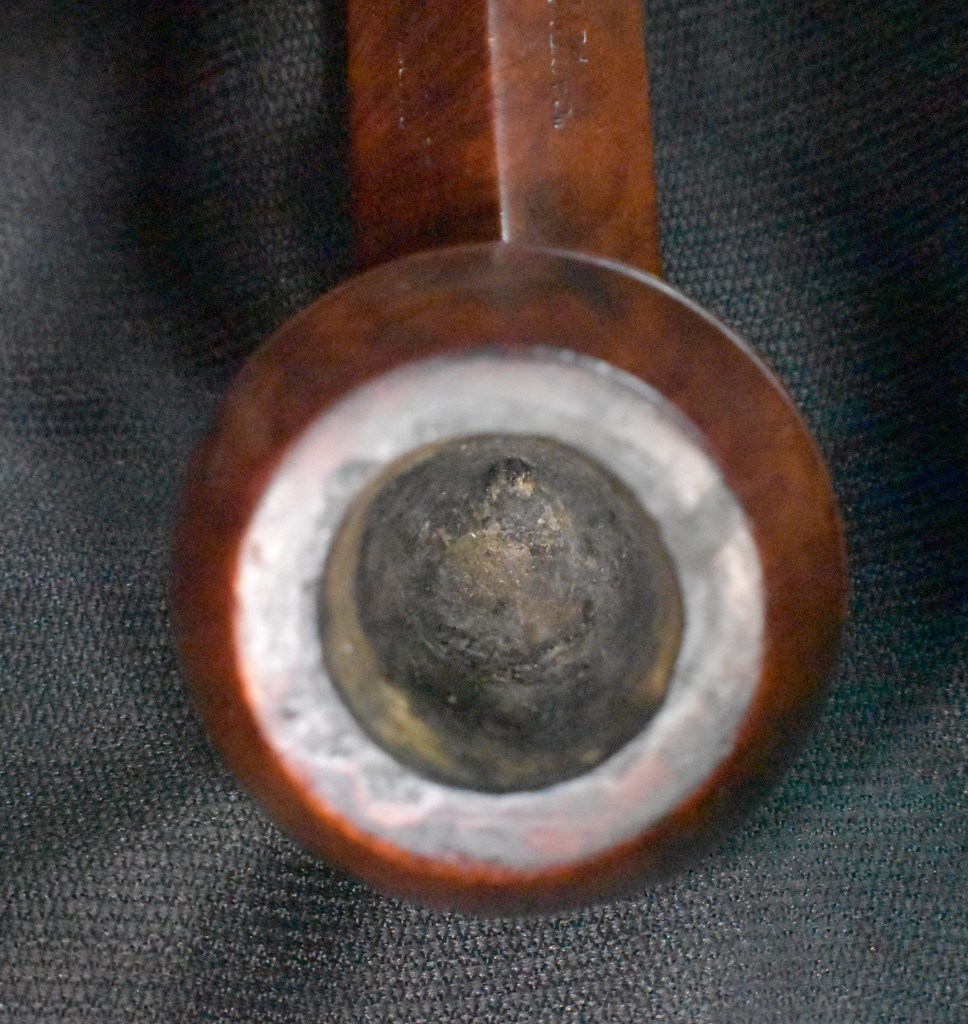
In researching the possible history of this pipe, I was limited to only the country of manufacture (COM) stamp. This led me to pipephil.eu for makers who used MADE IN LONDON over ENGLAND. The best I hoped for would be to find a stamp which matched. My first thought was a maker like Comoy, a large factory with numerous seconds brands. Most of Comoy’s lines of seconds used MADE IN LONDON in a circle with the ENGLAND offset. The below photo is a good example of this:

(Comoy — Pipes : Logos & Markings)
There were some examples of Comoy seconds which did use the MADE IN LONDON over ENGLAND.

(Gr-Gt — Pipes: Logos & Markings). In the Comoy’s examples the stamped words are clearly separated with a space. The No Name Billiard does not have these spaces. It is a single stamped word, “MAEDINLONDON”, without spaces.
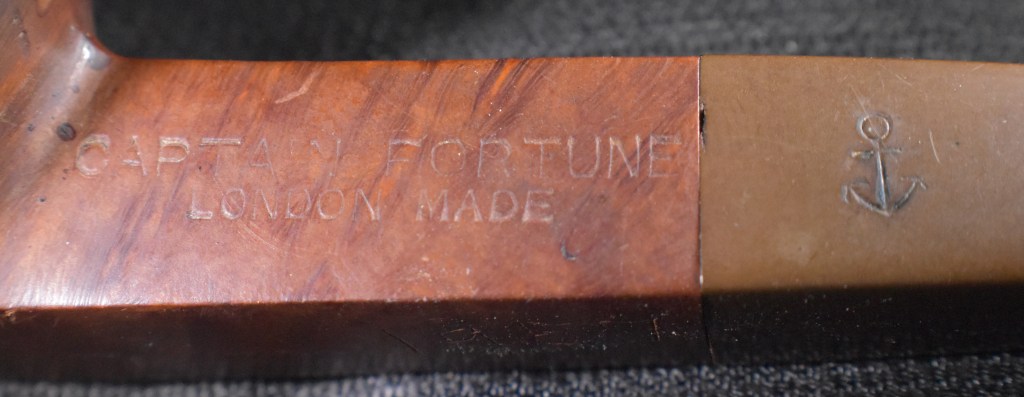
The next contestant on, “Who Made That Pipe?” is a Conway. The

(Co-Con — Pipes : Logos & Markings)
(Mas — Pipes: Logos & Markings). Mason House is a maker which I could not find any information about. The only thing that did turn up was another Mason House pipe listed as sold on WorthPoint. I captured the stampings from that pipe.

(Mason House Comfort 810 Briar estate smoking tobacco pipe freehand restored | #4592714867). In zooming in and comparing the stamps from the two pipes, The WorthPoint Mason House on the left and the No Name Billiard on the right,
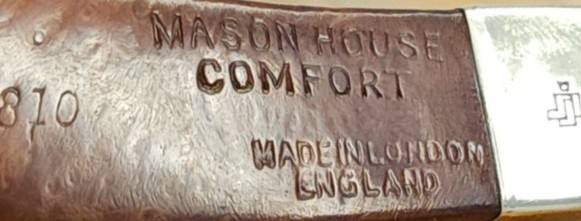

I was unable to make little conclusion other than the stamps were similar in their lack of spacing between the words and the ENGLAND did line up pretty much the same. Maybe I don’t have a discerning enough eye, but I other than those two things I couldn’t tell if they were the same stamp.
The final contestant was Parker. This one I discounted immediately due to spacing between the words and additional information in the form of a date suffix.

(Parker — Pipes : Logos & Markings).
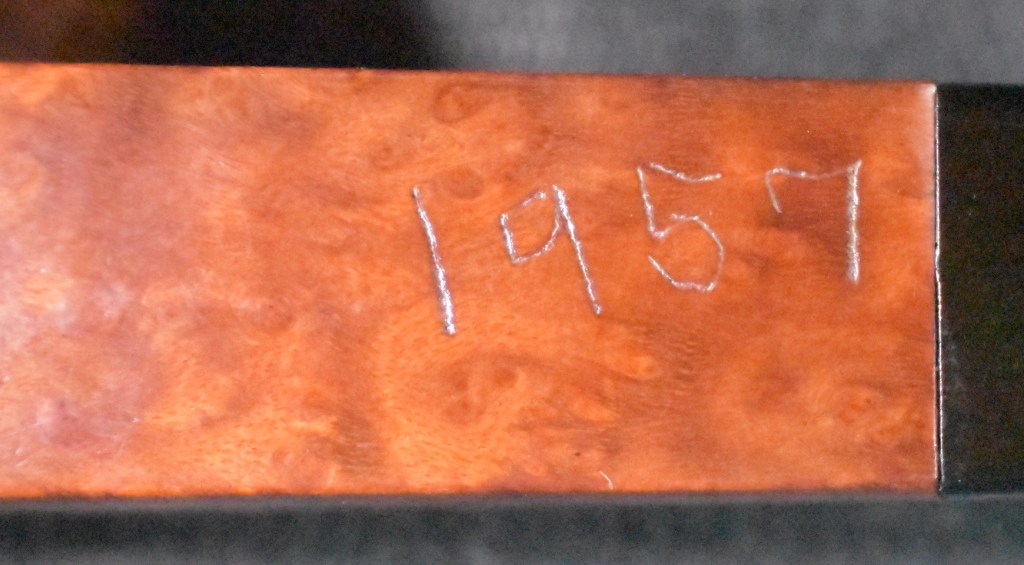
My conclusion is that the No Name Panel Billiard share a similar stamp to that of Mason House. This could indicate a possible origin or merely show that both makers used the same lazy stamp maker. As for the age of this pipe, that too is only a guess. I would say that a large block of briar like this would have to be from post World War Two. The Briar is not as soft as the Algerian briar pieces I have worked with so another assumption is that it is likely from the south of France or Italy.
The Restoration
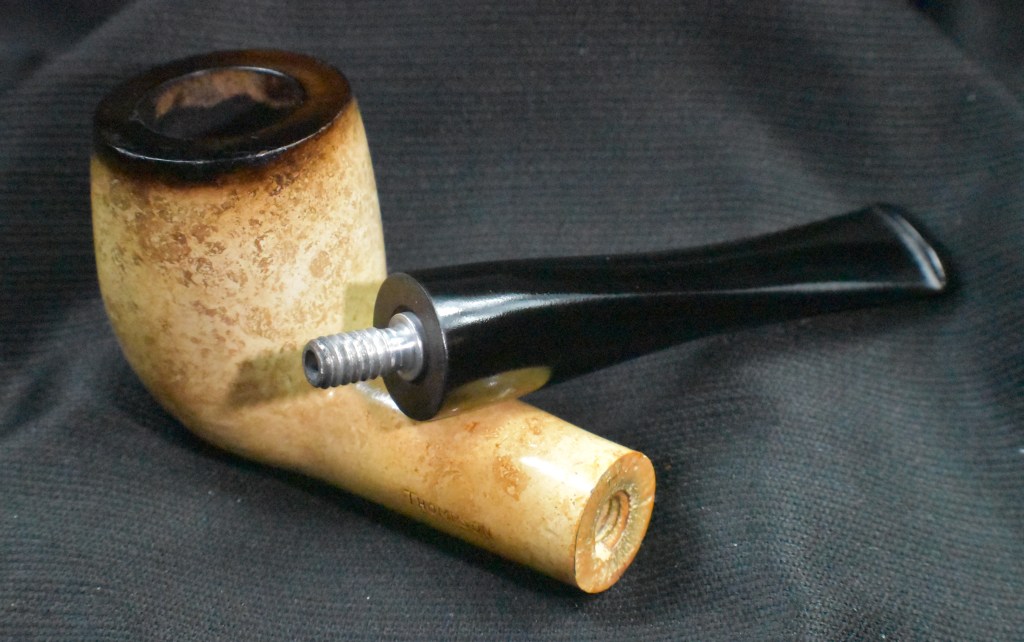
The pipe found its way to the workbench and a cleaned piece of denim.

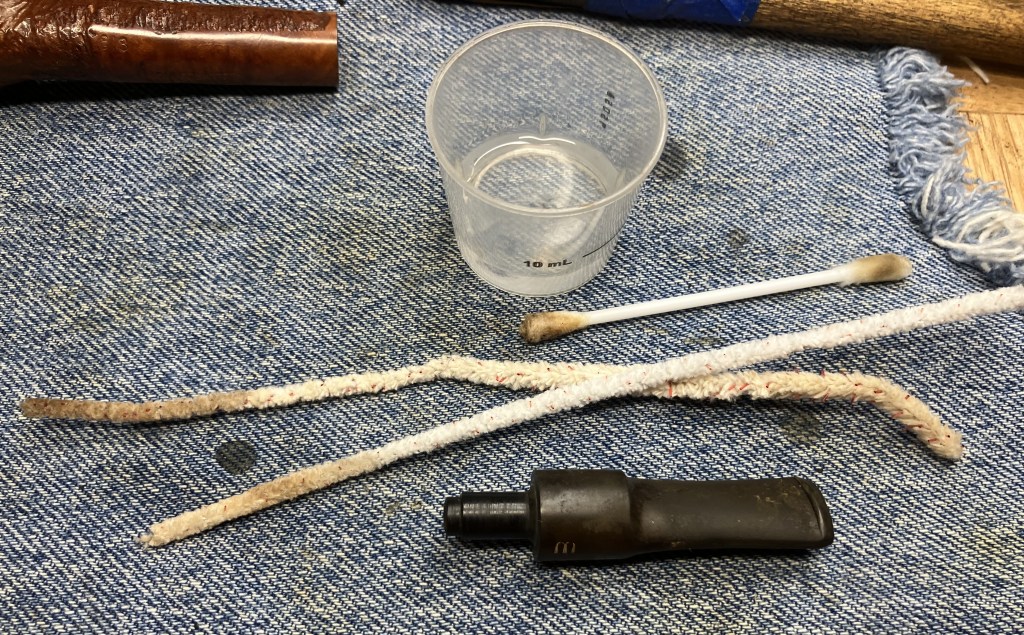
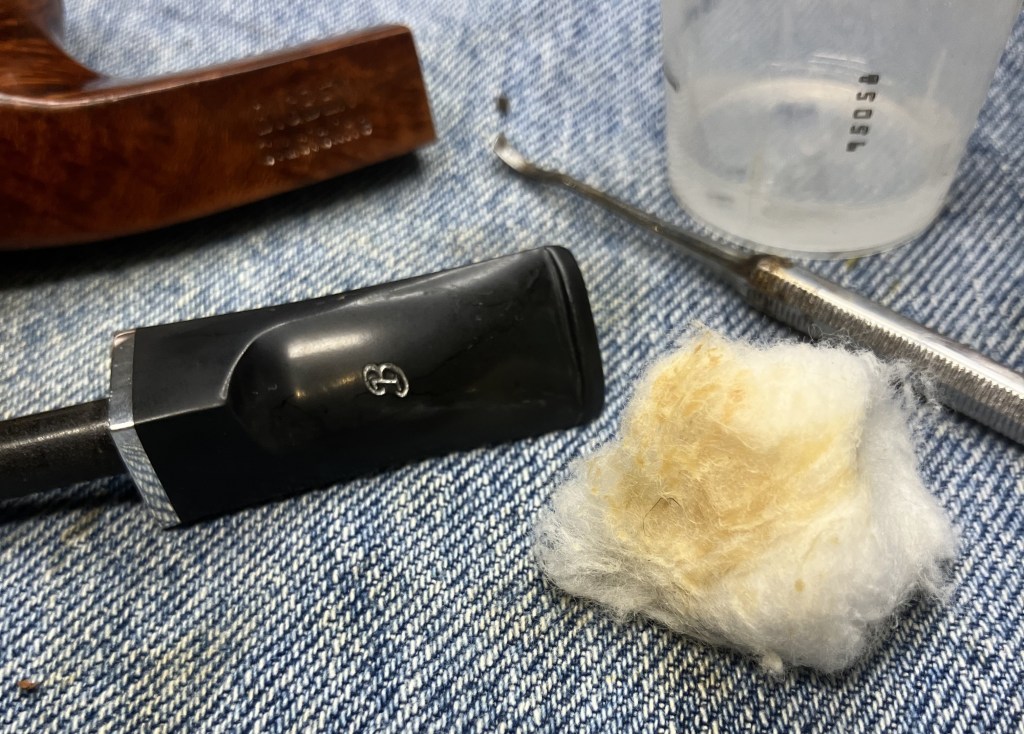
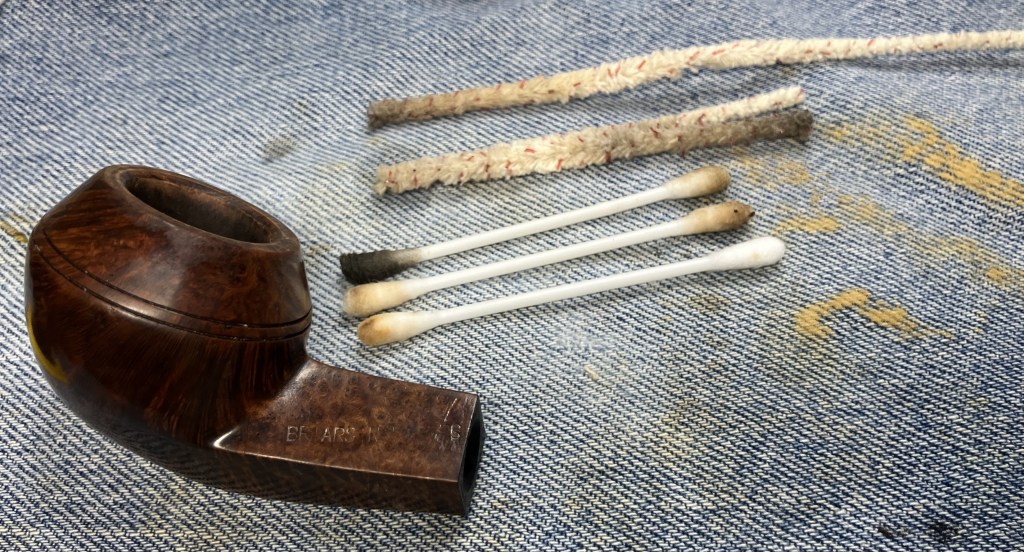
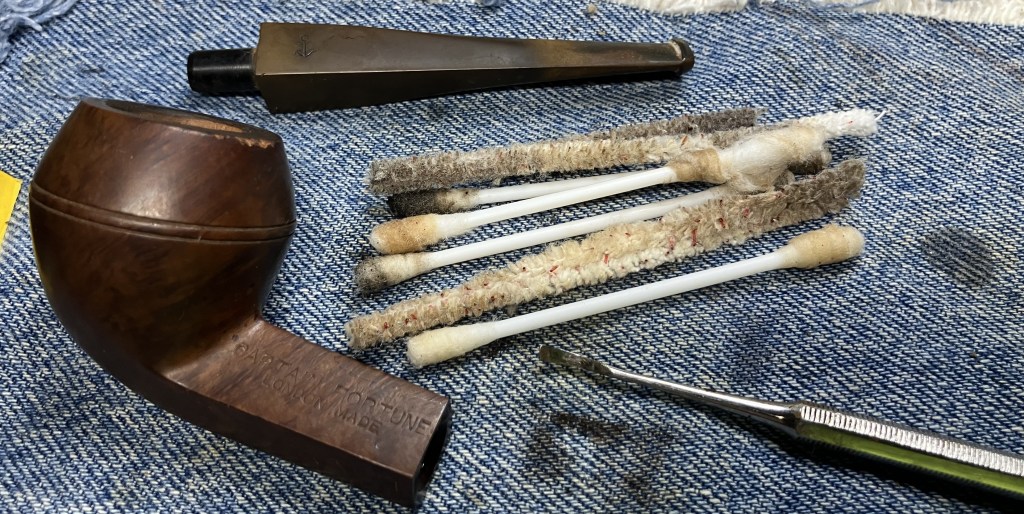
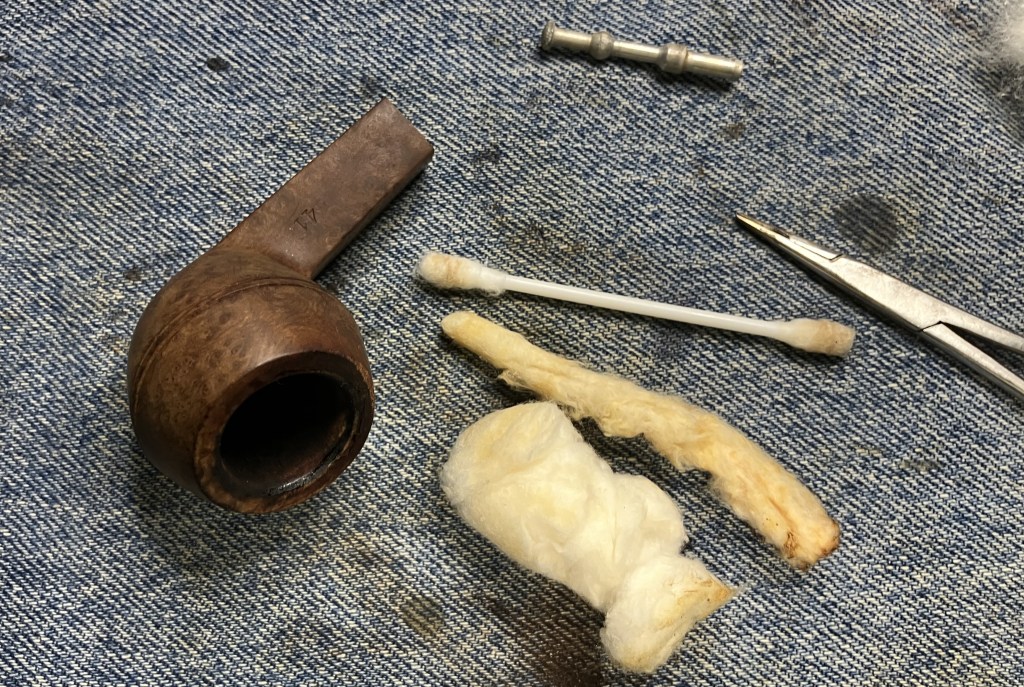
I began work with the stem. It was cleaned with bristle pipe cleaners and 99% ethyl alcohol. I was surprised that it did not take much to clean the stem.

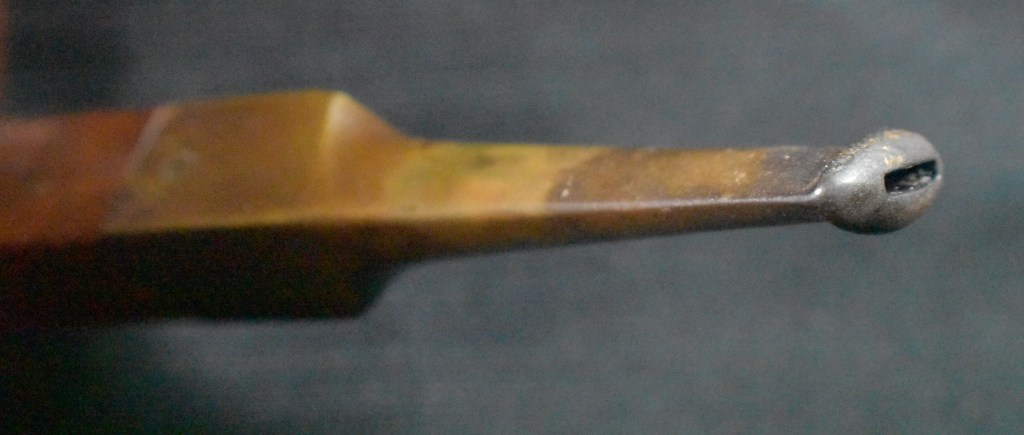
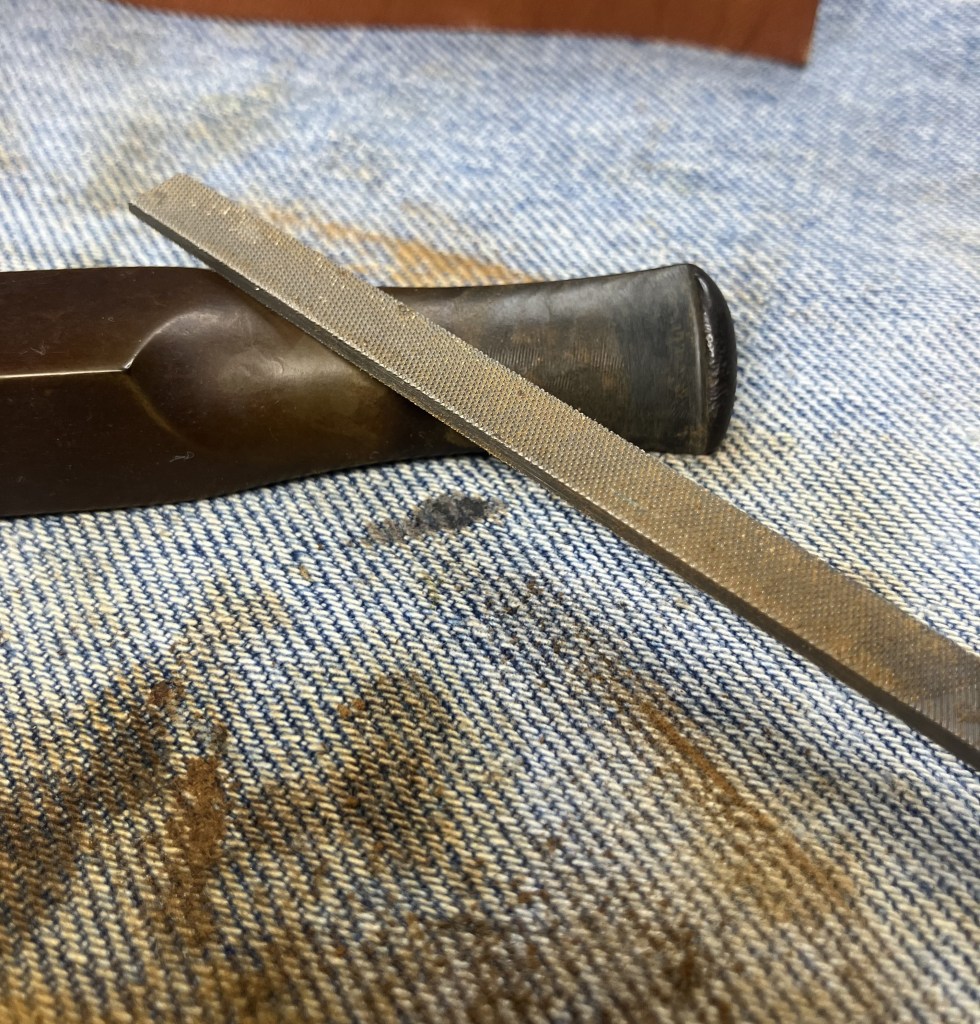
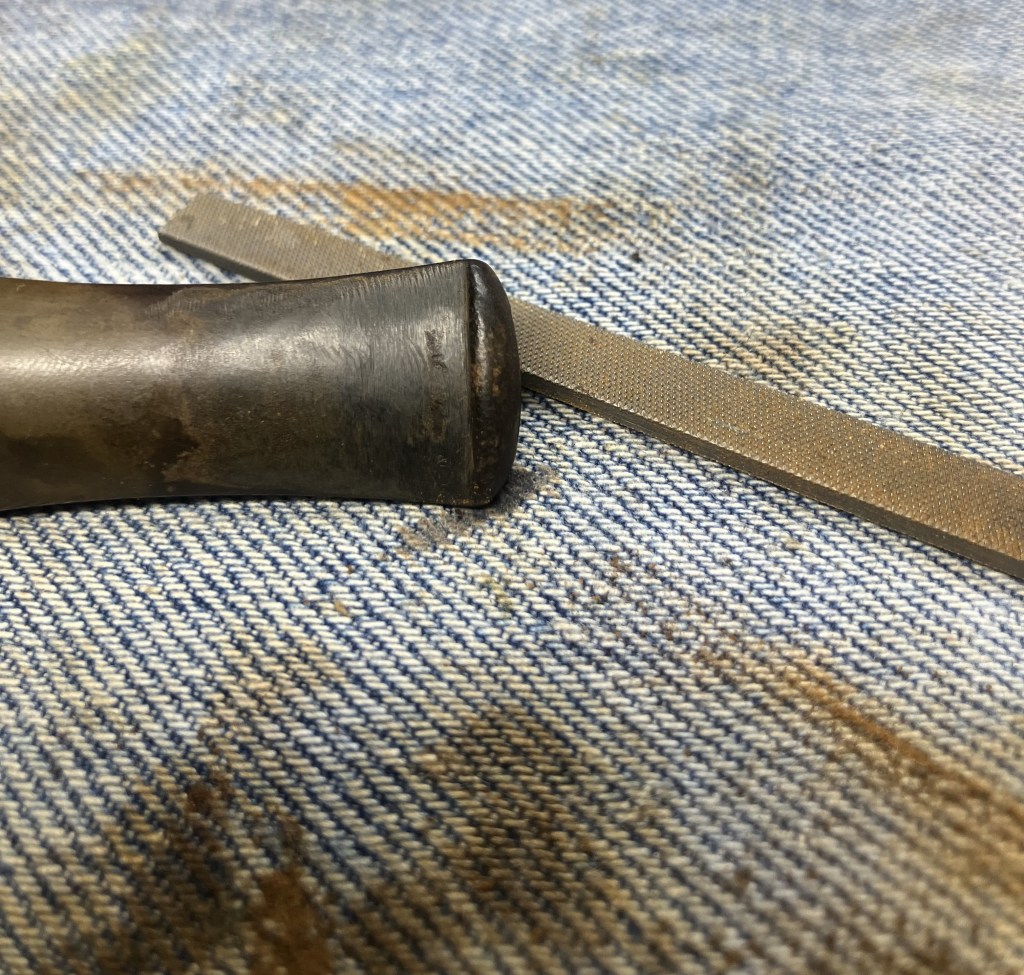
The bite zone was filed with a small flat file to reestablish the button and eliminate most of the tooth denting.
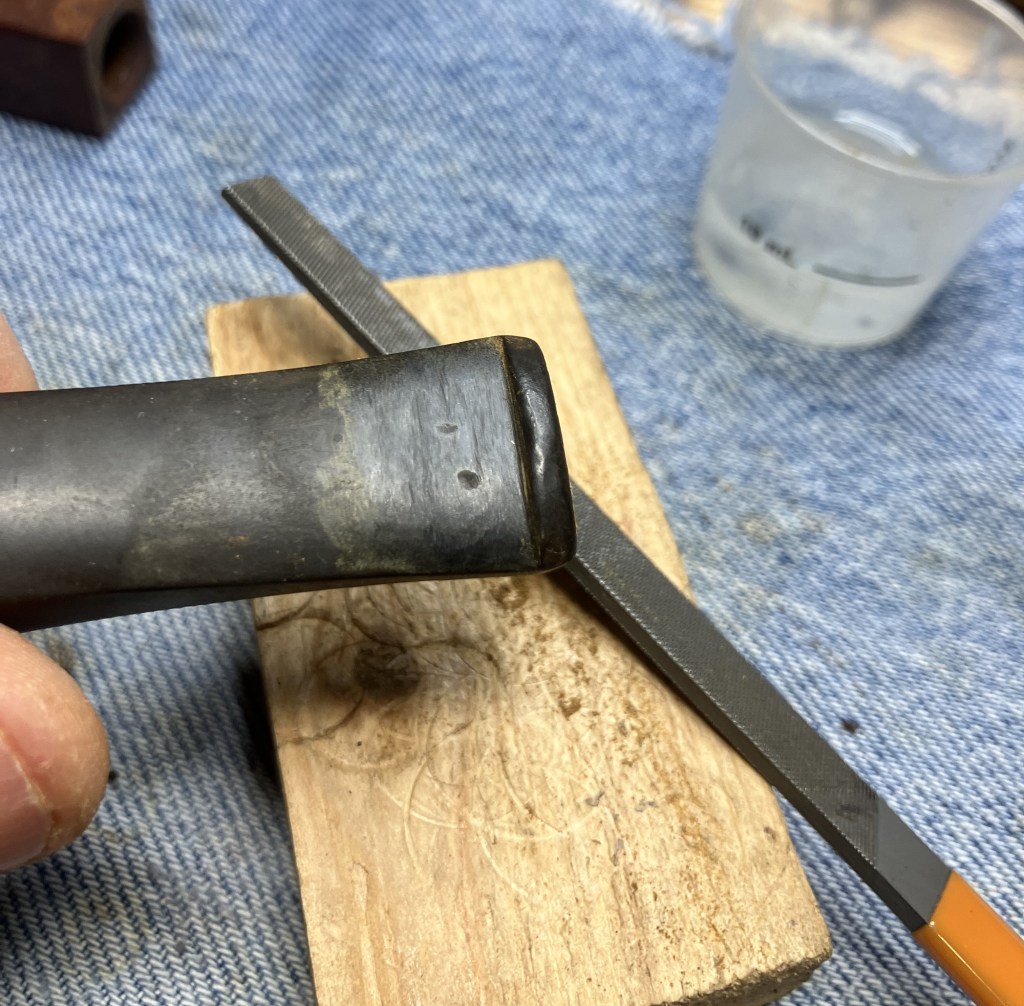
Both the top and bottom of the stem were flame painted with a lighter in hopes of lifting some of the dents by causing the vulcanite to expand and contract with heat. This may have helped a little bit.

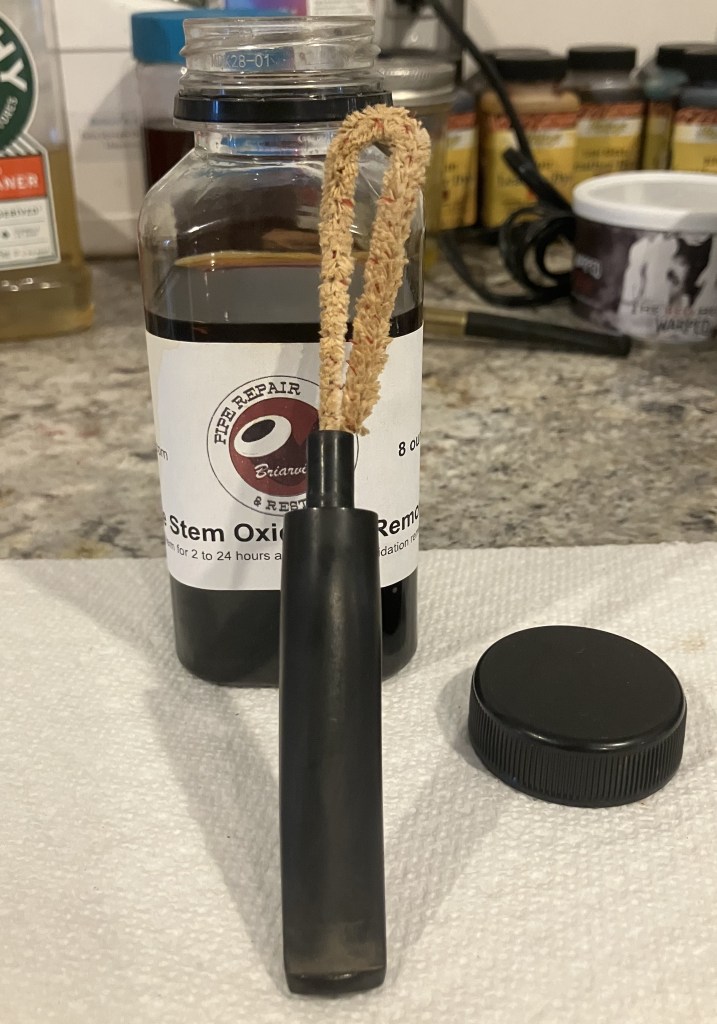
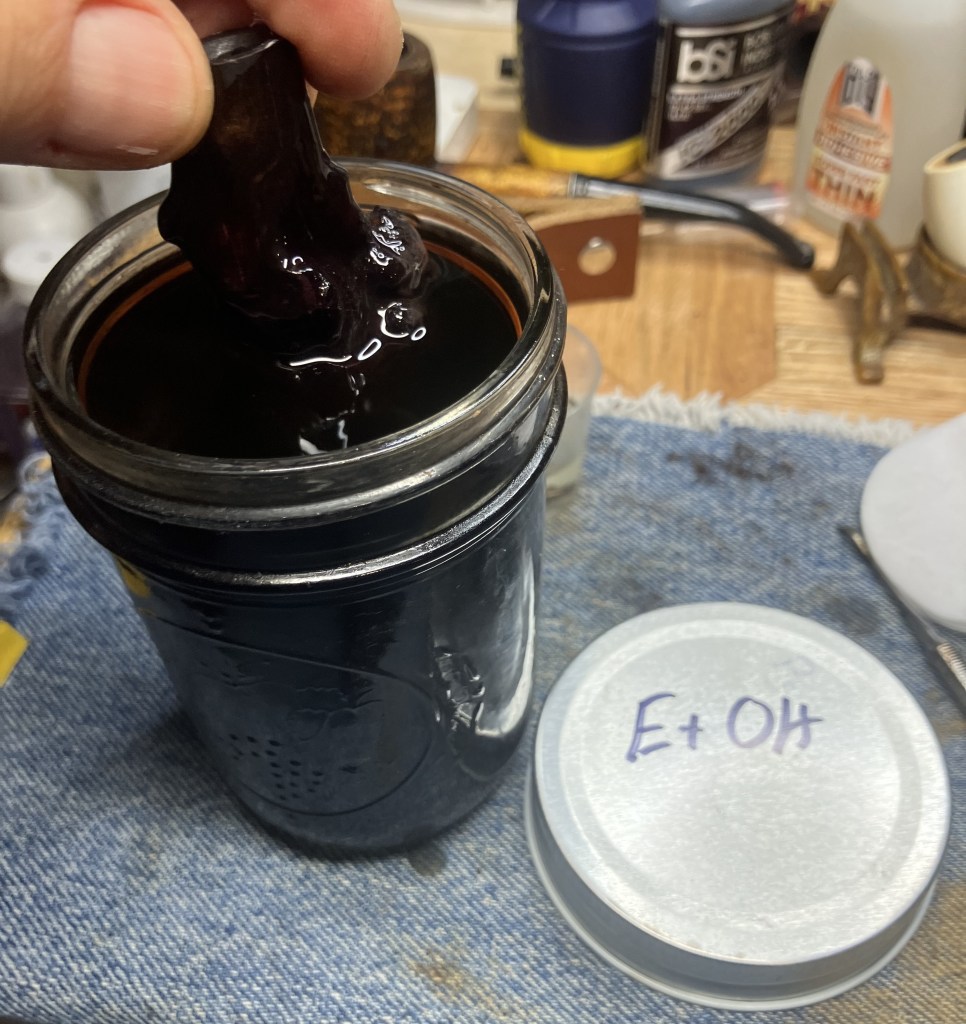
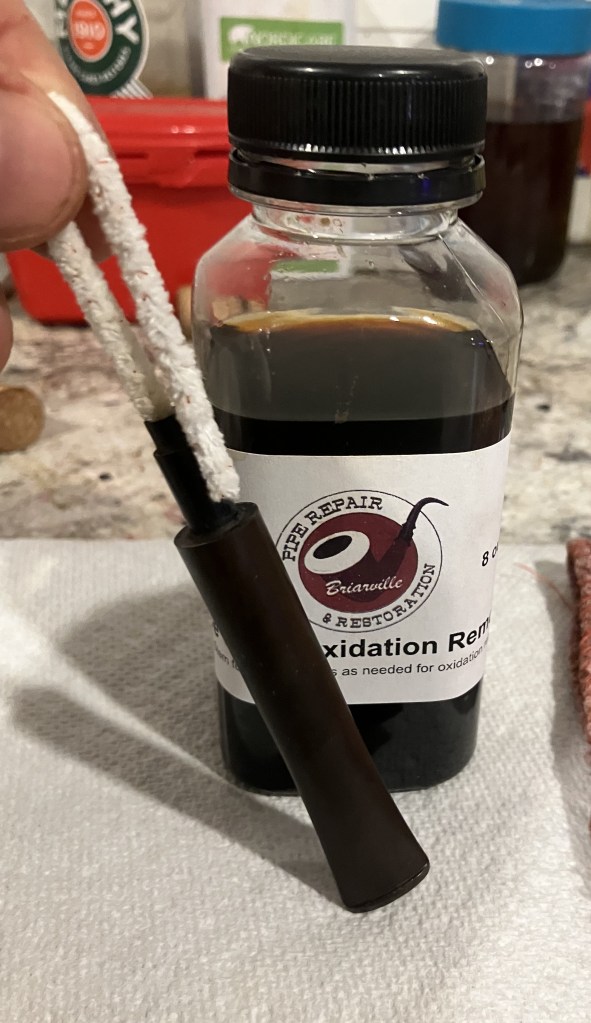
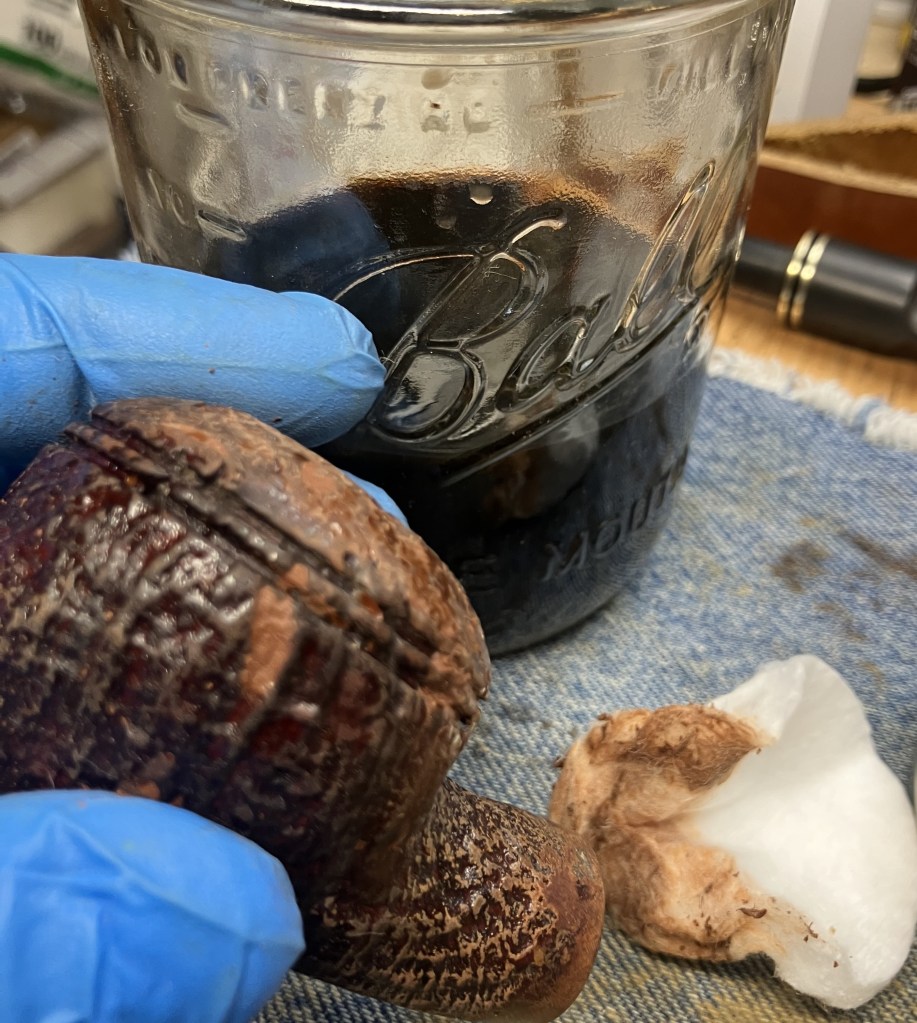
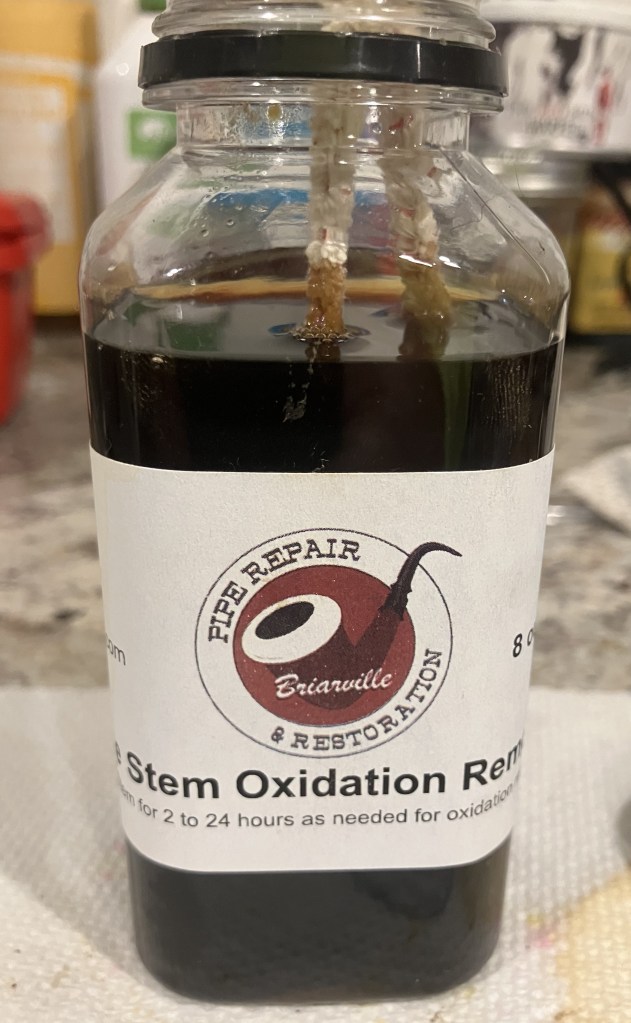
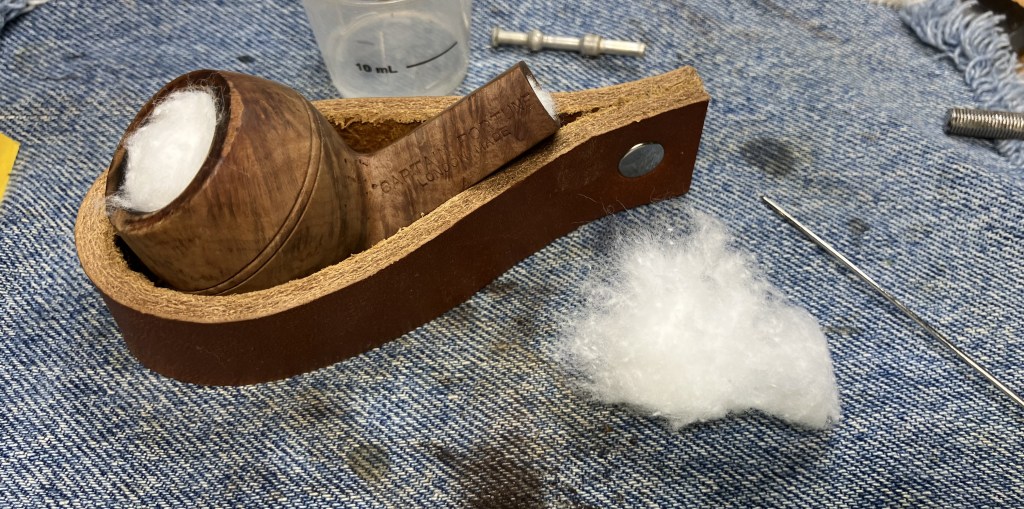
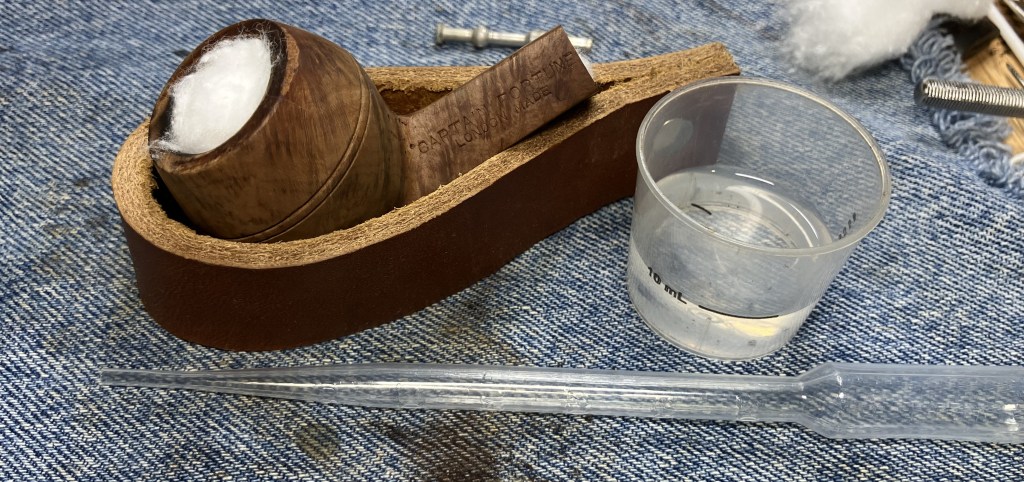
The stem was then placed into a bath of Briarville Pipe Stem Oxidation Remover (deox) for just shy of 4 hours (based on the time stamps from the photos). A pipe cleaner was inserted into the stem to act as a handle for easy removal from the deox.

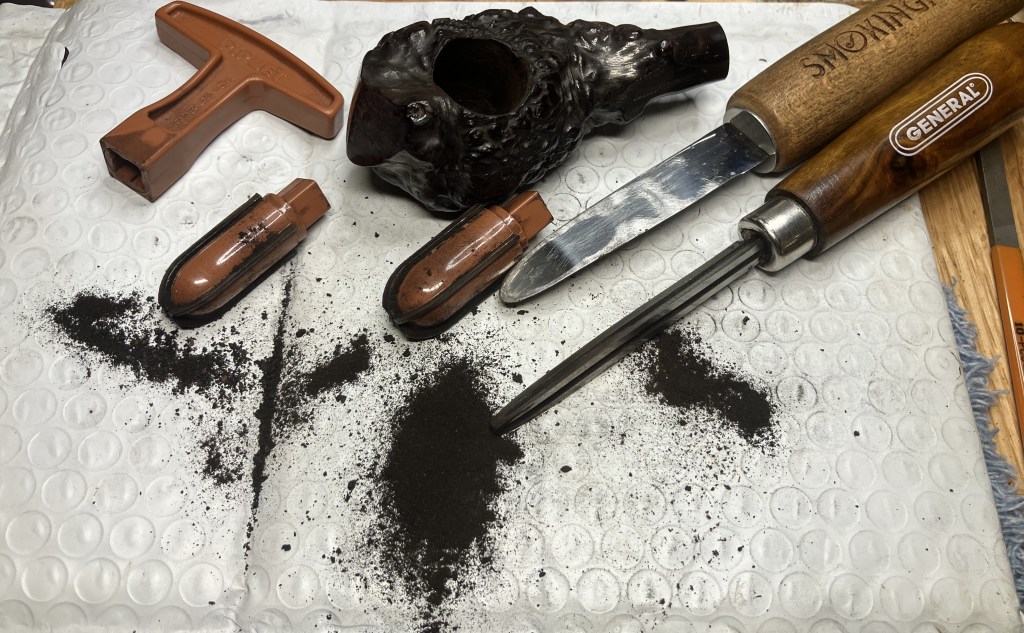
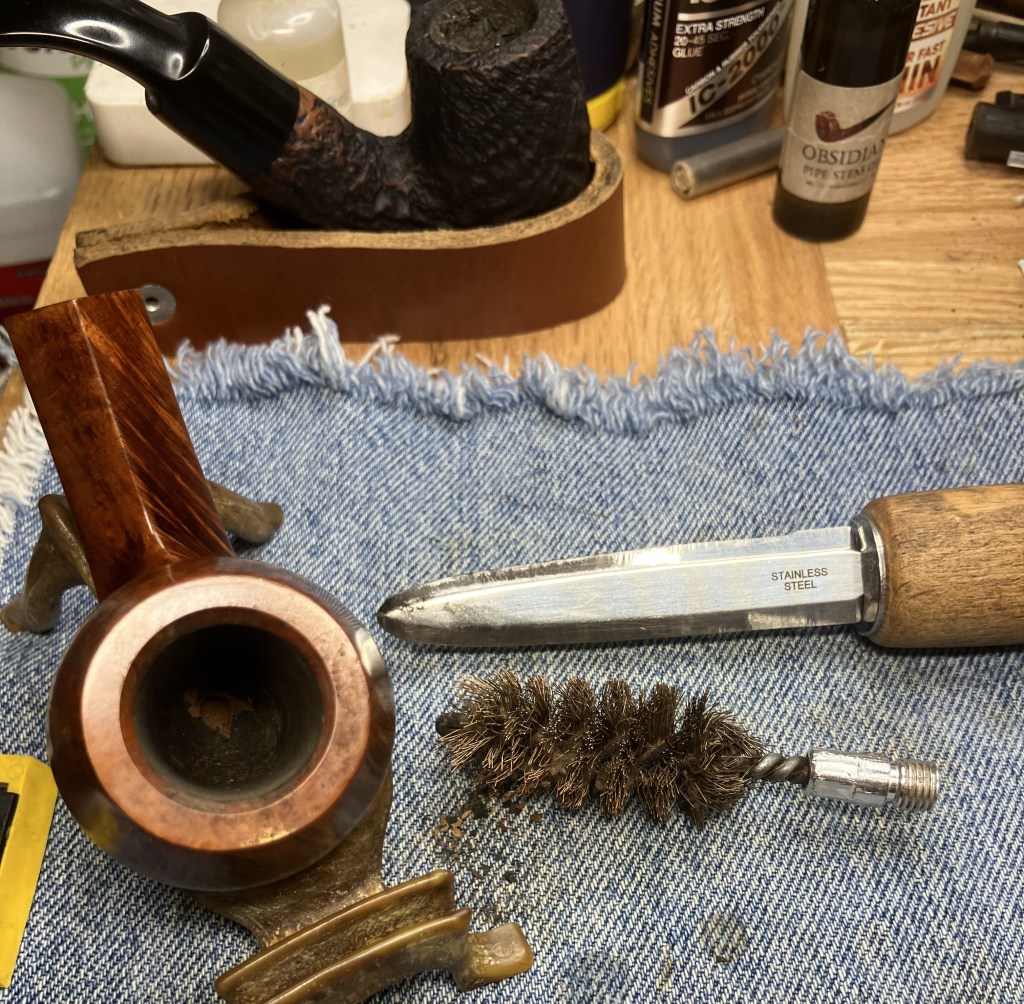
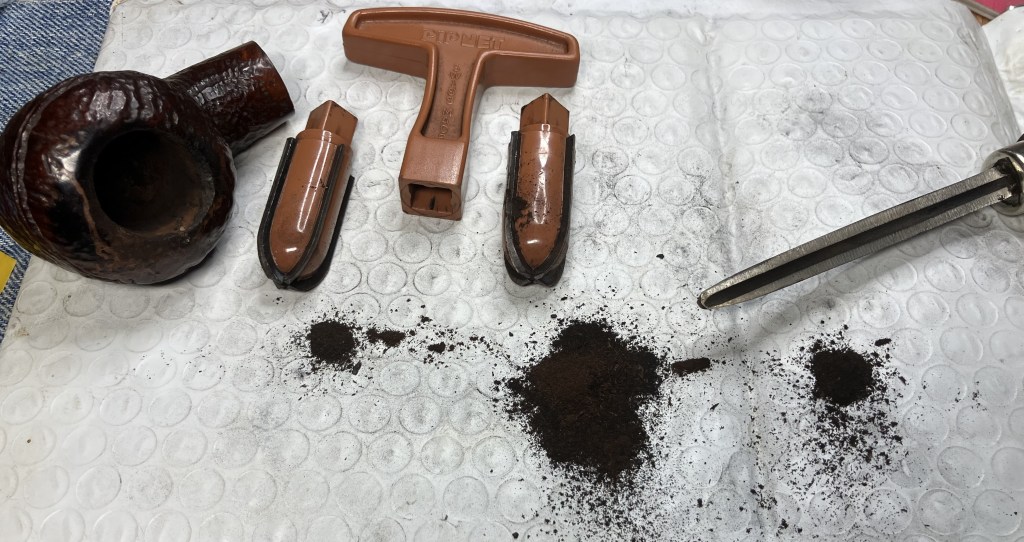
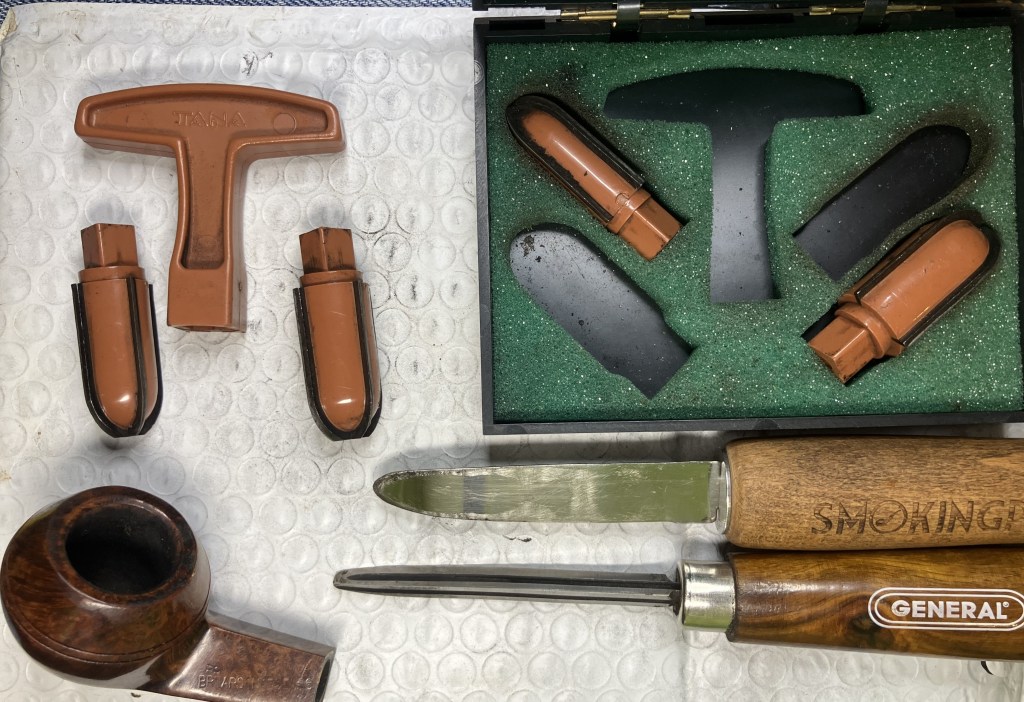
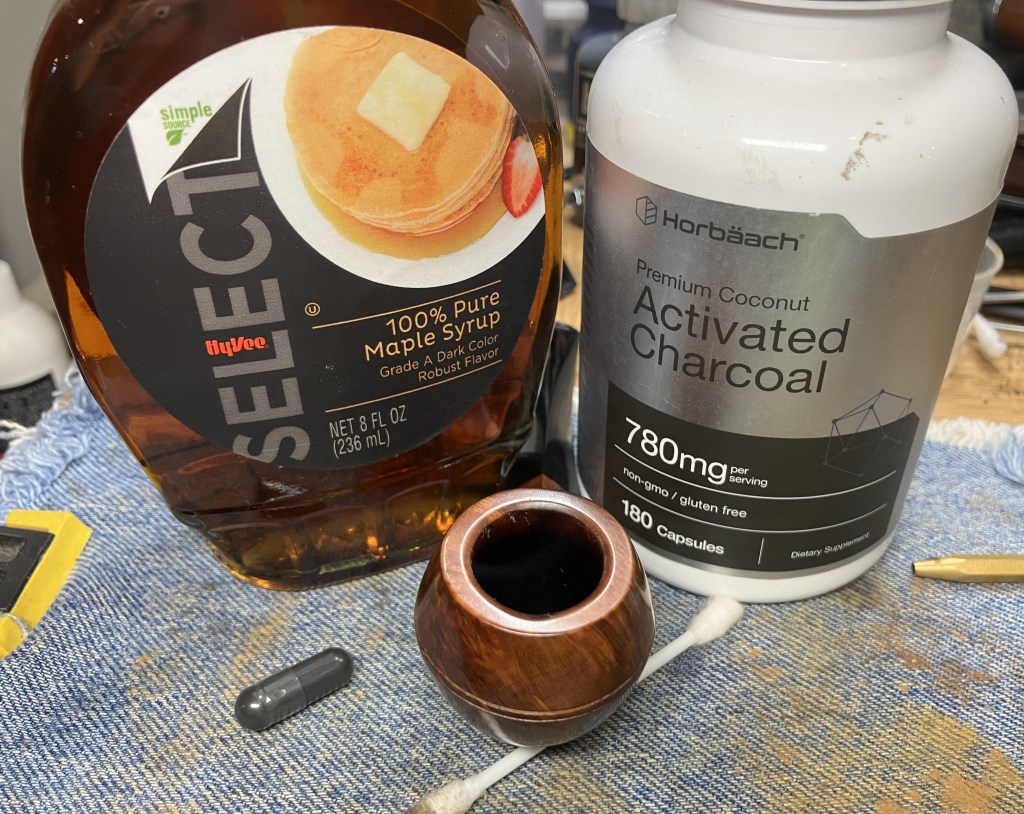
While the deox solution did the magic that it does, I turned to reaming the tobacco chamber. The ream team was assembled and included the PipNet with the big blades, #3 and #4, along with the Smokingpipes Low Country reamer and the General triangular scraper.

The #3 and #4 blades of the PipNet did the majority of the work.

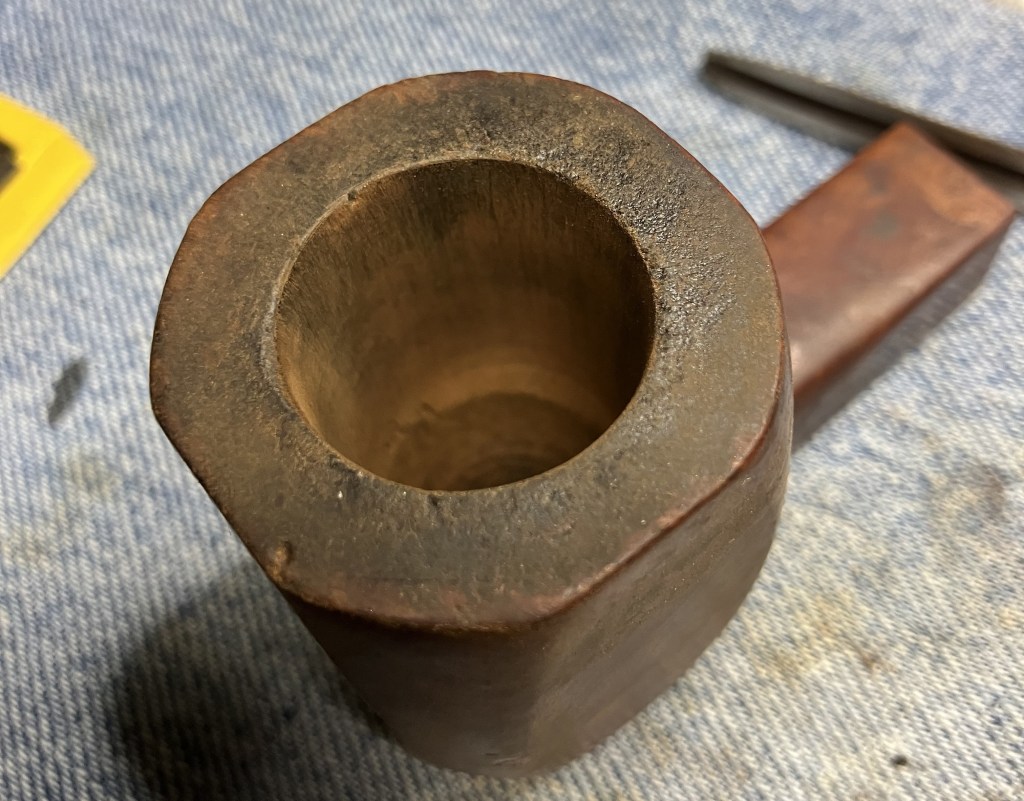
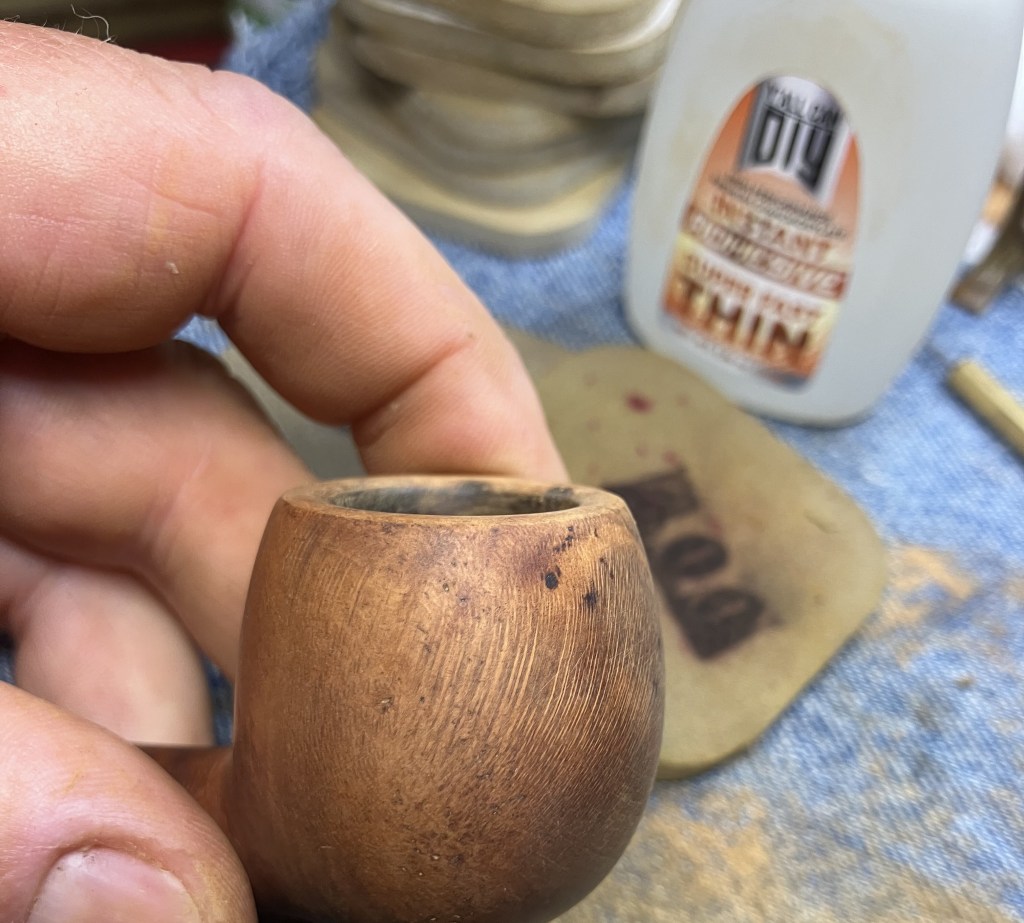
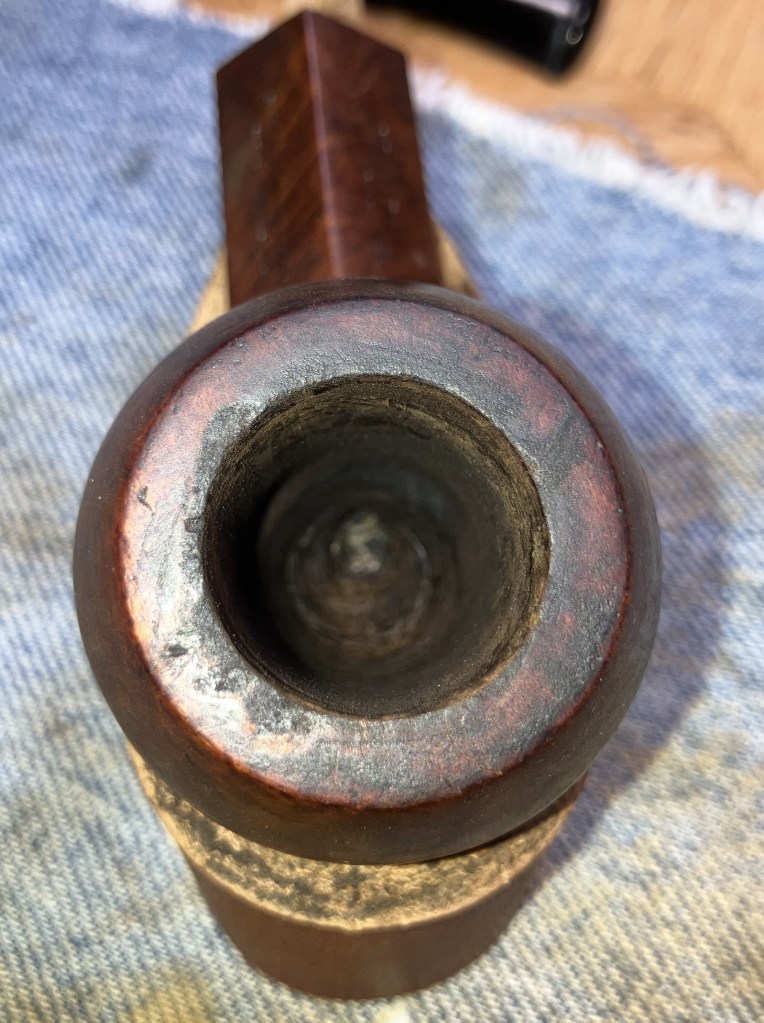
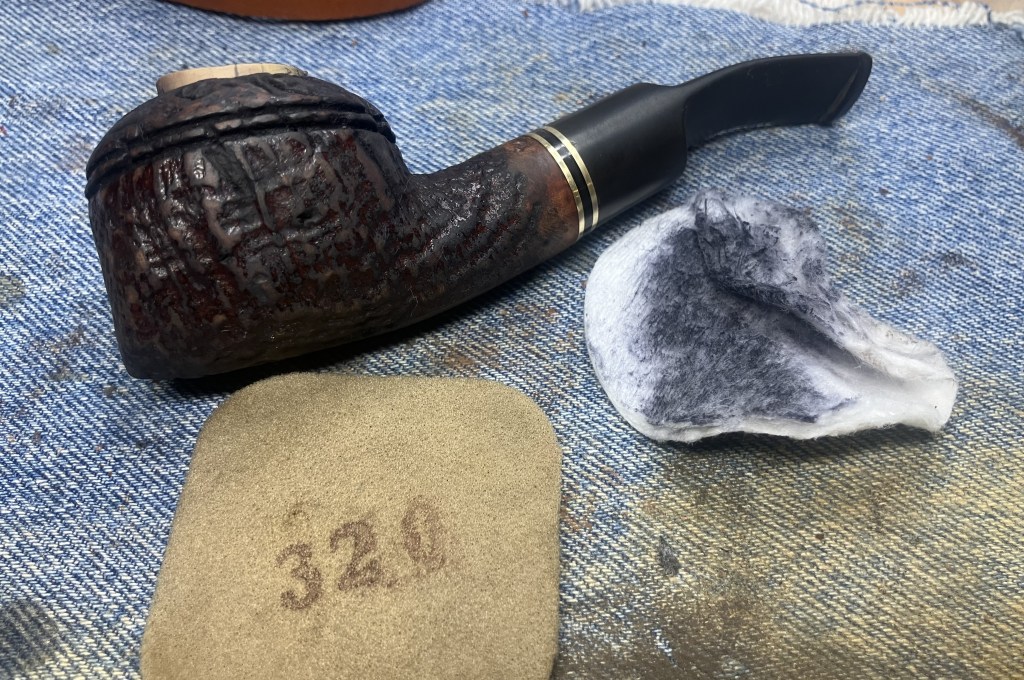
The tobacco chamber was sanded with 180 and 320 grit sandpaper via my finger. I do like the larger diameter chambers for this task.

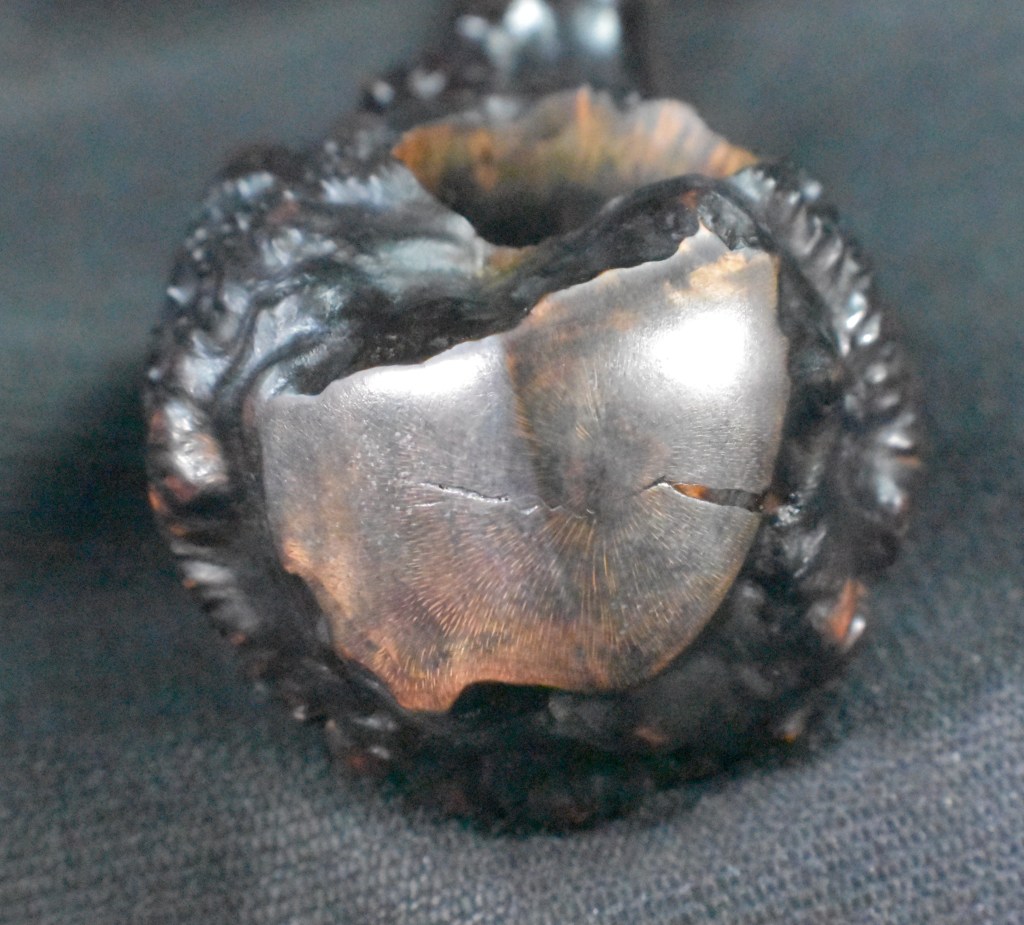
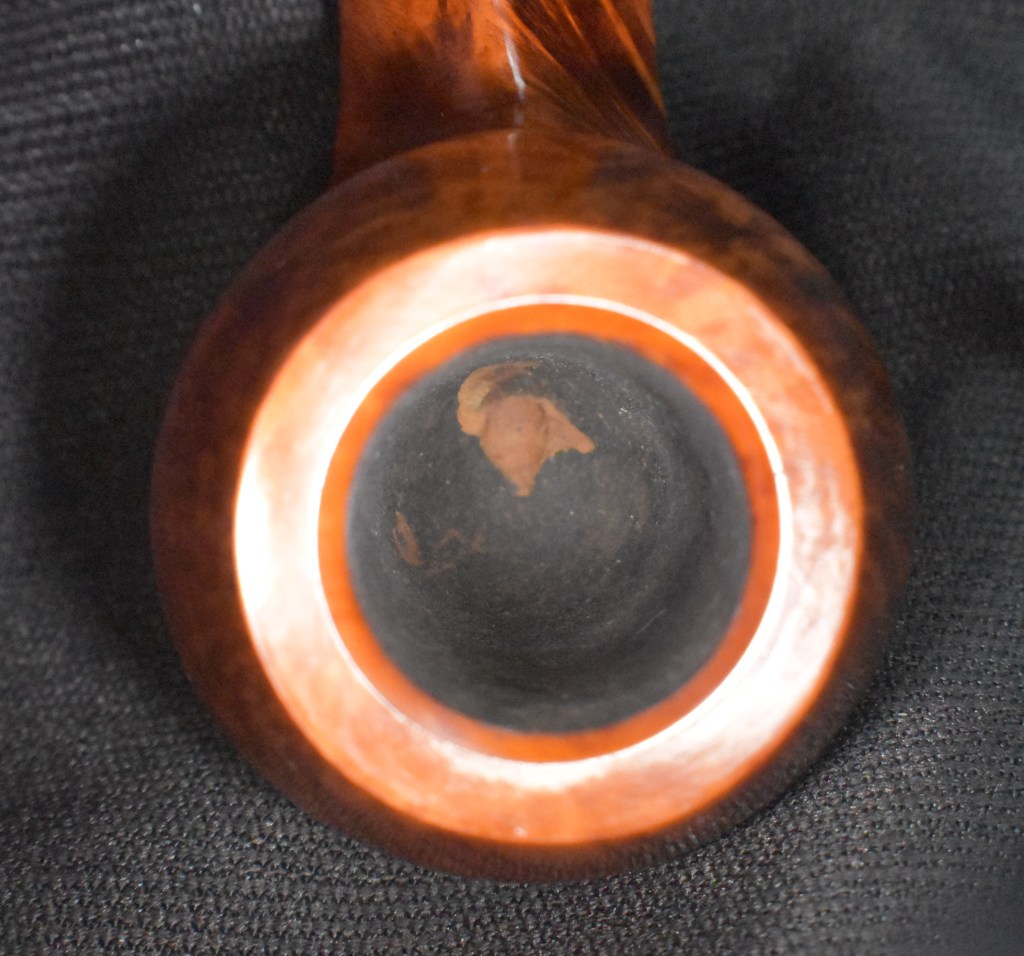
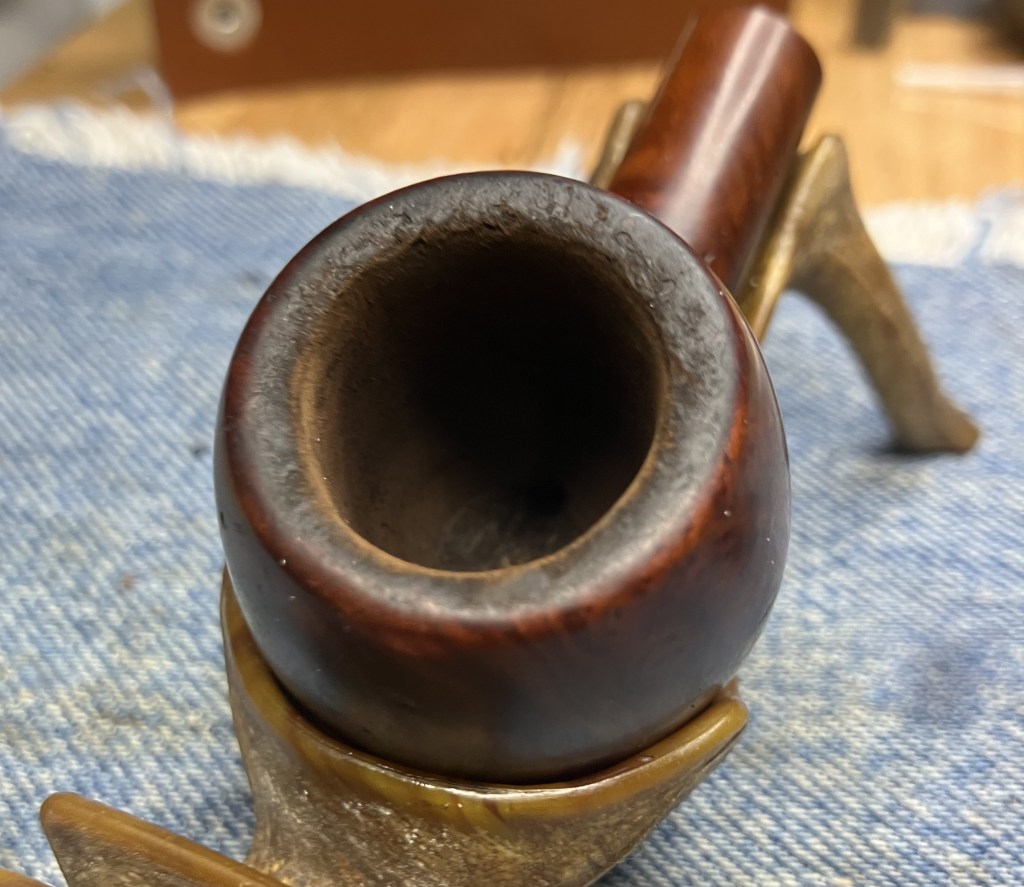
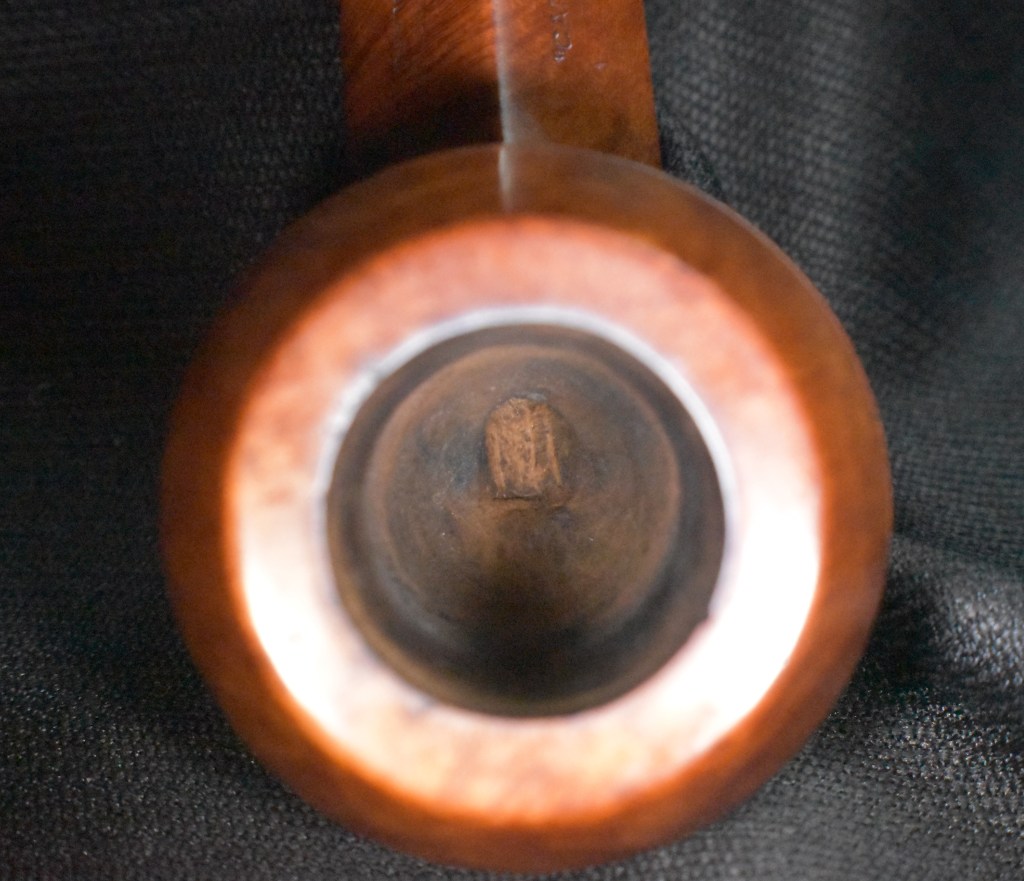
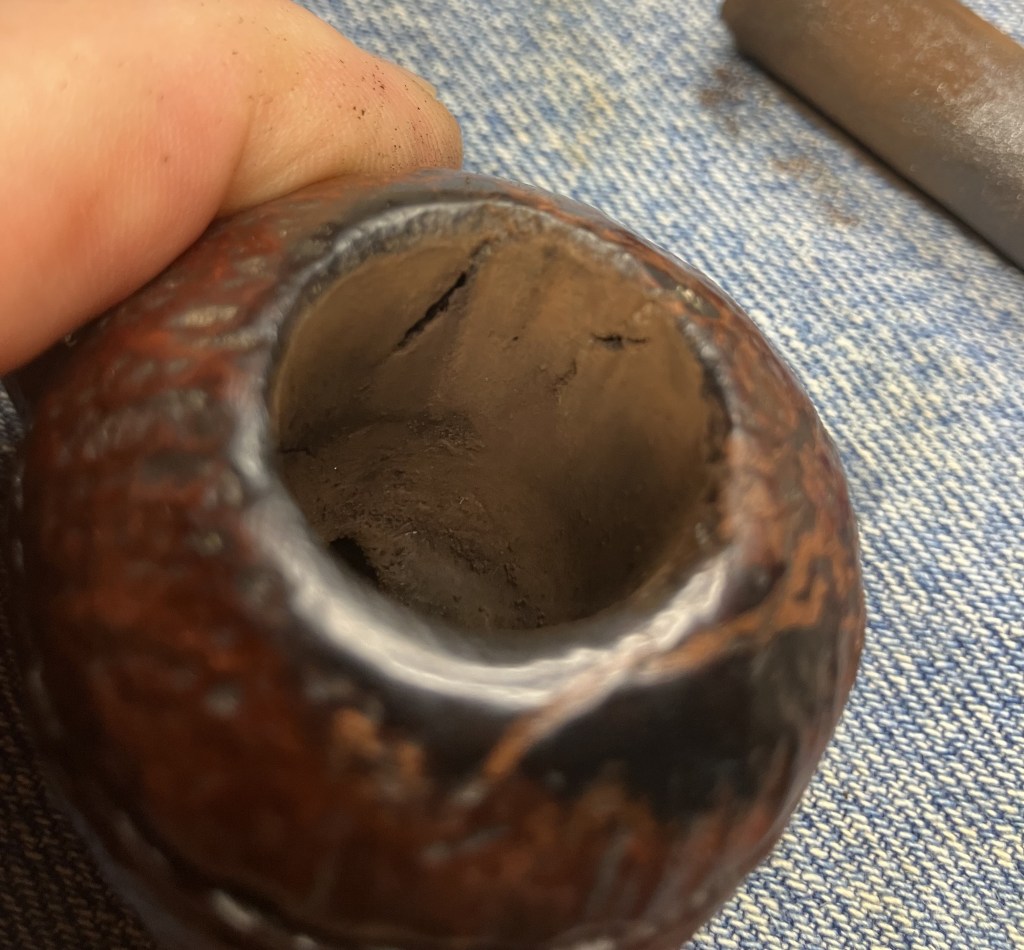
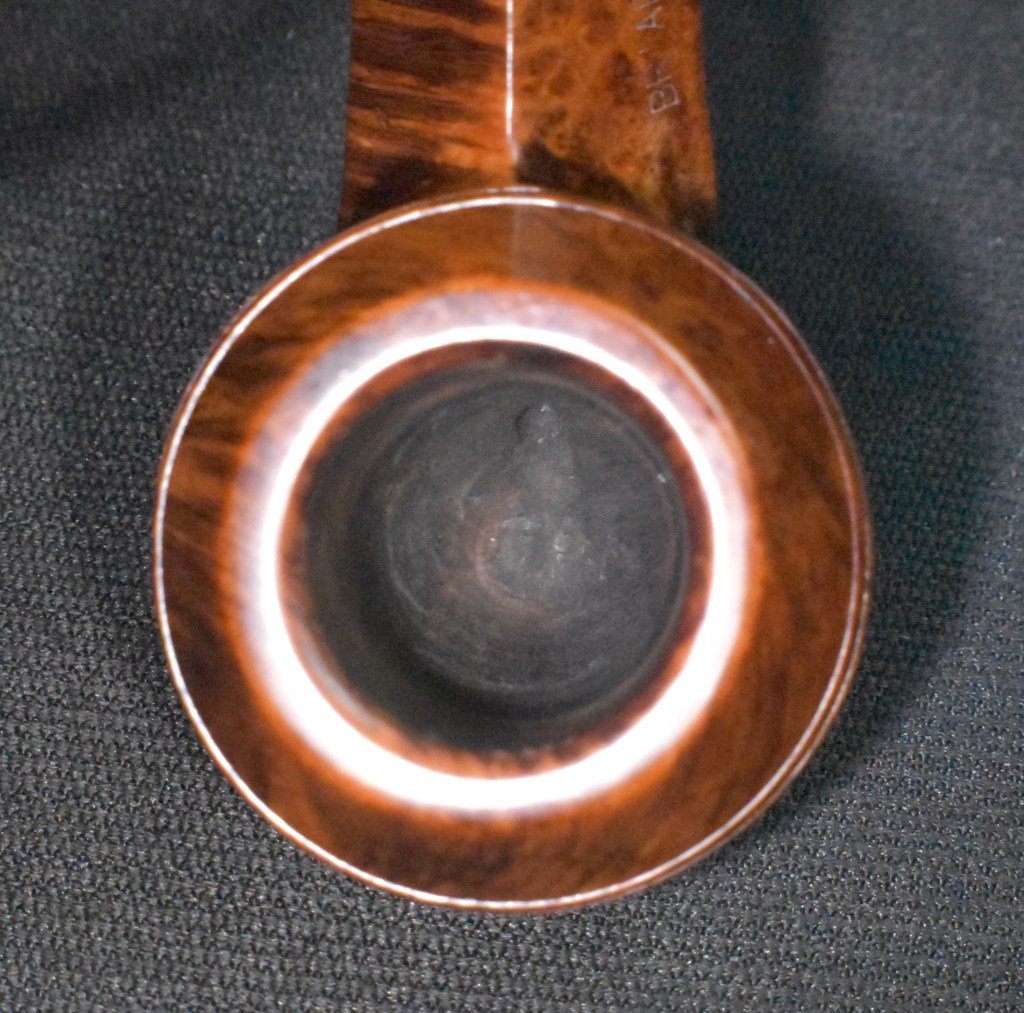
Below is the sanded chamber showing no signs of any heat damage to the bowl.
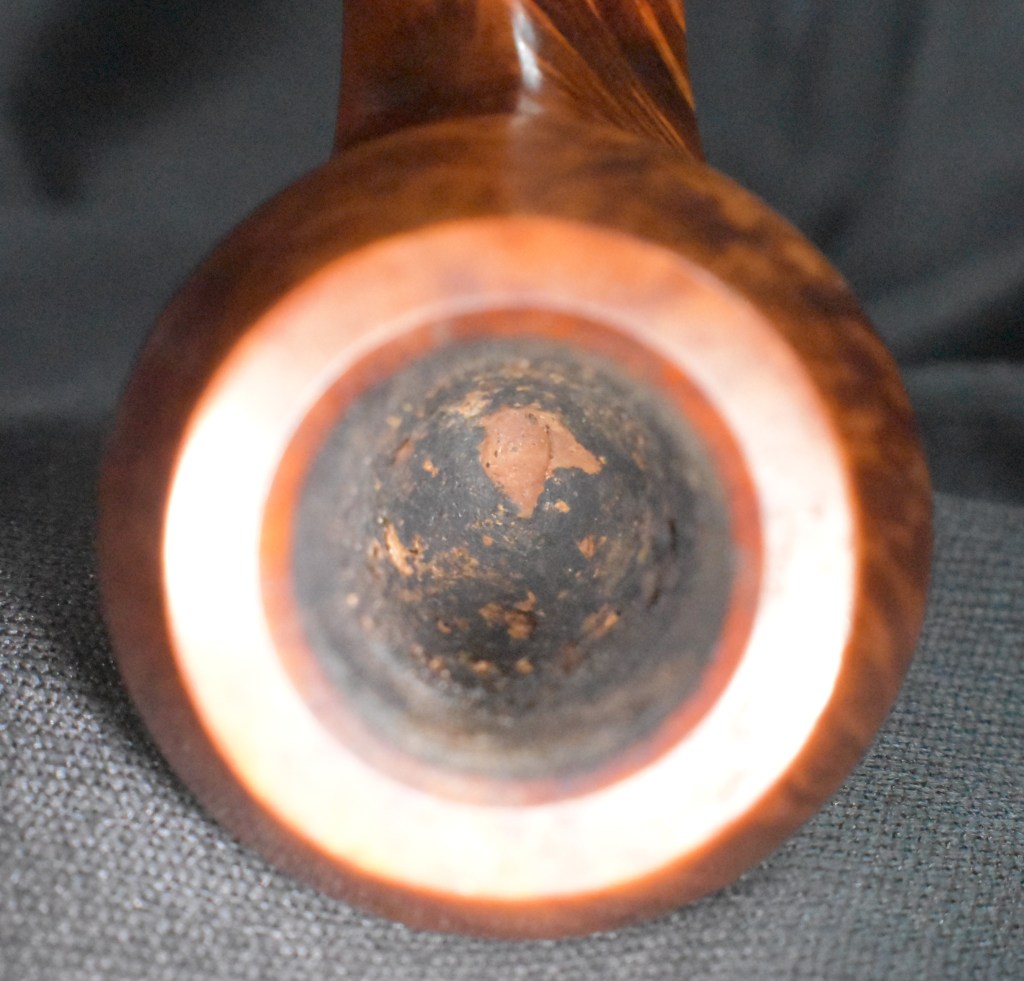
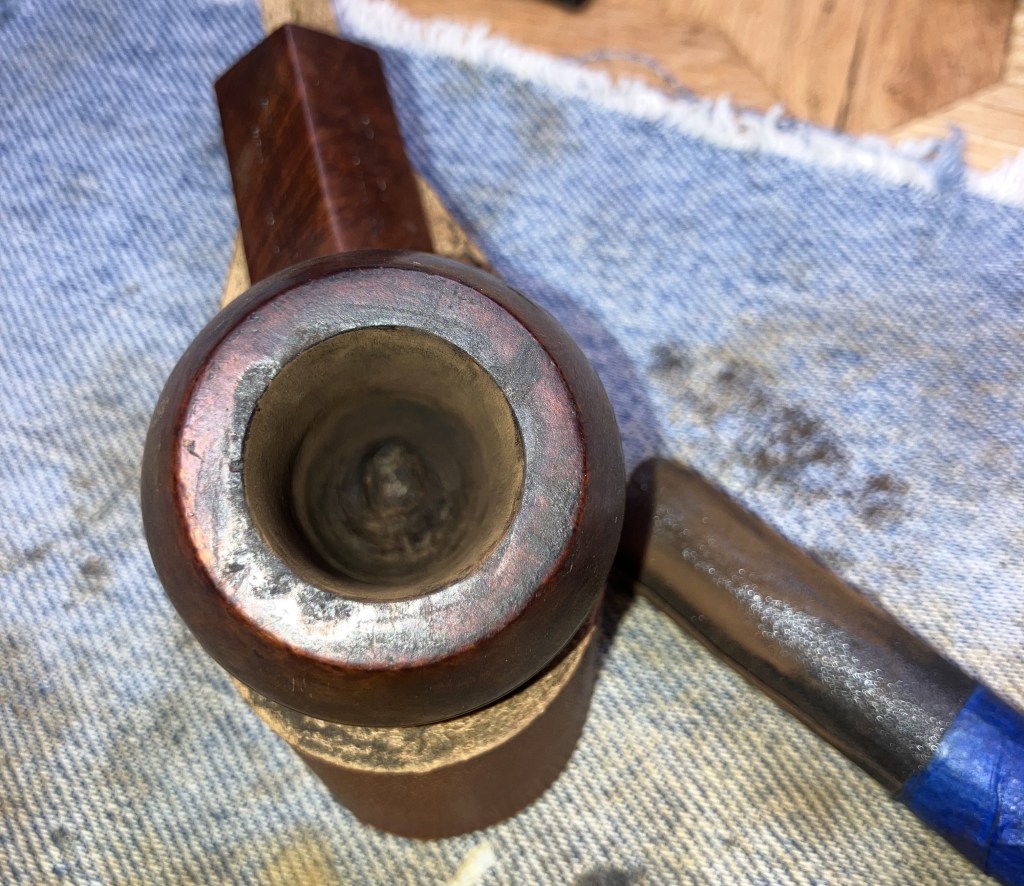
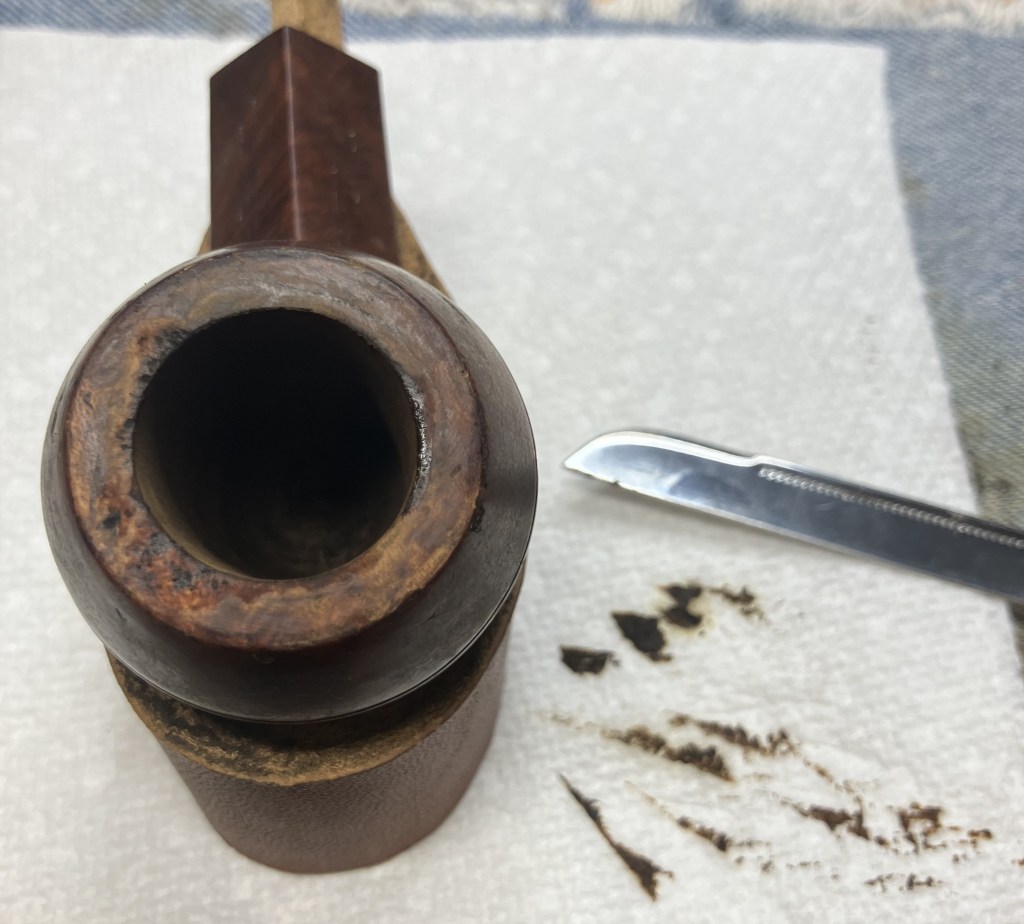
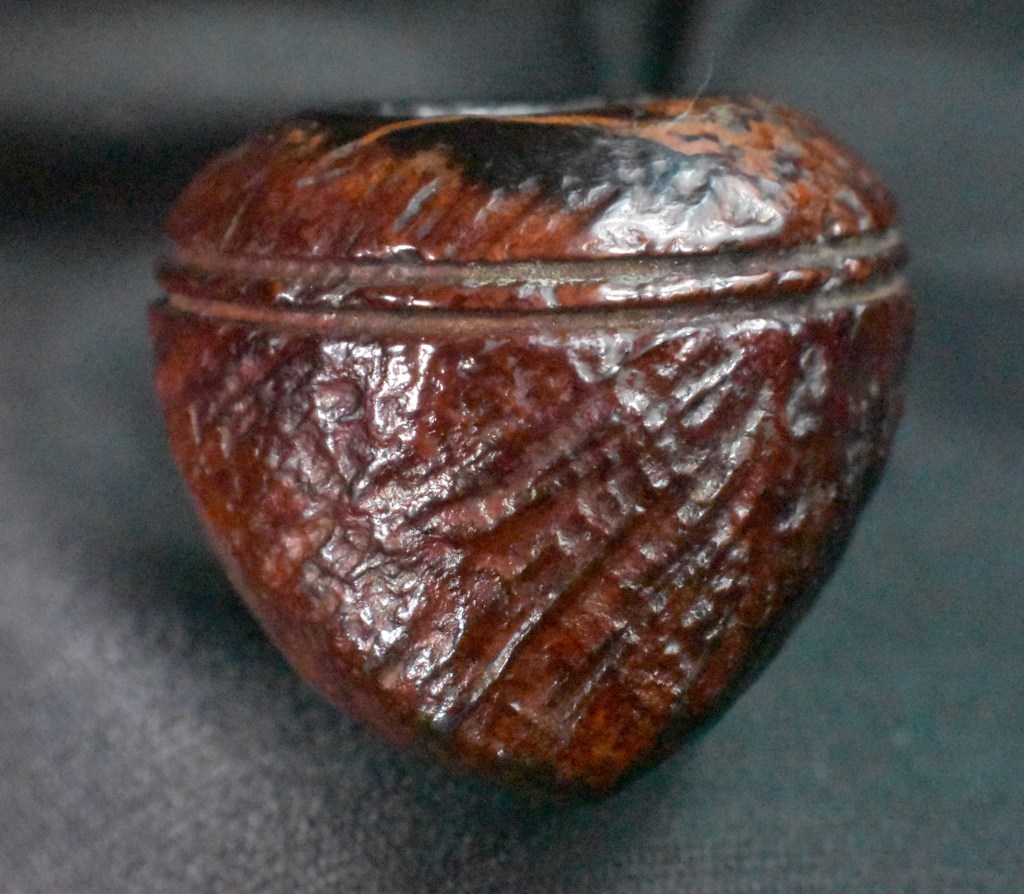
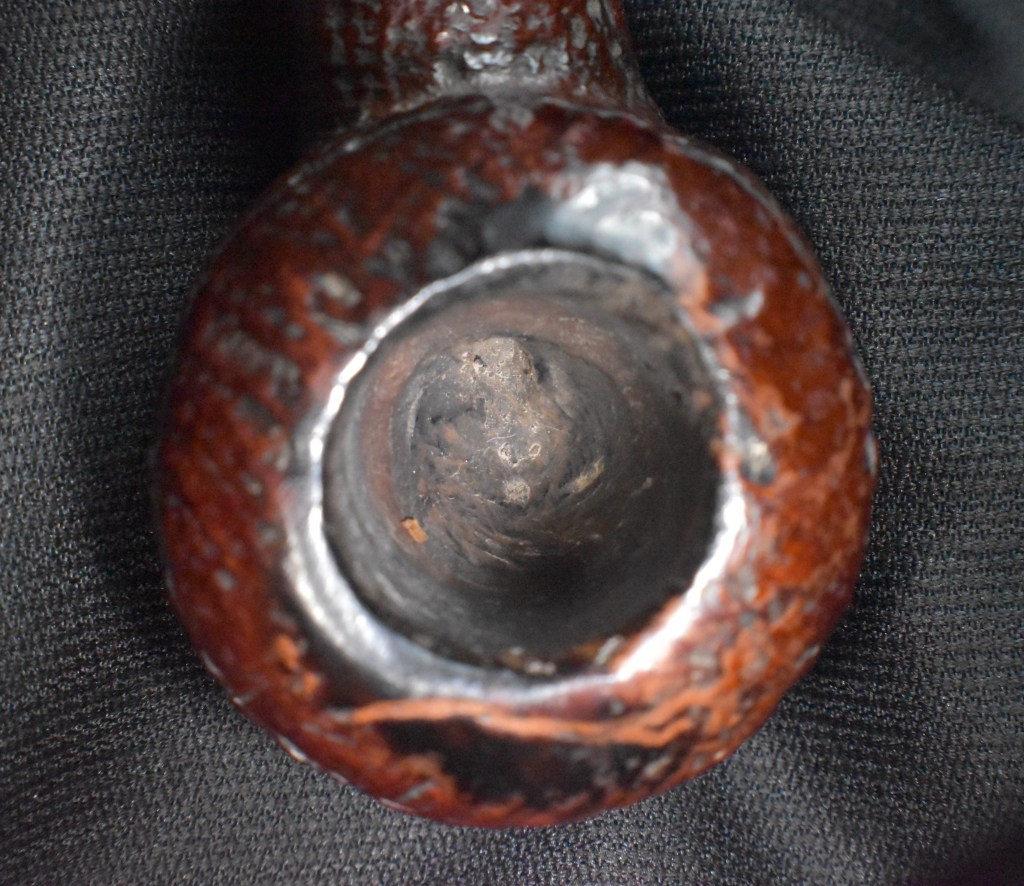
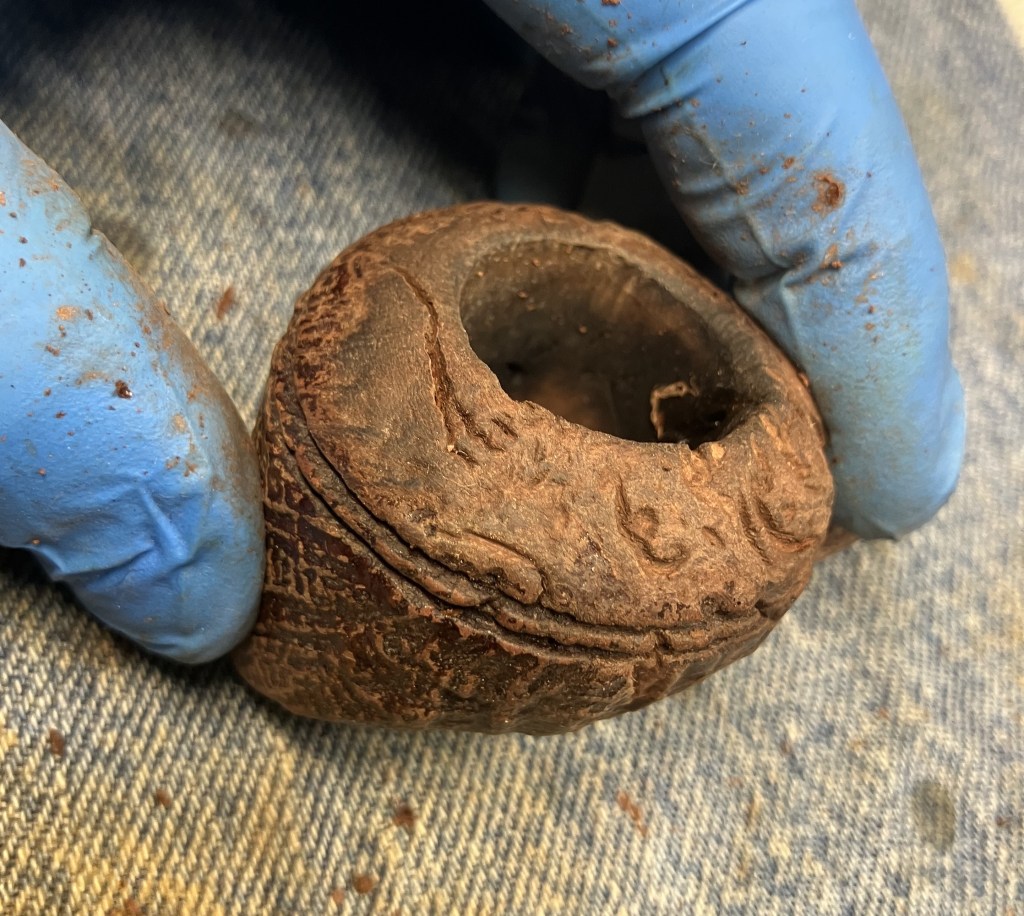
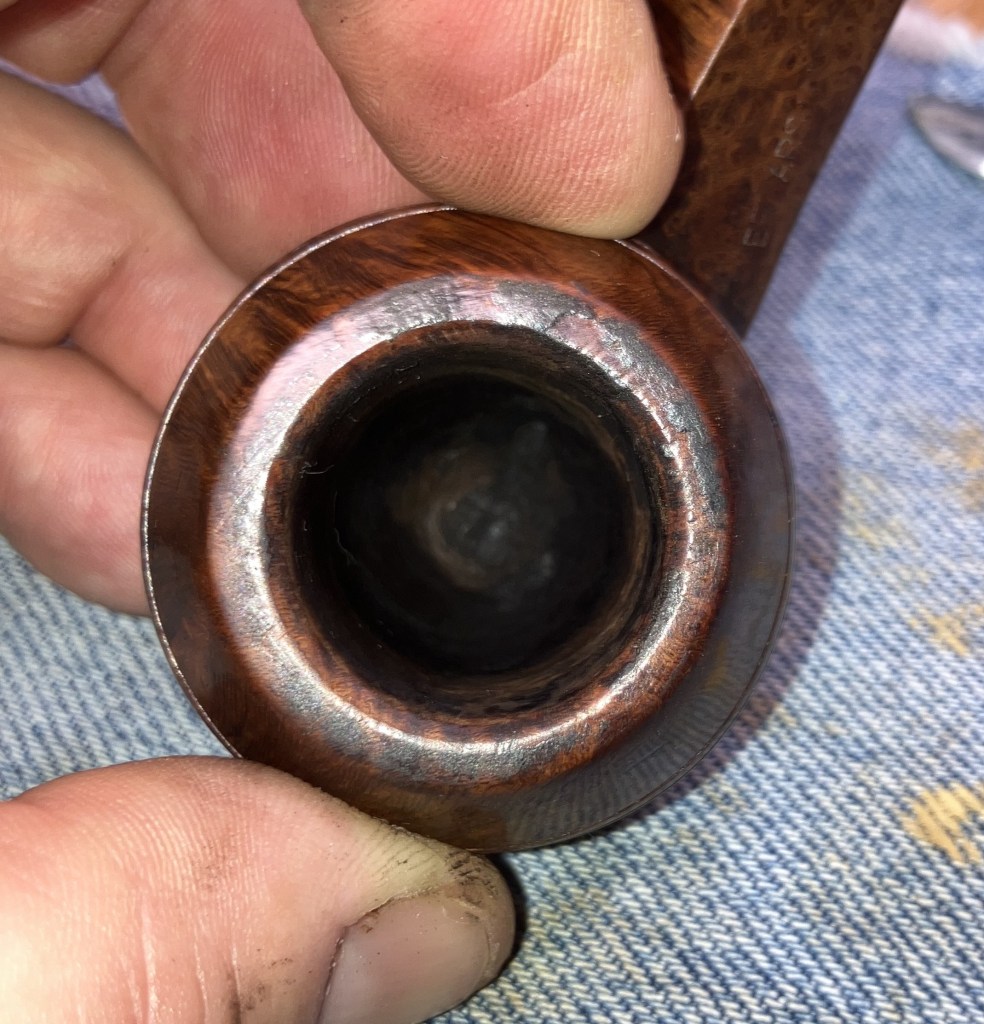
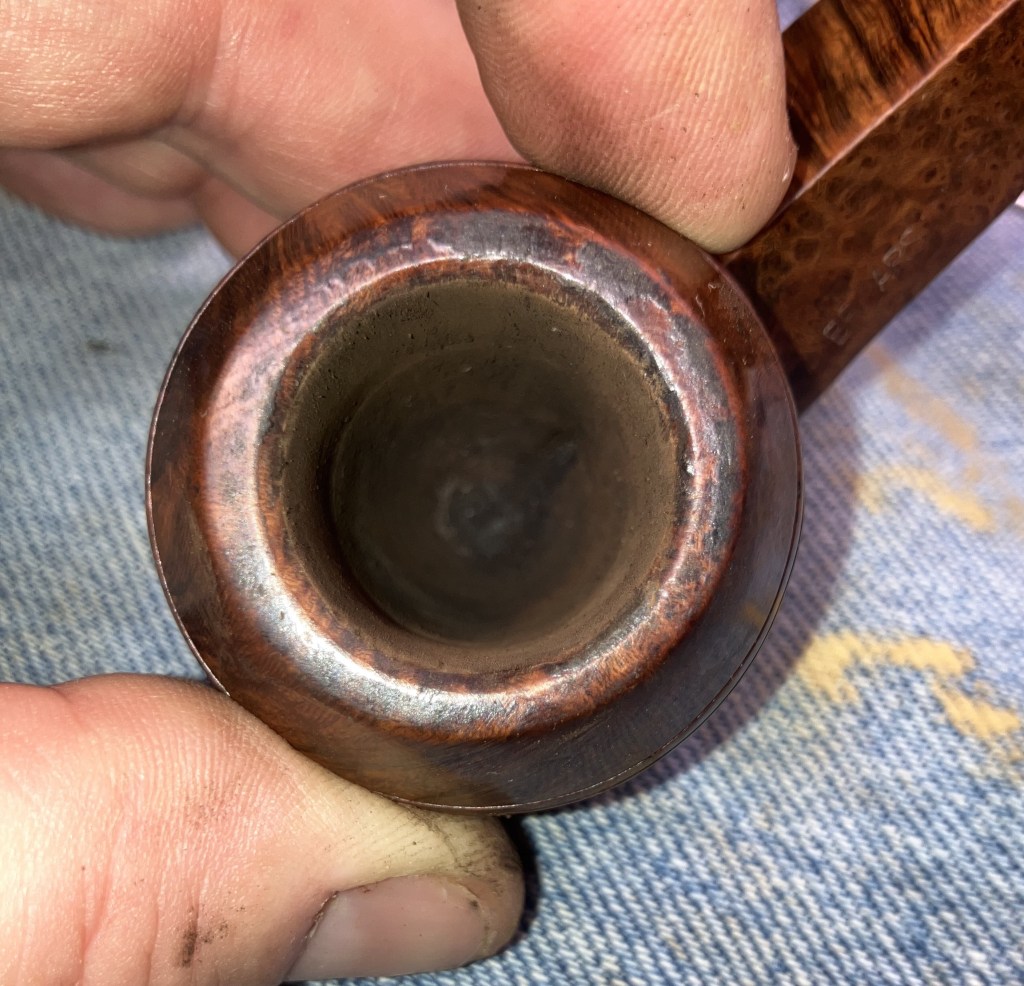
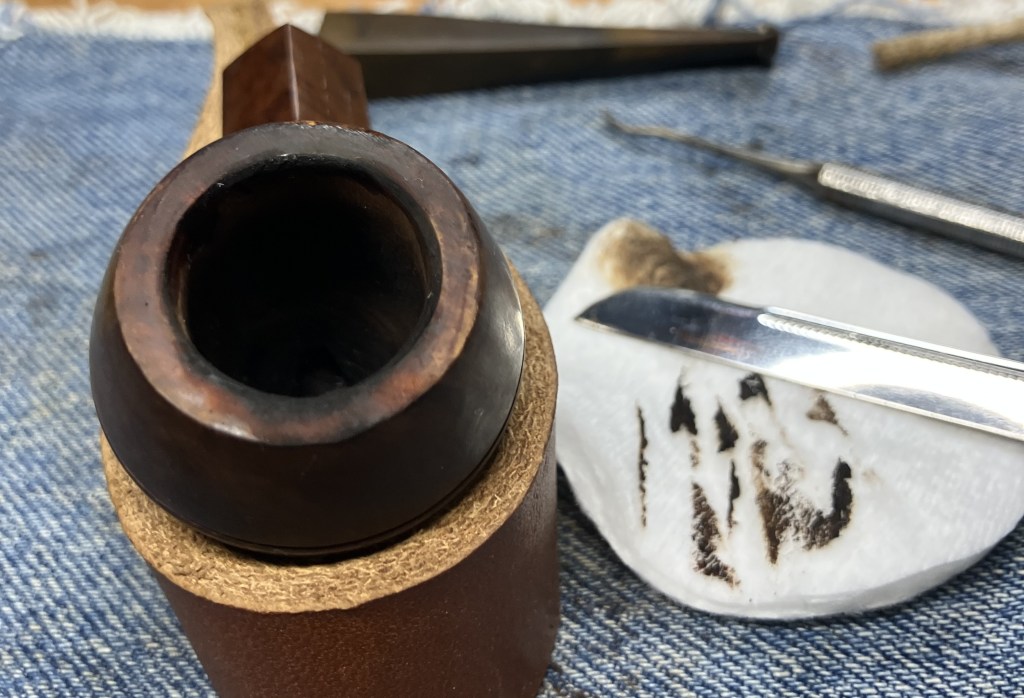
The rim remained lava encrusted. I was hoping not to find any charring under the lava.
The lava was moistened with saliva and allowed to soften for a few minutes.
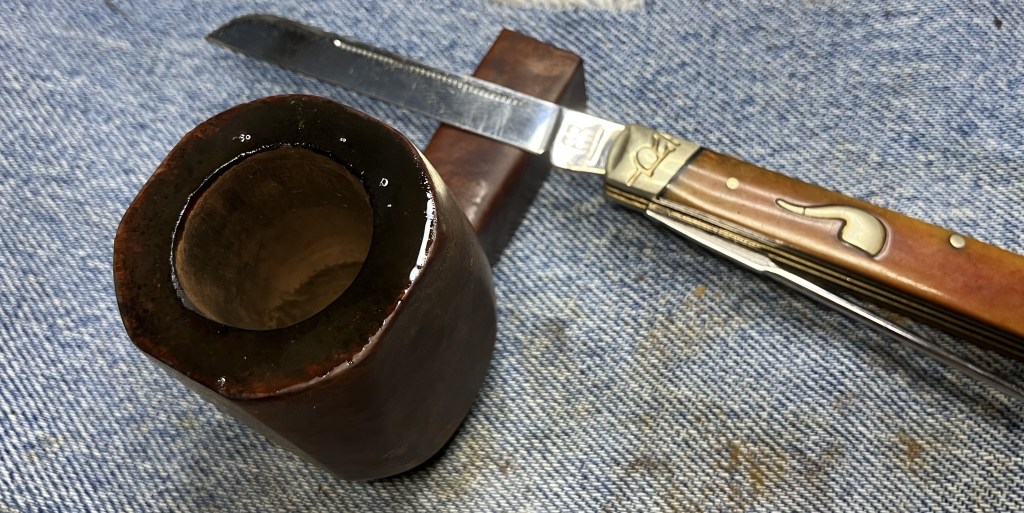
Scraping was done with a sharp pocket knife. Yay, the rim was free of charring except around the inner rim edge. Good job, previous owner.
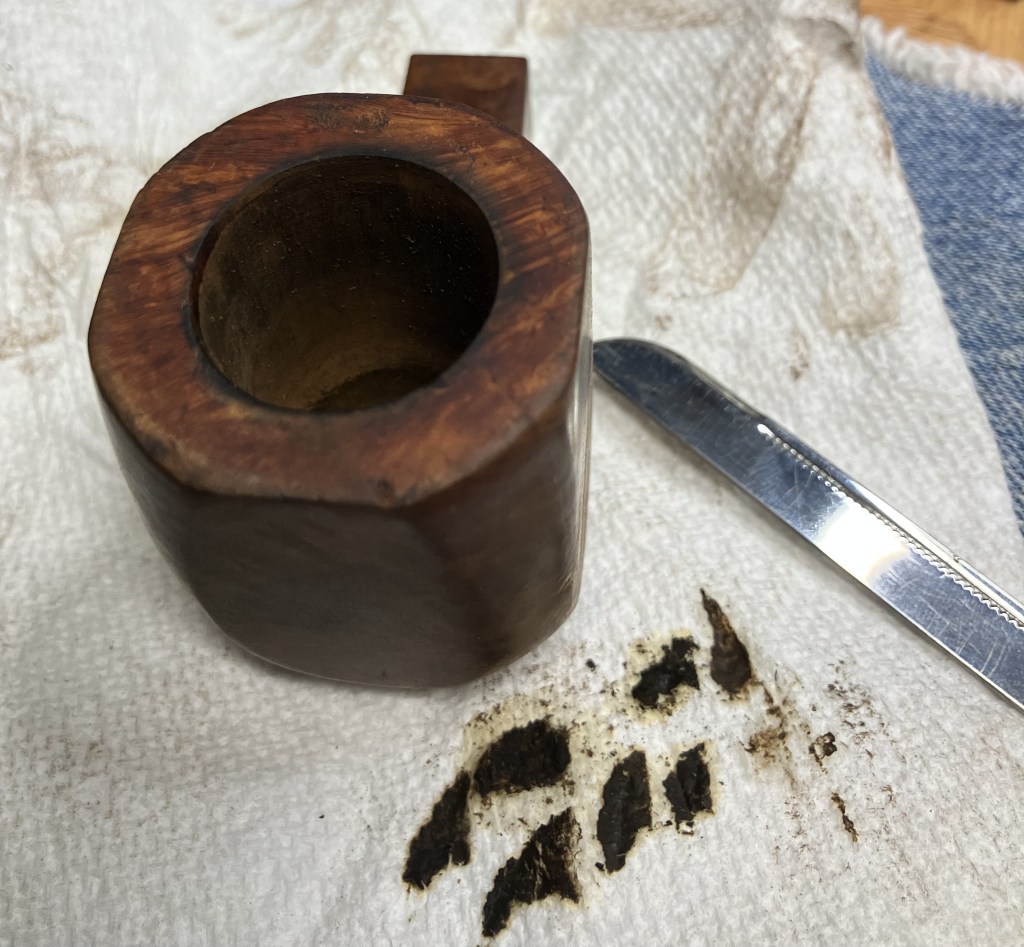
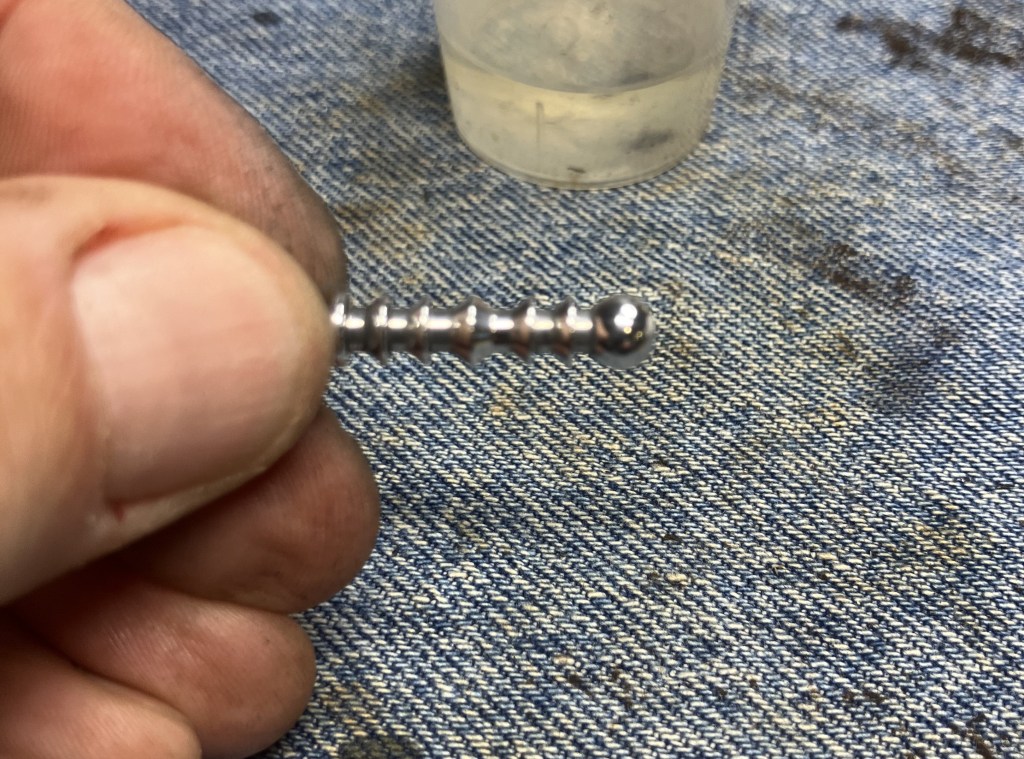
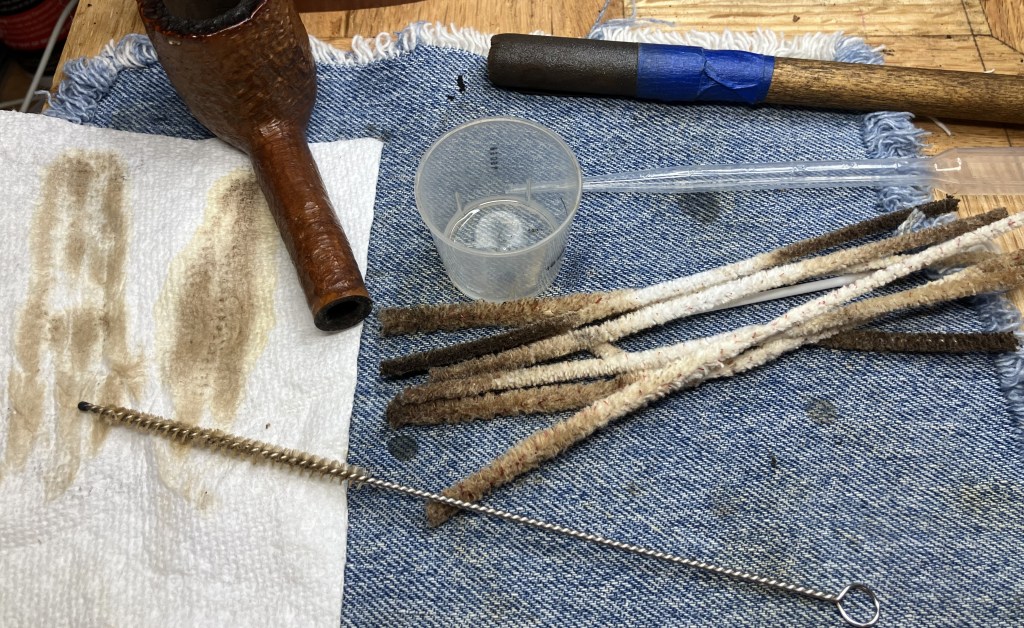
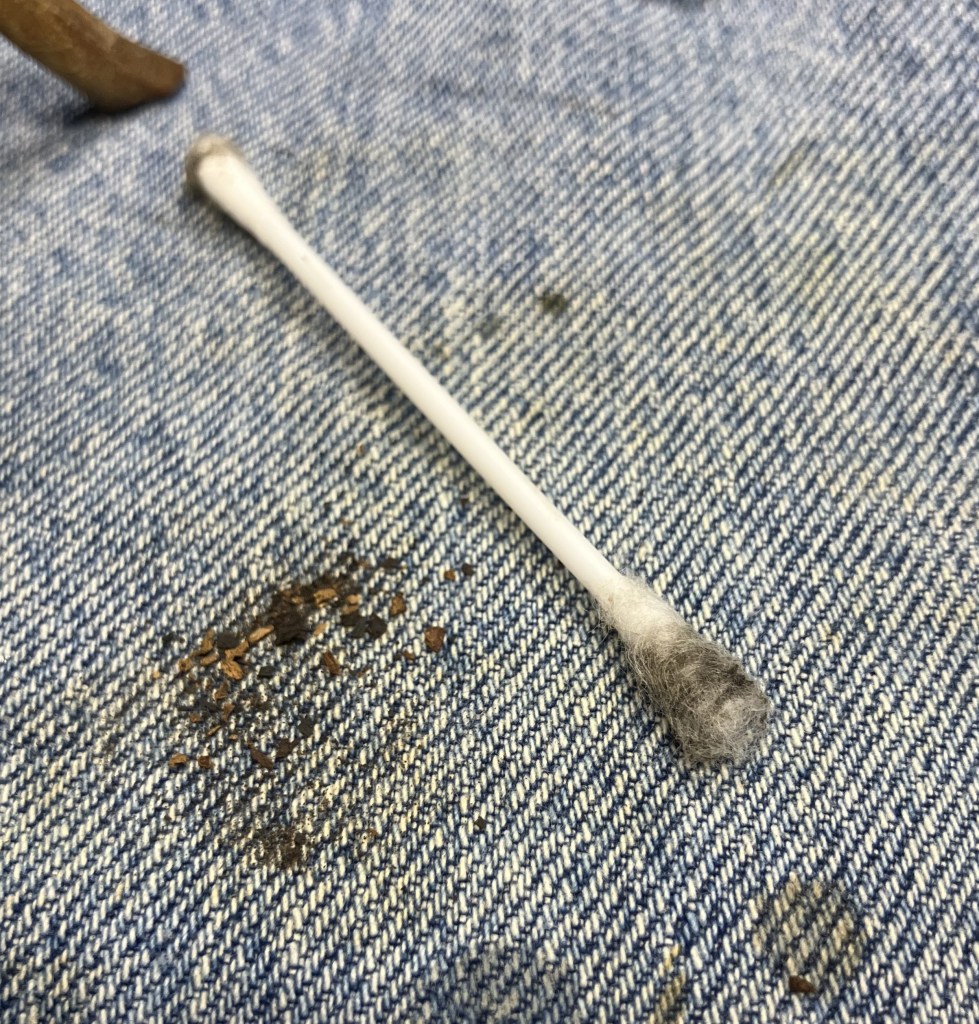
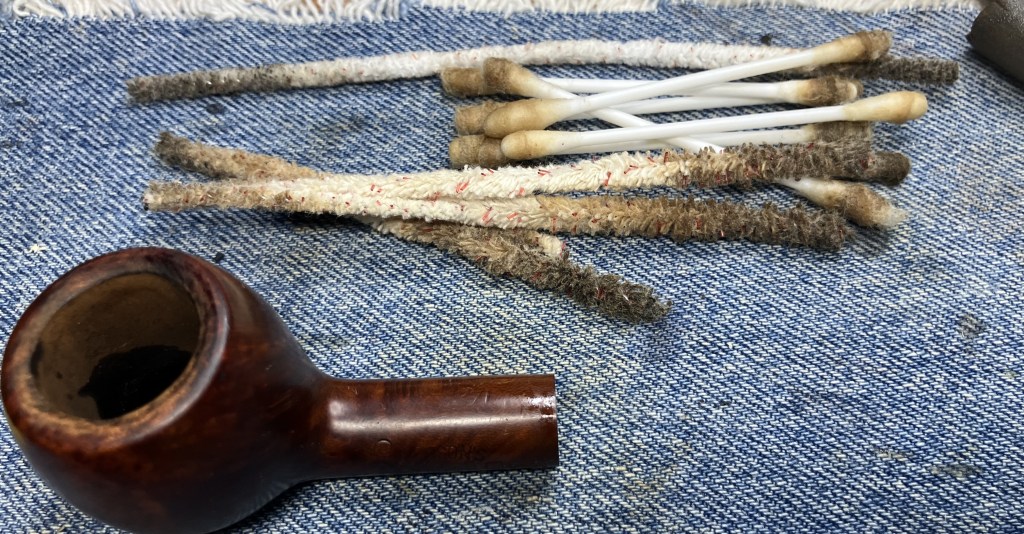
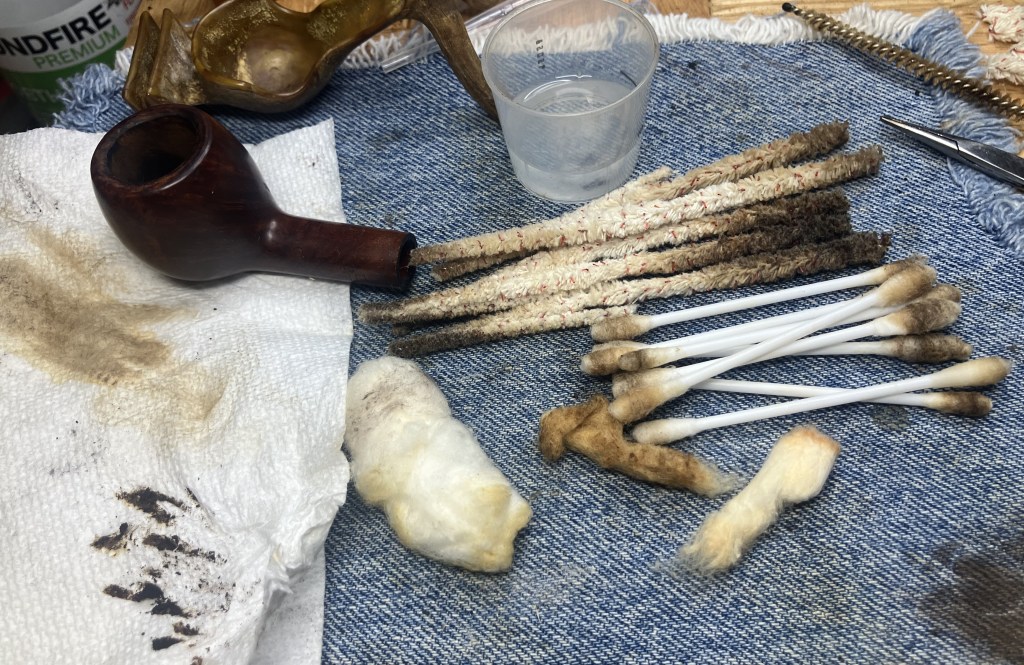
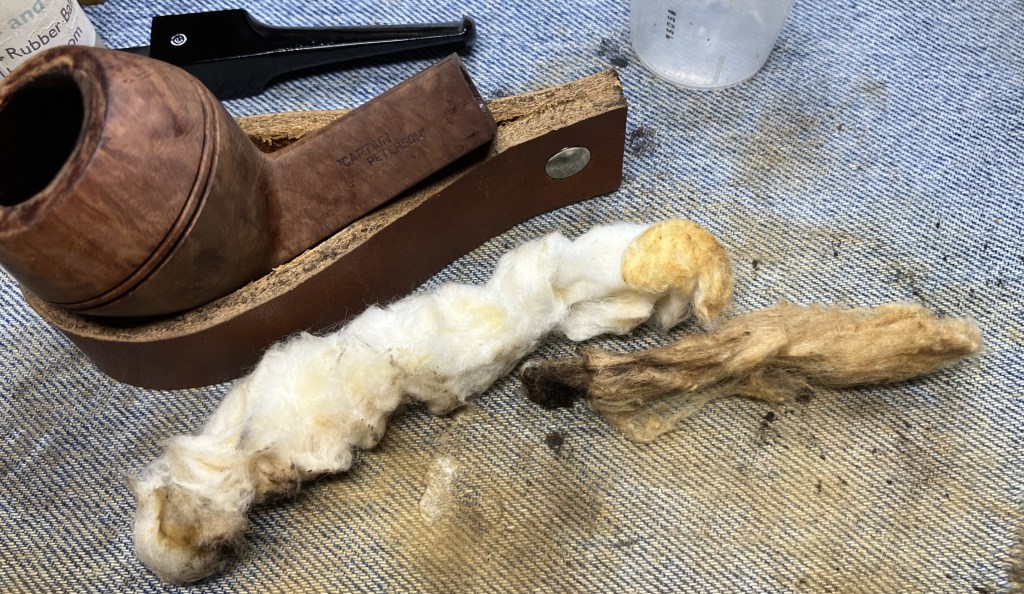
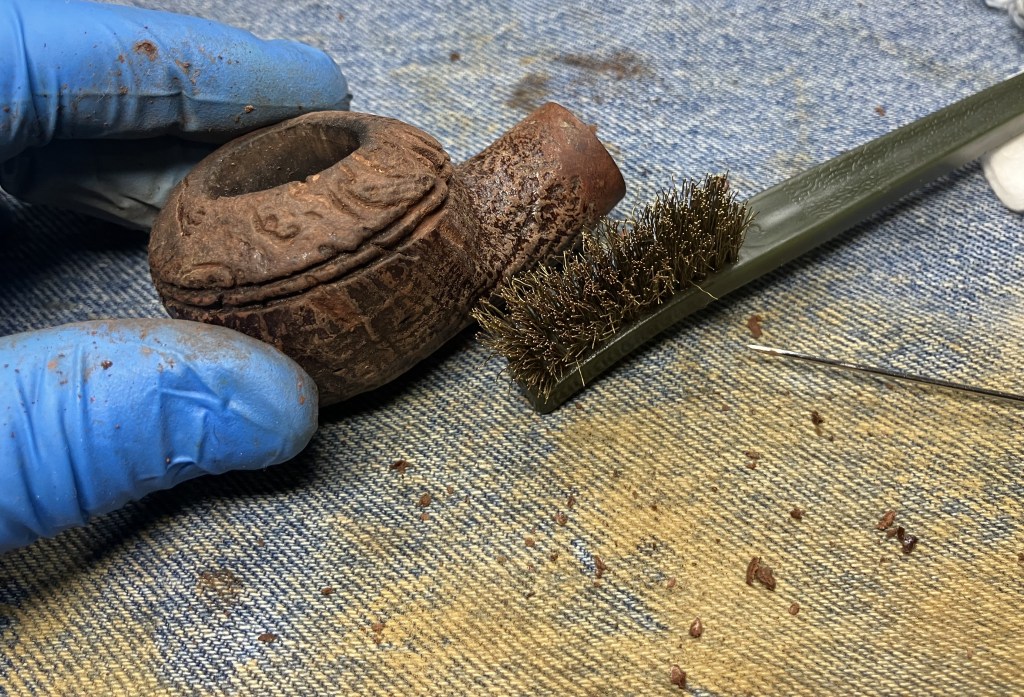
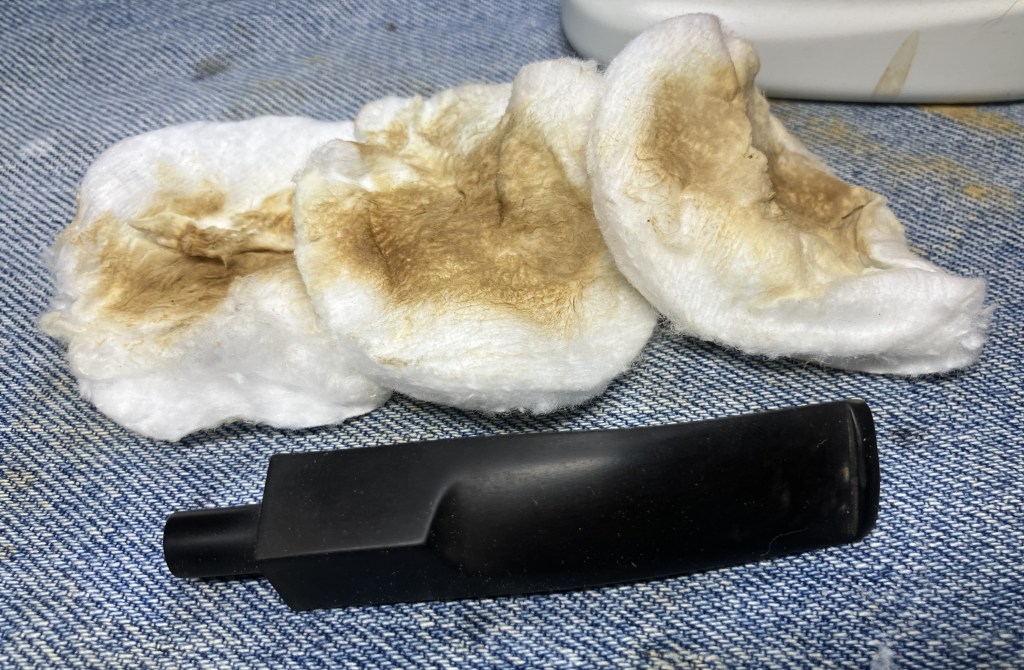
Next came the shank cleaning. Bristle pipe cleaners dipped in 99% ethyl alcohol were used for the initial passes through the airway. Once the smoking residues had softened I was able to scrape the airway with a dental scraper. Every little bit of tar and yuck scraped is worth several pipe cleaners. I also used the shank drill from the KleenReem reaming tool to drill its way through the stem. This further removed some of the yuck. Eventually the airway returned unstained pipe cleaners.

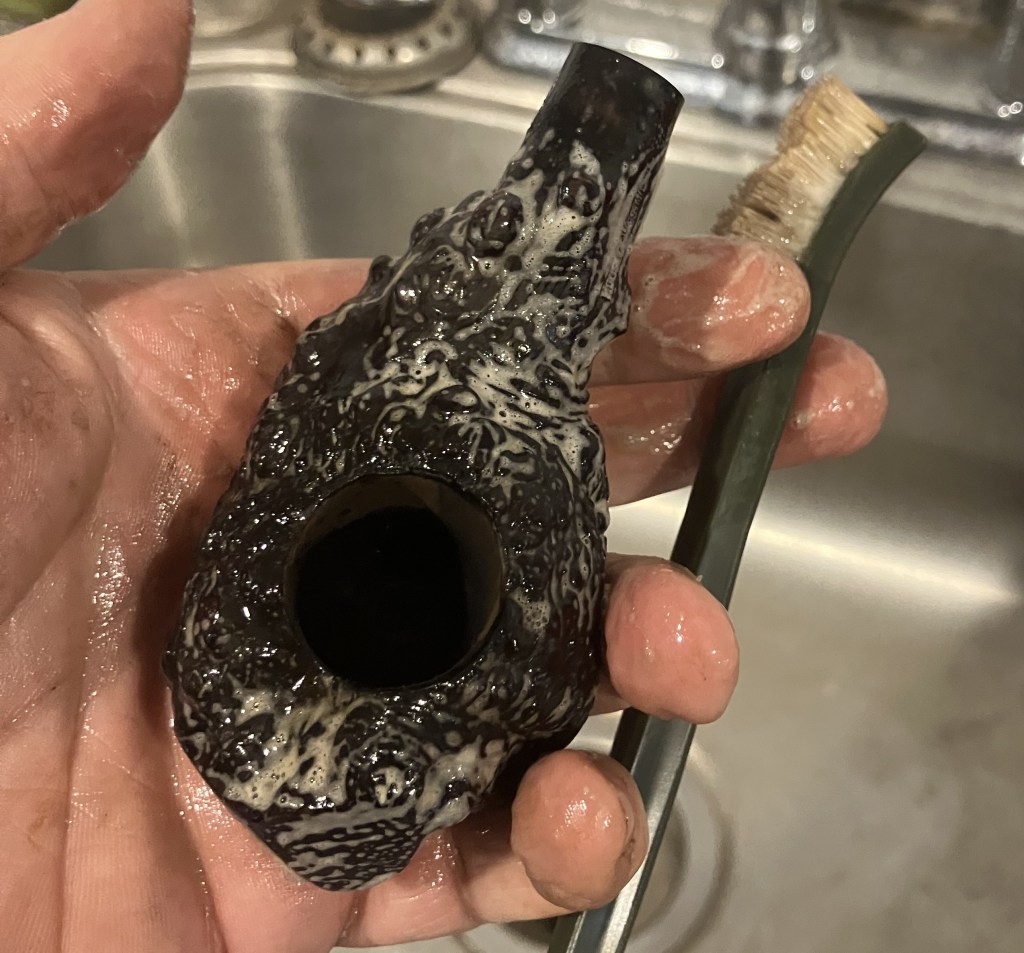
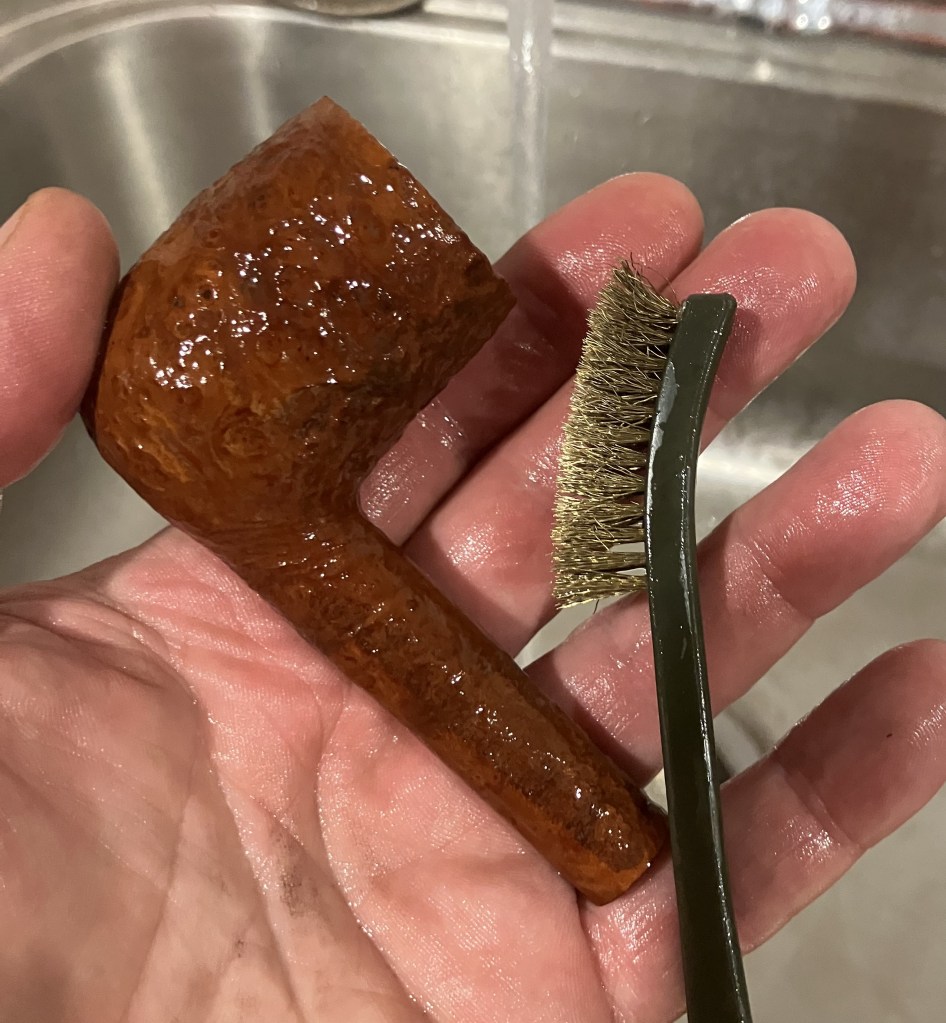
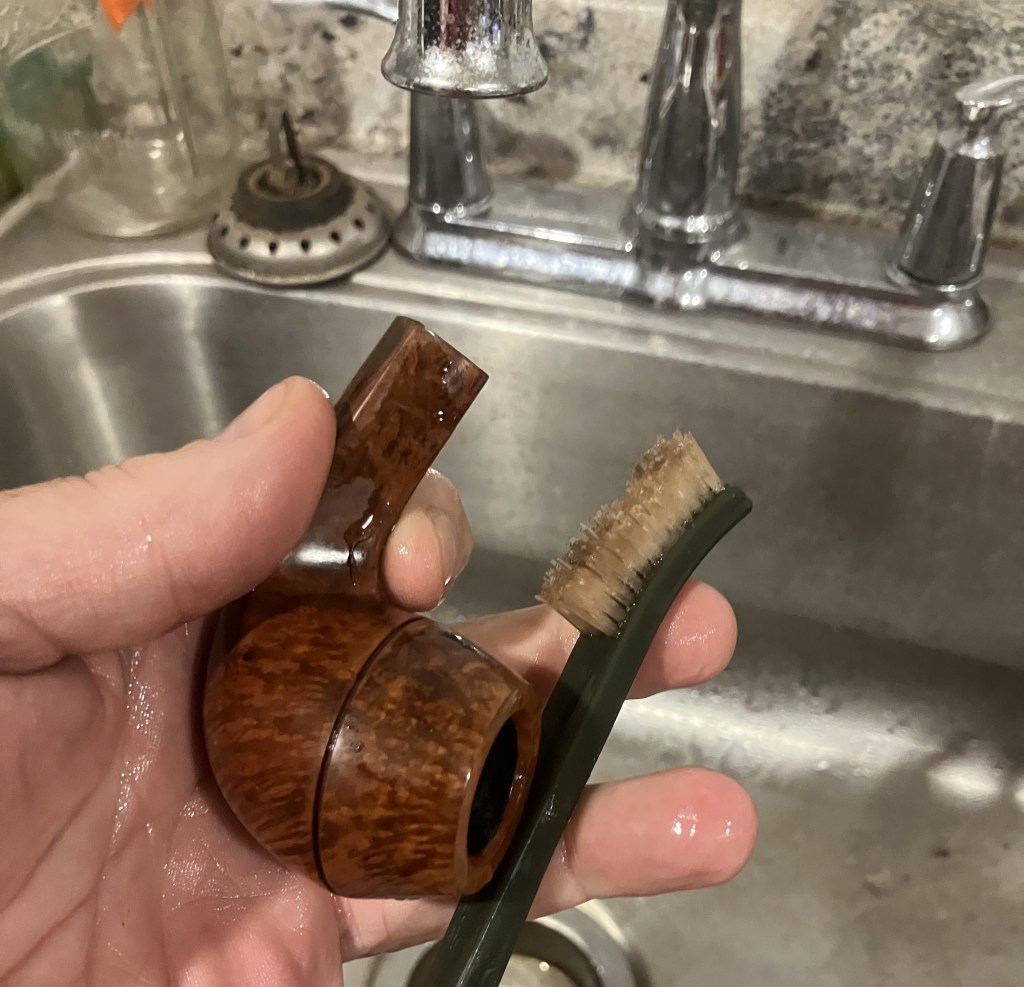
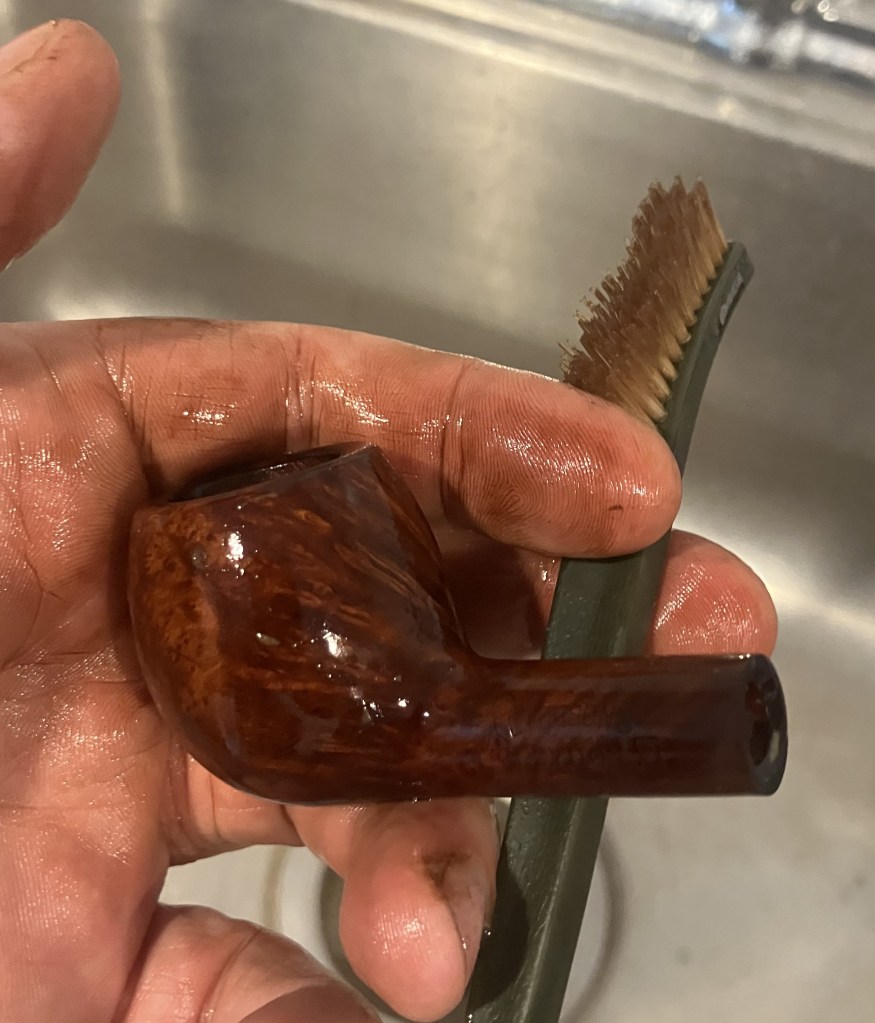
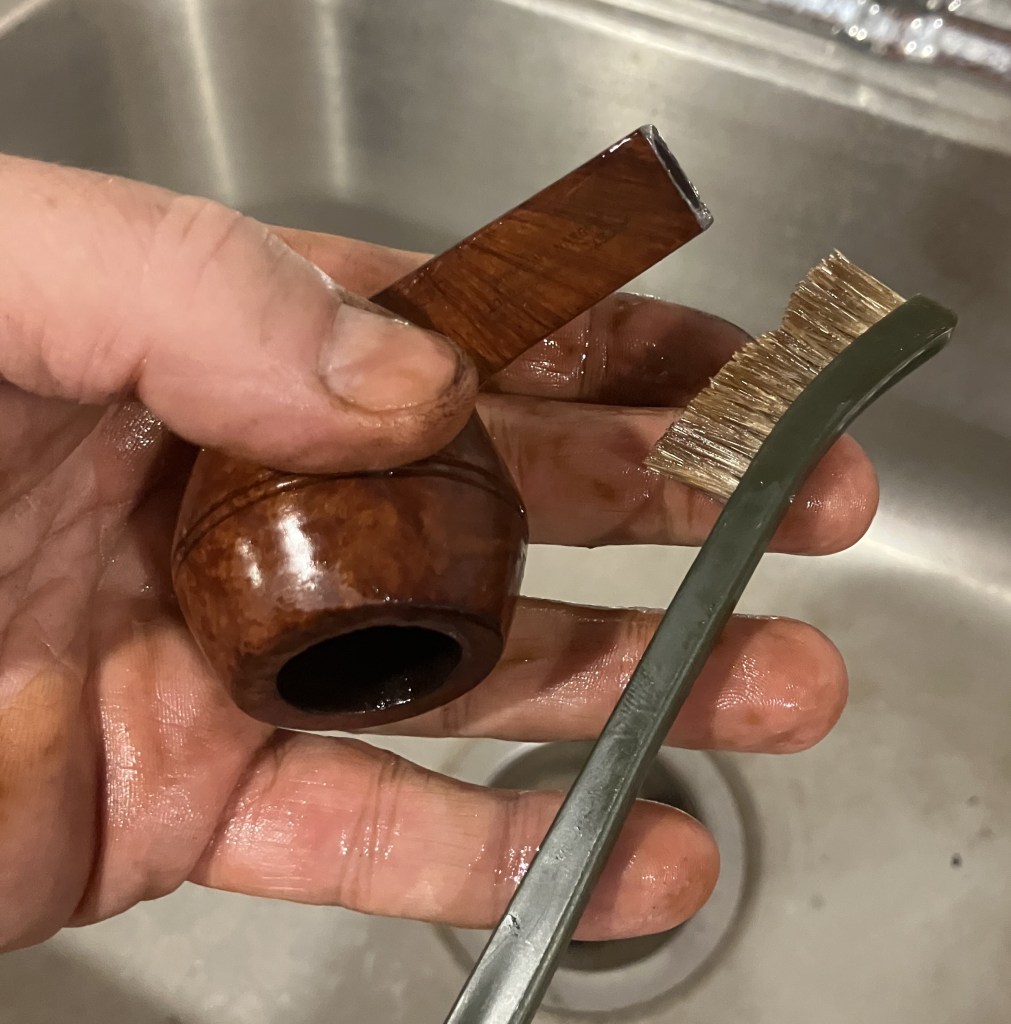
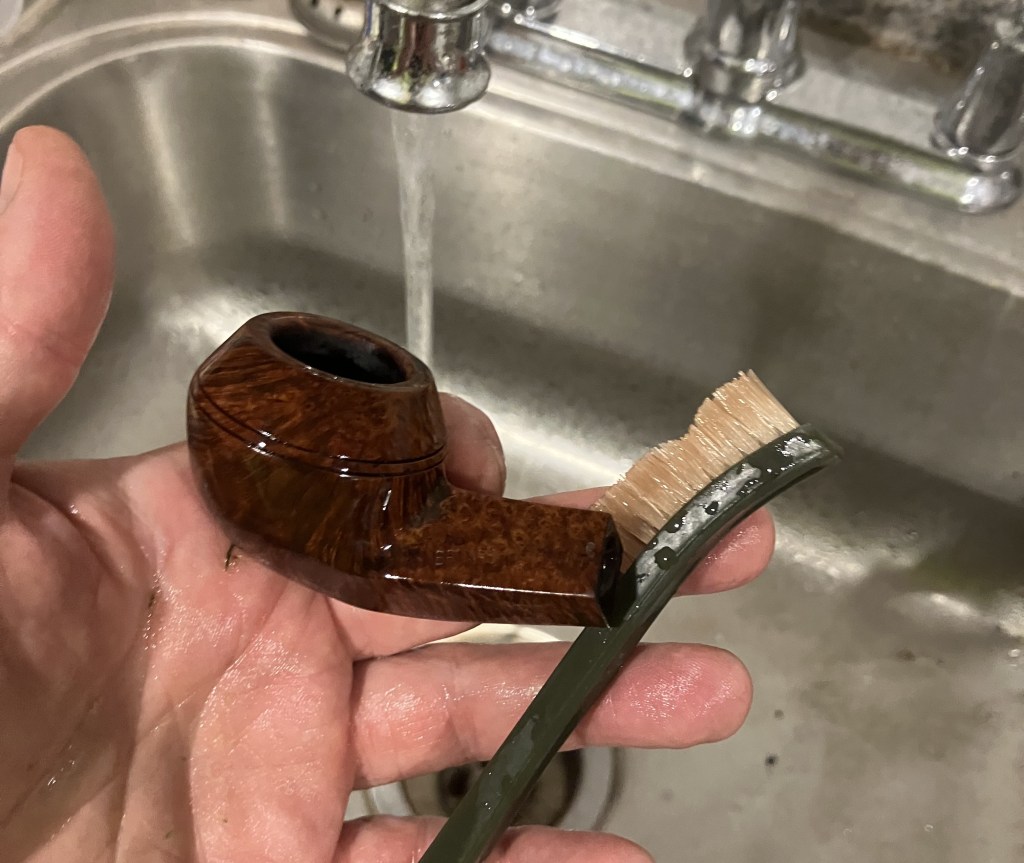
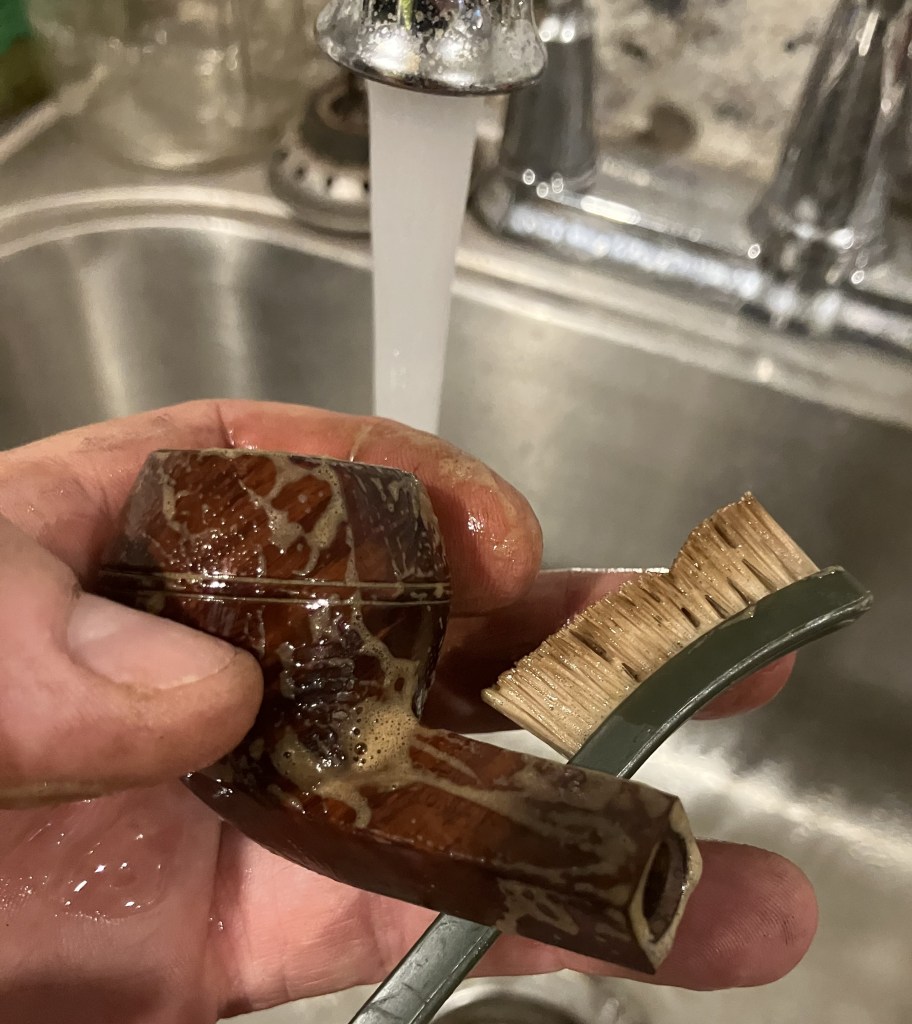
The stummel was then taken to the sink for a scrub with undiluted Murphy Oil Soap and a nylon brush. If you are playing along at home, feel free to use an old toothbrush. This stummel was pretty filthy with years of accumulated grime, testifying to a well loved and used pipe. The soap was rinsed with warm water and the stummel dried with a cotton hand towel.

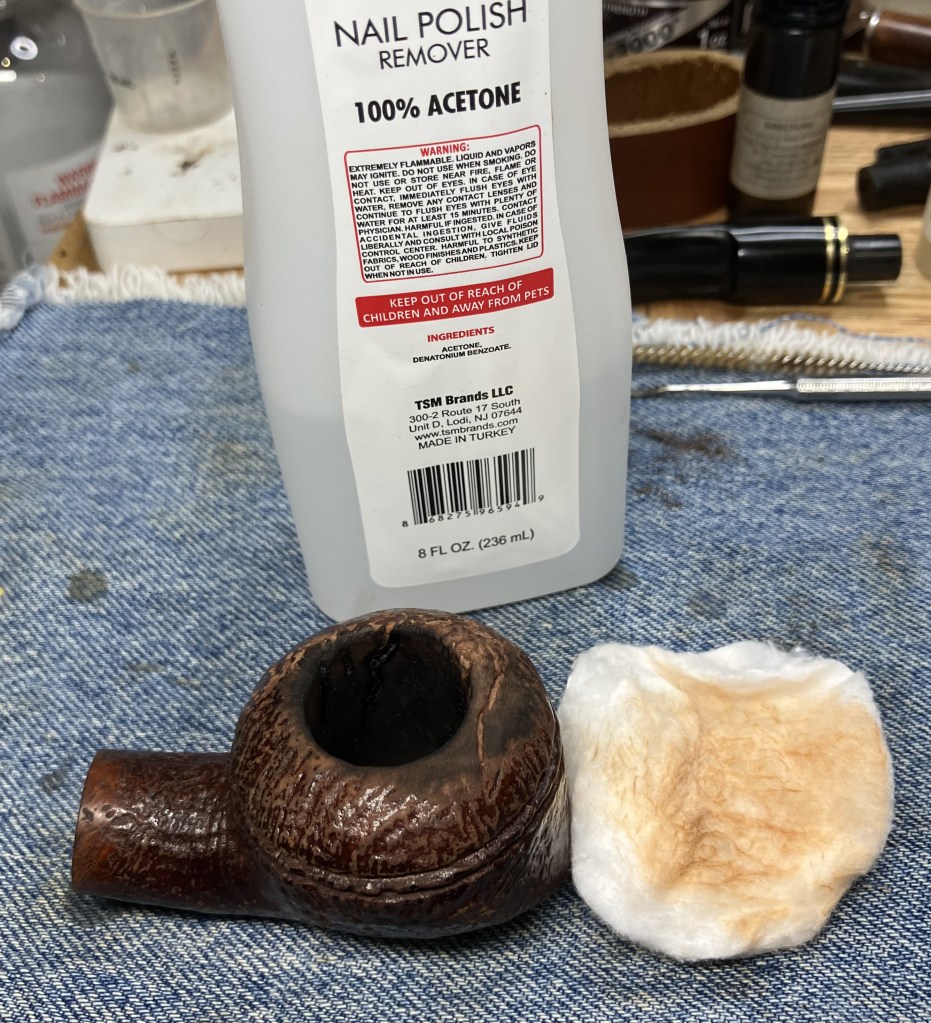
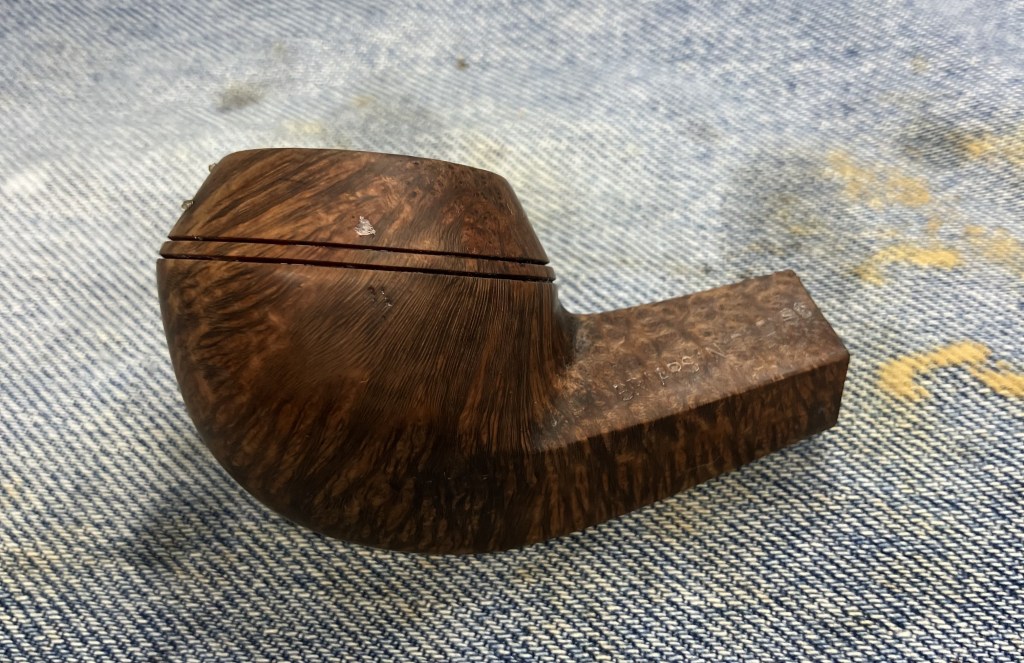
Back at the workbench the stummel was wiped with 995 ethyl alcohol on a make-up pad. This produced little color indicating that I had pretty much clean briar.

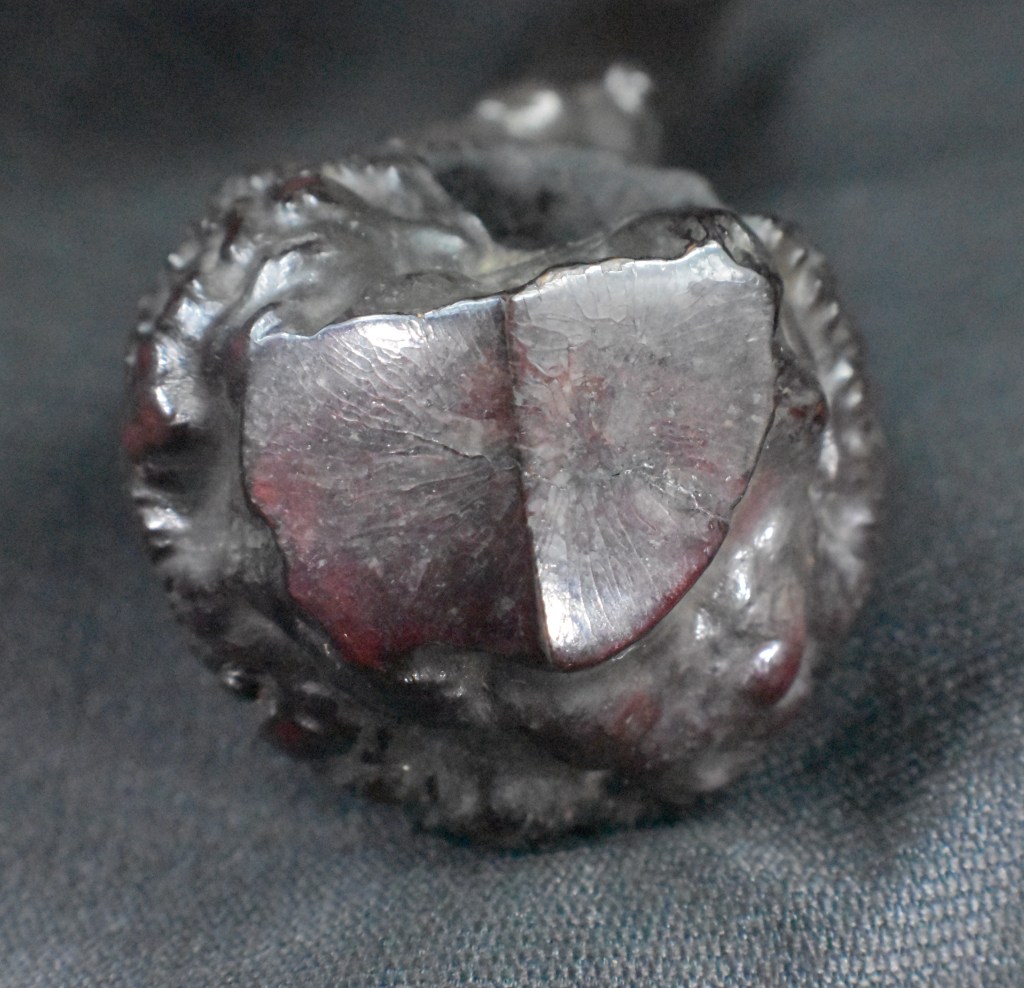
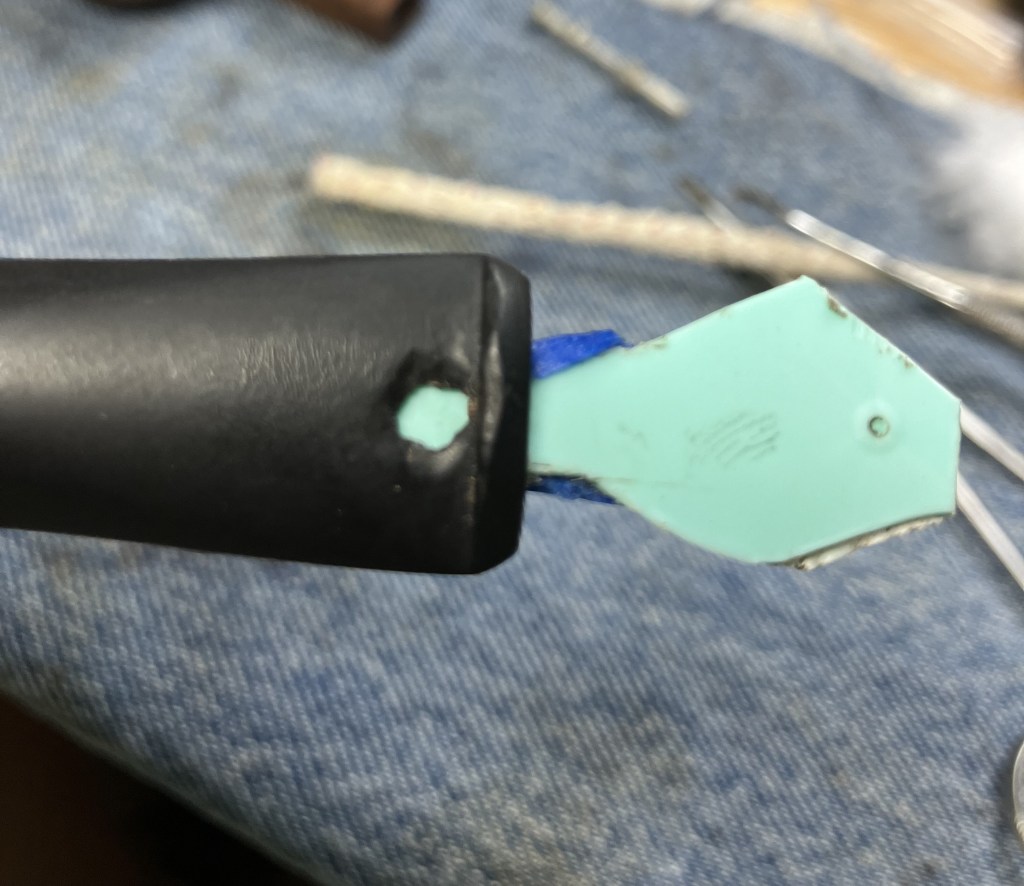
Those nasty pink fills stood out even more with the cleaned briar.

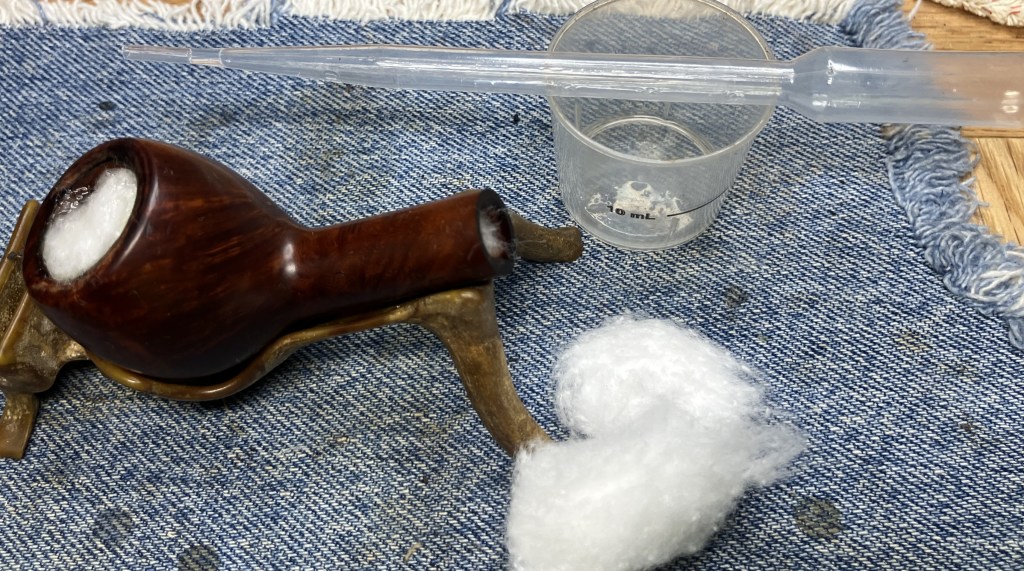
My idea was to pick the old fills out with the use of my trusty fly tying bodkin. This proved to be far more difficult than I planned. The fills were very hard and resisted my bodkin picking. Ethyl alcohol did not seem to soften the fills, so I tried dabbing the fills with acetone on a cotton swab. This did work though it took numerous applications and about 10 minutes. The acetone evaporated quickly and allowed the fills to reharden. I had to constantly dab to keep them moist while watching TV. I don’t think the TV was necessary for the process.

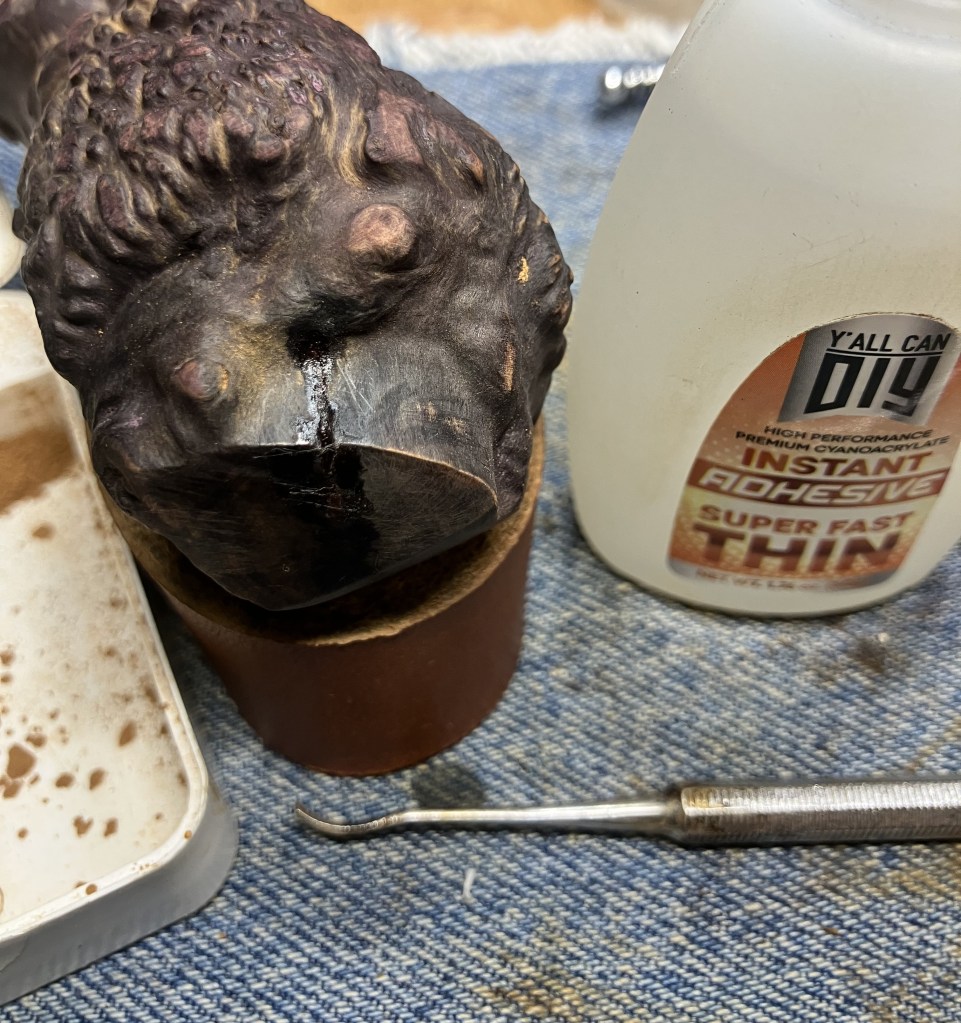
Eventually the fills released their grip and were removed revealing rather deep pits.

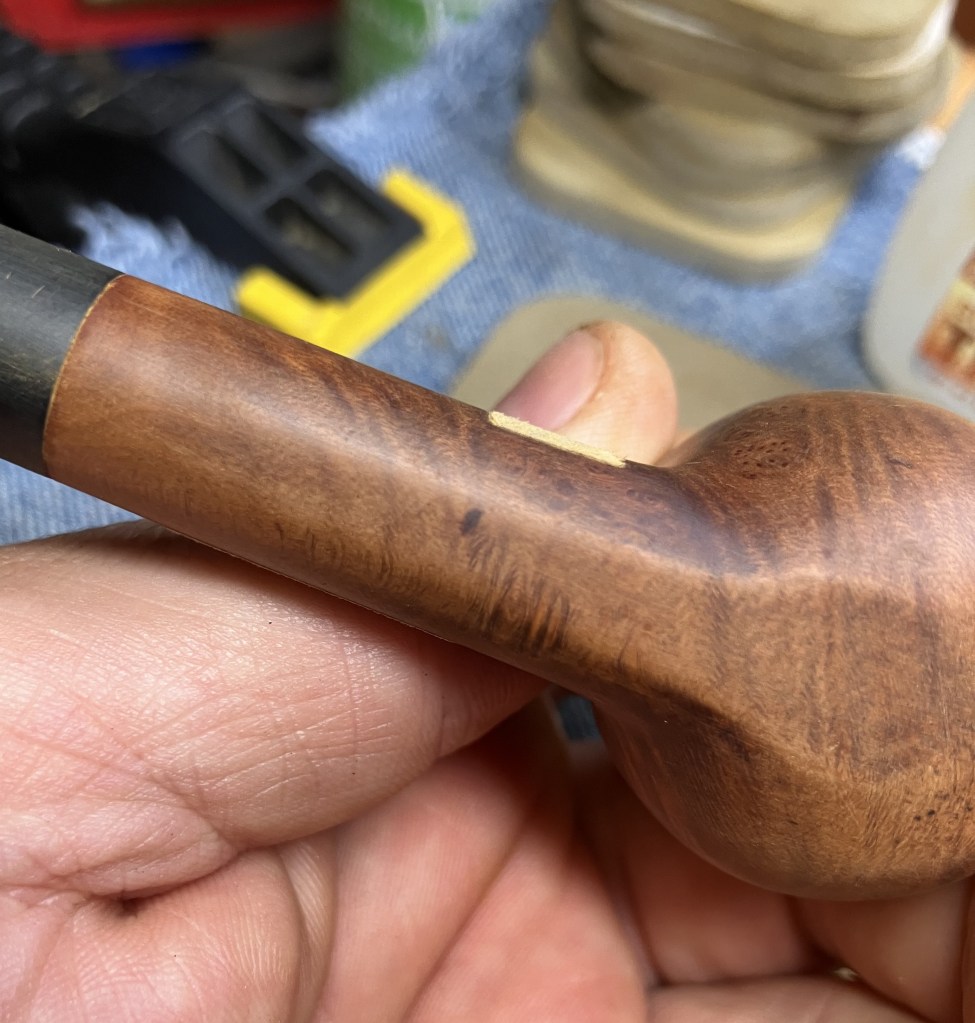
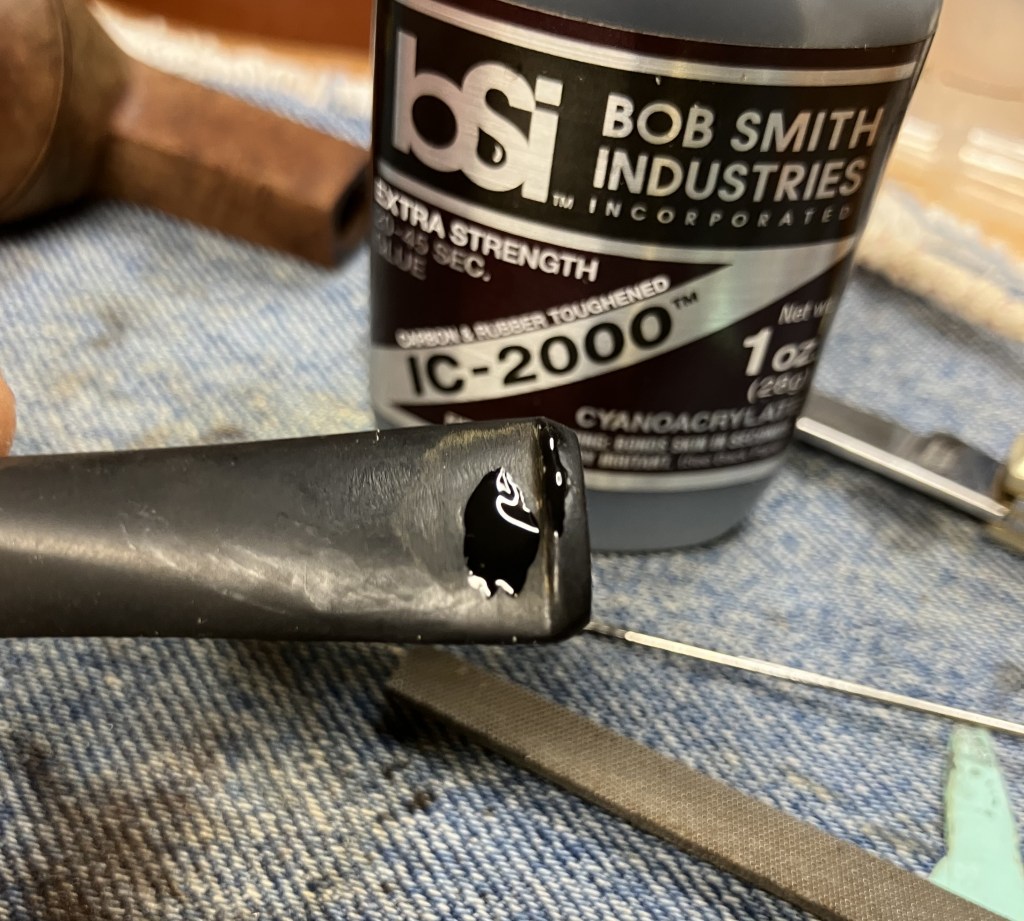
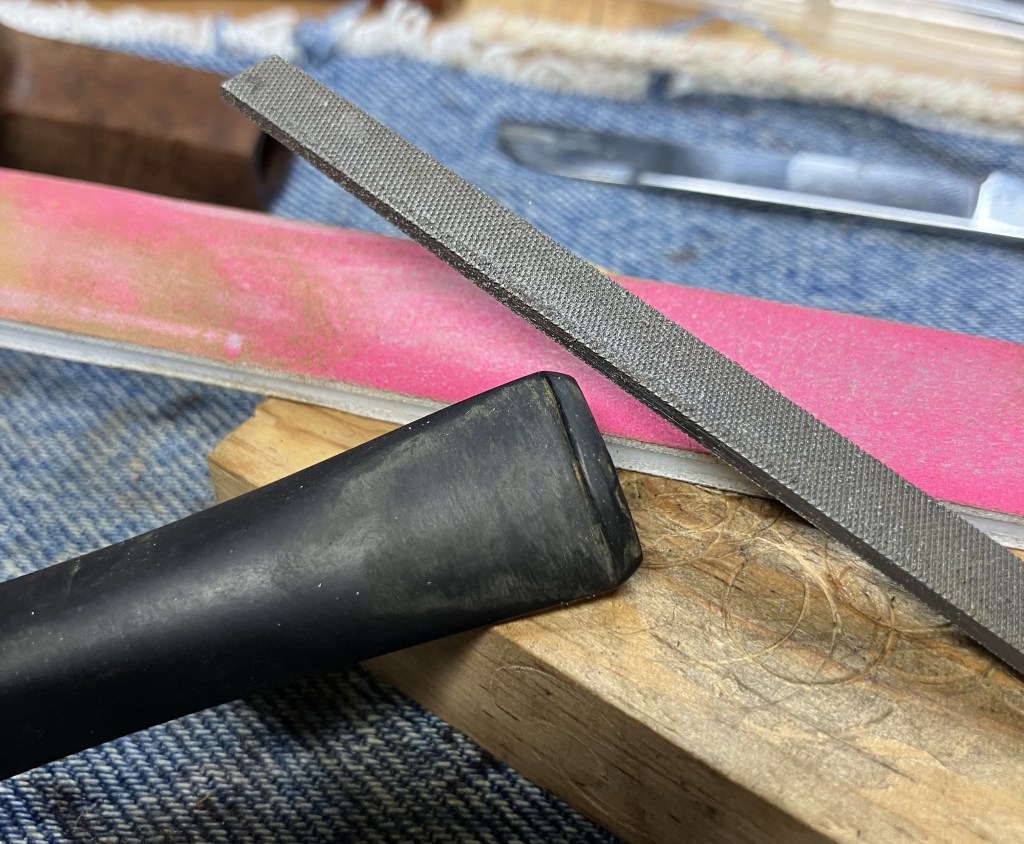
These pits were filled with briar dust pressed into the pit then a small drop of This cyanoacrylate (CA, superglue) was dabbed onto the briar dust. The CA soaked into the dust and bonds to the briar. This sets up nearly instantaneously. The rough surface was then filed smooth with a small flat file and additional briar dust was pressed into the remaining pit, with another dab of CA. I find that small layers work better than trying to fill large pits all at once.

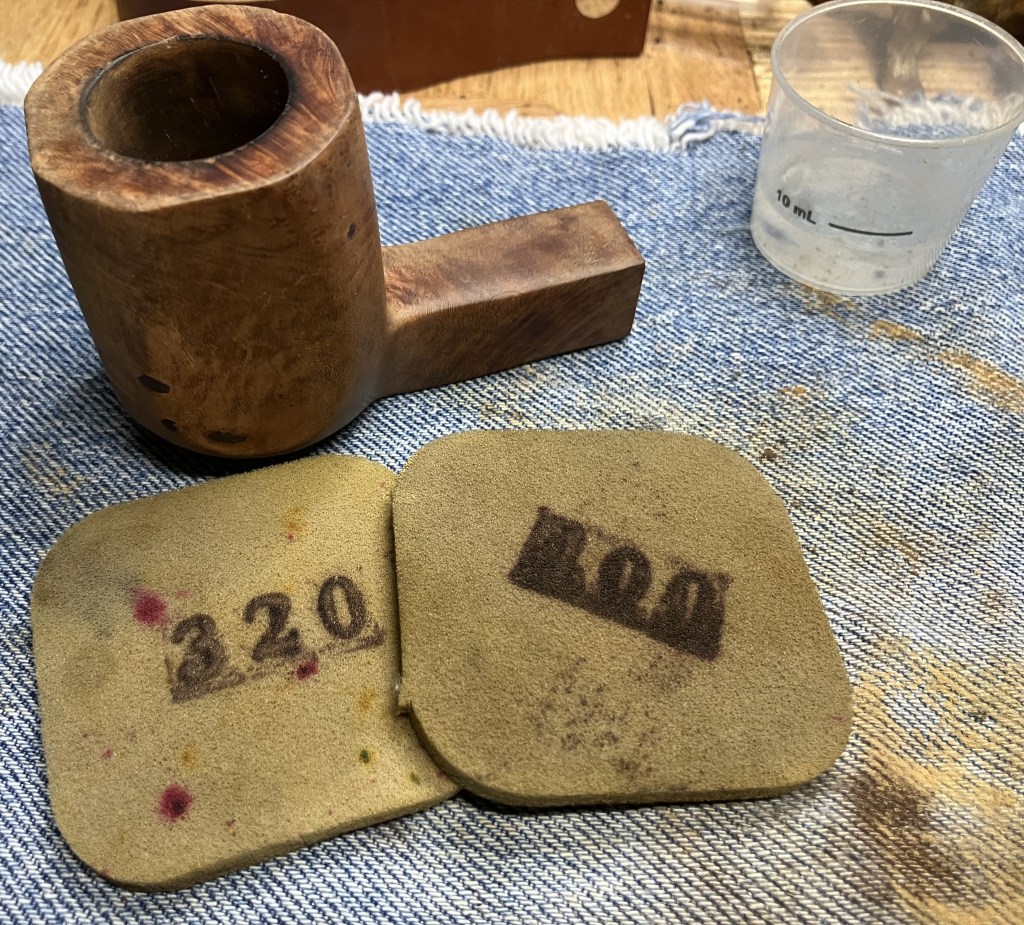
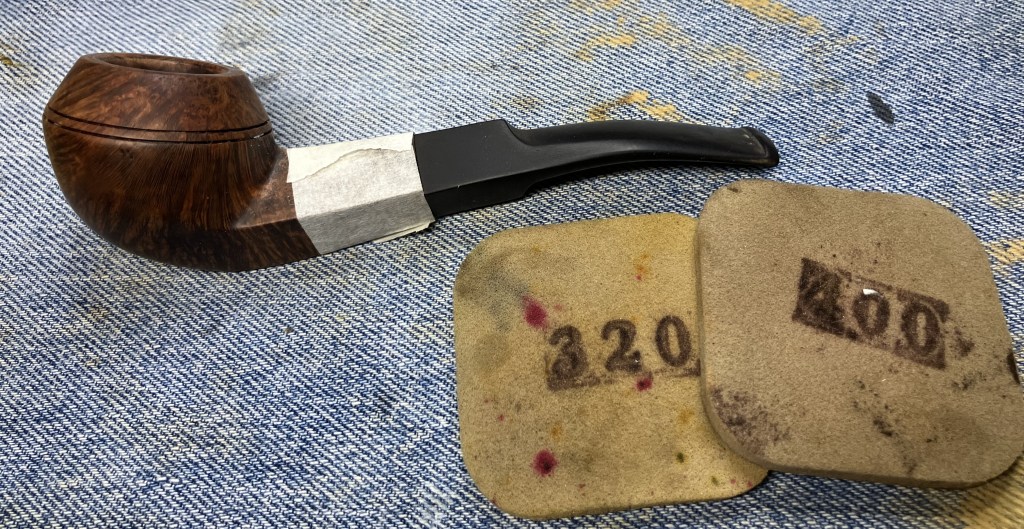
The stummel was then sanded with both 320 and 400 grit sanding sponges. I wiped the surface of the stummel with a make-up pad wetted with alcohol between sponges to remove sanding debris.
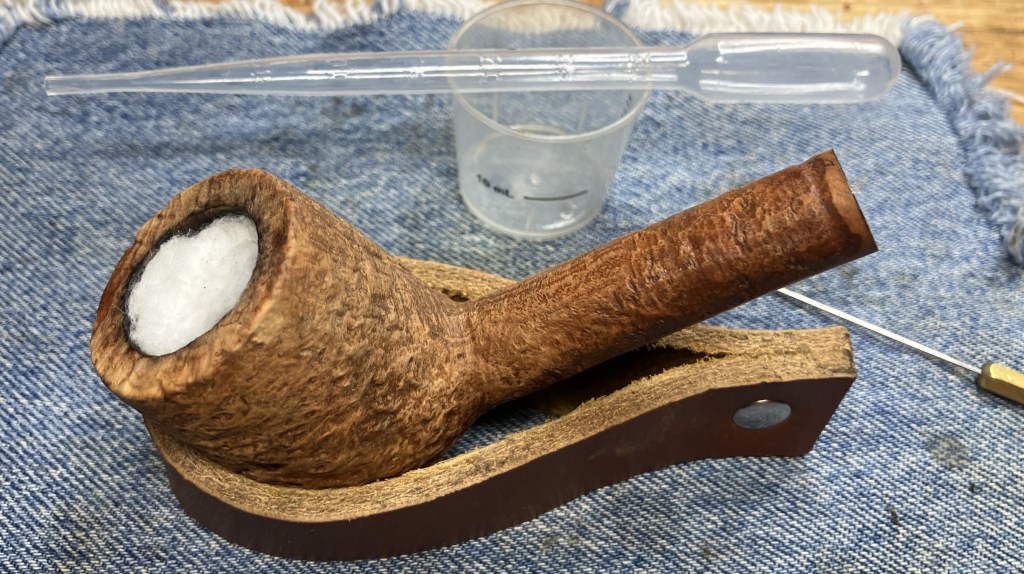
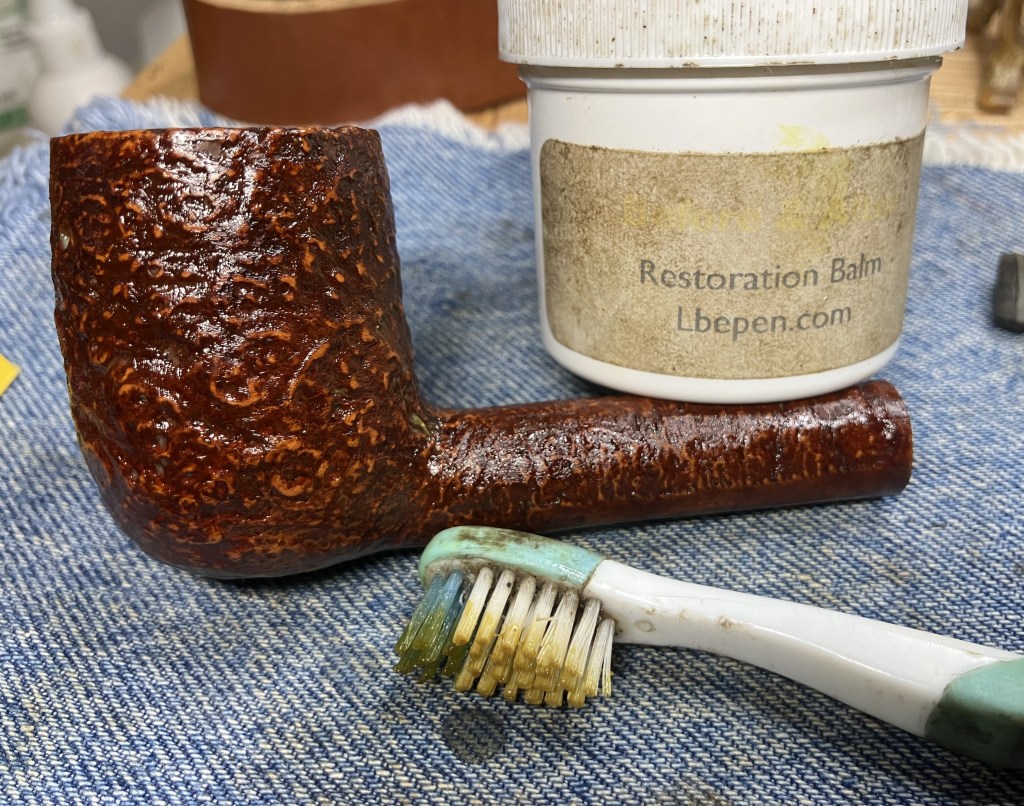
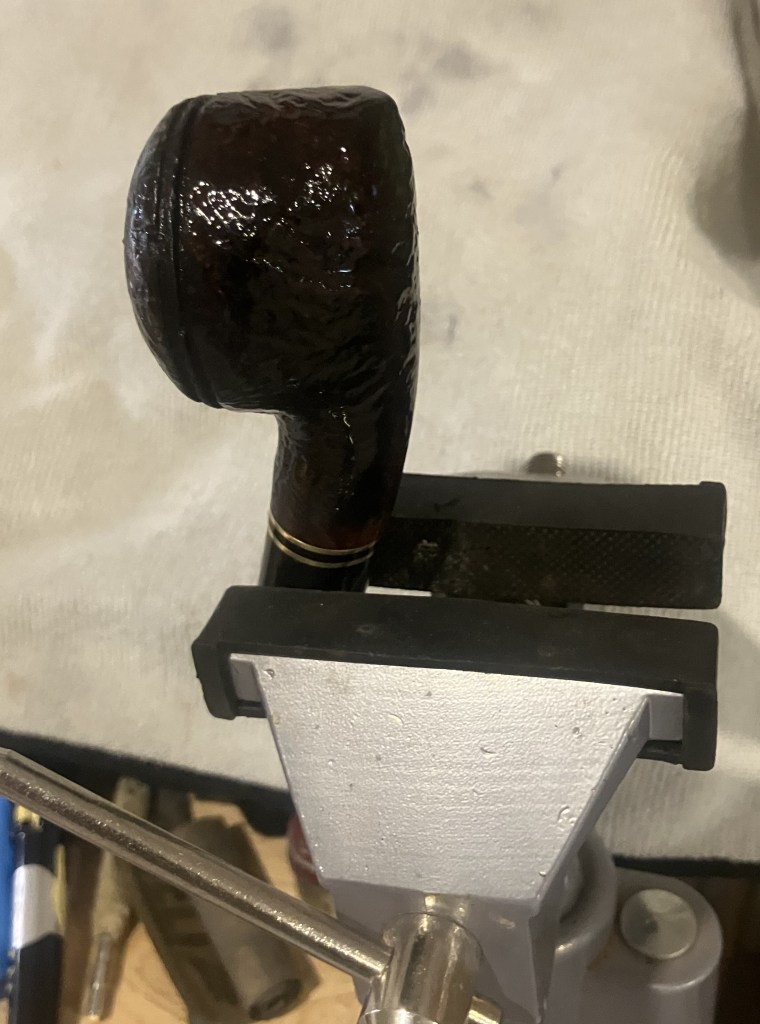
I thought that this pipe would look better with a contrast dye. My reasoning was that it would both bring out the briar’s grain and help conceal the new fills. Black Fiebing’s Leather Dye was used for the base coat. The tobacco chamber was plugged with a wine bottle cork and the dye applied with a folded pipe cleaner. I only used a single coat and did not flame off the alcohol solvent as it evaporated quickly with this large stummel.

I avoided the rim with the black dye. The stummel was allowed to dry for a few minutes then wiped with a dry paper towel.

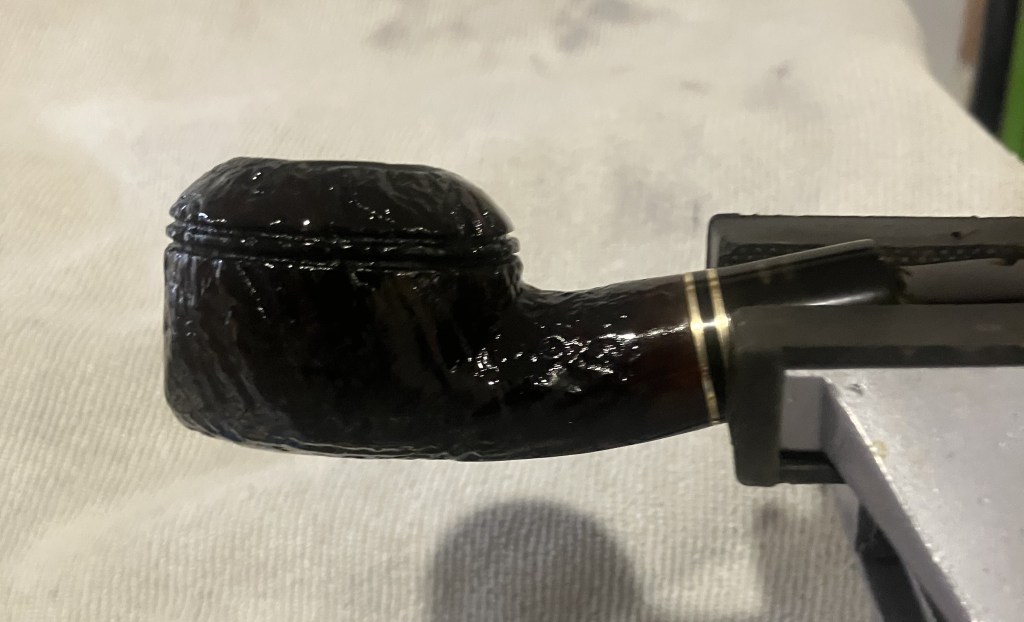
Once dry, the stummel was buffed with rouge buffing compound to remove the black from the surface of the pipe. The dye penetrates the soft grained briar deeper than the hard grained wood.

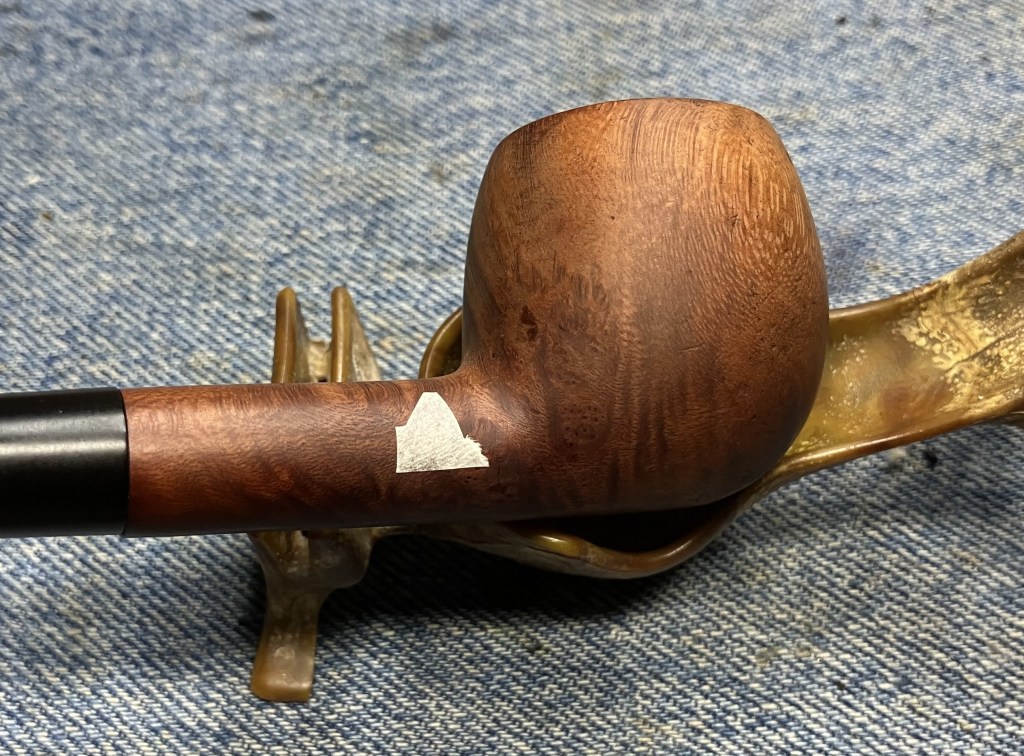
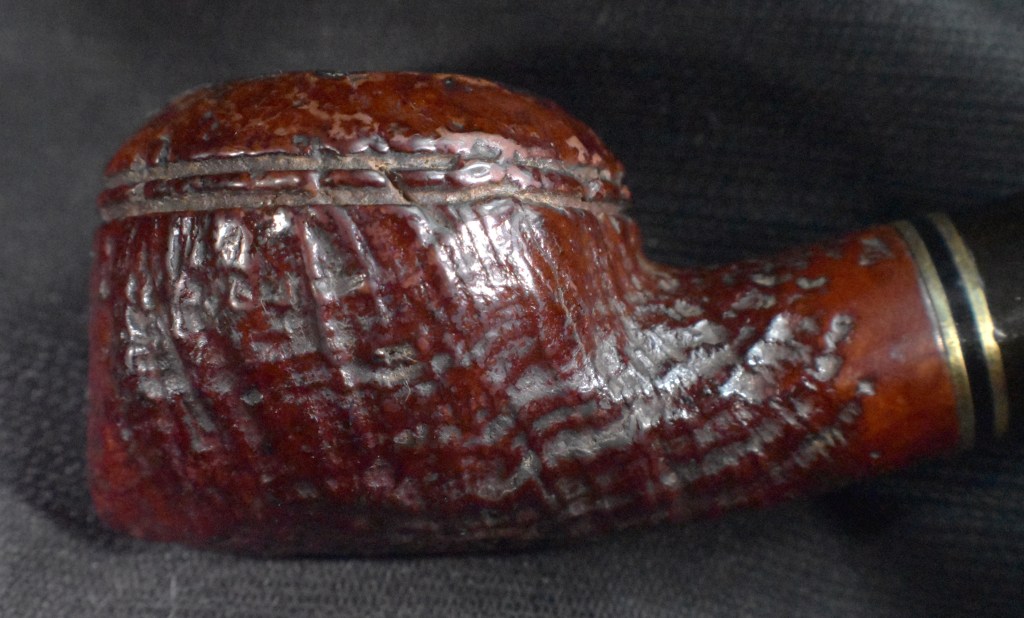
Back at the workbench you can see the grain of the briar was accentuated with the black dye. I sanded the stummel lightly with the 400 grit sanding sponge and wiped the stummel with a make-up pad dipped in alcohol to remove a bit more of the black.

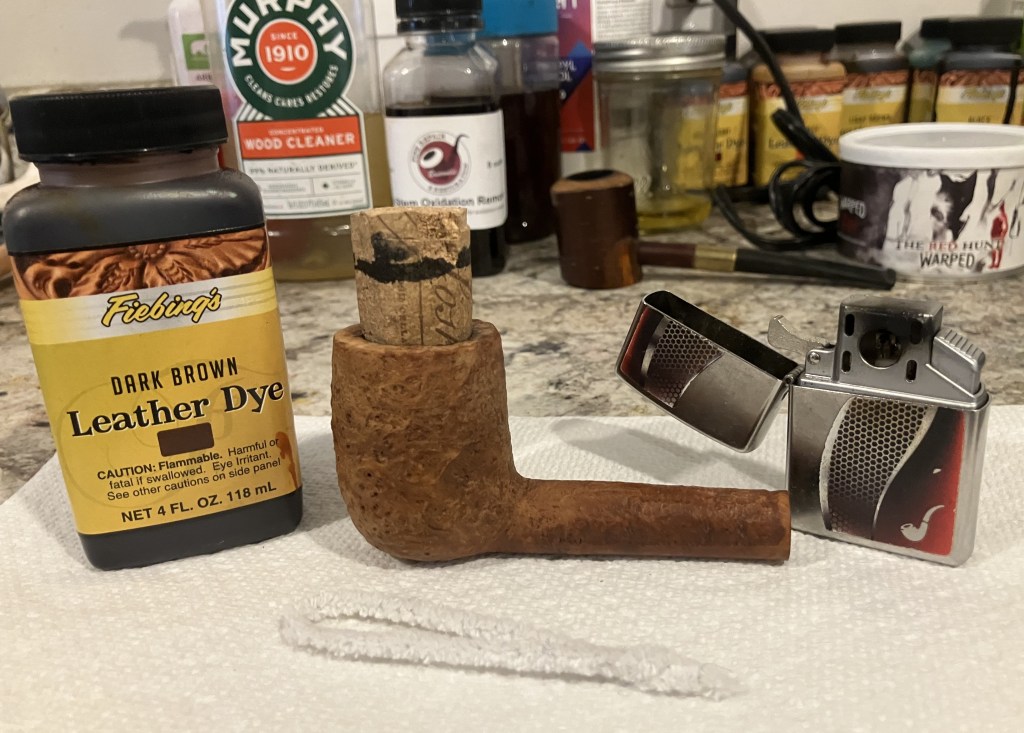
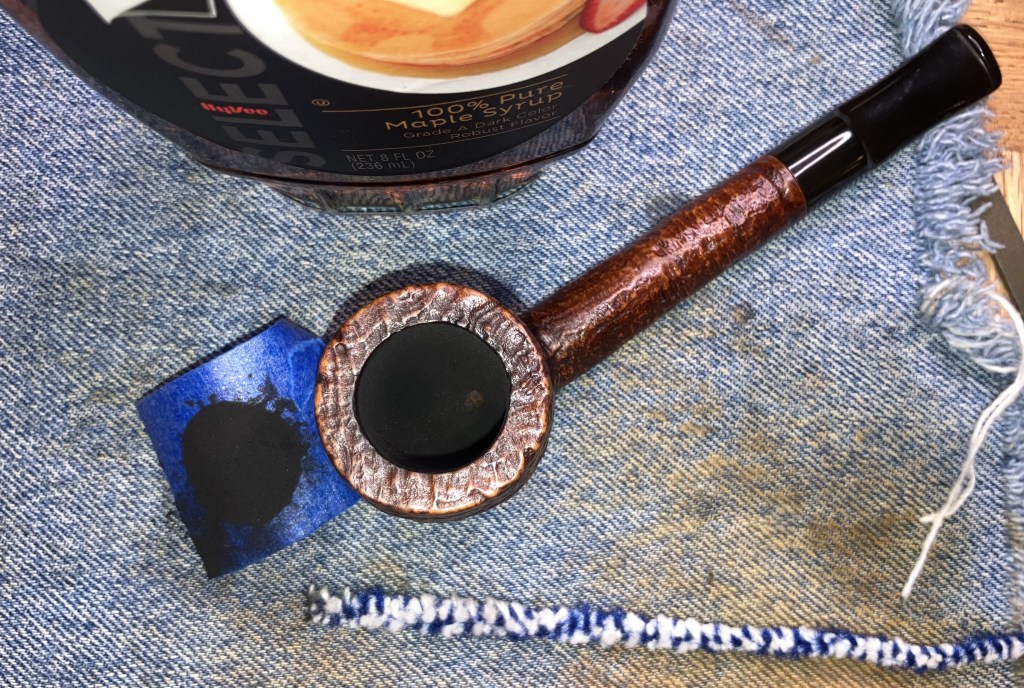
The stummel was then given a coating of Light Brown Fiebing’s Leather Dye. This was applied in similar fashion to the black except I did not avoid the rim.

After the Light Brown dye had dried for about 30 minutes I wiped it with an alcohol wetted make-up pad. Below are a couple of photos of the resulting dyes.

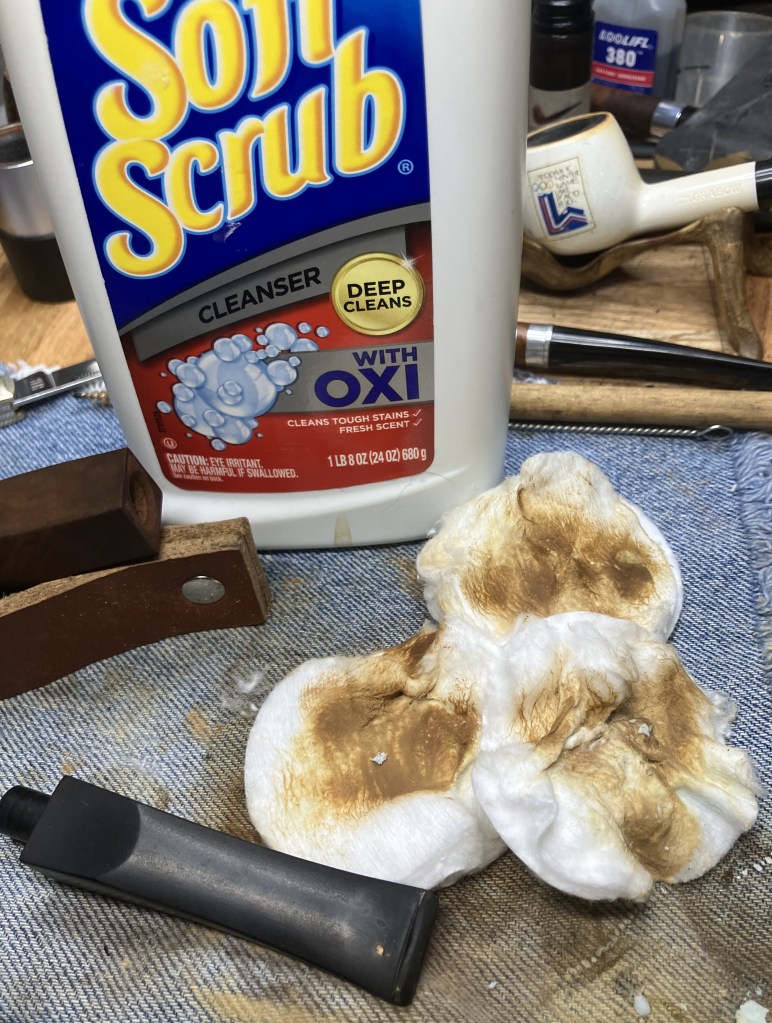
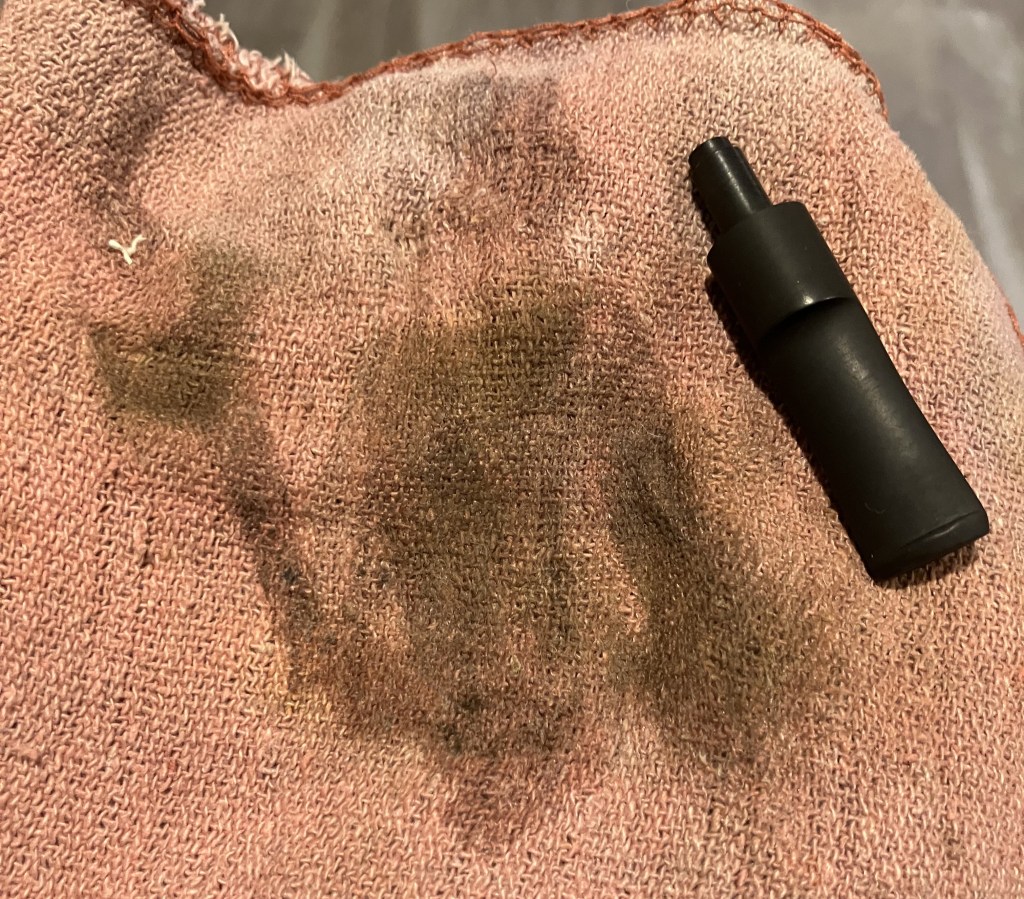
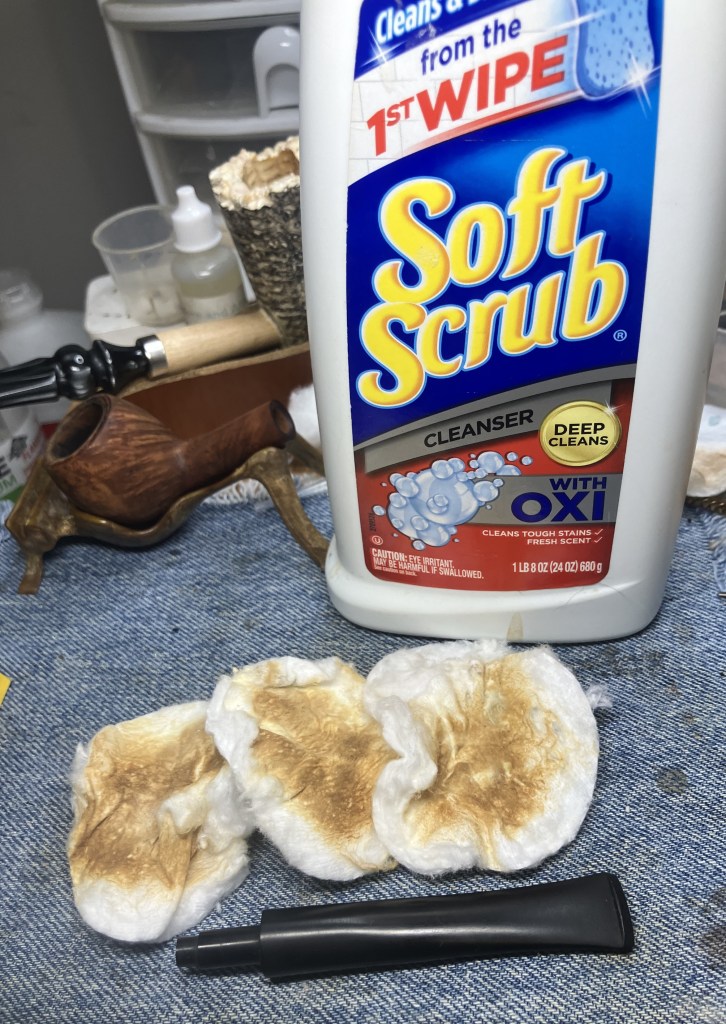
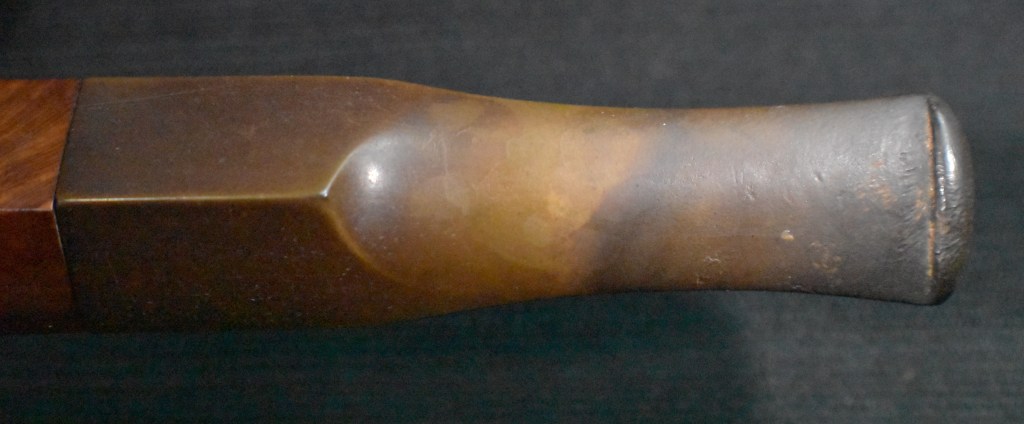
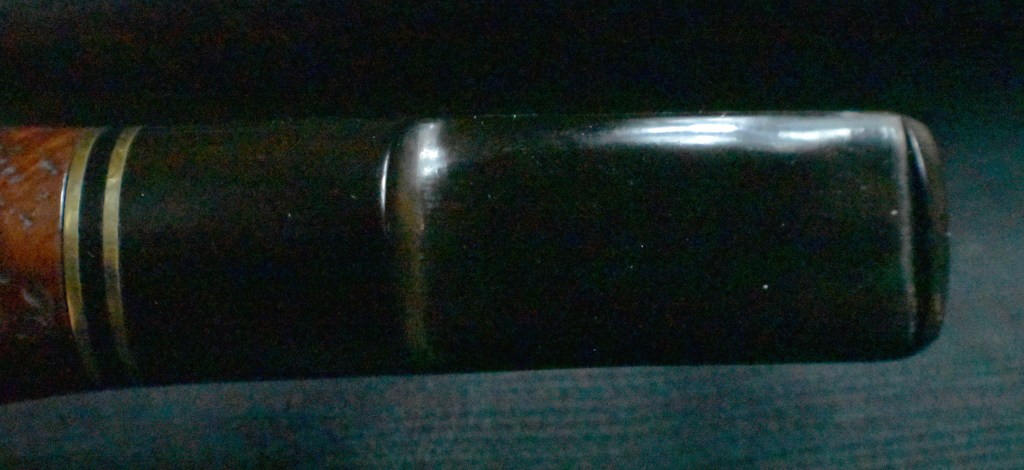
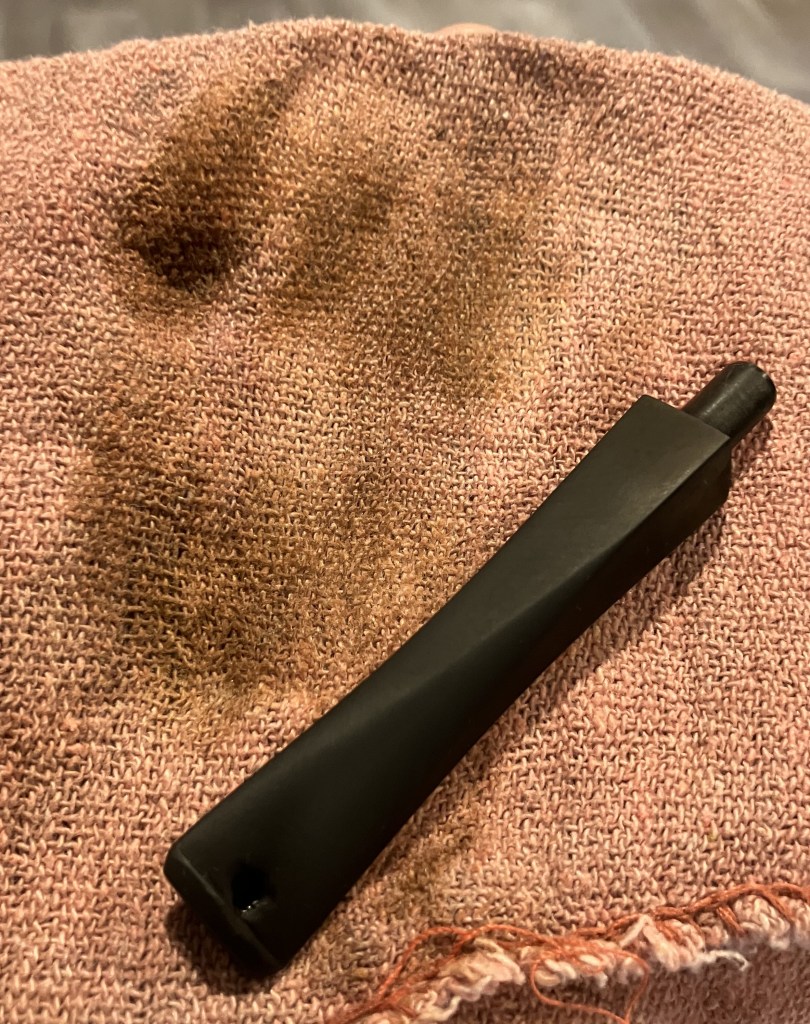
The stem was removed from deox and I was not pleased to see that it had a light-colored coating over the surface. I used a coarse shop rag to hand buff the stem. Some of the light coating came off onto the rag.

I hoped that Soft Scrub cleaner on make-up pads would remove the light film and oxidized vulcanite.

It did, but it took many more cleanser wetted pads, more than shown below.
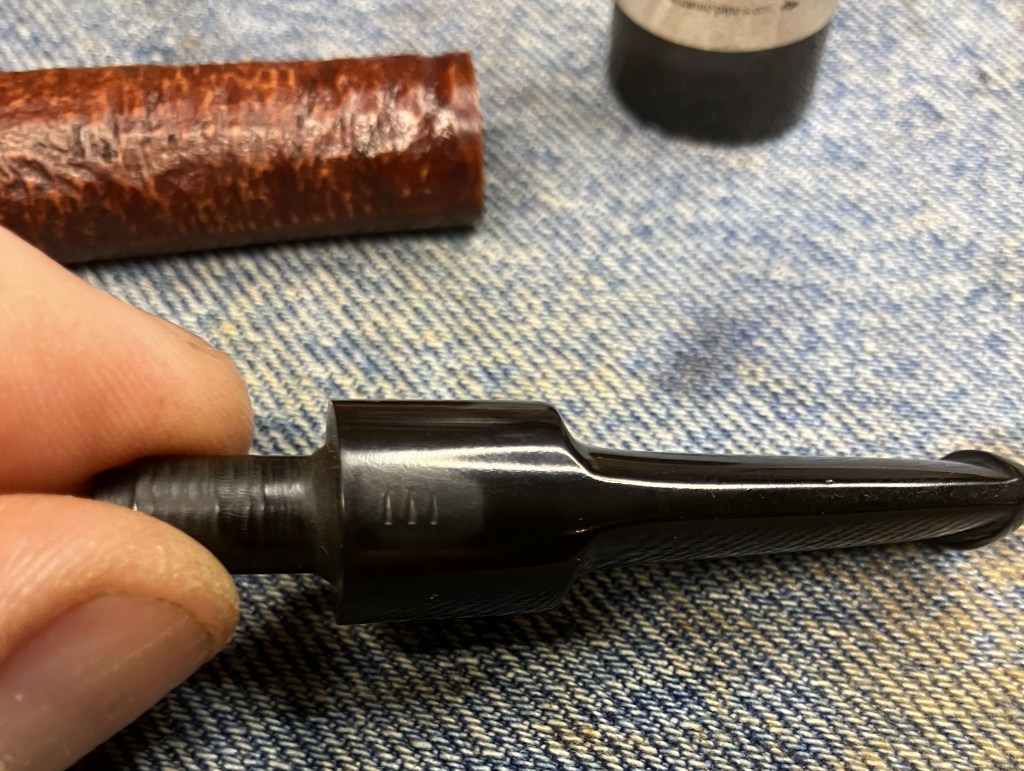
I hadn’t seen a light film like that before so I was curious to see how the stem would look buffed. I used the rouge compound and the rouge wheel. I looked OK after buffing so I continued as I would normally.

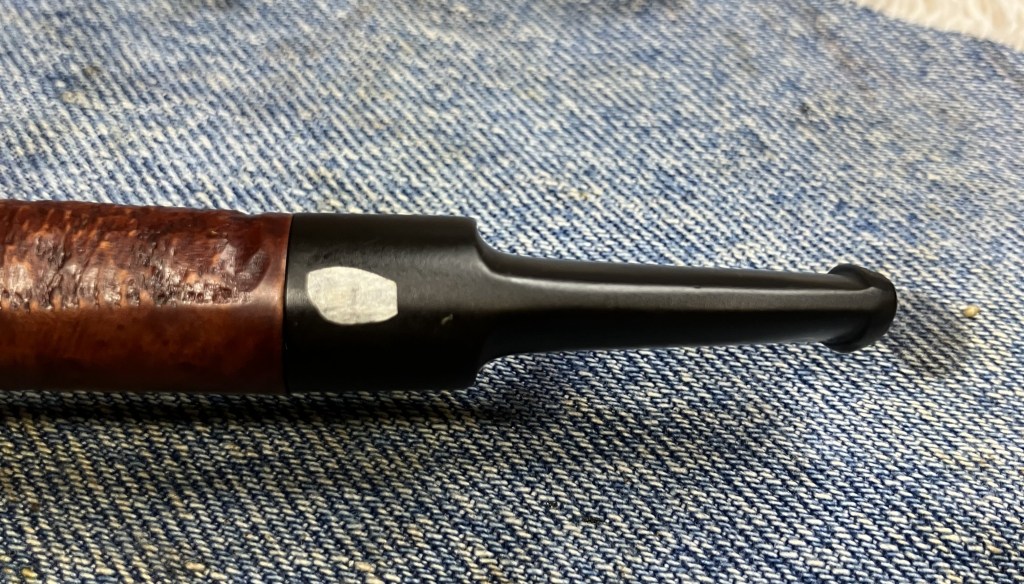
I wanted to fill the remaining tooth dents. I first roughed up the freshly buffed surface with a 320 grit sanding sponge to allow the black CA more surface area to bond to. I then applied small dabs of black CA to the dents. These dabs were spritzed with a CA drying accelerator. The photos below show the top and bottom surfaces.


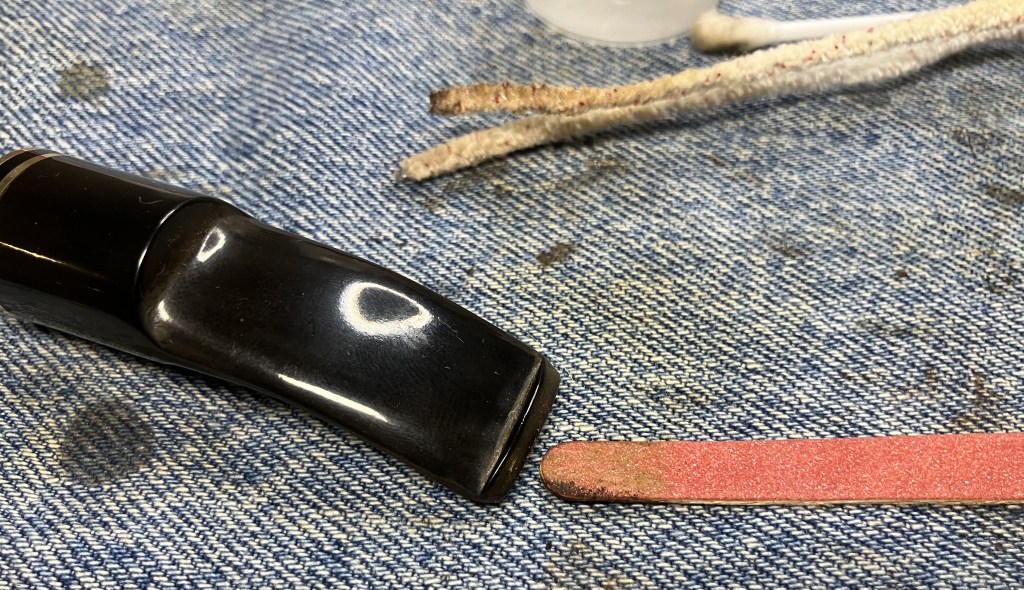
Both surfaces were filed with a small flat file then sanded with 320 and 400 grit sanding sponges.

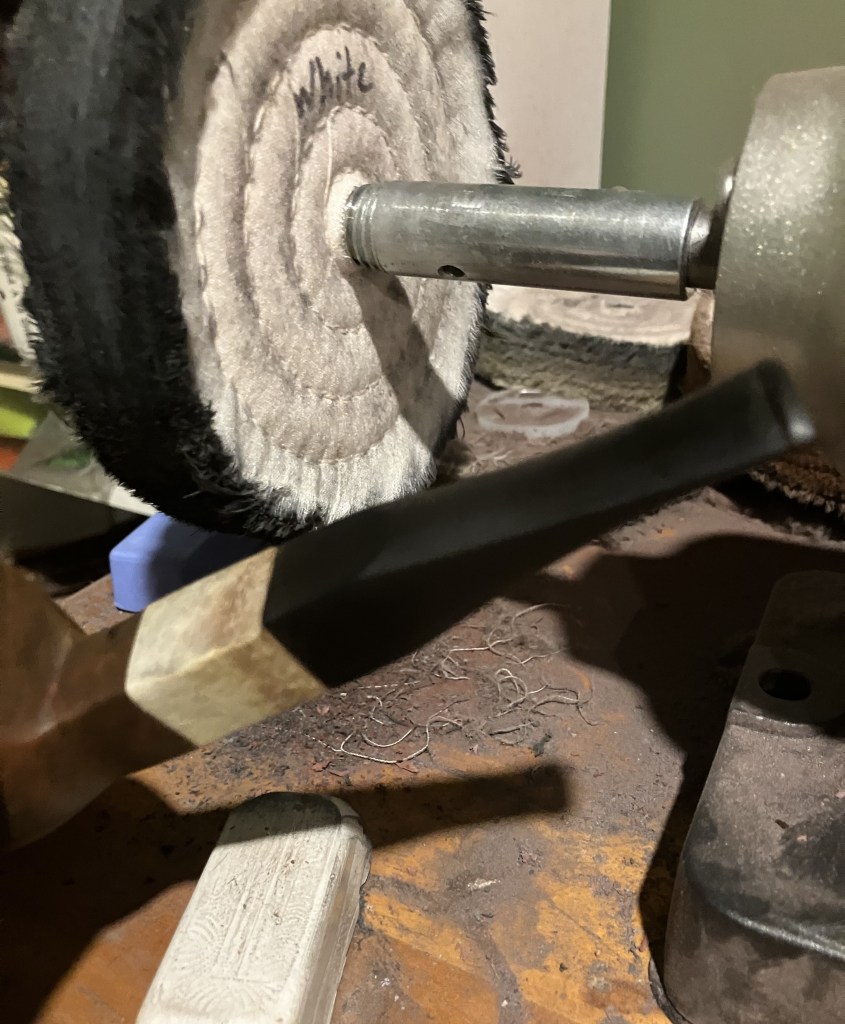
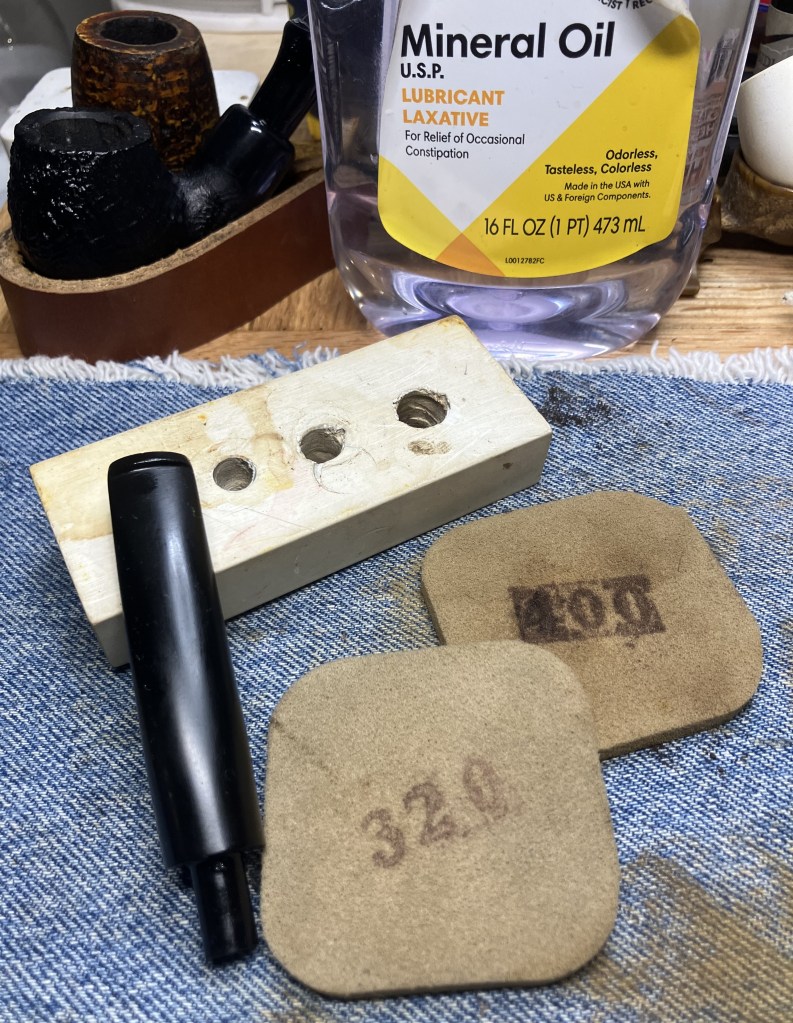
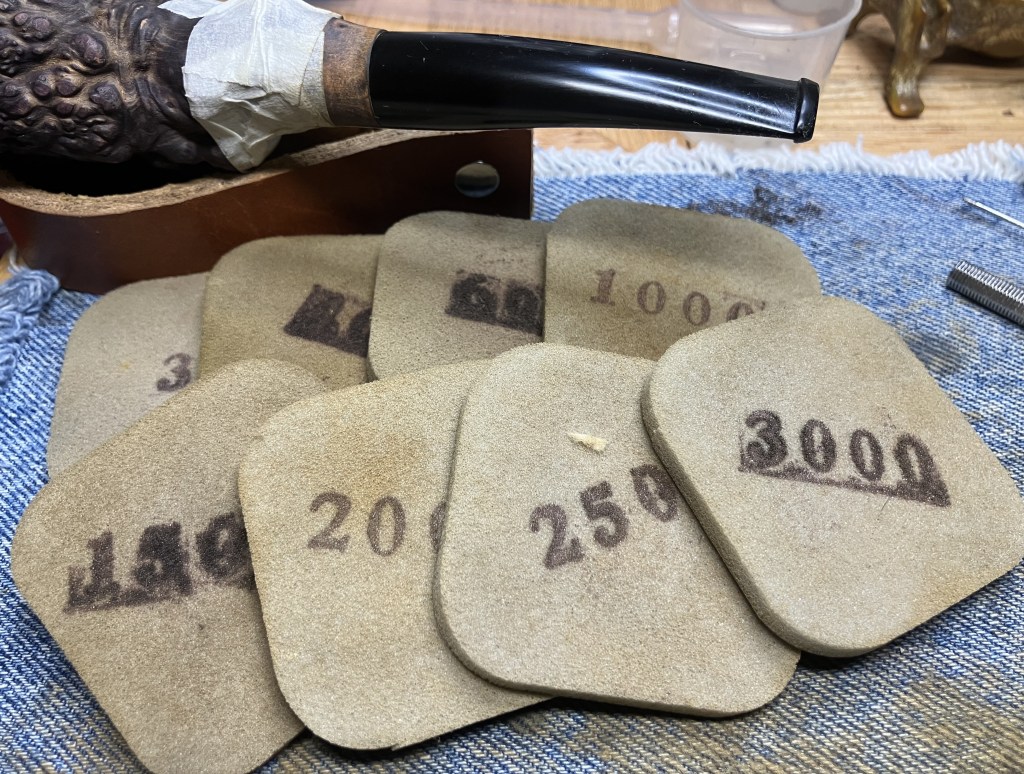
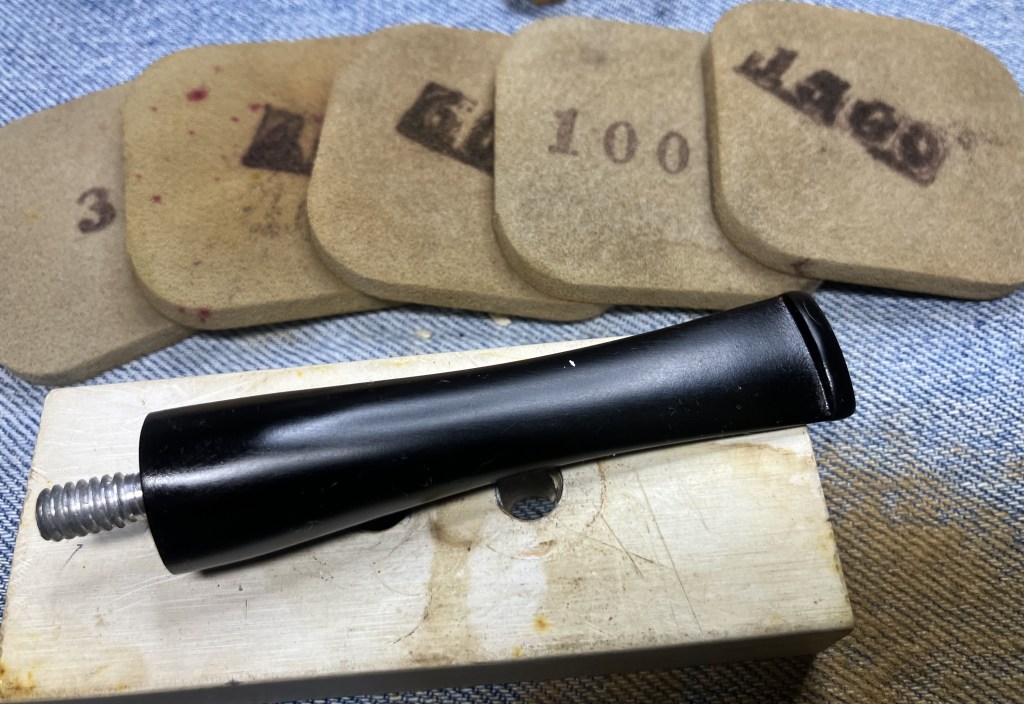
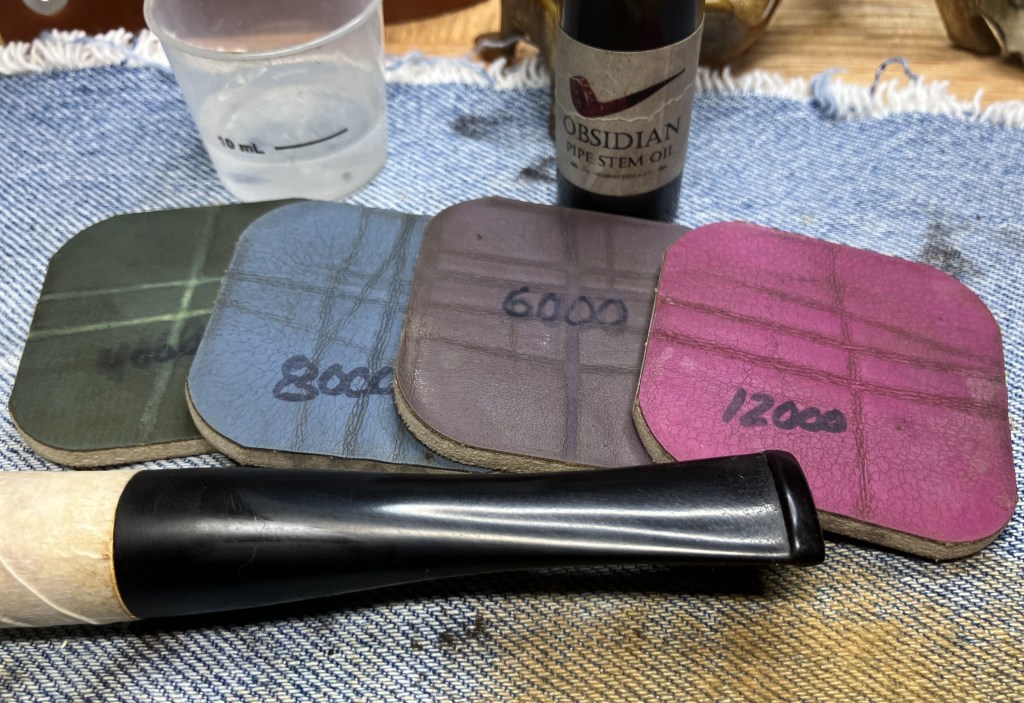
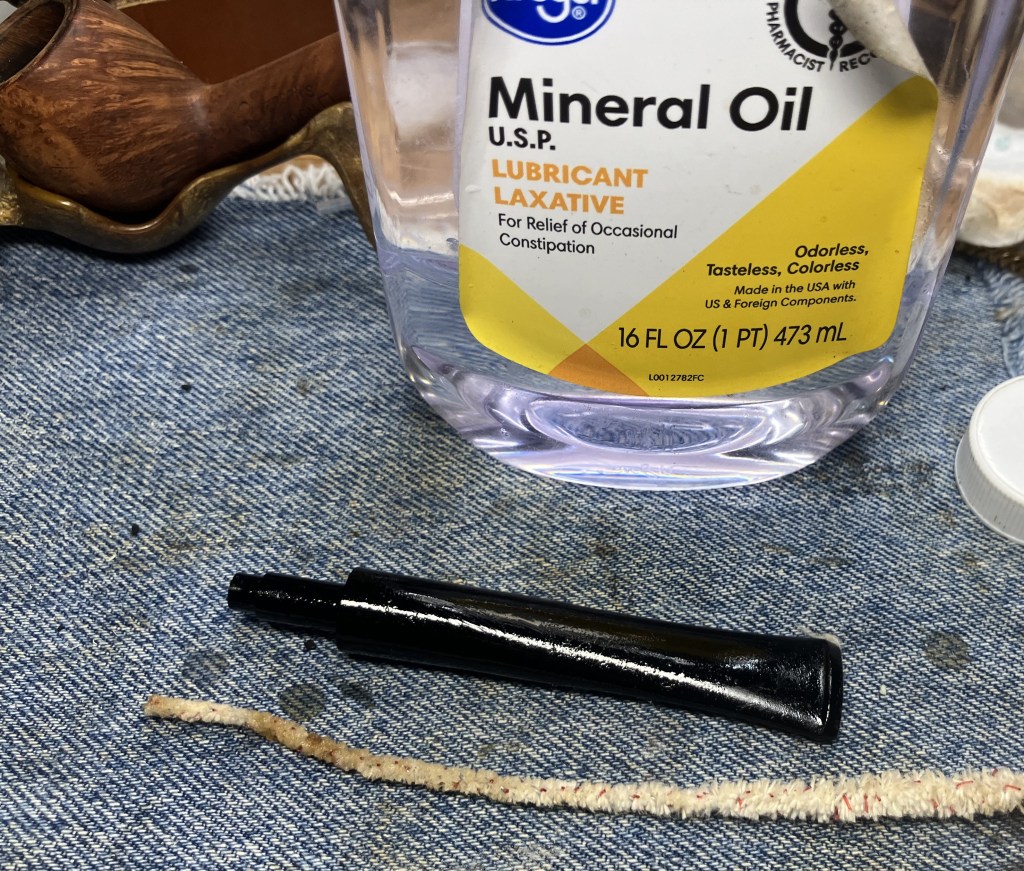
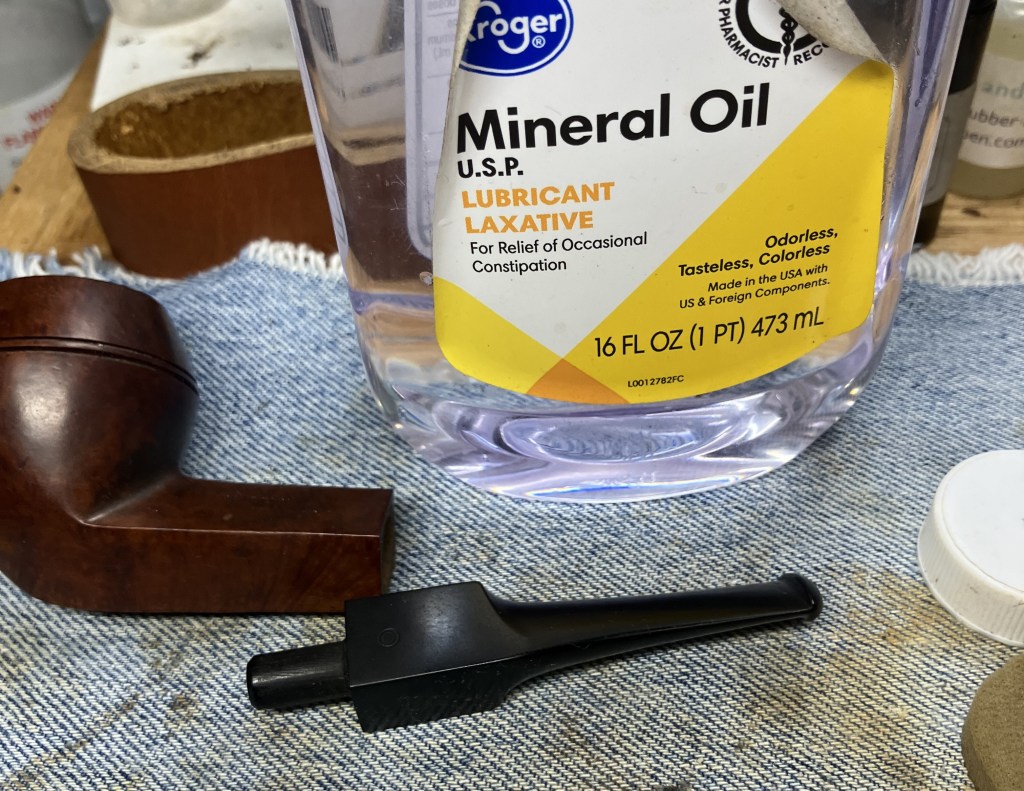
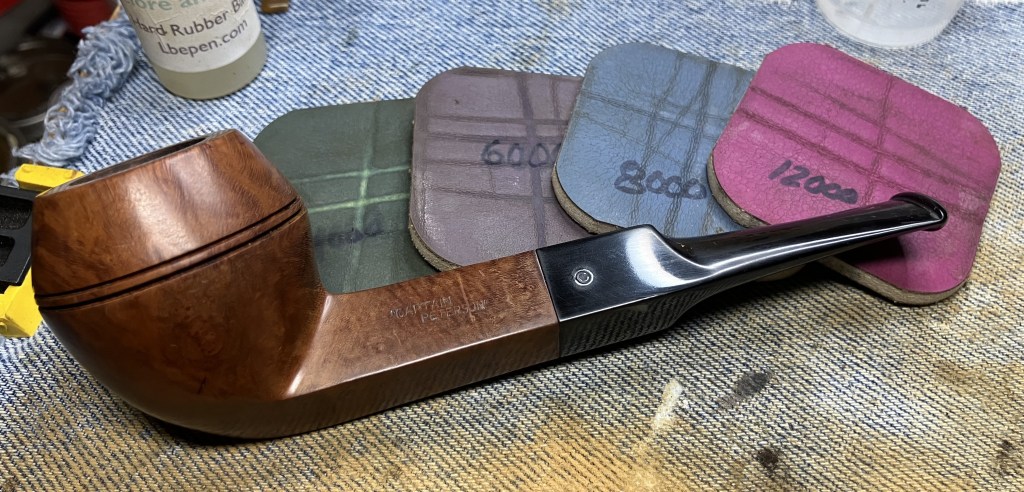
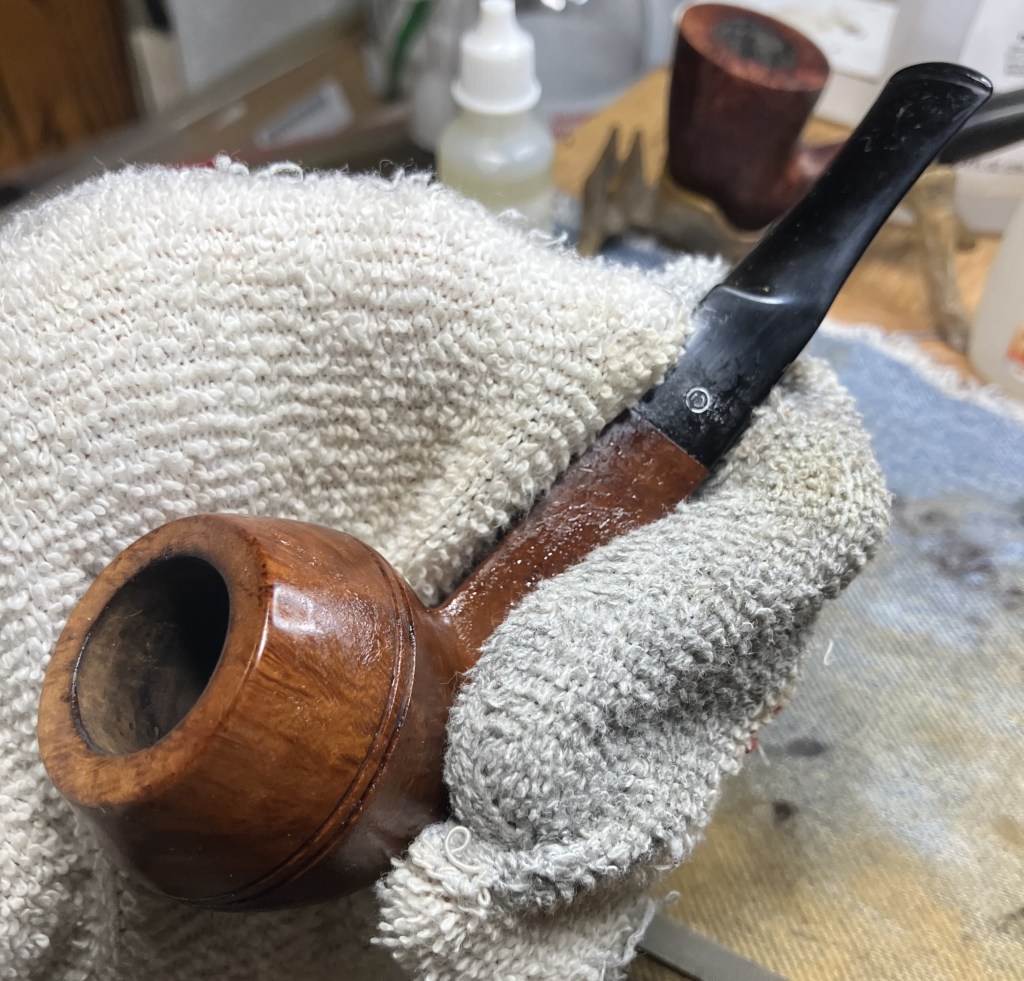
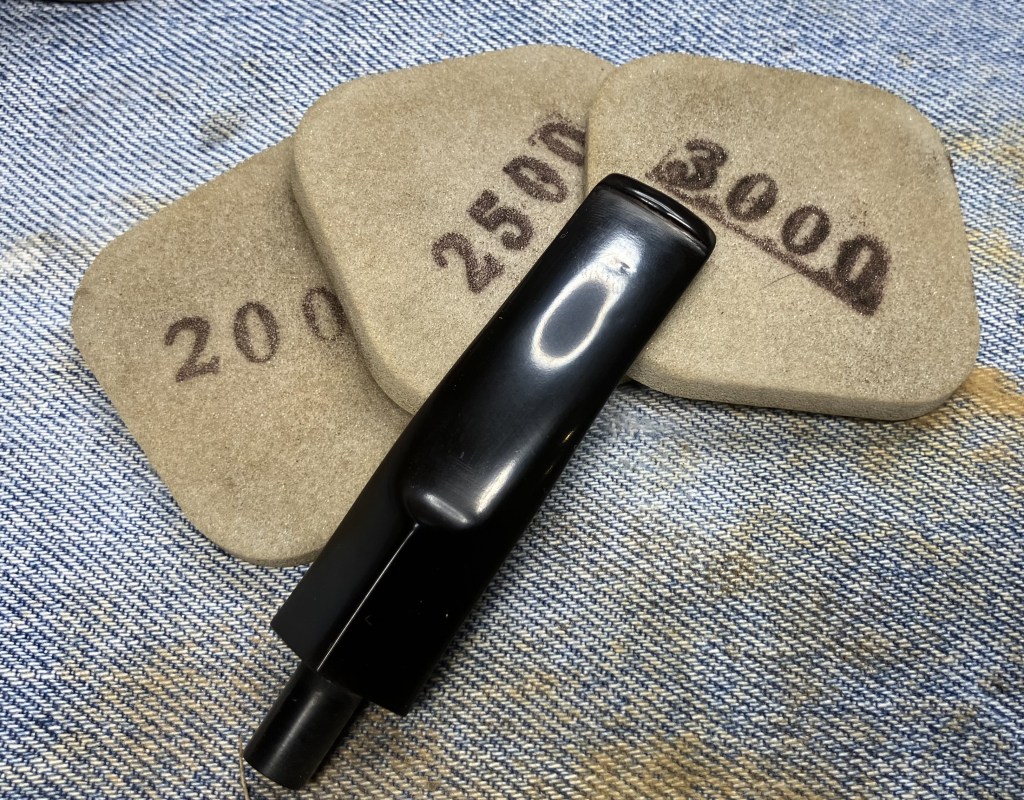
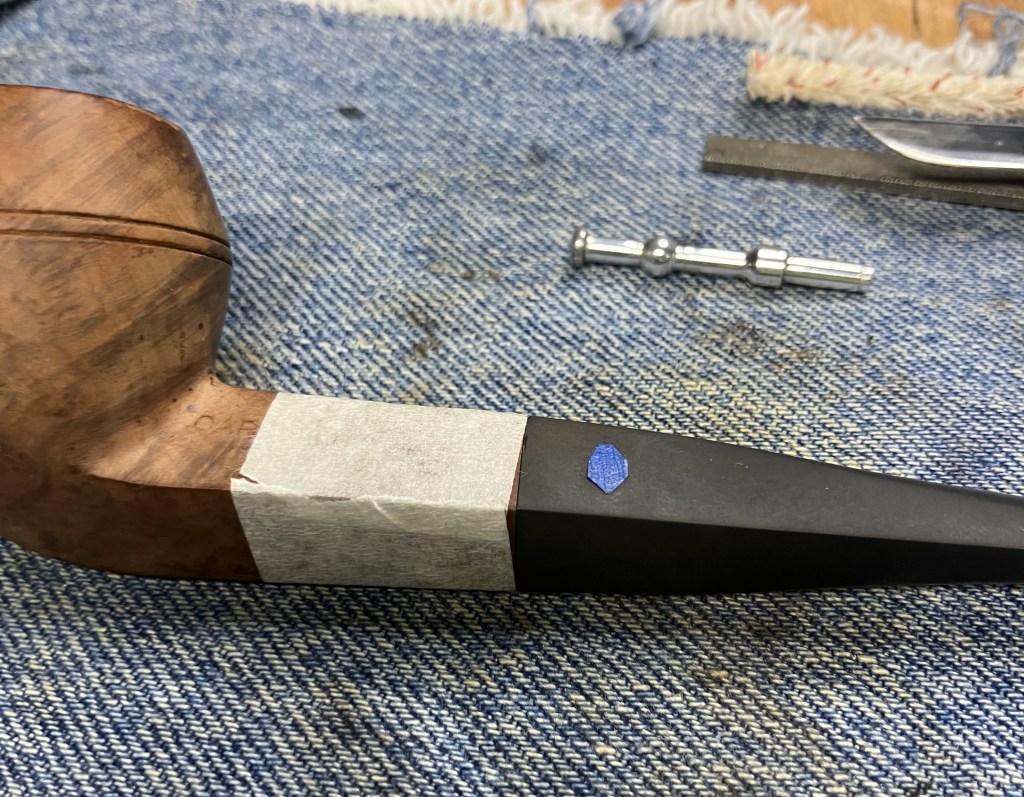
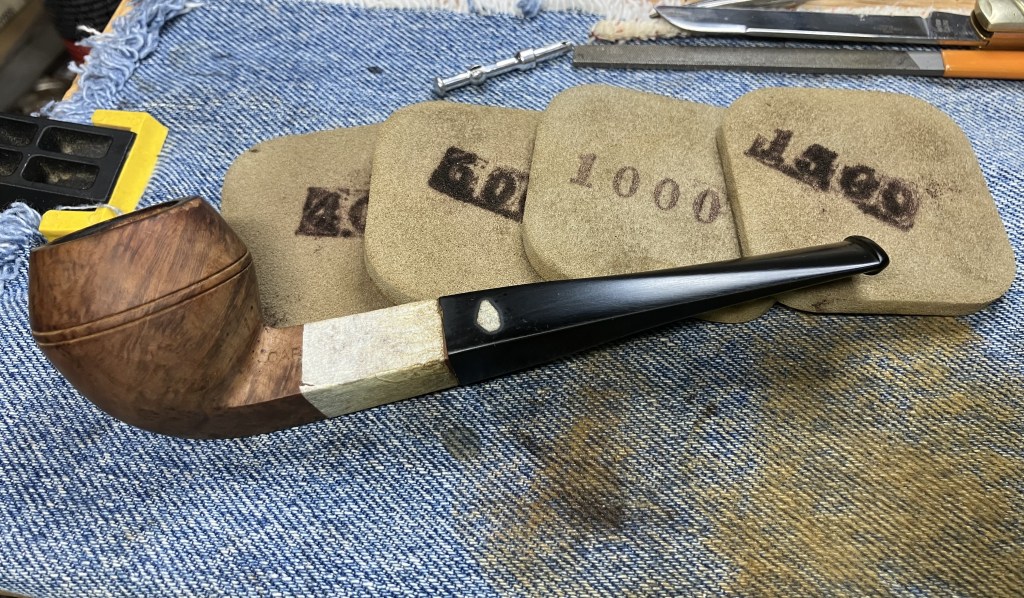
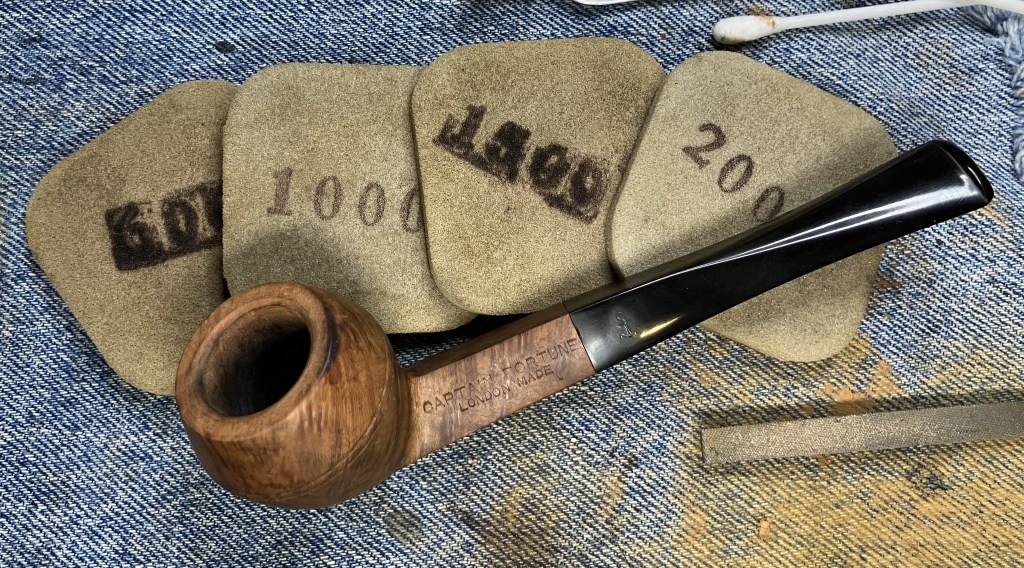
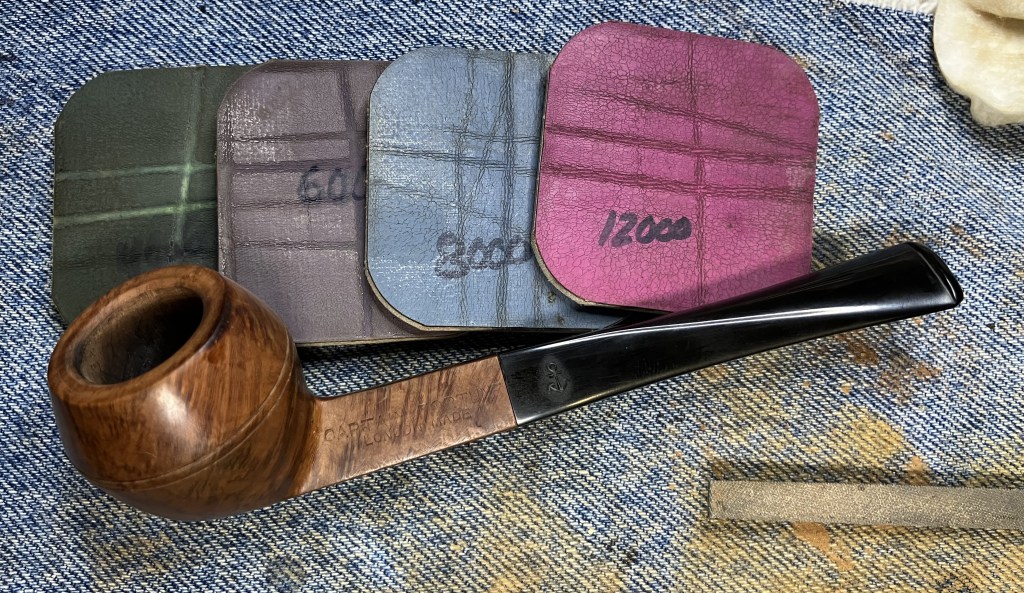
WIth the shank still masked I sanded the entire stem with a series of sanding sponges from 320-3500 grit. Between sponges I rubbed the stem with mineral oil and wiped it with a dry paper towel.

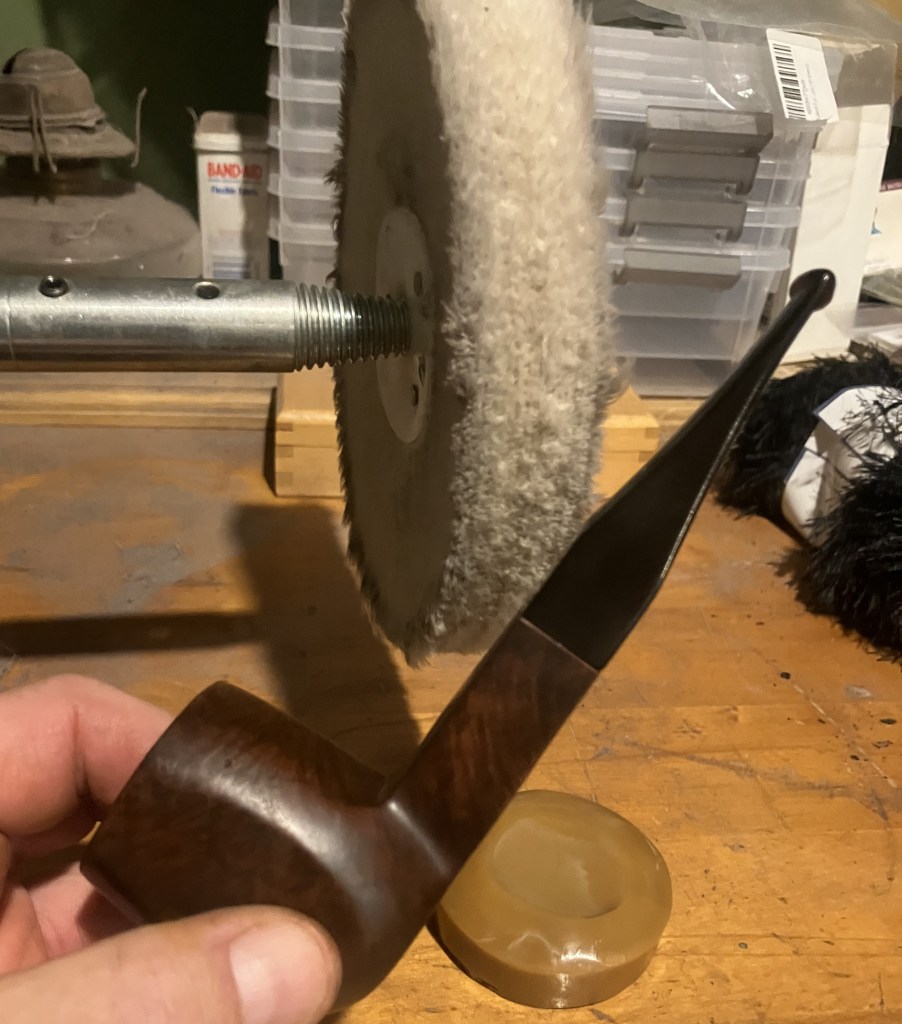
I returned to the buffer, this time using white buffing compound and the dedicated white wheel.
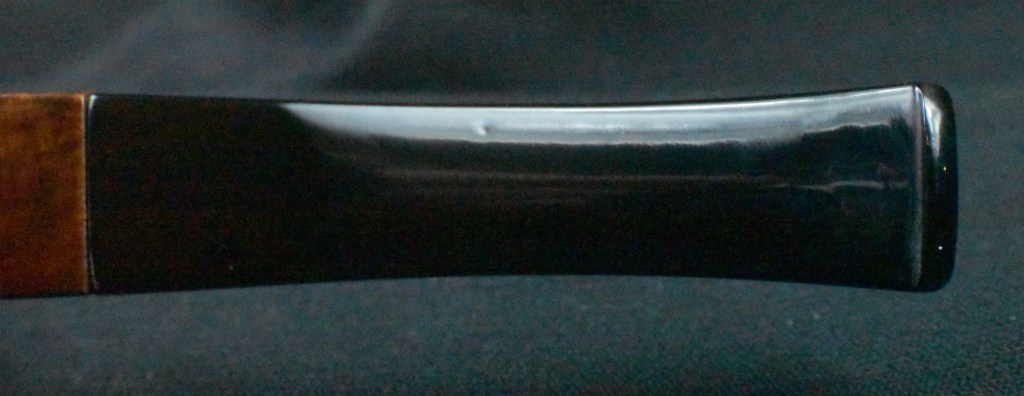
The stem looked much better.

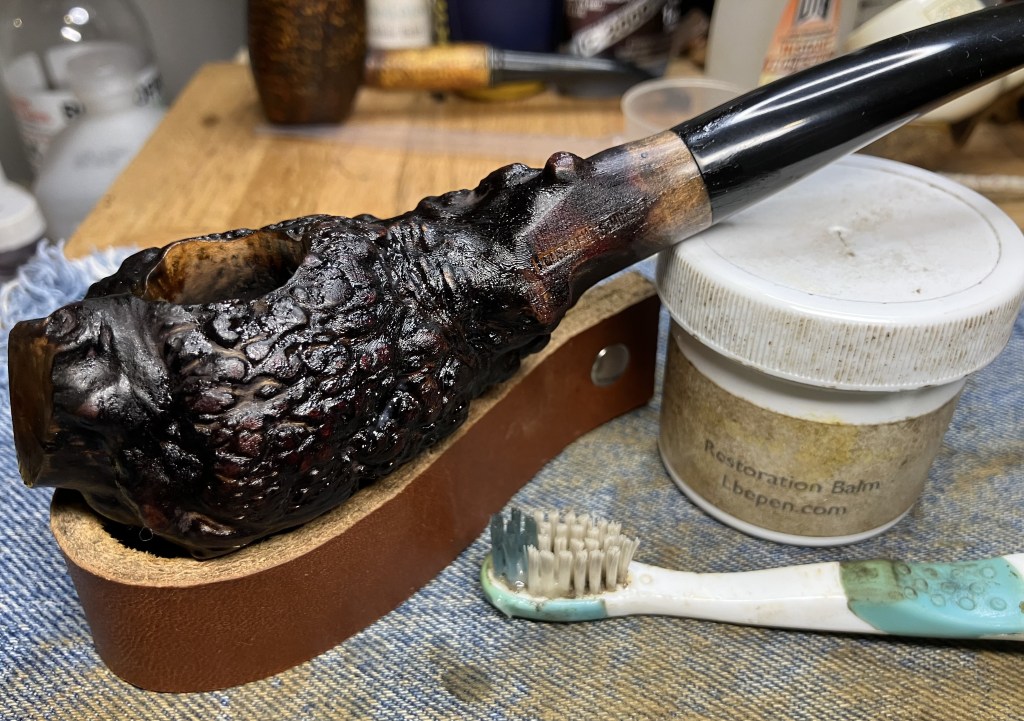
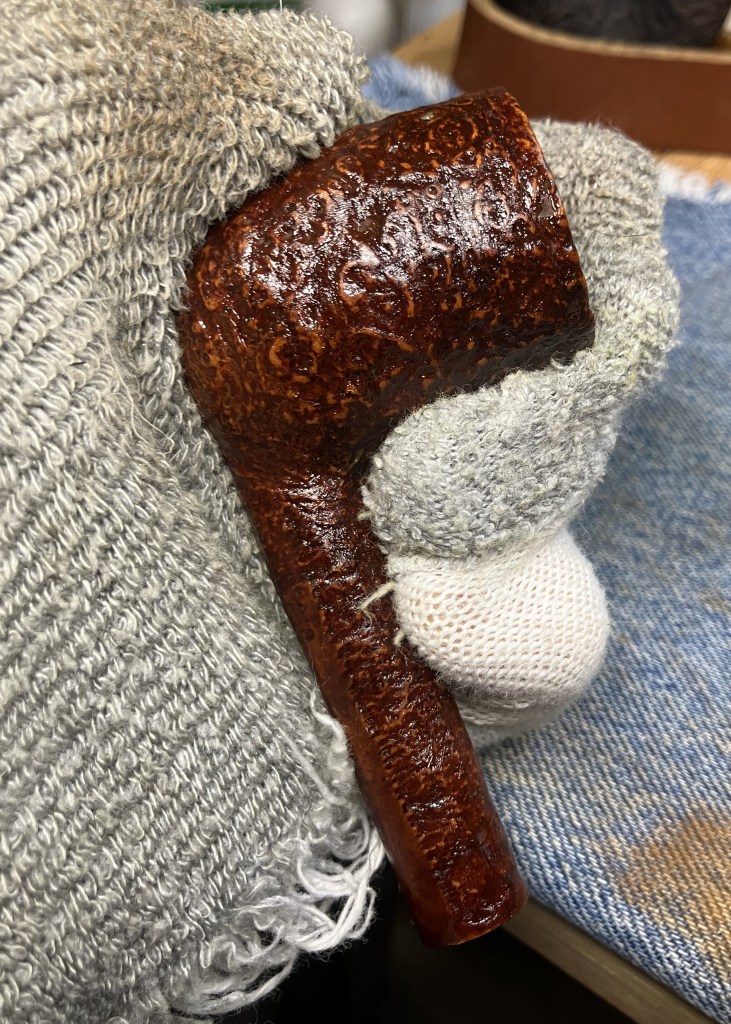
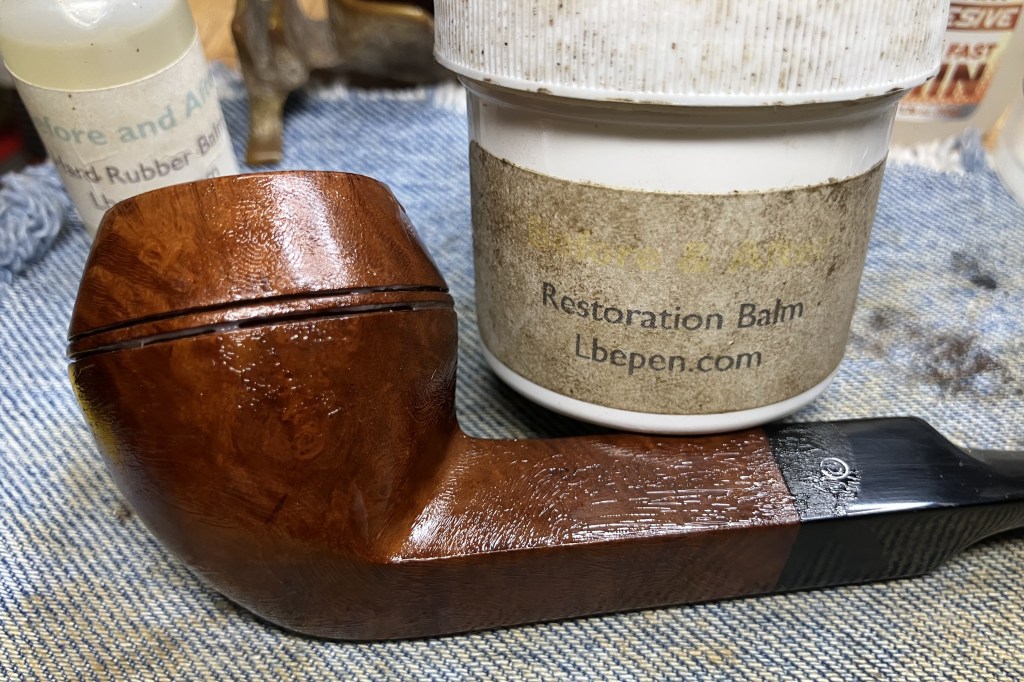
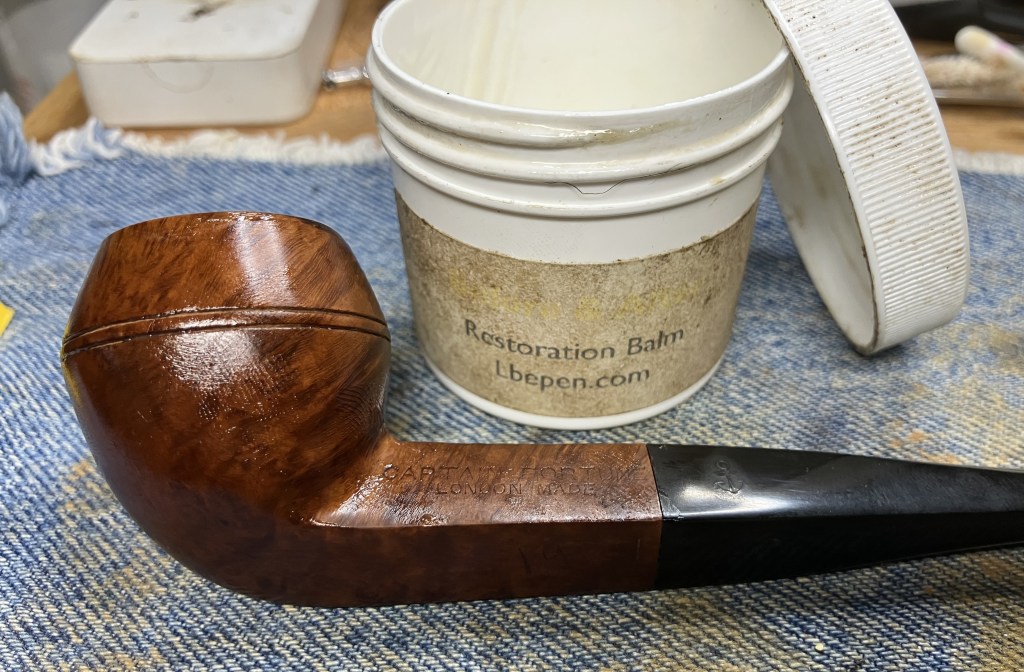
I failed to photo-document the stummel sanding, so you will have to trust me. It was sanded with the same sanding sponges from 320-3500. I did wipe the stummel with a make-up pad wetted with alcohol between sanding sponges to remove debris. The stummel was coated with Before and After Restoration Balm and allowed to sit for 30 minutes. During this time I returned to watching TV. Again, I do not think the TV was necessary.

The stummel was then hand buffed with an inside out athletic sock to remove excess Restoration Balm.

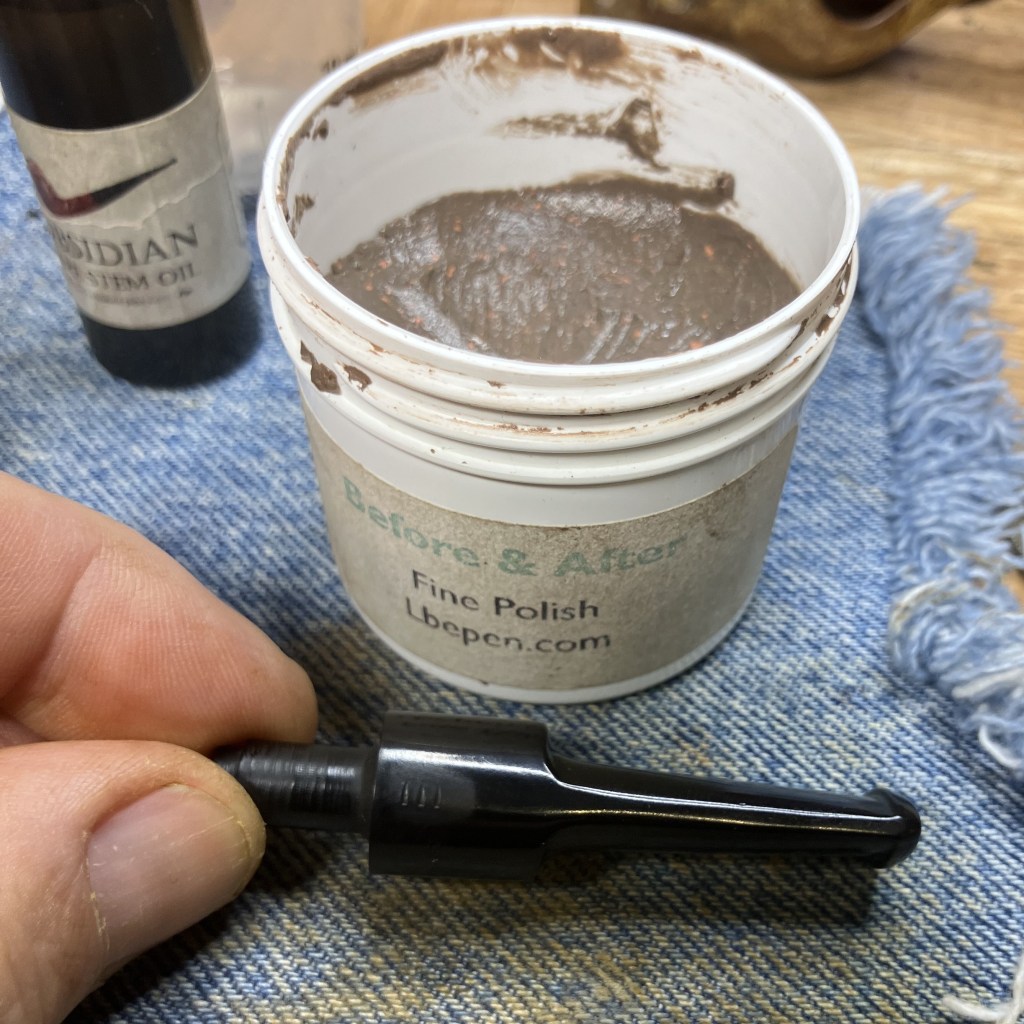
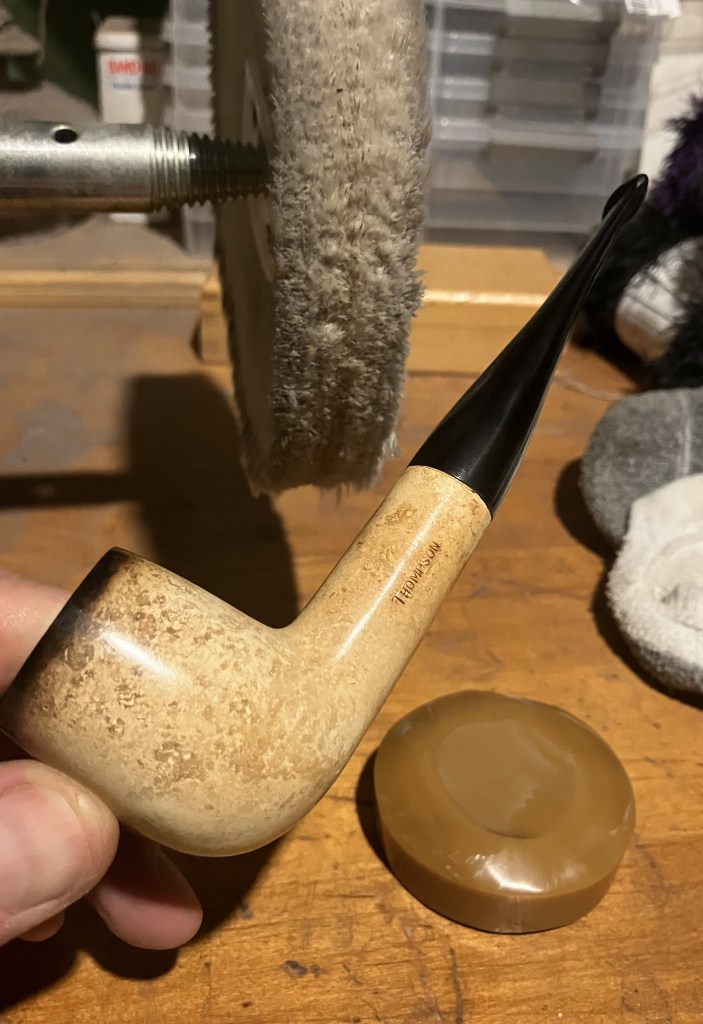
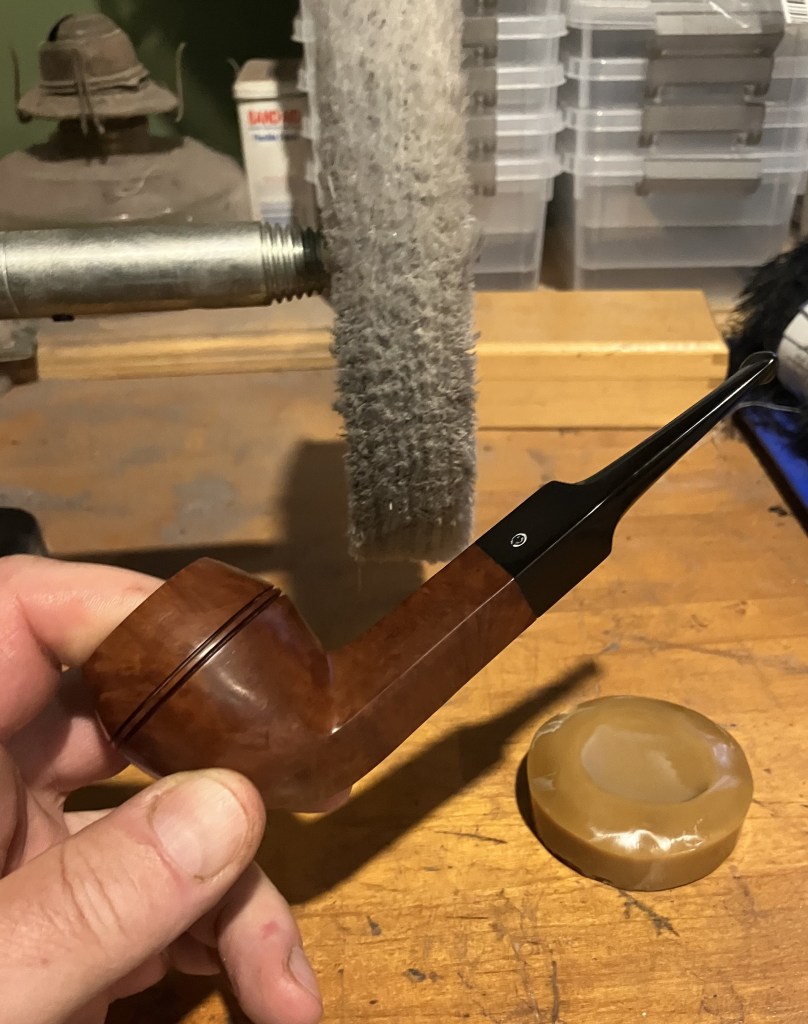
The pipe was taken back to the buffer for several coats of carnauba wax.
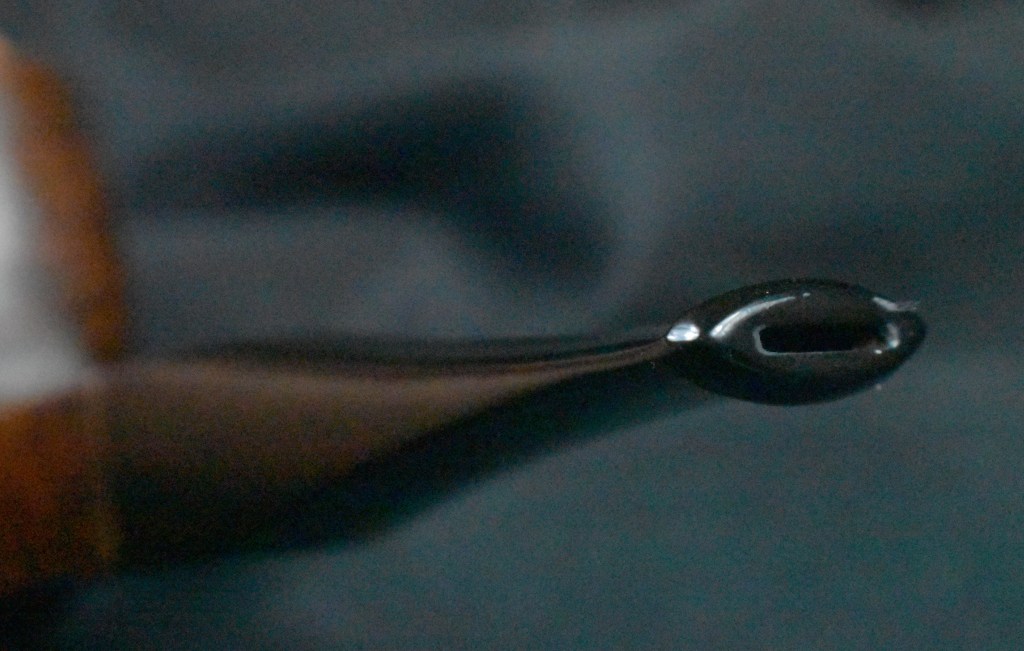
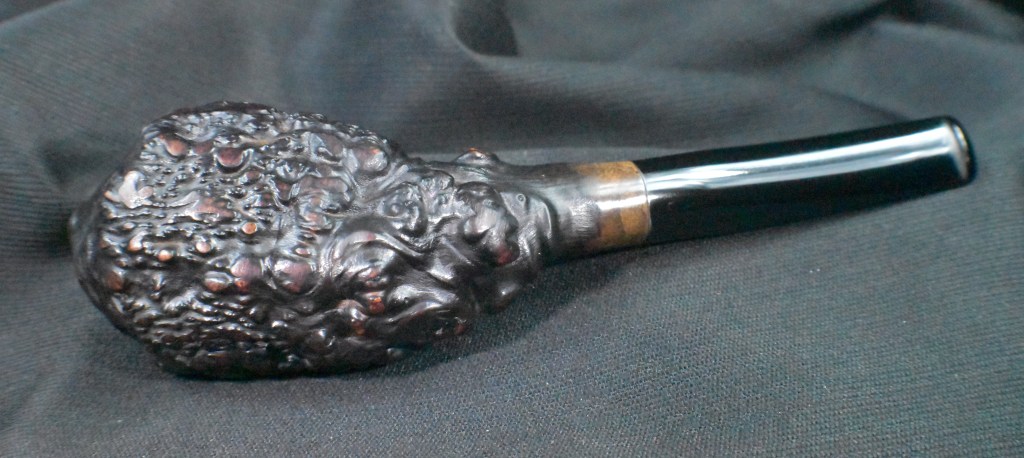
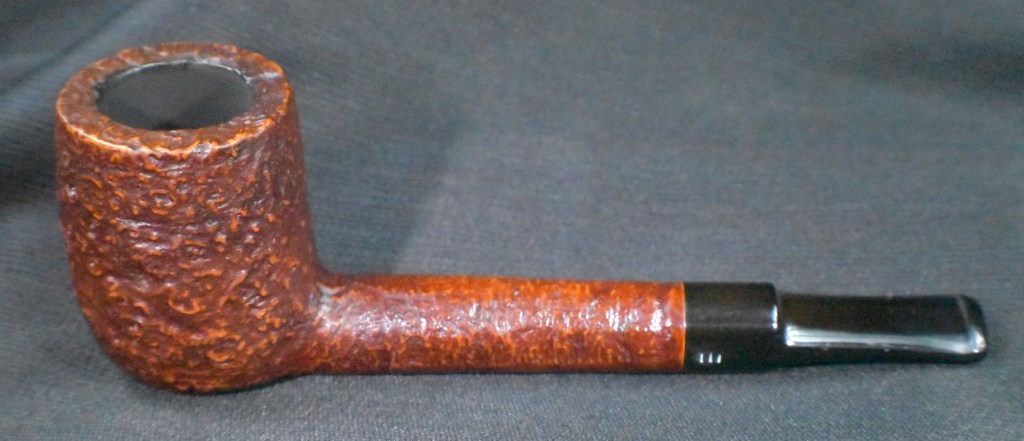
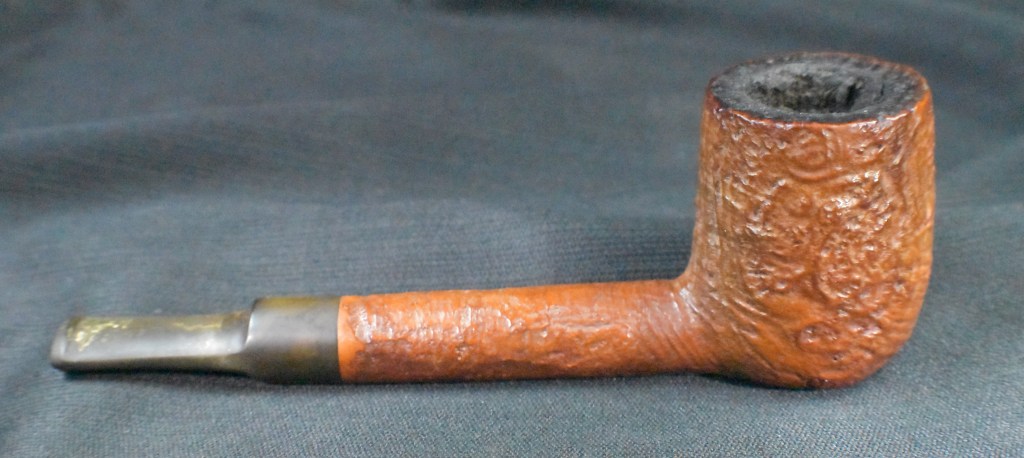
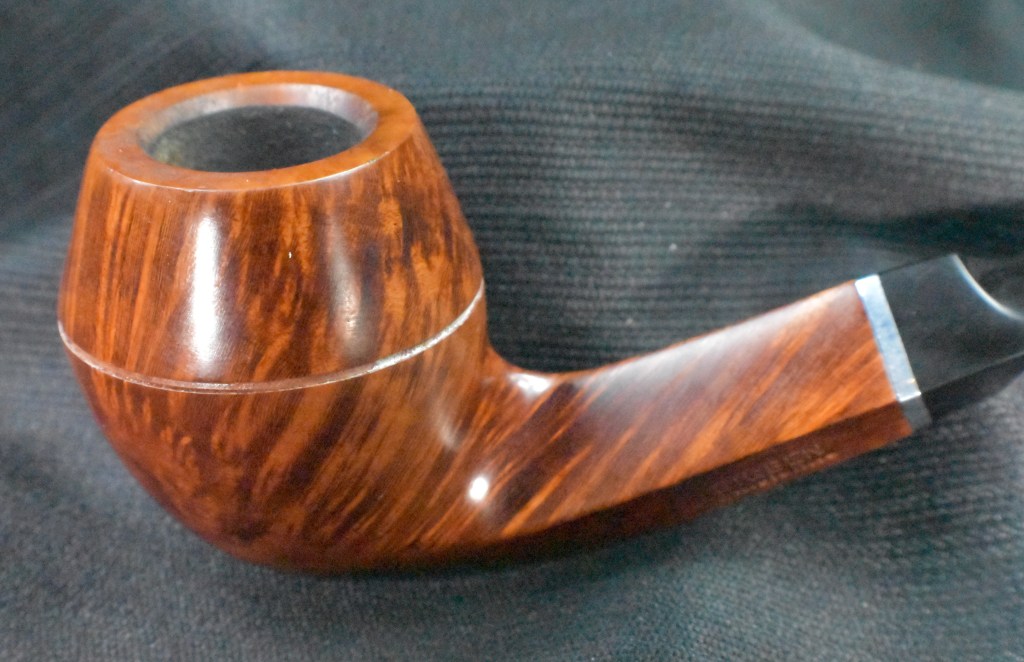
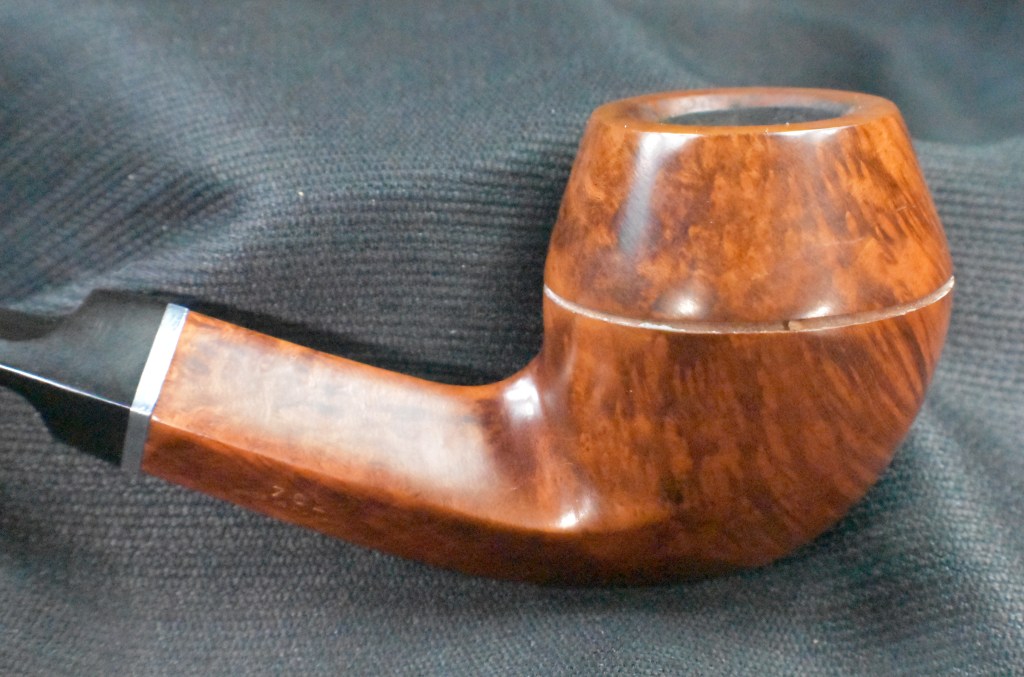
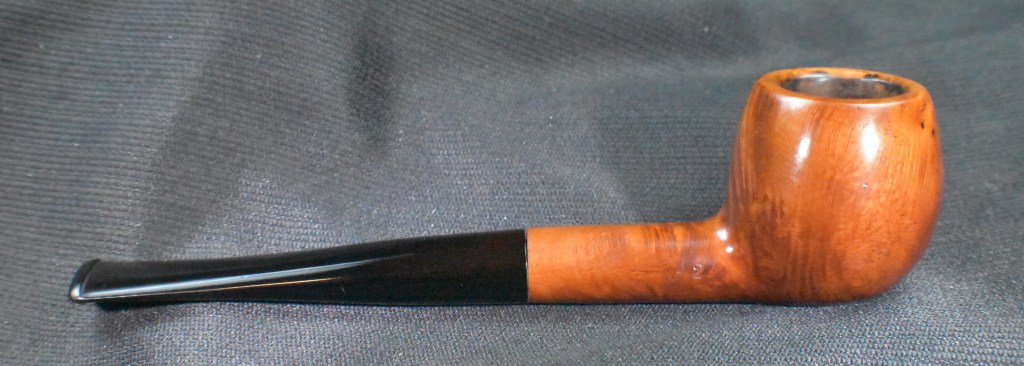
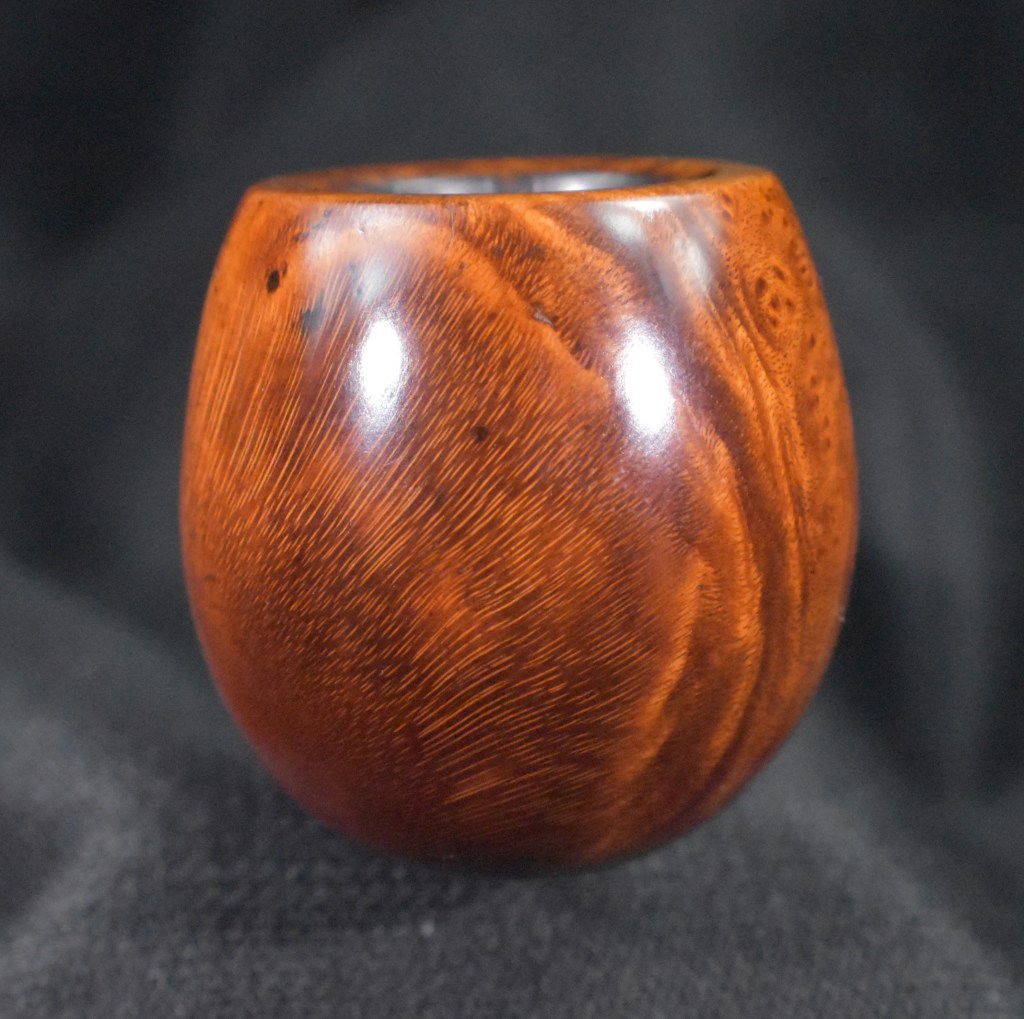
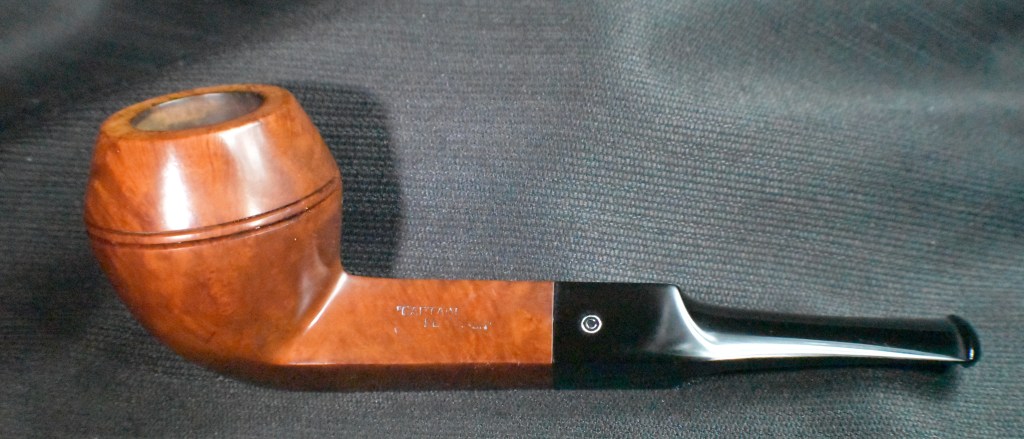
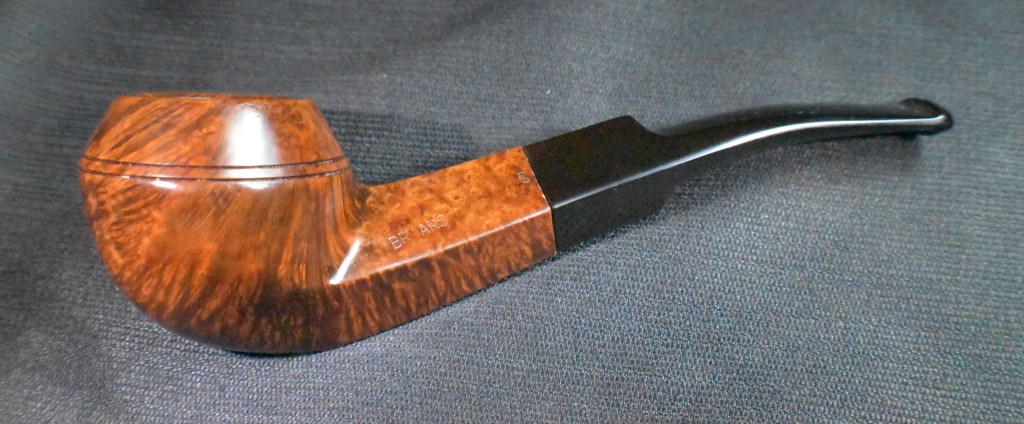
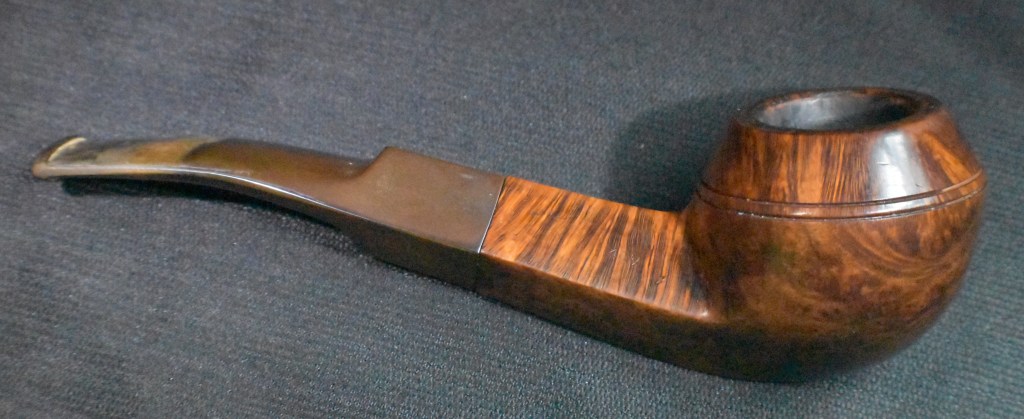
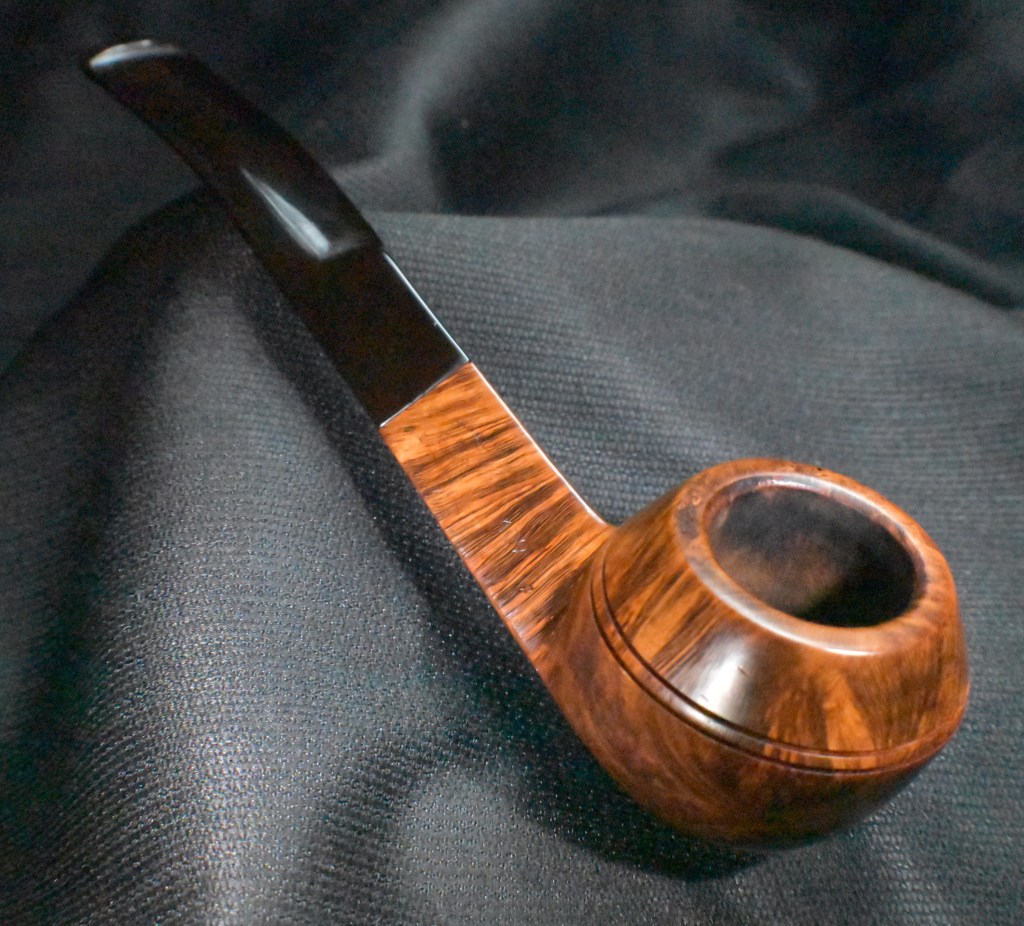
The final step was a hand buffing with a microfiber polishing cloth then finished photo shoot.
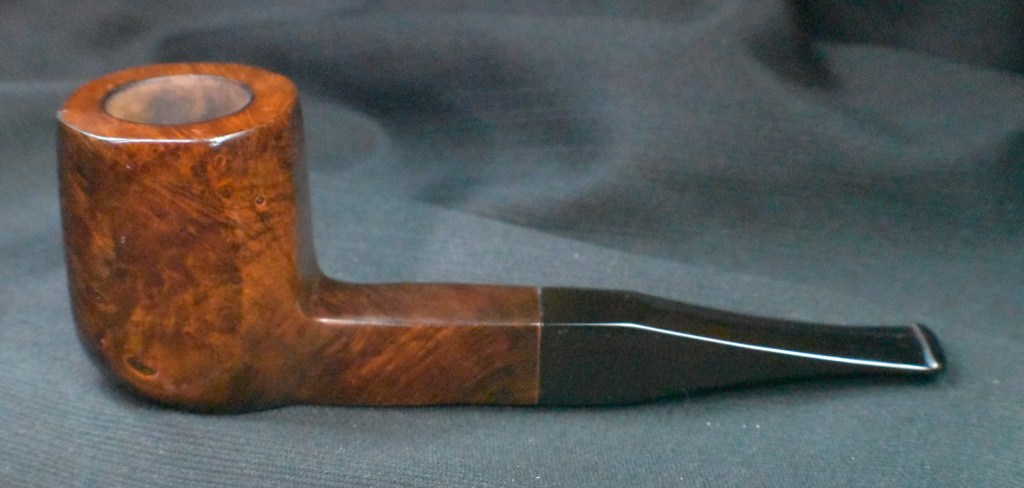
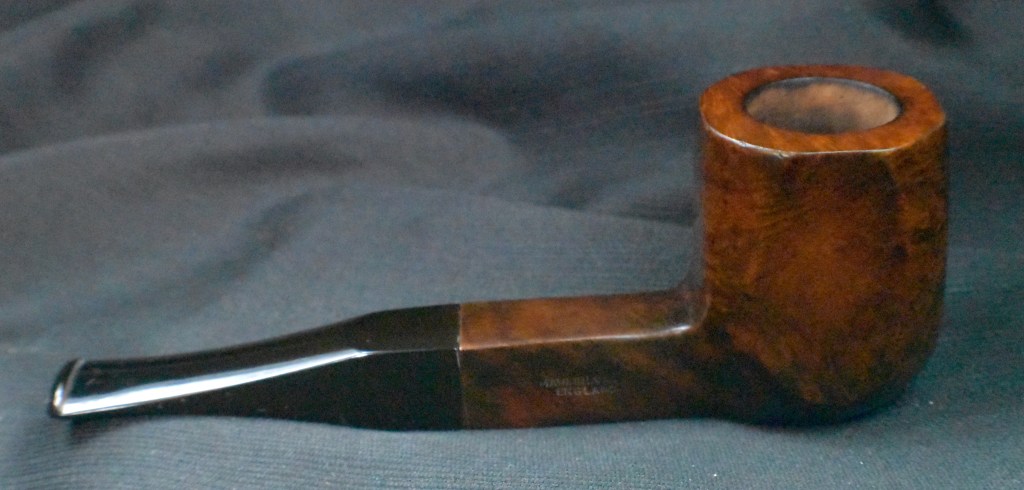
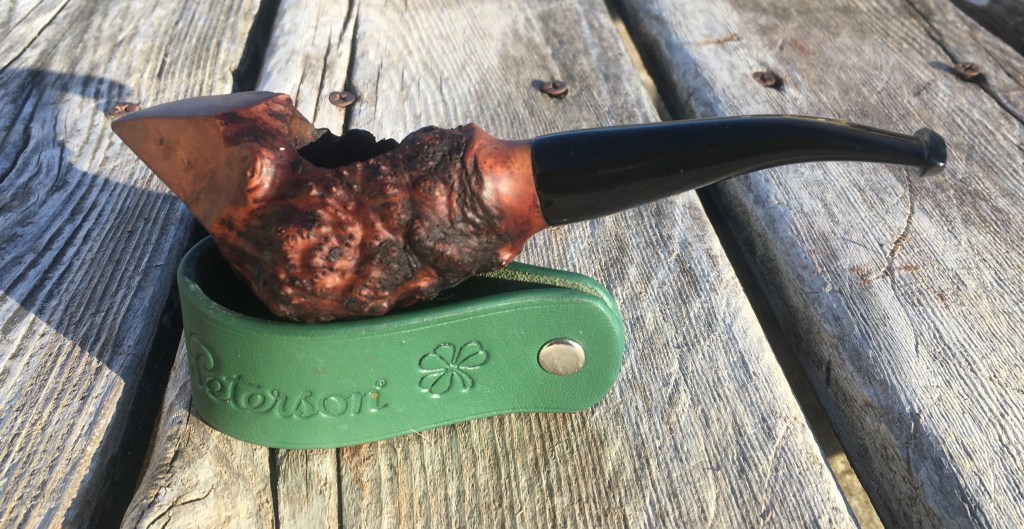
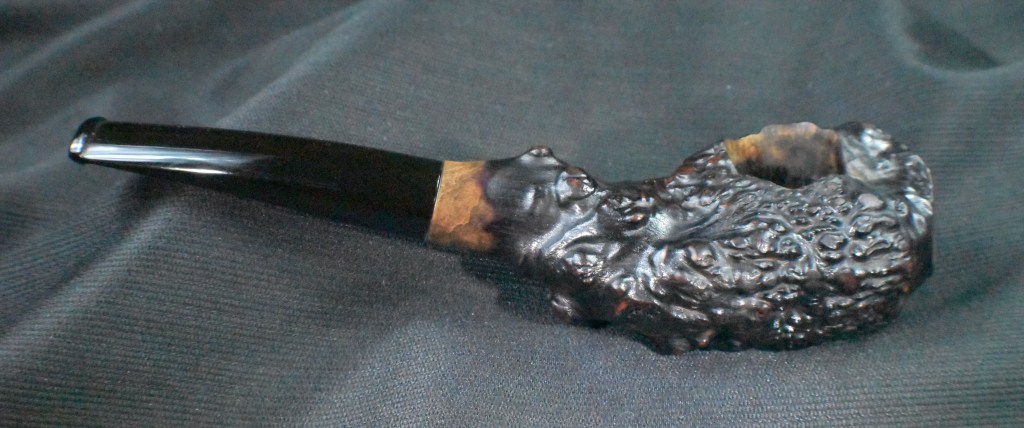
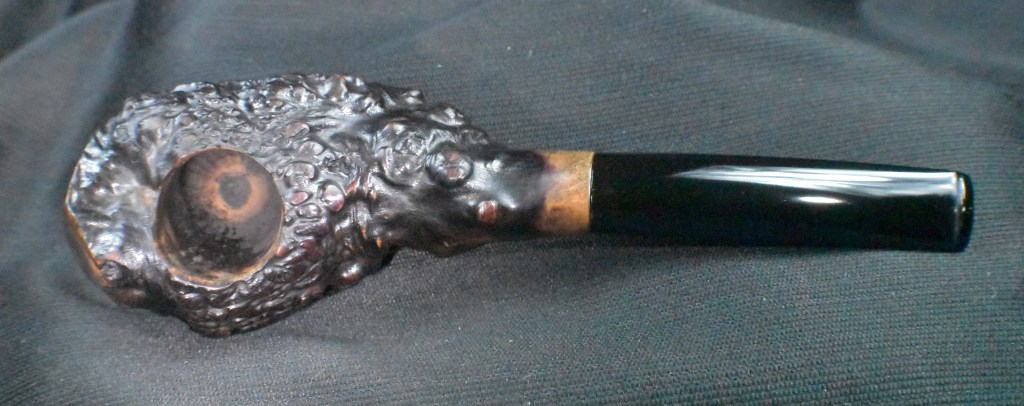
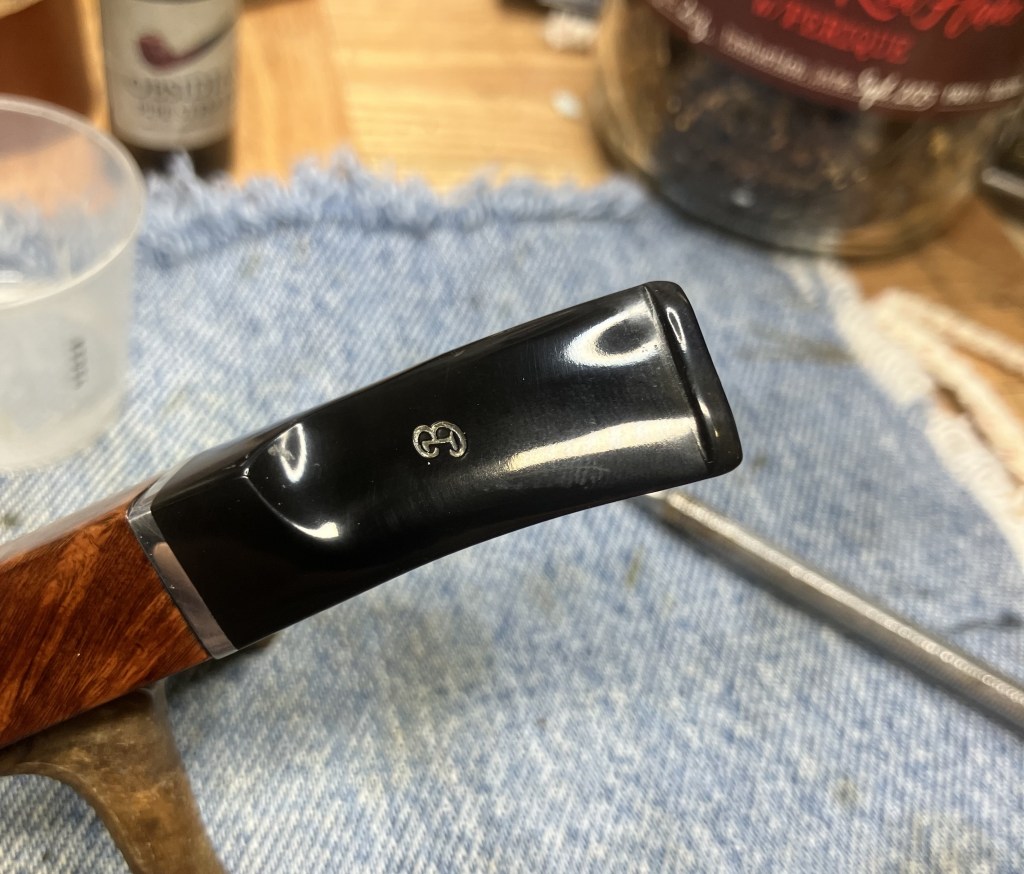
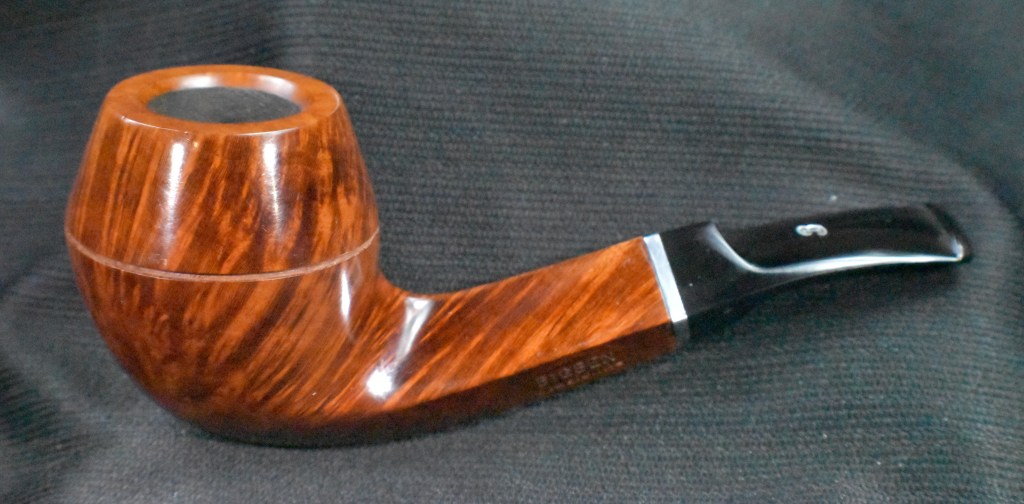
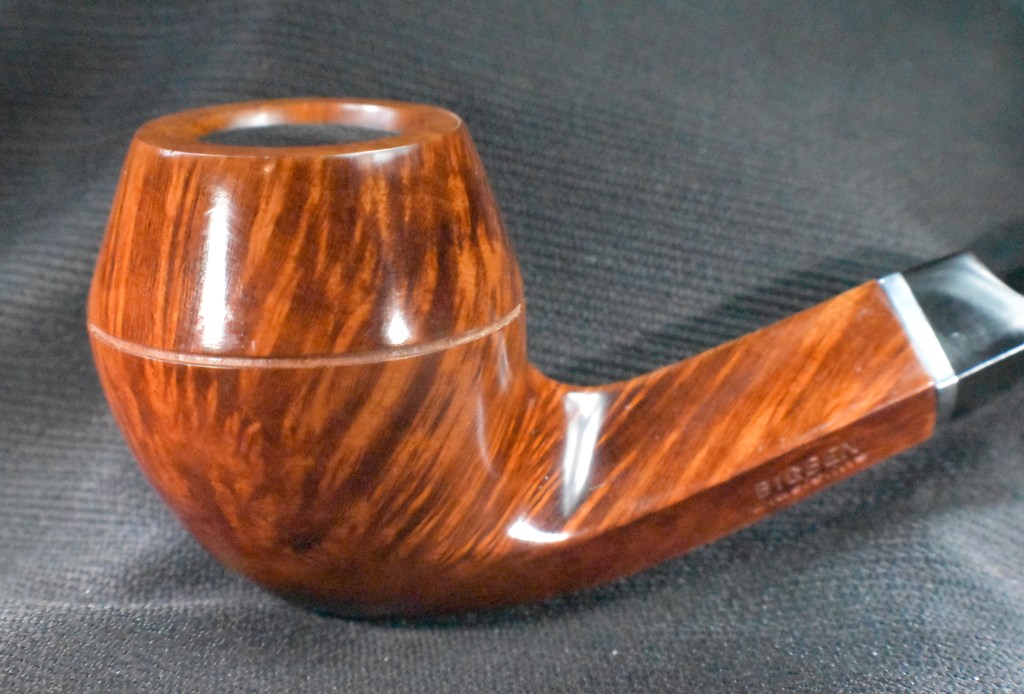
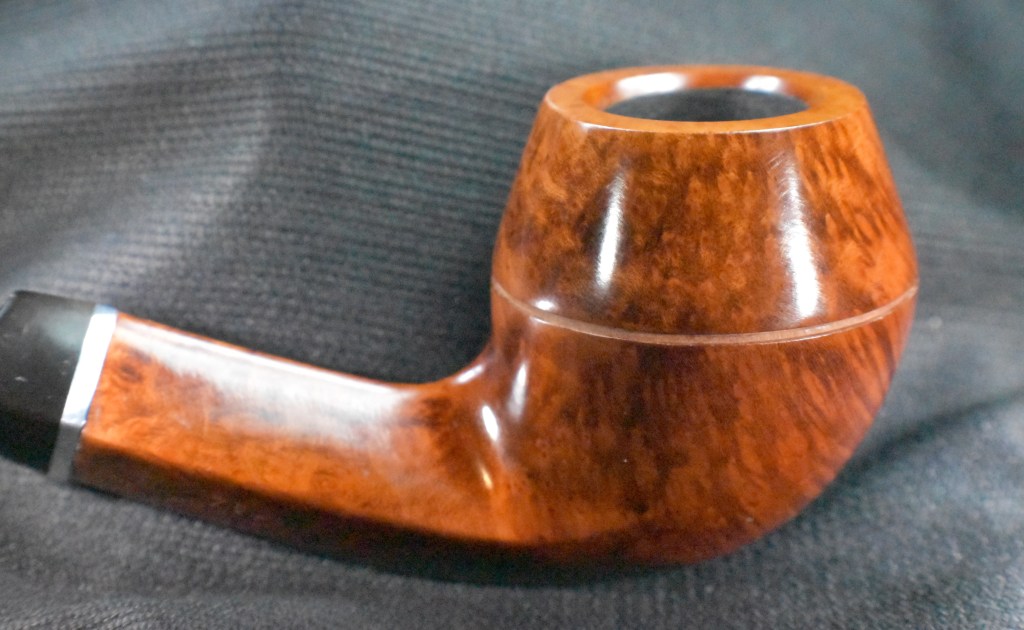
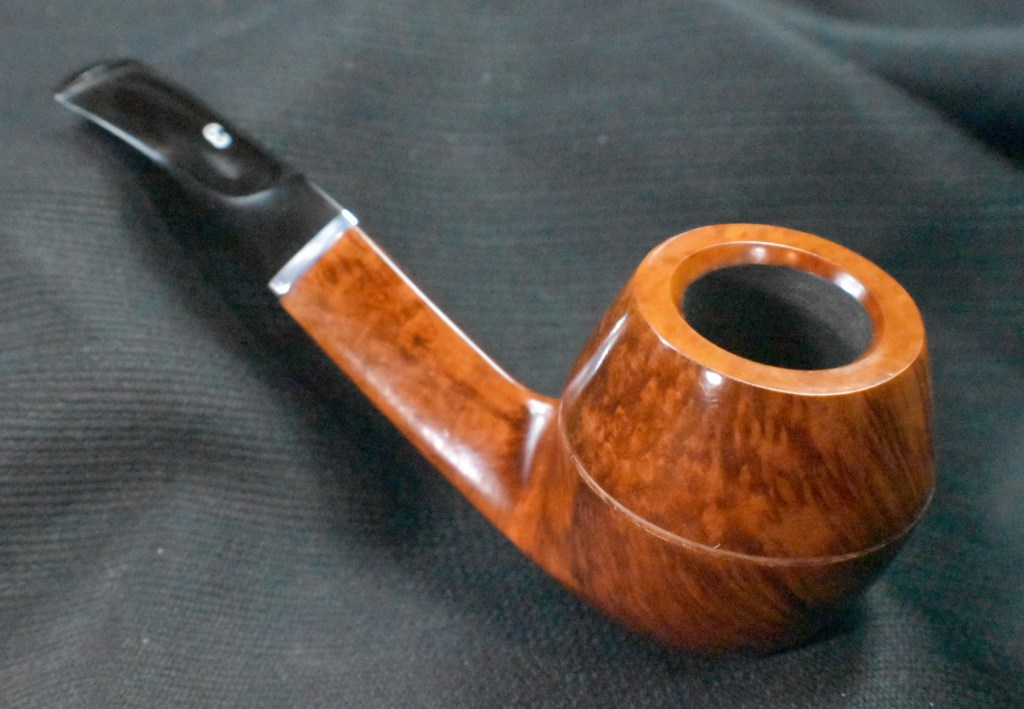
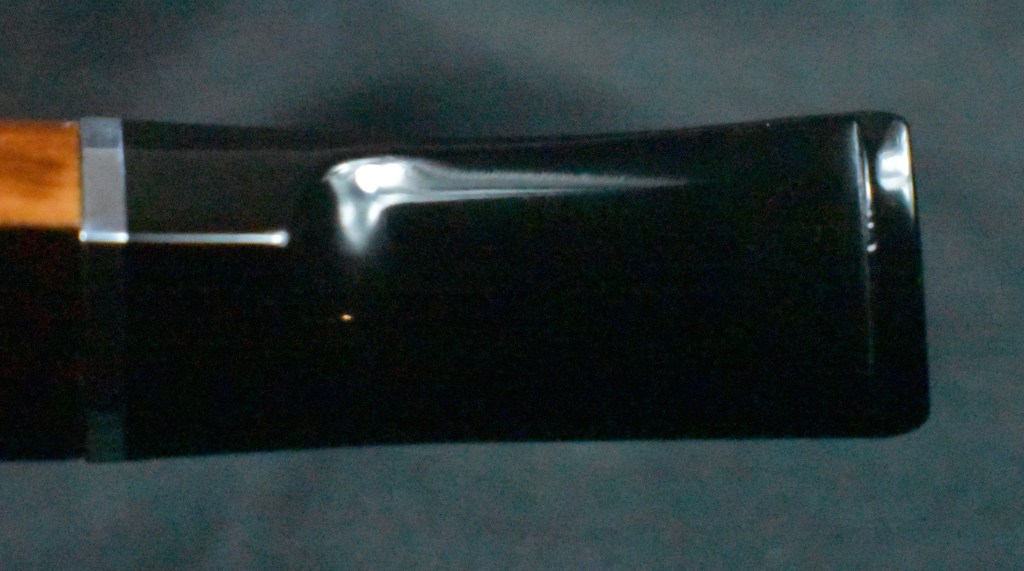
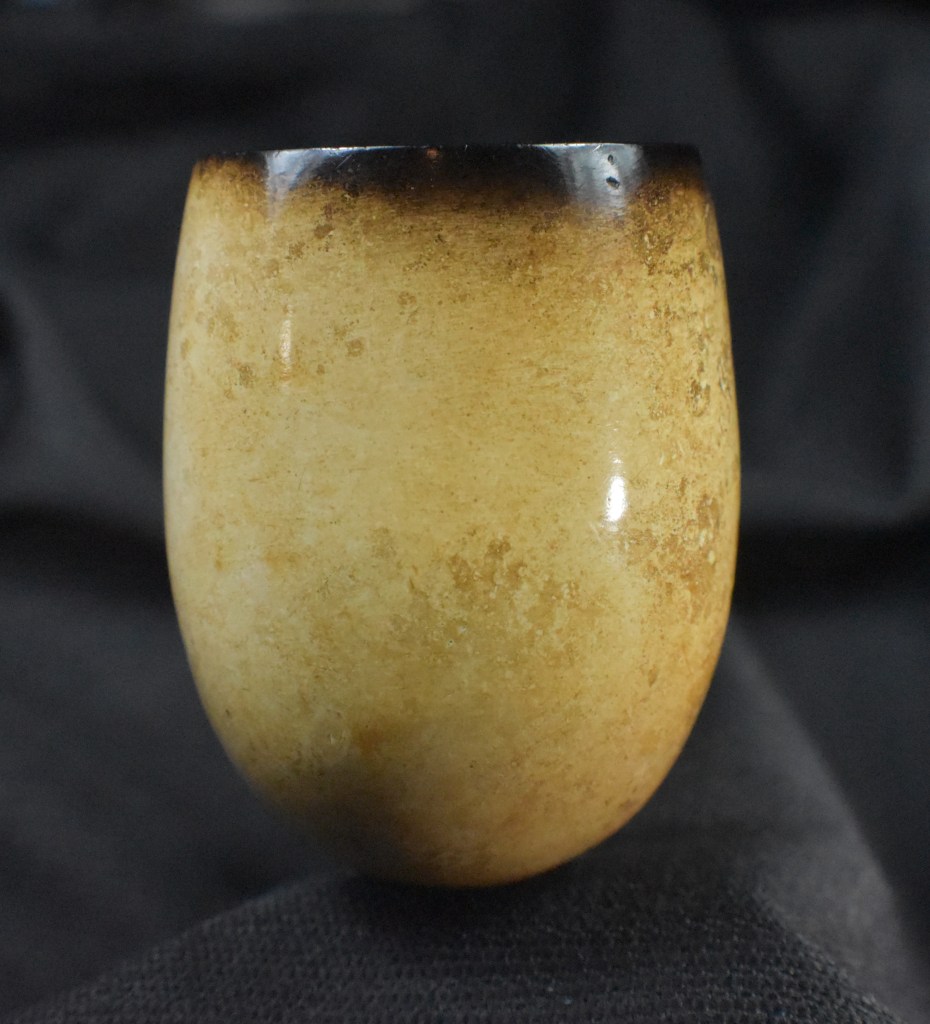
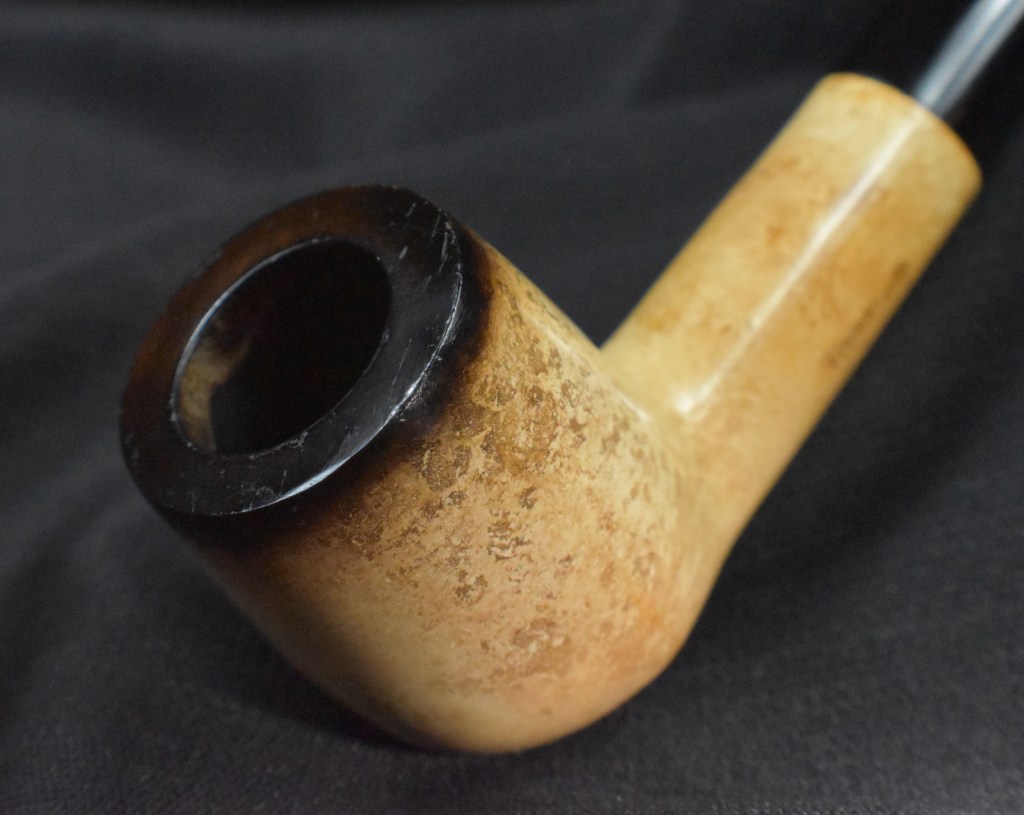
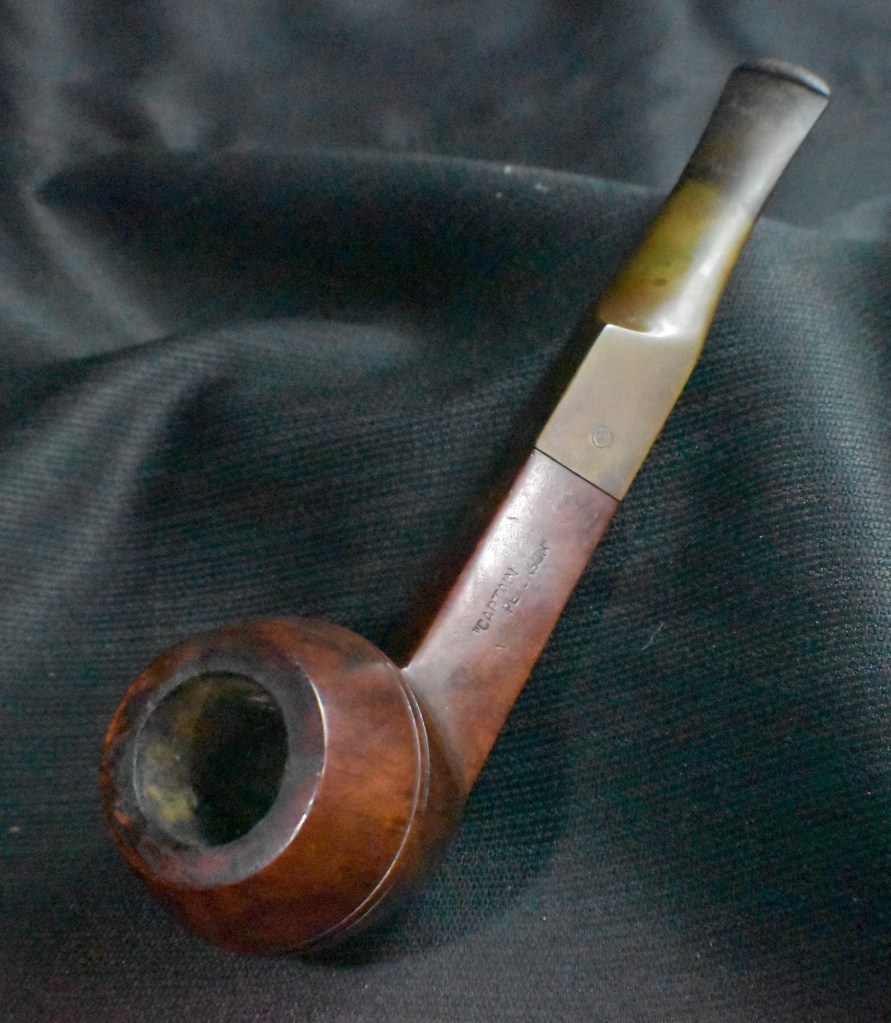
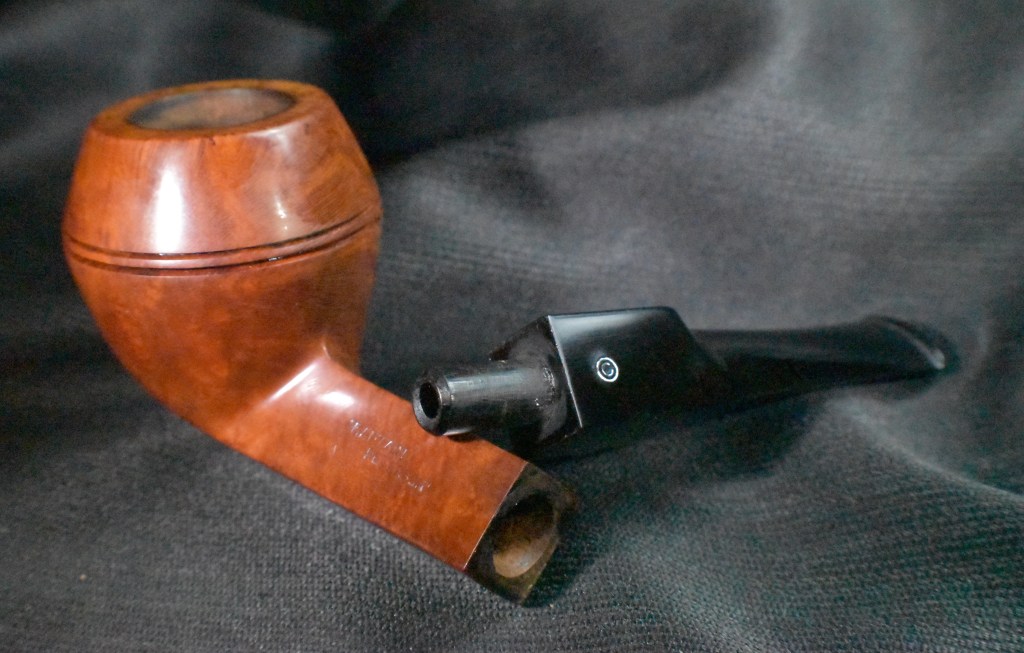
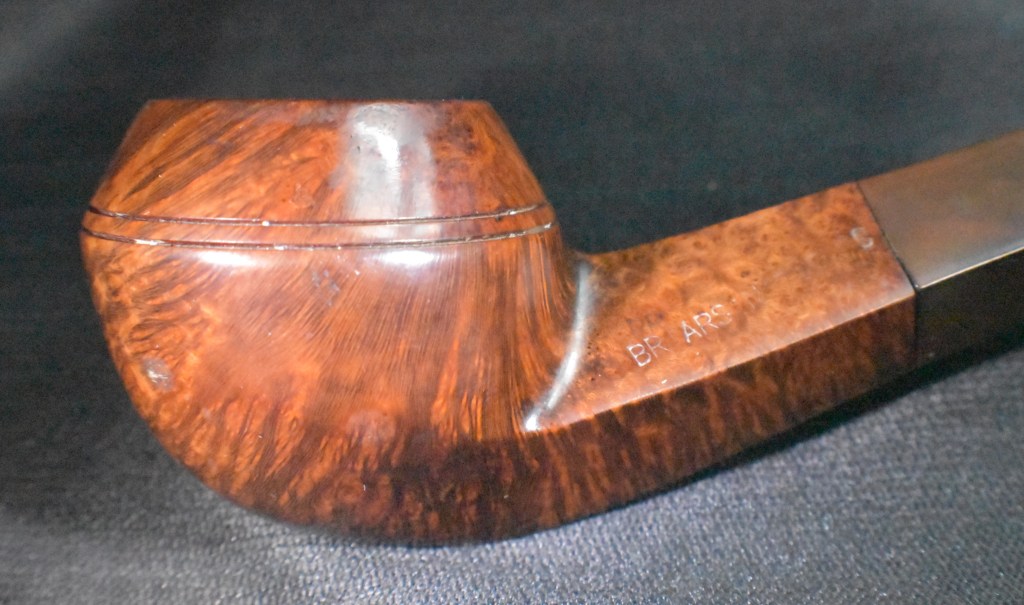
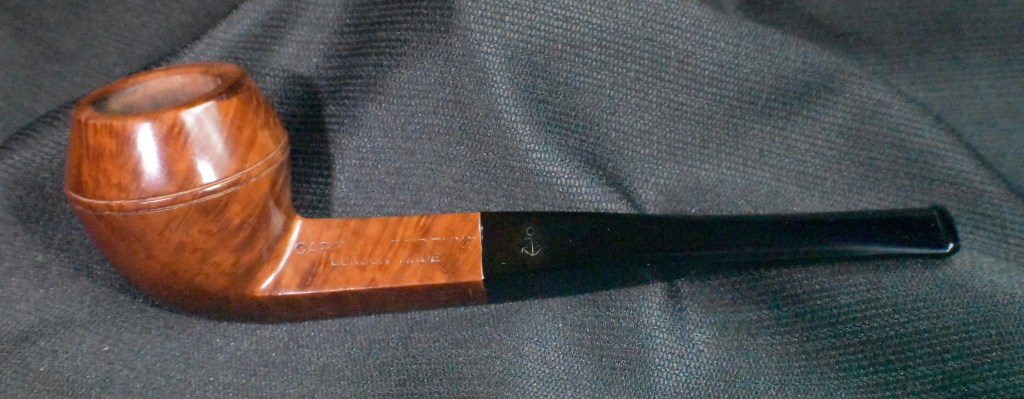
This Made in London, England No Name Panel Billiard has been restored to a condition likely better than it’s factory original. The new contrast dye accentuates the briar grain and adds a warmth lacking in the original. The replaced fills blend with the new contrast dye and are so much better than the pink plague of the original. The stem is far better than it was but try as I did, I could not get the vulcanite to return to the black. The dark brown is really only noticeable under very bright lights or sunlight. The finish of the stem did turn out well with the previous tooth dents only noticeable under close scrutiny. This pipe is a large billiard and it has a hand feel that only a large pipe has. For those who love large billiards this pipe calls out to you. The dimensions of the No Name Panel Billiard are:
Length: 6.02 in./ 152.91 mm.
Weight: 2.22 oz./ 62.94 g.
Bowl Height: 2.11 in./ 53.59 mm.
Chamber Depth: 1.88 in./ 47.75 mm.
Chamber Diameter: 0.89 in./ 22.61 mm.
Outside Diameter: 1.55 in./ 39.37 mm.
I do hope that you have found something here useful to your own pipe care, maintenance or restorations. If you like this sort of thing, please click the like and subscribe buttons. Thank you for reading the ramblings of an old pipe lover. If you are interested in purchasing this pipe or any other from previous blogs please feel free to contact me at scimansays1787@gmail.com.
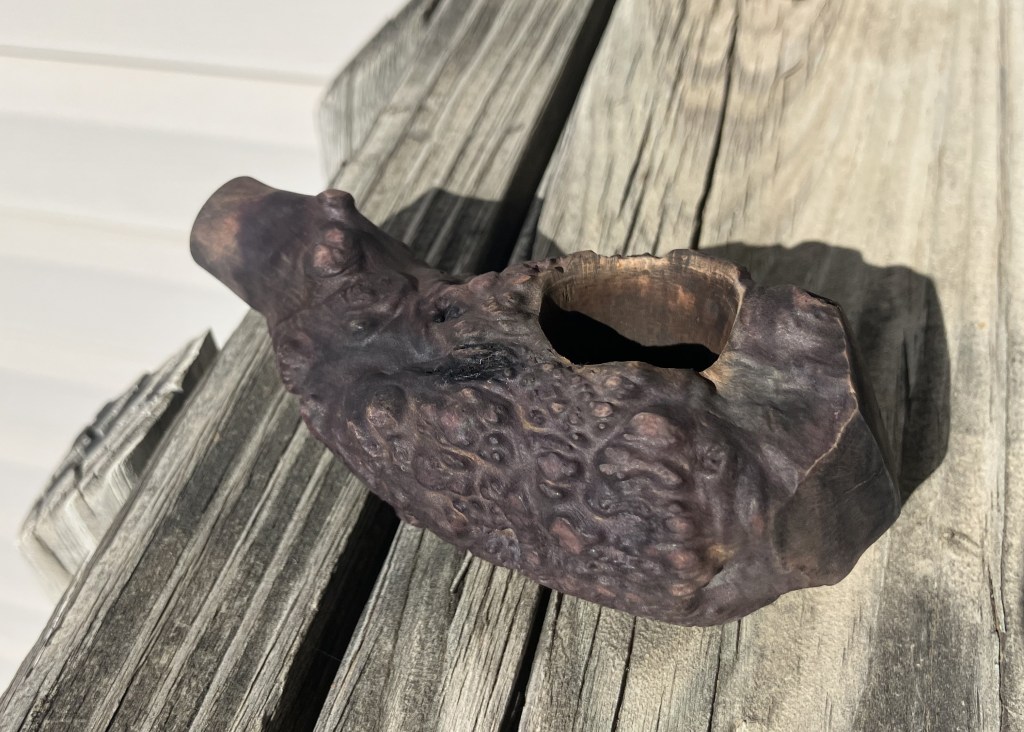
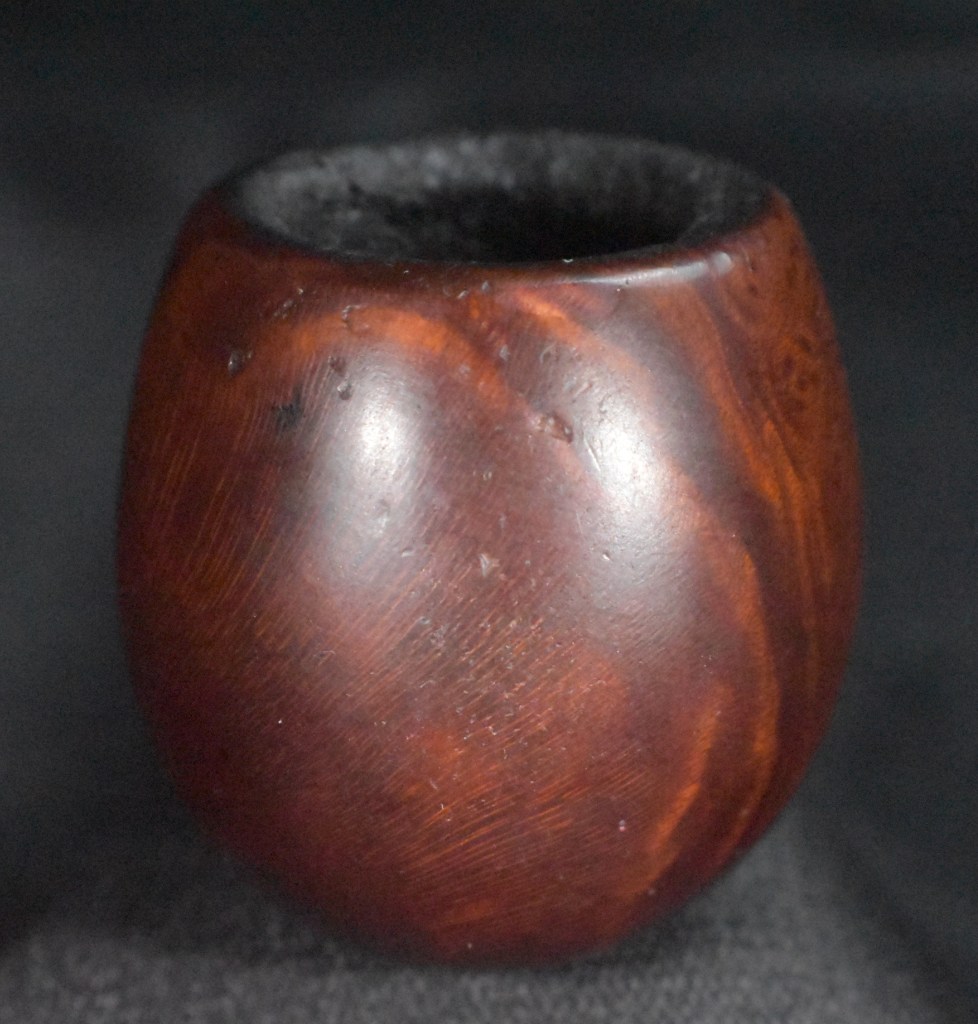
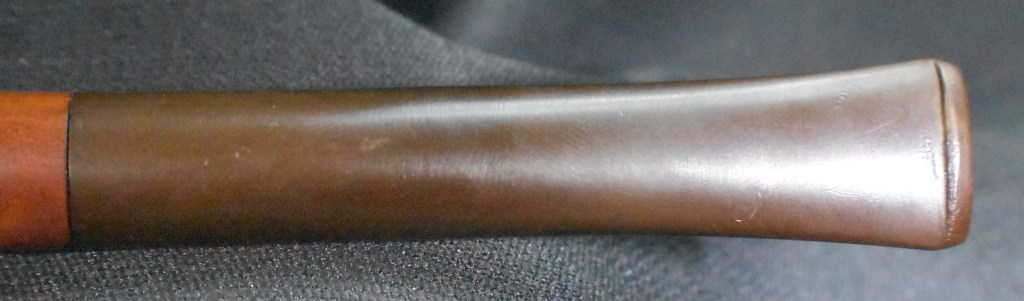
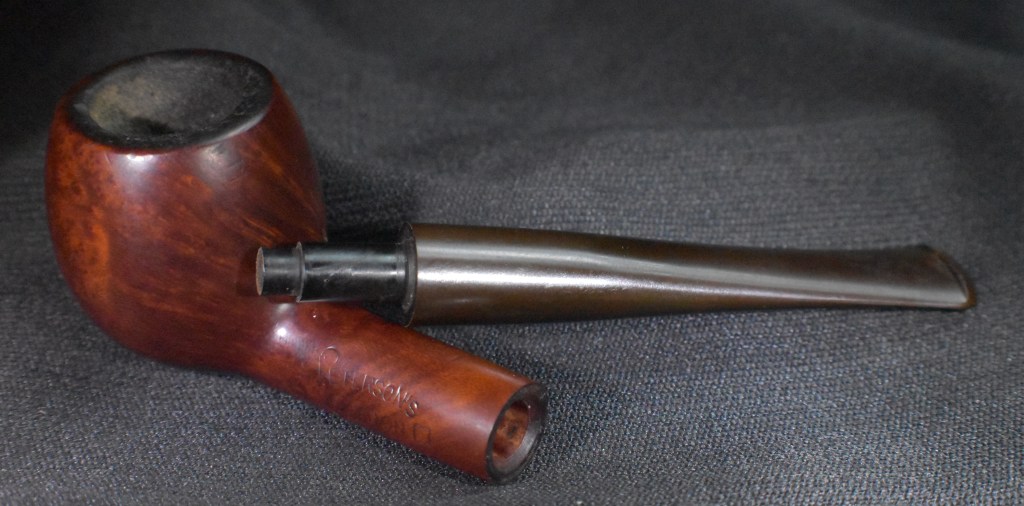
Below are some photos of the finished Made in London, England No Name Panel Billiard.


