Photographed and written by
John M. Young
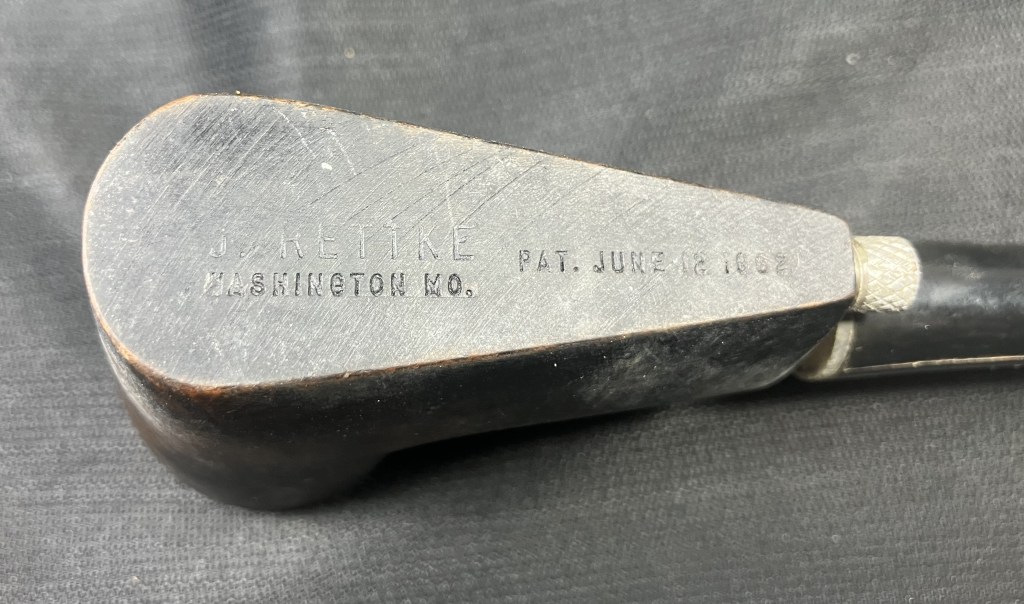
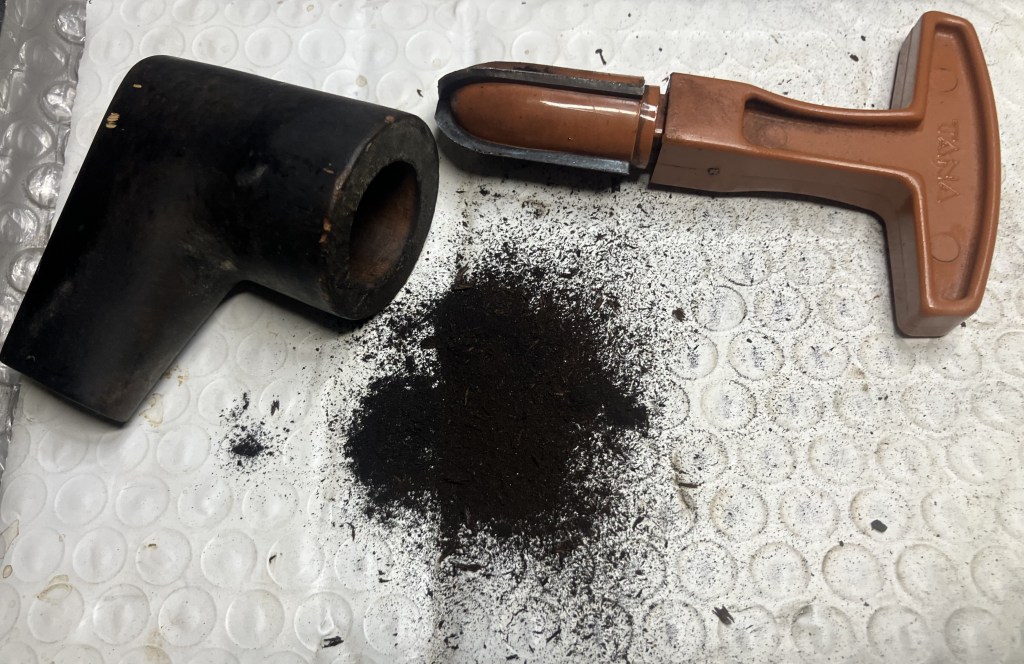
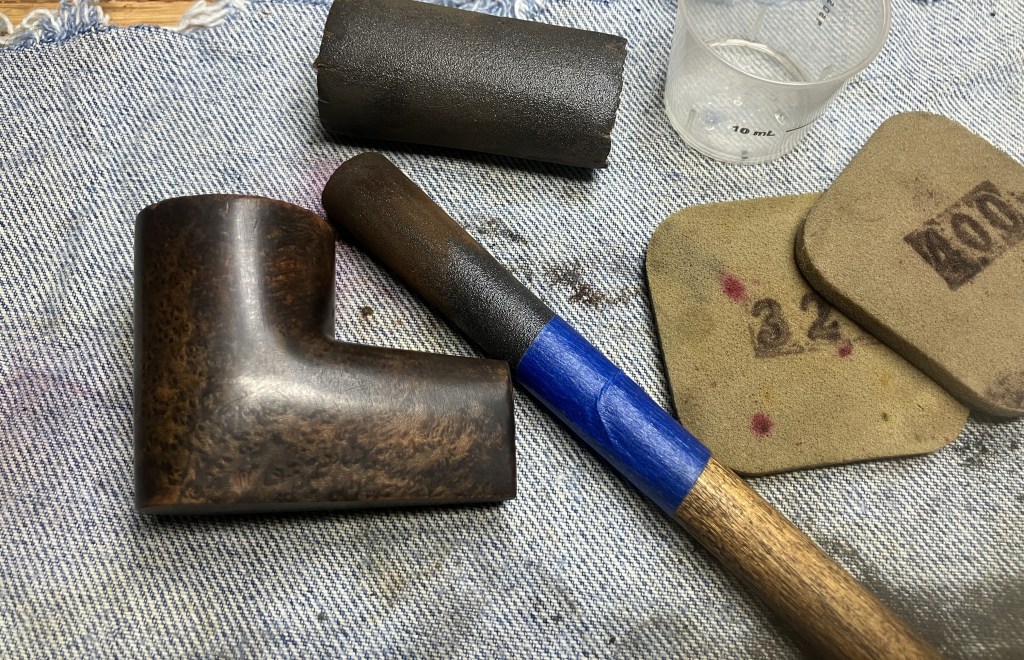
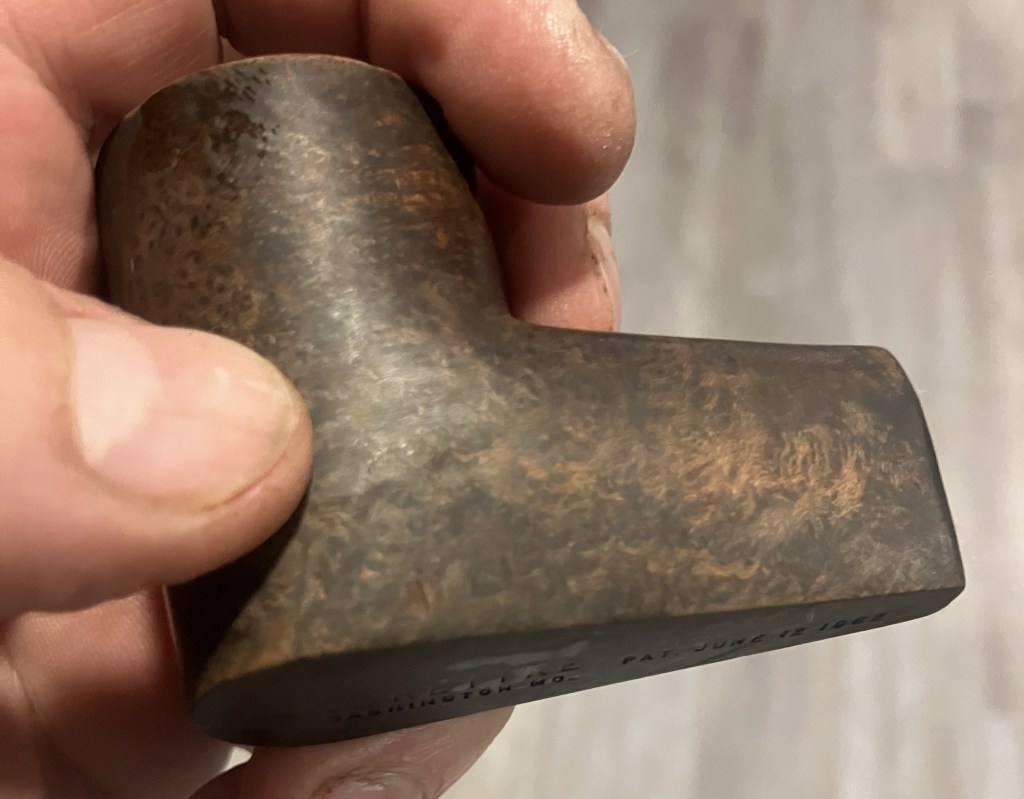
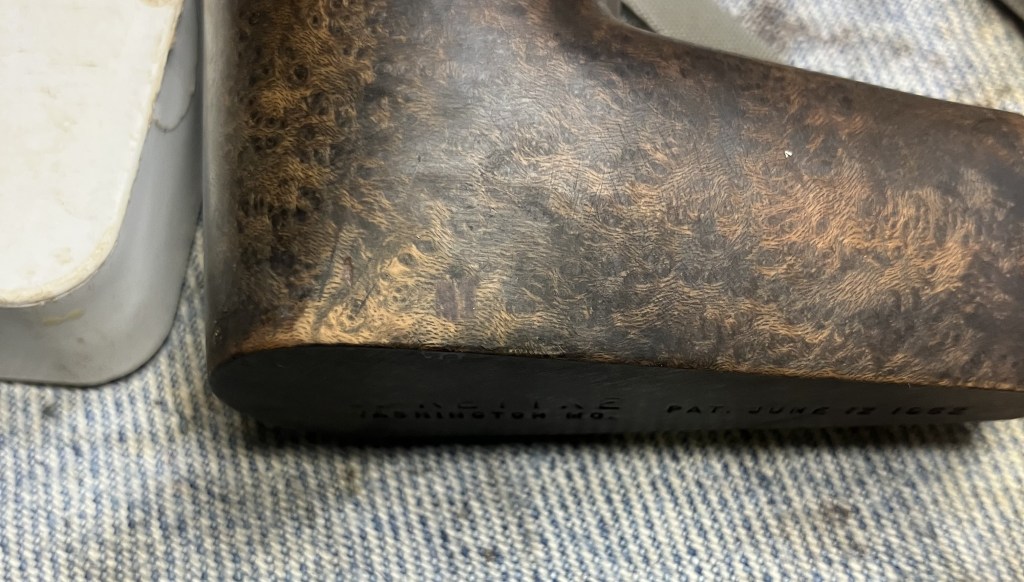
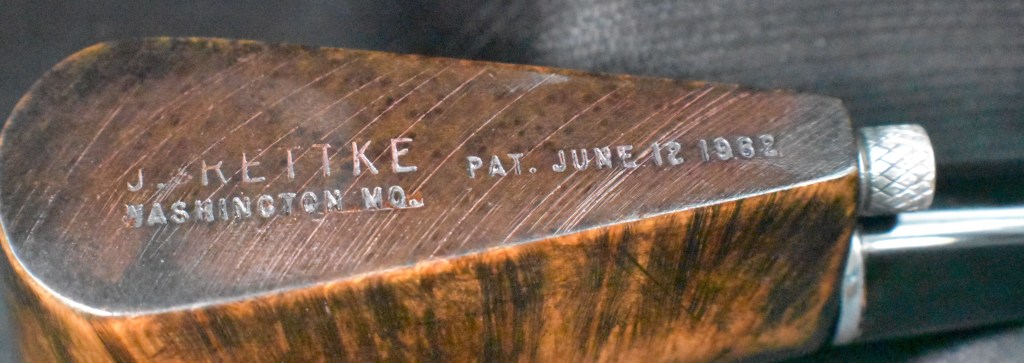
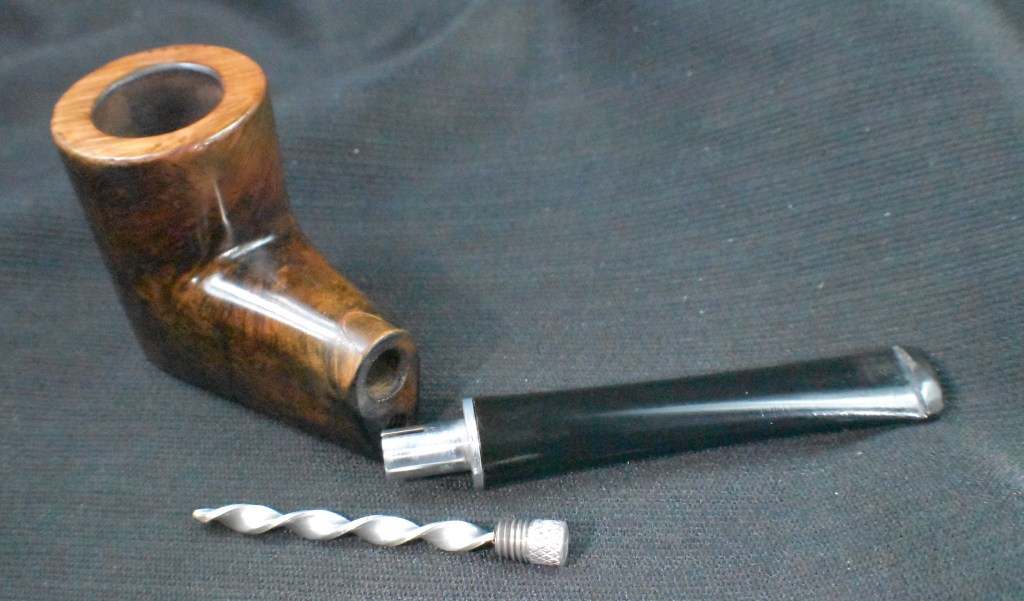
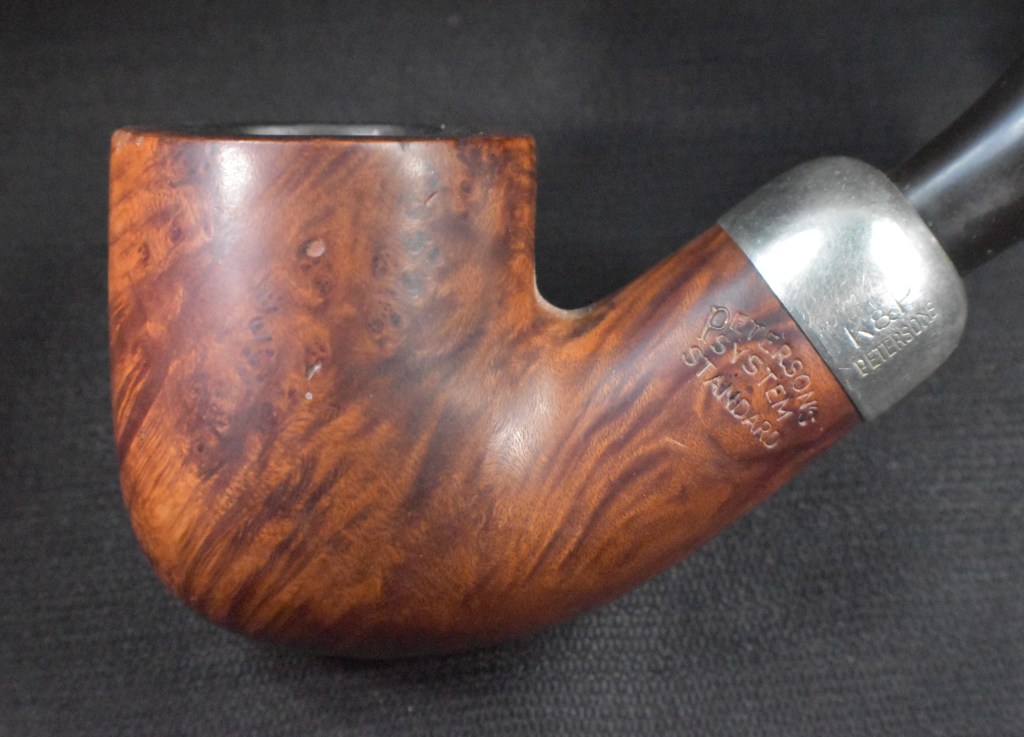
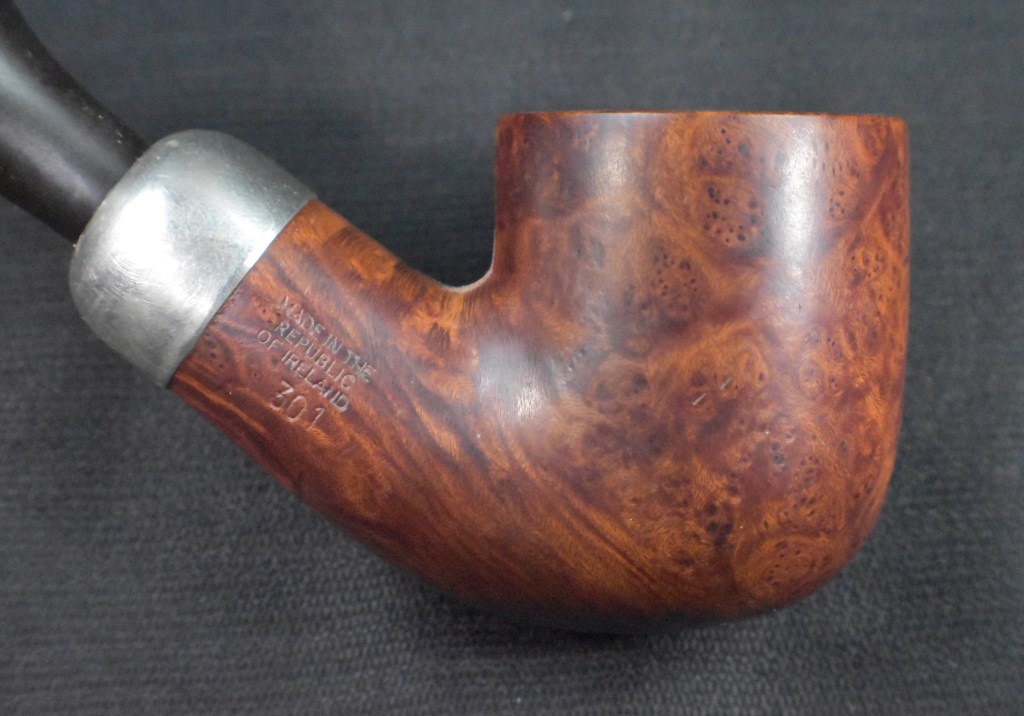
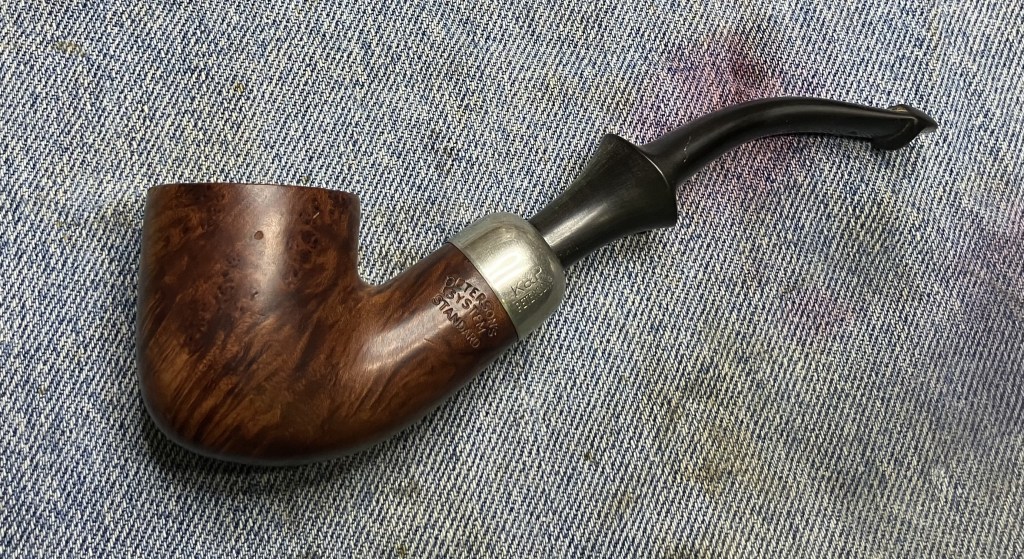
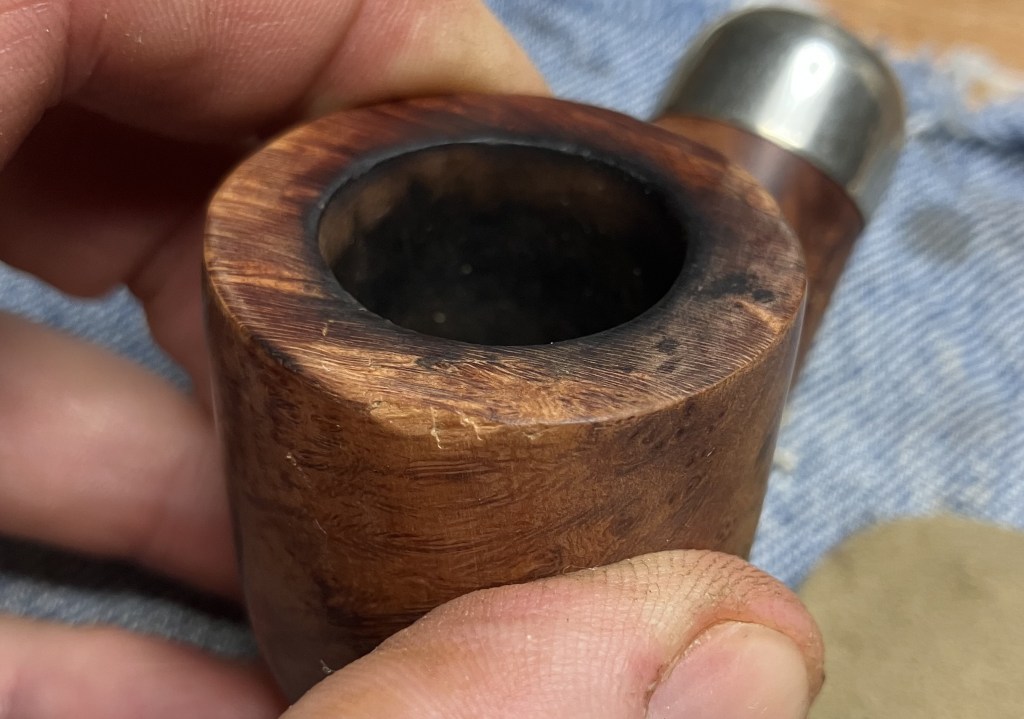
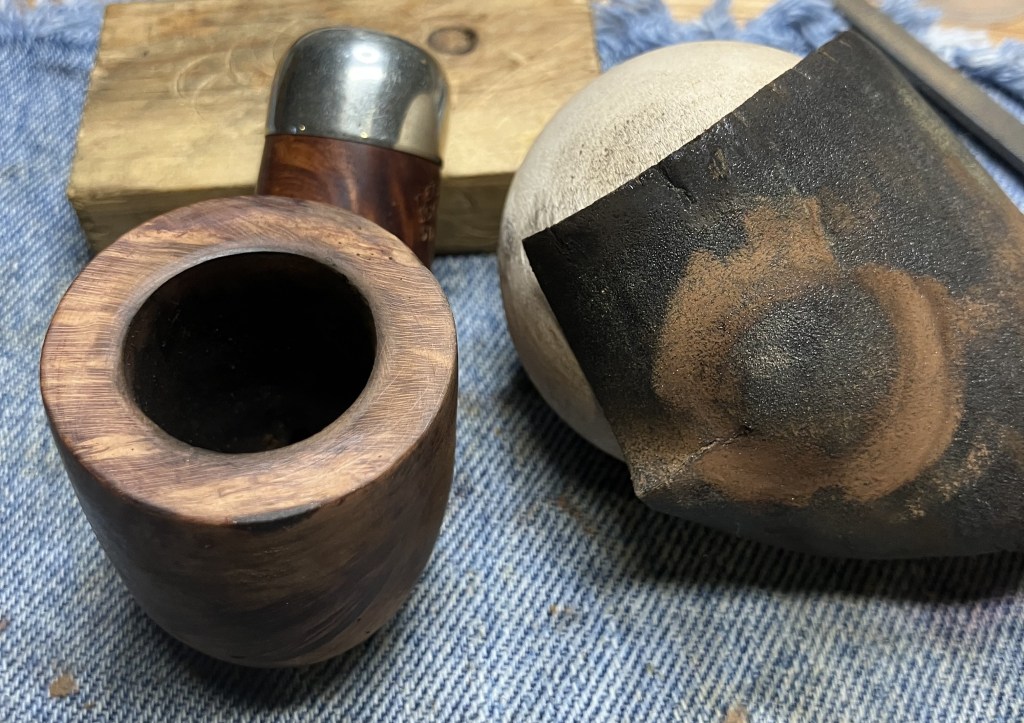
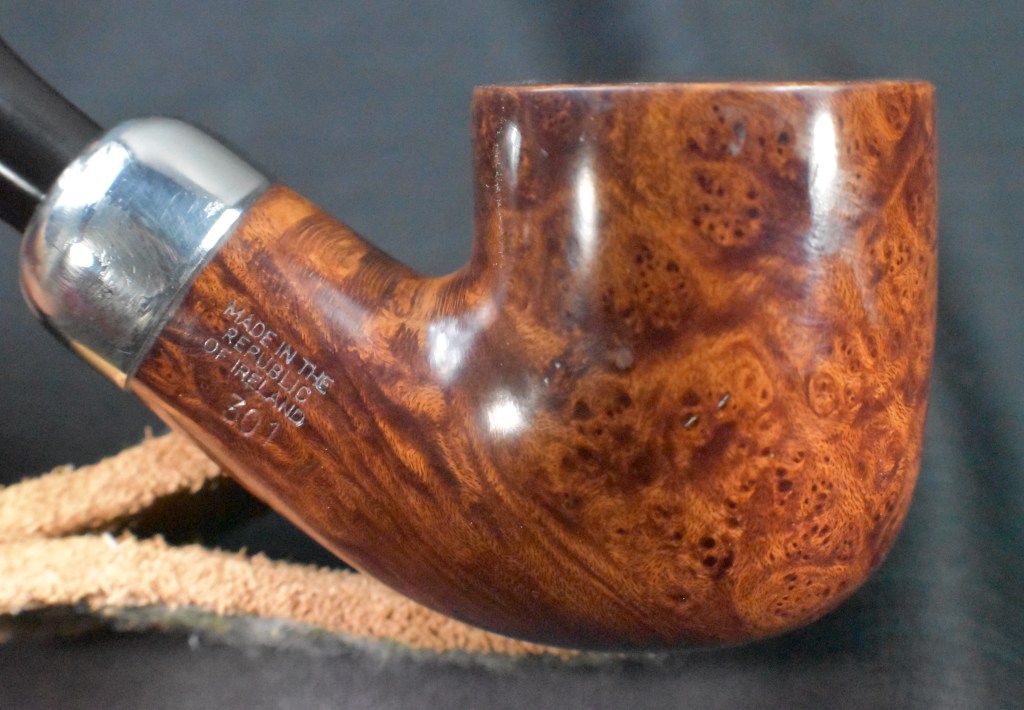
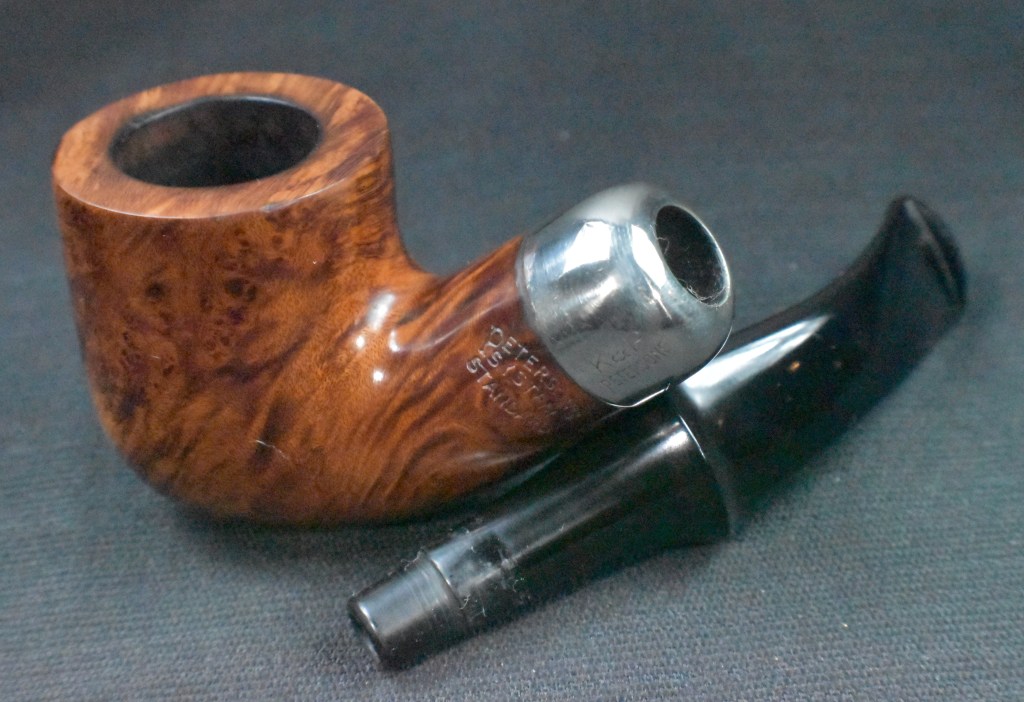
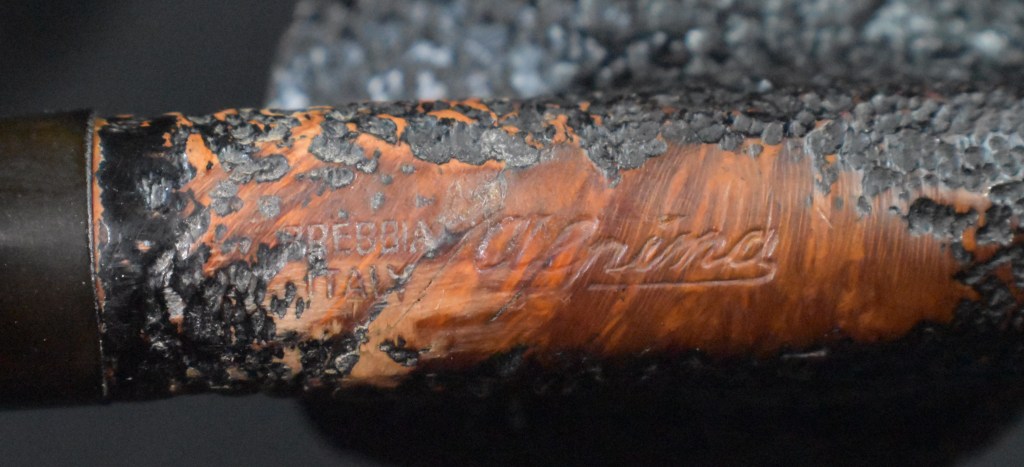
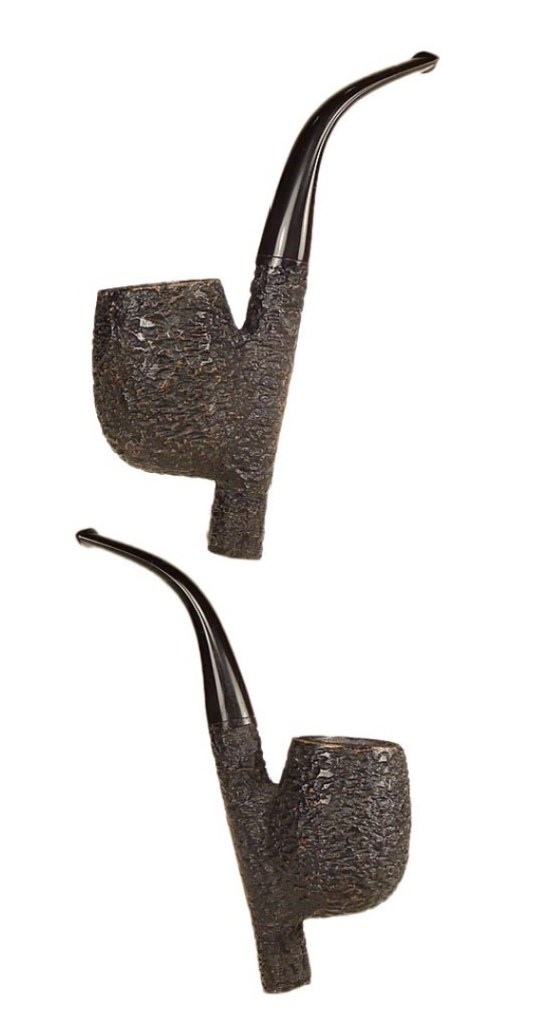
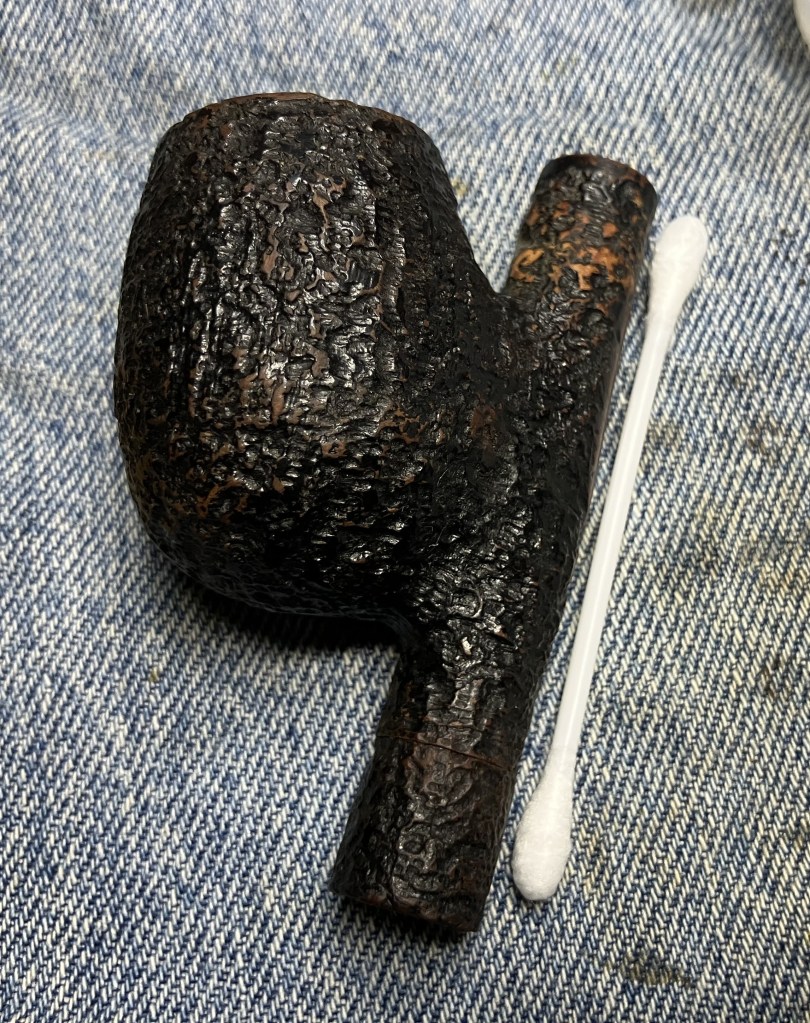
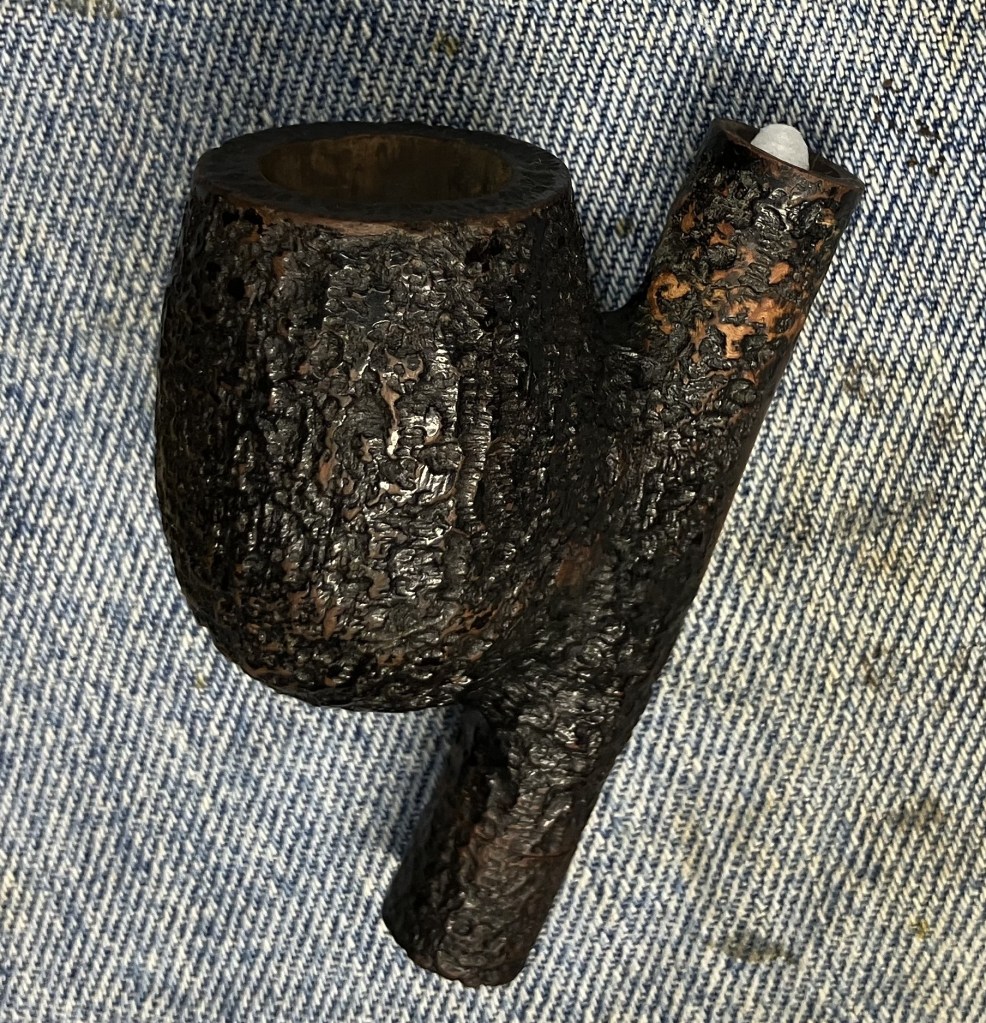
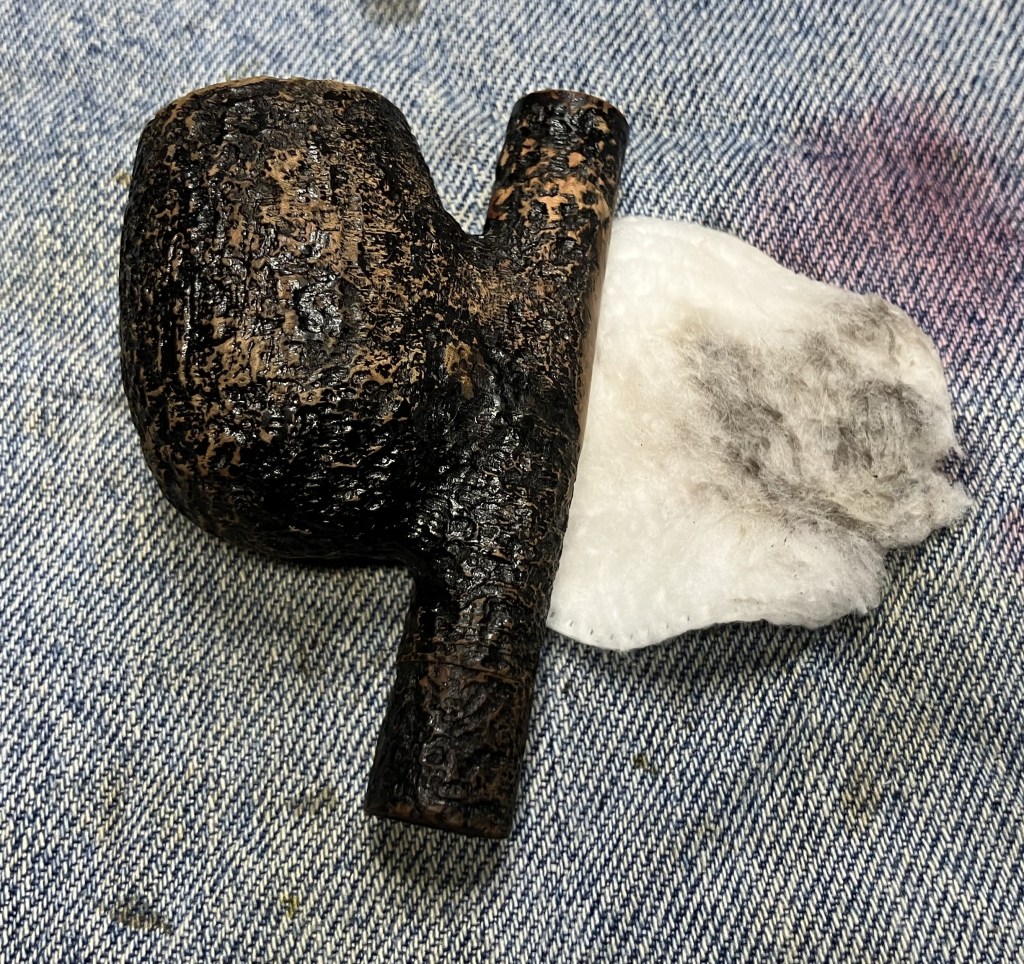
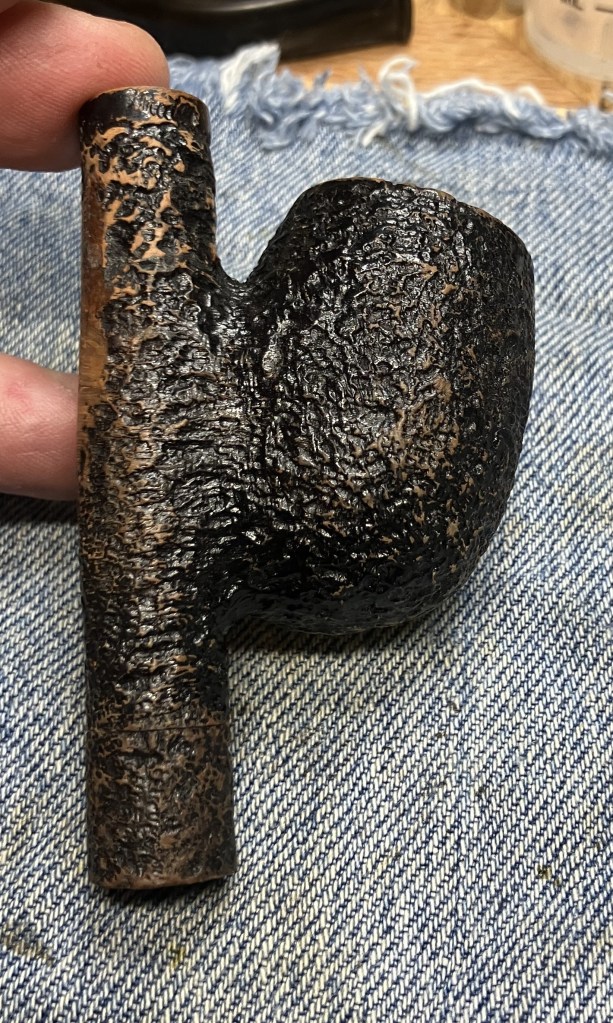
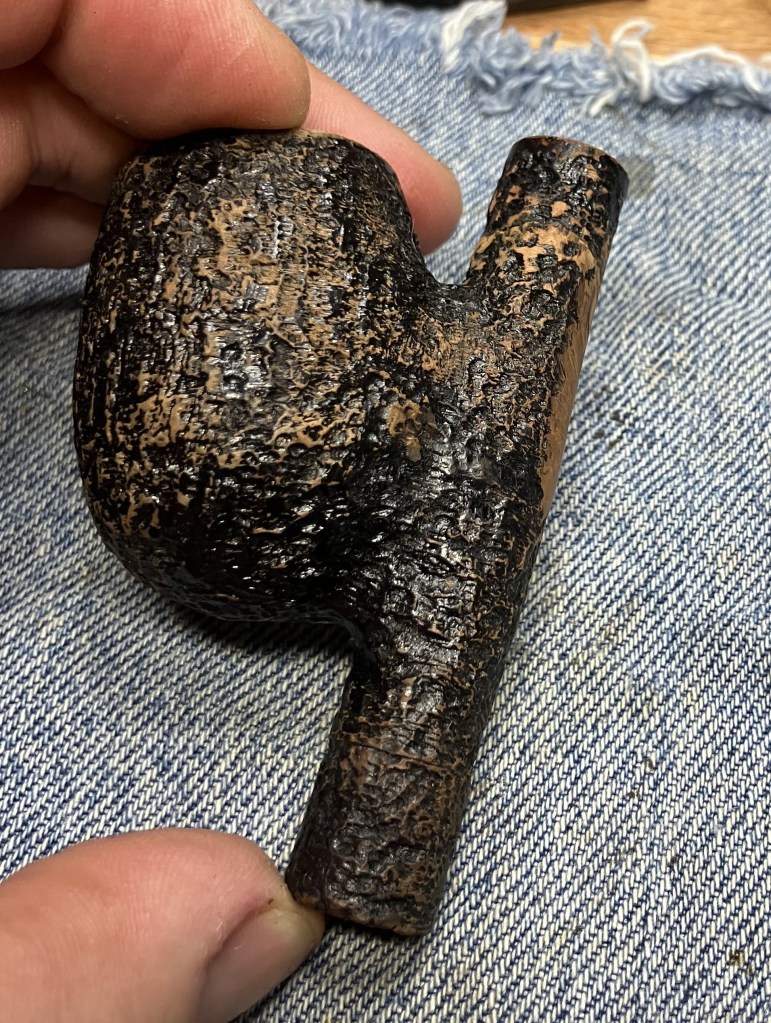
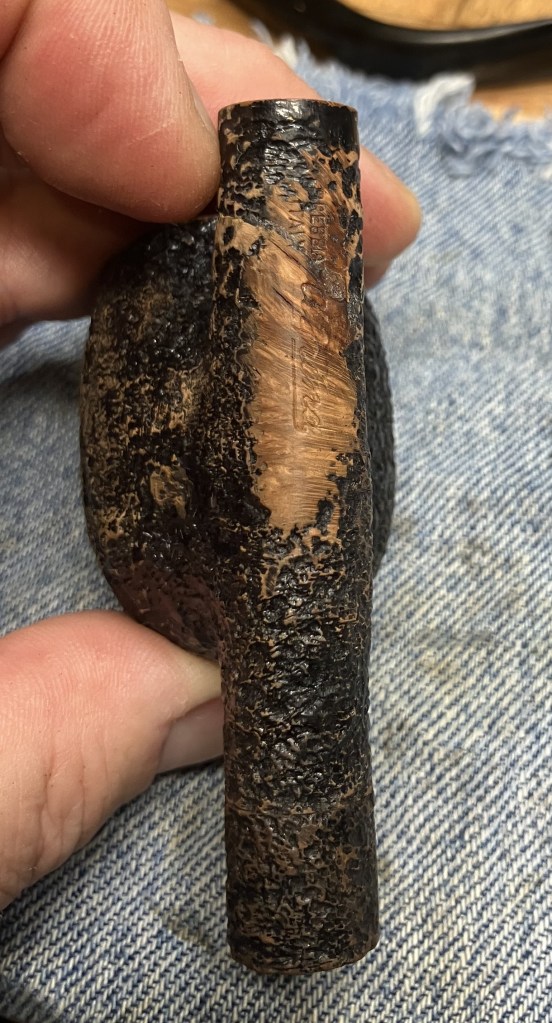
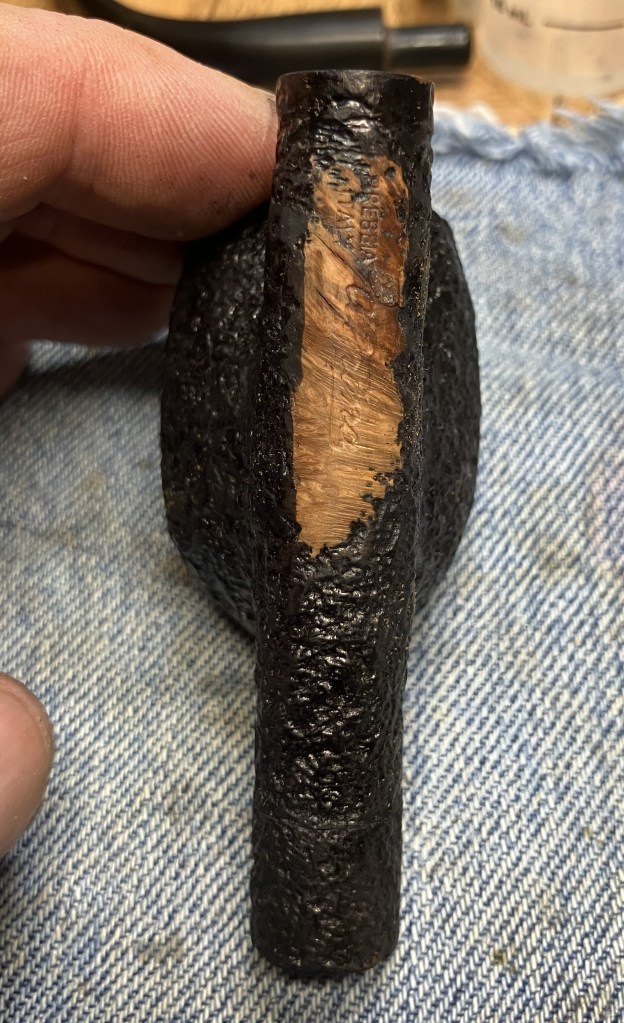
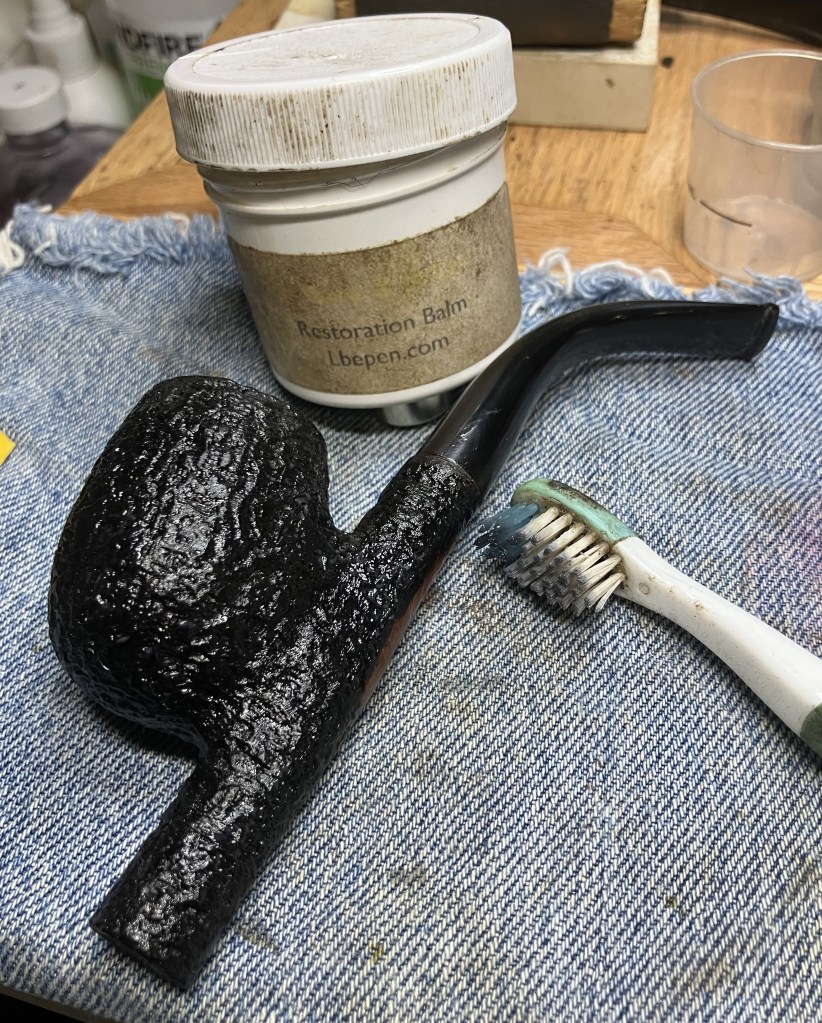
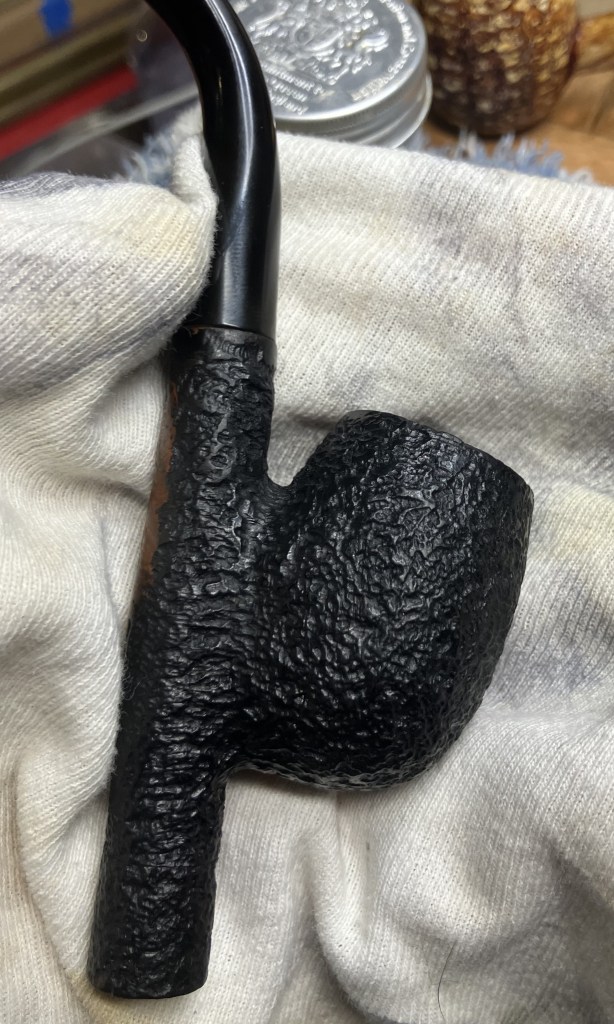
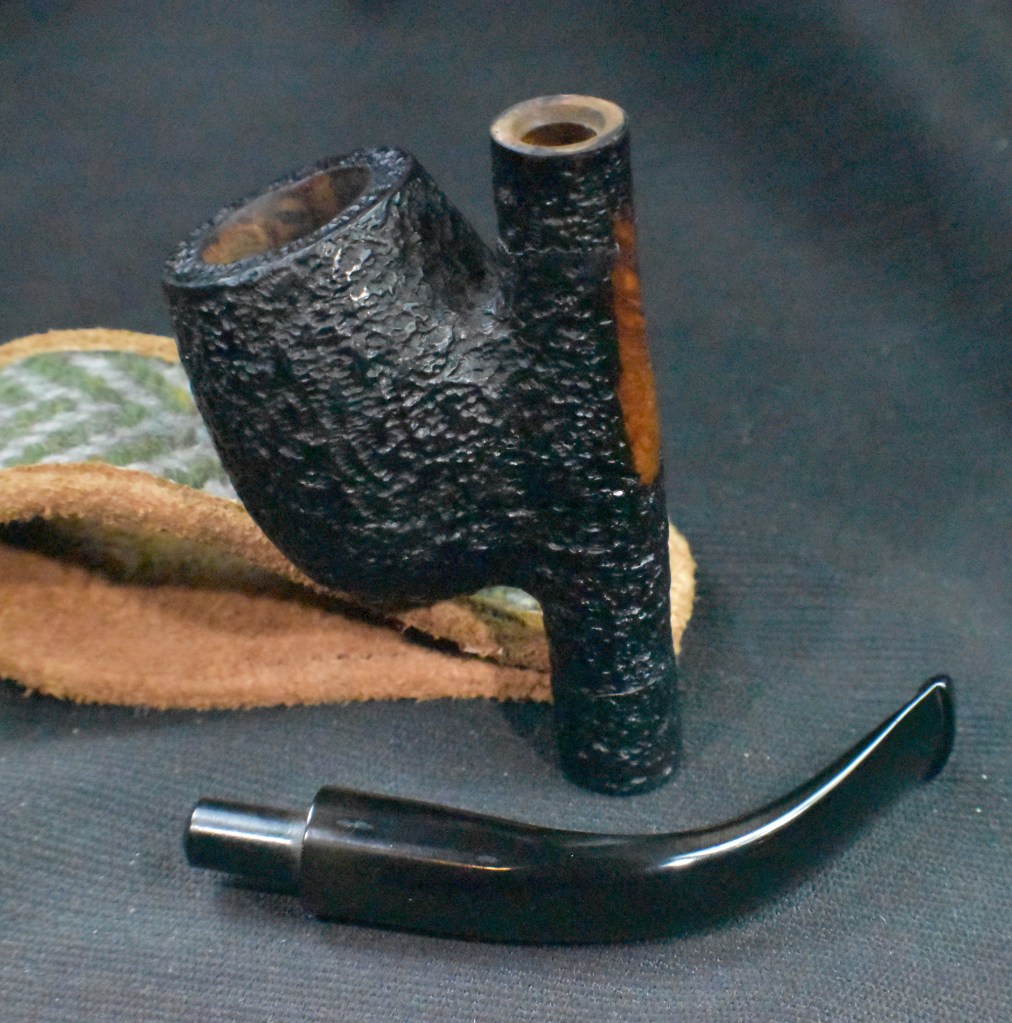
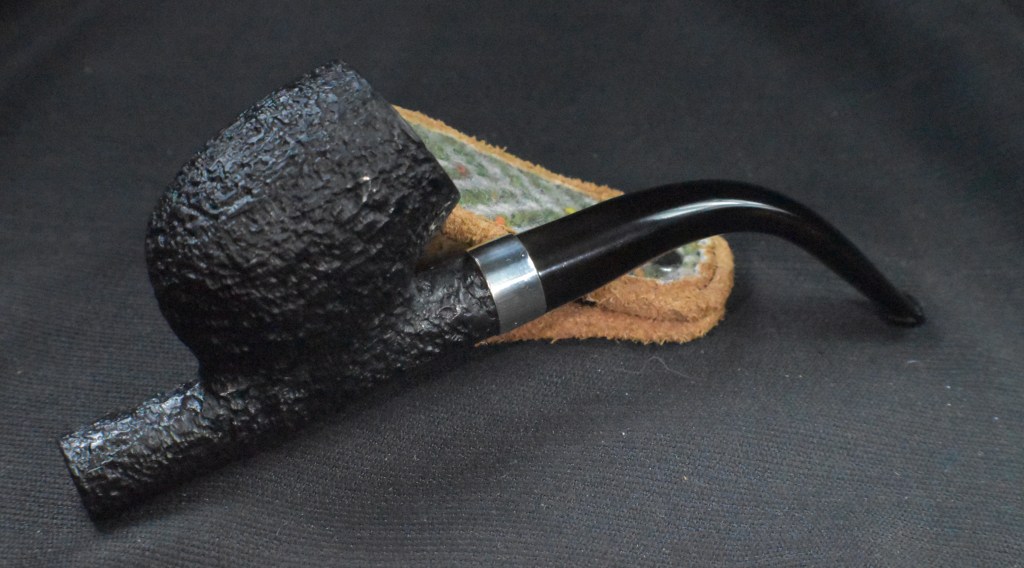
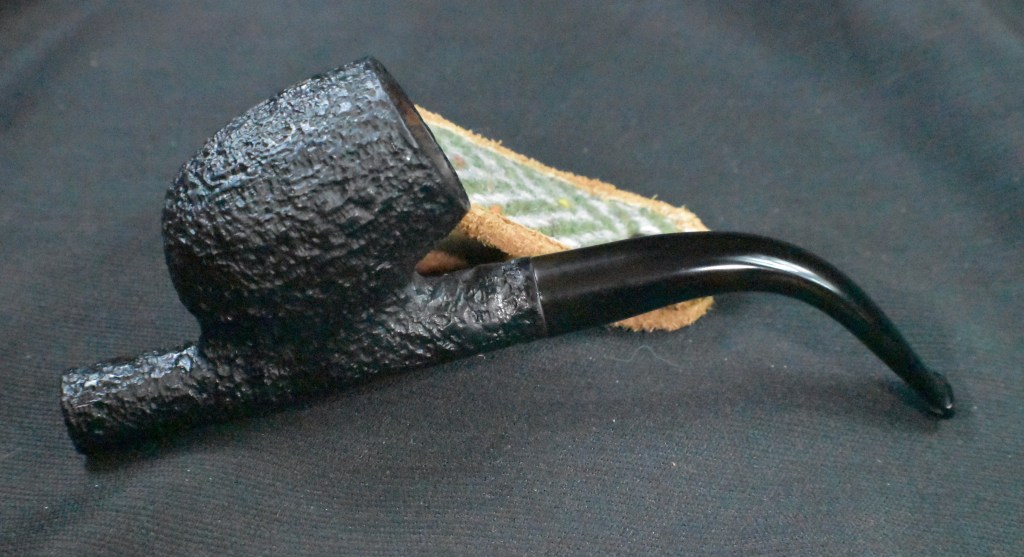
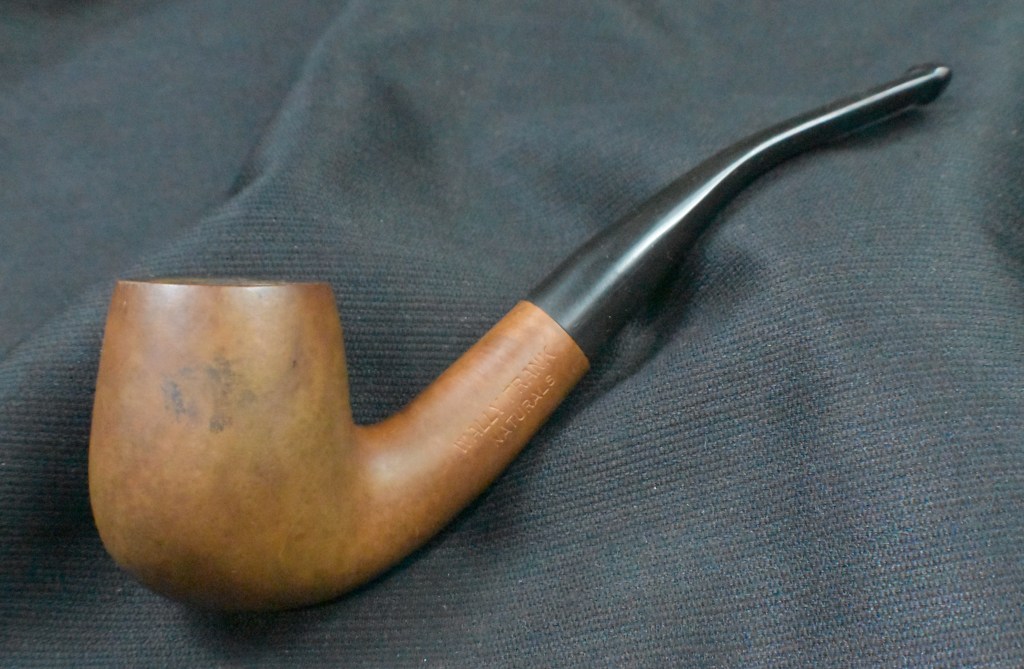
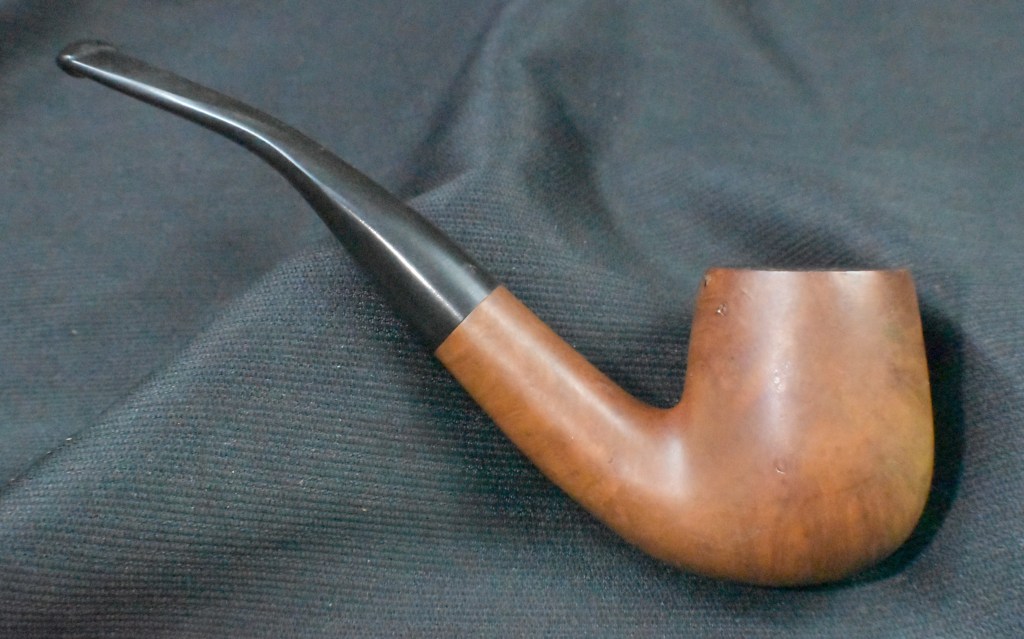
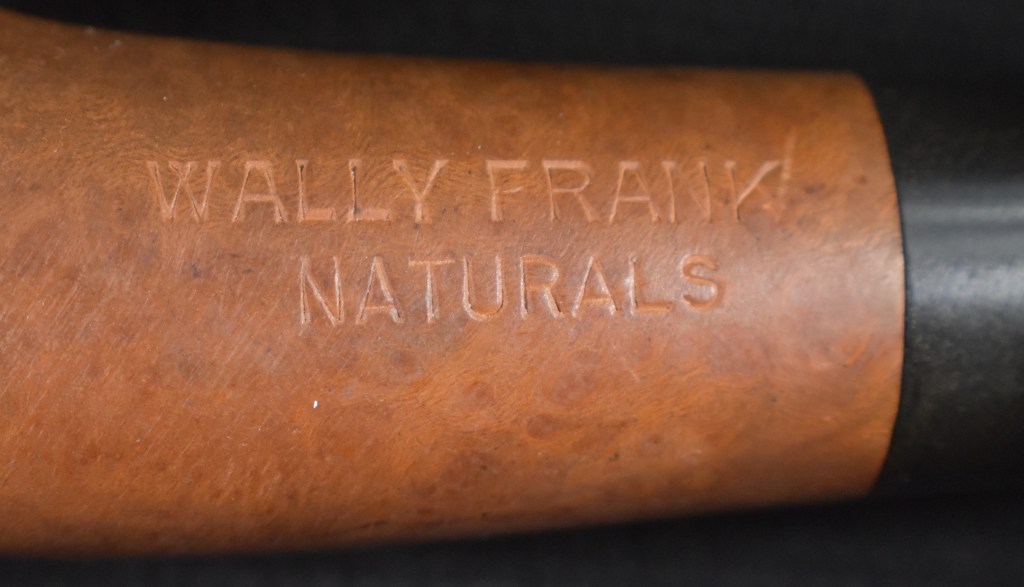
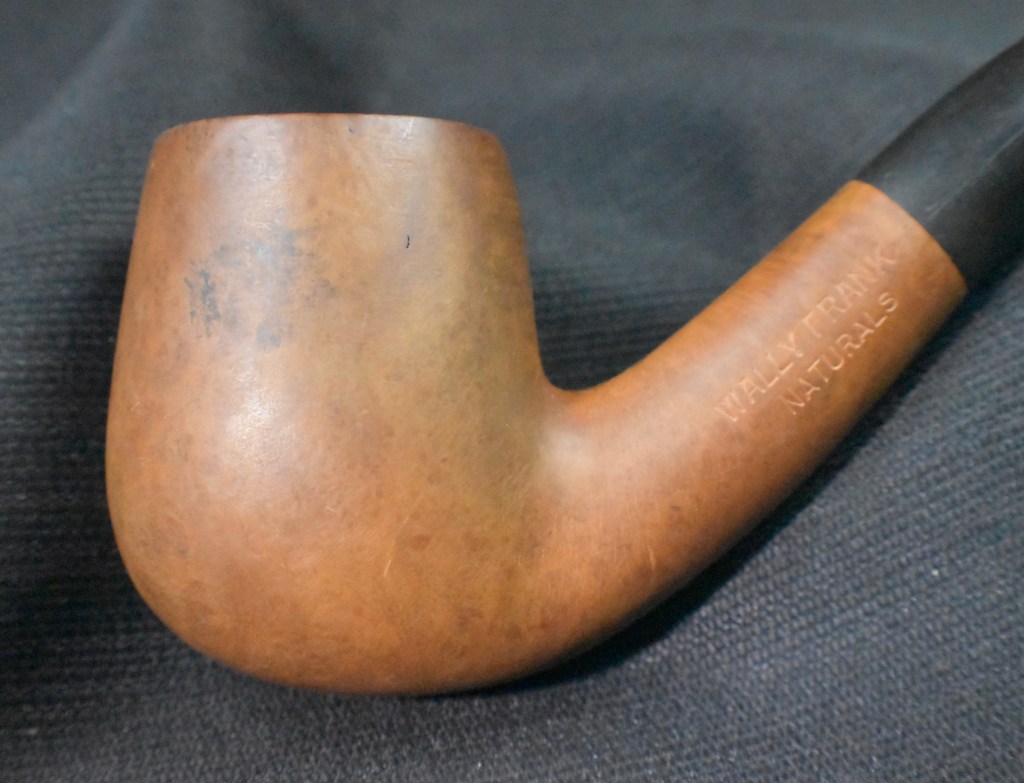
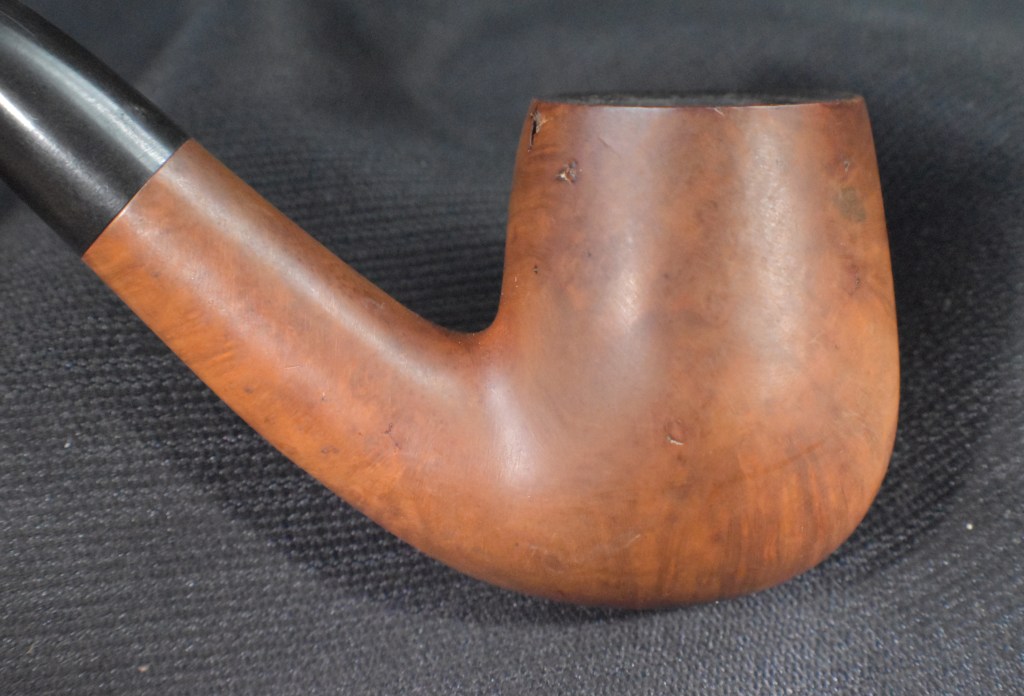
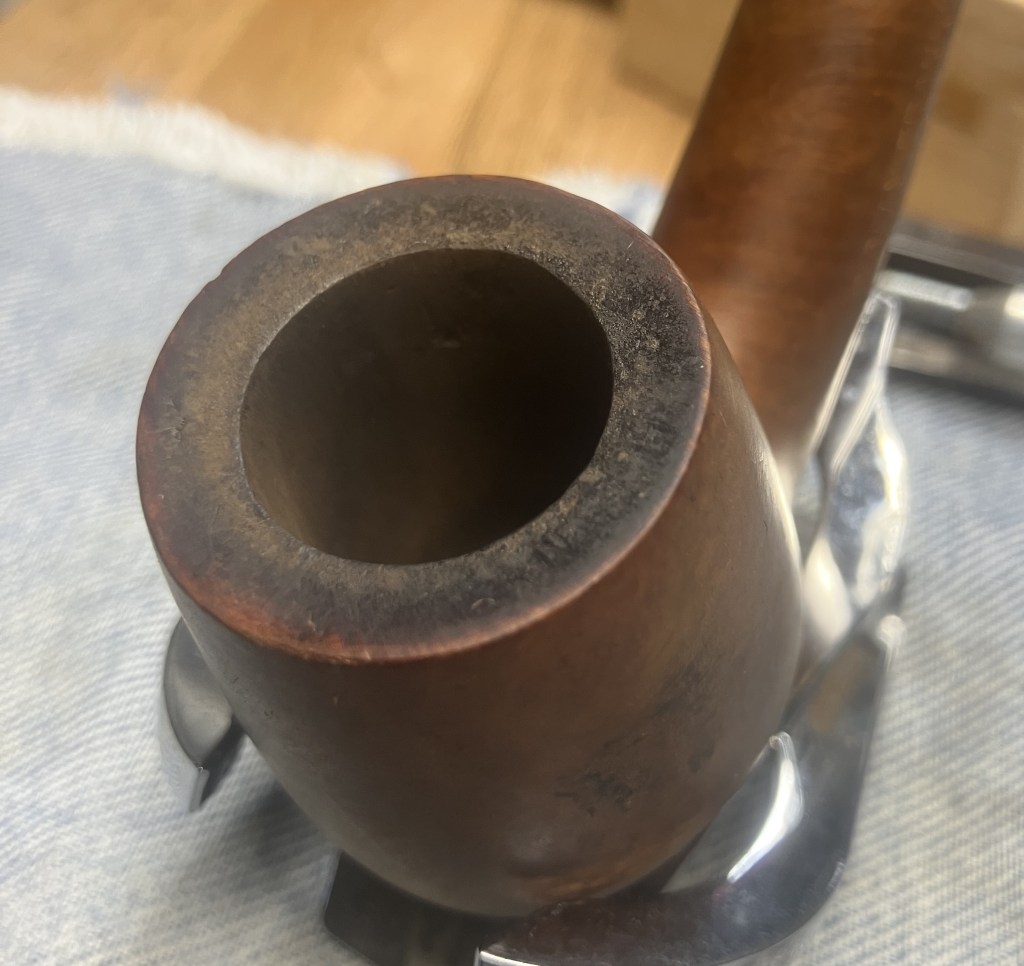
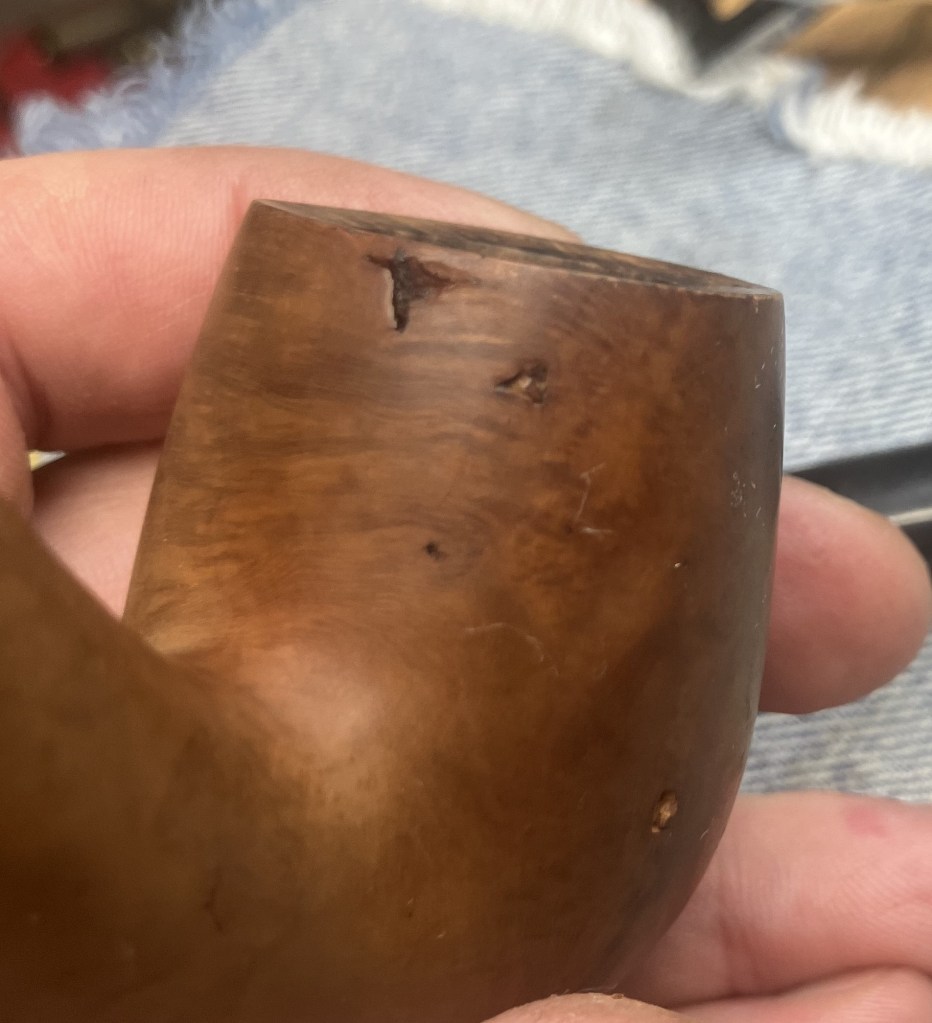
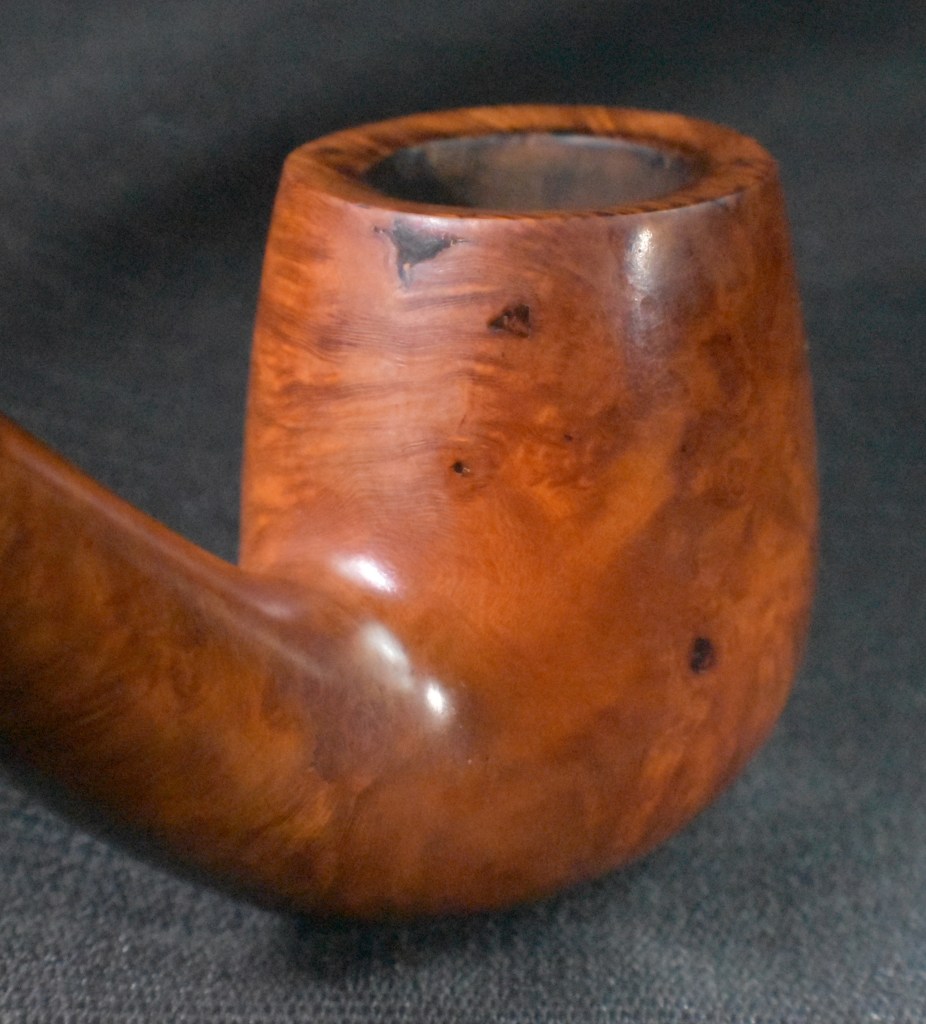
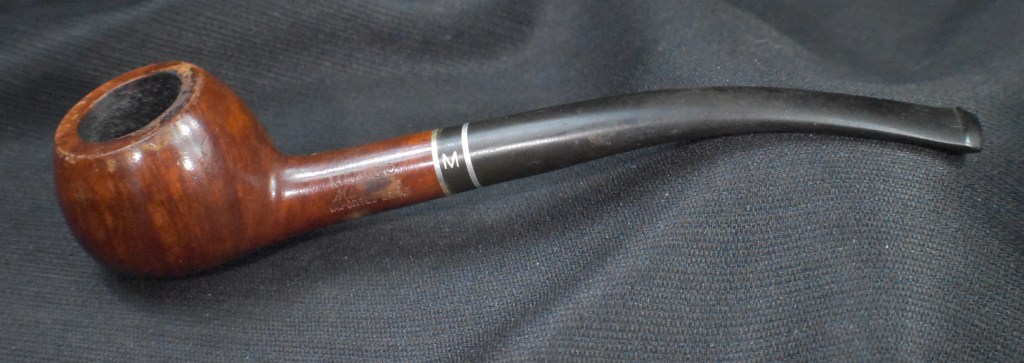
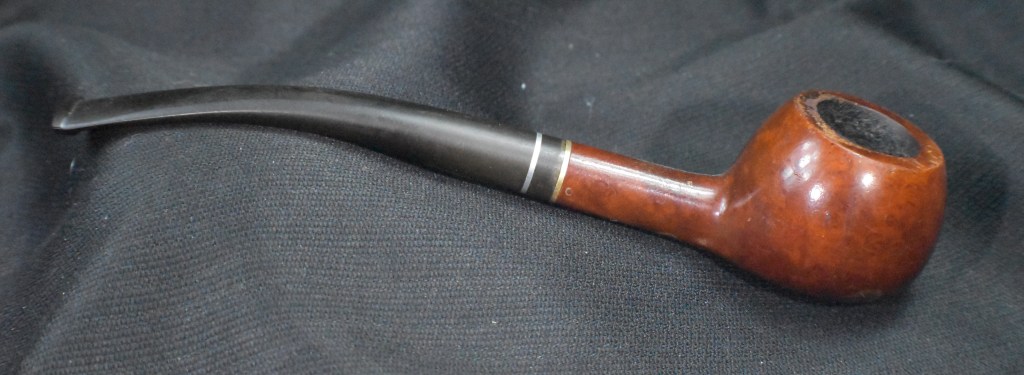
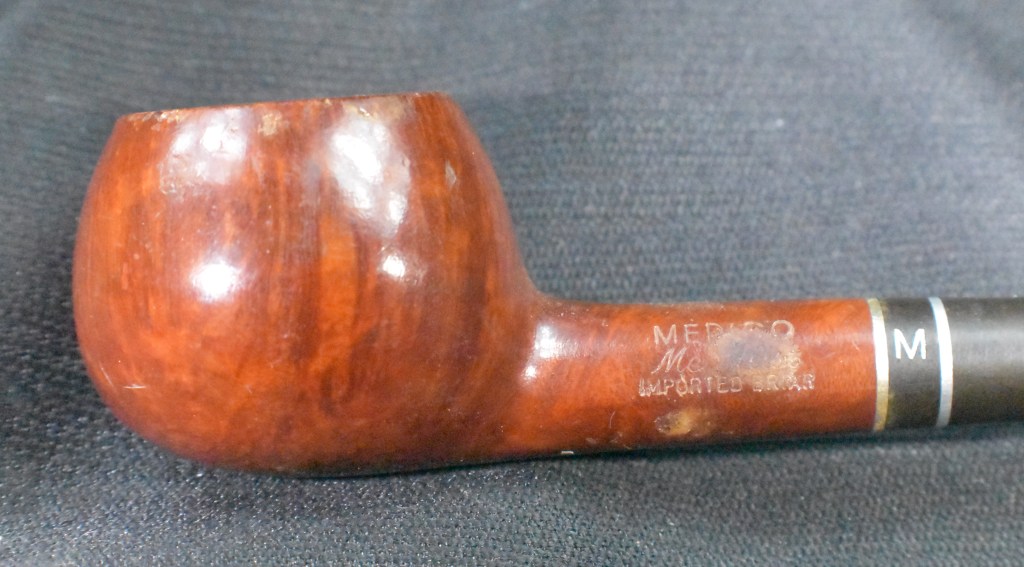
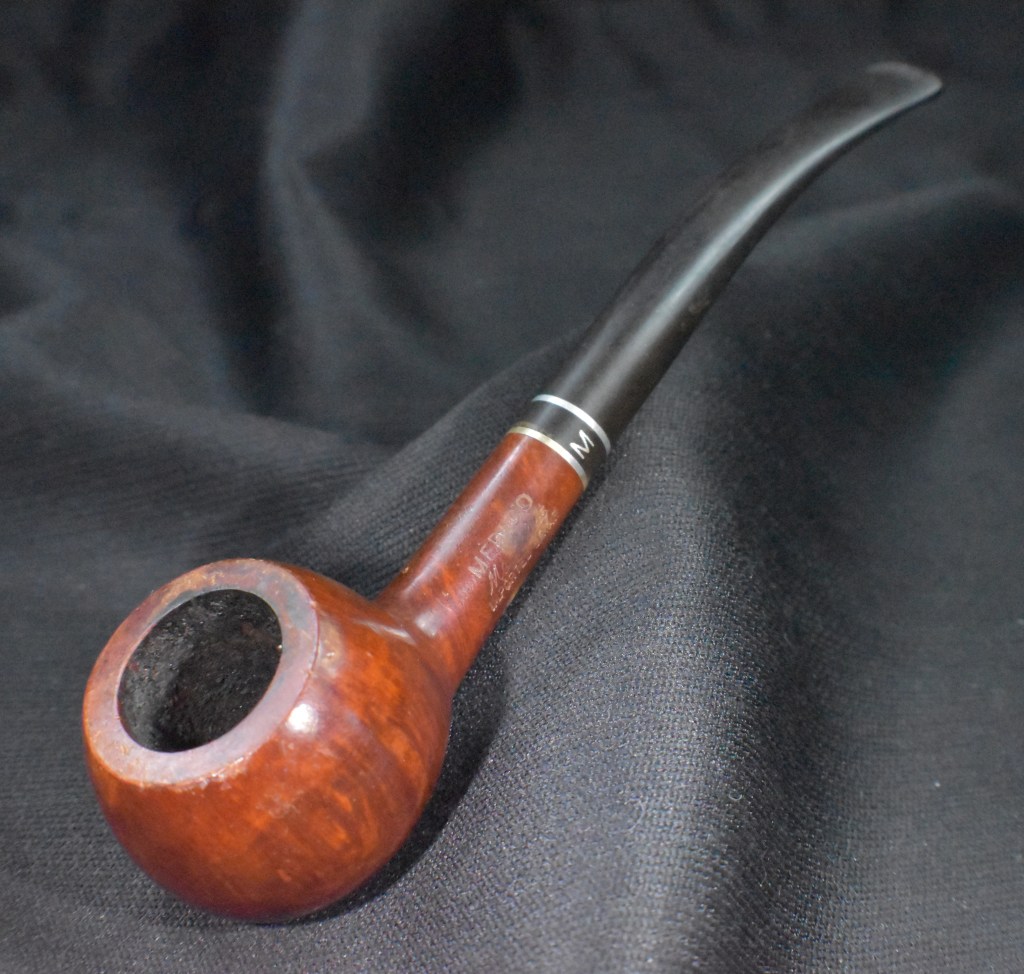
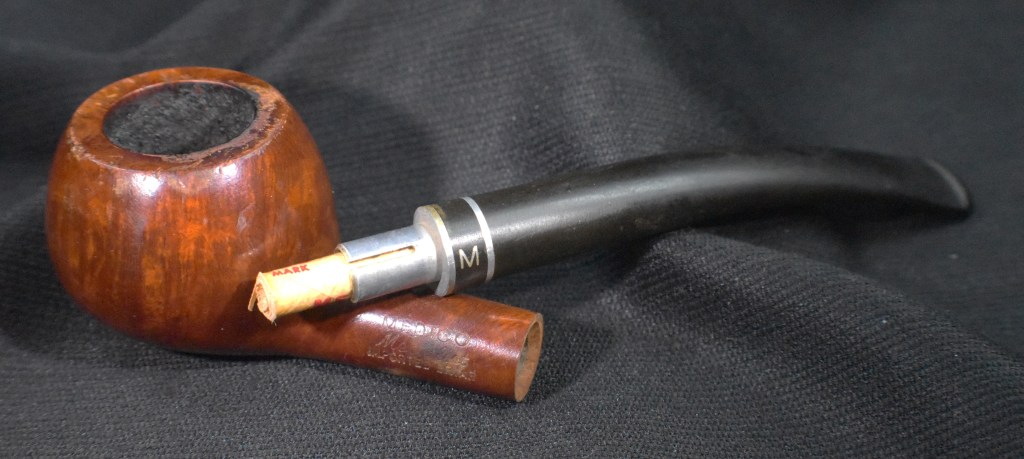
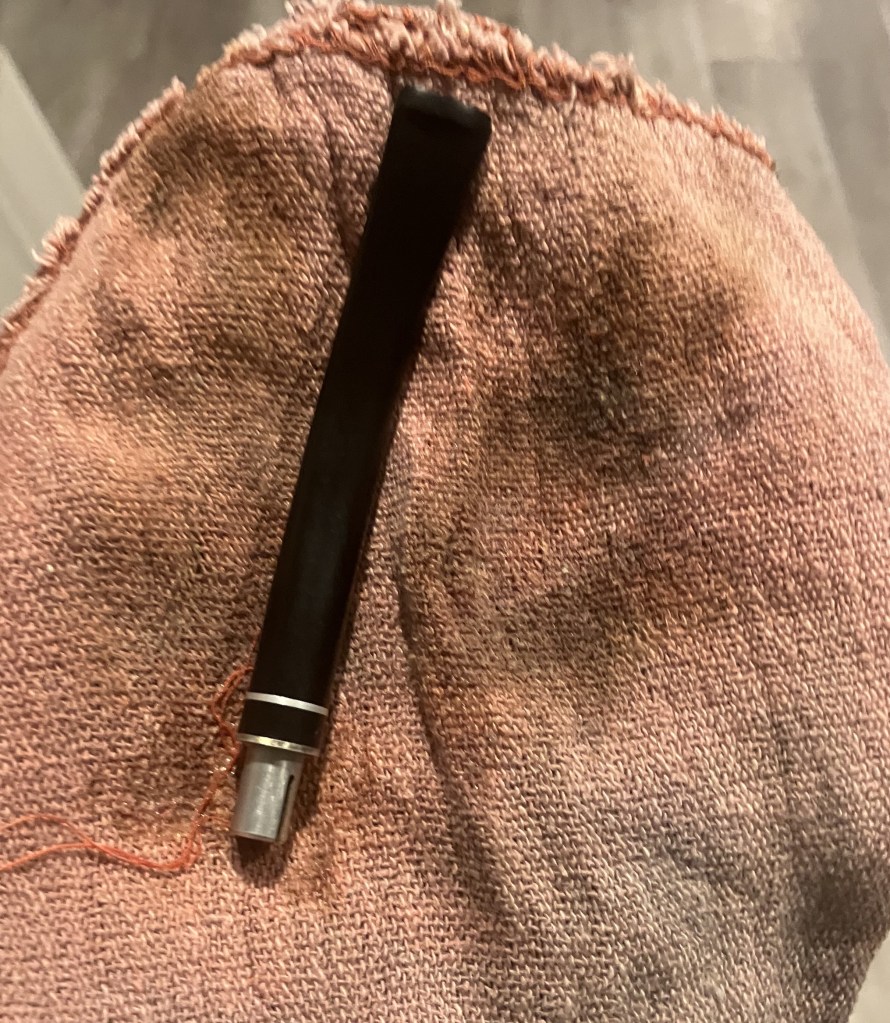
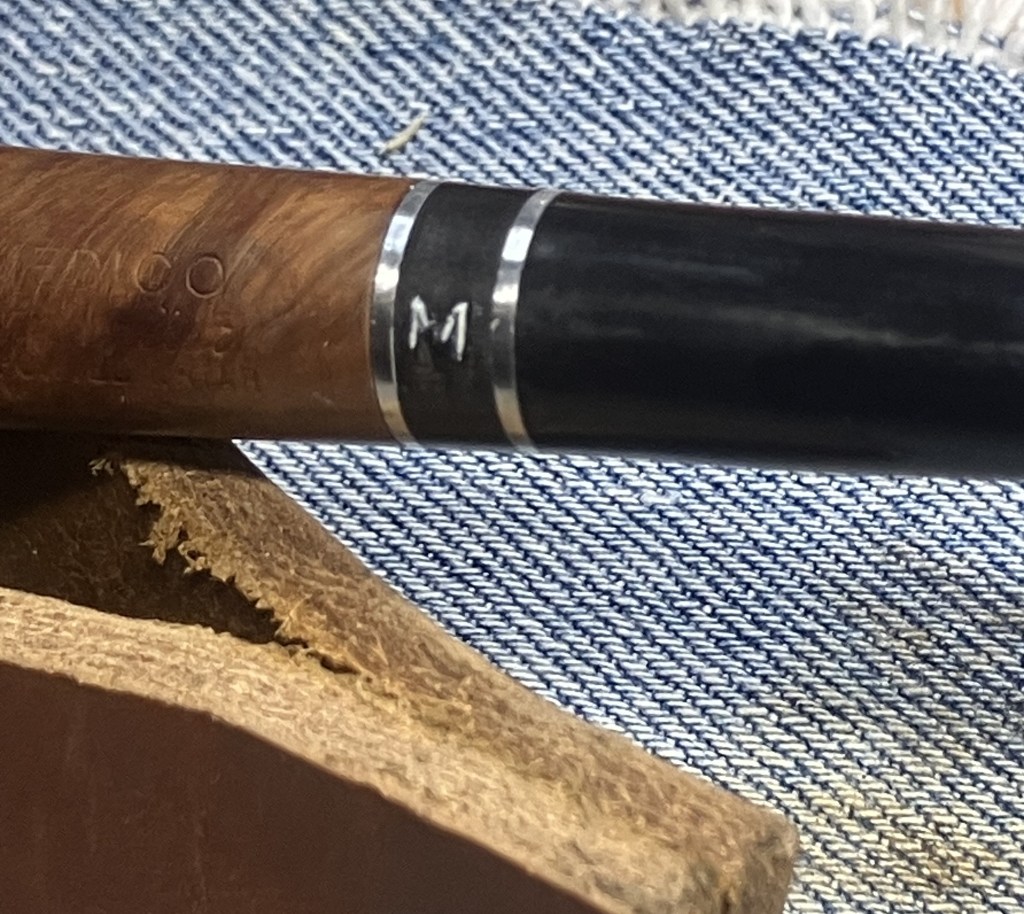
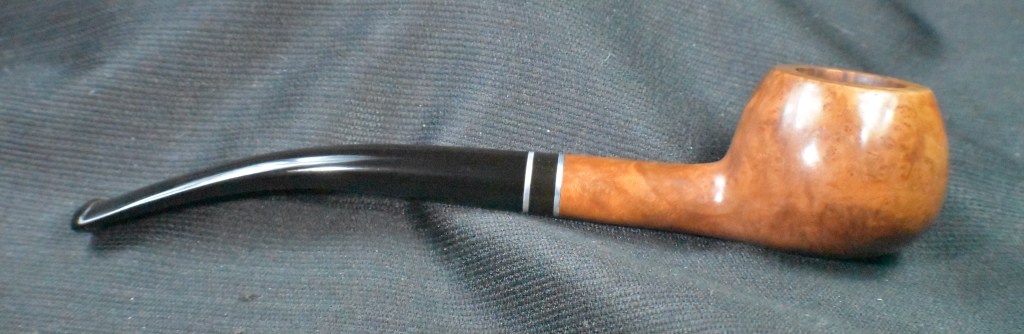
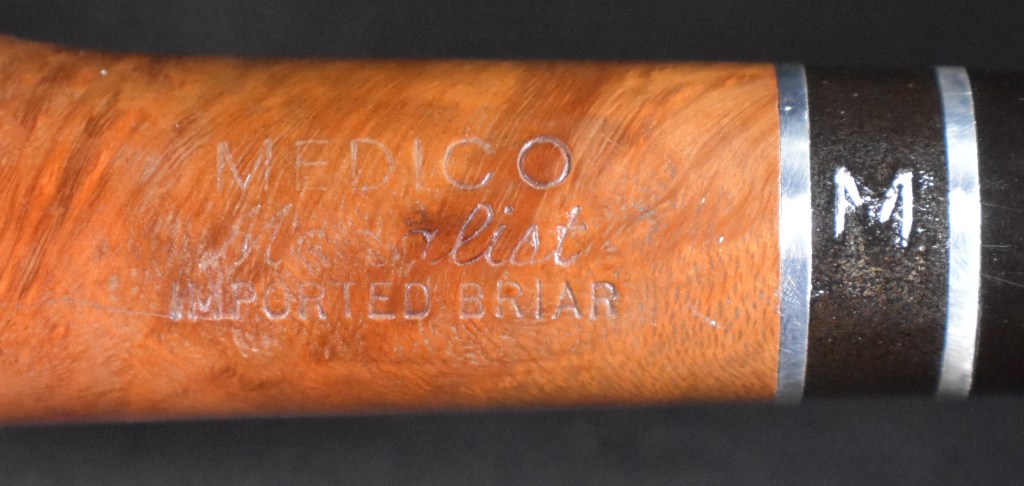
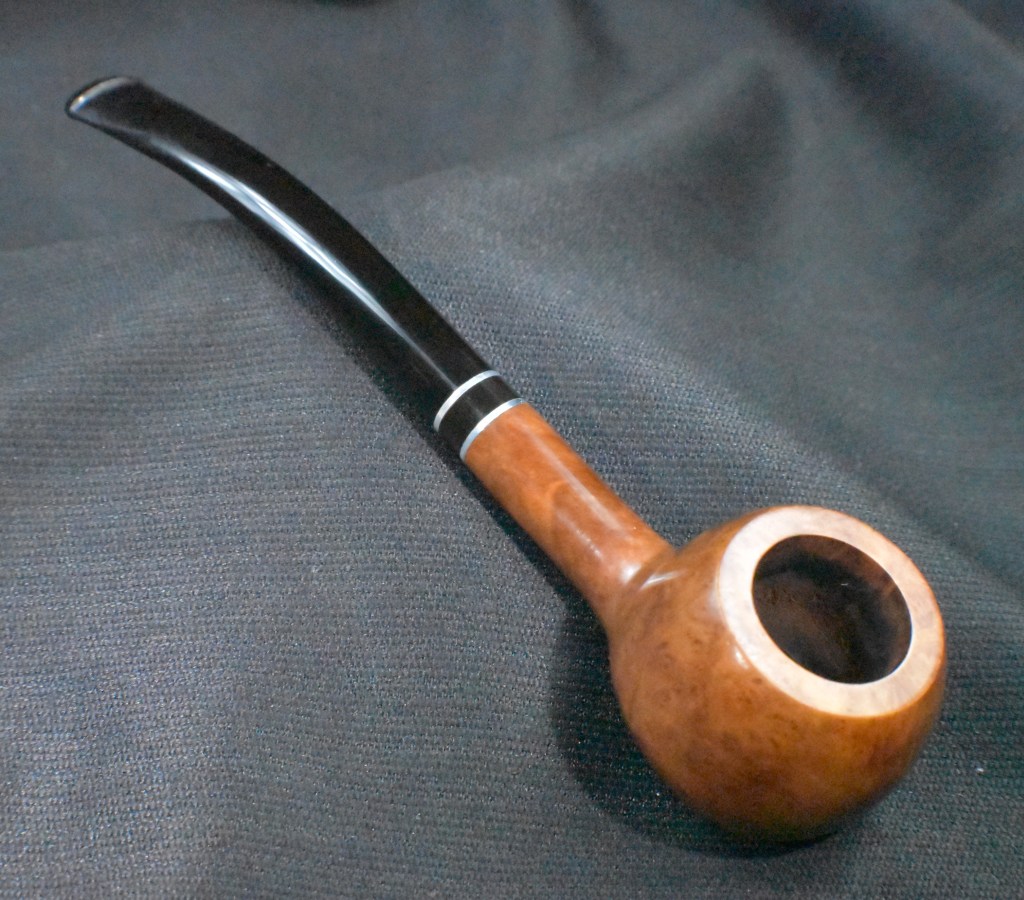
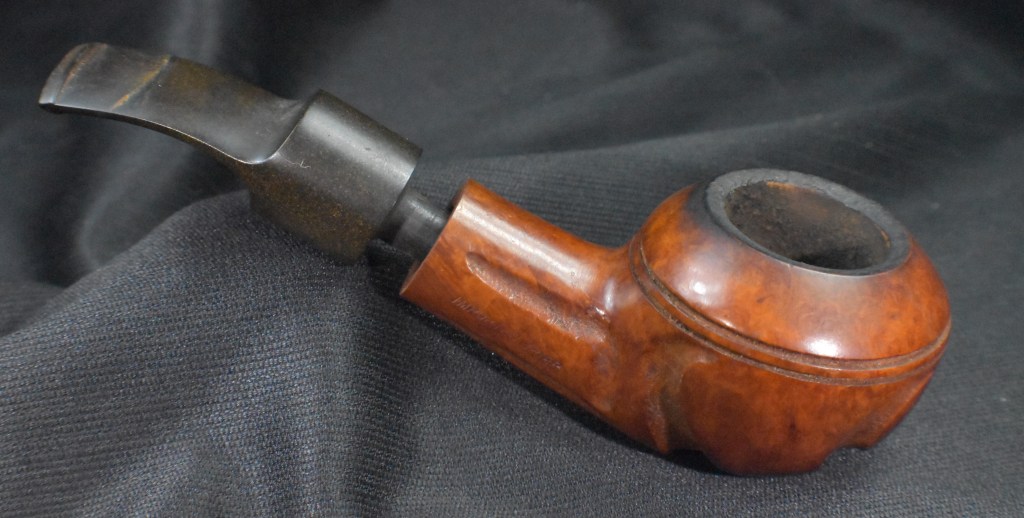
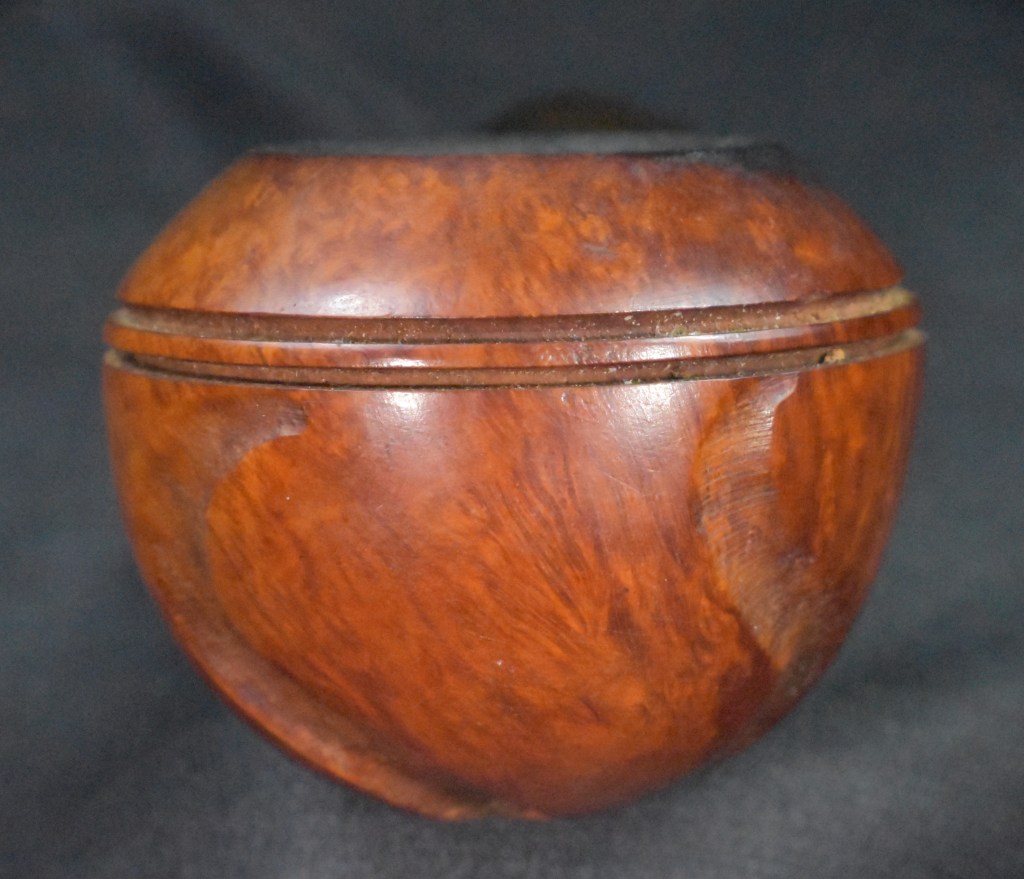
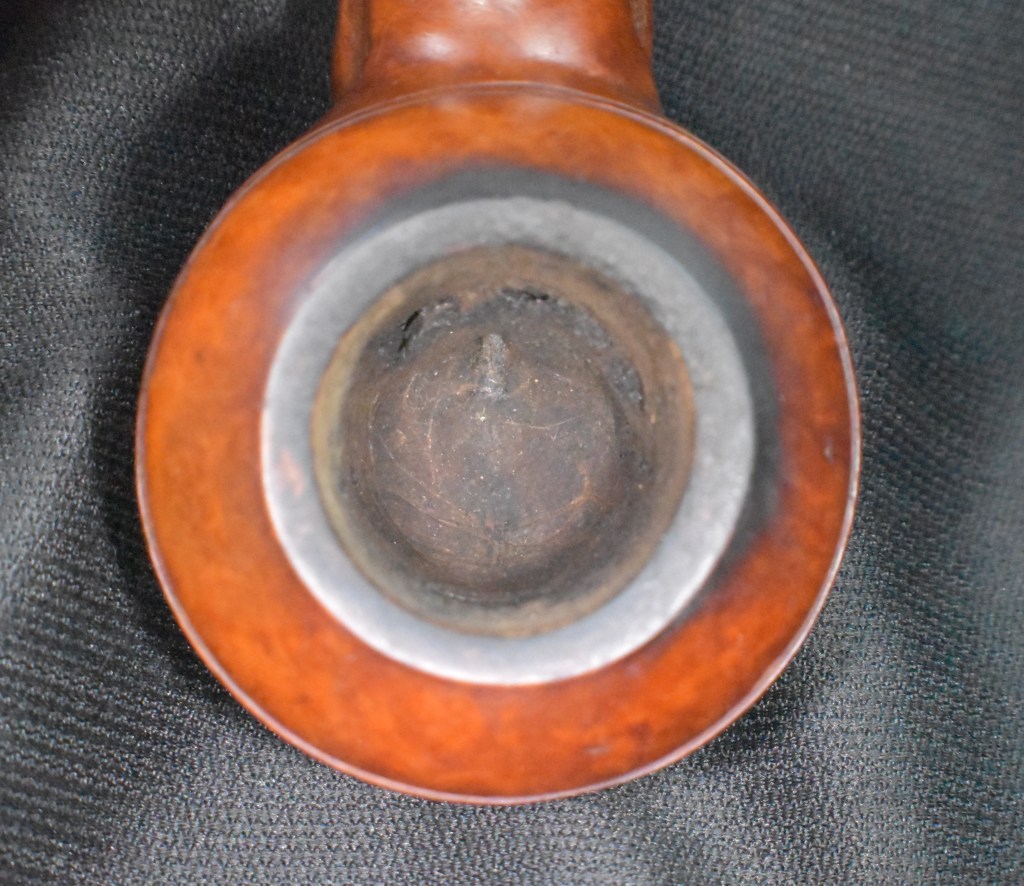
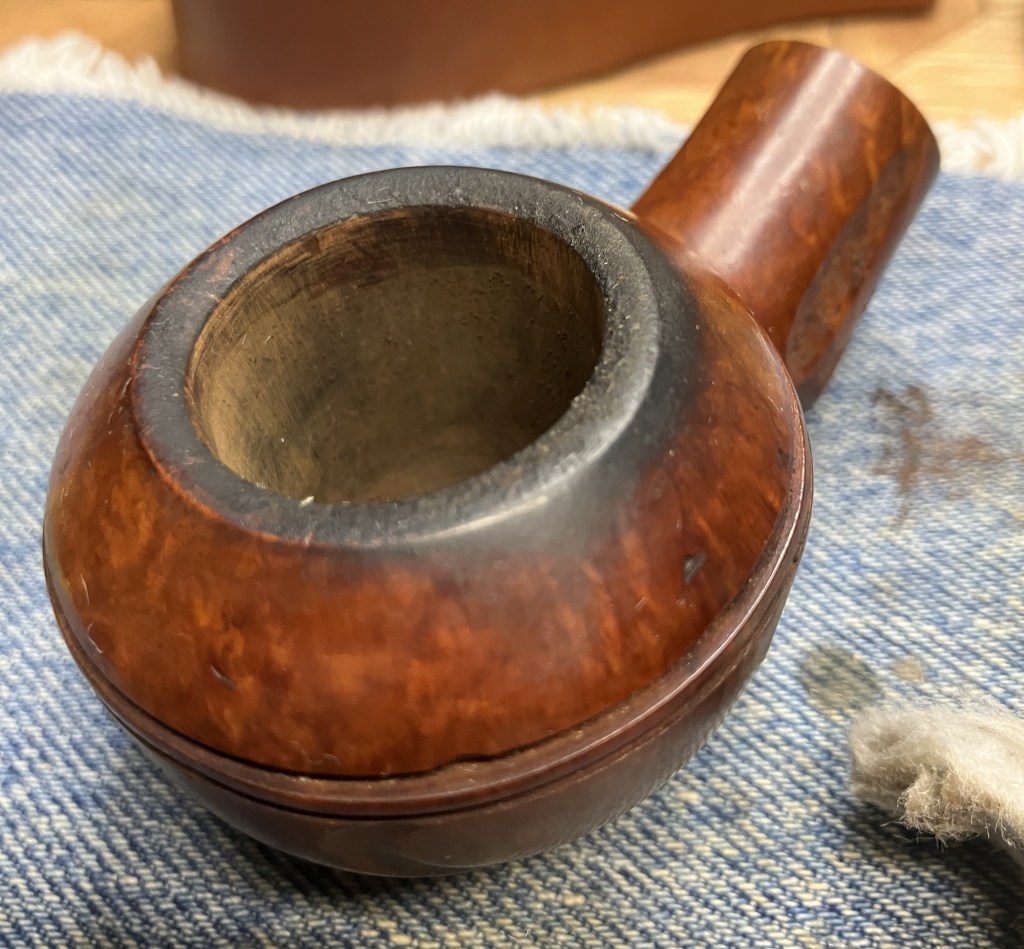
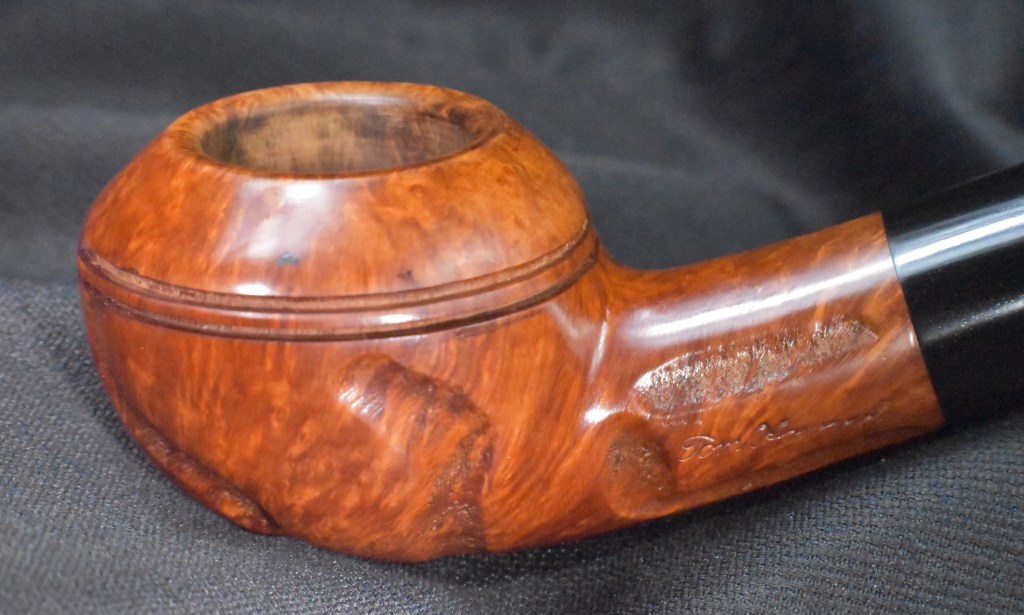
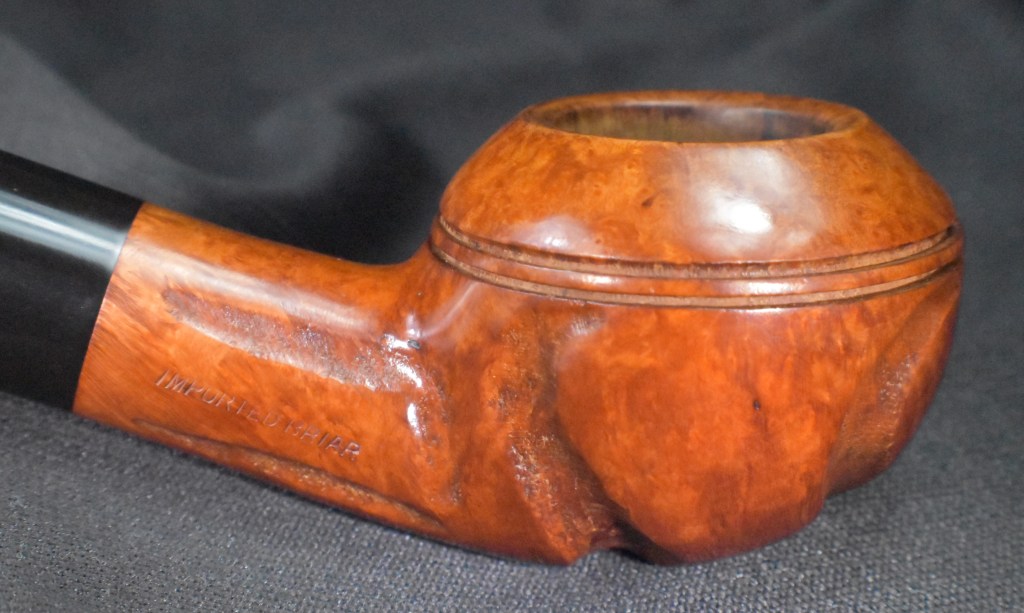
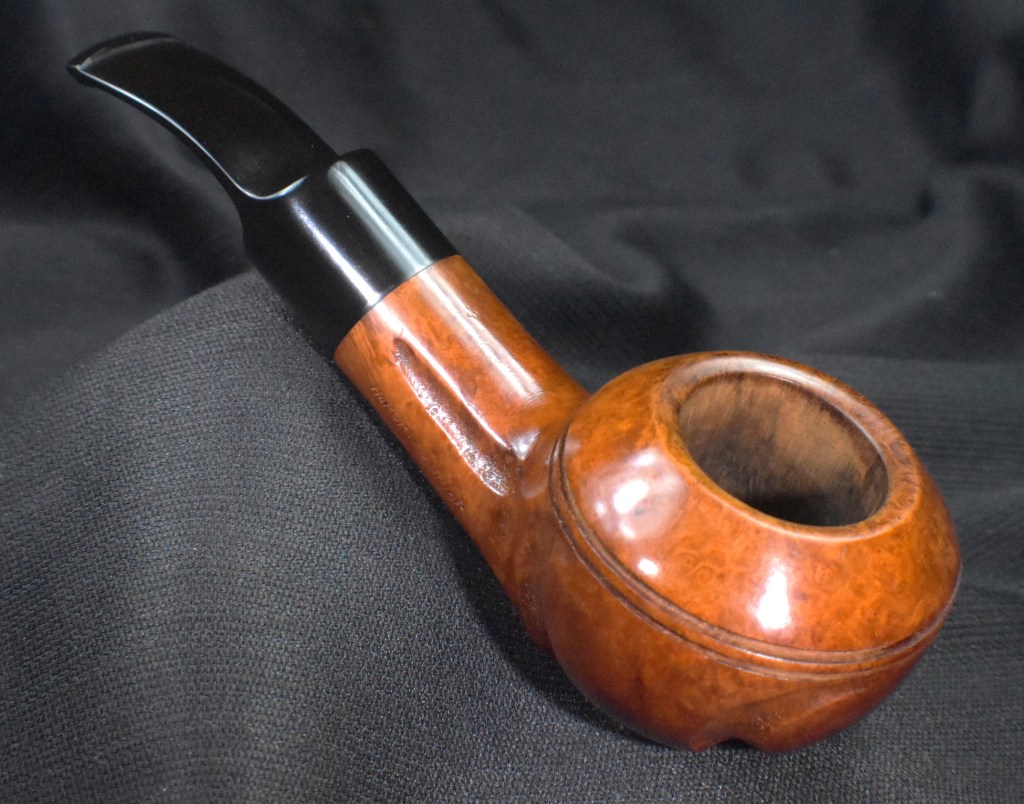
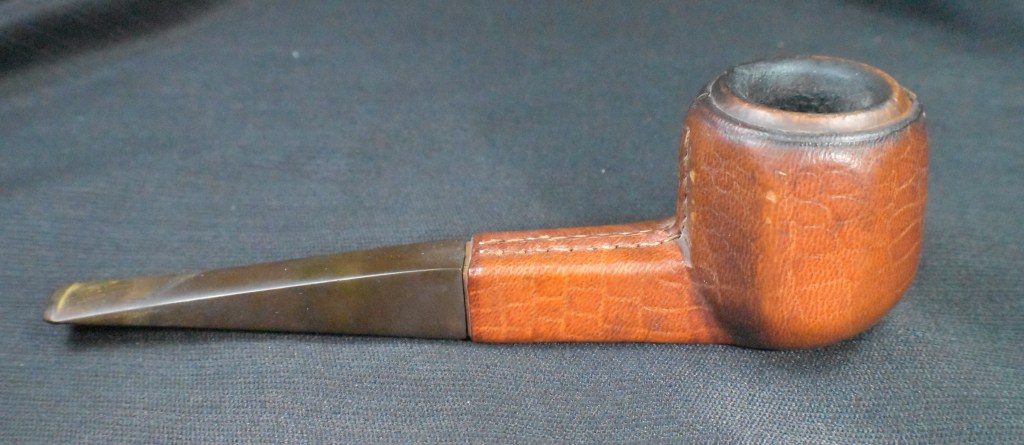
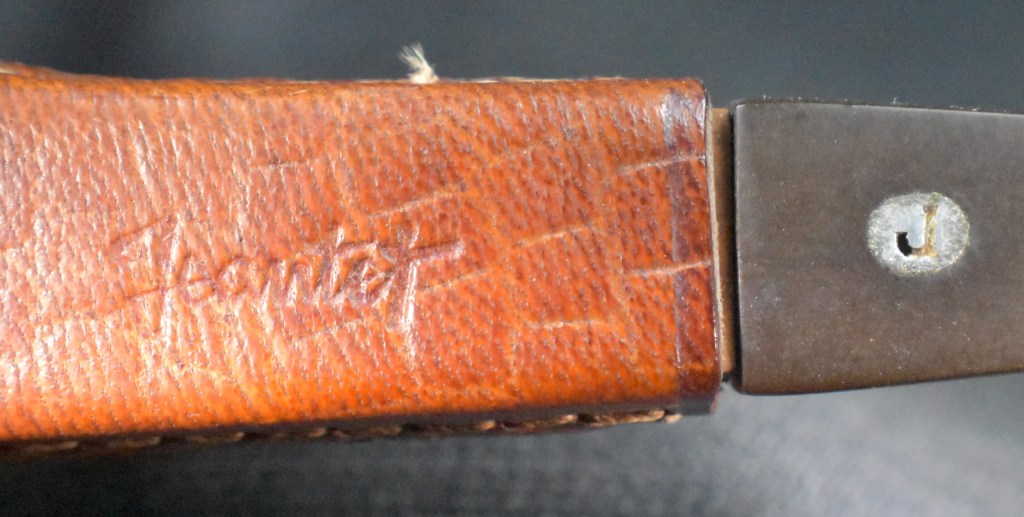
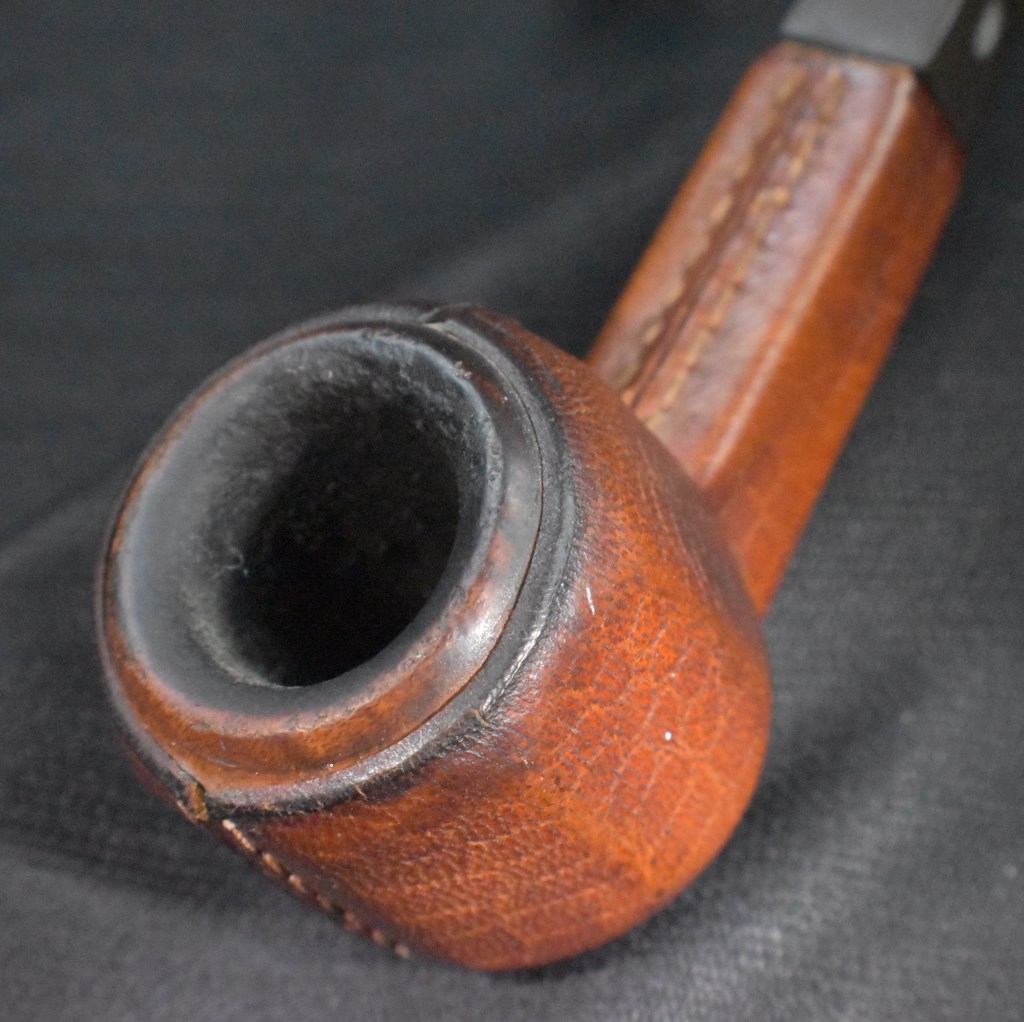
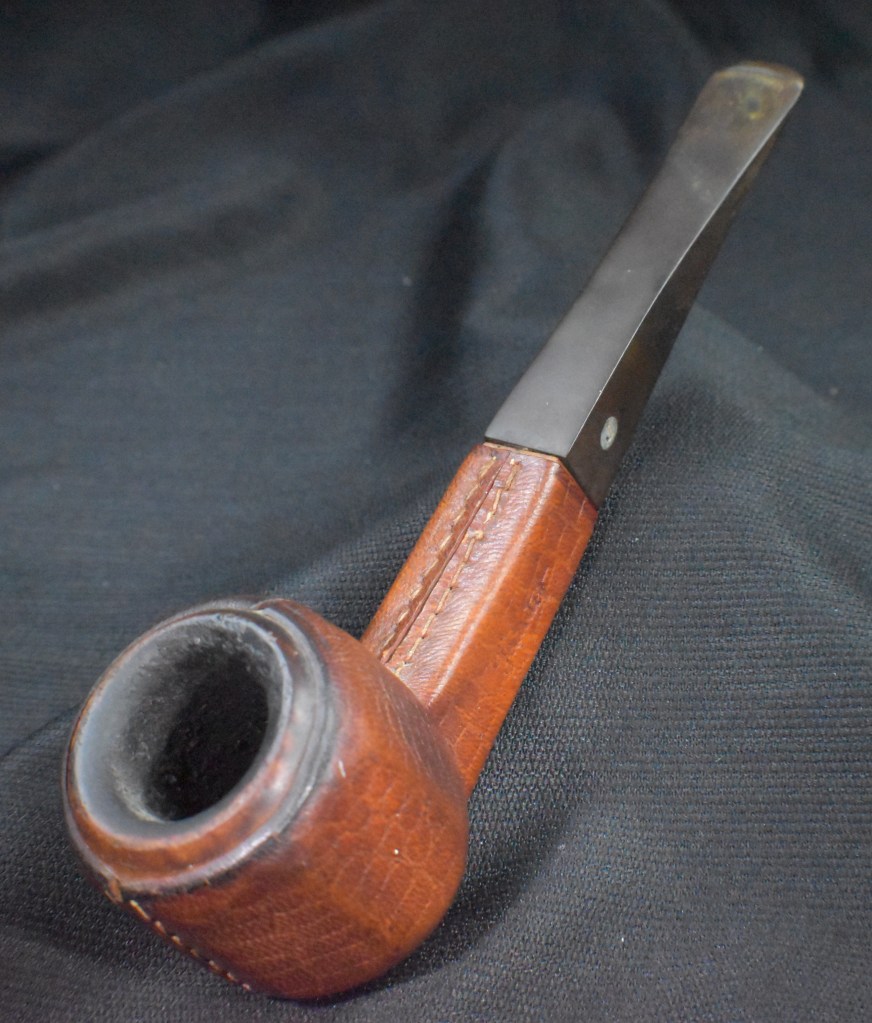
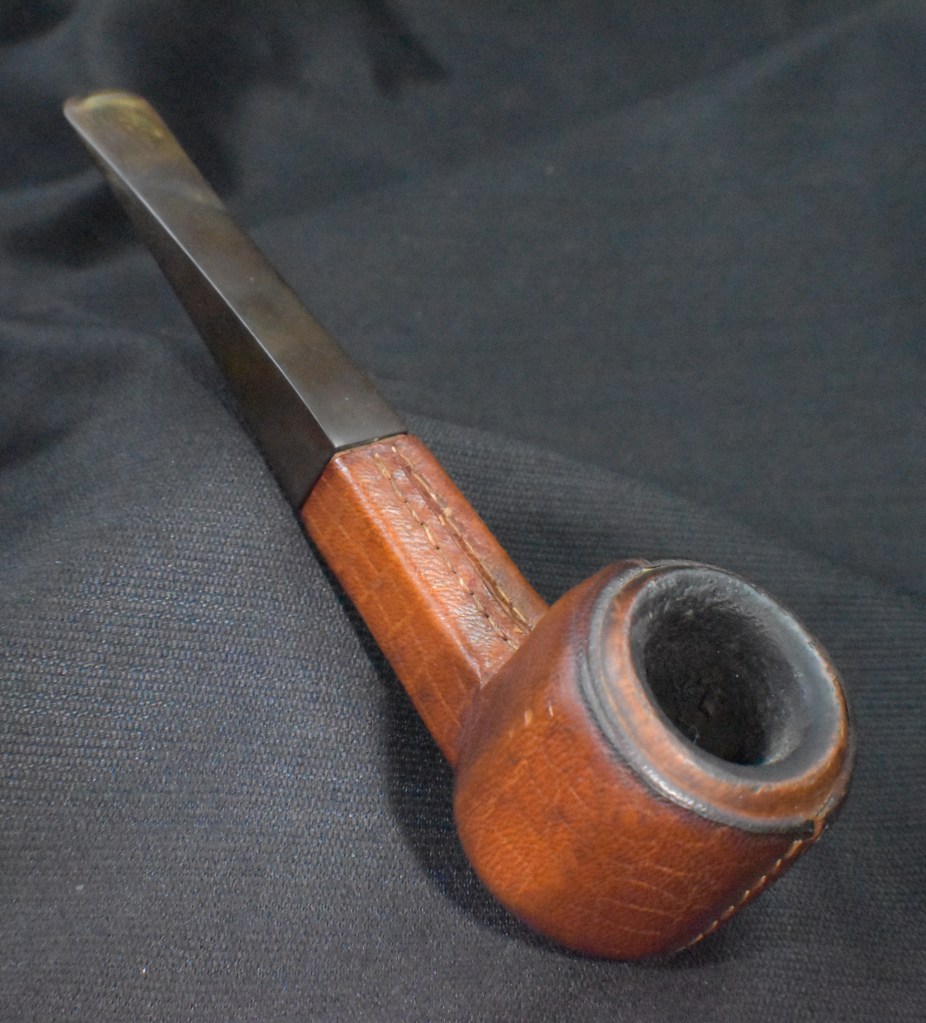
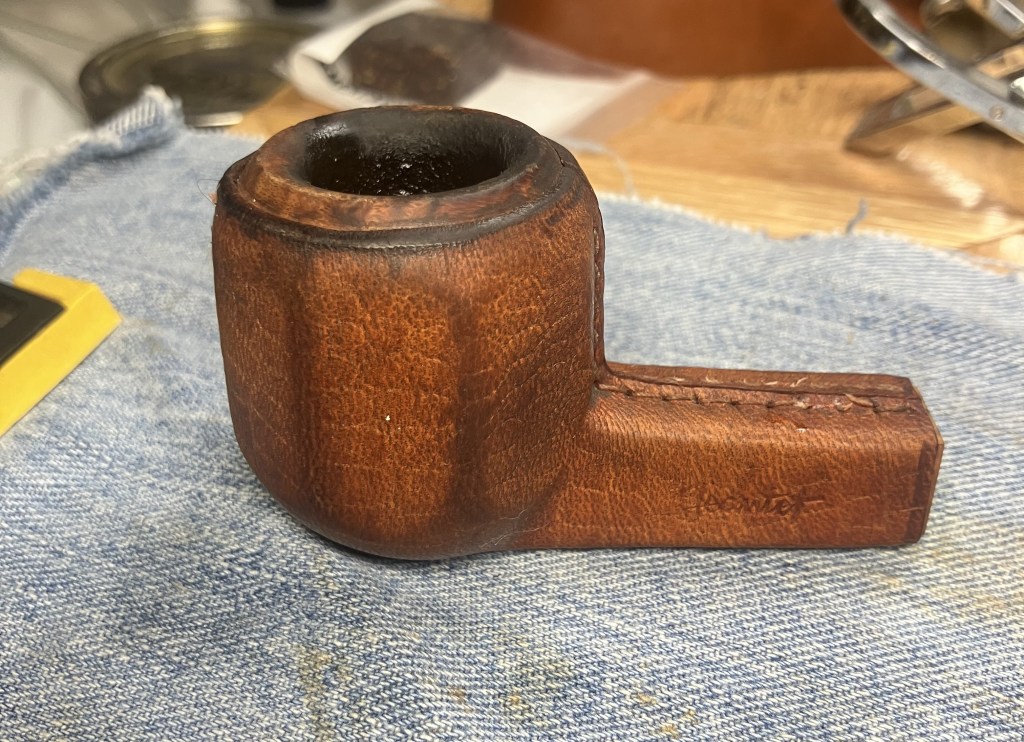
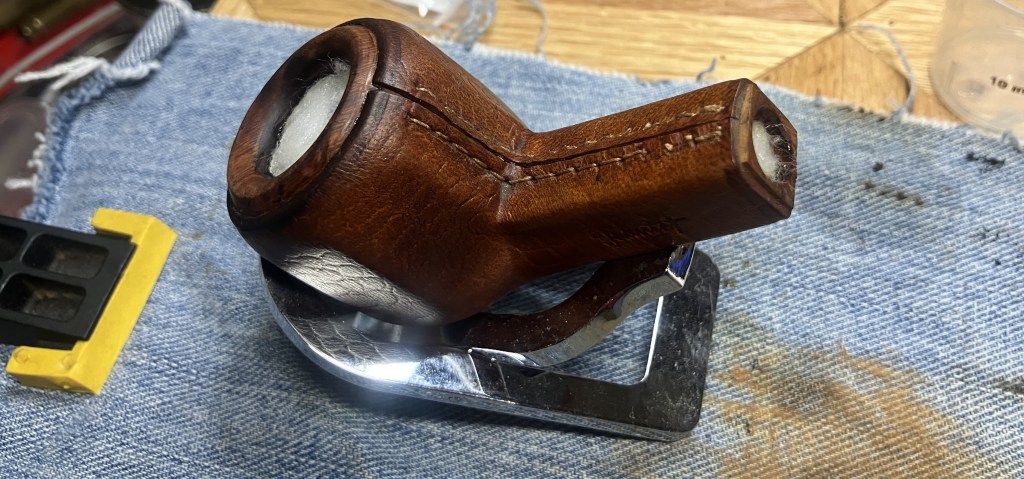
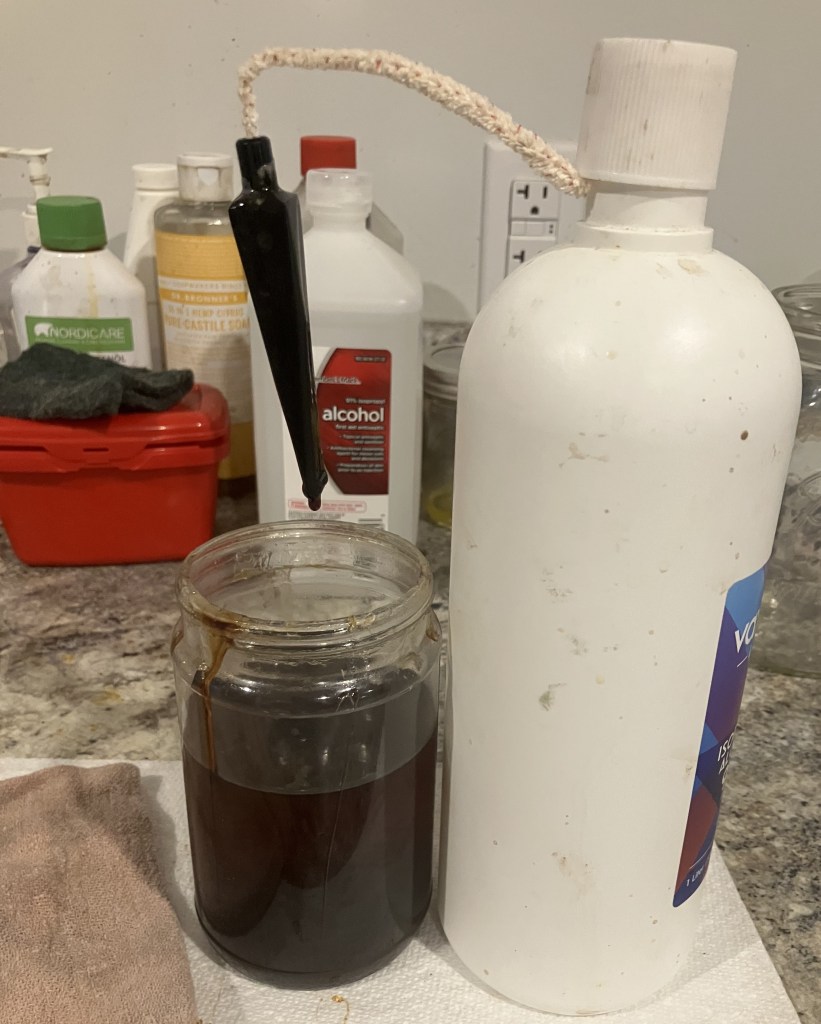
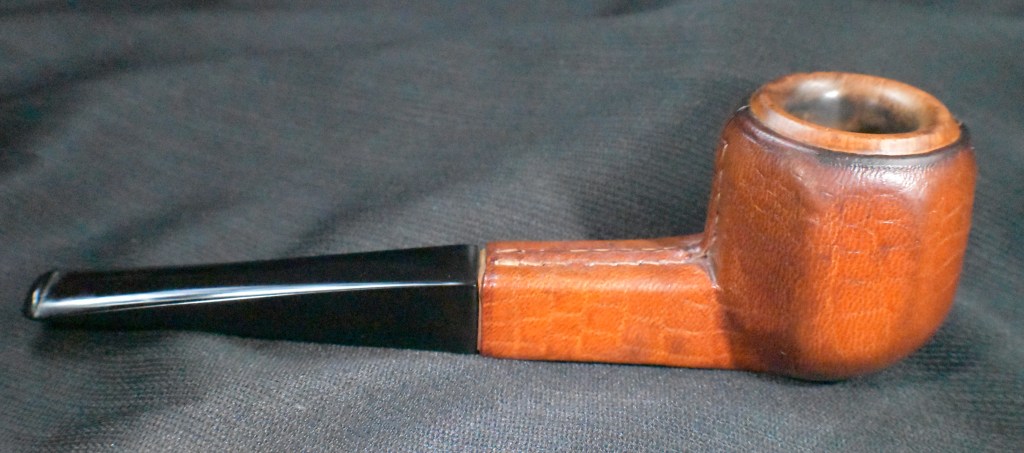
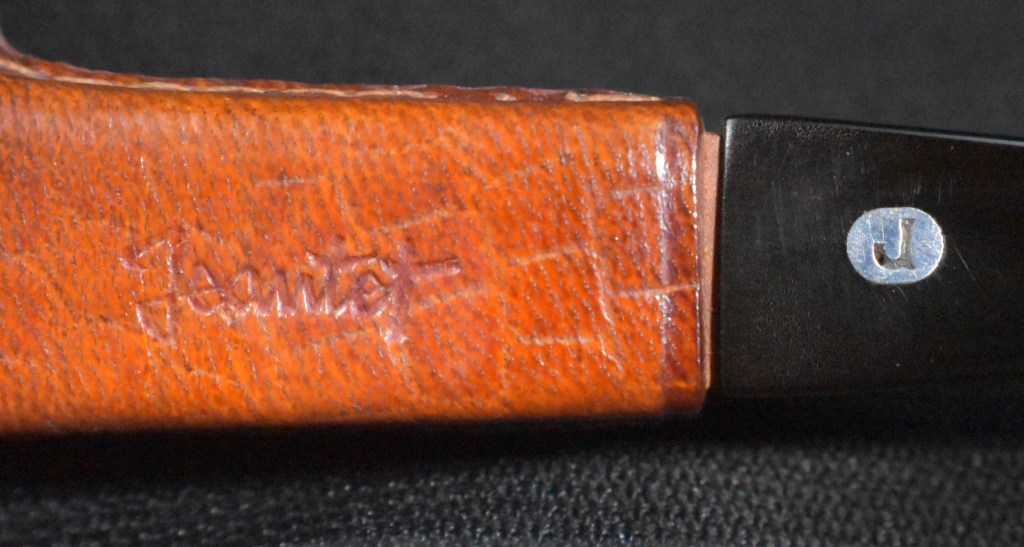
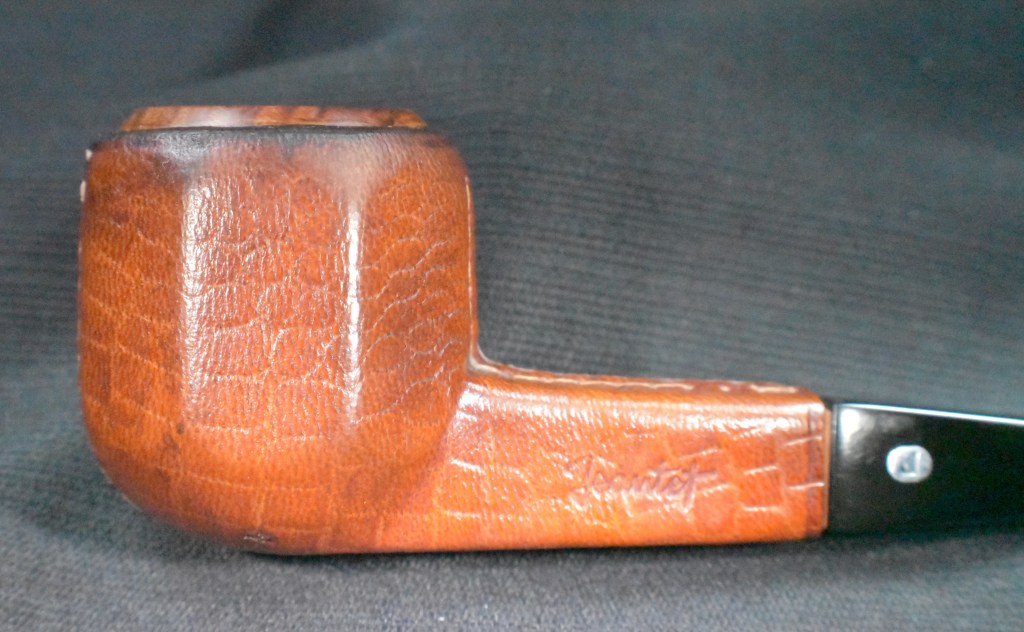
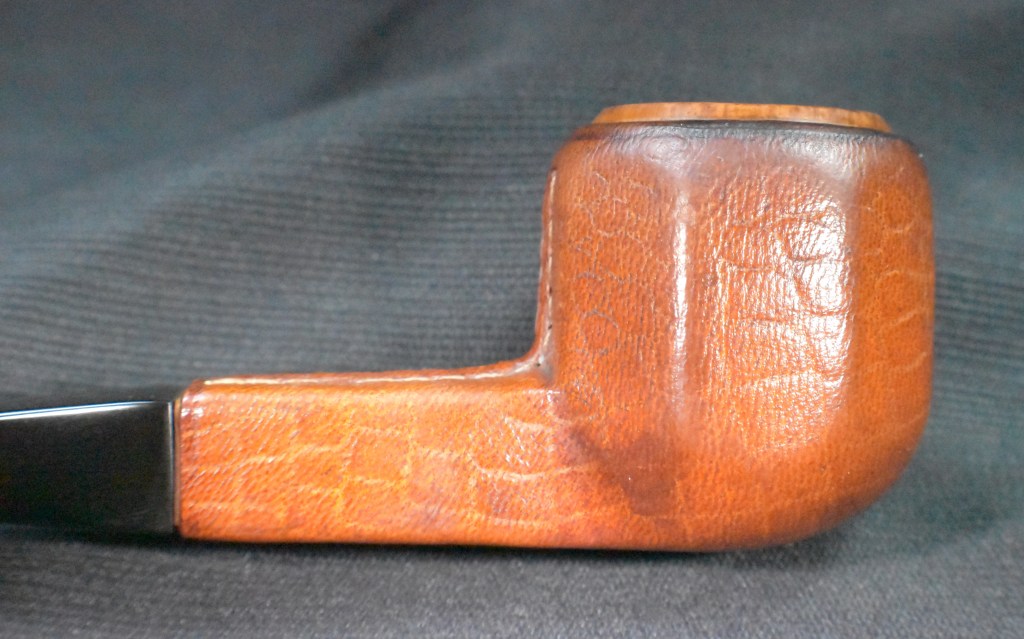
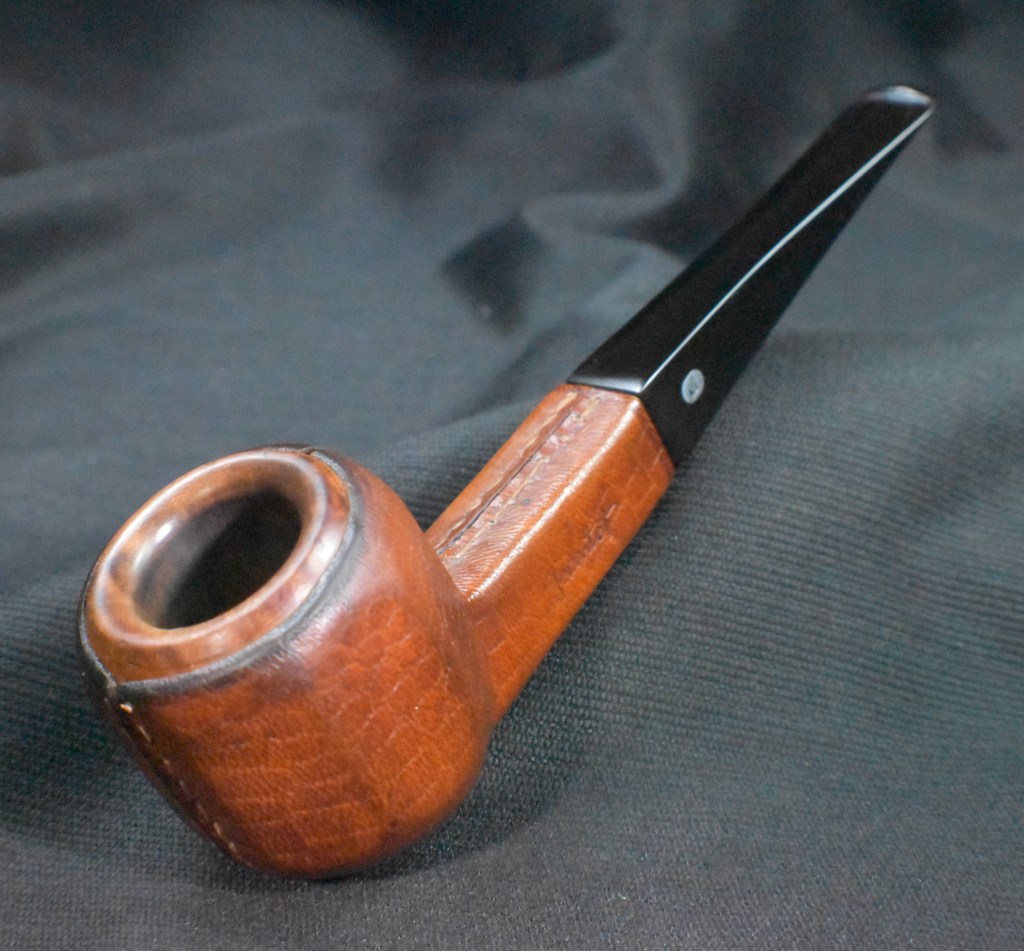
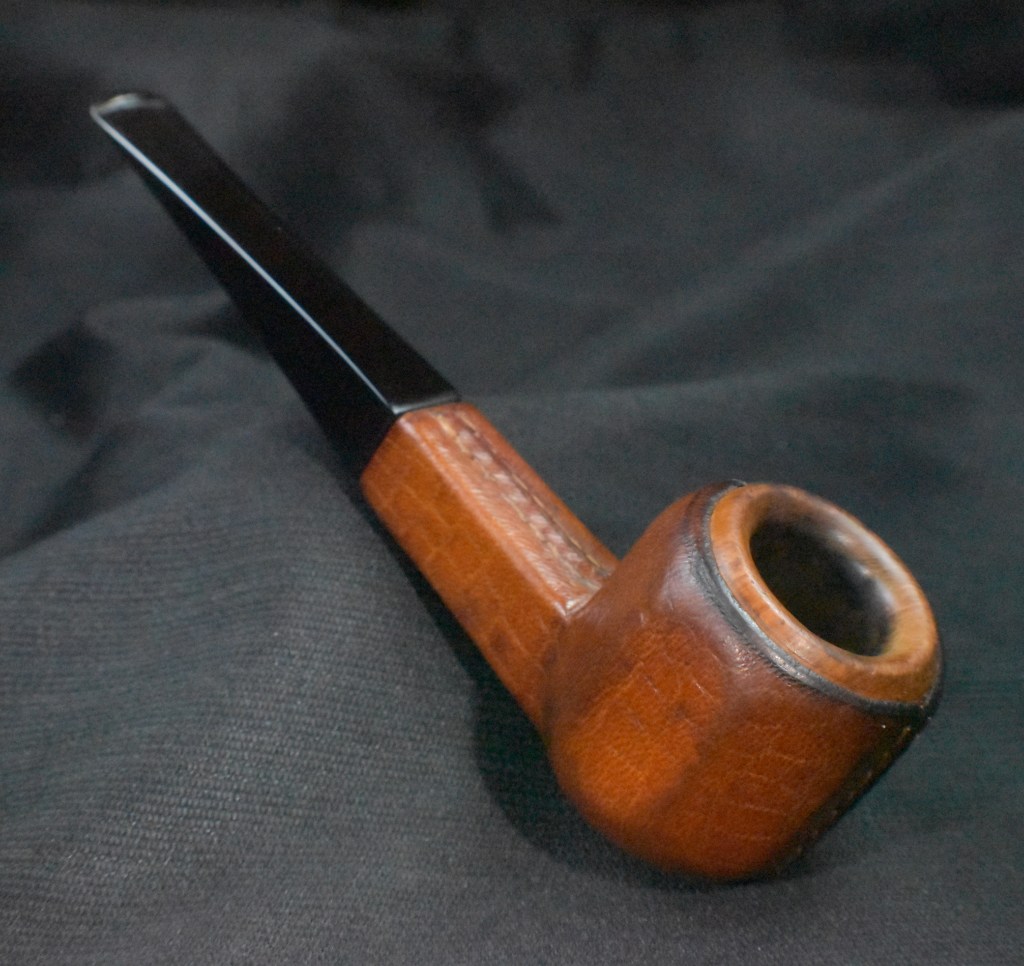
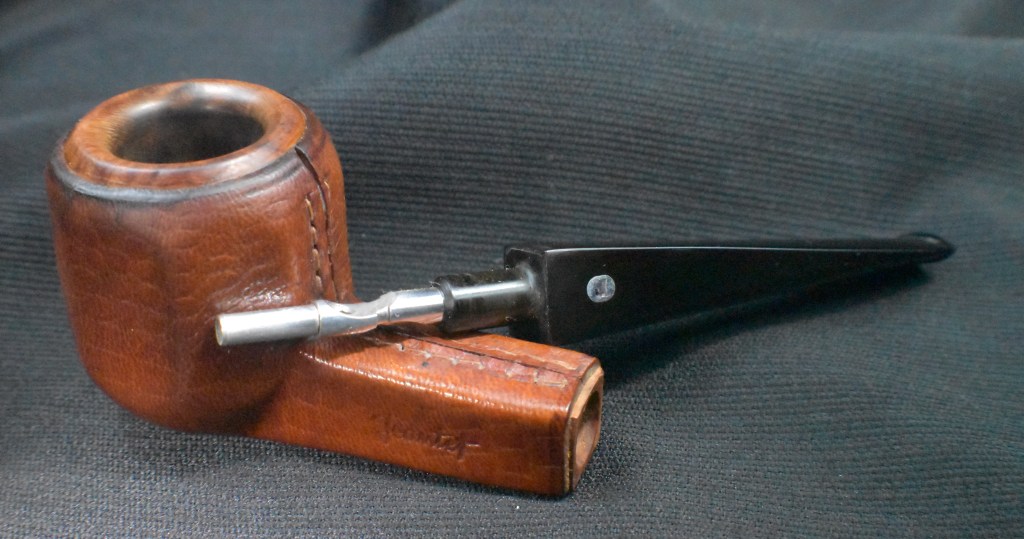
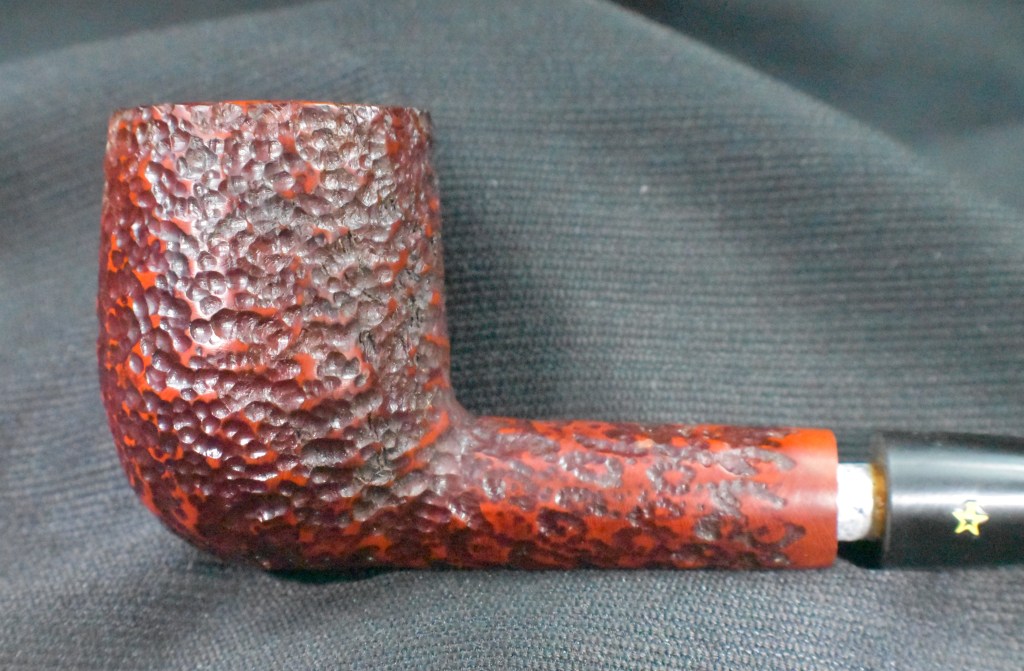
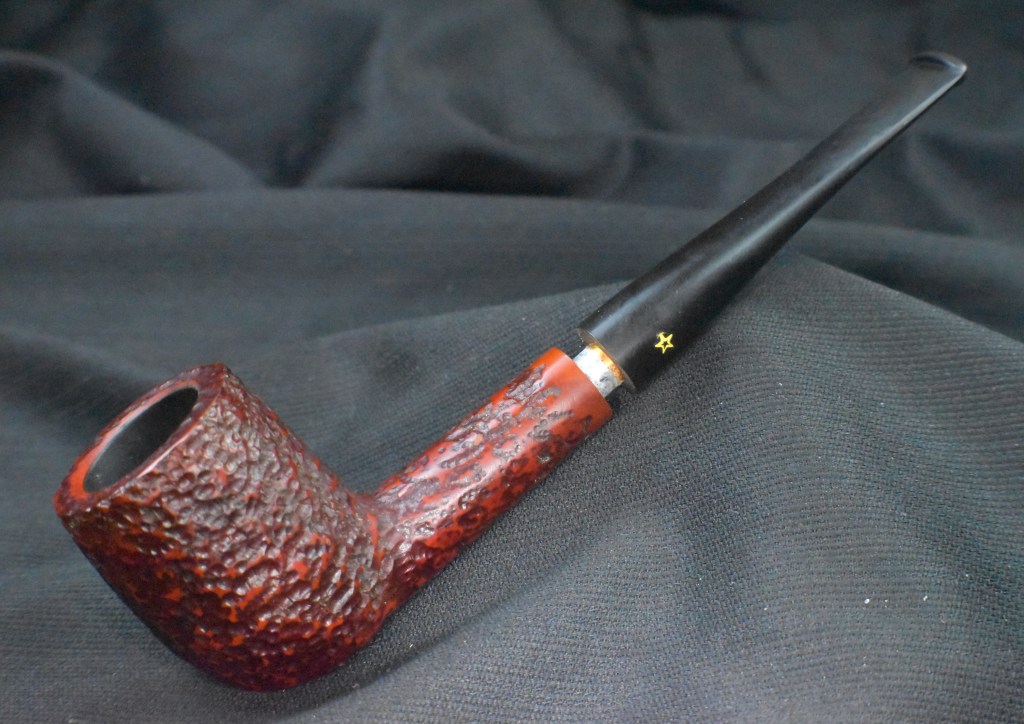
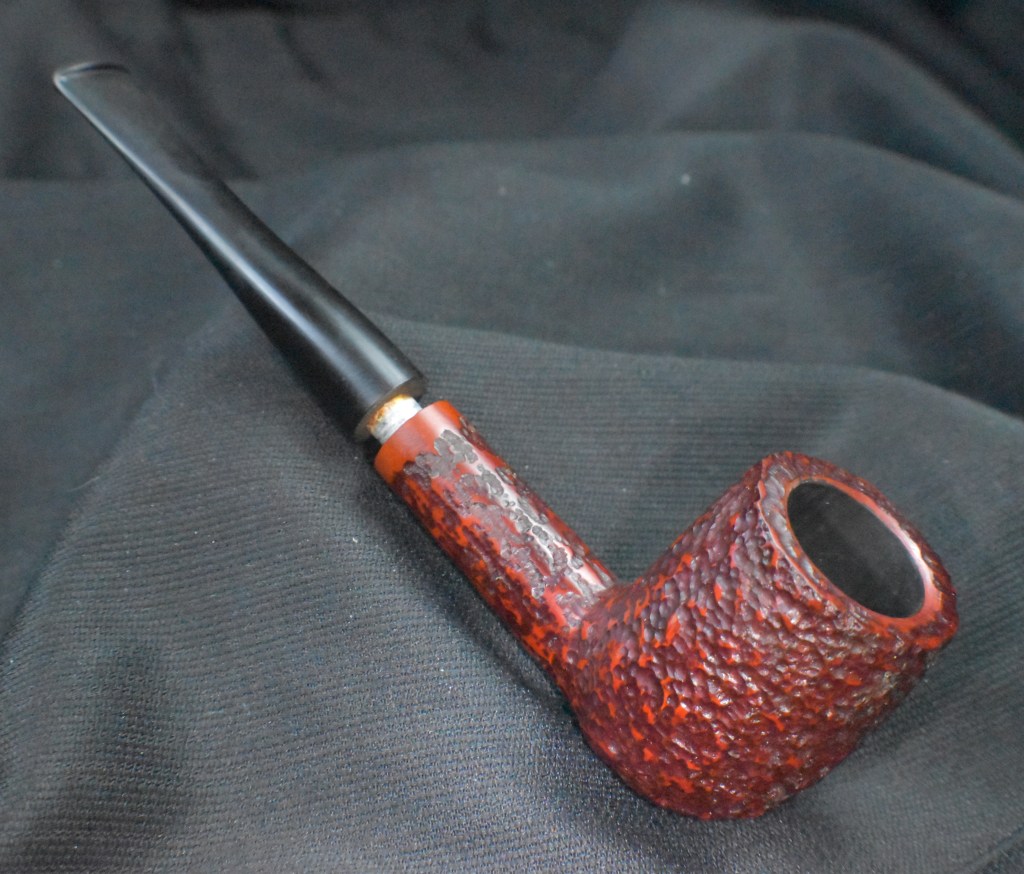
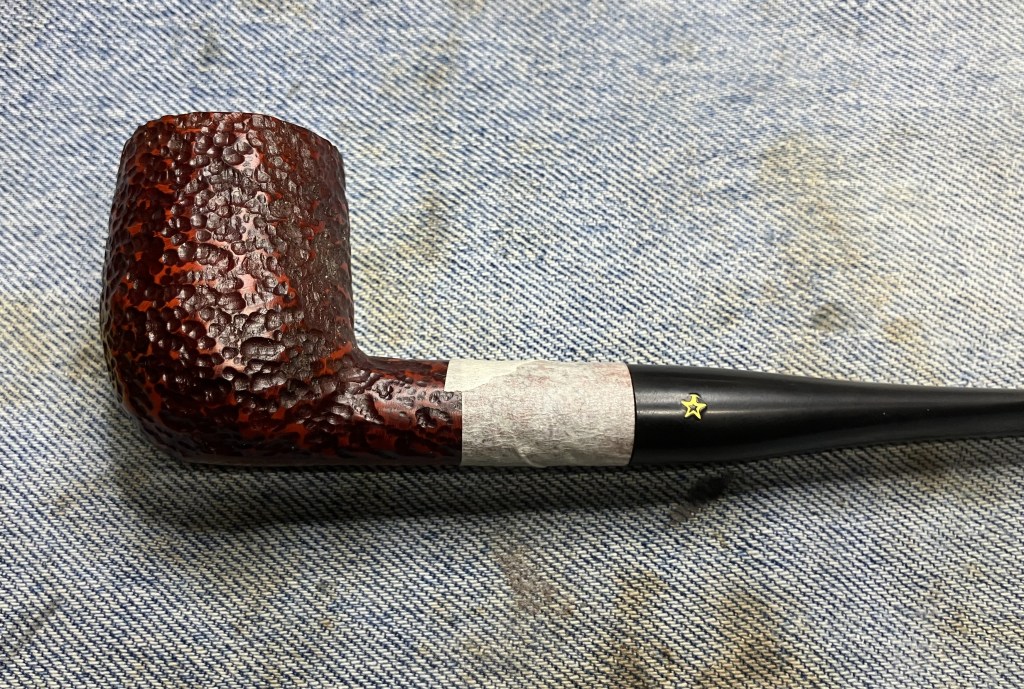
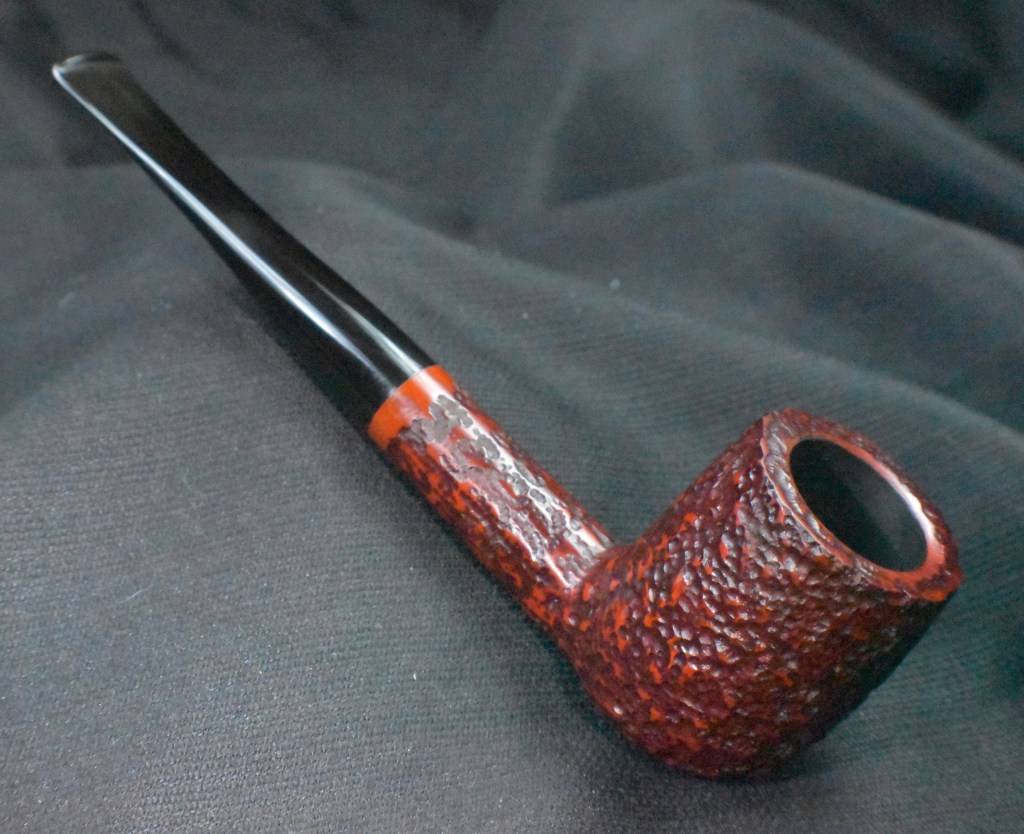
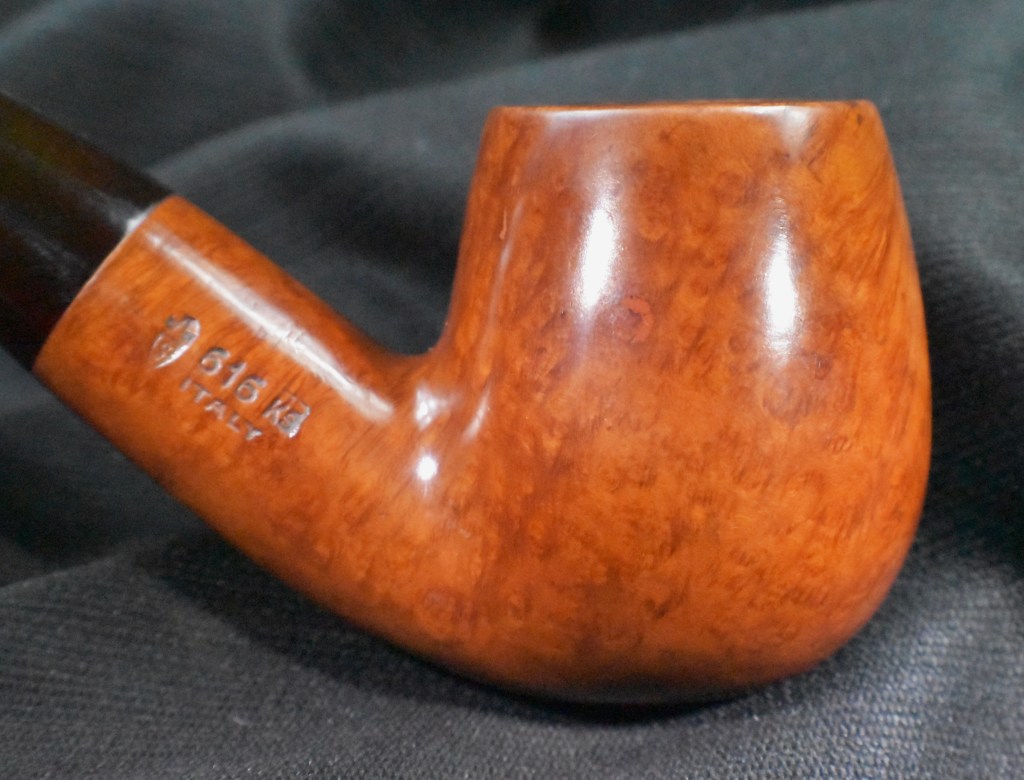
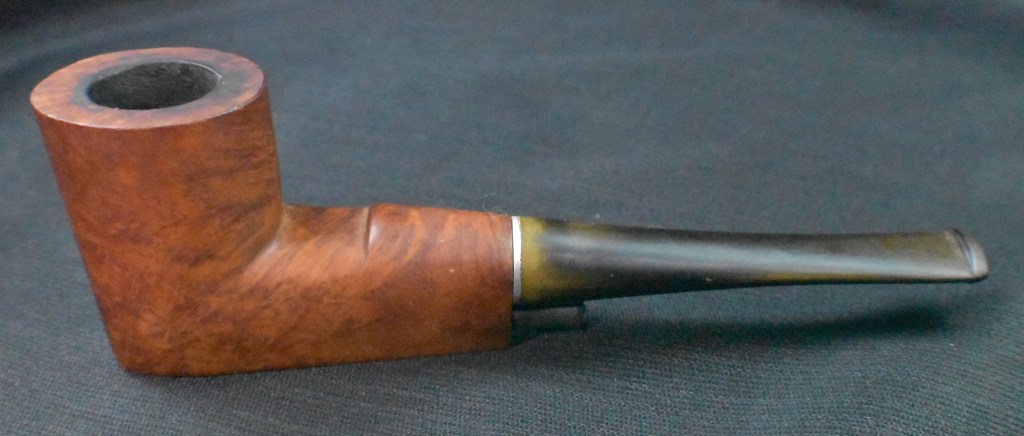
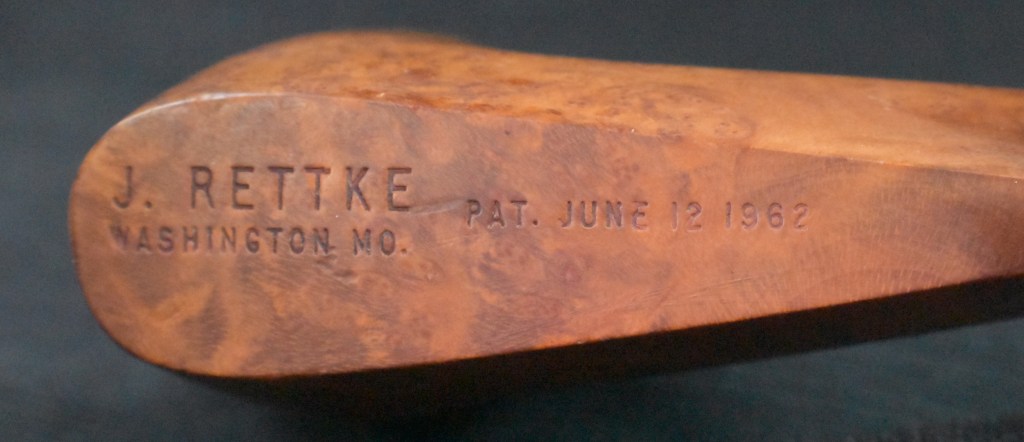
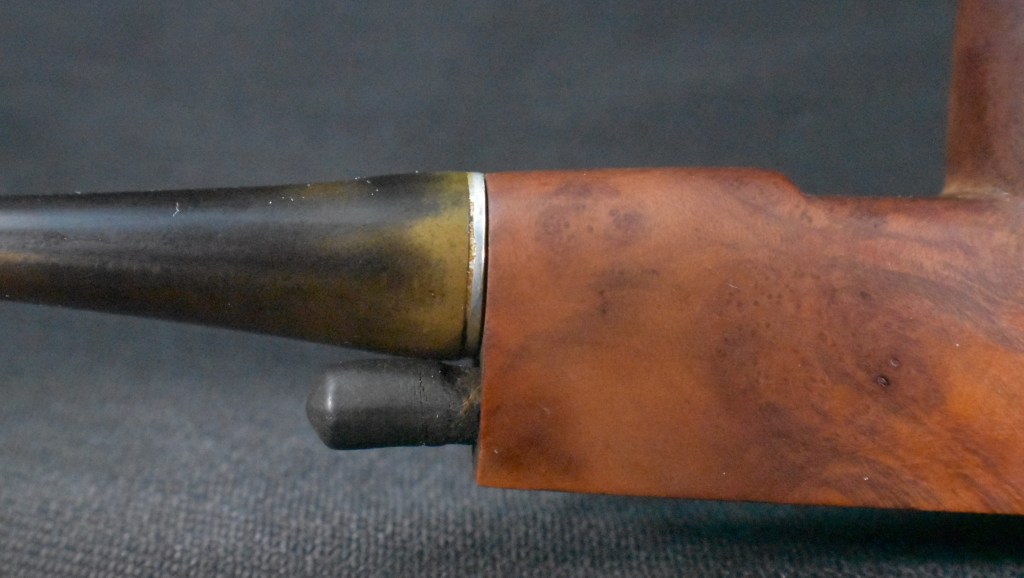
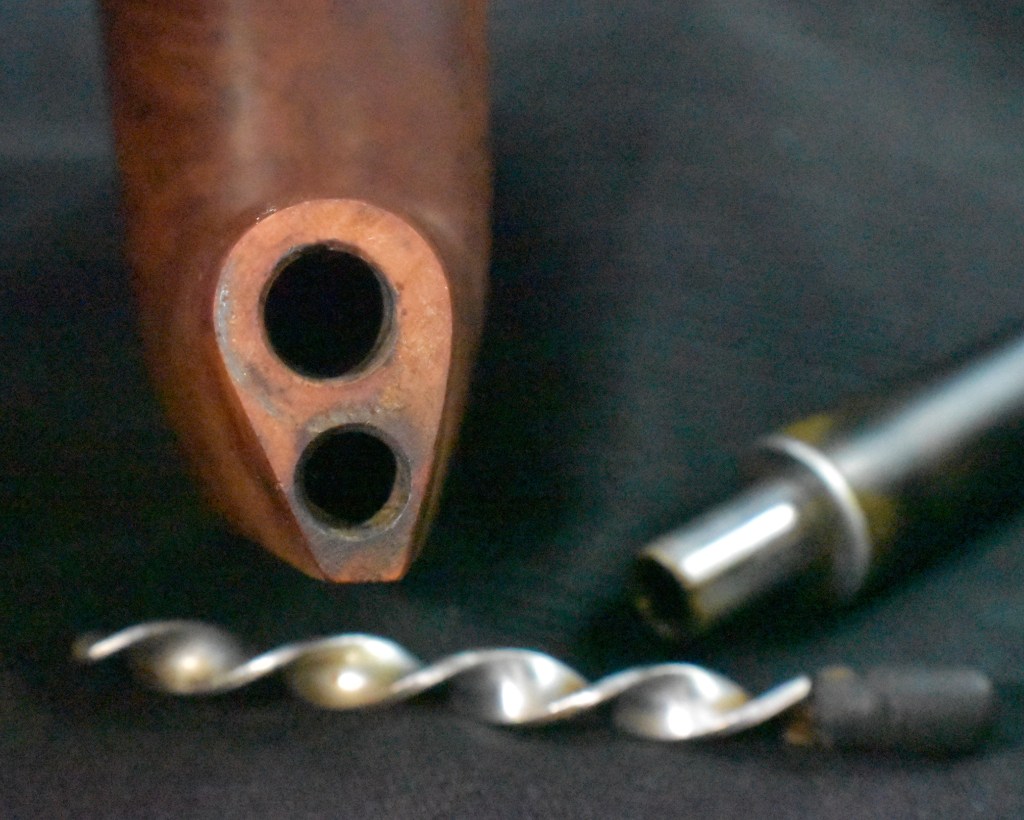
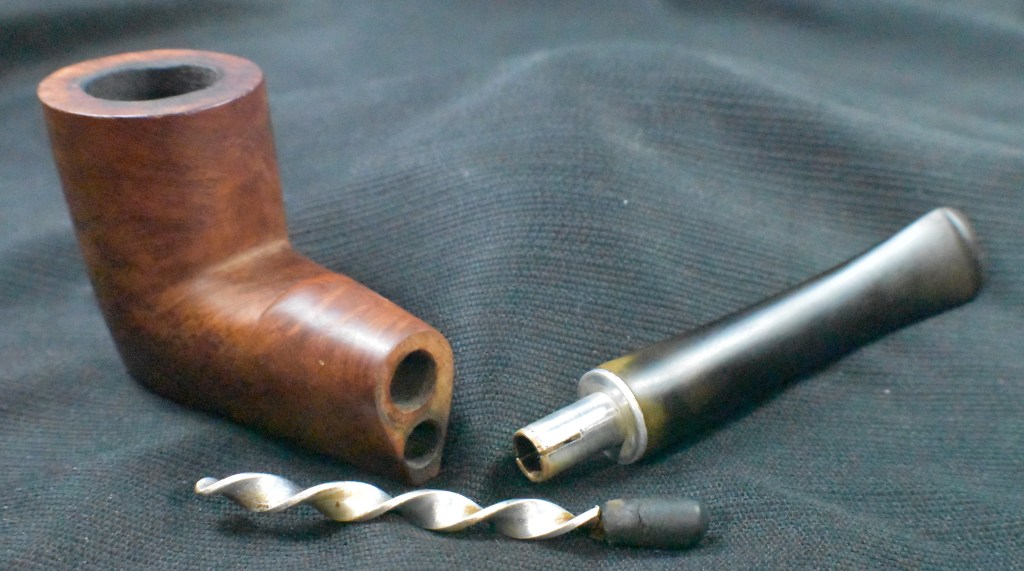
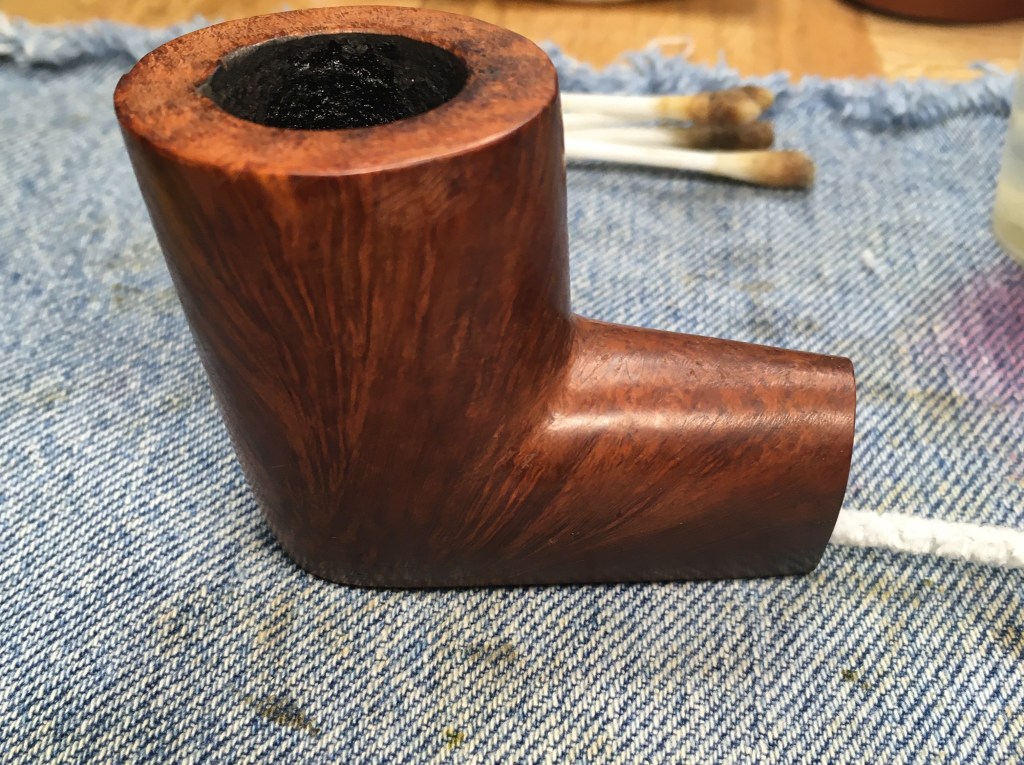
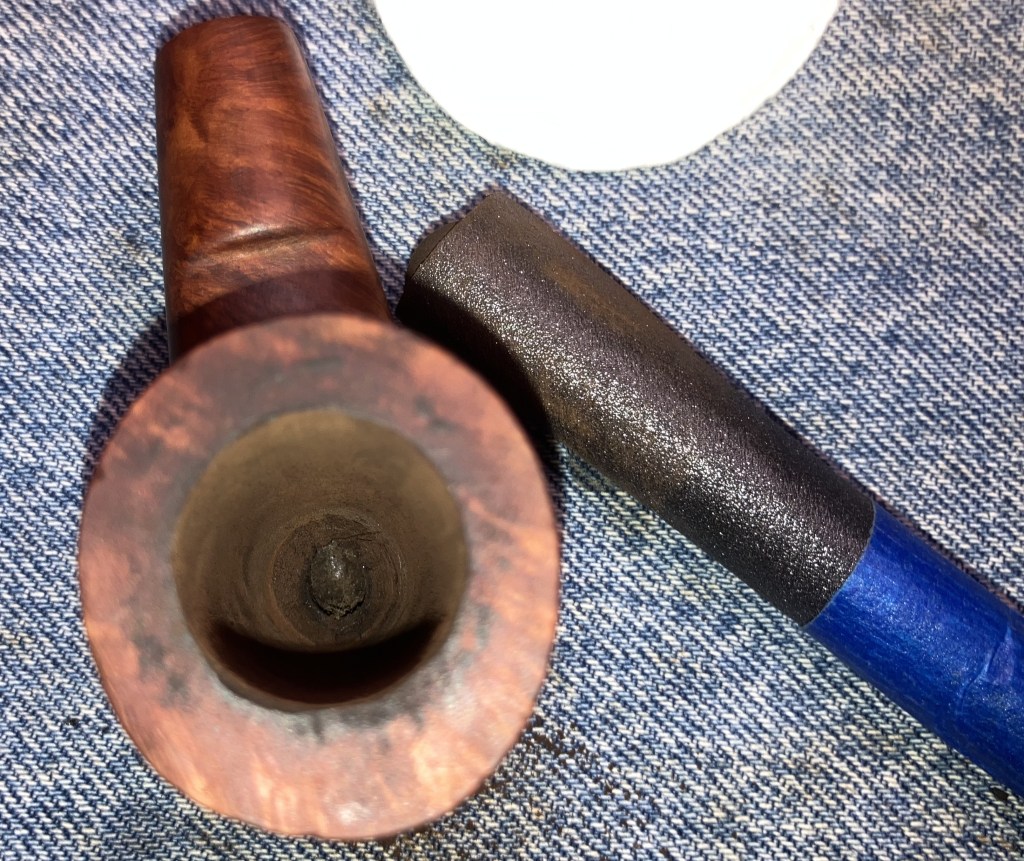
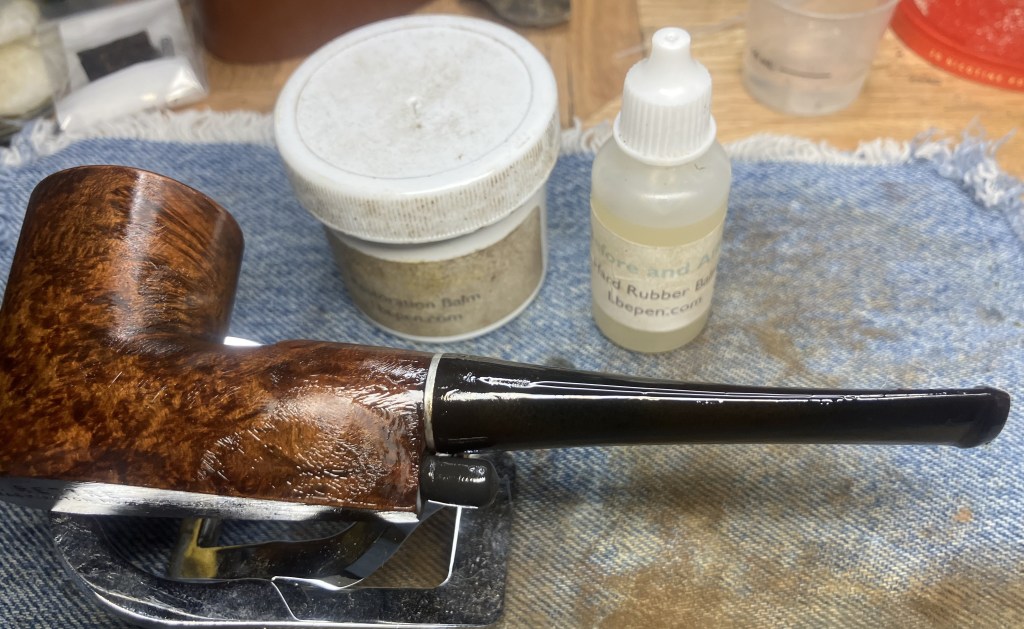
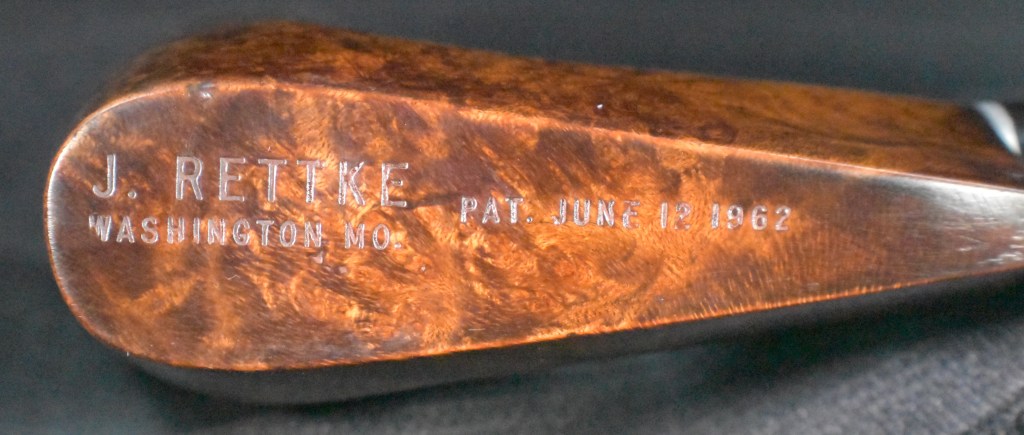
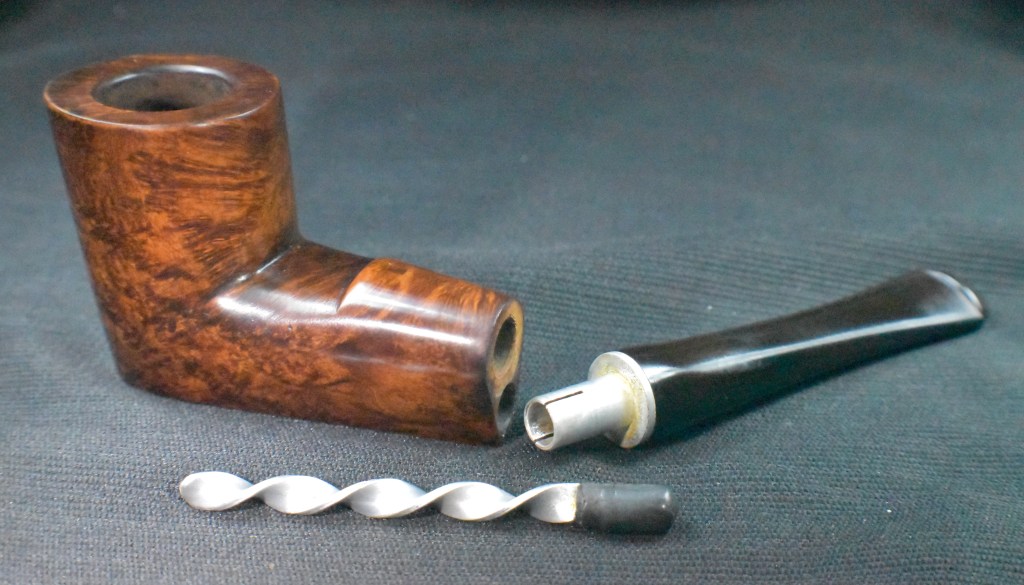
I know, I know, you have seen me restore two of these already. “How is this one different?”, you ask. Well, it was in far worse condition than the other two. Yeah, that’s not much of a reason. OK, I like working on them. They’re kind of ugly yet at the same time there is just something about them that intrigues me. Maybe because they look like a gimmick pipe but these actually work. Given I have only kept one for my own personal use. This pipe came from an eBay auction where I was the sole bidder. Maybe for good reason. Upon arrival the pipe sported the traditional stampings, J. RETTKE over WASHINGTON MO. next to PAT. JUNE 12, 1962 on the bottom of the pipe. Below are some photos taken before I began work on the pipe.
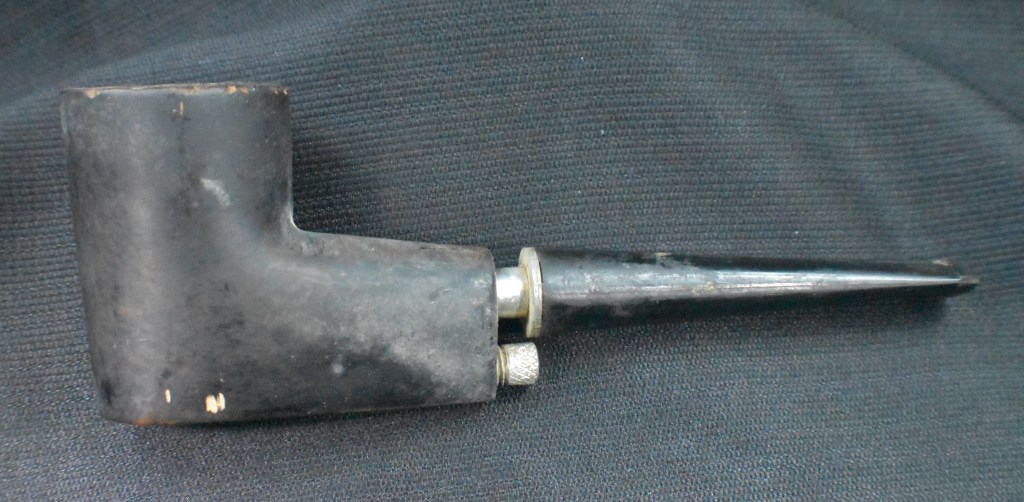
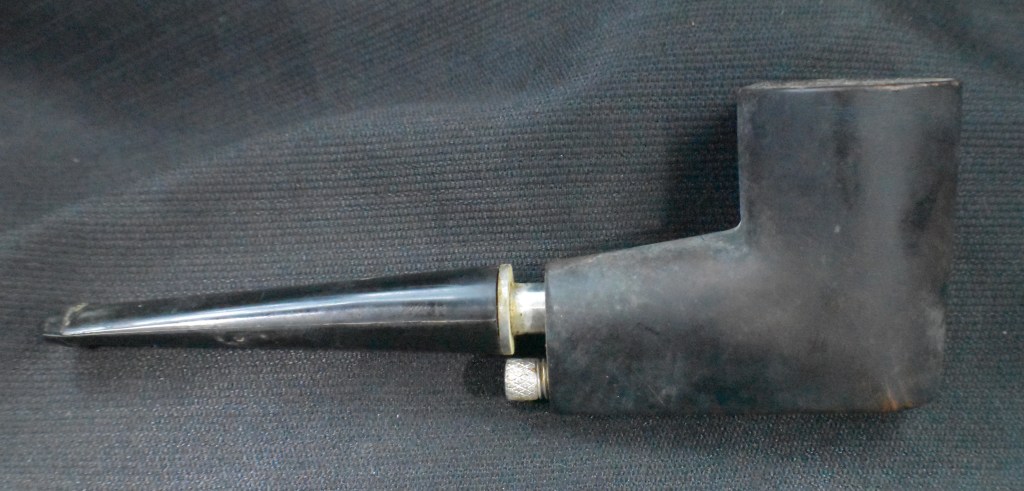

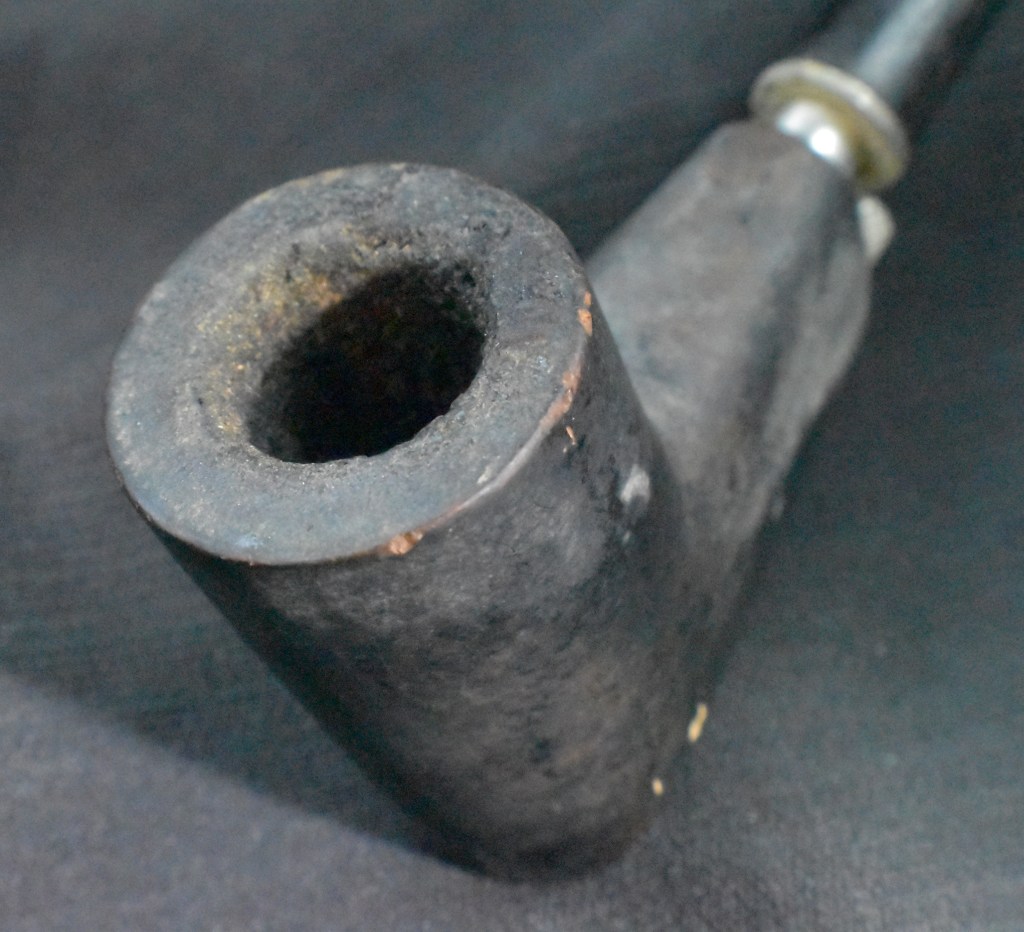
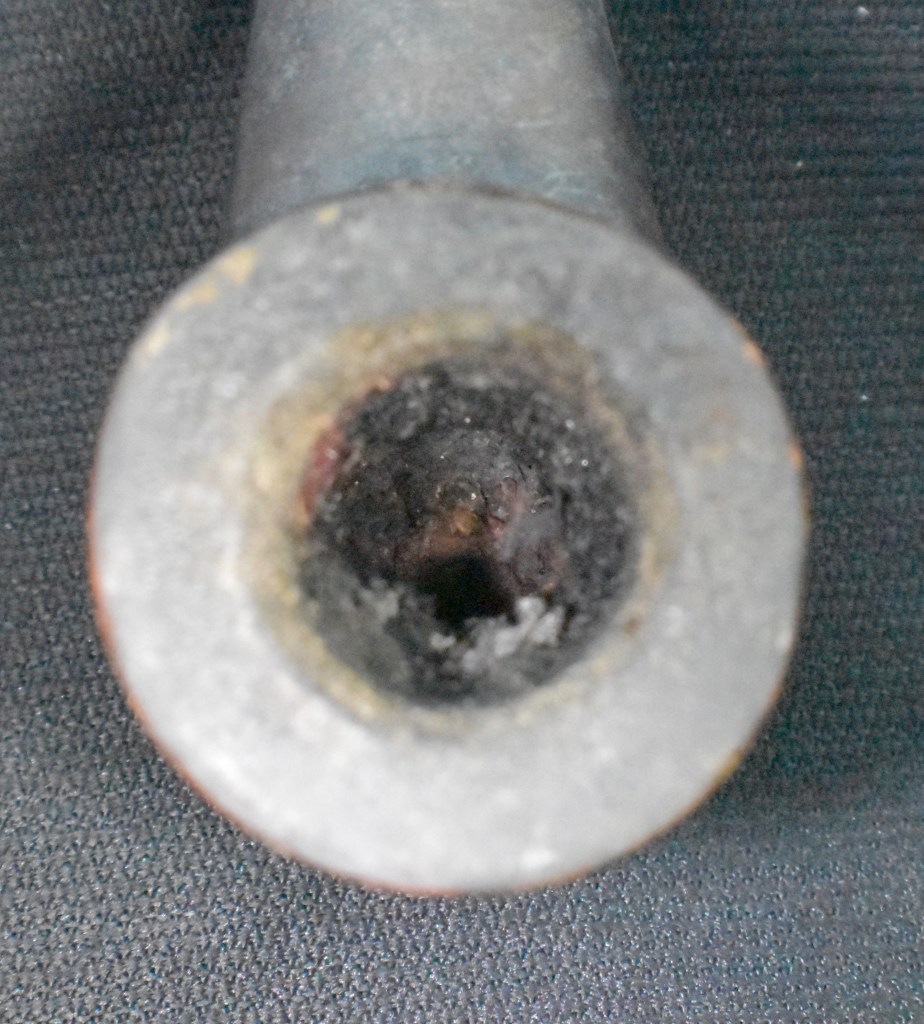
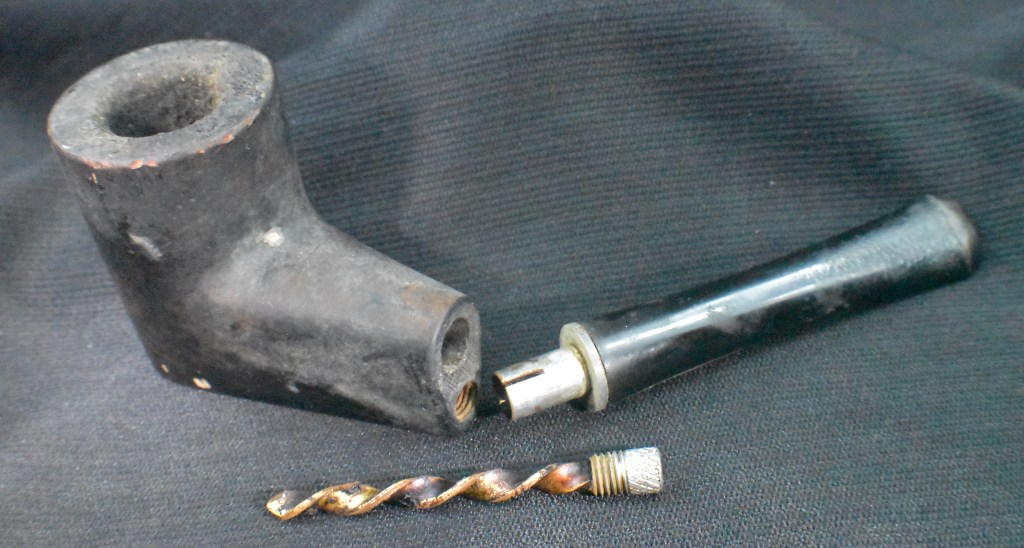
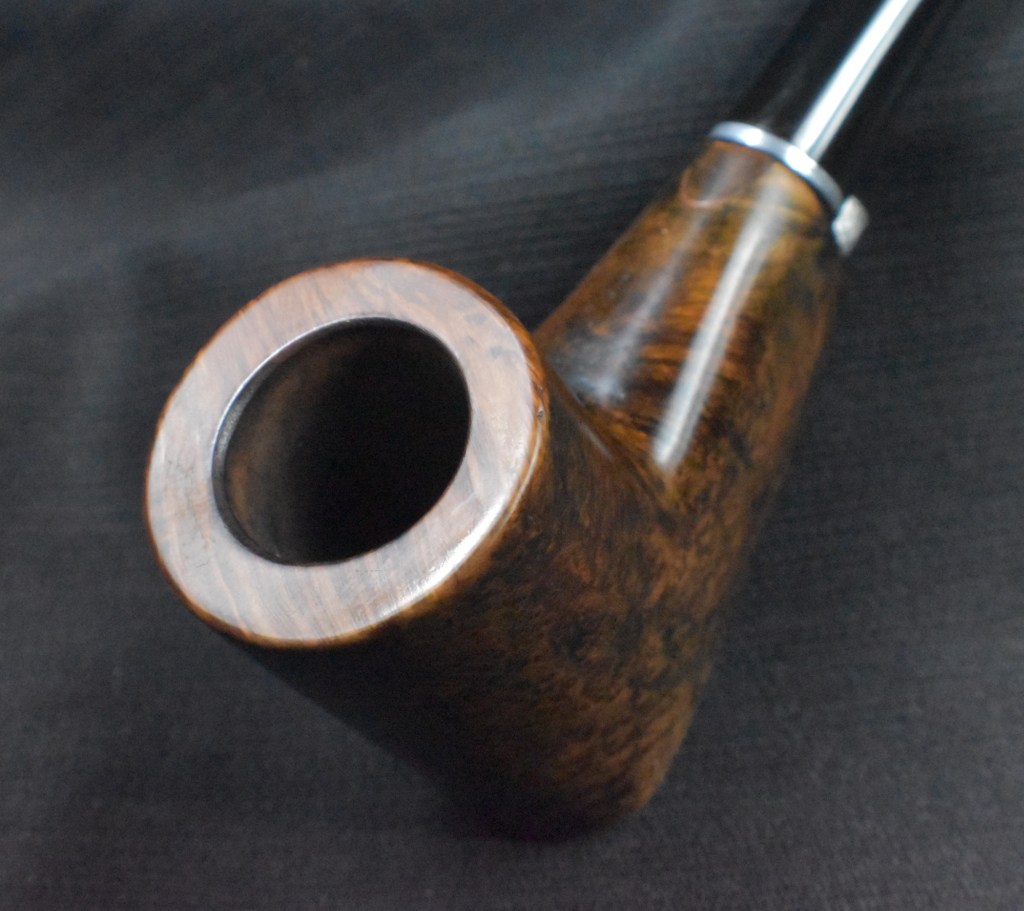
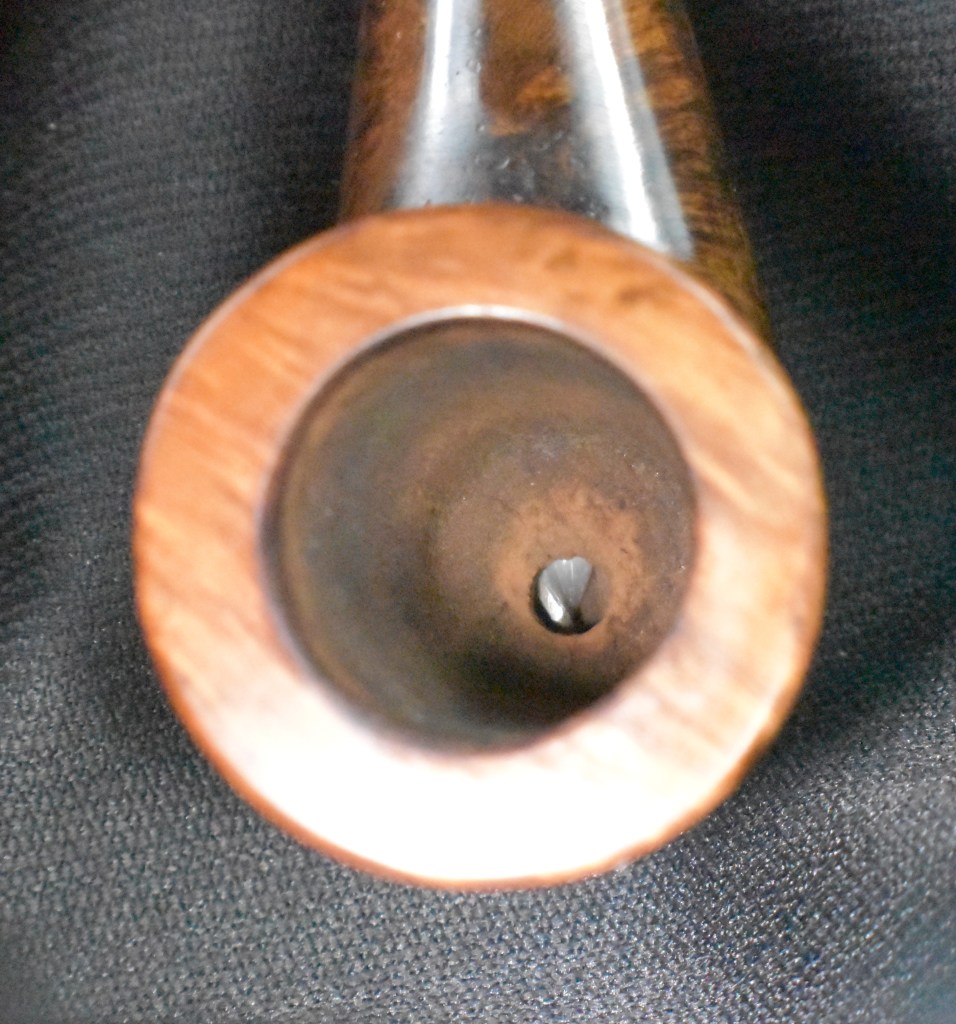
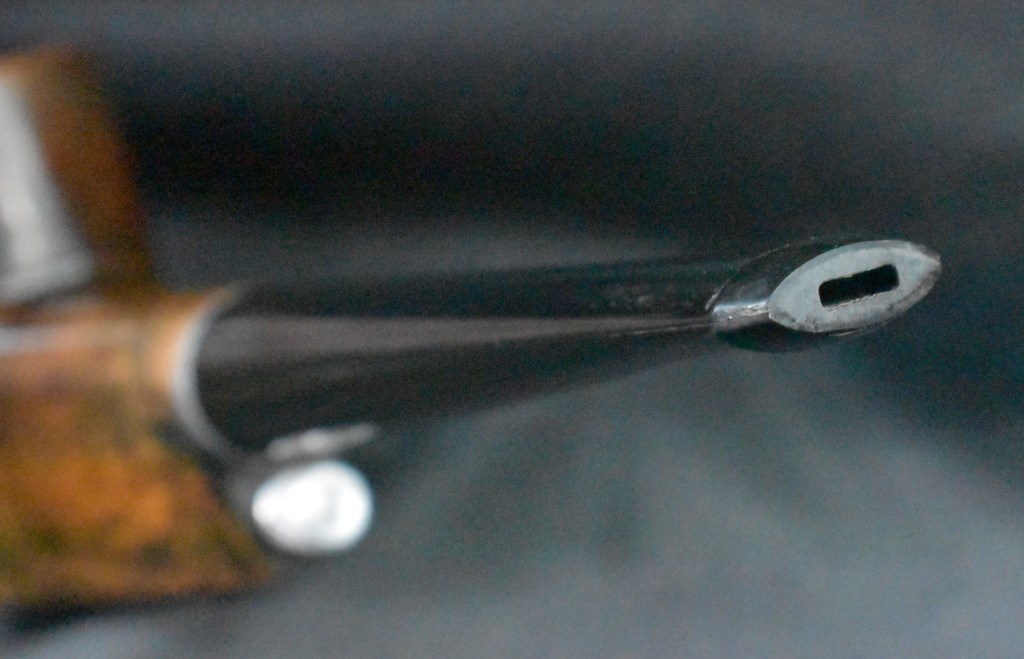
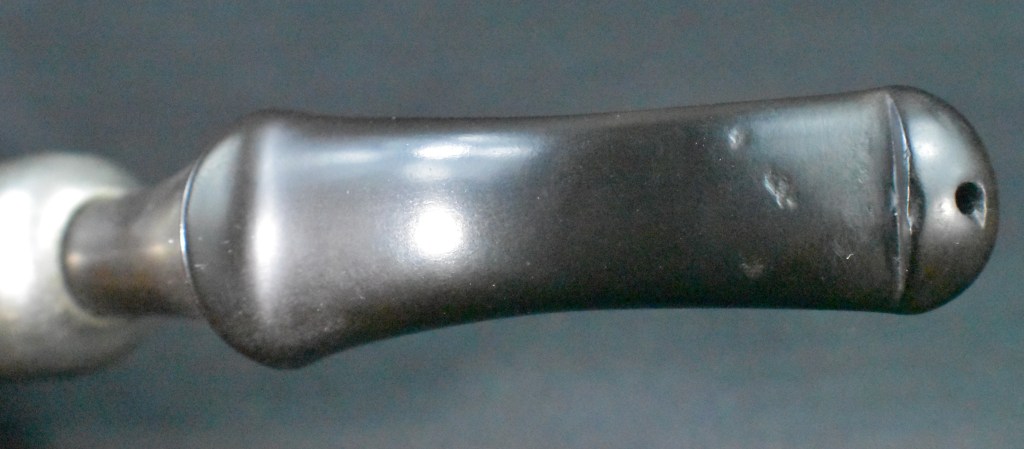
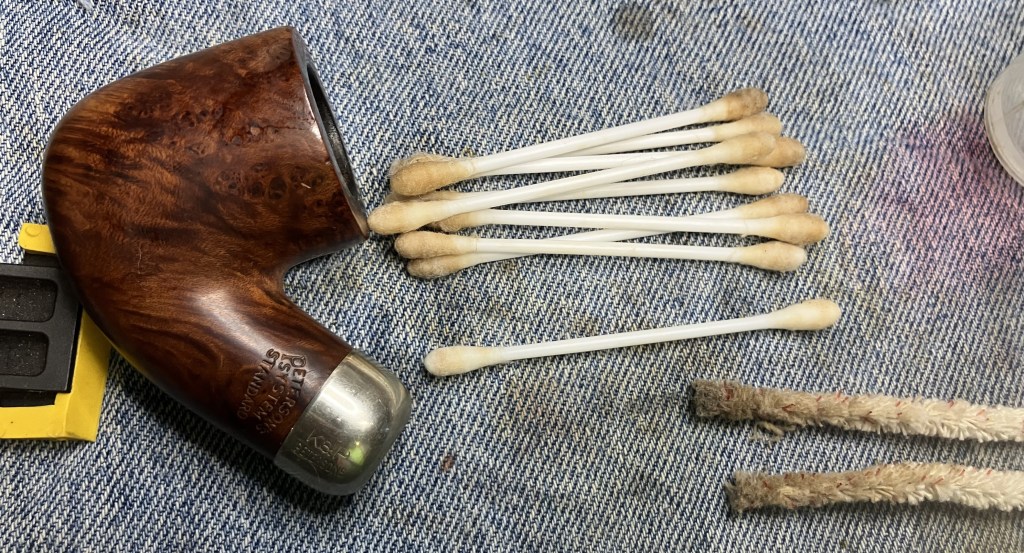
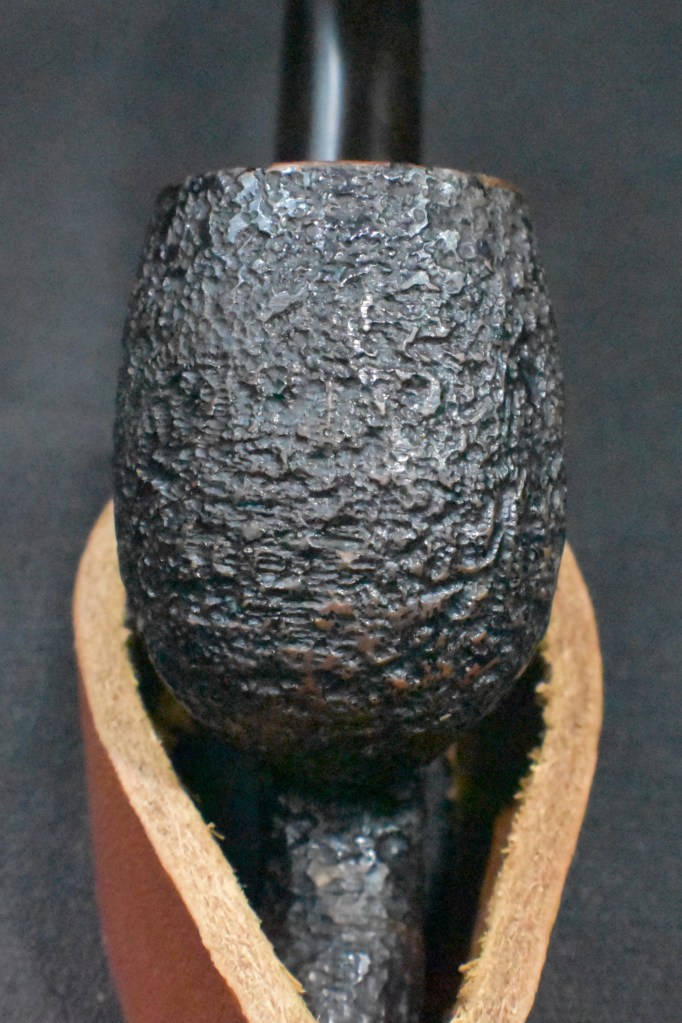
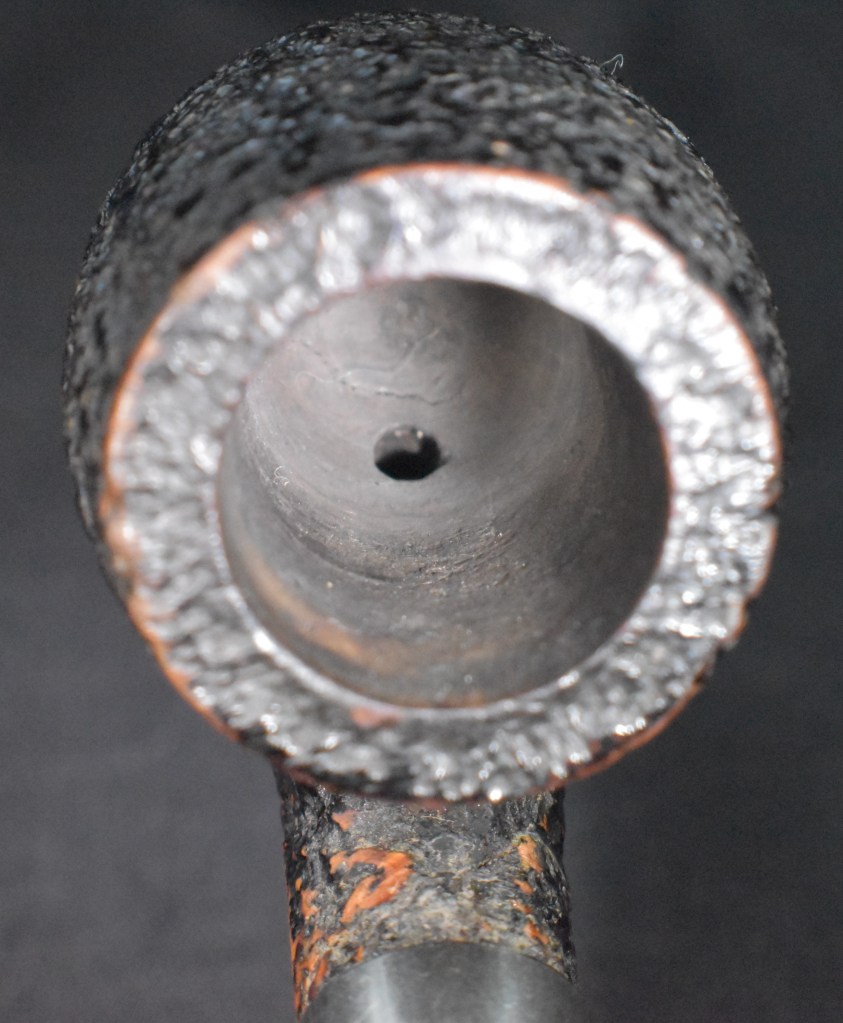
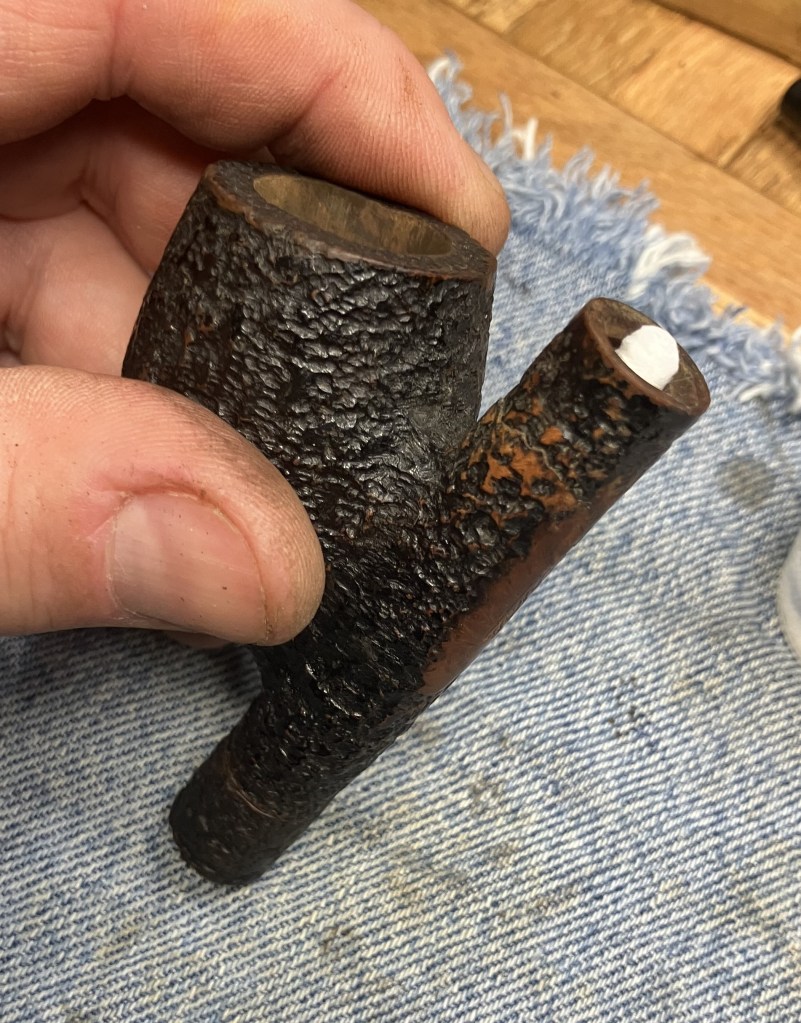
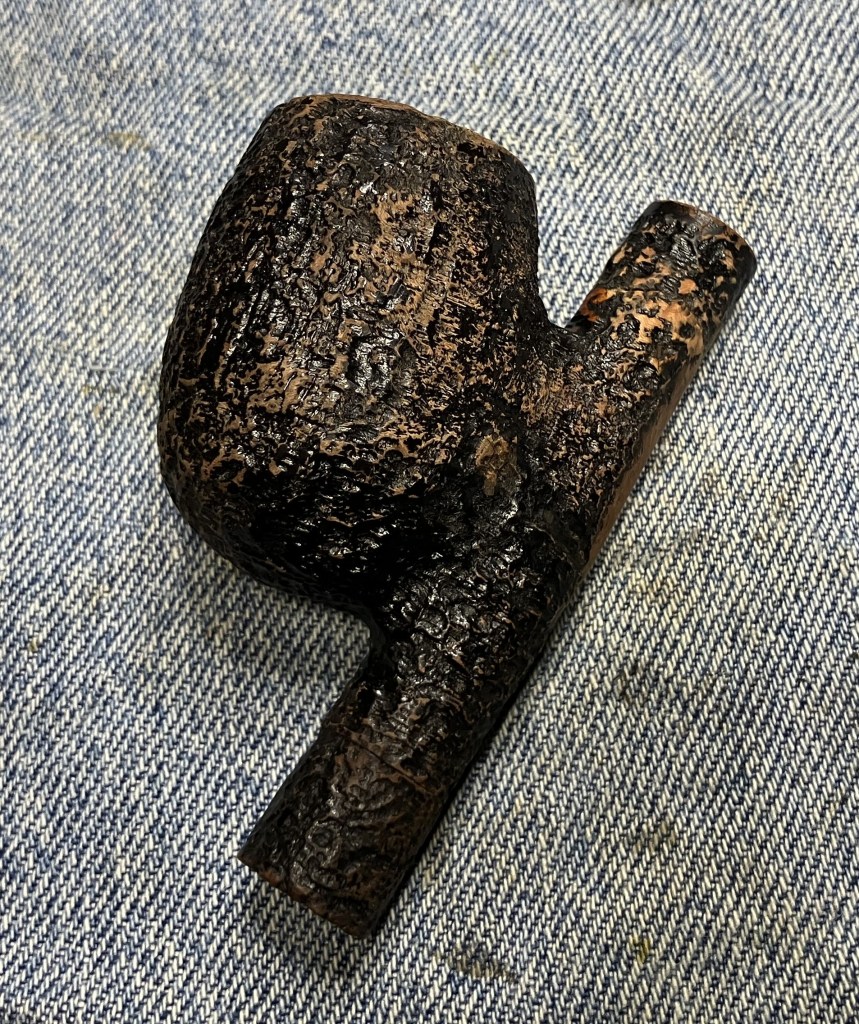
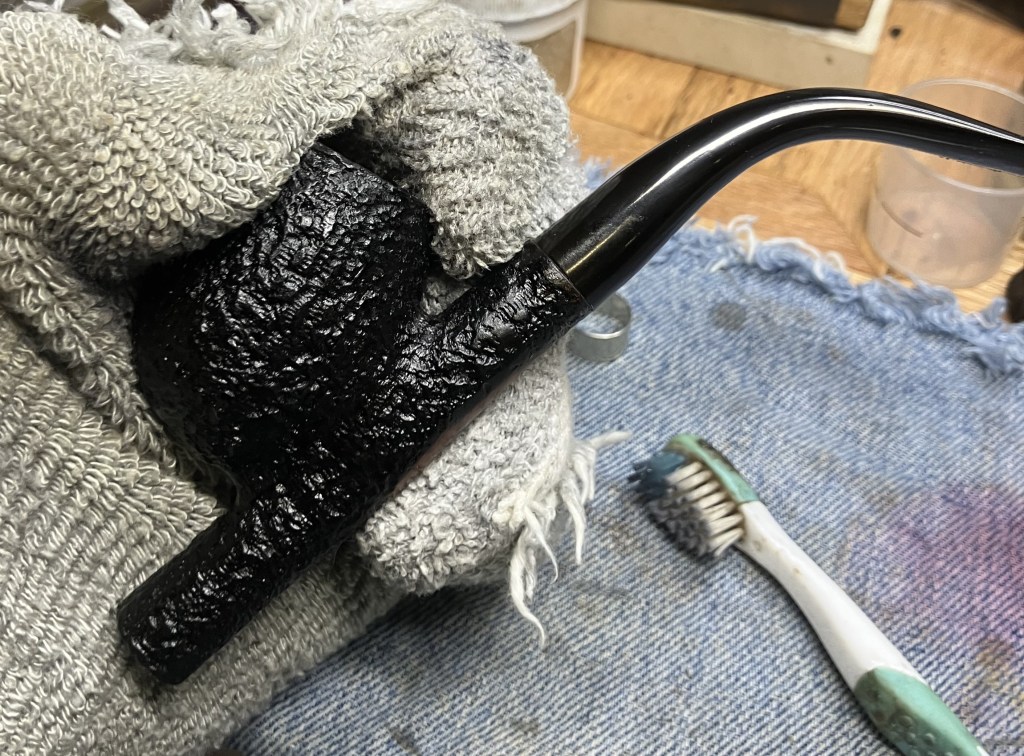
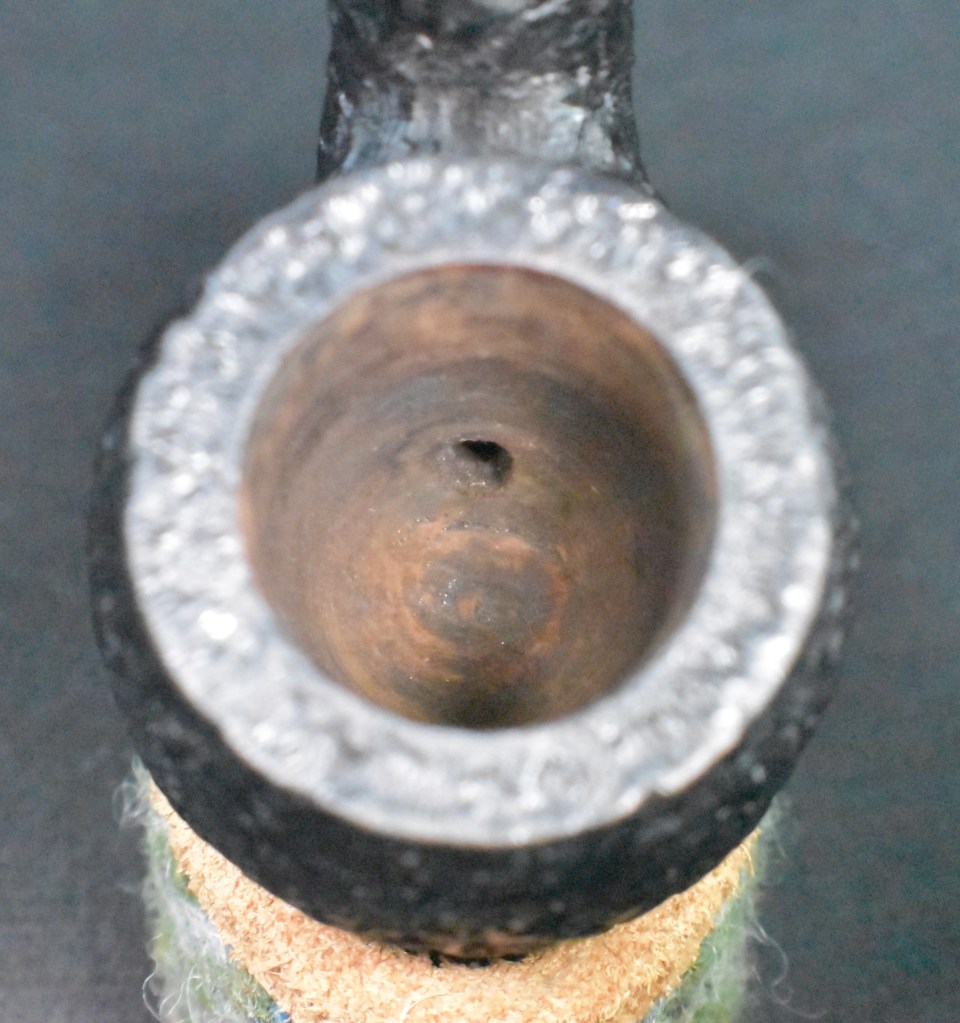
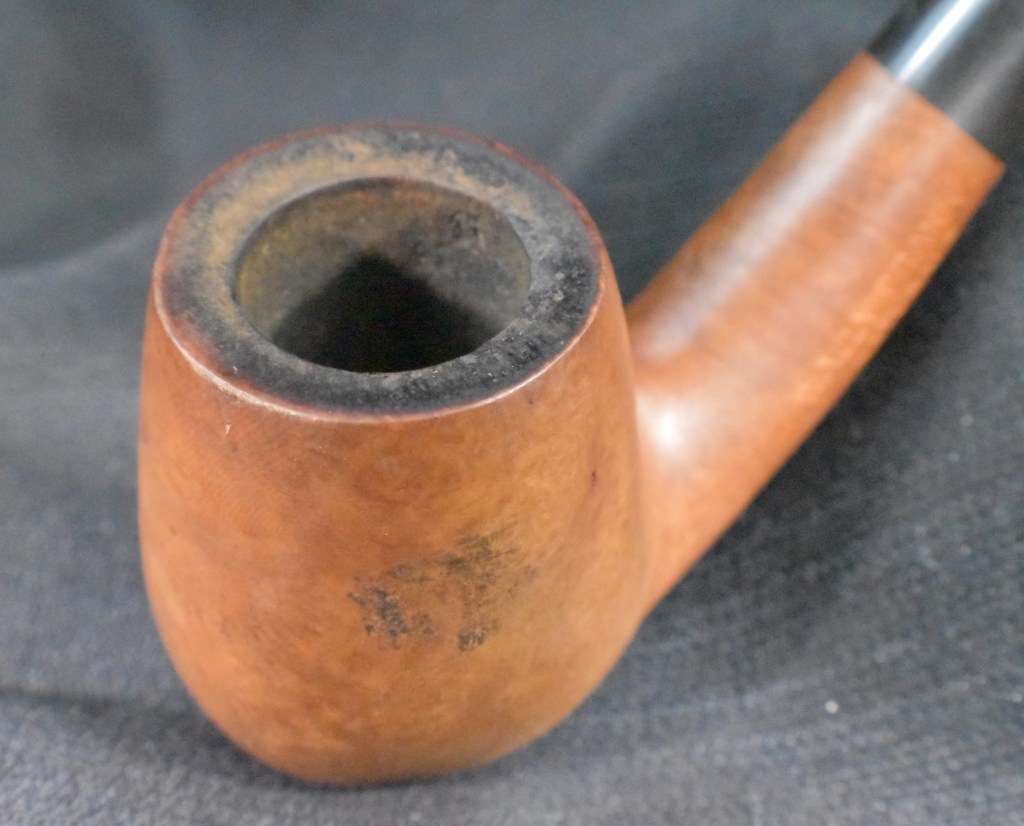
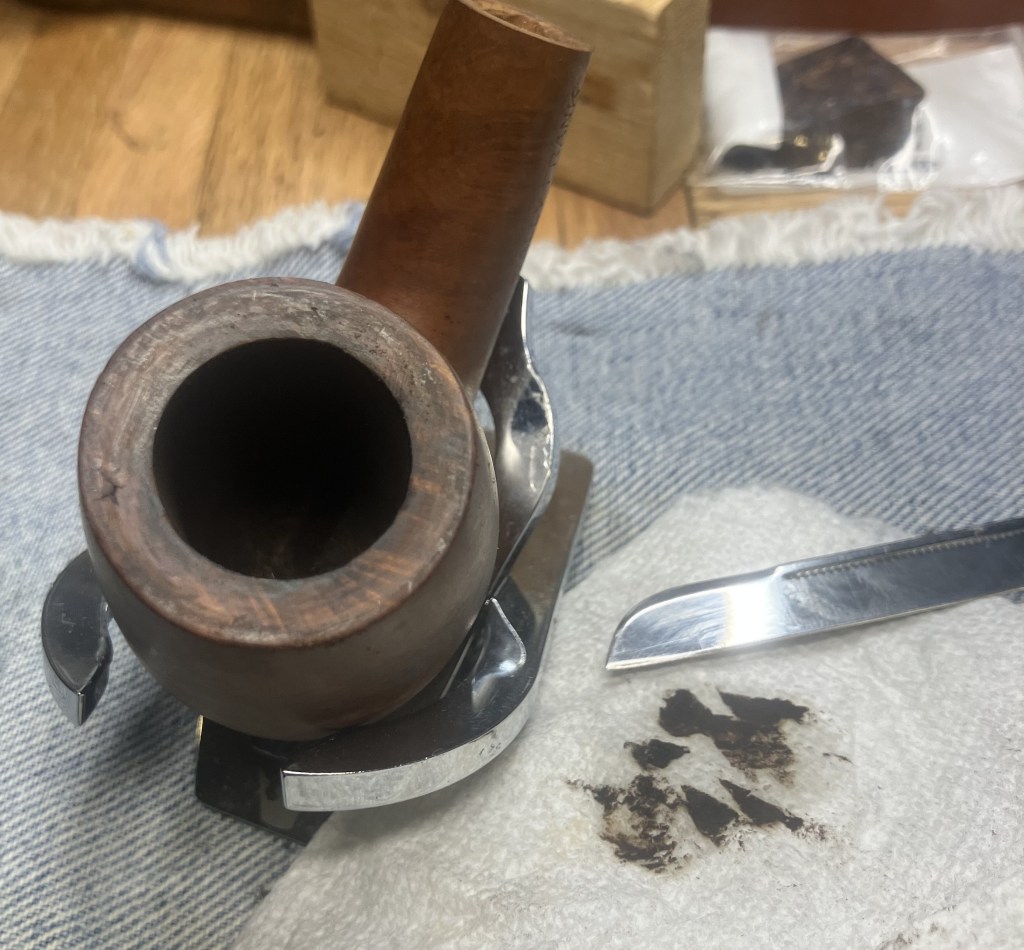
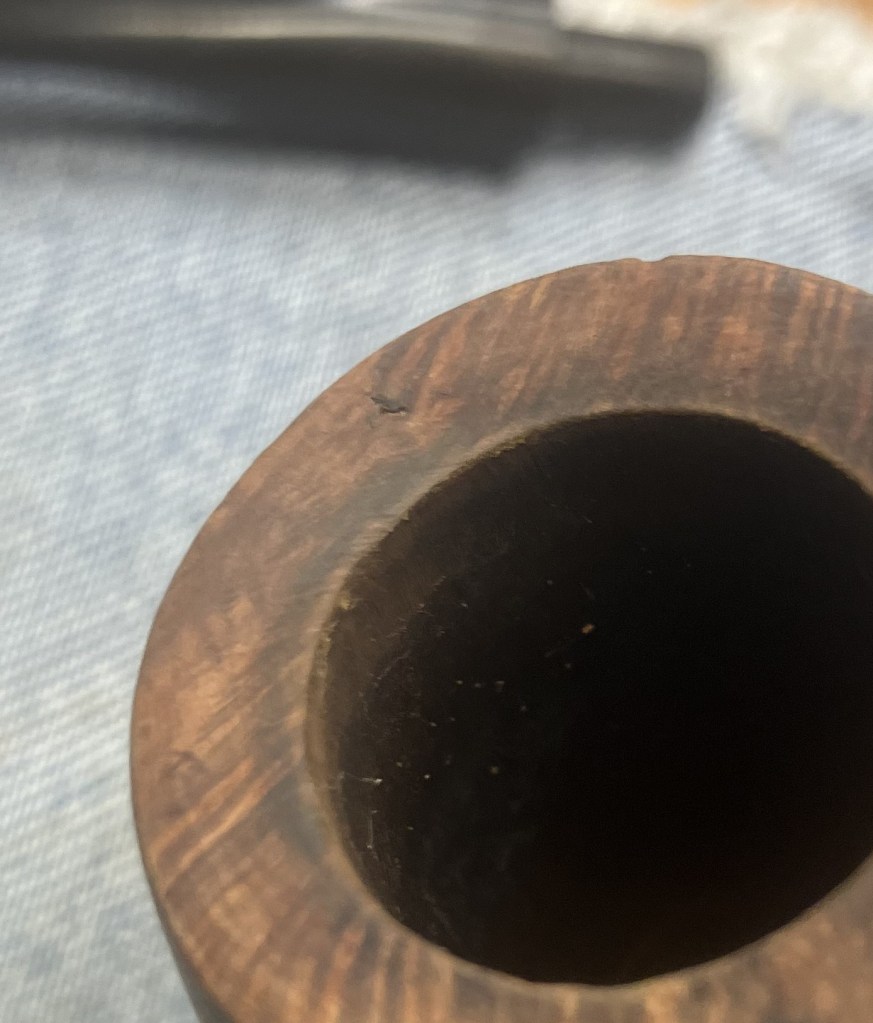
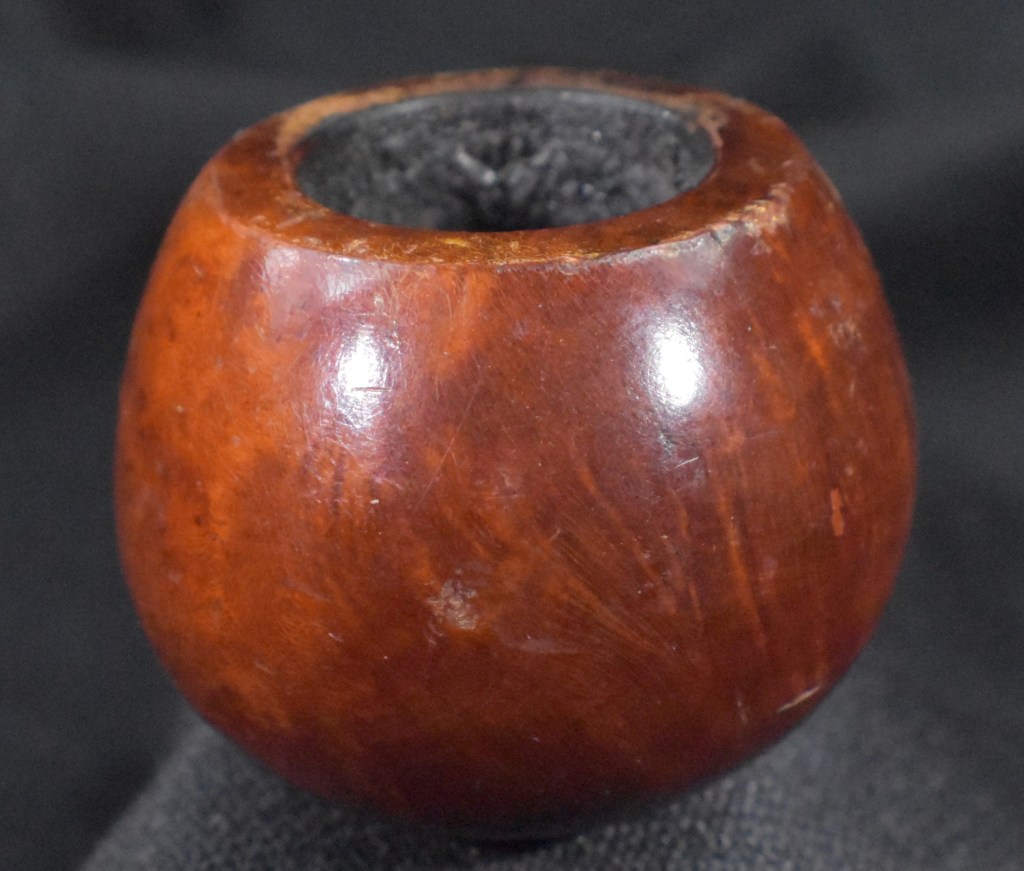
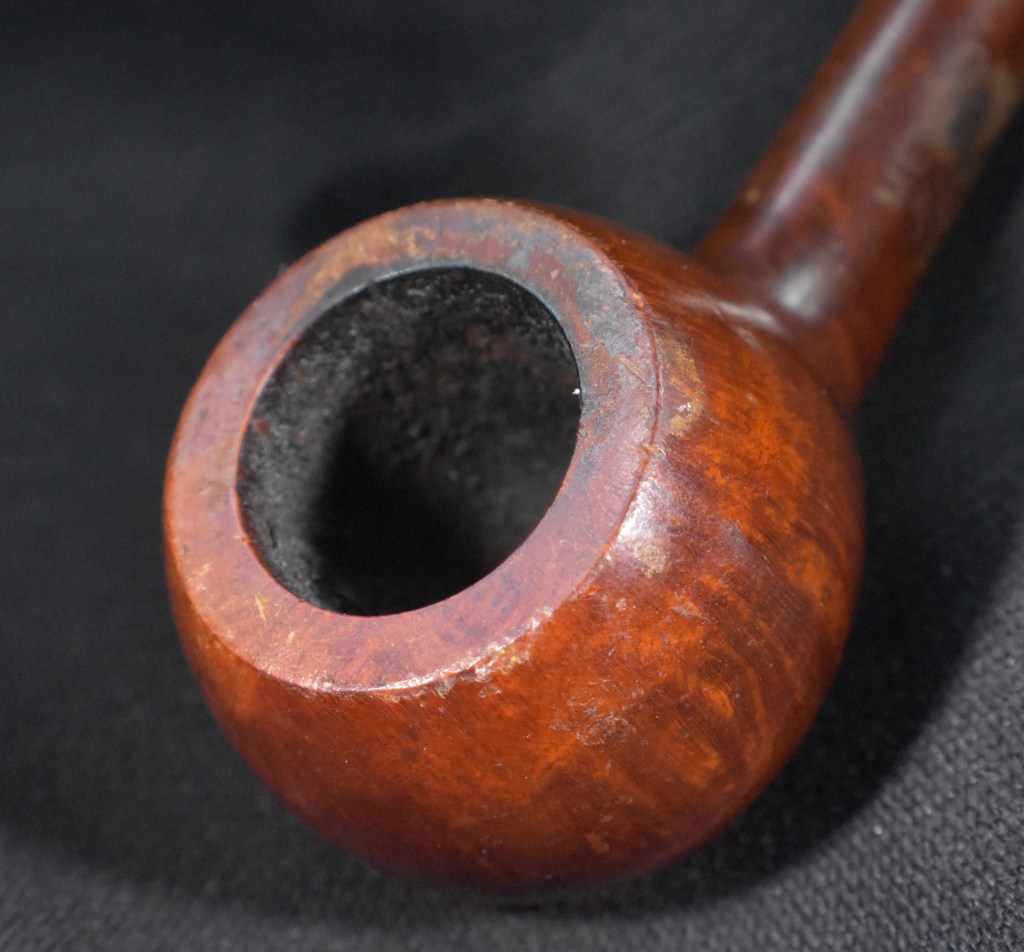
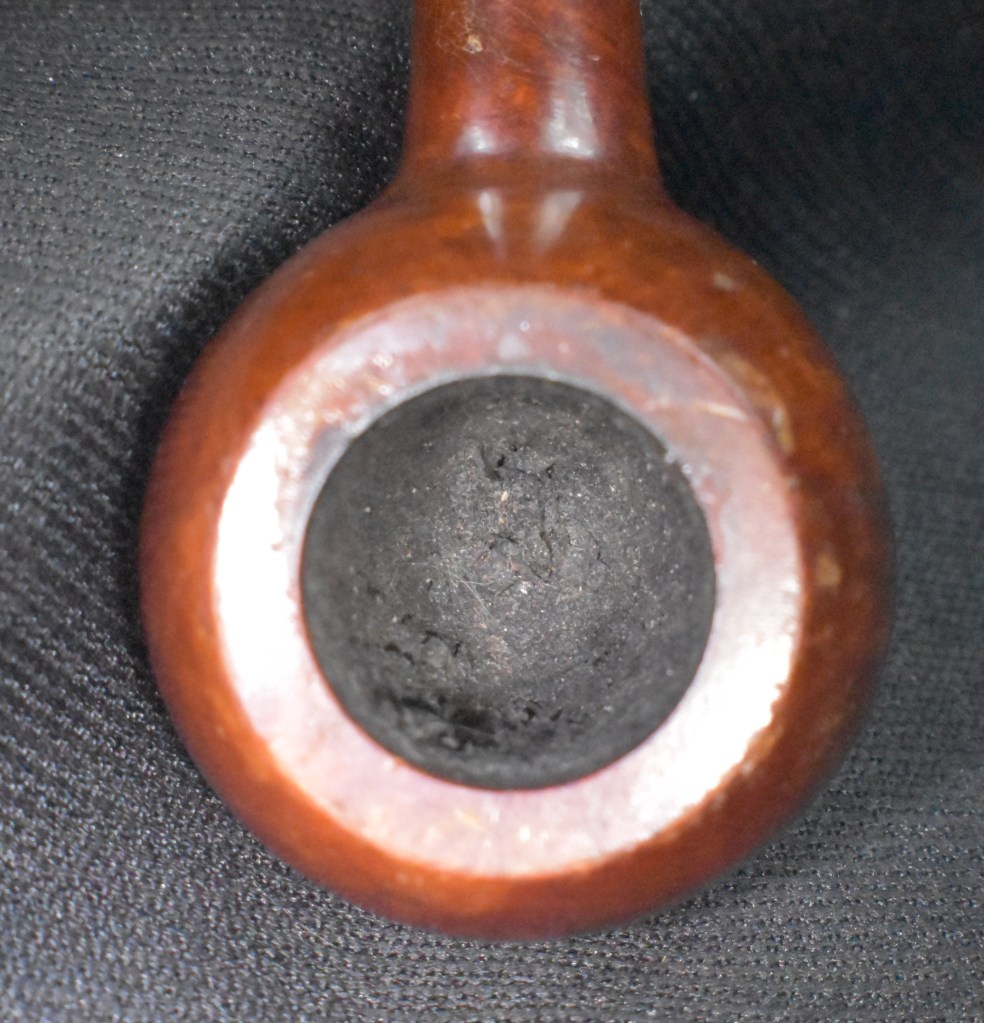
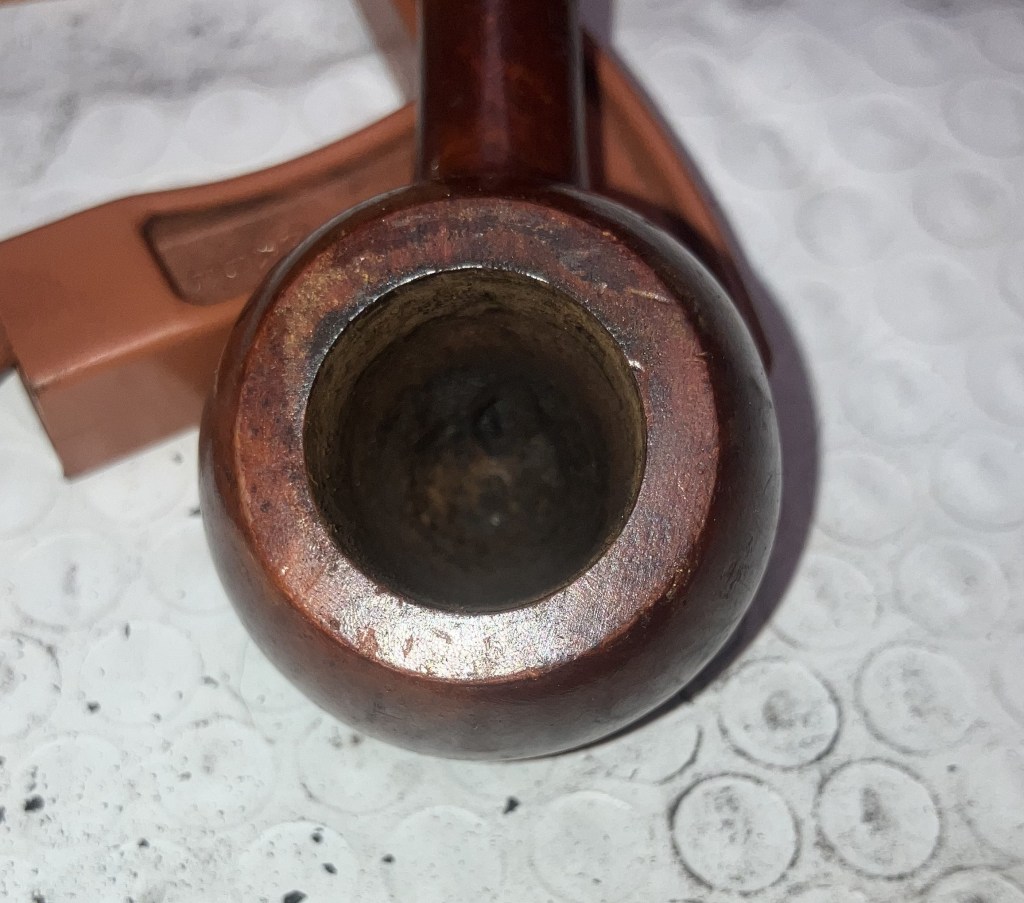
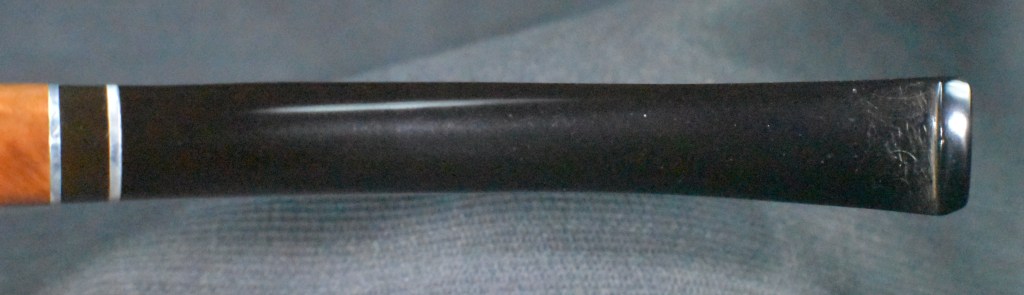
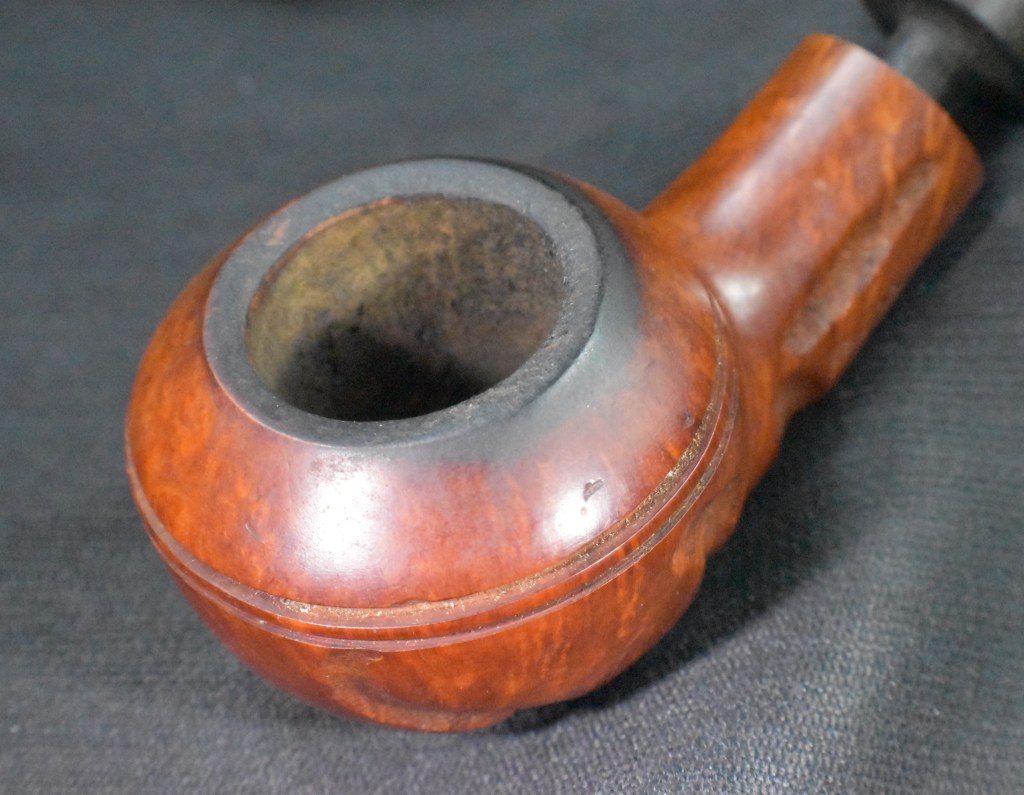
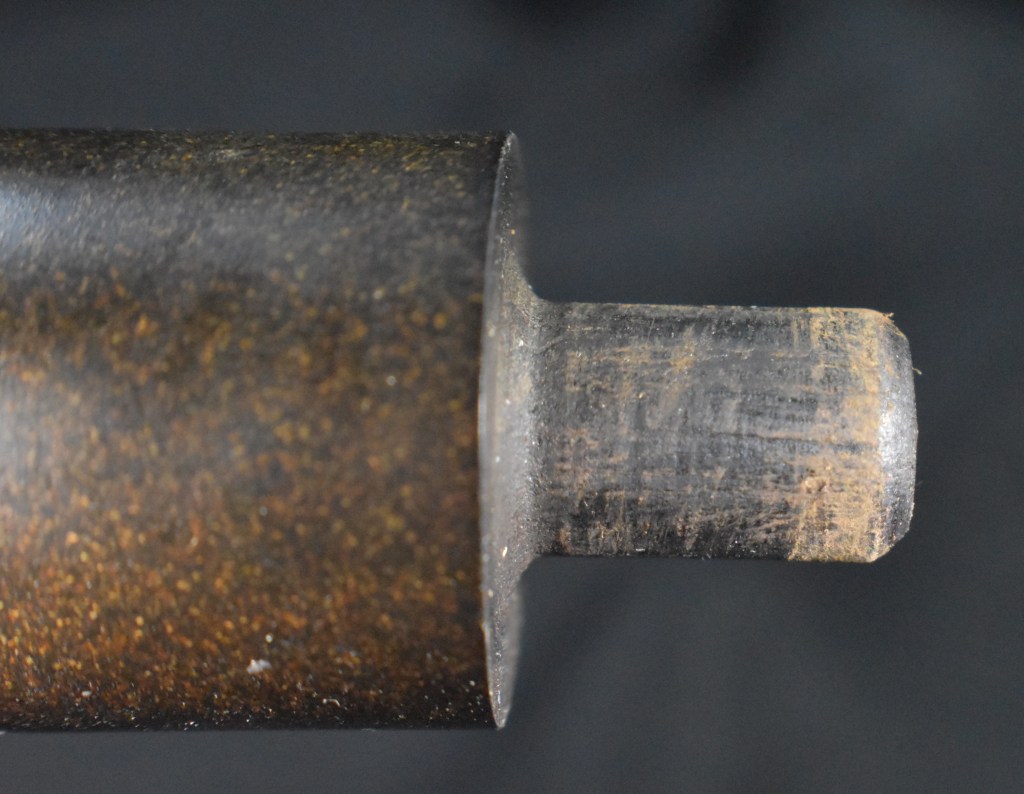
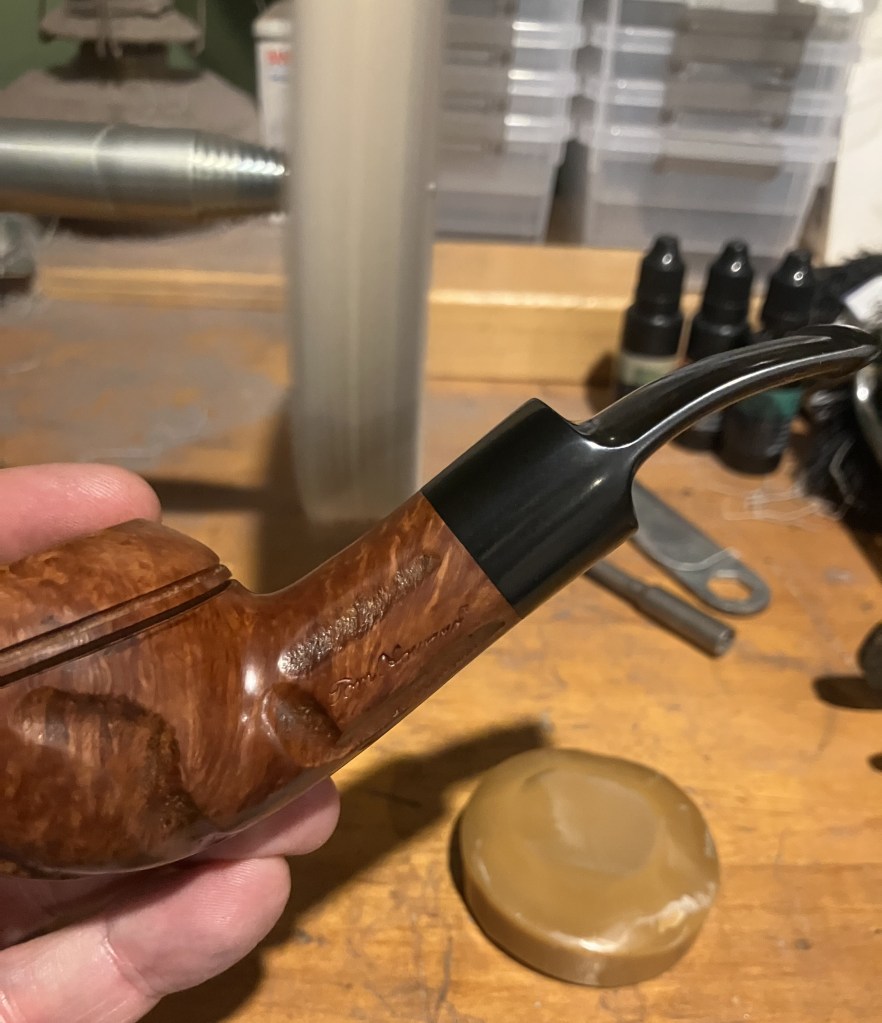
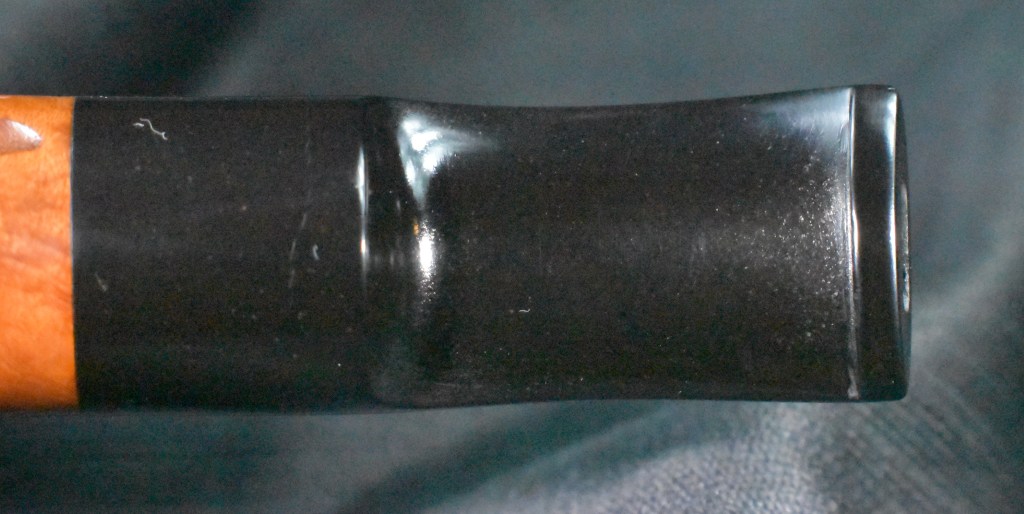
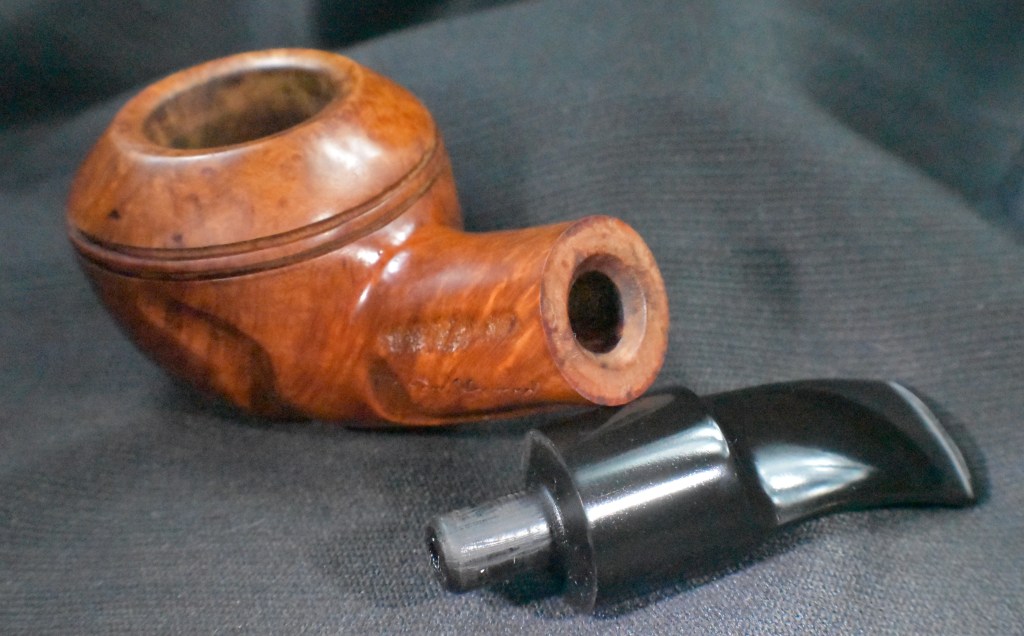
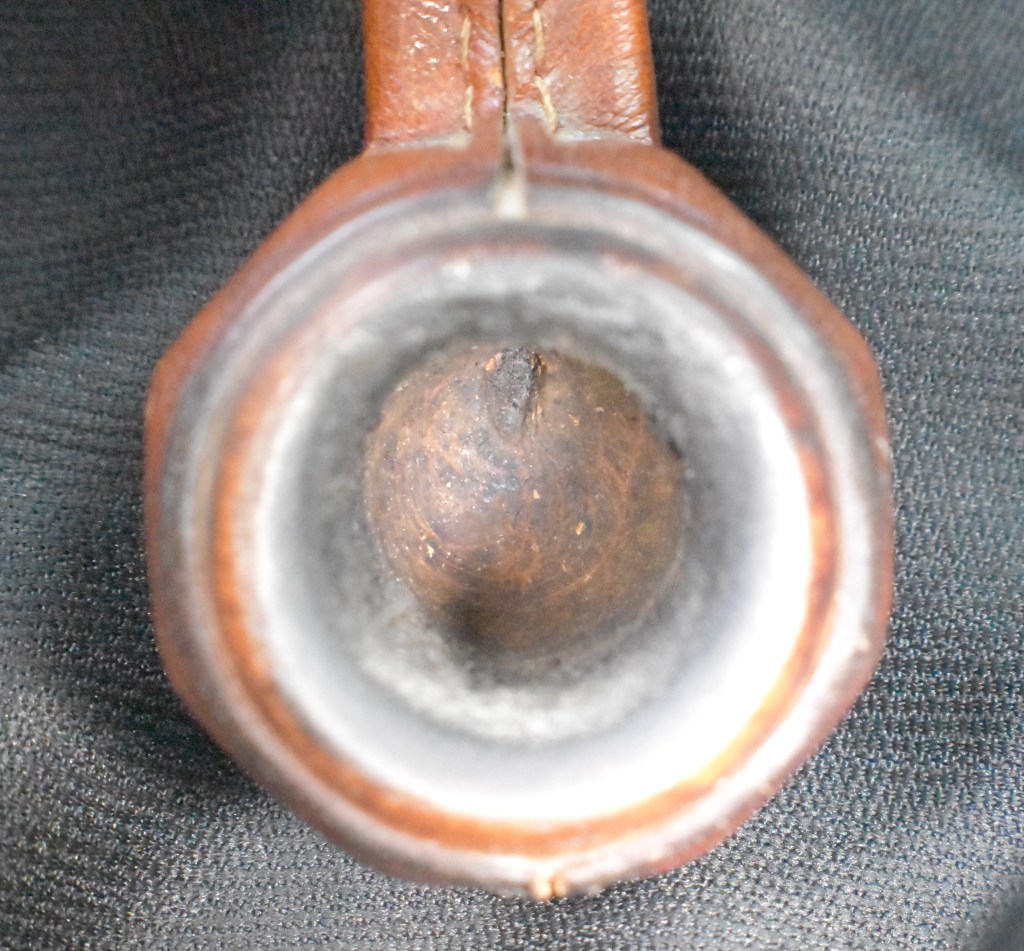
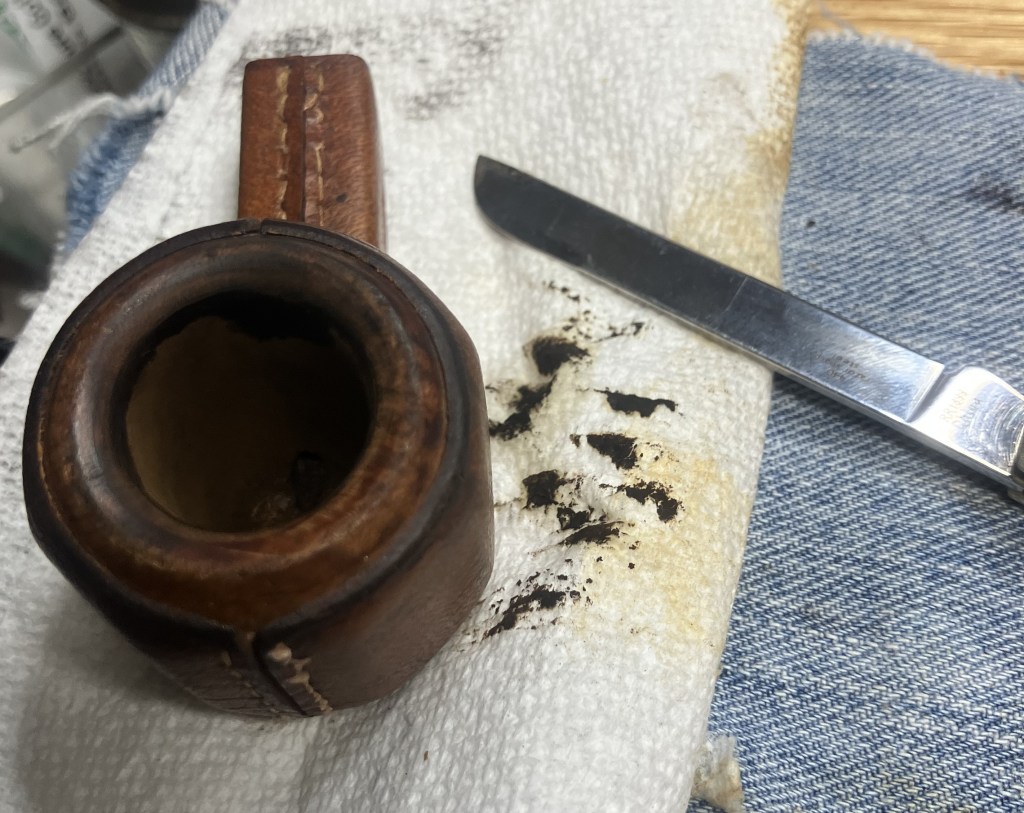
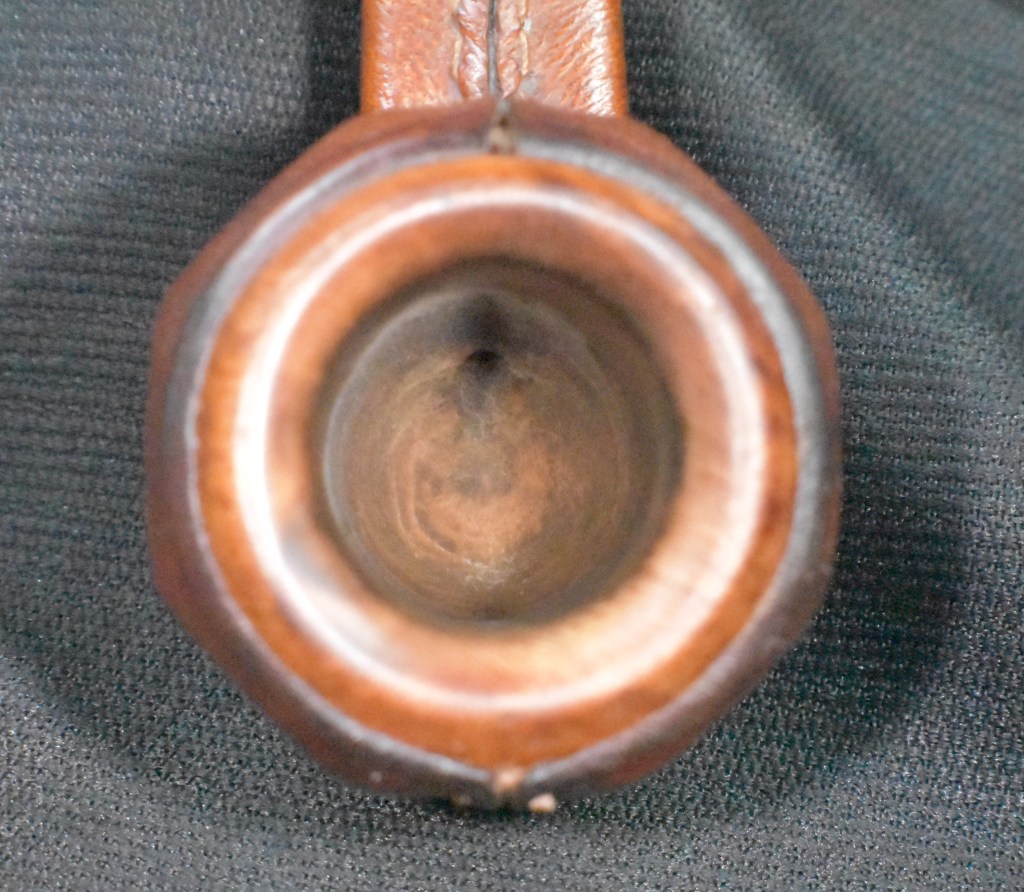
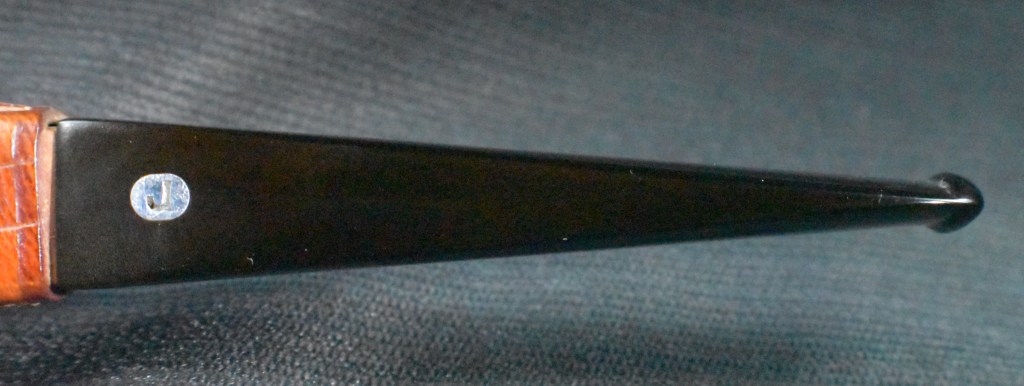
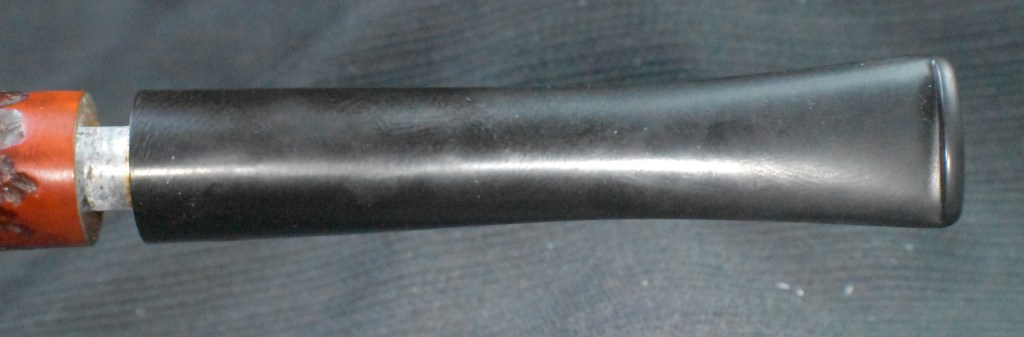
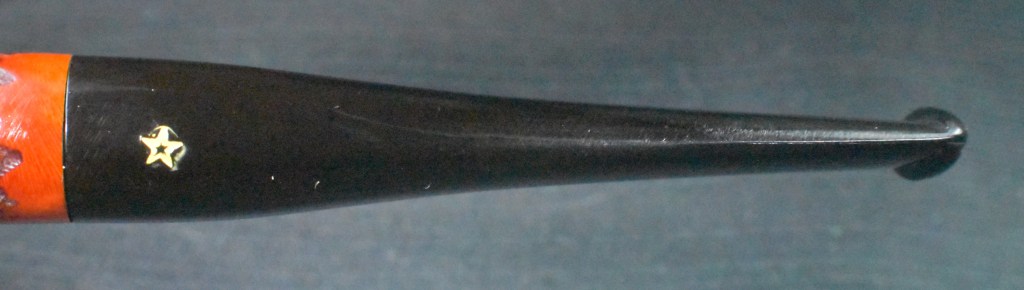
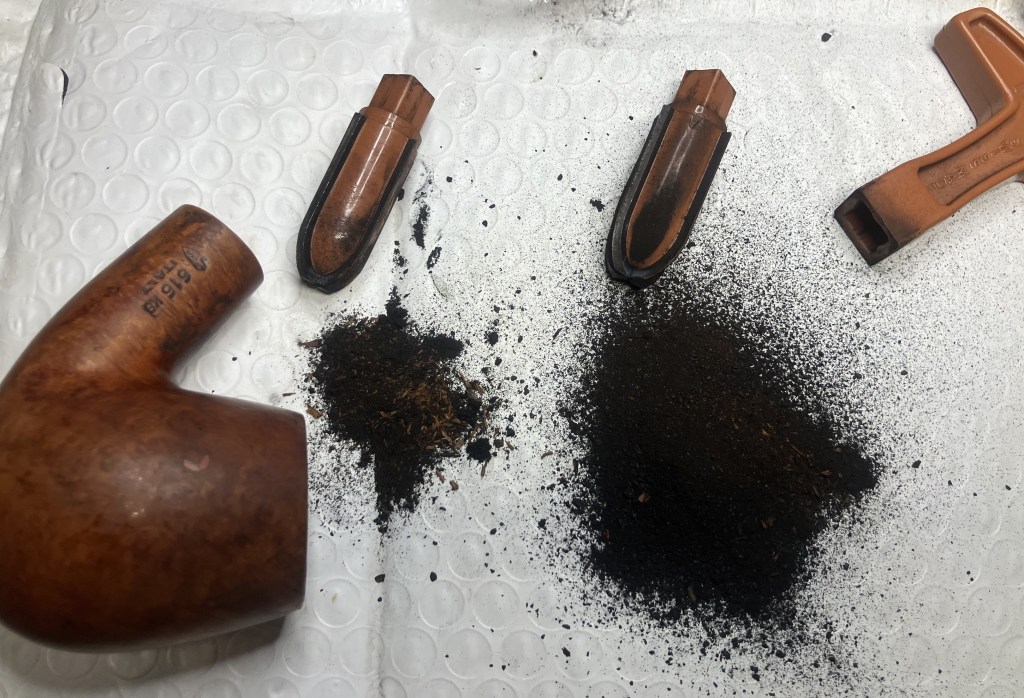
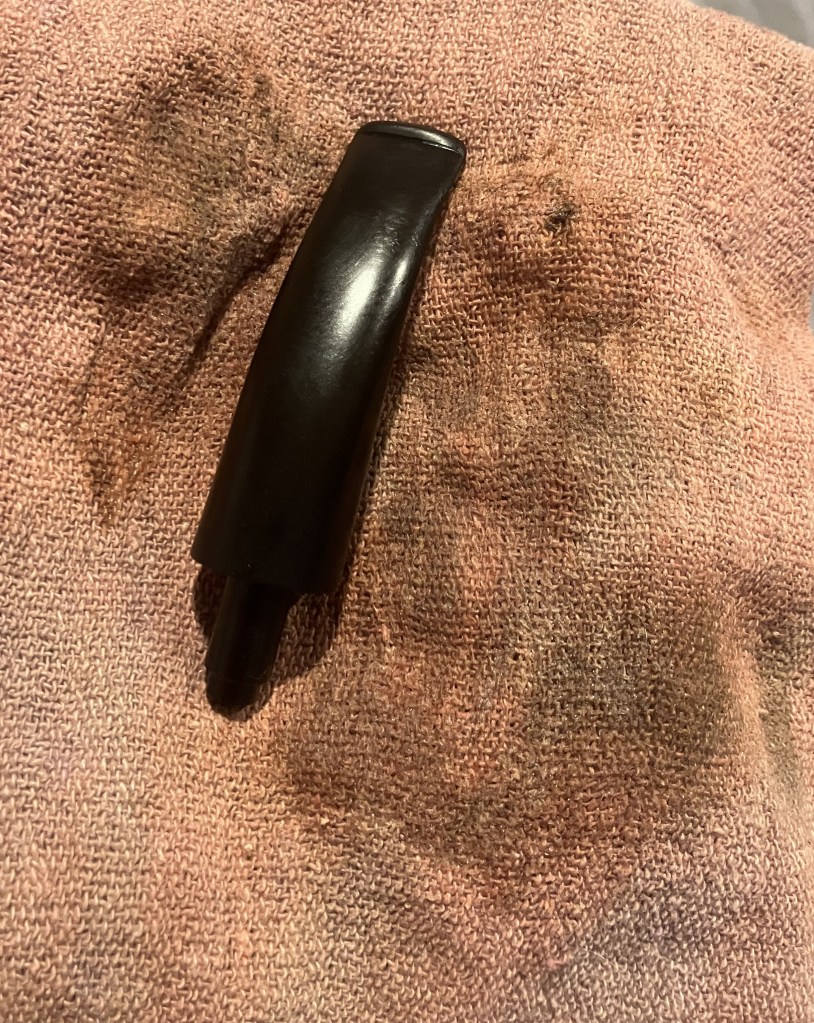
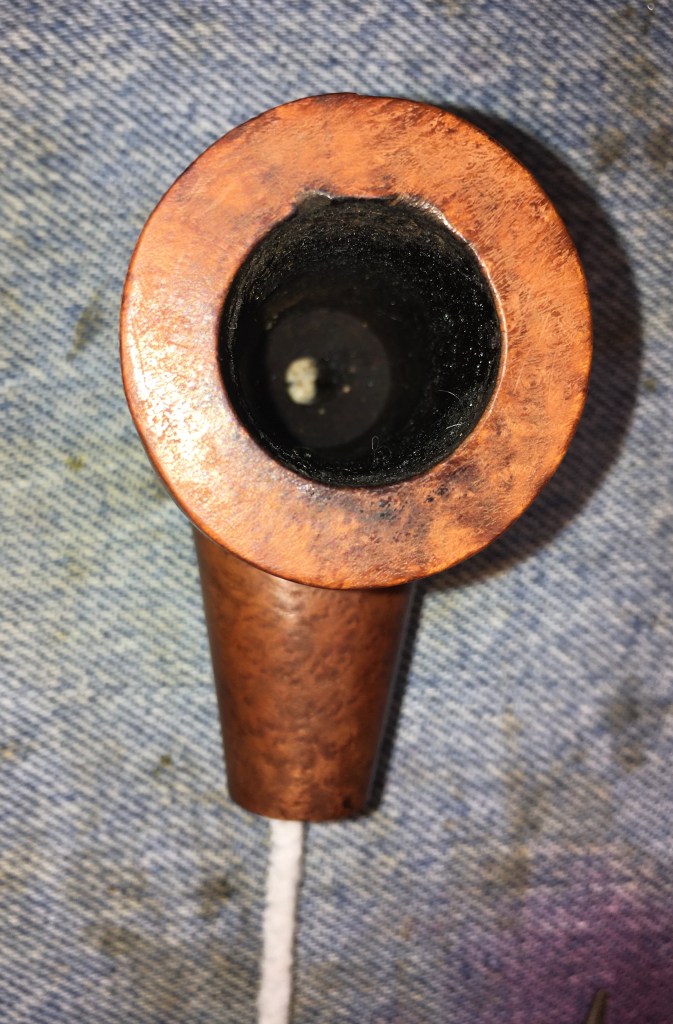
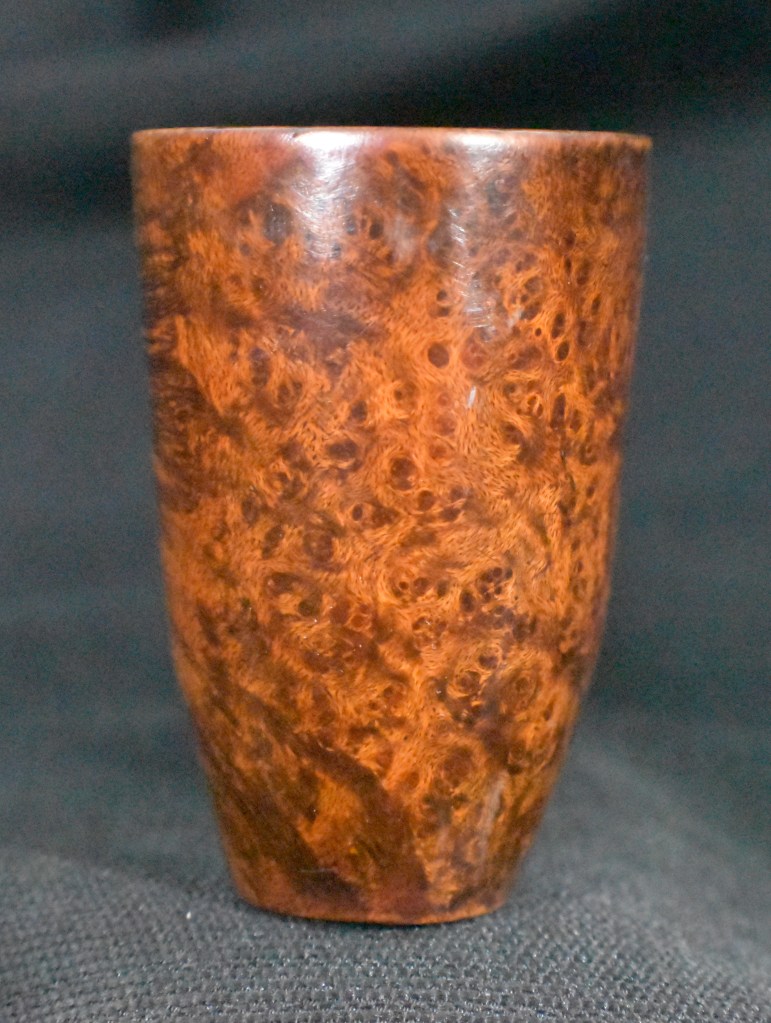
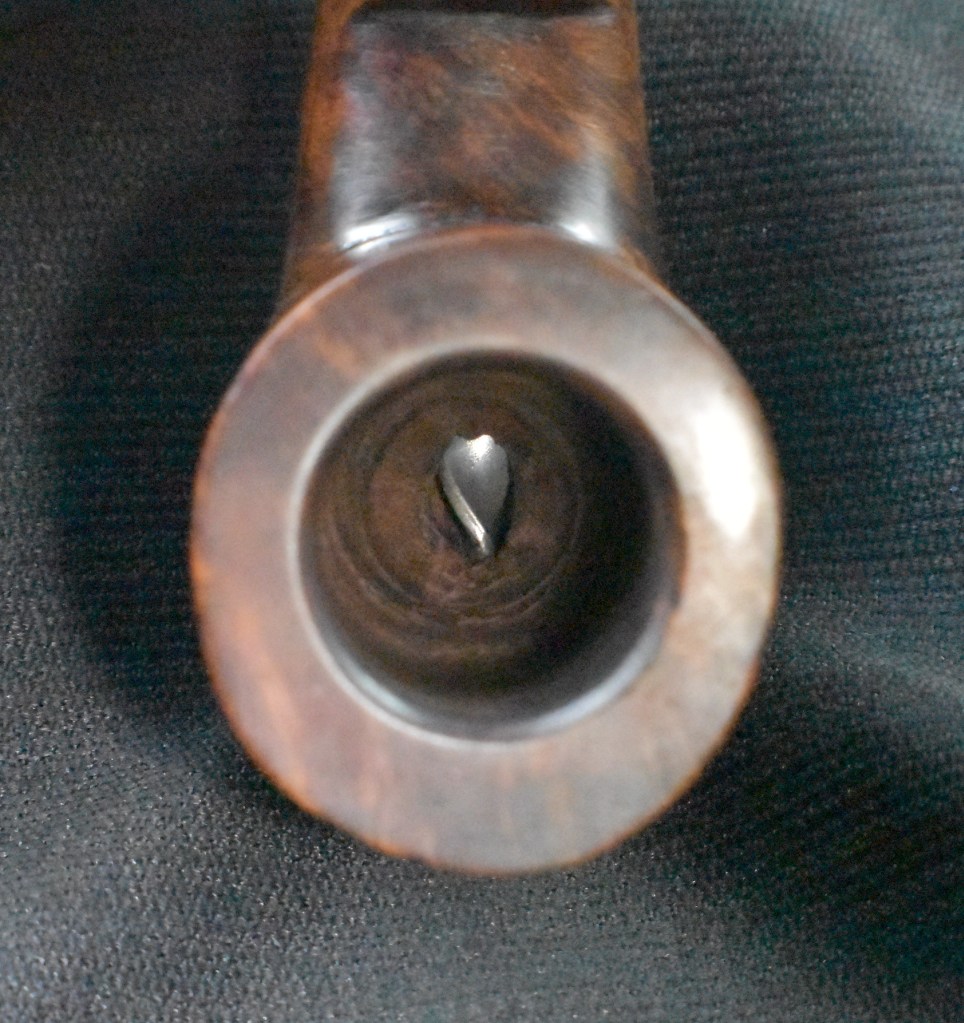
Oh the horror. It’s not that bad, really. The pipe was filthy and heavily used. That should tell me that it was a great smoking pipe. Why else would someone use it that much, right? I failed to photograph the stem for the “before” section, apologies. It was in bad shape. The Medico stems that J. Rettke used were a mix of nylon and vulcanite. I say this because I have encountered both in my Rettke restorations. This one was a well chewed nylon stem. The bowl had a thick cake and scraps of tobacco still within. There was a thick lava deposit on the rim. The exterior of the pipe was dirty and I thought this filth was masking the briar grain. The screw in aluminum “whirler” (J. Rettke’s name for the part) was stuck. This one was going to require some time.
Background
I will use the research I did from my first J. Rettke pipe for the “Background” section and include it here:
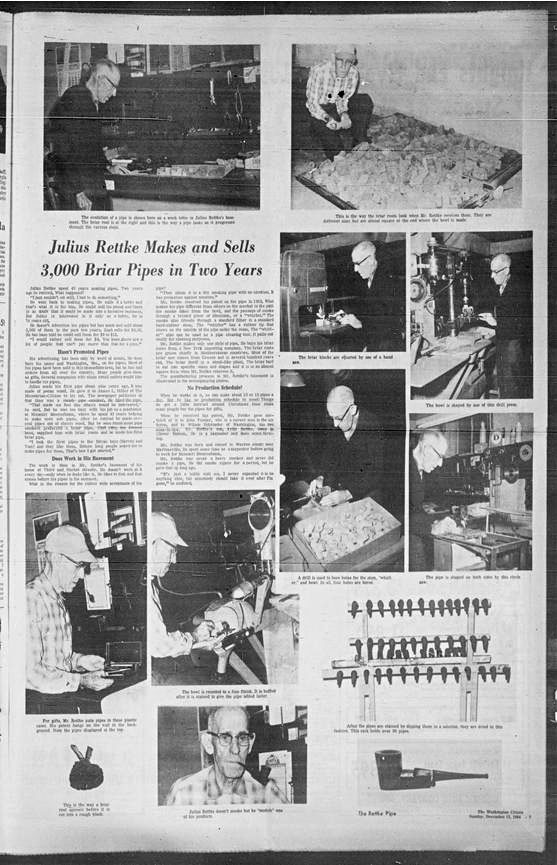
“I started my research on Rettke pipes with a pipedia.org search on “rettke”. Below is the short entry from that site.

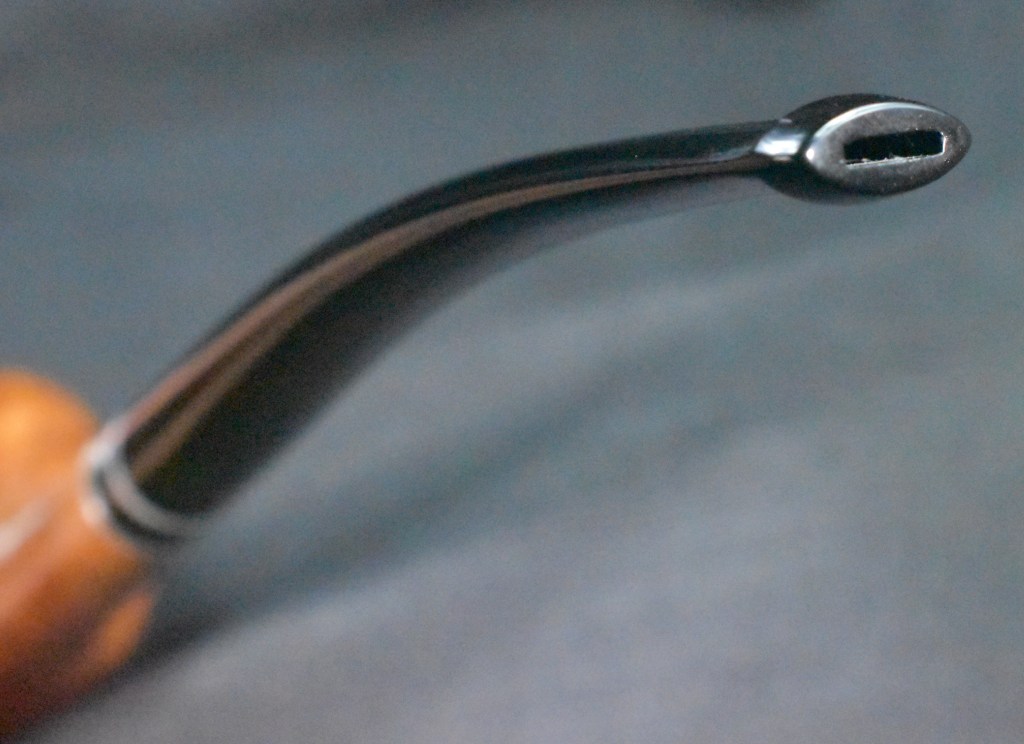
“J. Rettke, Washington MO, PAT. June 12 1962. The silver colored thumbscrew below the stem unscrews and is a 2⅜” corkscrew like device. The company is now gone having been purchased by Missouri Meerschaum. This odd looking pipe is made of briar and has a lower chamber with a metal condenser and an upper chamber that contains a filter. The smoke leaves the bowl thru the lower chamber then into the upper and out the stem. It smokes dry and cool. It has a large bowl.”
(Rettke – Pipedia) I could not read the above newspaper article even by zooming in.
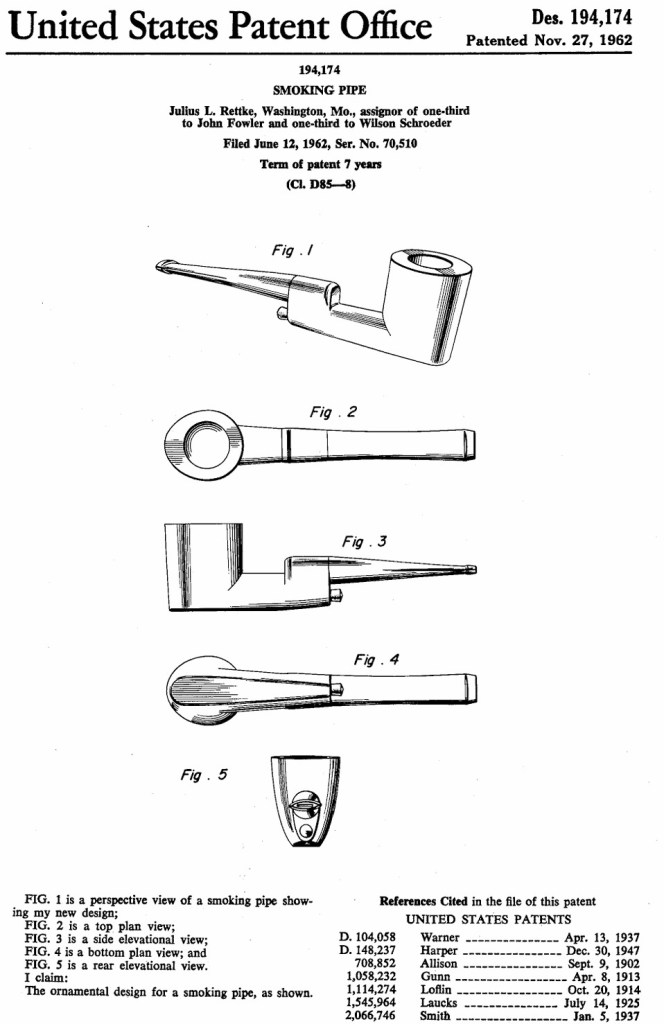
The next search was using Google patent and searching for “Rettke 1962”. This search turned up the original patent diagrams:

(1498404097506821639-D0194174)
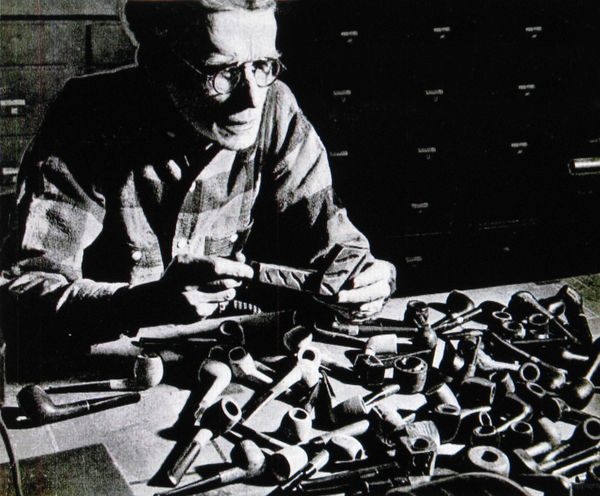
My next search was for Steve Laug’s Rebornpipes.com. Steve Laug did a Rettke restoration back in 2017 and contained links to the State Historical Society of Missouri. I could not get this site to produce the same document or to even display the link Mr. Laug has in his blog post. I will link Steve Laug’s blog here: Restoring a J. Rettke Patent Pipe from Washington, Missouri | rebornpipes. It is a very well written and researched piece that does contain a transcript of the newspaper article as well as several photographs of Julius Rettke and the pipe making process.
My favorite quotes from the newspaper article are,
“The work is done in Mr. Rettke’s basement of his home at Third and Market streets. He doesn’t work at it every day only when he feels like it. He likes to fish and that comes before his pipes in the summer.”
I can completely understand the lack of enthusiasm for pipe work when fishing is taking a priority.
And this quote:
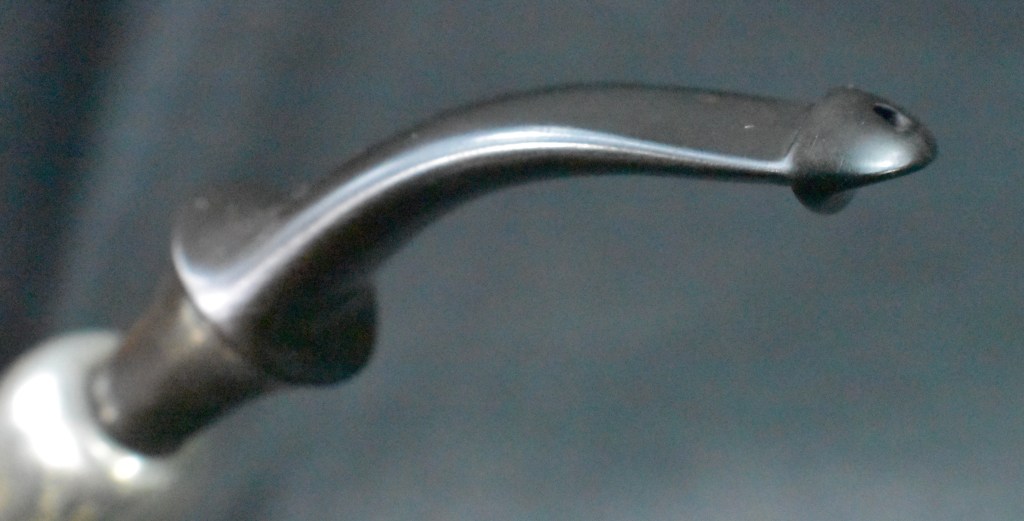
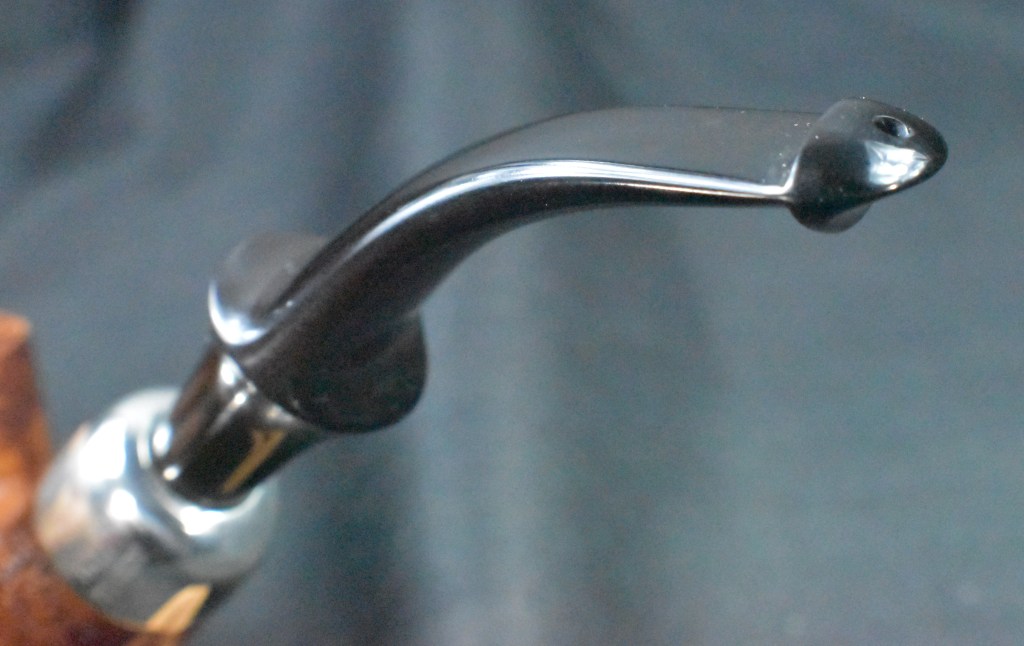
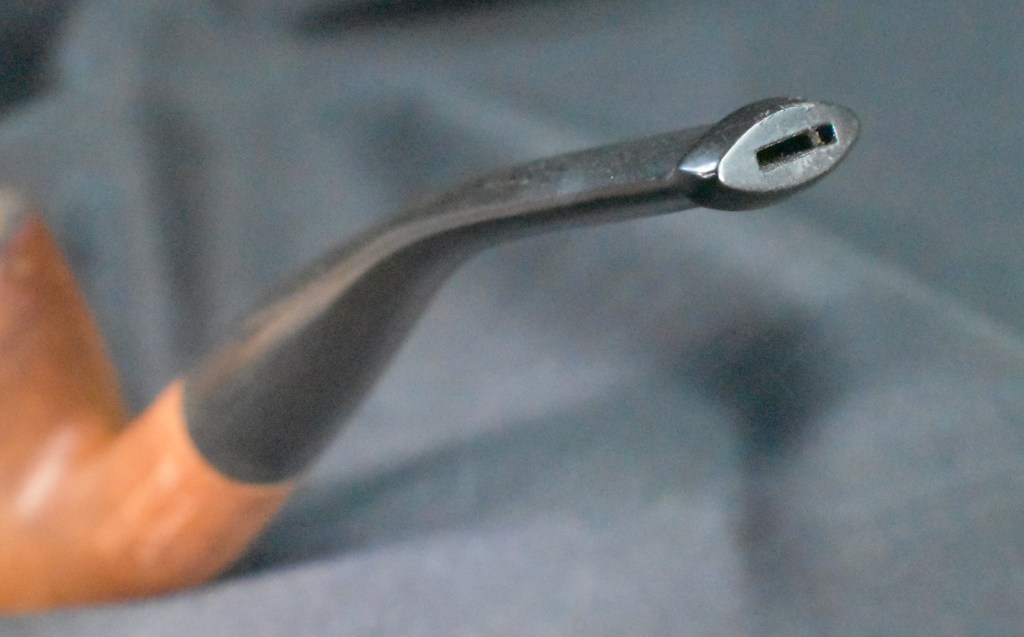
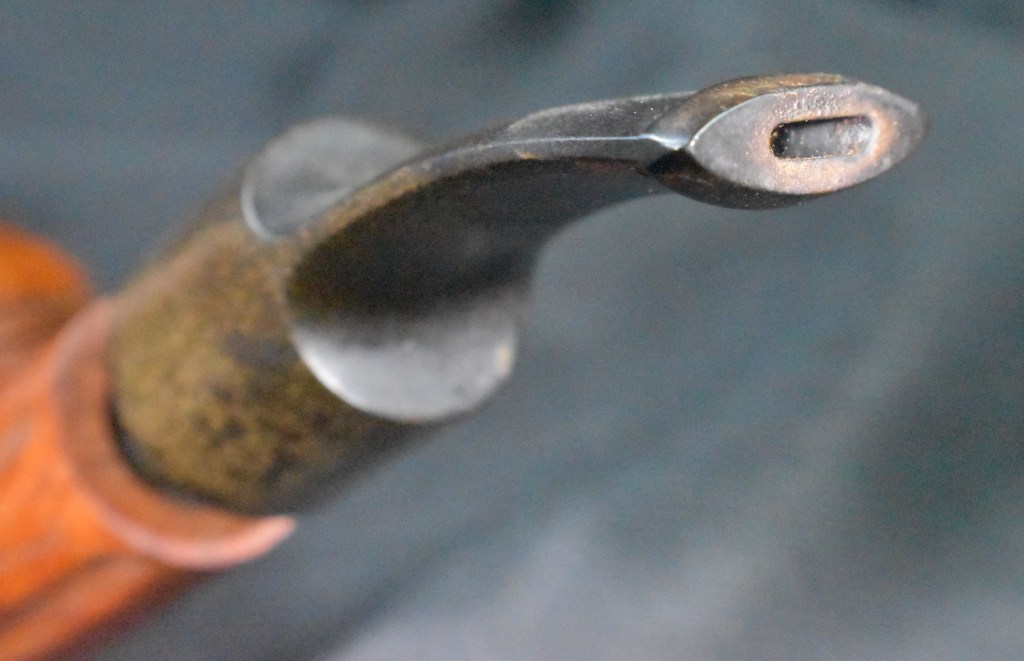
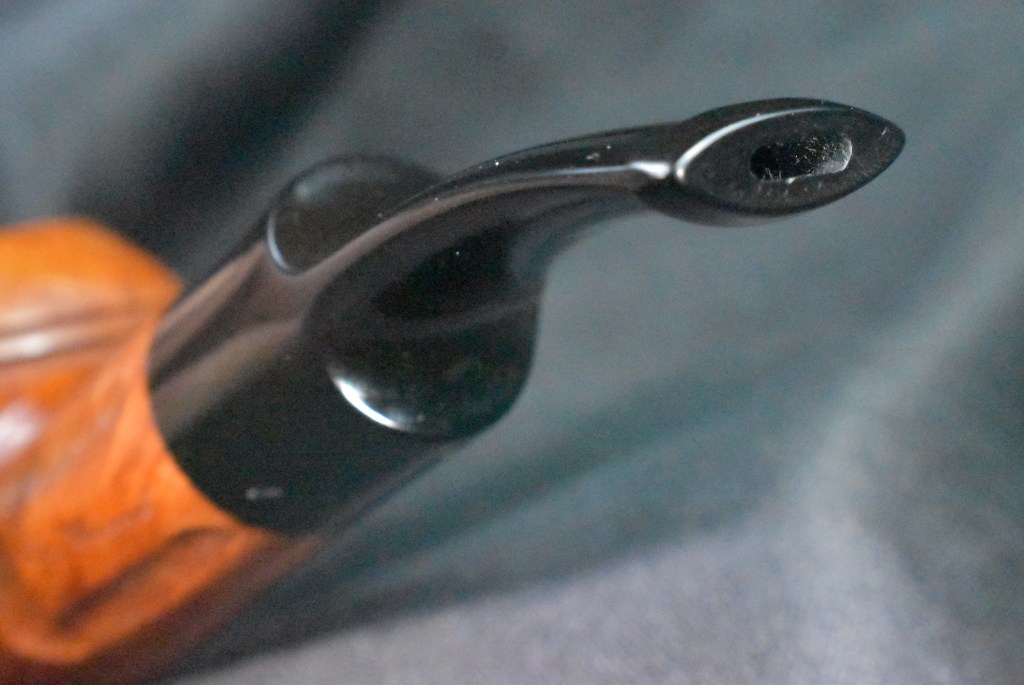
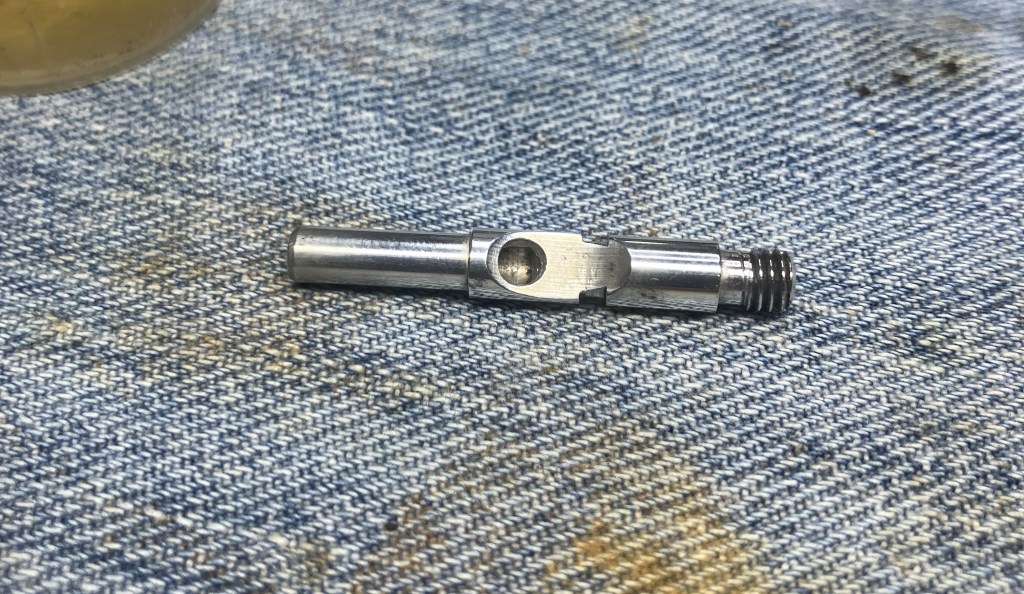
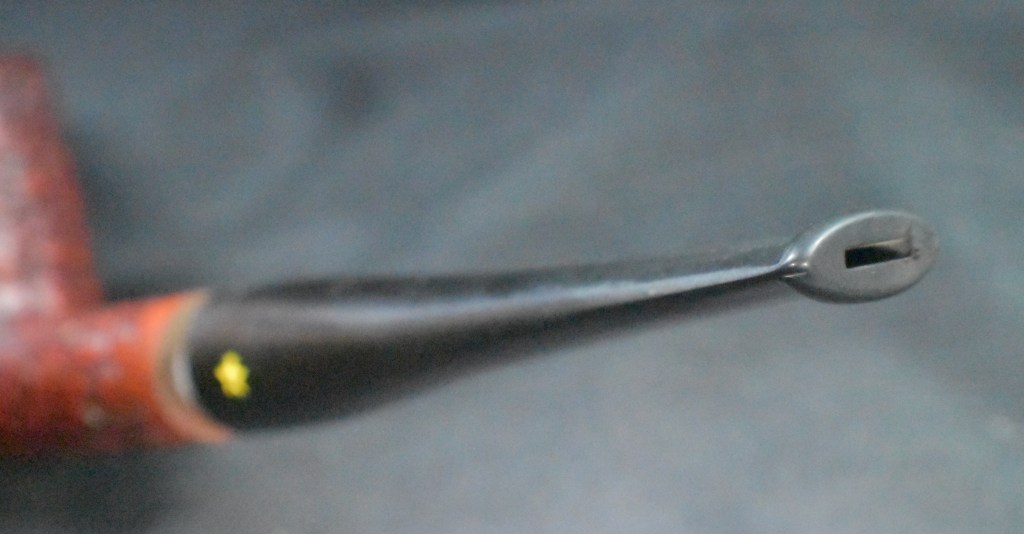
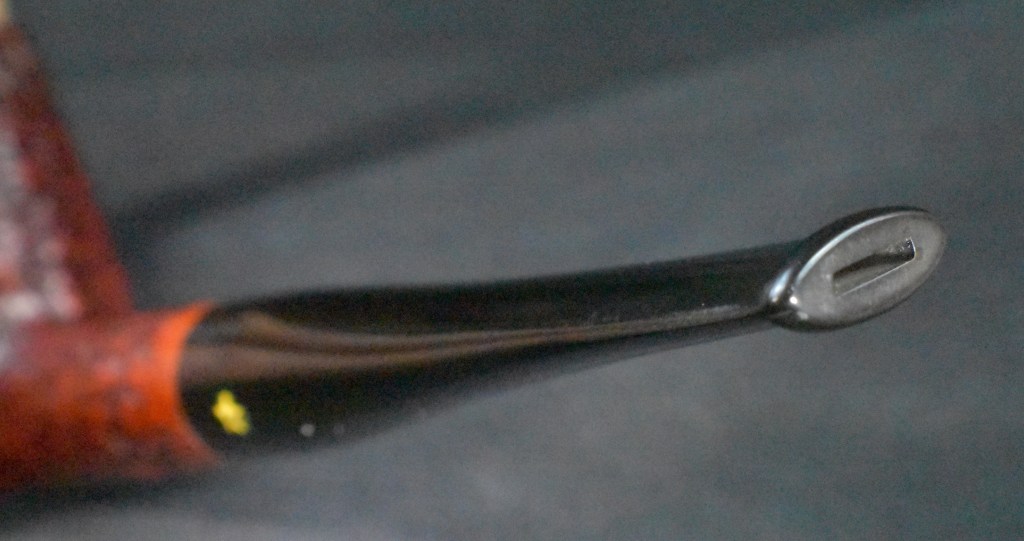
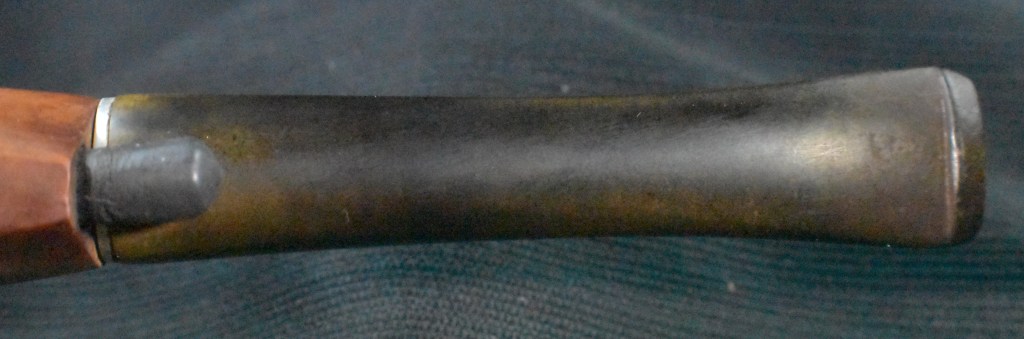
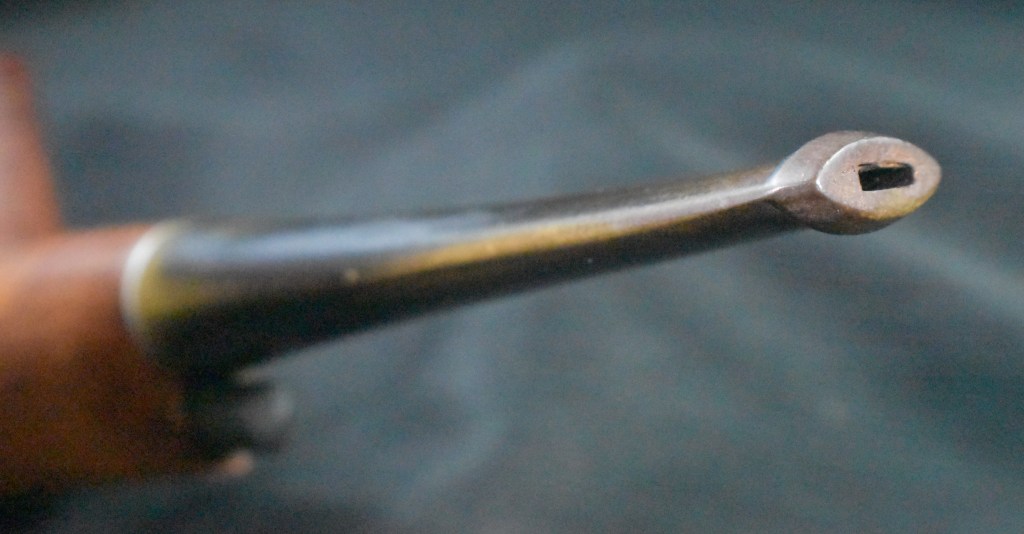
“Mr. Rettke received his patent on his pipe in 1962. What makes his pipe different from others on the market is the path the smoke takes from the bowl, and the passage of smoke through a twisted piece of aluminum, or a “whirler.” The smoke also travels through a standard filter in a standard hard-rubber stem. The “whirler” has a rubber tip that shows on the outside of the pipe under the stem. The “whirler” also can be used as a pipe cleaning tool. It pulls out easily for cleaning purposes.” Here the newspaper article talks about a rubber tipped “whirler”. That is how the whirler of my pipe is made. The other Rettke pipes I saw in photos all had a knurled aluminum tip. This little fact is mostly non-important, I just found it interesting.
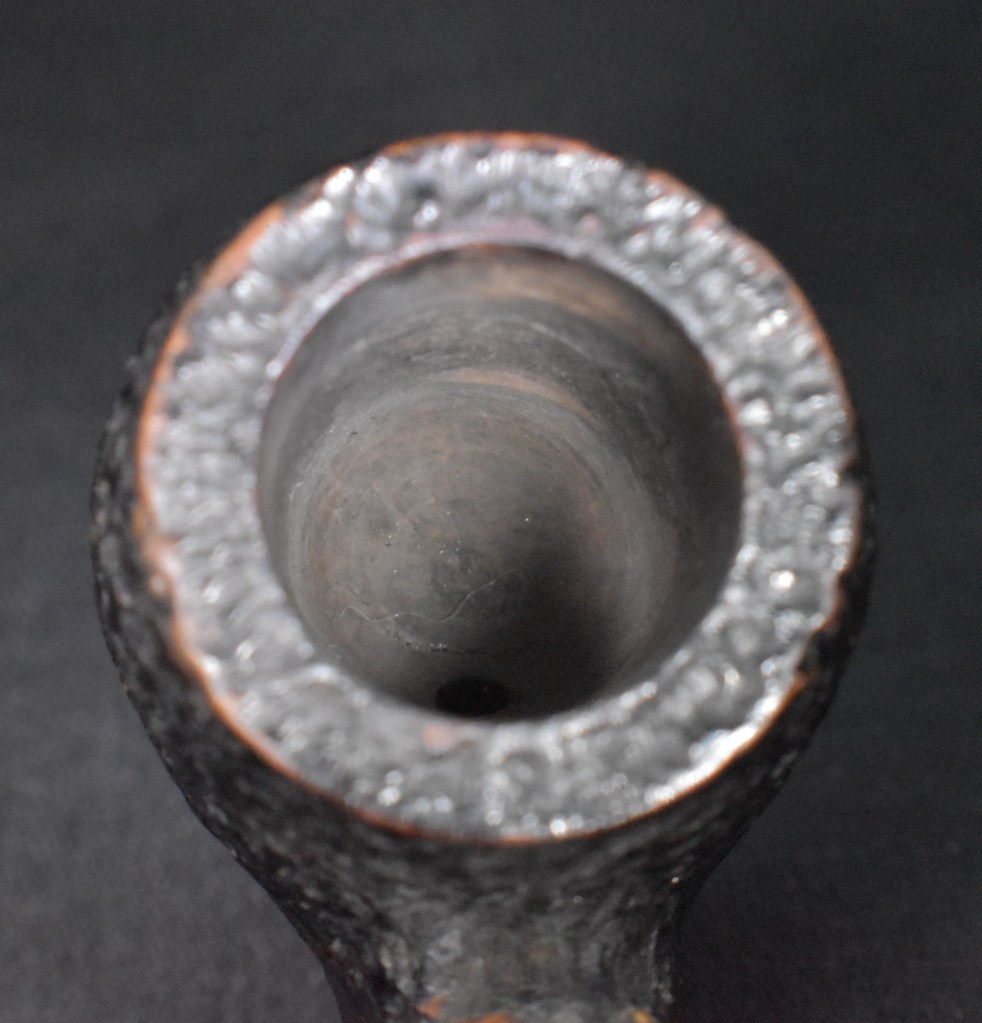
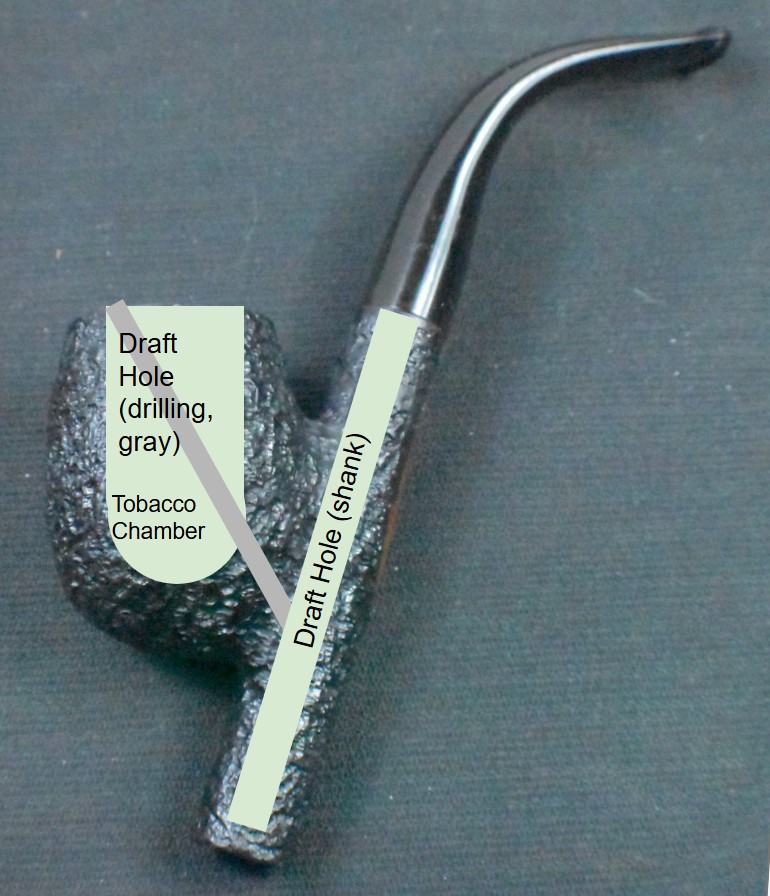
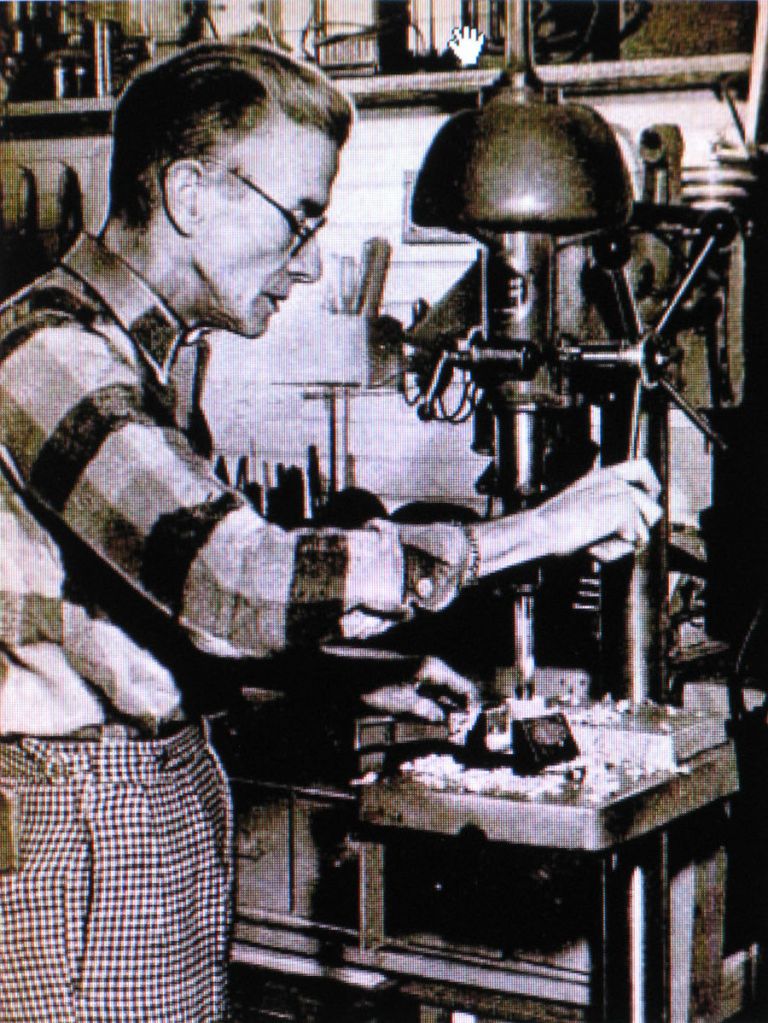
Now for the fun part: How does this pipe work? In the news article transcript it said, “four holes are bored.” under the photo of J. Rettke at the drill press. I read that after I had done my exploration of the stummel and it was in near complete agreement of what I observed.


Using the above photos, I overlaid some image features to indicate the “four” drillings.
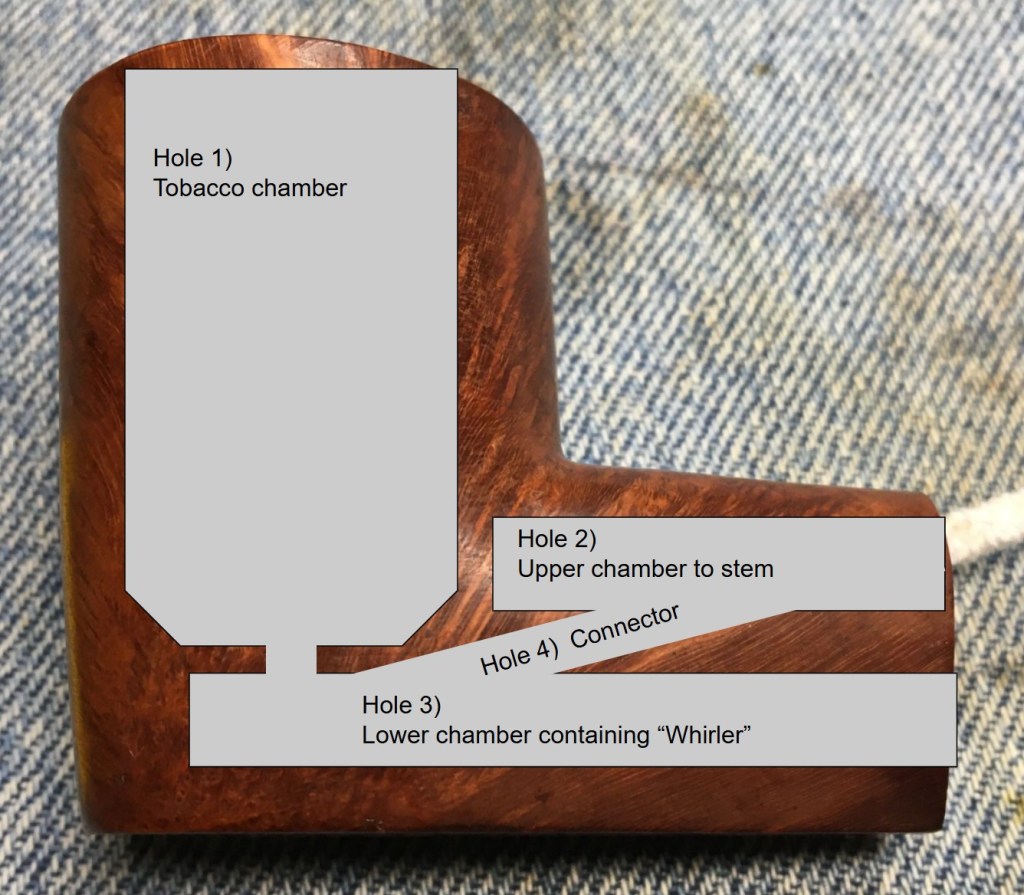
Not to be a smart ass, but I think Mr. Rettke would agree that there were actually 5 drillings. The final hole would be a hole at the bottom of the tobacco chamber connecting the airway to the lower chamber. I’ll blame the reporter for the oversight and not Mr. Rettke.” (A Rettke Pipe Restoration for the Real American Pipe Smokers (RAPS) Facebook group – NebraskaPeteGeek). It seems weird to quote myself but, I’m far too lazy to rewrite all that. Feel free to take a look at the other two Rettke restorations. Here is the second: A J. Rettke Restoration – NebraskaPeteGeek.
The Restoration
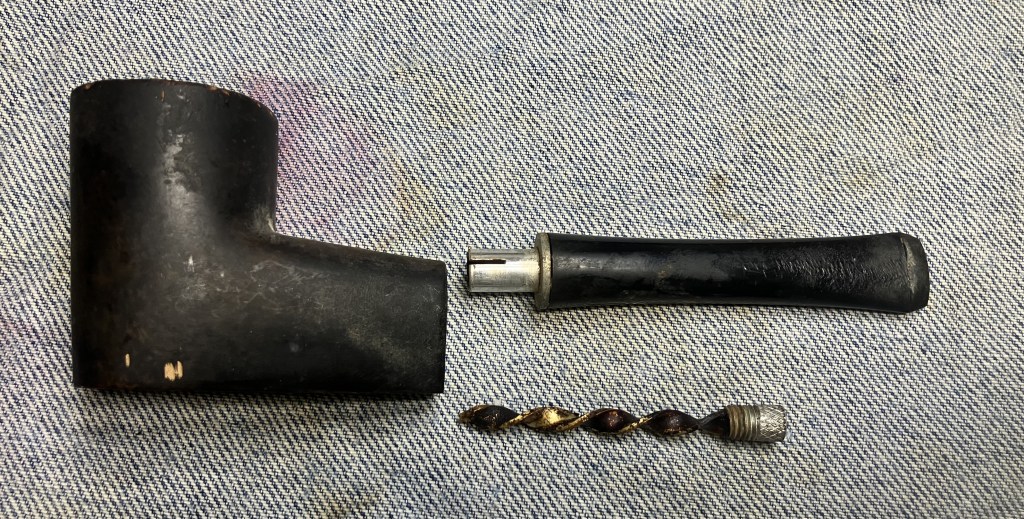
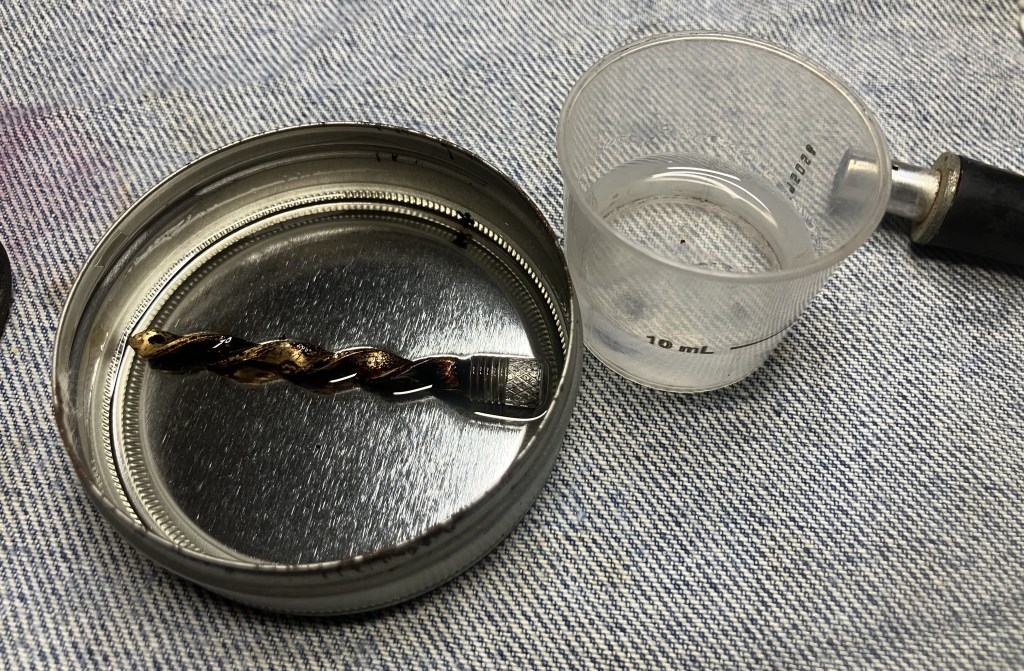
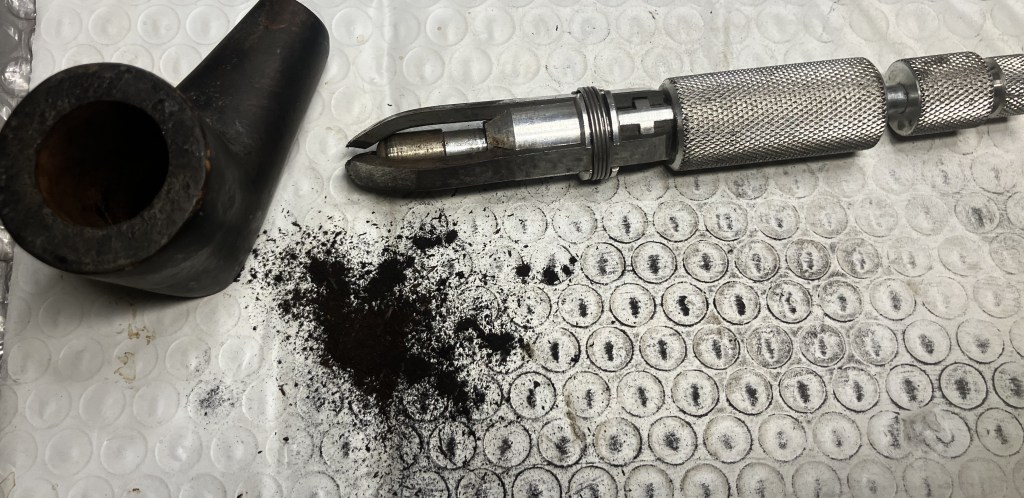
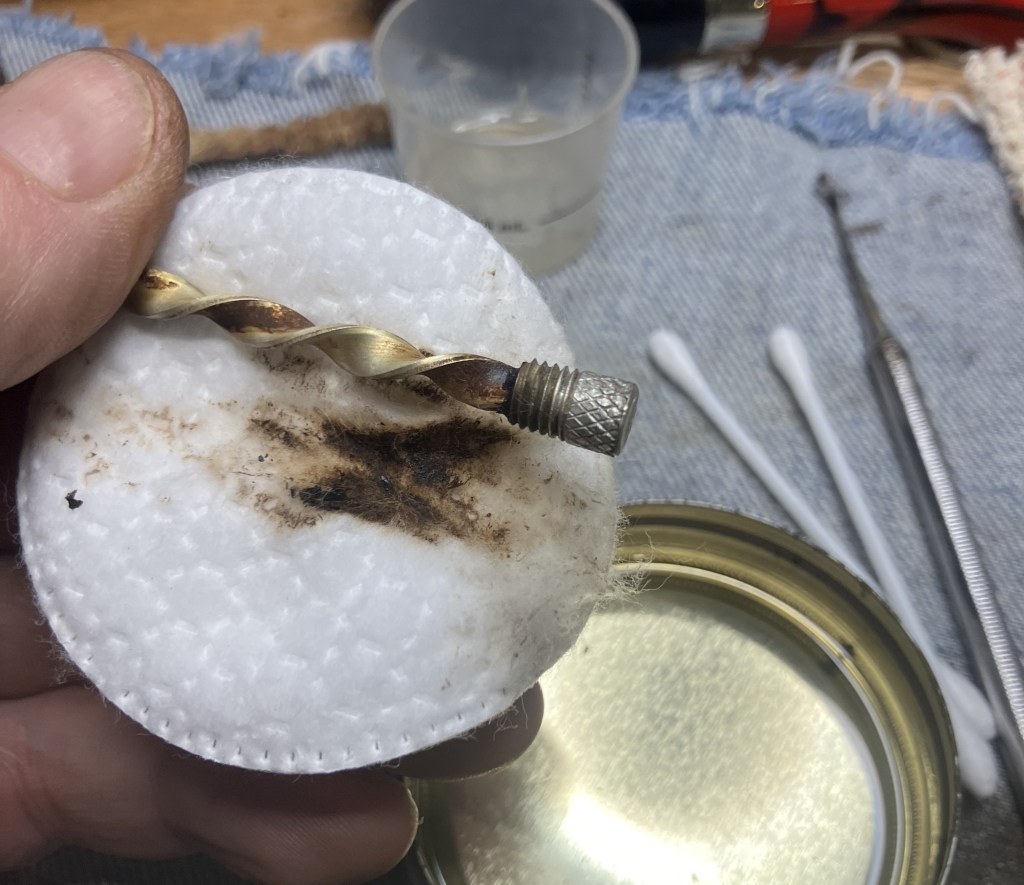
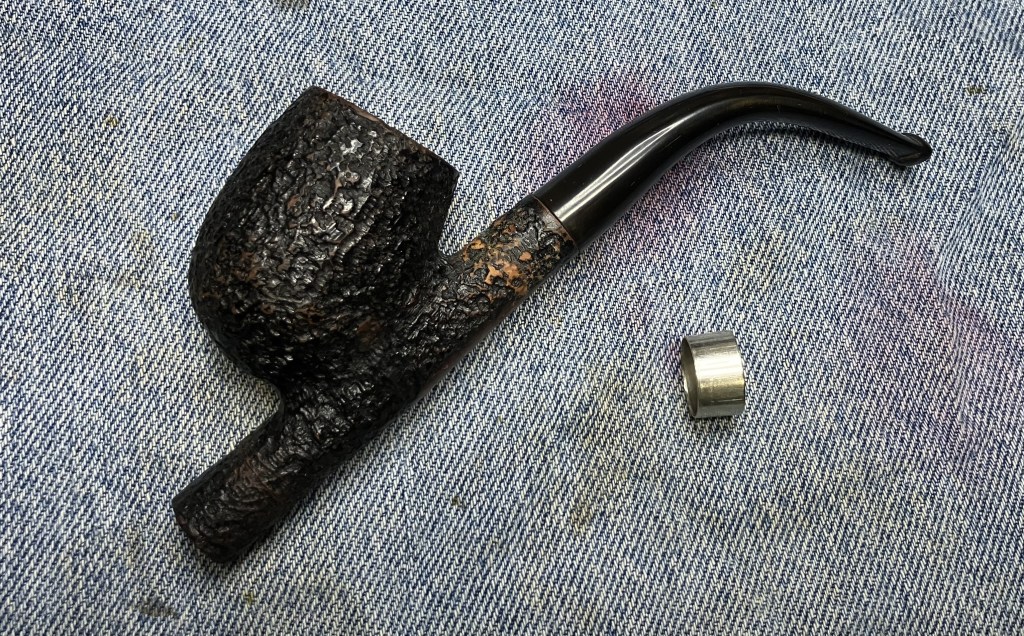
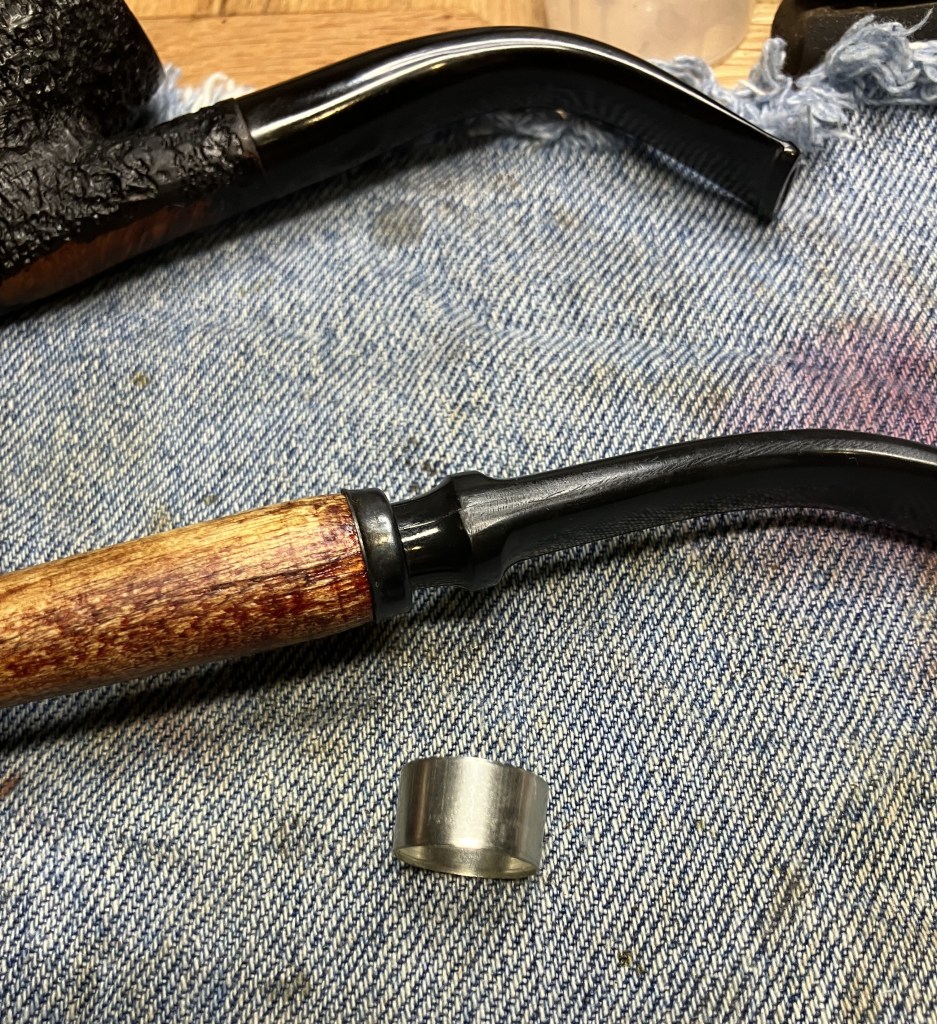
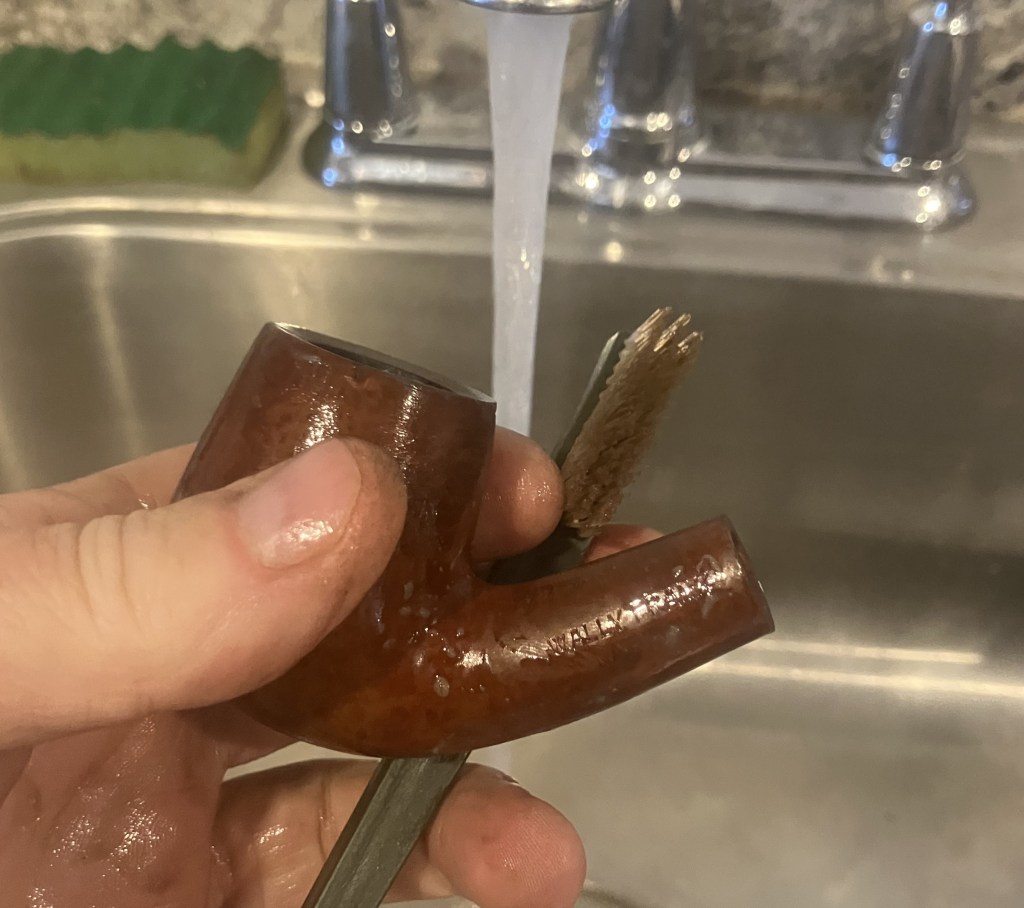
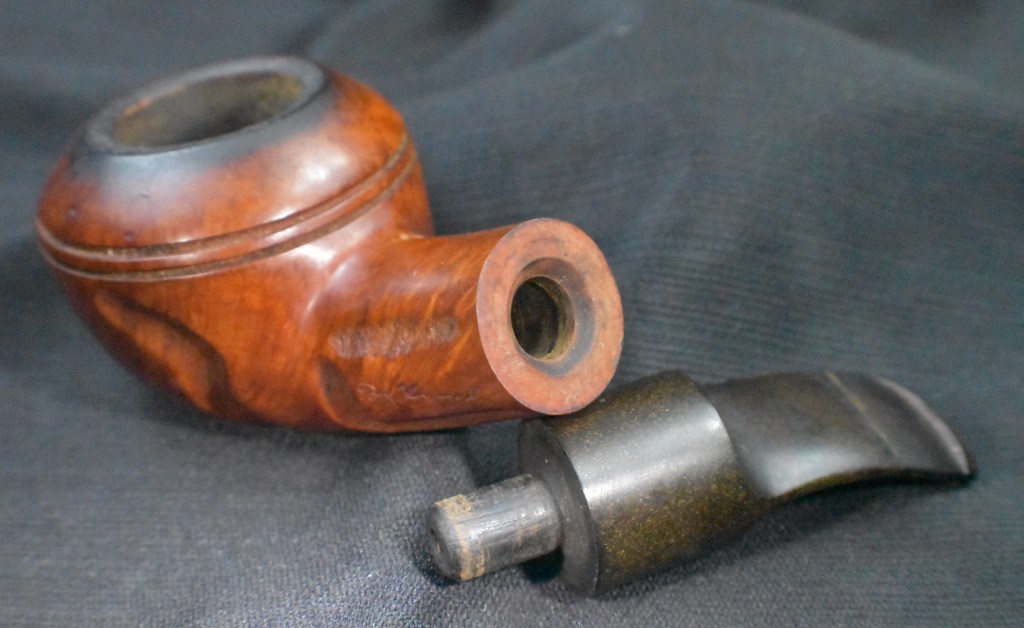
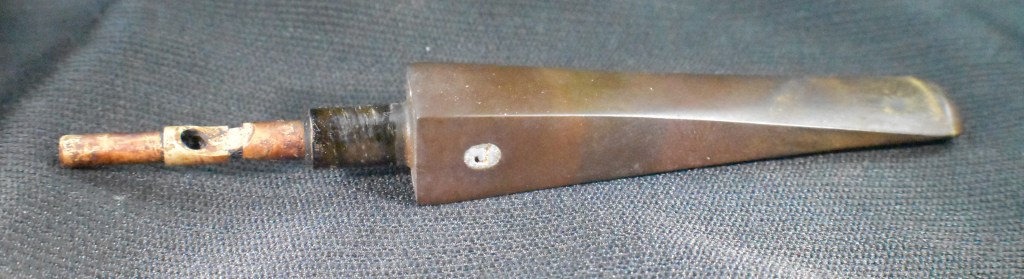
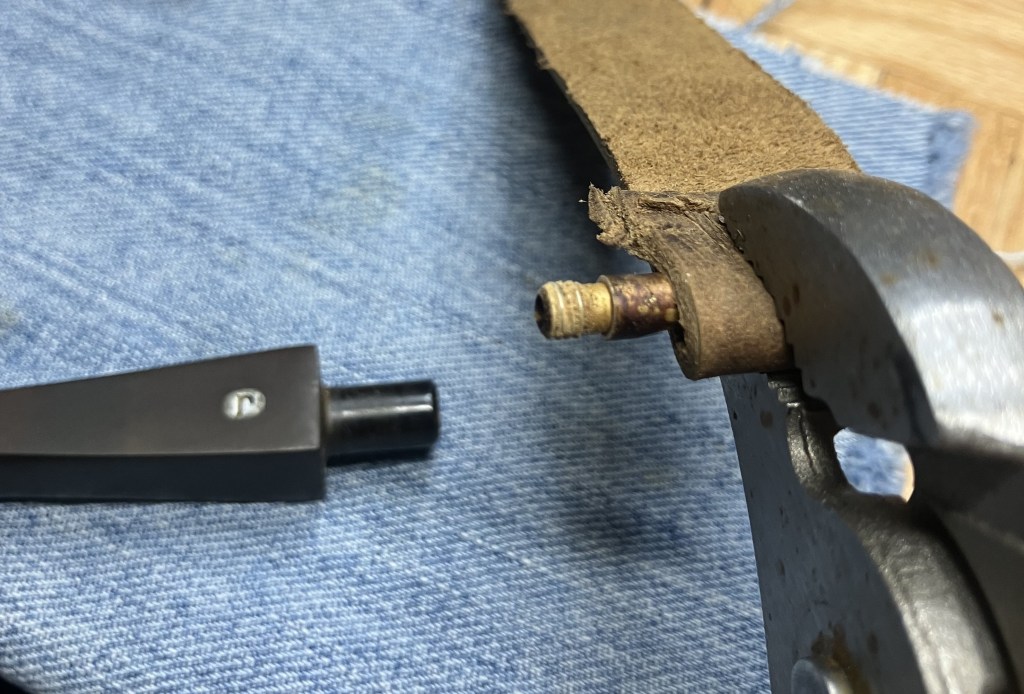
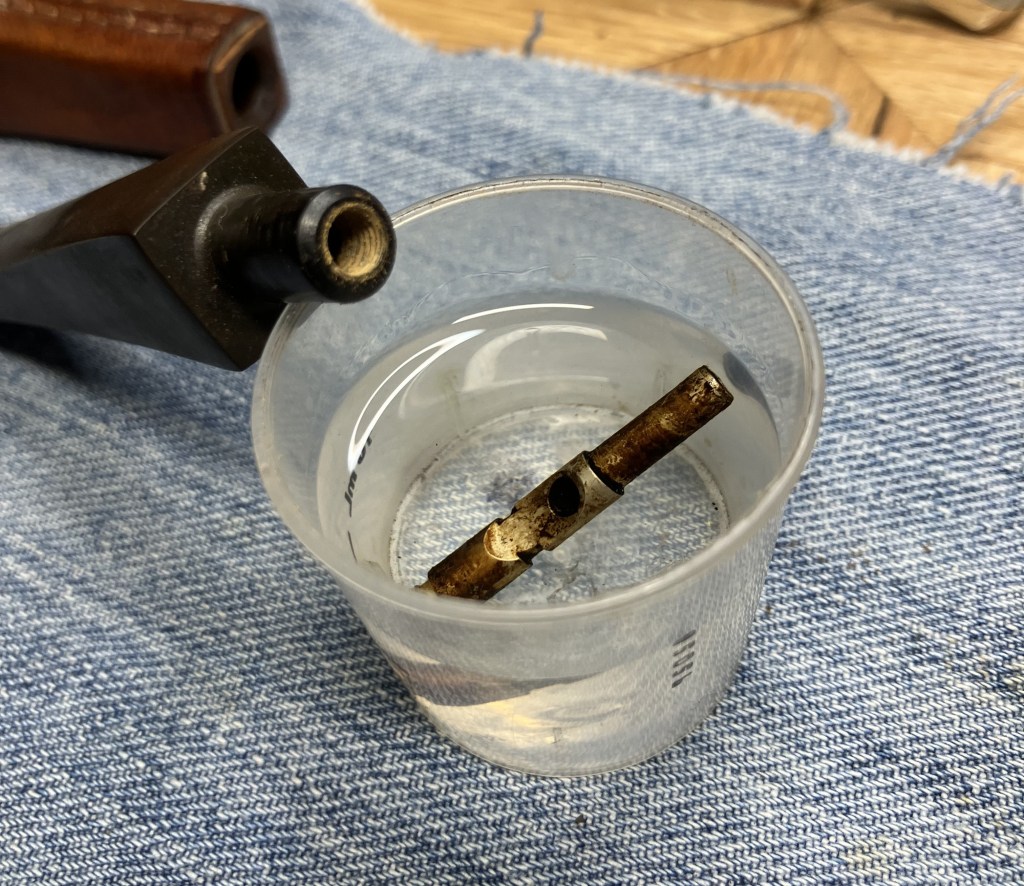
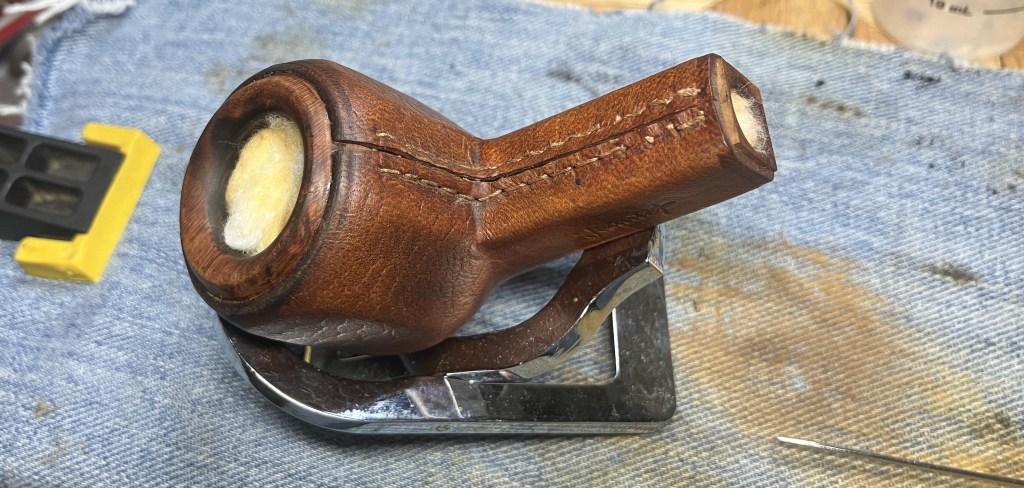
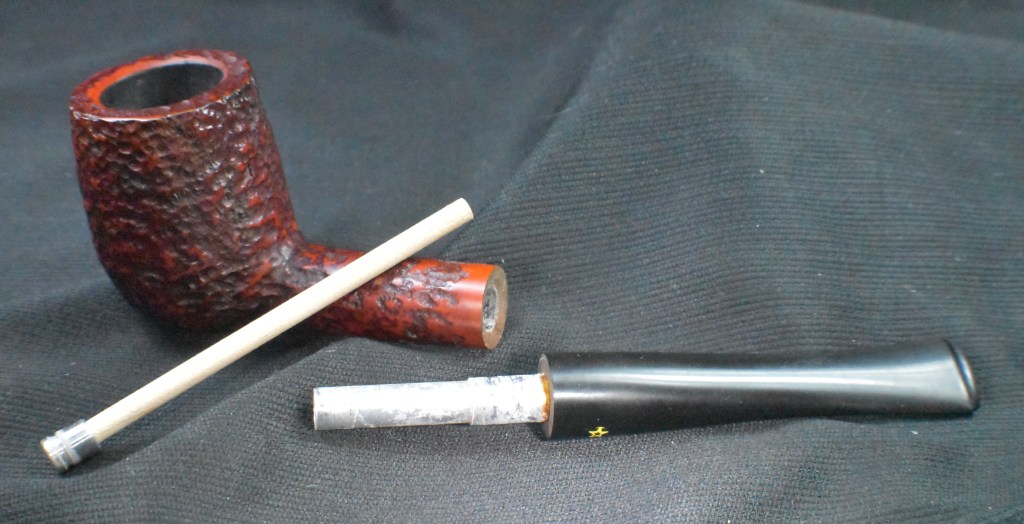
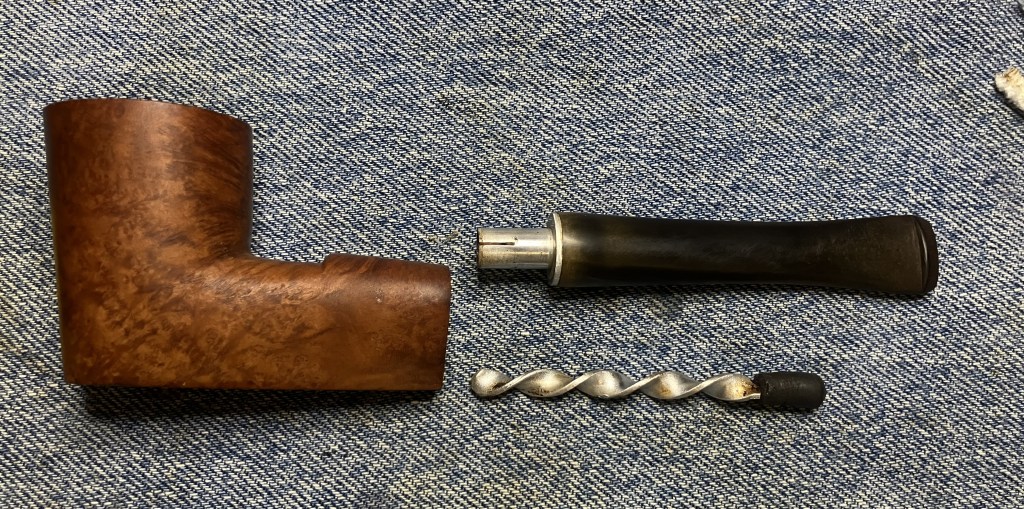
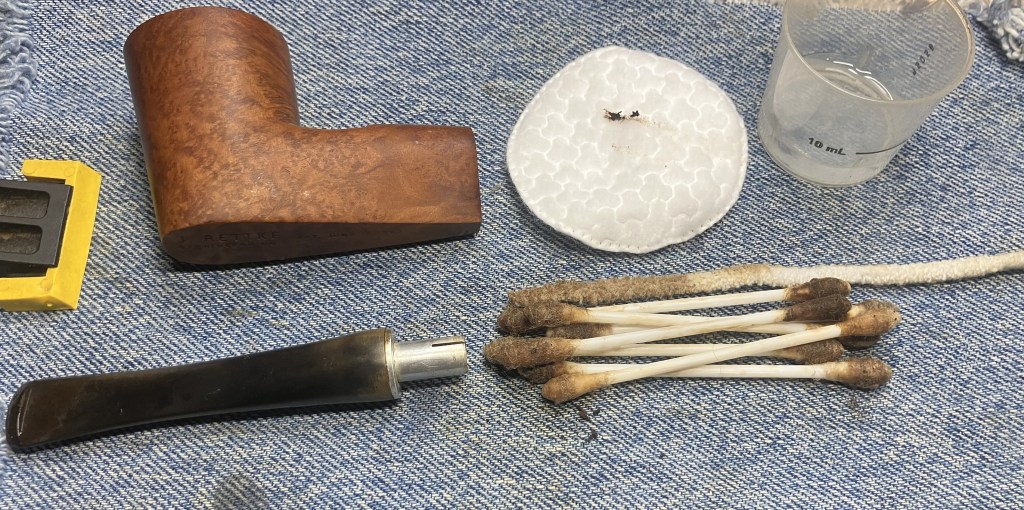
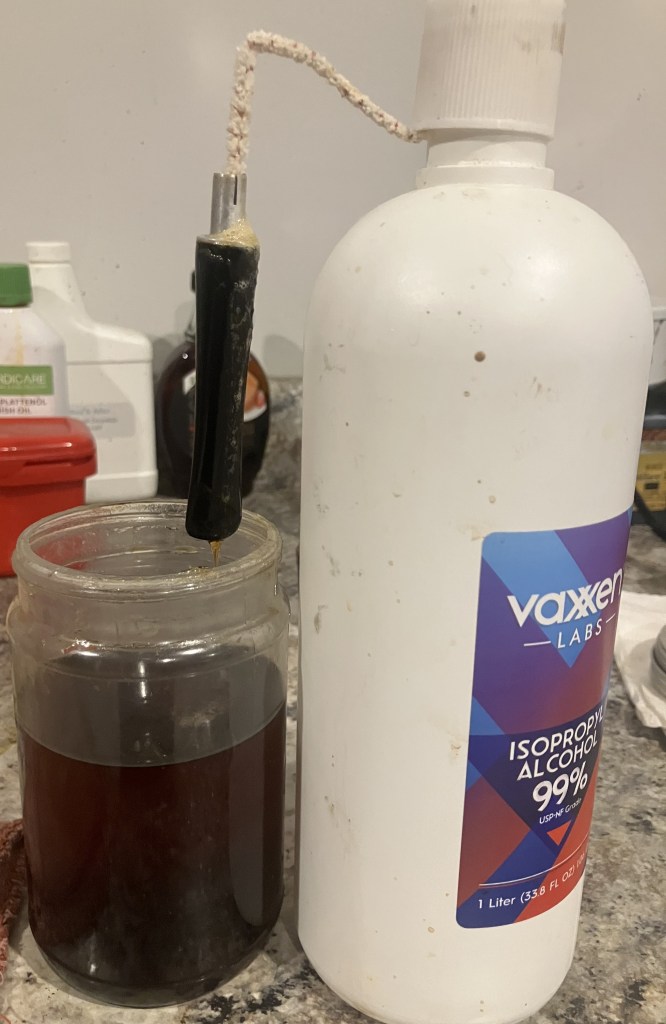
I wrapped the knurled end of the whirler with a thick piece of leather and gripped it with a pliers to free it from the stummel for the “before” photos. Below is the pipe on the workbench.
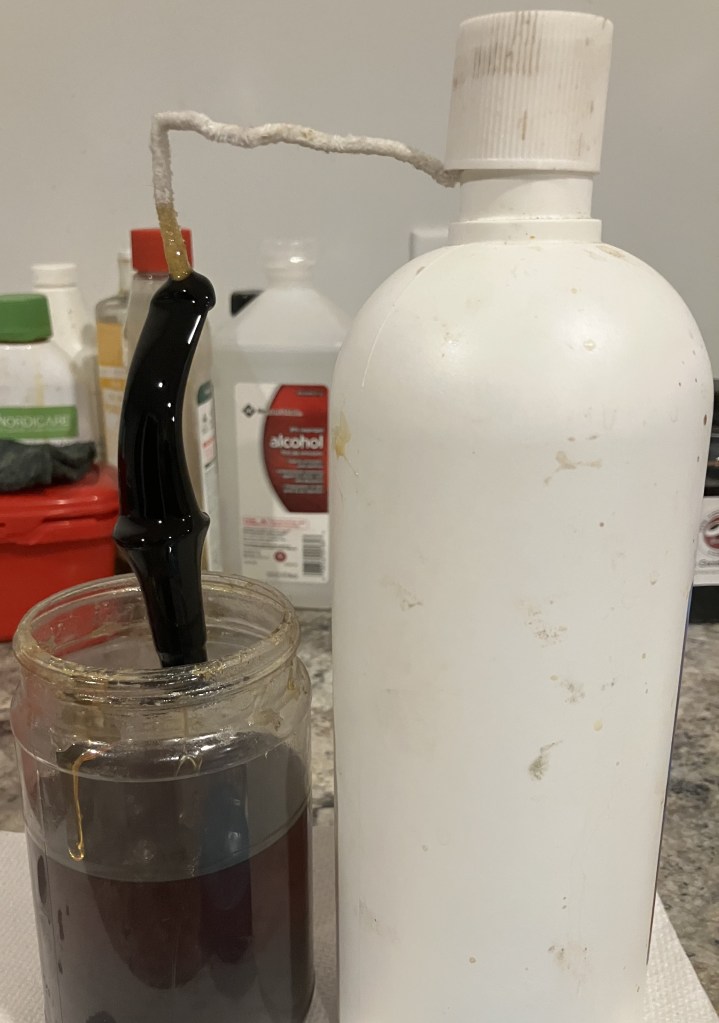
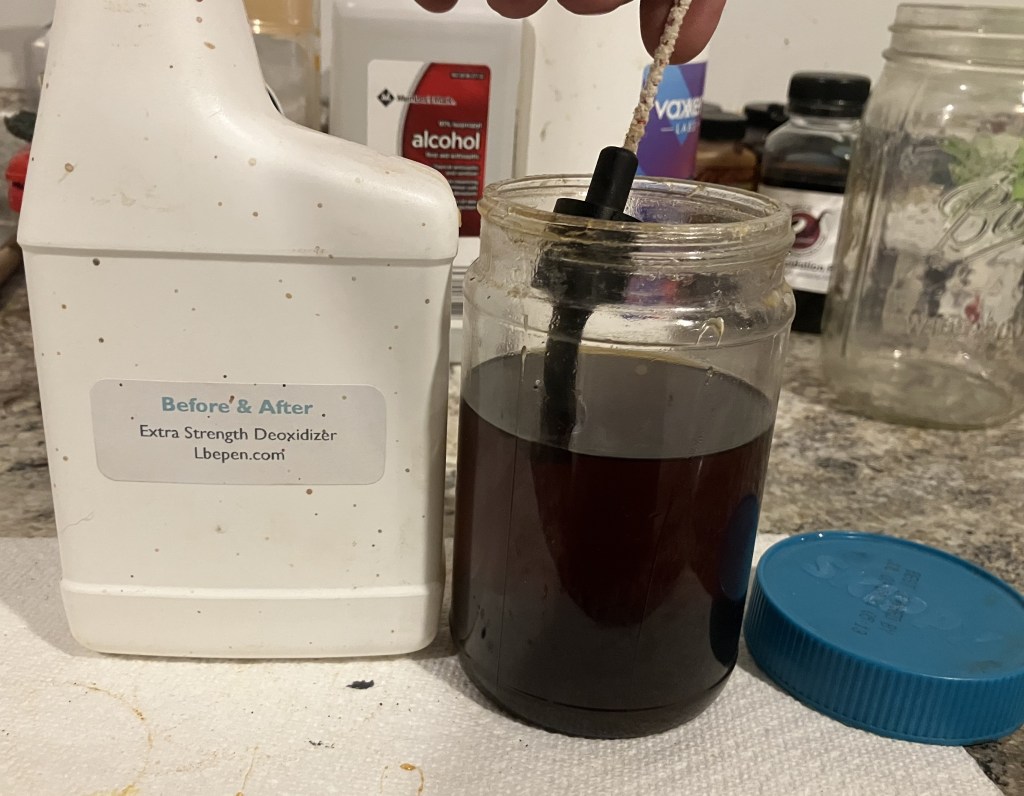
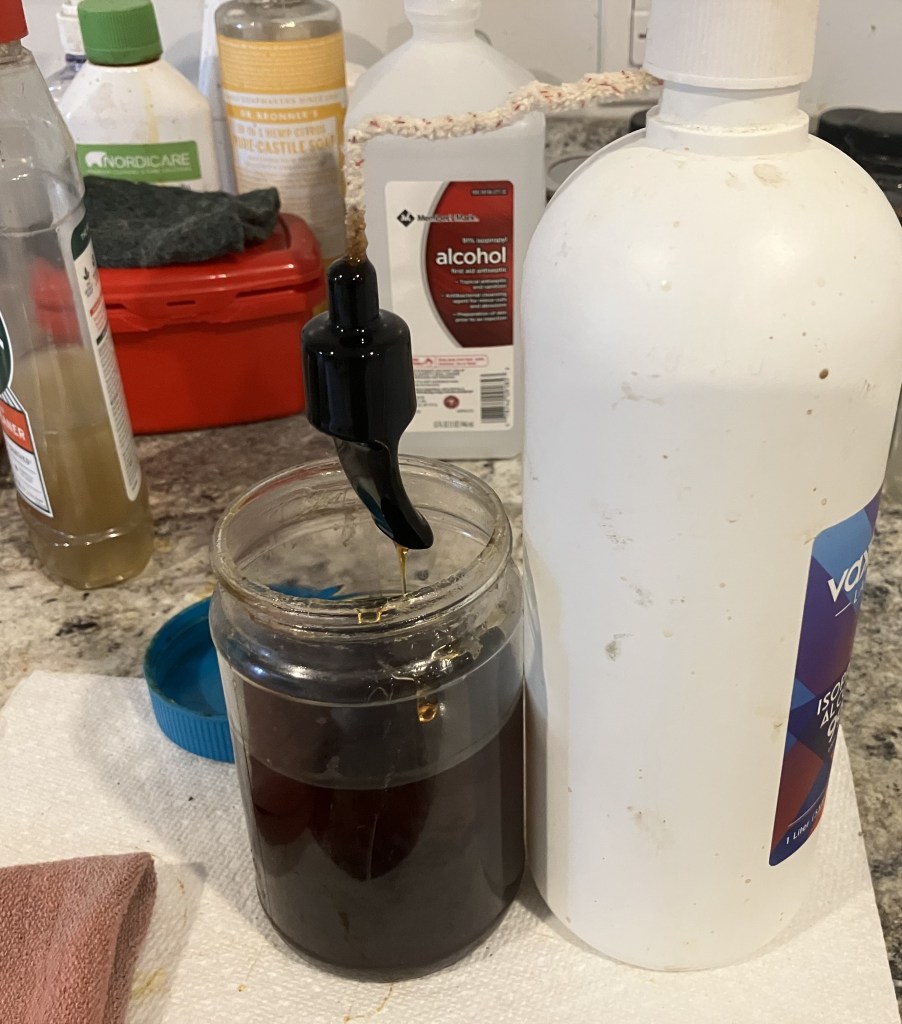
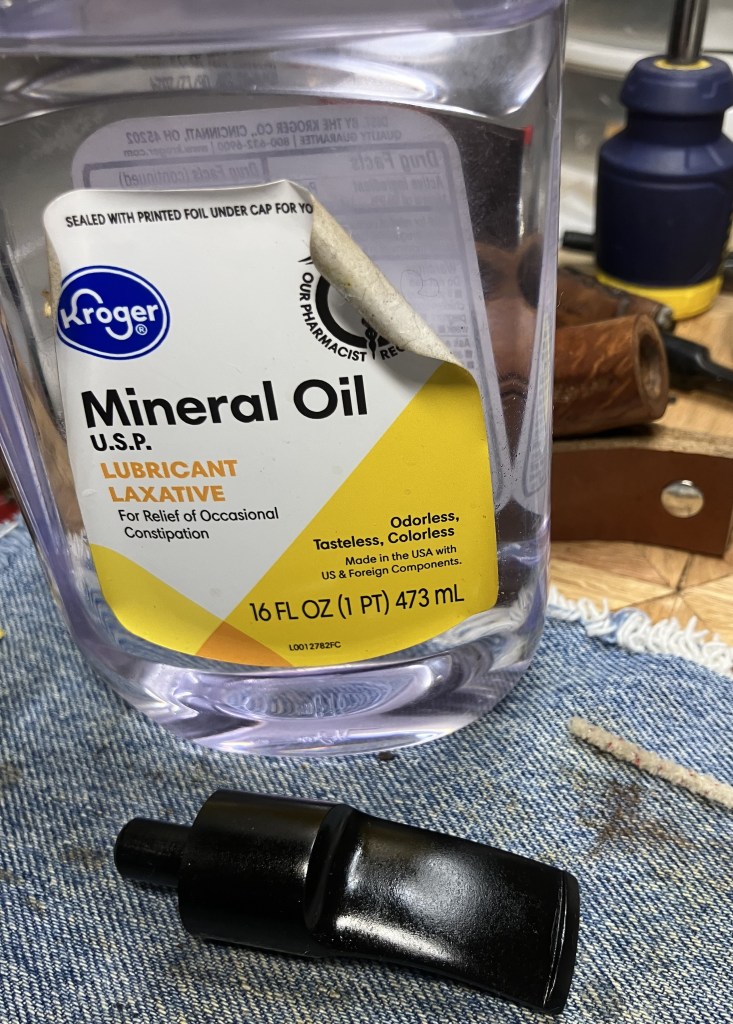
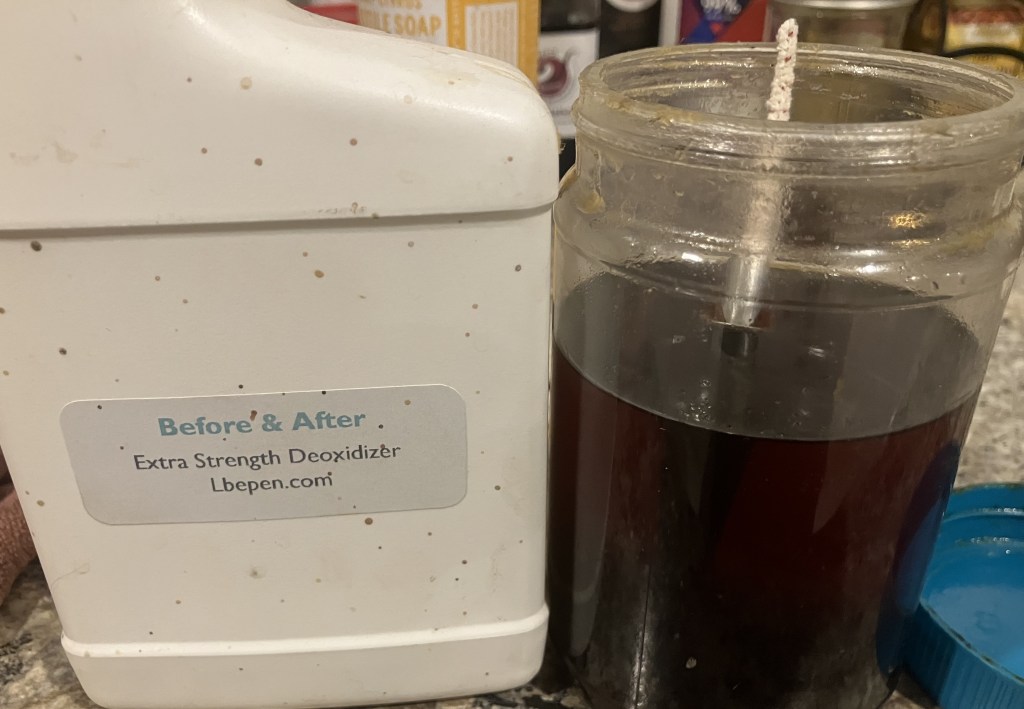
The whirler was too long for the medicine cup so it got an old snuff can lid with enough 99% ethyl alcohol to soak the aluminum.
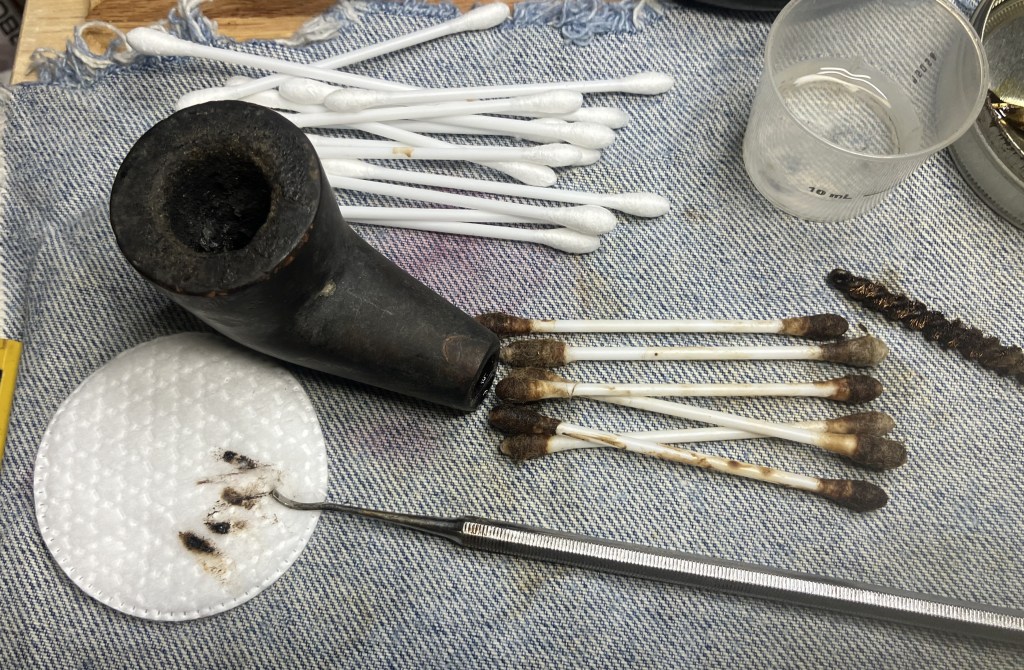
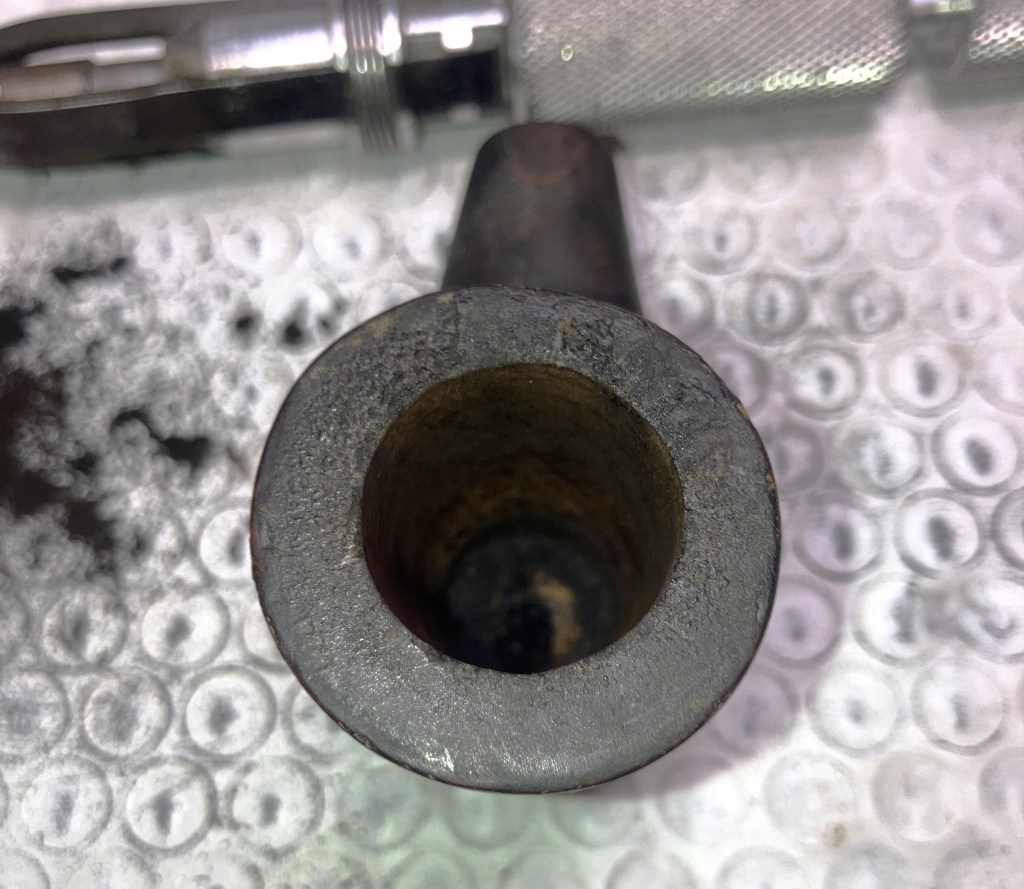
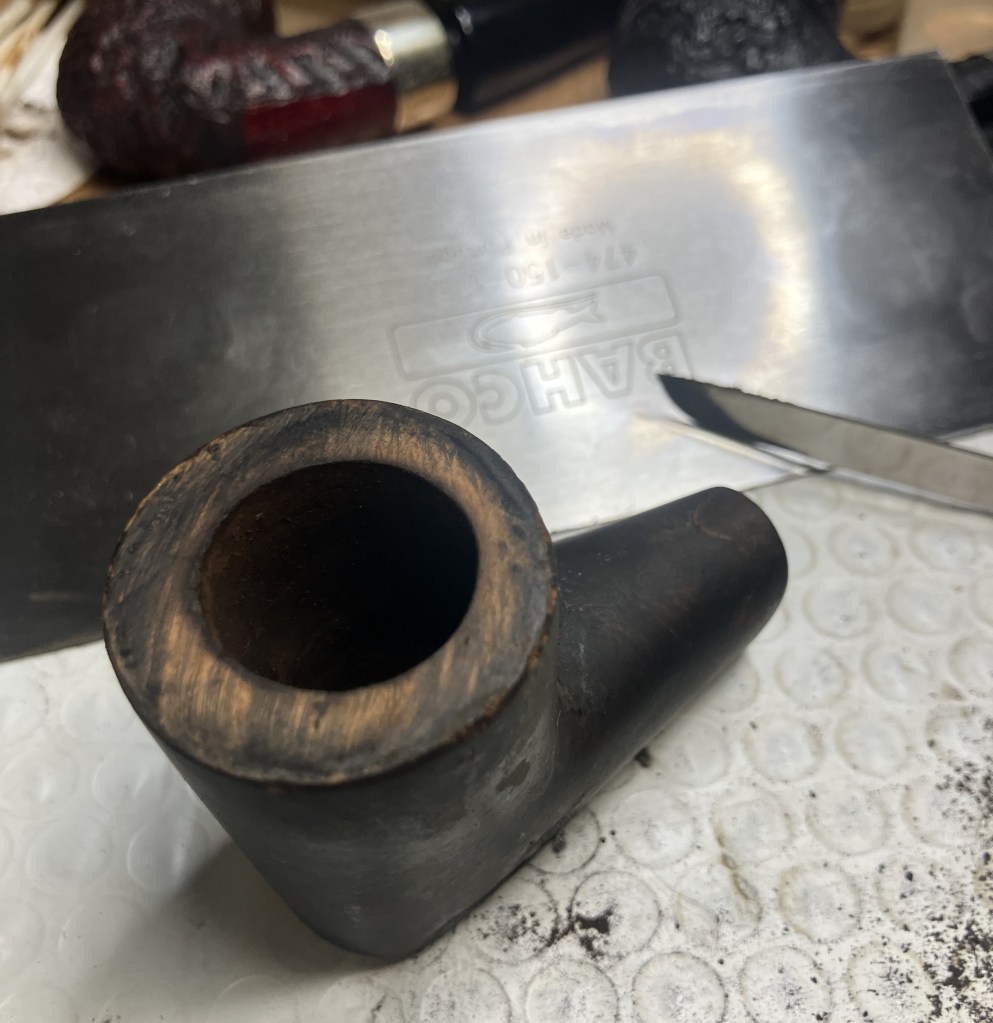
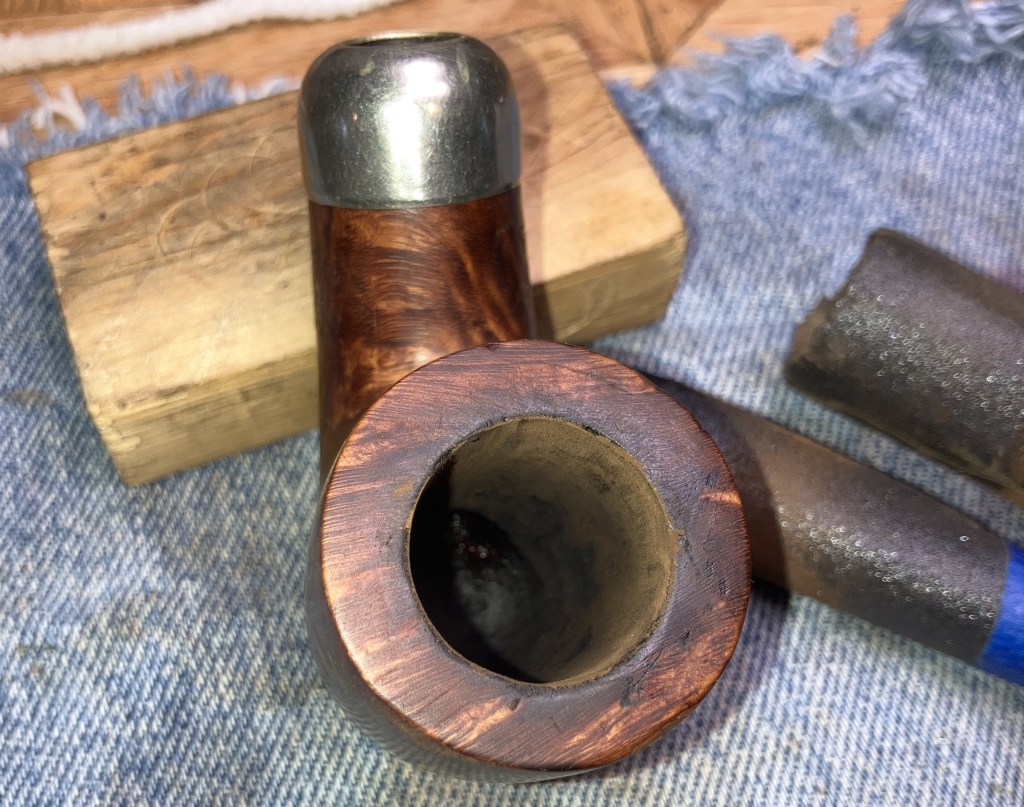
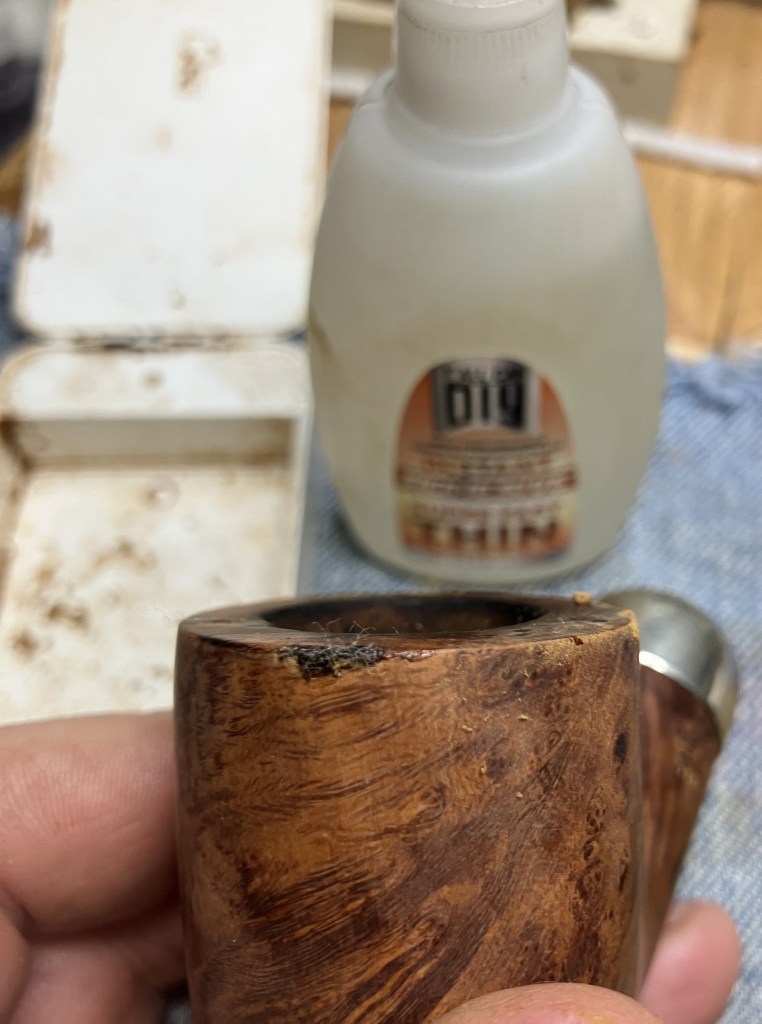
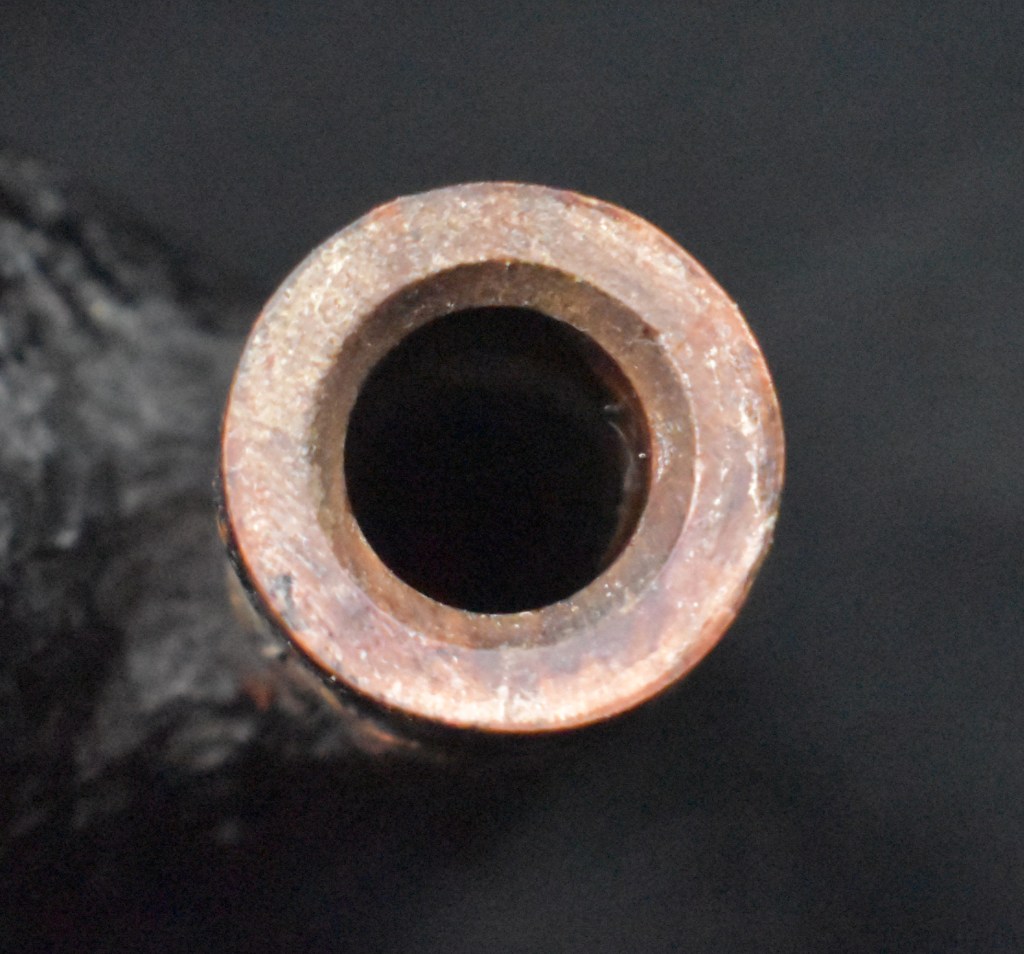
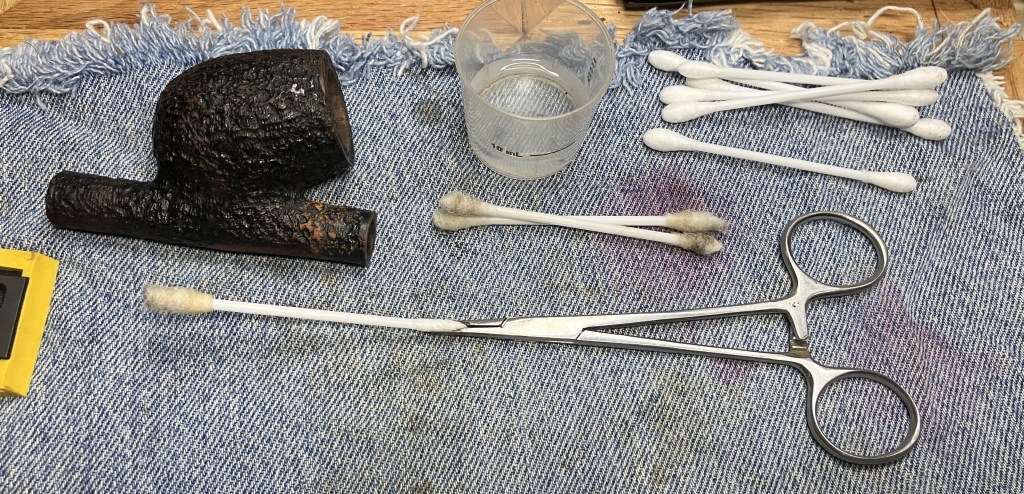
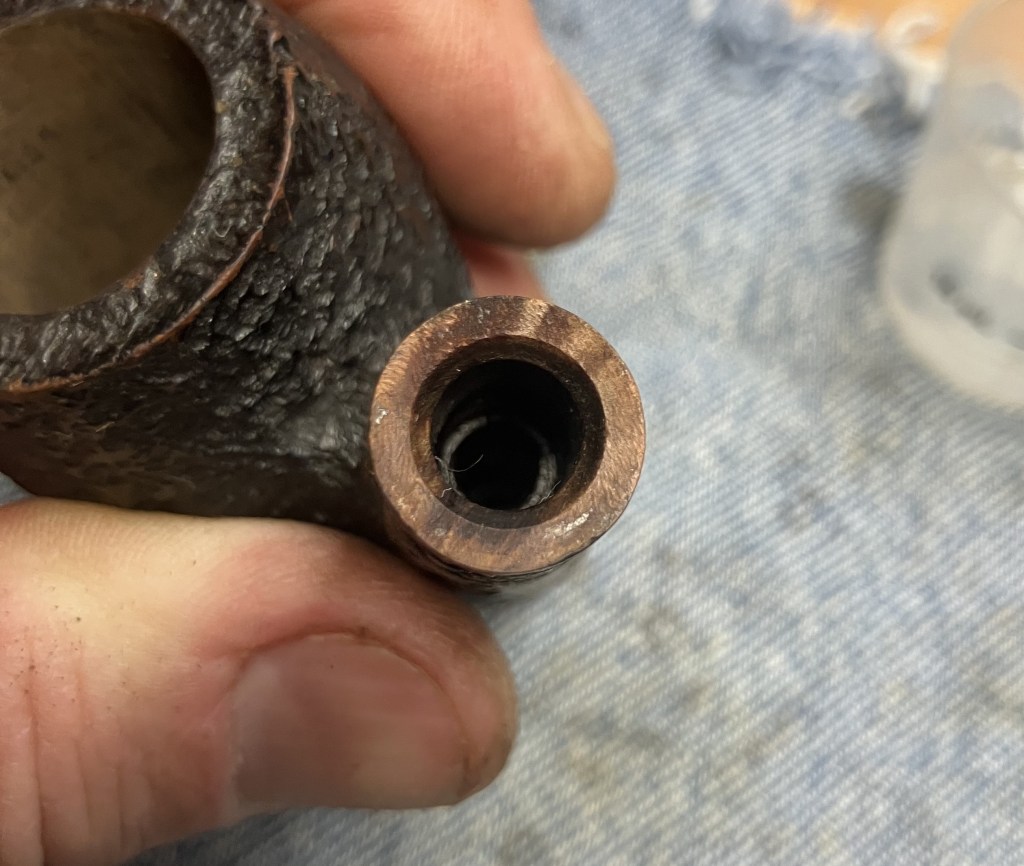
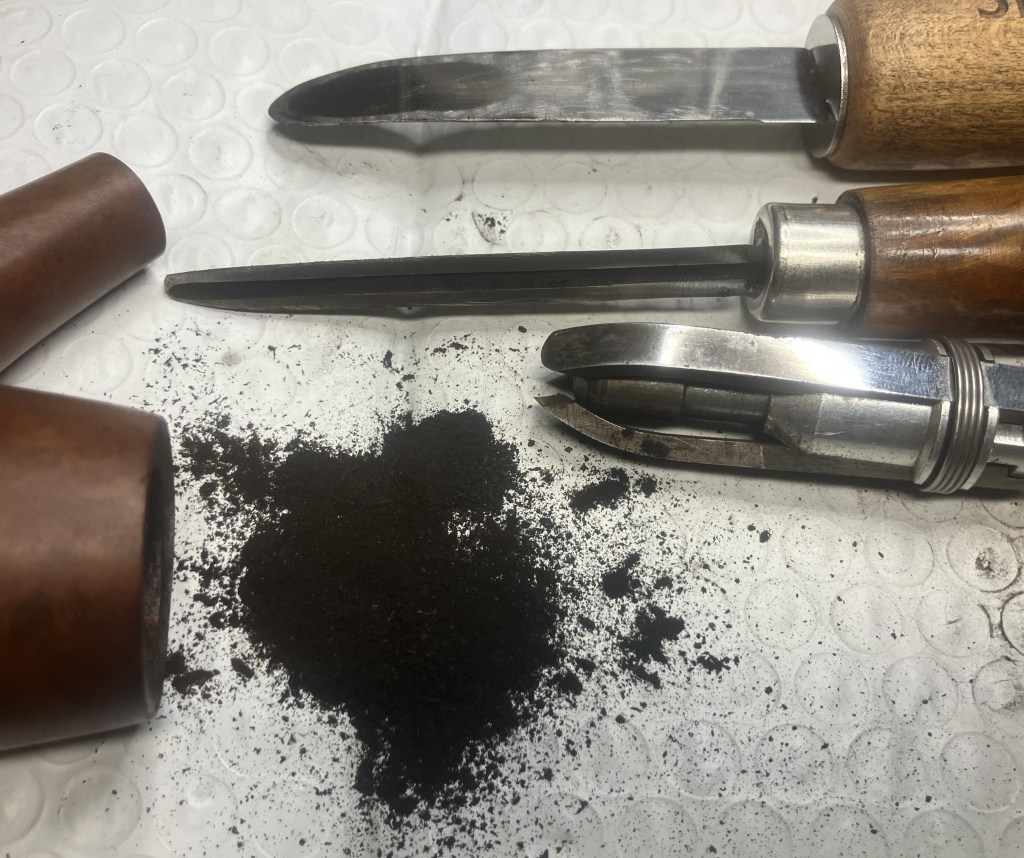
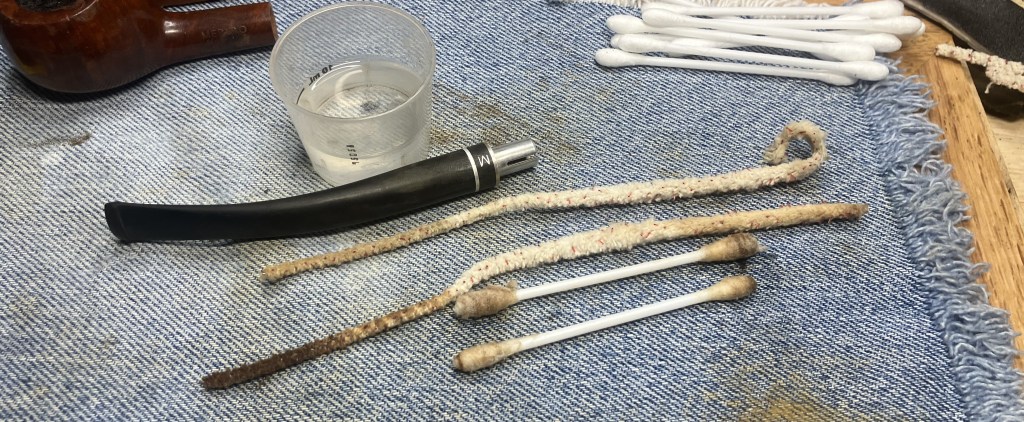
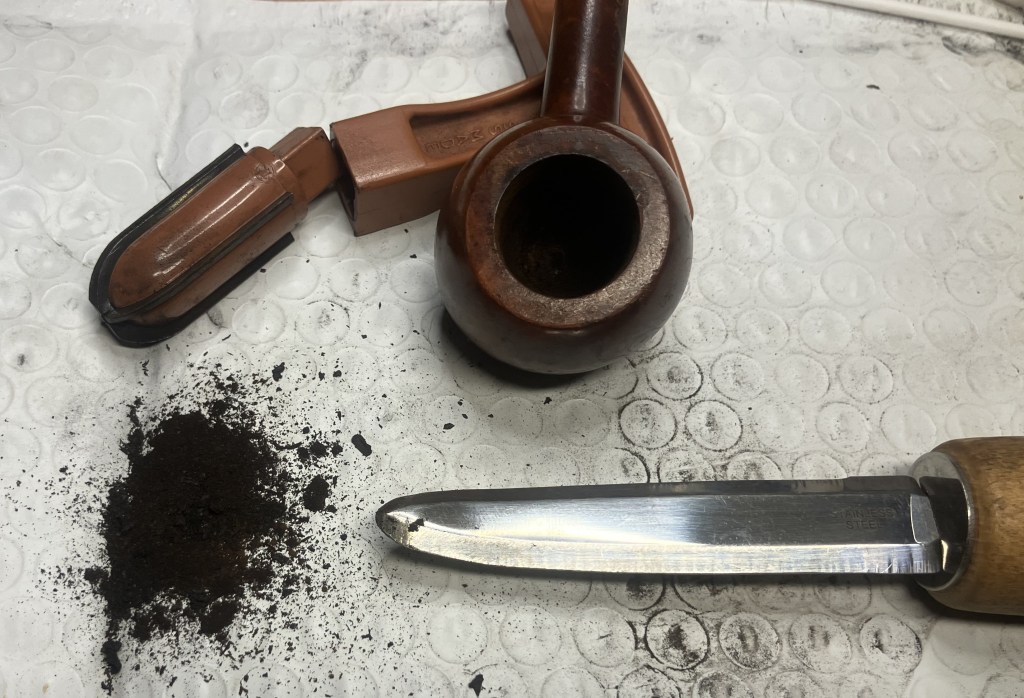
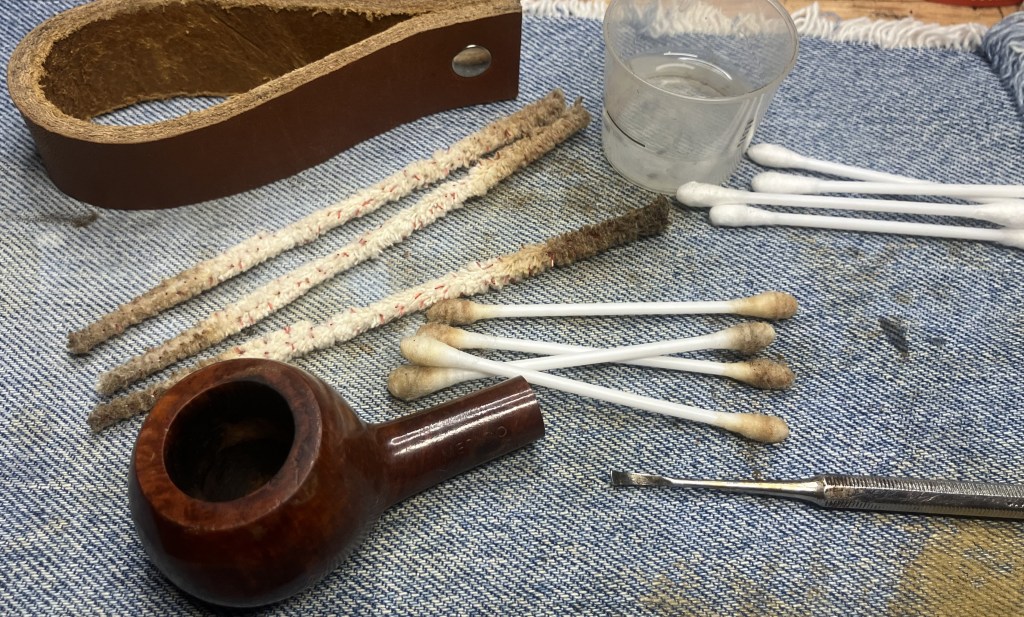
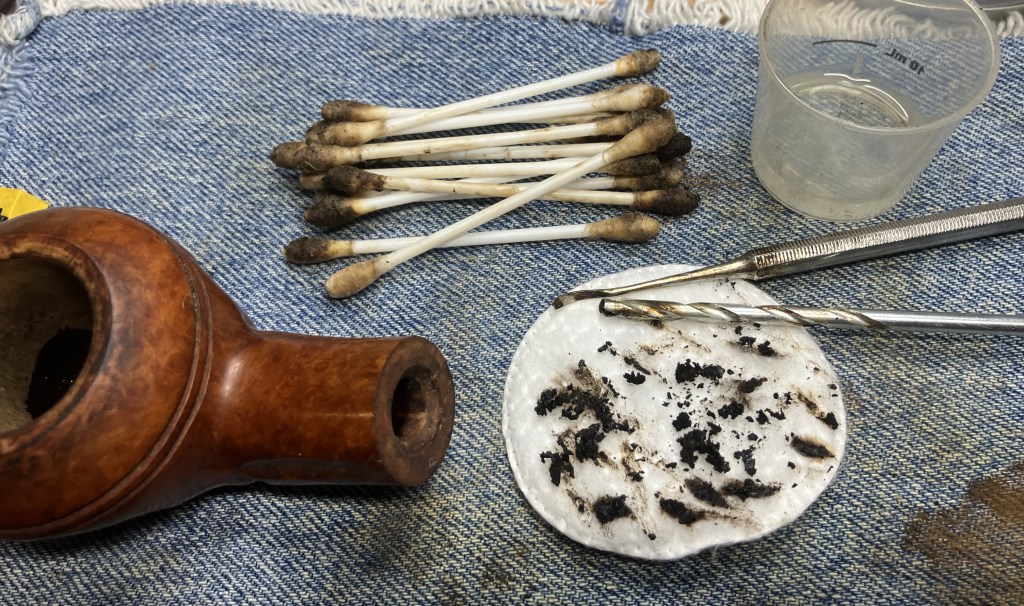
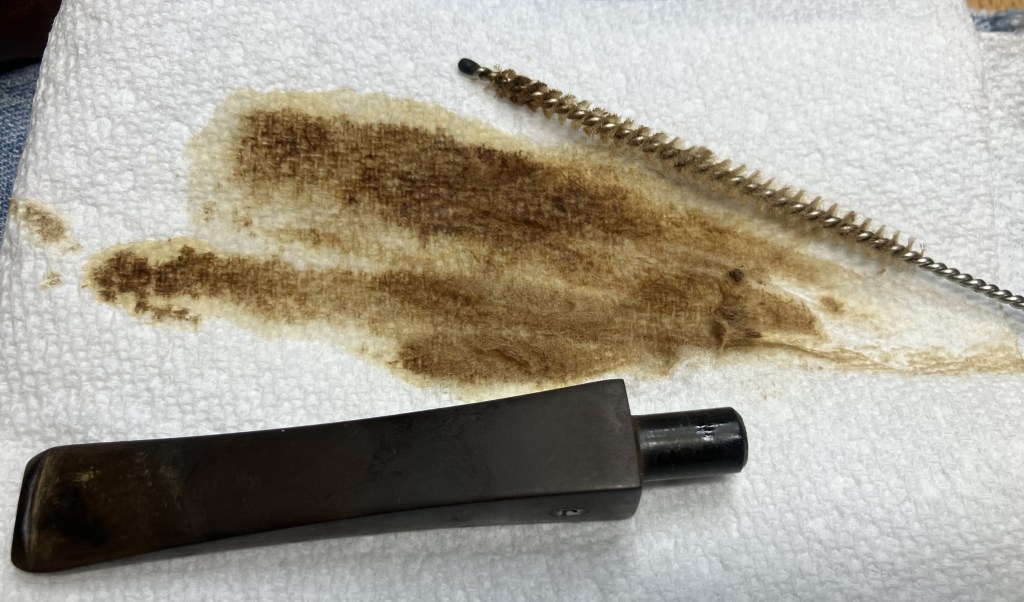
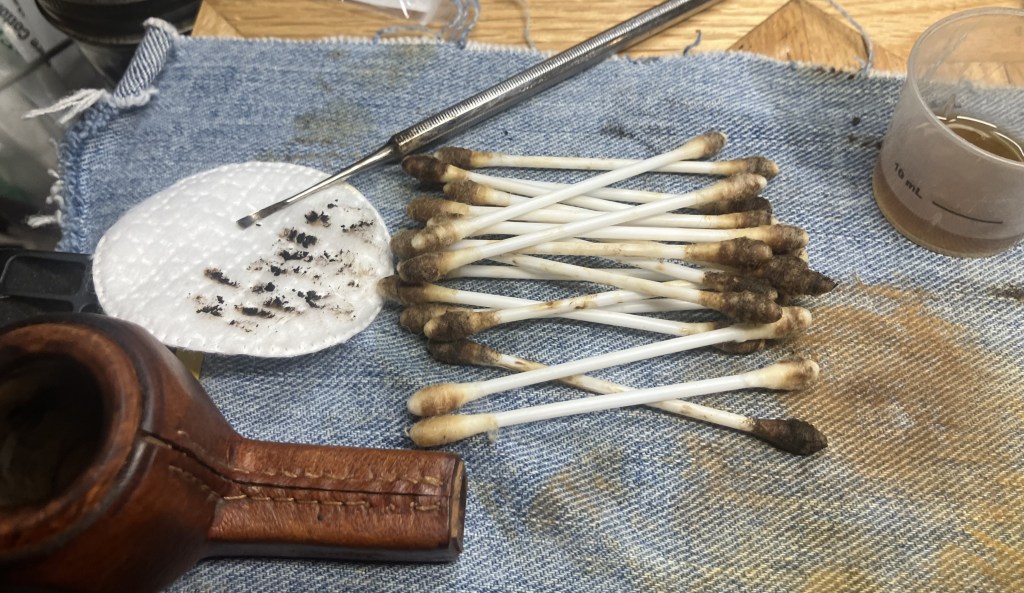
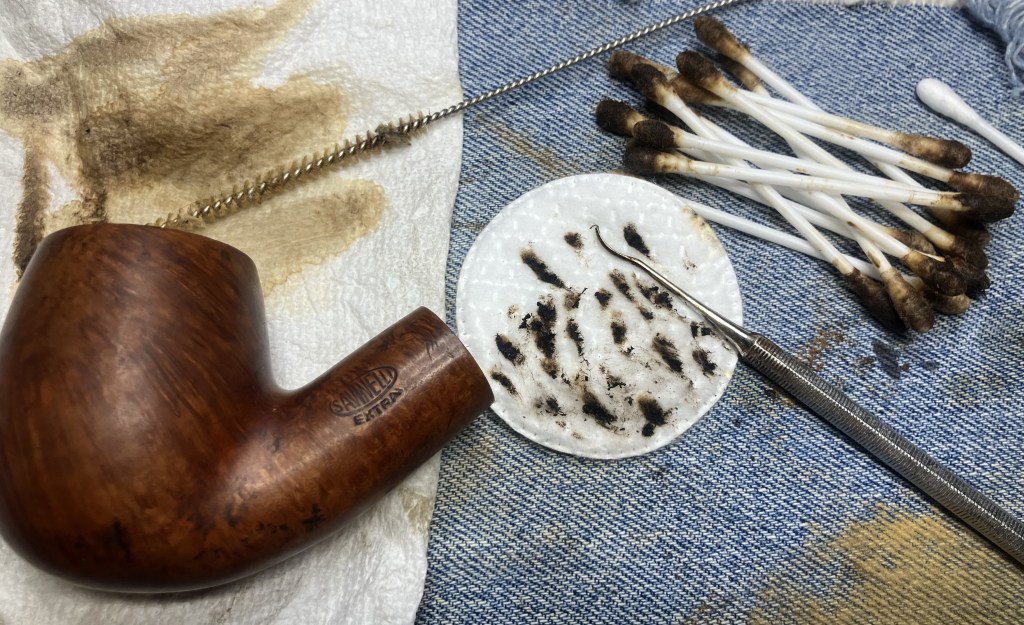
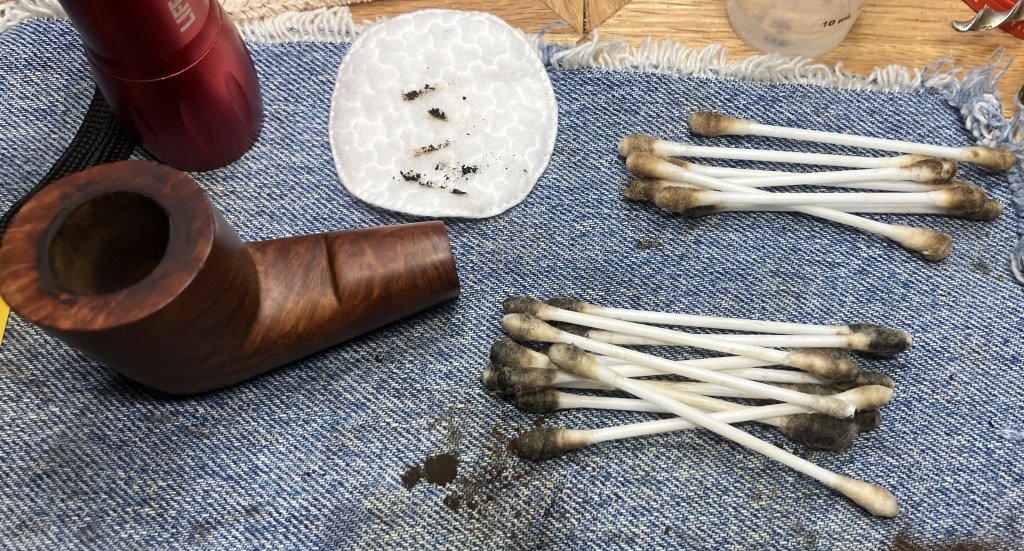
The airway of the shank was as disgusting as the rest of the pipe. I tried to moisten the tar deposits with alcohol dipped cotton swabs. I also used a .22 caliber brass bore brush to lightly scrub the upper and lower chambers. There was also some scraping with a dental scraper.
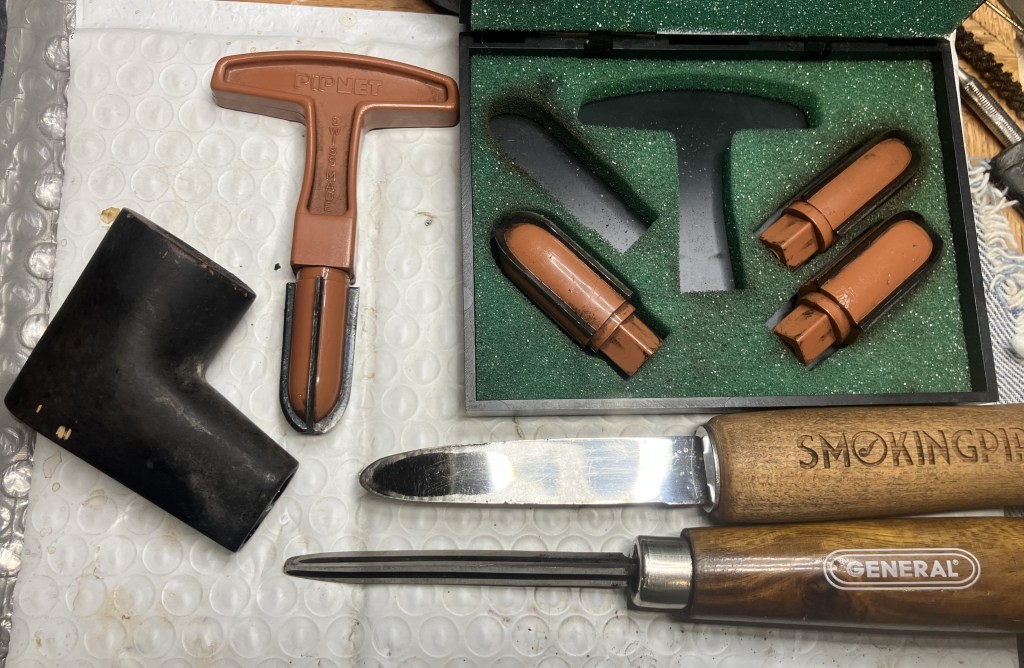
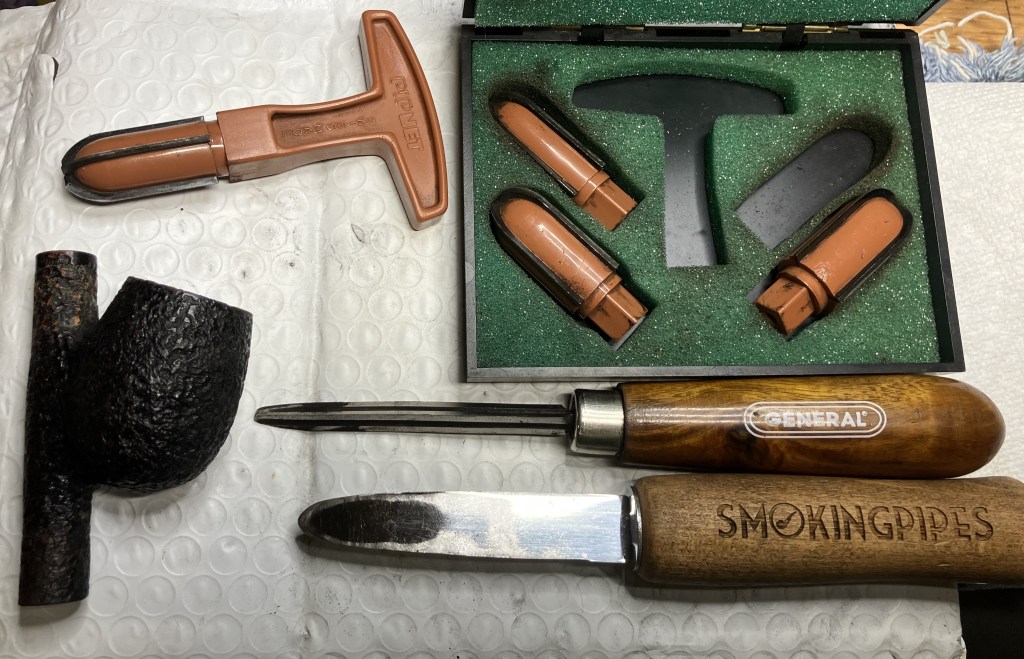
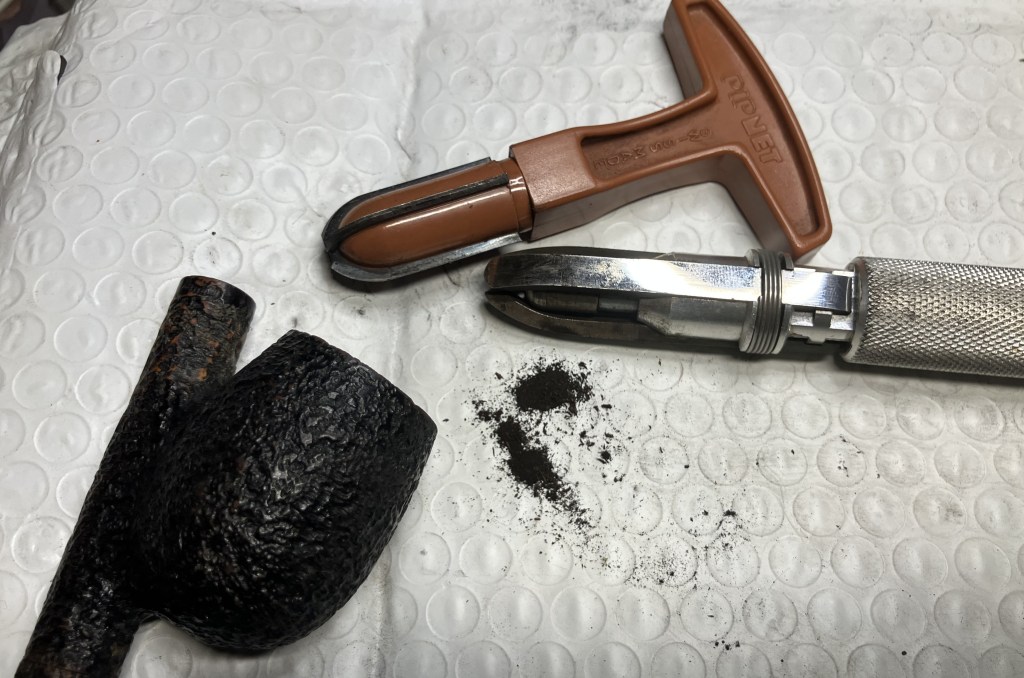
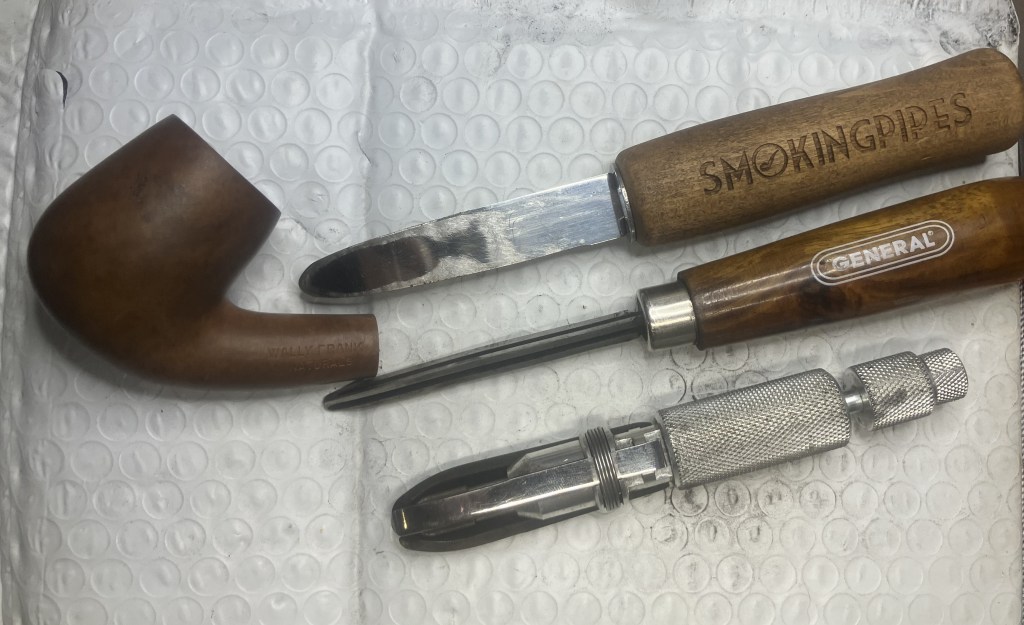
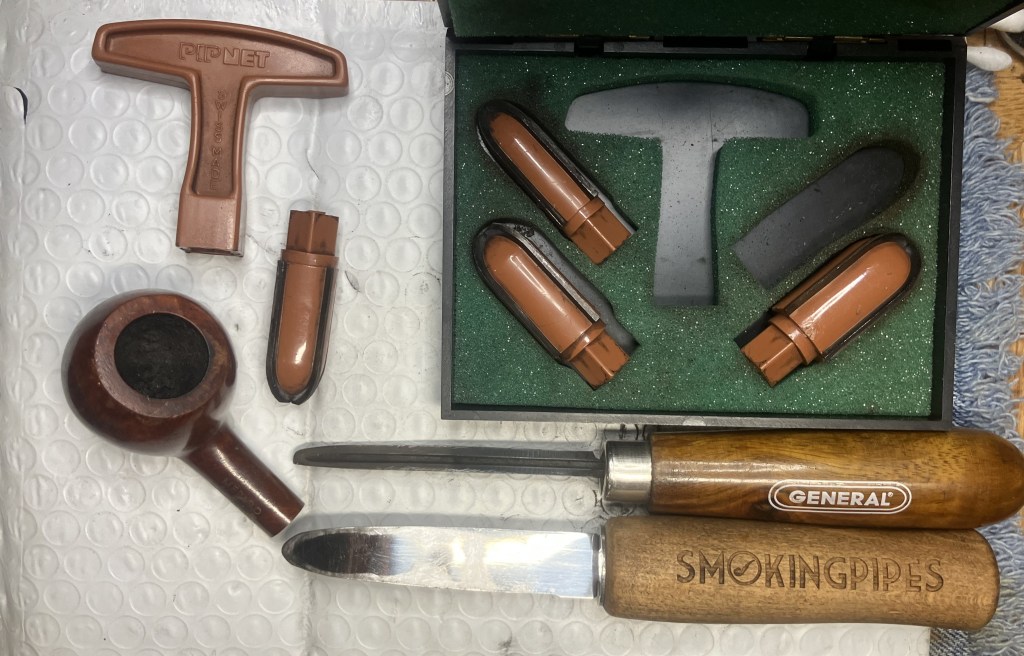
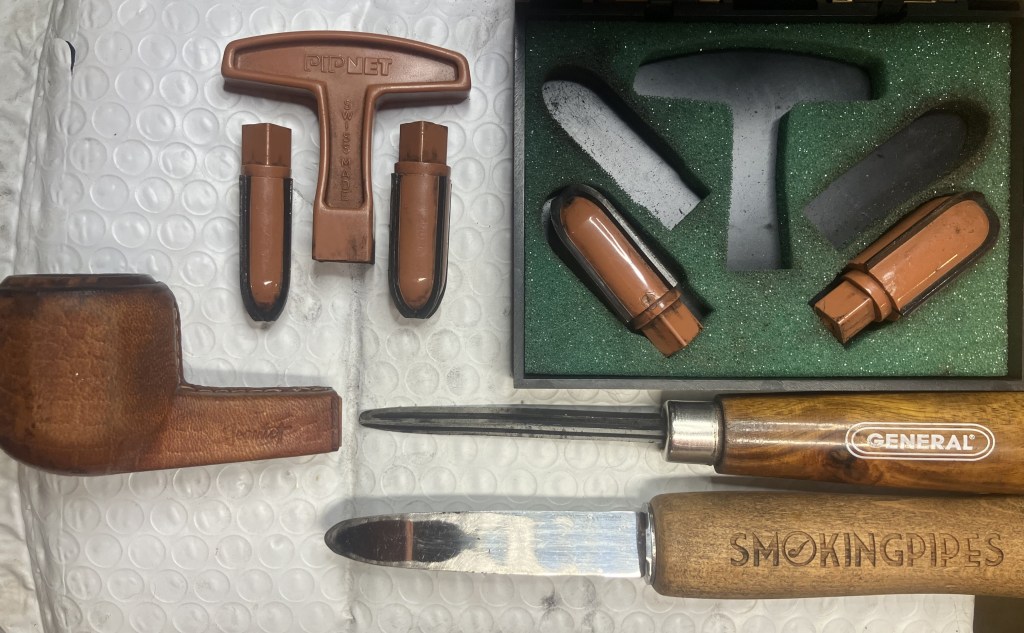
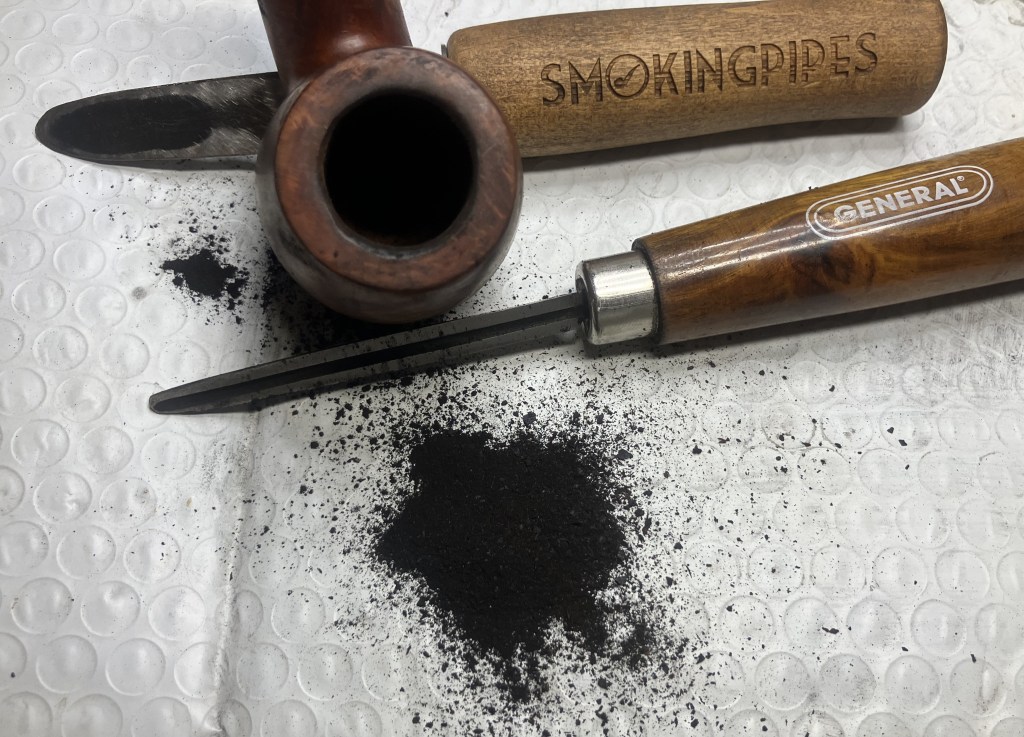
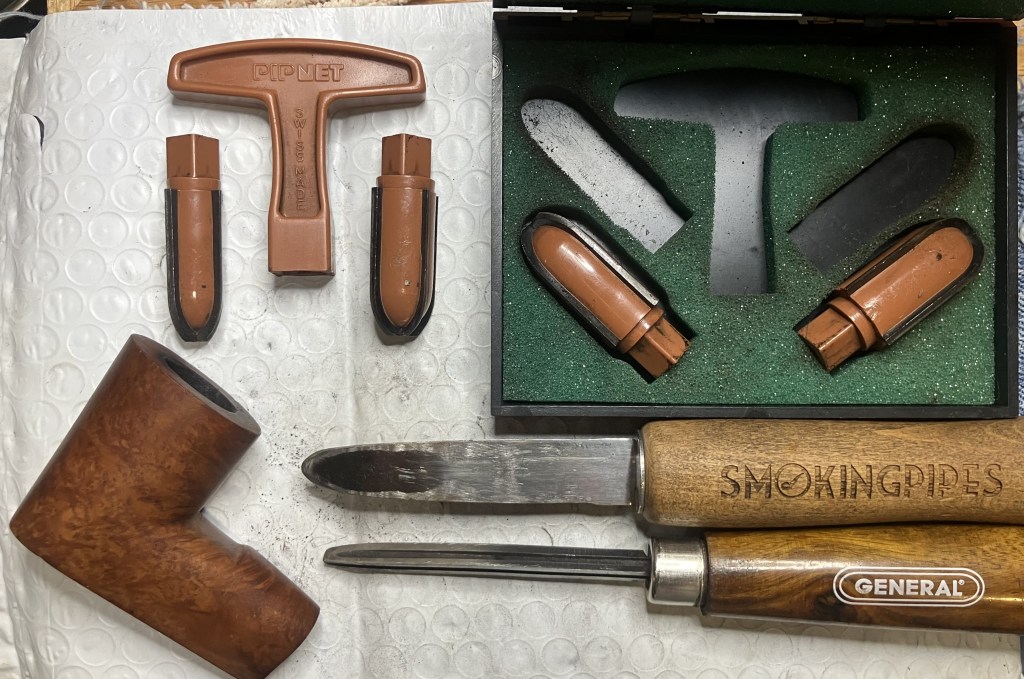
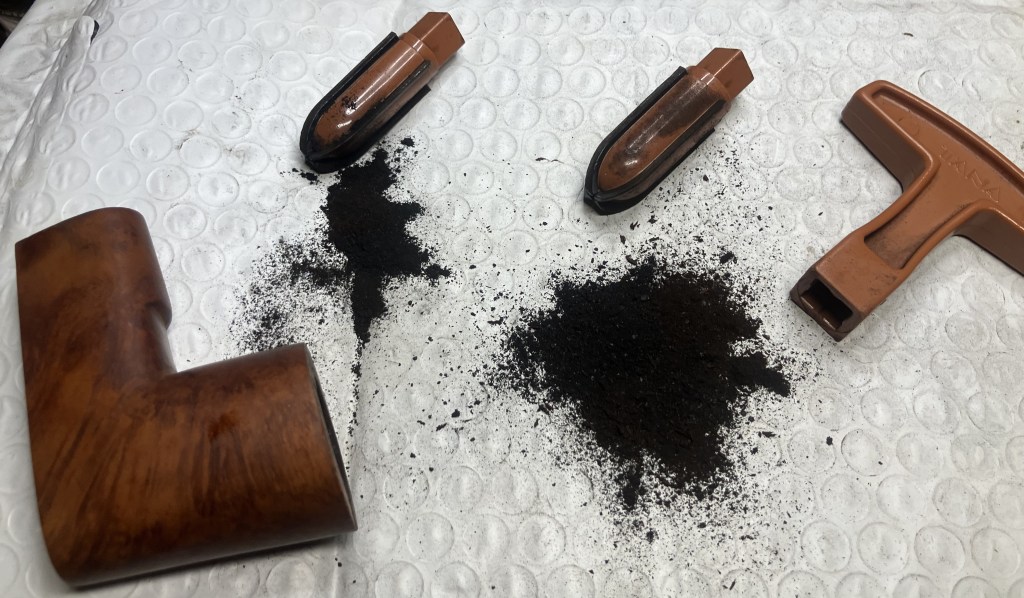
The reaming used three of the PipNet blades.
The first blade.
The second blade.

And the third blade.
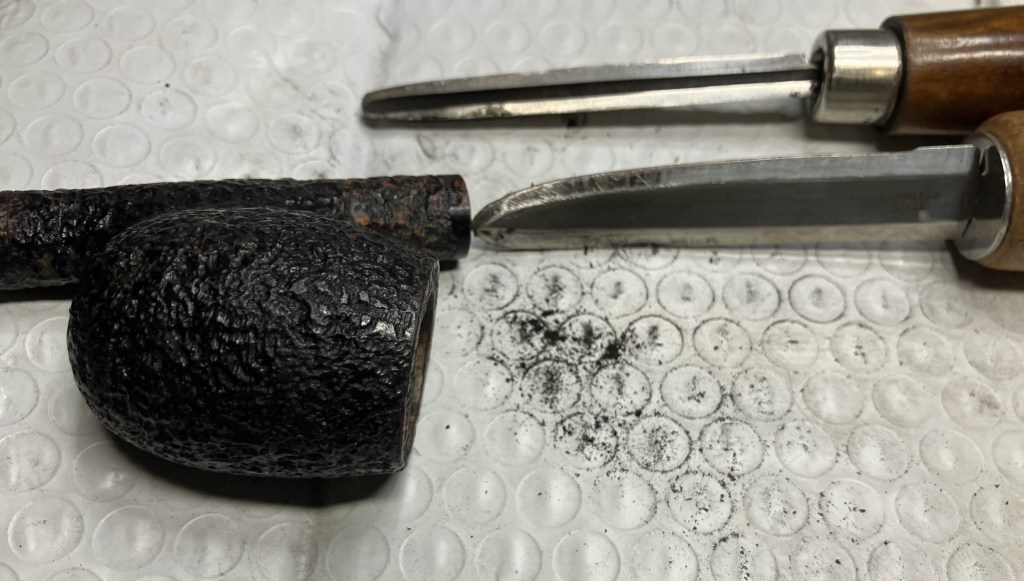
Old Mr. Rettke must have had a drill bit with a more conical bottom as I needed to use the Kleen-Reem to ream that part of the tobacco chamber.
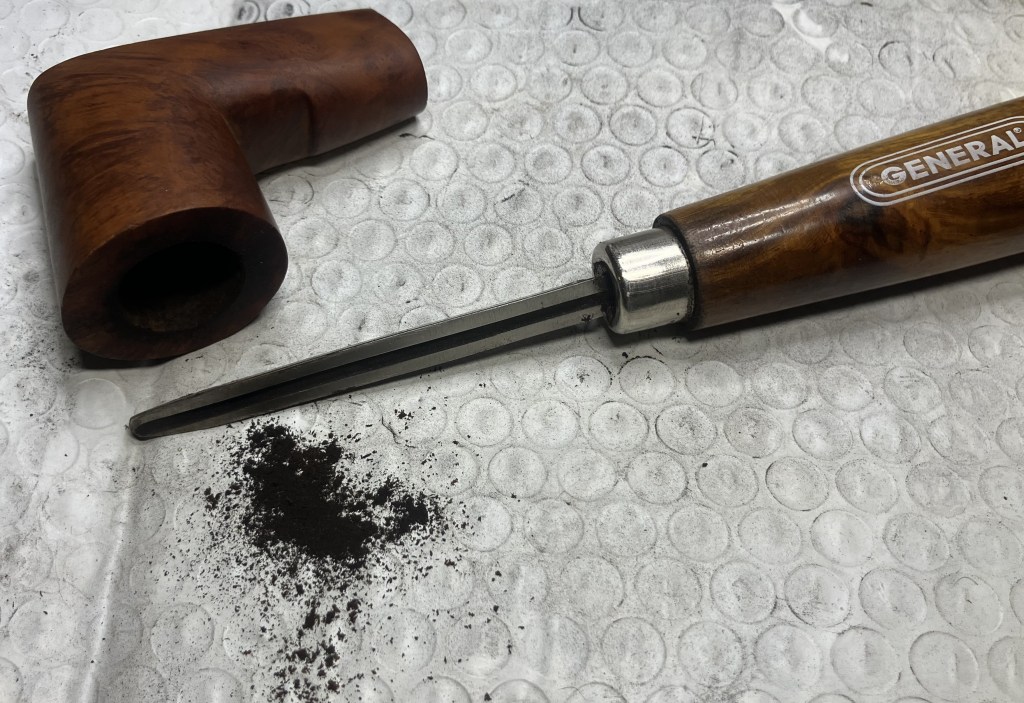
Even after all that the chamber needed scraping with the Smokingpipes Low Country reamer and the General triangular scraper.
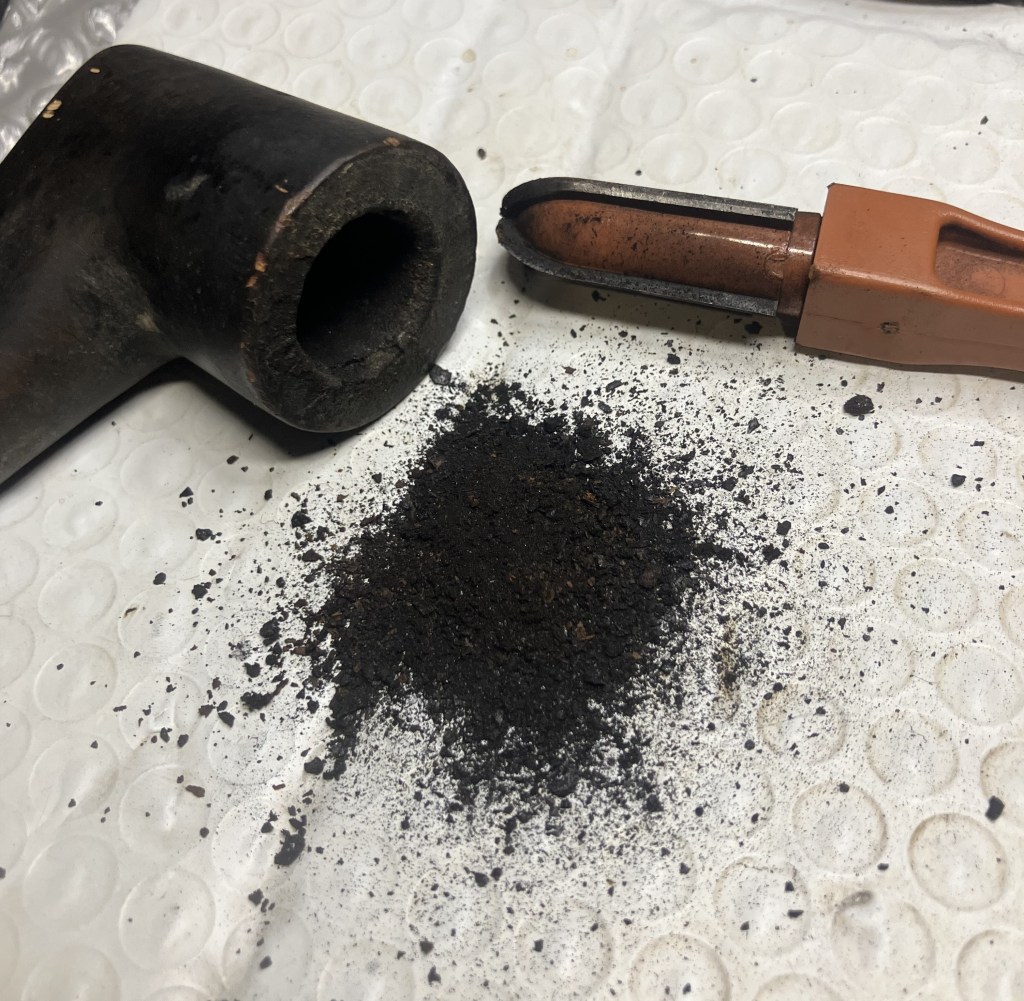
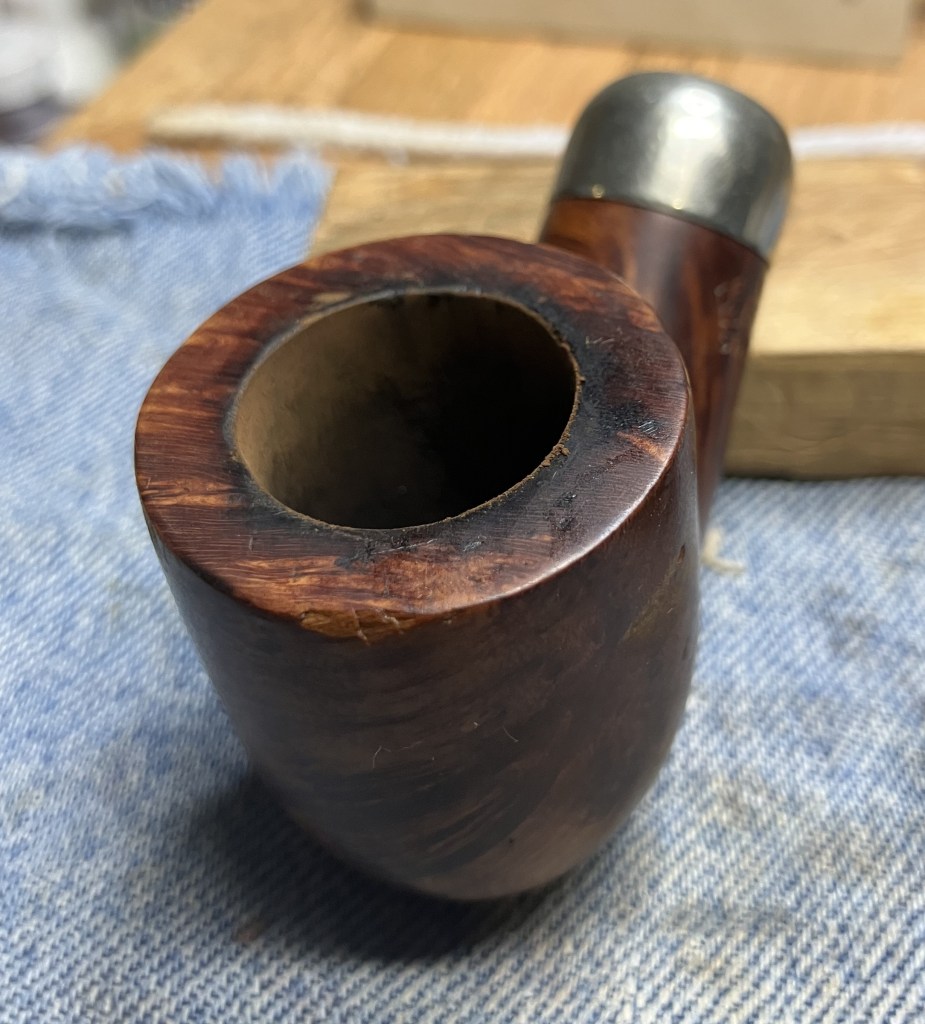
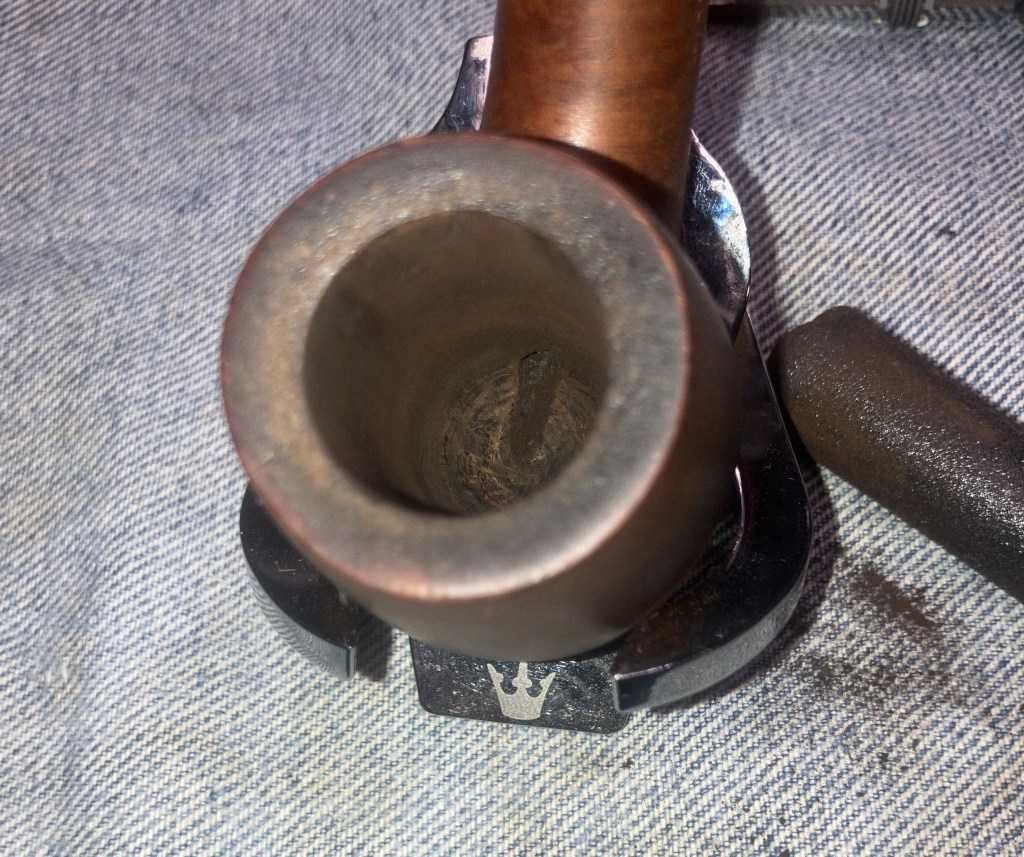
Finally, the chamber was reamed. The walls were remarkably intact and undamaged by the many bowls of tobacco.
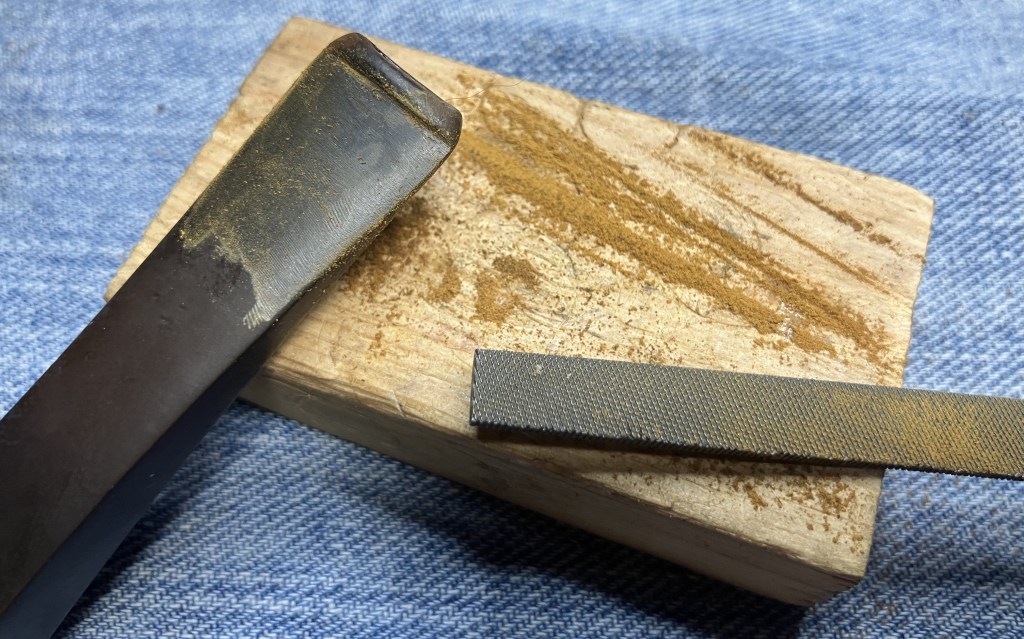
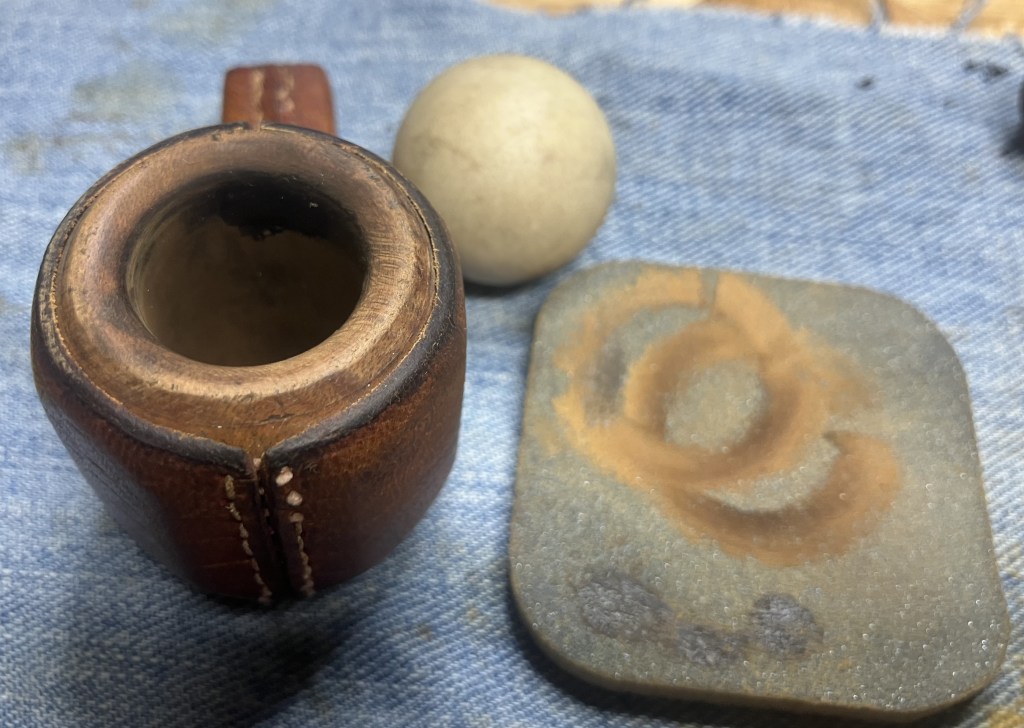
To rid the rim of it’s lava, I employed a new tool or toy. A cabinet scraper. The rim was moistened with saliva and allowed to soften for a few minutes.
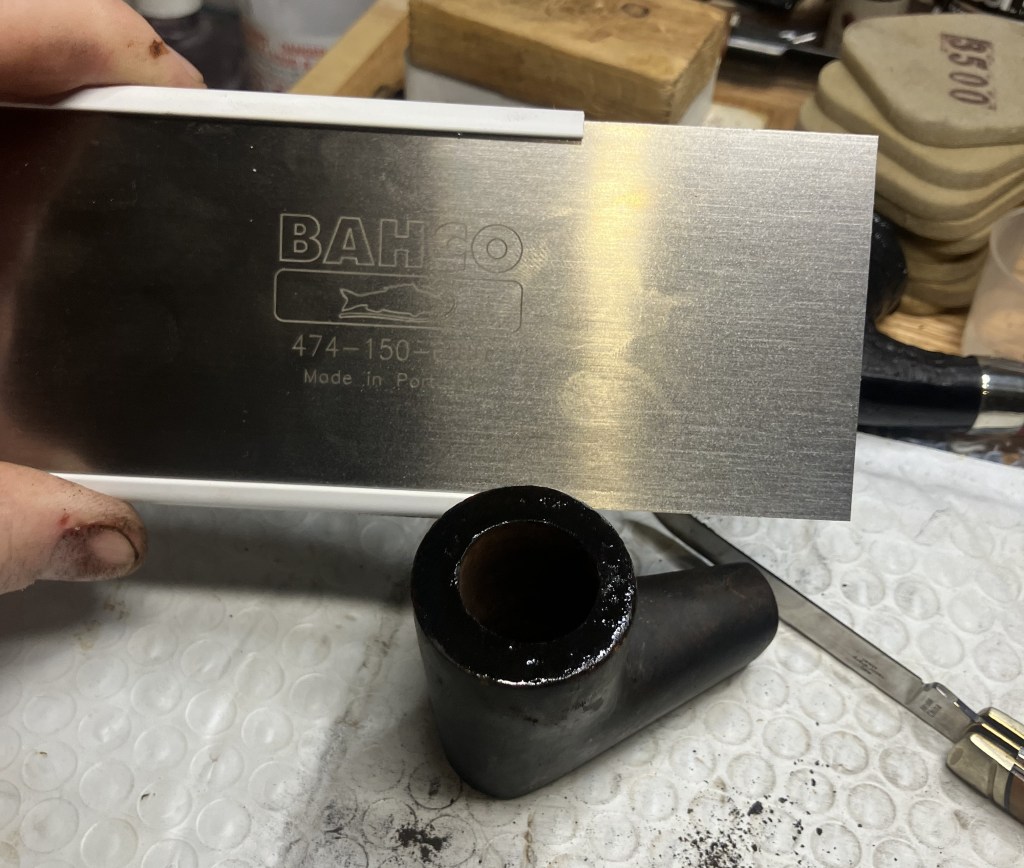
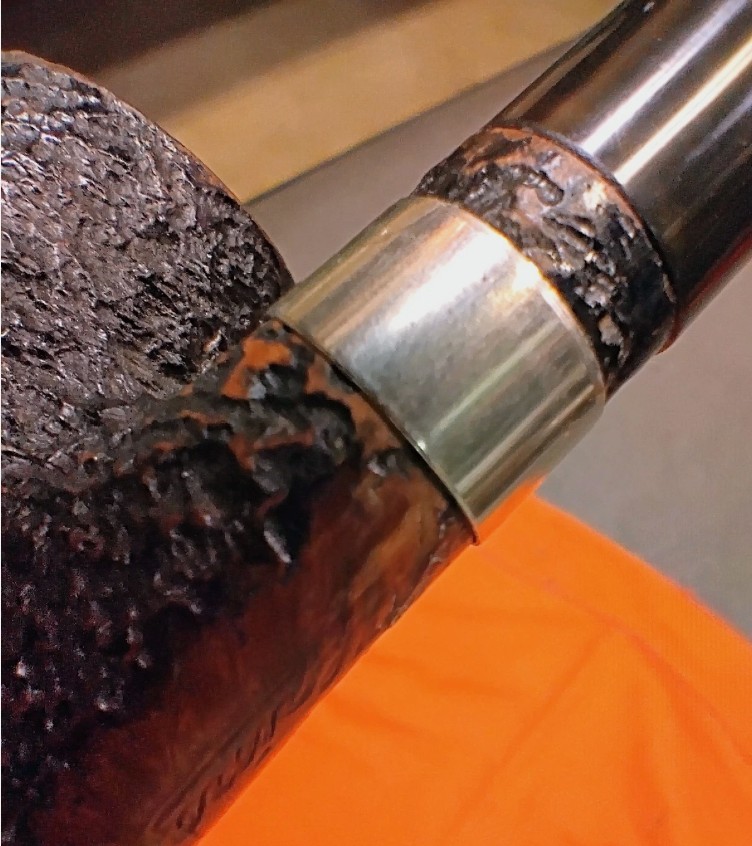
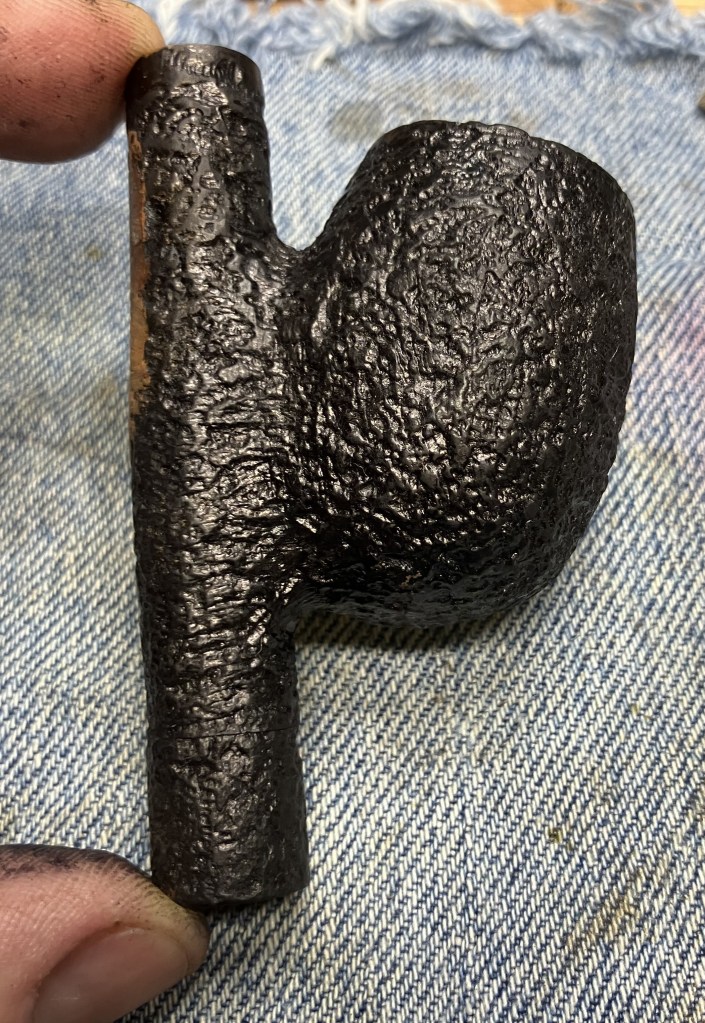
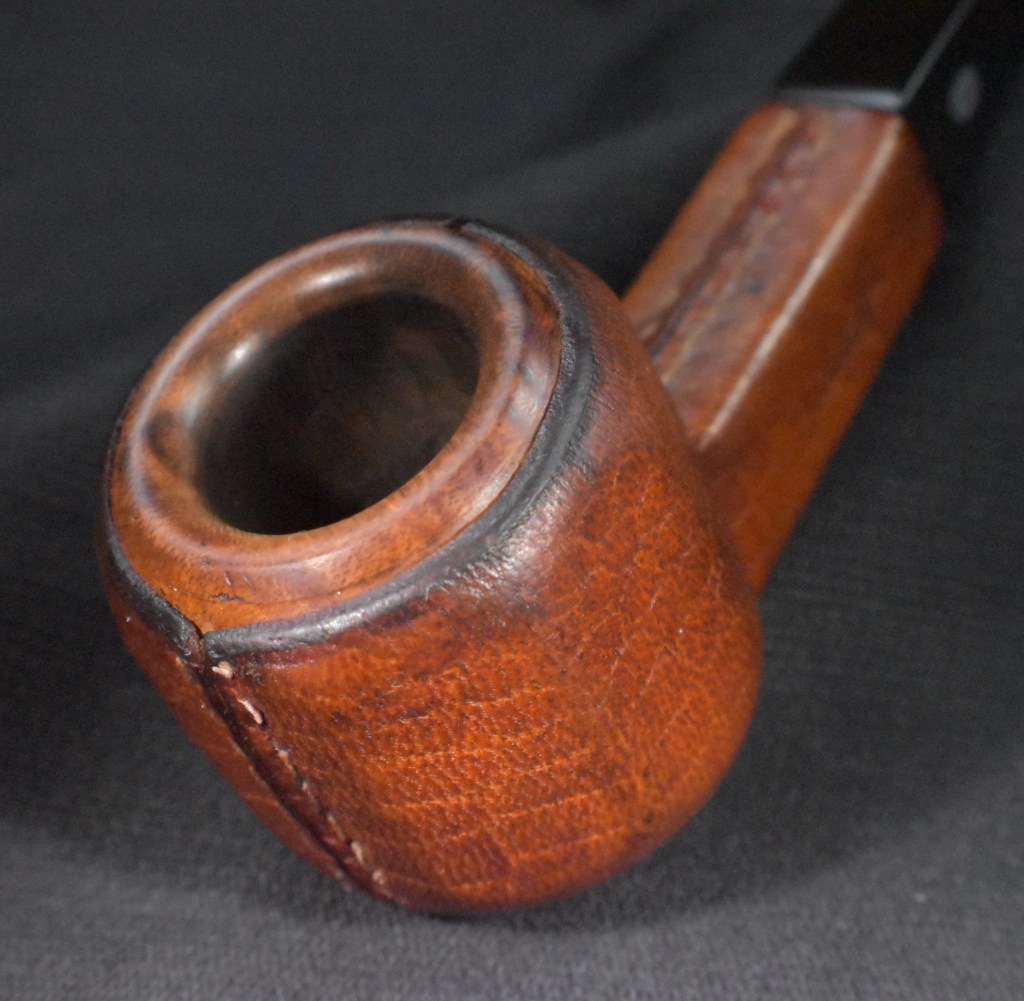
The cabinet scraper performed admirably but revealed that the rim appeared to be stained or dyed black. I had never seen a black Rettke pipe before. Maybe it wasn’t as filthy as I suspected.
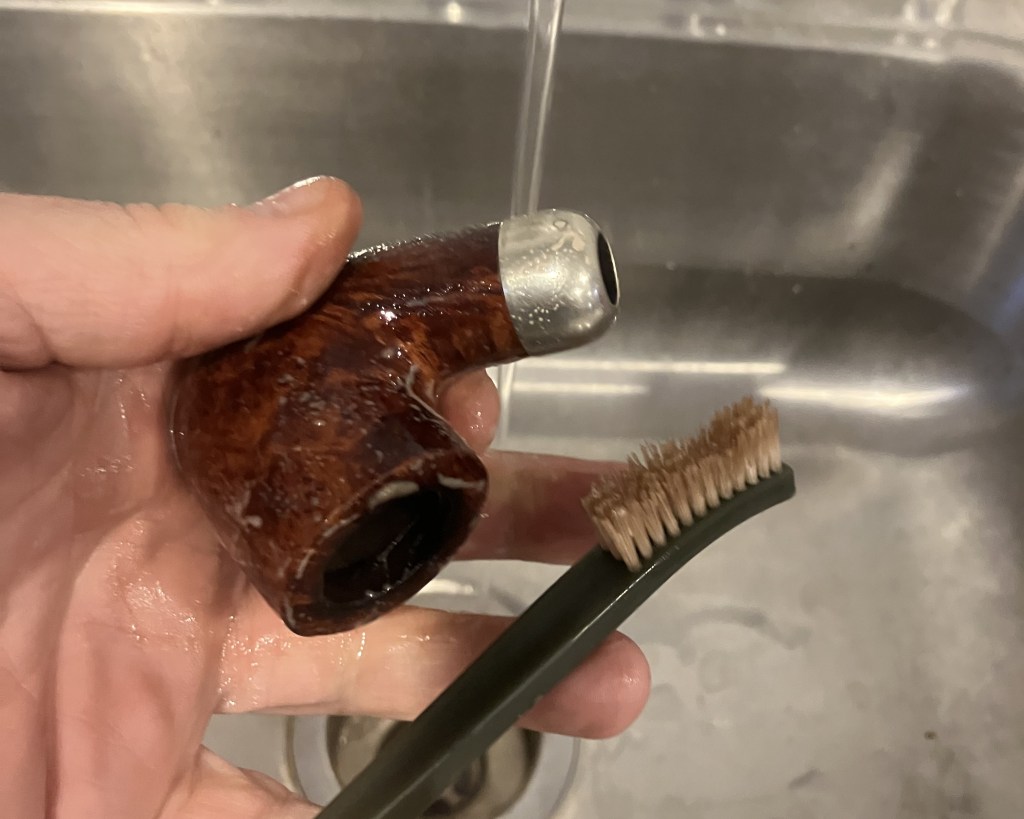
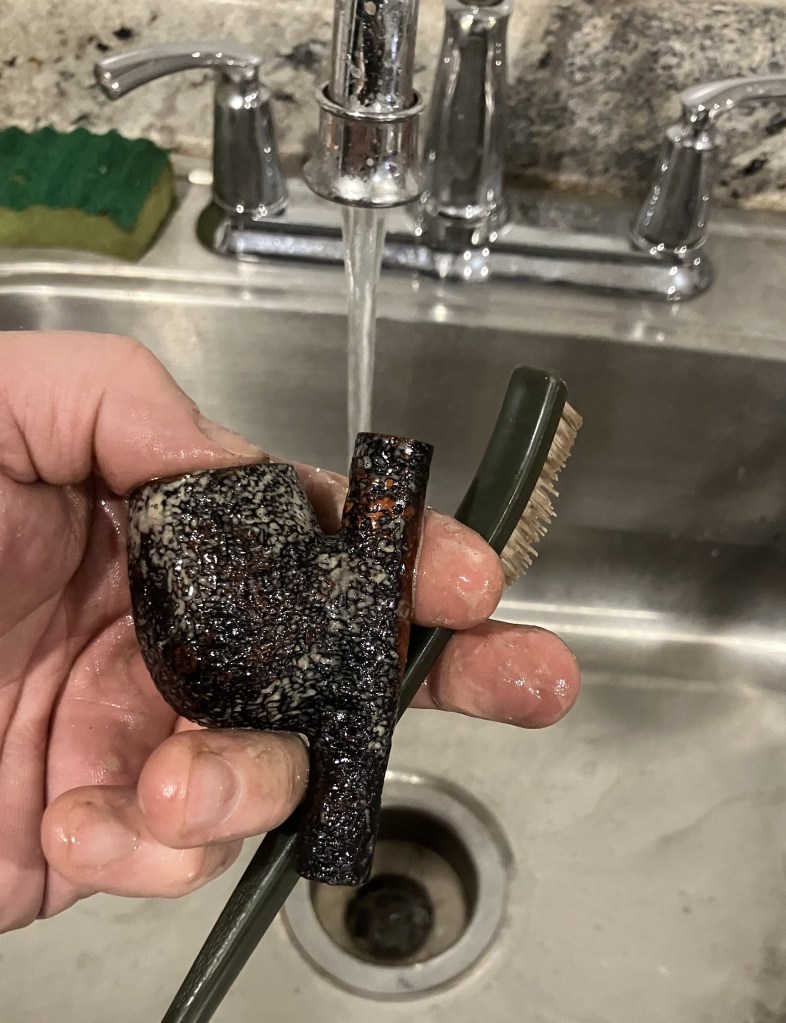
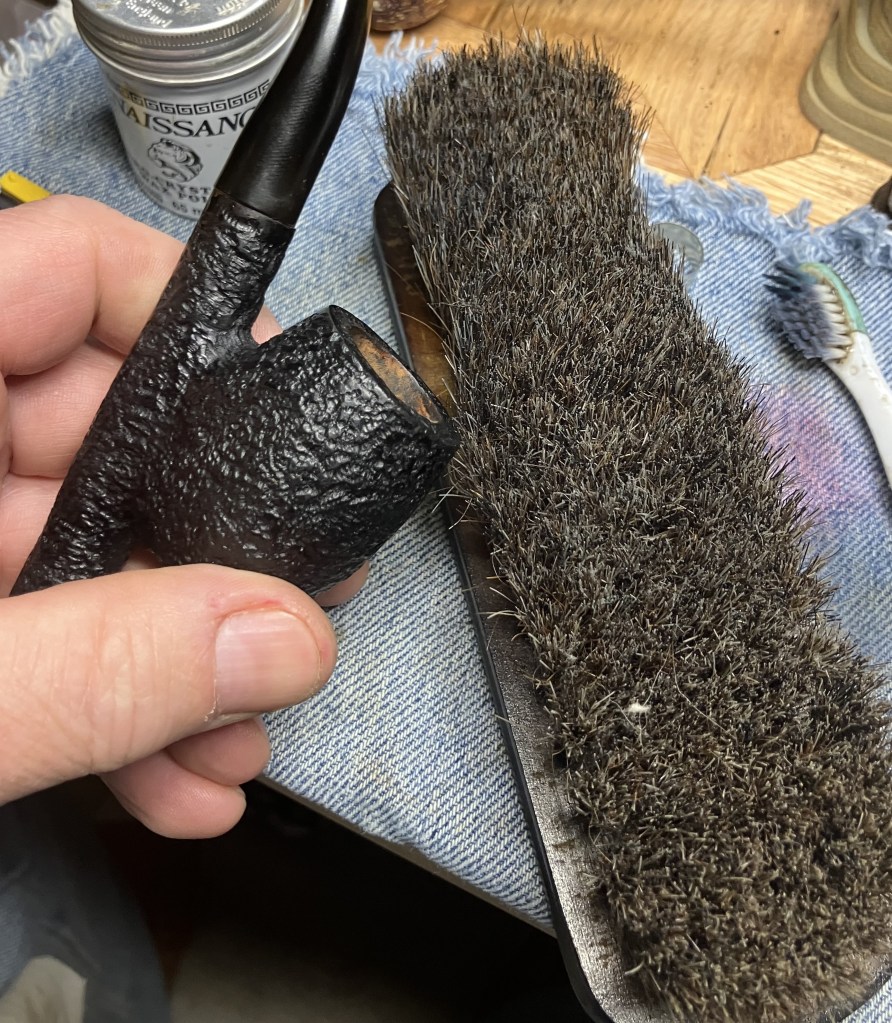
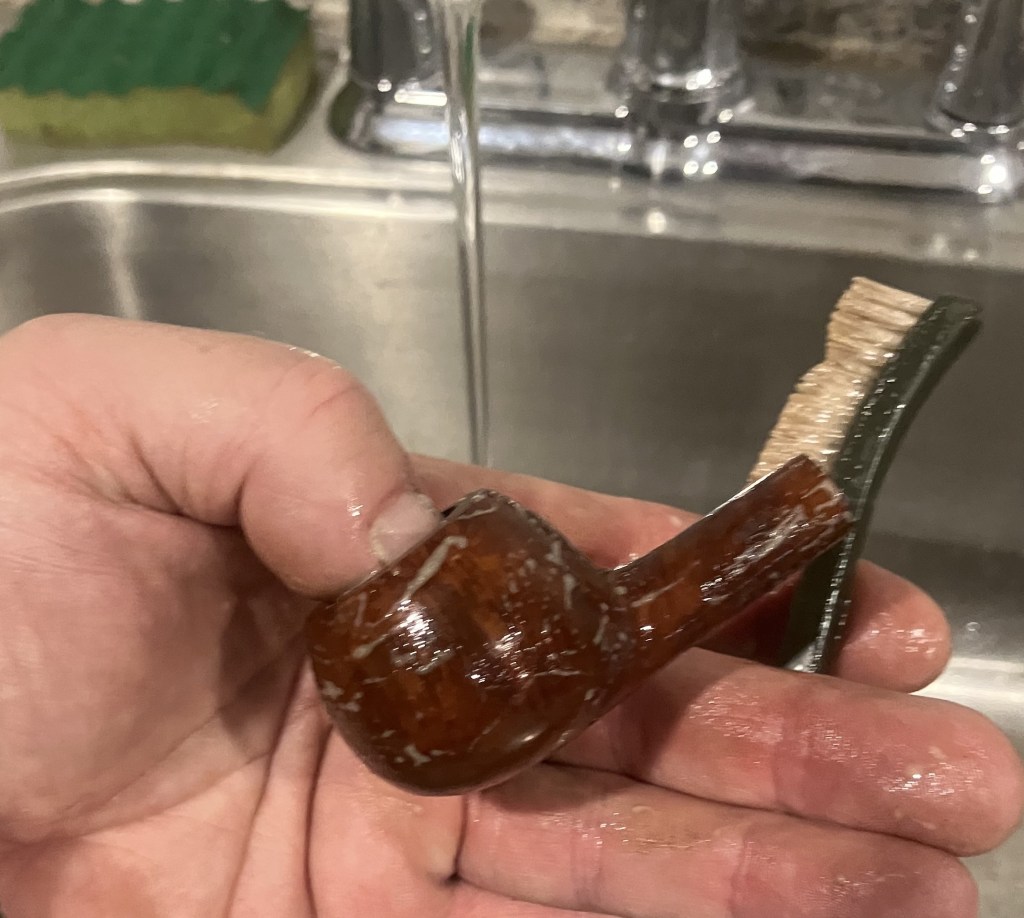
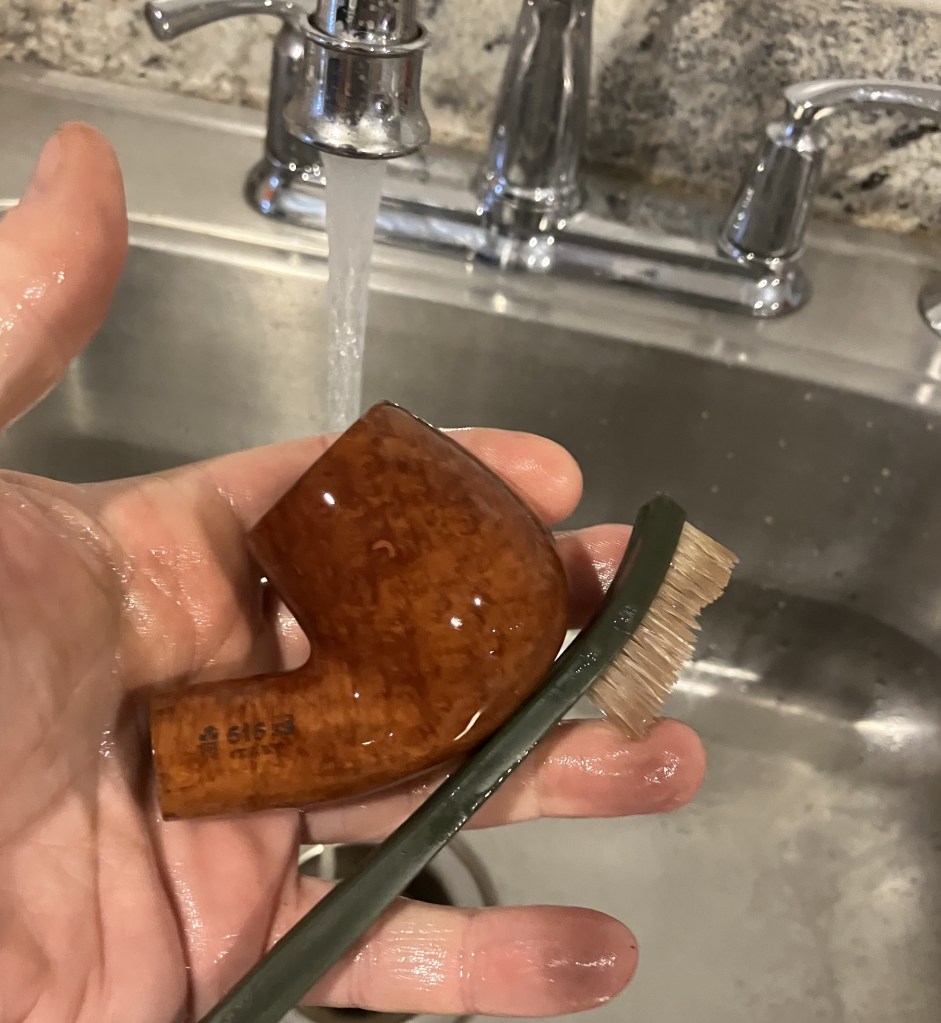
To the sink! Here the stummel was scrubbed with a nylon brush and undiluted Murphy Oil Soap. Yeah, it was filthy. The soap was rinsed with warm water and the stummel dried with a cotton hand towel.
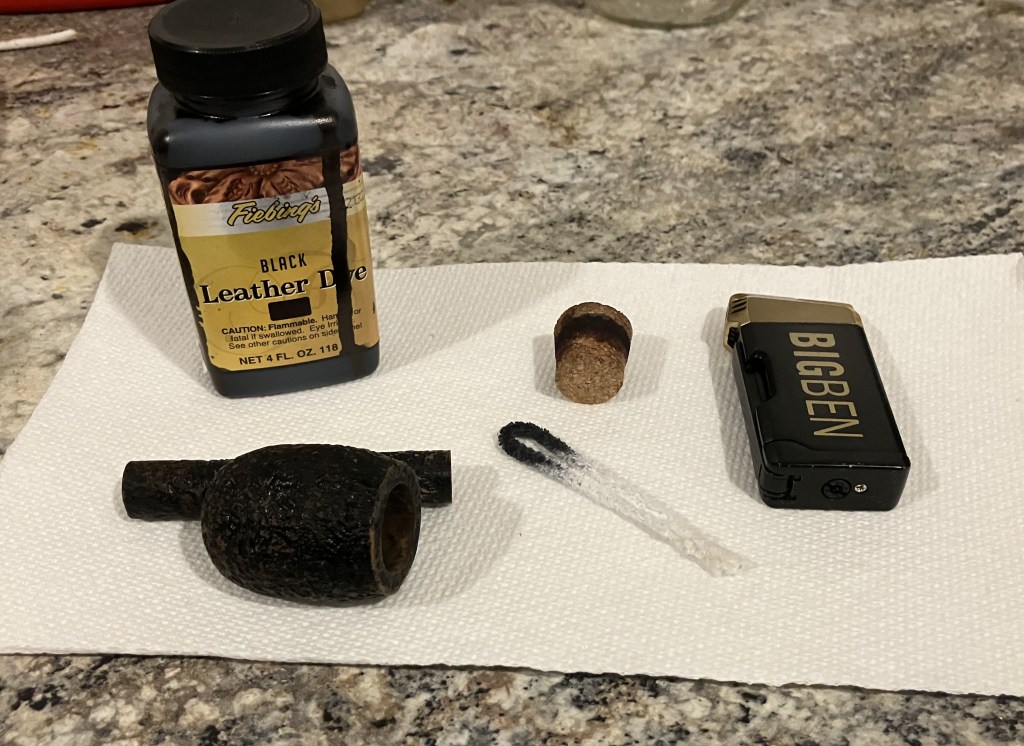
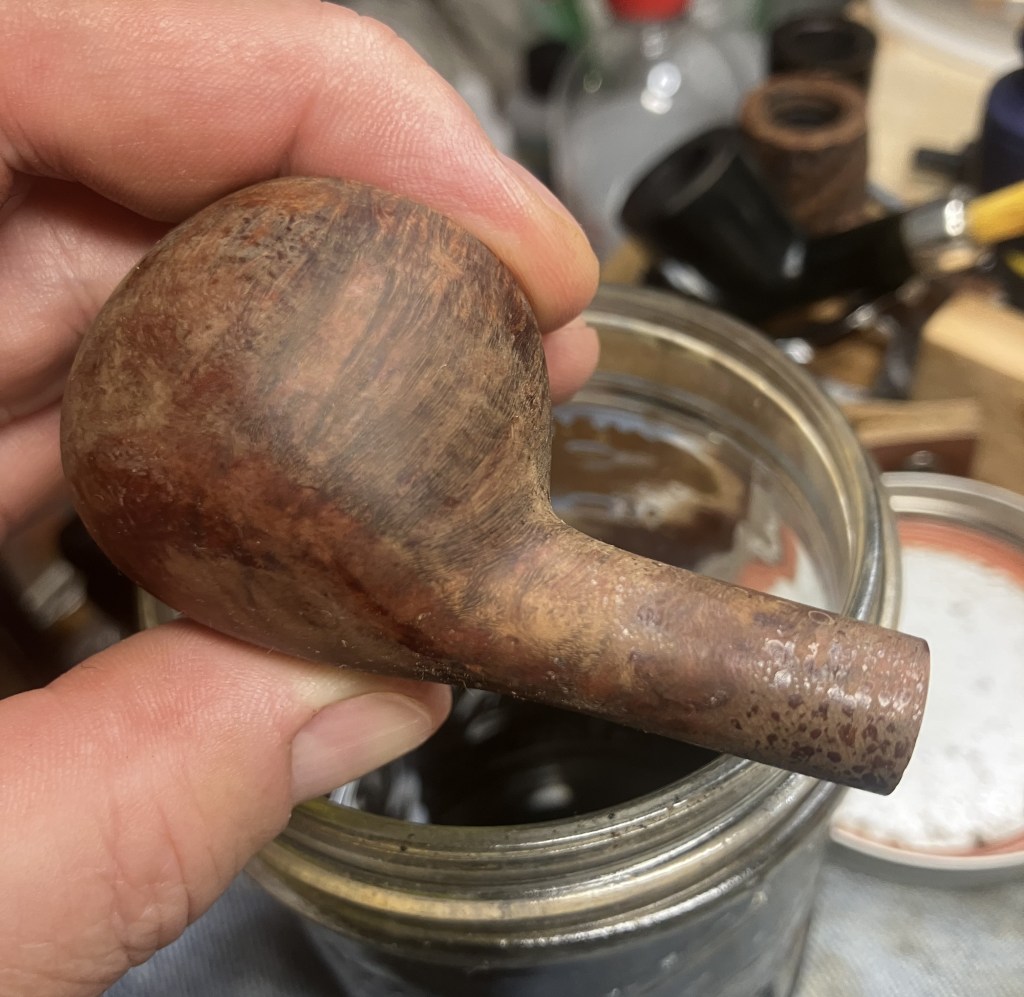
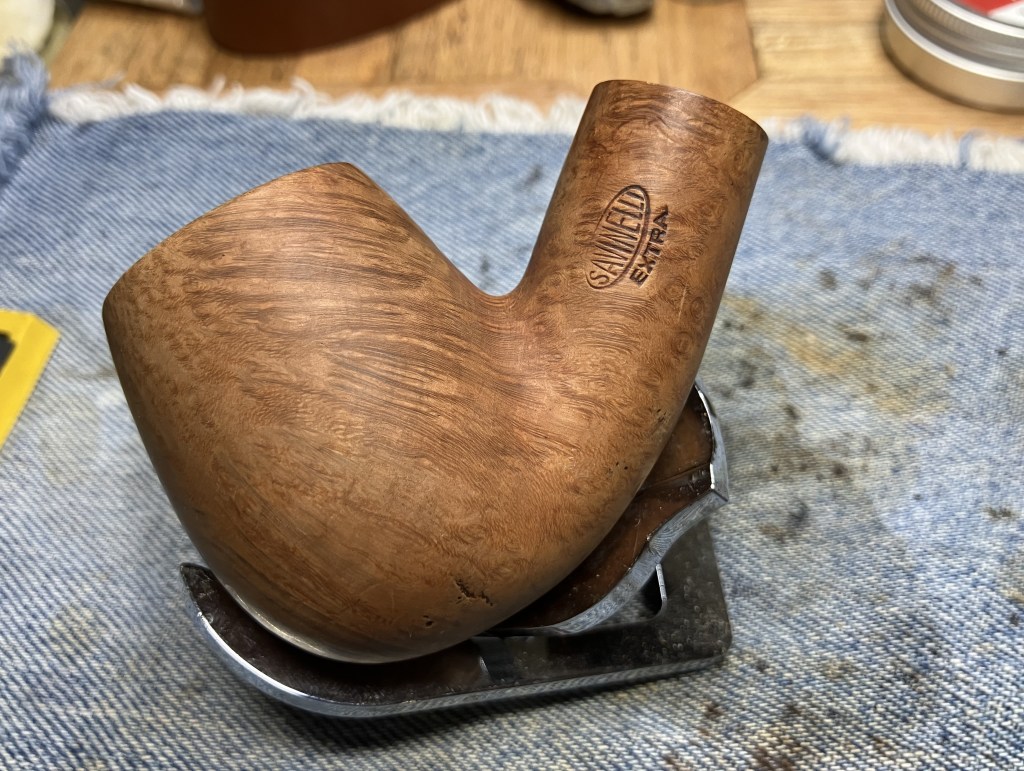
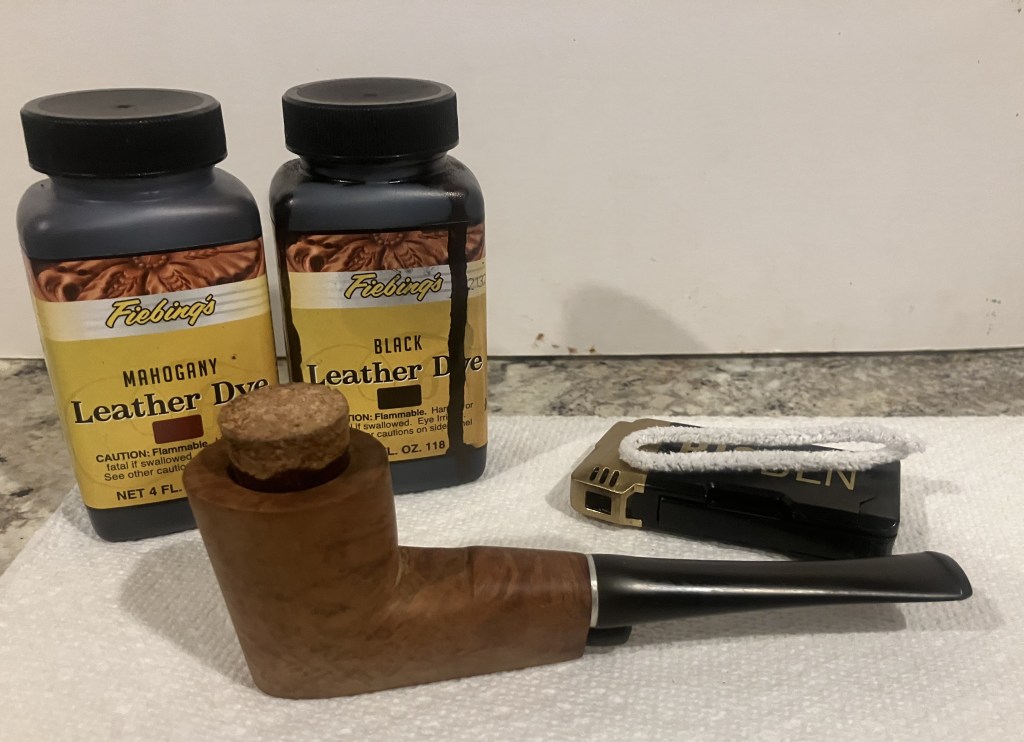
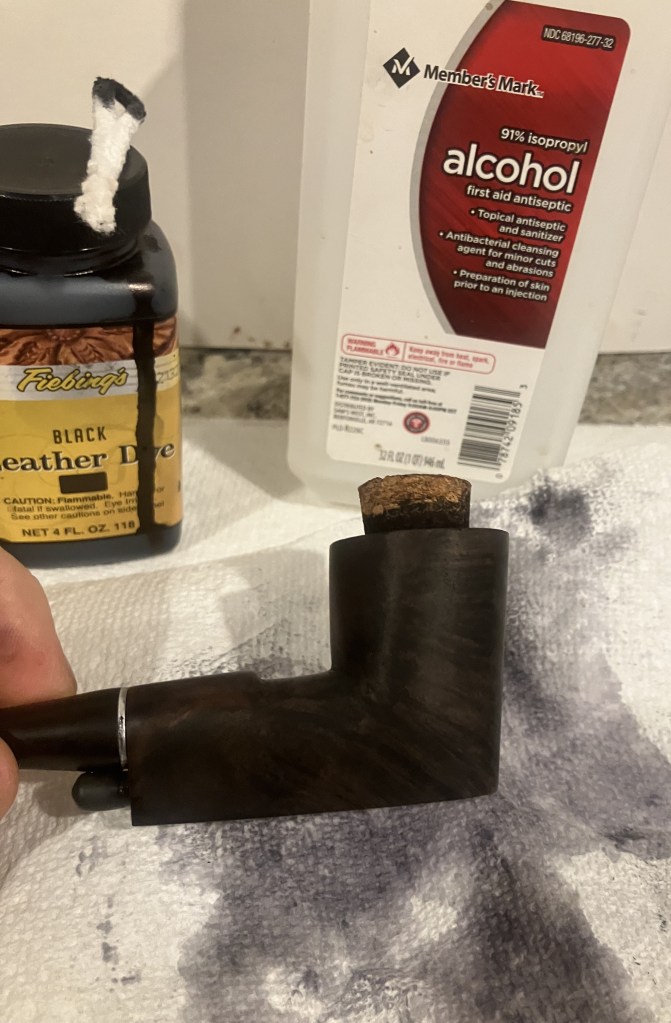
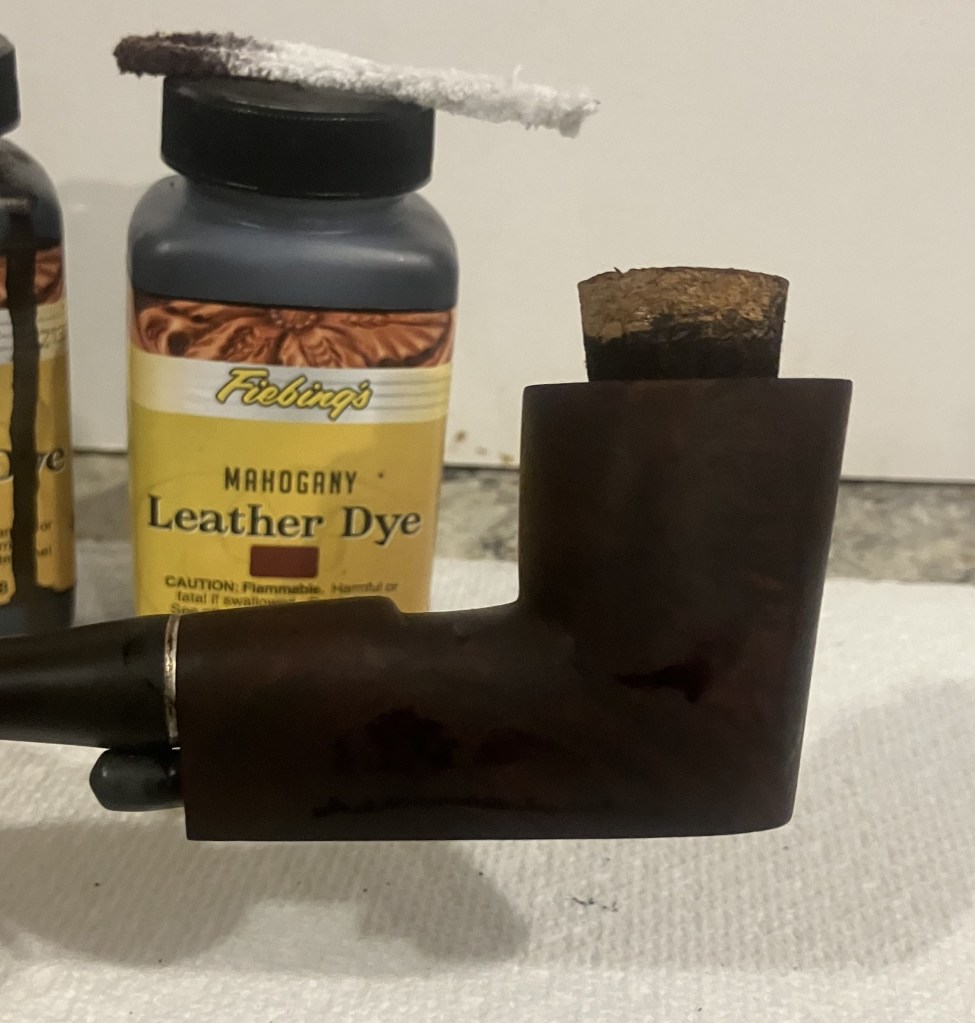
Hmm, back at the bench it became obvious that the briar had indeed been dyed black. It wasn’t just dye though, it was like old Mr. Rettke had mixed the dye with lacquer. I wiped the stummel with a make-up pad dipped in 99% ethyl alcohol and it removed a lot of black.
I started sanding to see if I could penetrate the finish. It worked. I thought to myself, “a smooth black fishing is a tough thing to master. Maybe Mr. Rettke was trying his hand at that kind of finish to mask some flaws in this piece of briar?” Yes, it was all conjecture, but it makes for an interesting story.
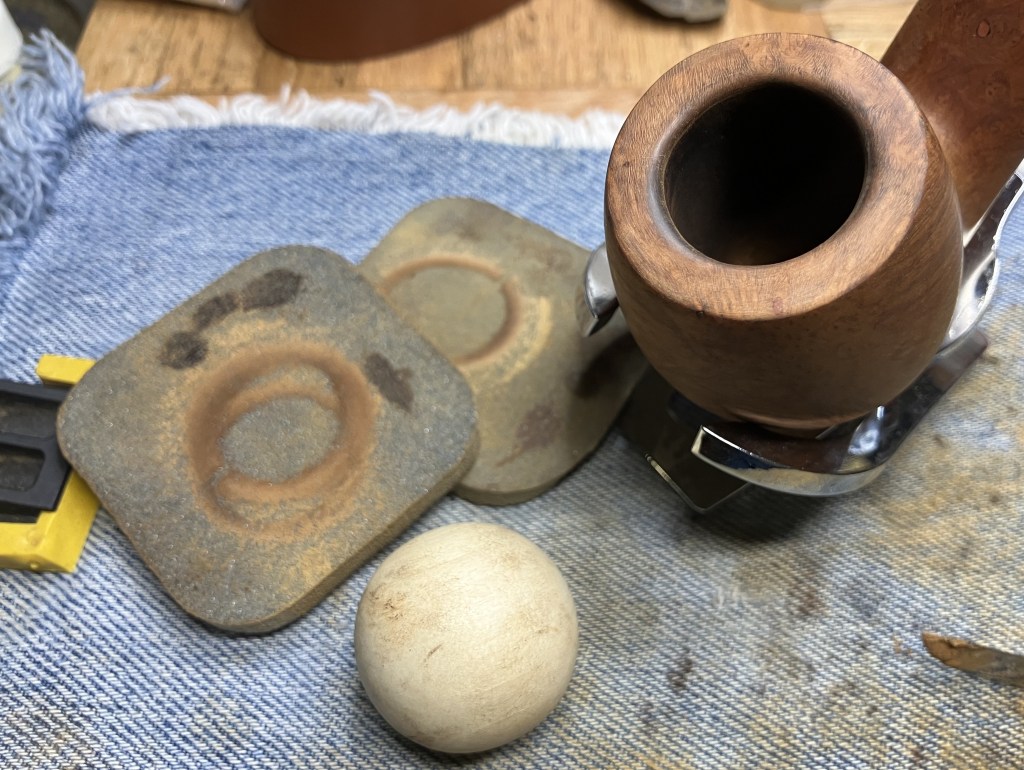
This pipe had a very sharp rim both inside and outside the tobacco chamber. To mask the dings and wear, I added a slight bevel to the inner rim using sandpaper and a wooden sphere. The outer rim was also beveled using a life and sandpaper.

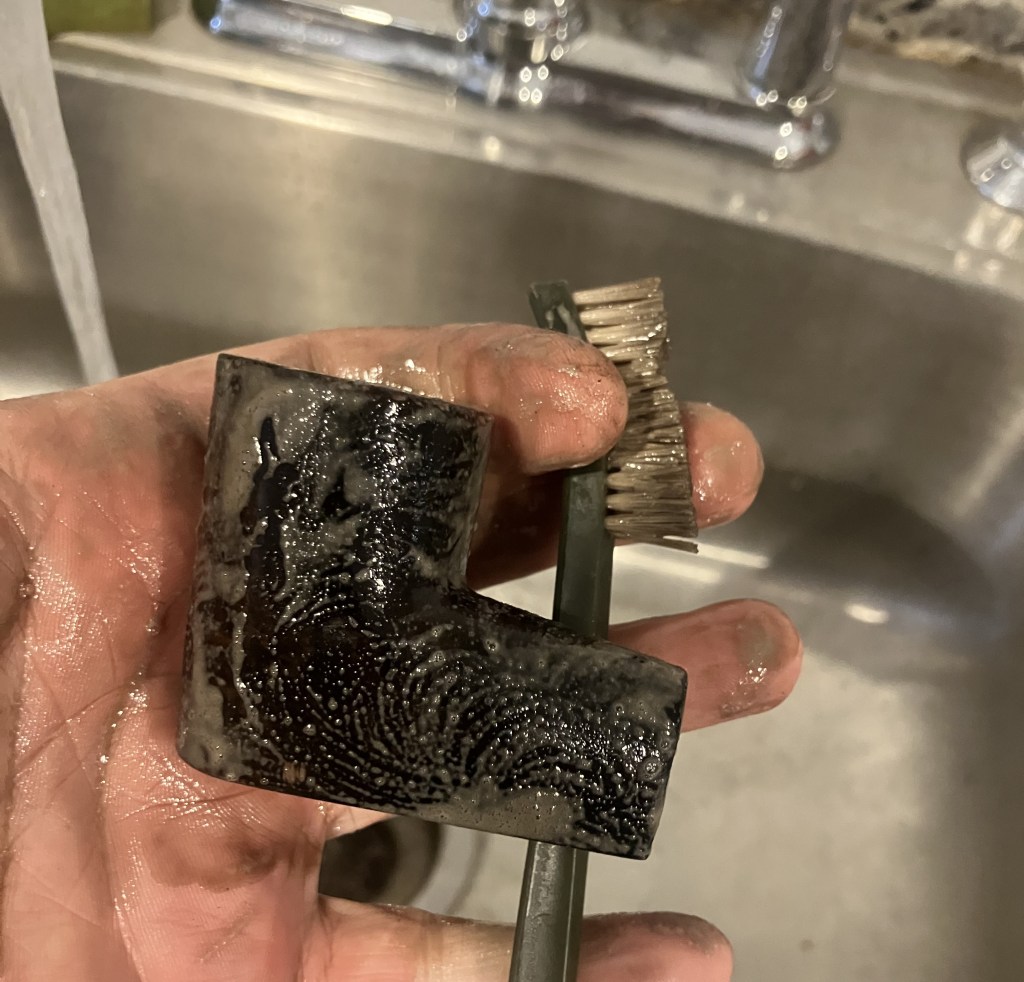
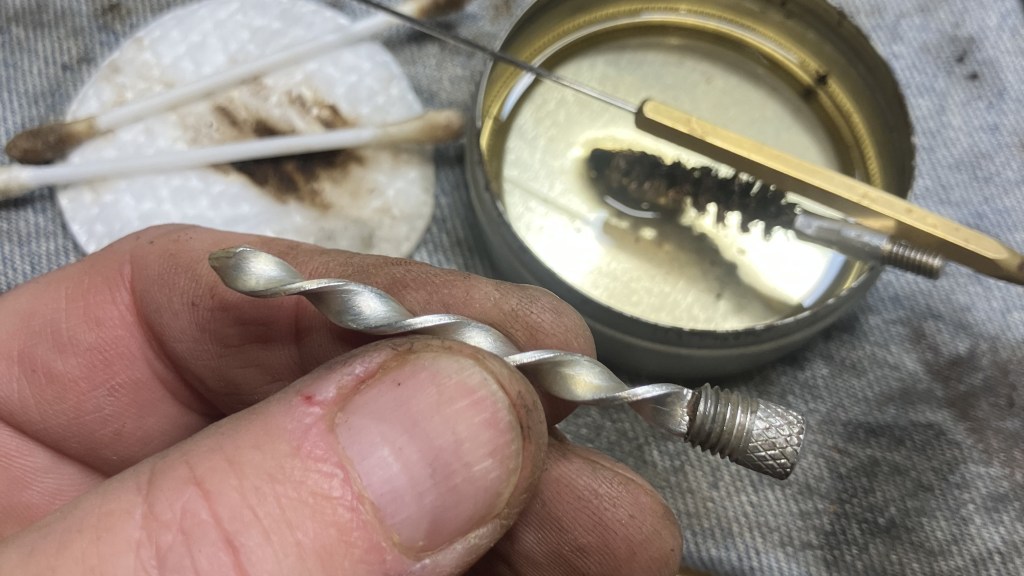
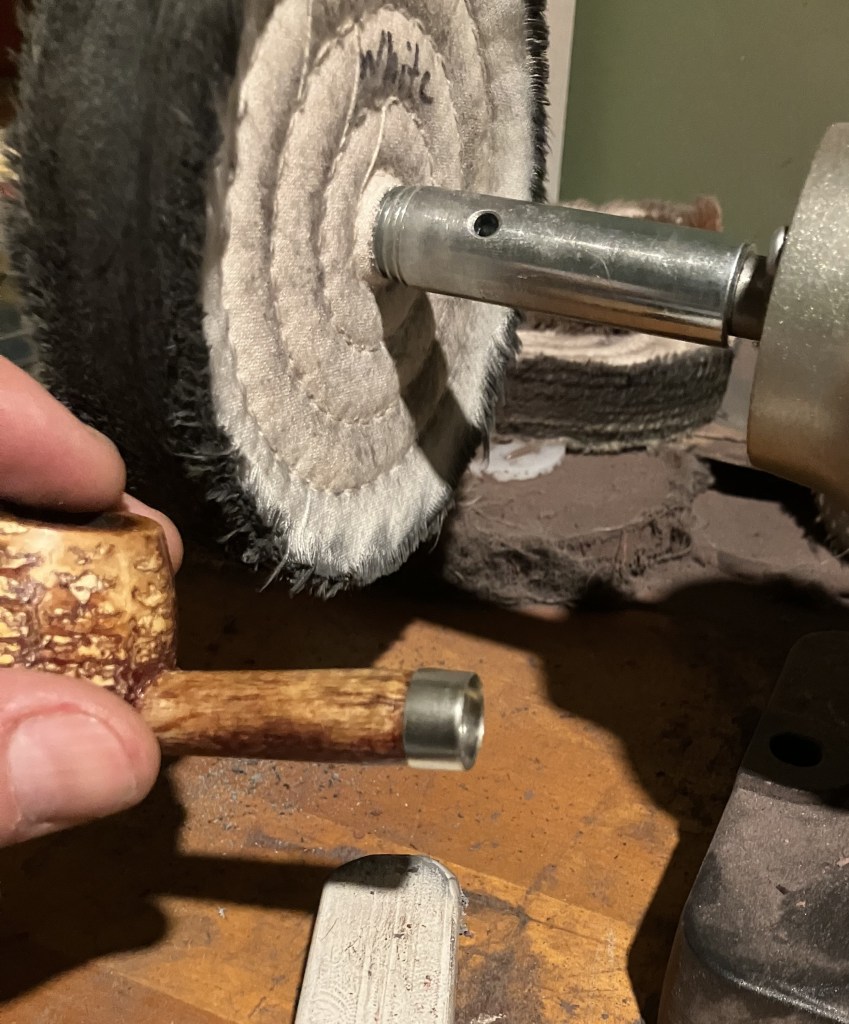
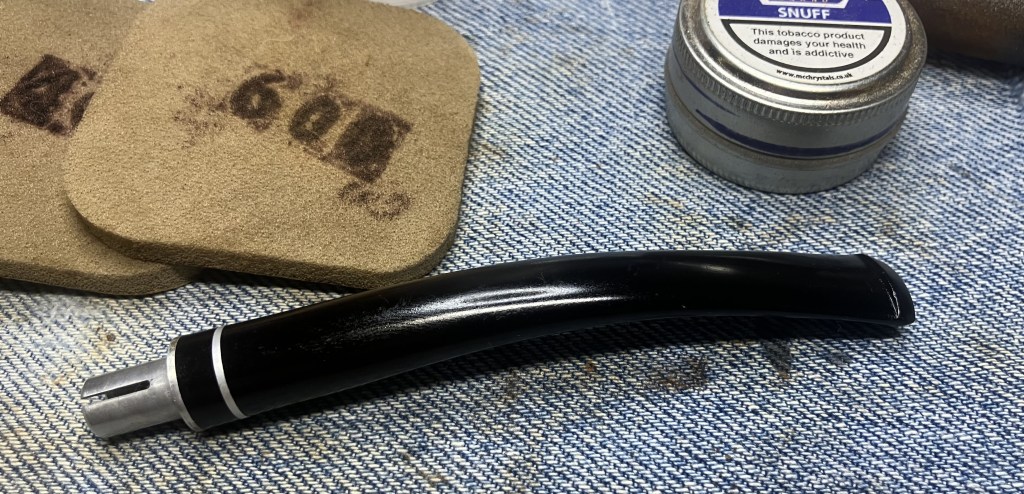
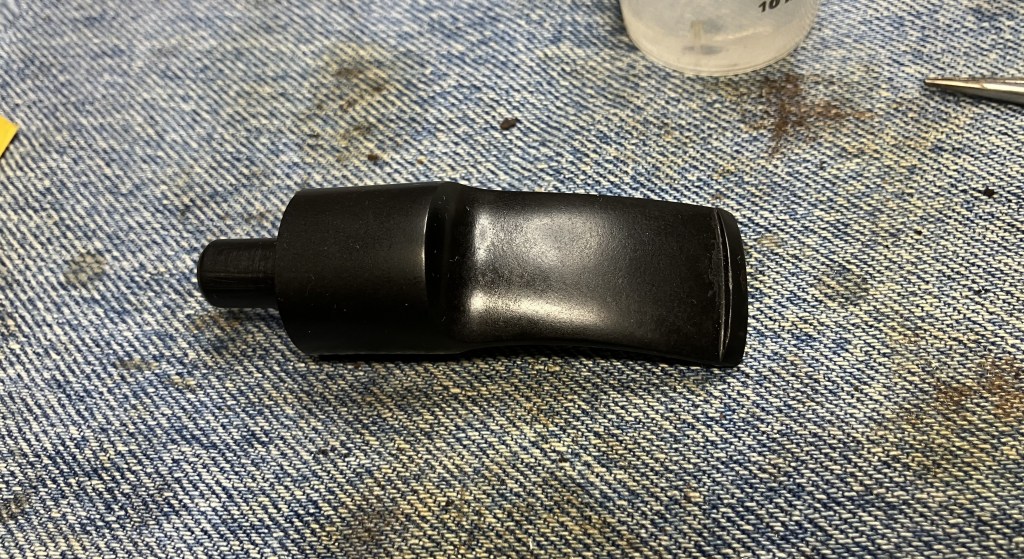
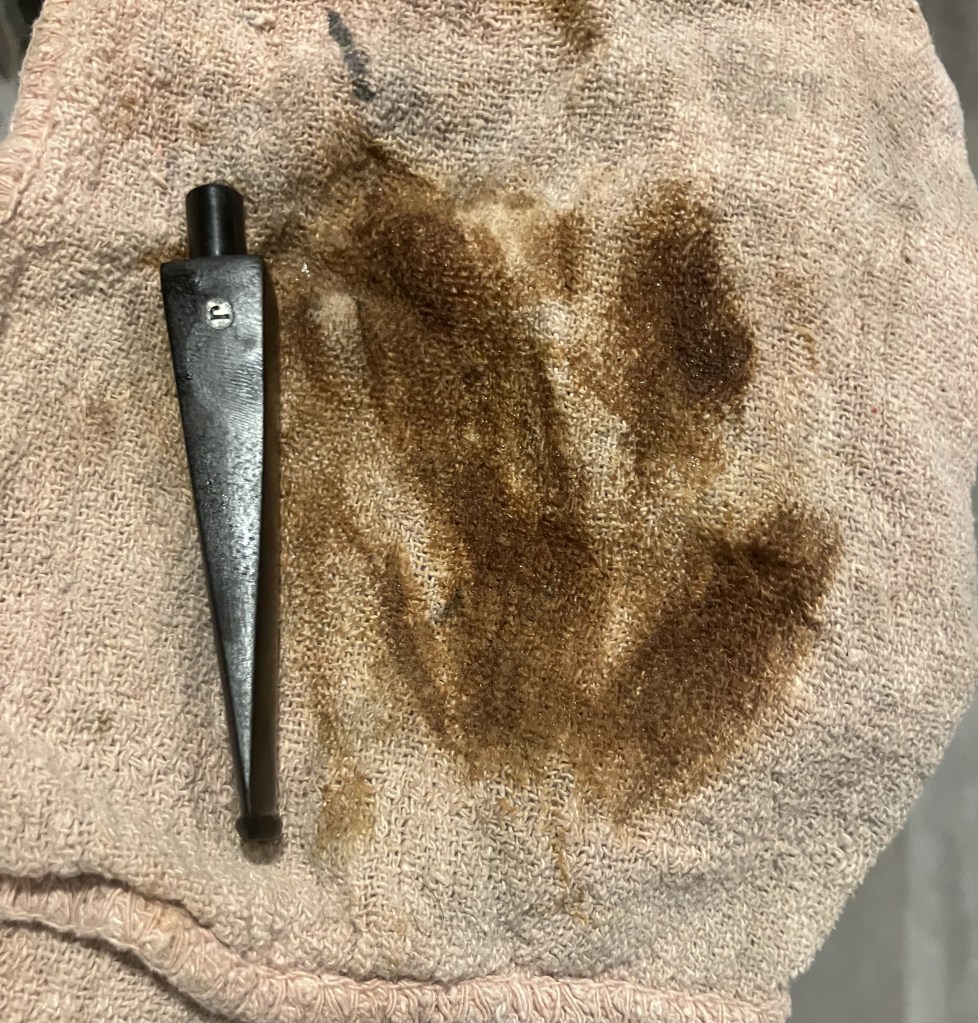
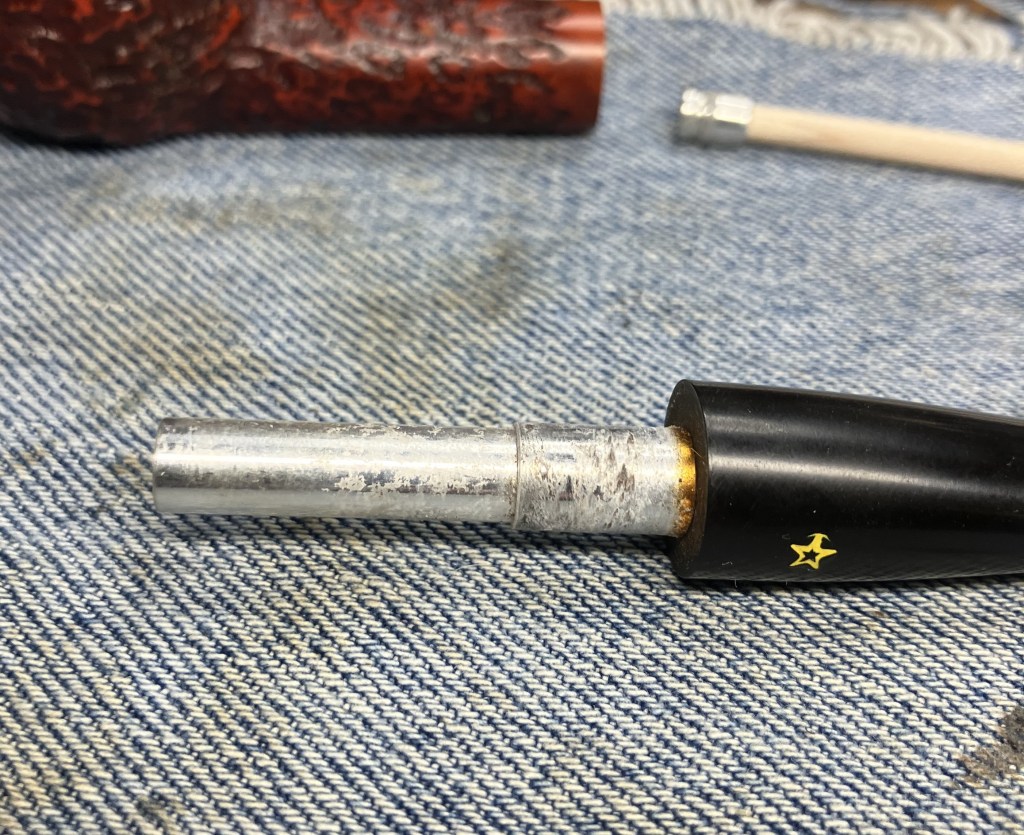
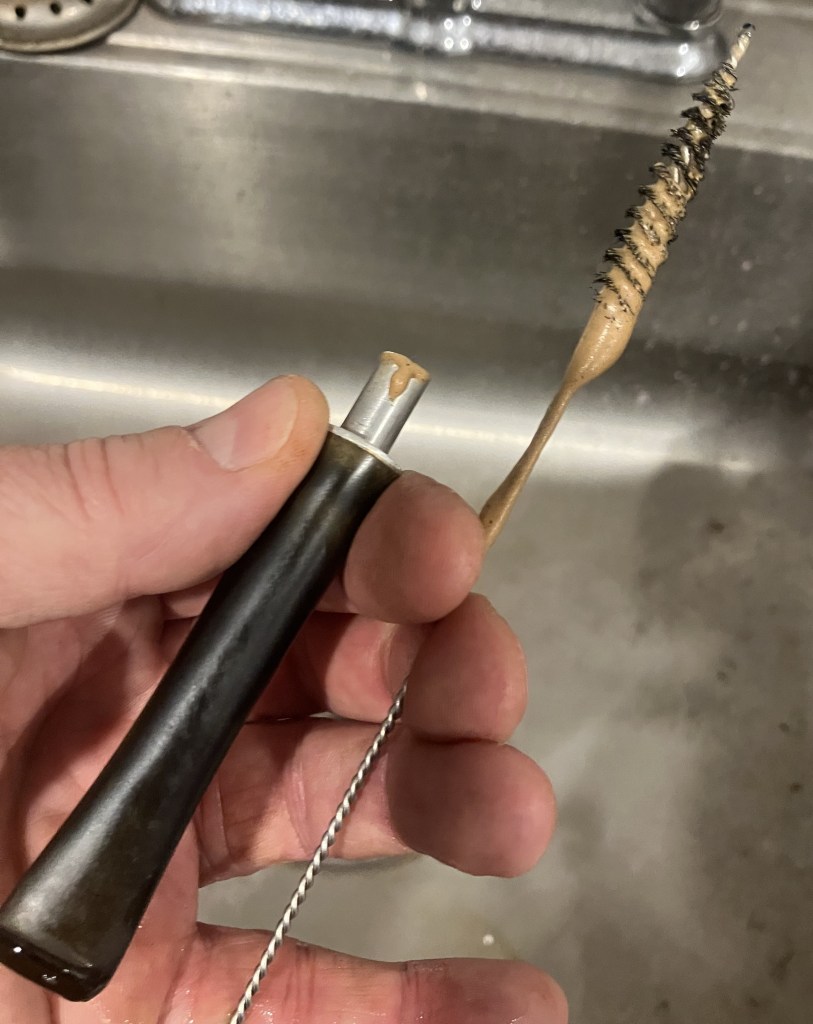
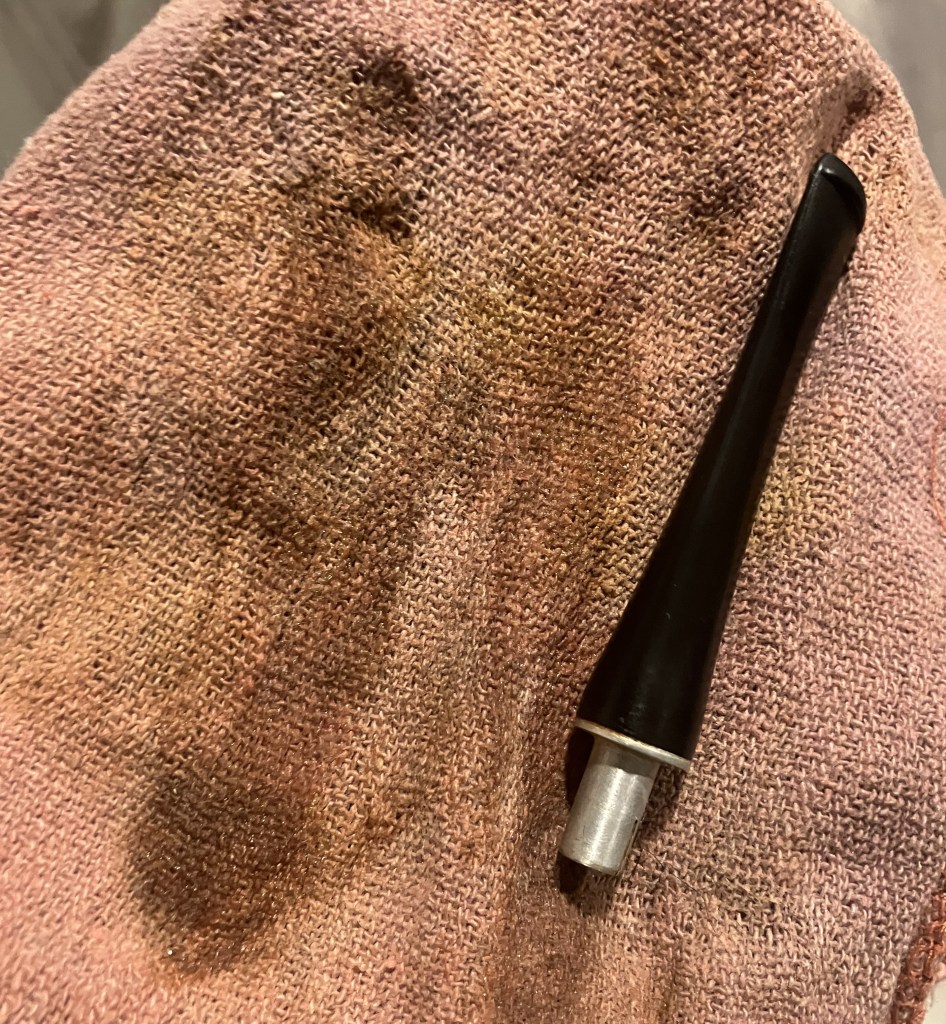
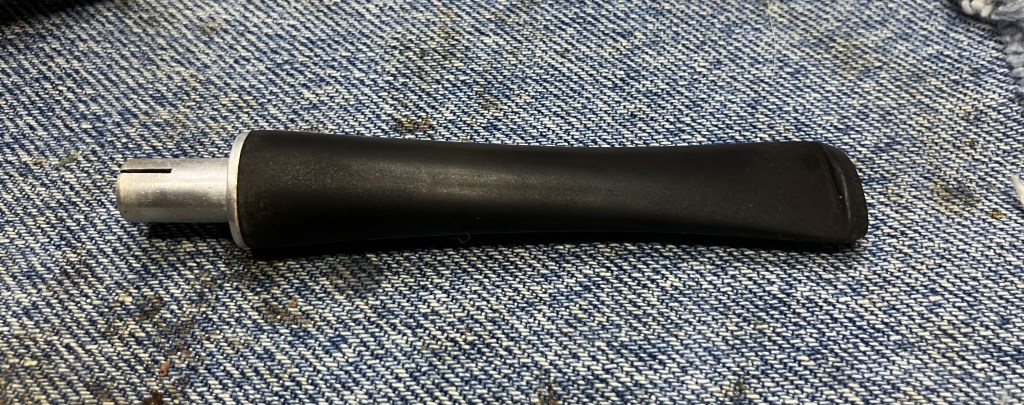
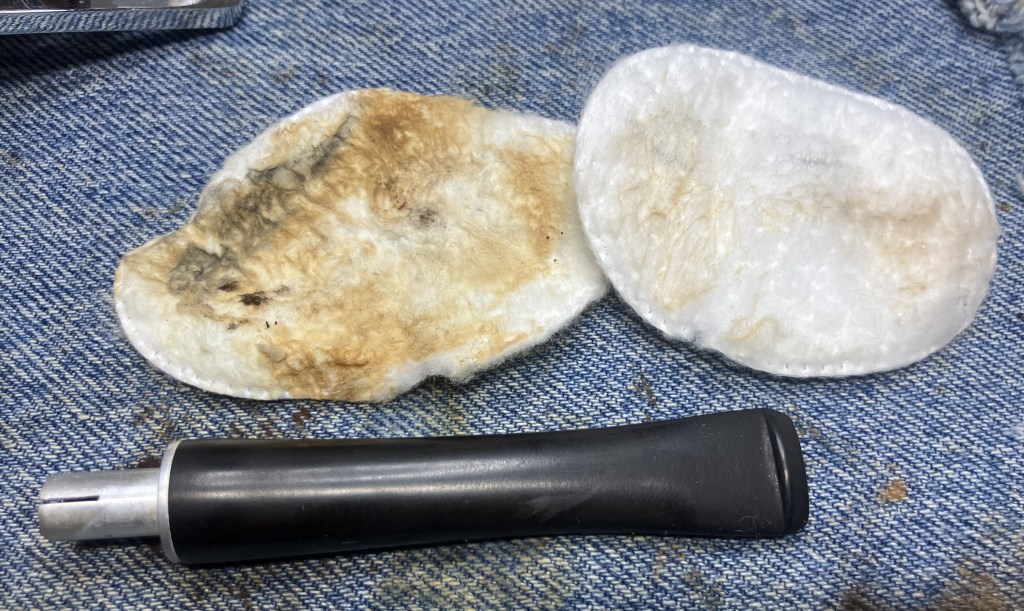
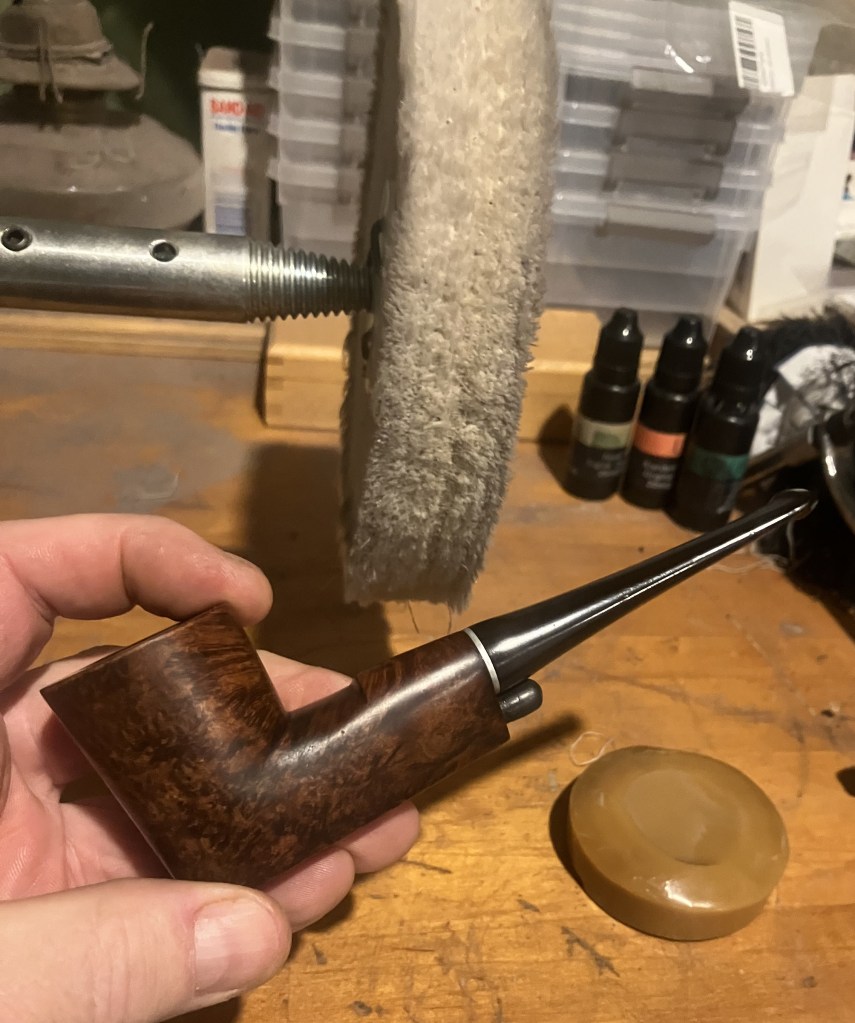
I know, I was jumping around a lot with the different parts of the restoration. I next cleaned the whirler. I do that when I am thinking about how to go about doing something with a restoration. Repetitive activities help lubricate my thought process.
The whirler cleaned up nicely.
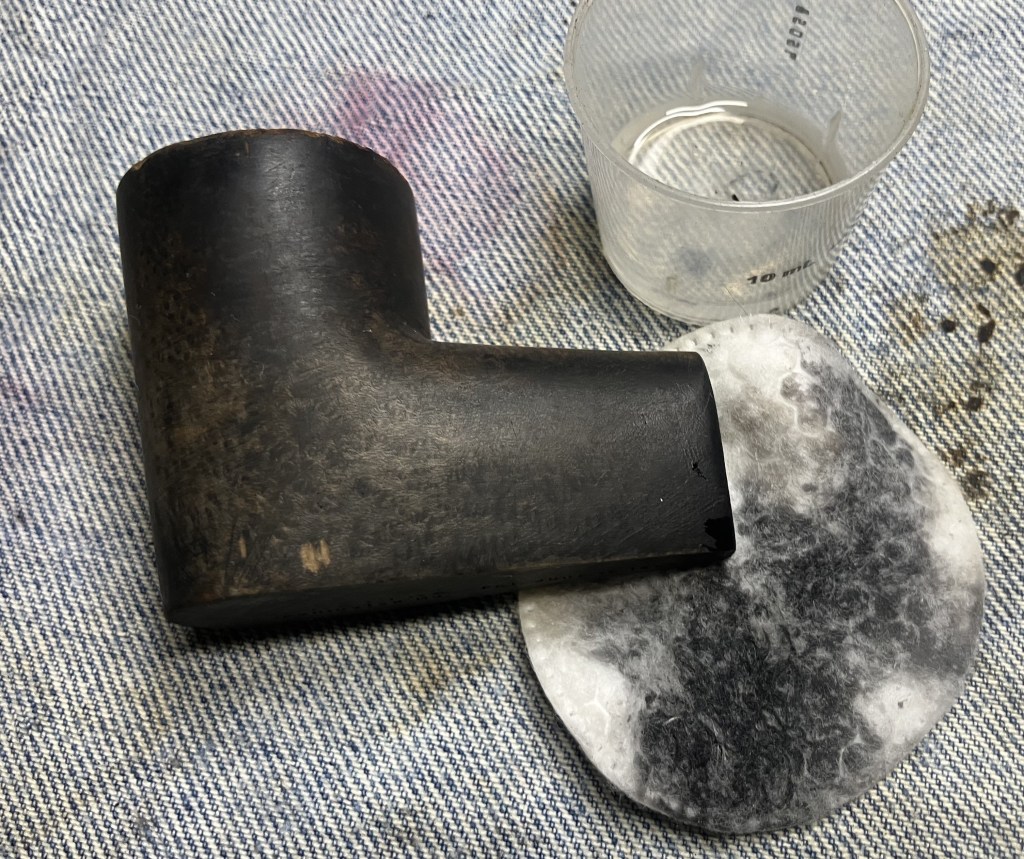
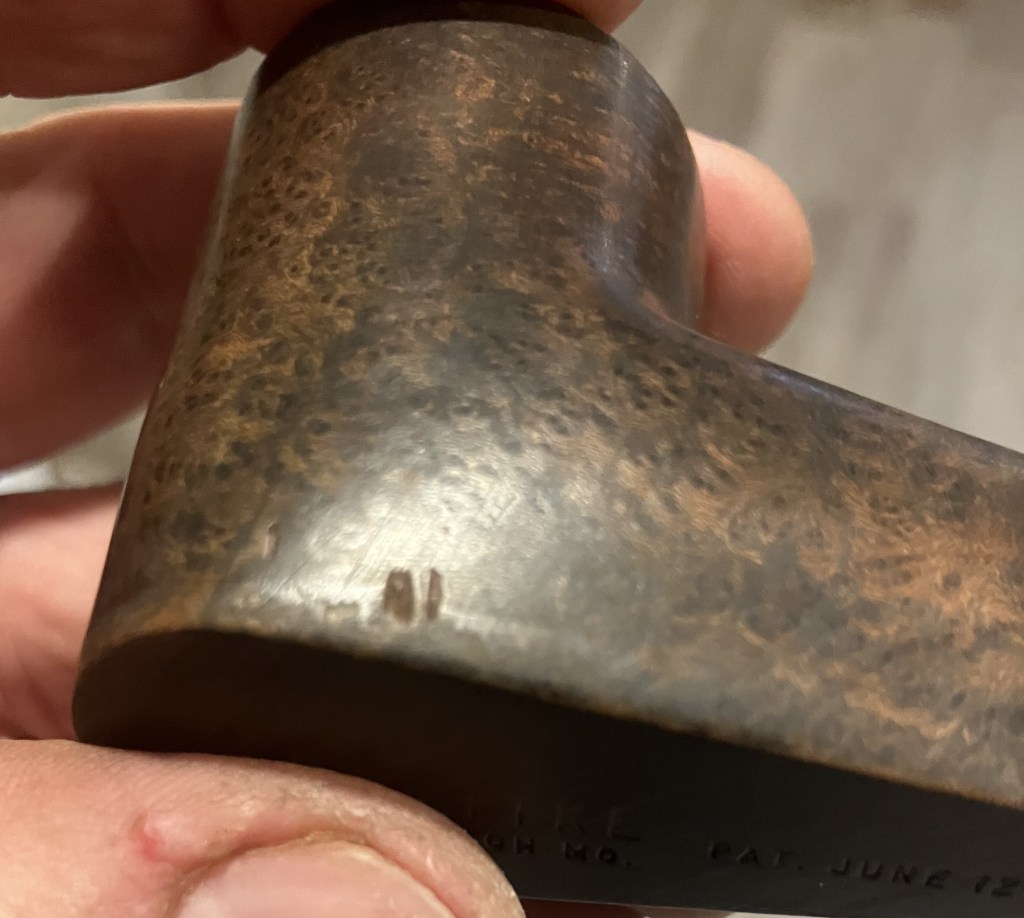
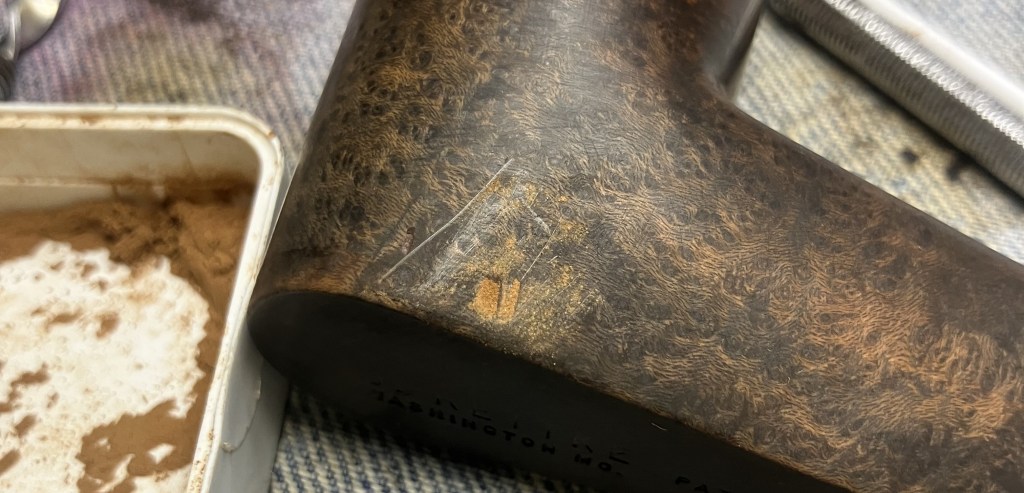
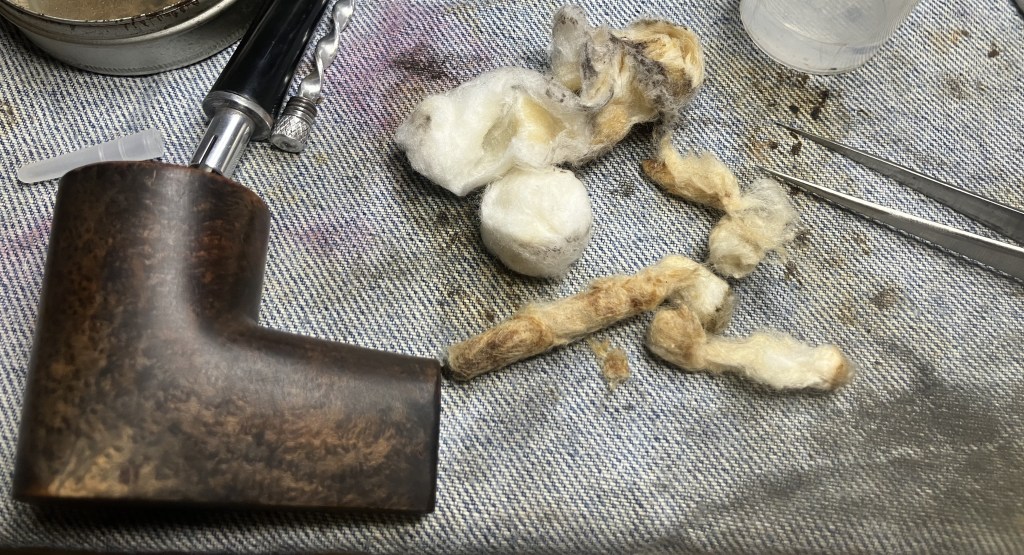
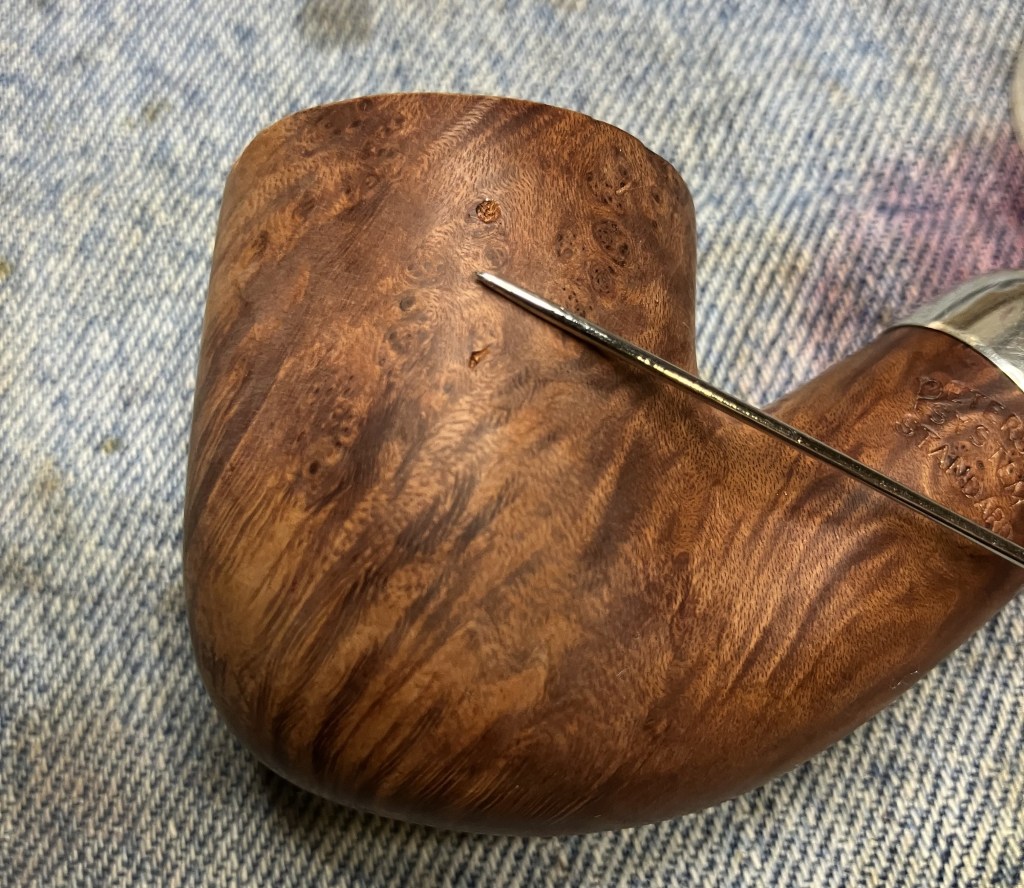
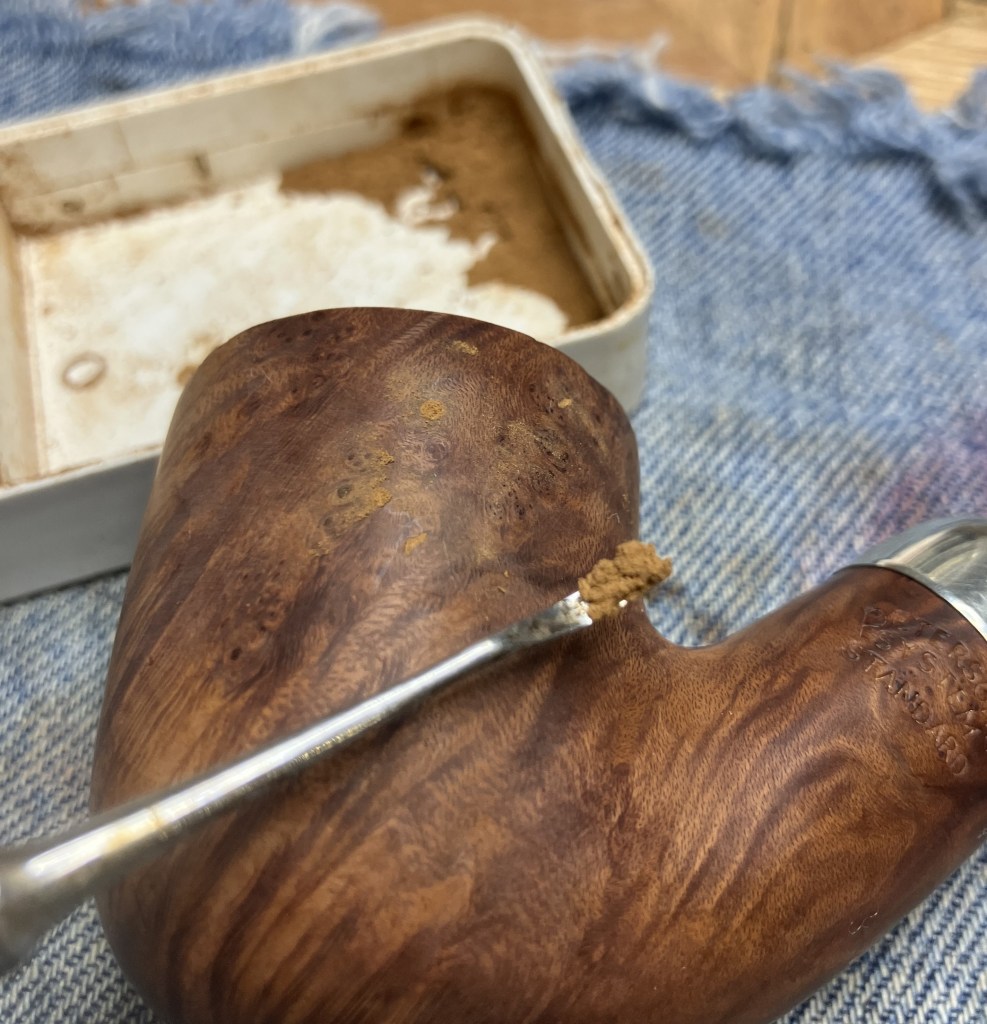
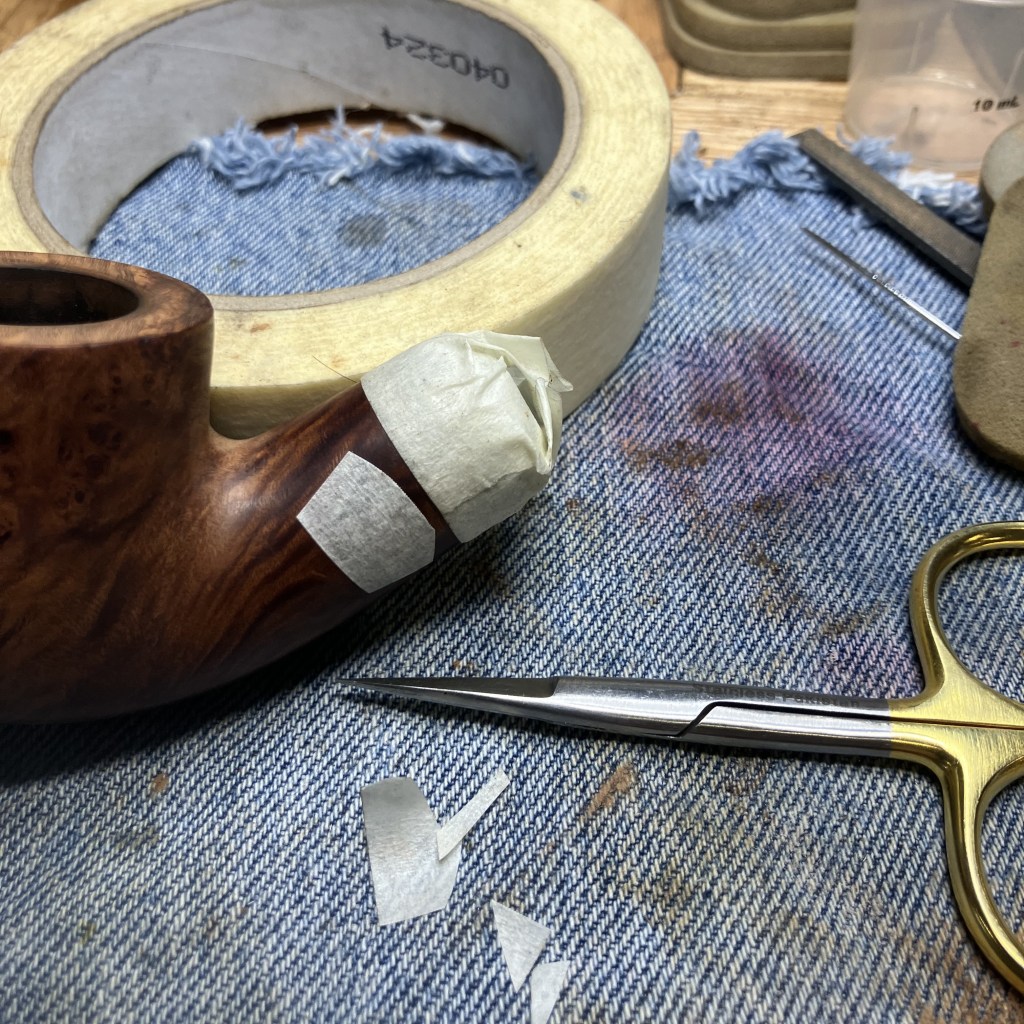
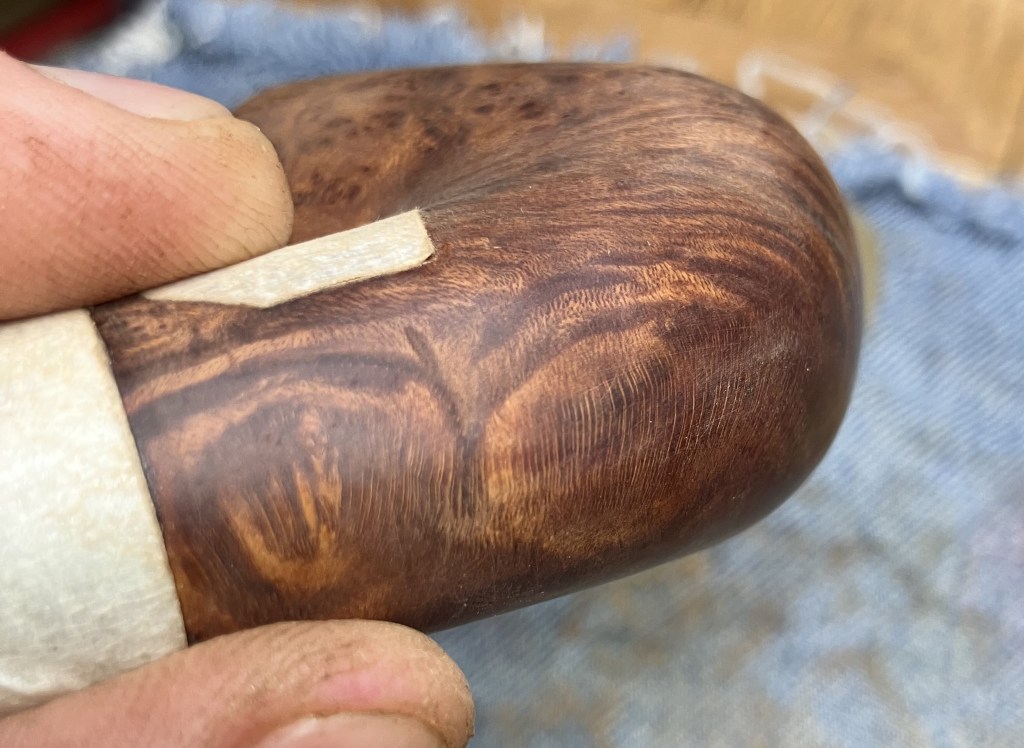
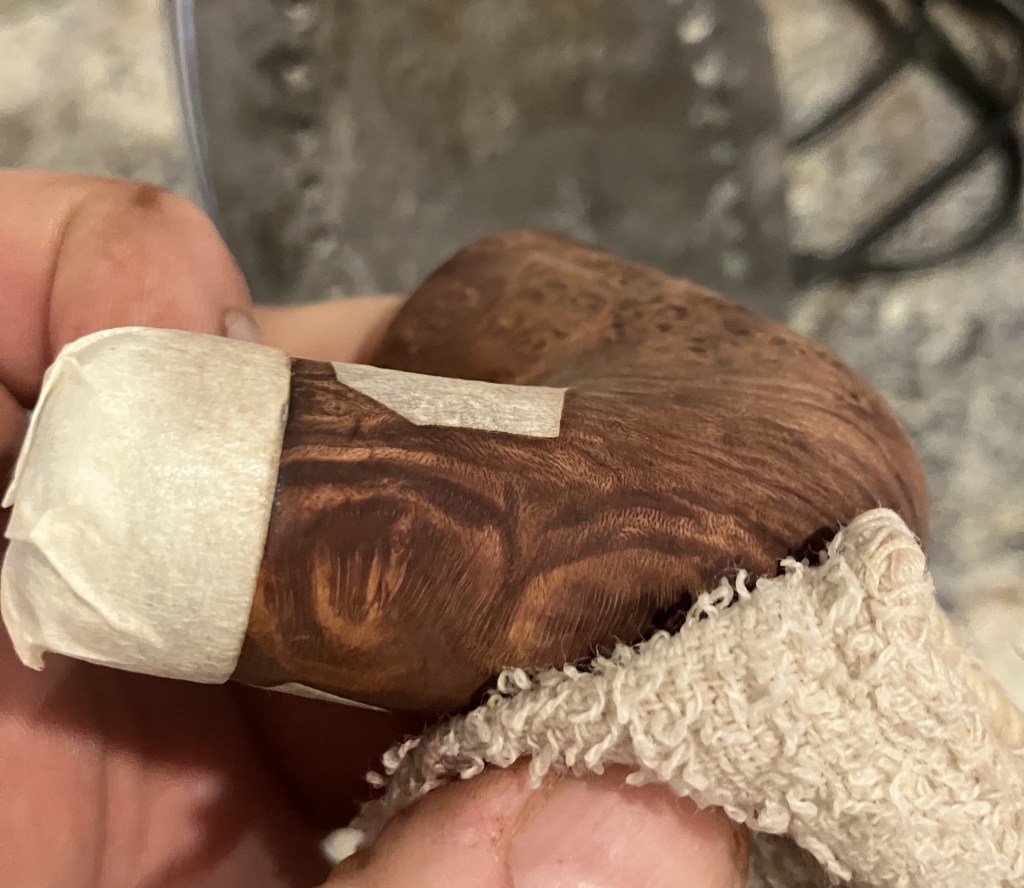
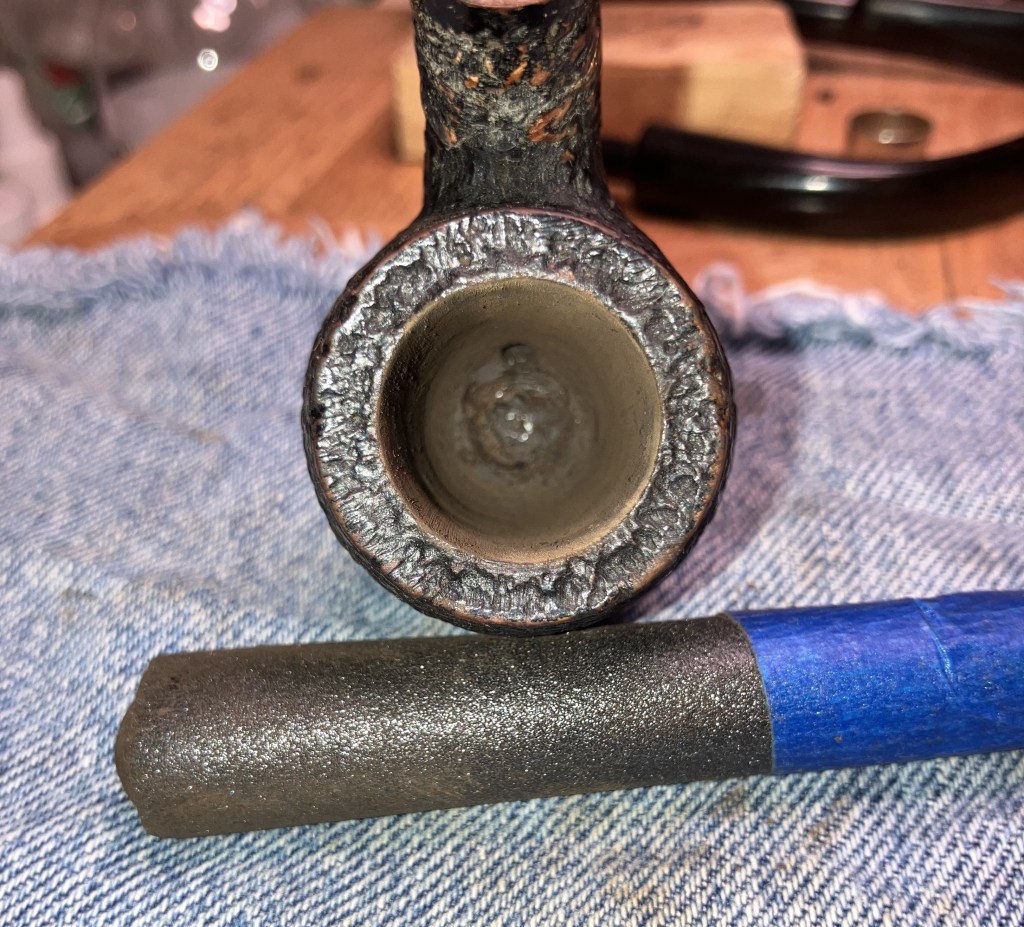
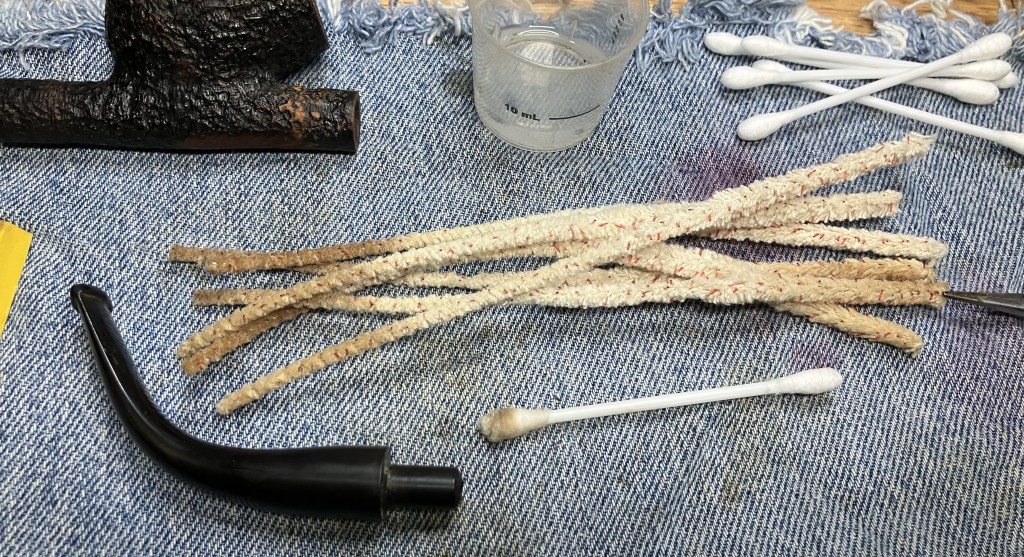
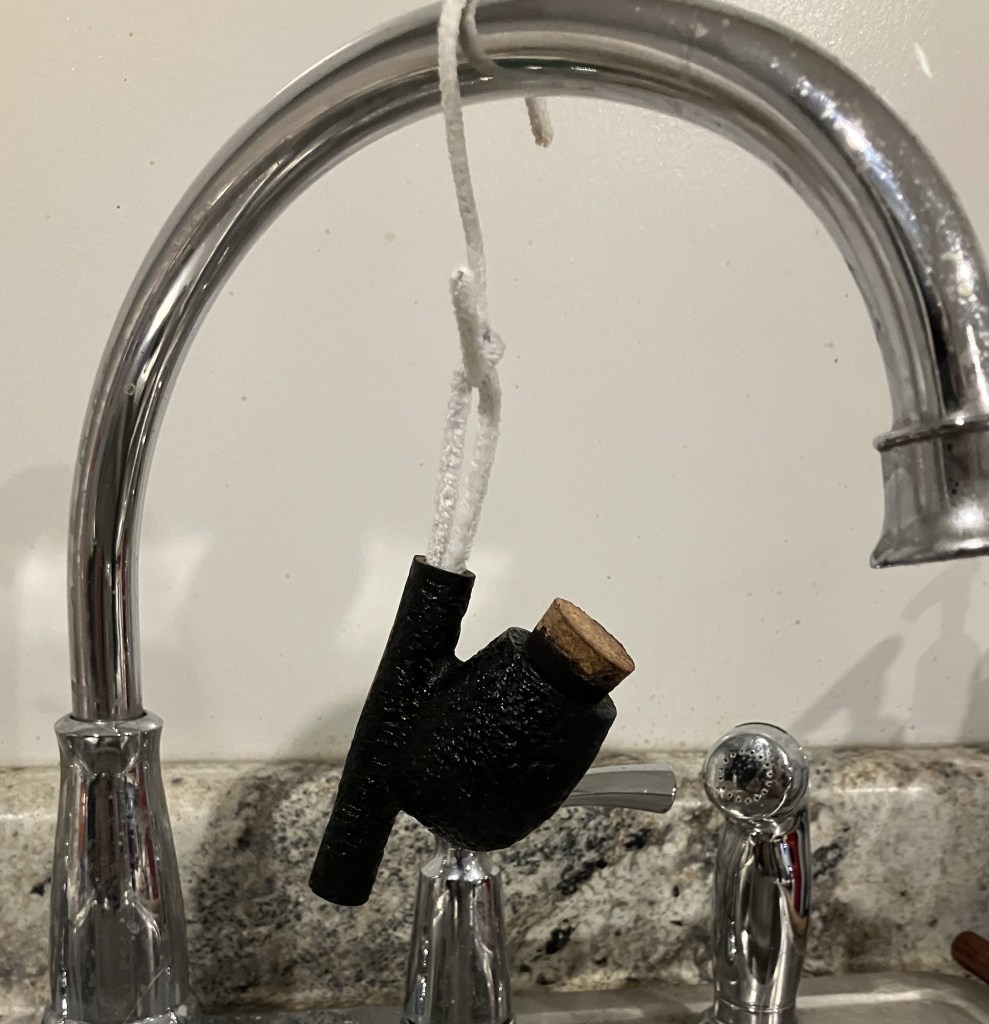
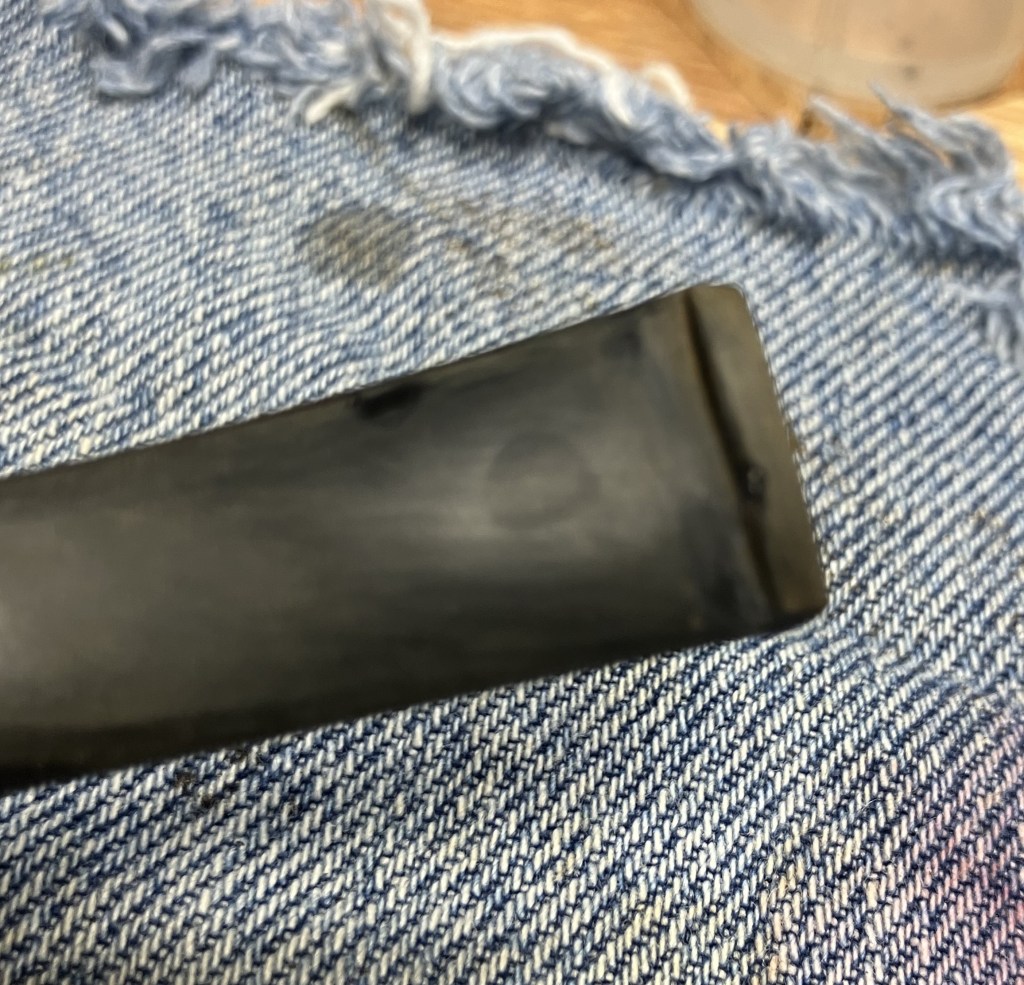
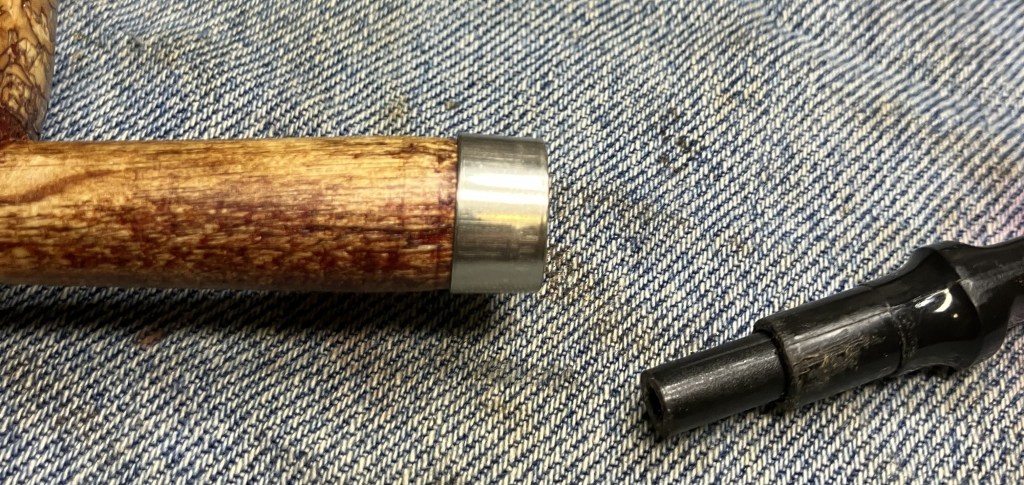
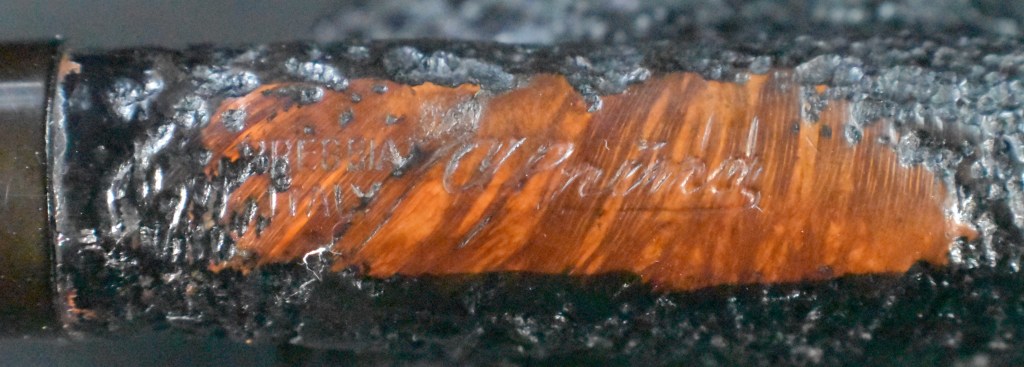
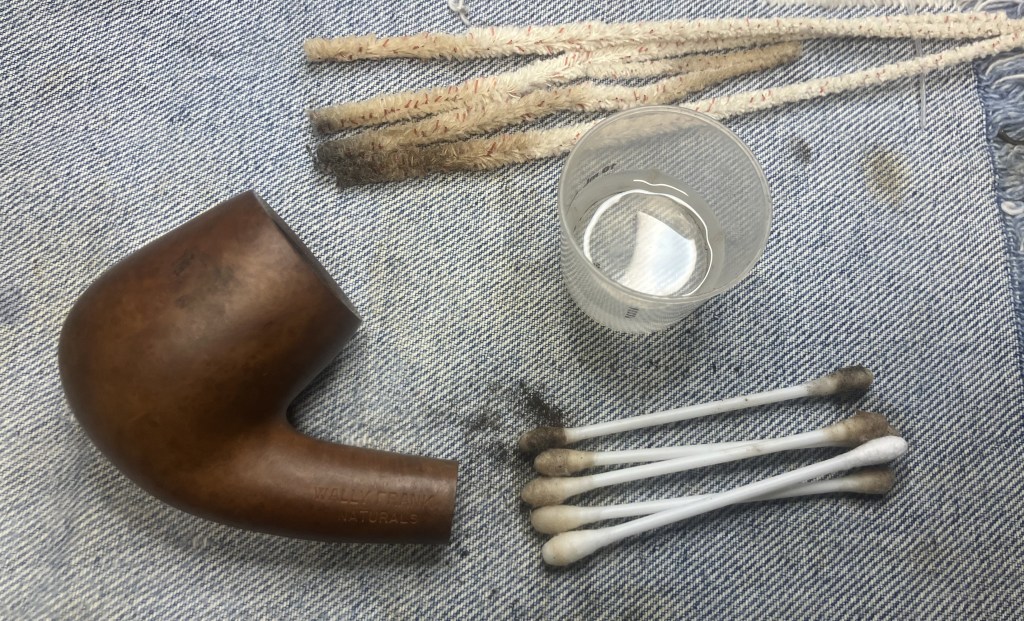
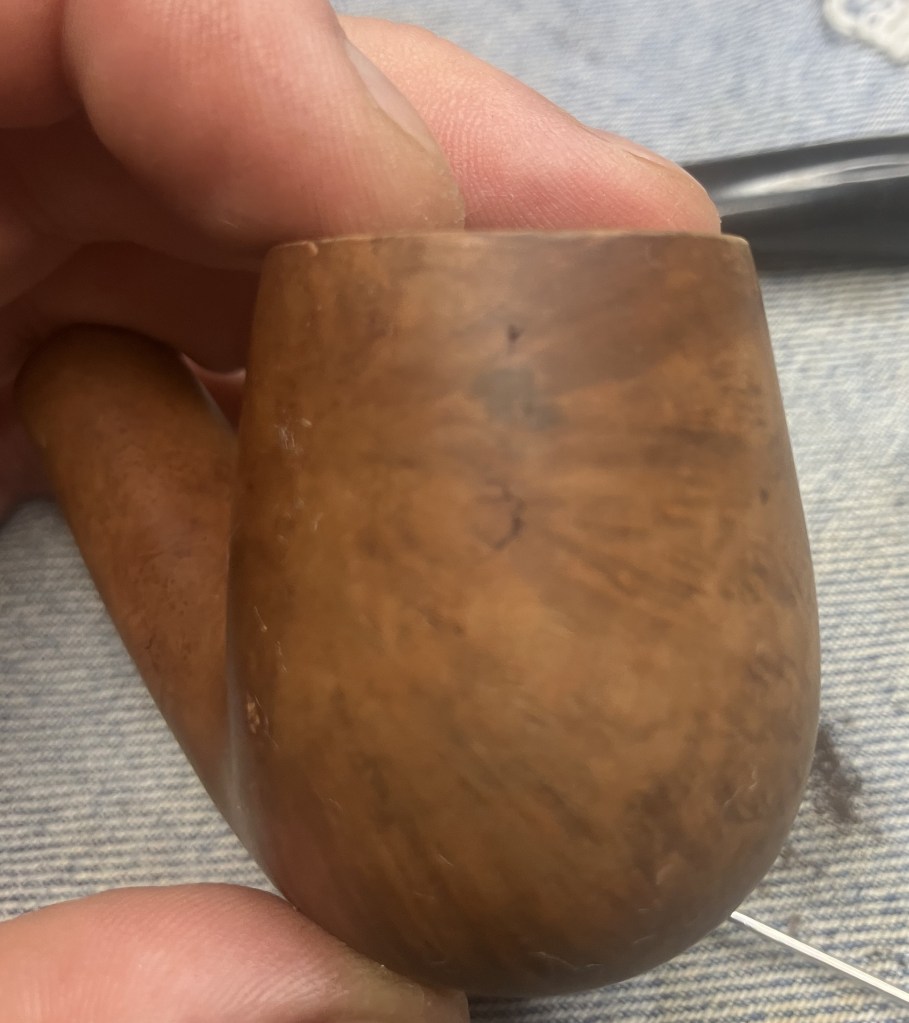
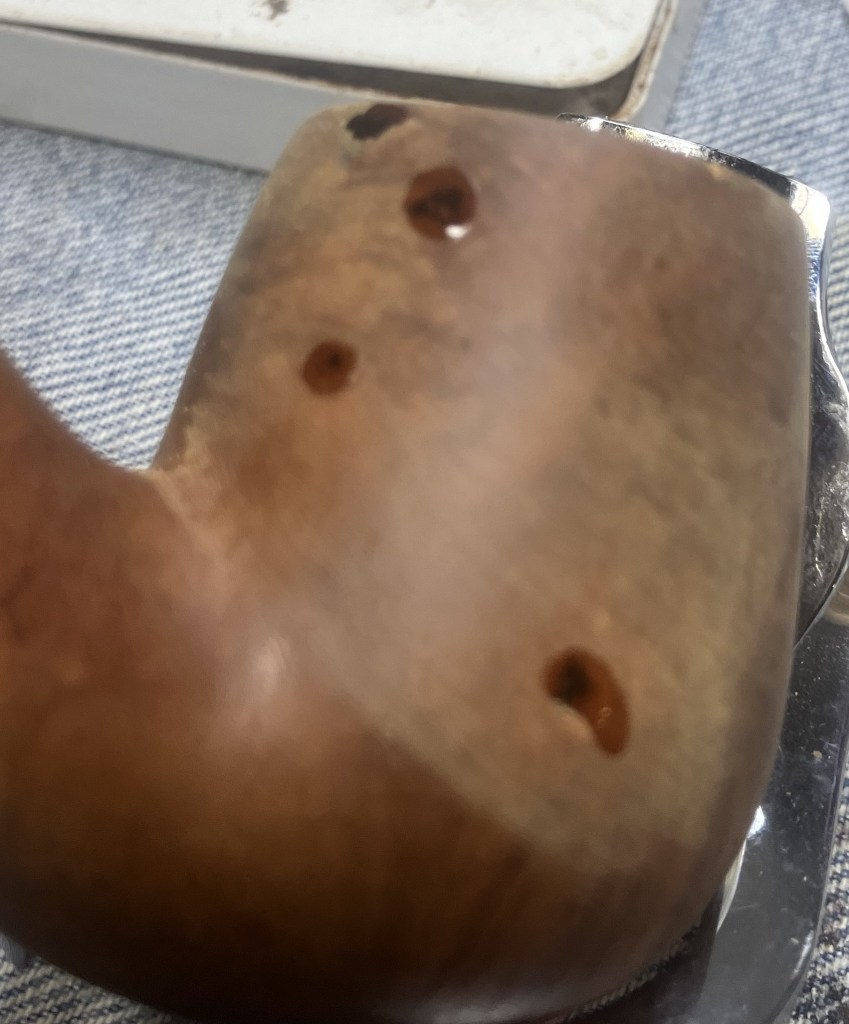
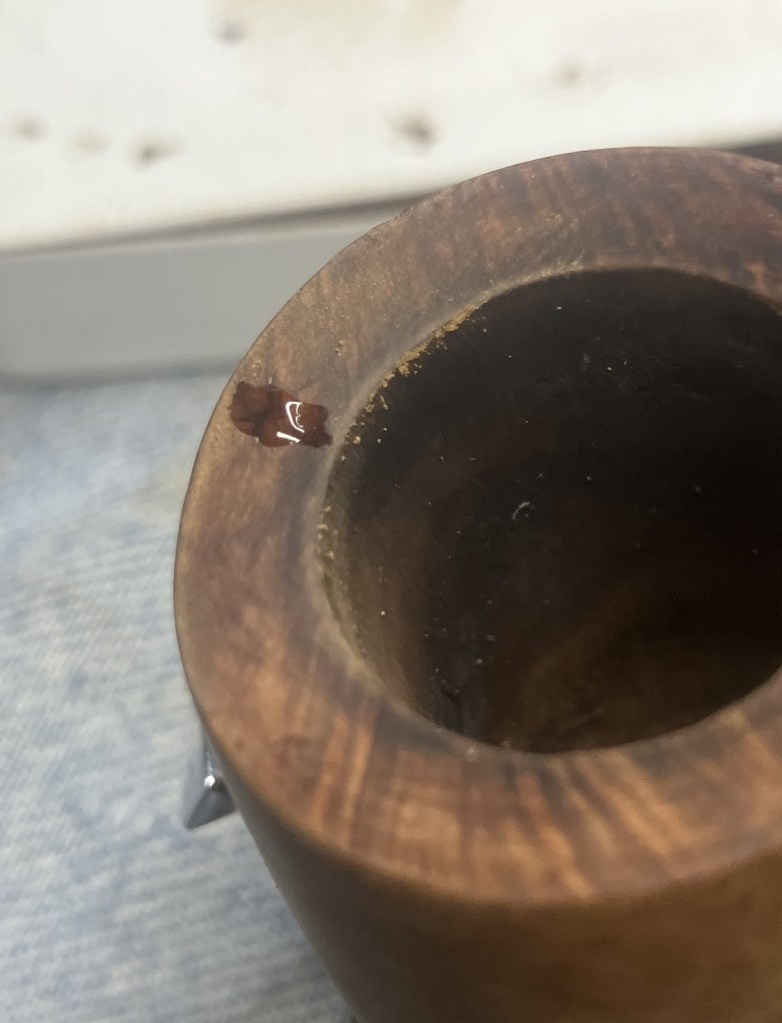
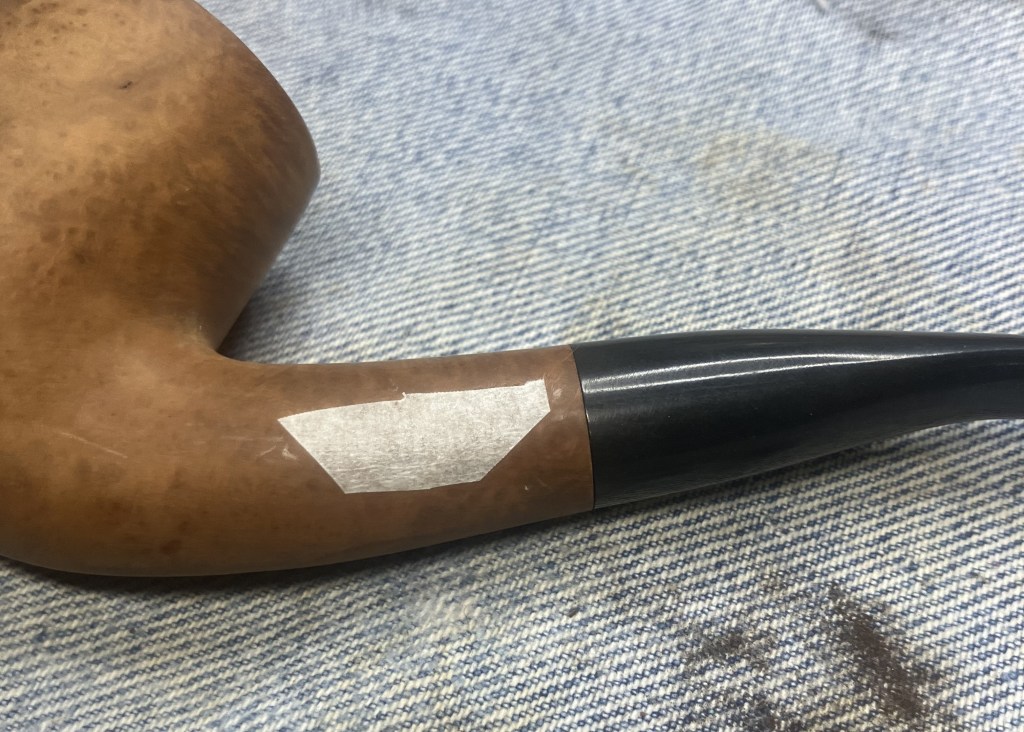
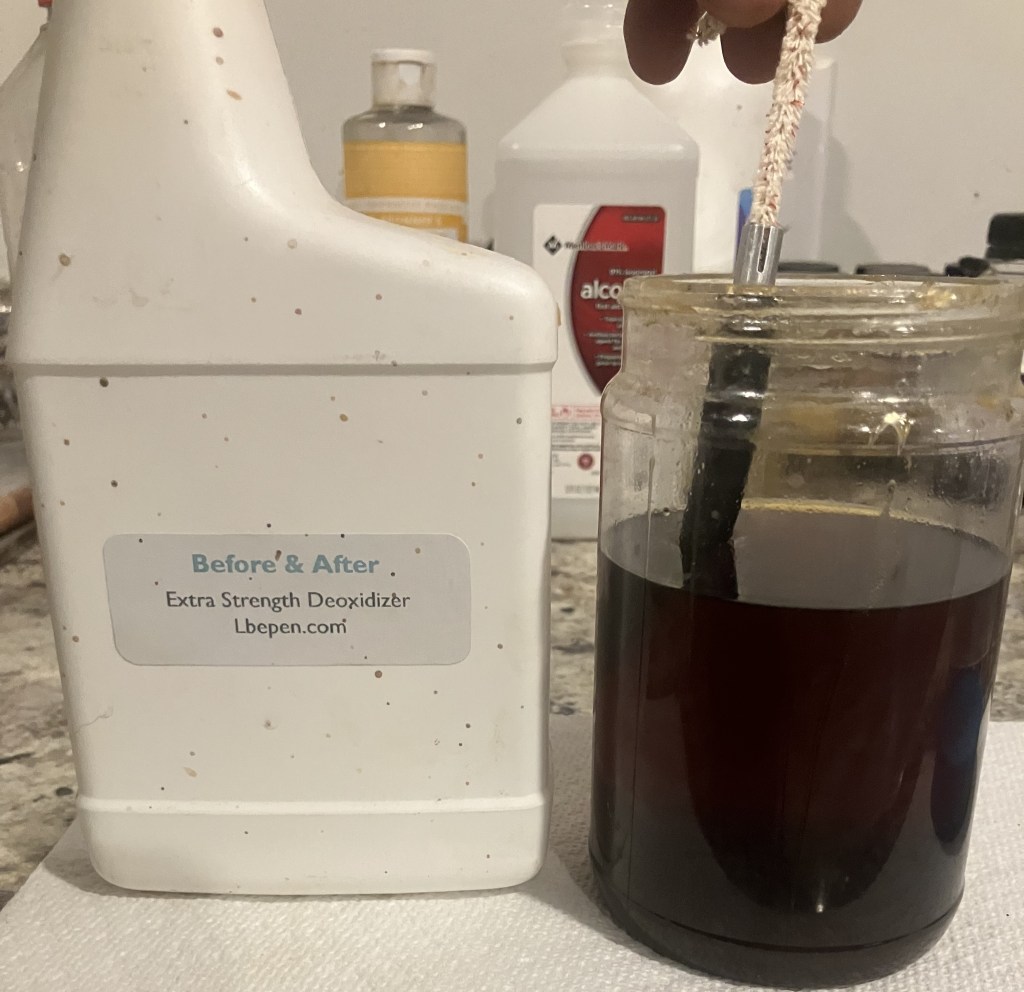
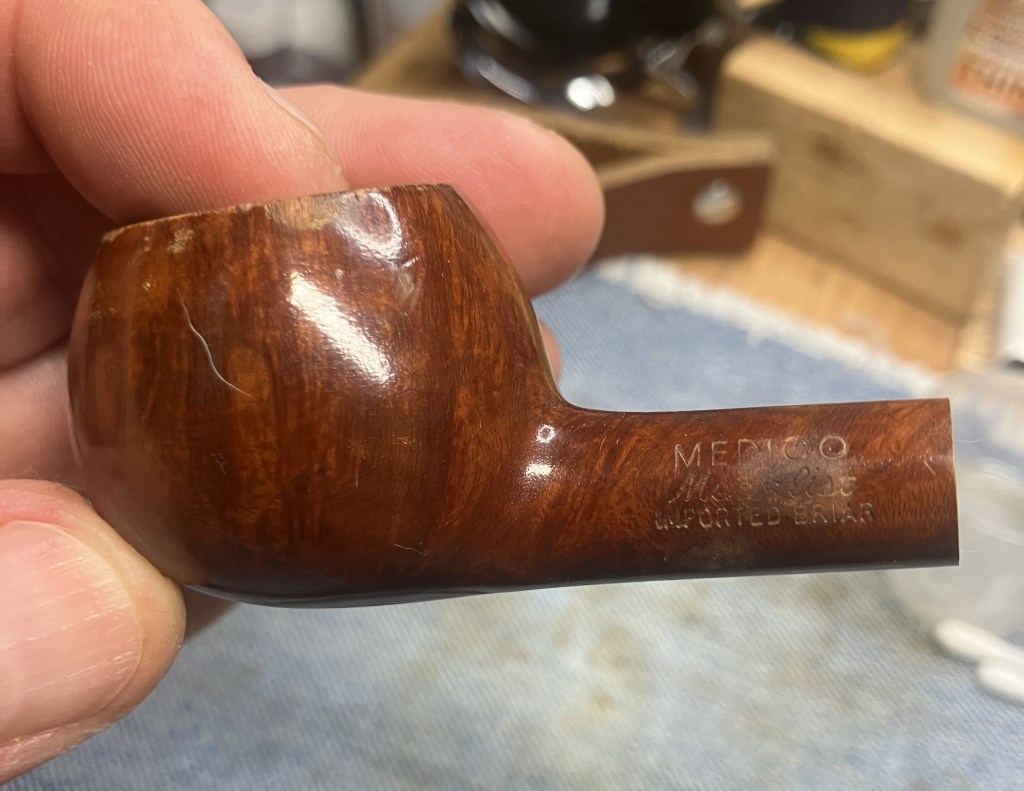
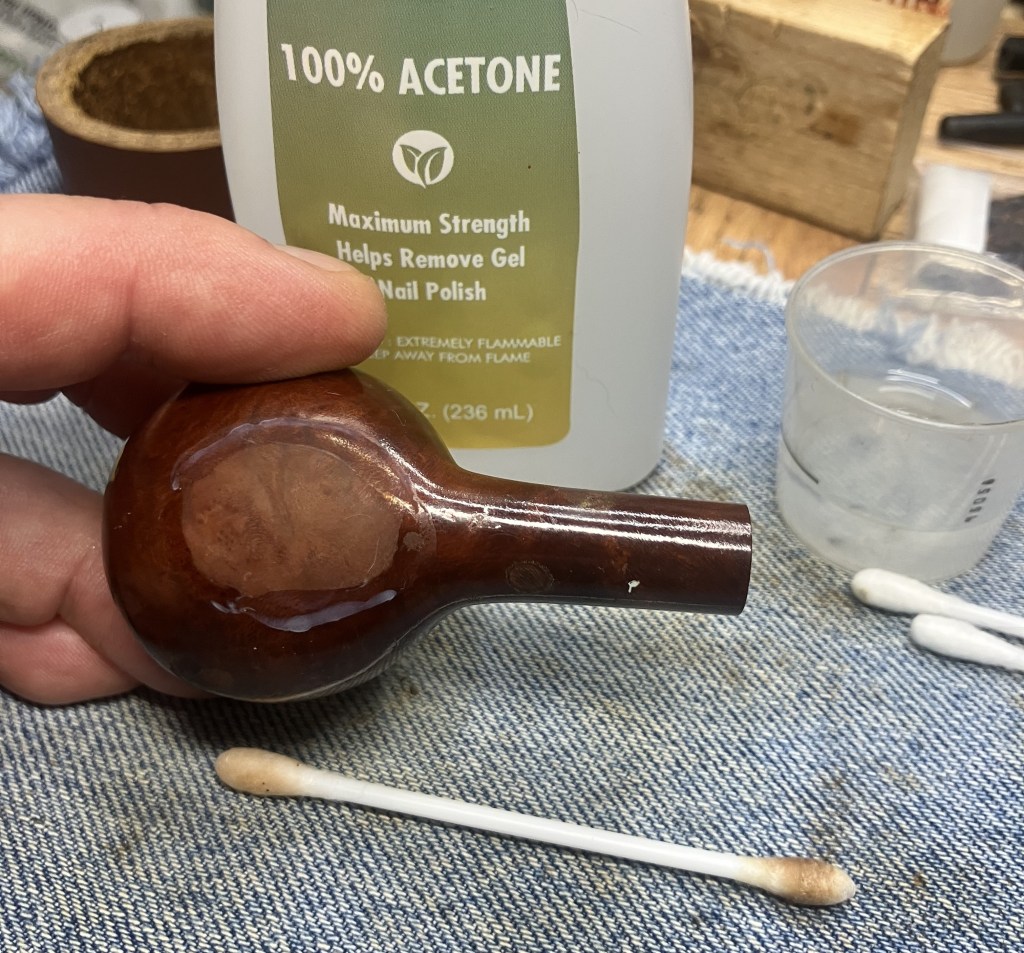
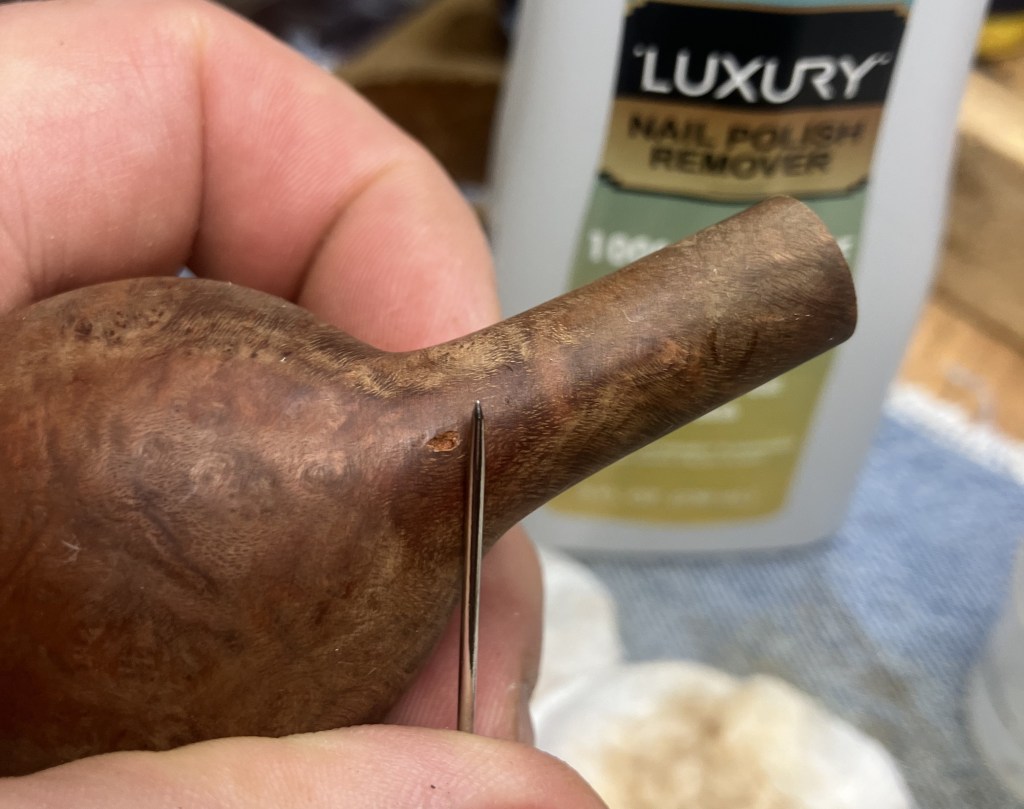
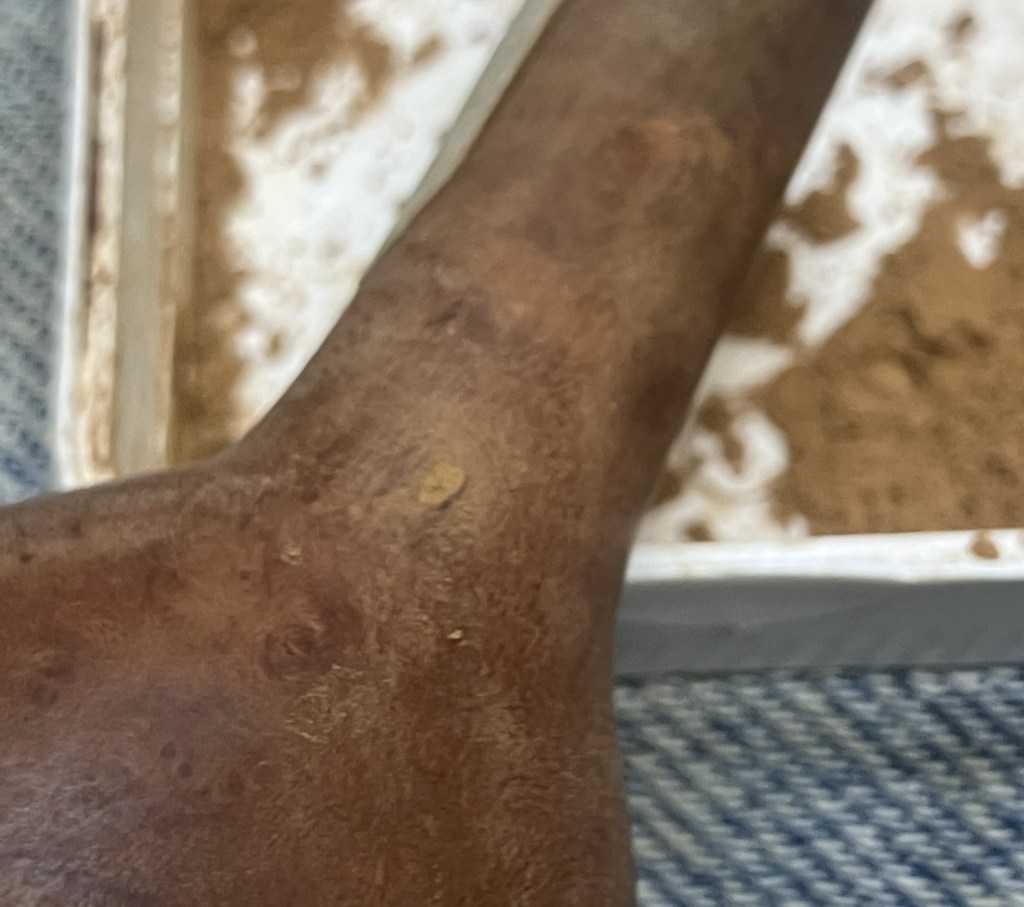
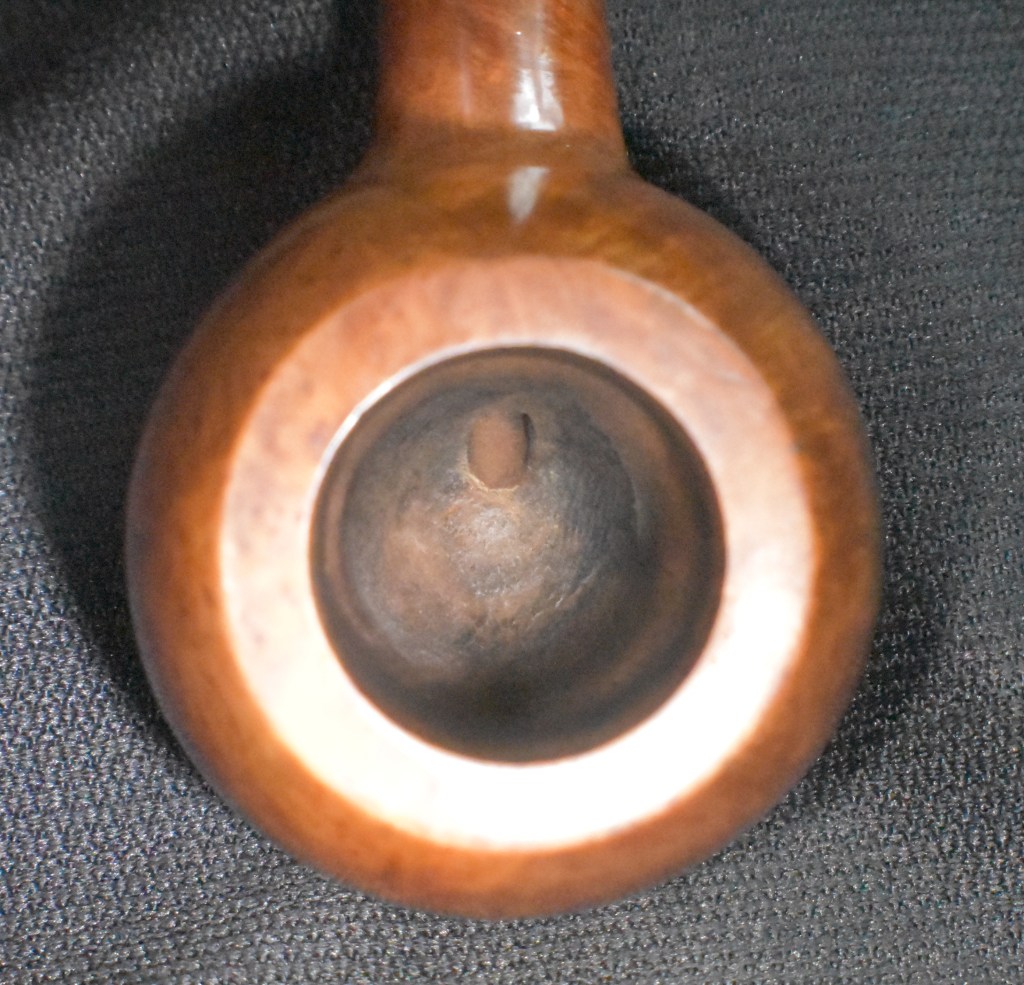
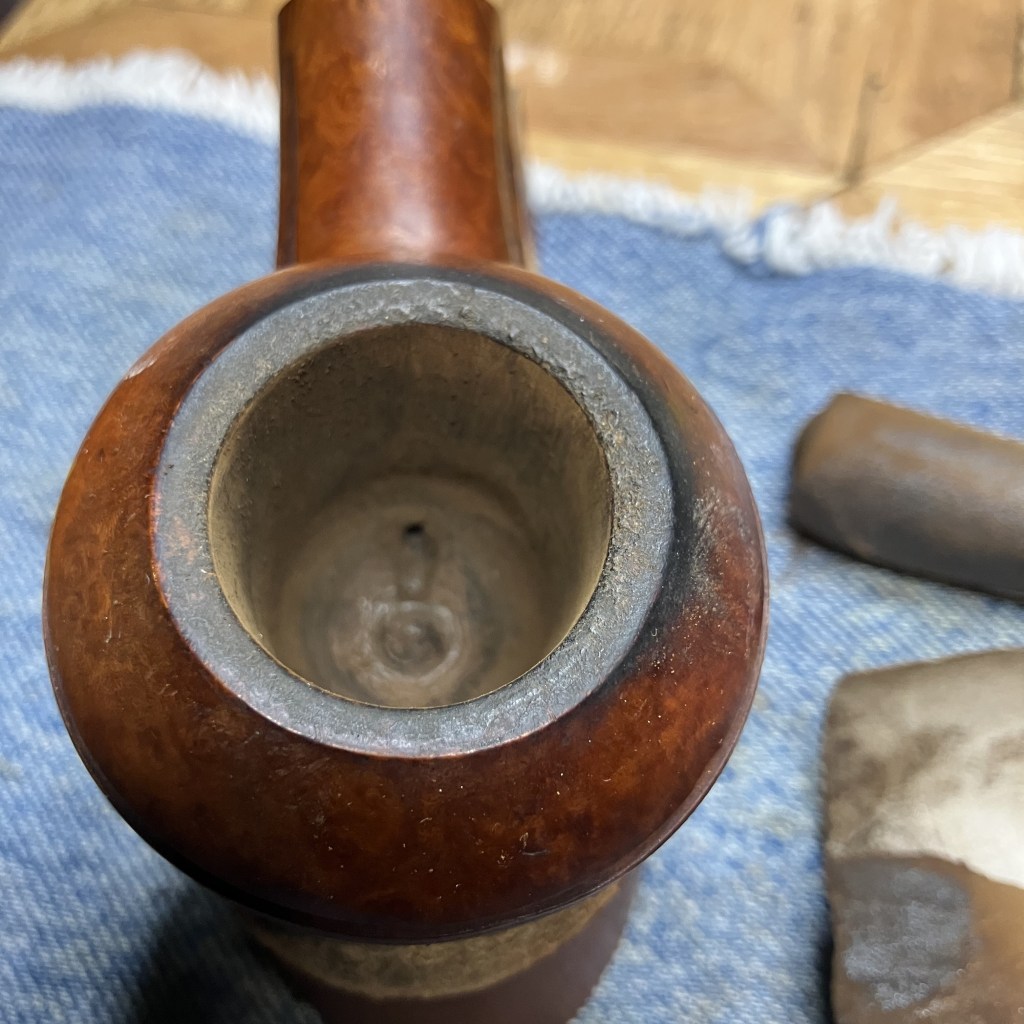
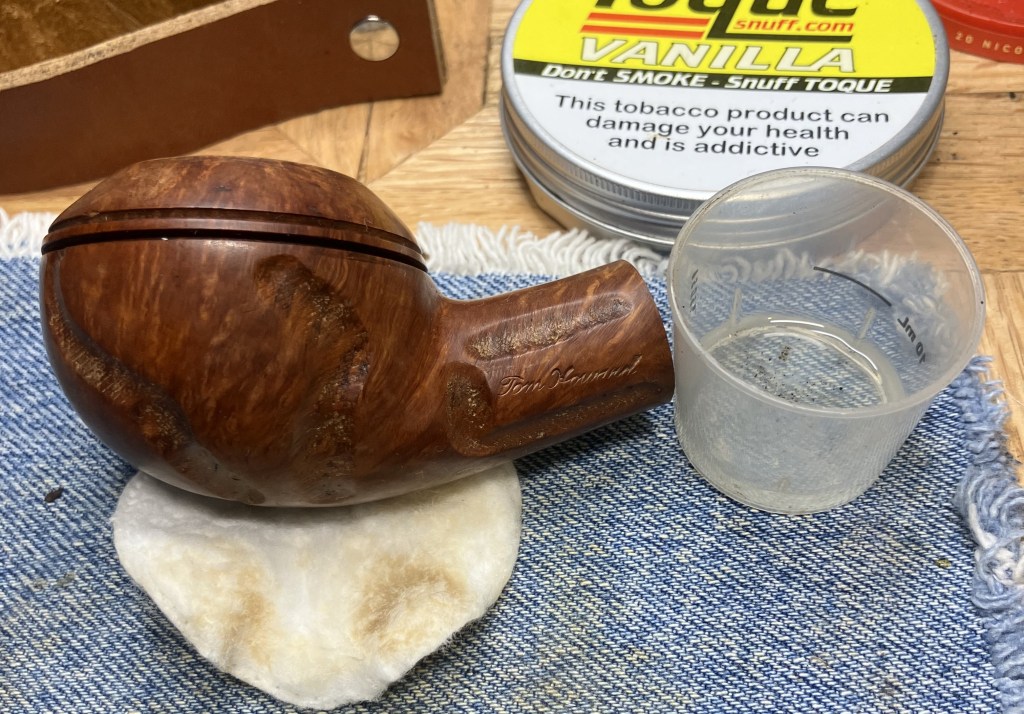
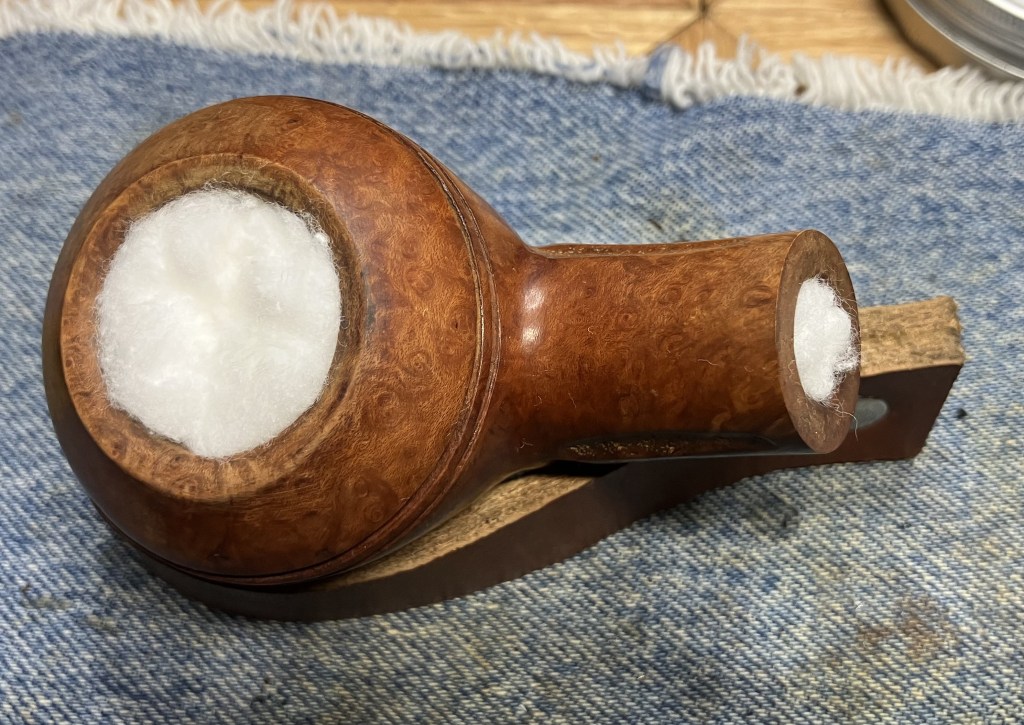
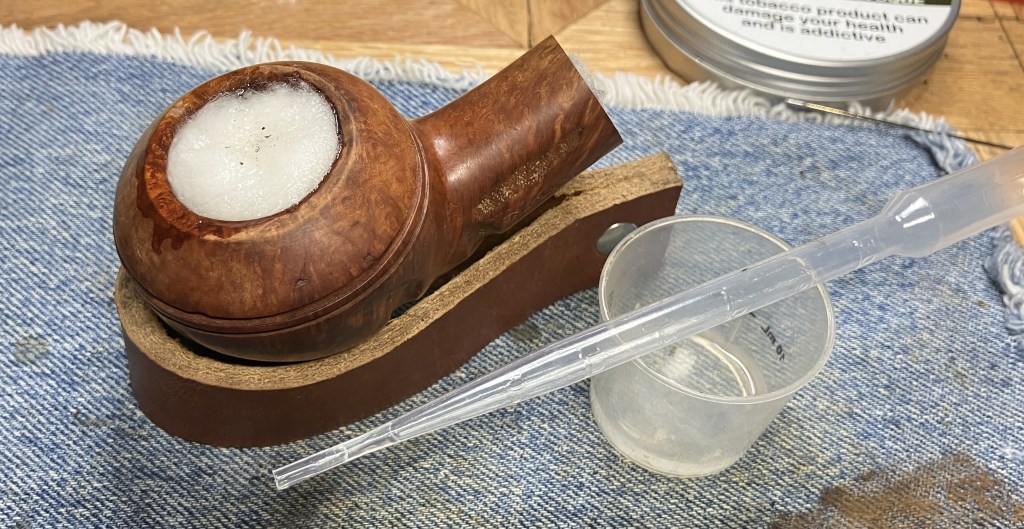
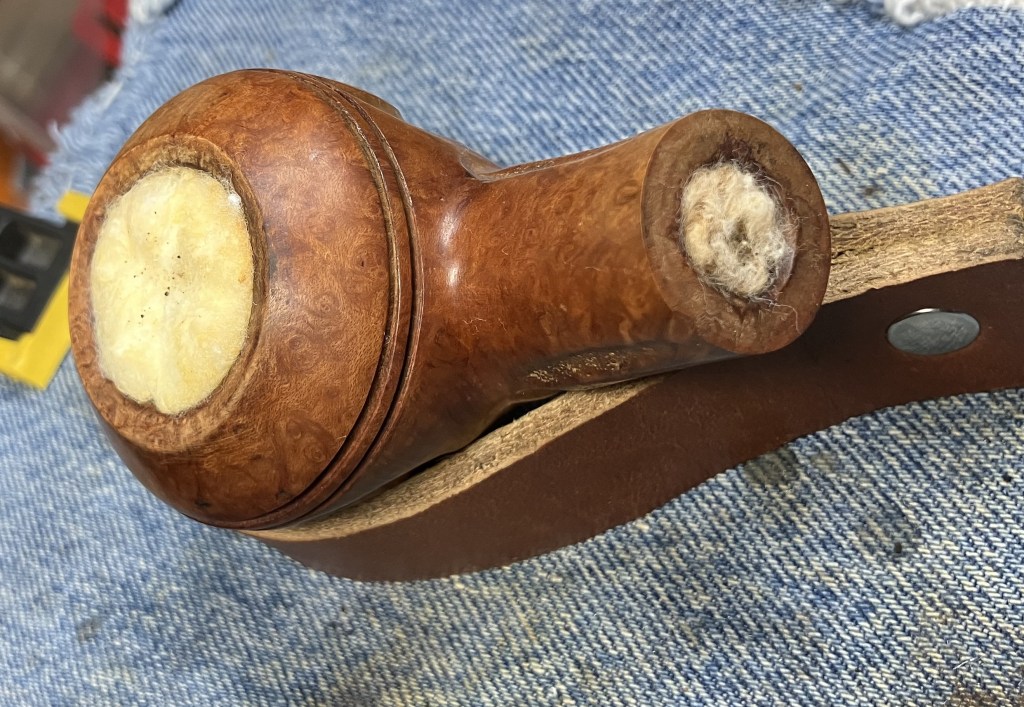
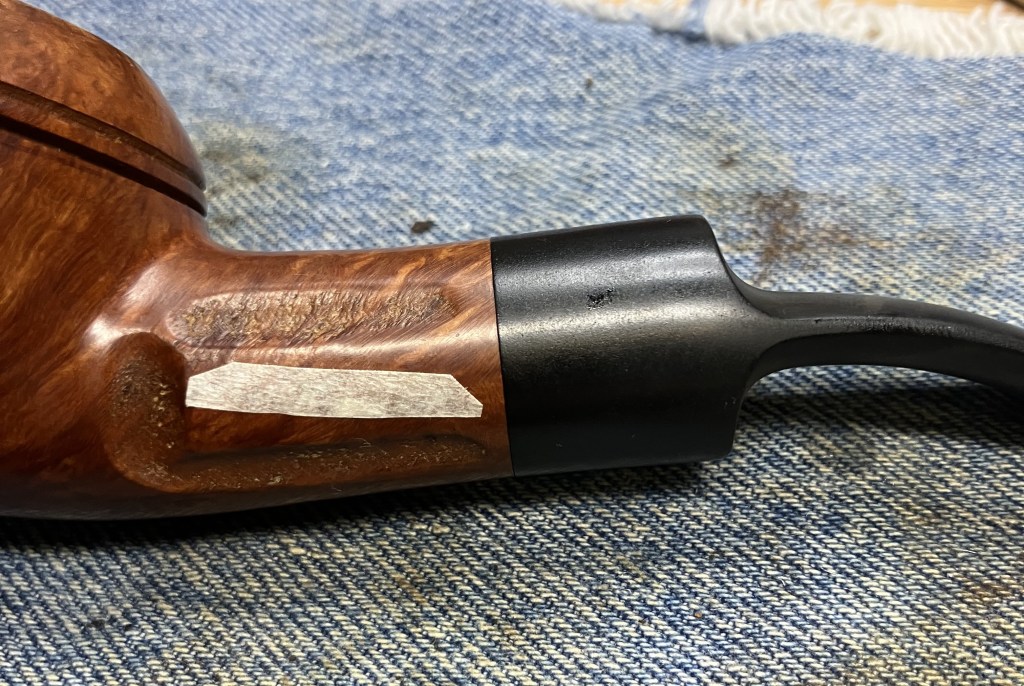
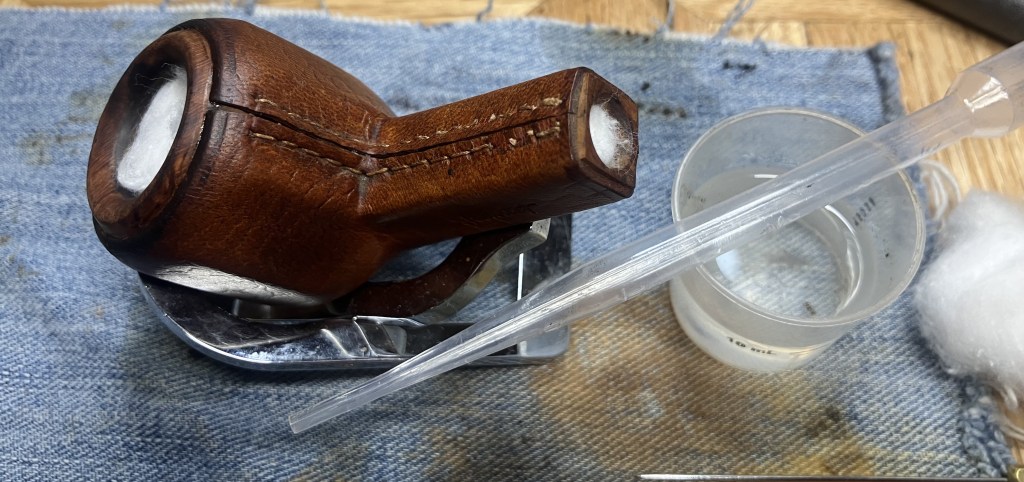
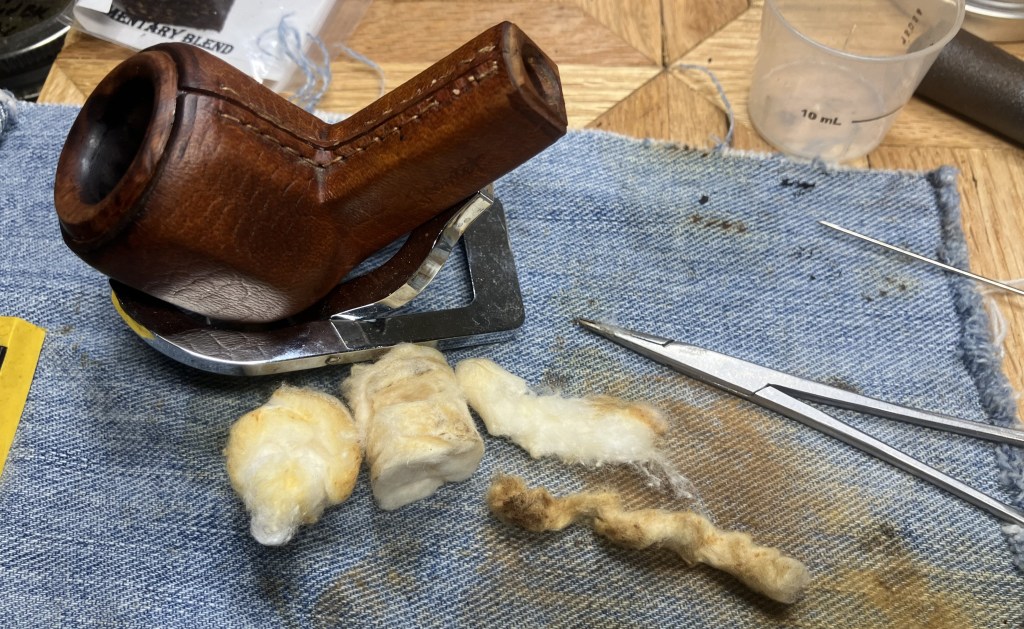
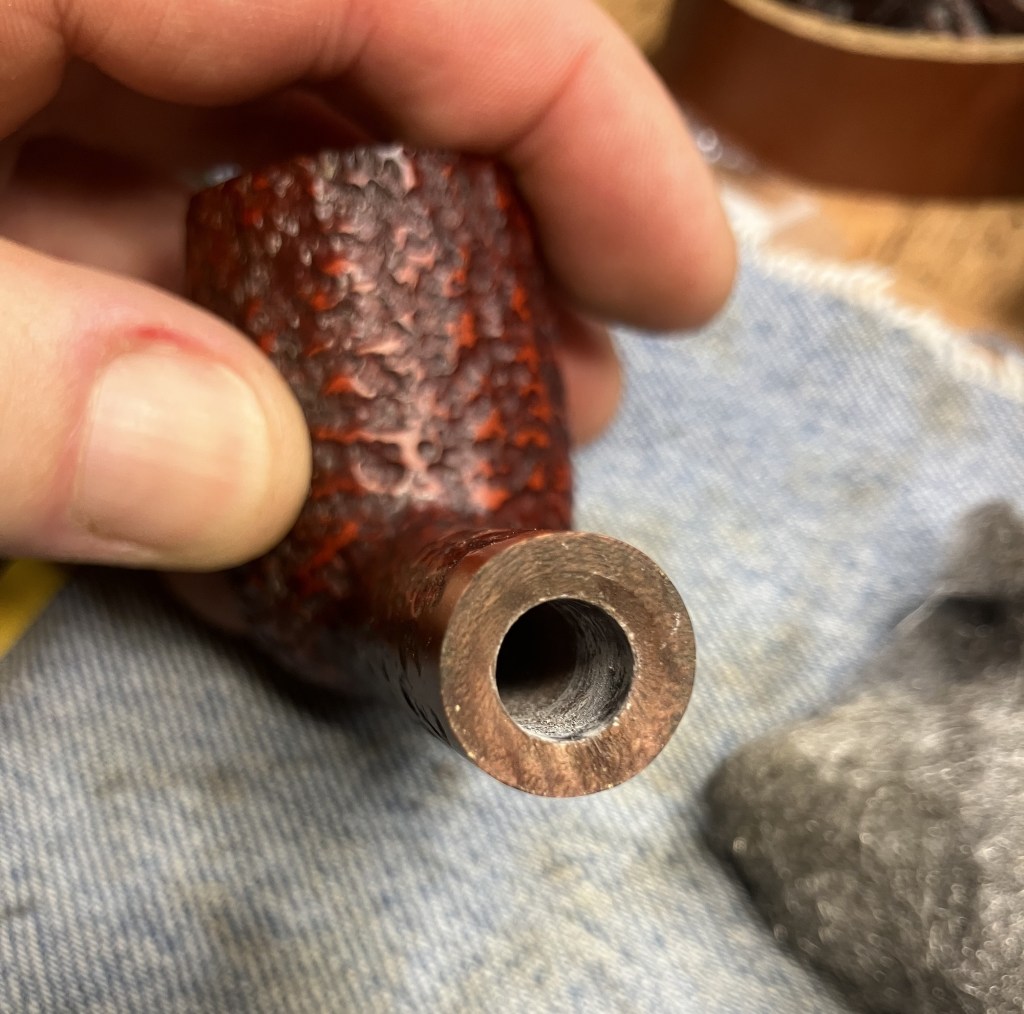
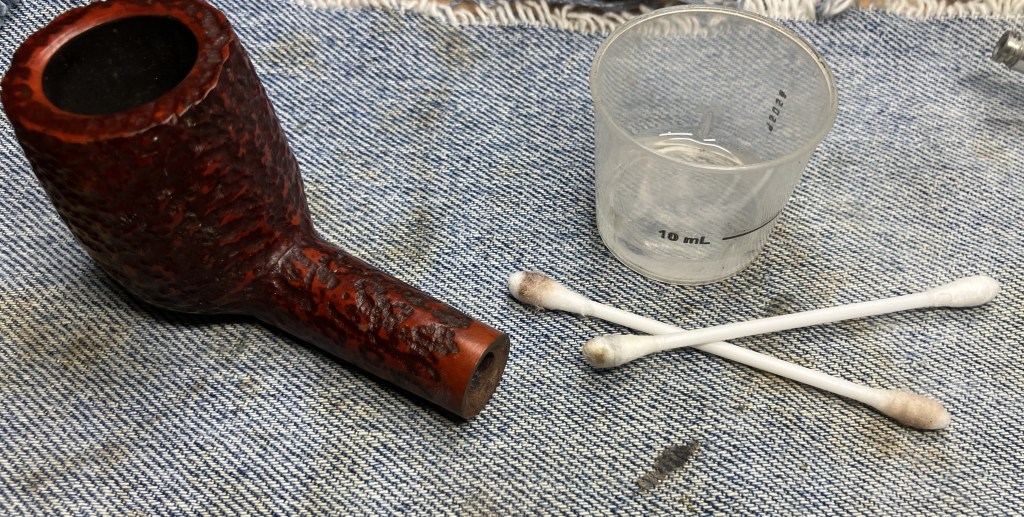
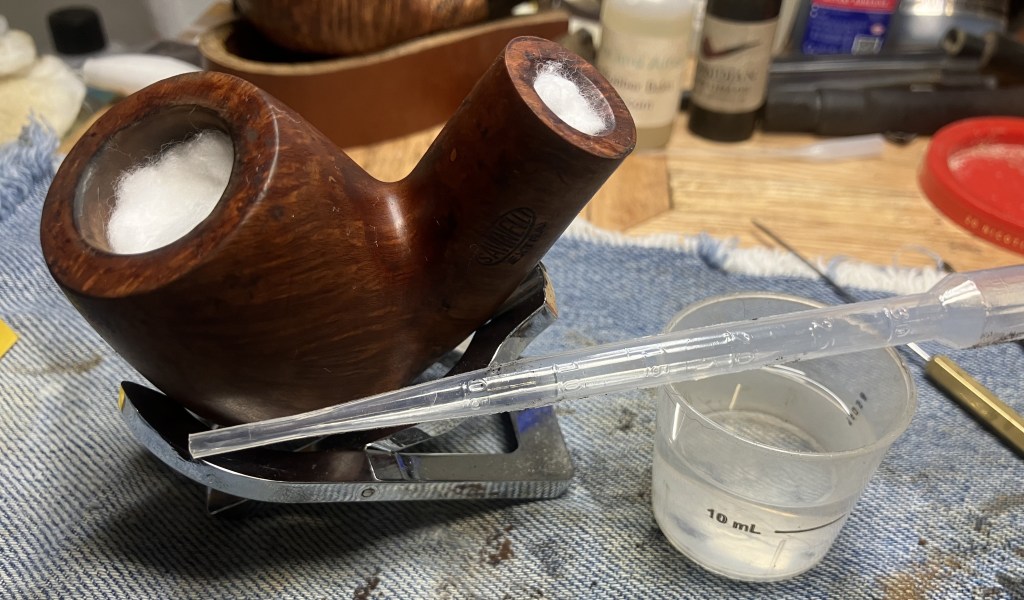
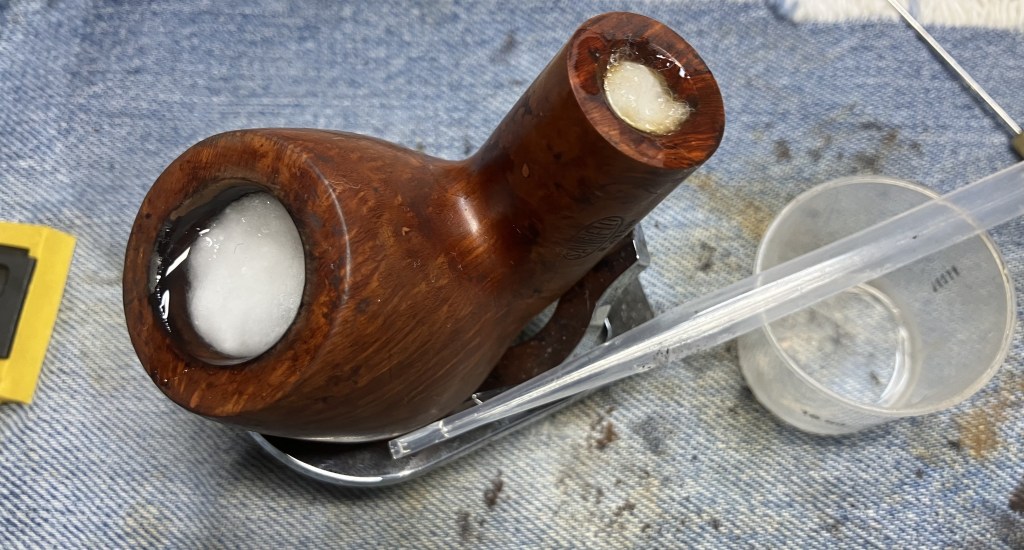
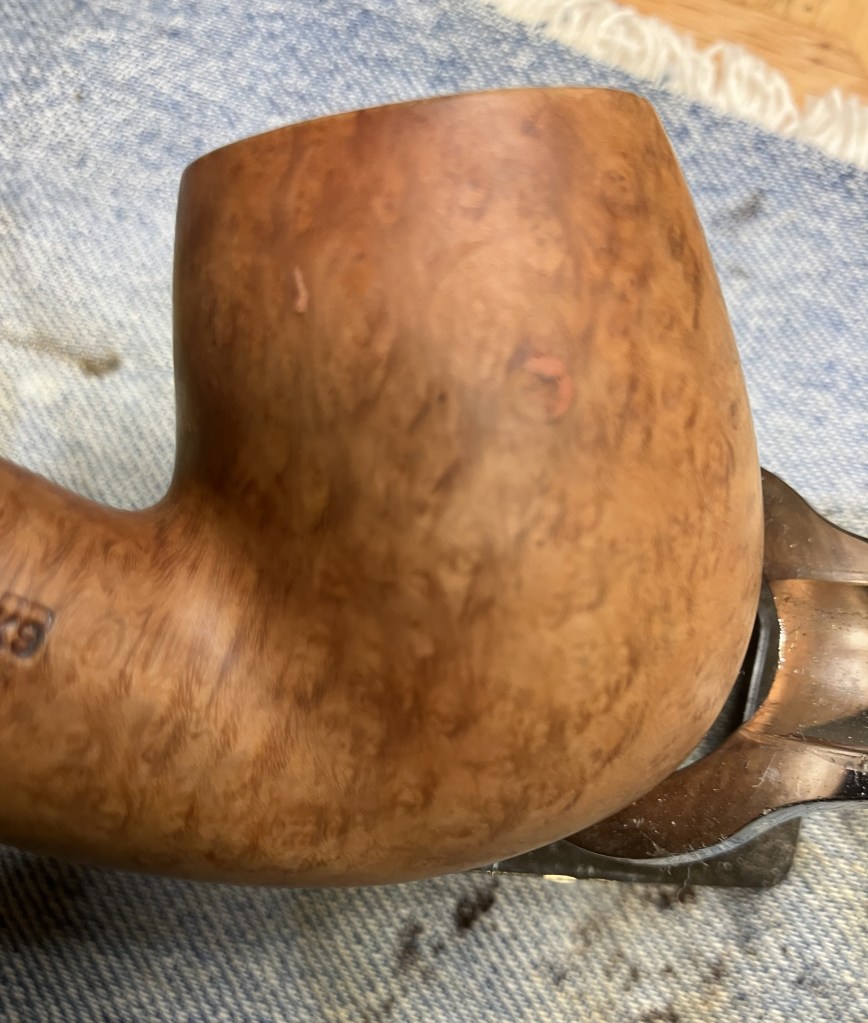
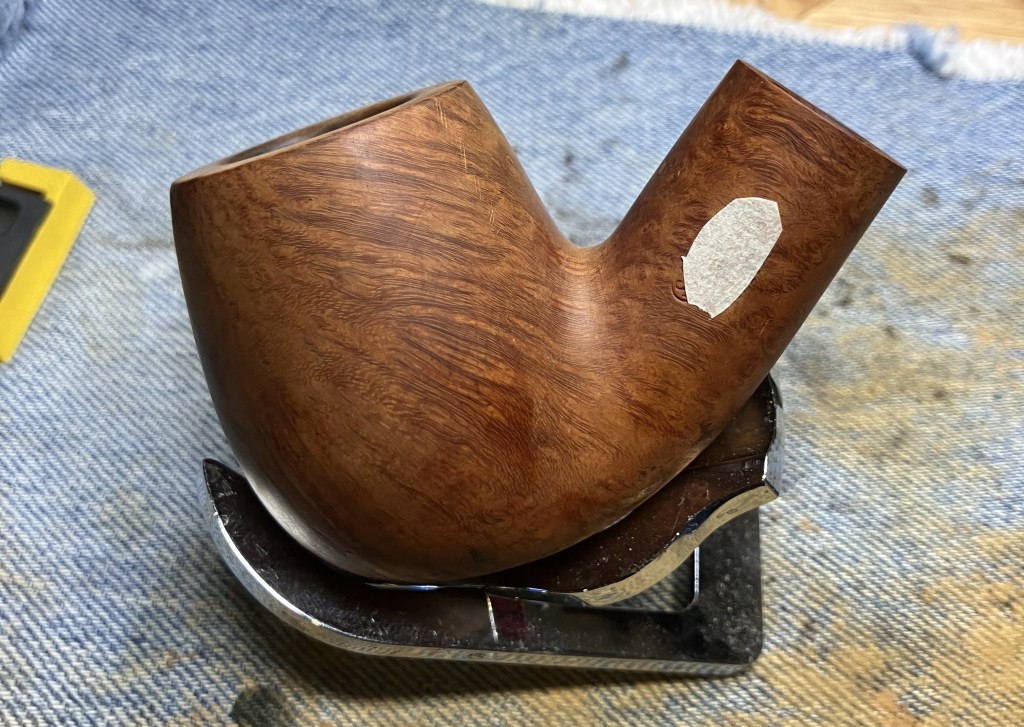
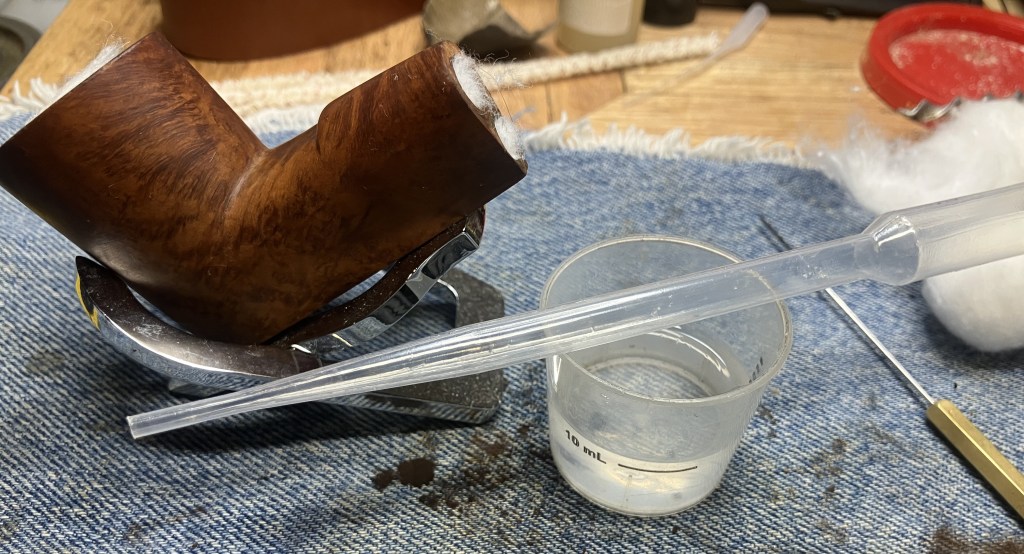
Hmm, there was a fill on the top of the shank, the parabolic light mark seen below. I wondered if this was what Mr. Rettke was trying to conceal with the black? I proceeded to pack the airways with cotton.
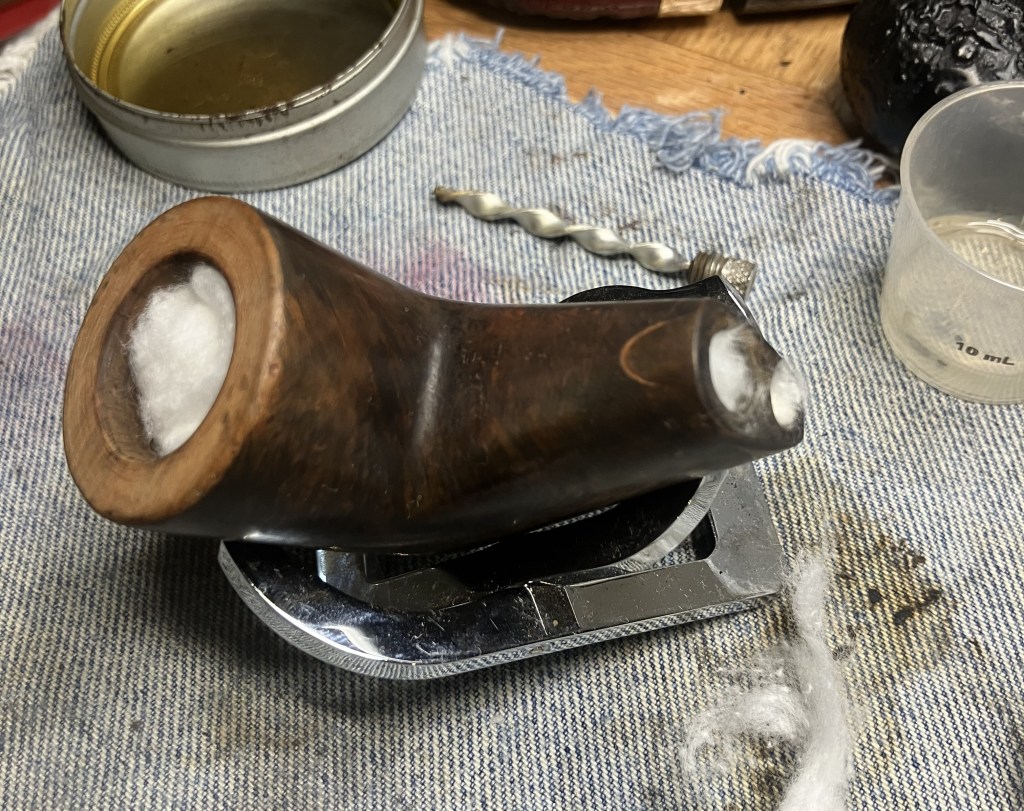
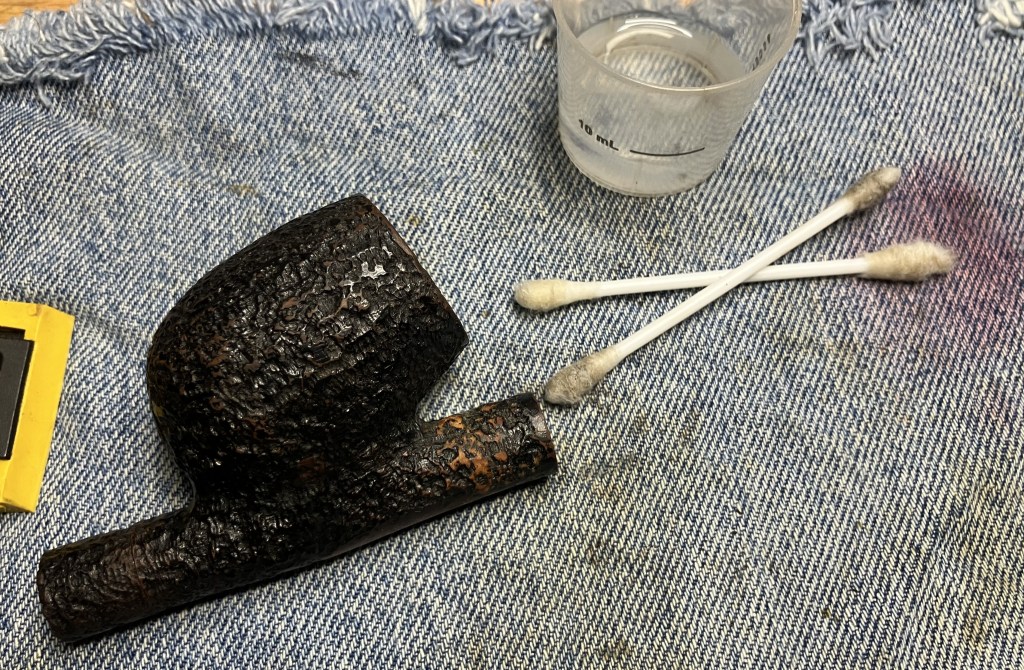
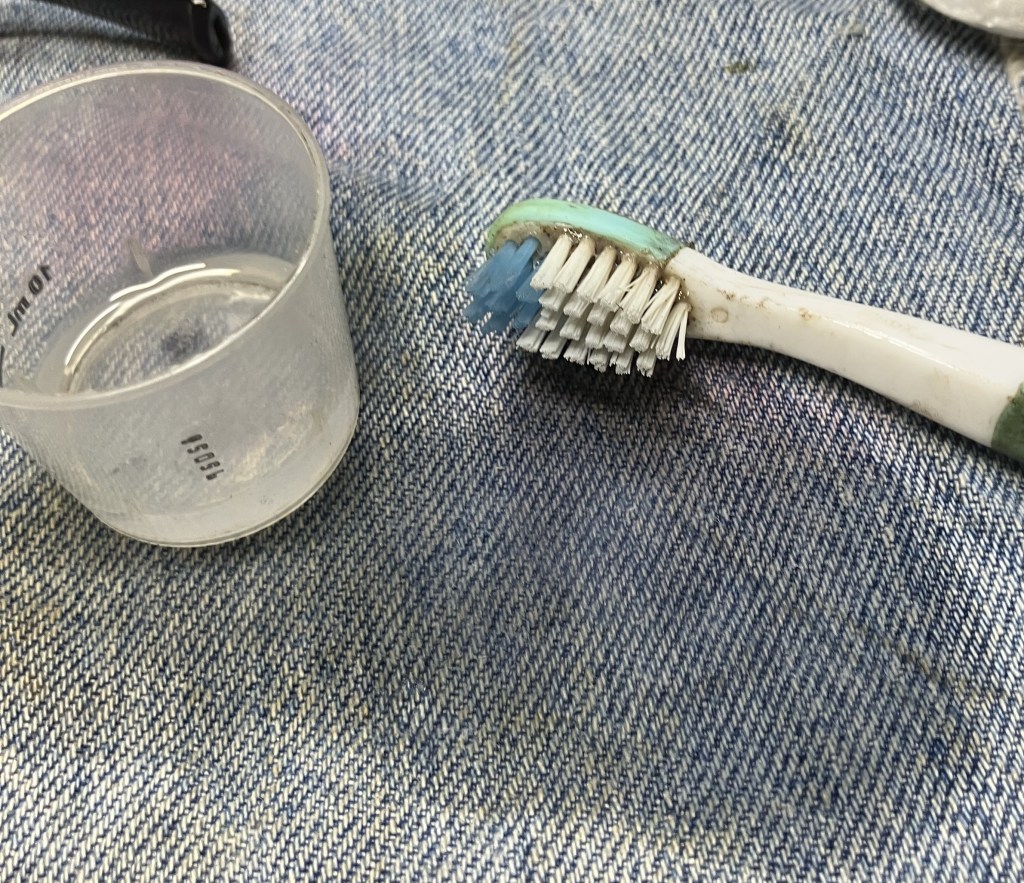
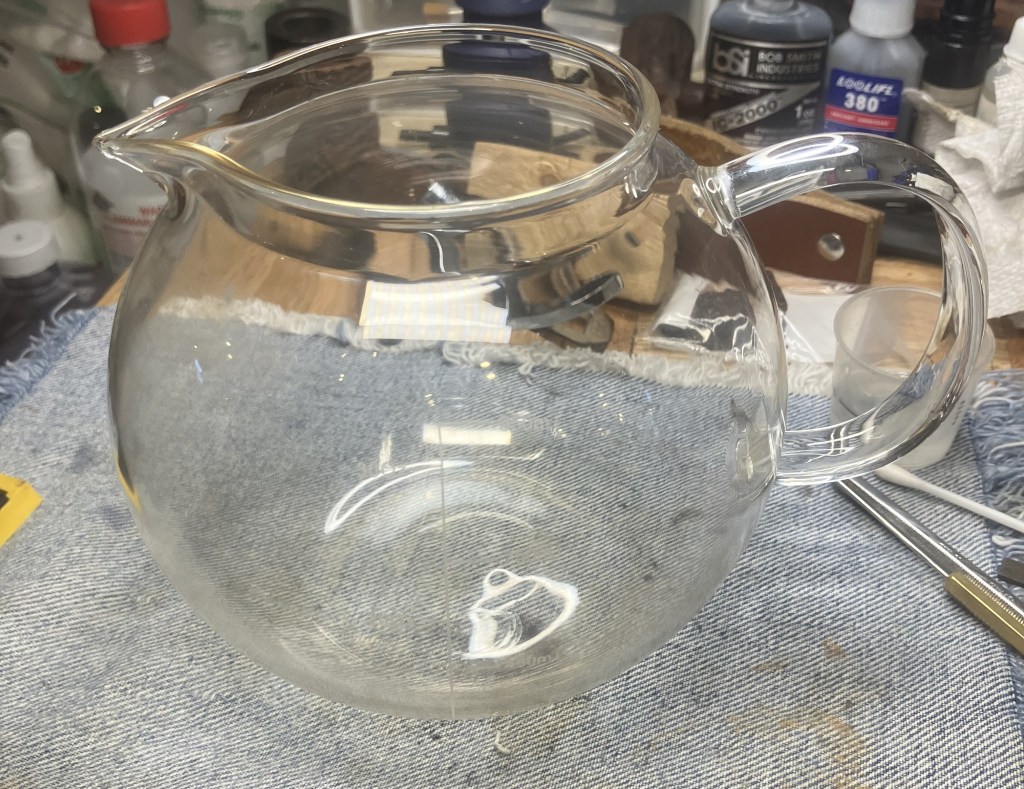
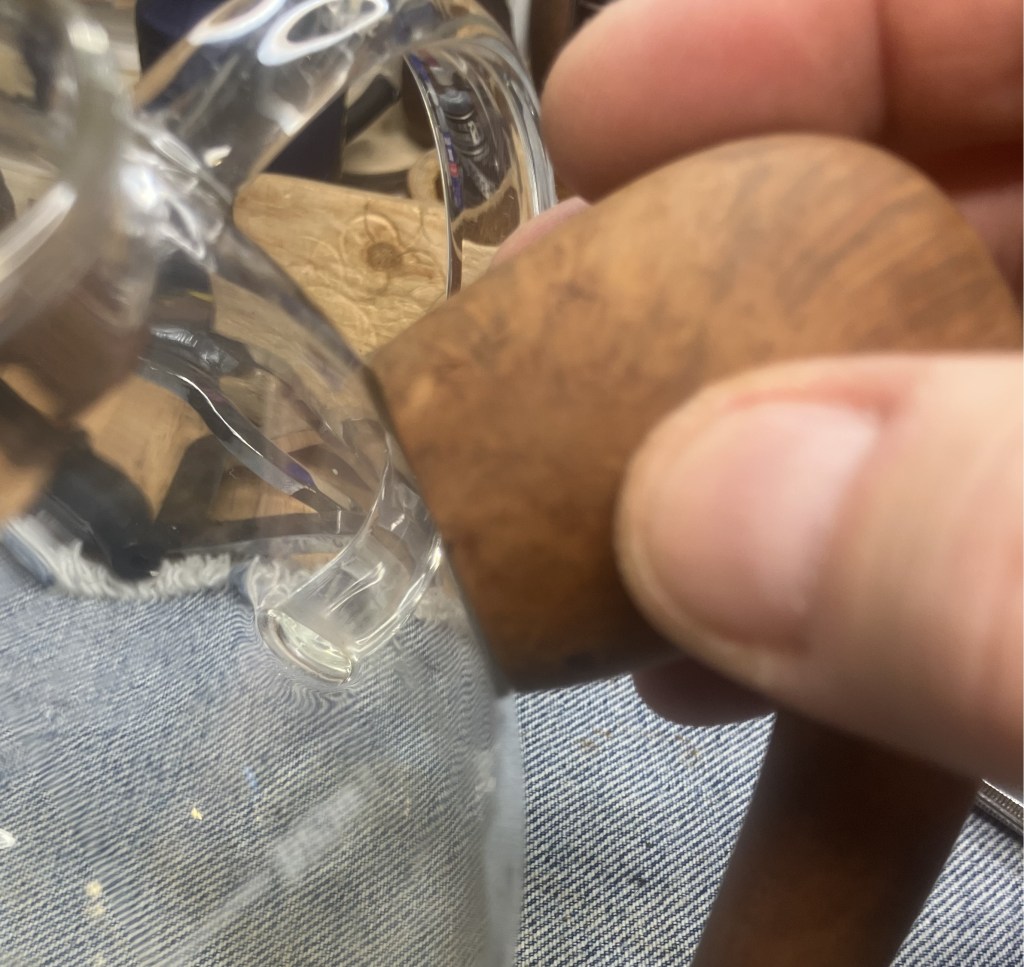
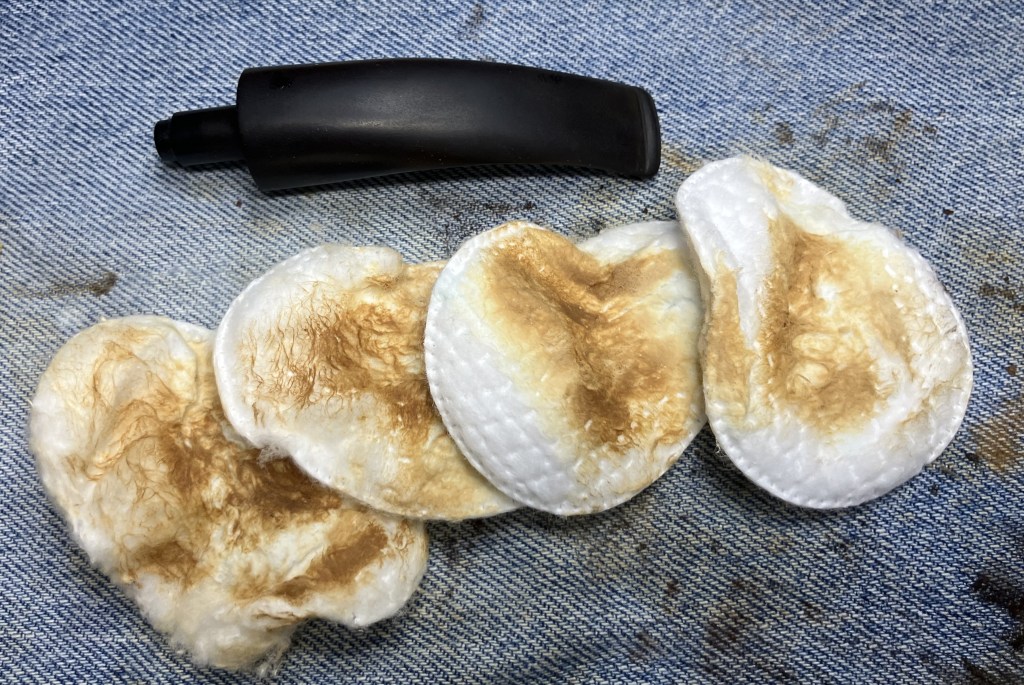
I figured that it would take a bit over 10 ml of ethyl alcohol to saturate the cotton. Using a disposable pipette I added alcohol until all of it was saturated.
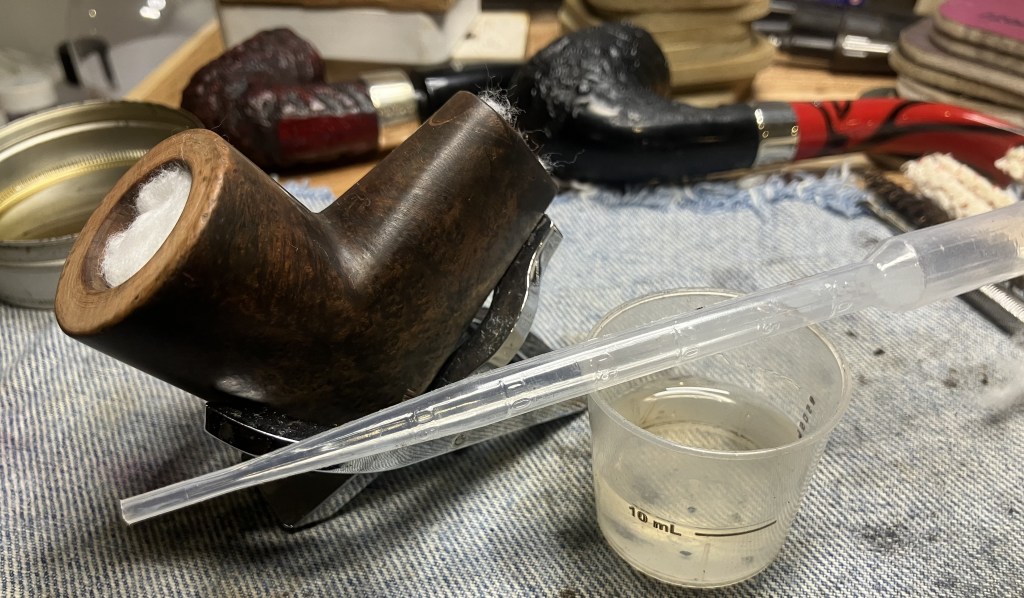
I was right, a bit more than 10 ml. The alcohol would be left to evaporate, dissolving the tars and moving them to the cotton over the next several hours.
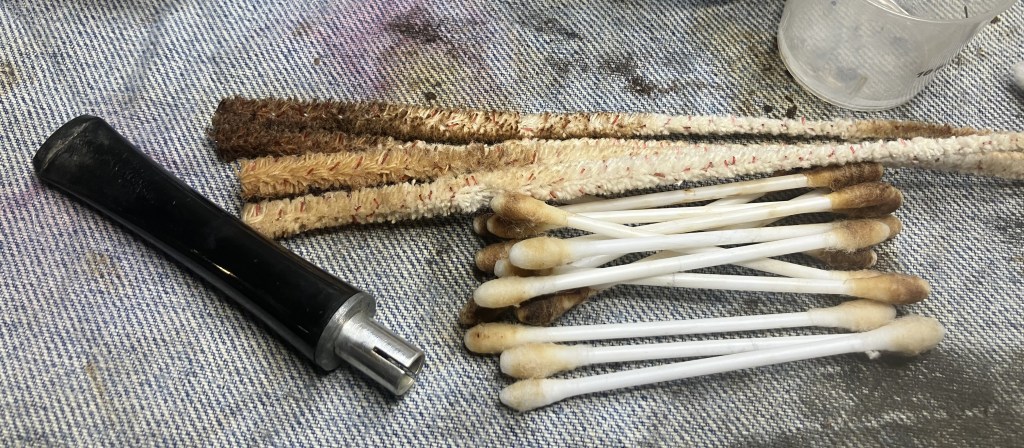
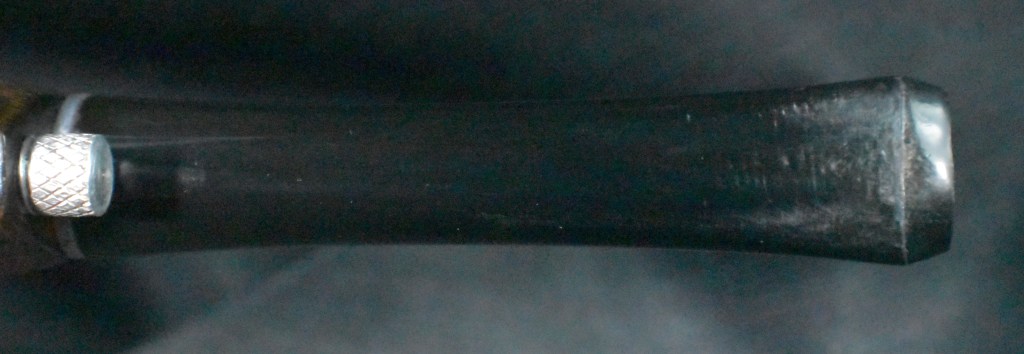
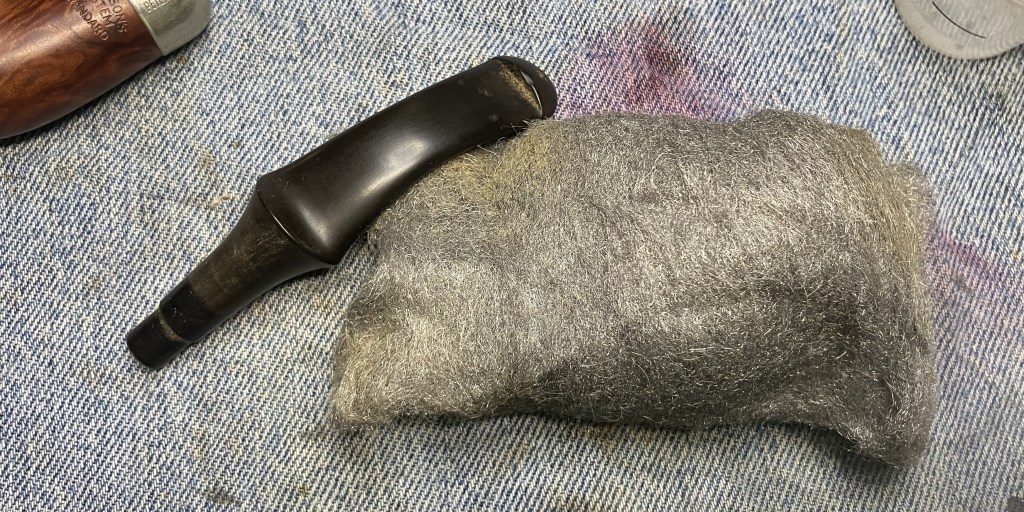
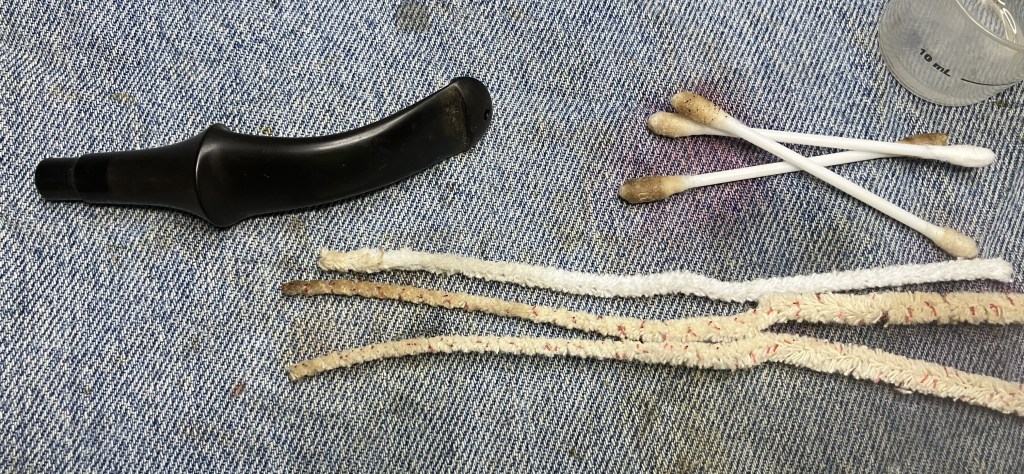
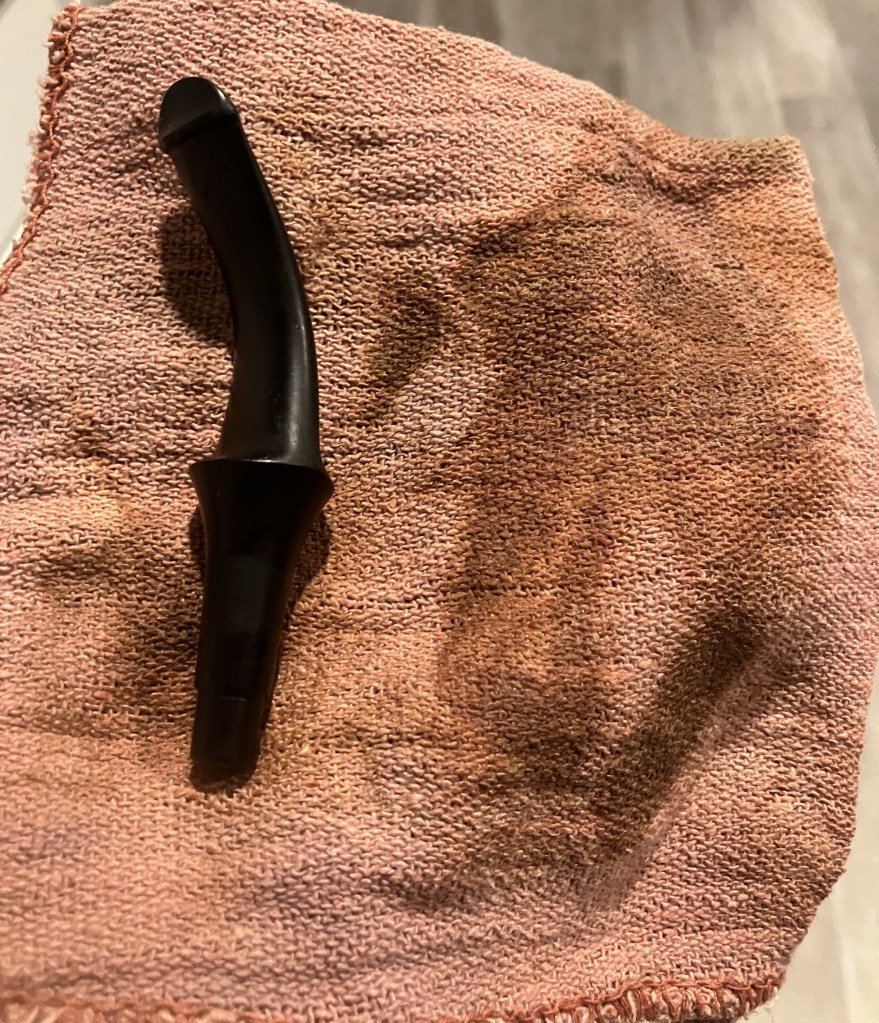
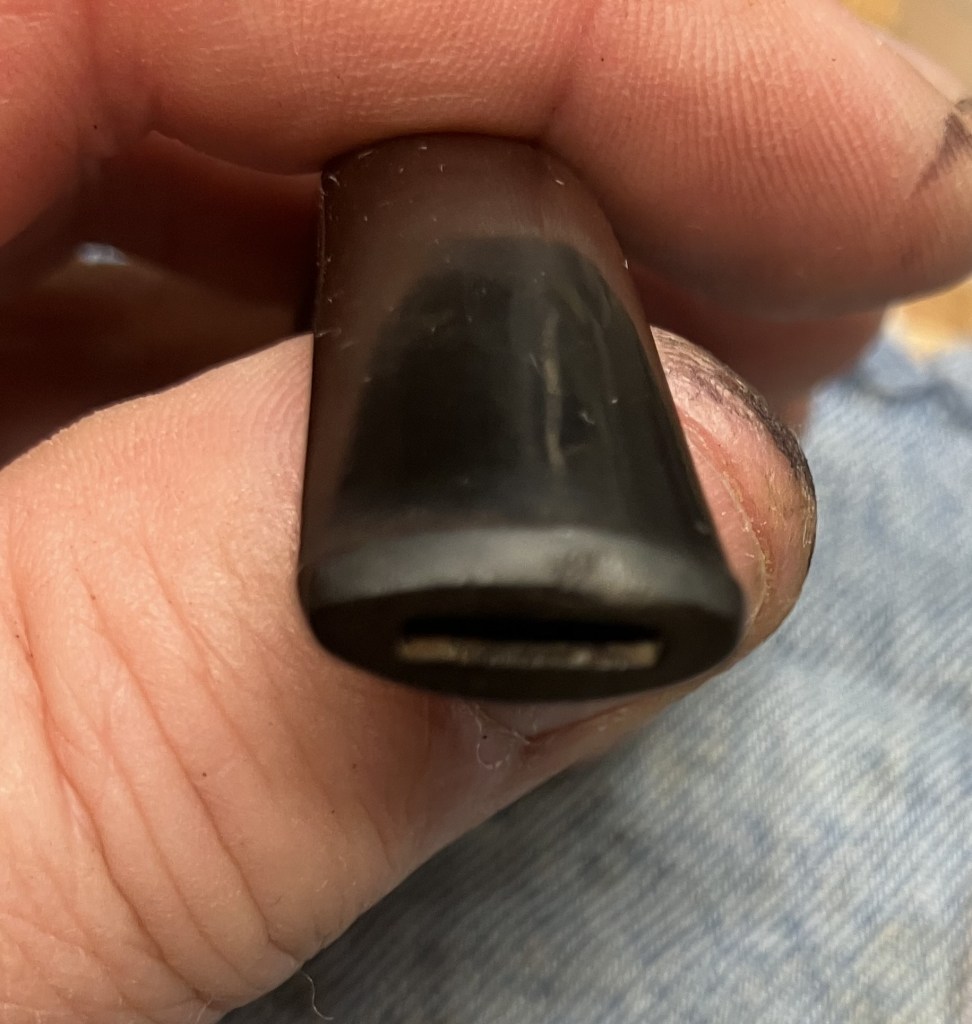
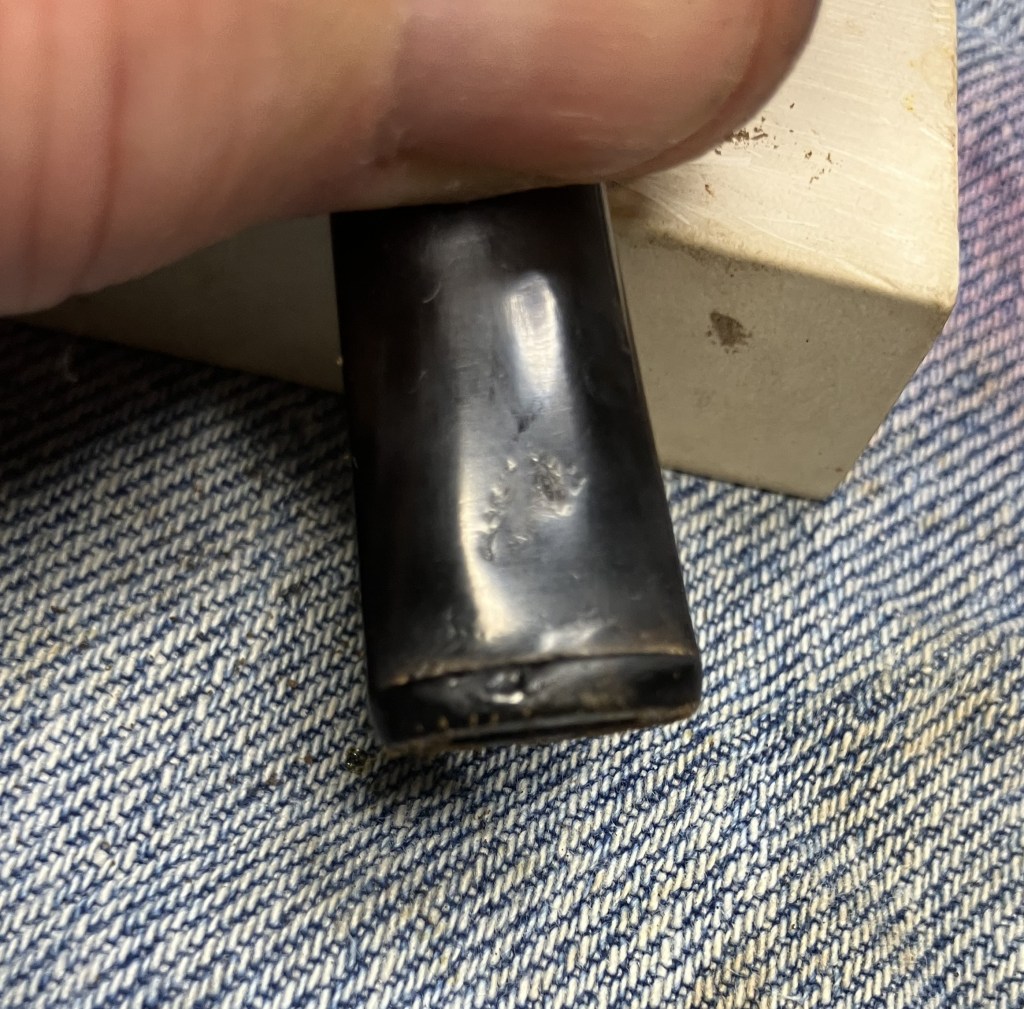
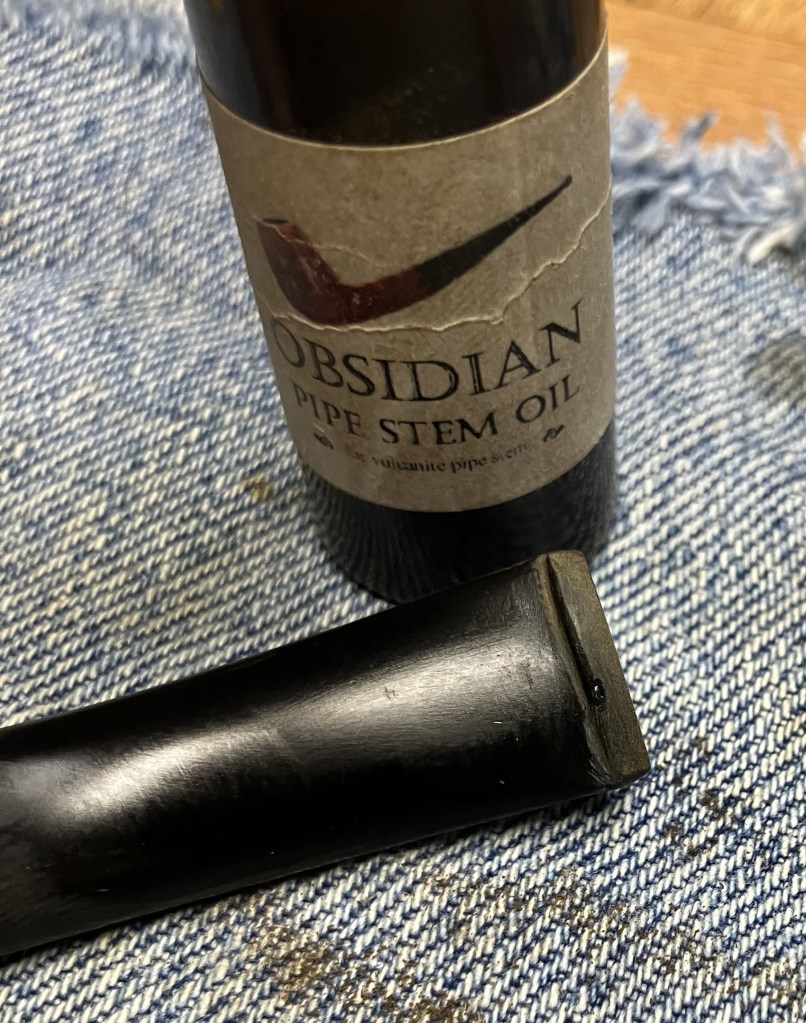
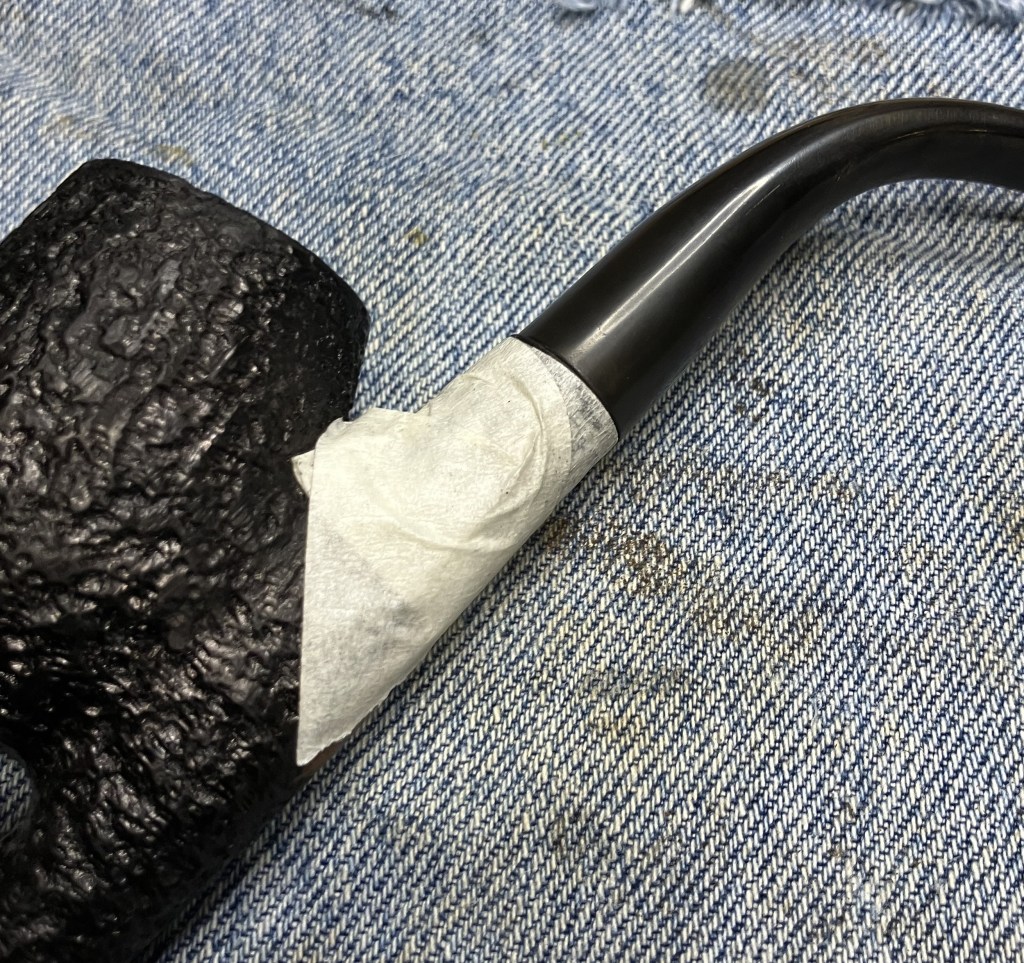
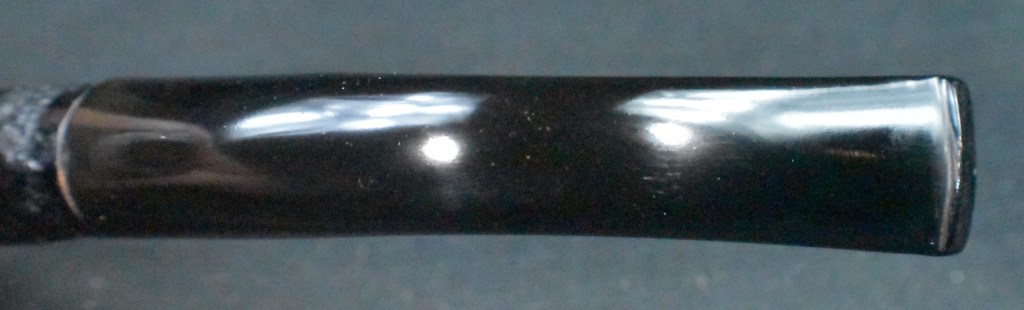
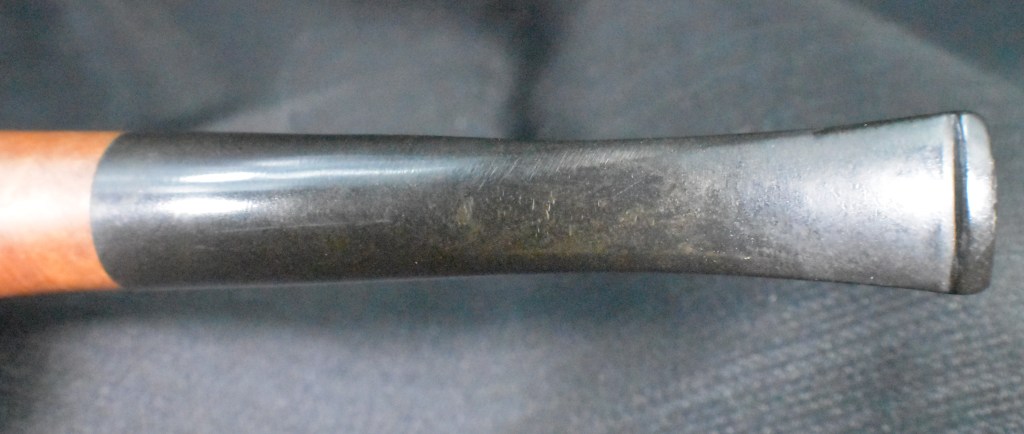
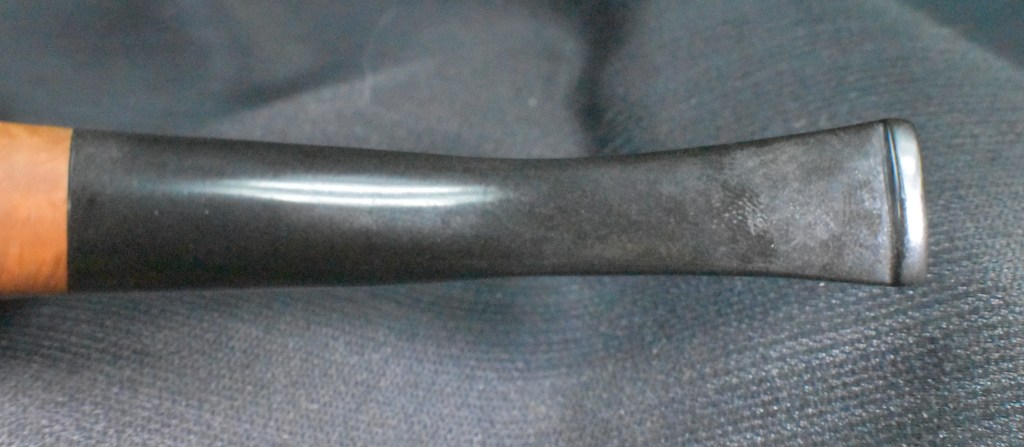
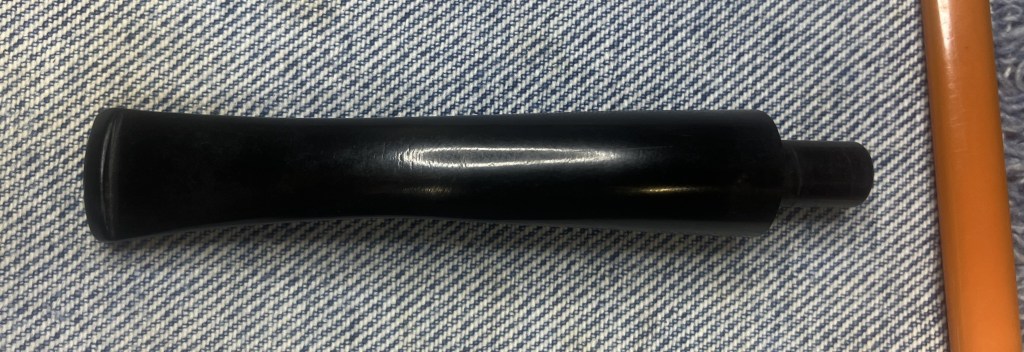
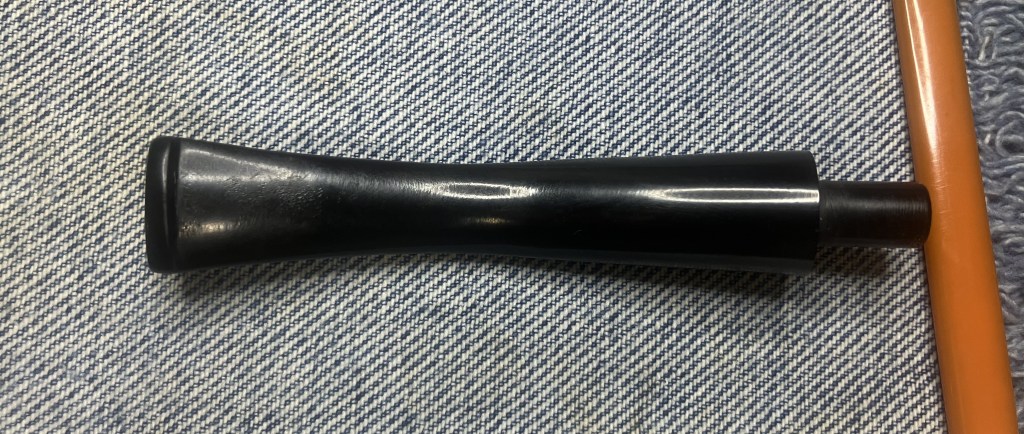
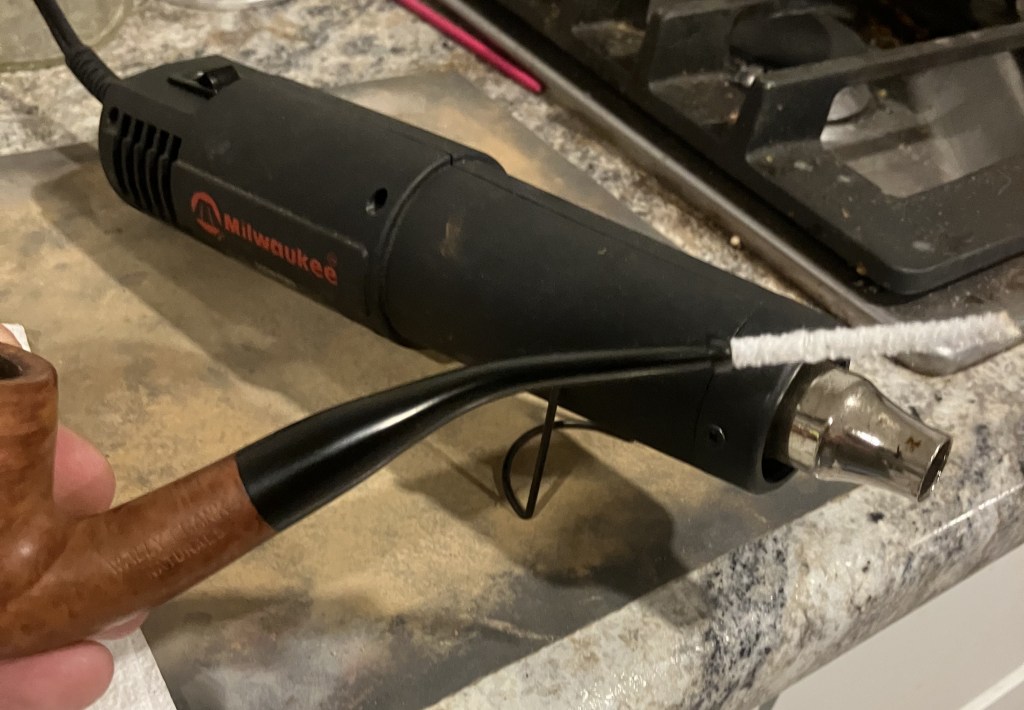
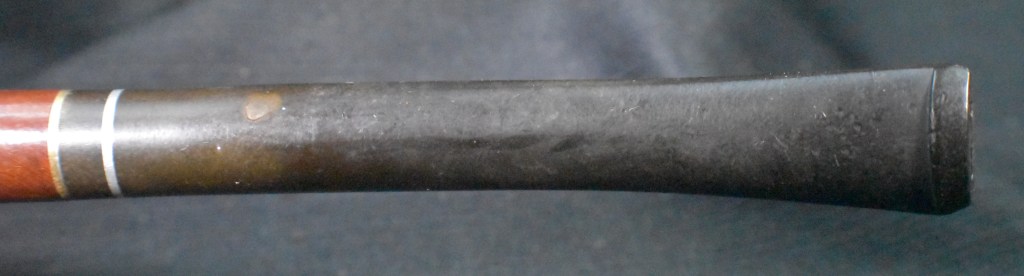
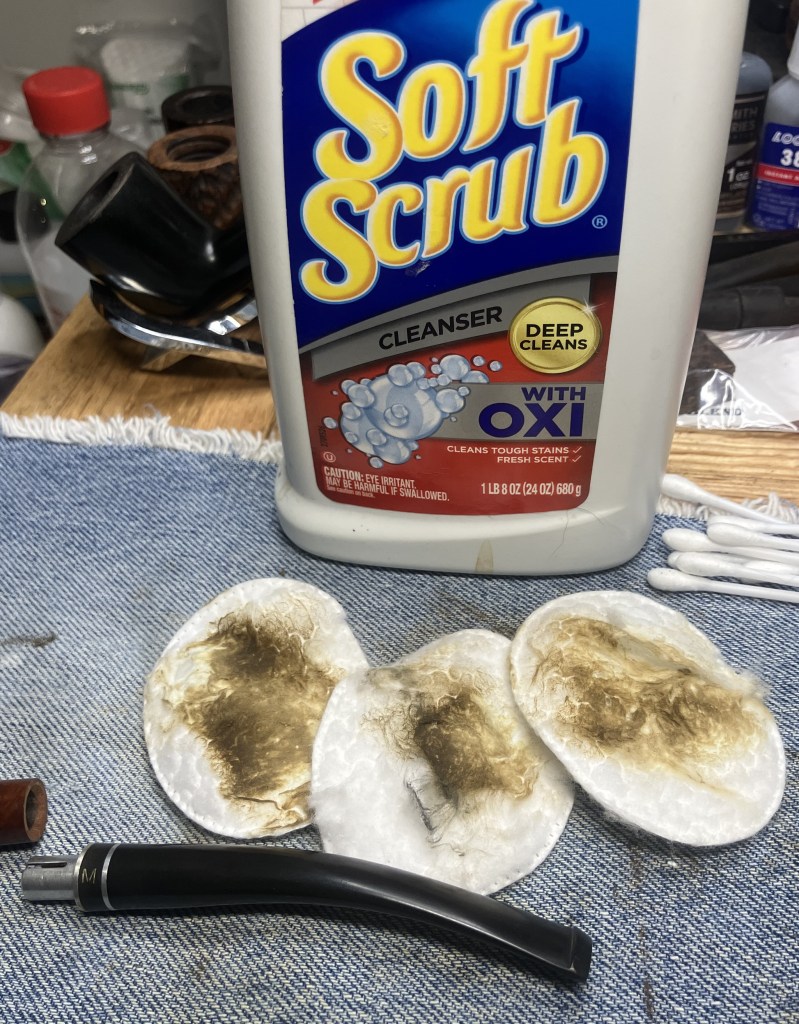
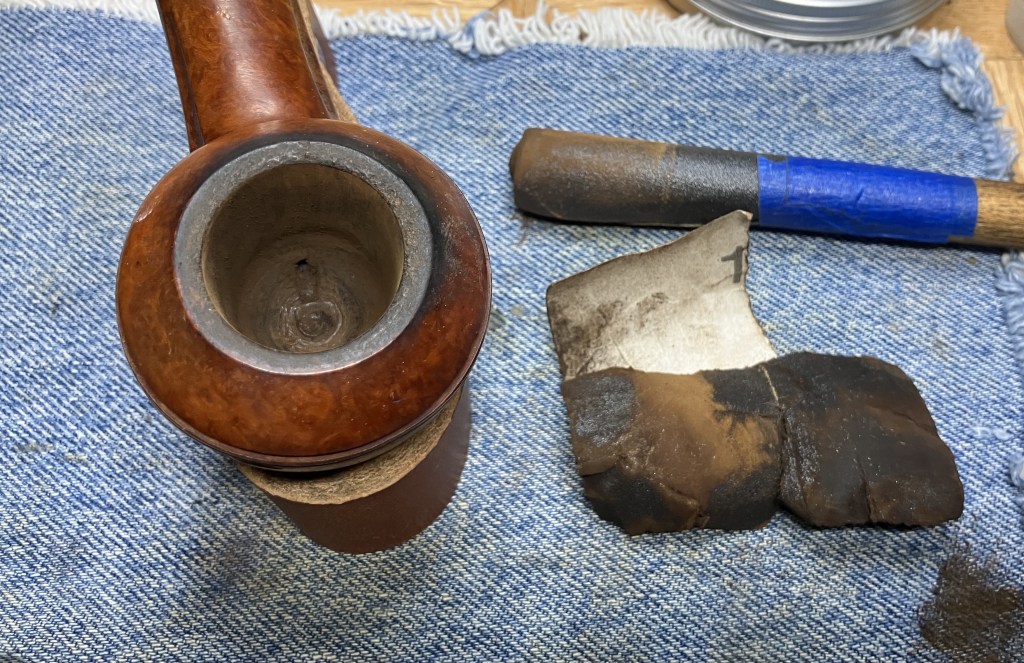
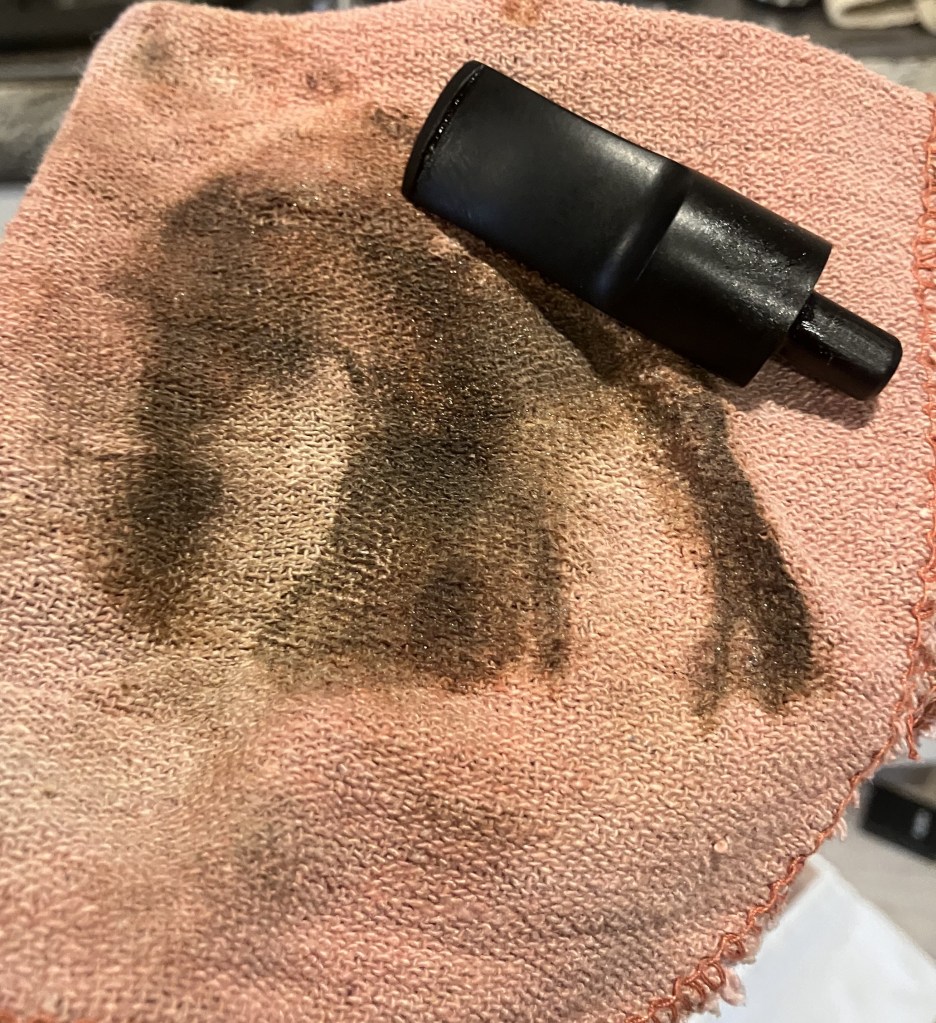
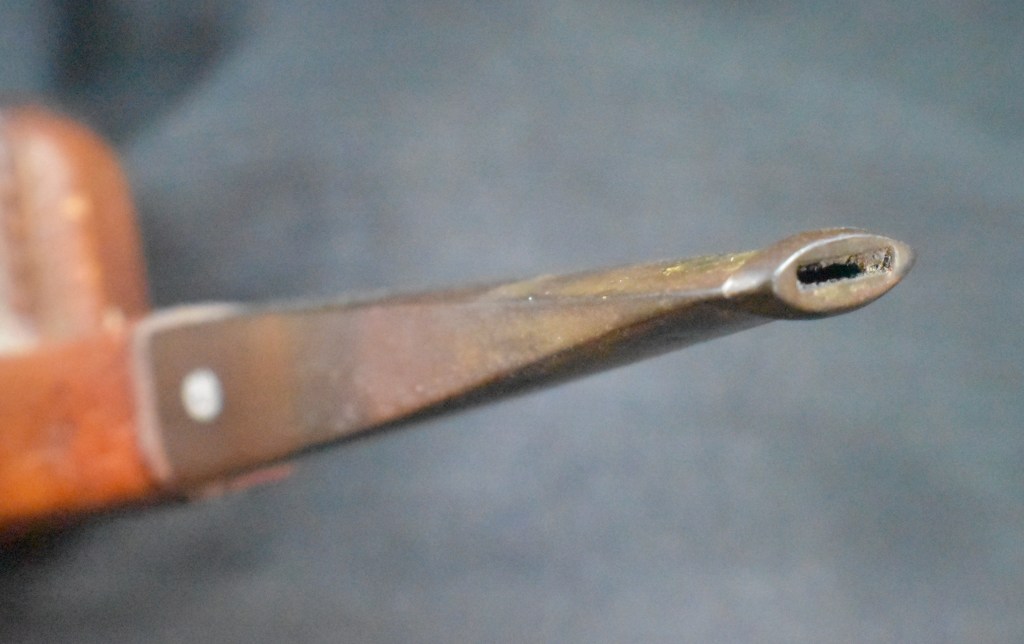
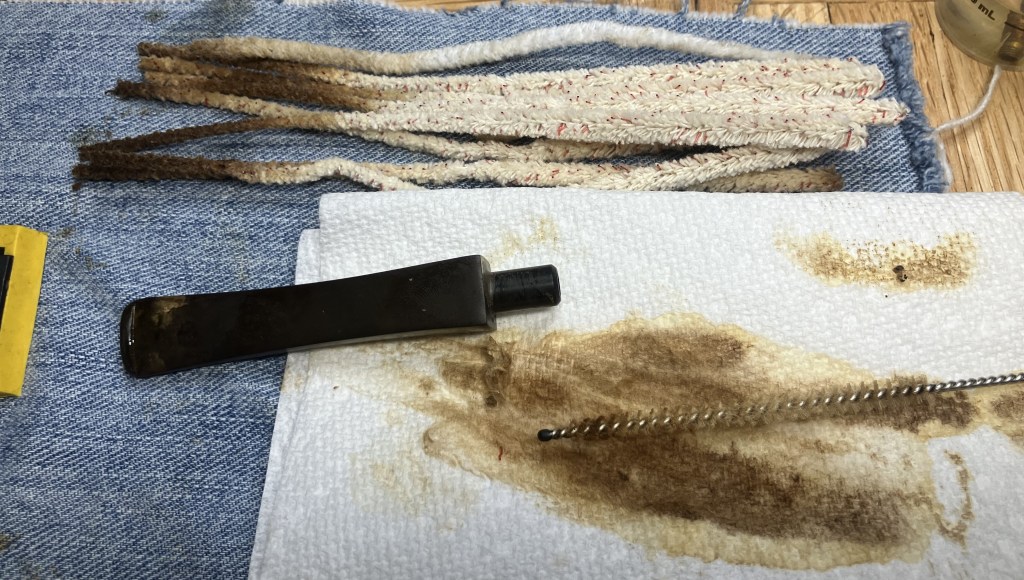
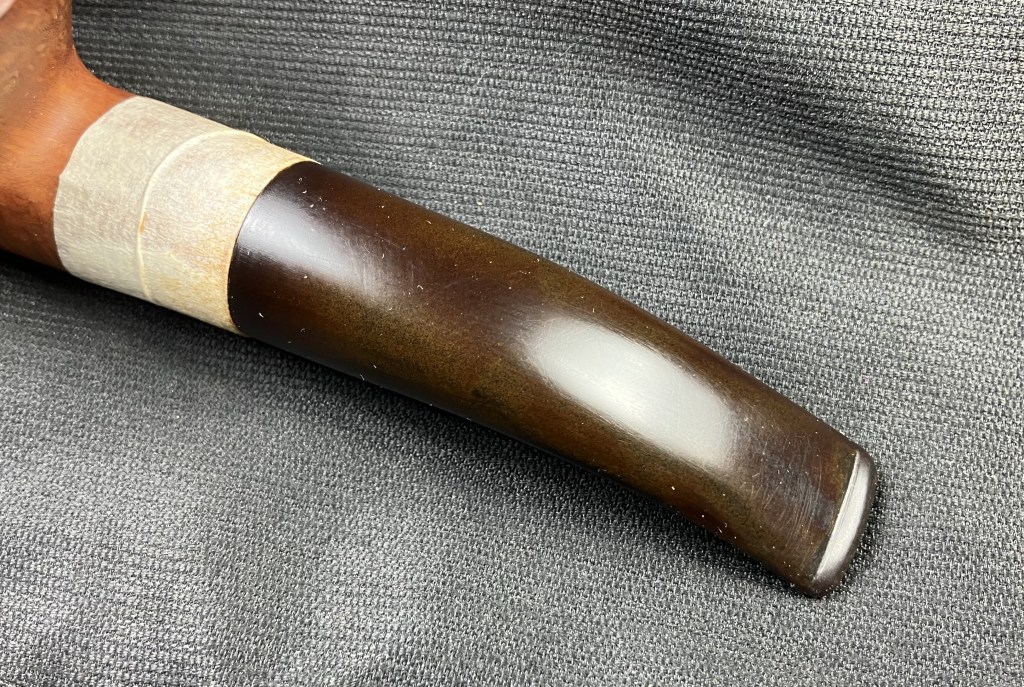
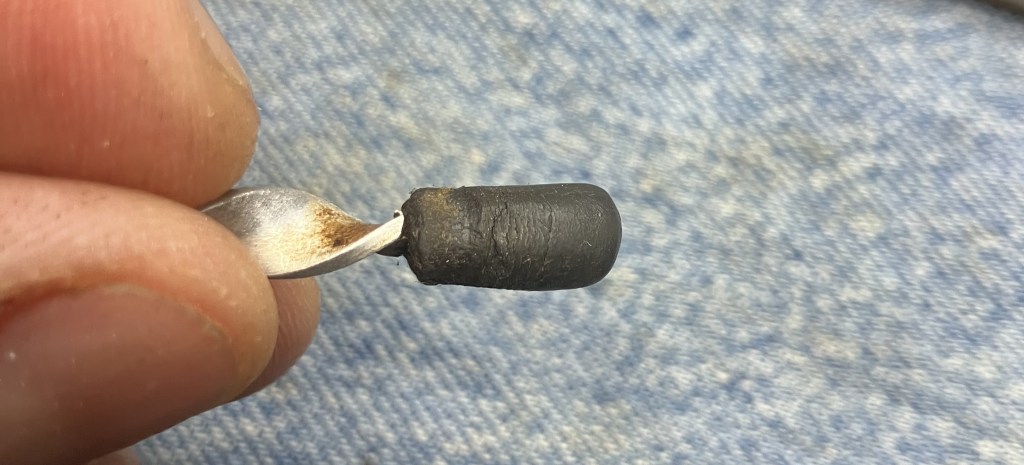
I turned my attention to the stem. It too was dirty and took several cotton swabs and bristle pipe cleaner dipped in alcohol to clean.
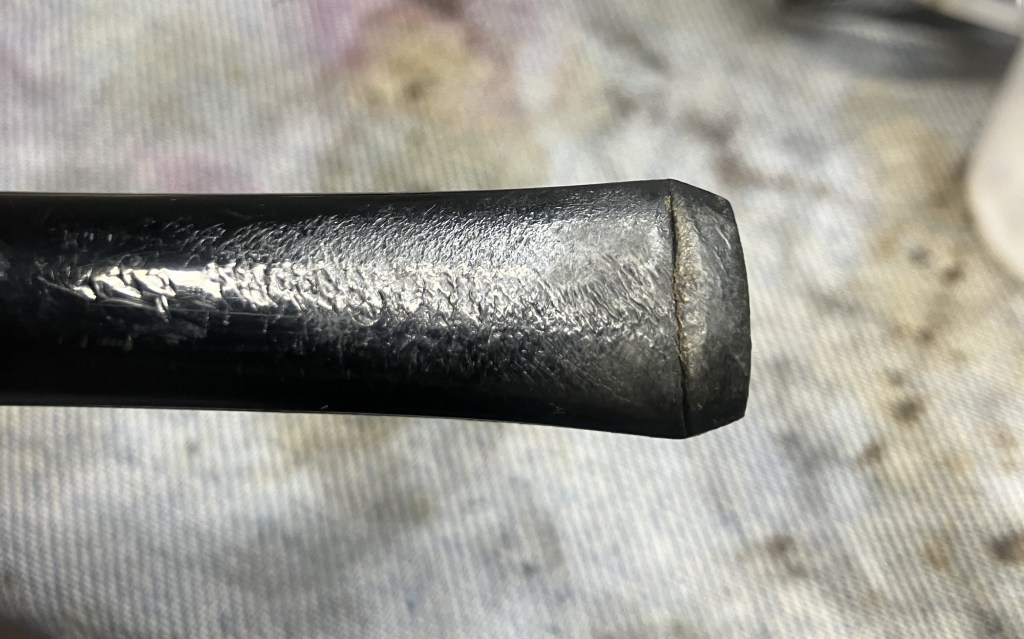
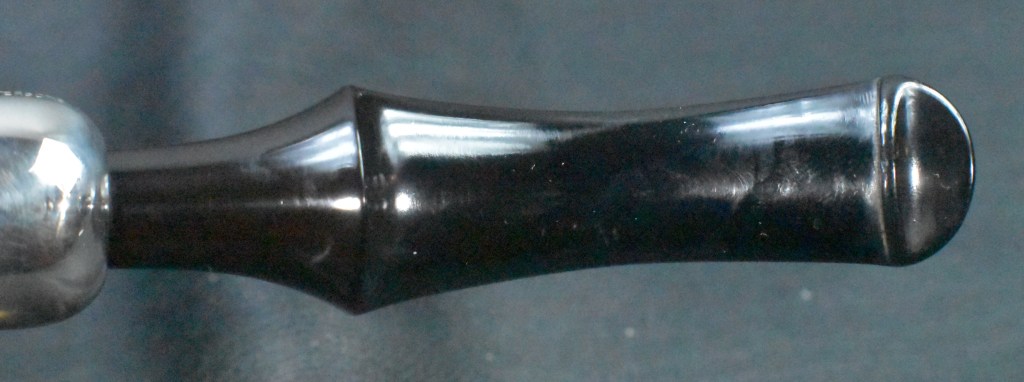
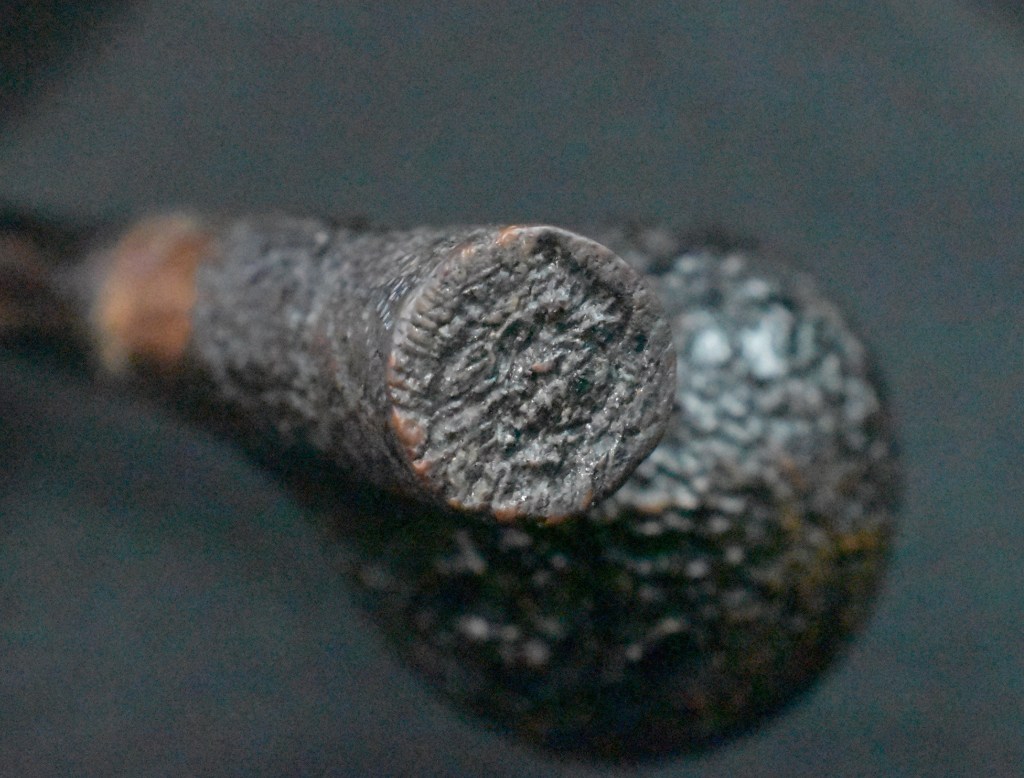
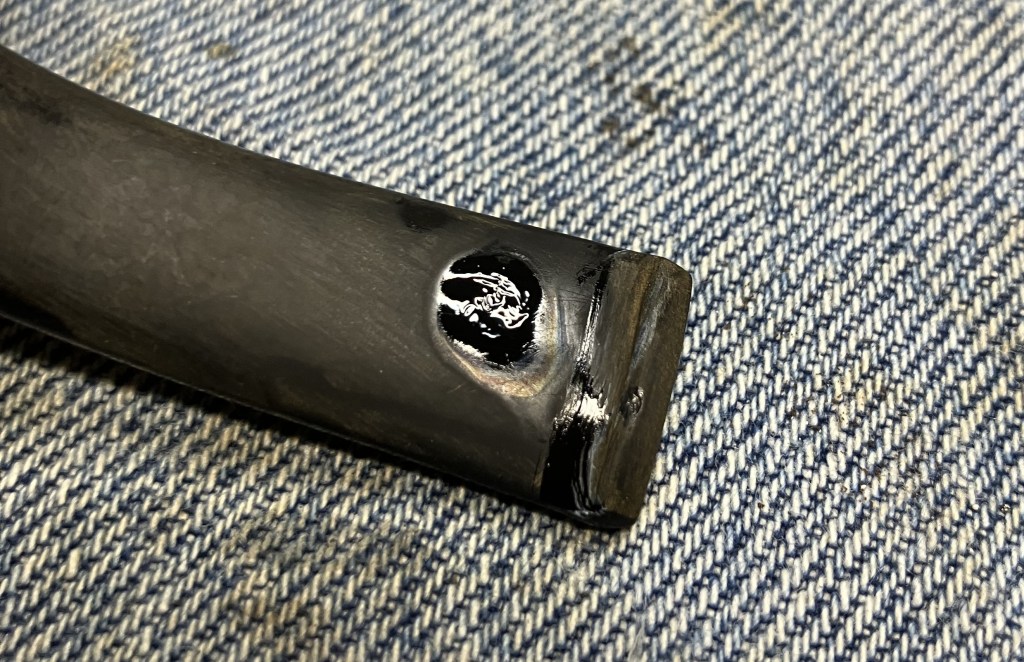
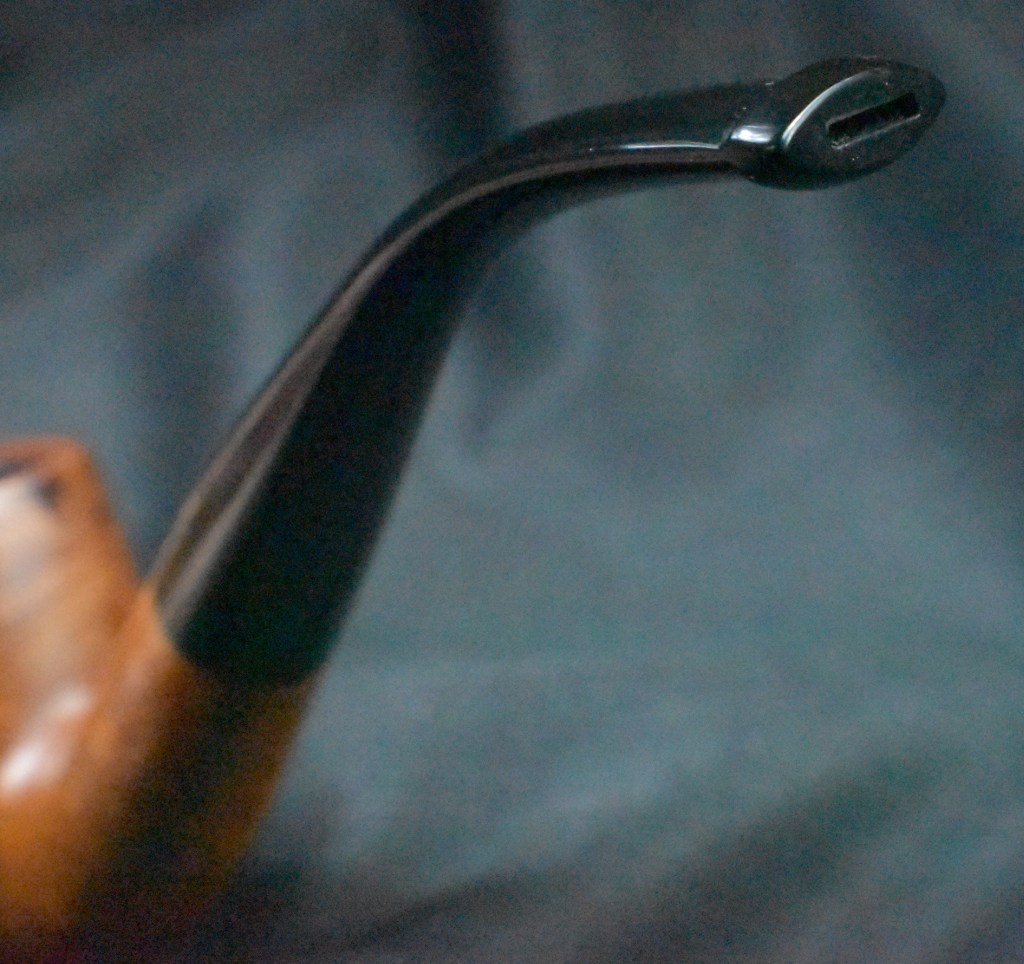
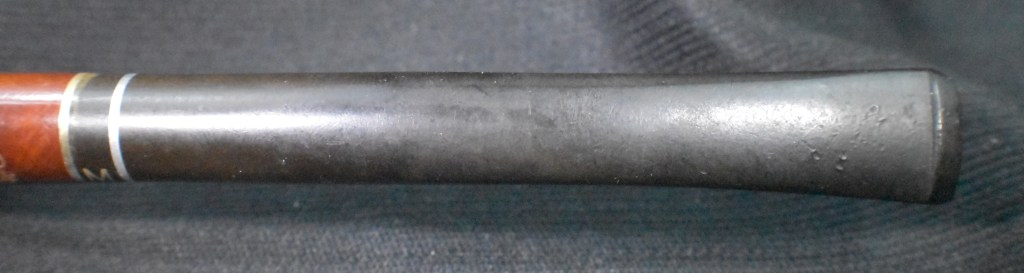
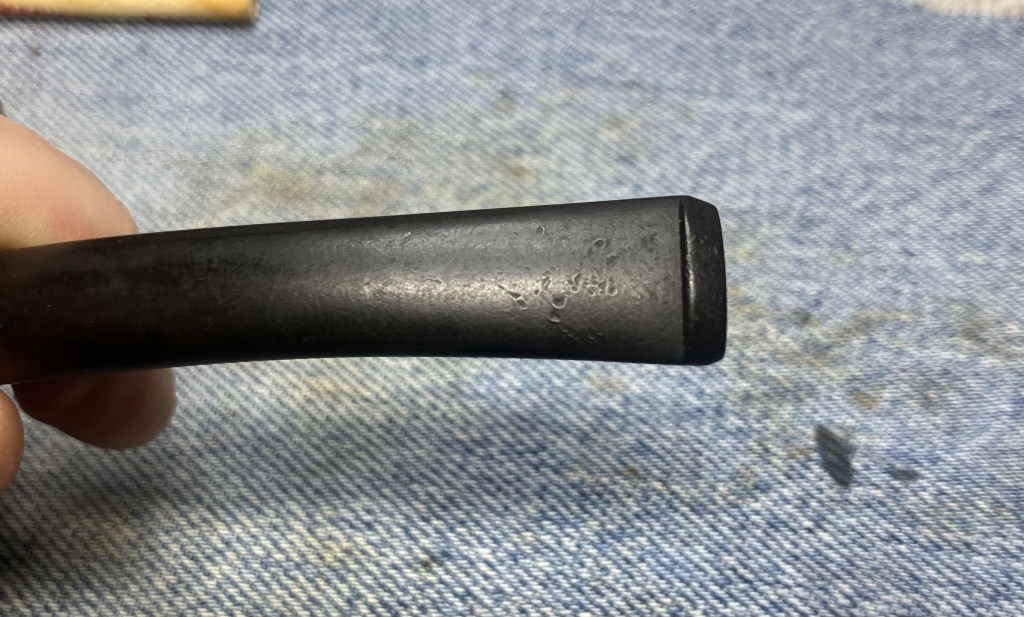
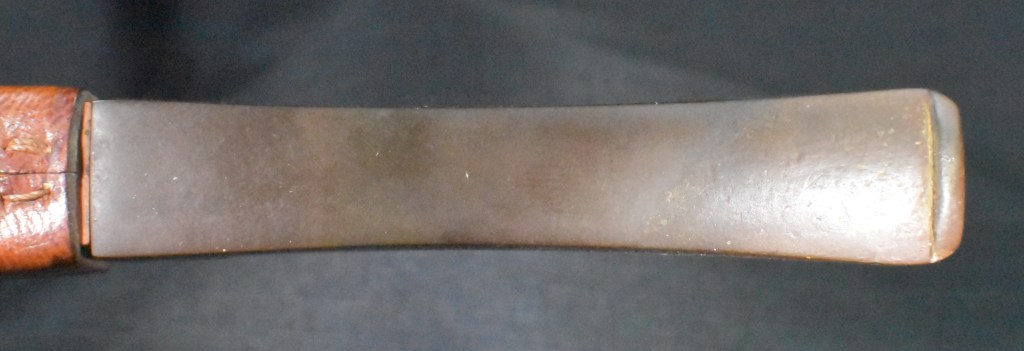
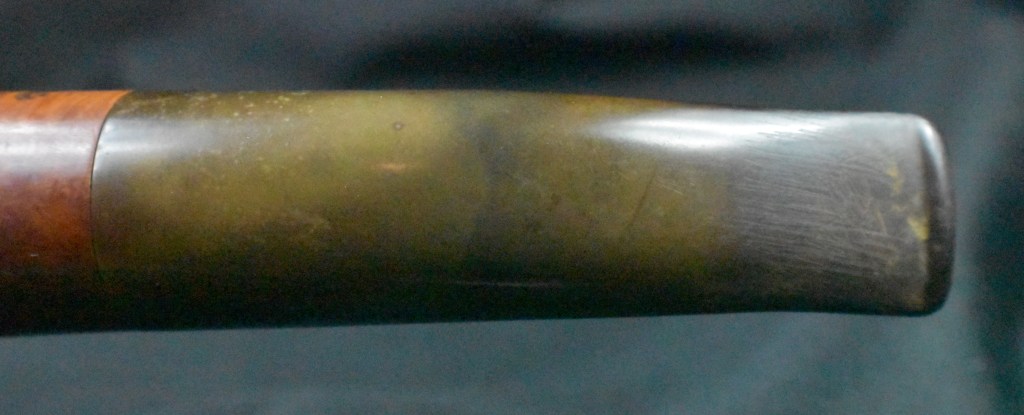
Here is a photo of the condition of the stem before working to smooth it. Yikes!
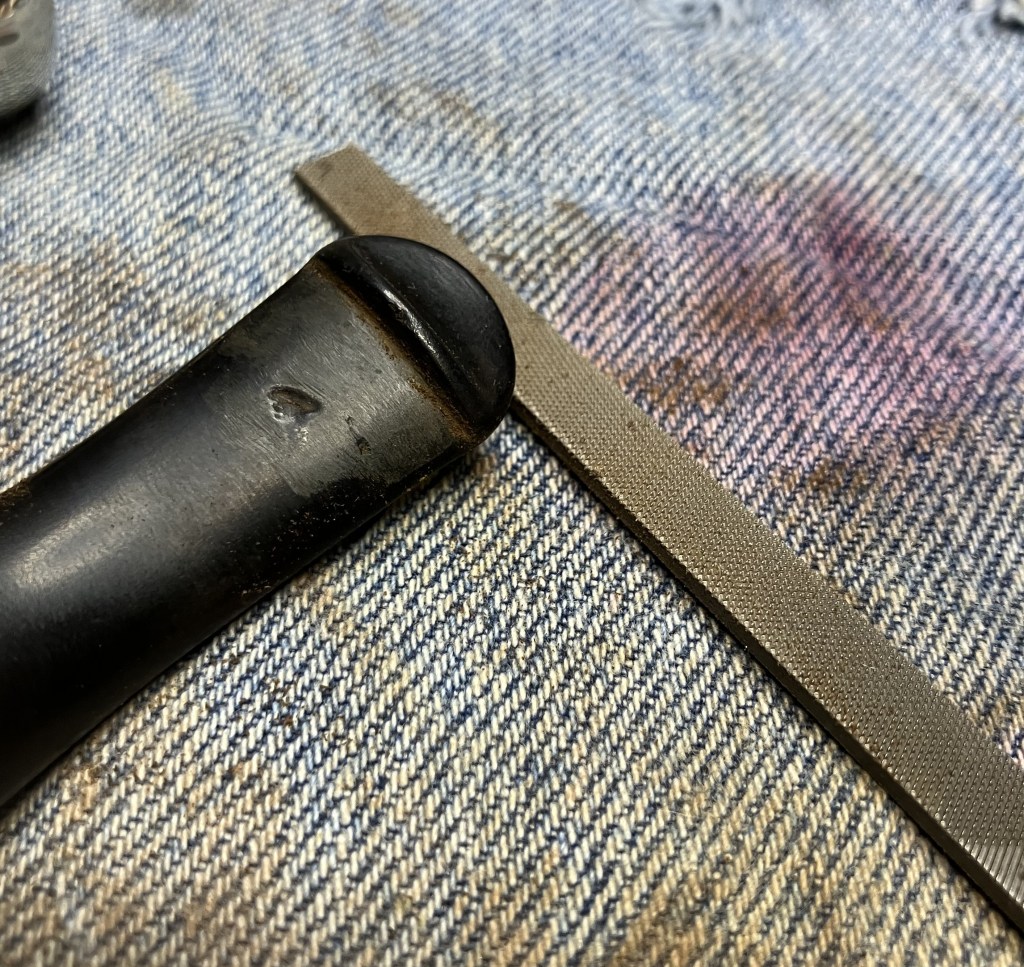
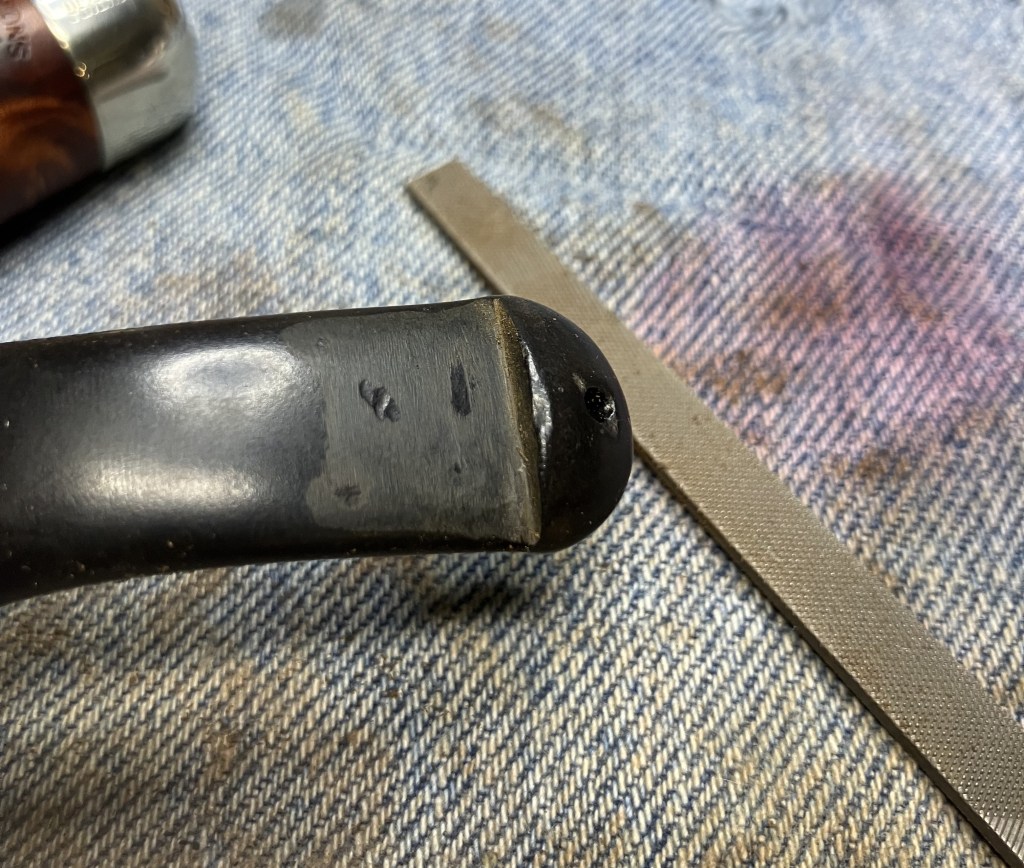
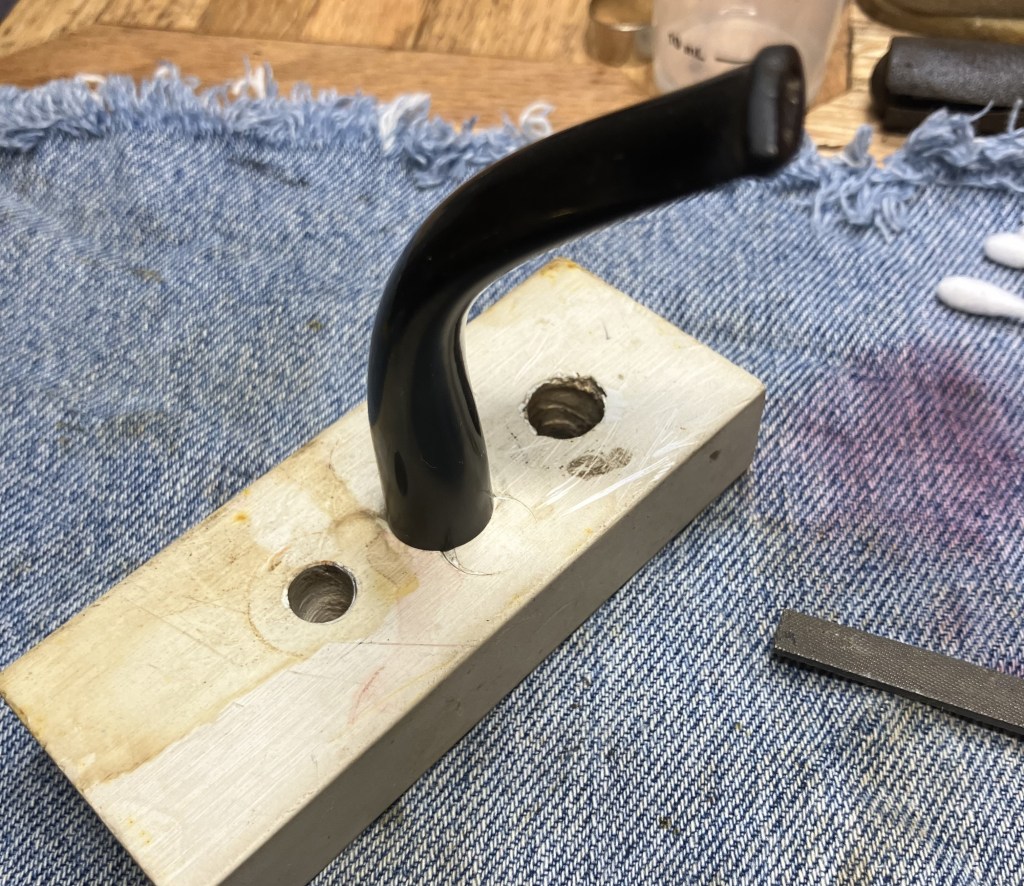
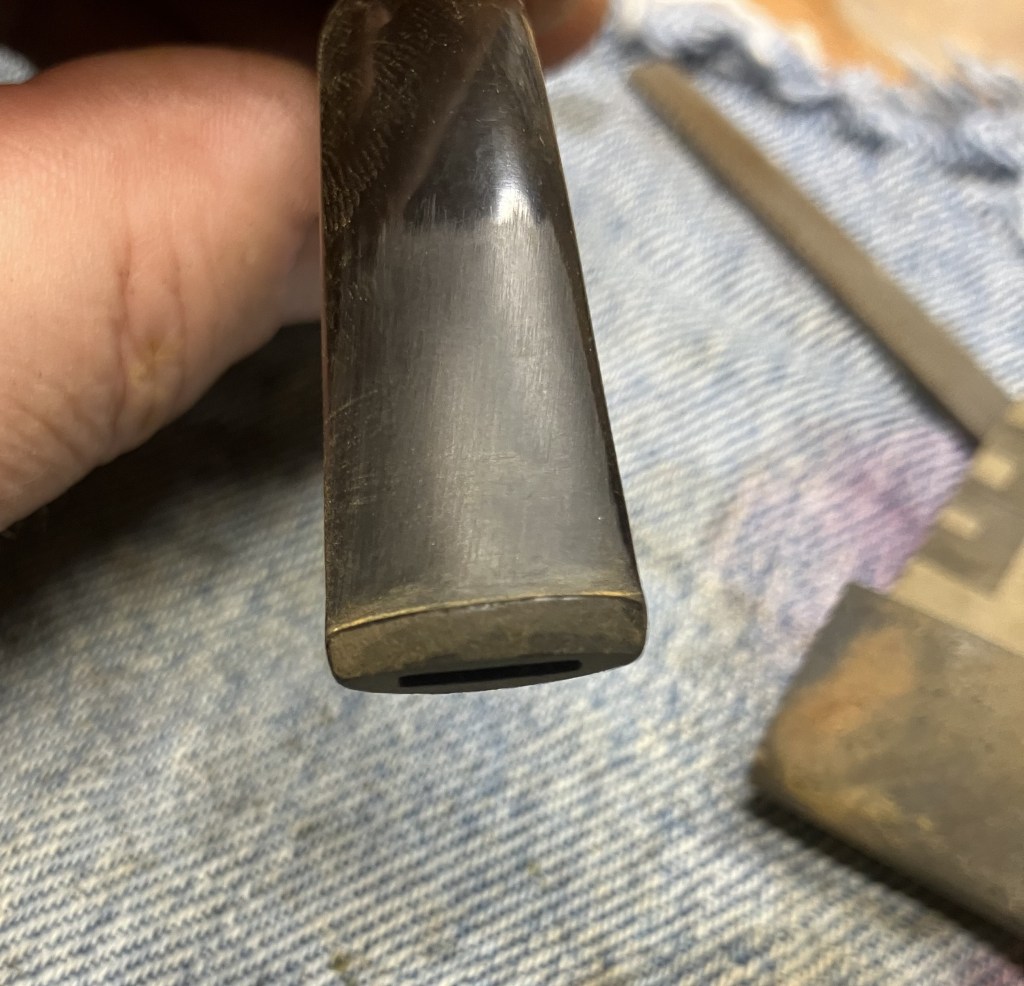
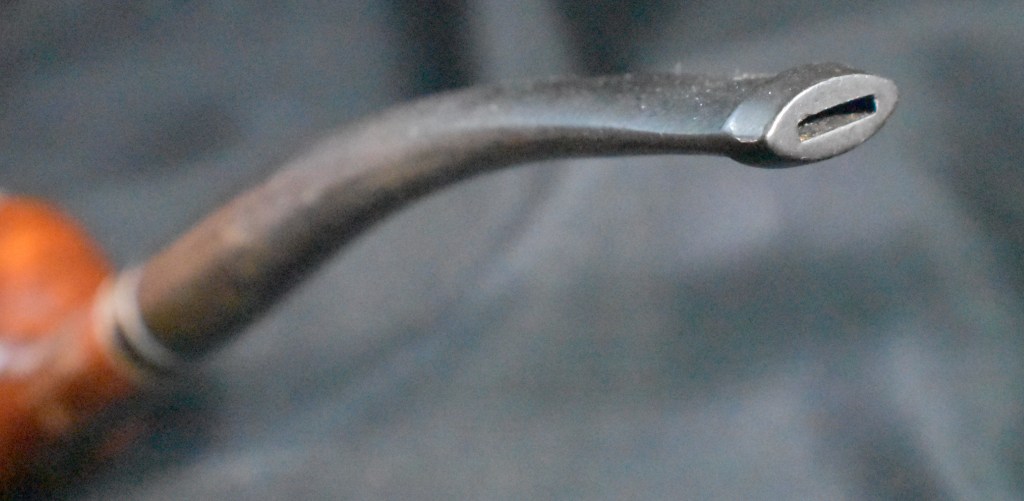
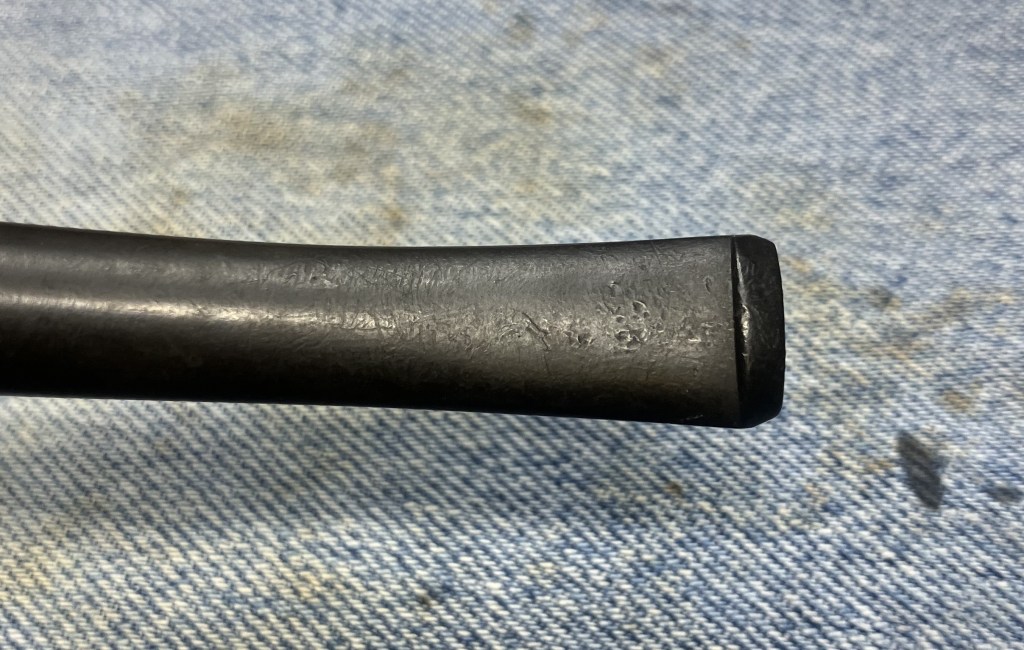
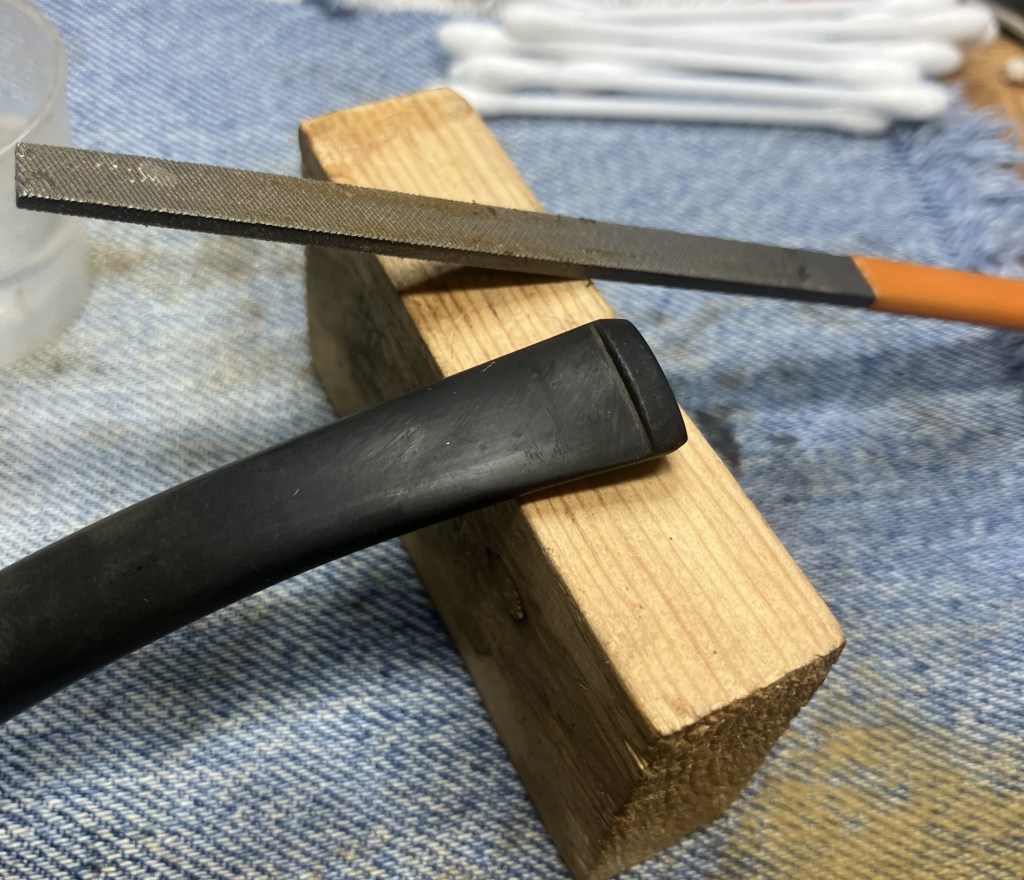
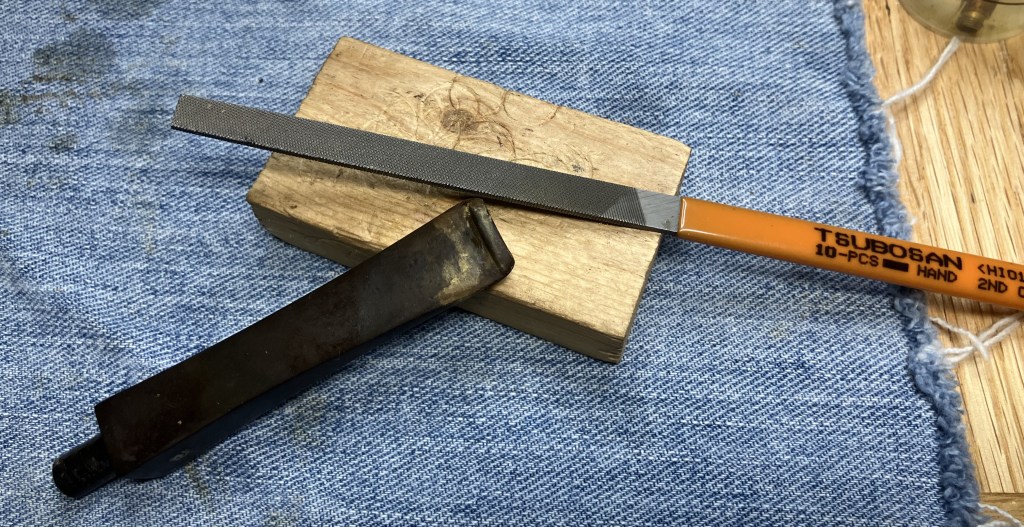
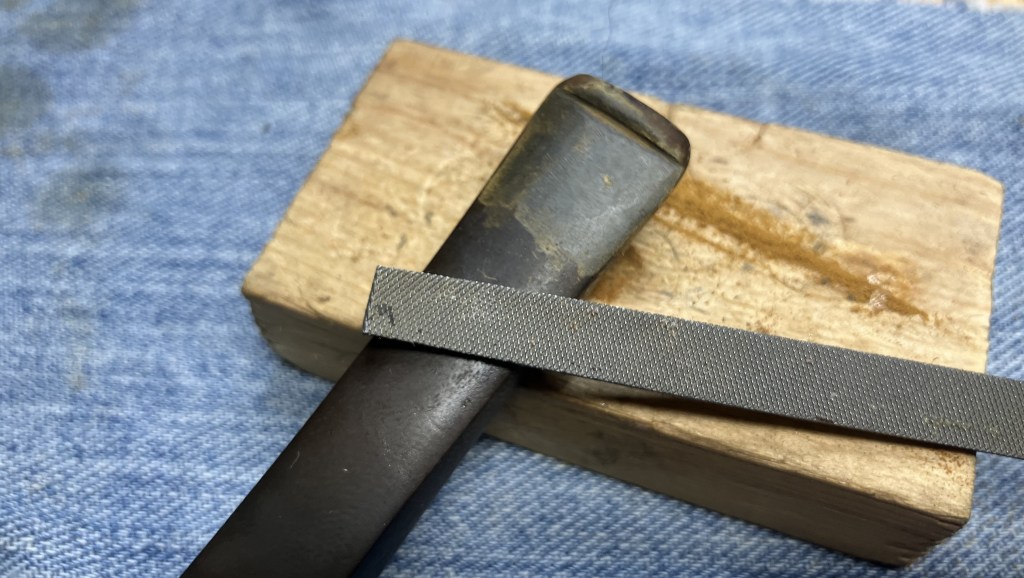
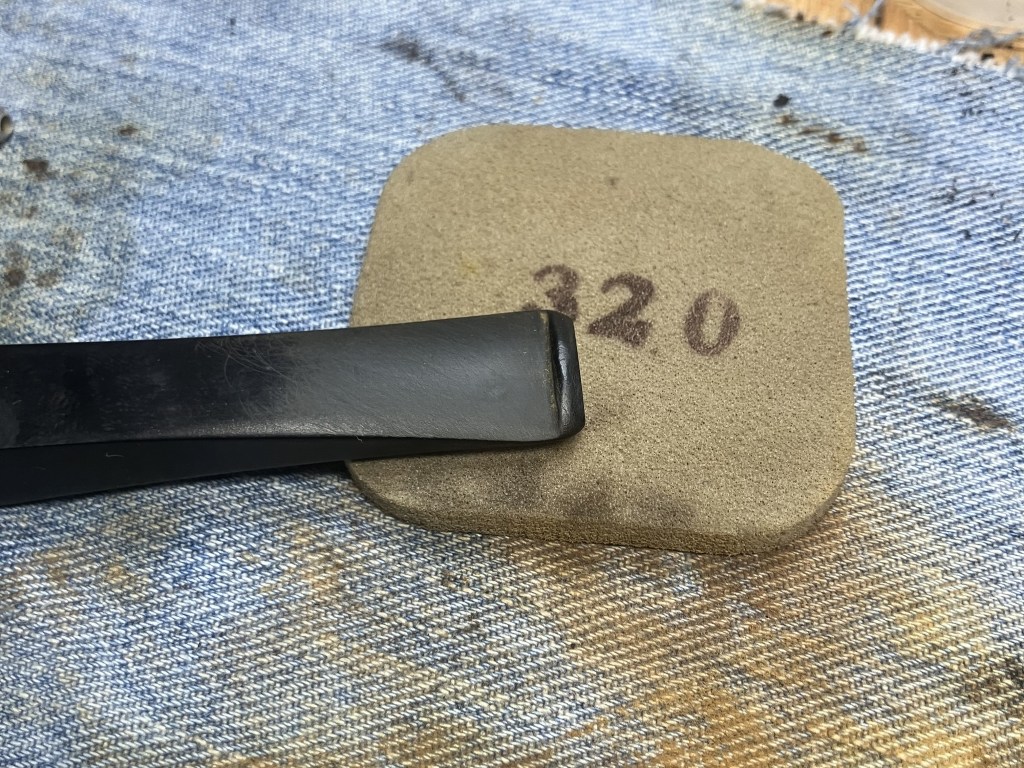
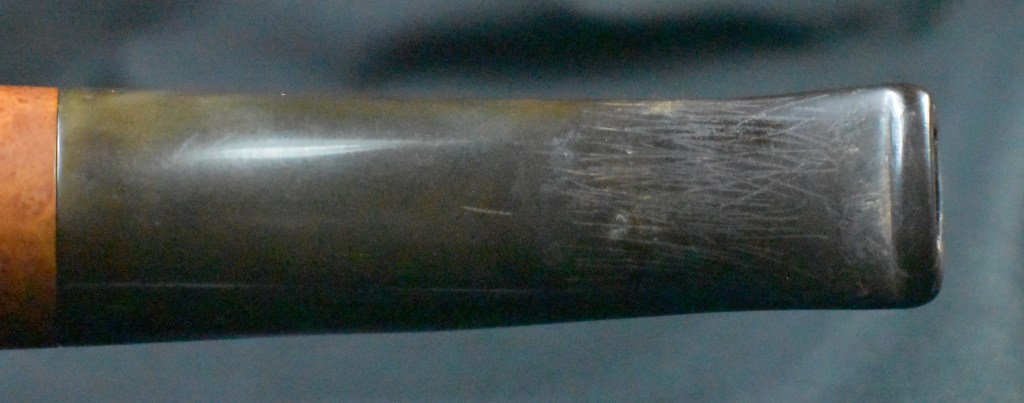
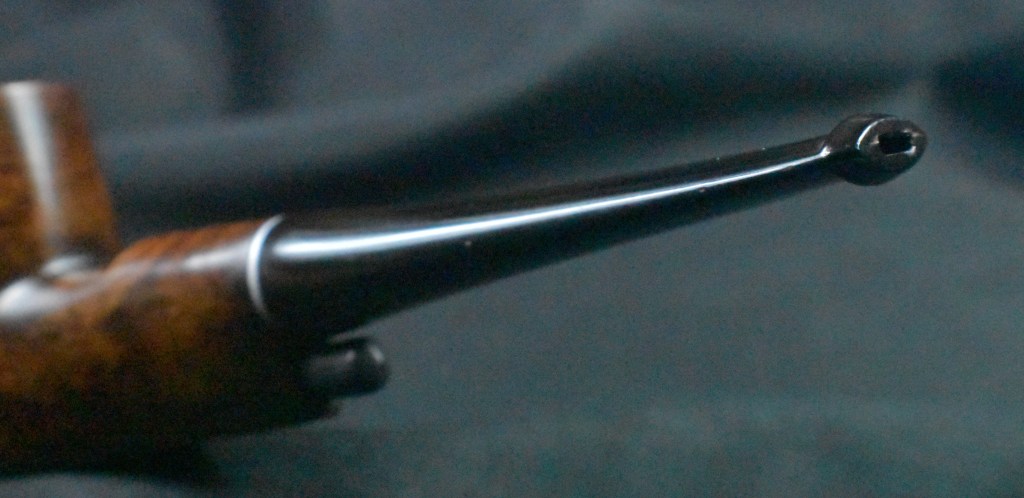
Filing was the first step. I used a small flat file to reestablish the button and remove some of the dents from teeth.
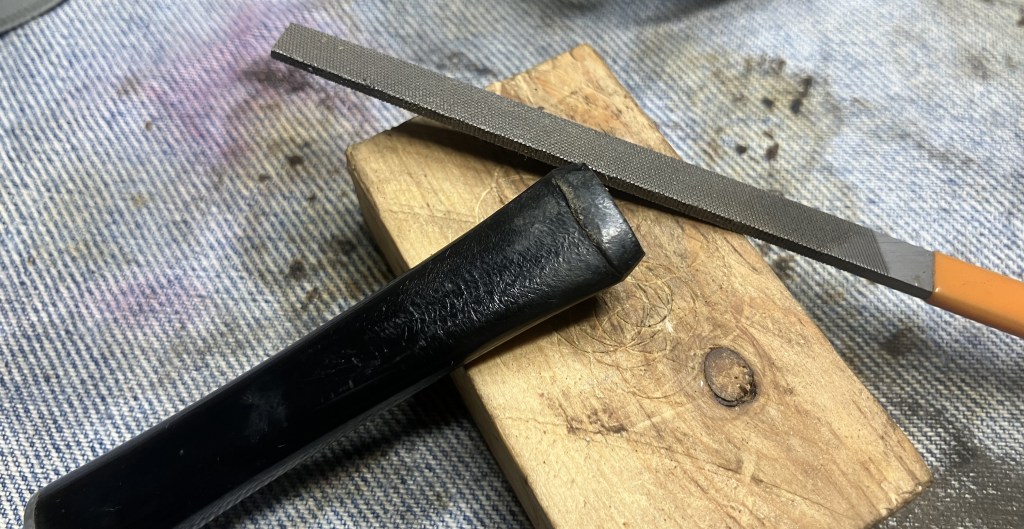
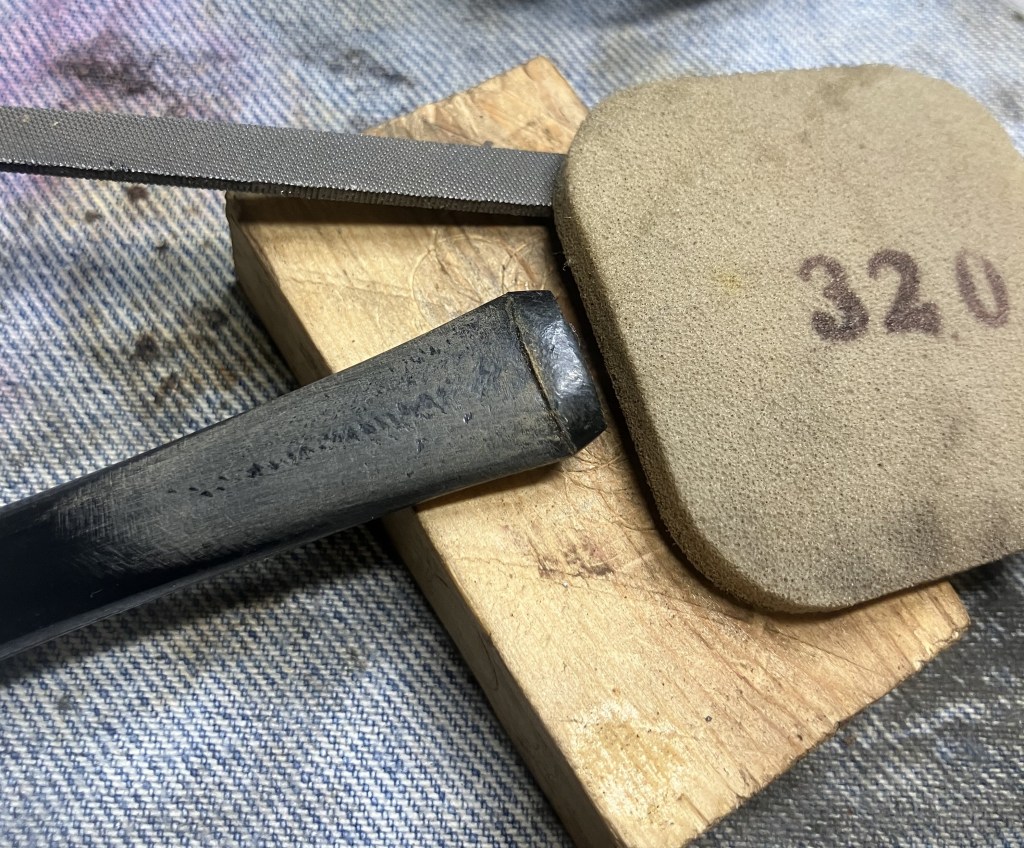
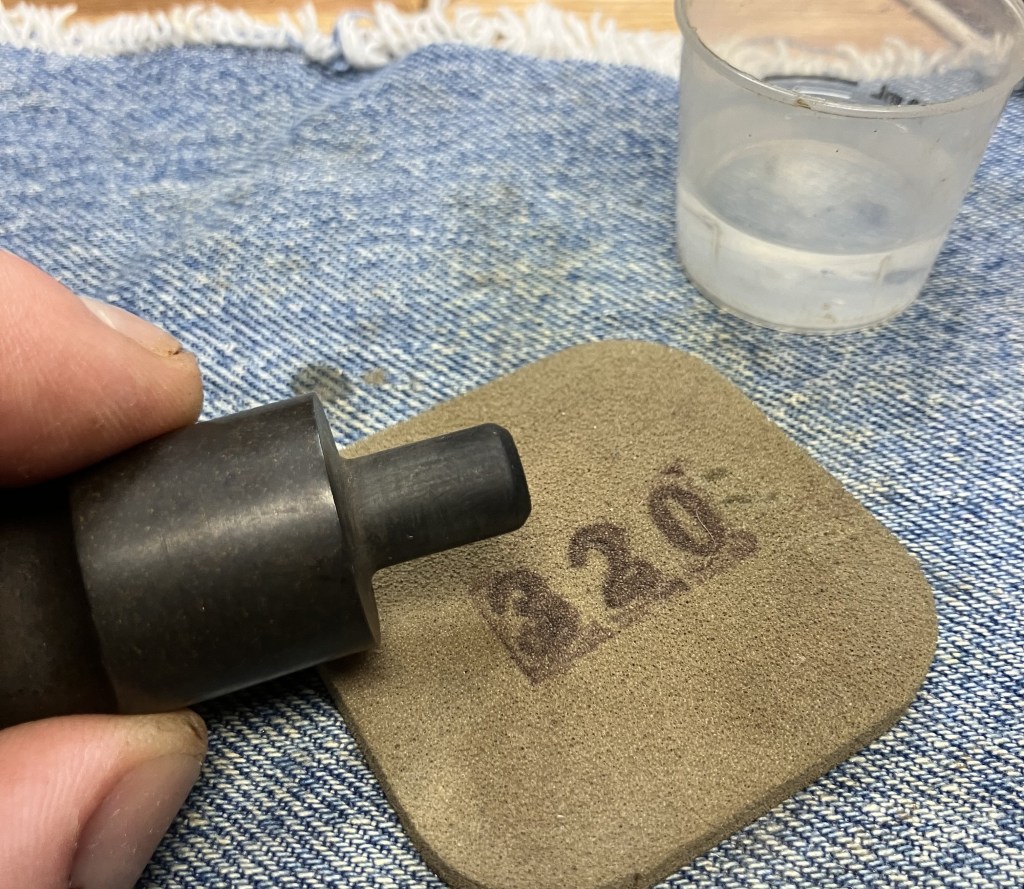
The filing and sanding with a 320 sanding sponge continued on both the top and bottom of the stem. Darn that nylon.
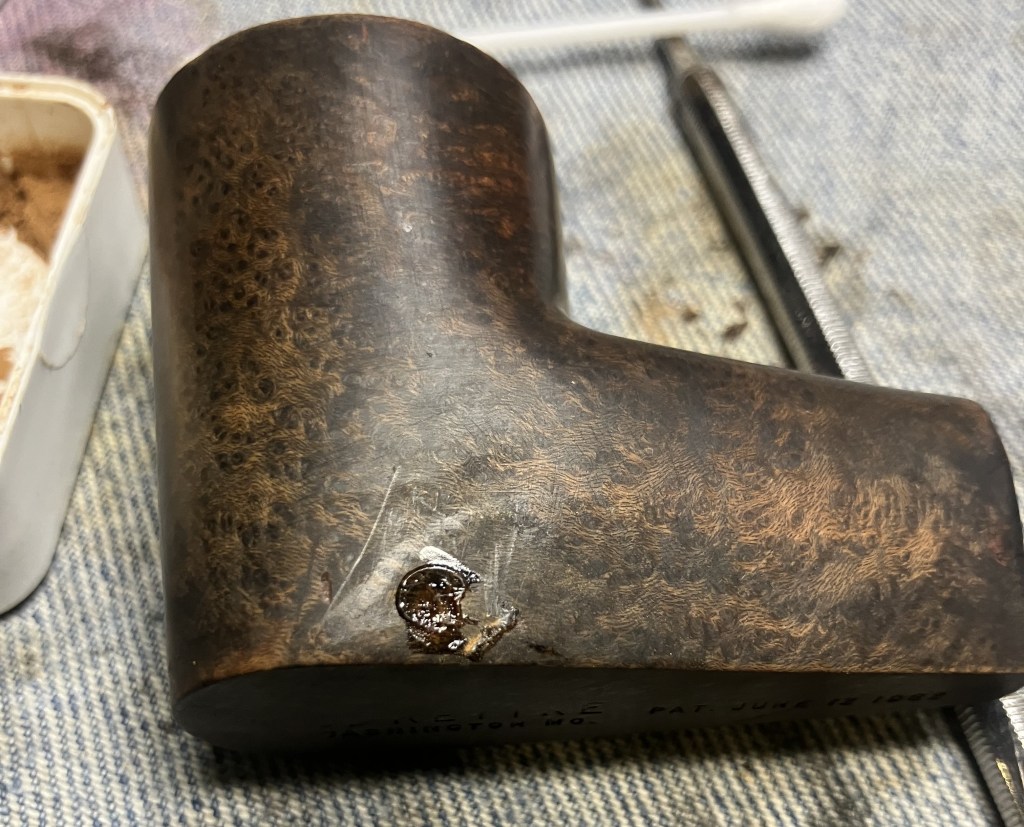
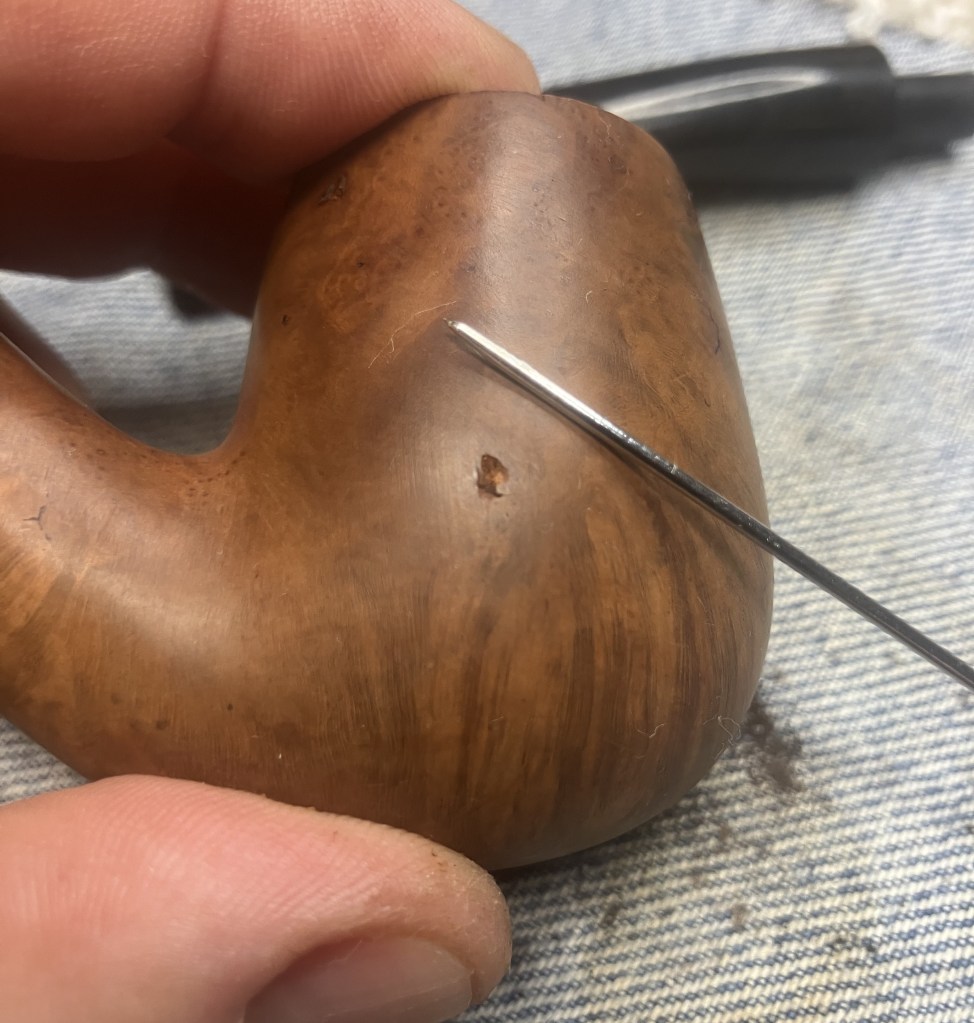
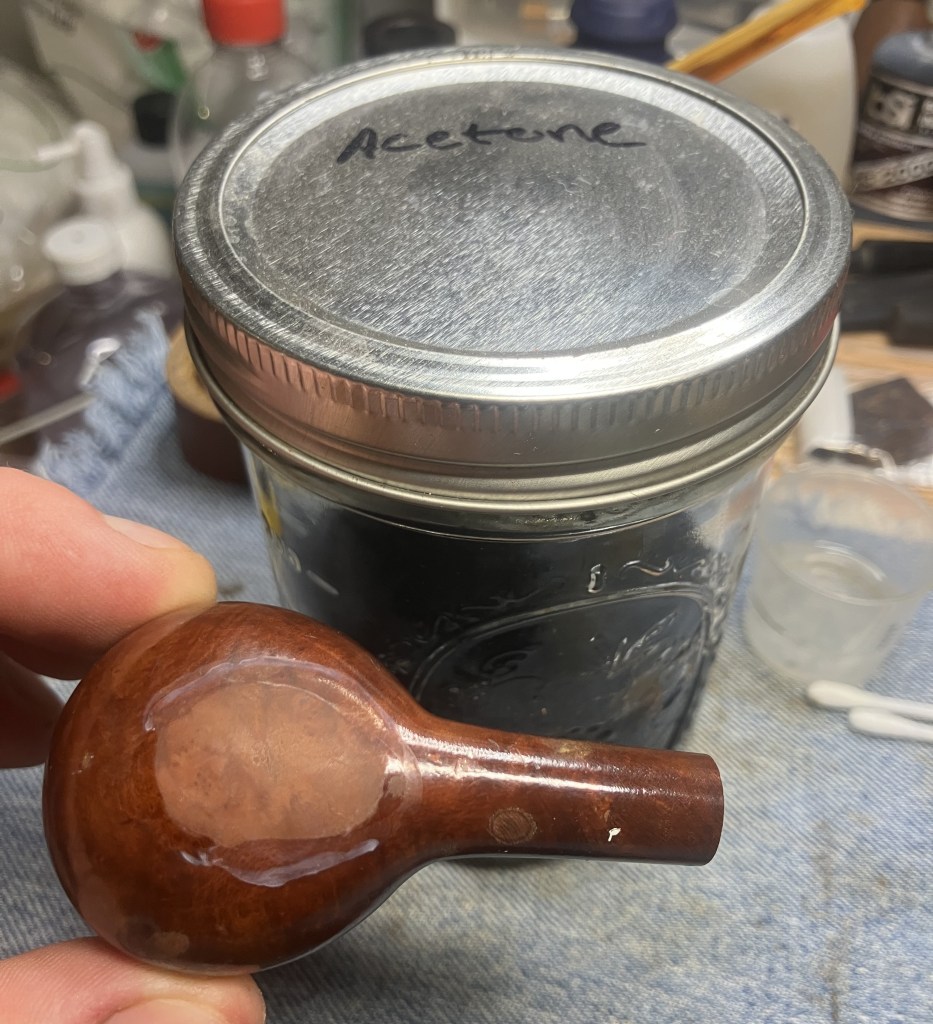
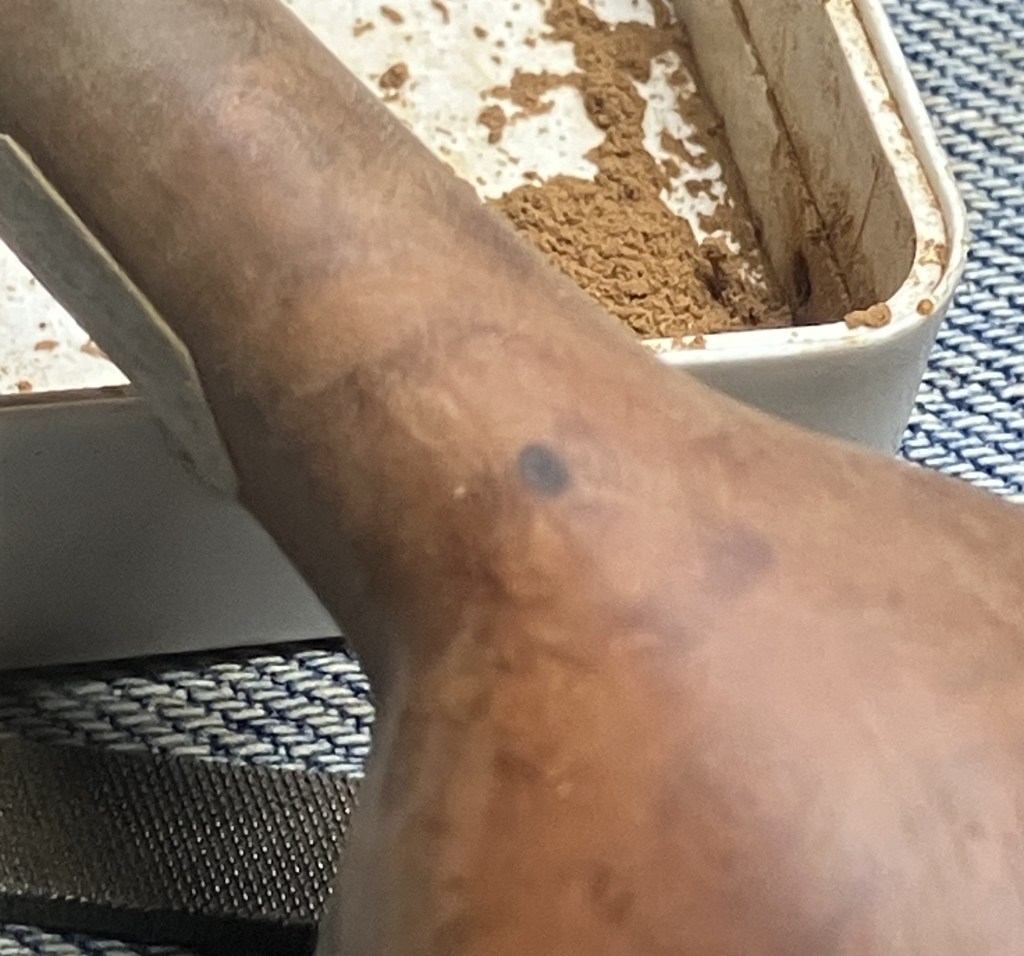
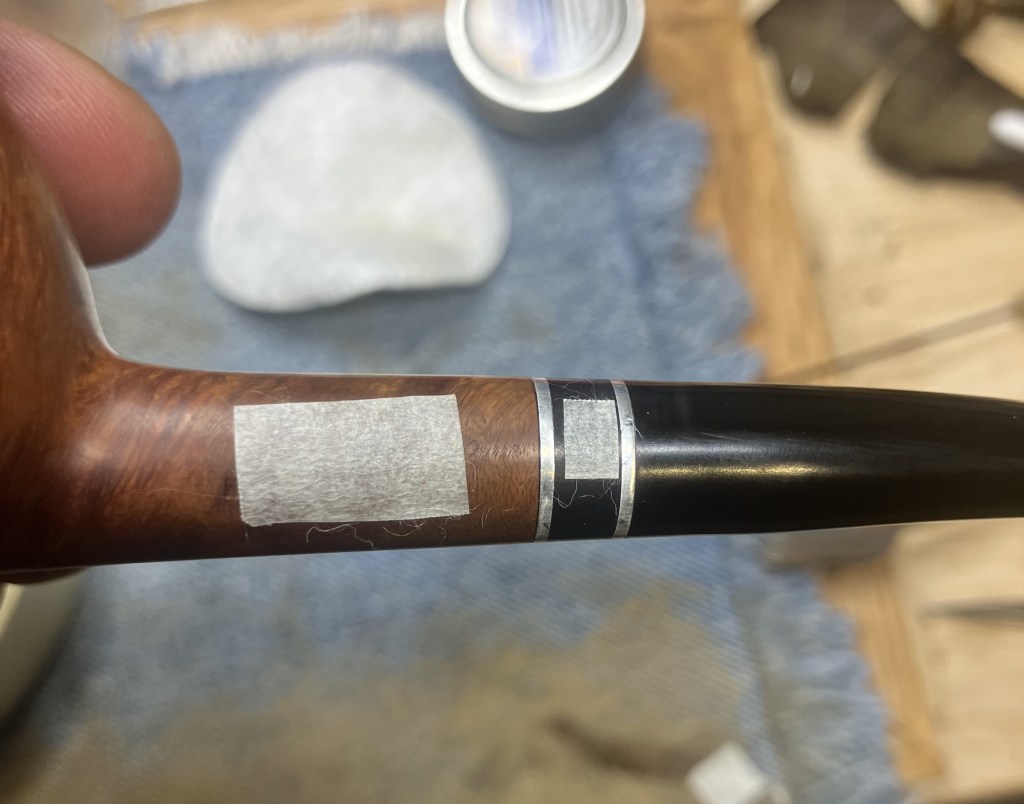
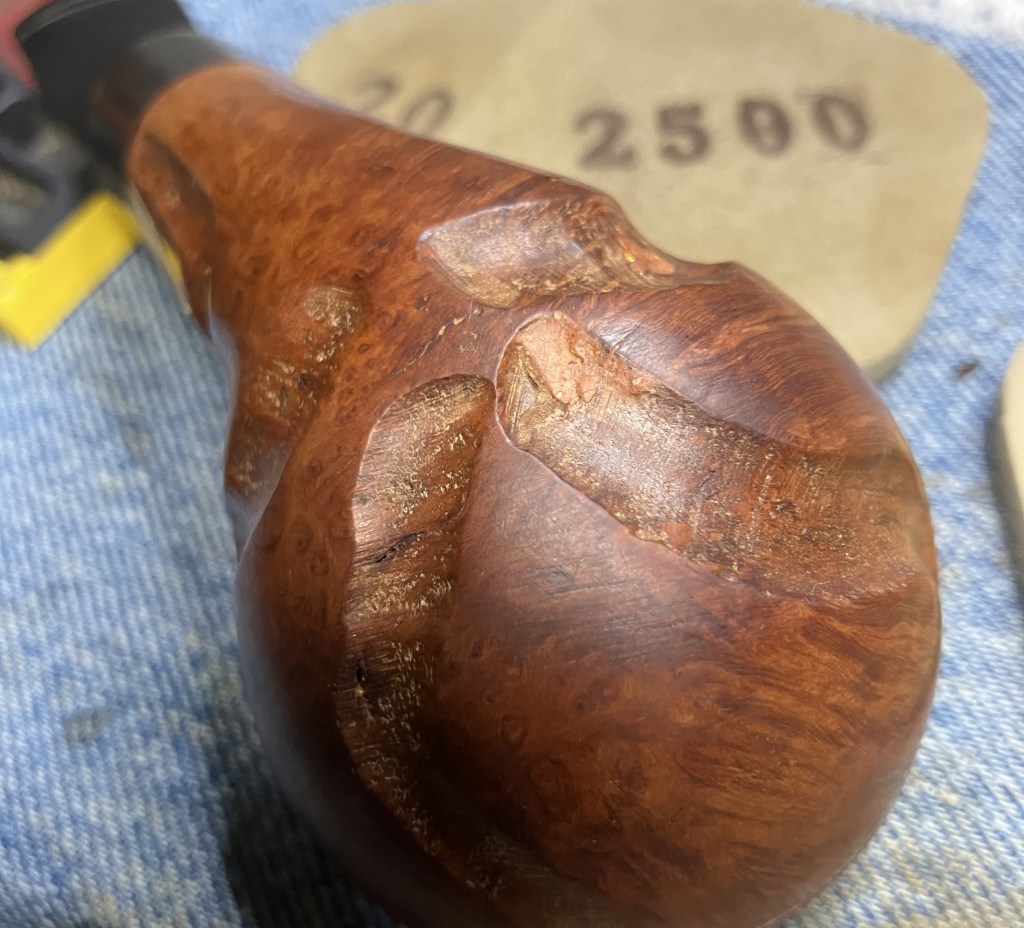
Taking a break from the stem, I thought about how to repair the two dings on the bottom left of the stummel. The alcohol was still soaked into the cotton within the airways and would be interfered with by my manipulations.
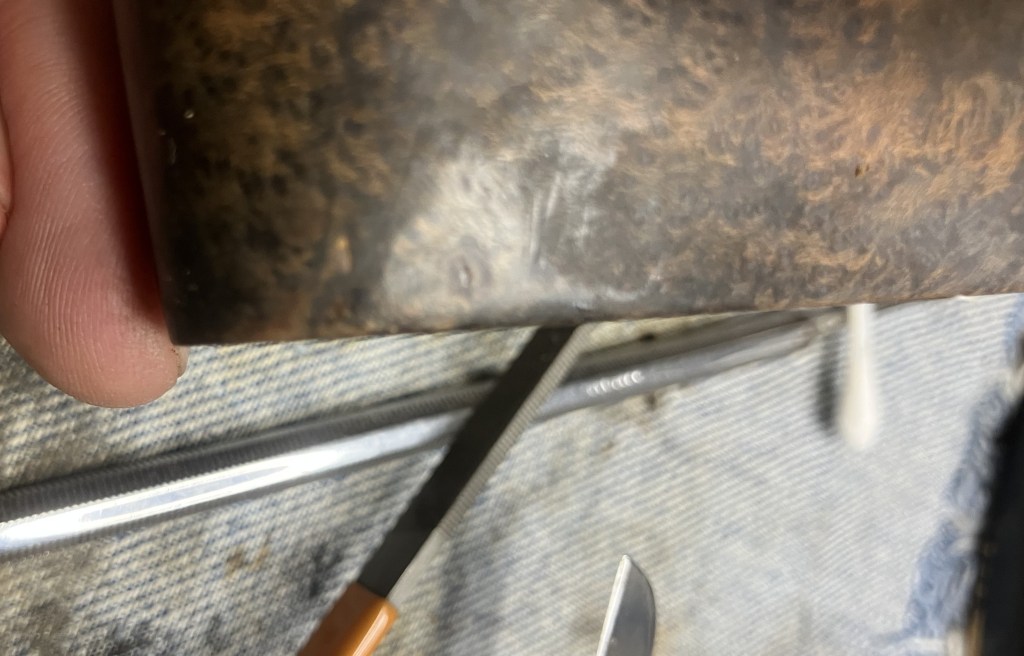
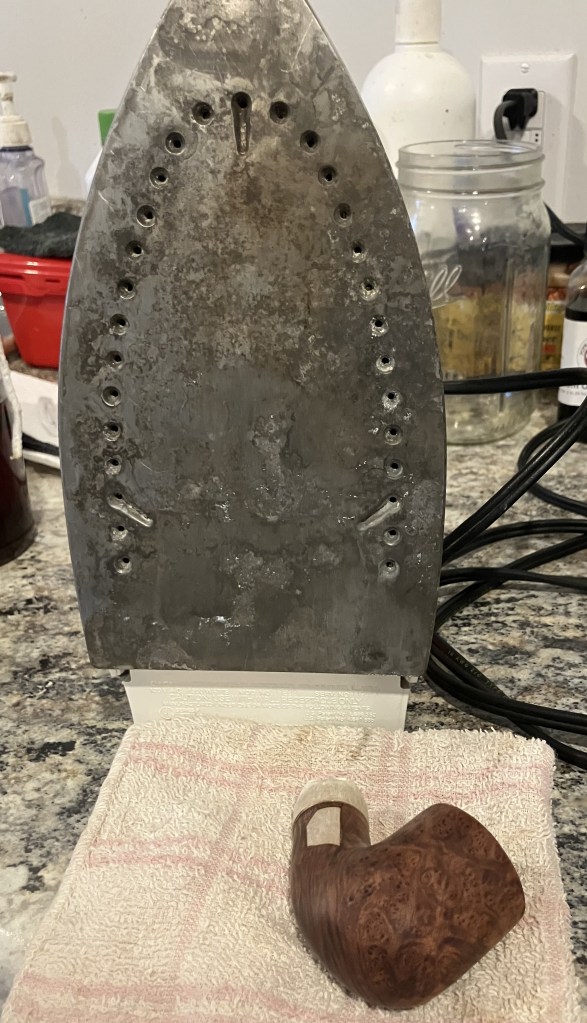
I first tried to raise the dents using a hot iron and a wet cotton cloth.
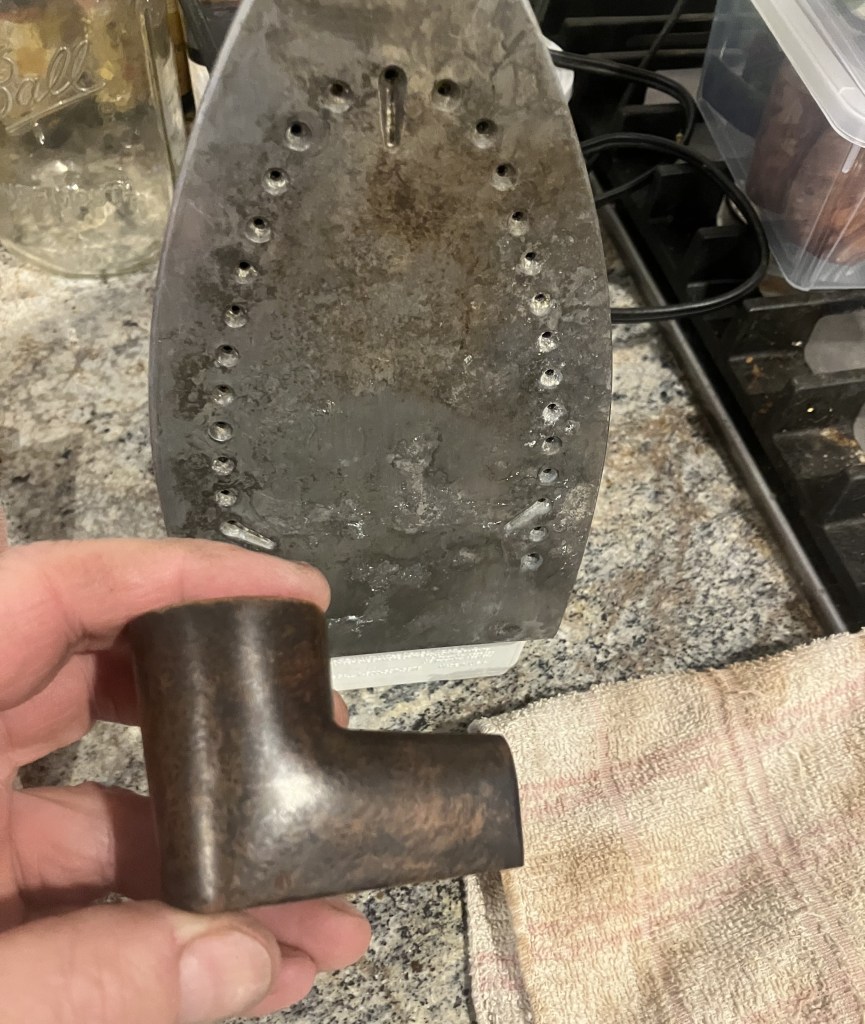
This worked a little bit but the dents remained.
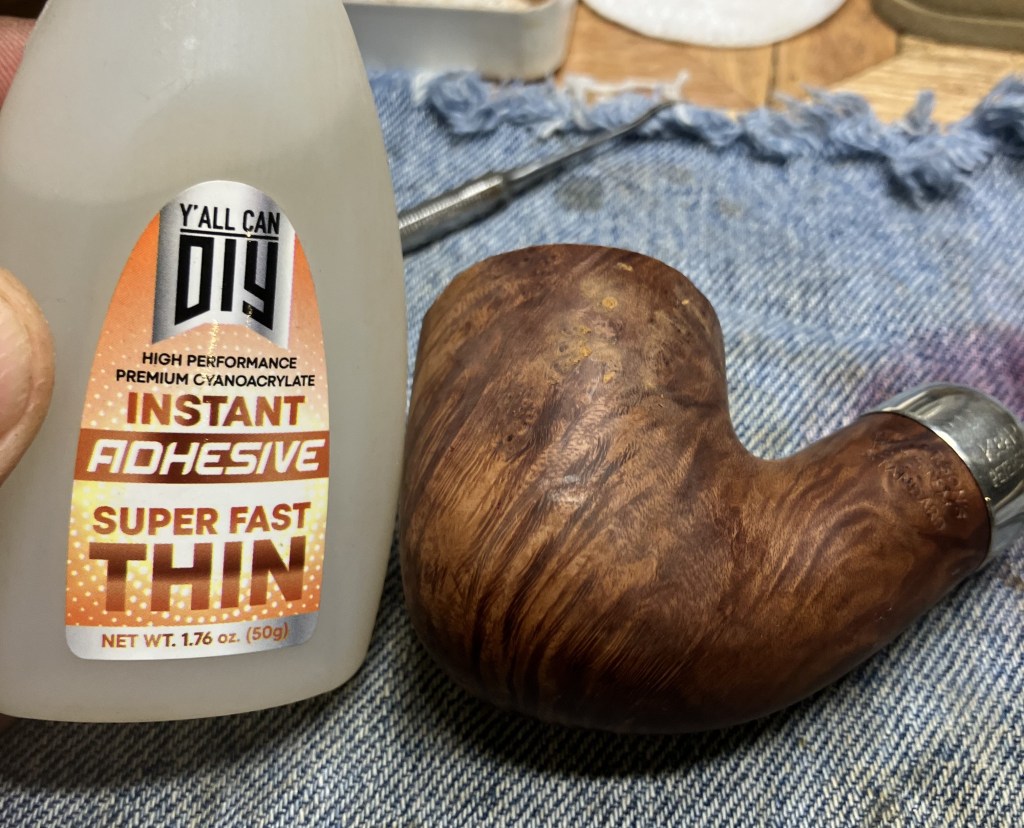
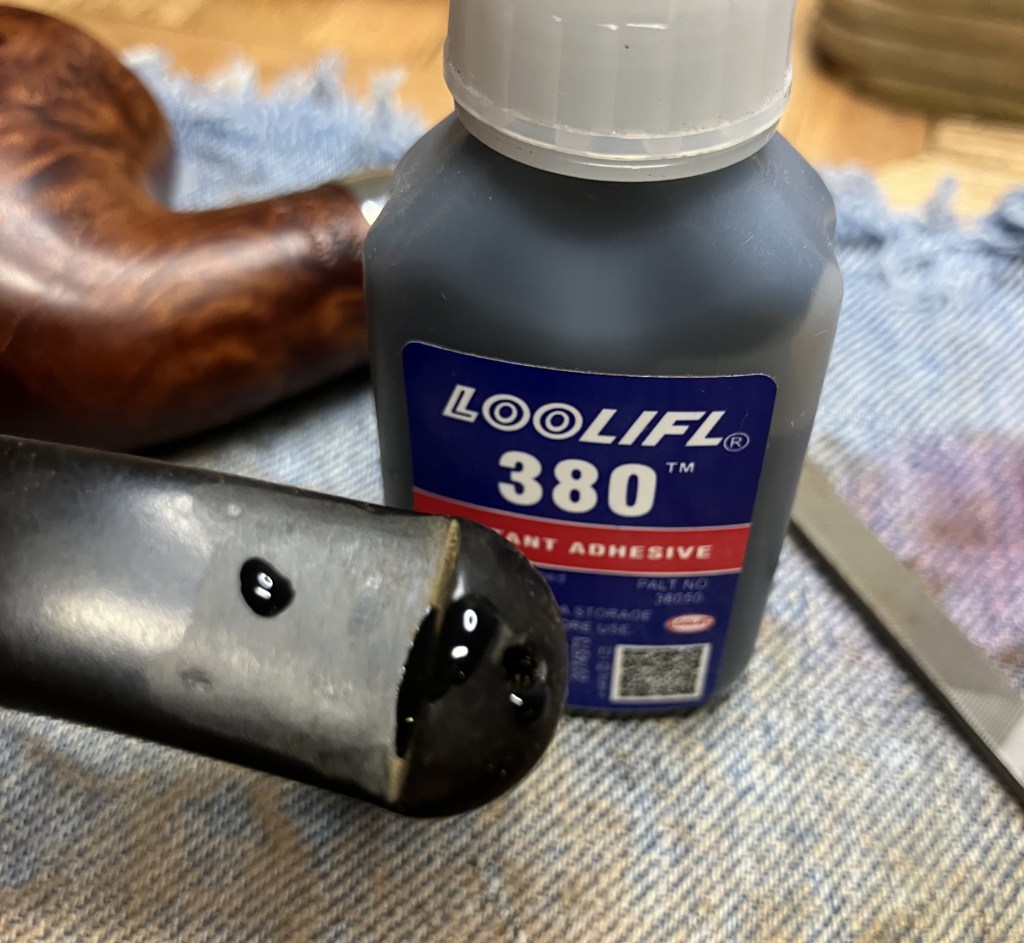
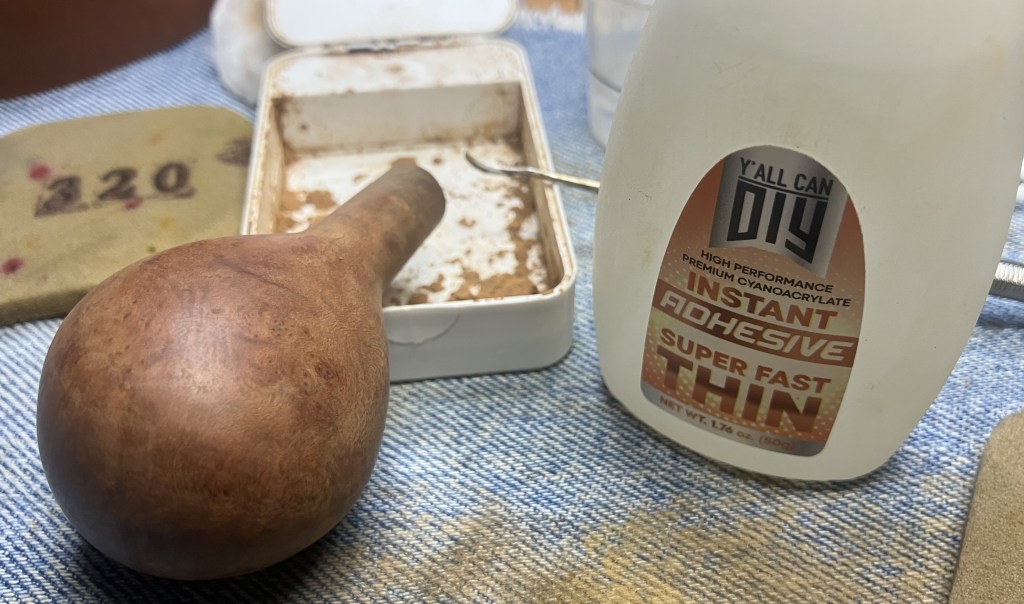
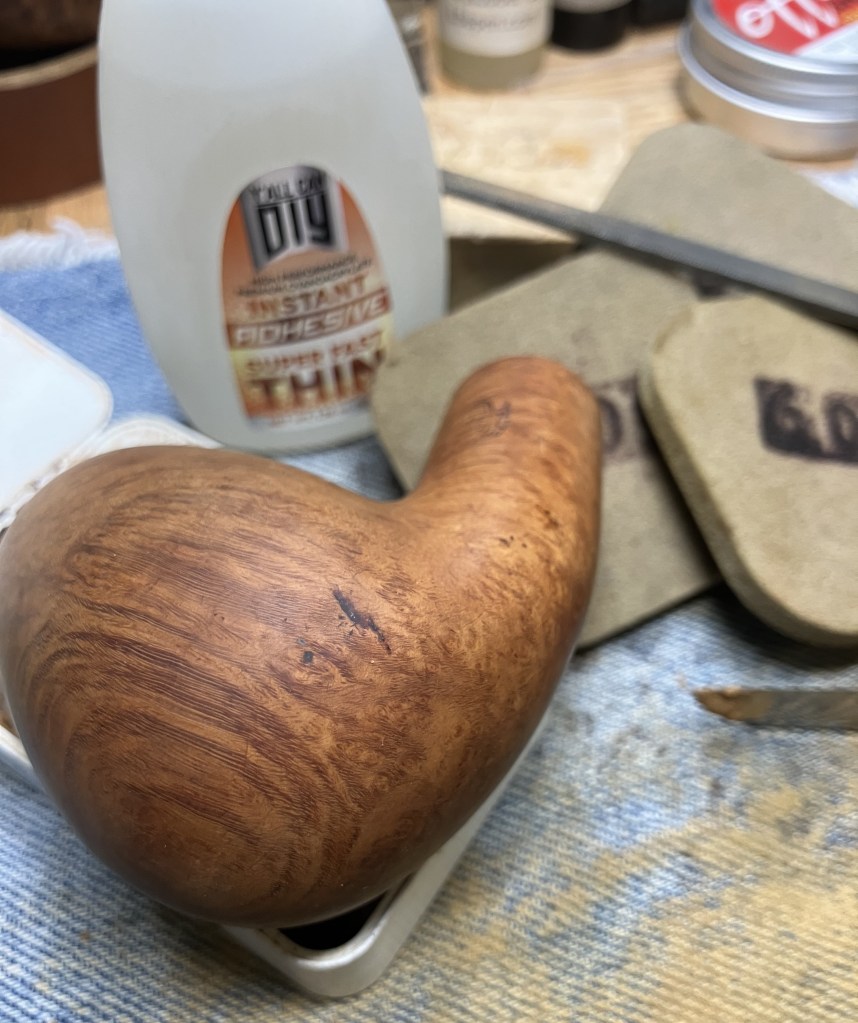
I filled the dents with briar dust and pressed the dust into the depressions.
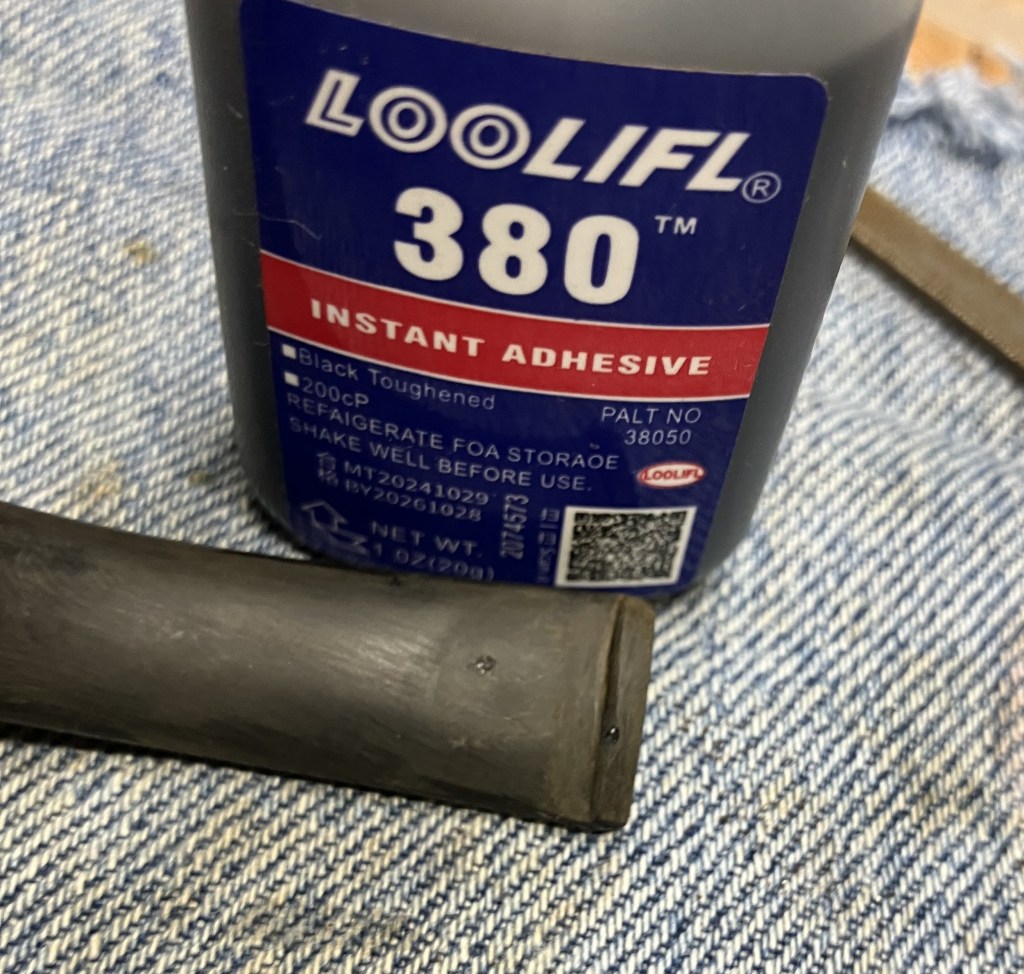
This cyanoacetate (CA, super glue) was added to the briar dust.
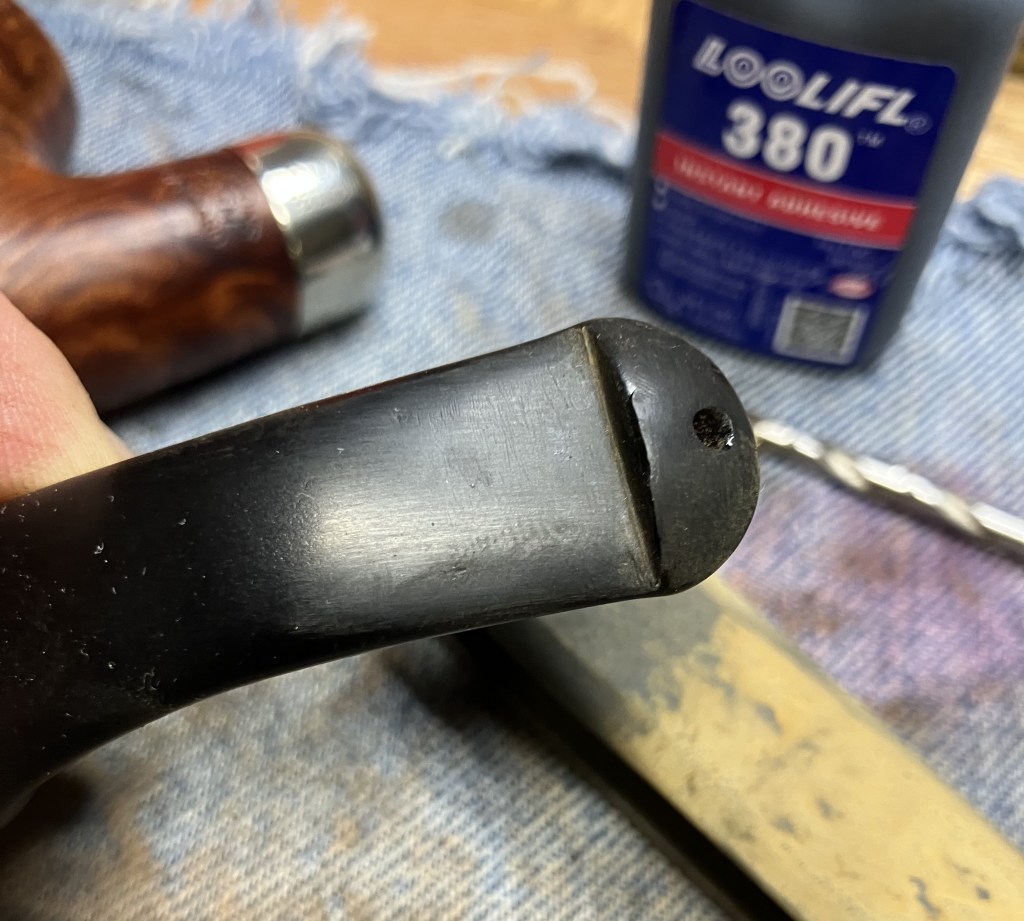
This was filed using a small flat file.
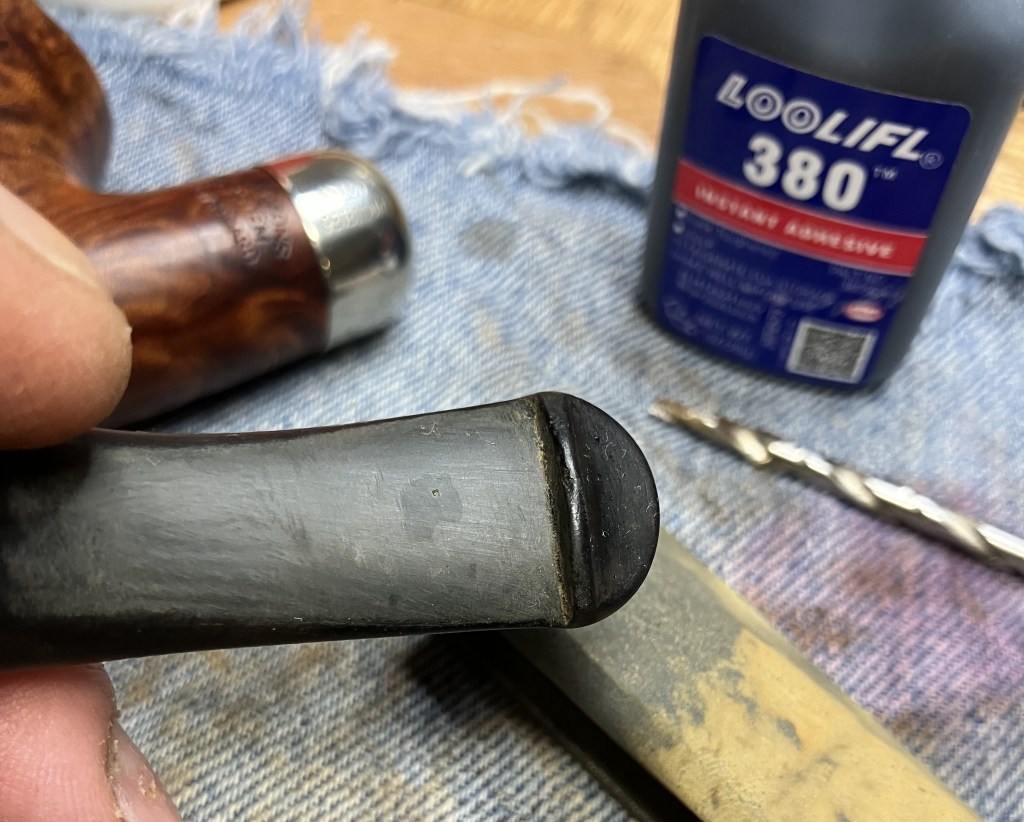
An additional application of briar dust and CA was used and more filing and a bit of sanding smoothed the damage.
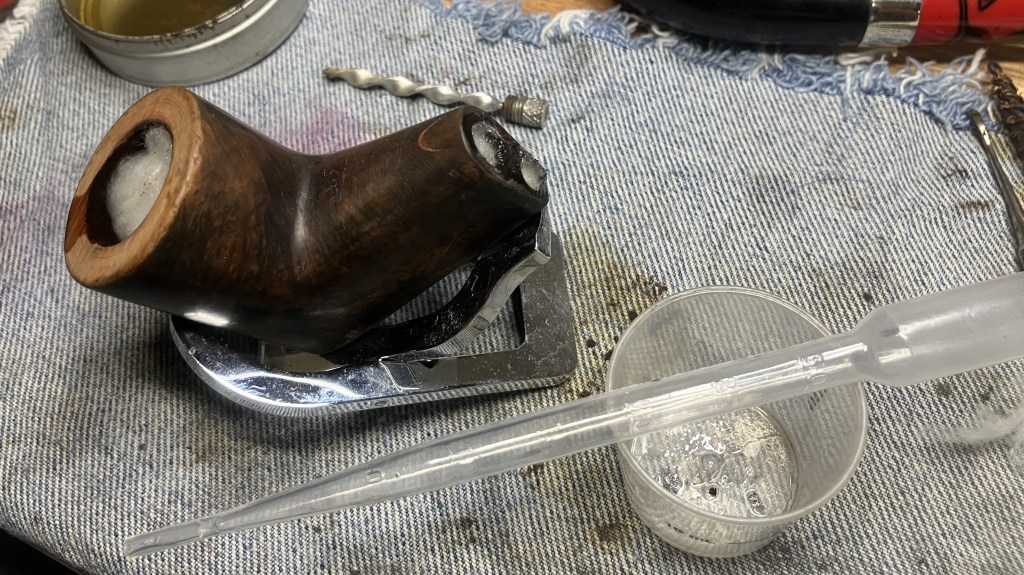
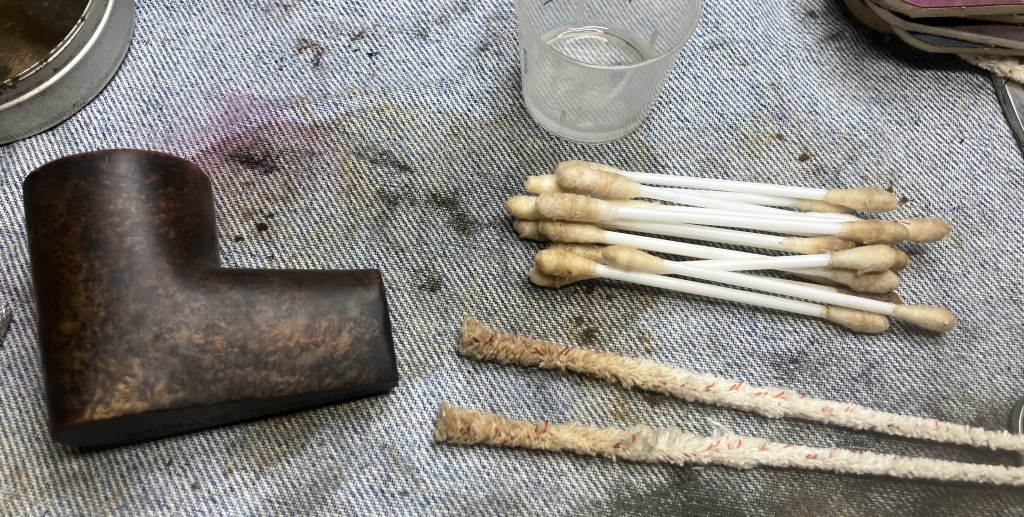
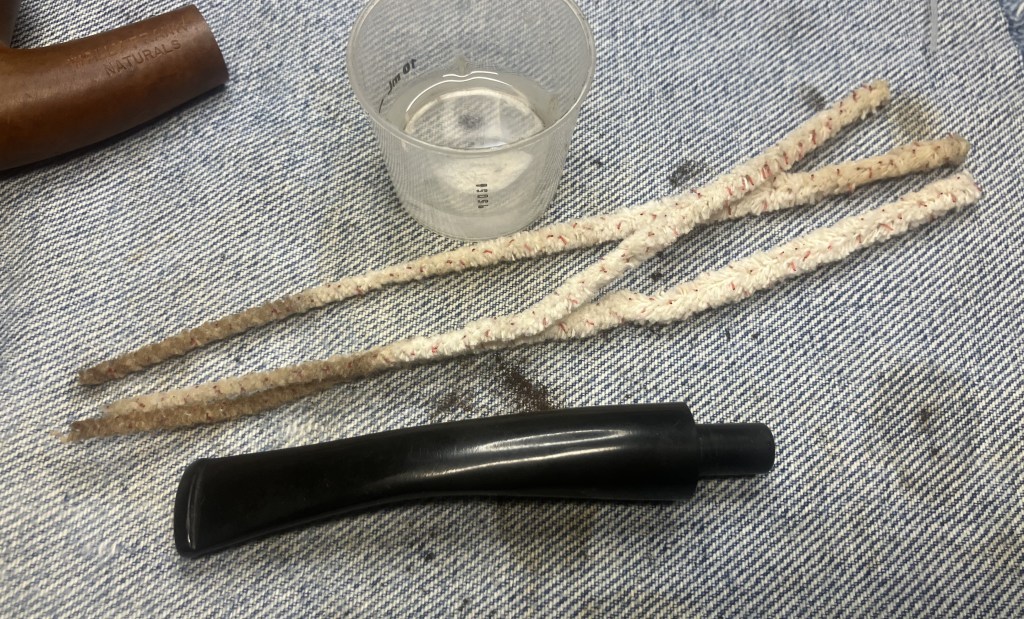
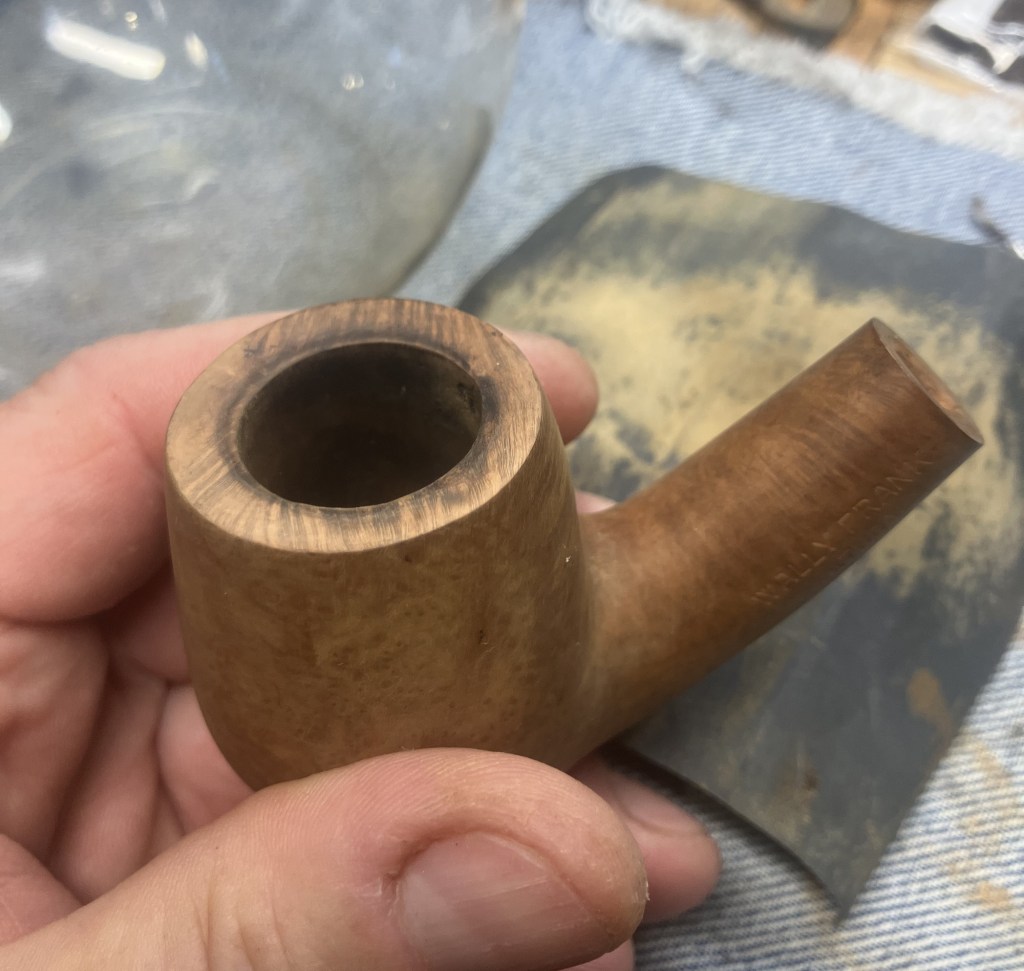
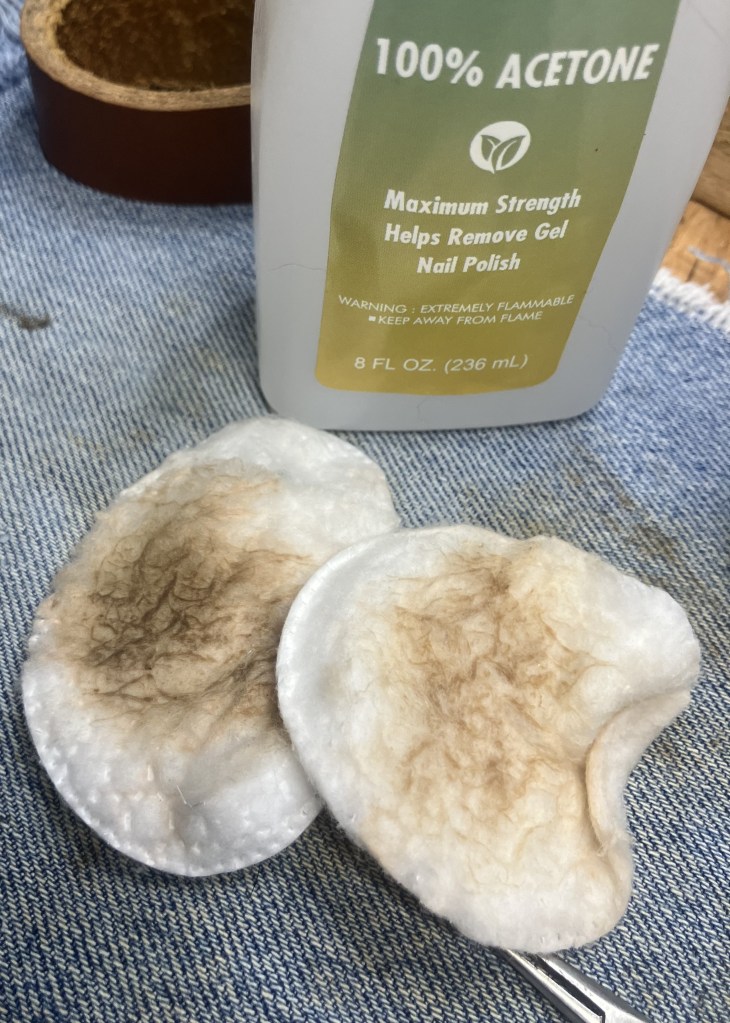
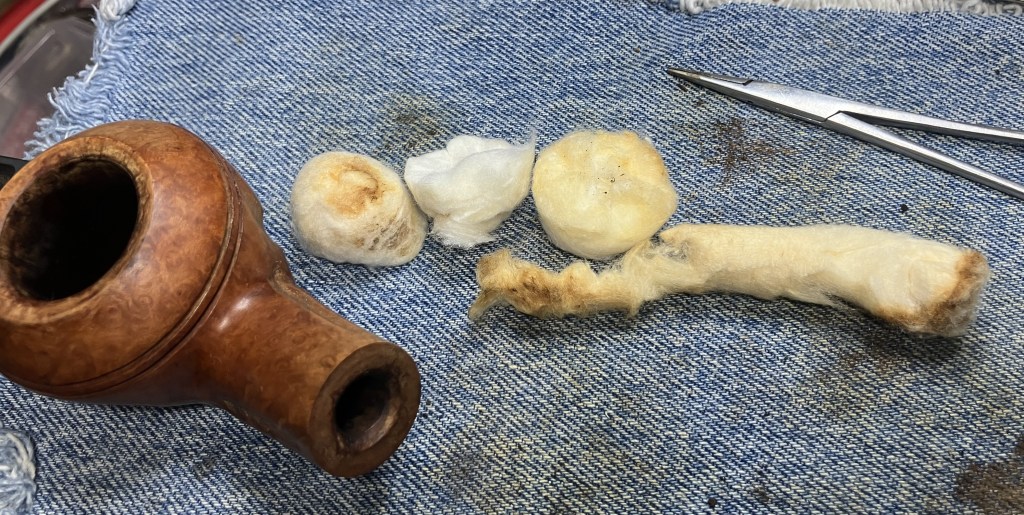
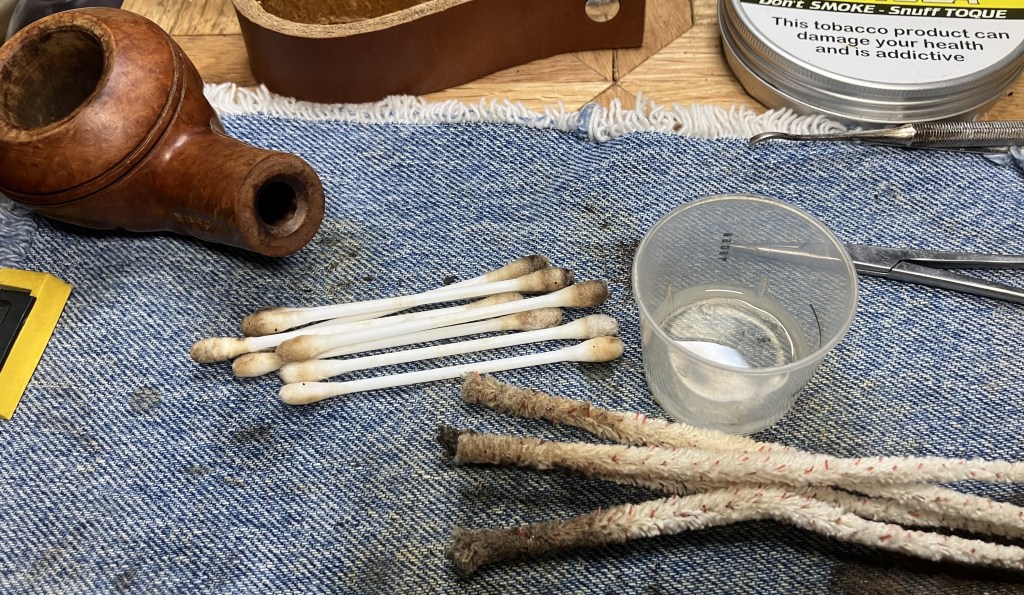
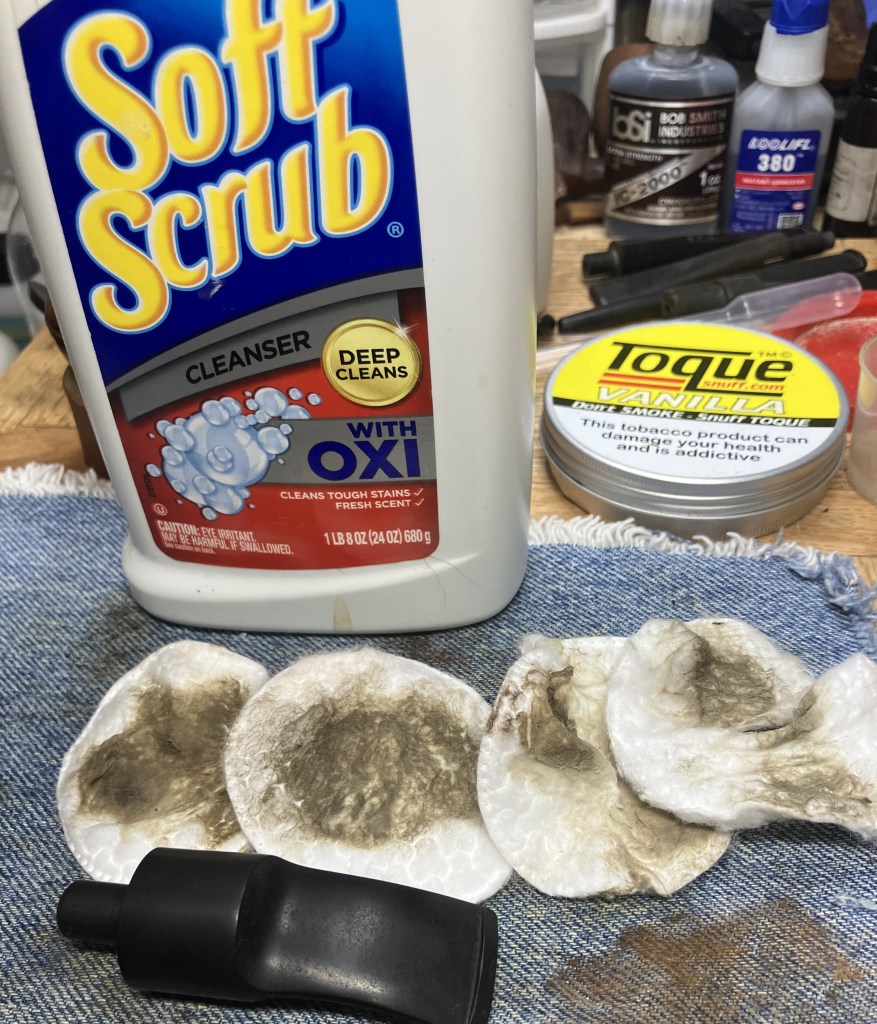
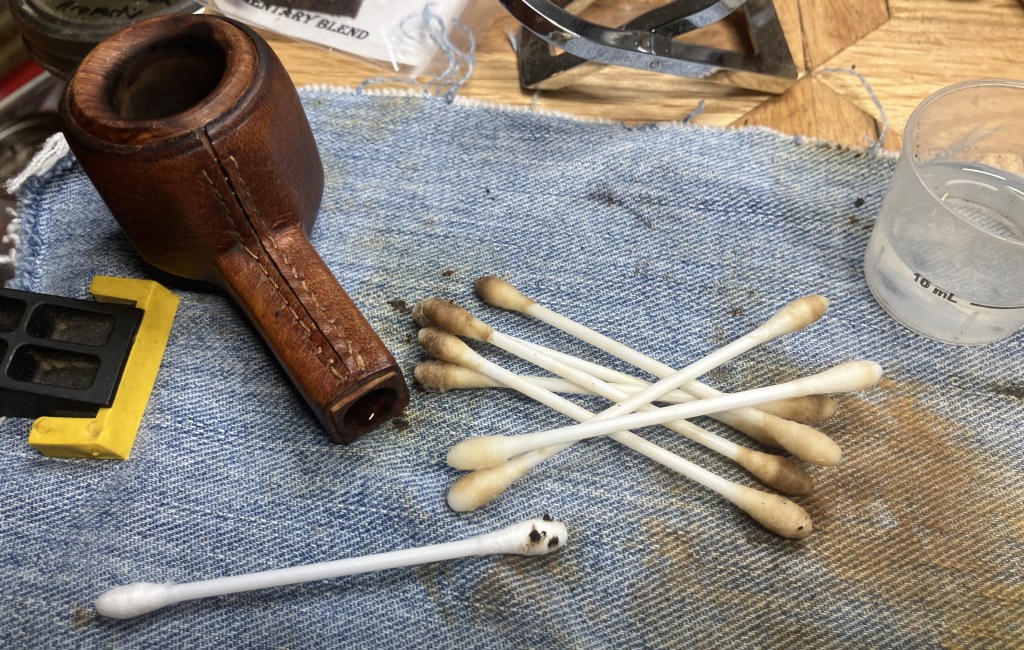
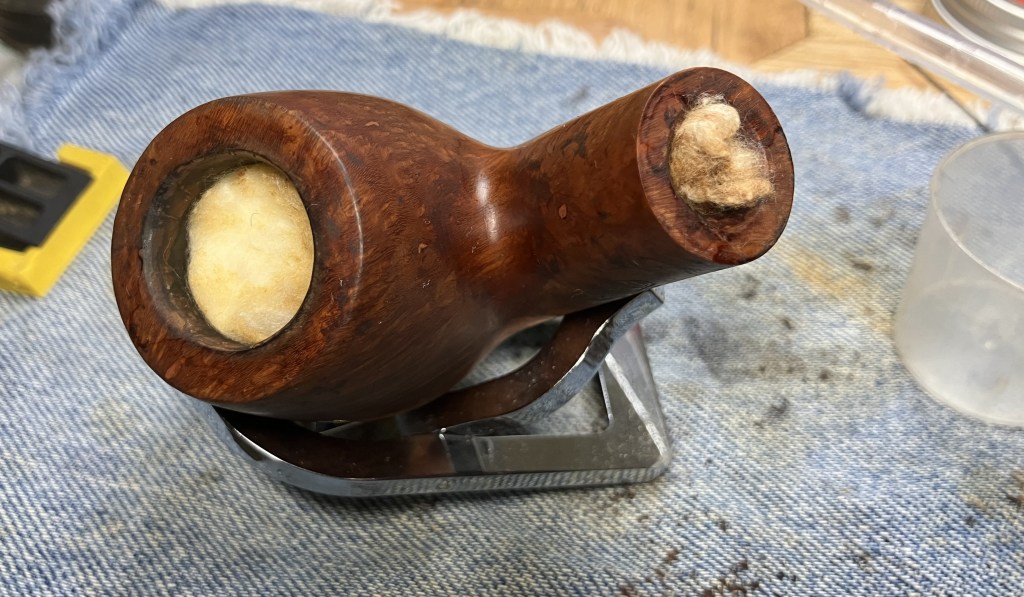
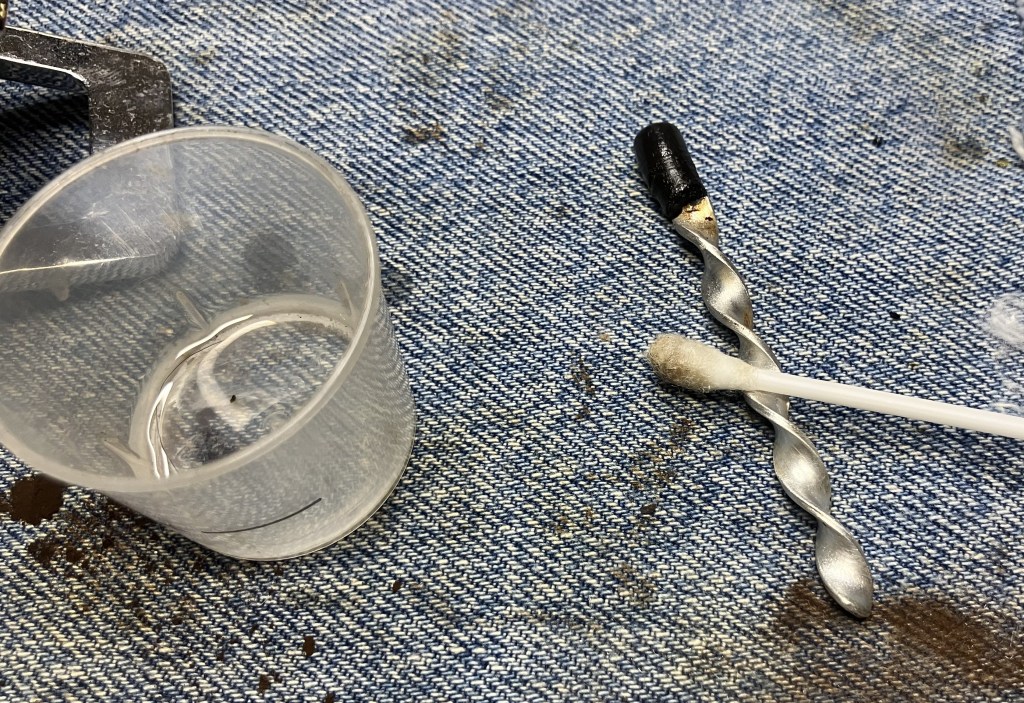
The next day the cotton was removed.
Another airway cleaning with cotton swabs and bristle pipe cleaners went much better that the first one.
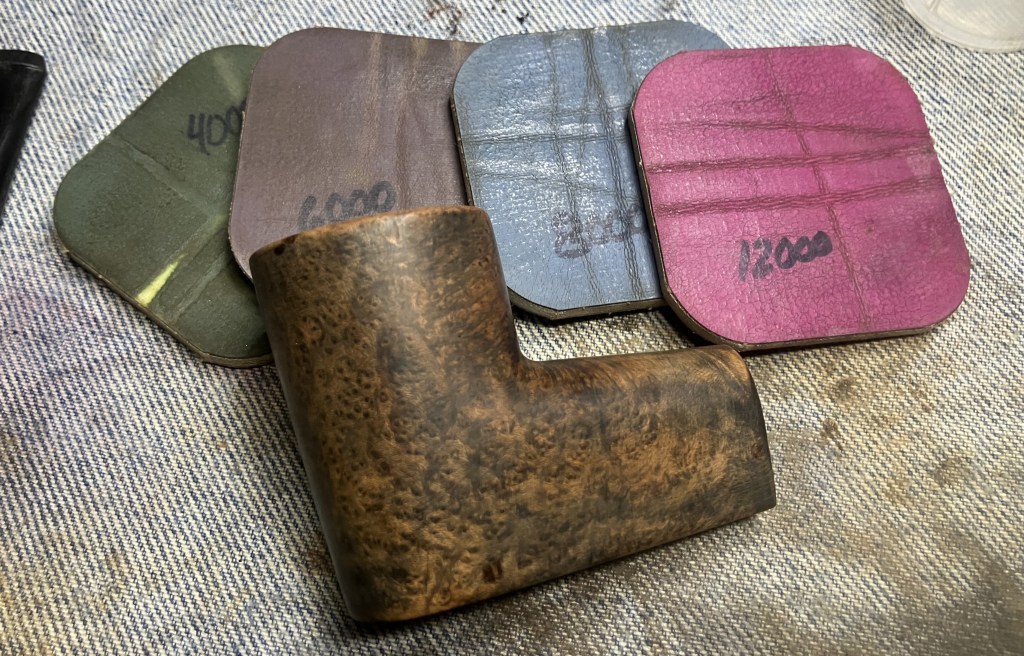
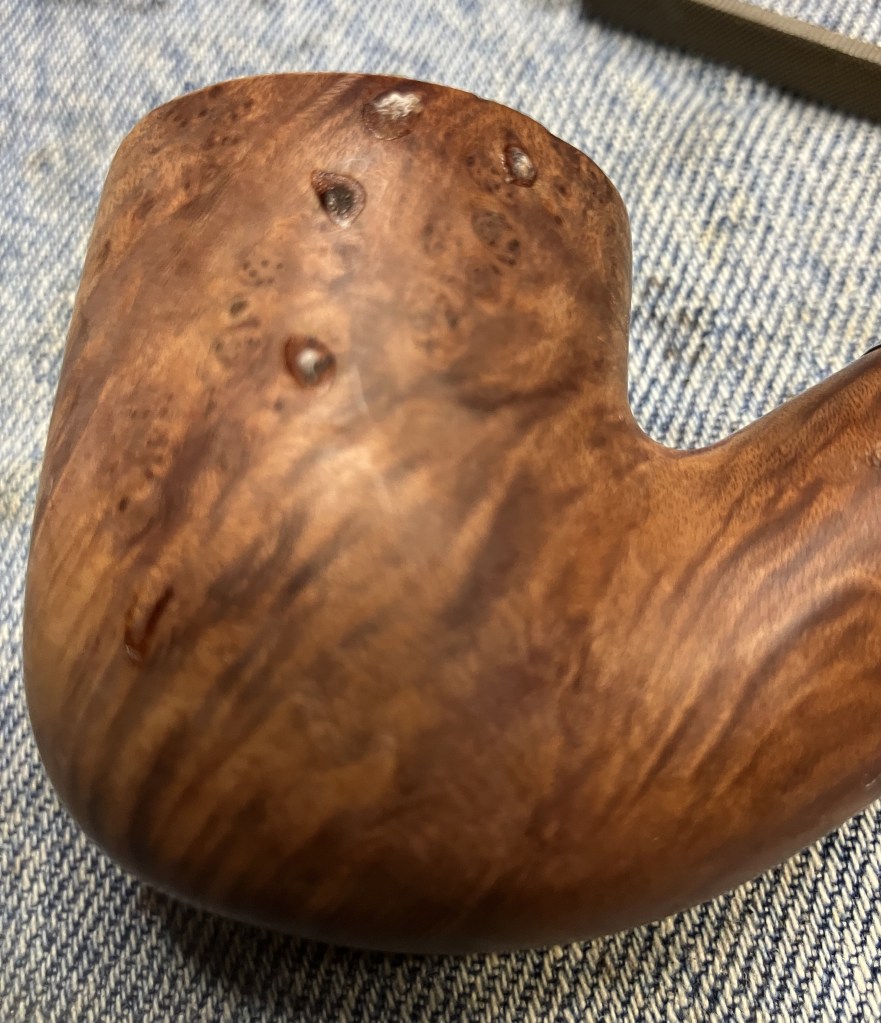
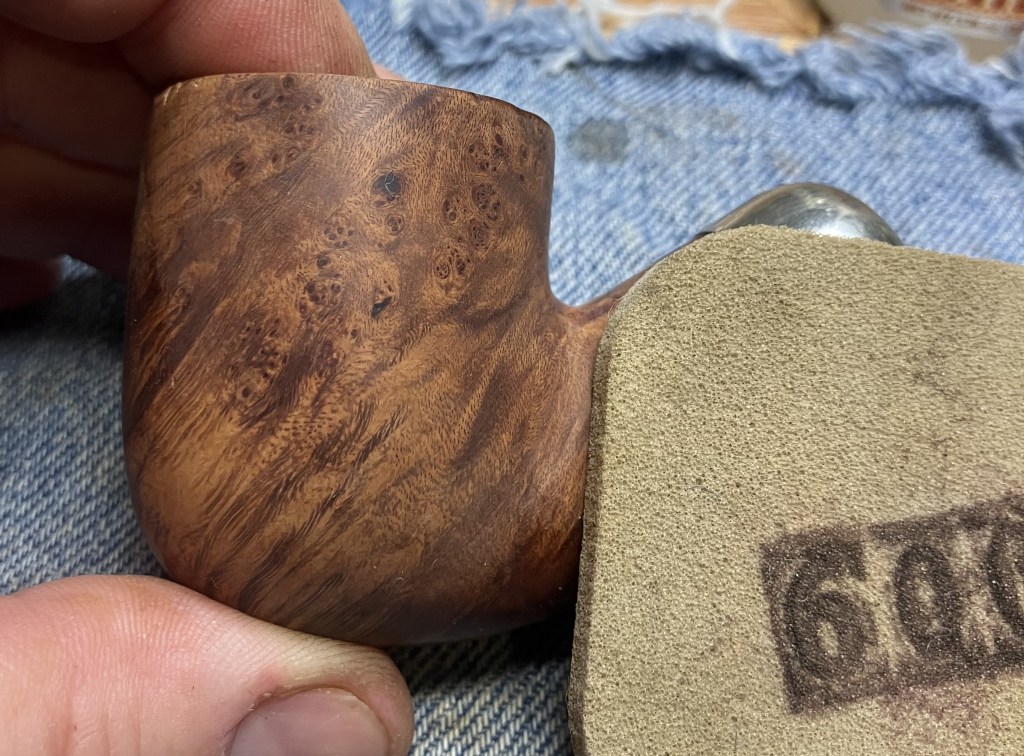
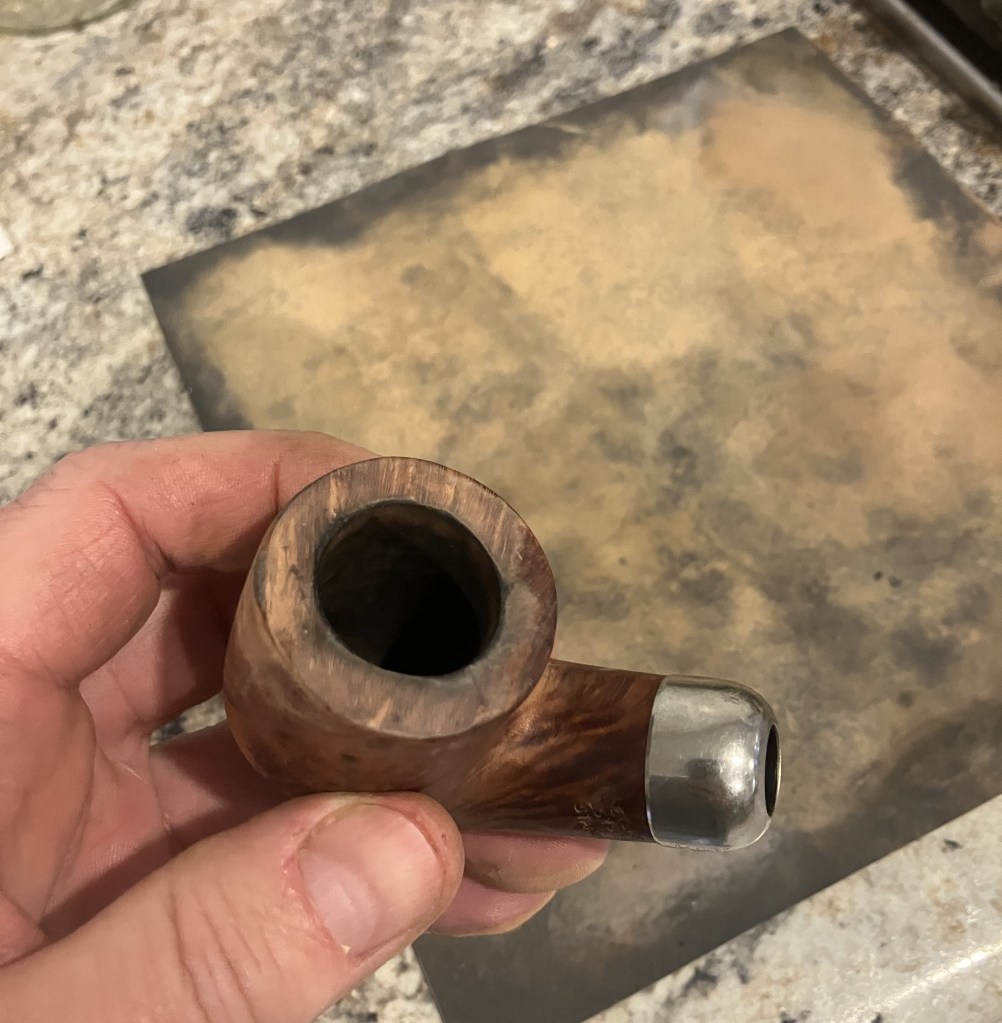
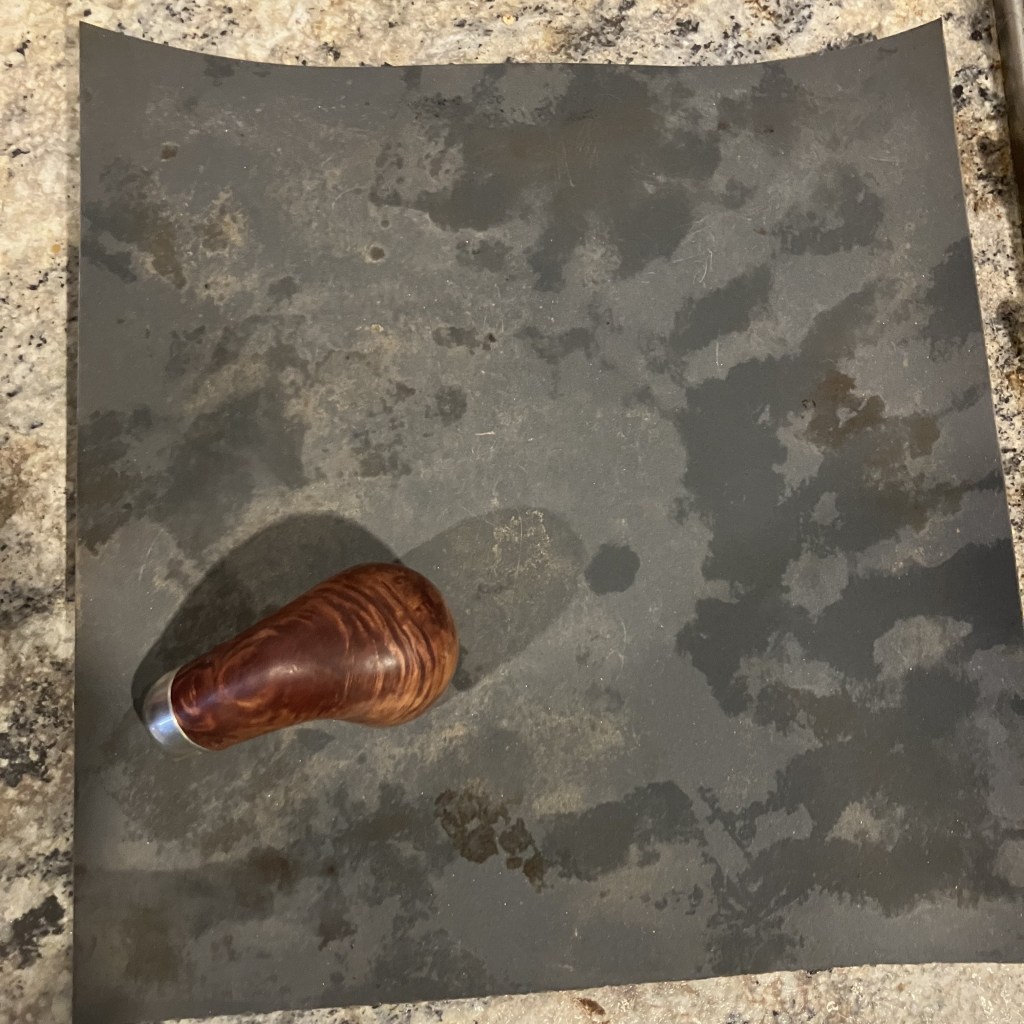
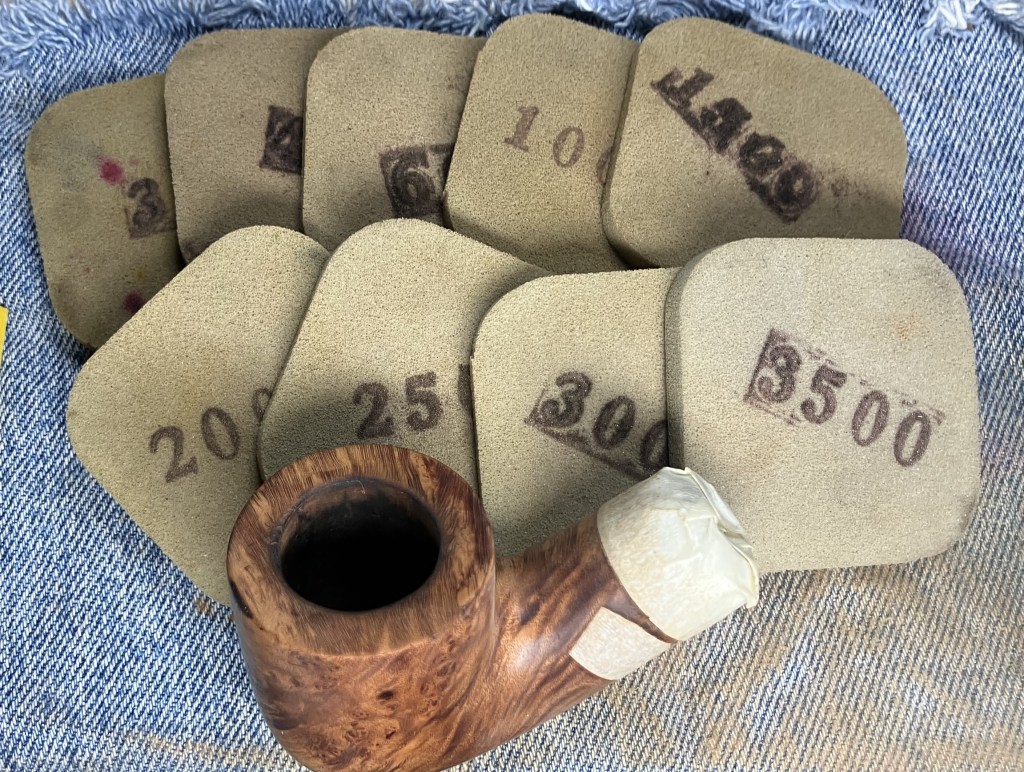
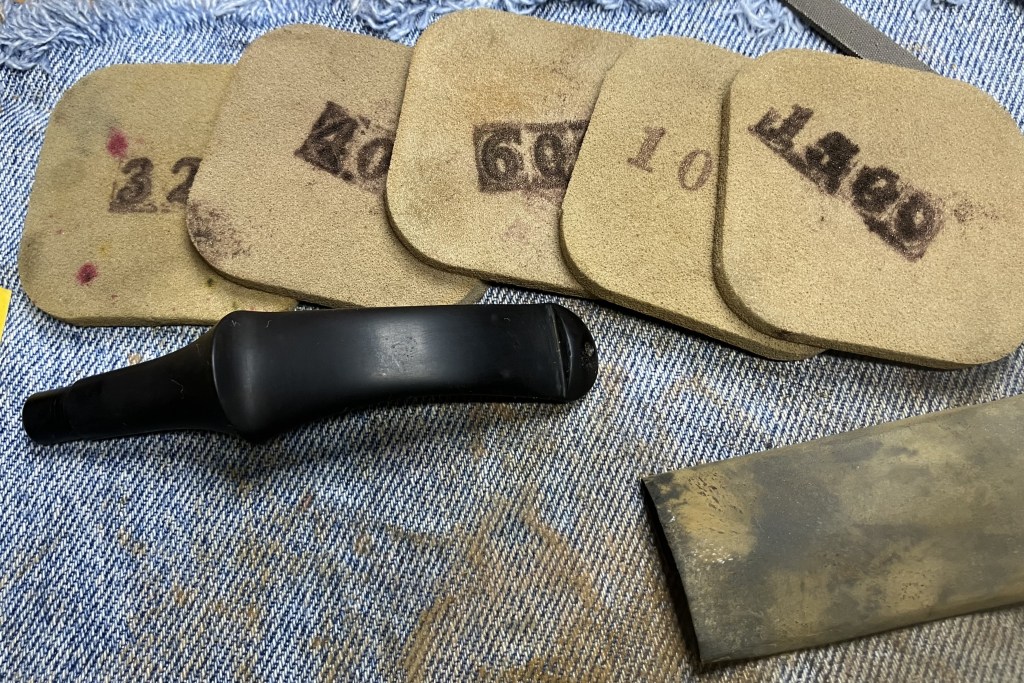
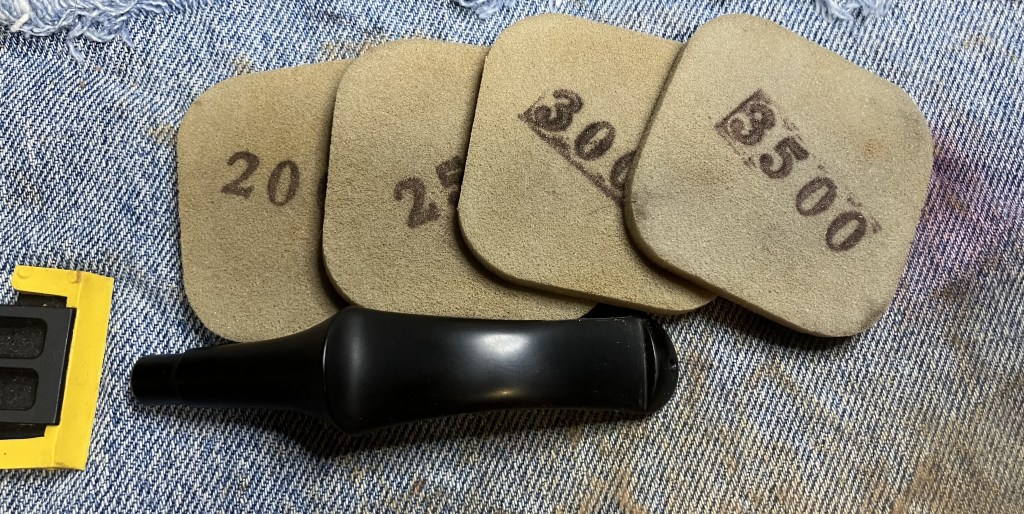
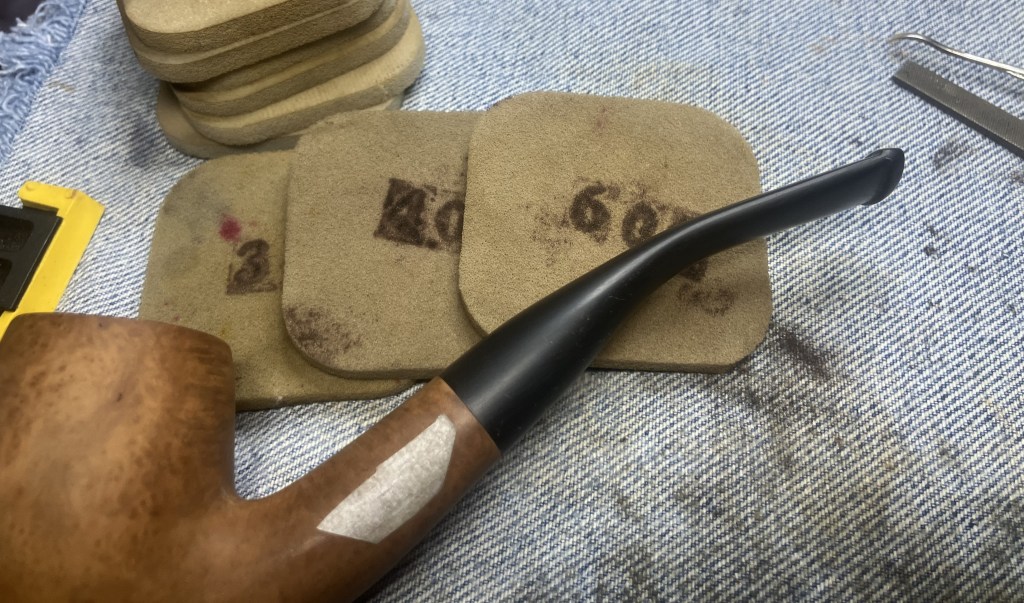
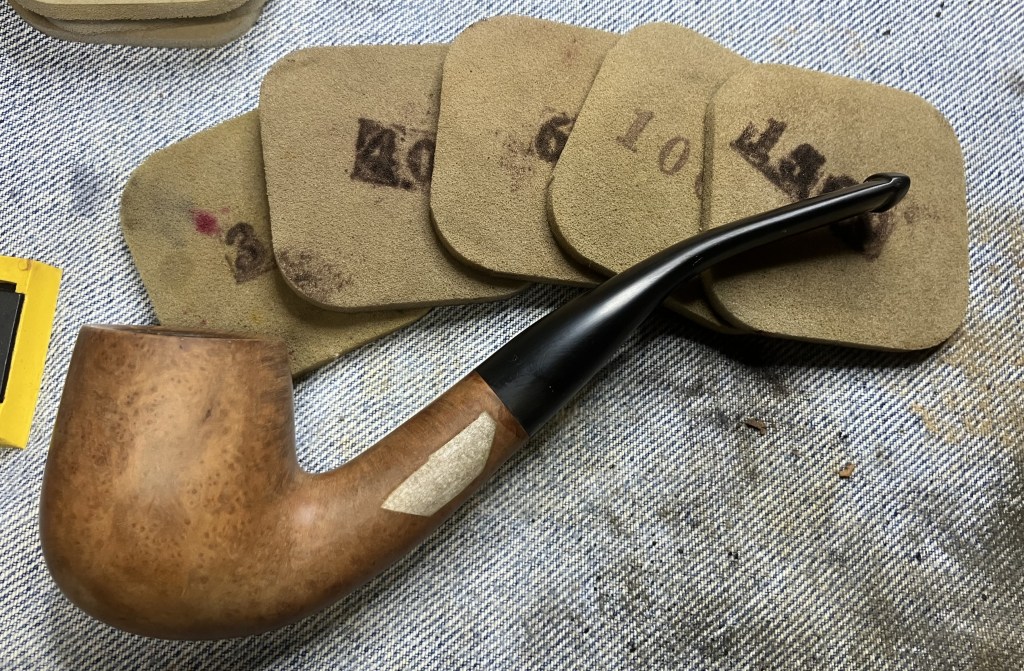
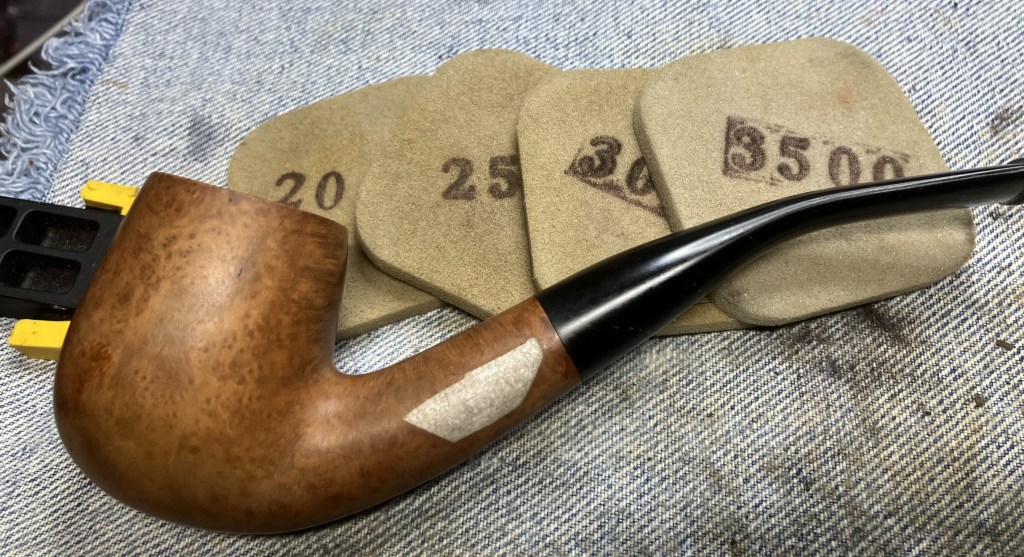
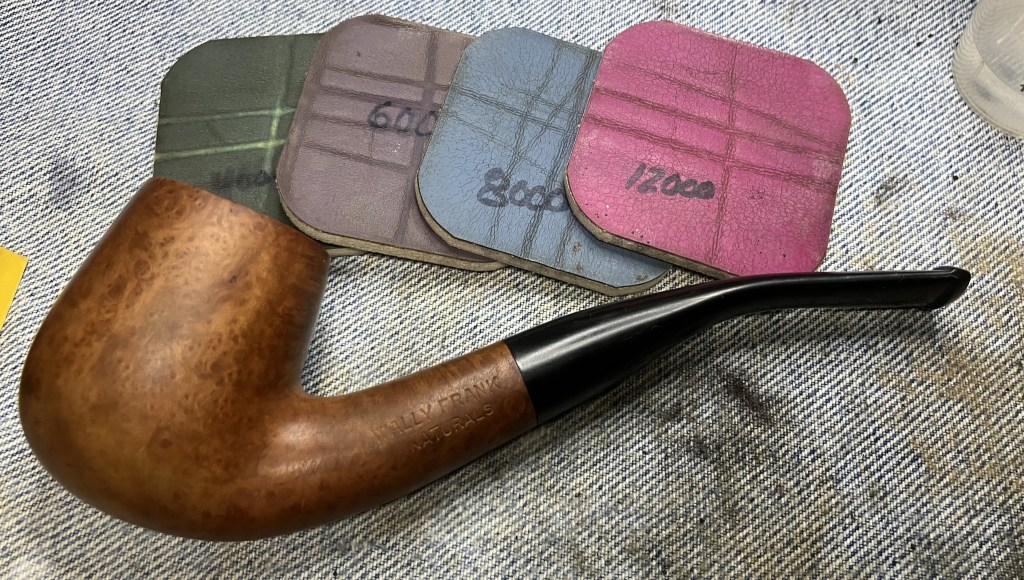
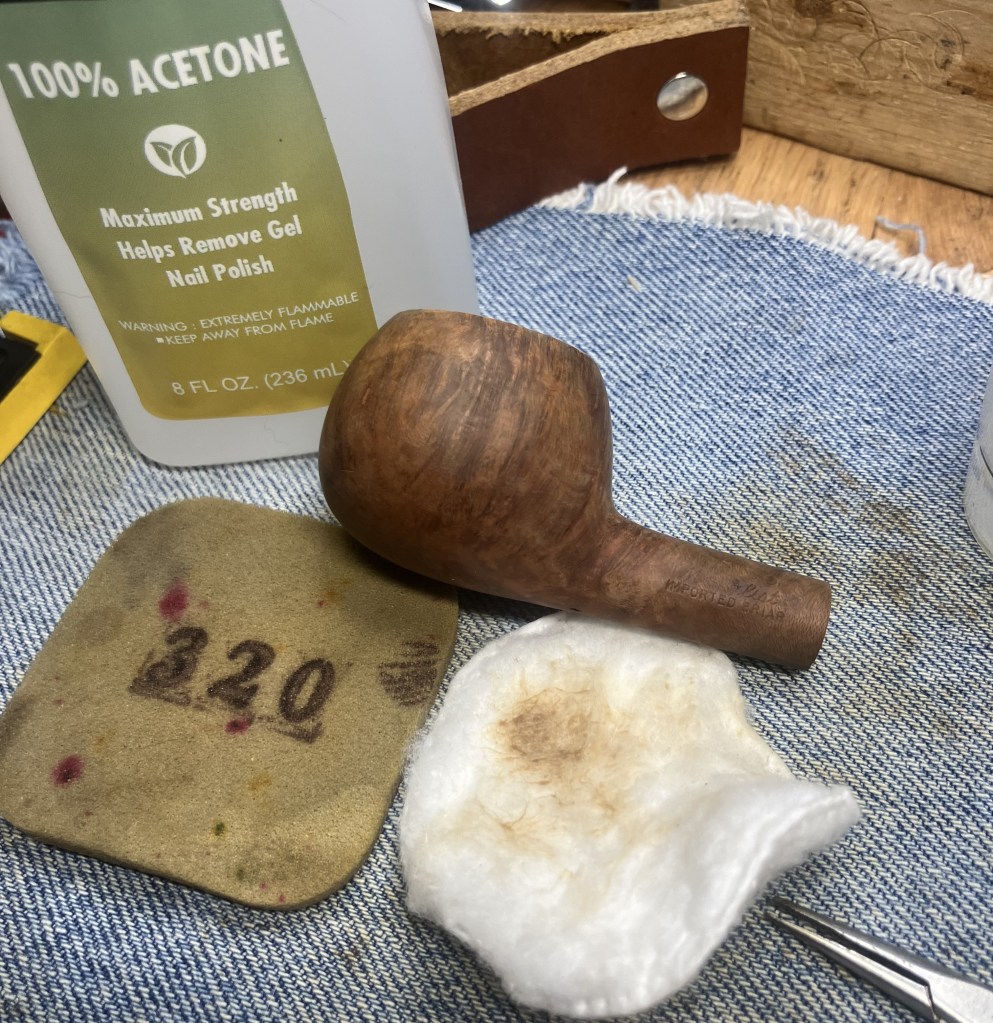
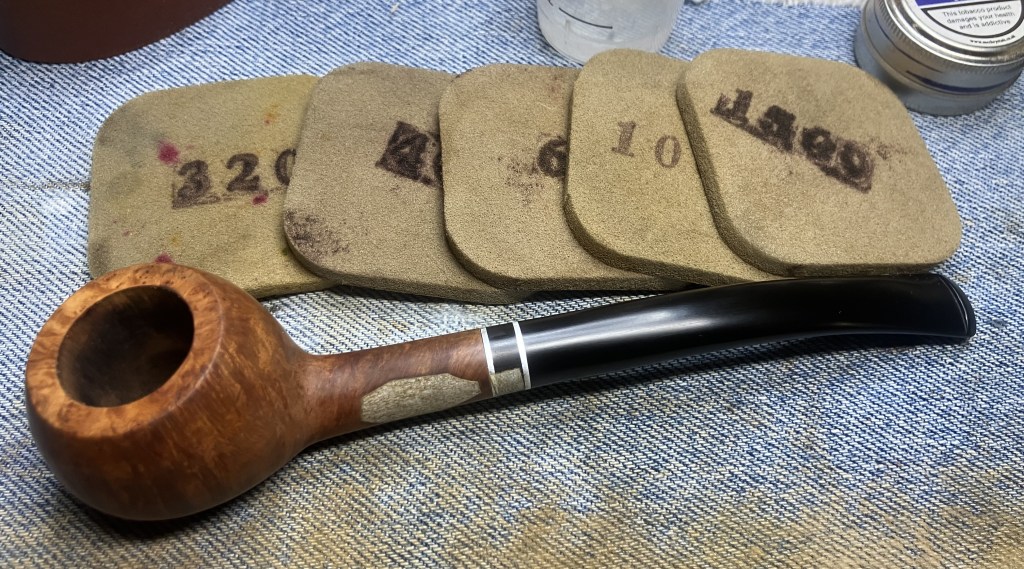
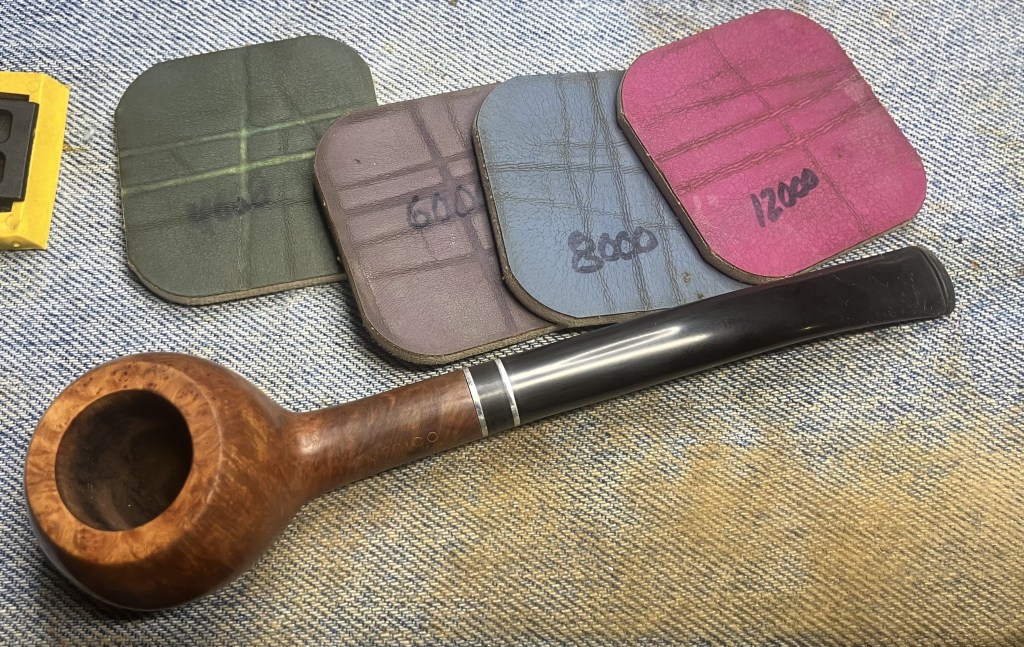
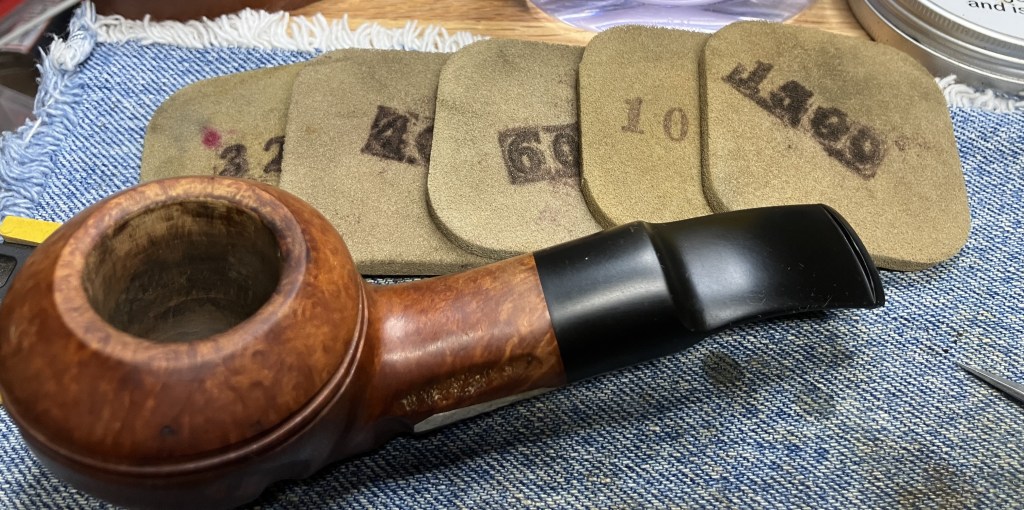
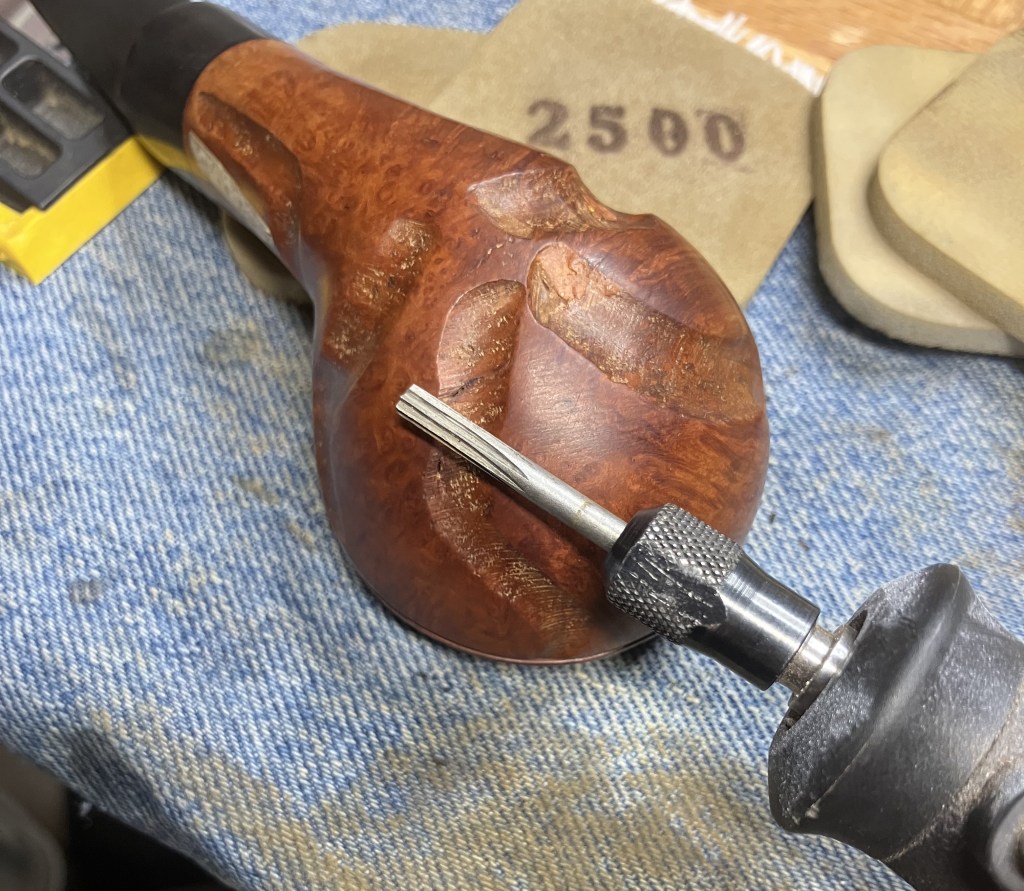
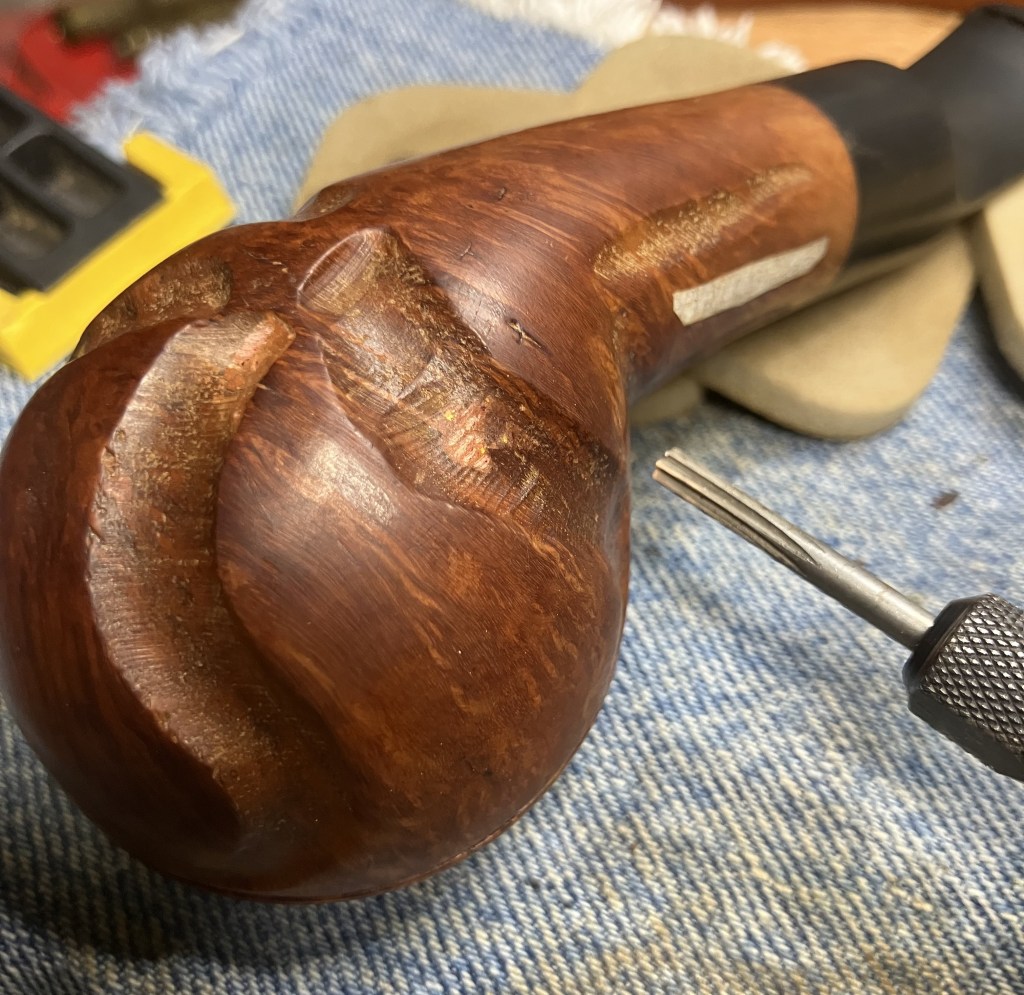
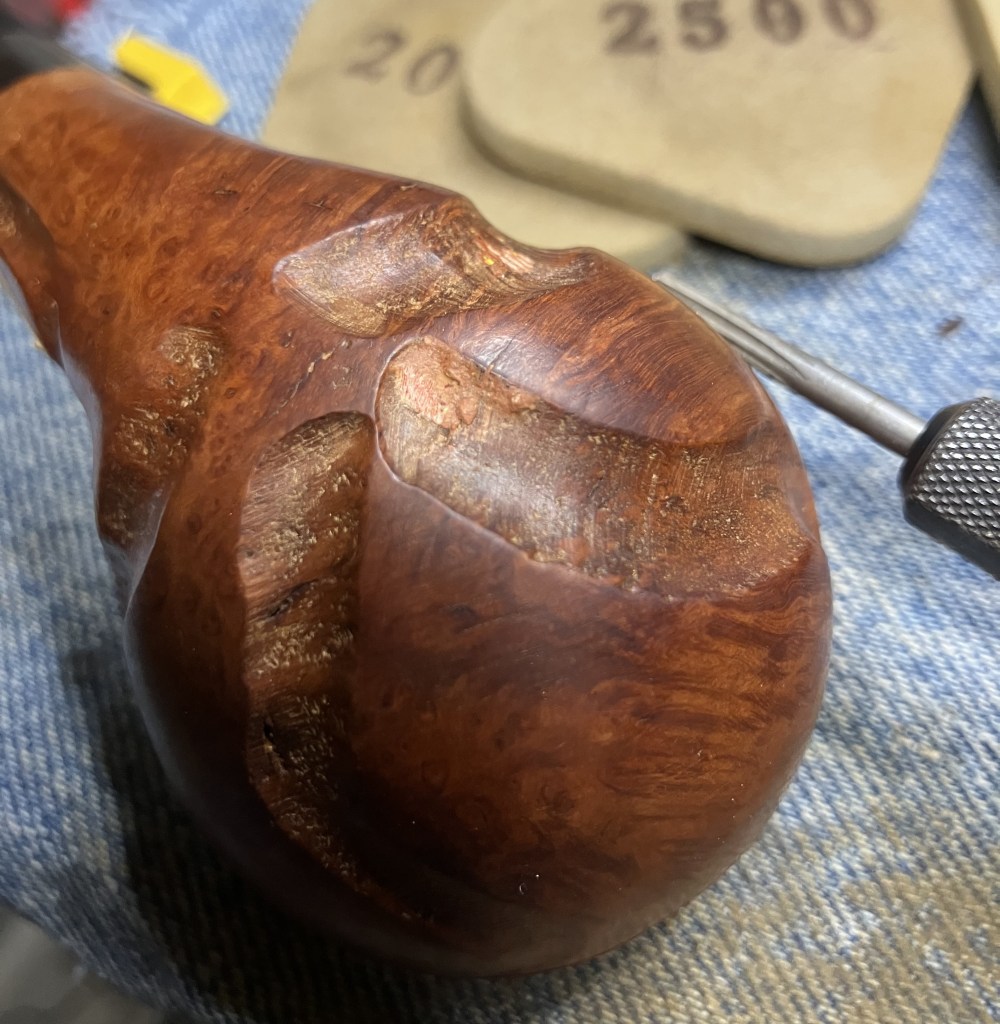
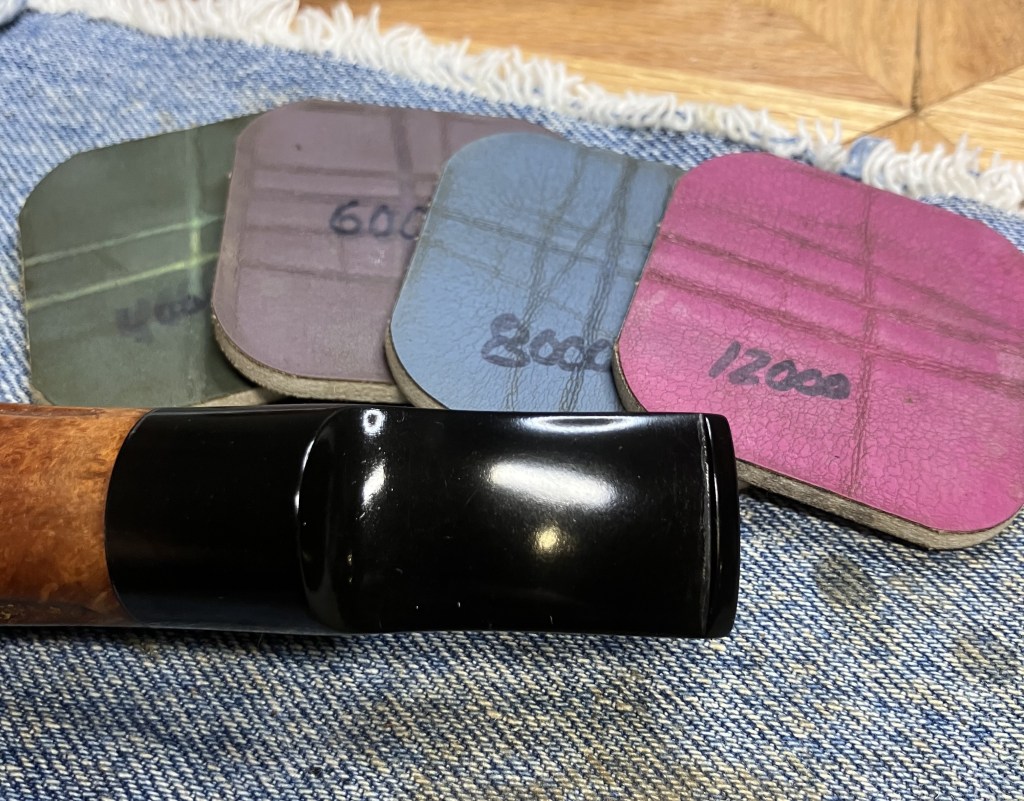
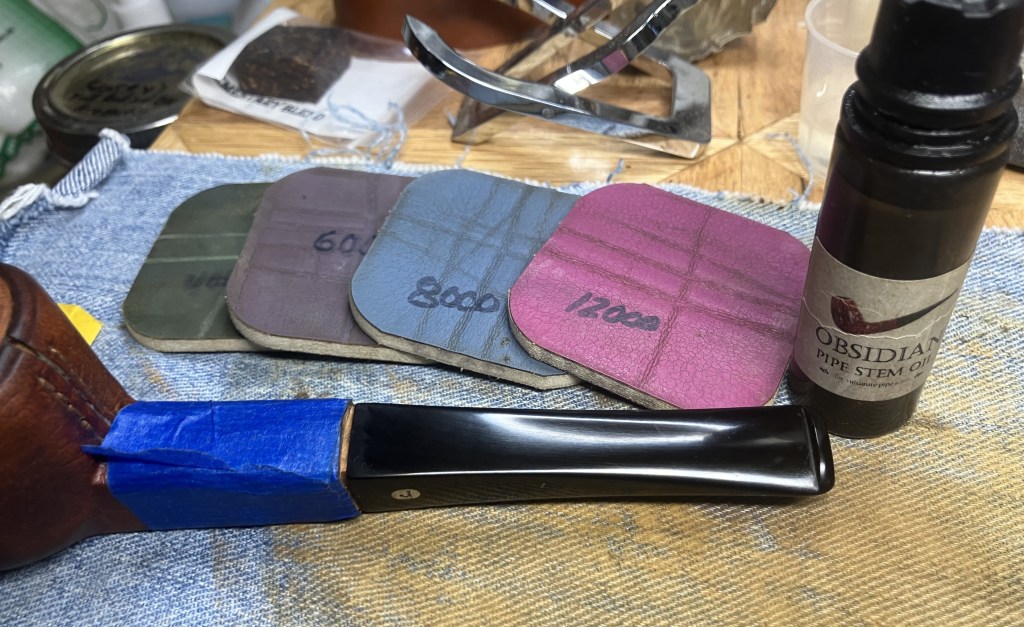
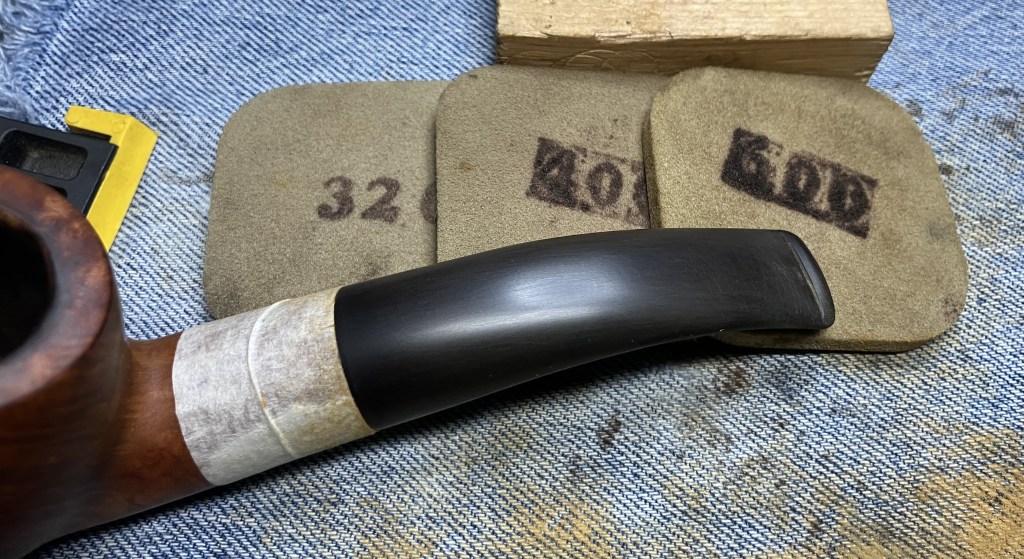
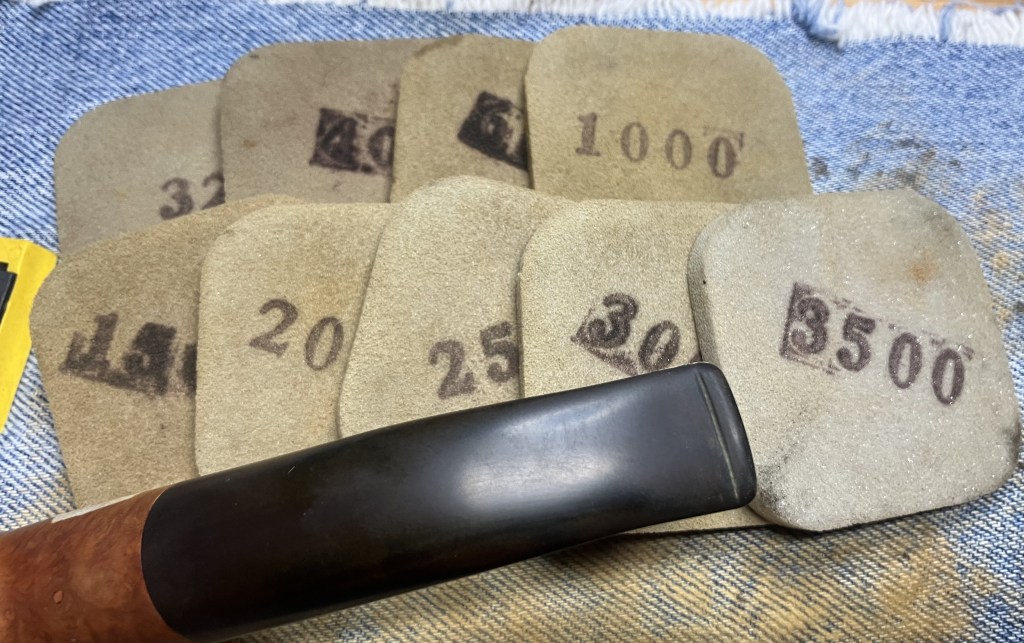
The stummel was sanded with a series of sanding sponges from 600-3500 grits. Between each sponge the stummel was wiped with a make-up pad wetted with alcohol to remove sanding debris.
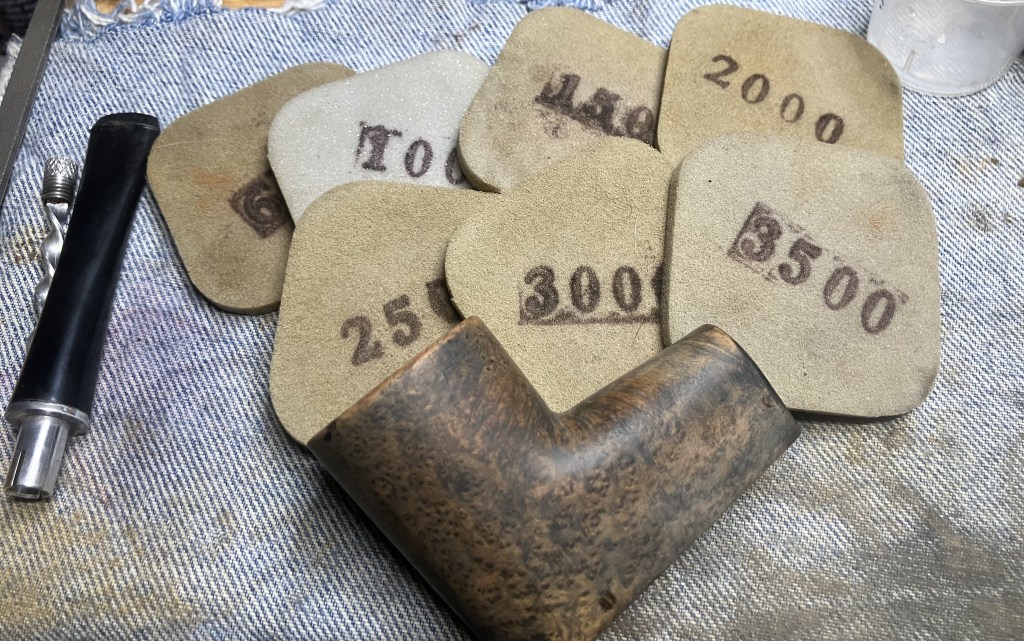
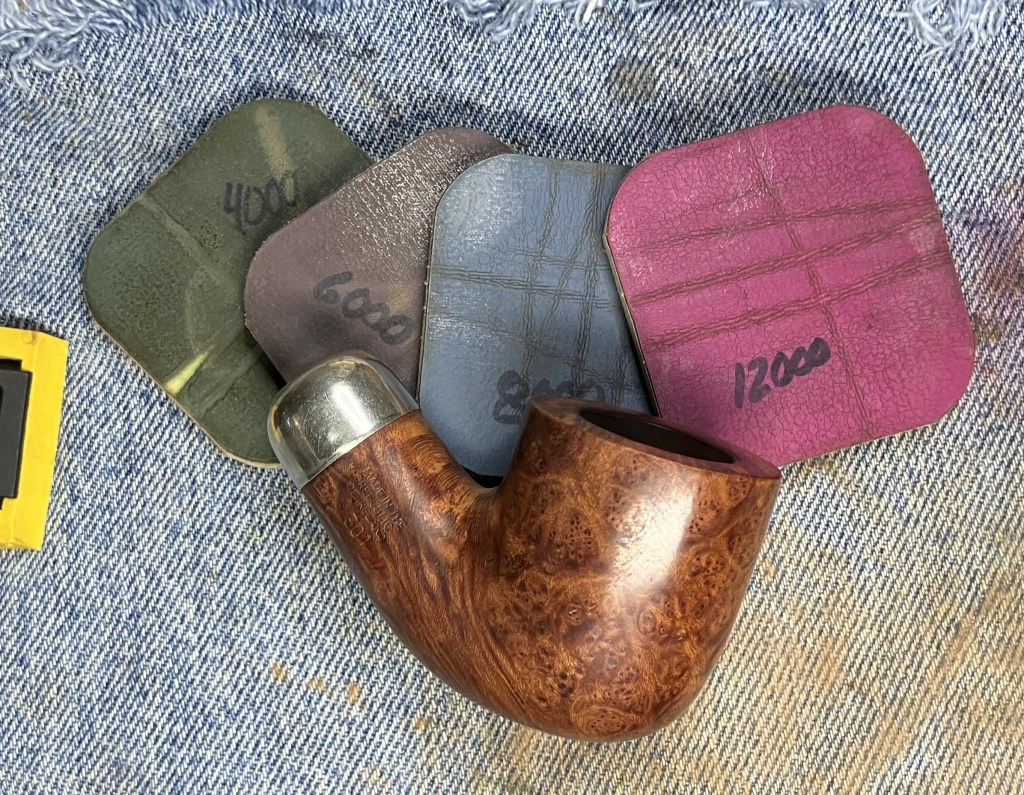
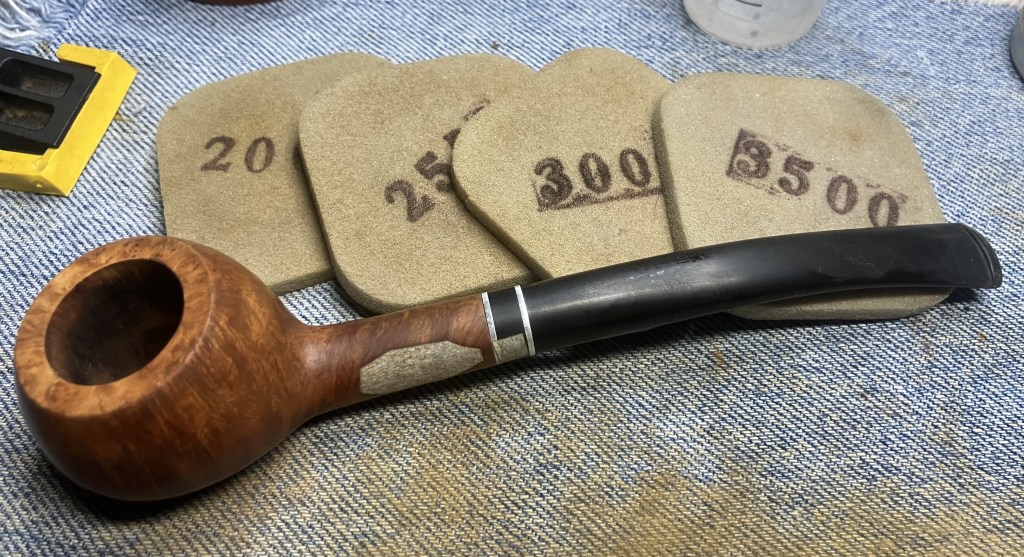
The stummel was then worked with micro-mesh pads 4000-12000. The wiping was done as with the sanding sponges between each pad.
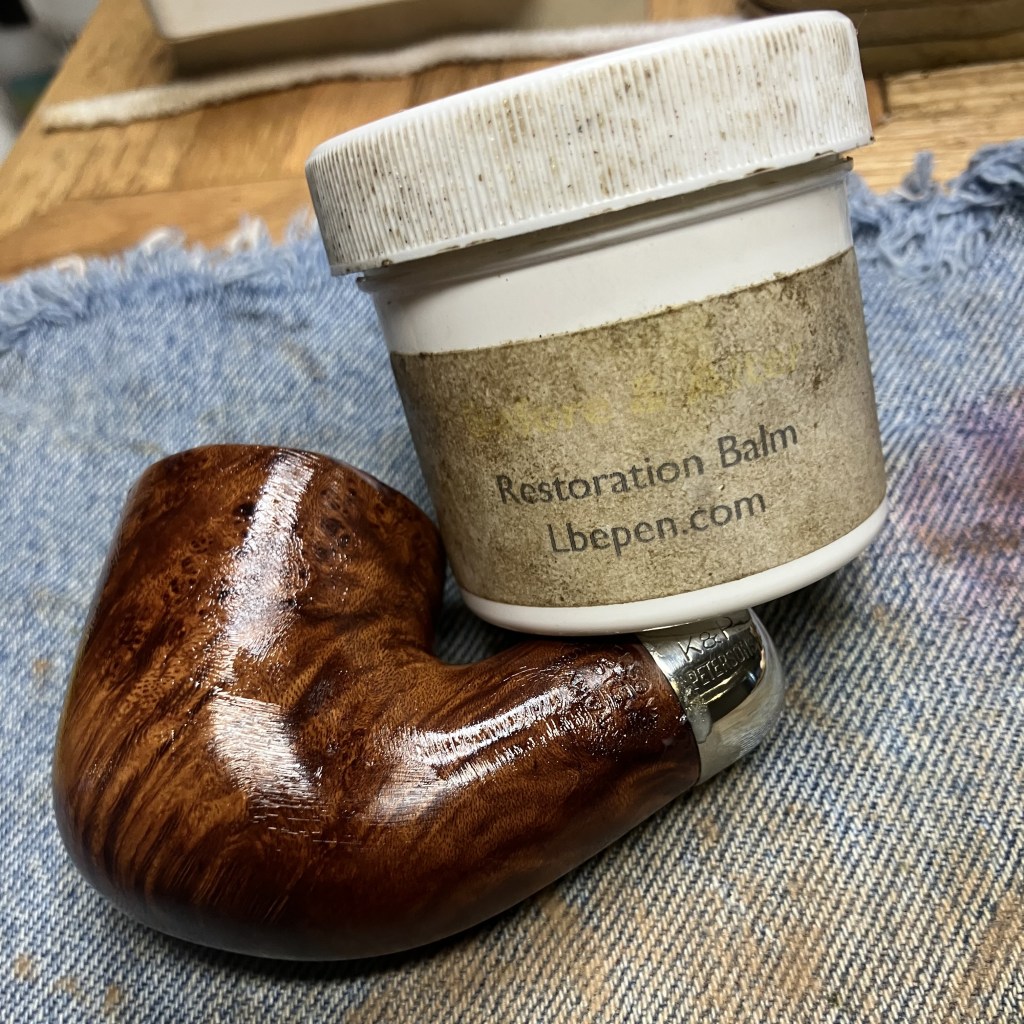
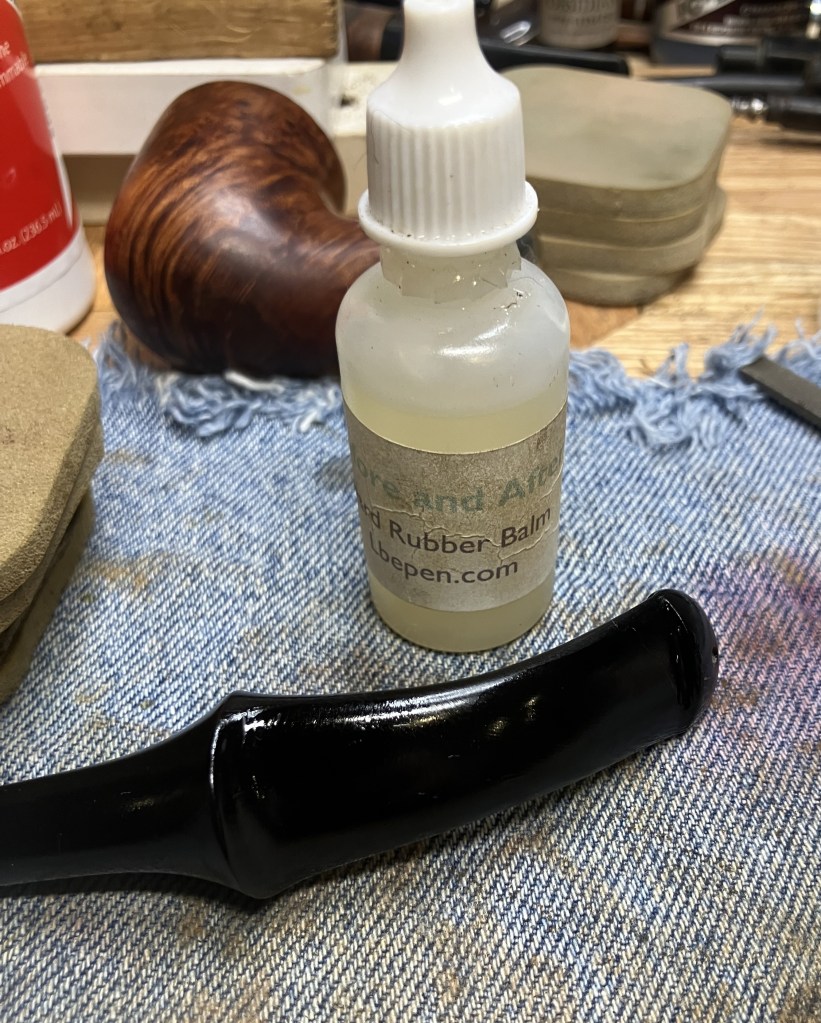
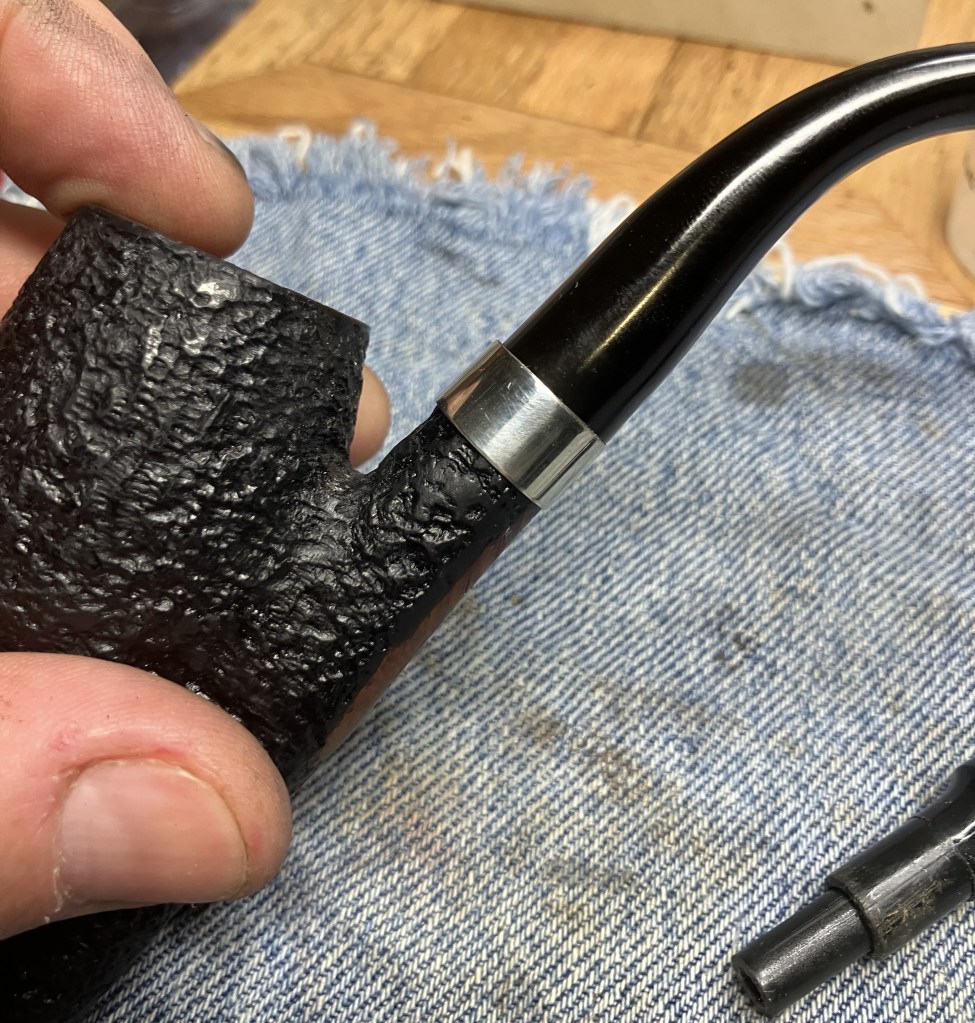
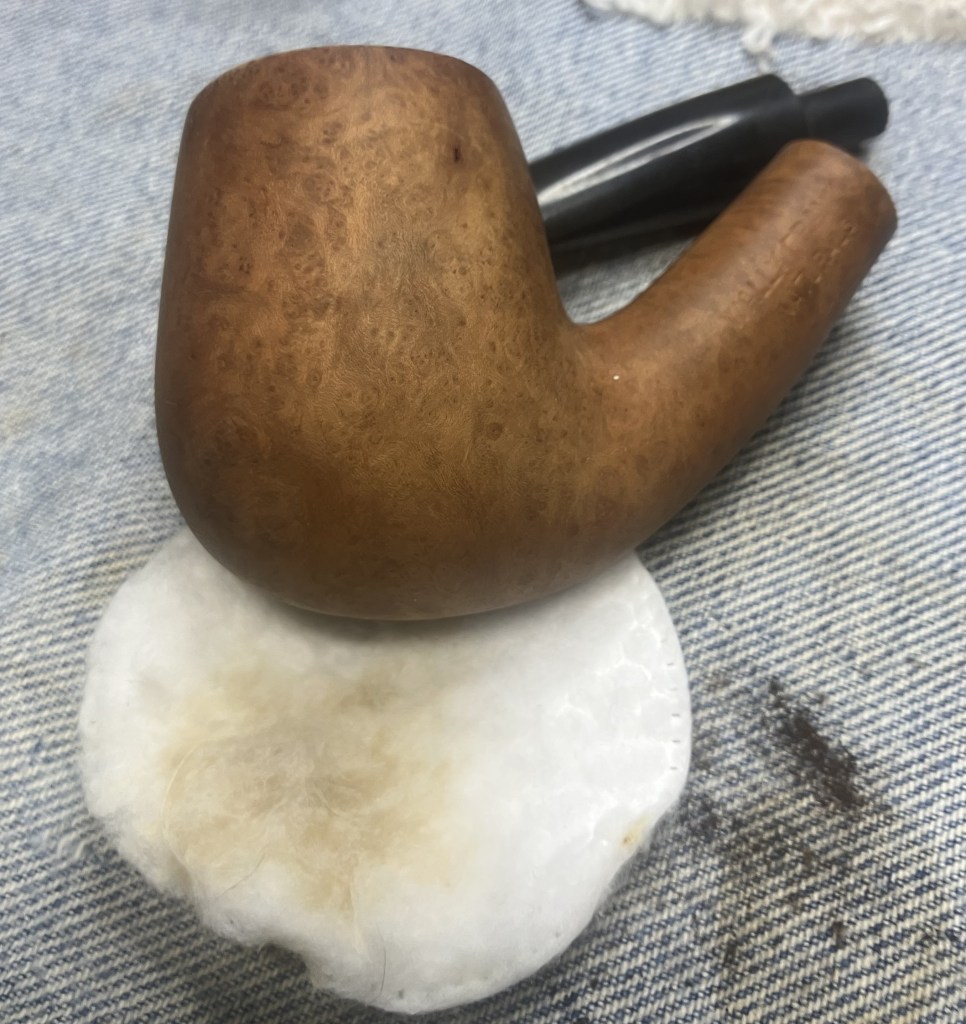
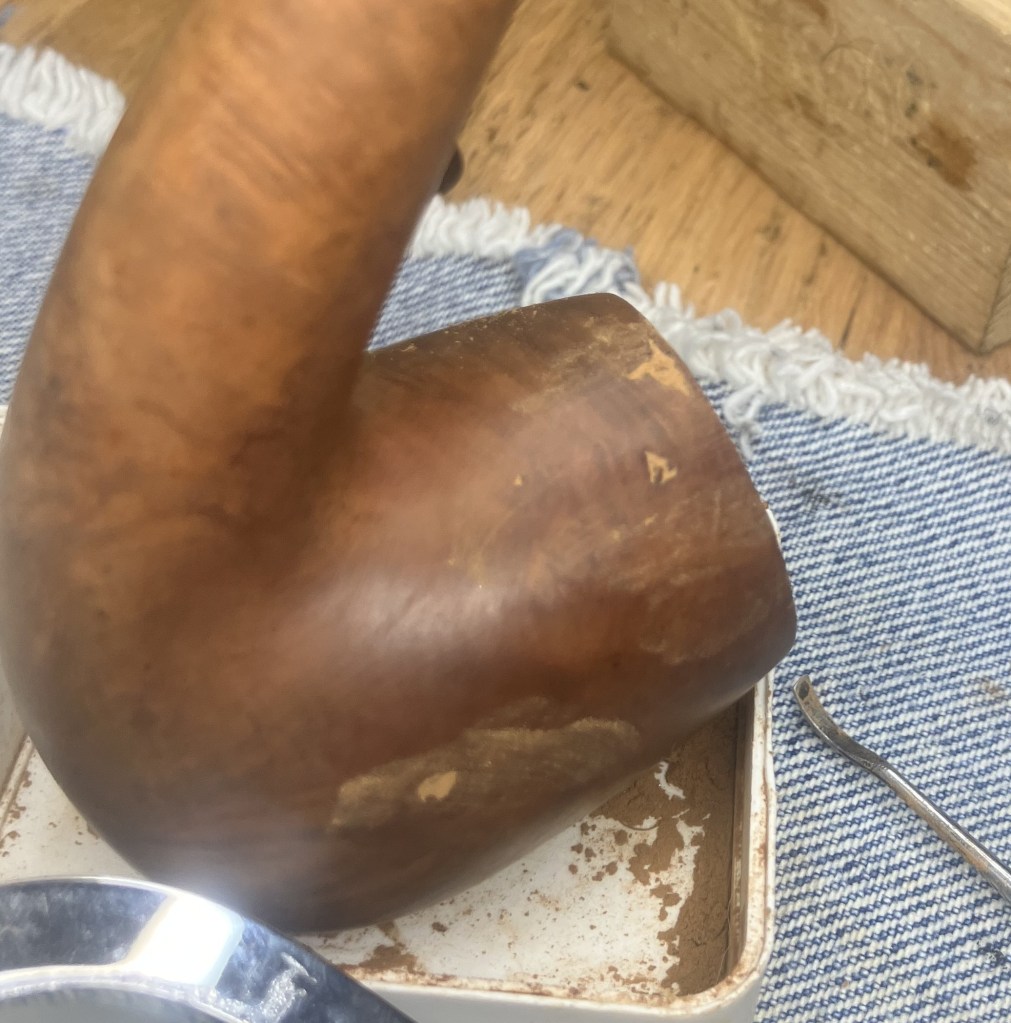
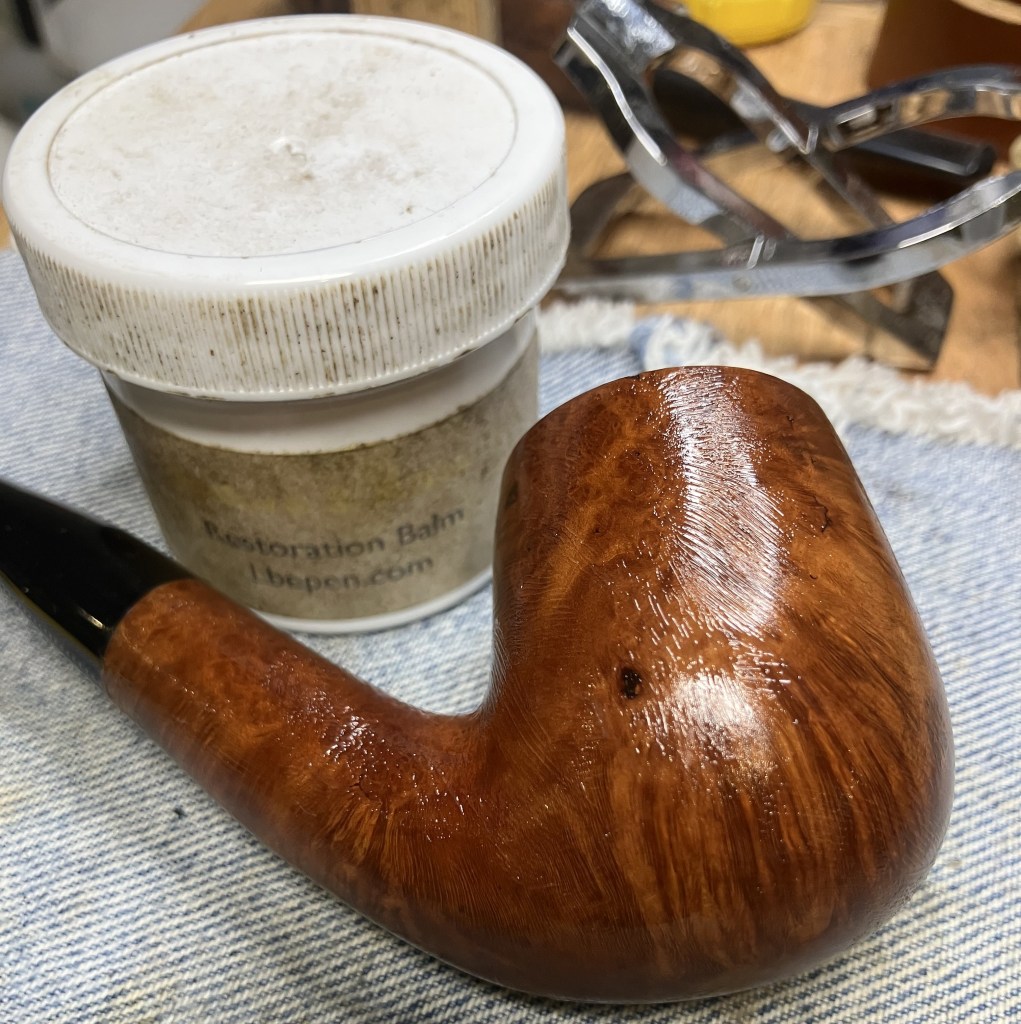
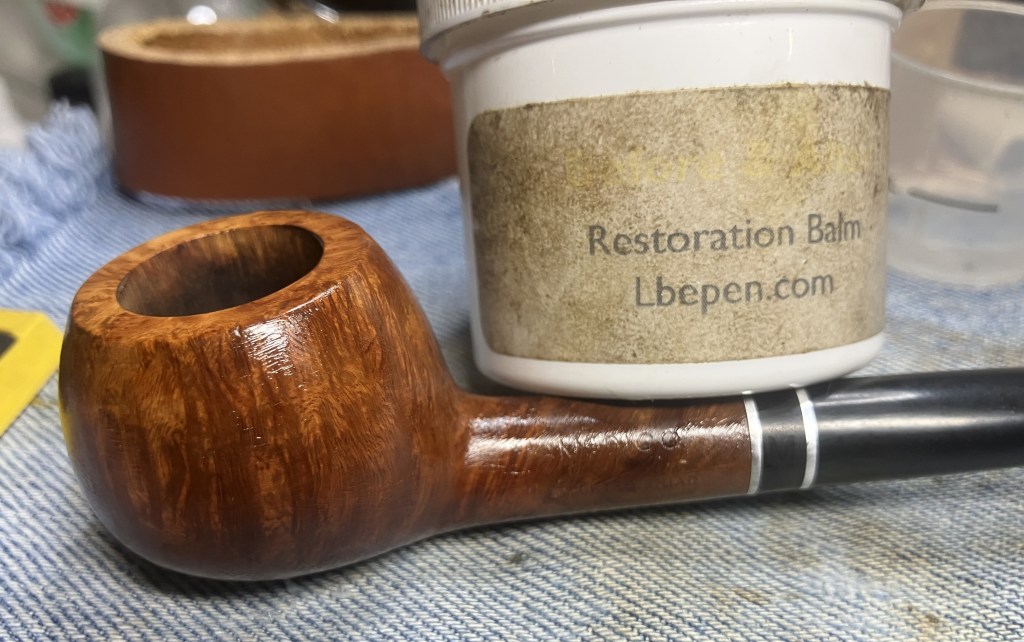
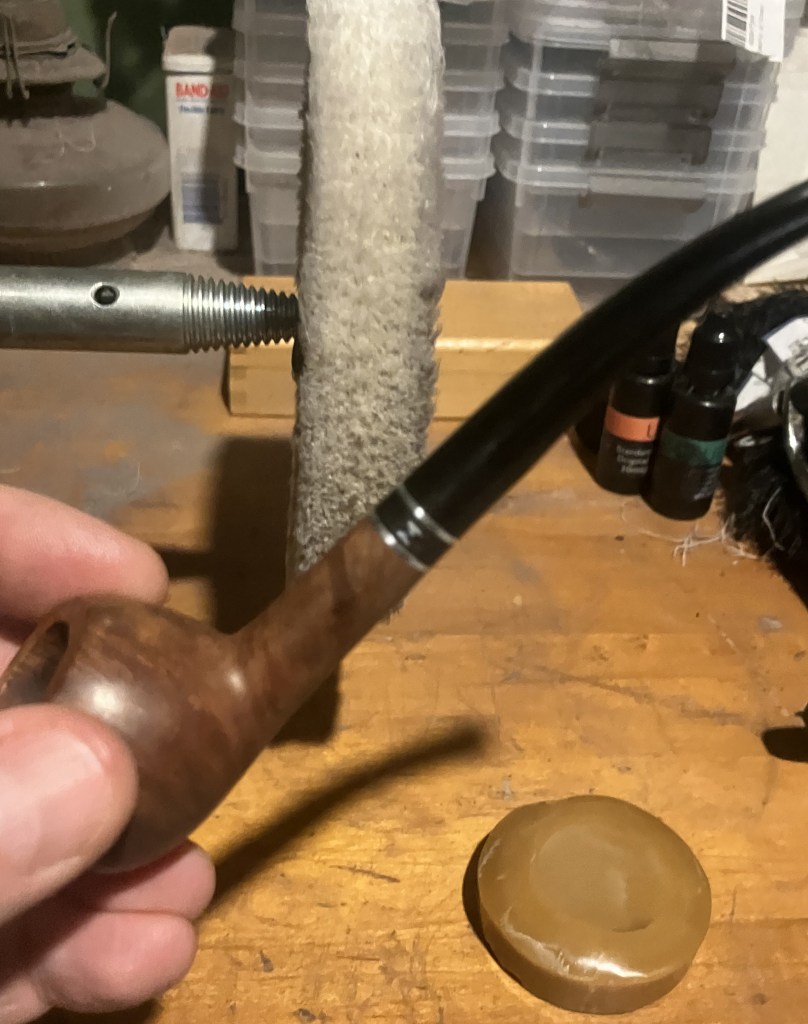
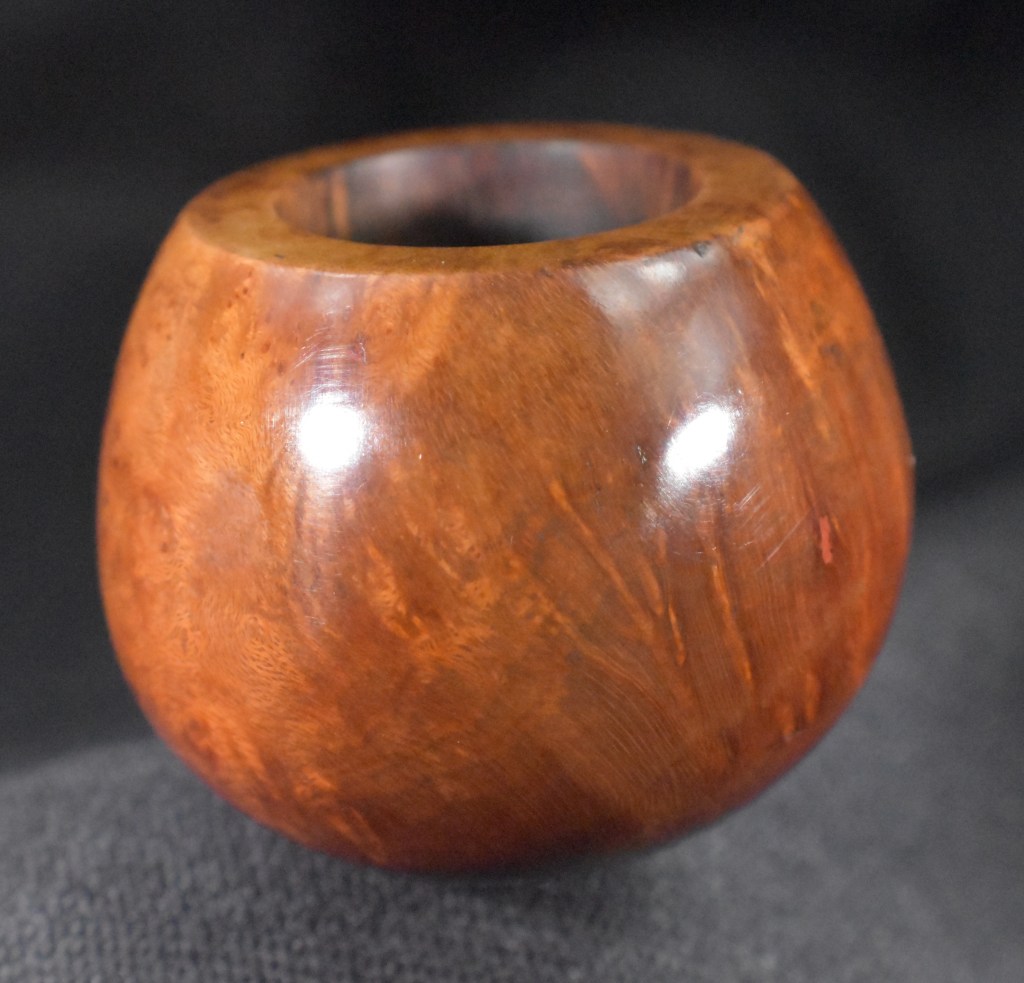
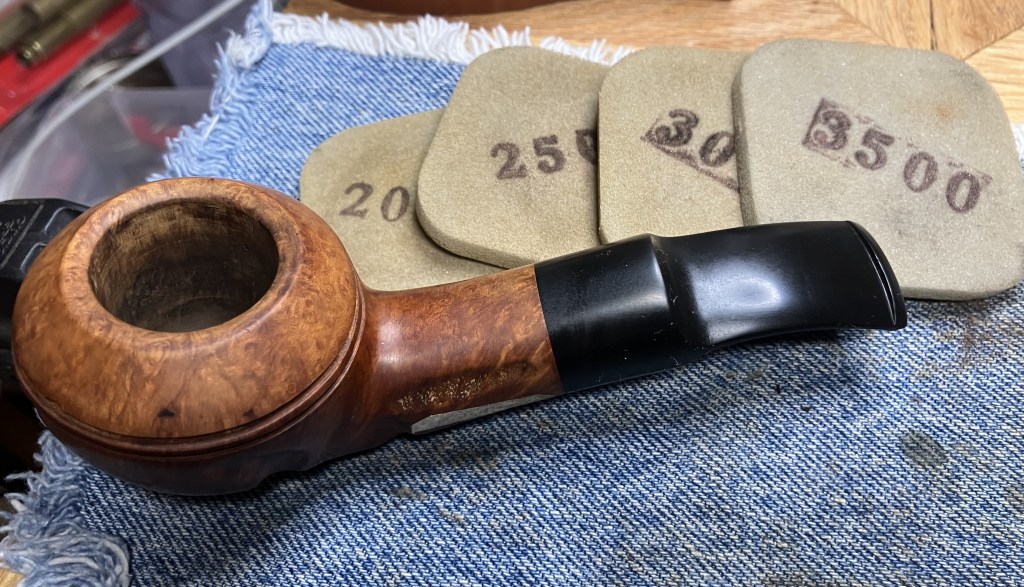
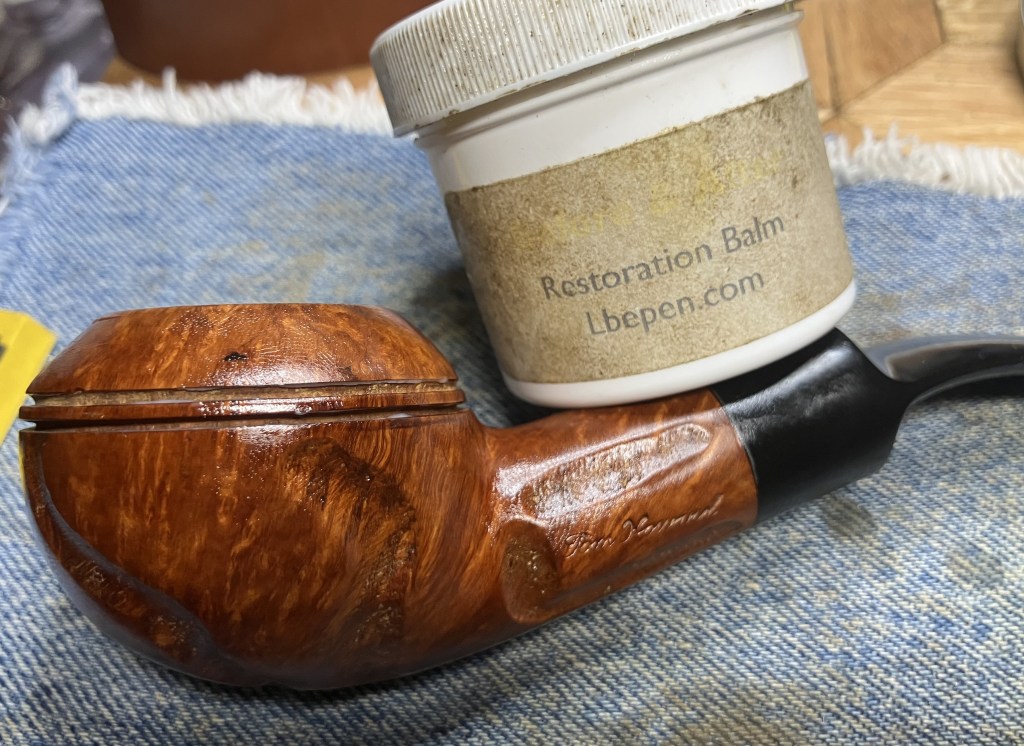
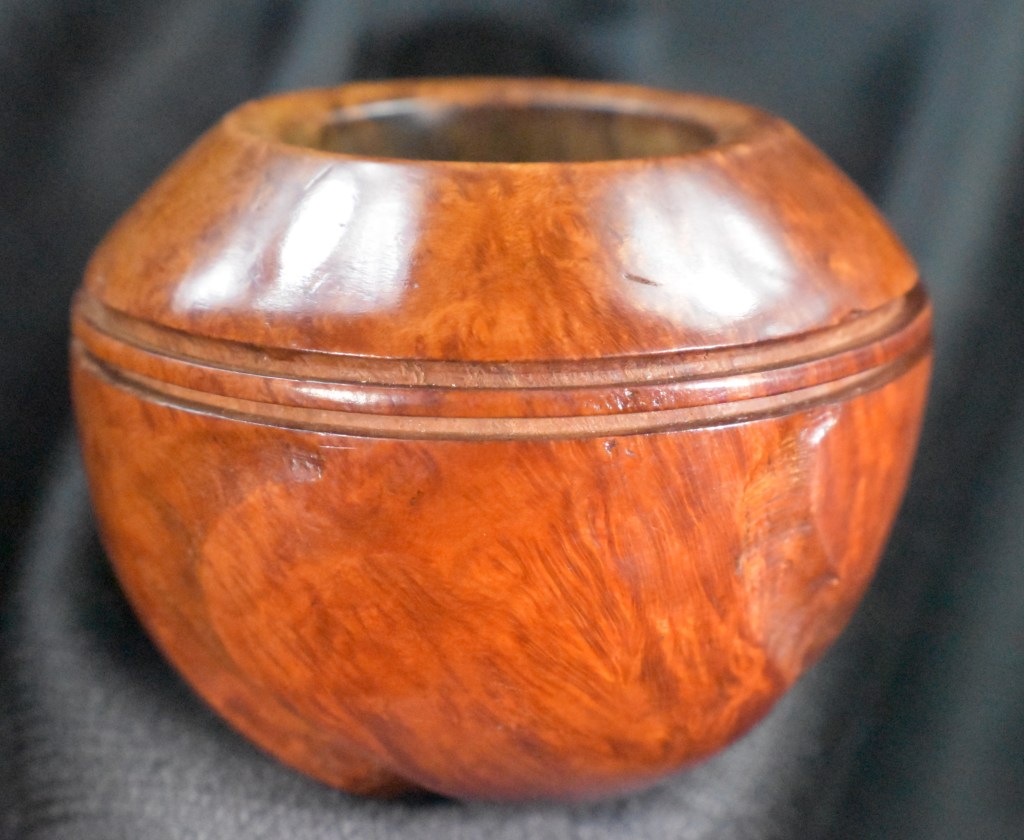
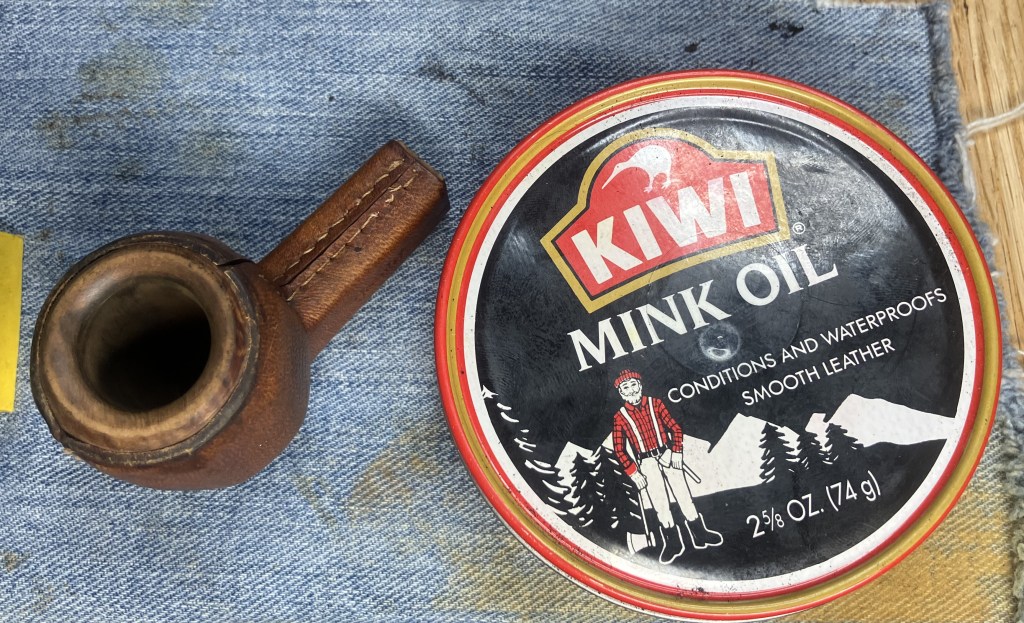
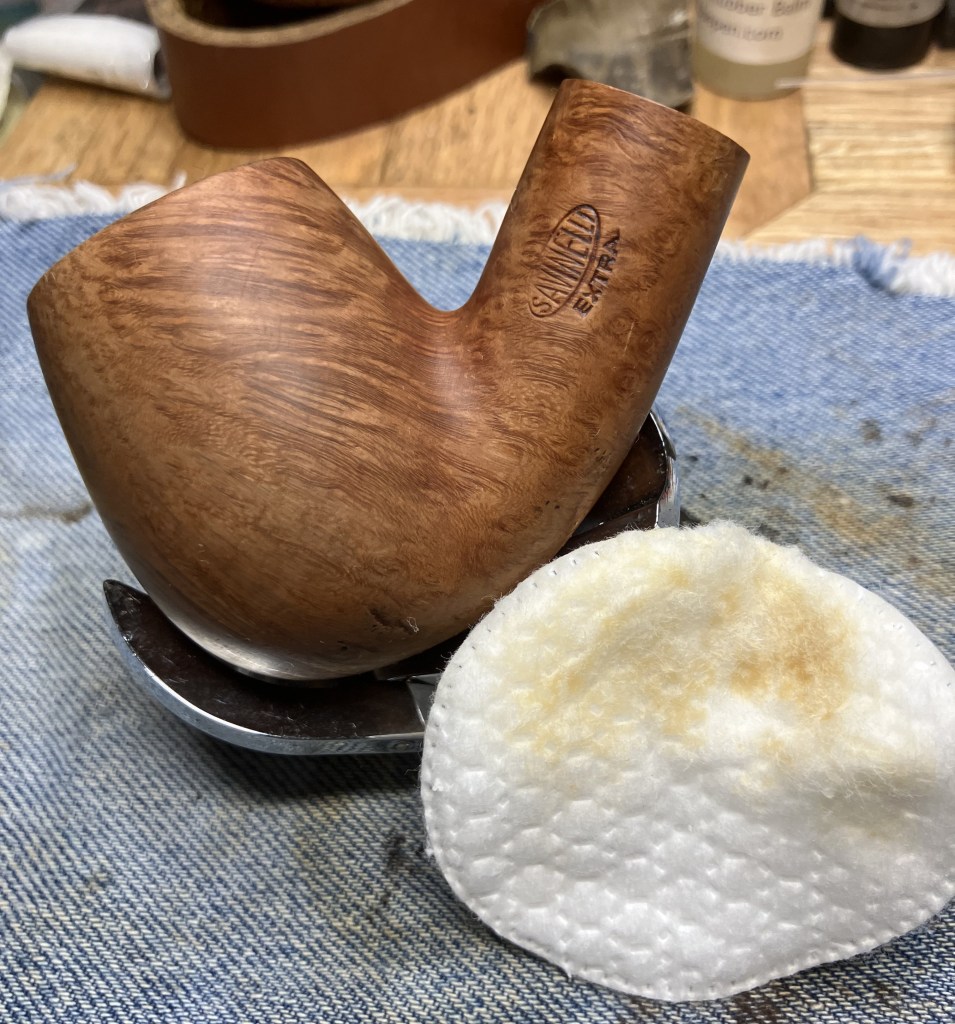
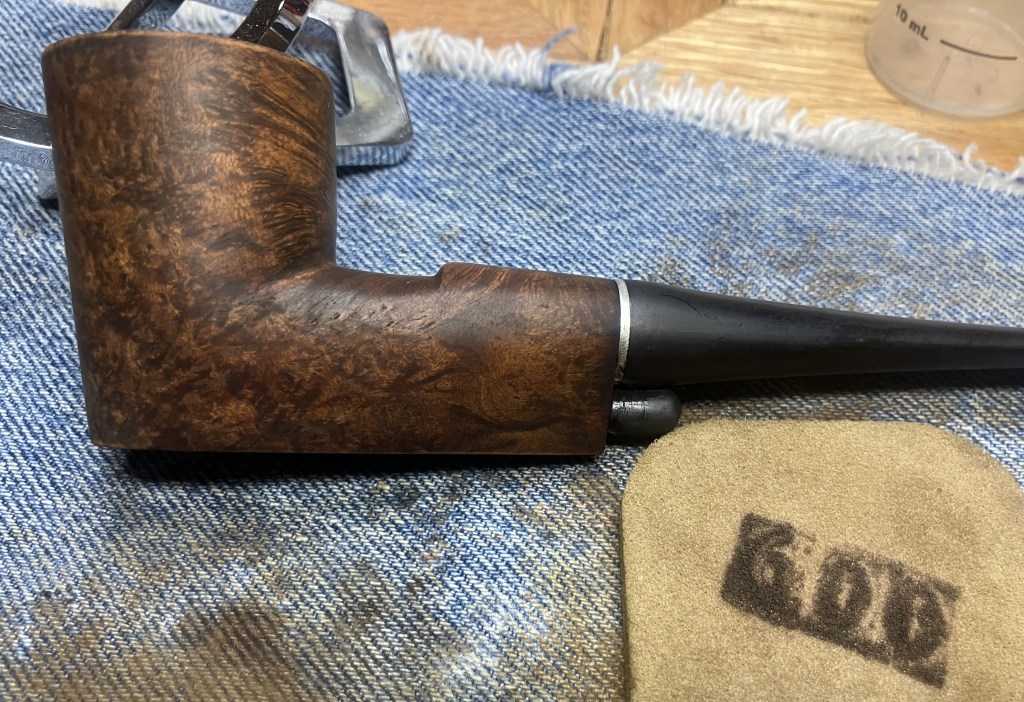
The stummel was coated in Before and After Restoration Balm and allowed to sit for 20 minutes. I liked the way the removal of the black finish had left a finish like a contrast dye on the briar.
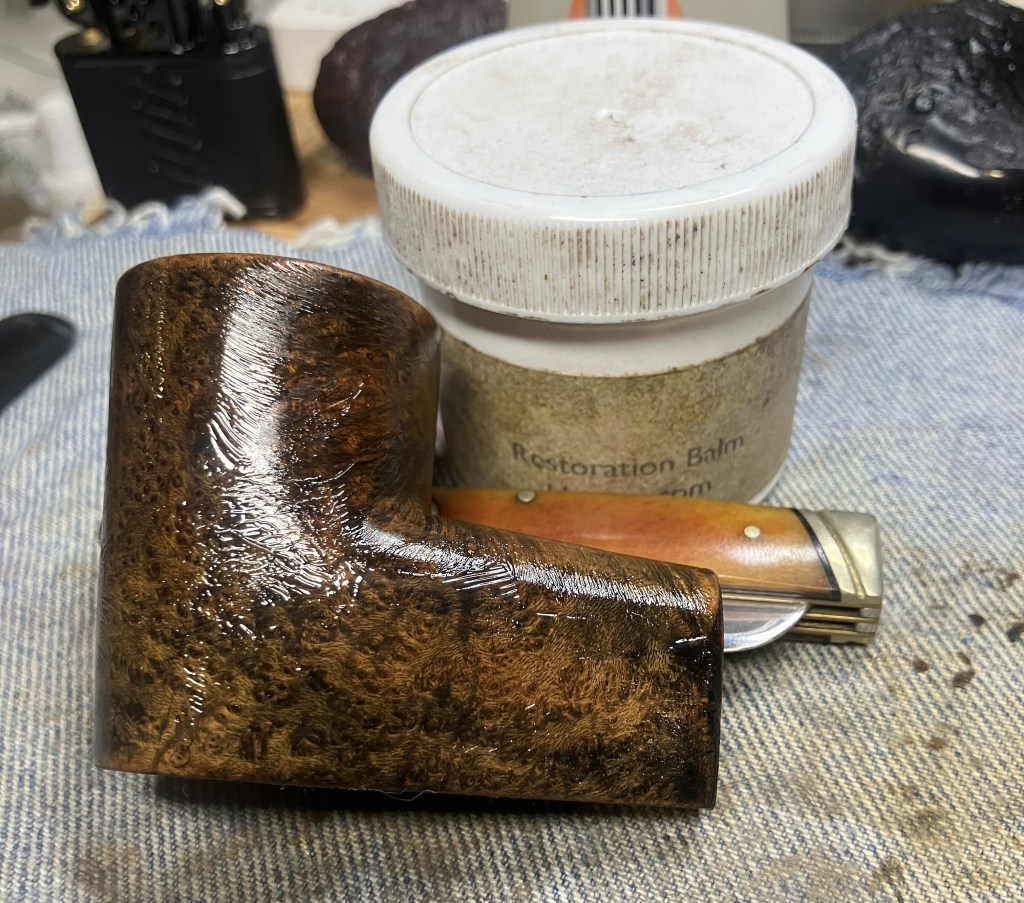
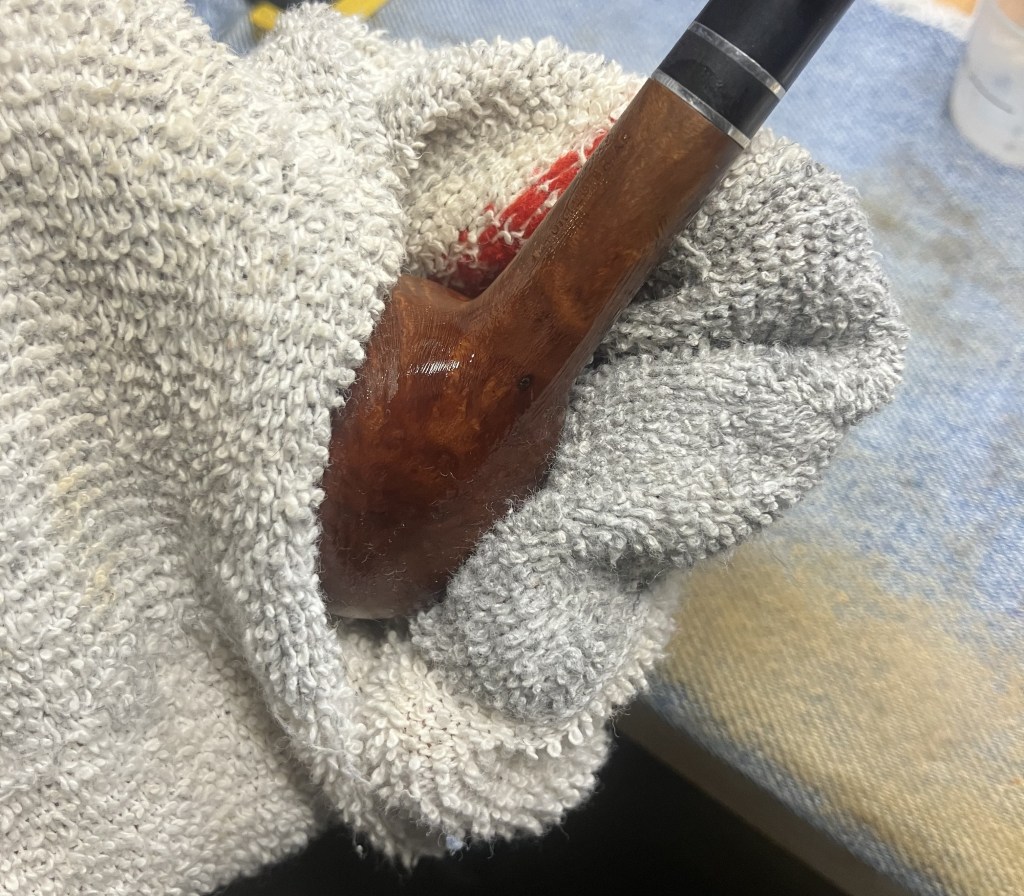
The excess Restoration Balm was wiped from the stummel using an inside out athletic sock.
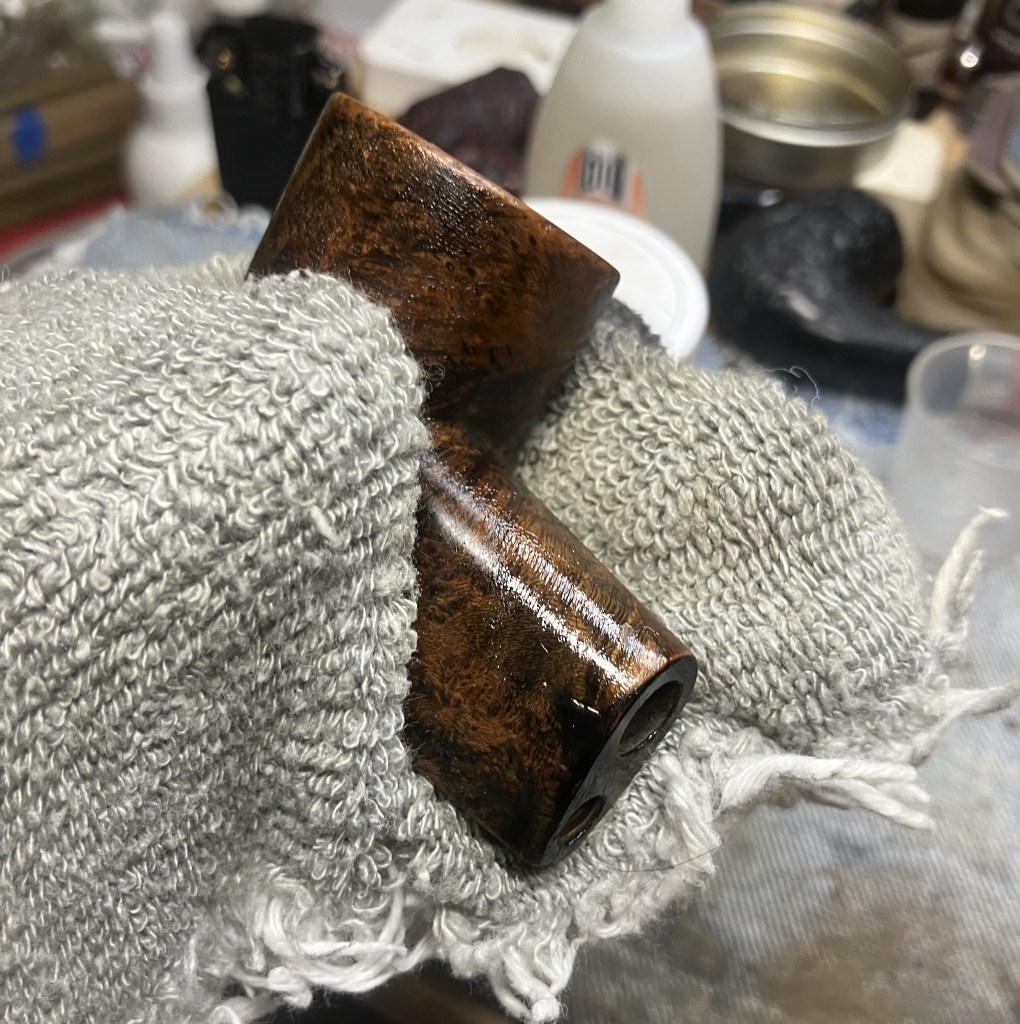
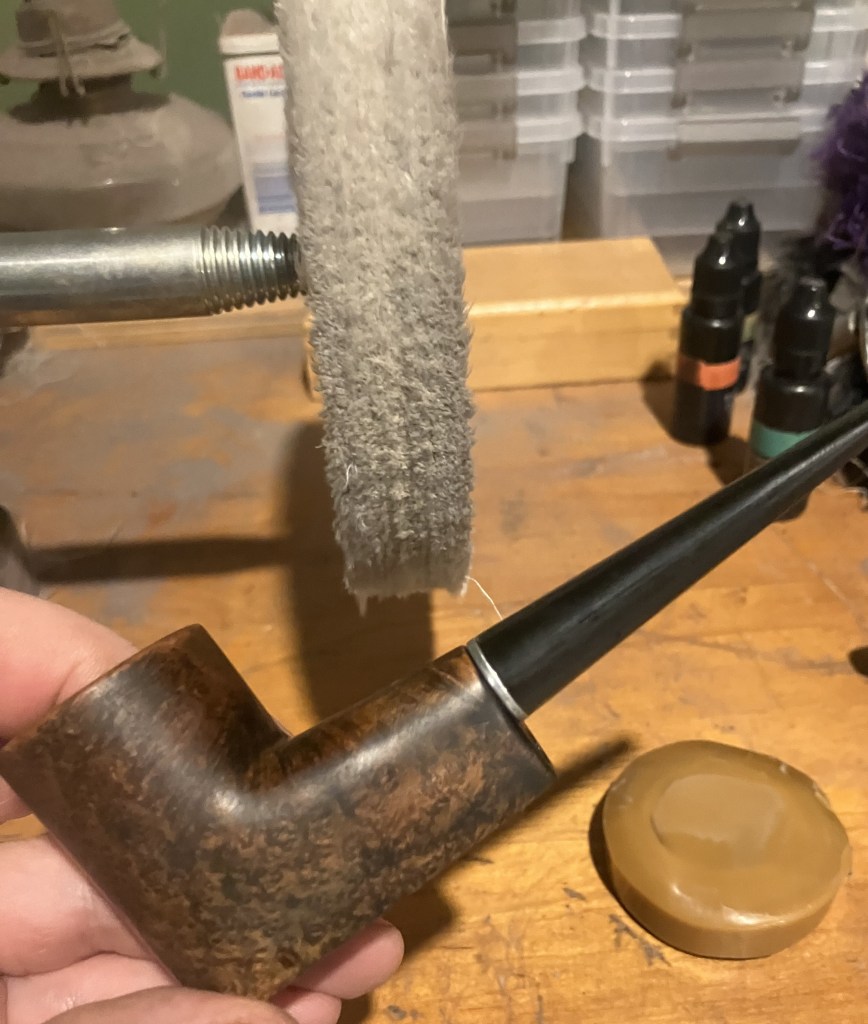
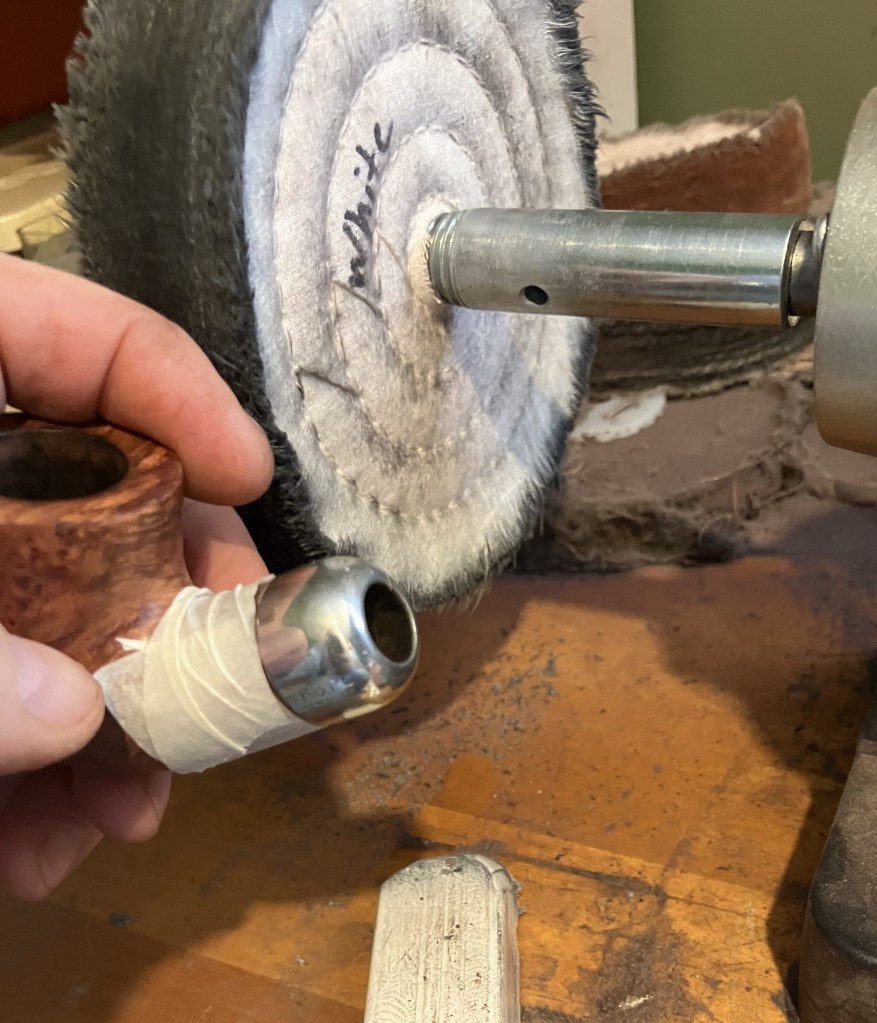
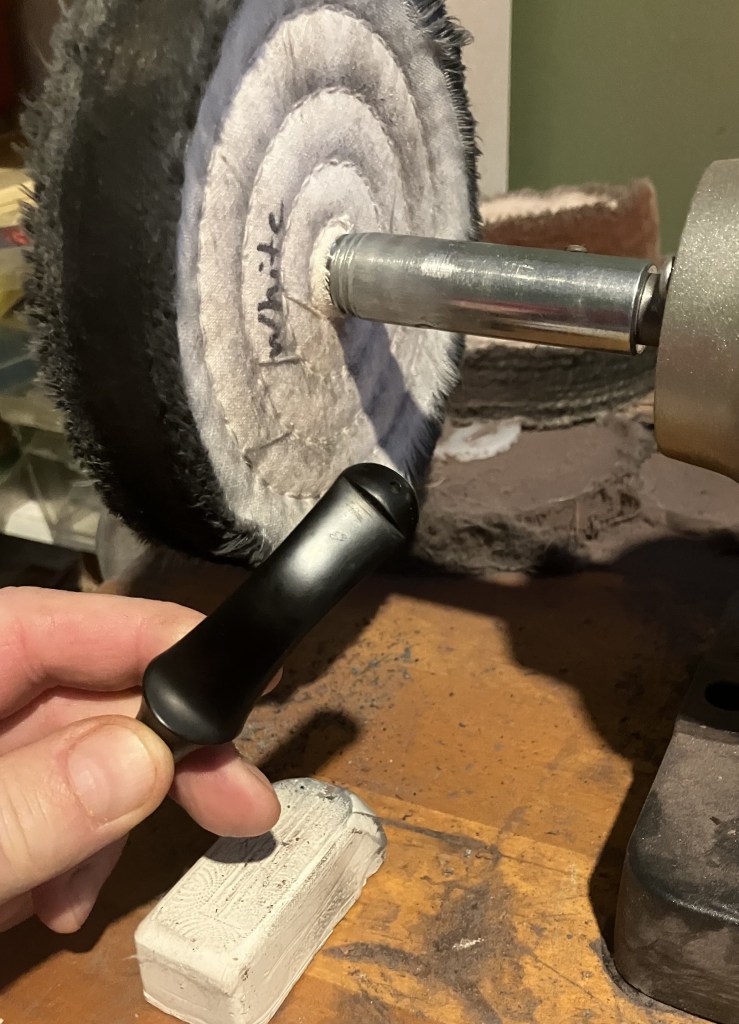
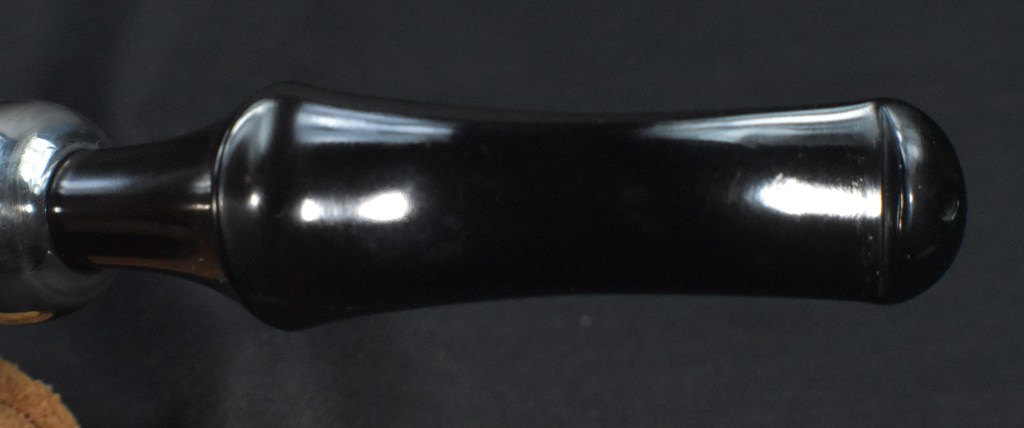
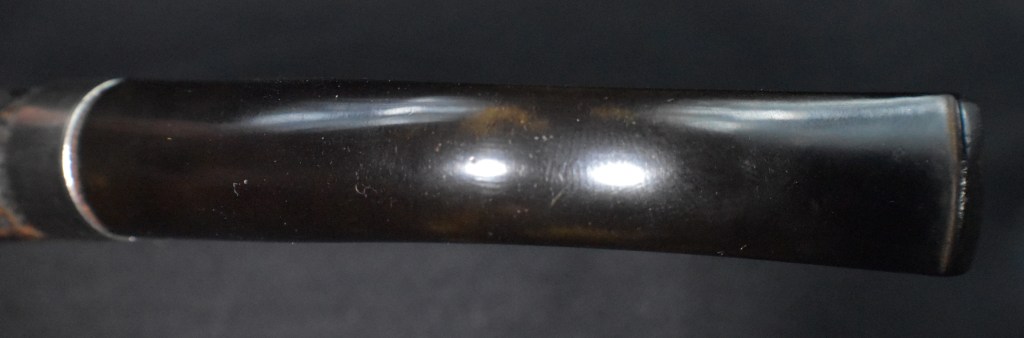
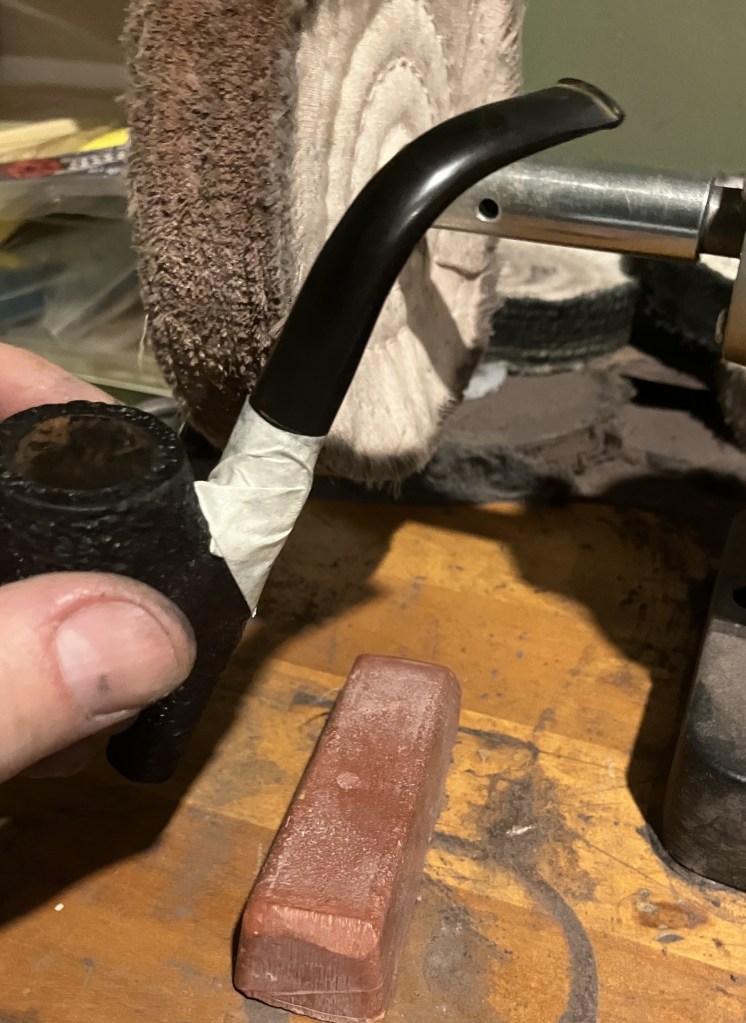
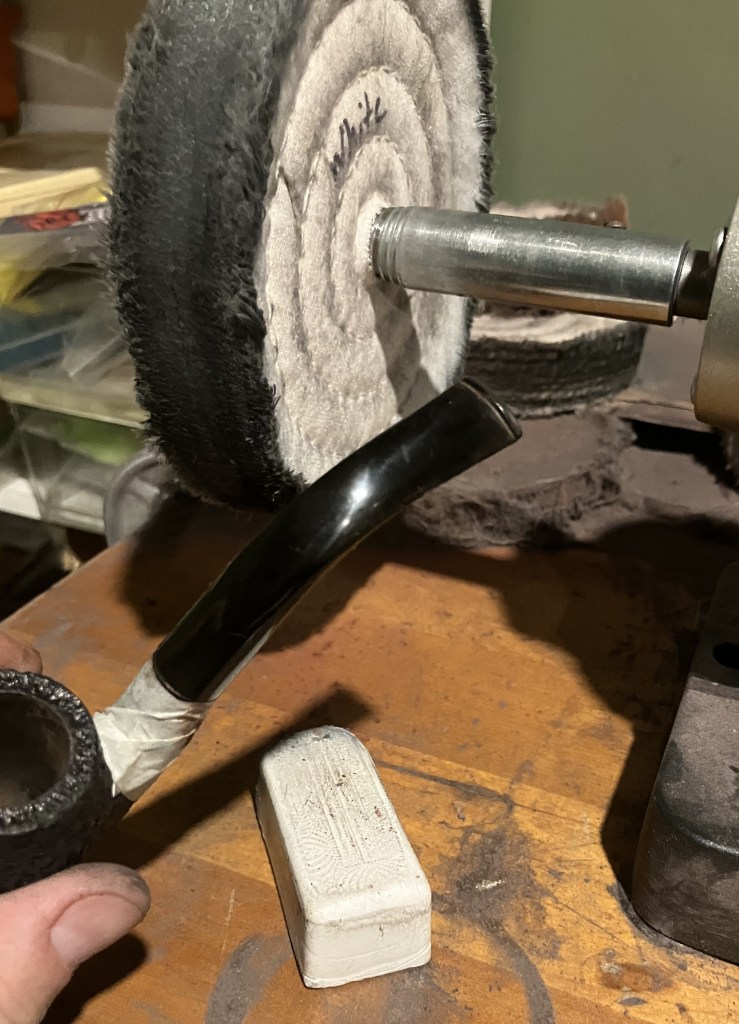
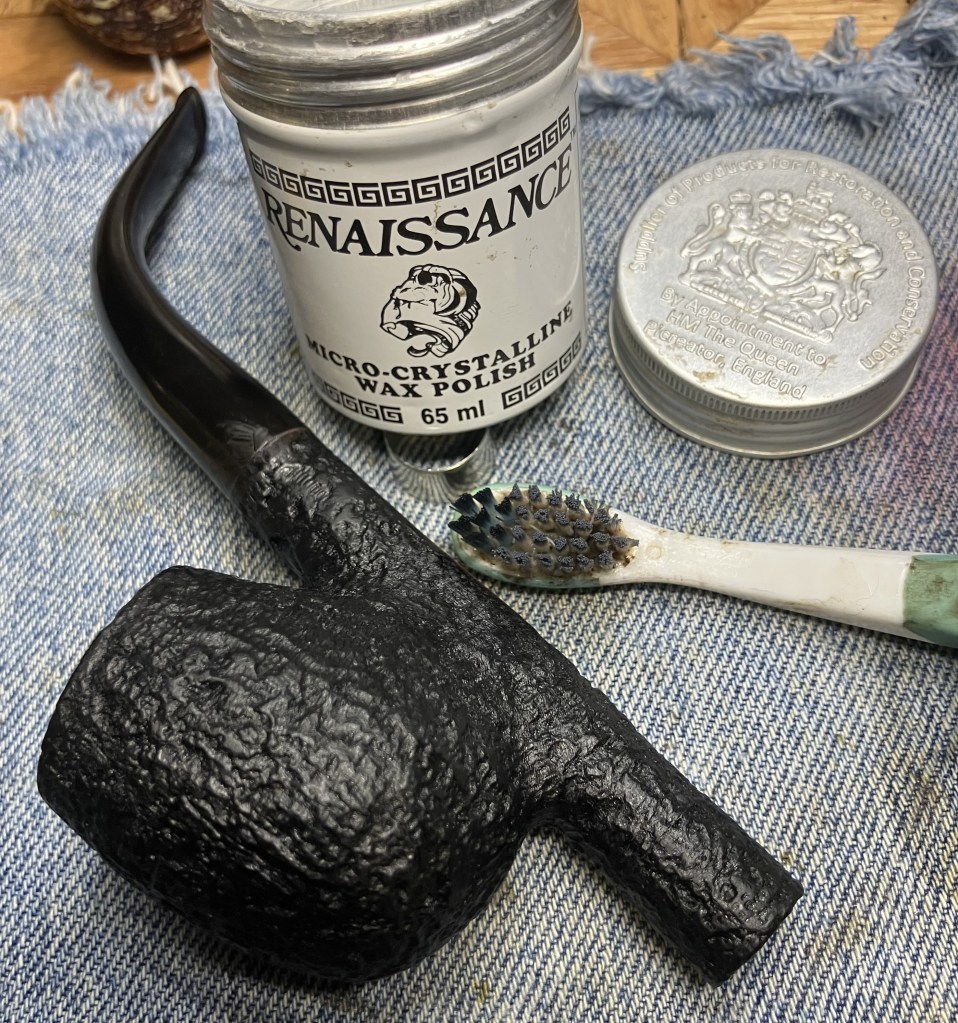
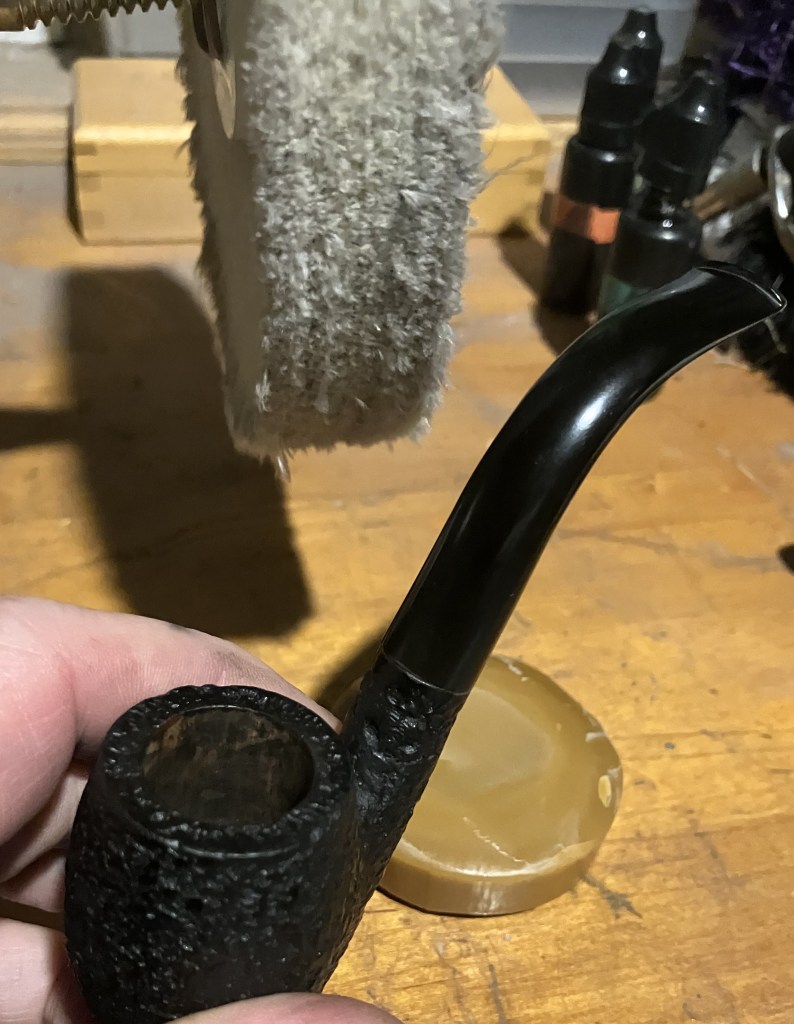
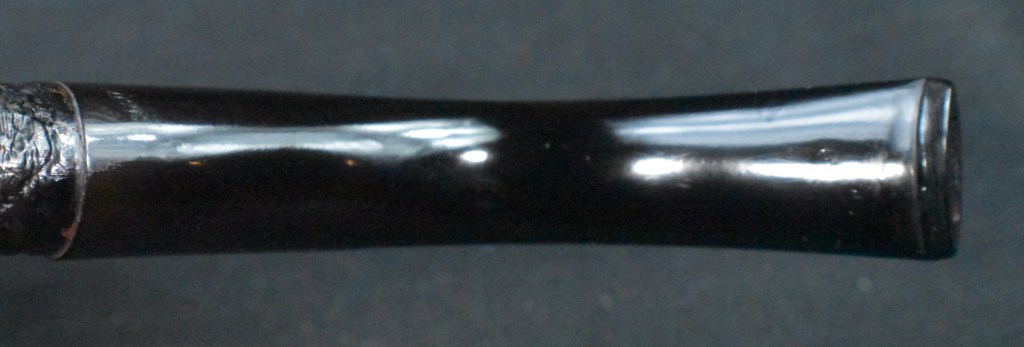
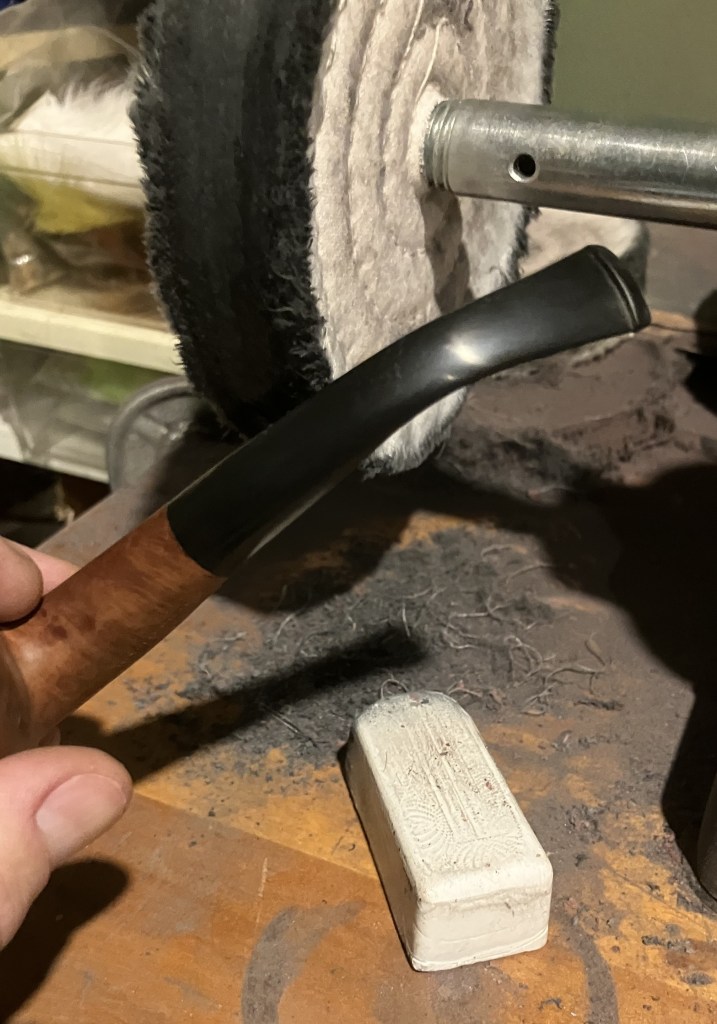
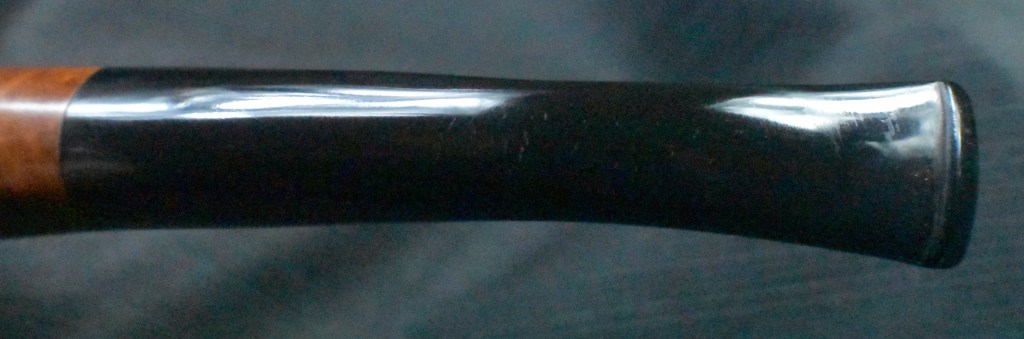
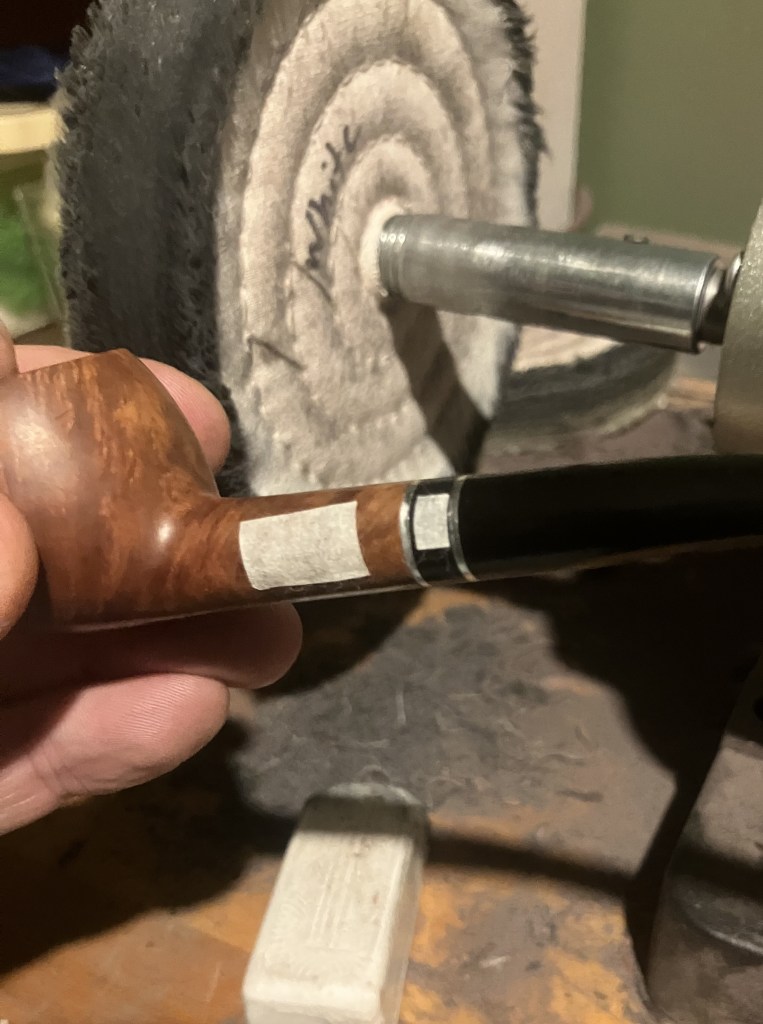
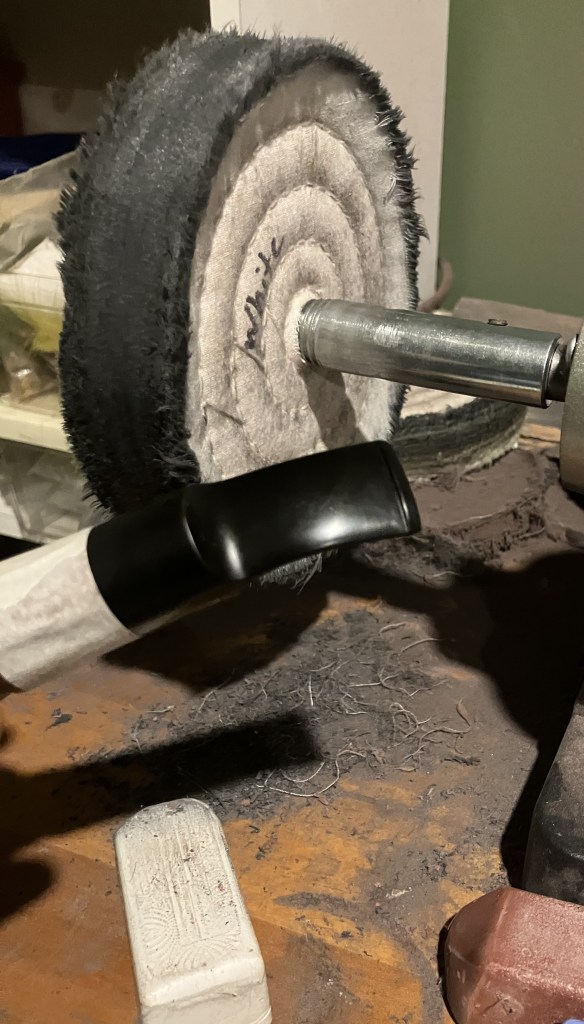
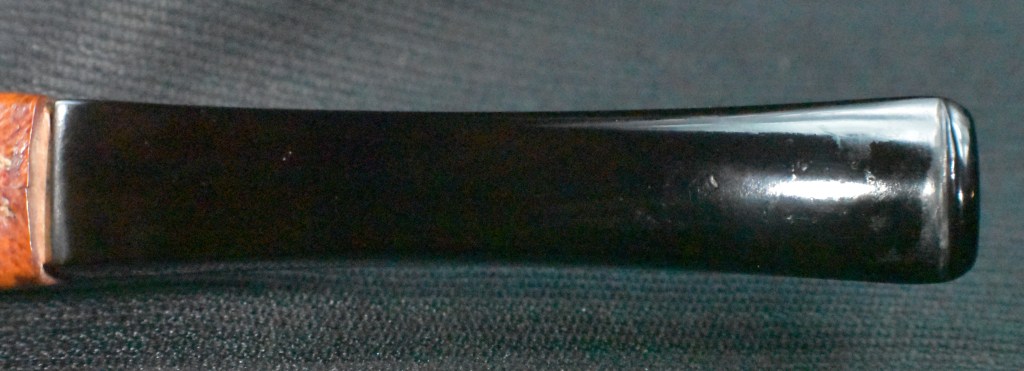
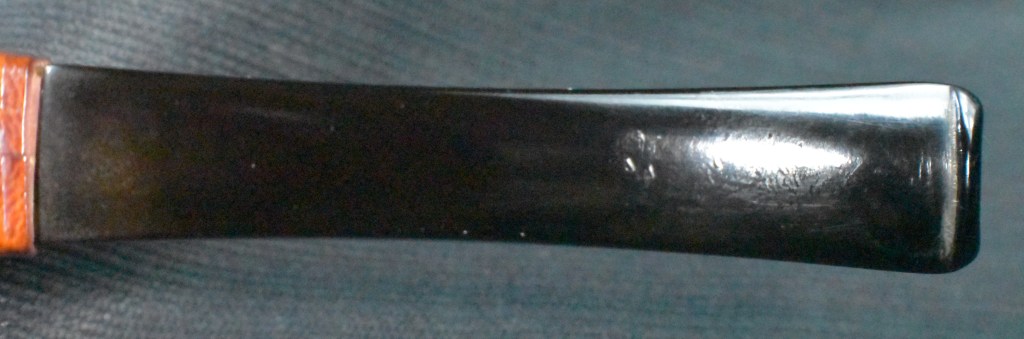
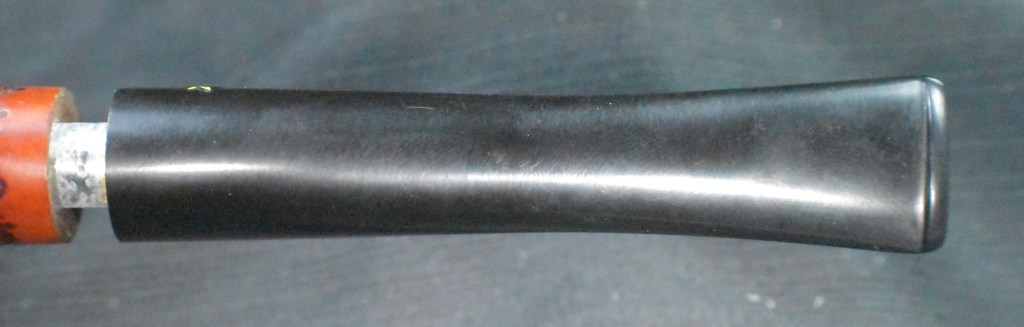
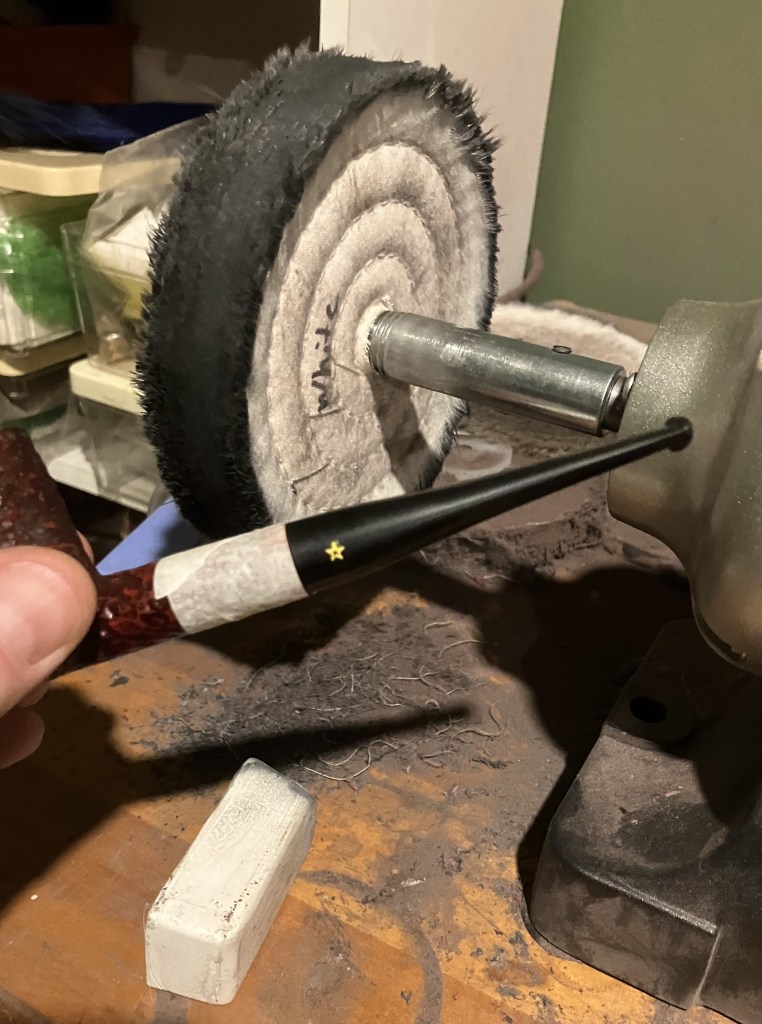
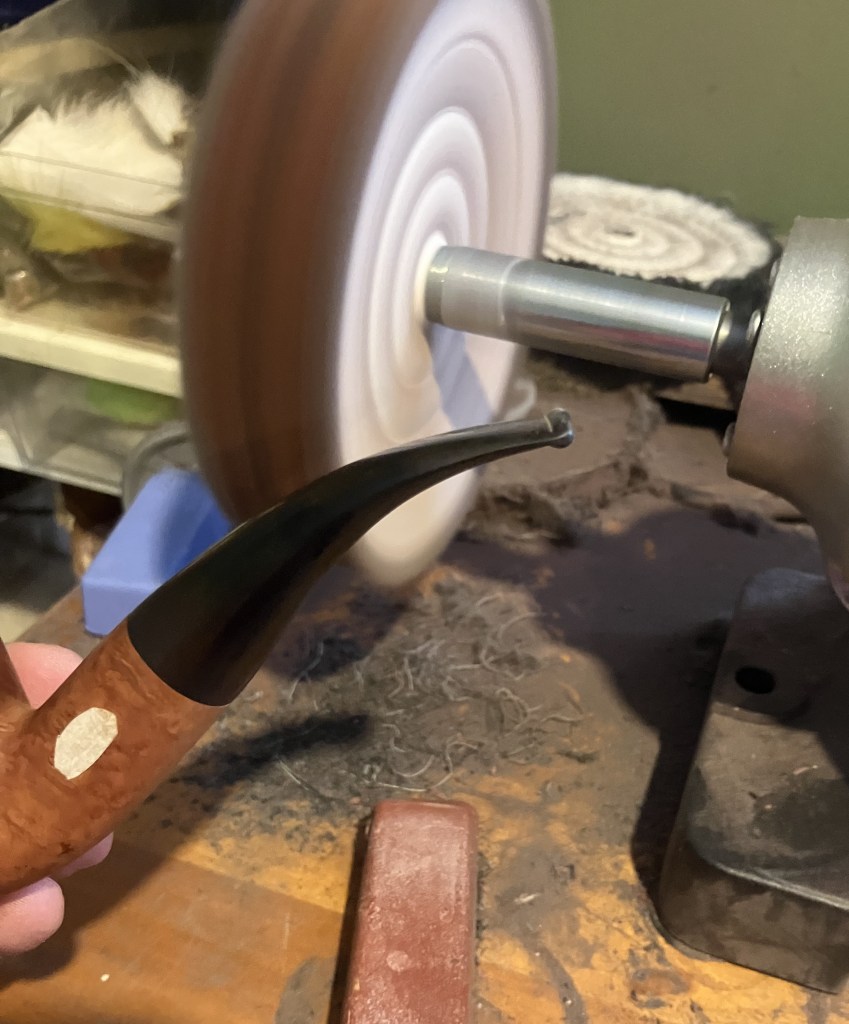
It’s here that I realized that I had neglected to photograph all the sanding and buffing that I did on the stem. This is probably due to the fact that I do not enjoy working on nylon stems very much. They always seem like you are taking two steps forward and one step back while trying to give them a nice finish and even after a mile’s worth of steps they don’t look great. Well the stummel did look great and both the stem and stummel received several coats of carnauba wax at the buffer.
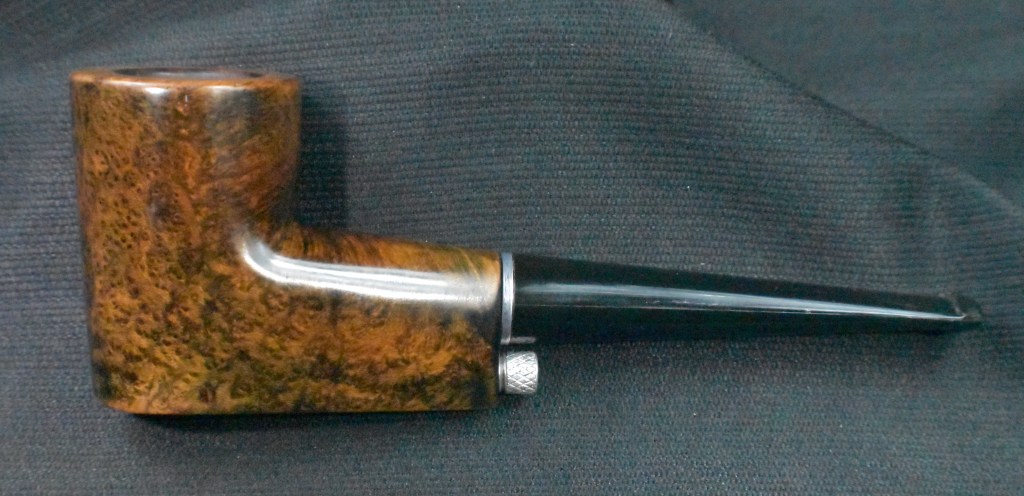
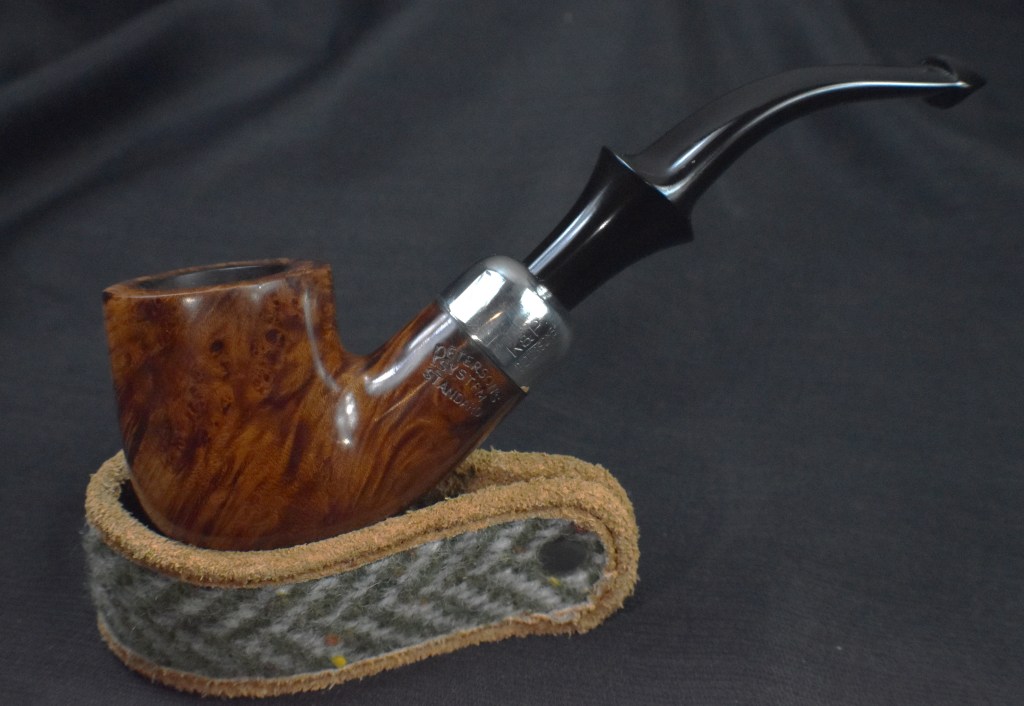
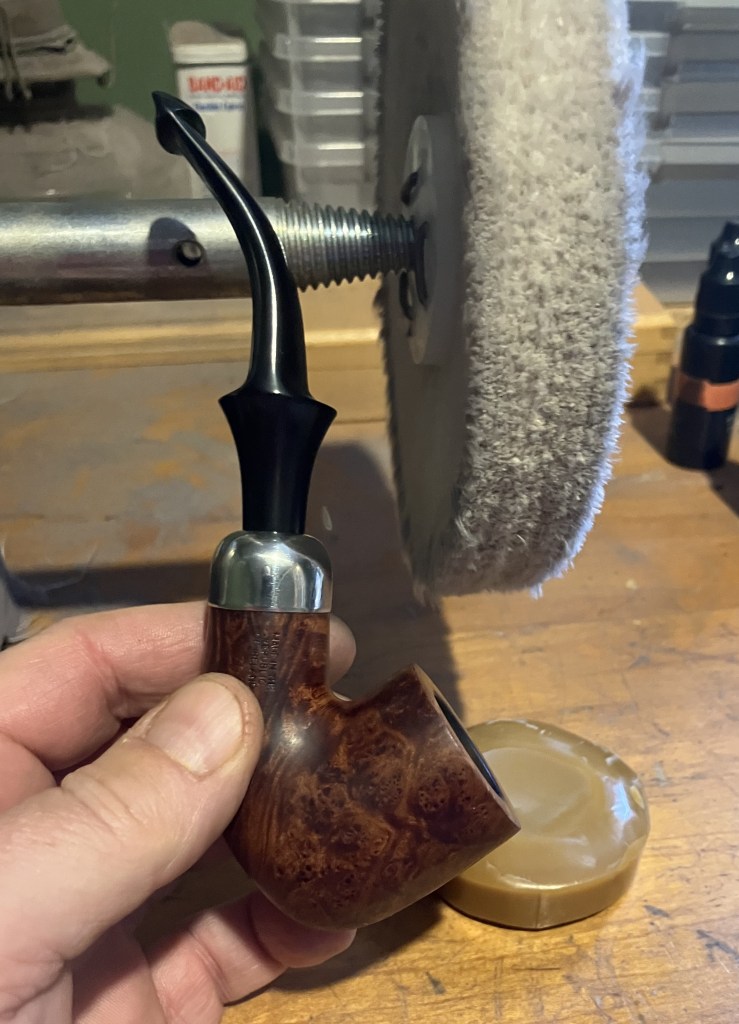
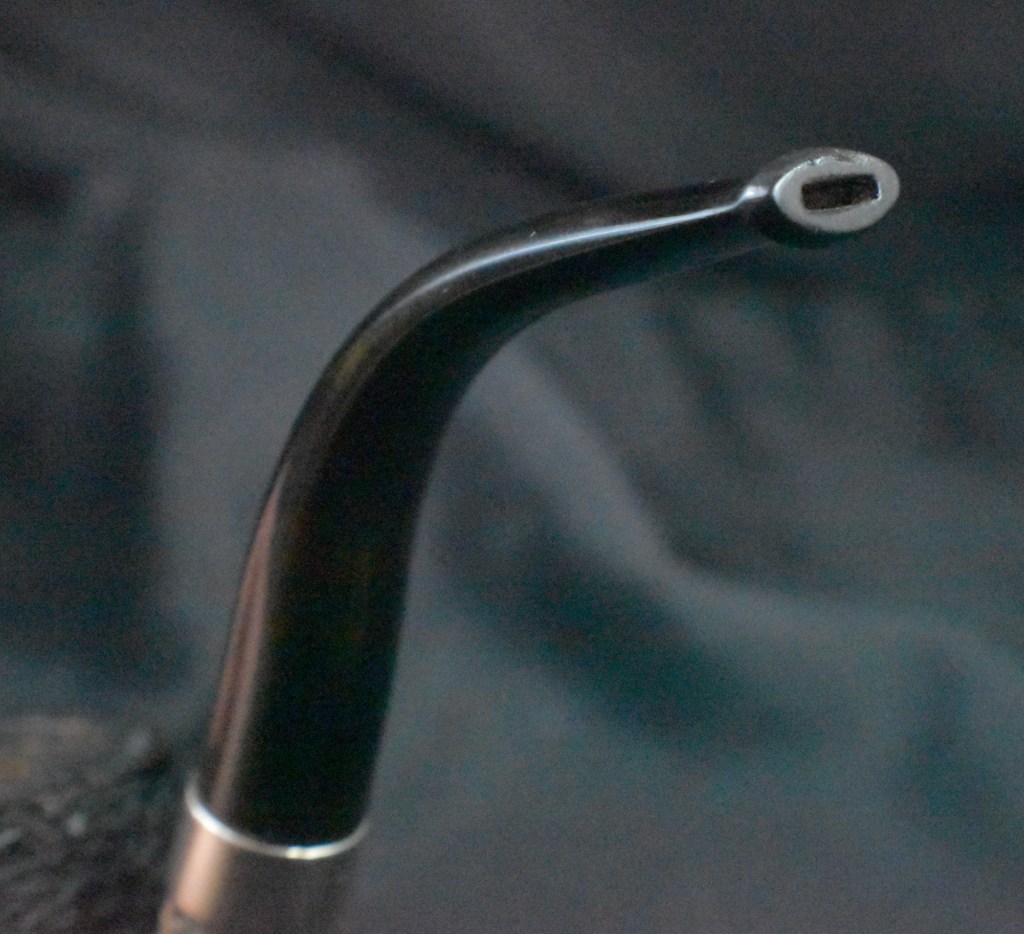
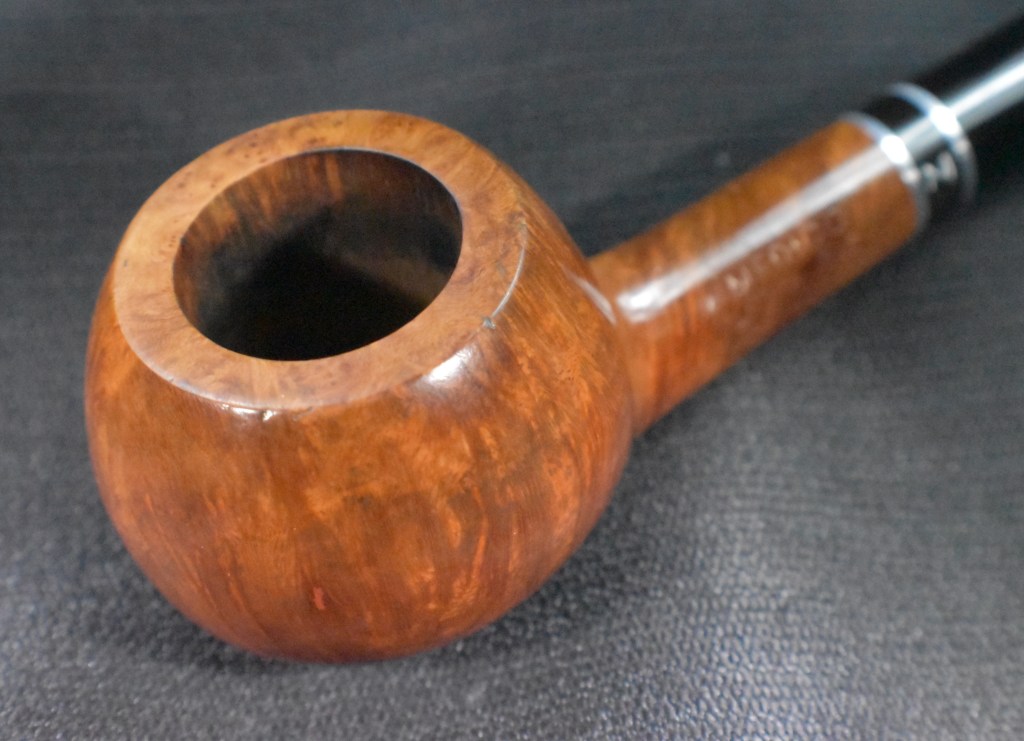
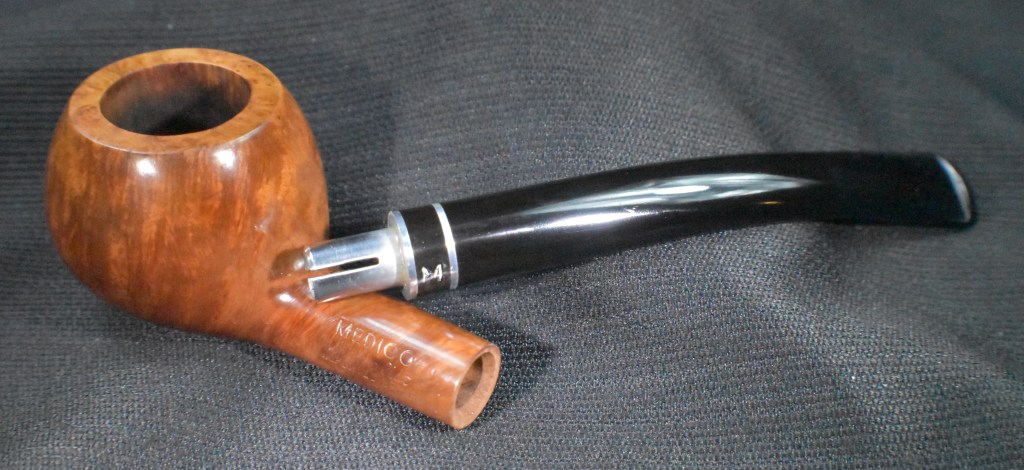
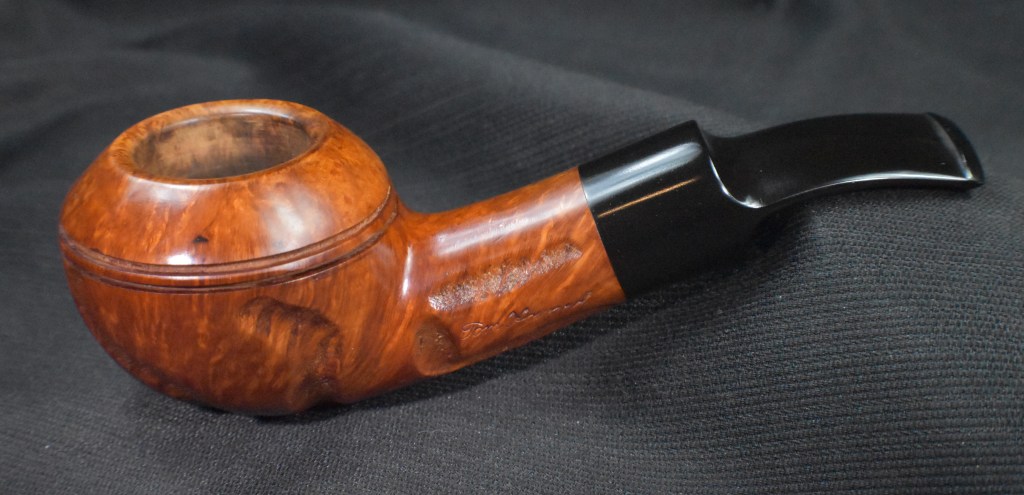
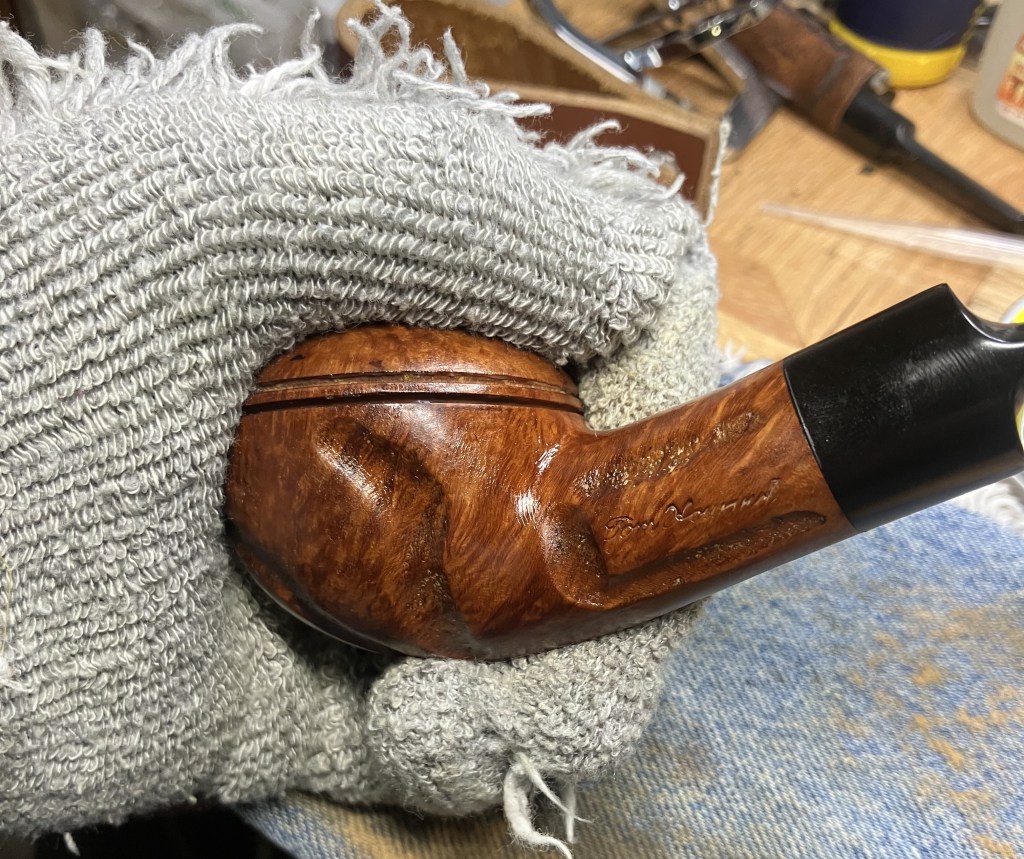
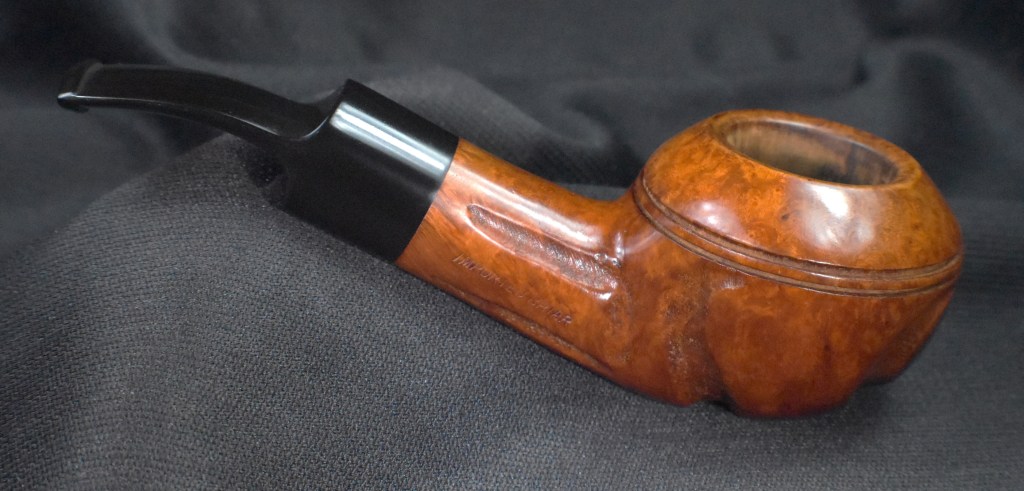
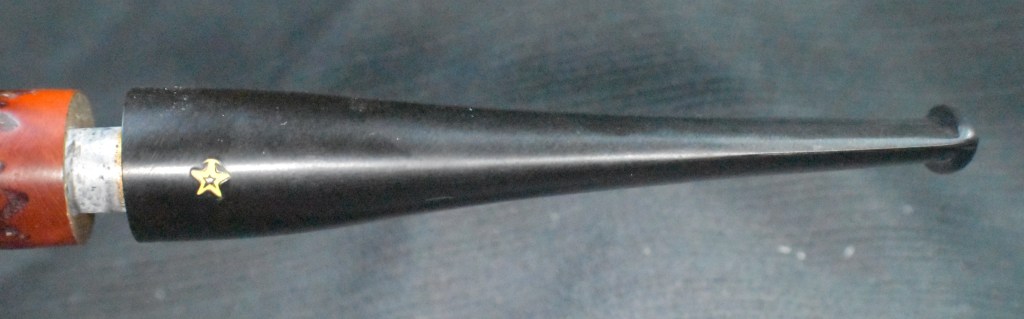
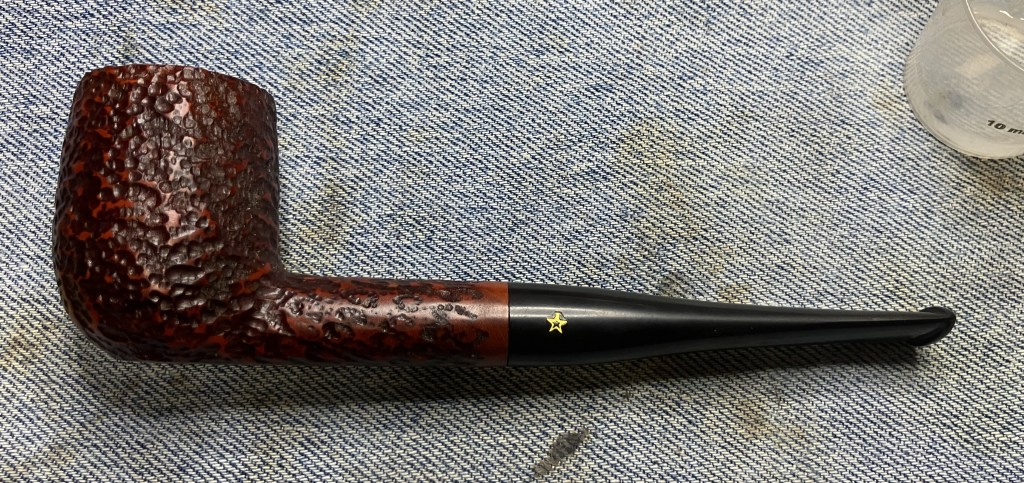
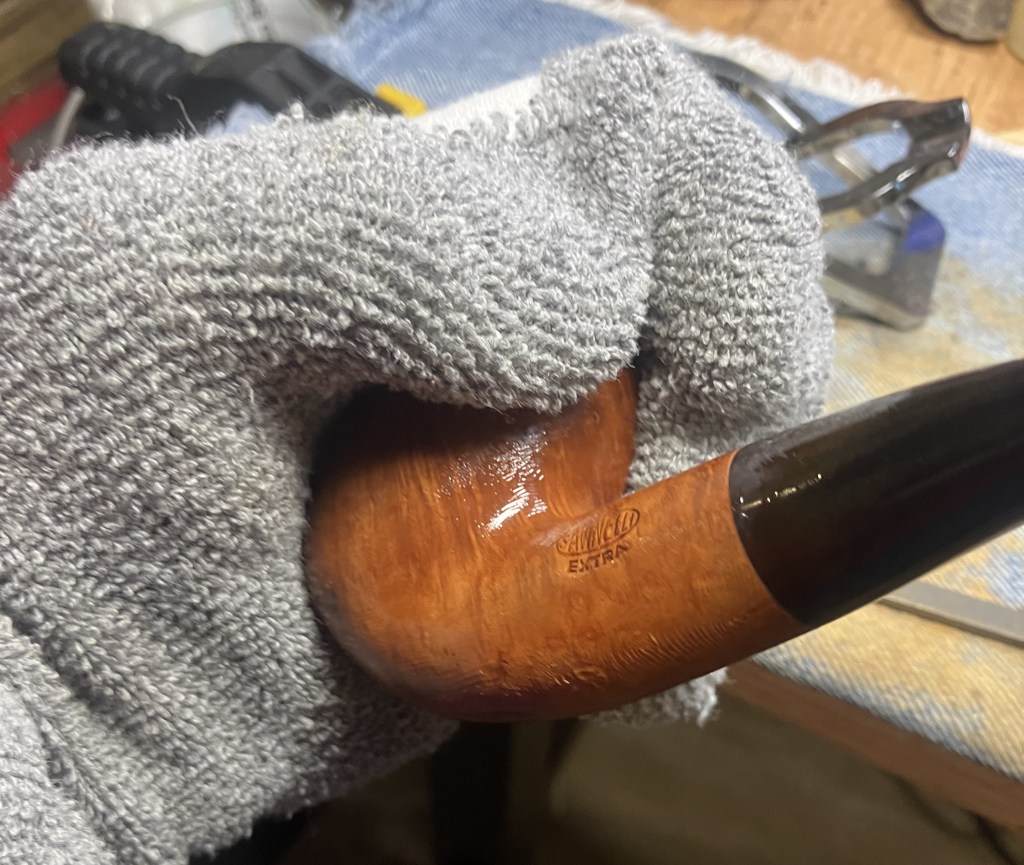
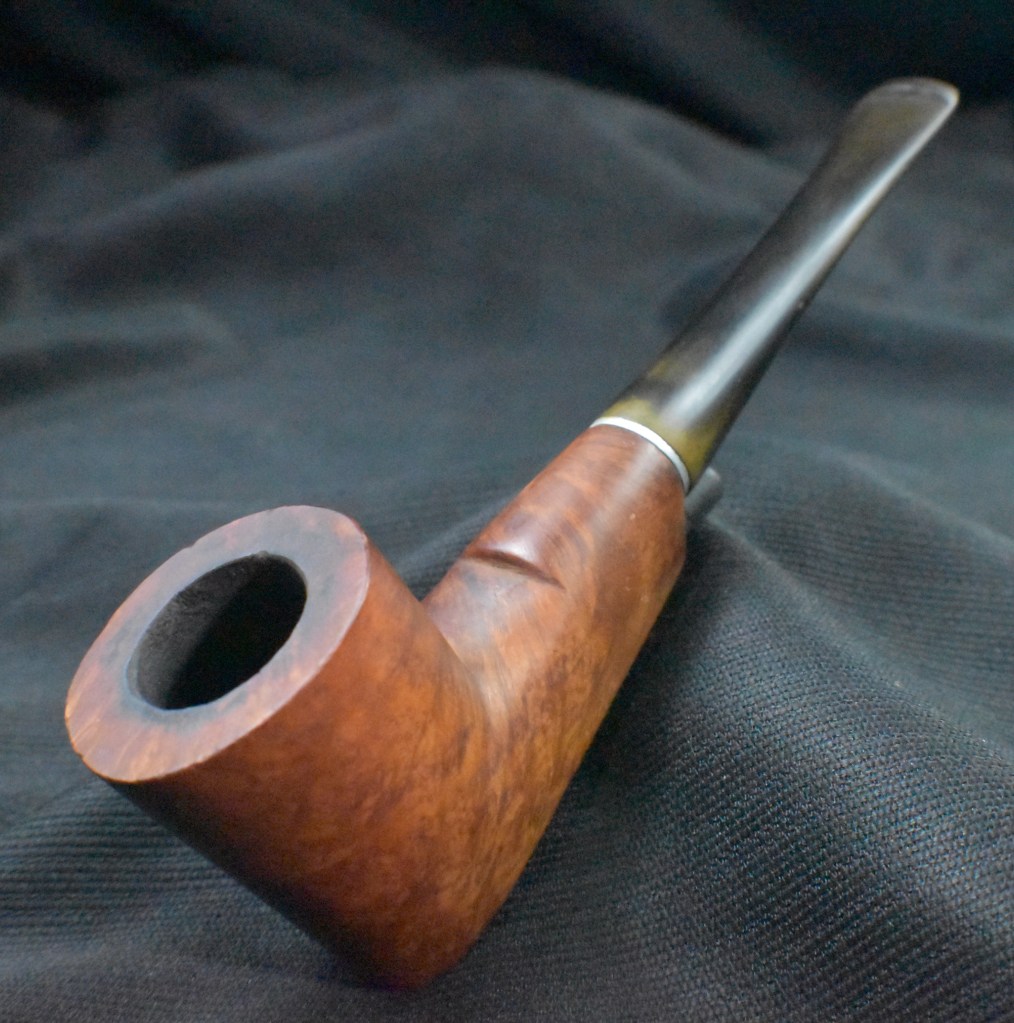
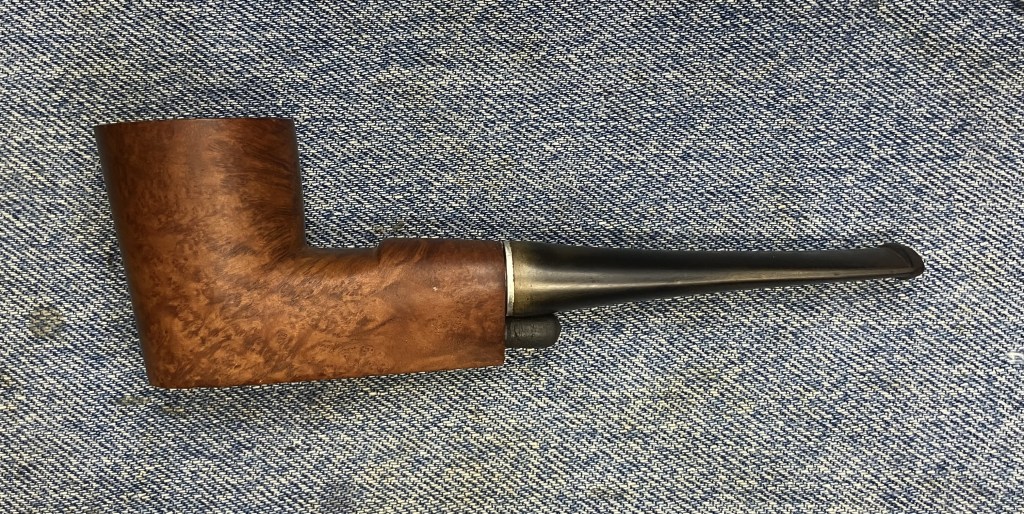
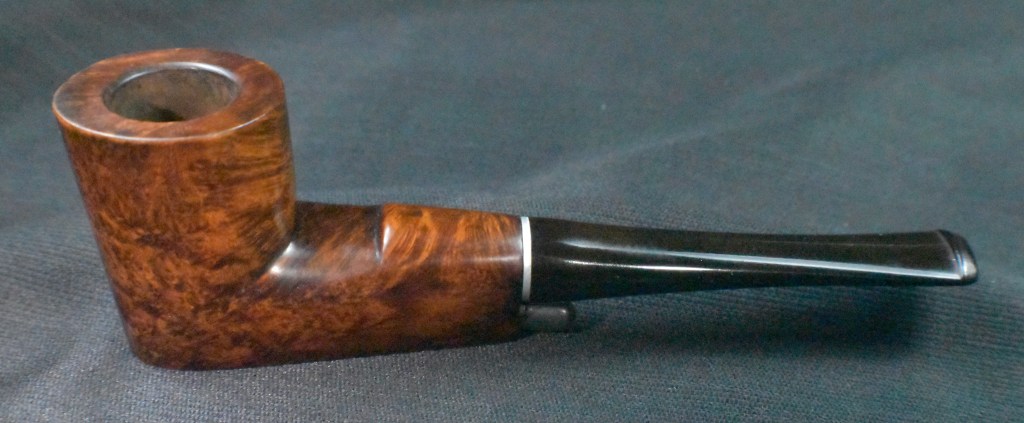
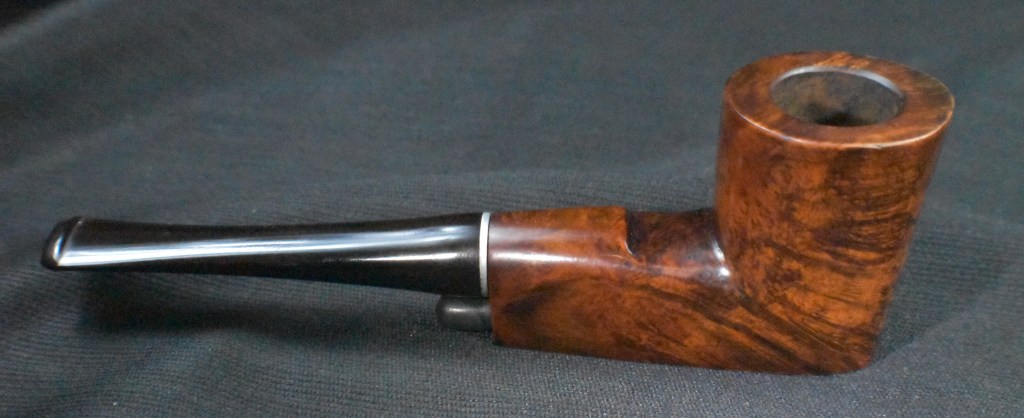
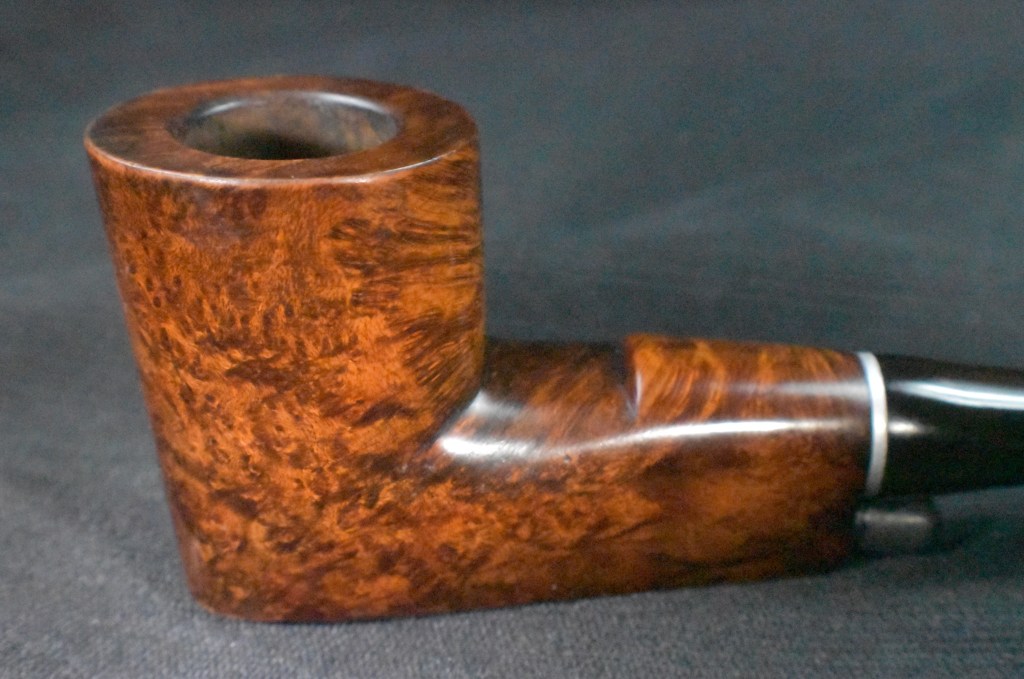
The final step was a hand buffing of the pipe with a microfiber polishing cloth before the “finished” photo shoot..
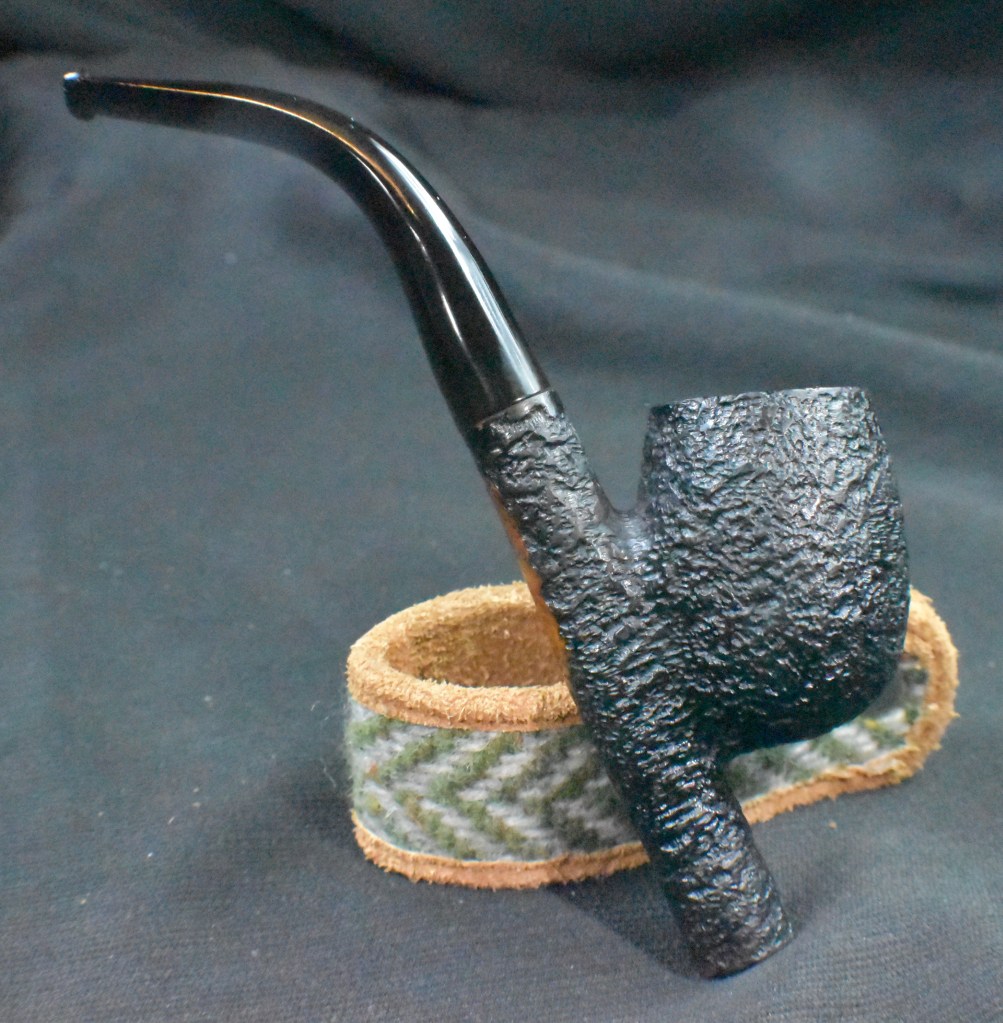
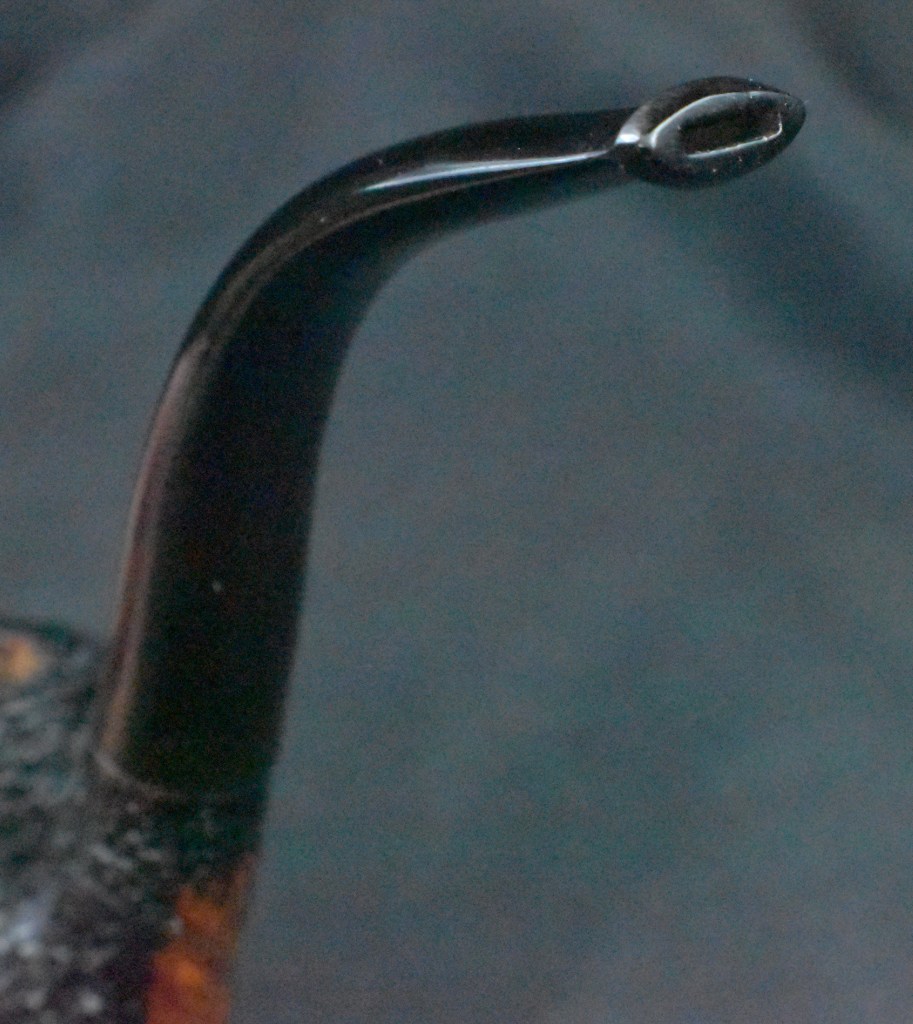
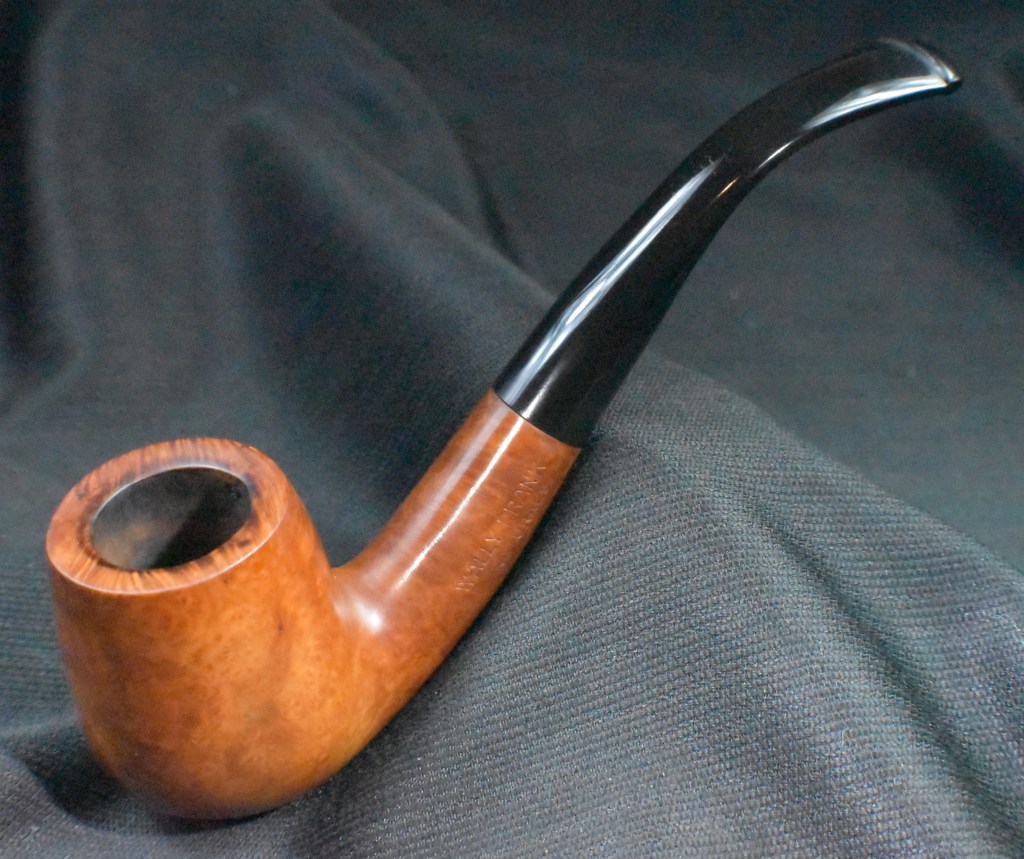
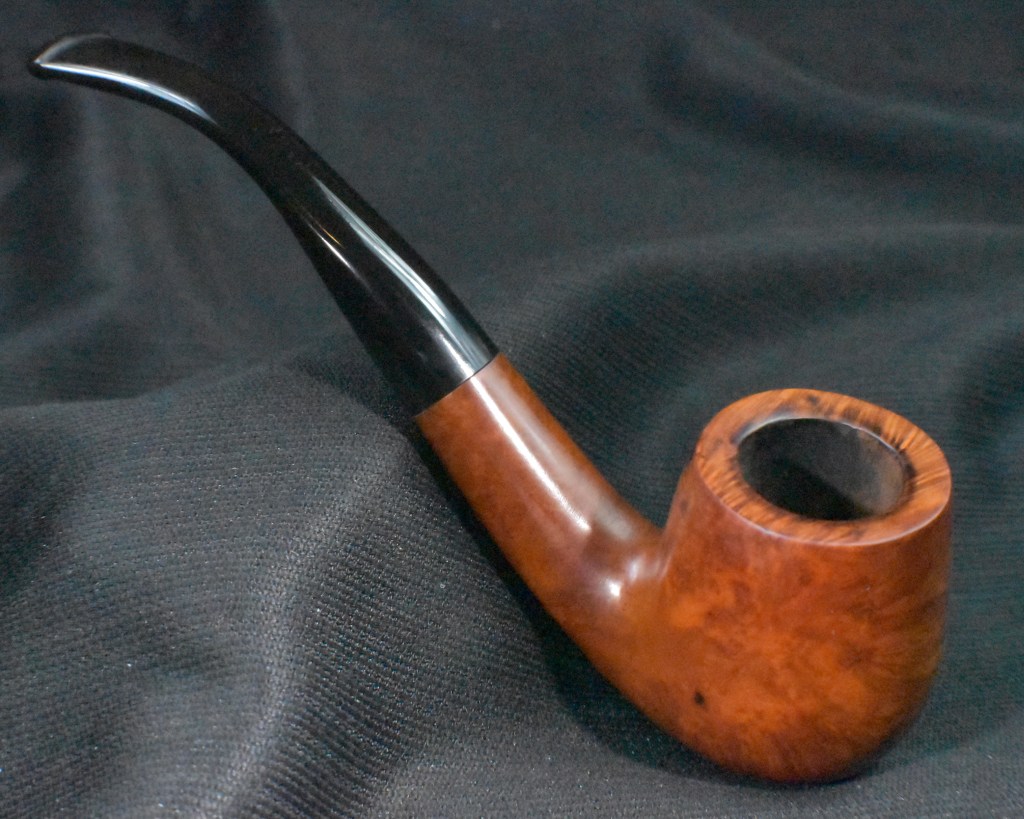
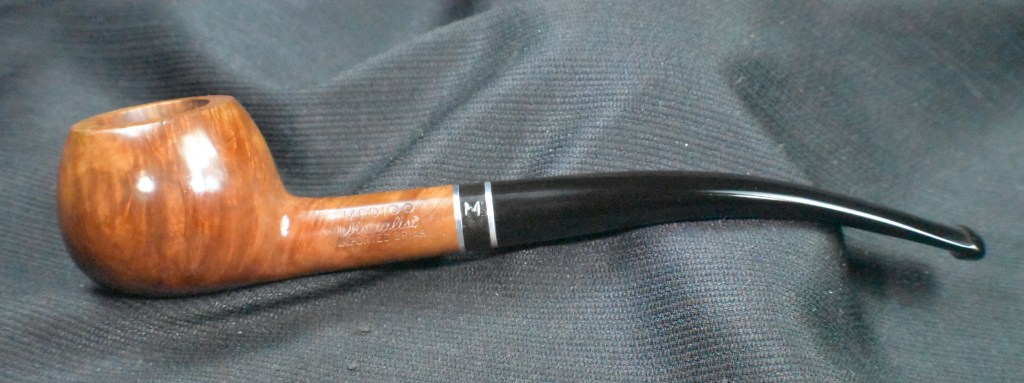
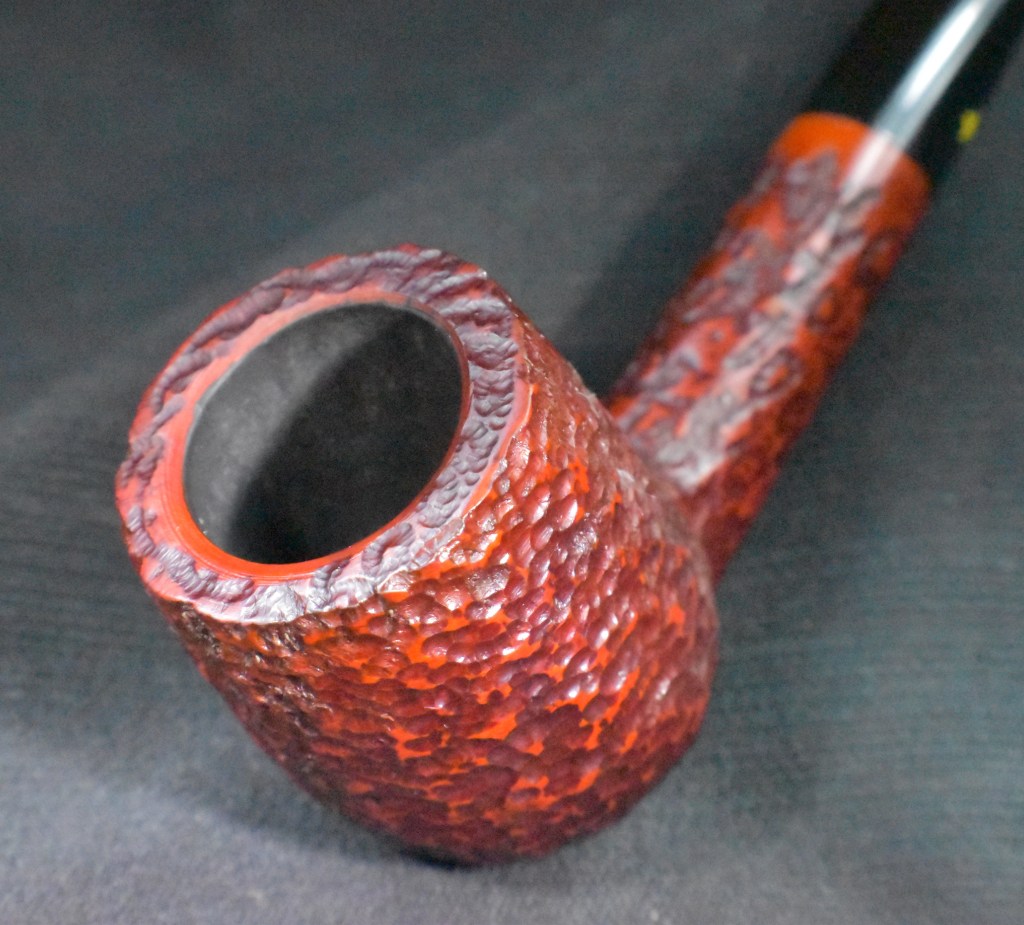
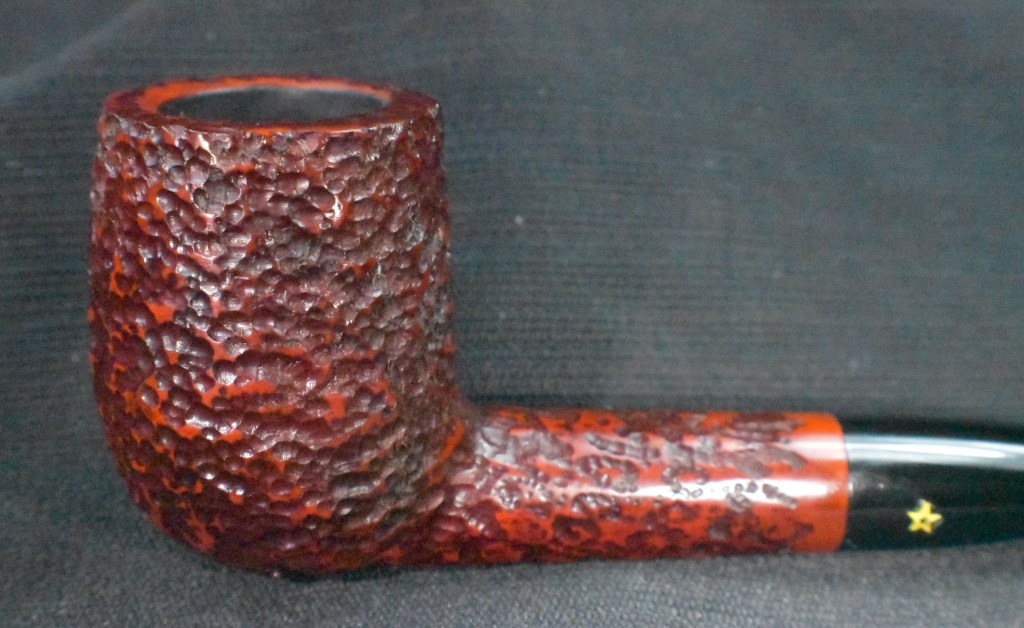
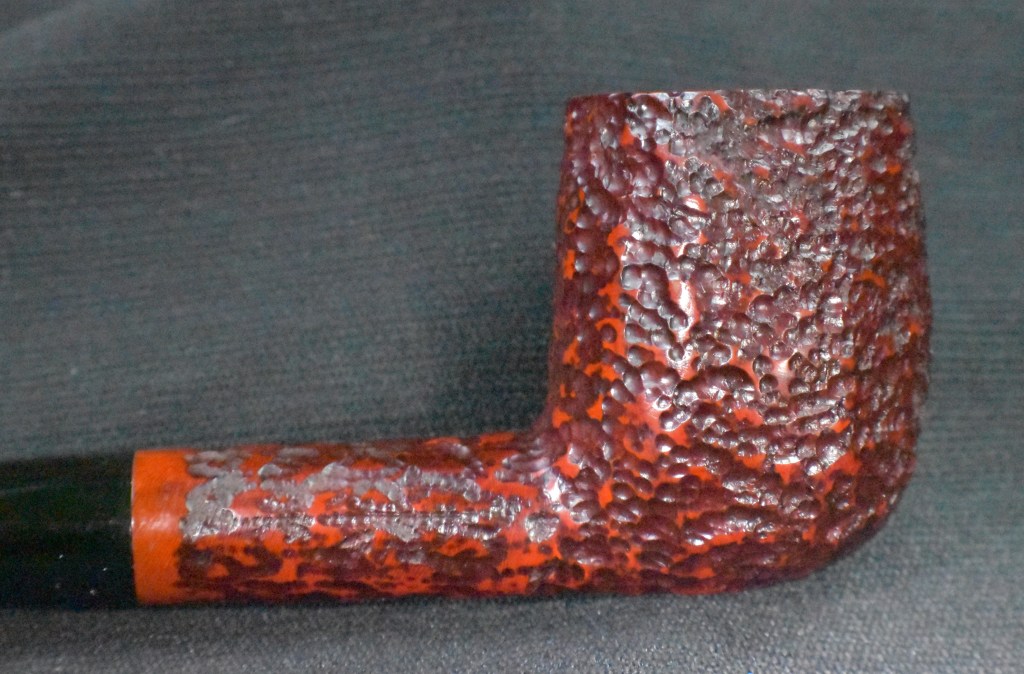
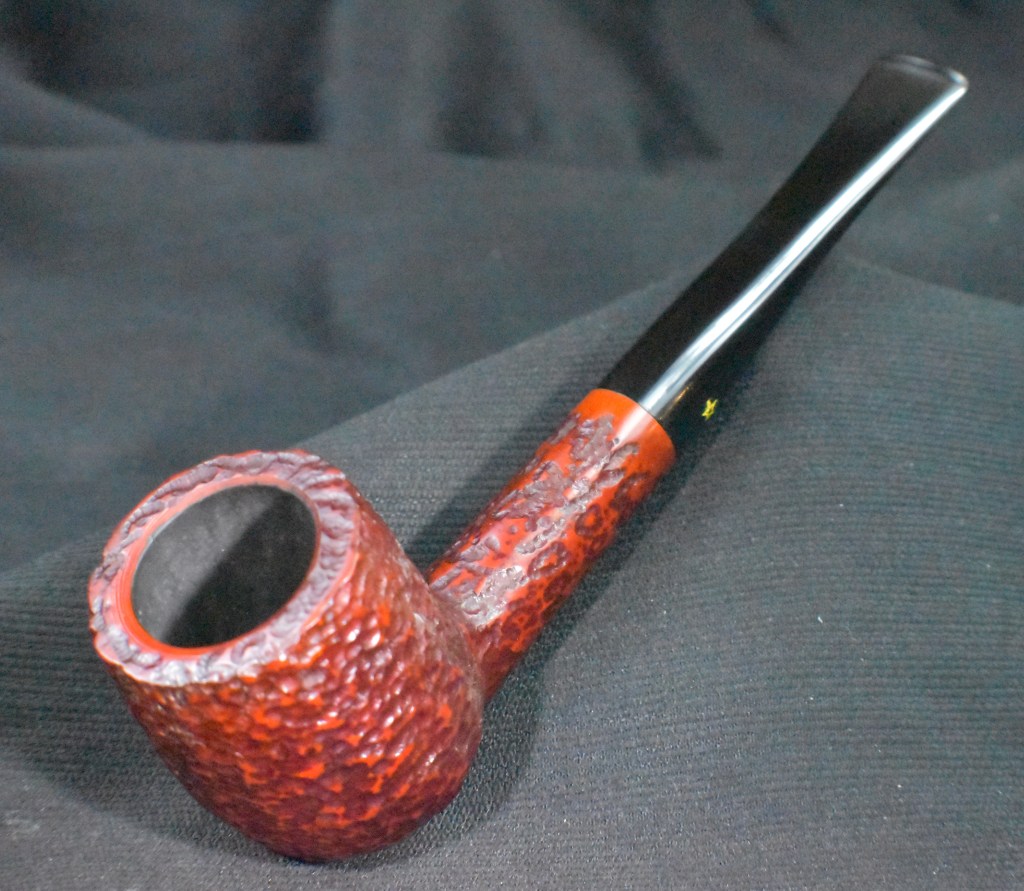
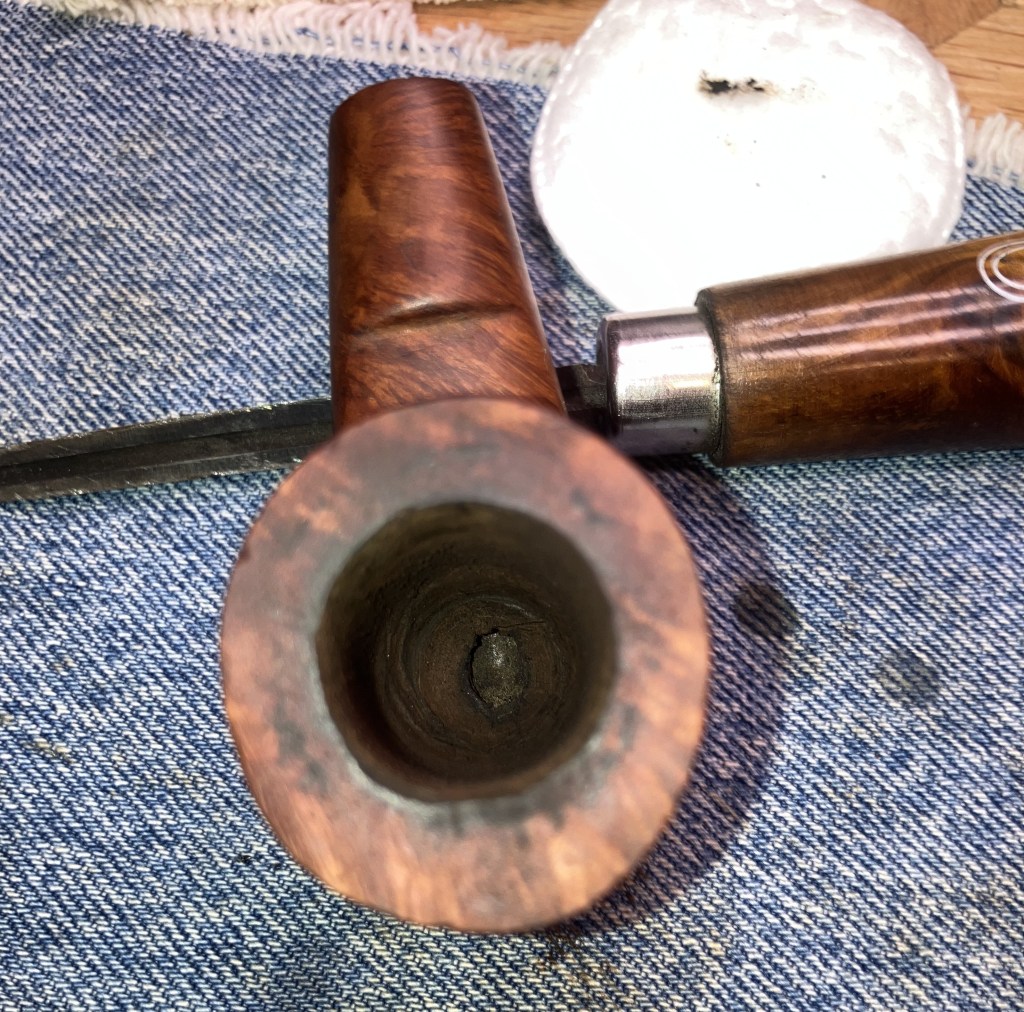
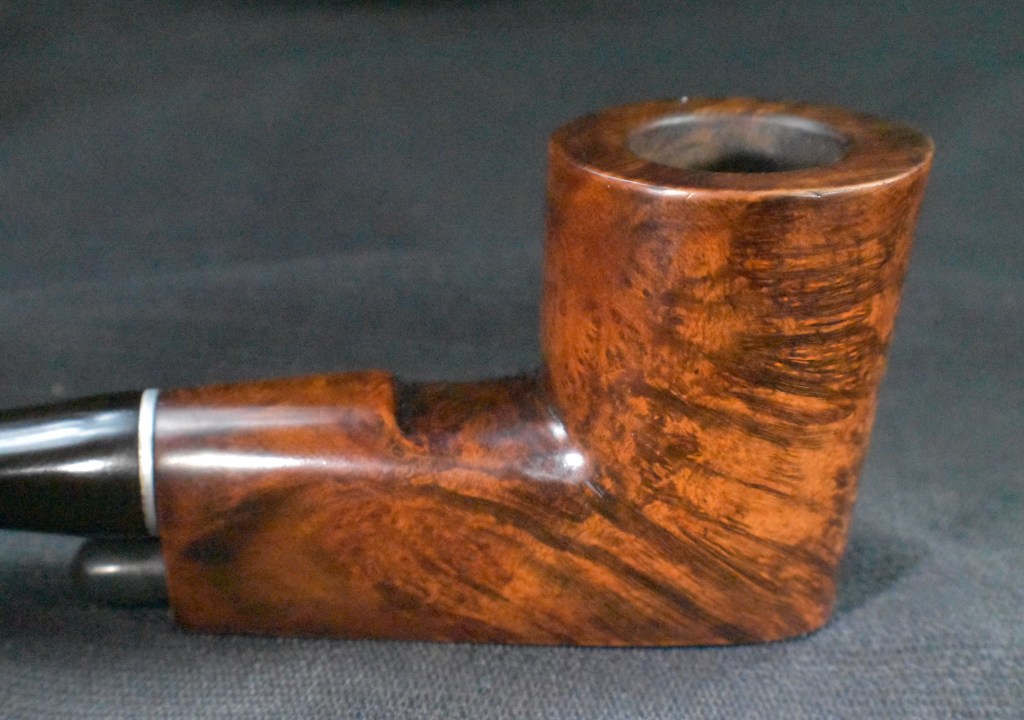
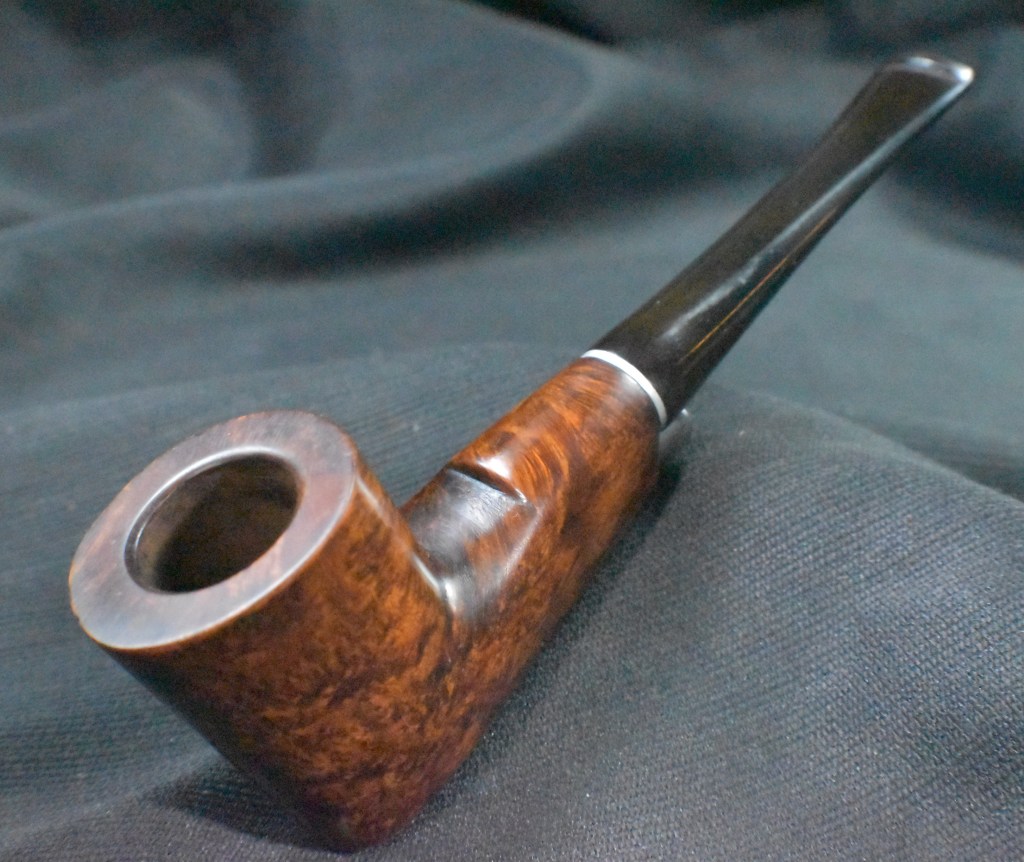
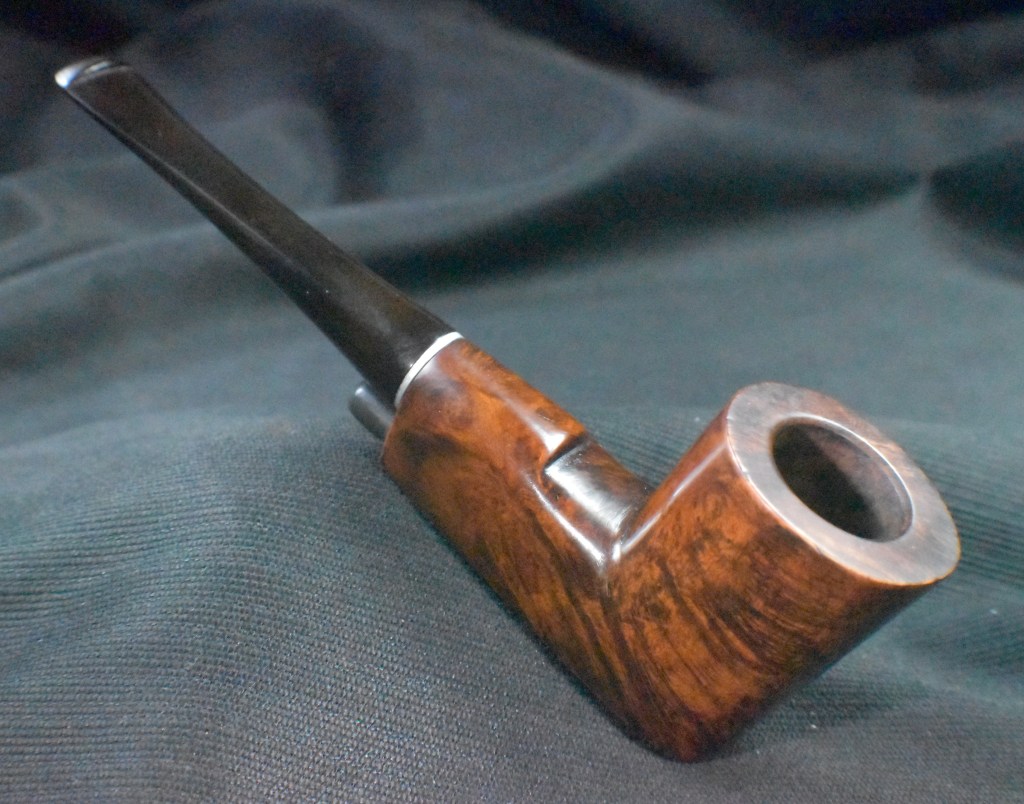
I doubt I will ever get tired of restoring J. Rettke pipes. This one turned out very nicely. Yeah, the stem still shows some signs of chompage but it is far better than it was before the restoration. The tobacco chamber was well preserved by all that cake and it looks great. The refinishing of the briar appears dramatically better than I expected. The contrast dye, though unexpected, shows off the wood grain beautifully. At the end of the first Rettke restoration, I said, “Overall this is a very nice and interesting historical pipe. I would consider this an artisanal pipe from a time before artisanal was cool.” Those two statements also apply to this pipe. The dimensions of the J. Rettke are:
Length: 5.39 in./ 136.91 mm.
Weight: 1.25 oz./ 35.44 g.
Bowl Height: 1.93 in./ 49.02 mm.
Chamber Depth: 1.46 in./ 37.08 mm.
Chamber Diameter: 0.75 in./ 19.05 mm.
Outside Diameter: 1.36 in./ 34.54 mm.
I do hope that you have found something here useful to your own pipe care, maintenance or restorations. If you like this sort of thing, please click the like and subscribe buttons. Thank you for reading the ramblings of an old pipe lover.
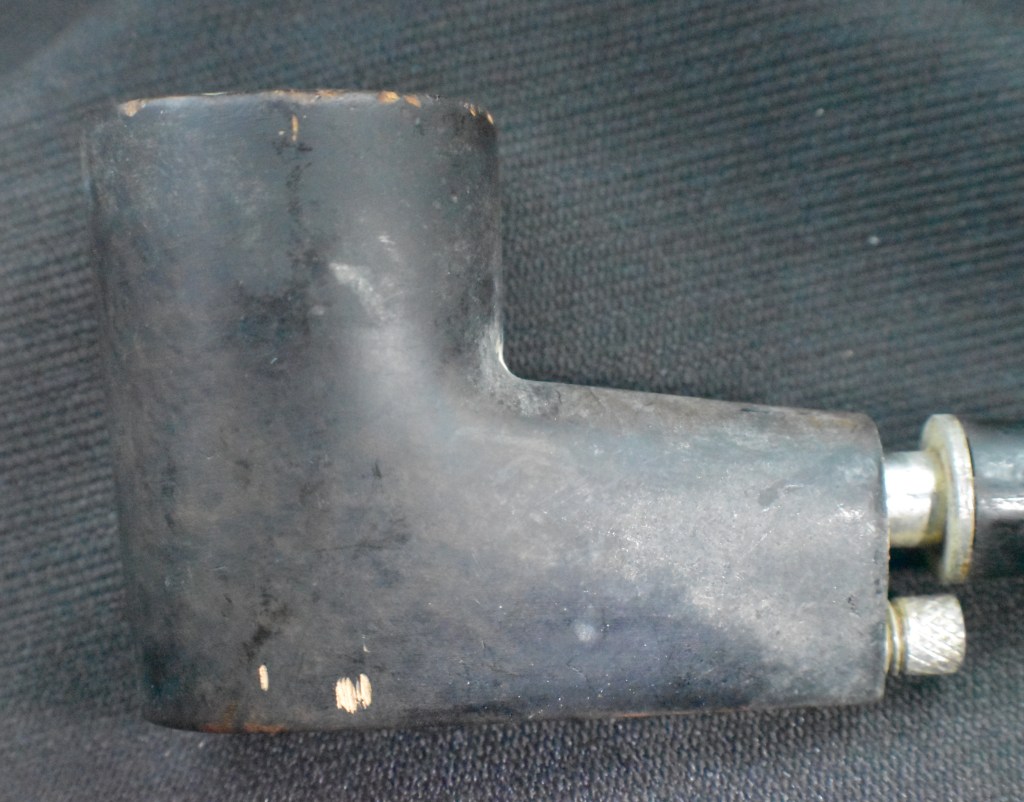
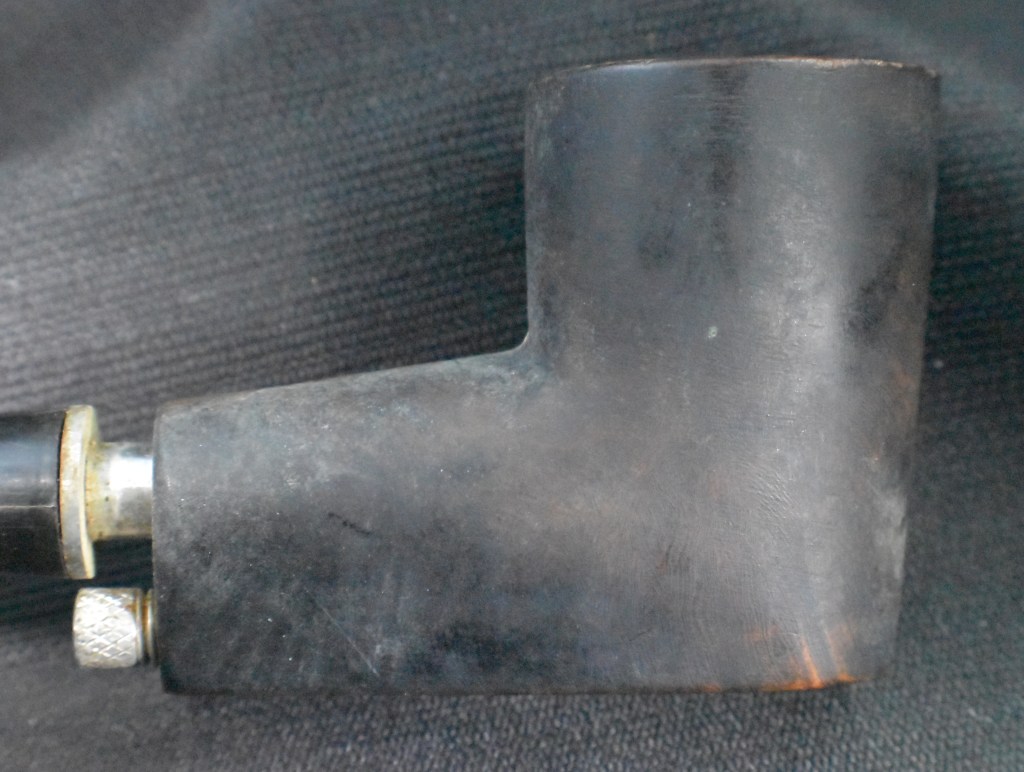
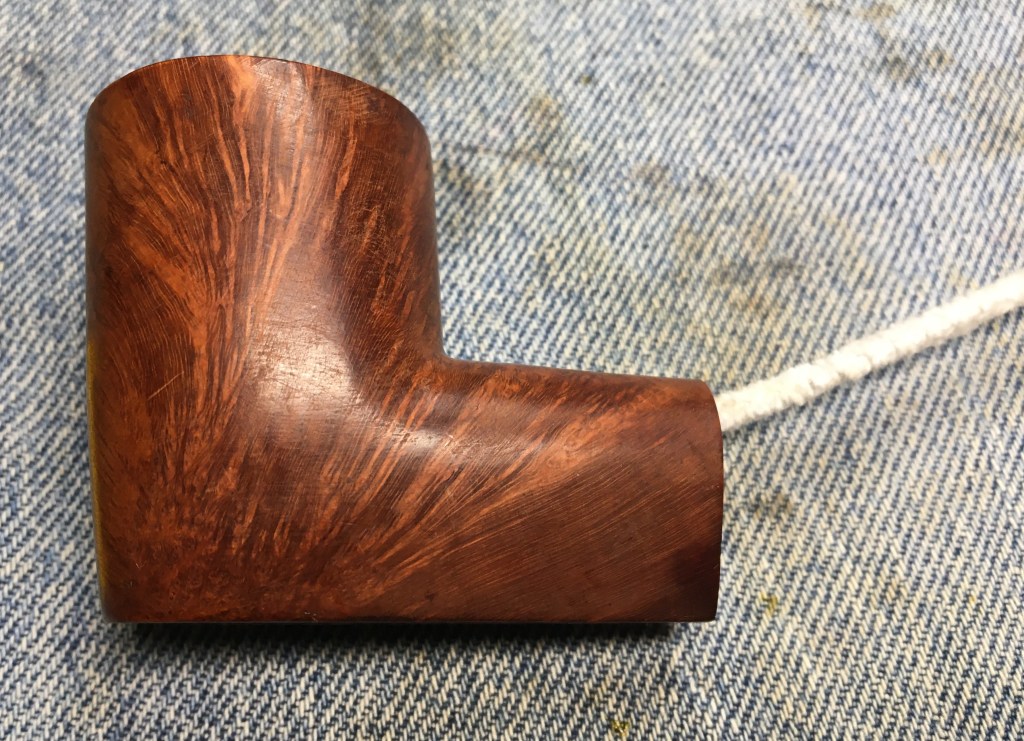
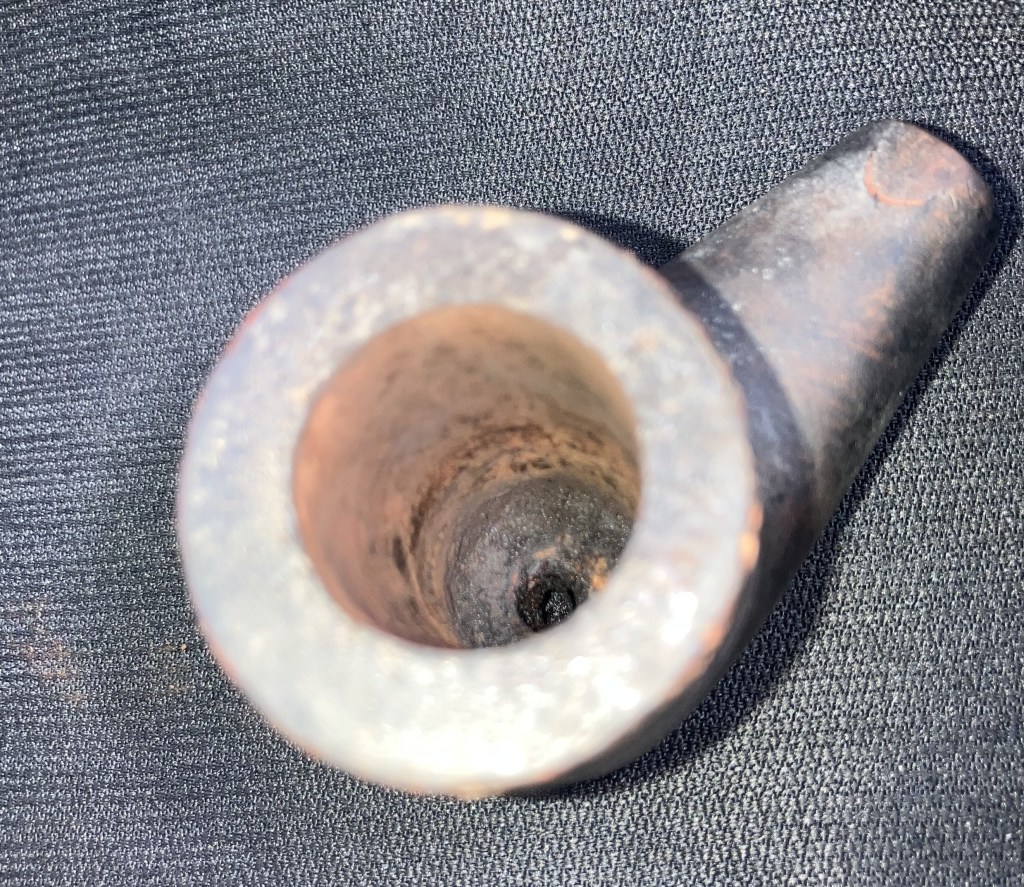
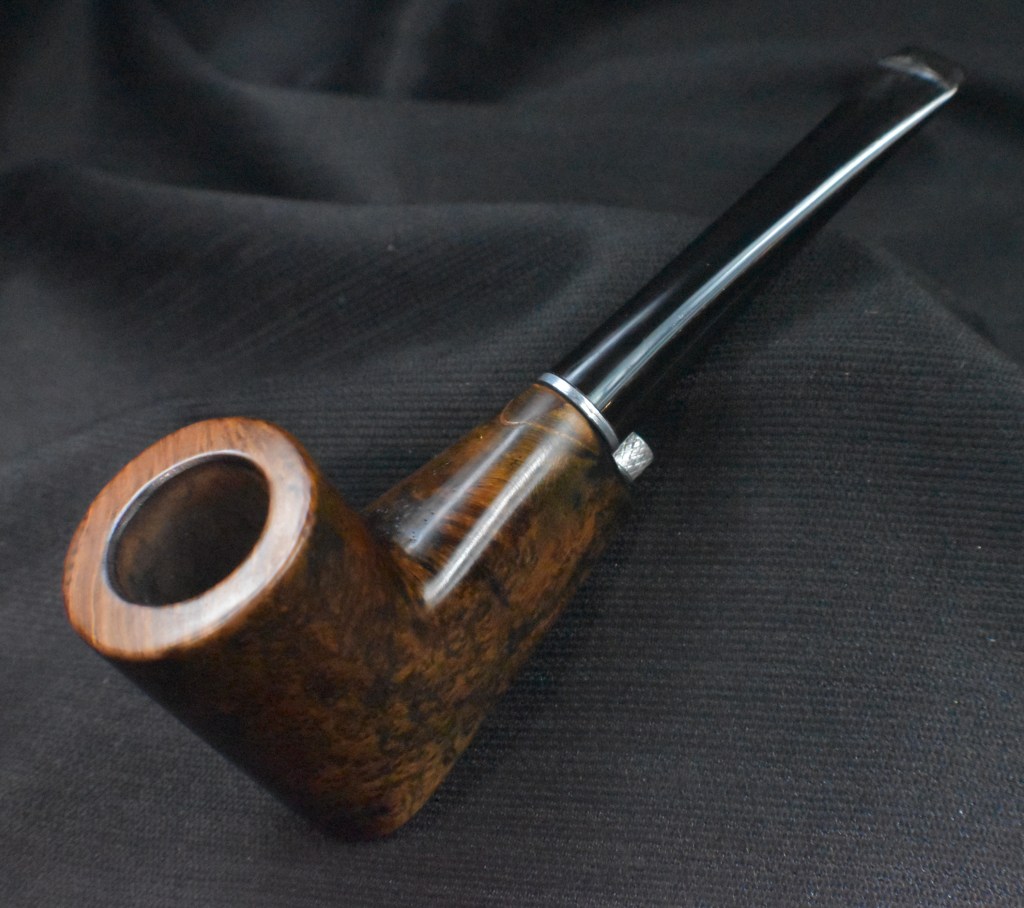
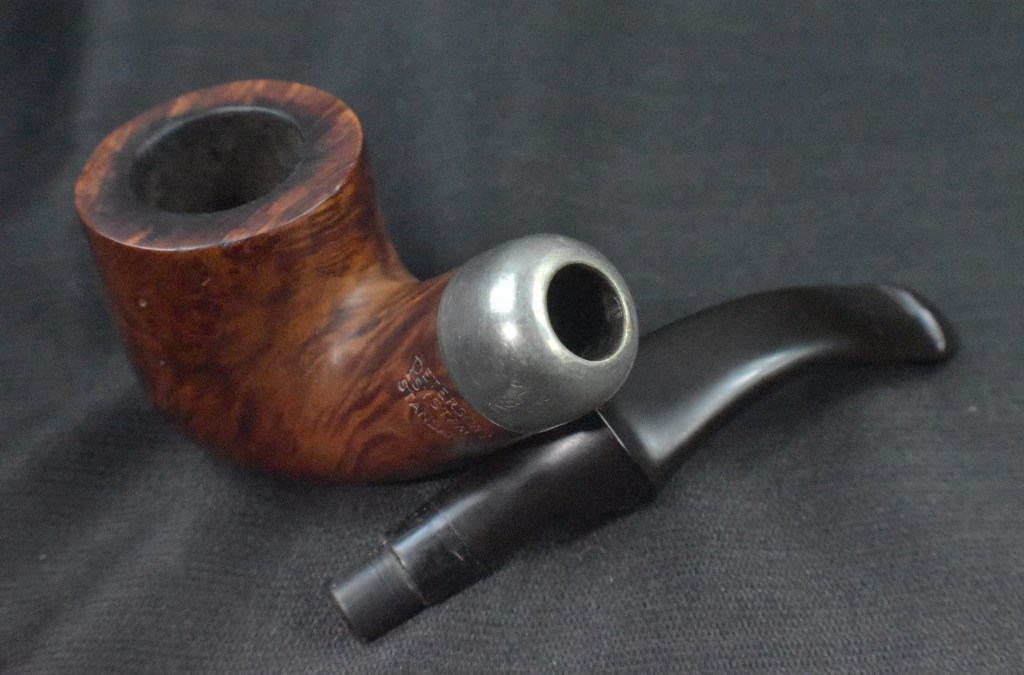
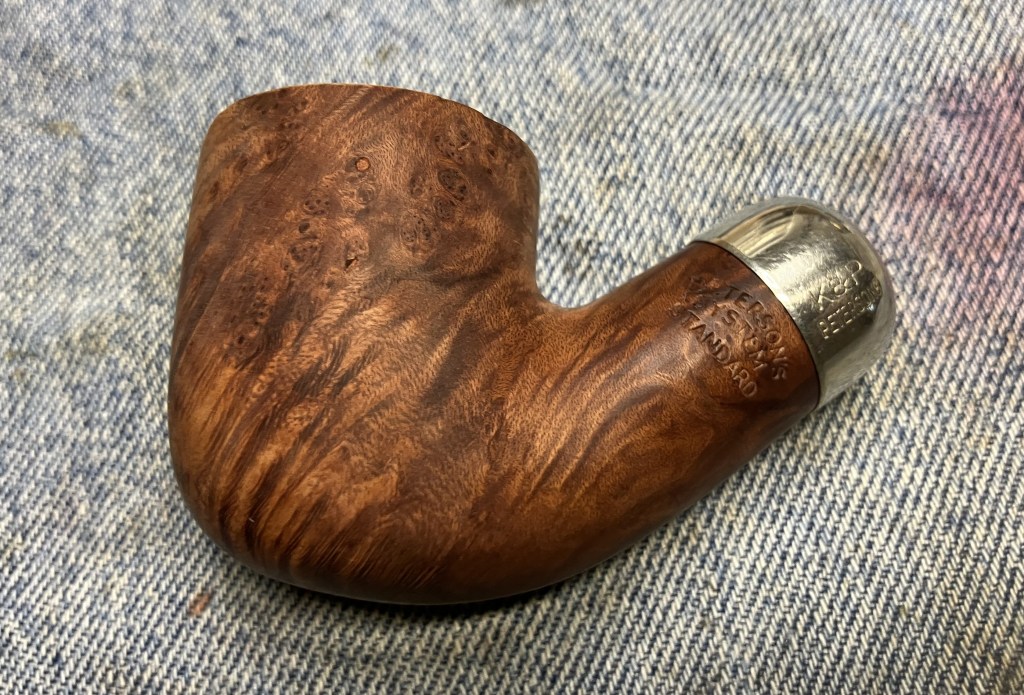
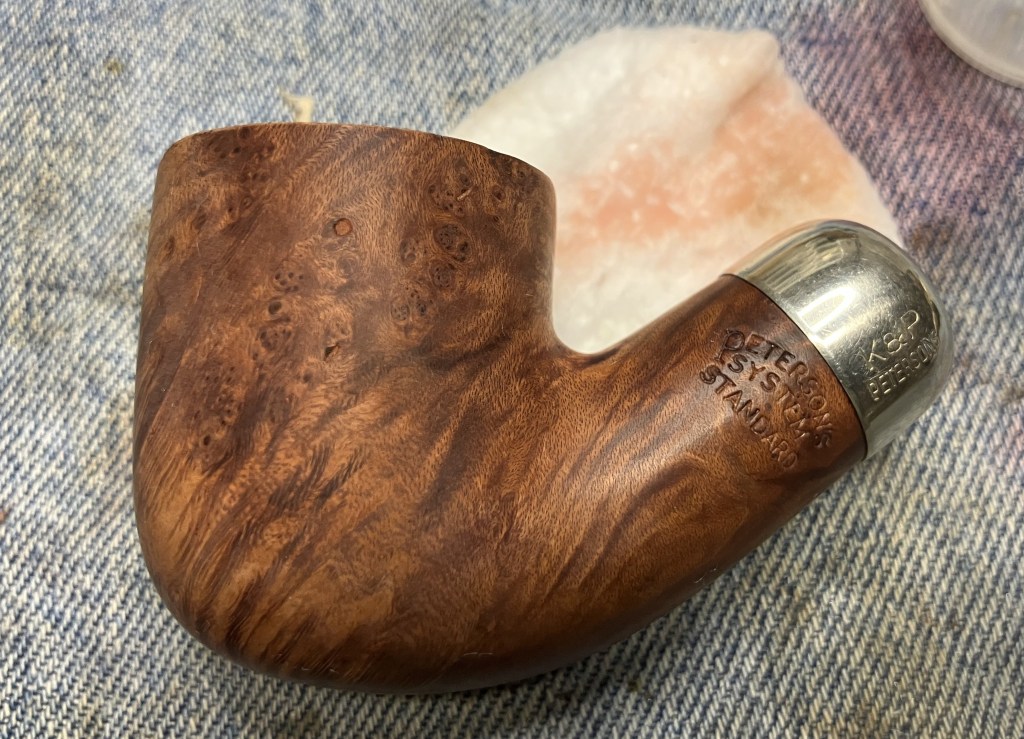
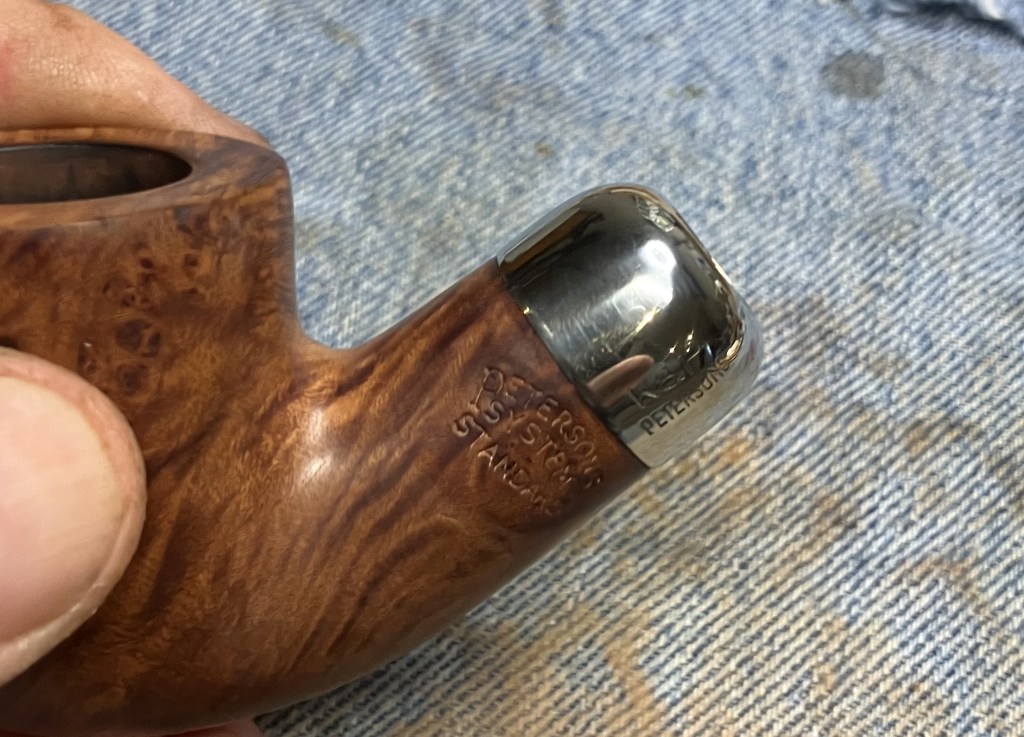
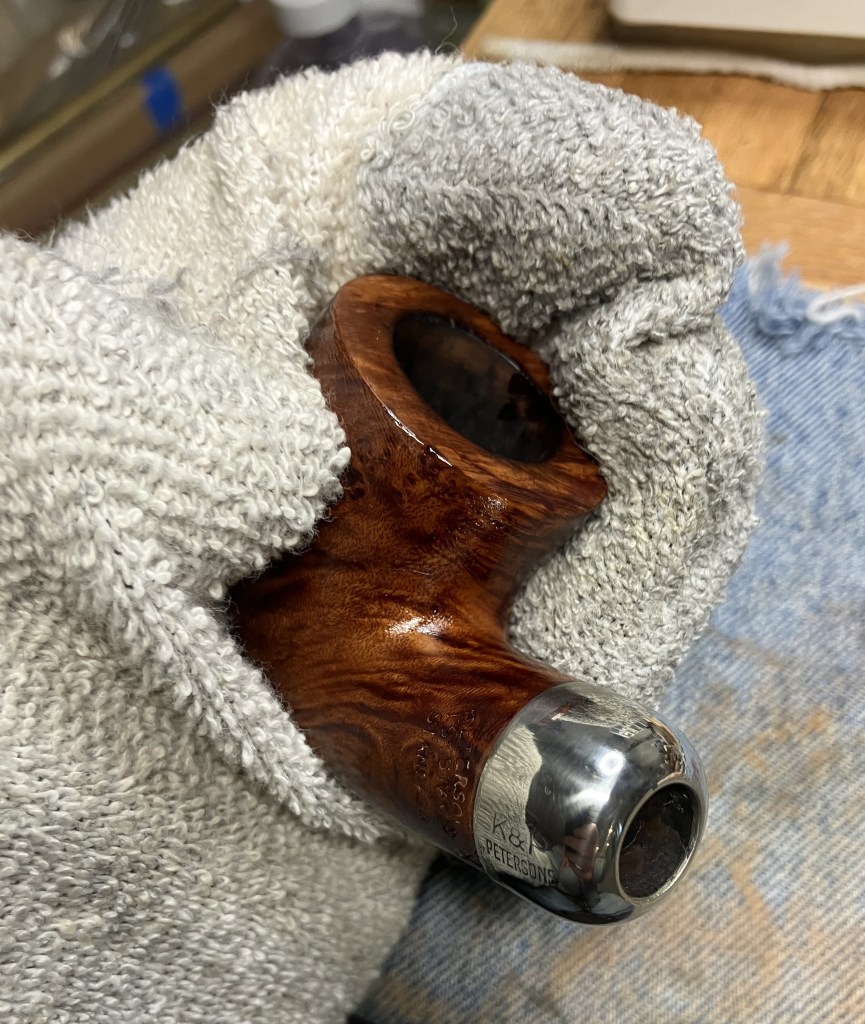
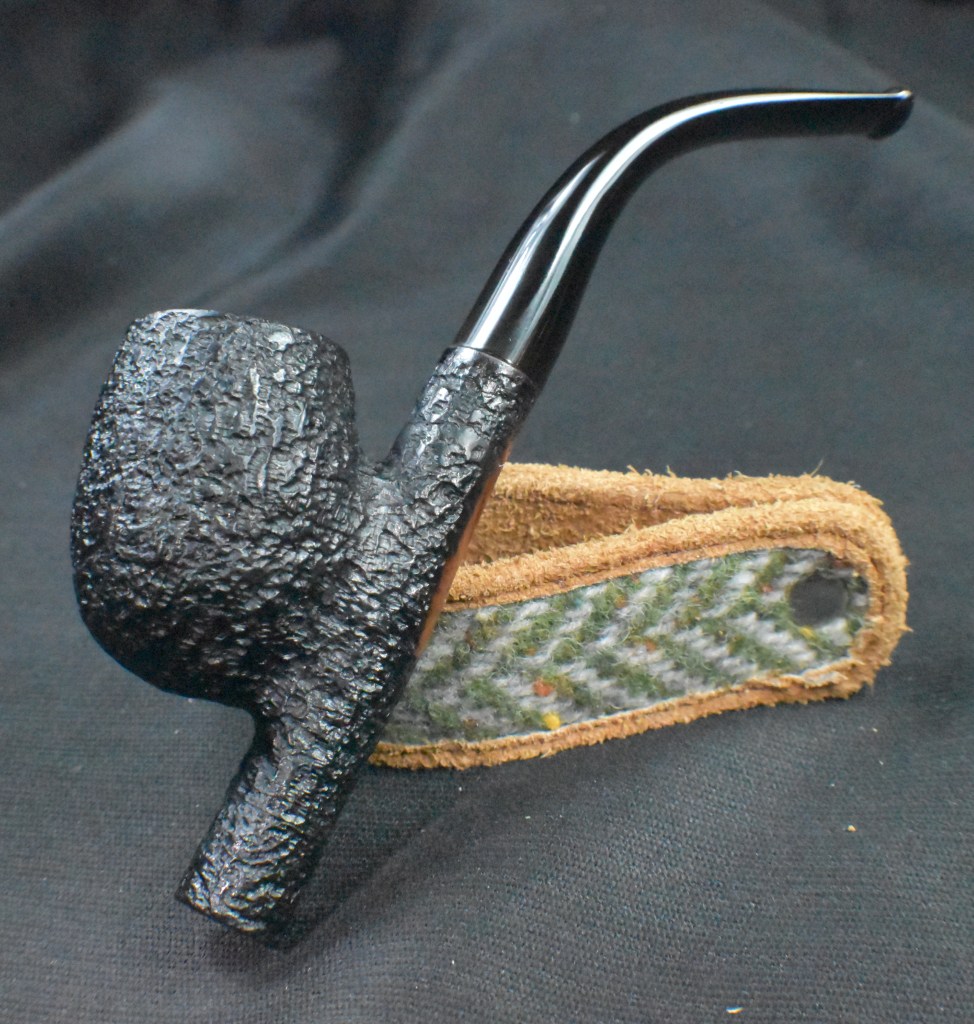
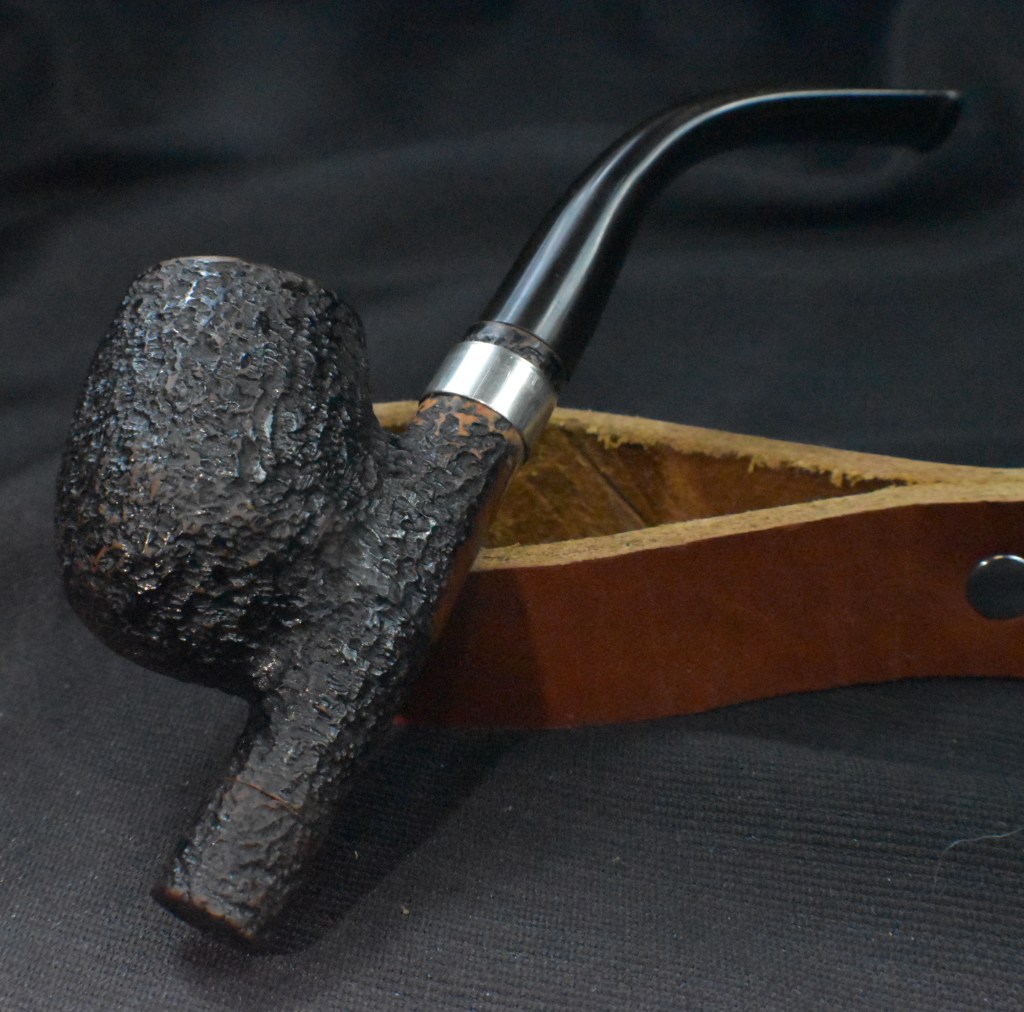
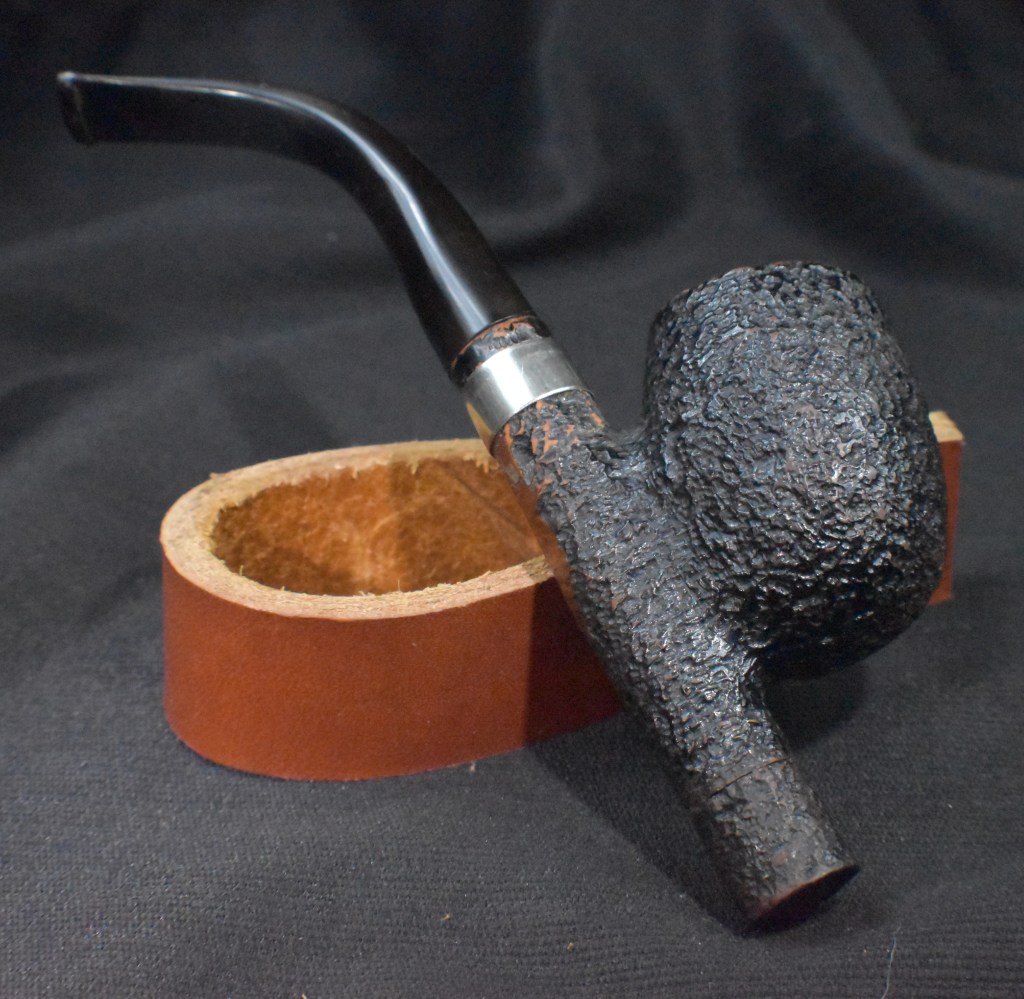
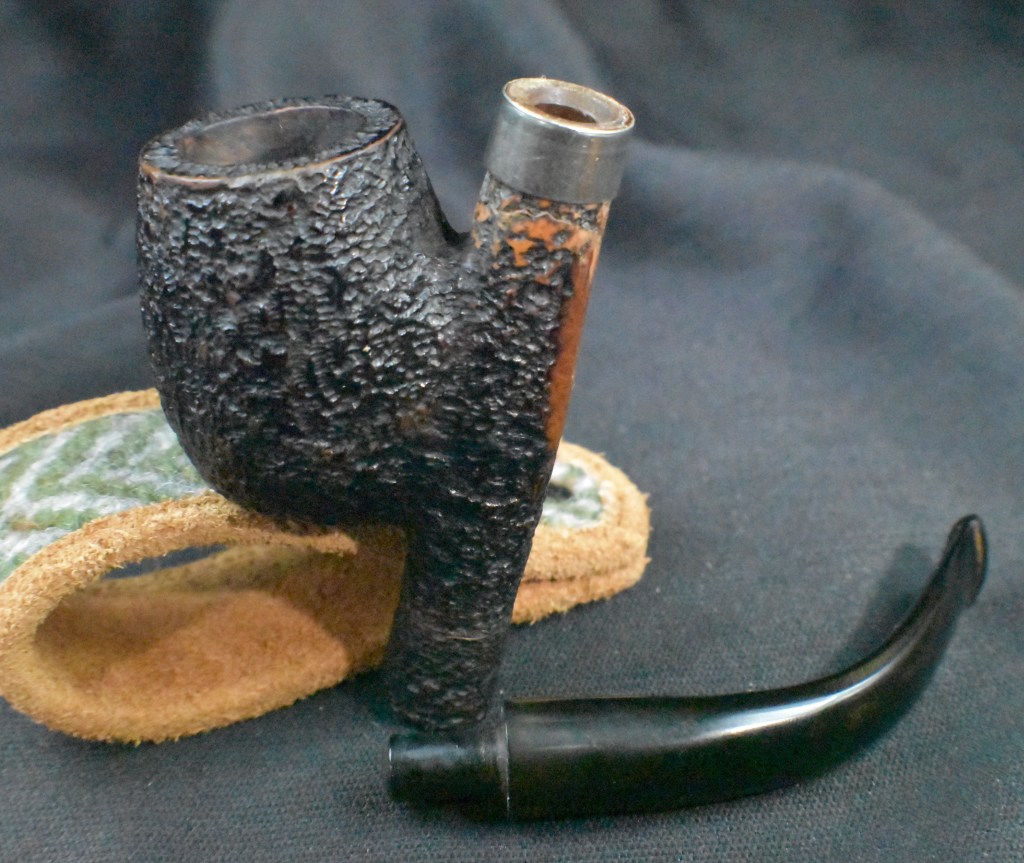
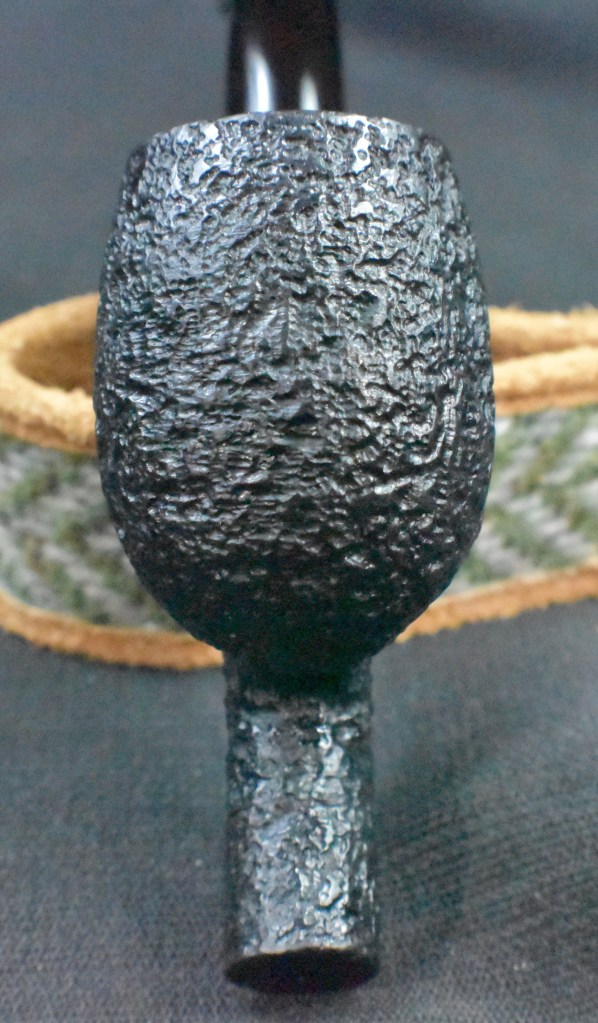
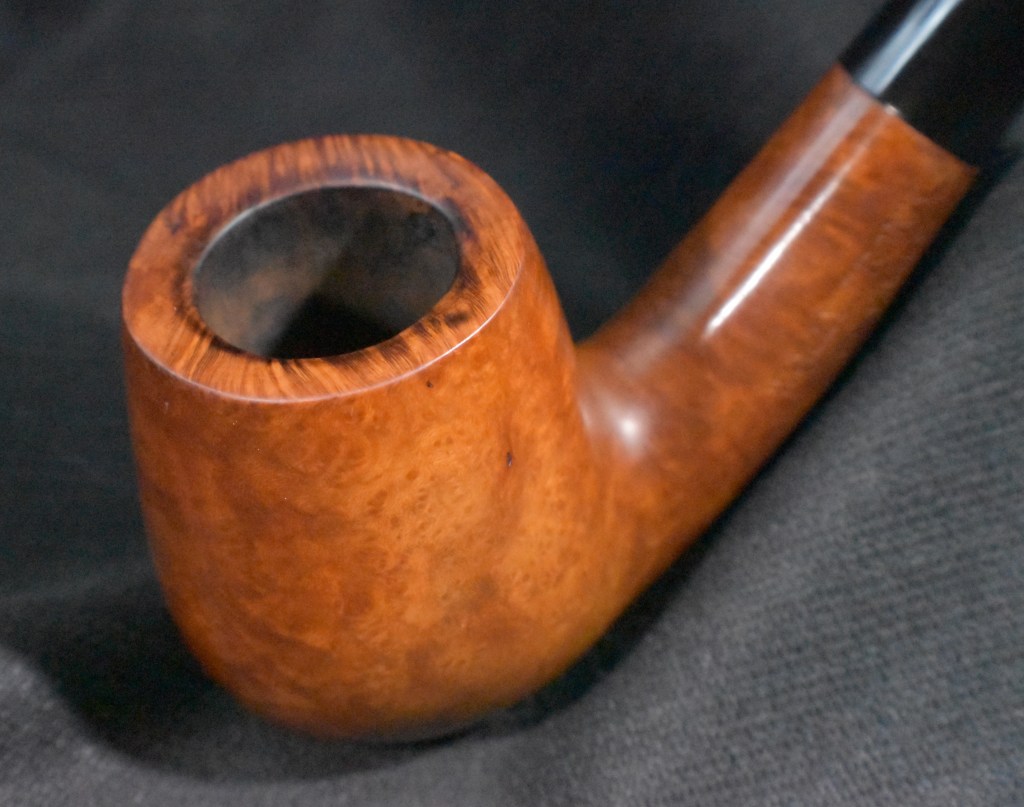
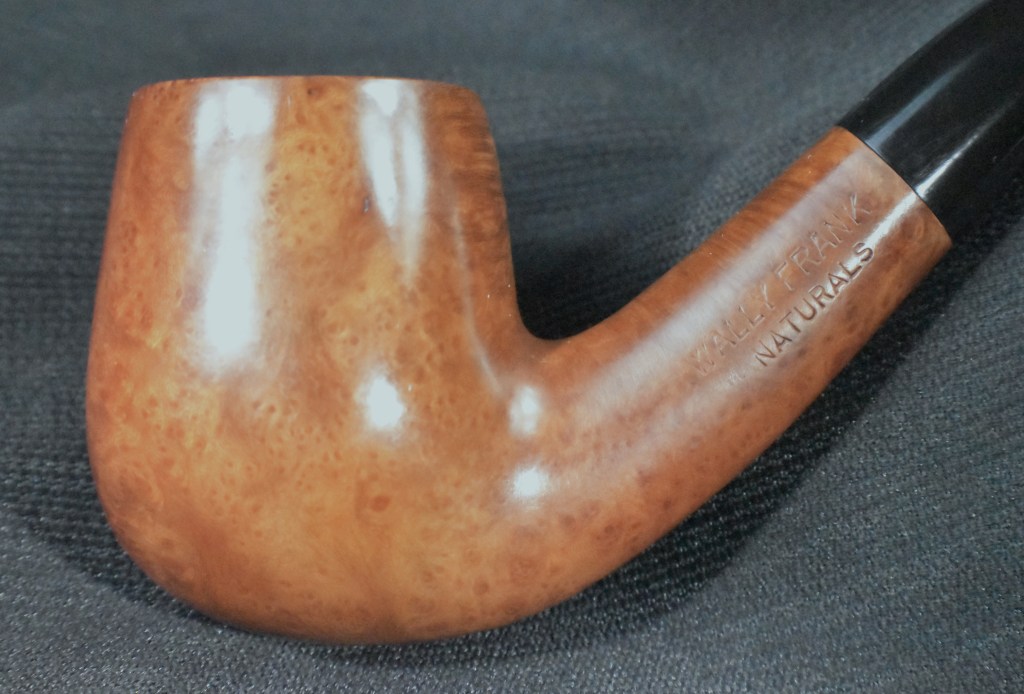
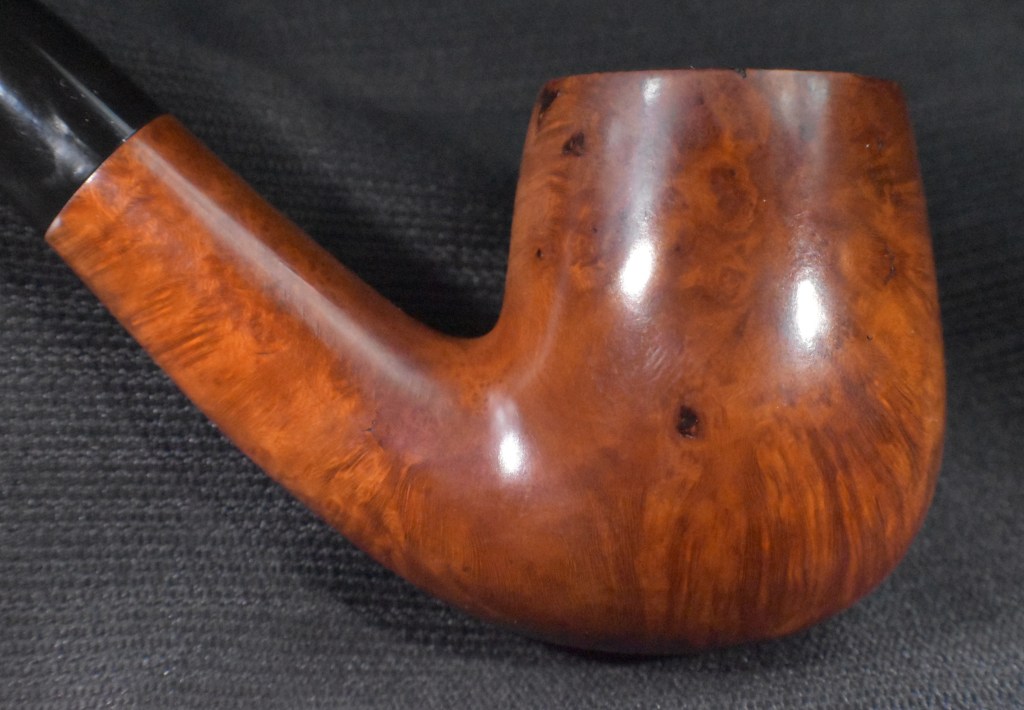
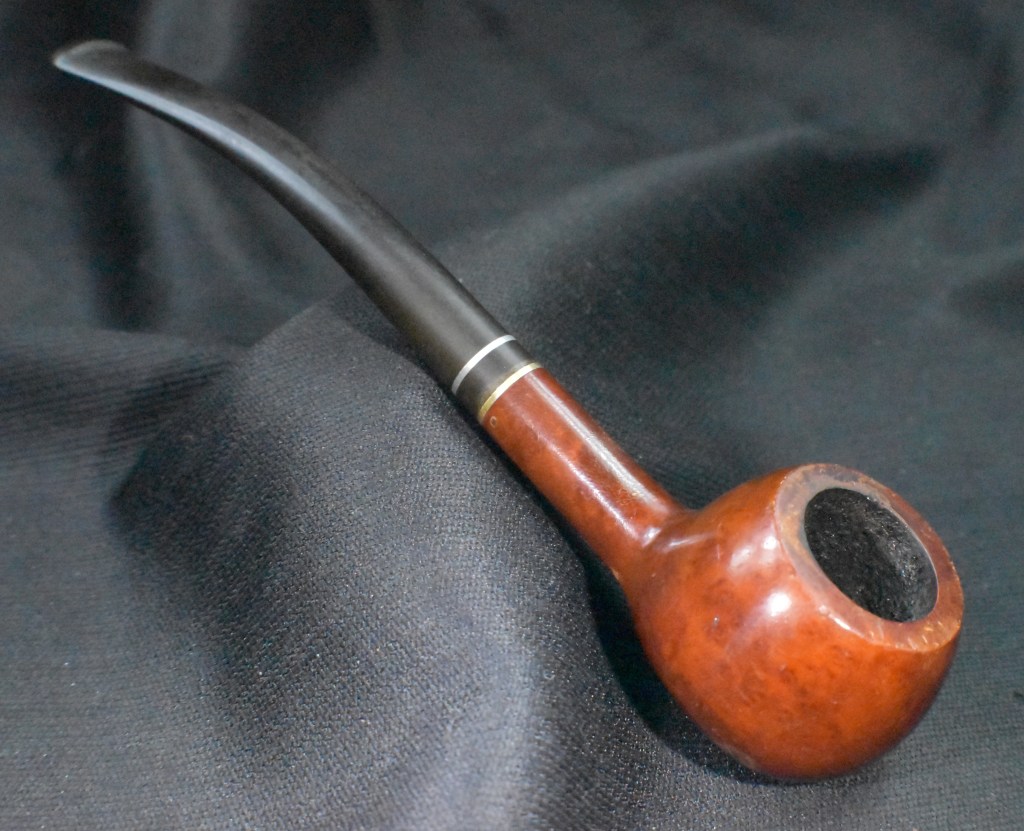
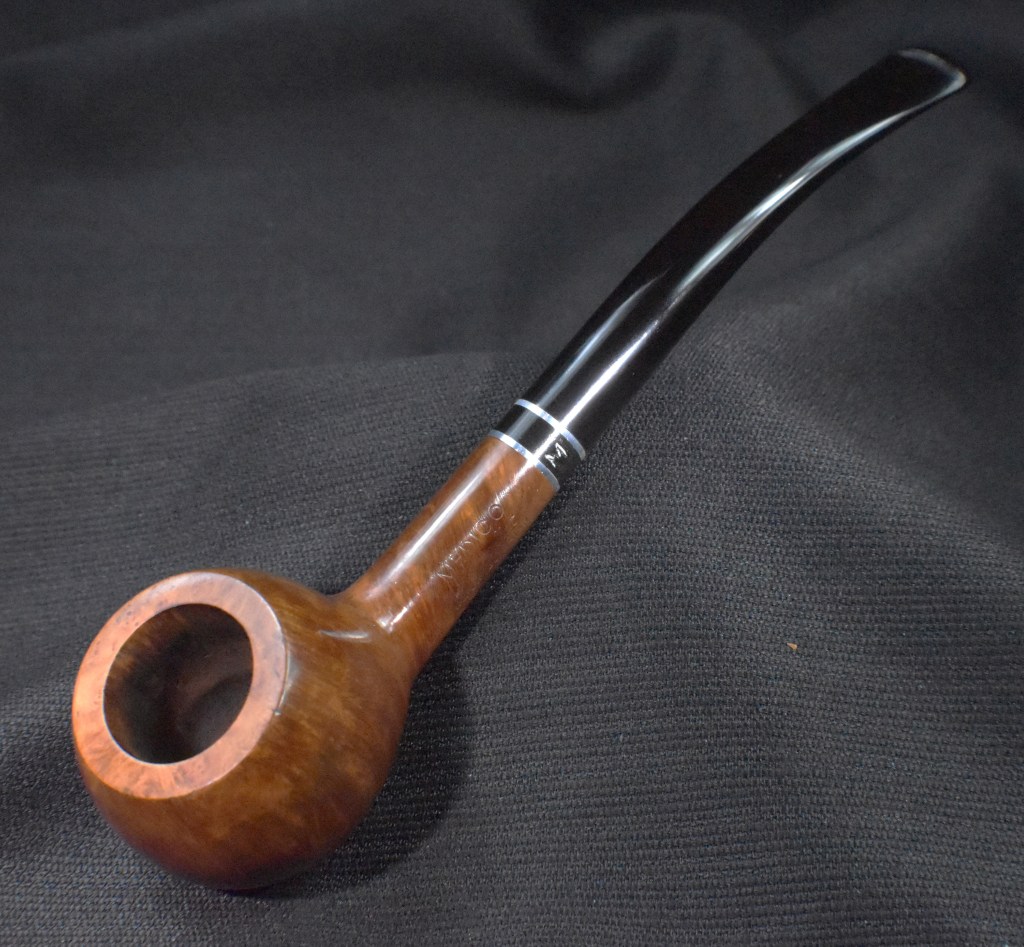
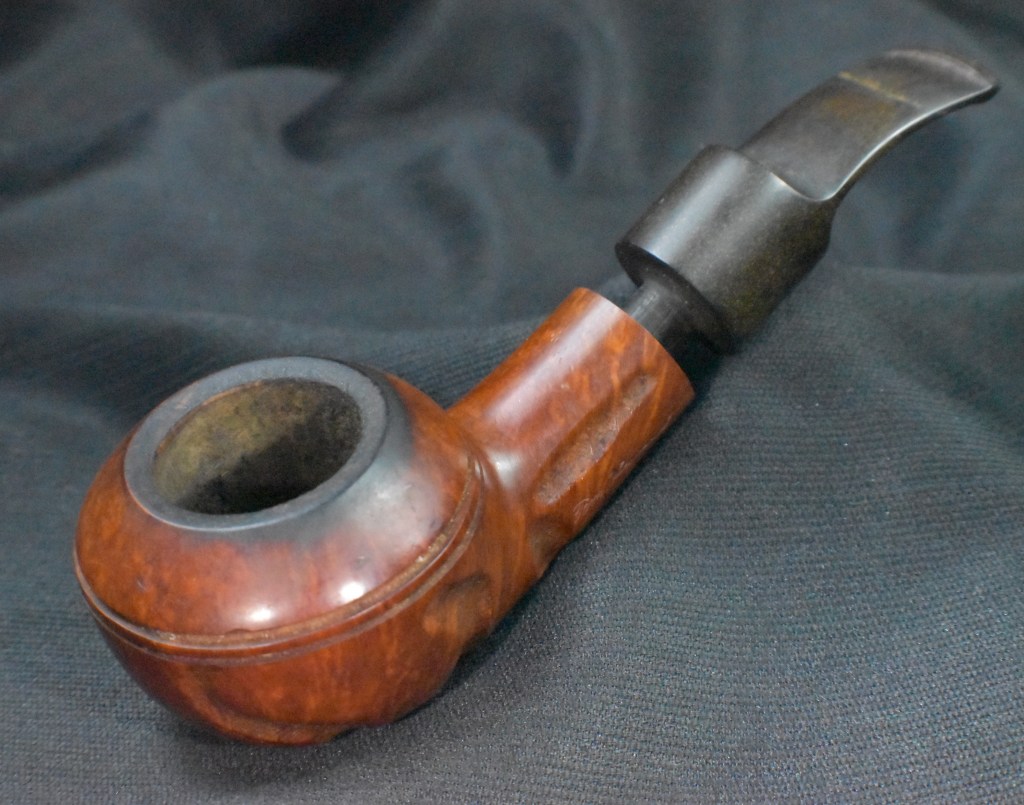
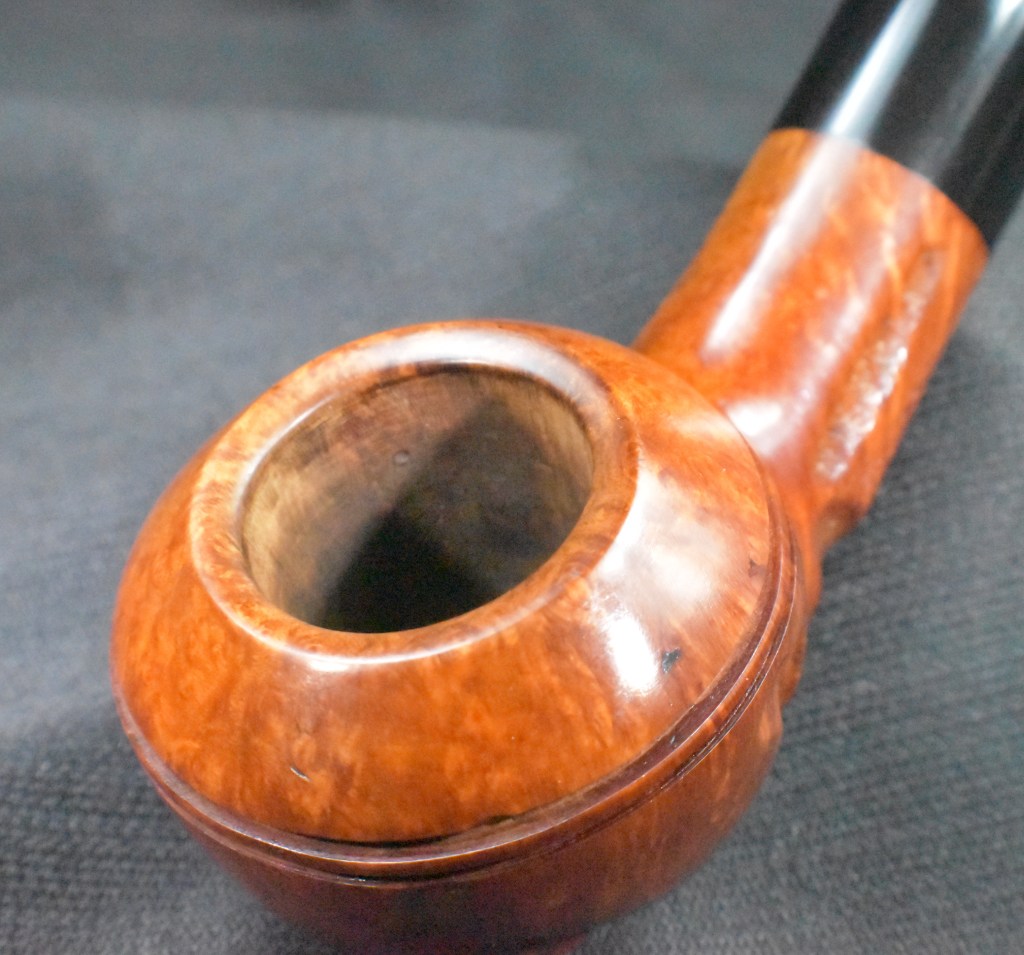
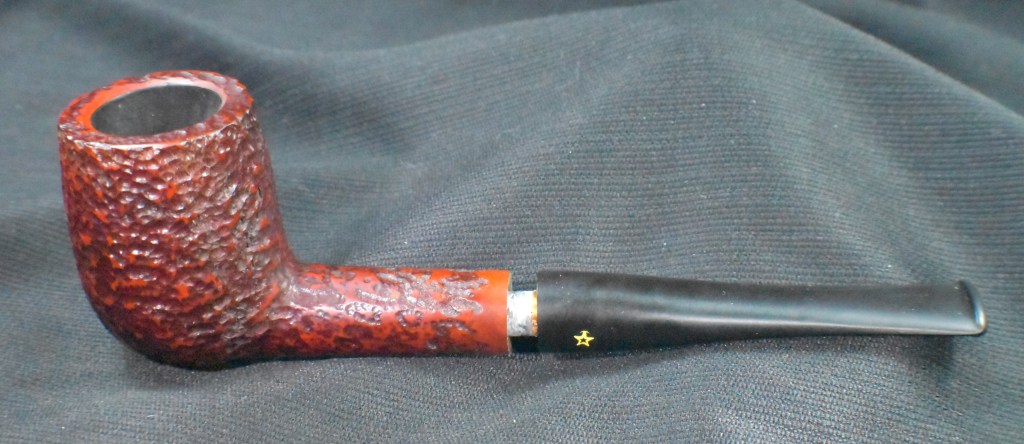
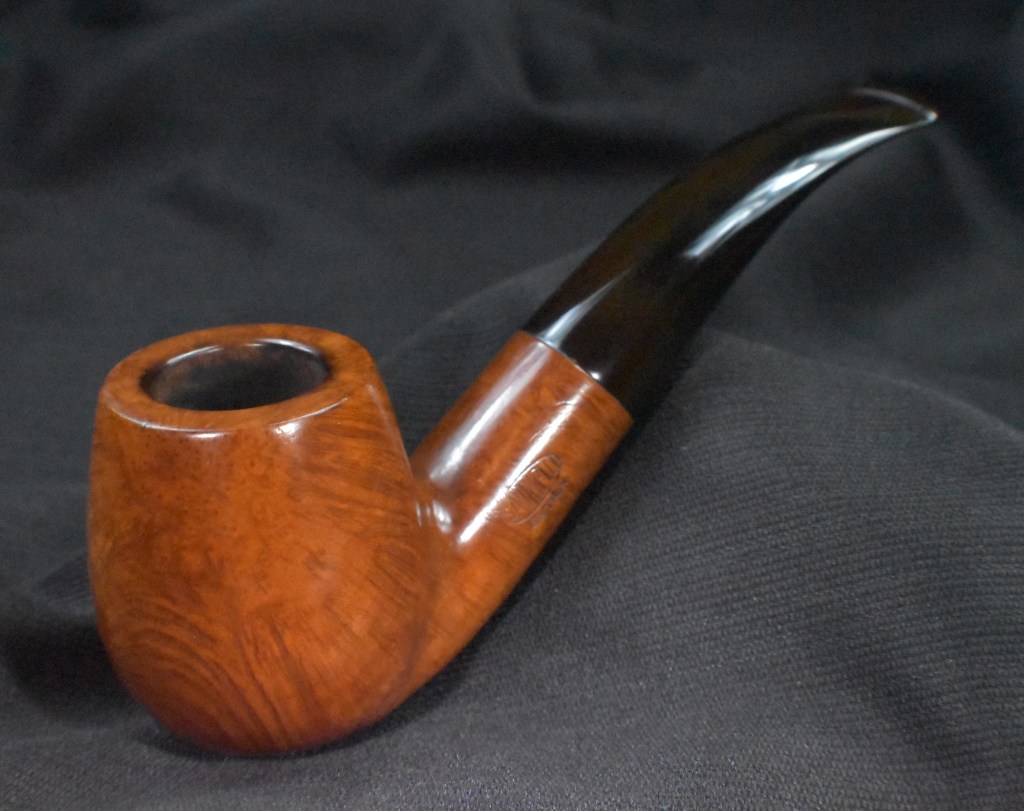
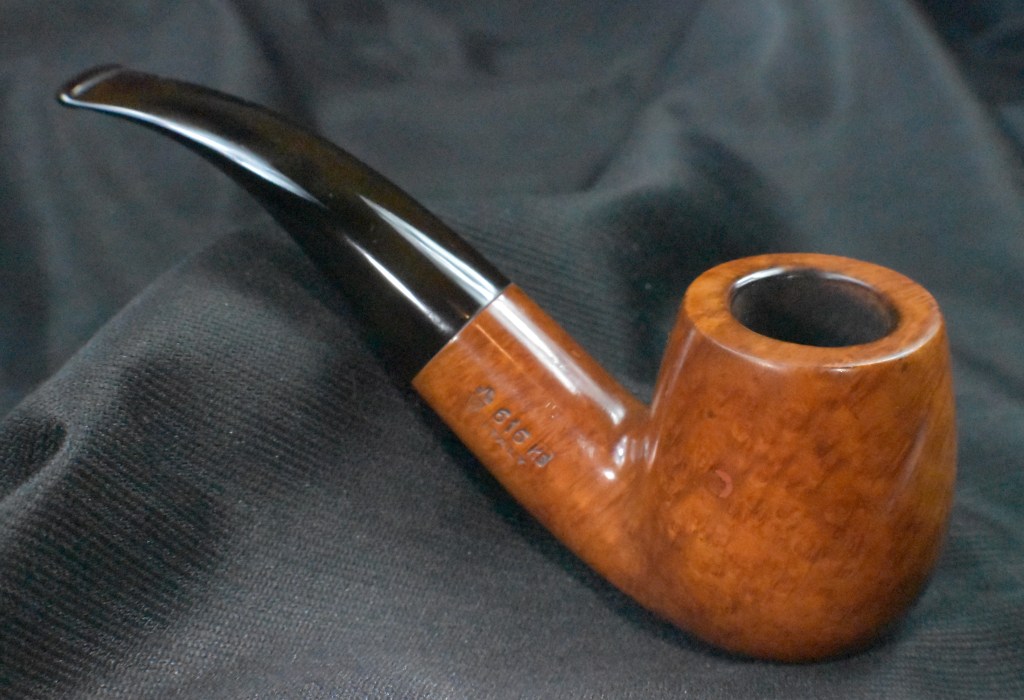
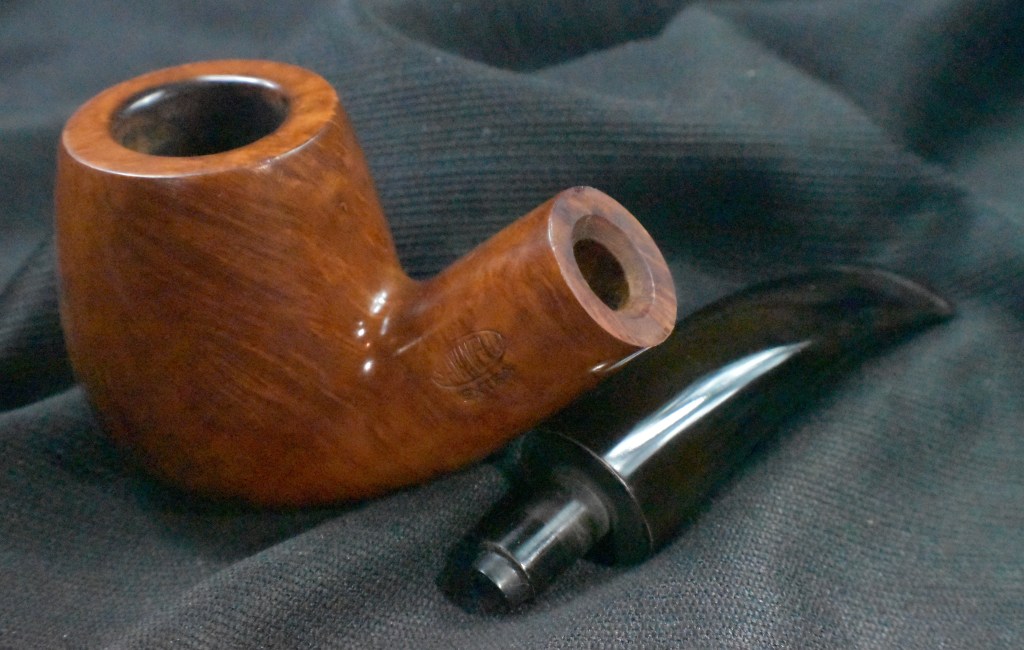
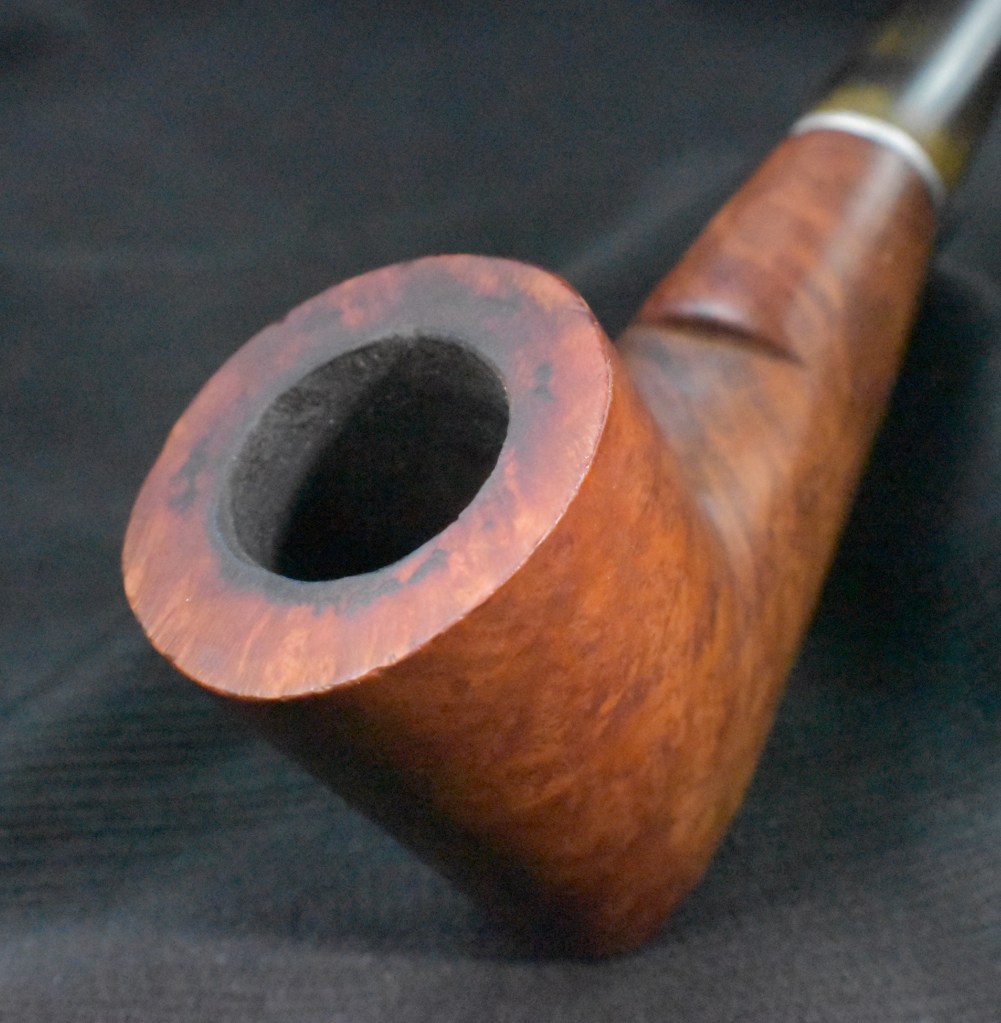
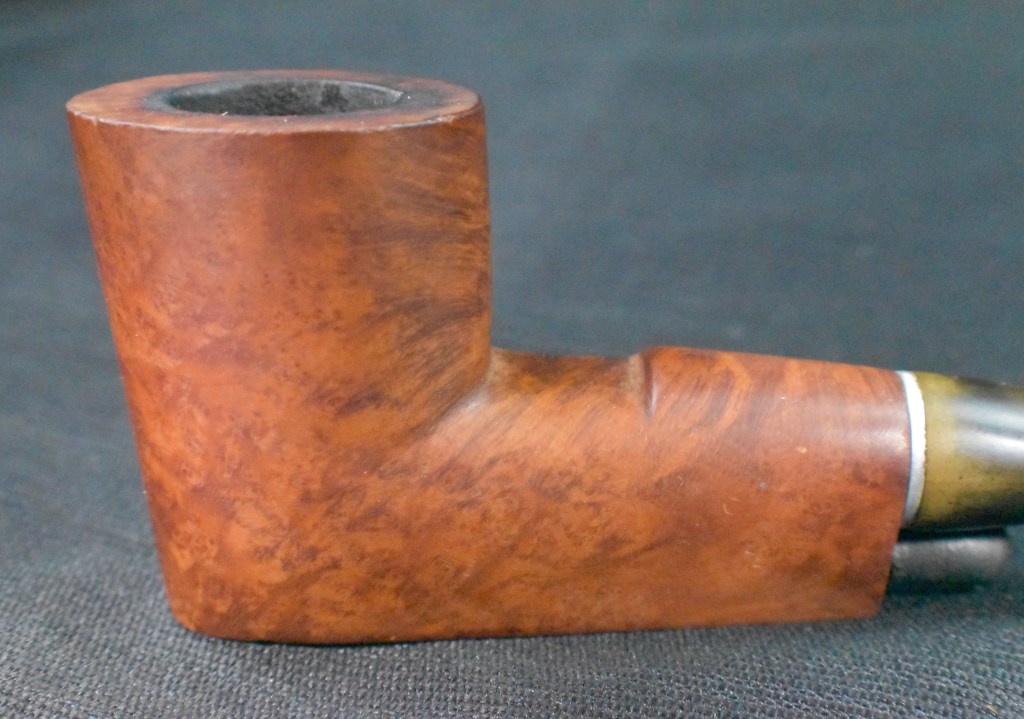
Below are some photos of the finished J. Rettke pipe.


