
Photographed and written by
John M. Young
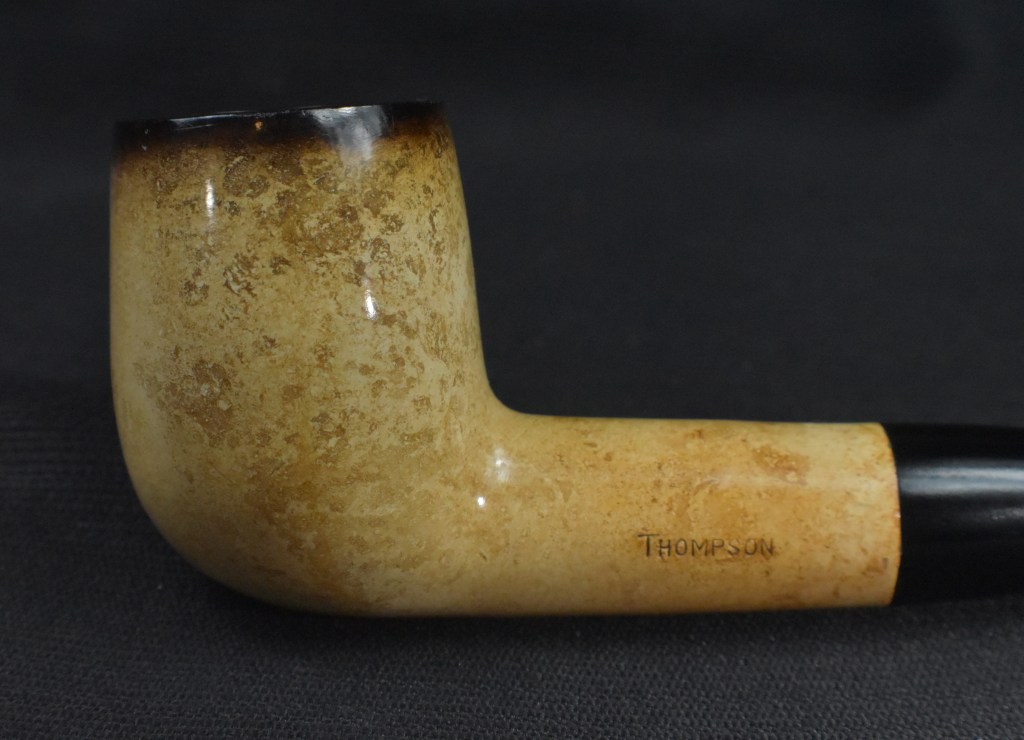
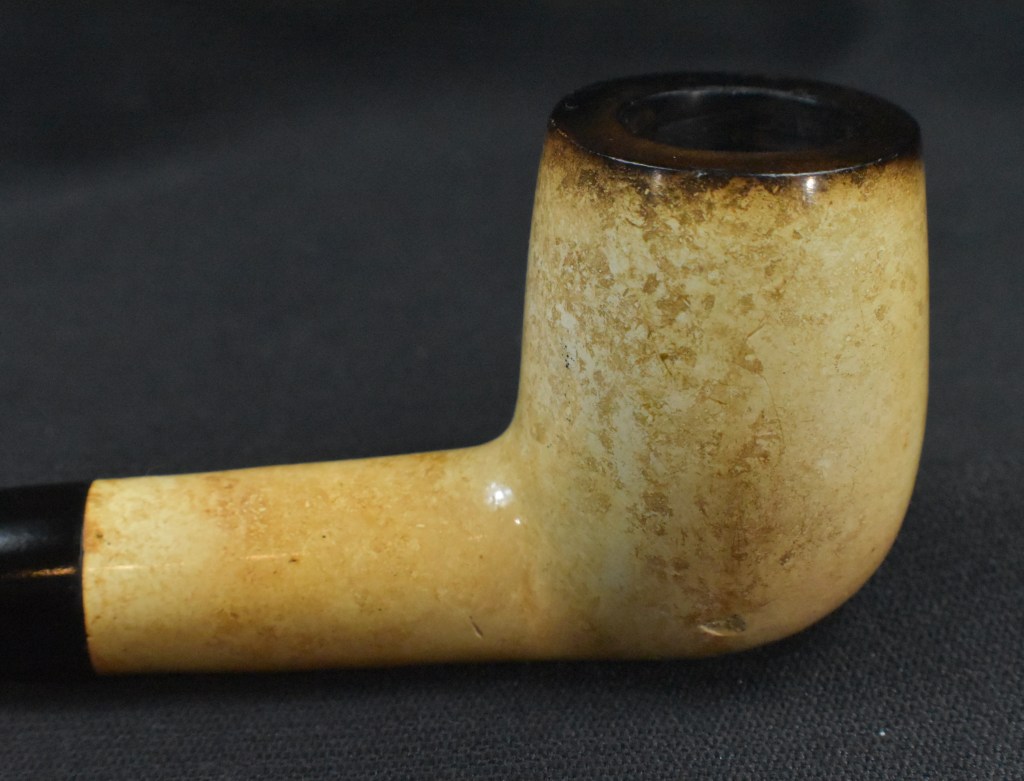
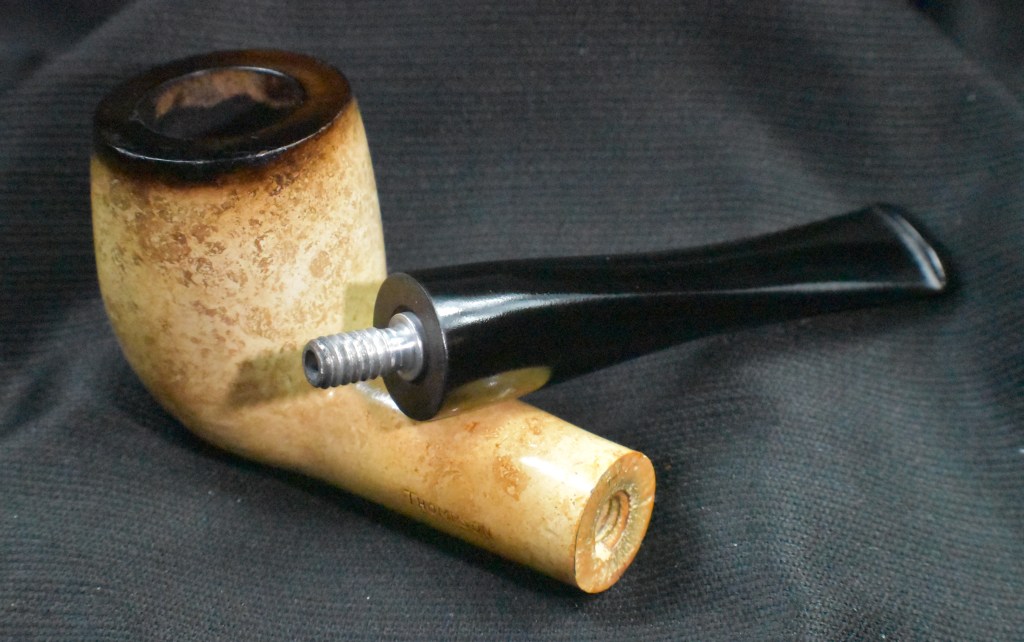
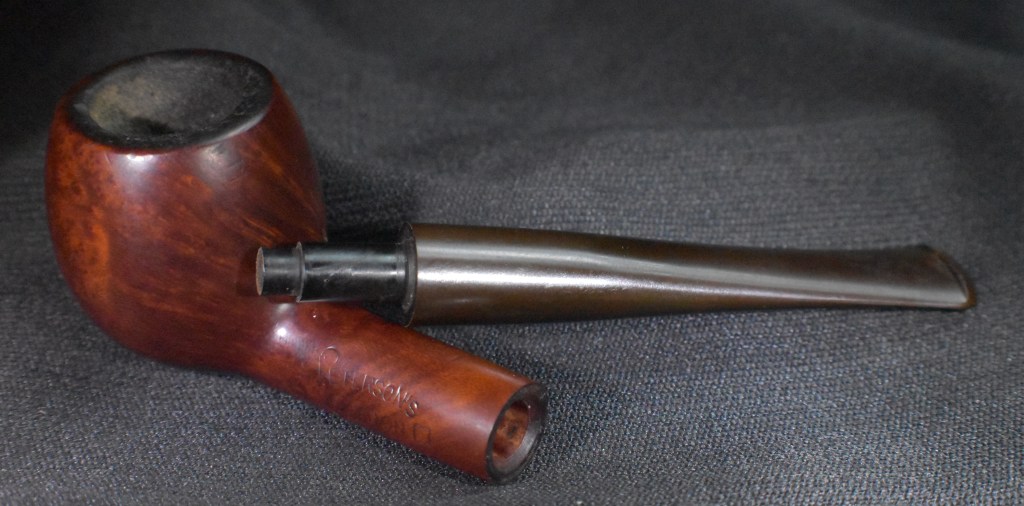
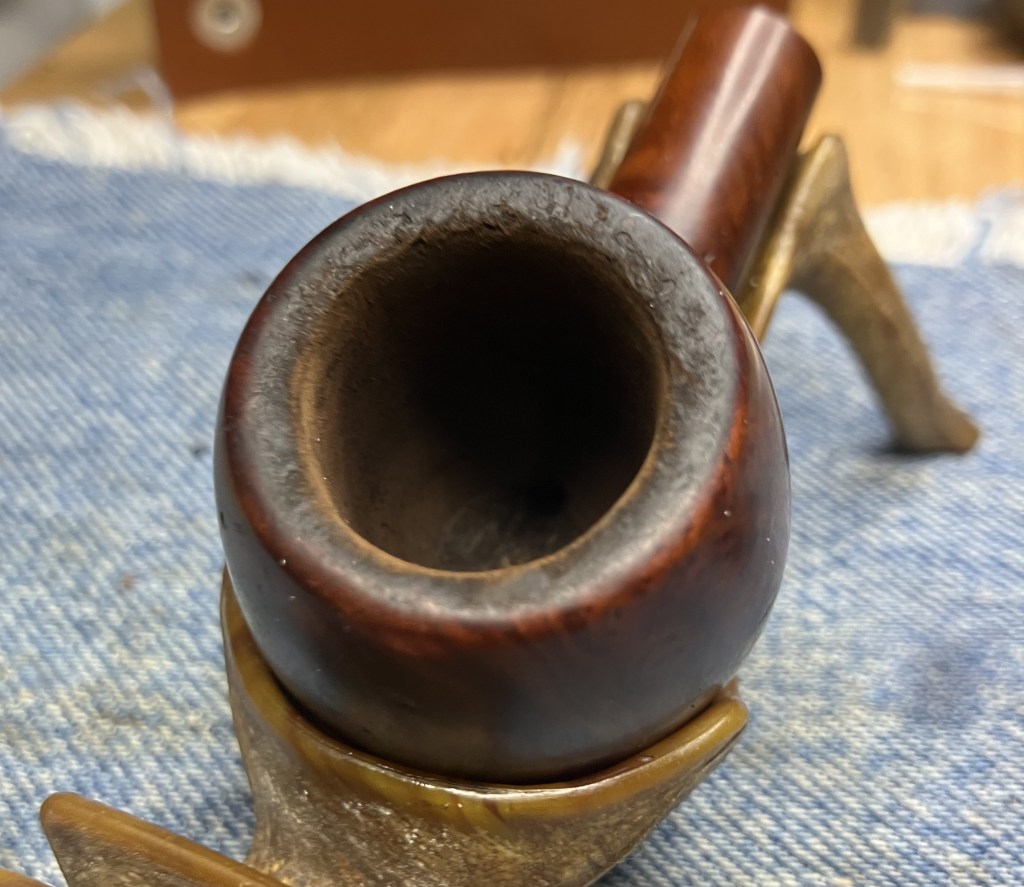
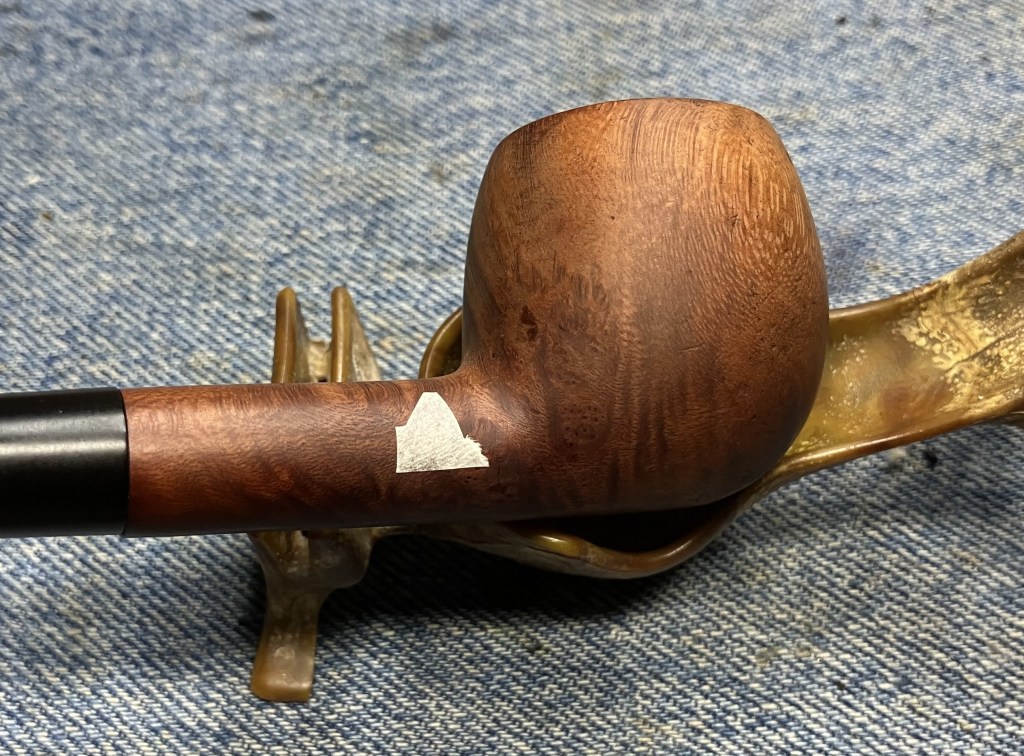
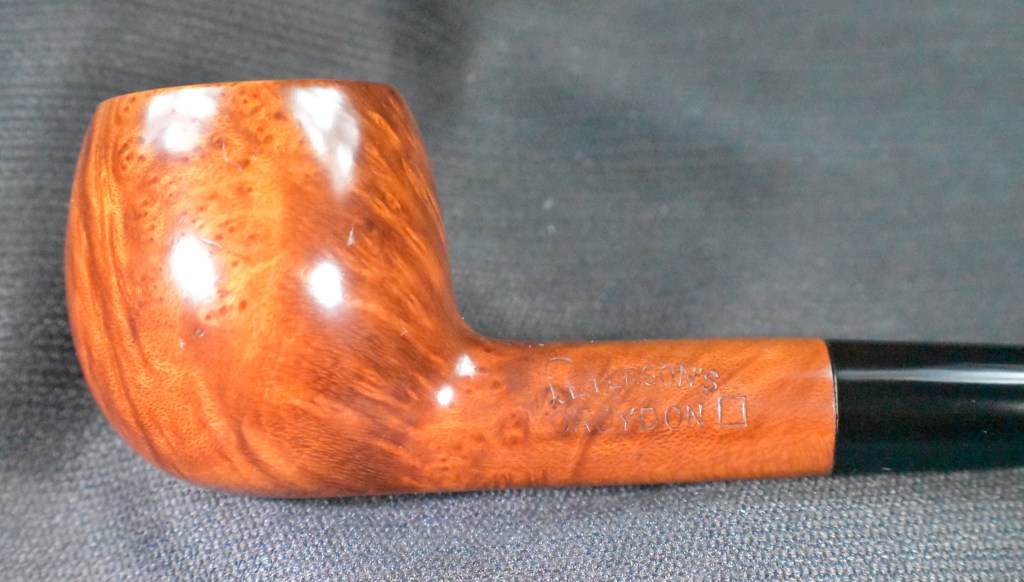
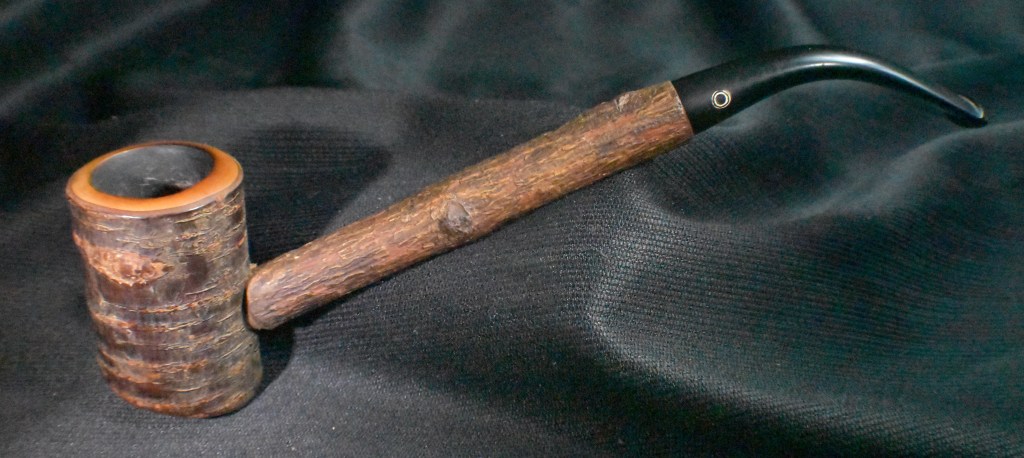
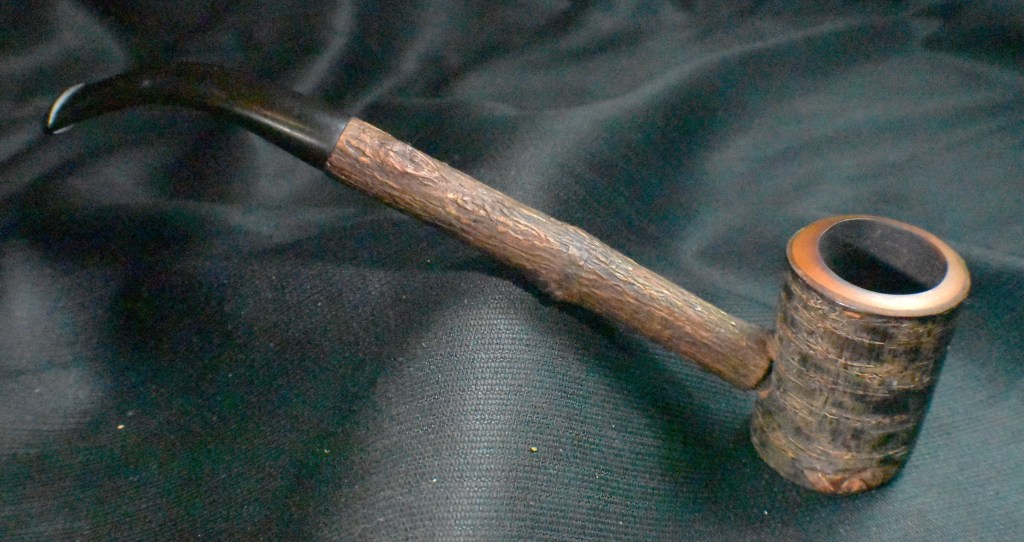
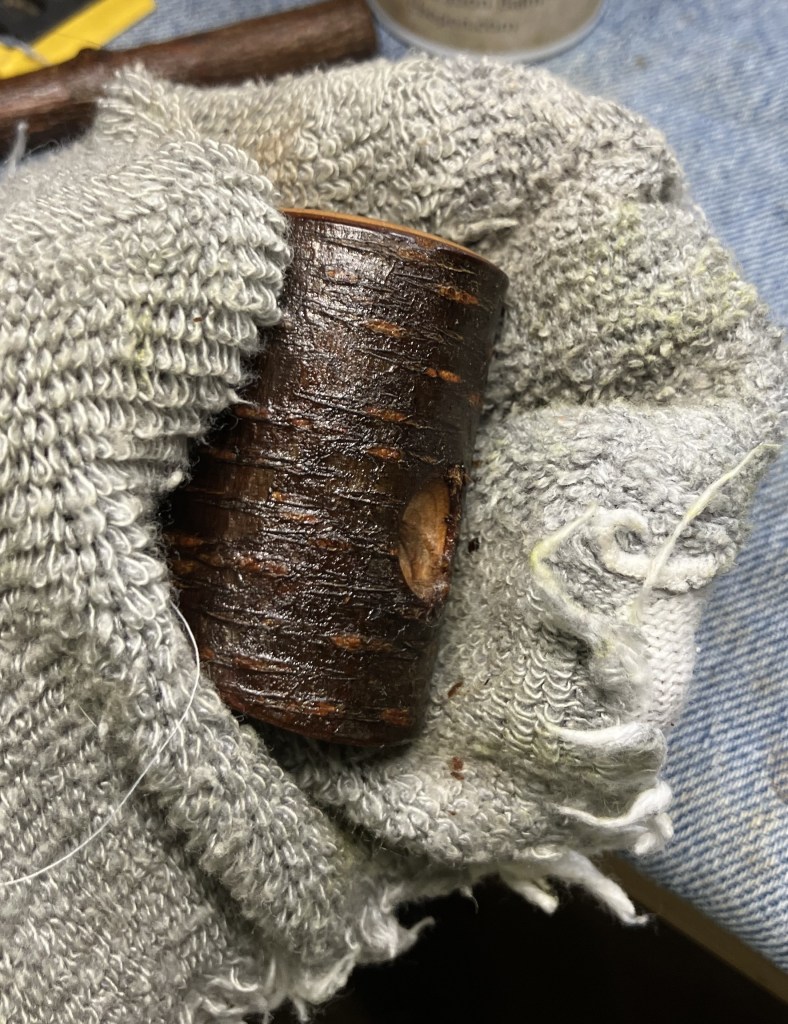
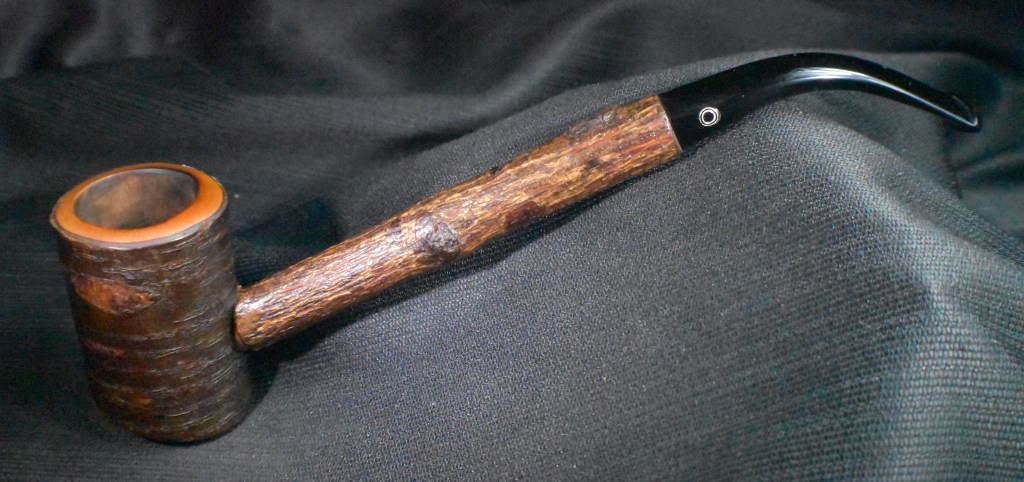
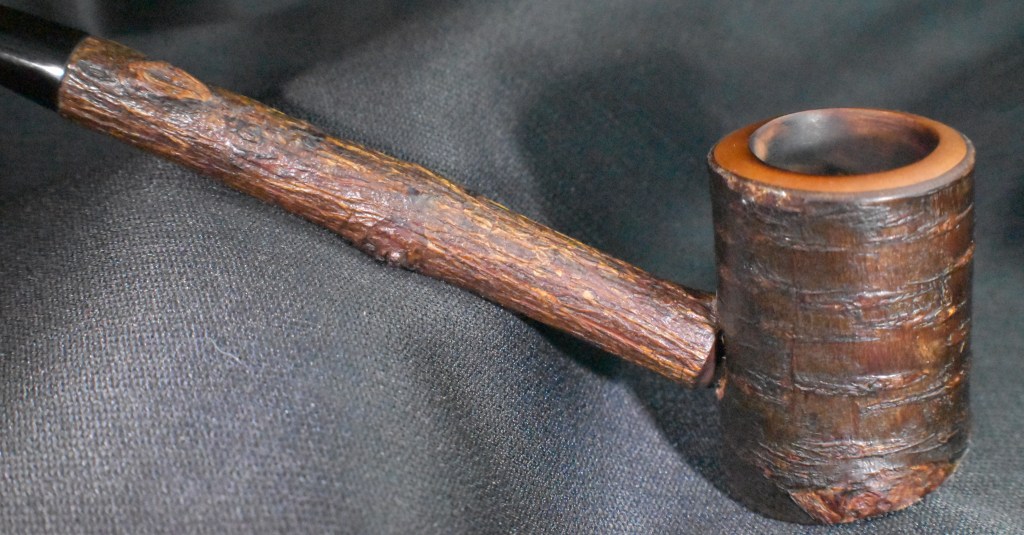
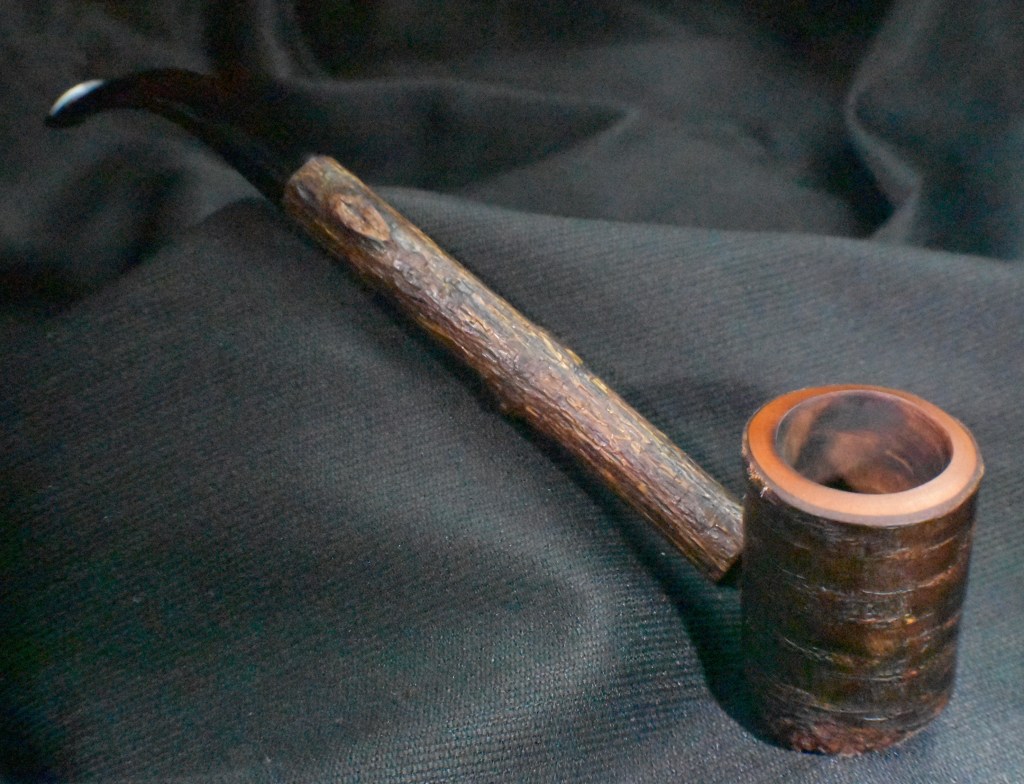
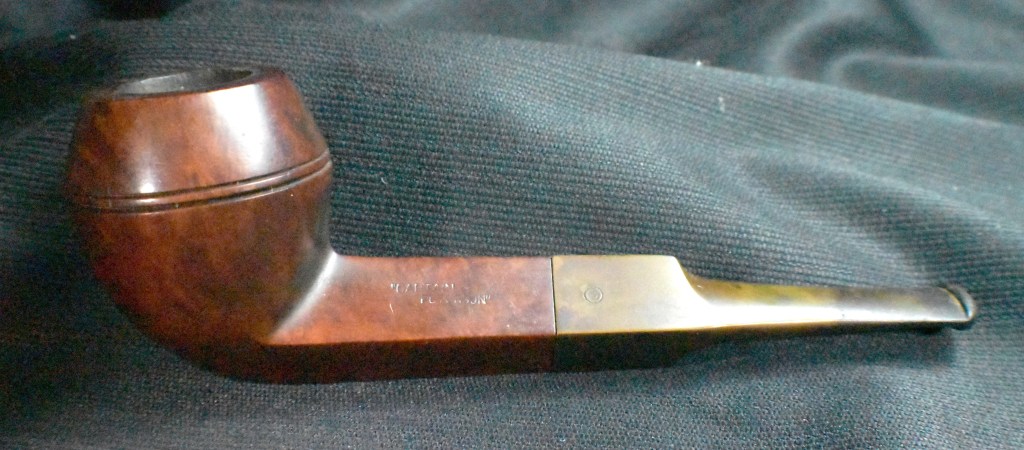
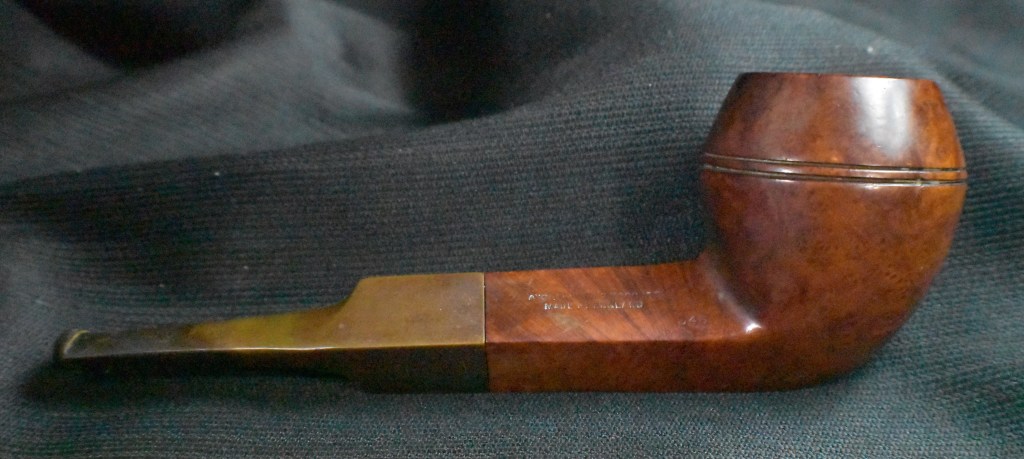
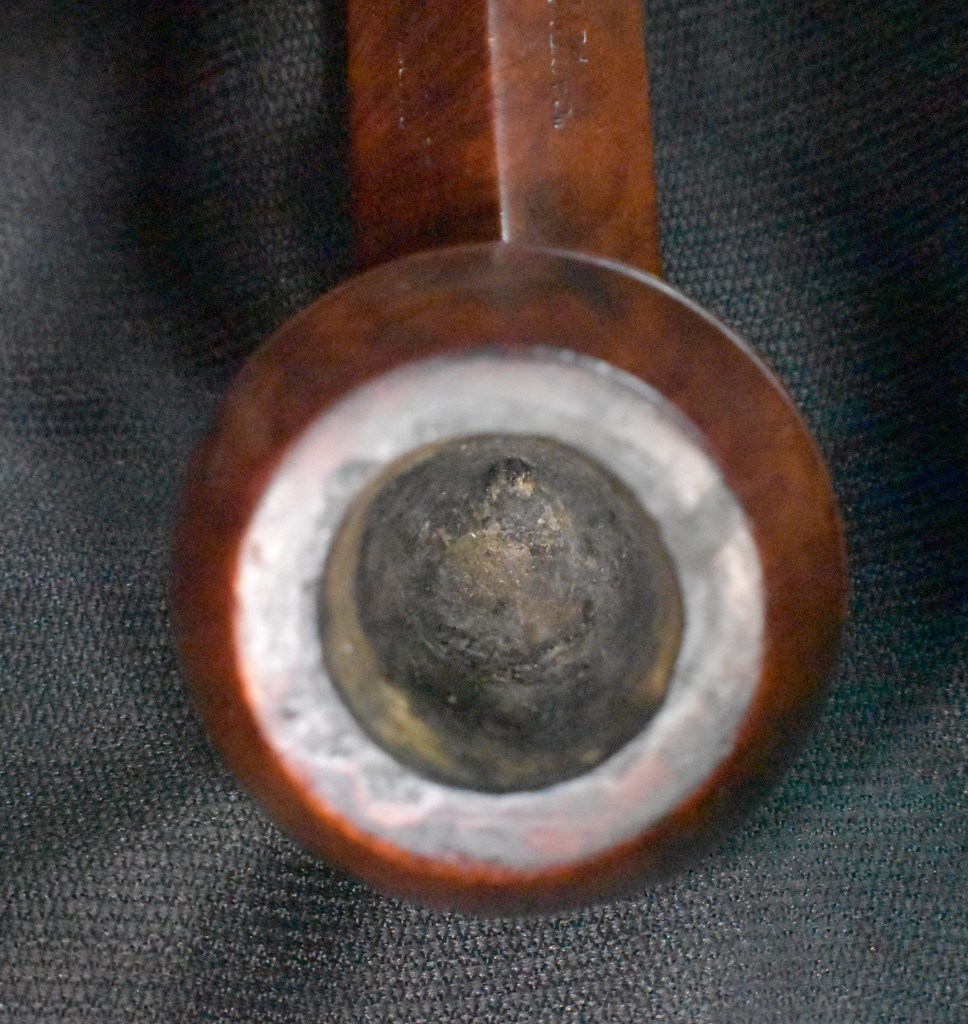
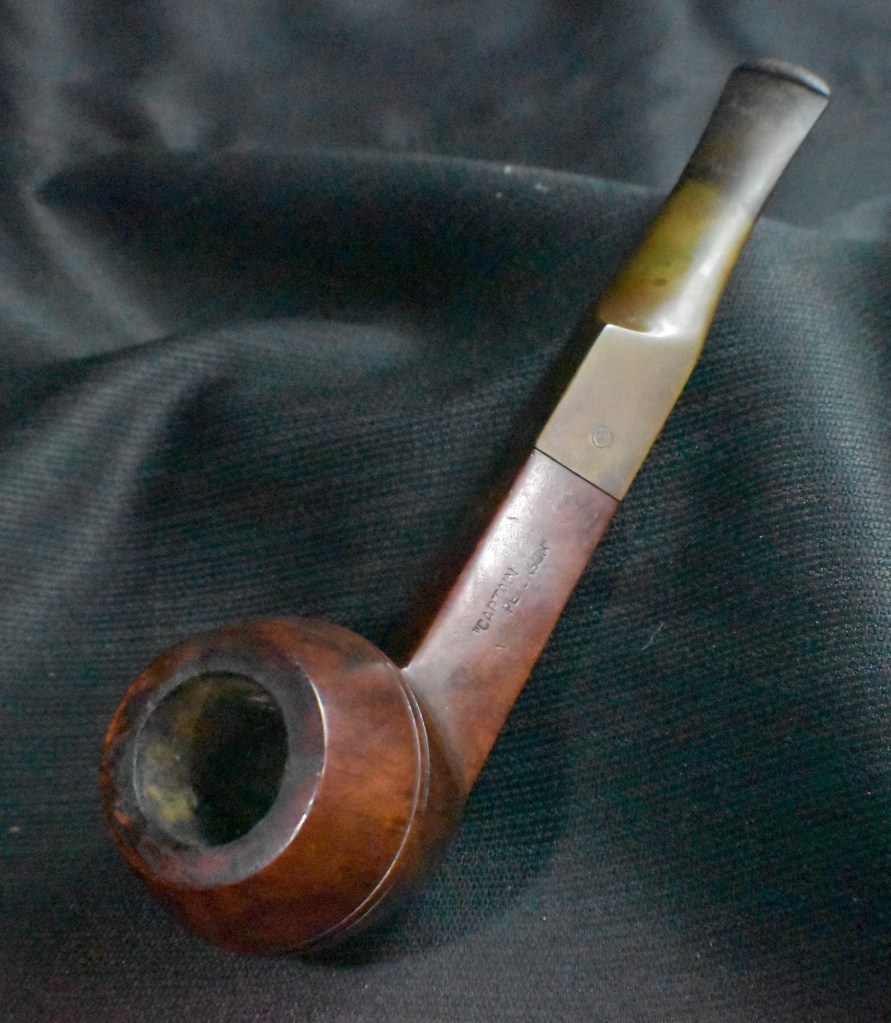
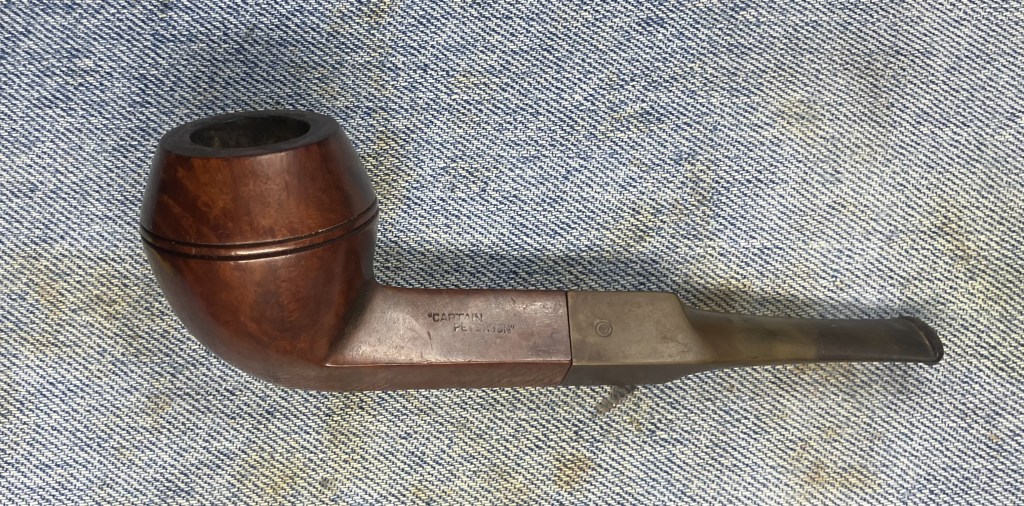
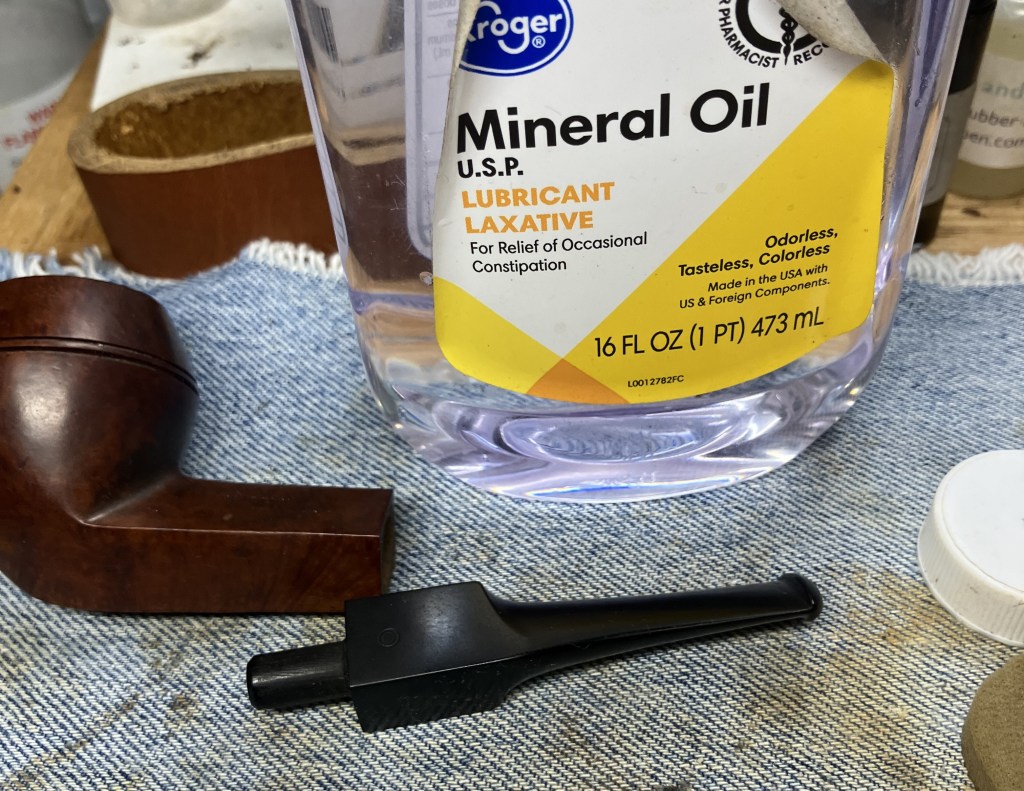
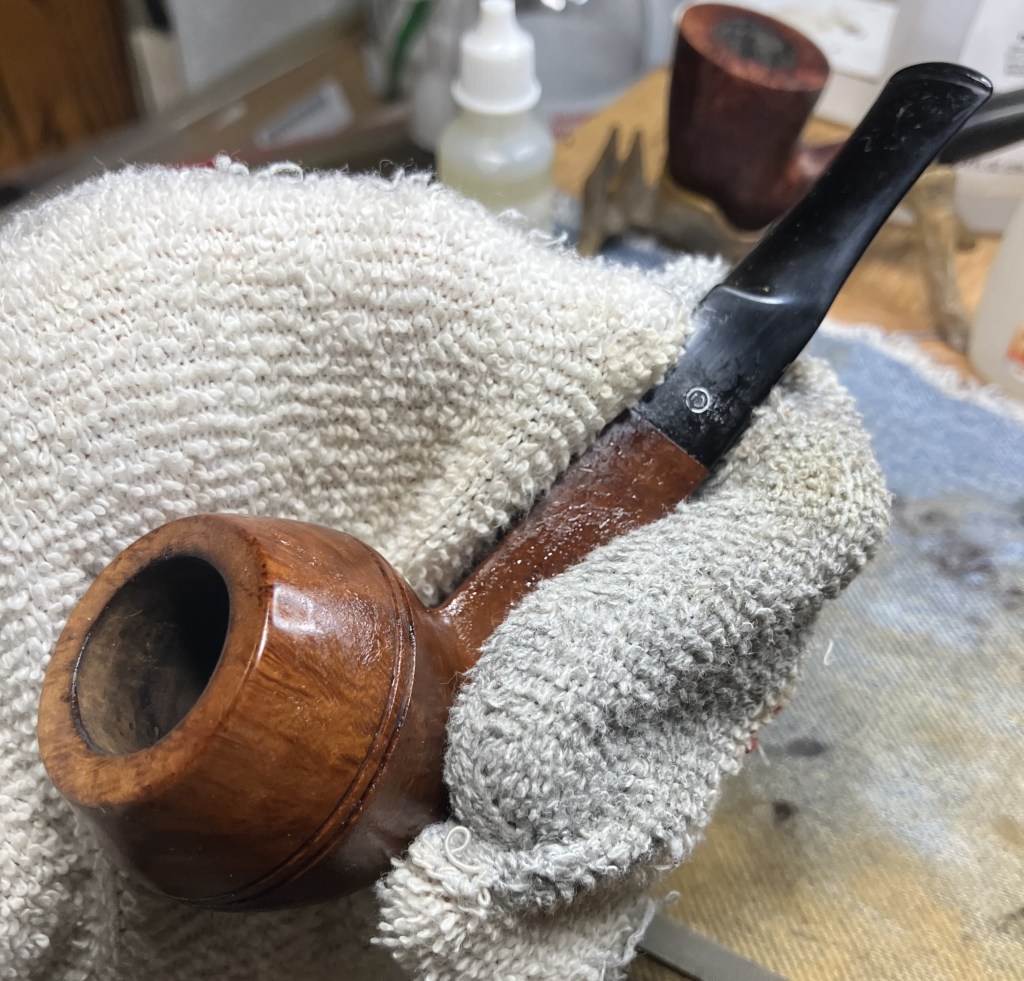
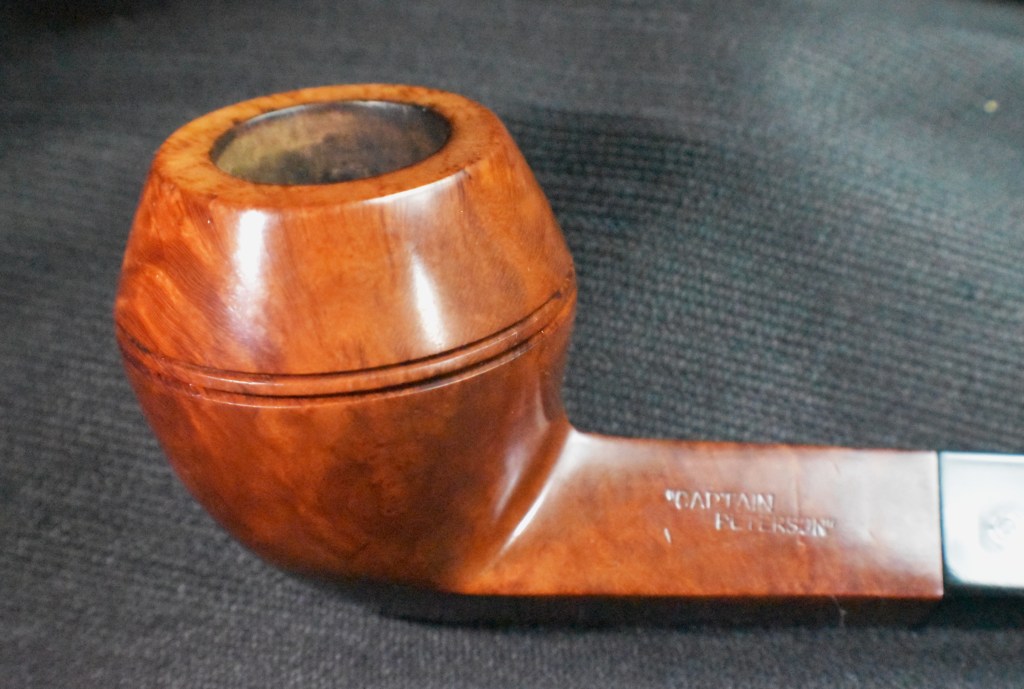
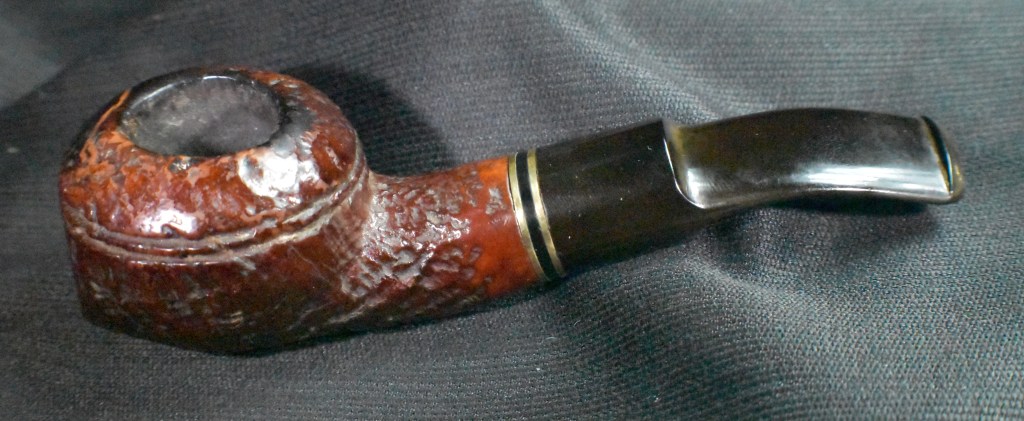
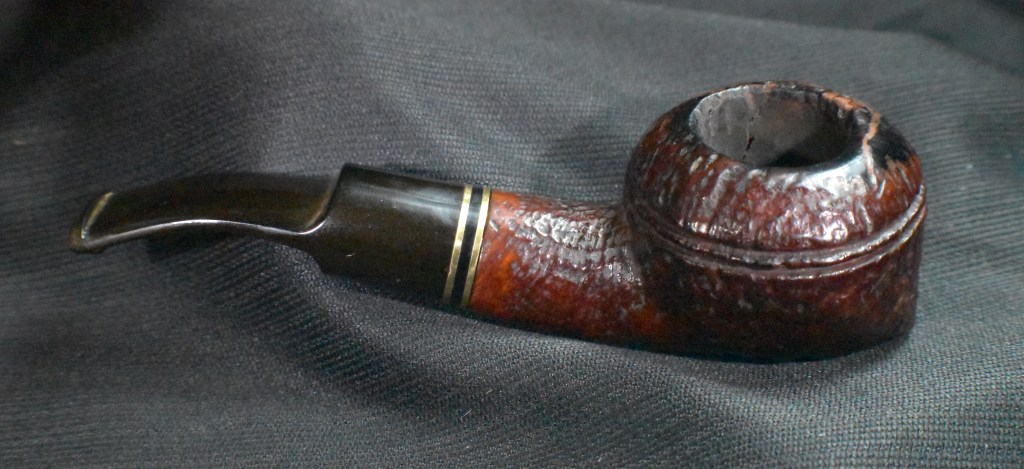
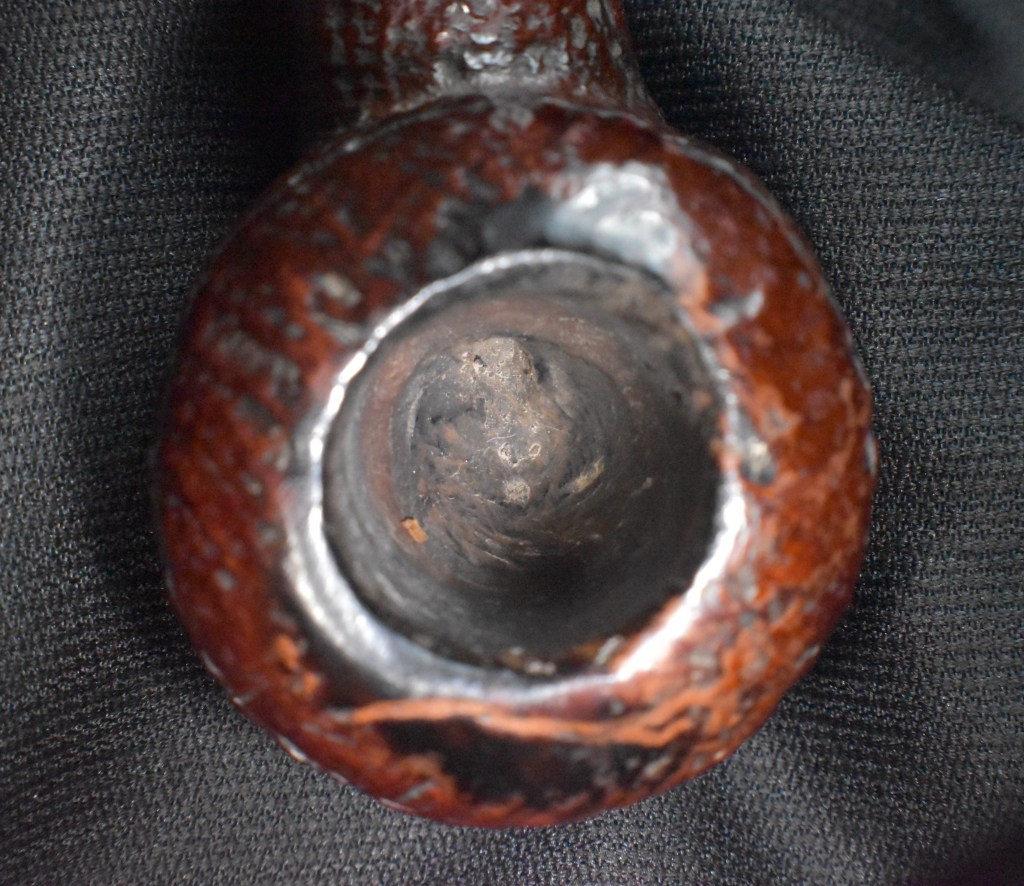
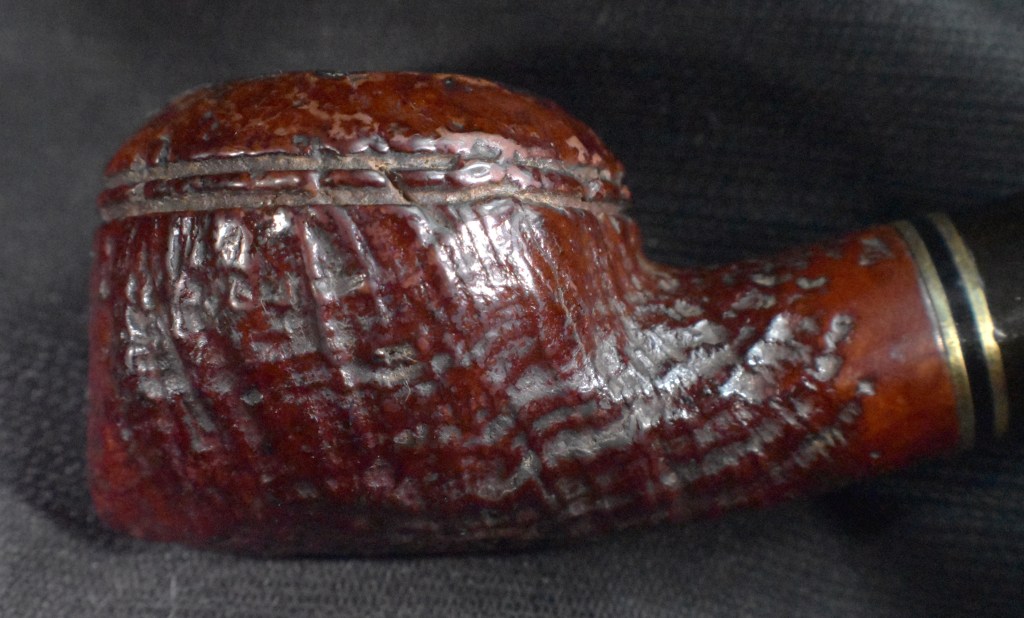
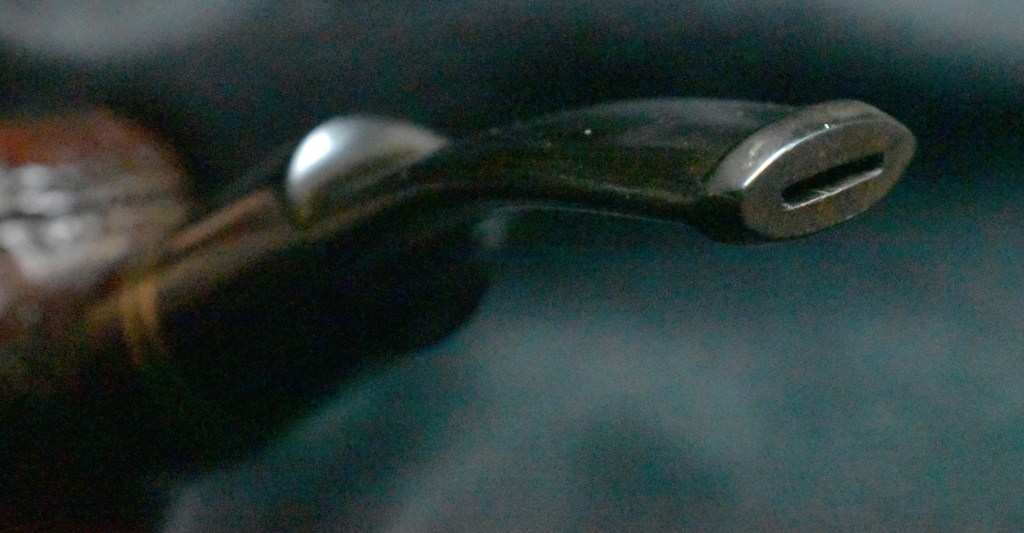
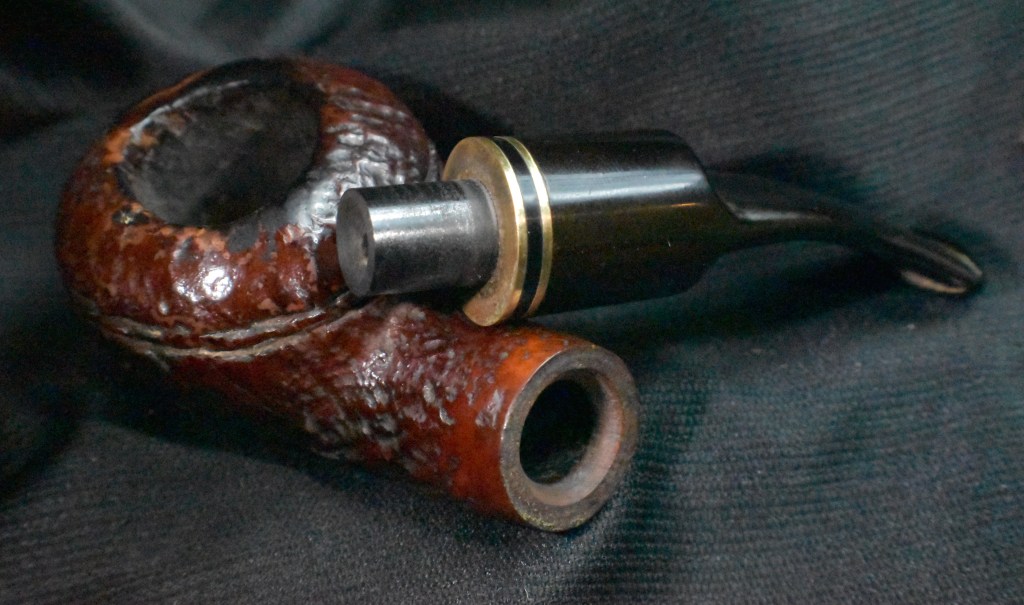
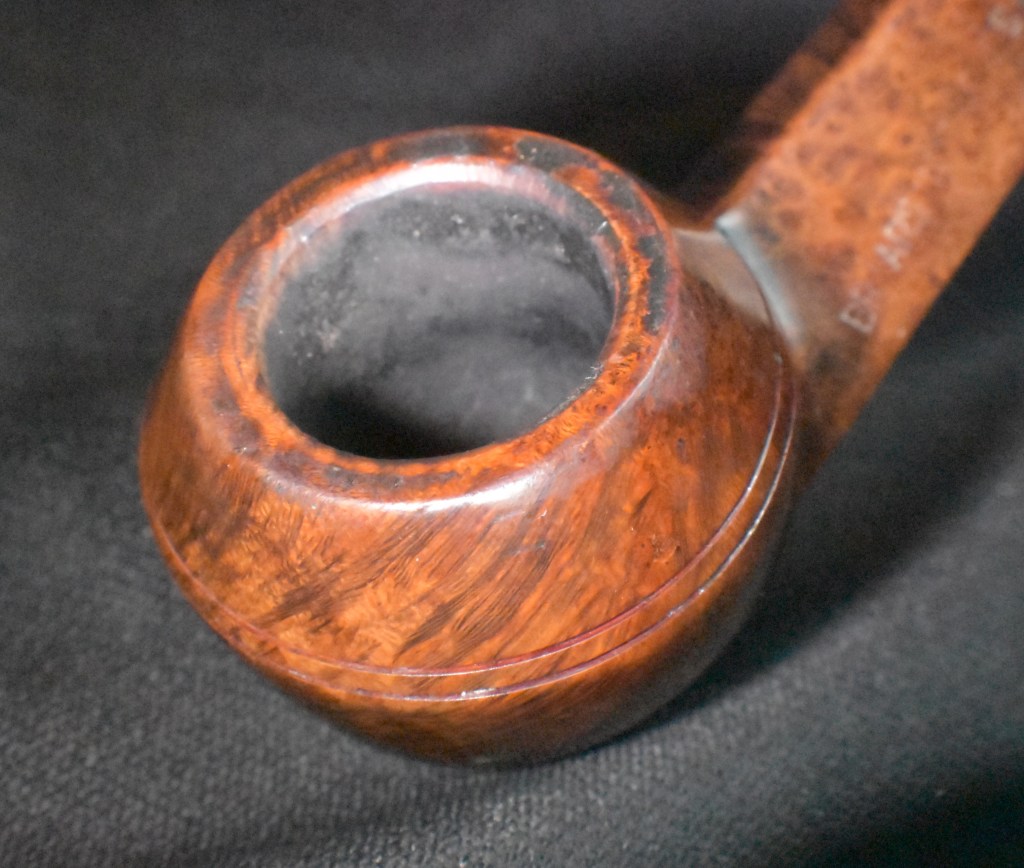
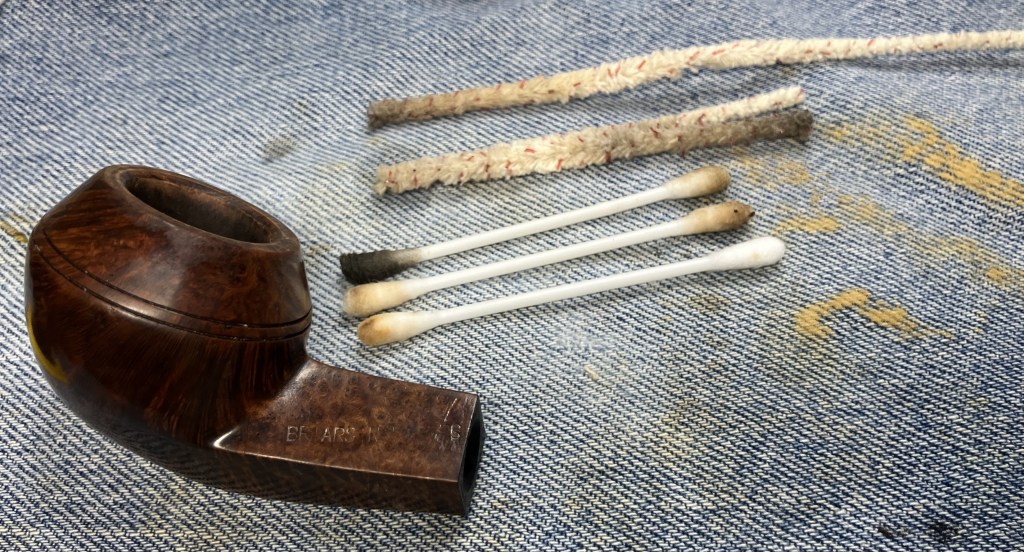
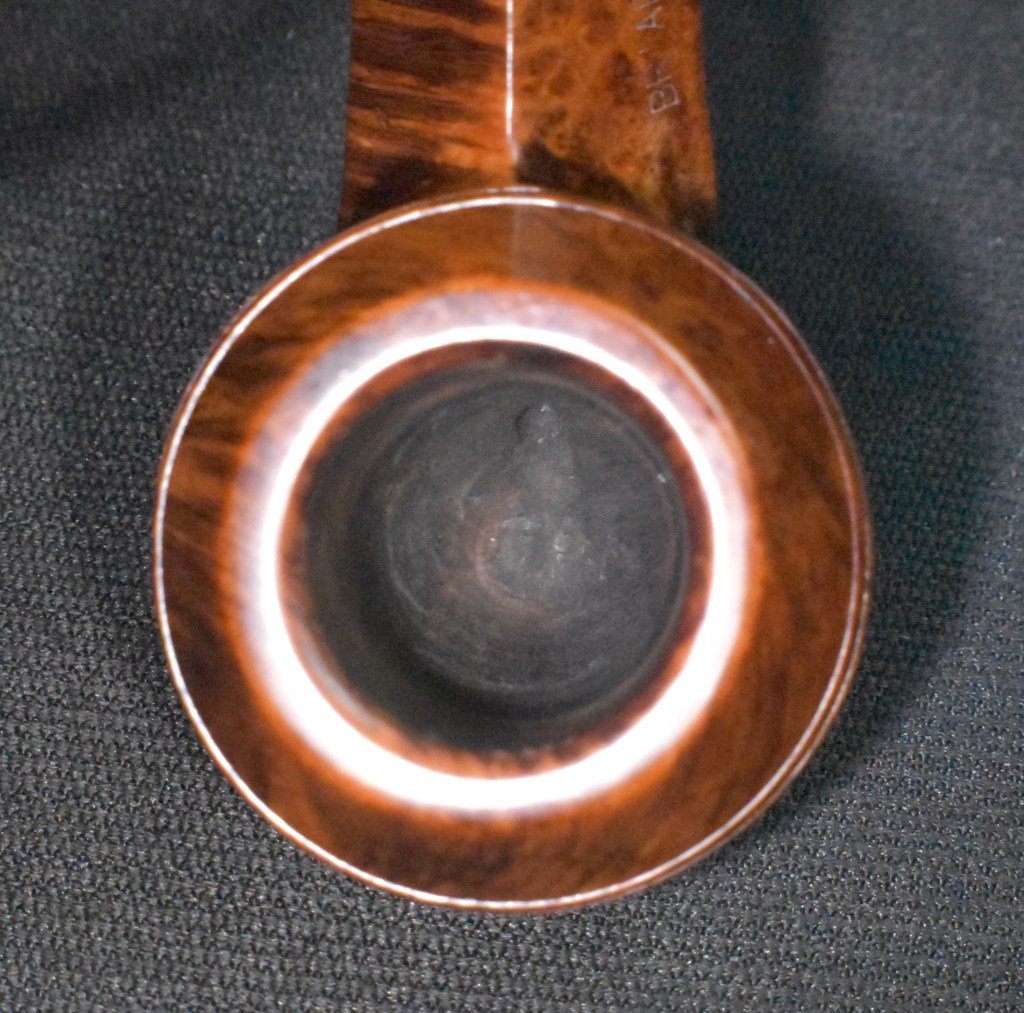
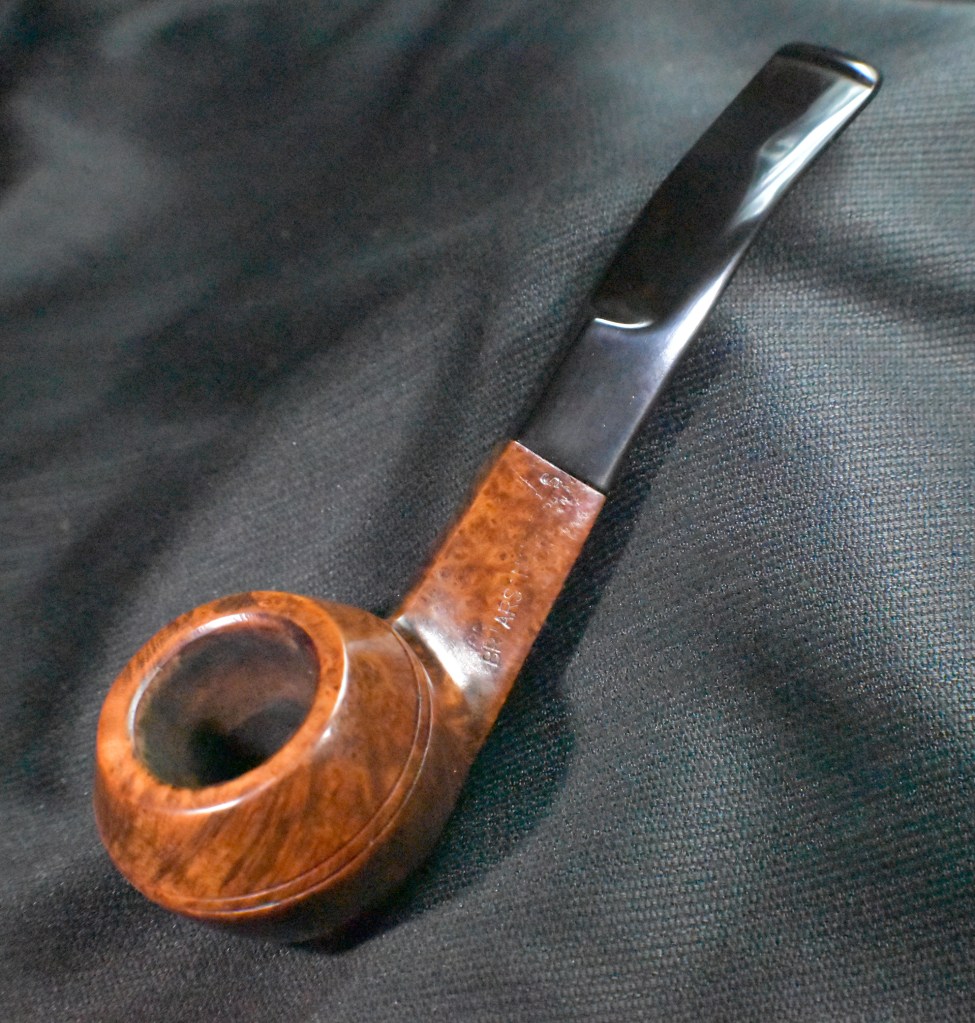
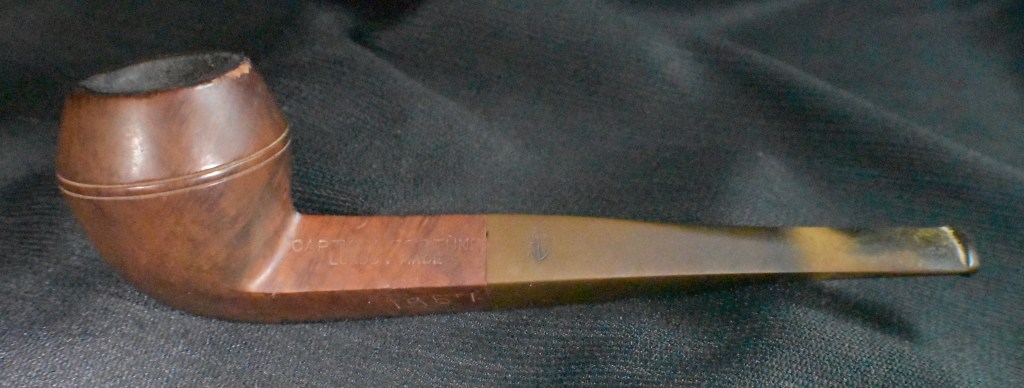
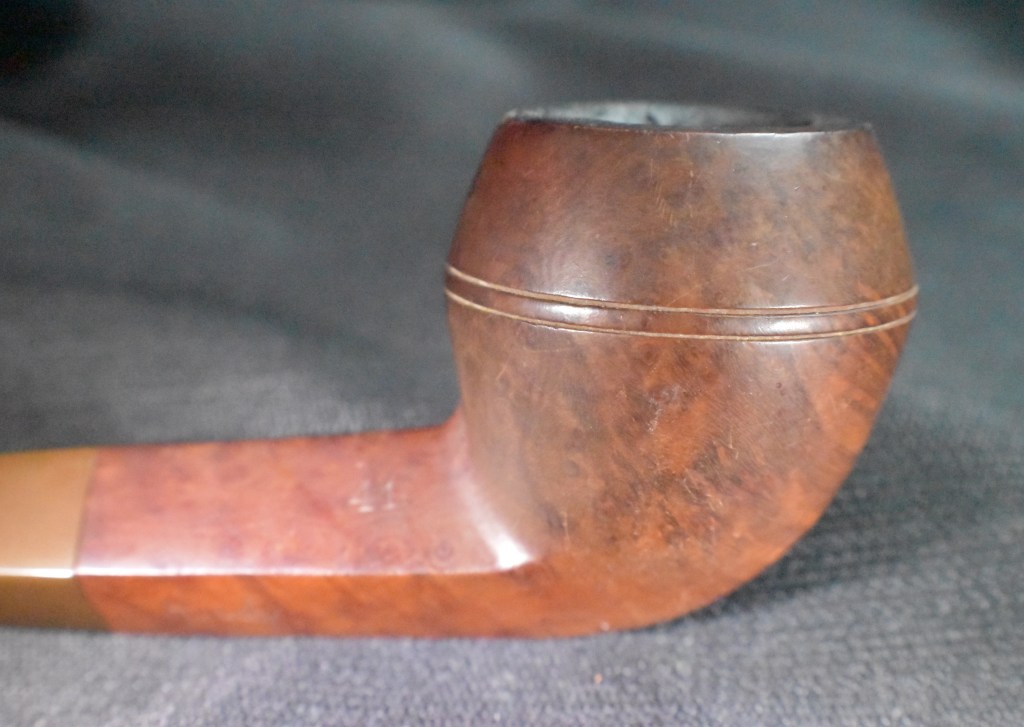
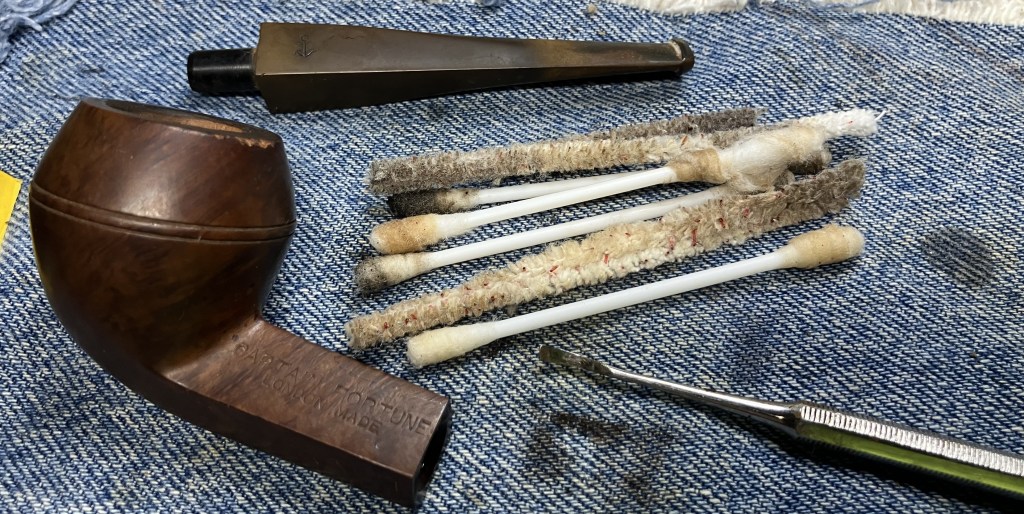
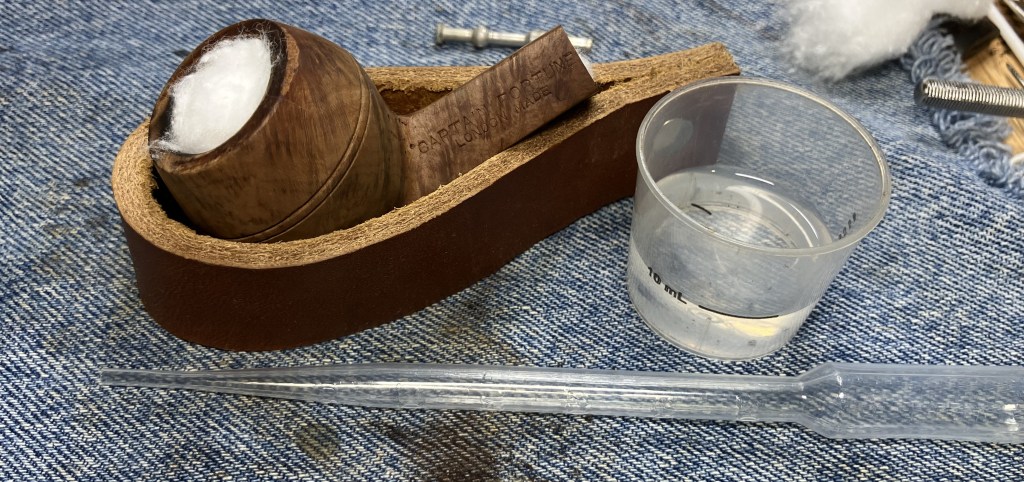
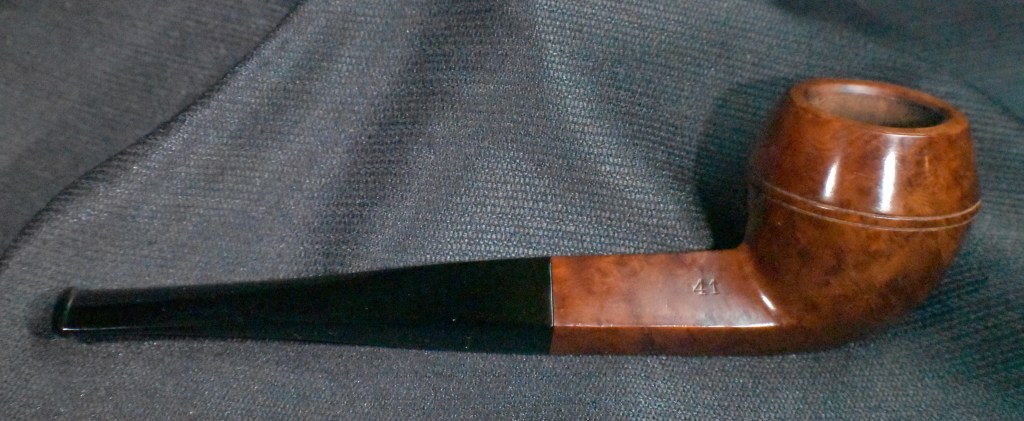
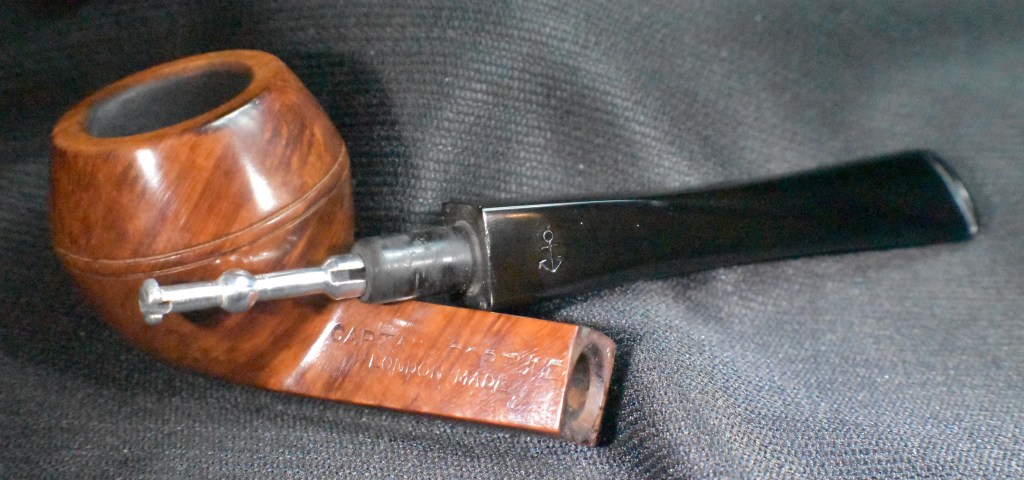
I have thought, “a billiard is a billiard”. I’ll admit that it is not my favorite shape for a pipe. Sure it is a classic and probably the most popular of pipe shapes, with its cylindrical bowl perpendicular to a round shank. Symmetrically, the shank and bowl are proportional, giving the pipe a look of balanced elegance. This Thompson billiard has all of those characteristics though its shank is more stout or substantial than a typical billiard. This trait reminded me of a Peterson pipe, renowned for their more substantial shanks. Perhaps that is what drew me to this particular pipe. That and the fact that I was able to get a high quality British-made block meerschaum pipe for quite a reasonable bid. Below are some photos taken of the pipe prior to any work done.

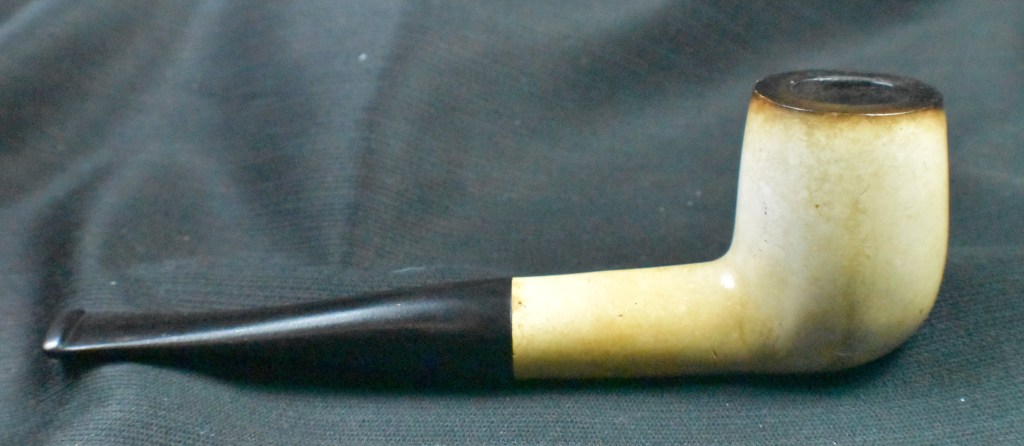


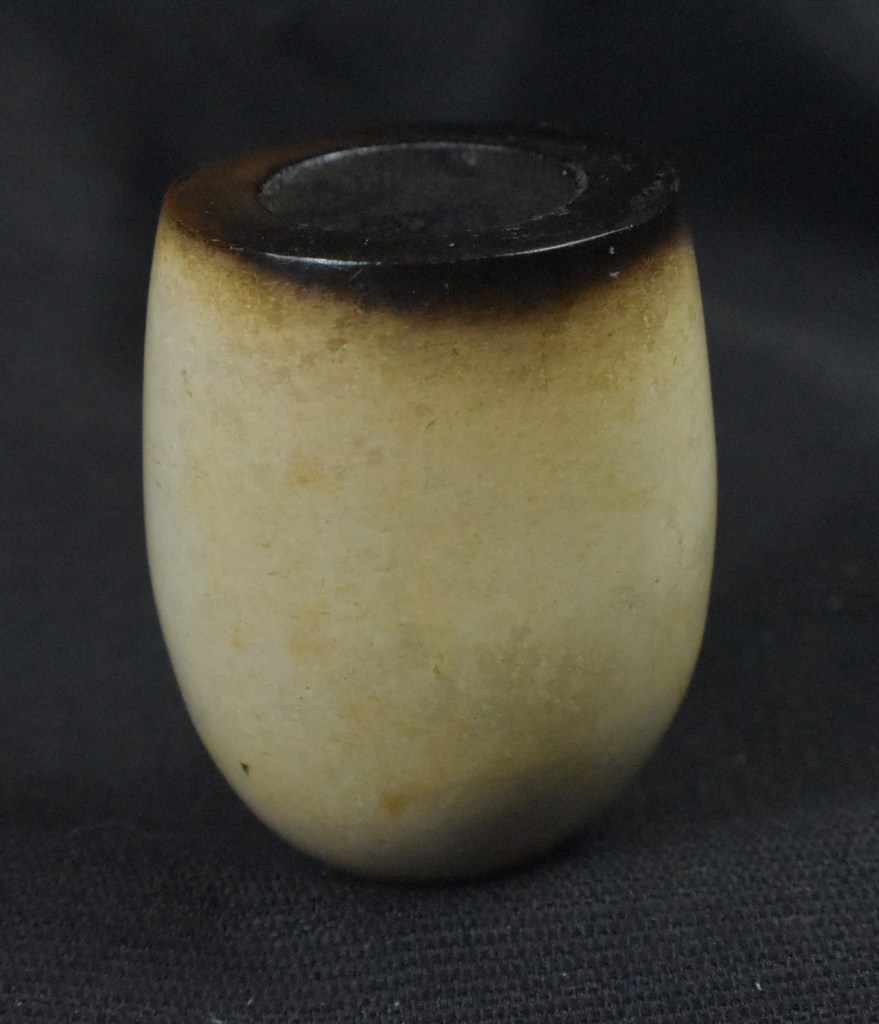

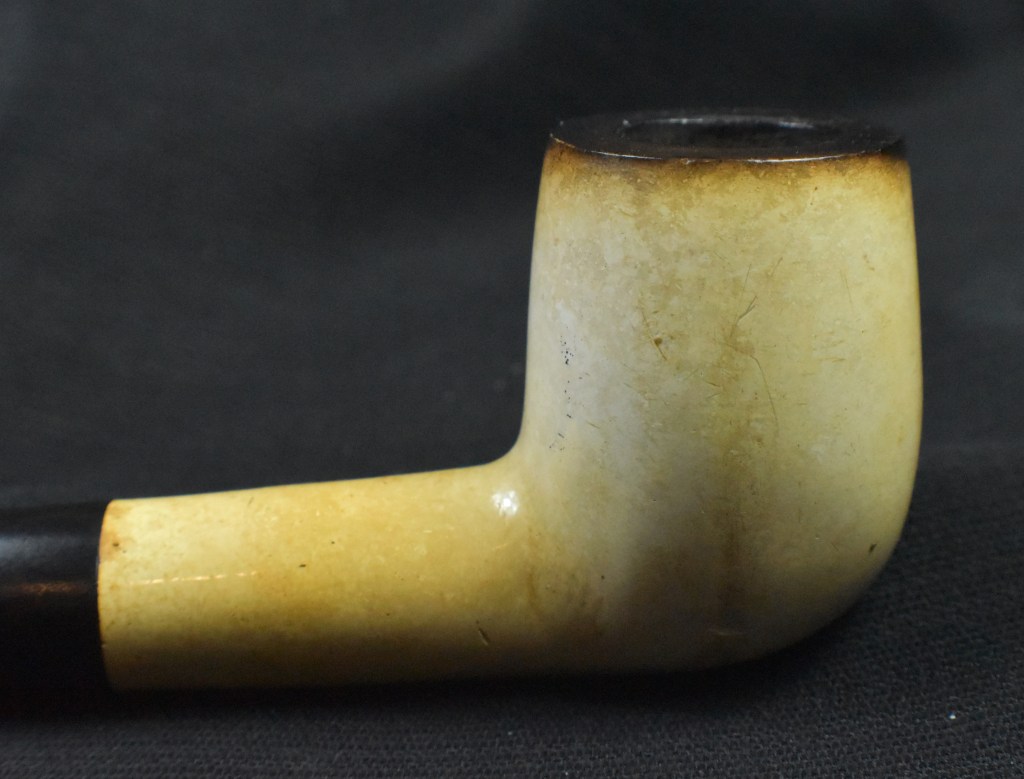
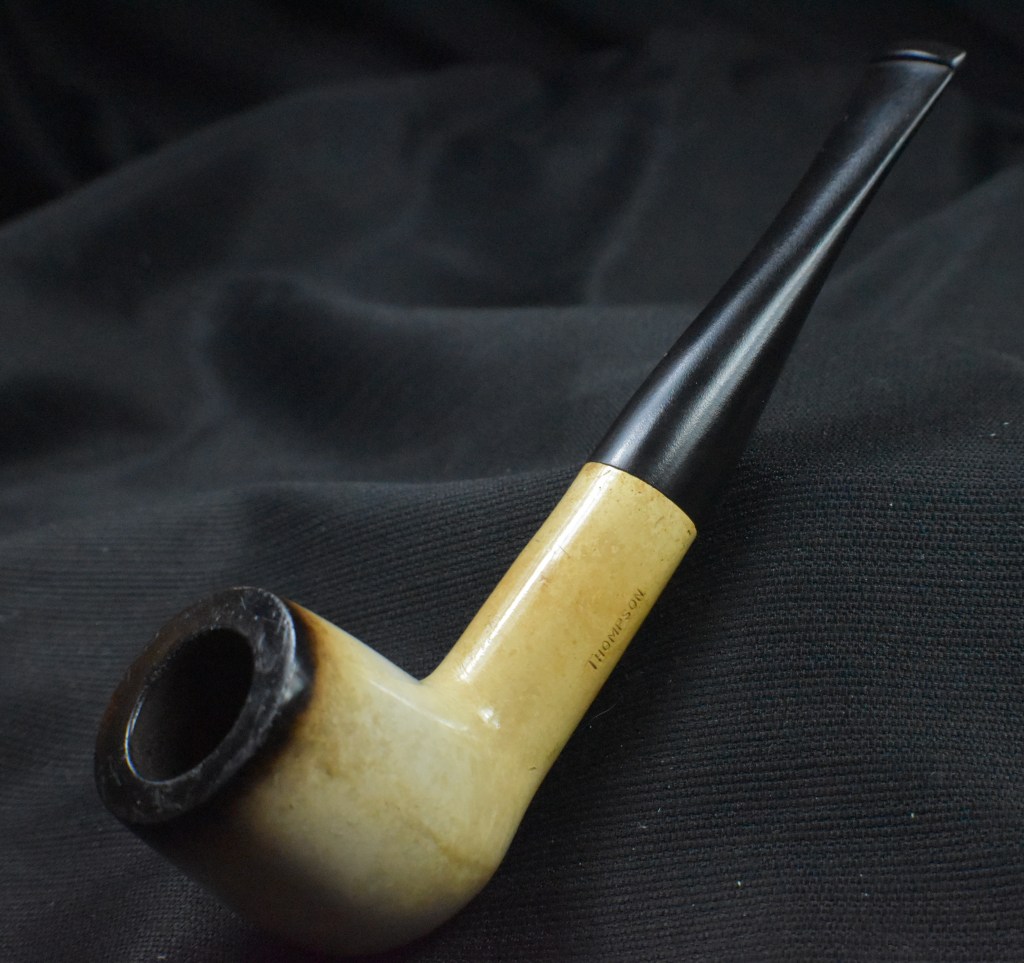
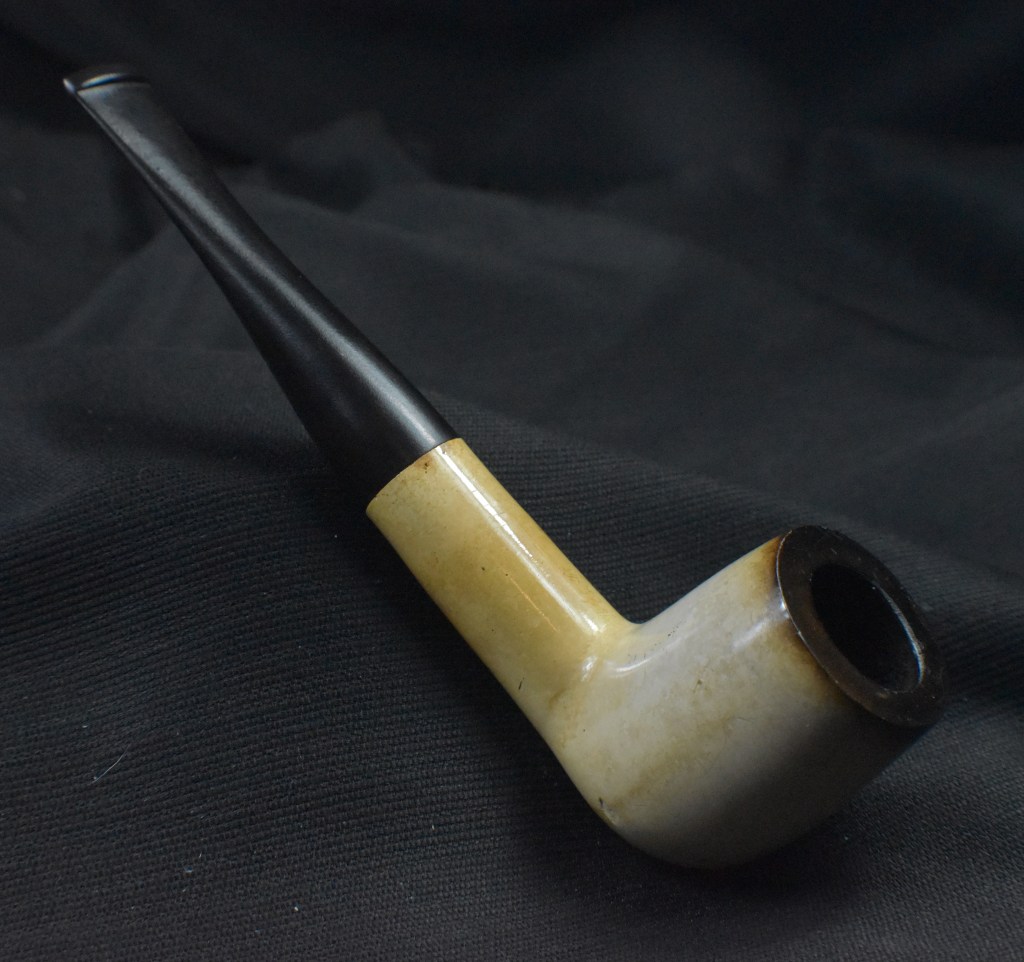
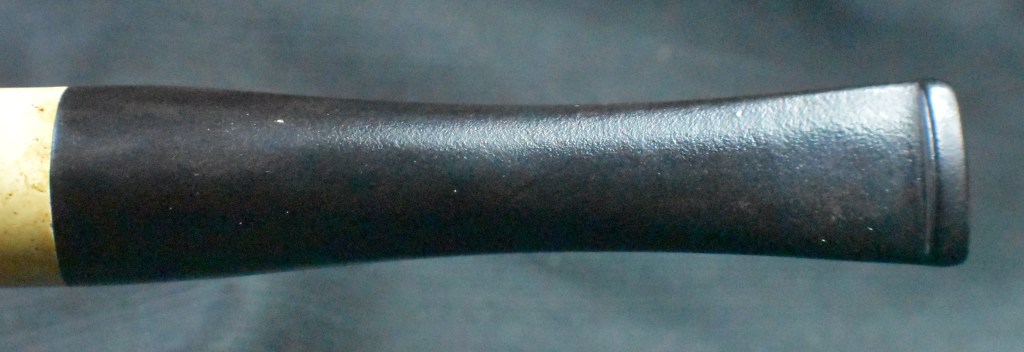


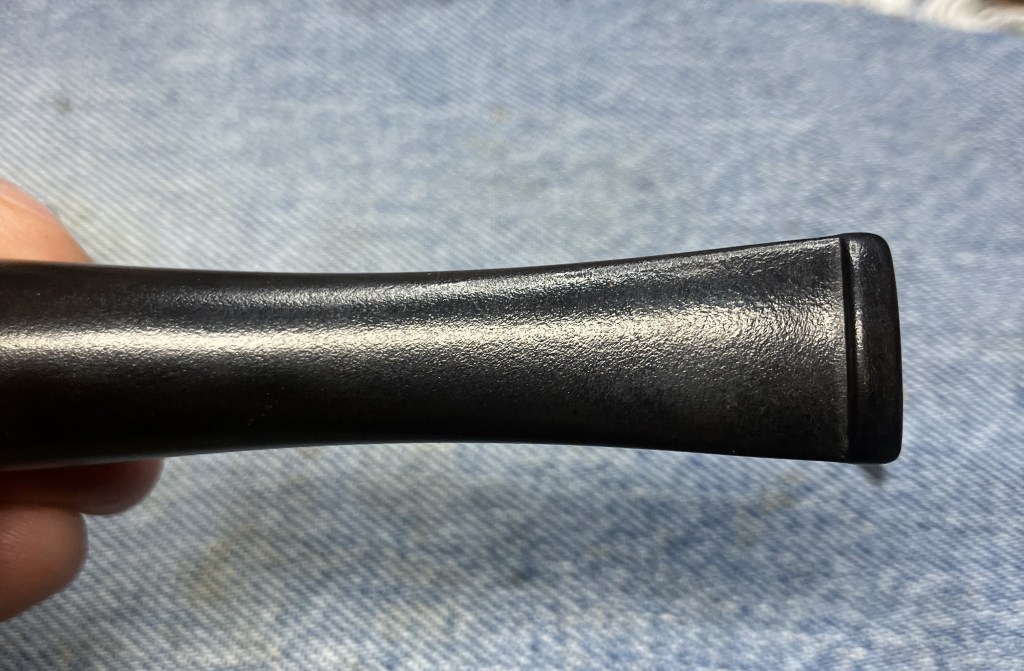
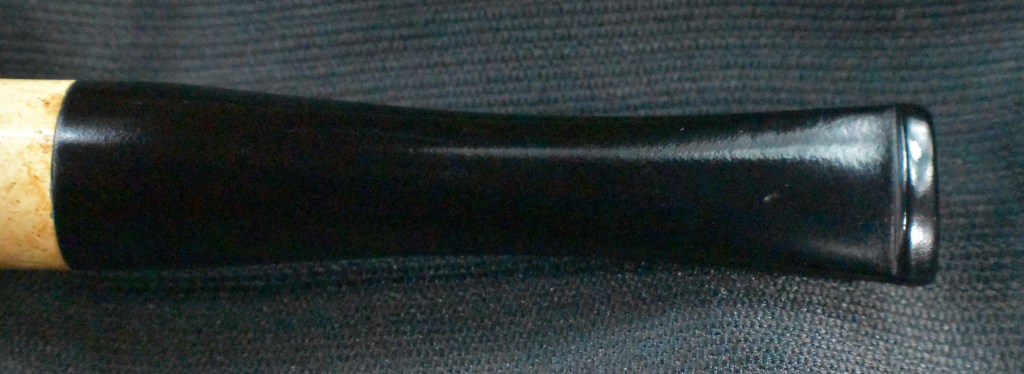
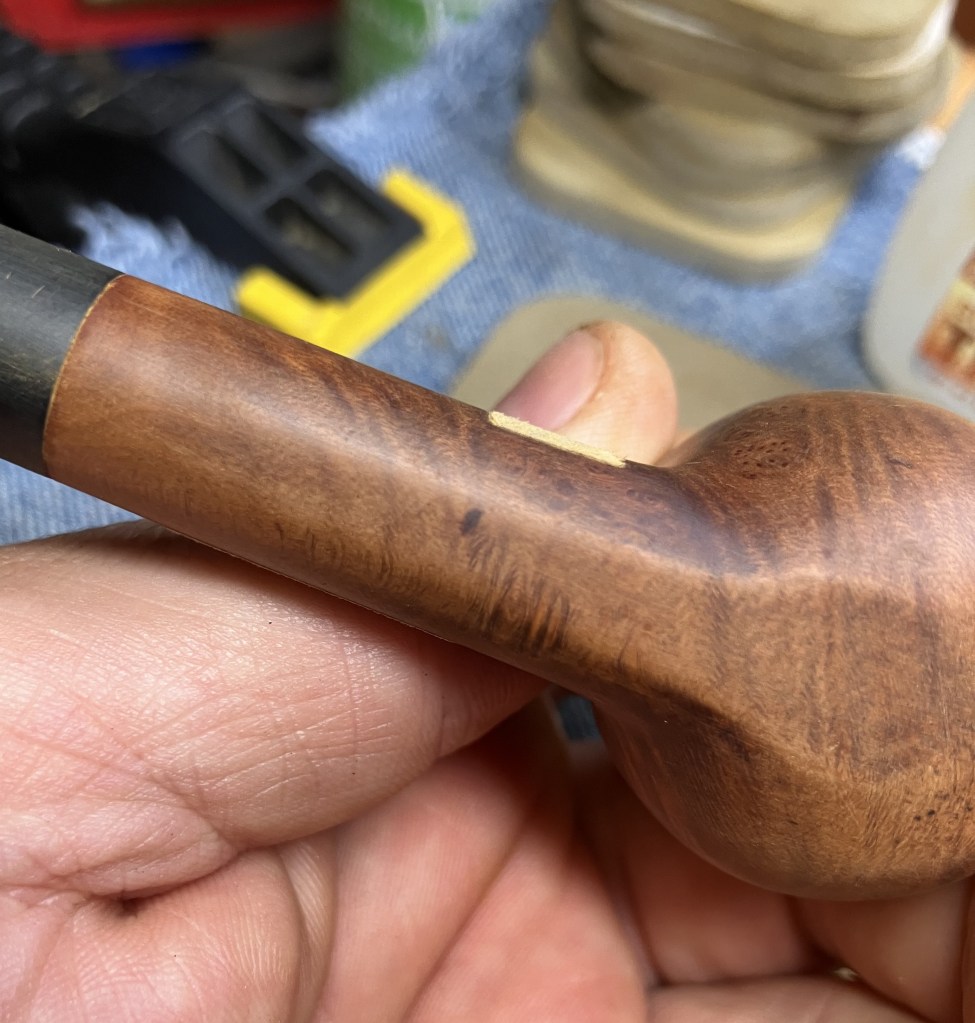
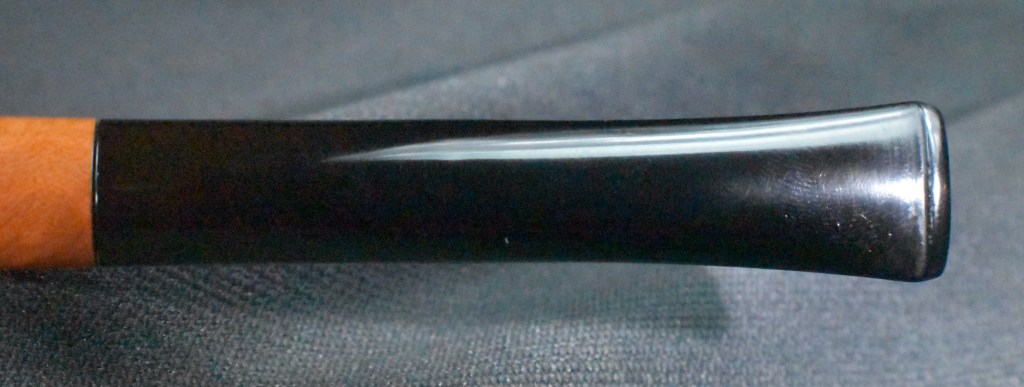
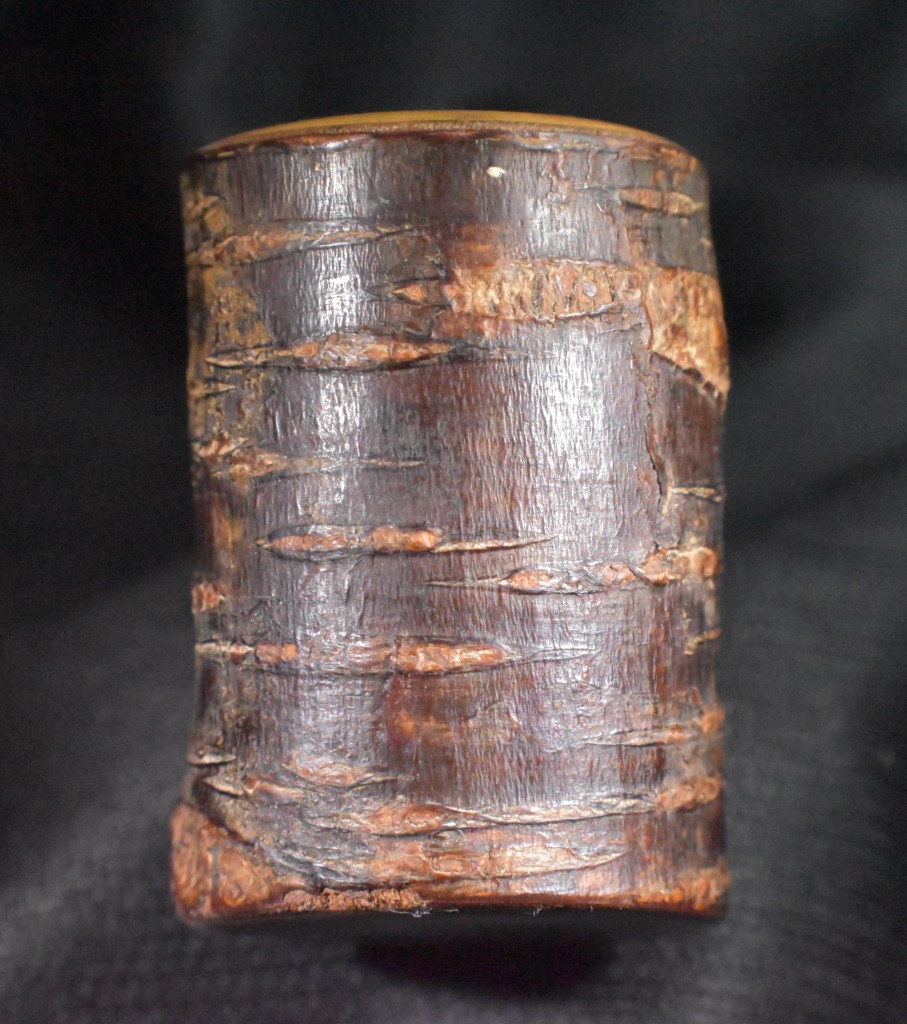
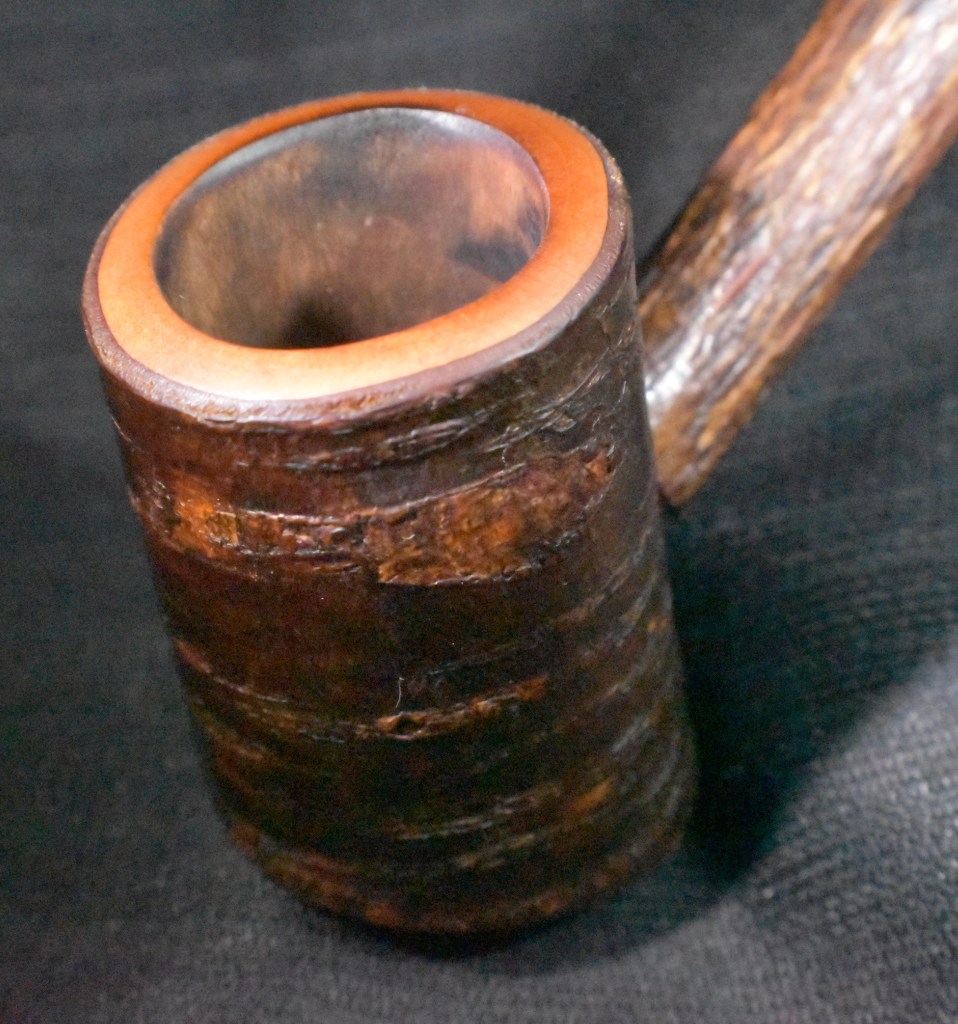
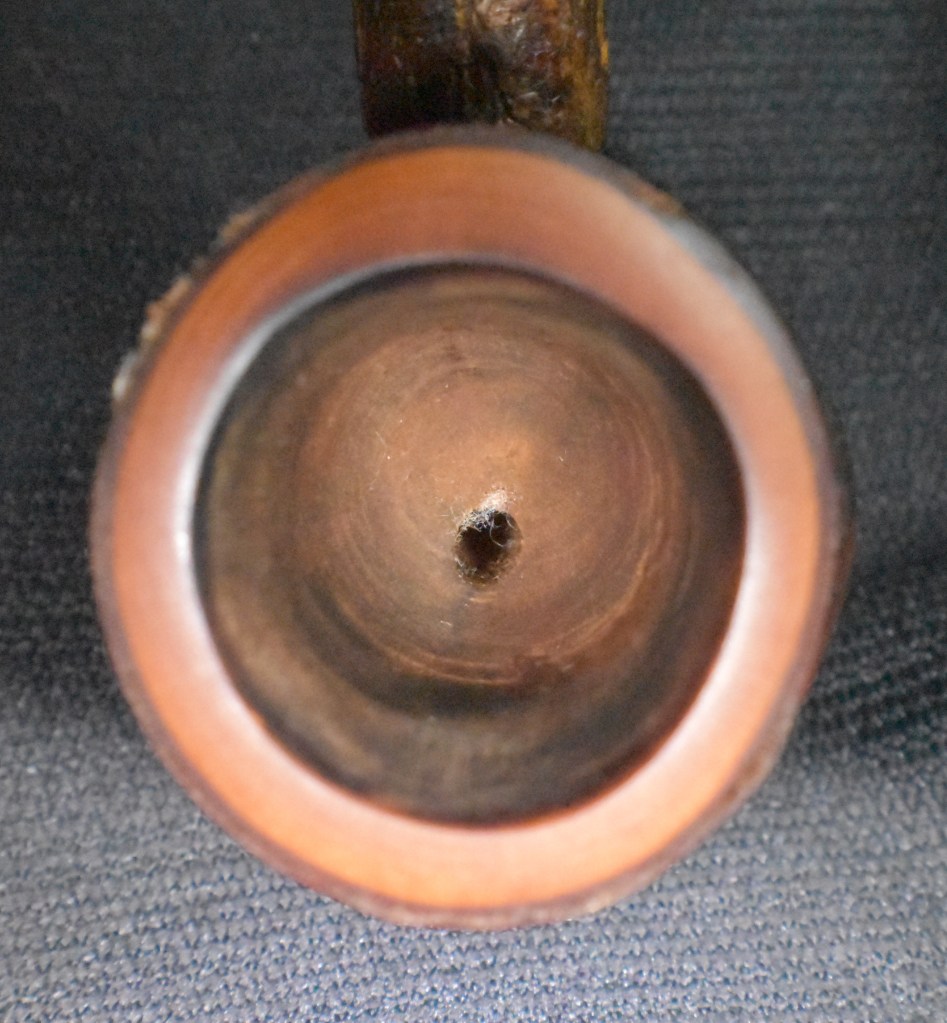
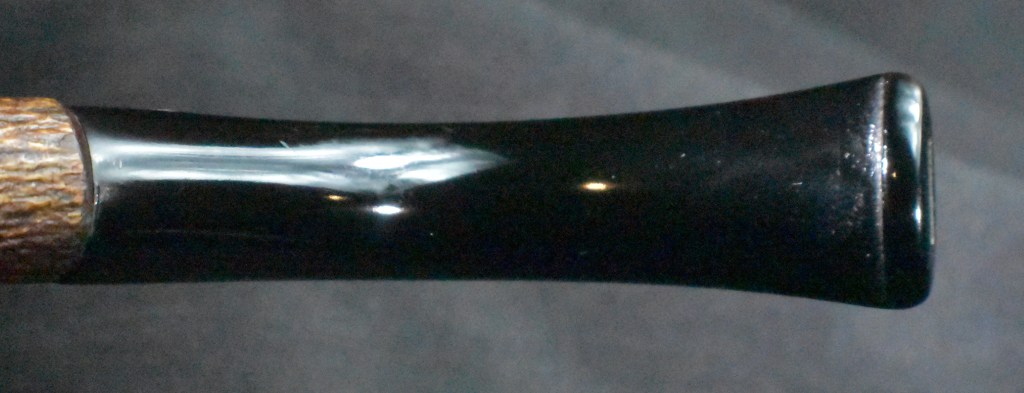
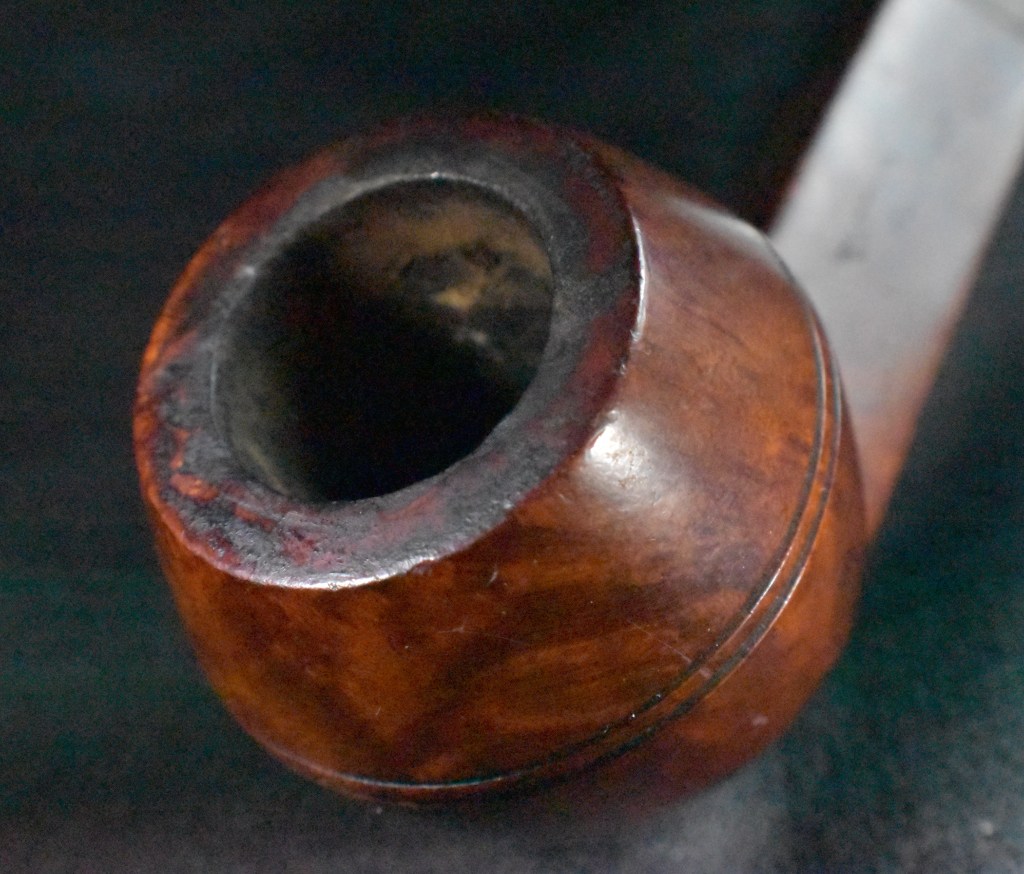
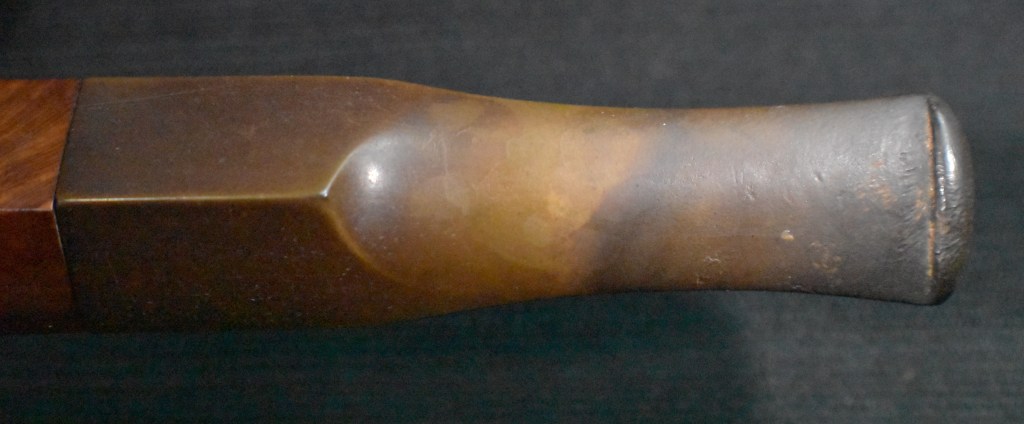
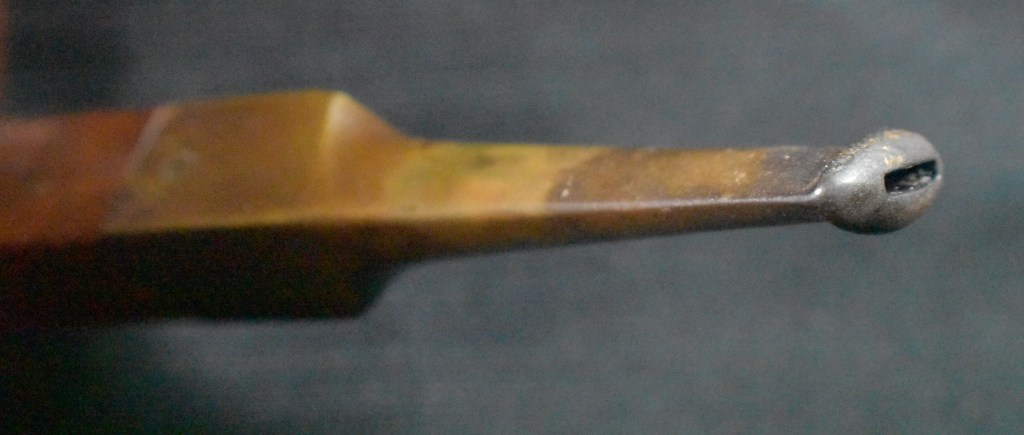
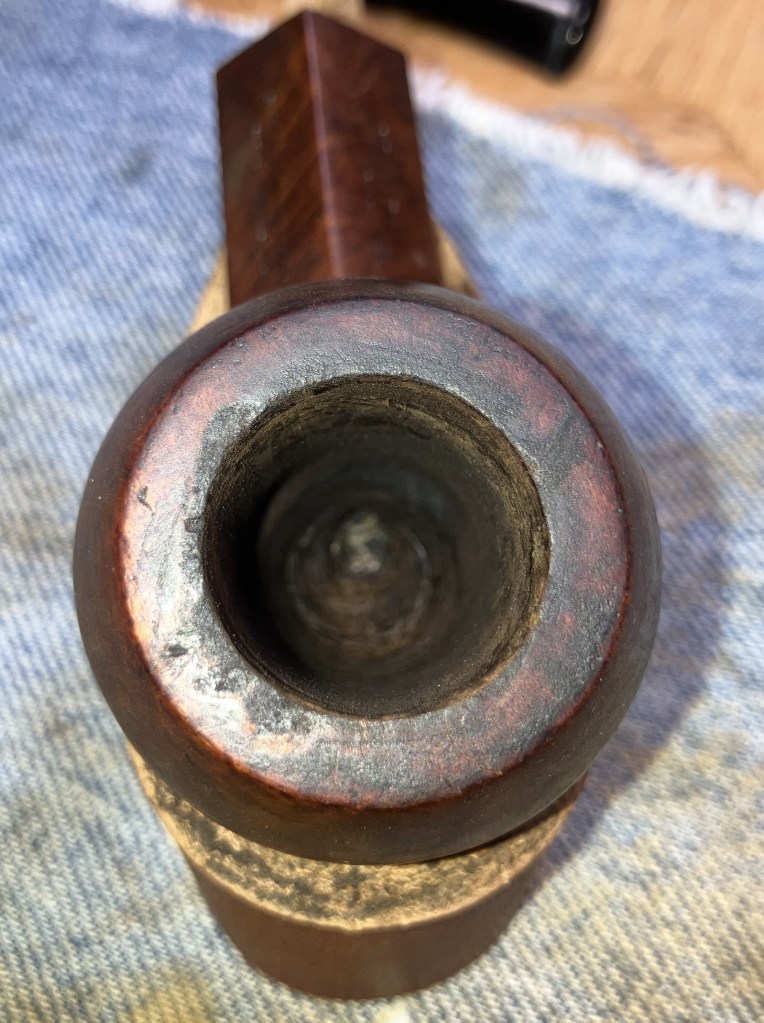
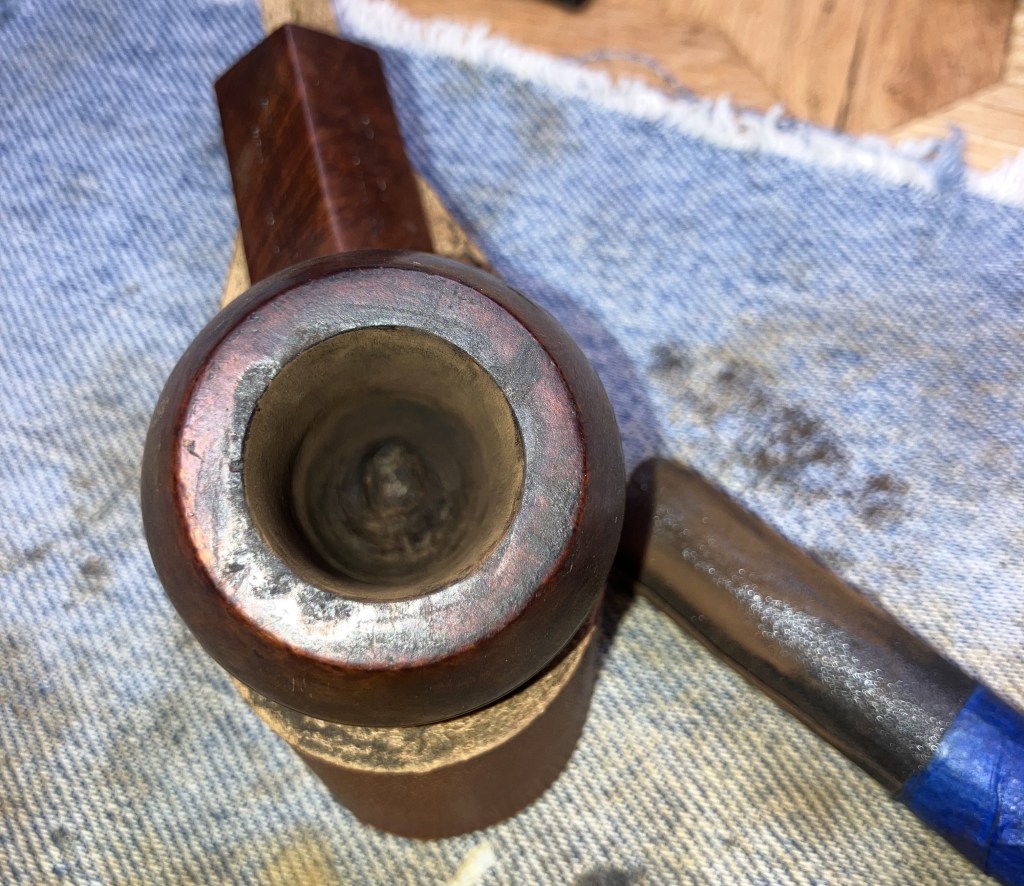
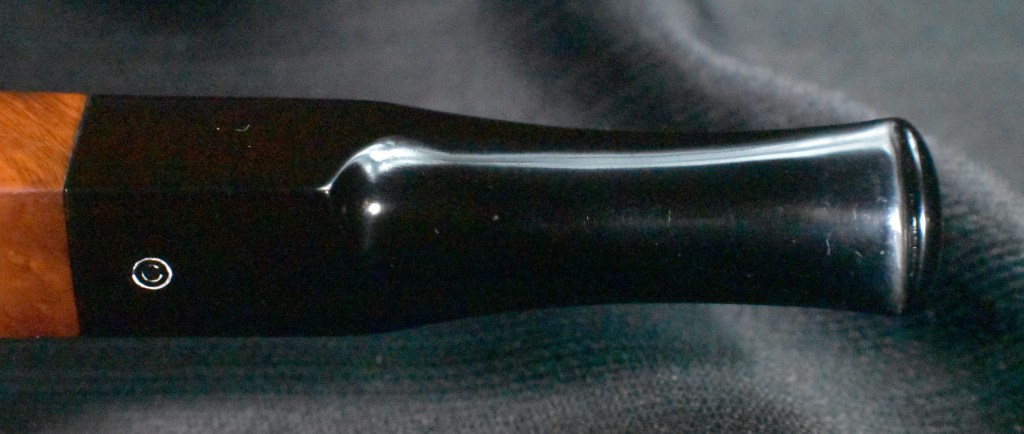
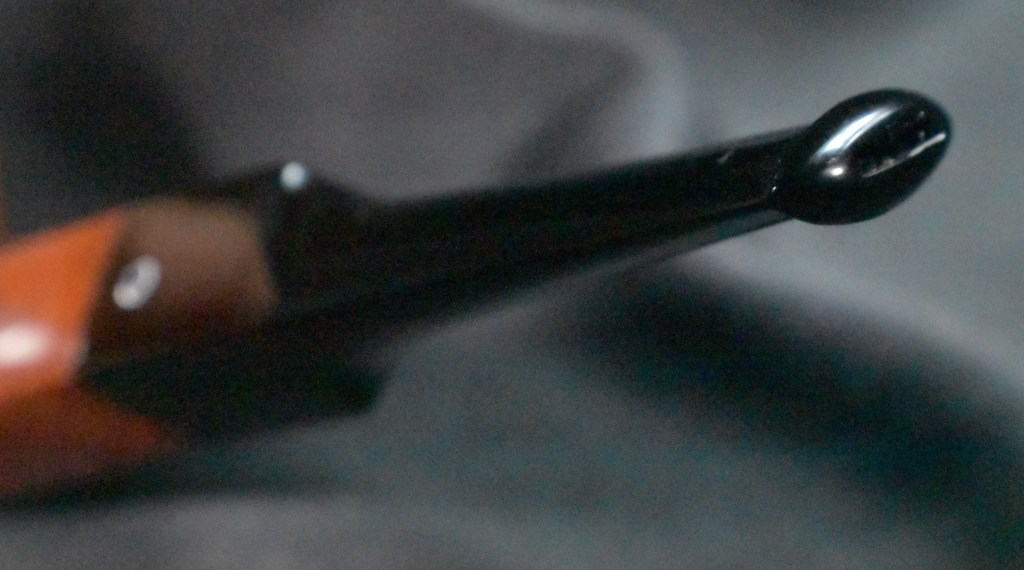
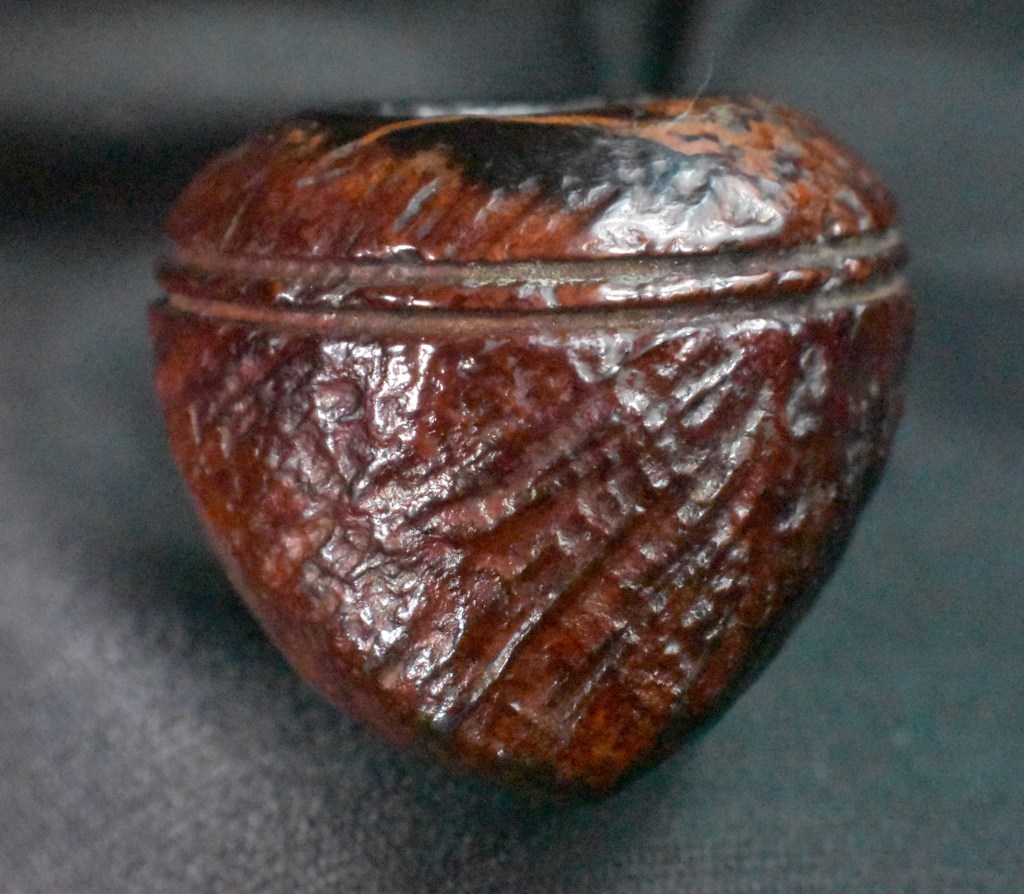
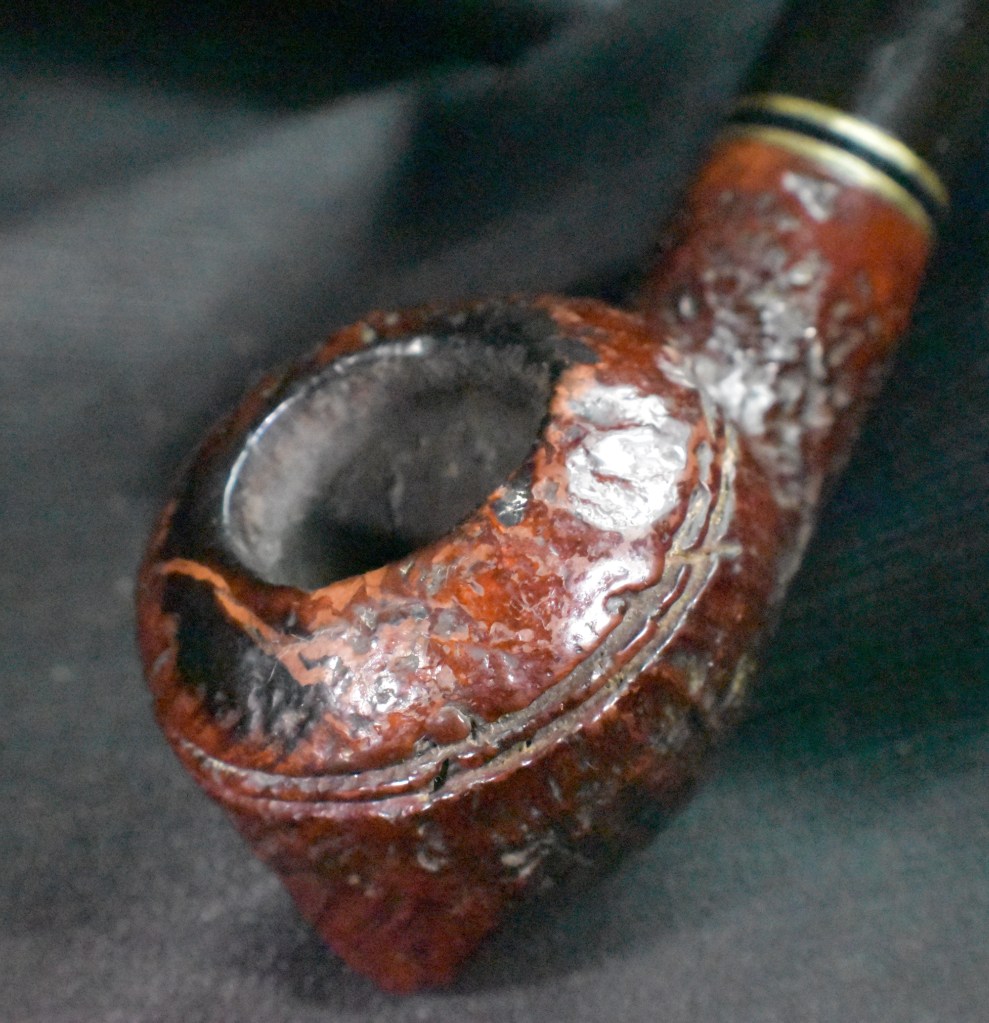
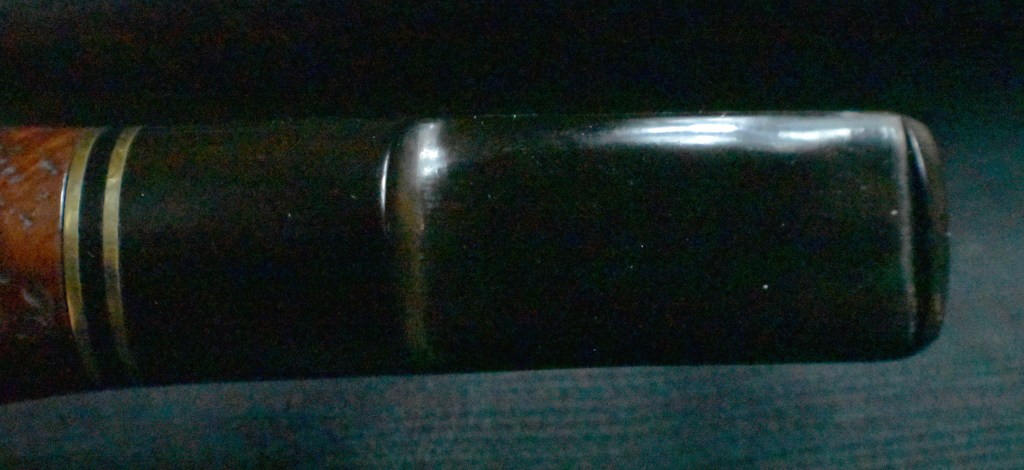
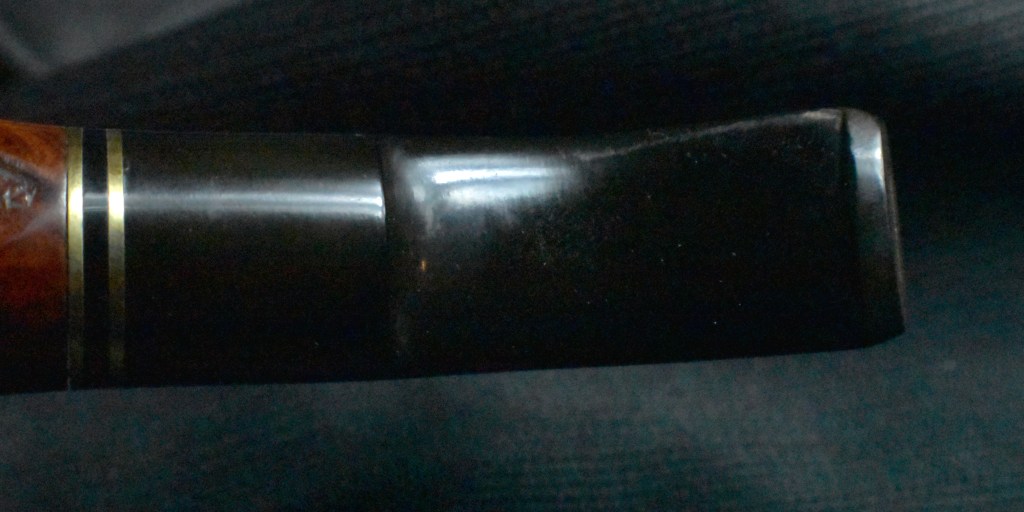
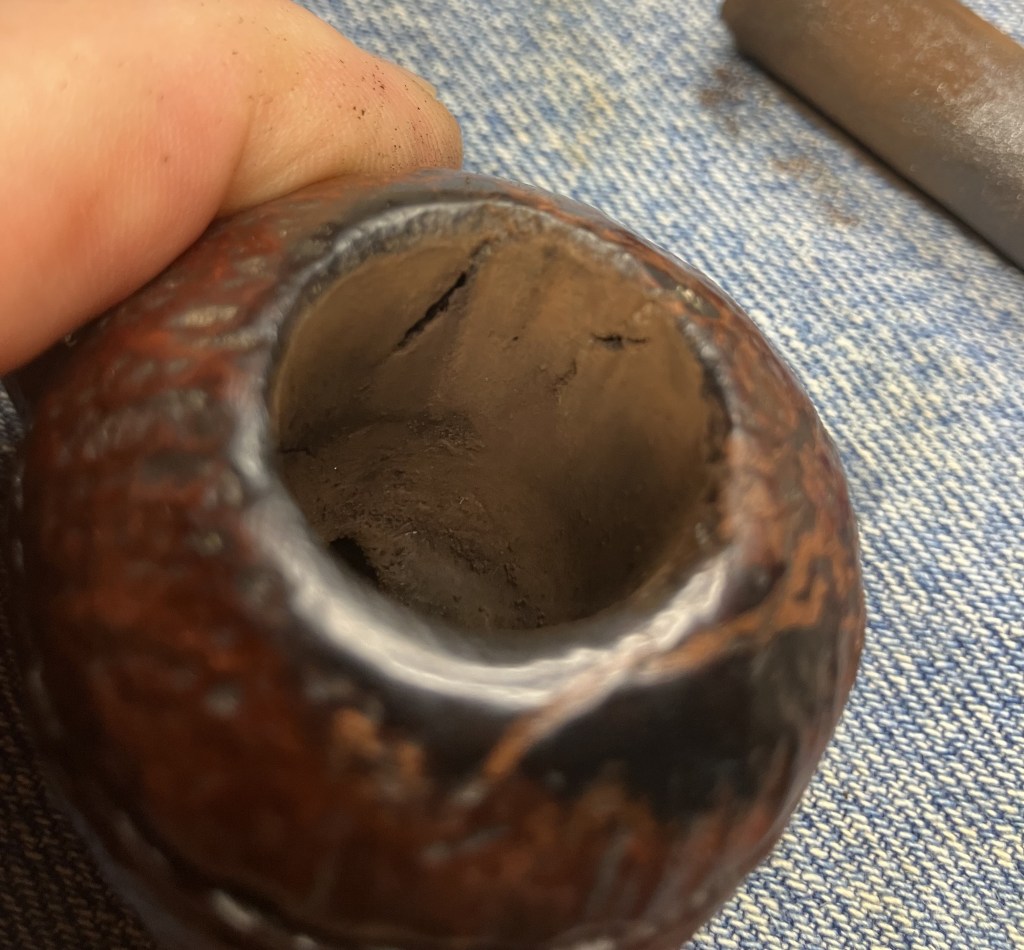
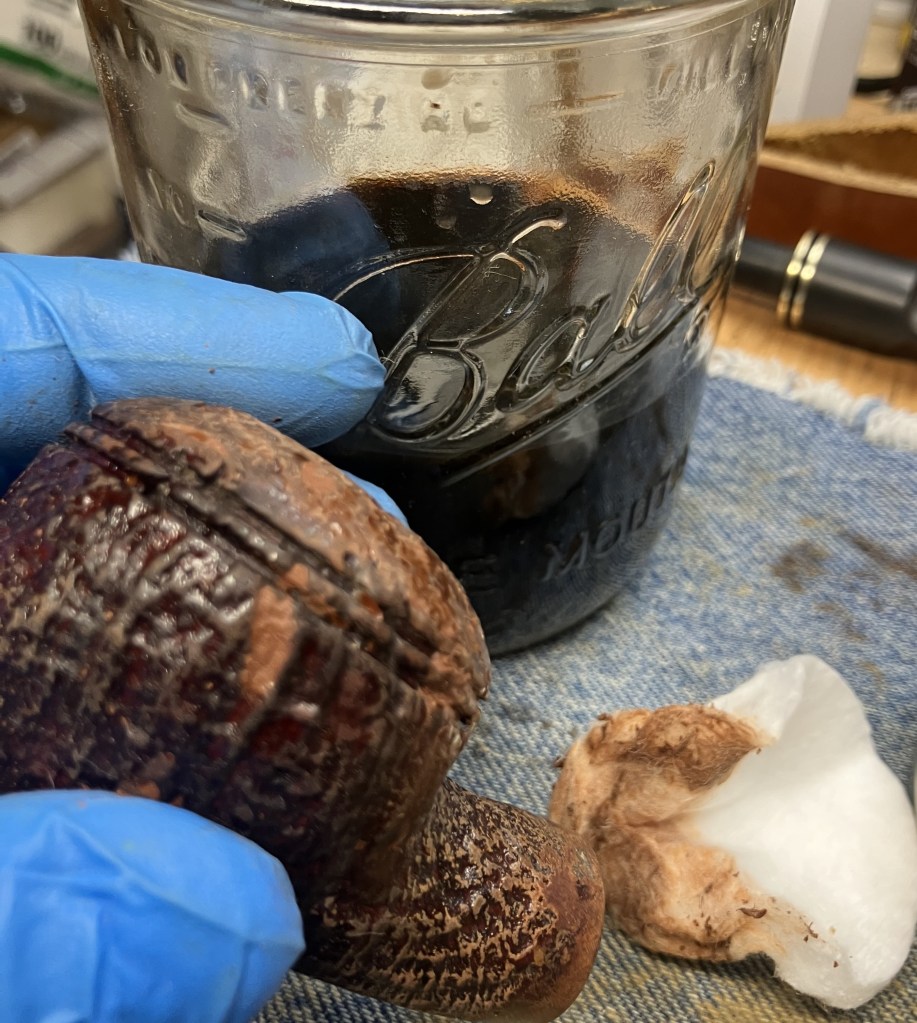
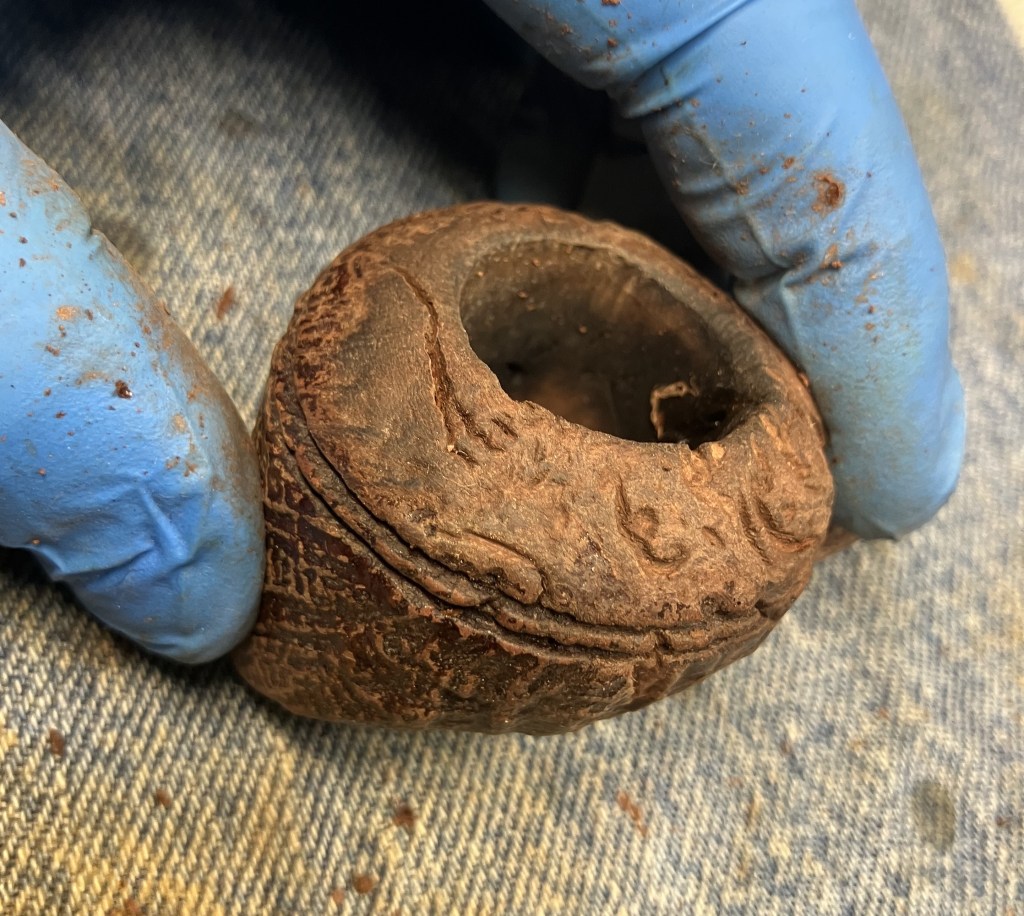
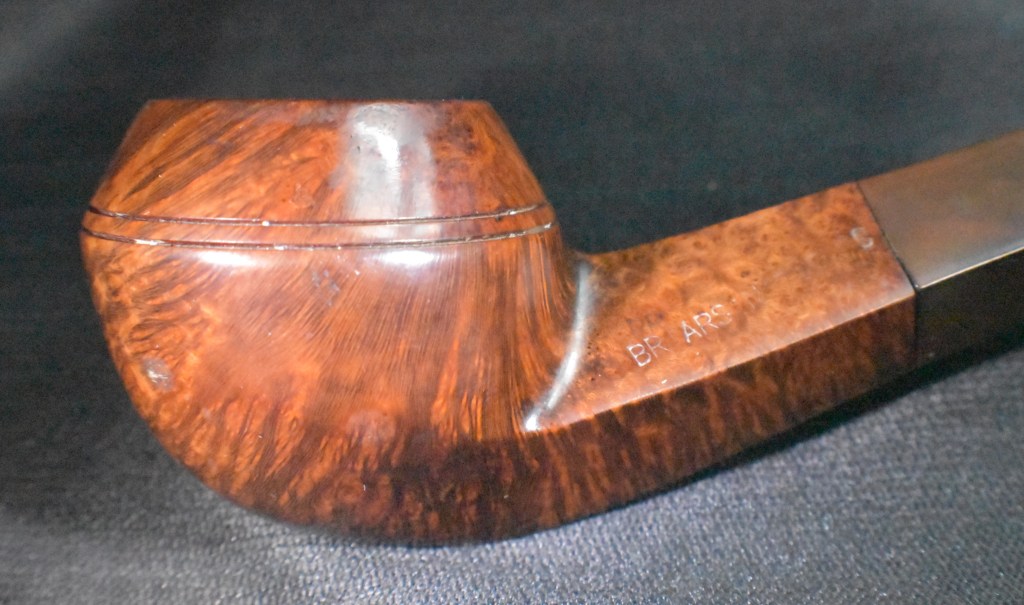
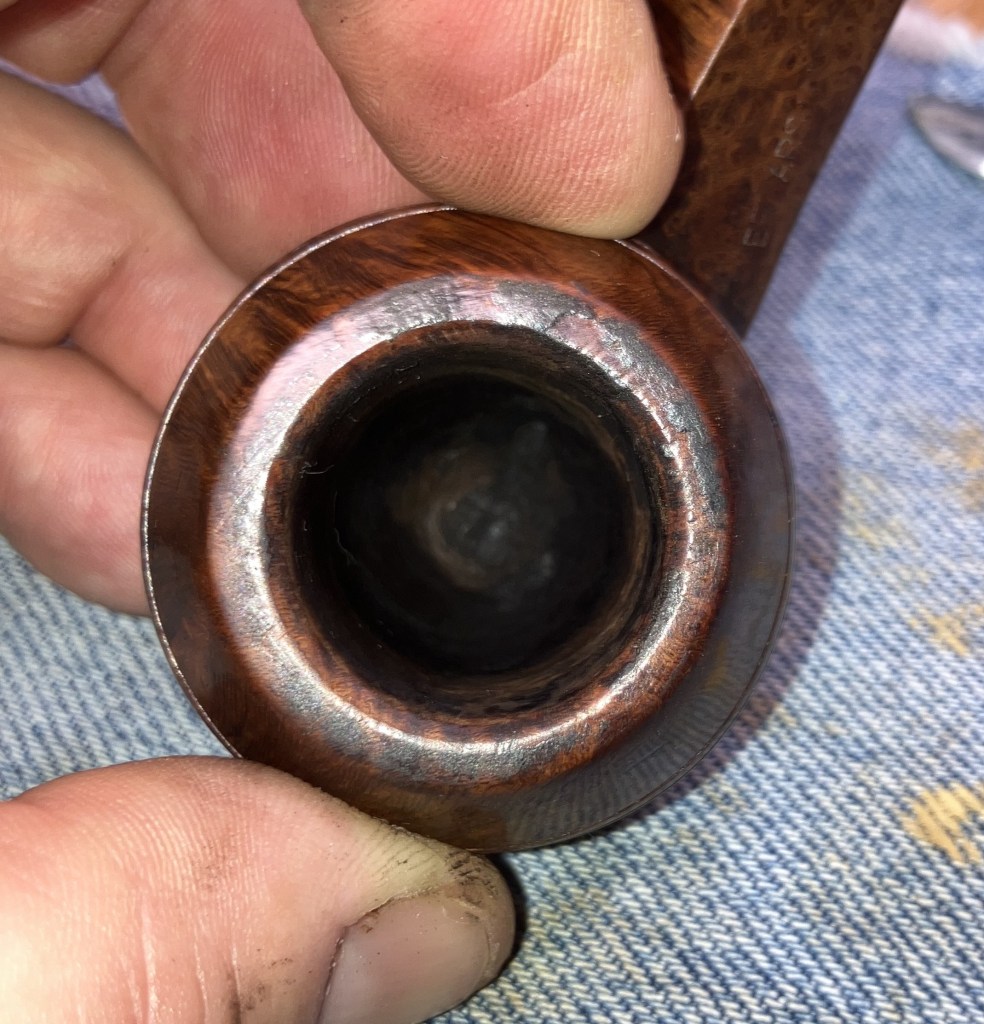
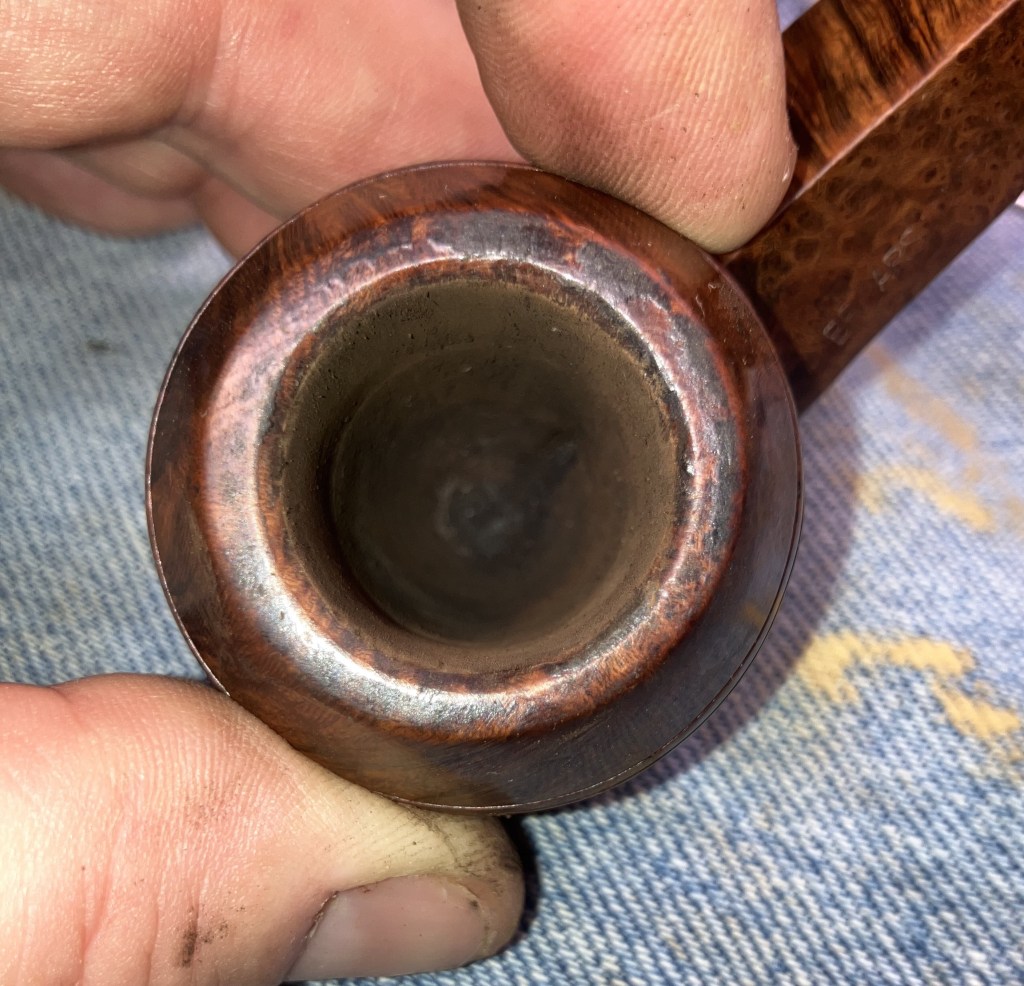
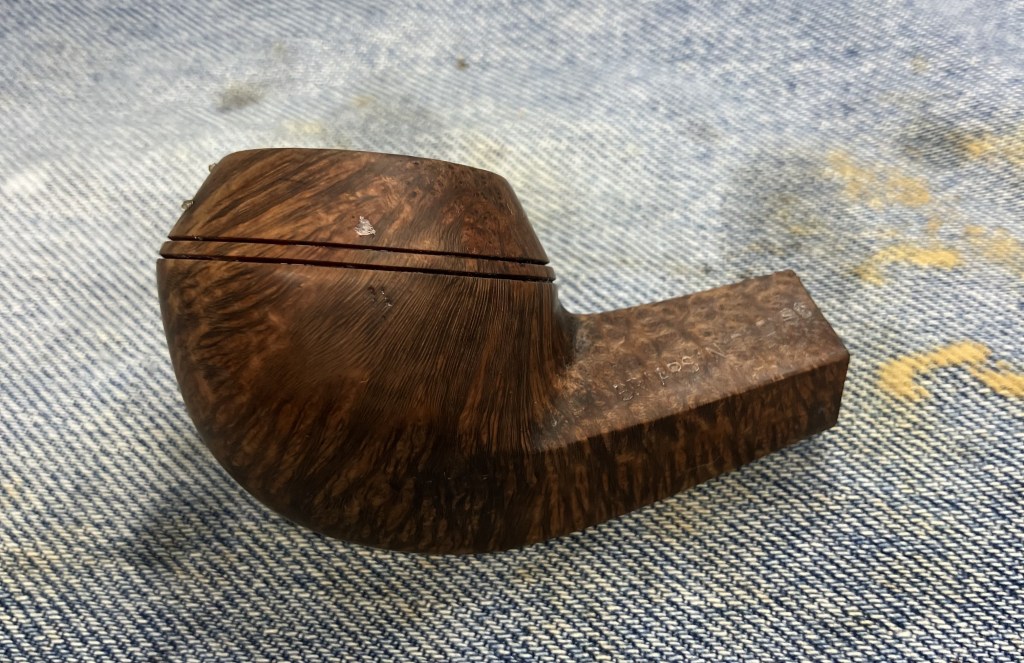
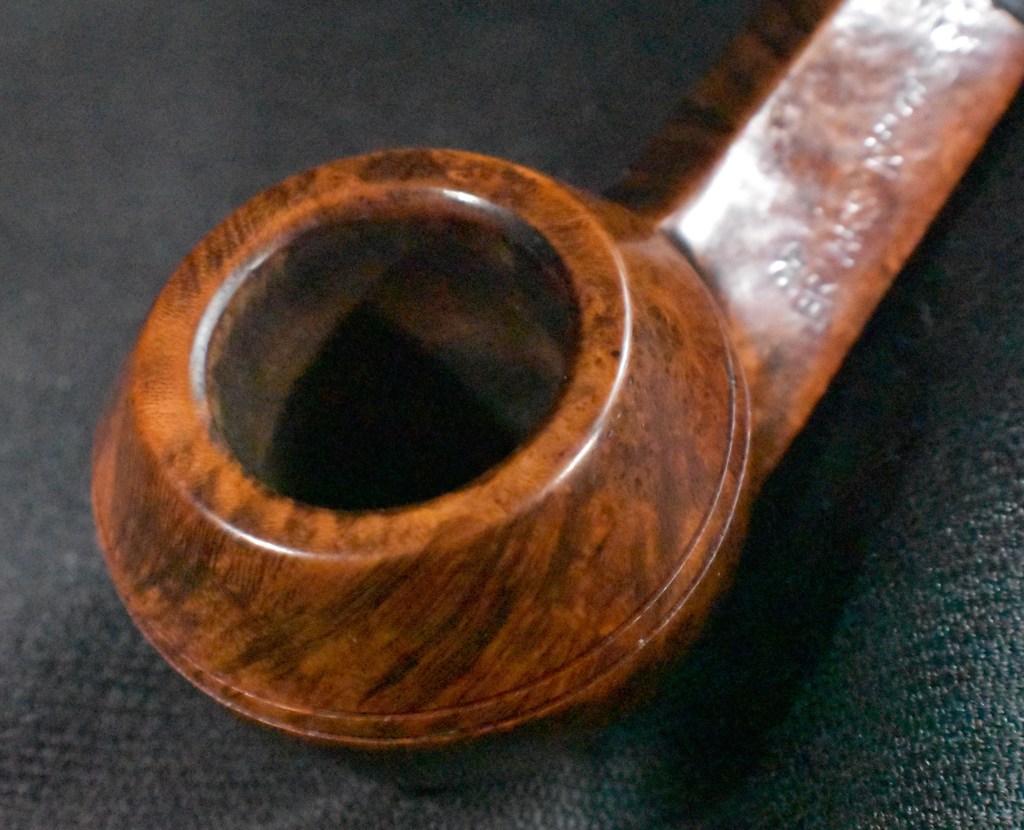
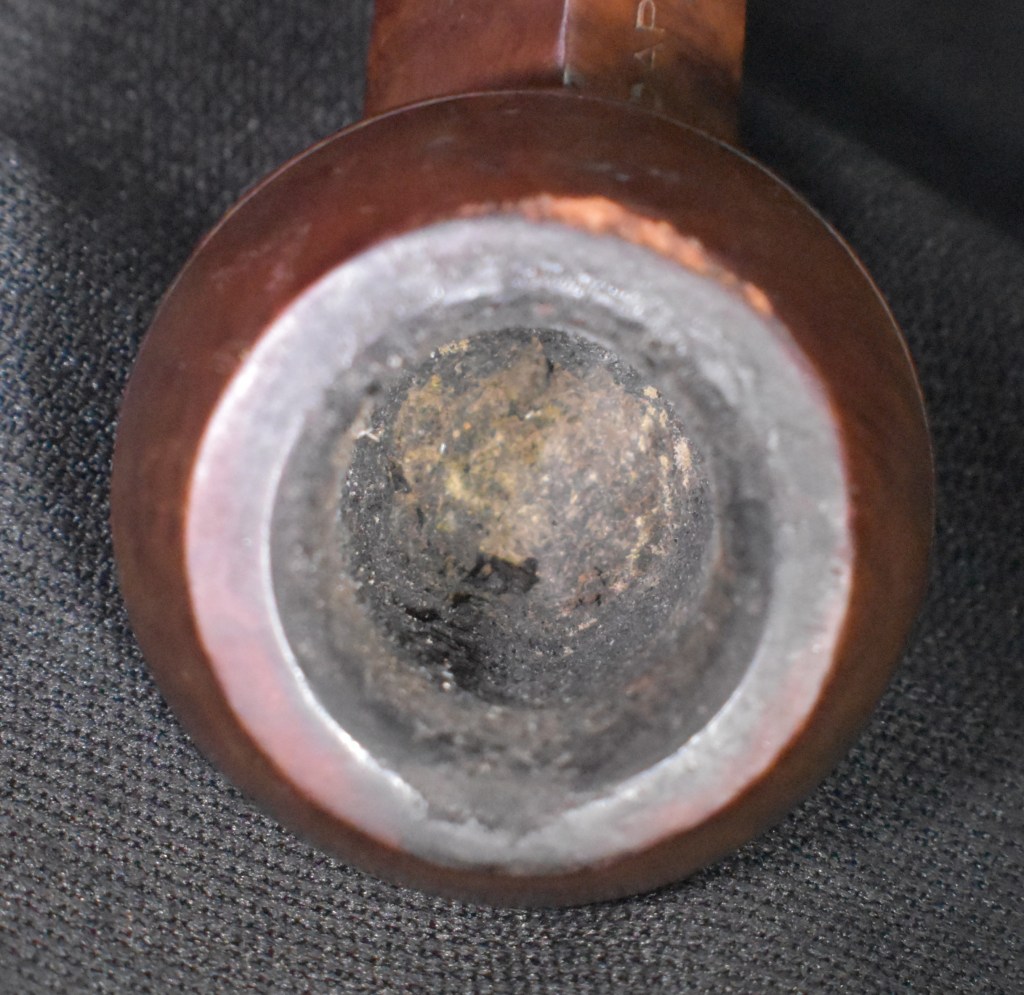
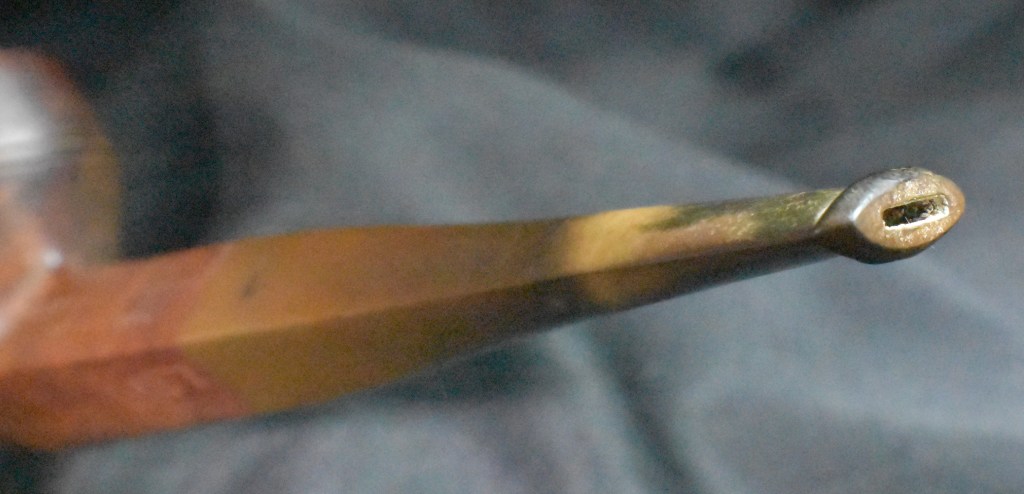
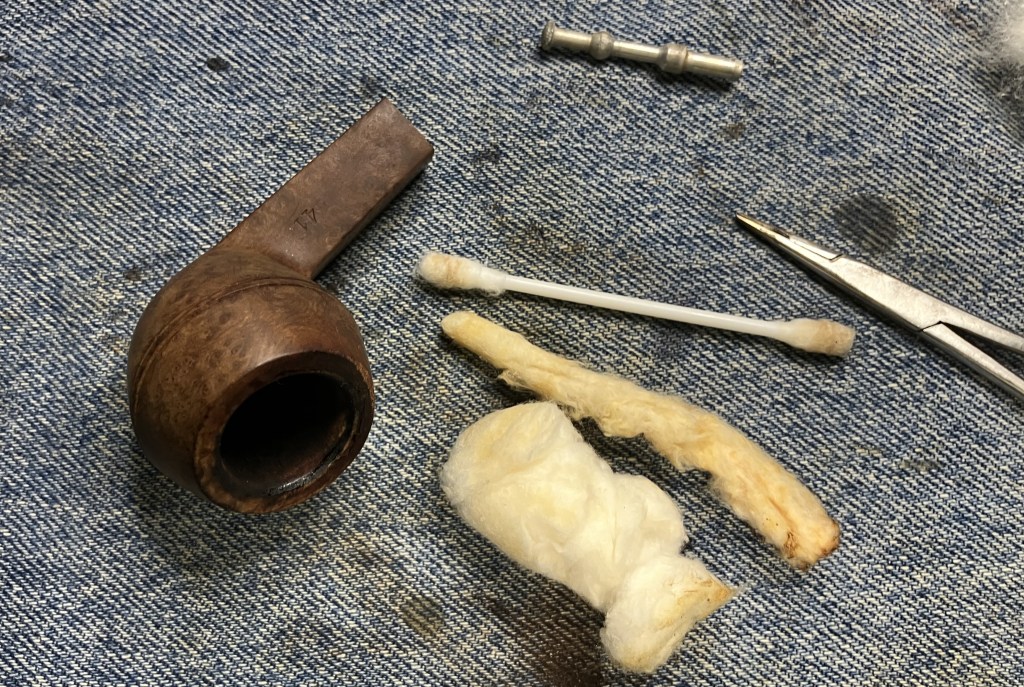
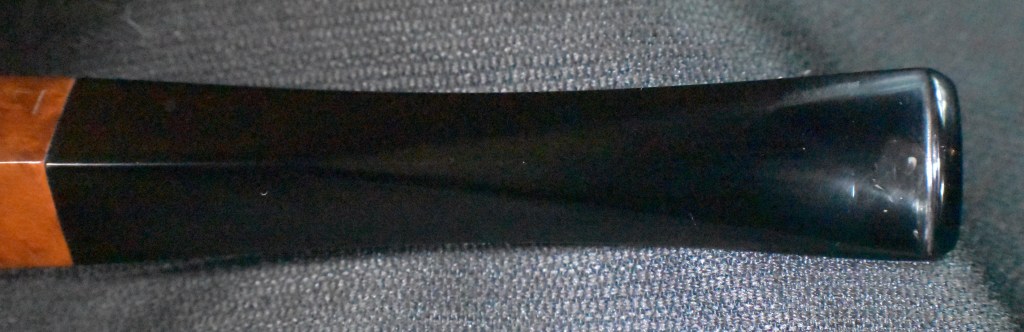
The pipe was in great shape, sure there were a couple of chips on the stummel but that added character to the pipe. The bowl had a light cake built up which would have to be carefully reamed but the rim looked pristine. The stem appeared slightly pitted. I do not know if that was the intended look or if that was a product of aging. Either way it would be sanded and polished. The shank end appeared to be very clean and the stem had no tooth chatter. This looked like an easy restoration.
Background
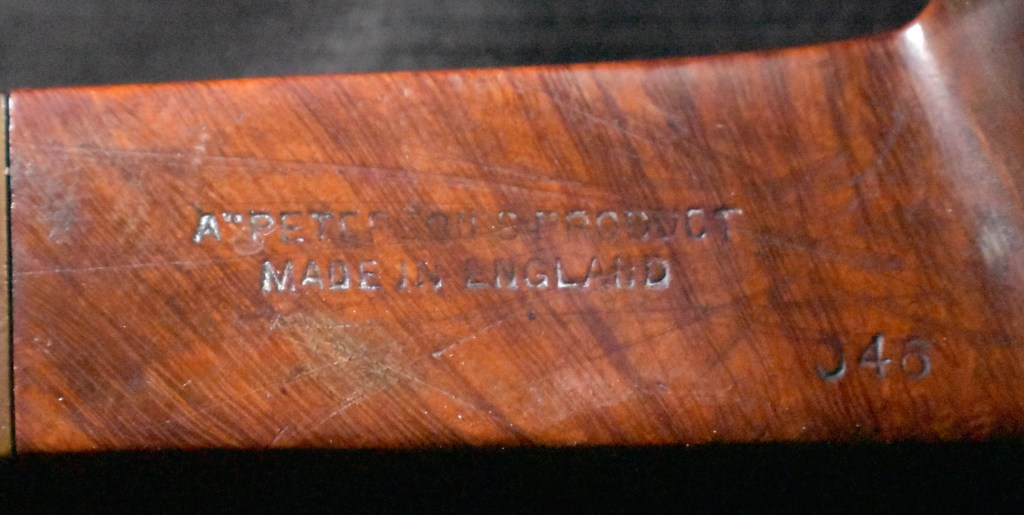
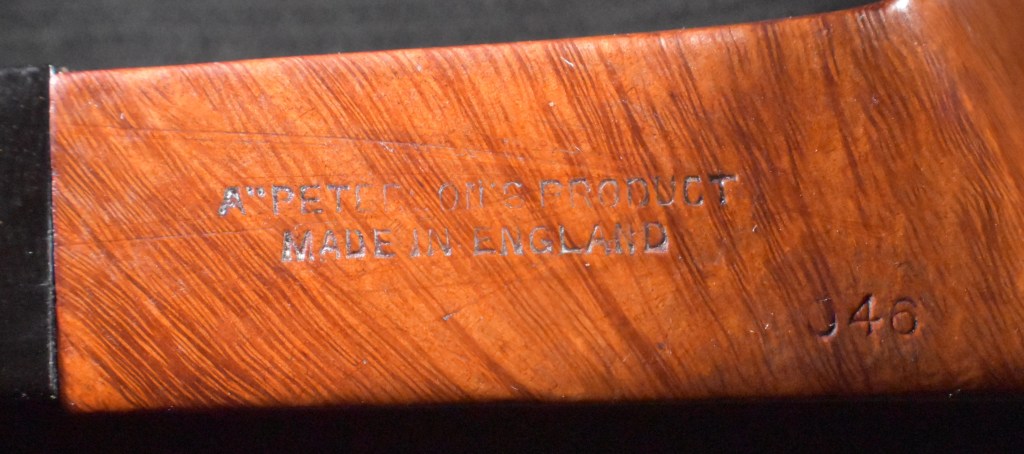
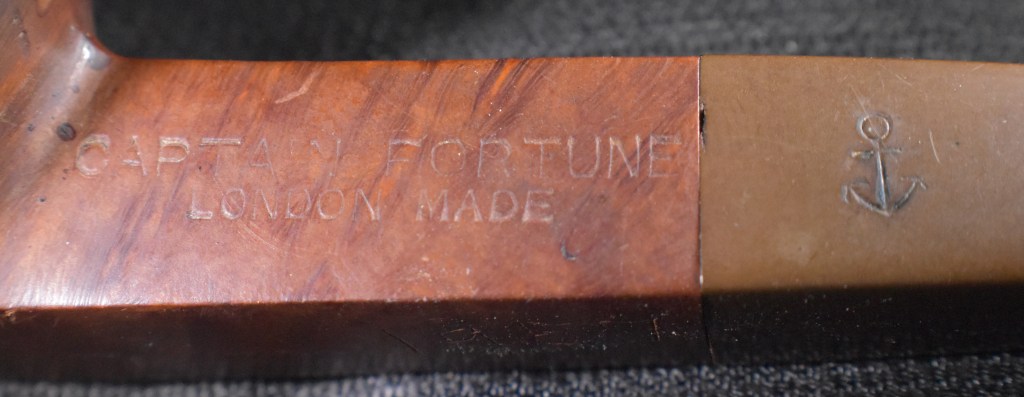
Having restored a few meerschaums I immediately thought that this specimen had to be a Laxey Pipe Ltd. product. I knew of no other British meerschaum makers. I tried searching for “Thompson” on both pipedia.org and pipephil.eu and came up with nothing. I then went to rebornpipes.com, Steve Laug’s catalog of restorations would certainly contain some information. It did: Thompson Meerschaum Pipes | rebornpipes. In this blog entry Steve references a restoration done by Dal Stanton, Diving into the Provenance of a Thompson Genuine Block Meerschaum GT. Britain Brandy – The Pipe Steward. I will use Dal’s research as the best source of information regarding the Thompson Block Meerschaum and quote it below:
“My research on the origins of the Thompson Block Meerschaum name can be summarized like this: It was made with African Meerschaum from the Tanganyika Meerschaum Corporation (Tanganyika Meerschaum Corporation – Pipedia) and produced by Laxey Pipe Ltd. on the Isle of Man. This conclusion was deduced from comments made about Thompson from various pipe forum threads. Here is one example from Pipesmagazine.com (2012) among several that I found that demonstrates what I have found generally:
@tschiraldi – Thanks! It’s my understanding that the Thompson Meerschaum pipes were made by the Manx Meerschaum Company on the Isle of Mann (Great Britain). Back story is that my 3x Great Grandfather was Sir Hall Caine who was a famous author known as the Manx Man and lived on the Isle of Mann. I thought it would be cool to own a pipe made by the Manx Meerschaum Company which was made on the Isle of Mann. Just thought it was interesting.
“It’s my understanding…” is the key idea. I found several comments with the assumption that Thompson Block Meerschaum pipes were produced by ‘Manx’ or ‘Laxey’ – the same producer. When doing the research on James’ first commission, I discovered that the Laxey Co. produced the Peterson’s Meerschaum. Here is the Pipedia information on Laxey Pipes Ltd.:
Laxey Pipes Ltd. resided in a historical 19th century four-storey Man stone building at The Quay, Old Laxey, Isle of Man, which thankfully has been preserved.
The company specialized in the production of meerschaum pipes using the Meerschaum mined by the Tanganyika Meerschaum Corporation in the Amboseli basin in Tanganyika (since 1964 part of the United Republic of Tanzania).
Please note: you may often find names like “Manx Pipes Ltd.”, “Man Pipe Co.” and others more, but there is no indication of another Isle of Man pipe producer other than Laxey Pipe Ltd. at any time!
Laxey Pipes Ltd. marketed their own brands like “Manxpipe”, “Manxman”, “Manxland” e.c. Names like “John Bull”, “White Knight” (unwaxed), “Domino” (black, or lined) indicated some shapes / colours of Laxey’s own series. The stems either showed the astronomical sign for “male” or “man” (circle + arrow), or the crest of the Isle of Man, the 3-legged X in a circle. Manxpipes and Laxey’s other brands were available through pipe retailers in general, but also were sold (mainly) to tourists through their own shop in Laxey.
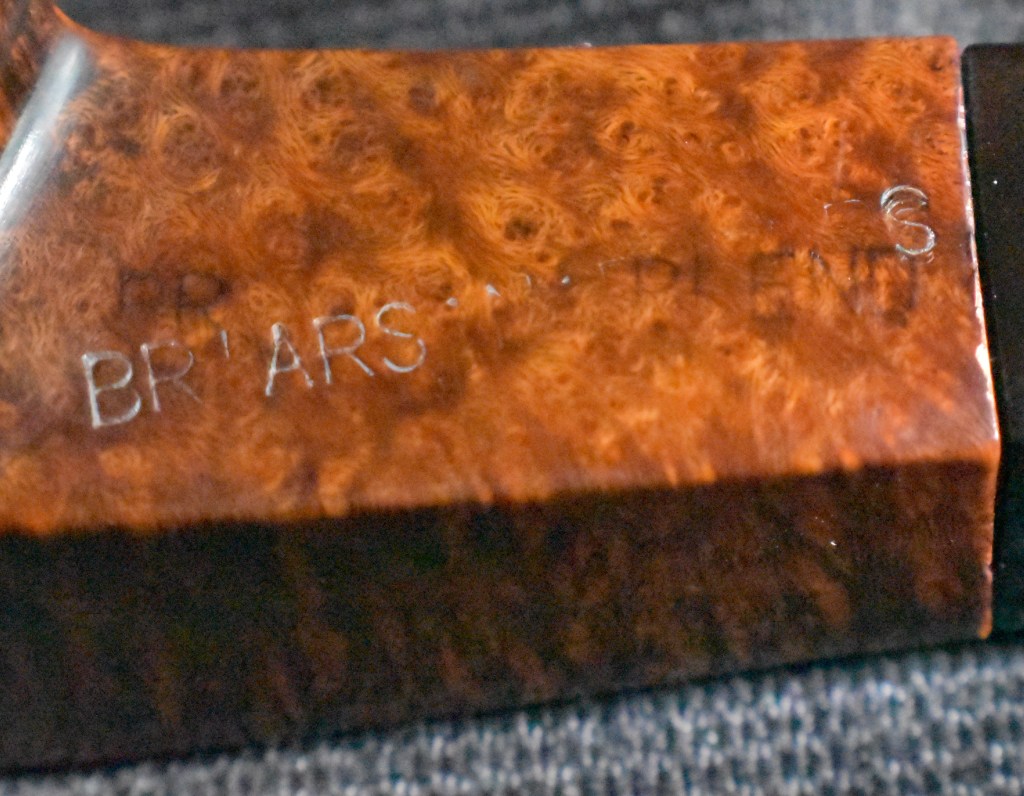
Furthermore Laxey Pipes Ltd. manufactured the meer bowls for Peterson, Barling, Nørding and others from the later 1960’s until 2001. Man Pipe e.g. was a brand distributed by Comoy’s. The bowls usually showed no nomenclature indicating the orderer. “Genuine Block Meerschaum” was engraved frequently. Often, just the stems were different, while bowls were the same.
Supply of meerschaum from East Africa ran out (Kenya / Tanzania exhausted, Somalia inaccessible), and thus the last Laxey meers were supplied to trade in May, 2001. Laxey Pipes Ltd. tried to survive continuing with briar pipes – mainly in the Danish style -, but to no success. It closed down business in July 2002.
In this article from Pipedia, there is no direct mention of Thompson Block Meerschaum however, it was left open that there were other brands produced from the 1960s until 2001 beyond those mentioned – Peterson, Barling, and Nording.
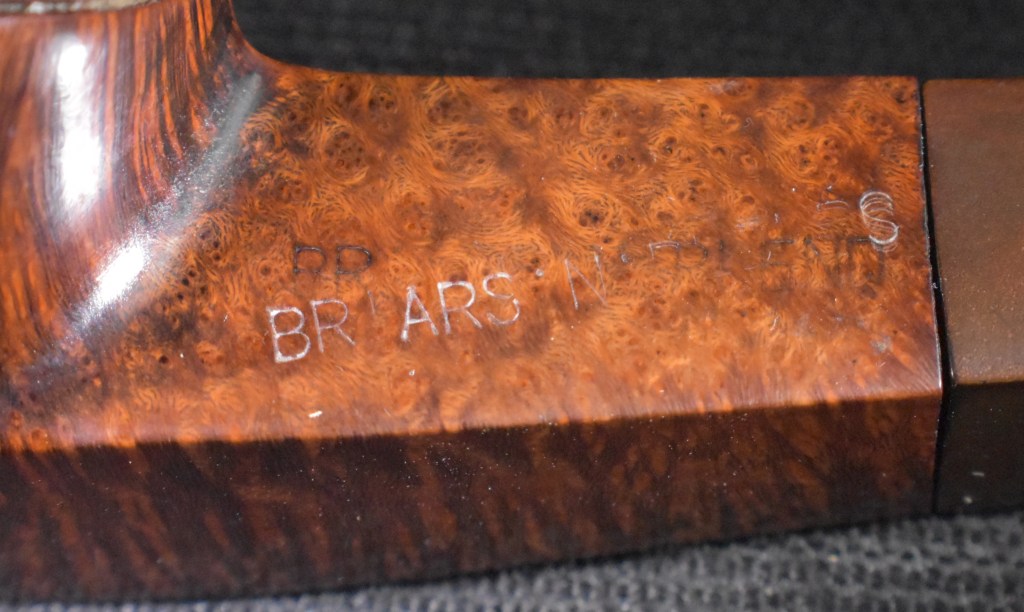
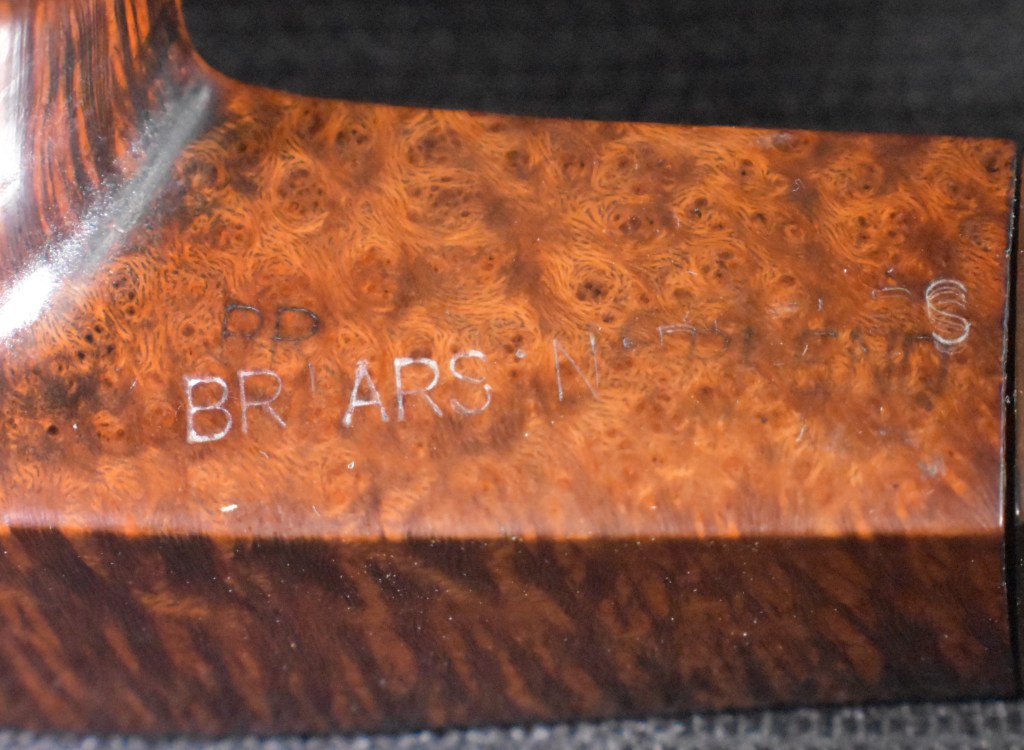
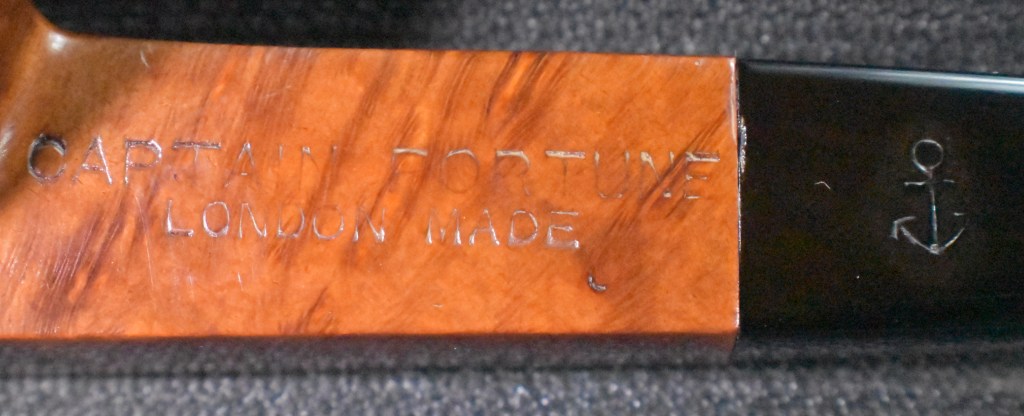
I tend to agree with the sentiments of the Thompson Block Meerschaum pipes being produced by Laxey. Why? First, with the COM being ‘GT. Britain’ leaves few options (if any) of a Meer block being produced other than on the Isle of Man. Secondly, the Thompson on the worktable resembles other products of Laxey with the smokestack coloring and the usual stamping: “Genuine Block Meerschaum”. Here are examples of Laxey pipes including our Thompson.” (Diving into the Provenance of a Thompson Genuine Block Meerschaum GT. Britain Brandy – The Pipe Steward)
Thank you Dal for doing a bang-up job on the research for the Thompson Genuine Block Meerschaum pipes.
The Restoration
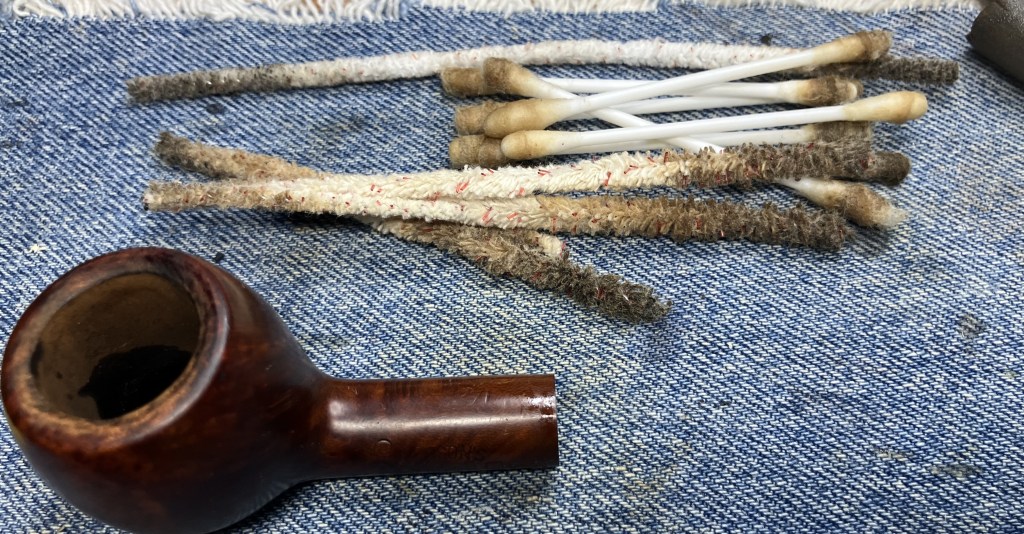
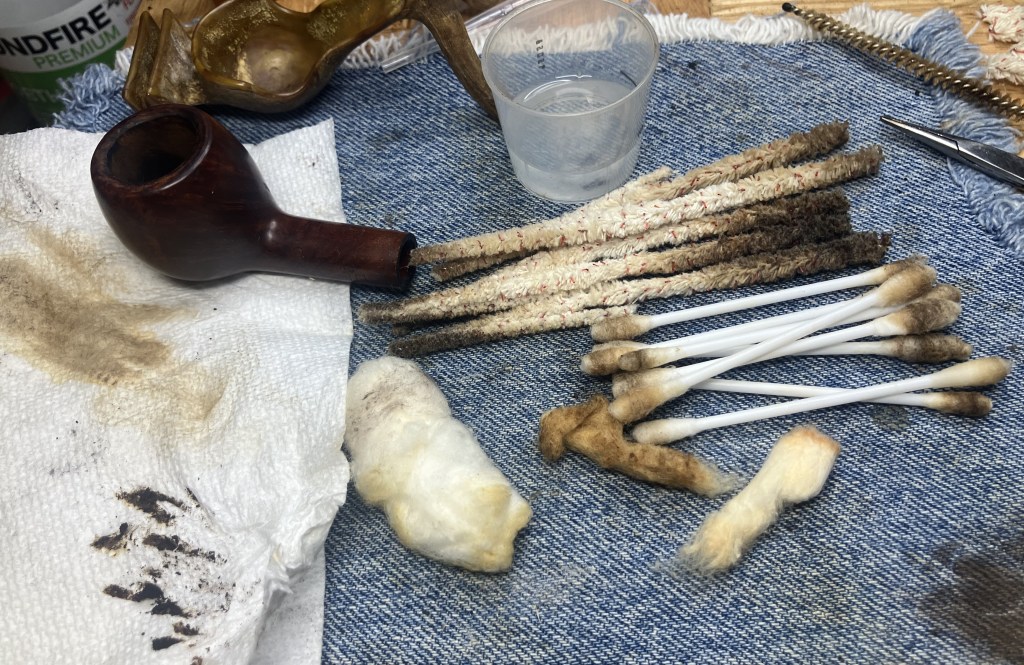
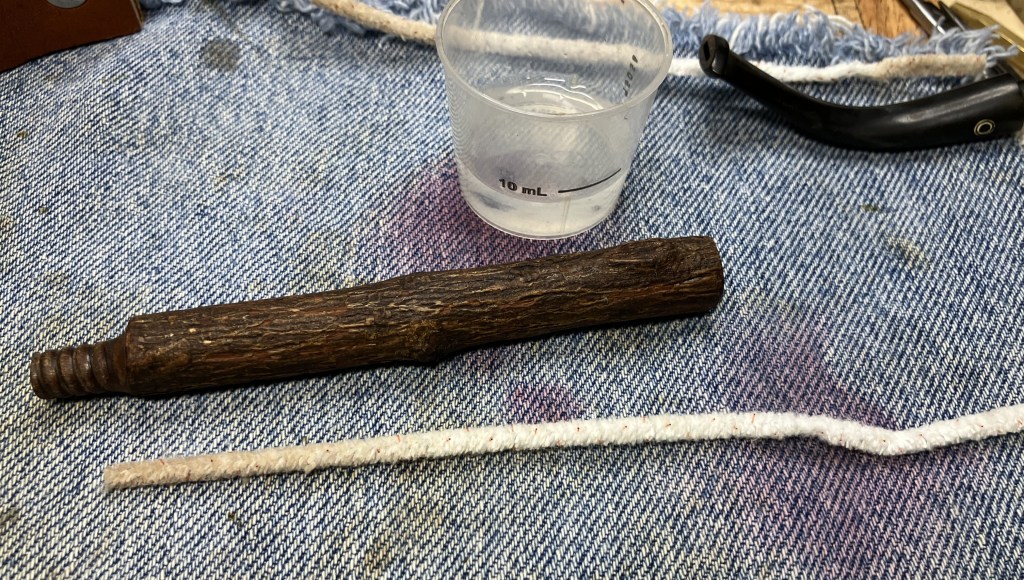
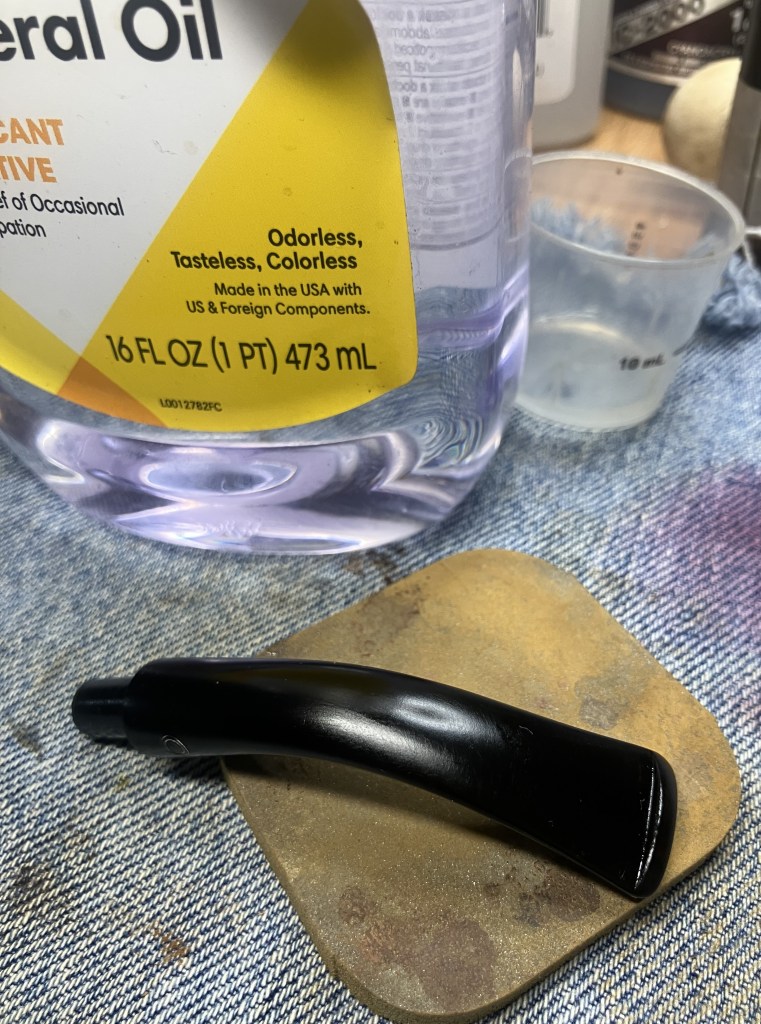
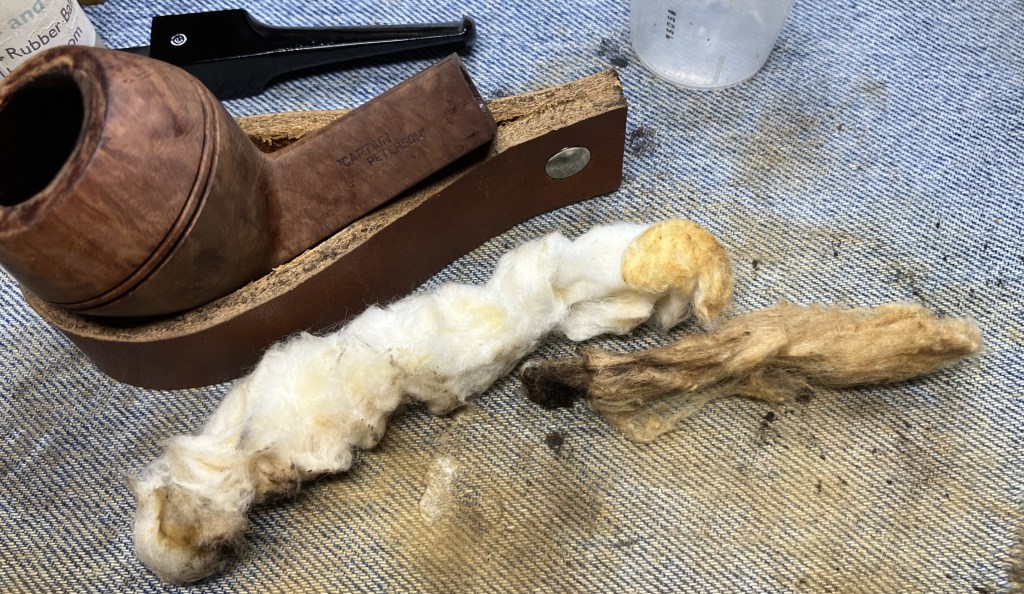
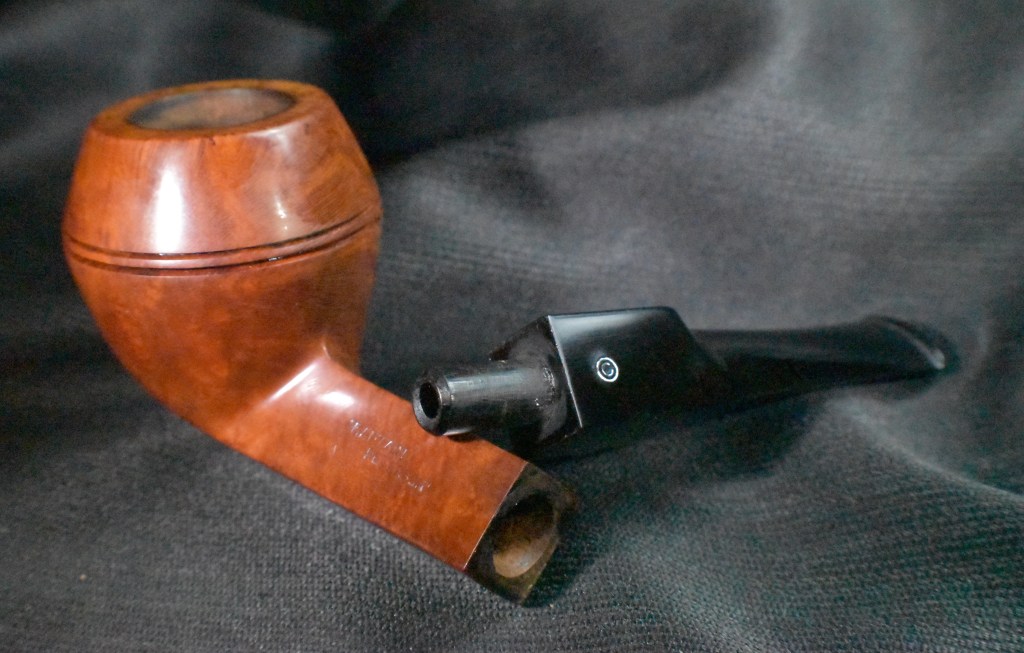
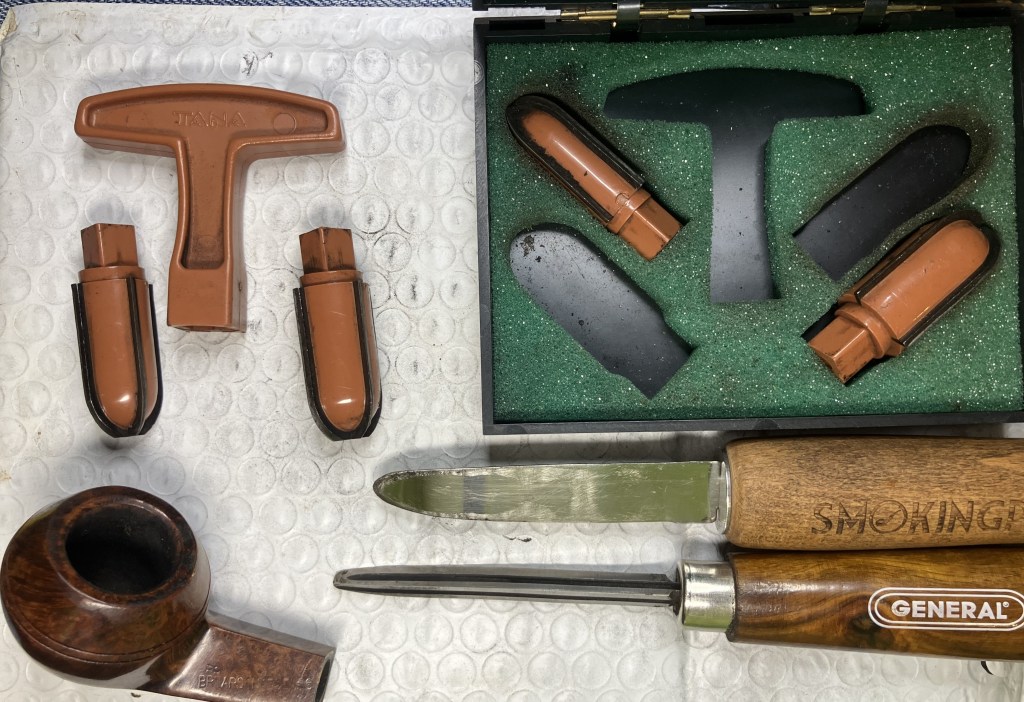
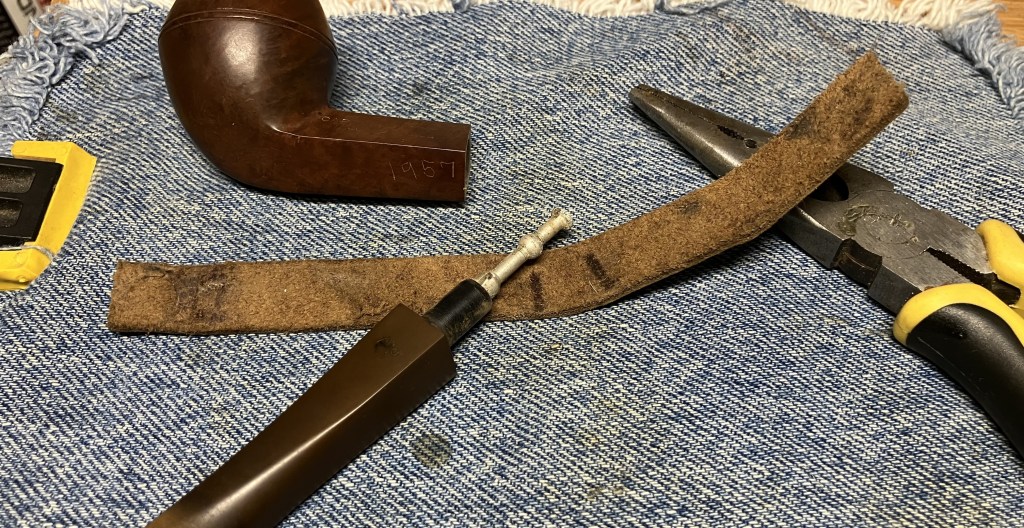
As usual the pipe received a cleaned denim piece for protecting it and the workbench.

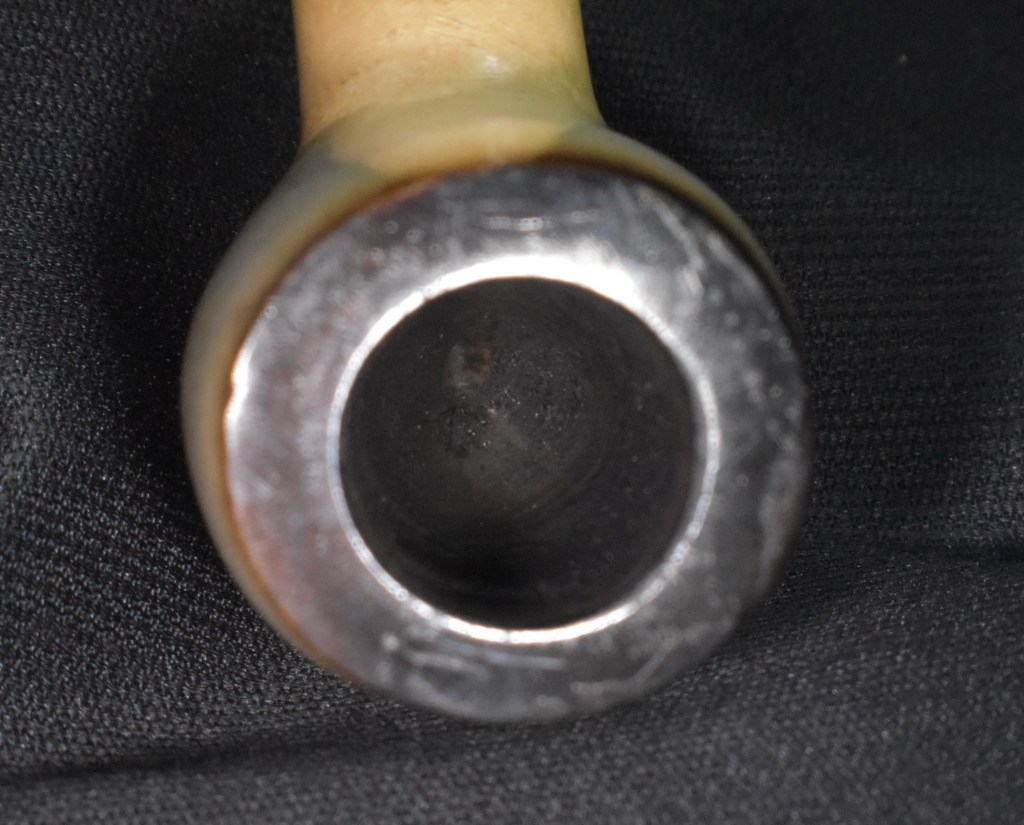
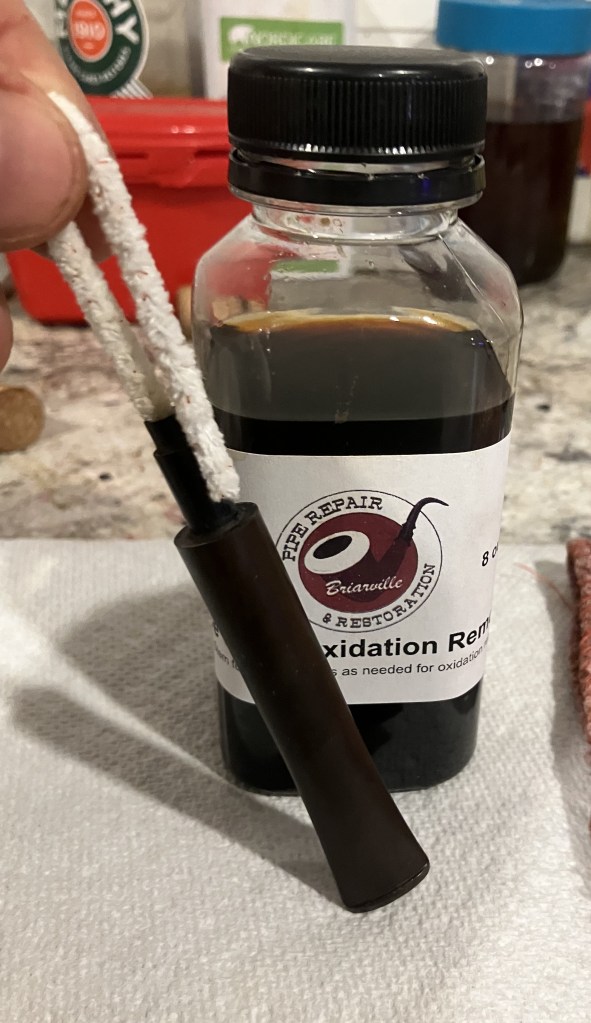
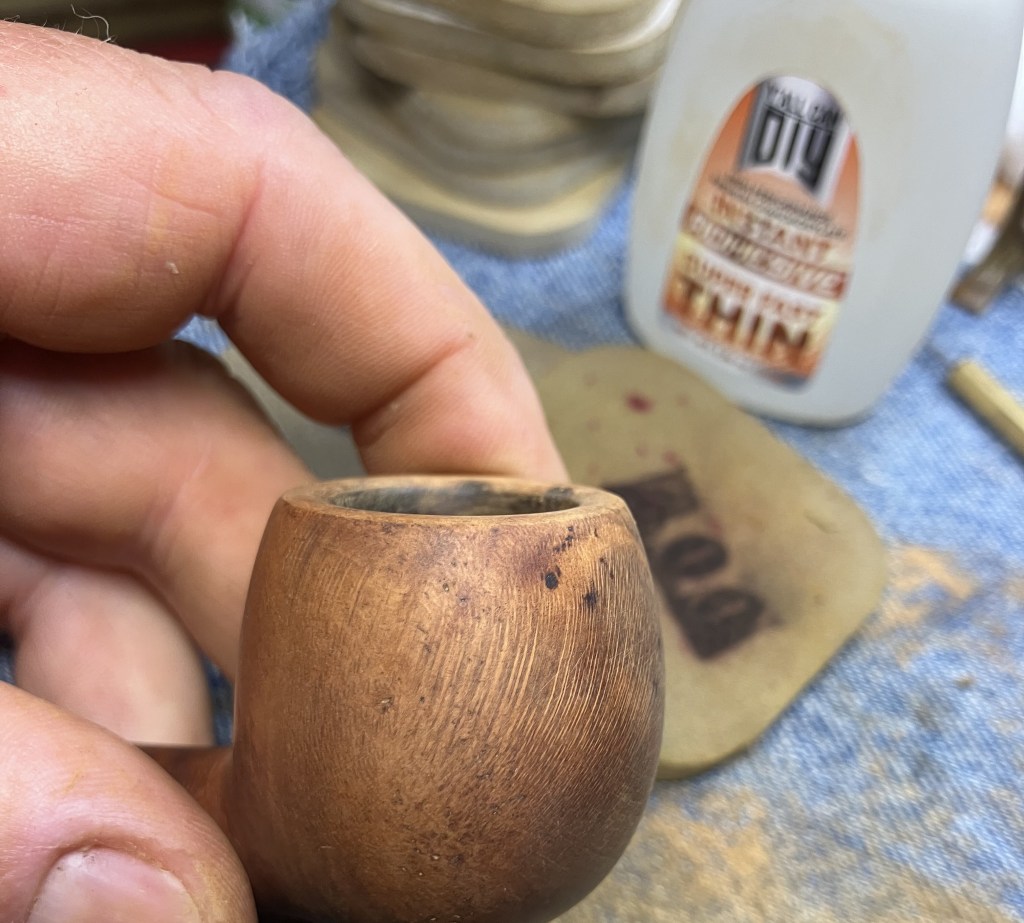
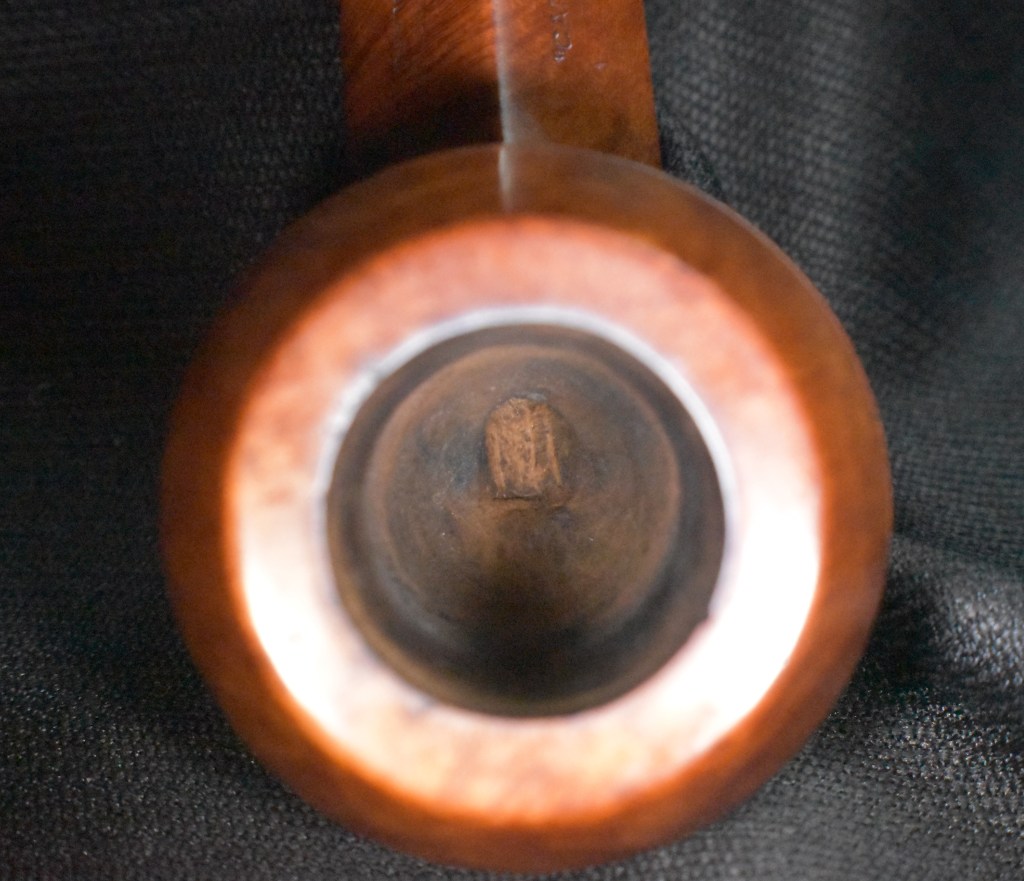
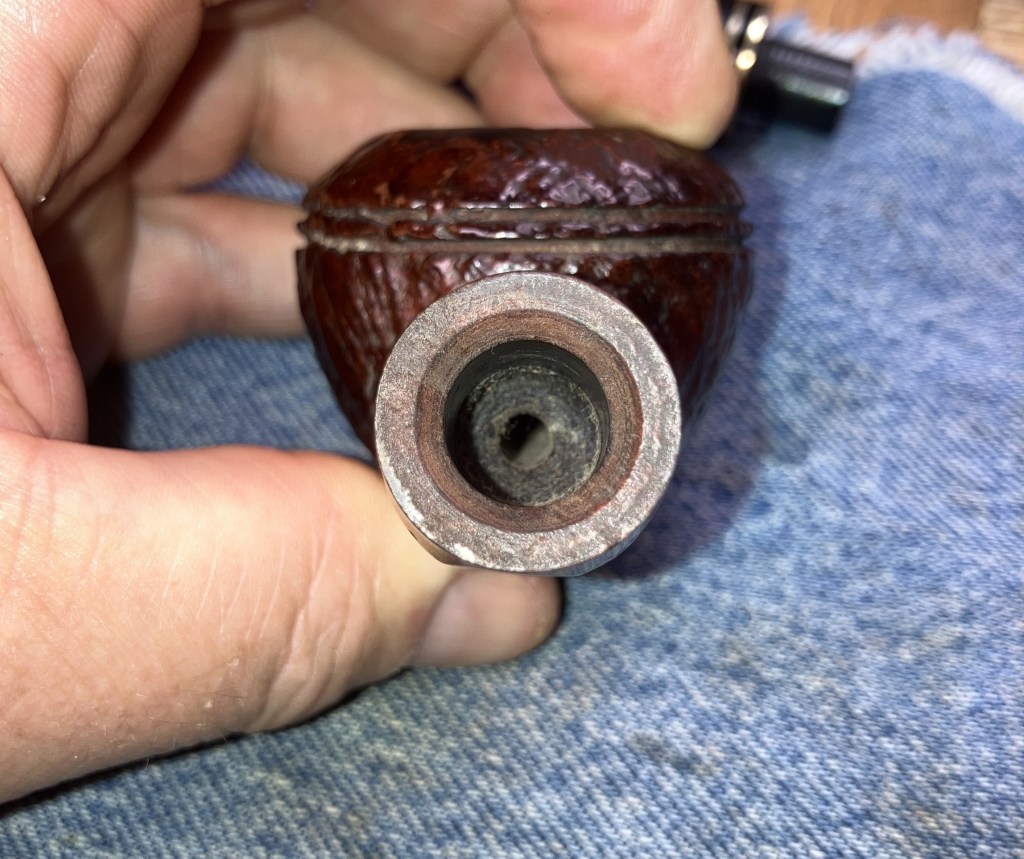
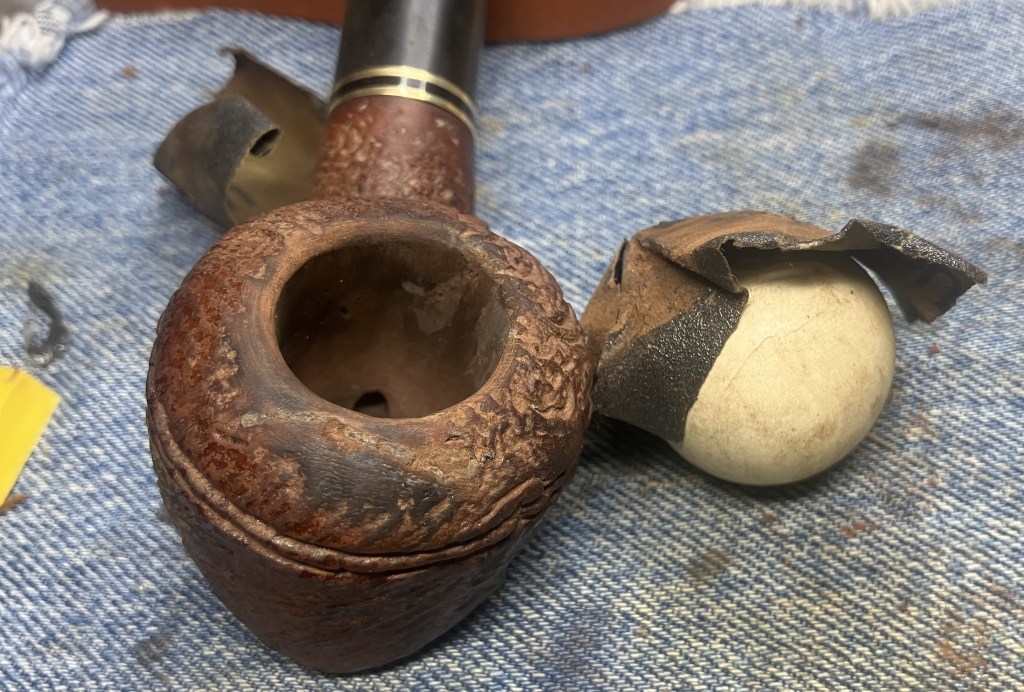
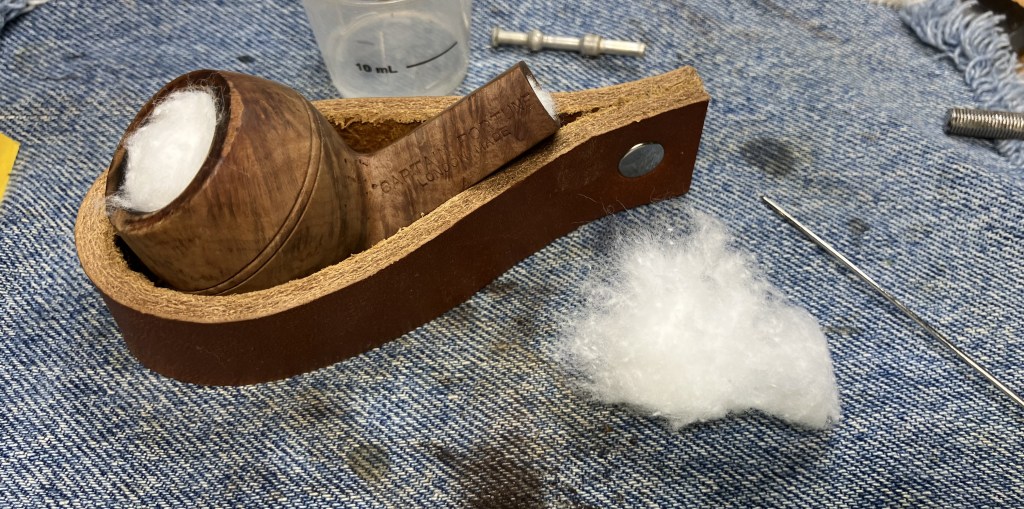
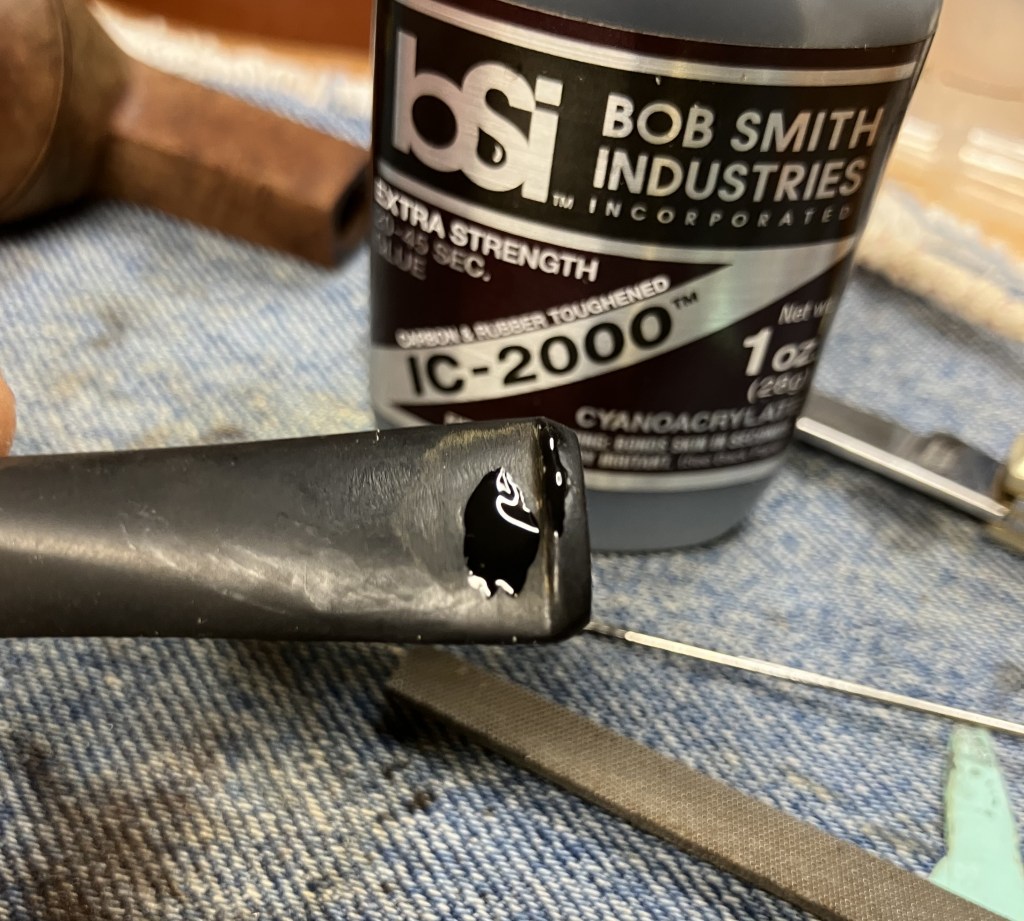
The threads cut into the meerschaum were far from smooth but they looked remarkably clean. I figured after a thorough cleaning I would use a light coating of petroleum jelly to ease the threading of the tenon.

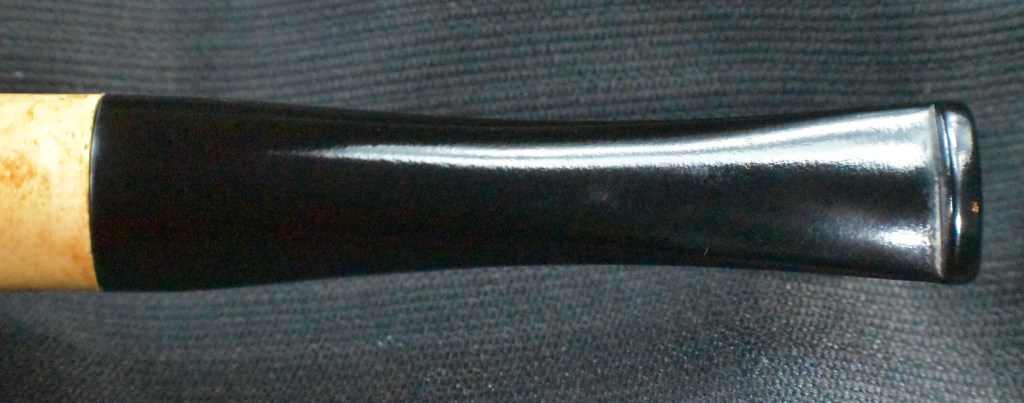
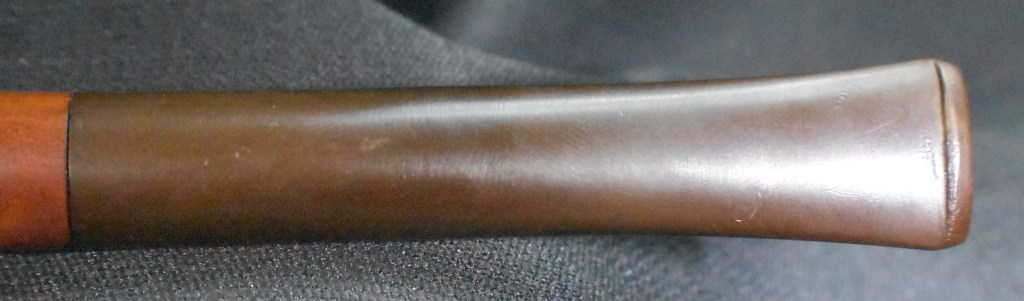
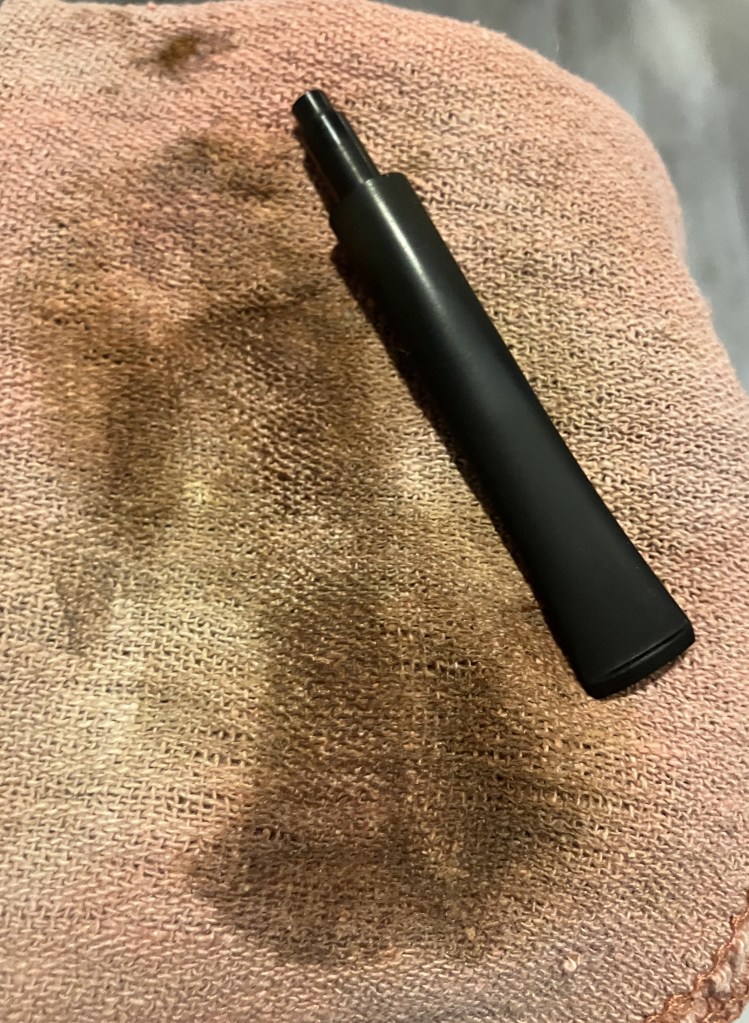
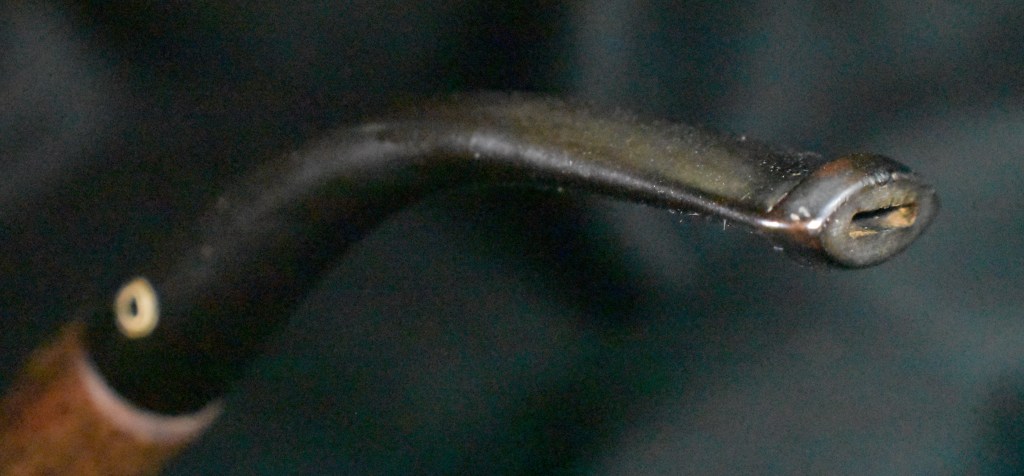
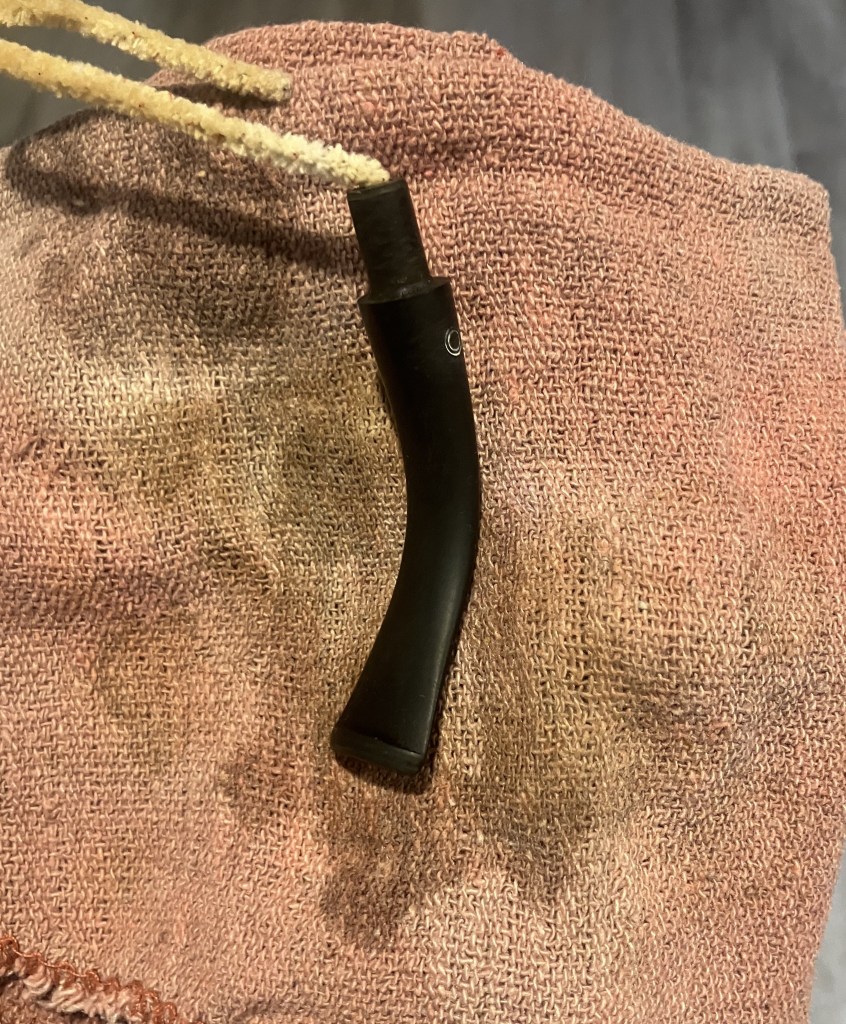
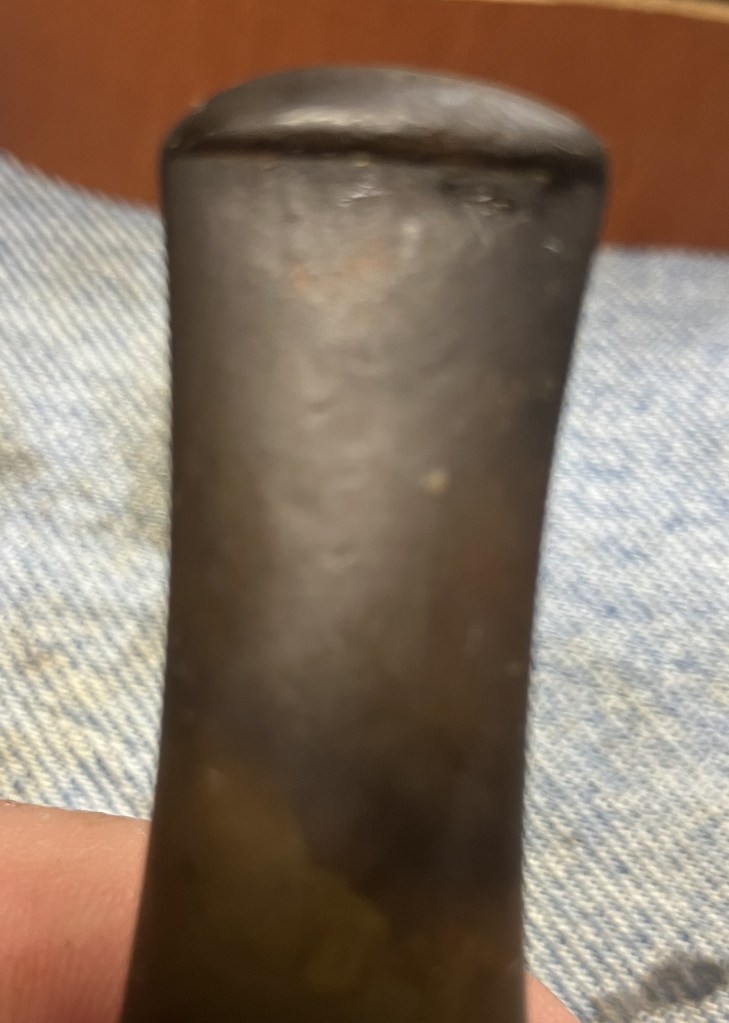
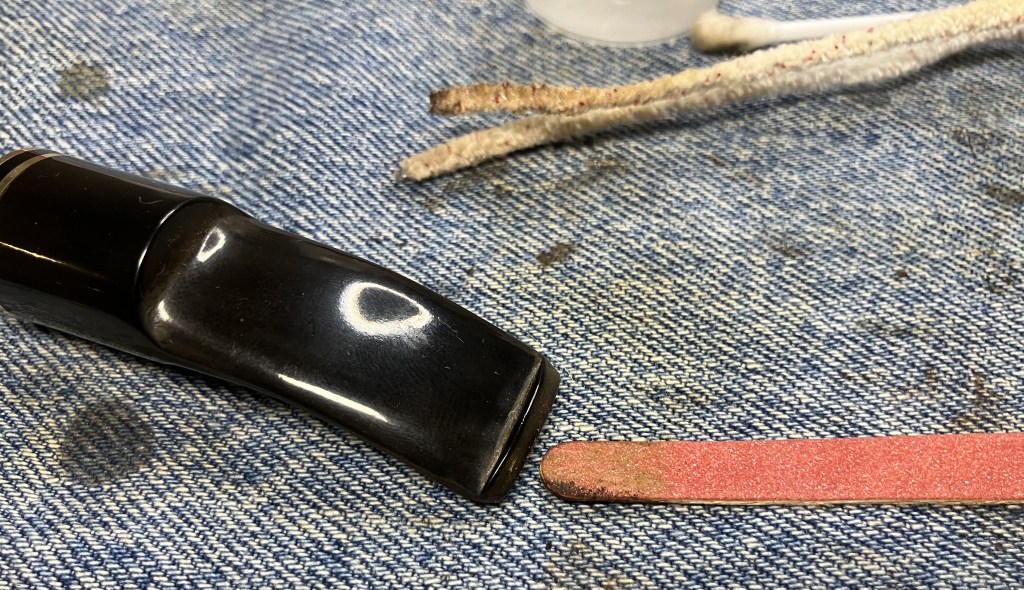
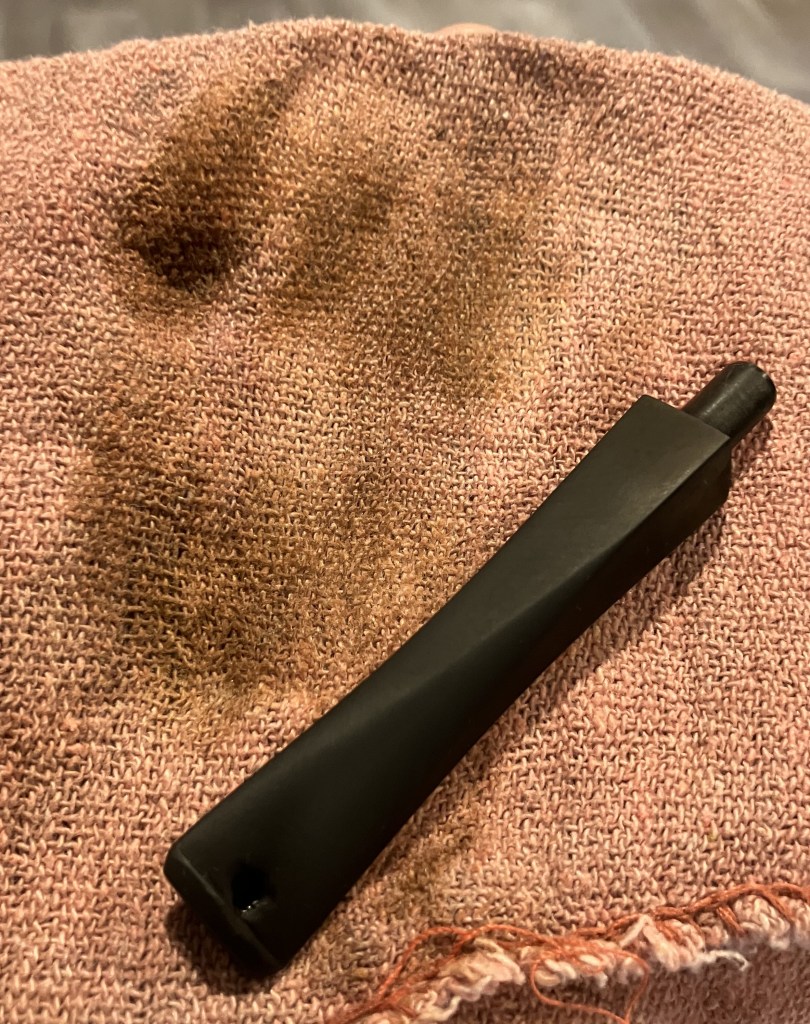
Below you can see the finish of the stem. It almost had a sandblast-like fishing, not unattractive but I thought a gloss would look more elegant.
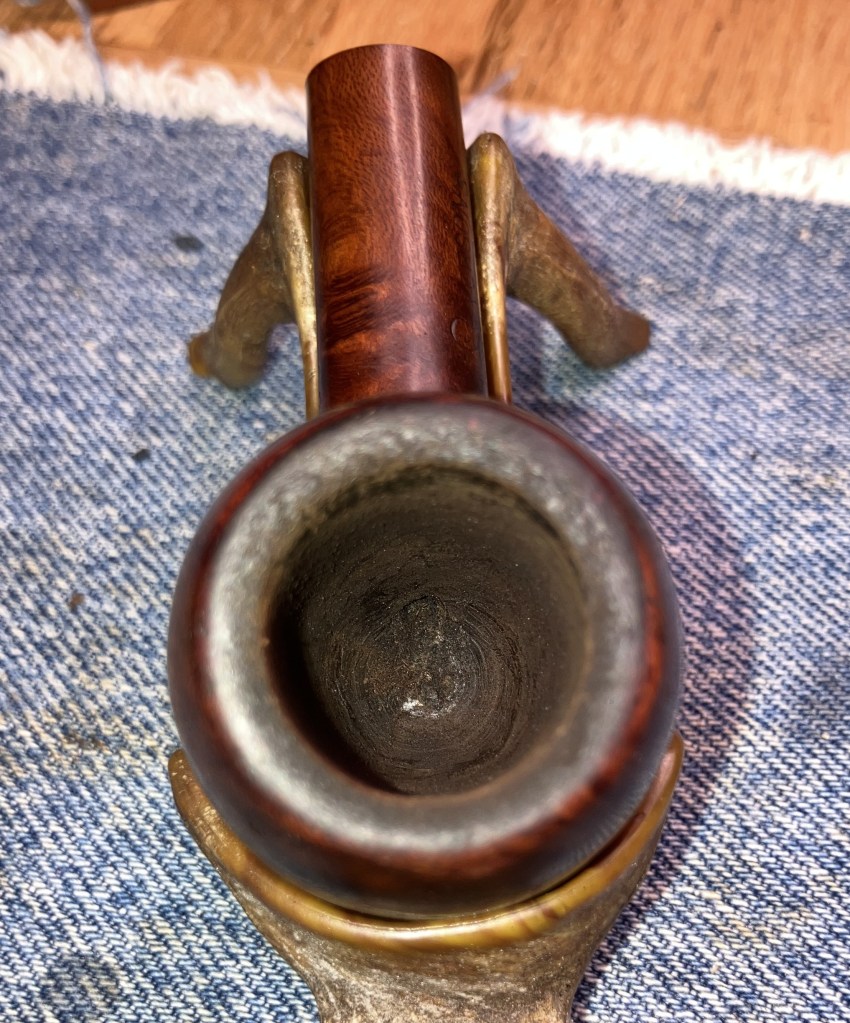
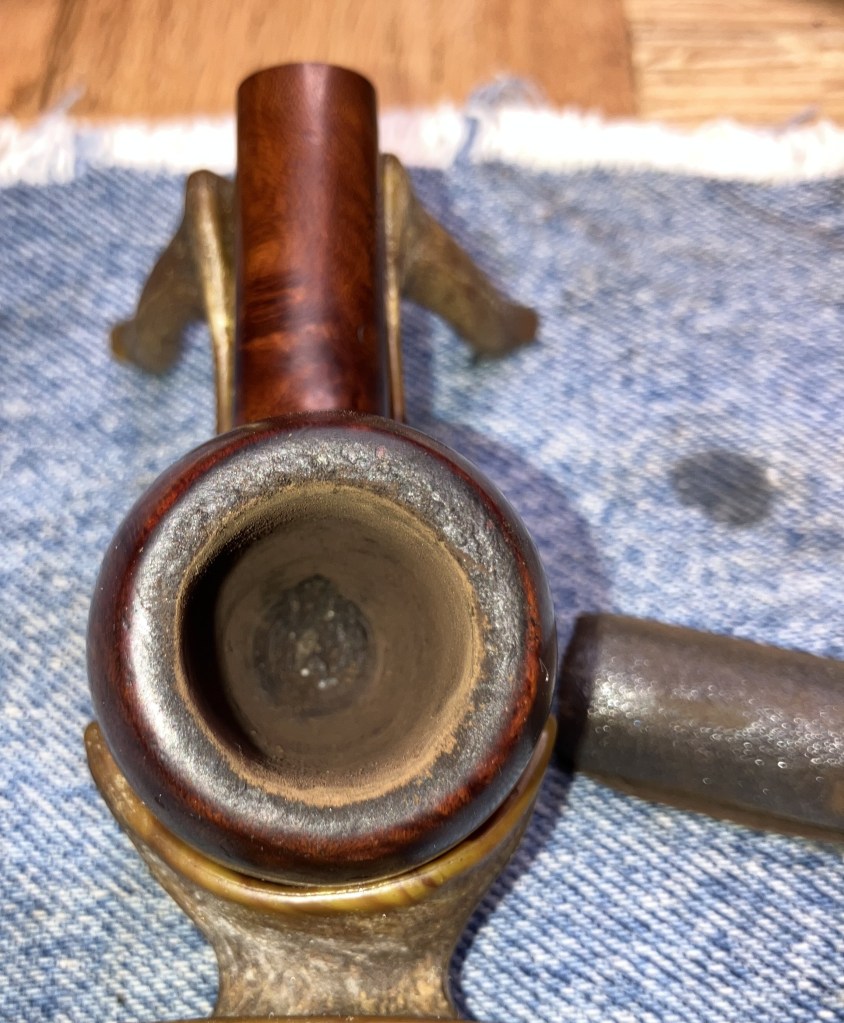
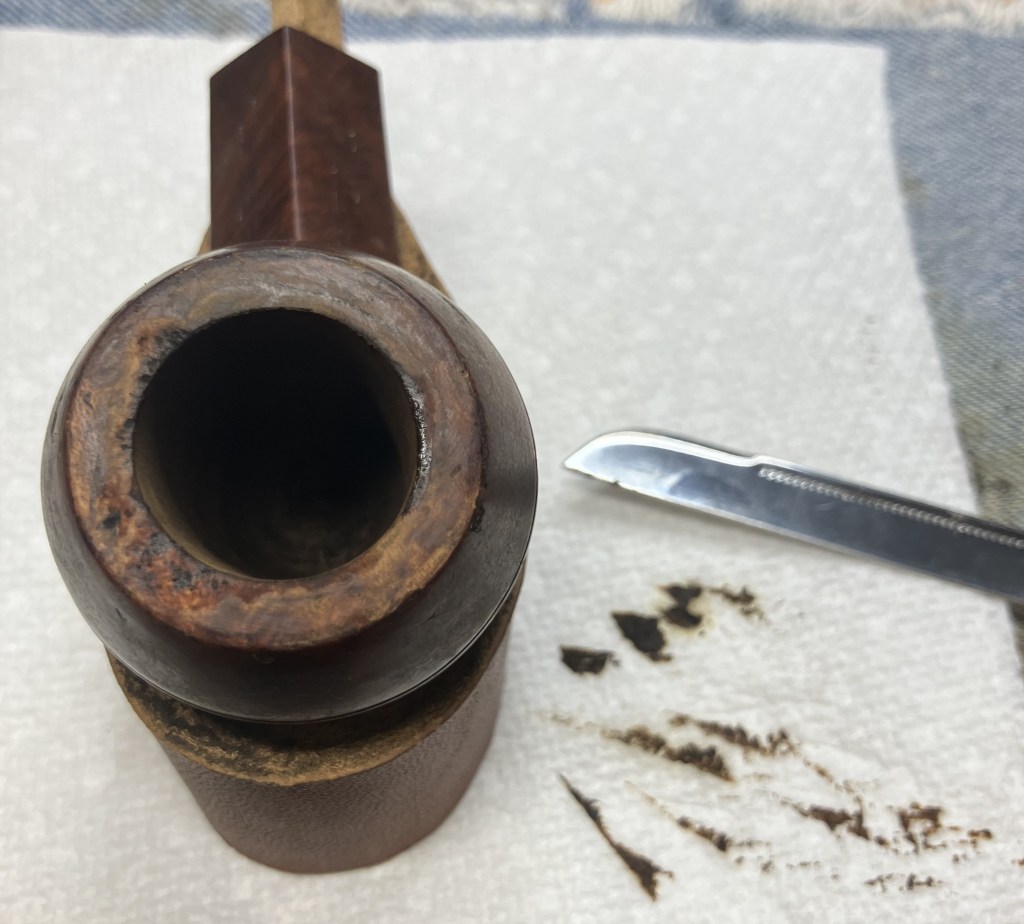
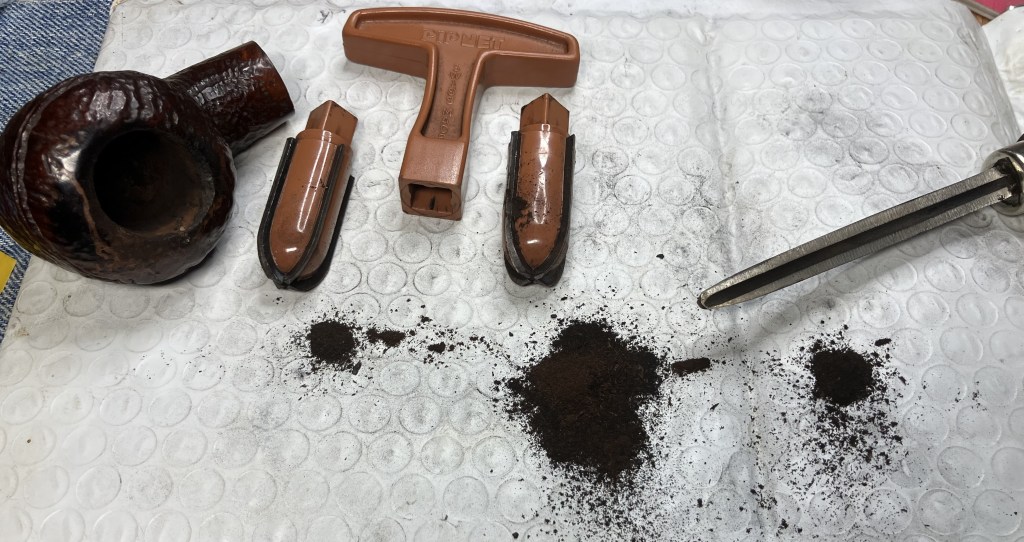
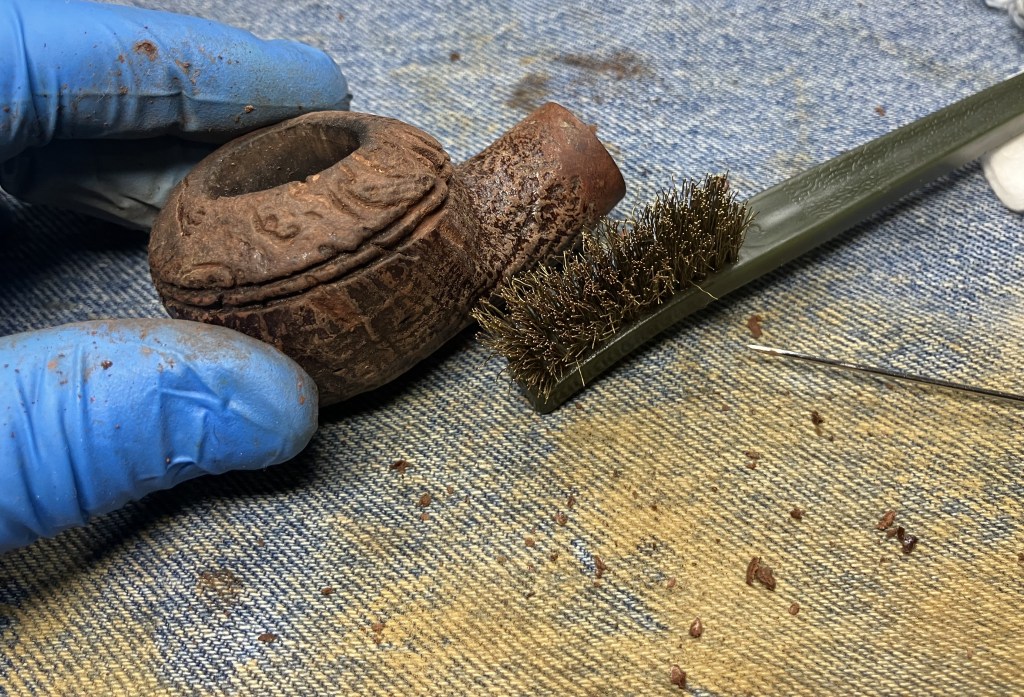
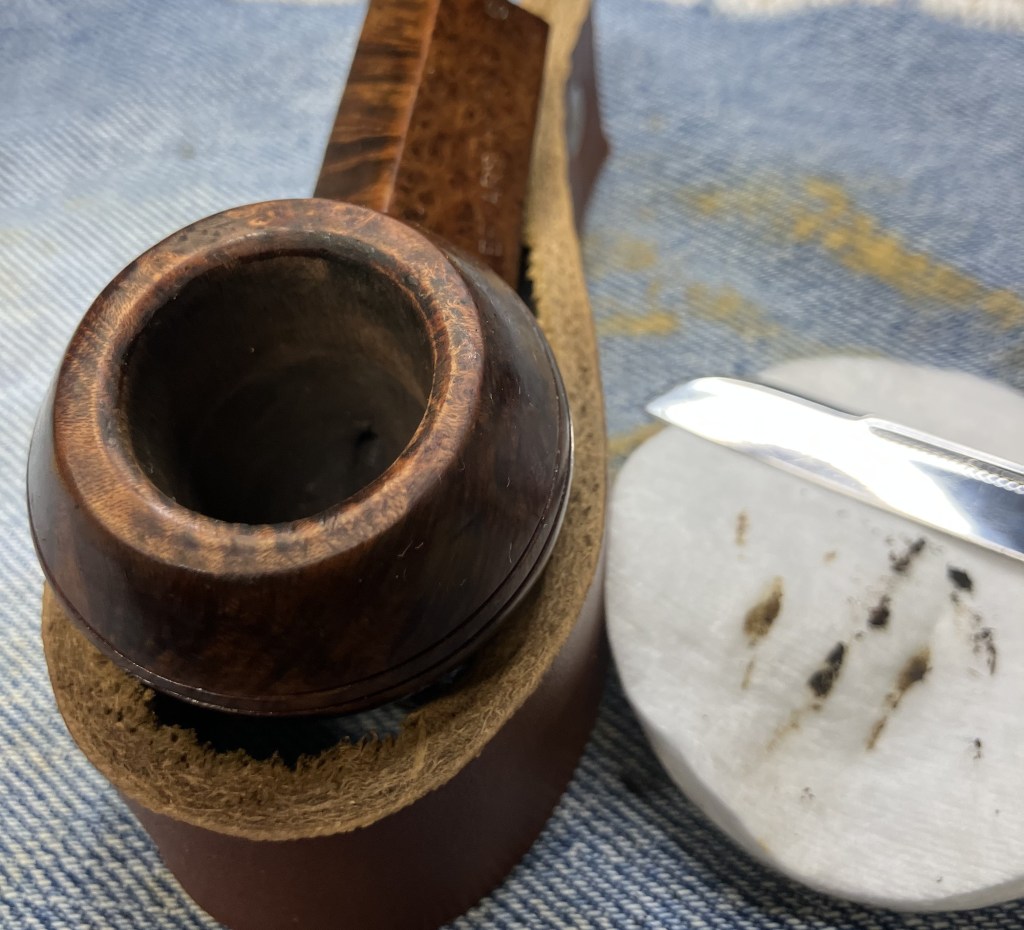
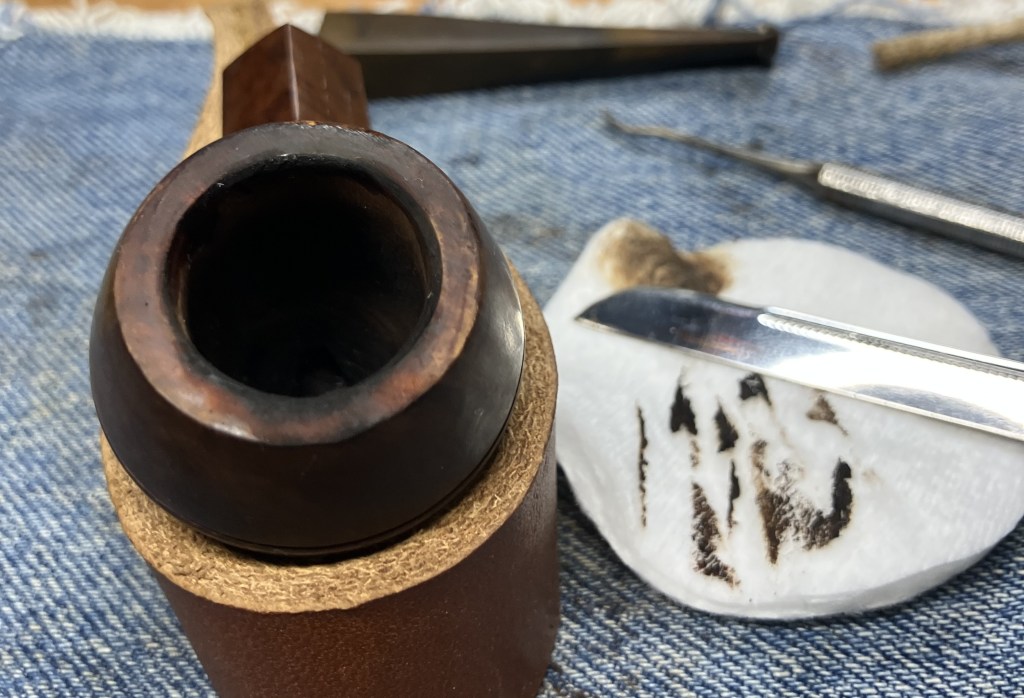
The reaming was done with only the Smokingpipes Low Country reamer and the General triangular scraper.

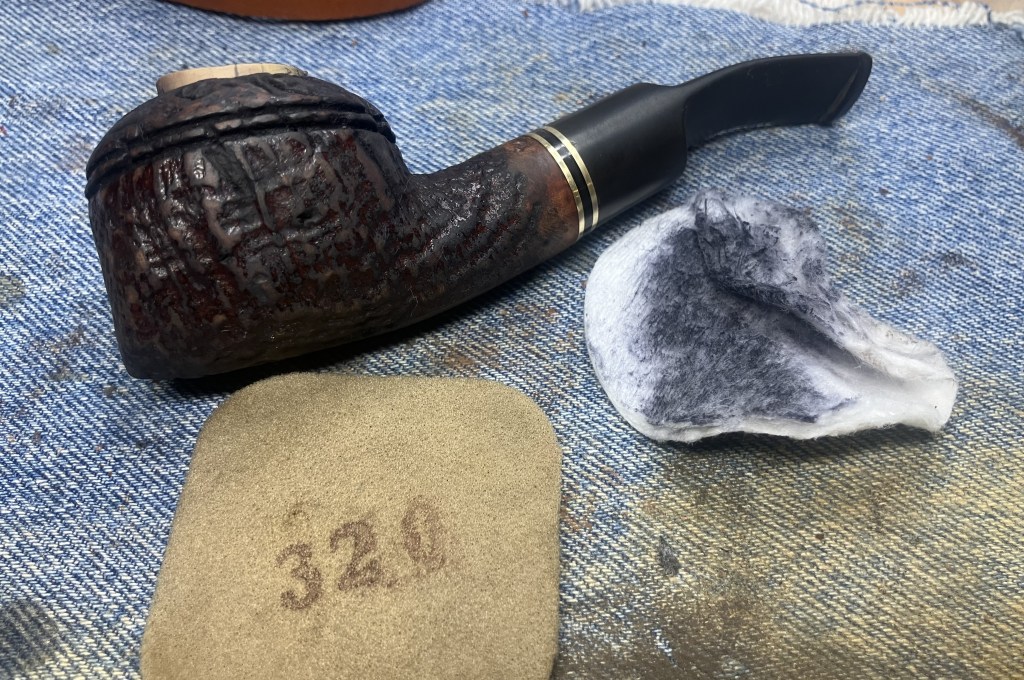
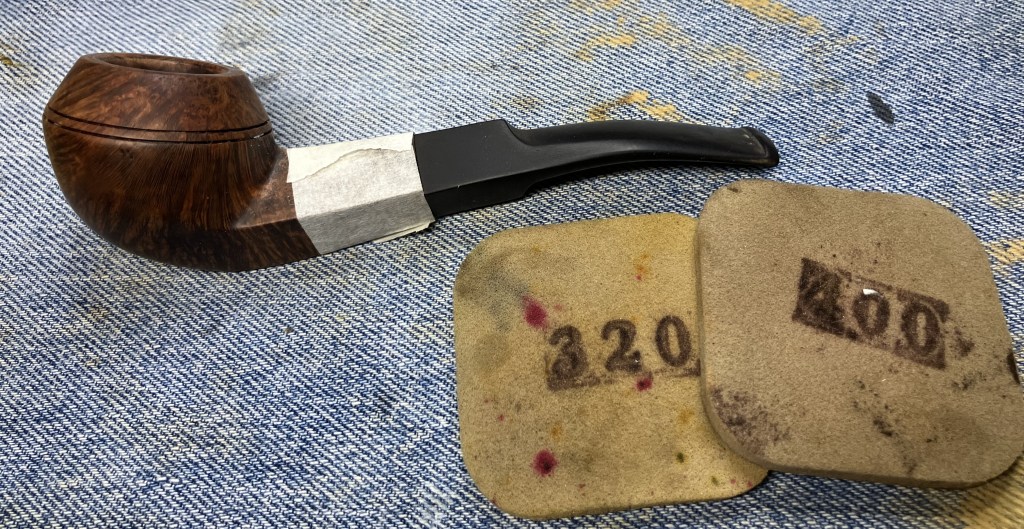
The tobacco chamber was sanded with 320 sandpaper wrapped around a wood dowel.

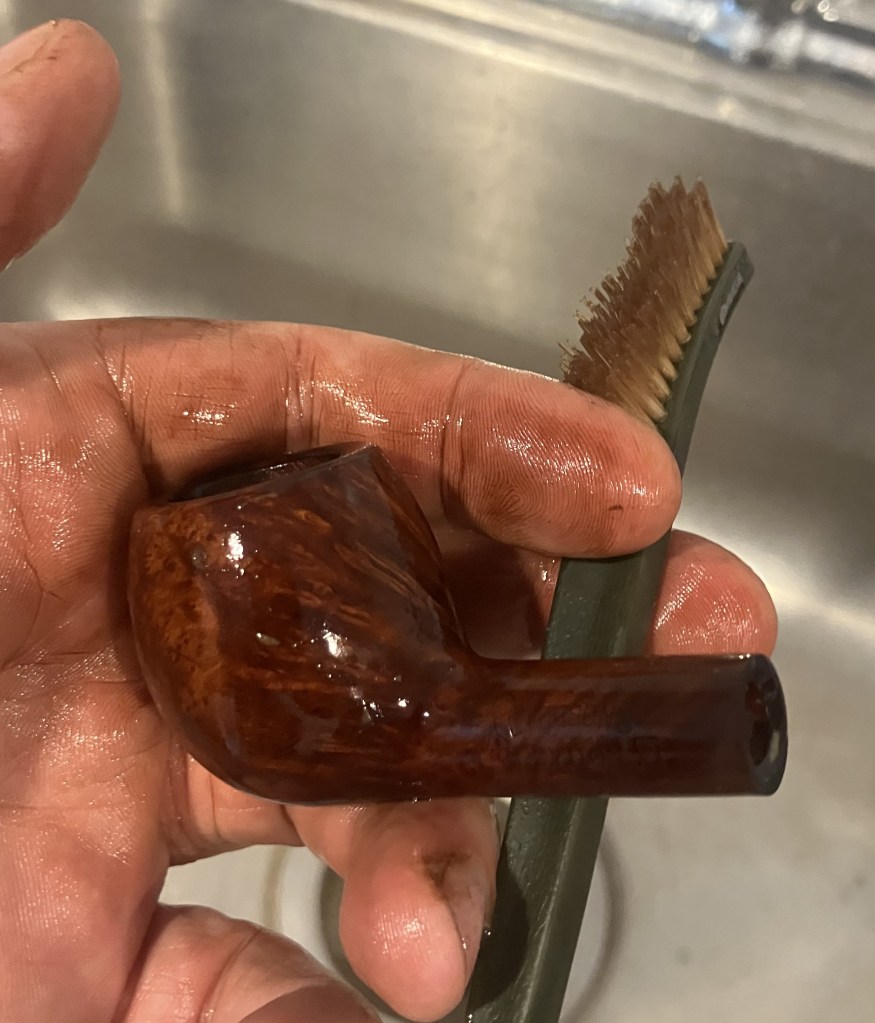
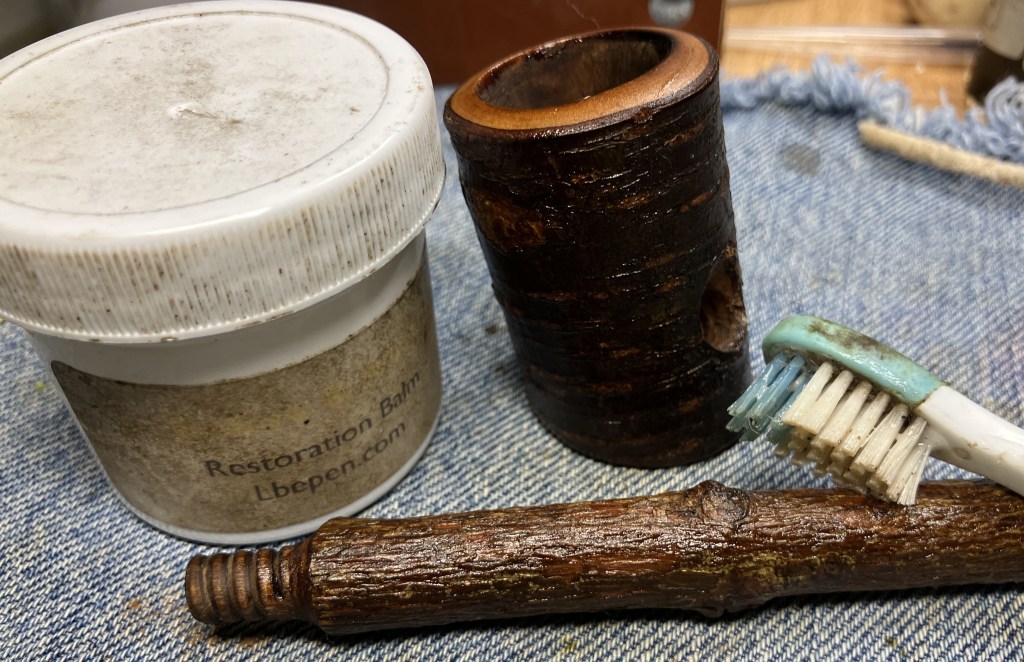
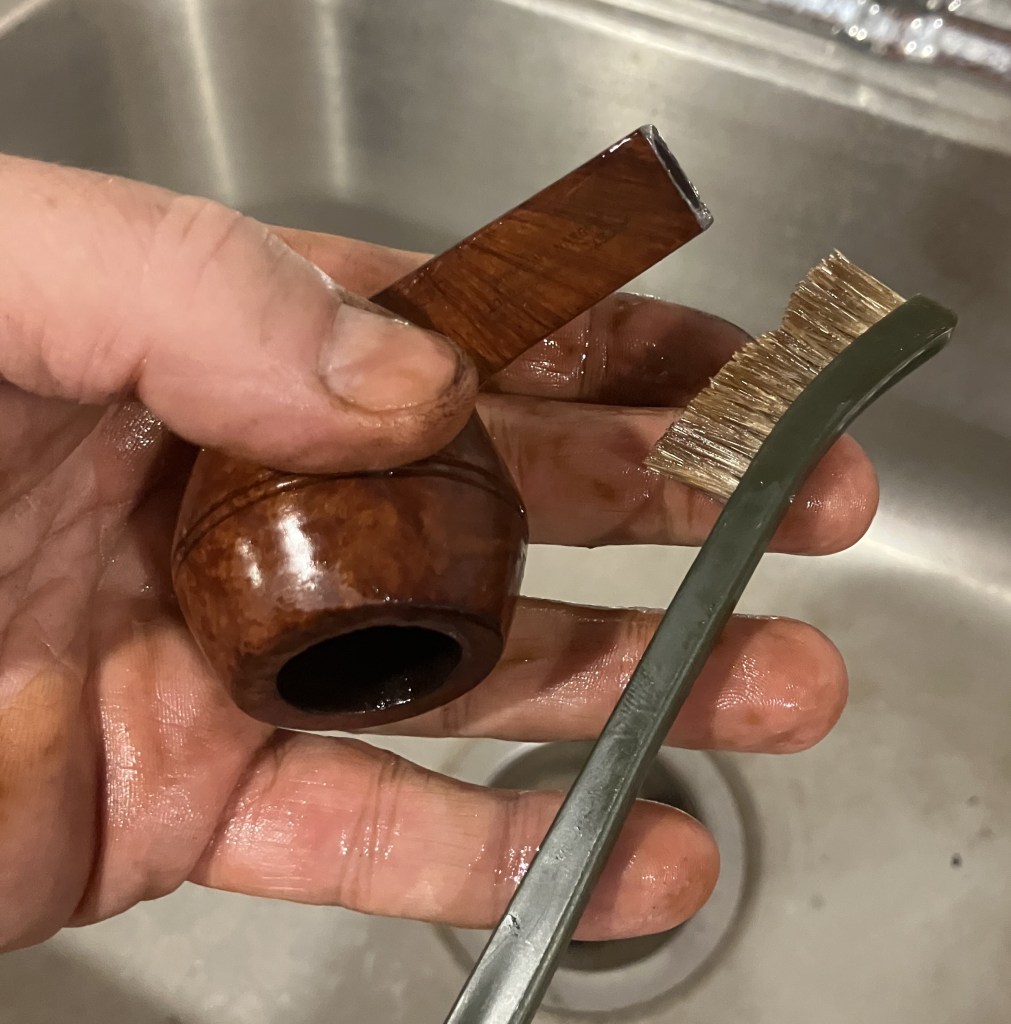
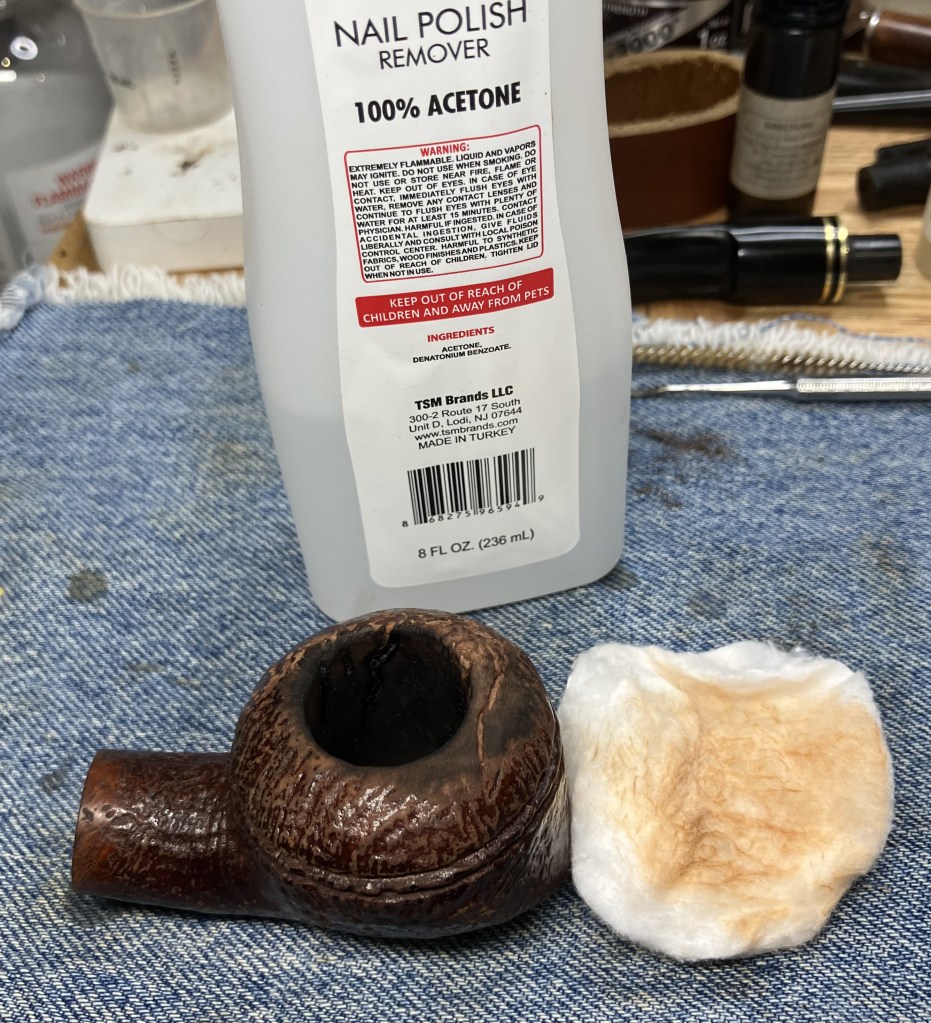
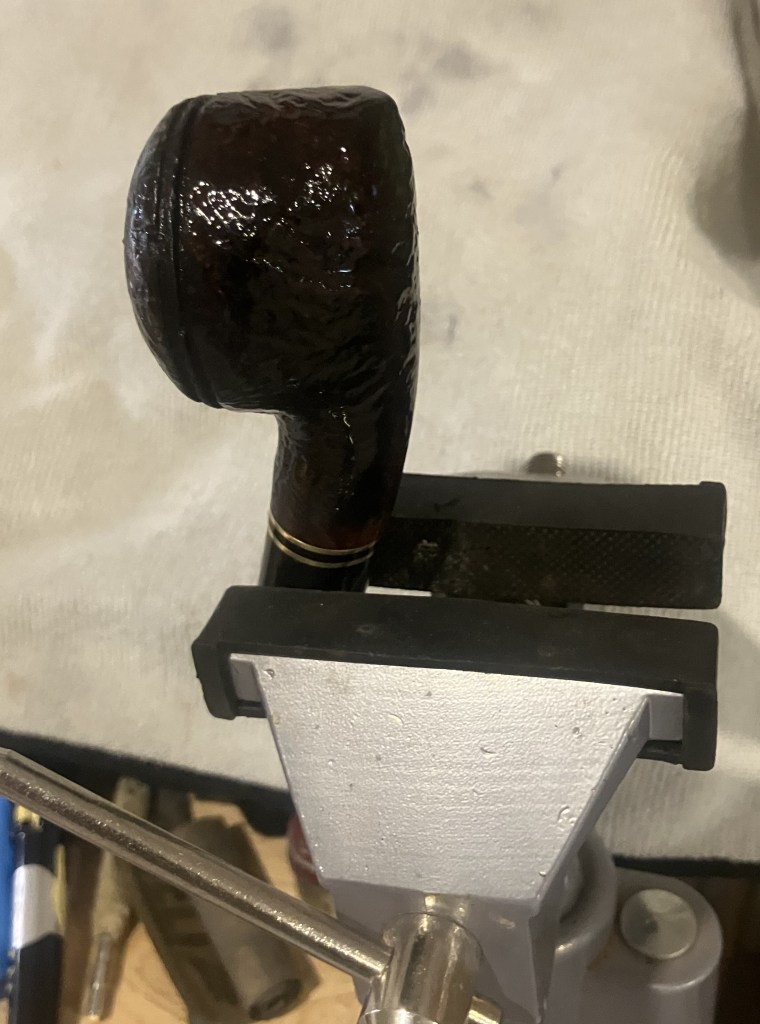
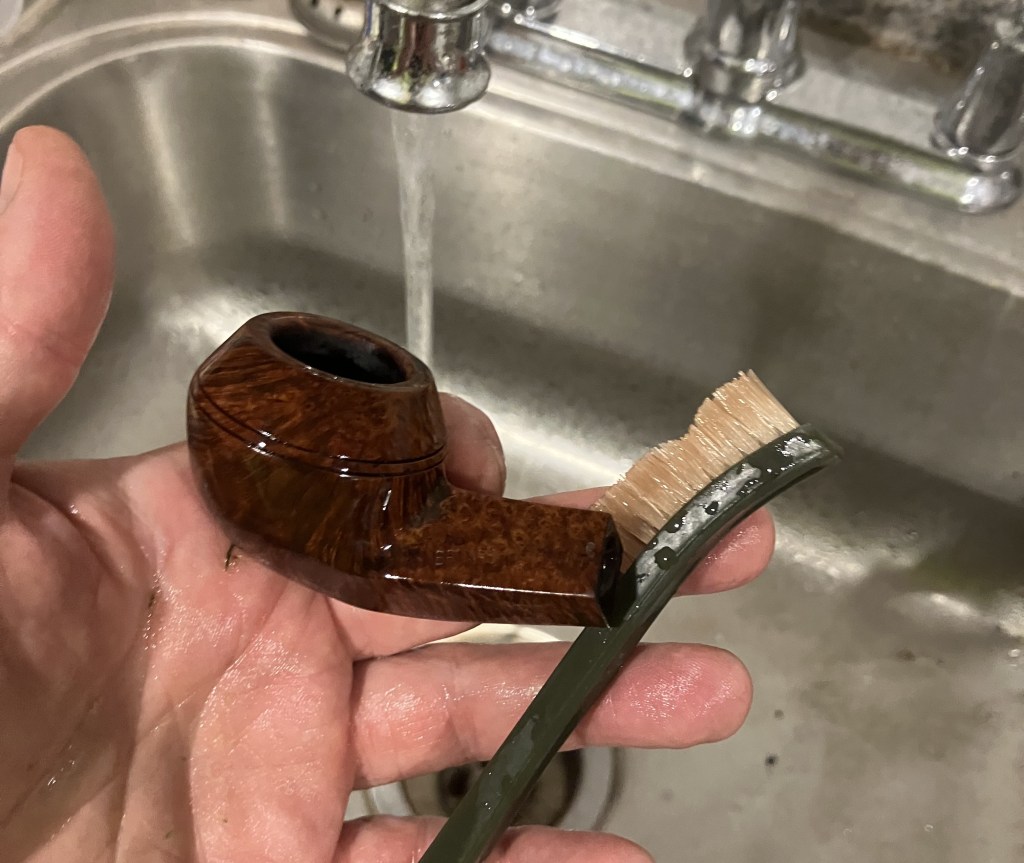
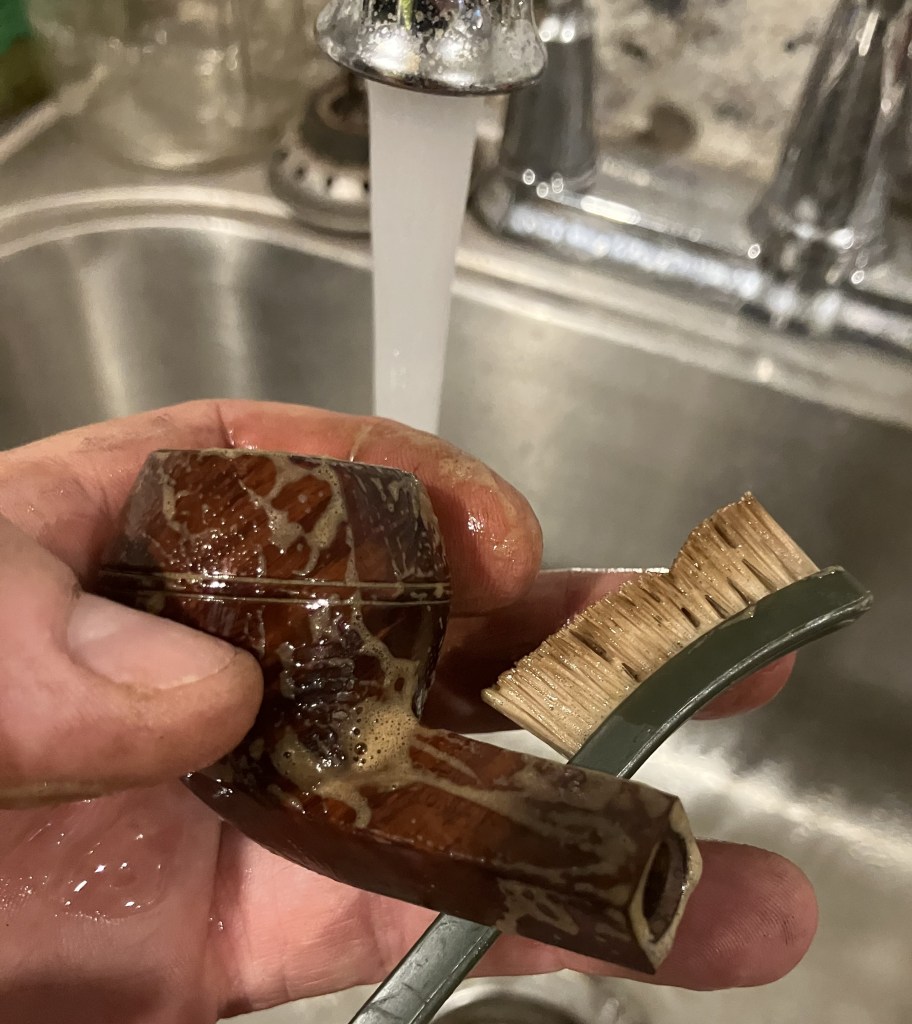
The stummel was scrubbed with Murphy Oil Soap and a nylon brush. The soap was rinsed with warm water and dried with a cotton hand towel. It was set in a pipe stand and allowed to dry for an hour after the scrub.

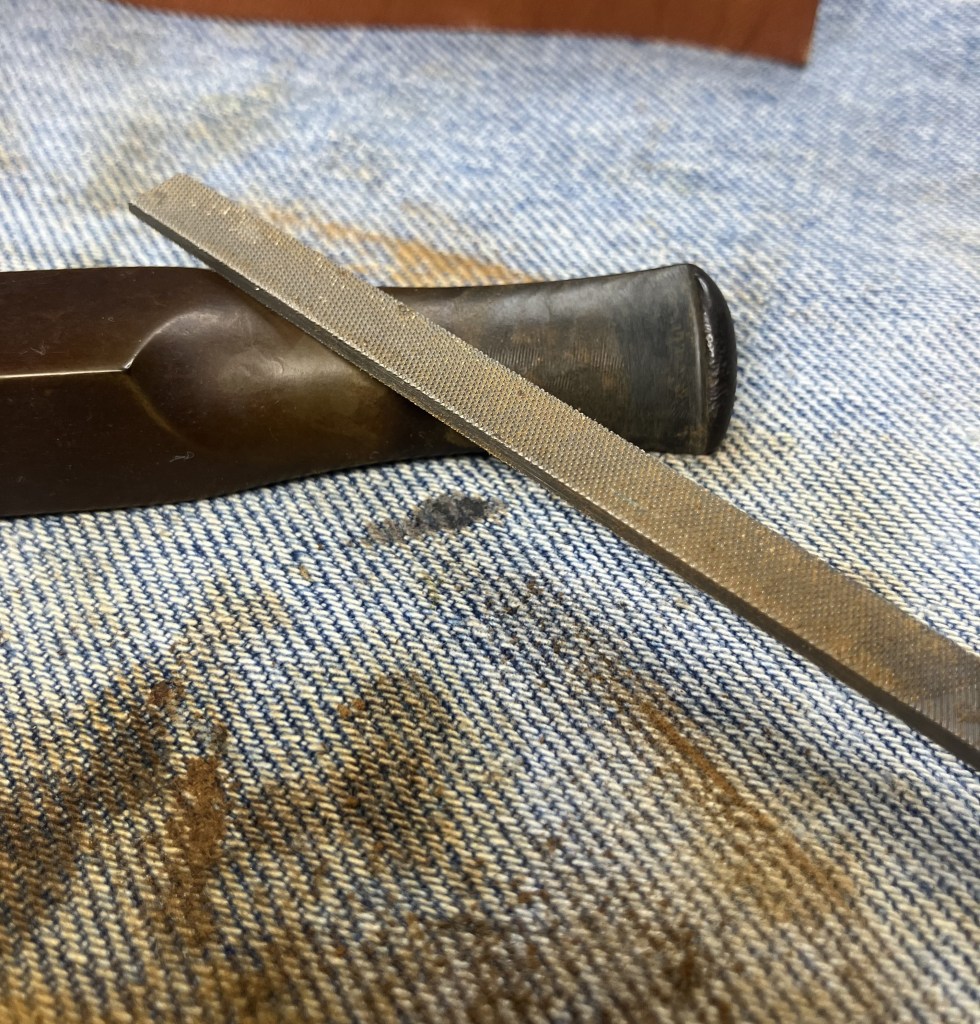
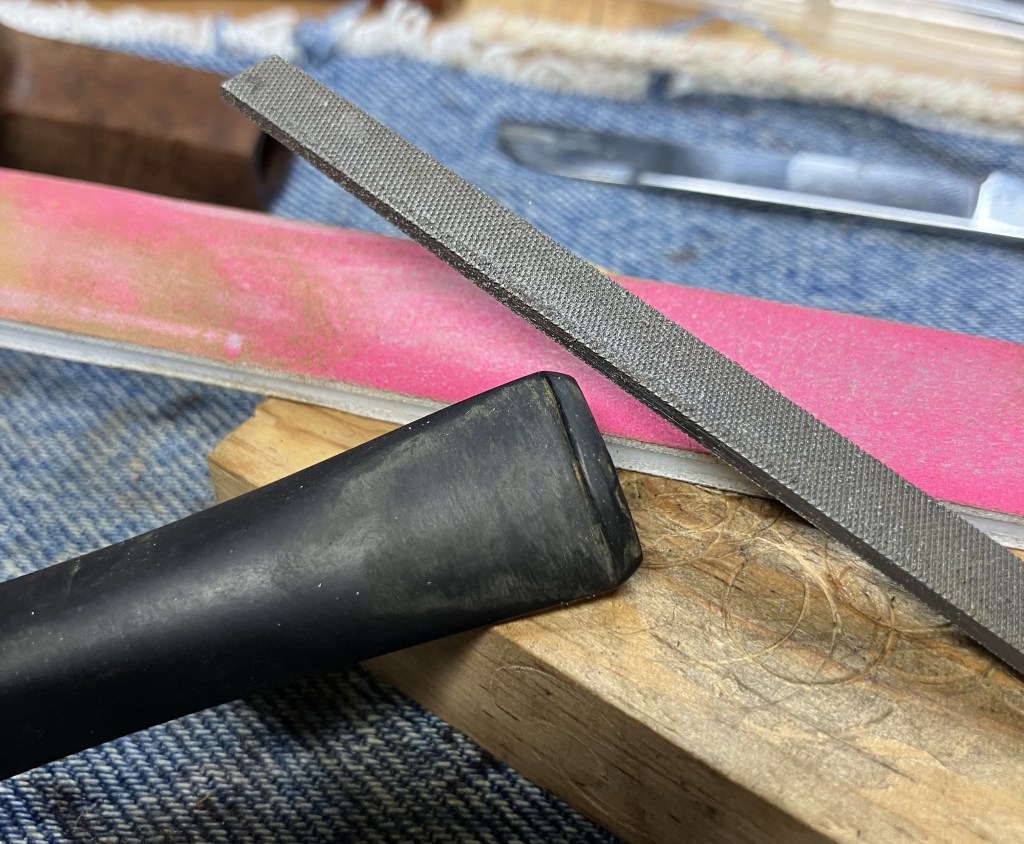
I did not want to round the edges of the stem nor did I was to handle the stummel until it had been given a fresh beeswax coating so I used a wood block with a hole drilled for sanding.

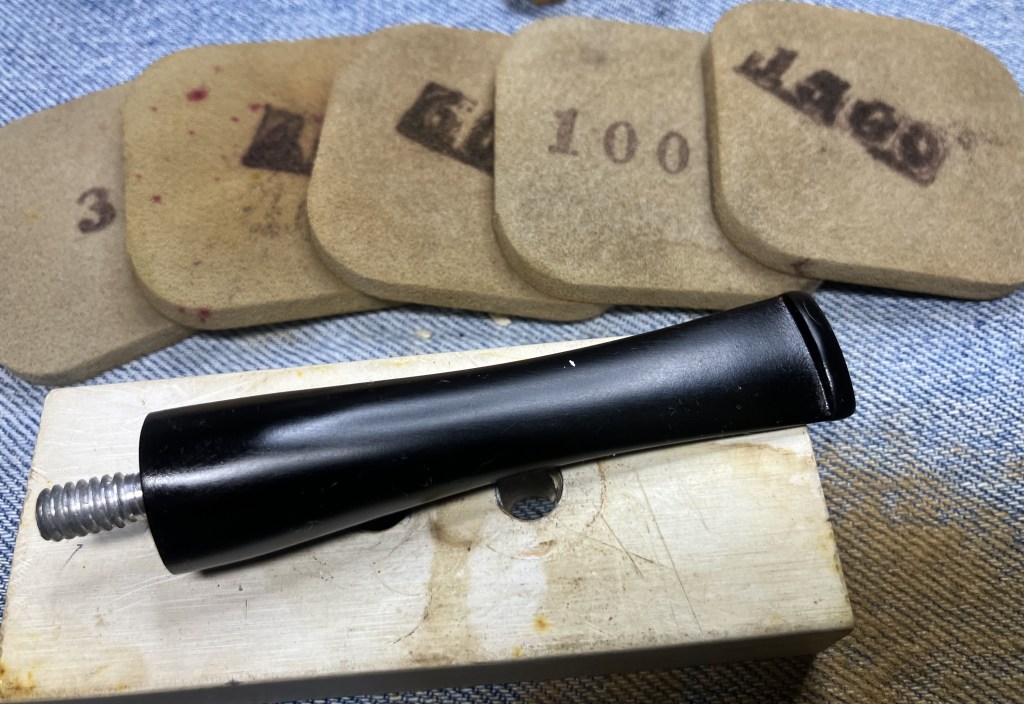
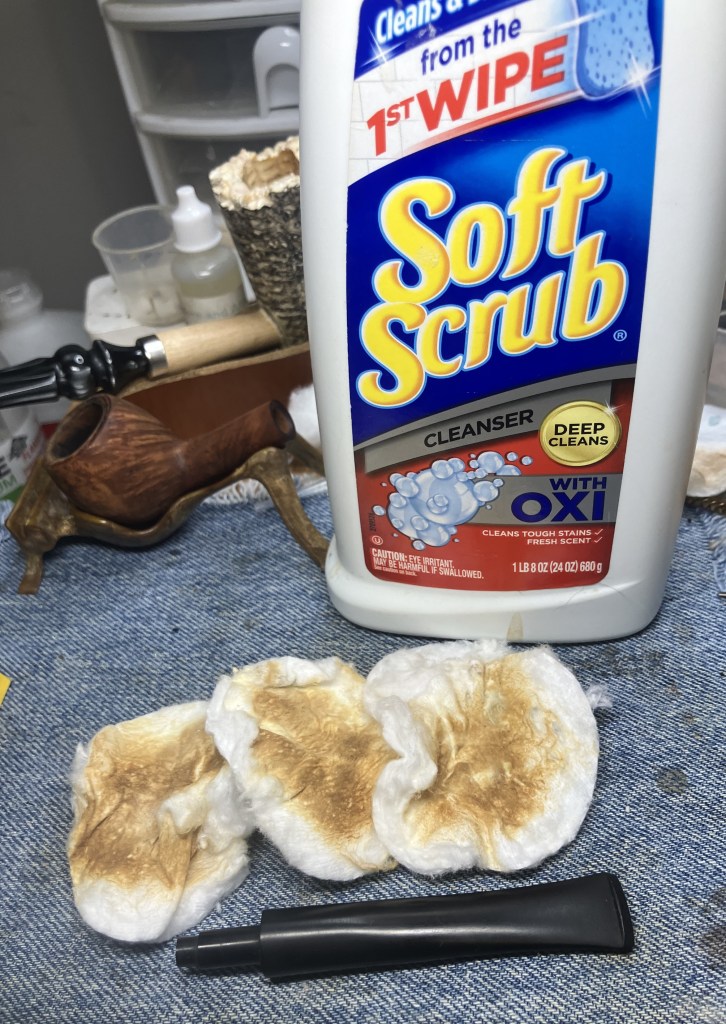
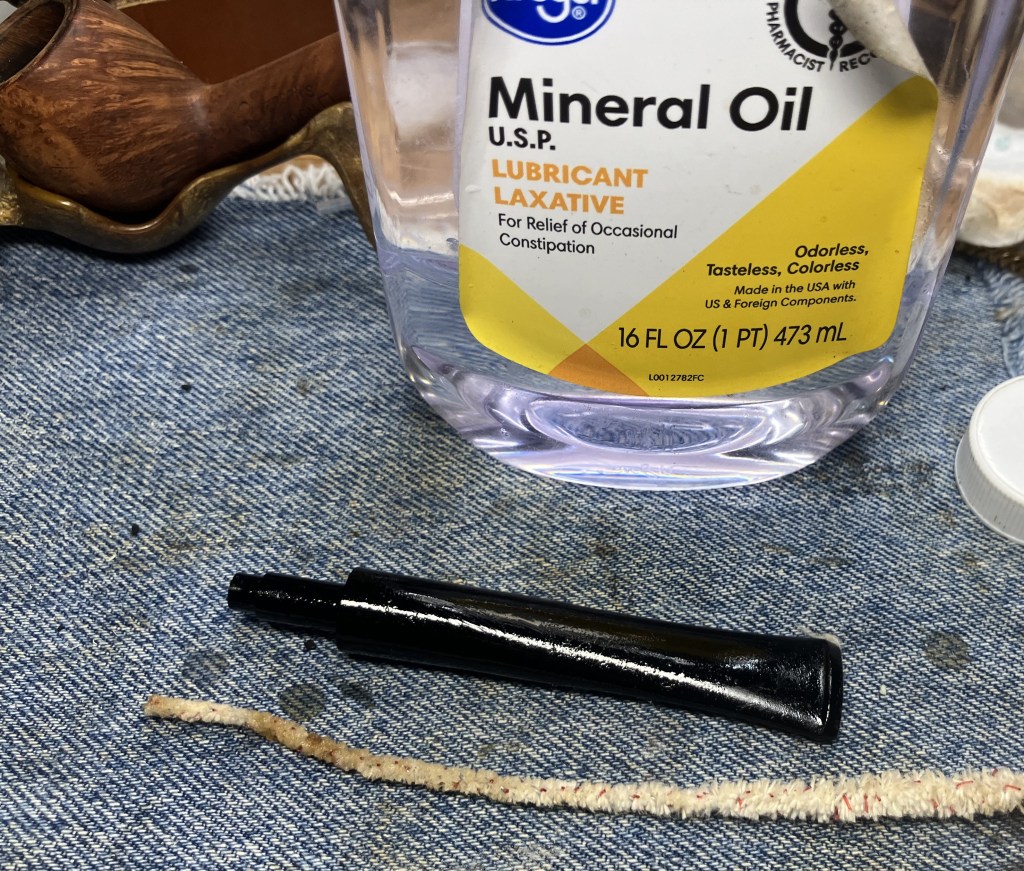
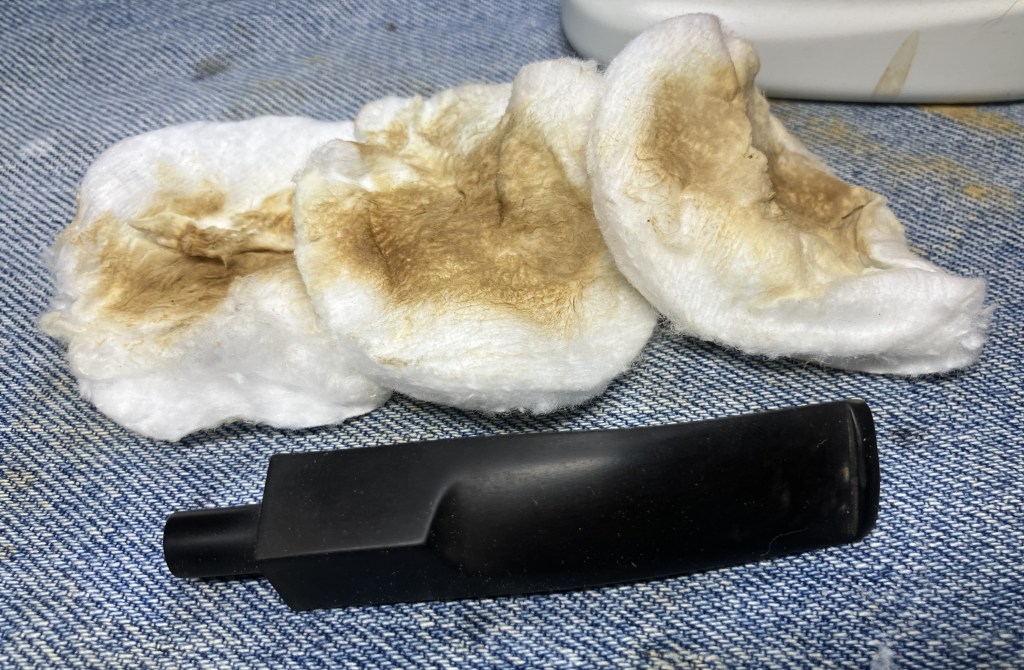
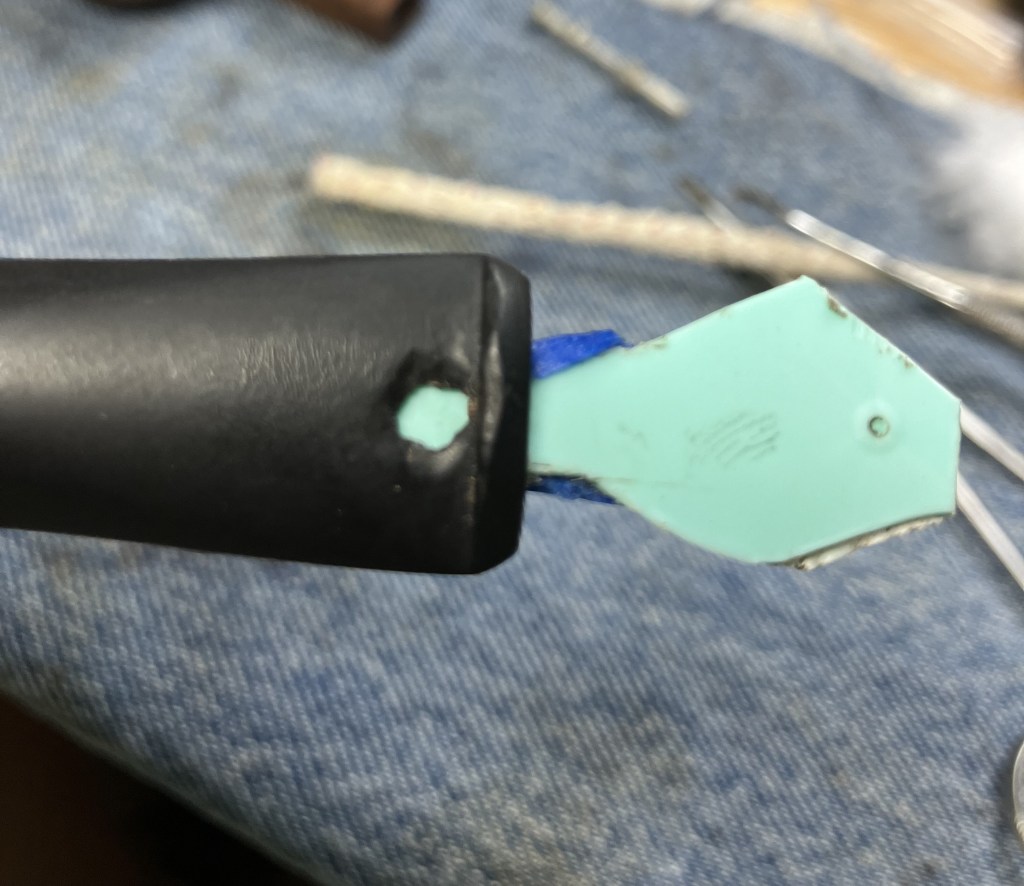
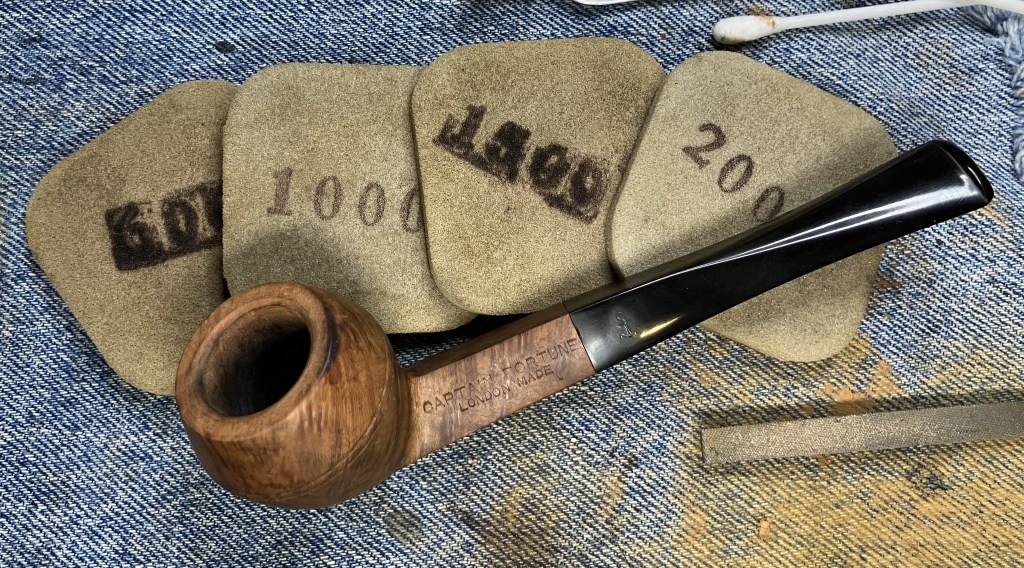
The stem was sanded with a series of sanding sponges from 320-1500 grits. Between sponges the stem was rubbed with mineral oil and wiped with a paper towel.
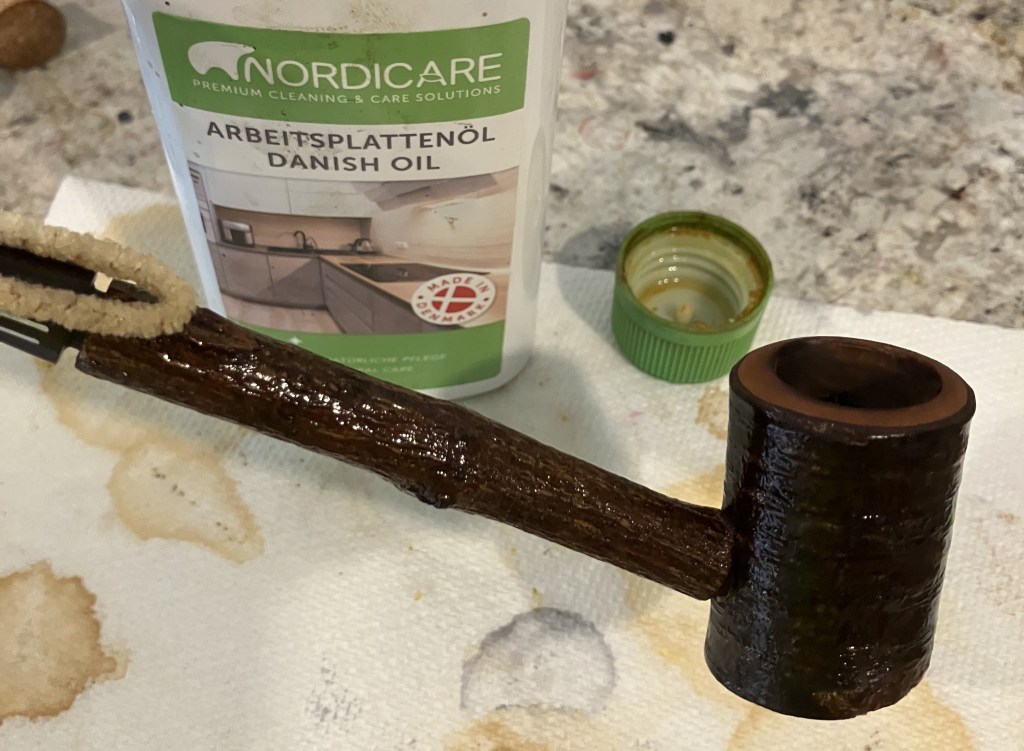
After an hour I started prepping the beeswax. I use a water bath on the stovetop to heat the beeswax. The hot water keeps the wax liquified for a longer period of time and I don’t have to worry about overheating the wax as it never gets above 212F or 100 c.

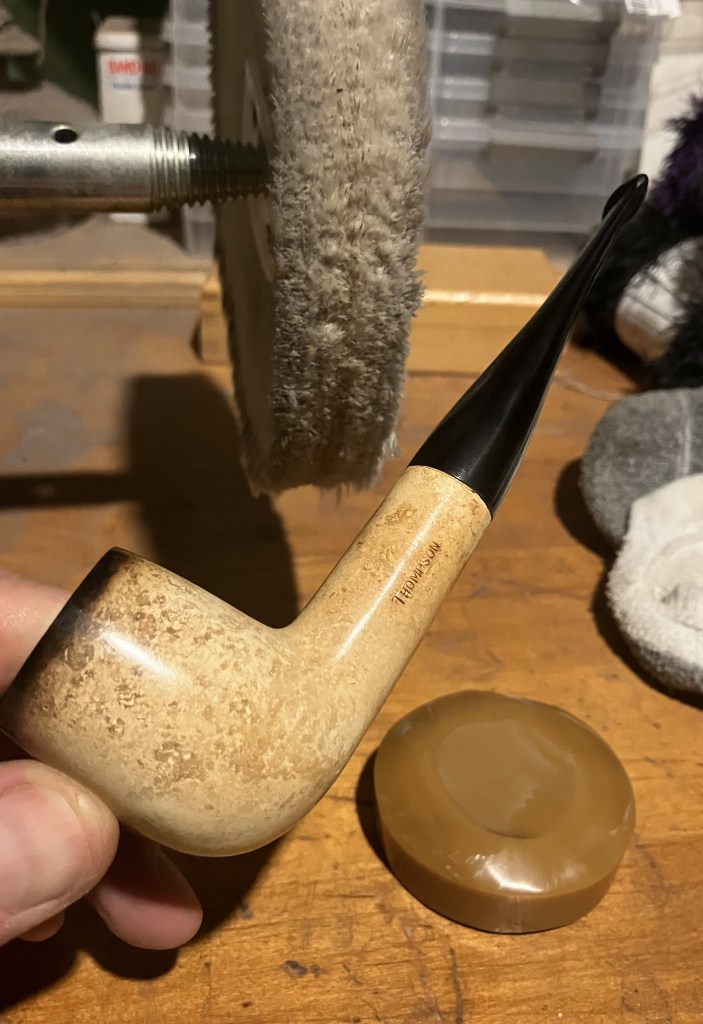
The stummel was heated using a heat gun. The metal tin in the photo below is used to catch wax that drips from the stummel as it is applied with a small paintbrush.
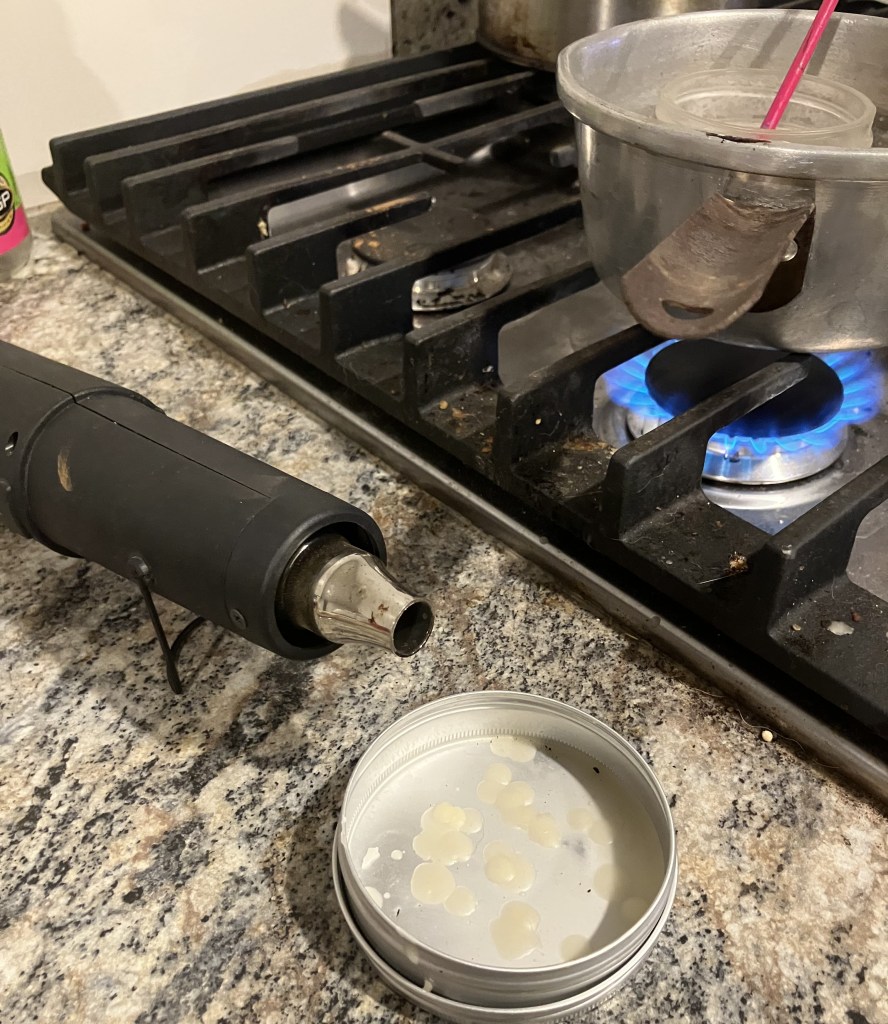
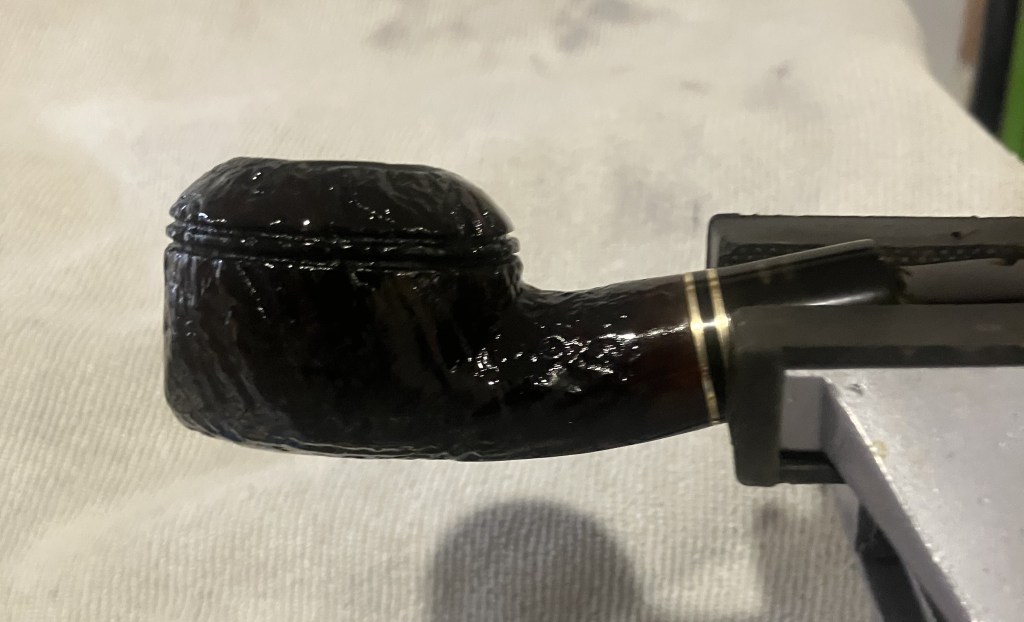
The tobacco chamber was plugged using a cork and the shank plugged with the stem. The hot beeswax was applied with several coats and the stummel rotated around the heat gun constantly. Upon finishing, I wiped the stummel with a clean dry paper towel. The stummel was then allowed to cool over about 15 minutes.

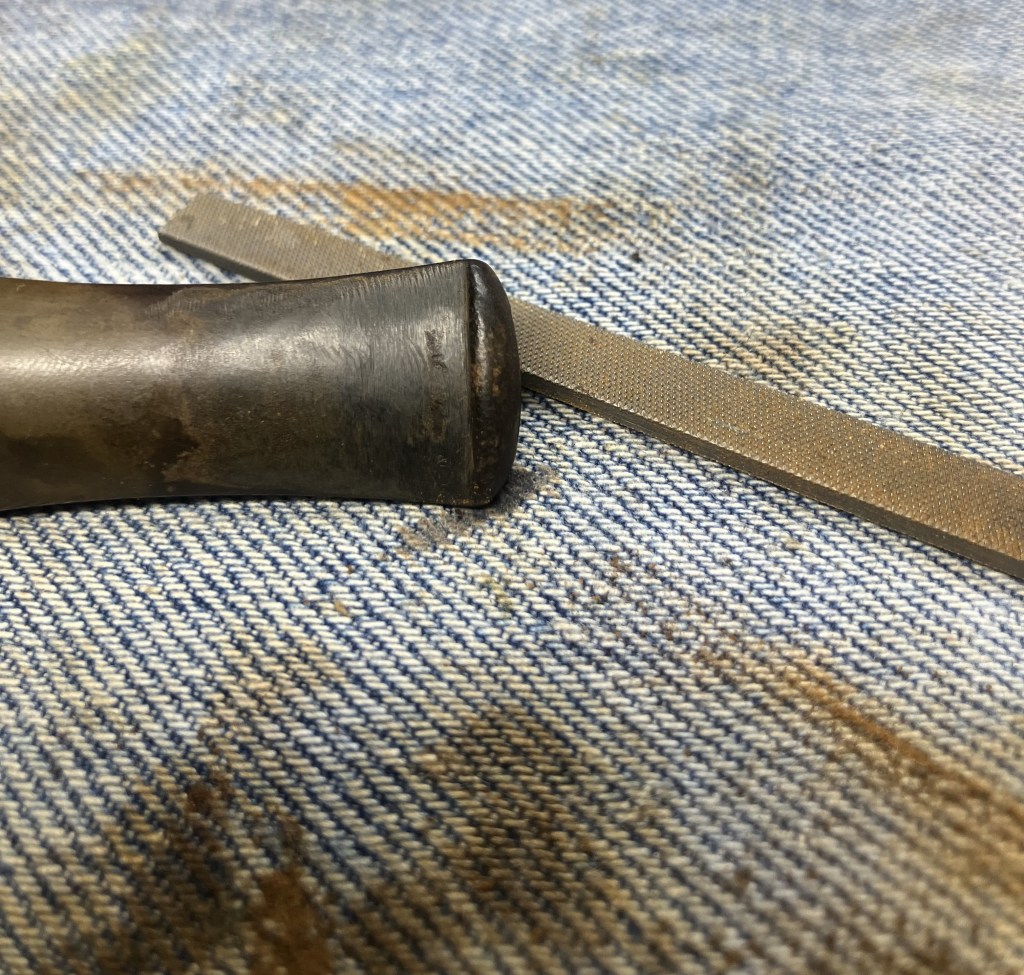
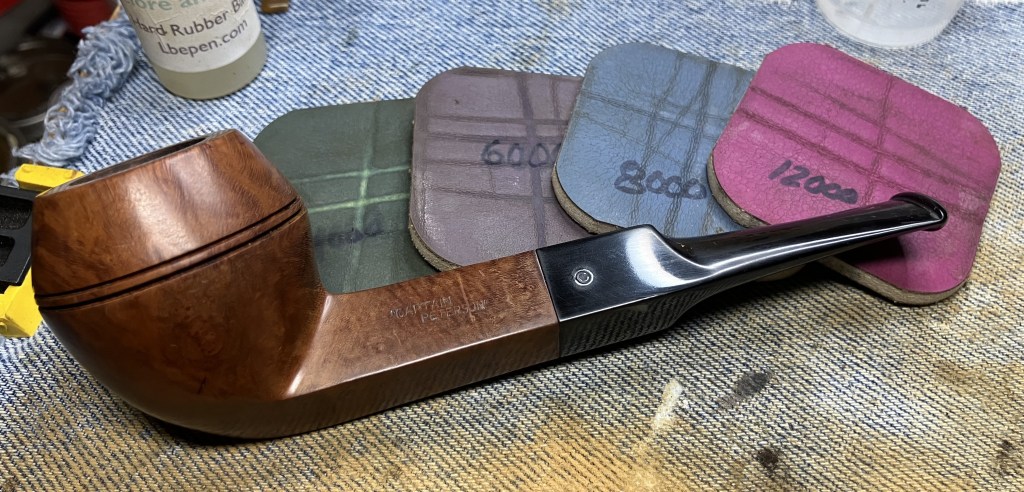
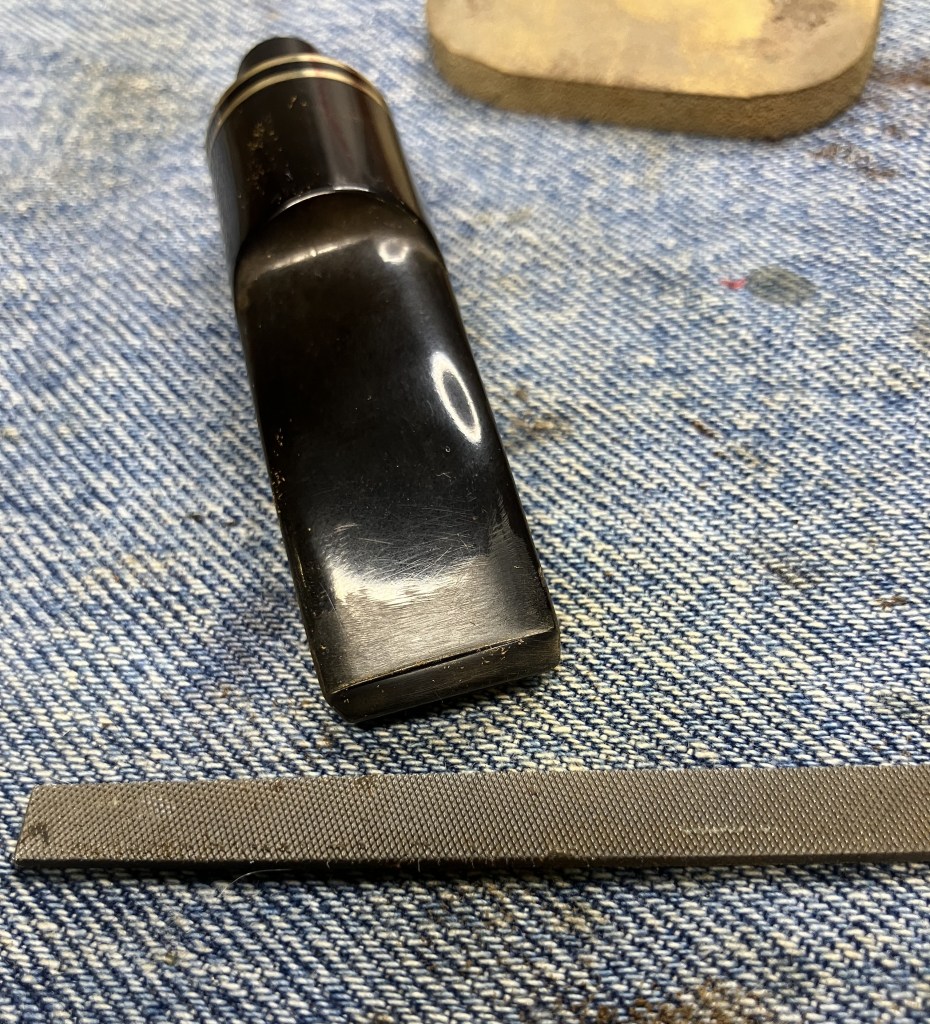
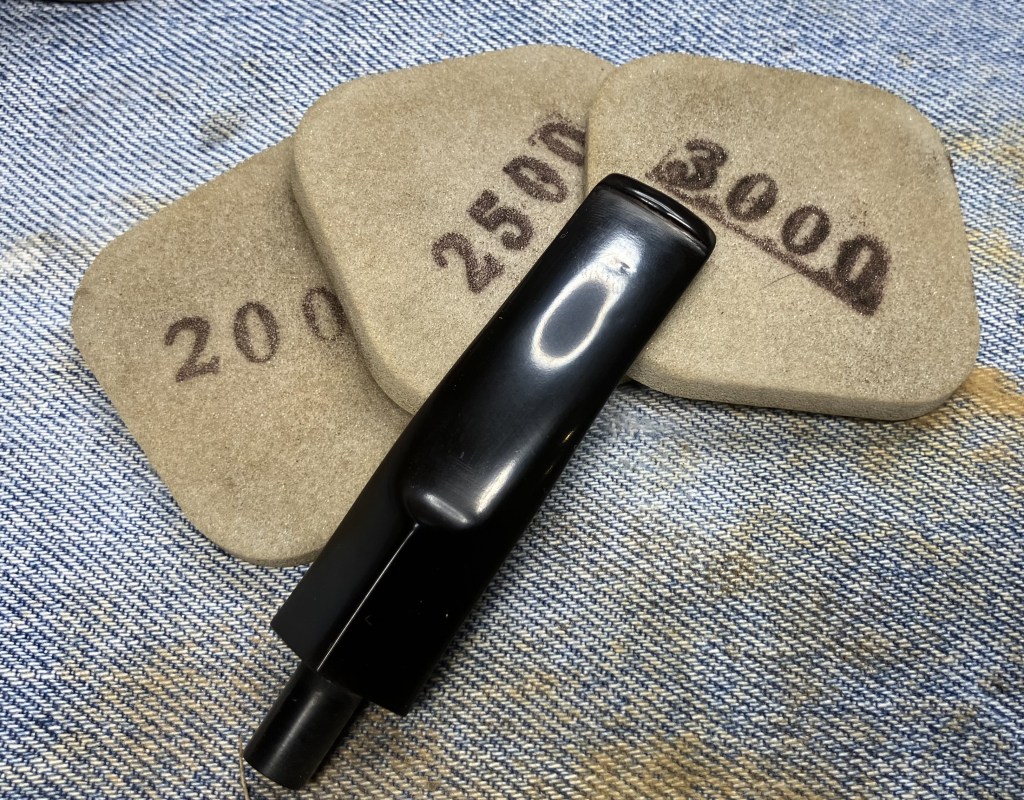
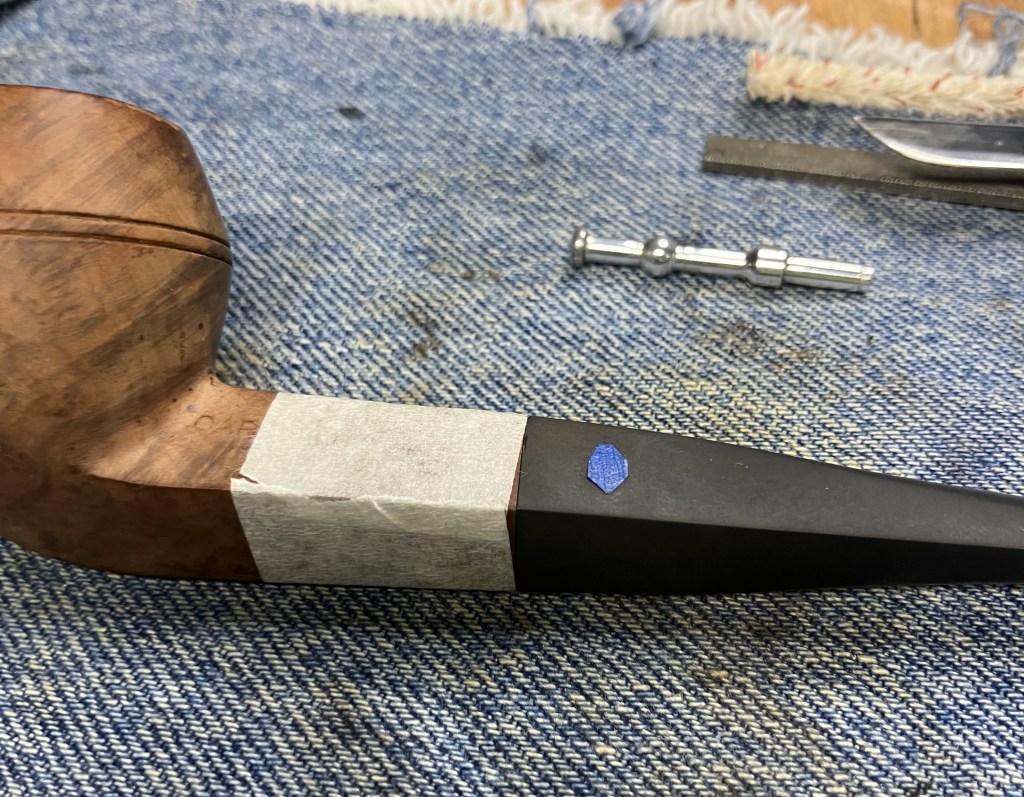
Once cooled, I wrapped the shank in masking tape to protect it from sanding. I continued with the series of sanding sponges from 2000-3500 grits with oiling and wiping as above.

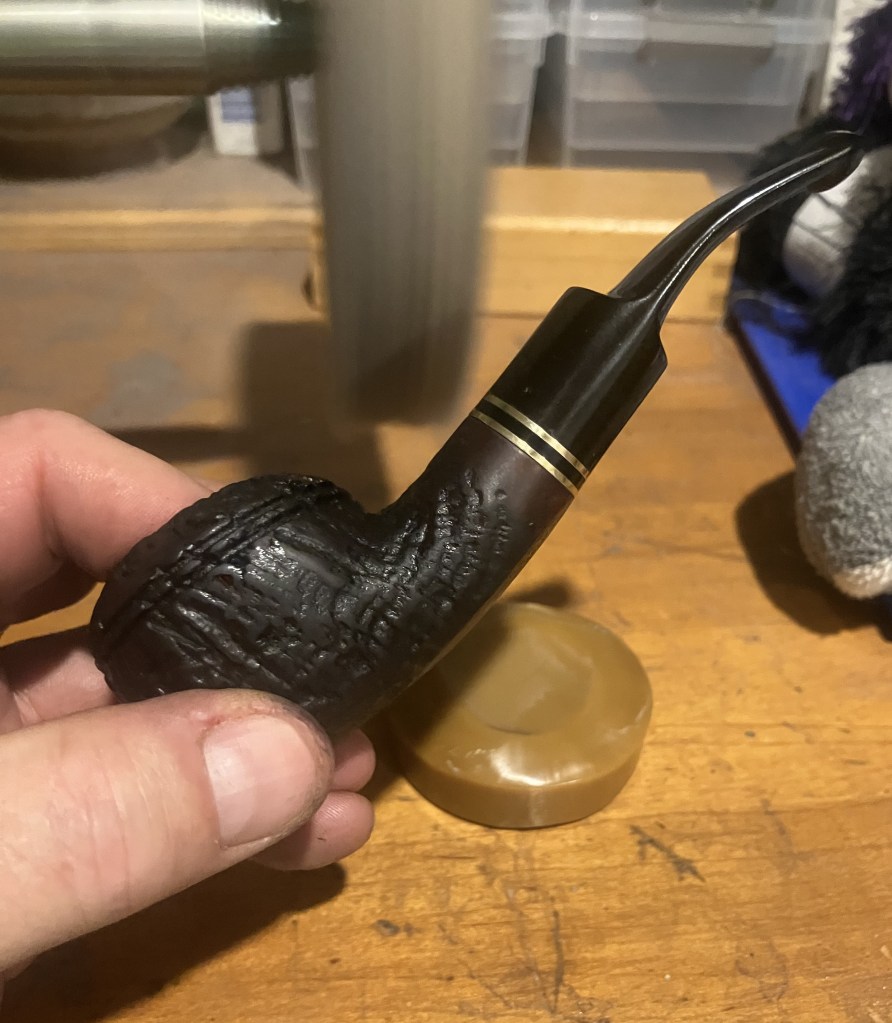
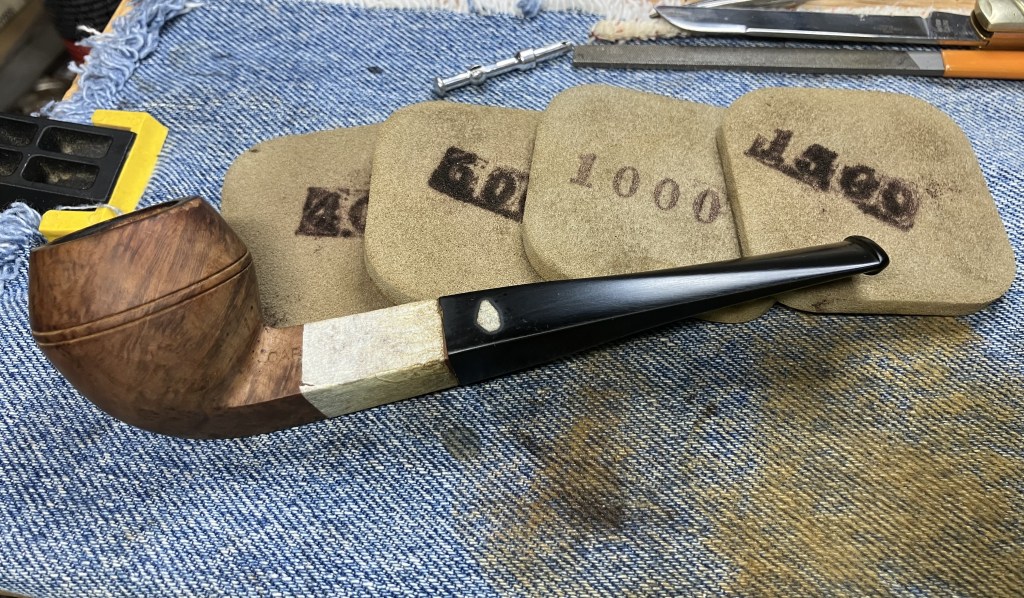
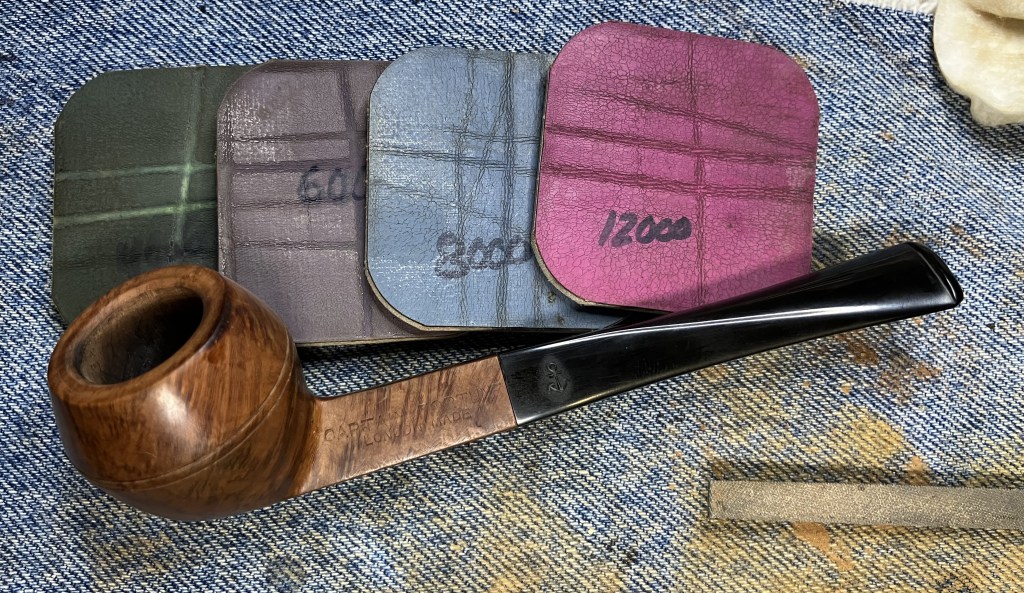
The stem was then micro-meshed with pads 4000-12000. I rubbed the stem with Obsidian Oil between pads and wiped with a paper towel.
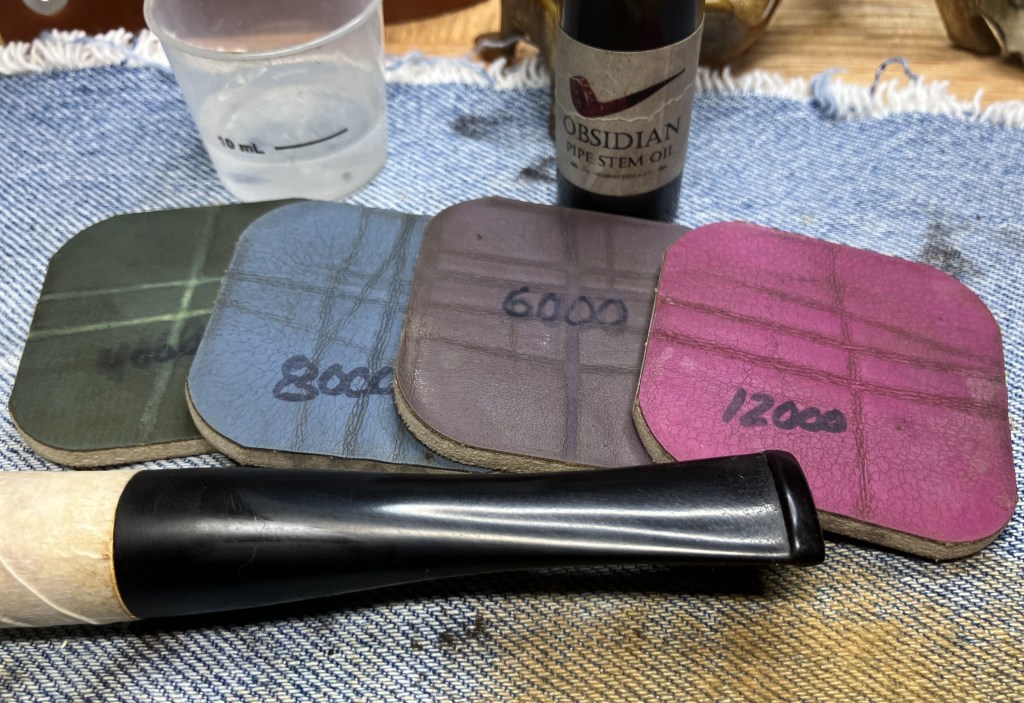
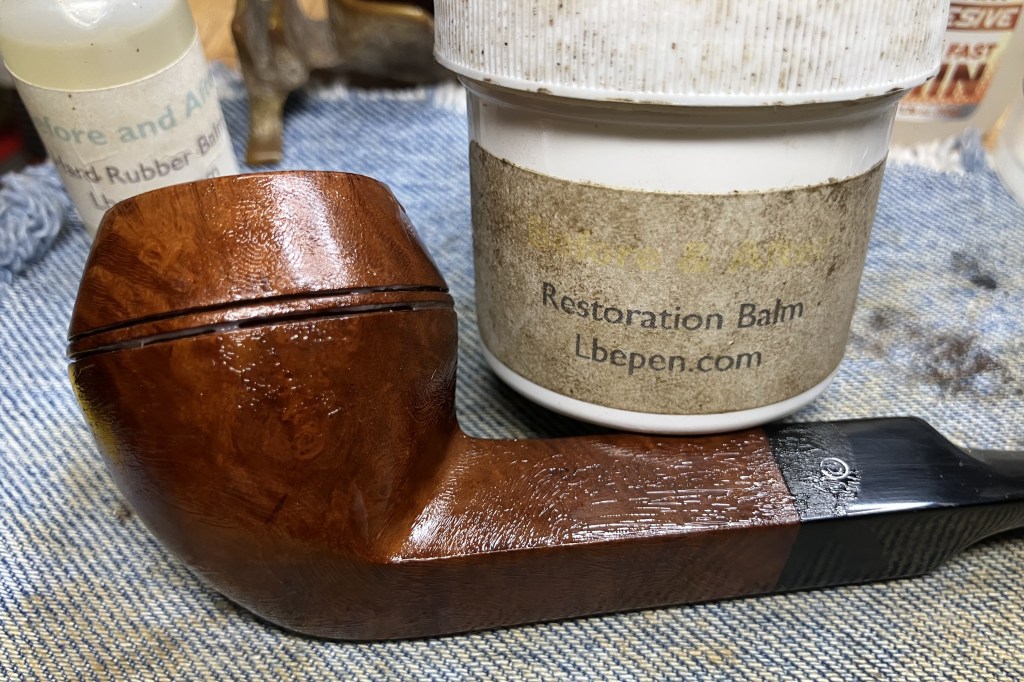
The stem was then buffed with a blue buffing compound.

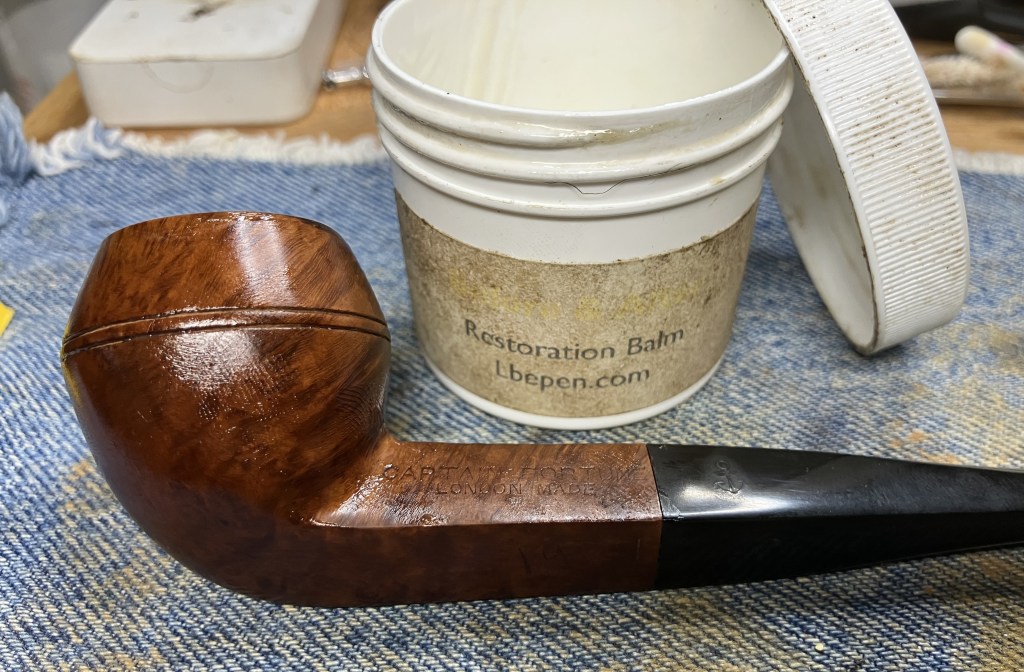
After the remaining buffing compound had been wiped from the pipe and the tape removed the pipe received several coats of carnauba wax on the stem and a light buffing of the stummel.
The final step was another hand buff with the microfiber polishing cloth.
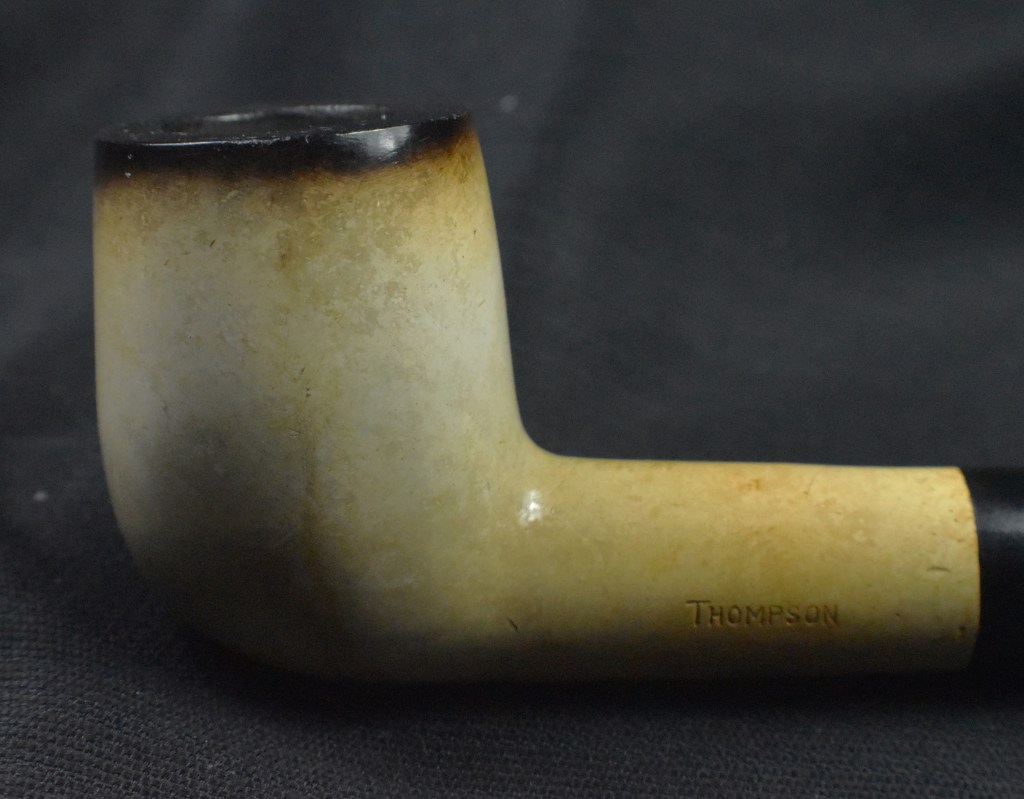
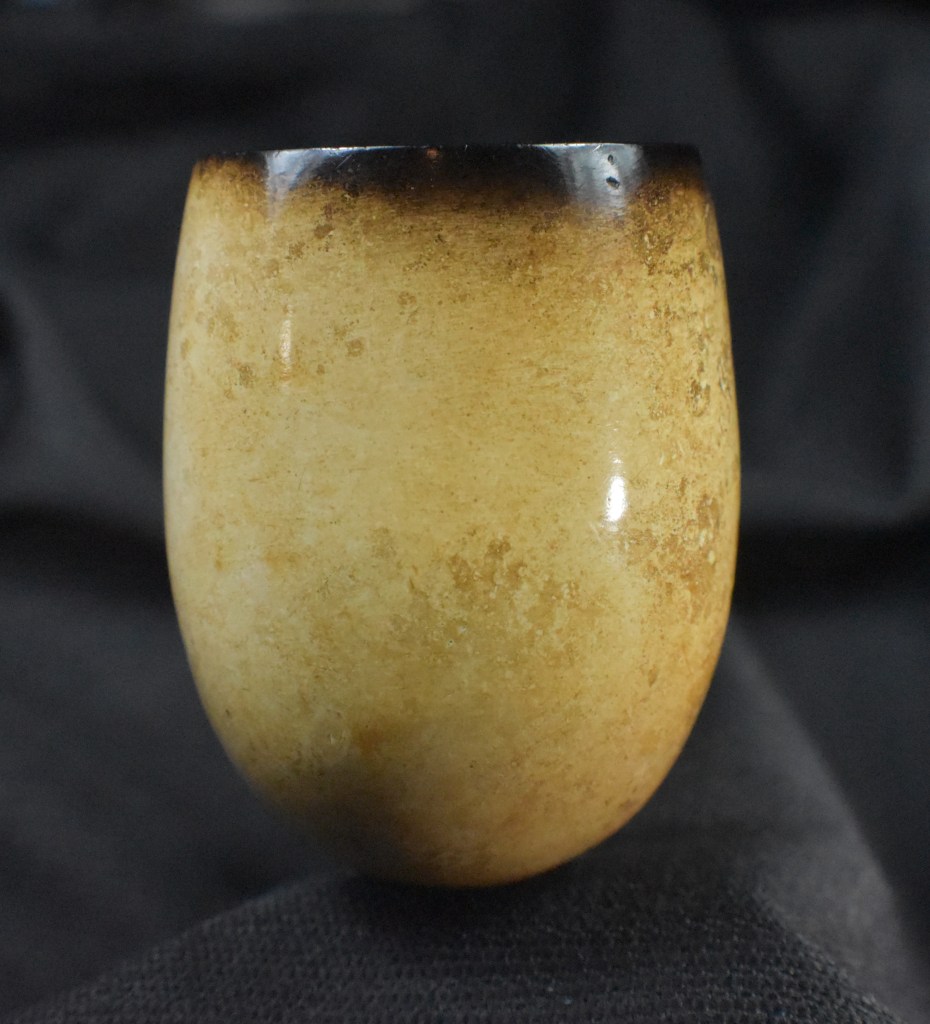
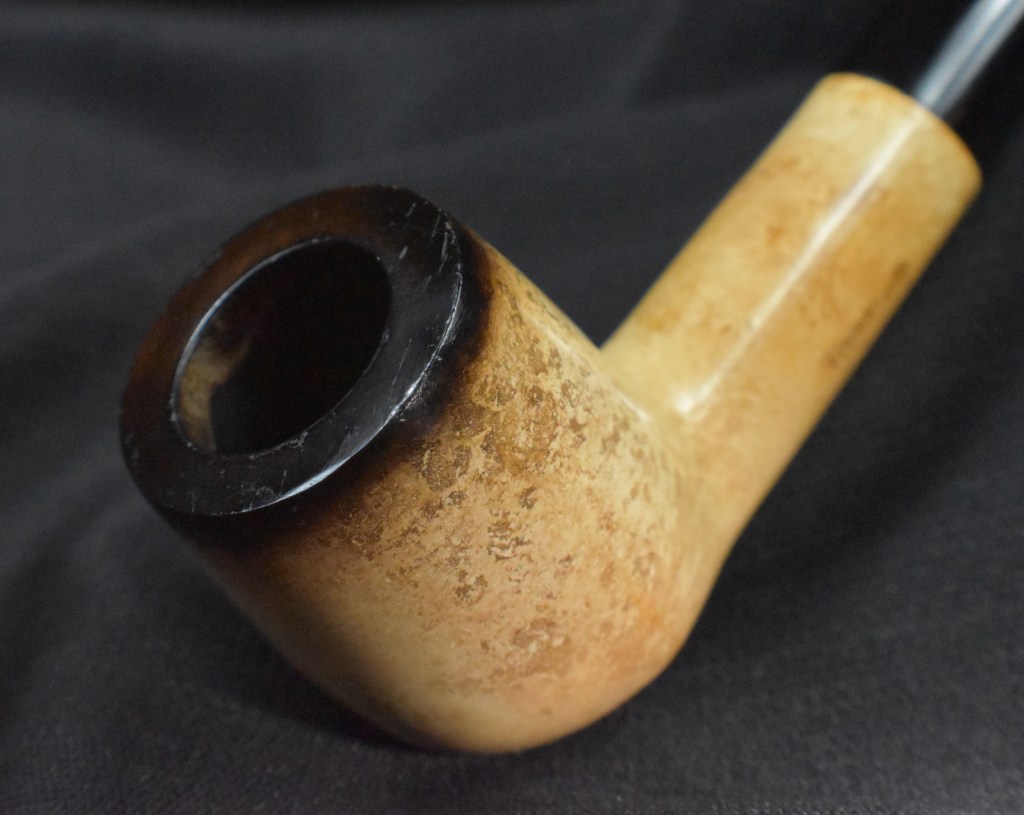
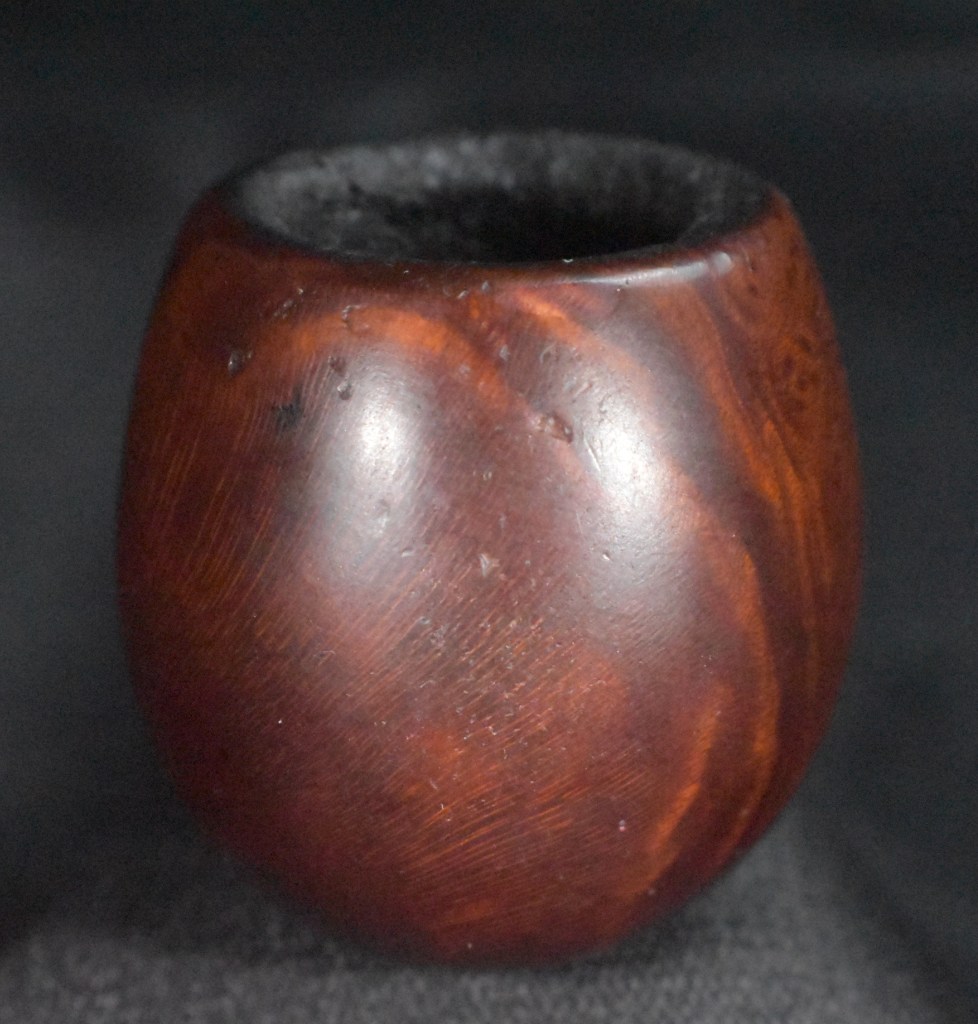
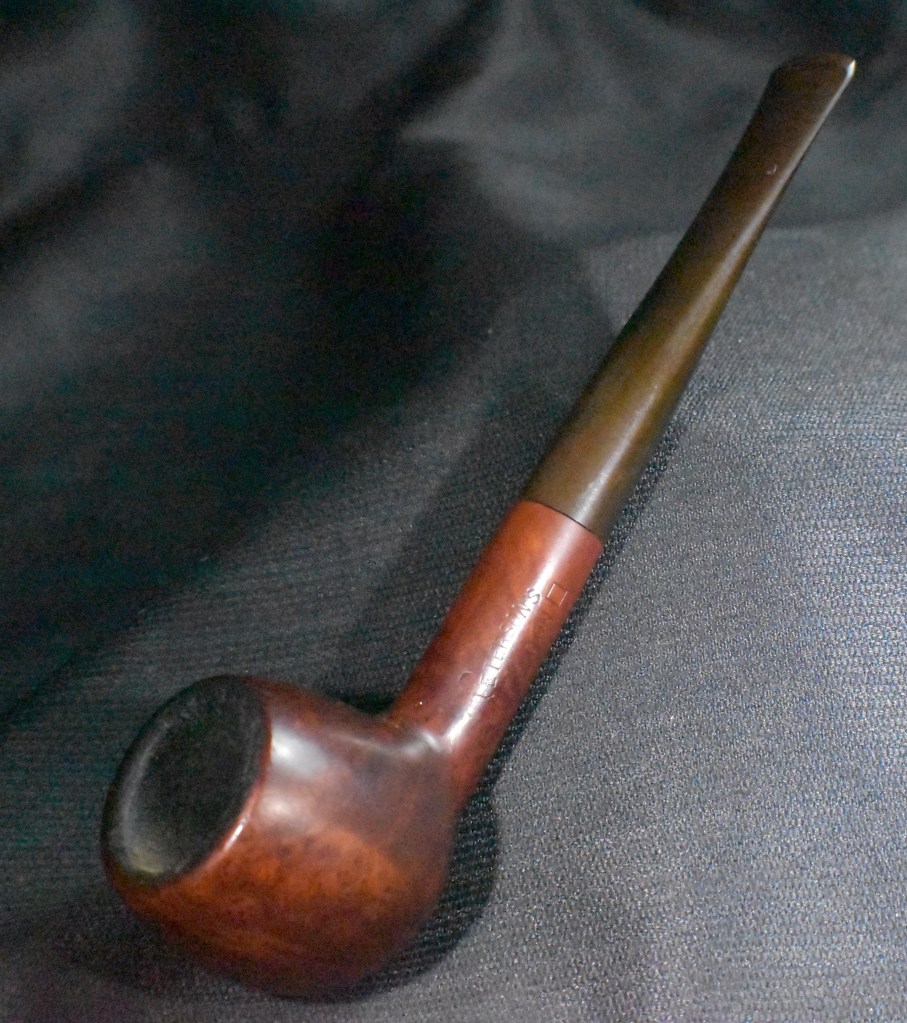
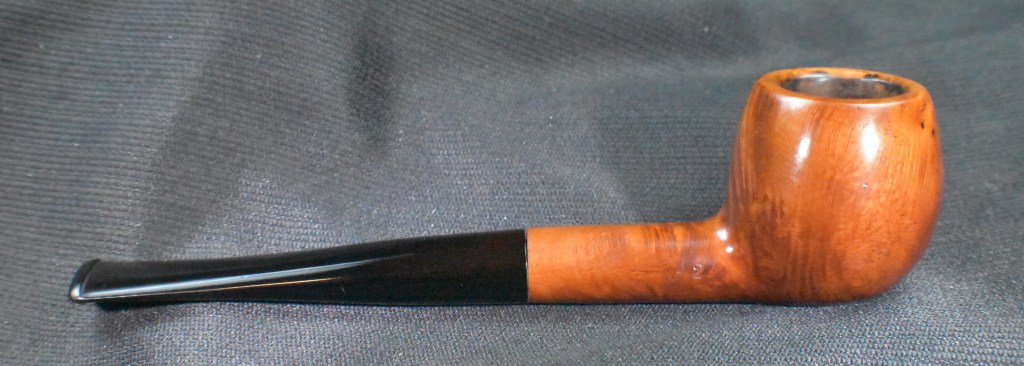
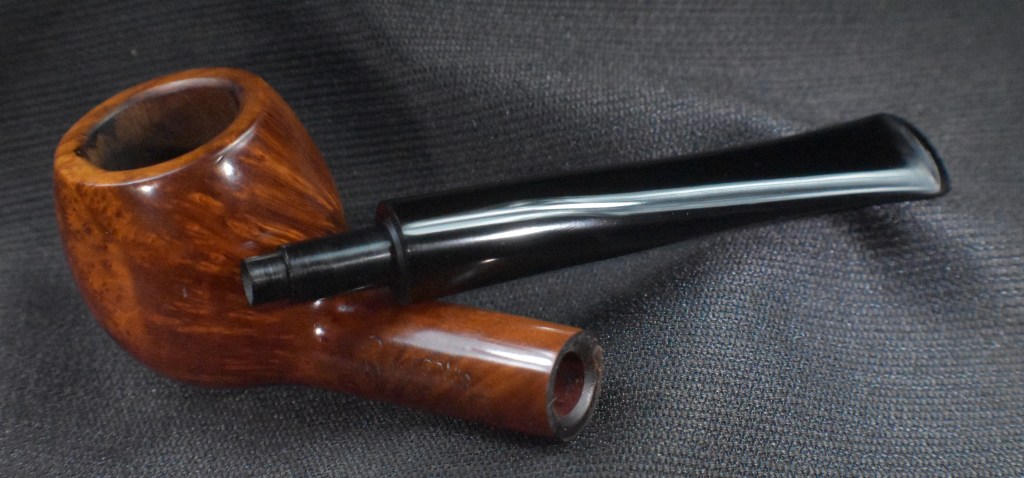
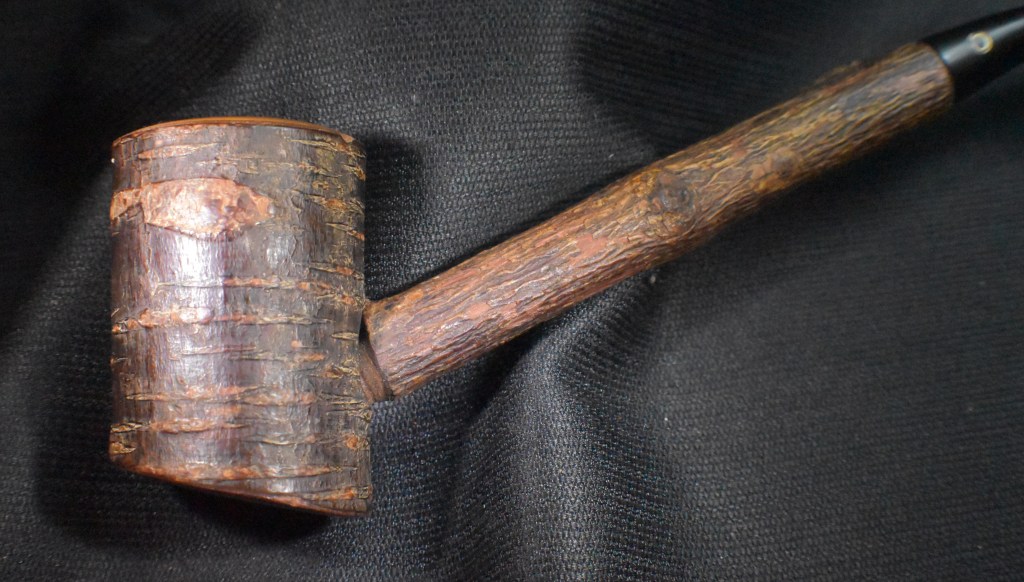
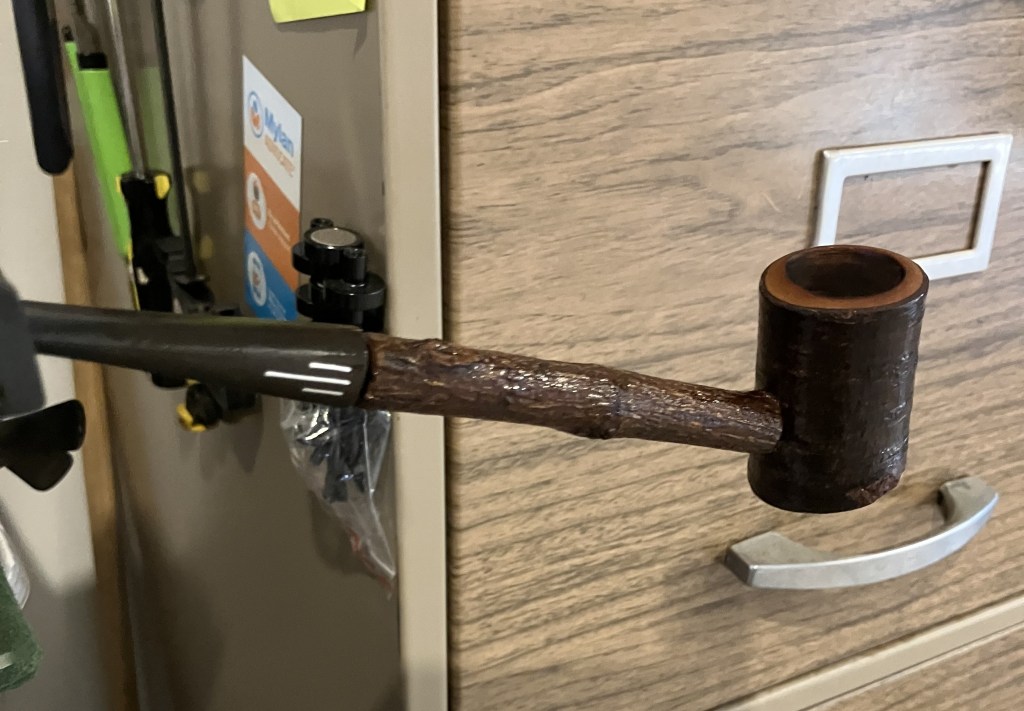
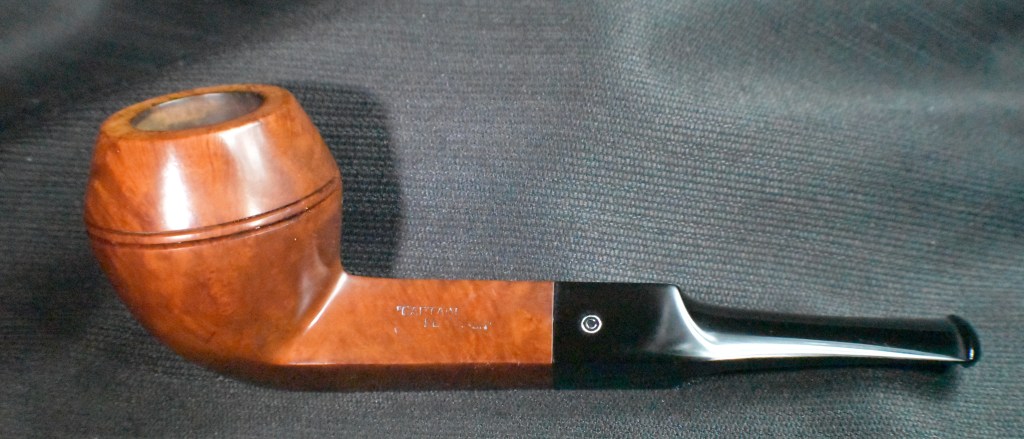
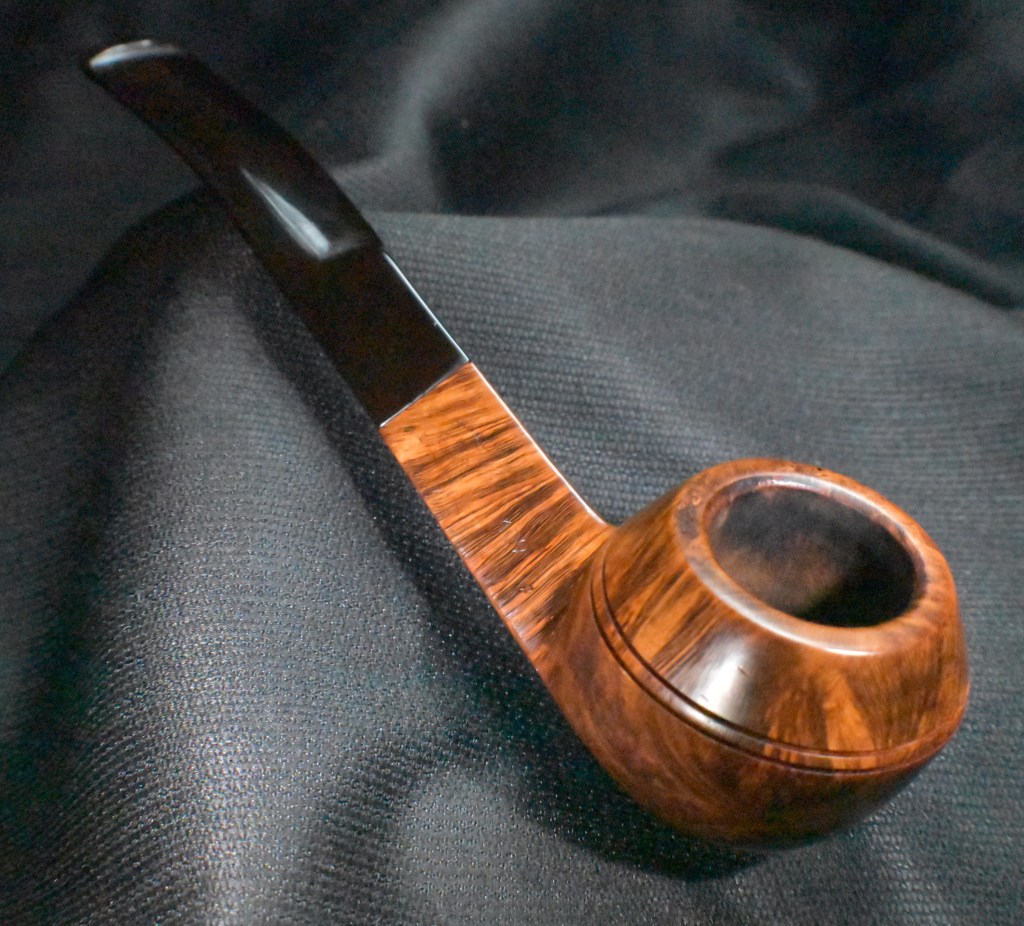
This lovely Thompson Block Meerschaum Billiard is a fine example of Tanganyika African meerschaum. The mineral does not have the same fine grain and brilliant white of the Turkish meerschaum but it does have a character all its own, almost like a rustic version of the Turkish mineral. The fumed rim gives way to a buttery cream color which will change with use and form a truly individual pipe. The stem started out with a more rough texture. This was sanded and finished to a high gloss black which stands out against the light meerschaum. The dimensions of the Thompson Block Meerschaum Billiard are:
Length: 6.00 in./ 152.40 mm.
Weight: 1.72 oz./ 48.76 g.
Bowl Height: 1.90 in./ 48.26 mm.
Chamber Depth: 1.54 in./ 39.12 mm.
Chamber Diameter: 0.74 in./ 18.80 mm.
Outside Diameter: 1.44 in./ 36.58 mm.
I do hope that you have found something here useful to your own pipe care, maintenance or restorations. If you like this sort of thing, please click the like and subscribe buttons. Thank you for reading the ramblings of an old pipe lover.
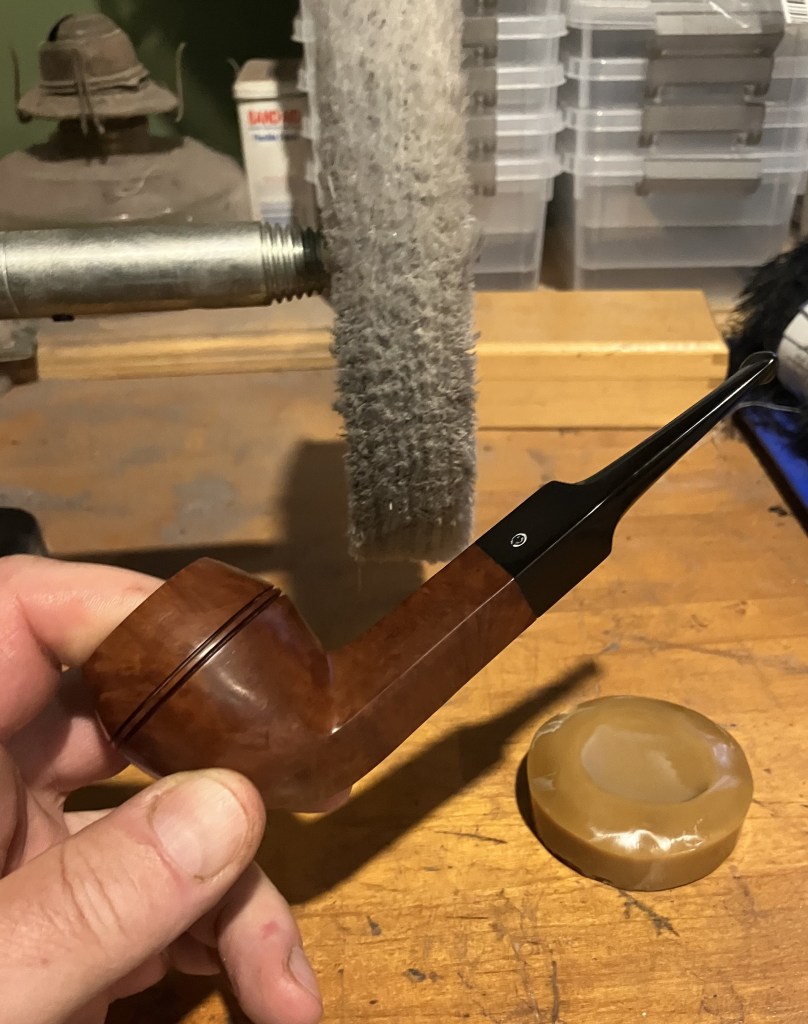
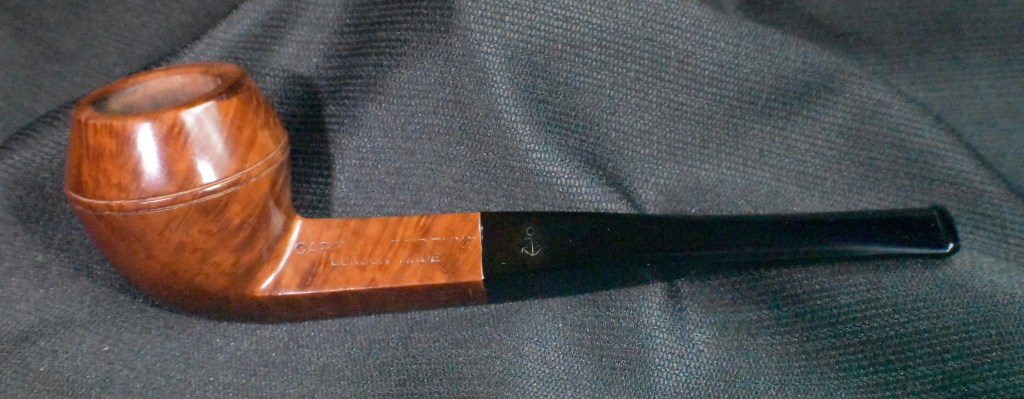
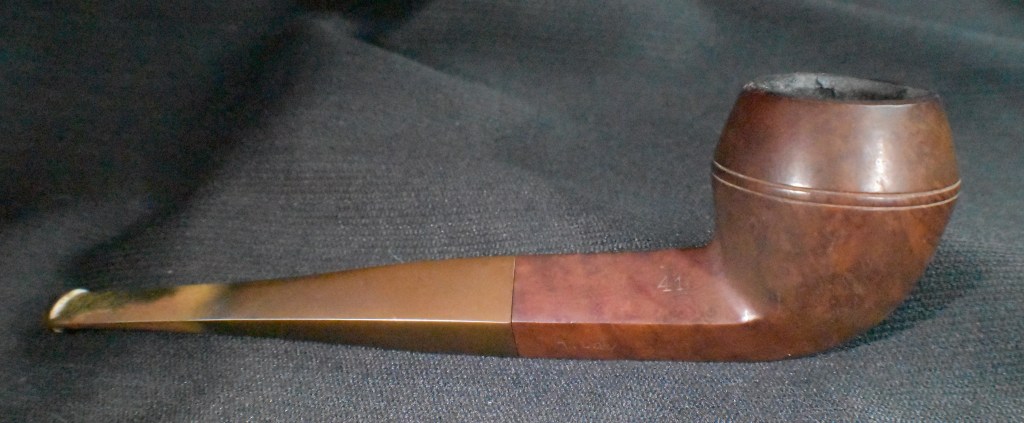
Below are some photos of the finished Thompson Block Meerschaum Billiard.


