Photographed and written by
John M. Young
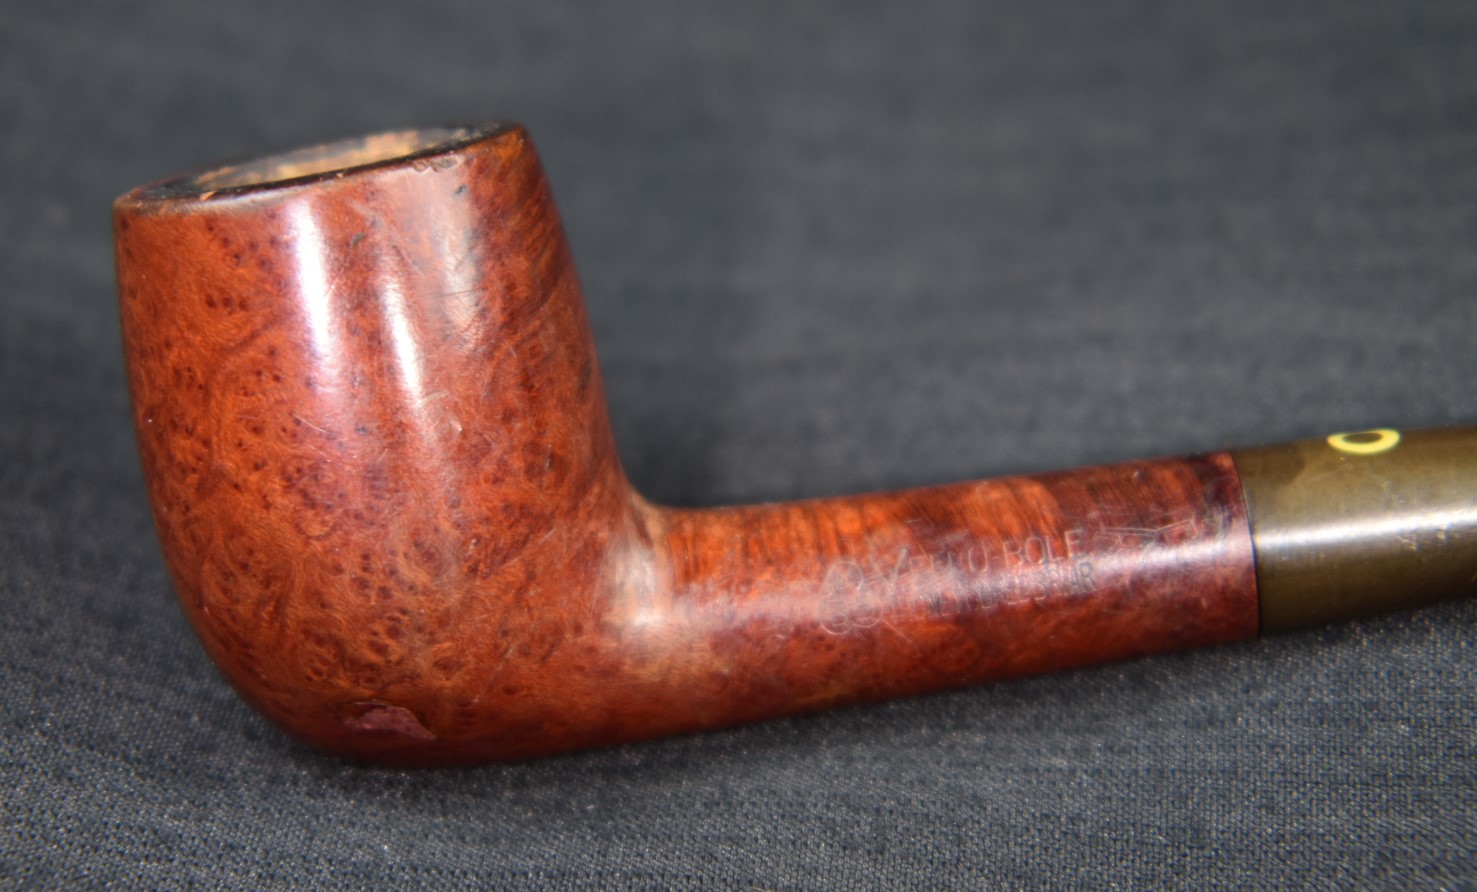
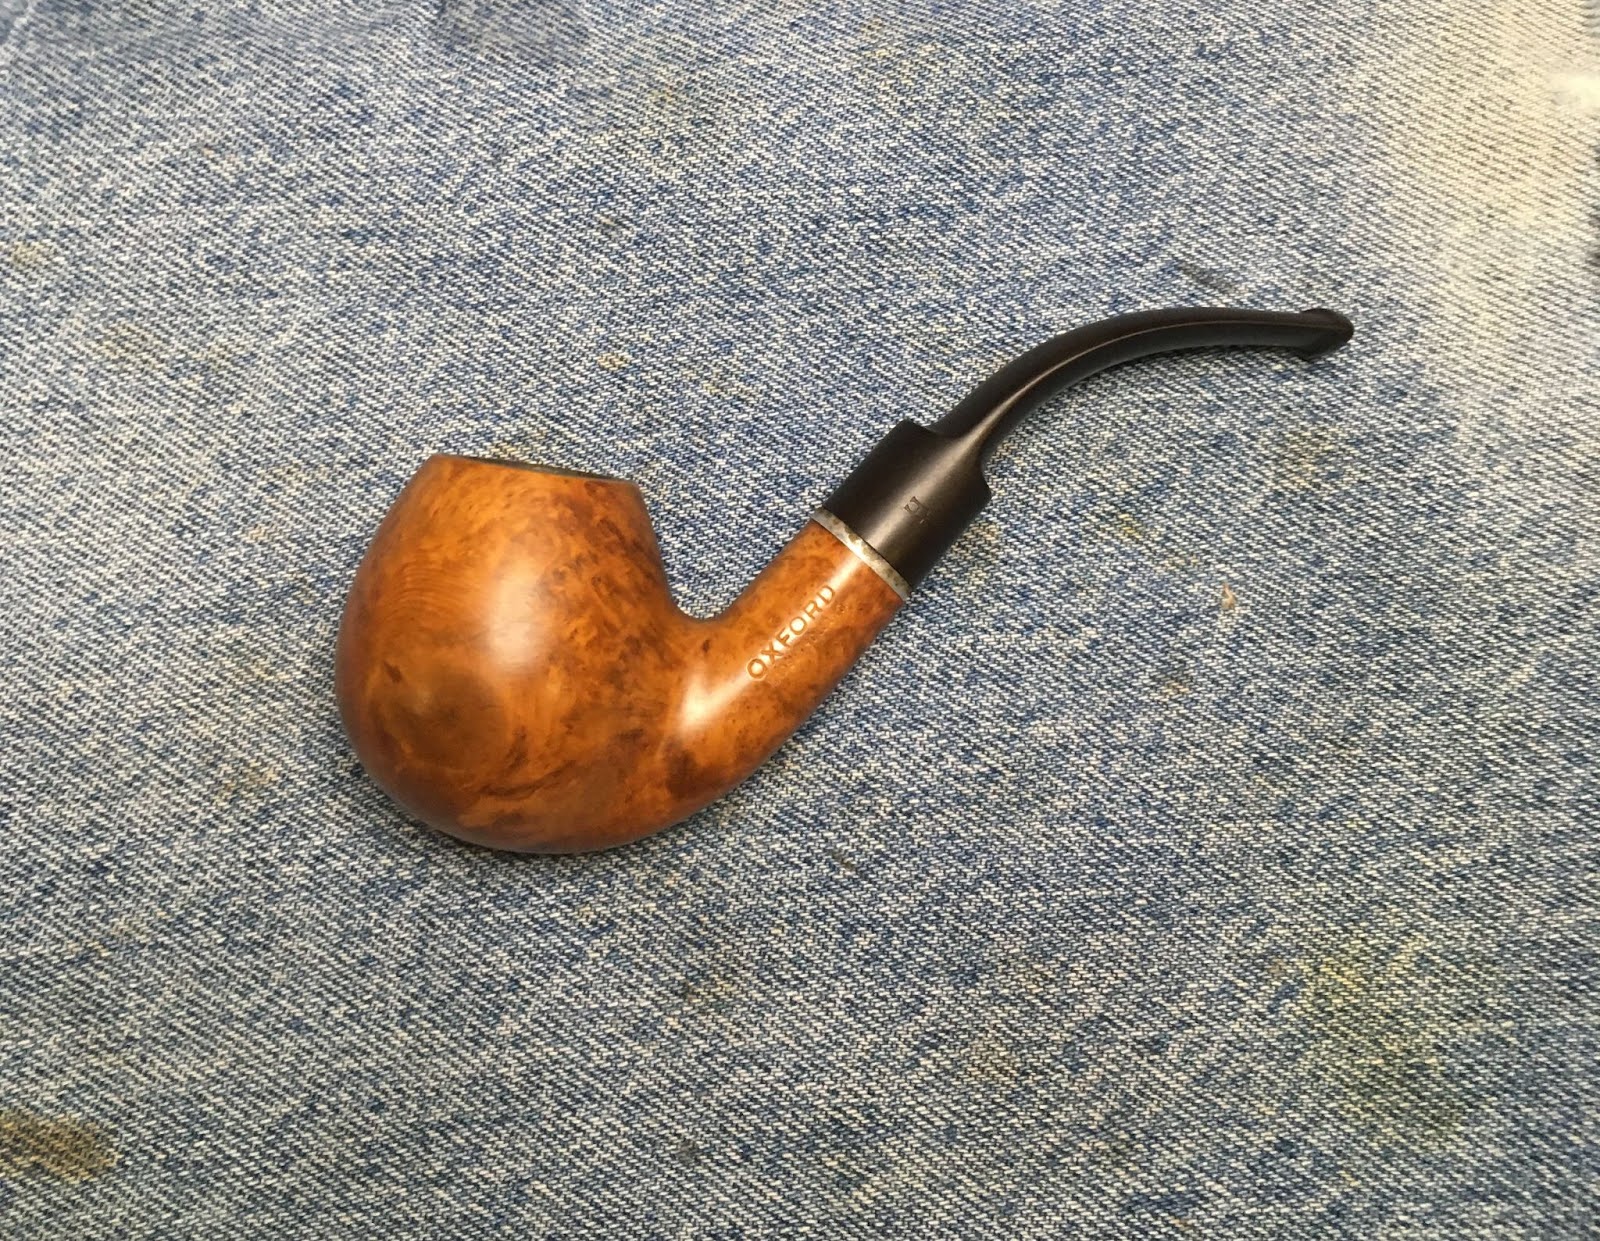
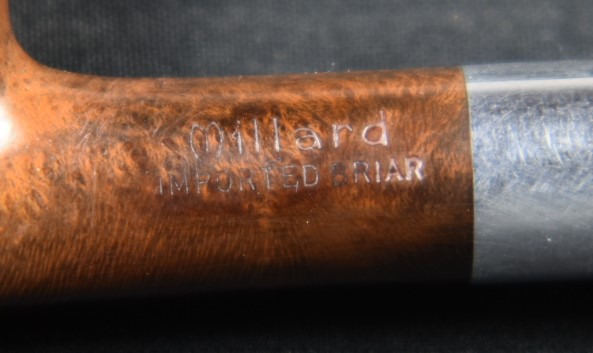
I remember a good friend of mine saying, “There are two kinds of battles in the world: Those worth fighting and those that aren’t. If it’s worth fighting then you’d better be damn sure you’re going to win.” Spoken like the true F-4 pilot that he was and darn good advice. So, why in the world did I try to restore the above dismal darling? I mean, you can buy a new one for under $100. That poor thing’s issues had issues. Perhaps it was Saint Jude Thadeus whispering in my ear? No, I’m not Catholic. Maybe it was because my right shoulder angel had a substitute that day and it was a Bad-Idea Fairy. Whatever the reason, I decided that this Savinelli Roma would live to smoke again.
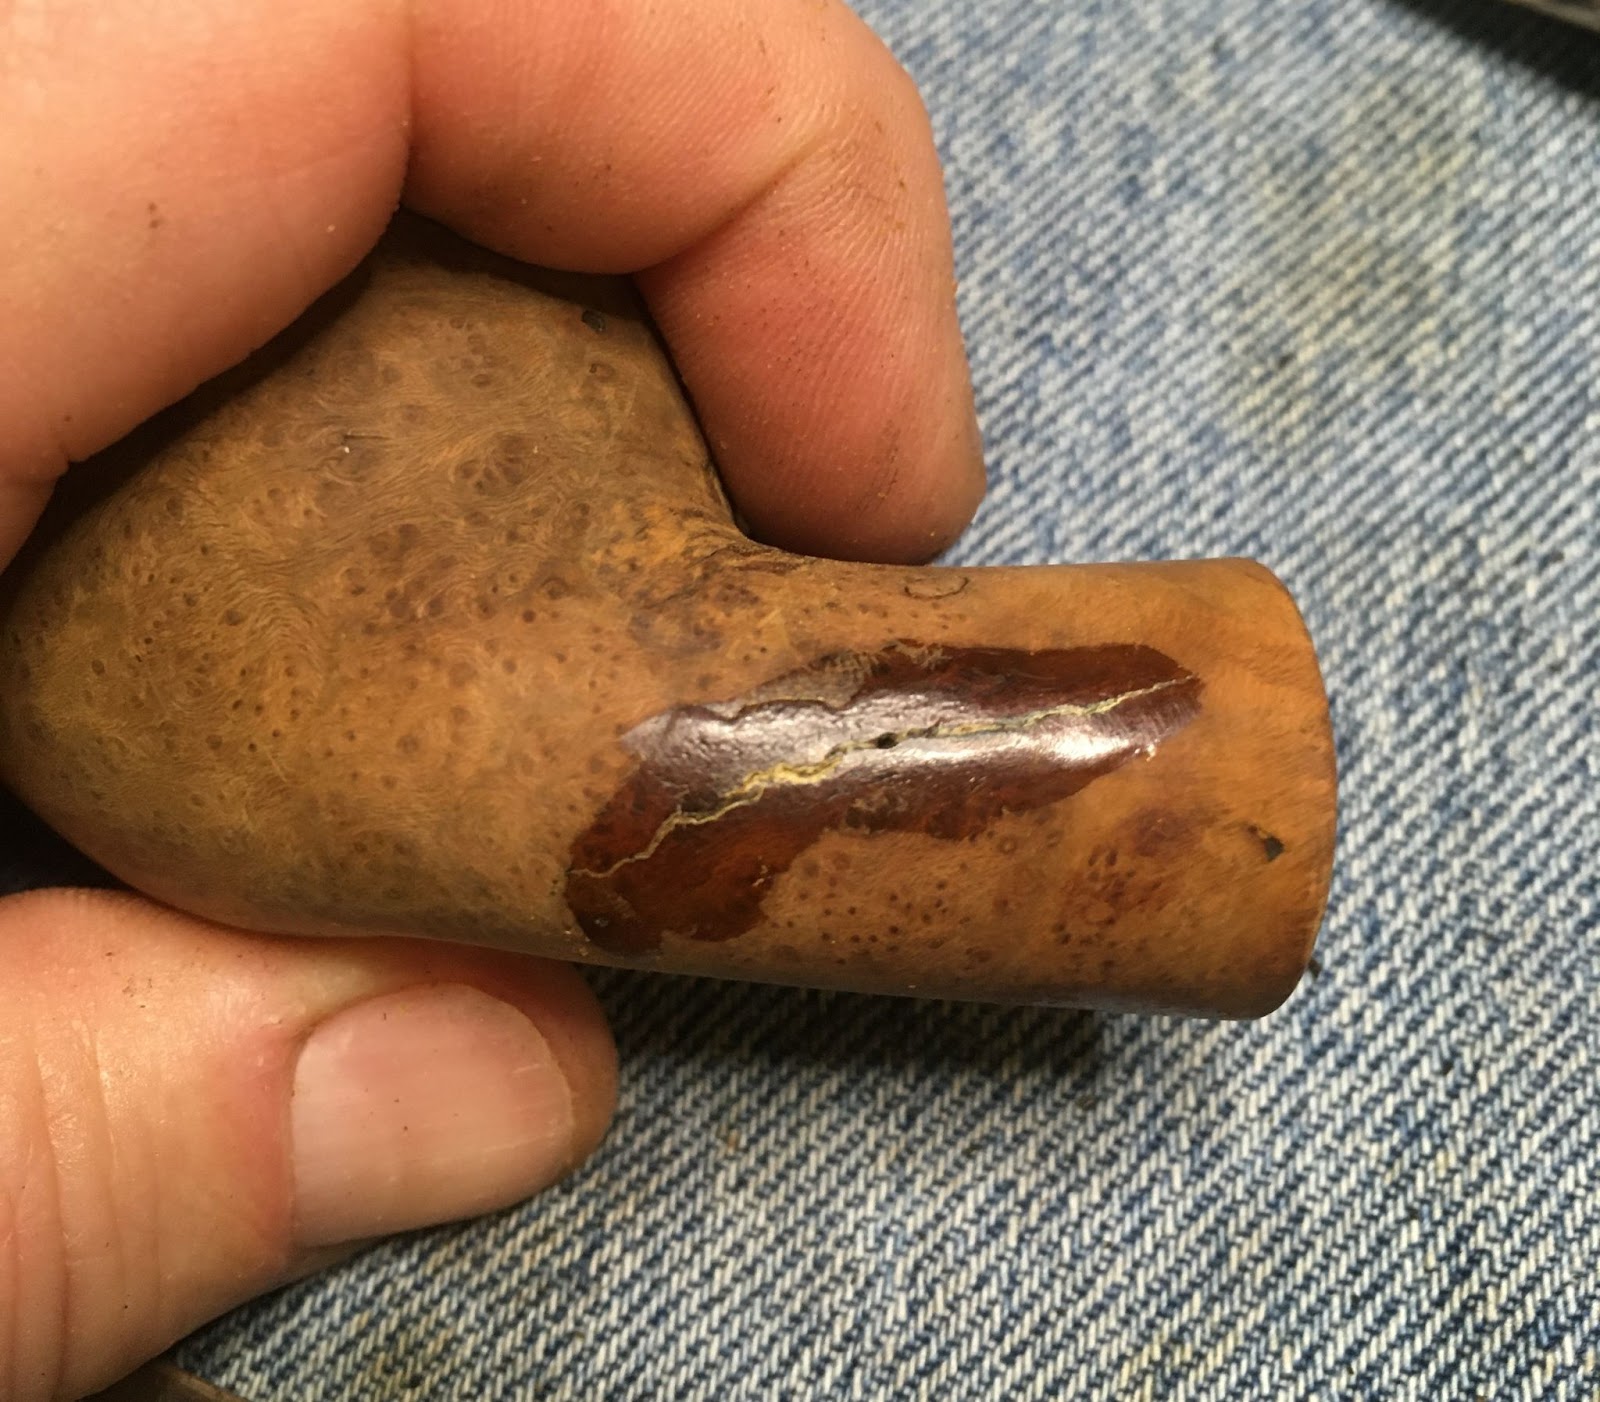
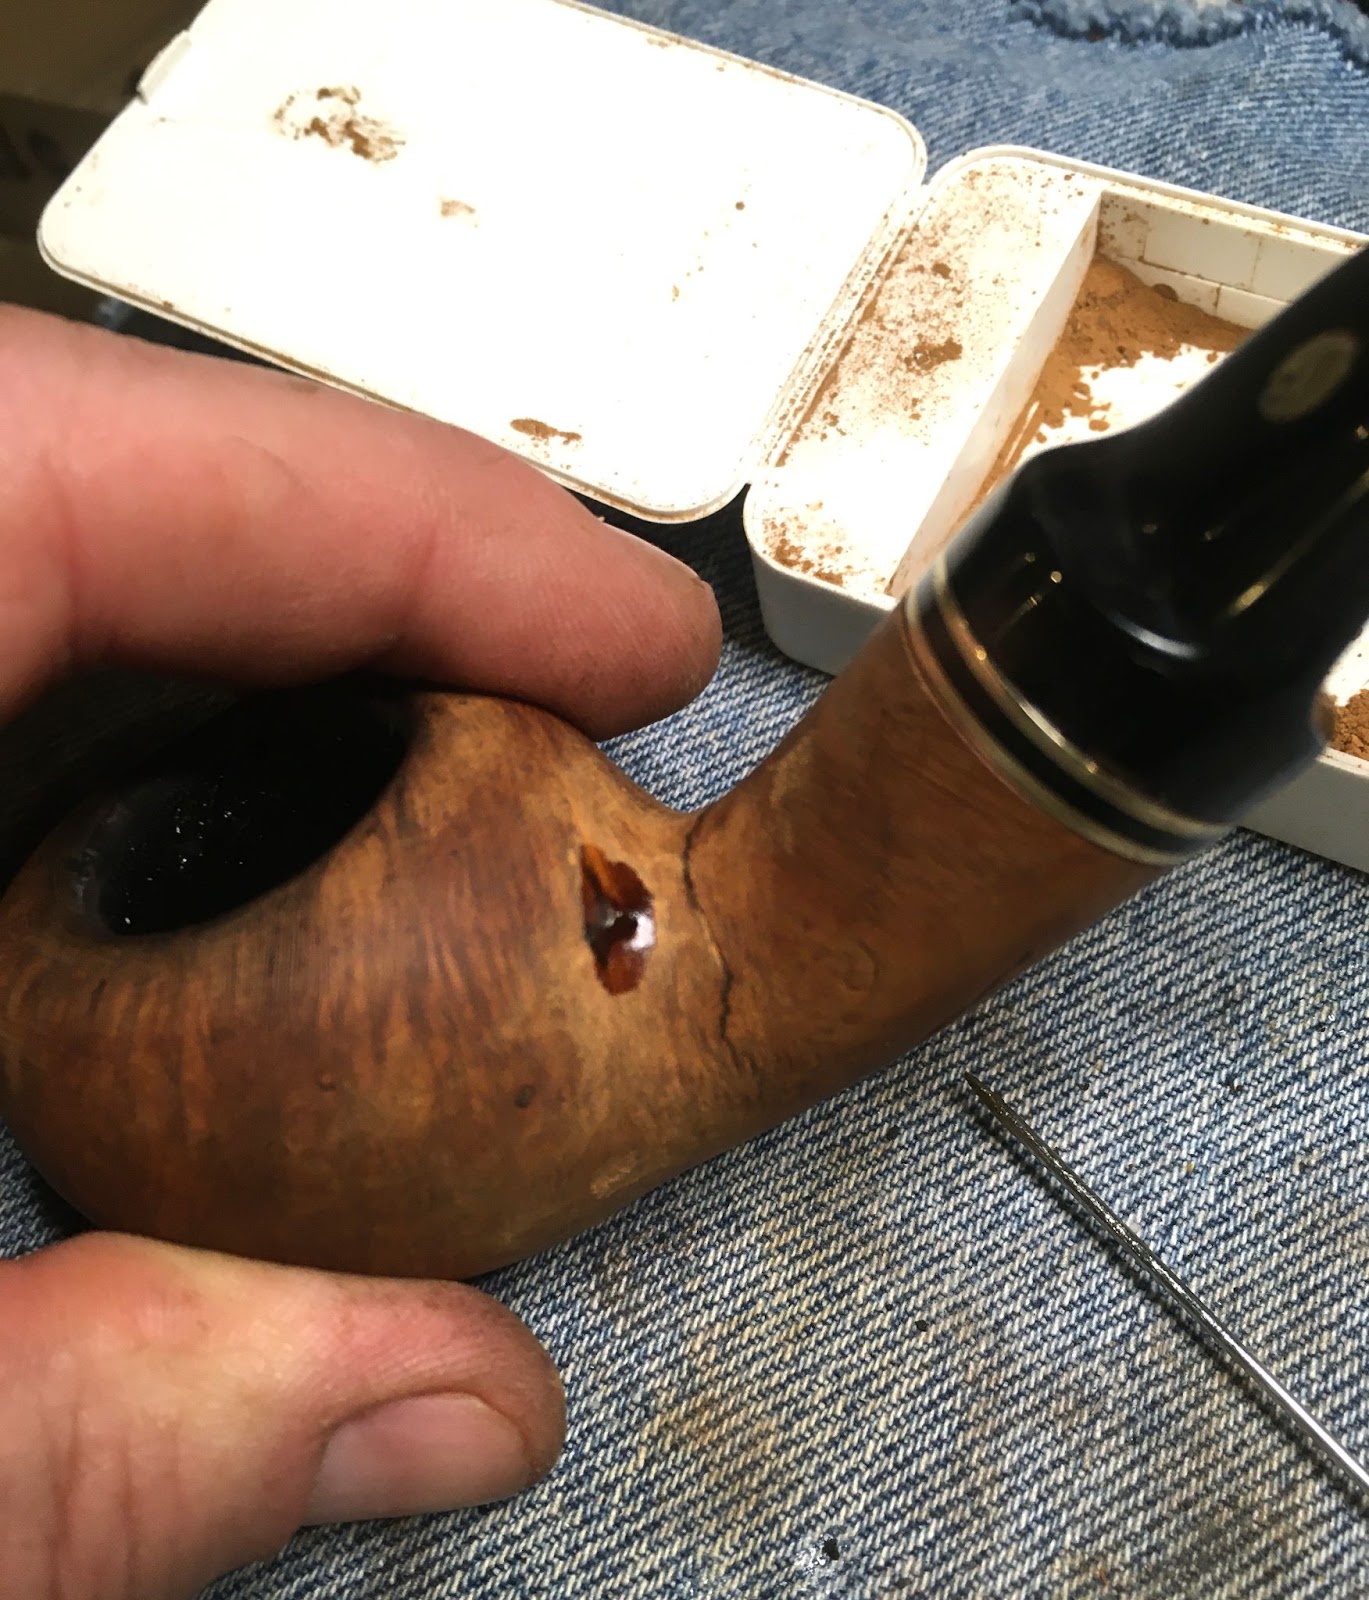
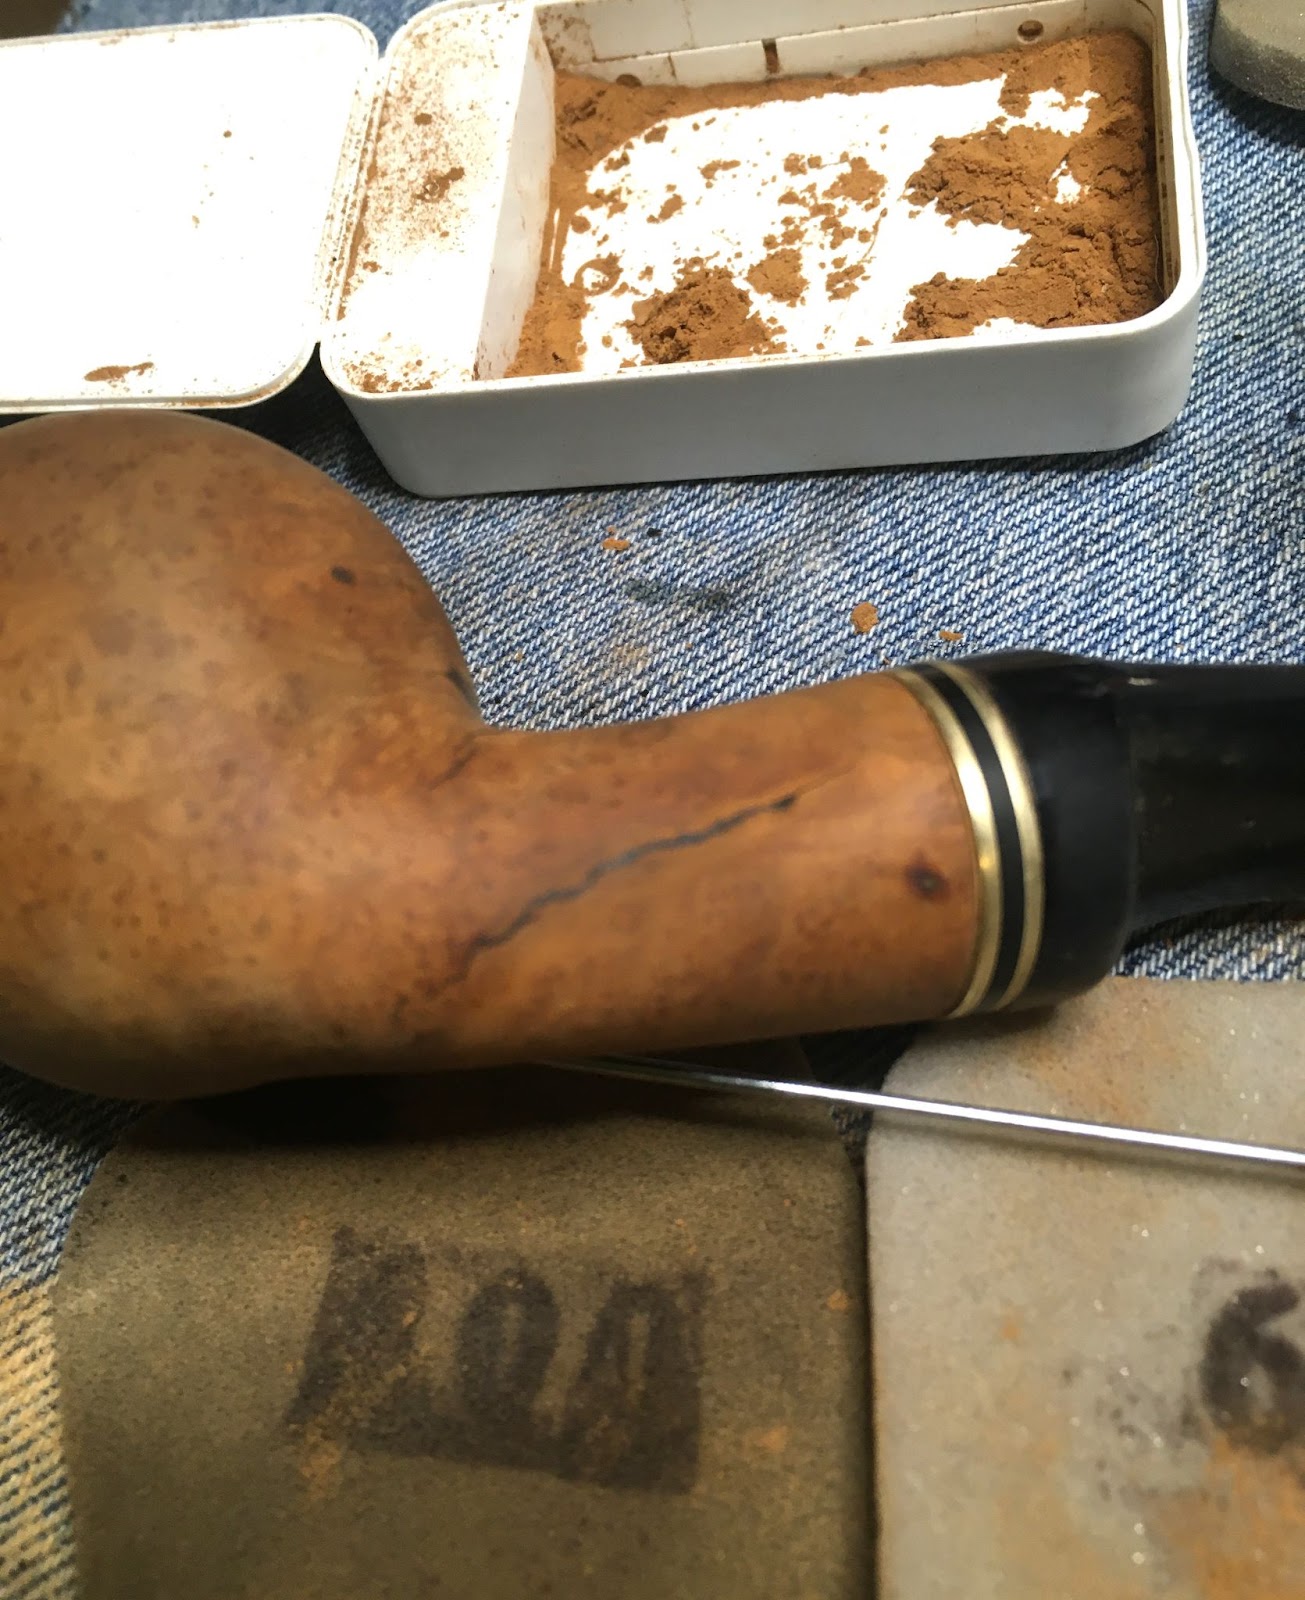
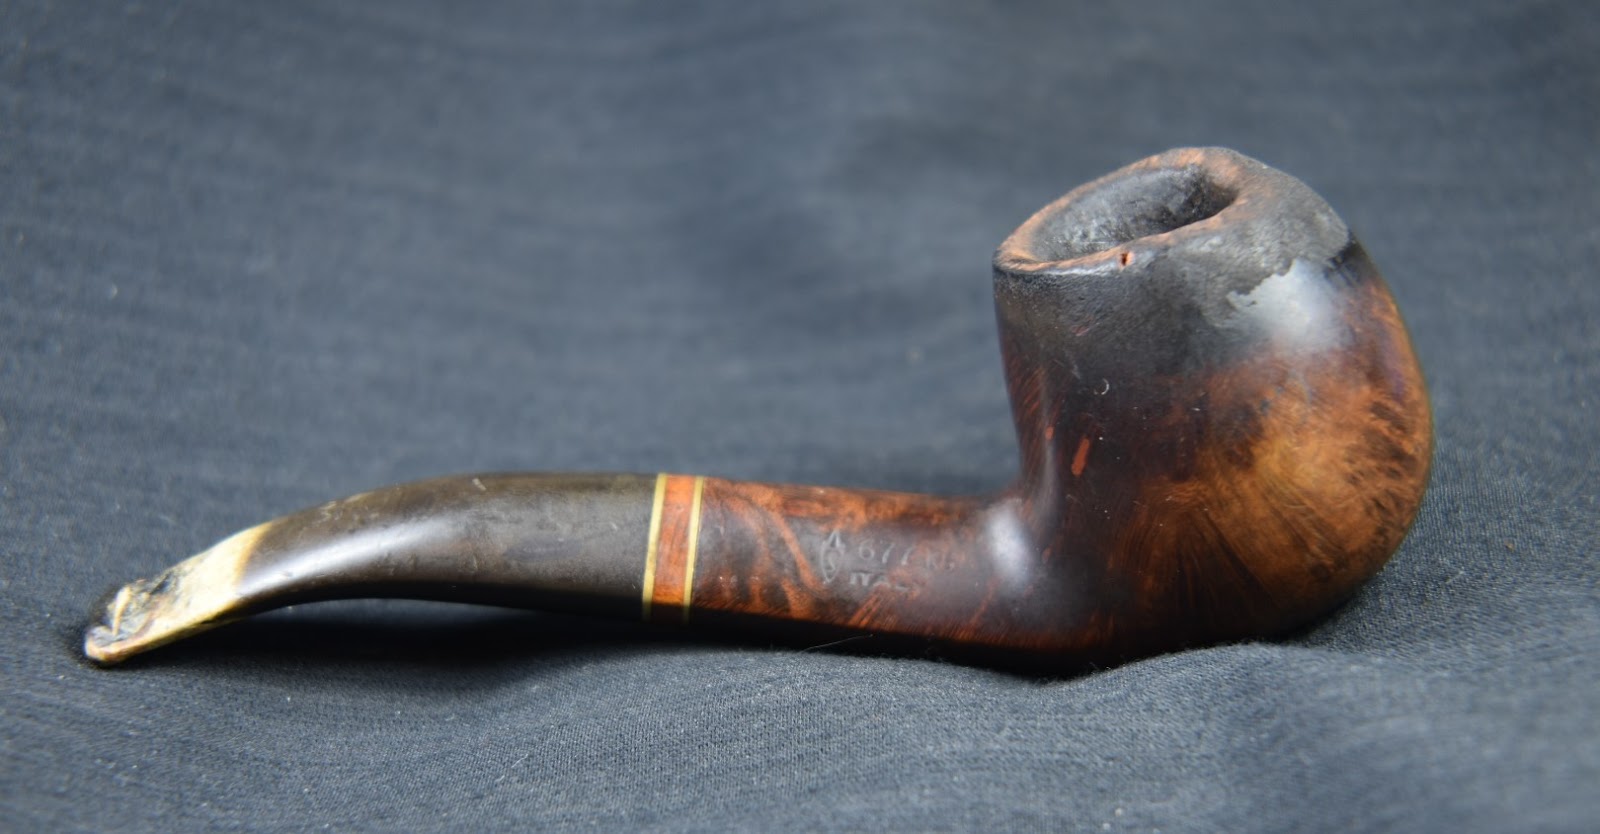
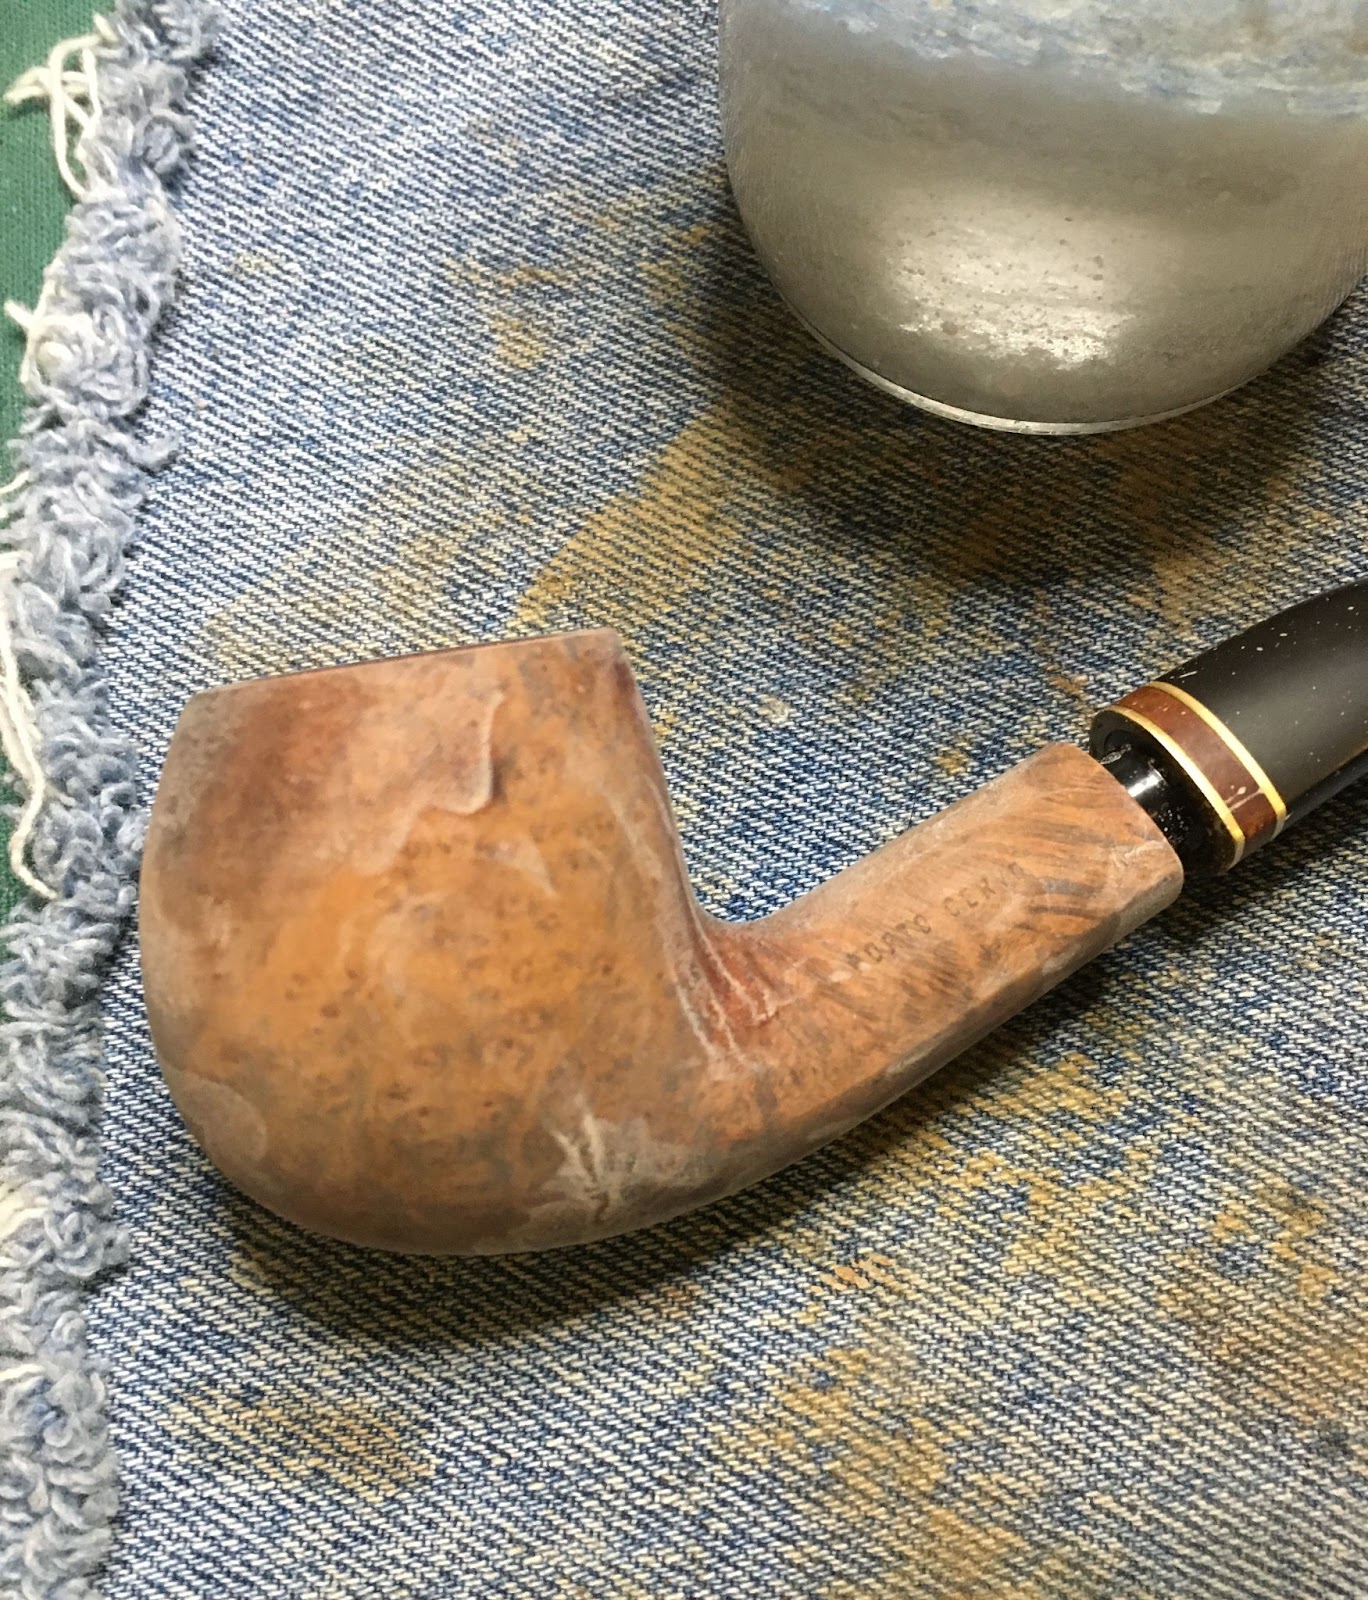
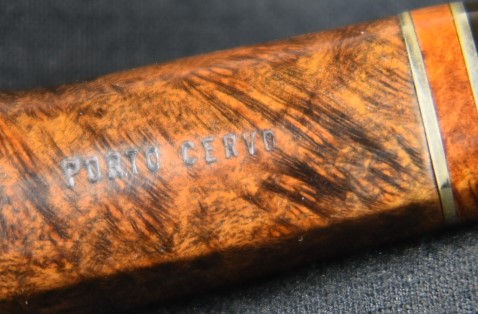
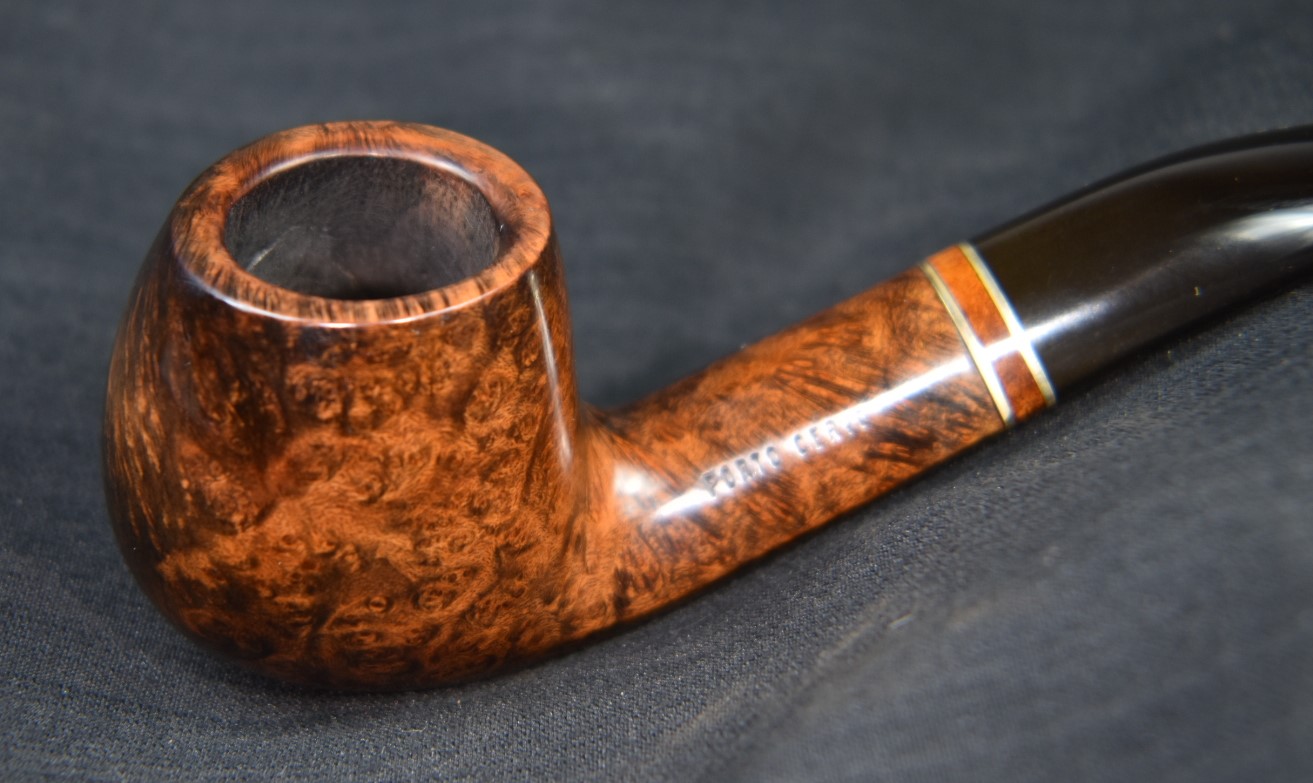
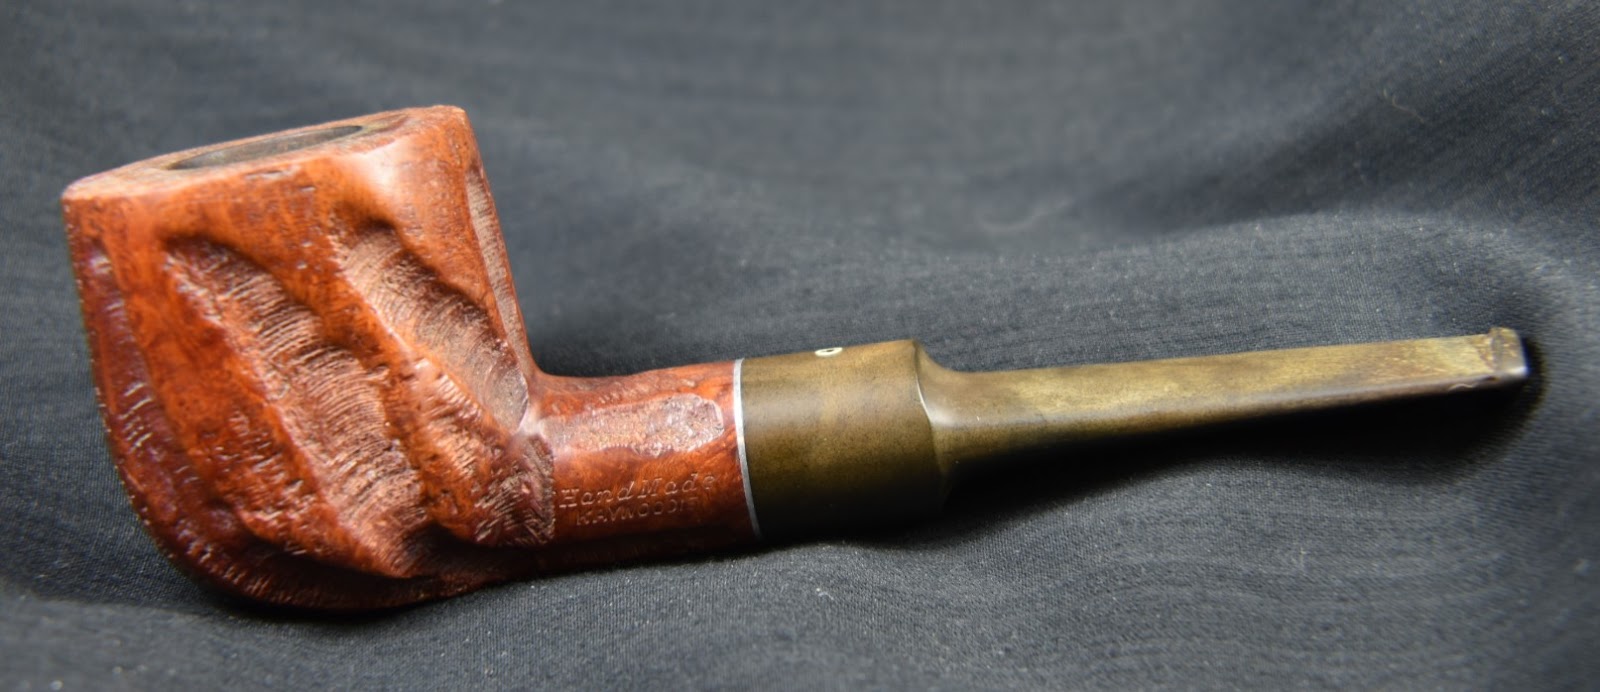
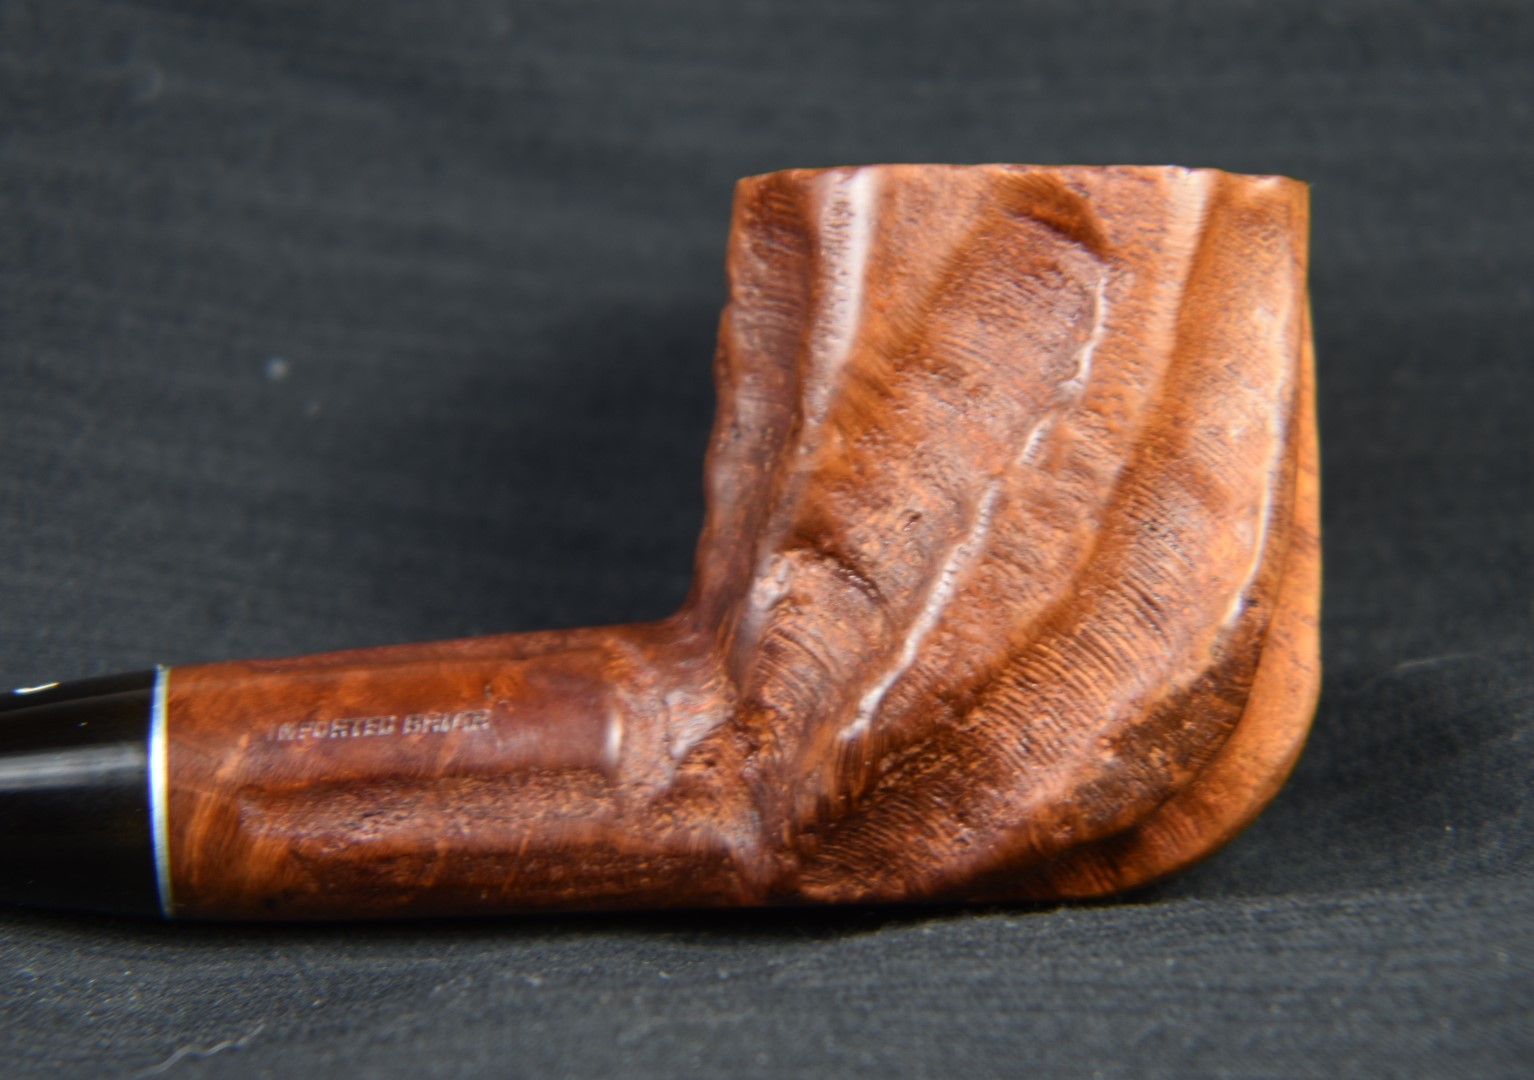
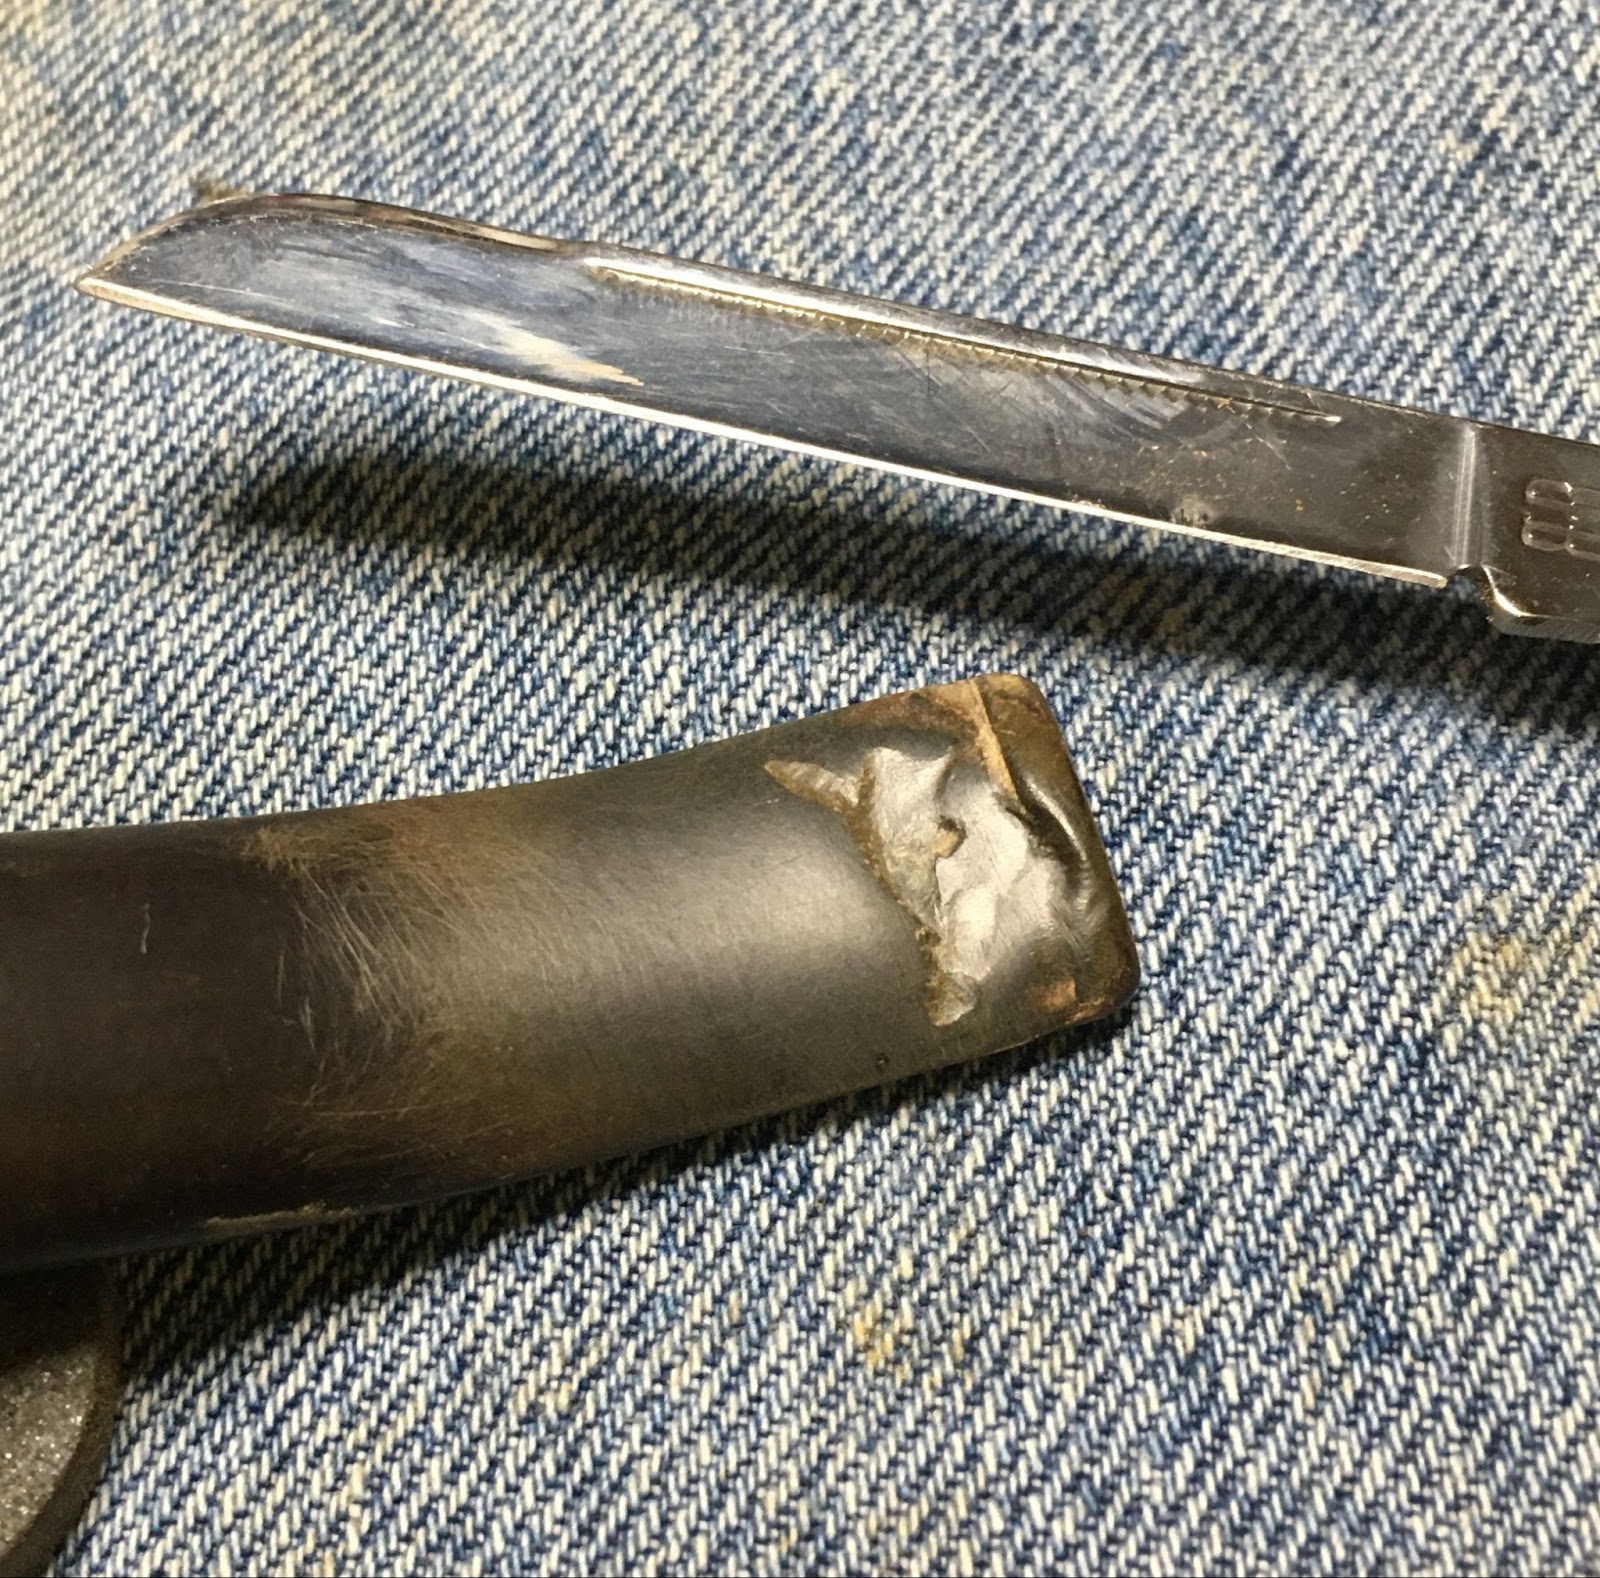
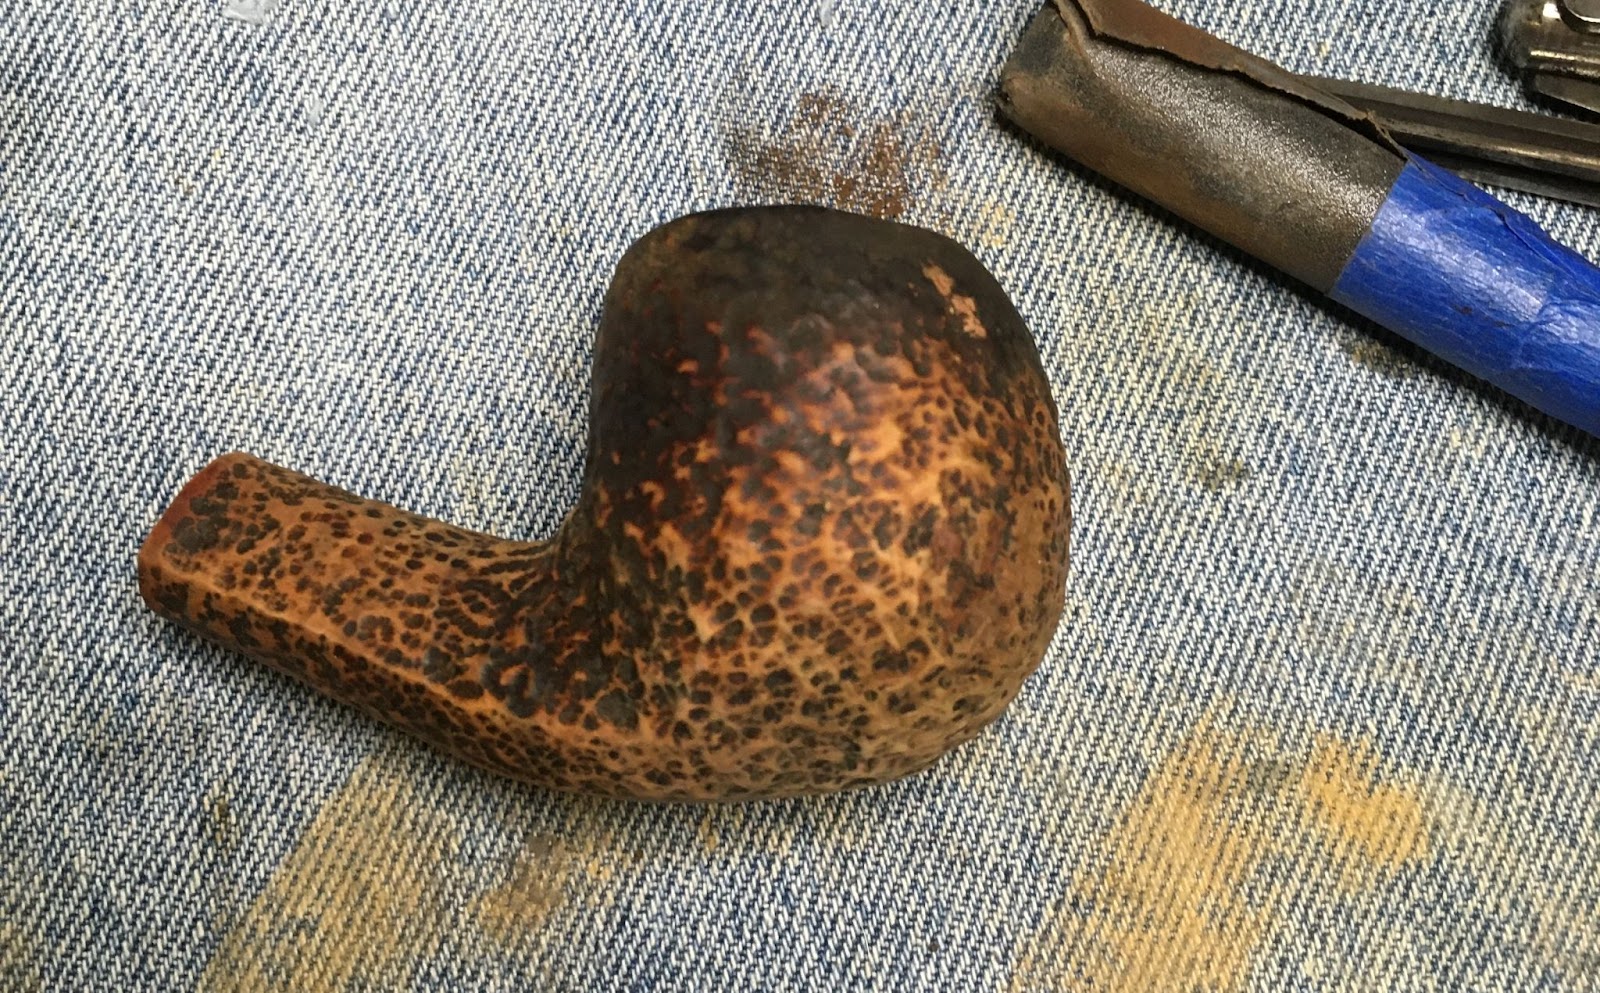
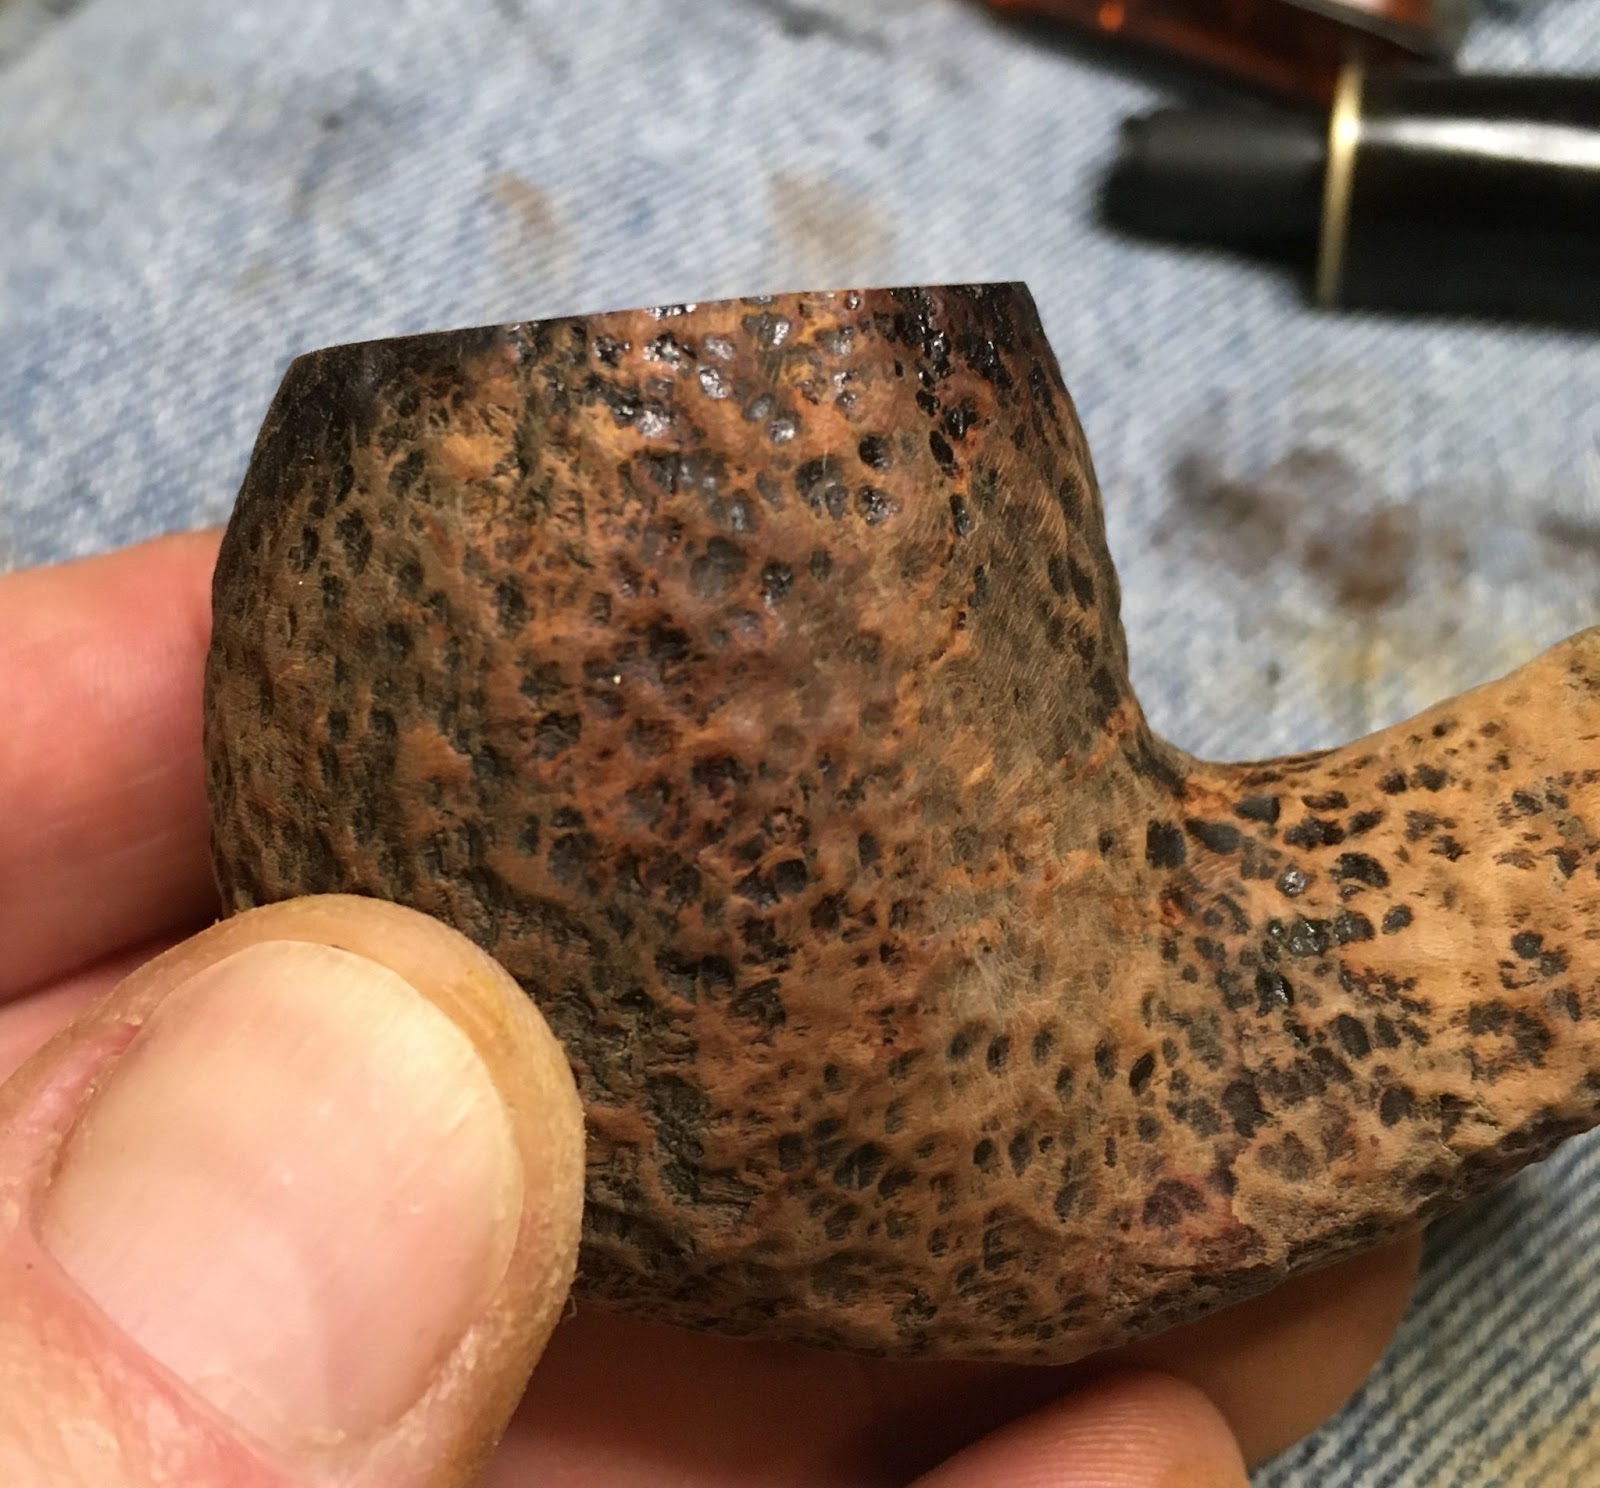
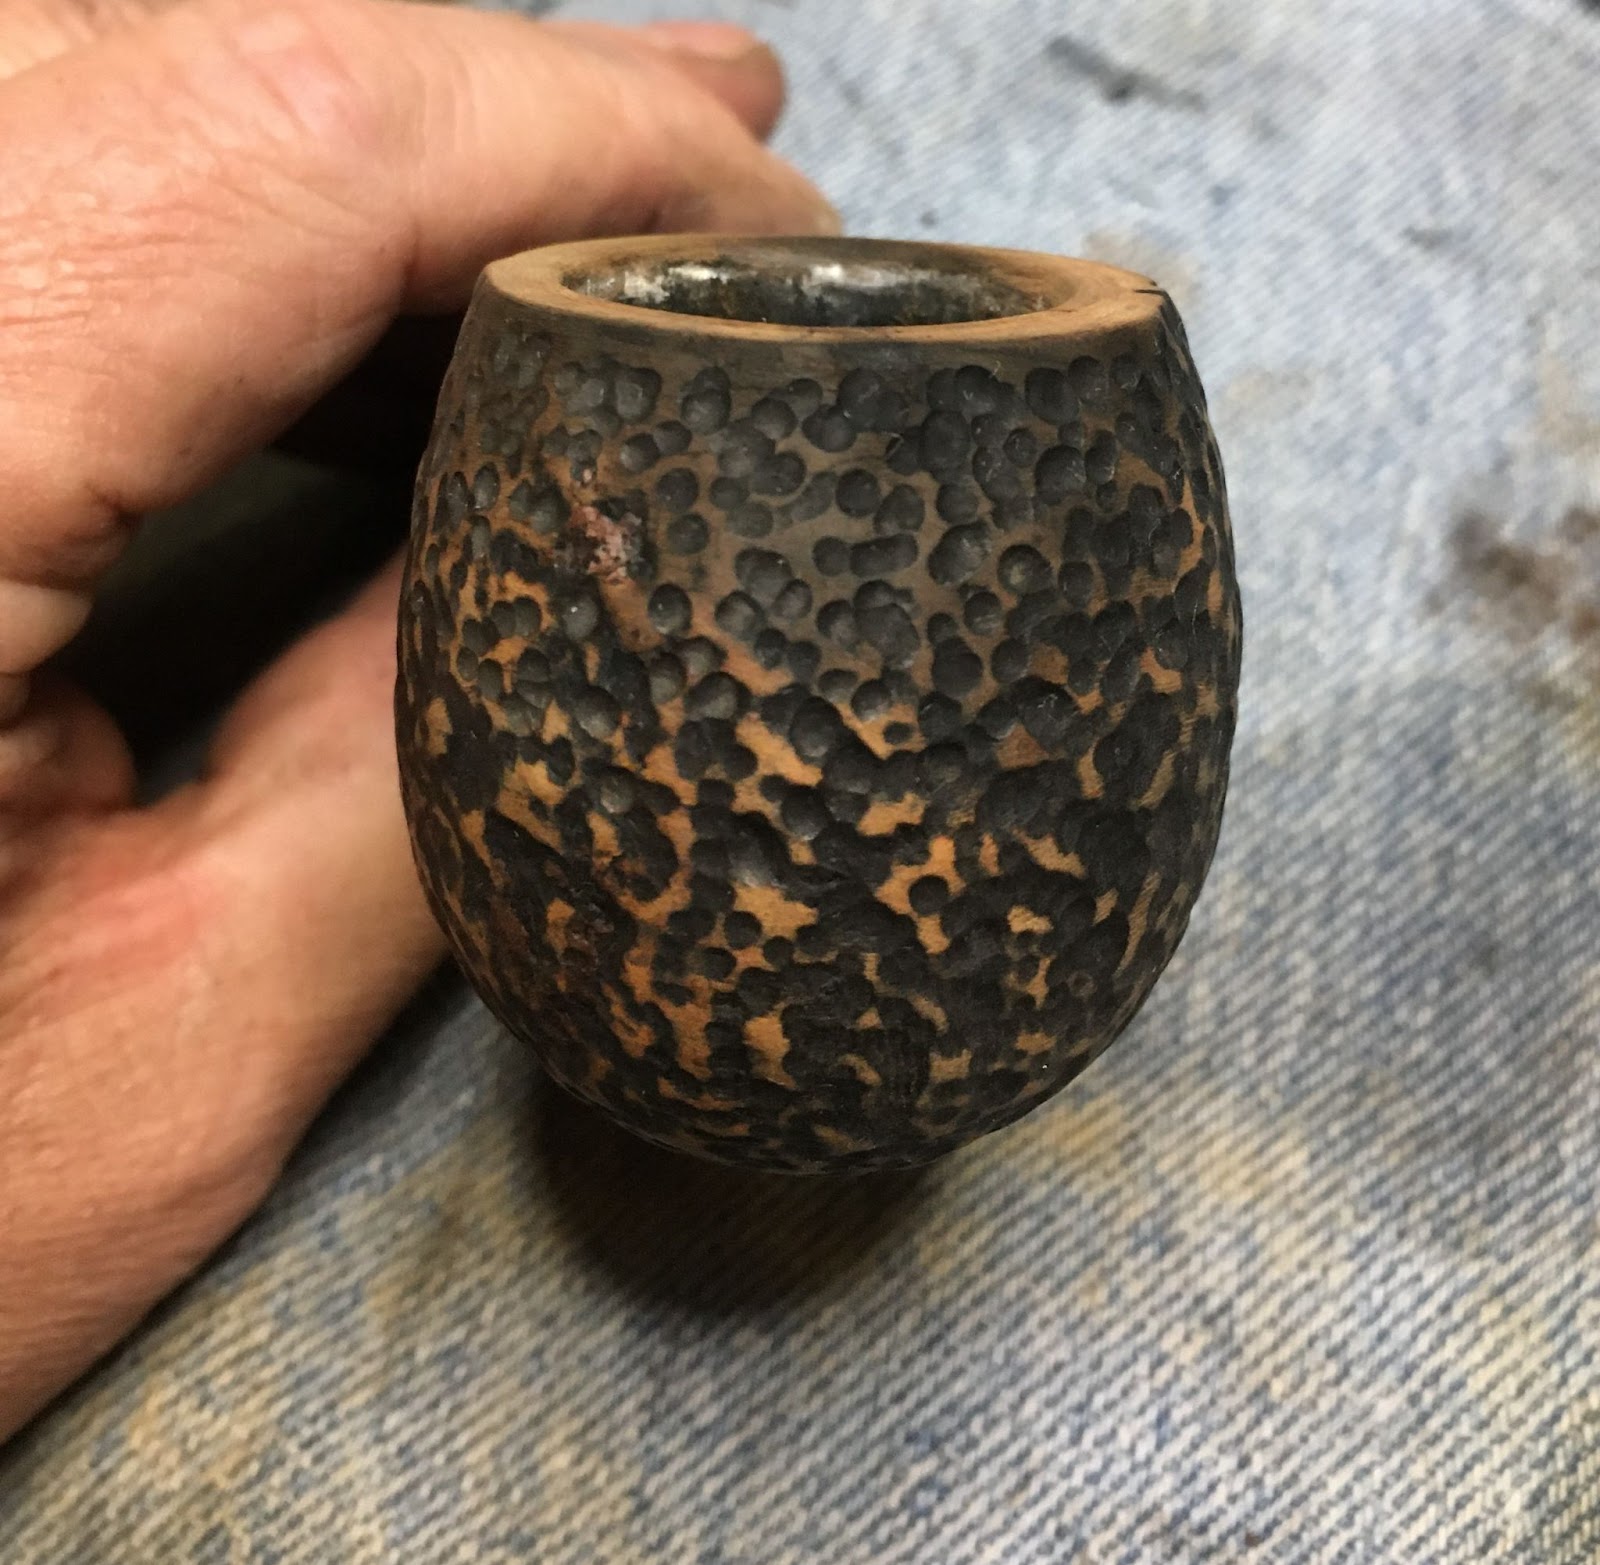
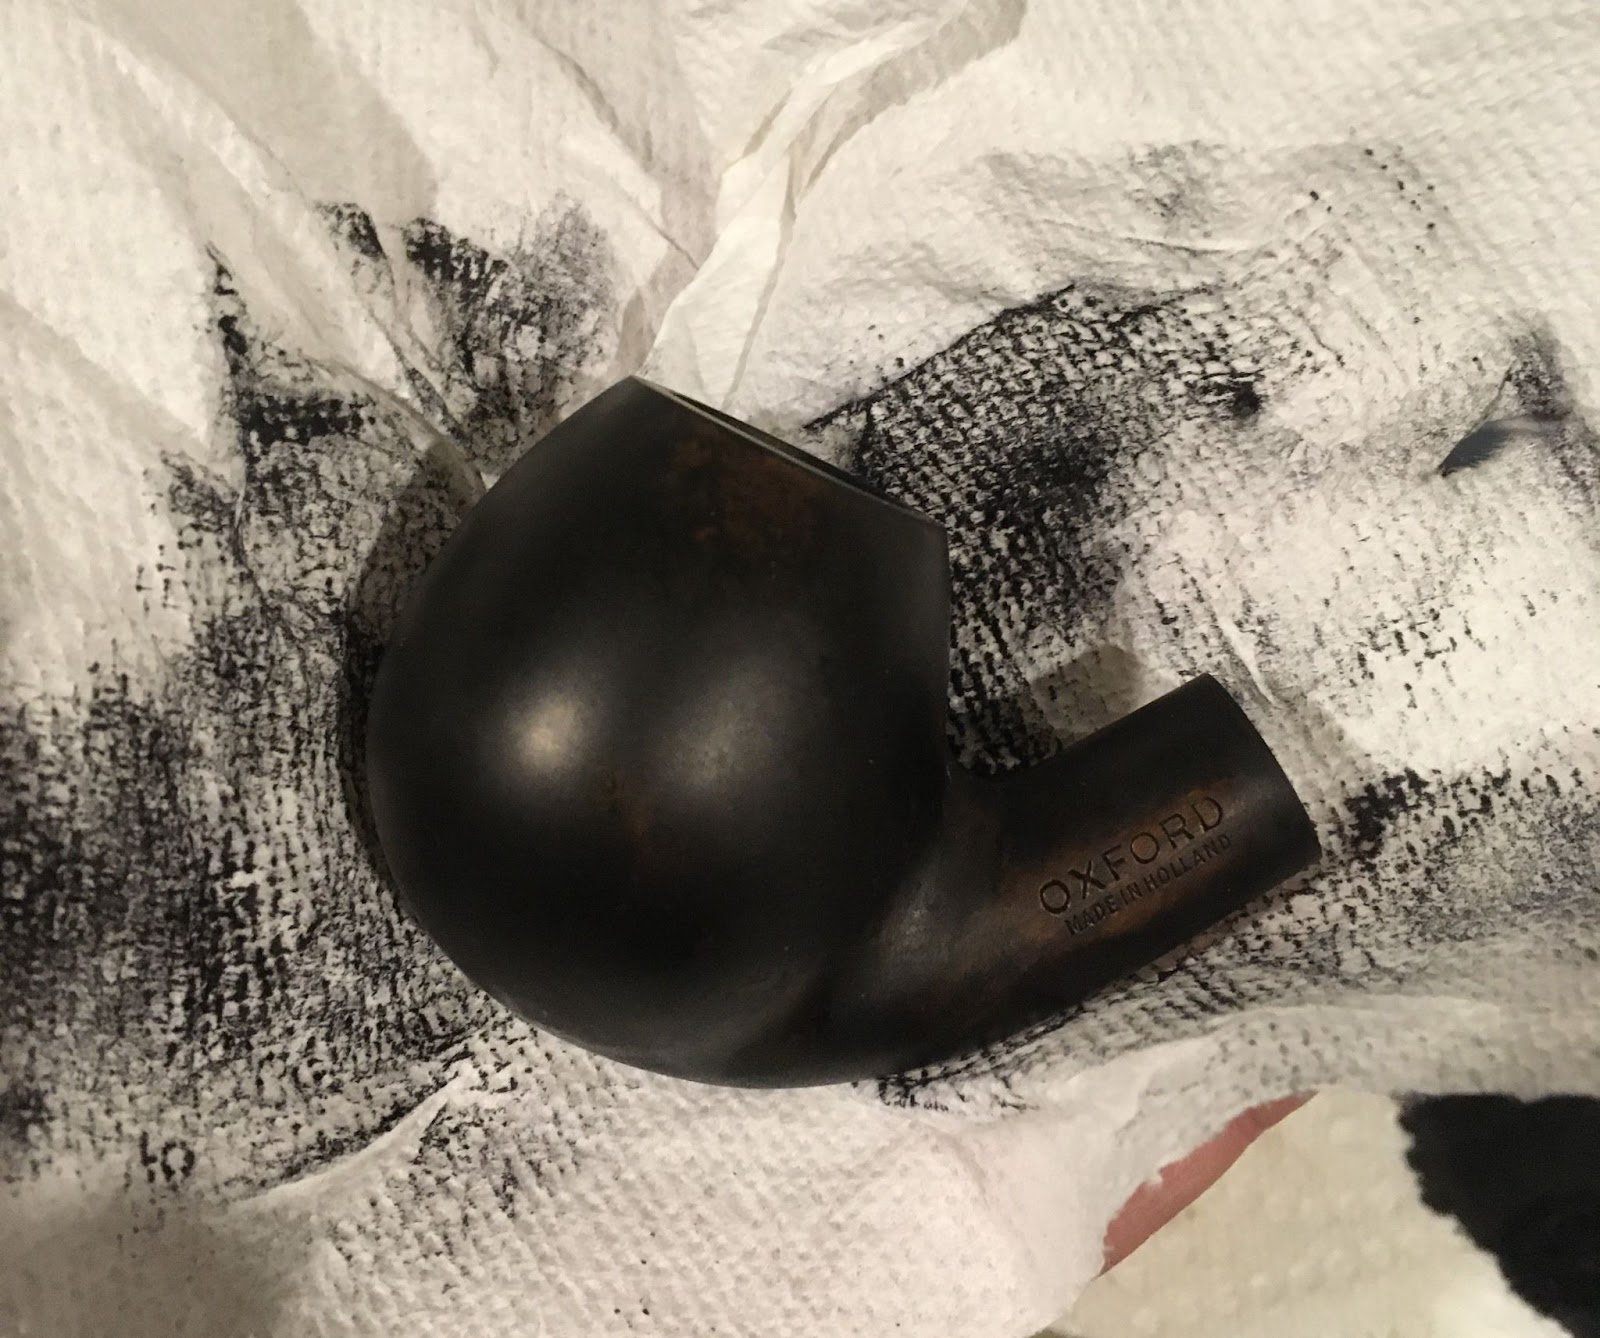
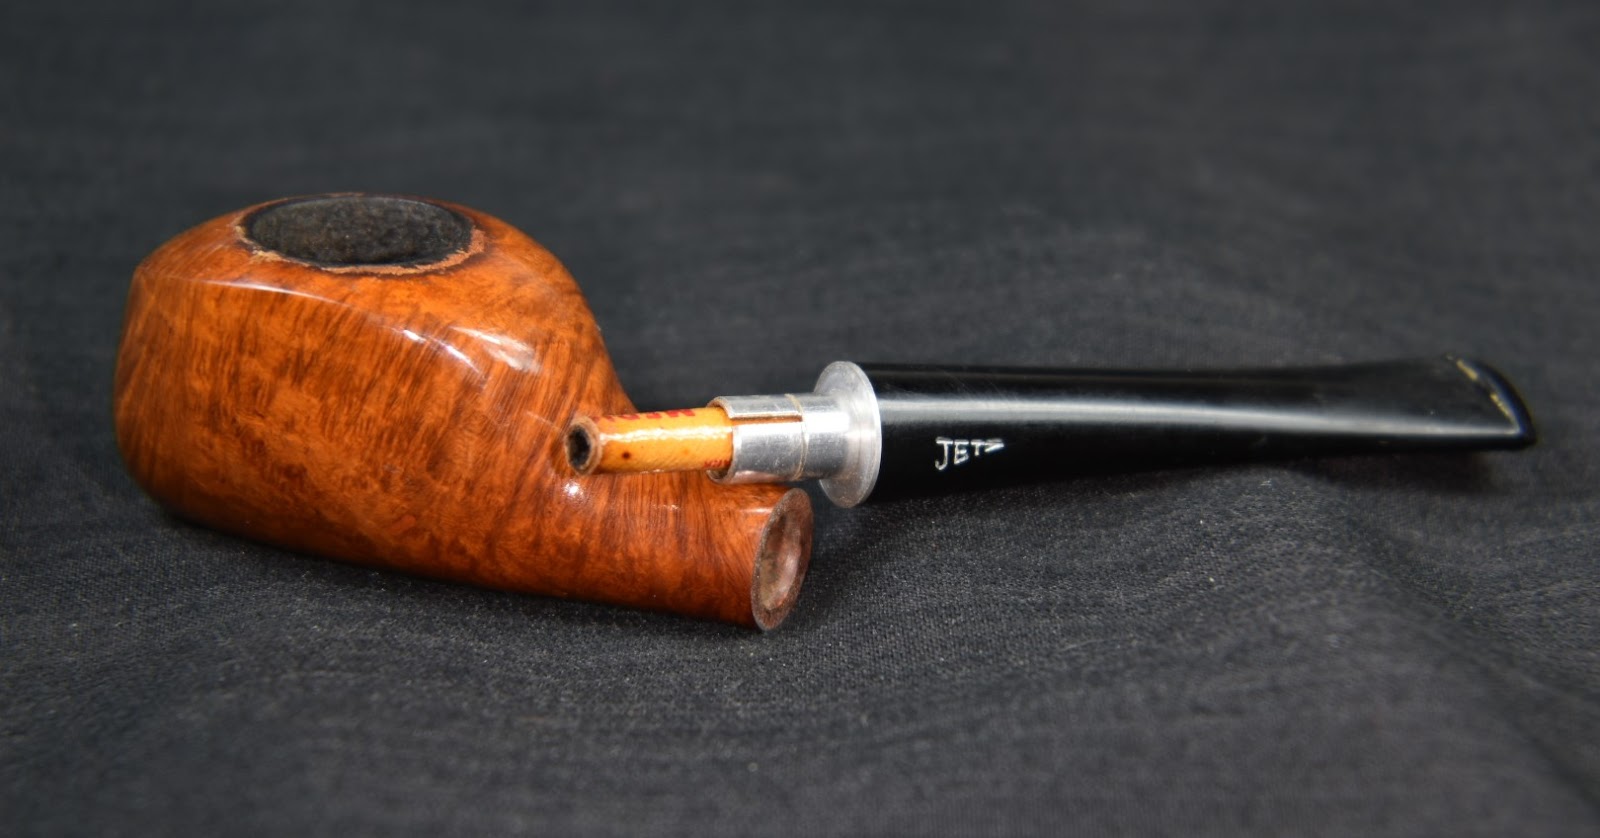
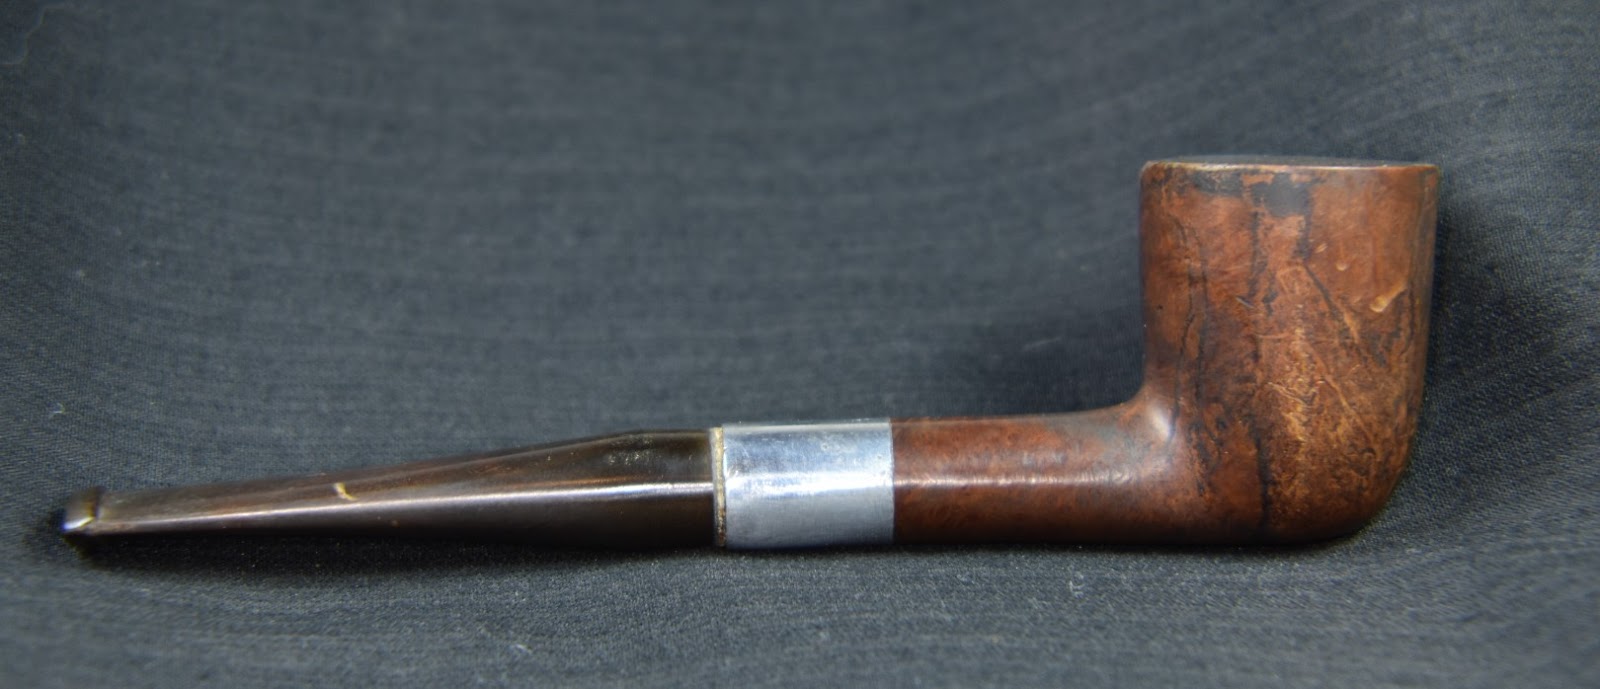
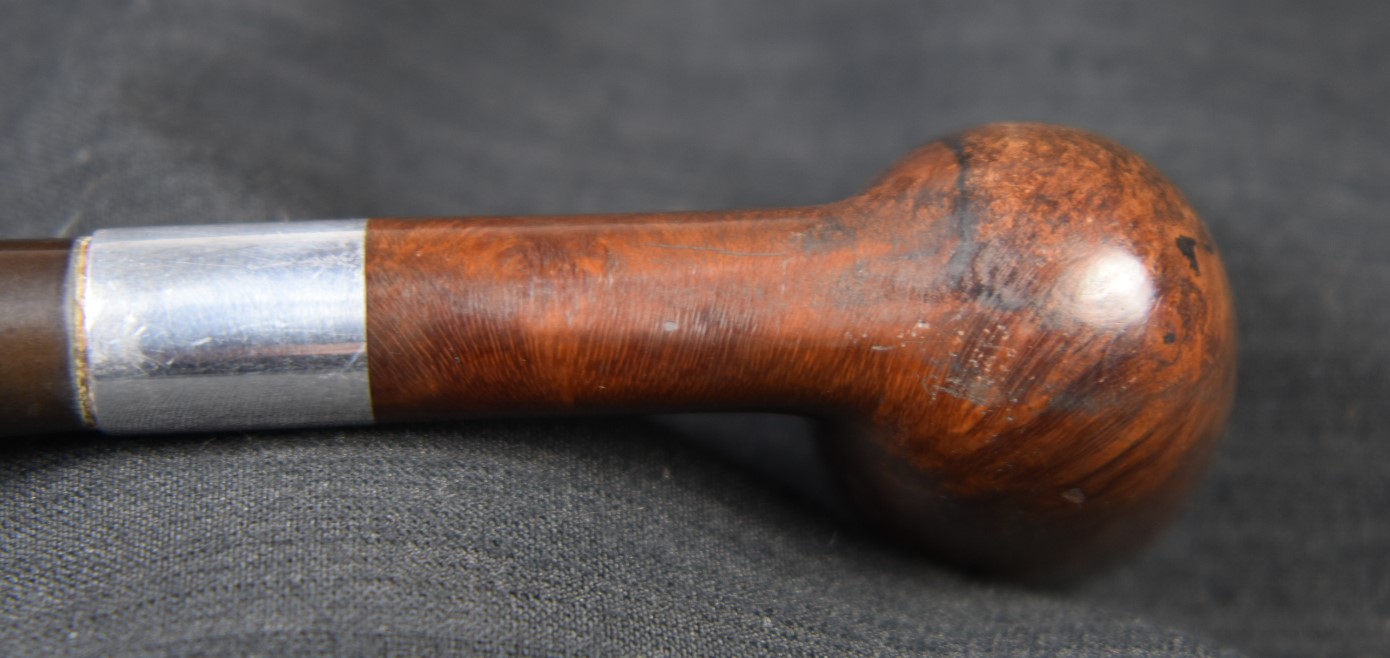
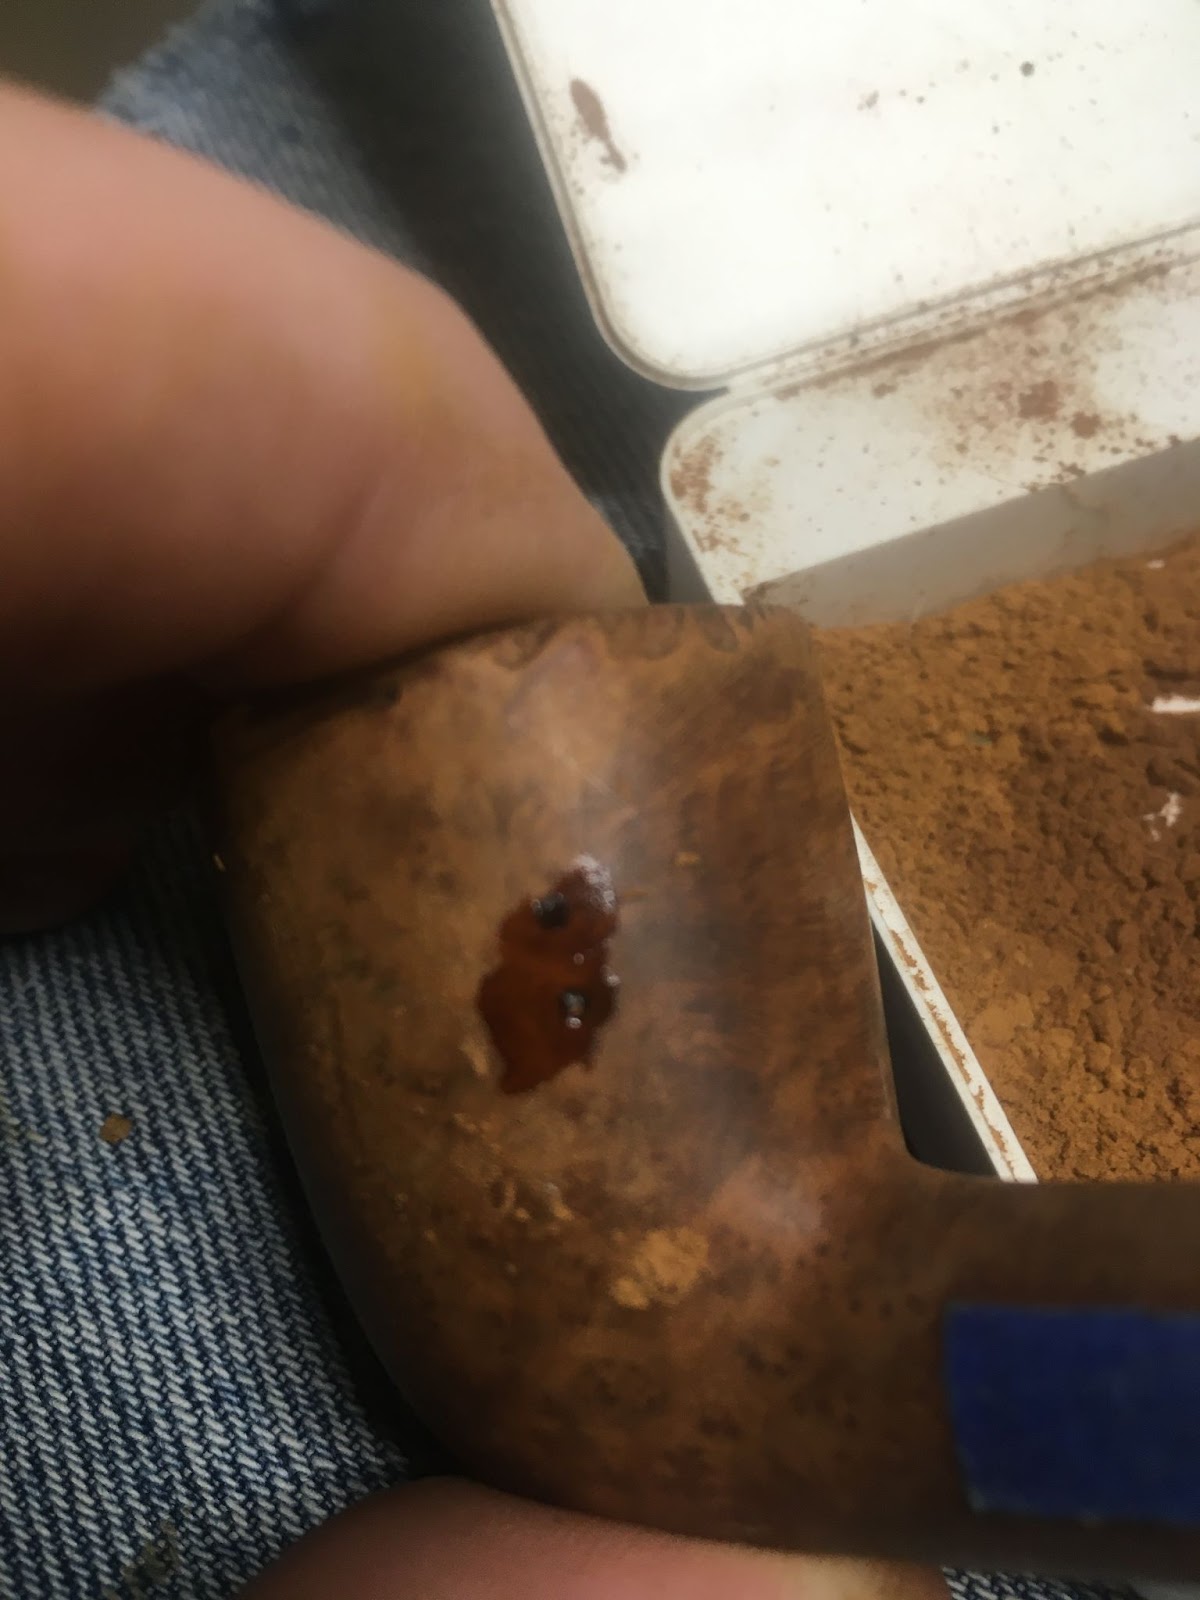
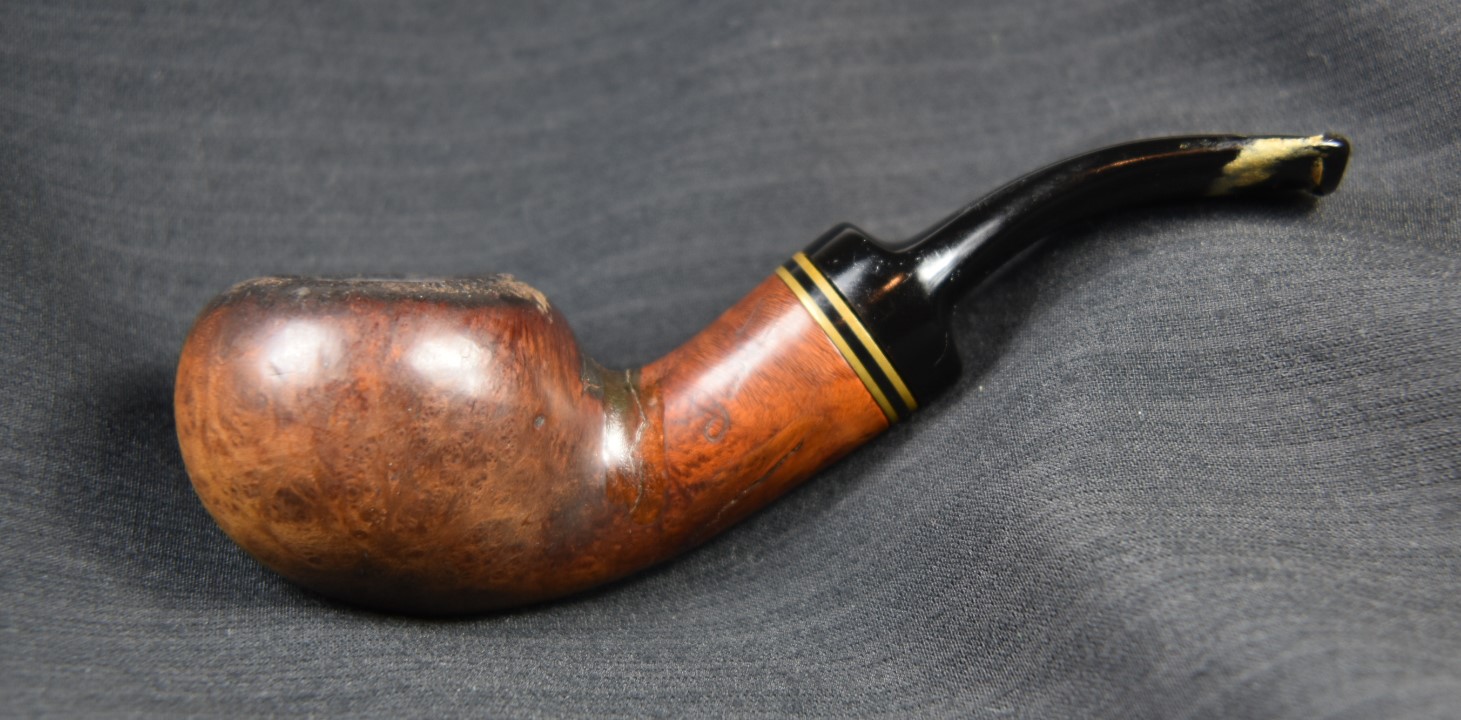
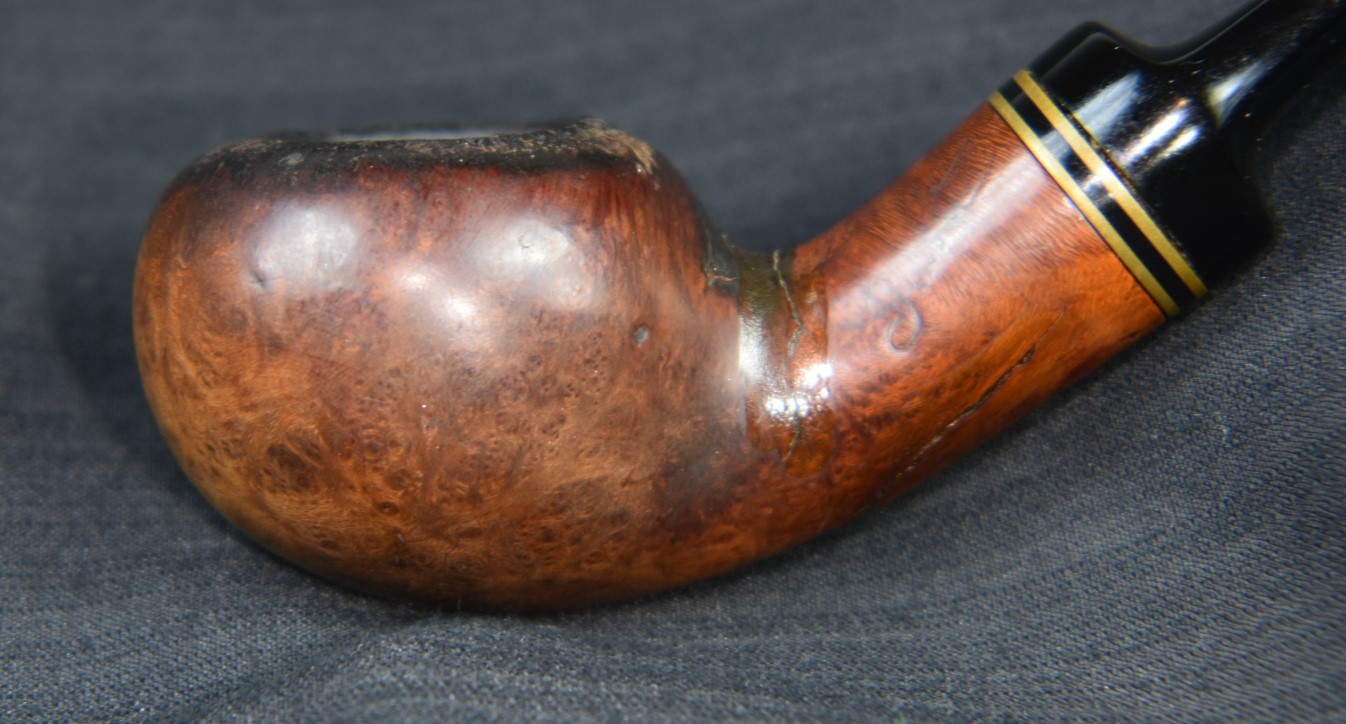
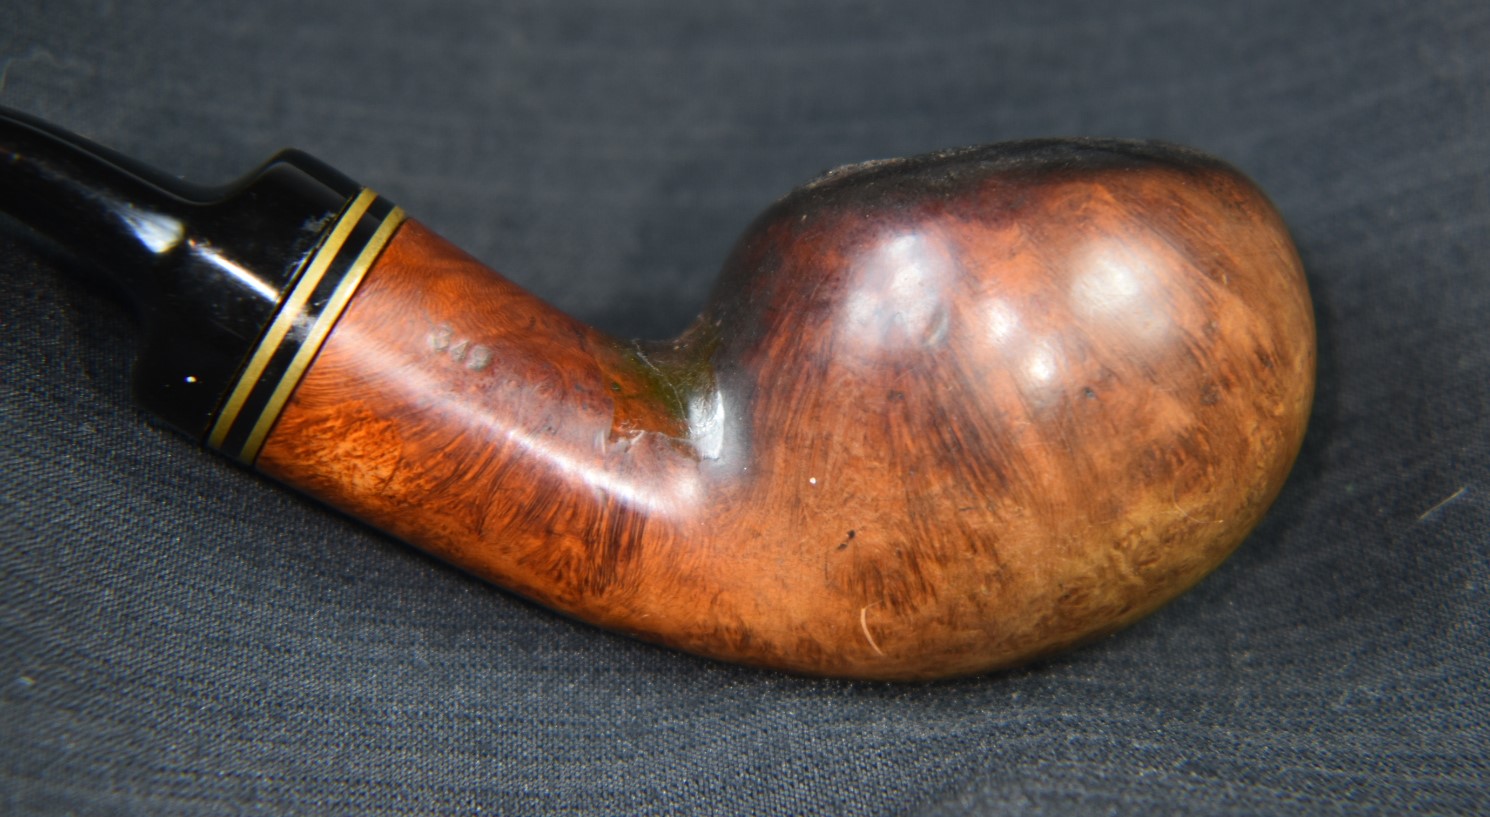
Well deciding something and actually carrying through with the decision are two dramatically different things. If you frequent my ramblings, thank you, you may remember a similarly damaged Savinelli, Porto Cervo 677 KS. If you are new here, thank you as well. I’ll link it here for those who might be interested. This pipe had issues that the previous Savinelli had nightmares about. OK, I’ll show you what I mean rather than taunting your imagination with unspeakable eldritch pipeological horrors (yeah, I tried to make it sound like an H. P. Lovecraft horror story there).
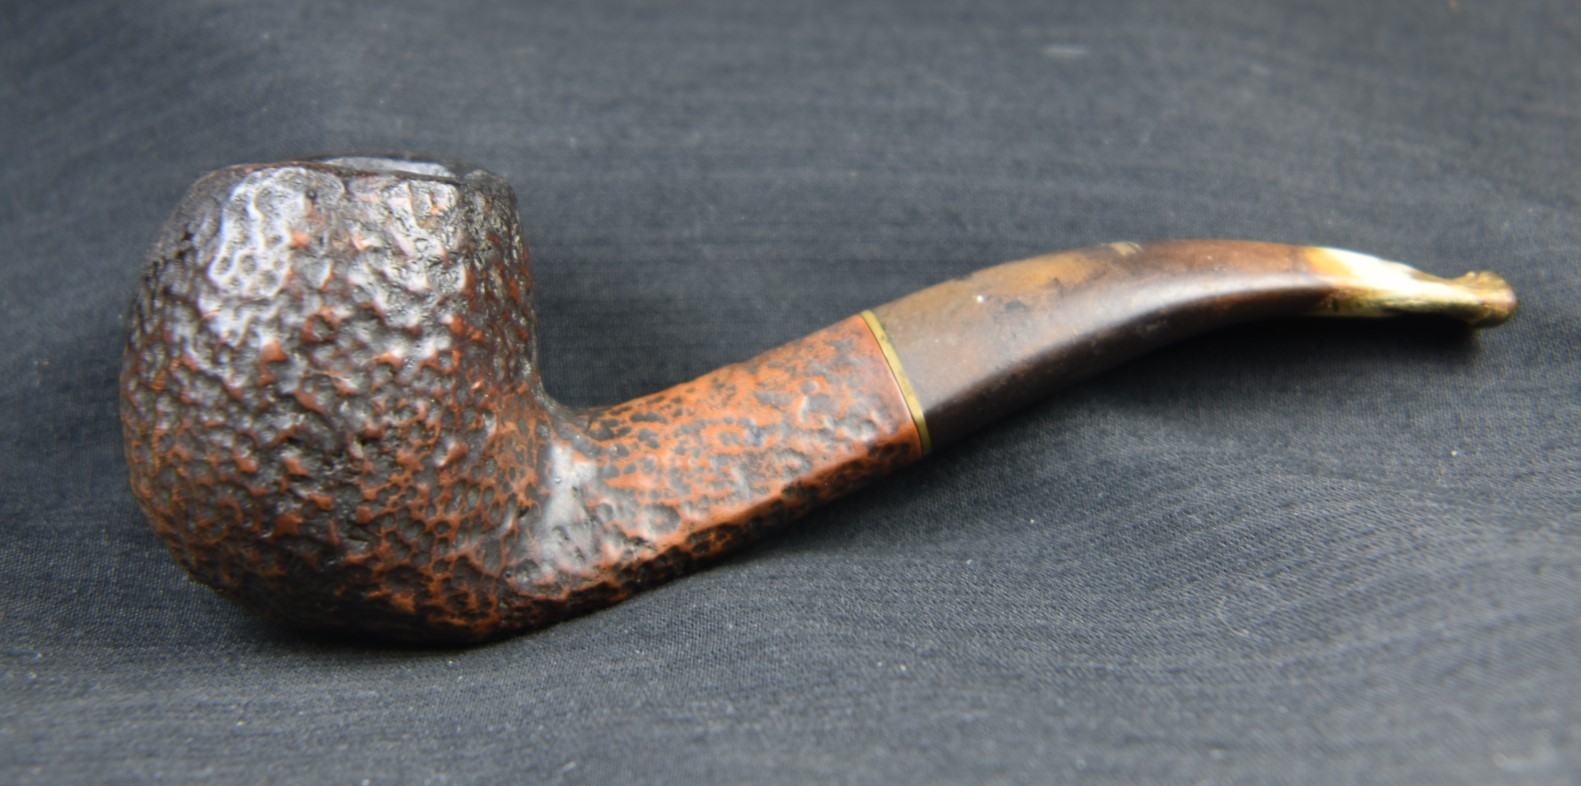


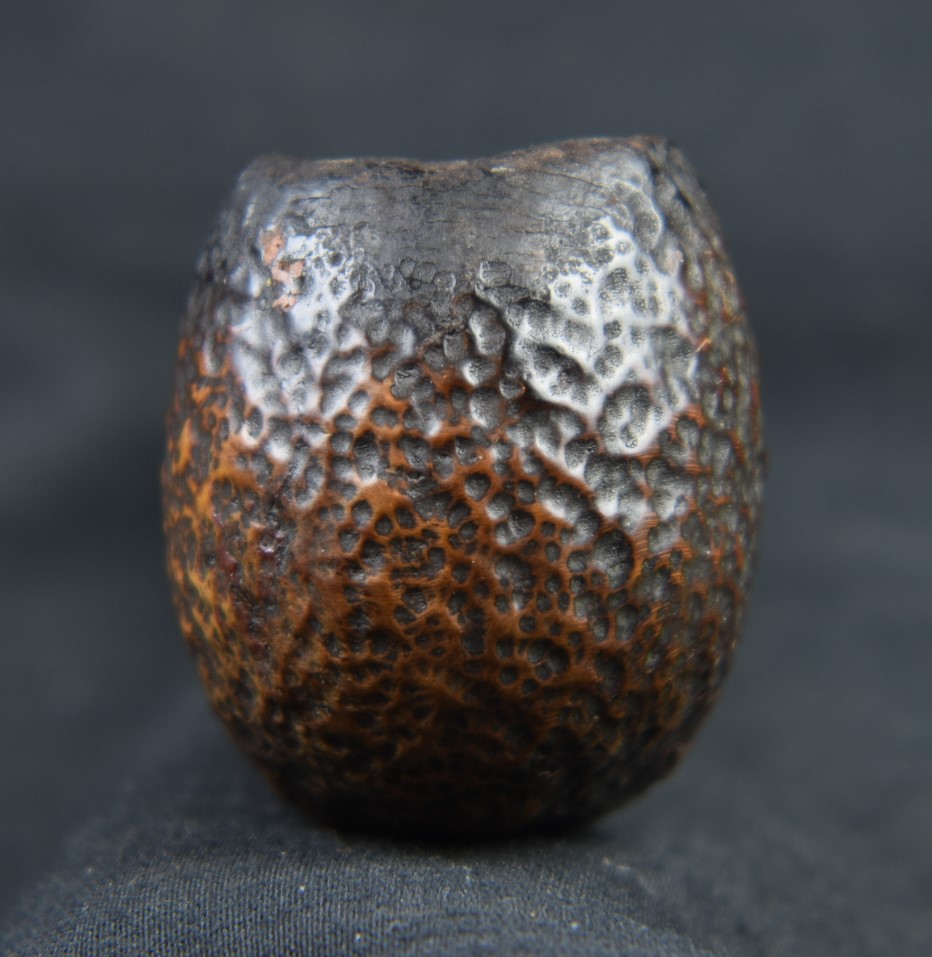


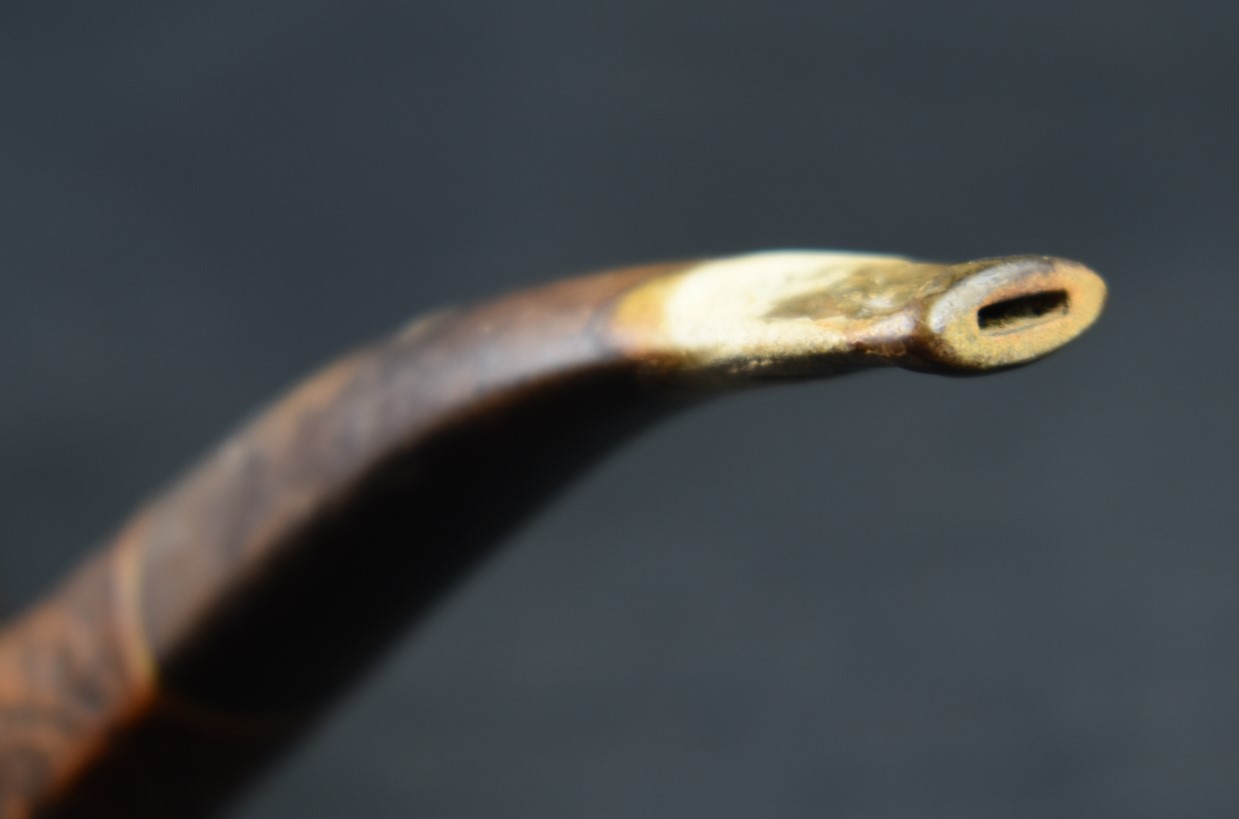

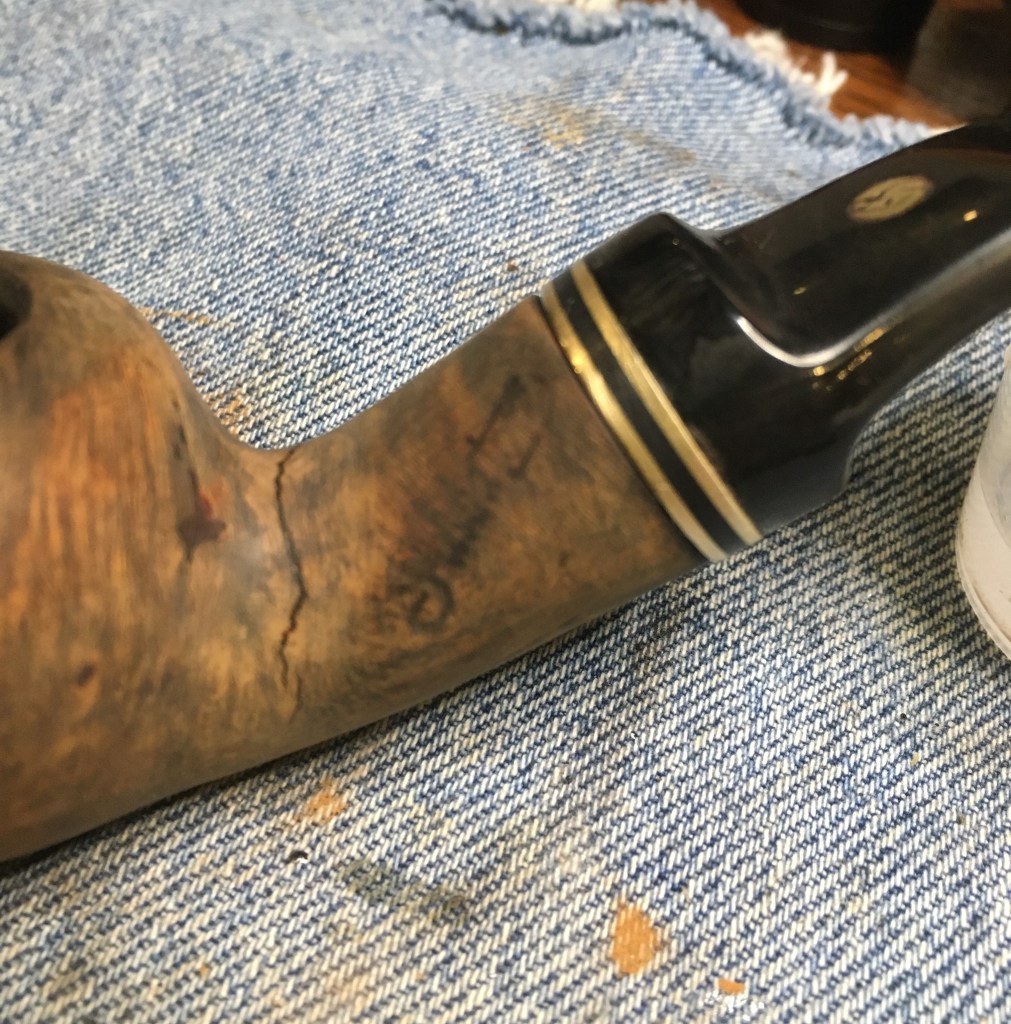
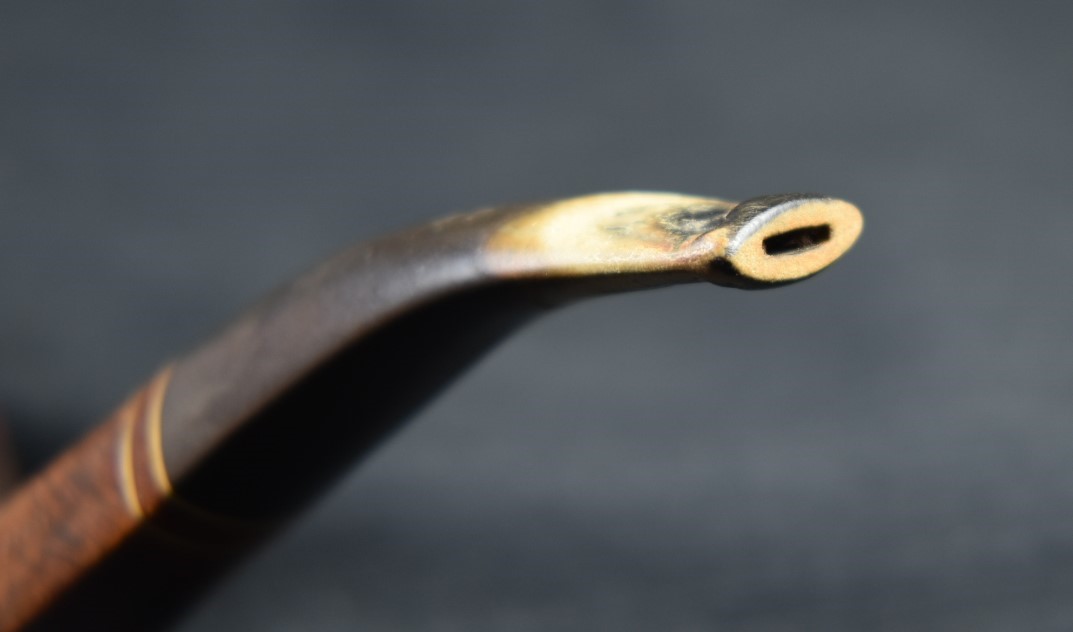
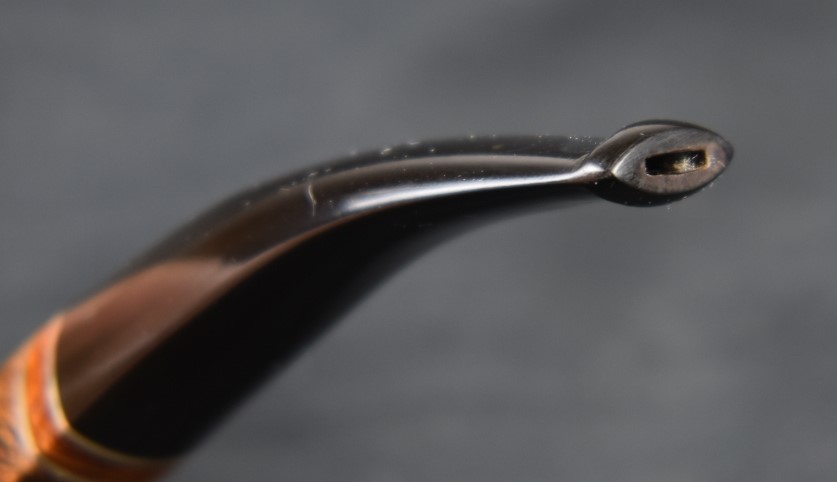
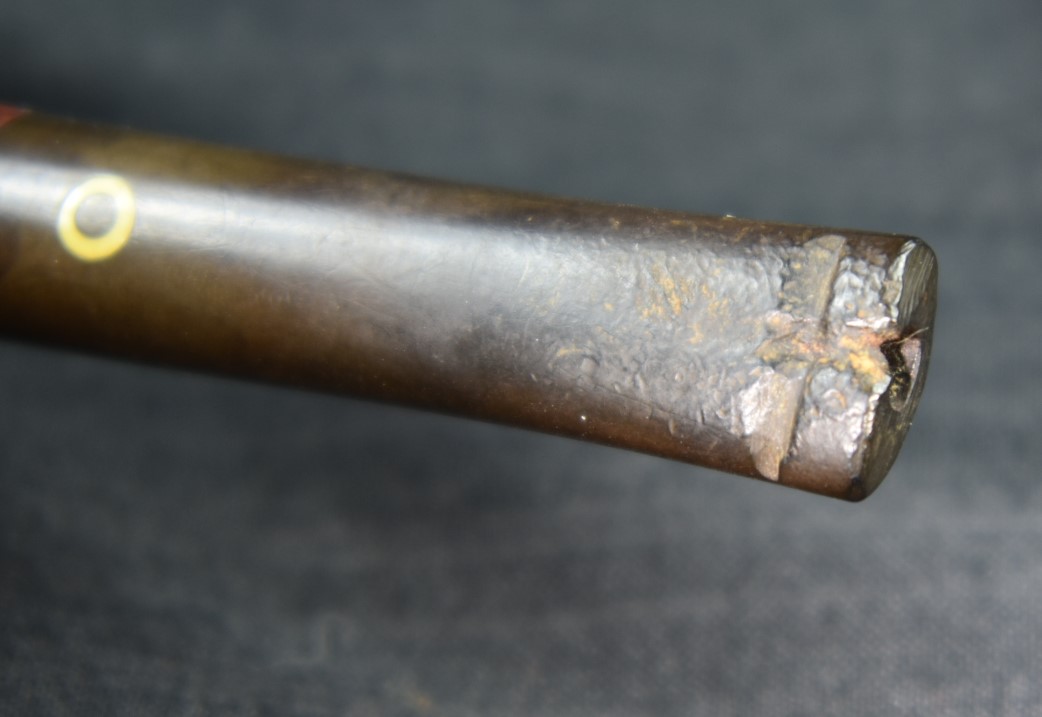
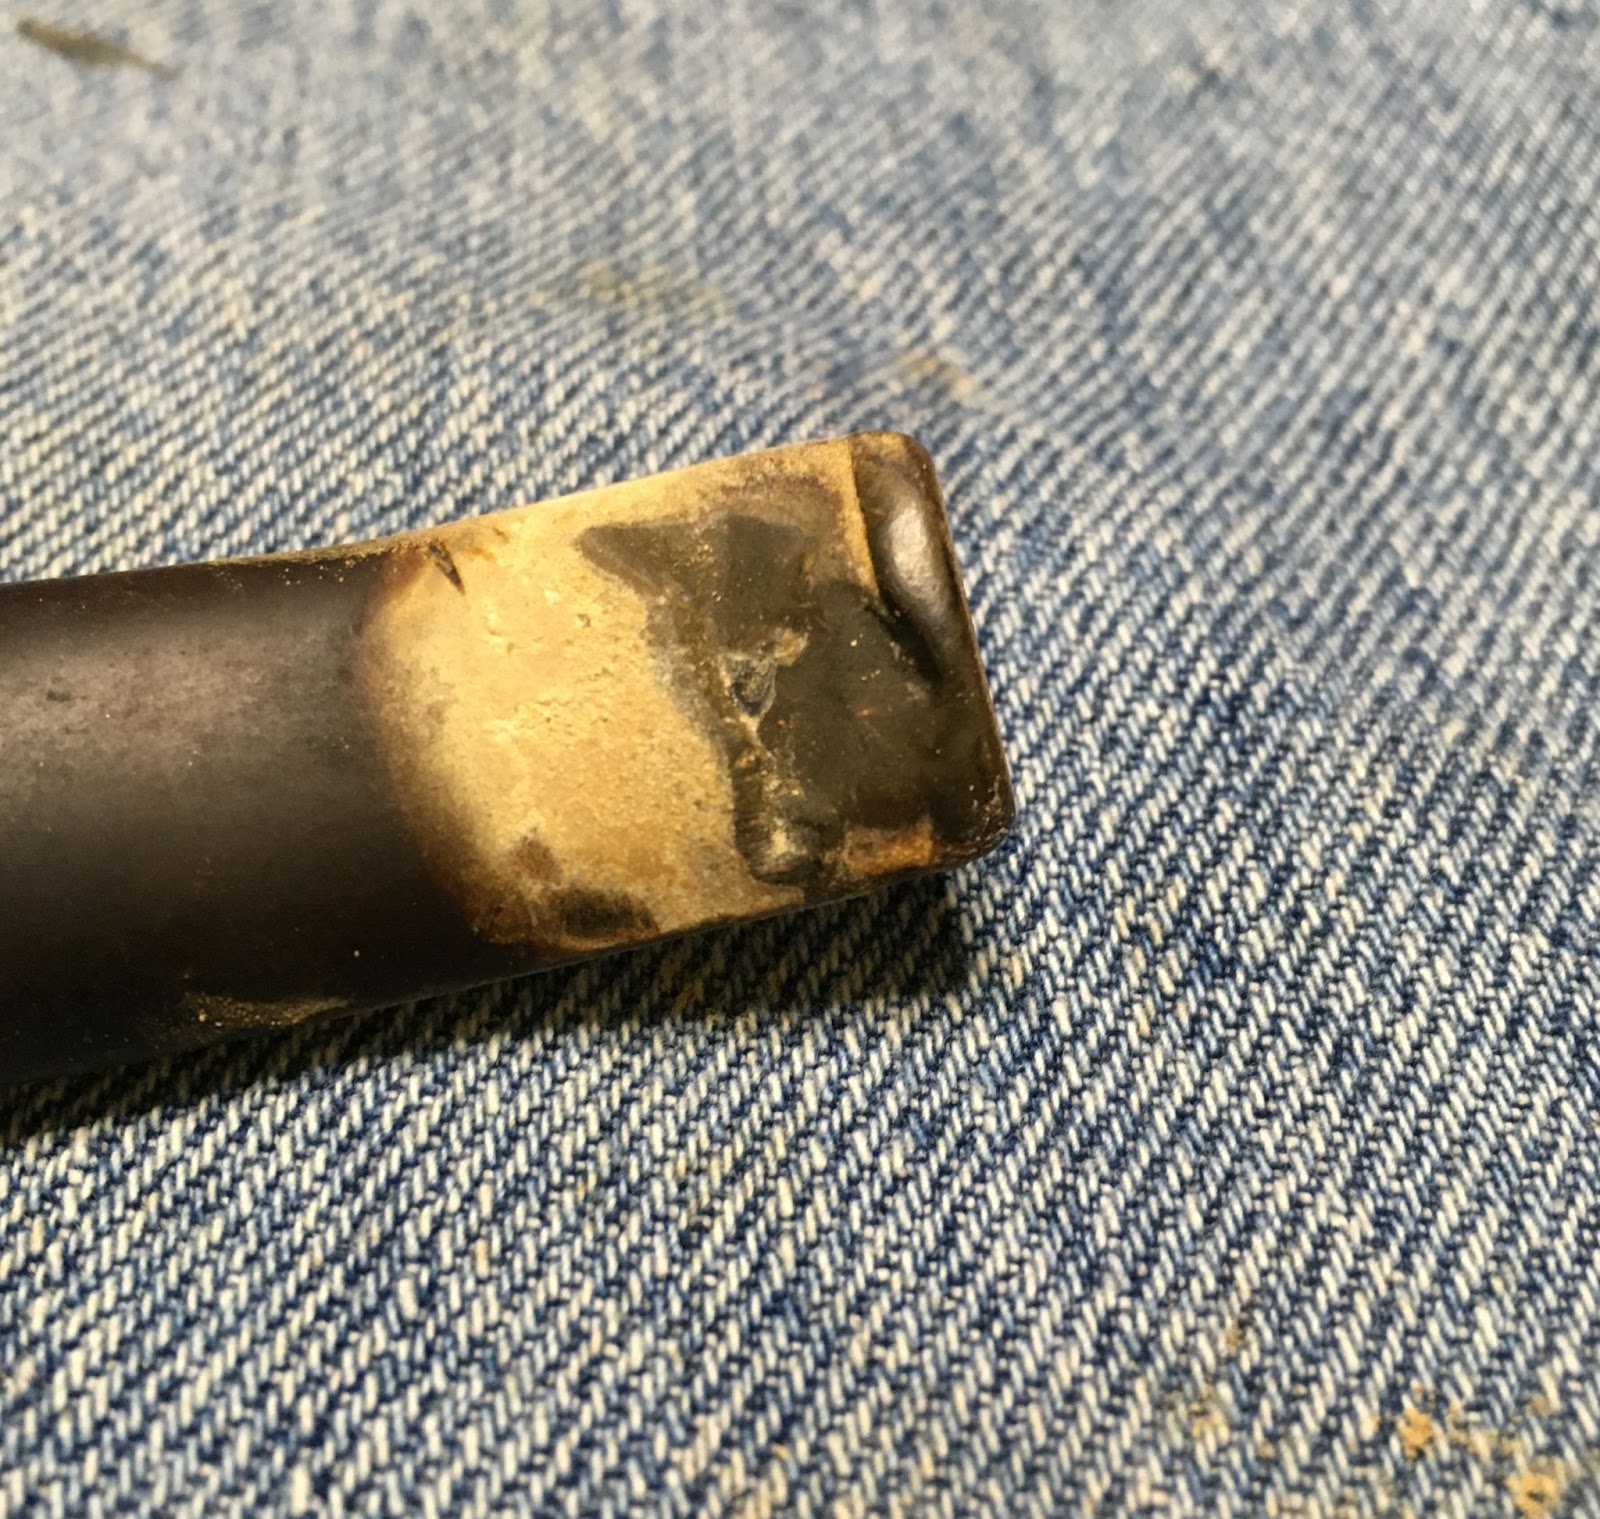
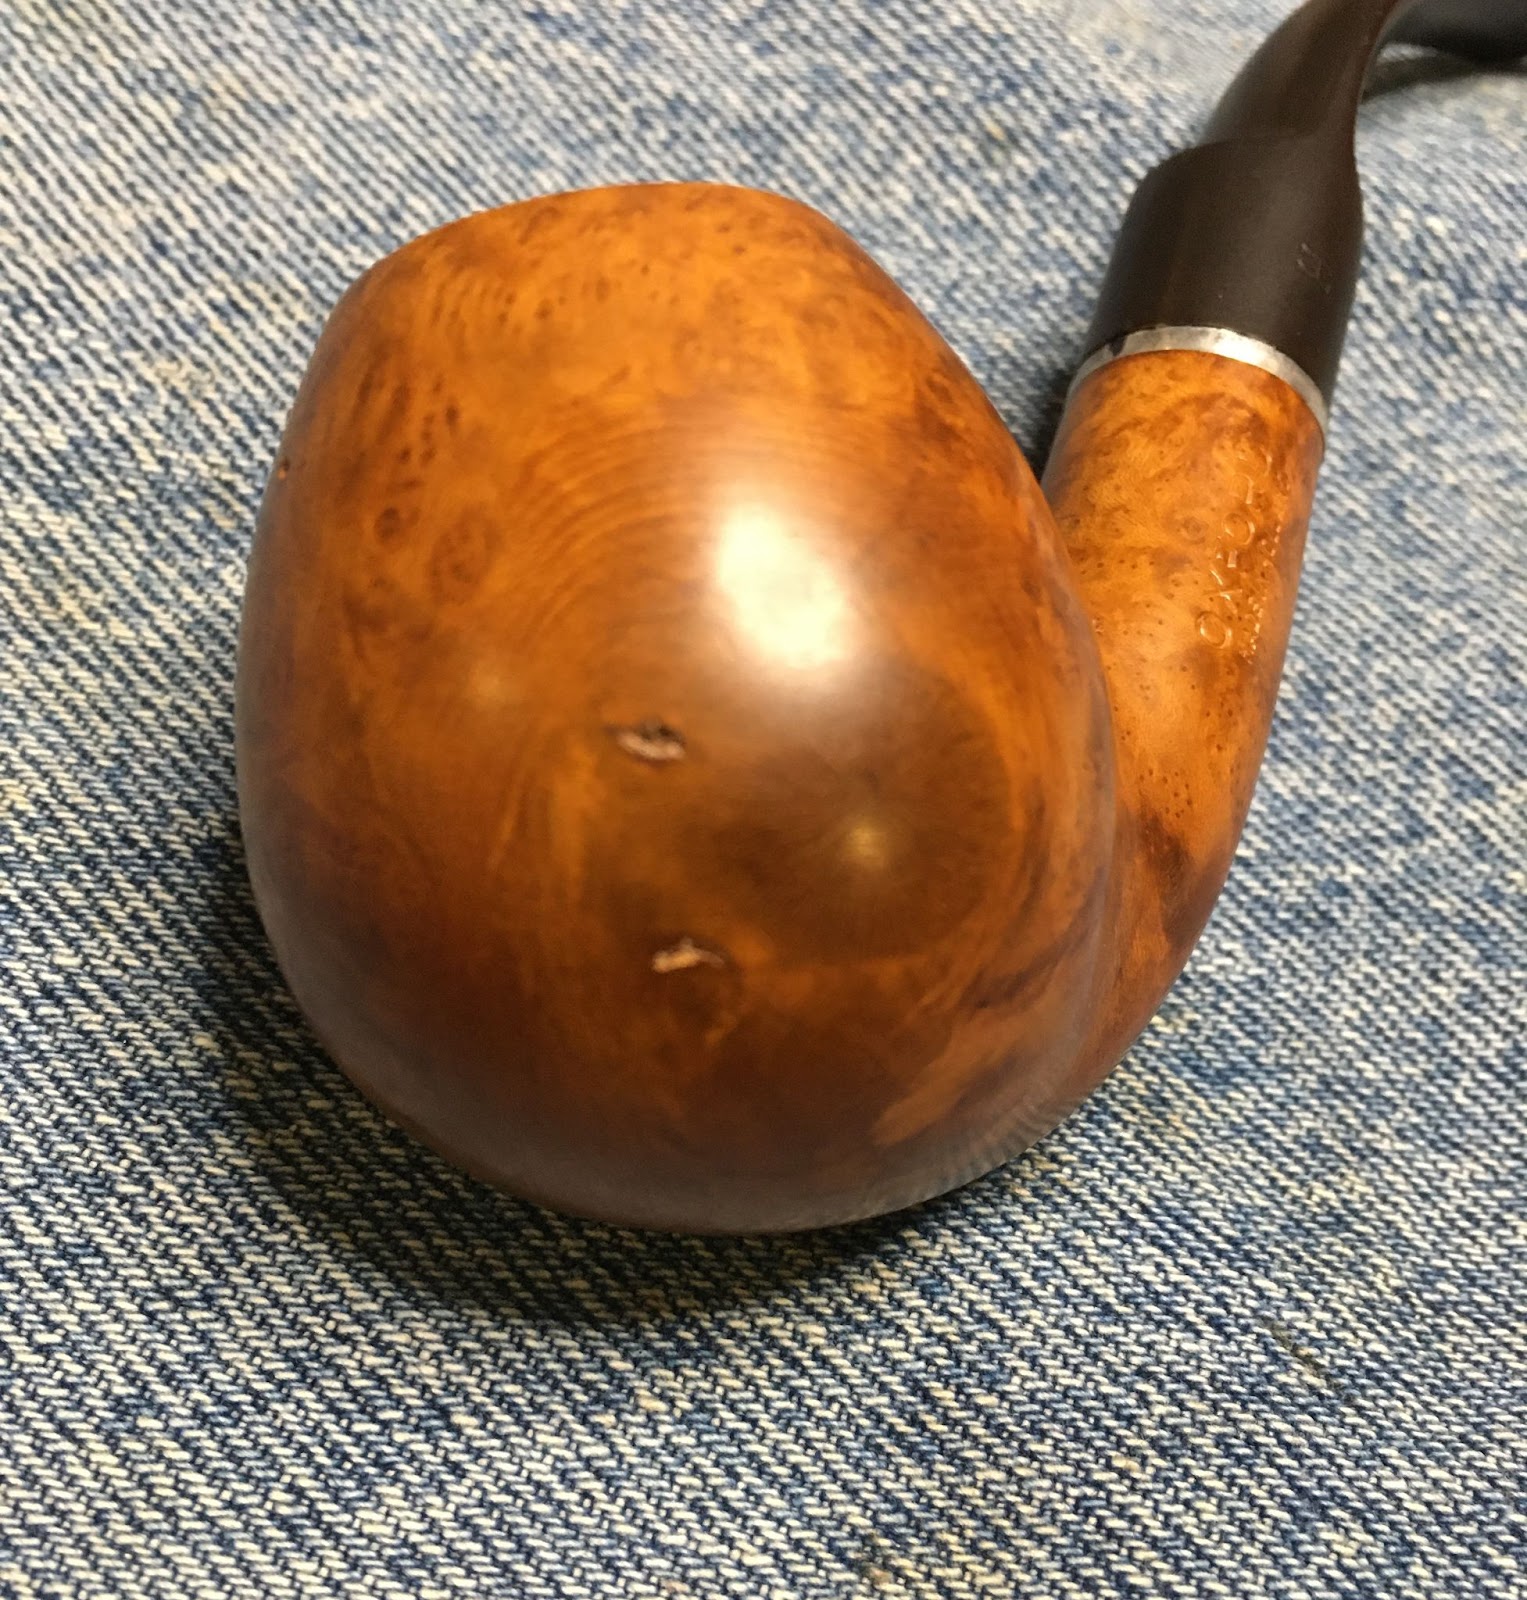
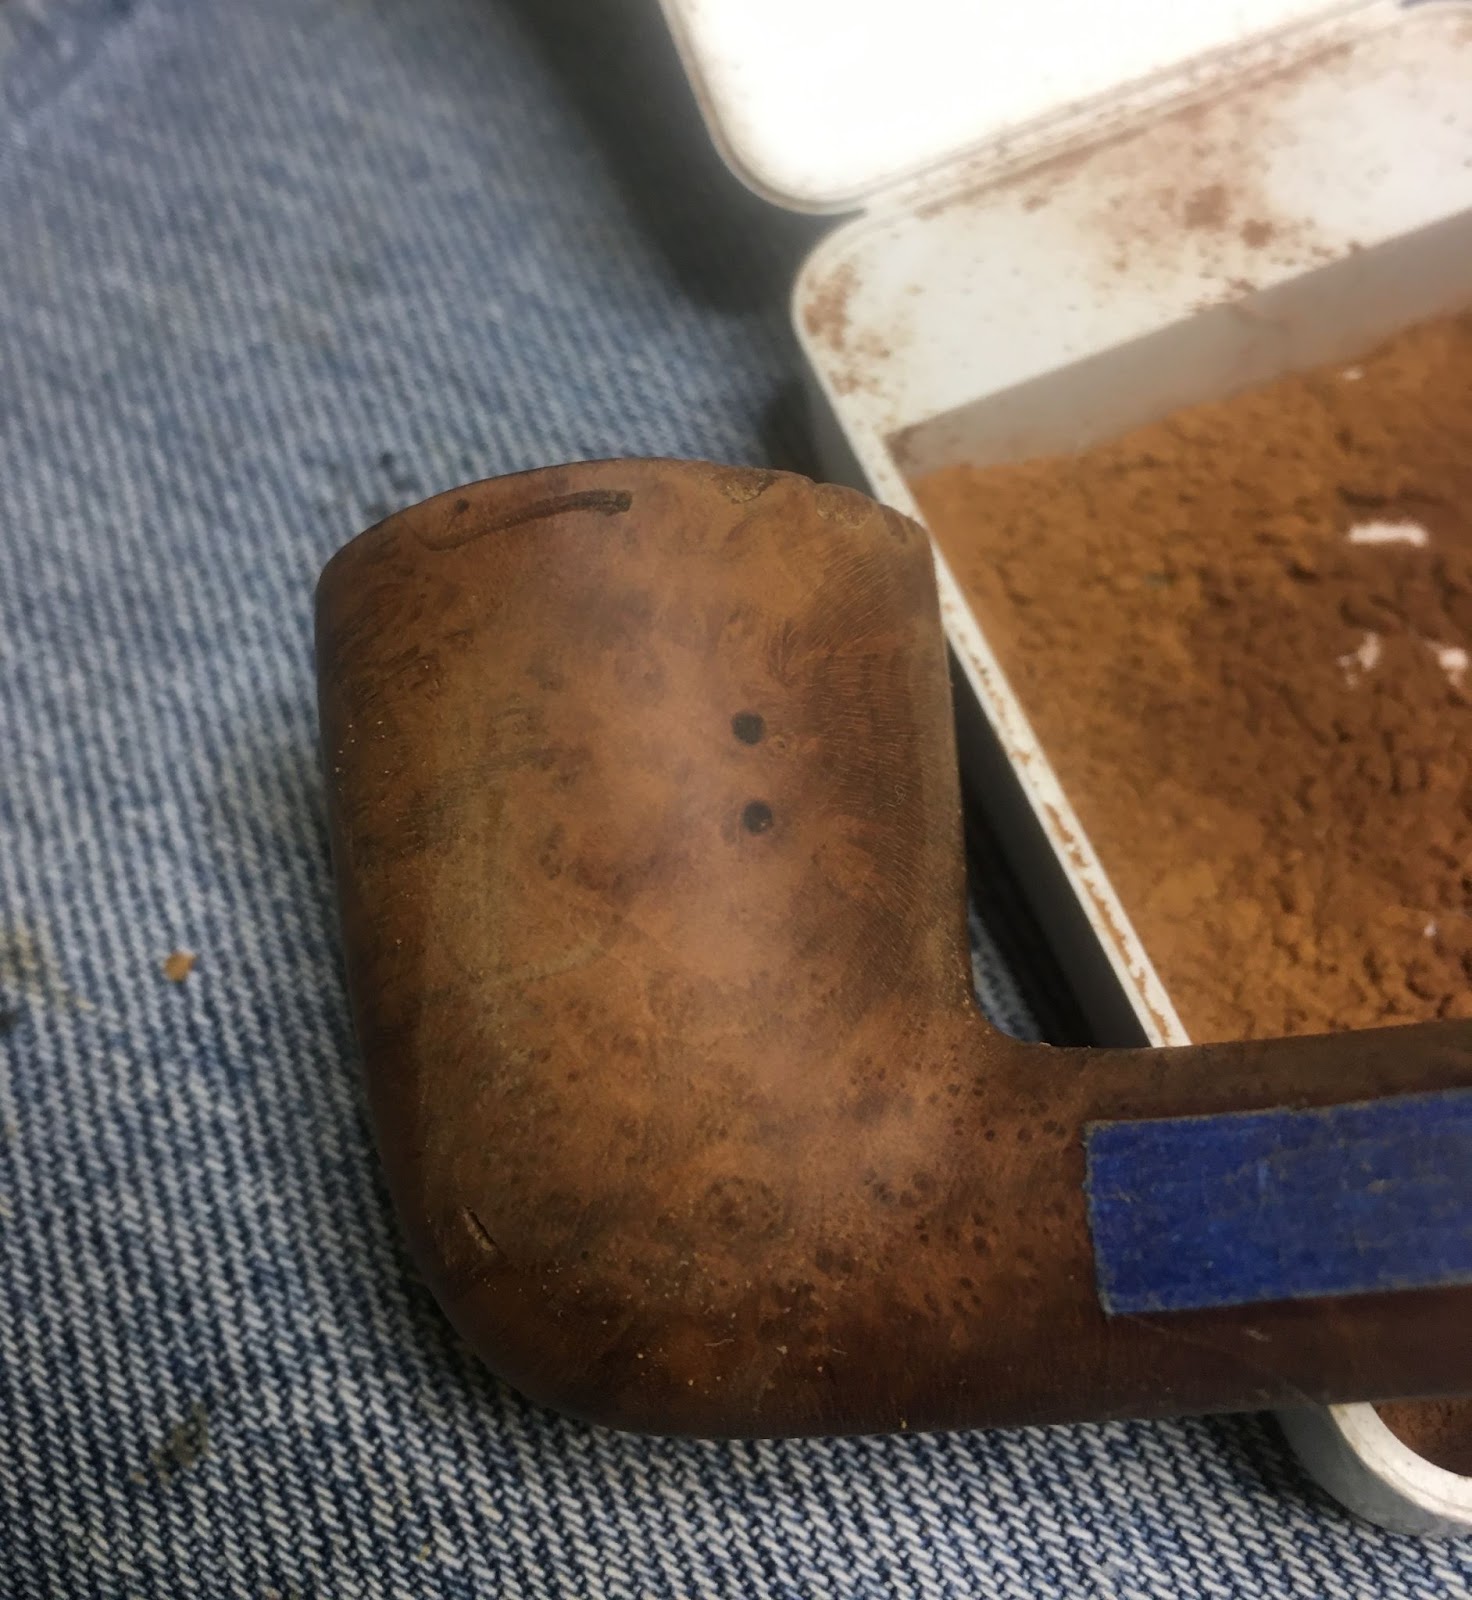
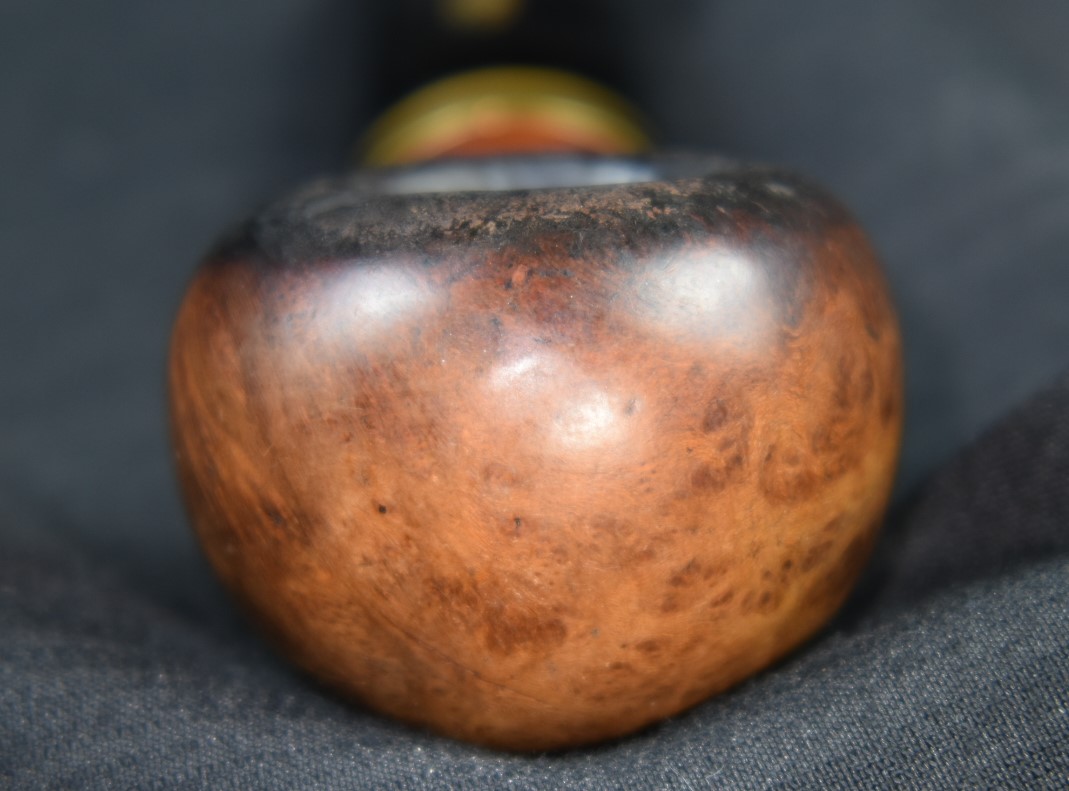
Still, pretty scary, eh? The list of things to be addressed were long and would certainly stretch my comfort level as a restorer. The stem would need a great deal of oxidation removal and rebuilding of material to once again have a functional button. The bowl interior was charred and misshapen. The exterior would need reshaping, retextured, restrained and refinished. All of that was just discernible from a cursory evaluation. What diabolical horrors would lie within? Okay, there I go again in Lovecraft mode. Apologies.
Background on Savinelli
A good deal of this background is information what I wrote or ,used from other sources, from the Savinelli Porto Cervo restoration. I am a Generation-X slacker and have to live up to (or down) to that reputation.
Early Origins
“1876 was a year of breakthroughs: Thomas Edison patented the mimeograph, Julius Wolff-Eastport canned sardines for the first time, Alexander Graham Bell made the first telephone call,
Pyotr Ilyich Tchaikovsky completed Swan Lake, Melville Bissel patented the first carpet sweeper, Mark Twain published Tom Sawyer, and in Milan, Italy, Achille Savinelli opened one of the first shops exclusively focused on tobacco and smoking accessories.
That last item may seem relatively unimportant in the global scheme of advancements, but for those of us who love pipes, it was a monumental achievement, made even more difficult by the Italian government, which held a monopoly on tobacco. In addition, Achille was convinced that briar pipes represented the future of pipe smoking at a time when the market was dominated by clay and meerschaum. It may not have been obvious in 1876, but Achille Savinelli’s commitment to briar pipes would prove to be visionary.
He soon began designing his own pipes (different from the styling we associate with Savinelli today) and arranged their manufacture by local pipemakers in the Varese district of north-west Italy. The pipes became so popular that some were exhibited at the 1881 Esposizione Industriale Italiana (Italian Industrial Exposition)—the precursor to today’s Milan Fair, one of the largest trade fairs in the world.” (https://pipedia.org/wiki/Savinelli)
Post-WWII
“With his two best friends, Amleto Pomé and Mario Vettoruzzo, he assembled a team of fifteen employees to start a new business in the Varese region—the same area of northwest Italy in which his grandfather, Achille Sr., commissioned his own designs more than 60 years before.
Savinelli Pipes began production in 1948 and, although the pipes were of a superior quality and unique in their aesthetic, the brand wasn’t an immediate success. Few new brands are. It takes time for the public to catch on. Retailers were skeptical of placing Italian pipes alongside their best sellers from England or France, and customers, in turn, were hesitant to purchase a Savinelli over pipes by already established, foreign brands. Achille Jr. stood by his product, however; he knew it was only a matter of time before the world realized that these pipes were of a far superior quality, capable of competing with even the most well-established pipe manufacturers in the world. As it turns out, he was right. In less than a year, Savinelli pipes gained prestige in markets all across the world—heralded for their delicate balance of innovation and tradition, of form and function. Savinelli pipes were placed alongside the likes of Dunhill and Comoy’s in tobacconists from the United States to Europe, and, in time, this exposure modified Italy’s reputation; it was not only the premier exporter of briar, but now a premium source of fine briar pipes.” (https://pipedia.org/wiki/Savinelli)
The term “Roma” in English often relates to the ethnic people, Roma or Romani. In Italian Roma is Rome. I highly doubt that a worldwide company like Savinelli is referring to anything other than Rome with this line of pipes.
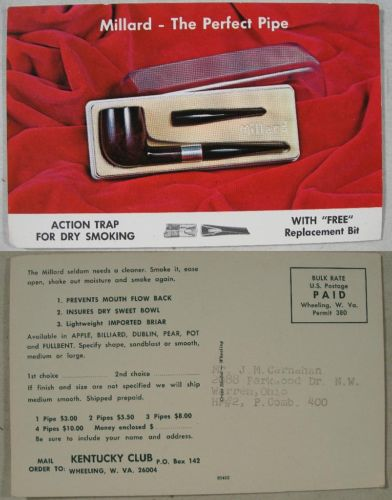
The current Savinelli line continues to offer a Roma 677 KS but with a lucite stem.
DESCRIPTION
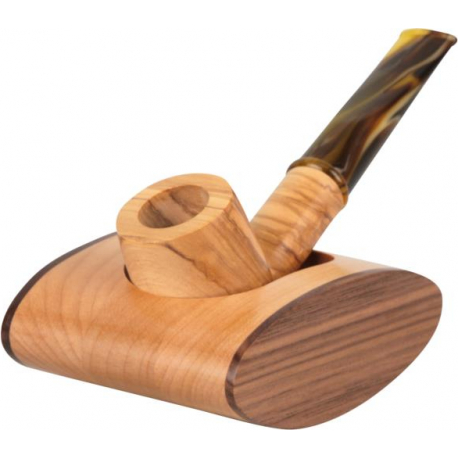
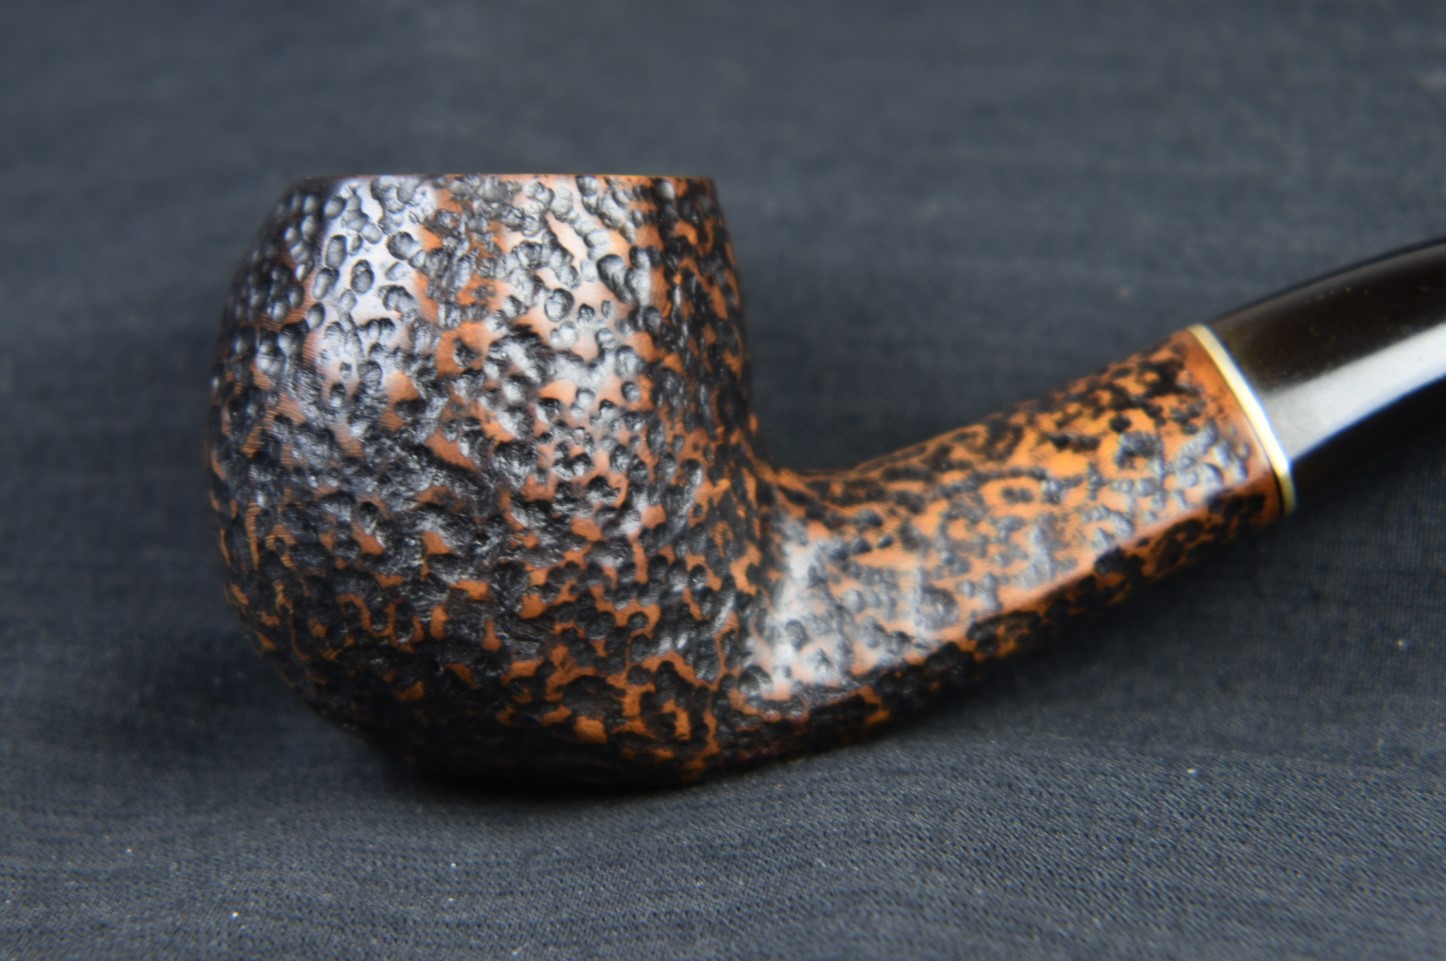
Savinelli Roma Lucite pipe shows a charming and modern composition. The dark rusticated finish color highly contrasts with the bright colors of the particular acrylic stem. 677 KS is a model with great appeal. Its triangular shank ,which only few manufacturers are able to offer, easily slides into the perfectly carved bowl. A really well designed pipe.
(https://www.savinelli.it/rw_en/savinelli-roma-lucite-677-ks.html)
I add the below description of a Savineli Apple, 626 due to the nice description of the styling of the line.
DESCRIPTION
Roma Series is for sure one of the most famous Savinelli pipe in the world. Its dark rusticated finish gives a very masculine style. Thanks to the smooth bowl’s rim you could appreciate how a finish can change the briar final color result. In fact both rim and bowl are stained using the same natural burgundy color. A little brass band adorn the ebonite stem. Model 626 fully personifies all the Apple style elegance. Its soft lines and dimensions make it an aesthetically and well-proportioned pipe.
(https://www.savinelli.it/rw_en/savinelli-roma-626.html)
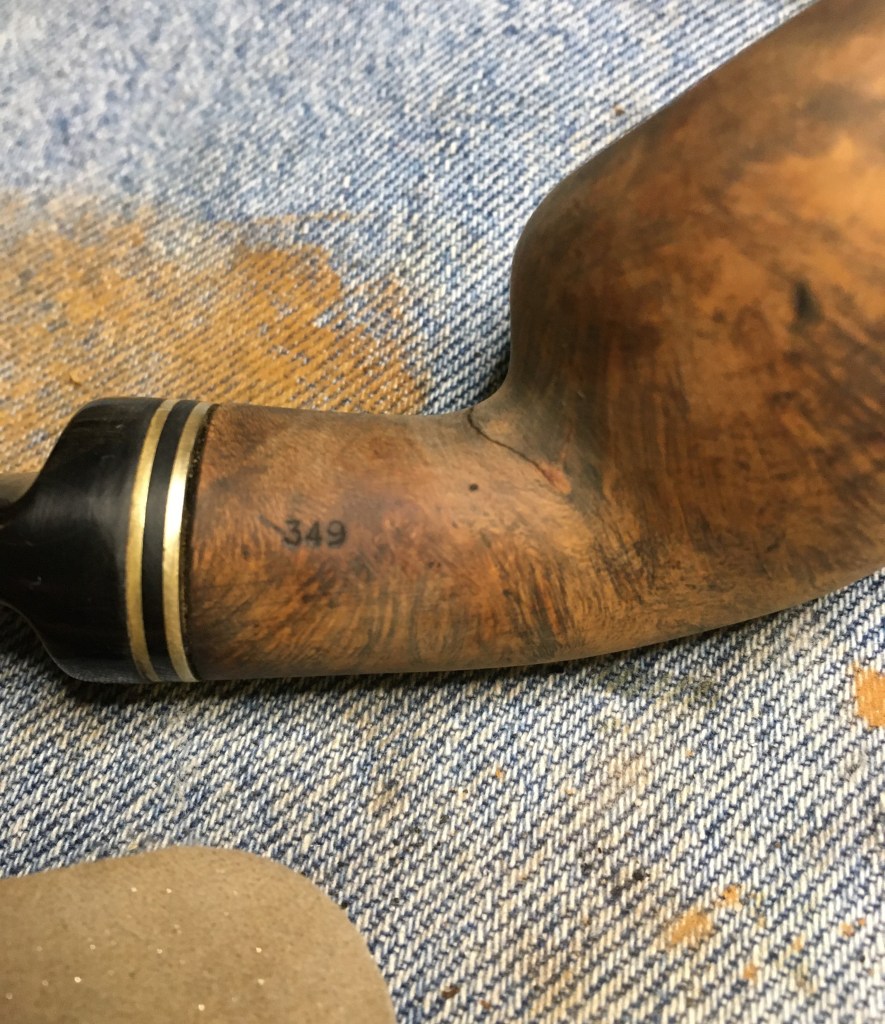
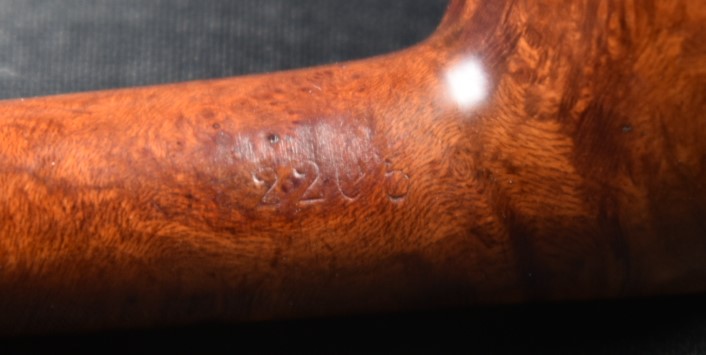
The 677 KS shape is “A bent Billiard with a supple, Brandy-like taper toward the rim, Savinelli’s “677 KS” is a compact yet full-bodied take on the classic English shape. Per the Italian marque’s shaping conventions, Savinelli has elaborated on the standard design, adding mass to the base and transition with extra height and taper lent to the bowl, all paired to one of their signature triangular shanks.” according to Smokingpipes.com. That is a mouthful of a description. Also you will later see that the “extra height” is a bit less extra after the restoration. The three digit shape code for Savinelli pipes was established in the 1970s according to information from pipephil.eu. One more detail is the “KS” – this stands for King Size.
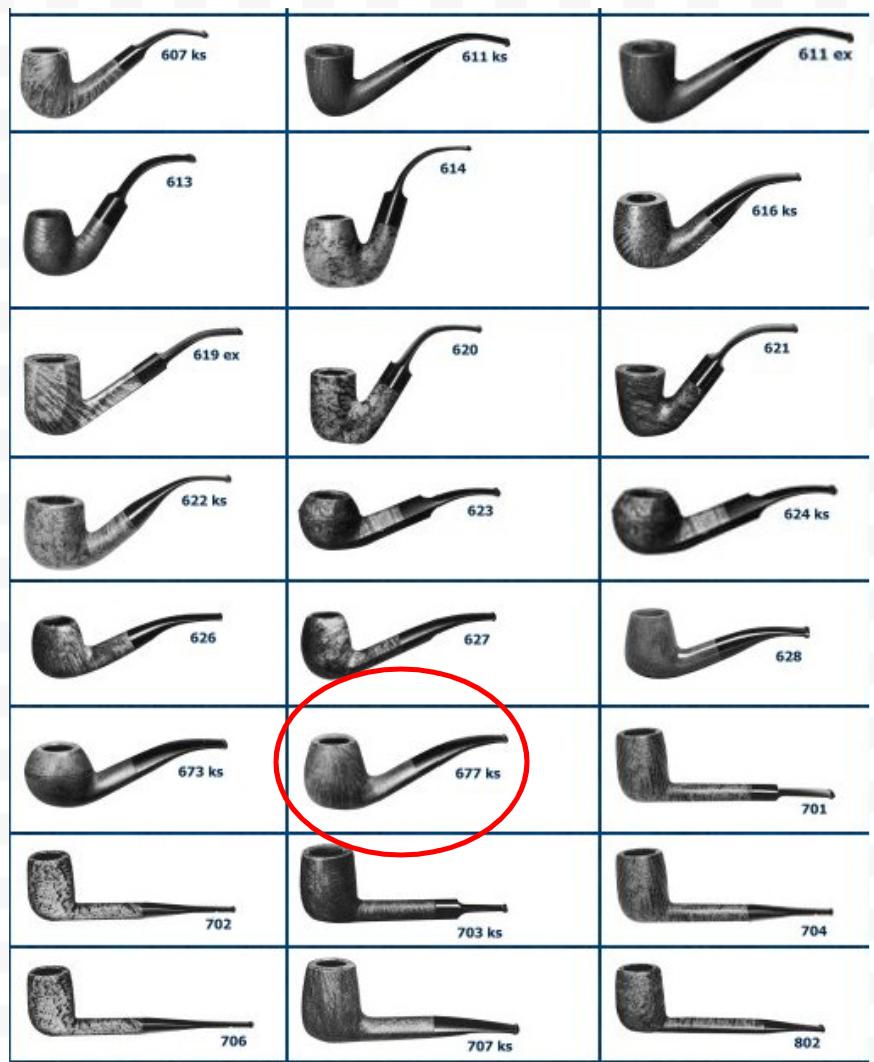
(Document: Savinelli shape chart — Pipes : Logos & Markings – (pipephil.eu))
The Restoration
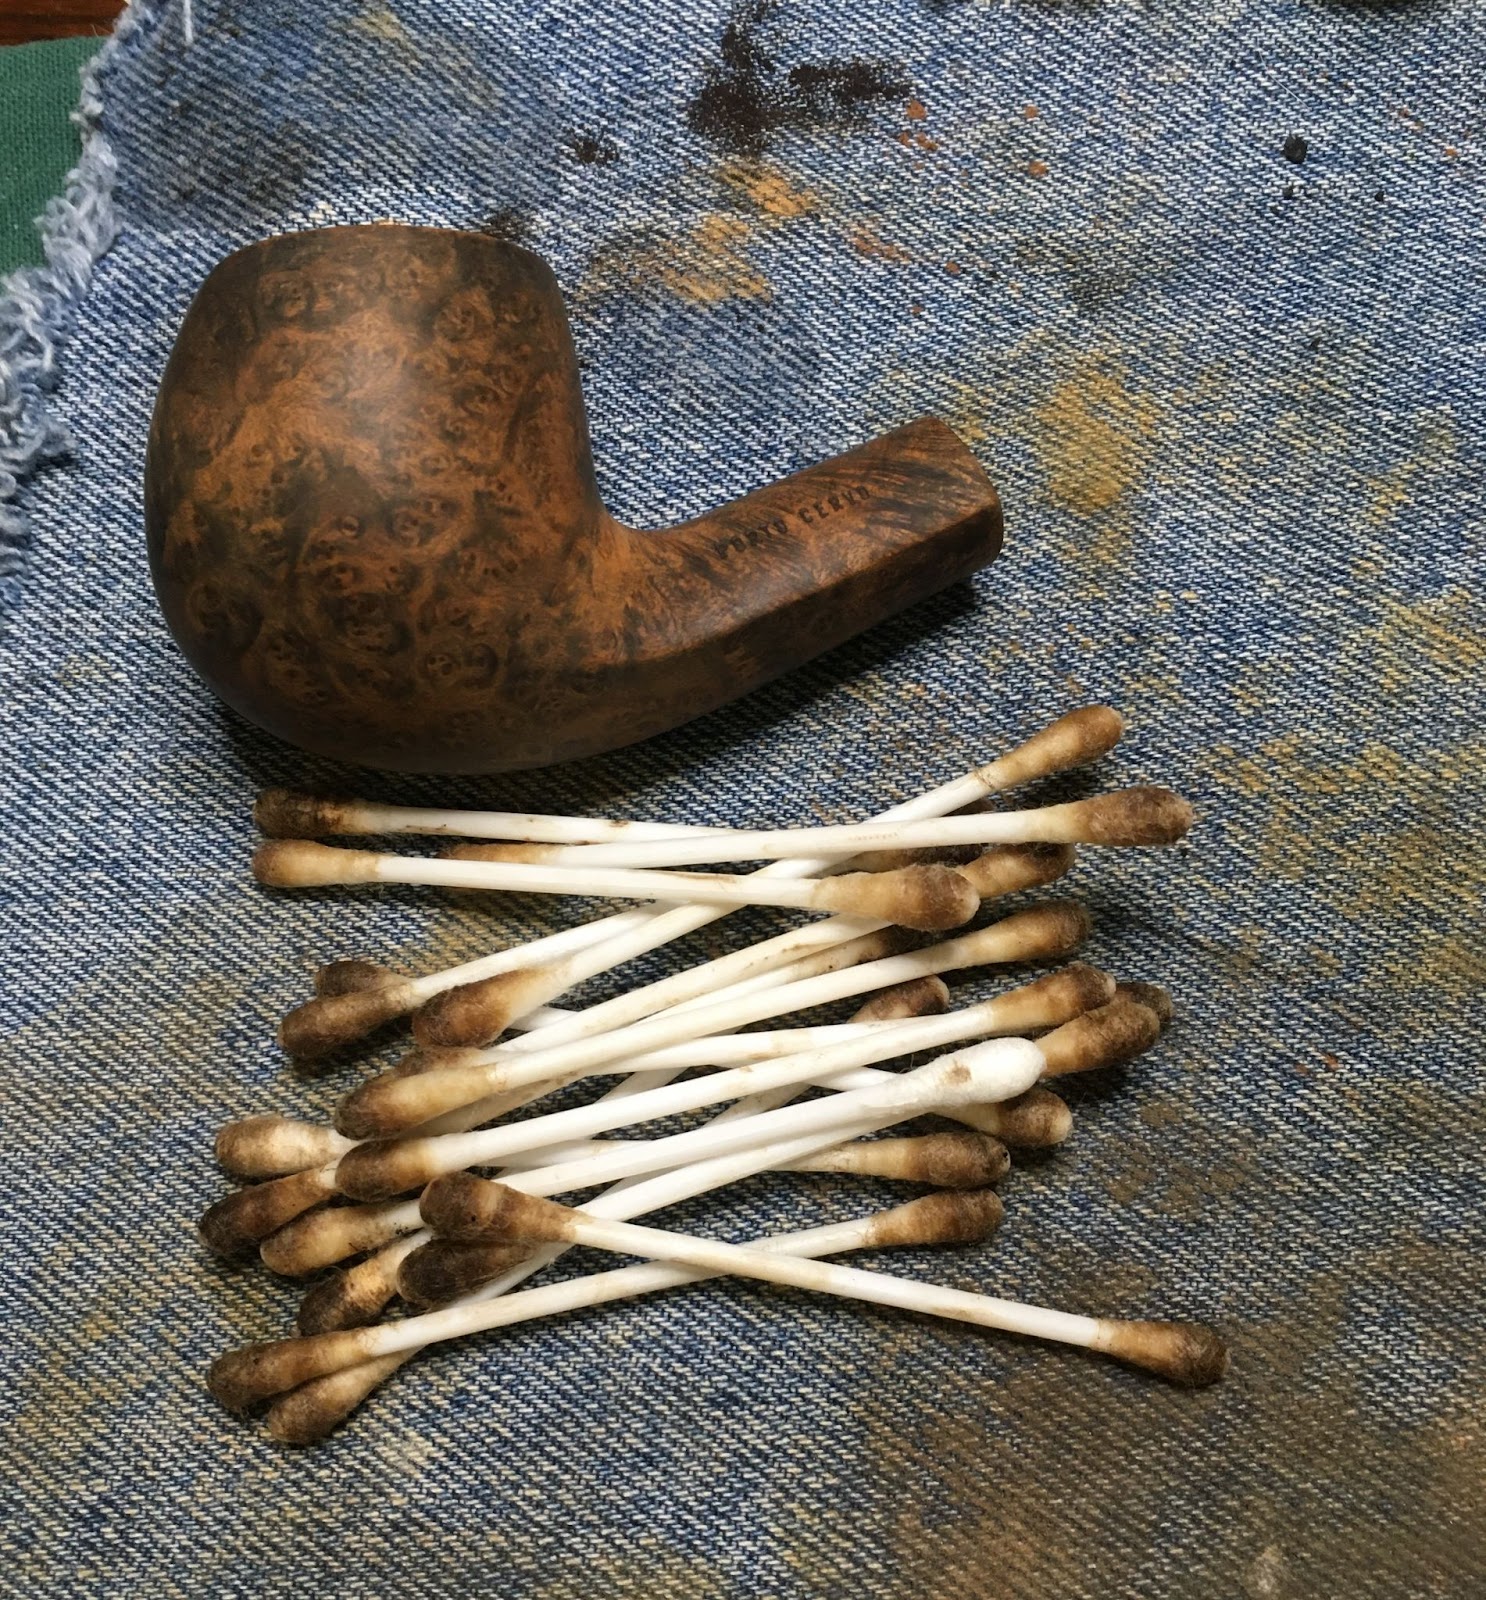
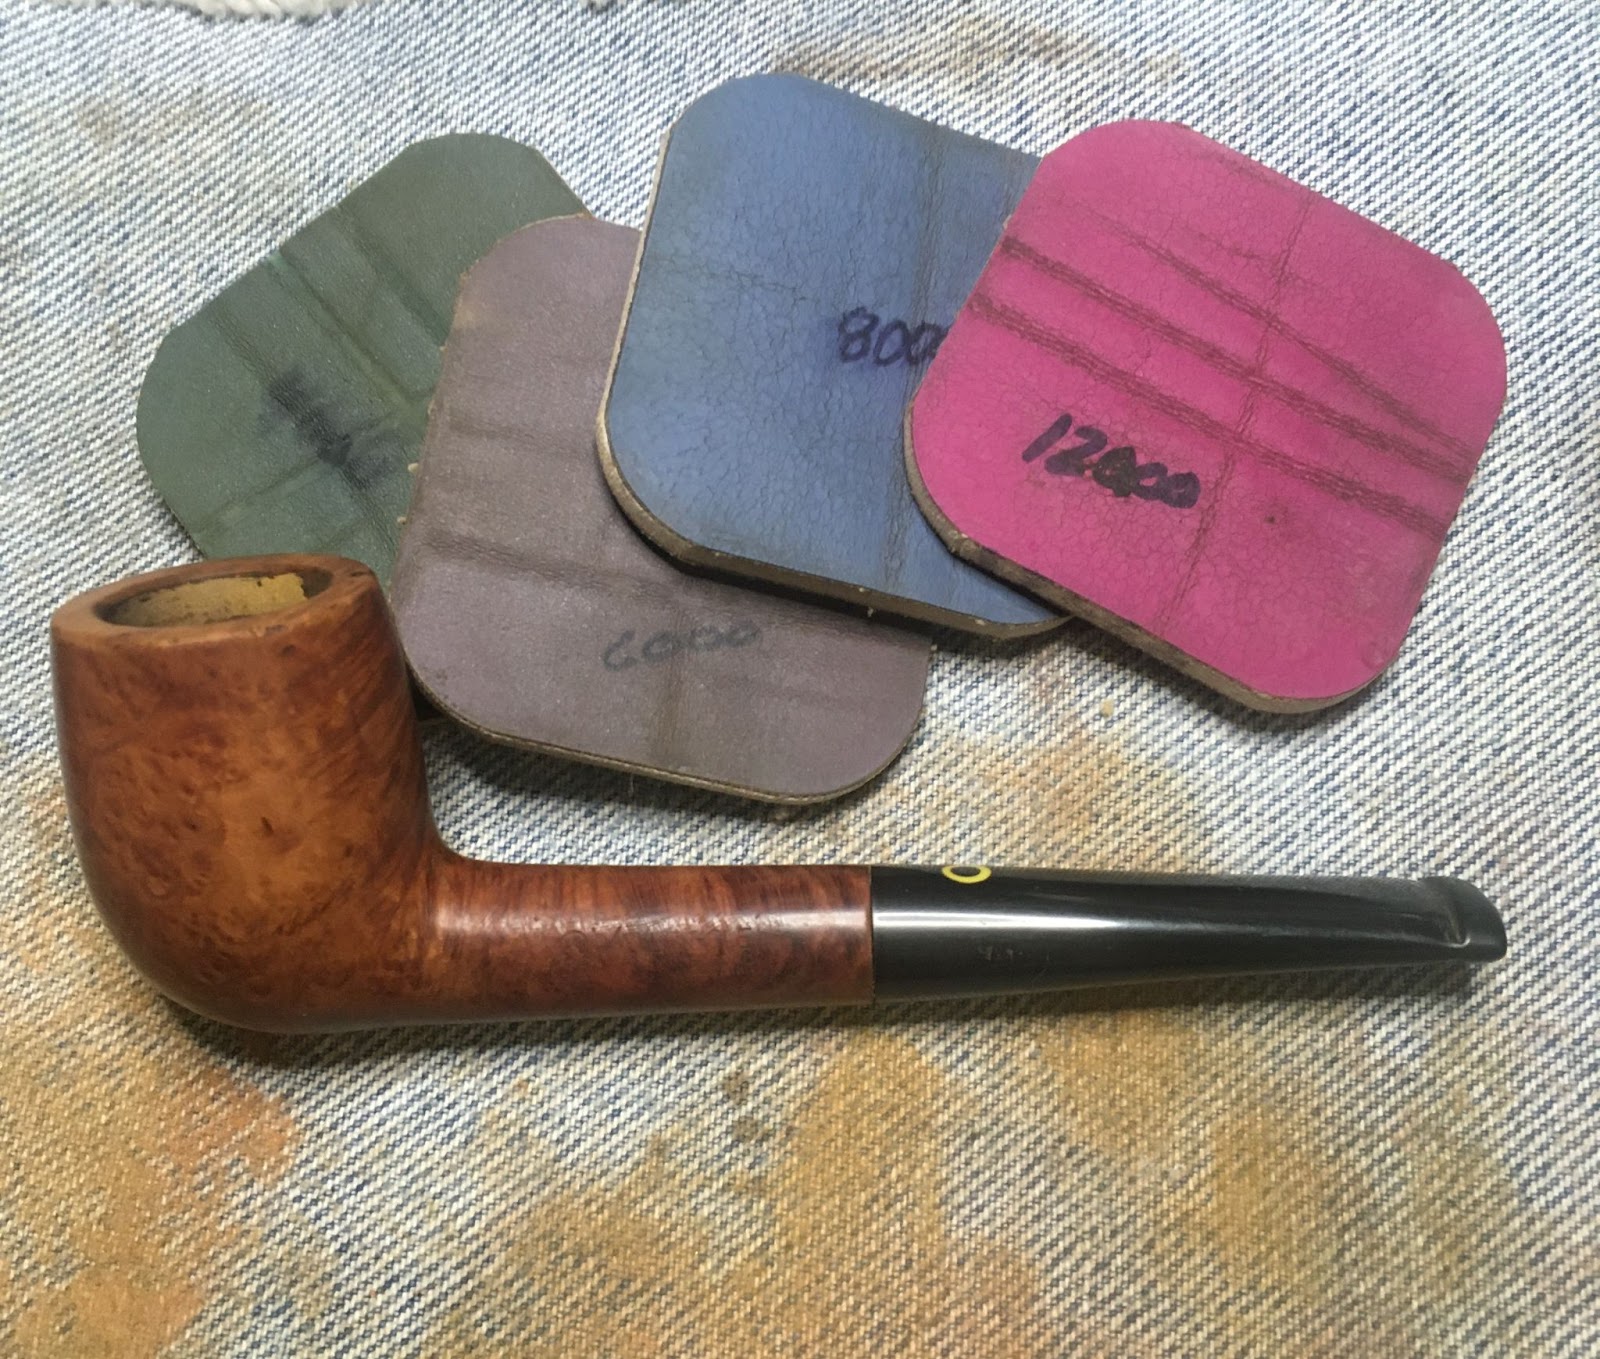
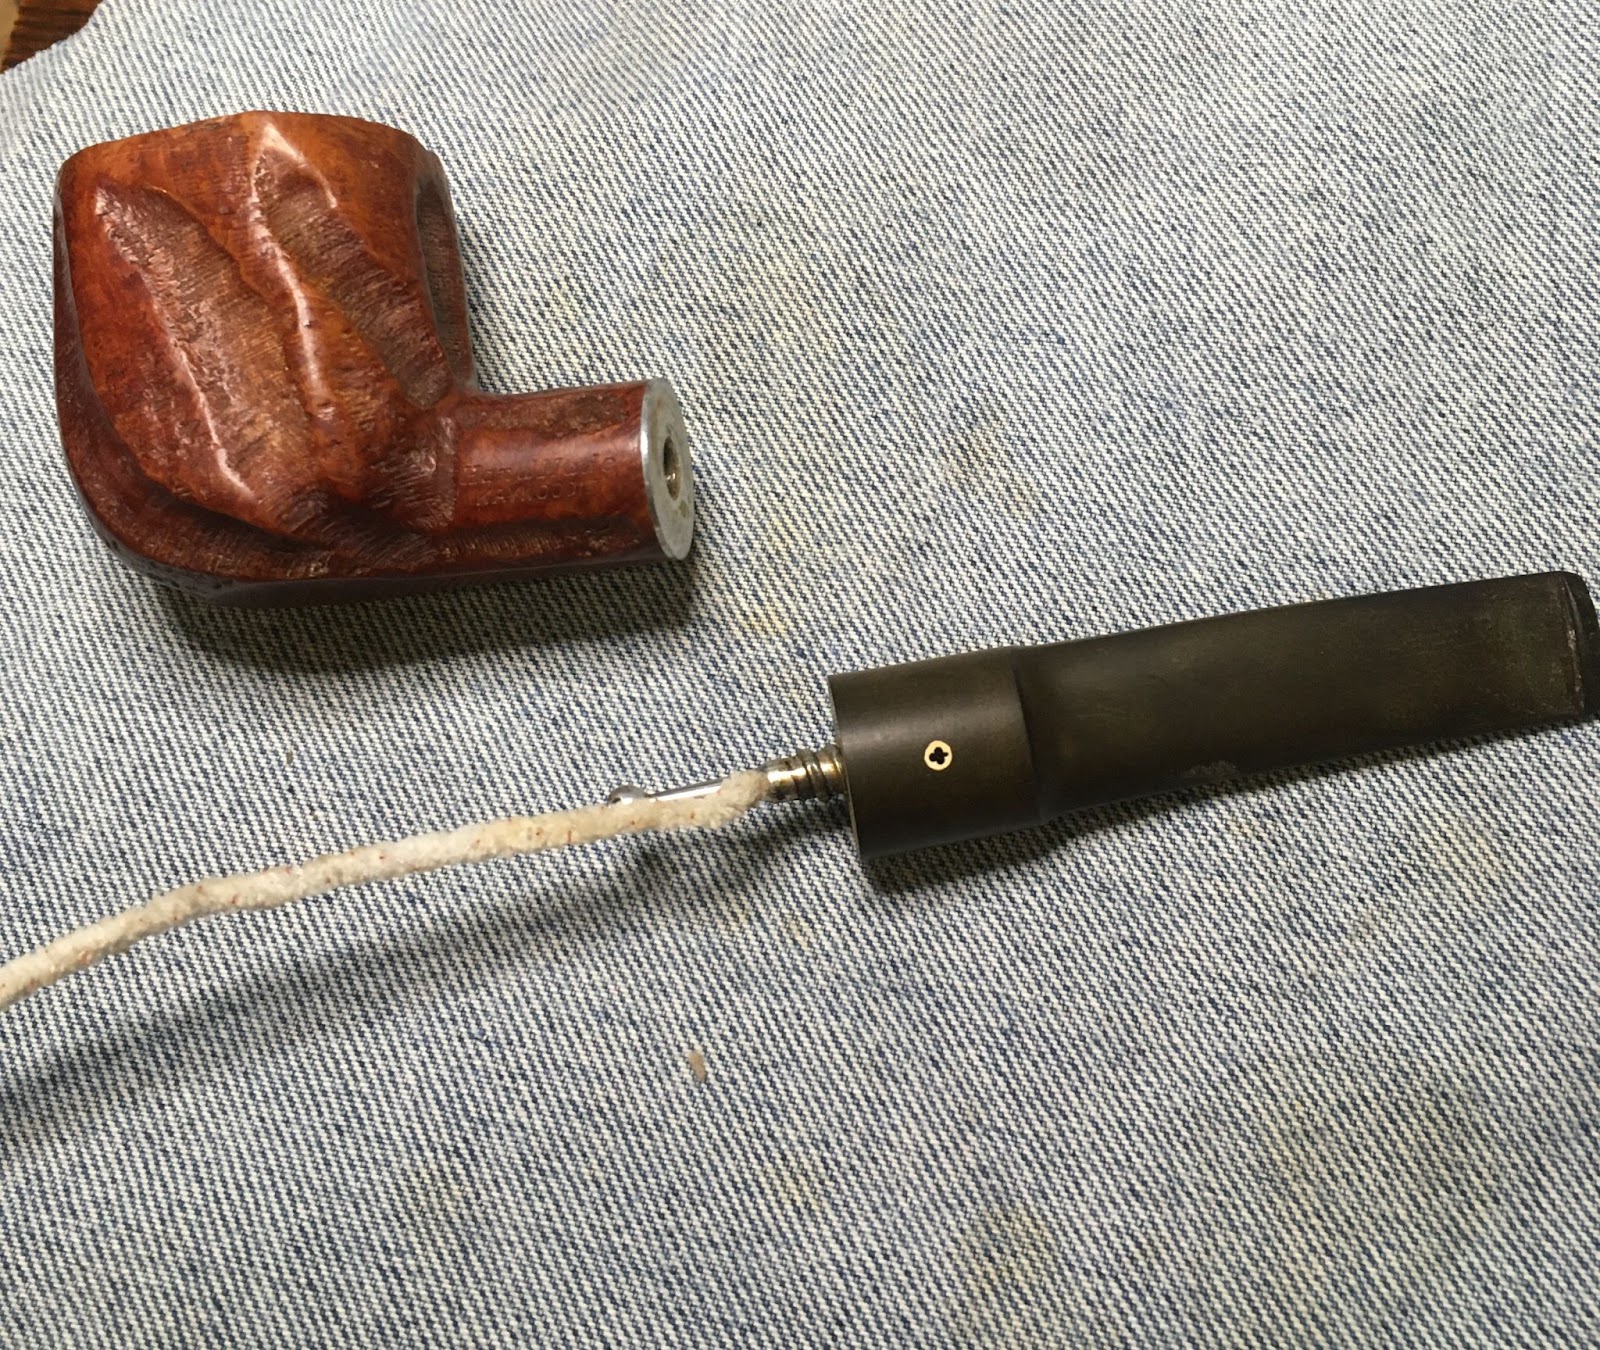
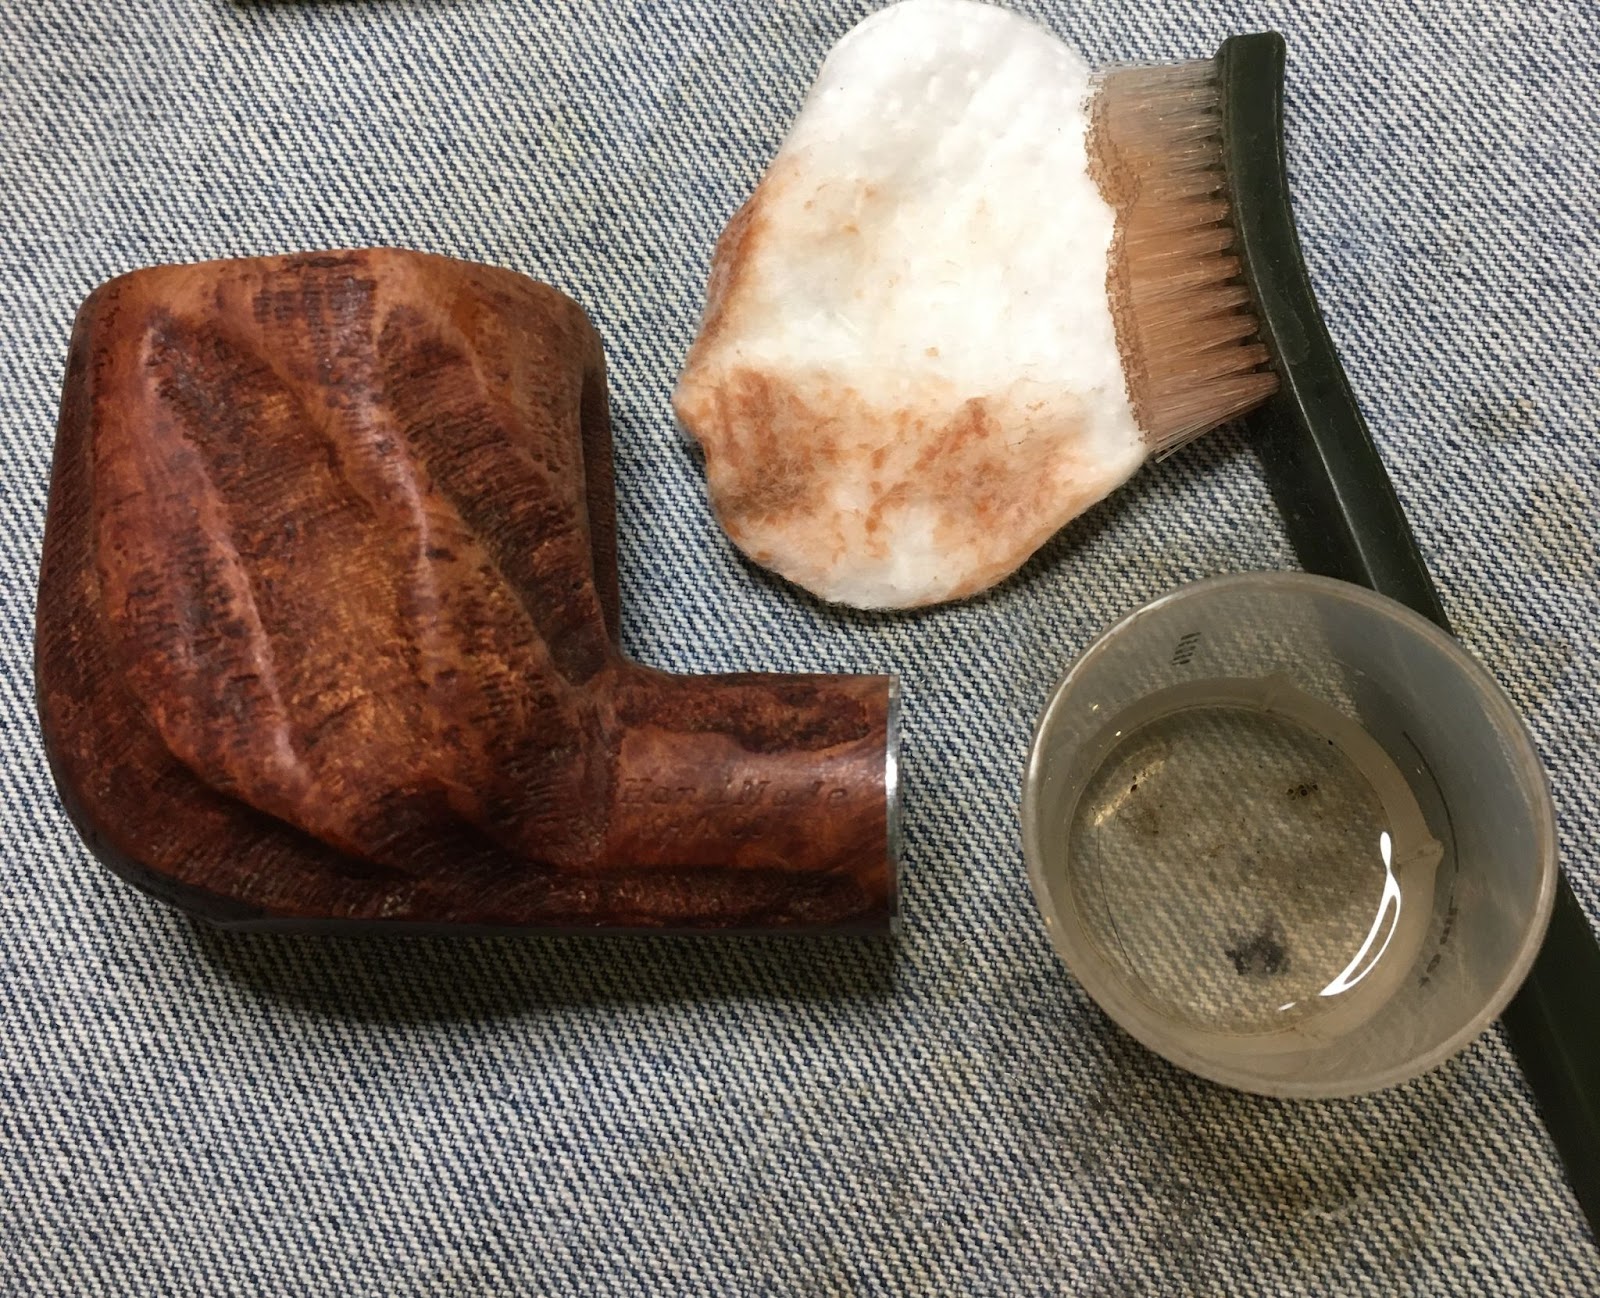
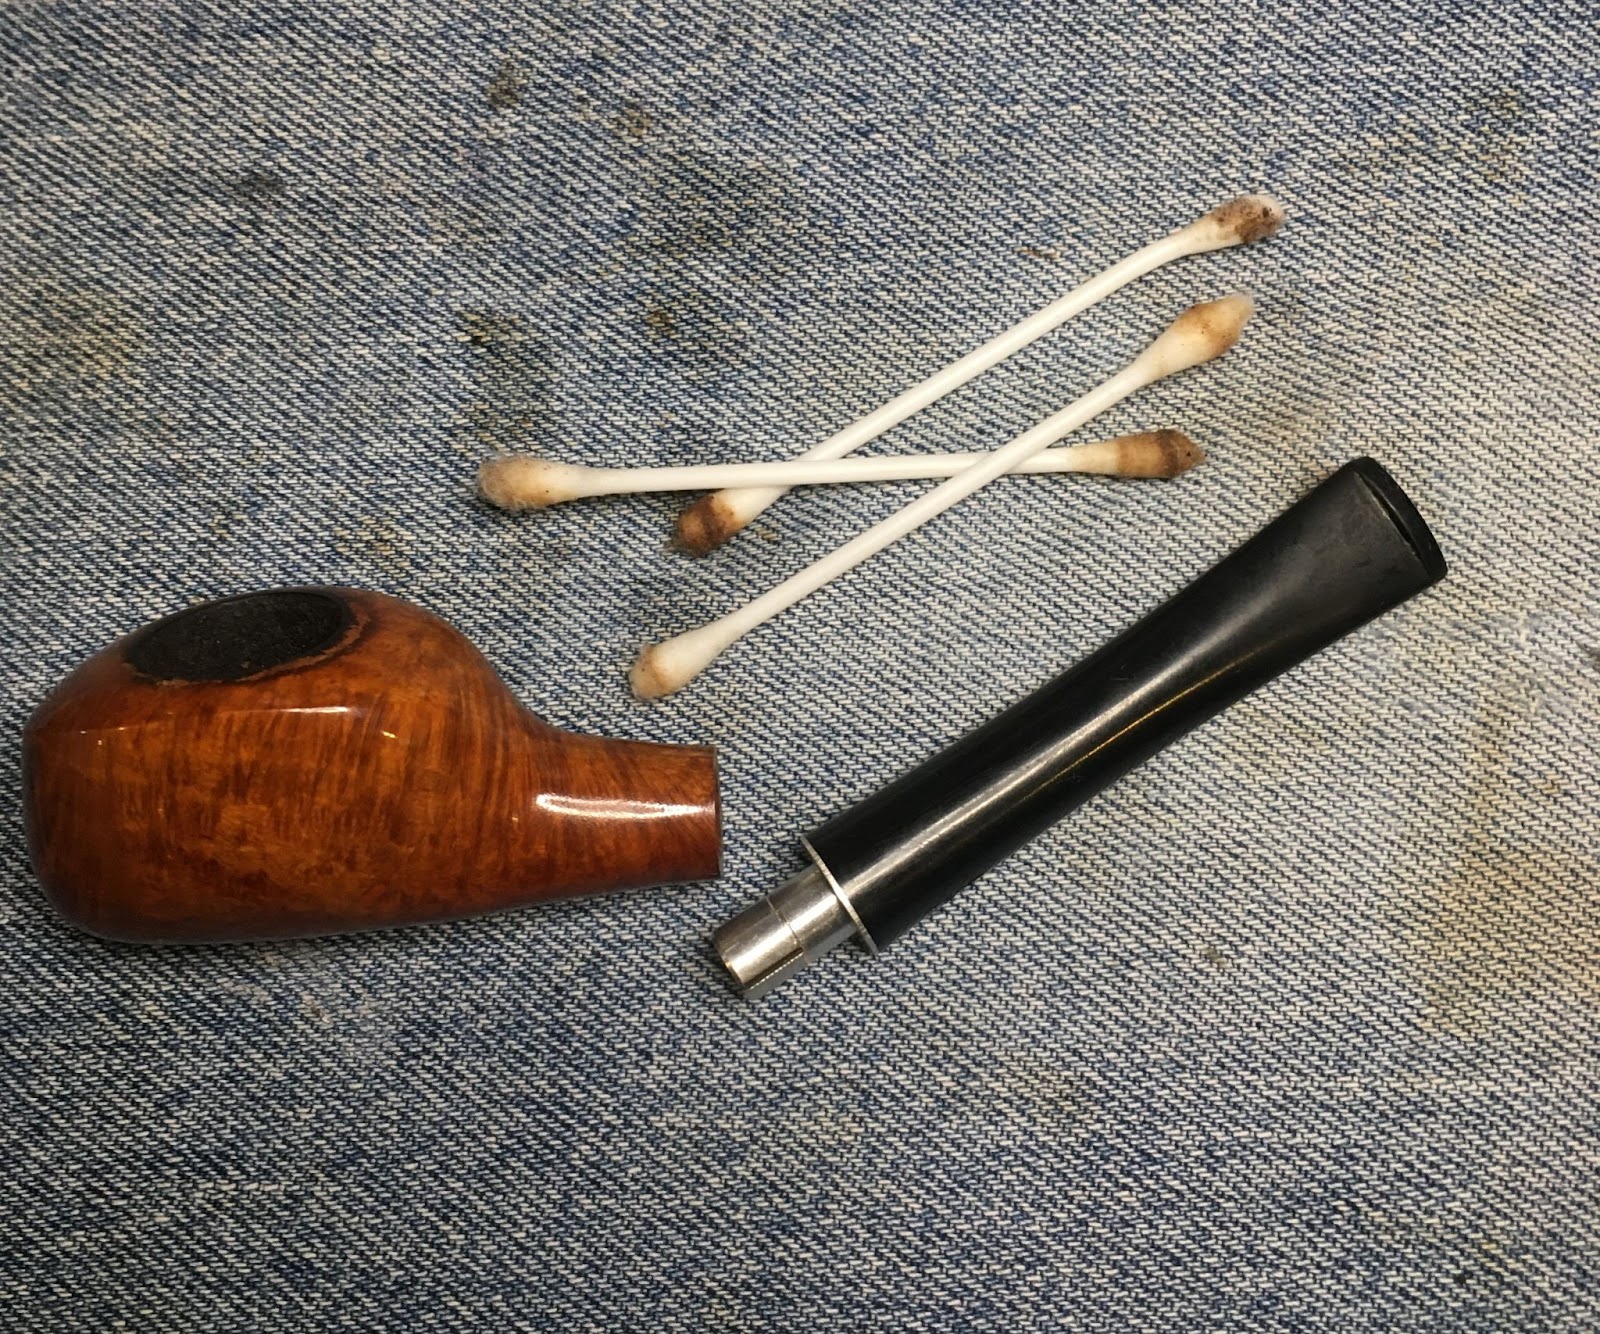
I started this restoration with a clean piece of denim on the workbench. In the back of my mind I was thinking, “you are going to need a couple of those,”

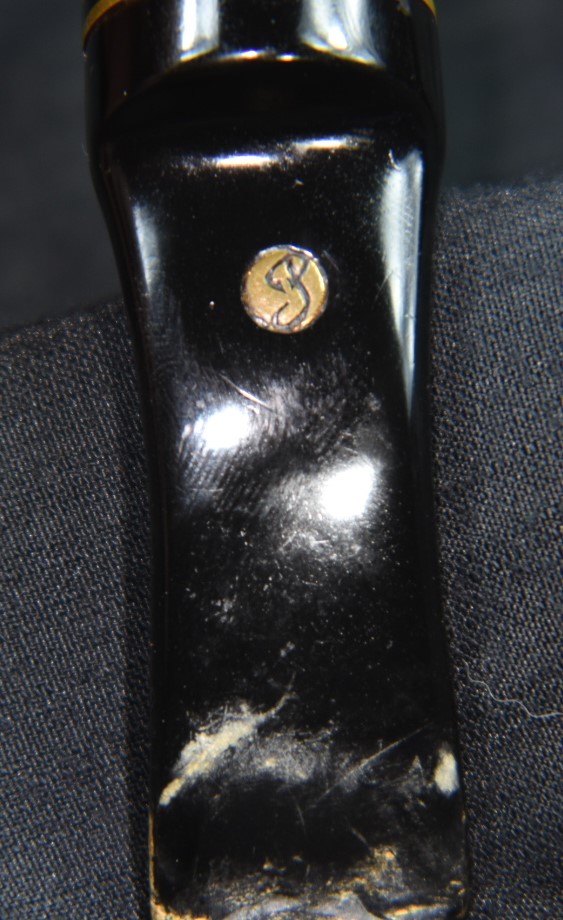
I admit that I was more than a bit daunted by the prospect of rusticating or texturing a stummel to match the amazing work that Savinelli does. So, I avoided that part. I addressed the part of the pipe I felt comfortable working on – the stem. Yeah, I know, “chicken, buck buck bawk.”
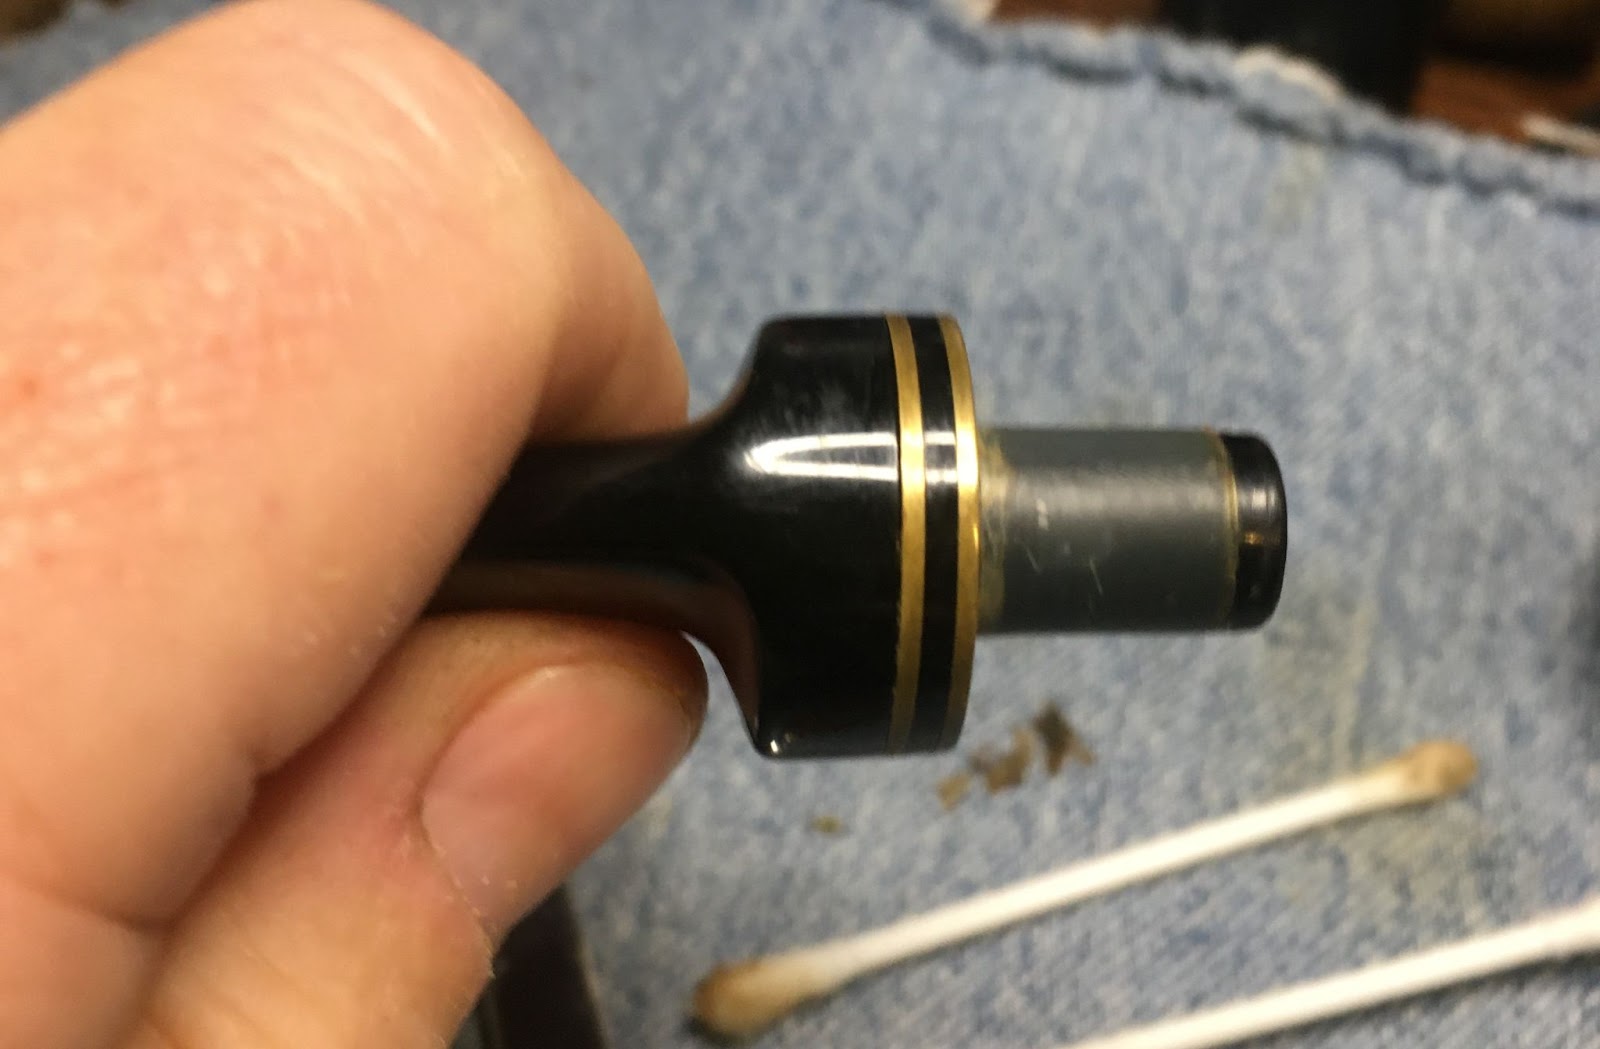
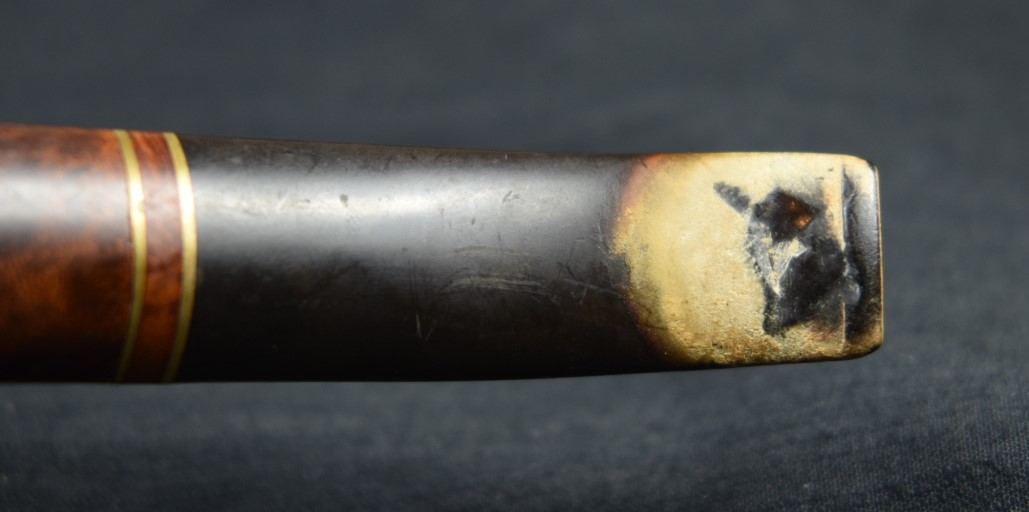
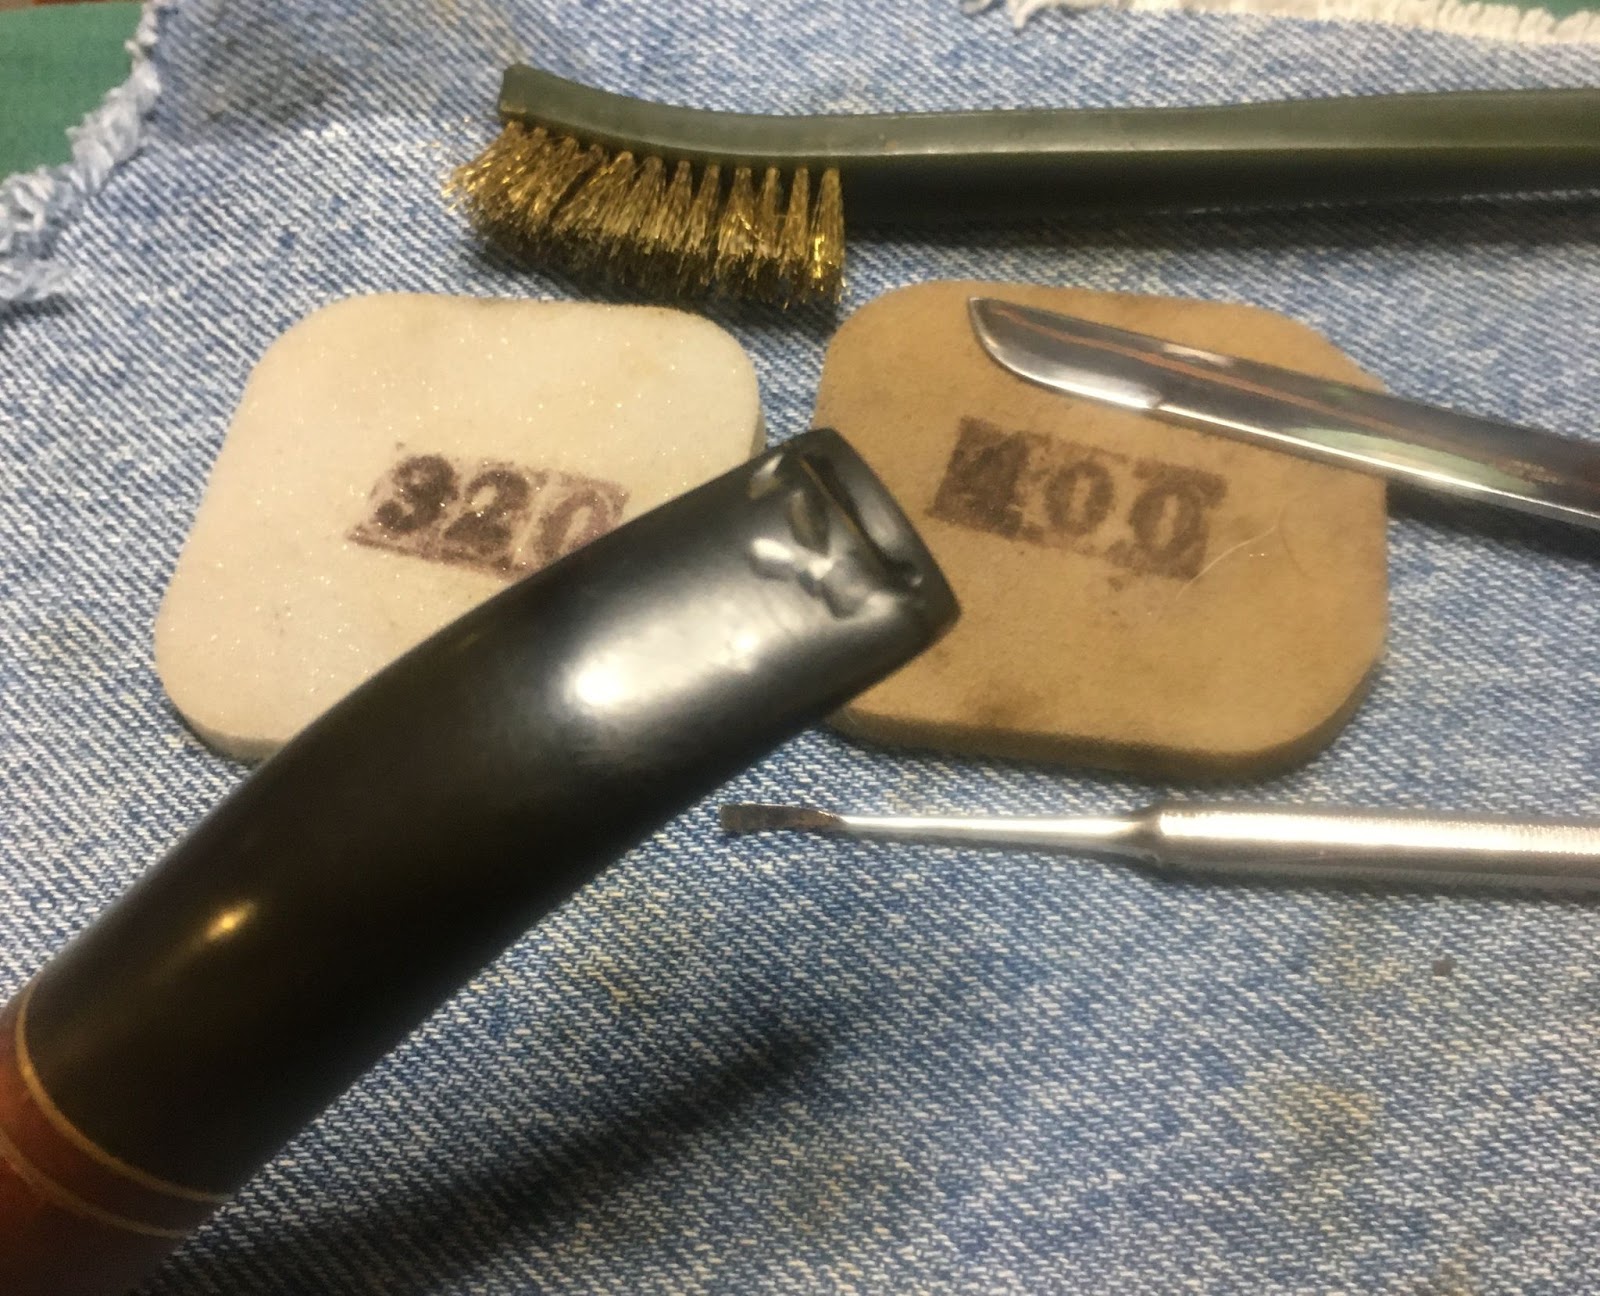
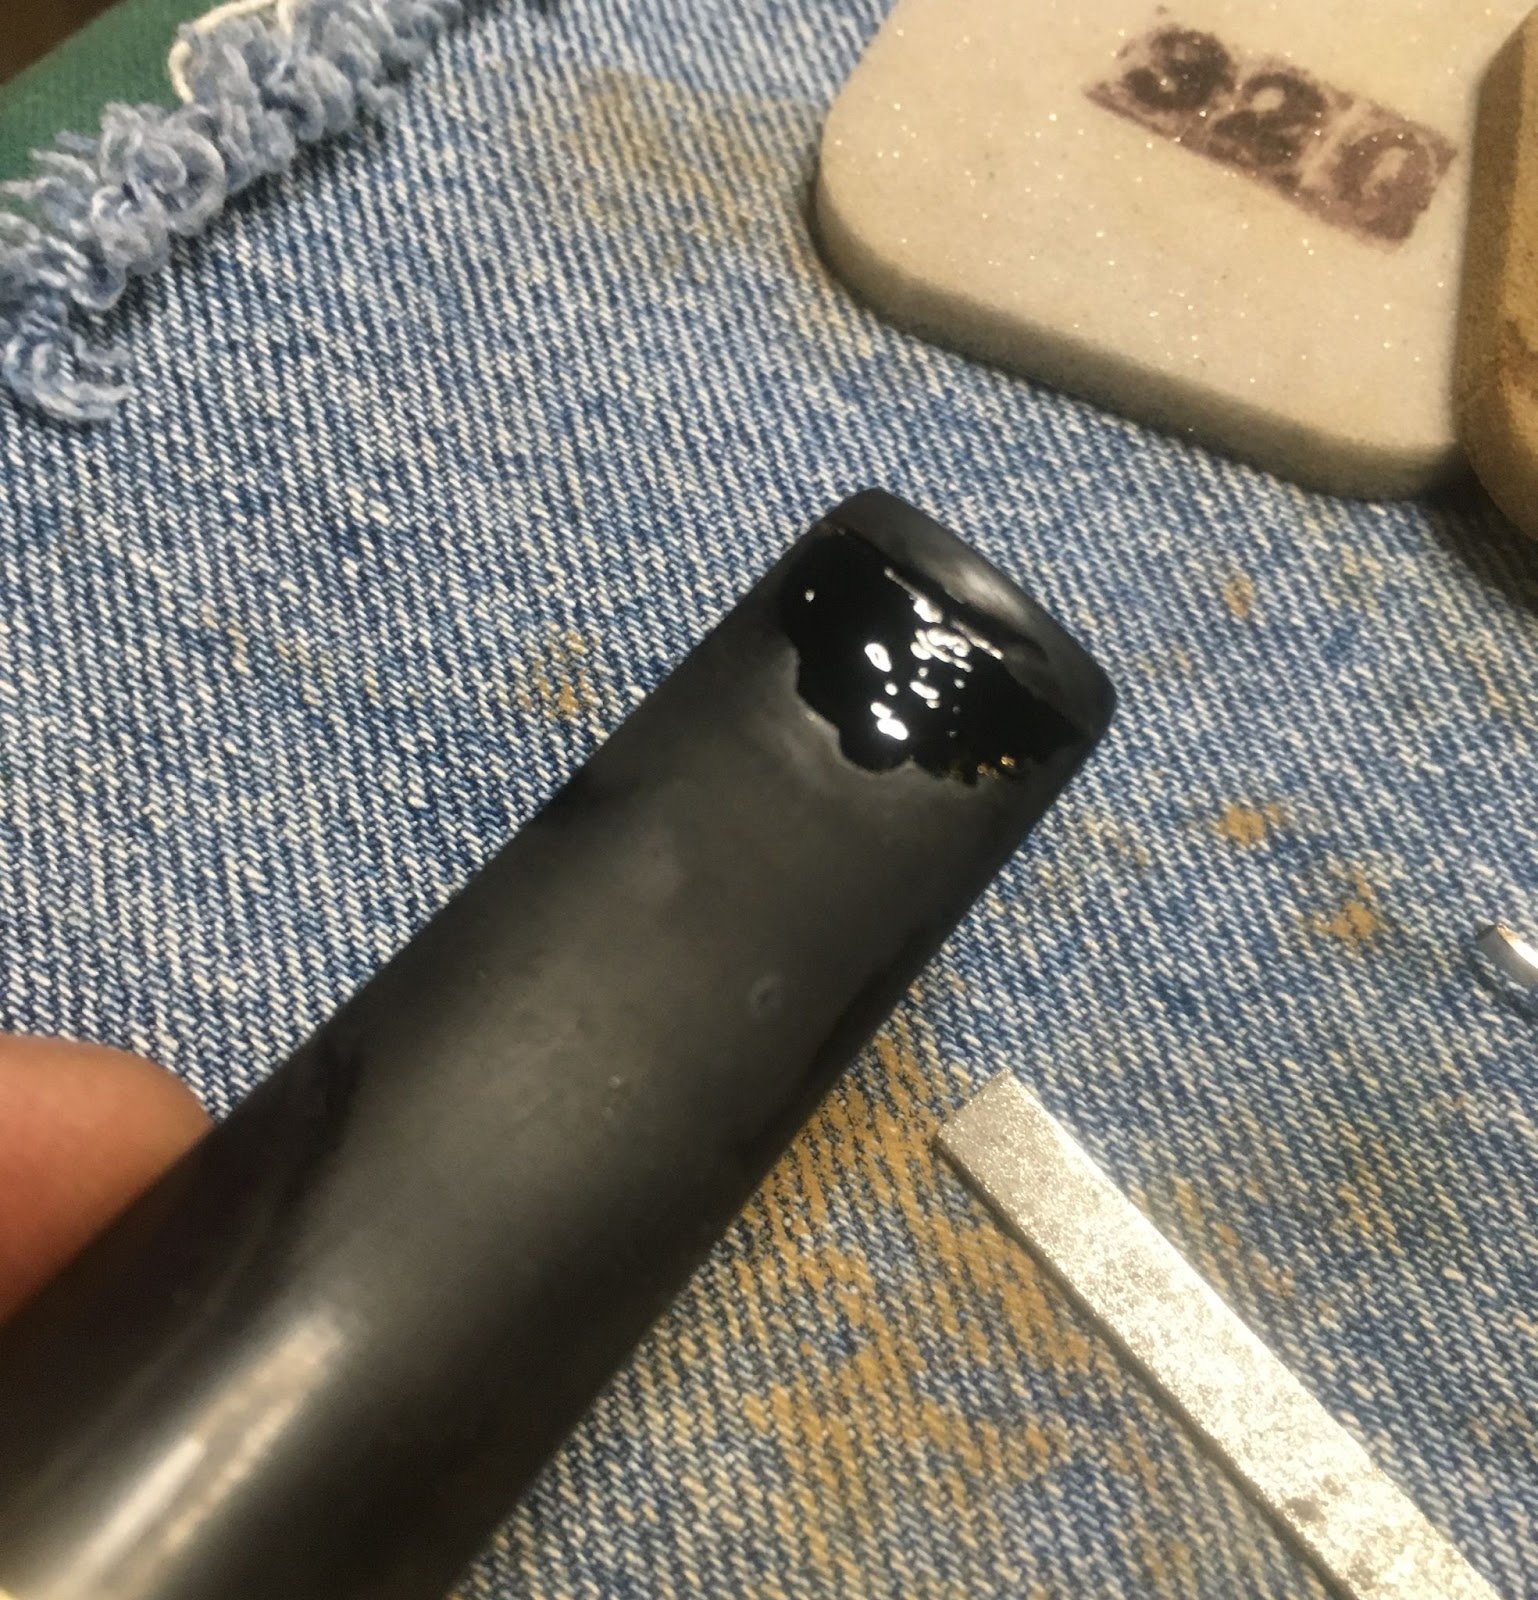
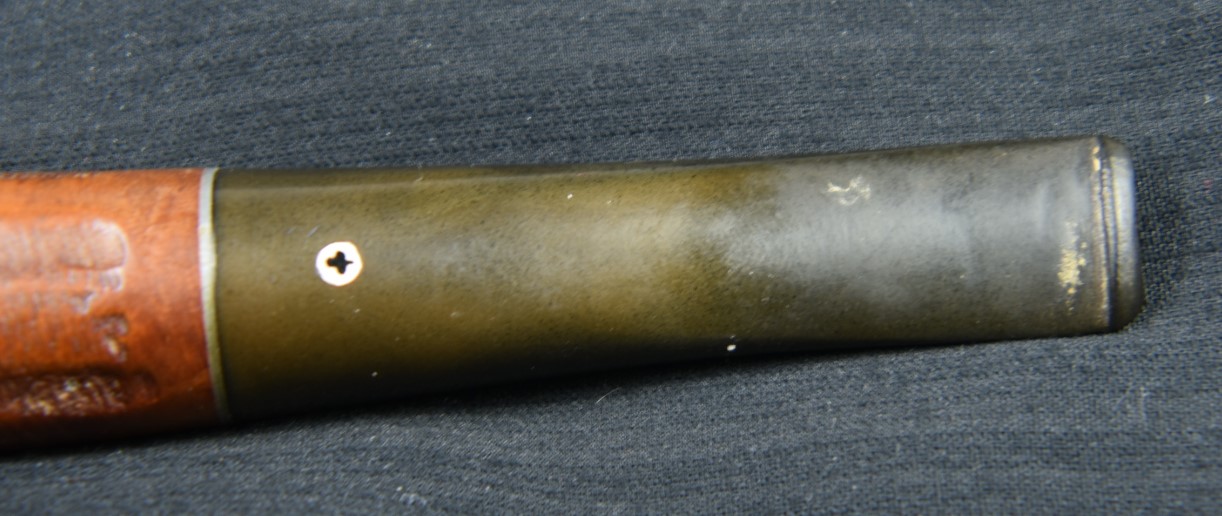
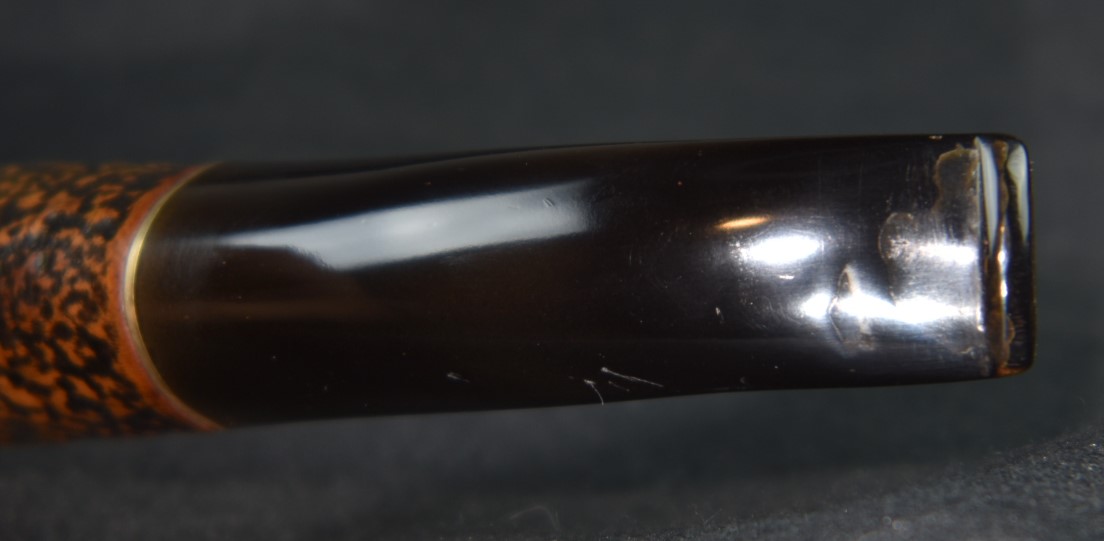
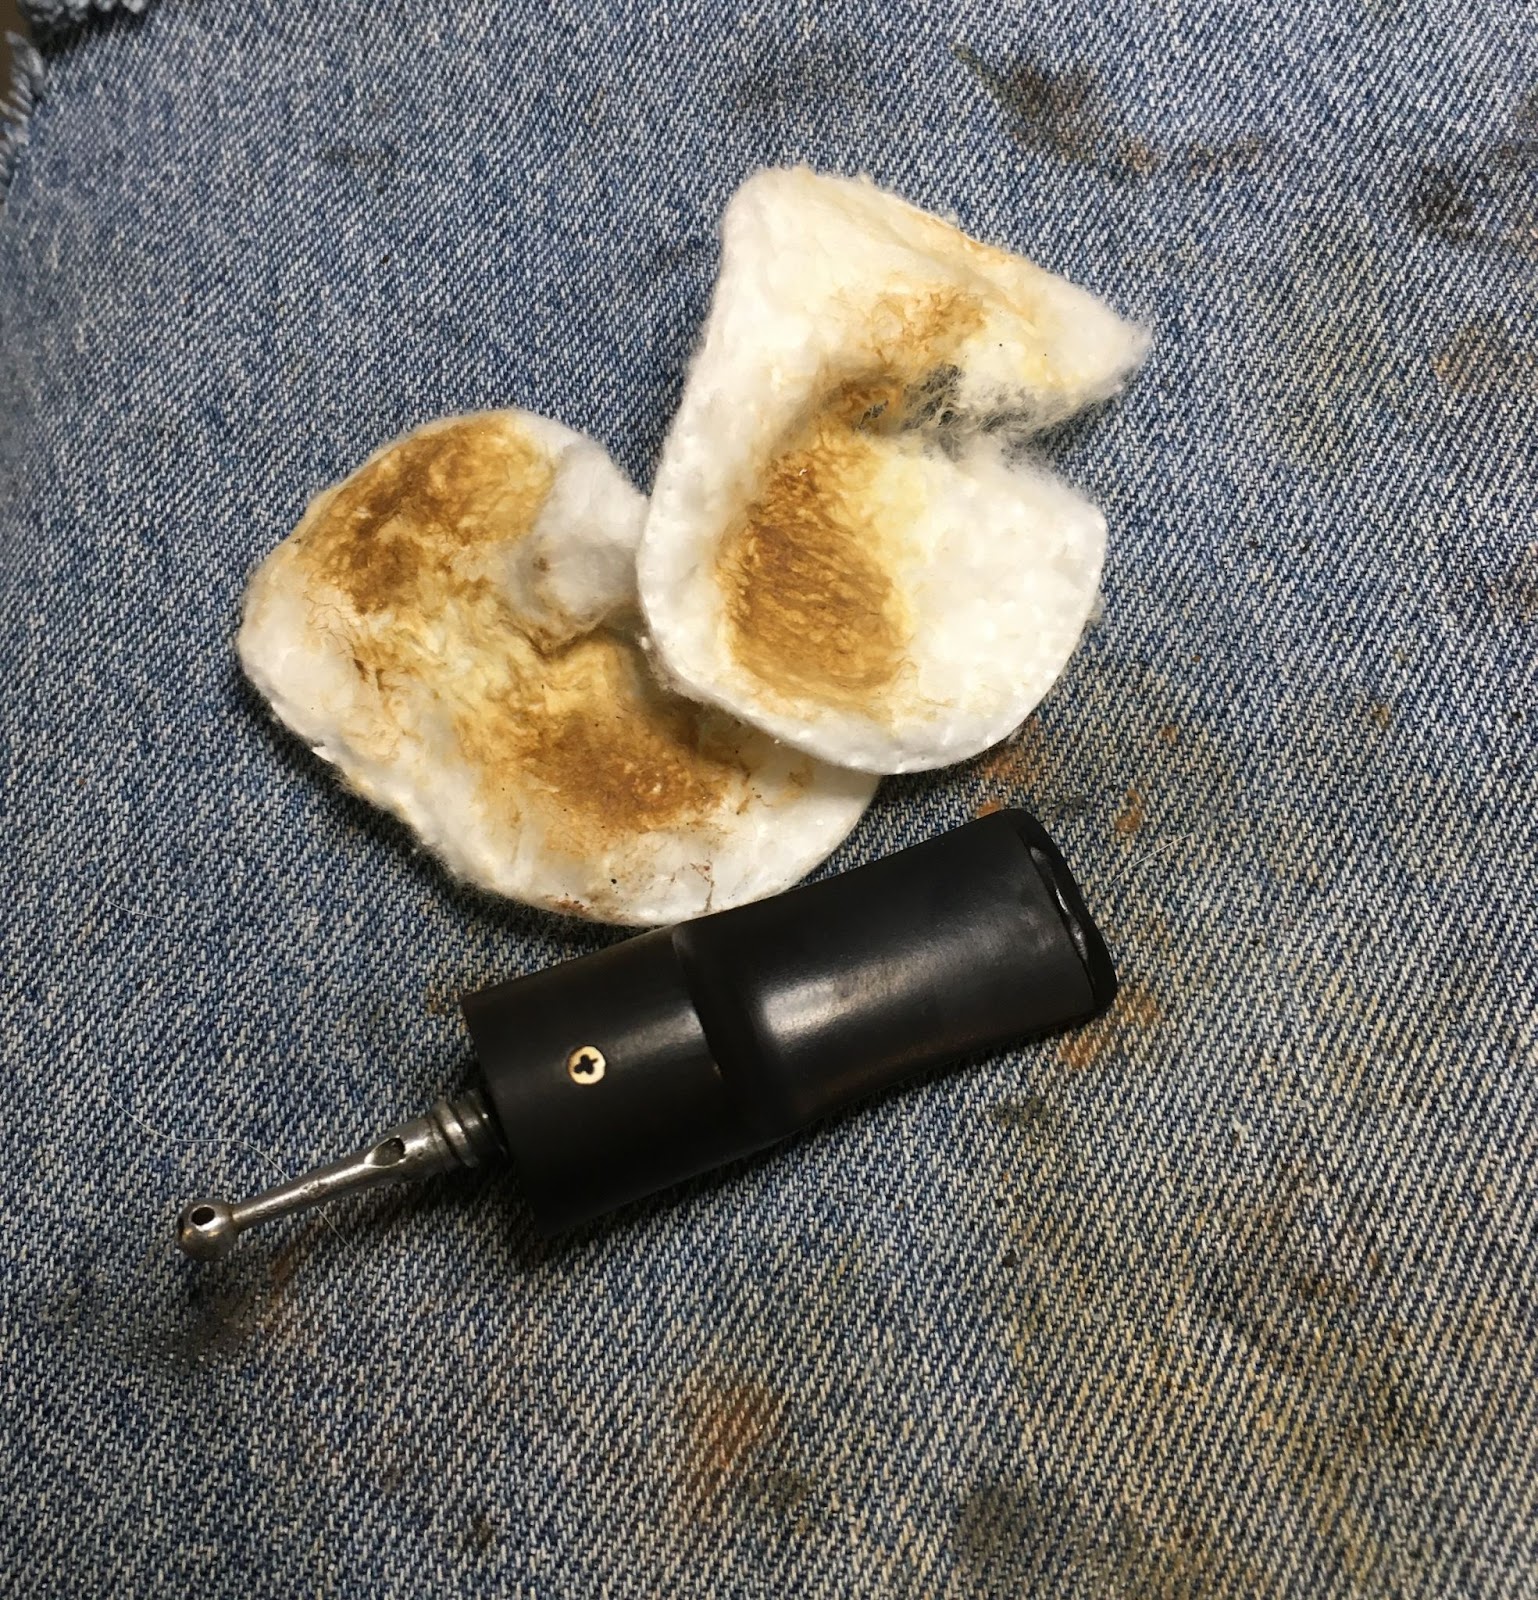
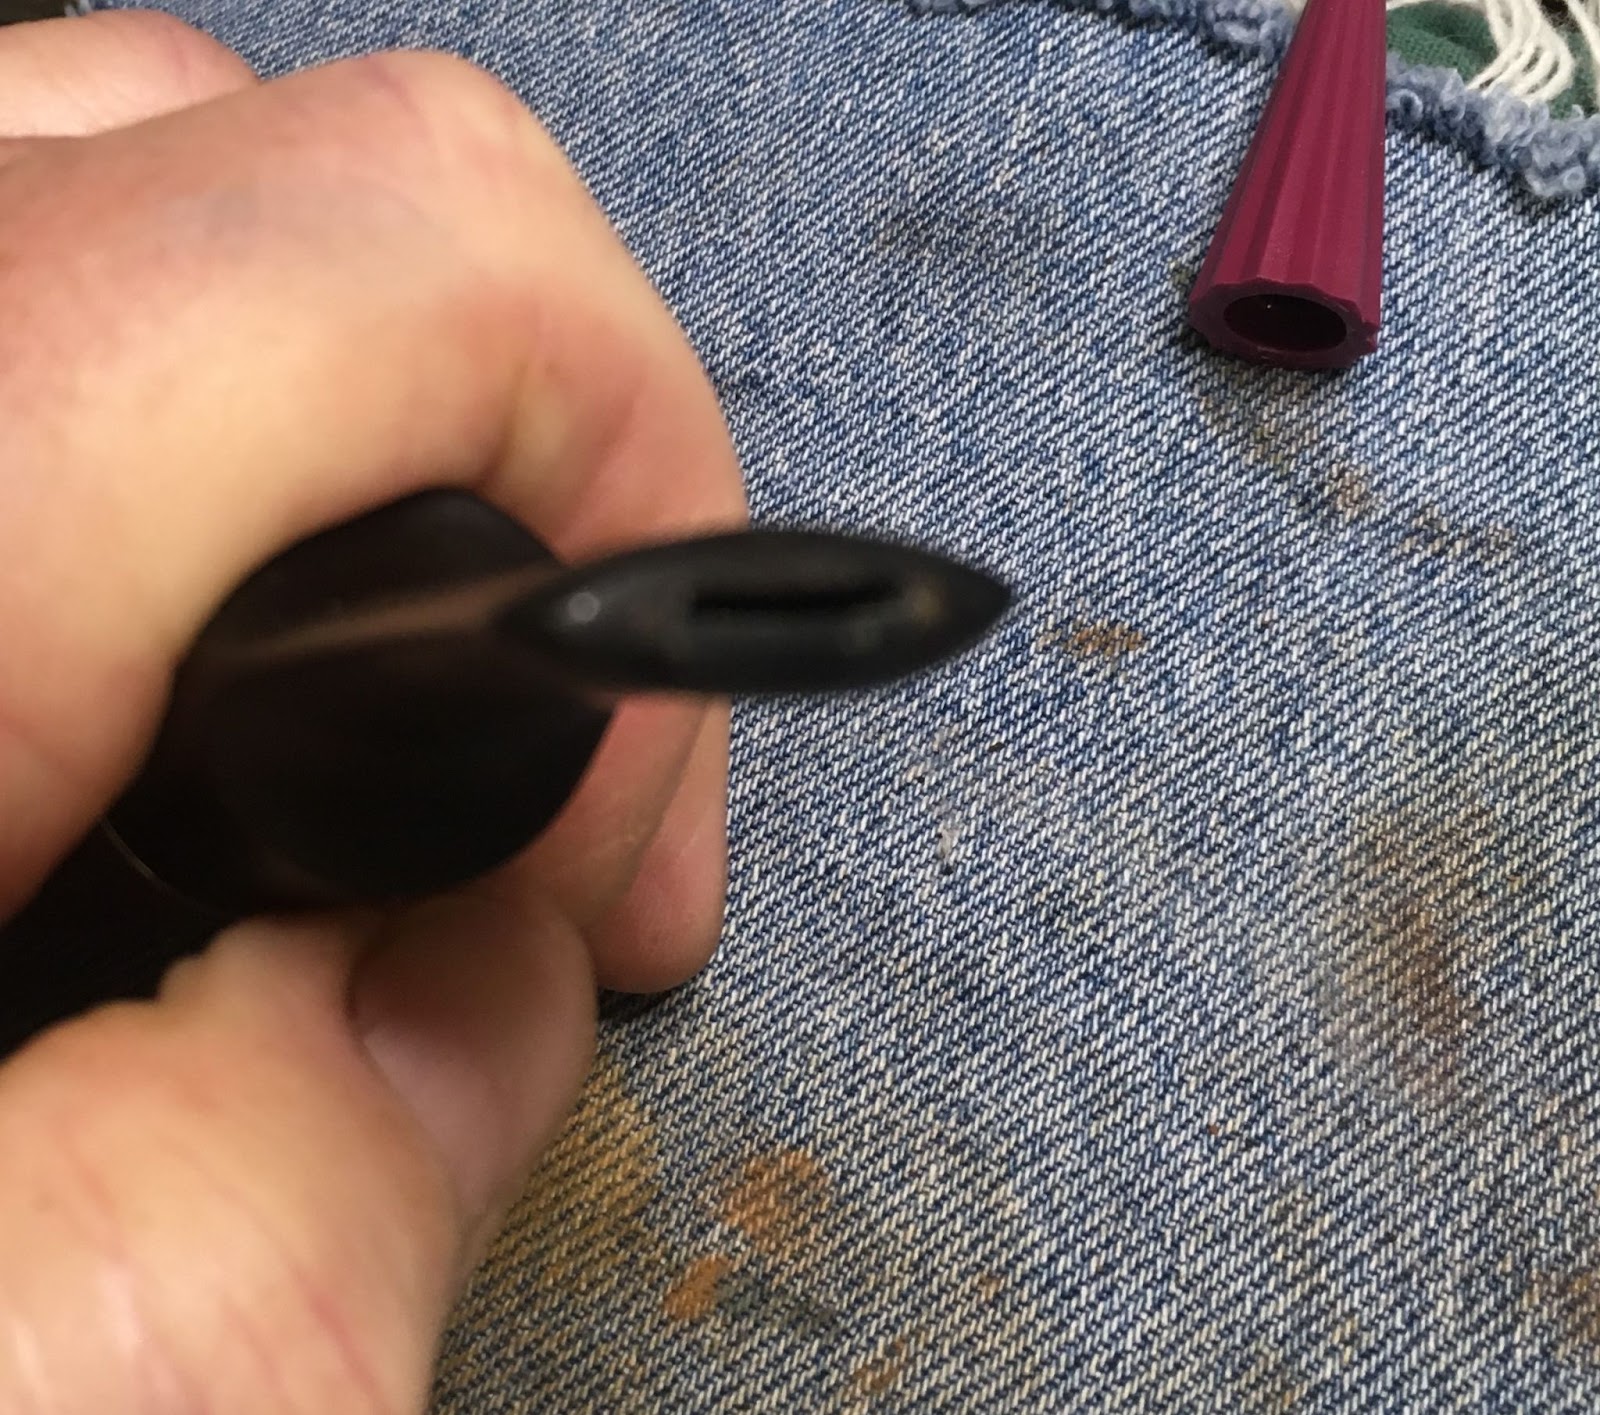
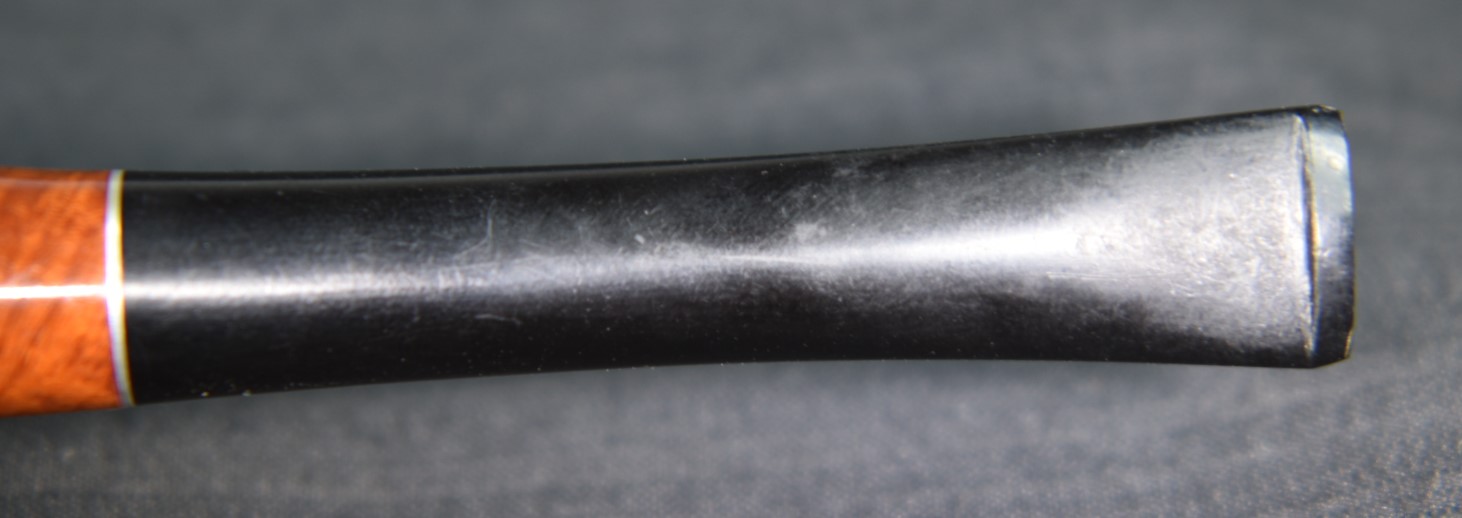
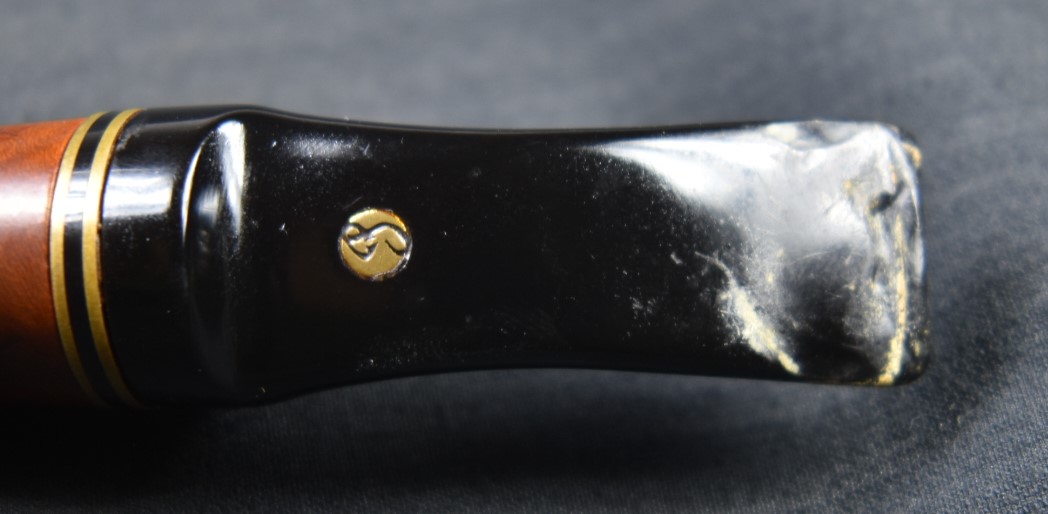
The stem had thick calcium deposits on both top and bottom, I scraped these with a sharp pocket knife and sanded with a 320 grit sanding sponge.


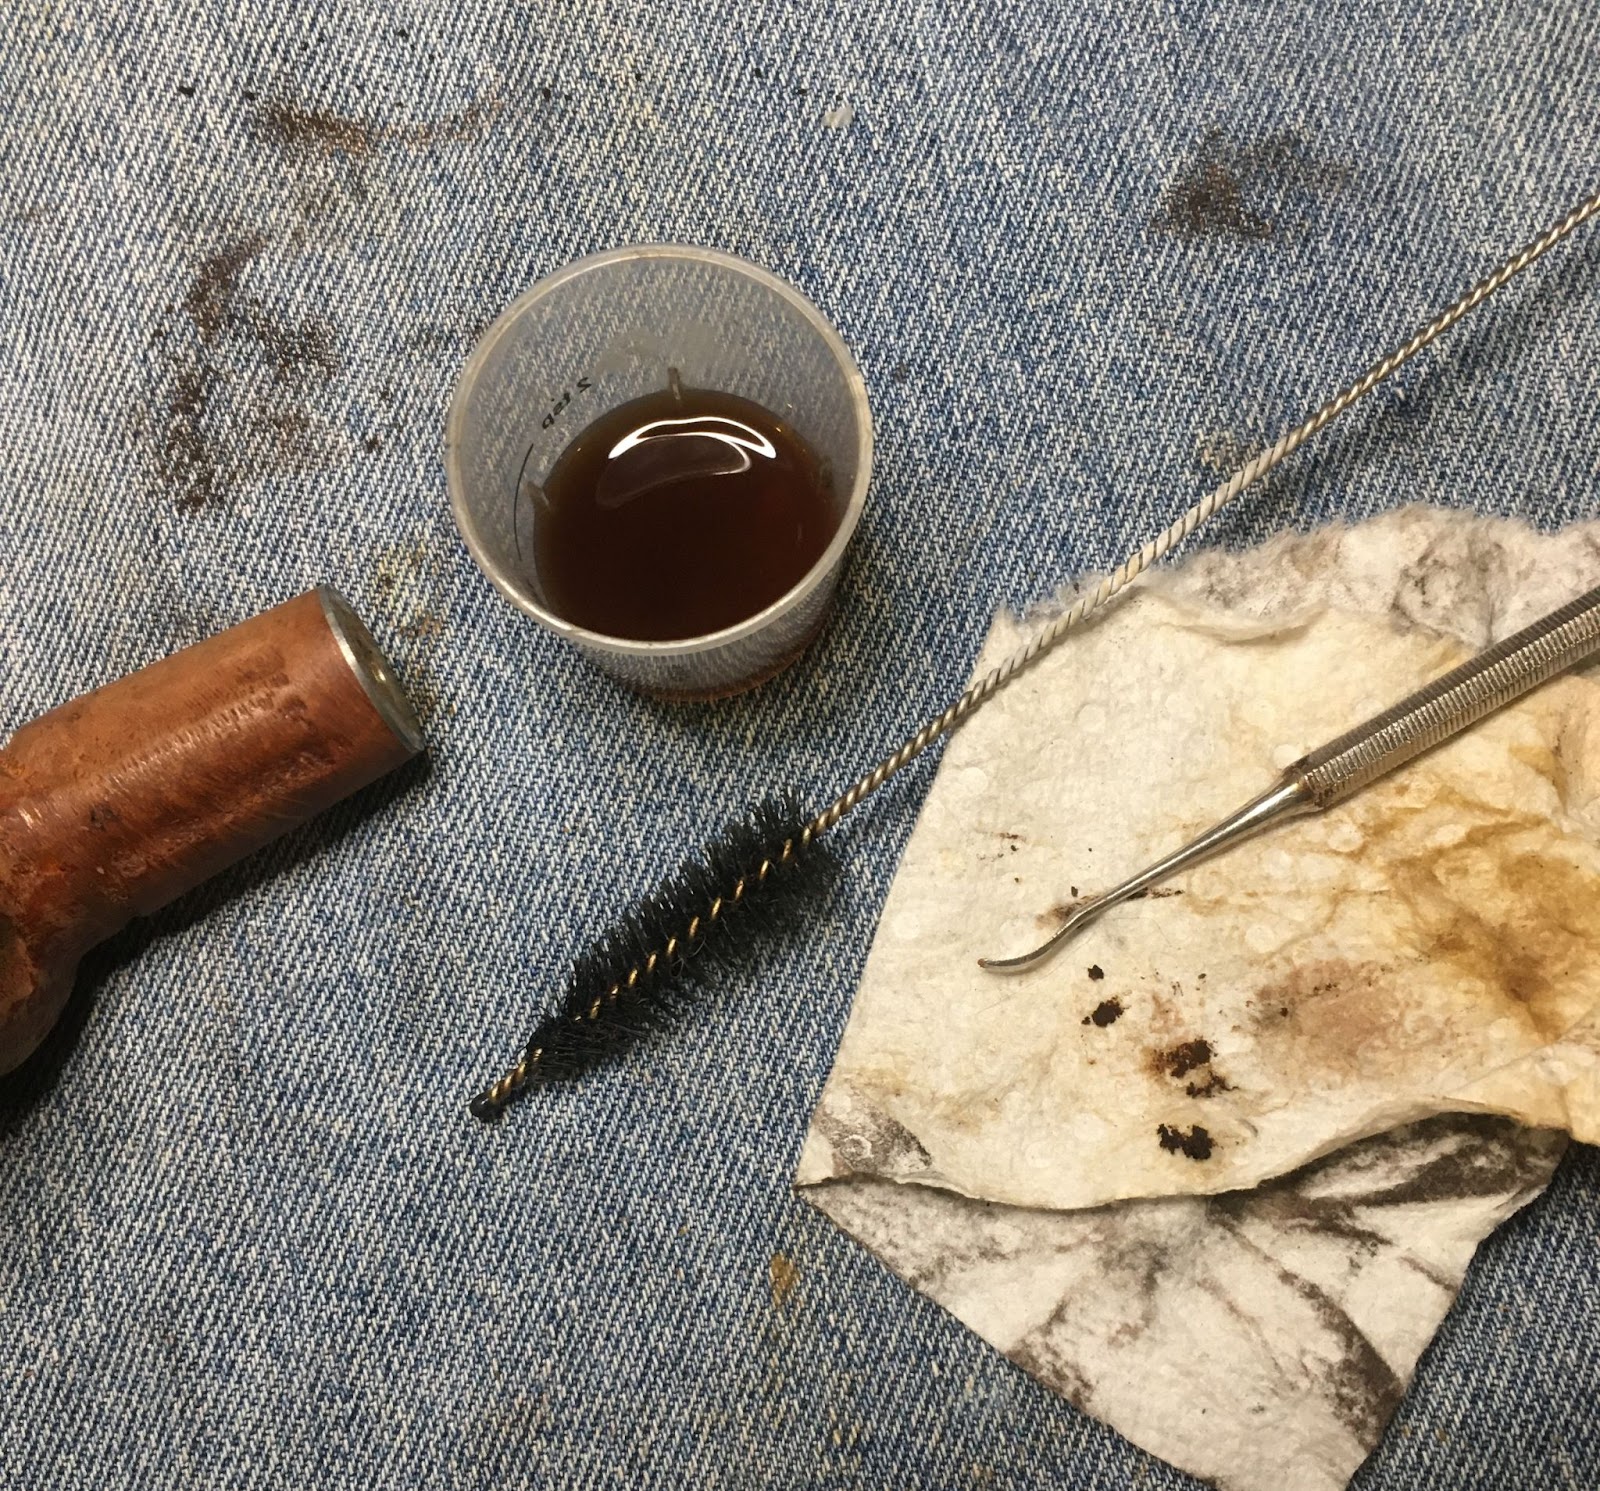
The remaining calcium was picked from the dents using a dental pick and brushing with an alcohol dipped brass brush.
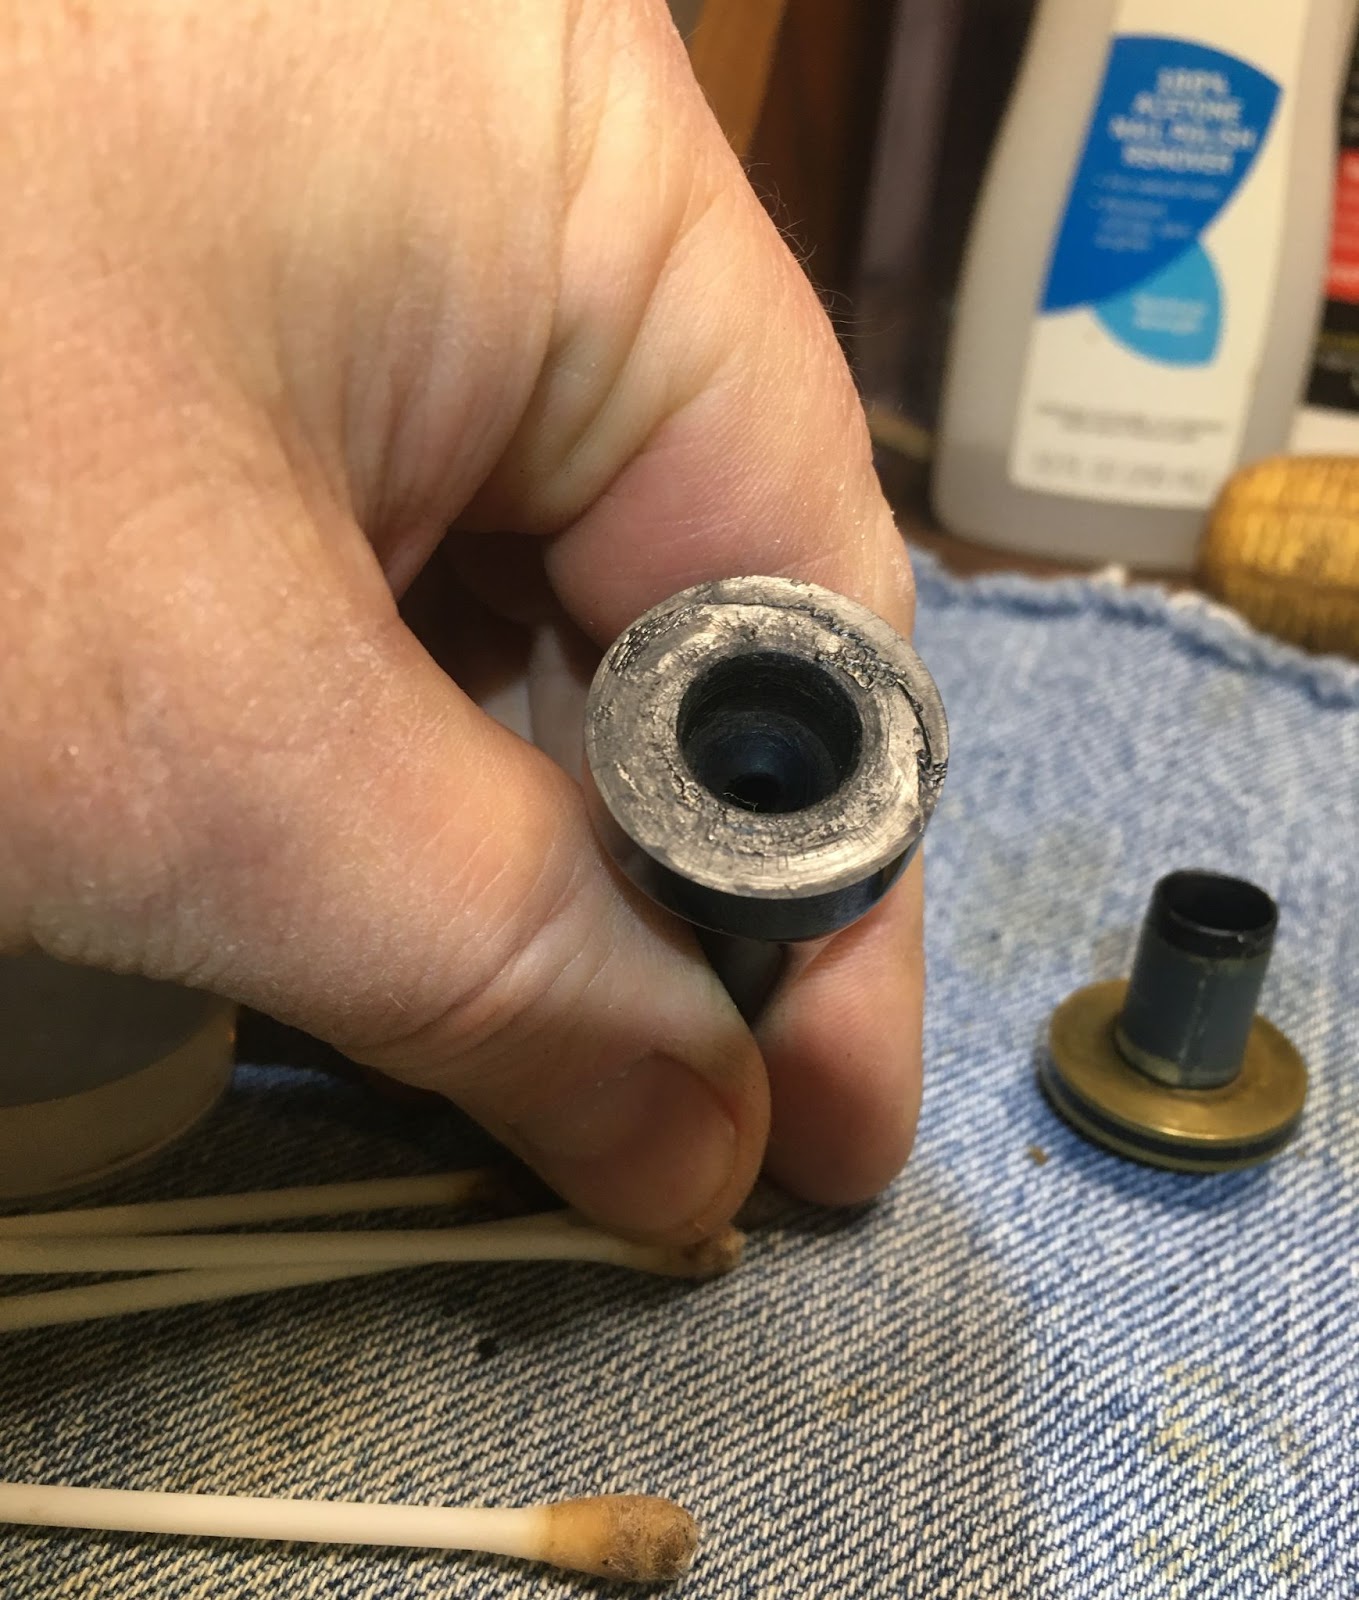
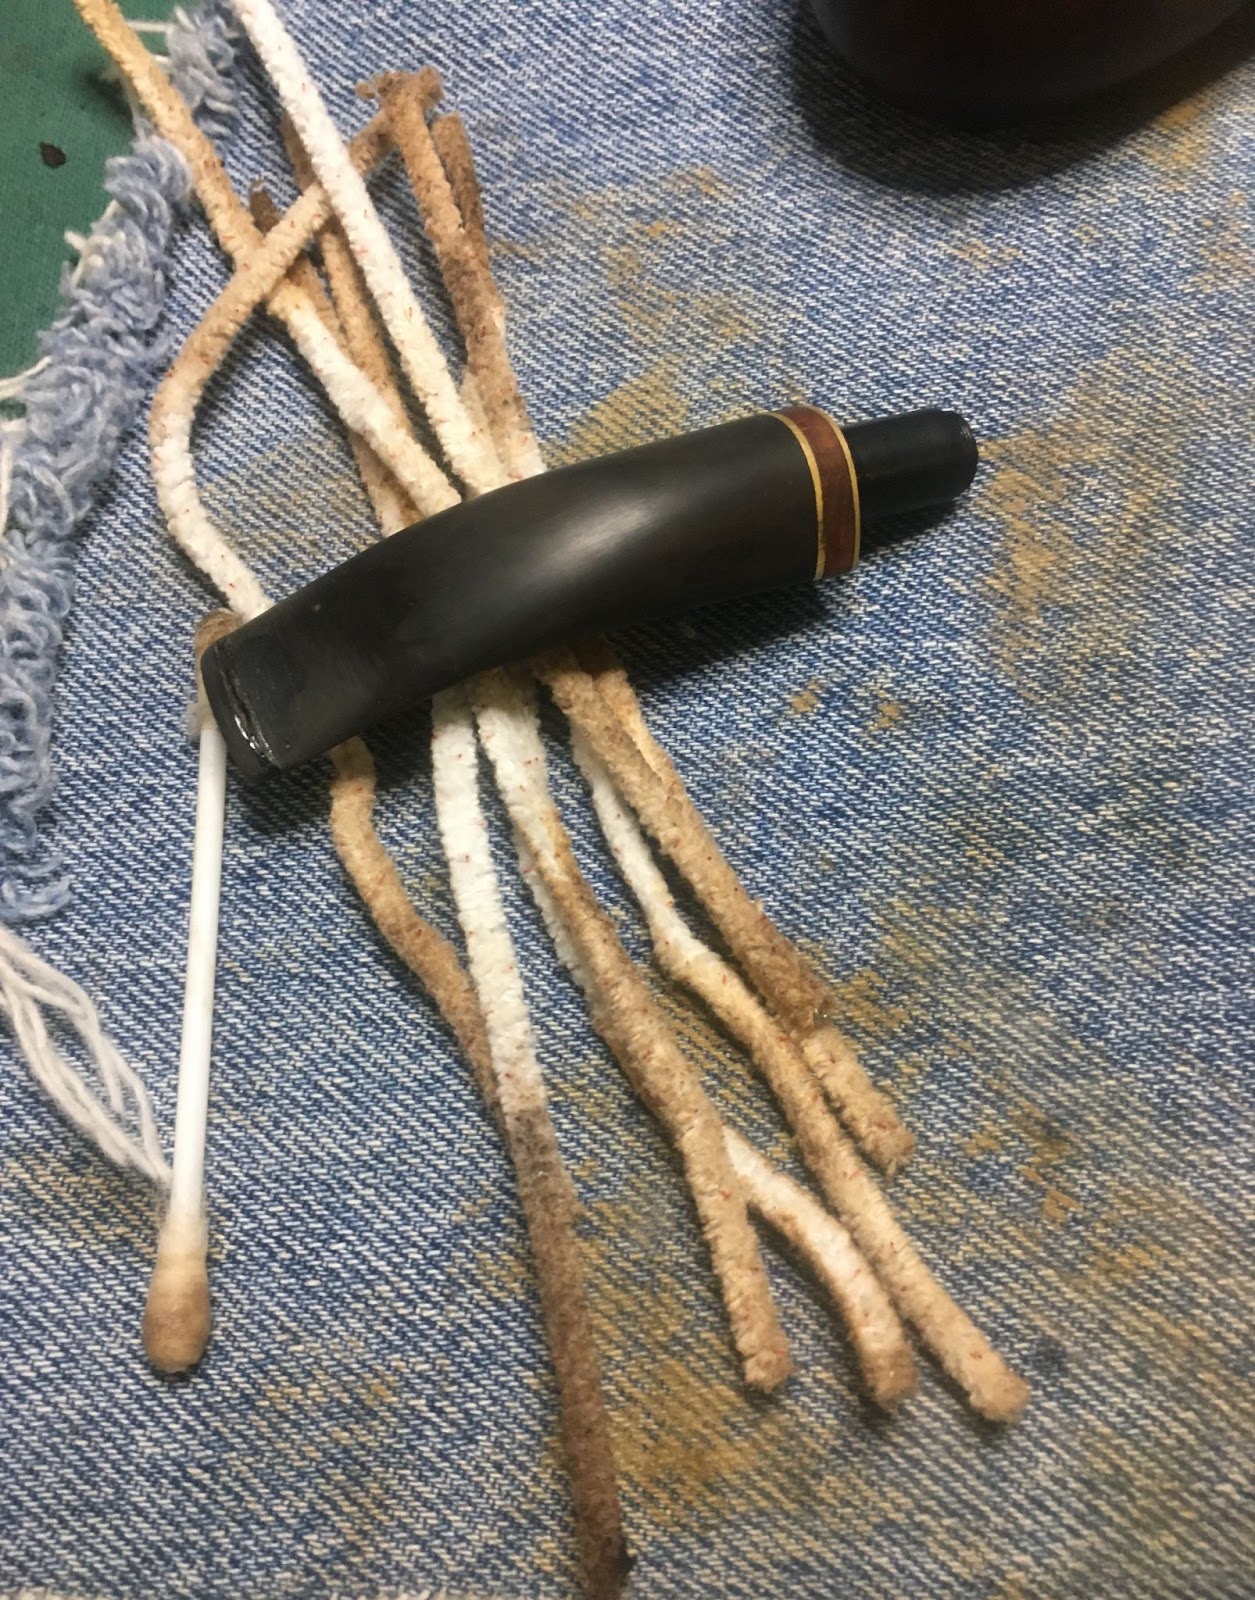
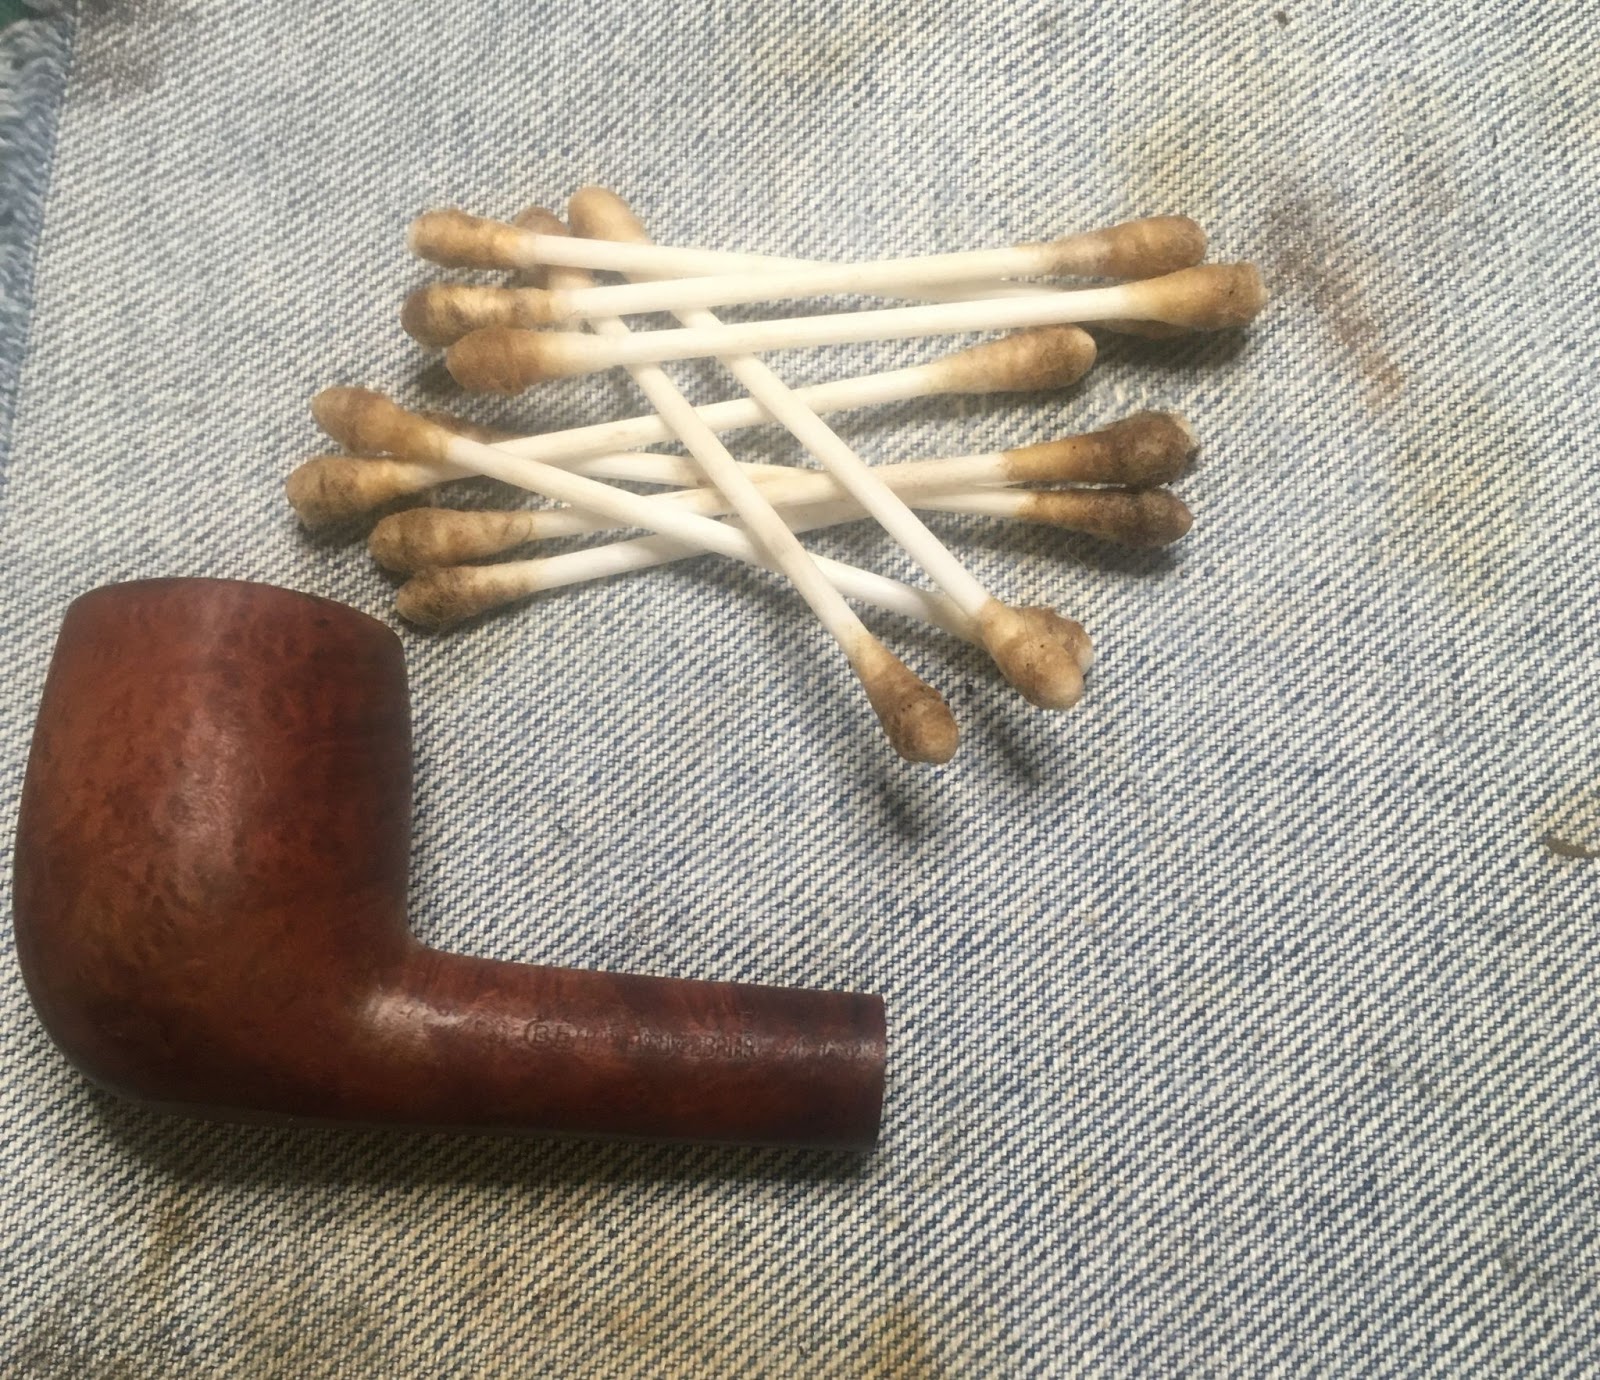
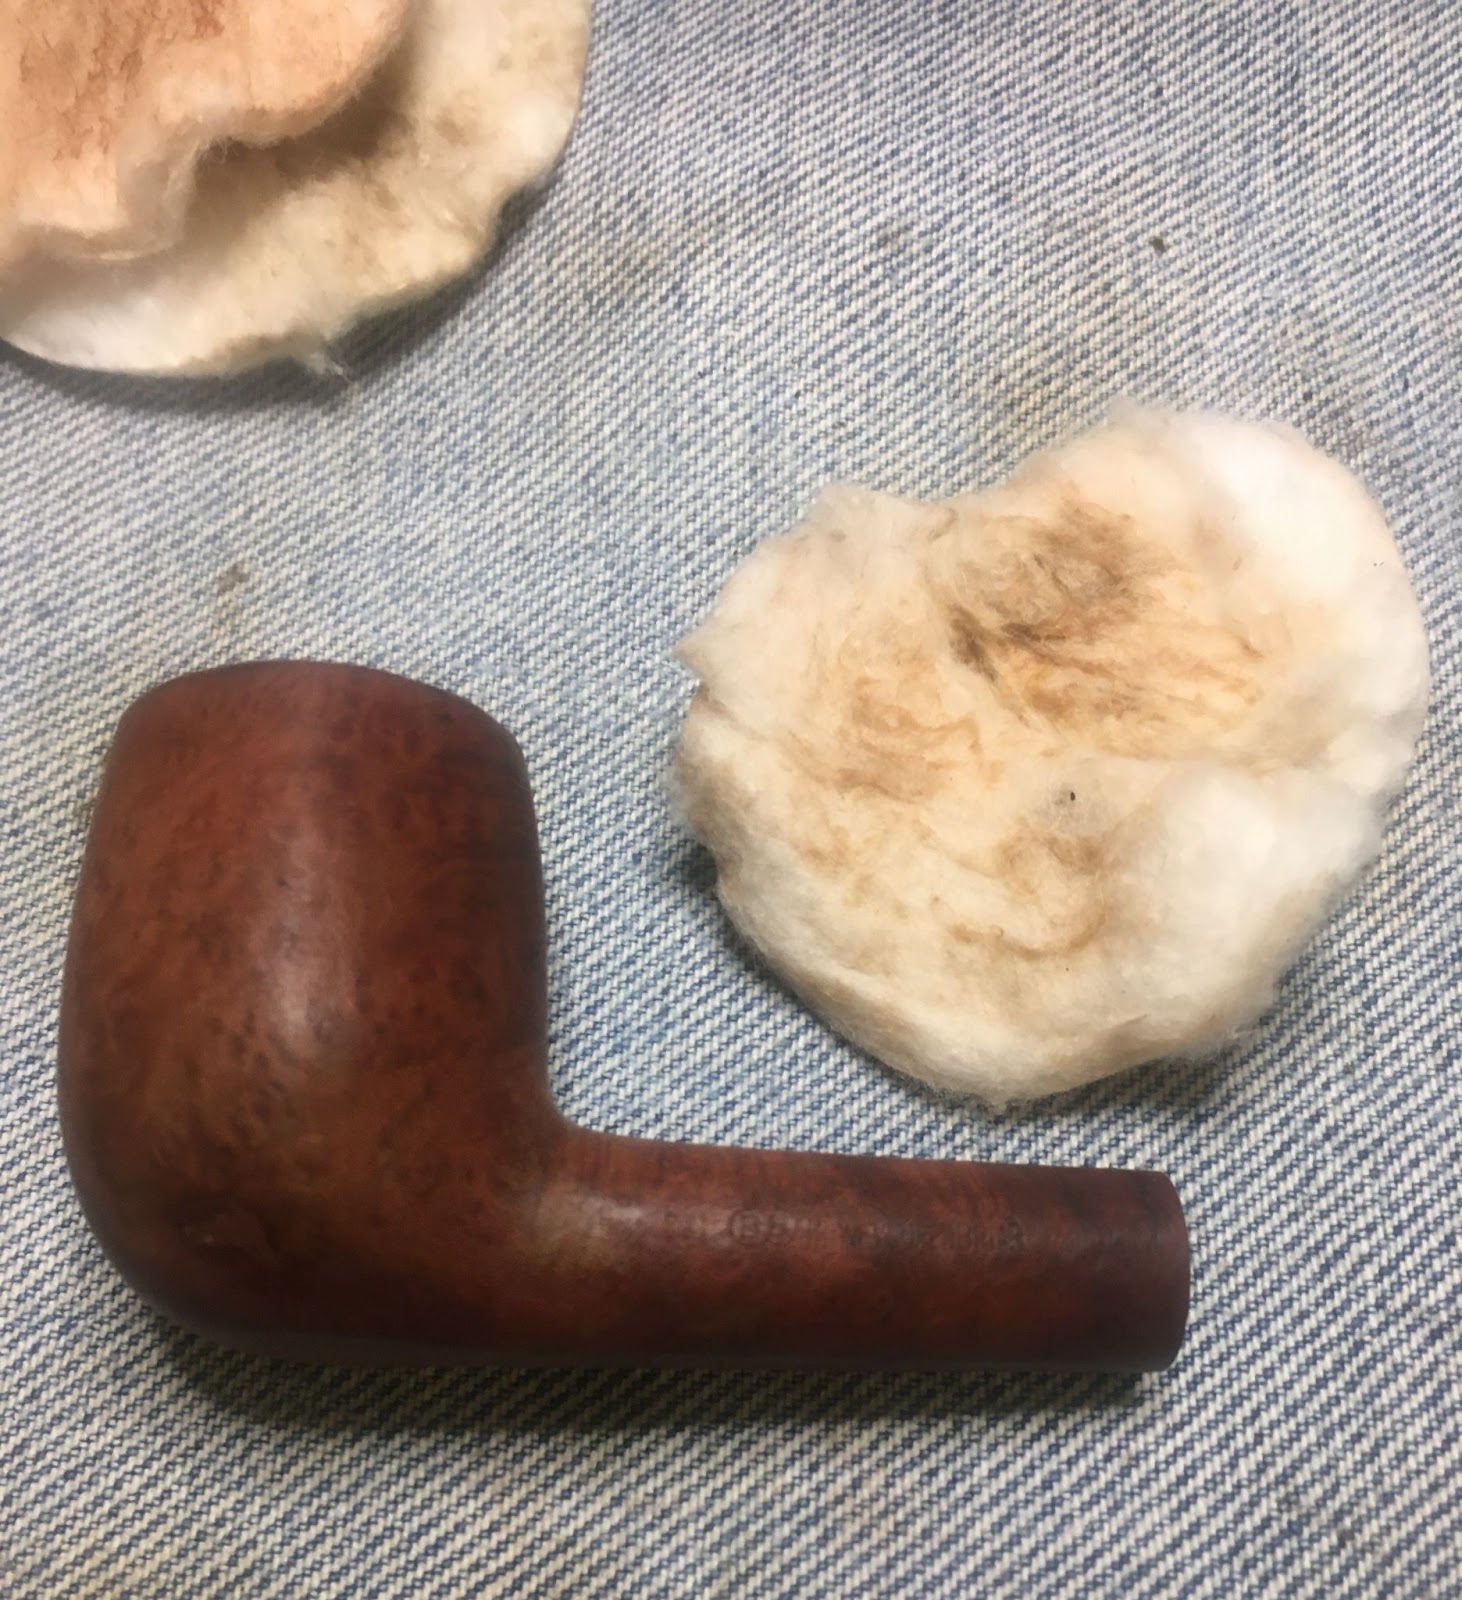
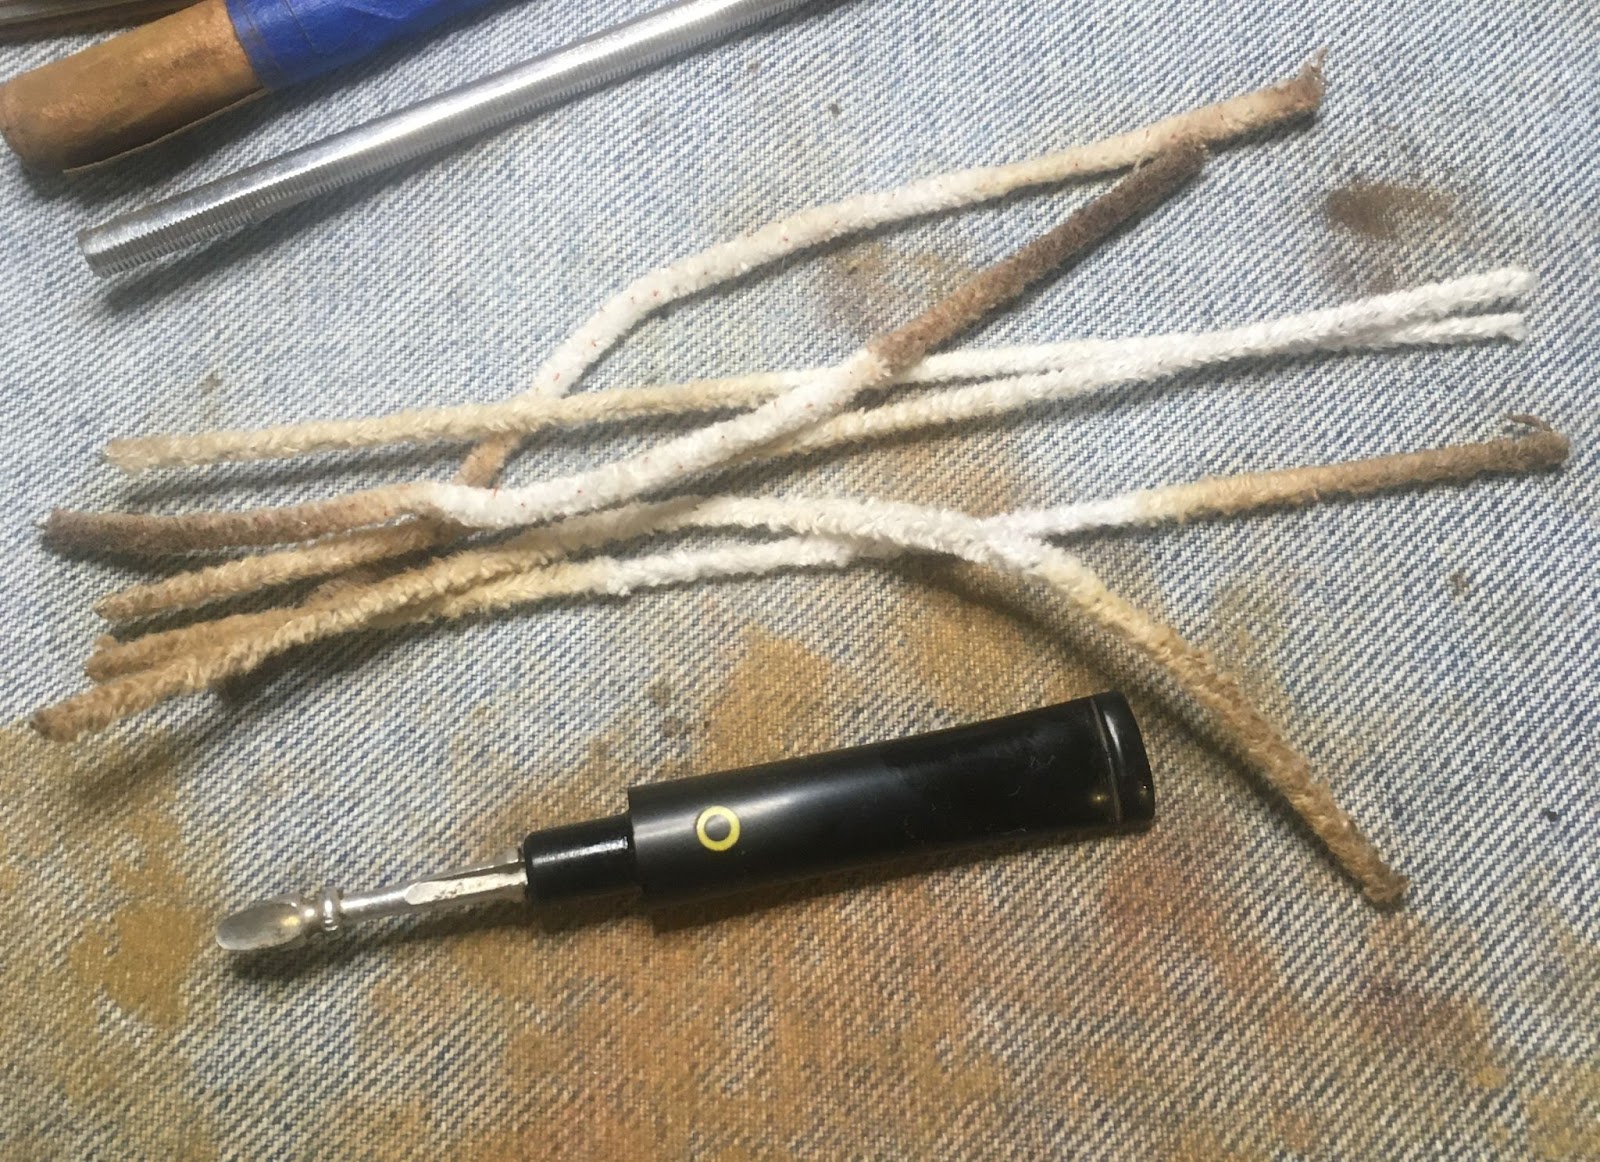
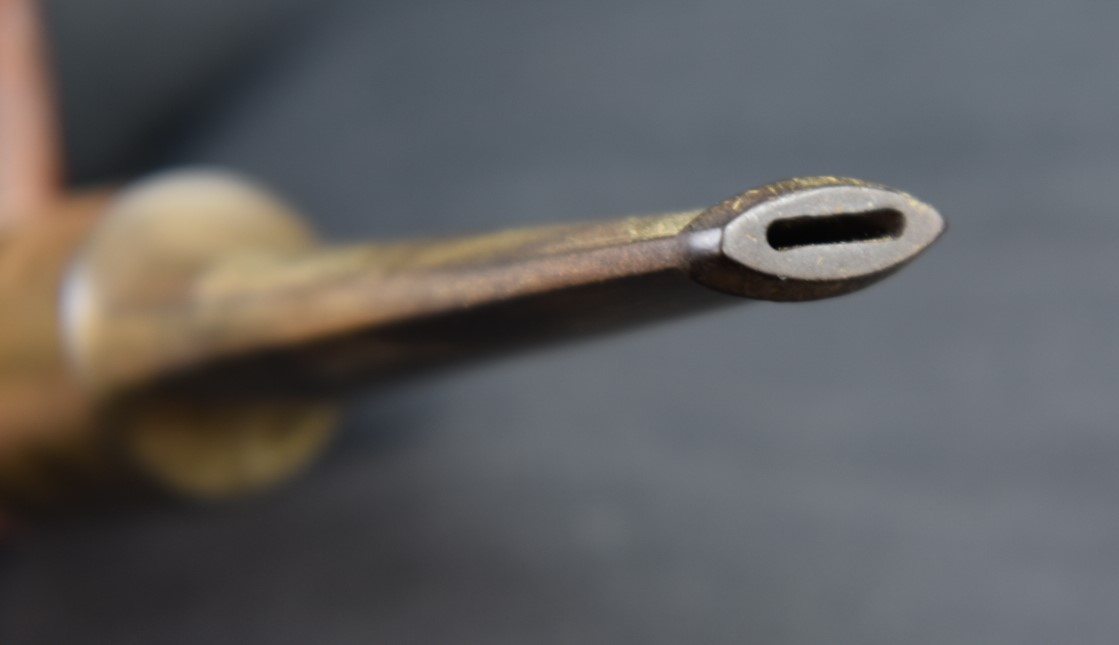
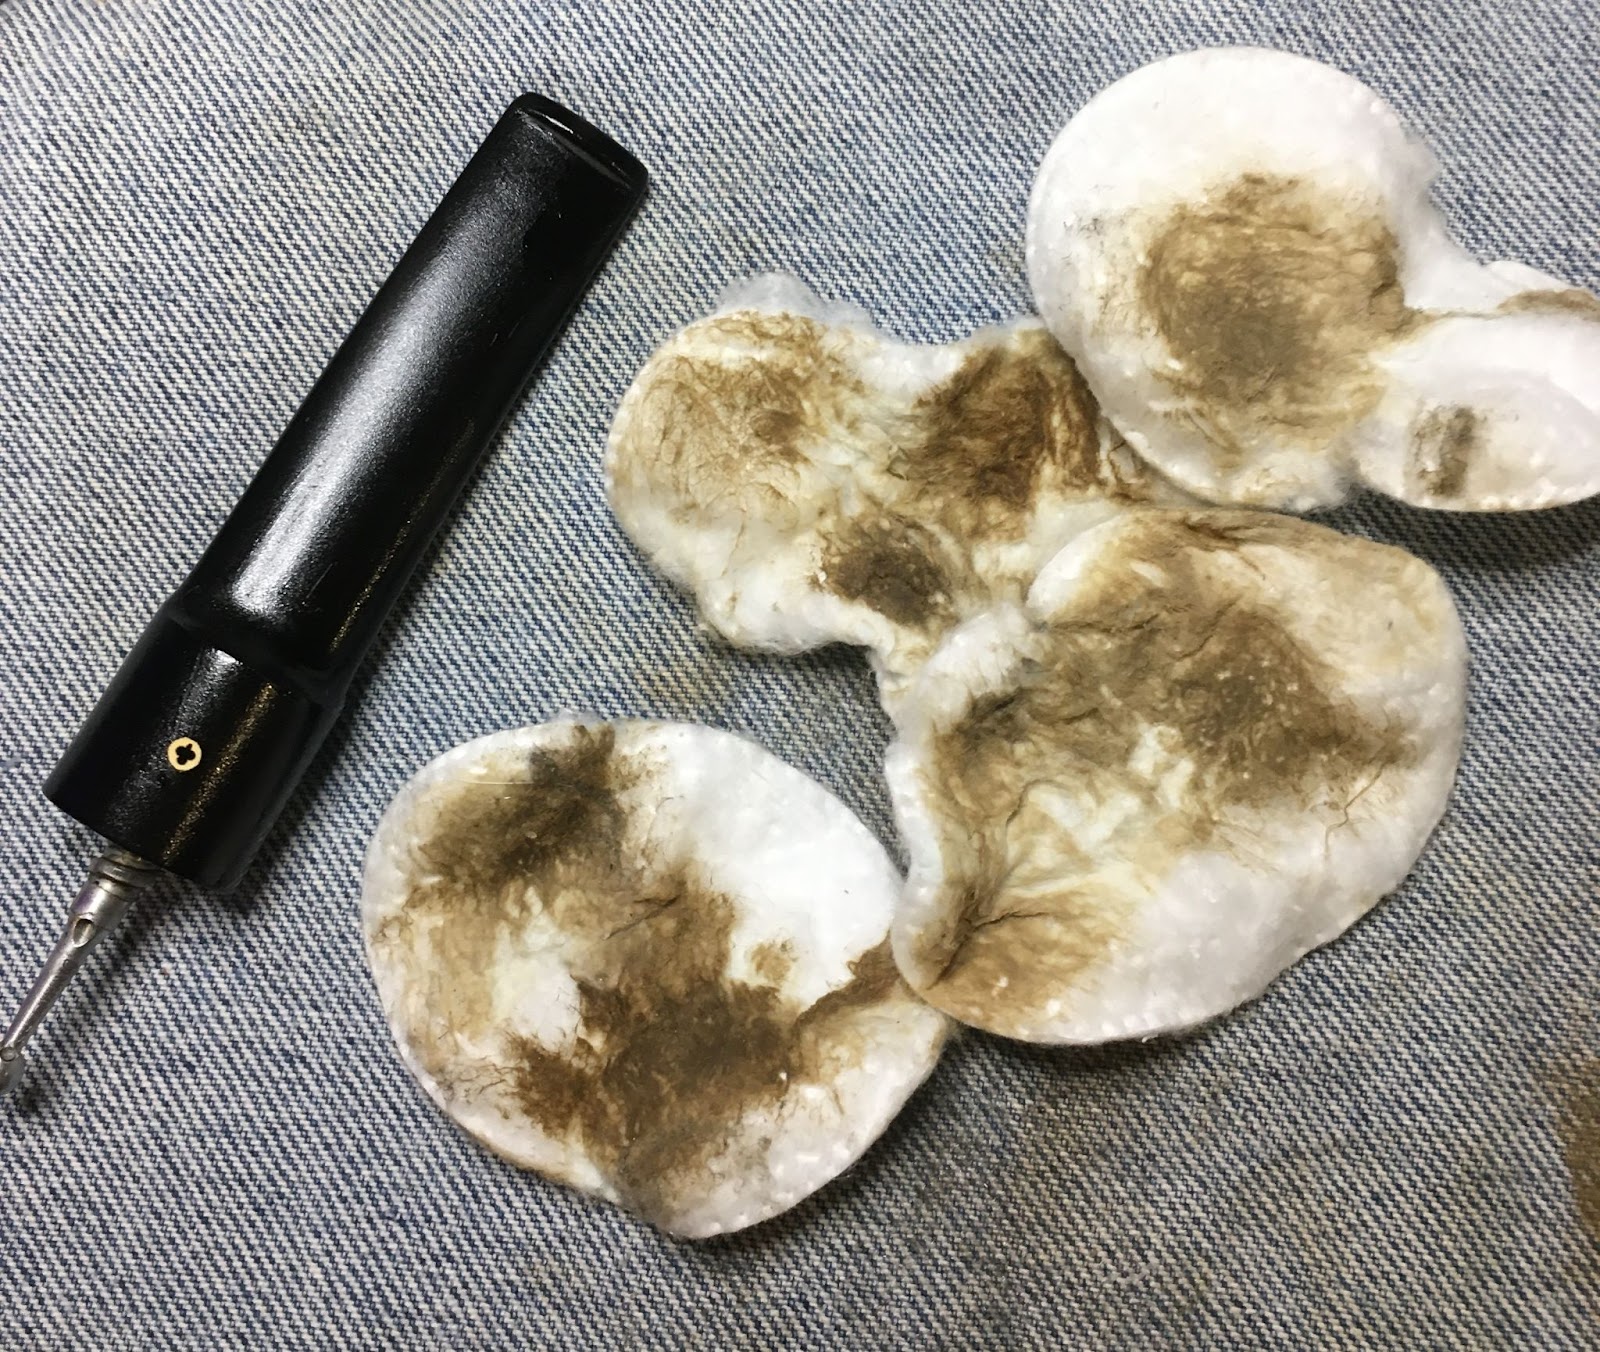
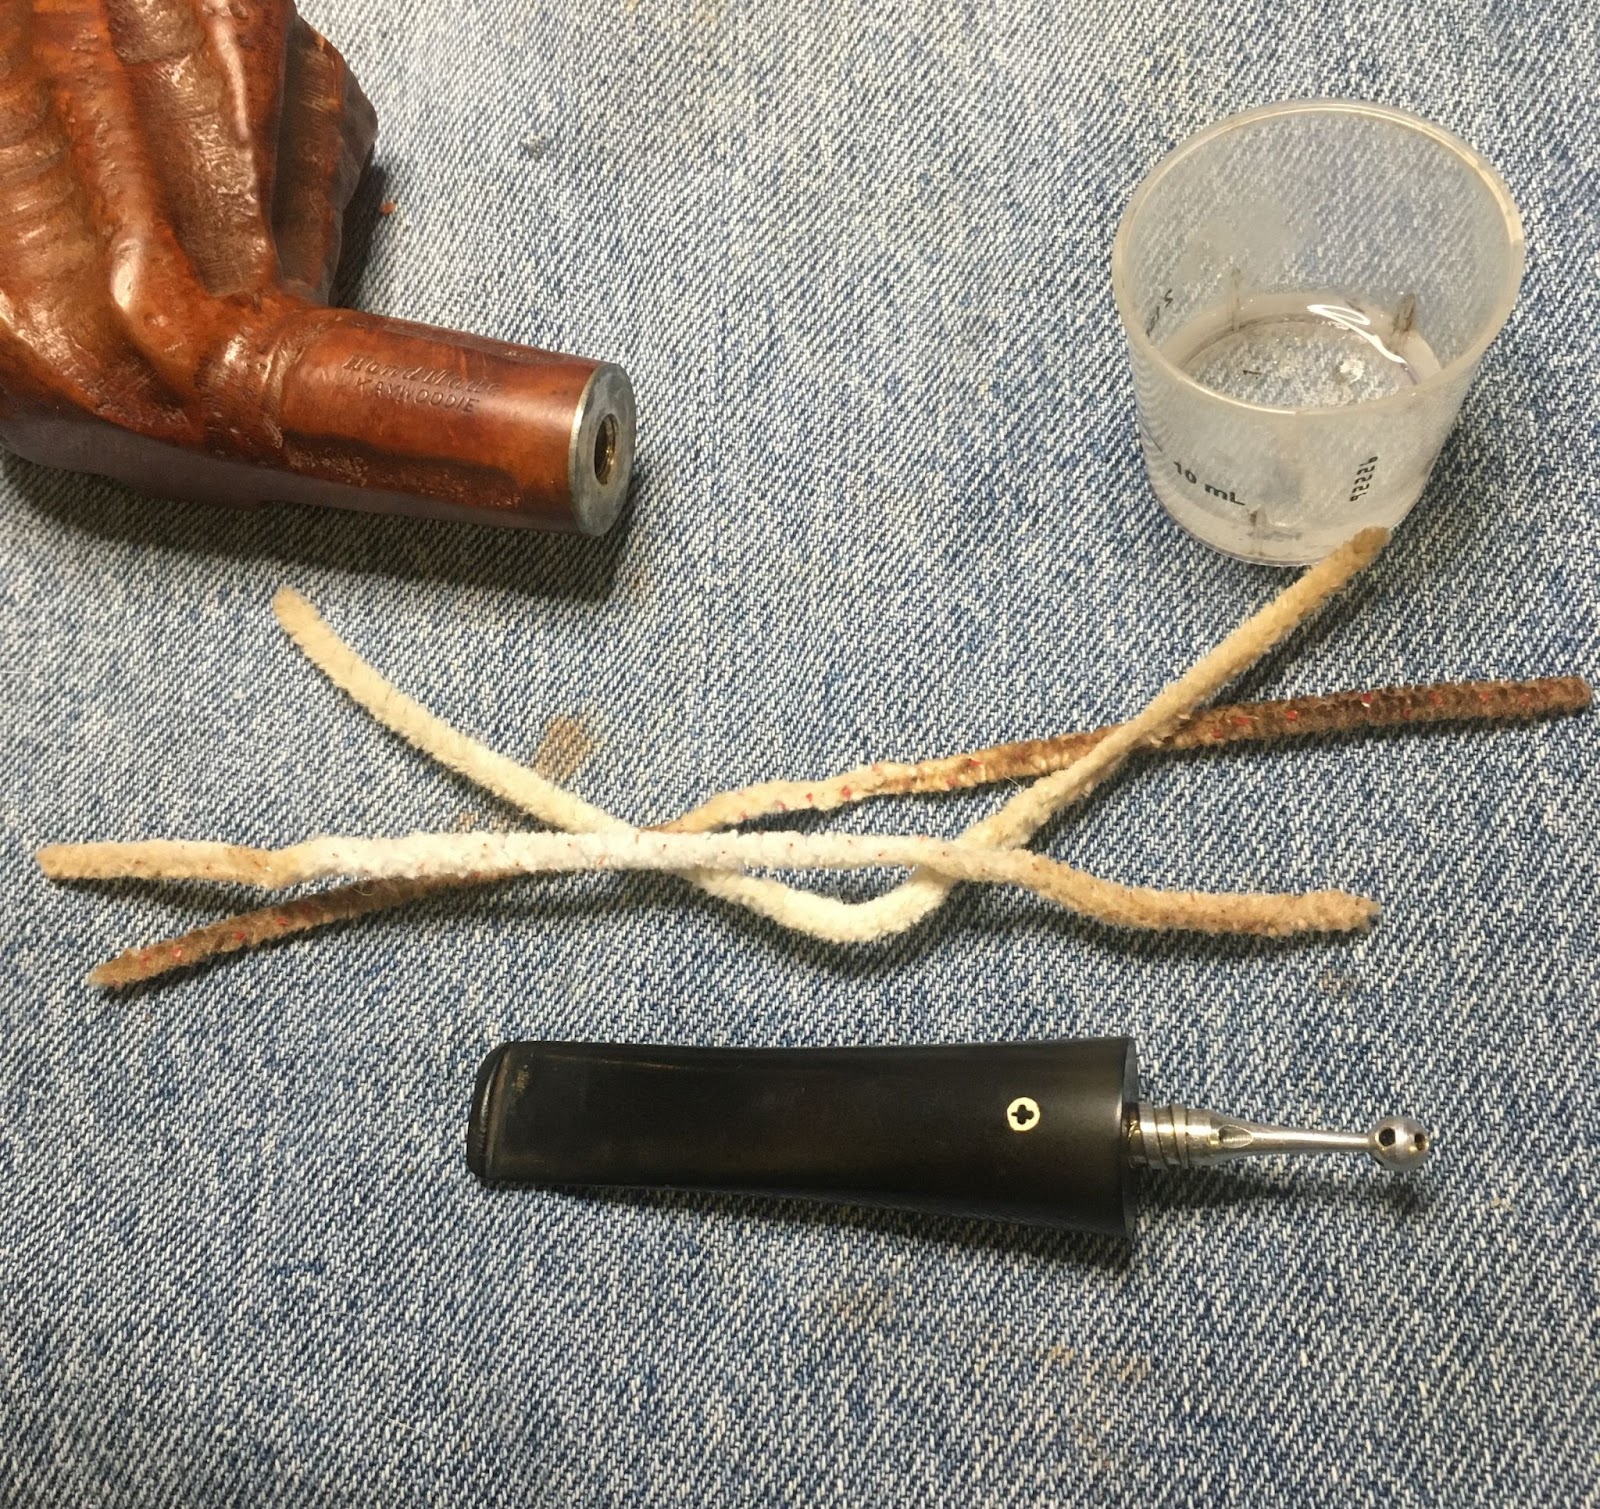
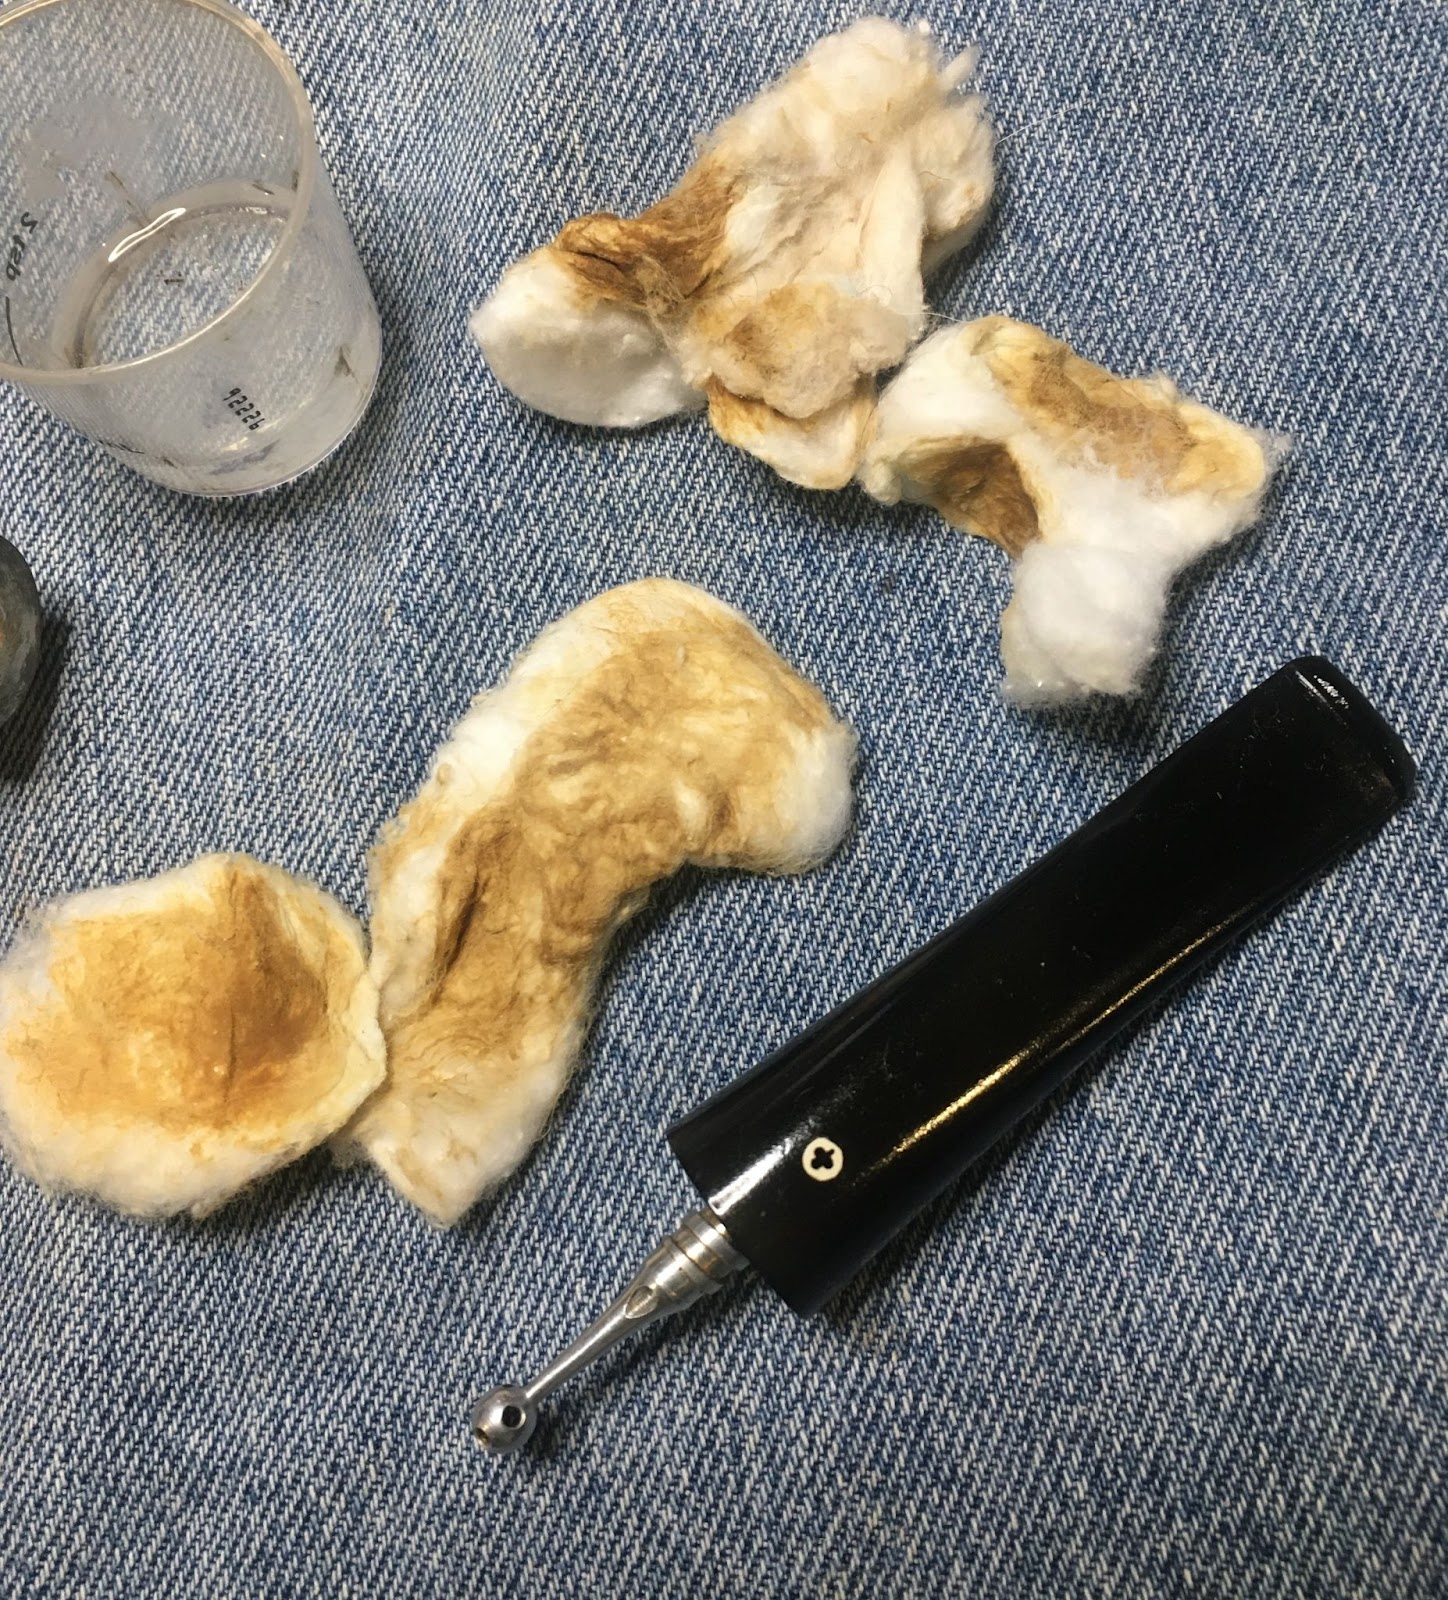
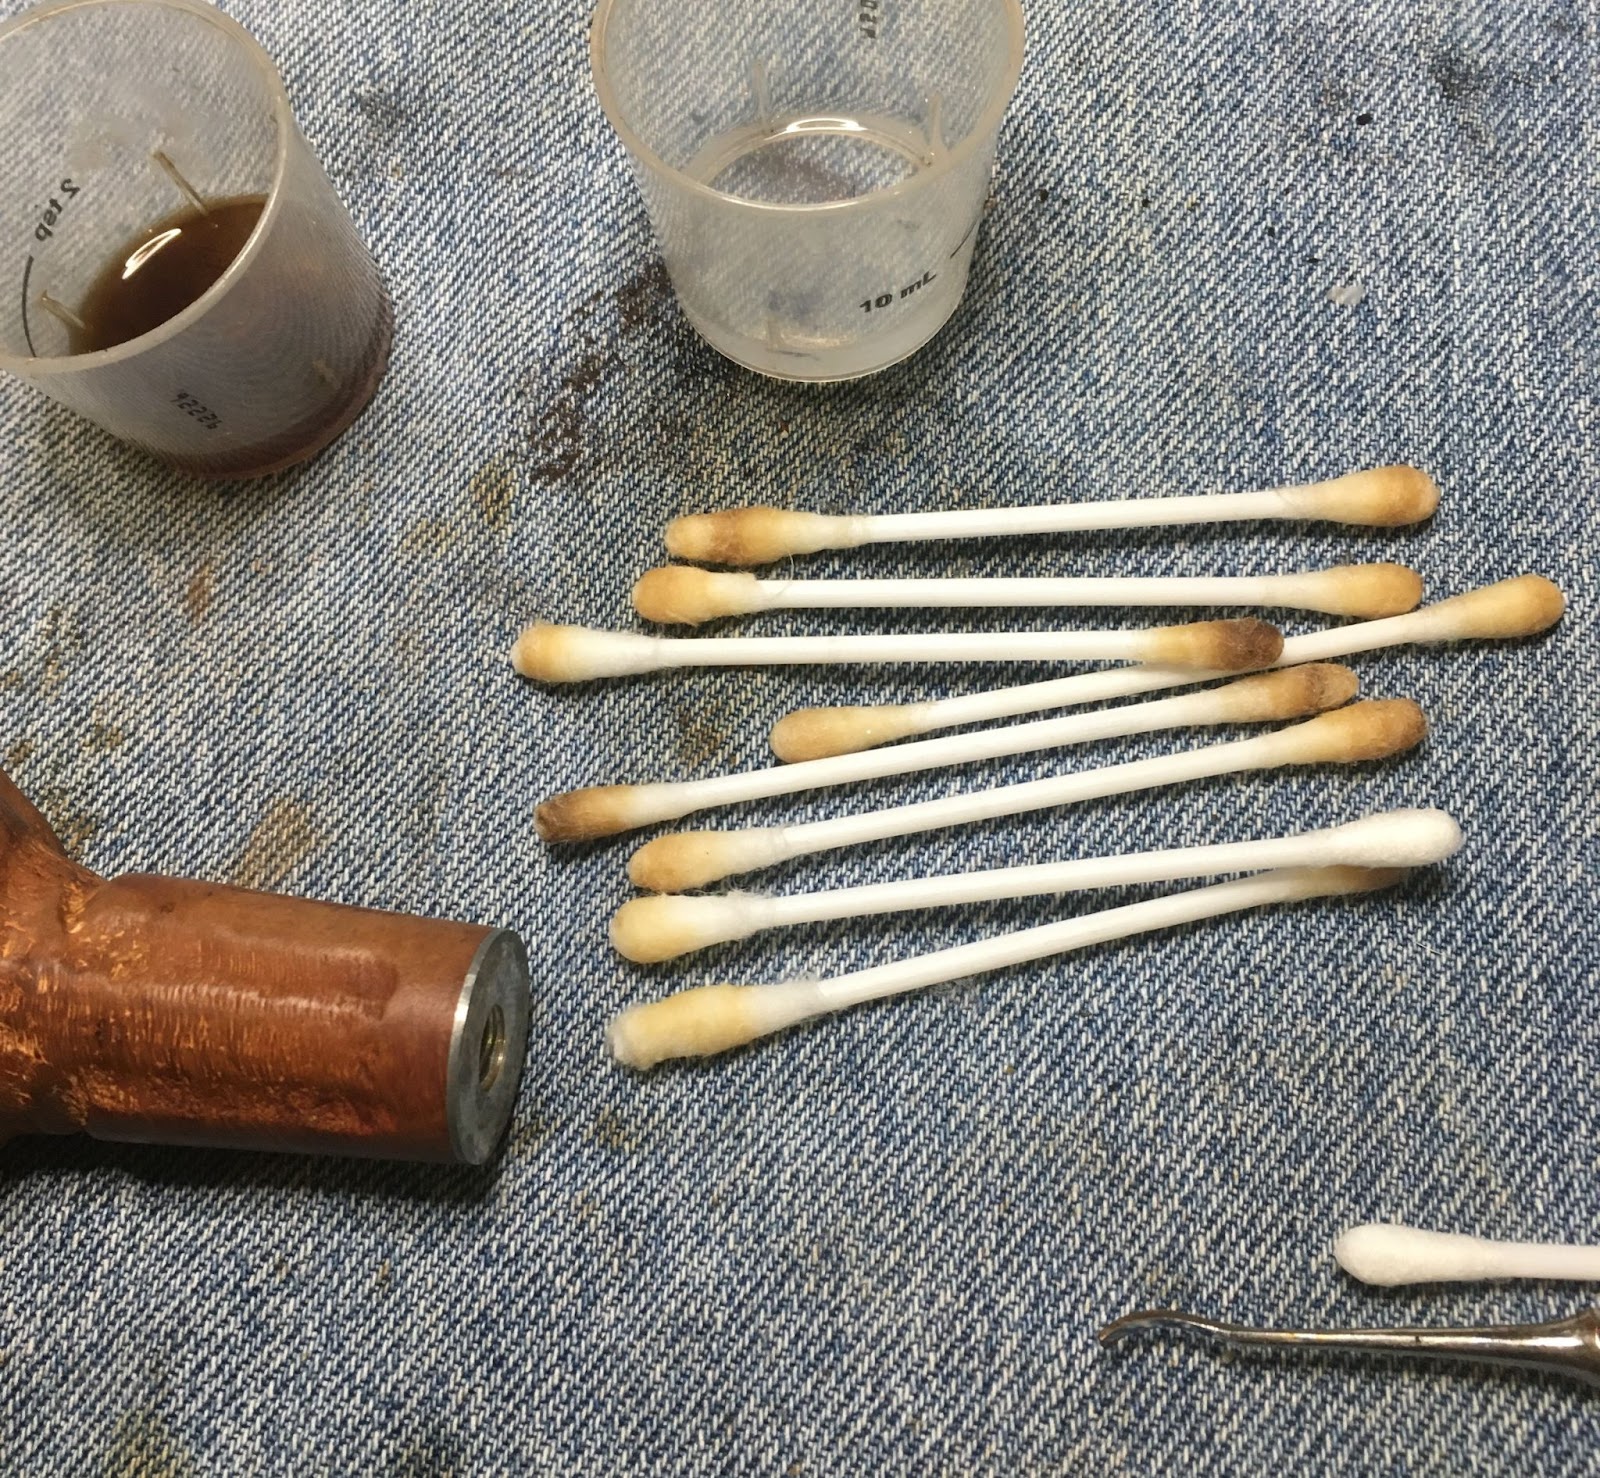
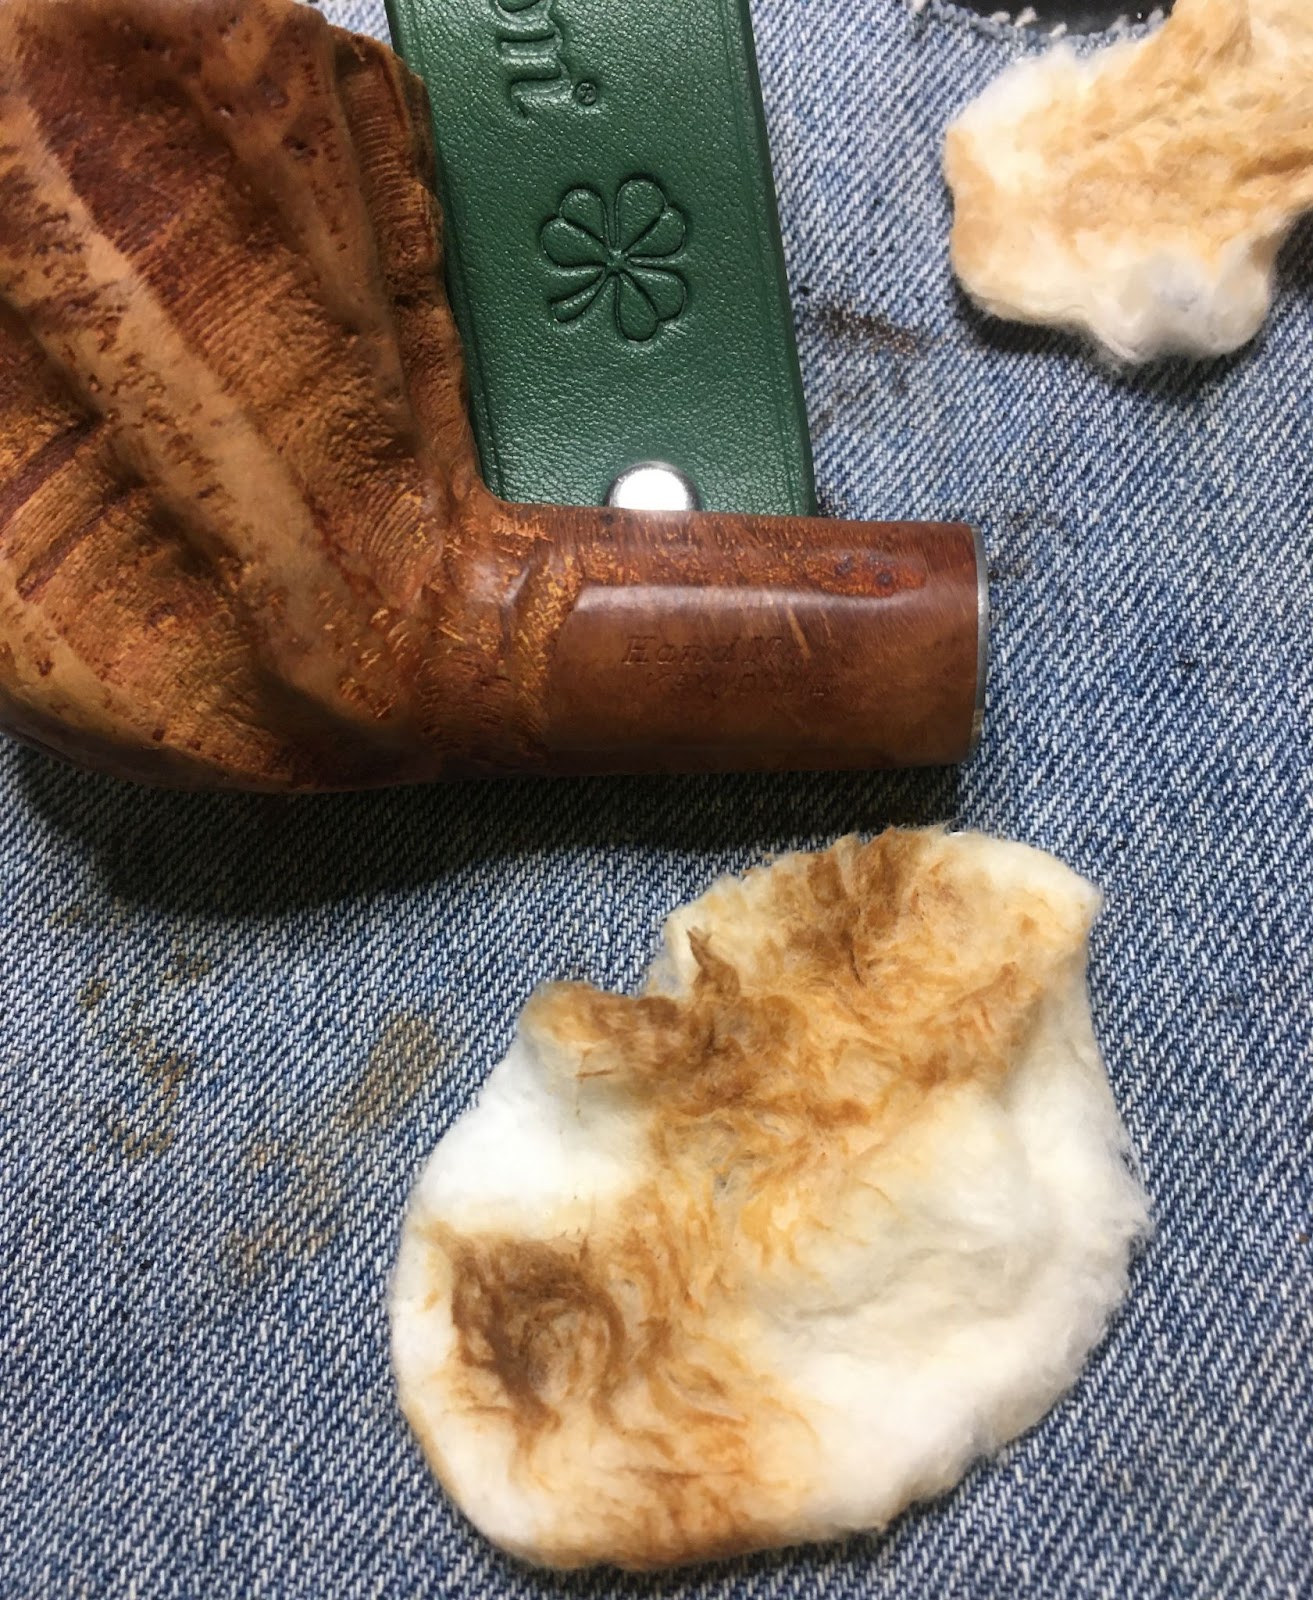
Next the interior of the stem was cleaned using 95% ethyl alcohol, bristle pipe cleaners and cotton swabs.

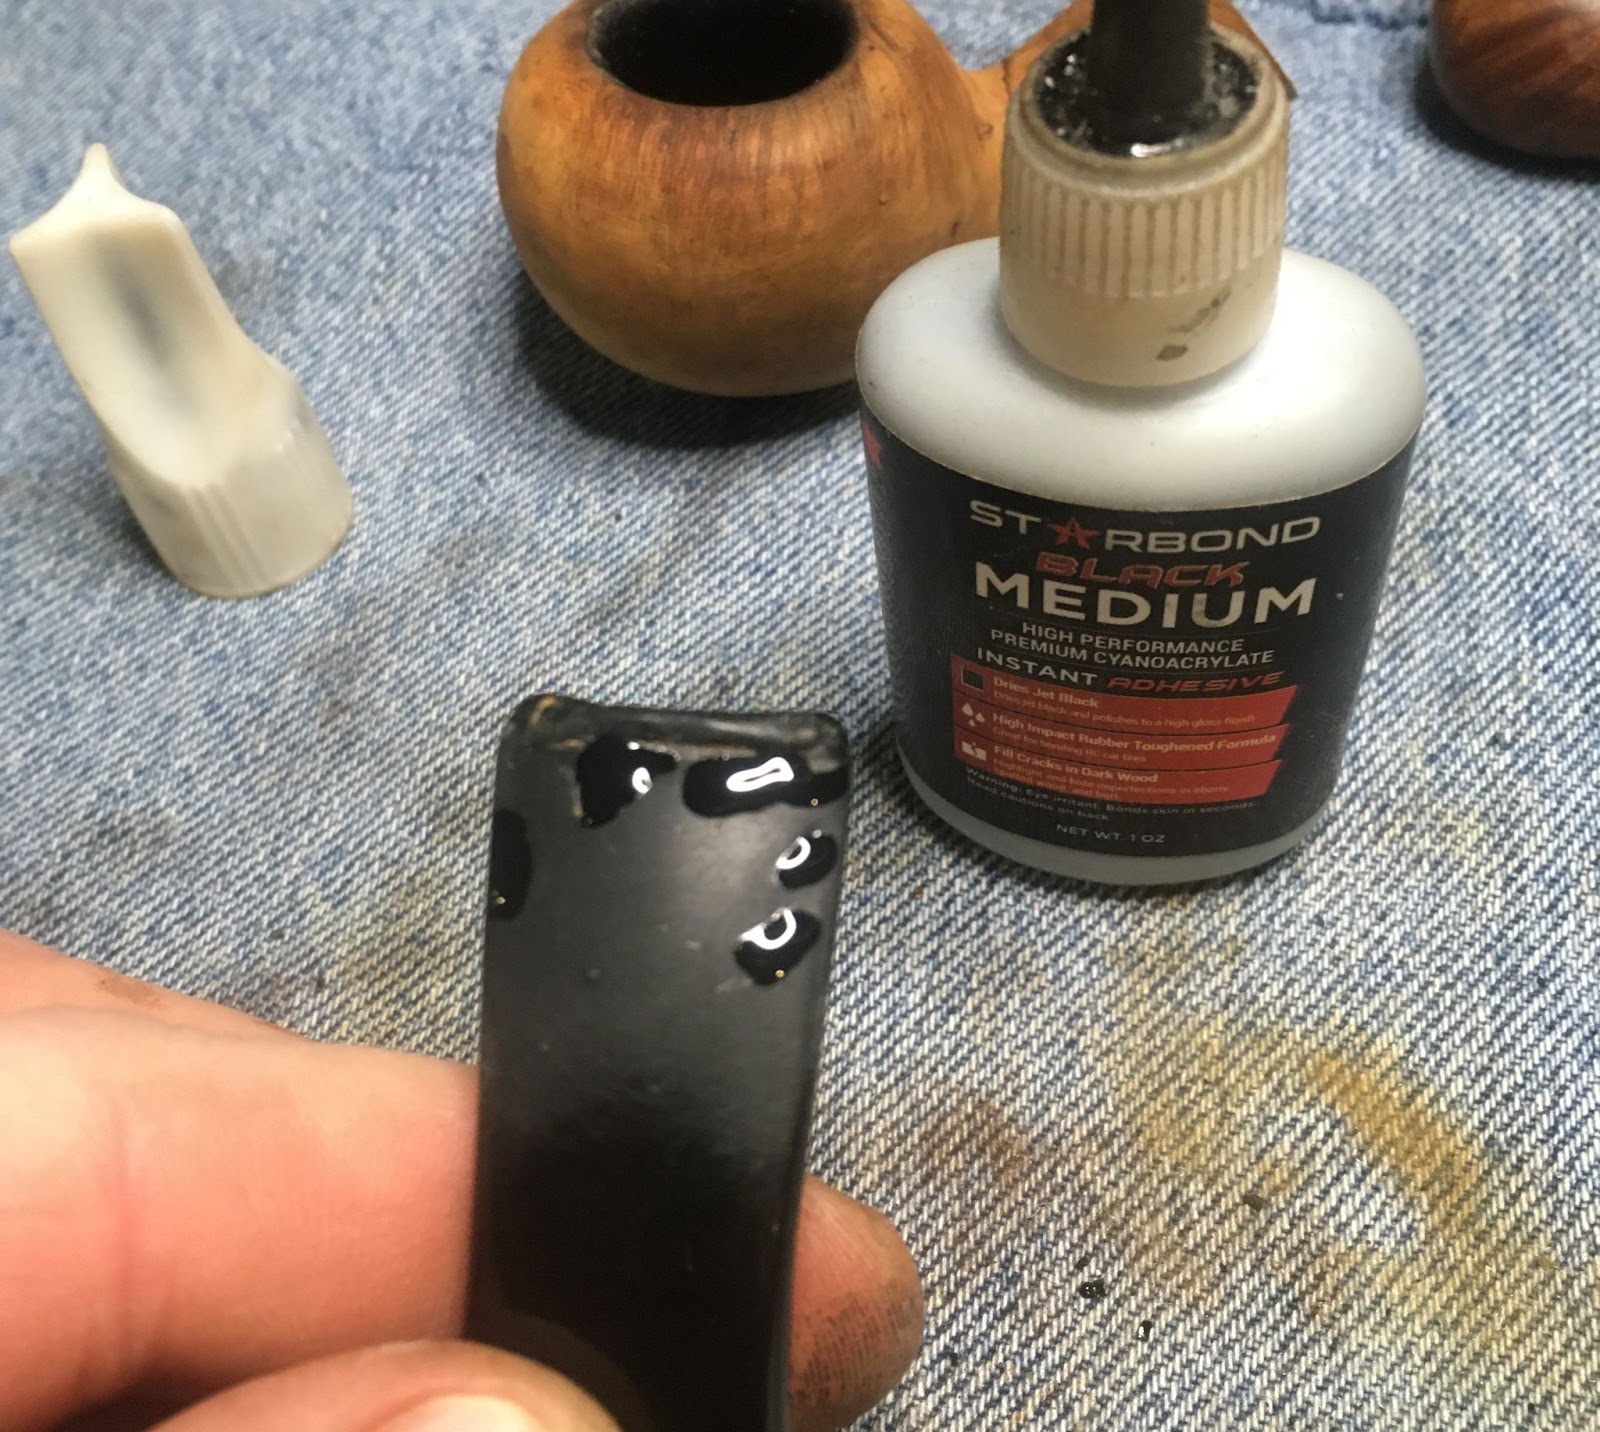
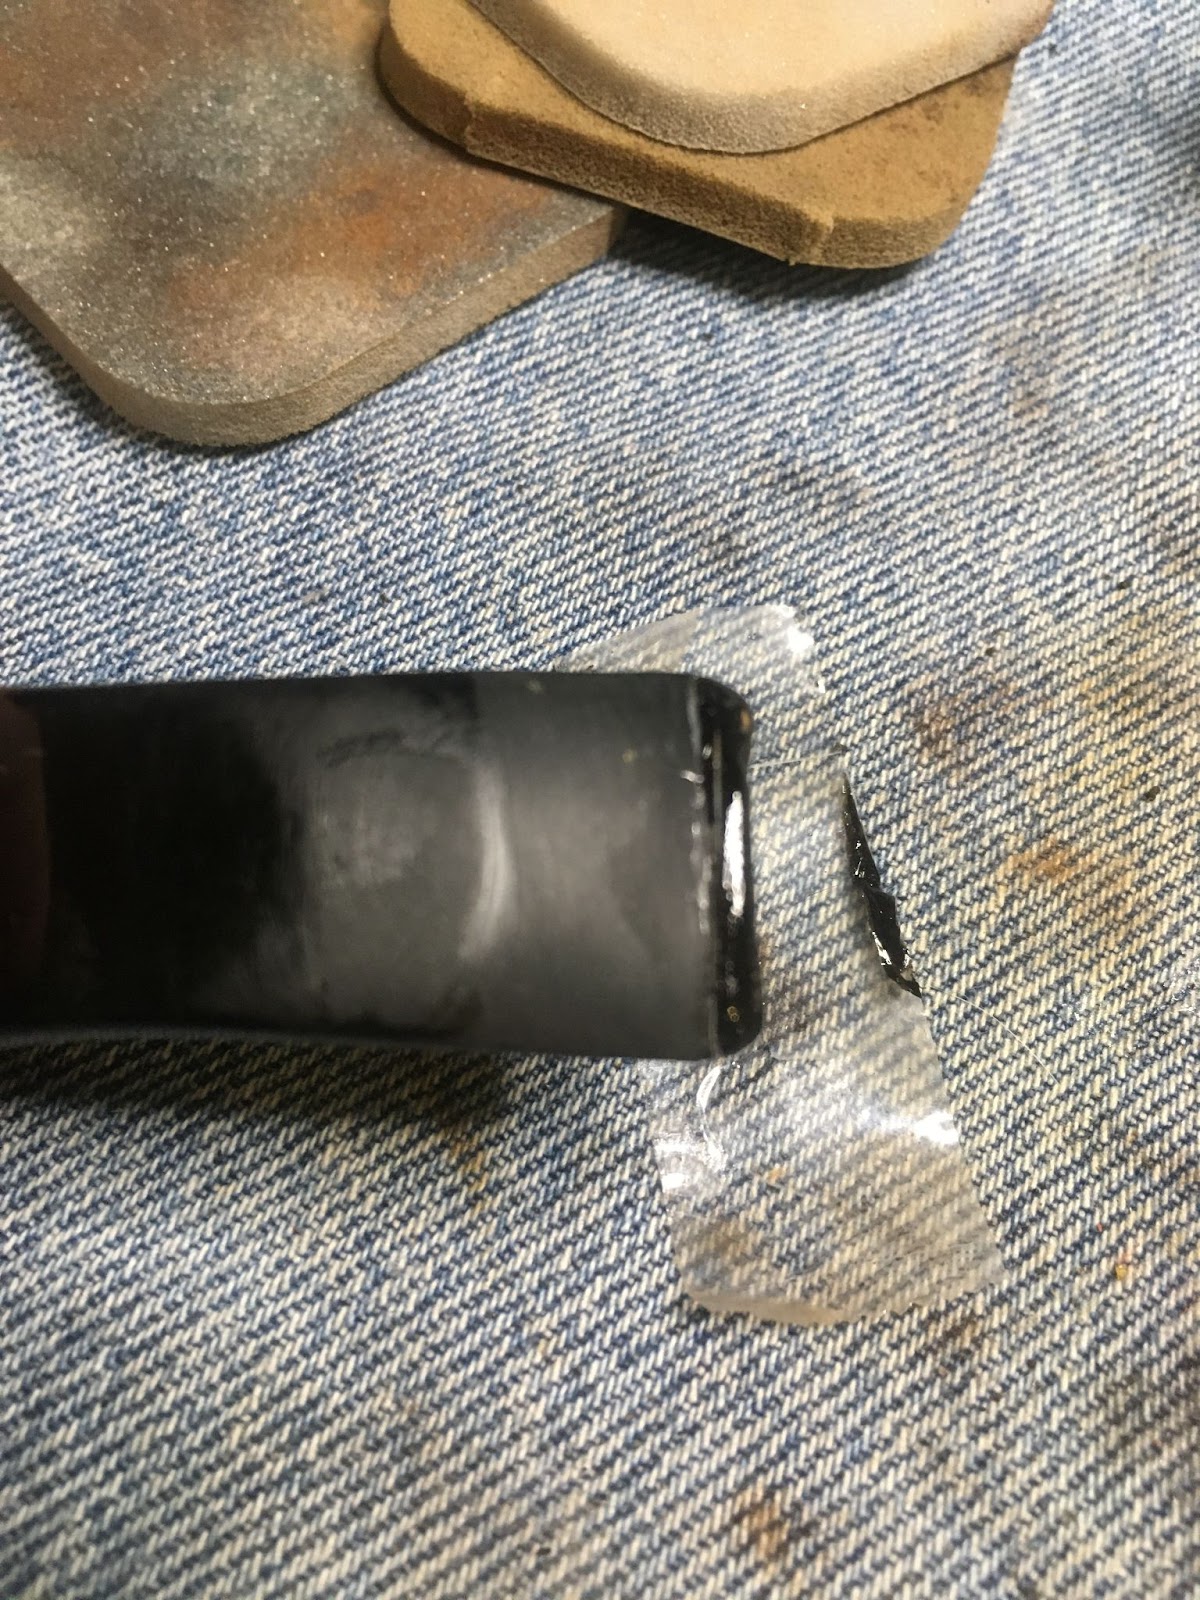
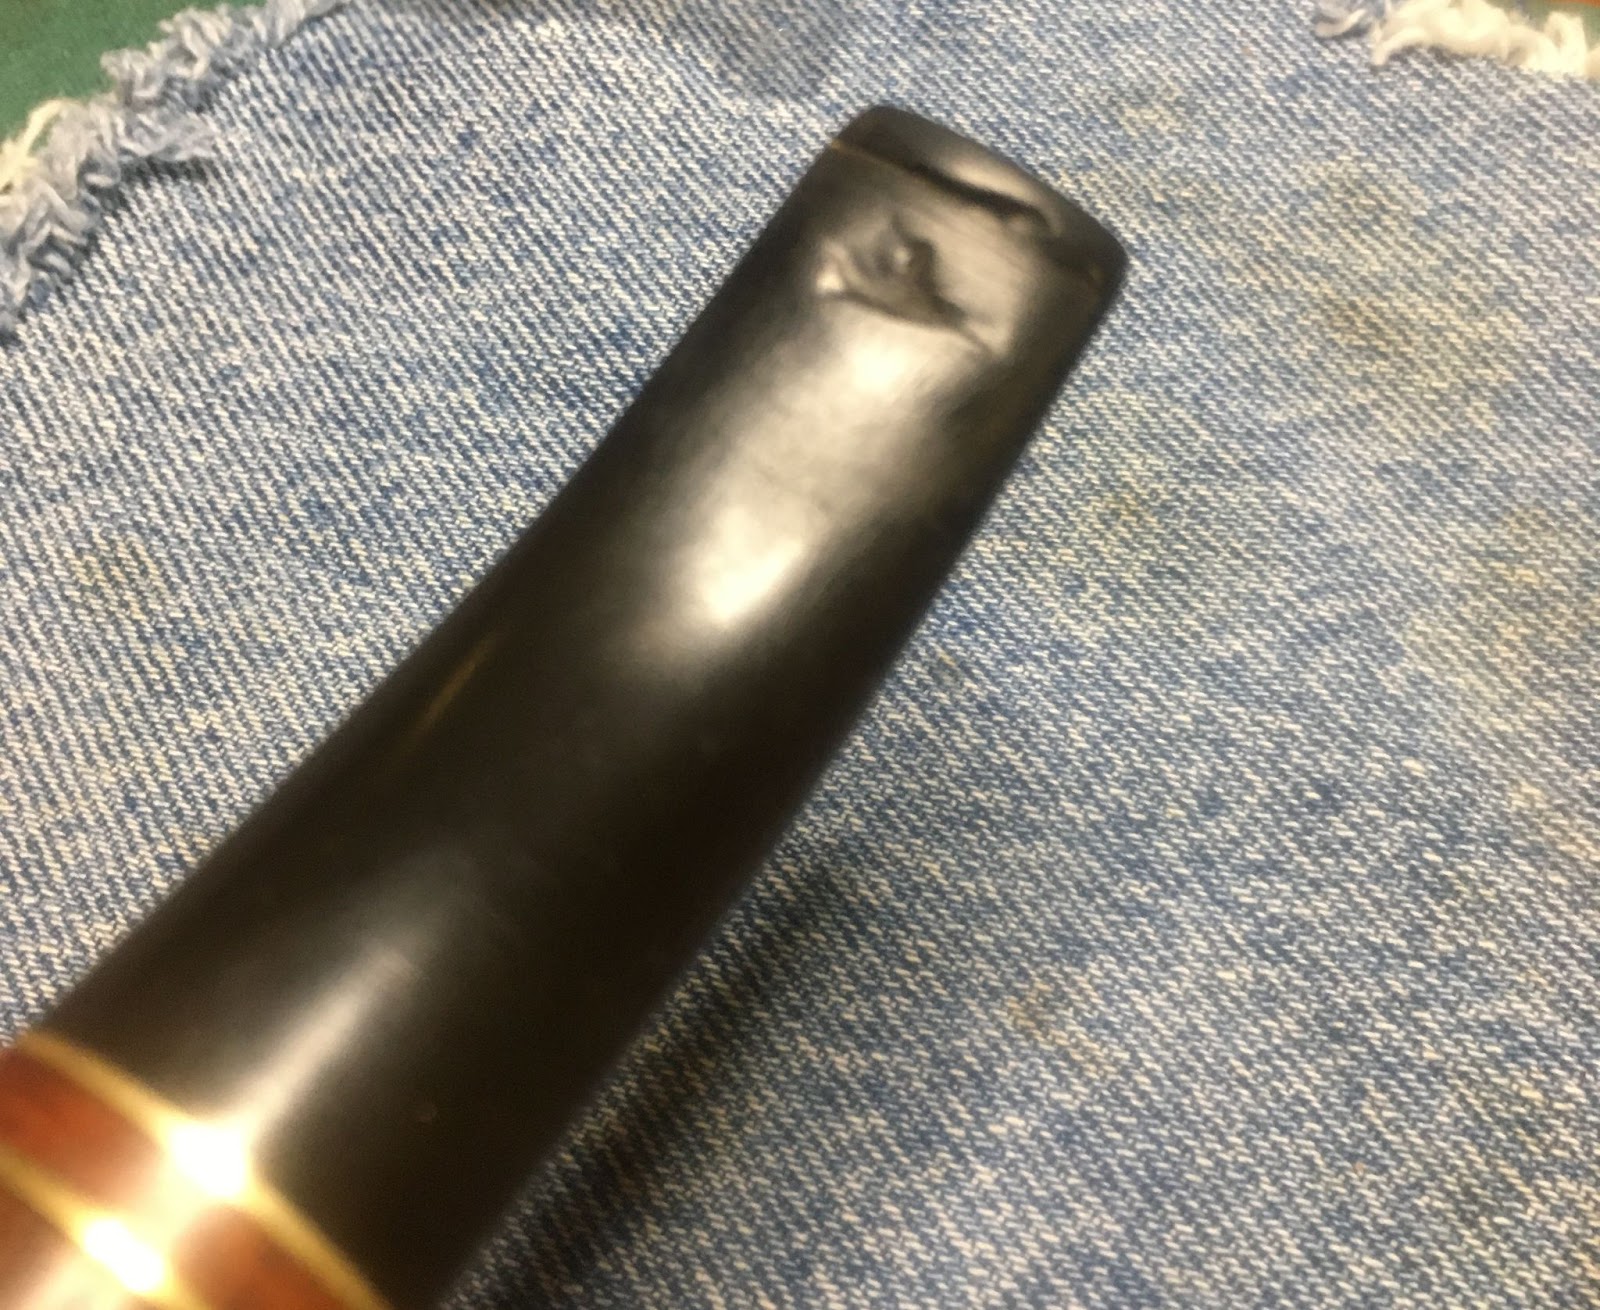
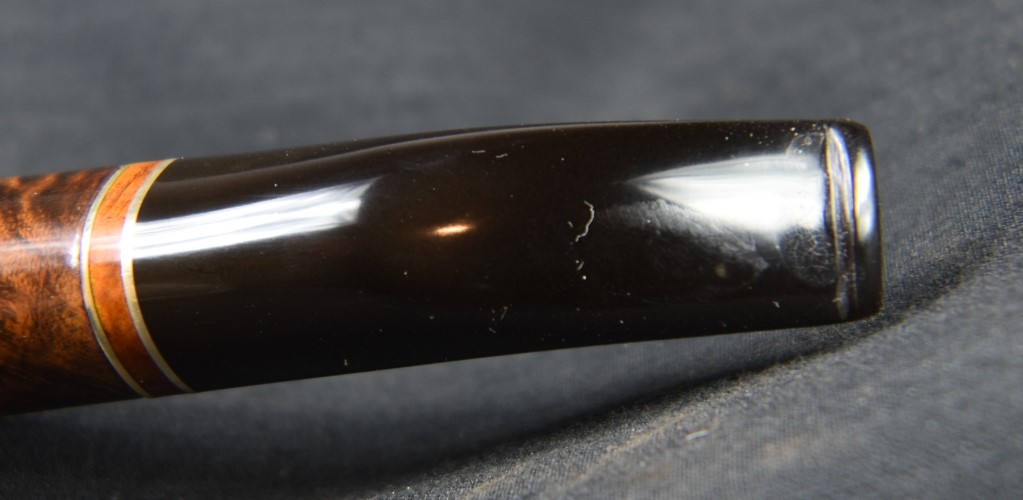
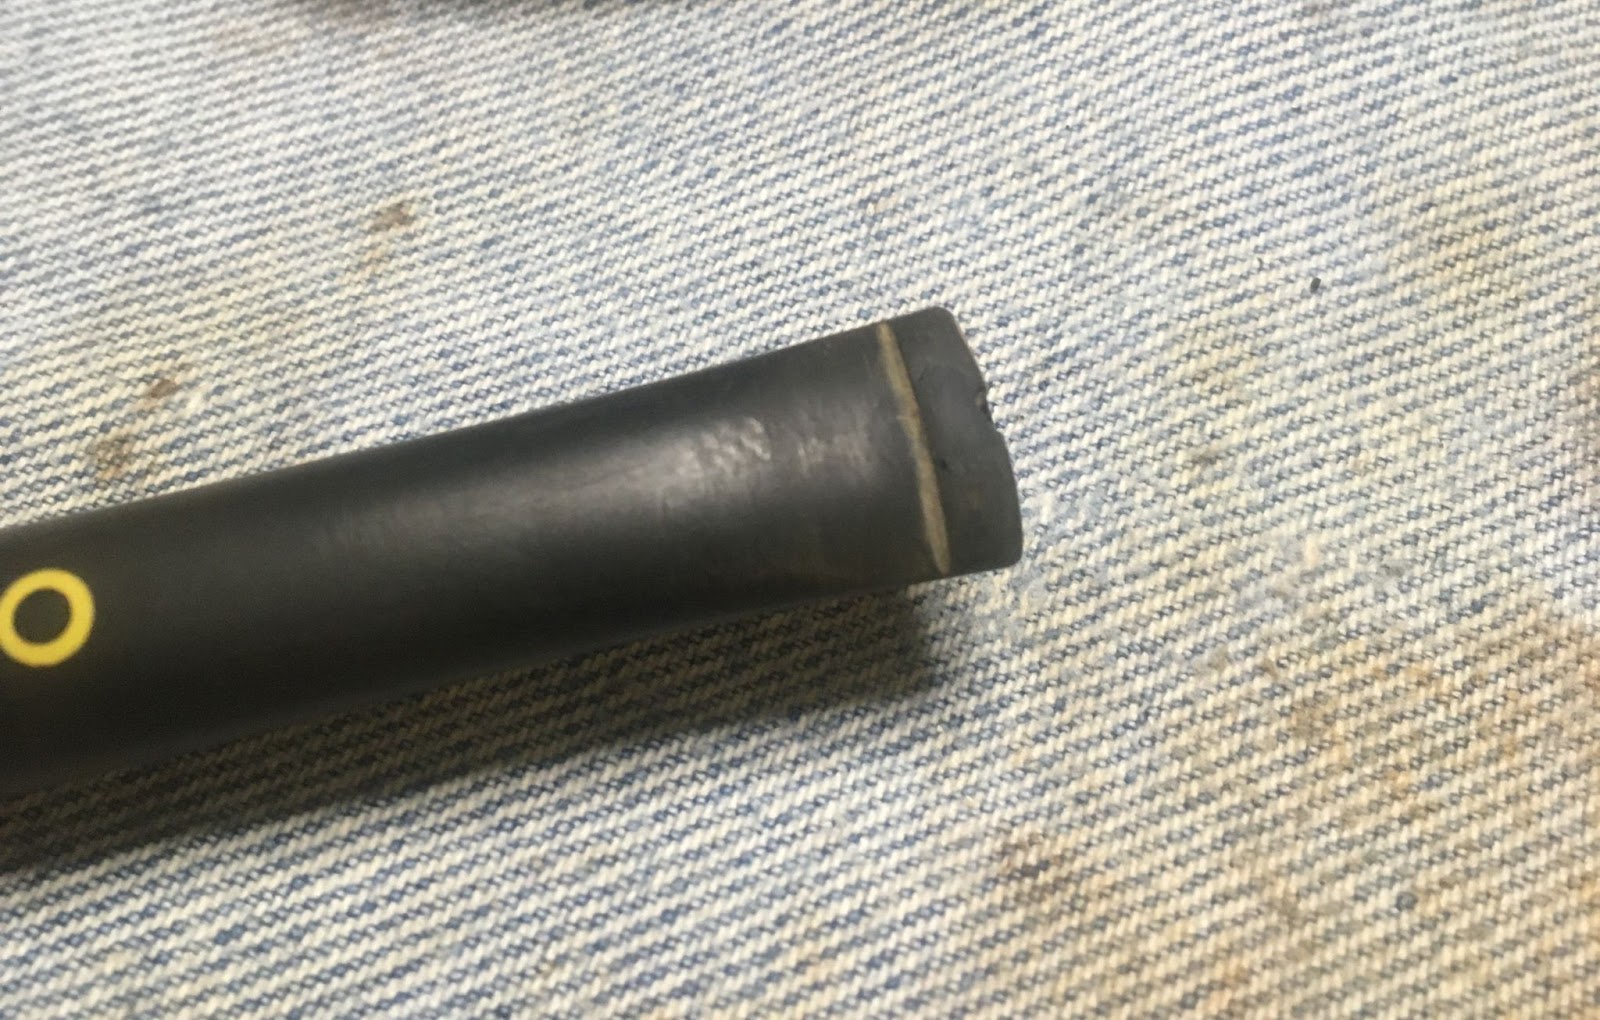
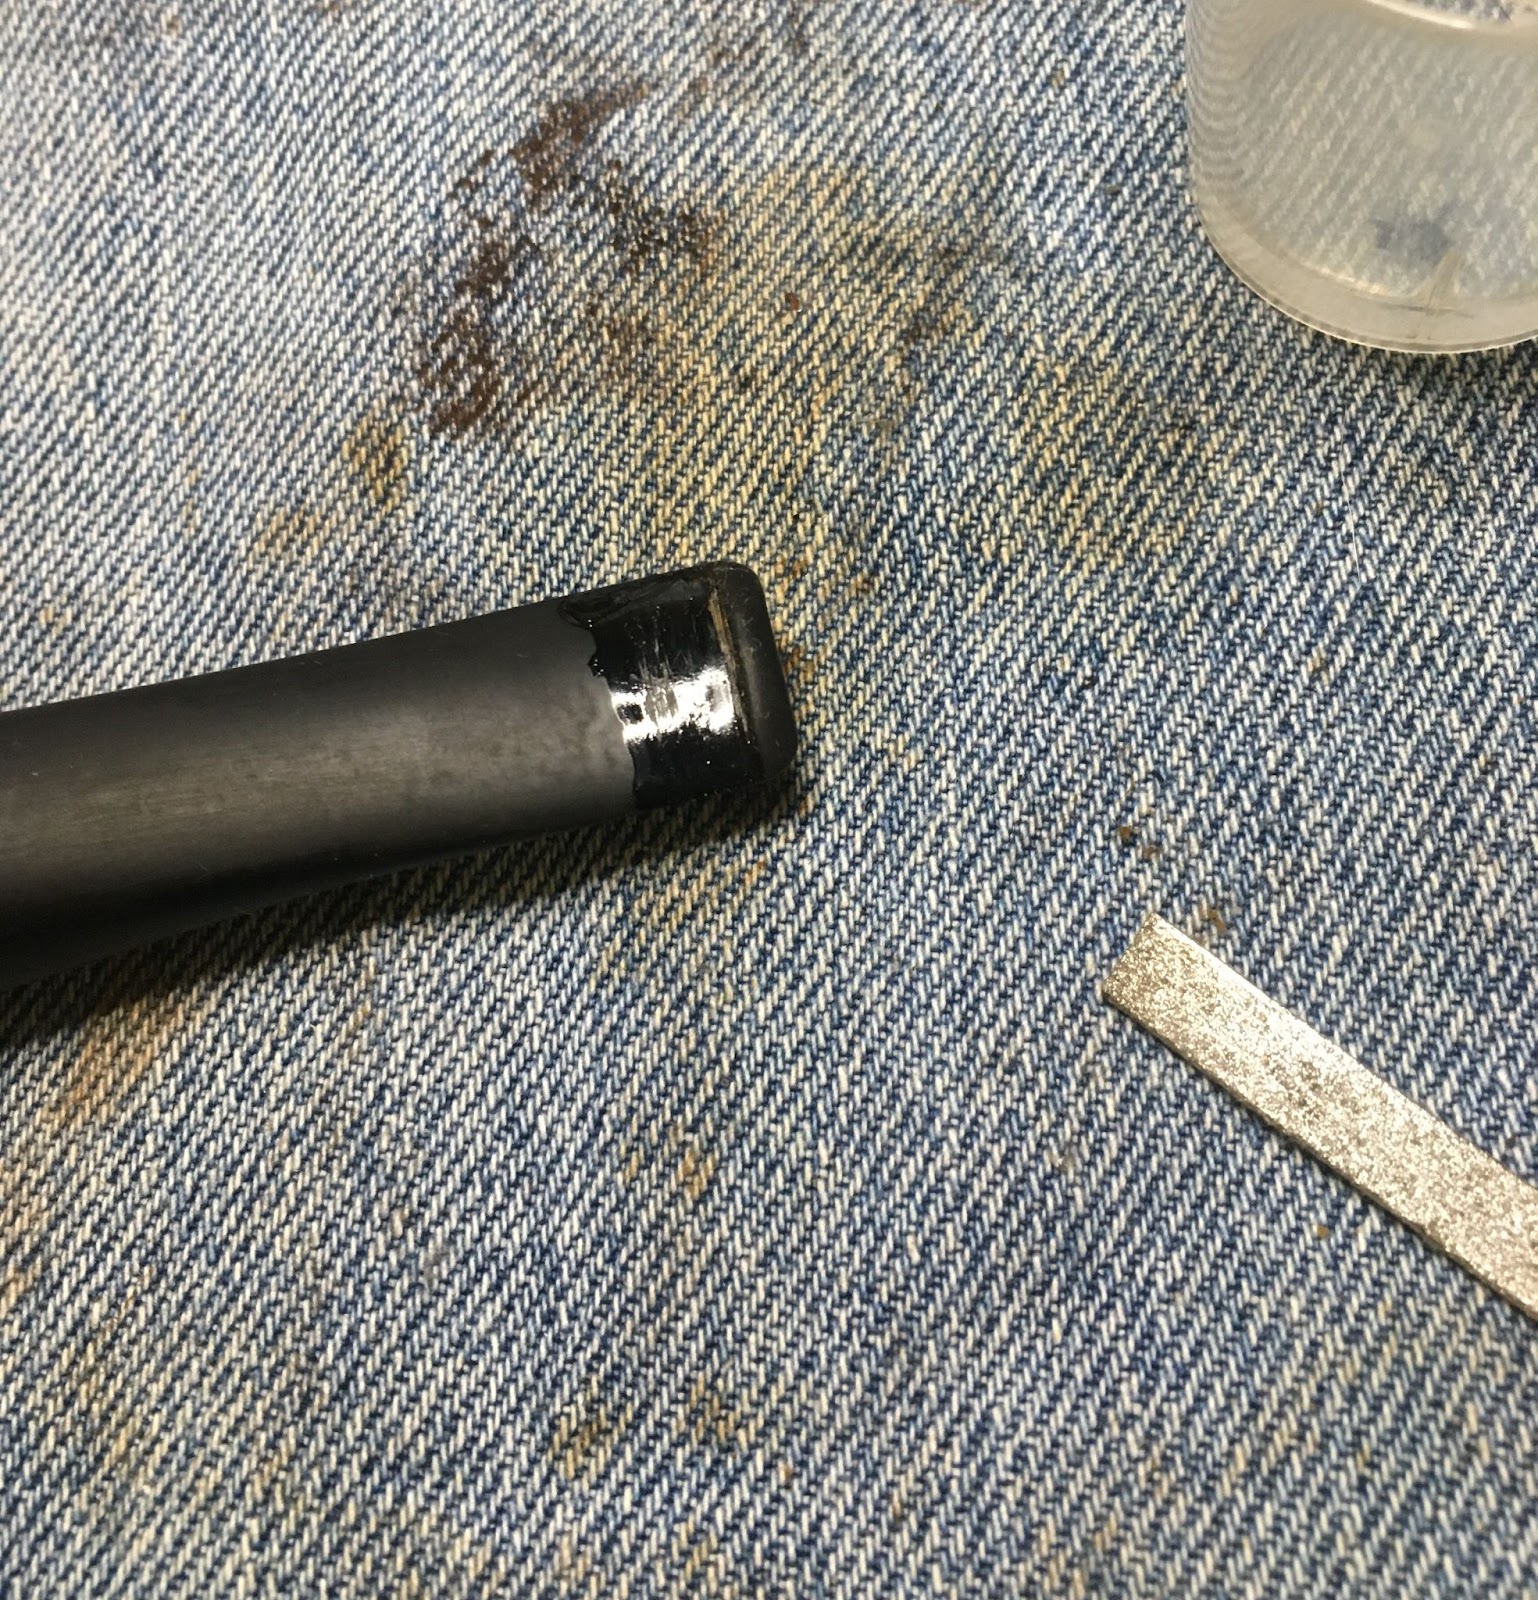
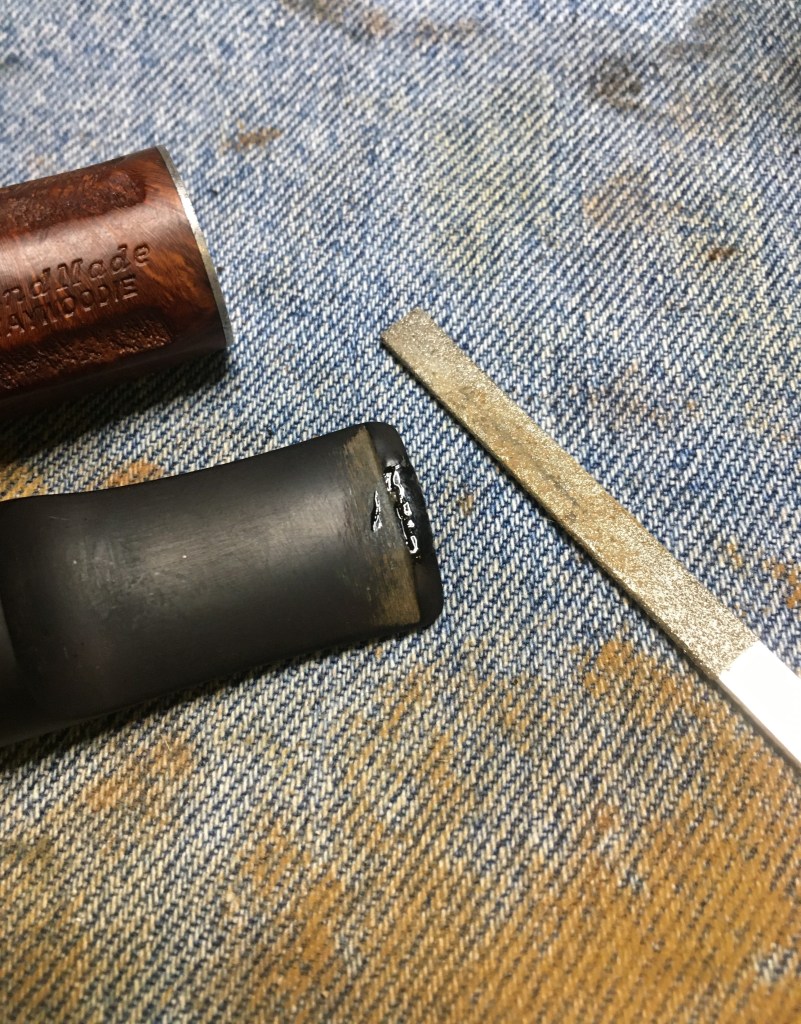
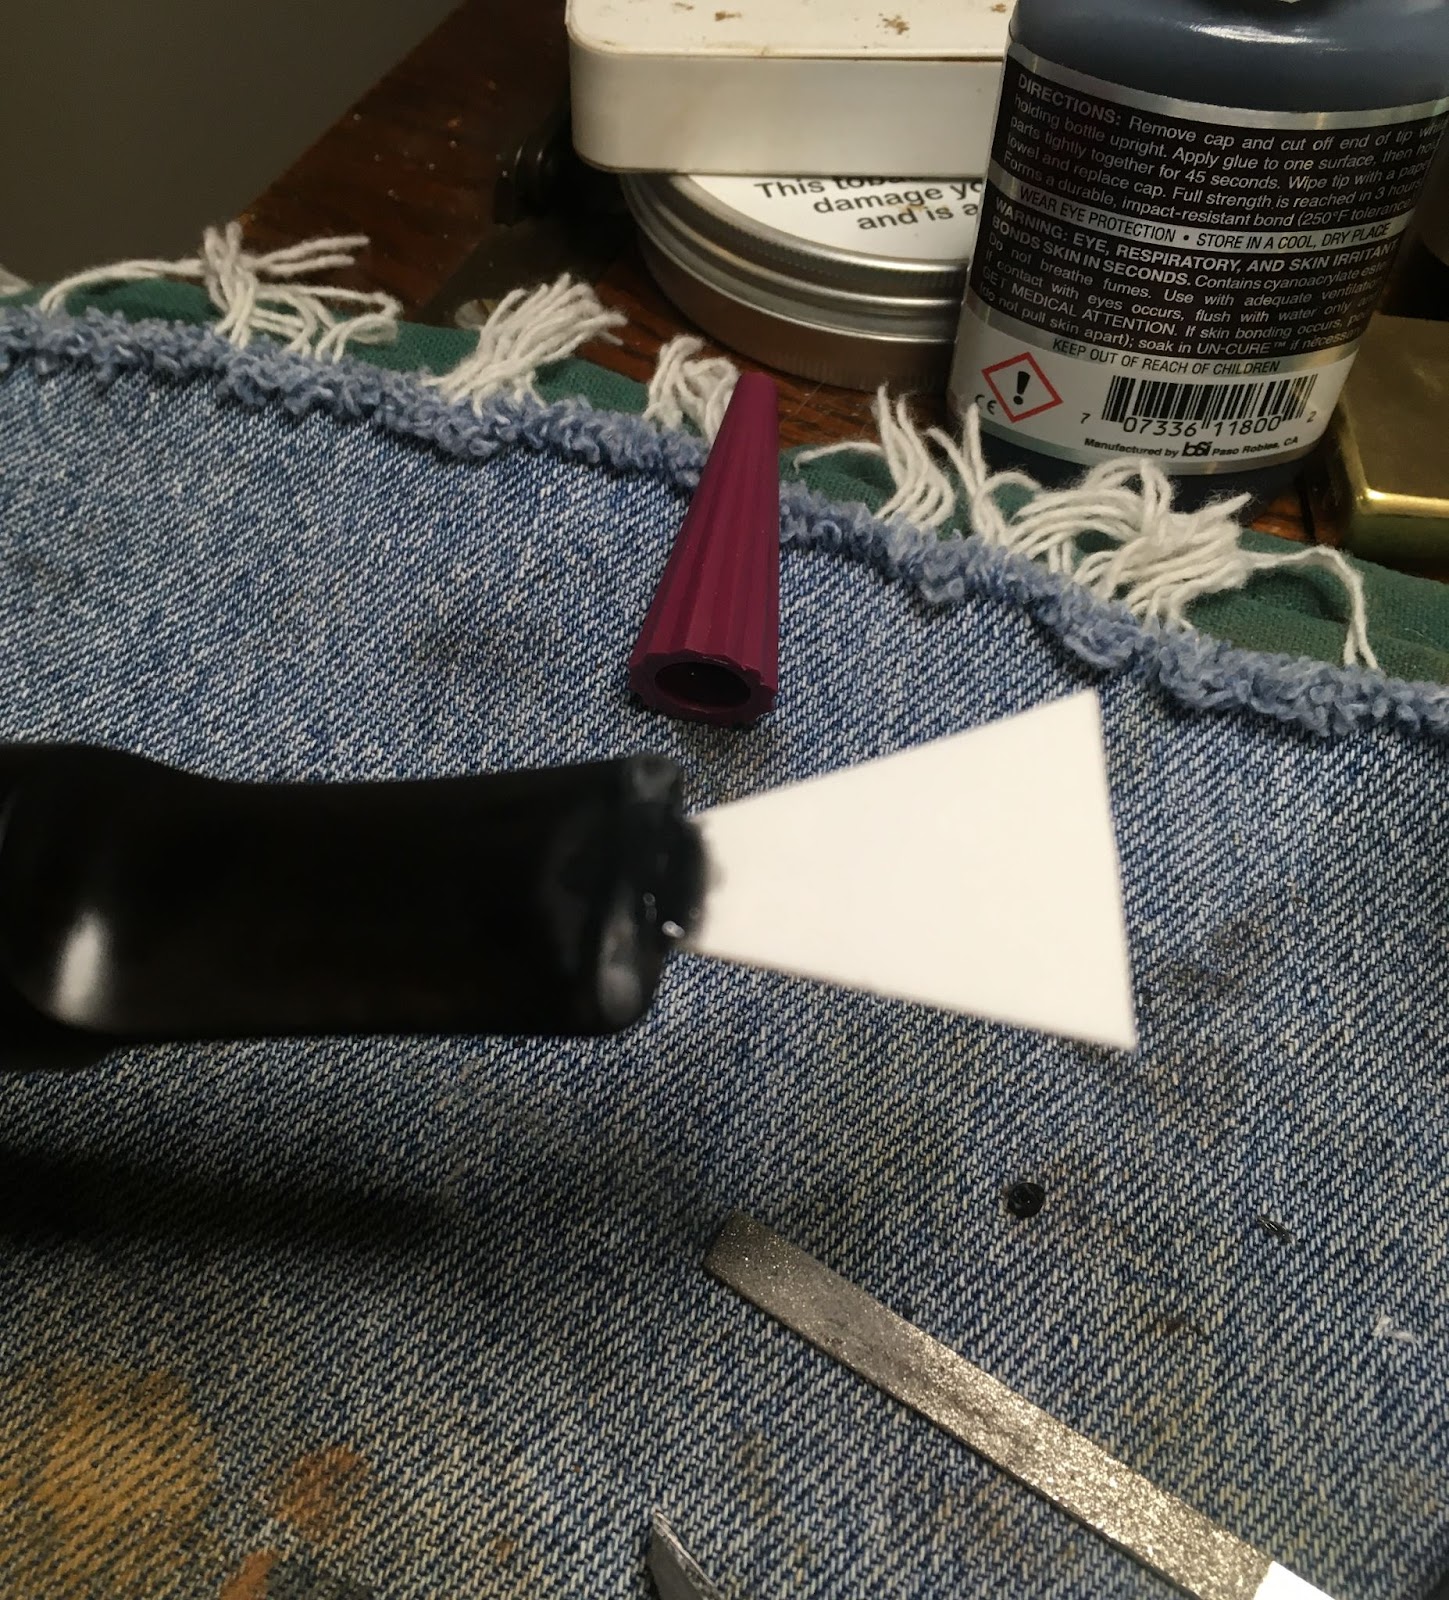
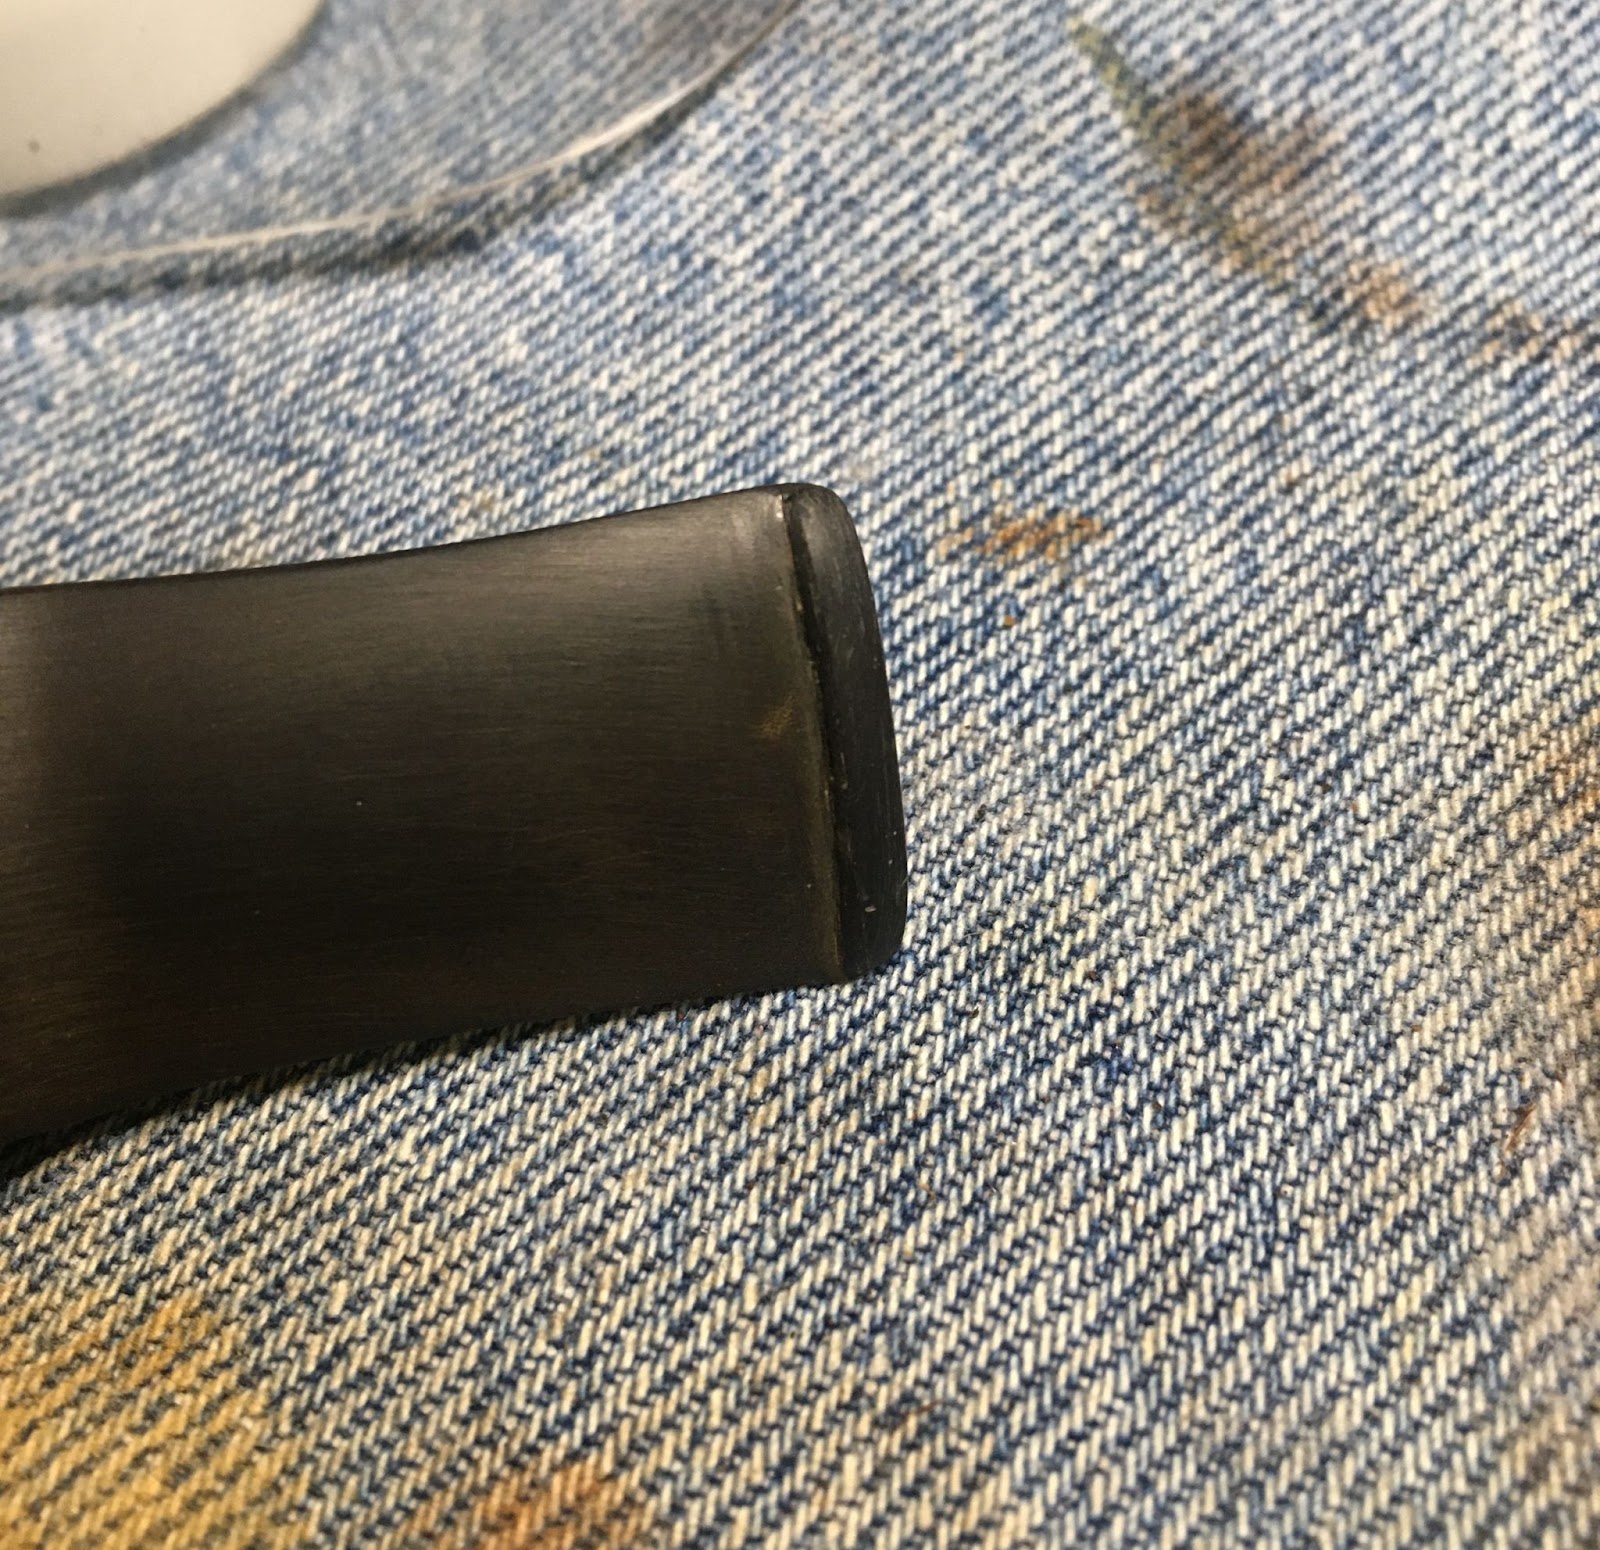
It was at this point I started to rebuild the damage caused by the clenching habits of the previous owner. In hindsight, I wish that I would have scrubbed the stem with Soft Scrub with Oxiclean at this time and worked on the rebuilding after that. Alas, I hope that you can learn from what I consider my mistakes. I used a product that was newer to me, Bob Smith Industries IC-2000. It is a cyanoacrylate (CA, super glue) which has been toughened with rubber. It is designed to be used with rubber and sounds like it would be perfect for this use. I applied an initial few dabs to the depressions of both the top and bottom of the stem.


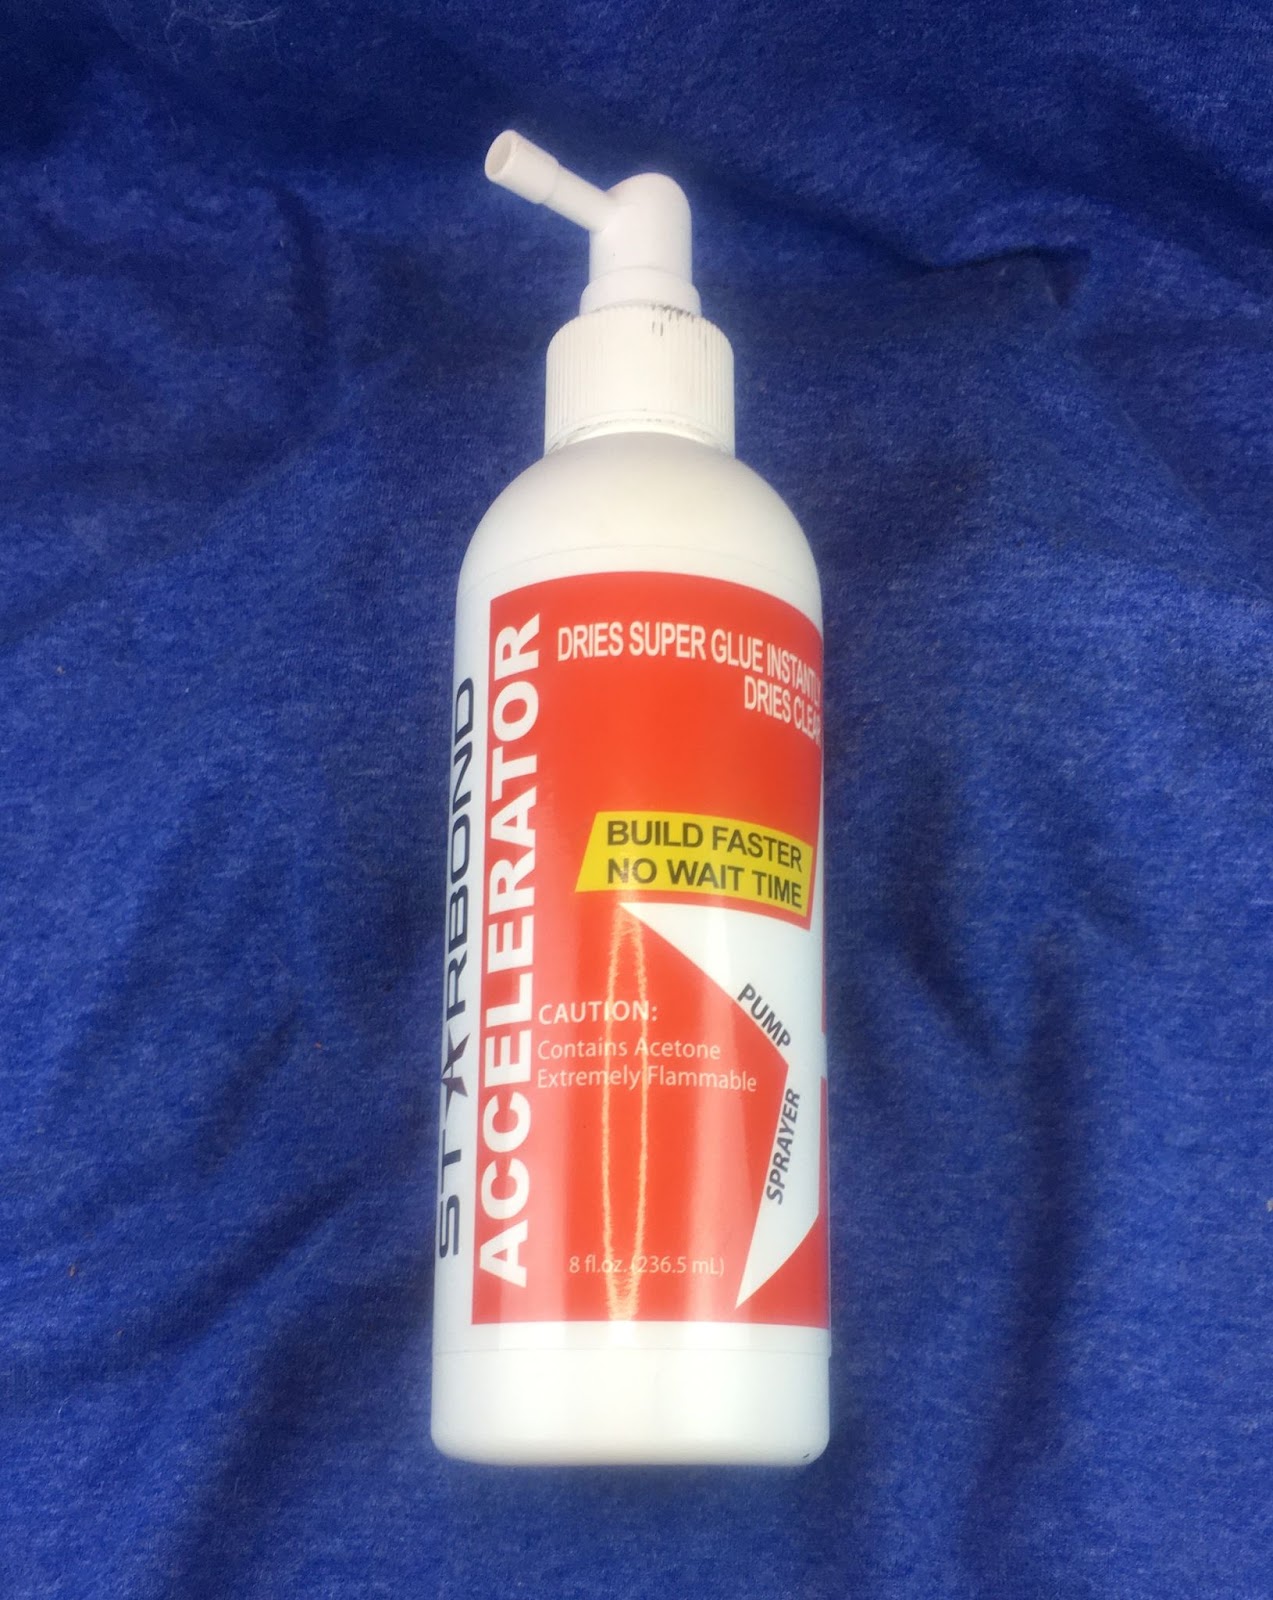
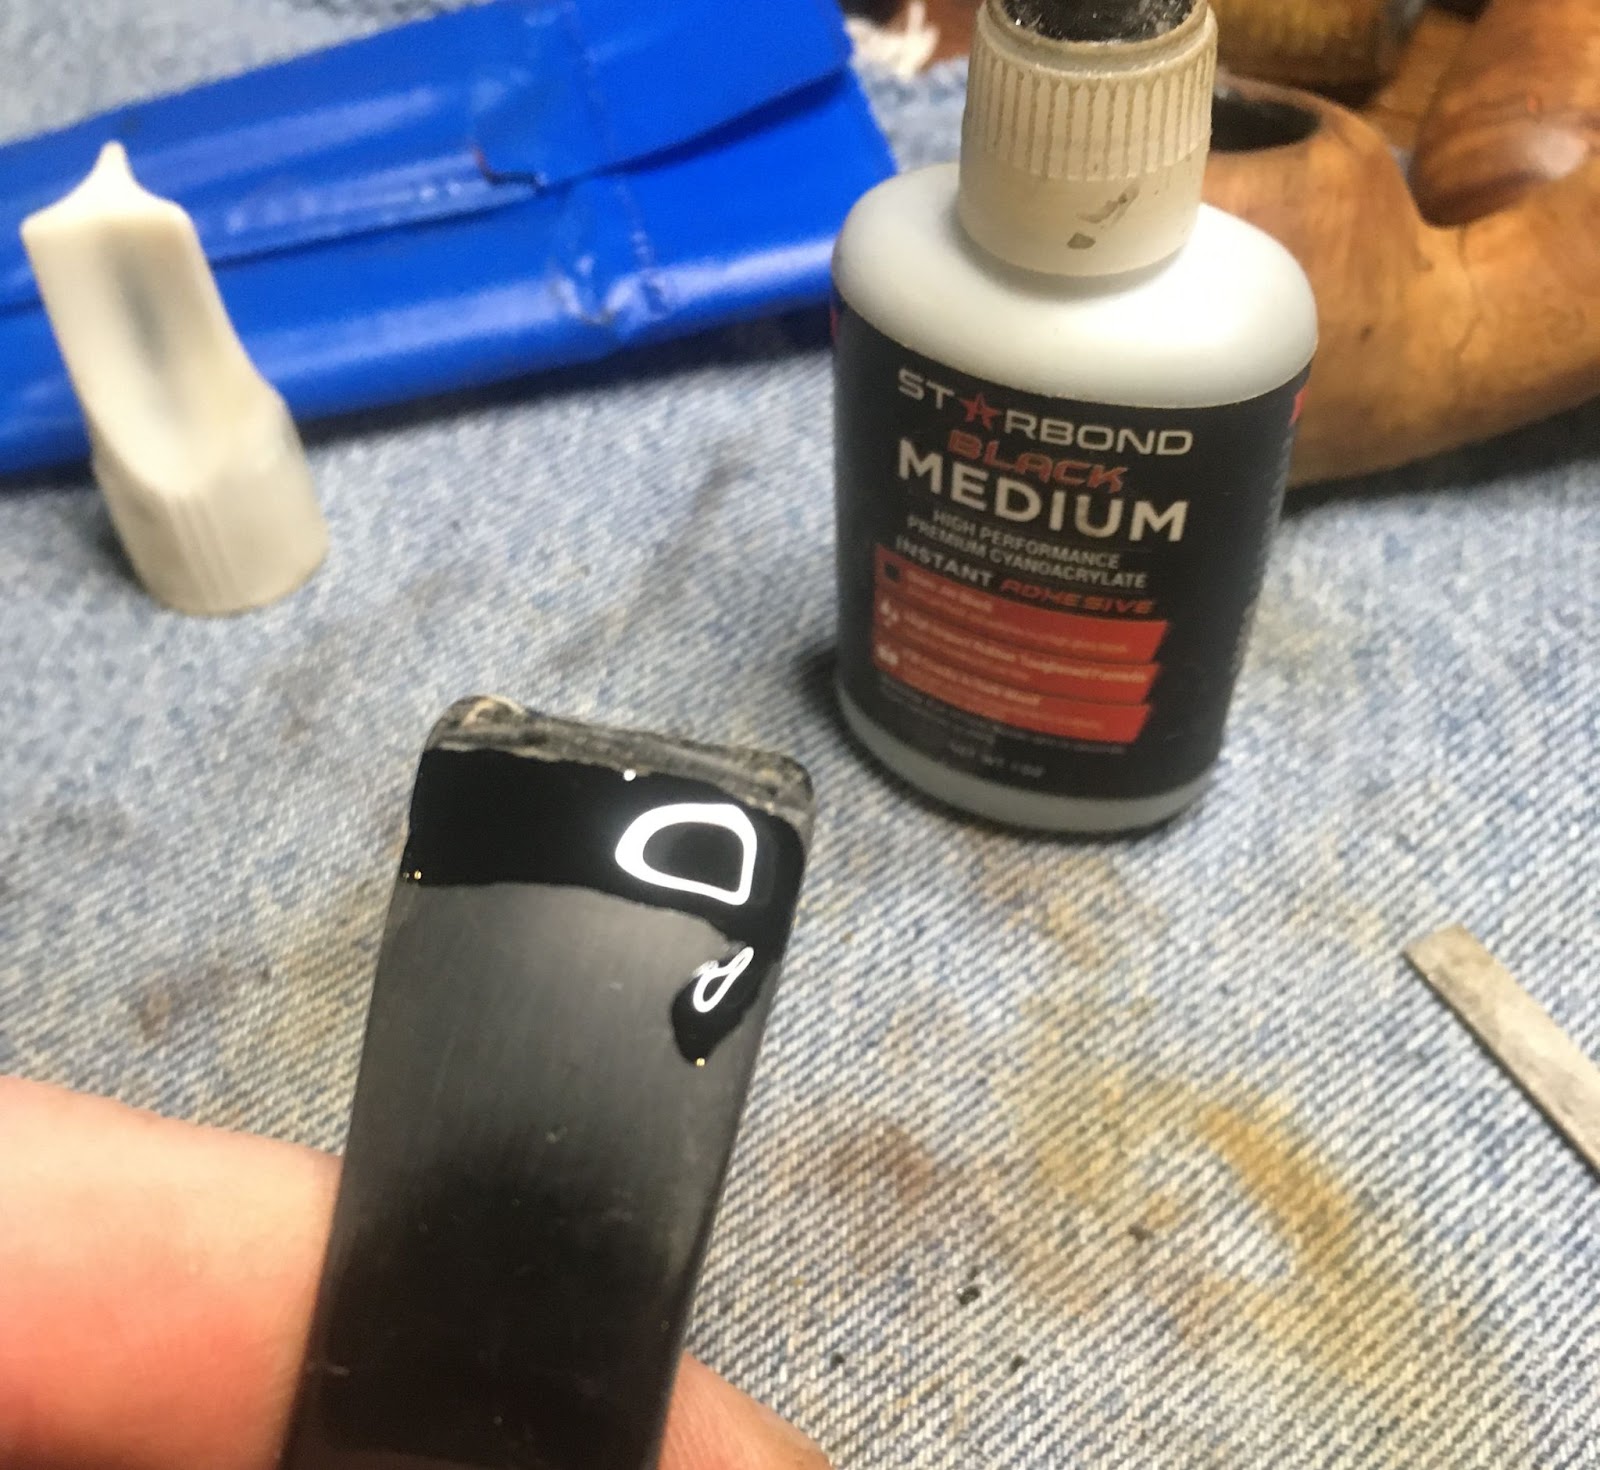
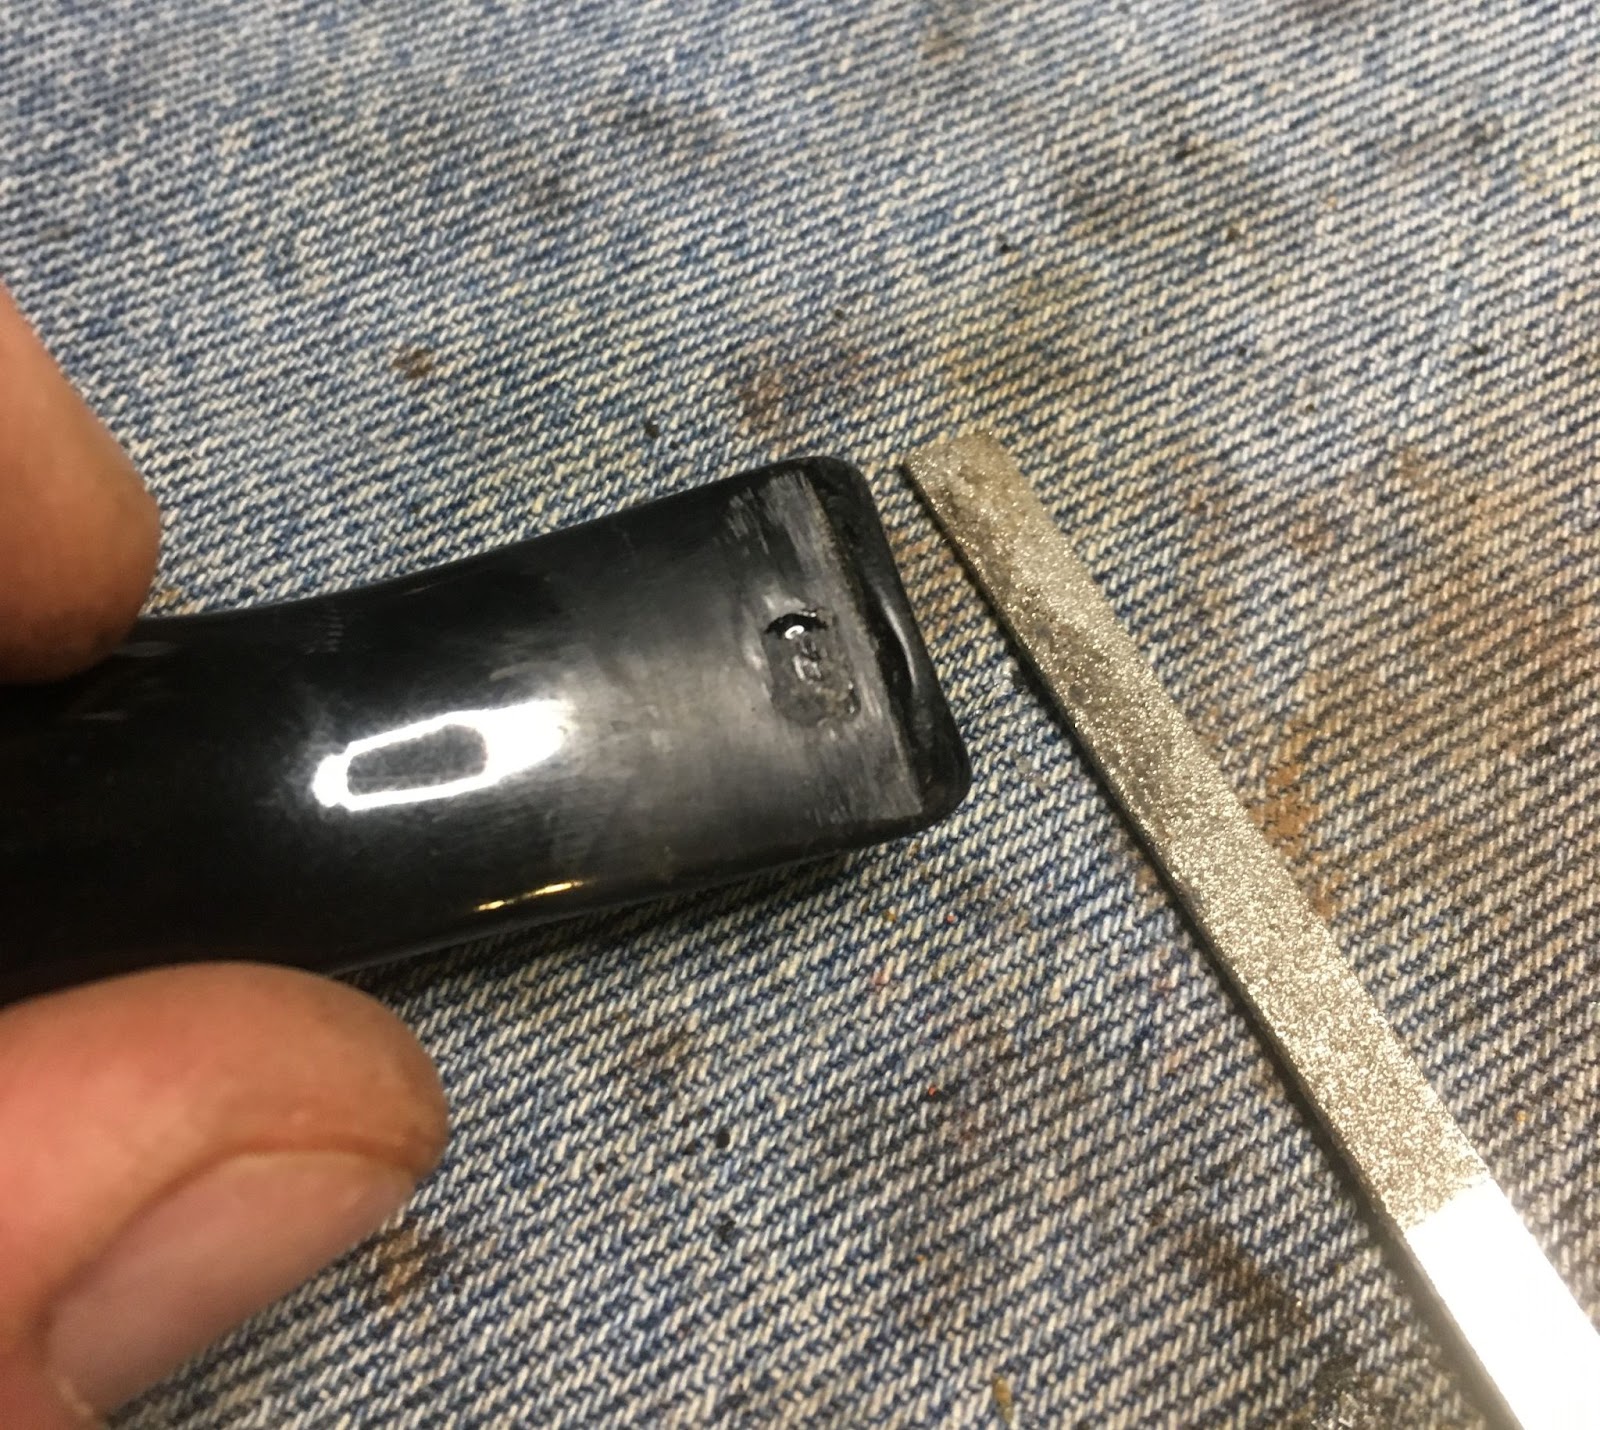
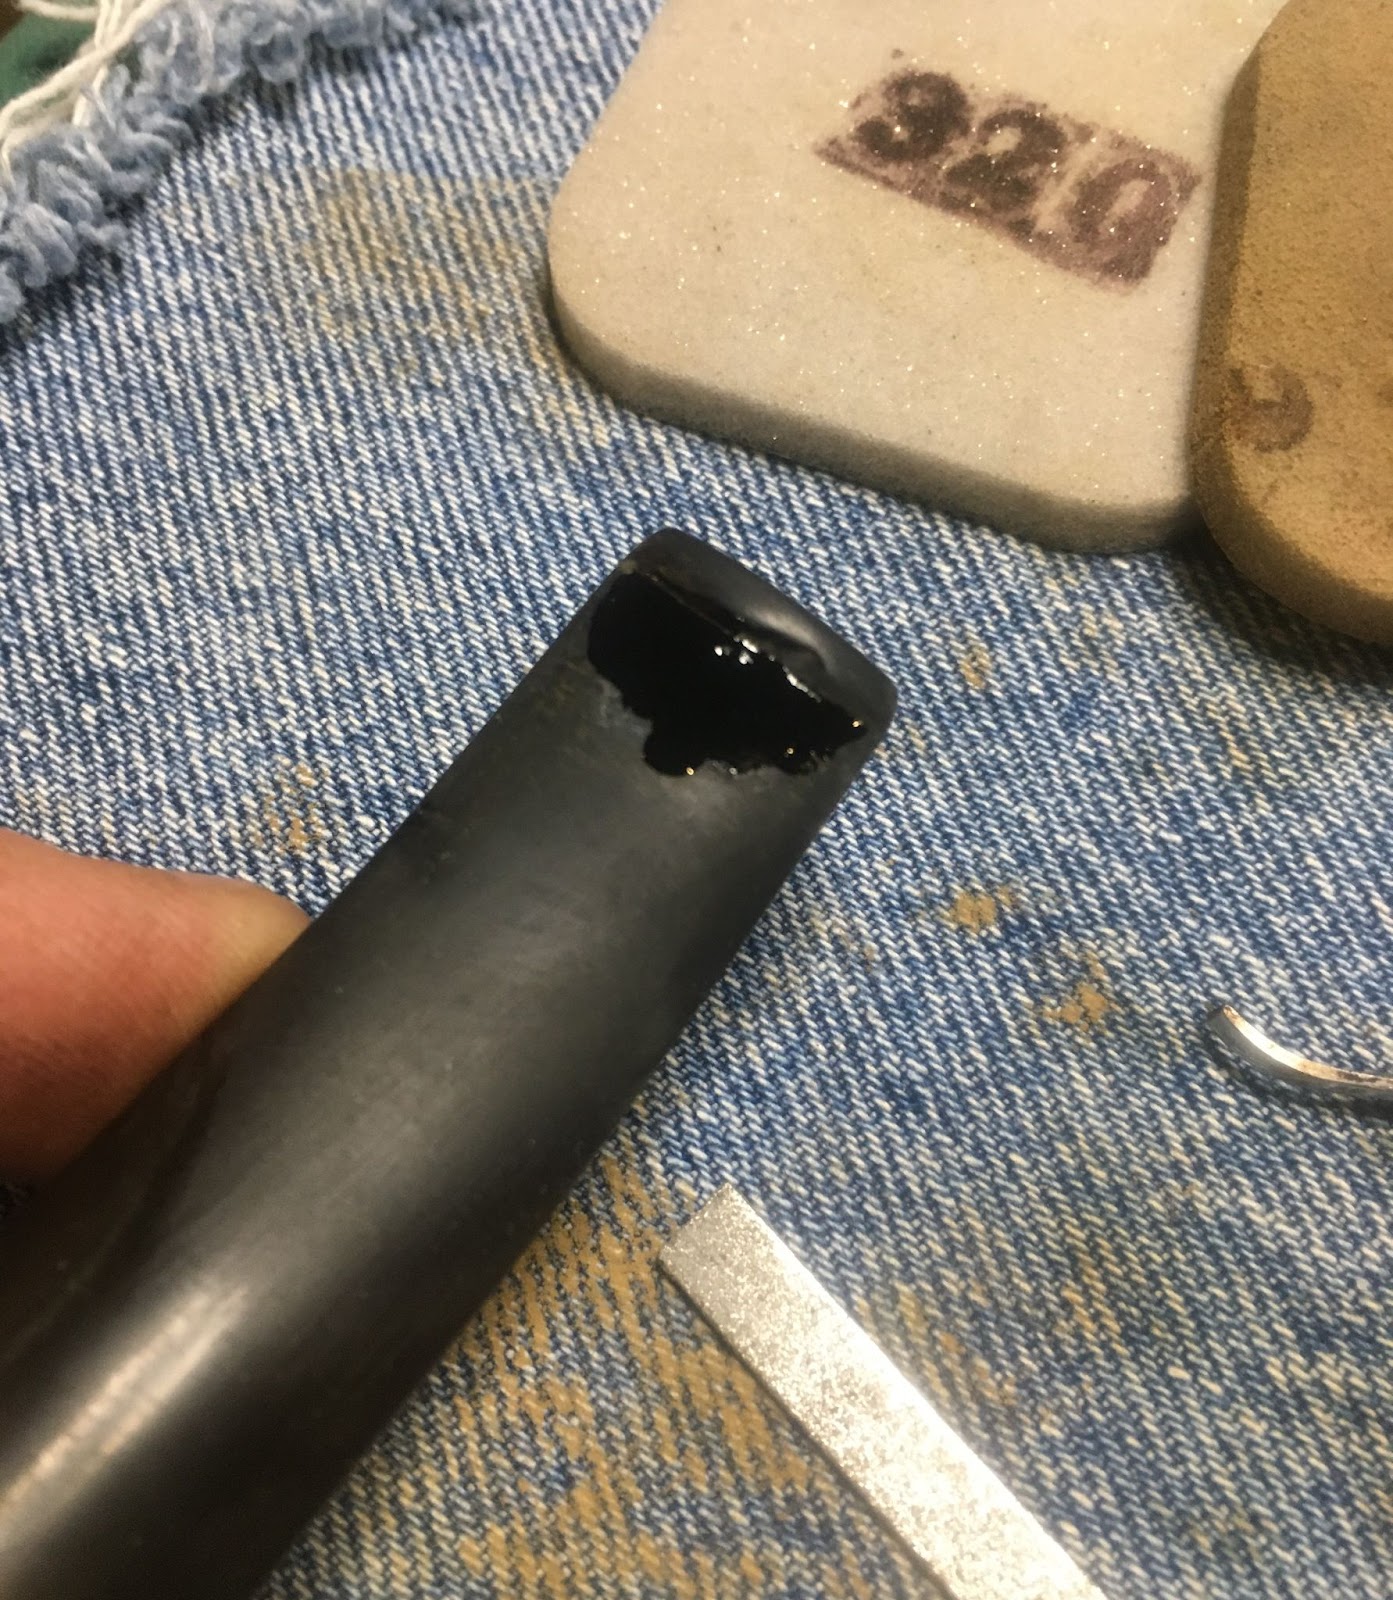
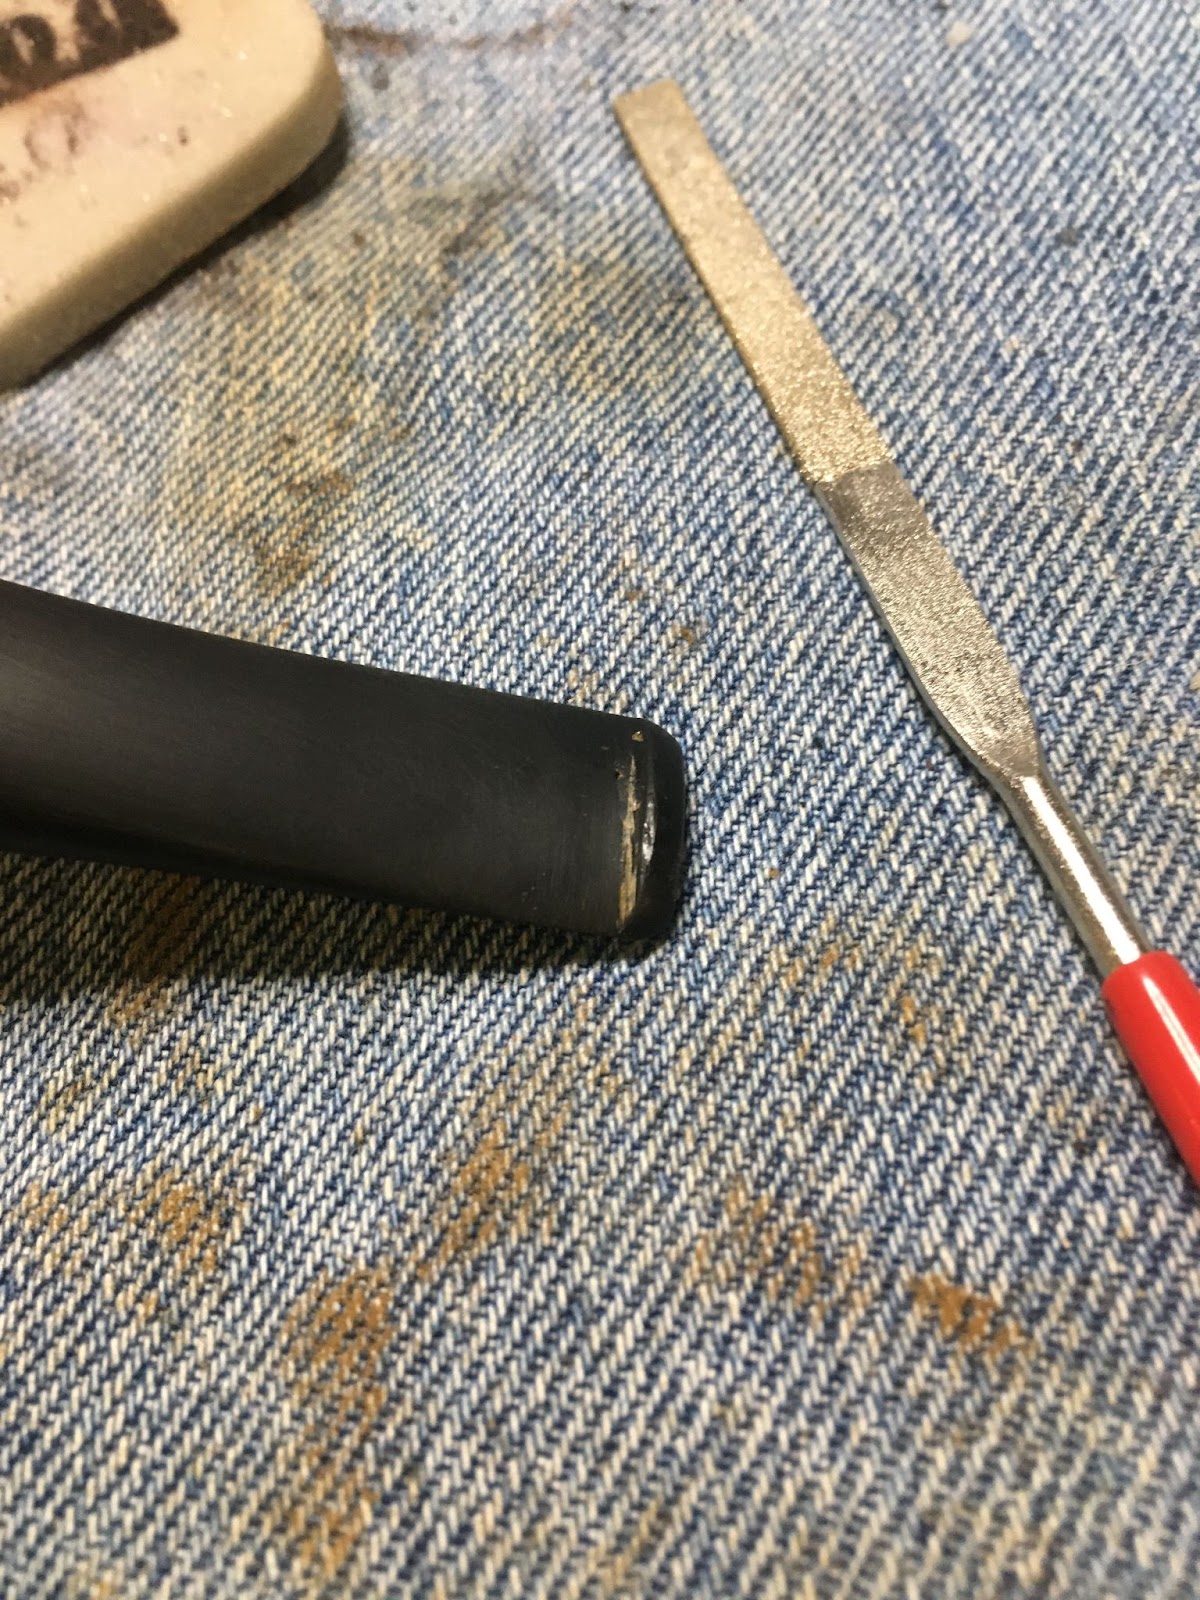
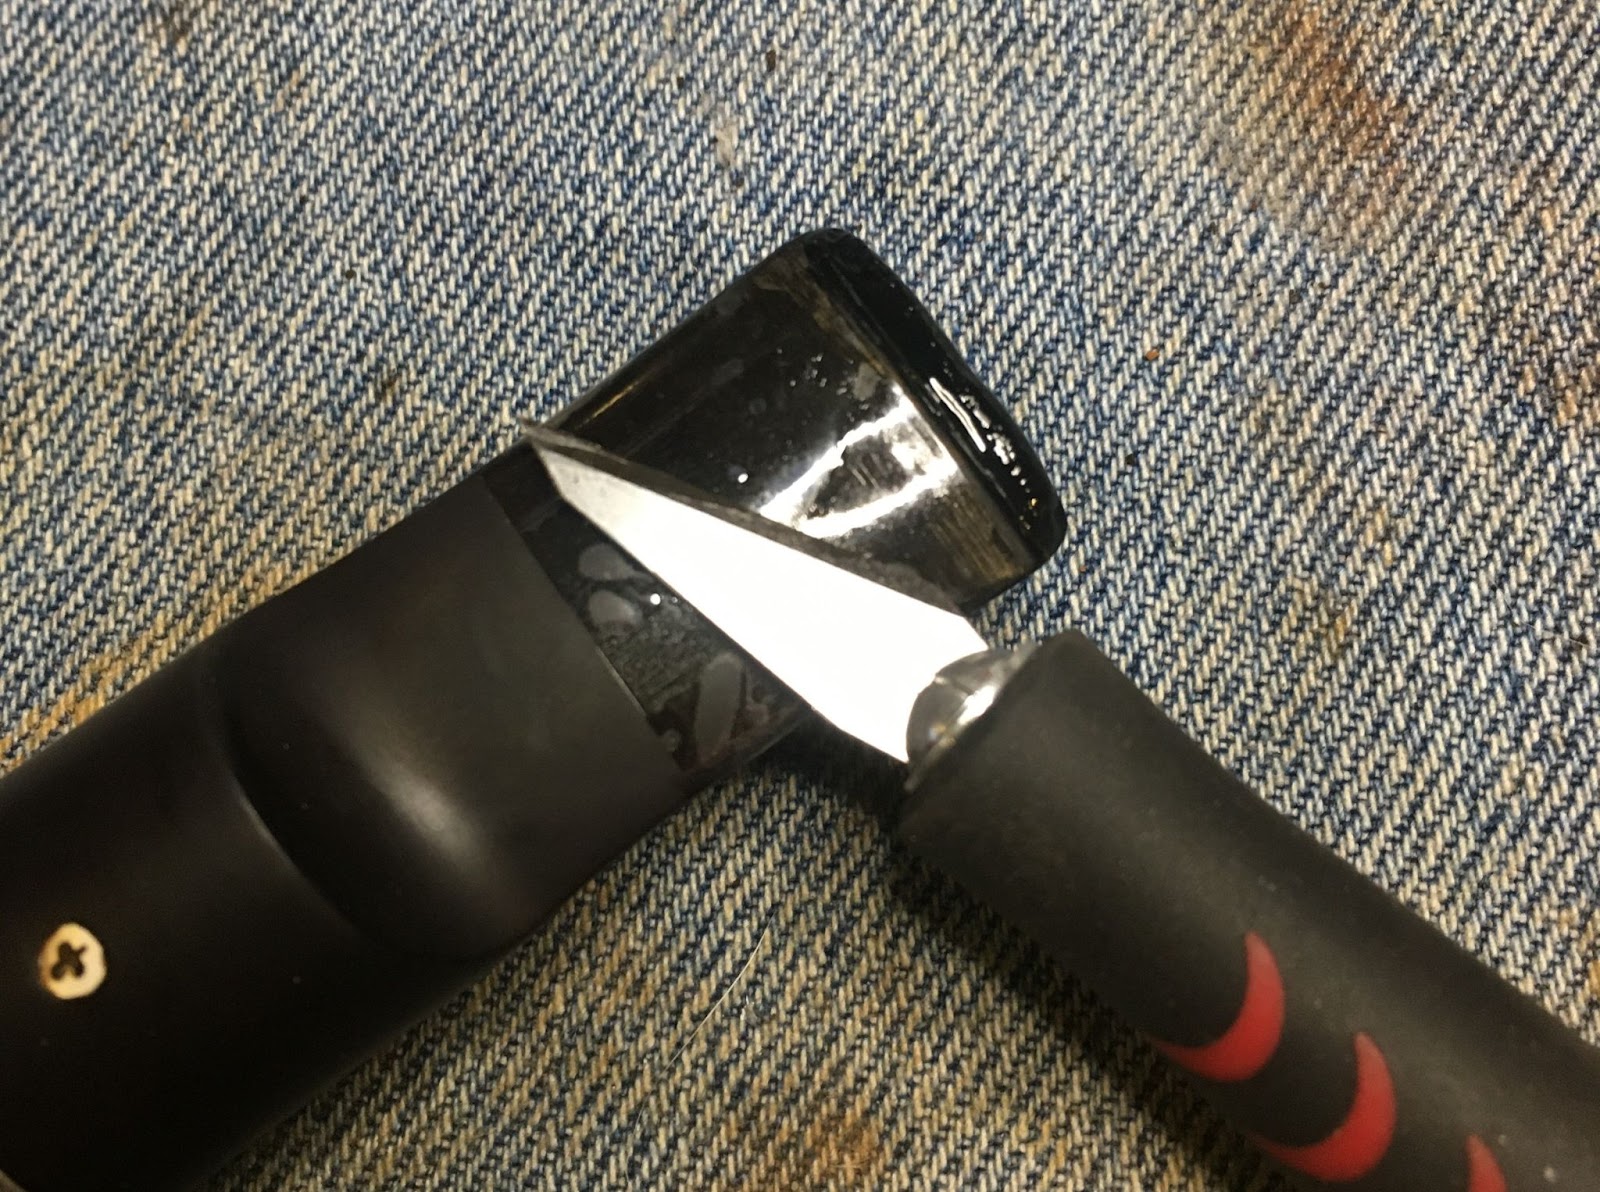
I use a CA drying accelerator to speed the drying of the CA. Both surfaces were spritzed with this accelerator. It makes the CA cure or dry in seconds. The cured CA was then filed with a flat needle file and smoothed with a 400 grit sanding sponge. The shiny surfaces in the photos below are areas where the file and sandpaper rode above and did not contact the CA in the depression. Further applications were required to fill the entire depression. I prefer to use several thin applications over a single thick application.


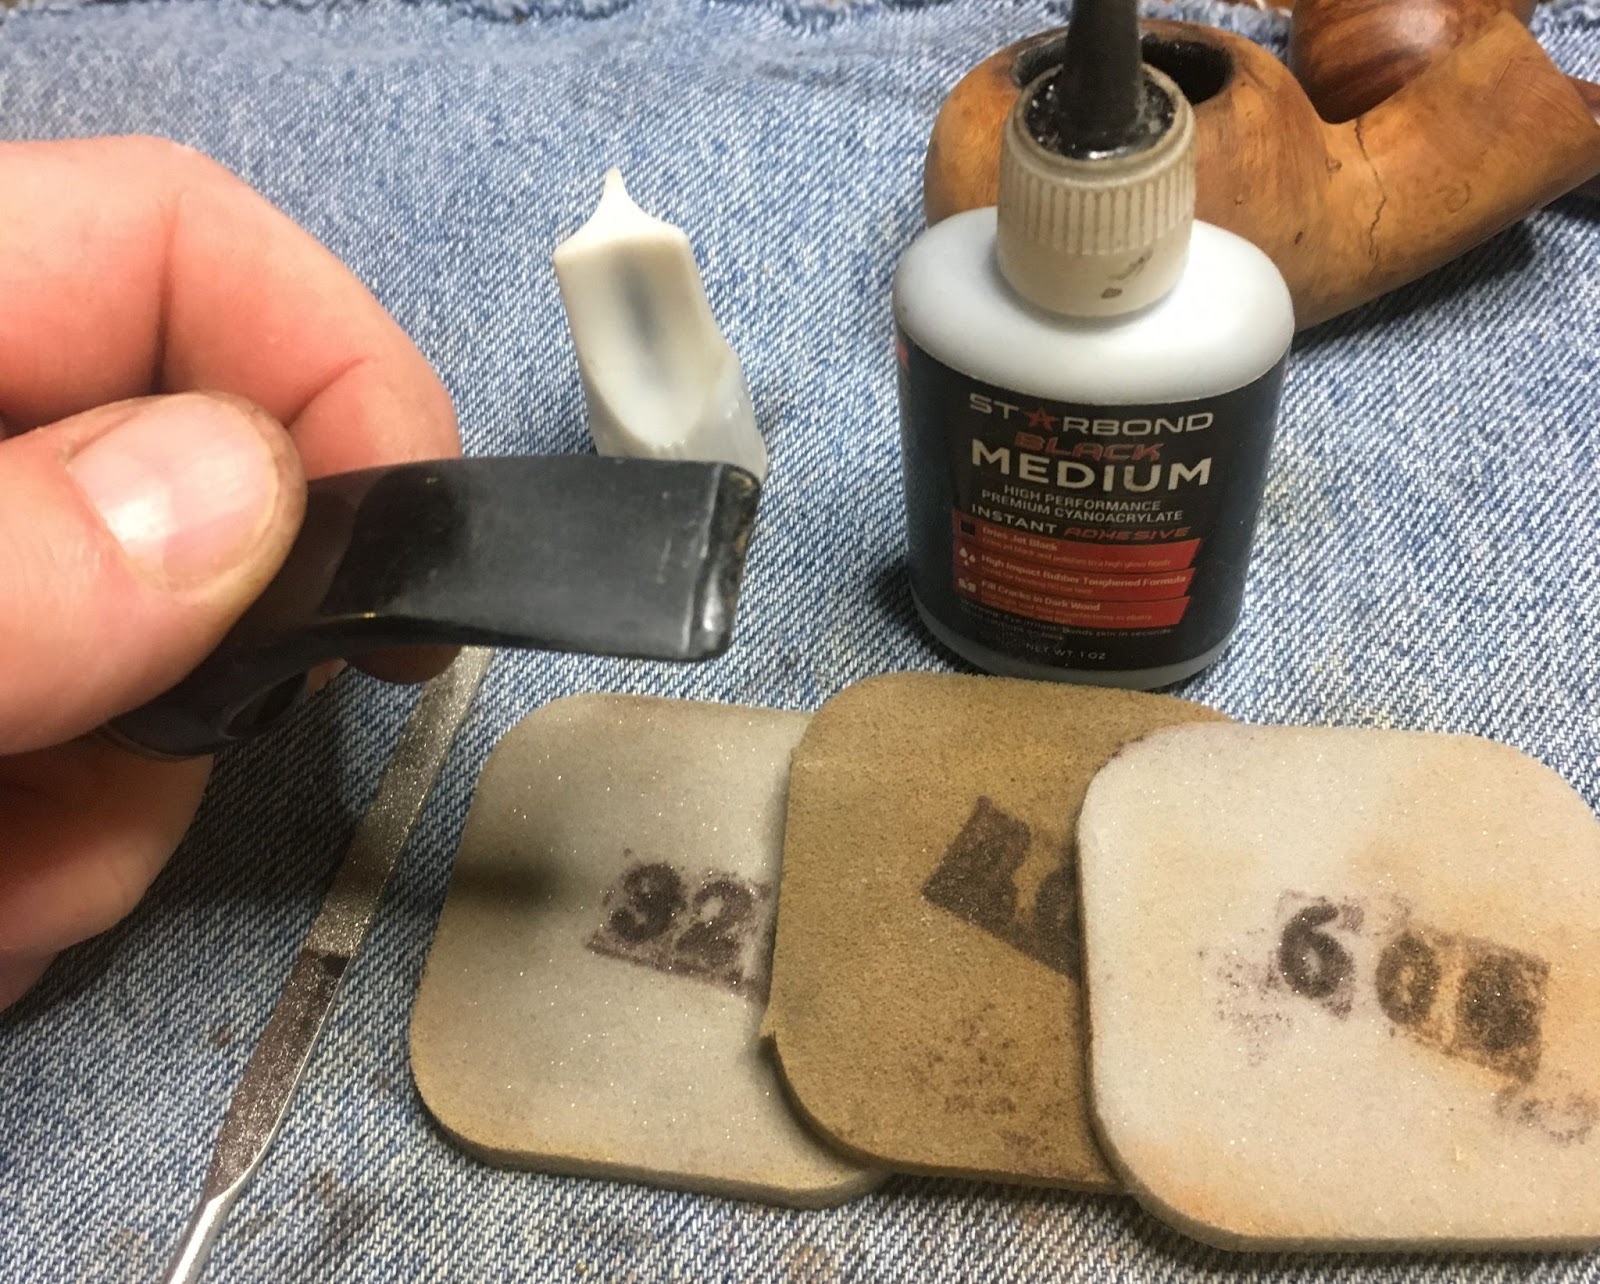
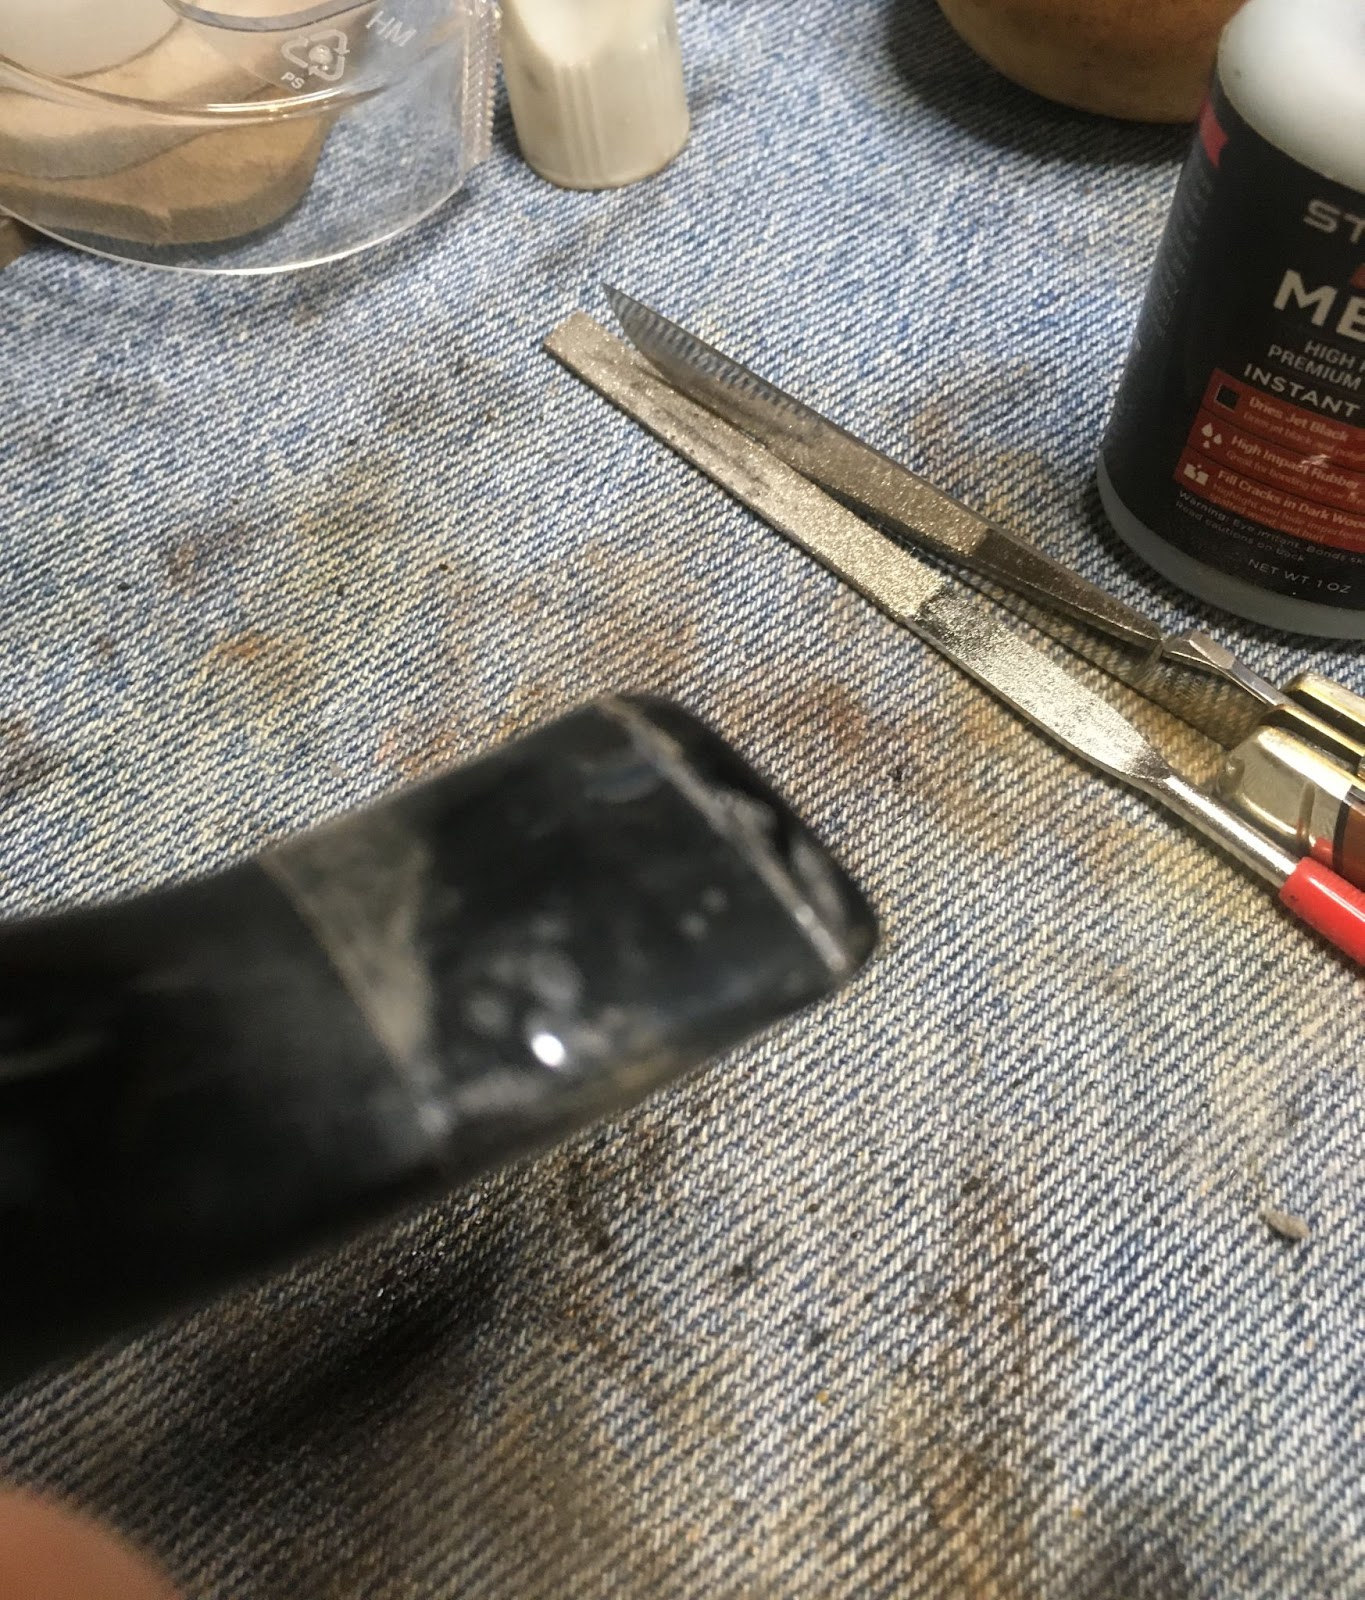
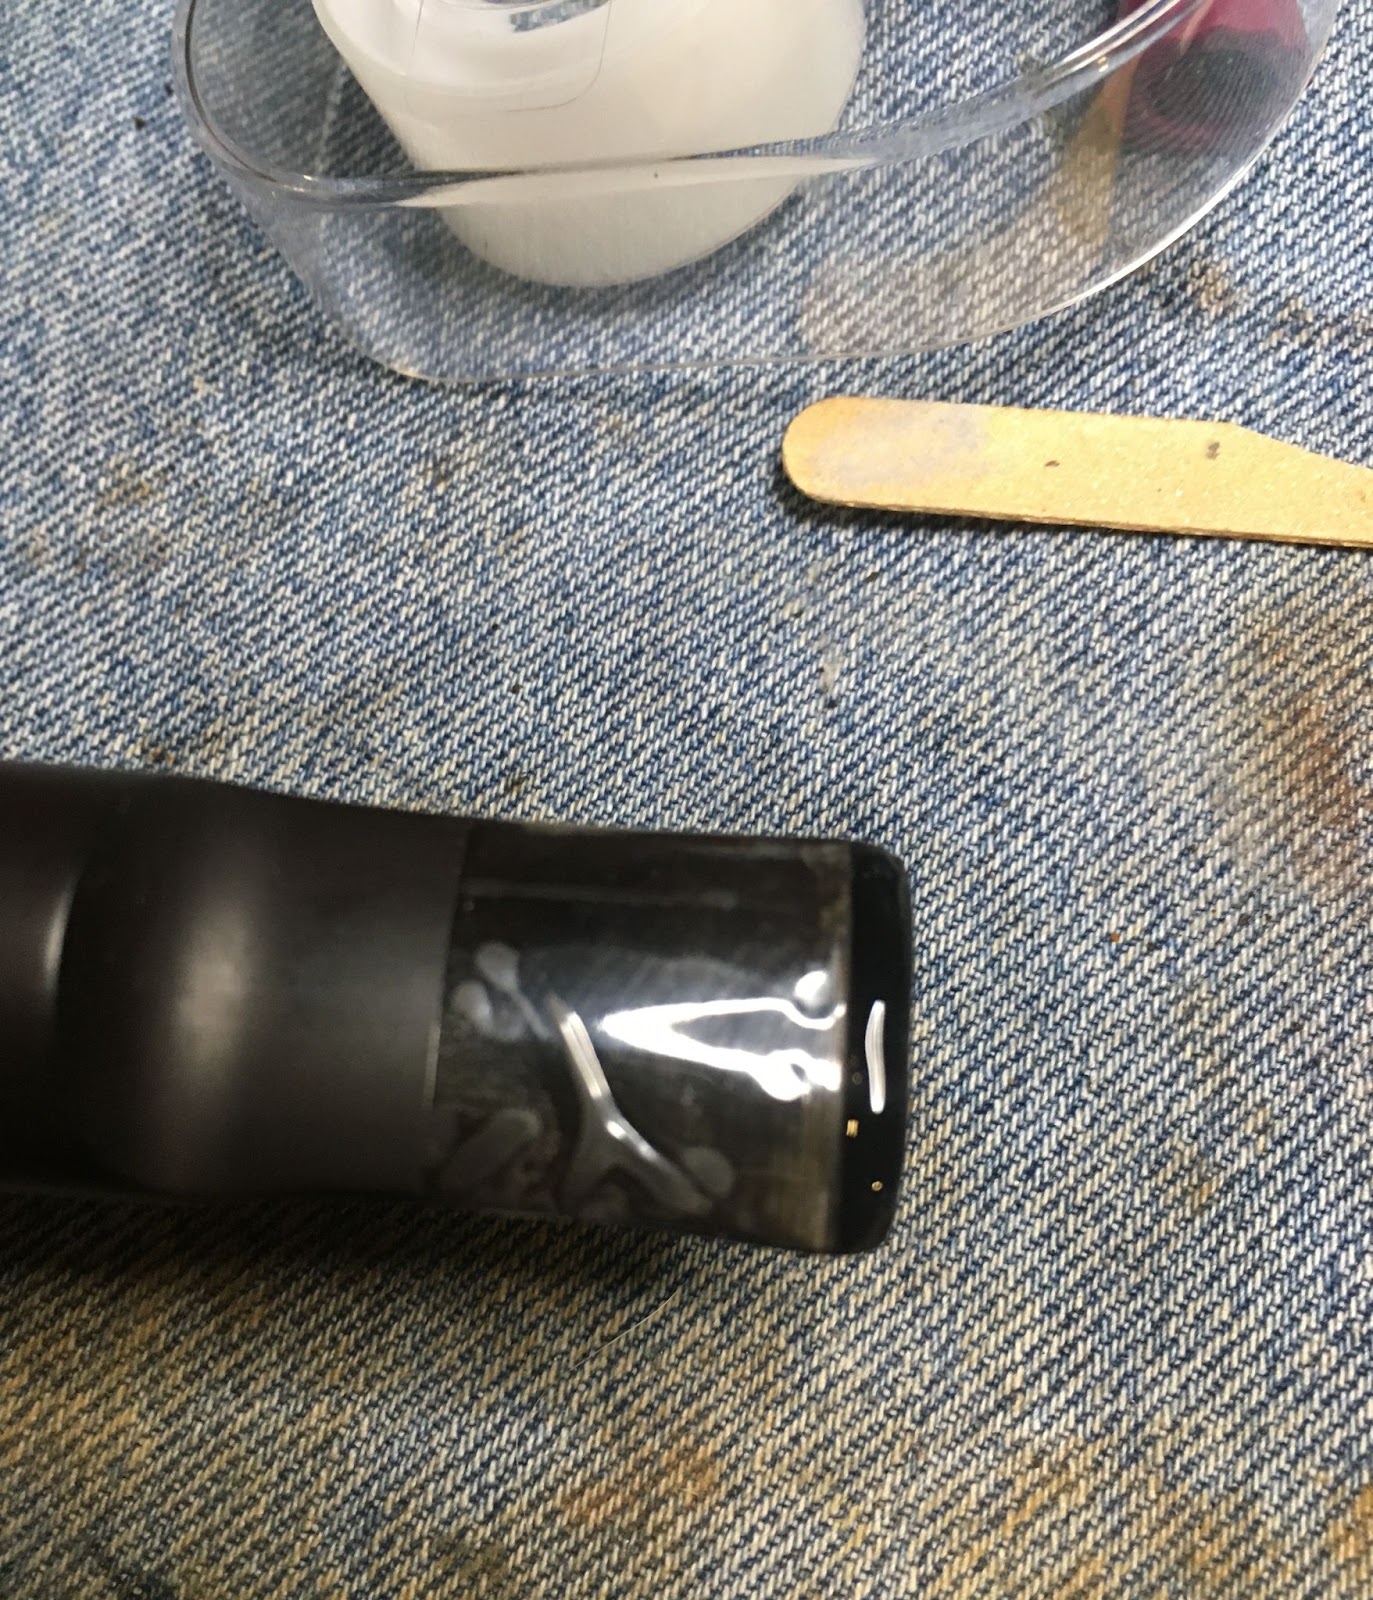
More applications followed by more filing and sanding. Voila.


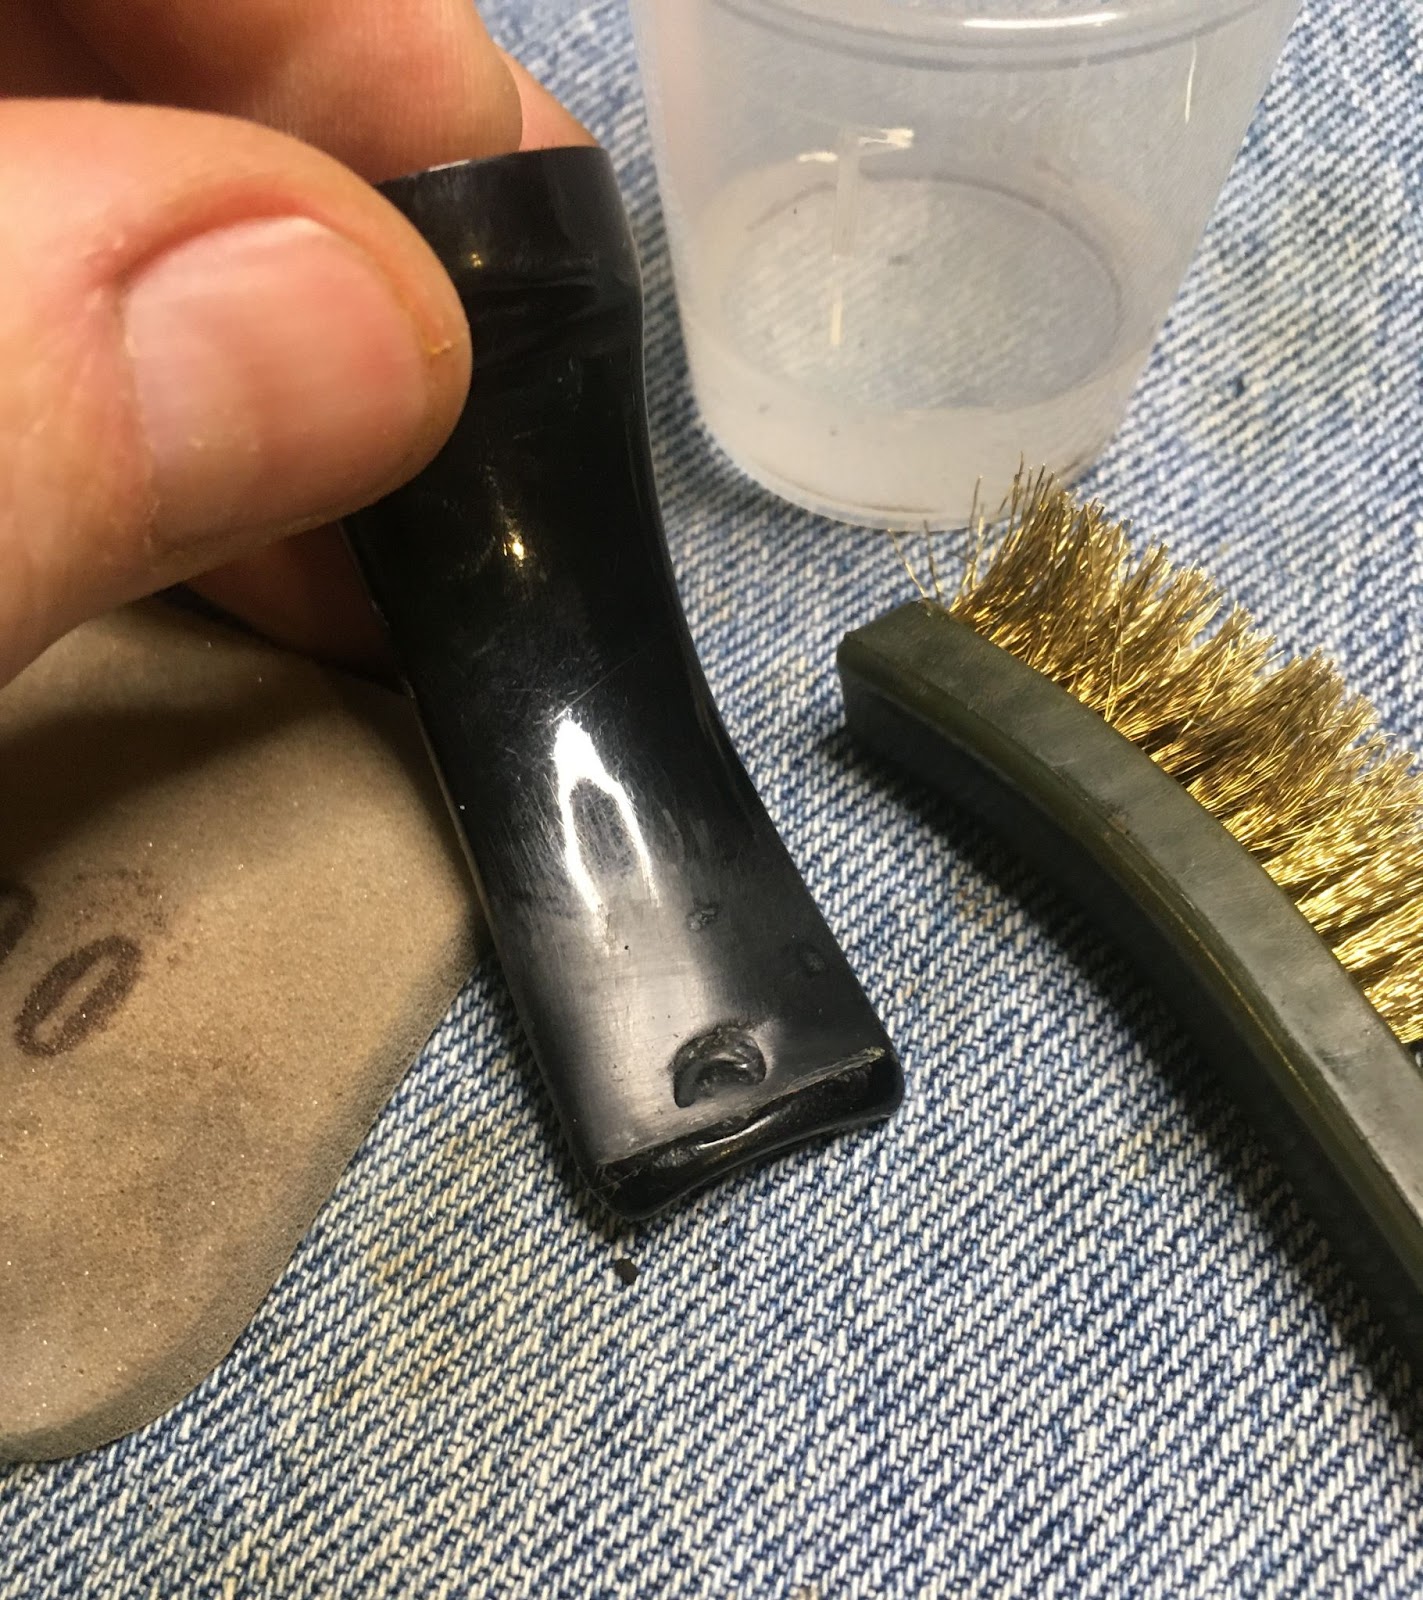
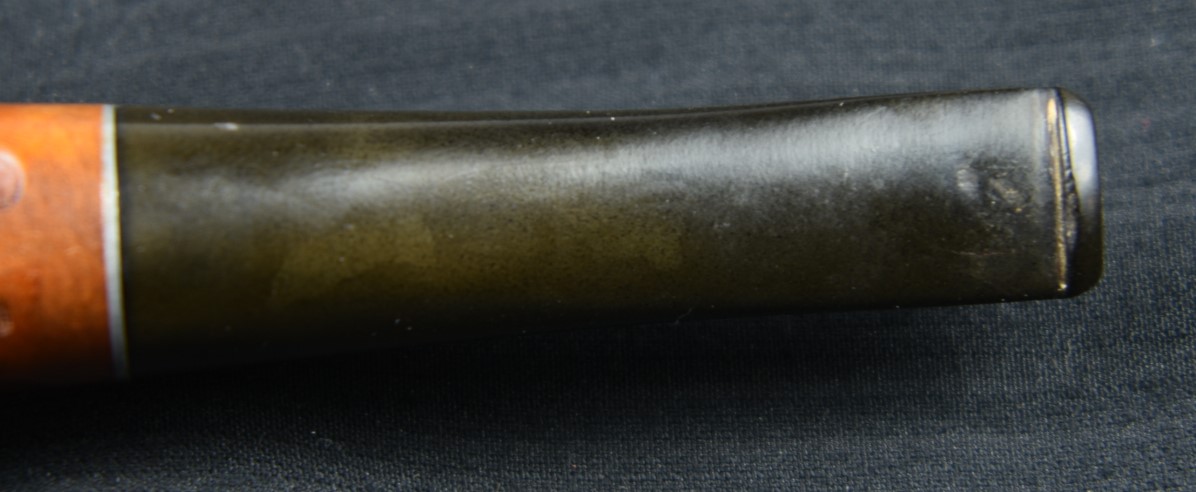
And then of course there is more sanding. Here is where I scrubbed the stem with Soft Scrub with Oxiclean.
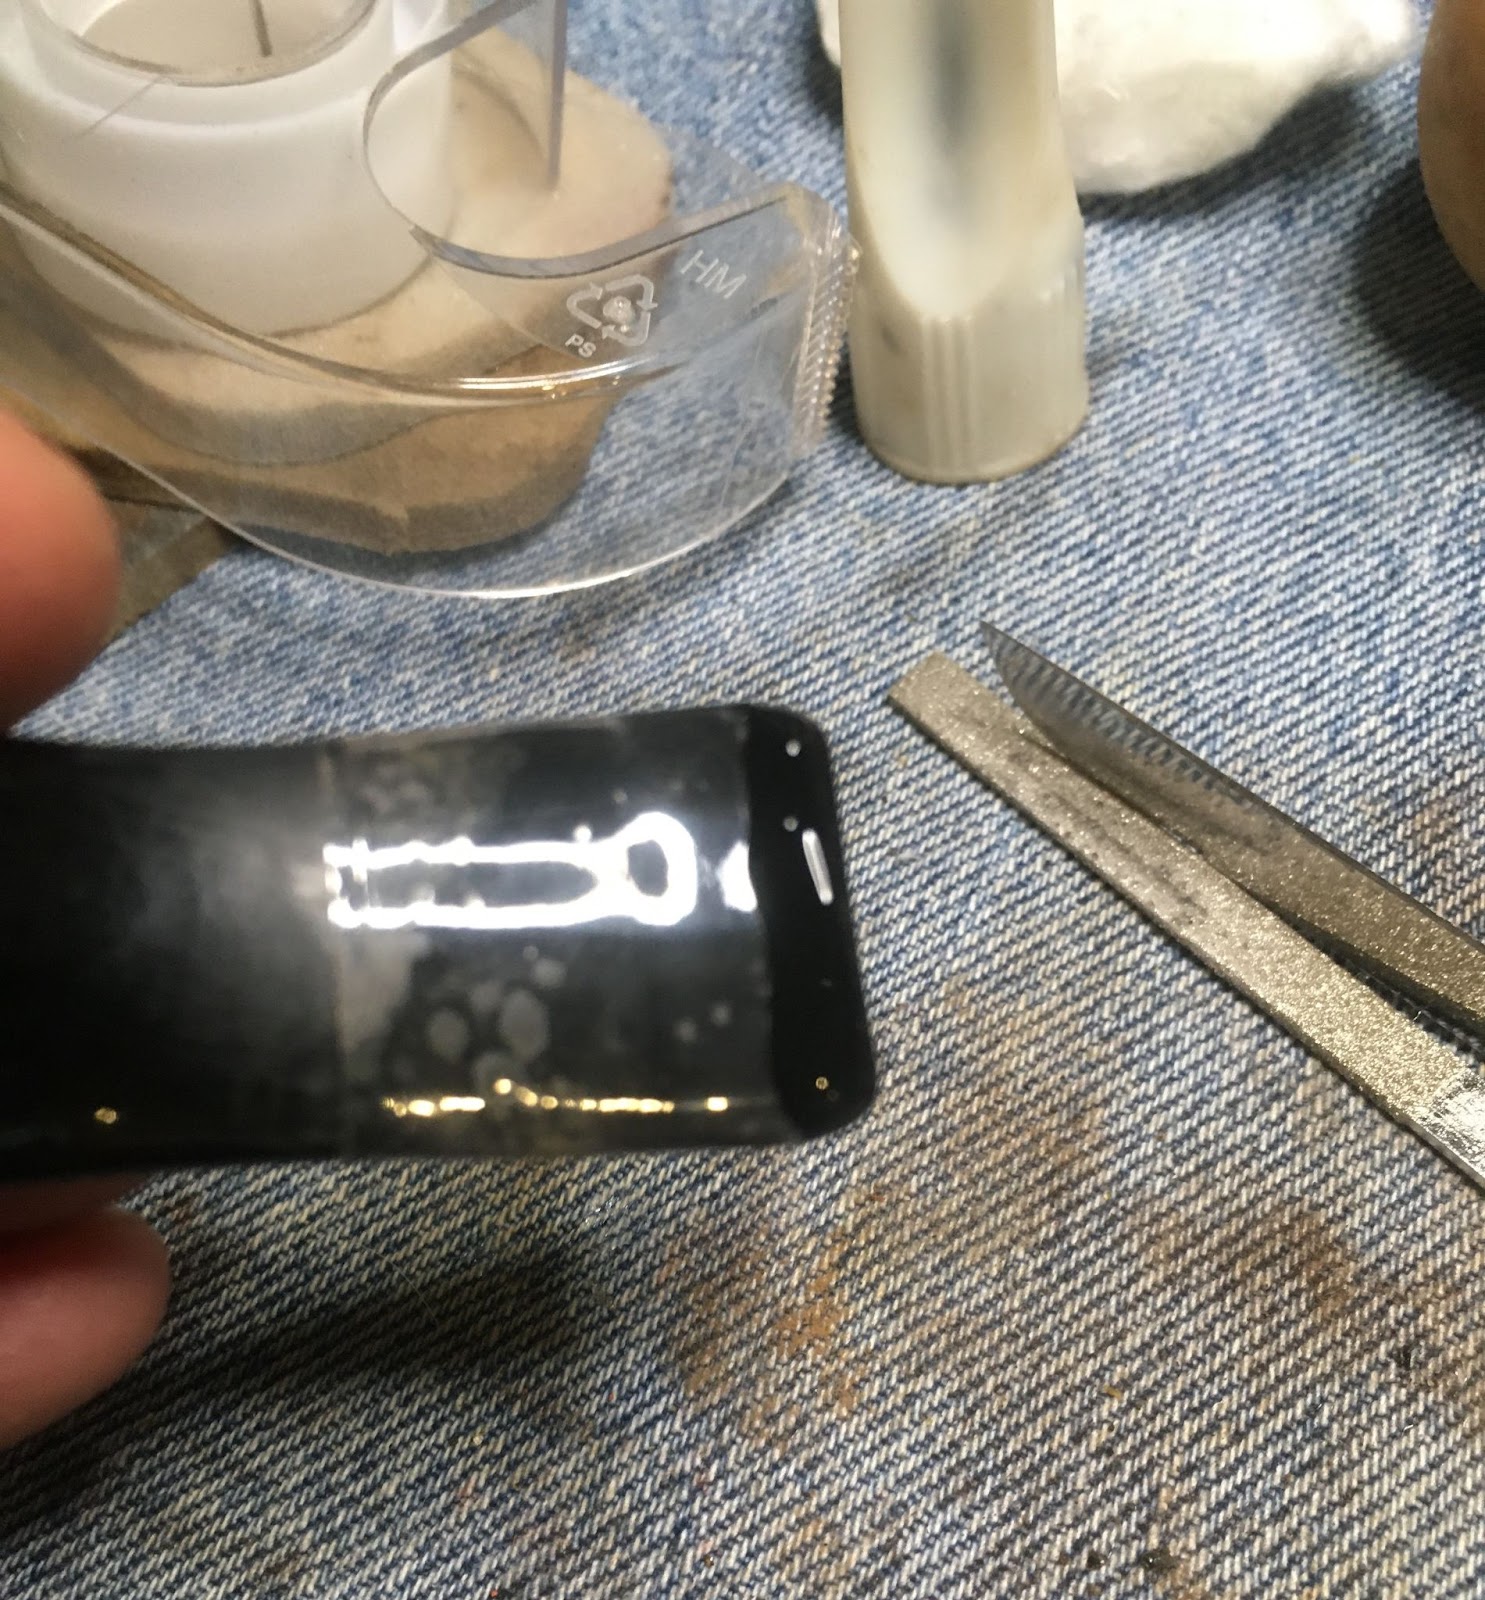
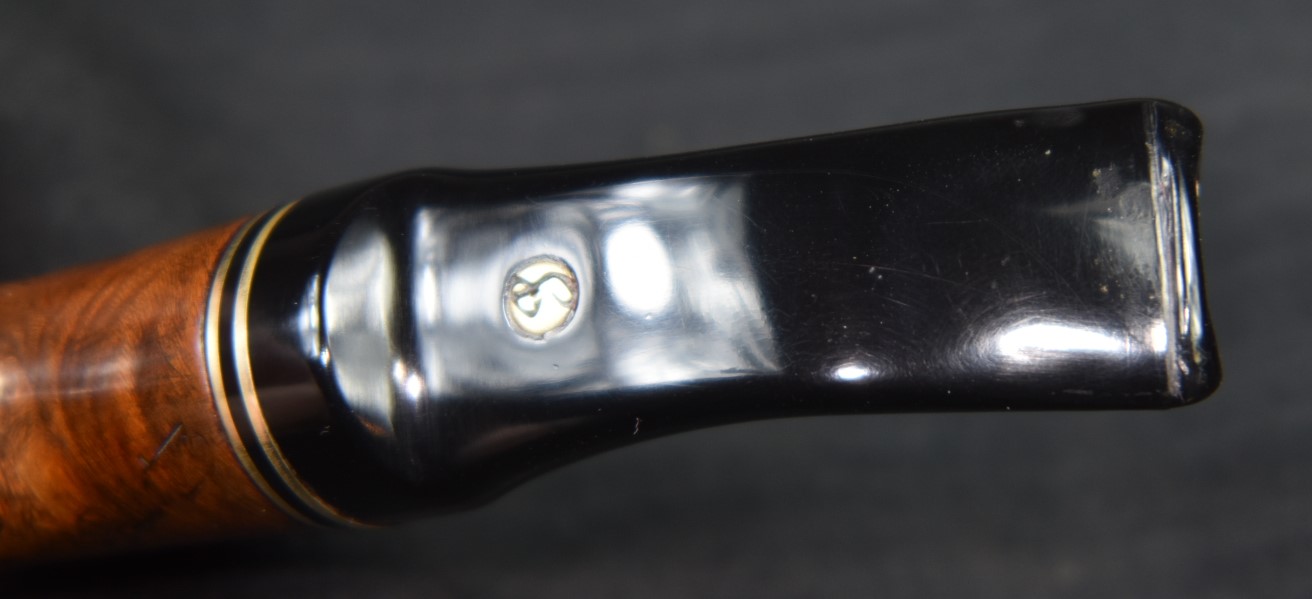
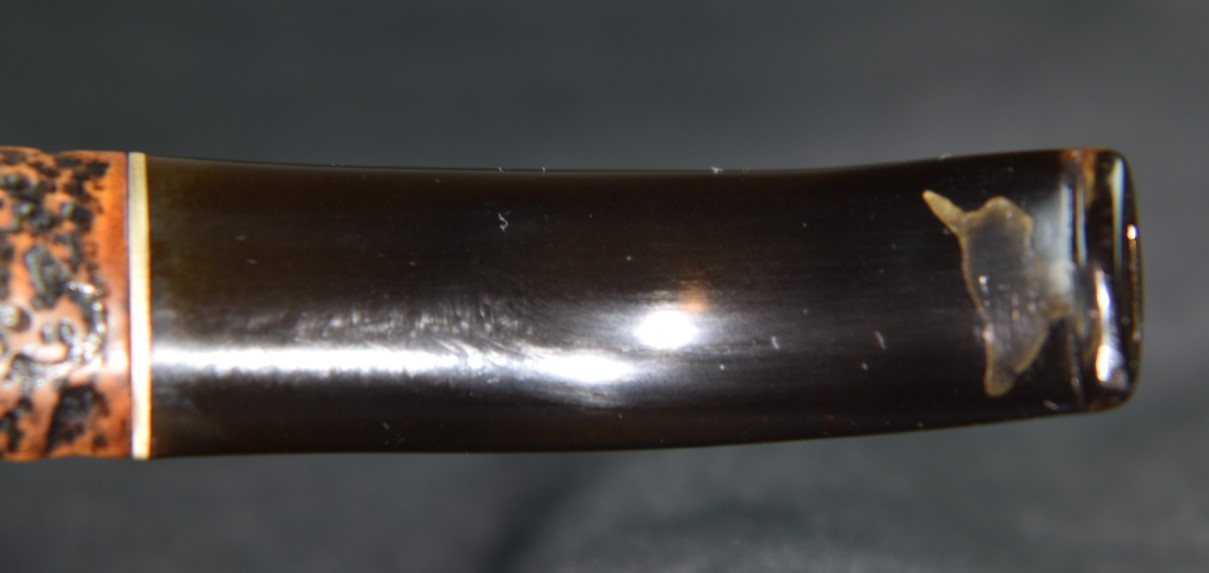
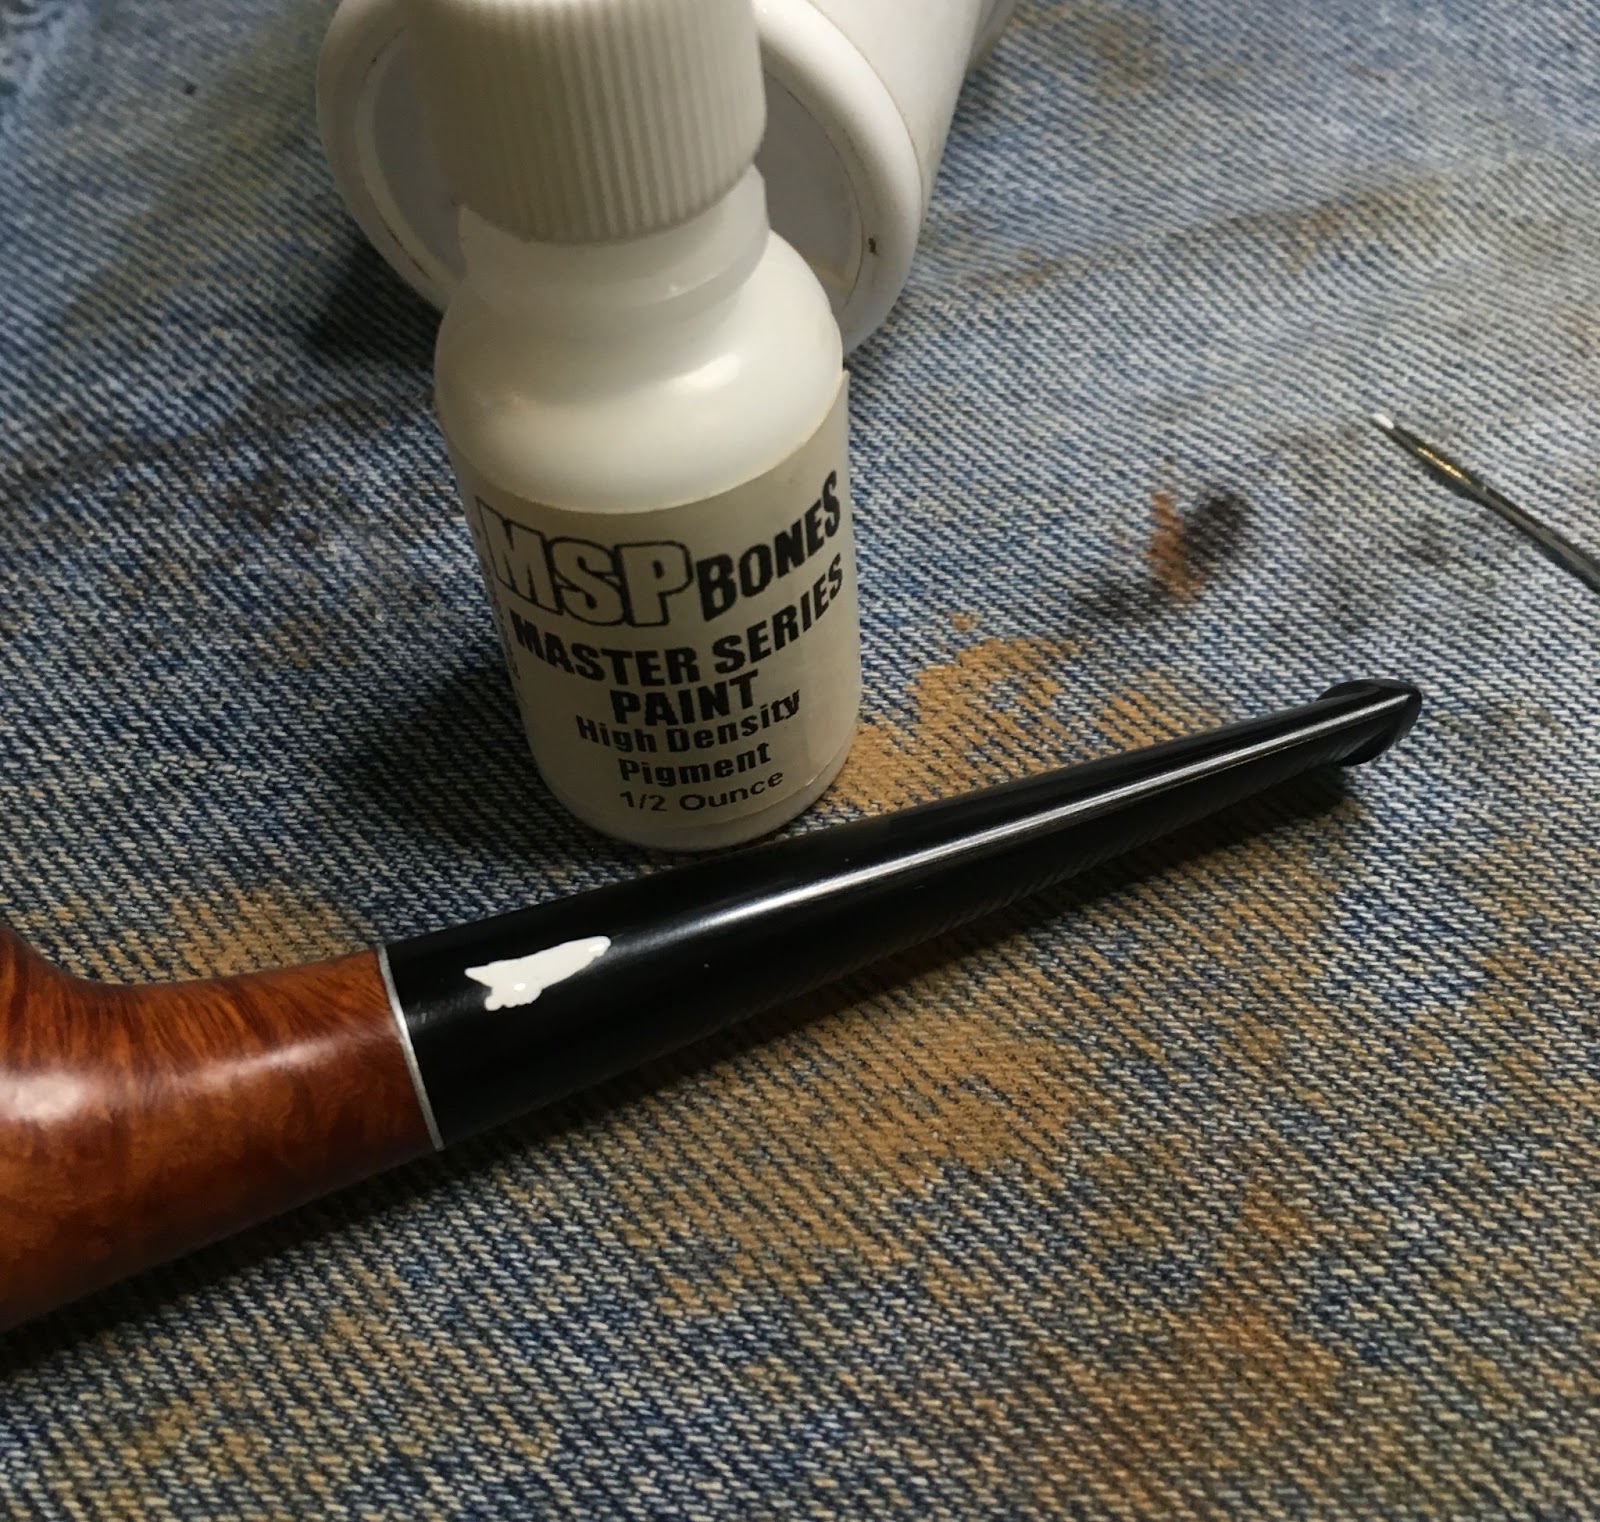
I am not sure if this discolored the CA fills or if the new rubberized CA doesn’t have the same black color as the CA that I was used to previously. Either way I was not as happy with the results as I had been previously. Here is a photo of the finished stem and the fill is much more obvious than what I was used to.
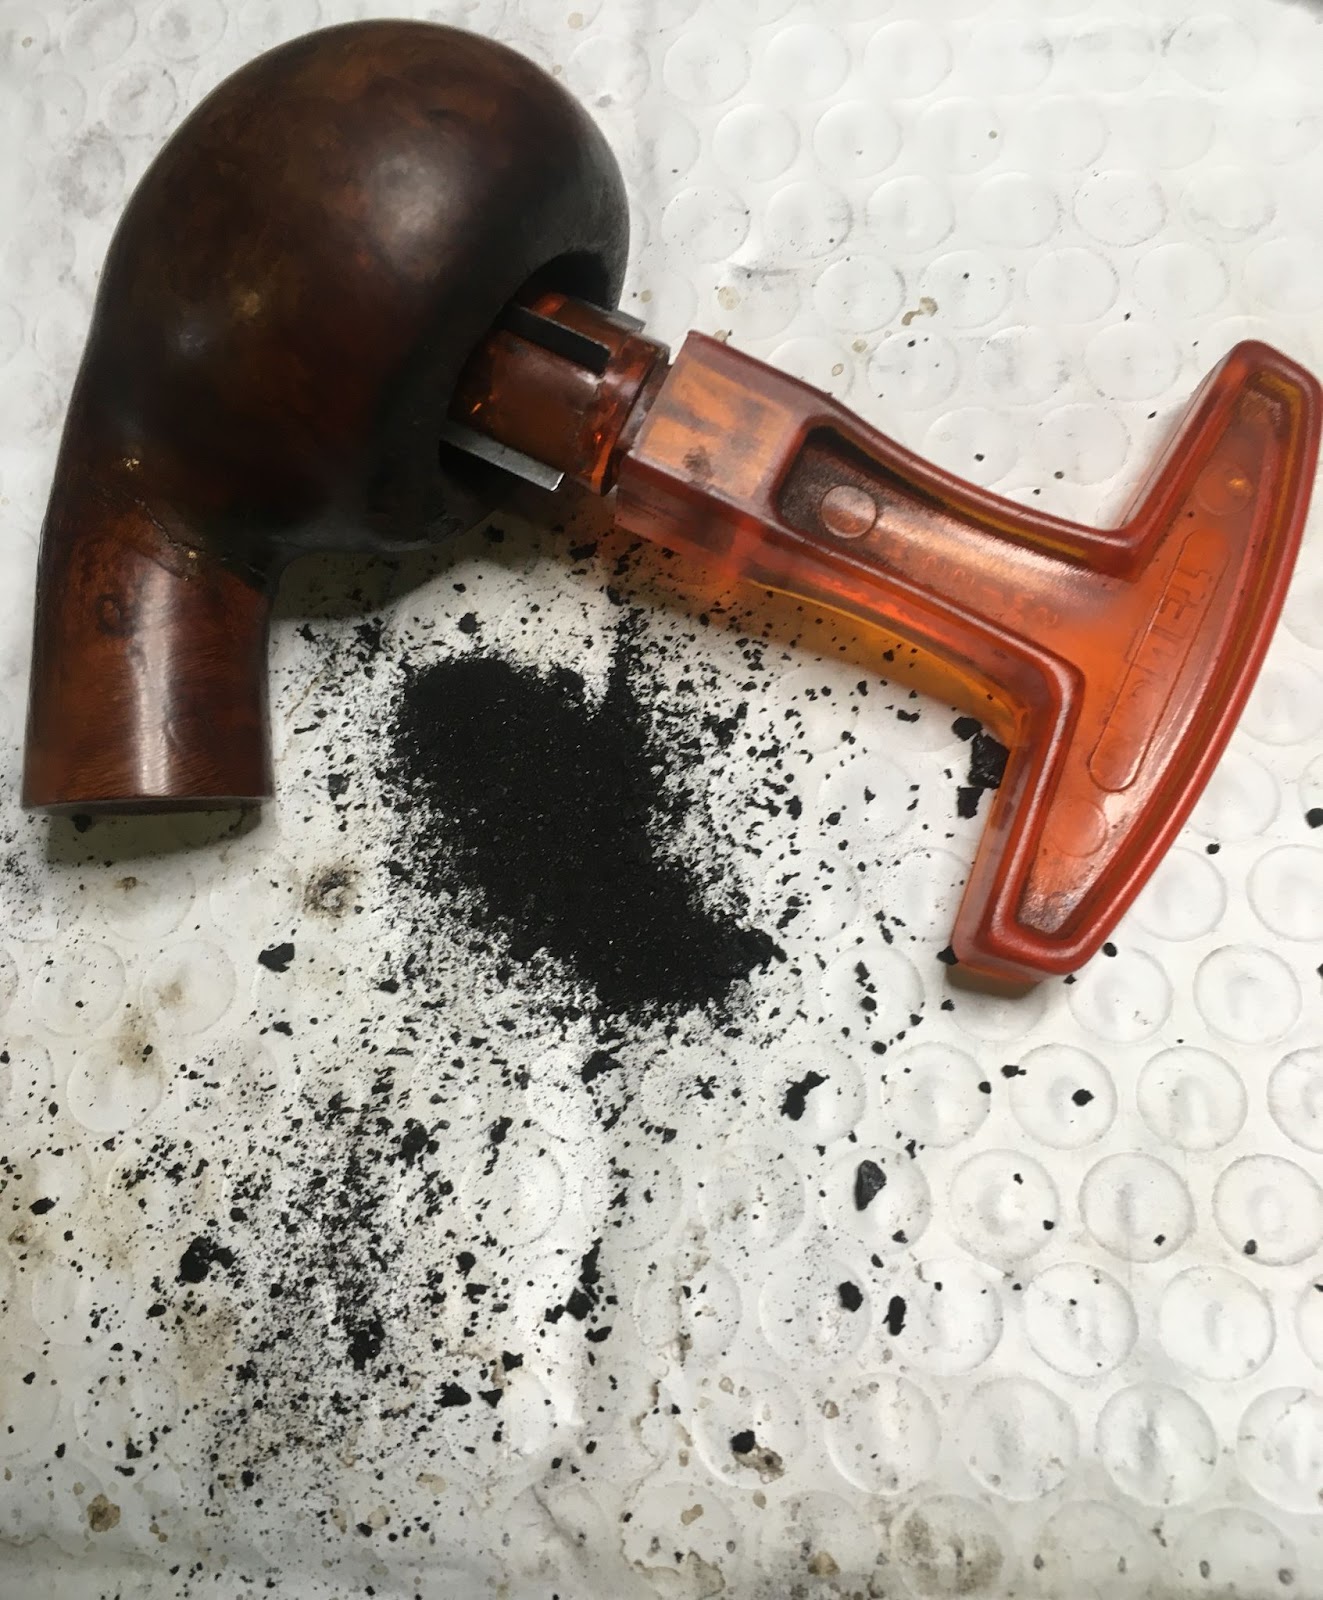
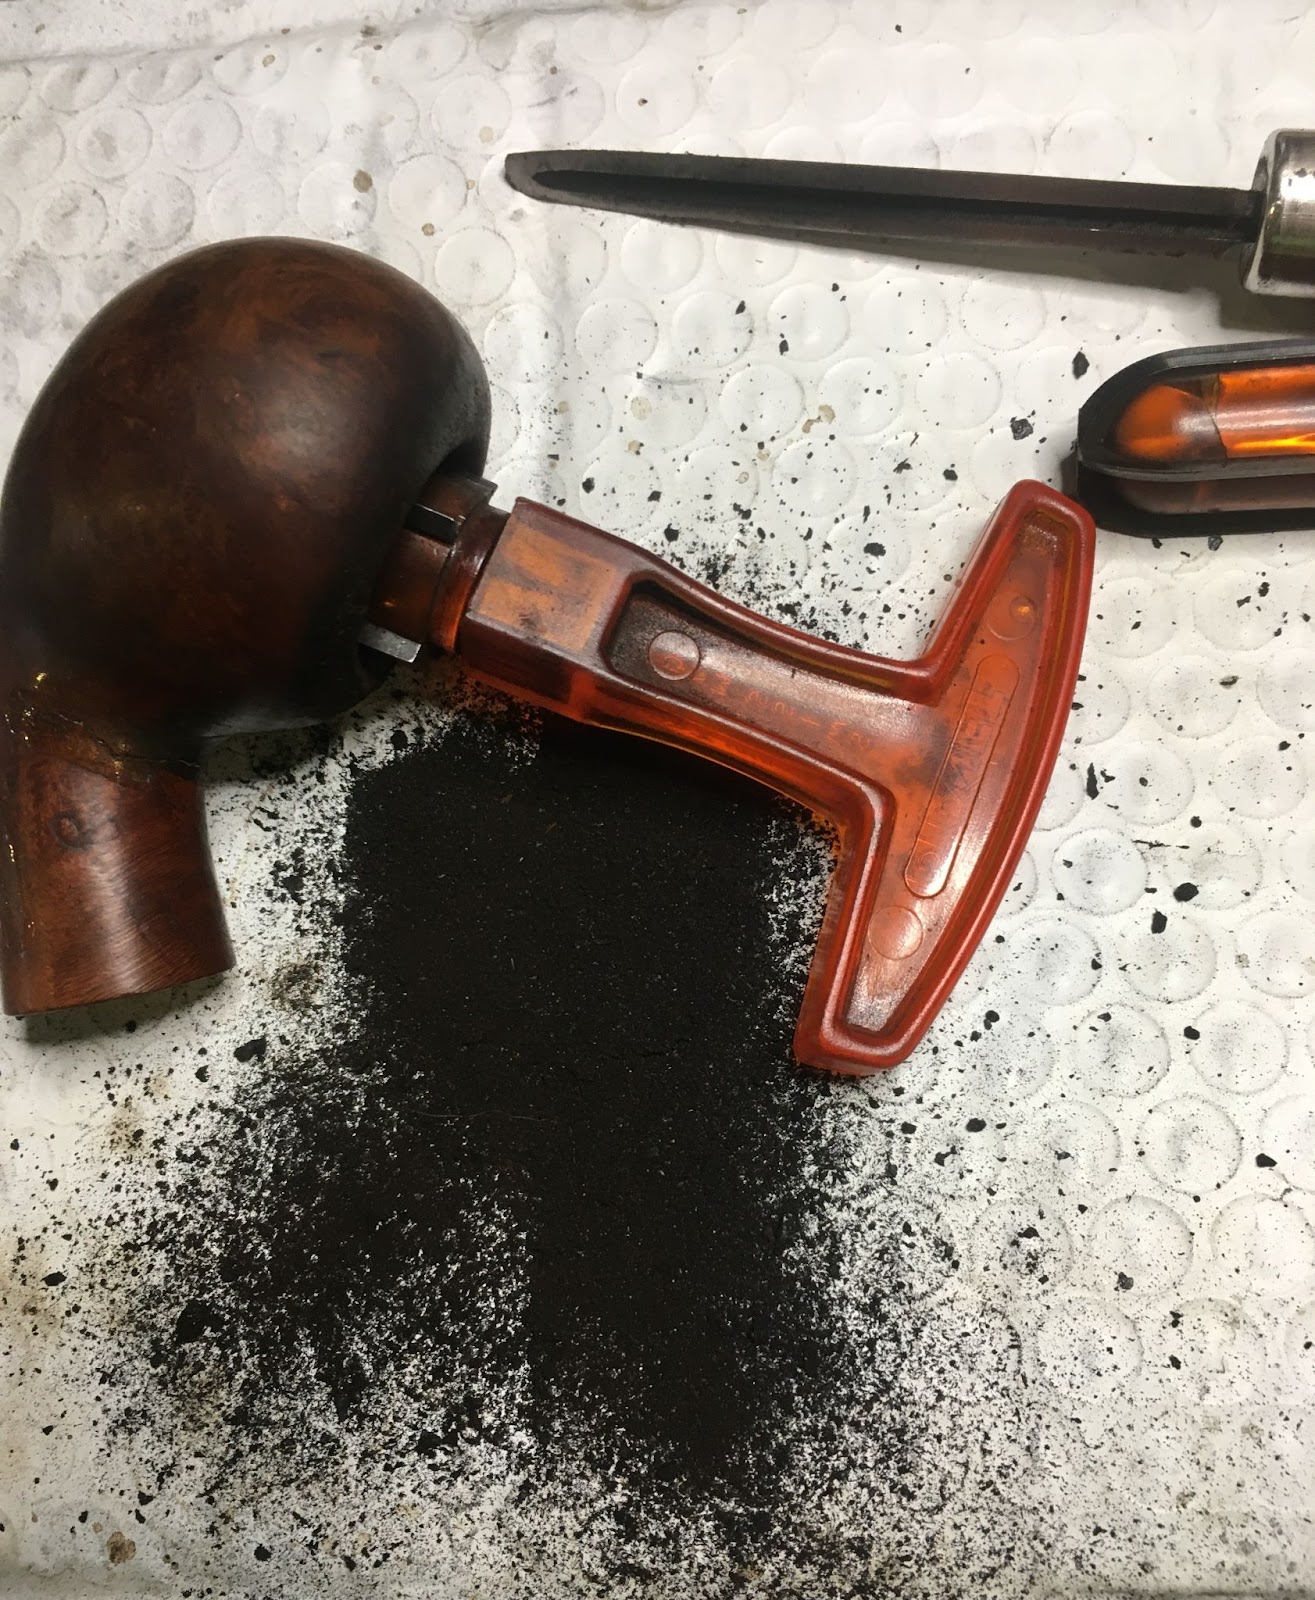
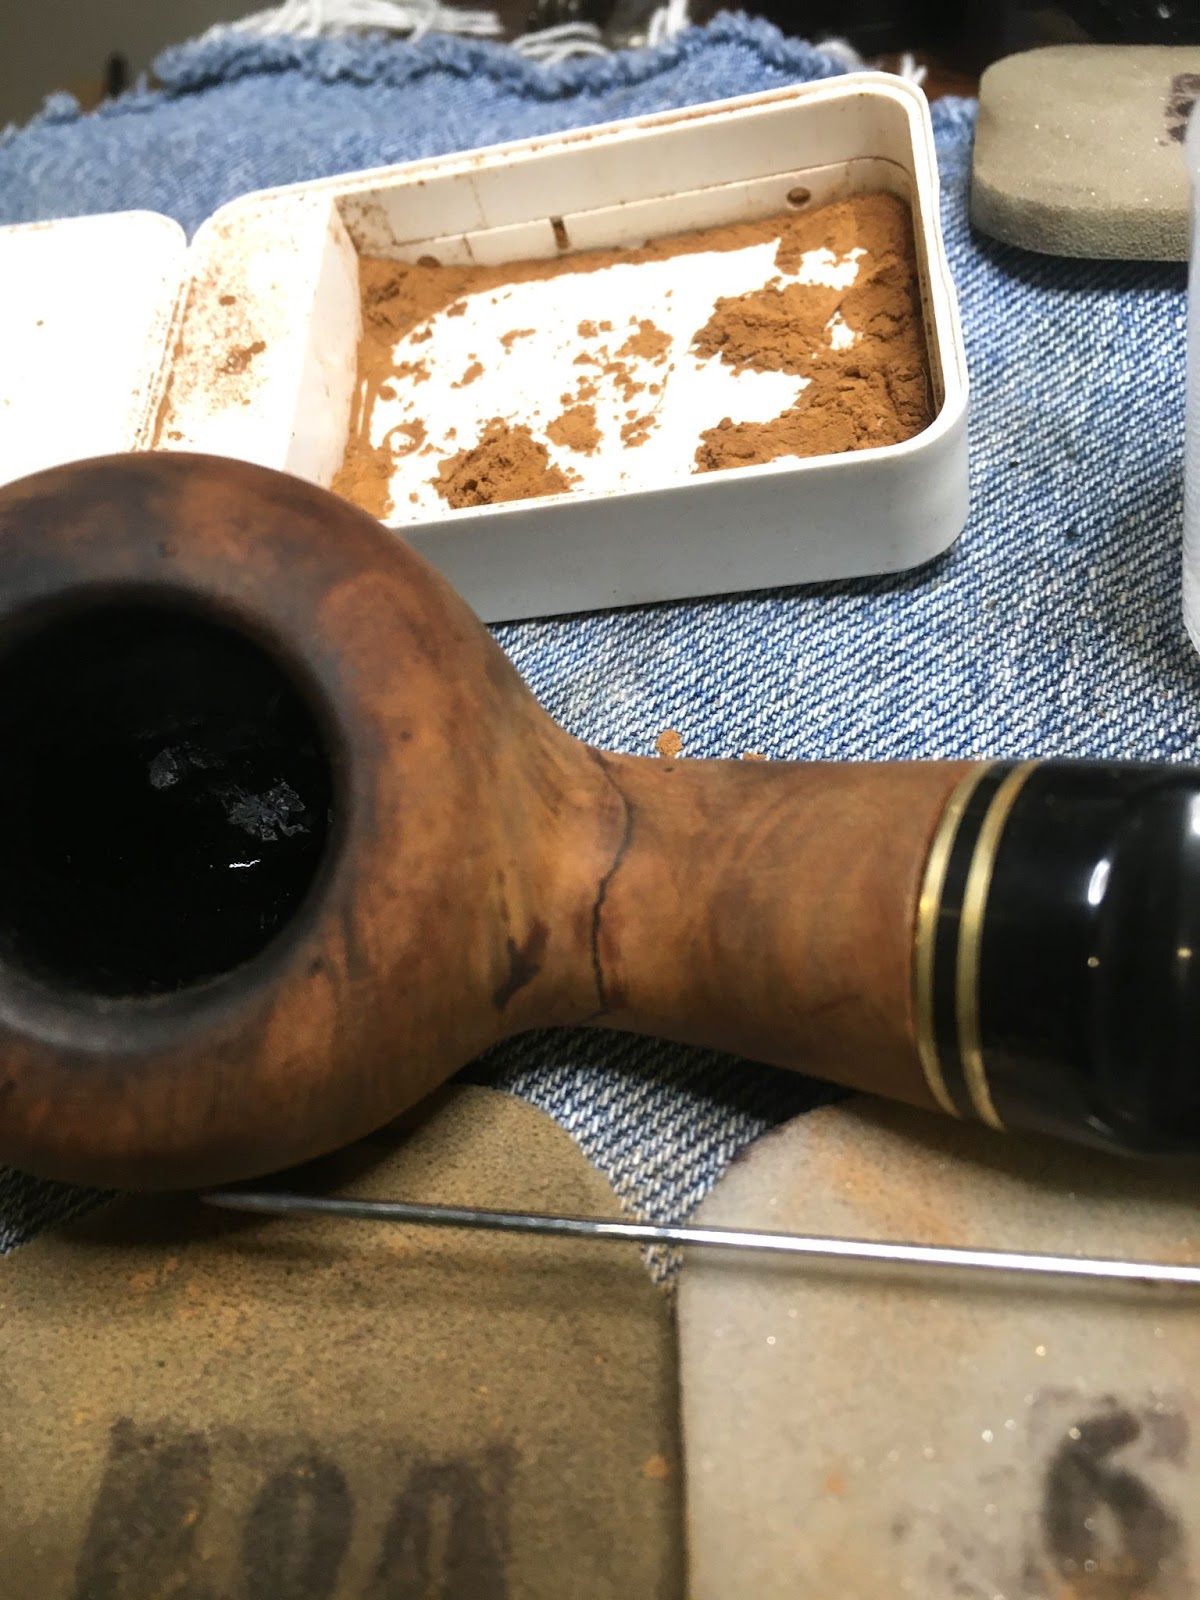
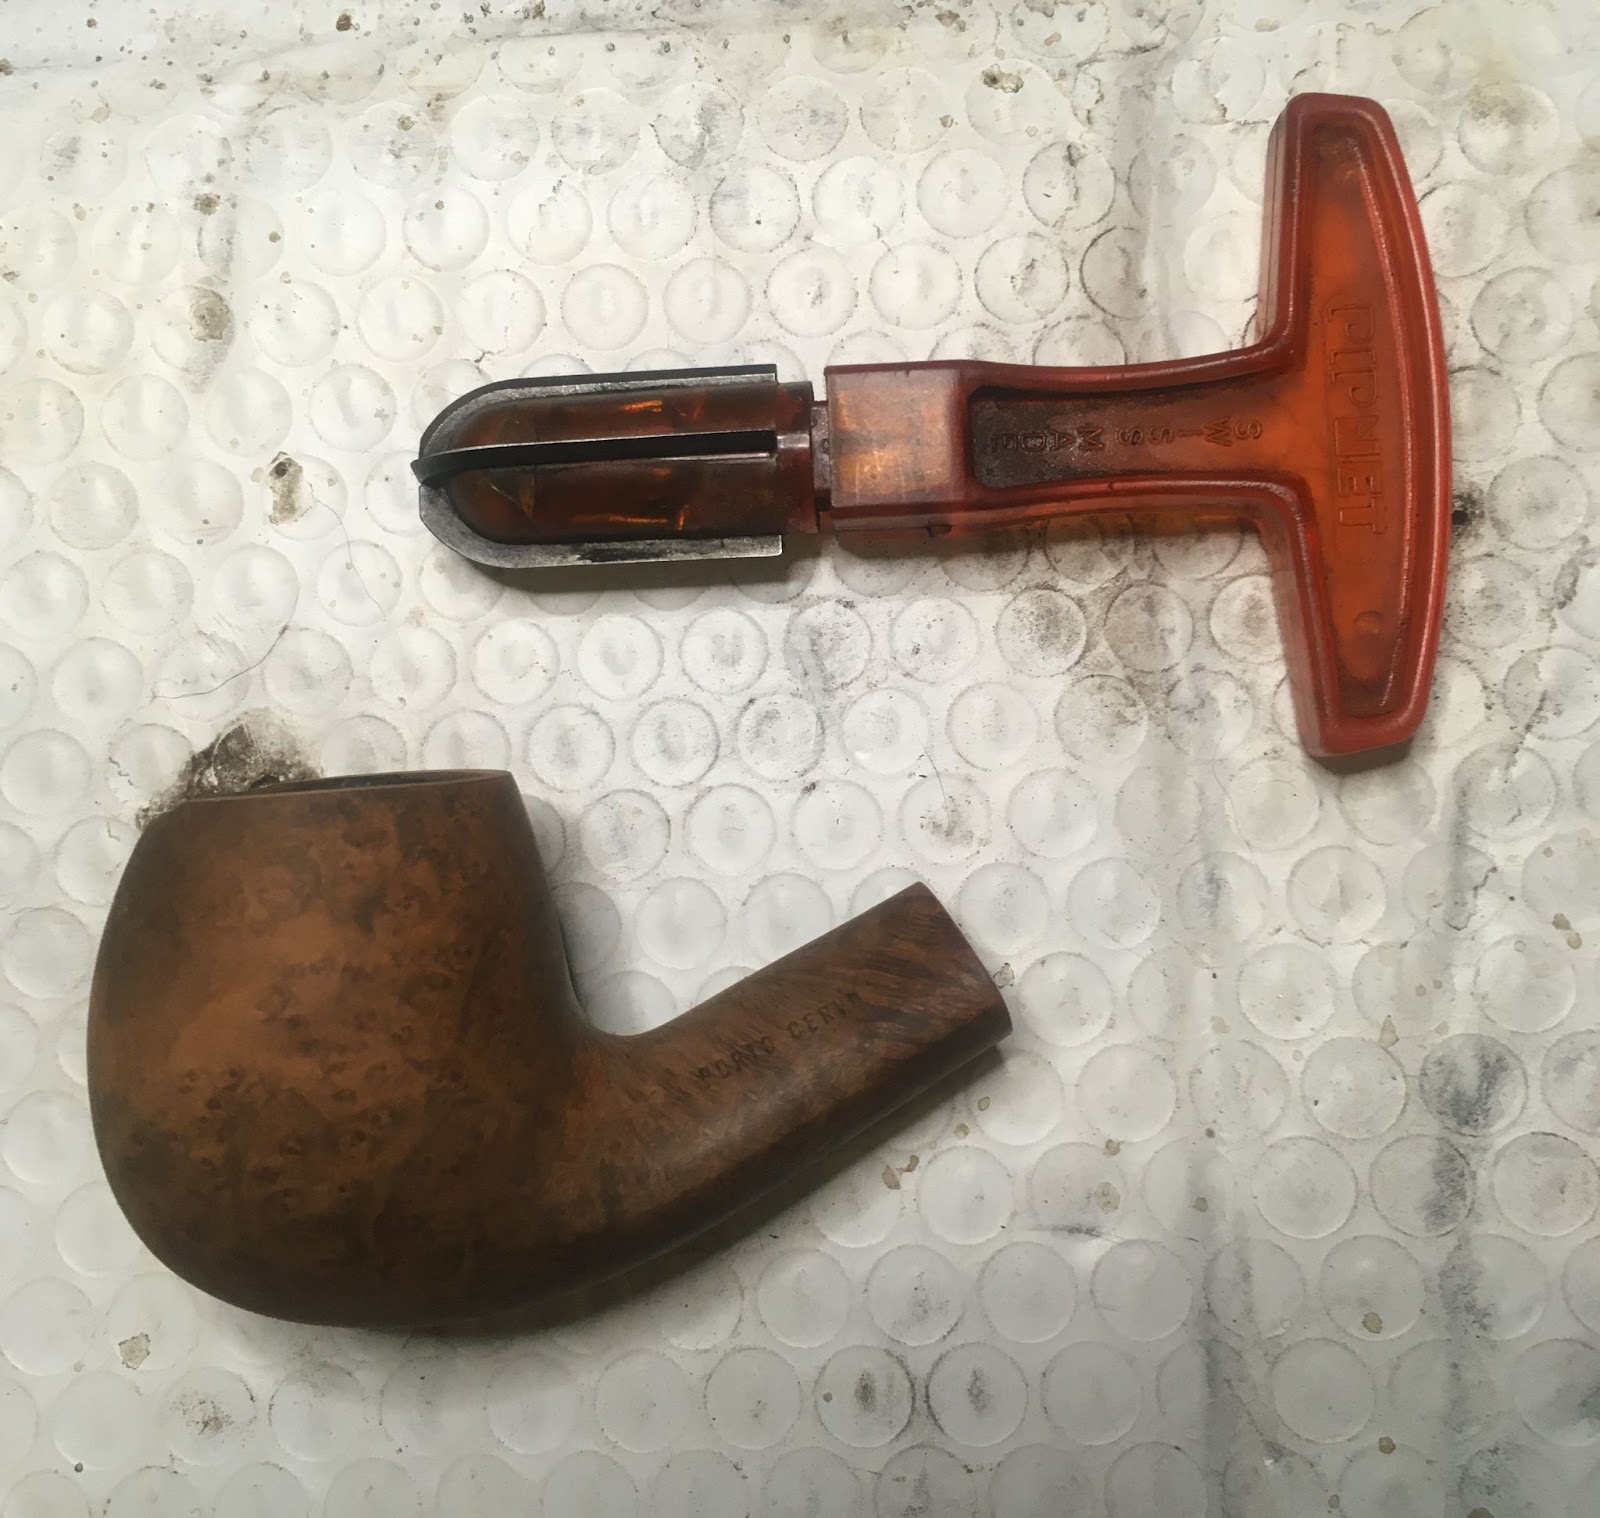
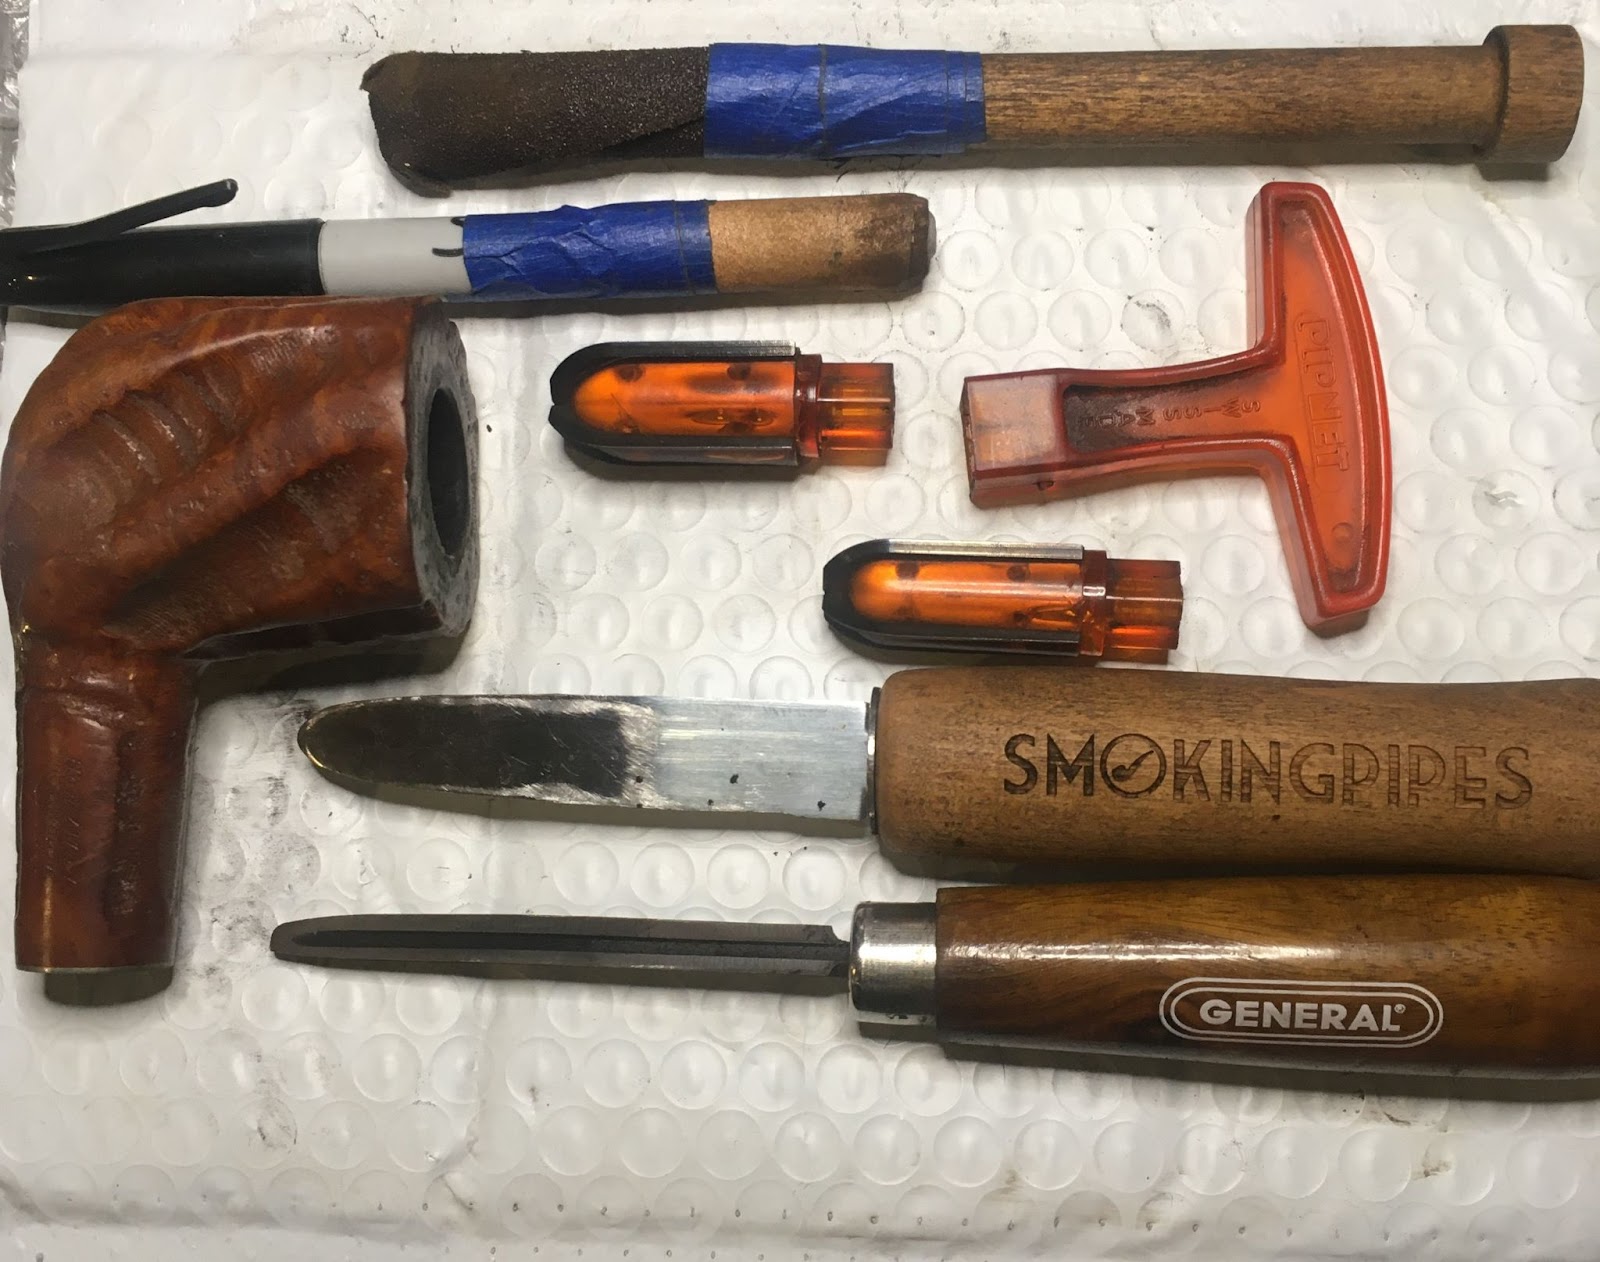
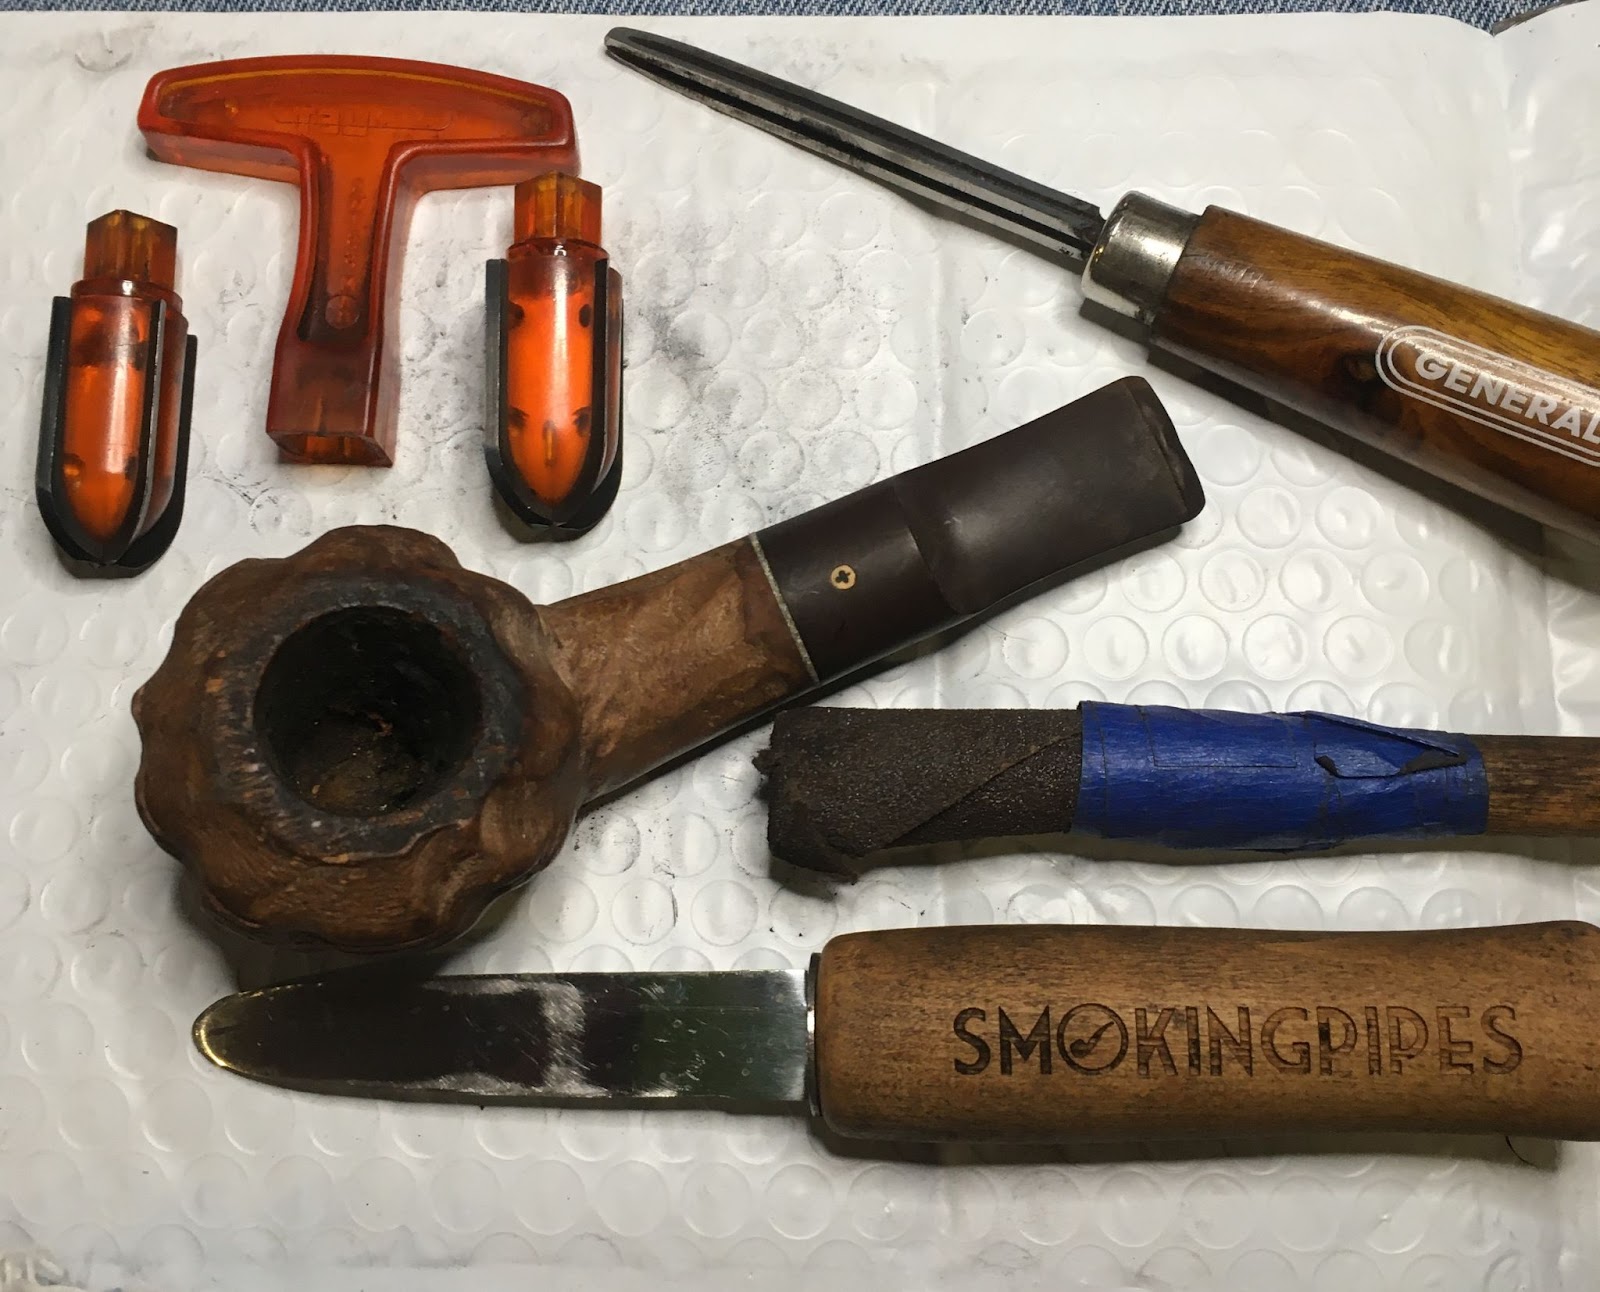
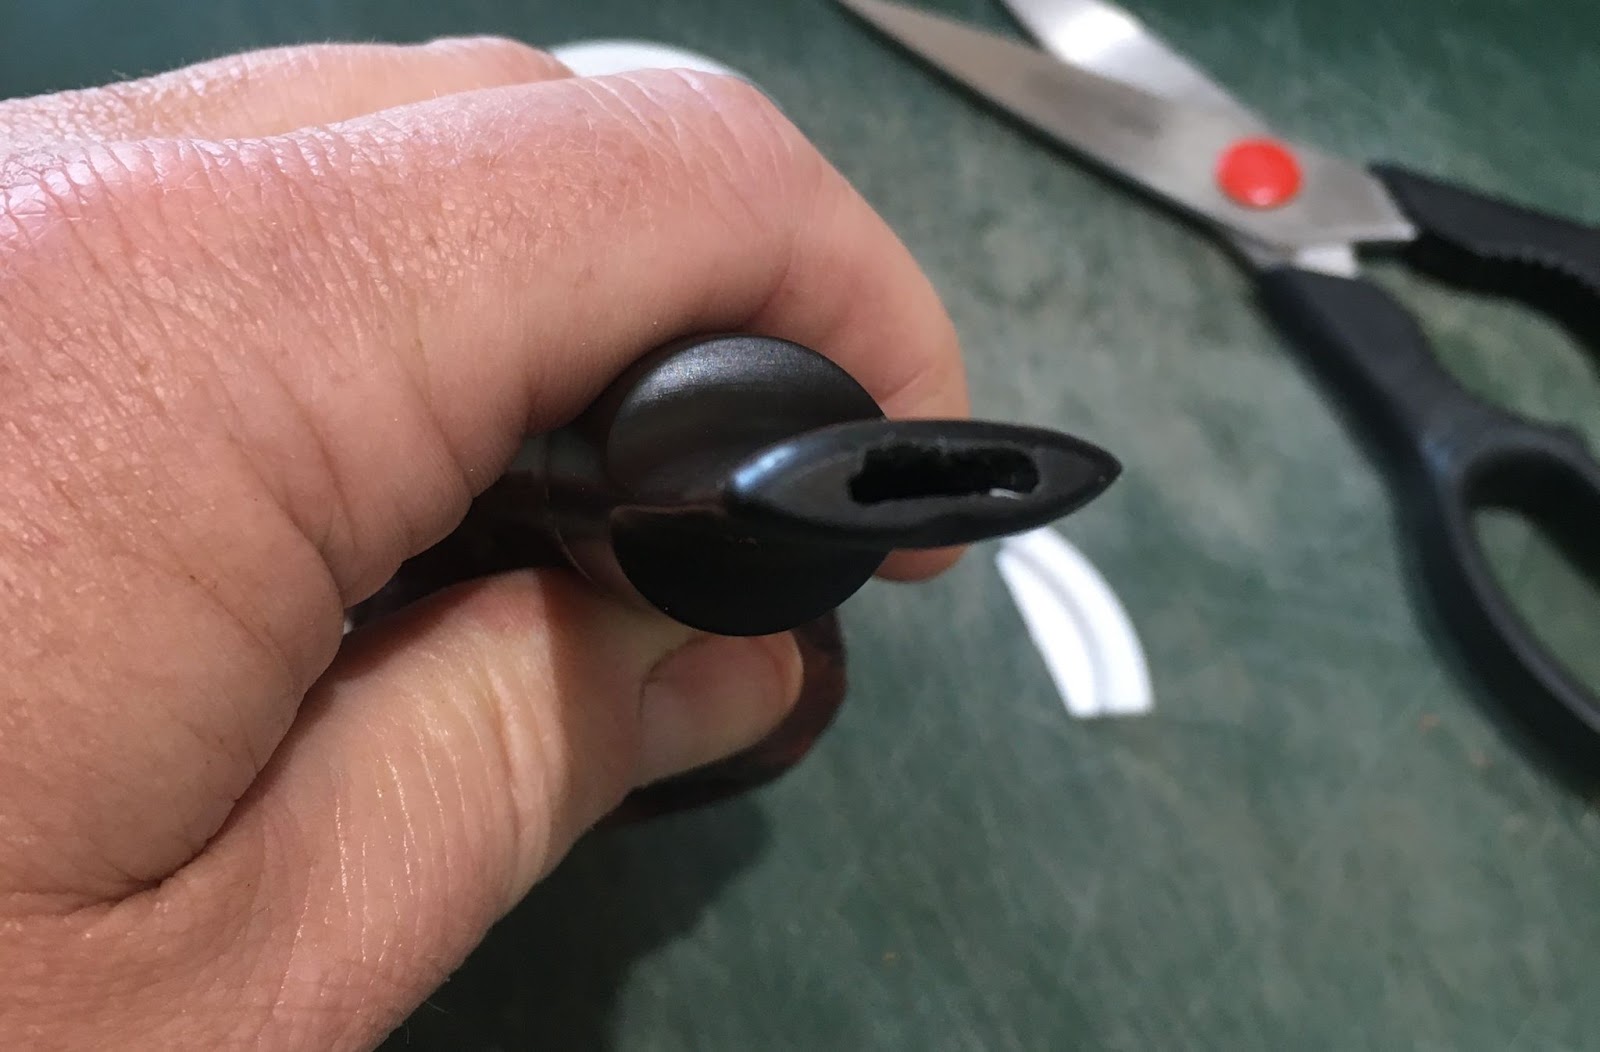
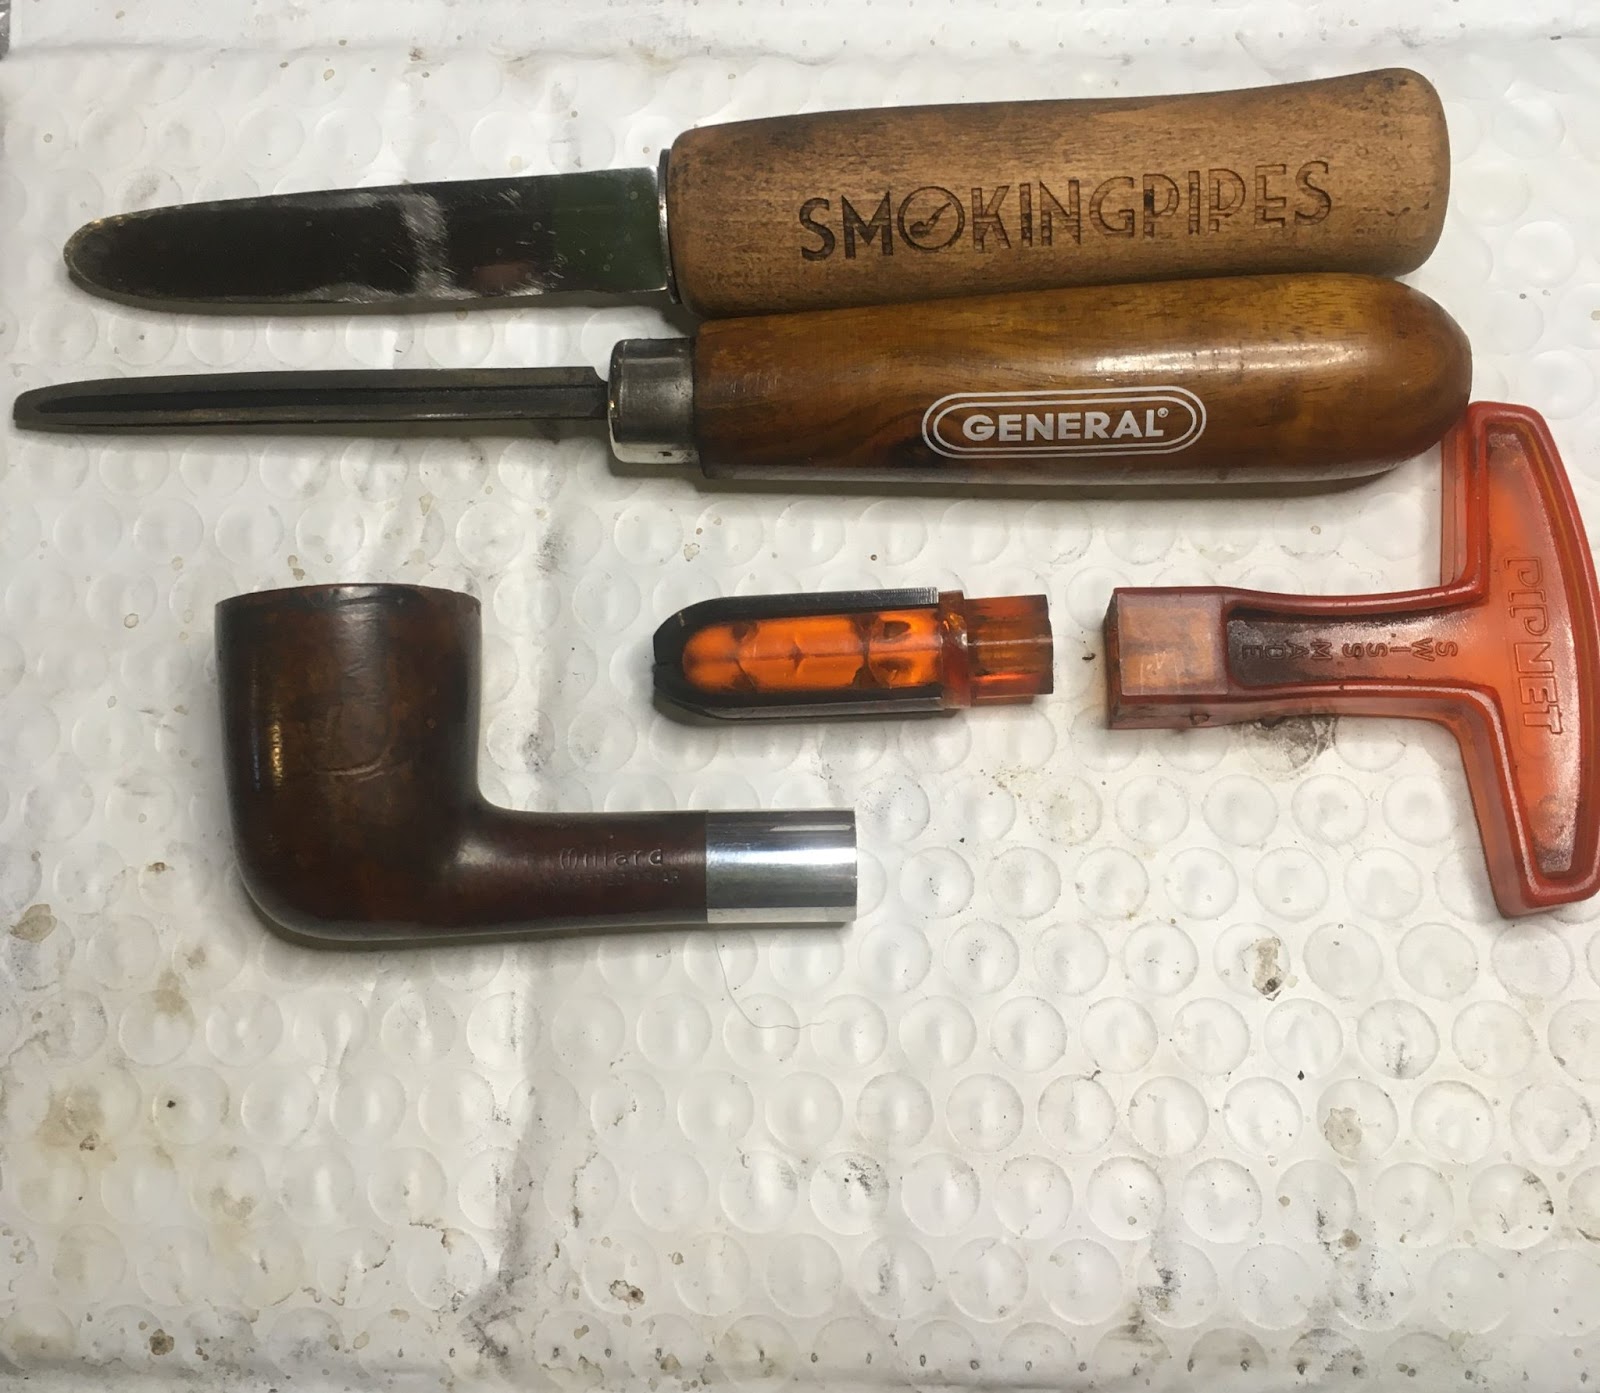
Leaving my comfort zone, I started working on the stummel. This started out normally with the gathering of the reaming tools.

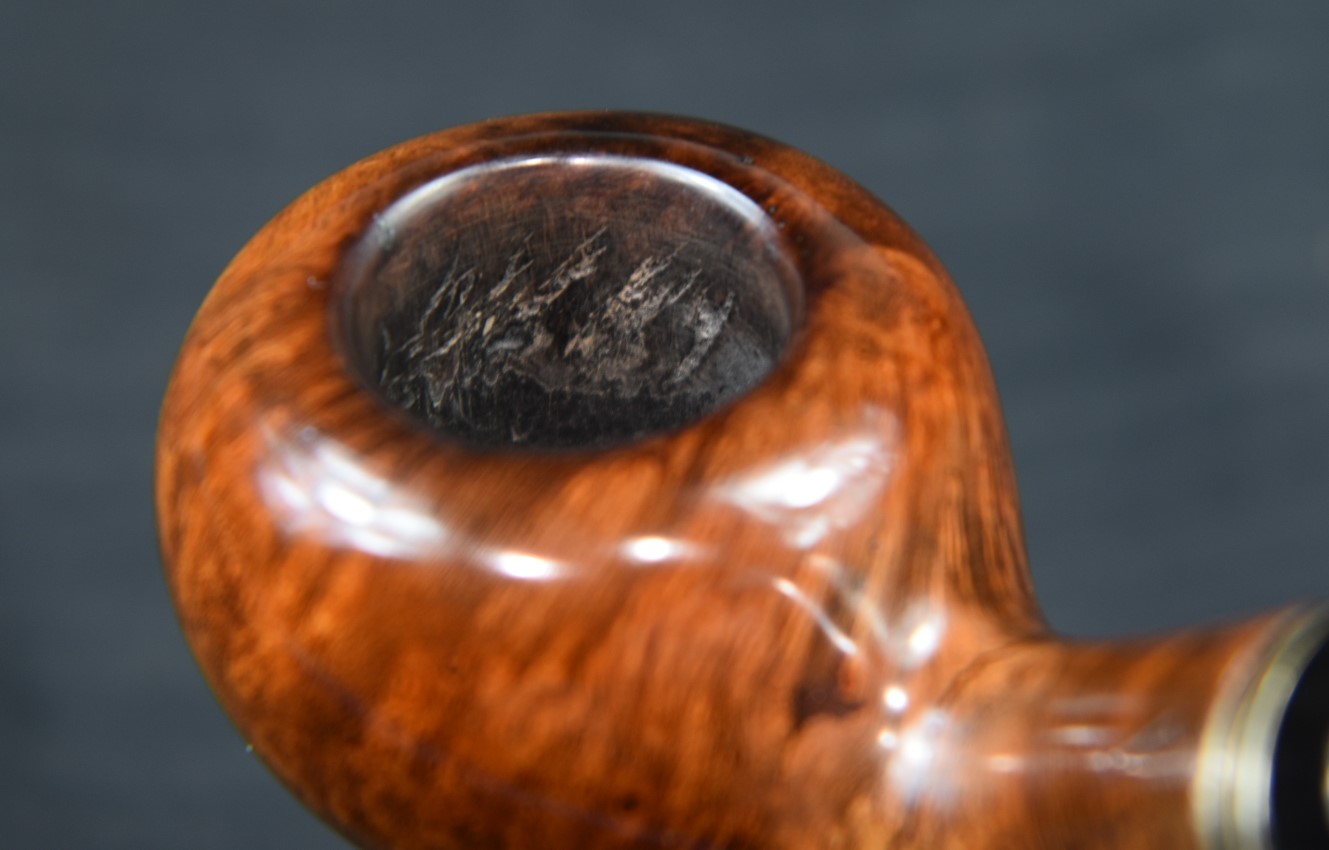
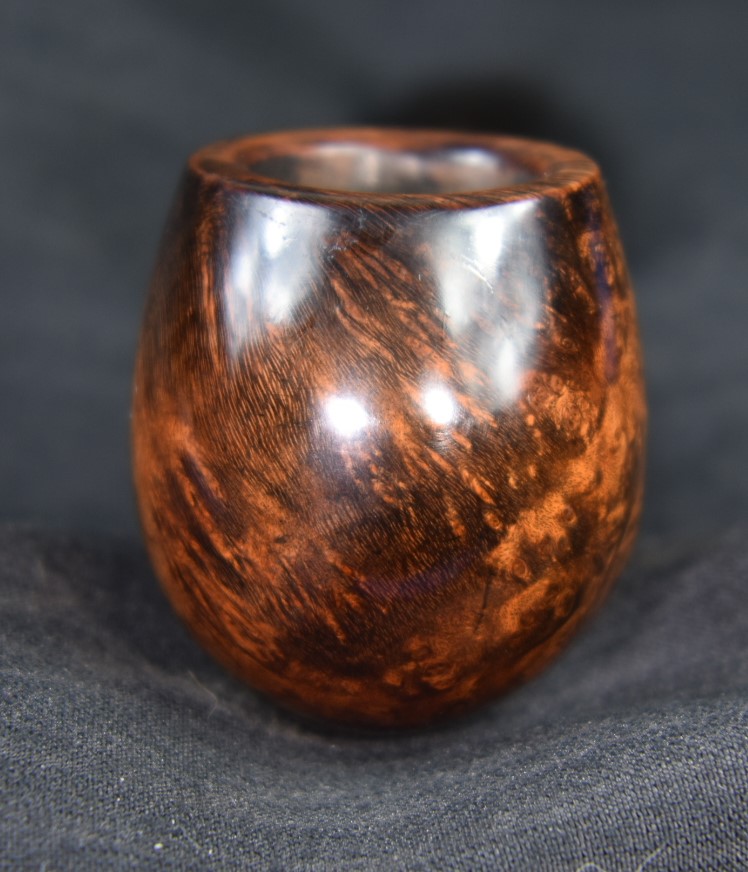
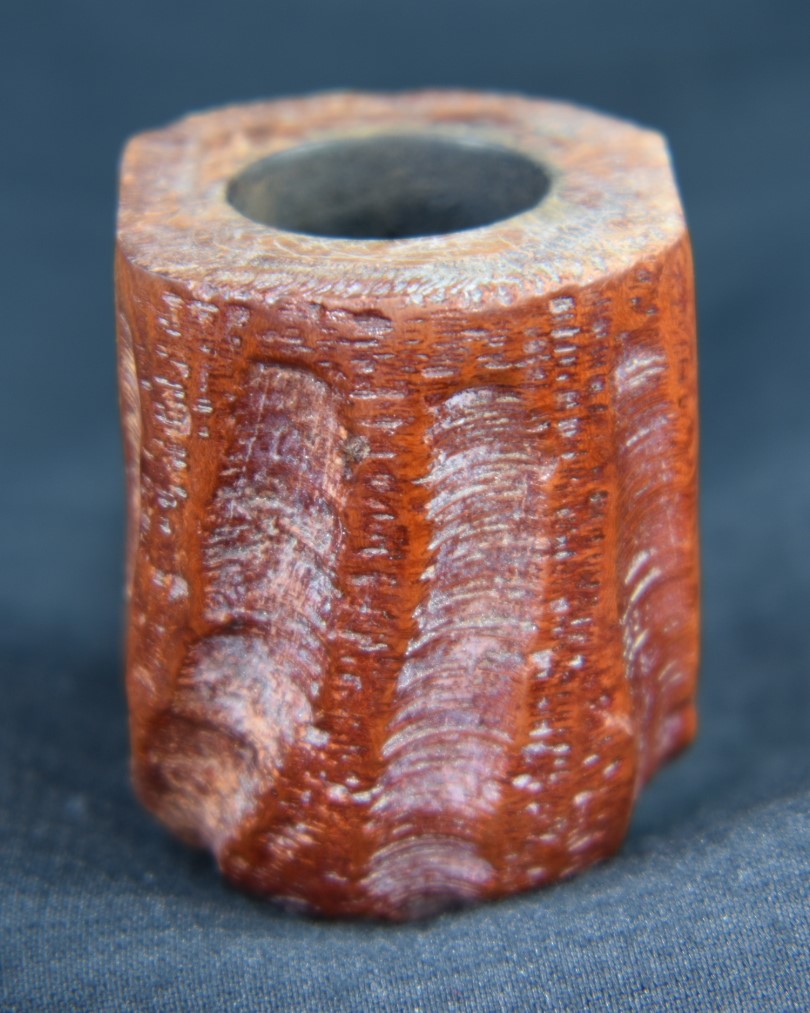
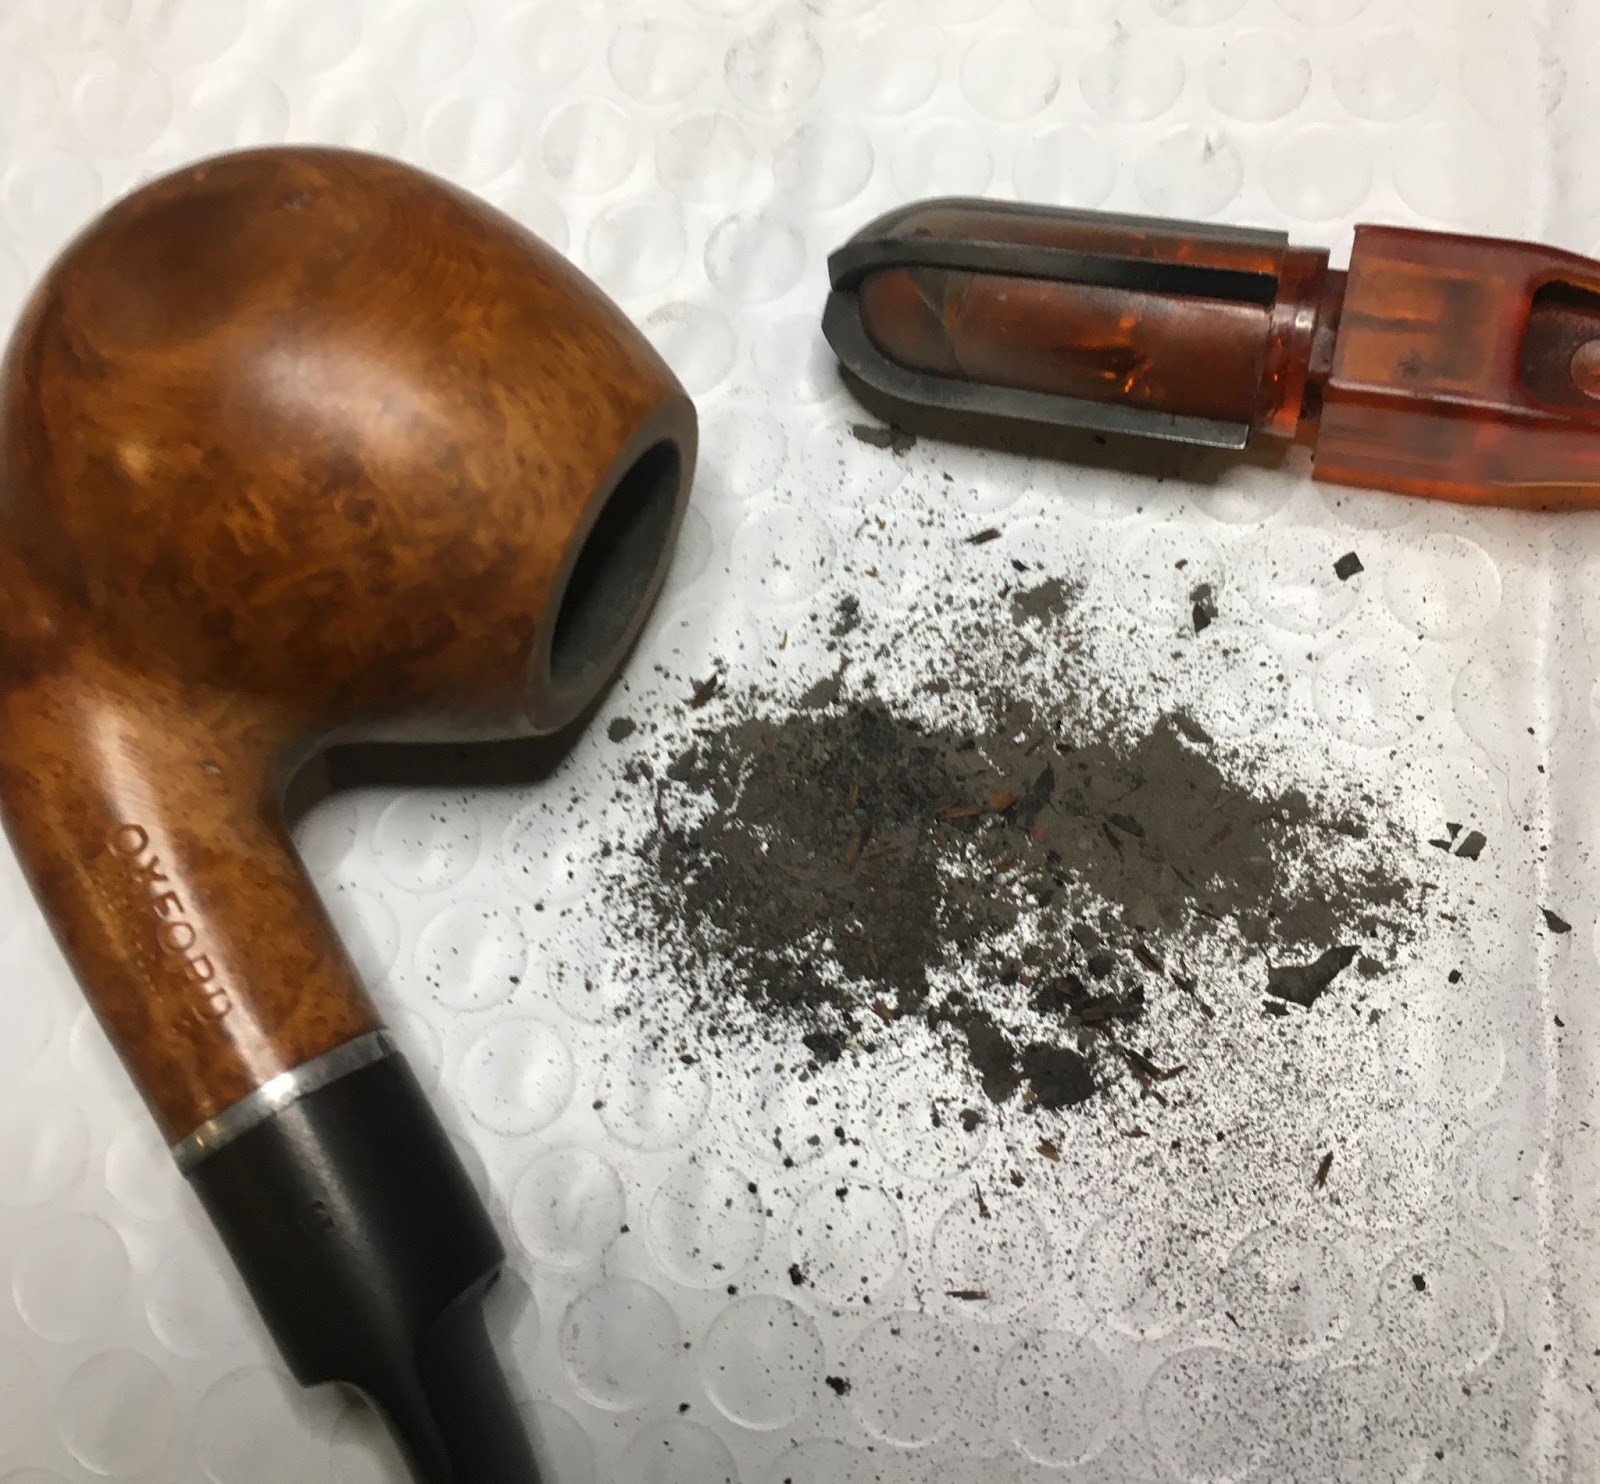
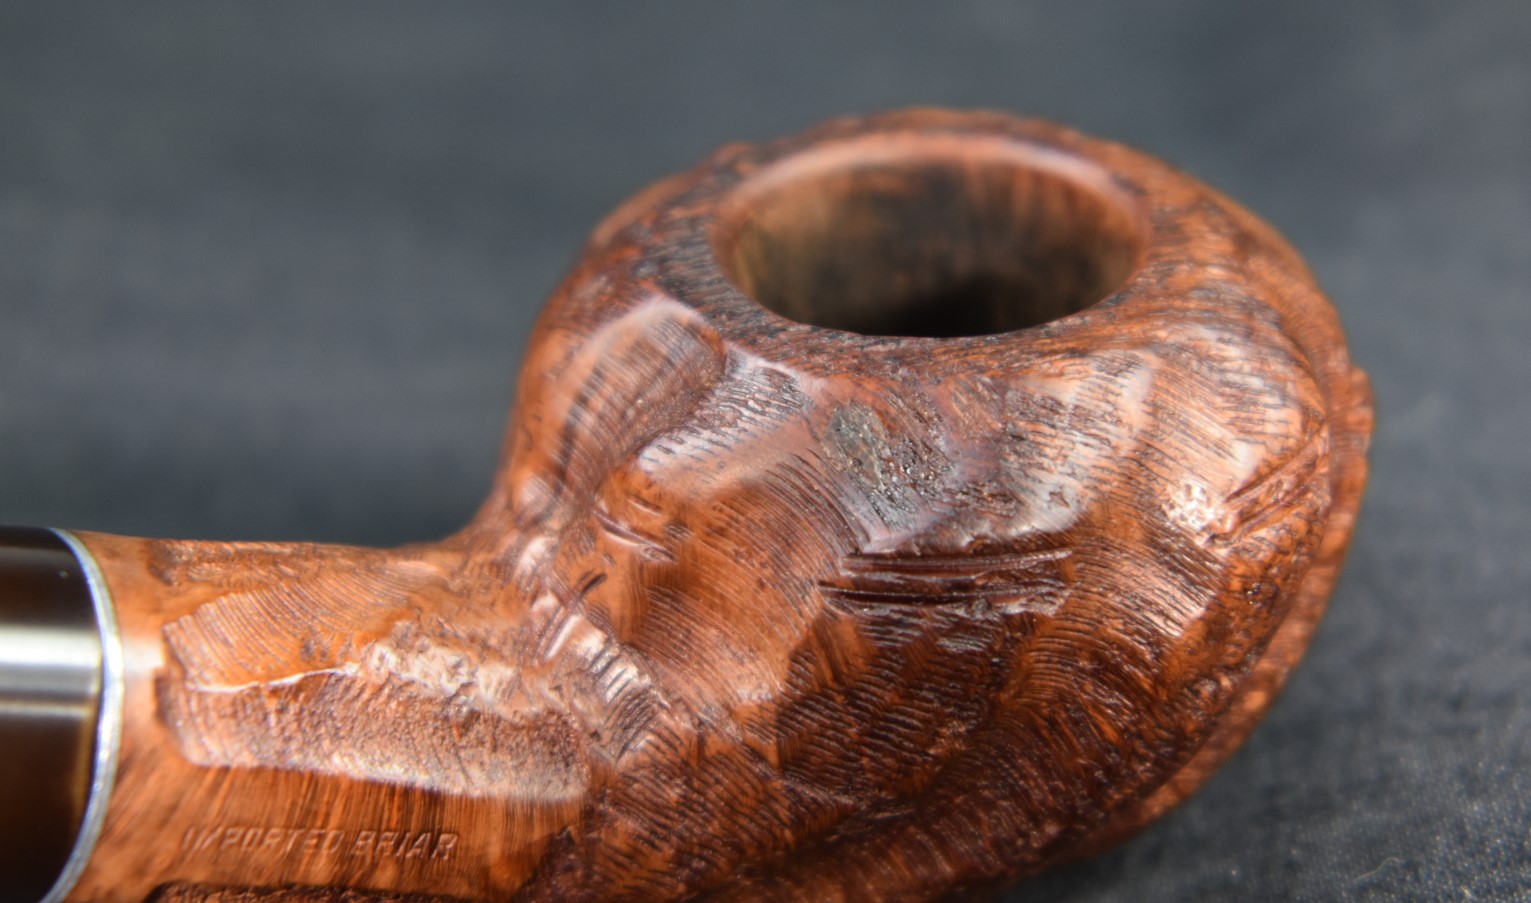
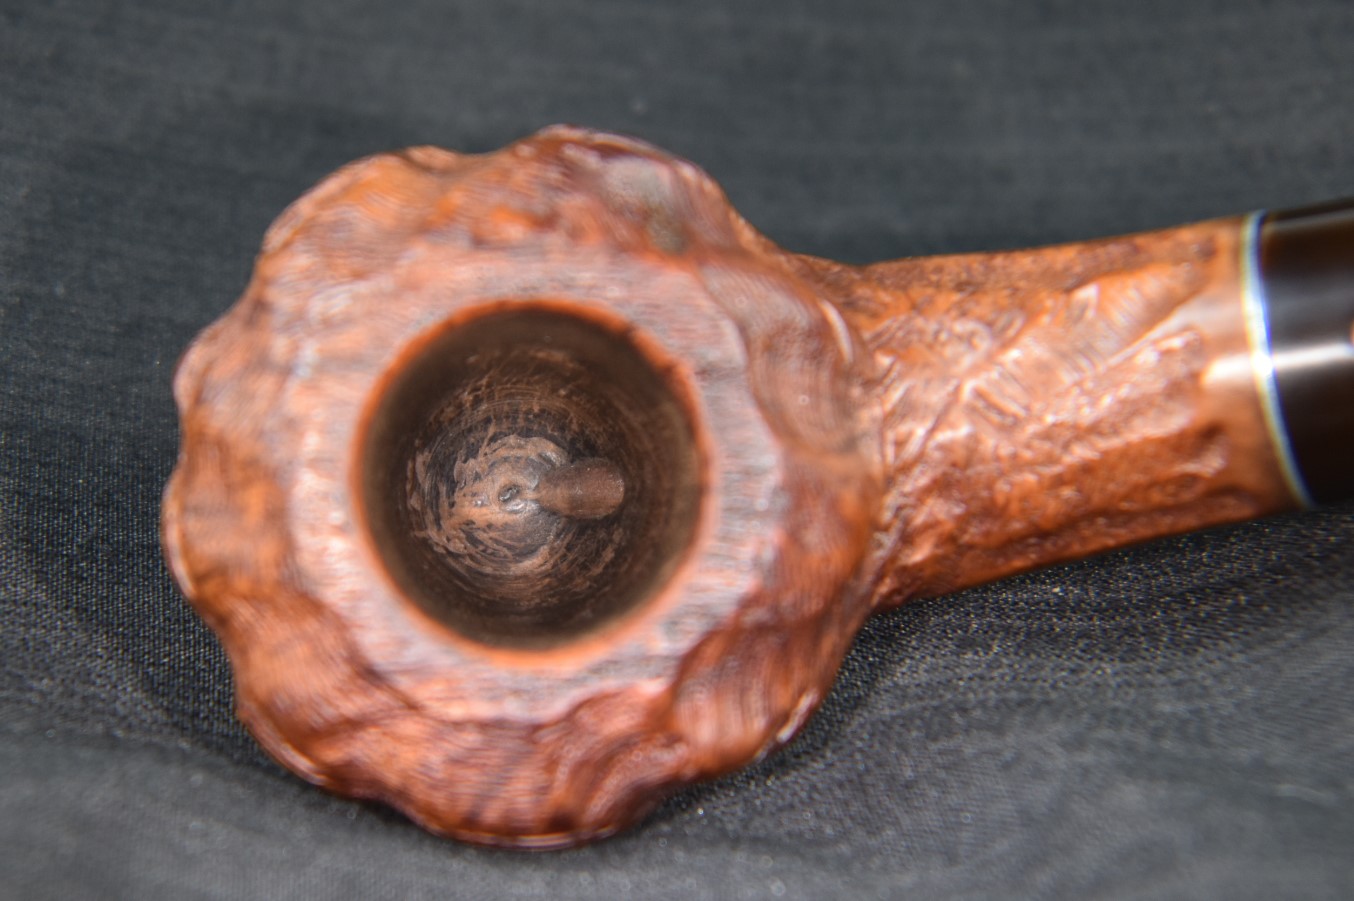
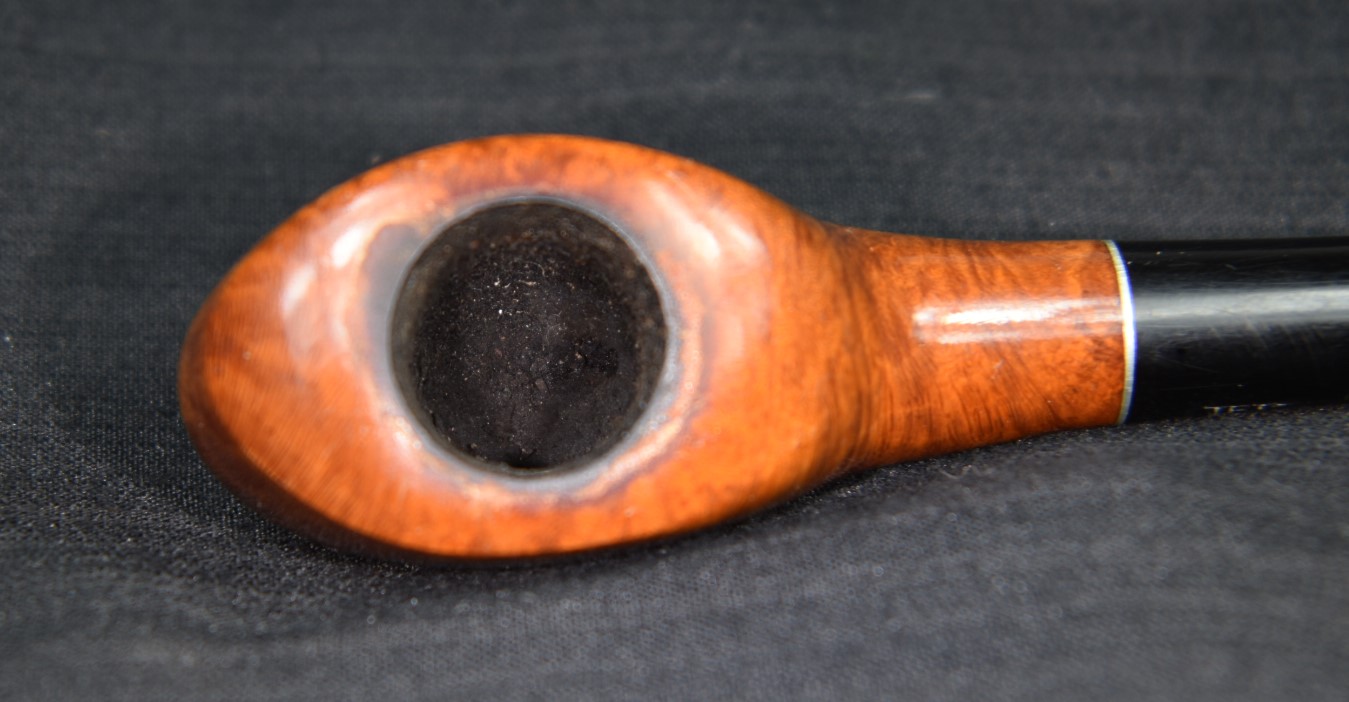
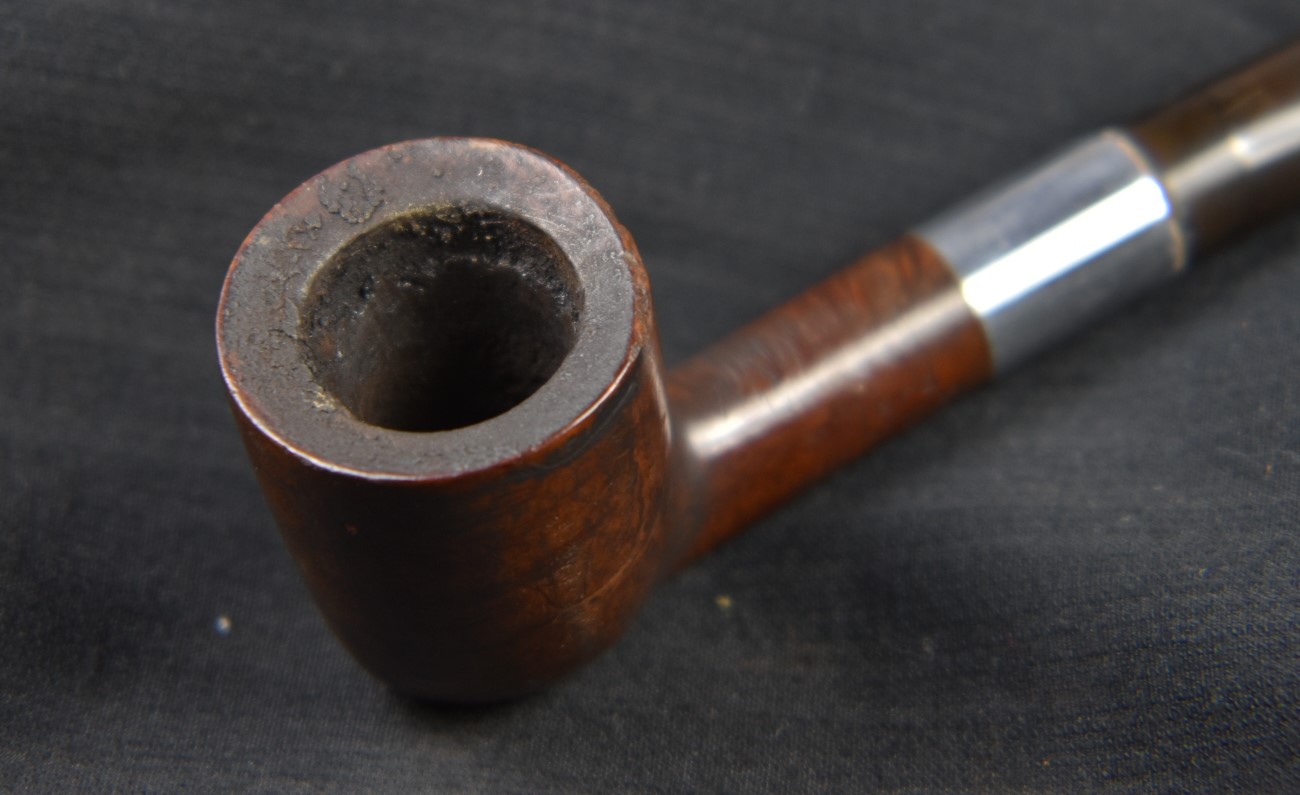
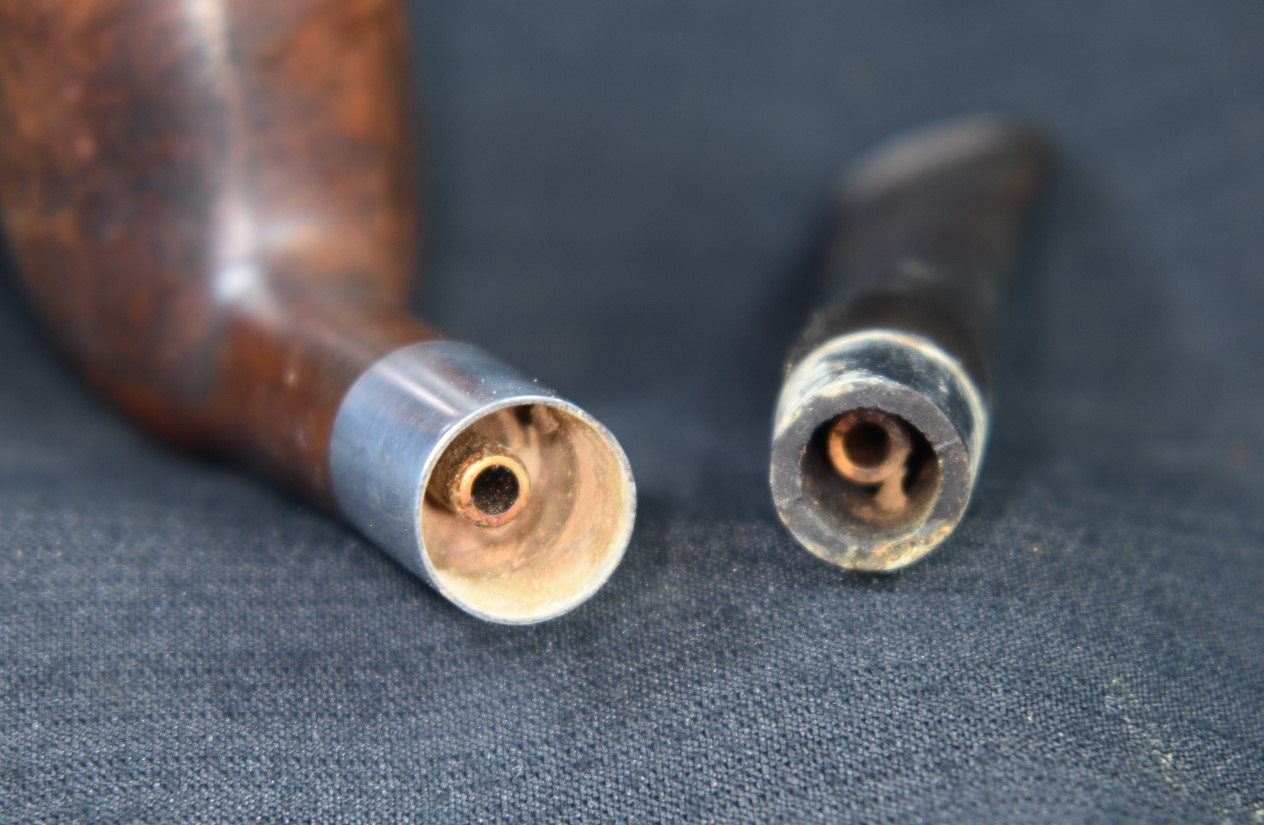
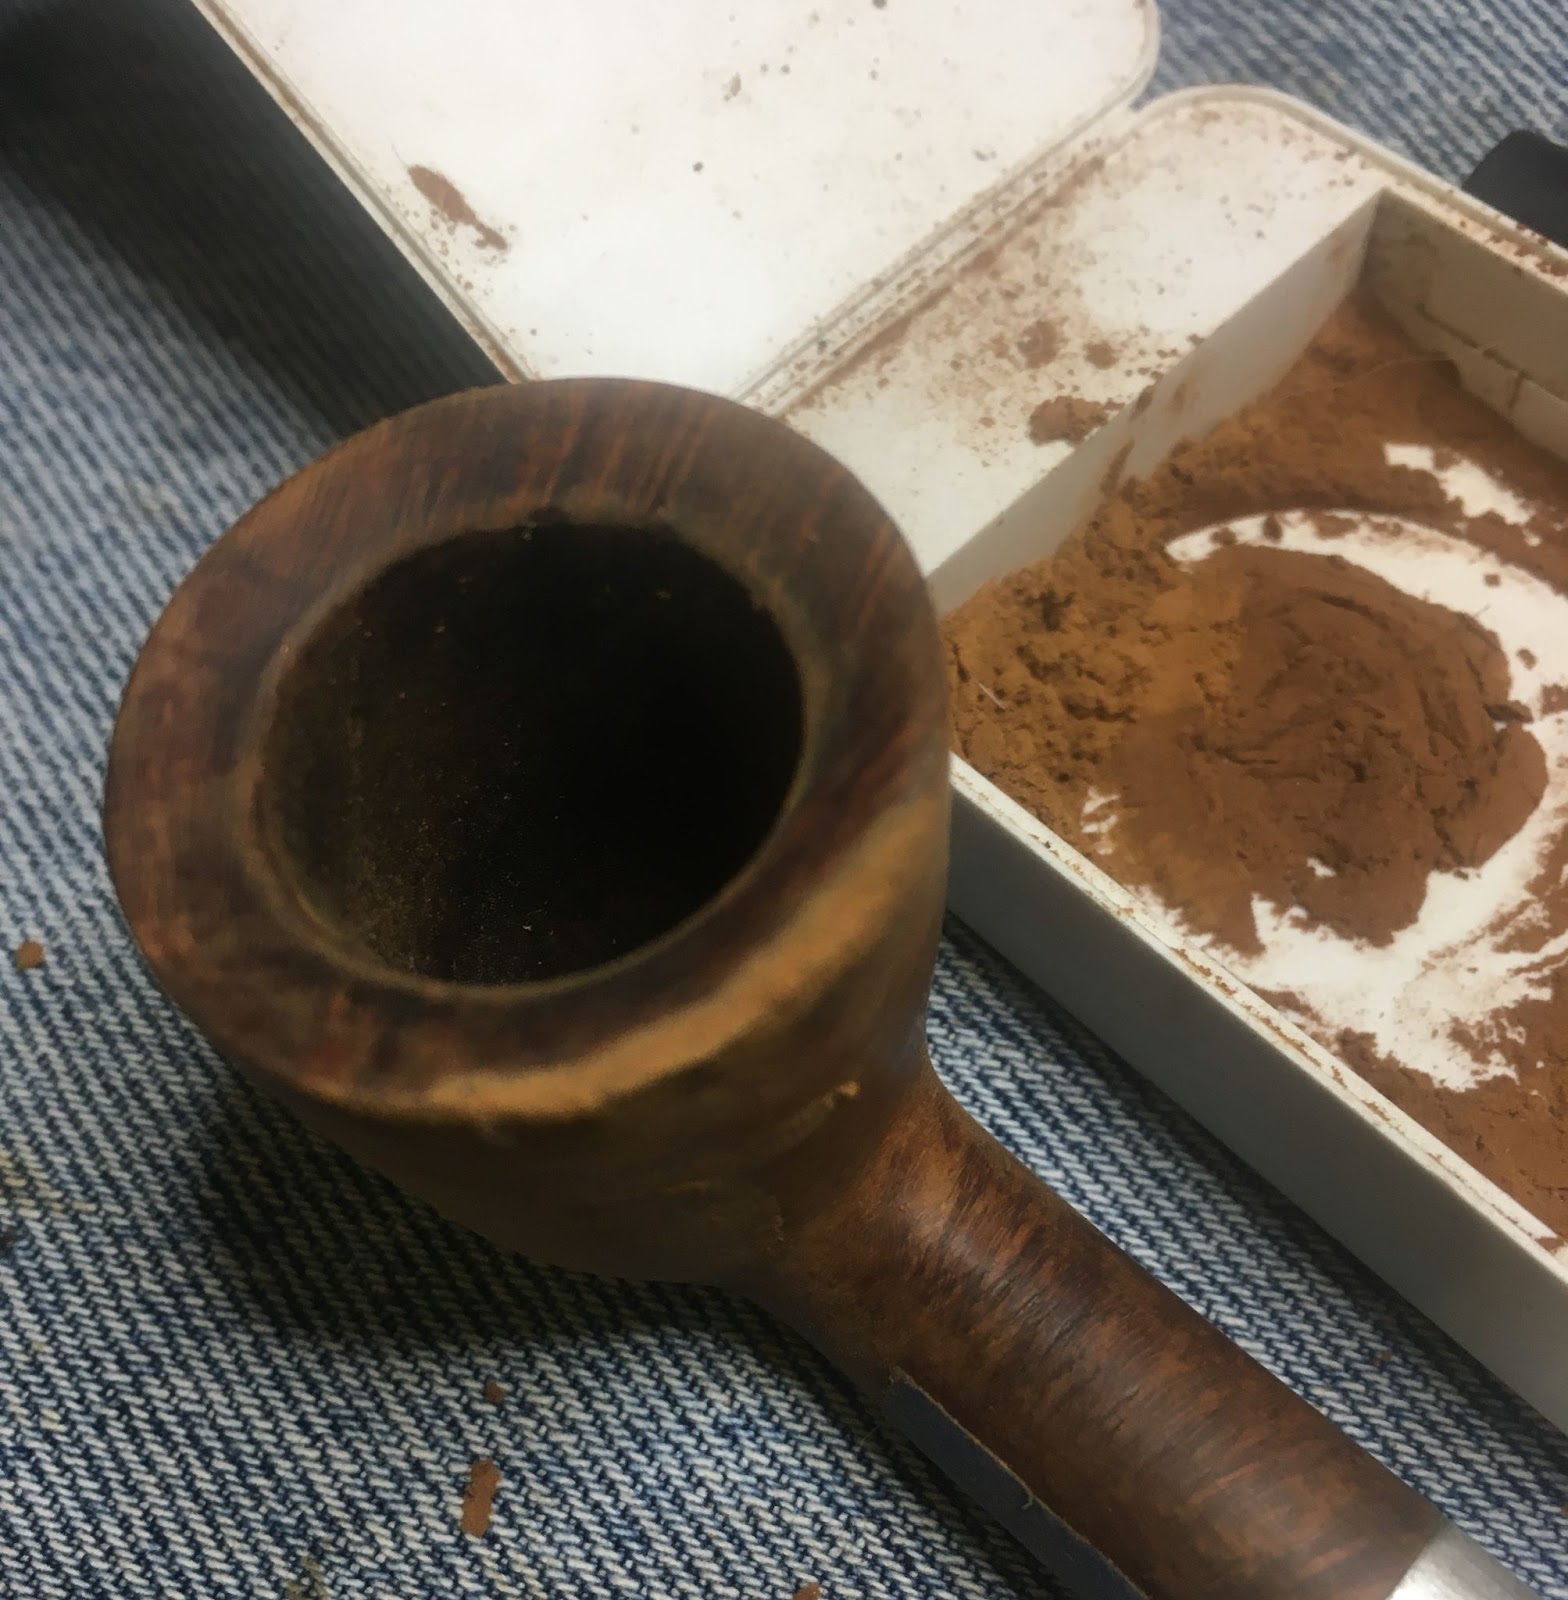
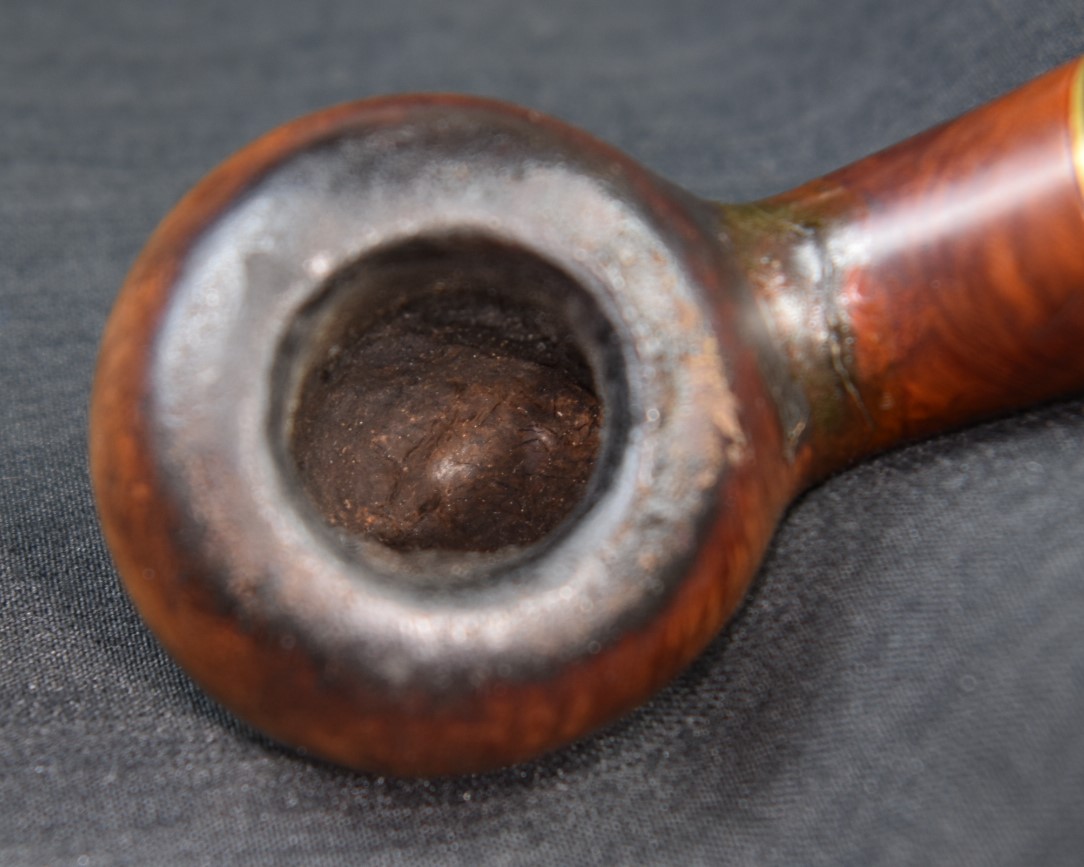
I began with the #2 blades in the PipNet reaming tool. This is where “normal” stopped and became “is this pipe salvageable” started. The cake was dry, hard and brittle. The reaming was a very rough feeling with large pieces of both cake and charred briar breaking off. The chamber was very rough and uneven. I moved to the #3 blades. They fit into the mouth of the chamber and with effort removed the cake and charred briar to the bottom of the chamber.

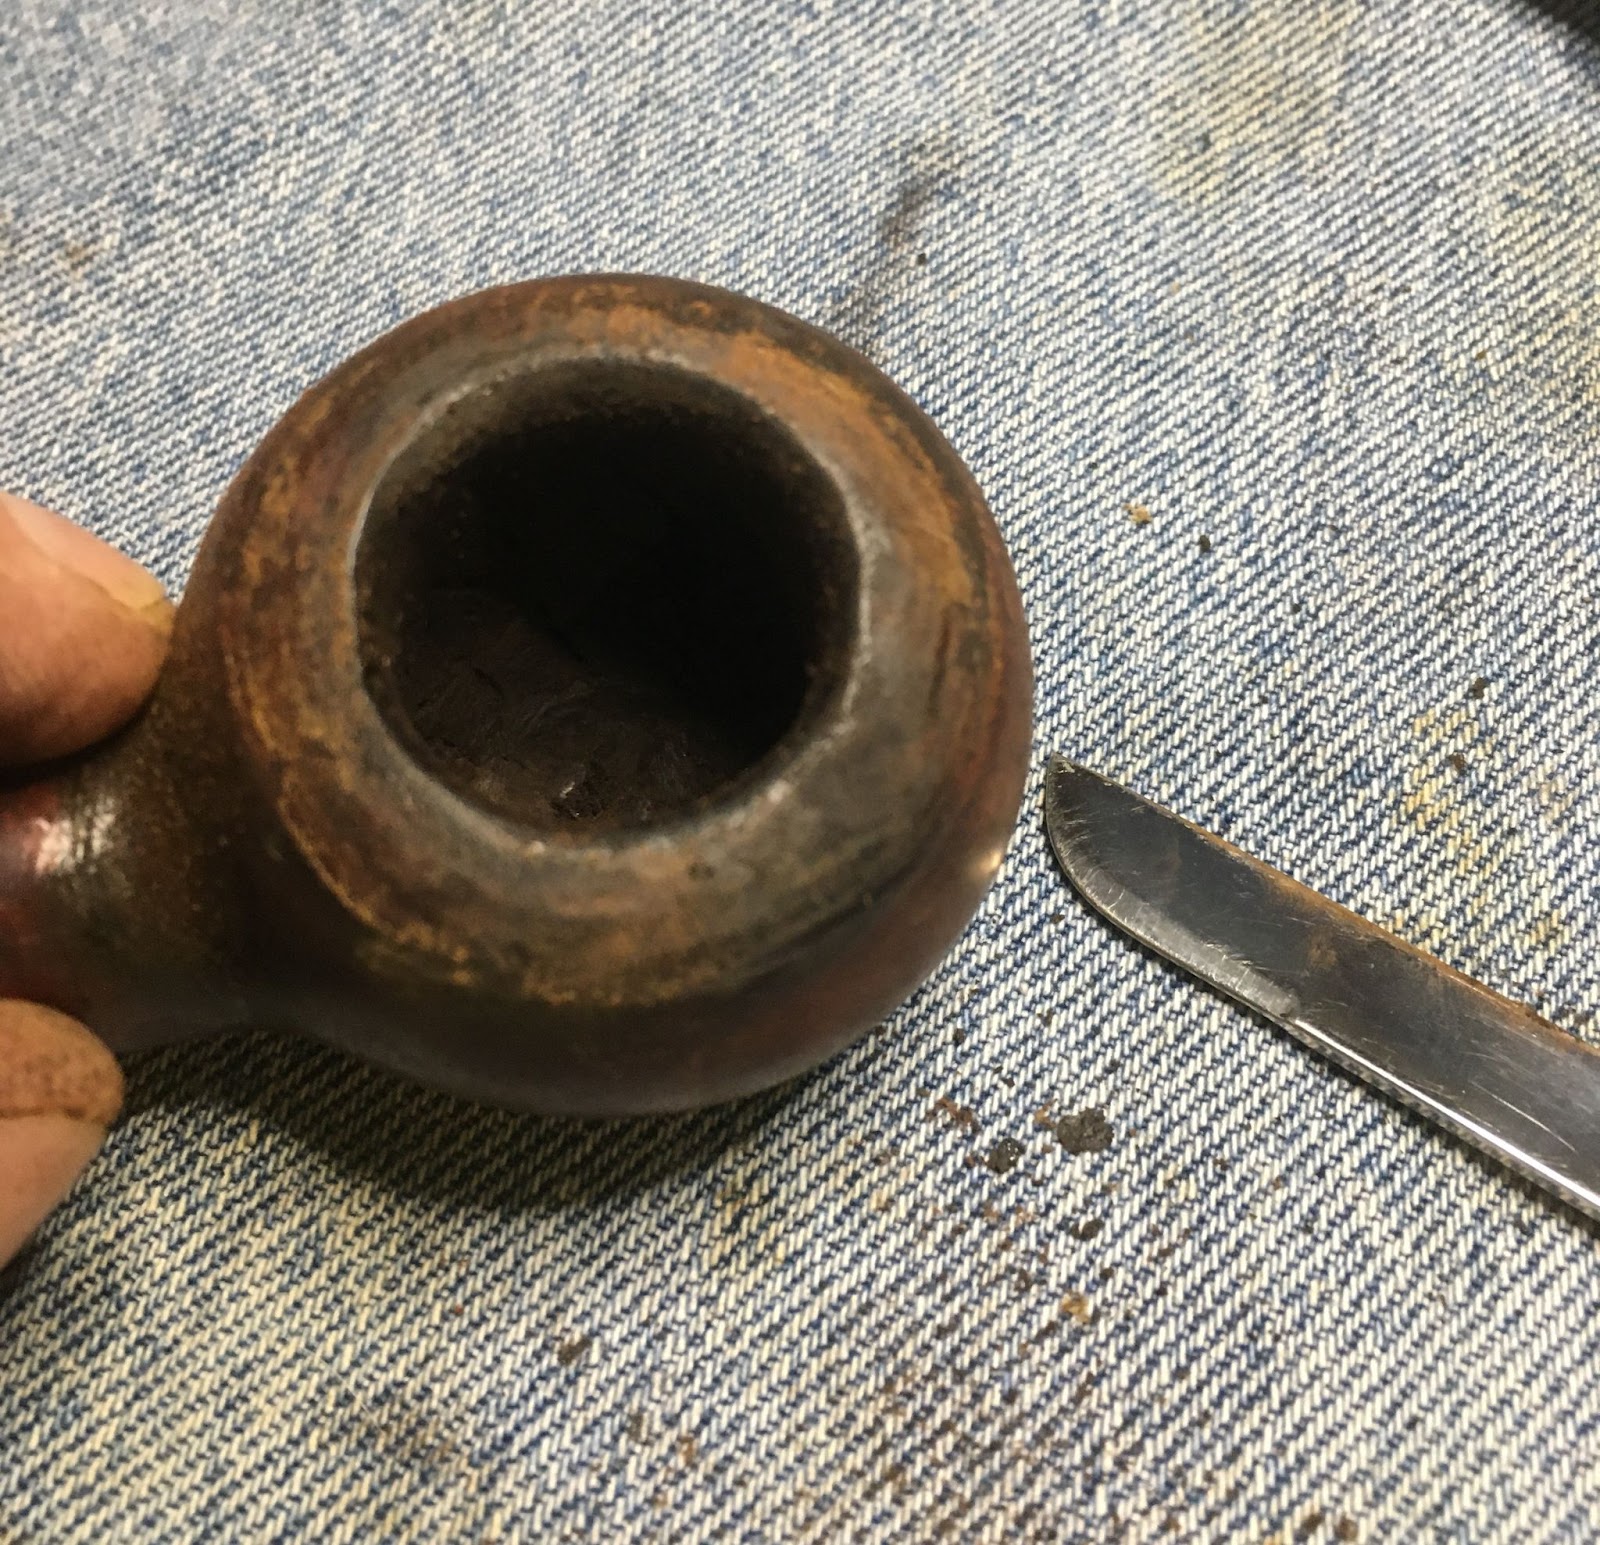
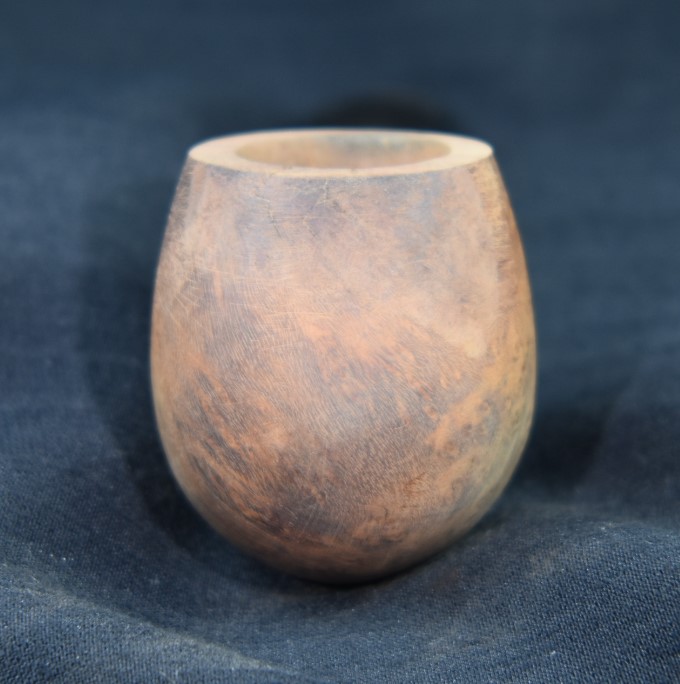
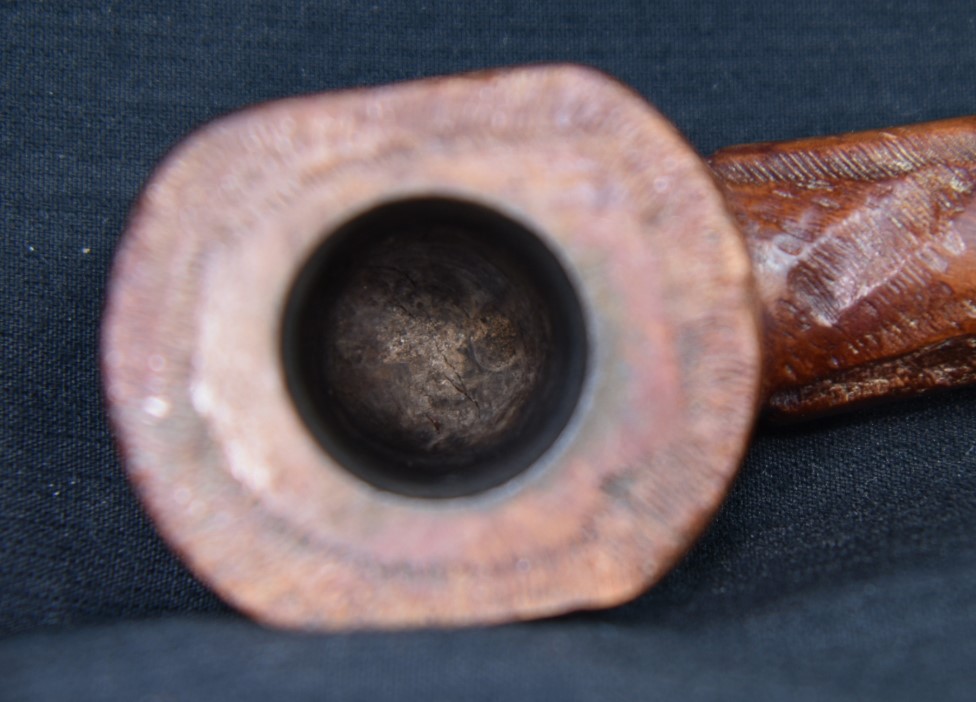
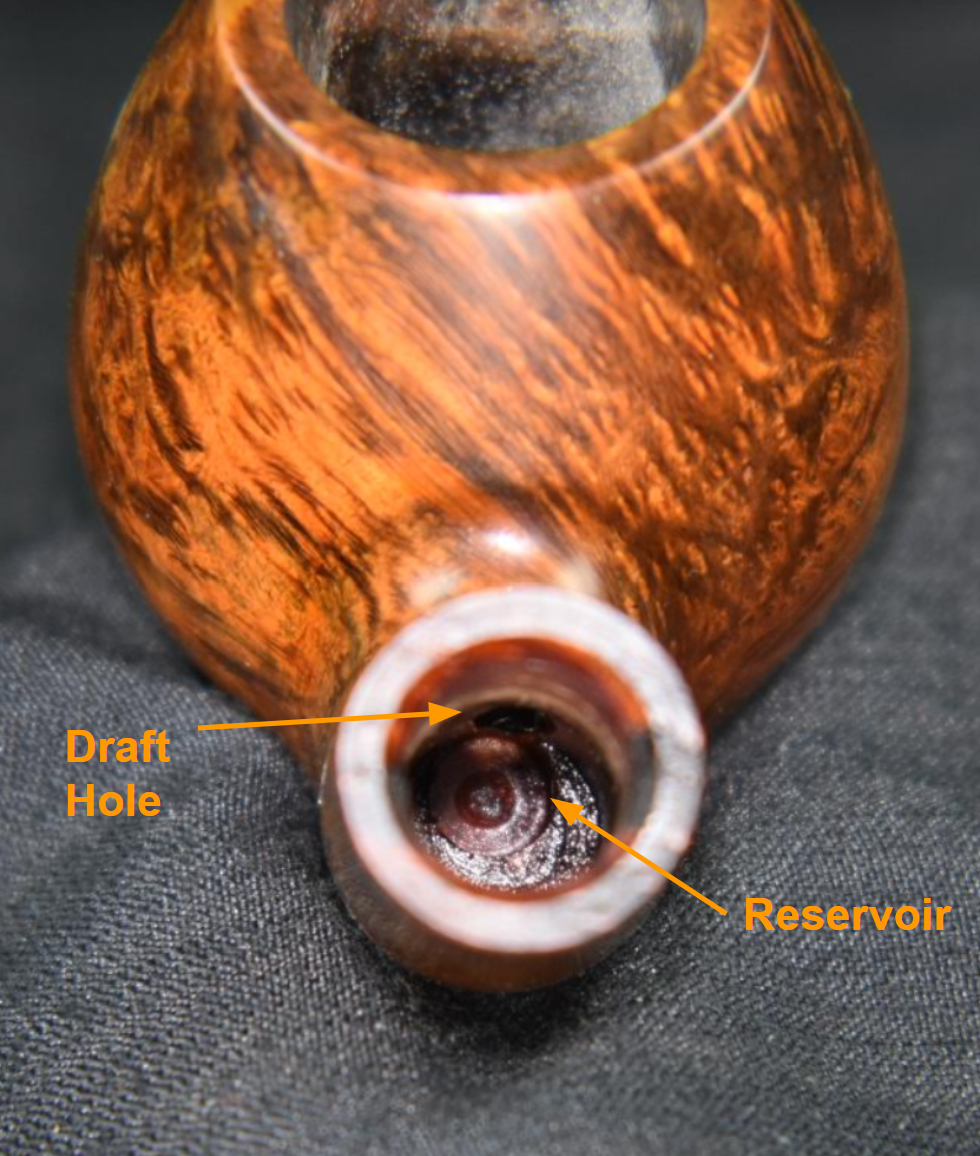
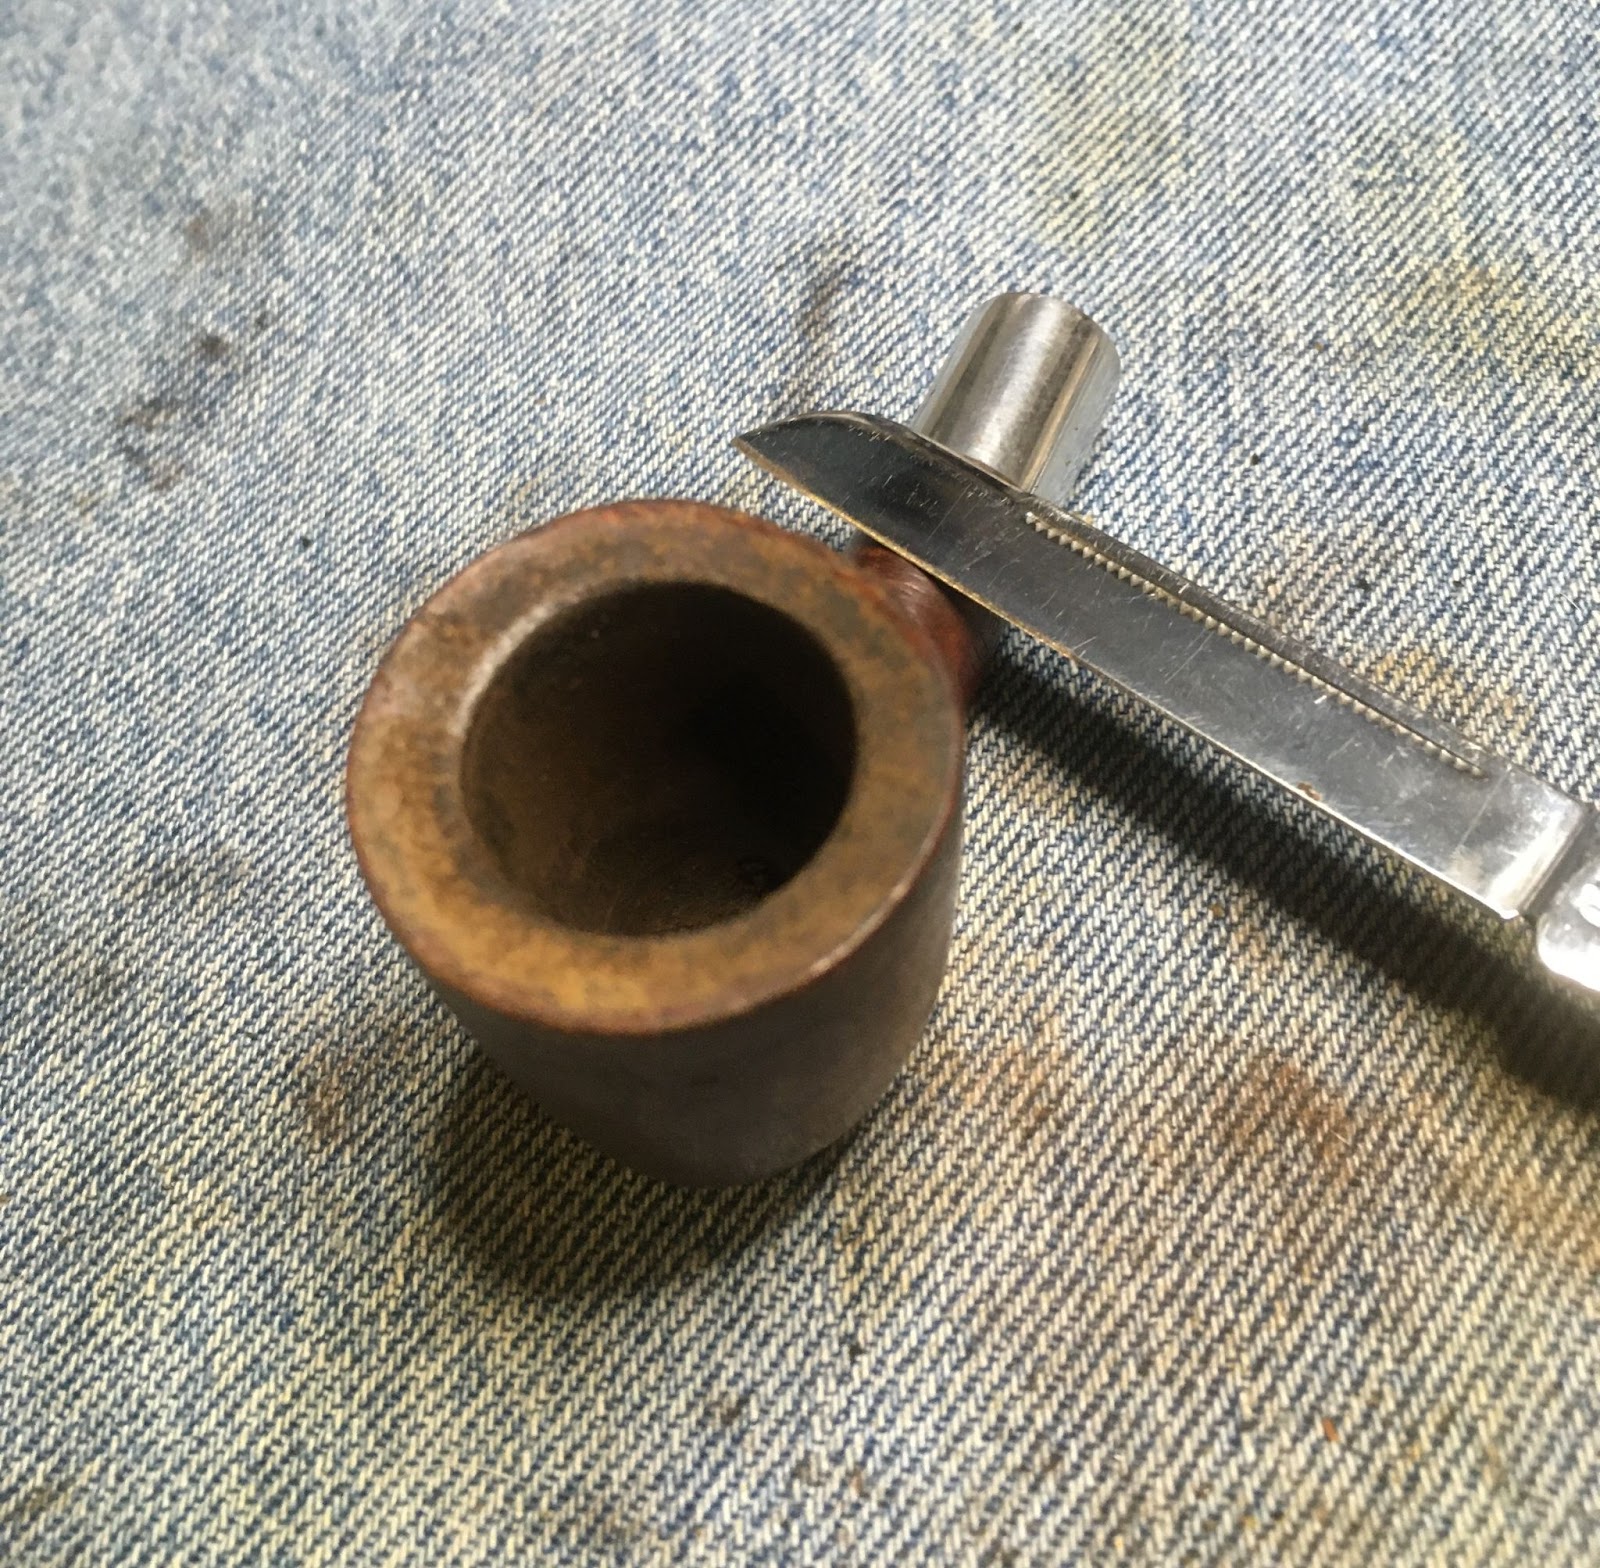
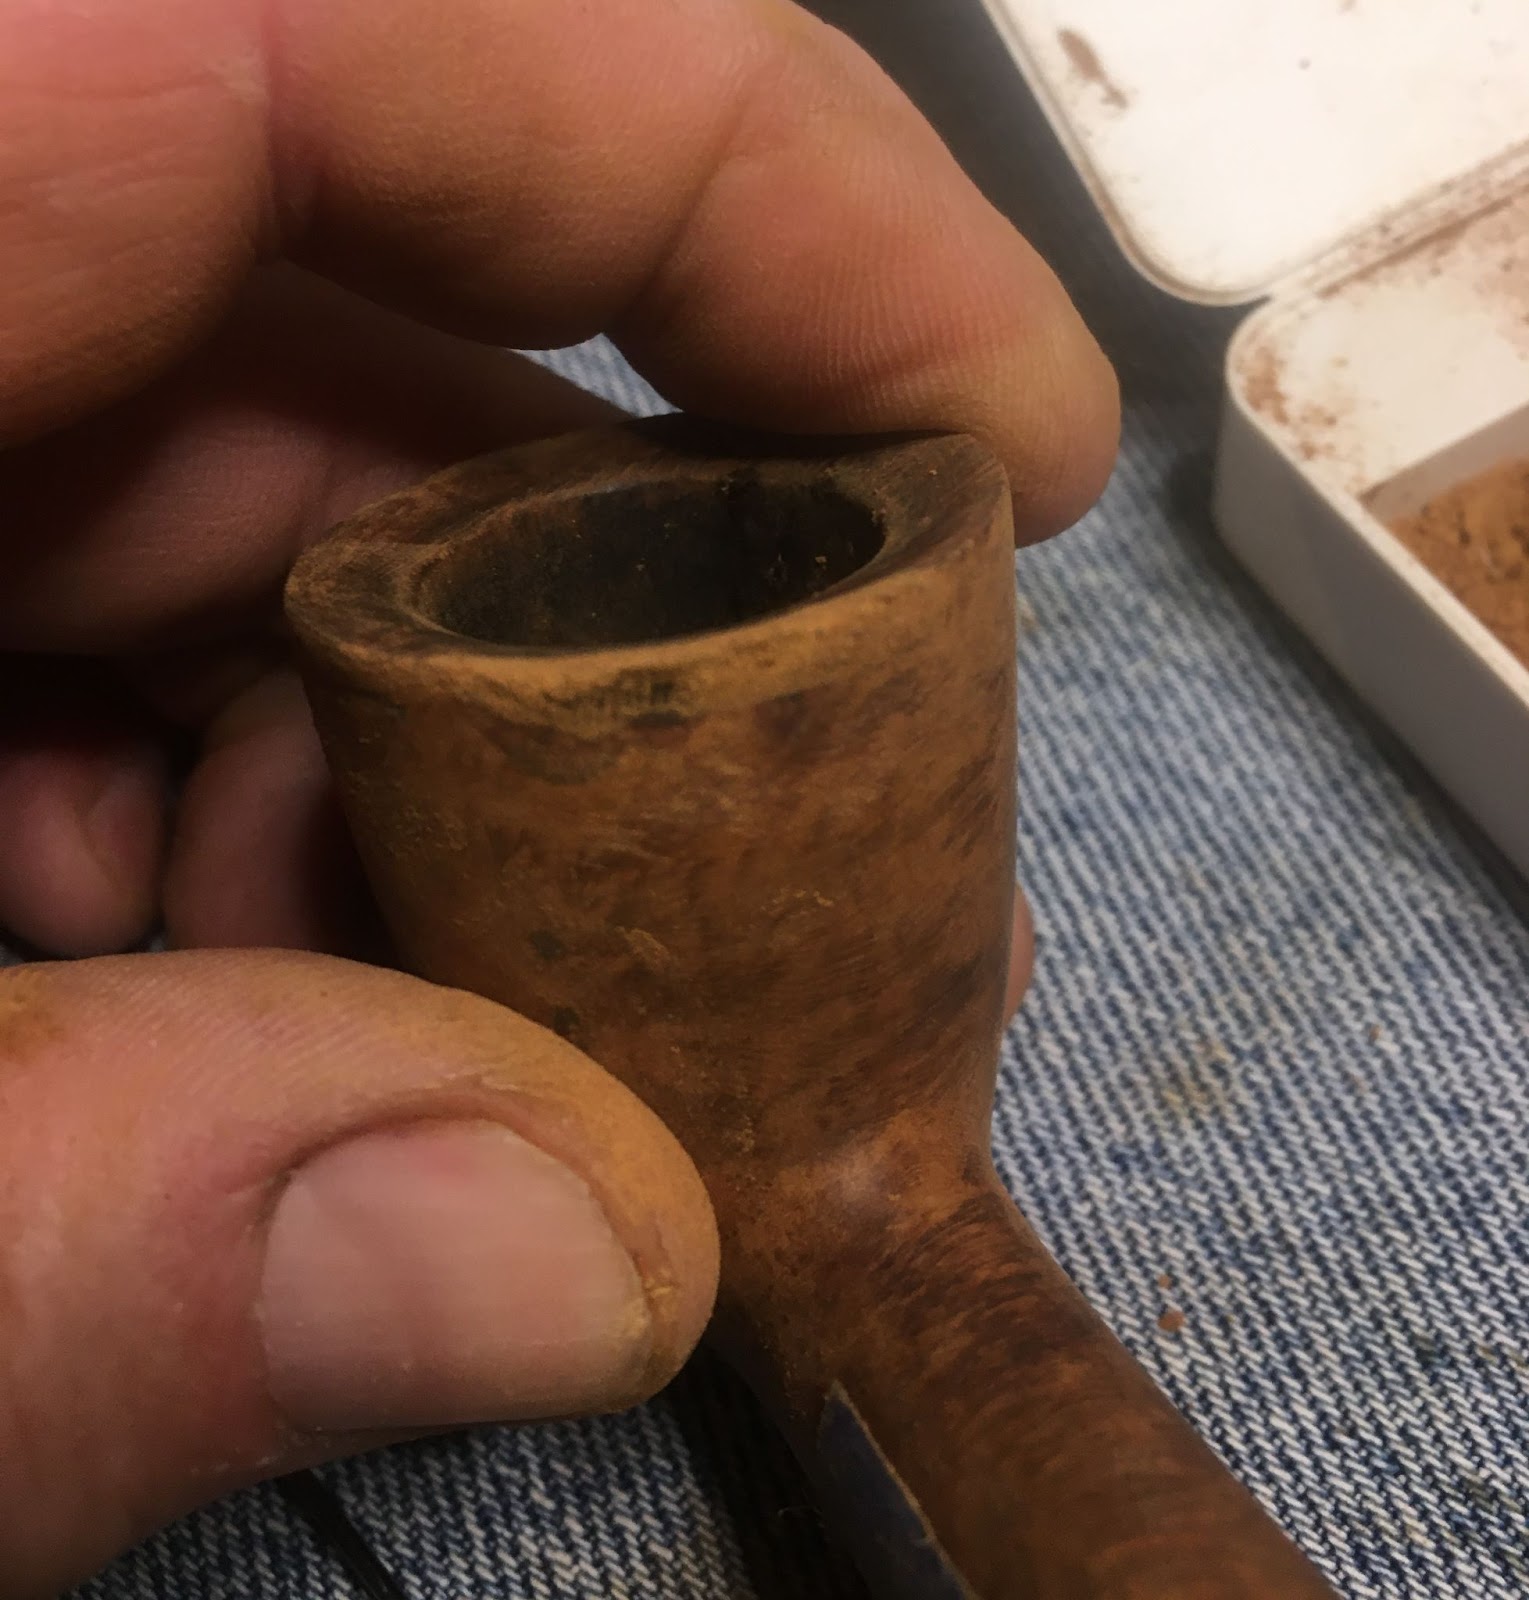
Scrapping with the reaming knife and General triangular scraper revealed large area of severely charred wood. This was chipped and broken out as thoroughly as possible. Some of the damaged wood was still strong while other places were quite brittle. Eventually the soft damaged wood was removed allowing me to sand the interior with the 220 sandpaper wrapped dowel. I failed to take photographs of the chamber, perhaps in fear of my inability to remedy the situation. The best photo I had was the following:
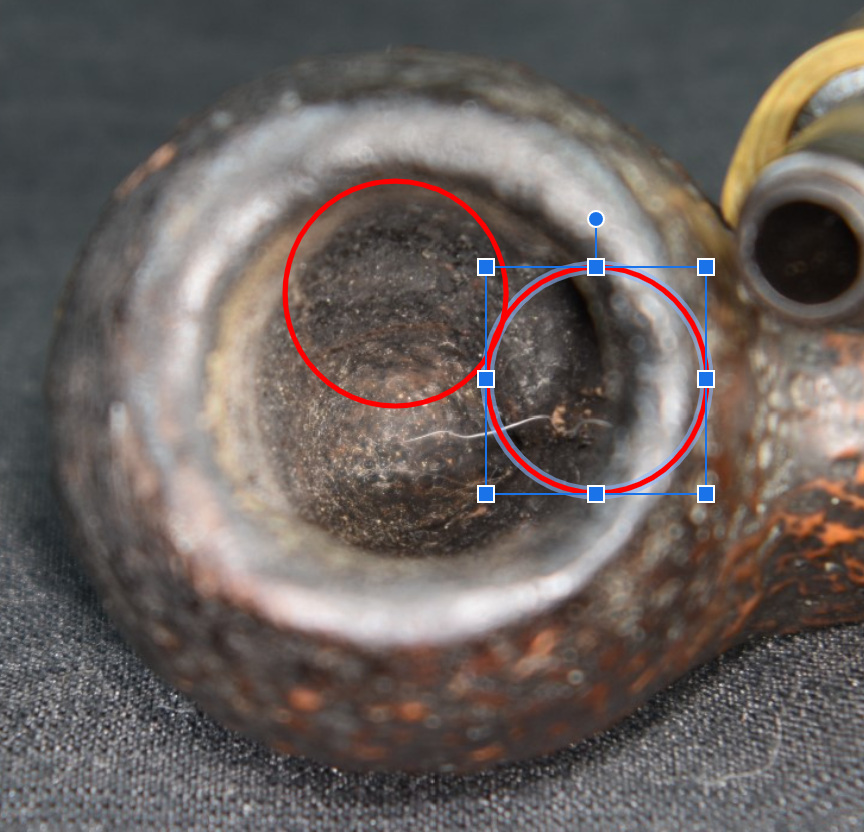
In the above photo the middle chamber area was undercut by several millimeters. I Thought it too deep to effectively use J.B. Weld, a product which I had successfully used for charred briar in the past. This time though, the damage was much more severe and the volume of material to be replaced was far greater. I decided to move on and think about other options.
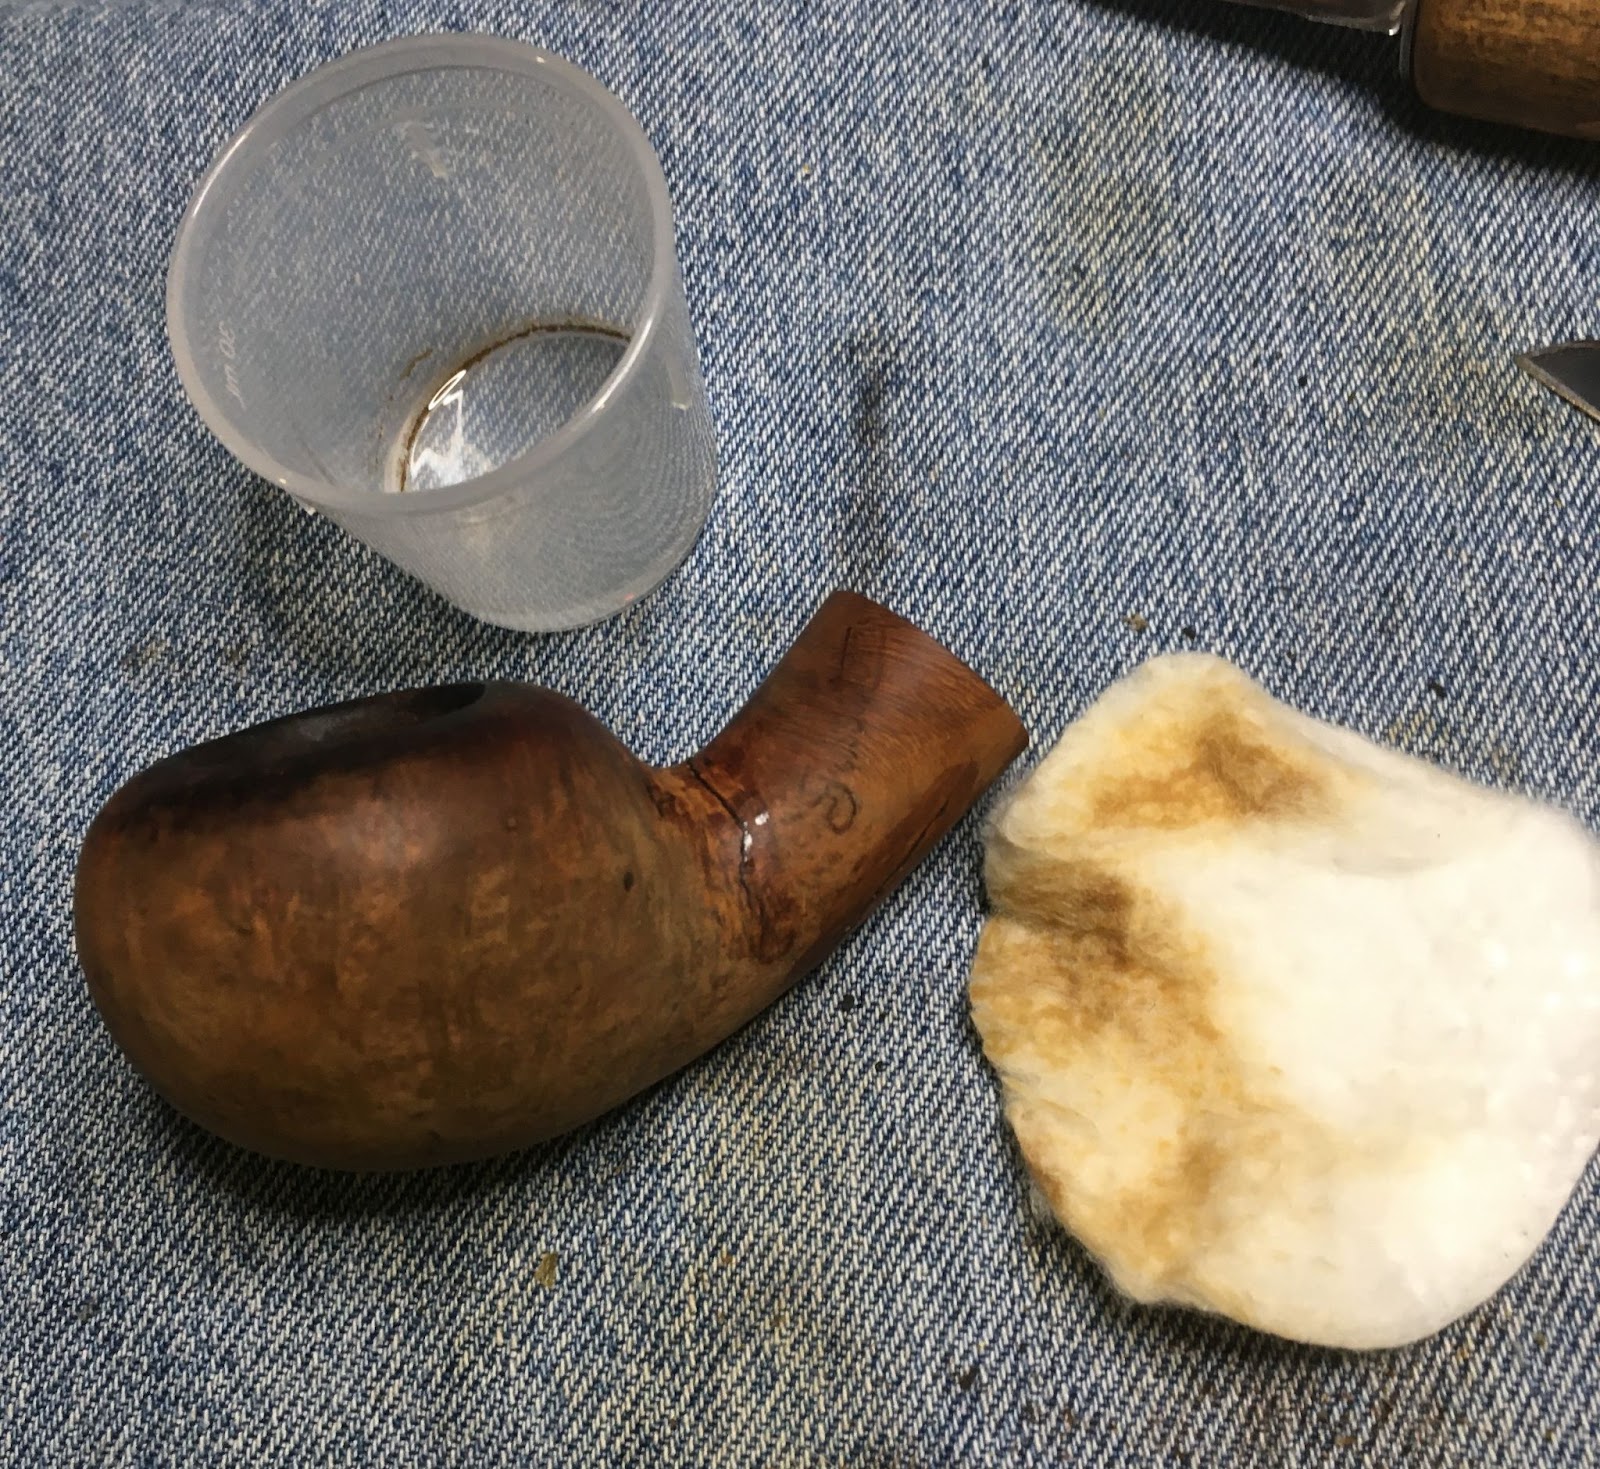
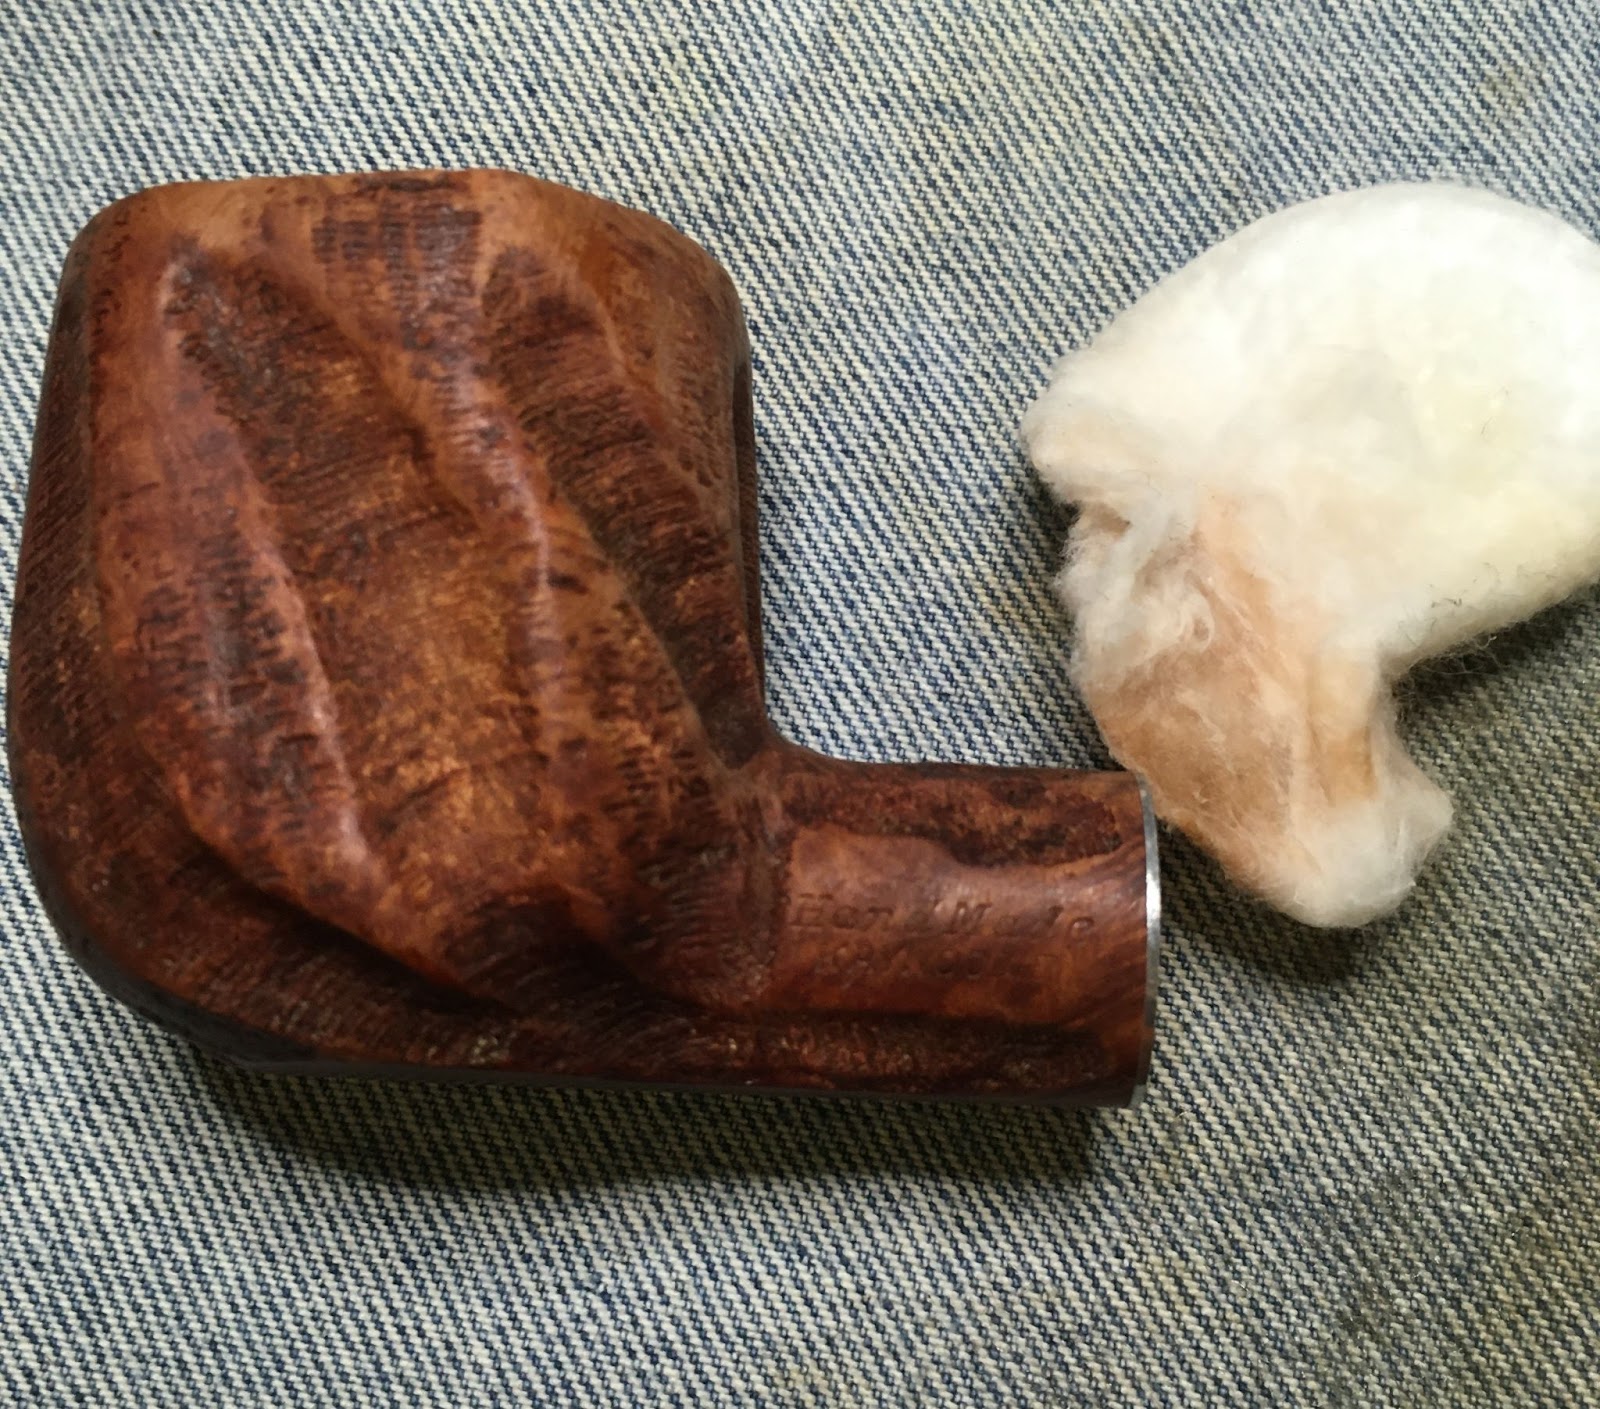
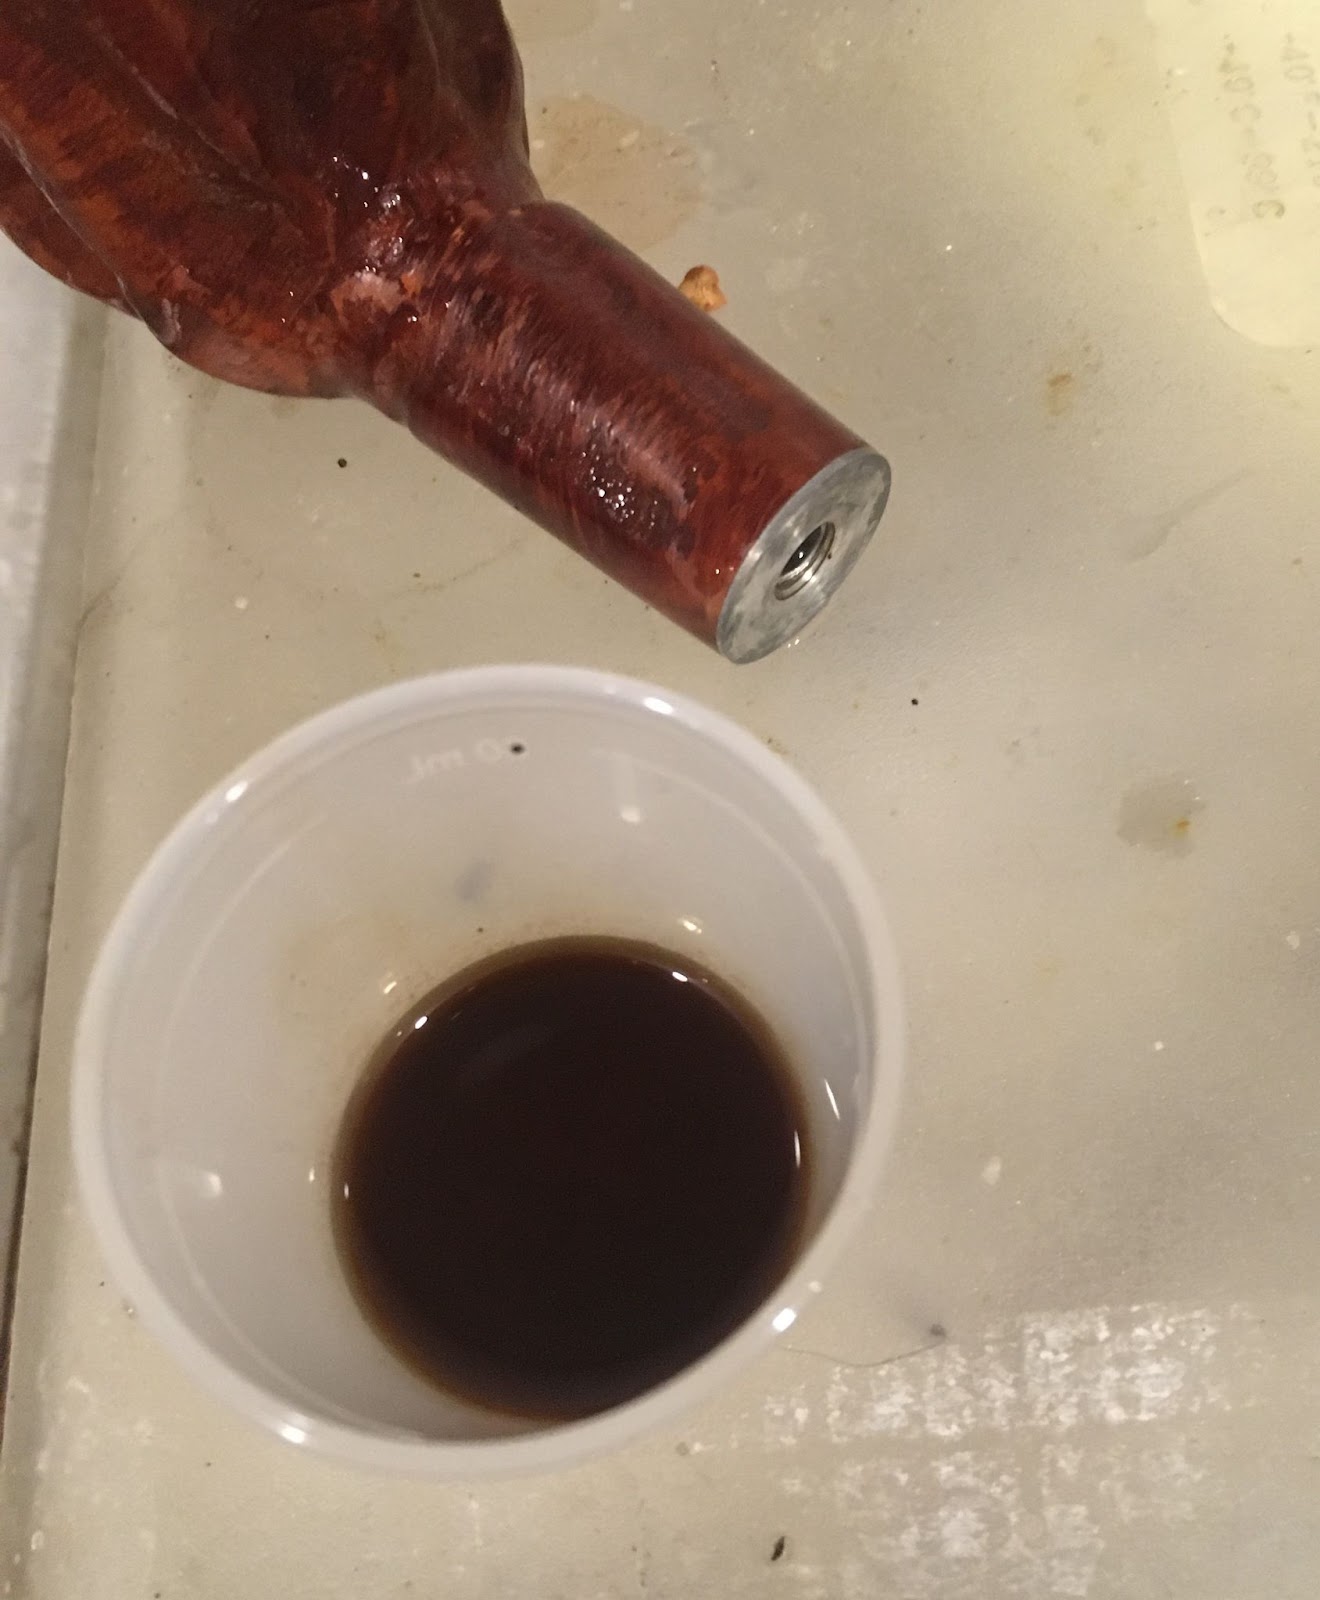
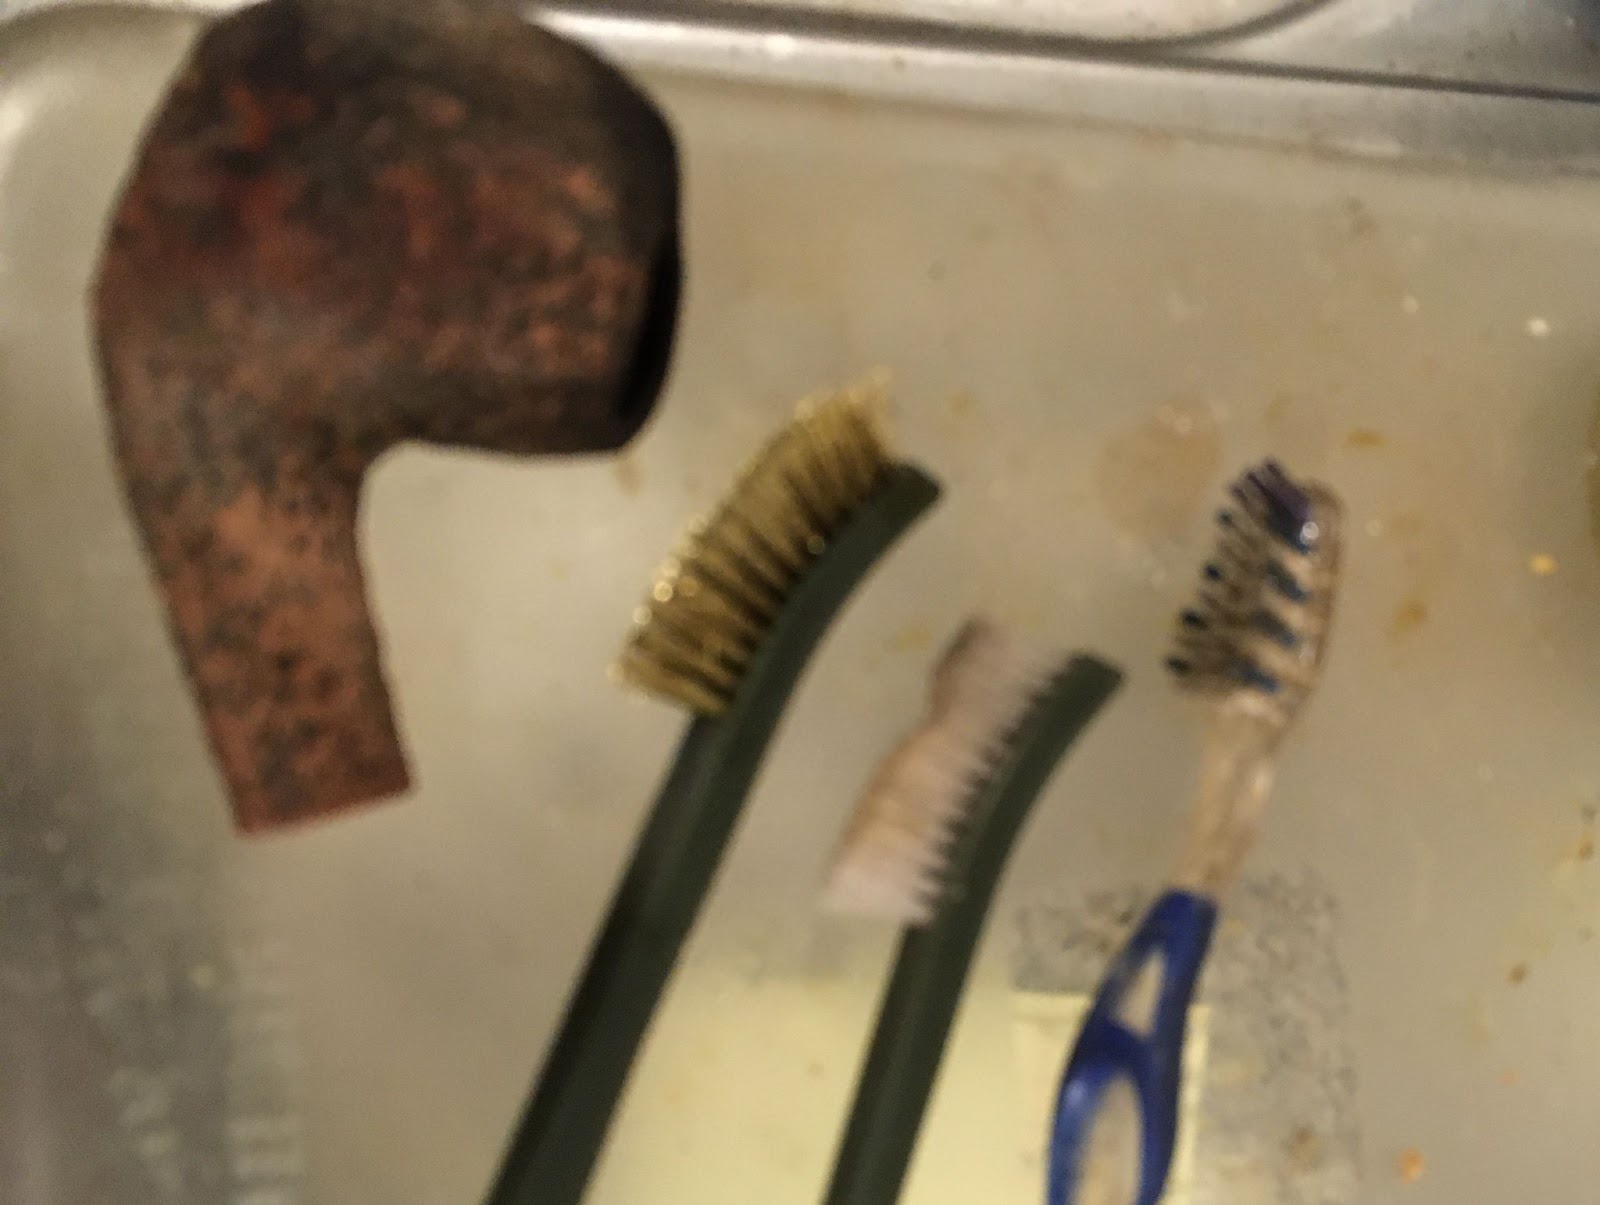
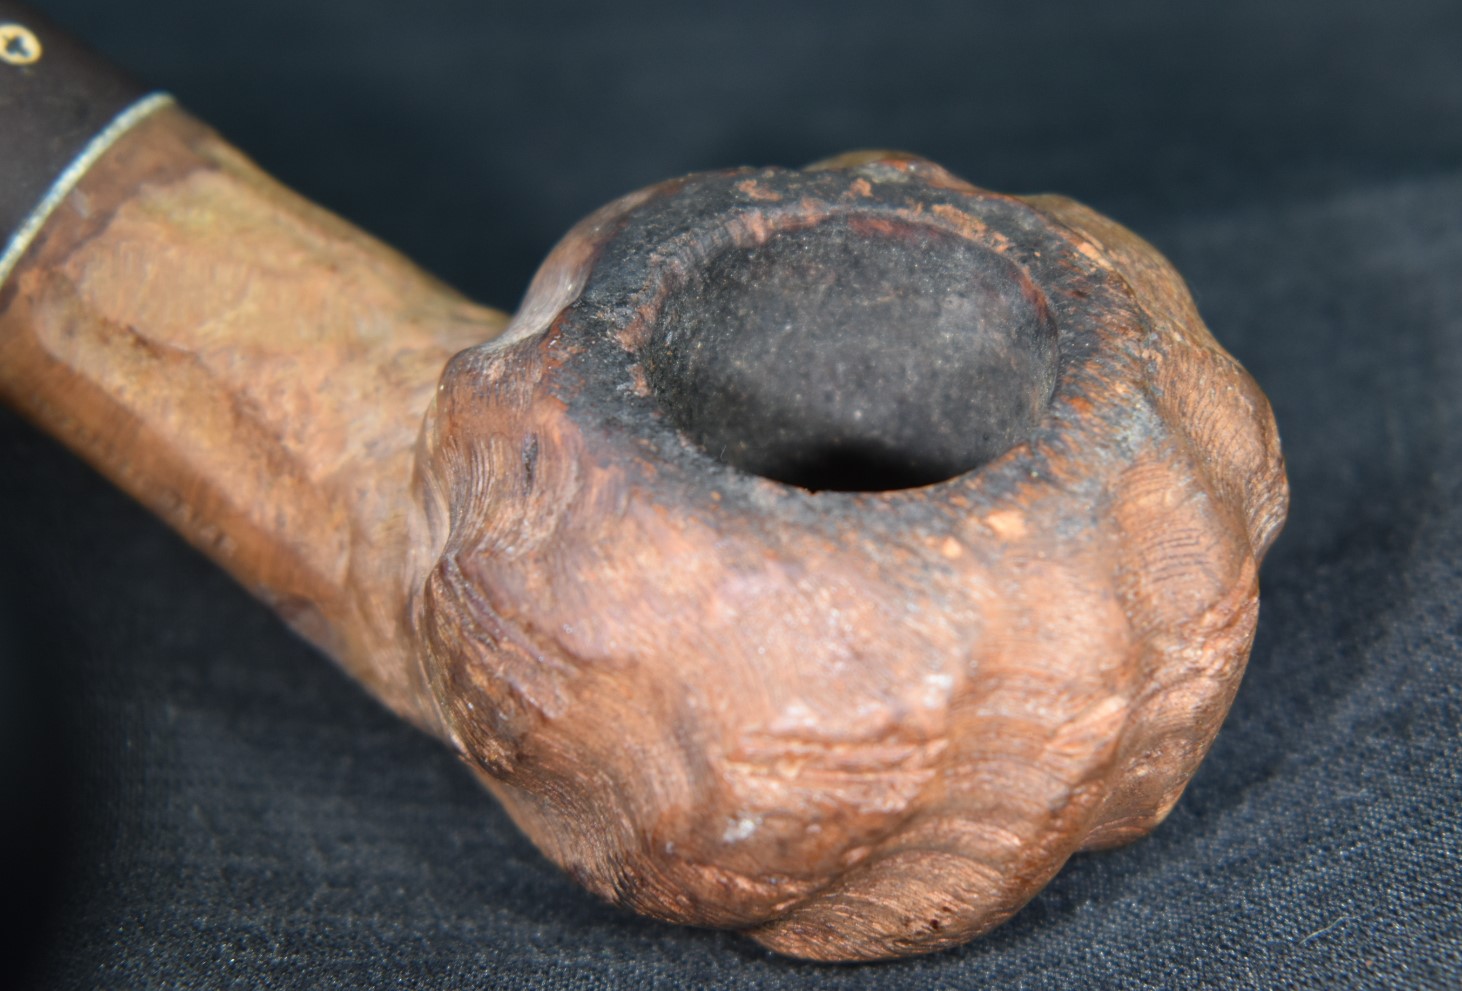
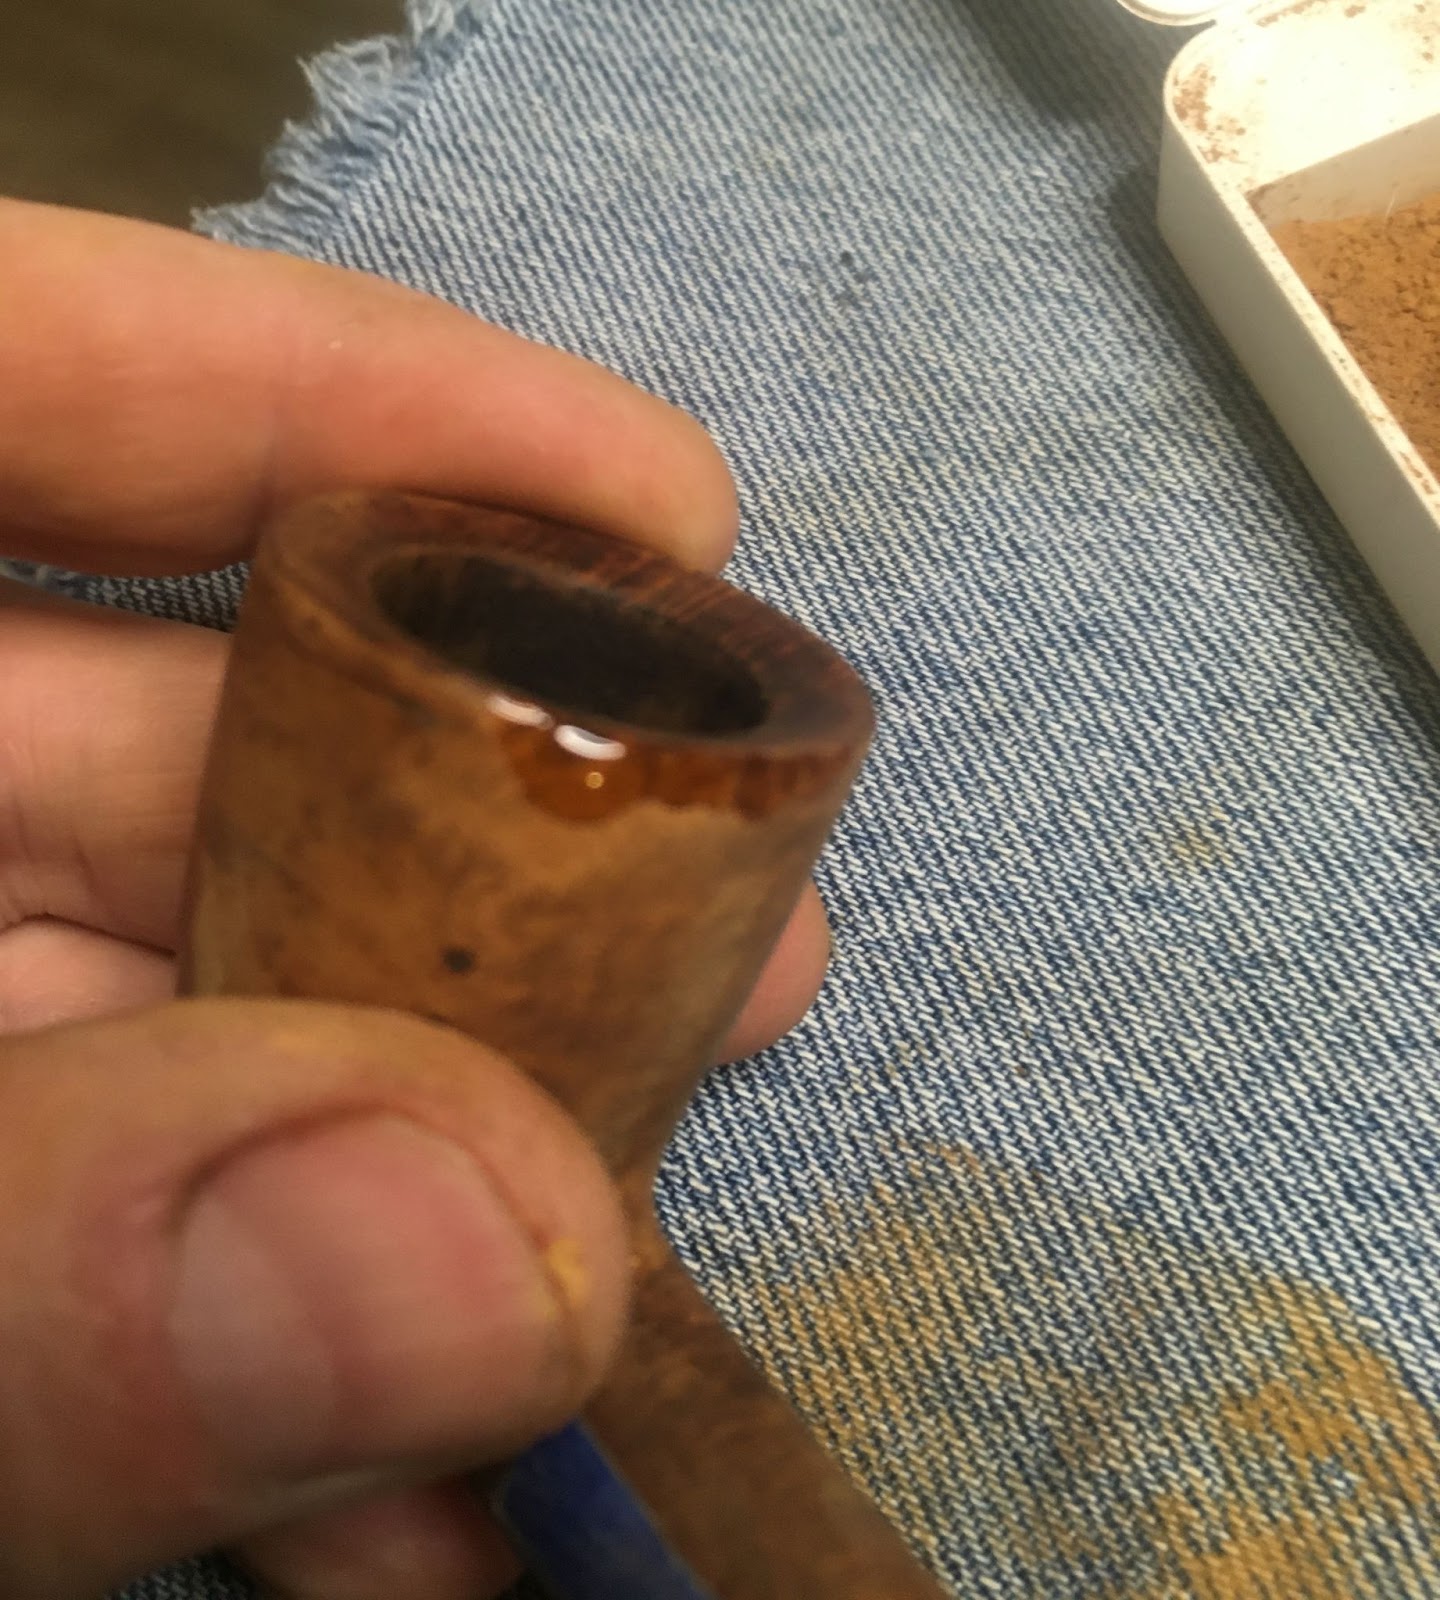
I took the stummel to the sink for a scrubbing. If the internal charing was very bad it would undoubtedly darken the briar on the outside of the stummel. I wanted to see what was under the external grime. I started by using undiluted Murphy Oil Soap with a medium bristle toothbrush. As the photo below shows, the grime was extensive. This first scrubbing was rinsed with warm water and dried with a cotton dish towel. Afterwards the stummel still appeared dirty.

I scrubbed the stummel a second time with Murphy’s and a stiff nylon brush. This improved the results but after rinsing and drying there remained a tacky feeling residue. I scrubbed a third time again with Murphy’s Oil Soap but with a brass brush. Finally the grime rinsed away and left a clean surface when dried.
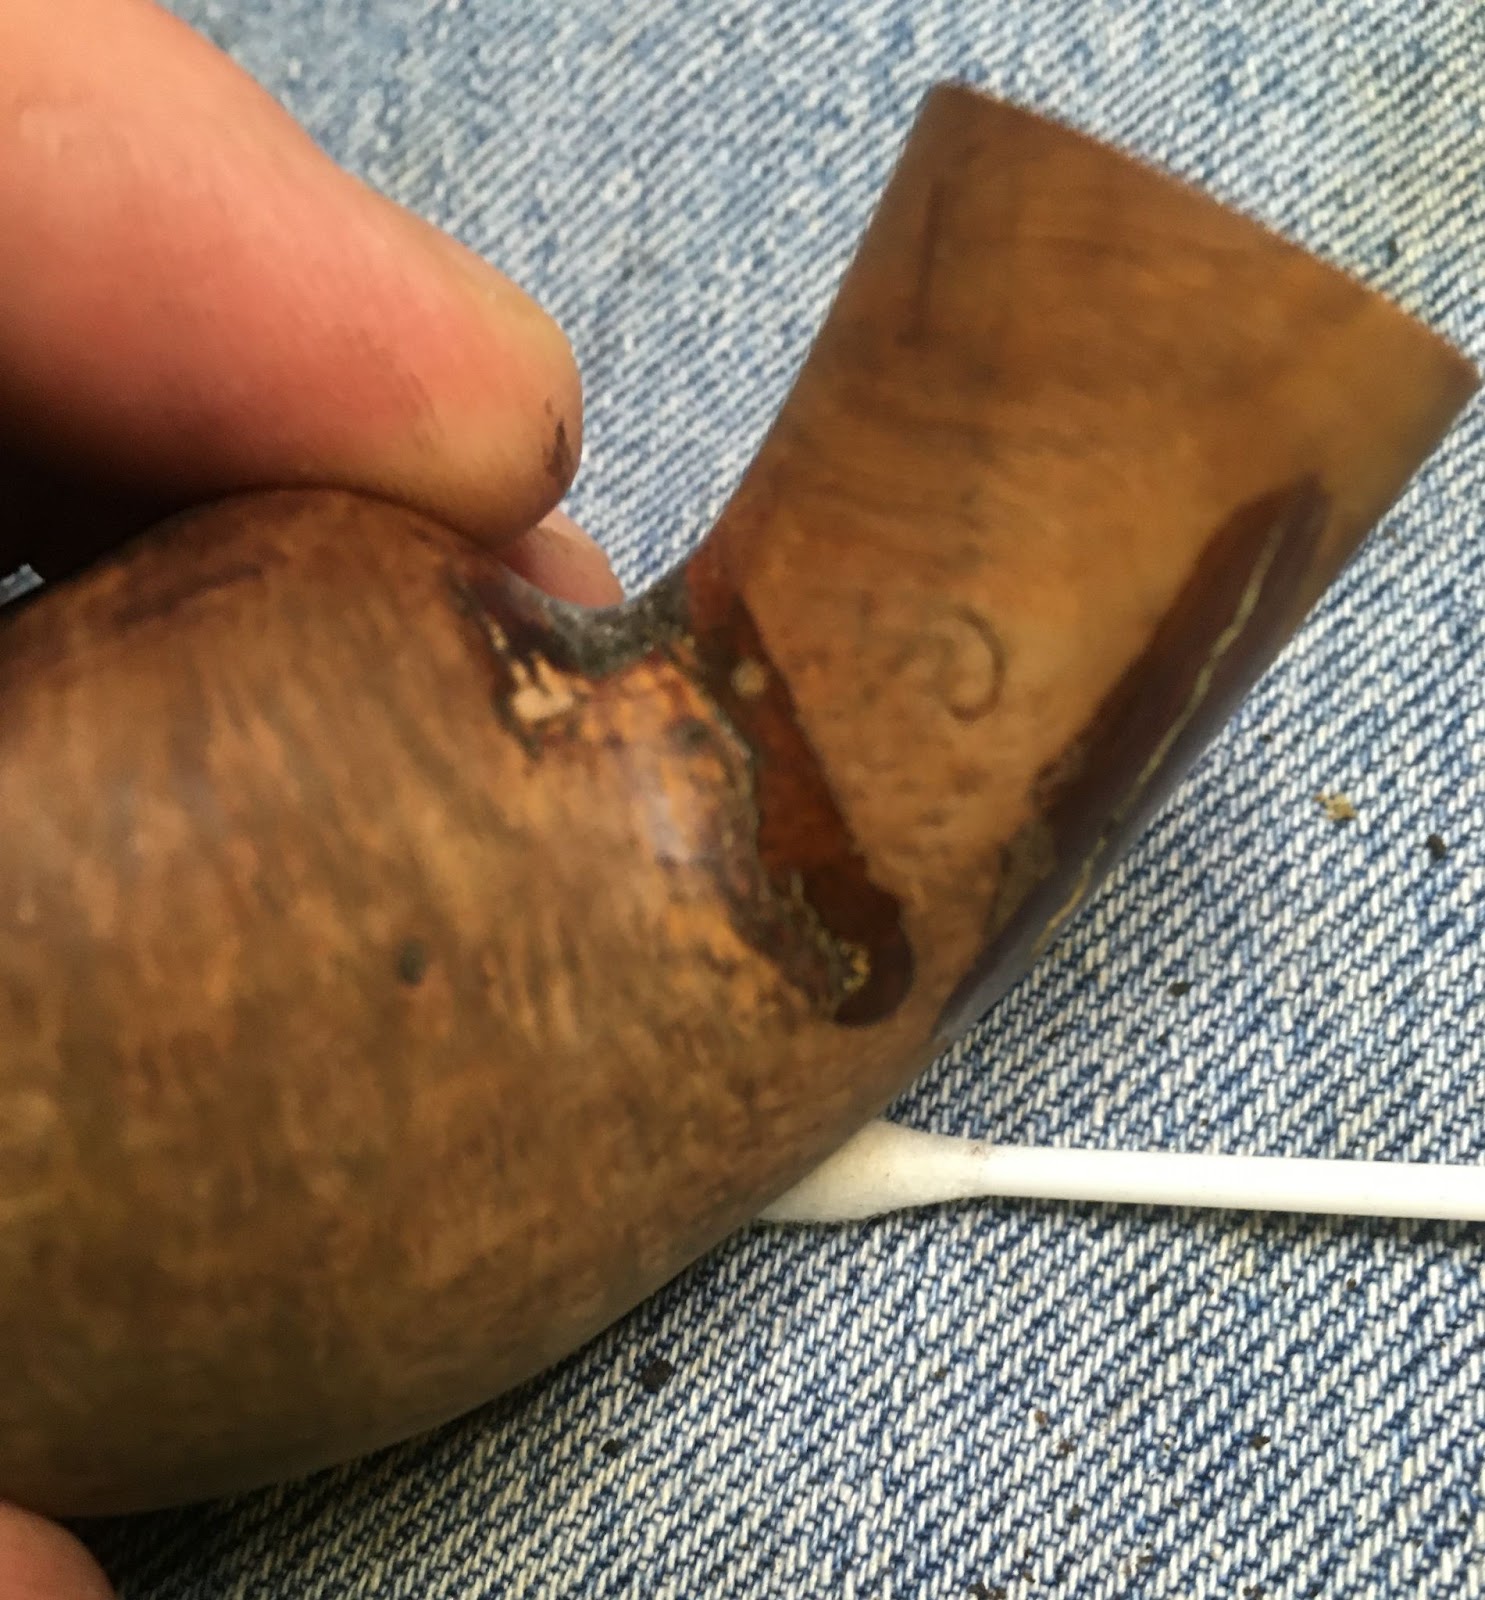
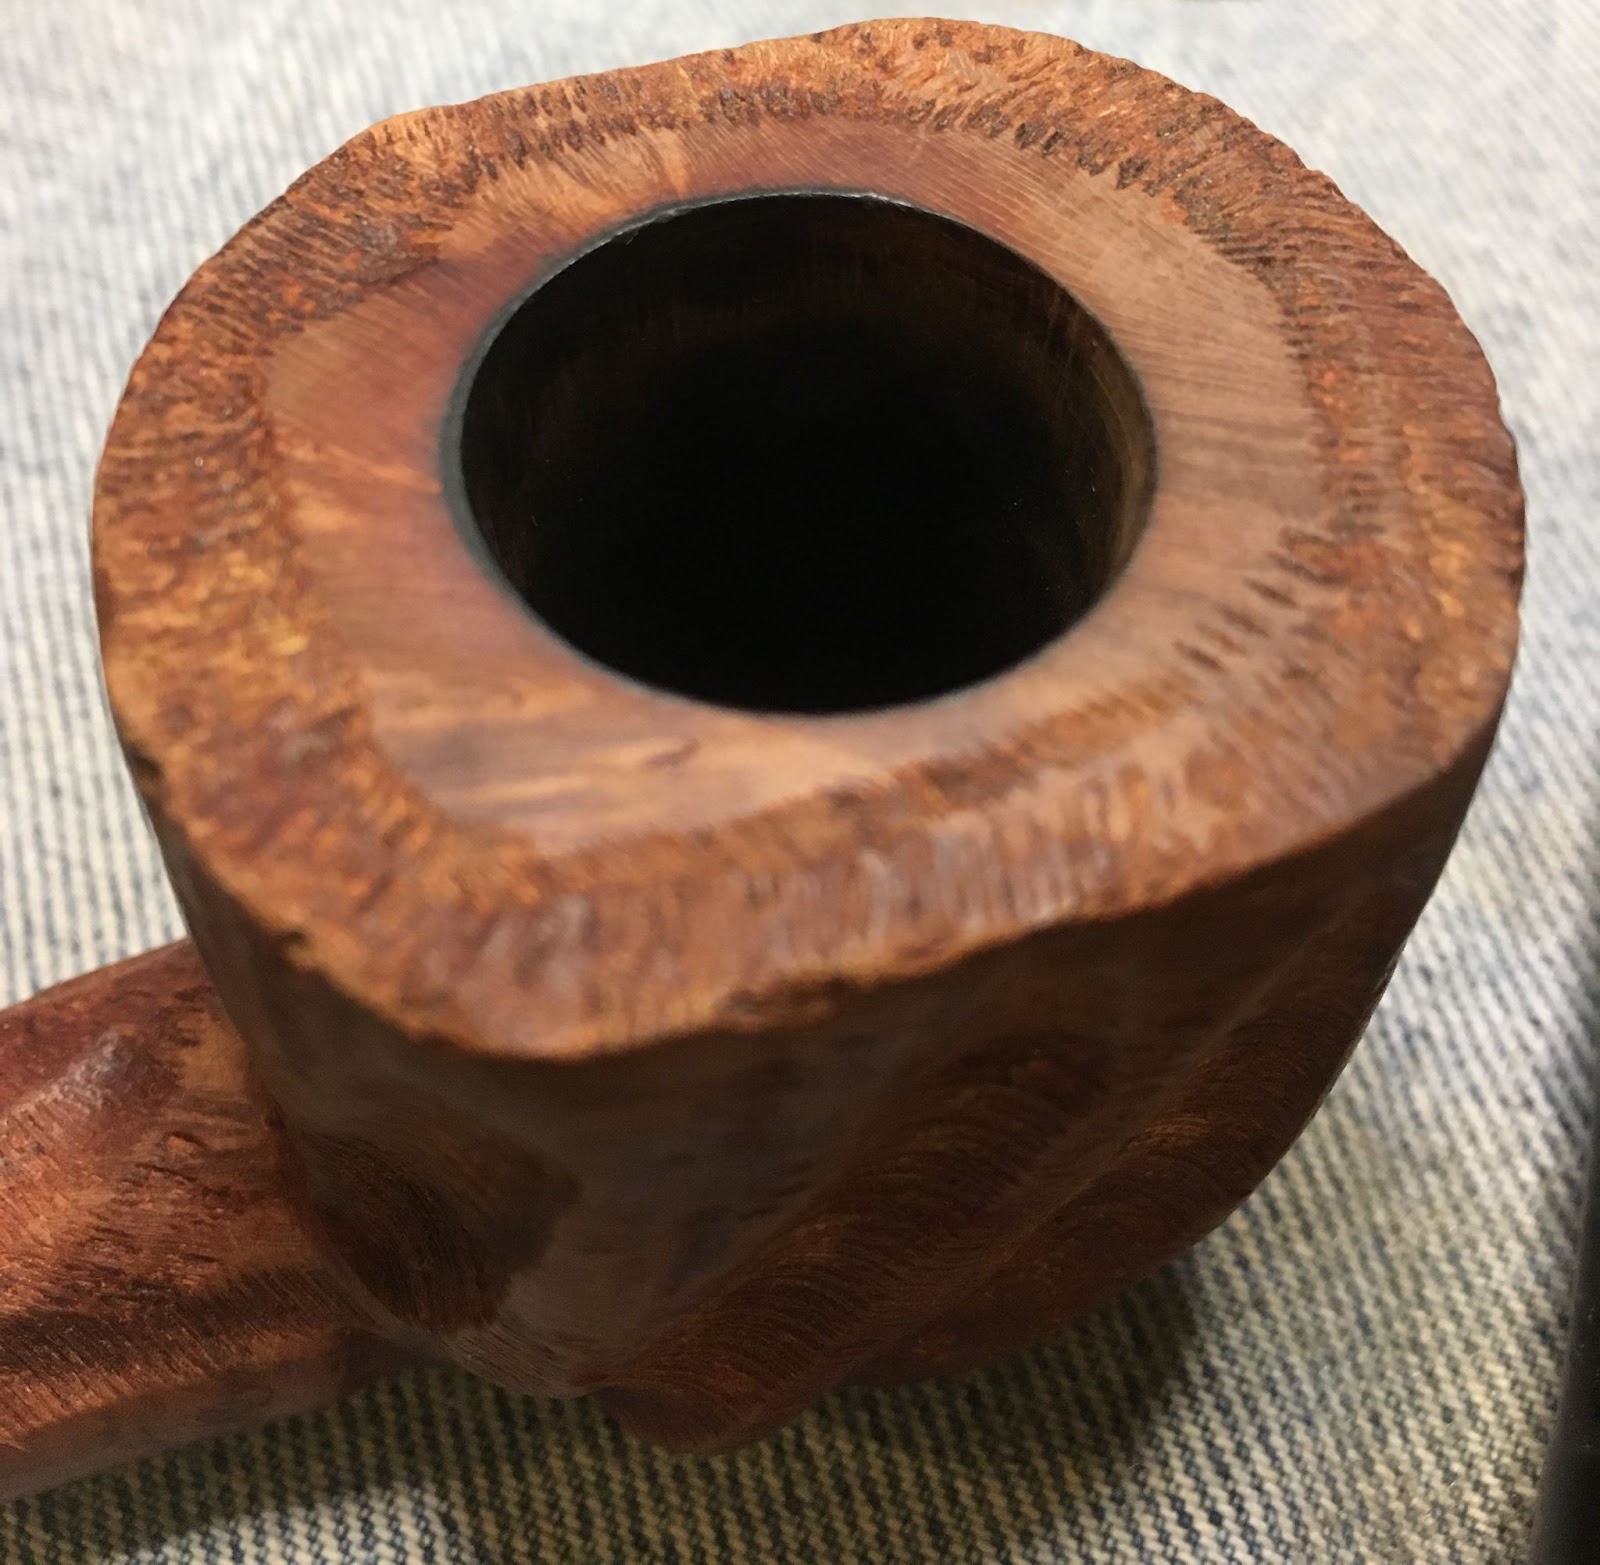
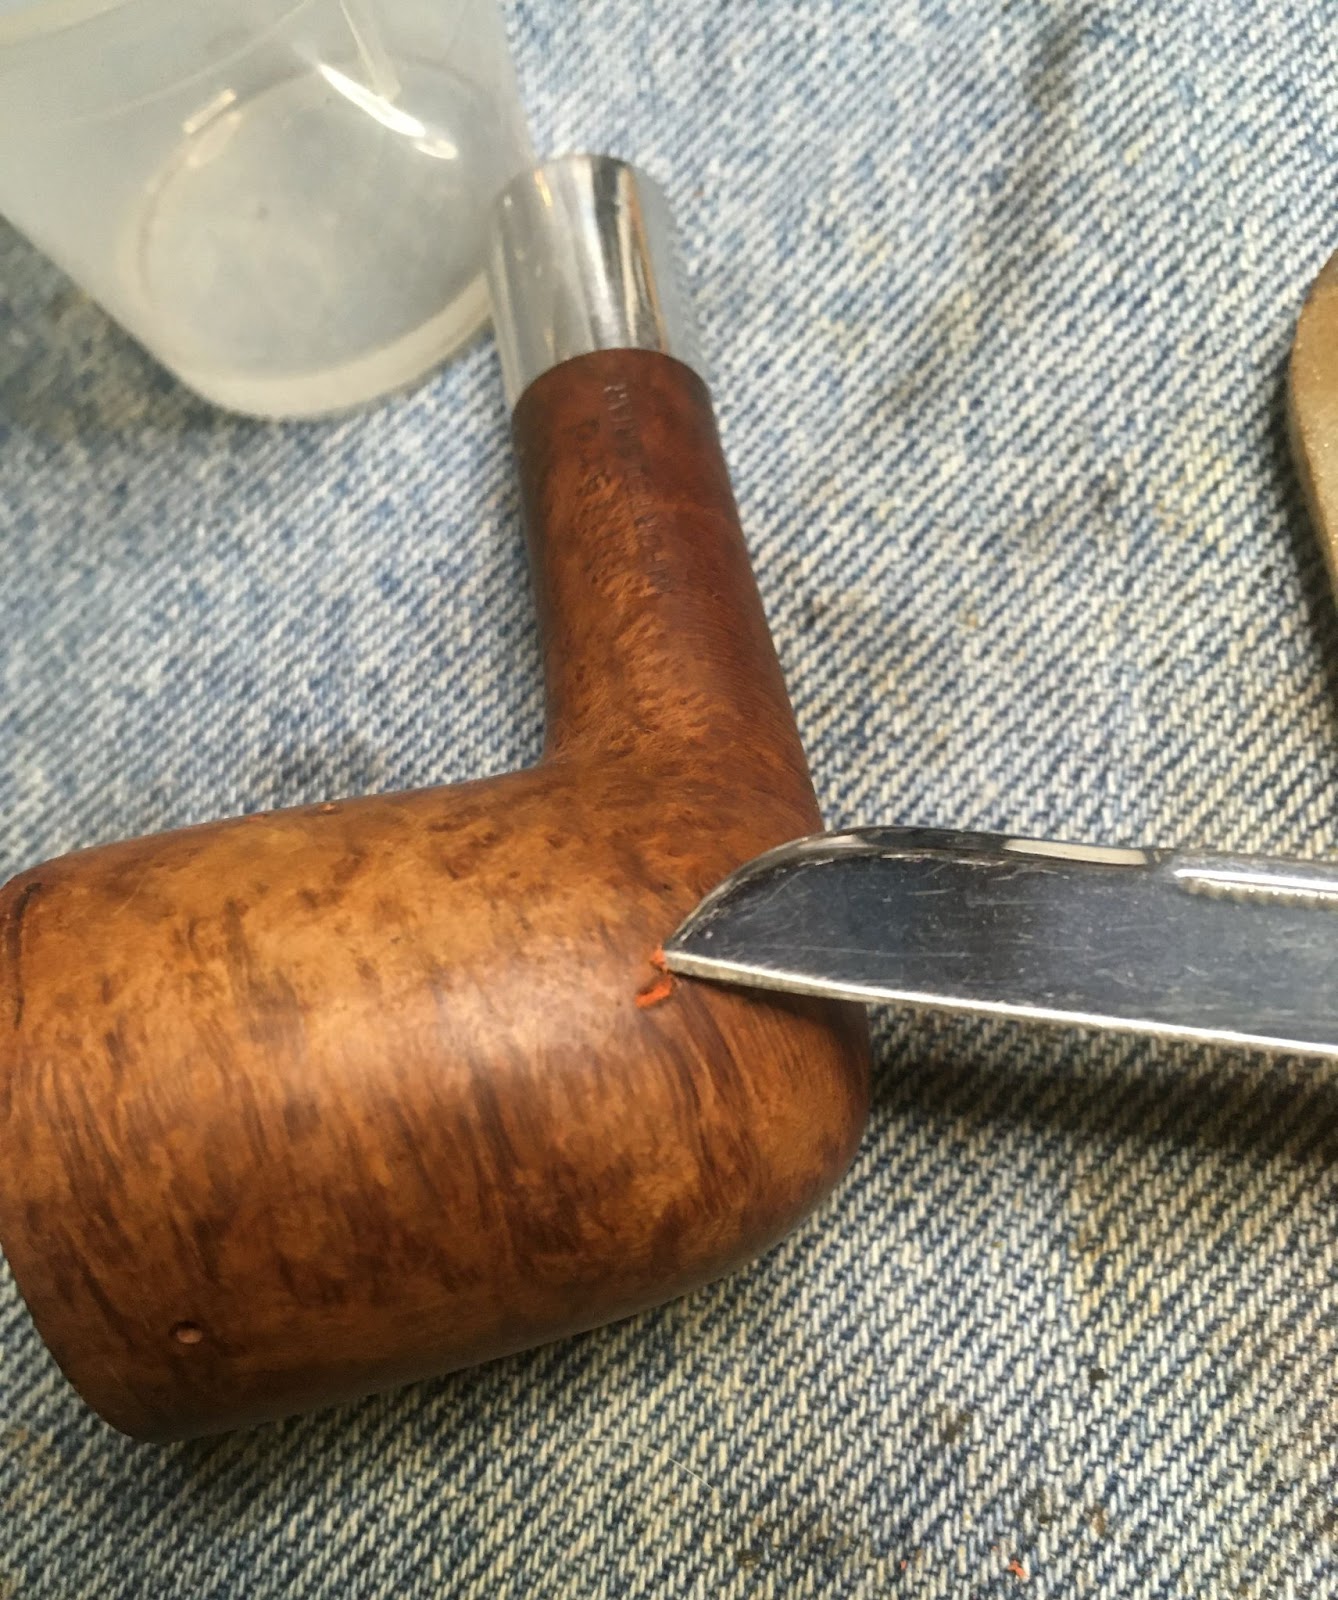
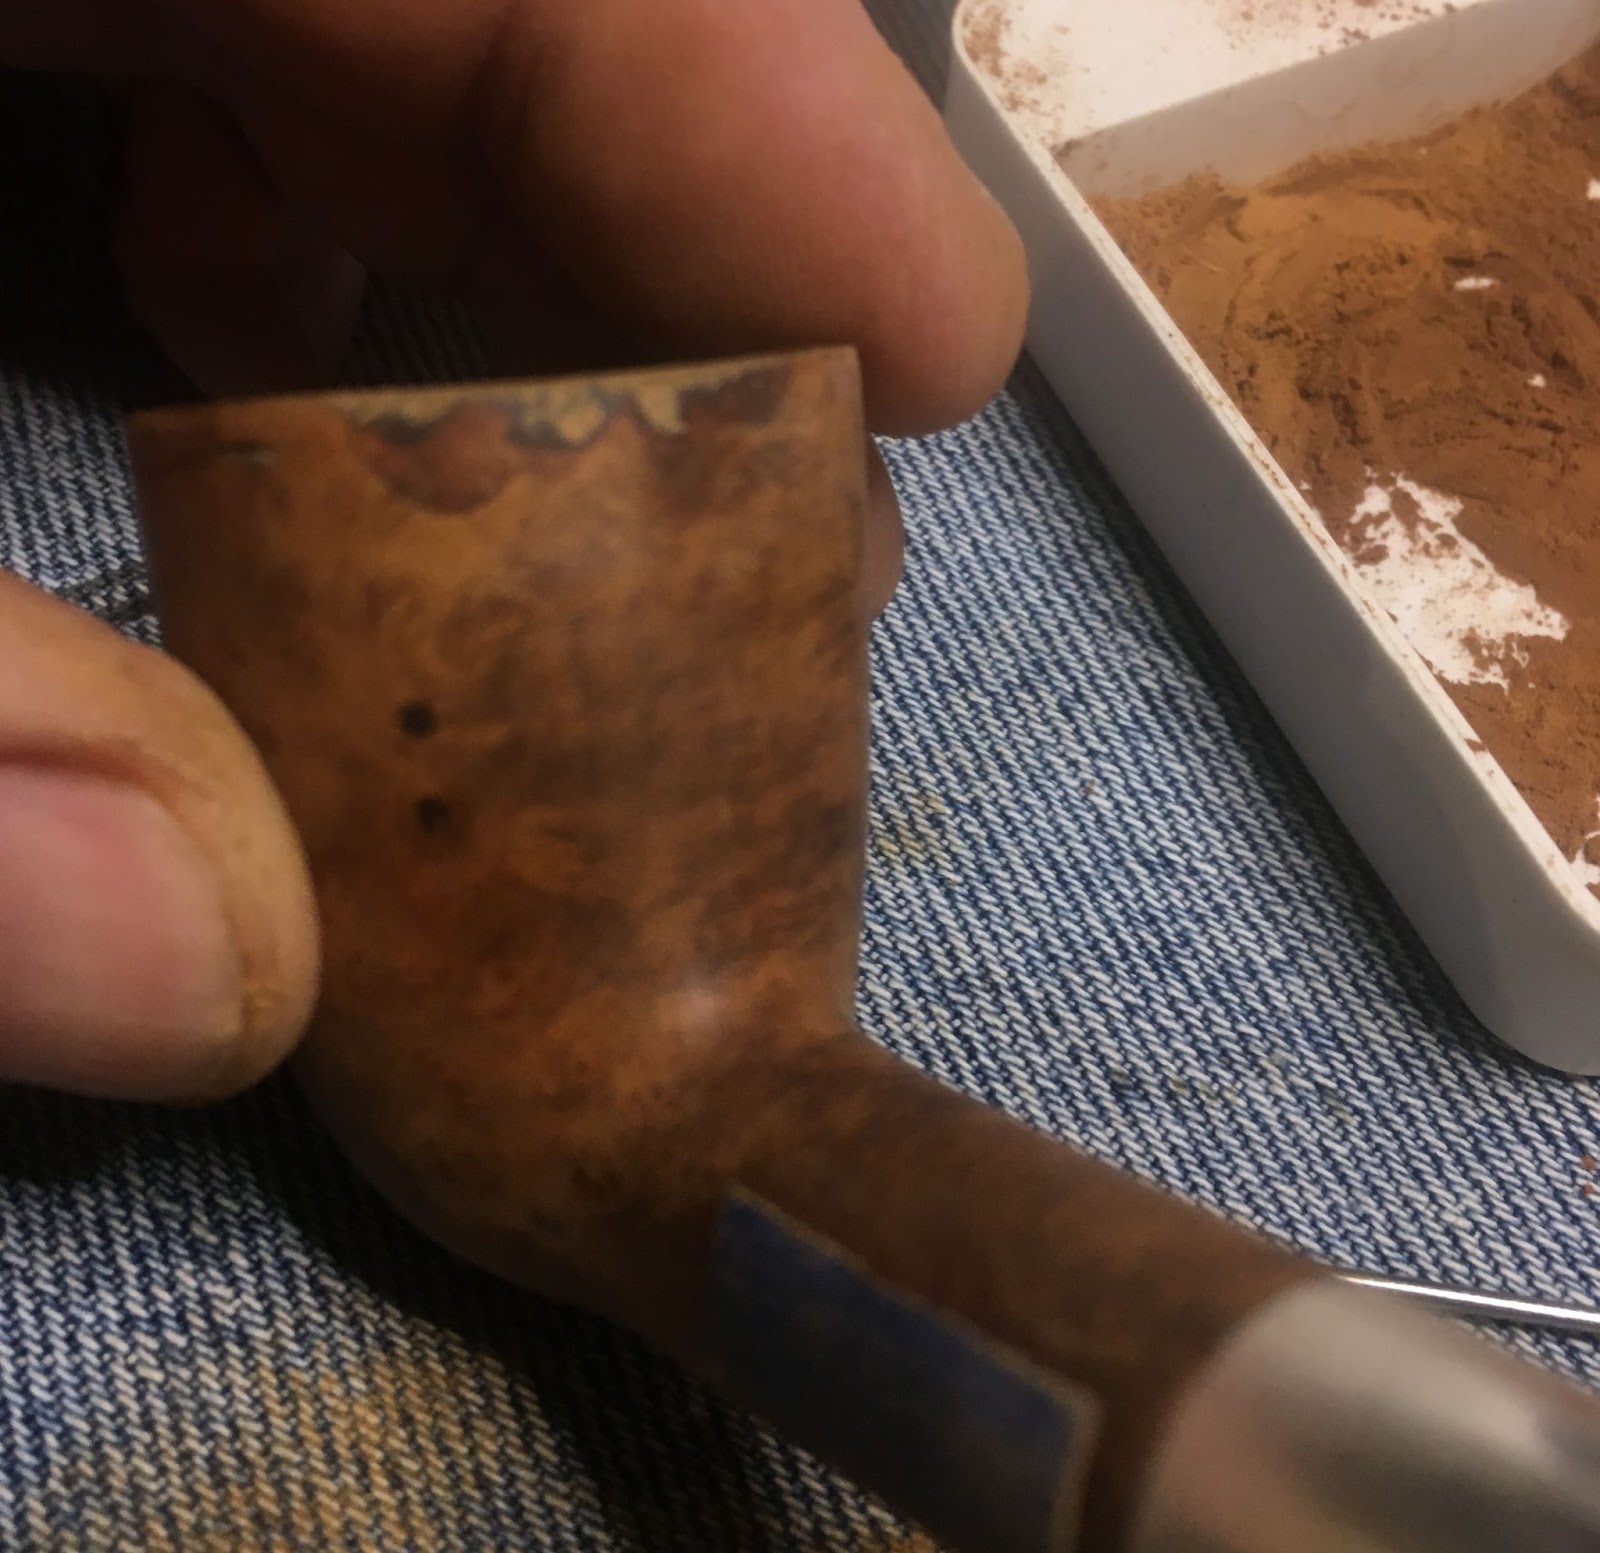
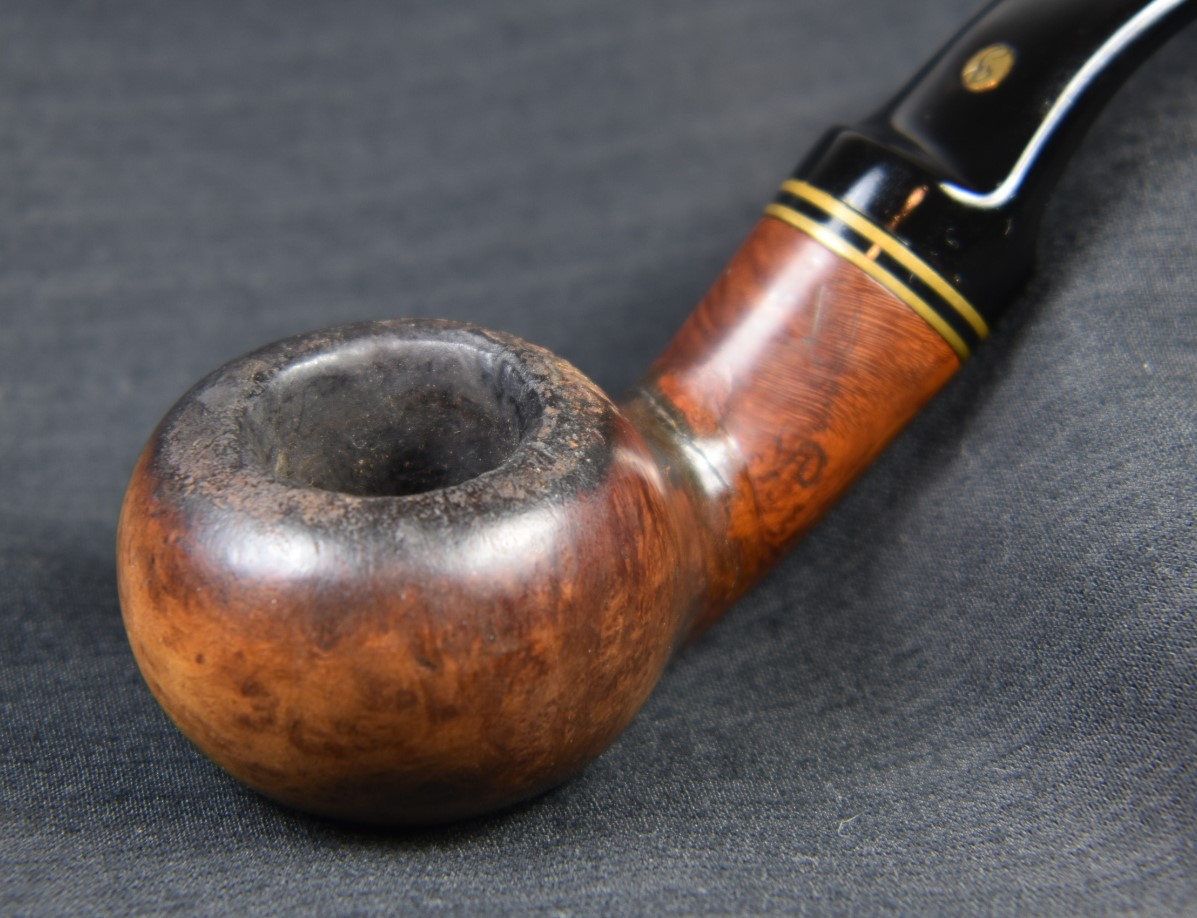
Below are photos taken of the scrubbed stummel back at the workbench. There was darkening of the briar around the rim, front and back. The wood in these areas seemed thick and solid enough for me to proceed and not throw the entire stummel into the dust bin.

To be sure of the integrity of the briar I needed to top the bowl quite a bit. The front edge was several millimeters lower than the sides. This was done using 220 sand paper laid flat on a countertop. A circular motion was used with the stummel being rotated in hand every few circles to keep the pressure and sanding even.
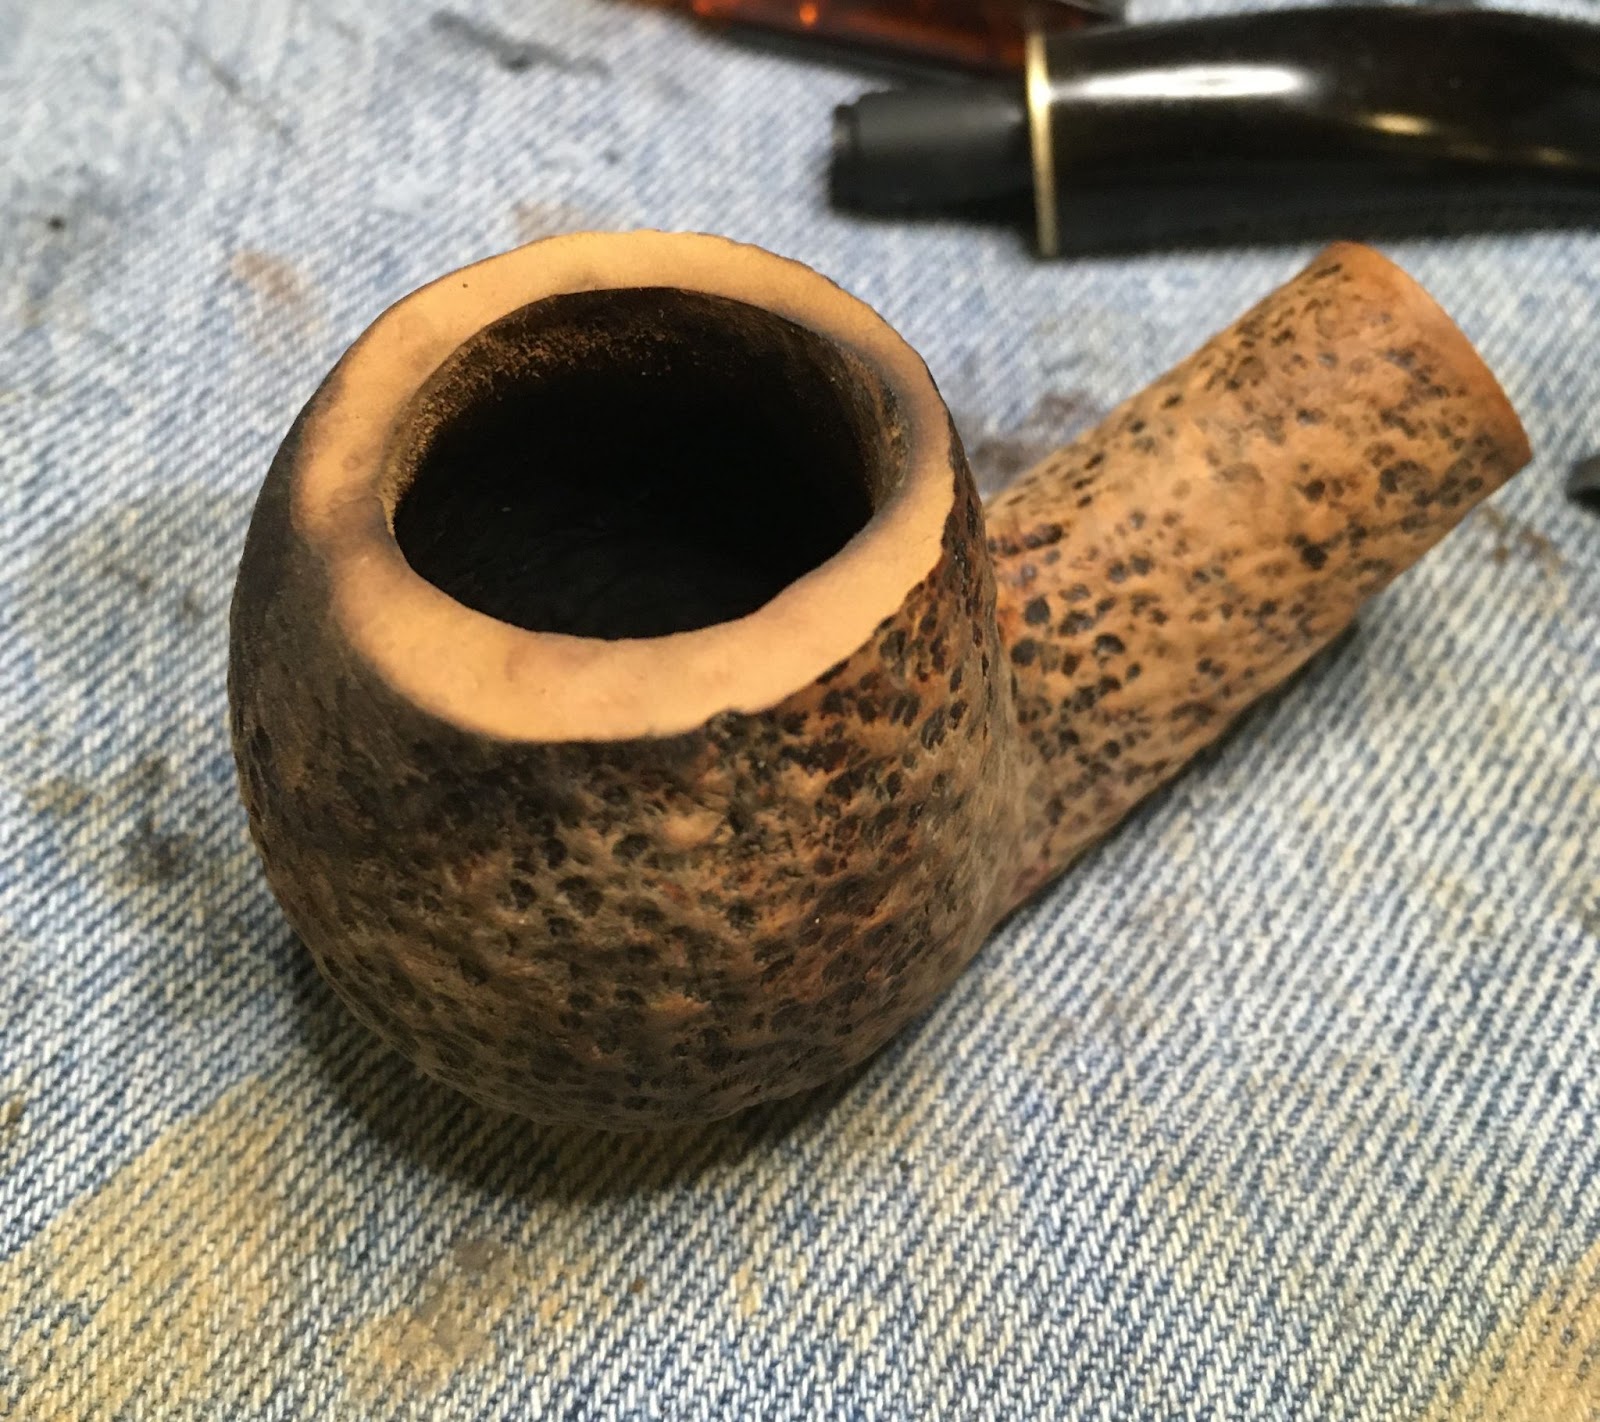
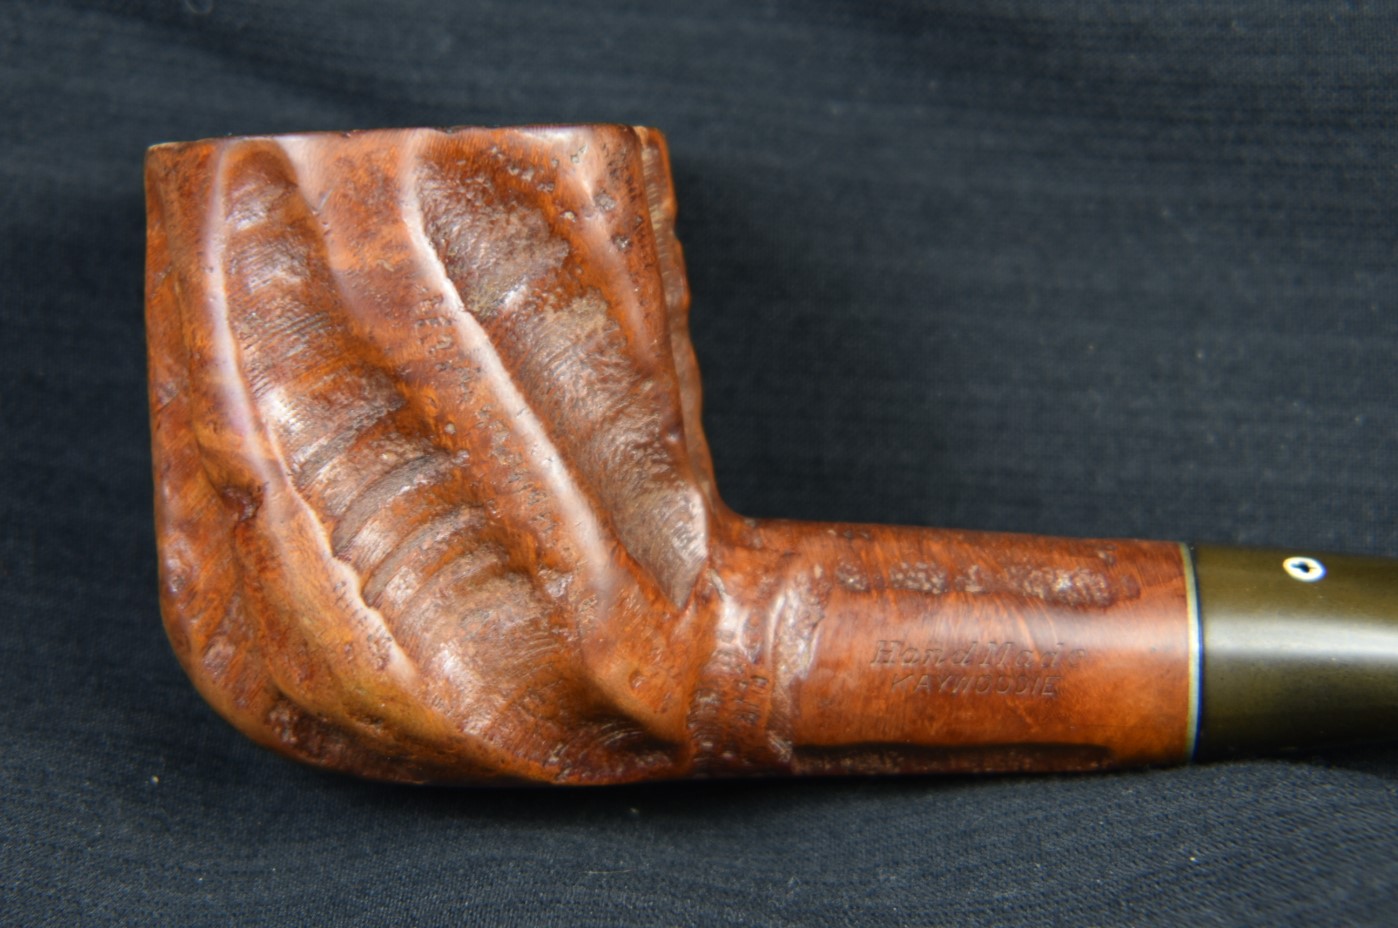
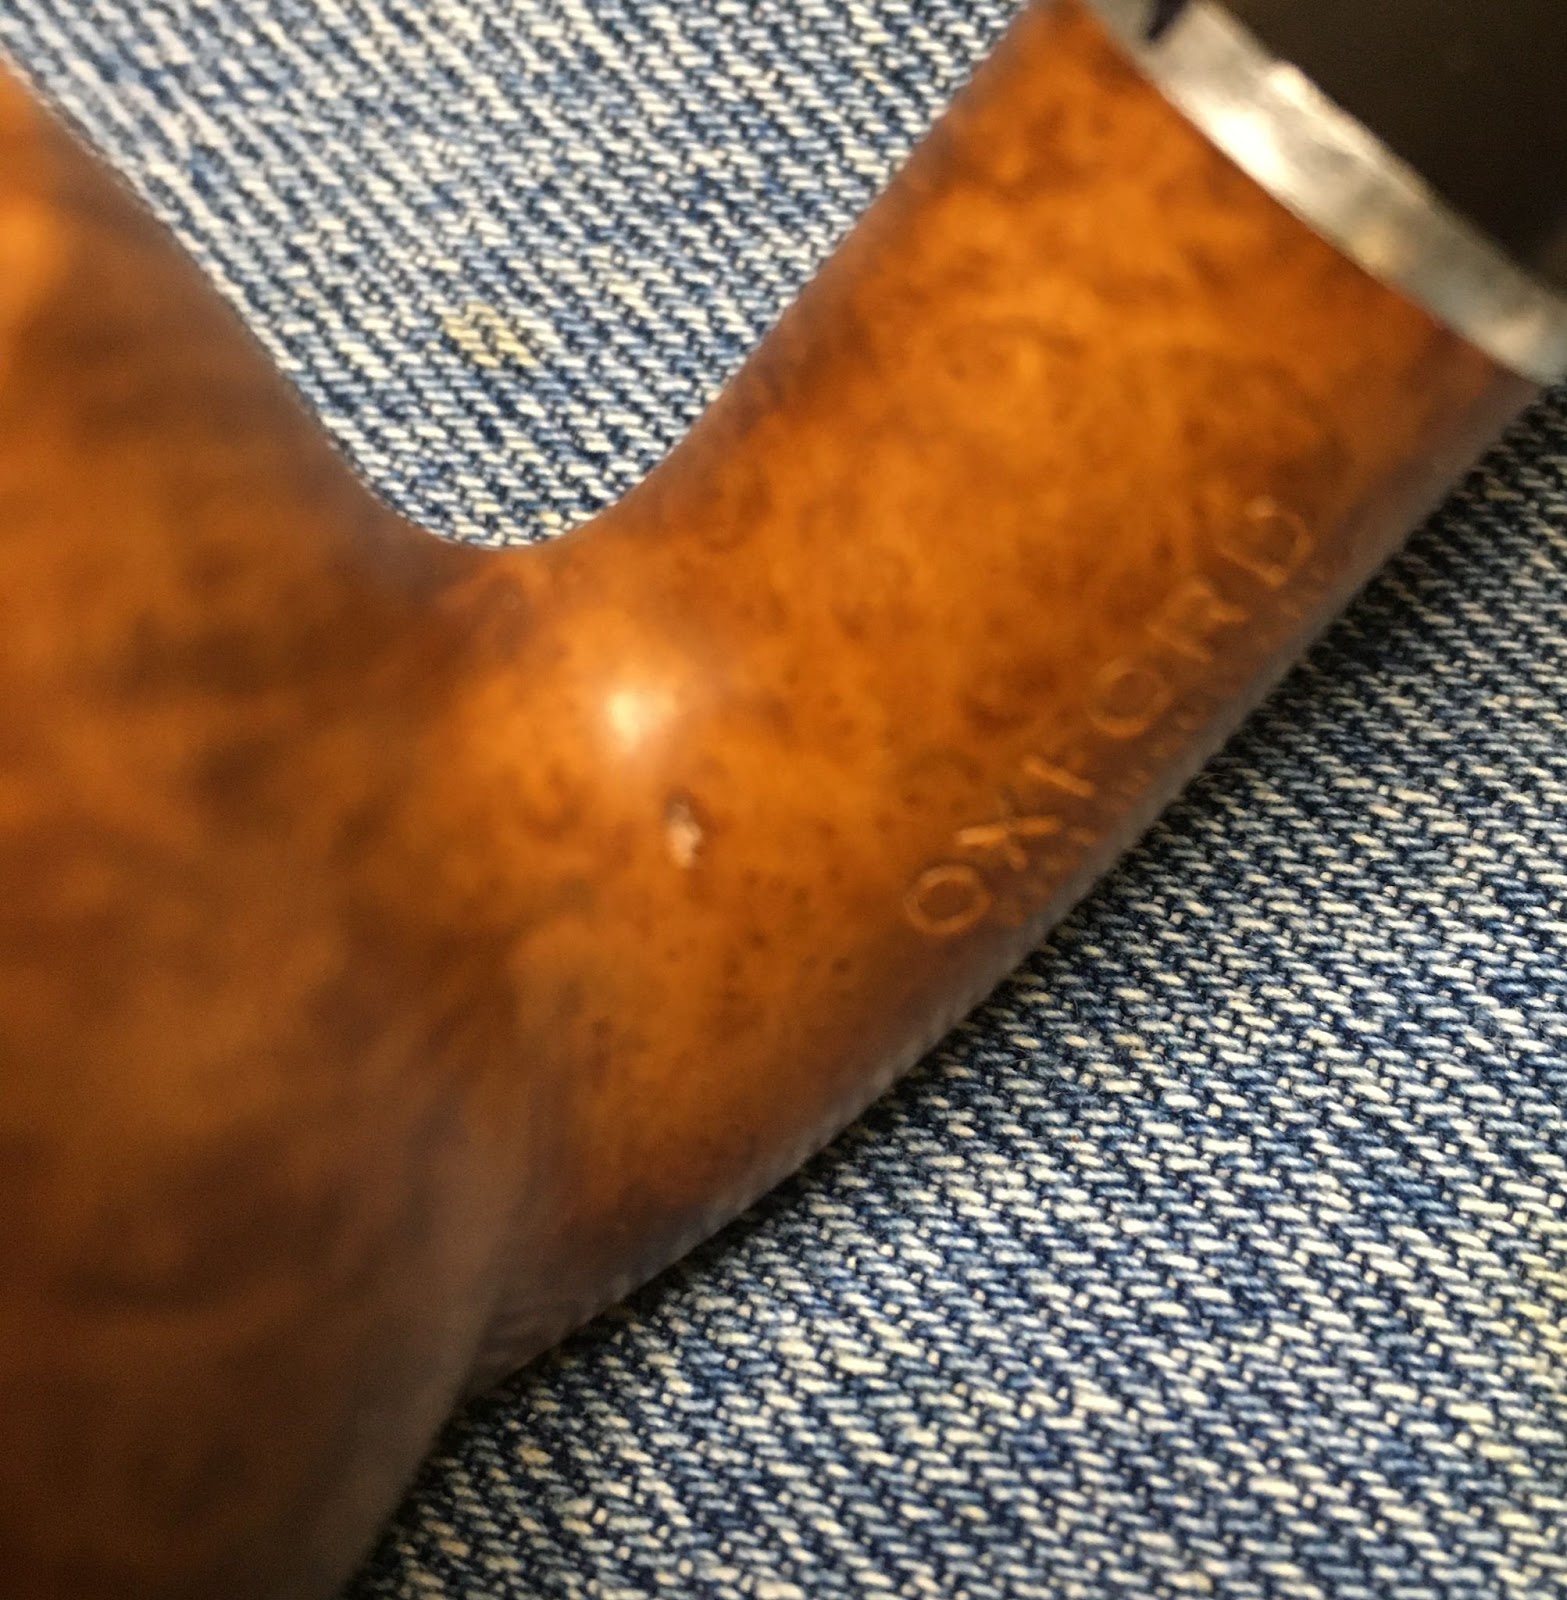
It appeared as though someone had tried to sand the charred wood from the front of the rim at some prior time. This had removed the factory texturing leaving a smoothed and darkened surface.

The topping of the rim did achieve a flat rim though a shorter stummel with a pronounced forward cant.

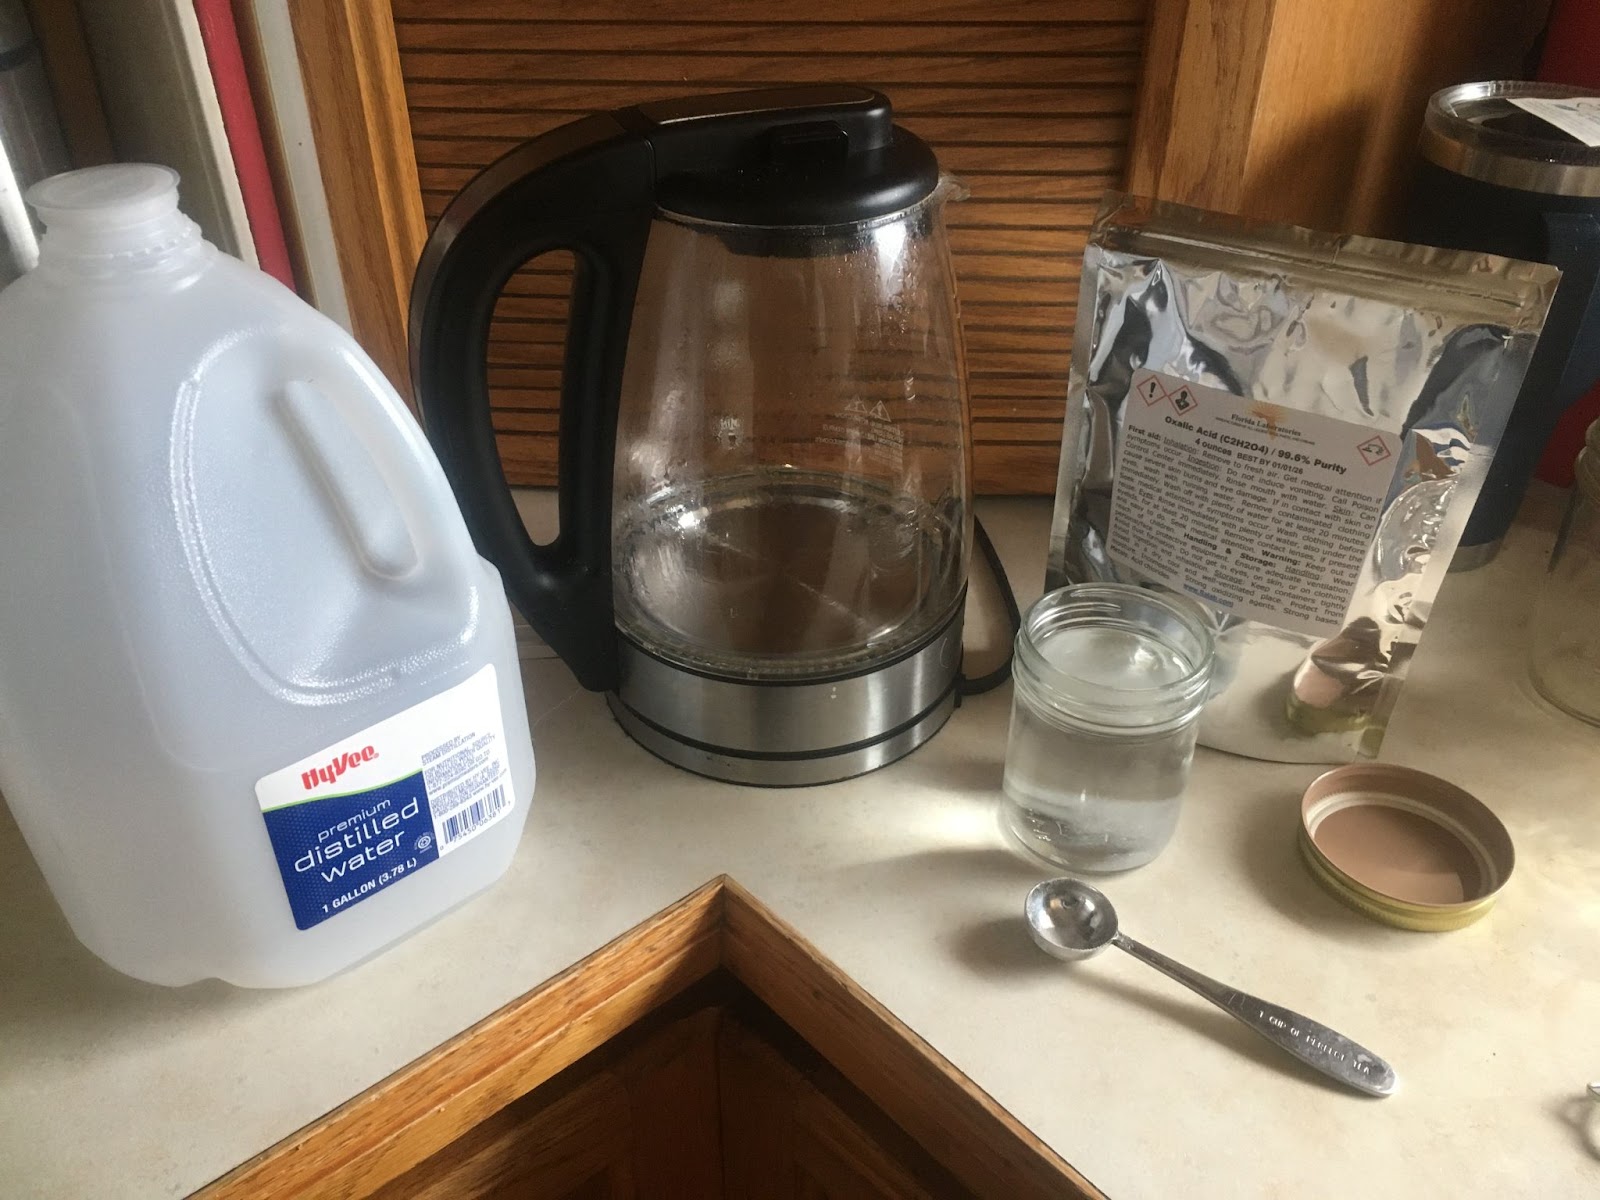
Not wanting to remove any more briar than absolutely necessary, I stopped sanding. The inside edge of the rin would be beveled as the pipe was originally made. Before this beveling, I wanted to address the filling of the charred material of the tobacco chamber. I had previously chatted with a fellow restorer about a “mortar” that he had used. The ingredients were plaster of paris (POP), charcoal powder and salt. In thinking about these materials I did not think that the charcoal dust was anything other than a coloring agent and it wouldn’t be strengthening the chemical bonds of the POP. If anything it would weaken the crystalline lattice of the calcium sulfate hemihydrate (chemical name of POP when hardened). I opted to try POP in this instance due to the its properties:
“There are two main properties of Plaster of Paris:
- Non-flammable:
- Non-combustible
Plaster of Paris is non-flammable as well as non-combustible as it has a low chemical reactivity. In extreme conditions, it also acts as an oxidizing agent. Plaster of Paris has fire resistance quality and its material is ideal for heat insulation. The material does not shrink when it sets. Hence, there are no cracks on the surface of the dry Plaster of Paris. At high temperatures, the plaster of Paris also decomposes and becomes toxic oxides.” (https://www.vedantu.com/jee-main/chemistry-plaster-of-paris)
The “toxic oxides” would be sulfur oxides. POP can withstand temperatures of 1200F (650C) without decomposing. A typical pipe will be combusting tobacco at 500-900F (260-482C) well below this threshold. (https://cameochemicals.noaa.gov/chemical/25054)
The POP powder was mixed with tap water as per product instructions. It was then applied to the interior of the tobacco chamber in an even coating using a wood splint. A pipe cleaner was used in the airway to prevent the POP from blocking it.

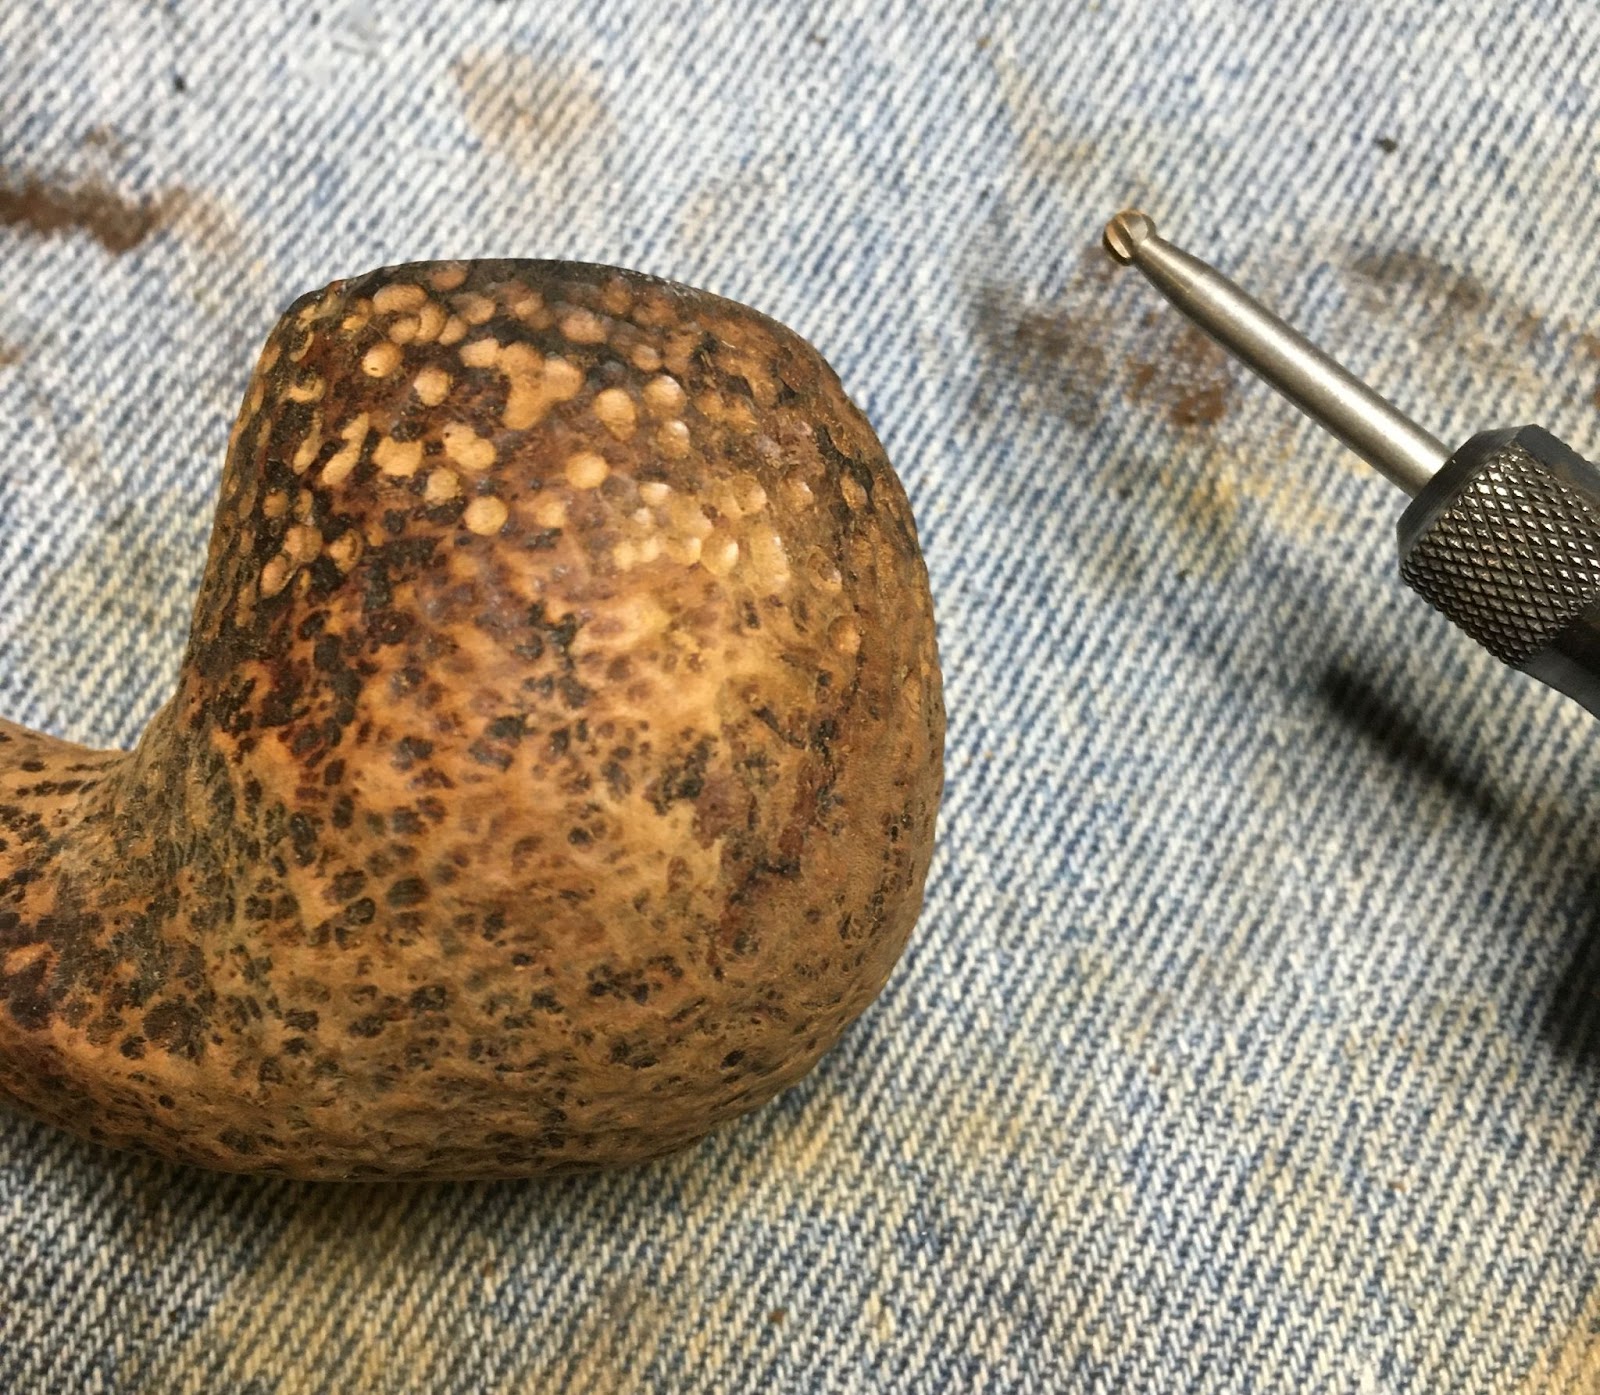
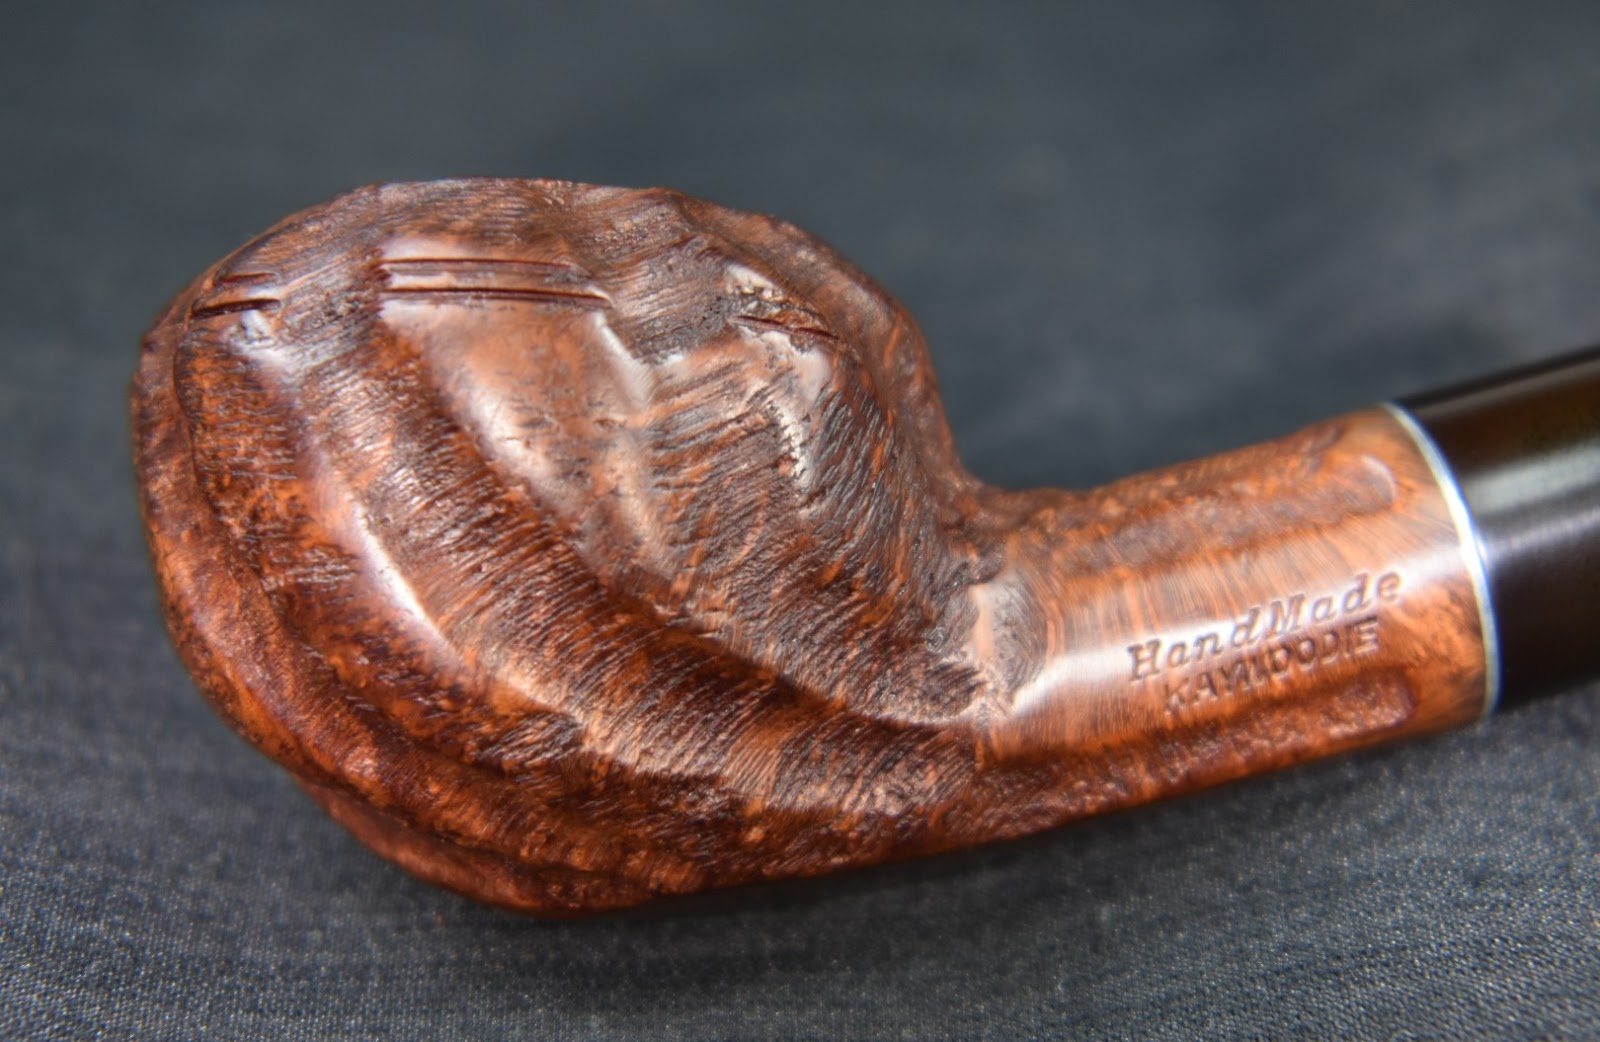
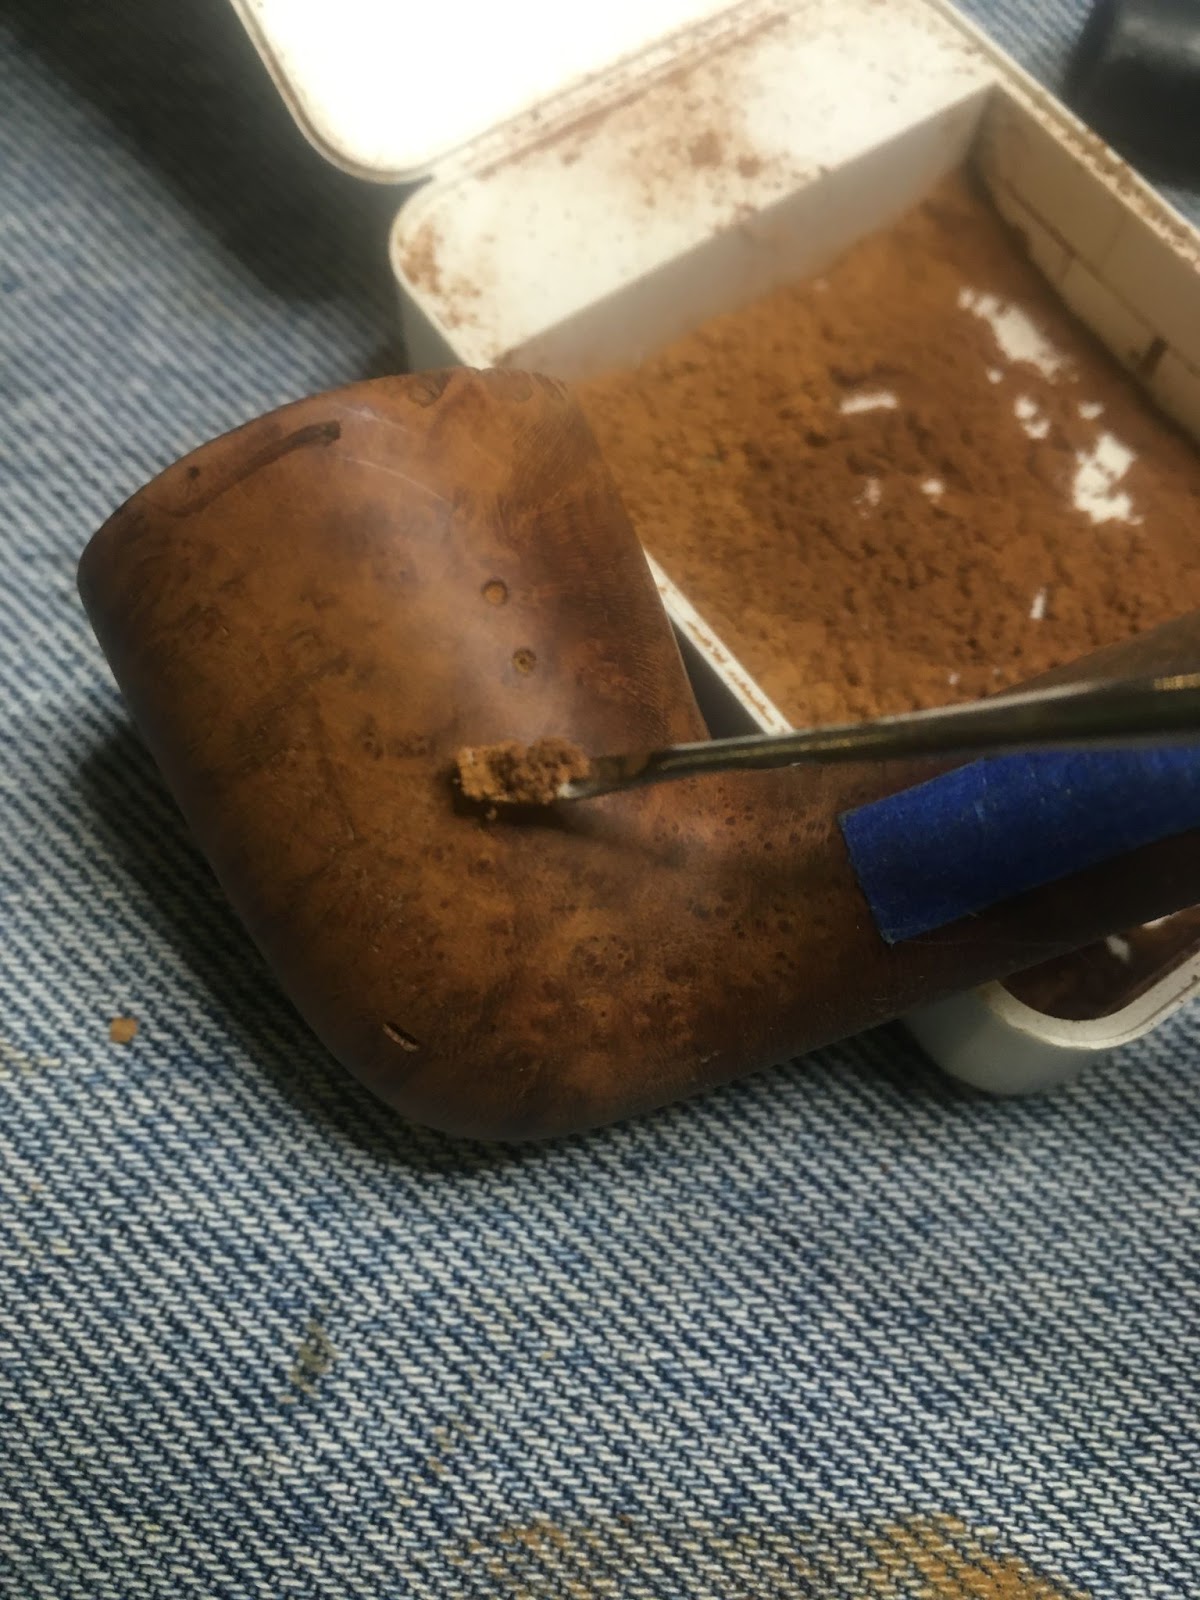
While the POP was setting-up I began working on re-texturing the stummel. I used a Dremel rotary tool with the bit shown in the below photo. I tried to carve irregular sized and shaped indentations to the surface of the stummel where they had been worn away.


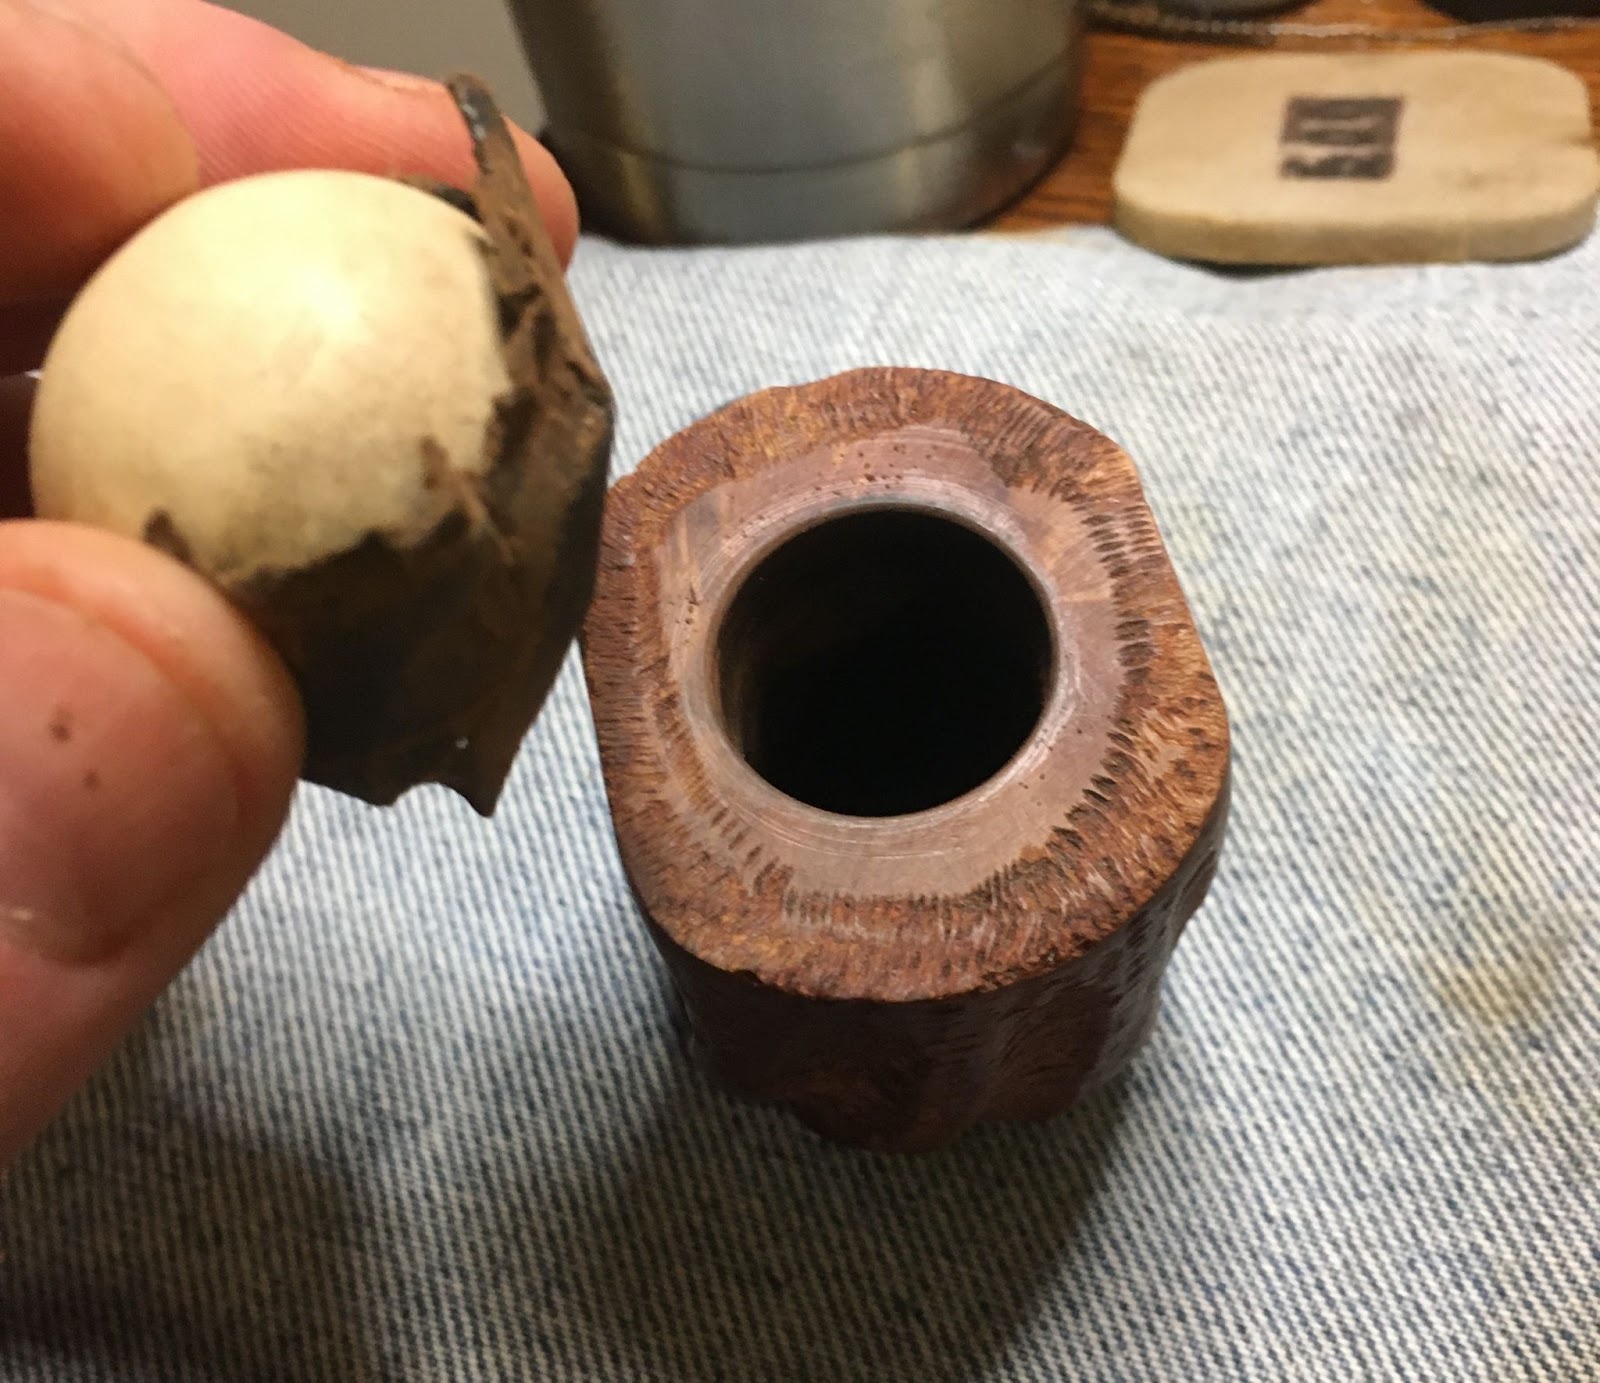
The POP had begun to harden. While it was still soft enough to mold, I used the PipNet and the #3 blades to carve an even hole for the tobacco chamber. This newly surfaced chamber was smoothed with my finger wetted with water.

While still damp, I emptied a capsule of activated carbon powder (charcoal) into the tobacco chamber, plugged it with my palm and shook the stummel vigorously. The excess was dumped out aht I blew through the pipe to remove the remaining dust. The POP was allowed to dry for another 15 minutes.

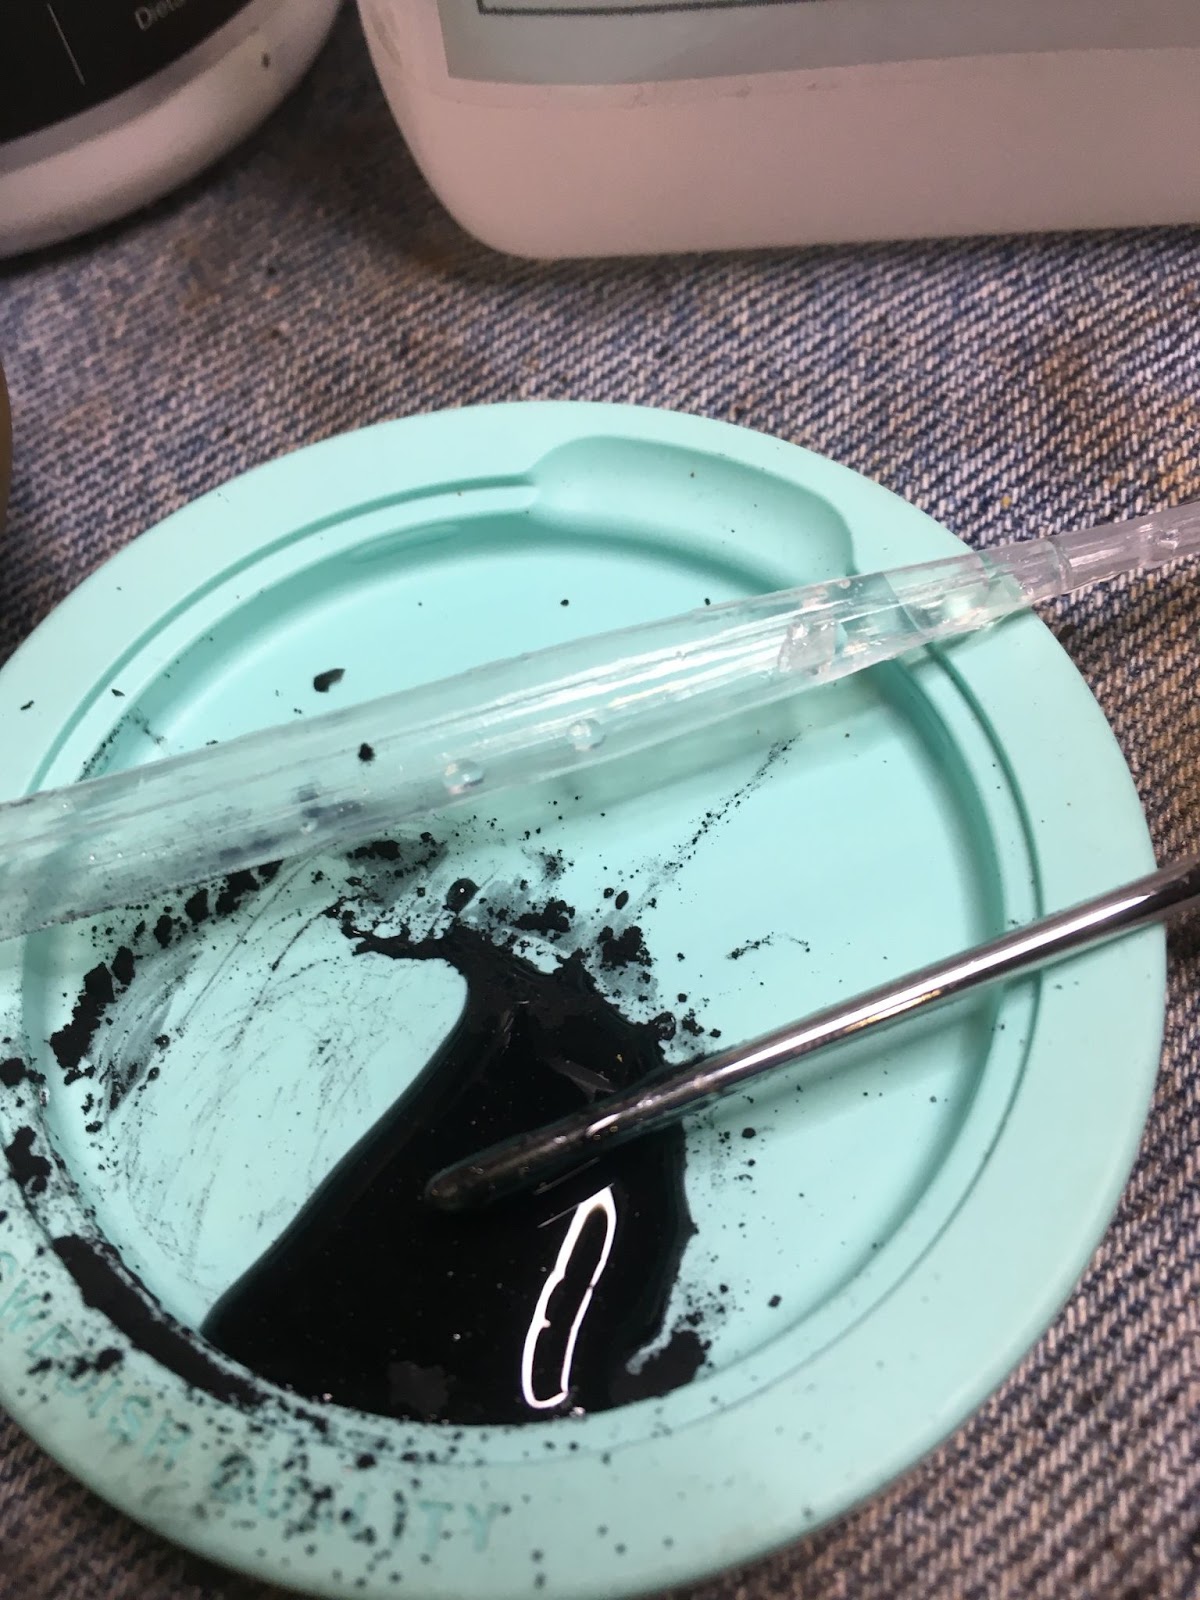
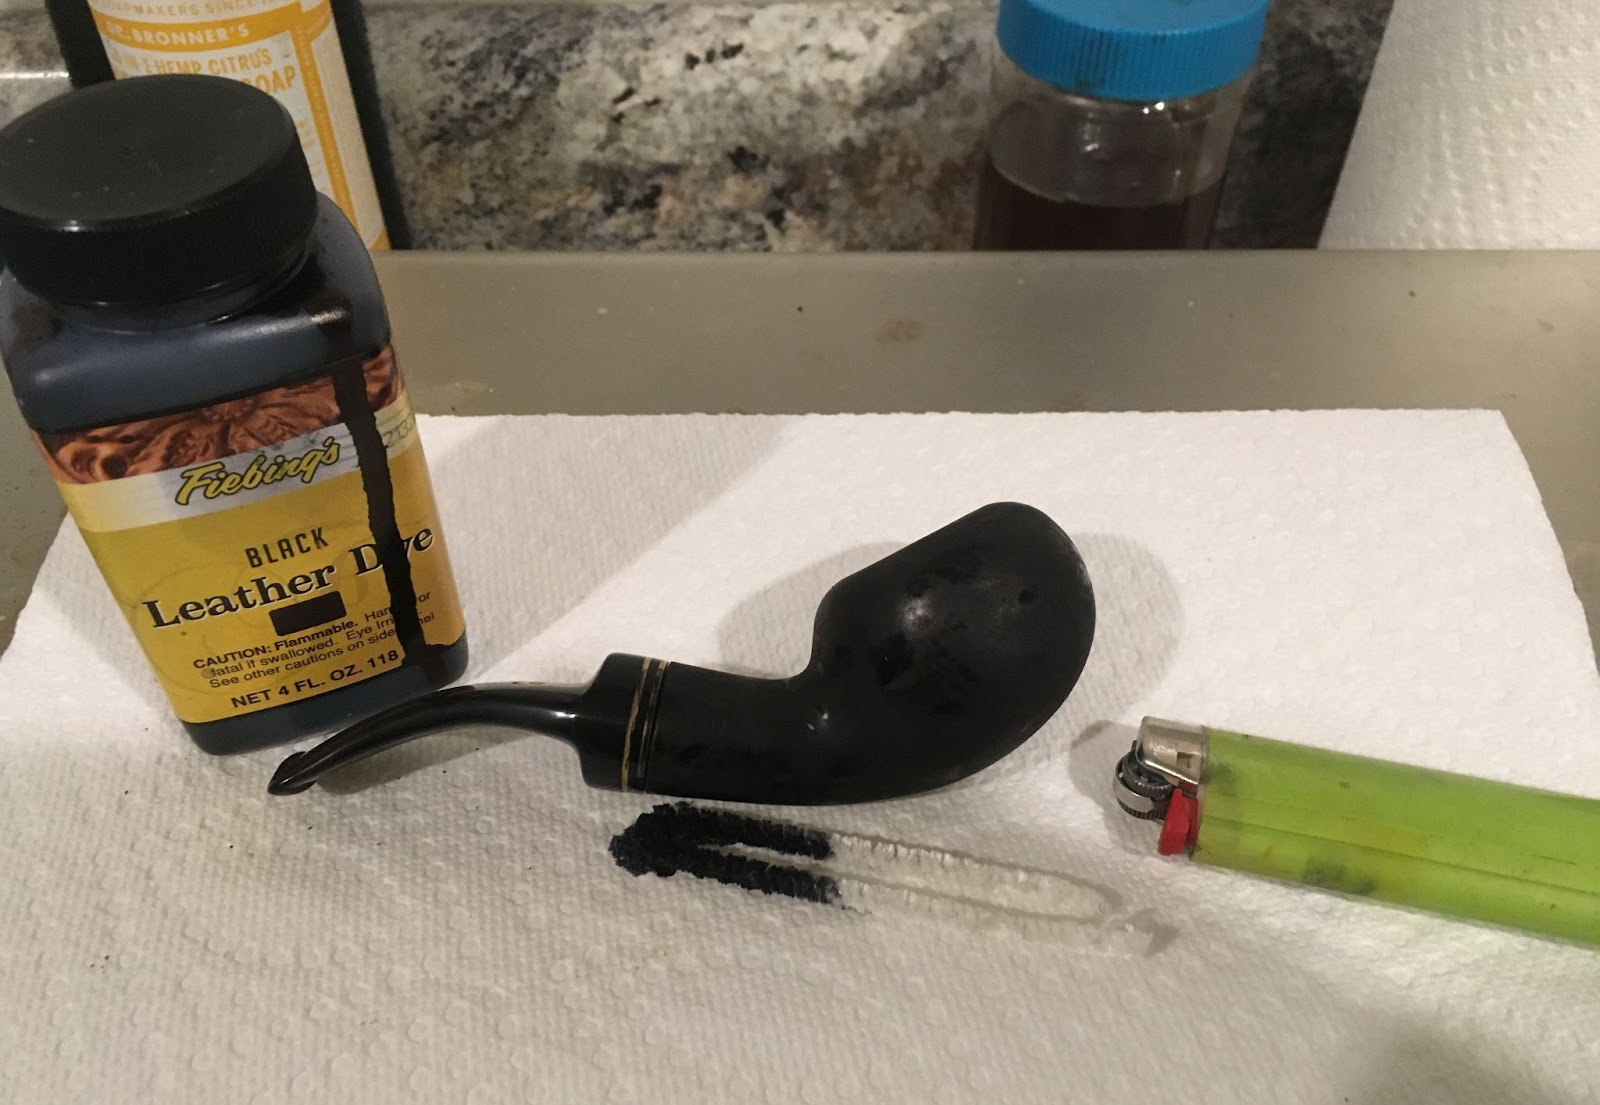
With the stummel now re-textured it needed to be dyed. According to the Savinelly website the original dye or stain was a “natural burgundy color”. I did not have a natural burgundy dye so I used black. The black Fiebing’s Leather dye was applied with a folded pipe cleaner and flamed with a disposable lighter.


I then wiped the stummel dry with a paper towel. I was not concerned with waiting for a certain amount of time for the dye to dry or set. I was just wanting the dye to stain the textured indentations darker than the raised surfaces.

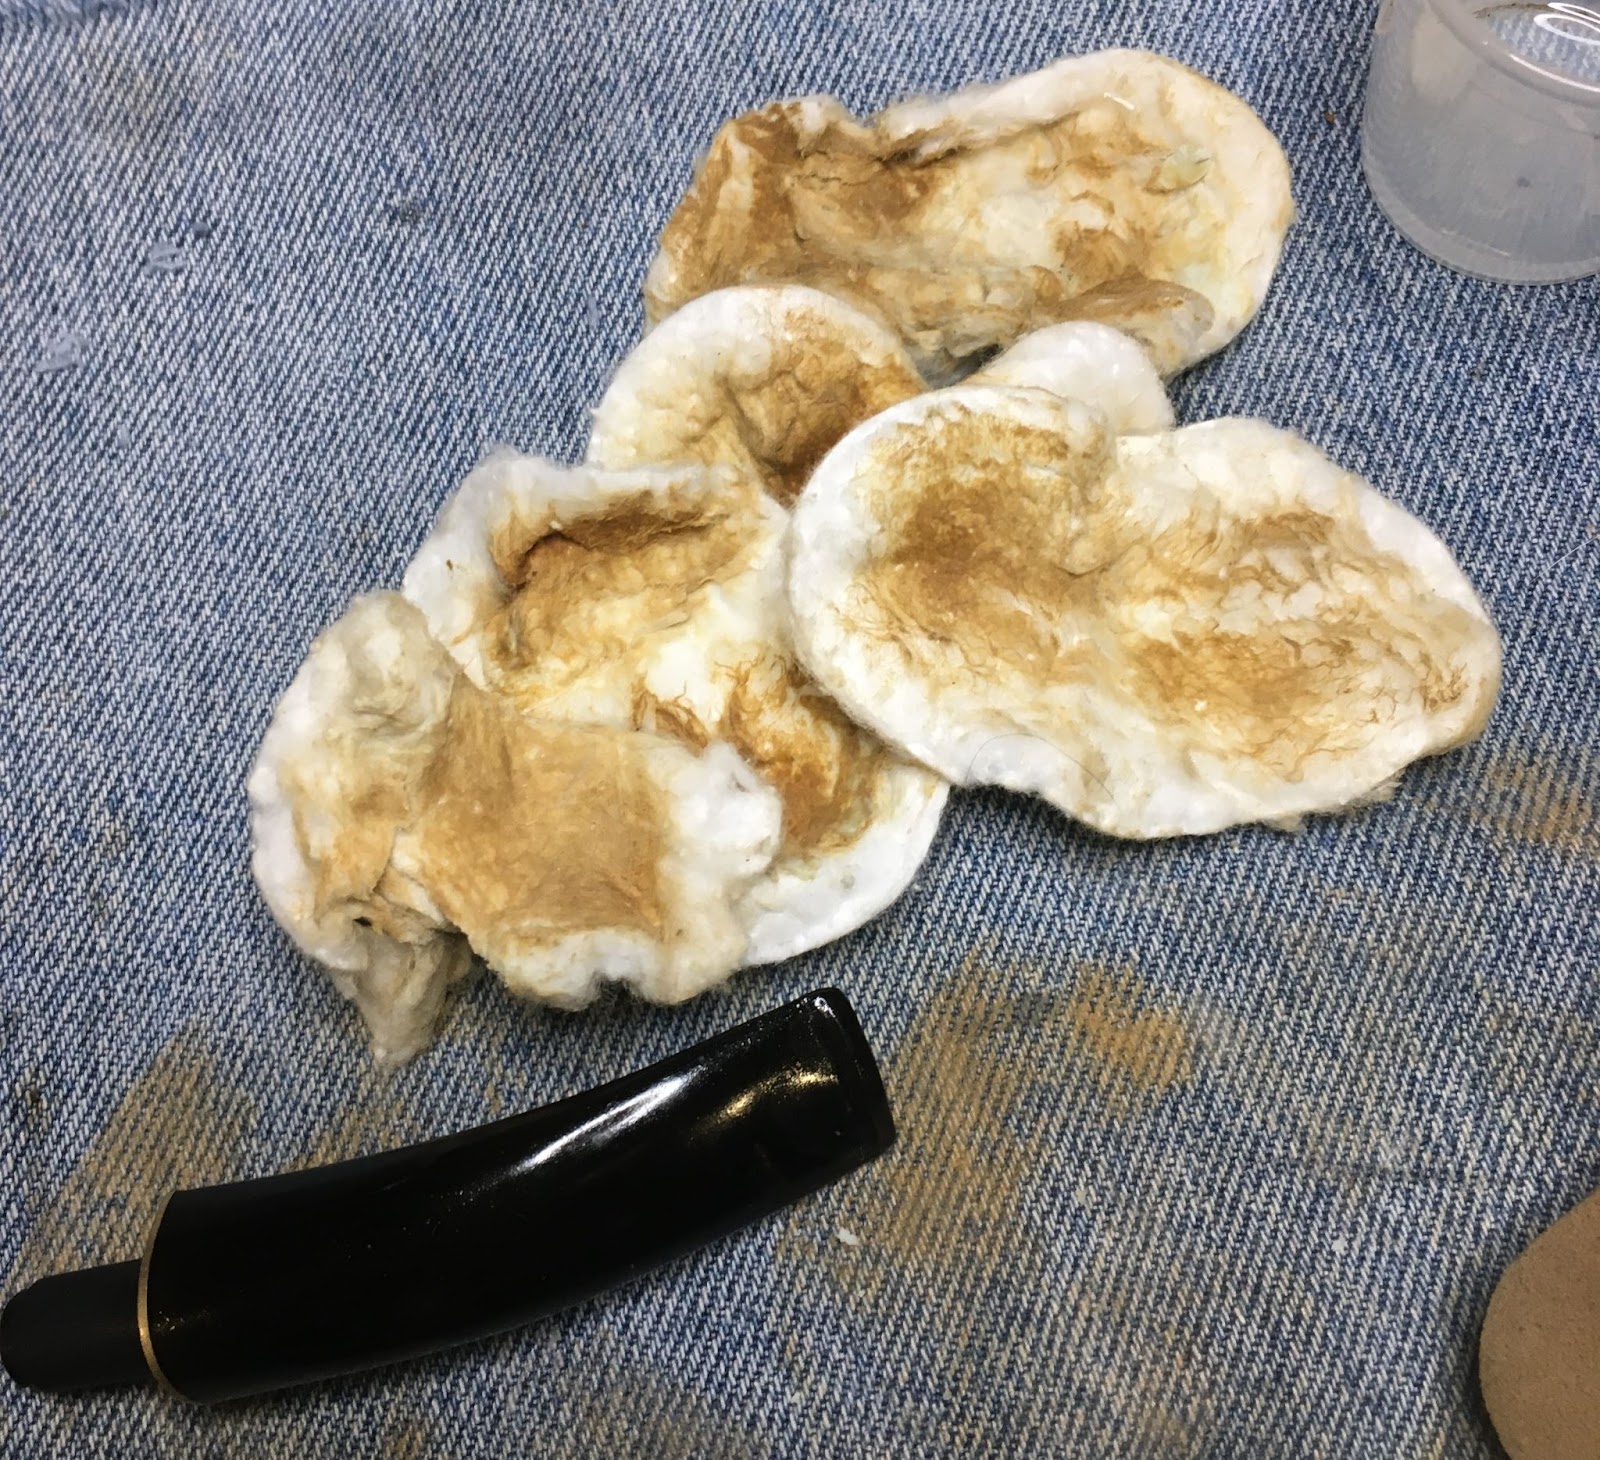
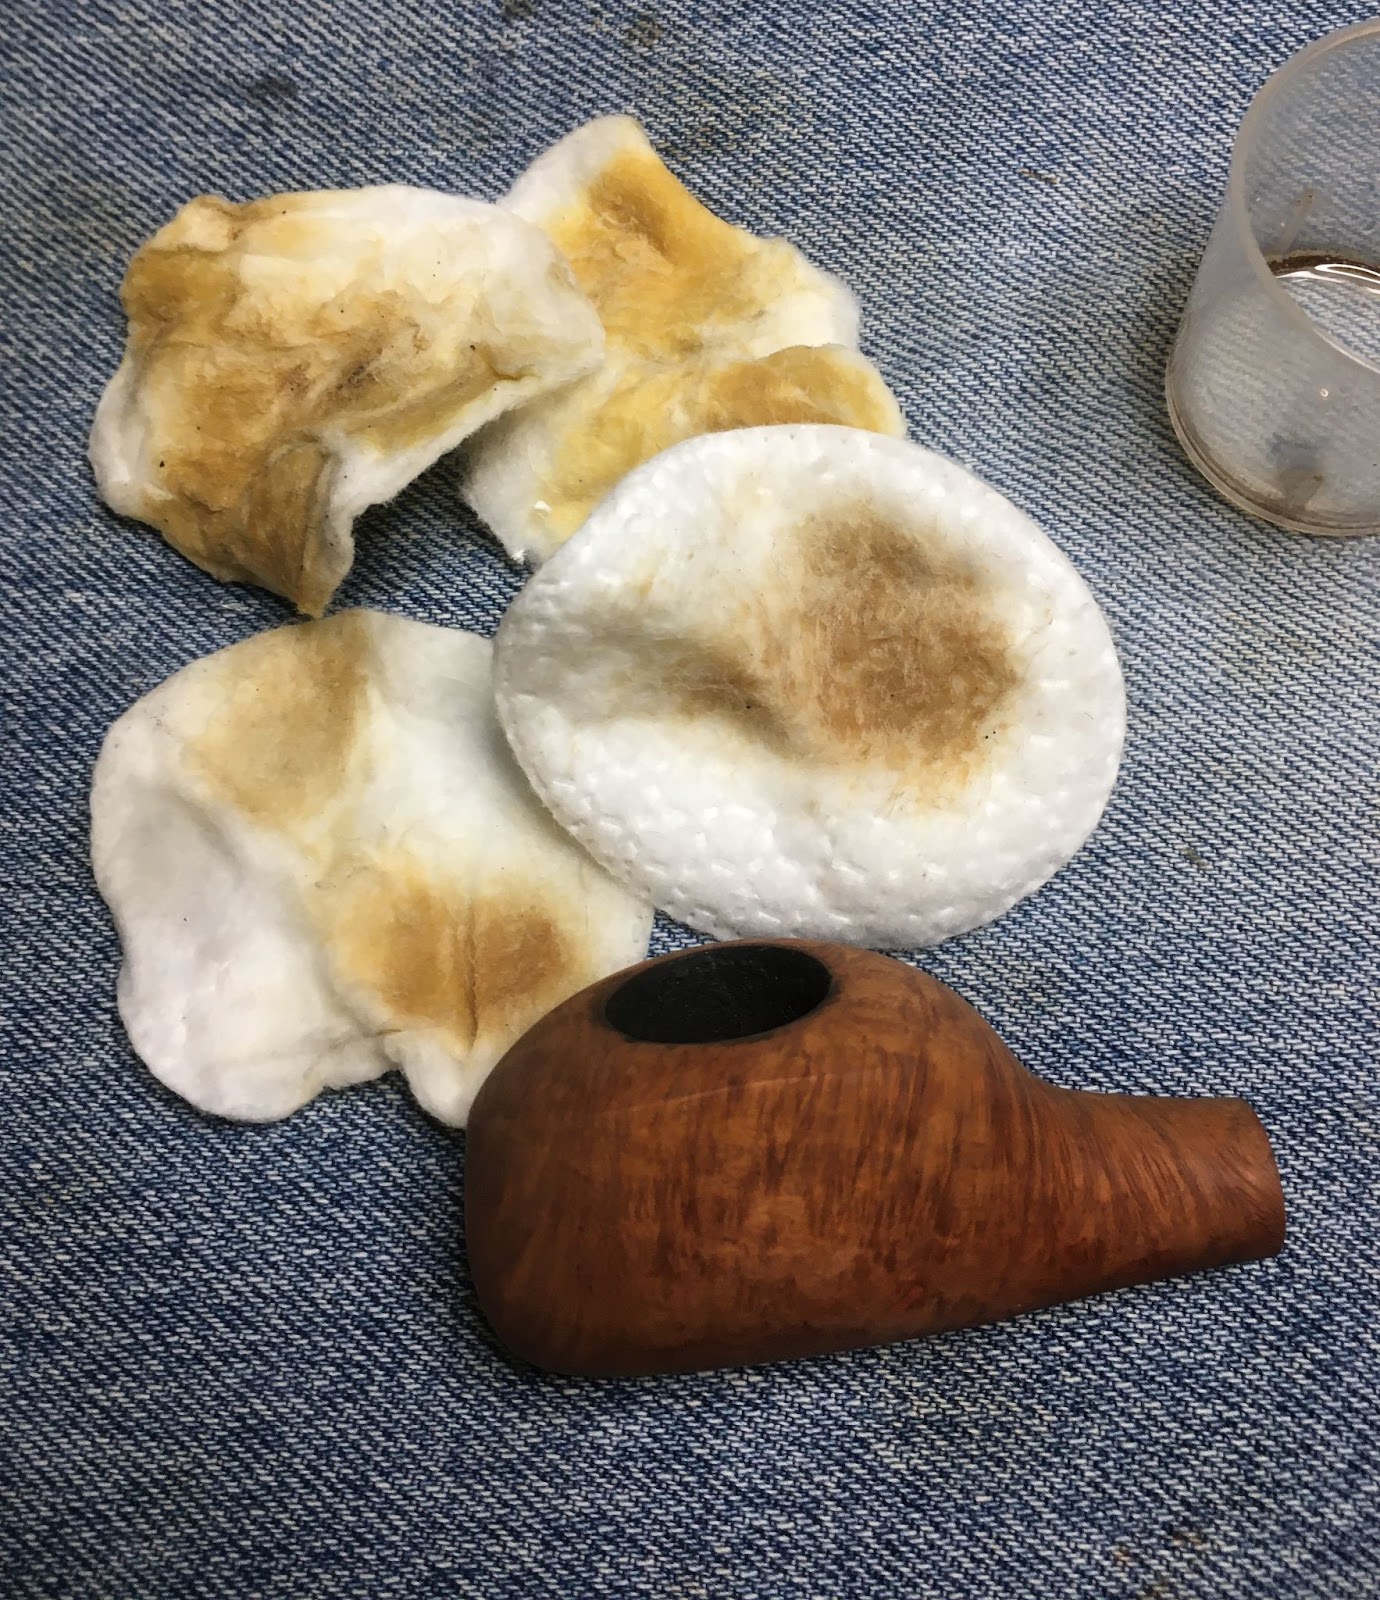
I returned the stummel to the workbench where I wiped the stummel with several make-up pads wetted with 95% ethyl alcohol to remove excess dye.

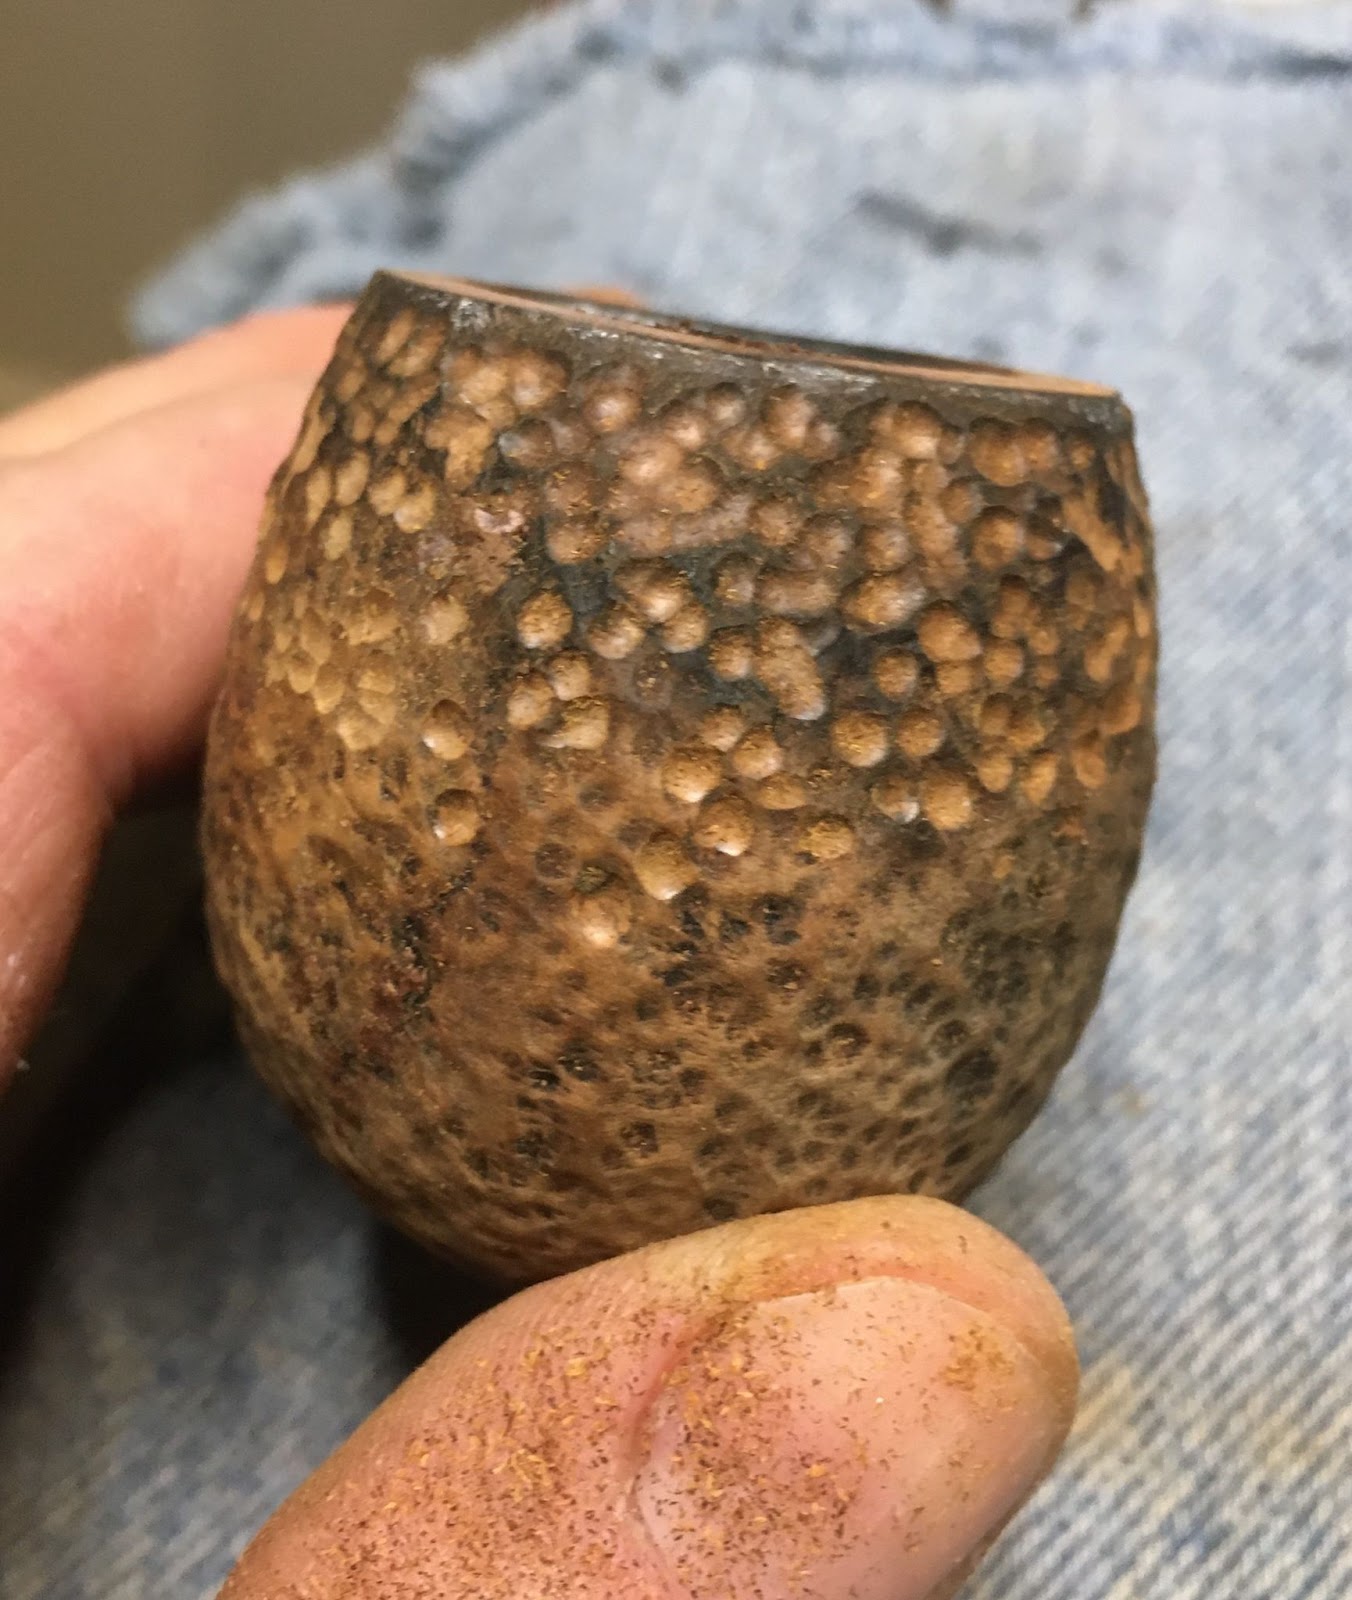
The stummel was then sanded with a 400 grit sanding sponge. This removed the black dyed briar surface revealing.


The sanding could not completely lighten the previously charred briar at the front, back and around the rim.
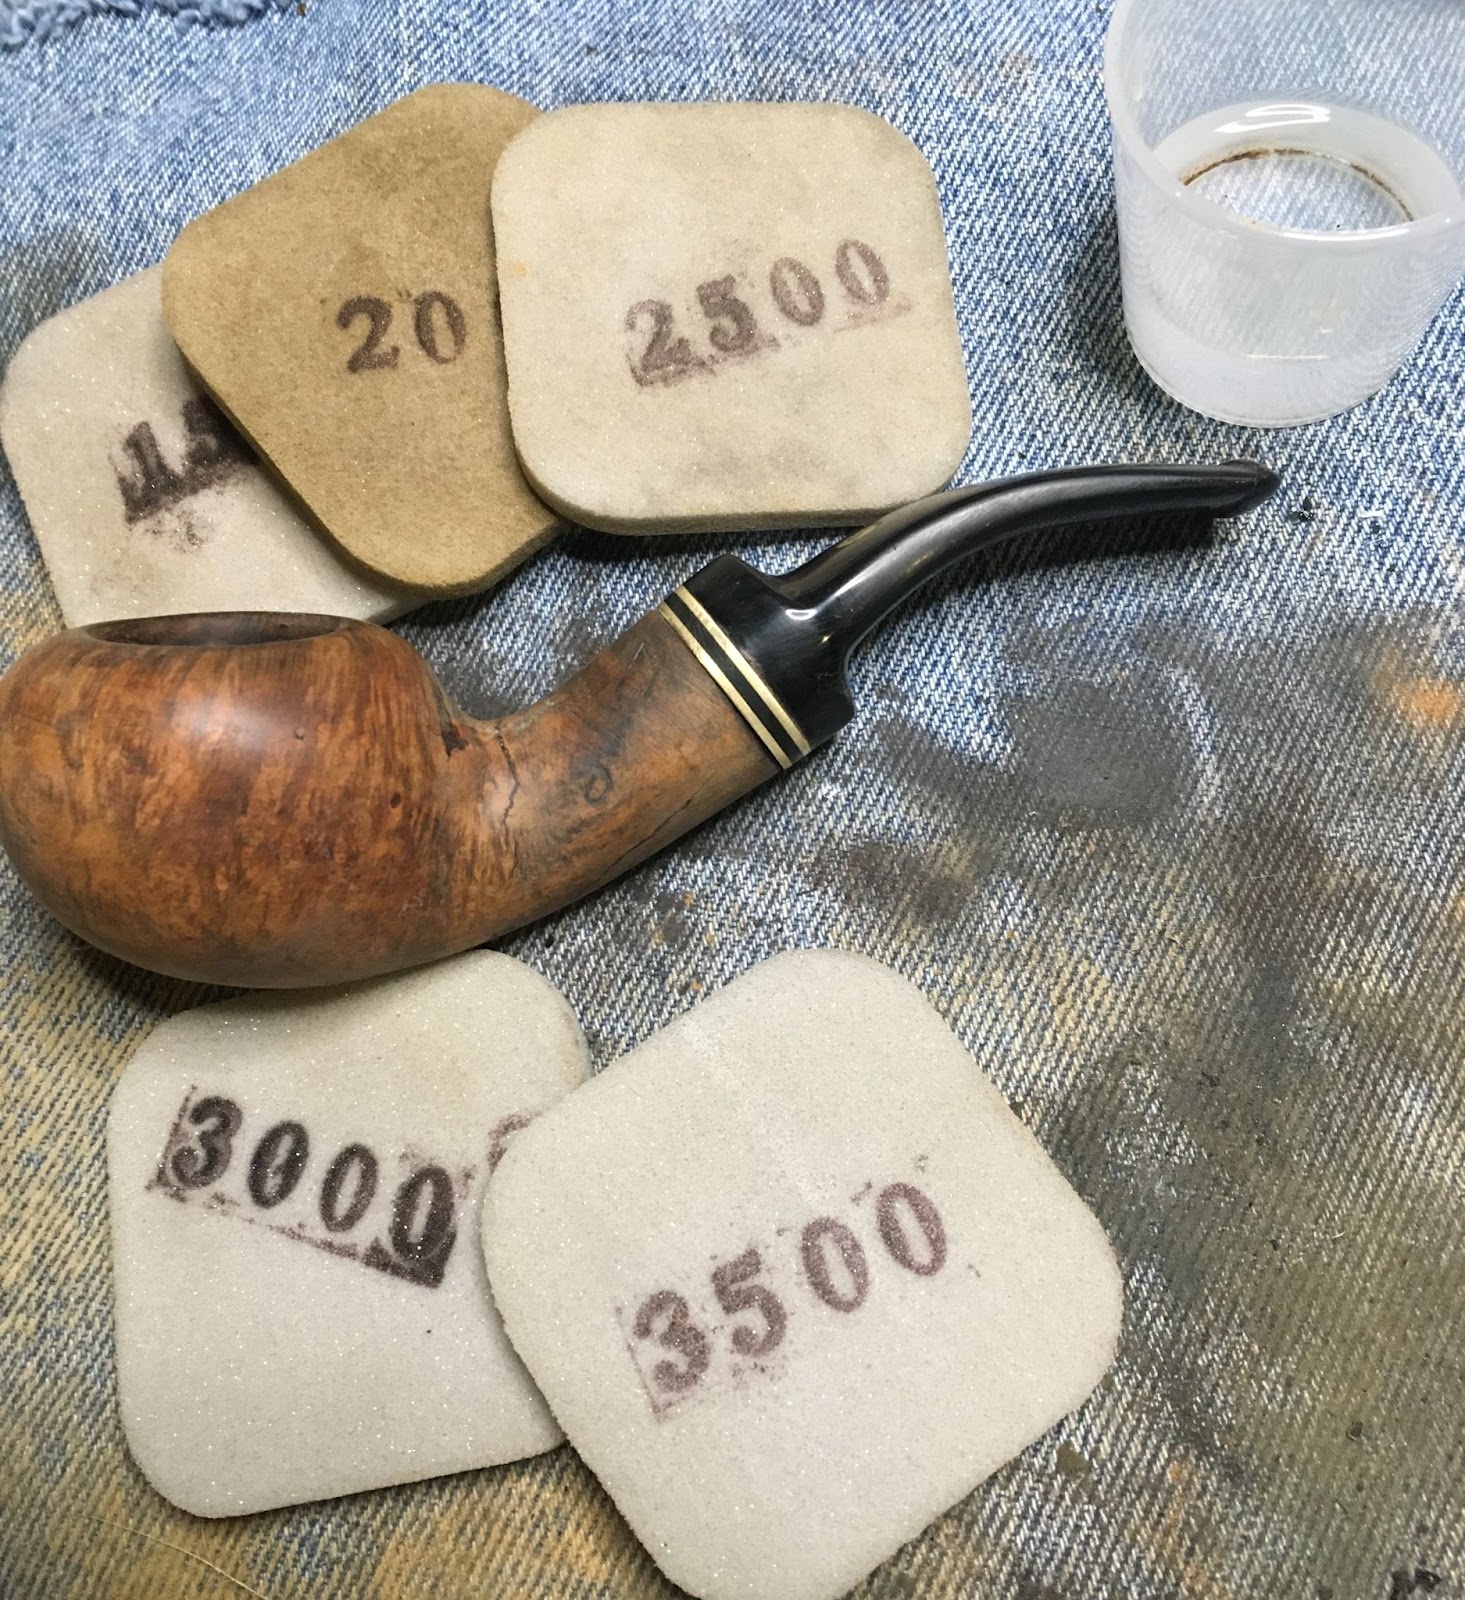
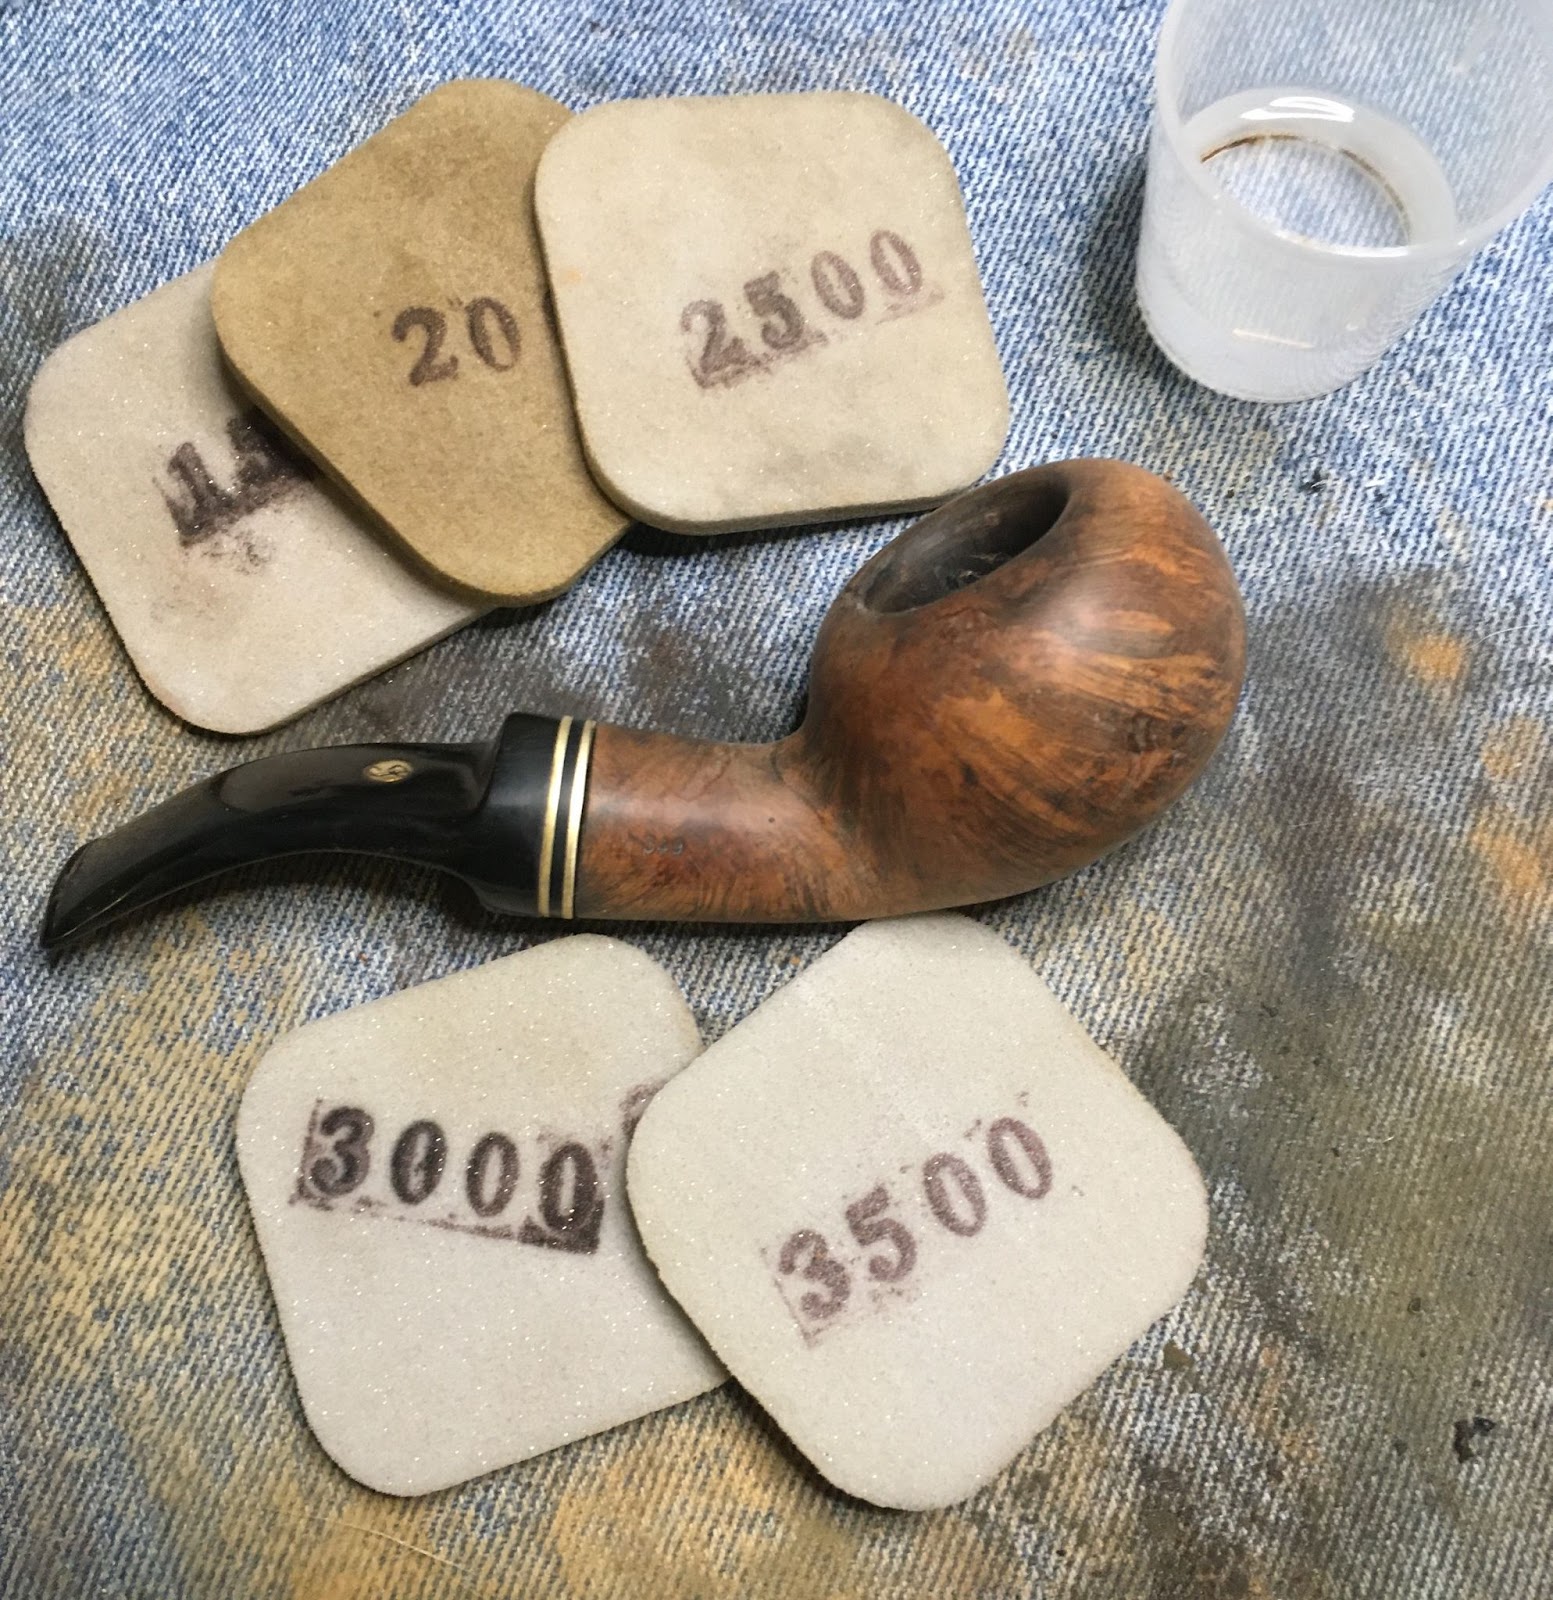
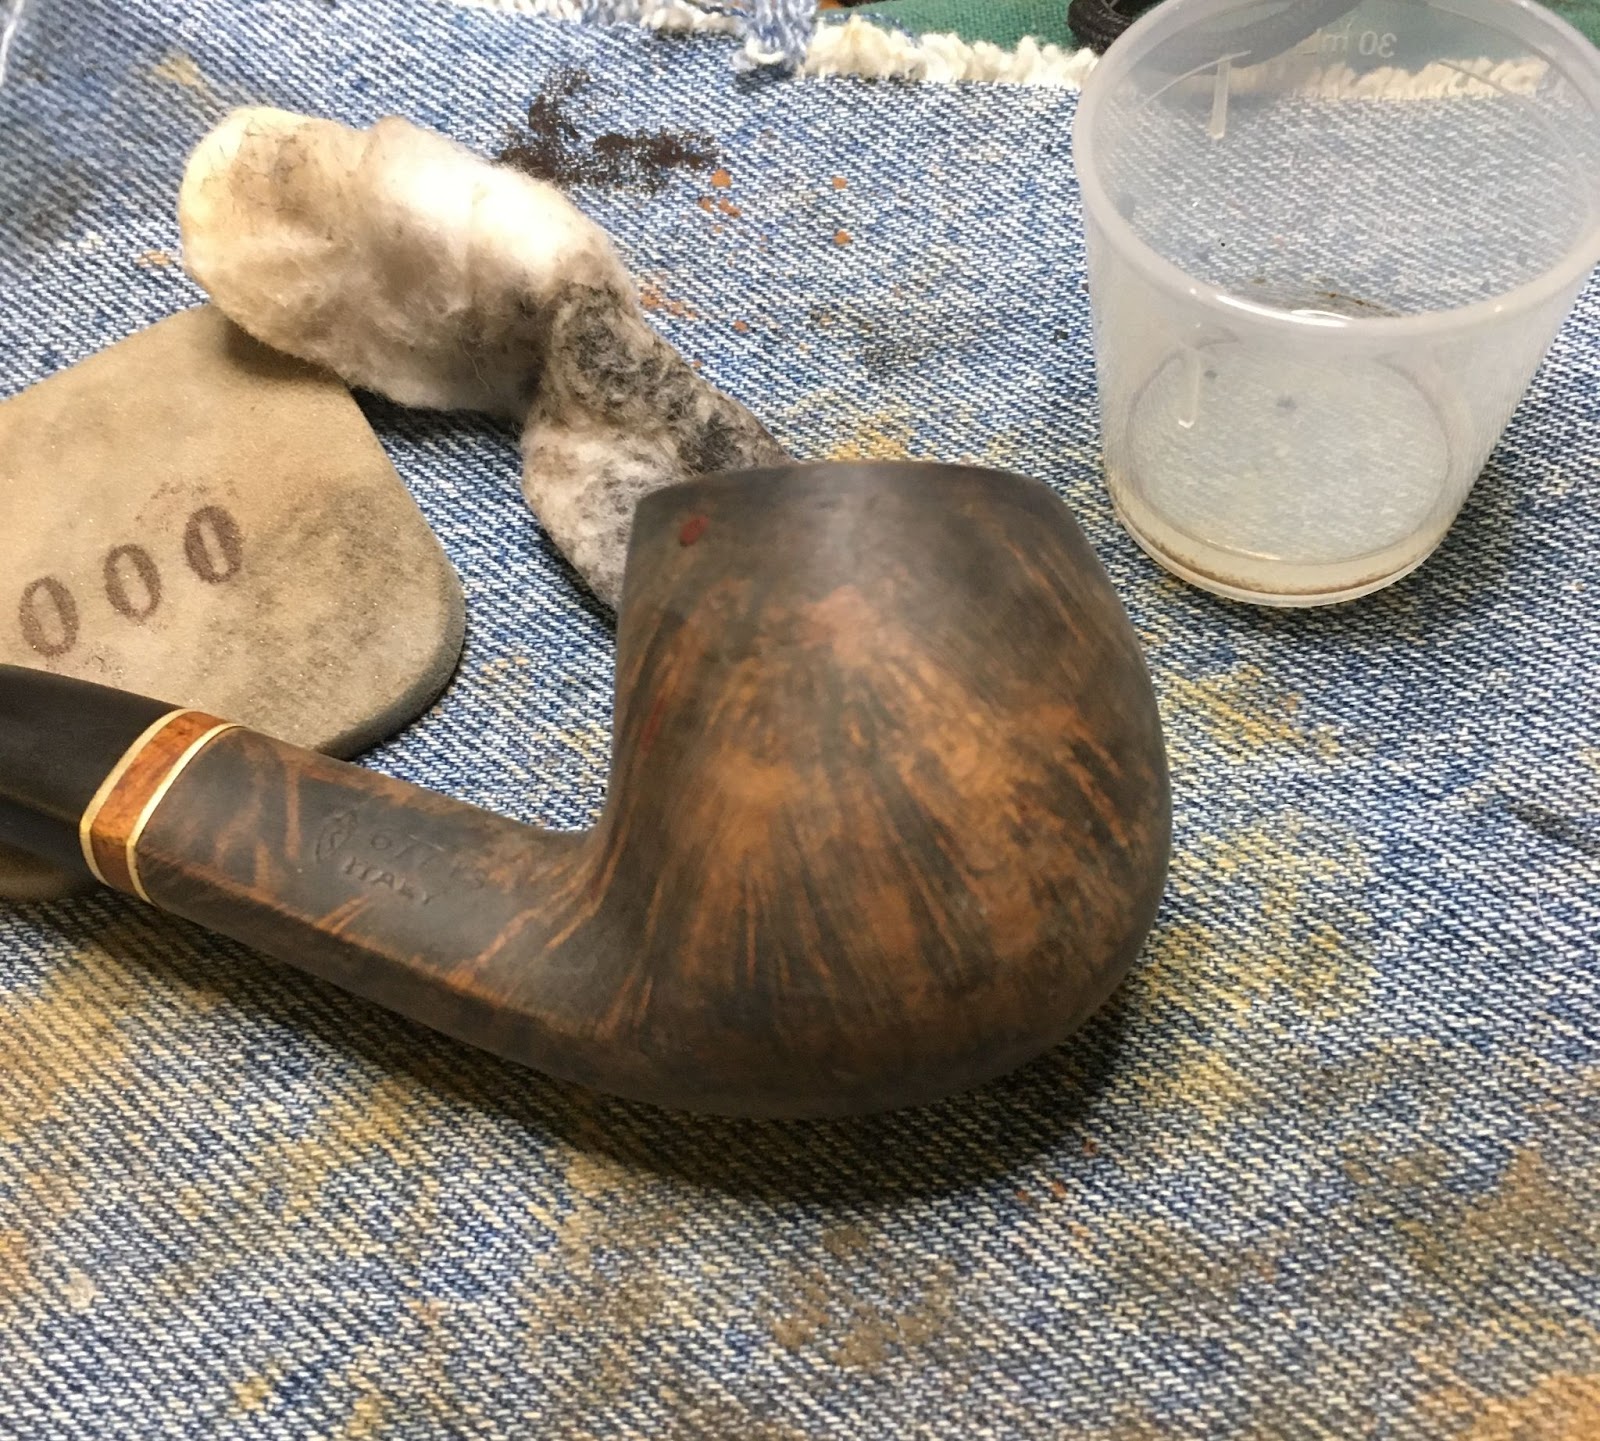
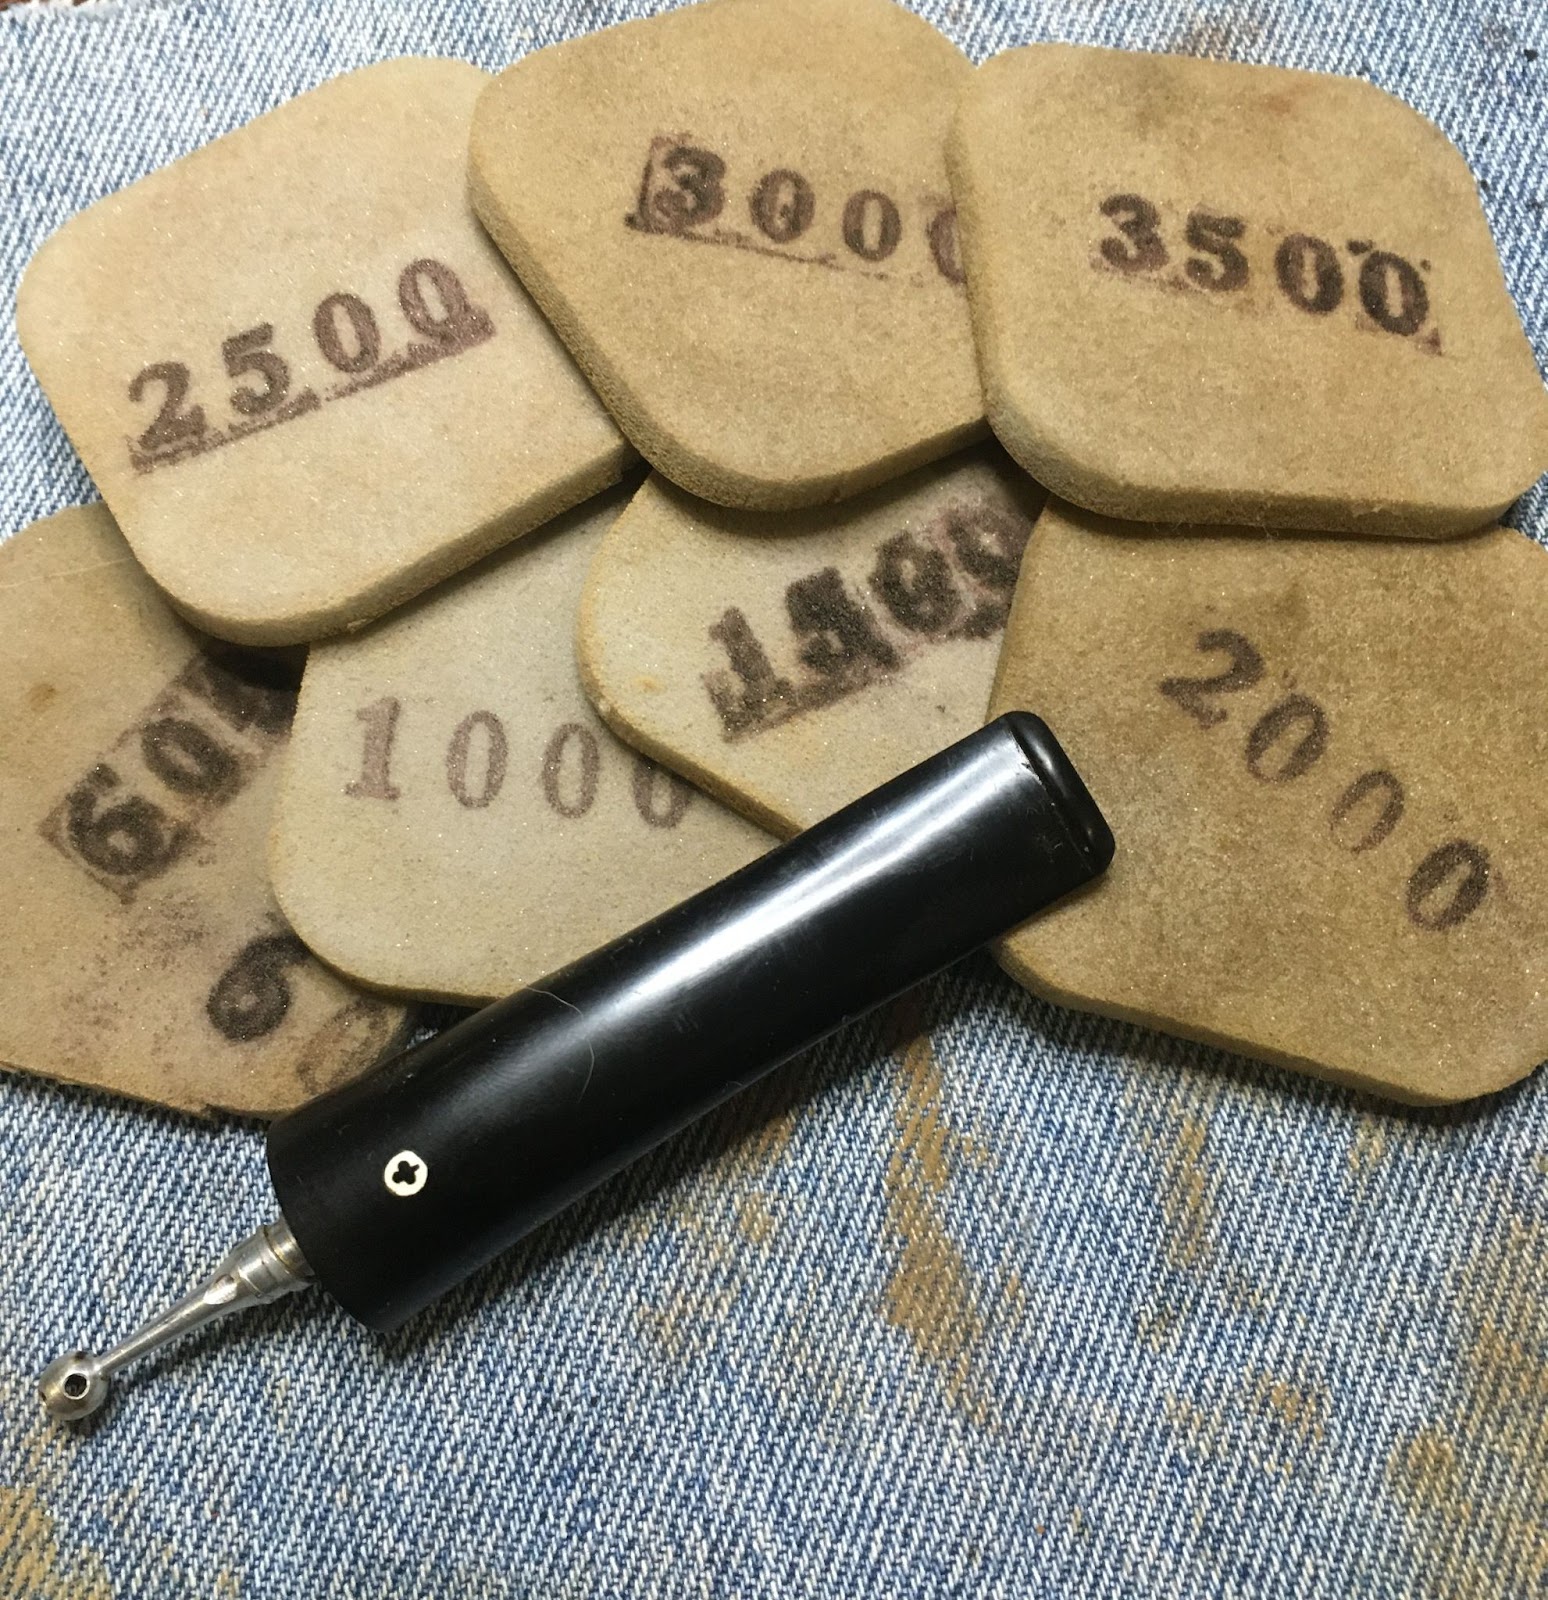
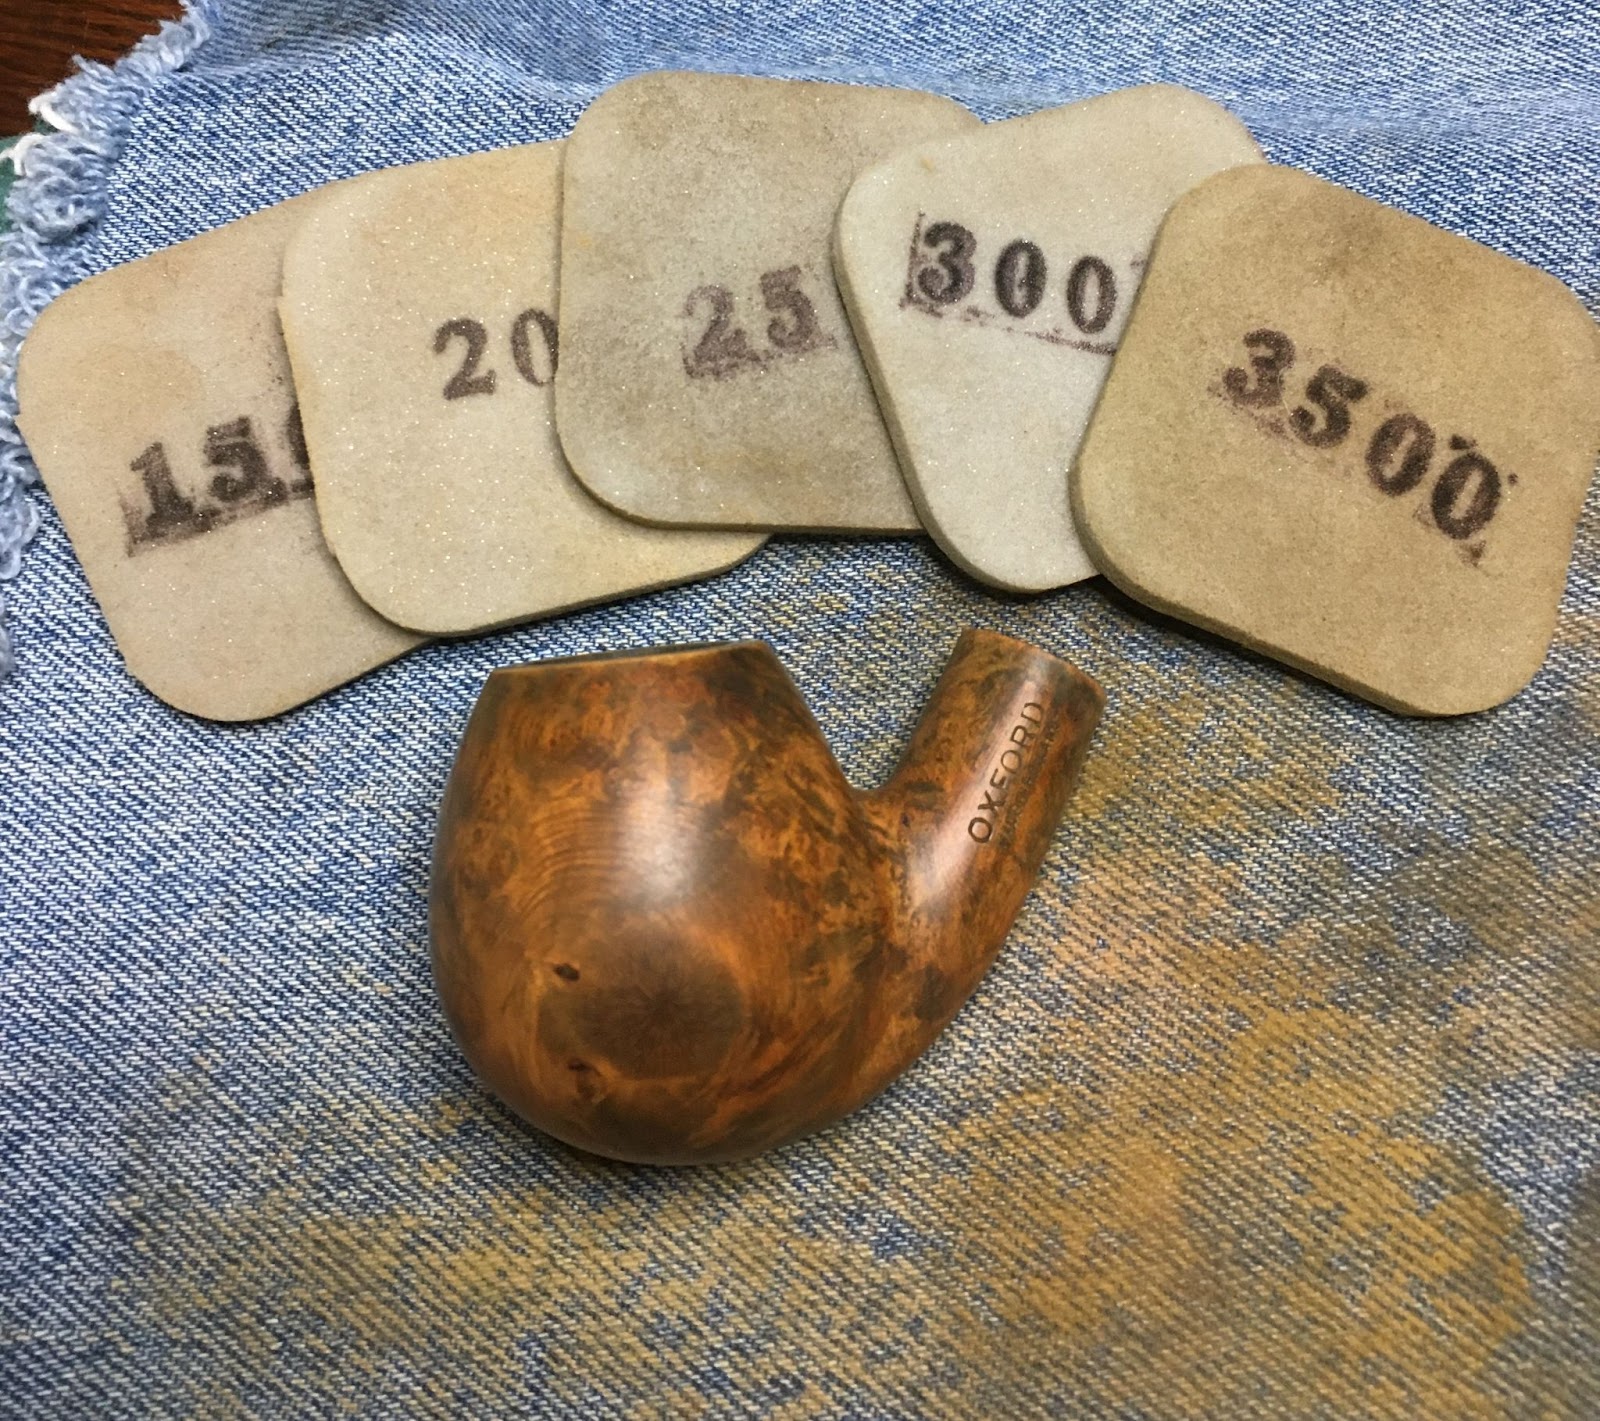
The stummel was lightly sanded with a series of sanding sponges from 1500-3500. The stummel was wiped with an alcohol wetted make-up pad between sponges. I then micro-meshed the stummel with the 40000-12000 micro-mesh pads. I again wiped the stummel with an alcohol wetted make-up pad between pads.

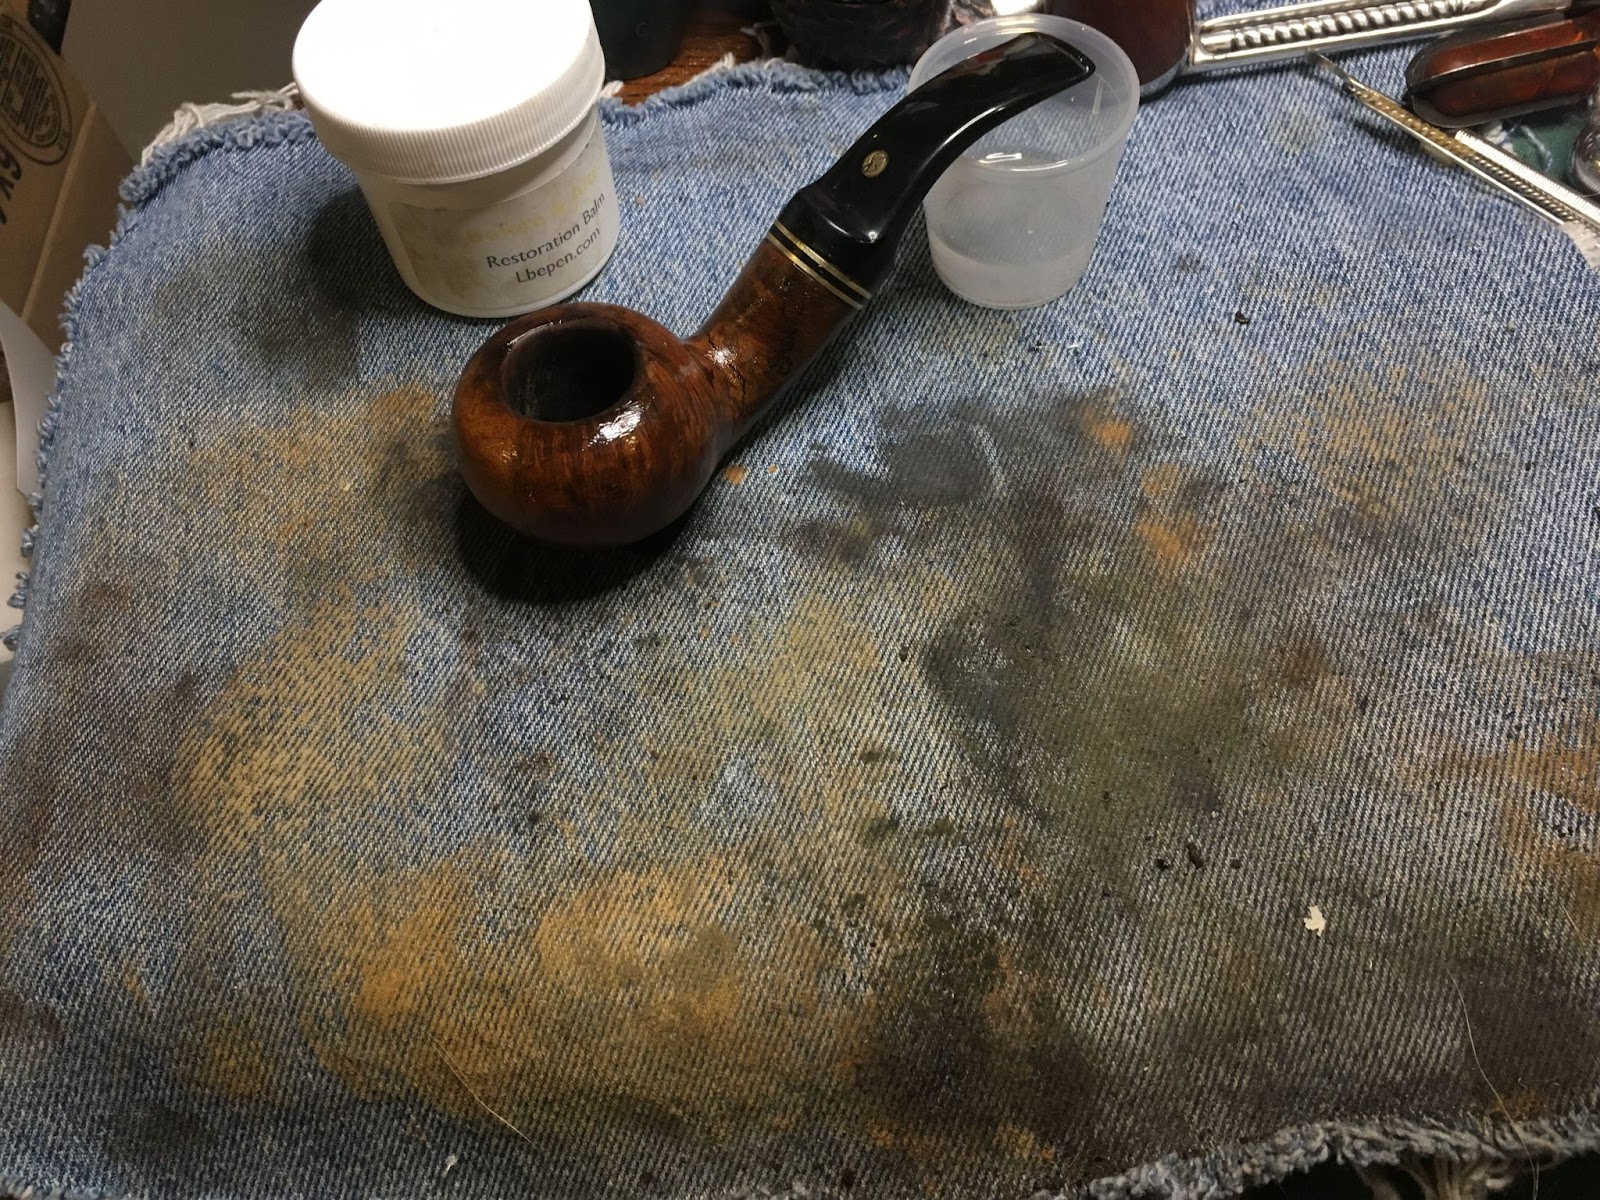
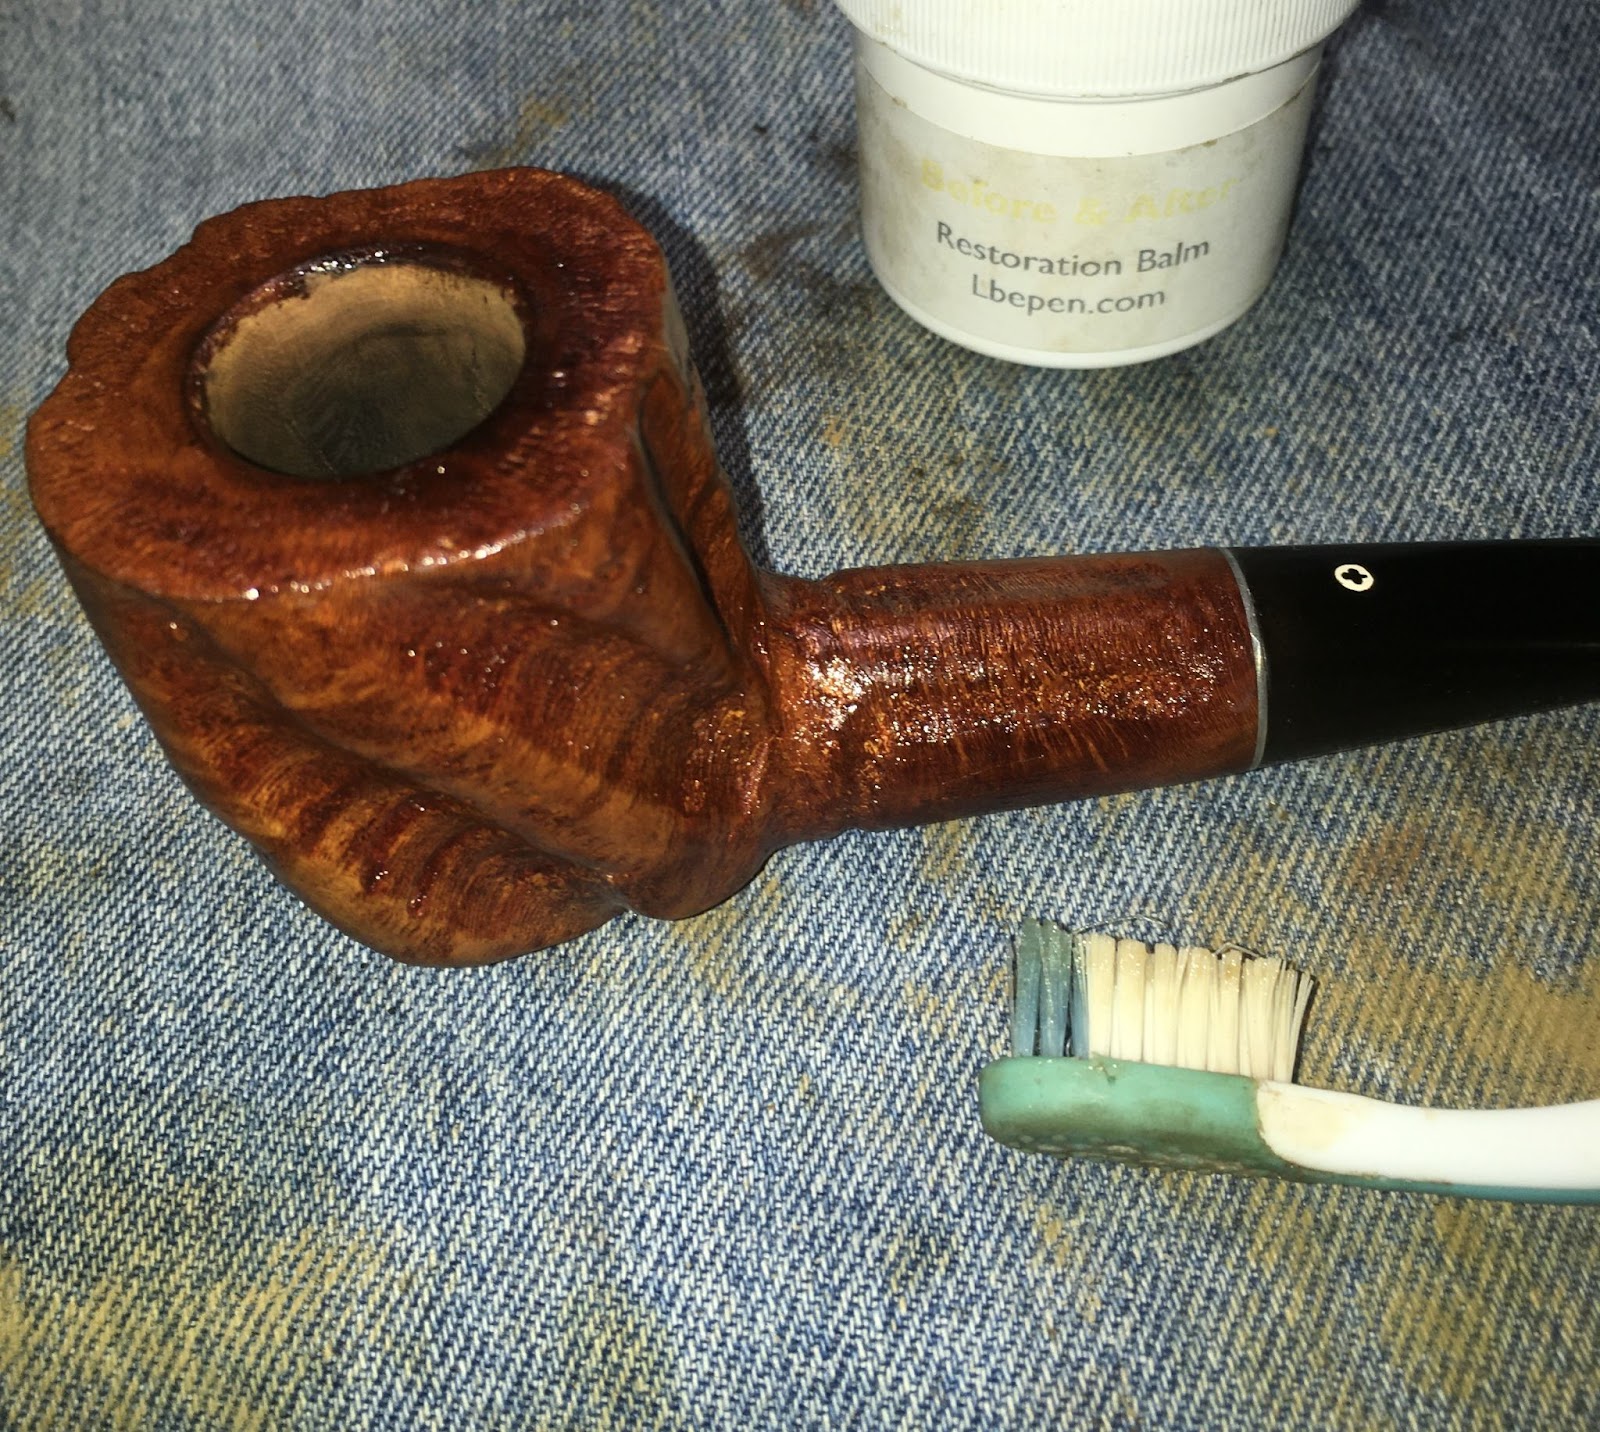
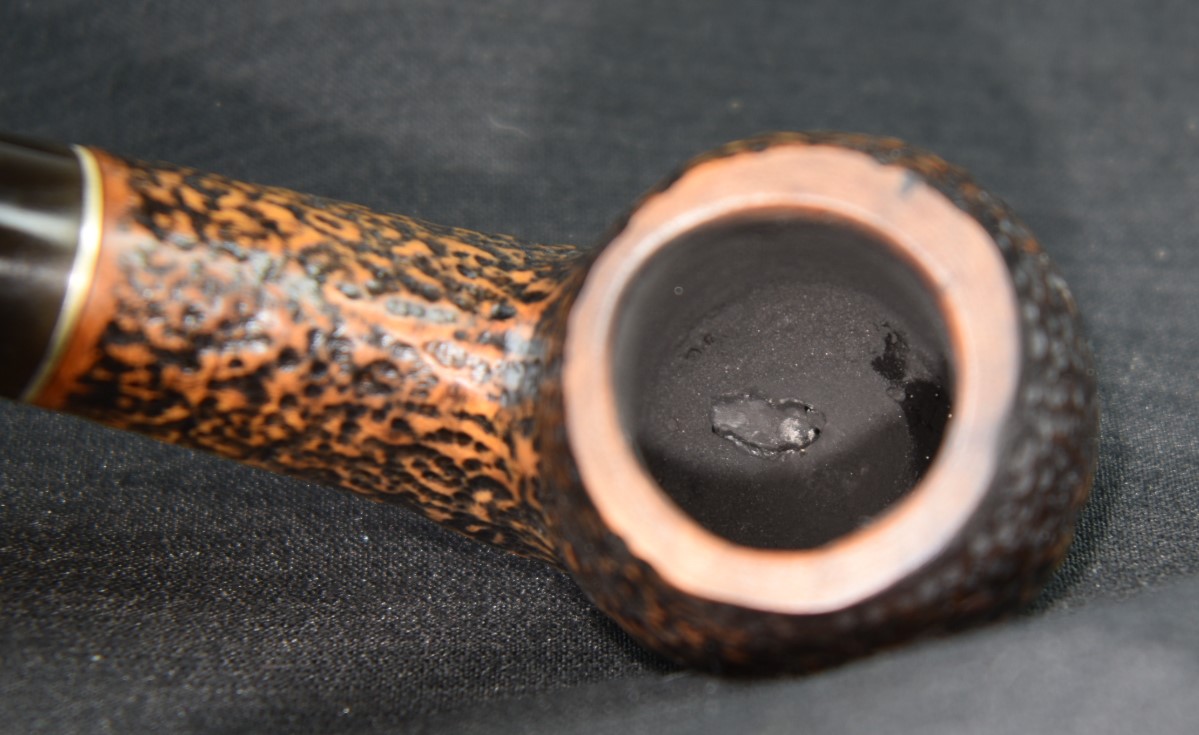
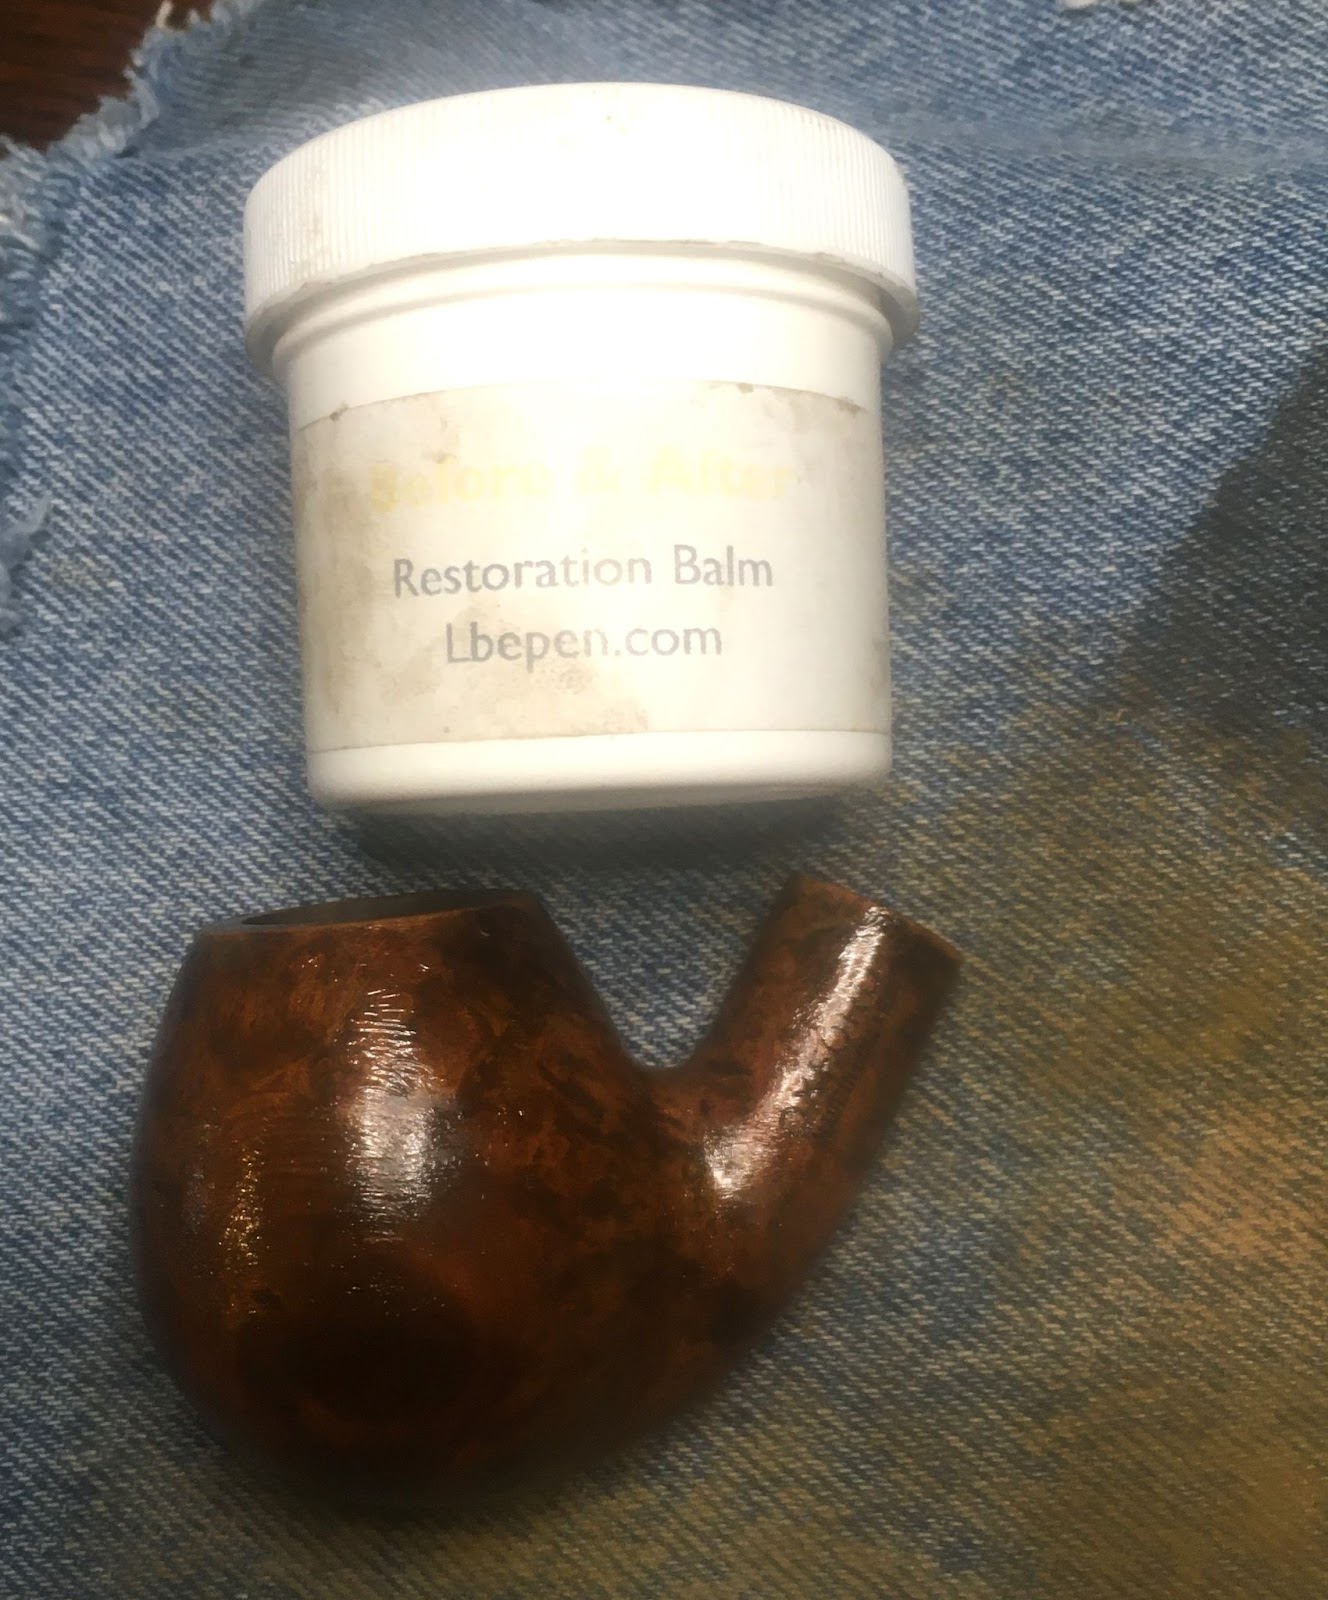
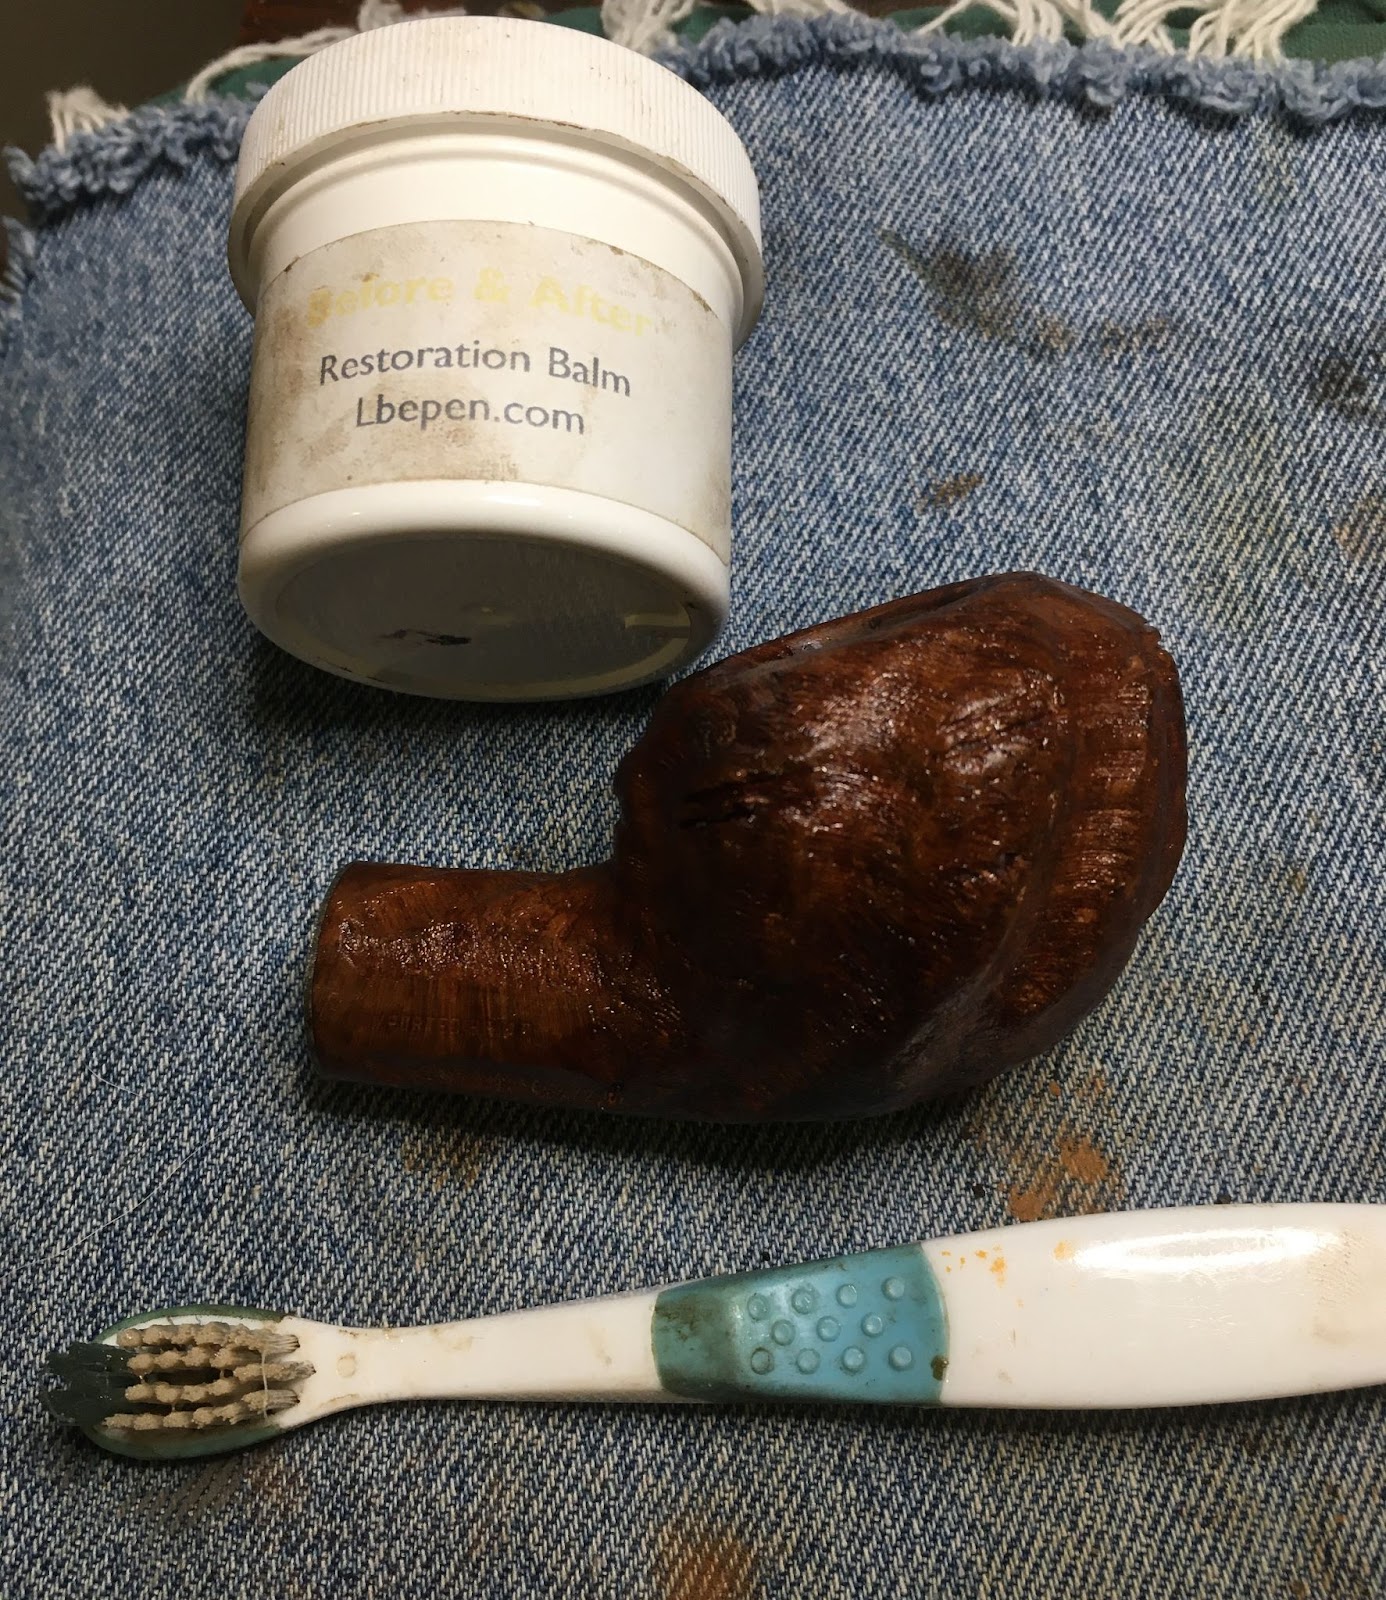
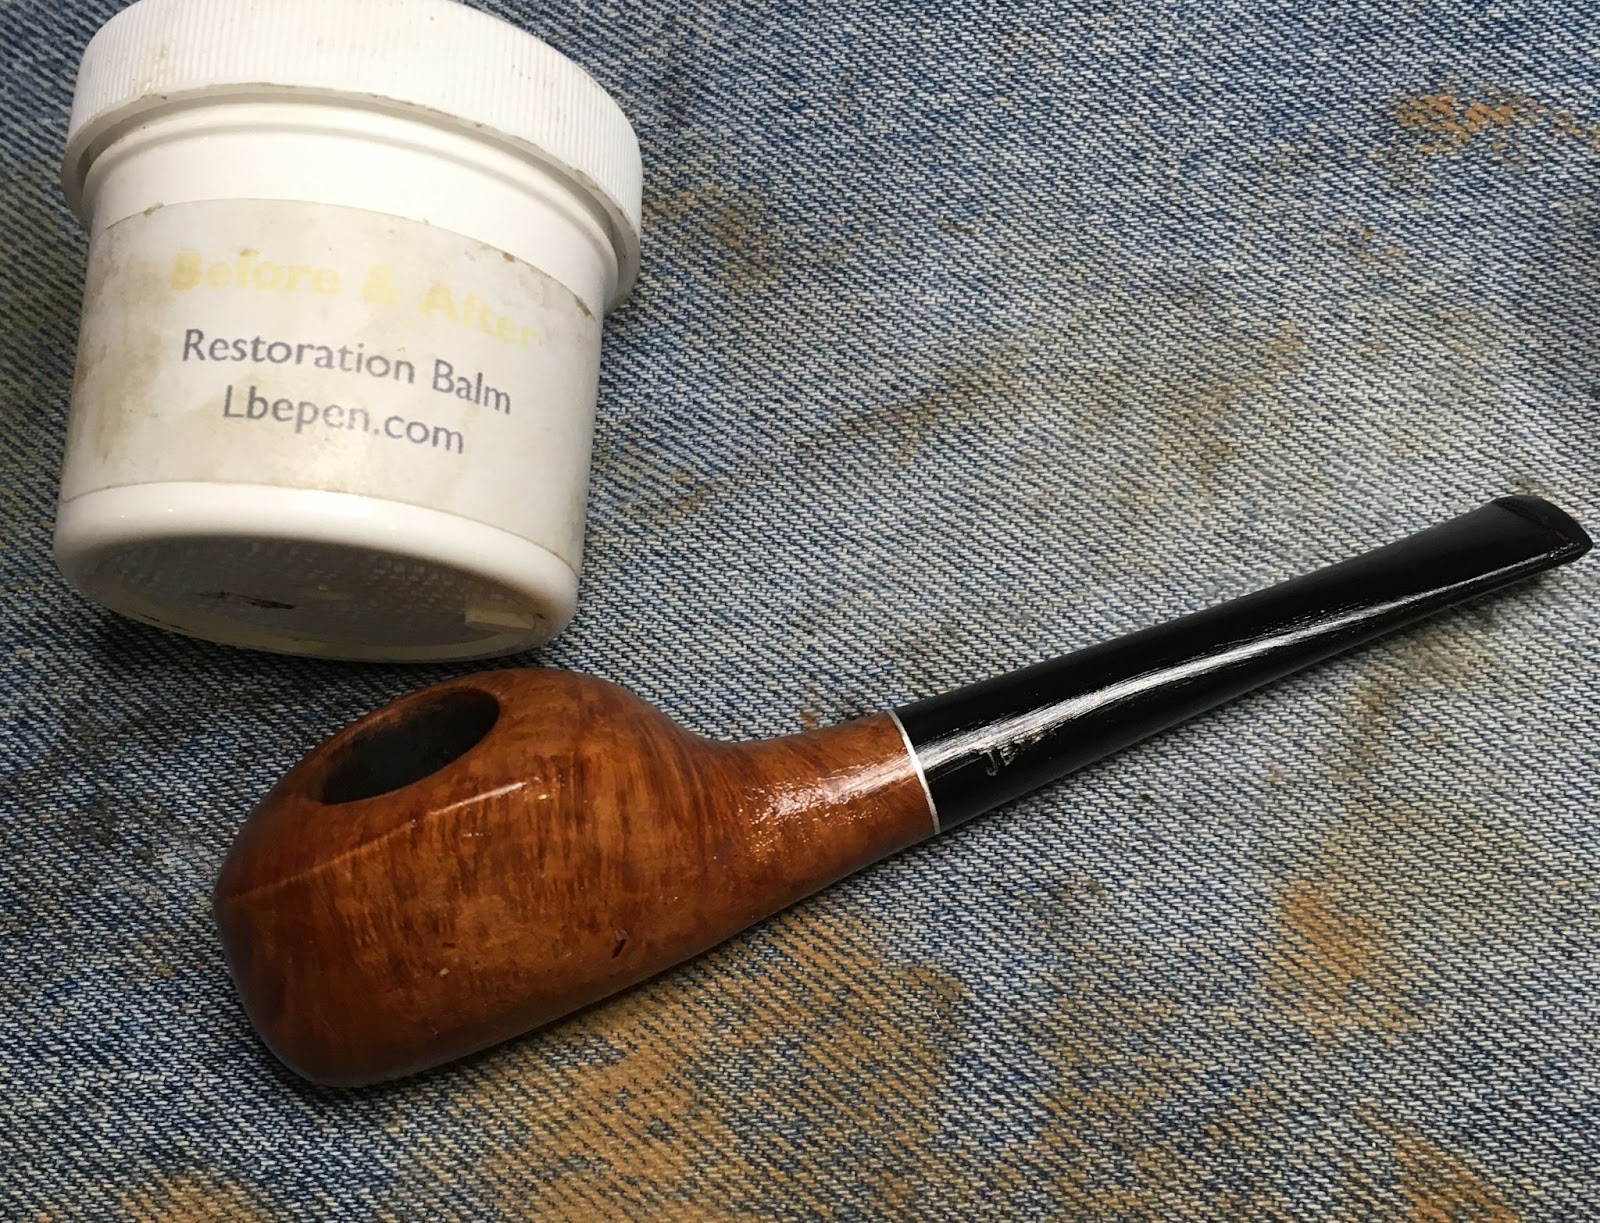
I then applied a coating of Before and After Restoration Balm to the stummel and let it sit for 30 minutes.

30 minutes later the excess balm was wiped away using the inside of a cotton athletic sock. The terry cloth did a fine job of getting into the textured surface and made the stummel look better than it had in many years.

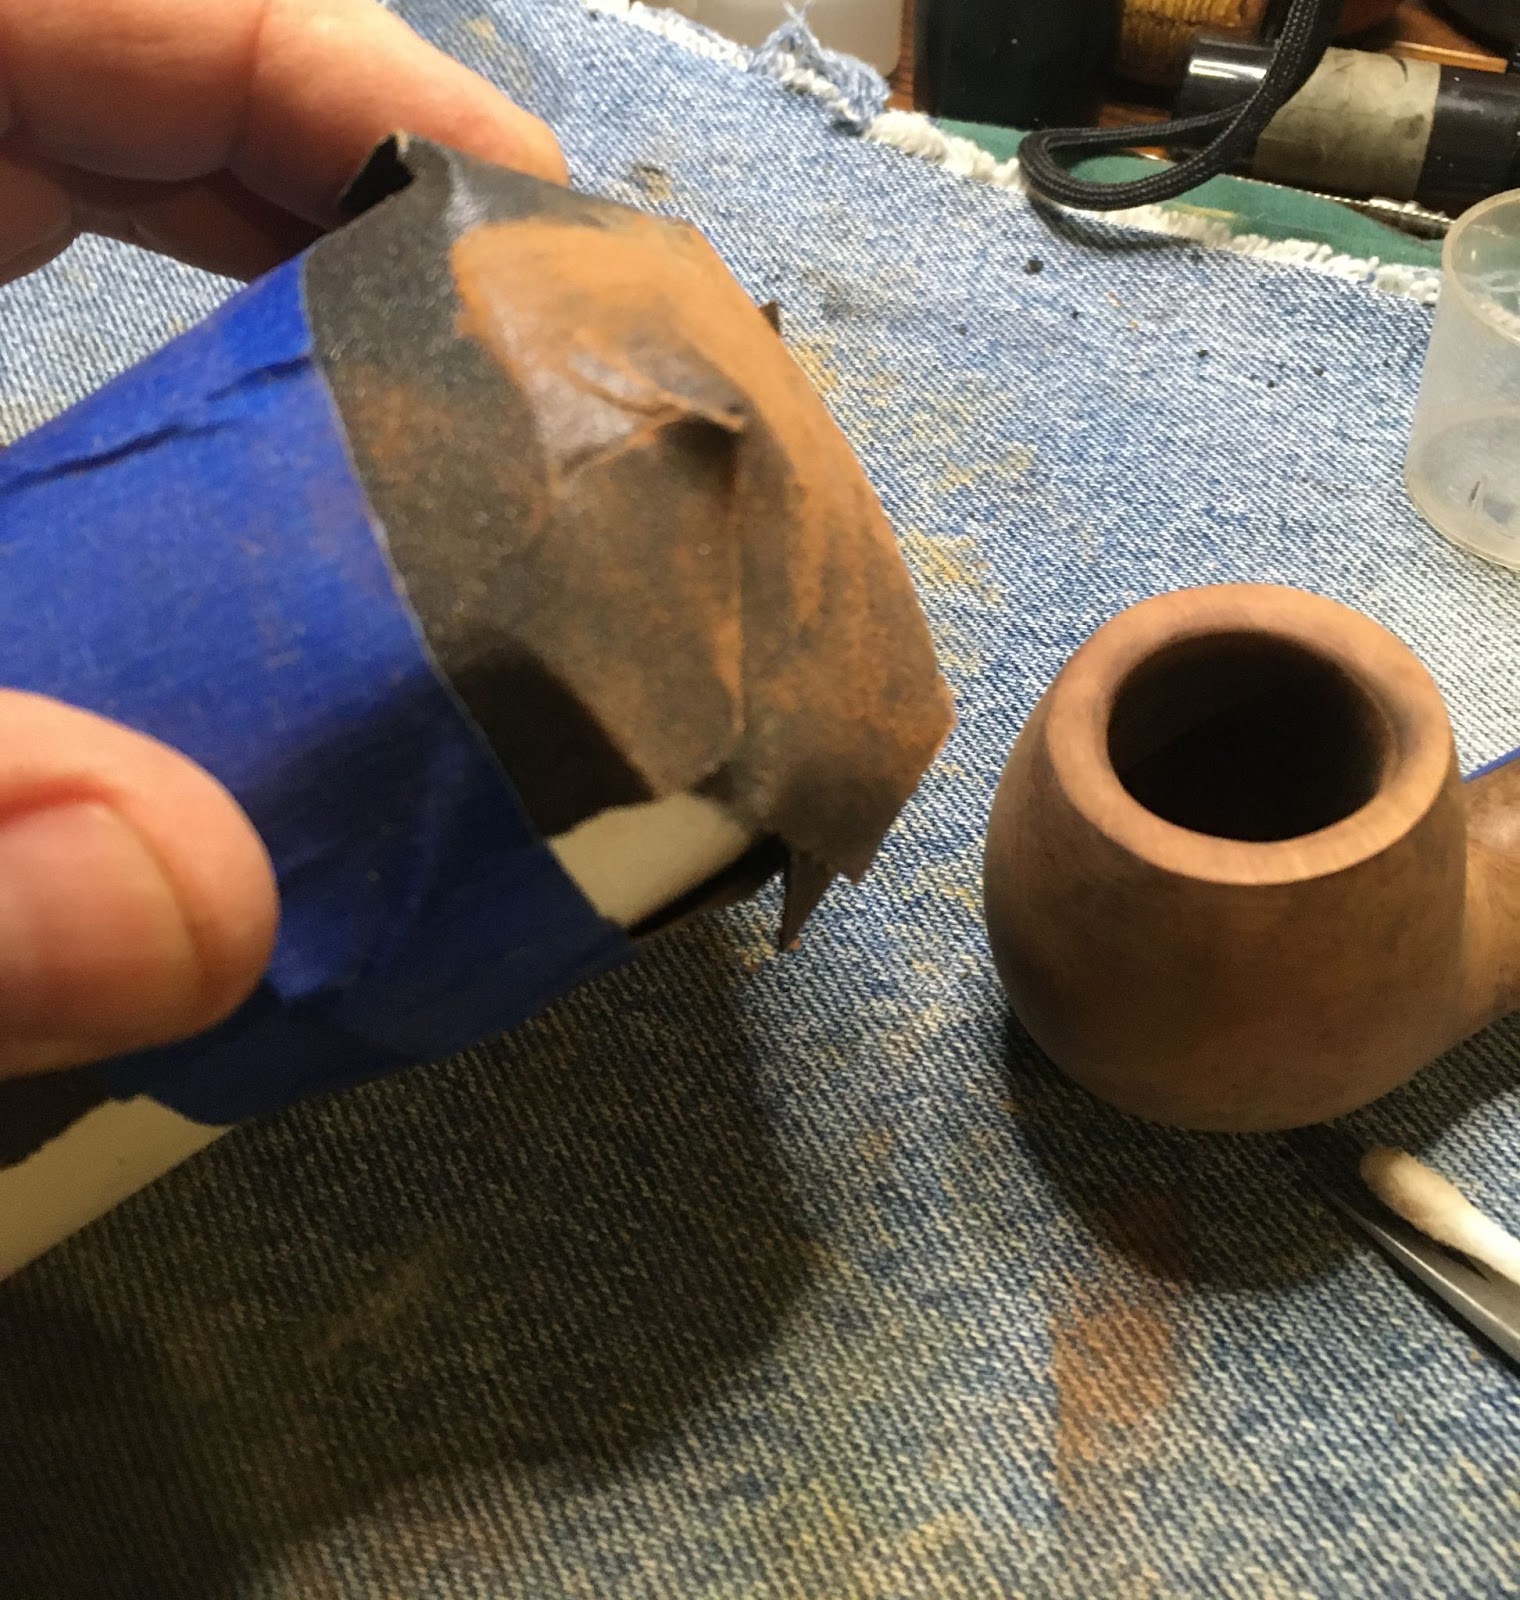
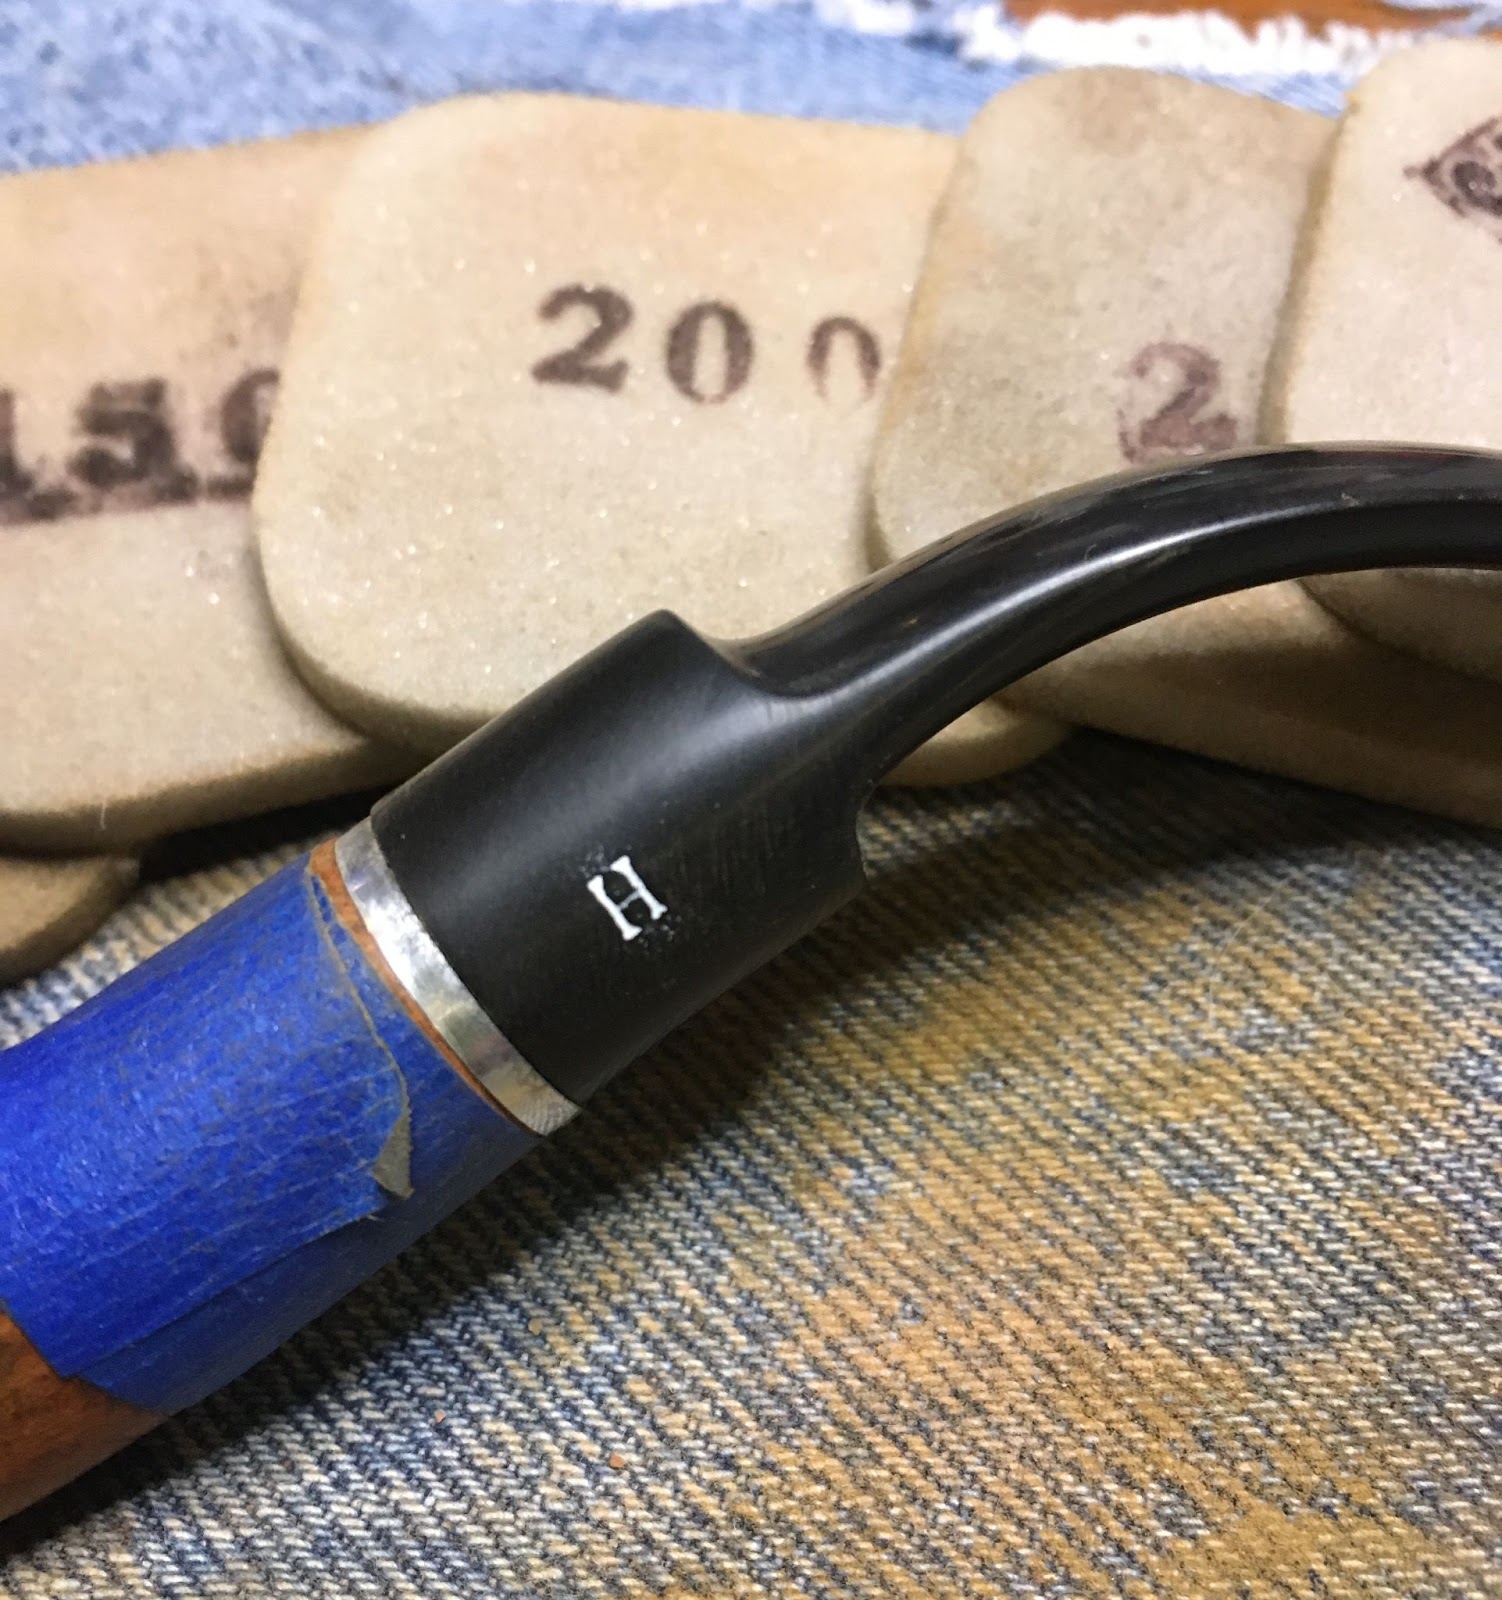
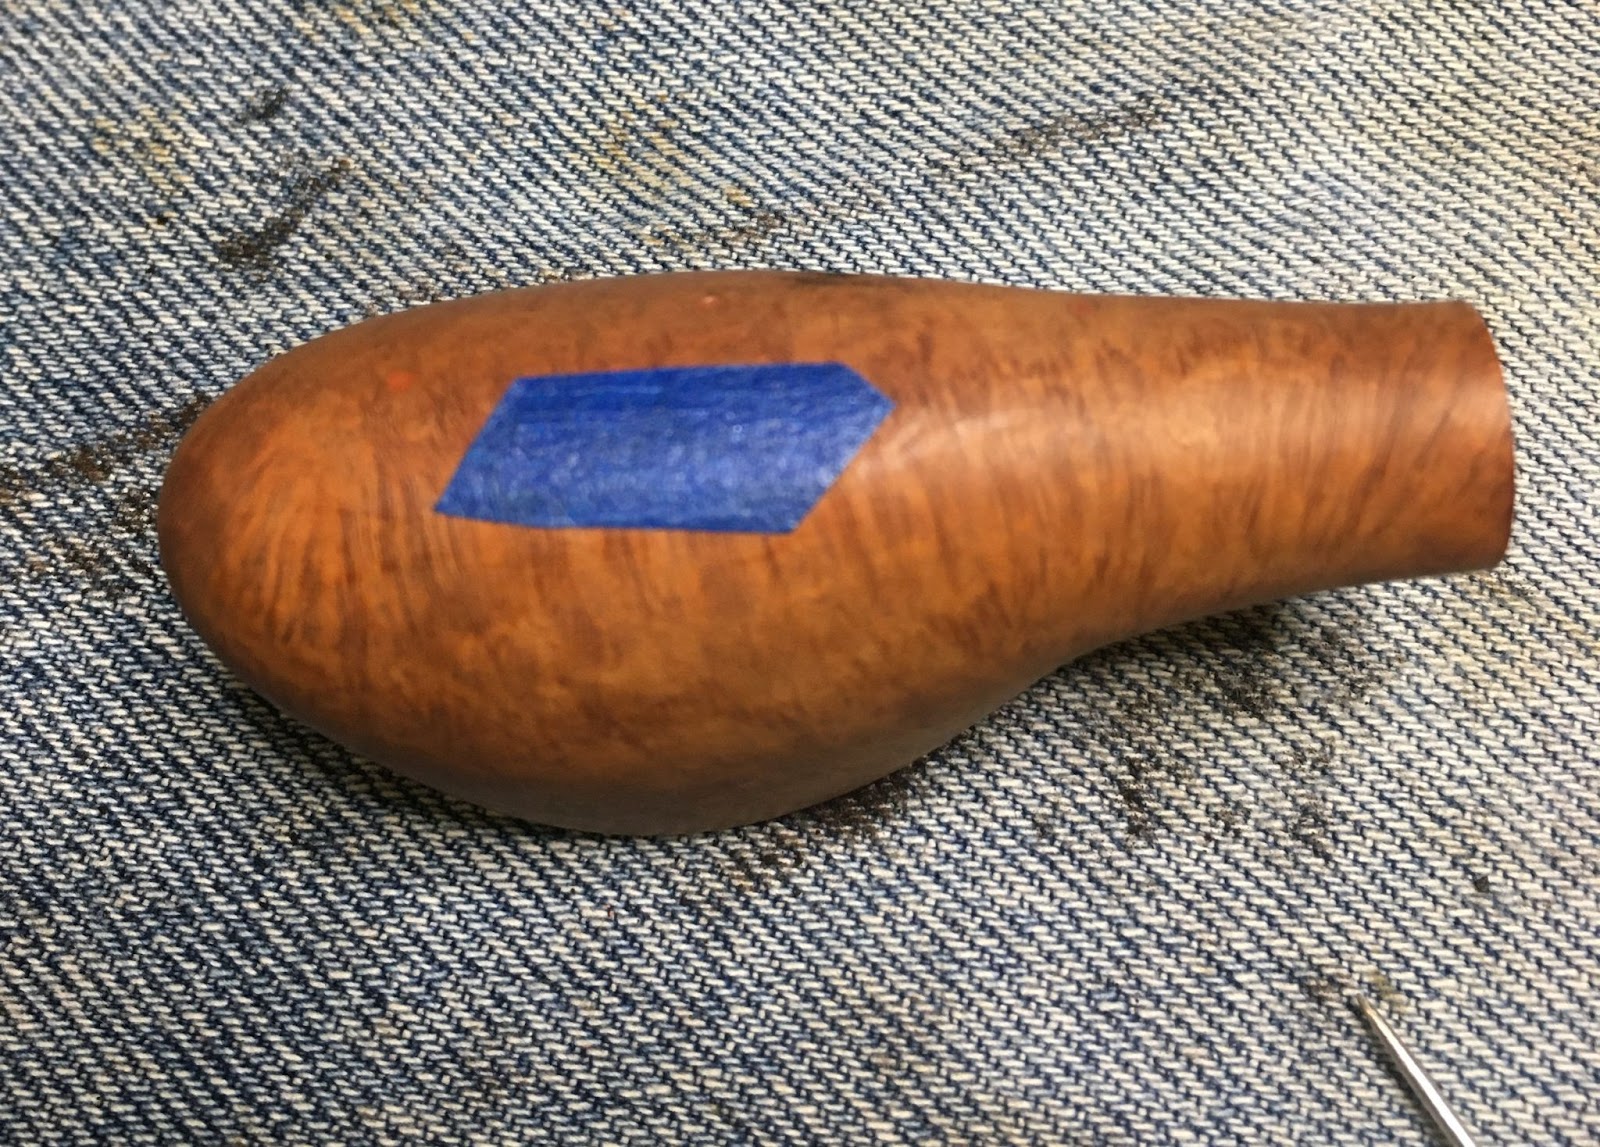
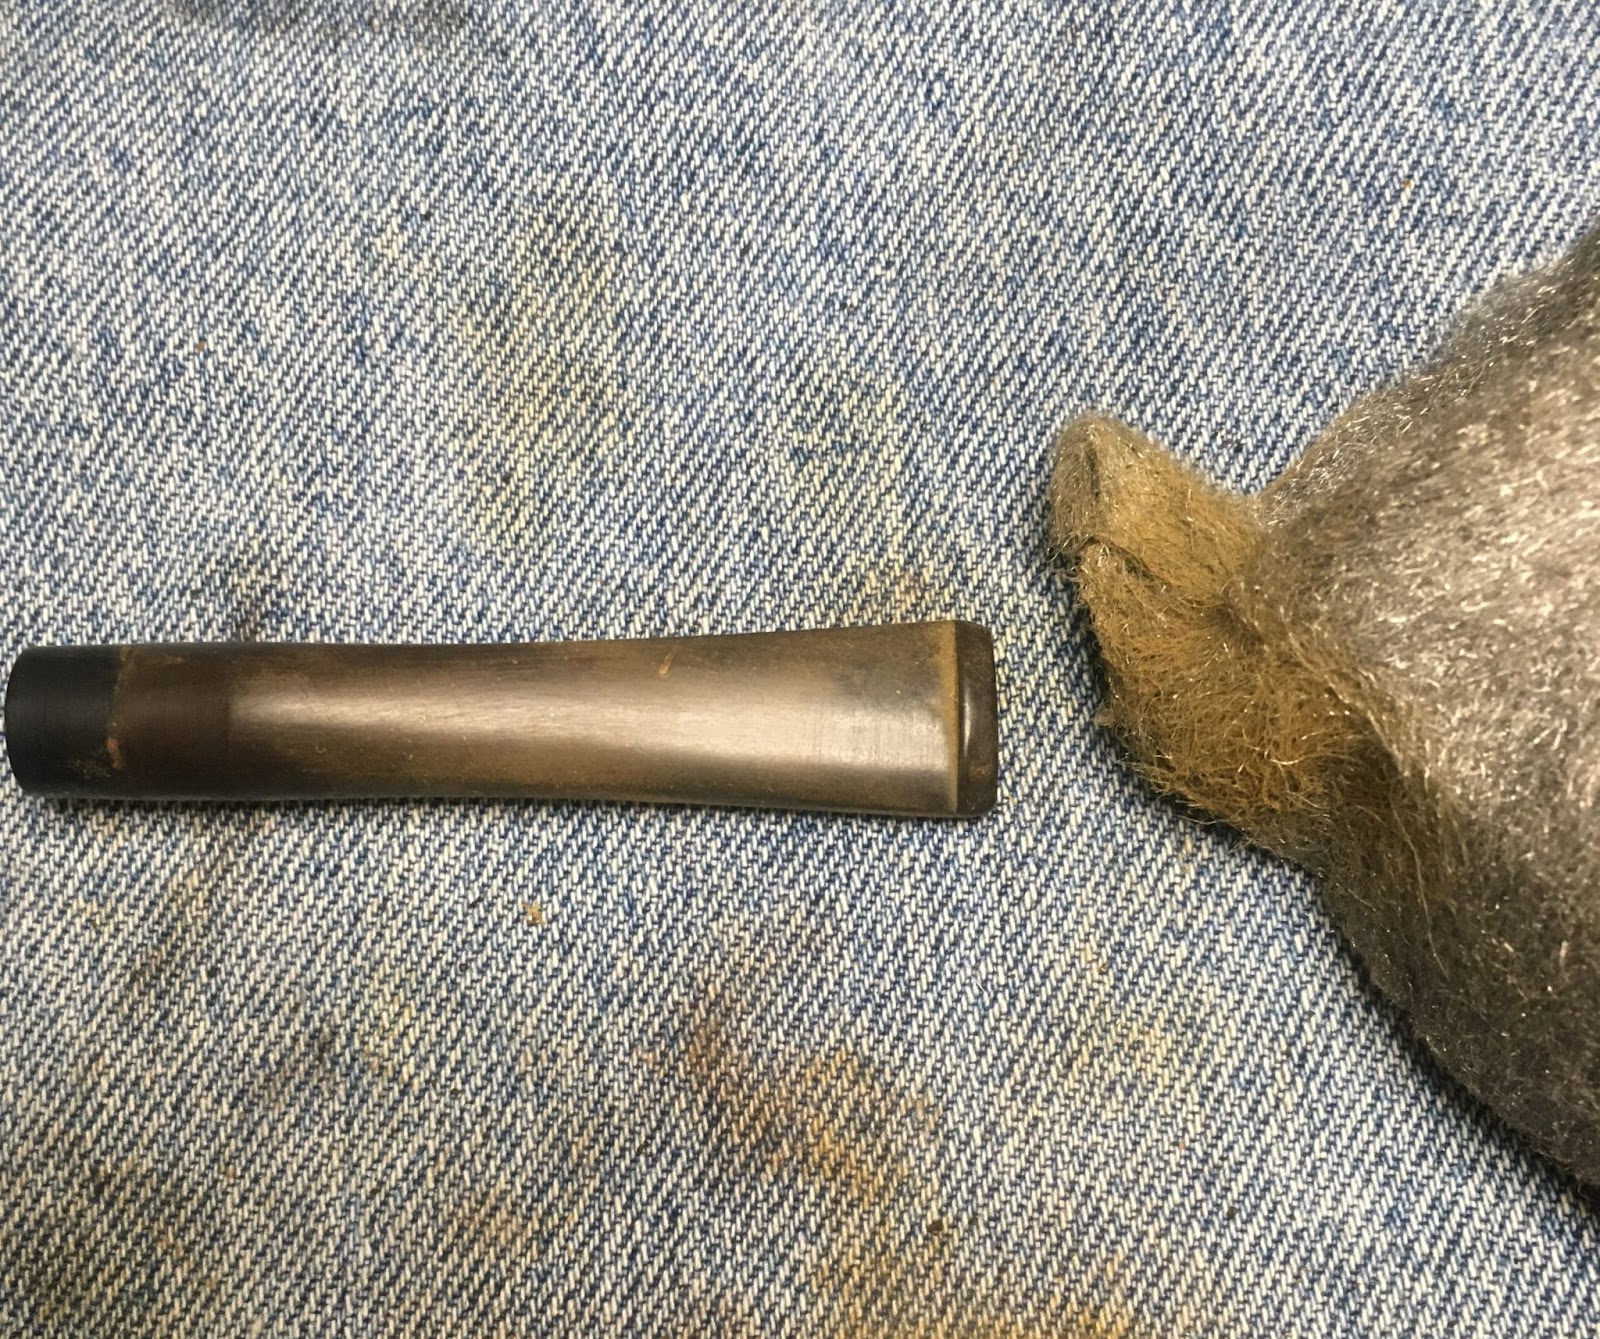
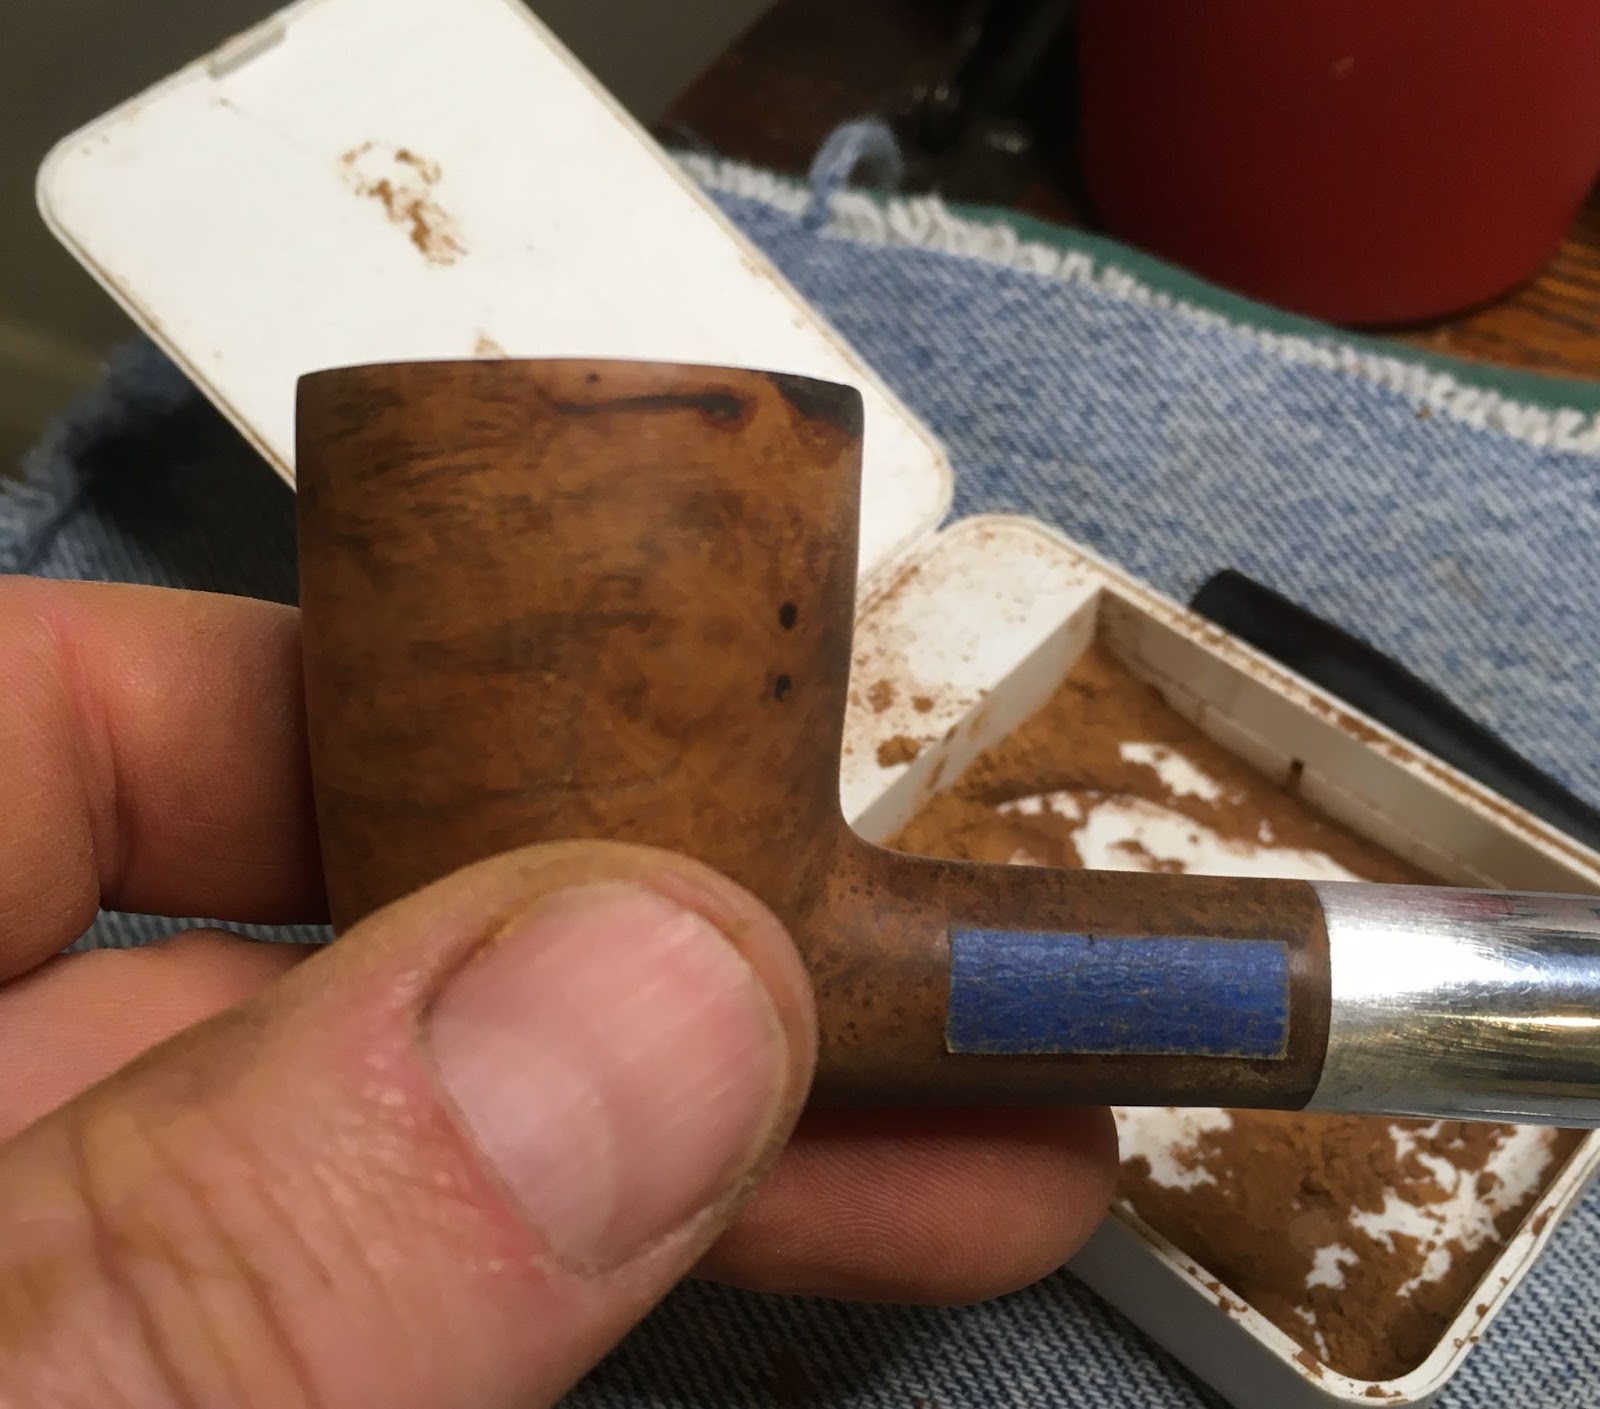
With the stummel looking very nice it needed a stem to go with it. I taped the shank with painters tape to protect it from my sanding.

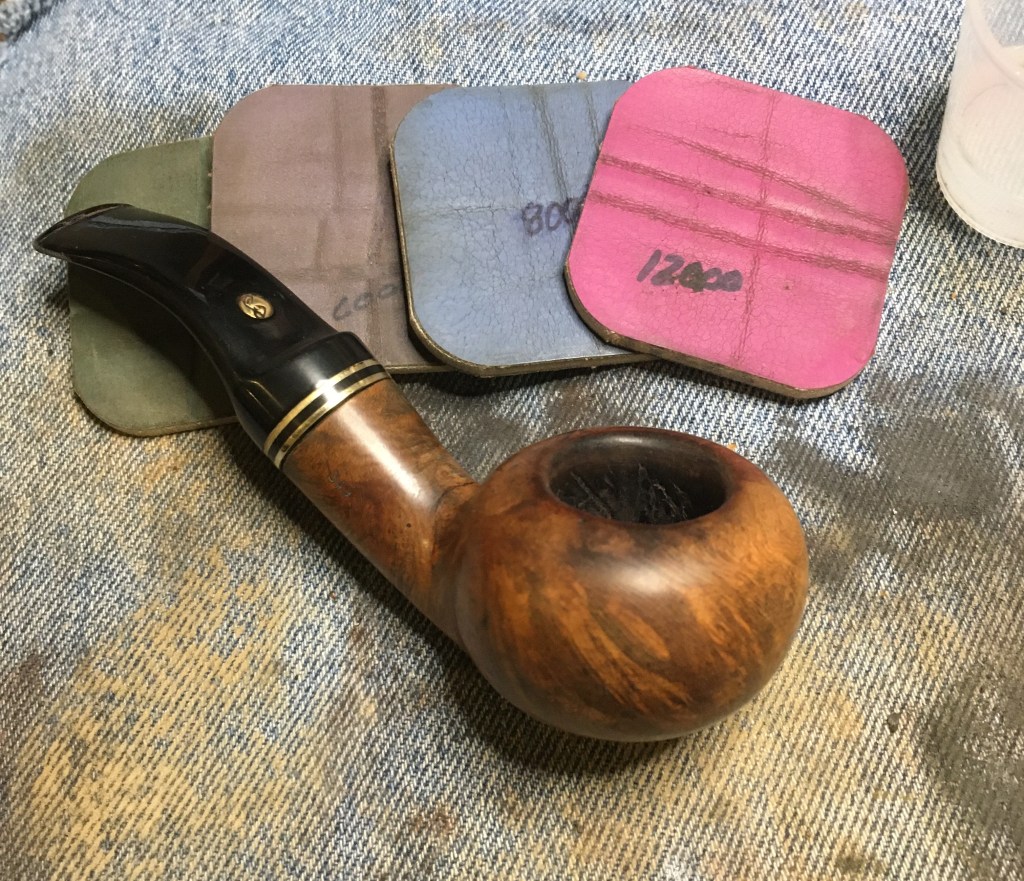
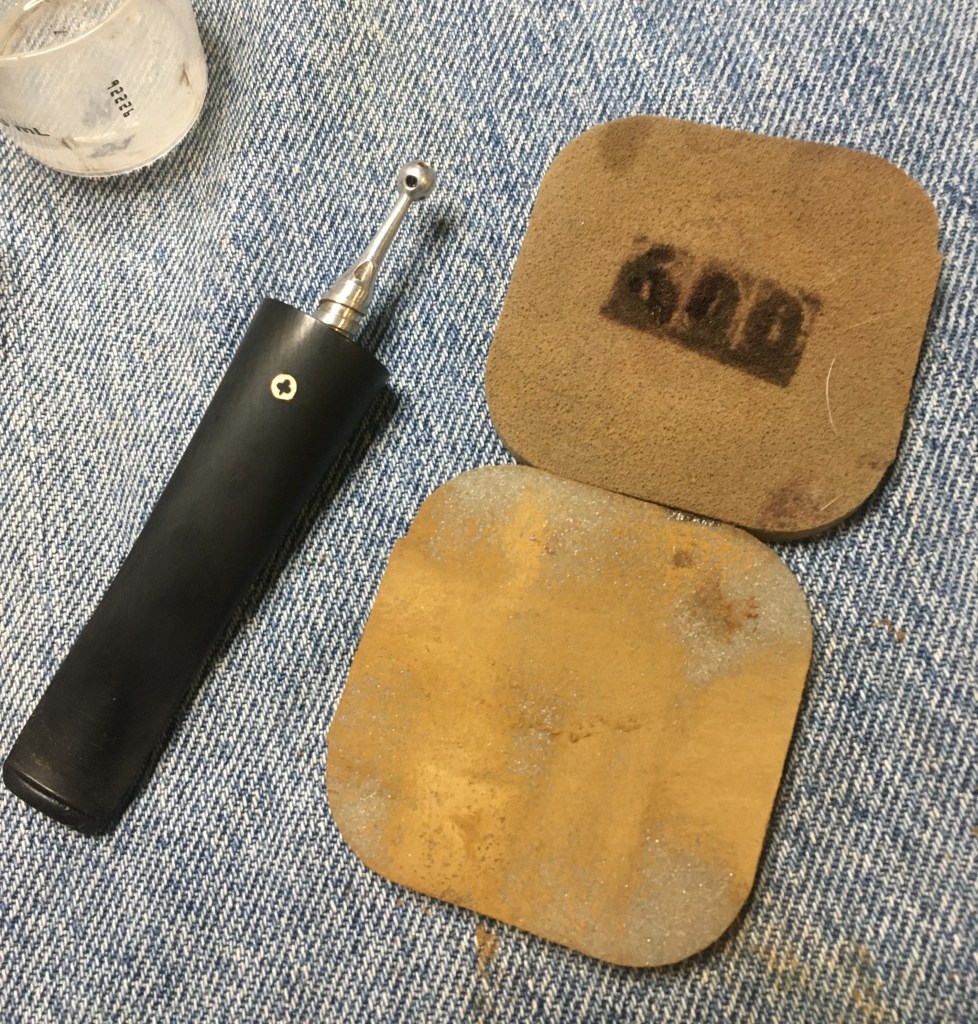
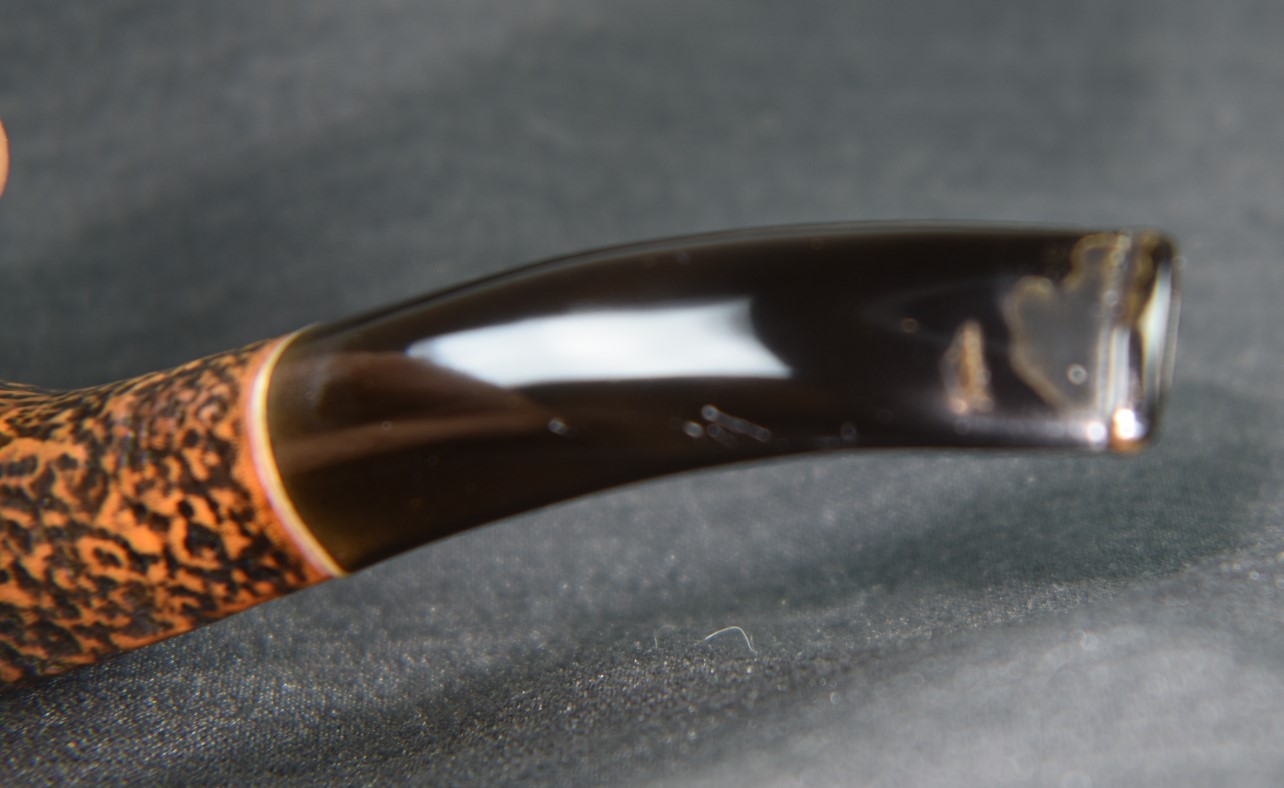
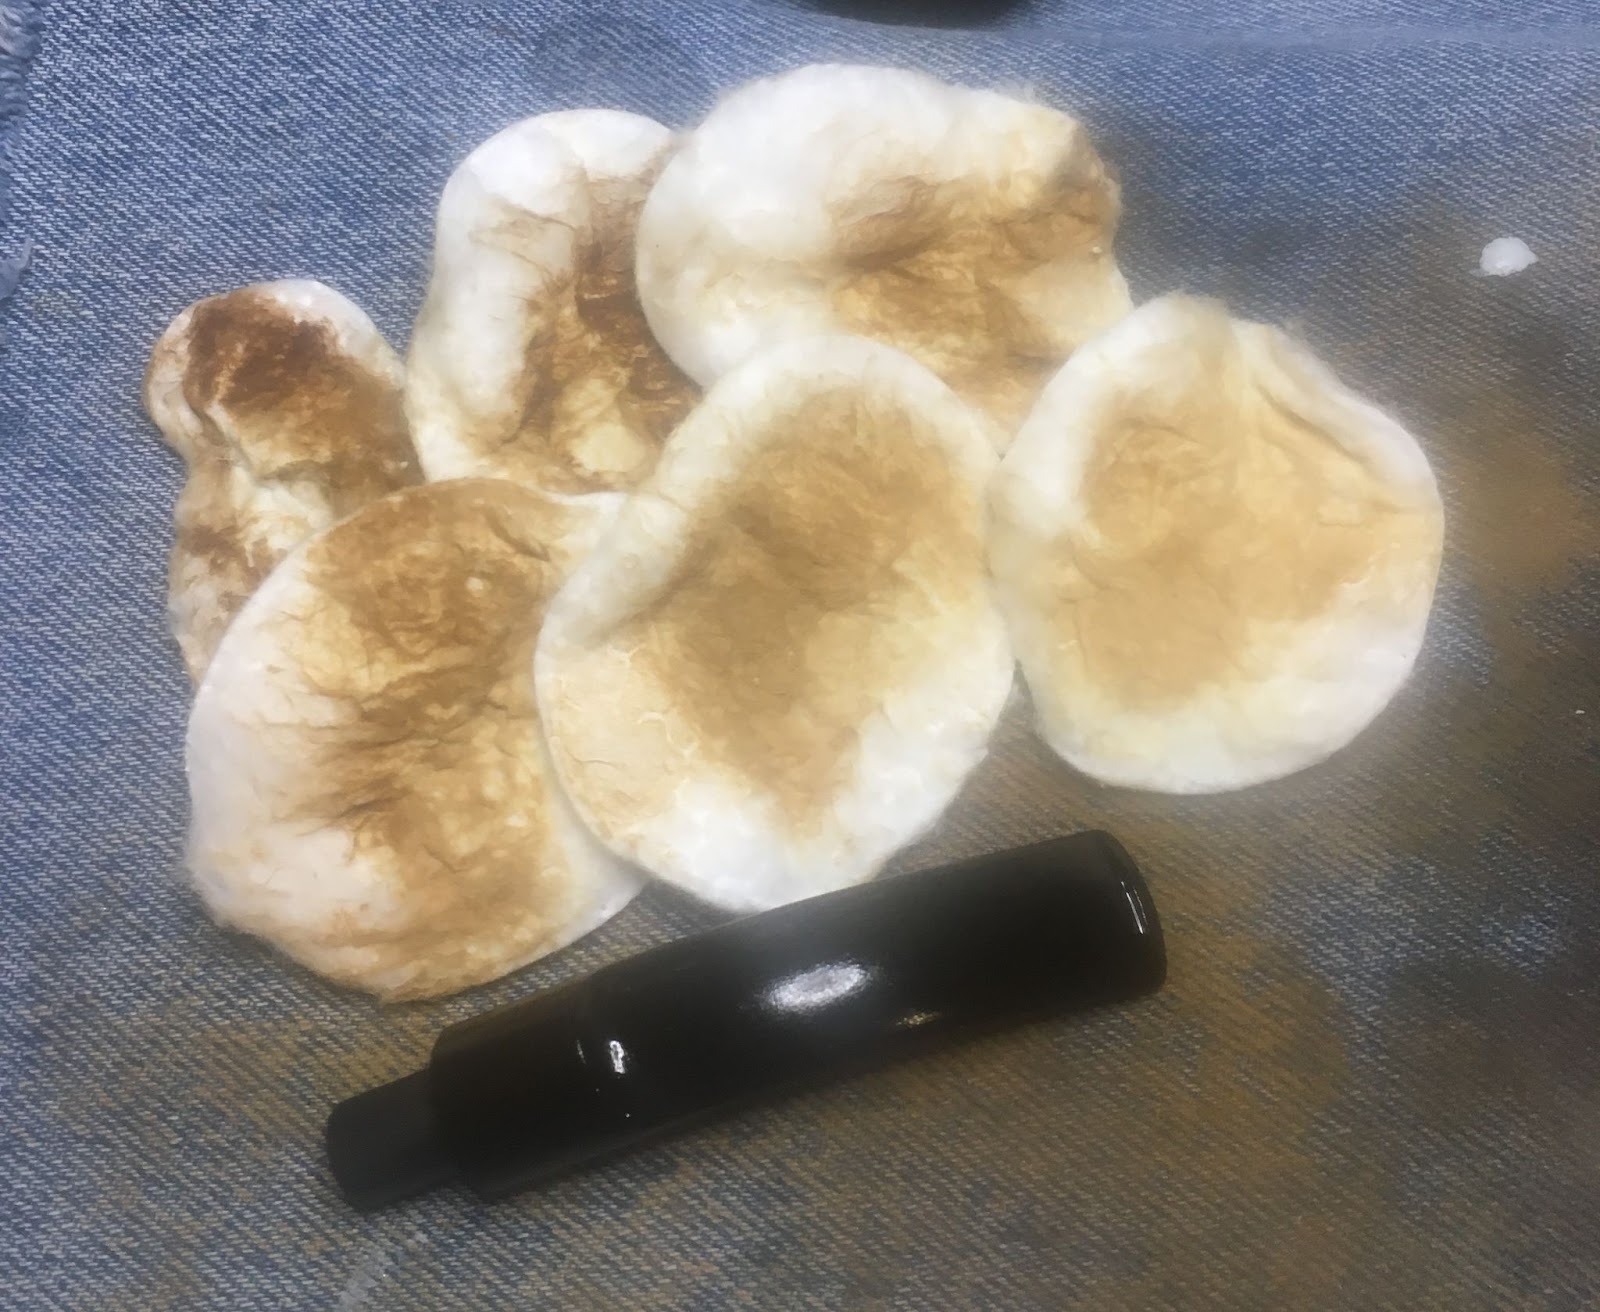
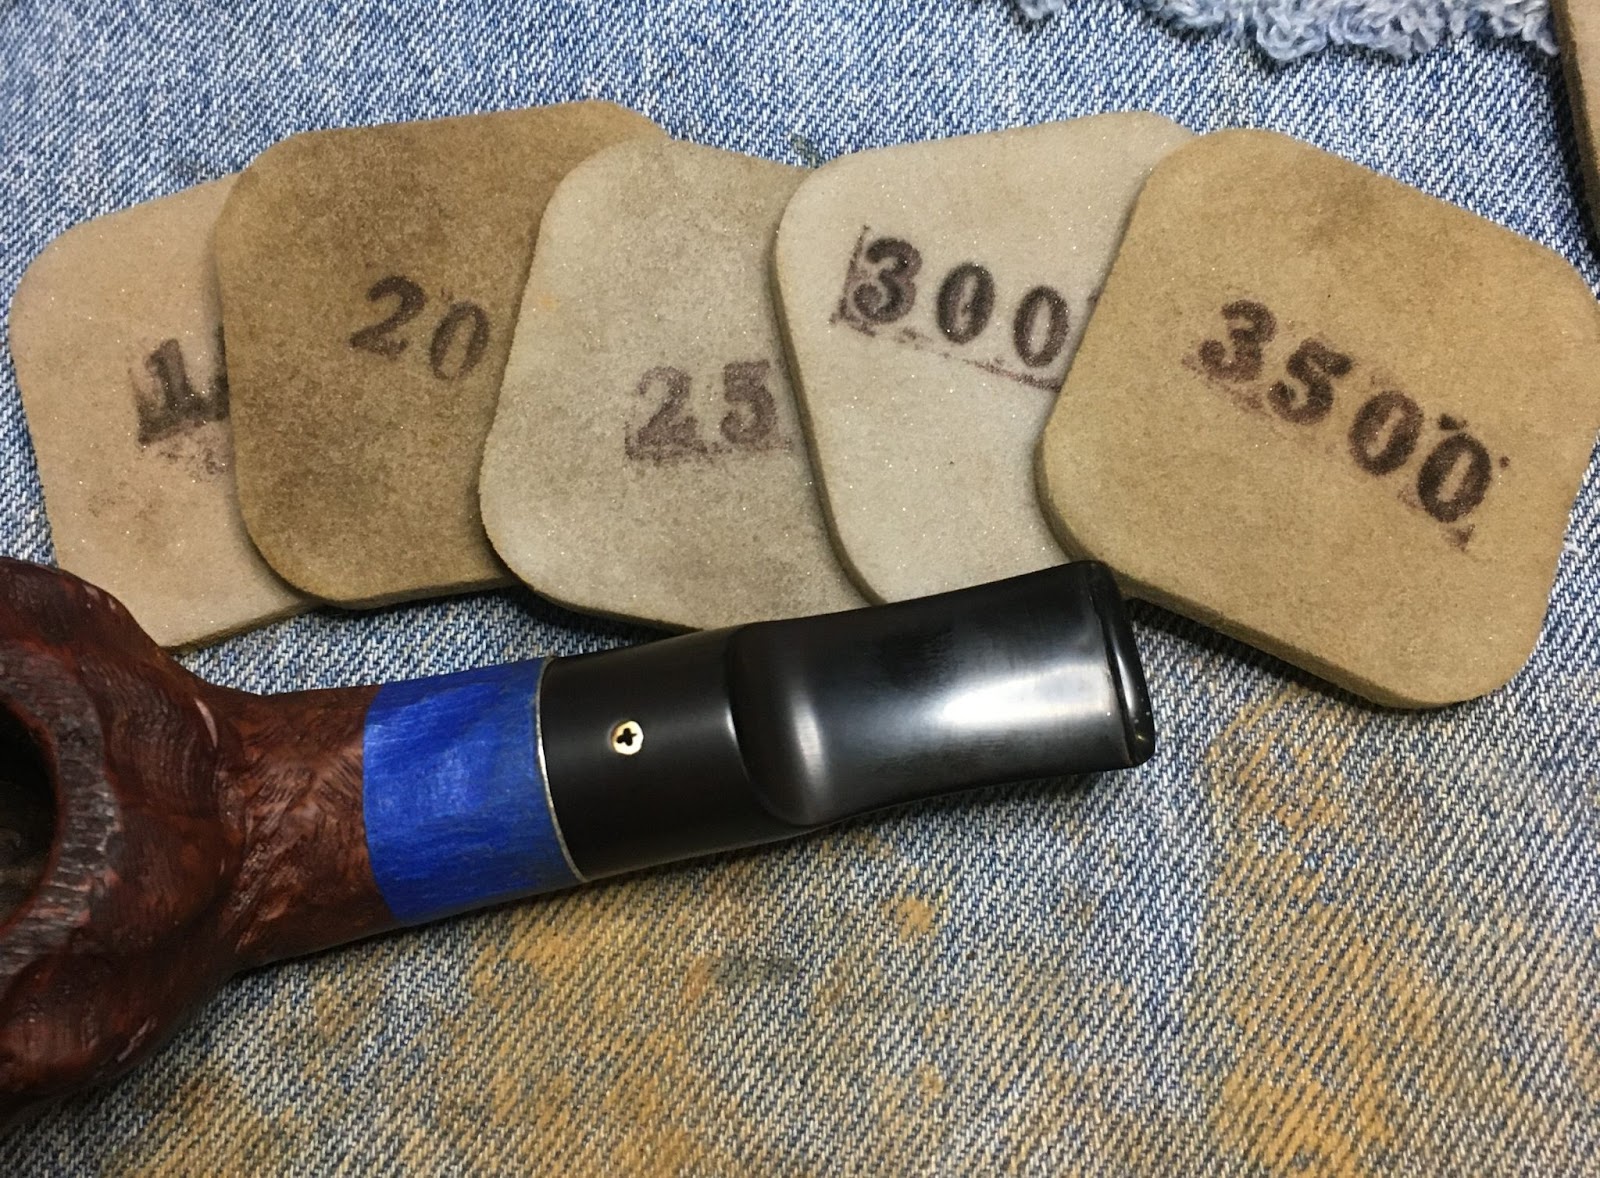
I then sanded the stem with a sequence of sanding sponges from 1000-3500. Between sponges I rubbed mineral oil onto the stem and wiped away the excess oil with a paper towel.

Once finished with the sanding sponges I used micro-mesh pads 4000-12000 in sequence. Between each of these pads I applied a drop of Obsidian Oil, rubbed it onto the stem with my finger and wiped the stem with a paper towel.

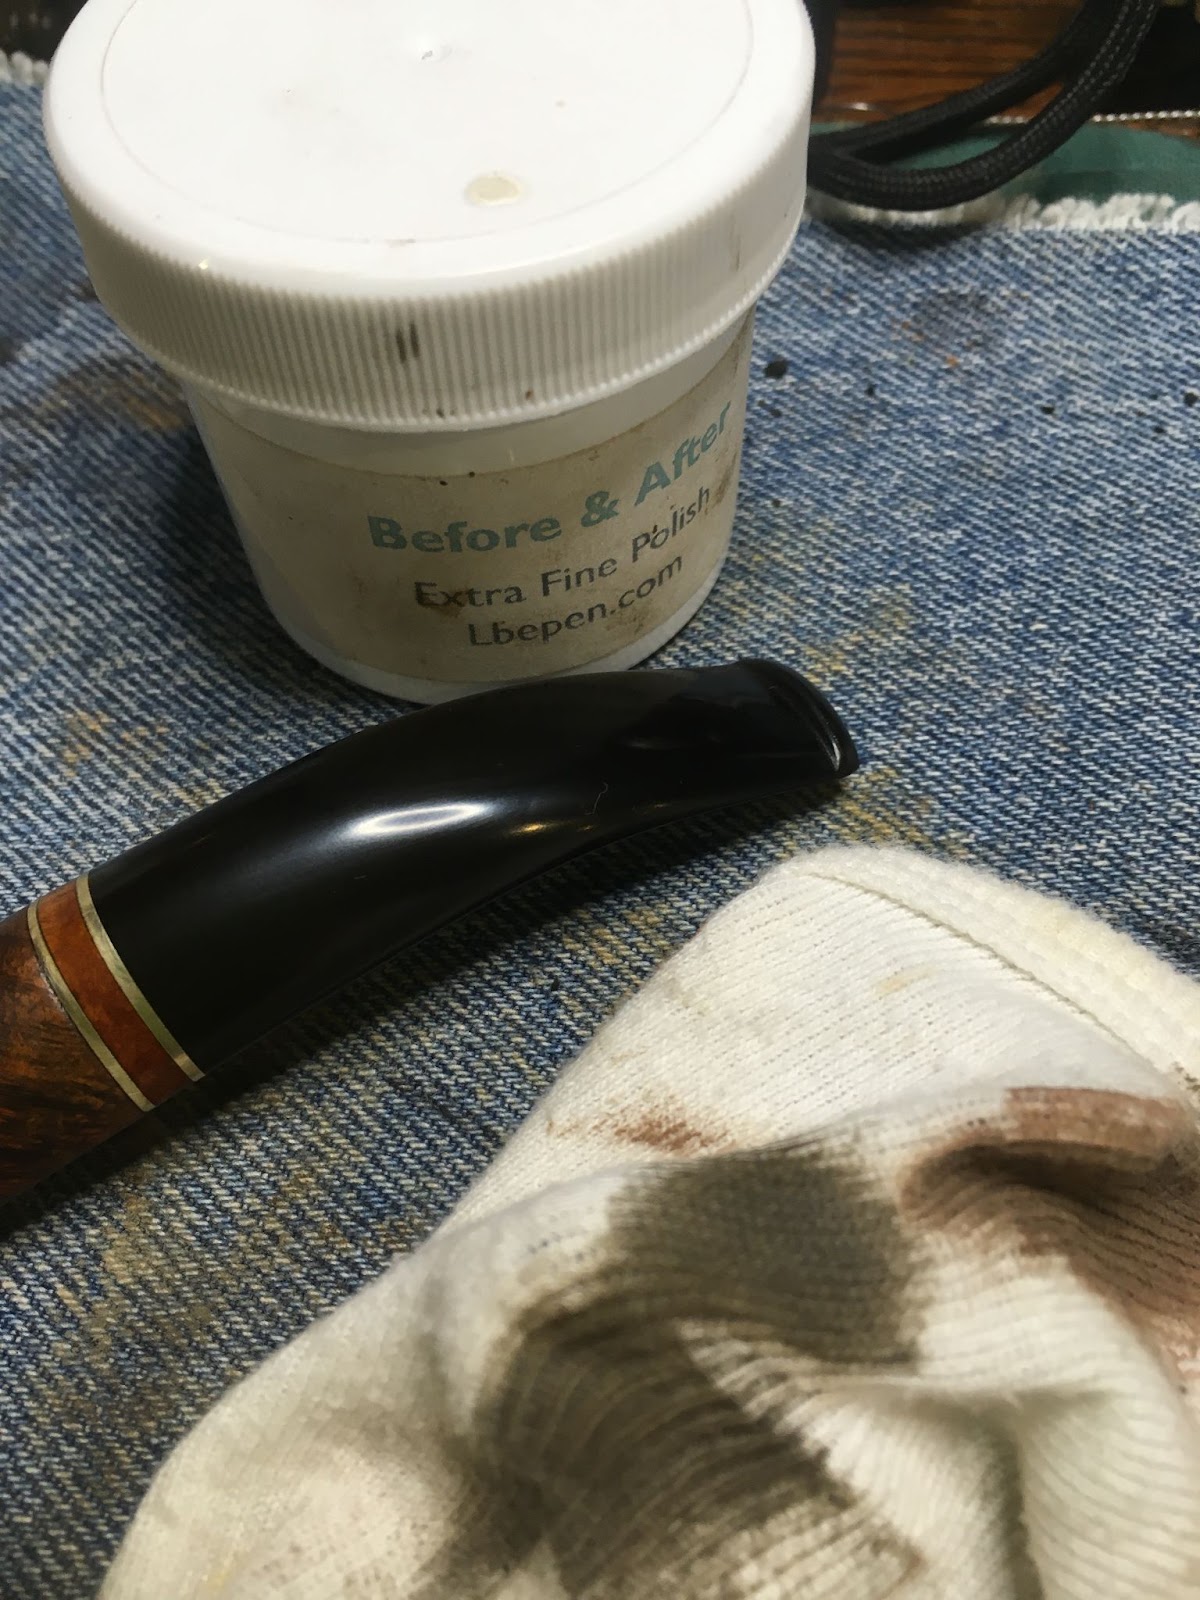
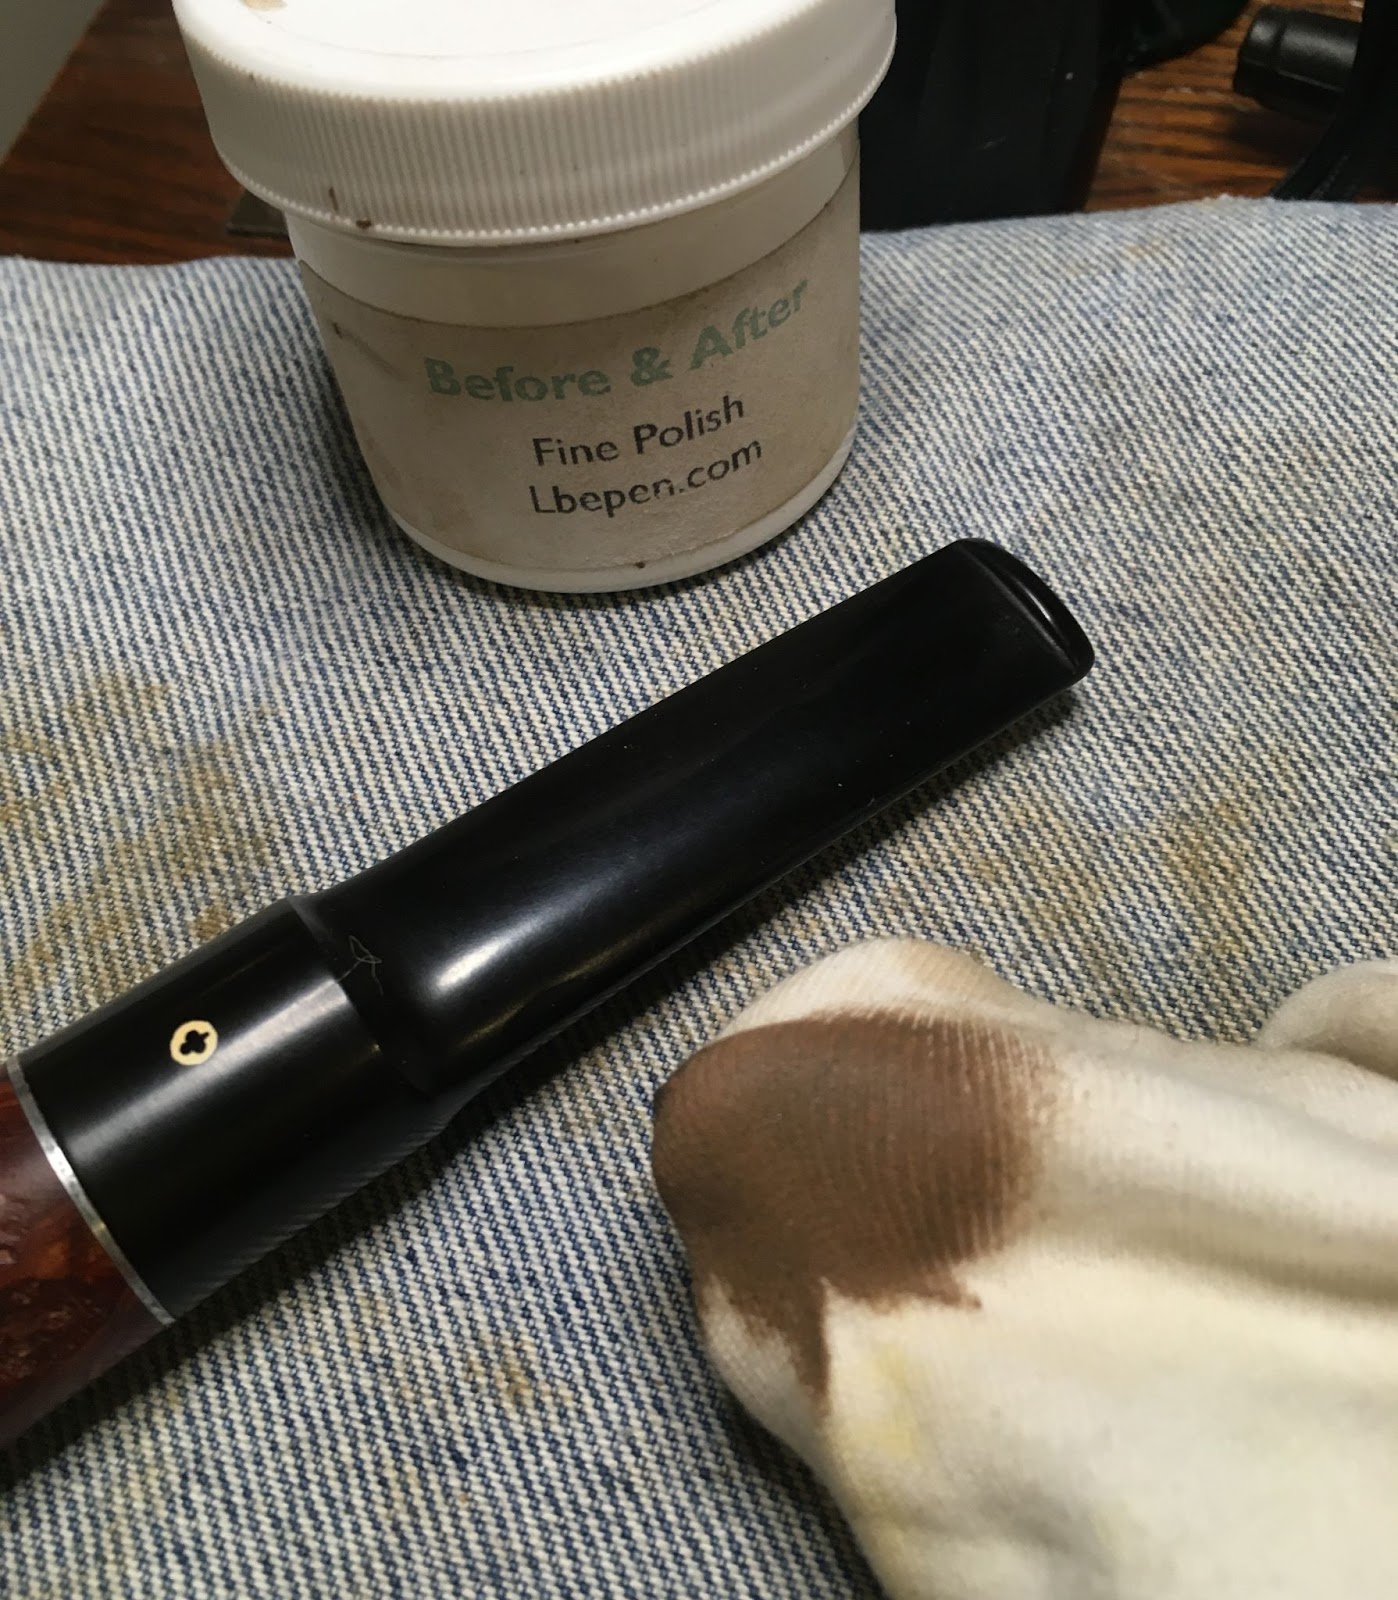
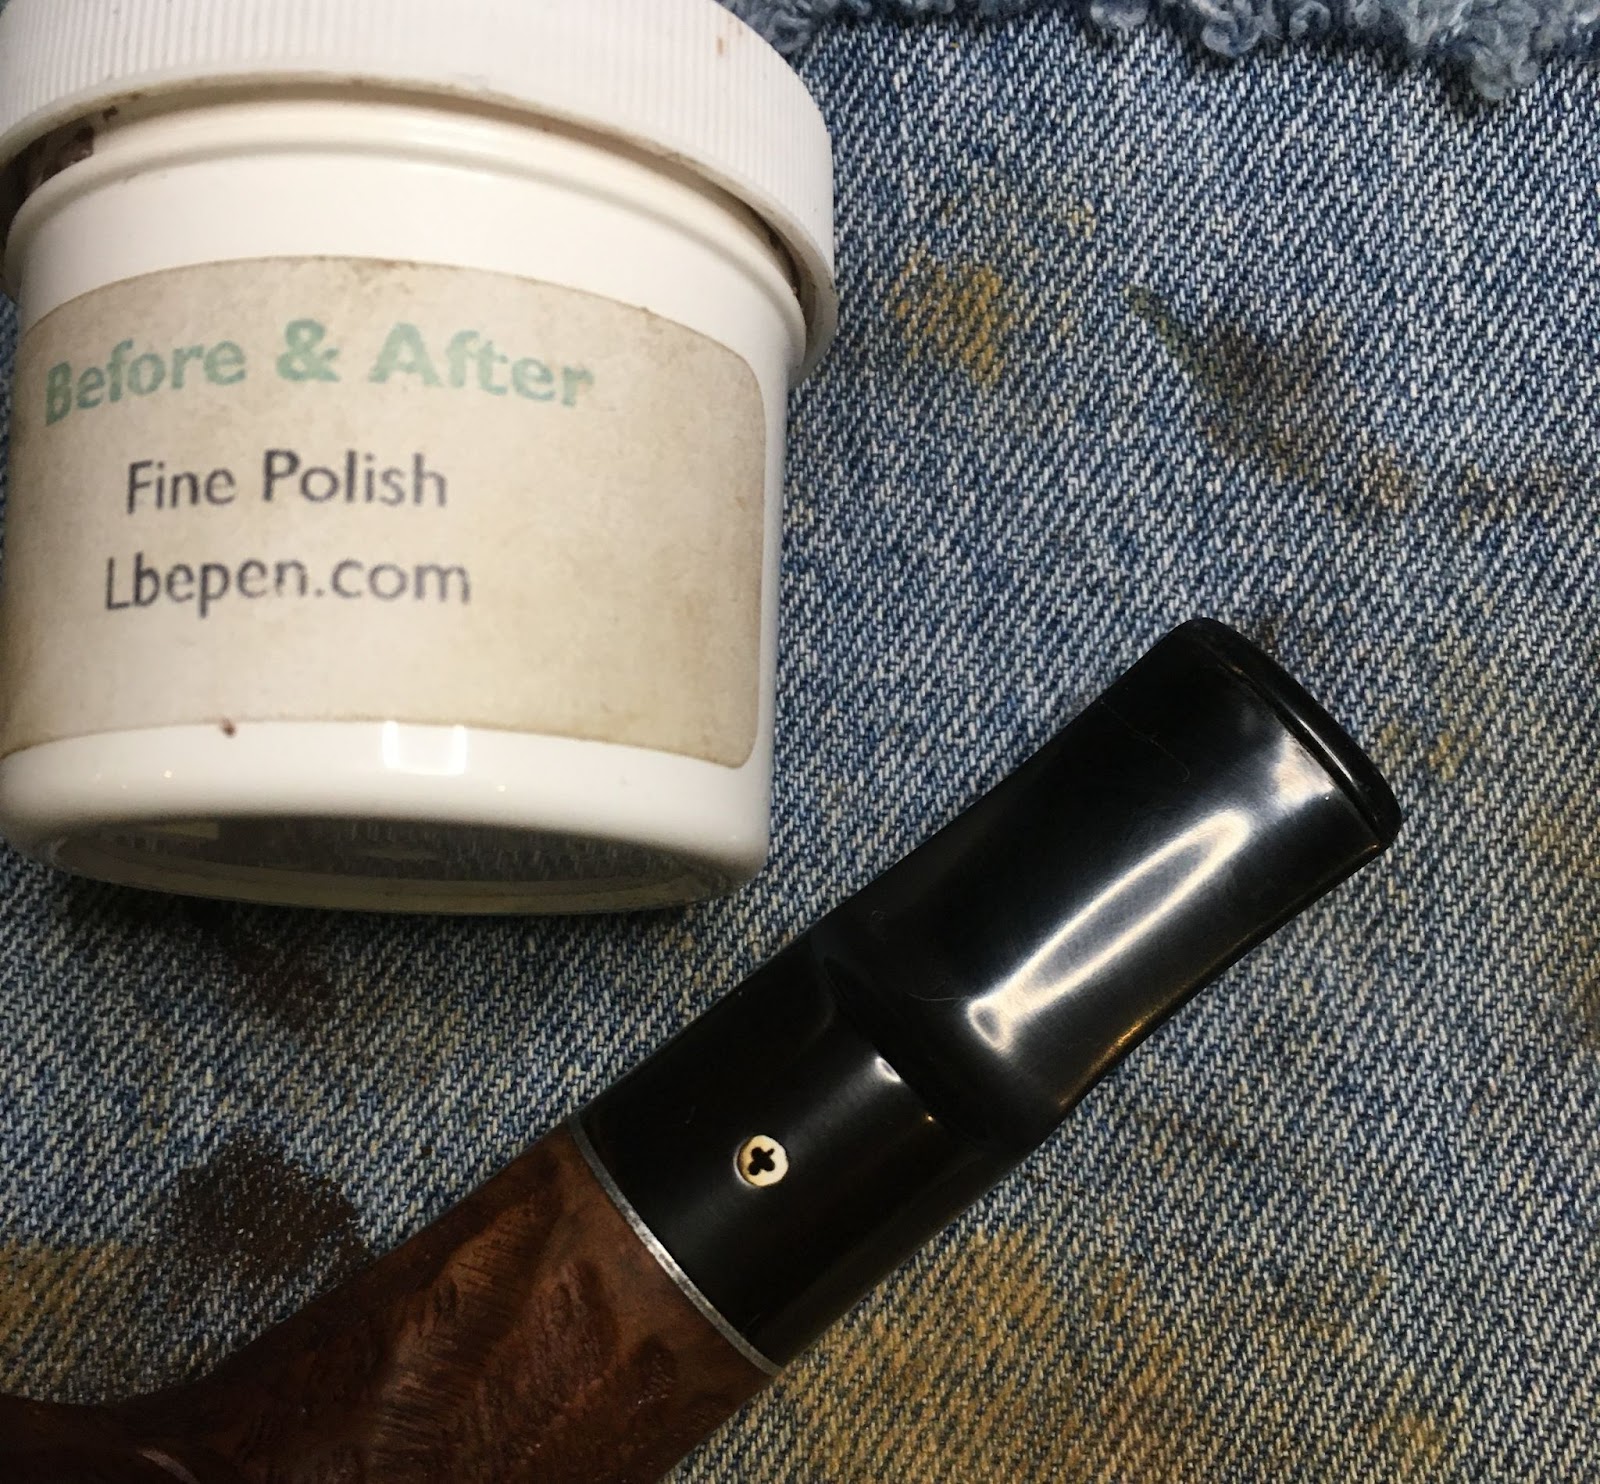
I polished the stem with Before and After Fine polish using a soft cotton cloth.
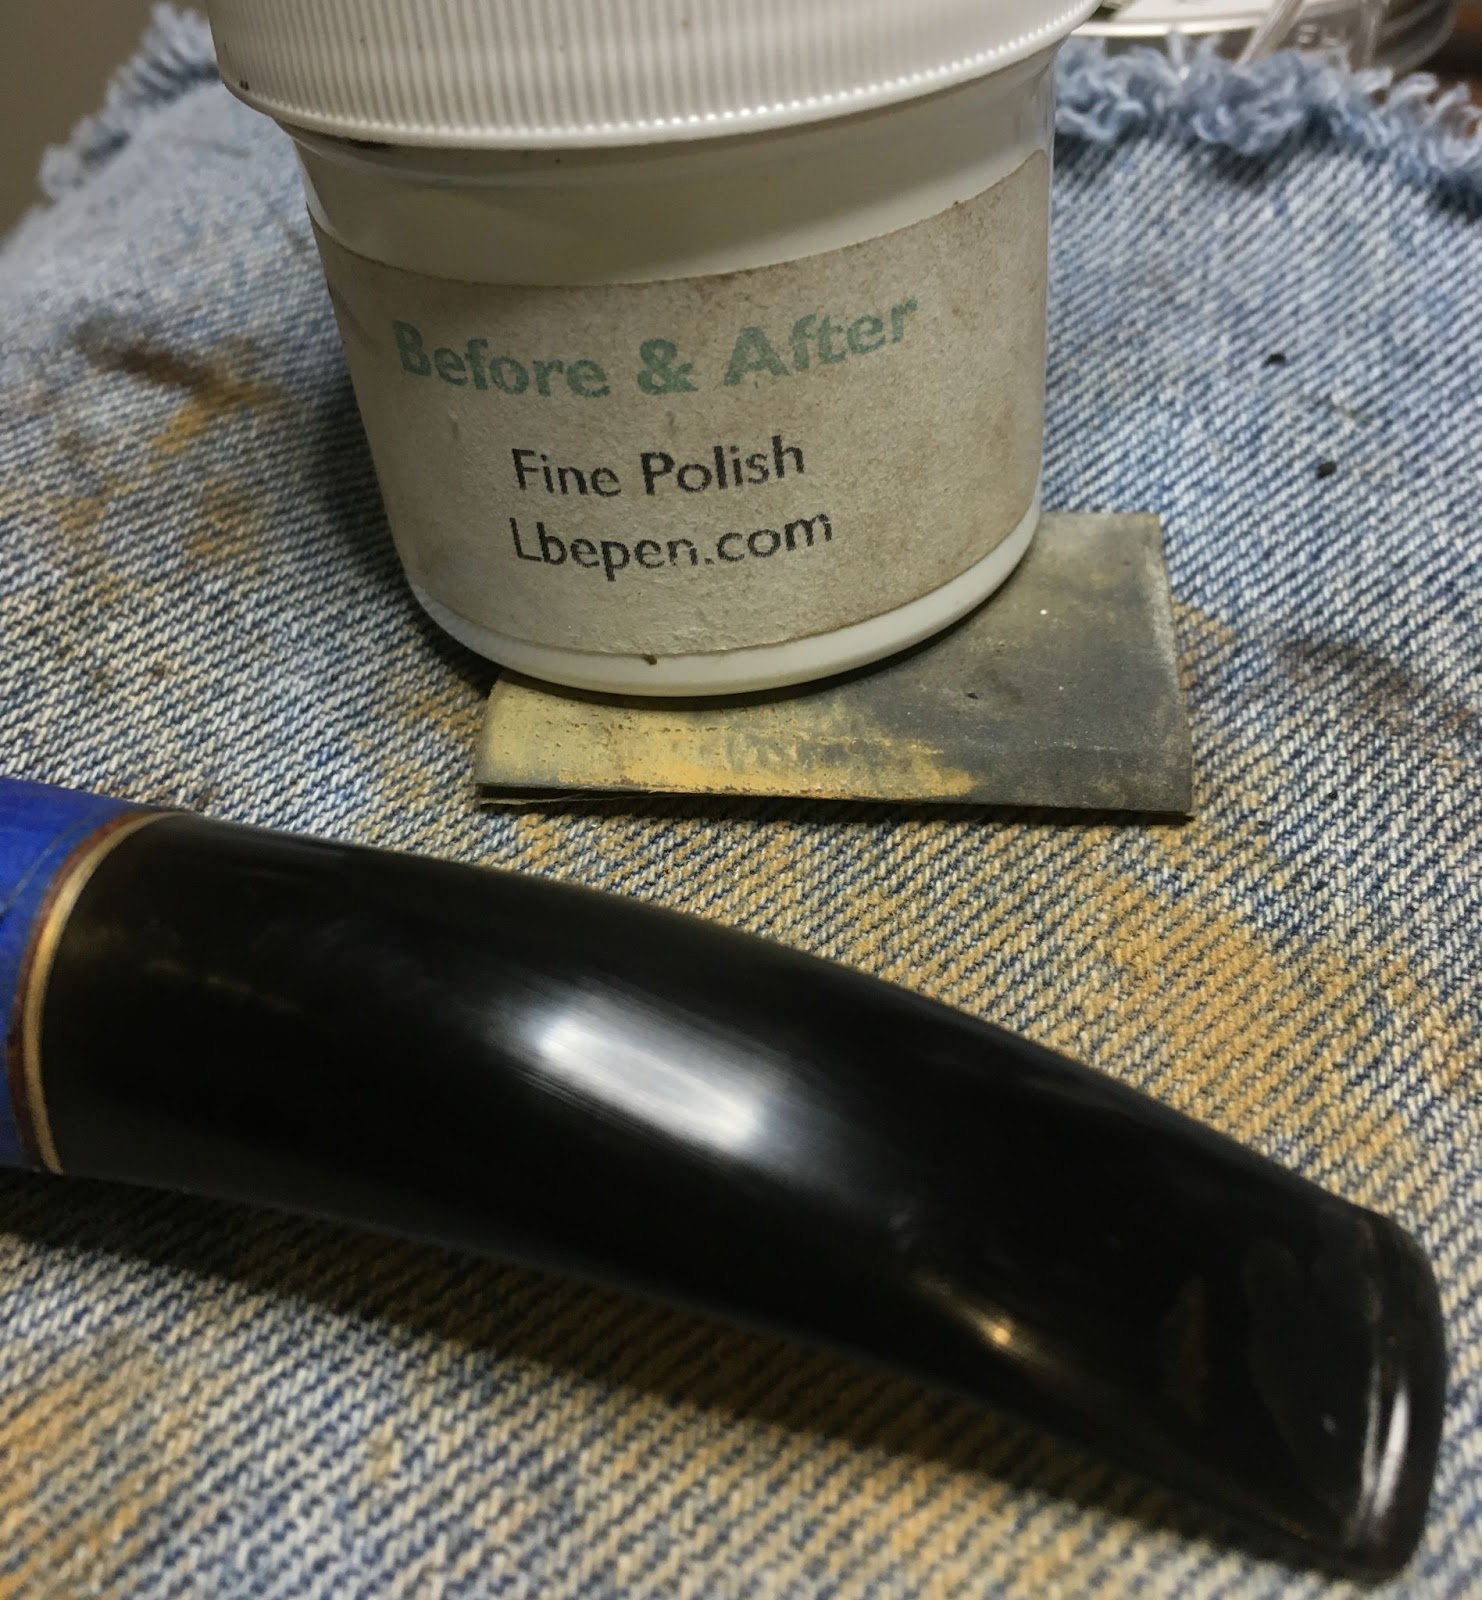
The last polishing was done with Before and After Extra Fine polish using the same soft cotton cloth. Although a clean spot was used.

To protect the briar frown the elements I chose to use Renaissance Micro-crystalline Wax. And, no not because I love the smell of it, which I do. I applied it with a finger and a baby toothbrush. The product instructions say that it hardens instantly with a rub from a soft sloth. I allowed it to dry for a few minutes before buffing with a soft cloth. I did this 3 times then took it to the buffer where I buffed it with a clean flannel wheel. The stem received several coats of carnauba wax with the carnauba wax wheel from the buffer.

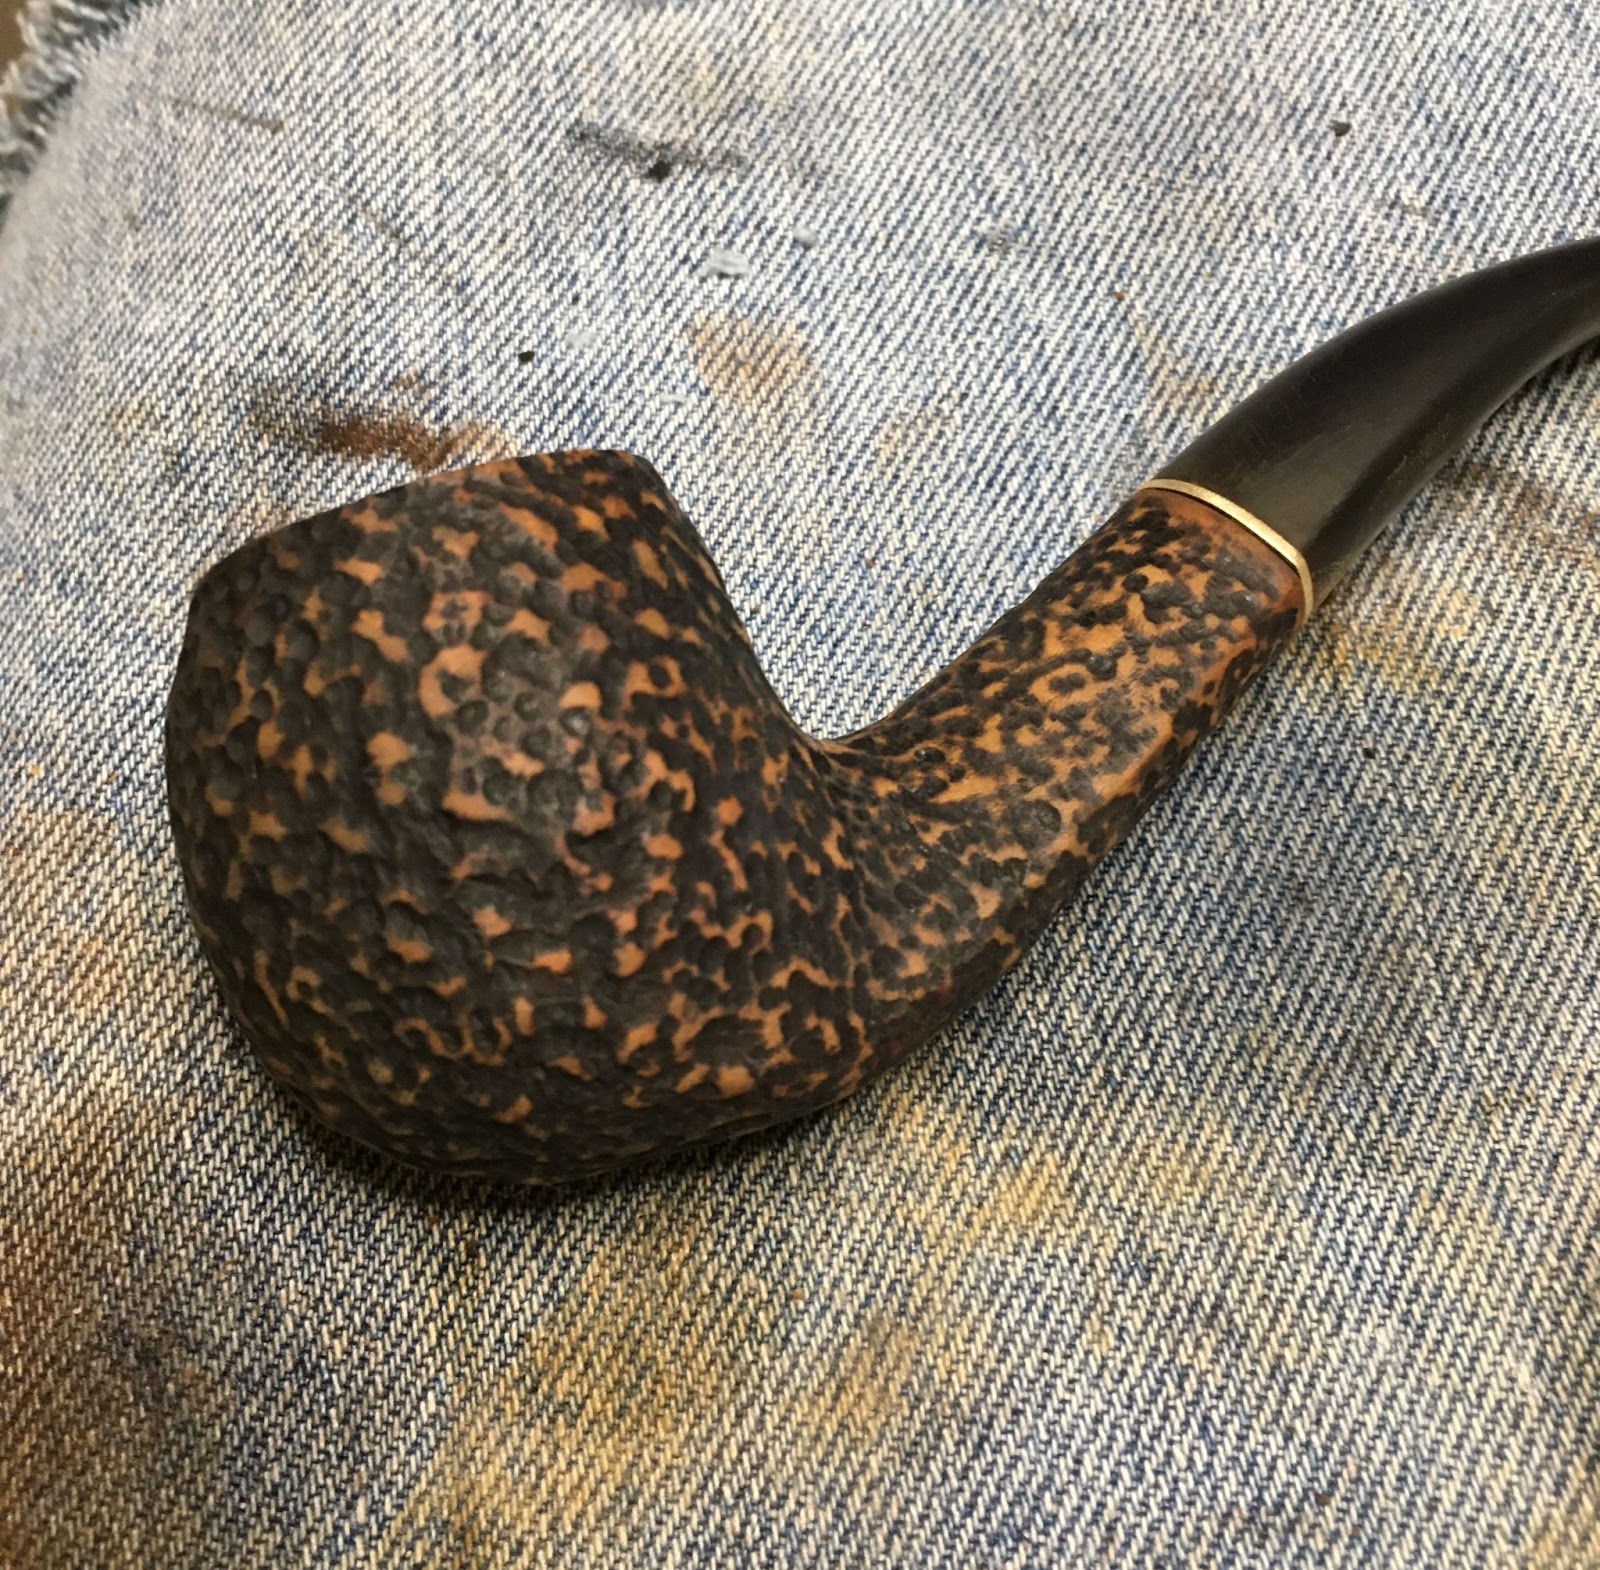
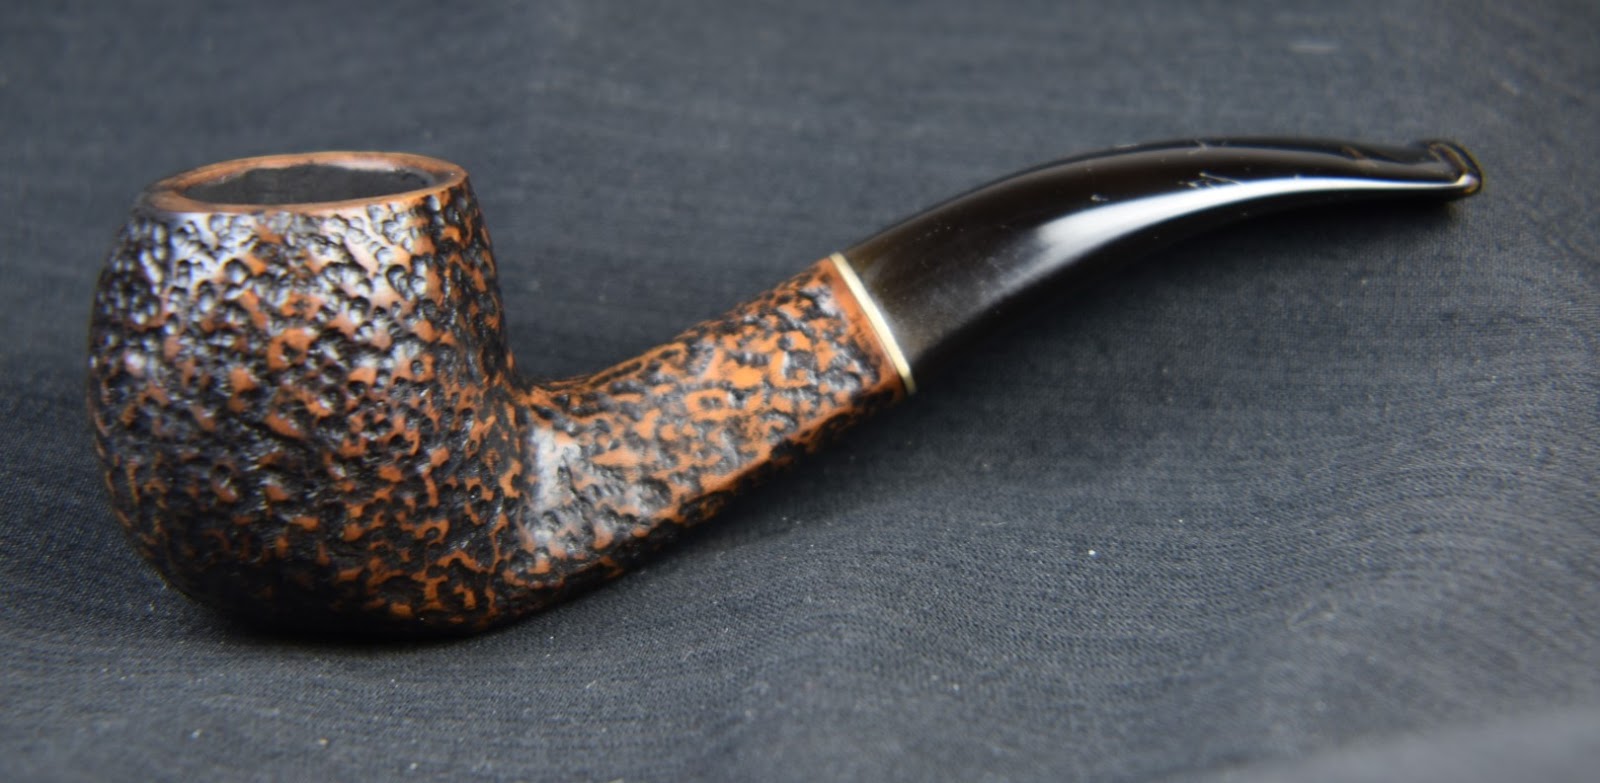
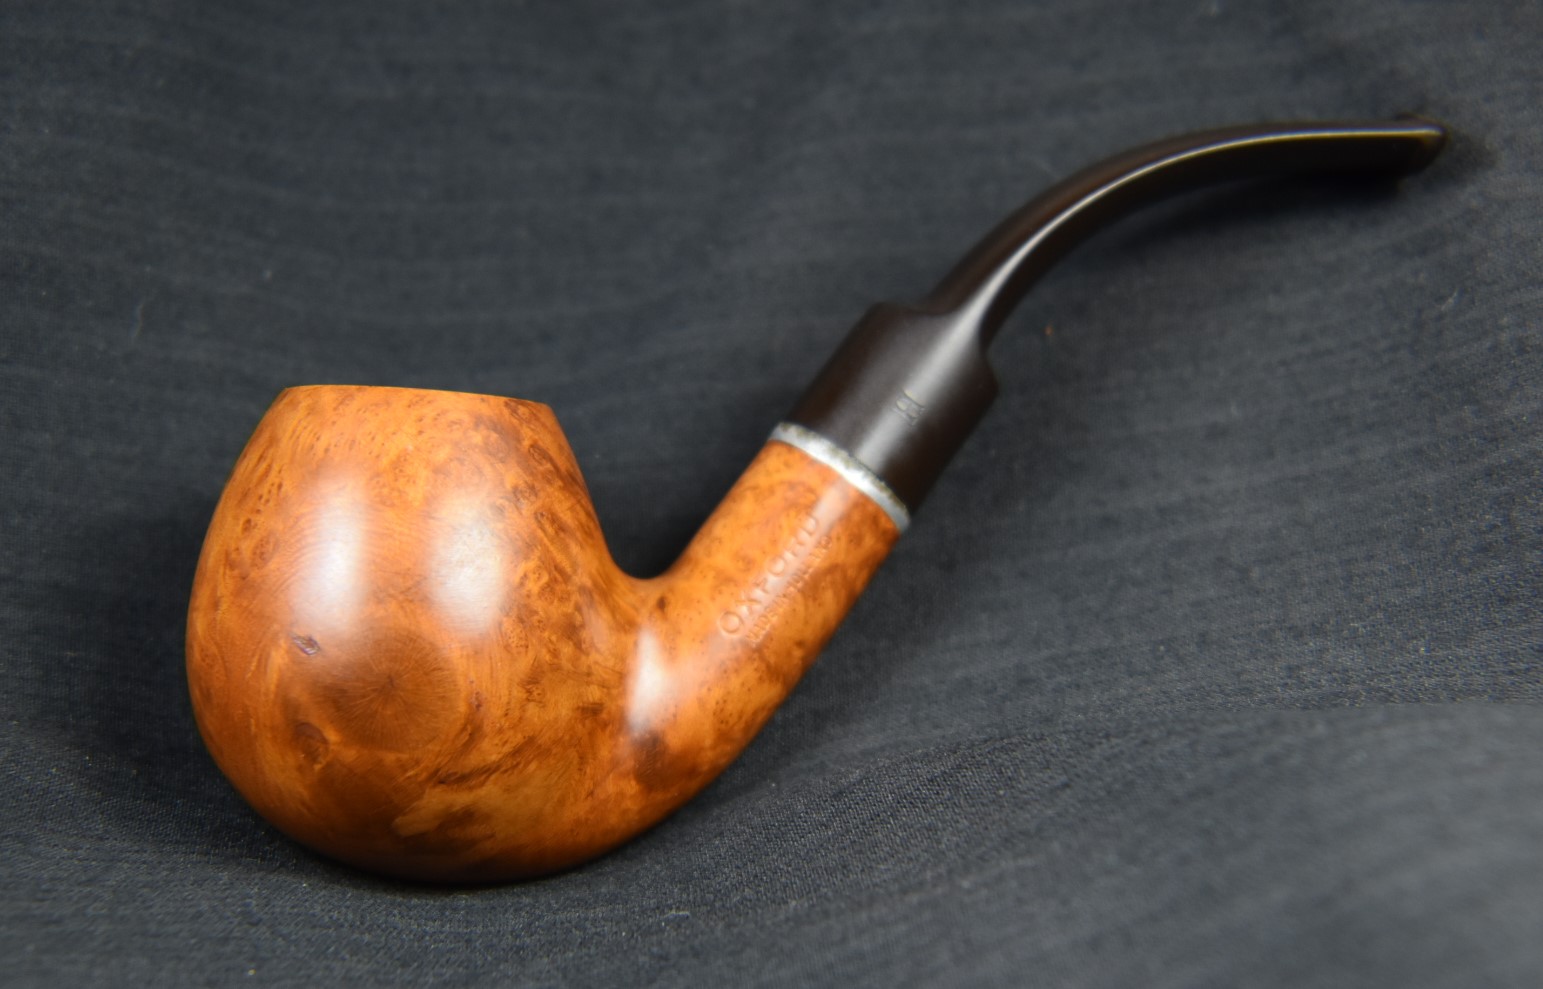
Overall I feel victorious with this restoration. No, the Roma will certainly not win any beauty contests but it has been returned to serviceable and it looks pretty darn good. I am not pleased with the finish of the stem. The more I think about it, the more I think it was my error in applying the CA prior to scrubbing the stem with Soft Scrub. I think the bleaching action of the Soft Scrub is what led to the discoloring of the black CA. Given, it can only be readily seen with bright light, it still annoys me. The polish of the stem turned out well. I am also rather pleased with my first attempt at re-texturing a Savinelli pipe. Though far from perfect it was definitely a learning process and one that I think deserves far more practice. The pipe feels very nice in hand and has proven to be a shape that is comfortable to clench. I am sure it will be a fine companion for outdoor activities where a more refined specimen might not venture; activities like gardening, fishing, yard work, etc… I do hope that you have found something here helpful in the care, maintenance or restoration of your own smokey companions. If you like this sort of thing, please click the like and subscribe buttons. I thank you for reading the rambling of an old pipe lover.
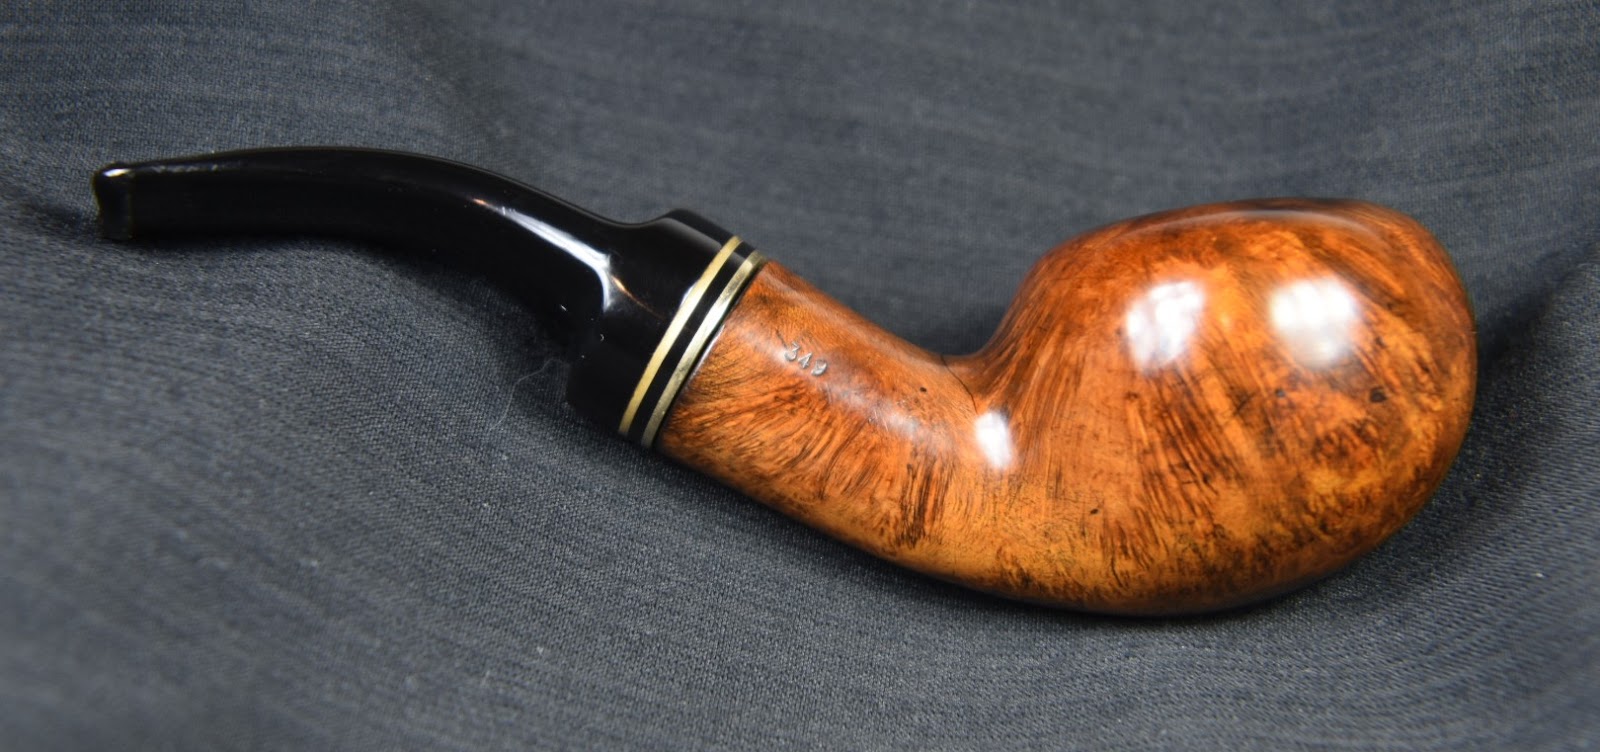
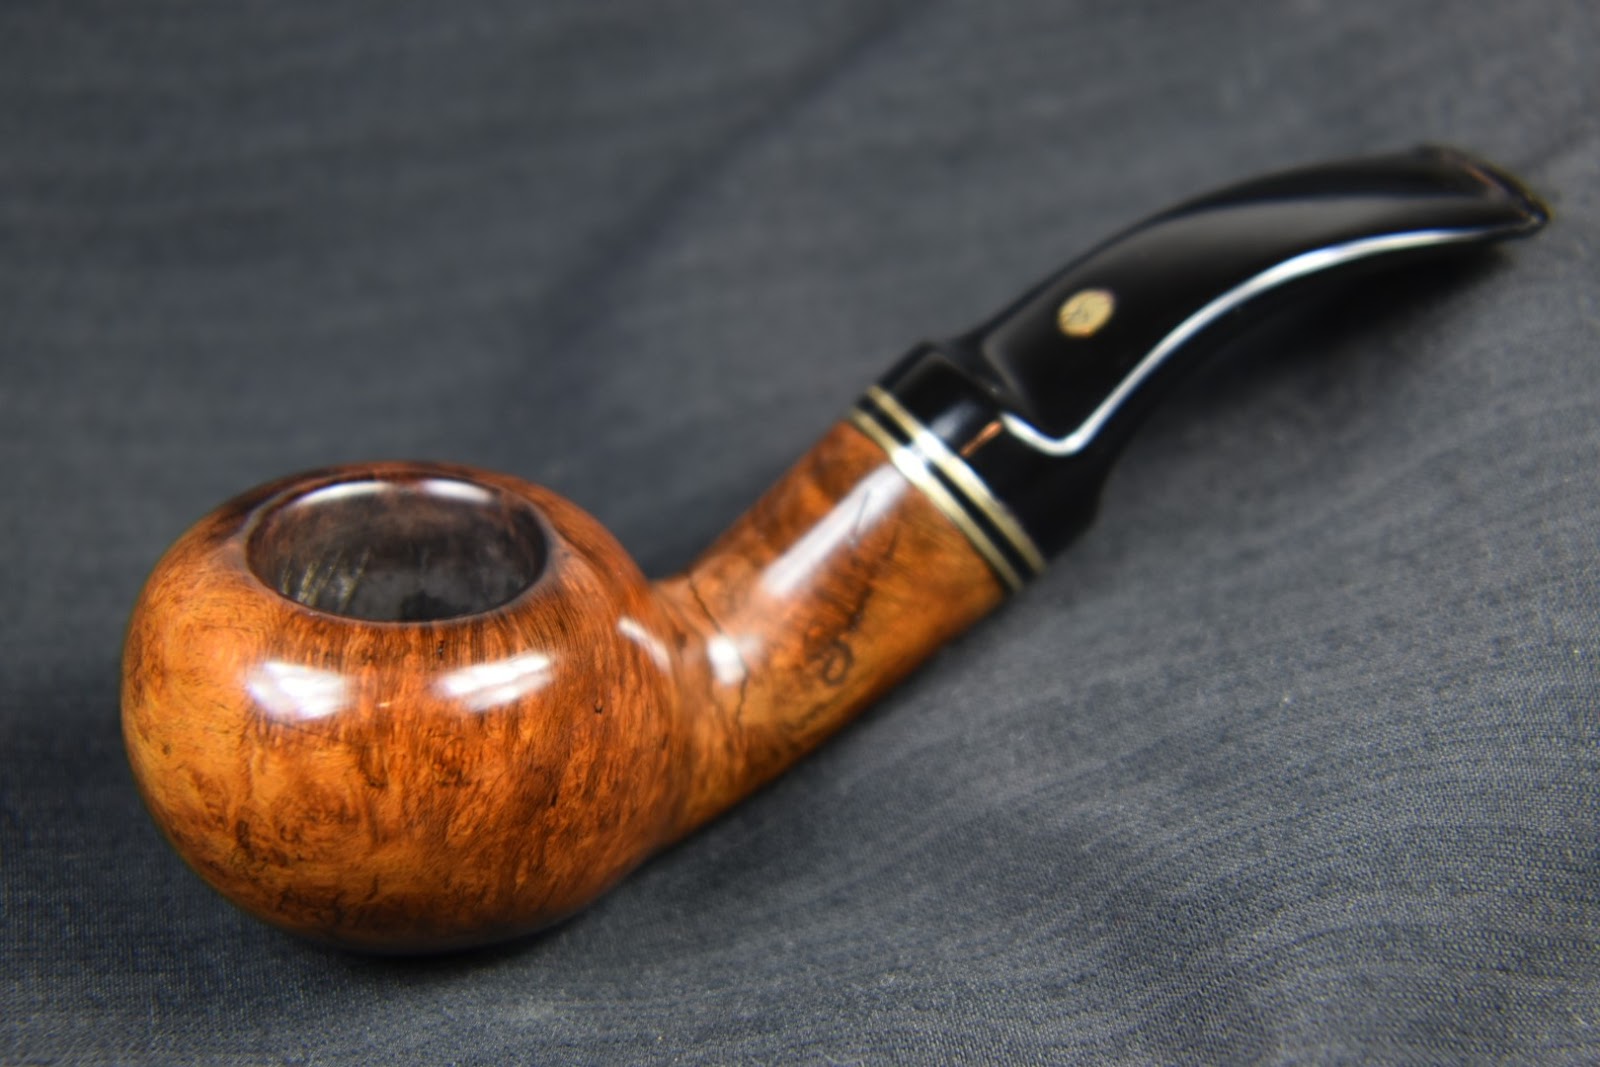
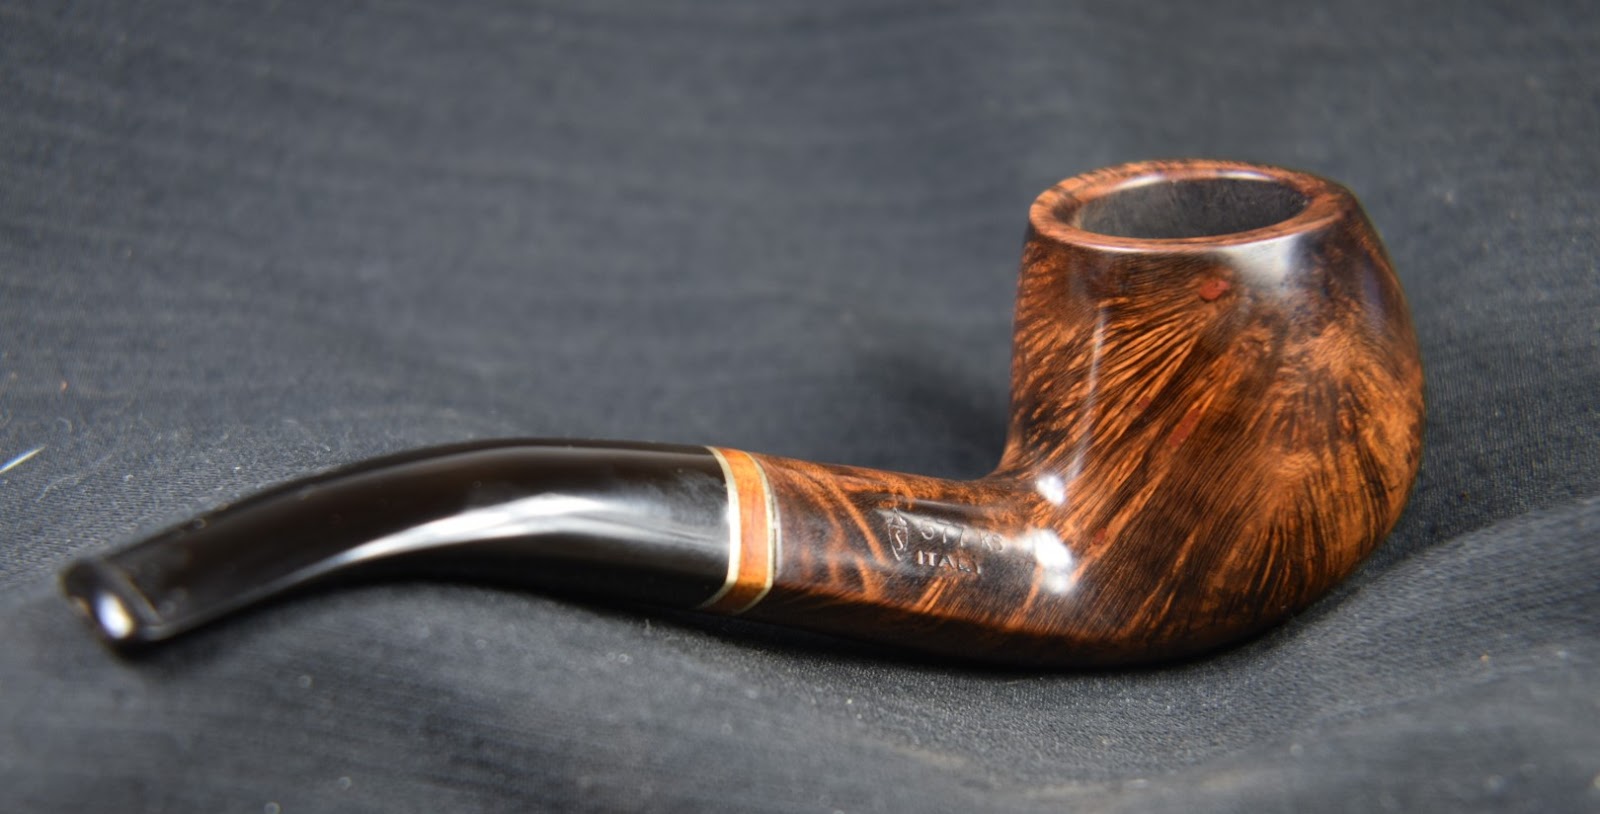
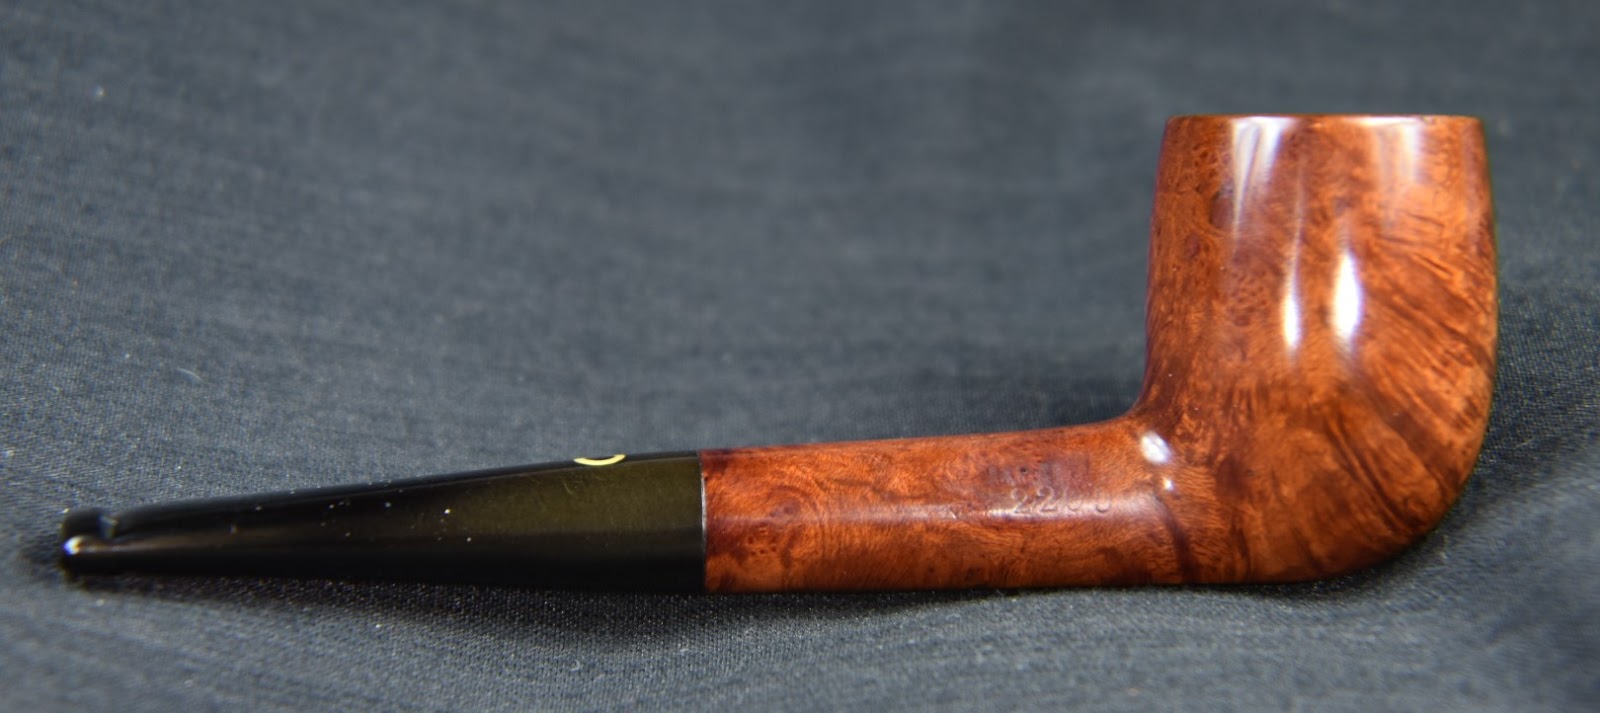
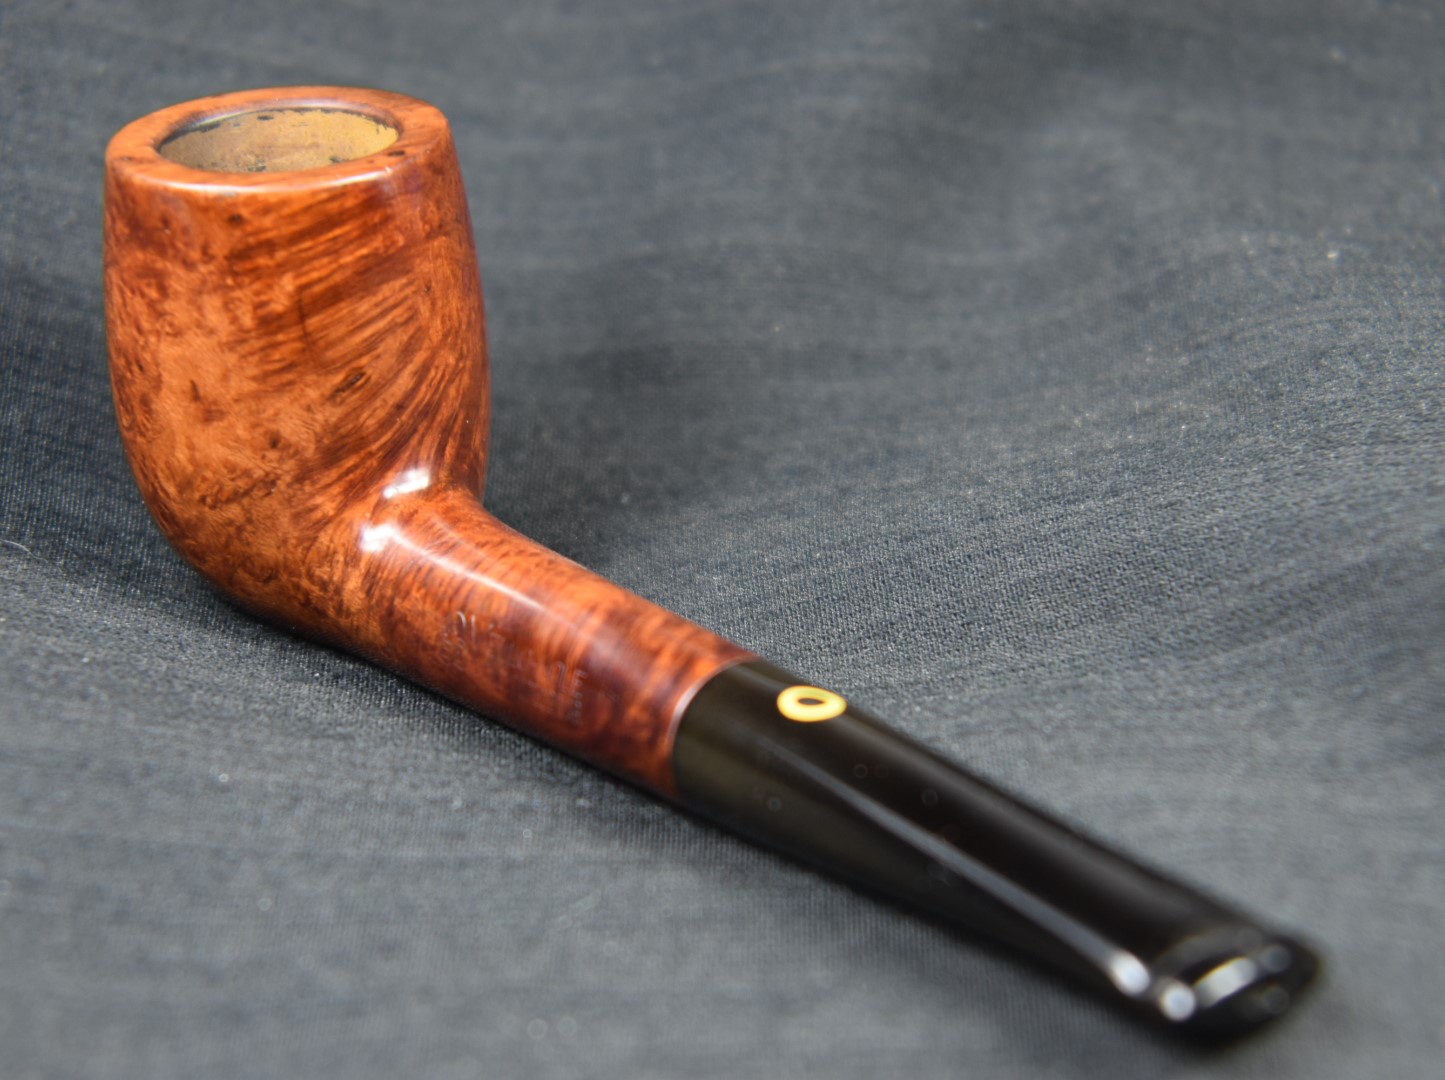
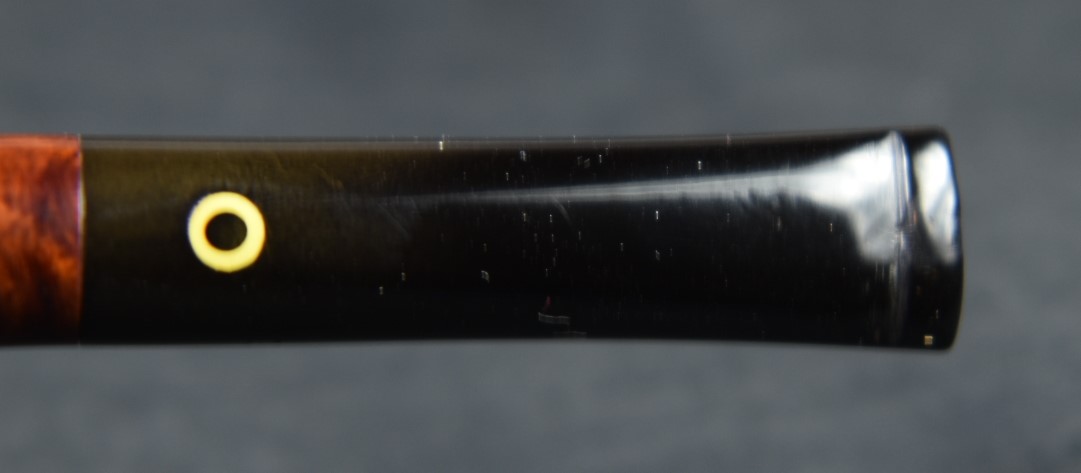
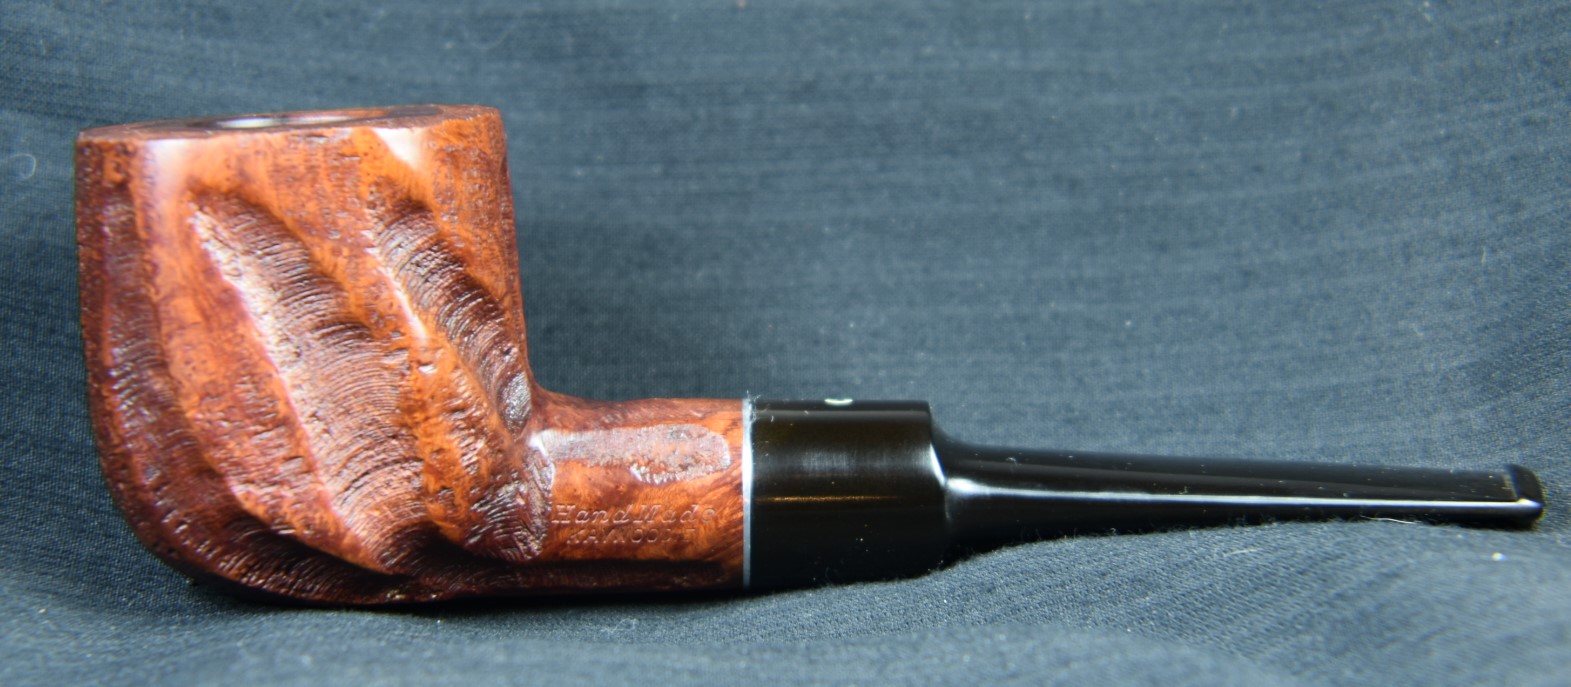
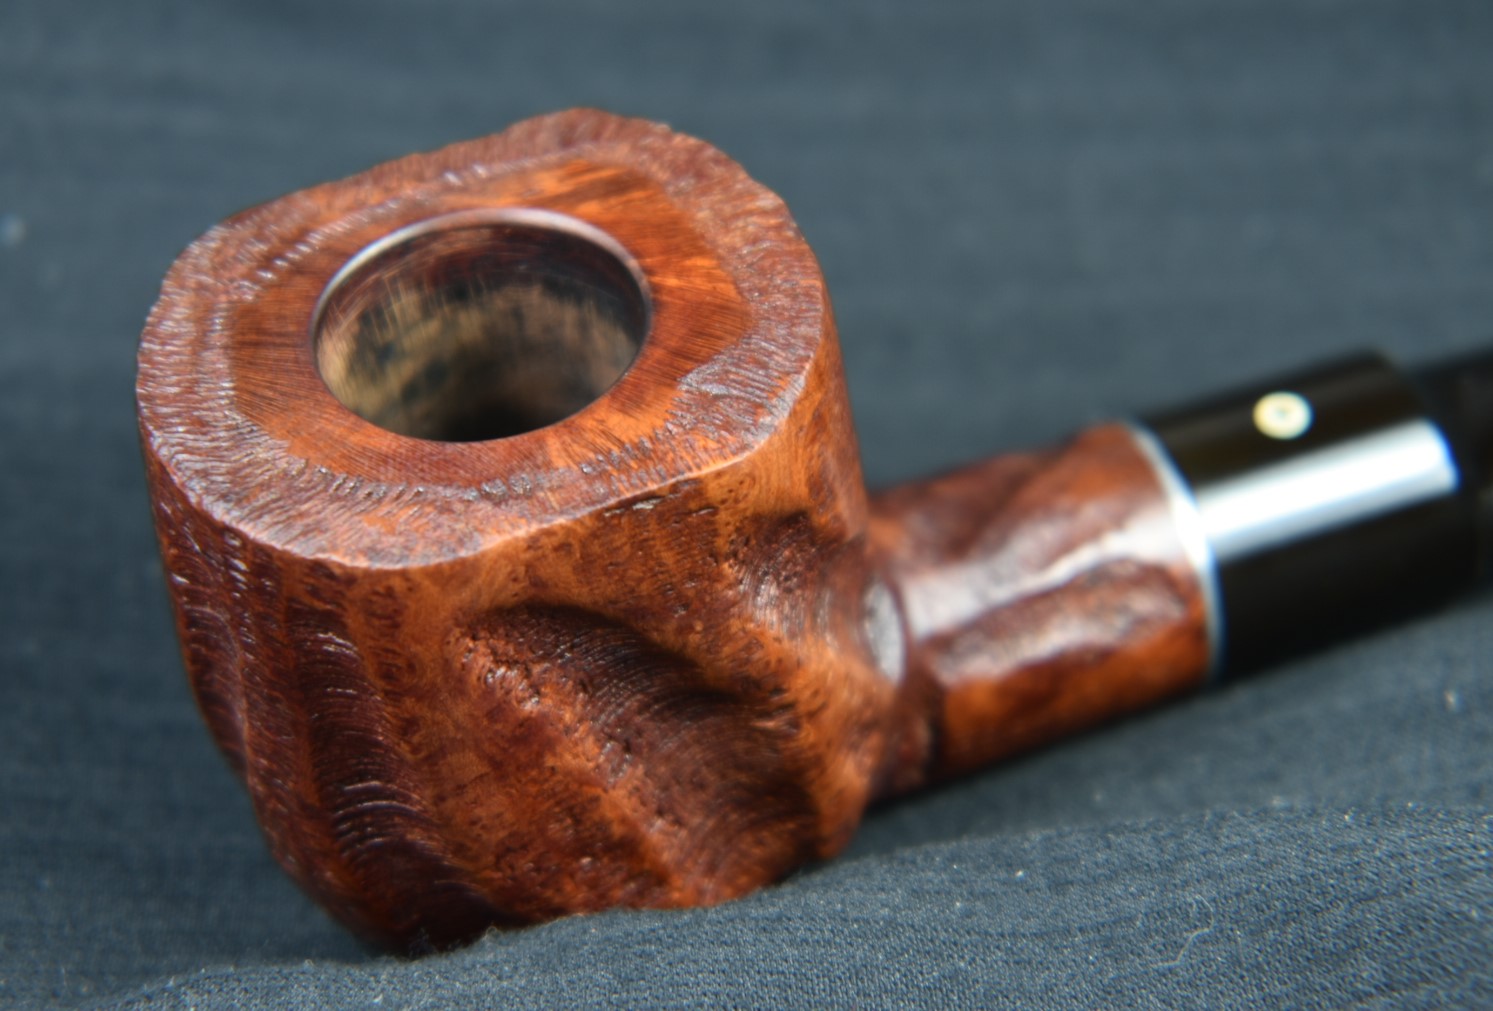
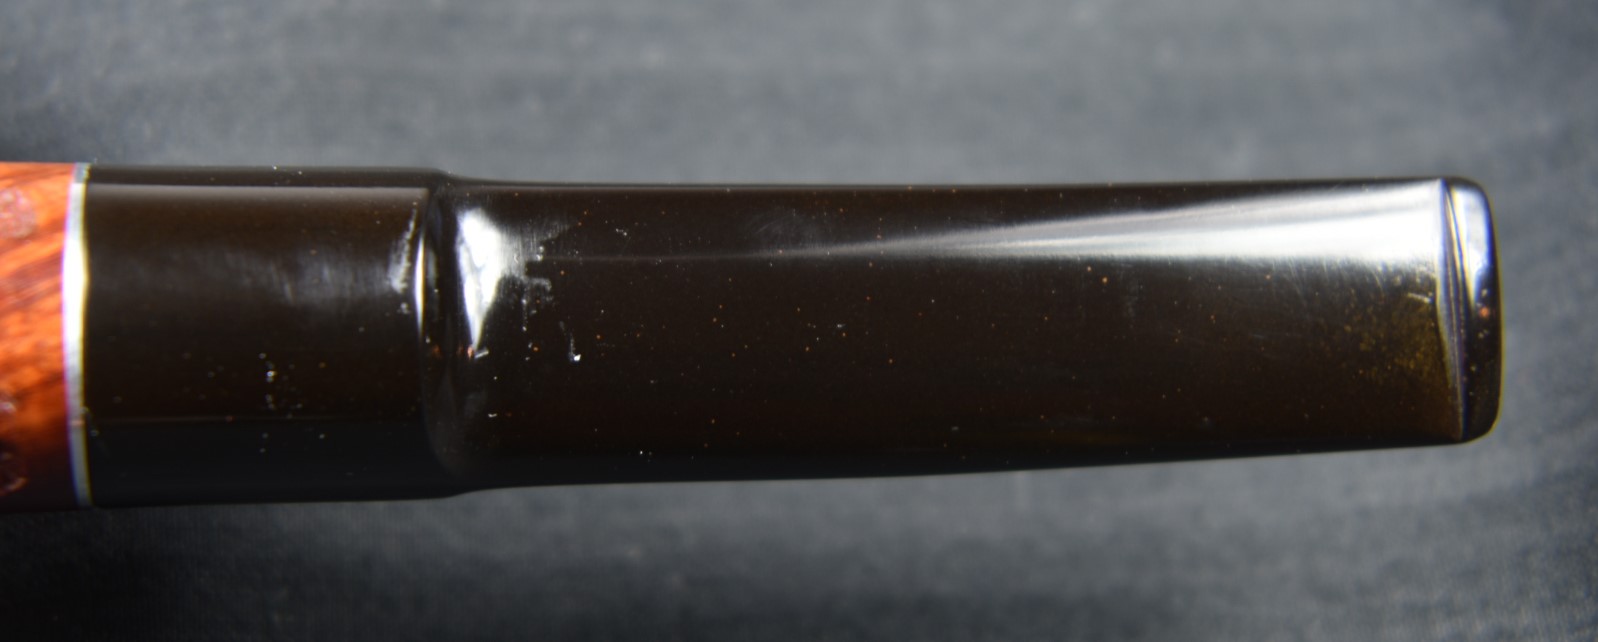
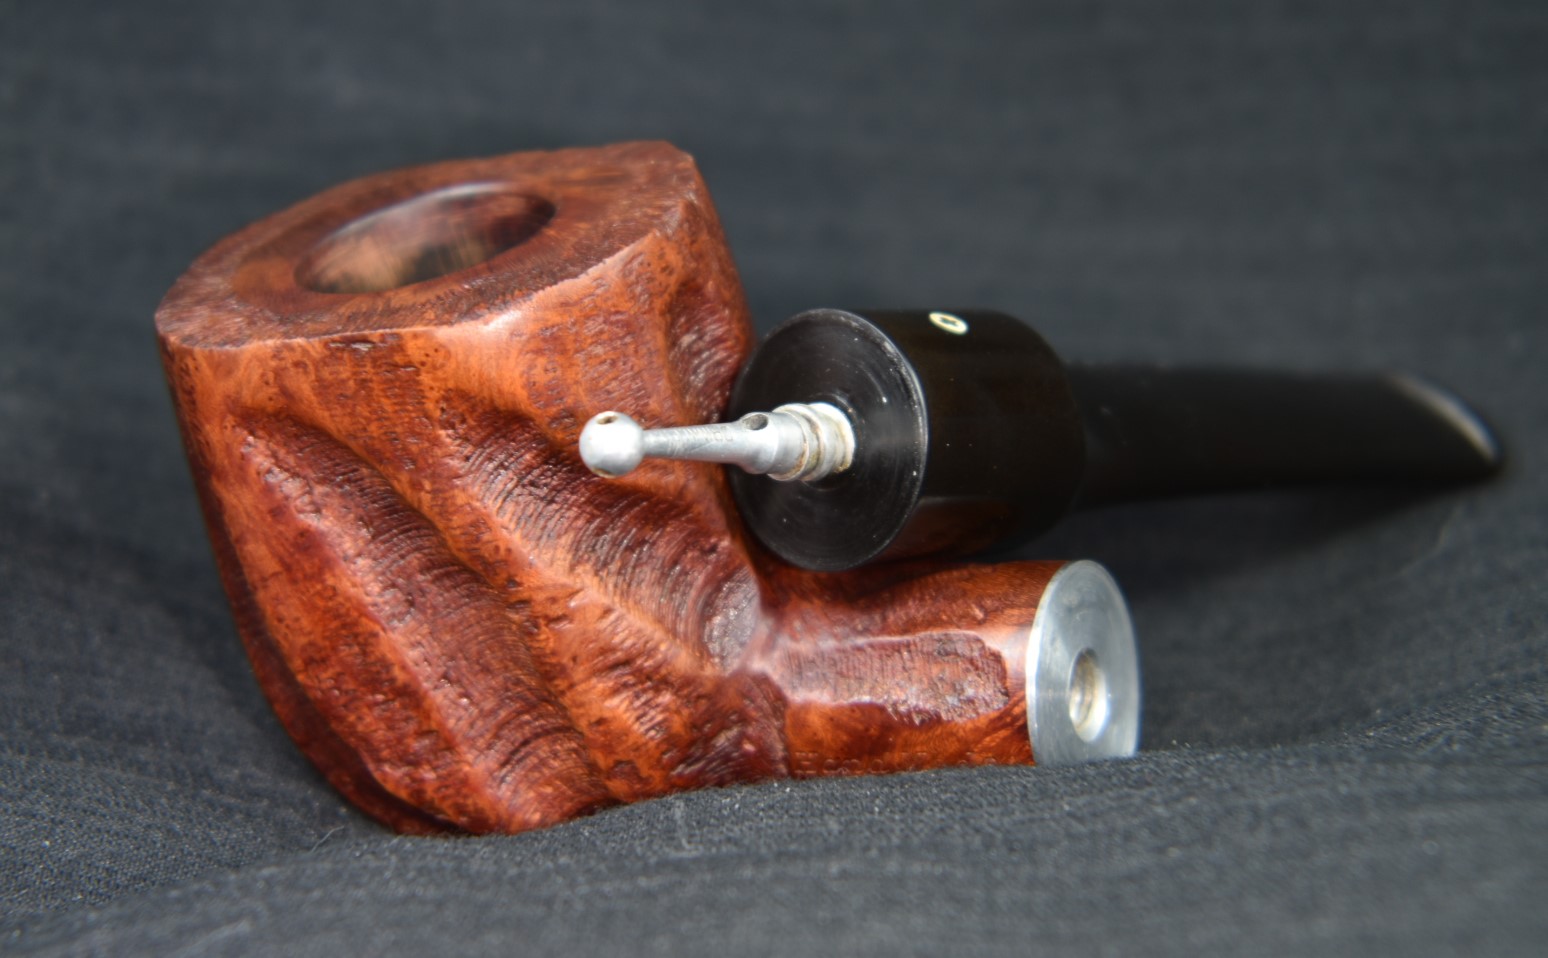
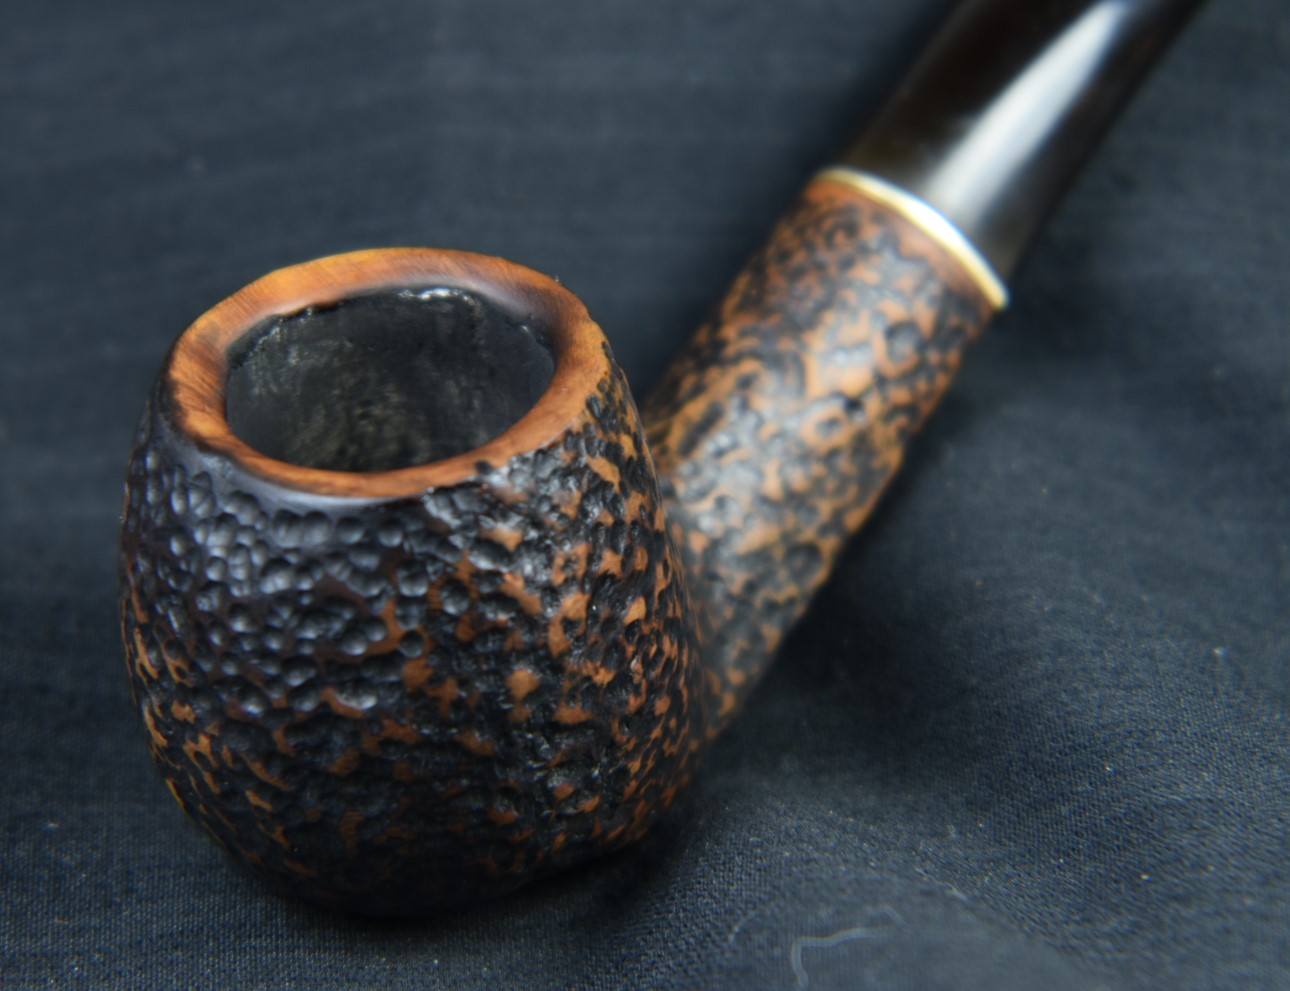
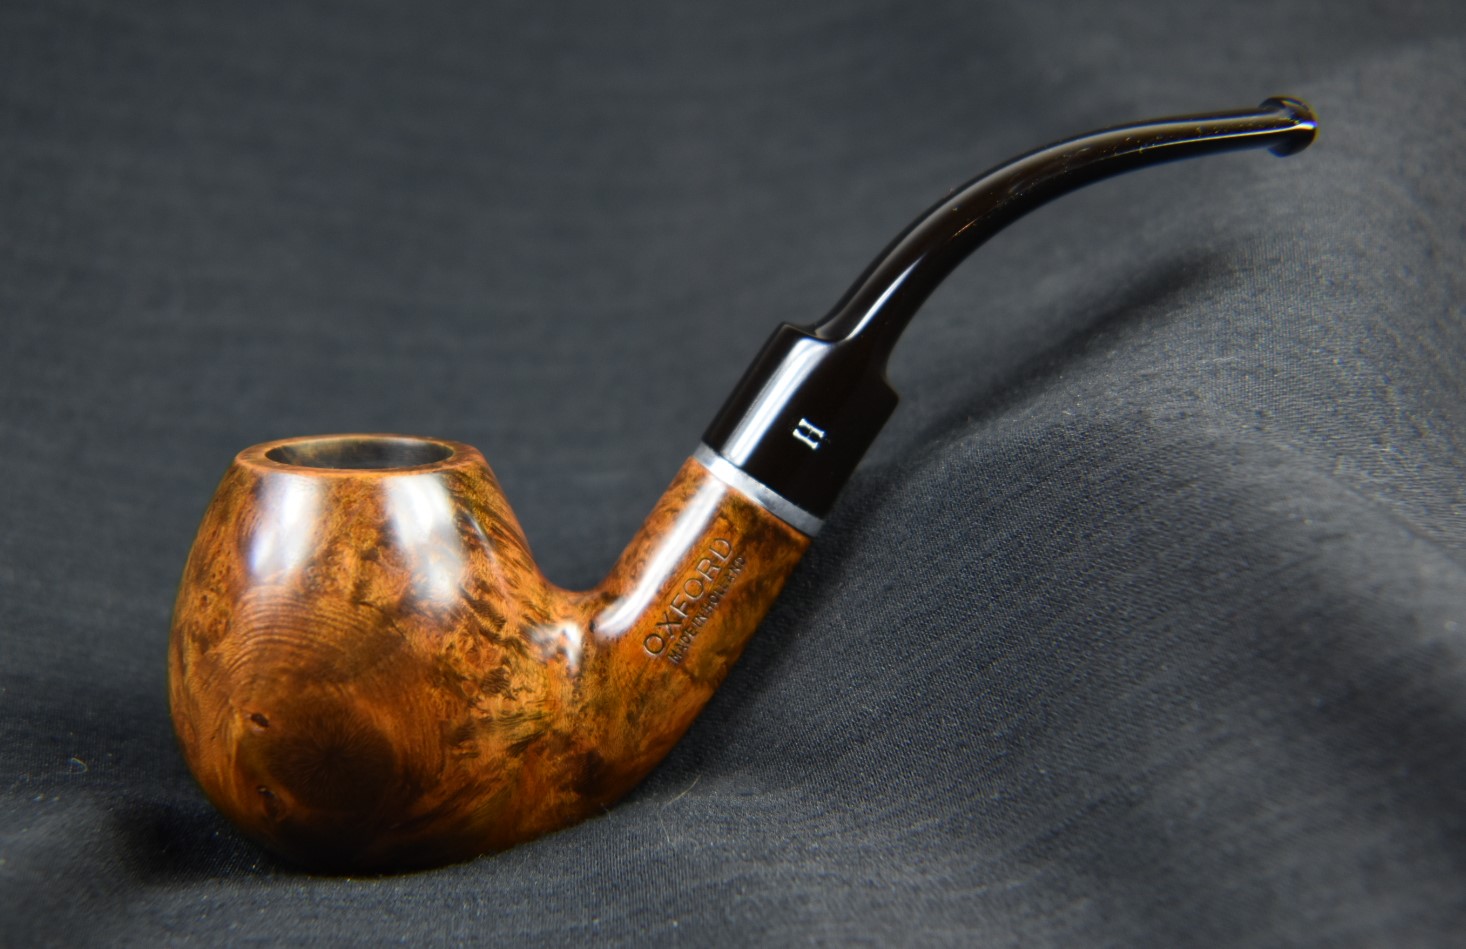
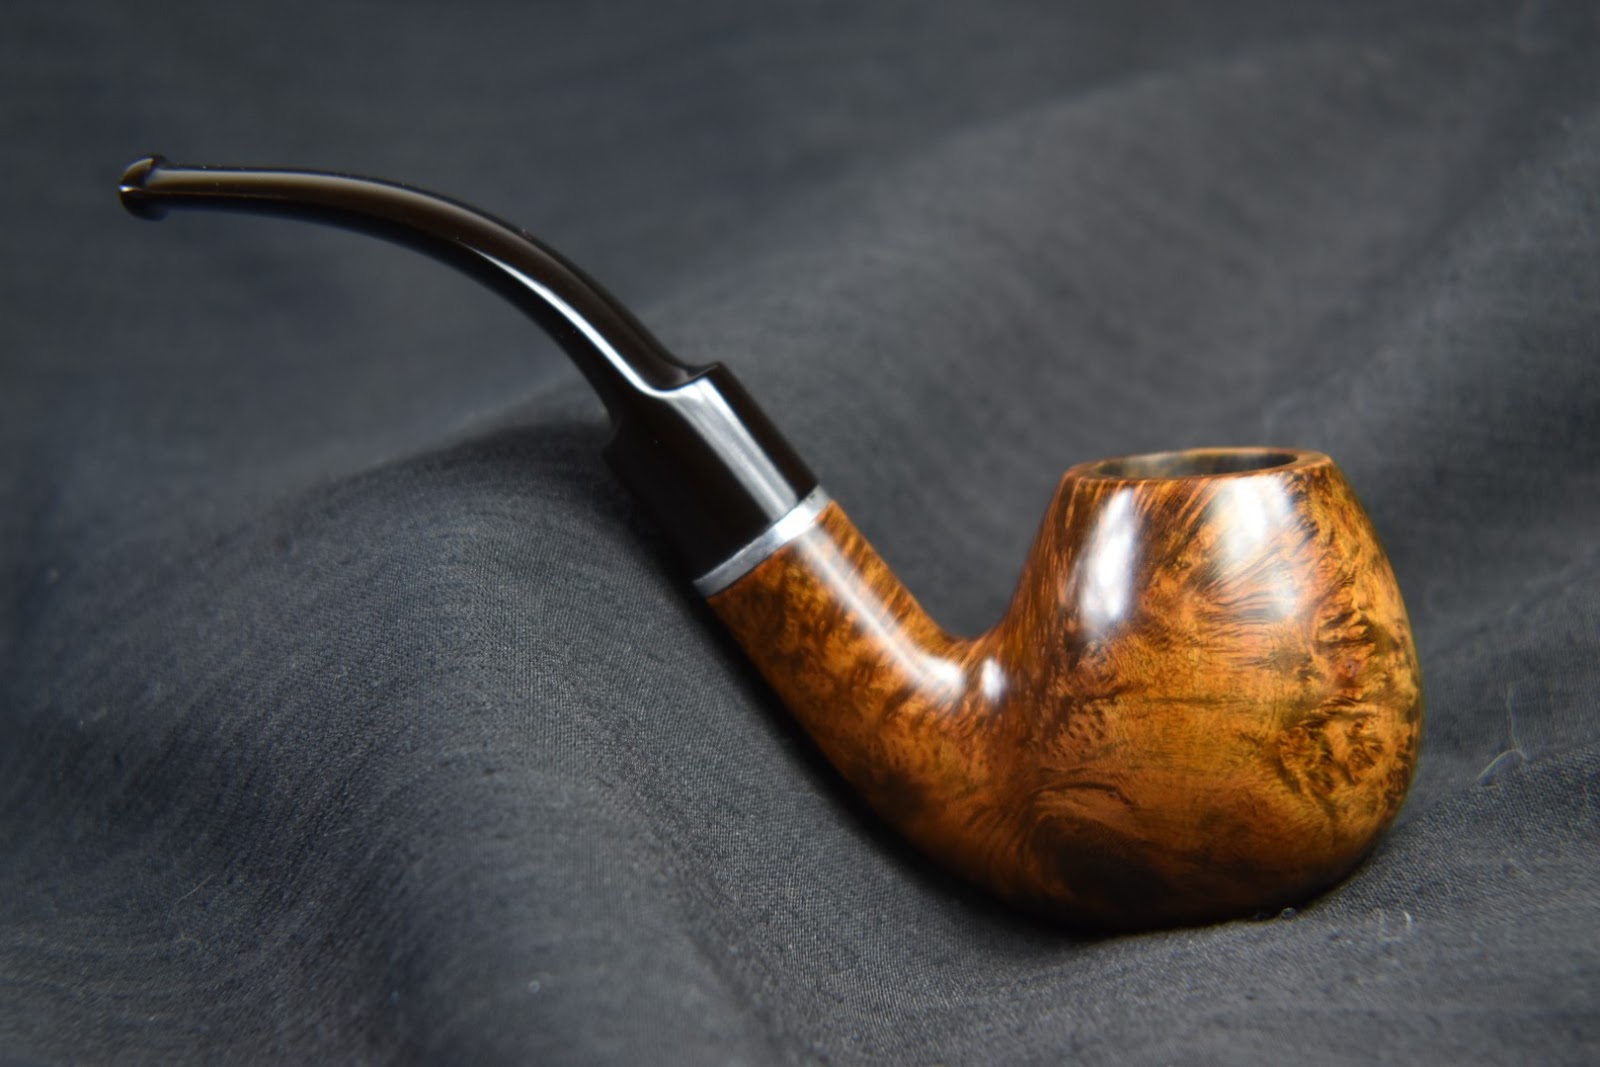
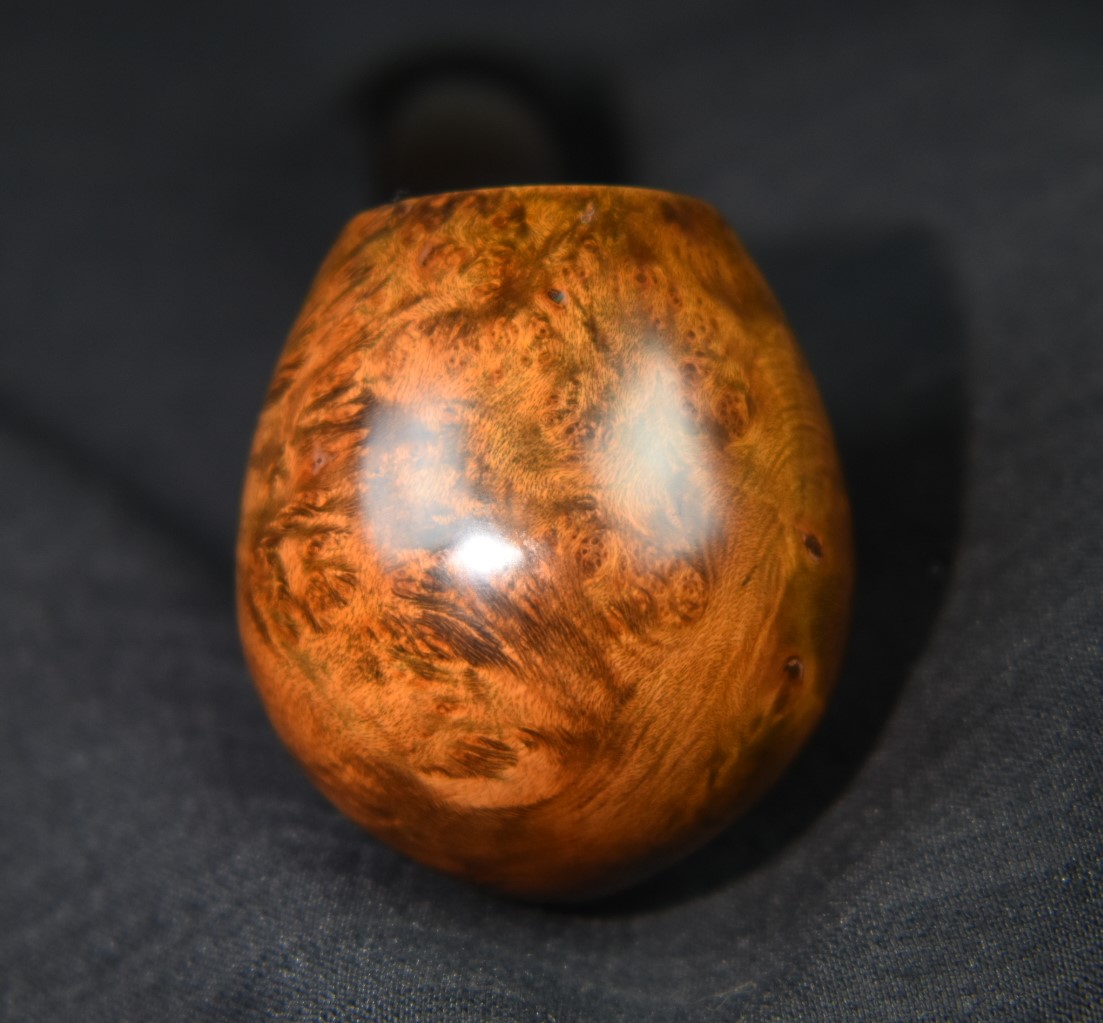
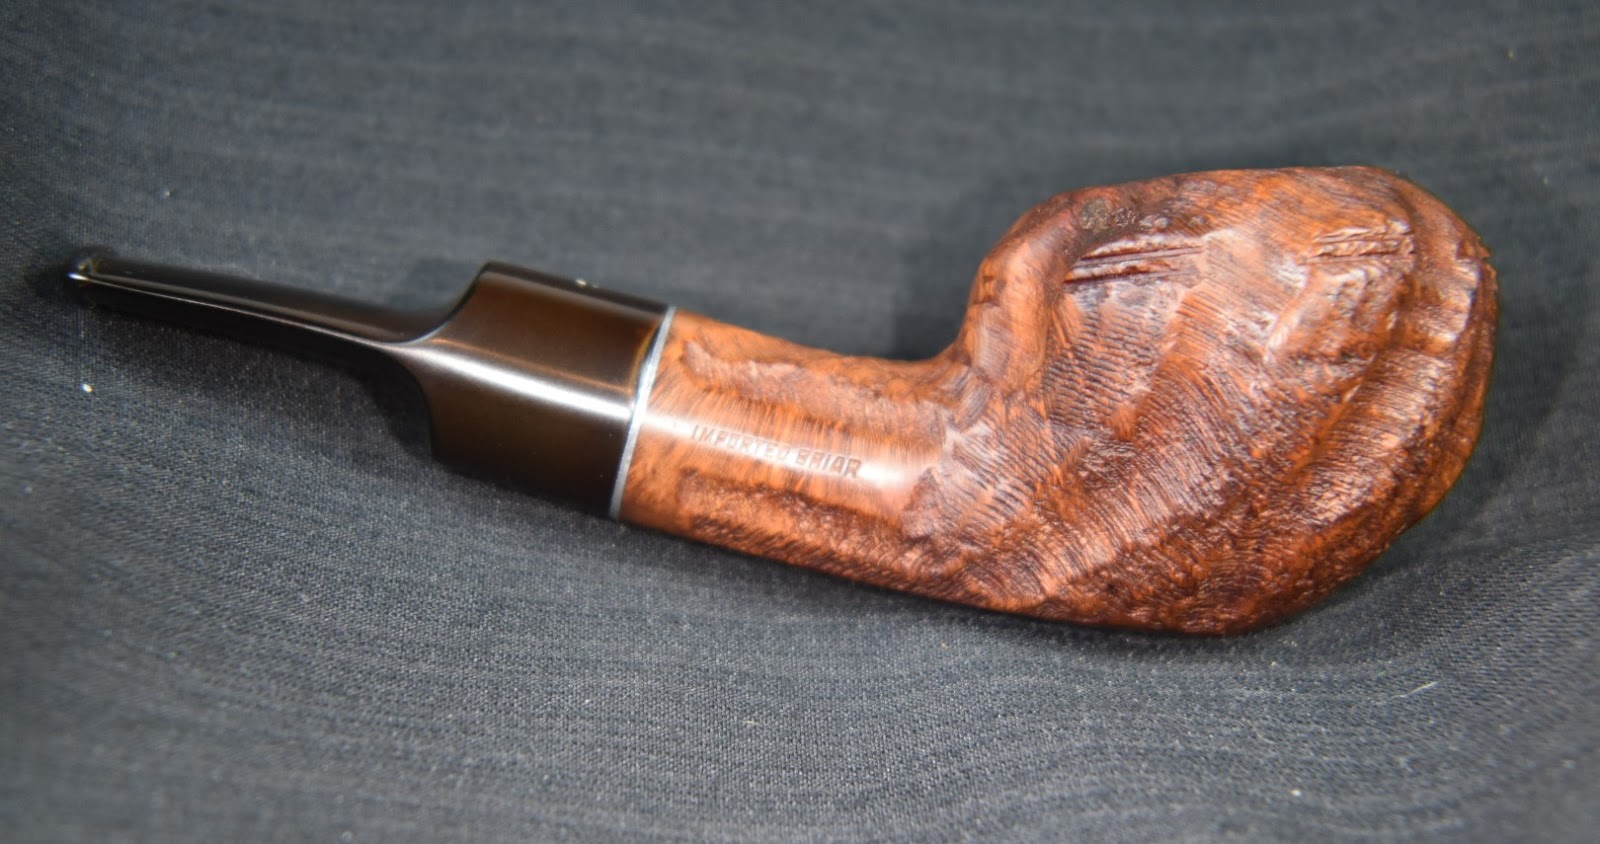
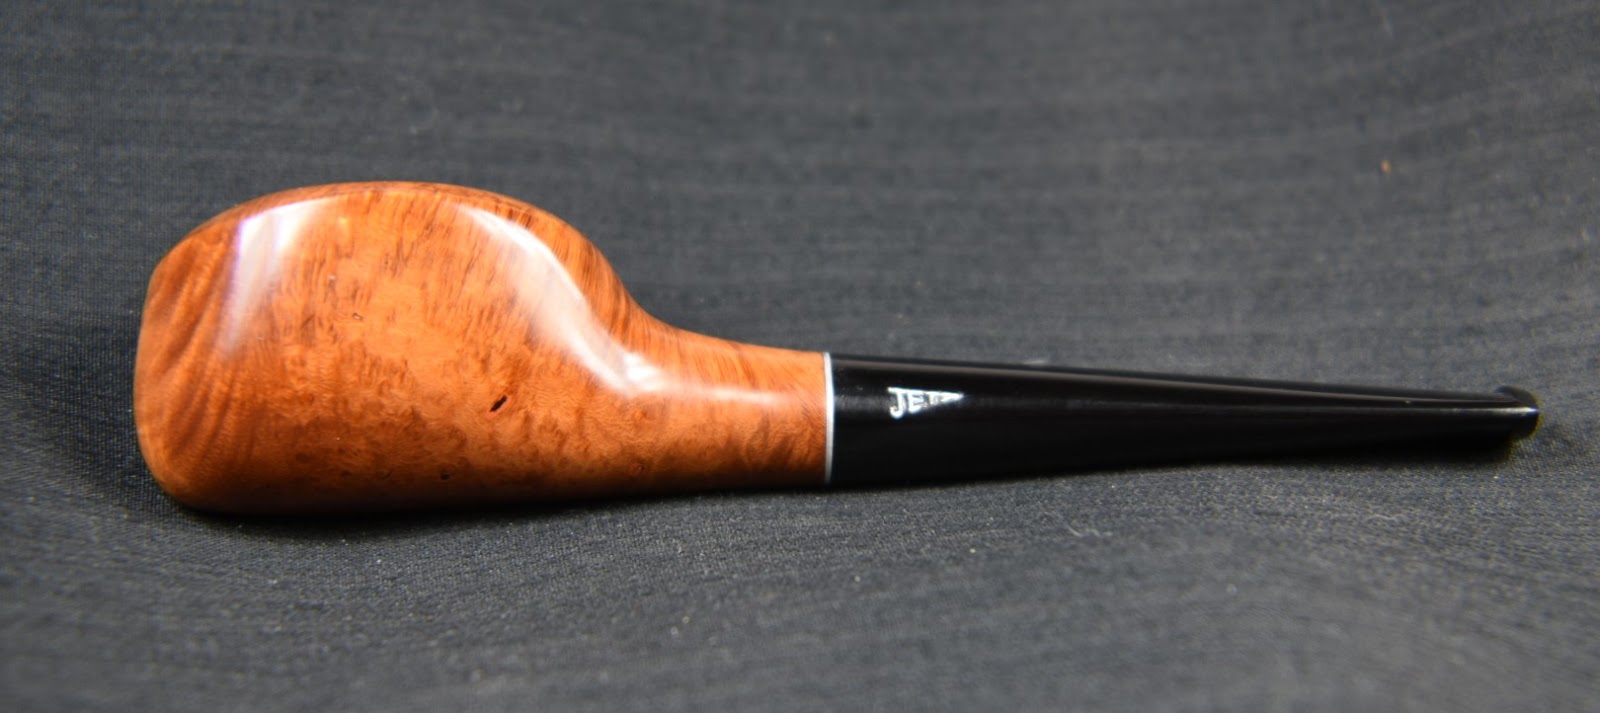
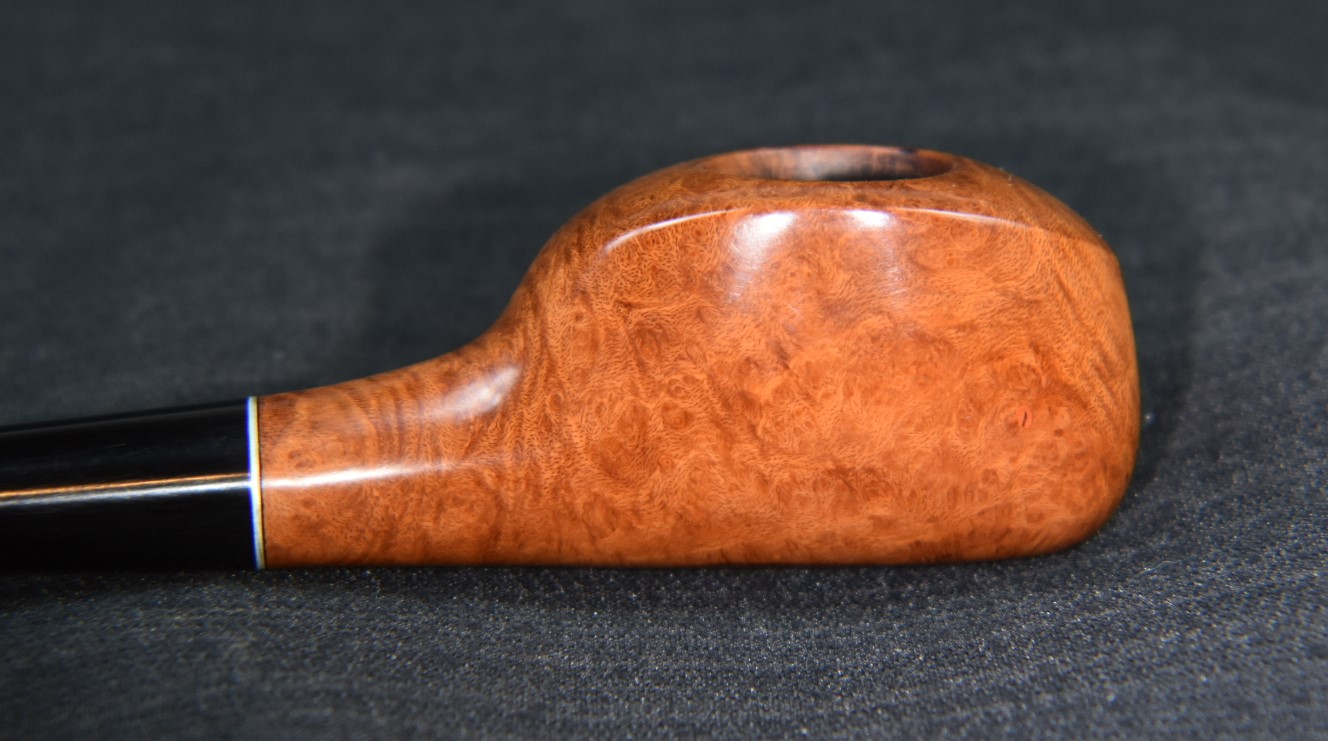
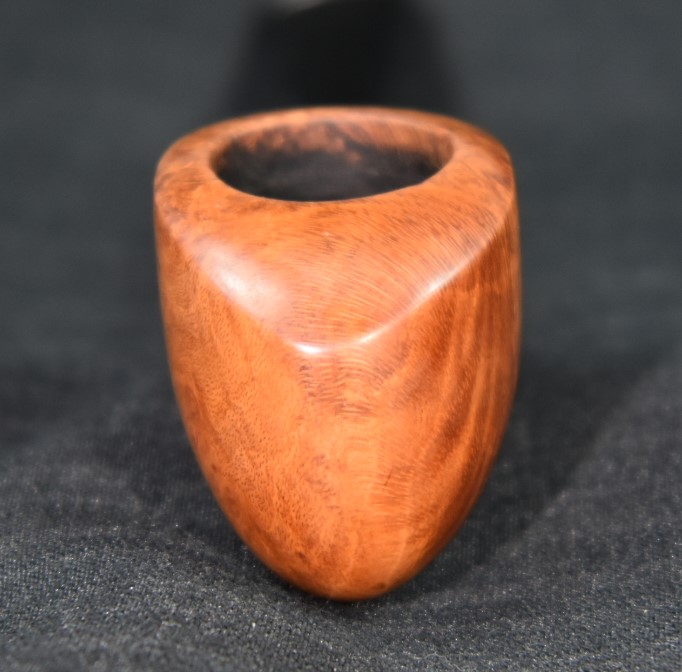
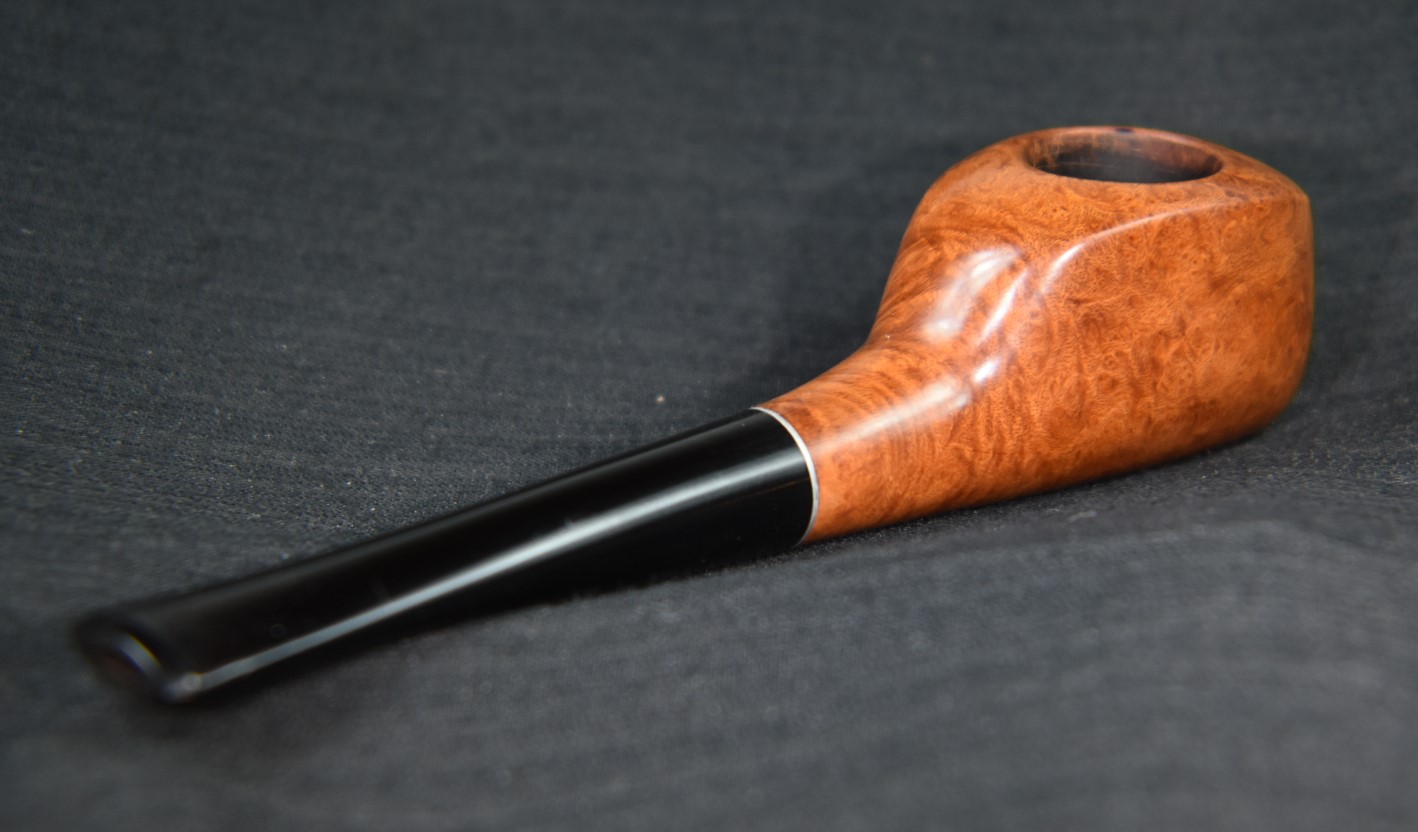
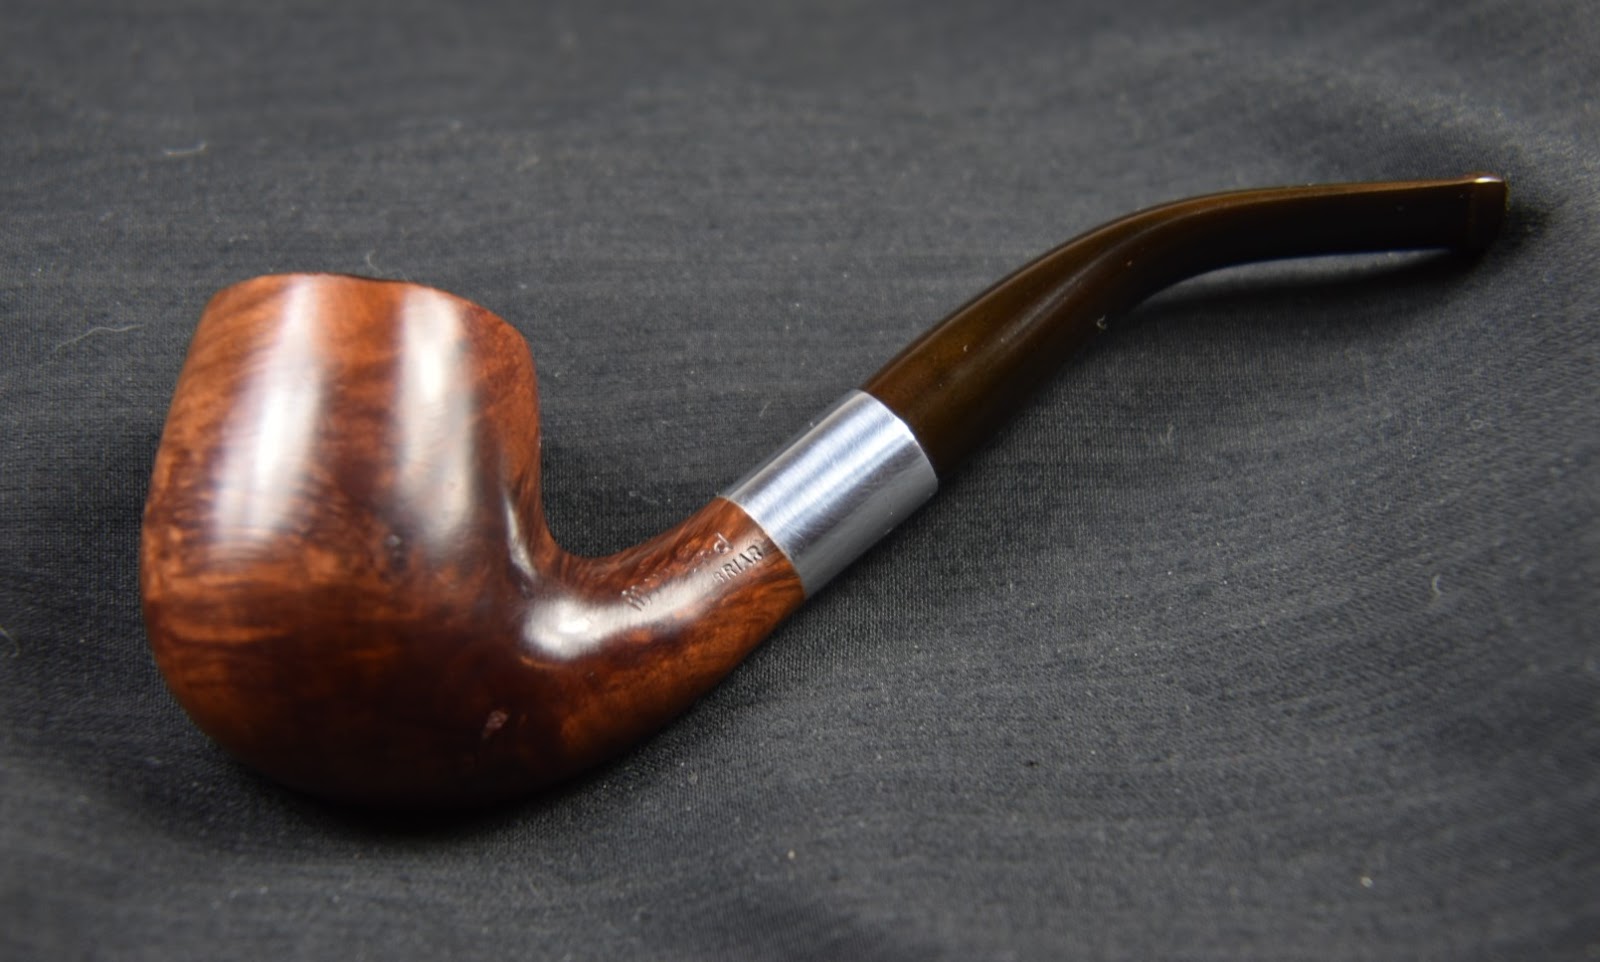
Below are some photos of the finished Savinelli Roma 677 KS.


 (
(


 (
(


 (
(
 (Photo courtesy of Steve Laug)