
Photographed and written by
John M. Young
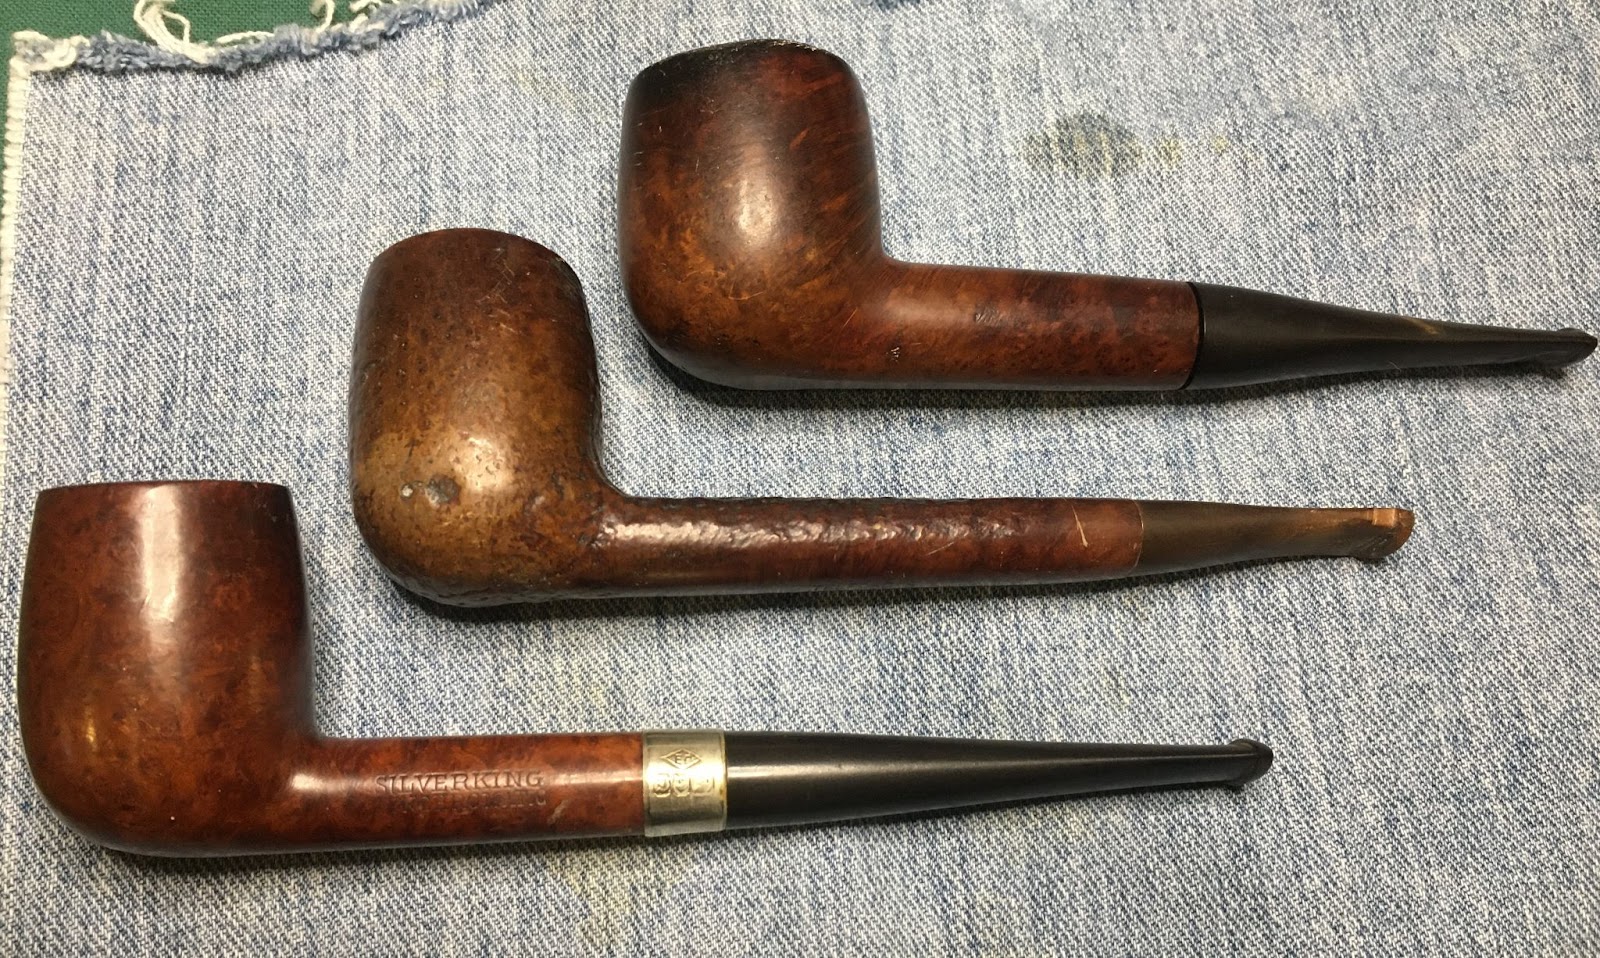
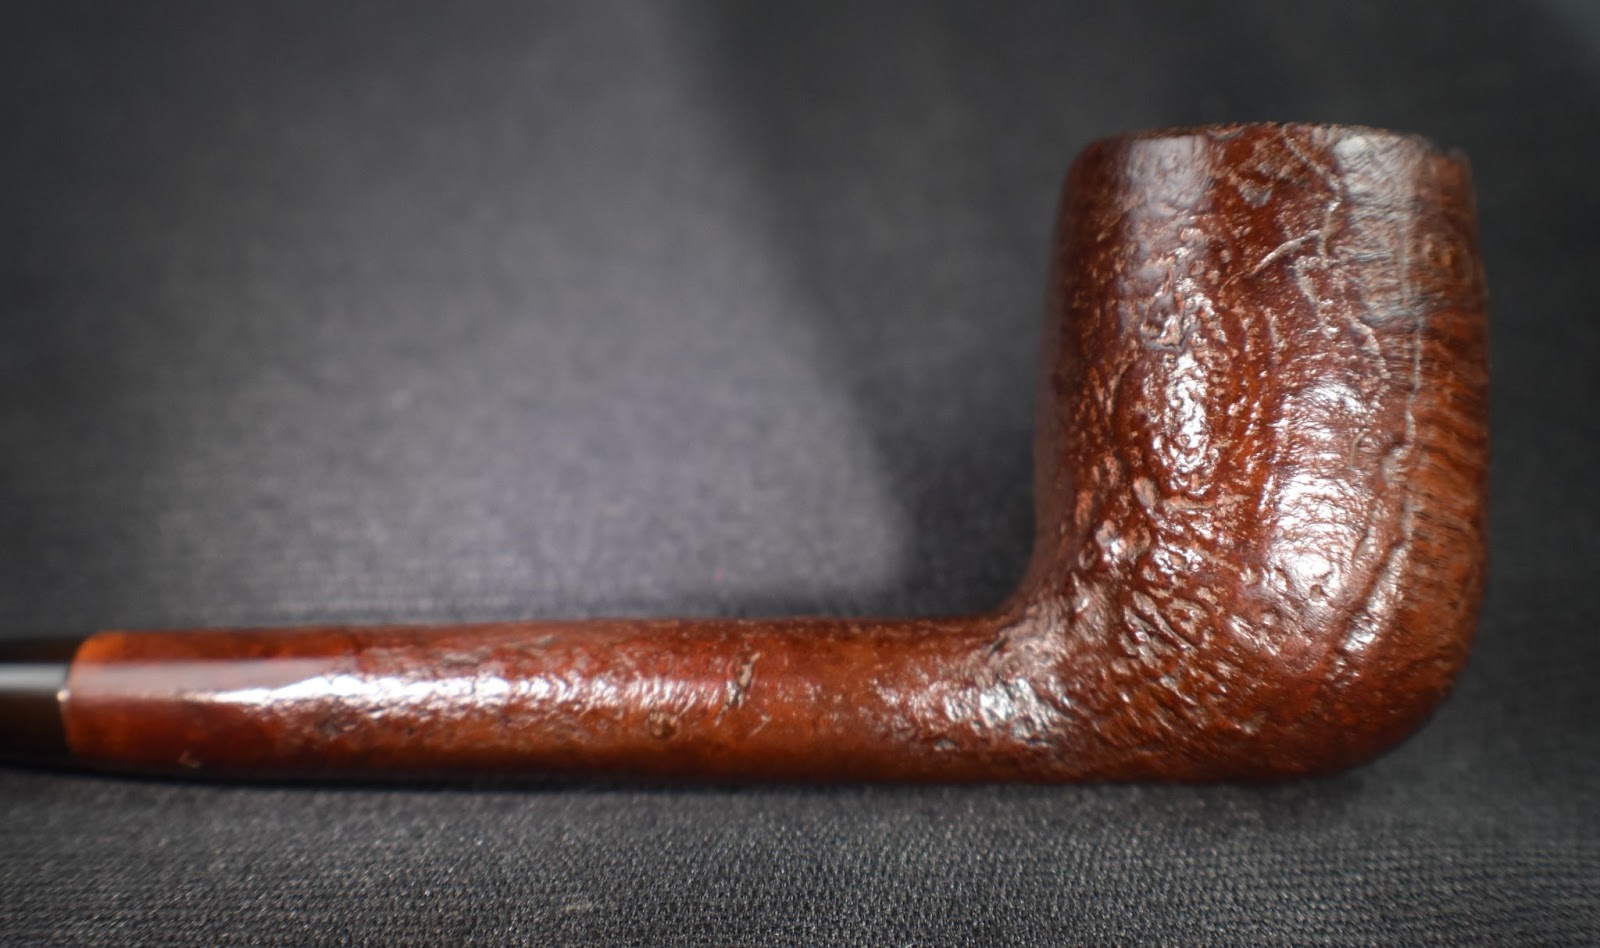
Decisions, decisions. That is what I was thinking before selecting this Telford’s Canadian for the next restoration. The SilverKing and the no-name billiard were looking for love but it all went to the Telford’s.
I have a few restoration blogs finished and scheduled for publication on Tuesday and Thursday mornings. I figured that I could try my hand at a restoration that might require some extra time and I didn’t want to feel rushed with a self-imposed deadline. This Telford’s has a cracked bowl and will be my second attempt at using the Charles Lemon pinning technique (I linked it so you can read the original).
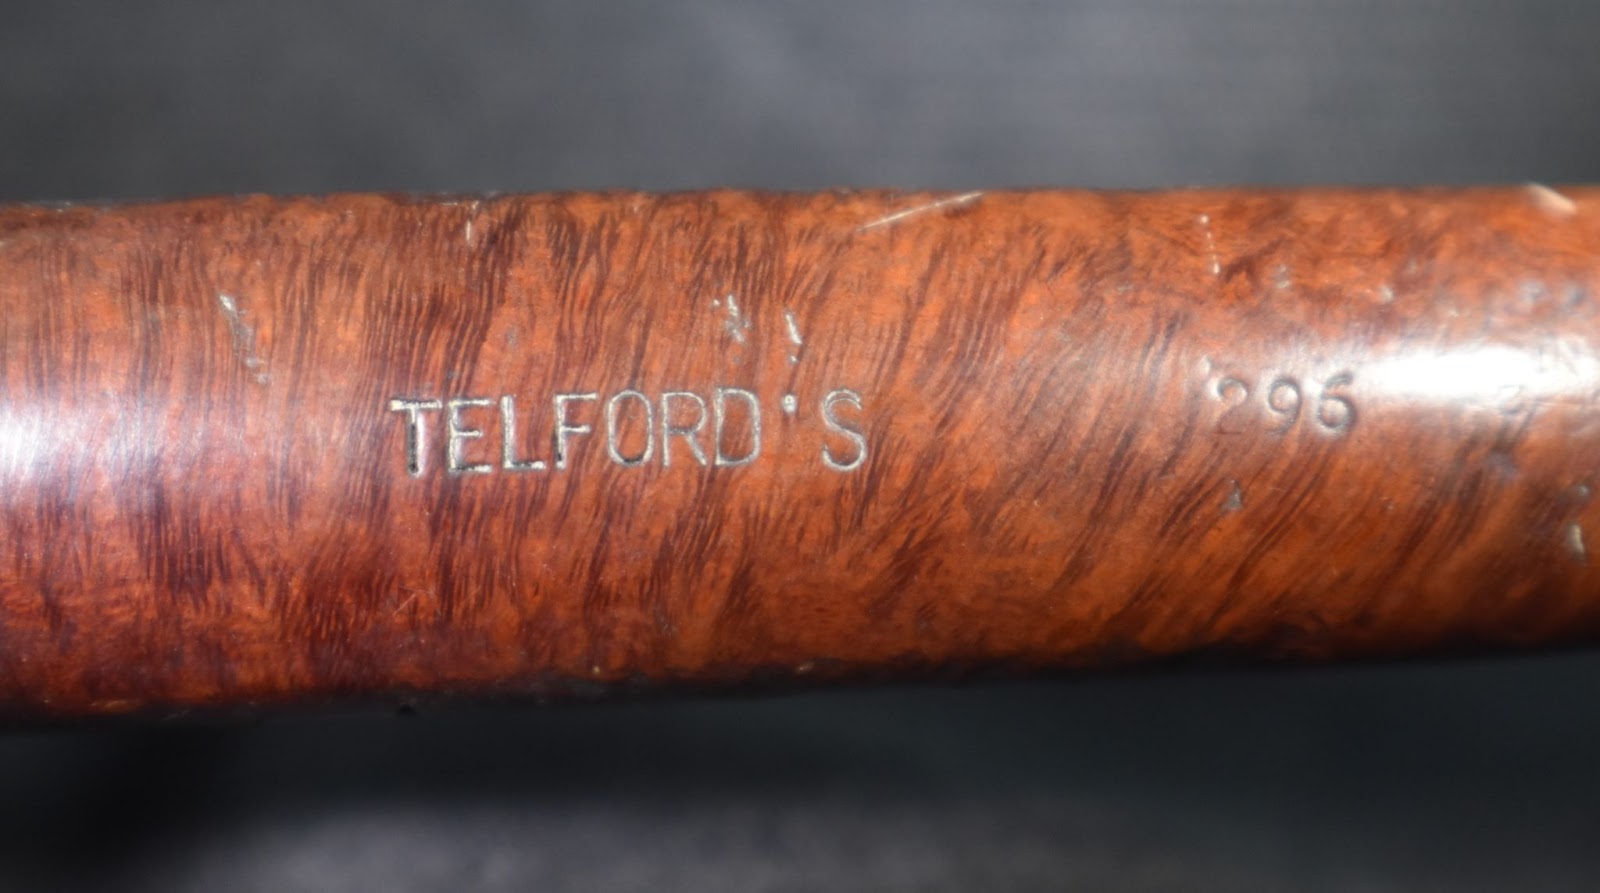
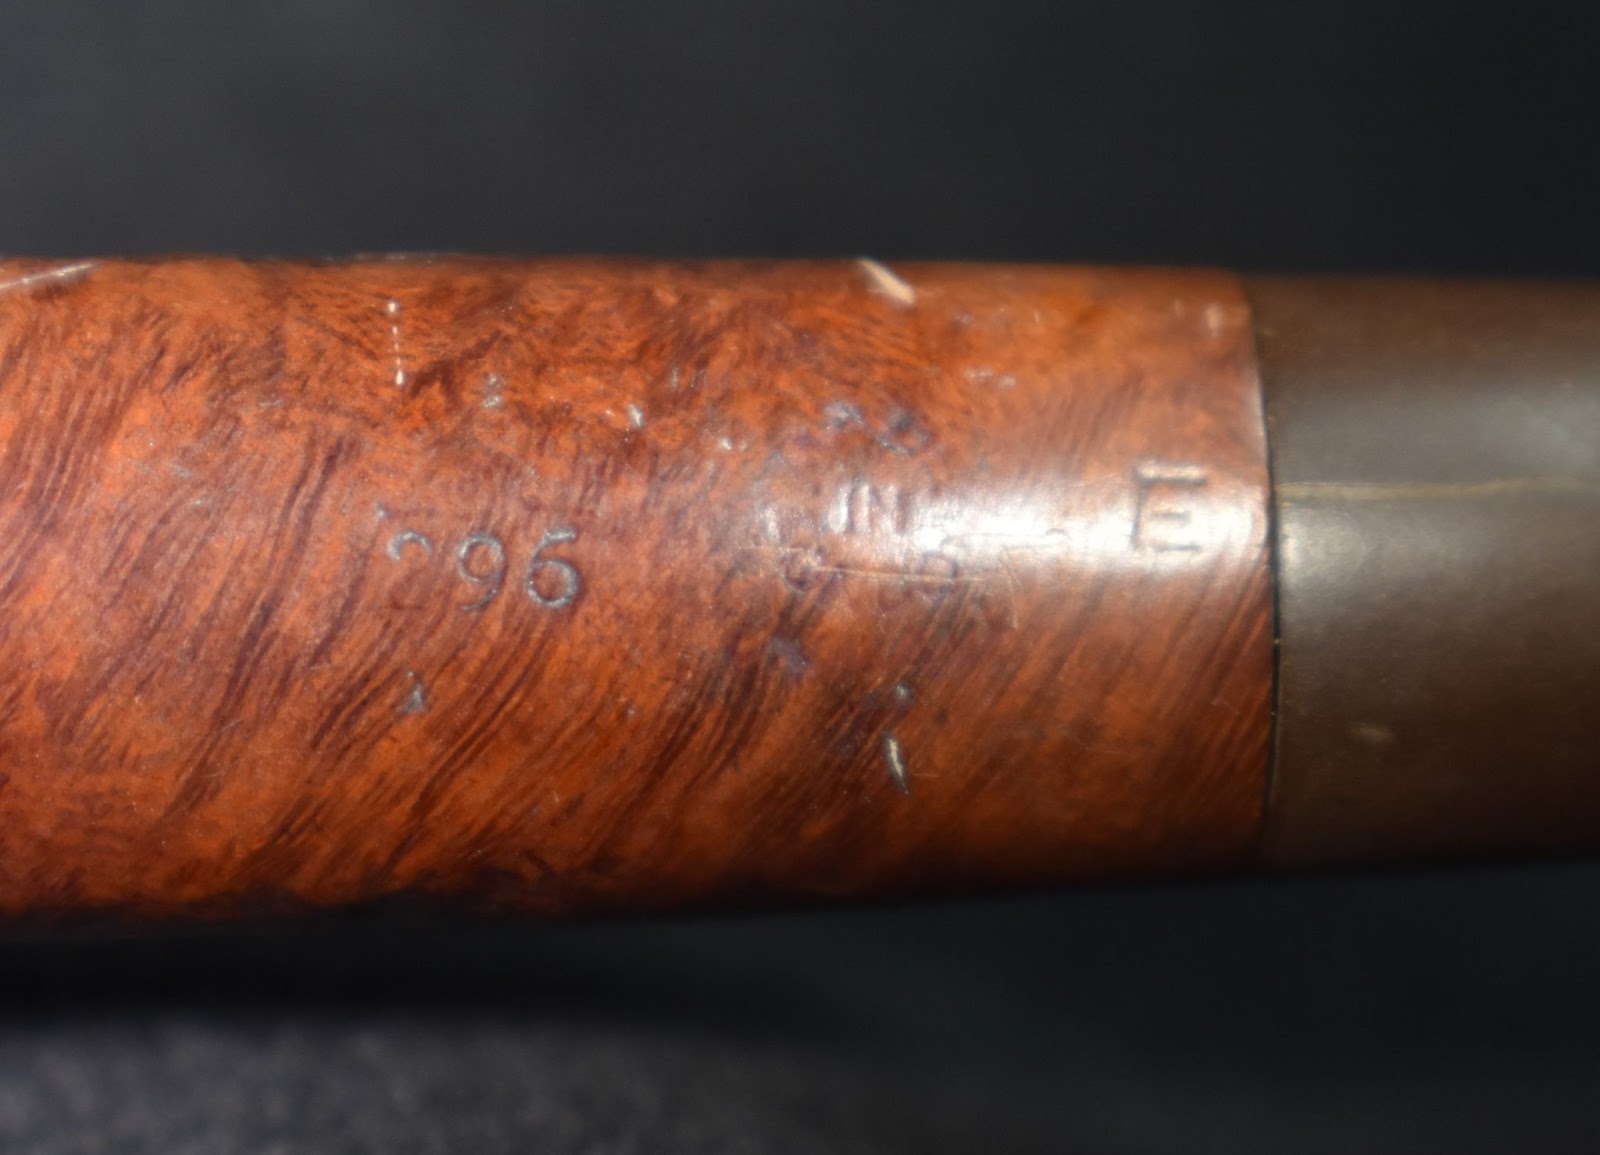
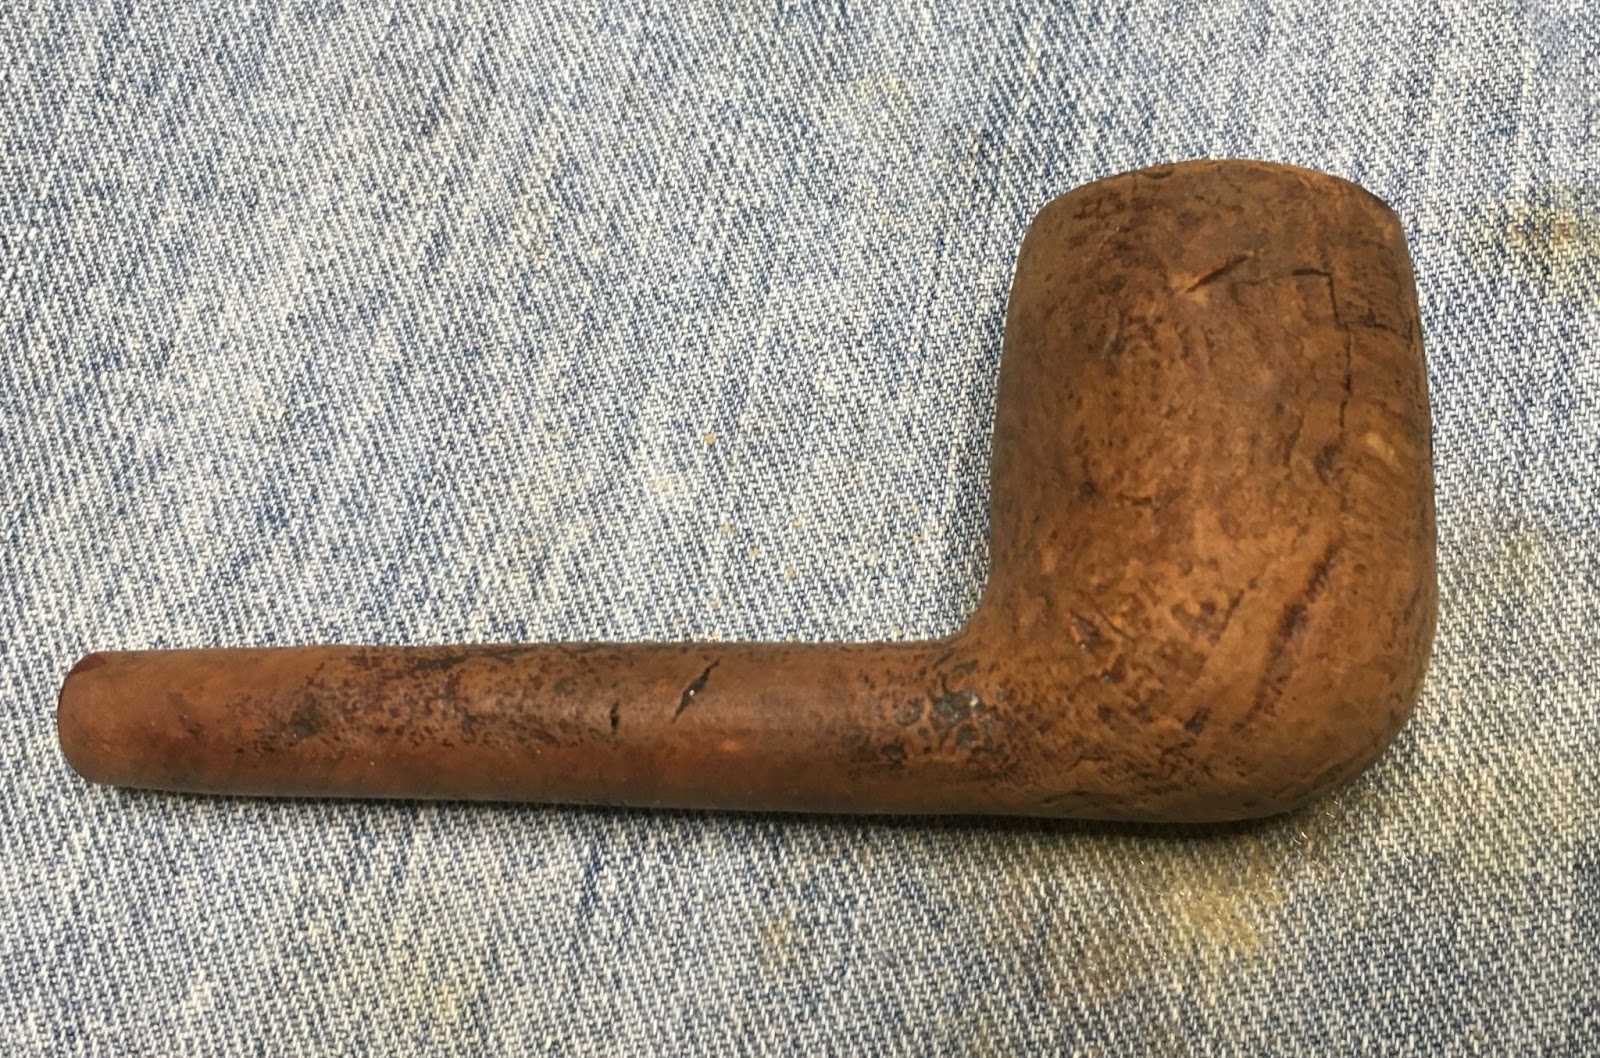
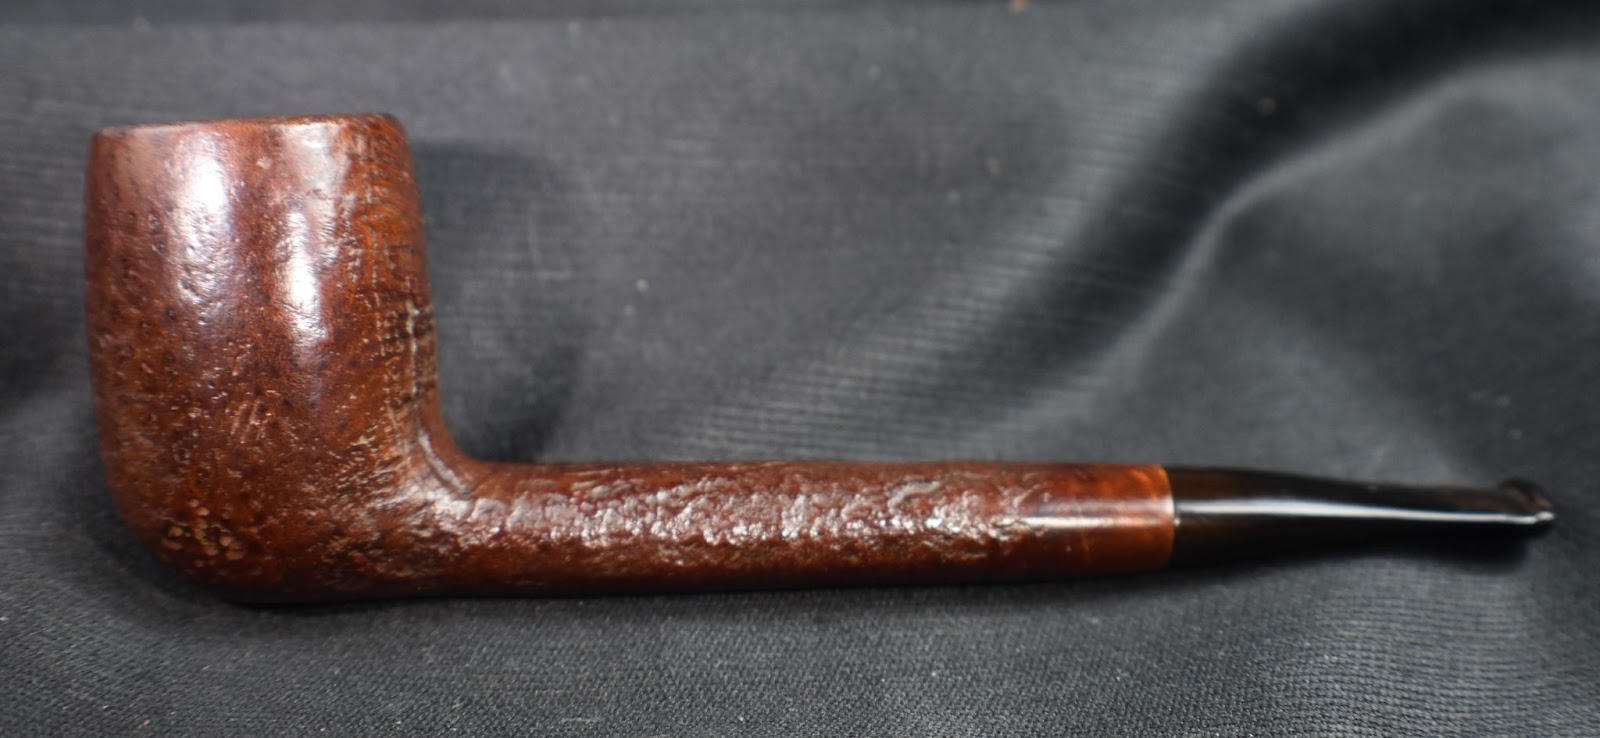
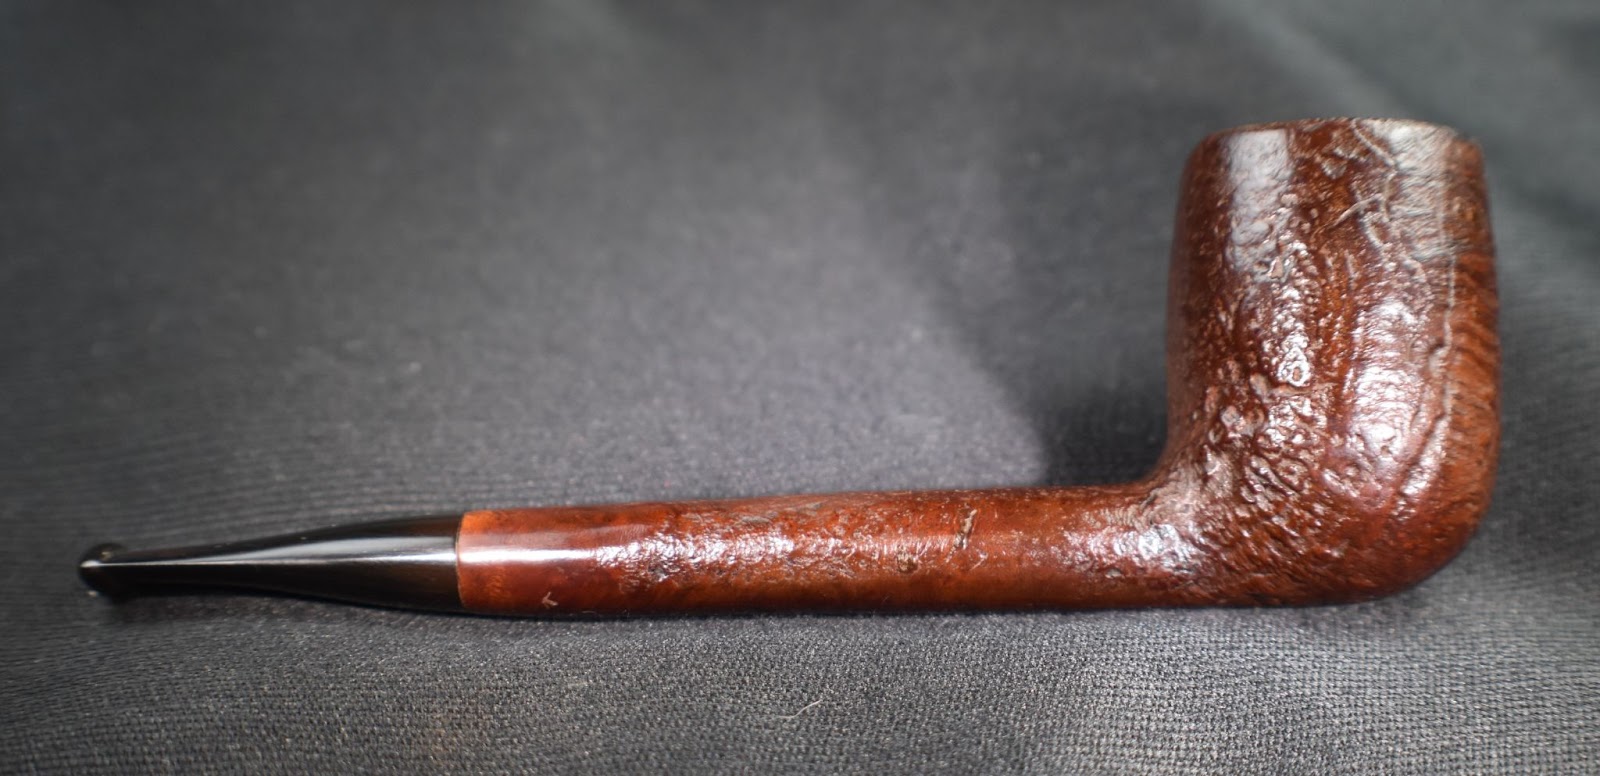
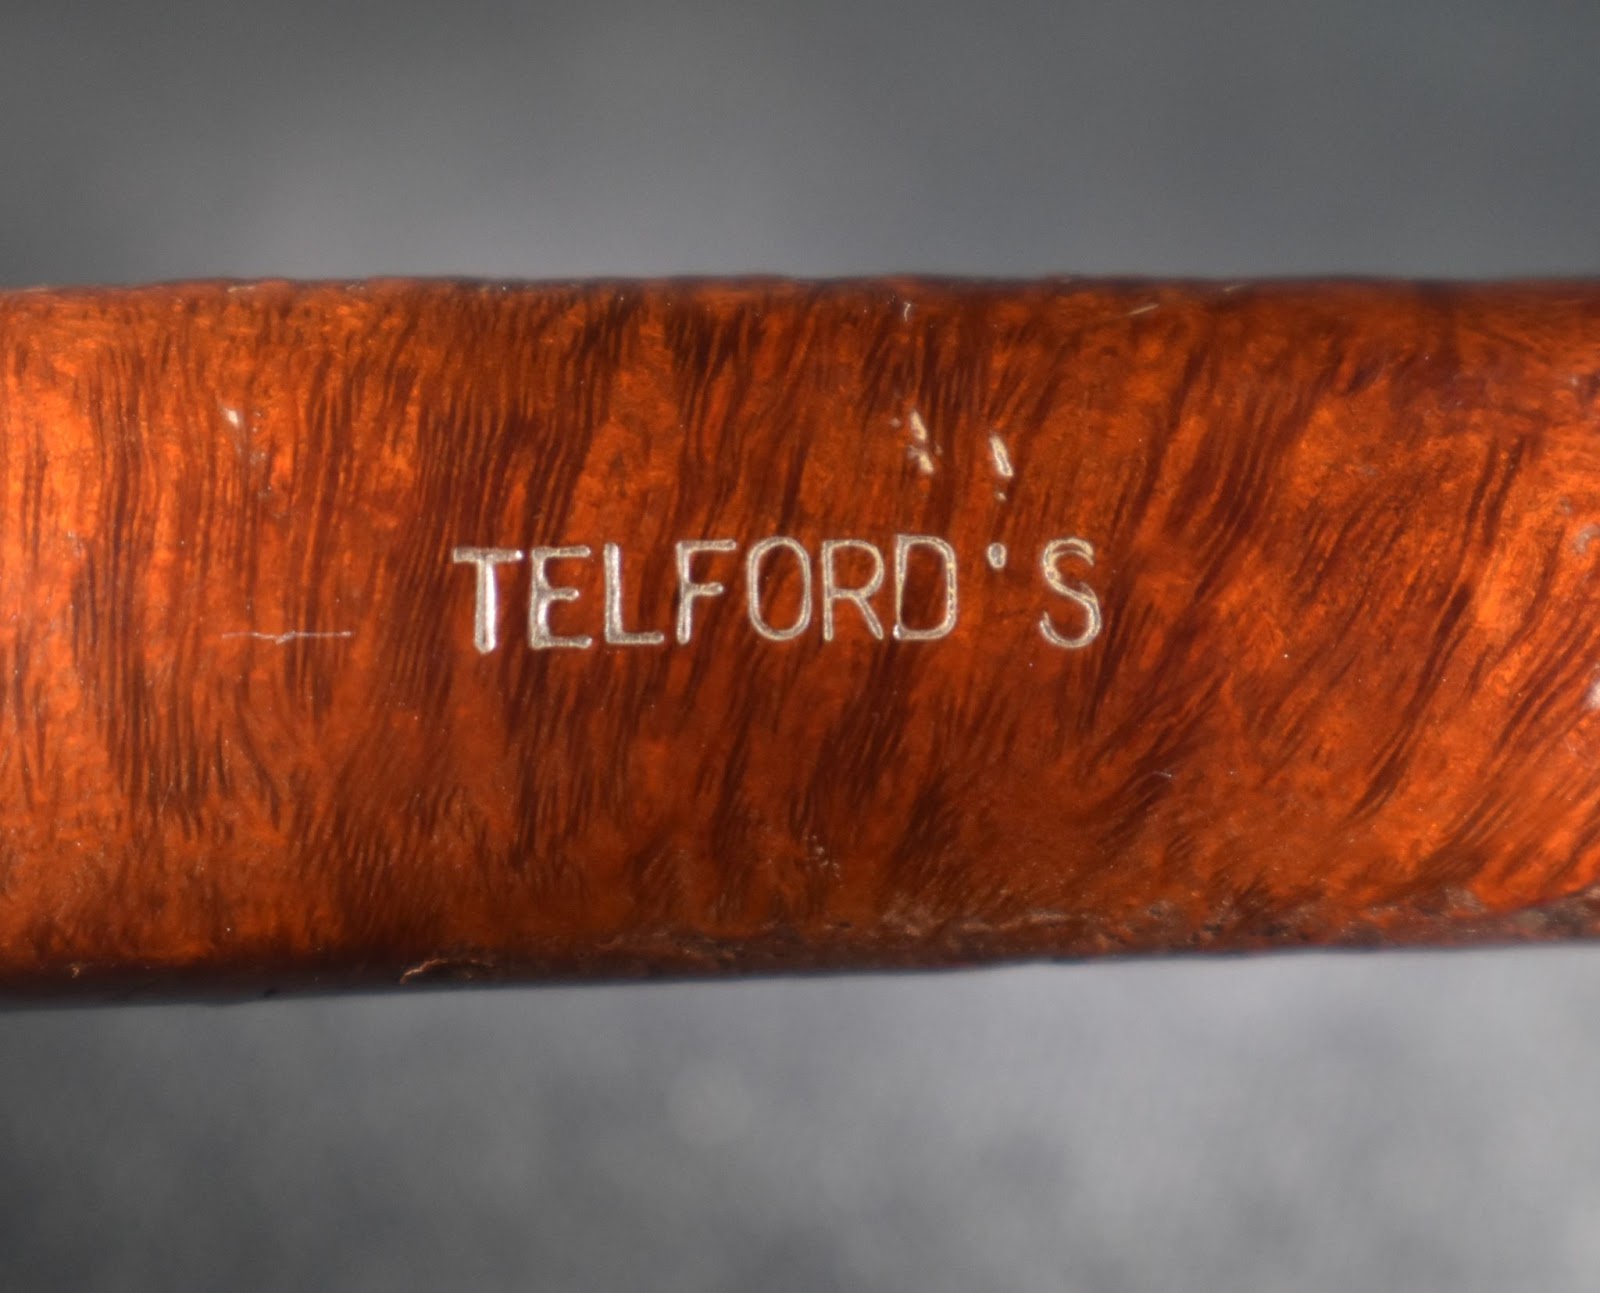
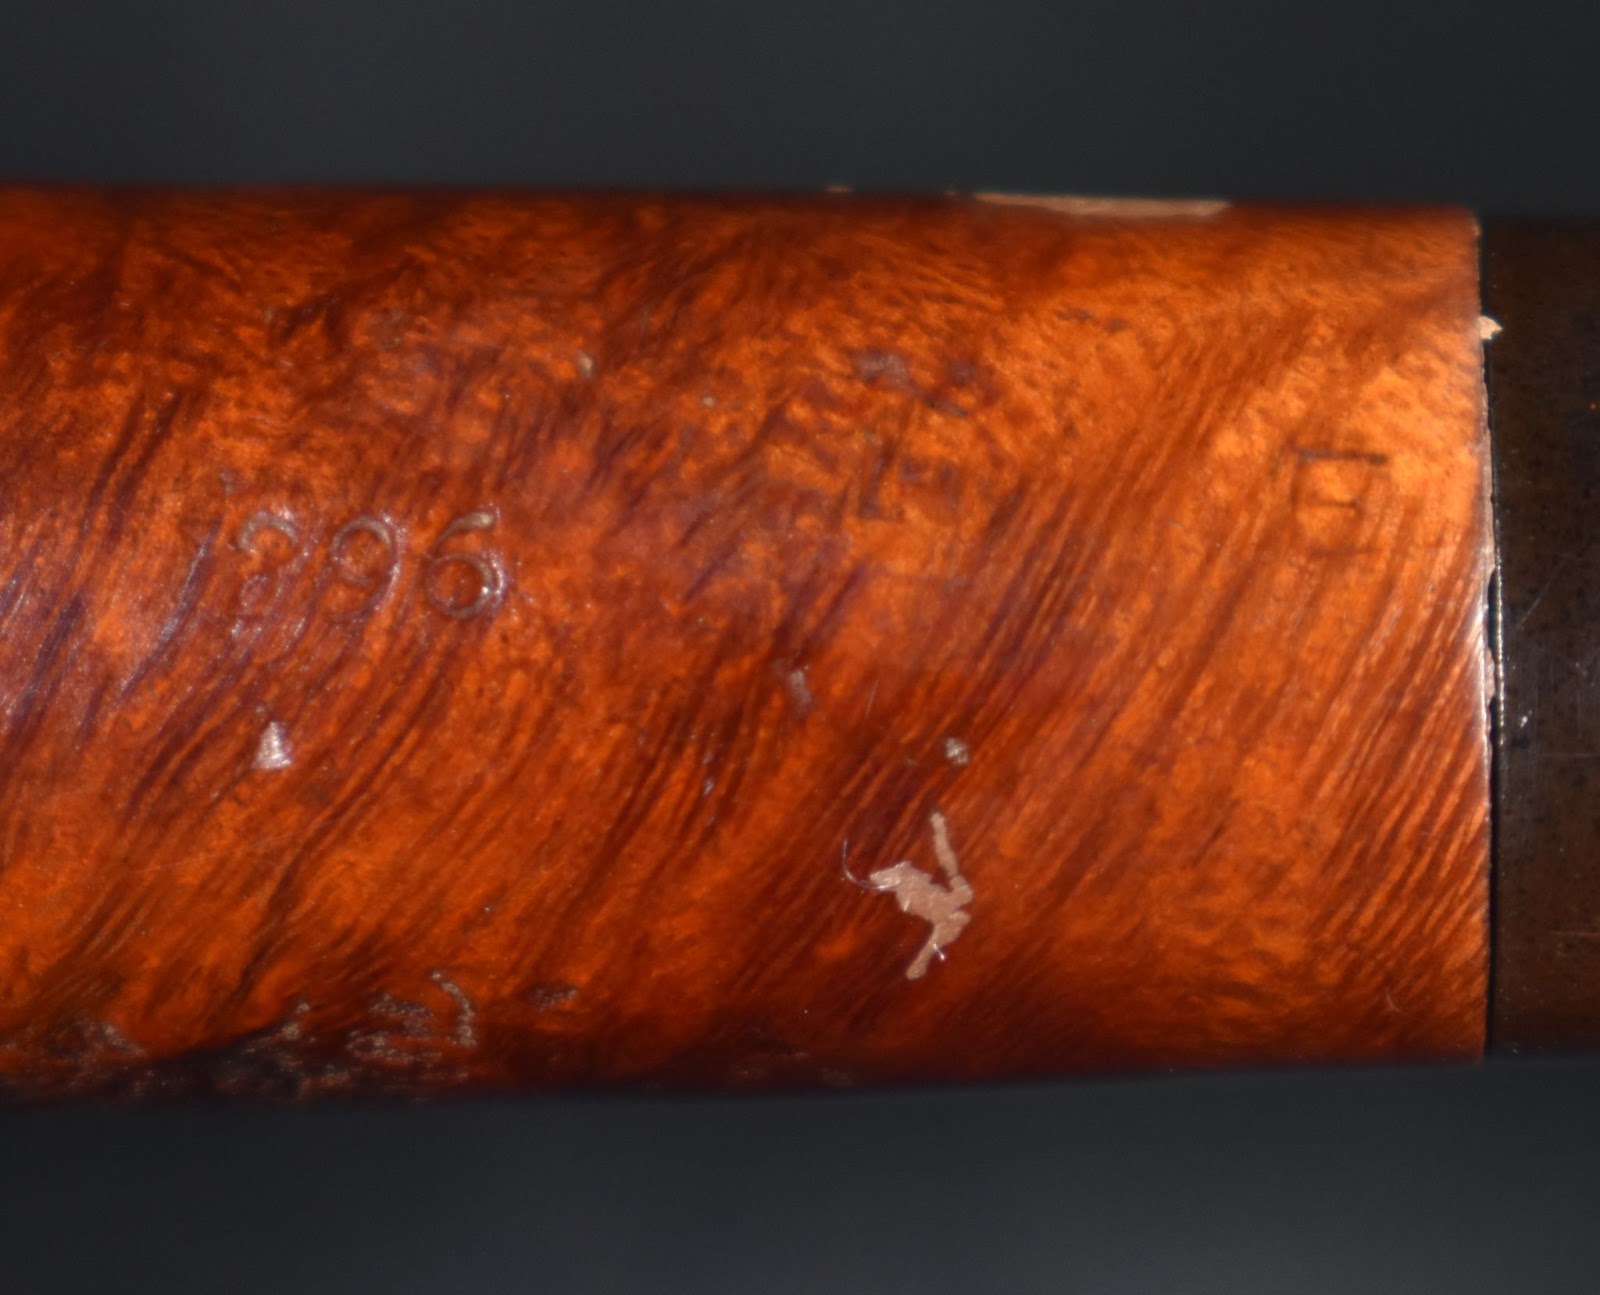
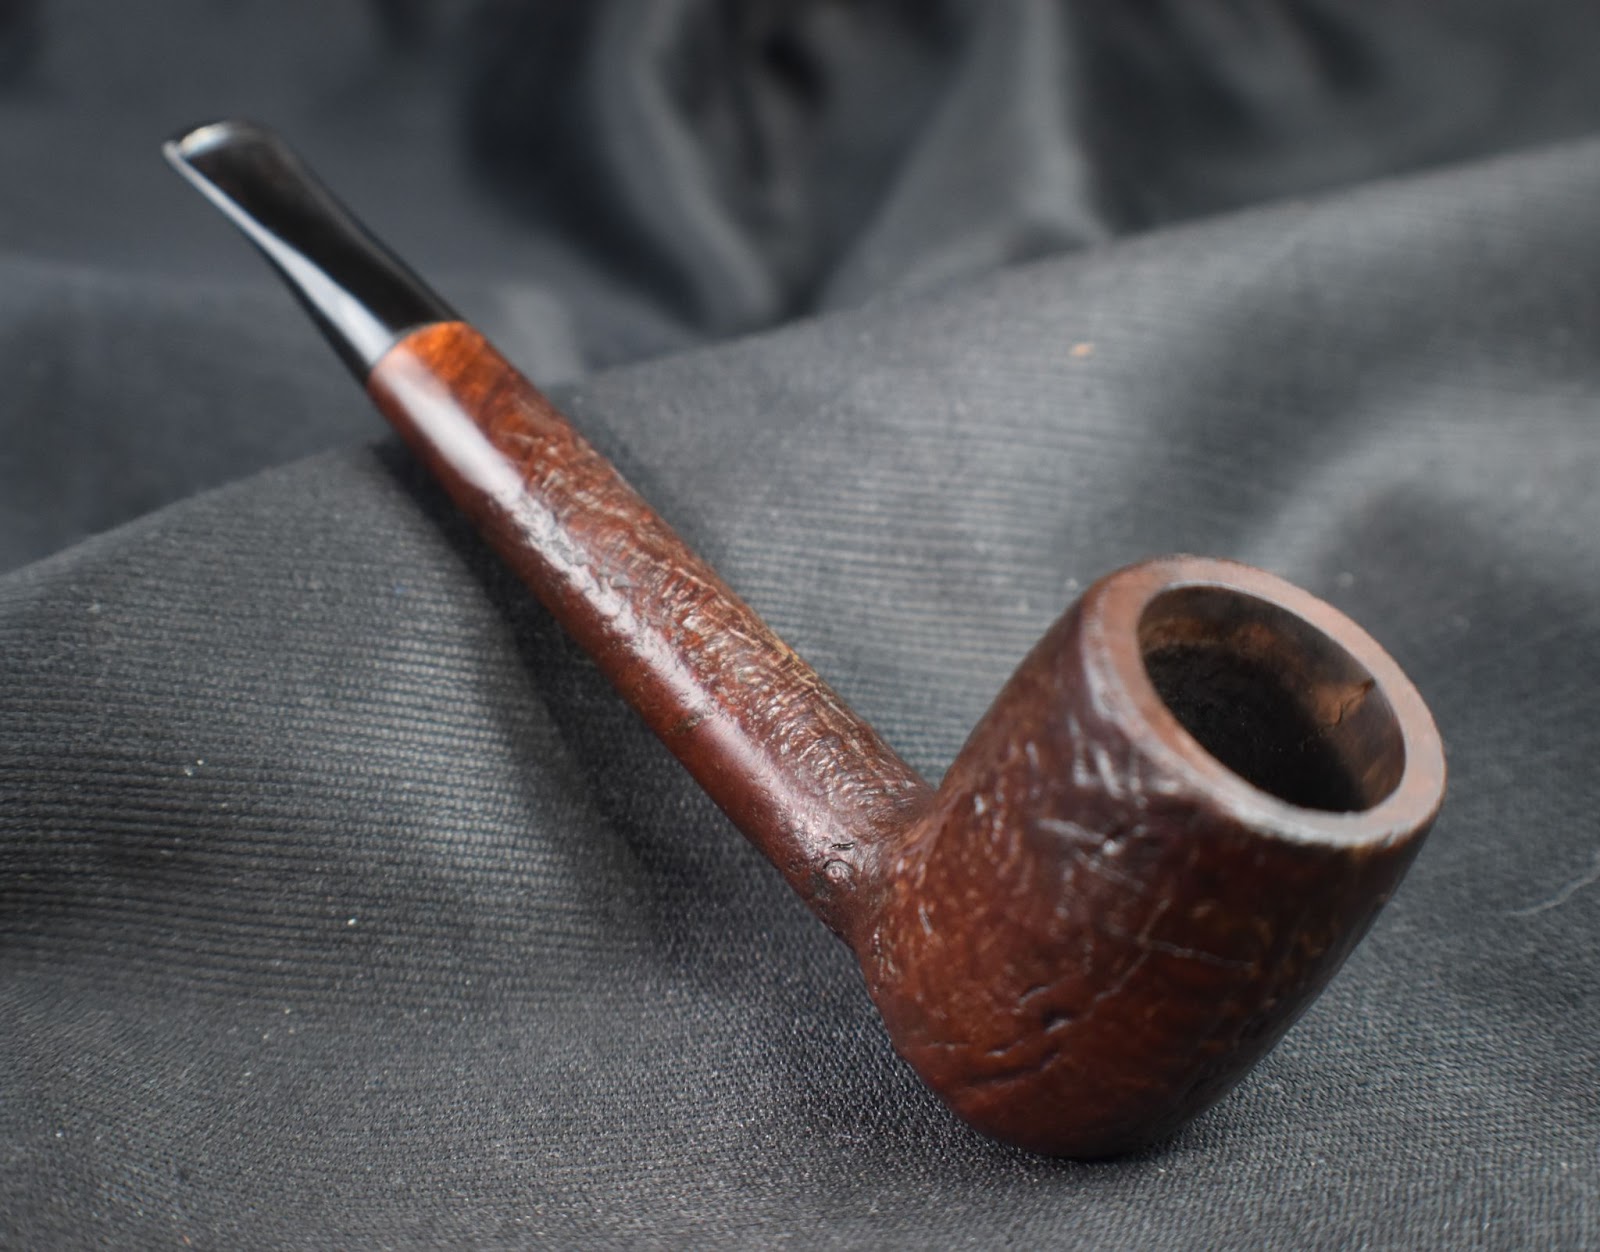
I had never heard of Telford’s as a pipe maker and assumed it to be a tobacco shop which had stamped it’s name on a pipe made by a London based pipe maker. Why London? Well, the stamps on the bottom of the shank read TELFORD”S in the center on the end of the shank by the stem there was a 296, I assumed was a shape number. There was a circular MADE over IN over LONDON with the “IN” inside the circle and the “MADE and LONDON forming the circle and an E stamped on the end of the shank. Below are some photos of the Telford’s as it appeared prior to work being done.


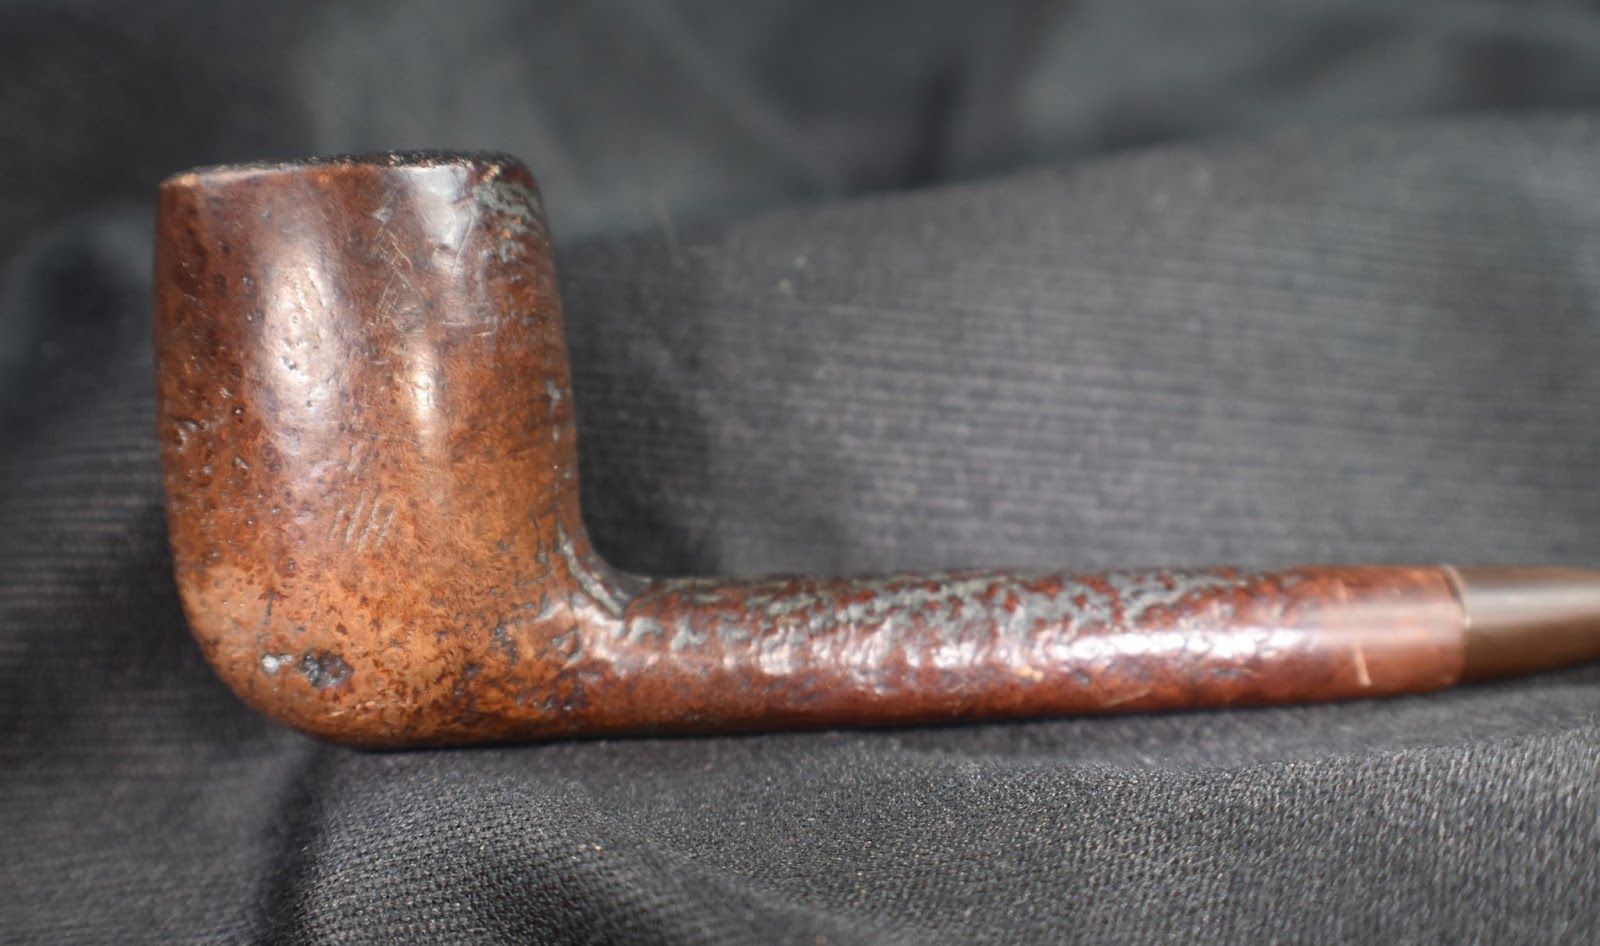


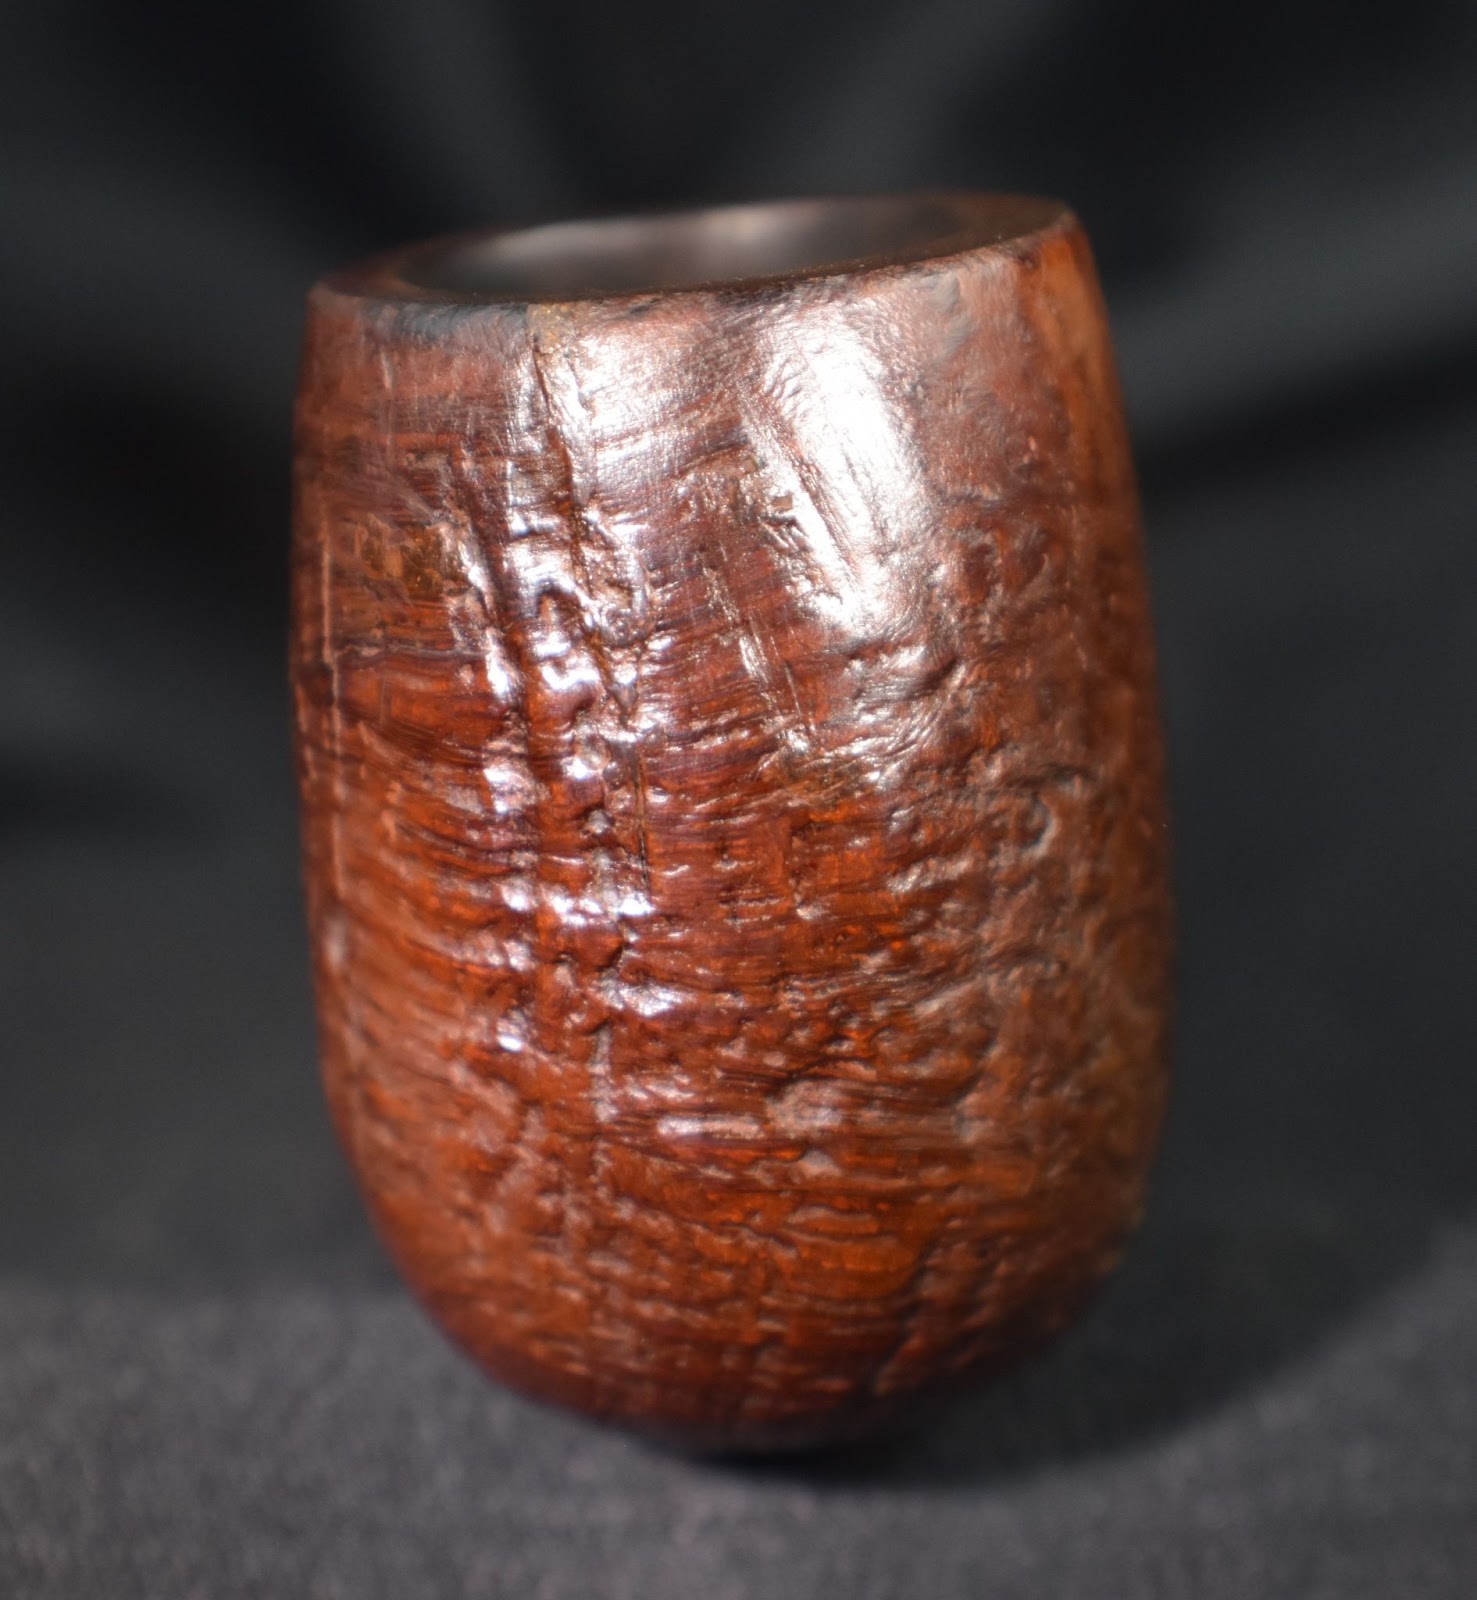
Oh yeah, some serious work would be required to get this old girl back into the game. Obviously there was the cracked bowl to repair. There were some big fills to be made on the left heel area and the right shank. The stem was severely oxidized with some deep tooth imprints and a layer of calcium. The bowl itself was caked with carbon and the subsequent lava flow onto the rim.
Background
Normally the first place I go when researching a brand is to pipedia.org. The search for “Telford’s” met with “no results matching the query”. Strike one. The second place I usually visit is pipphil.eu. Here the “Telford’s” search led me to the following:

(Te — Pipes: Logos & Markings (pipephil.eu)). Well, at least it wasn’t a total bust. I could find no sign of a present or worn “T” on the stem. There was scant information to go on, though. A quick Google.com search of Telford’s did come across a Telford’s Pipe and Cigars, Inc., located at 664 Redwood Highway, Mill Valley, CA 94941. That was quite specific. The website included this at the bottom, “Copyright © 2012 – 2013 – All Rights Reserved.” By the look of things like events and photos the site had not been updated from the 2012-2013 dates. When I perused their “About us” page, I found that in 2012-2013 Brian & Susie Telford were the owners and that the shop had been in business for 30 years. Now, I was a science teacher, not math but my limited skills would deduce that the shop opened in the 1980 or thereabouts. I vowed to call during business hours the next day. On the “Events” page, again not updated since 2012-2013, there was mention of a Golden Gate Pipe Club who met at Telford’s on October 4, 2012 for their monthly meeting. A search for “Golden Gate Pipe Club” led to a Facebook page. This page was also from 2012 and showed a meeting at Telford’s on October 4, 2012. I am assuming that it would have been the first Thursday of the month with a stated time of 8:30-10:00.
A further check of Telford’s Pipe and Cigars, Inc. showed that there was an active Facebook page (https://www.facebook.com/events/telfords-pipe-cigar/golden-gate-pipe-club/159196560885720/).
One question remained, who made this pipe? I started with Comoy’s due to the fact that I had seen a couple of mentions of Comoy’s pipes on Telford’s website. Comoy’s shape chart from pipedia.org verified that the 296 shape was indeed a Canadian.


(https://pipedia.org/wiki/Comoy%27s_Shape_Number_Chart). That was enough proof for me. Using the Telford’s shop website as a timeline source the pipe was made from the early 1980s-present. The pipe did appear to have been heavily used with worn sandblast and heavy oxidation so I assumed it was used heavily during the 1980s and 1990s. That call to Telford’s might provide a more narrow date.
I was able to contact Brian Telford at his shop and he was quite gracious with his time. He said that this pipe would have been for the 1970-1980s. During this time Comoy’s would offer lots, usually a gross, of their “seconds”. These were pipes that had imperfect blasts or fills which made them ineligible for sale as “Comoy’s” pipes. Mr. Telford explained that Comoys made a stamp for Telford’s and stamped the pipes for the shop (personal communication with Brian Telford 7-30-2024).
This narrowed down the maker and date of production of this Telford’s 296 Canadian made by Comoy’s of London. Now it was time to return this old girl to service.
The Restoration
The restoration began with a light buffing of the stem with 0000 steel wool to remove the calcium and outermost oxidation.

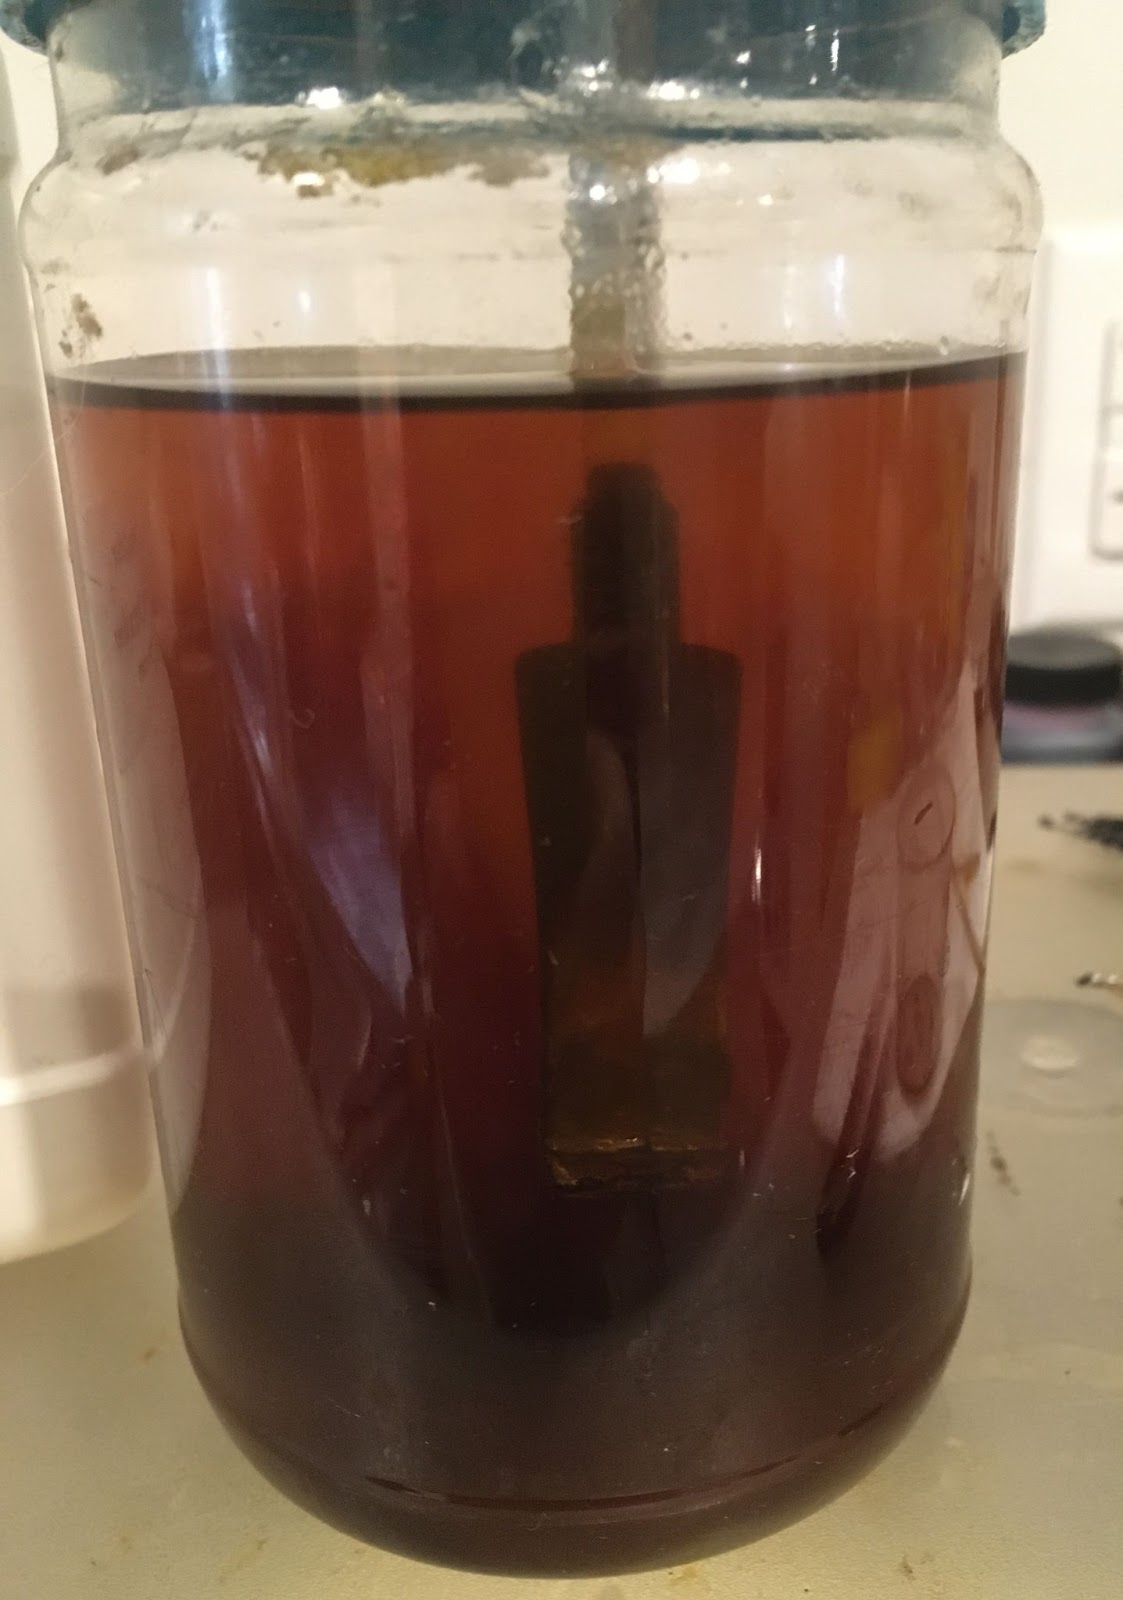
A pipe cleaner was inserted into the tenon end of the stem as a hanger and the pipe was placed into Before and After Extra Strength Deoxidizer. And allowed to soak overnight.

The reaming tools were assembled and put to work.
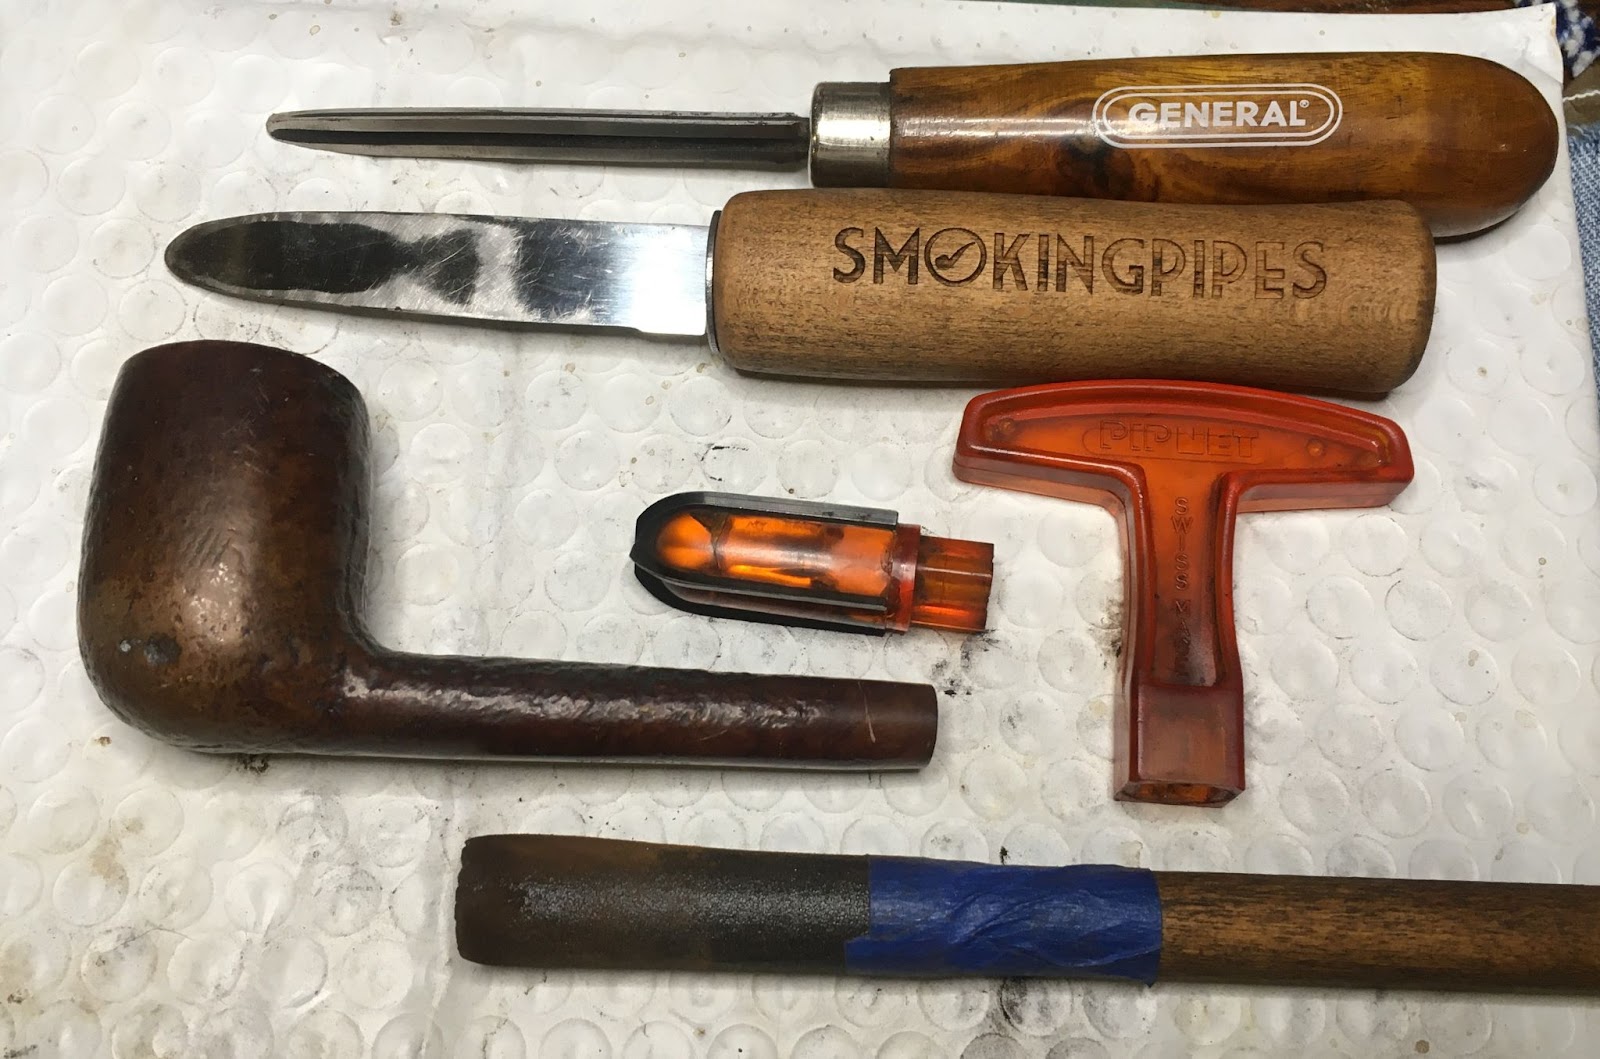
The PipNet with its #2 blades did most of the reaming. The #3 blades were too large and the tobacco chamber needed a good deal of scraping after the PipNet.


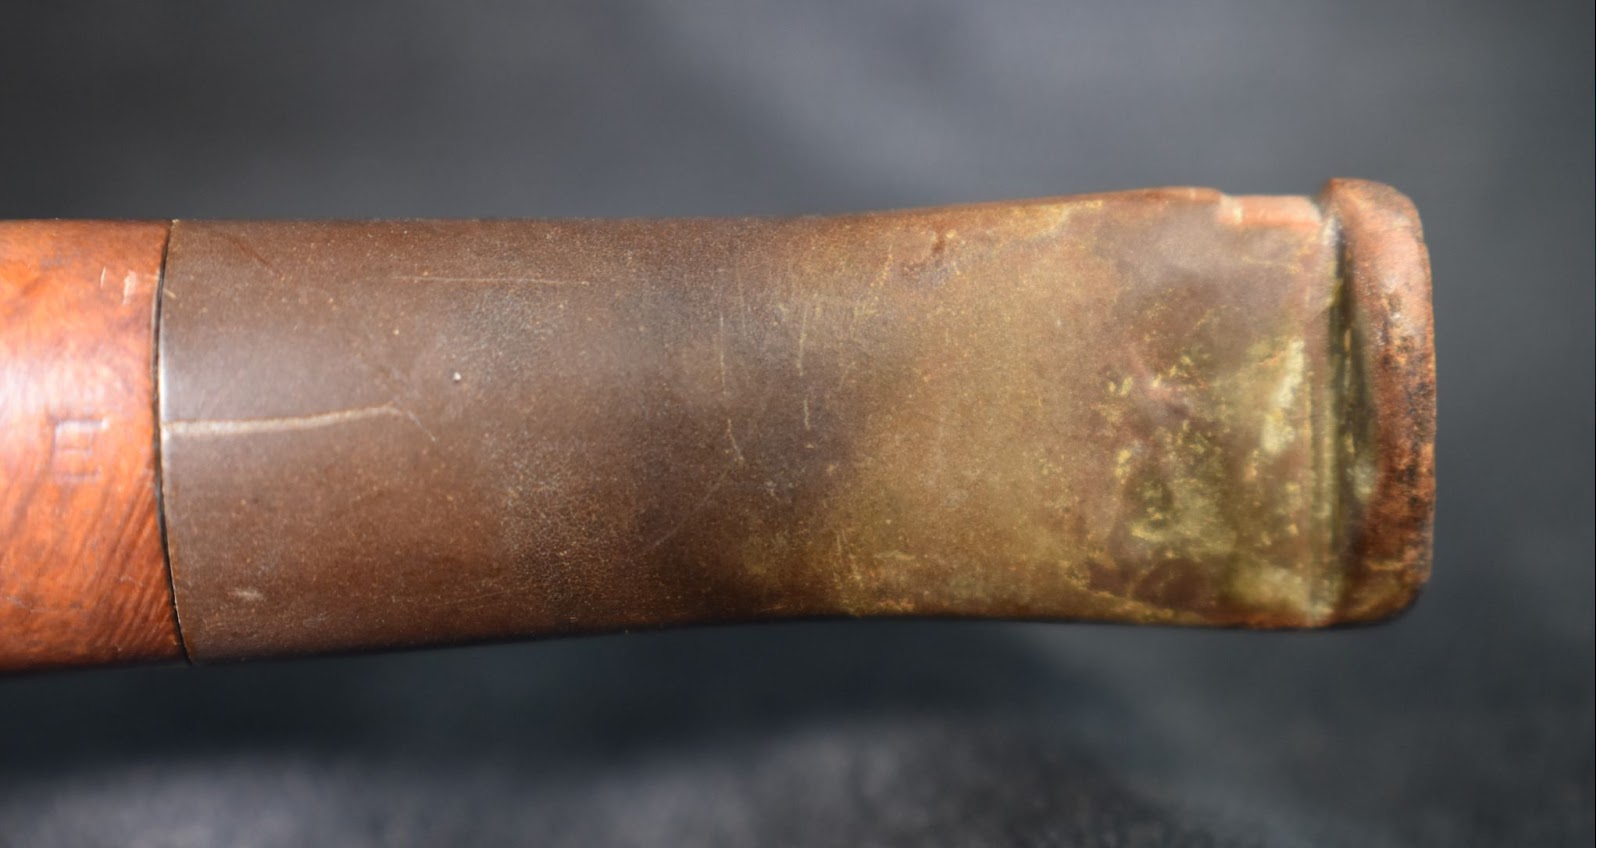
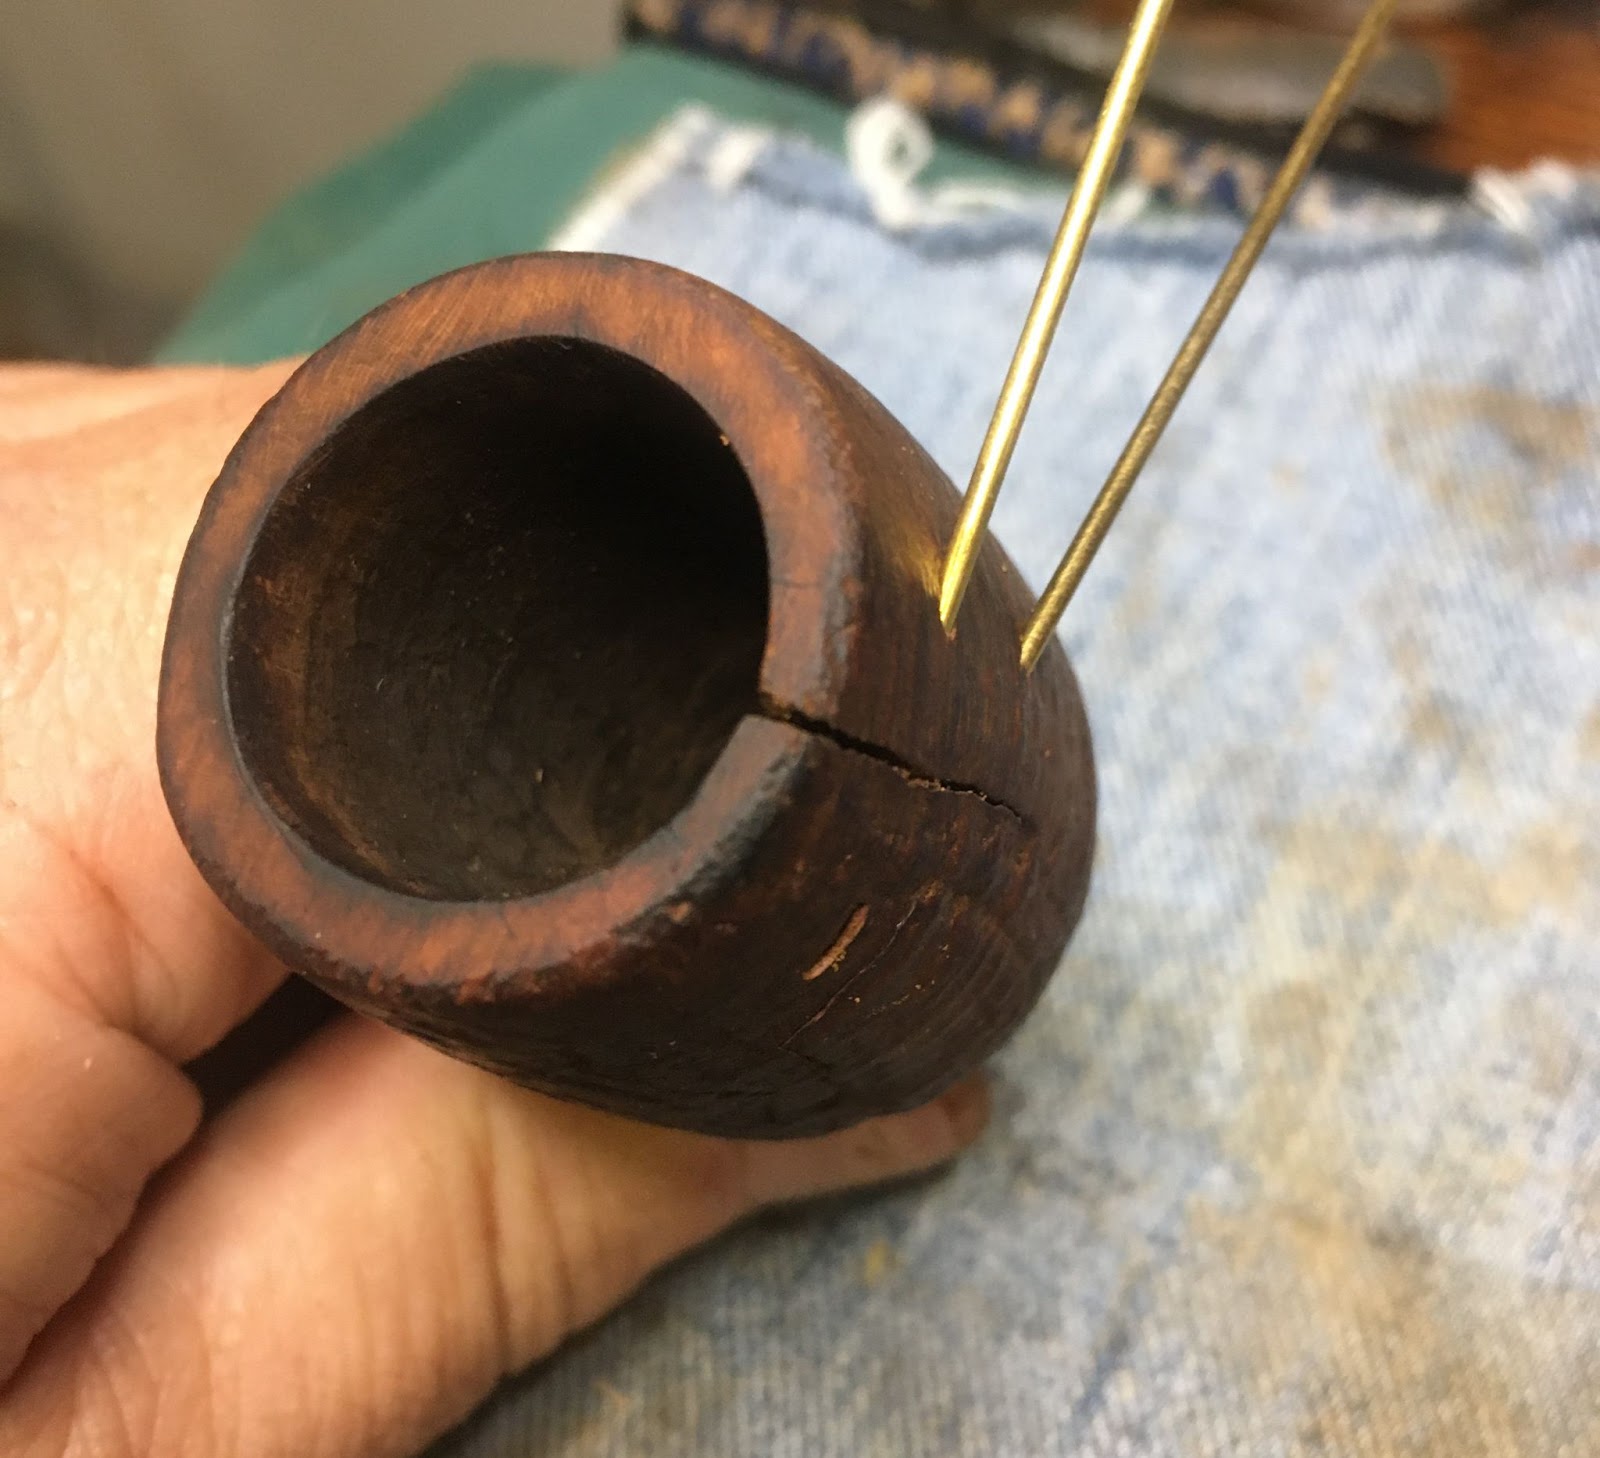
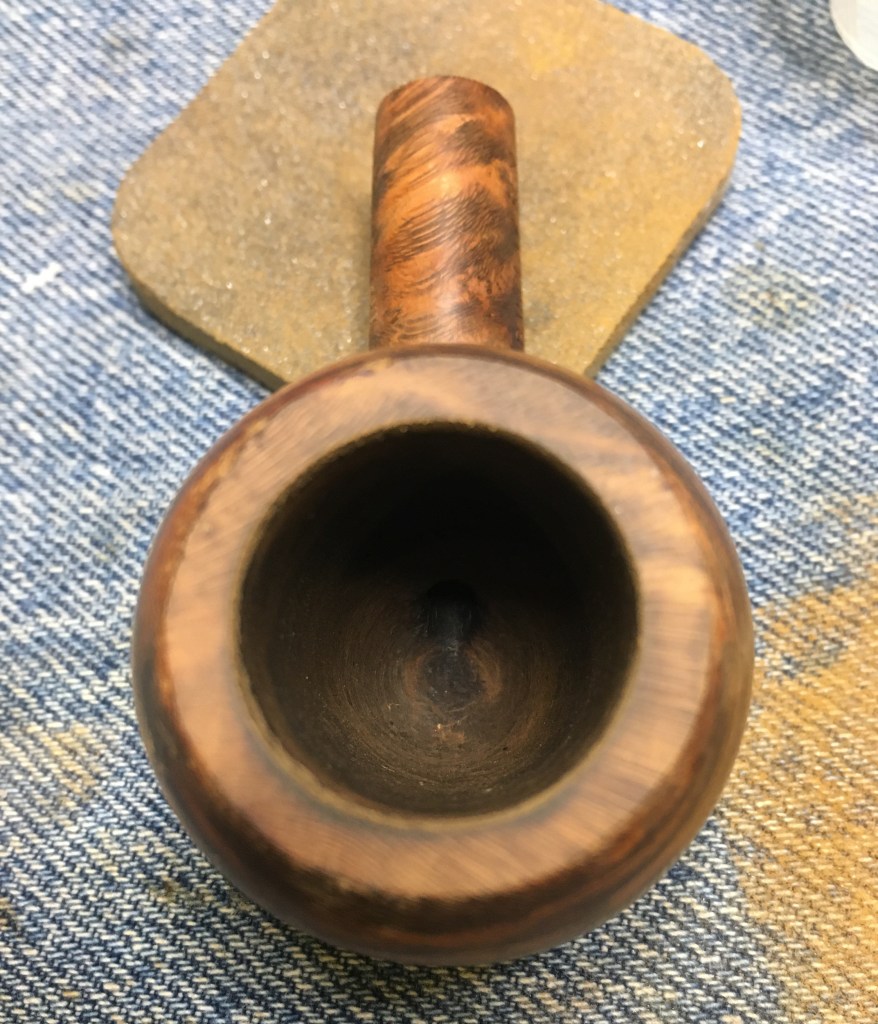
Below you can see a much better photo of the cracked bowl from inside the chamber.

The chamber did show signs of light spider webbing all around the interior of the chamber.

The stummel was taken to the sink for a scrubbing with undiluted Murphy Oil Soap and a medium toothbrush. A second scrubbing of Murphy’s was done with a stiffer nylon scrub brush to better remove the accumulated grime. The stummel was rinsed of soap with warm water and dried with a cotton hand towel.

Back at the workbench the stummel looked much cleaner and the crack could be examined in greater detail.

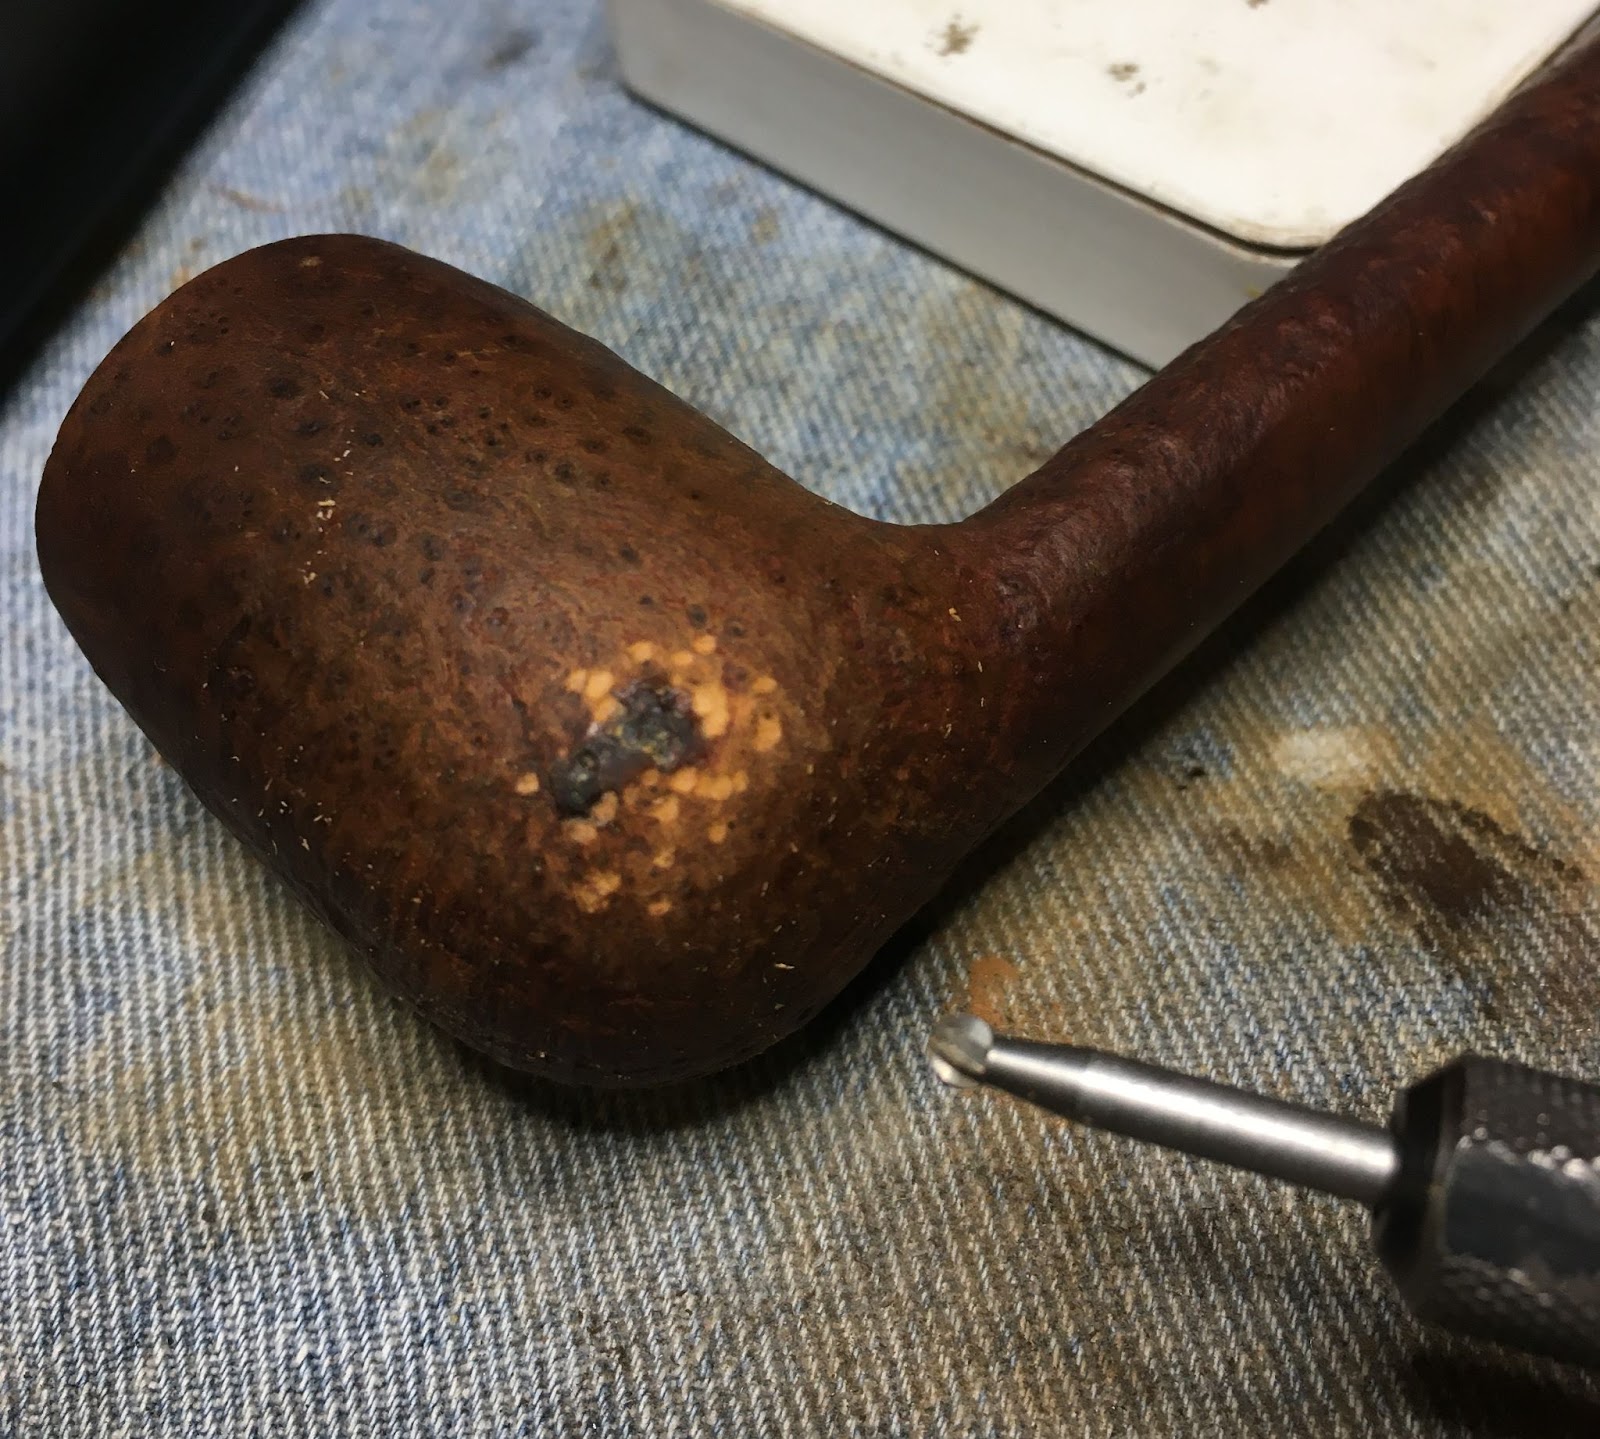
Other areas in need of repair were also made more apparent, the two deeper pits on the right shank and (shown below).
And the two depressions immediately above the left heel.

The rim also still had lava issues and would require a light topping. There were a couple of smaller surface cracks which appeared to be only superficial in nature.

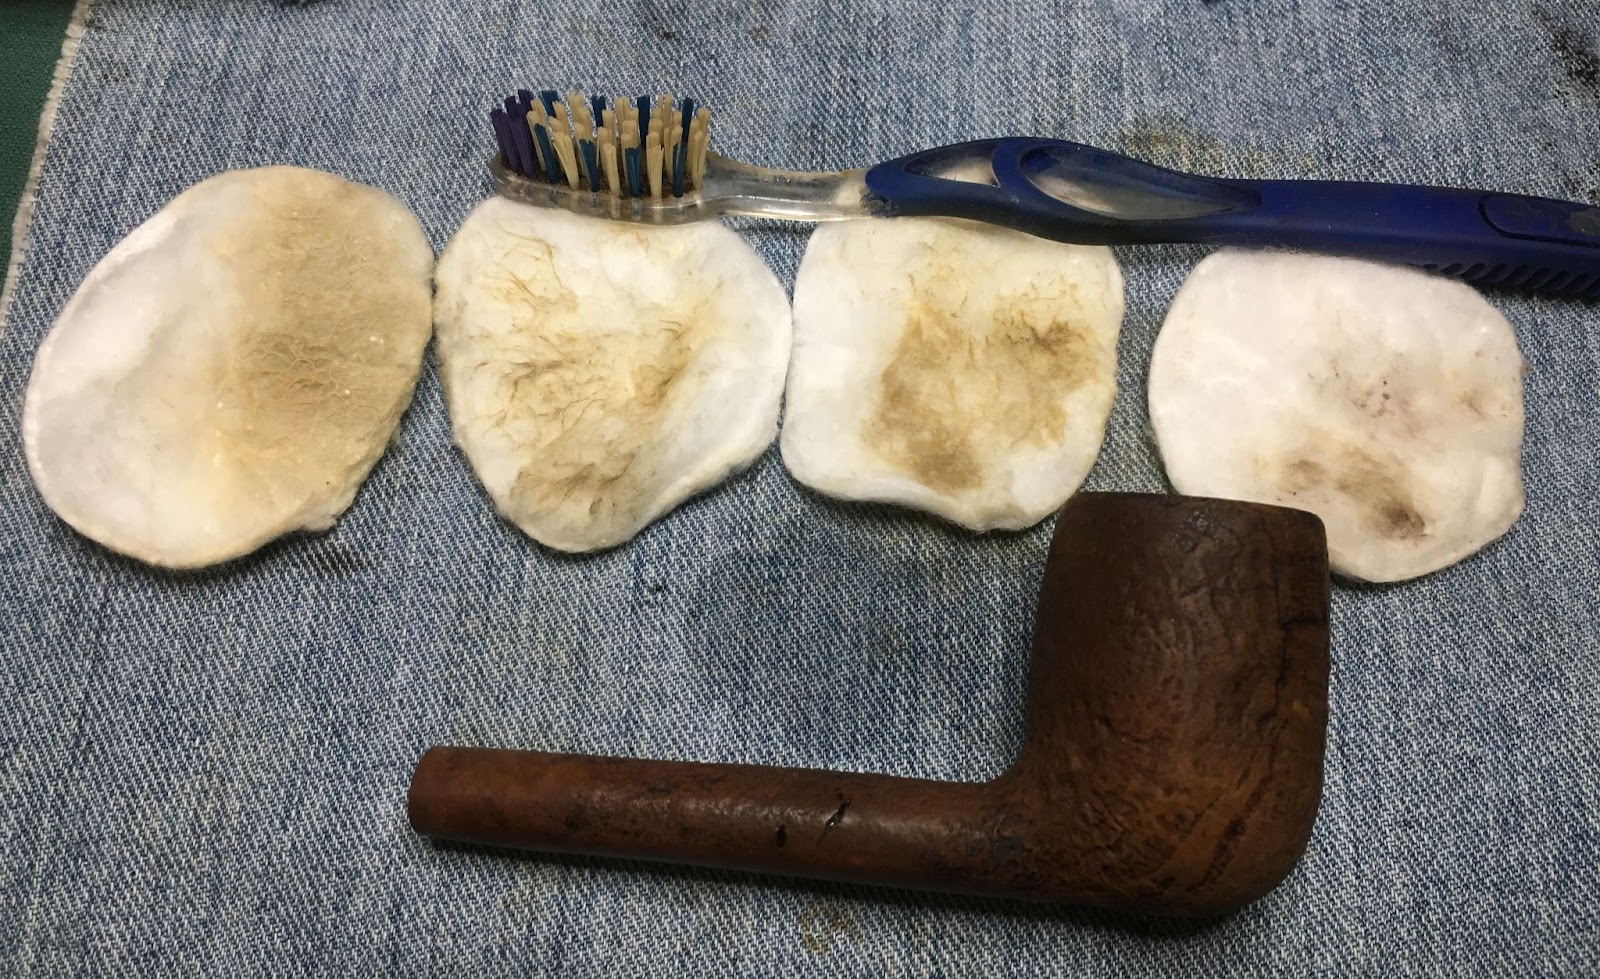
I wiped the surface of the stummel with a make-up pad dipped in 95% ethyl alcohol. The made came back with more grime. My scrubbing was not as good as I thought it was.
I then proceeded to scrub the stummel with the toothbrush and 95% ethyl alcohol and wipe it with a clean make-up pad. More accumulated grime came off.

A repeat of the above scrubbing cleaned off additional grime.

And a third alcohol toothbrush scrub.

All told, the stummel was scrubbed 3 times with alcohol and toothbrush after the double Murphy Oil Soap scrub. I was pretty sure the previous owner was a car mechanic who smoked the pipe while working on car engines with dirty oily hands during the day and labored in a coal mine at night. Now the coal mine scenario might be a stretch as coal dust and smoking would probably create a bit of mischief but I’m sure you see my reasoning.
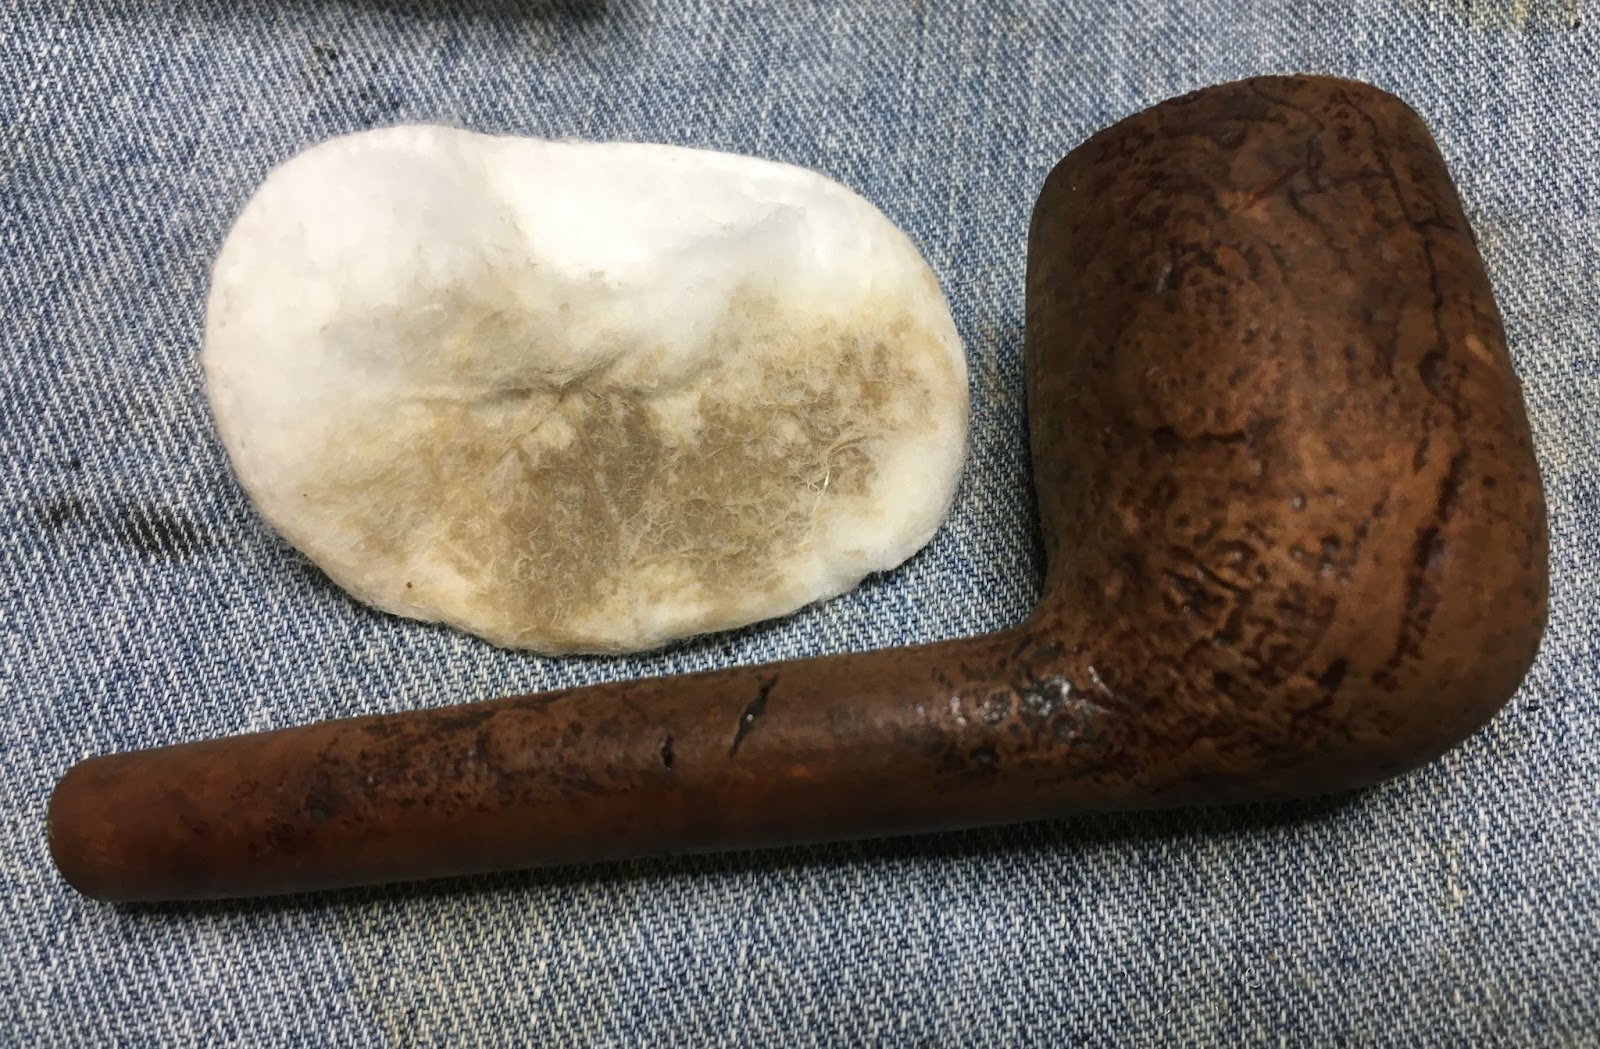
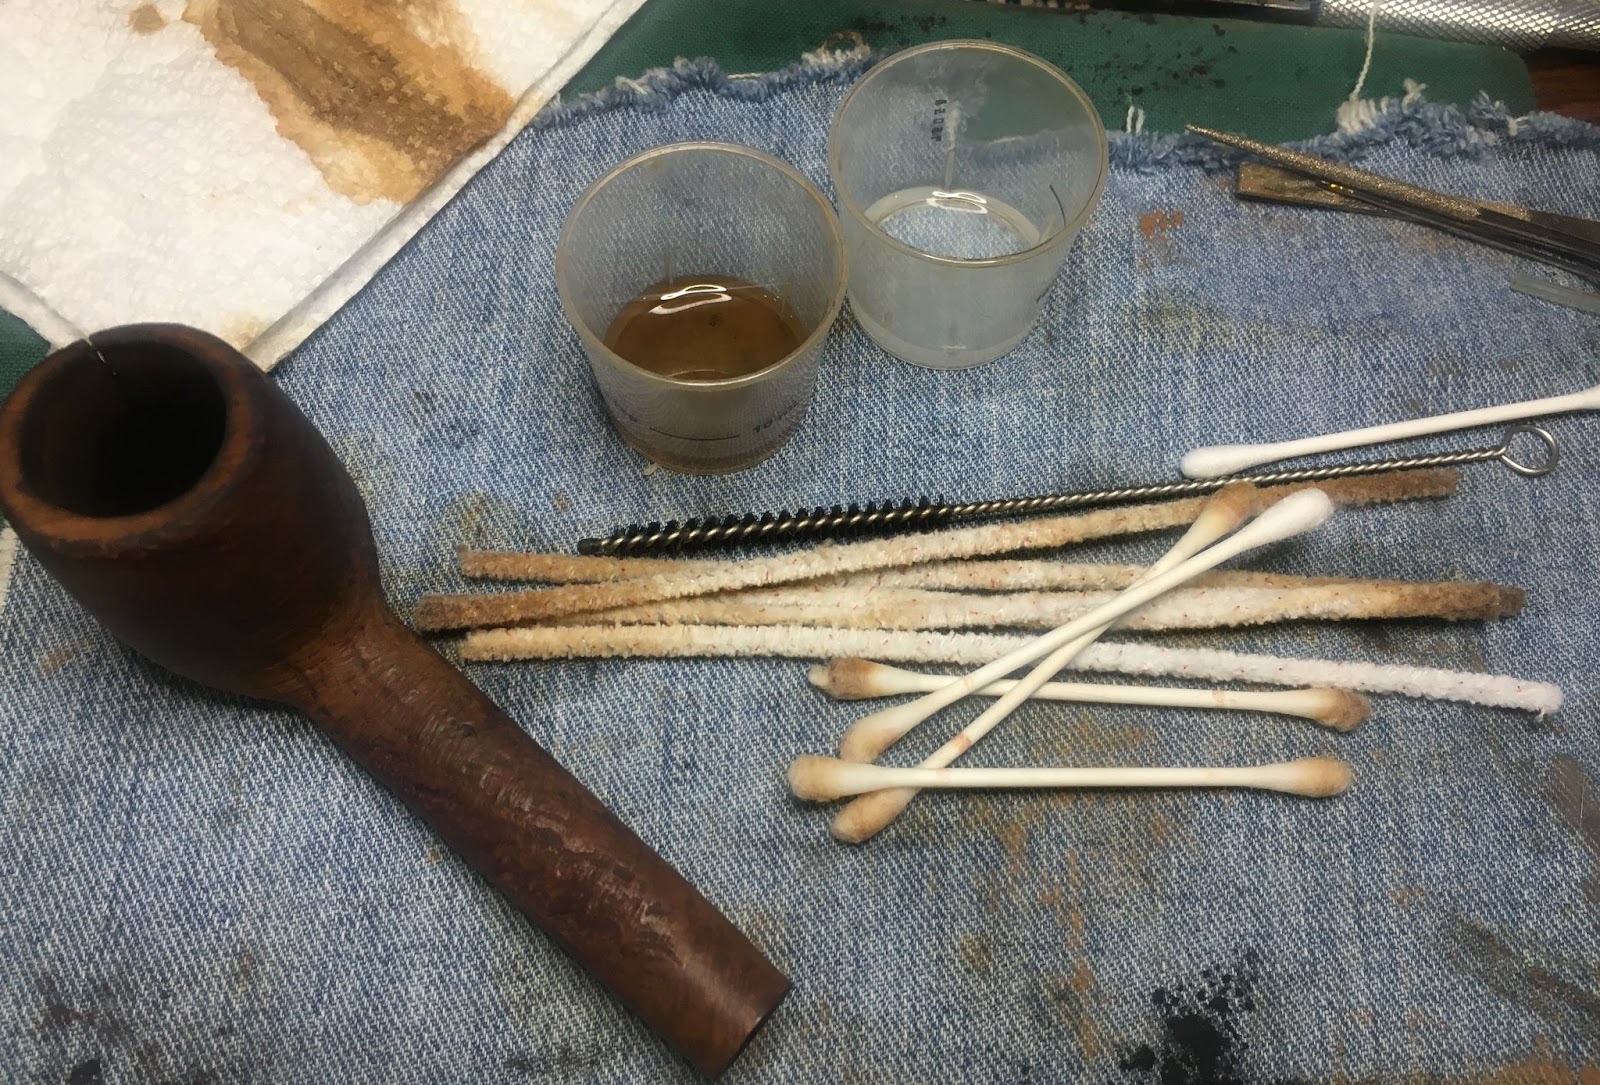
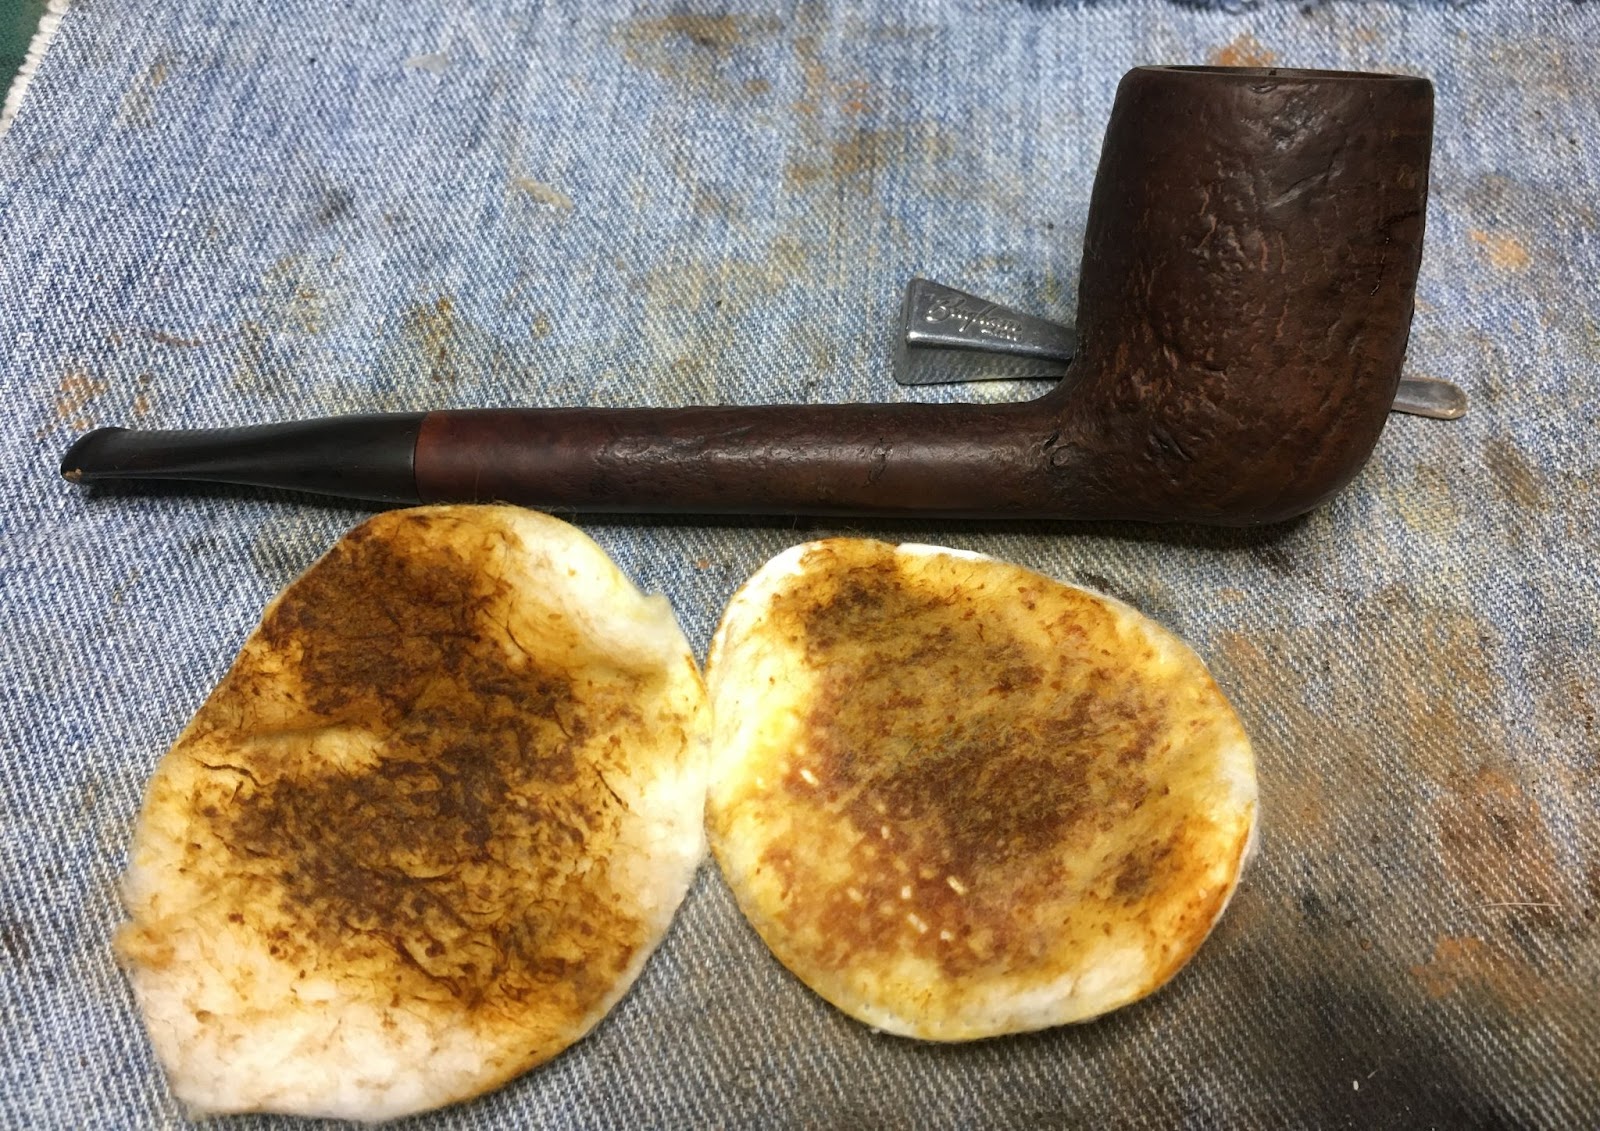
The shank cleaning was next. Cleaning here included pouring 3-4 ml of 95% ethyl alcohol into the tobacco chamber and scrubbing with a nylon shank brush. After the scrubbing the alcohol was poured into a medicine cup. The airway was then scrubbed with bristle pipe cleaners dipped in ethyl alcohol. Alcohol dipped cotton swabs were also used to clean out the mortise area. This process was repeated numerous times. I was making progress albeit slowly. I decided to give the airway a cotton alcohol overnight soak to dissolve and loosen the remaining tar deposits. The tobacco chamber and shank were stuffed with cotton and 95% ethyl alcohol was added to the cotton via a disposable pipette until the alcohol pooled on top of the cotton. The pipe was angled allowing the shank end and rim to be approximately level and saturated with alcohol.

The next morning the cotton showed that it had absorbed old smoking residue as the alcohol evaporated.


The cotton, now fairly dry, was removed and with it a good deal of the tar.
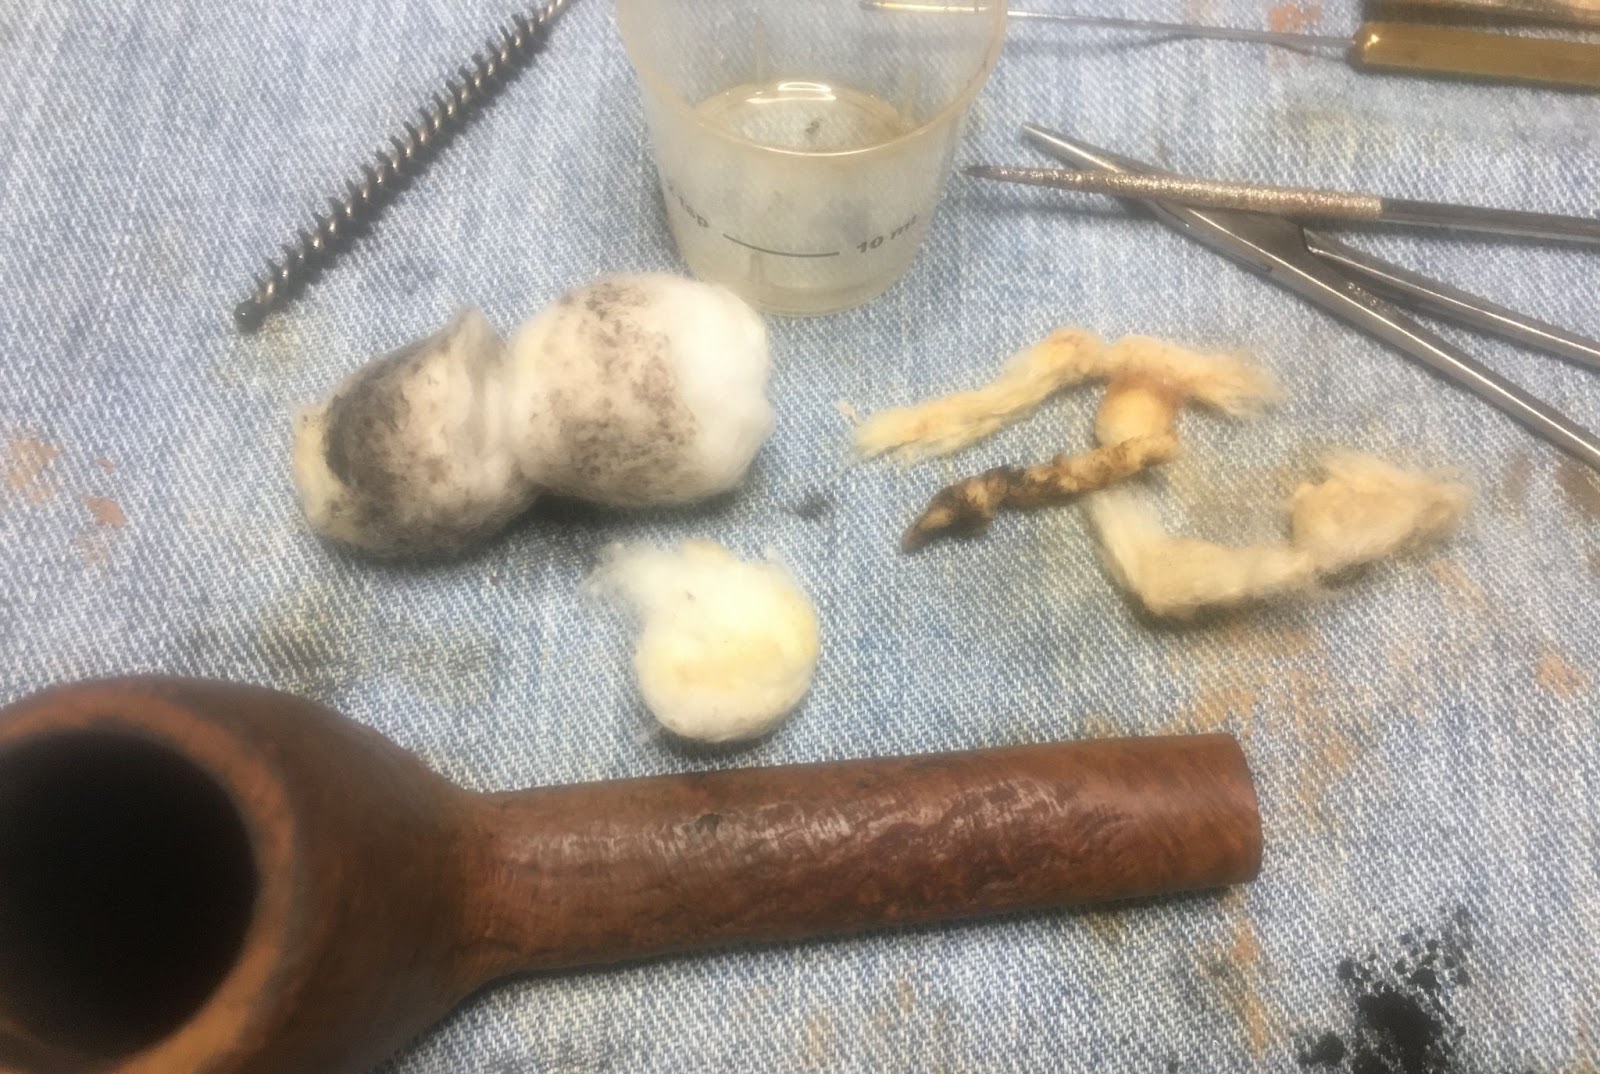
Further cleaning of the airway went much faster and soon revealed clean pipe cleaners.
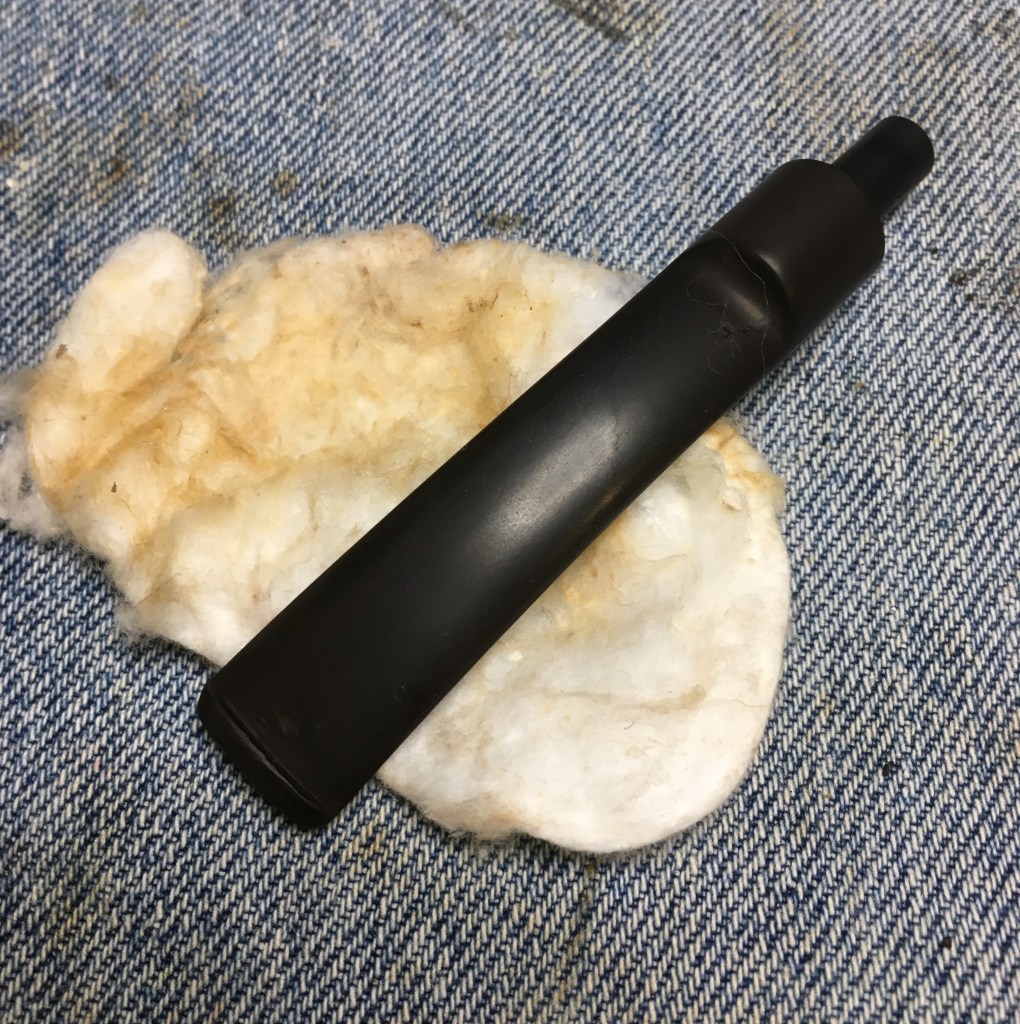
The stem was removed from the Before and After Extra Strength Deoxidizer and allowed to dip excess solution back into the jar.

The remaining residual solution was wiped with a coarse shop rag.

The stem looked much better.

Several make-up pads drizzled with SoftScrub were used to scrub the remaining oxidized rubber from the stem surface.

I then went to work repairing and rebuilding the tooth damaged stem using sanding sponges to prepare the damaged areas.


The dents were painted with the flame of a lighter in an attempt at raising the dent a little bit. This met with little success. Filling the dents with black cyanoacrylate (CA, super glue) was required. The dents received a light fill of the black CA.

This was then spritzed with a CA drying accelerator. This allows the CA to cure within seconds.

The cured CA was then filed with a flat diamond needle file to smooth the CA.
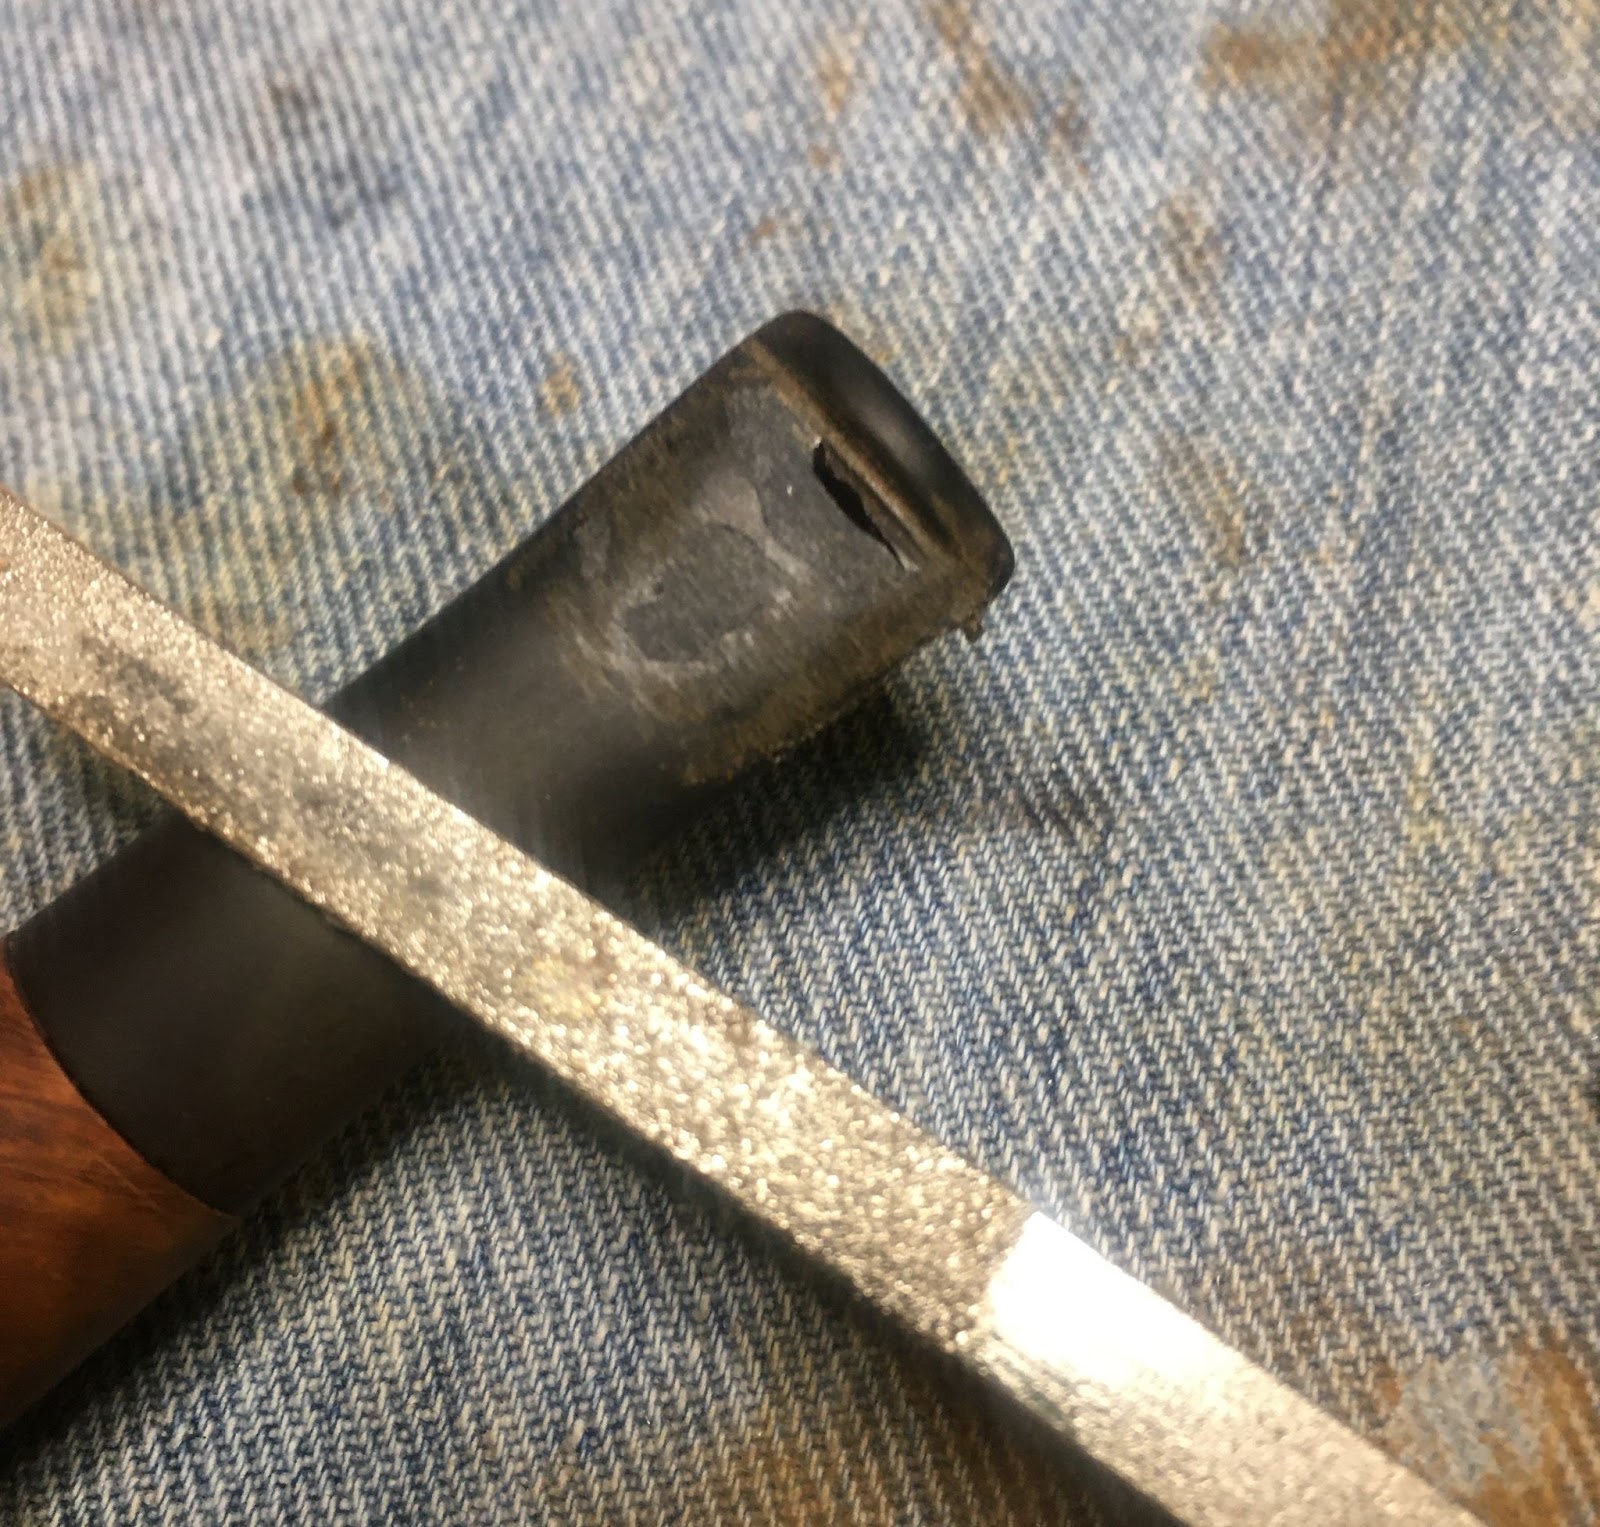
The remaining depressions appear shiny as they had not been touched by the file.

An additional fill of black CA was applied and spritzed with a drying accelerator.
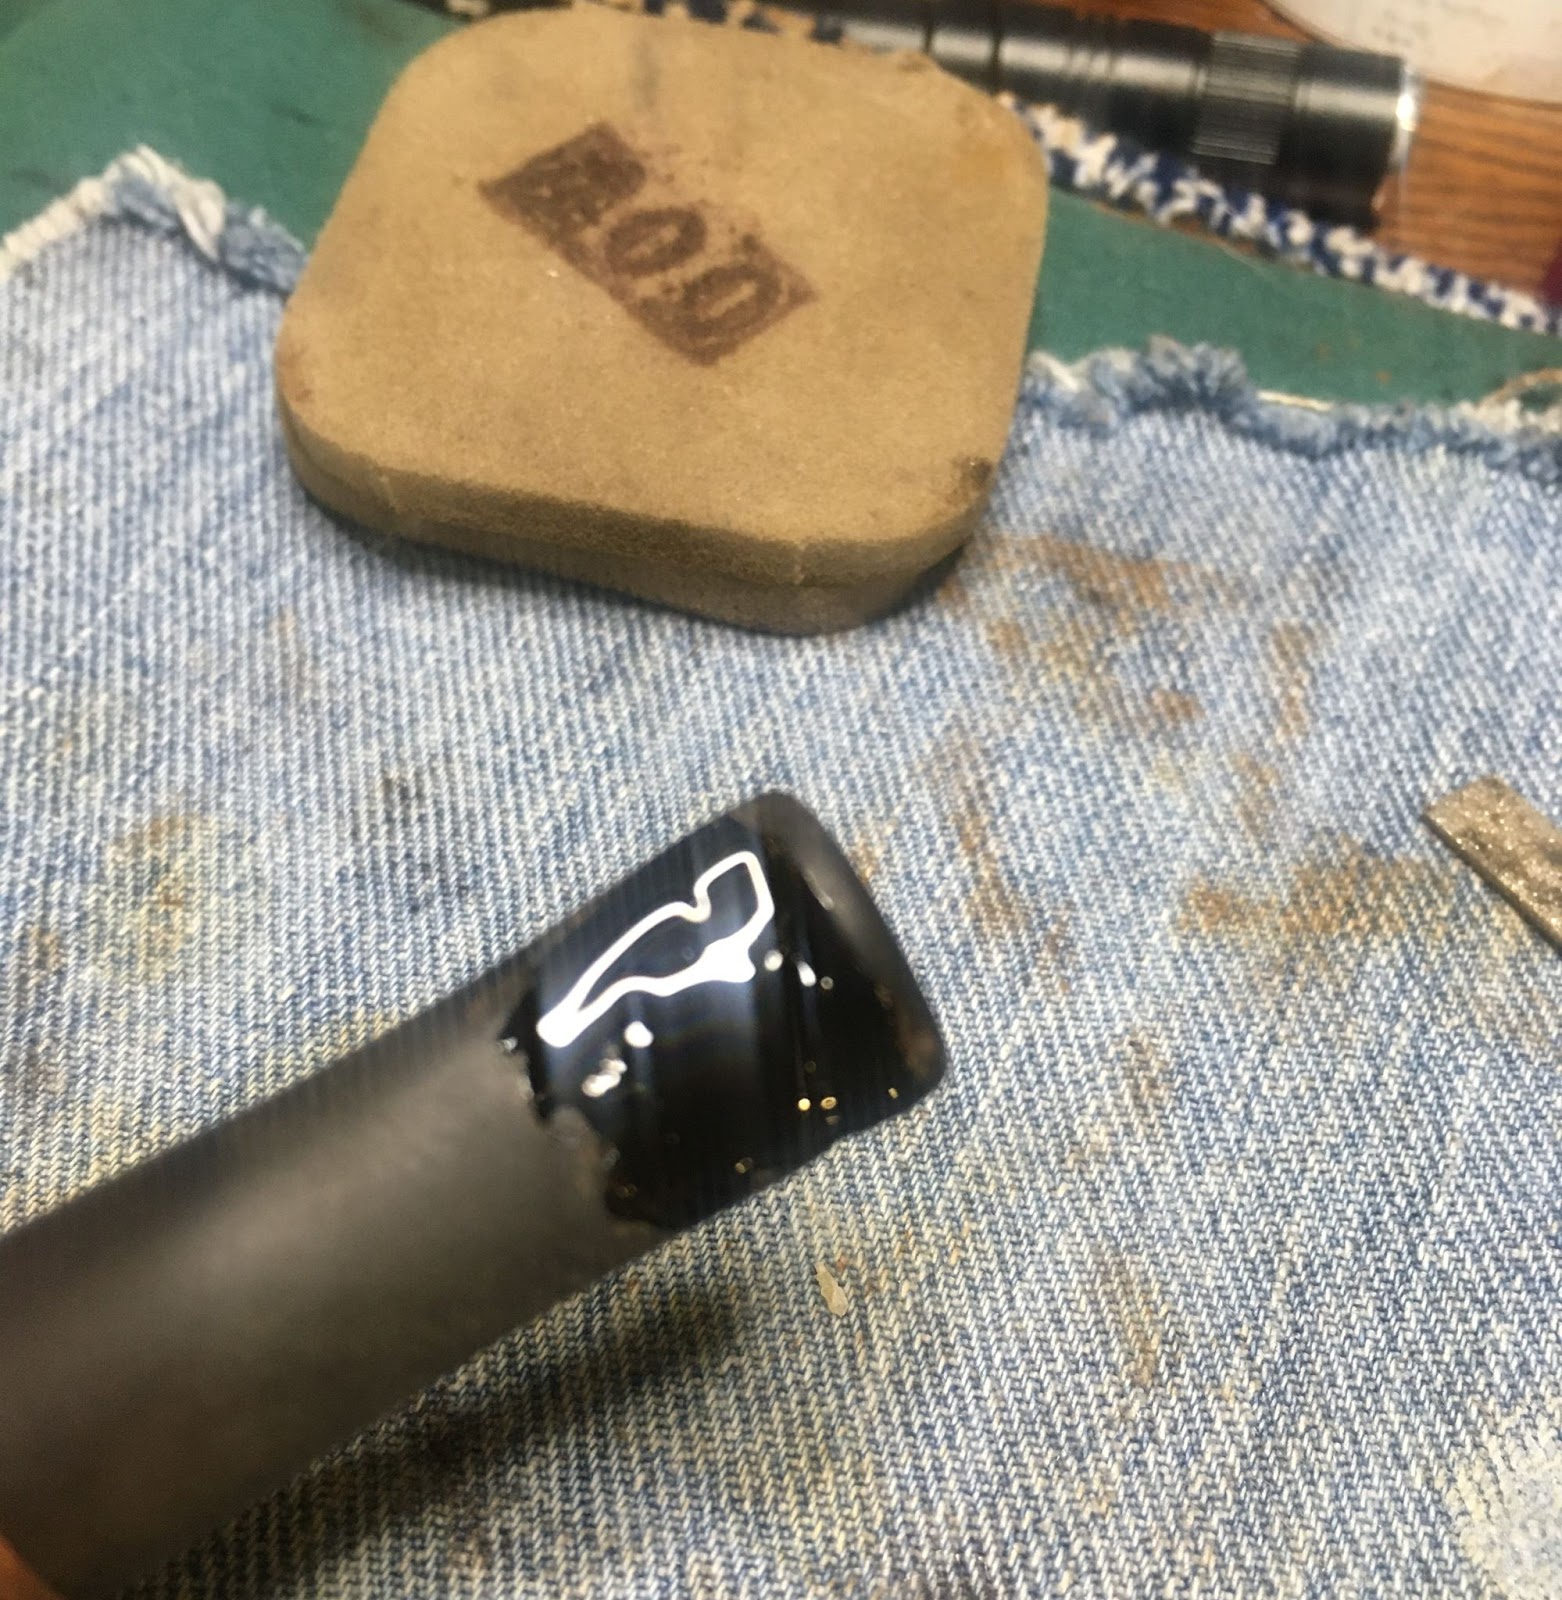

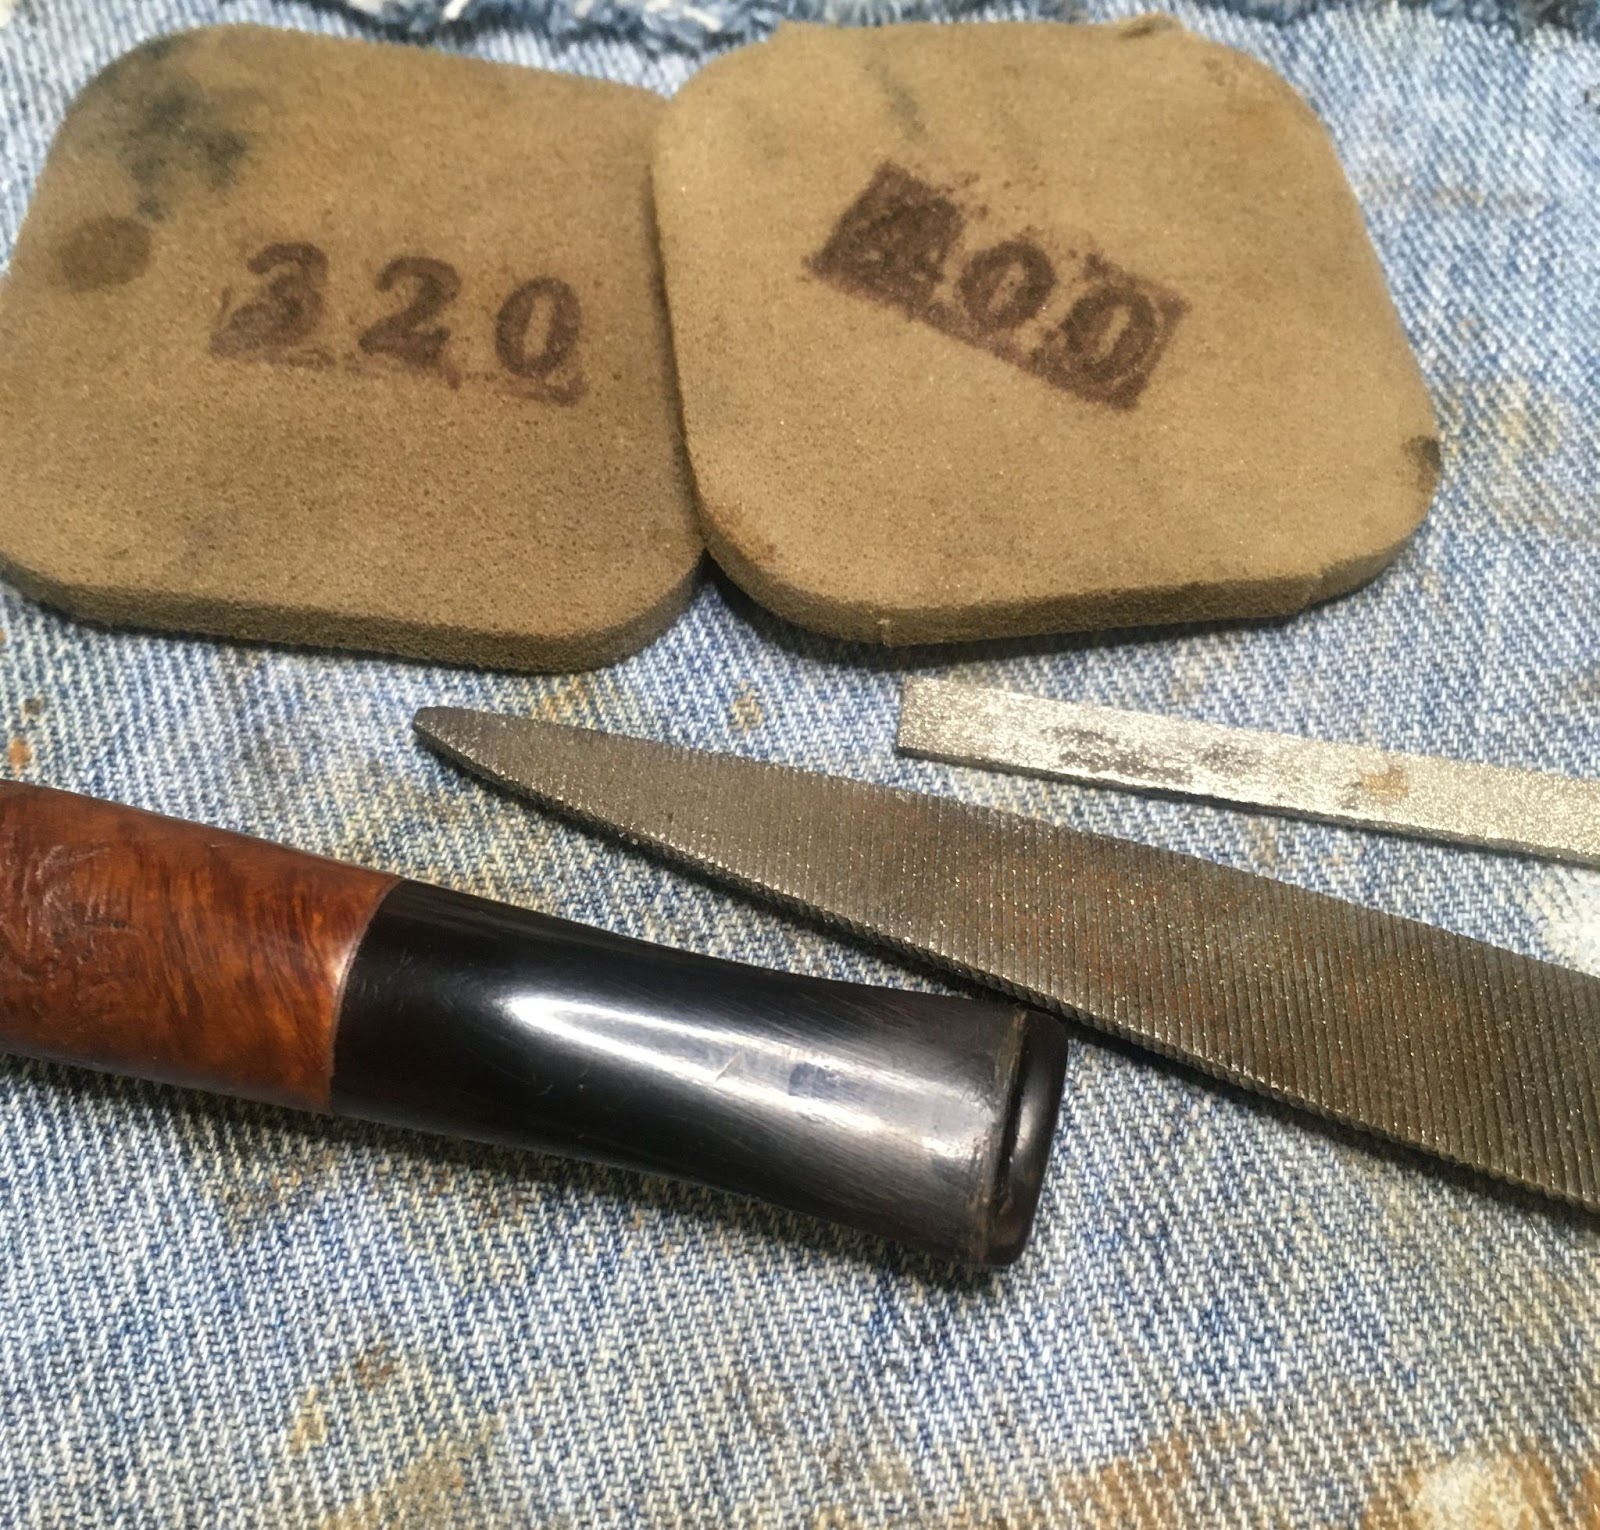
The second application once cured was then filed and smoothed with a 320 followed by a 400 grit sanding sponge.

Additional small applications of CA, filing and sanding were done.

Eventually the stem looked far more acceptable.
The stem airway was cleaned out using bristle pipe cleaners dipped in 95% ethyl alcohol.

It was time to start planning the crack repair. A little about this technique: Charles Lemon of dadspipes.com wrote a wonderful restoration blog about his technique for repairing cracked bowls (https://dadspipes.com/2016/03/08/a-crack-pinning-tutorial/). I had tried this pinning with a cracked diamond stem on a blog a while back (https://wordpress.com/post/scimansays1787.com/5886). Now I realize that I tried to use it on a stem not a bowl but I was more interested in practicing using the technique and to see if it would work with a stem. Besides, I did not have a pipe with a cracked bowl at that time. Anyway, It worked and I learned several things from my hands-on practice. Feel free to check out my blog and comment on all my mistakes, I own-up to all of them. Below you can see the steps of Charles’ pinning technique as they were intended.
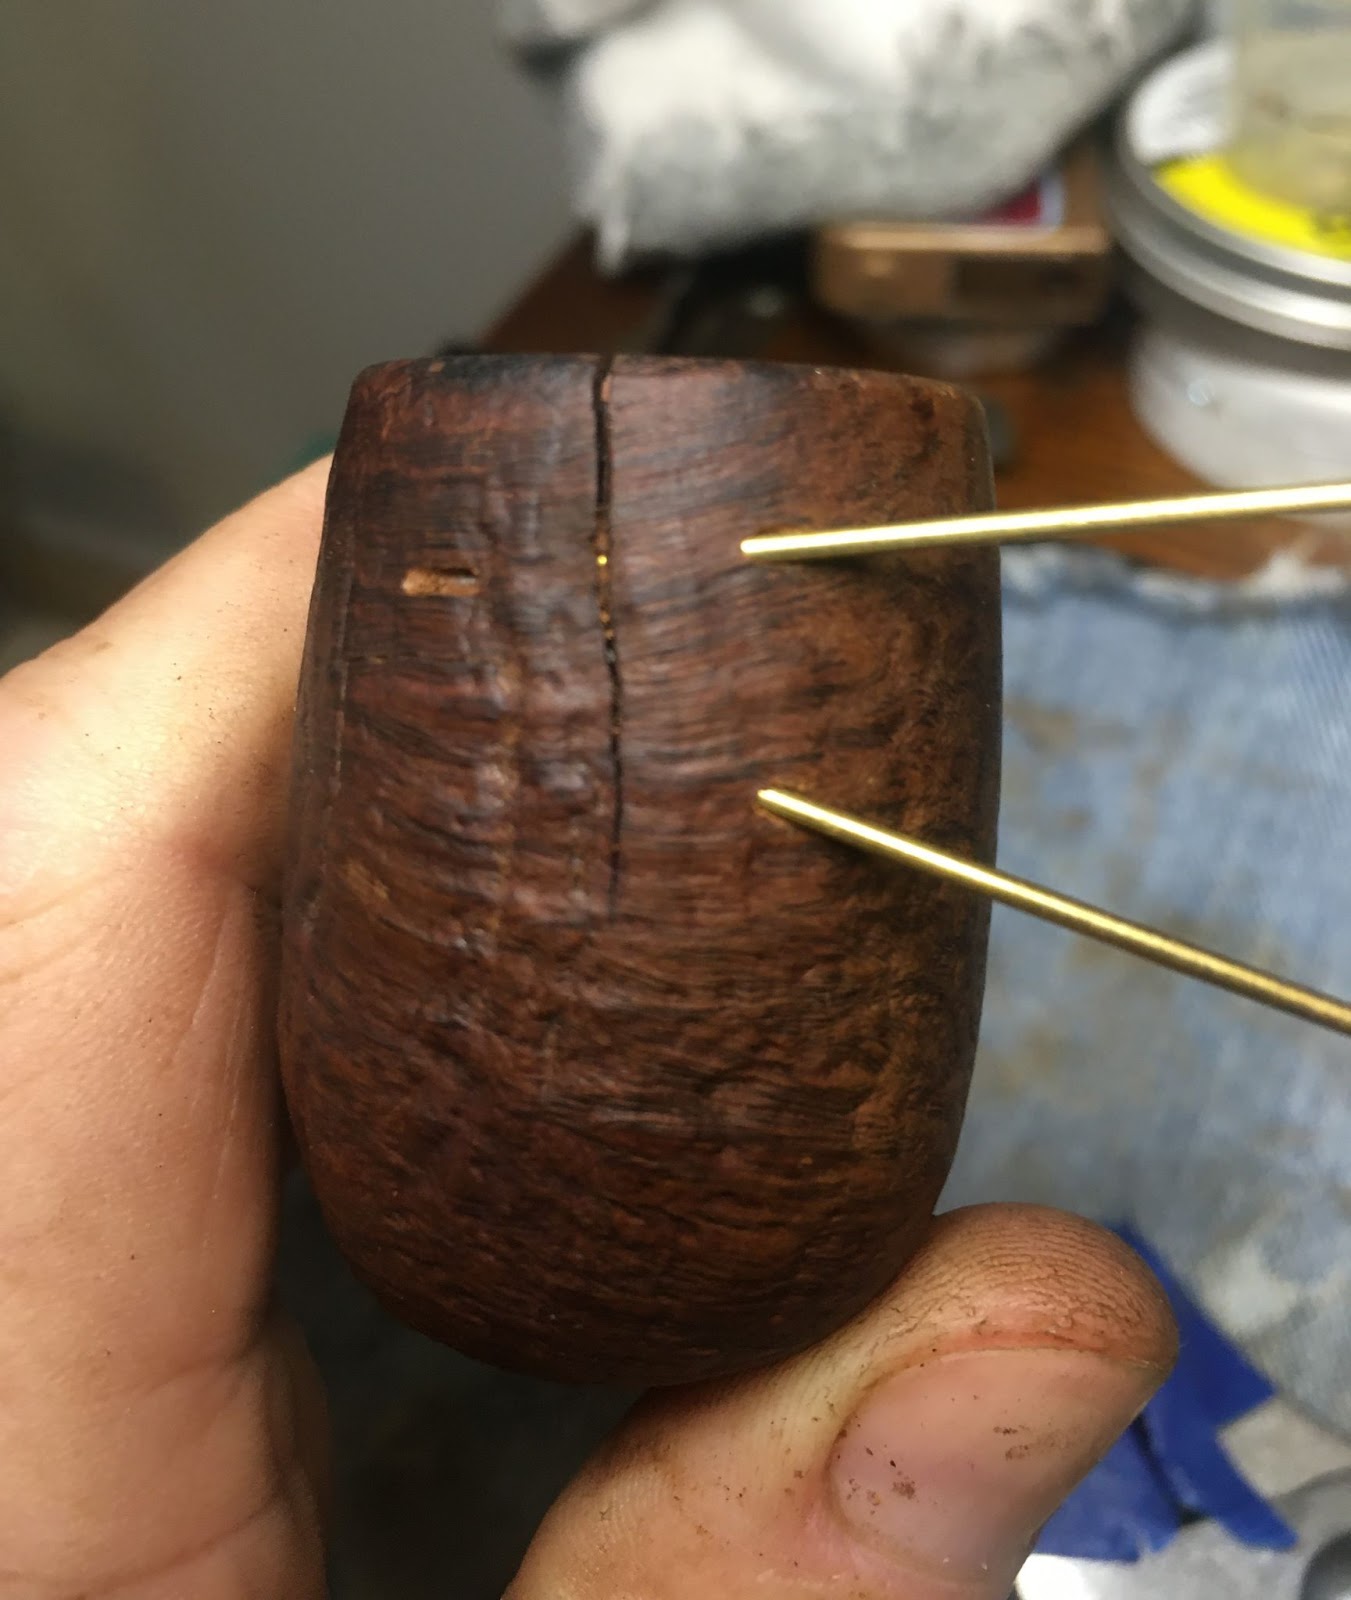
I first marked the two entrance points where I wanted to drill two 2mm holes to place the 2mm brass rods. The brass rods reinforce the cracked area and are glued in place.
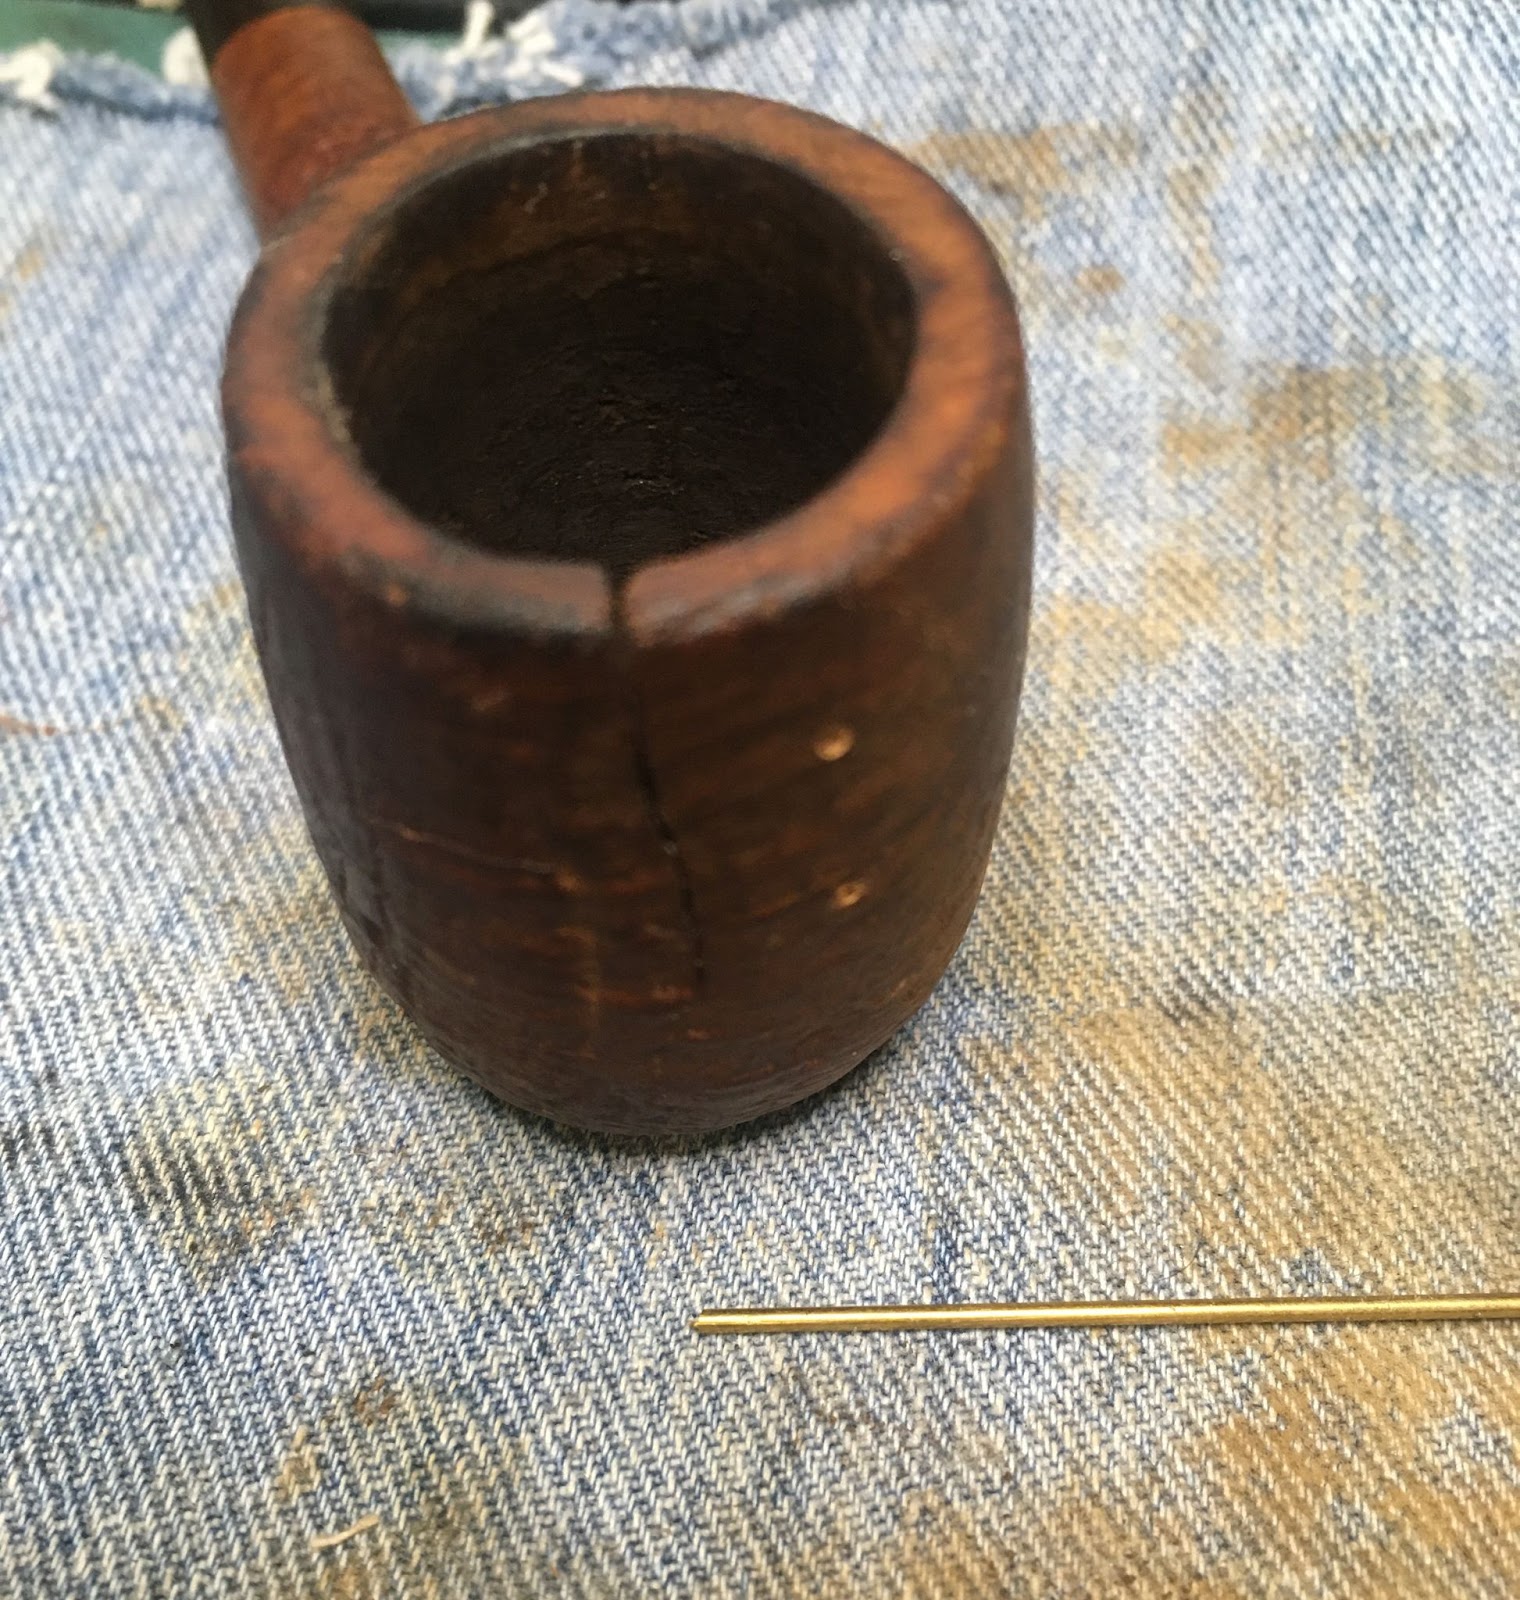
I used a rat-tail needle file to make depressions for the drill bit.

The plan was to drill the holes at two different angles to prevent the crack from being able to widen.


Below is a photo attempting to show the two angles without a big dumb thumb in the way.

The stummel was clamped into an adjustable vise allowing the best angle for me to comfortably drill while seeing the path of the drill bit.

I accidentally went too far with the top hole and exited the stummel. I had marked the drill bit with a sharpie marker but either I was not paying enough attention or the path of the boring was shorter than anticipated. The bottom drilling went as planned and did not exit on the far side of the entrance. Note that you can see the top brass pin through the crack.
Another view of the pinning angles.

And another view.
I used a wire cutter to cut the brass rod to length. I wanted the rods short enough that there would be no brass visible when they were placed into the holes. This was something I learned from my first attempt. The brass rods were roughed up with 320 sandpaper to allow the glue additional surface area to bond to.

I mixed J-B Weld 2 part epoxy as per the instructions on a plastic lid.

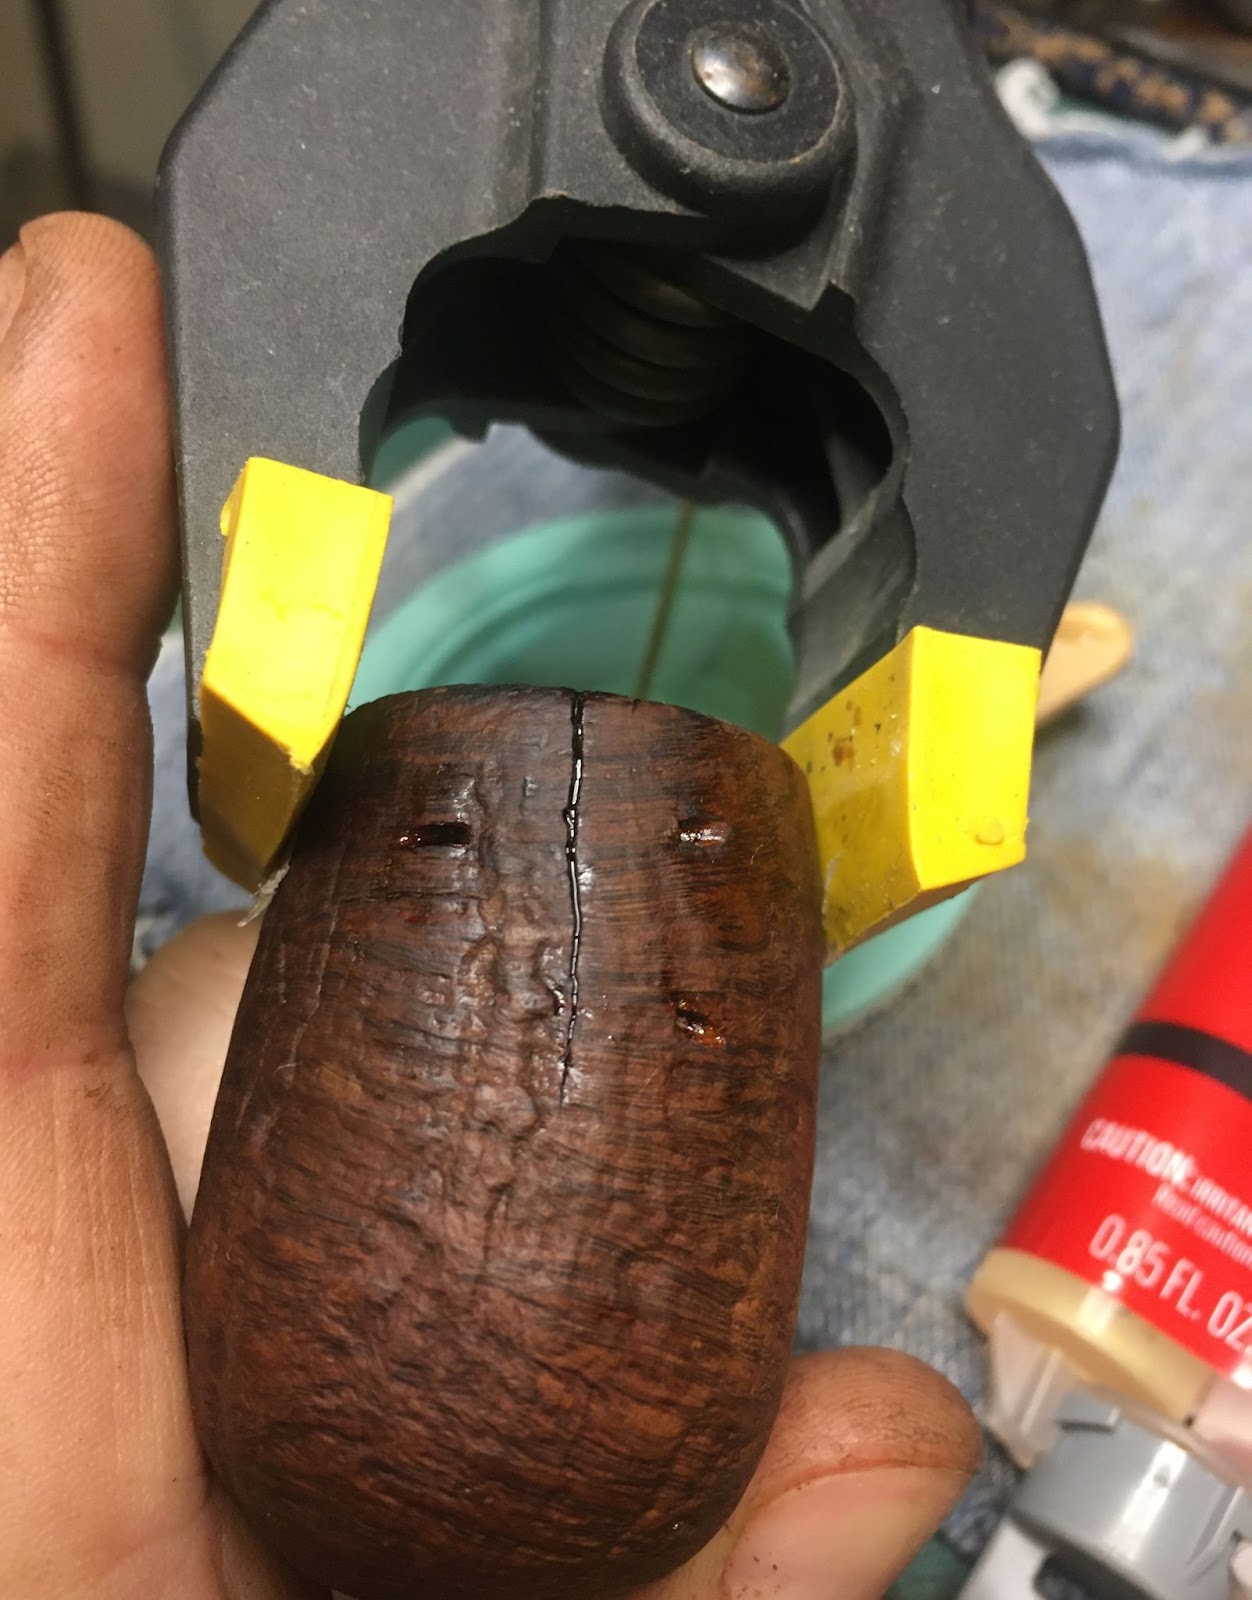
Once thoroughly mixed the epoxy was dabbled into the hole with a longer piece of brass rod and worked into the crack itself.The sanded rod pieces were pressed into place and pushed deeply into their respective hole with a longer piece of brass rod. Epoxy pushed out through the miss-drilled exit hole. This made me happy to know that the glue had indeed made it deep into the holes.

The excess epoxy was removed using a dry cotton swab. The area on each side of the crack was cleaned of epoxy with a cotton swab dipped in acetone. The interior of the tobacco chamber was wiped of excess epoxy with a small wooden popsicle stick. A clamp was used to compress the sides of the stummel and the stummel was set aside to dry/cure for 24 hours.
The next day, Iremoved the clamp and everything looked like it had gone according to plan.

It was now time to work on filling the holes, crack and other flaws in the briar. I used brown CA and briar dust for the fills.

Careful placement of CA with a fly tying bodkin was needed for this as the blast patterns would not allow for sanding. I then used a dental scraper to scoop up a small pile of briar dust and placed it onto the wet CA and used the back side of the scraper to press the briar dust into the CA. The extra briar dust was then brushed off with a brass brush and the fill was filed with a rounded or rat-tail diamond needle file. I tried to file to match the grain pattern of the blast.

The depression of the crack on the rim was filled in similar fashion to the above. Here I was able to sand the fill smooth with a topping board, AKA a piece of 320 sandpaper laid flat on a counter.

The shank depressions were also filled with CA and had briar dust pressed into them. The new fill was filed and in an attempt to leave some texture to match the existing blast pattern.

The heel fill proved to be quite large. This area had most of the blast pattern worn away by I assumed, use. I used a Dremel rotary tool to retexture the surrounding area.
Once all the fills were completed, I wanted to blend and conceal the fills. I chose Dark Brown Fiebing’s Leather Dye for this. The needed dye kit was gathered.

Below is the pipe after having been dyed and flamed with the lighter.

I then took the pipe to the buffer and used rouge buffing compound to buff away the outermost layer of dark brown dyed briar. Returning to the workbench I wiped the stummel with a couple of make-up pads dipped in 95% ethyl alcohol.
The pipe was given a coating of Before and After Restoration Balm and allowed to sit for 15 minutes absorbing the balm and letting it work its magic.

The pipe was then taken to the buffer for several coats of carnauba wax. Normally I don’t like to use carnauba wax and the buffer for rusticated or sandblasted pipes but the blast of this old pipe had been worn quite smooth by handling and I thought that it would turn-out ok.
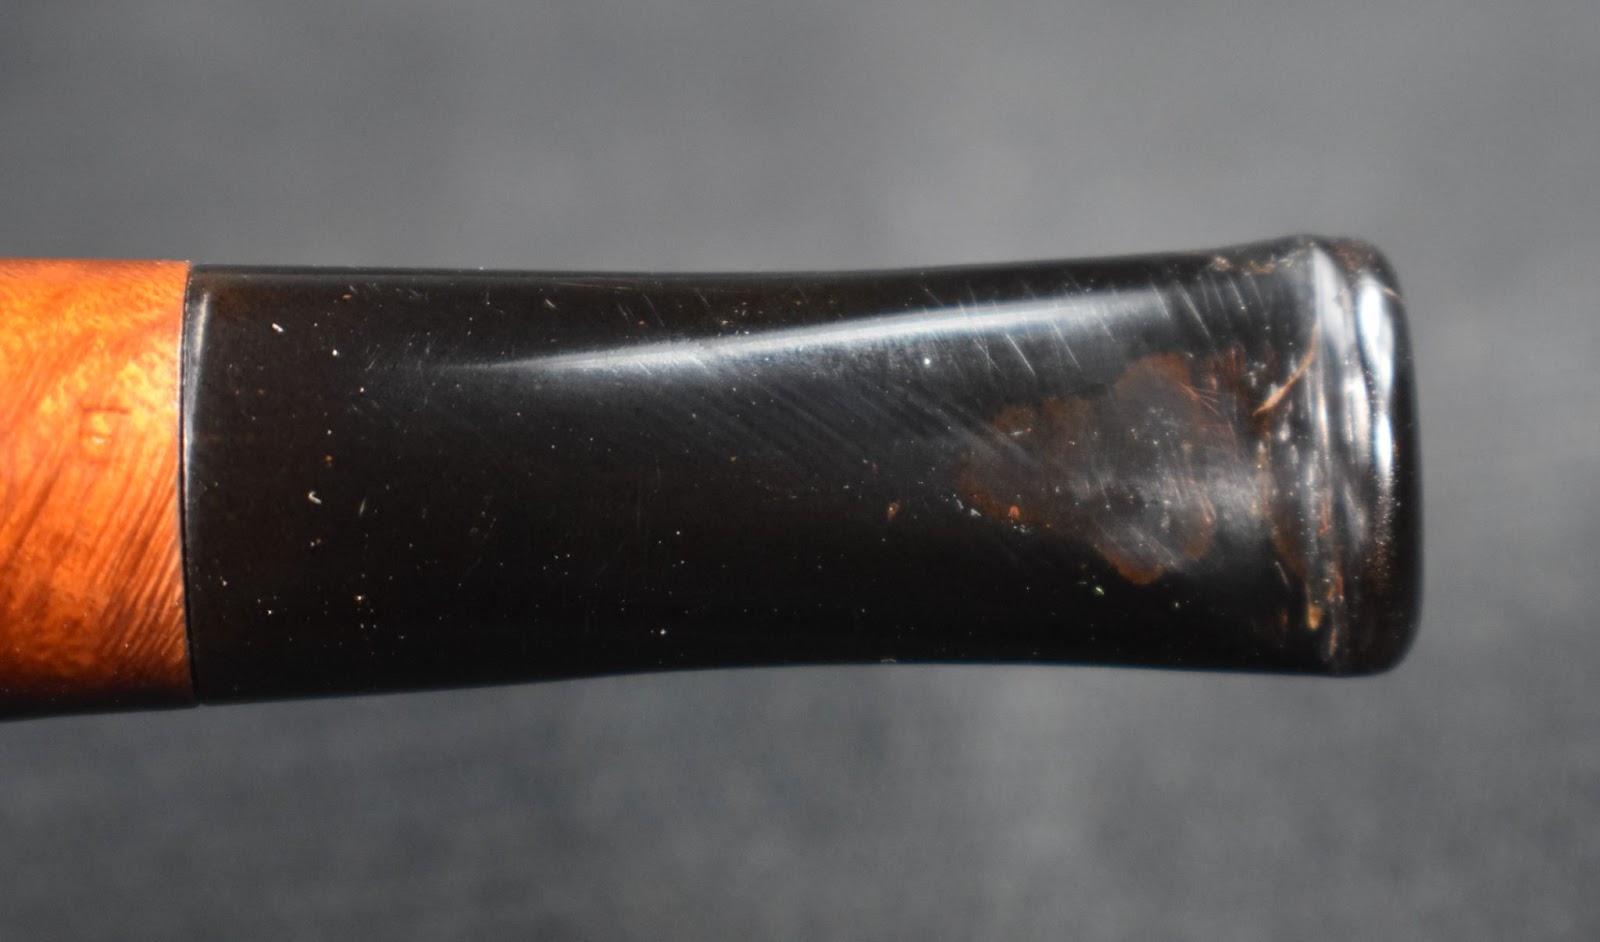
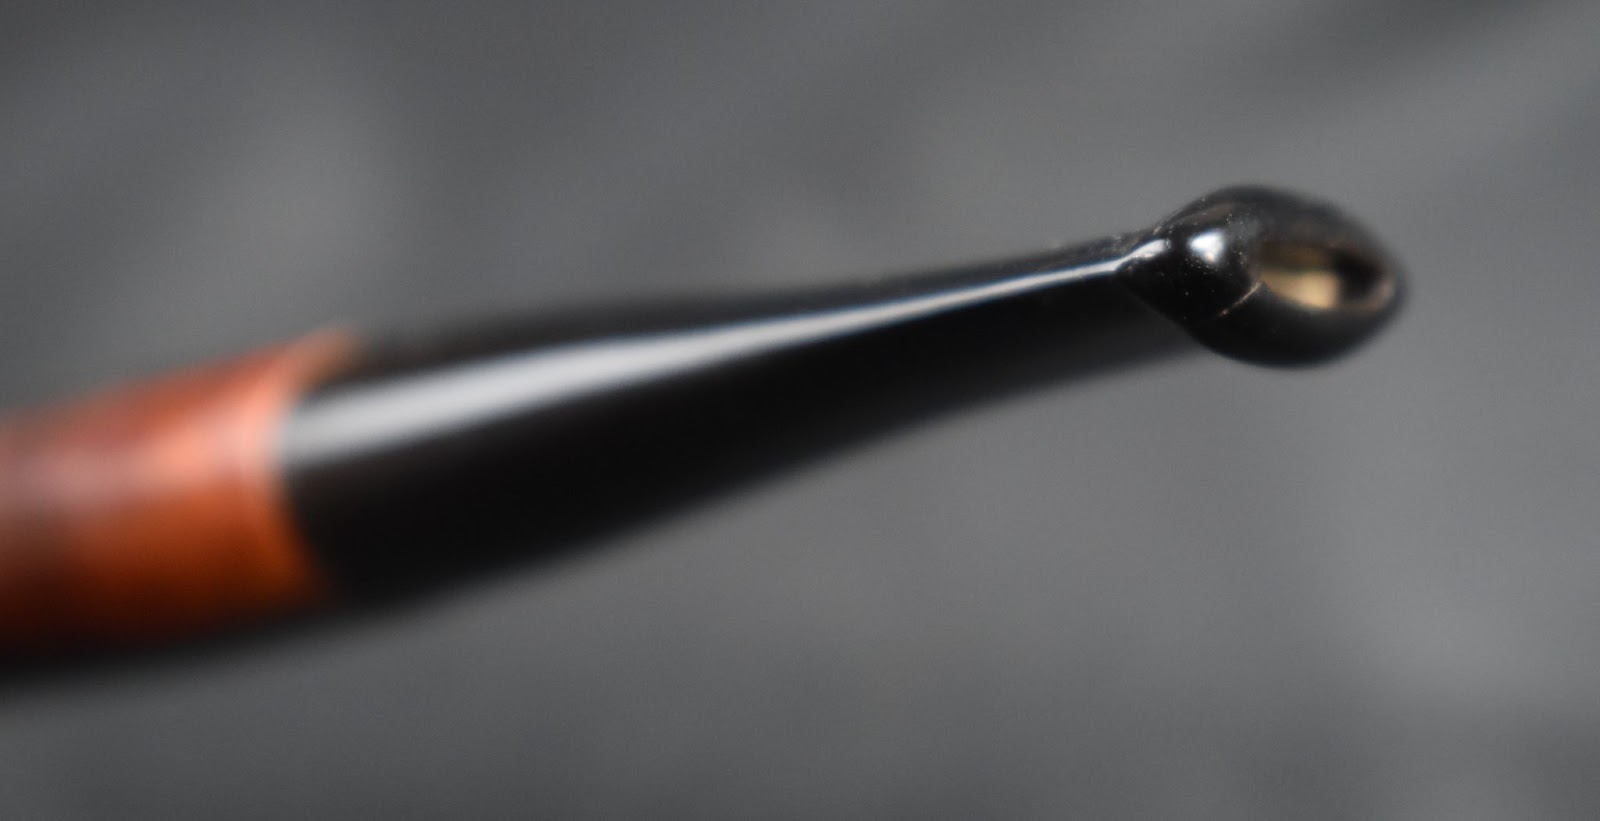
Upon seeing the stem of the Telford’s Canadian under the bright light of the photography station I was unhappy with the way it turned out. Given, it was far better than it was upon arrival.

Back to the workbench. I taped the shank of the pipe and redid the entire sanding sequence. This is probably never going to be a pipe put up for sale so I wasn’t sure why I was doing this. I guess my obsessive-compulsive disorder (OCD), which should be CDO so that the letters are in alphabetical/proper order, got the best of me. After the sanding sponges I micro-meshed the stem and failed to photograph that.

The stem was rewaxed and returned to the photo station. It was better but… I was done, this time.
If the goals of this restoration were to successfully repair a cracked bowl using brass pins and to find the provenance of the pipe, I was successful. Regarding the worn nature of the blast, the oxidation of a stem or the heavily and hotly smoked tobacco chamber, there was only so much restoration could do. Still the pipe turned out fairly well.The crack repair and the subsequent blending of the repair looks good. The fills and their retexturing also turned out well. The rebuilding of the stem is nice and comfortable. Its appearance is not what I would call good. I cannot figure out how brown oxidation is still showing. I layered at least three coats of black CA over that sanded vulcanite and the result remains brown in appearance. Well at least in normal room lighting it looks good. The final let down is the fact that the MADE IN LONDON, 296 and the E were lost during the restoration. These were all on the faint side to begin with and seemed to have been stamped onto the finish of the pipe rather than onto bare briar. Their loss still bothers me. The dimensions of this beat-up beauty are:
Length: 5.80 in./ 147.32 mm.
Weight: 1.12 oz./ 31.30 g.
Bowl Height: 1.70 in./ 48.01 mm.
Chamber Depth: 1.73 in./ 43.94 mm.
Chamber Diameter: 0.83 in./ 21.08 mm.
Outside Diameter: 1.35 in./ 34.29 mm.
I do hope that you have found something here useful to your own pipe care, maintenance or restorations. If you like this sort of thing, please click the like and subscribe buttons. Thank you for reading the ramblings of an old pipe lover.
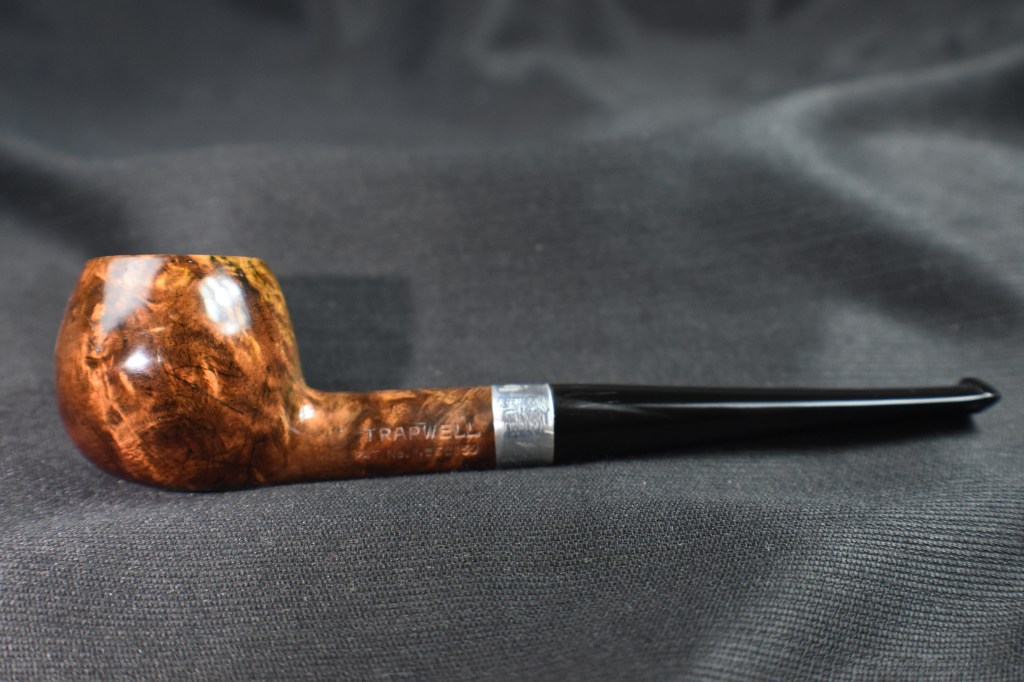
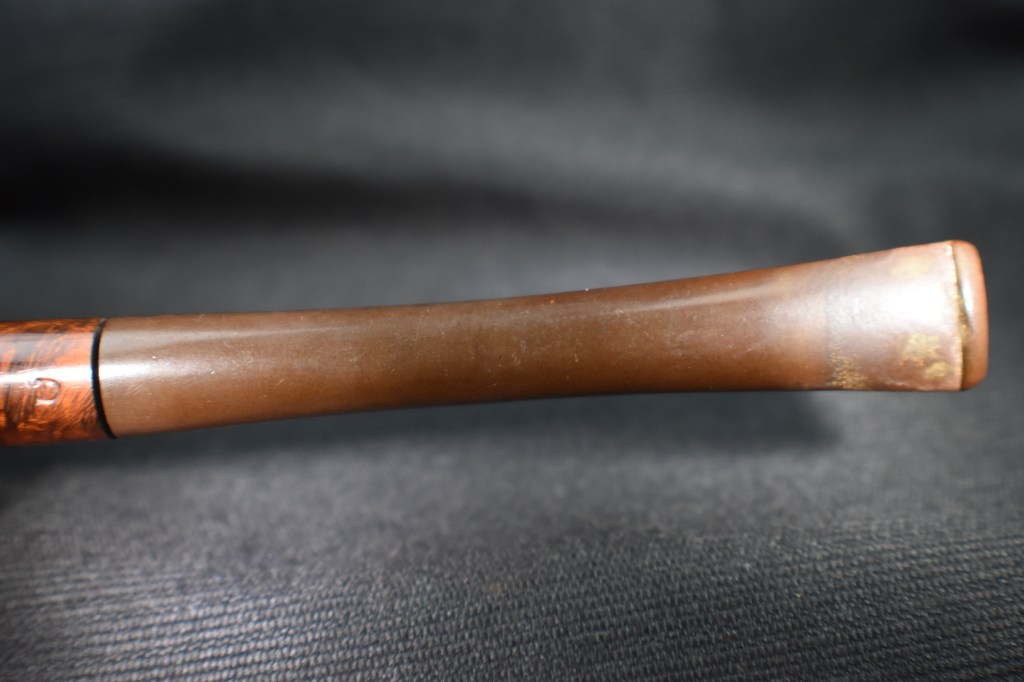
Below are some photos of the finished Made in London Telford’s Canadian 296.


I had to take one photo of how the stem appears at a slight distance. It looks good.


 ” (
” (


