Photographed and written by
John M. Young
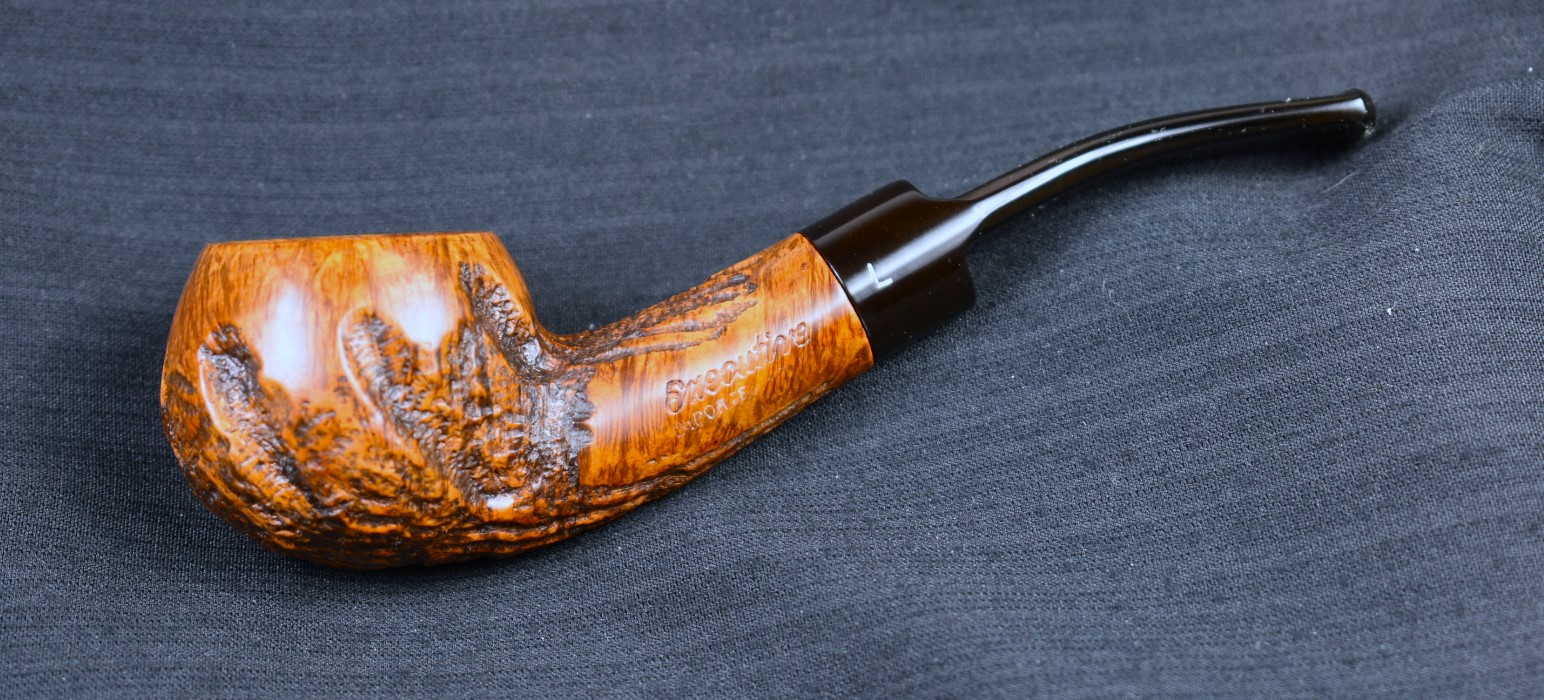
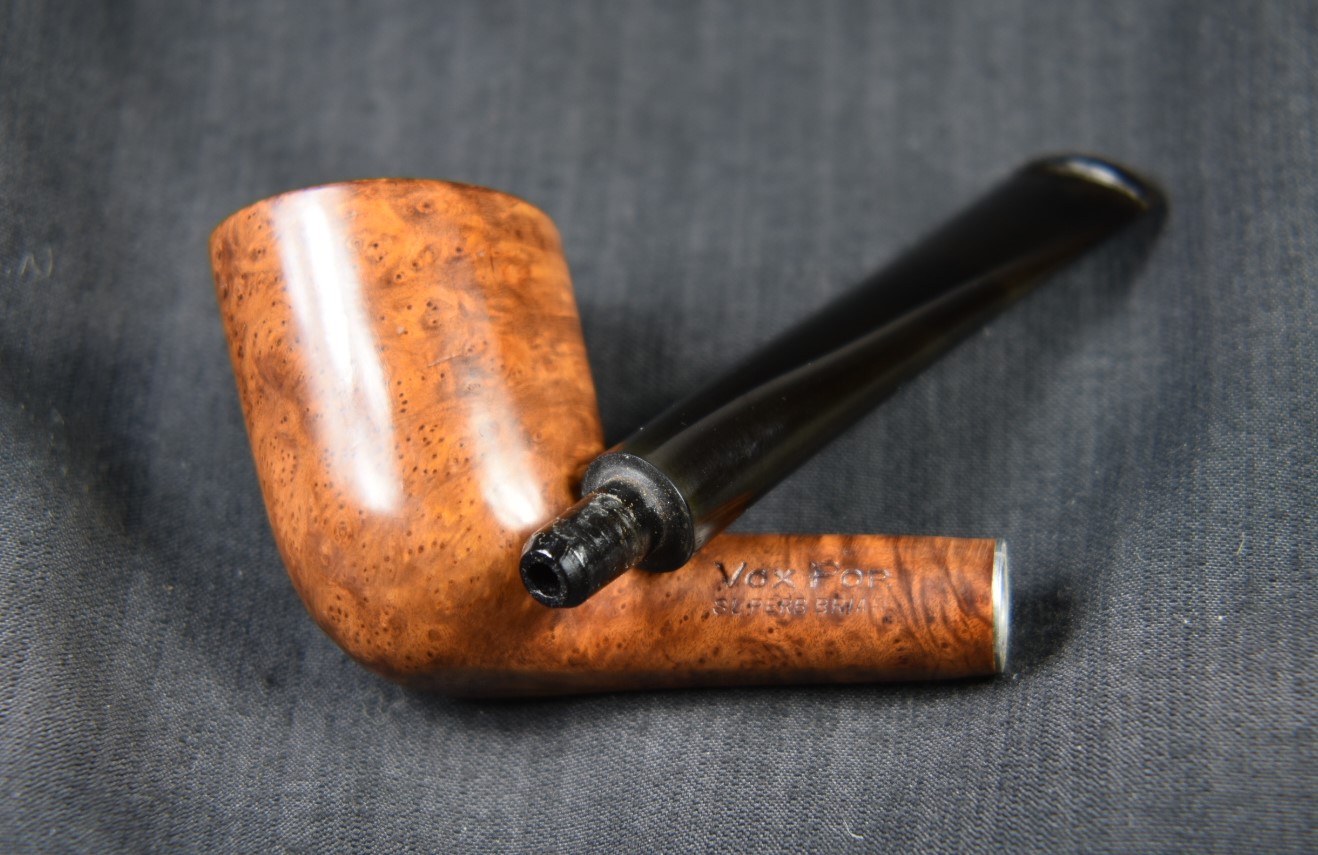
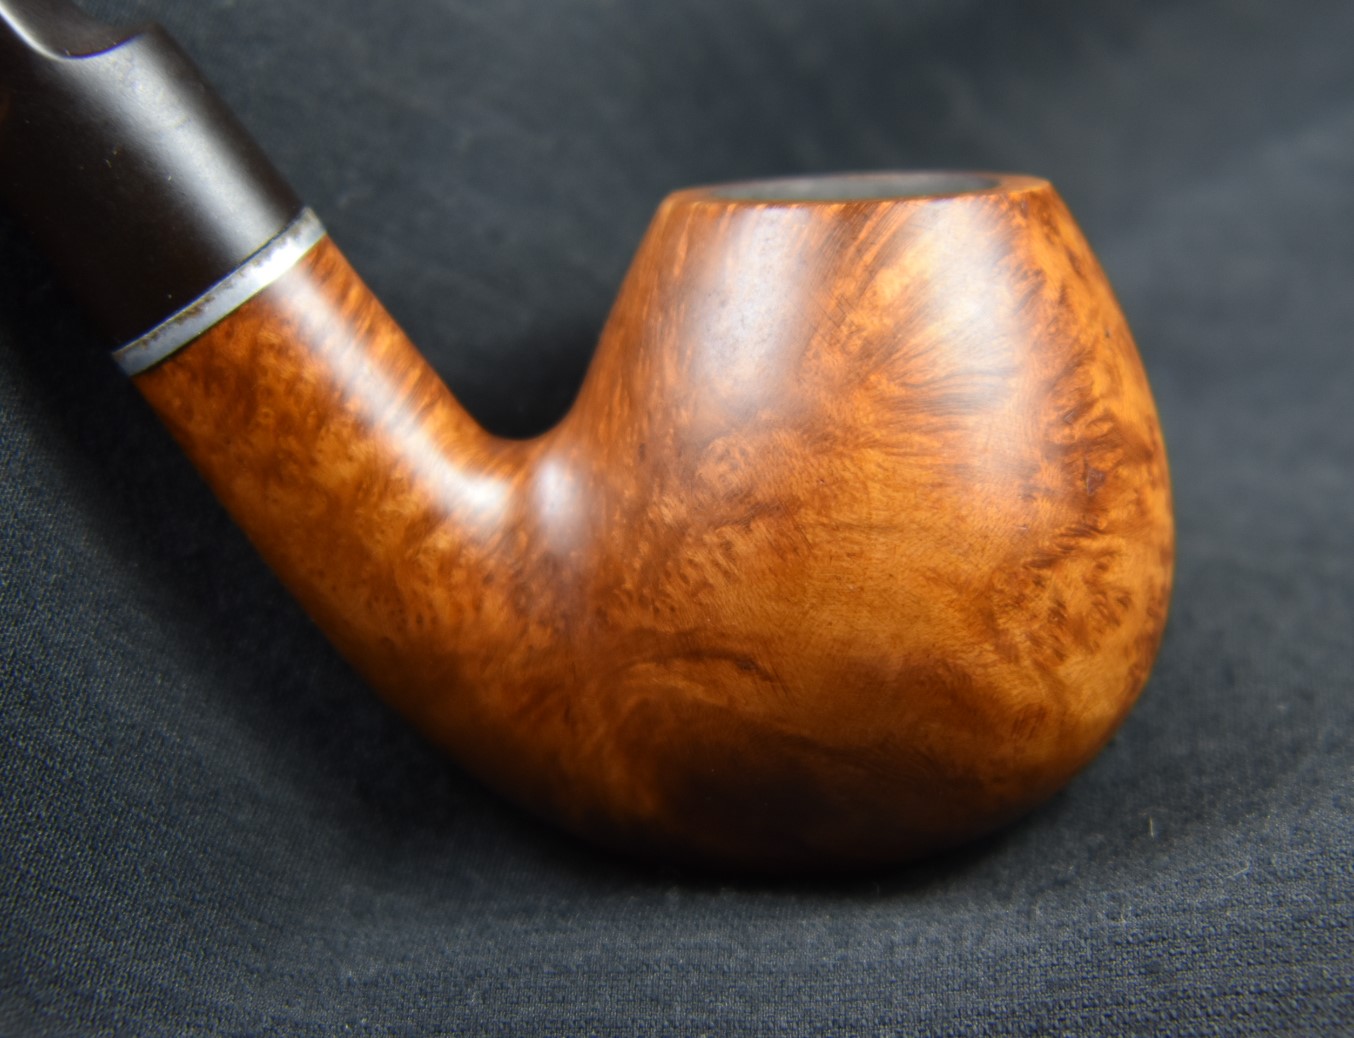
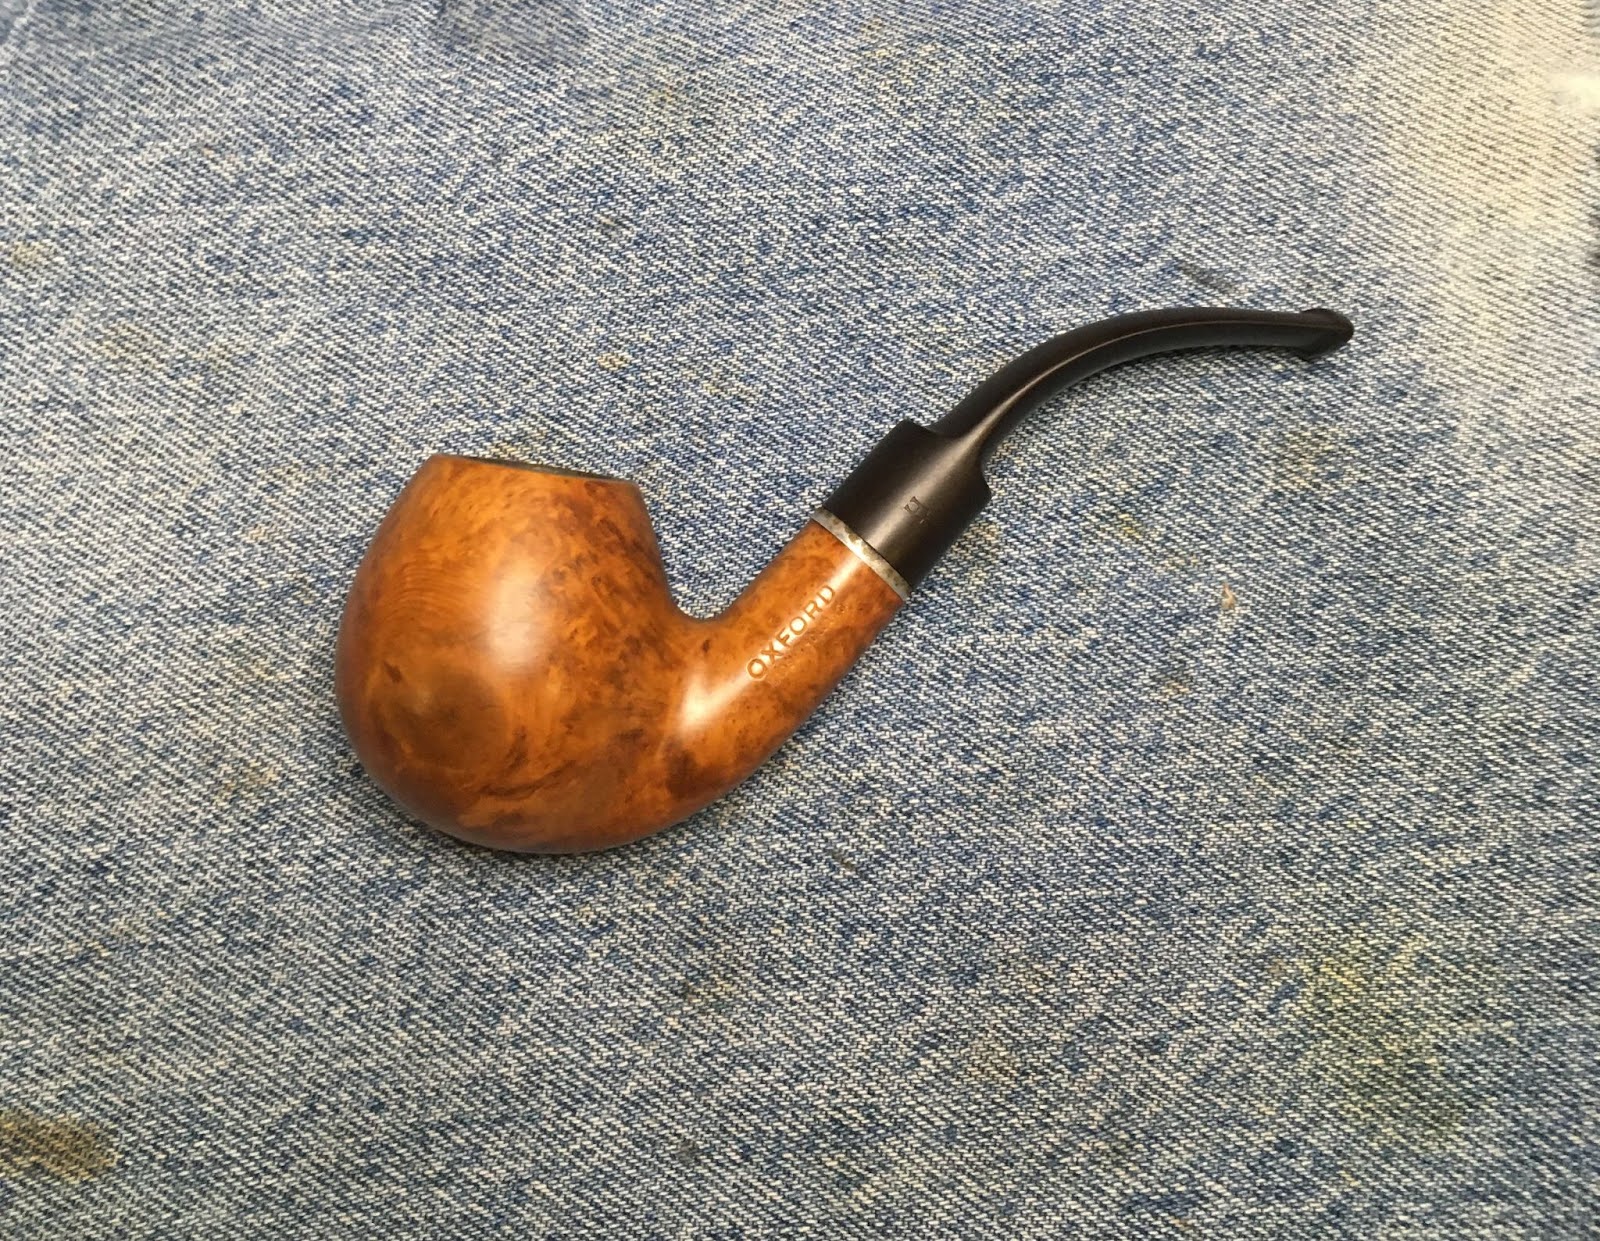
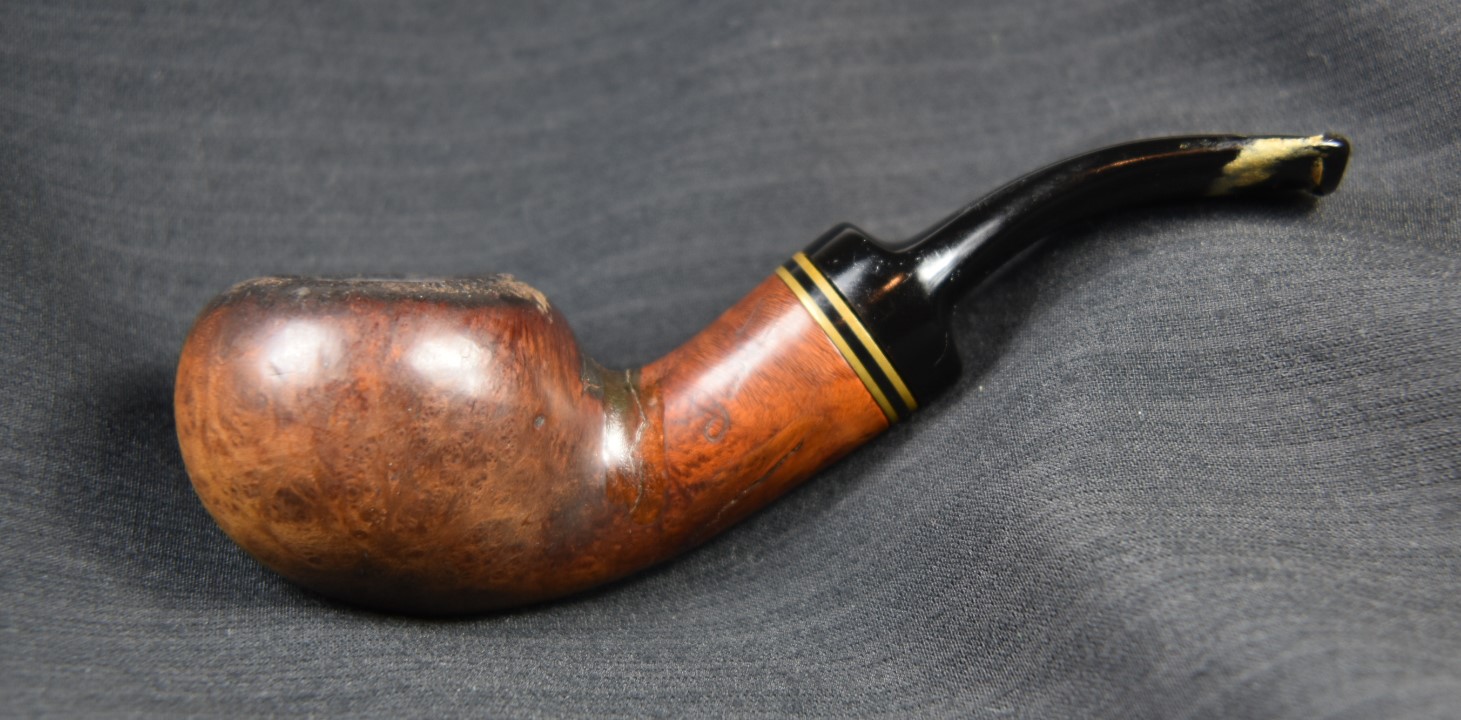
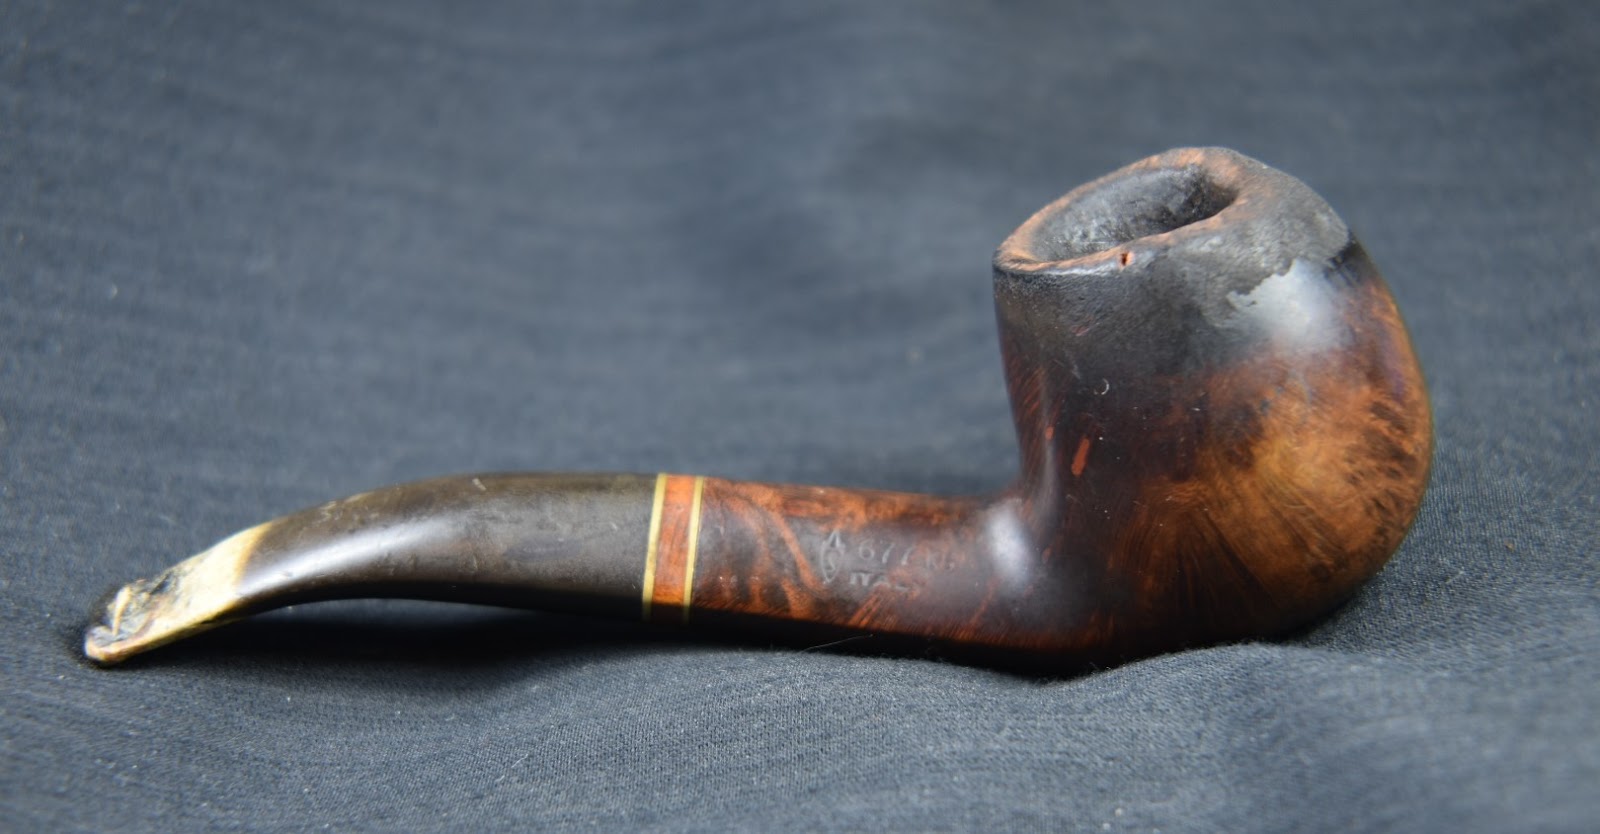
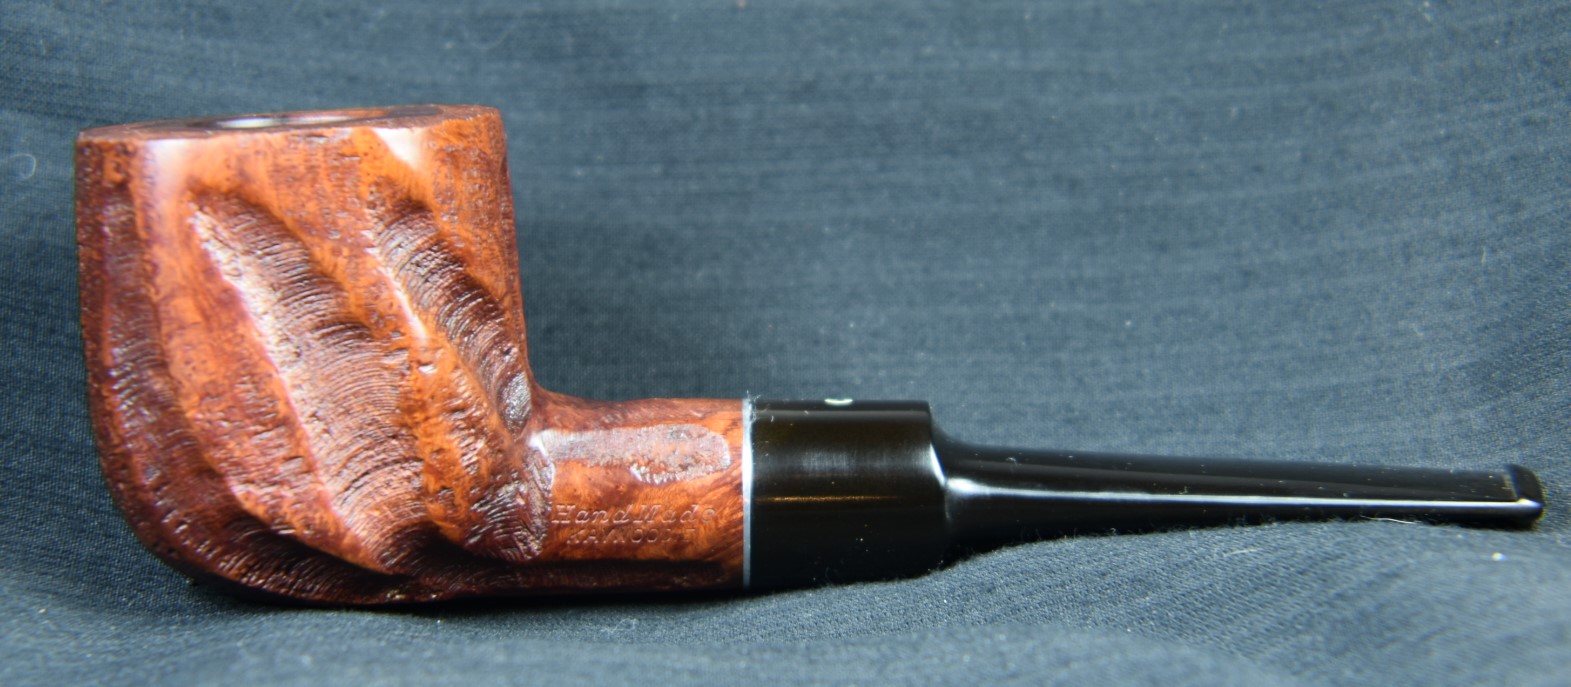
I am the first to admit that love at first sight is a convenient trope which heroic epics and princess stories utilize. Well, I should say “I was the first”, that is until I saw this Oxford bent brandy on a well known internet auction site. I was smitten. Though not usually a fan of saddle stems, because they are hard to sand well. And, also not a fan of aluminum stingers which the aluminum band indicated would be present. This little darling had two strikes against her from the start. I couldn’t stop thinking about her. When the end of the auction drew near no one had even granted her a starting bid. I picked her up for just that, the starting bid.
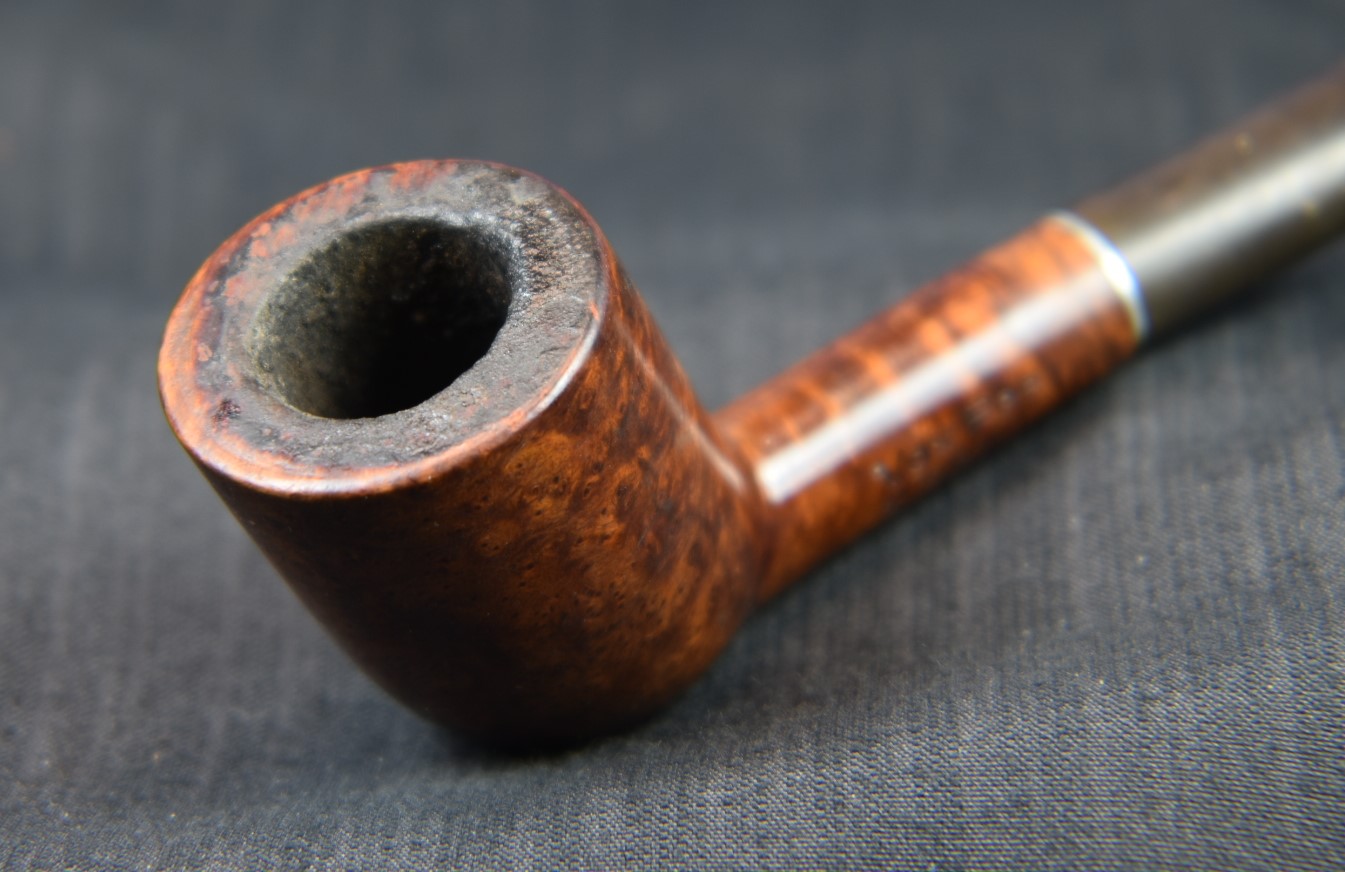
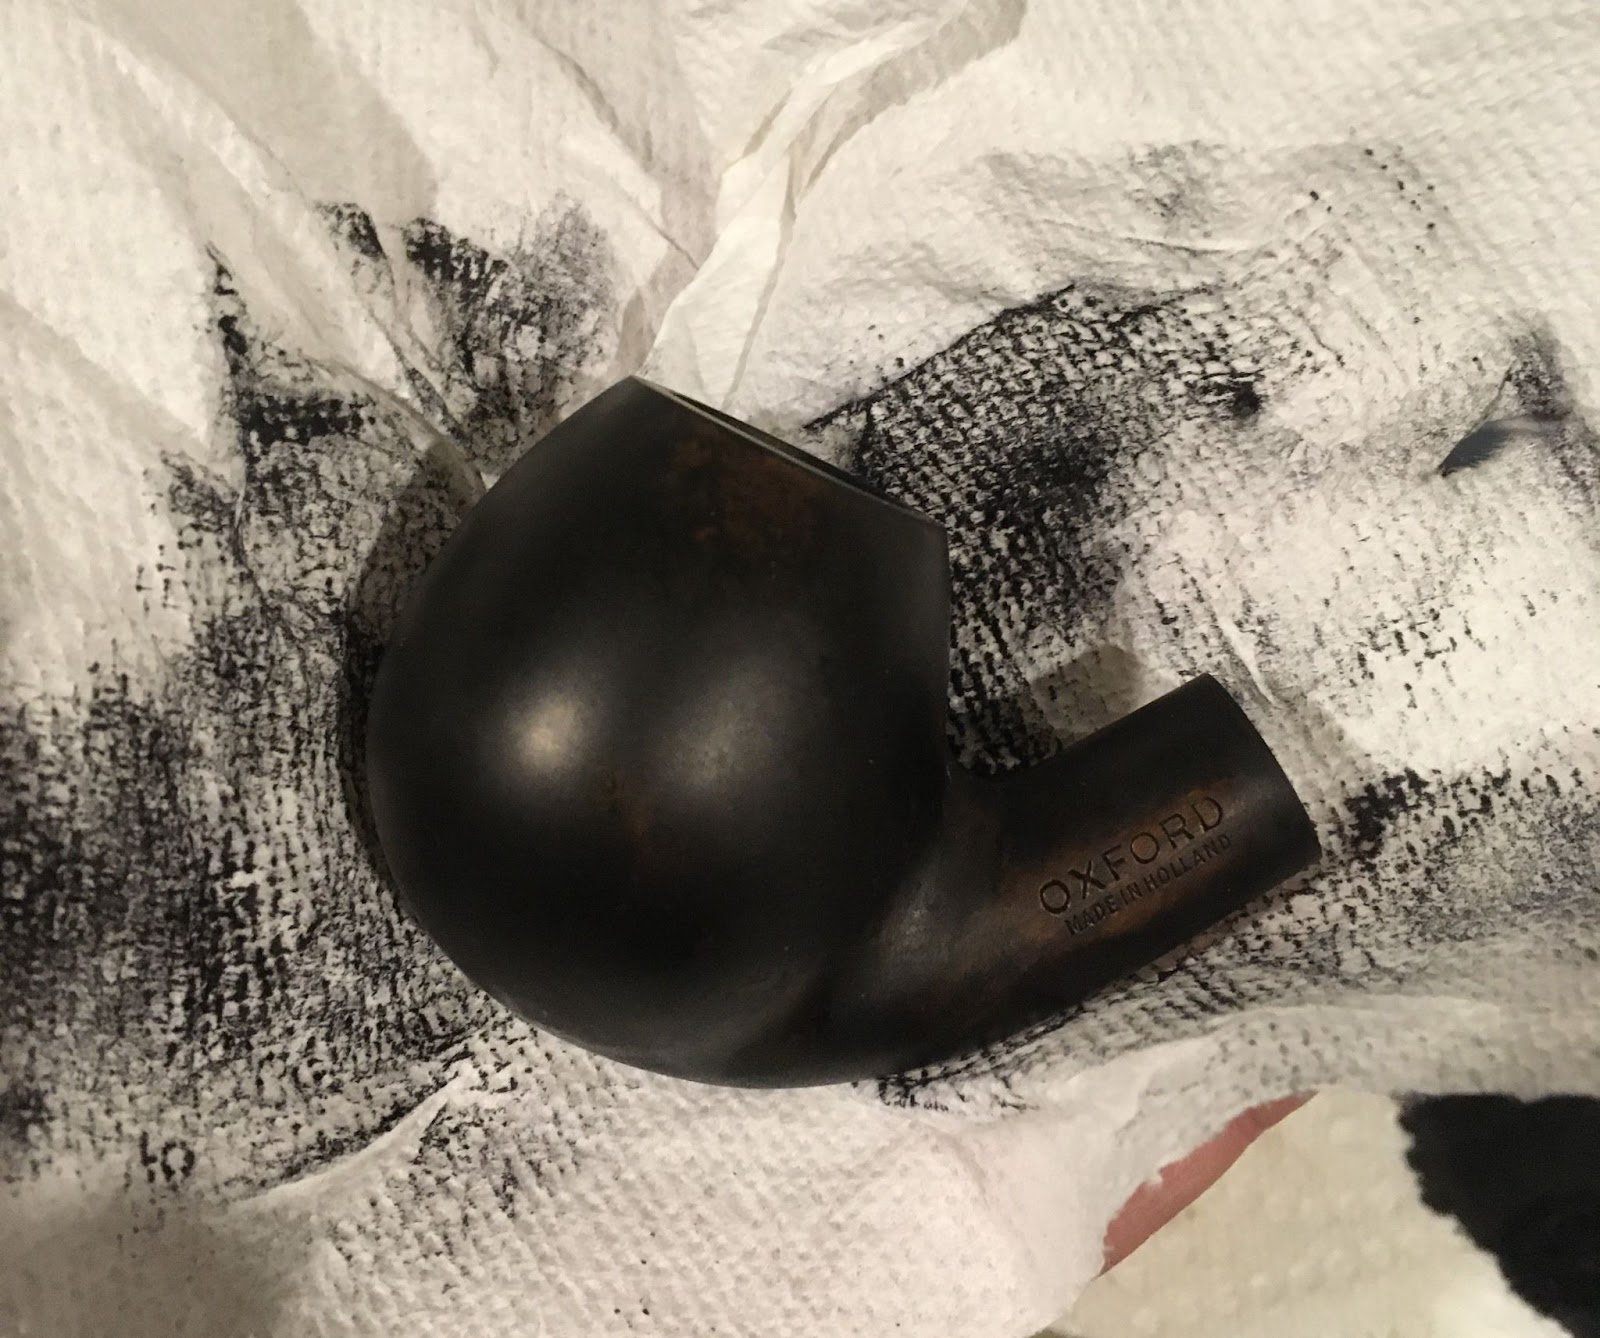
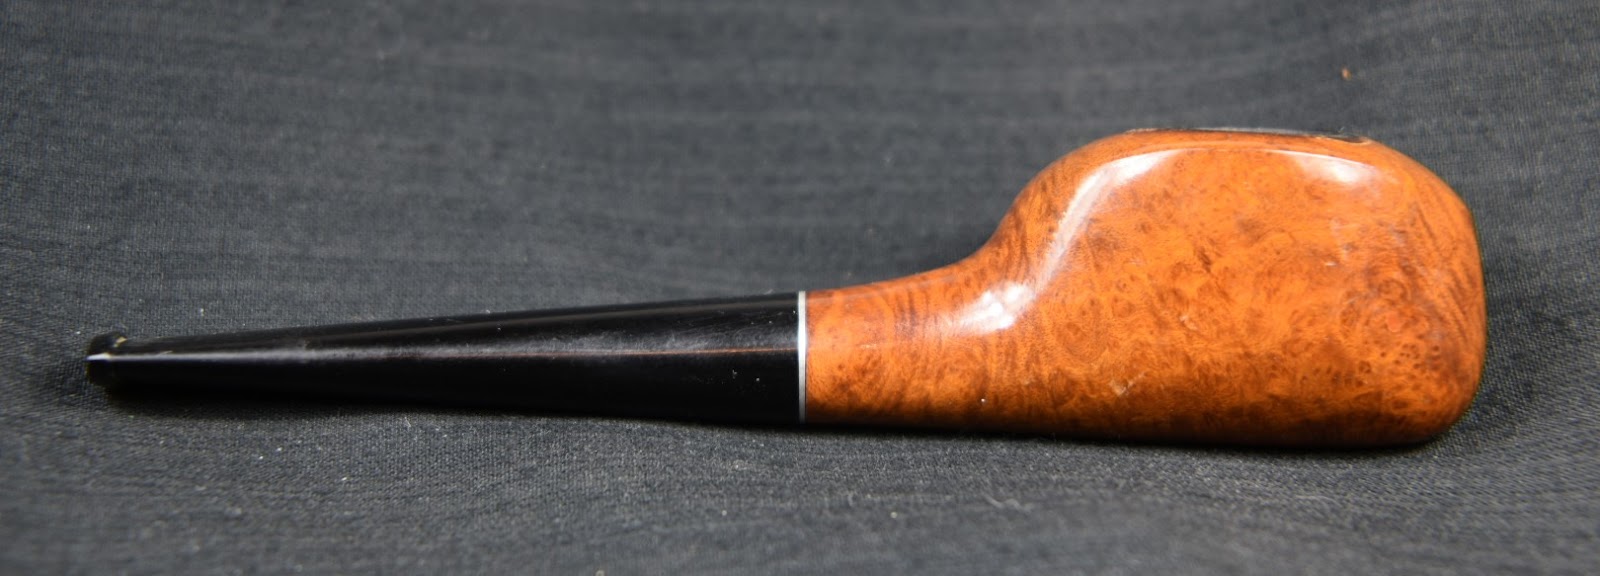
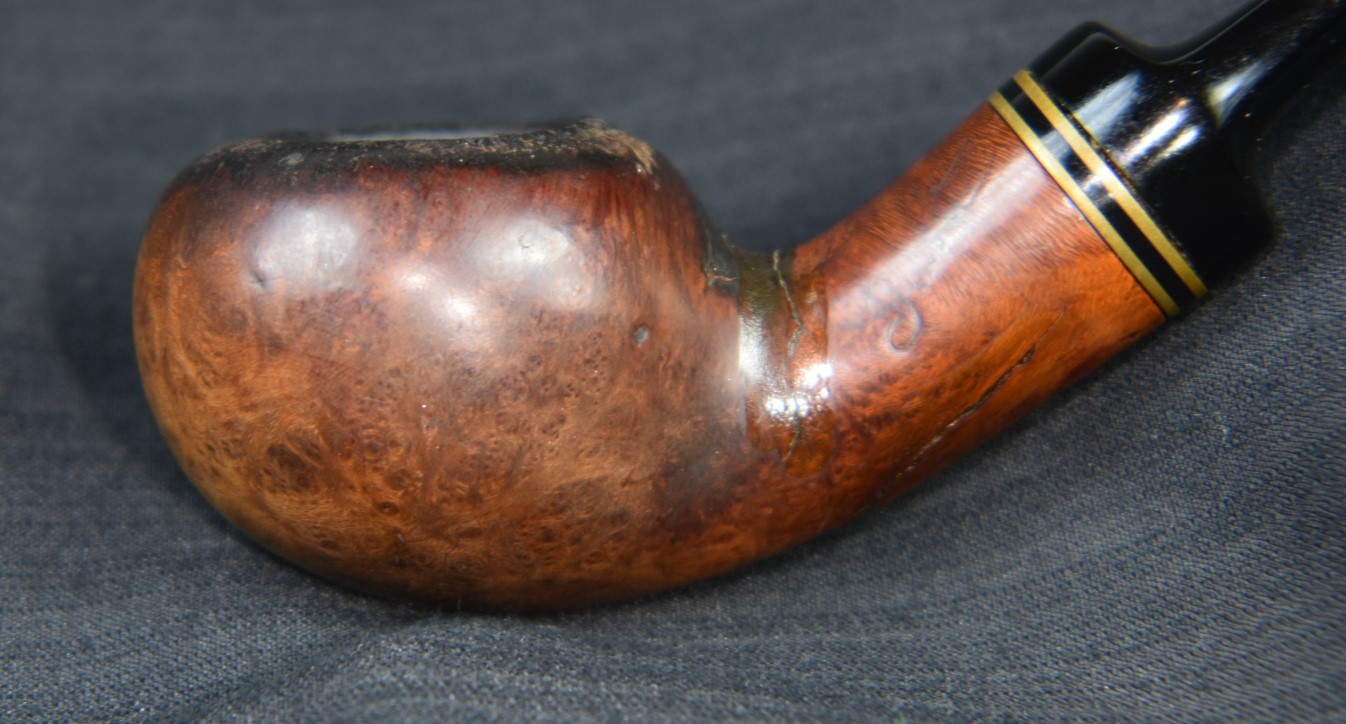
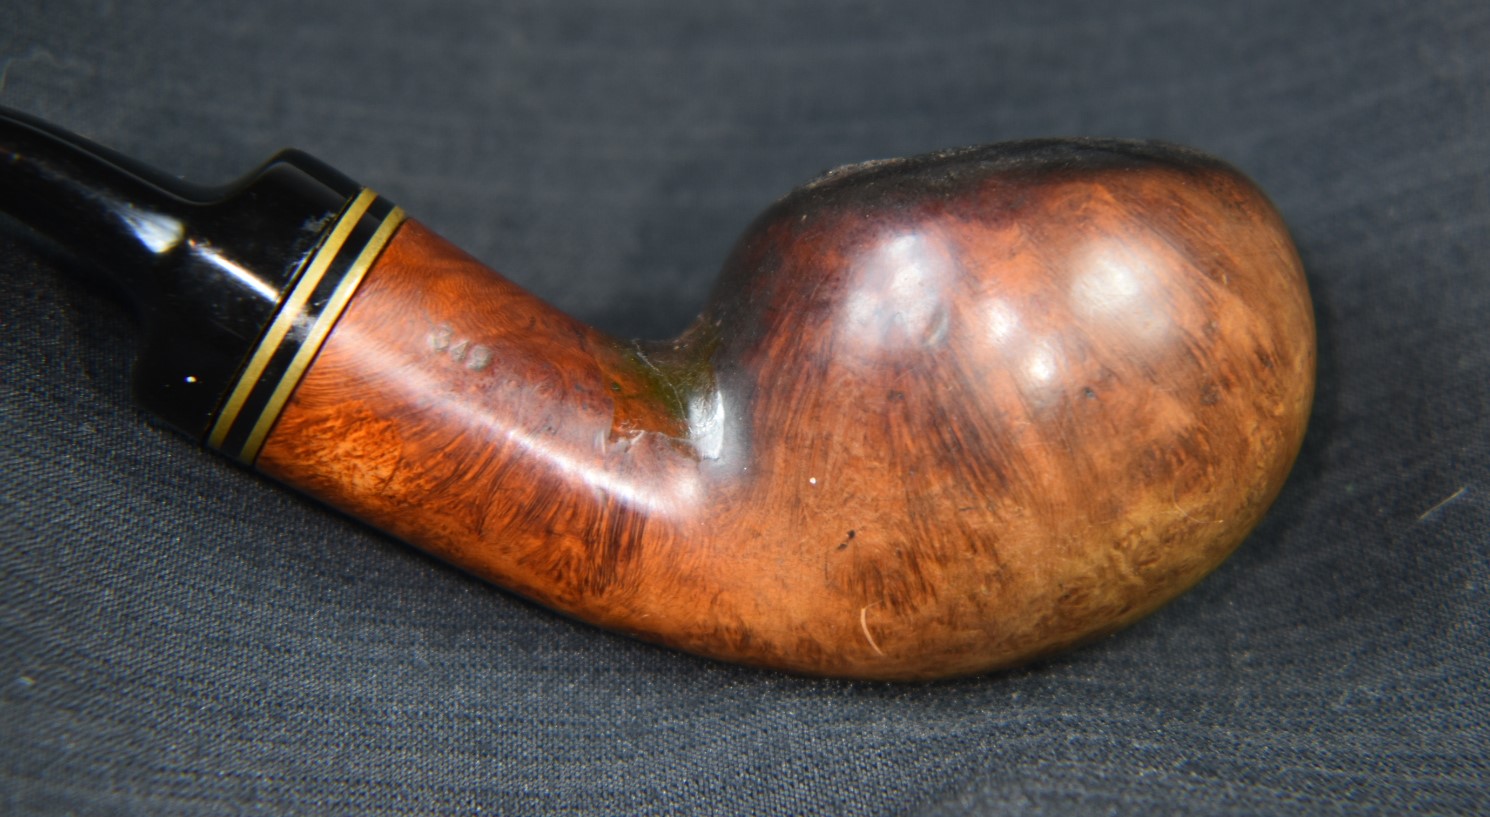
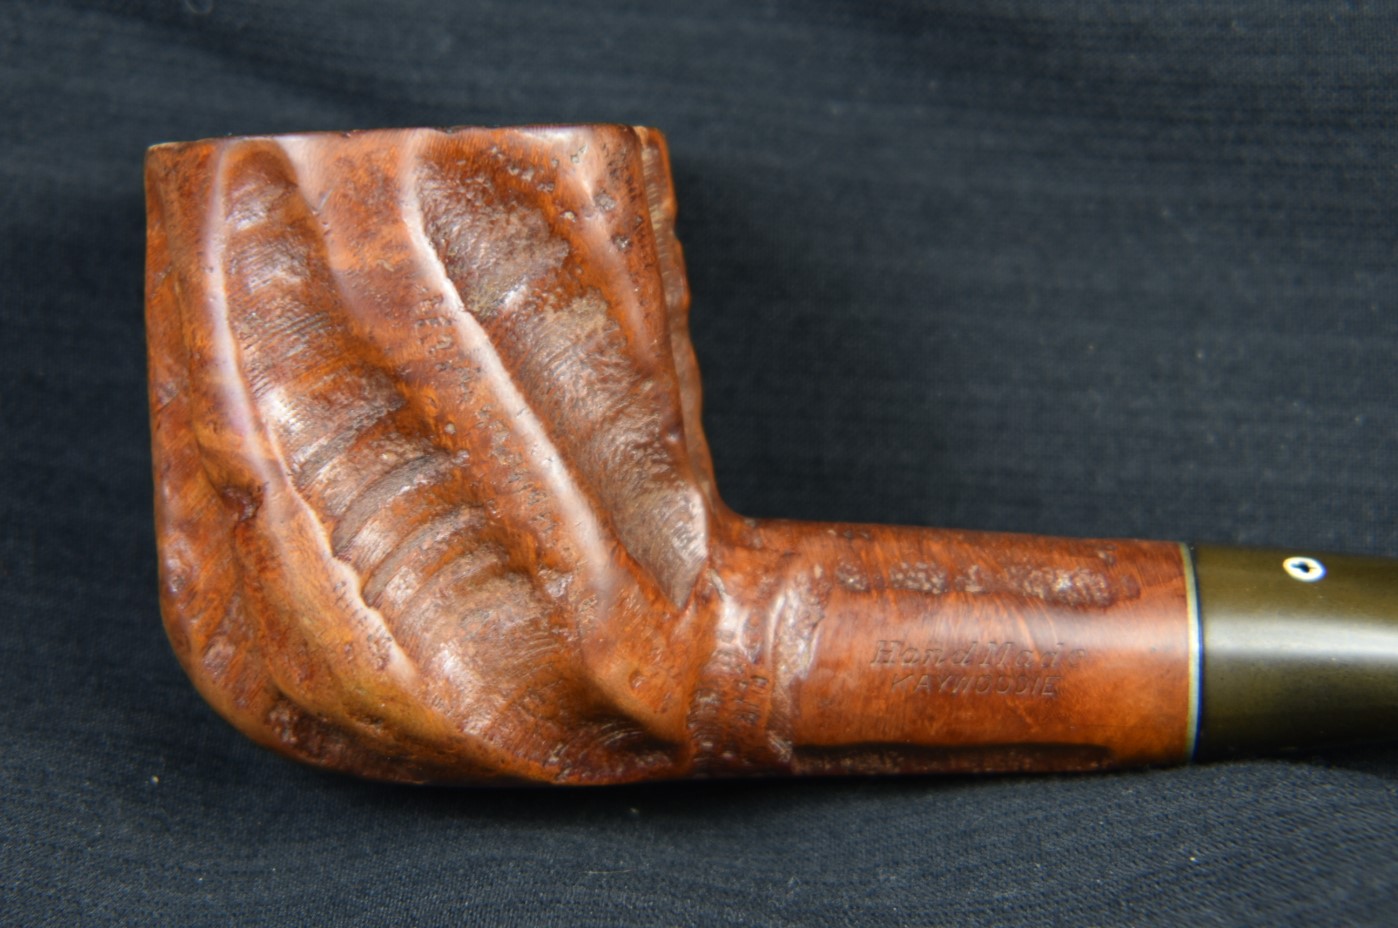
I suppose I had better show you what I was seeing before we go any further.


About this Oxford
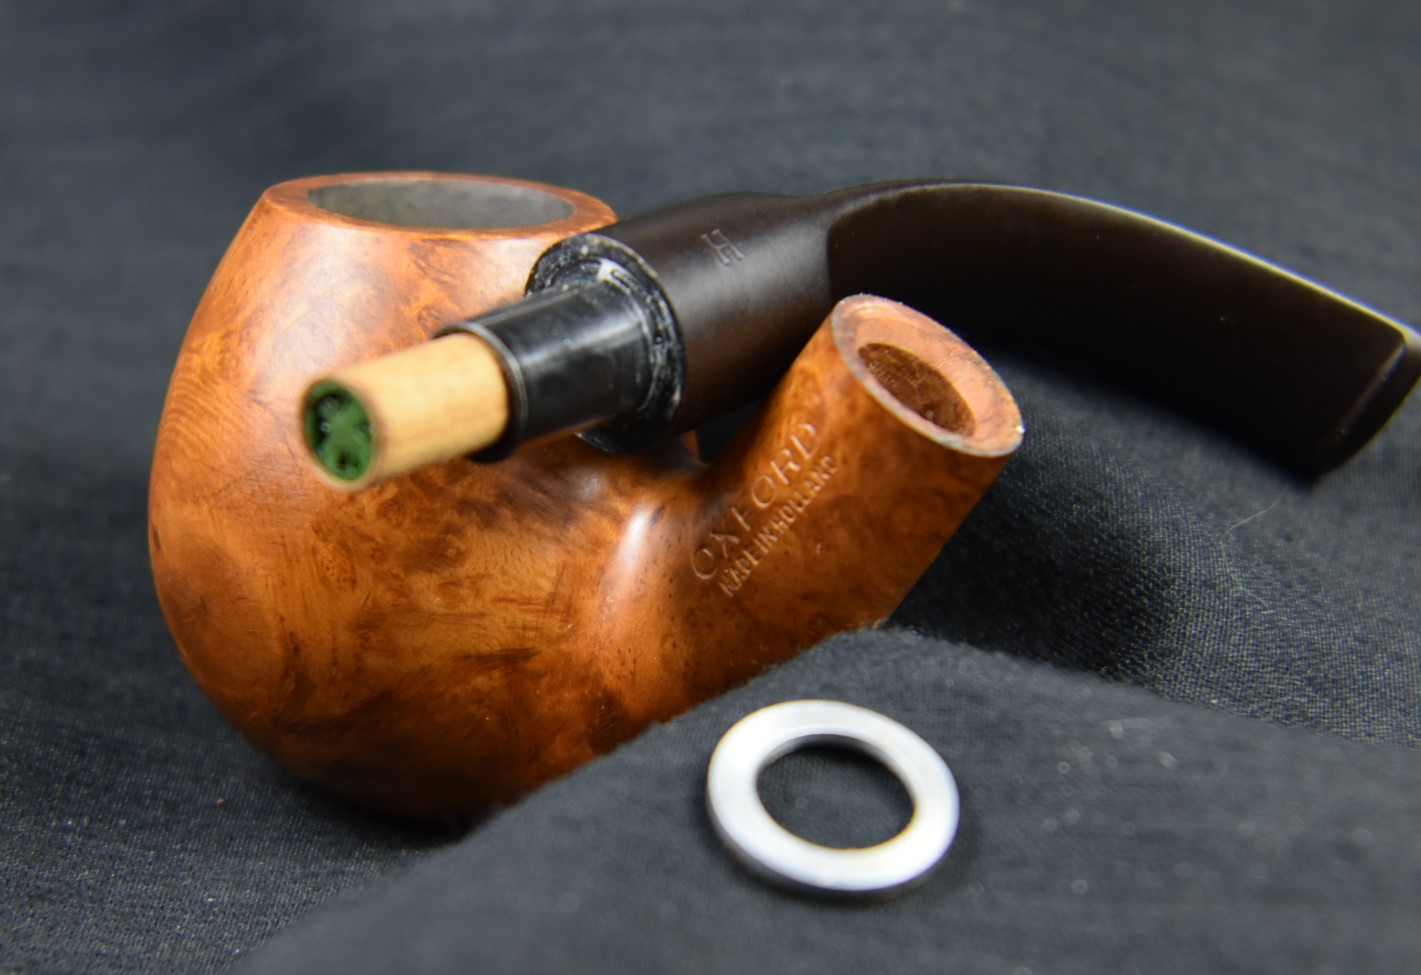
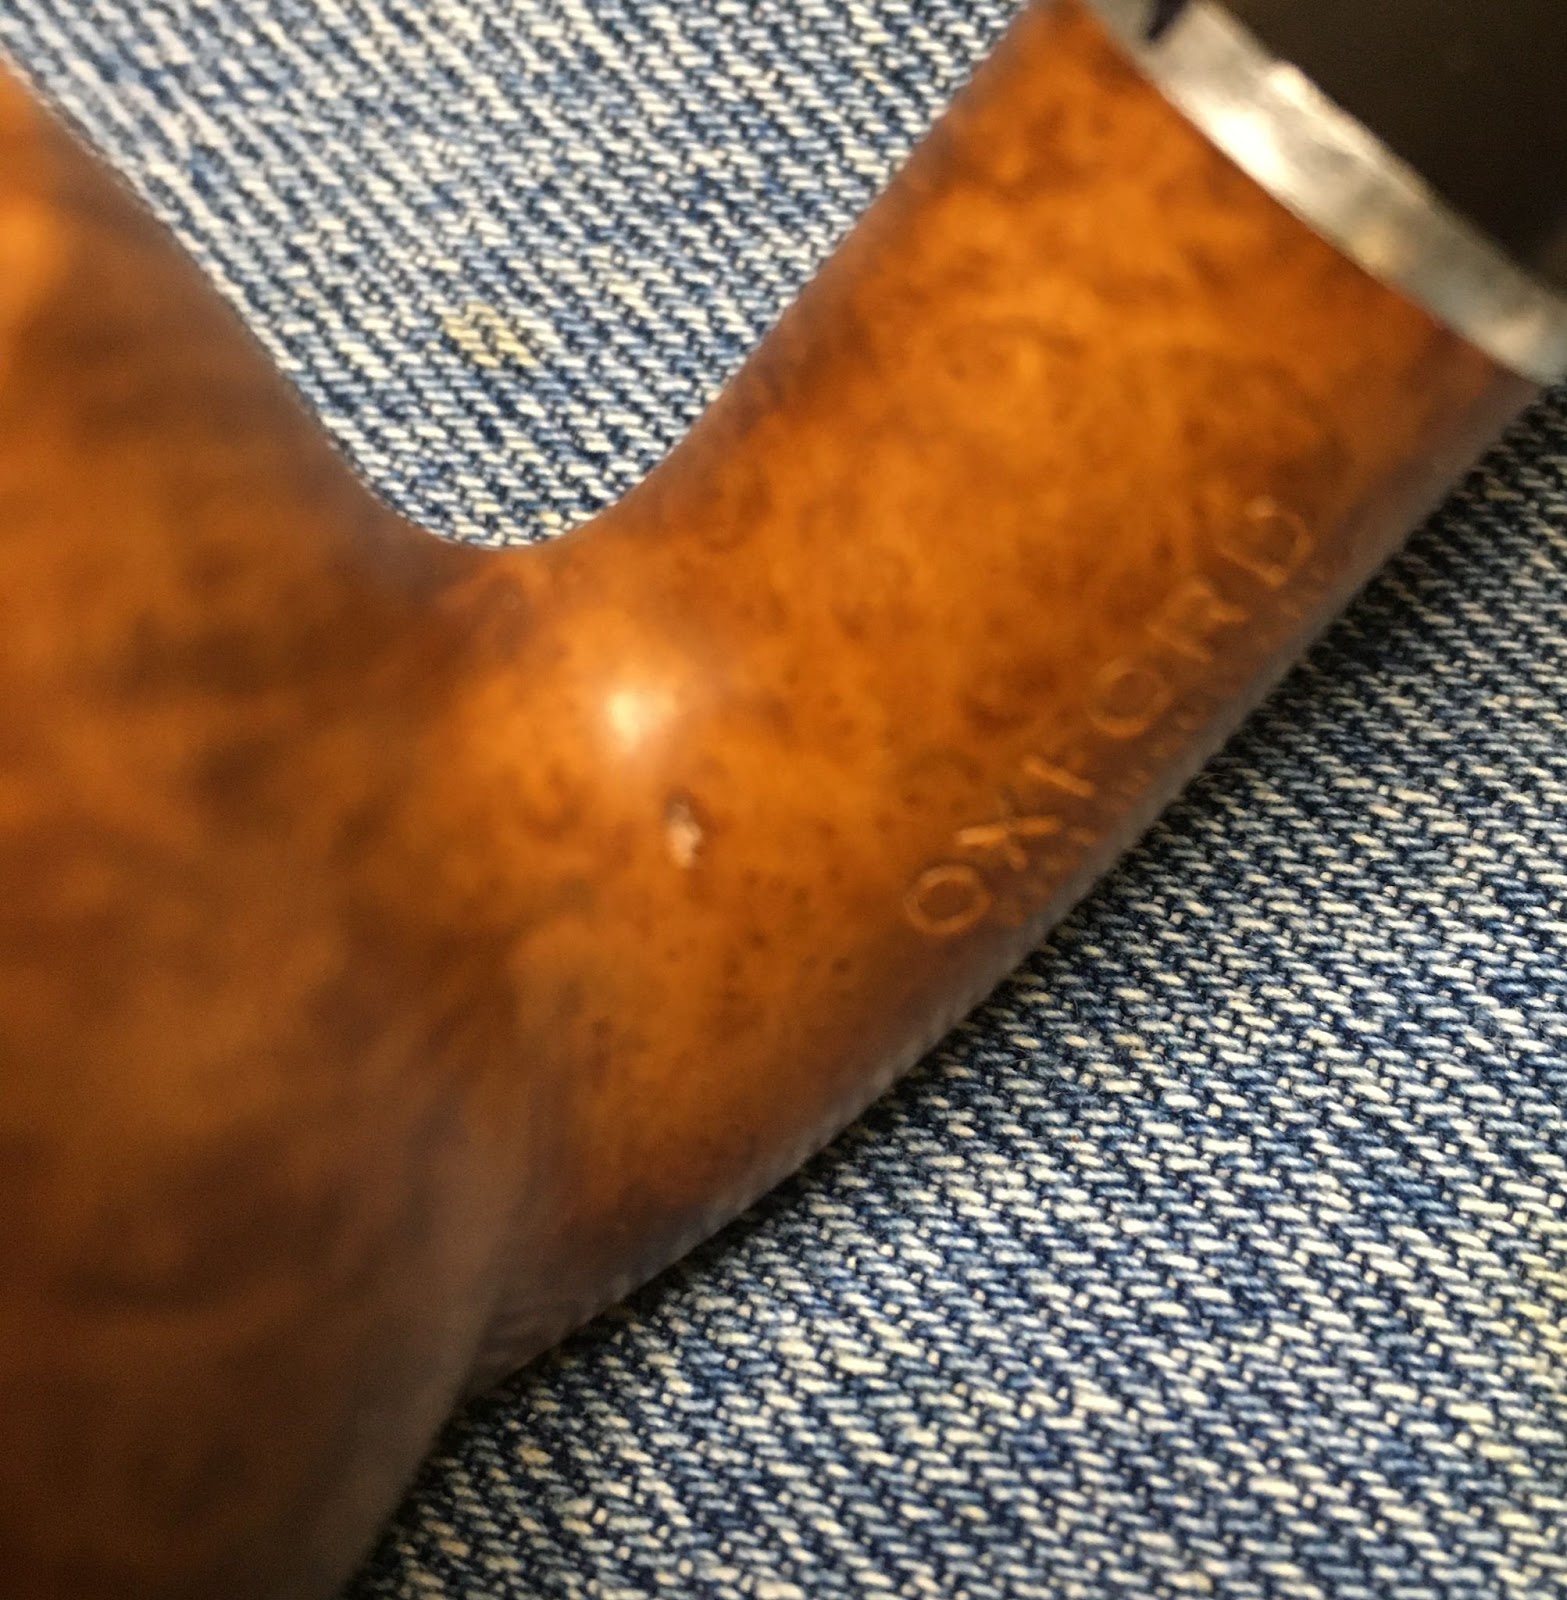
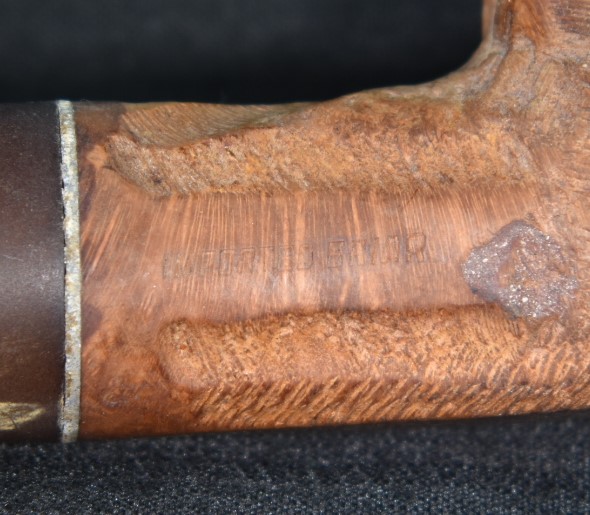
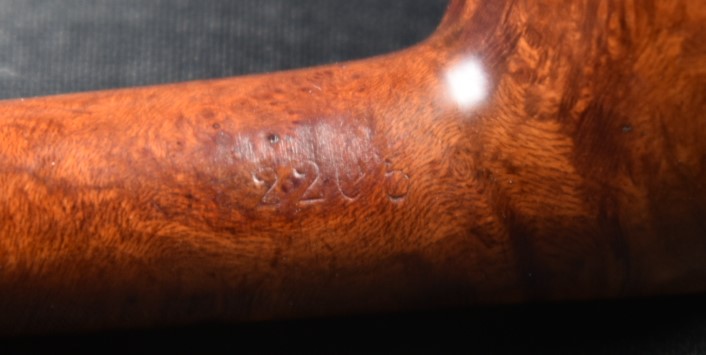
I have very limited knowledge of pipes made in the Netherlands or as this pipe is stamped OXFORD over MADE IN HOLLAND, I did know that Holland is a region of the western edge of the Netherlands. See Dr. Barris, I was paying attention in The Geography of Europe, spring semester 1985. I have worked on Amphora and Hilson pipes, two historic and Dutch pipe makers. The Oxford name, met with rather empty results when I searched pipedia.org and pipephil.eu. Oh sure there were hits from pipes carrying the Oxford name but none made in Holland. I used pipephil.eu’s “Search by country” -> Netherlands and received a list of makers with Dutch pedigrees. From this list I was able to view stampings and look for the illusive MADE IN HOLLAND stamp.
The list of suspects:
Big-Ben Barbados – MADE IN HOLLAND in a circle and shape number
Verdict: Innocent

(http://pipephil.eu/logos/en/logo-bigben.html)
Big-Ben Jockey – MADE IN HOLLAND in line and a shape number
Verdict: Innocent

(http://pipephil.eu/logos/en/logo-bigben.html)
Big-Ben Ranger – MADE IN HOLLAND in line but the logo did not match
Verdict: Innocent

(http://pipephil.eu/logos/en/logo-bigben.html)
Big-Ben Straight Grain – MADE IN HOLLAND in line but neither logo a match
Verdict: Innocent

(http://pipephil.eu/logos/en/logo-bigben.html)
Big-Ben Viking – MADE IN HOLLAND in line but logo did not match
Verdict: Innocent

(http://pipephil.eu/logos/en/logo-bigben.html)
Big-Ben Thompson – MADE IN HOLLAND in line but logo did not match. A second Big-Ben Thompson is stamped WEST GERMANY with a nonmatching logo
Verdict: Innocent

(http://pipephil.eu/logos/en/logo-t5.html#thompson)
Big-Ben Maestro – MADE IN HOLLAND in line with a very ornate nonmatching logo
Verdict: Innocent

(http://pipephil.eu/logos/en/logo-bigben.html)
Hilson – MADE IN BELGIUM for the country of manufacture (COM)
Verdict: Innocent

(http://pipephil.eu/logos/en/logo-h3.html)
Royal Dutch Roermond – MADE IN HOLLAND in line with a very ornate nonmatching logo
Verdict: Innocent

(http://pipephil.eu/logos/en/logo-r5.html)
Royal Dutch MADE IN HOLLAND in line with a nonmatching logo
Verdict: Innocent

(http://pipephil.eu/logos/en/logo-r6.html)
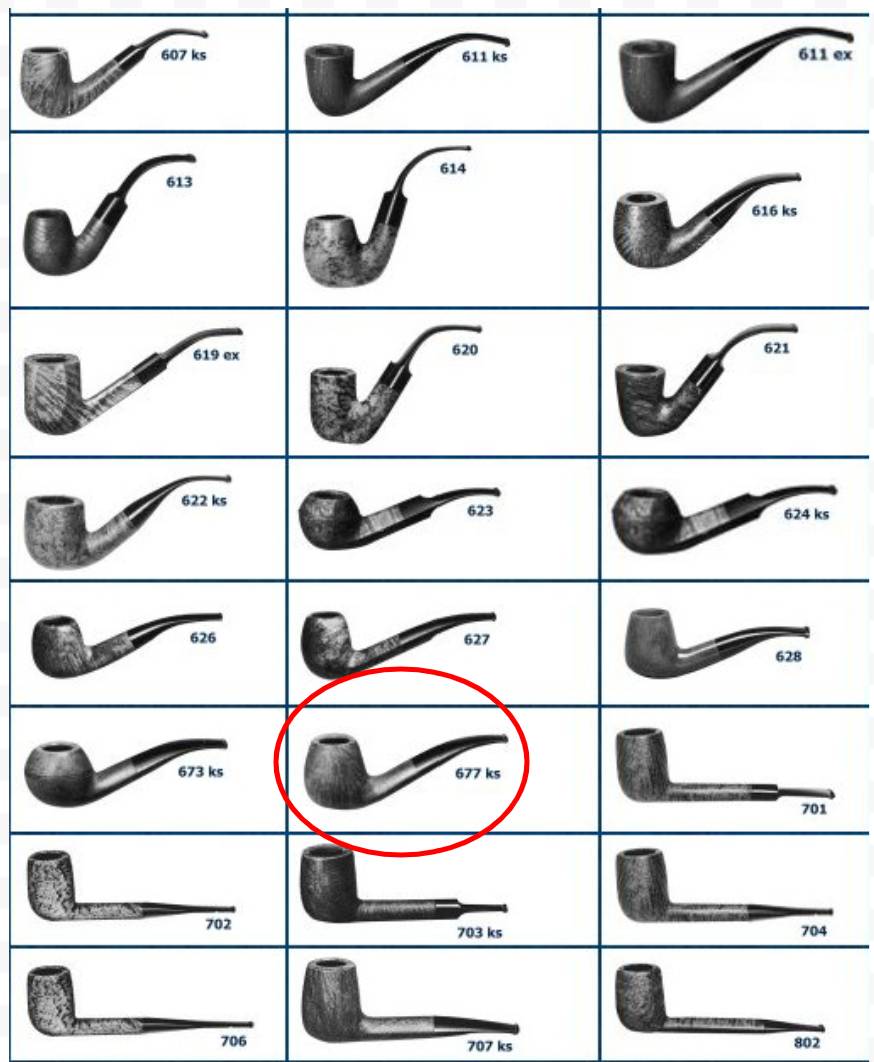
Well shoot, that was a lot of work for nothing. Now I know what the prosecution in the O.J. Simpson trial felt like. With no definitive answer to the pedigree of this pipe I am using editorial conjecture to call it a likely product of the Gubbels factory. Here is where I imagine you saying. “What? Who the heck is this Gubbels and where did he come from?” Good questions, both. I will defer to pipedia.org for a nice account of the briar pipe manufacturing in the Netherlands.
“With the help of his family the father of Elbert Gubbels Sr. started a retail shop for tobacco pipes and other smoker’s equipment in 1870.
In 1924 Elbert Gubbels Sr., now father / grandfather of the present owners, transformed it into a wholesale trade business. The company grew steadily and imported pipes from various countries as there were no factories producing briar pipes in the Netherlands. The most important suppliers came from France and England.
When German troops occupied the Netherlands in May of 1940, a period of almost five years began in which the Gubbels family could hardly operate their business at all. During this years of forced rest Elbert Gubbels had a notion to become independent of foreign suppliers and he drew up plans to start his own production of tobacco pipes after World War II.
Immediately succeeding the war it was very difficult to obtain good pipes for the import of foreign pipes was limited and so the time was right to go for something new. In 1946 he launched pipe production at Godsweerdersingel No. 20 in Roermond with a couple of new machines and some workers, a couple of them being foreign specialists and considered himself to commence. Yet the cramped accomodations and the needy equipment of the workshop showed the limits all too soon. It was obvious that the workshop was inadequate and Mr. Gubbels invested in another building covering an area of 900m² that also offered a sufficient warehouse. Now the production could be increased going hand in hand with developing new models and improving the quality of the pipes being produced.
The production grew steadily but it showed now that an “international” brand name was required for further expansion on international markets – obviously no one cared too much for pipes made in the Netherlands. Feeling that the time involved to get a new brand established was too lengthy, Mr. Gubbels bought a small trade company in Amsterdam which owned all the rights to the brand Big Ben and was already well established in other countries selling pipes among other goods. A real happenstance – Gubbels products could be marketed now in all European countries, the USA, Canada and many other countries, and nowadays they can be found in almost every country world-wide.
In December 1972 the company opened new and very modern factory in Roermond at Keulsebaan 505. With the official opening by the Governor of the Province of Limburg, the Gubbels company was, on behalf of Her Majesty Queen Juliana of the Netherlands, granted the title “Royal” so that the official name became: Elbert Gubbels & Zonen – Koninklijke Fabriek van Tabakspijpen (Elbert Gubbels & Sons – Royal Dutch Pipe Factory).
In honour of this title, a new brand was designed and named Royal Dutch. This brand was also created, to negate the belief that Big Ben was of English origin.
At the end of the 1970’s, there were only two briar pipe factories in the Benelux countries: Gubbels in the Netherlands and Hillen in Bree, Belgium. When the latter encountered major financial difficulties in 1980, Gubbels bought the company together with its brand Hilson – a well established brand, which was selling better on the most important German market than Gubbels’ mainstay Big Ben. The factory in Bree was closed soon, so Gubbels is presently the only briar pipe producer in the Benelux countries. (Exept less than a handful of pipemakers!)
More recentely Gubbels got known as producer of the Porsche[1] and Bugatti design pipes. Elbert Gubbels & Zonen B.V. is one of the worldwide biggest pipe producers today. Annually 250,000 – 300,000 pipes are made by ca. 60 employees. More than 70% of the production is exported.
In march 2012 Elbert Gubbels & Sons filed for bankruptcy.
You might also enjoy listening to Brian Levine’s interview of Elbert Gubbles on the PipeMagazine Radio Show“
Now do you see why I said Gubbels? The quote, “as there were no factories producing briar pipes in the Netherlands.” kind of gave it away. There was a long and great history of clay pipe production in Holland and the Netherlands was well as being the major trading hub of tobacco from 1700-1948 (Dutch tobacco trade | Dutch Pipe Smoker). I will include a few more sources of great information for those interested in the pipes and tobacco of the Netherlands:
Tobacco trade in Amsterdam Dutch tobacco trade | Dutch Pipe Smoker
Gouda pipe makers The Manufacture of Dutch Clay Tobacco-Pipes (binghamton.edu)
Porcelain pipes Zenith – Pipedia
Amphora Amphora – Pipedia
Gubbels and Royal Dutch Pipe company Gubbels – Pipedia
The Restoration
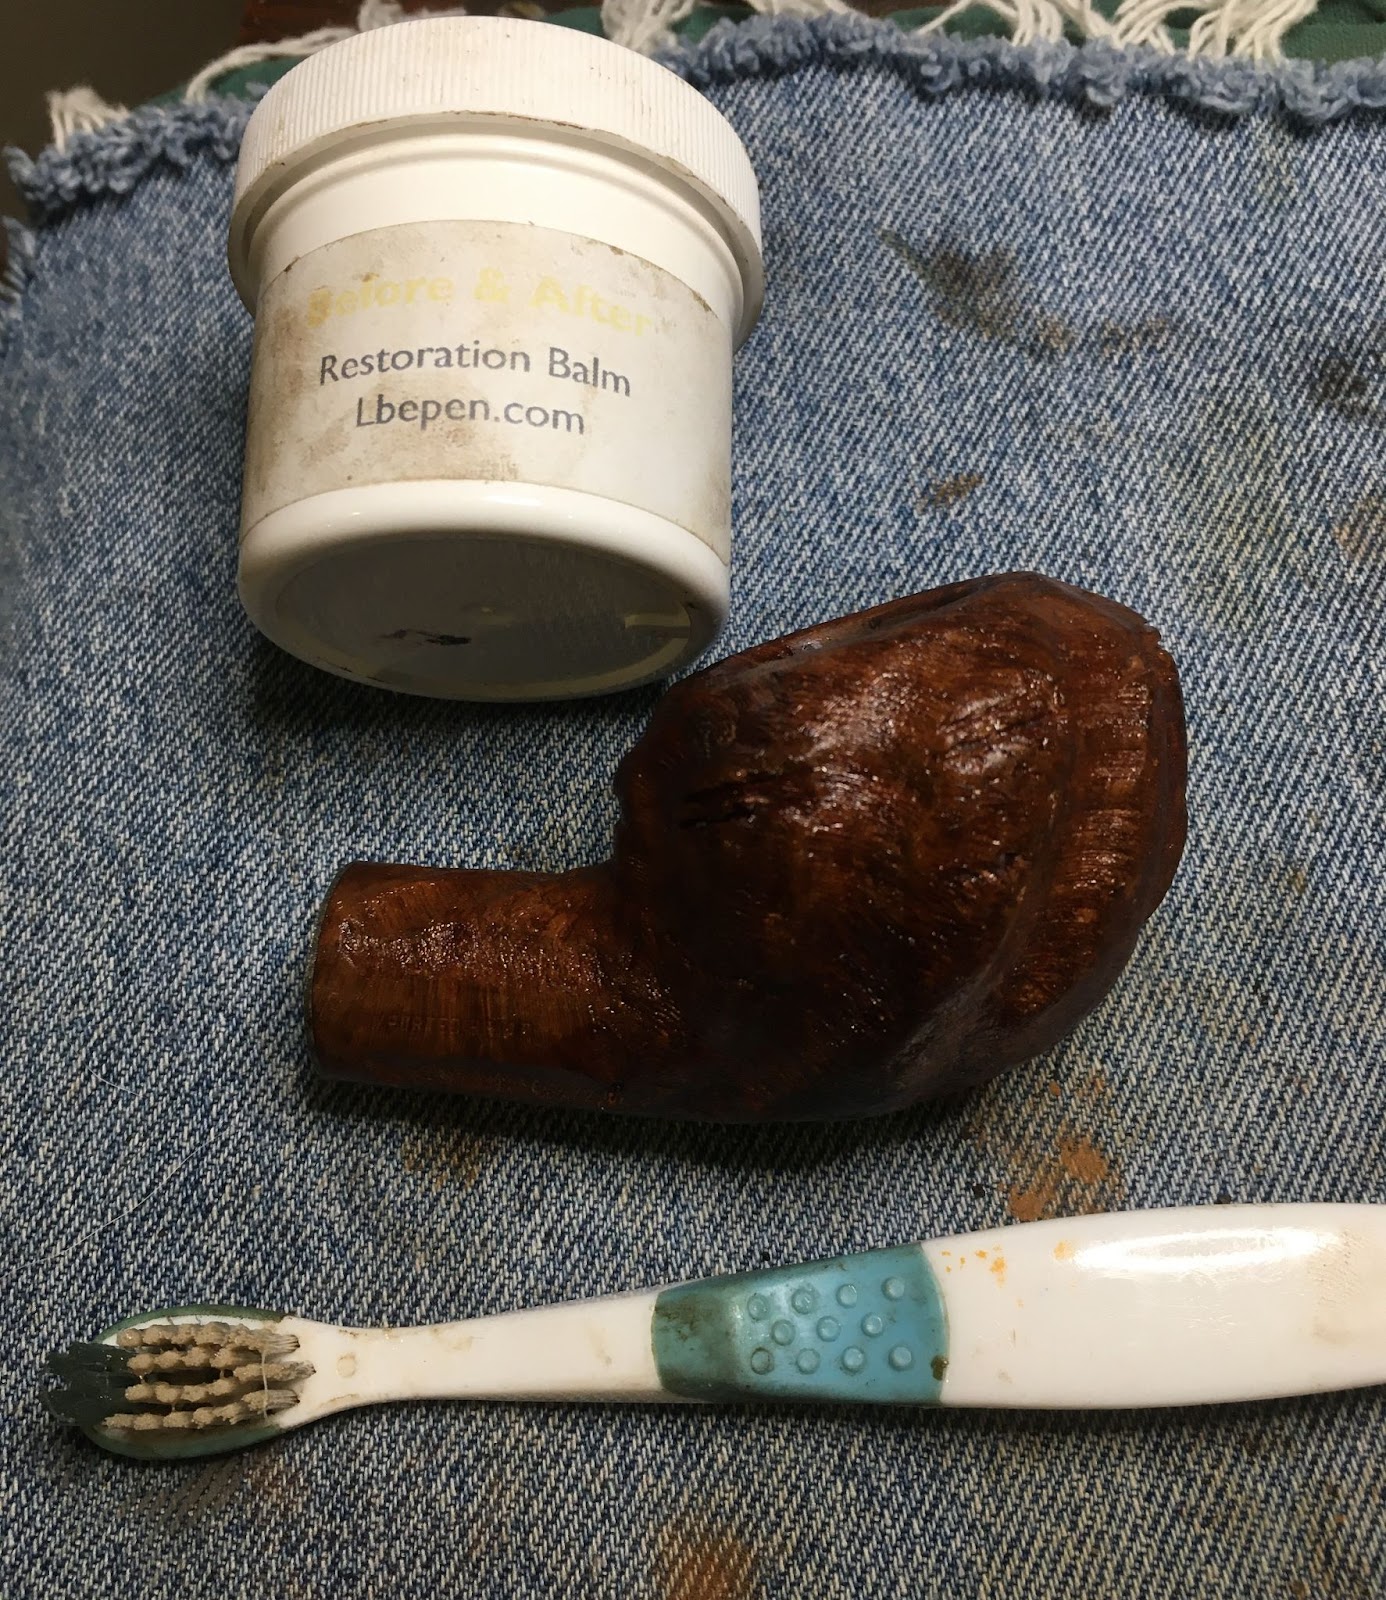
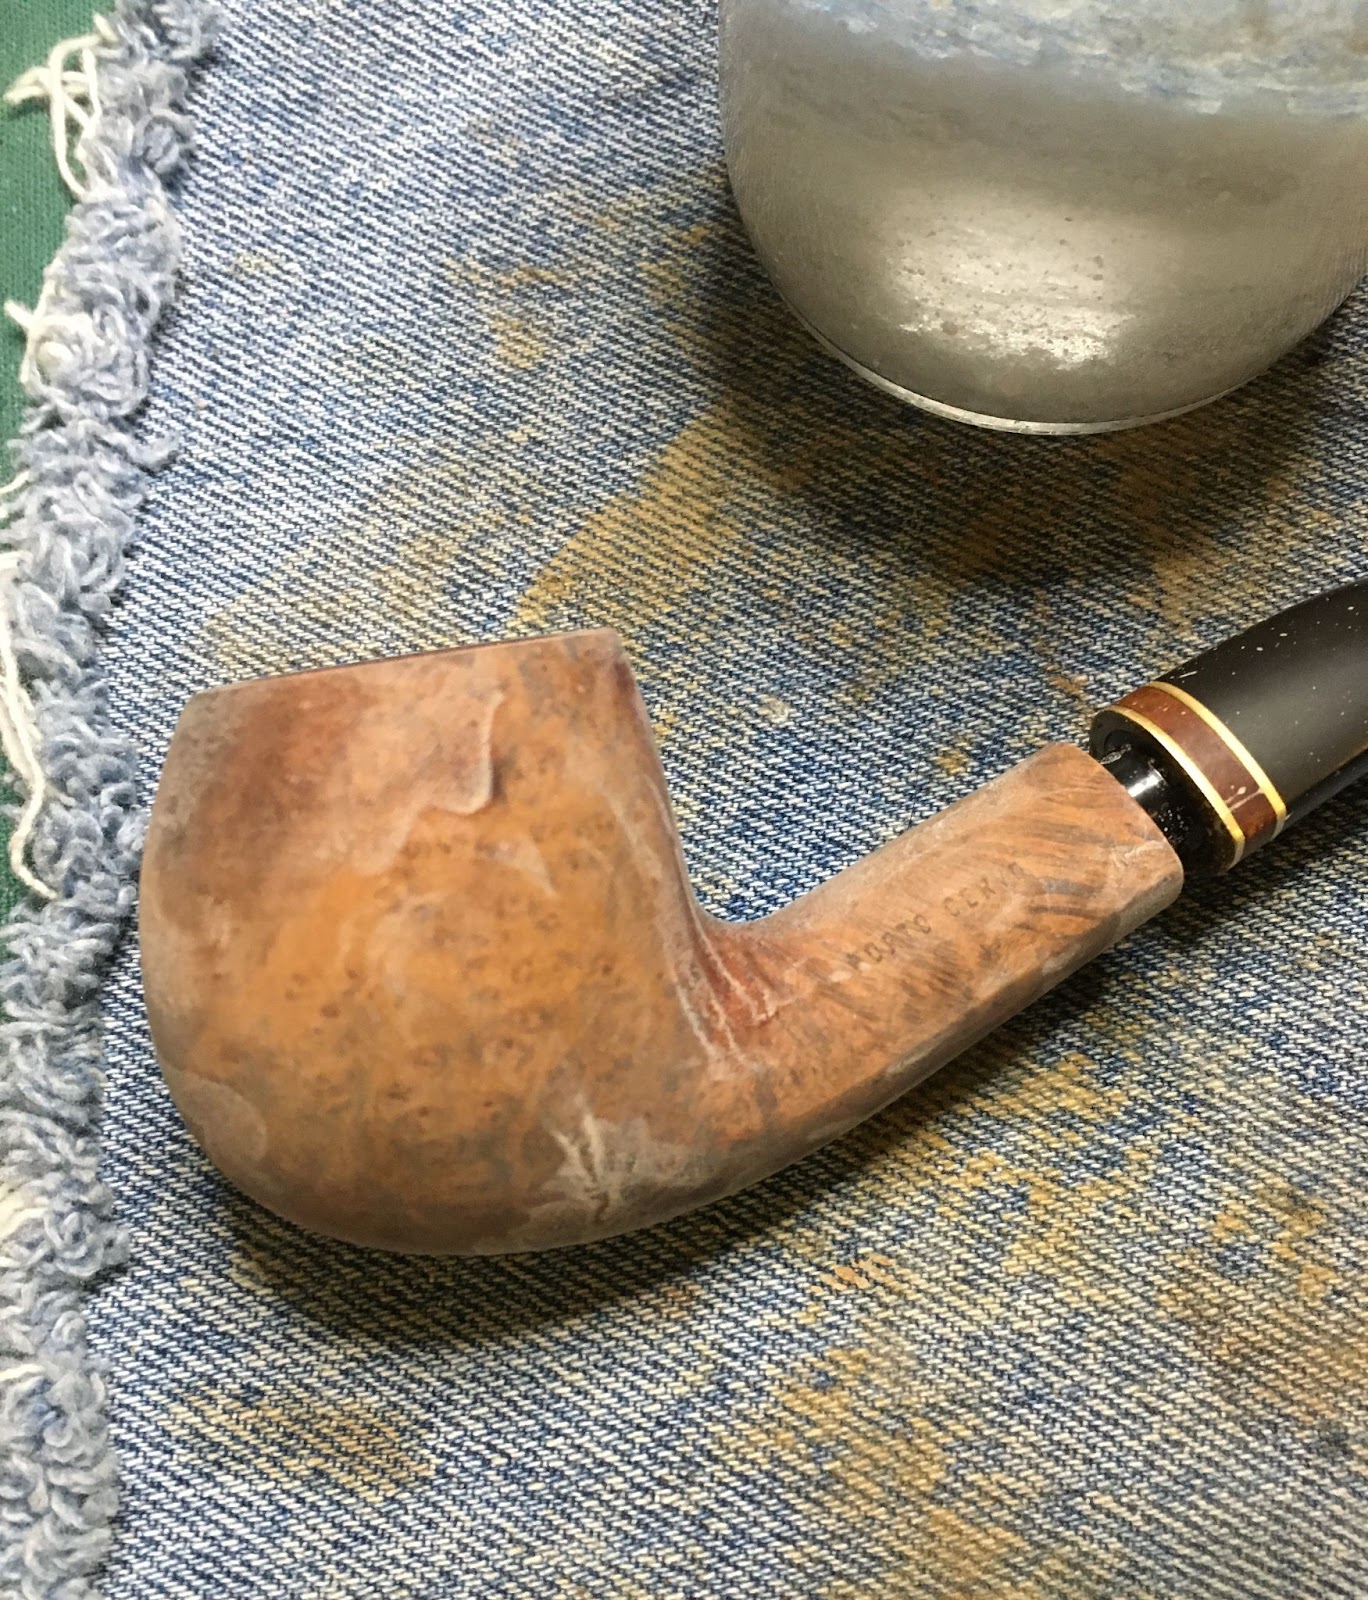
The restoration, like most others, started with a clean piece of denim to work on. The term clean is beginning to be questionable. Maybe, freshly washed and still stained , would be more accurate.
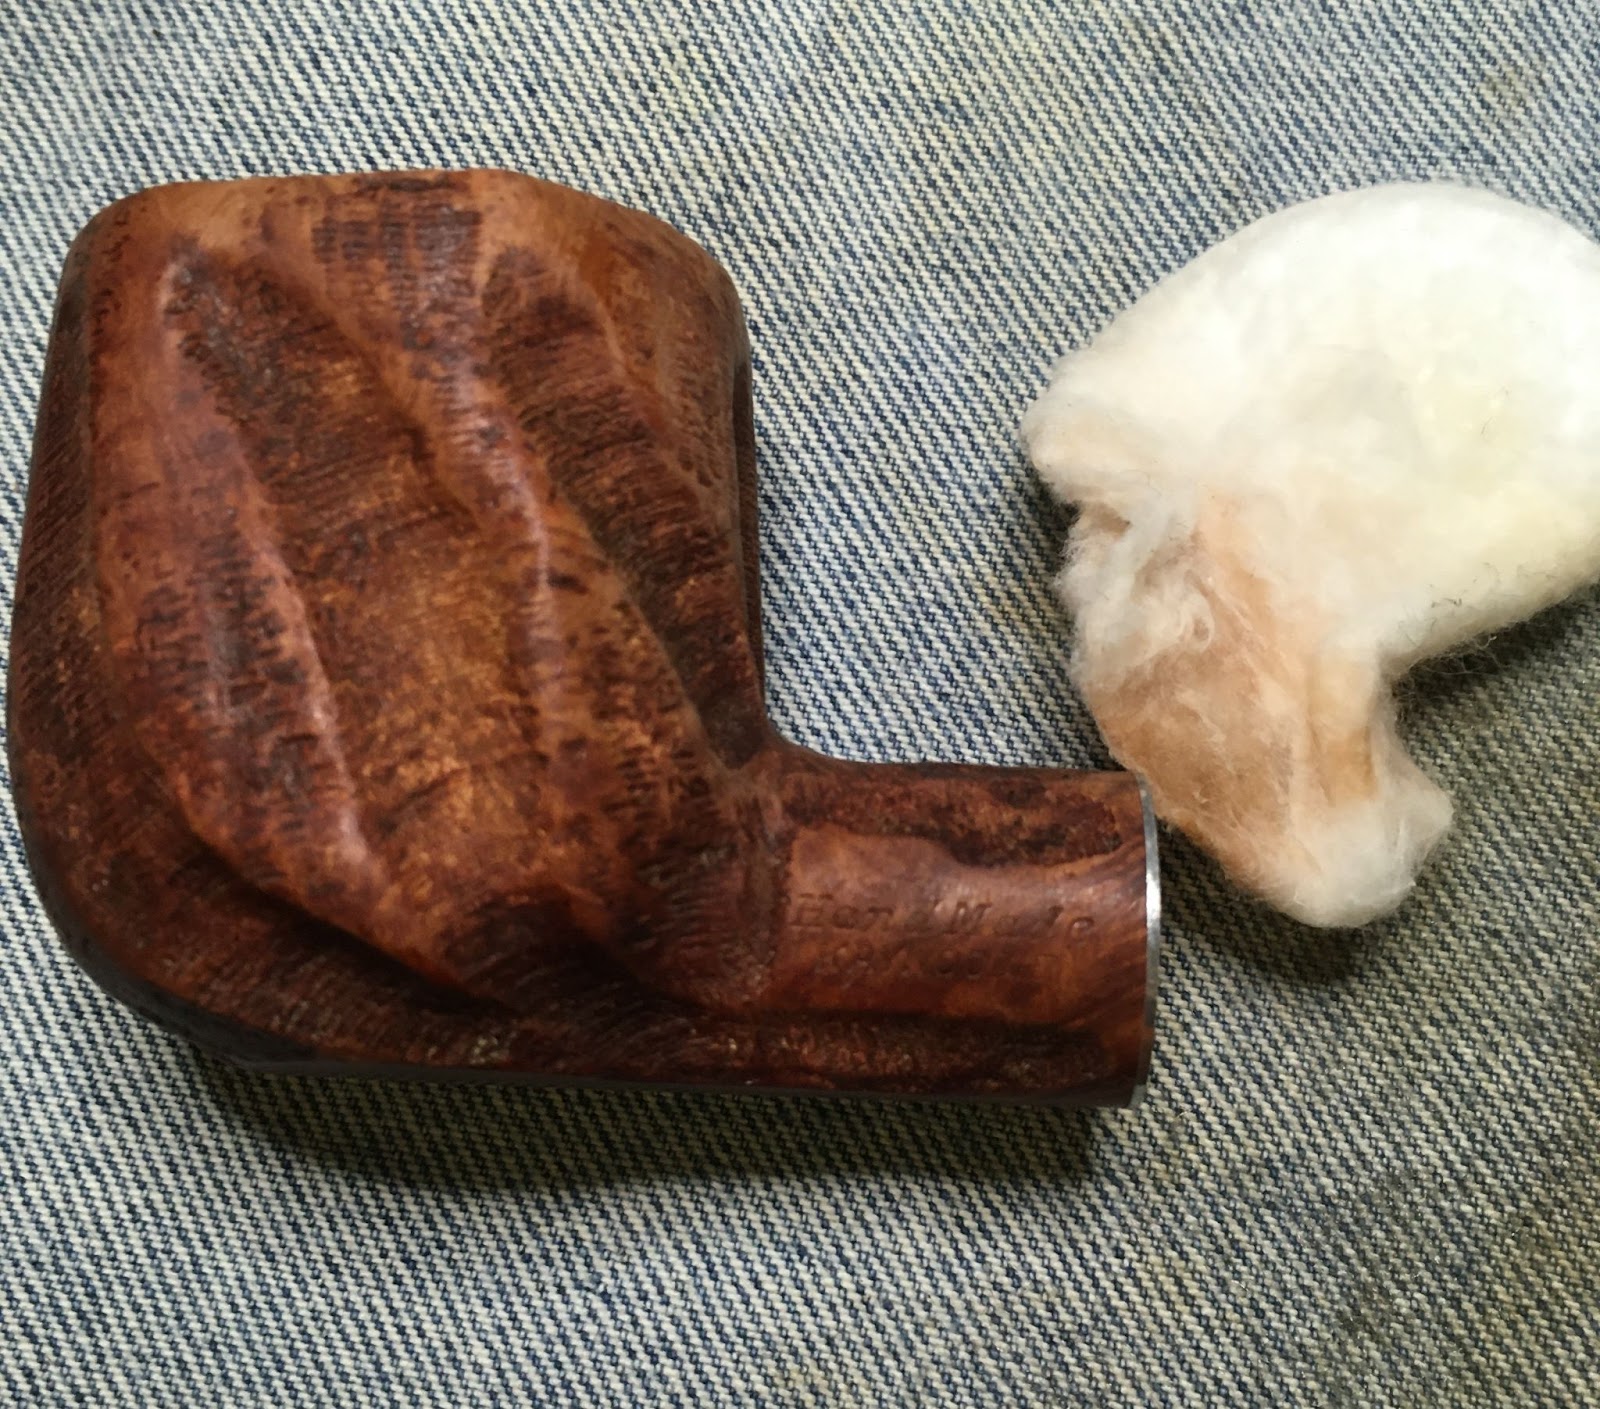
The pipe looked clean enough for me to skip the Murphy’s Oil Soap scrub and wipe the stummel with a make-up pad dipped in 95% ethyl alcohol. Hmm, perhaps skipping the scrub was a mistake?

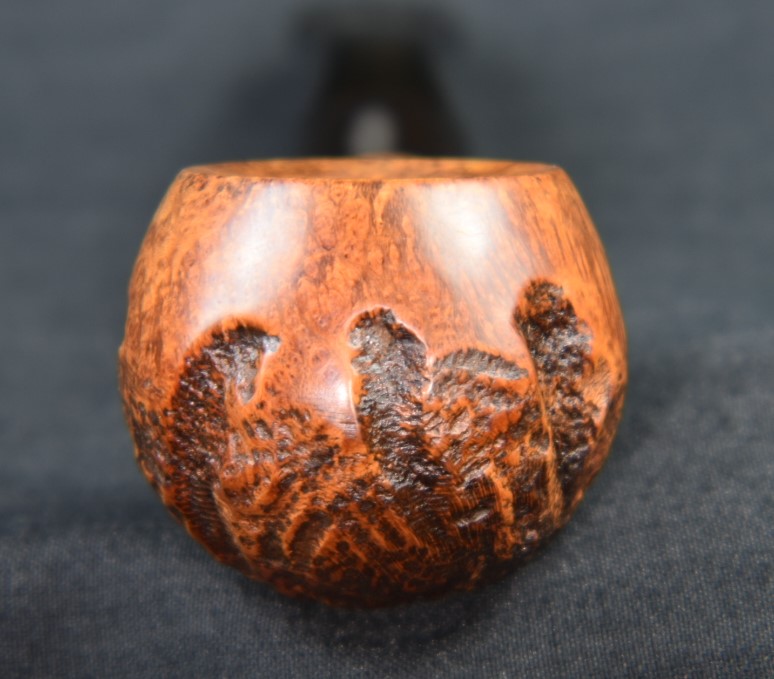
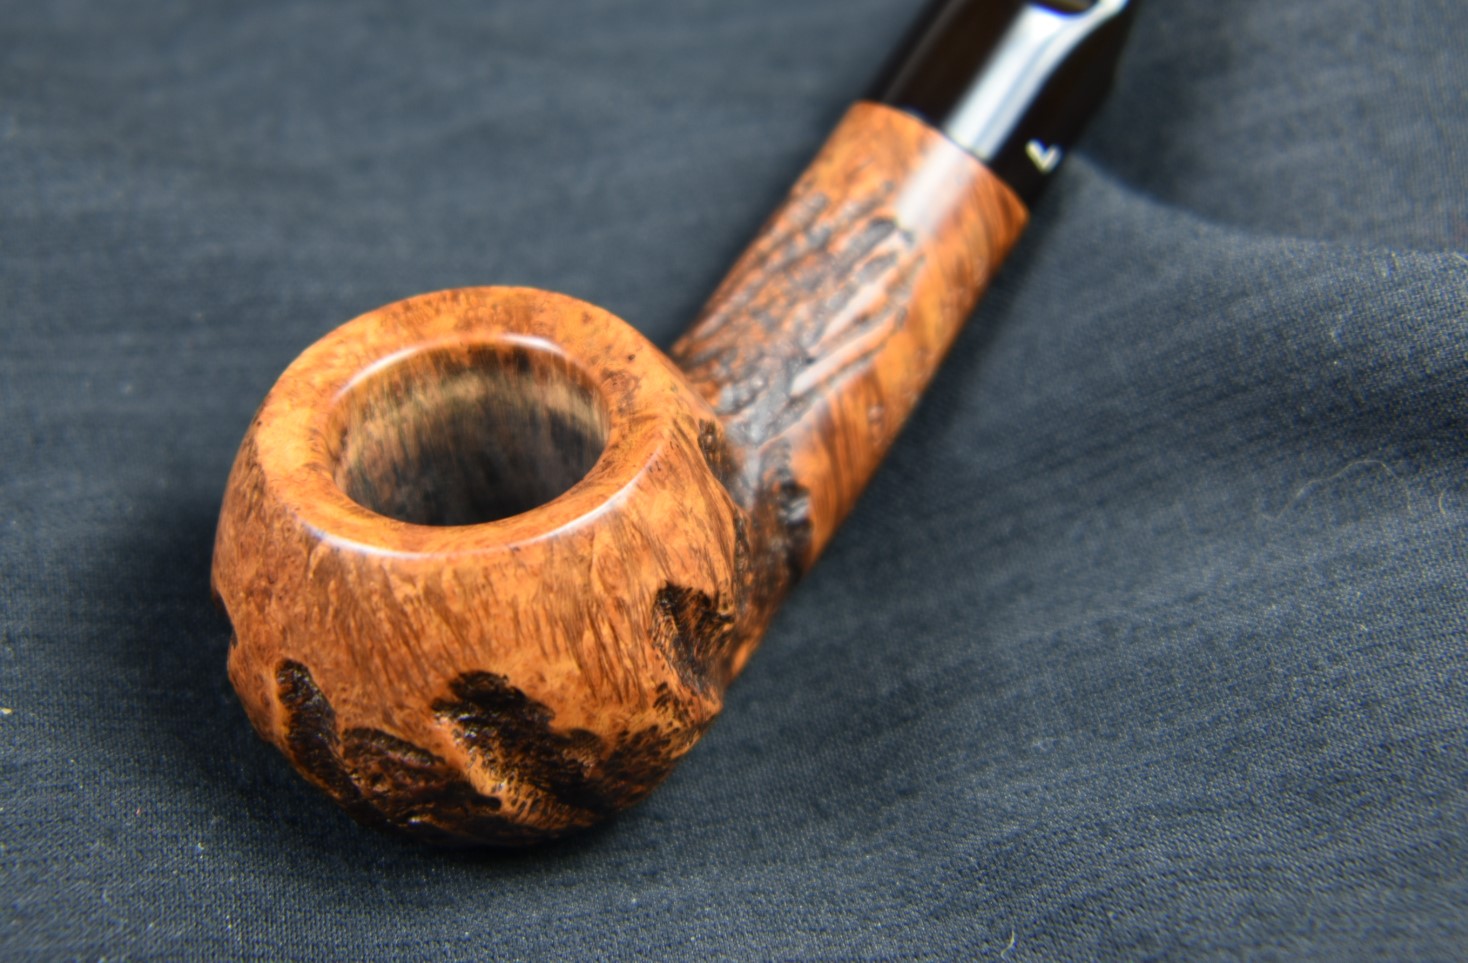
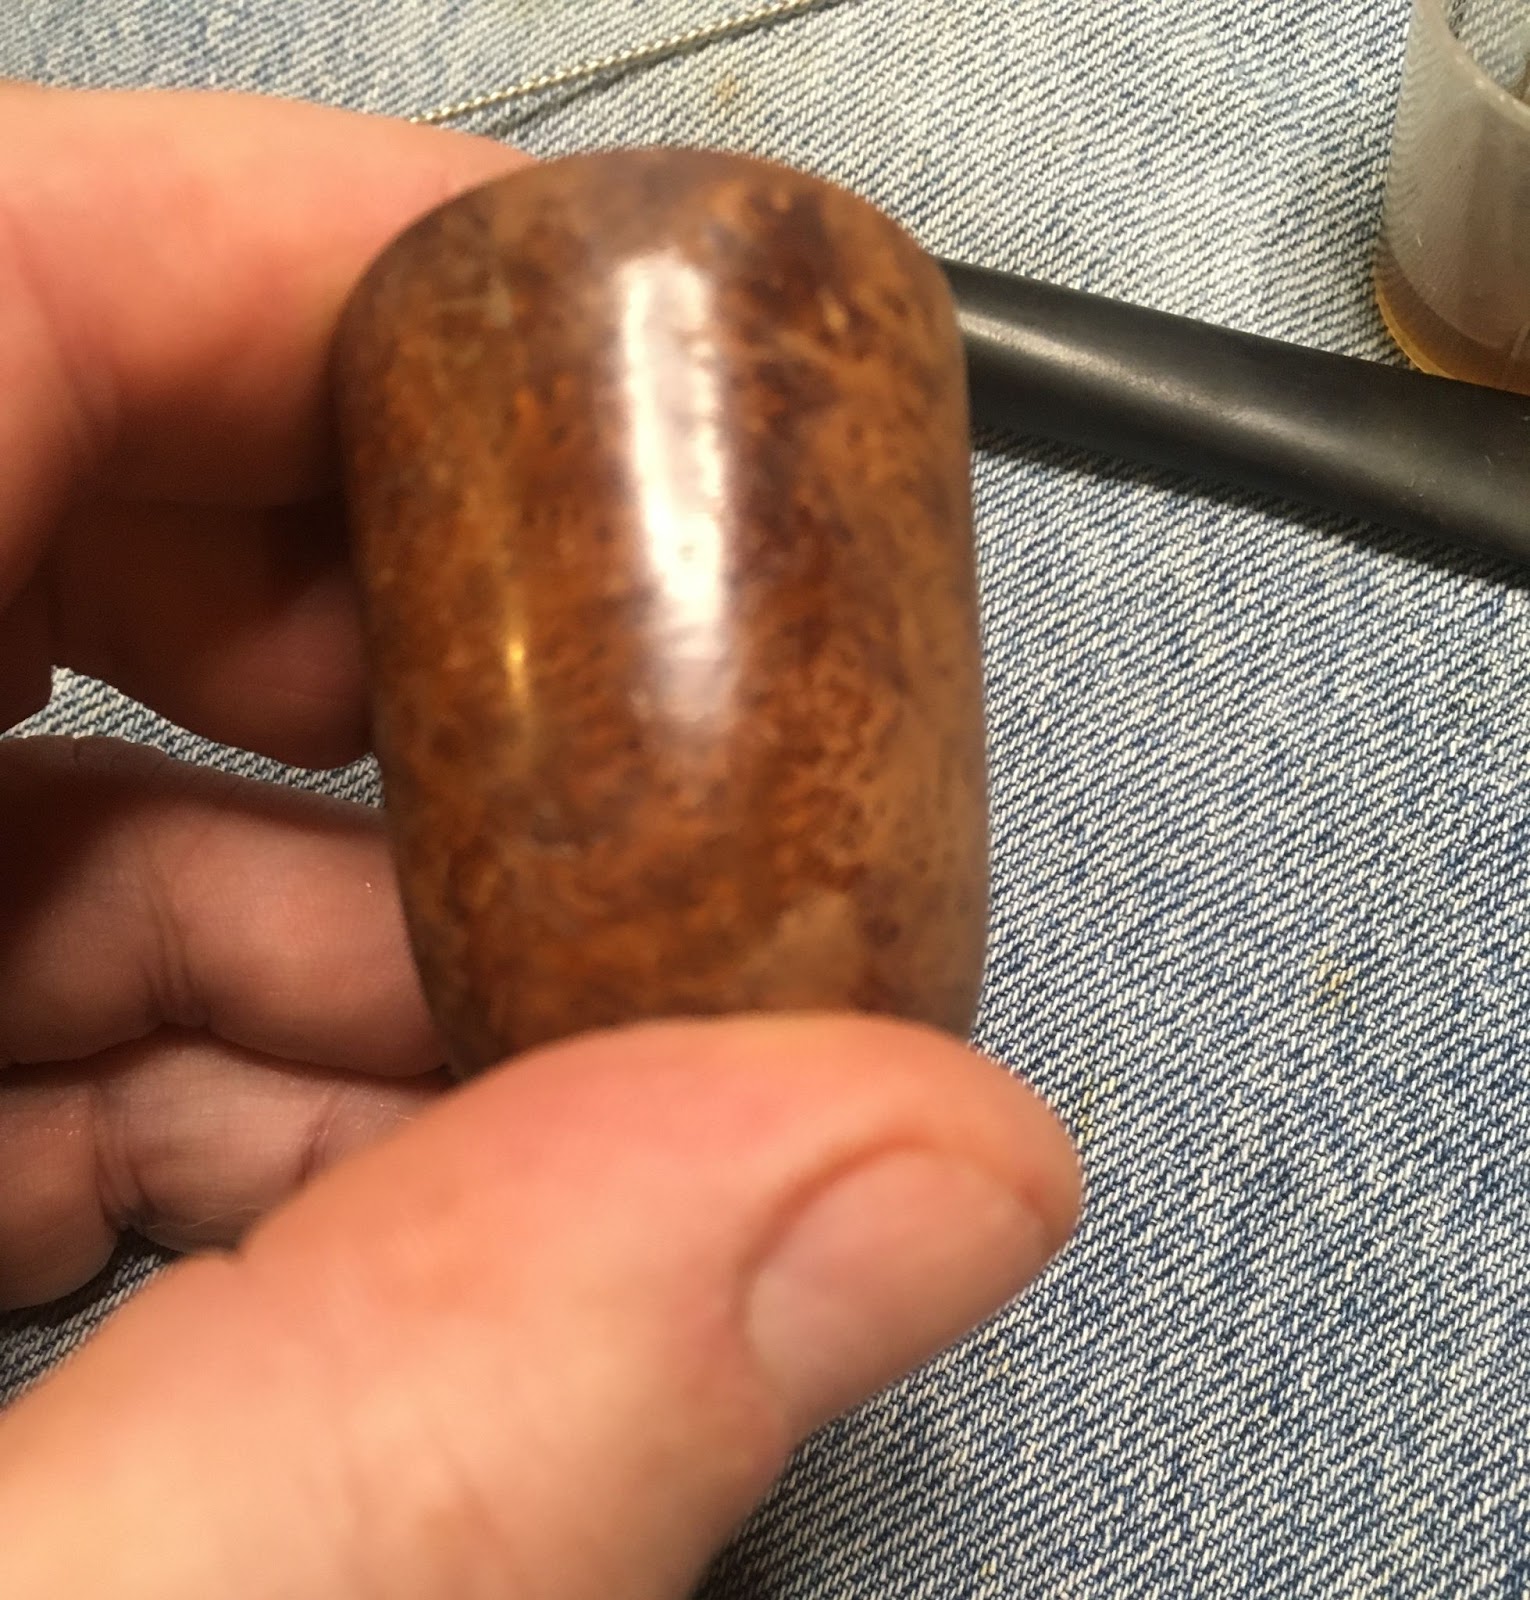
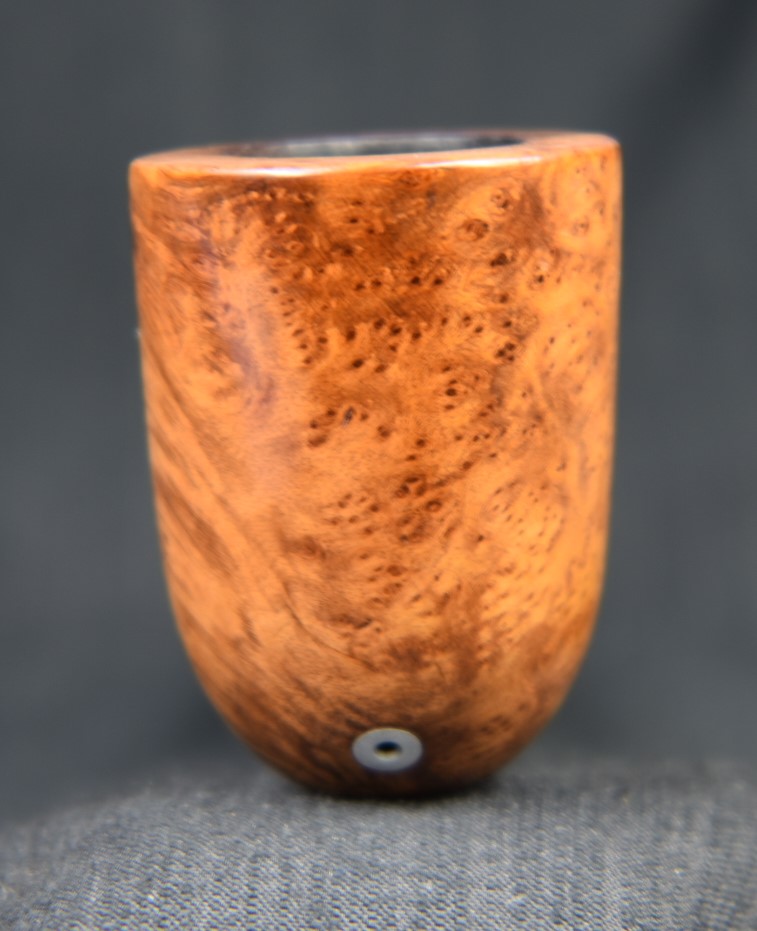
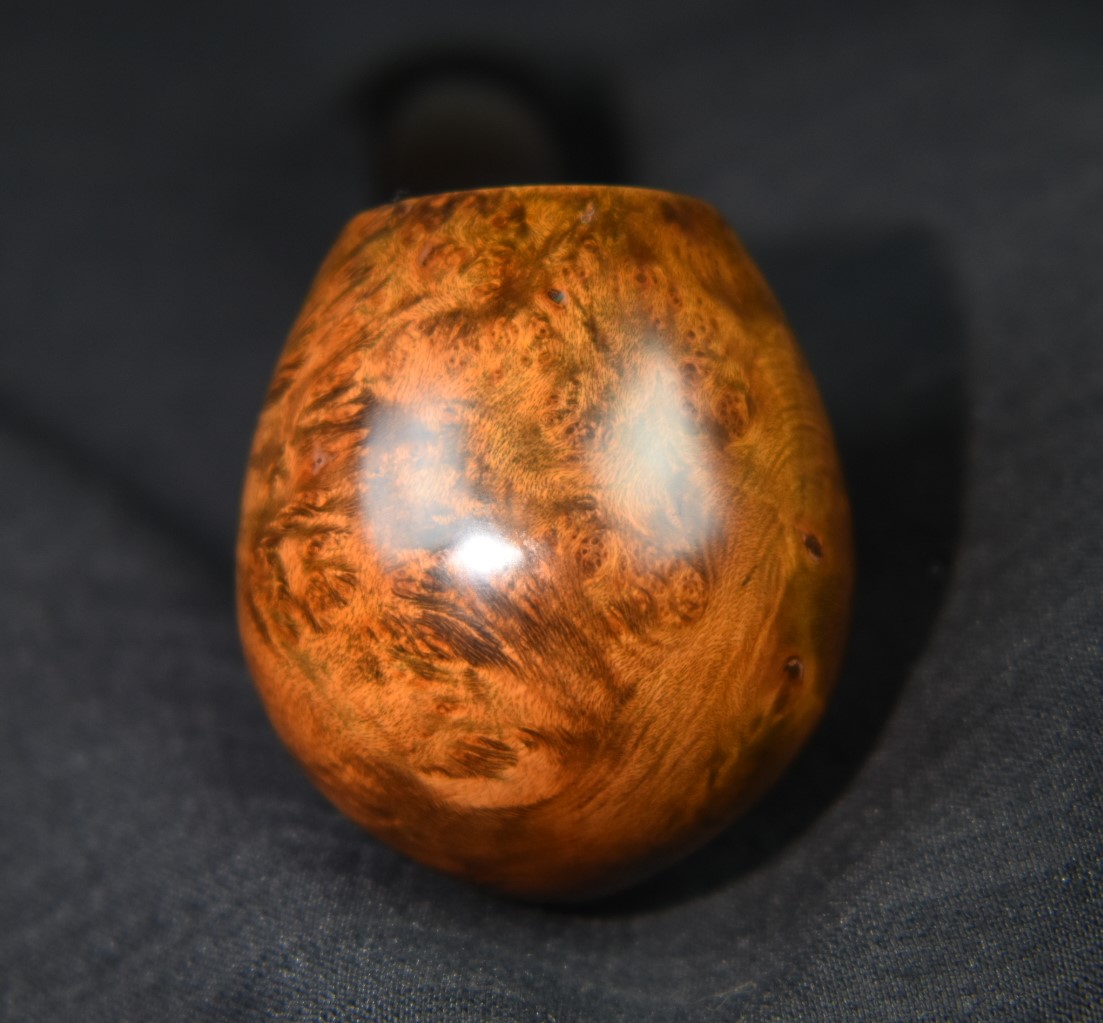
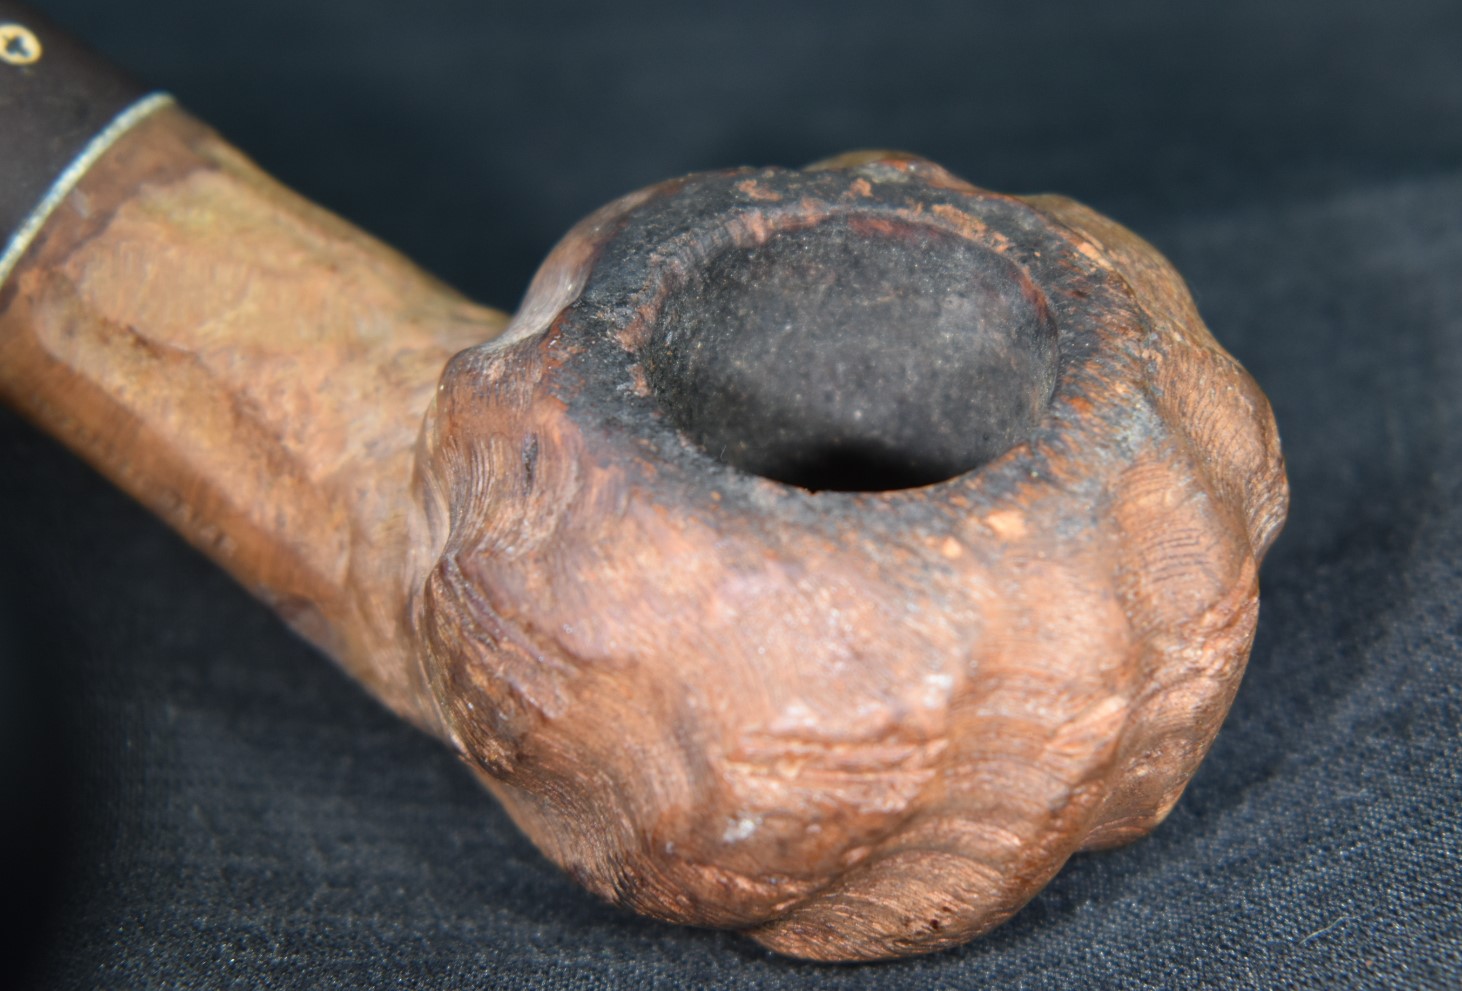
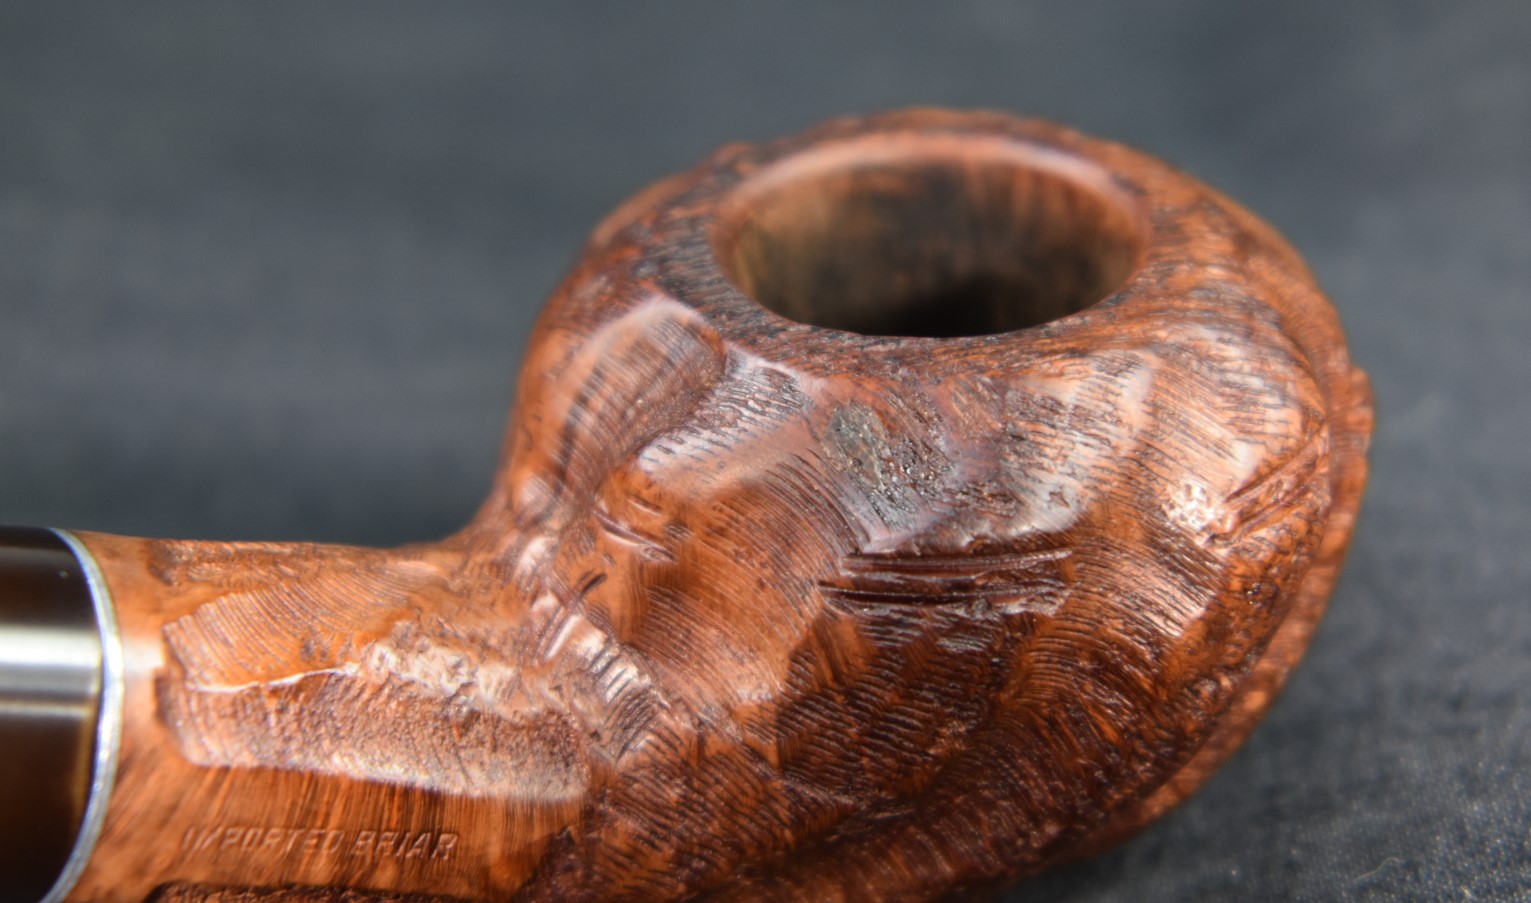
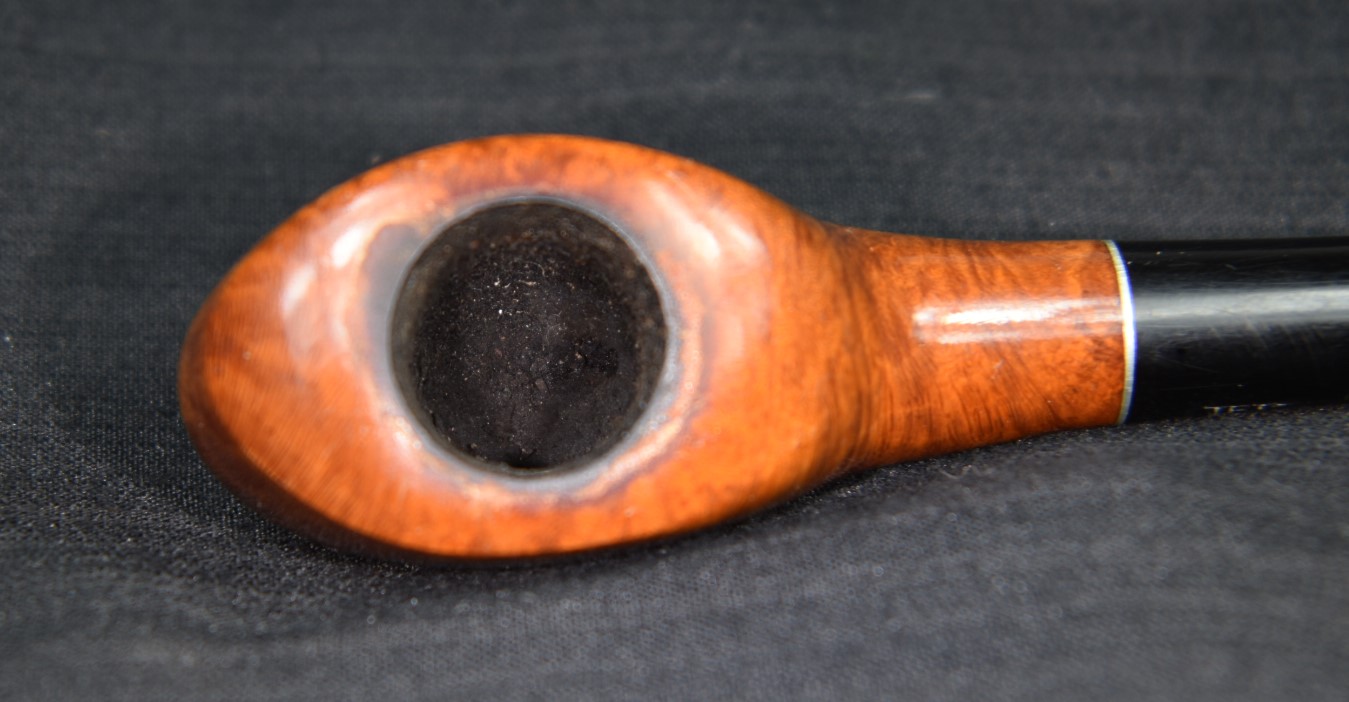
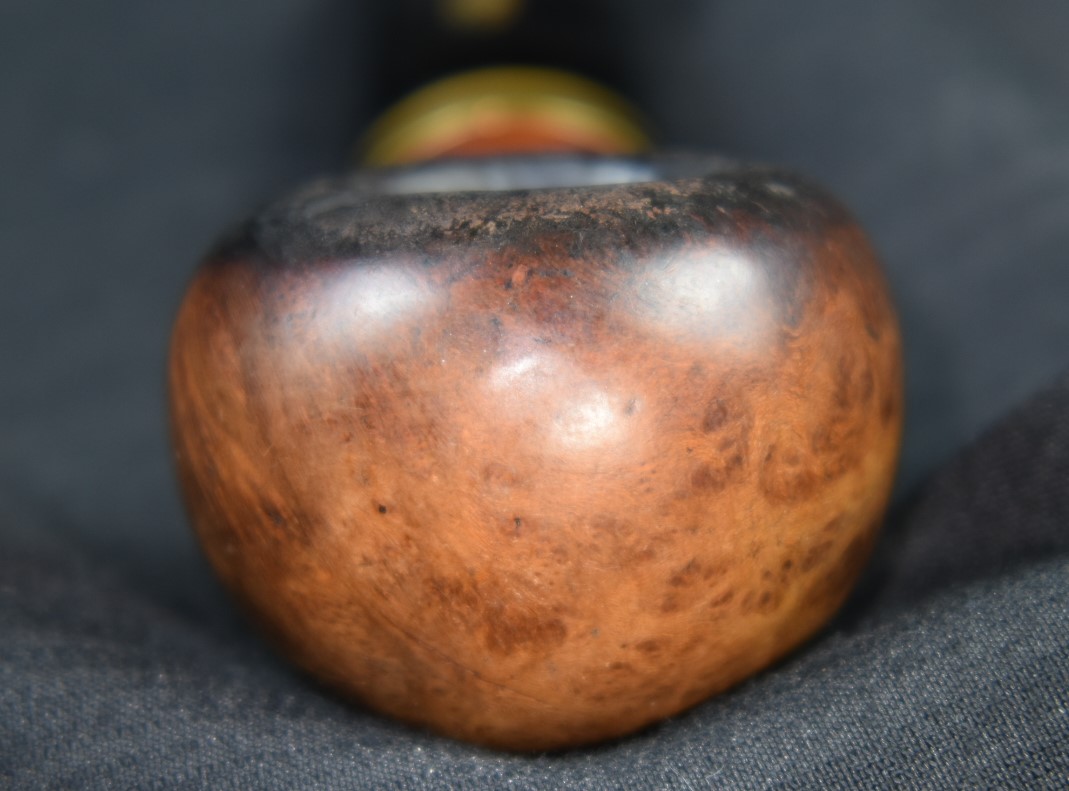
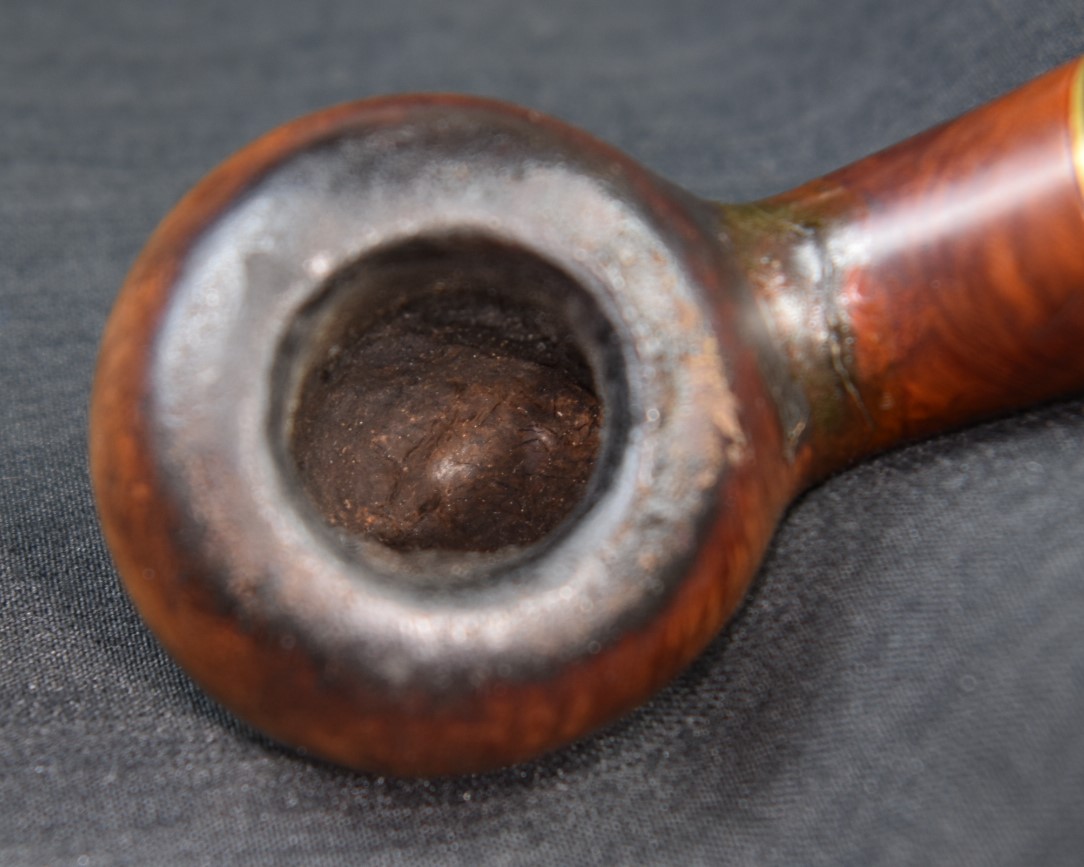
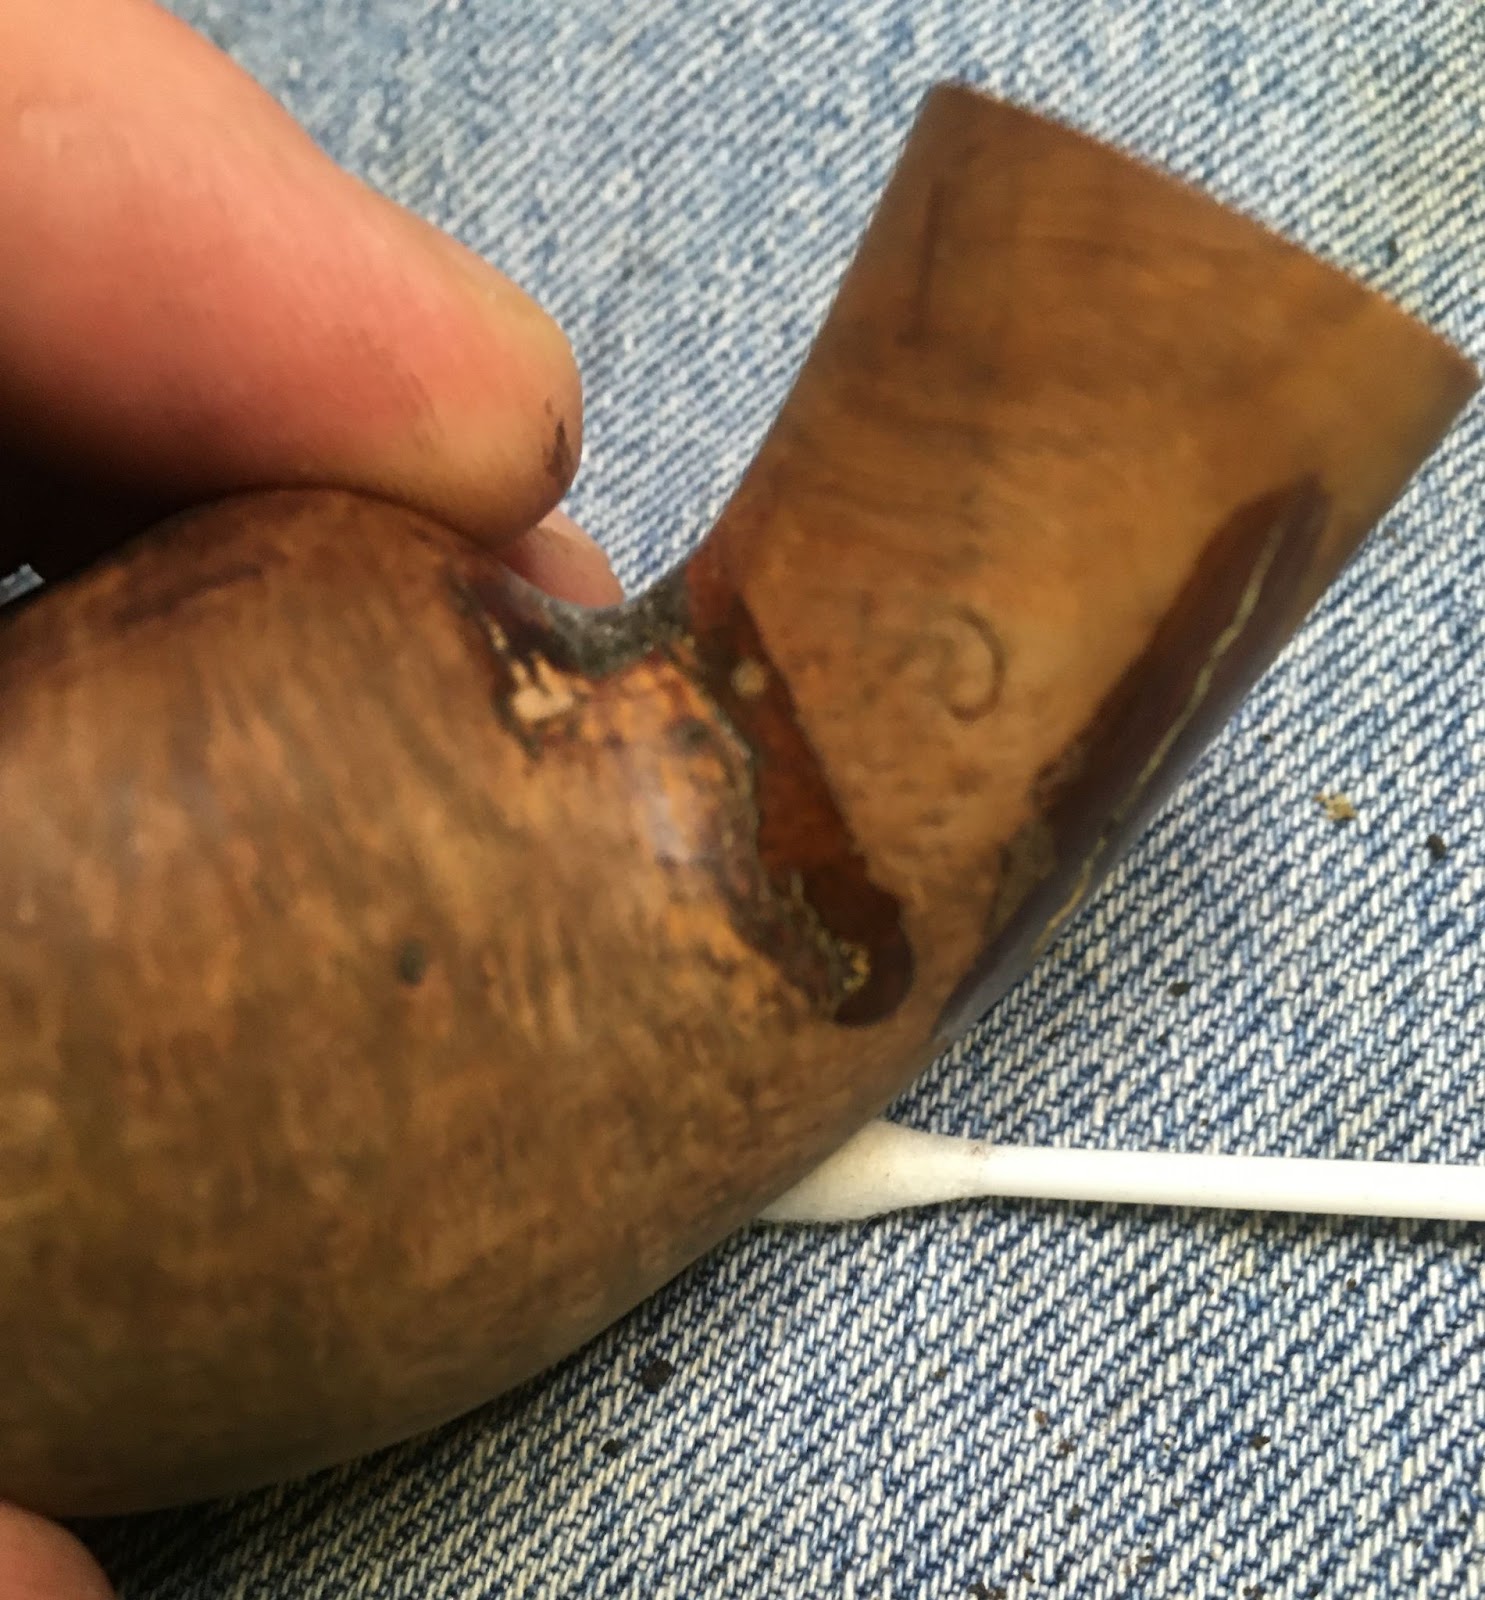
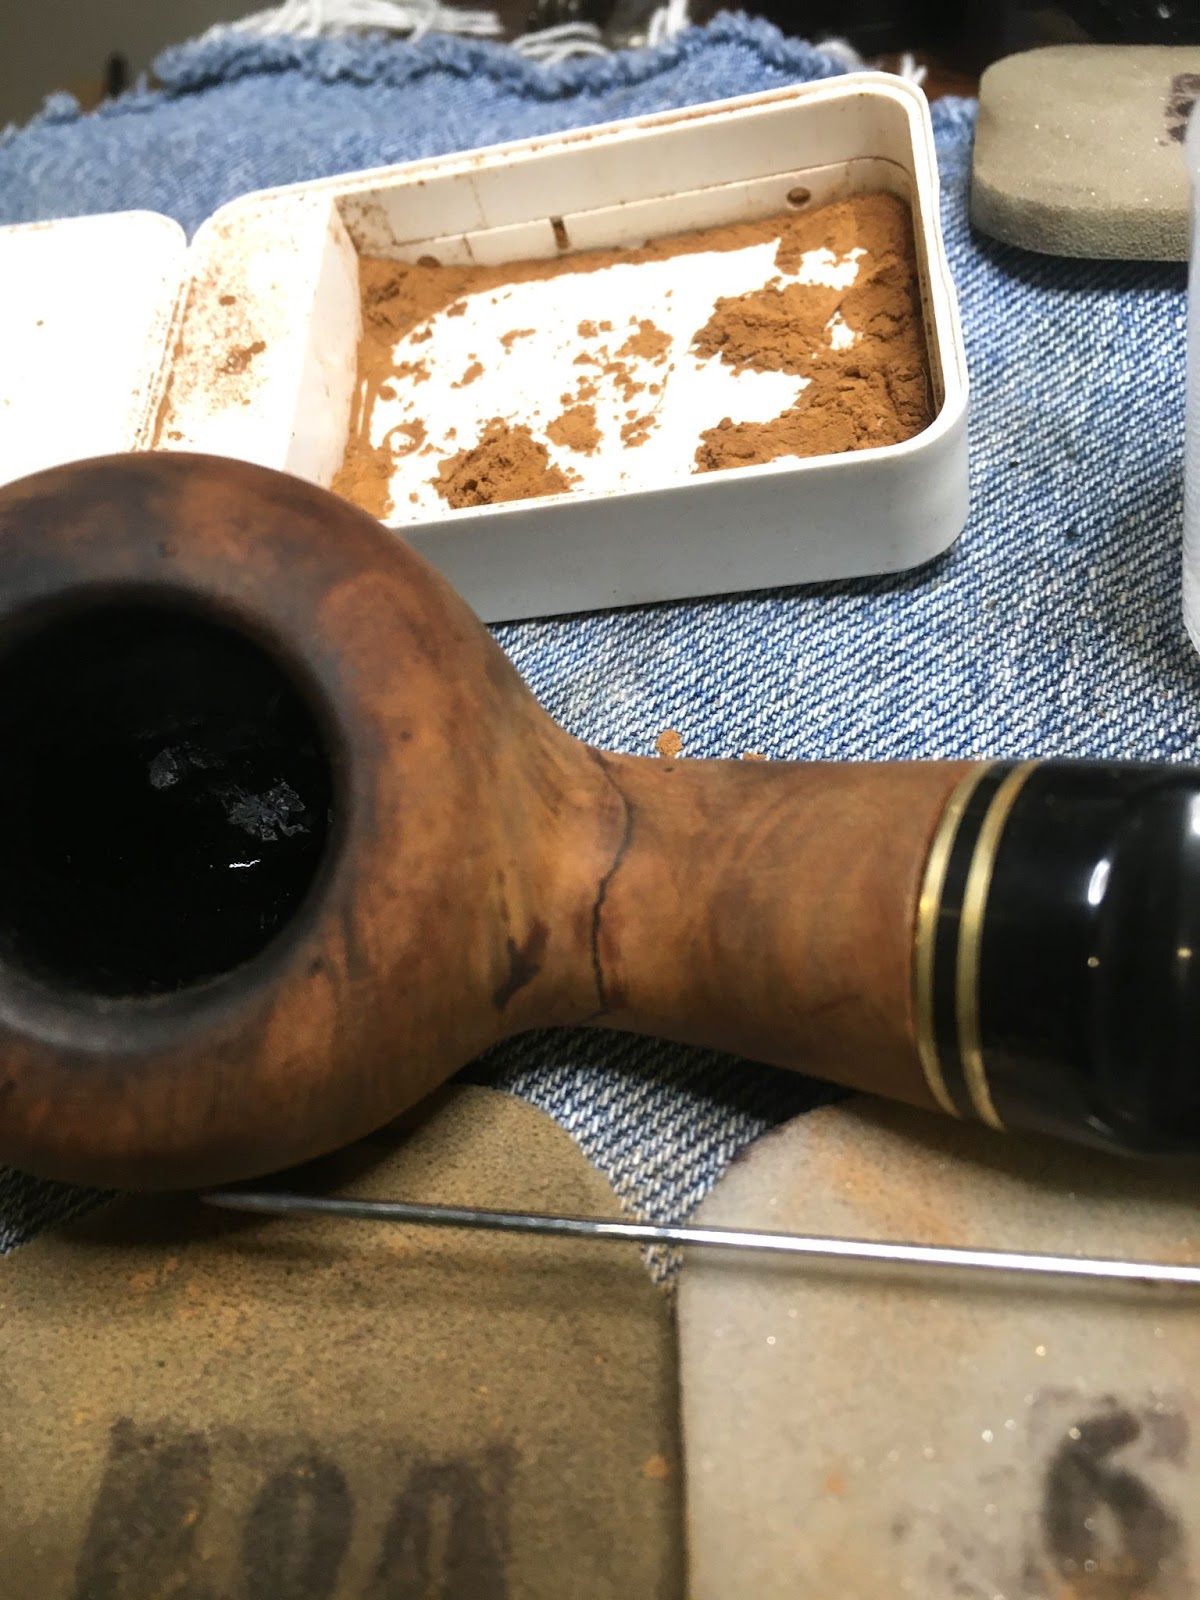
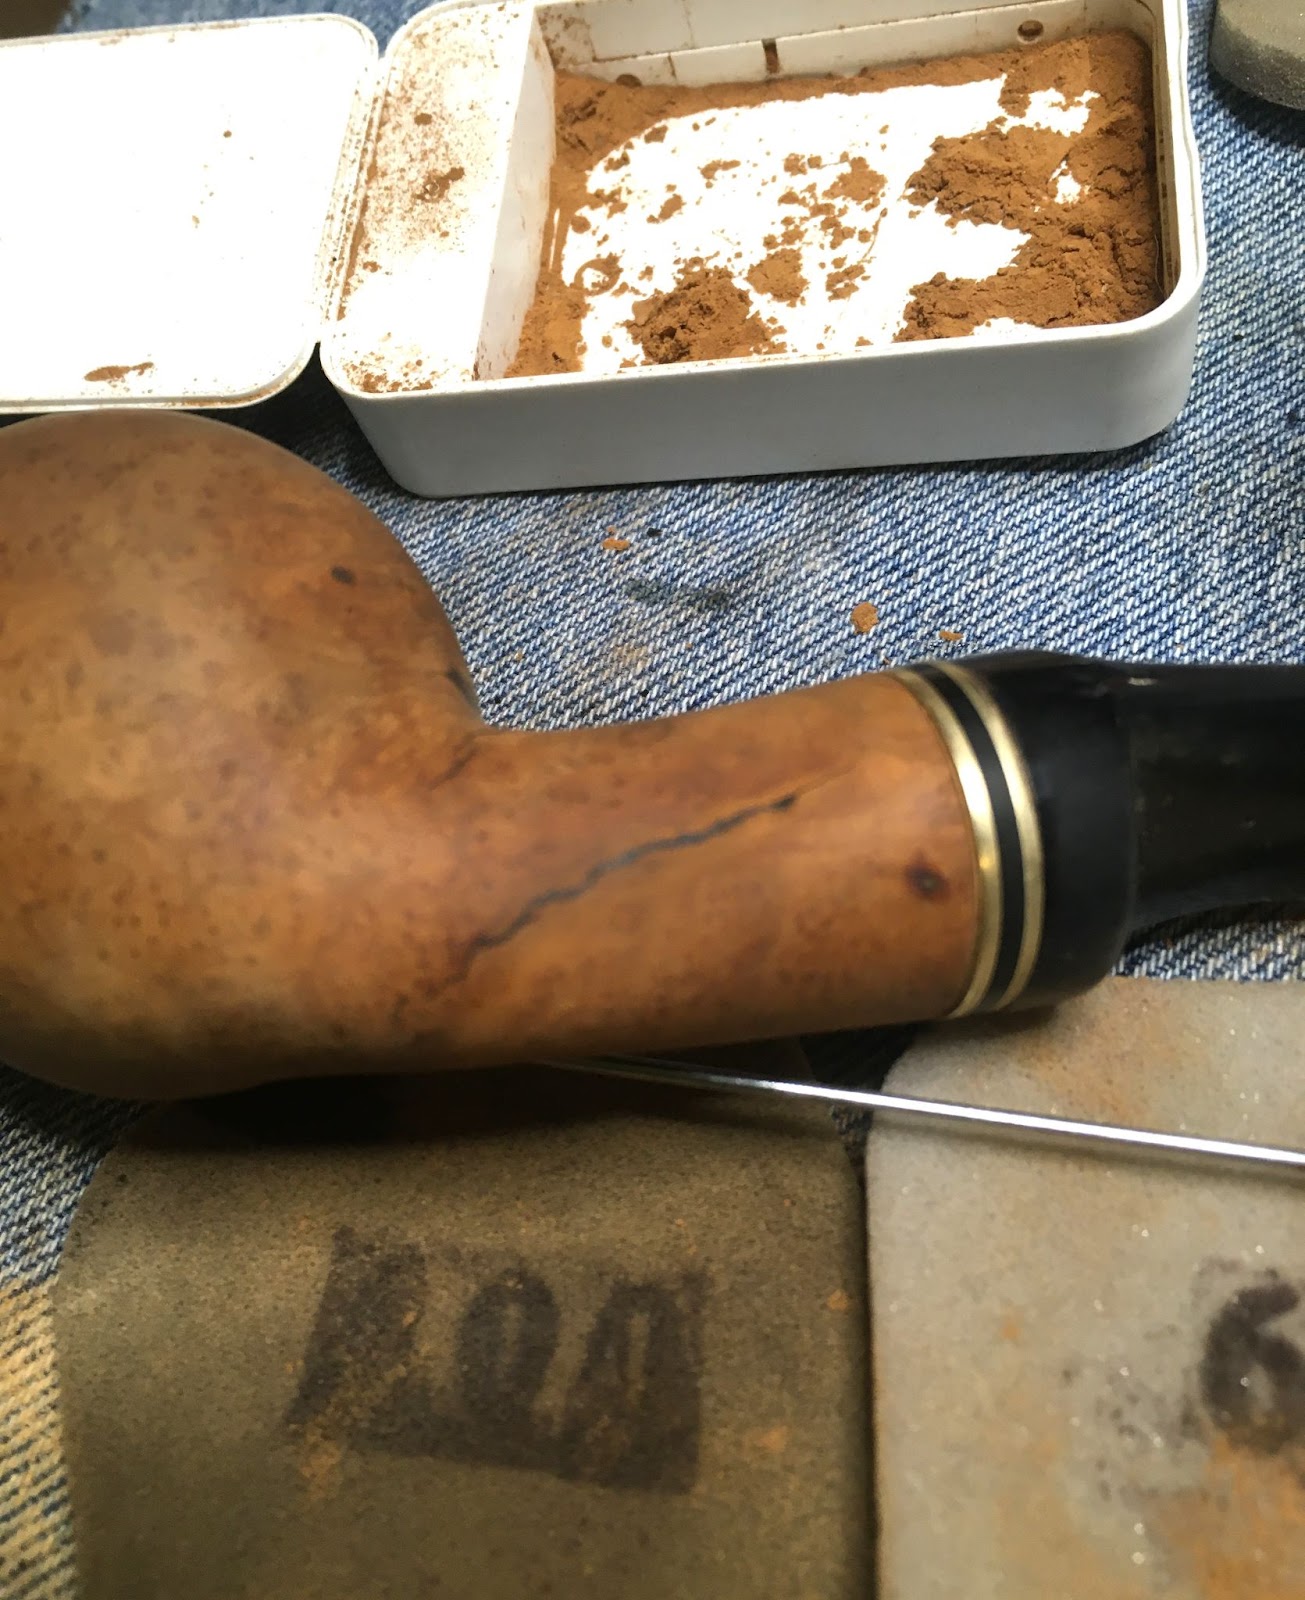
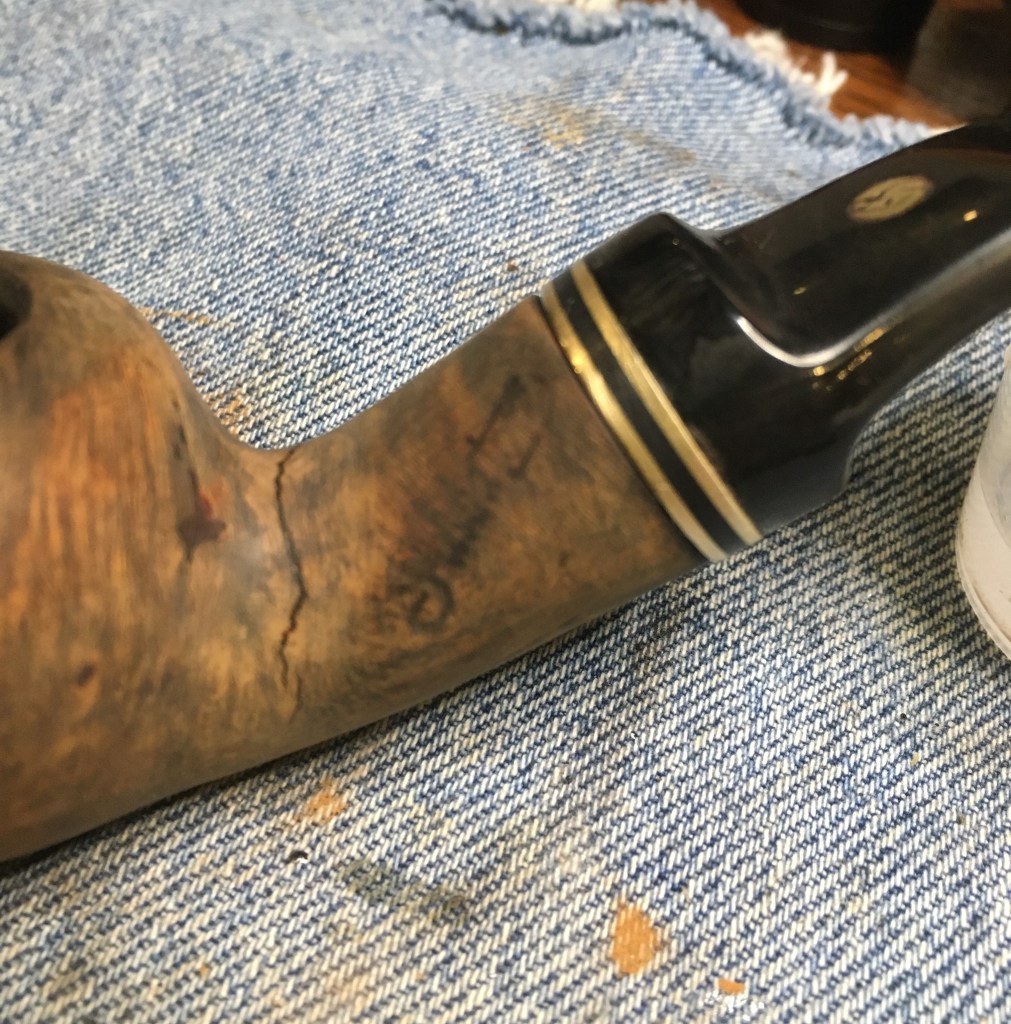
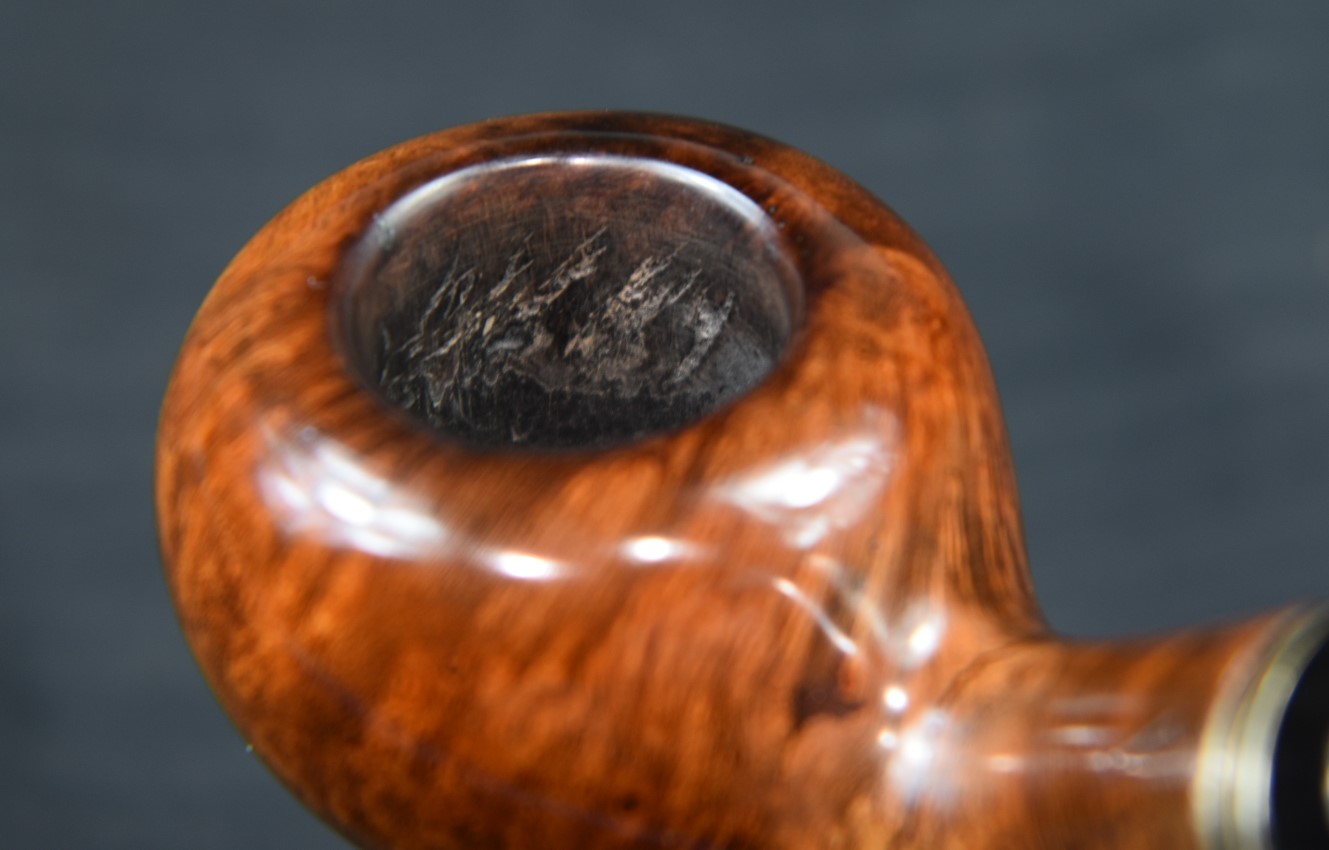
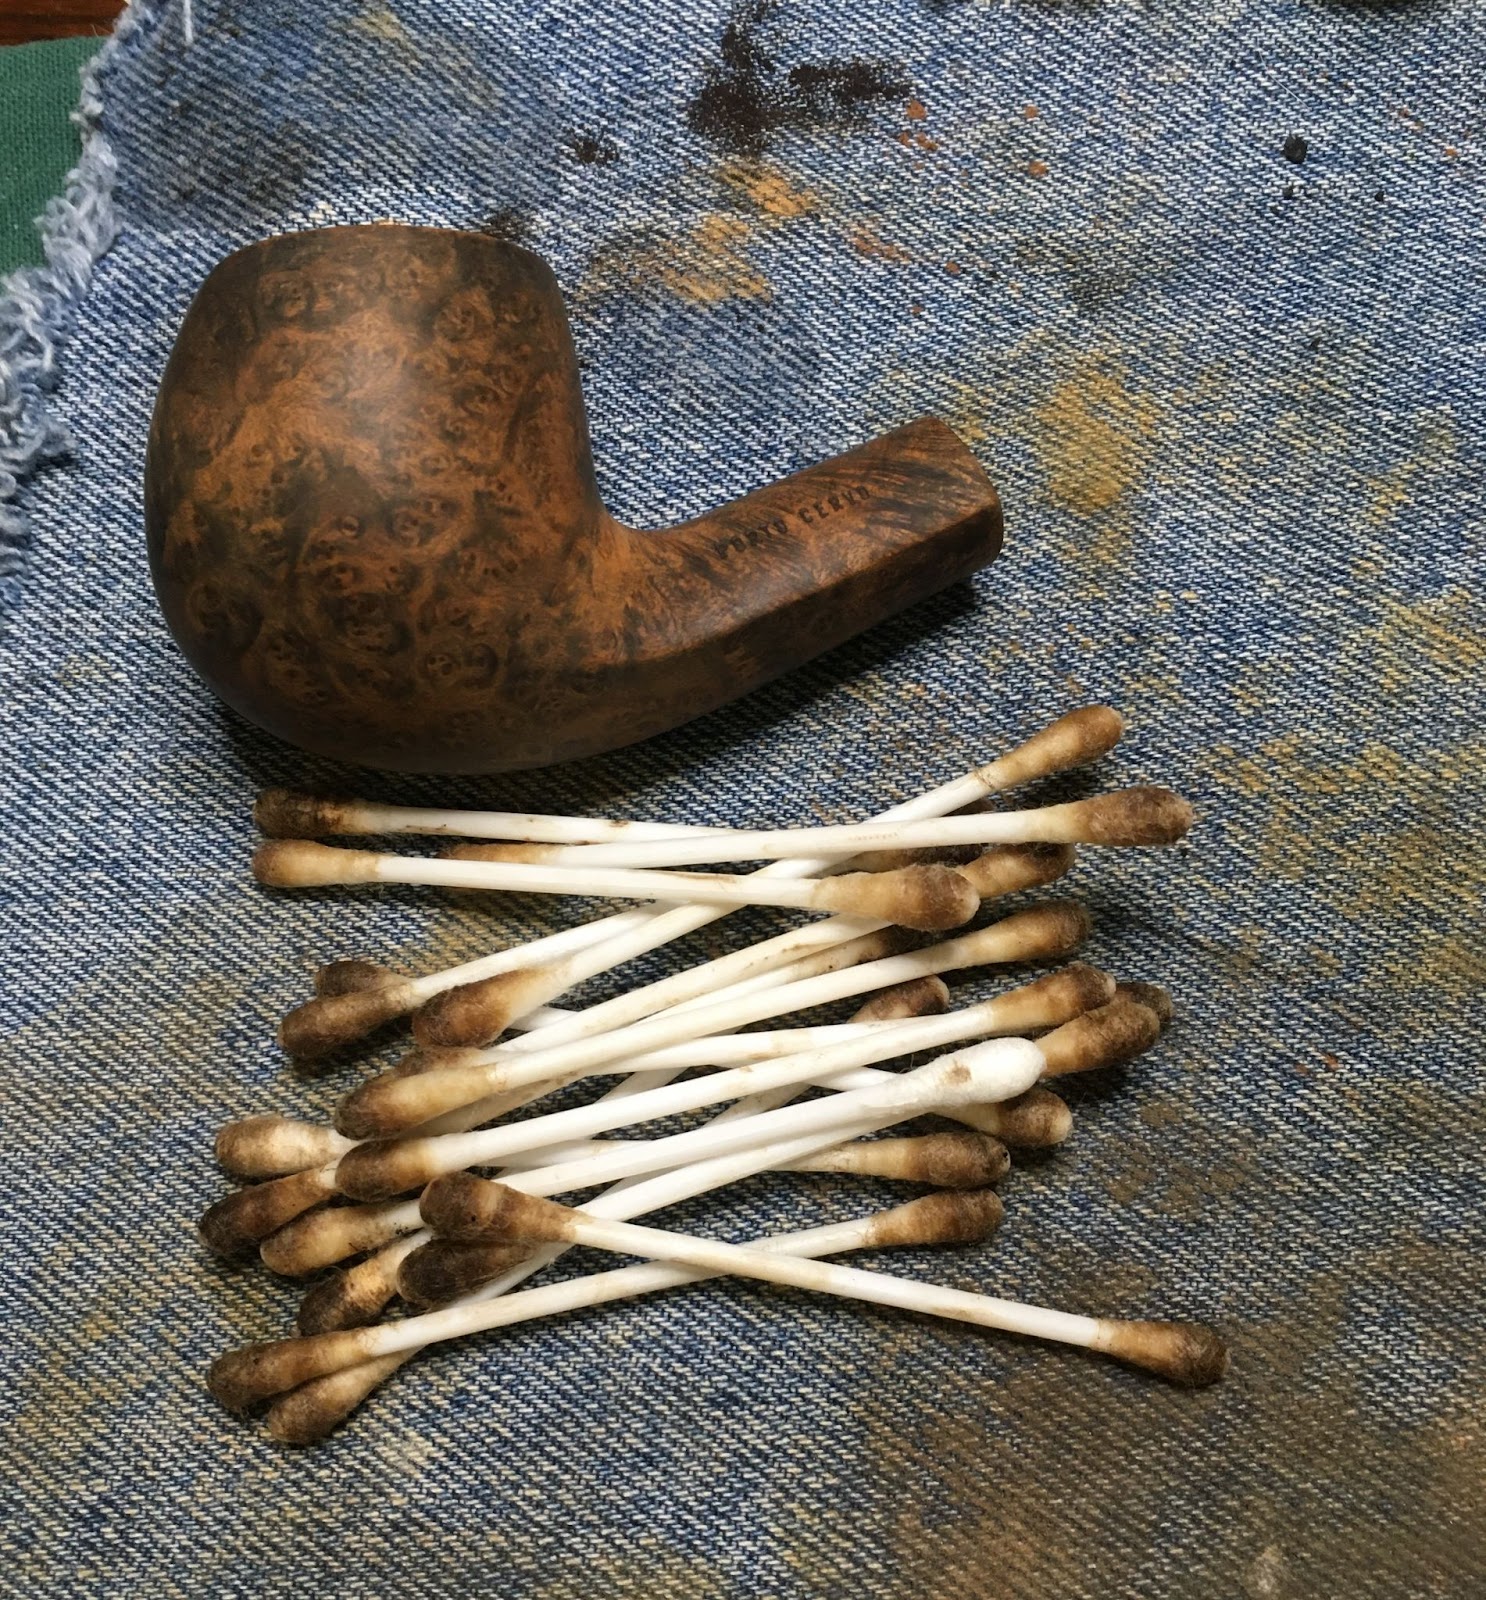
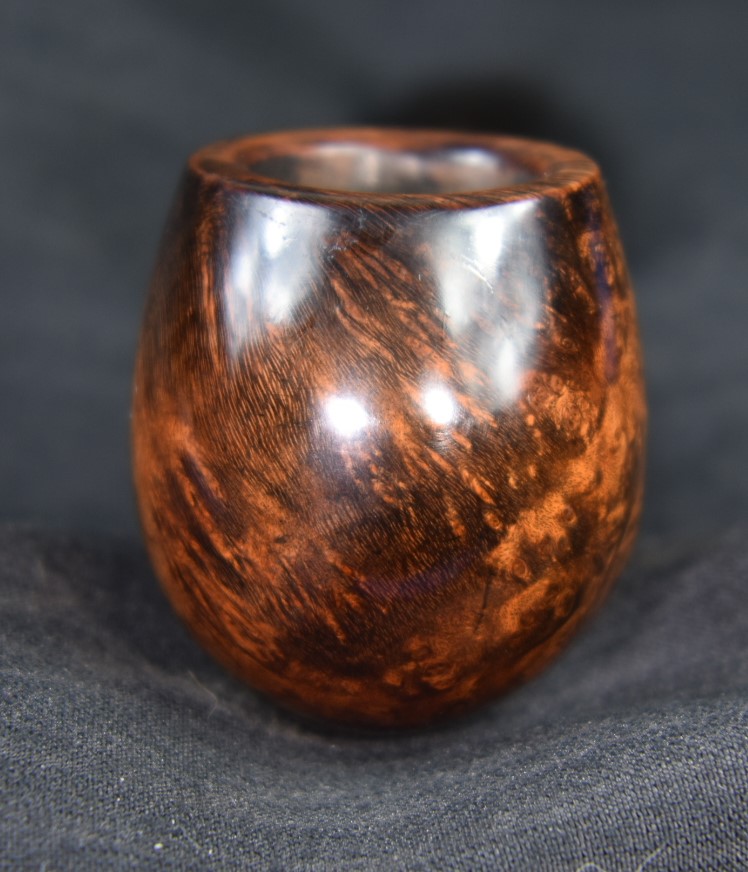
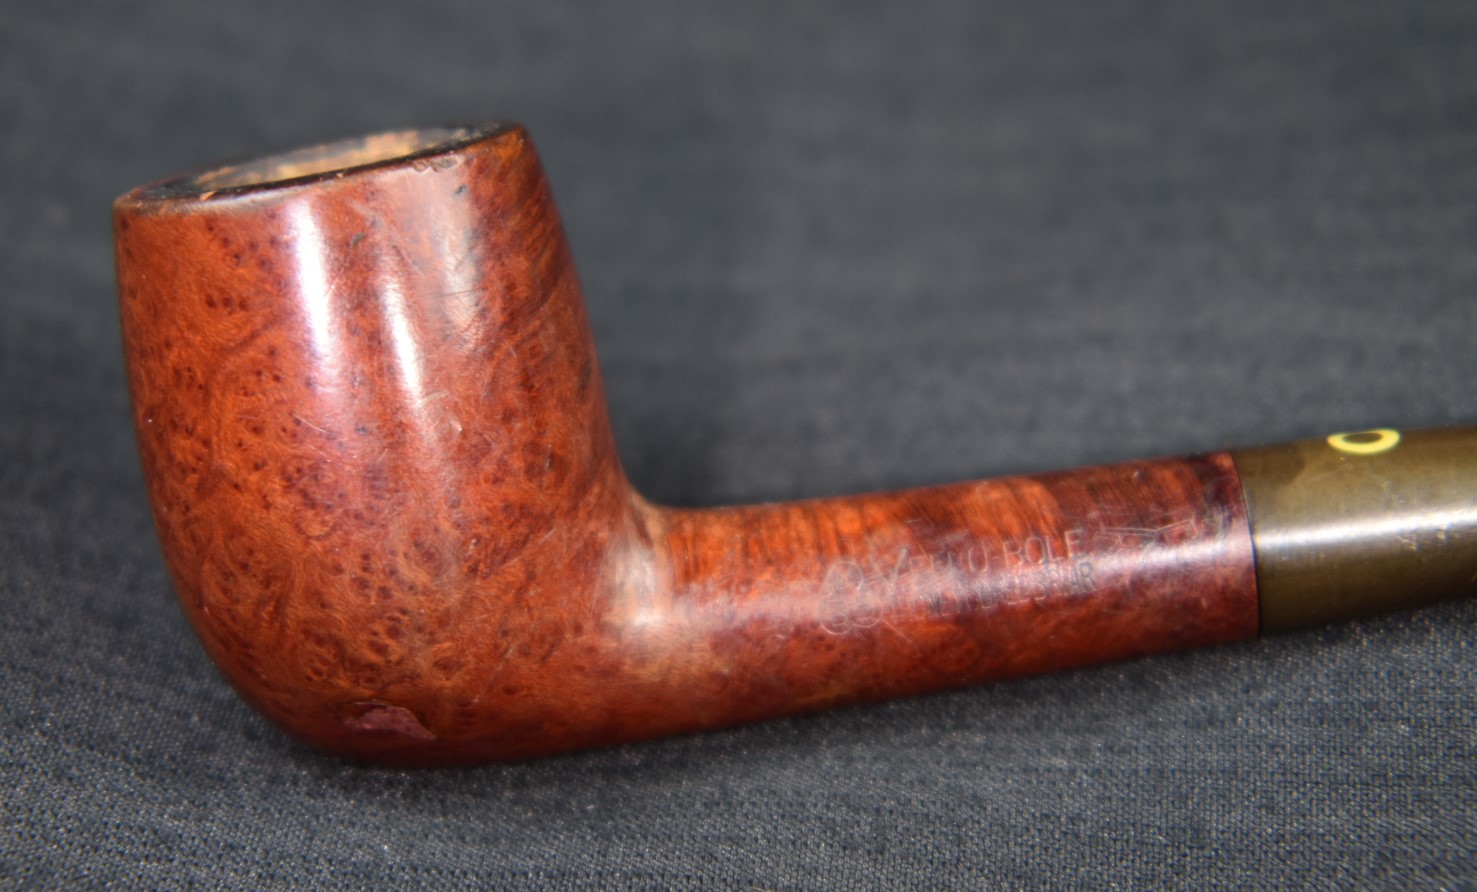
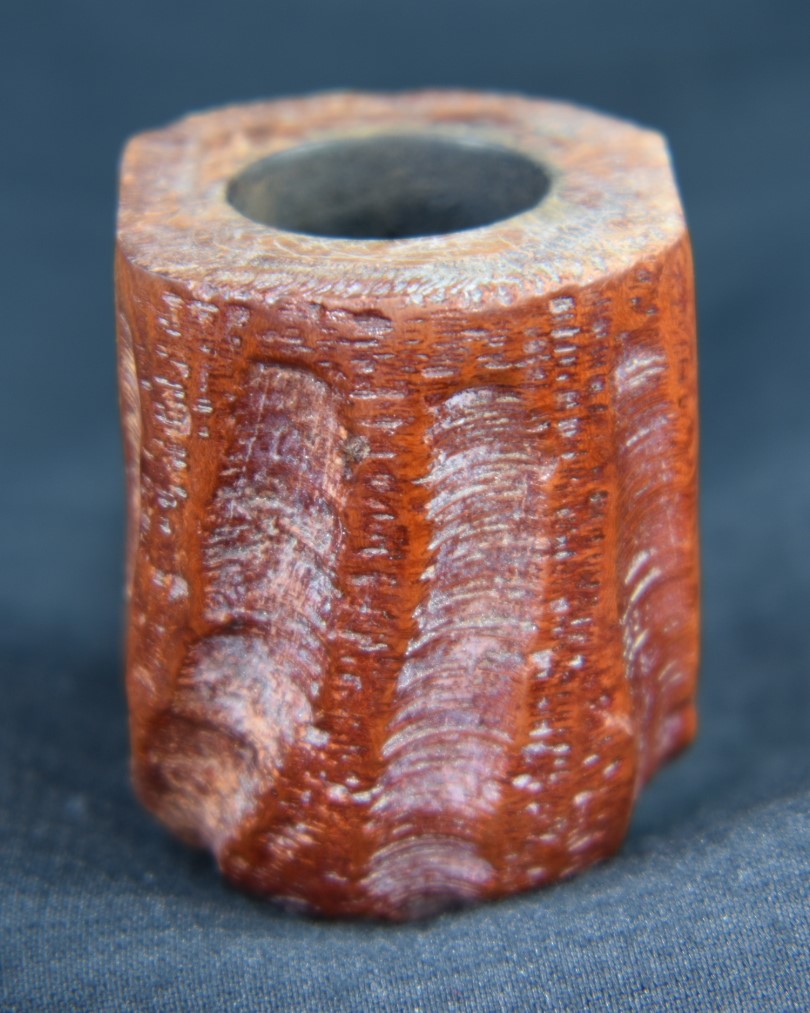
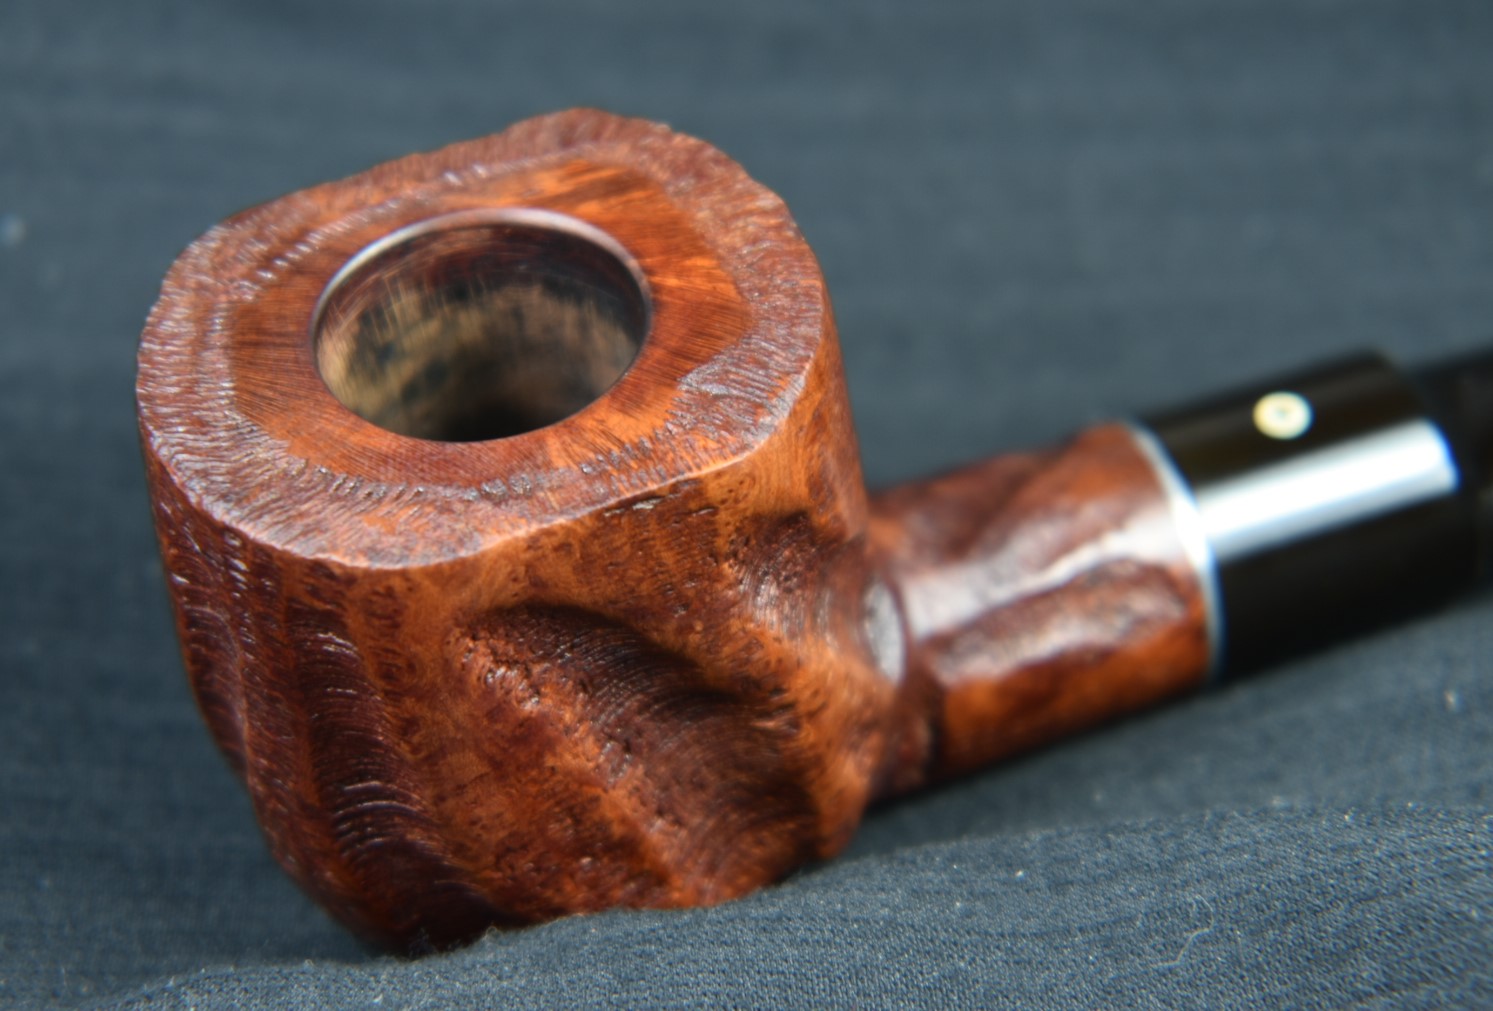
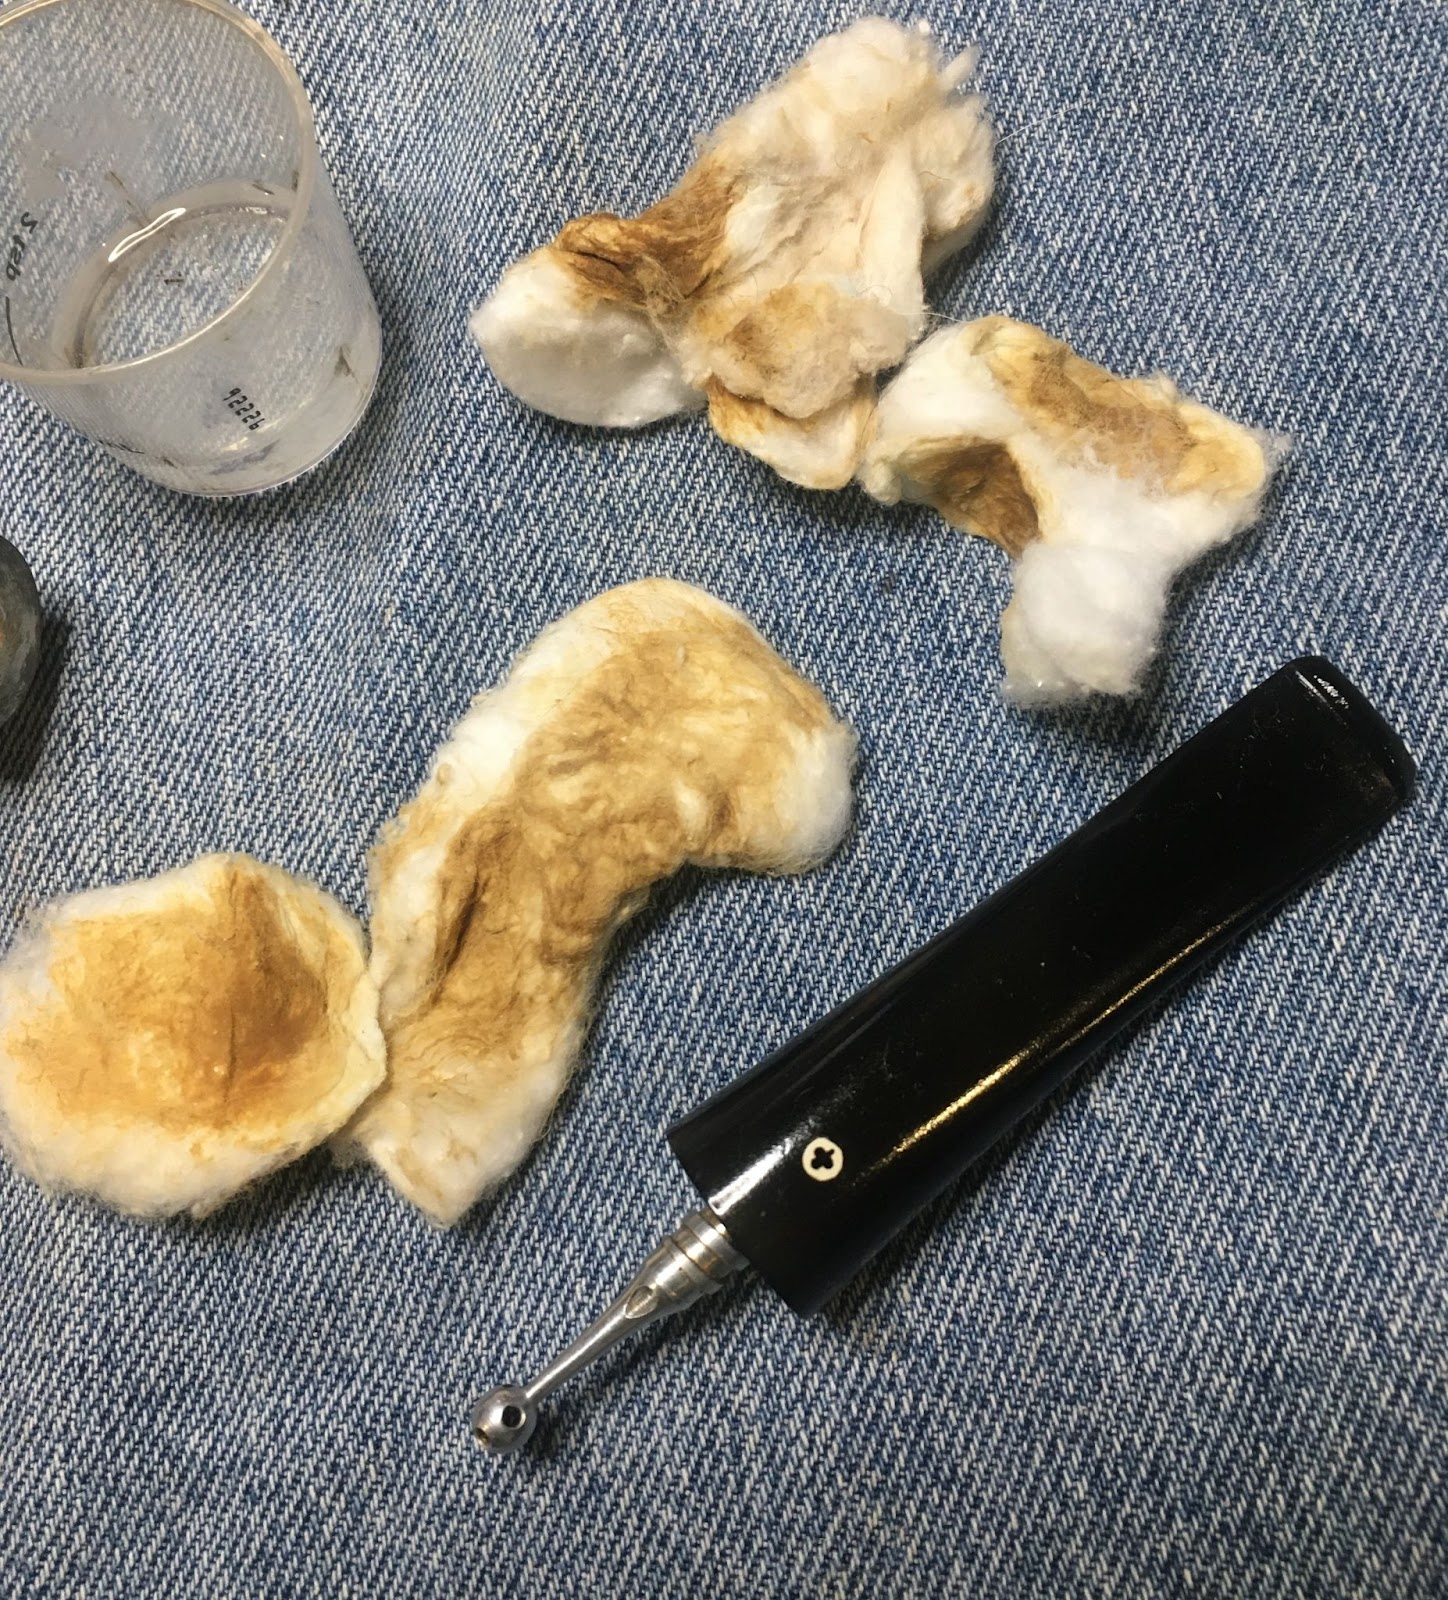
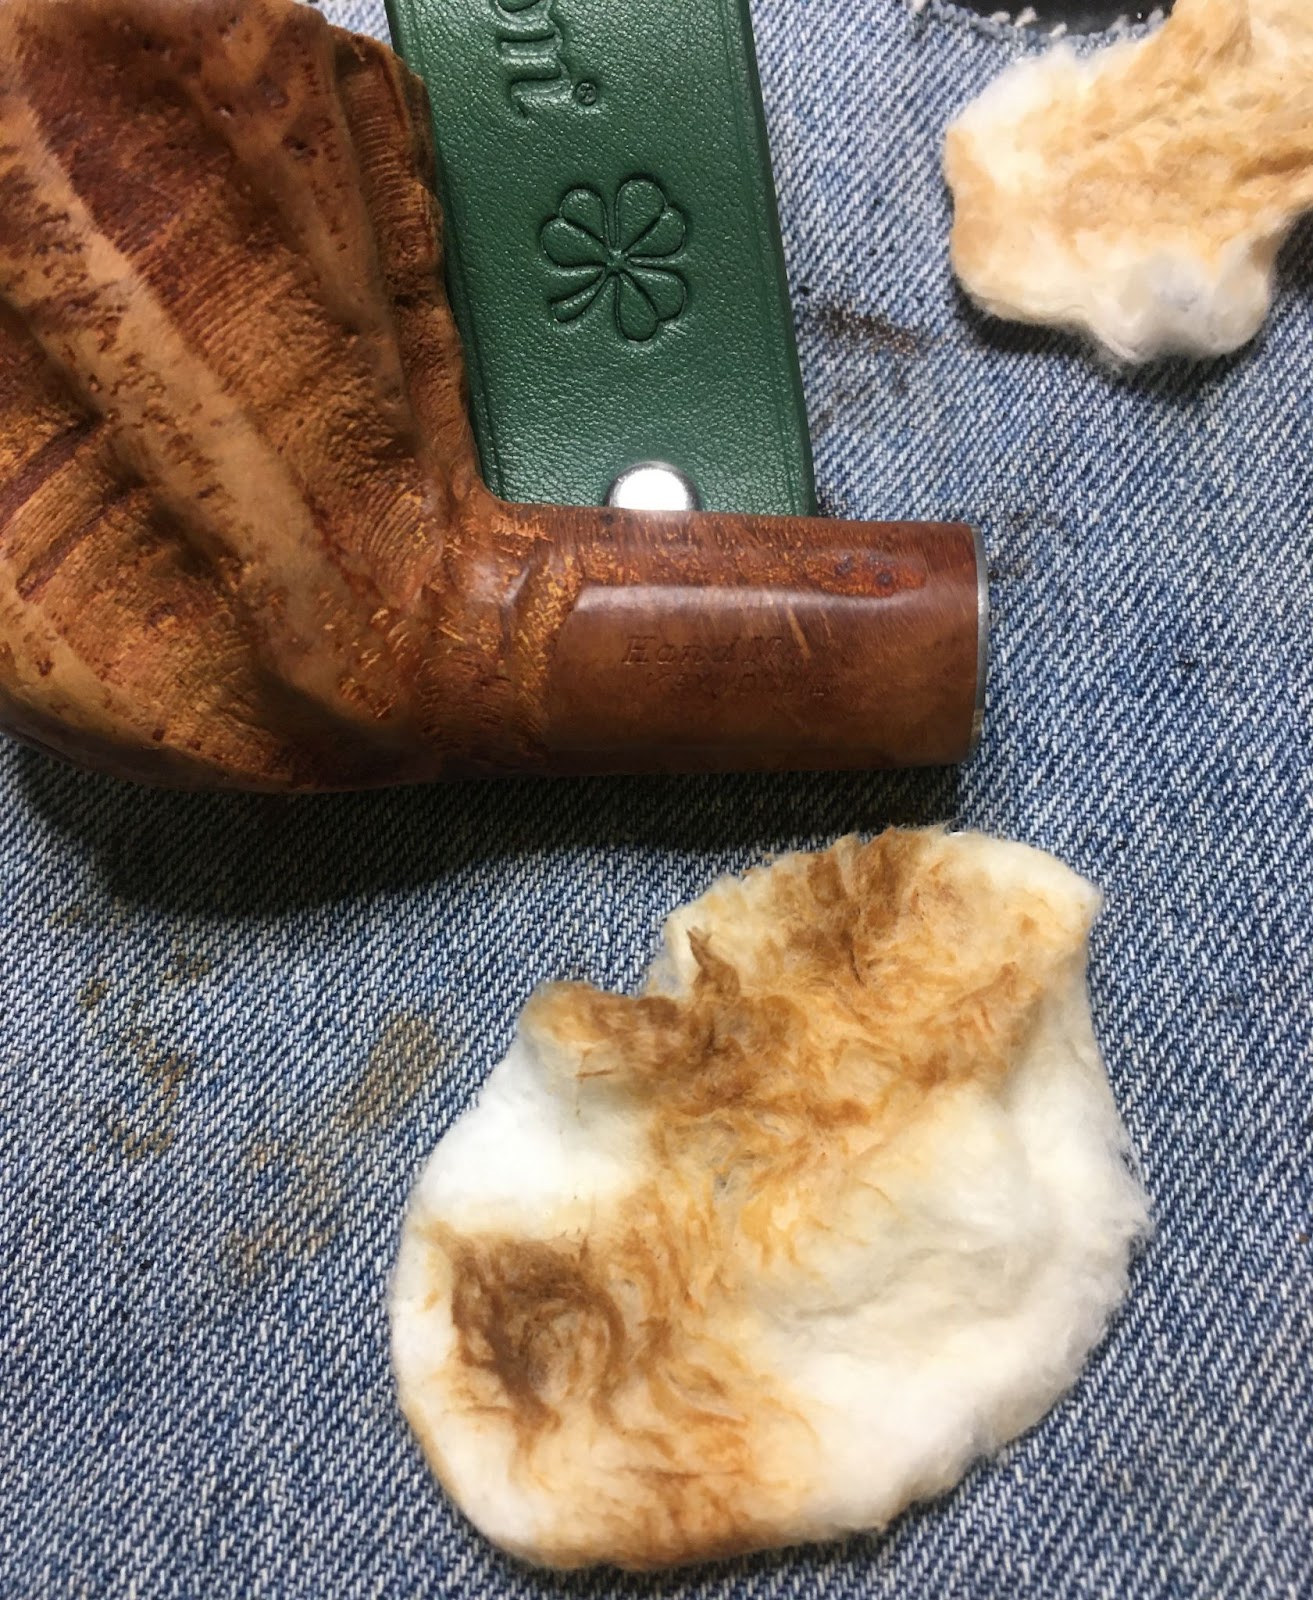
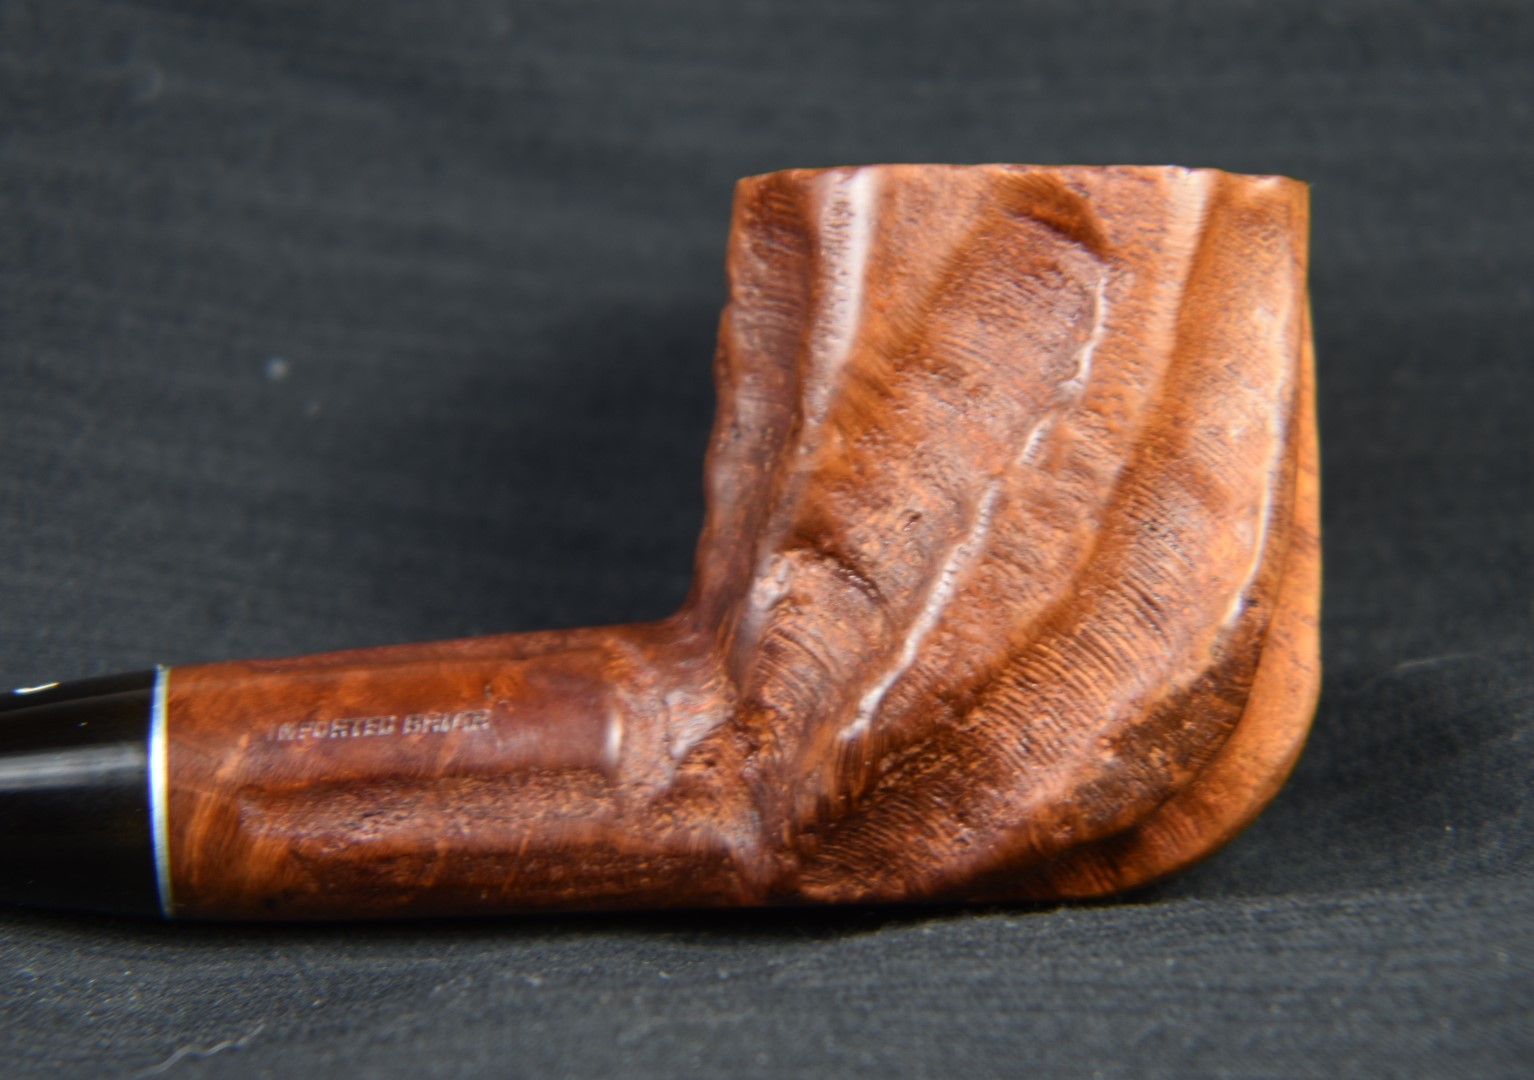
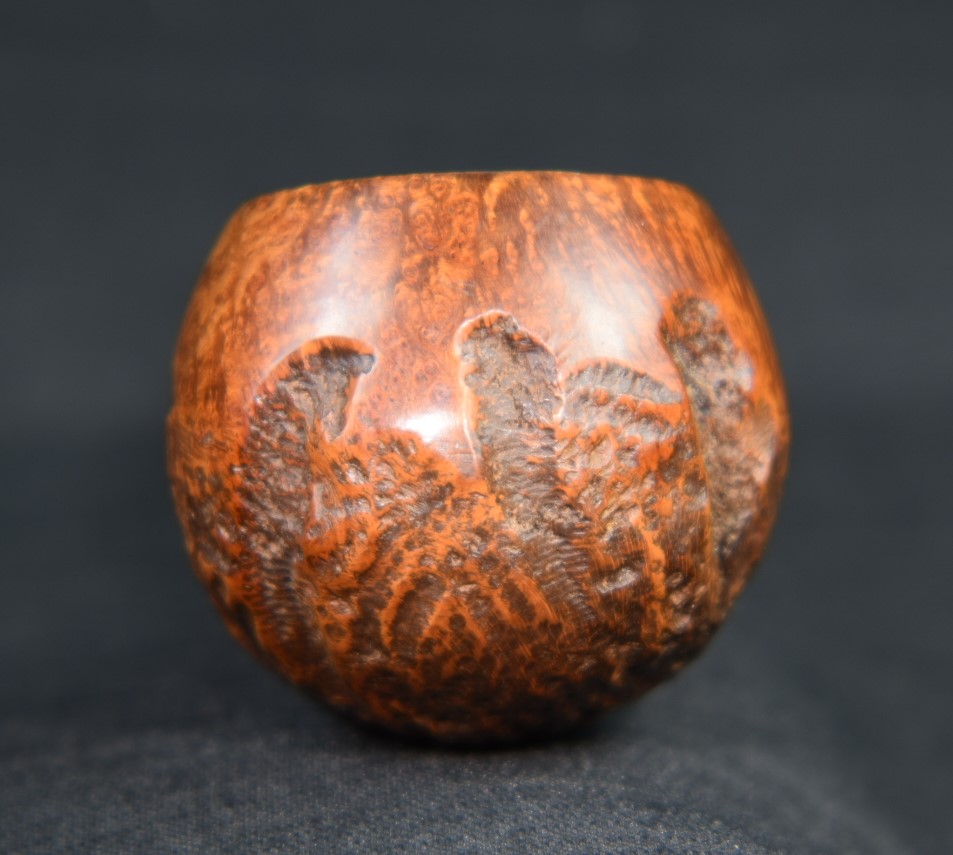
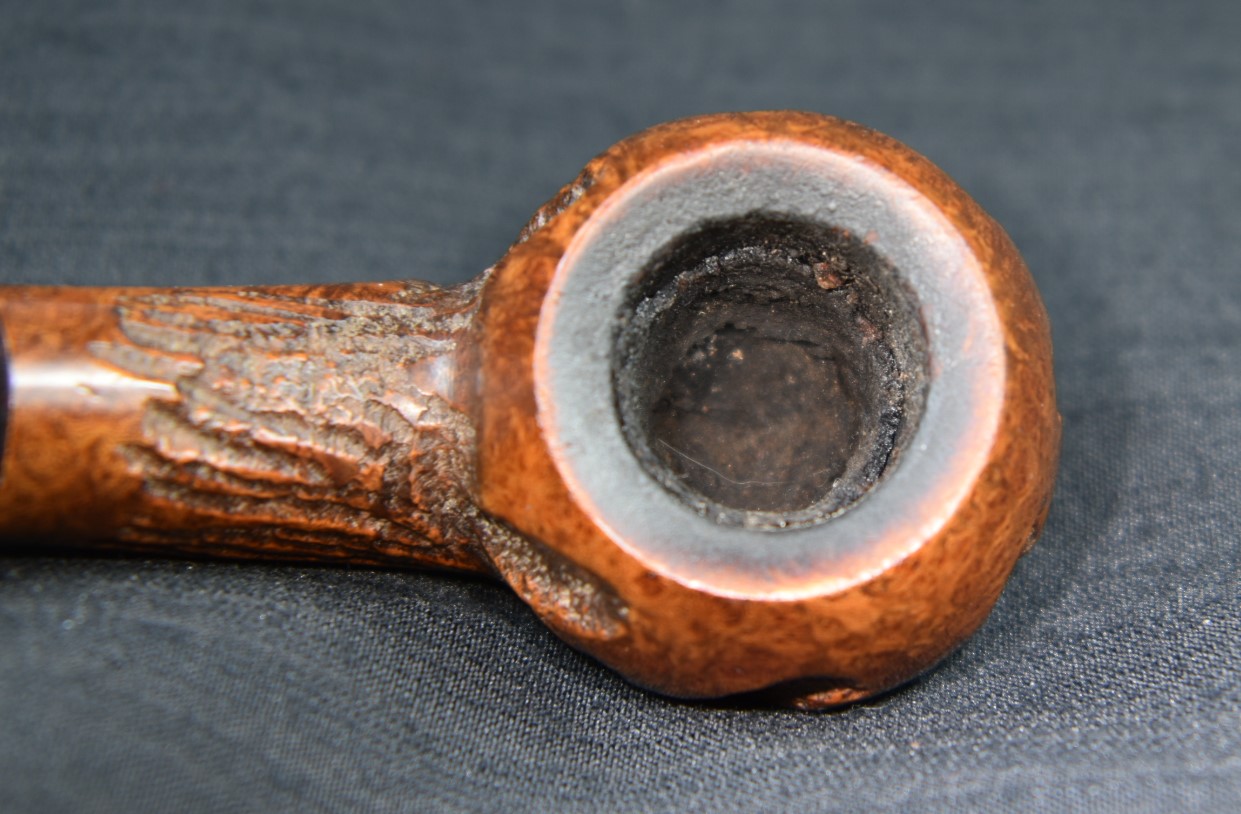
Next I wanted to pick out all of the original fill material. Here is the before photo. Oh, notice that cool grain pattern right of the glare. I had never seen that before.

After the picking.
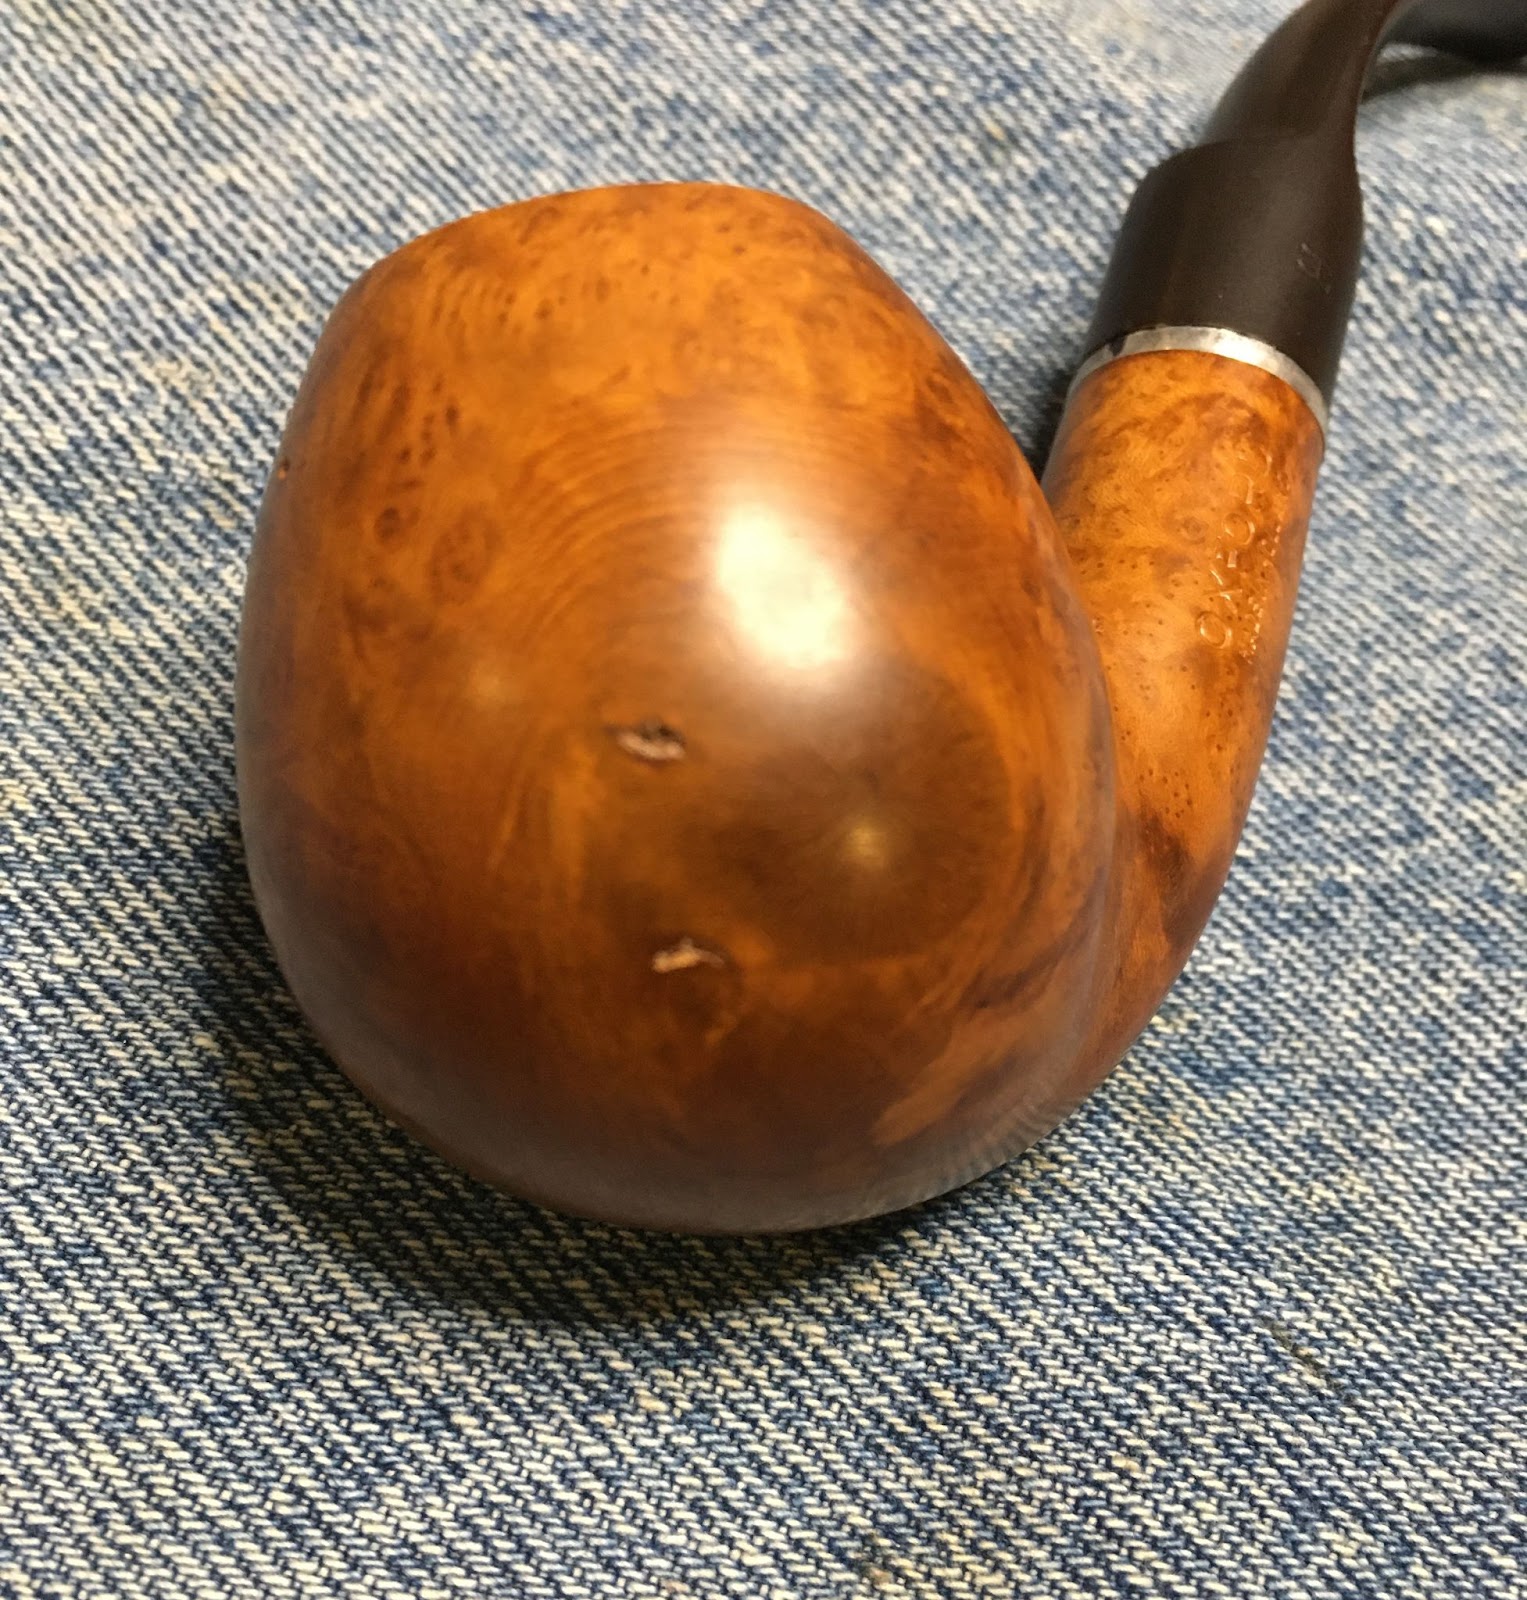
There was a second strange grain circle pattern on the opposite side and more picking.

And picking on the shank.

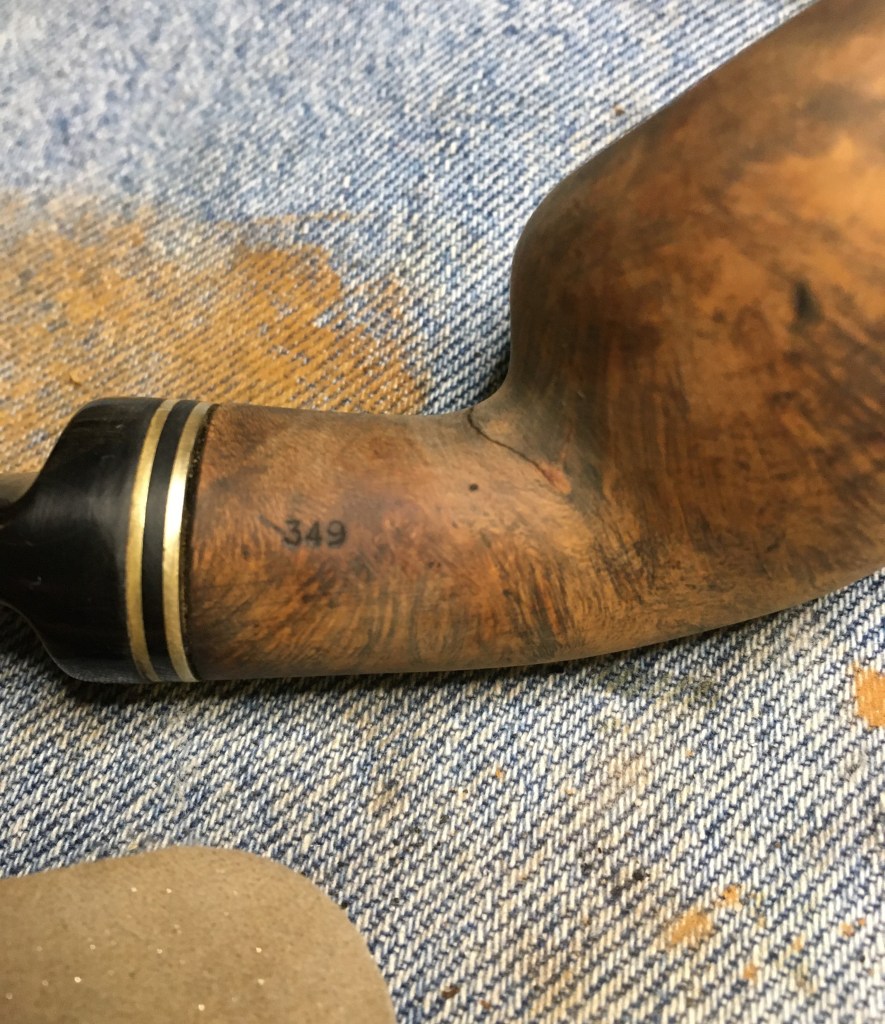
None of the fills were large and there really were not that many. Well, compared to a Mastercraft pipe.
Little fill here, little fill there.

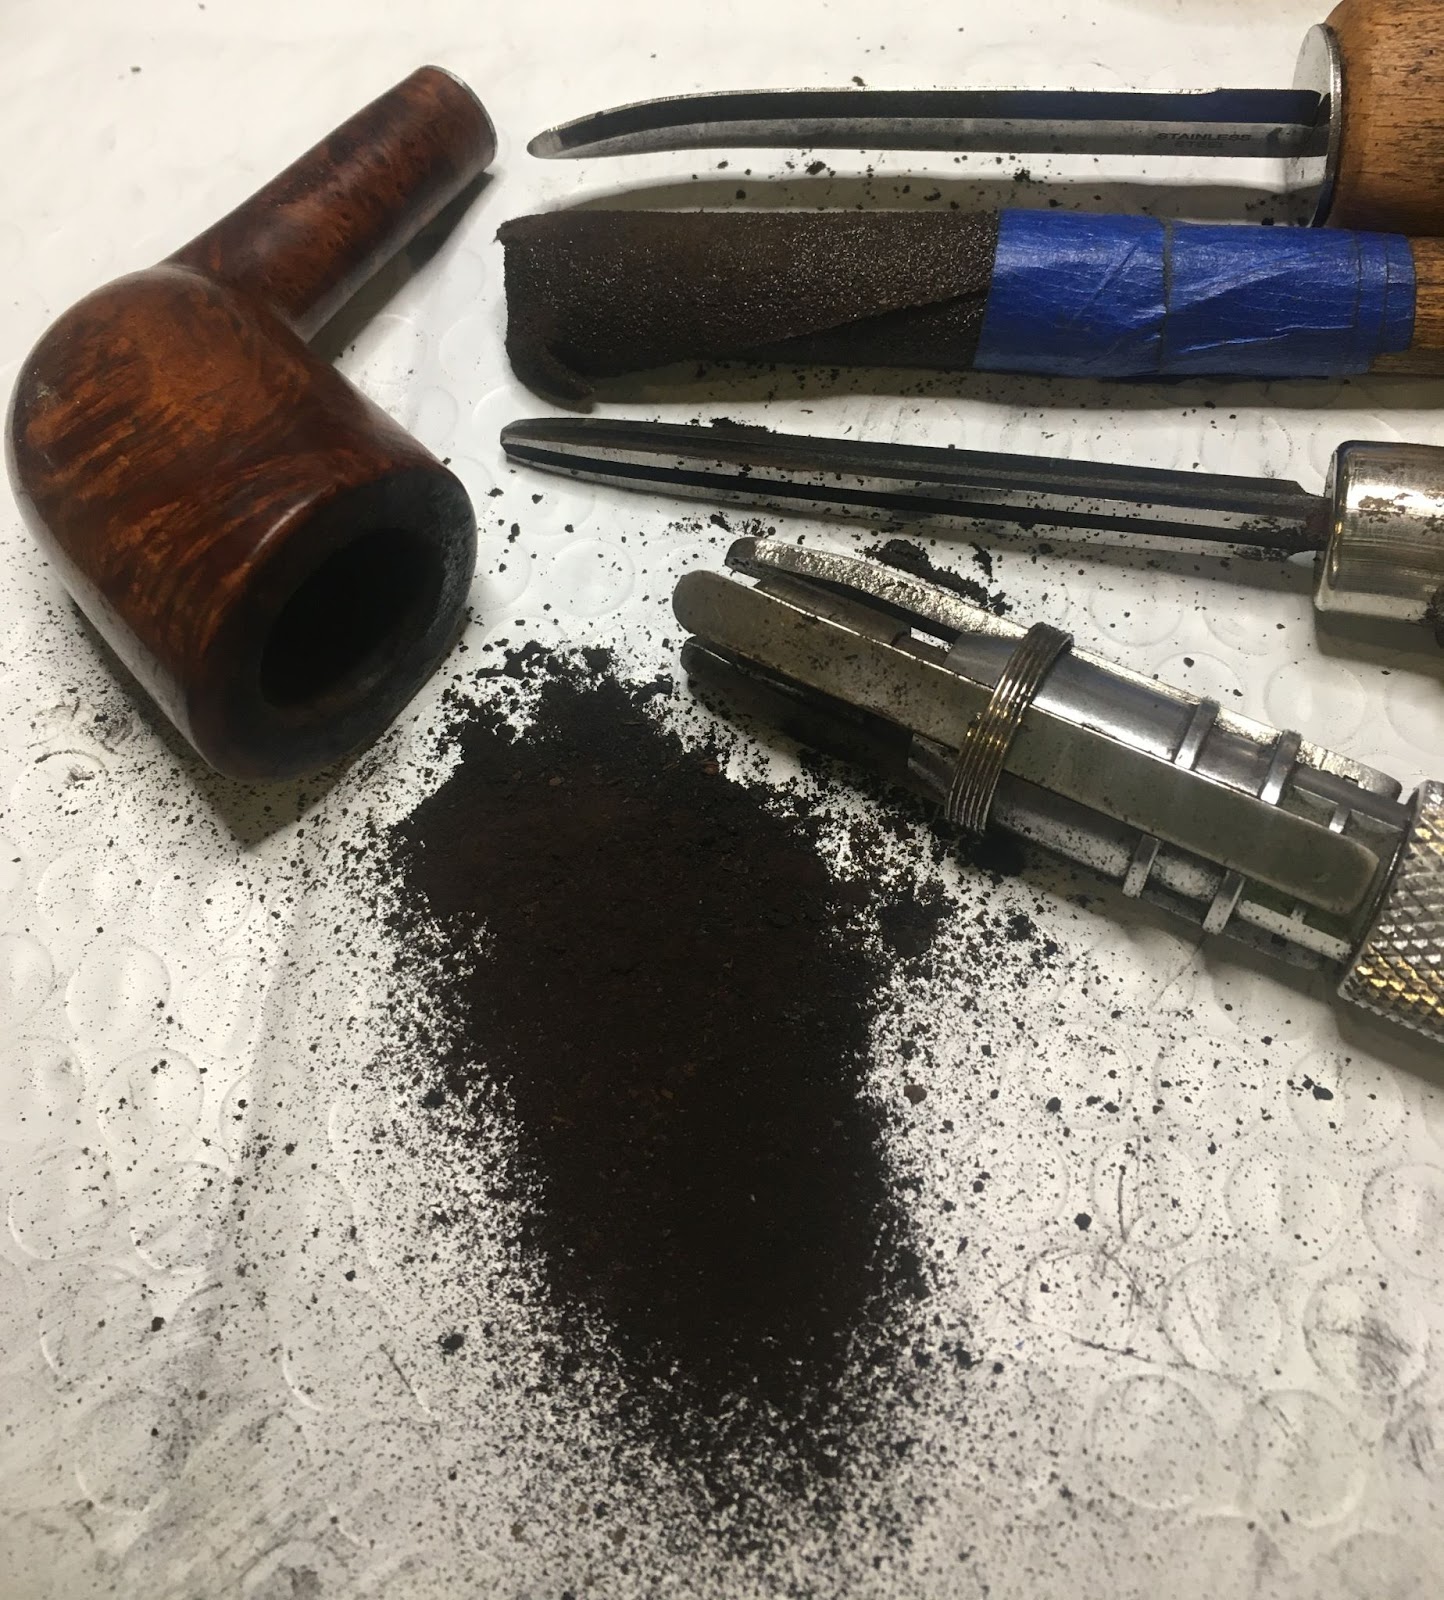
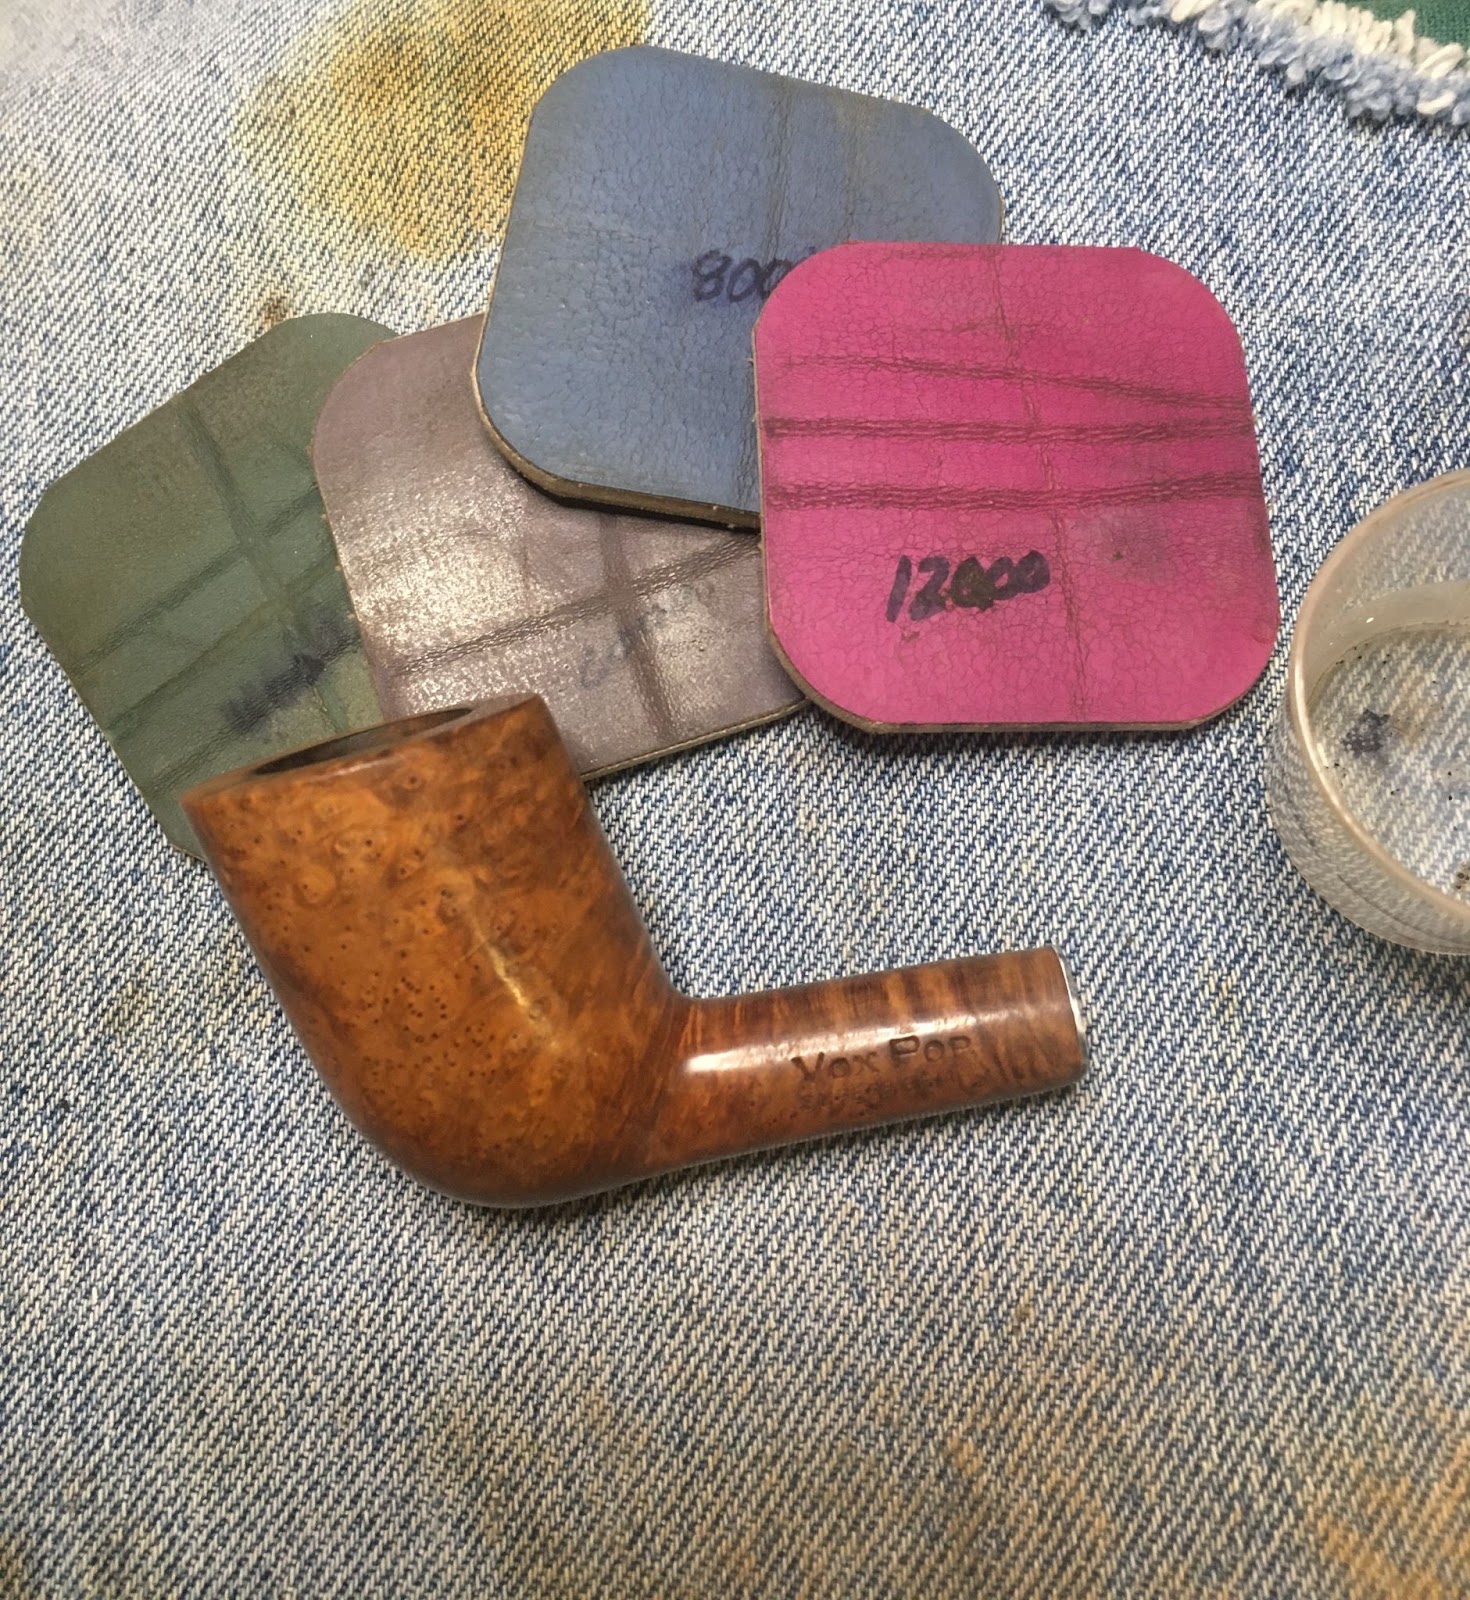
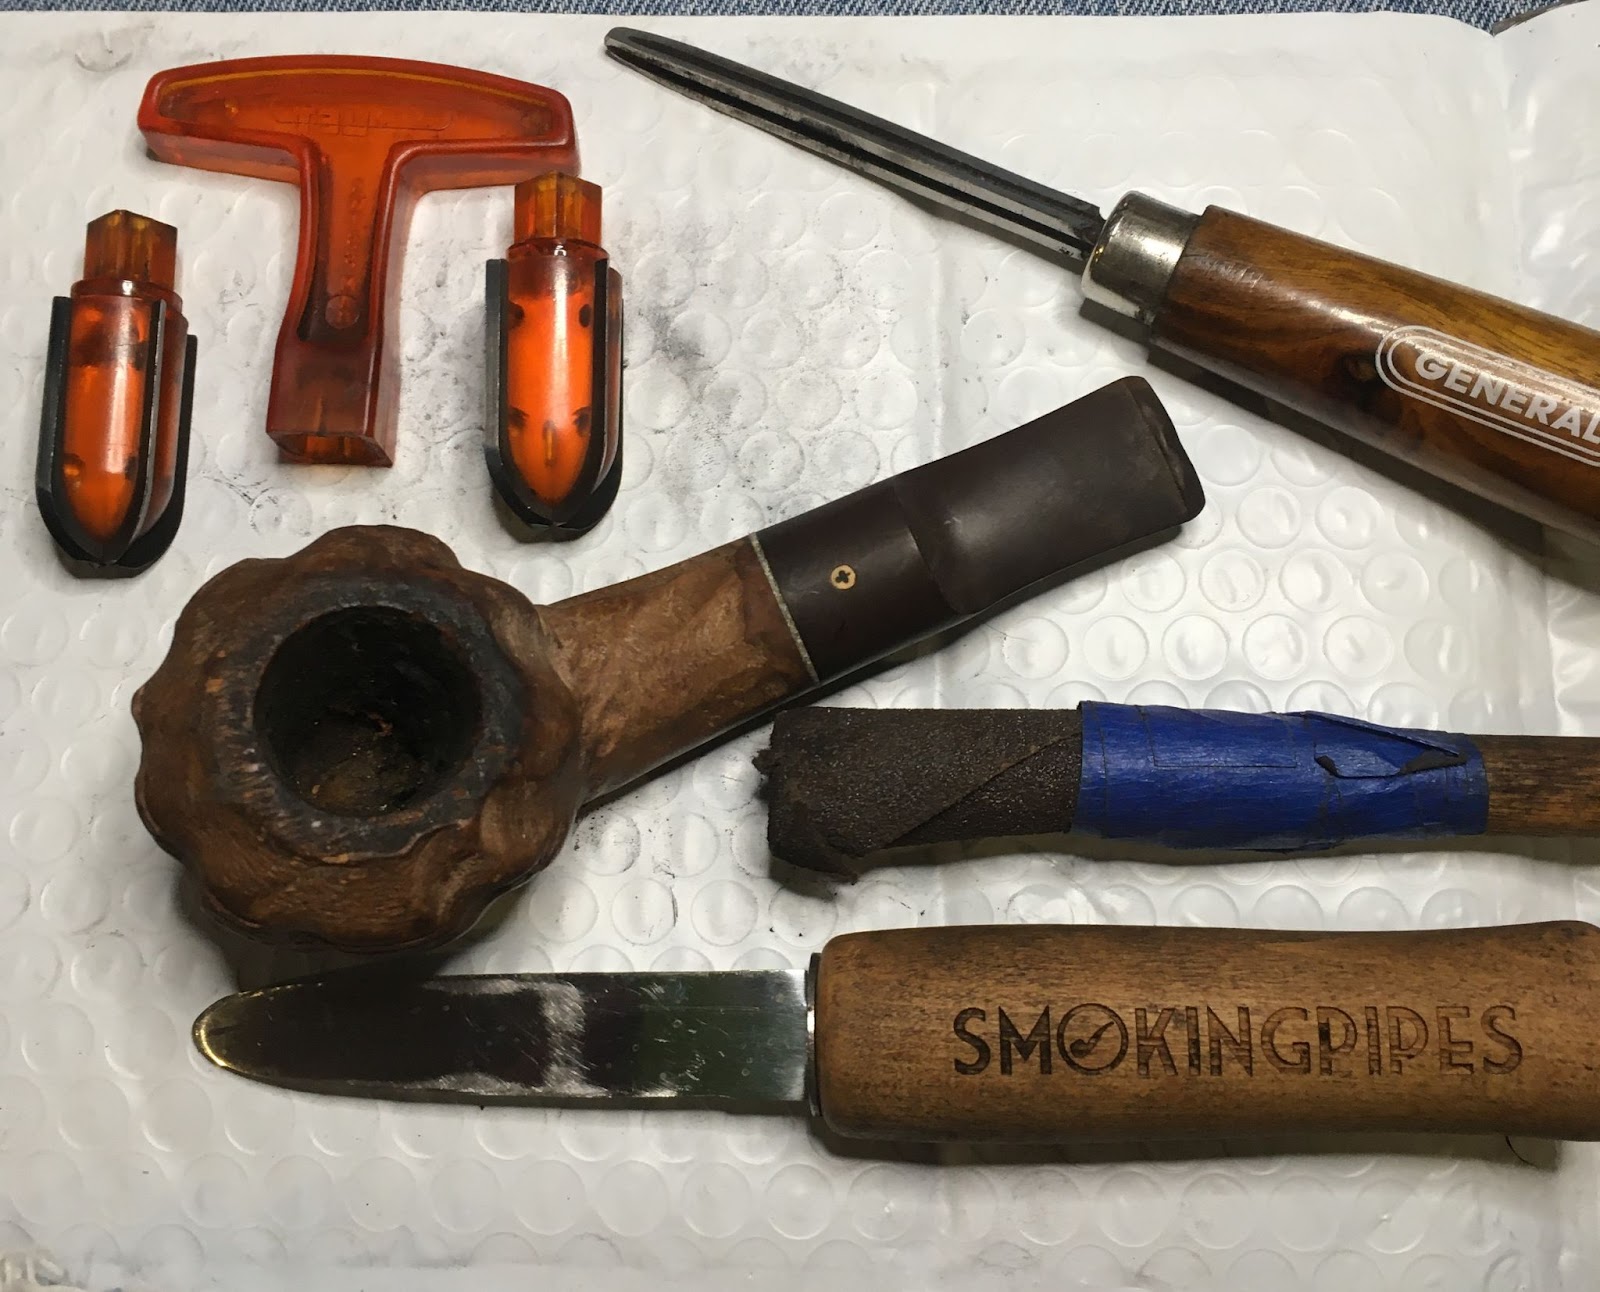
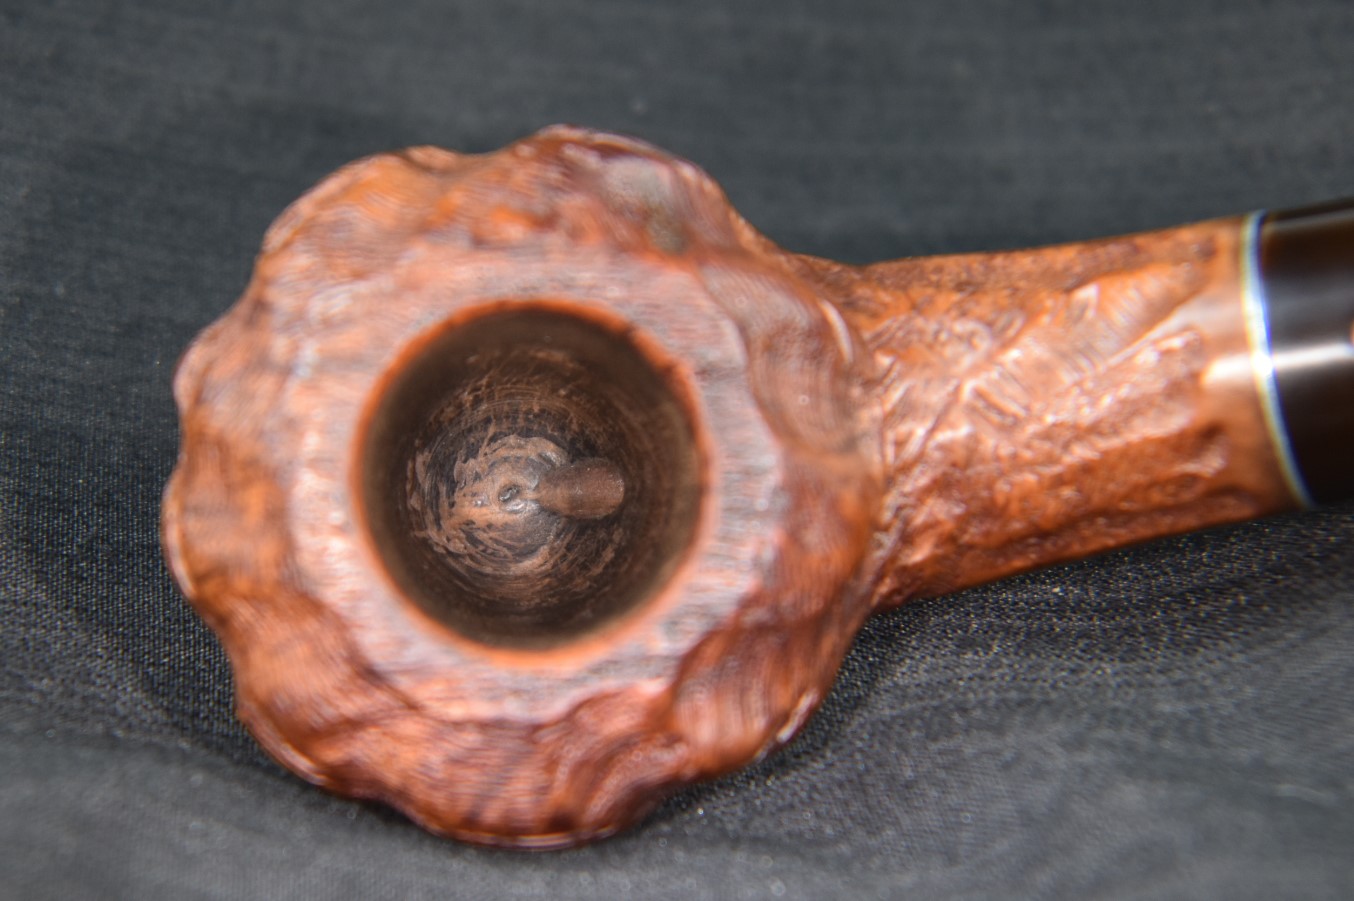
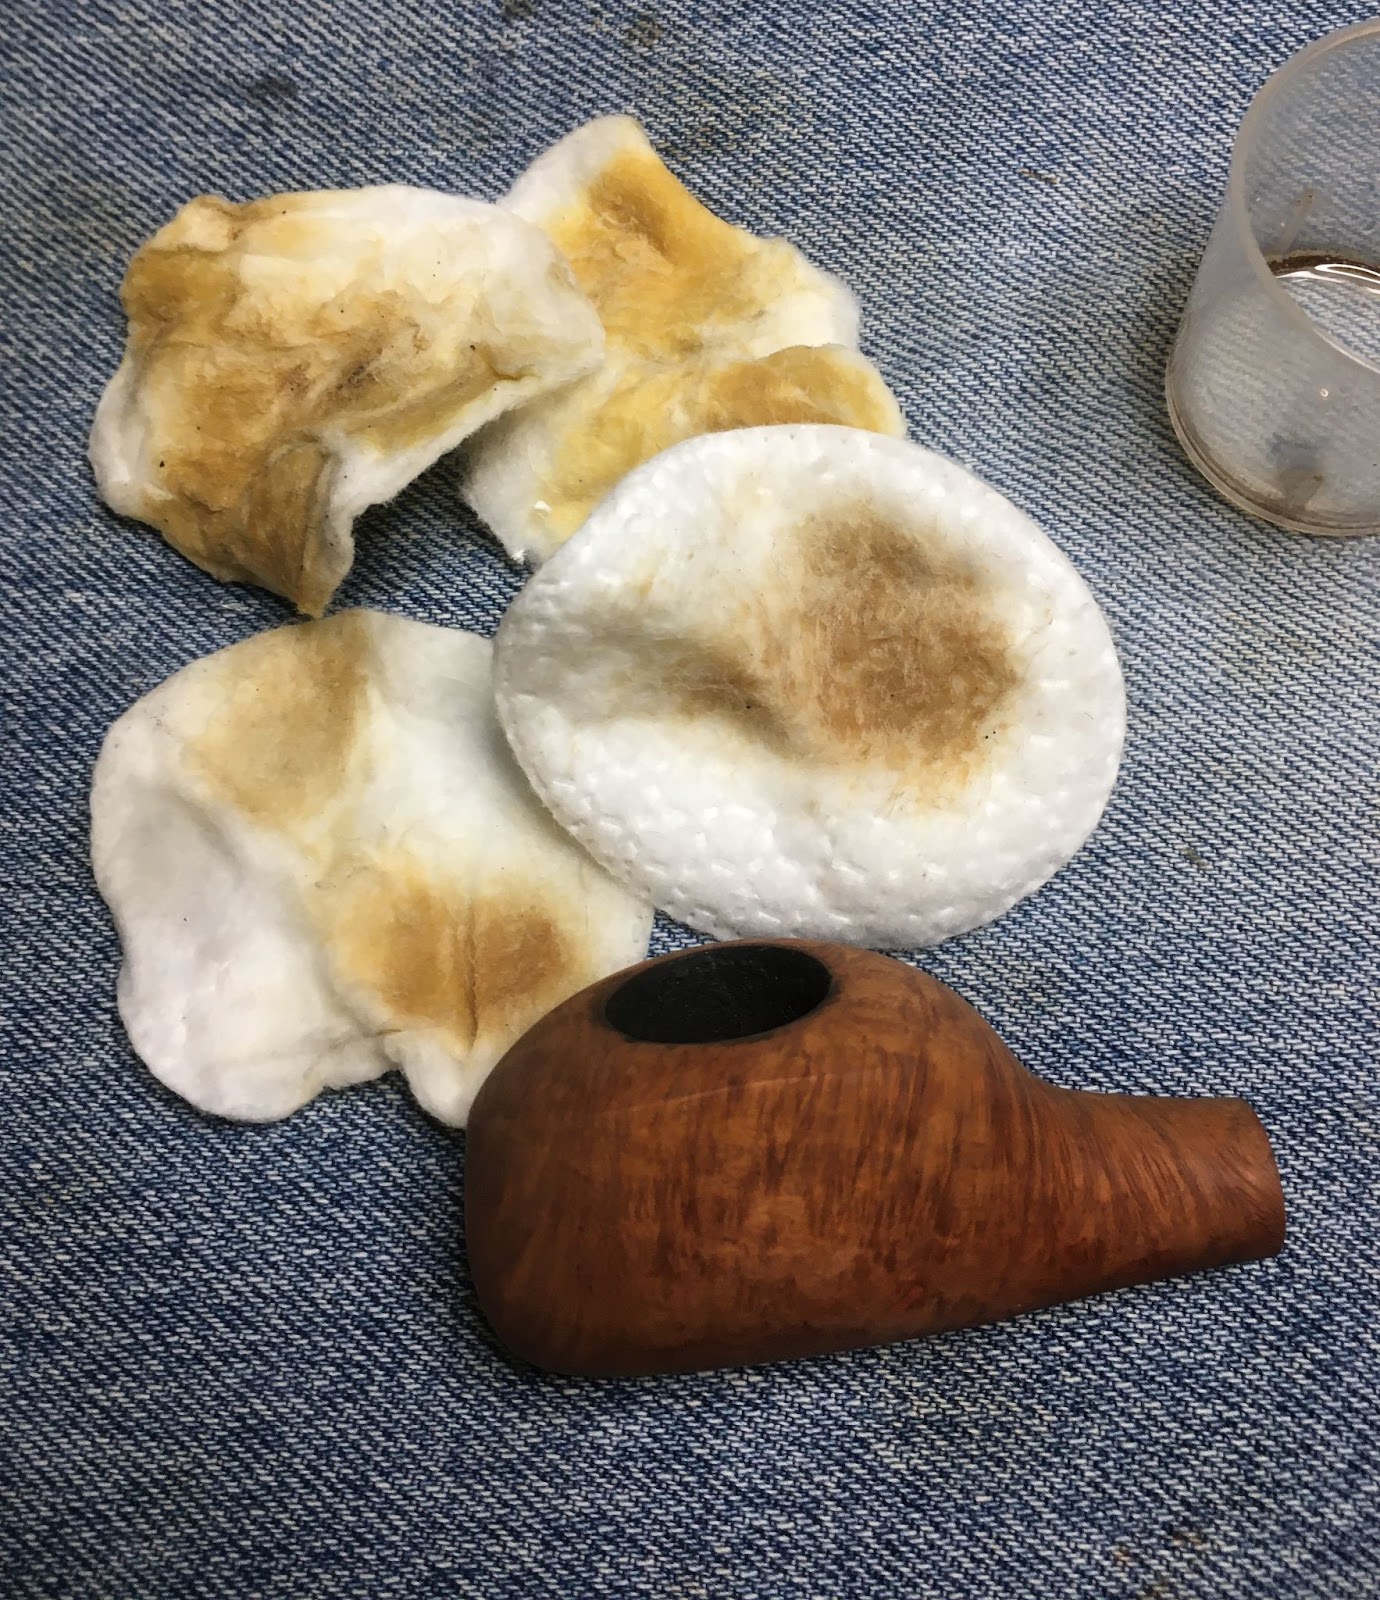
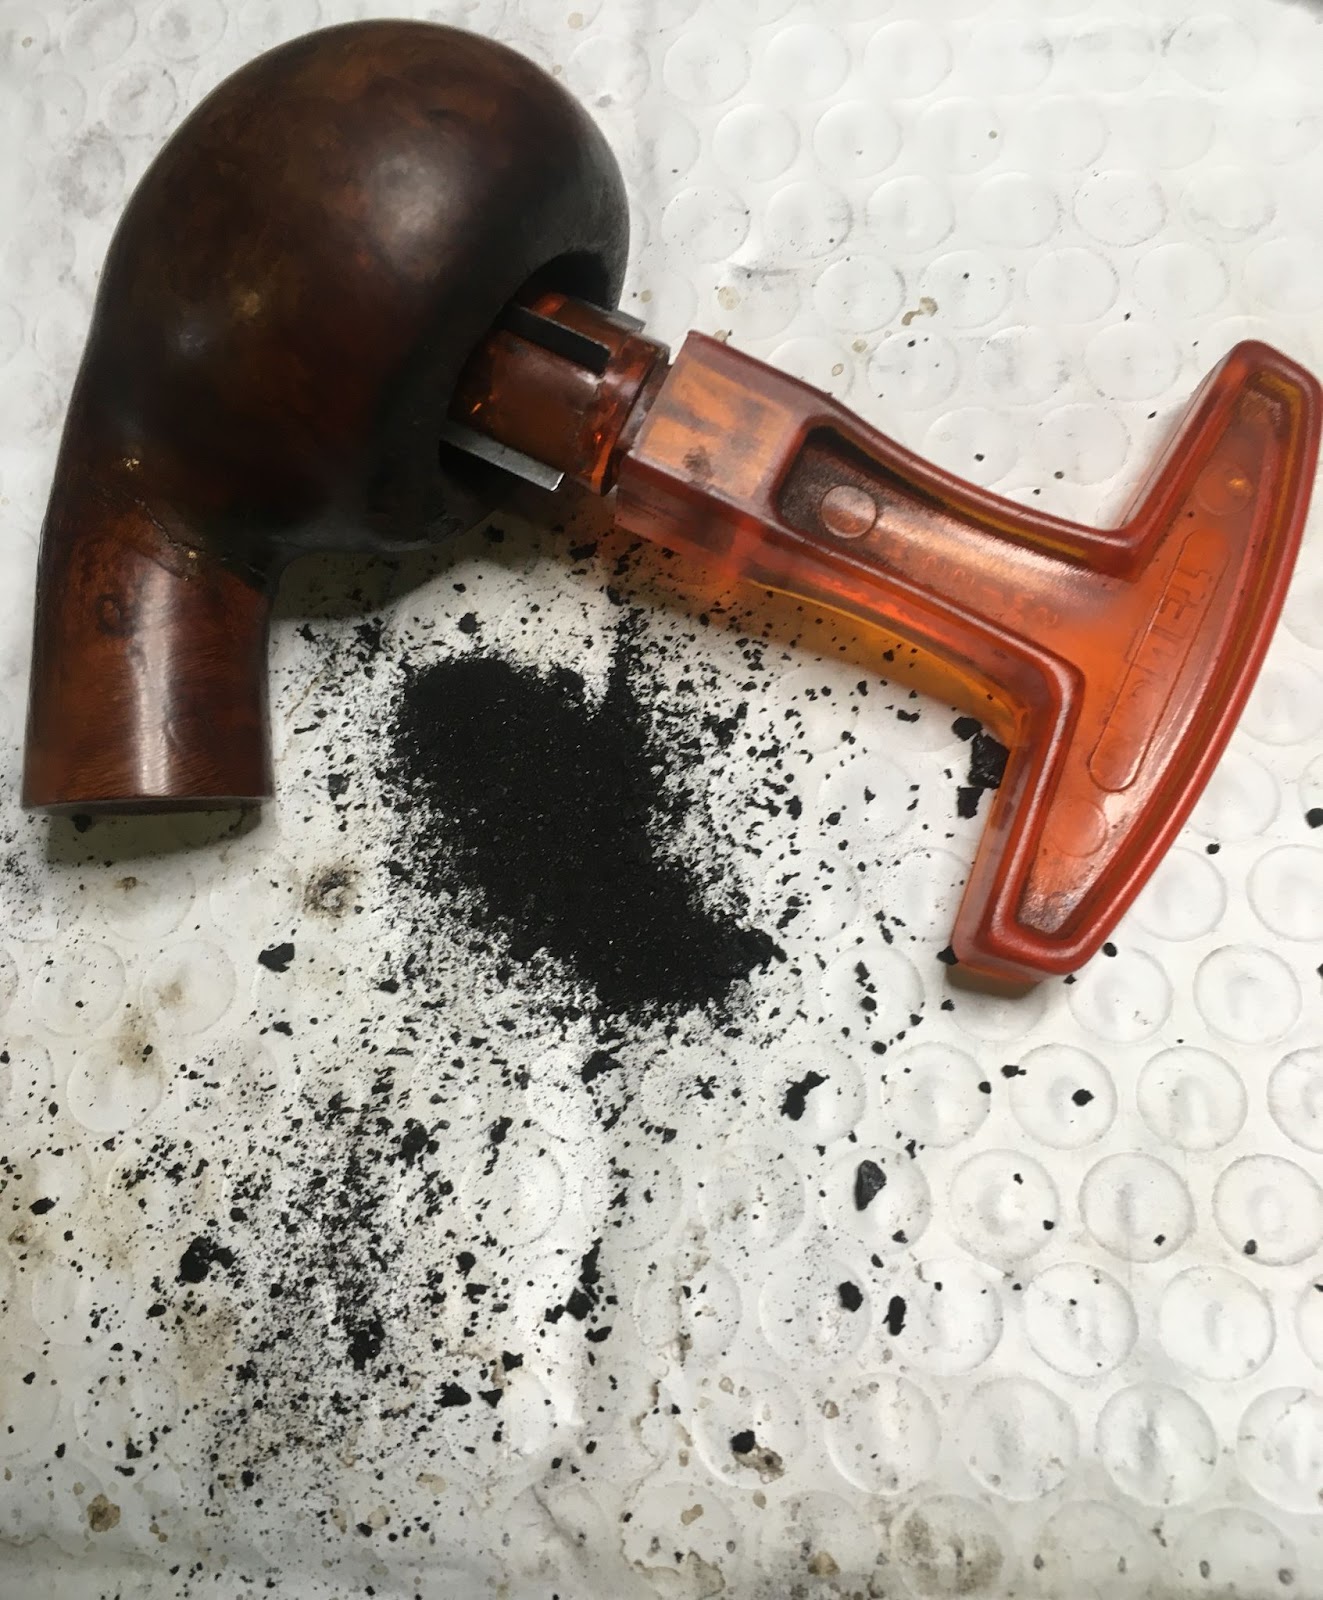
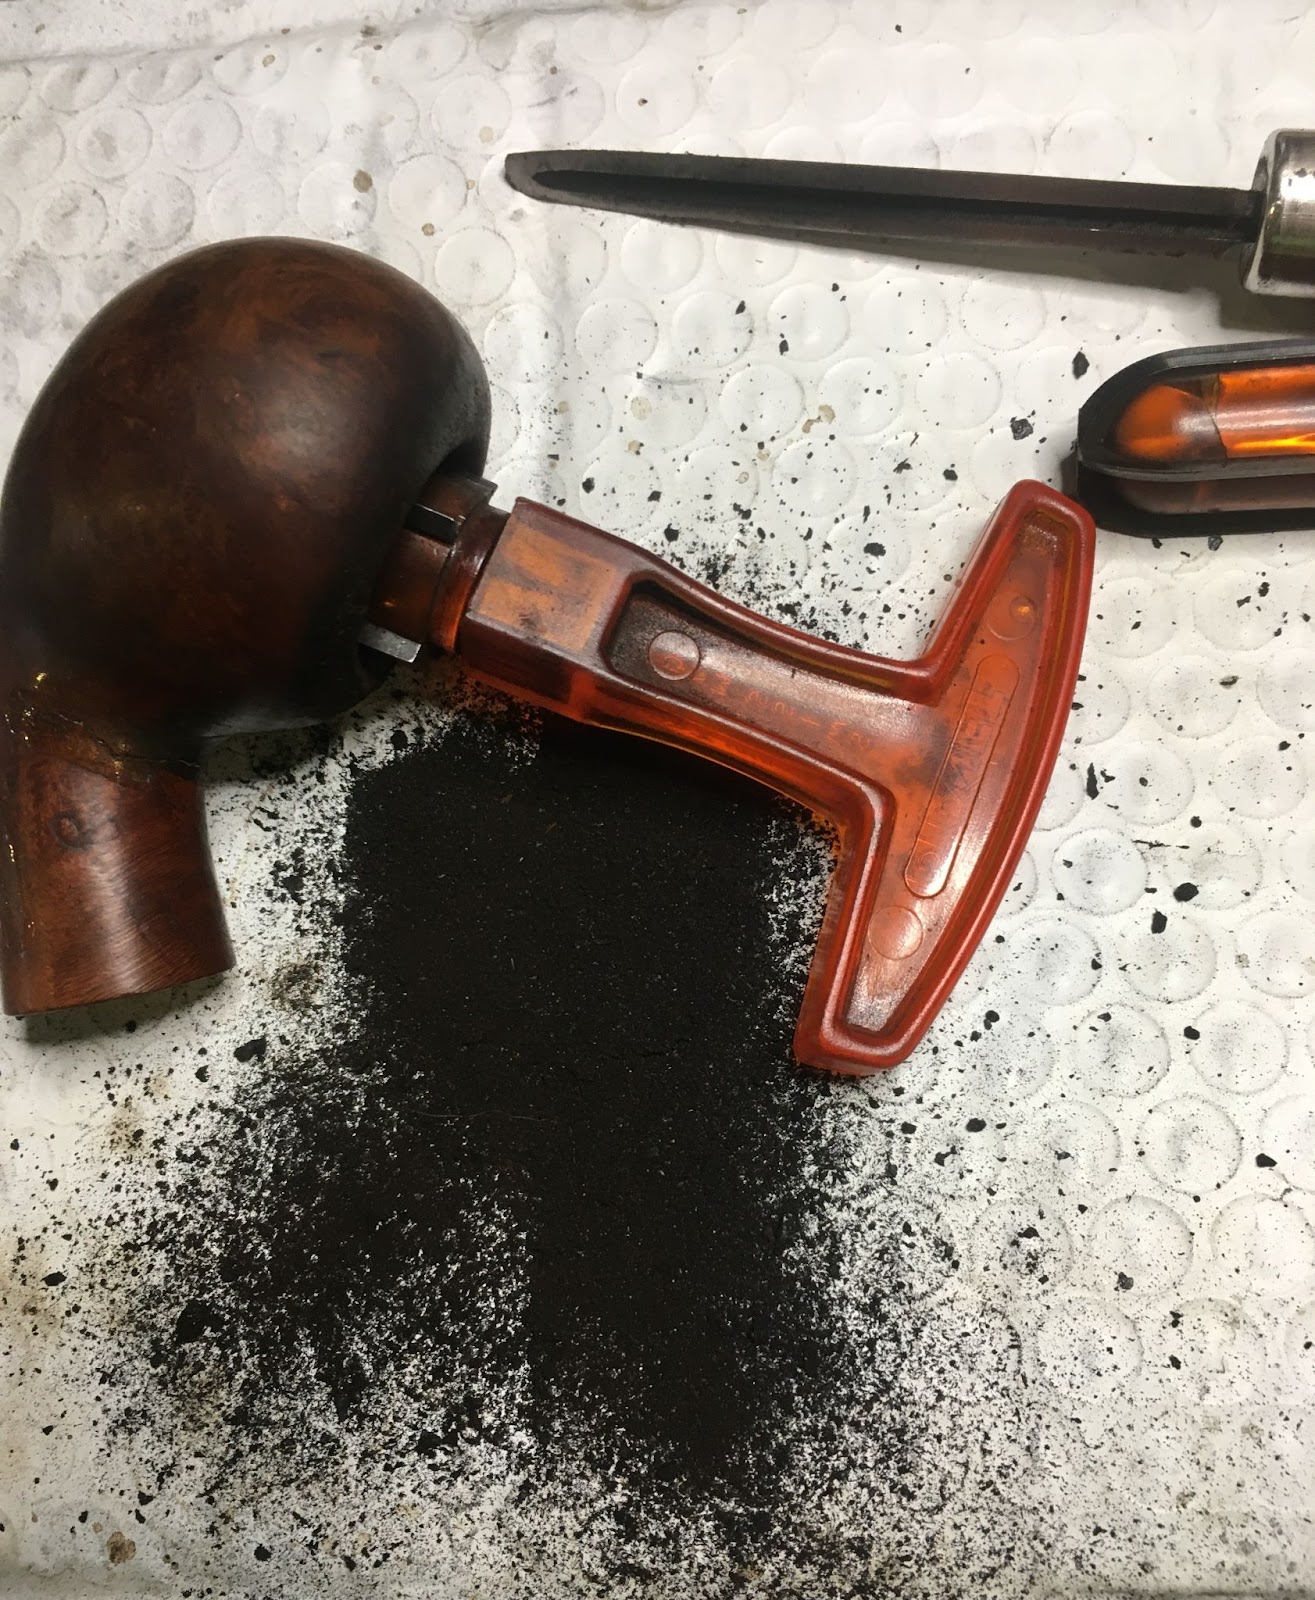
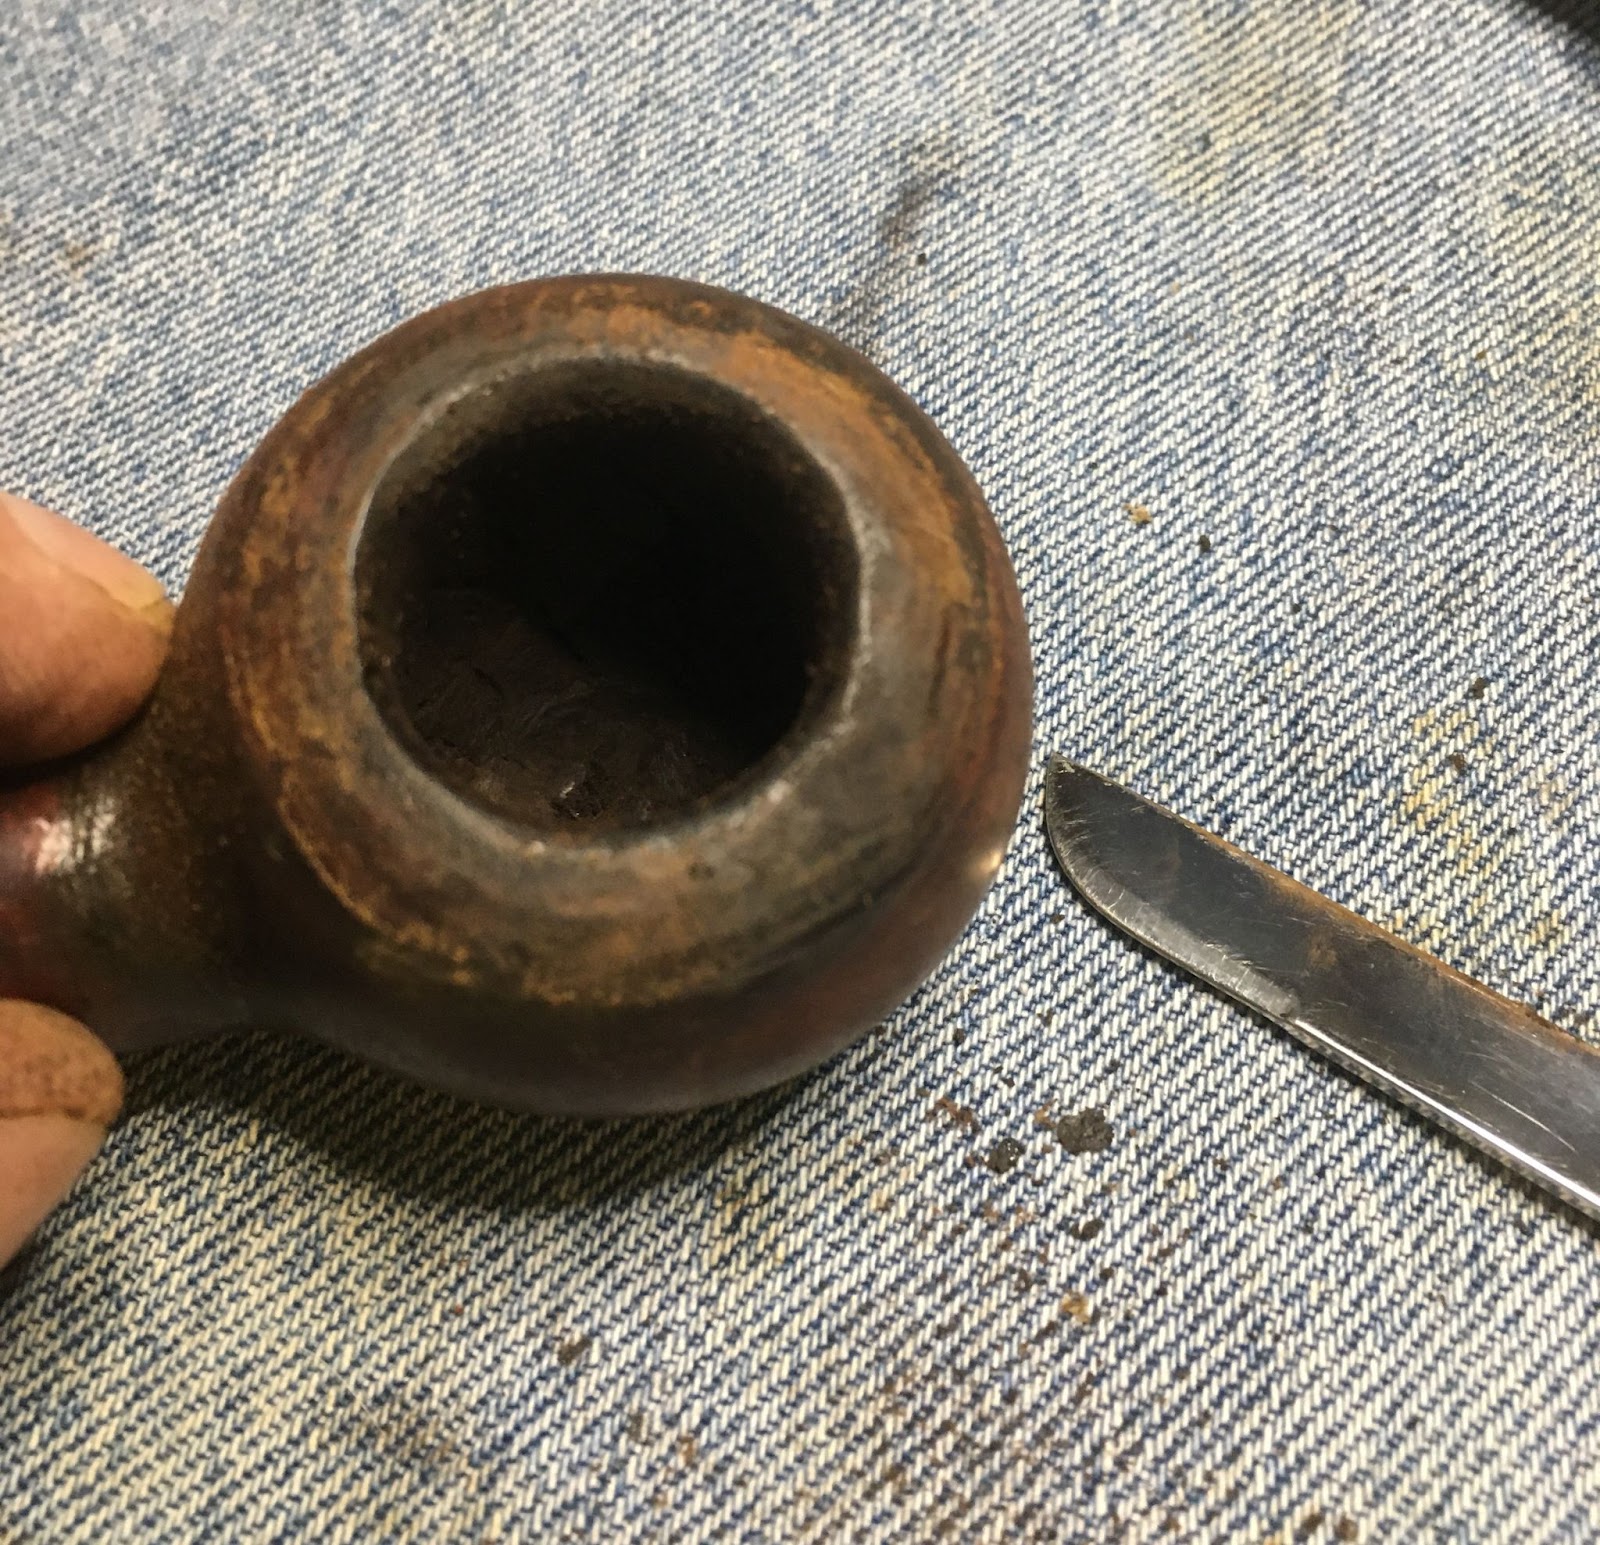
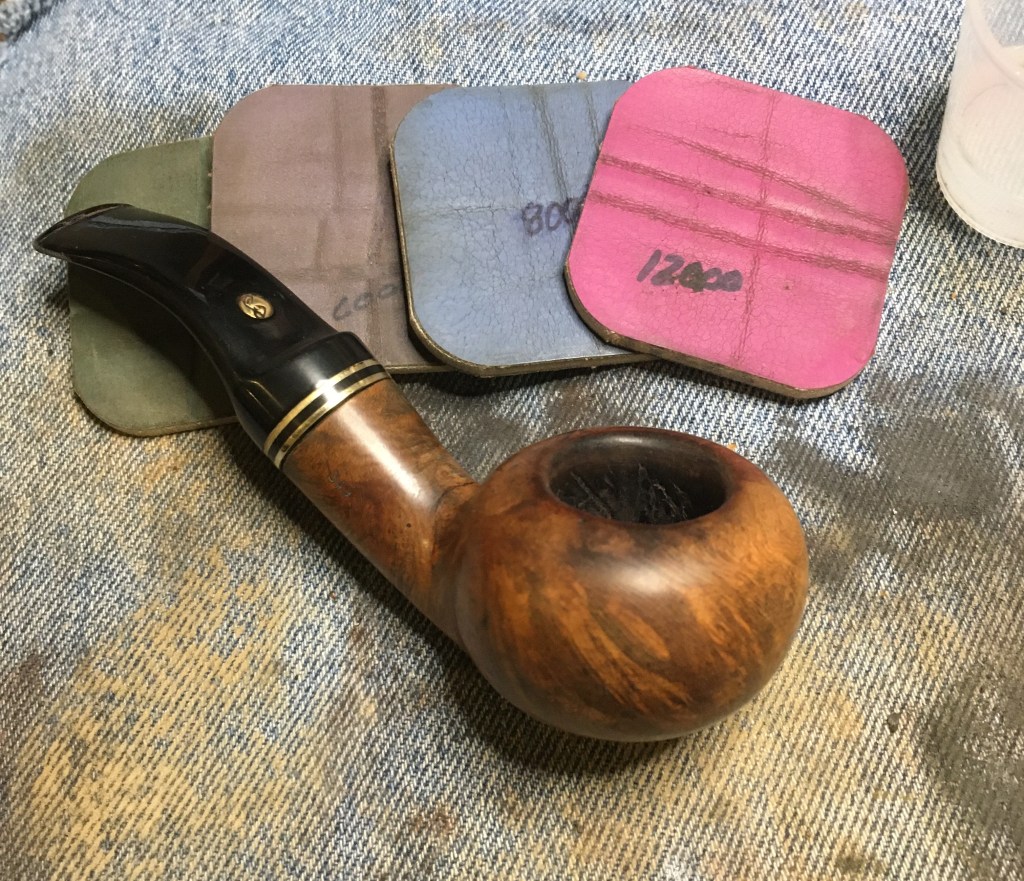
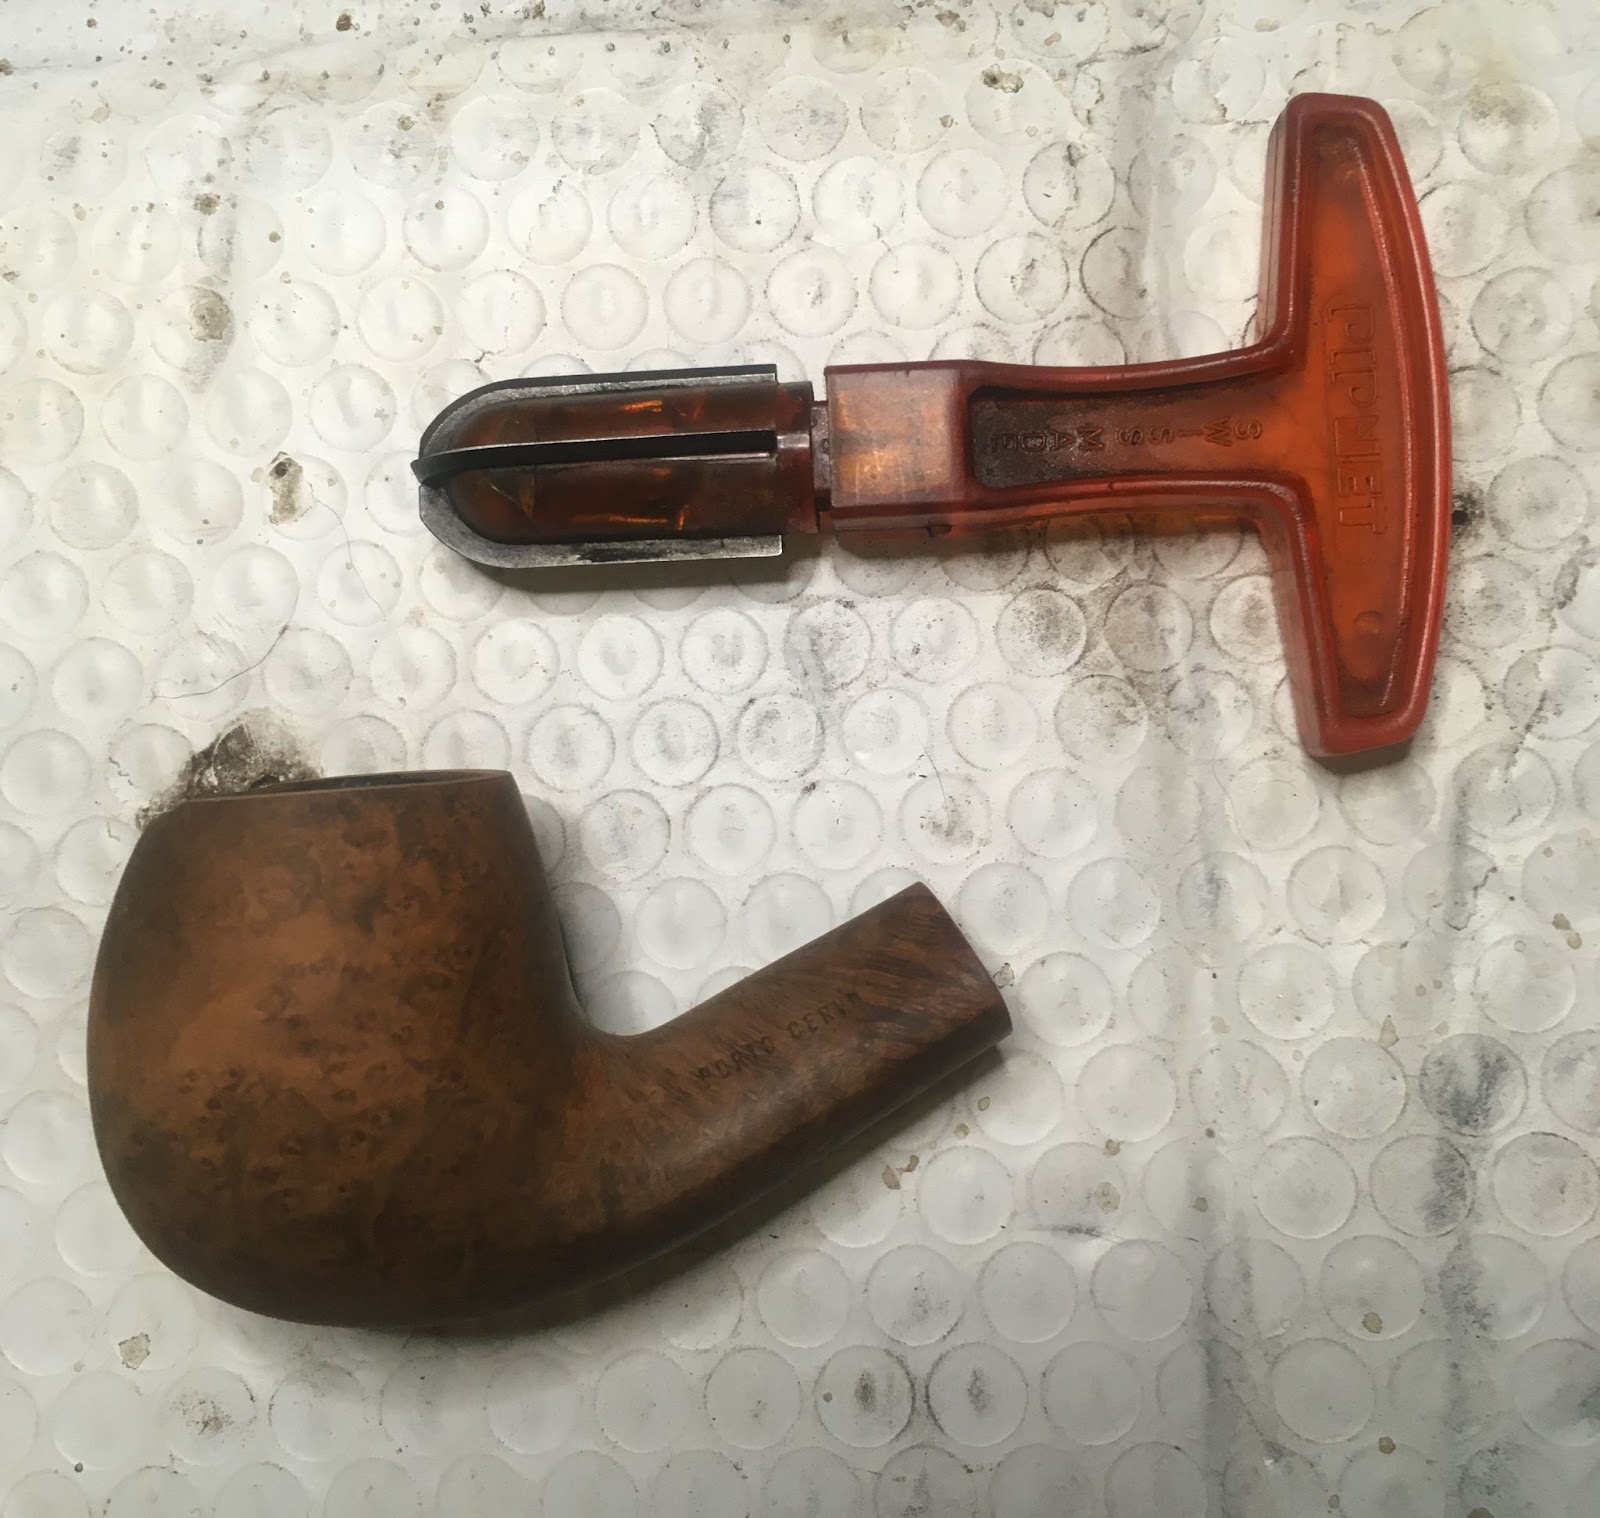
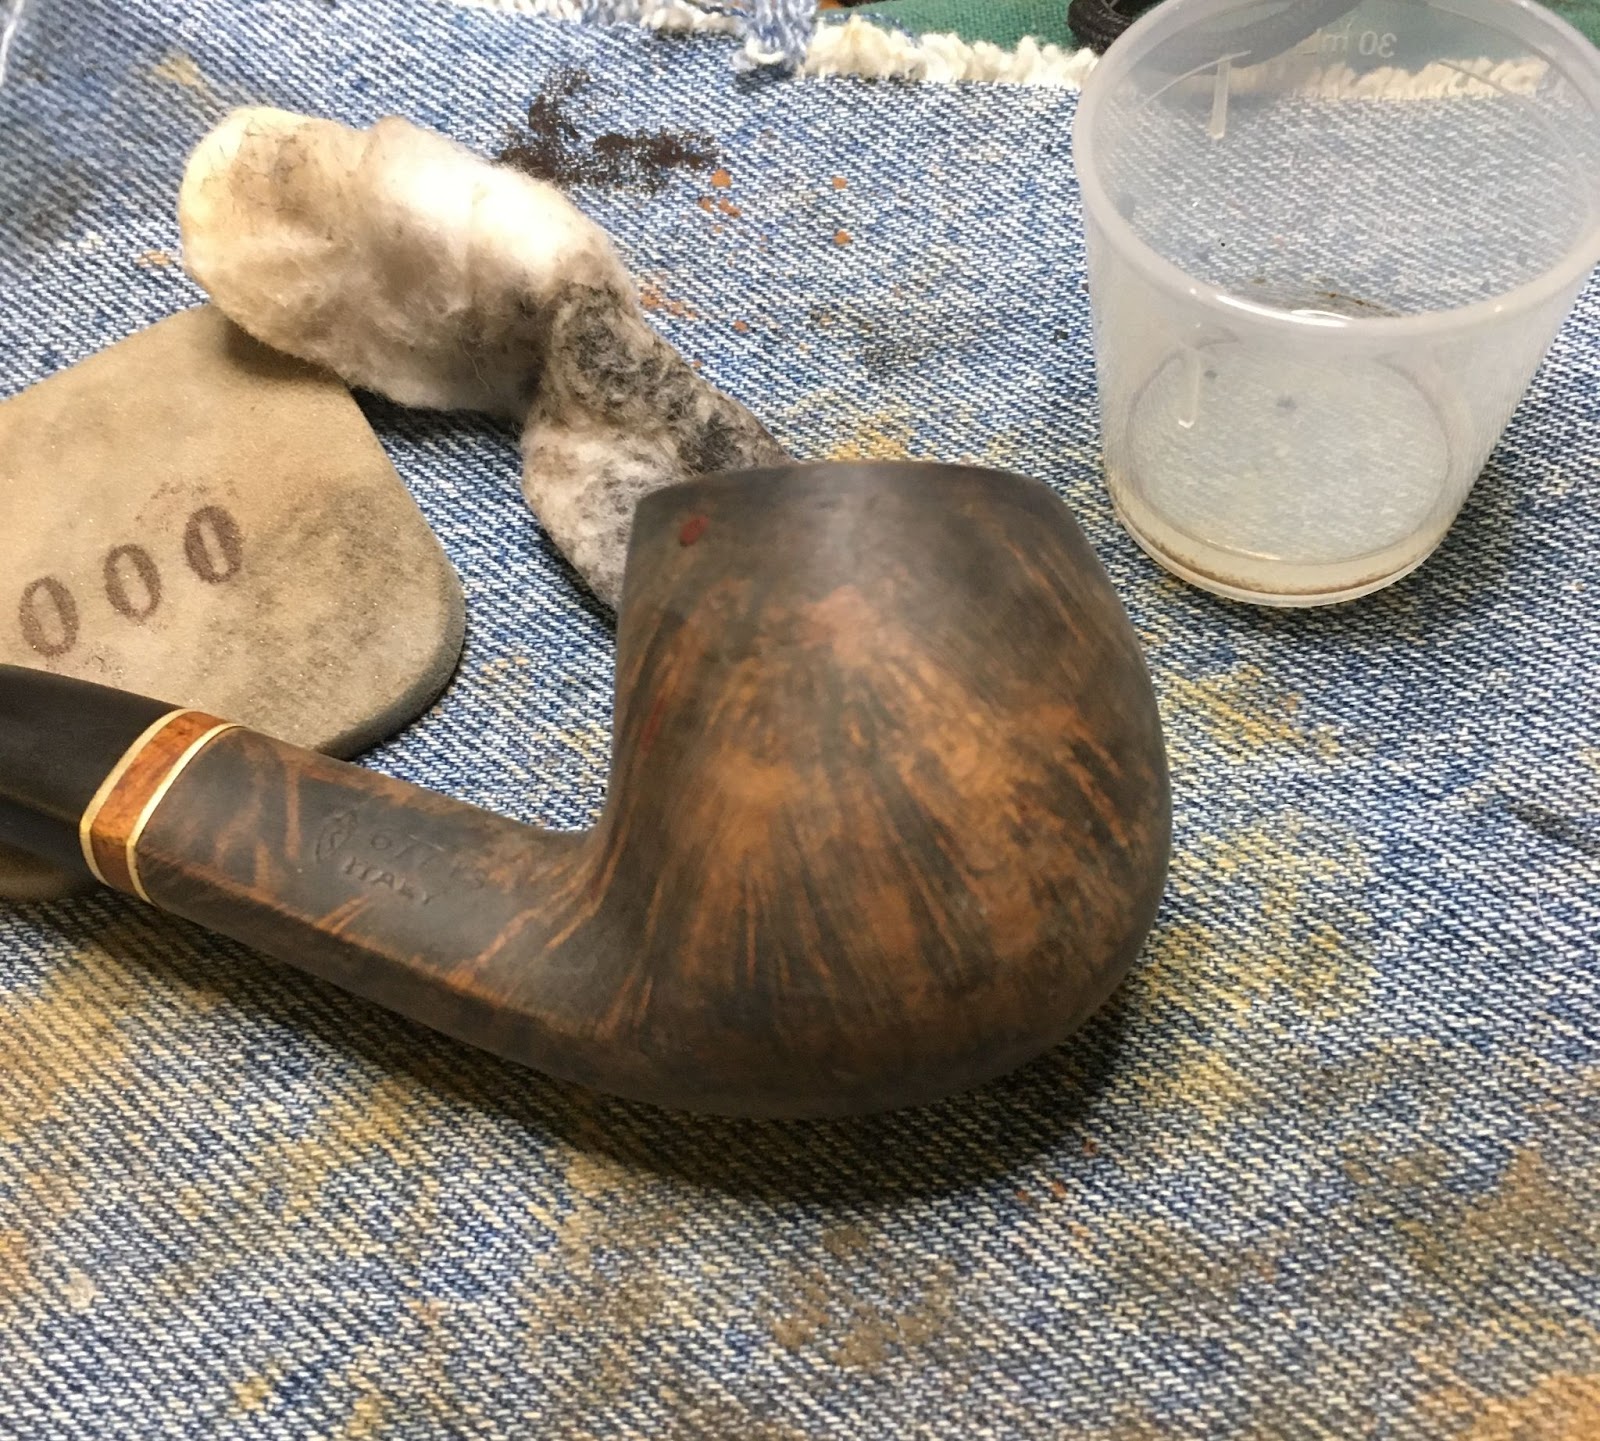
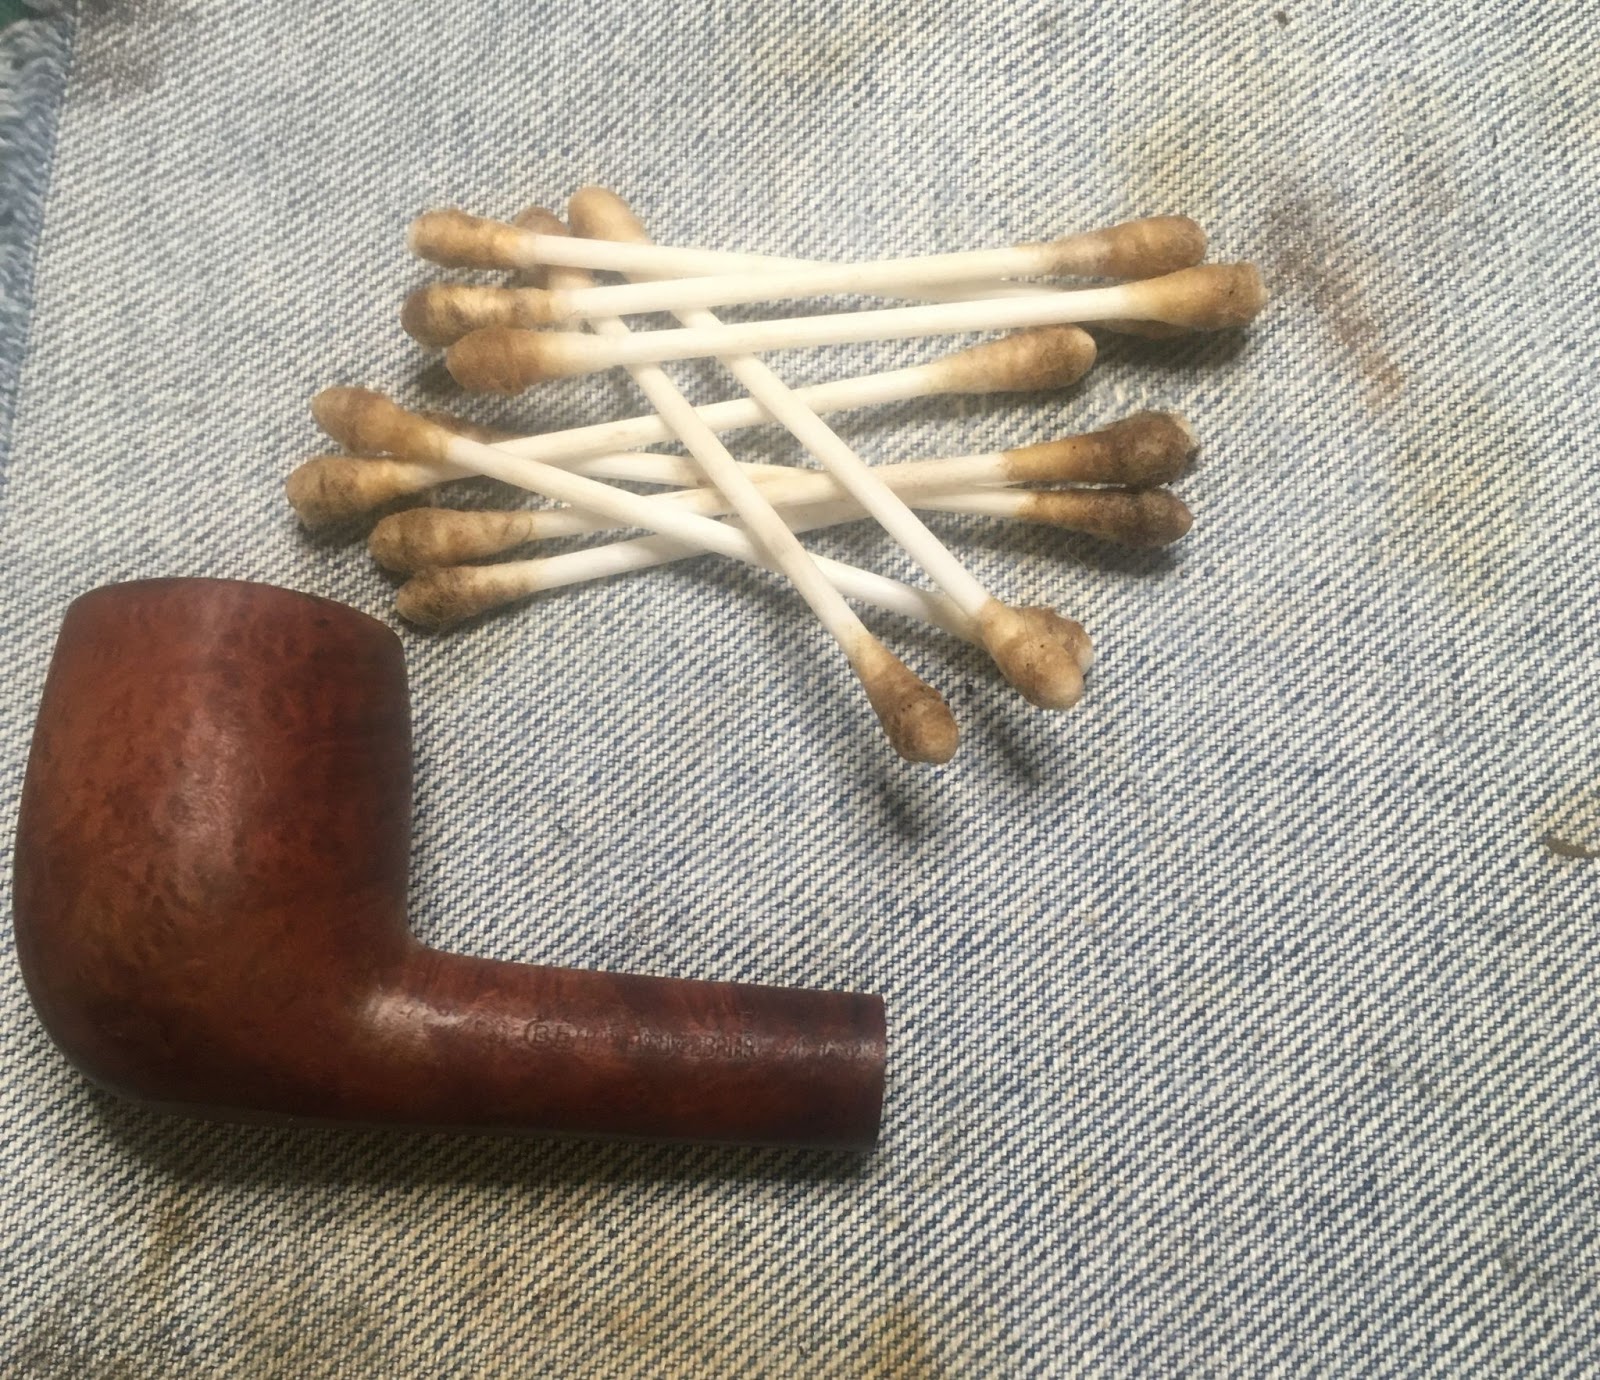
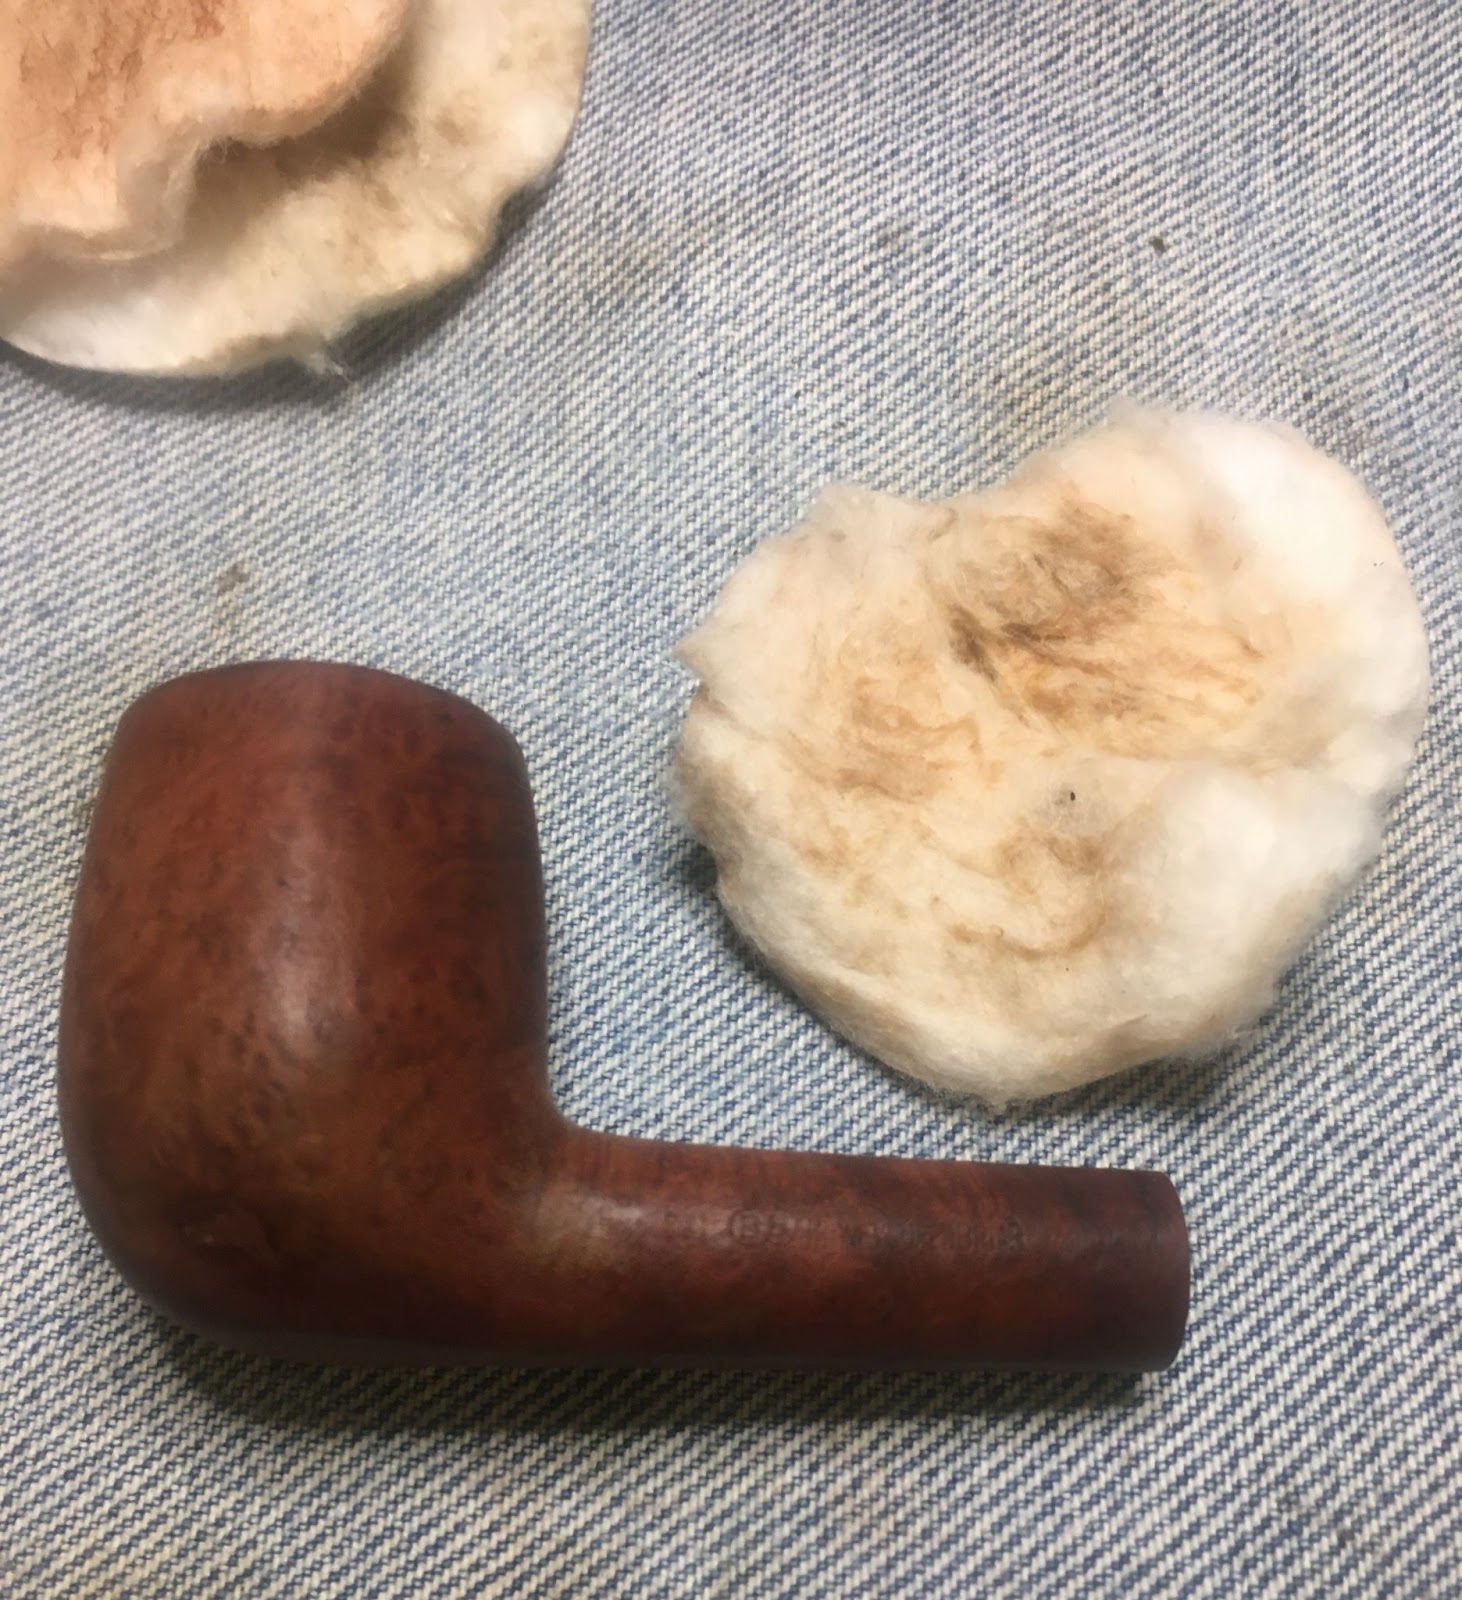
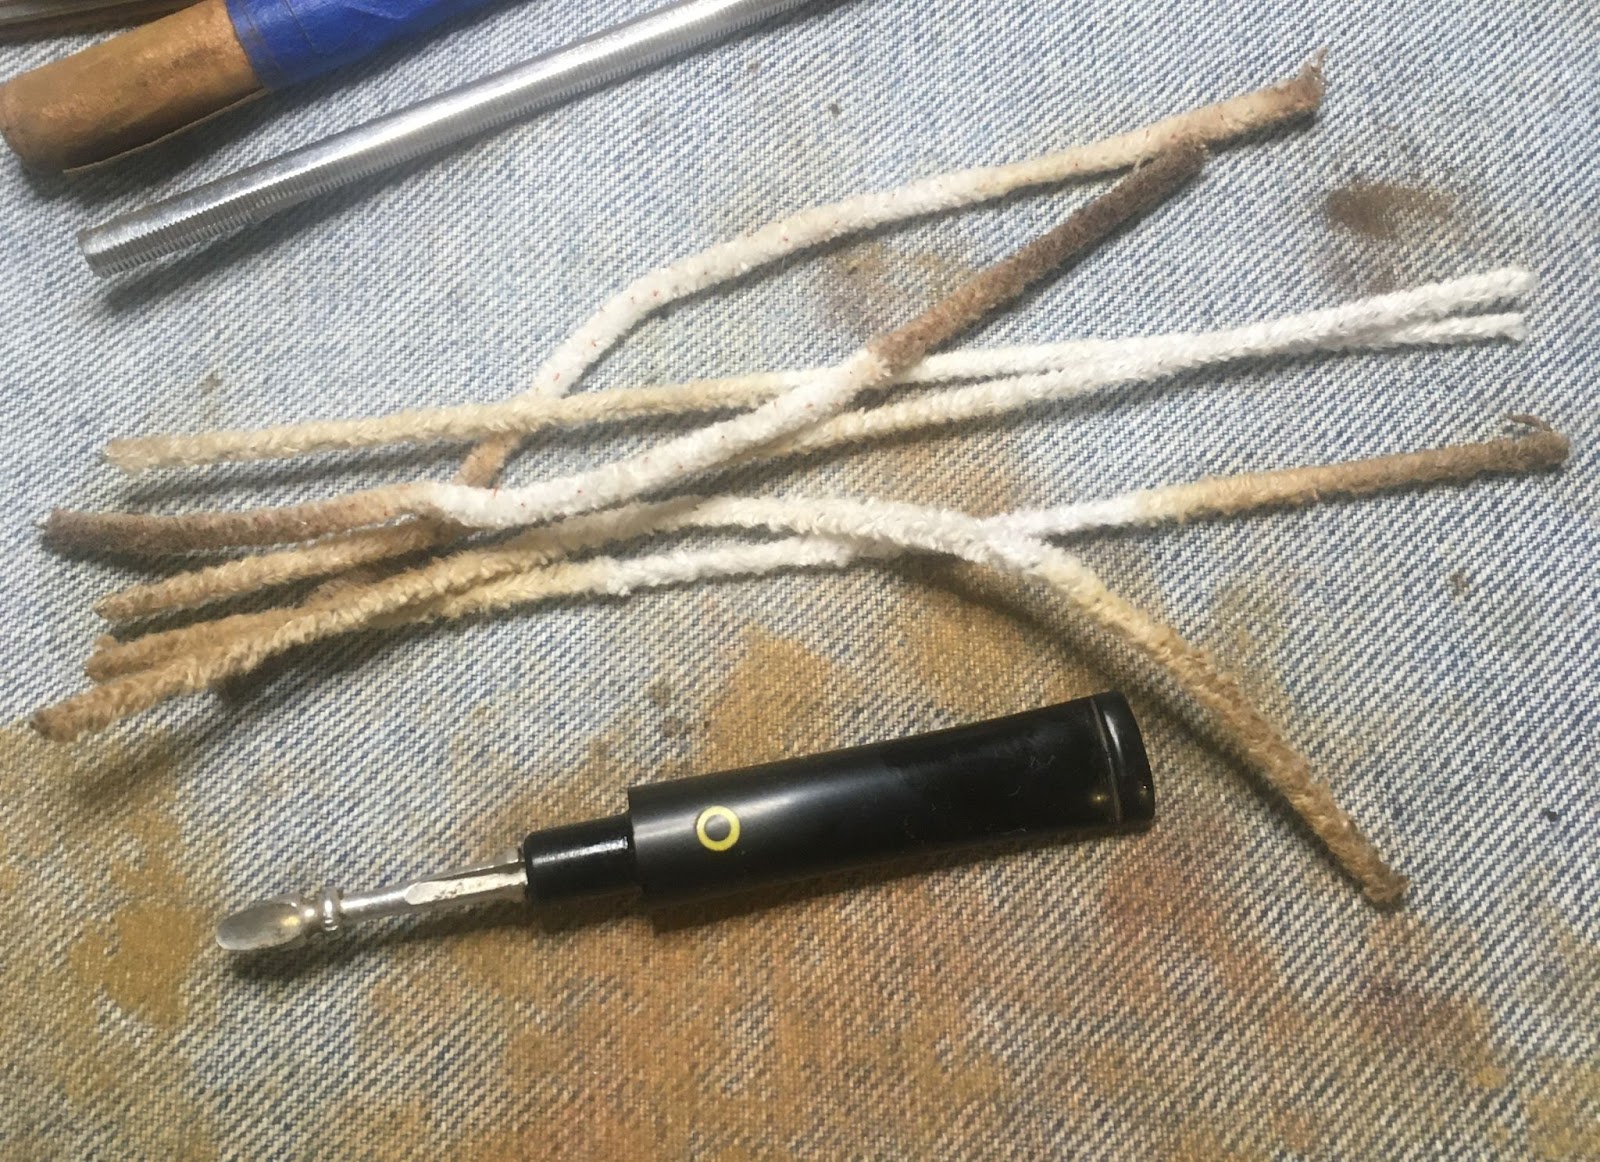
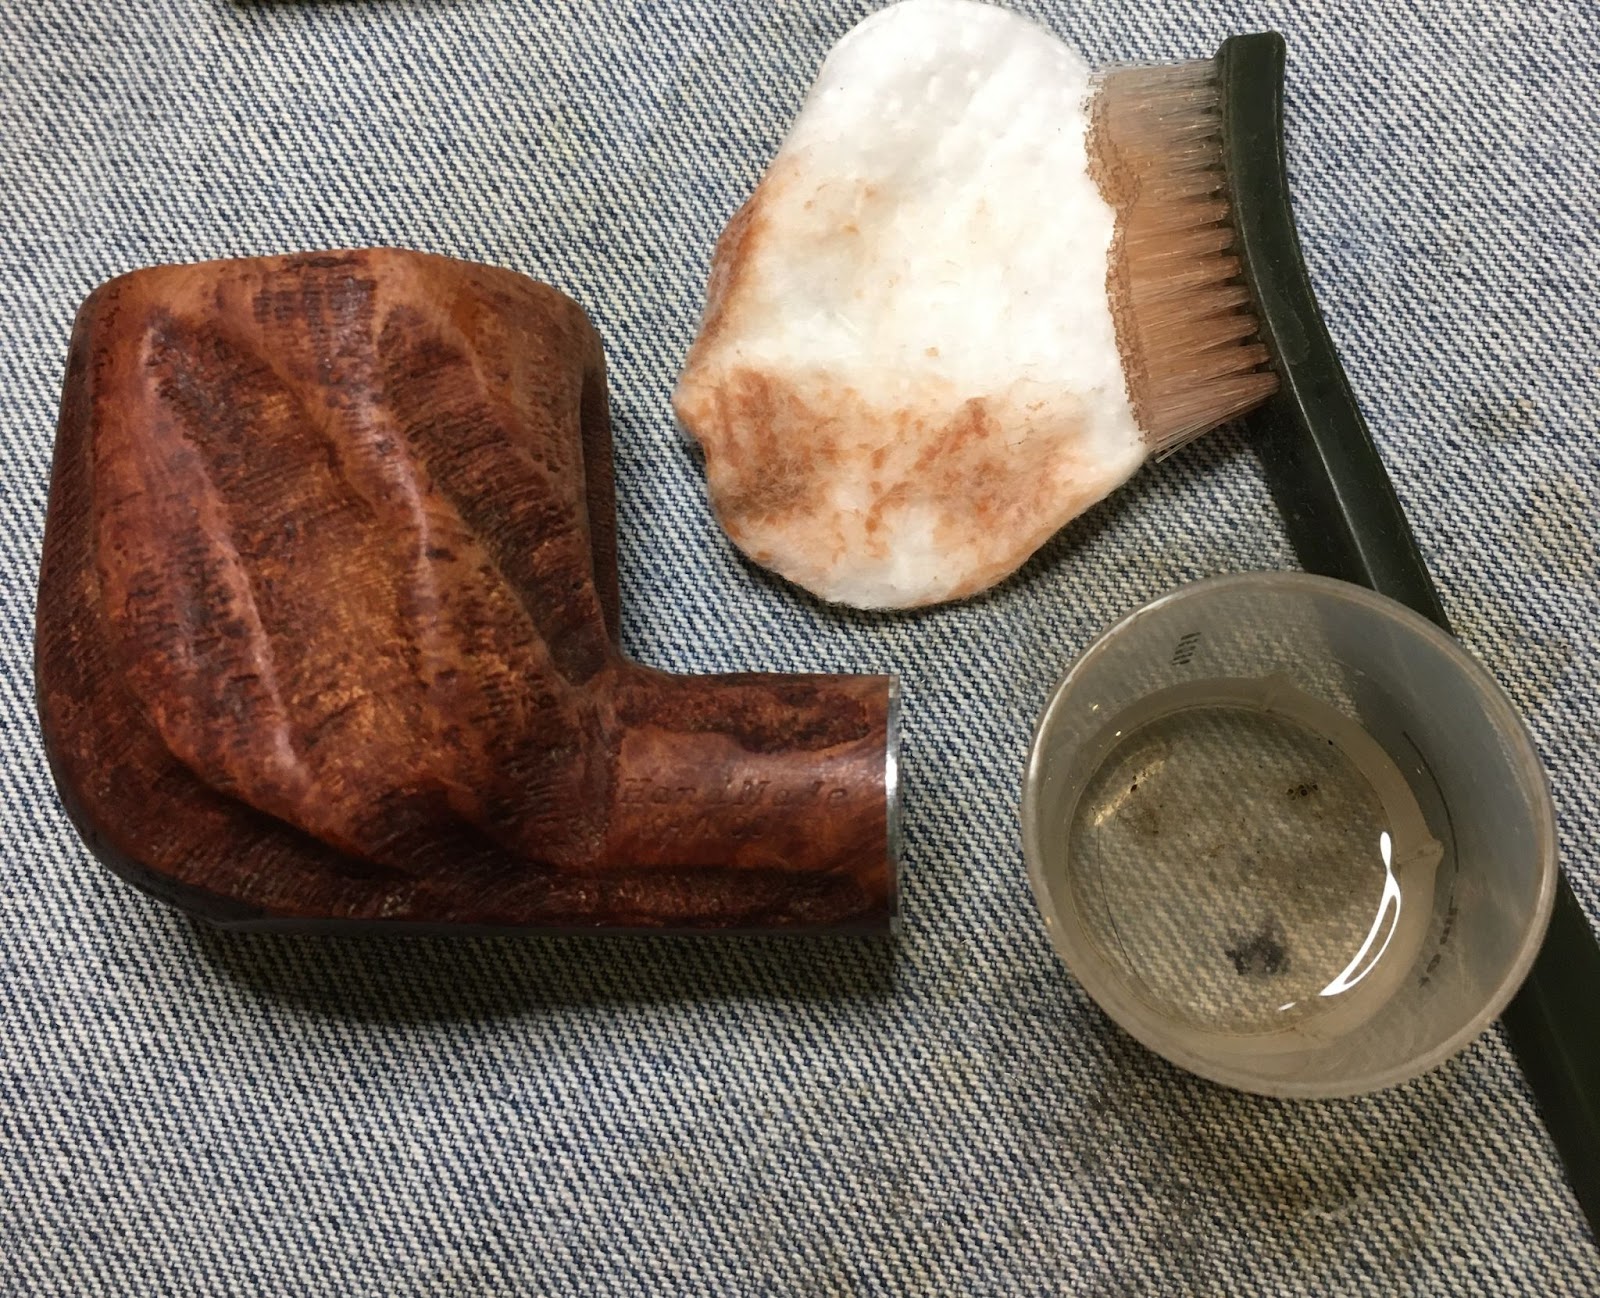
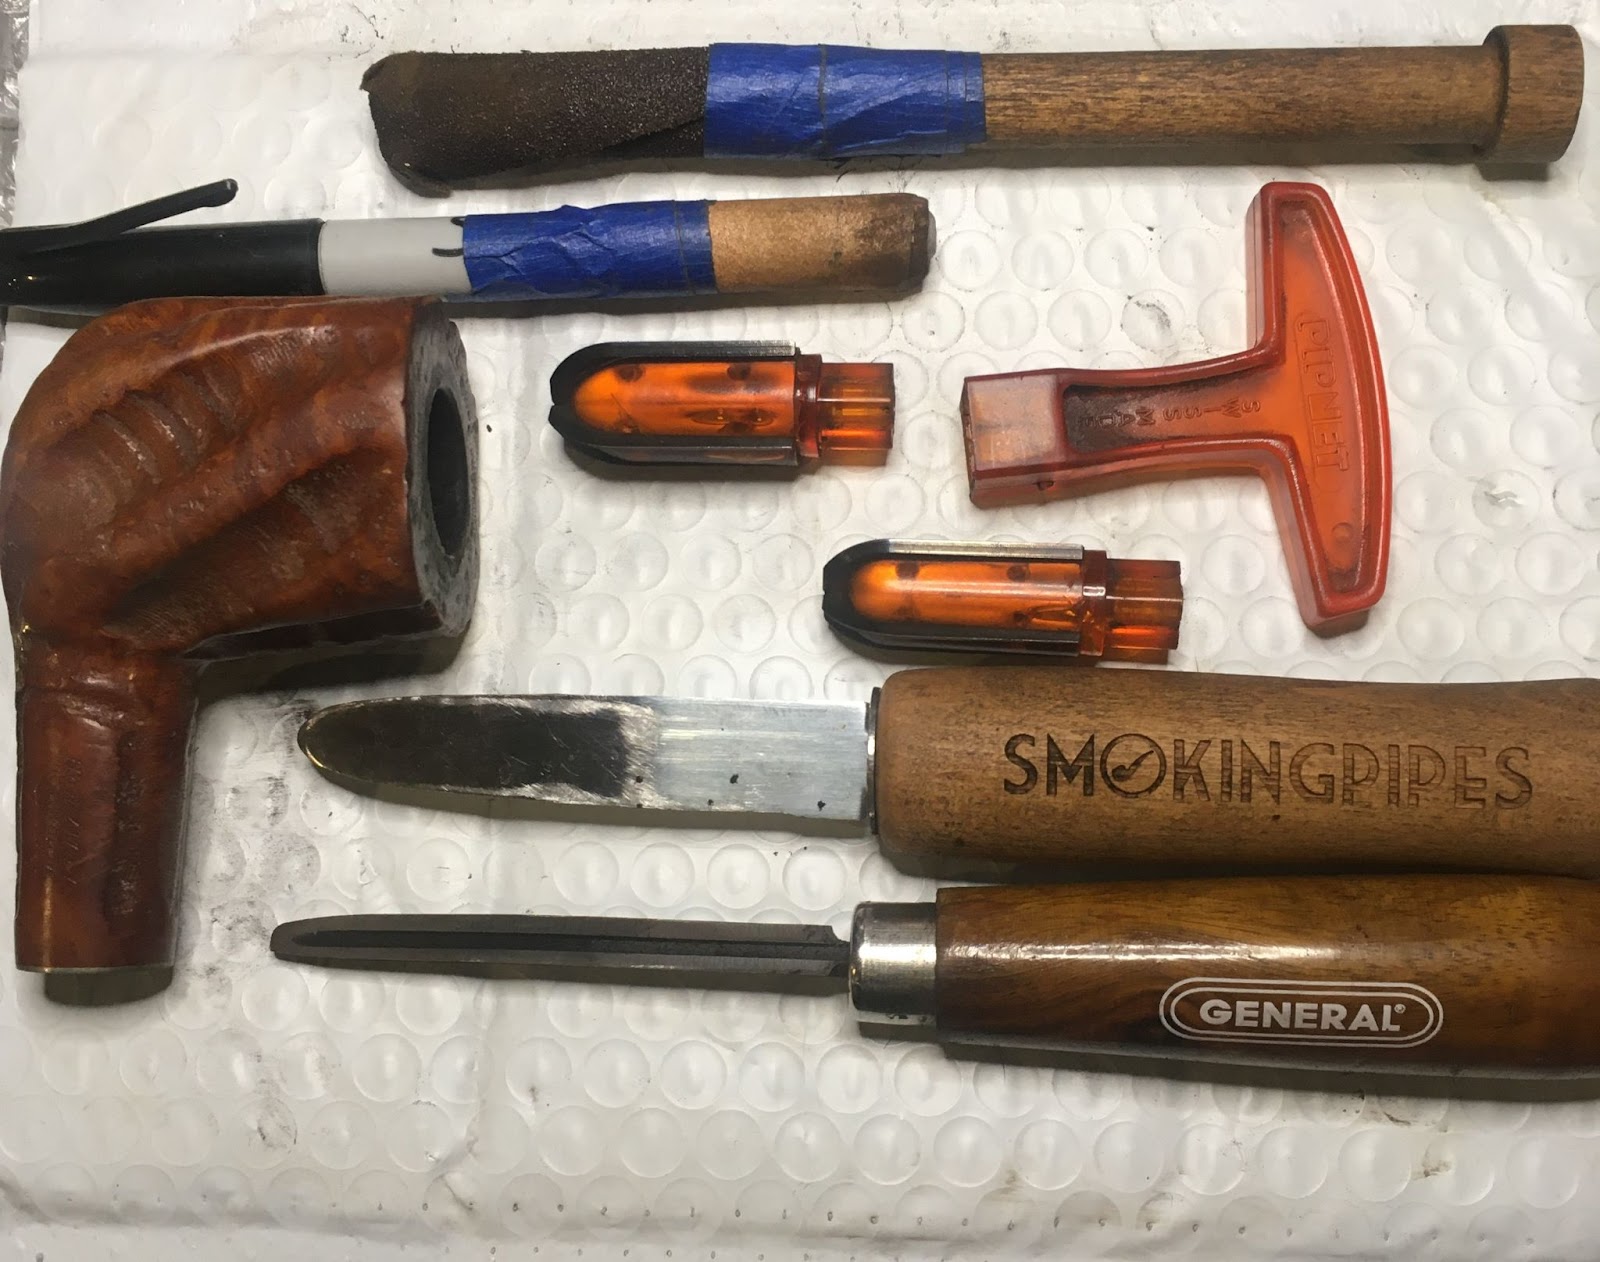
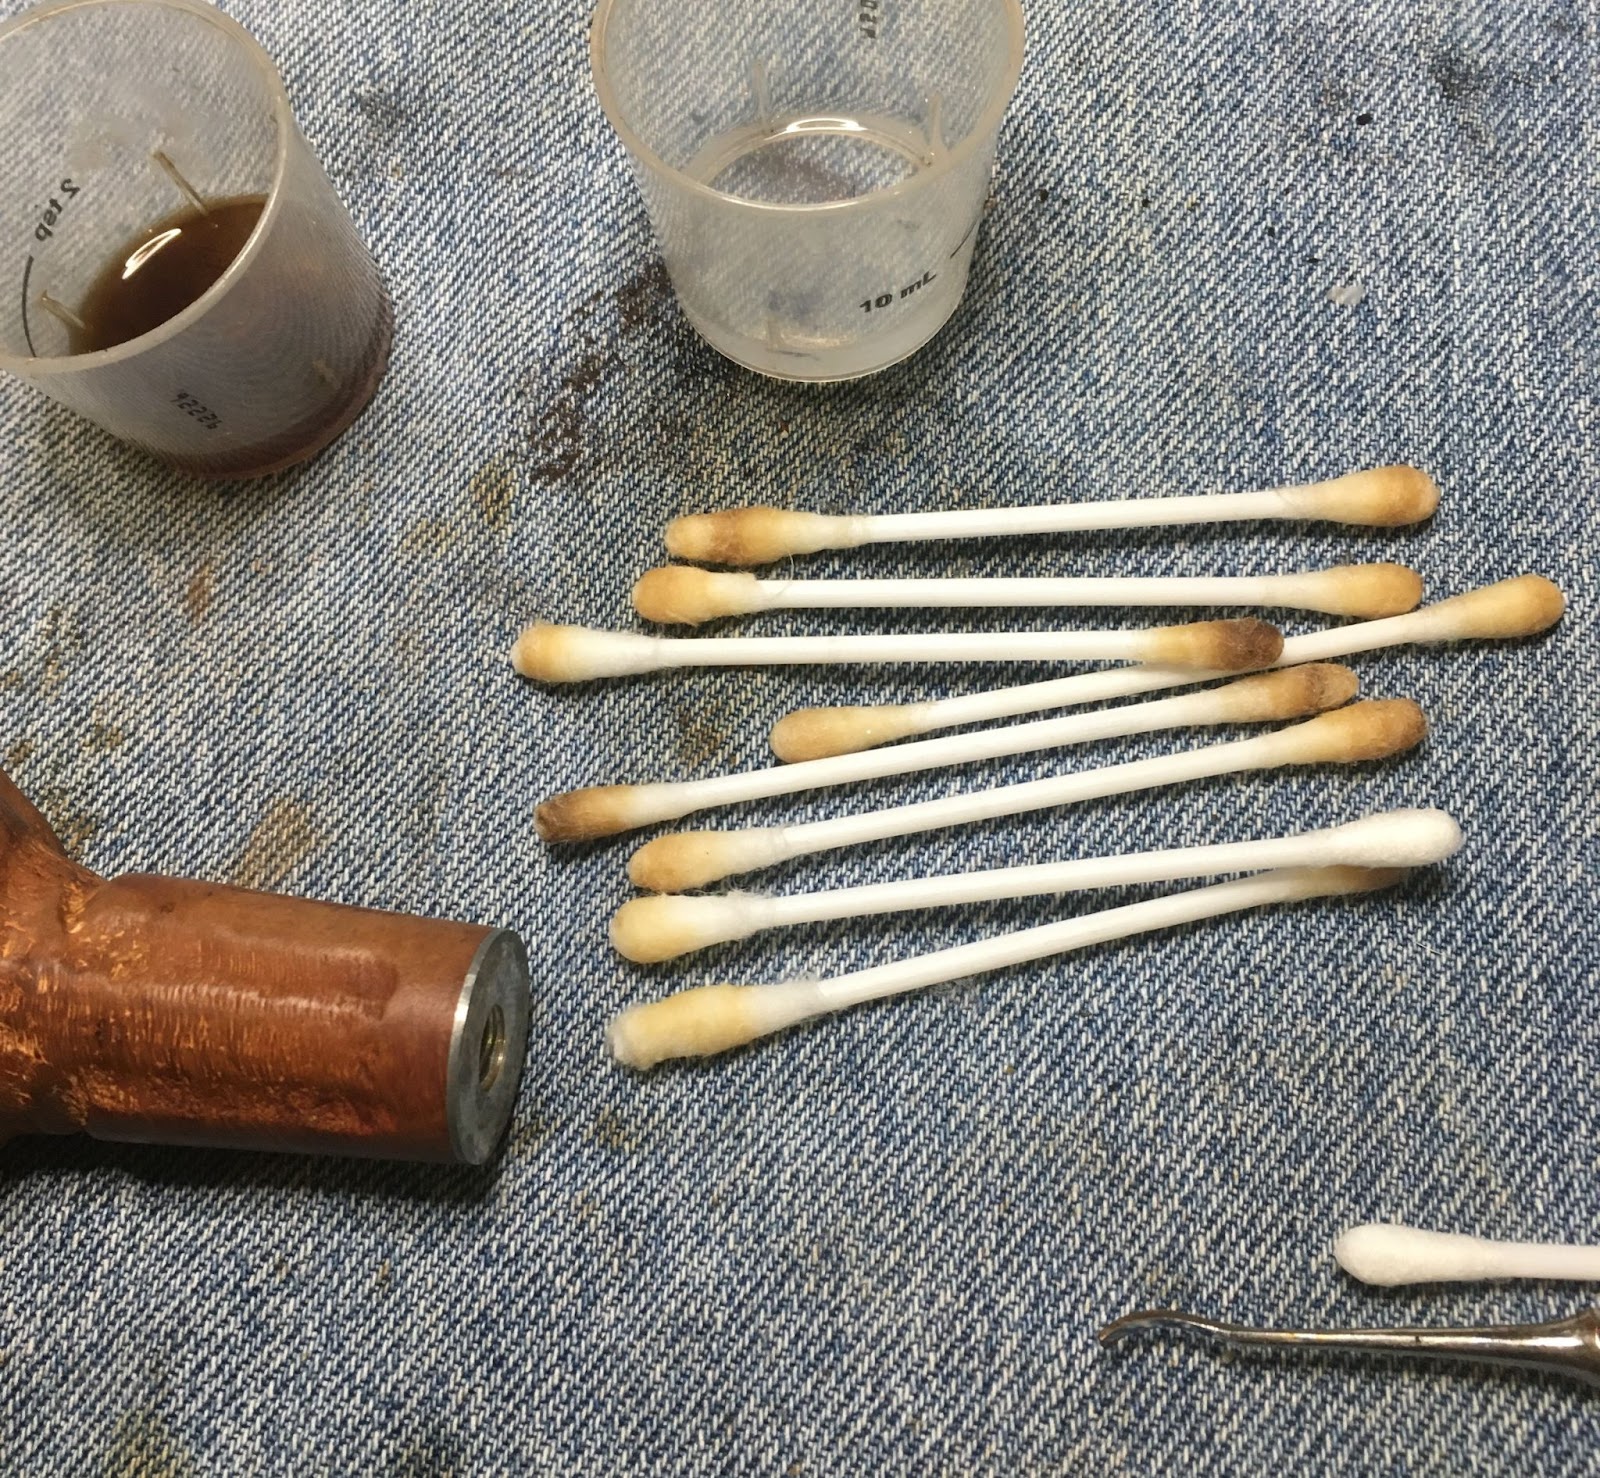
When I finished picking on the stummel I decided to ream the tobacco chamber. The usual tools were gathered; PiNet with #2 blades, Smokingpipes Low Country Reamer wood dowel wrapped in 220 sandpaper. In the wings were the General triangular scraper and the Sharpie marker wrapped in 320 sandpaper.

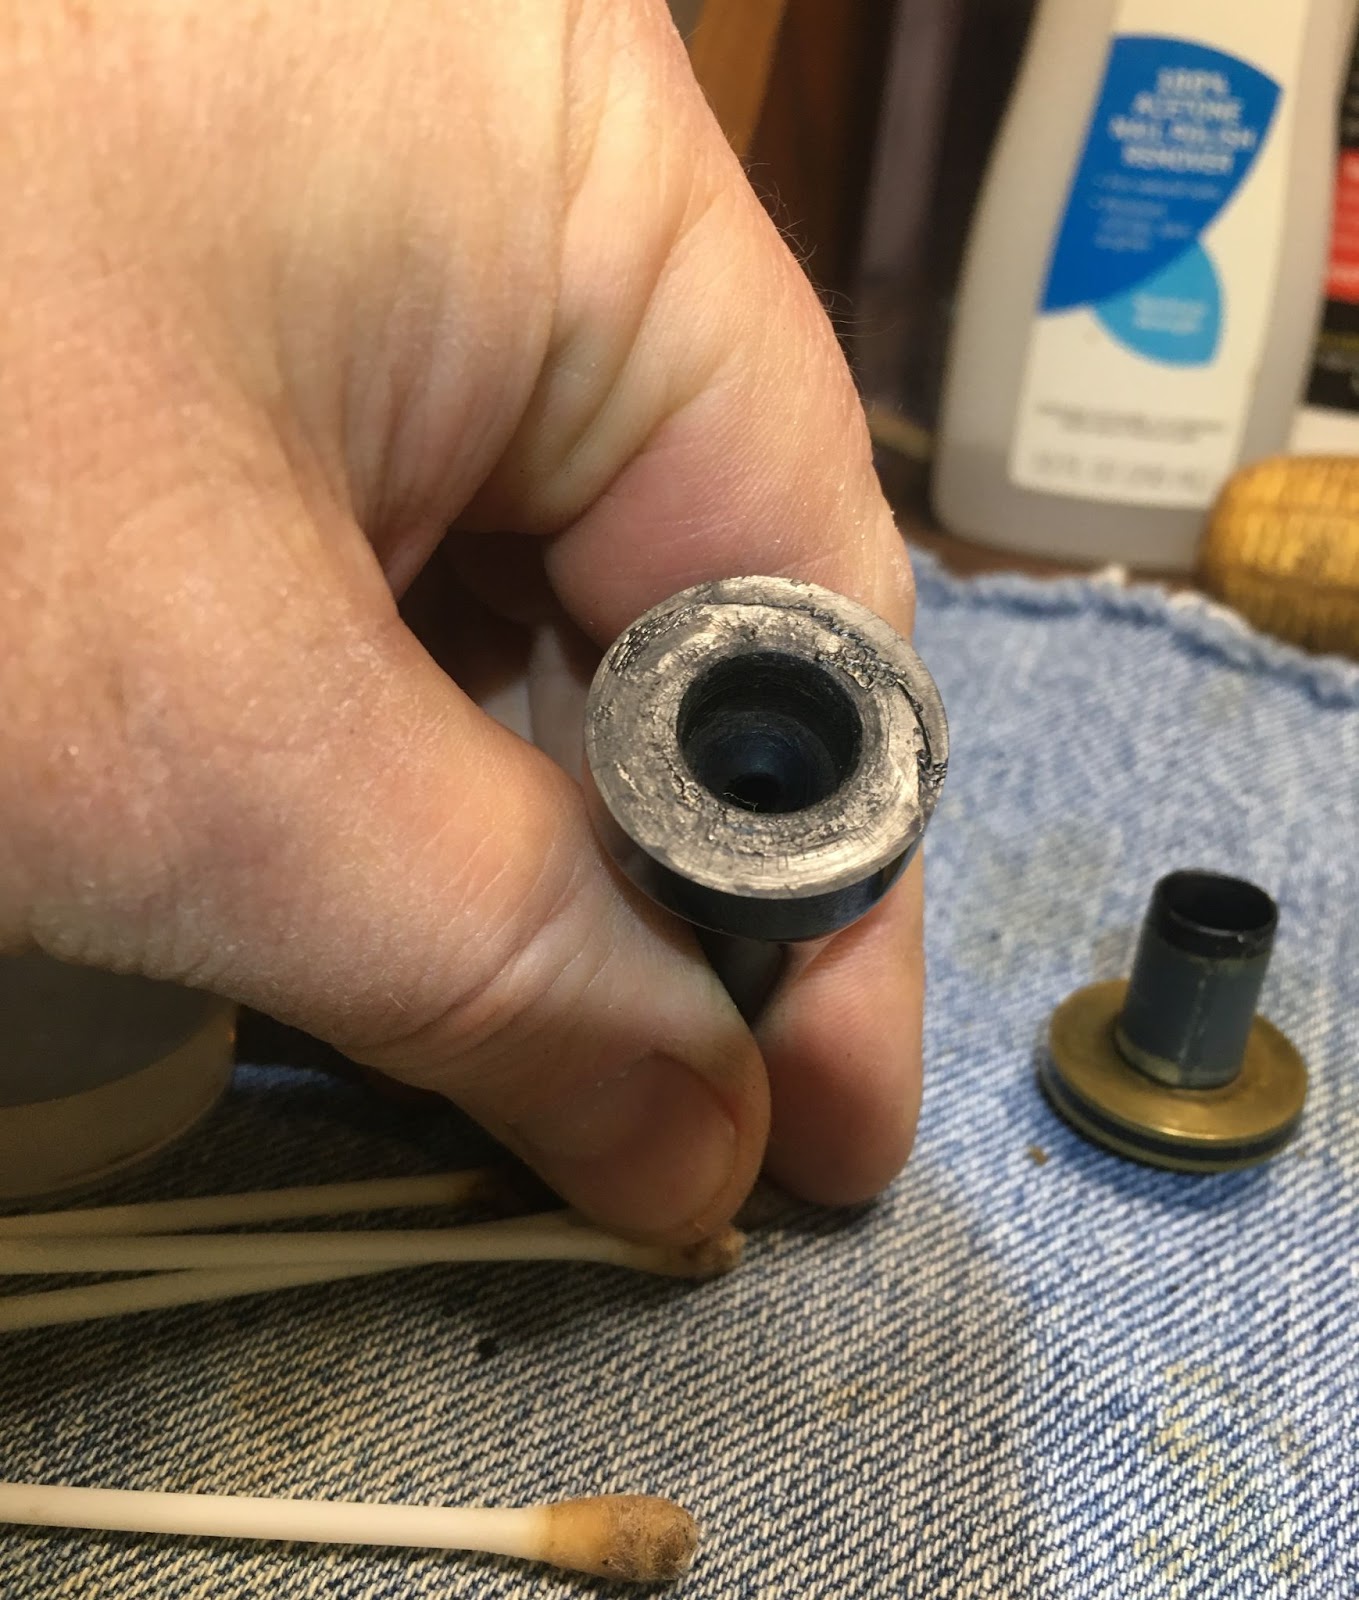
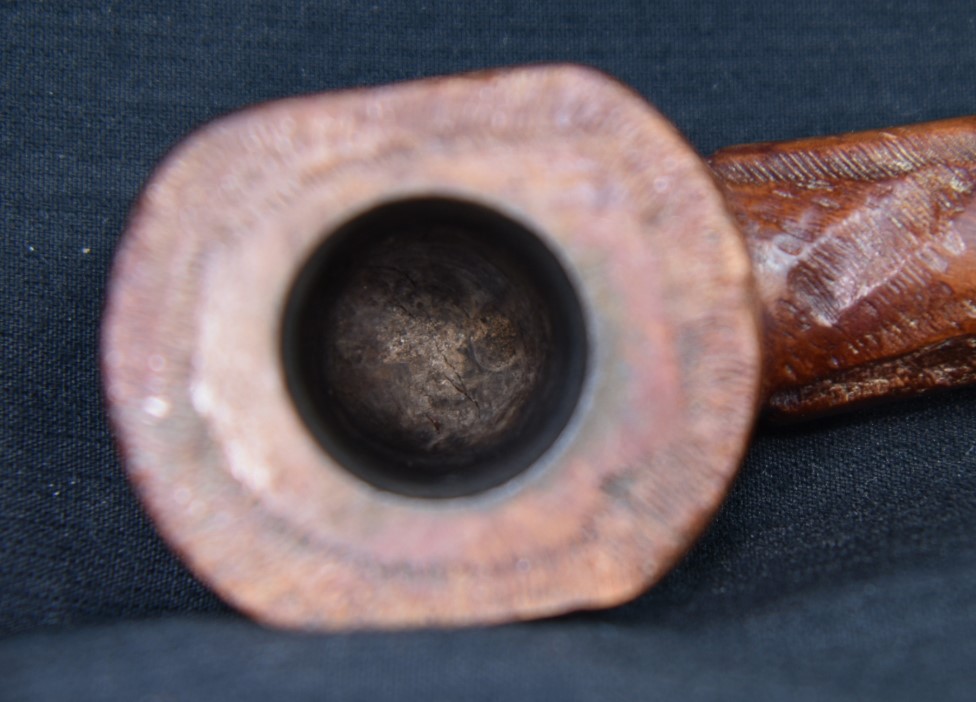
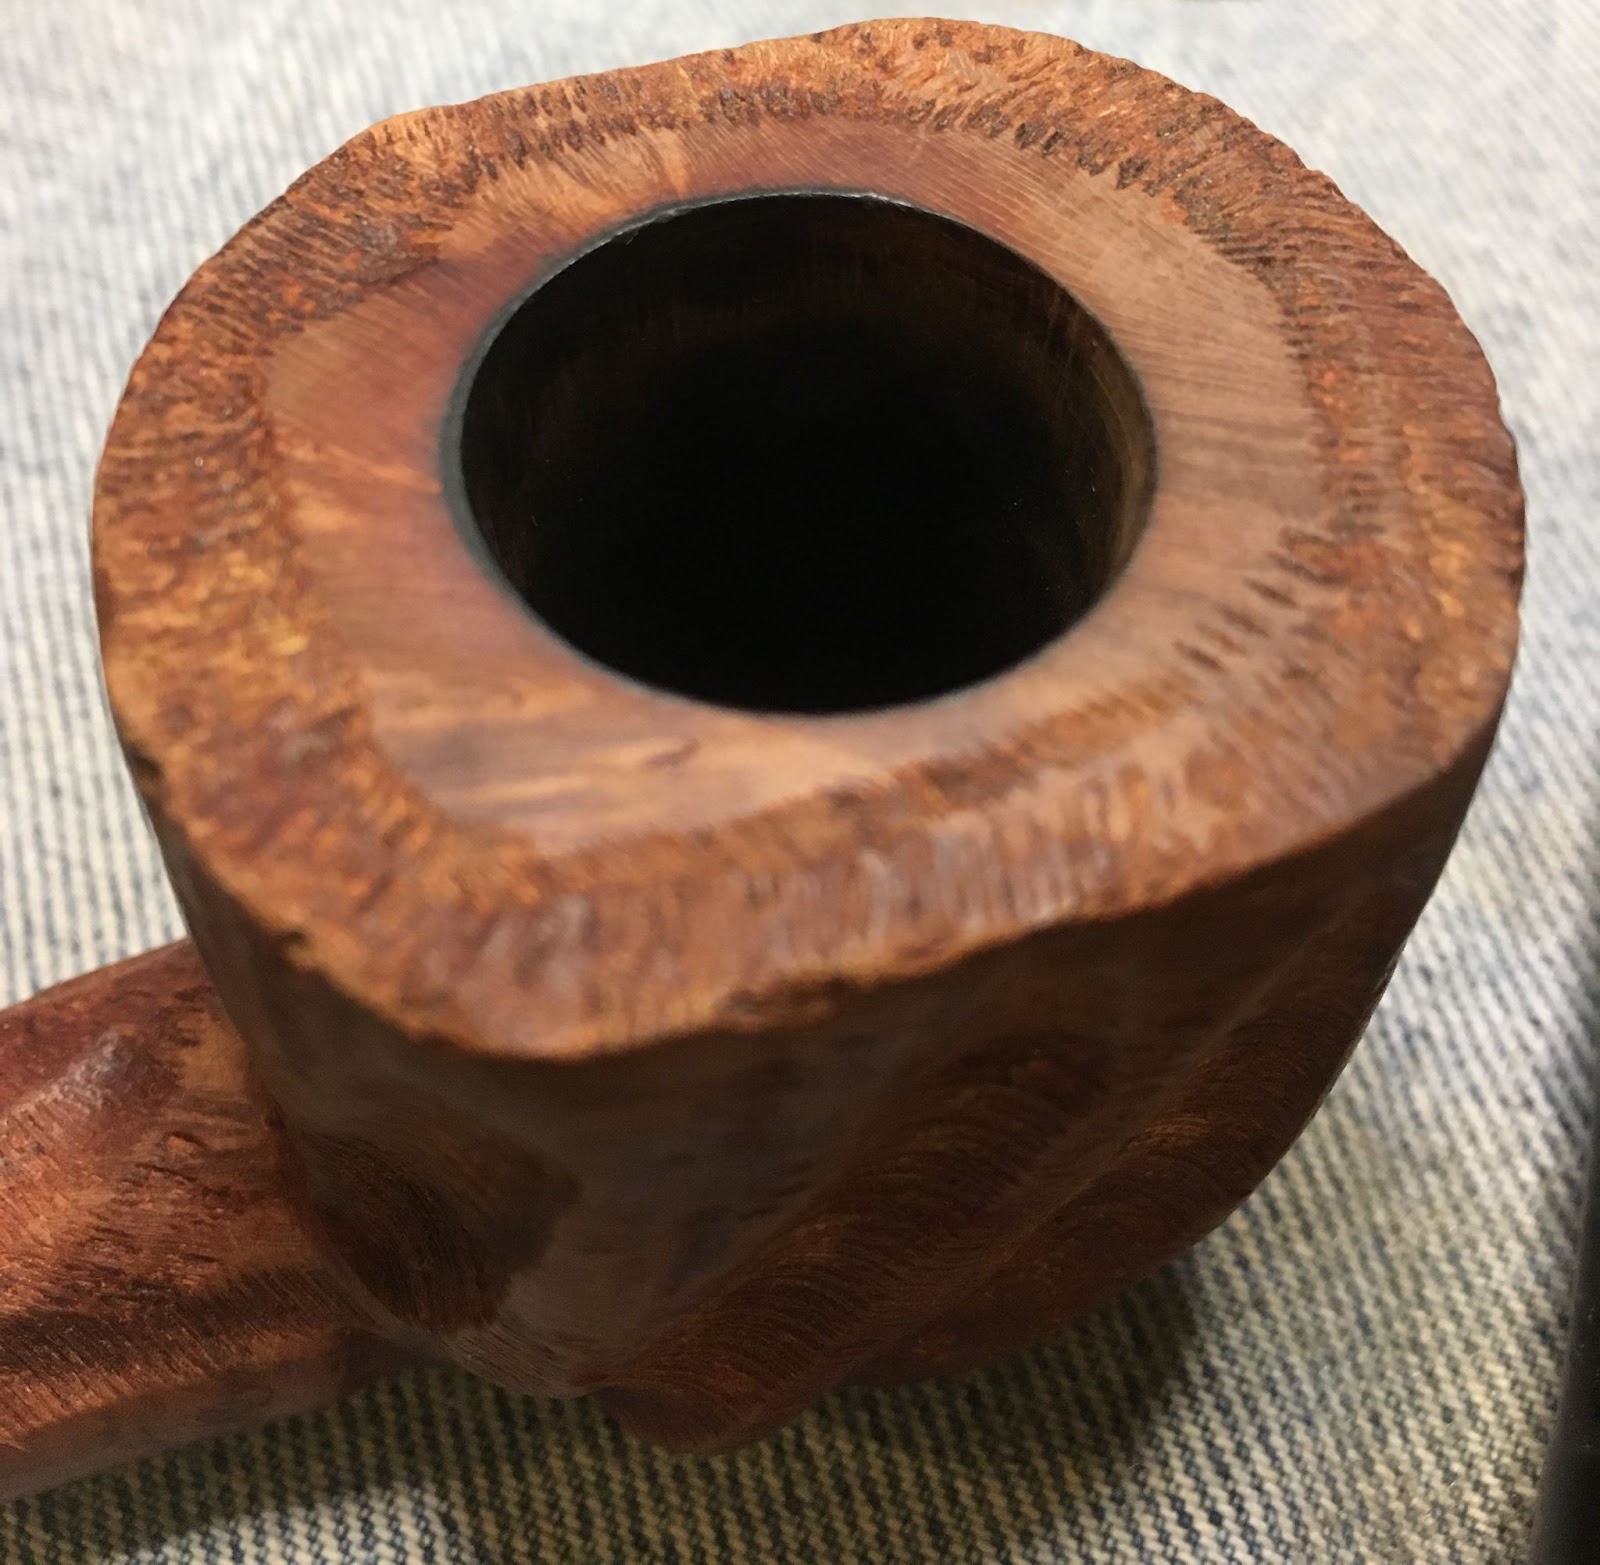
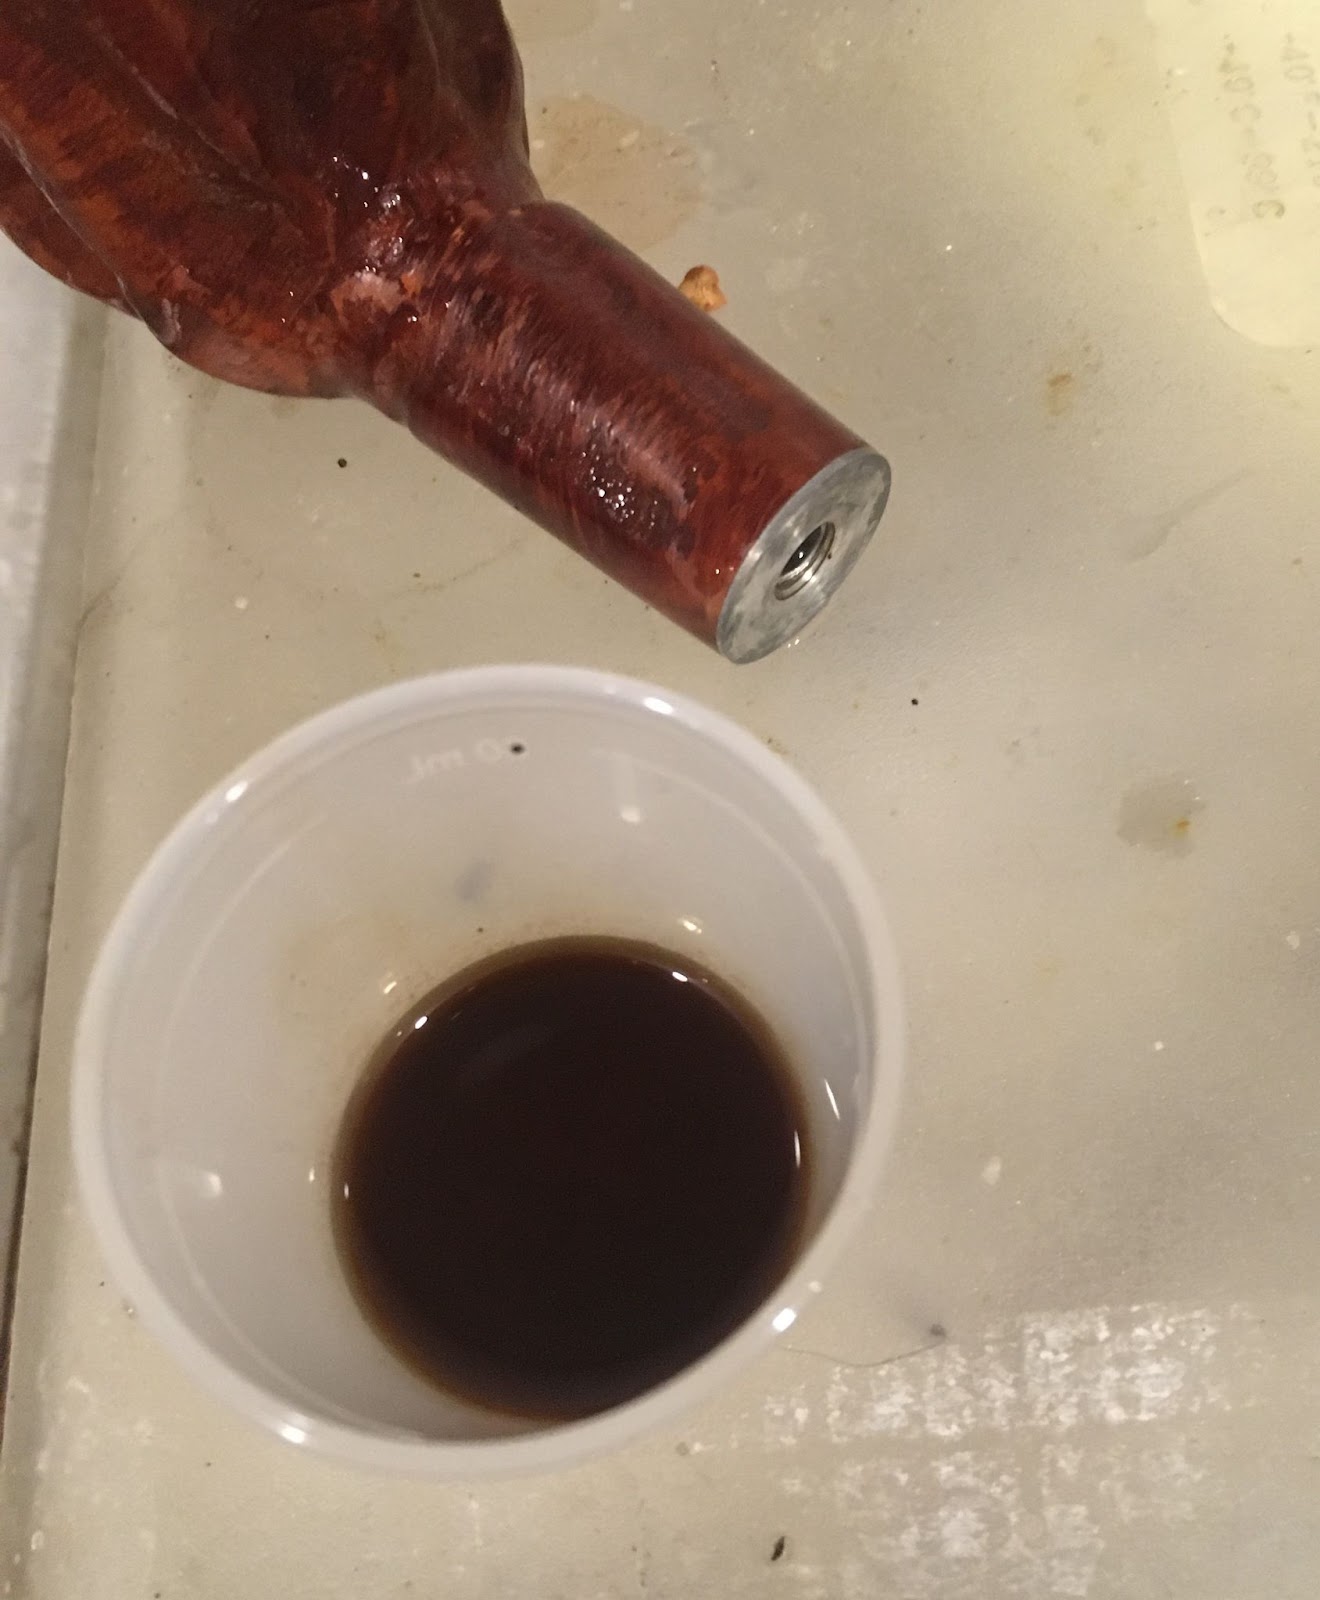
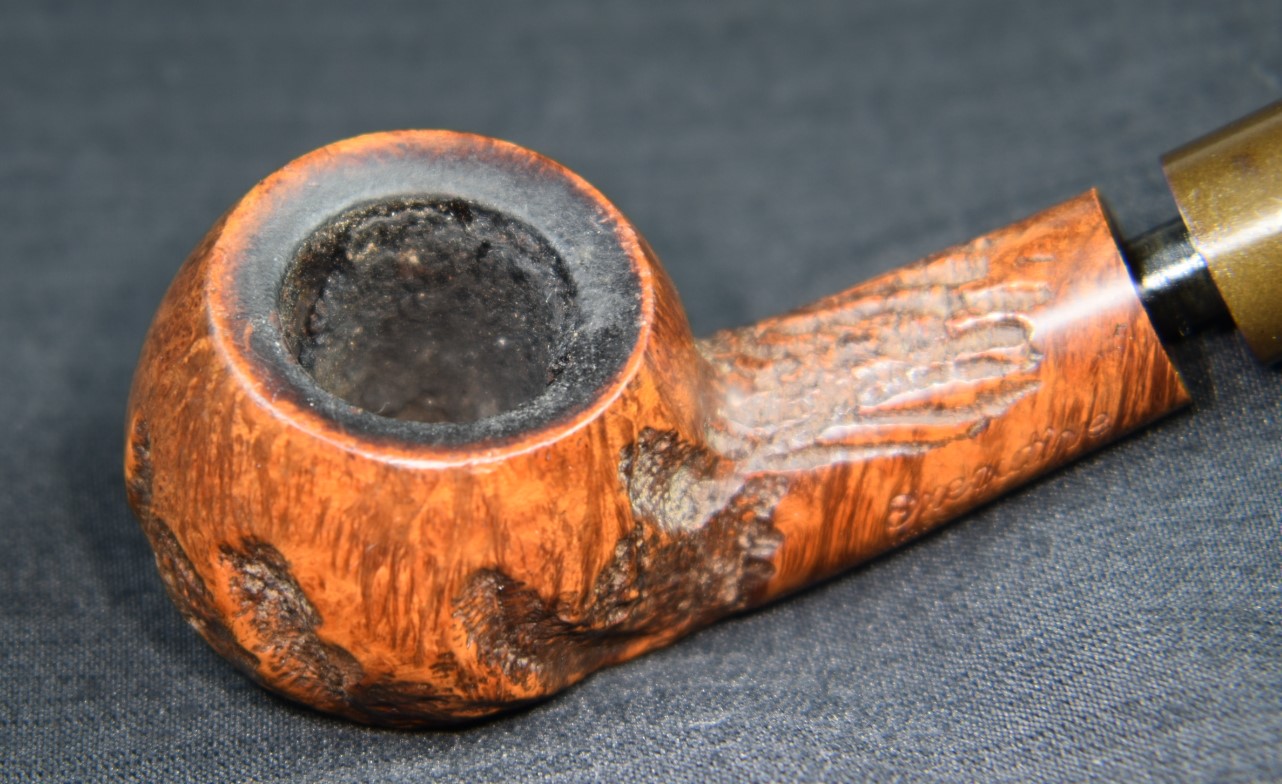
I thought this would be easy as it looked like the pipe had been smoked less than 10 times. WRONG! There was a bowl coating in place that was like a rubberized pipe mud. It was gray in color and wouldn’t scrape off easily. I tried scraping, sanding, and alcohol to dissolve it, but nothing really worked. The stuff would clog sandpaper immediately and require a wire brush to clean it out of the sandpaper.
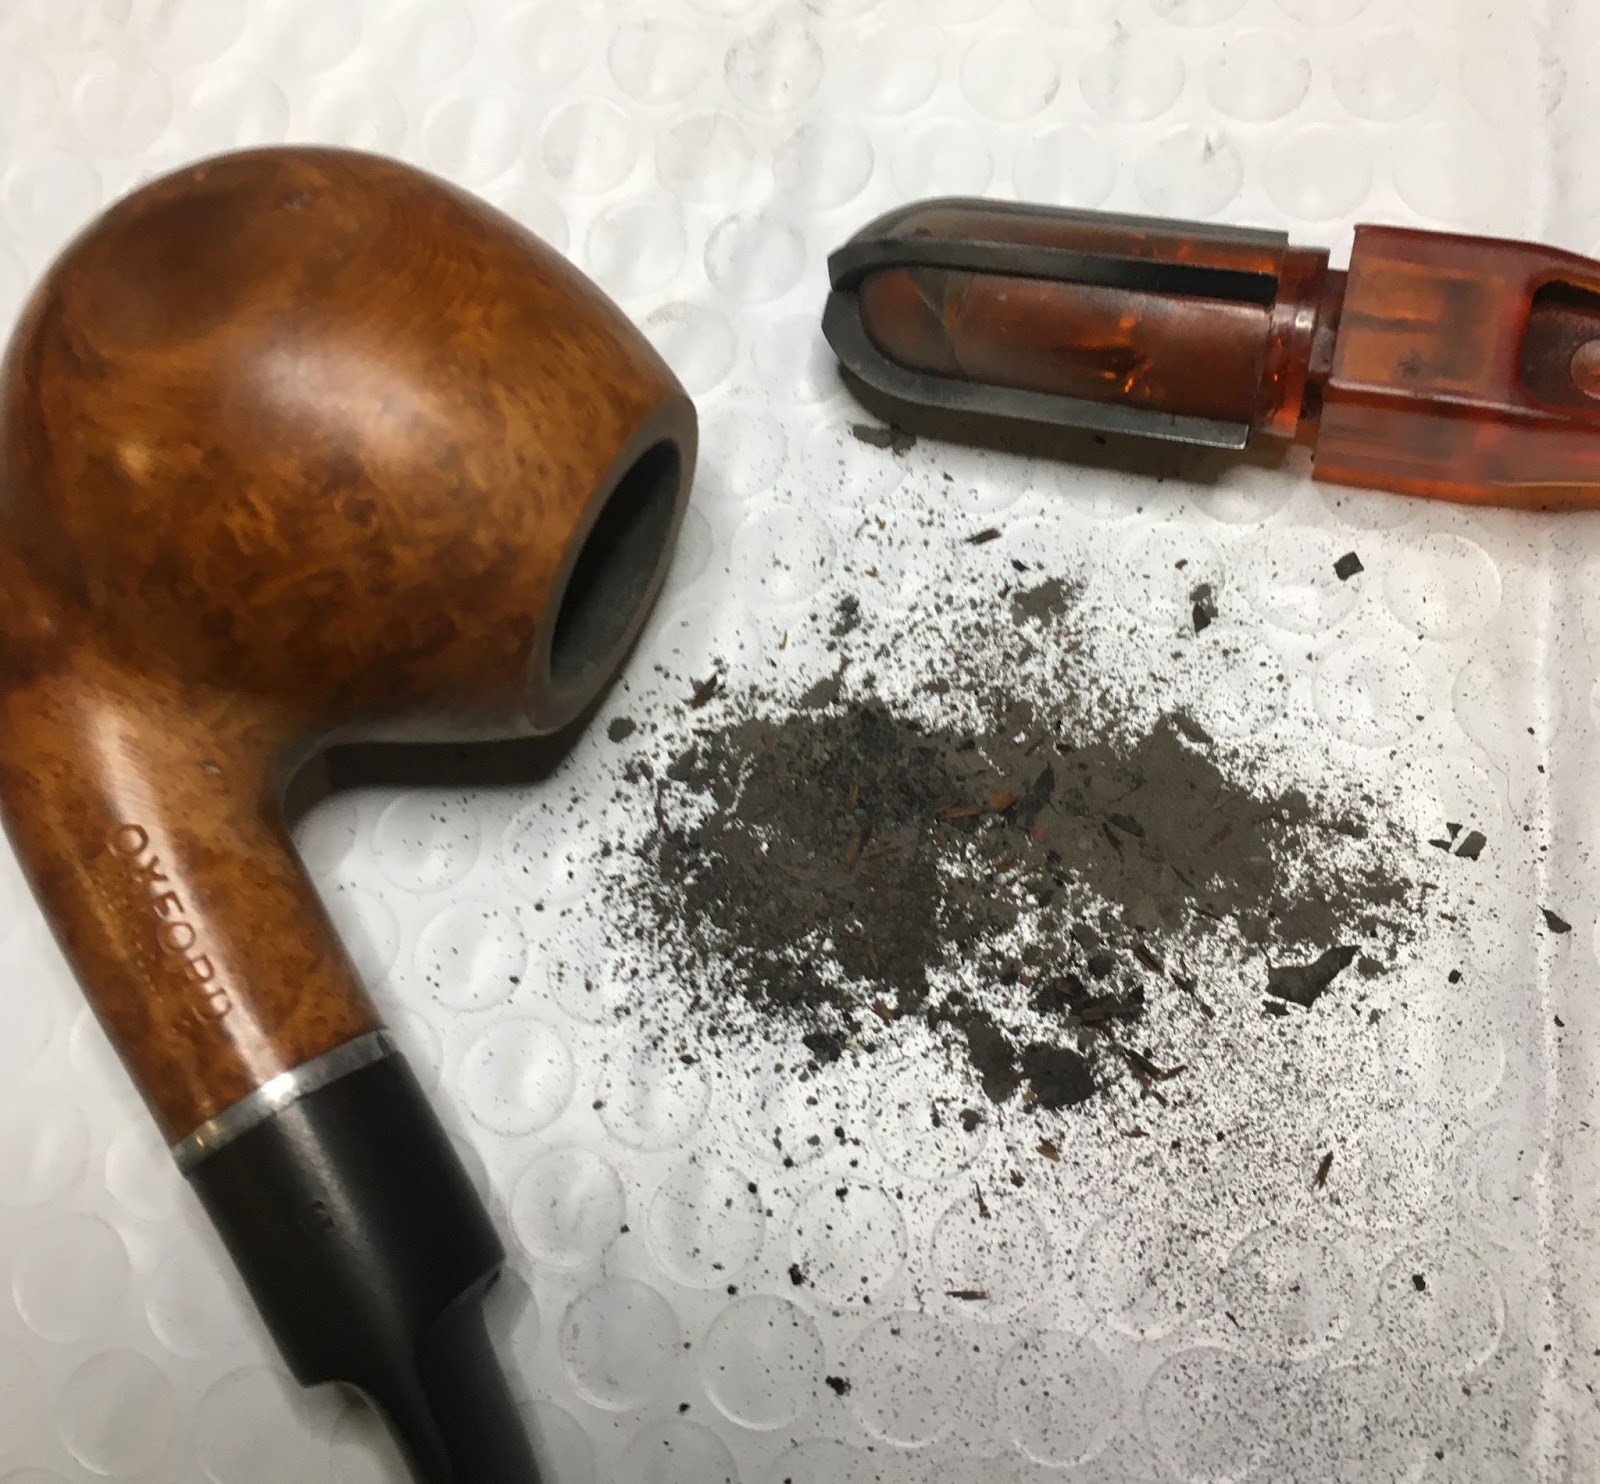
Eventually I did get it cleaned out and could see clean briar. There was no damage to the chamber. This was mostly because the pipe had been so seldom used but also because the impenetrable rubberized krypton bowl liner. That supposedly quick job took over 30 minutes.

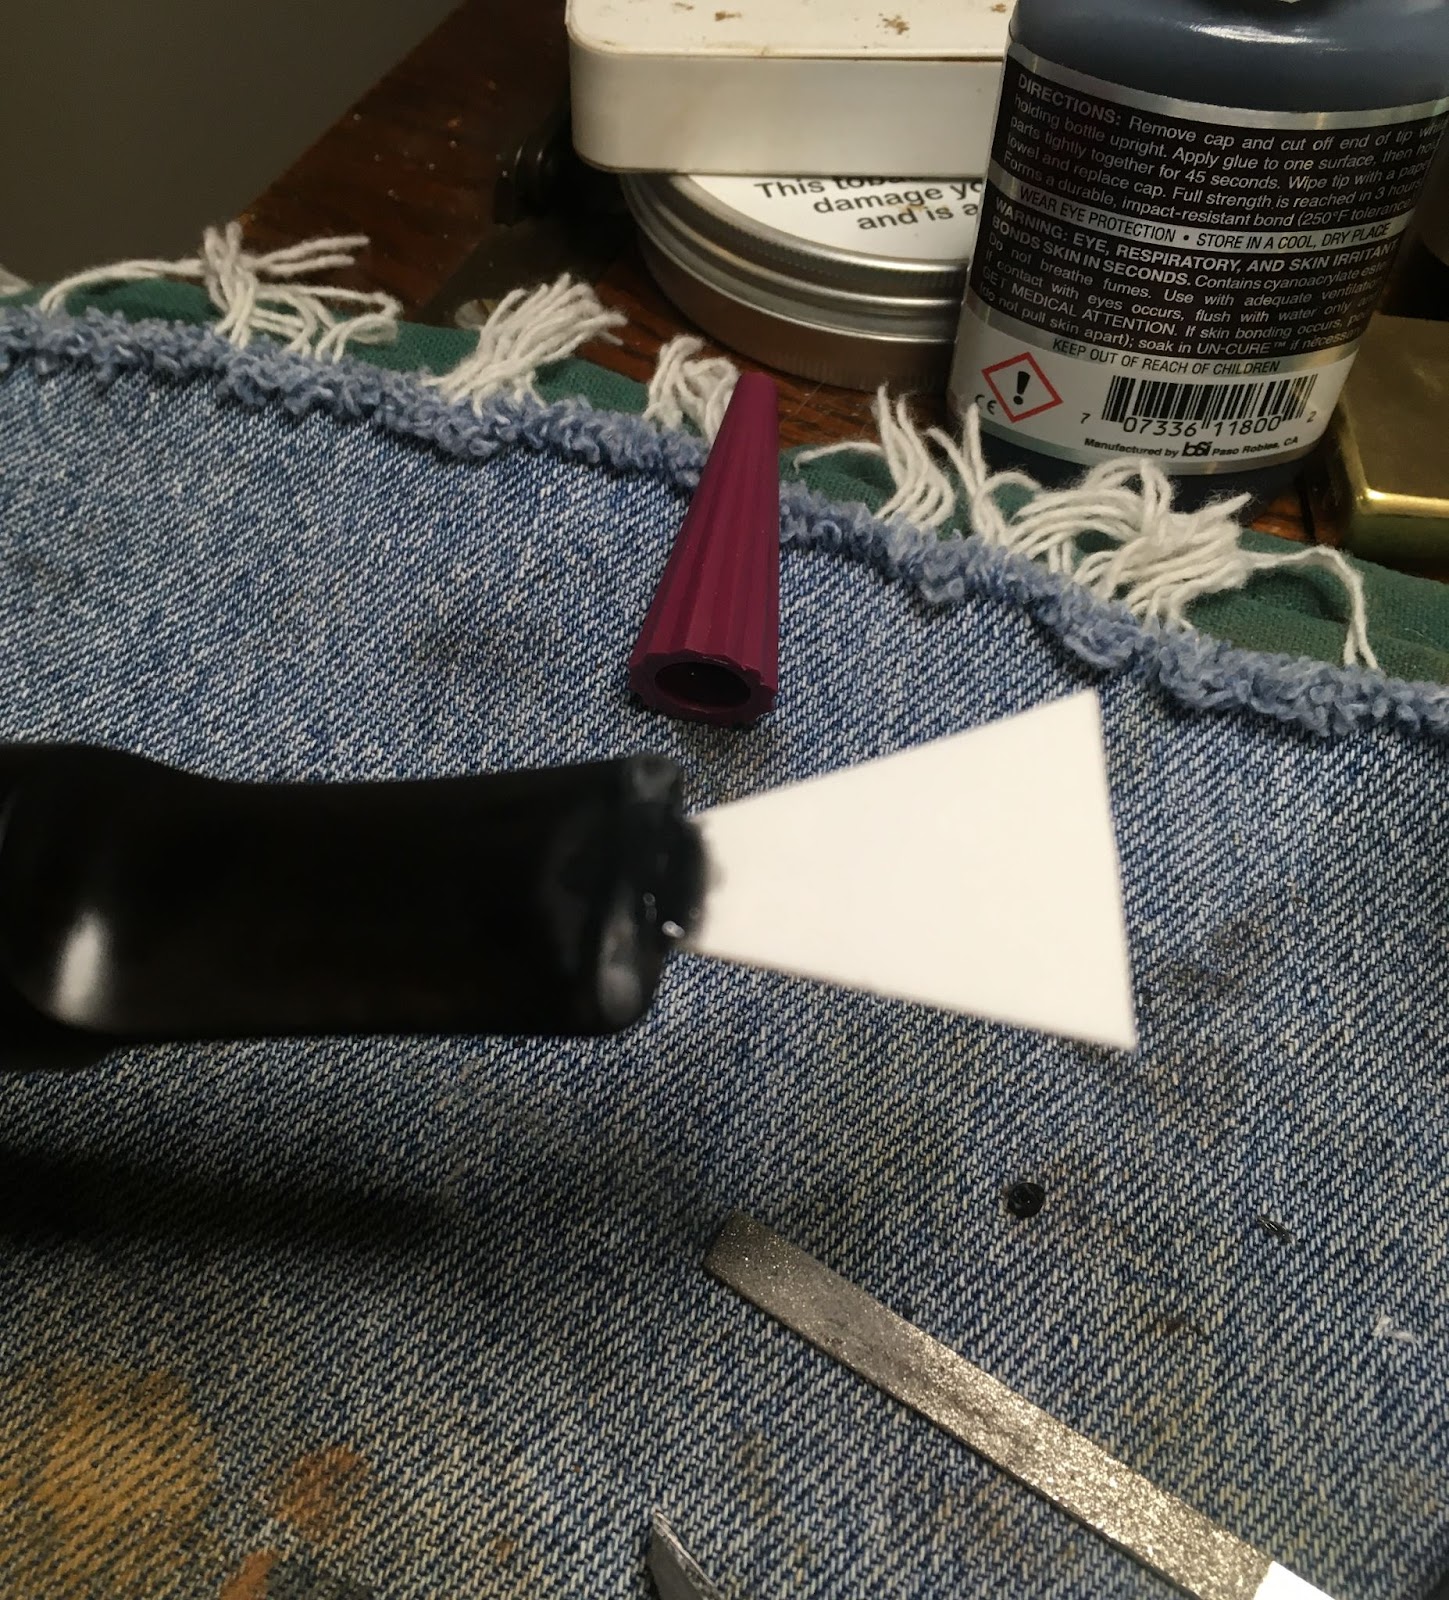
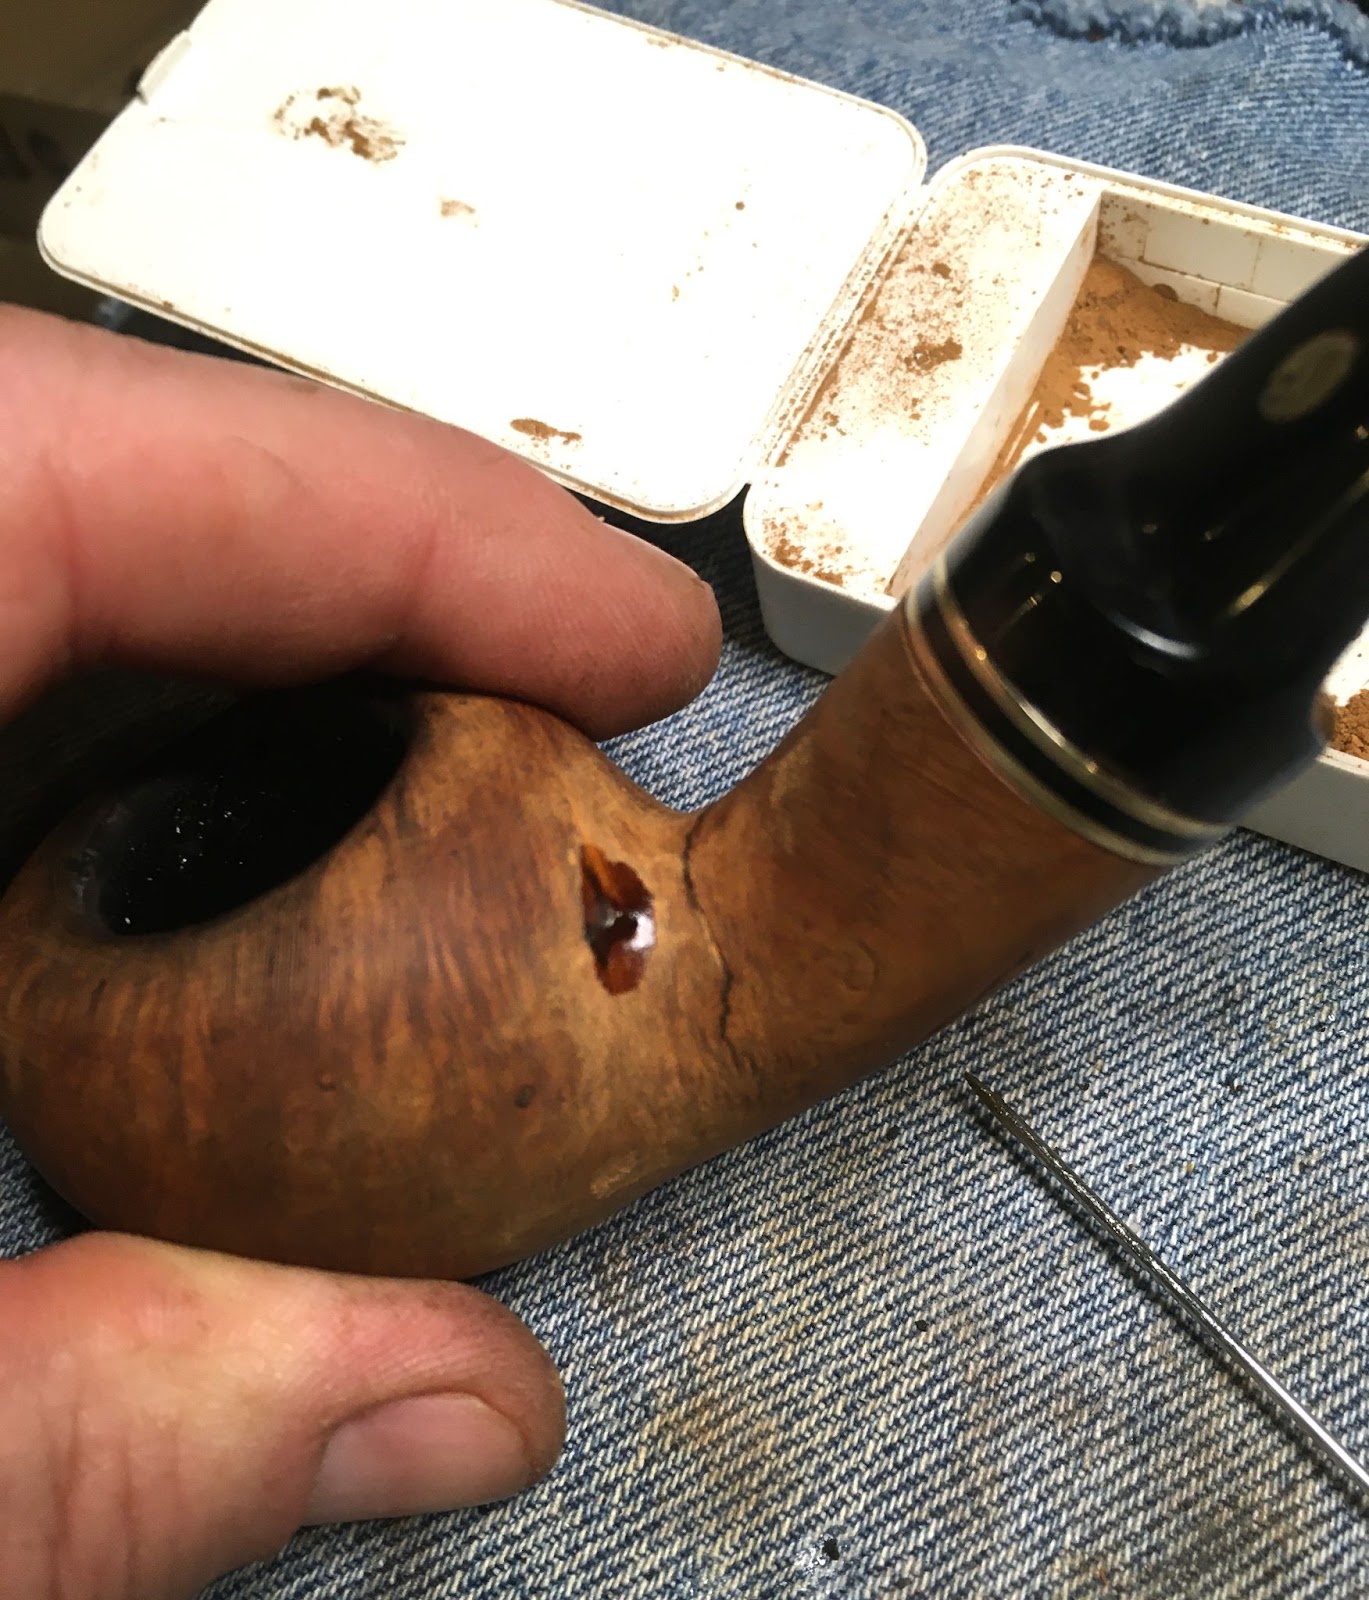
Next I addressed filling all the pits that I had picked open. This was done using brown cyanoacrylate (CA, super glue) and briar dust. I applied a dab of CA to the pit, if it was a millimeter or larger I then pressed a pinch of briar dust into the pit and rotated my finger. This pushed the briar dust into the CA wetted pit as well as bonded briar dust to the tip of my index finger. One of those was the result I was after. The newly filled fill was then sanded with a 400 sanding sponge.

For smaller pits I would just apply the CA to the pit and sand over it with a dusty (dusty with briar dust) sanding sponge. The sanding dust combined with the wet CA to fill the pit and it is sanded. Sometimes this took a couple of applications of CA and additional sanding.

Eventually all of the pits were willed and I was ready to move on to the stem.

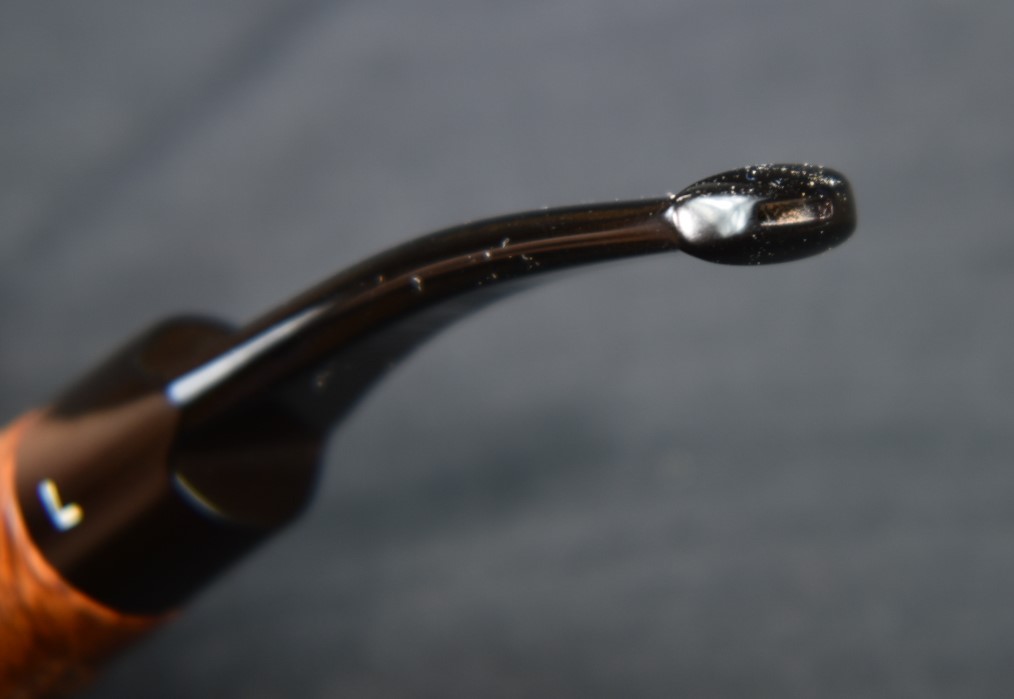
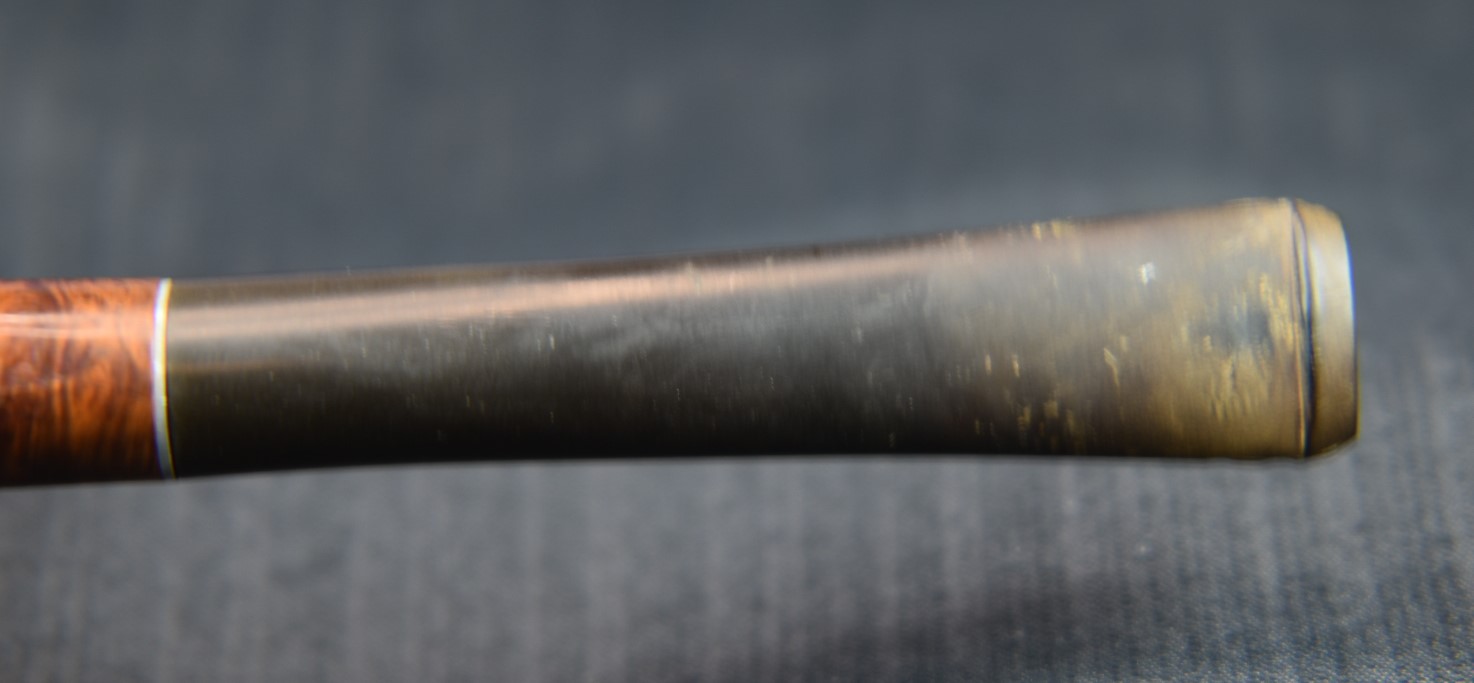
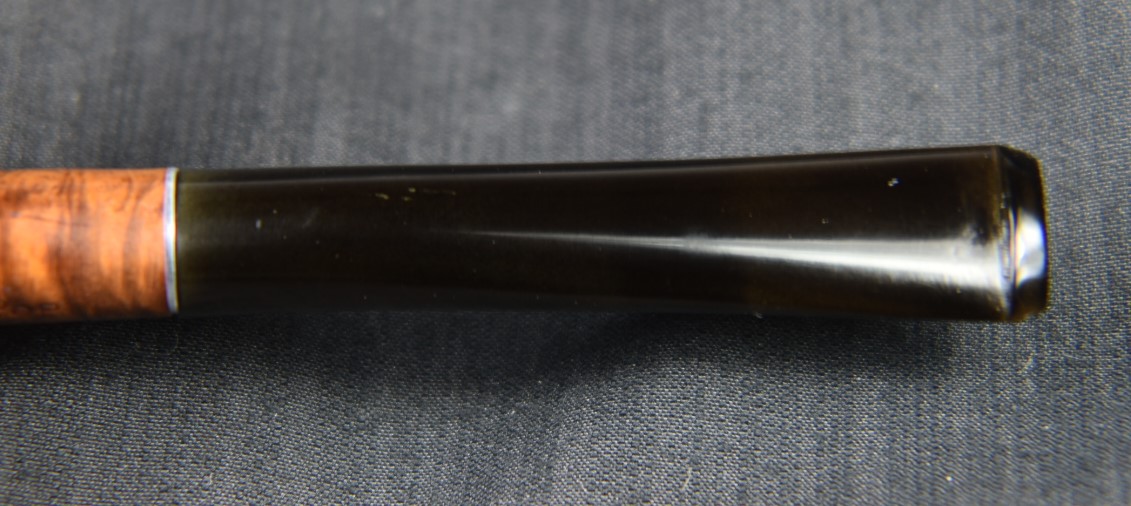
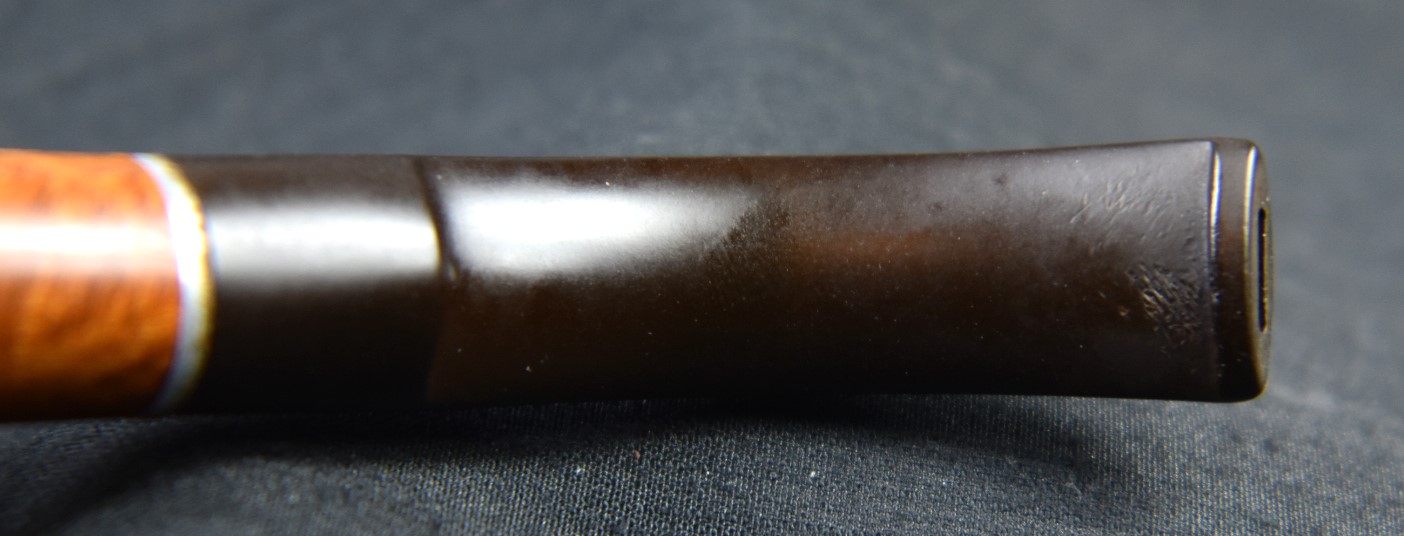
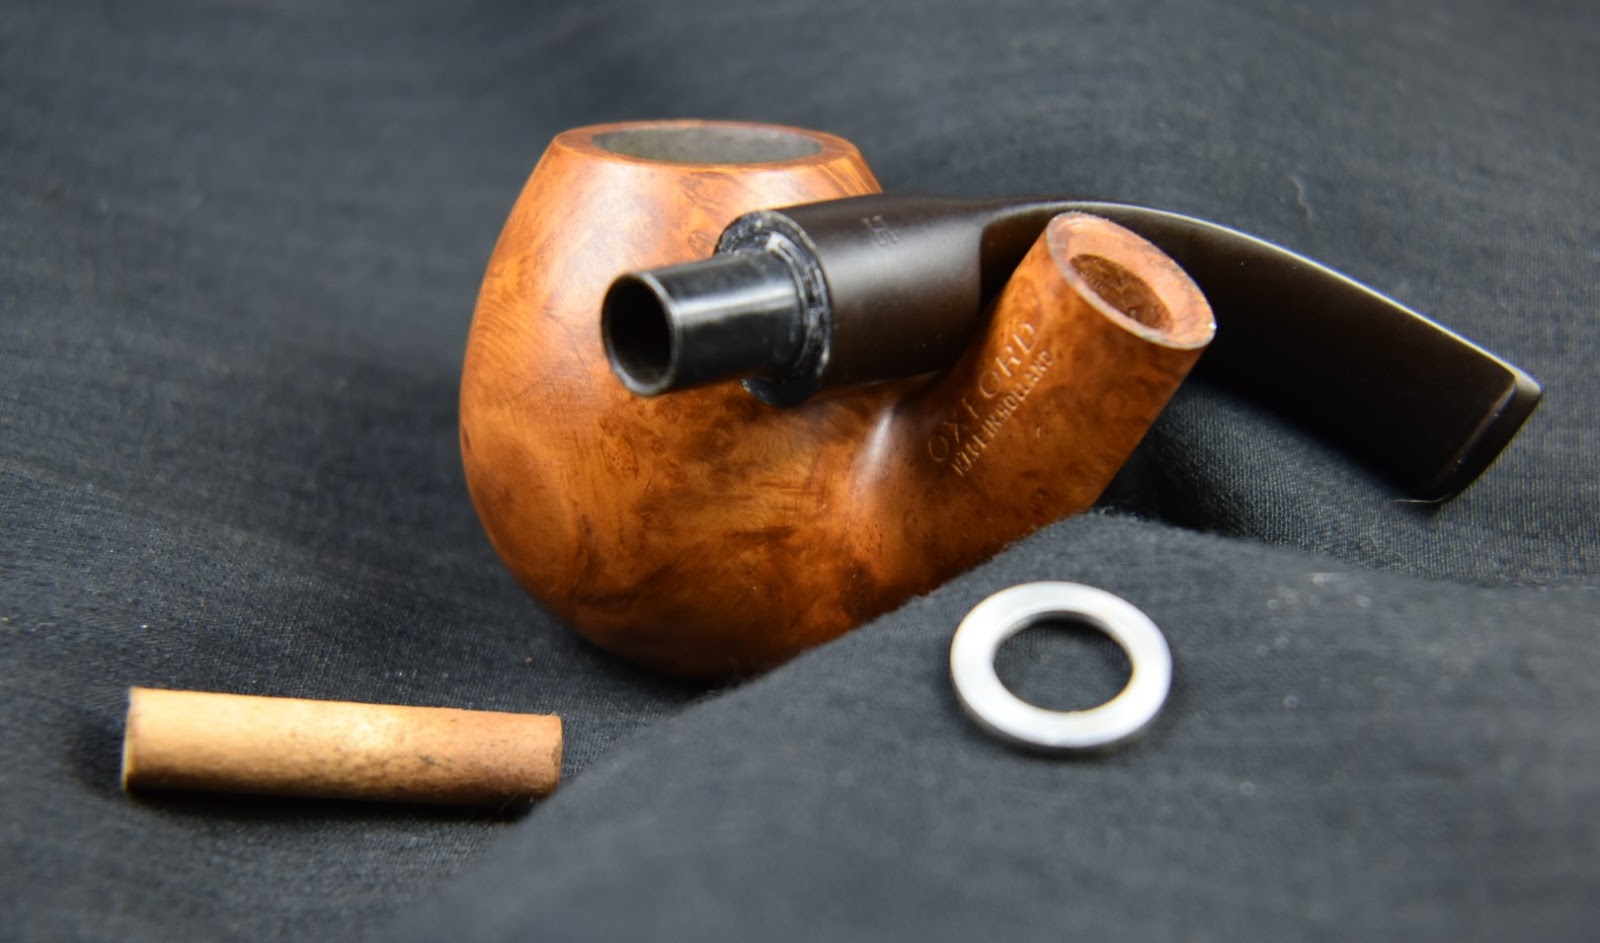
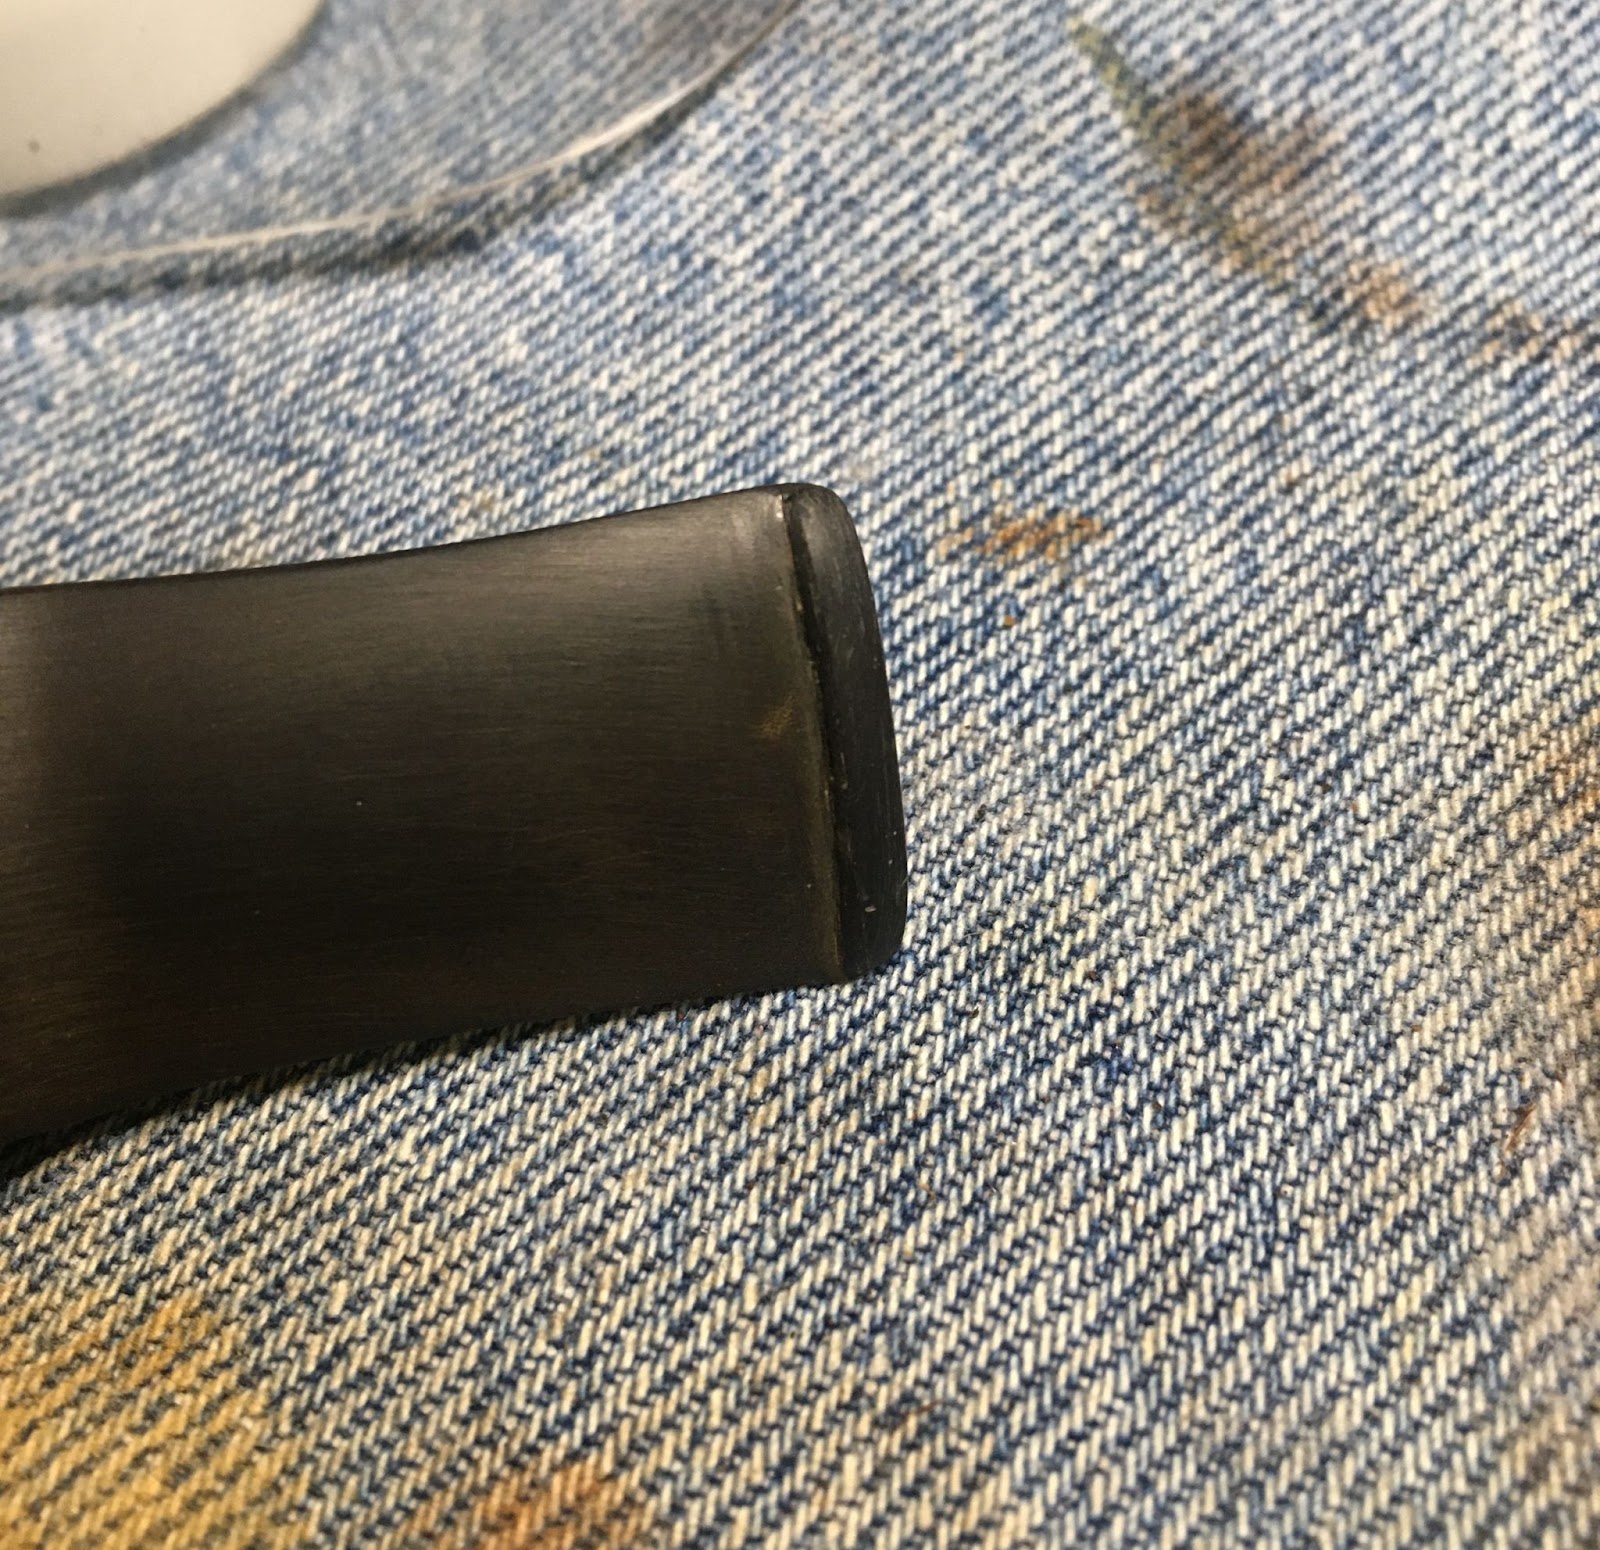
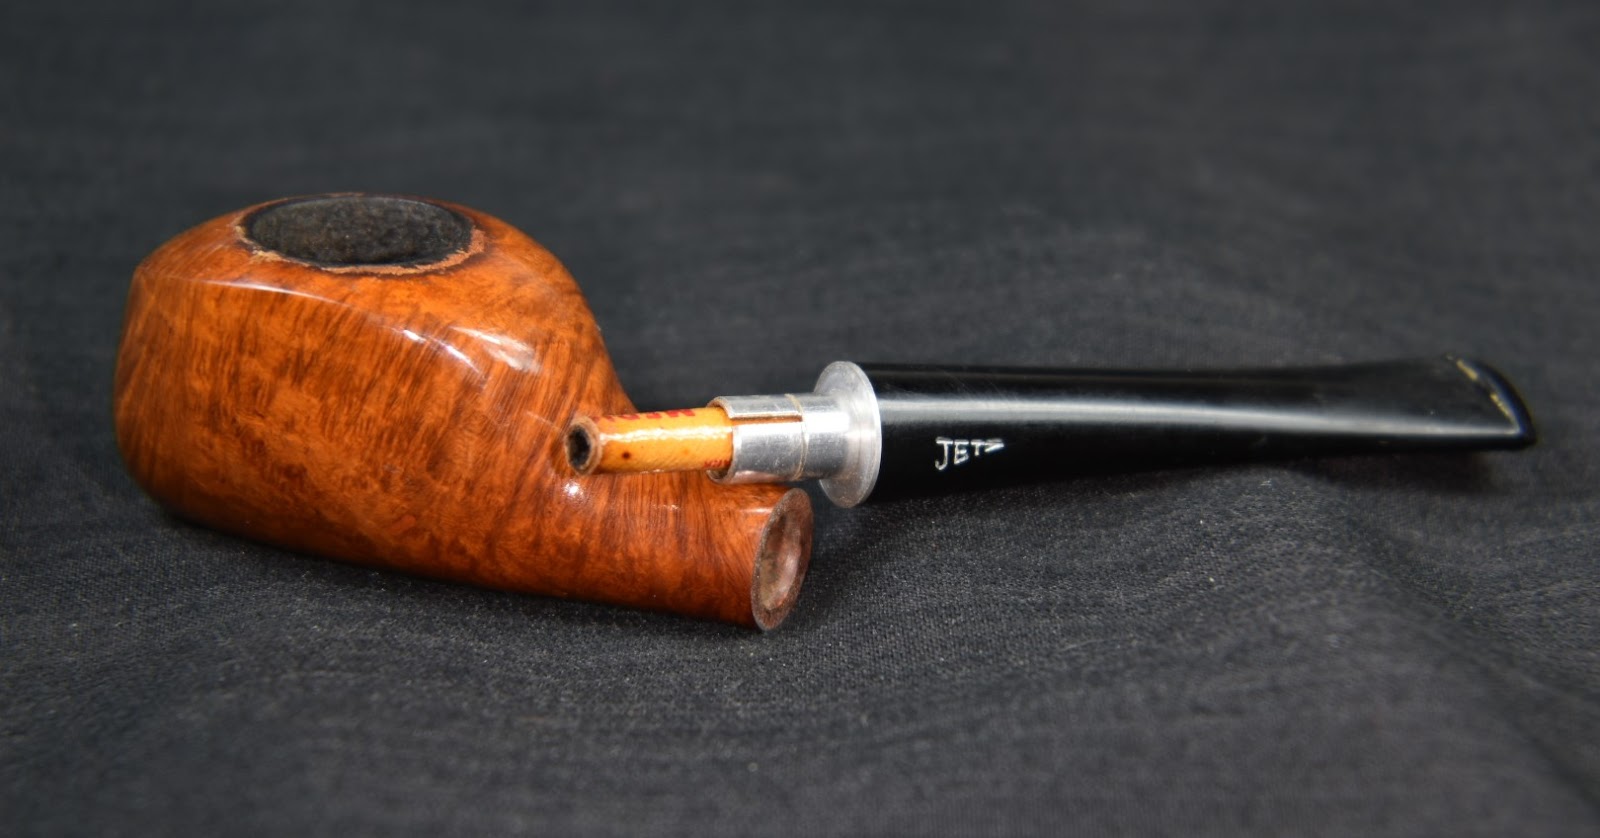
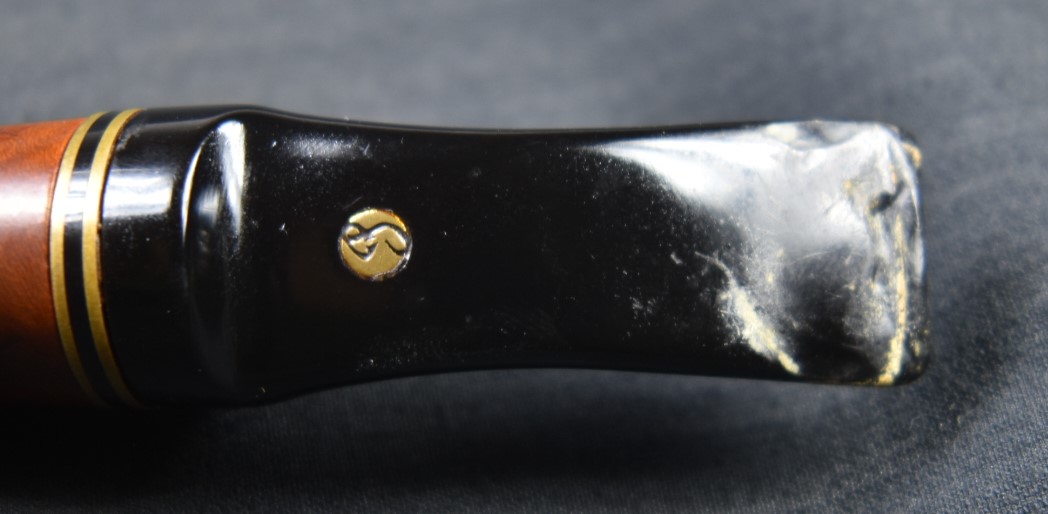
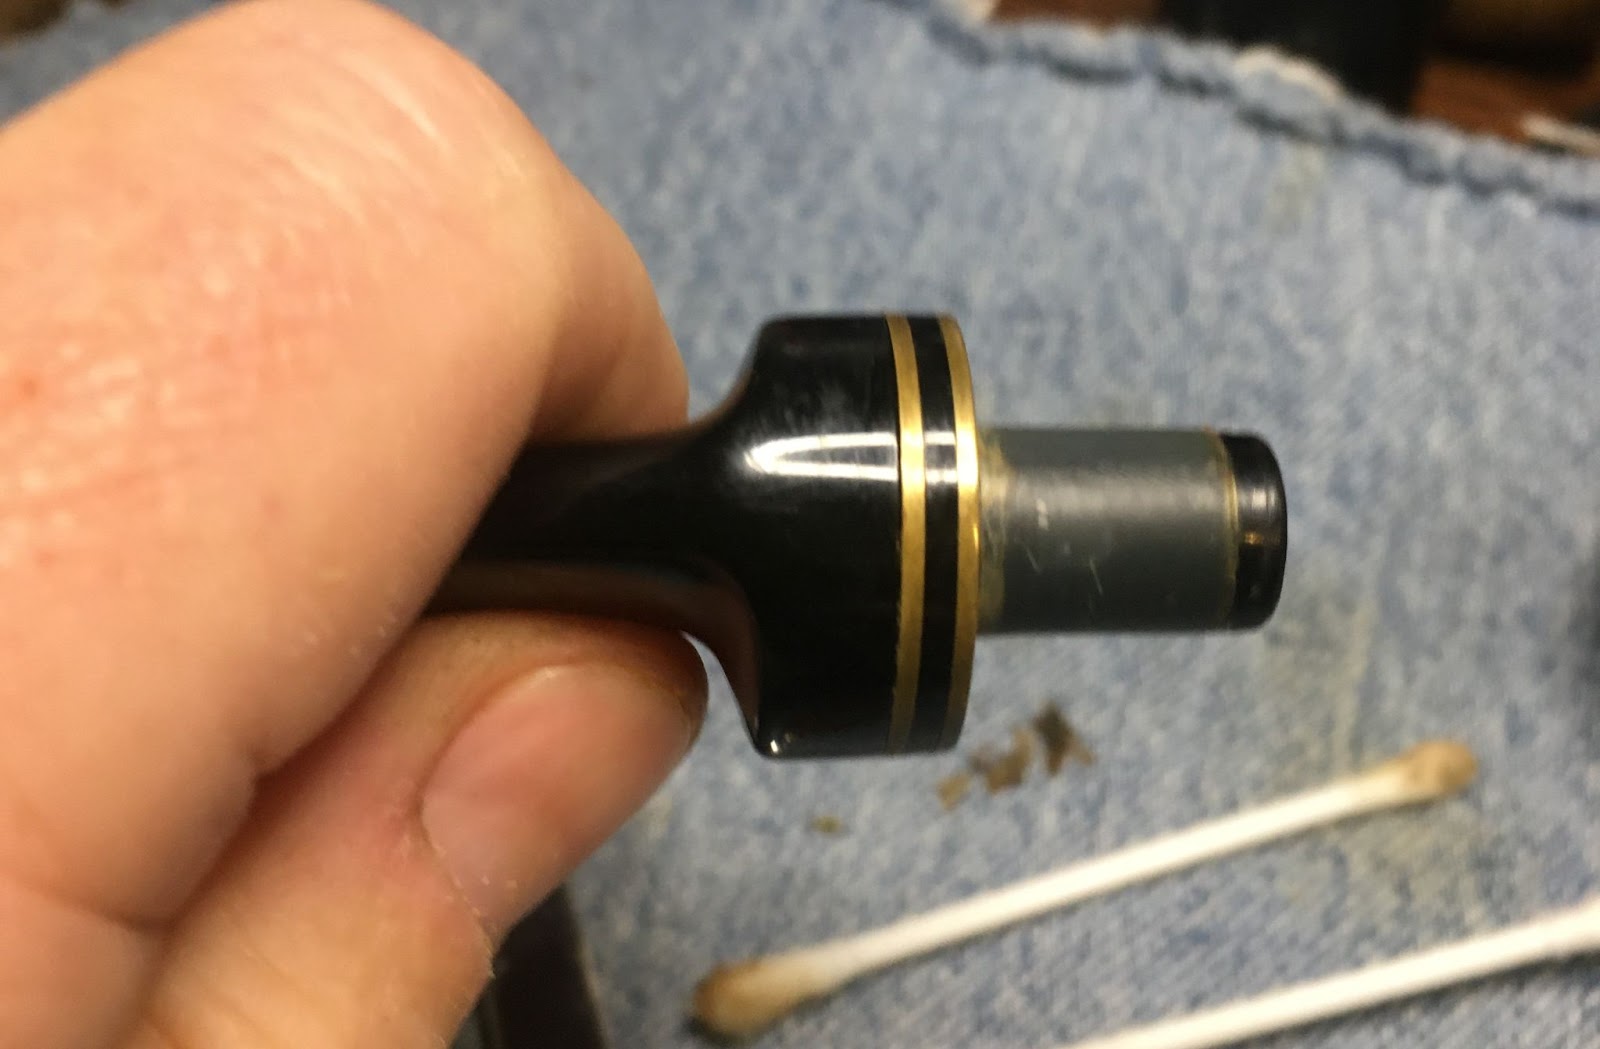
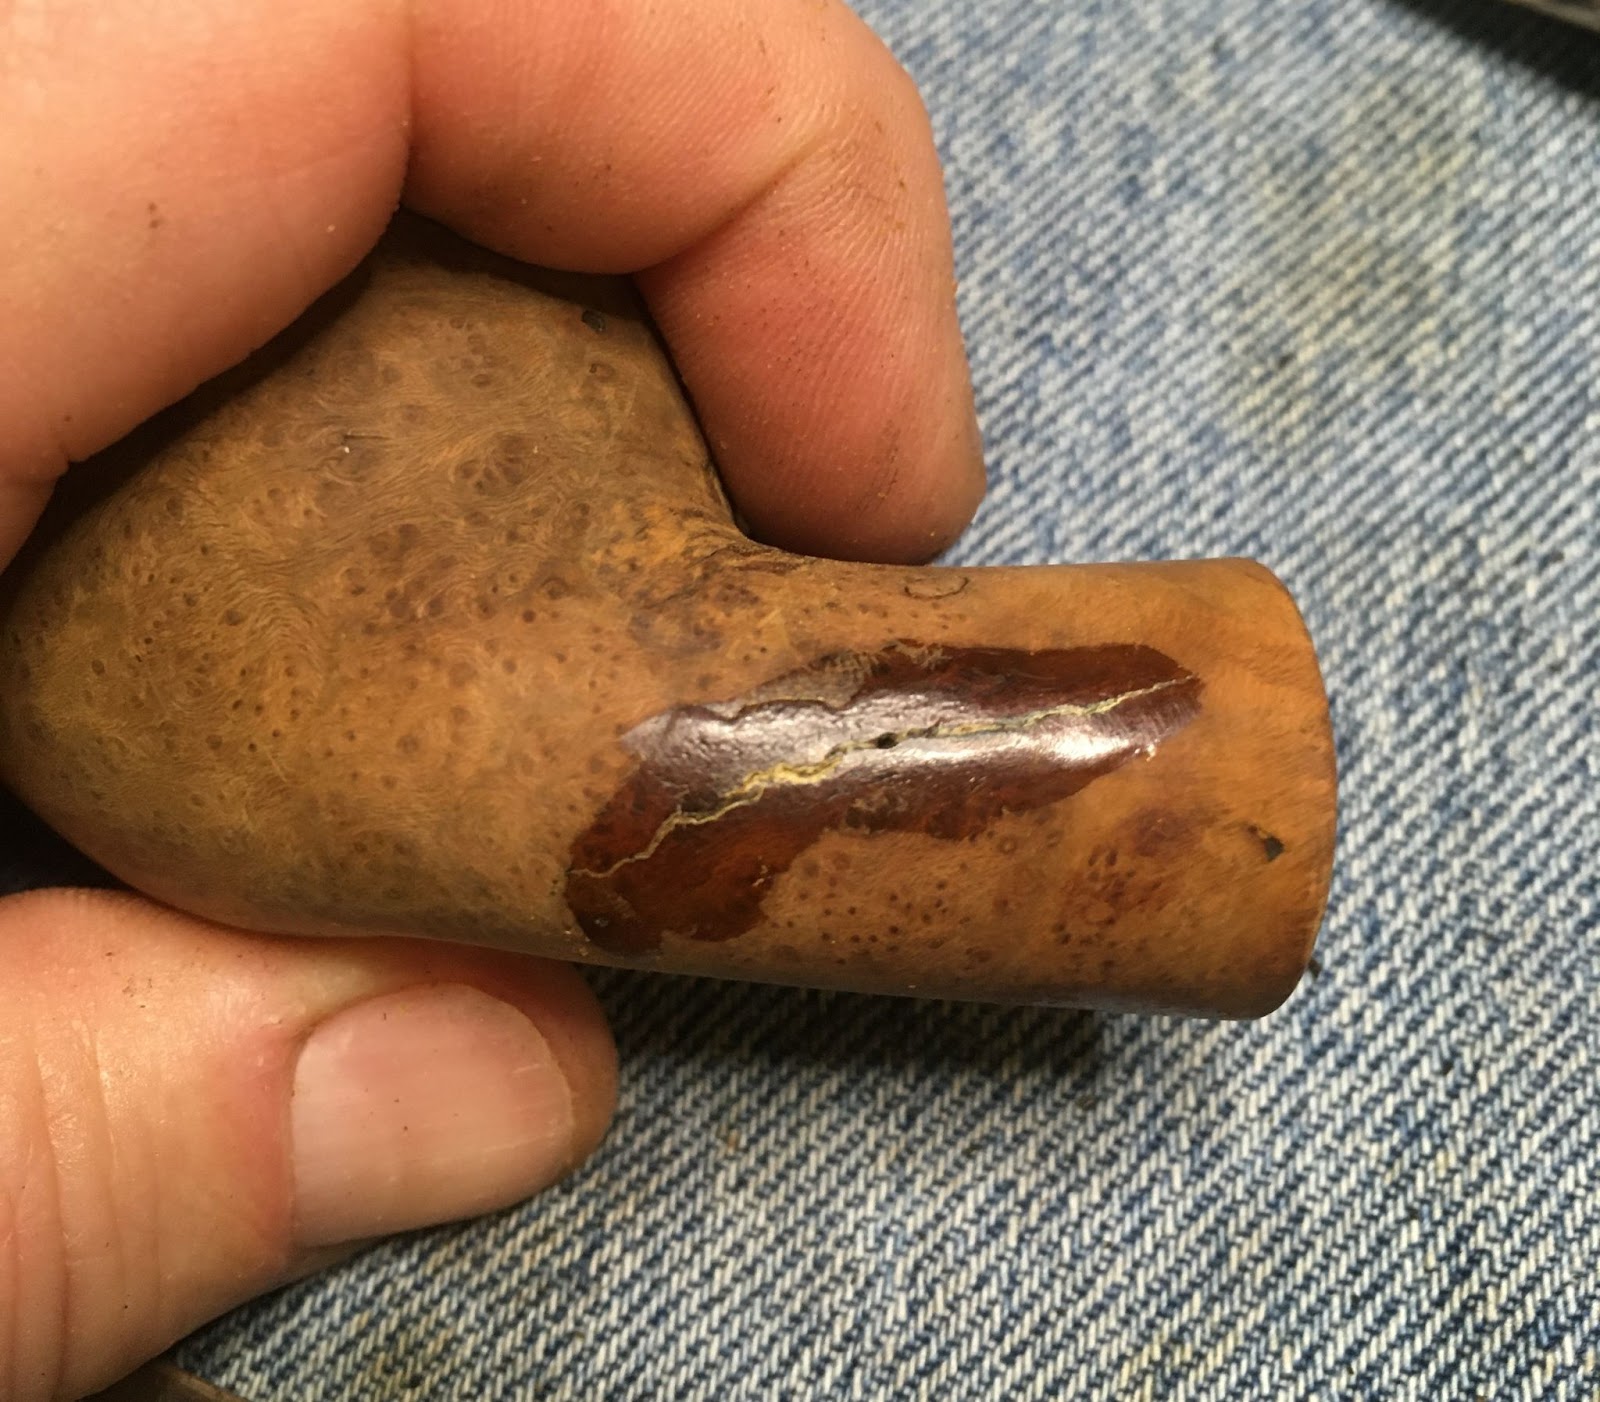
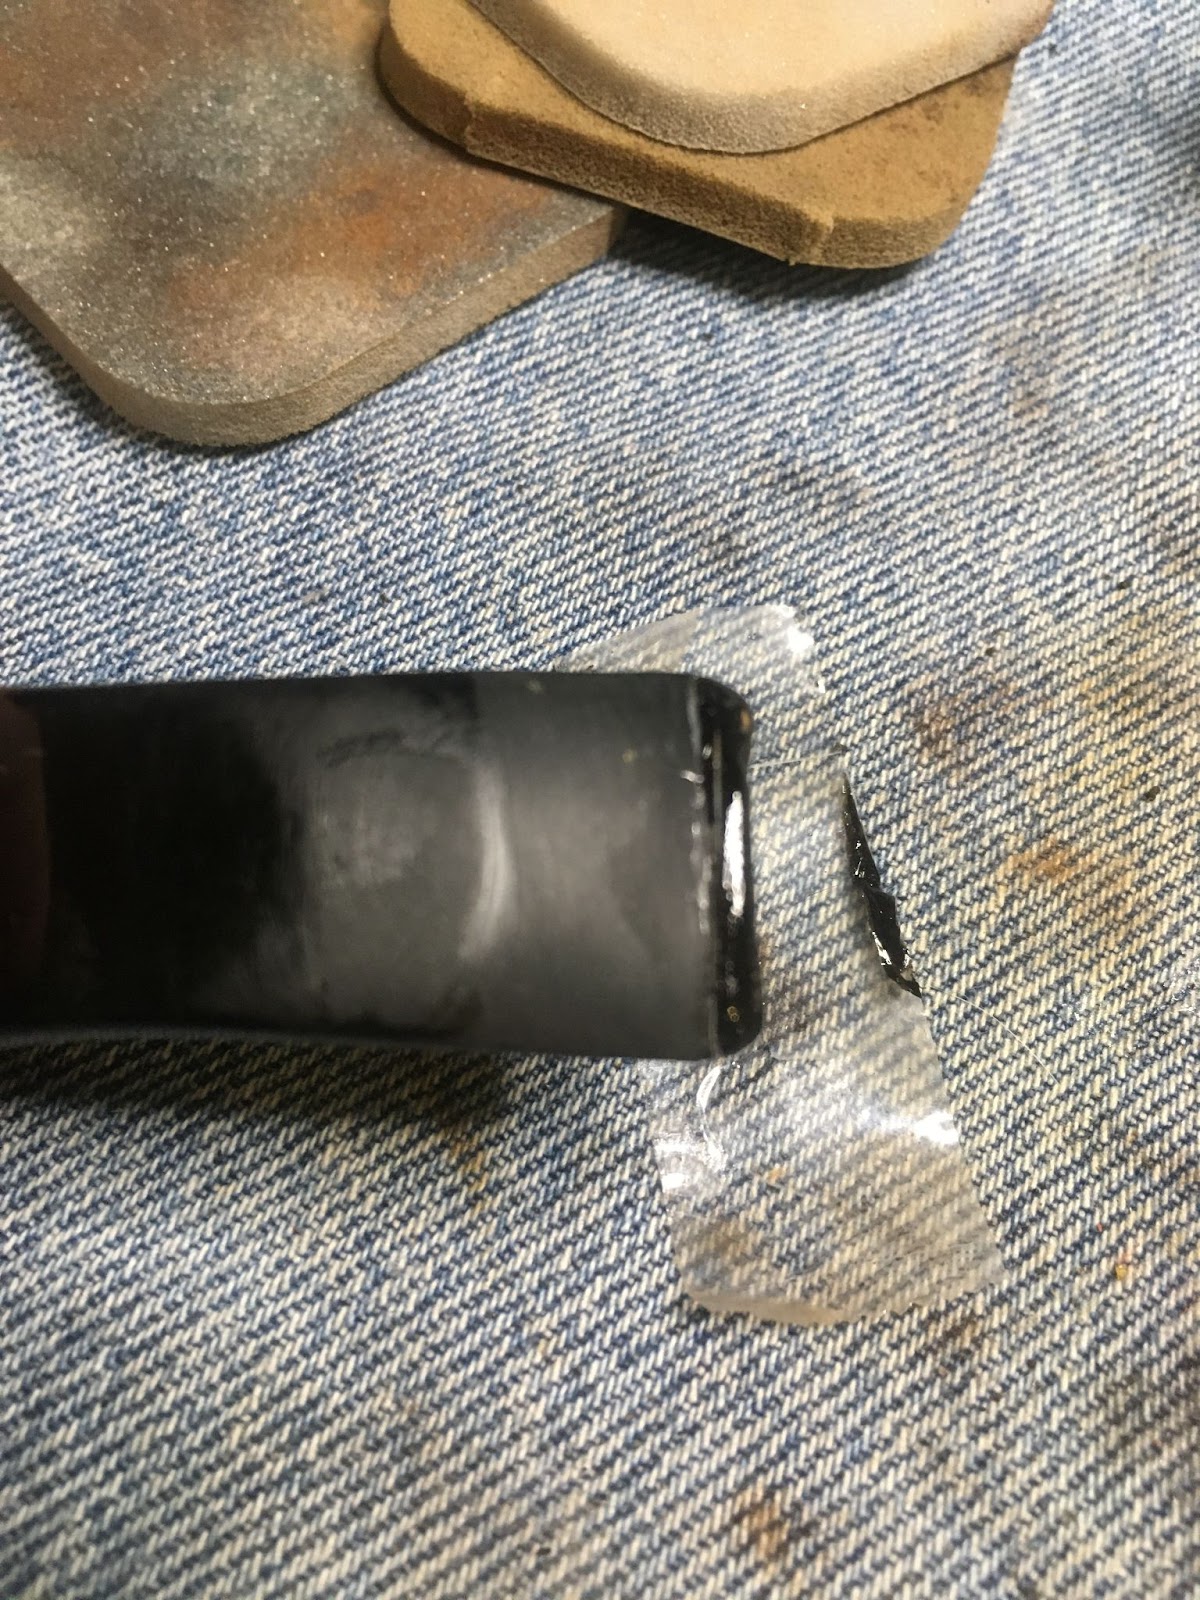
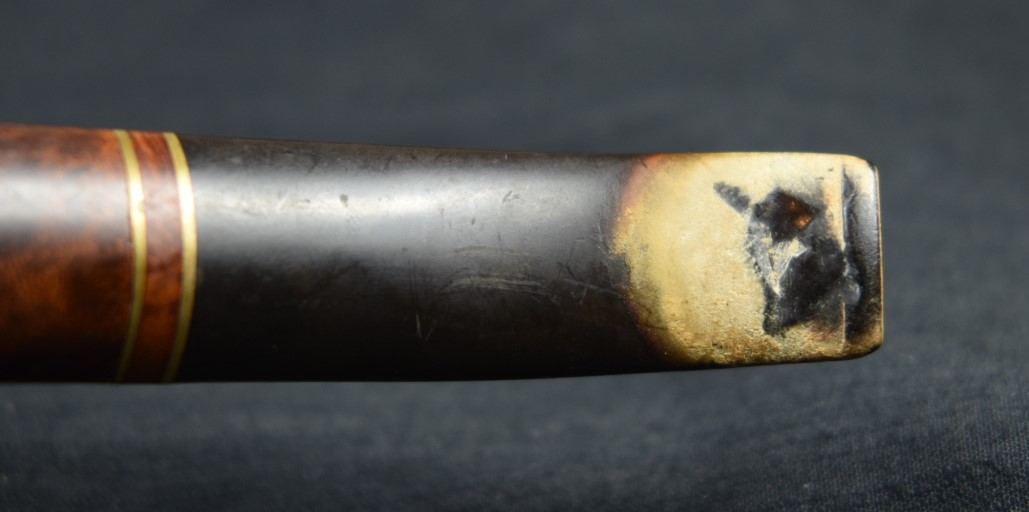
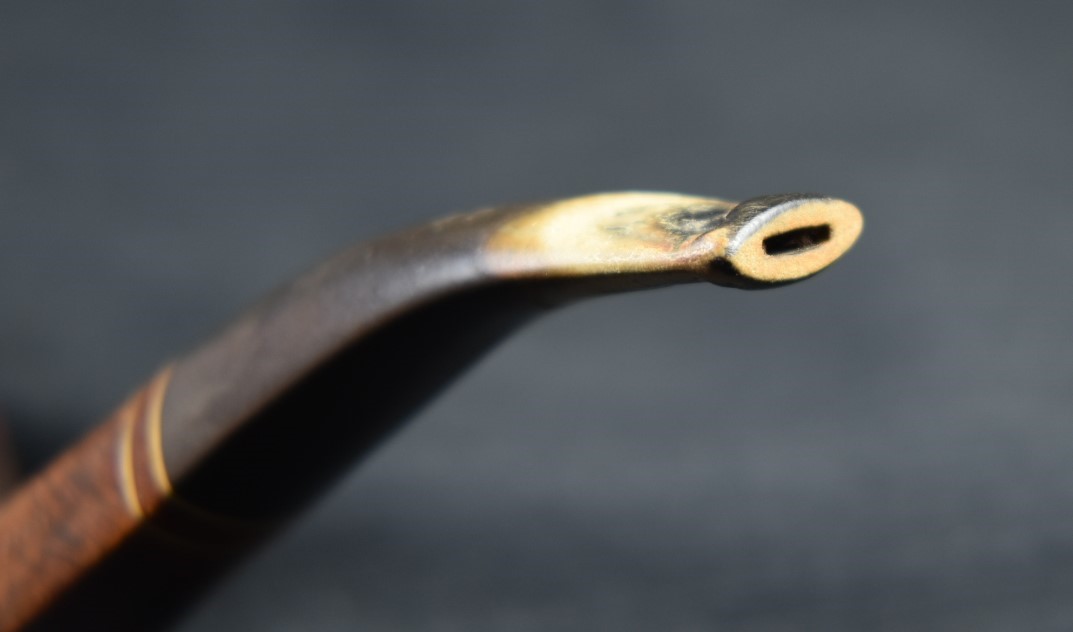
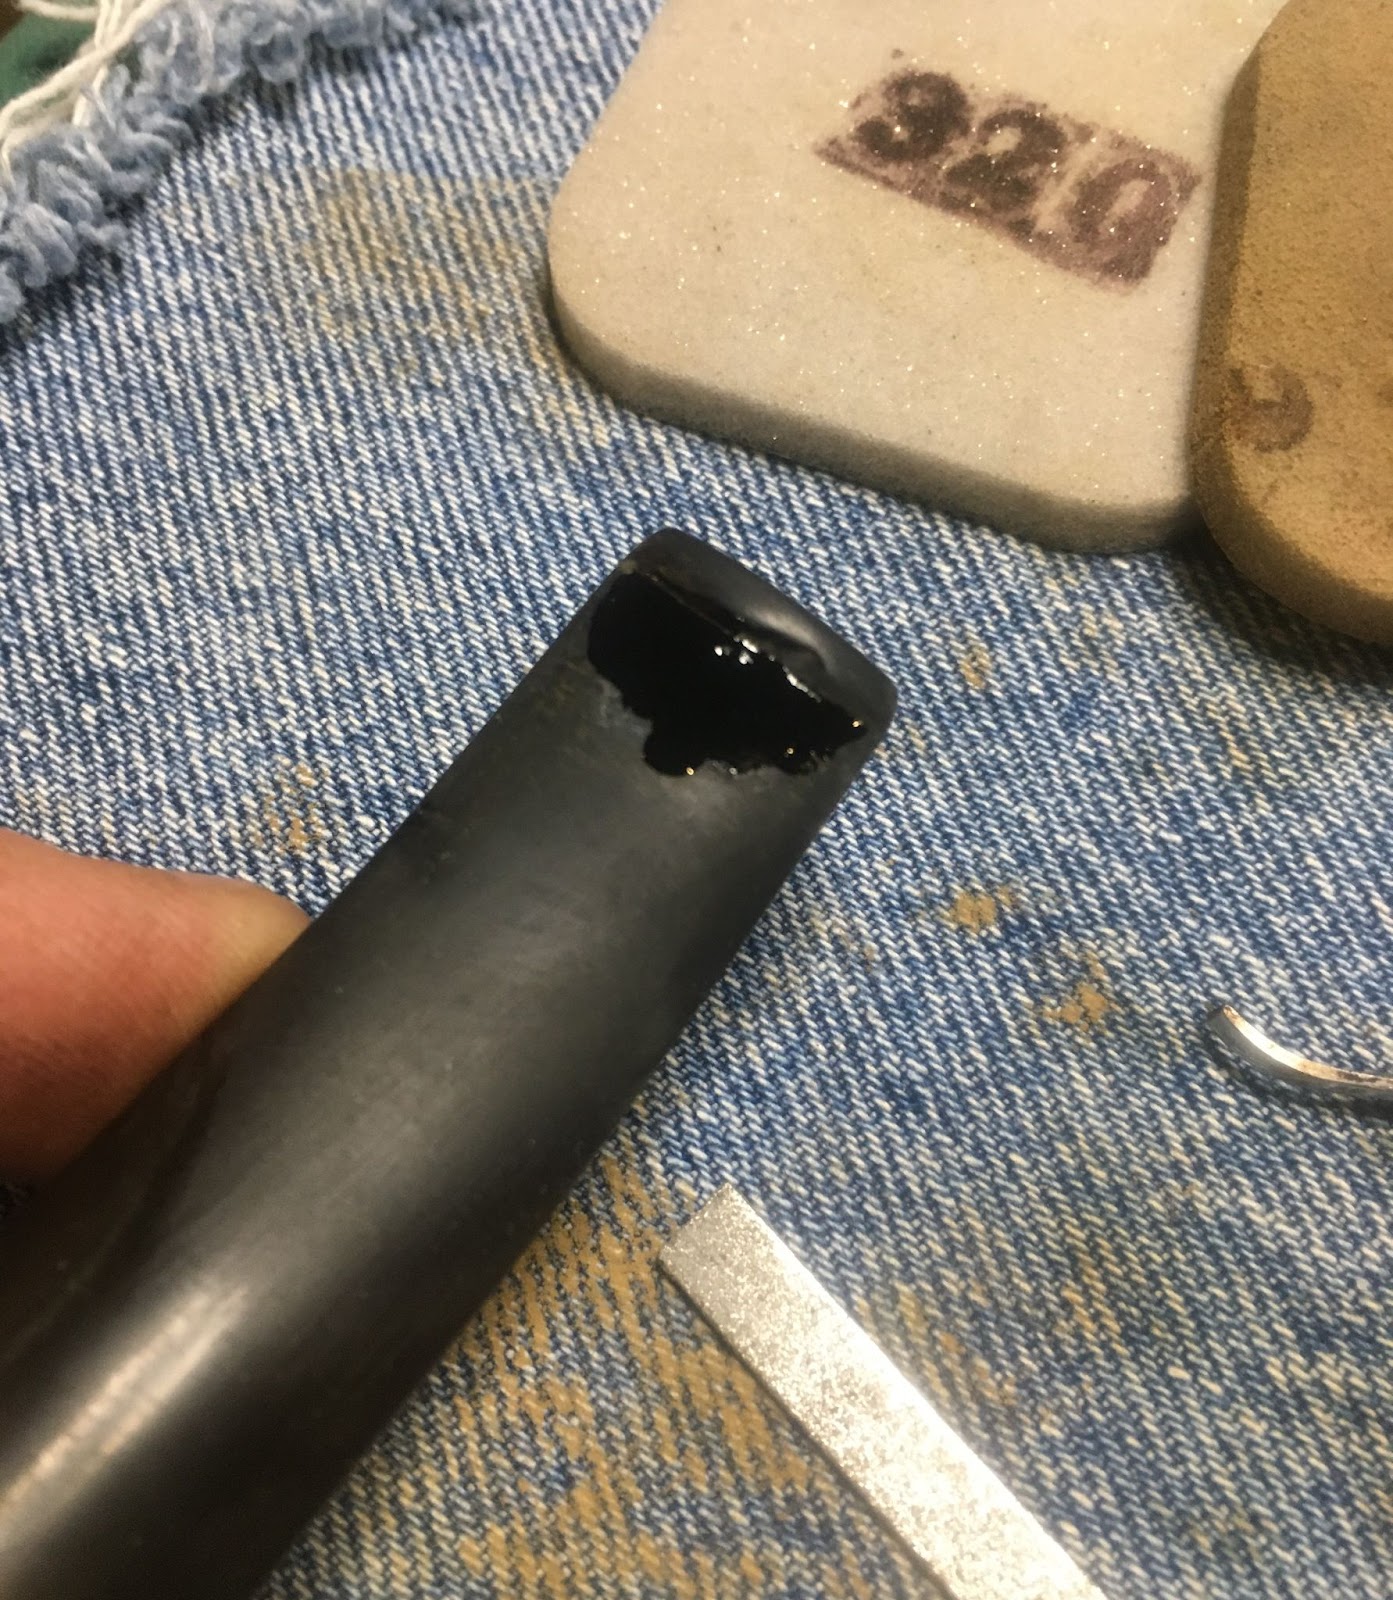
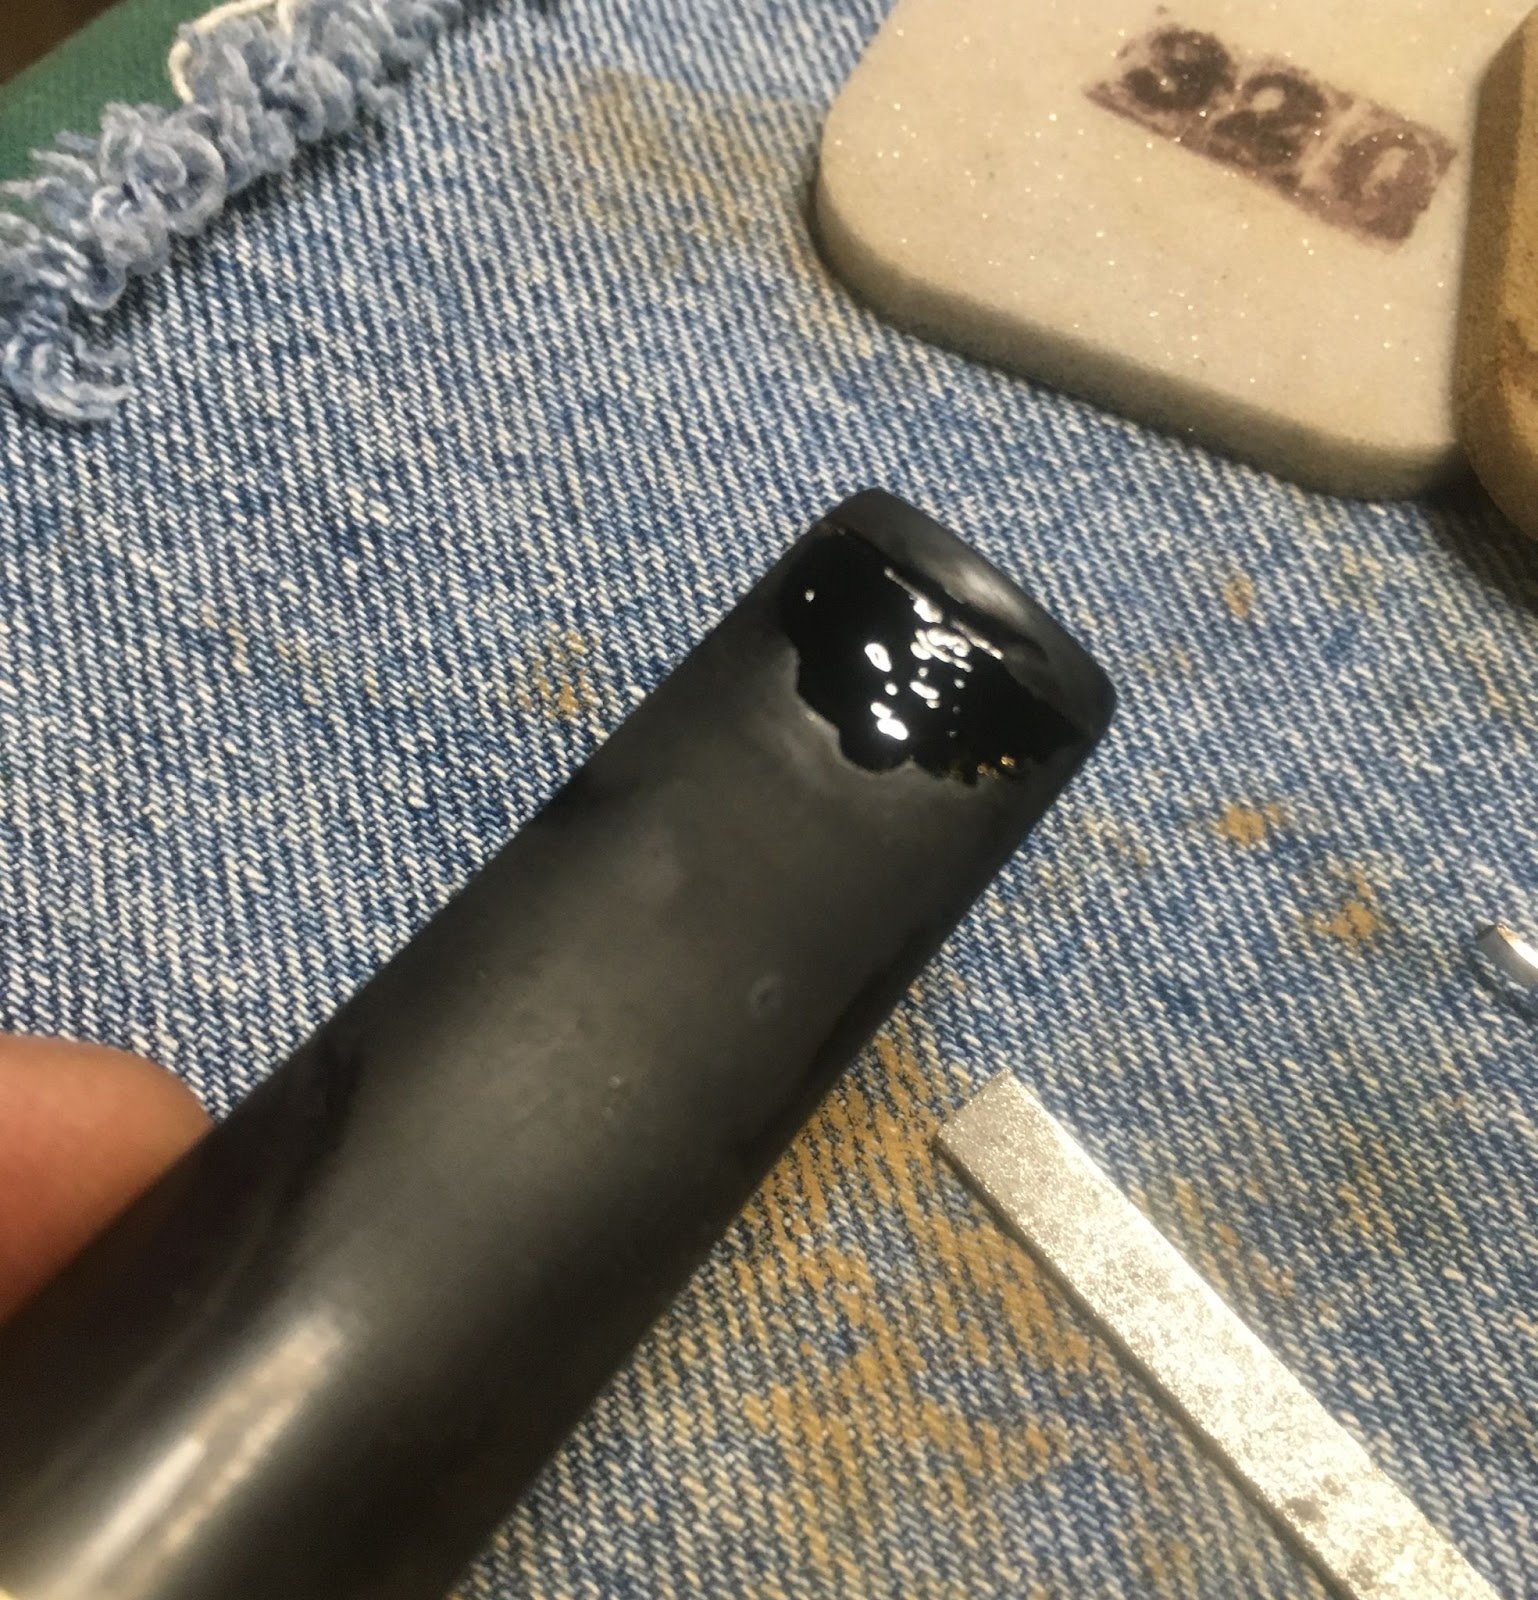
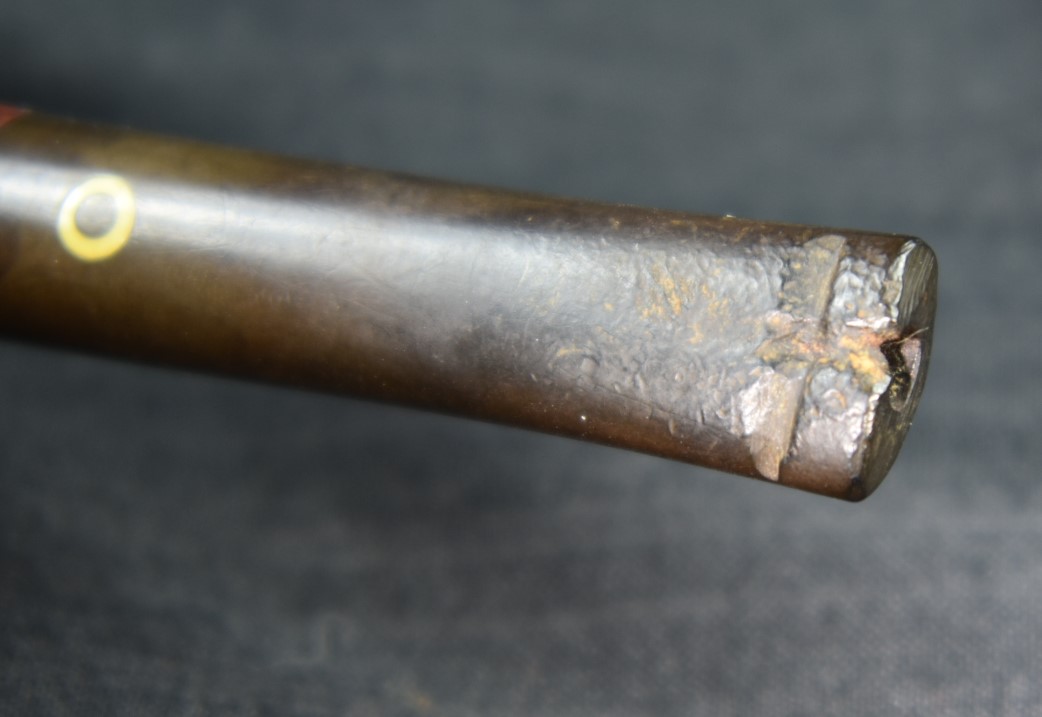
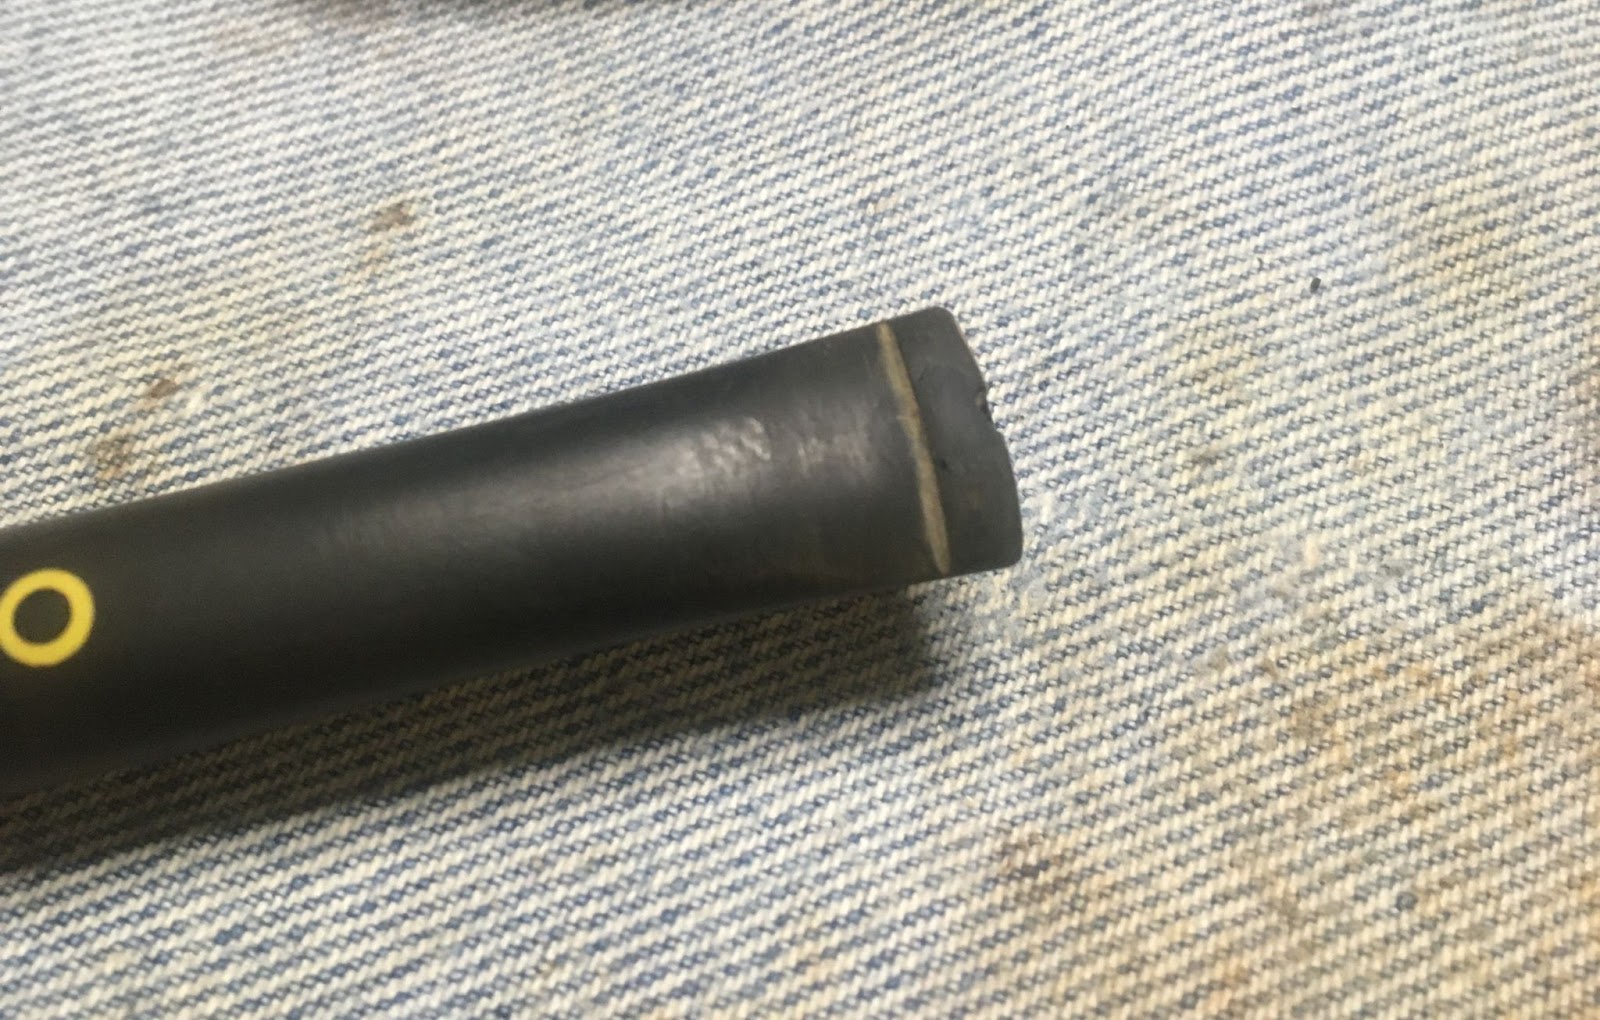
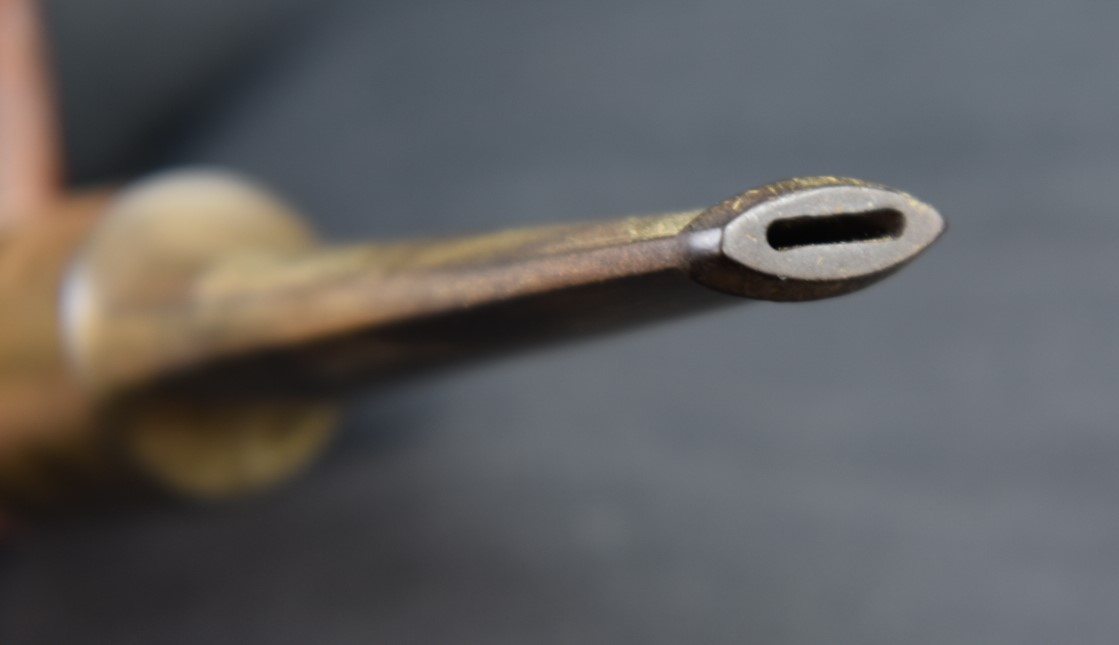
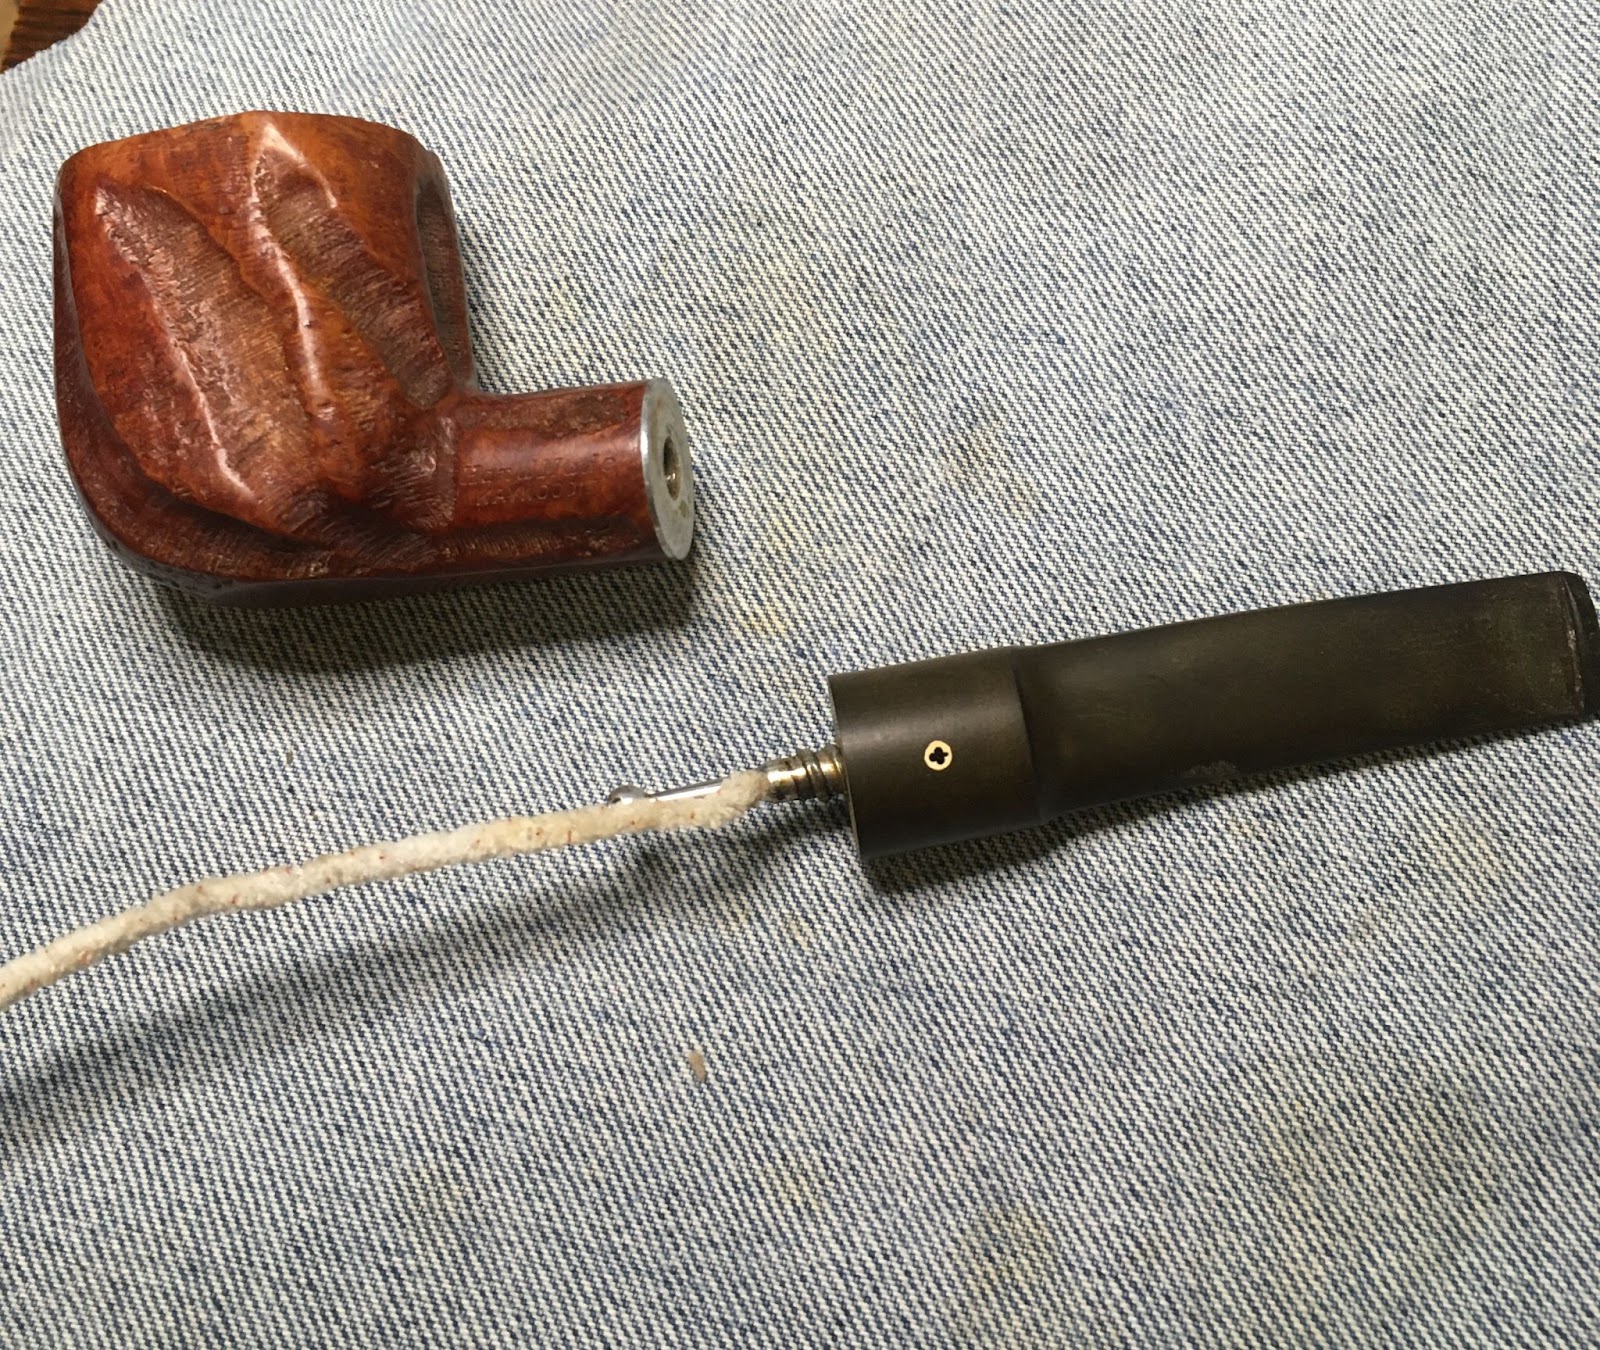
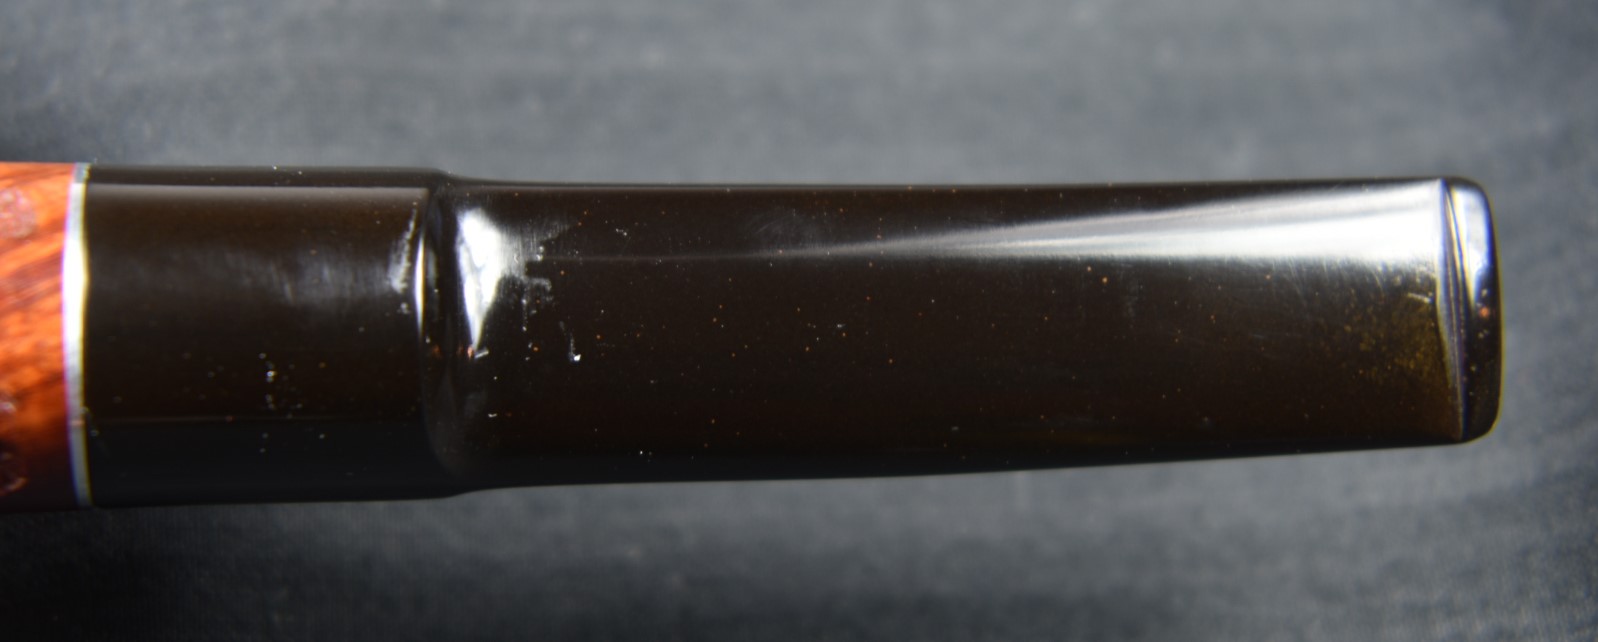
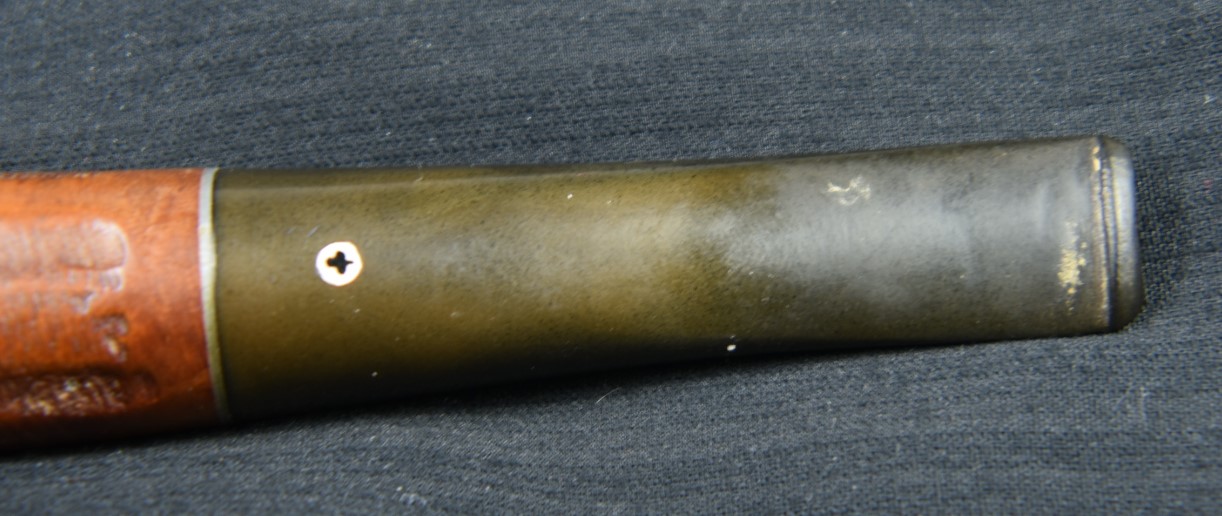
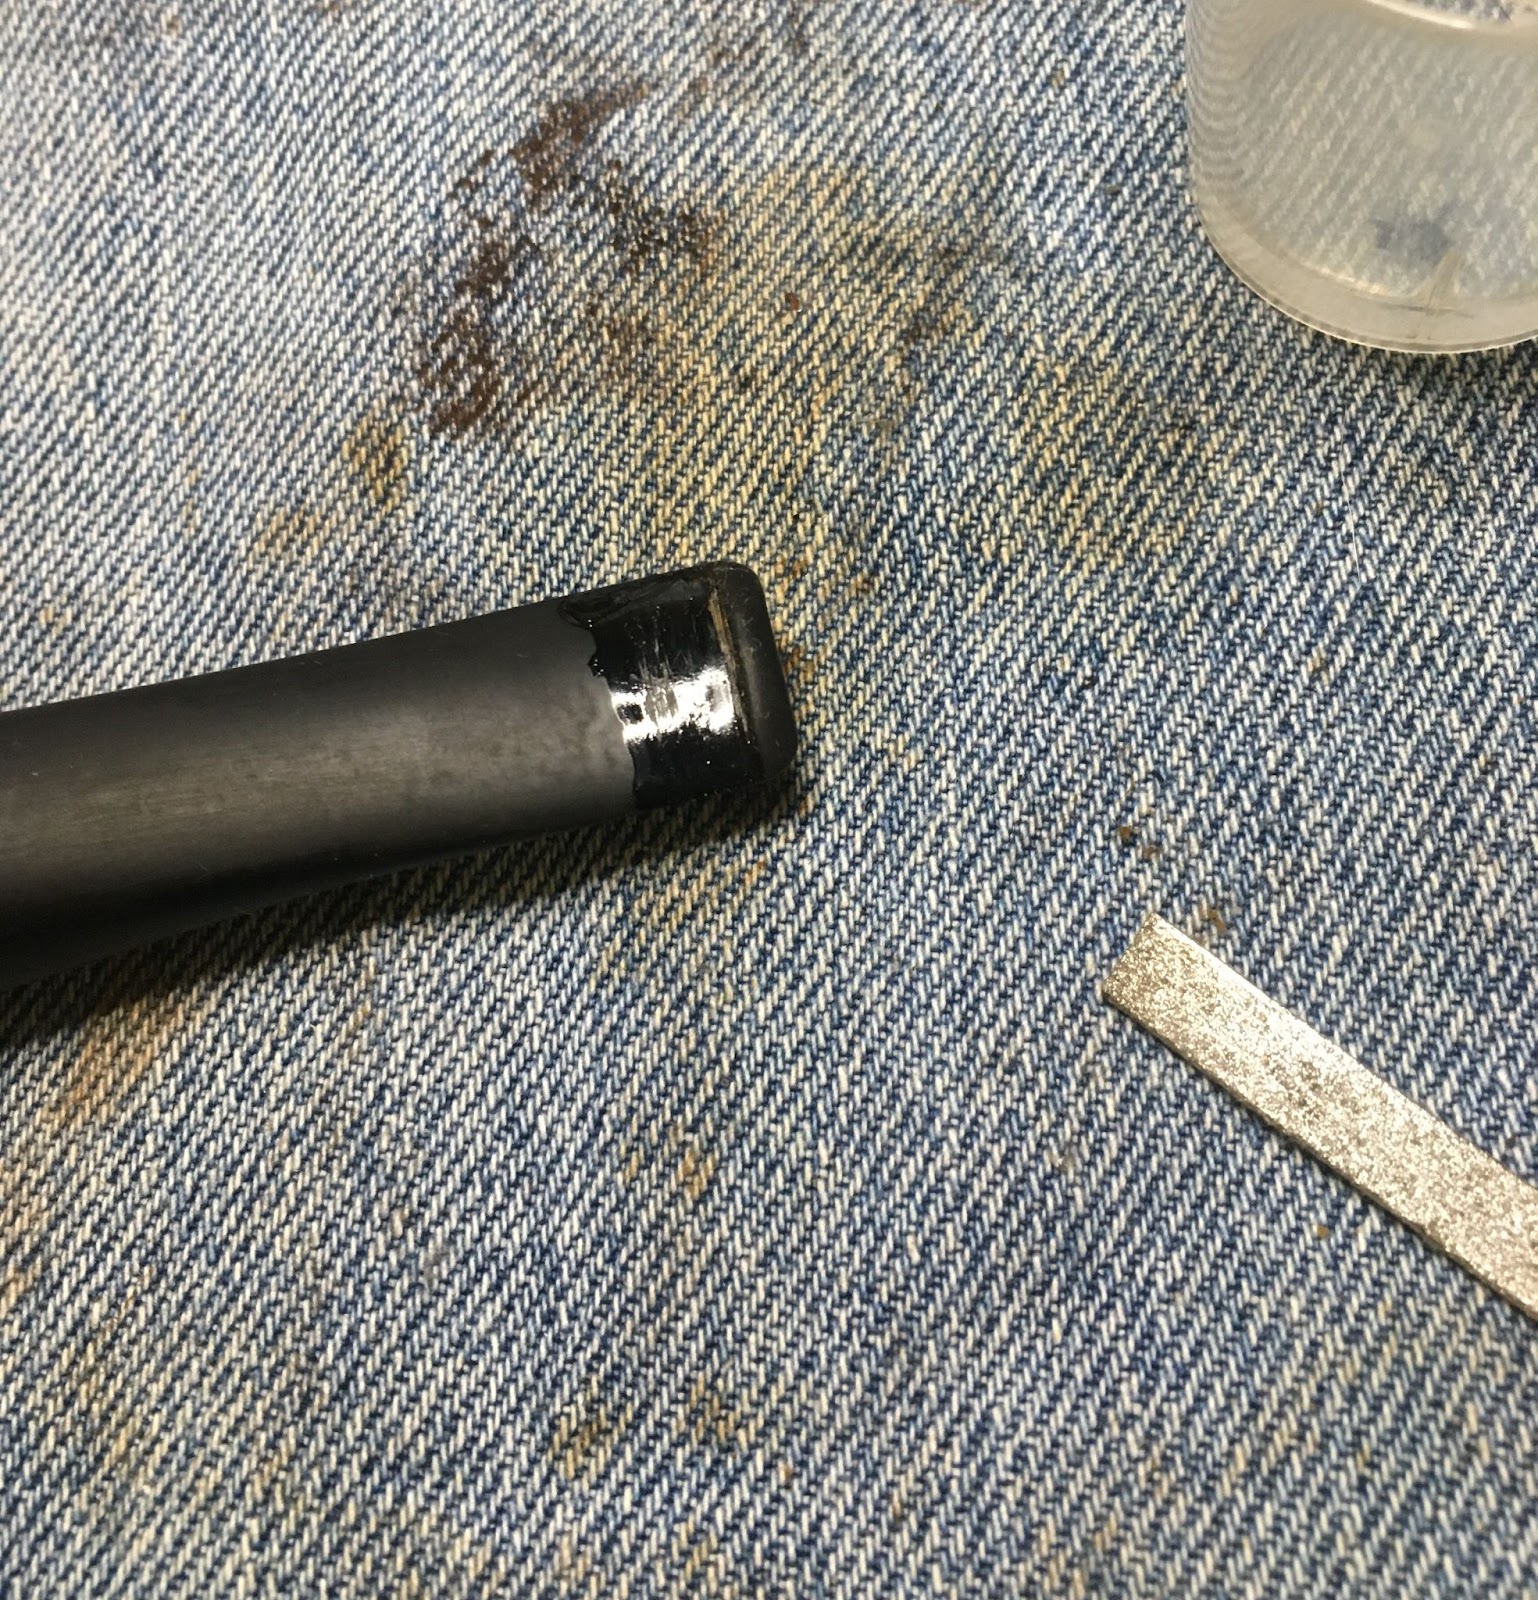
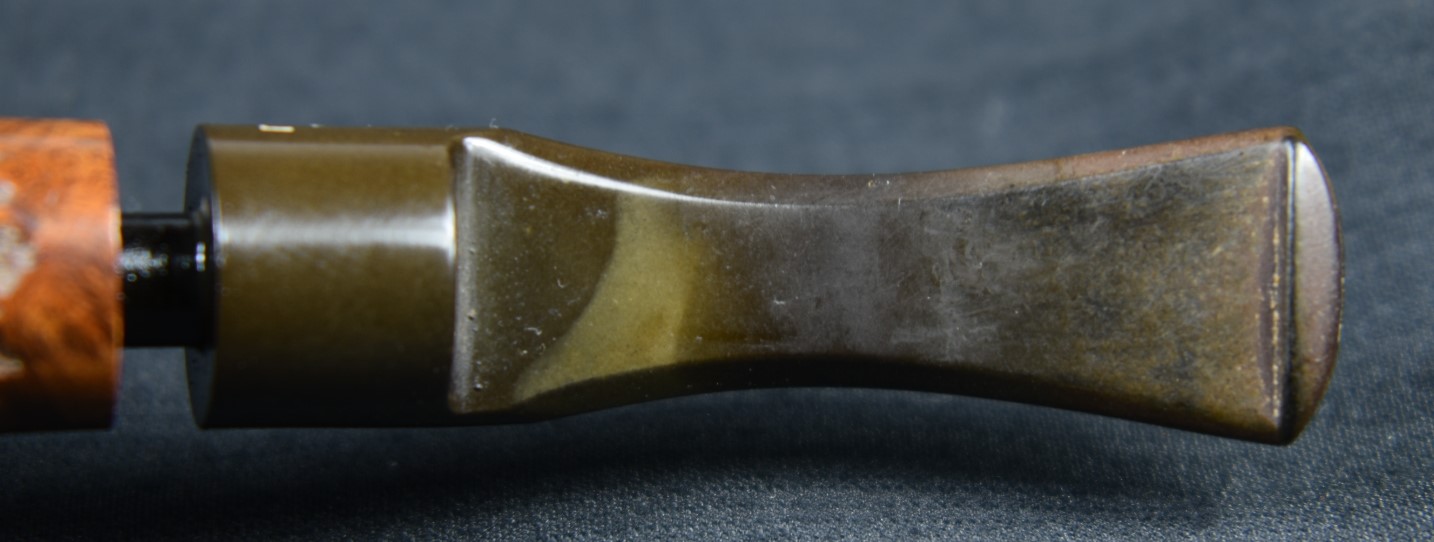
The stem was oxidized but lacked significant tooth chatter. I again attribute this to the fact that the pipe had not been smoked much. I didn’t even bother photographing the two pipe cleaners that it took to clean out the airway. The one cotton swab used to clean out the 9mm filter space was left in the photo. Also I think I failed to mention that the aluminum accent ring was just that. An accent ring. It was not part of a screw in tenon. I guess that makes one of the two strikes that I mentioned at the beginning, a ball, not a strike. Although the whole 9mm filter thing is a strike. So we are back to two strikes and one ball. Oh, and the aluminum ring had broken free of the glue bond holding it to the stem.
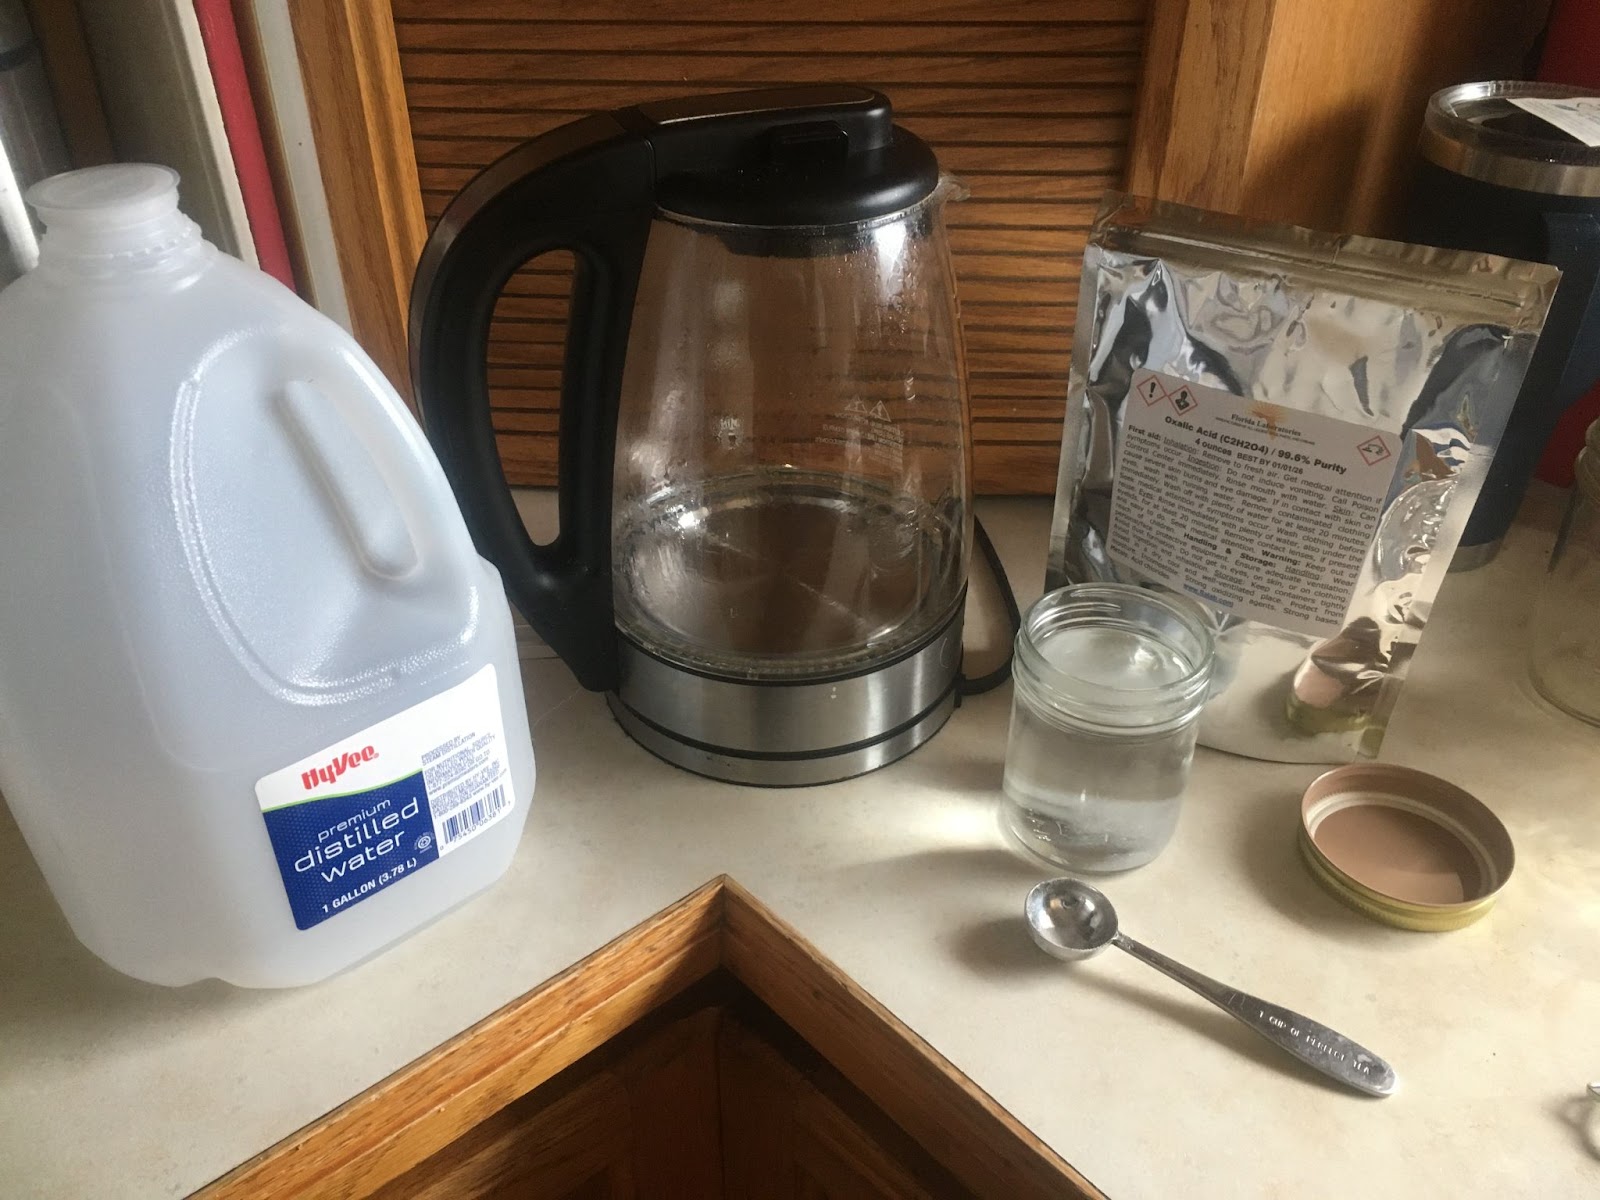
I sanded the stem with the 400 and 600 sanding sponges preparing the stem for a bath in Before and After Deoxidizing solution.

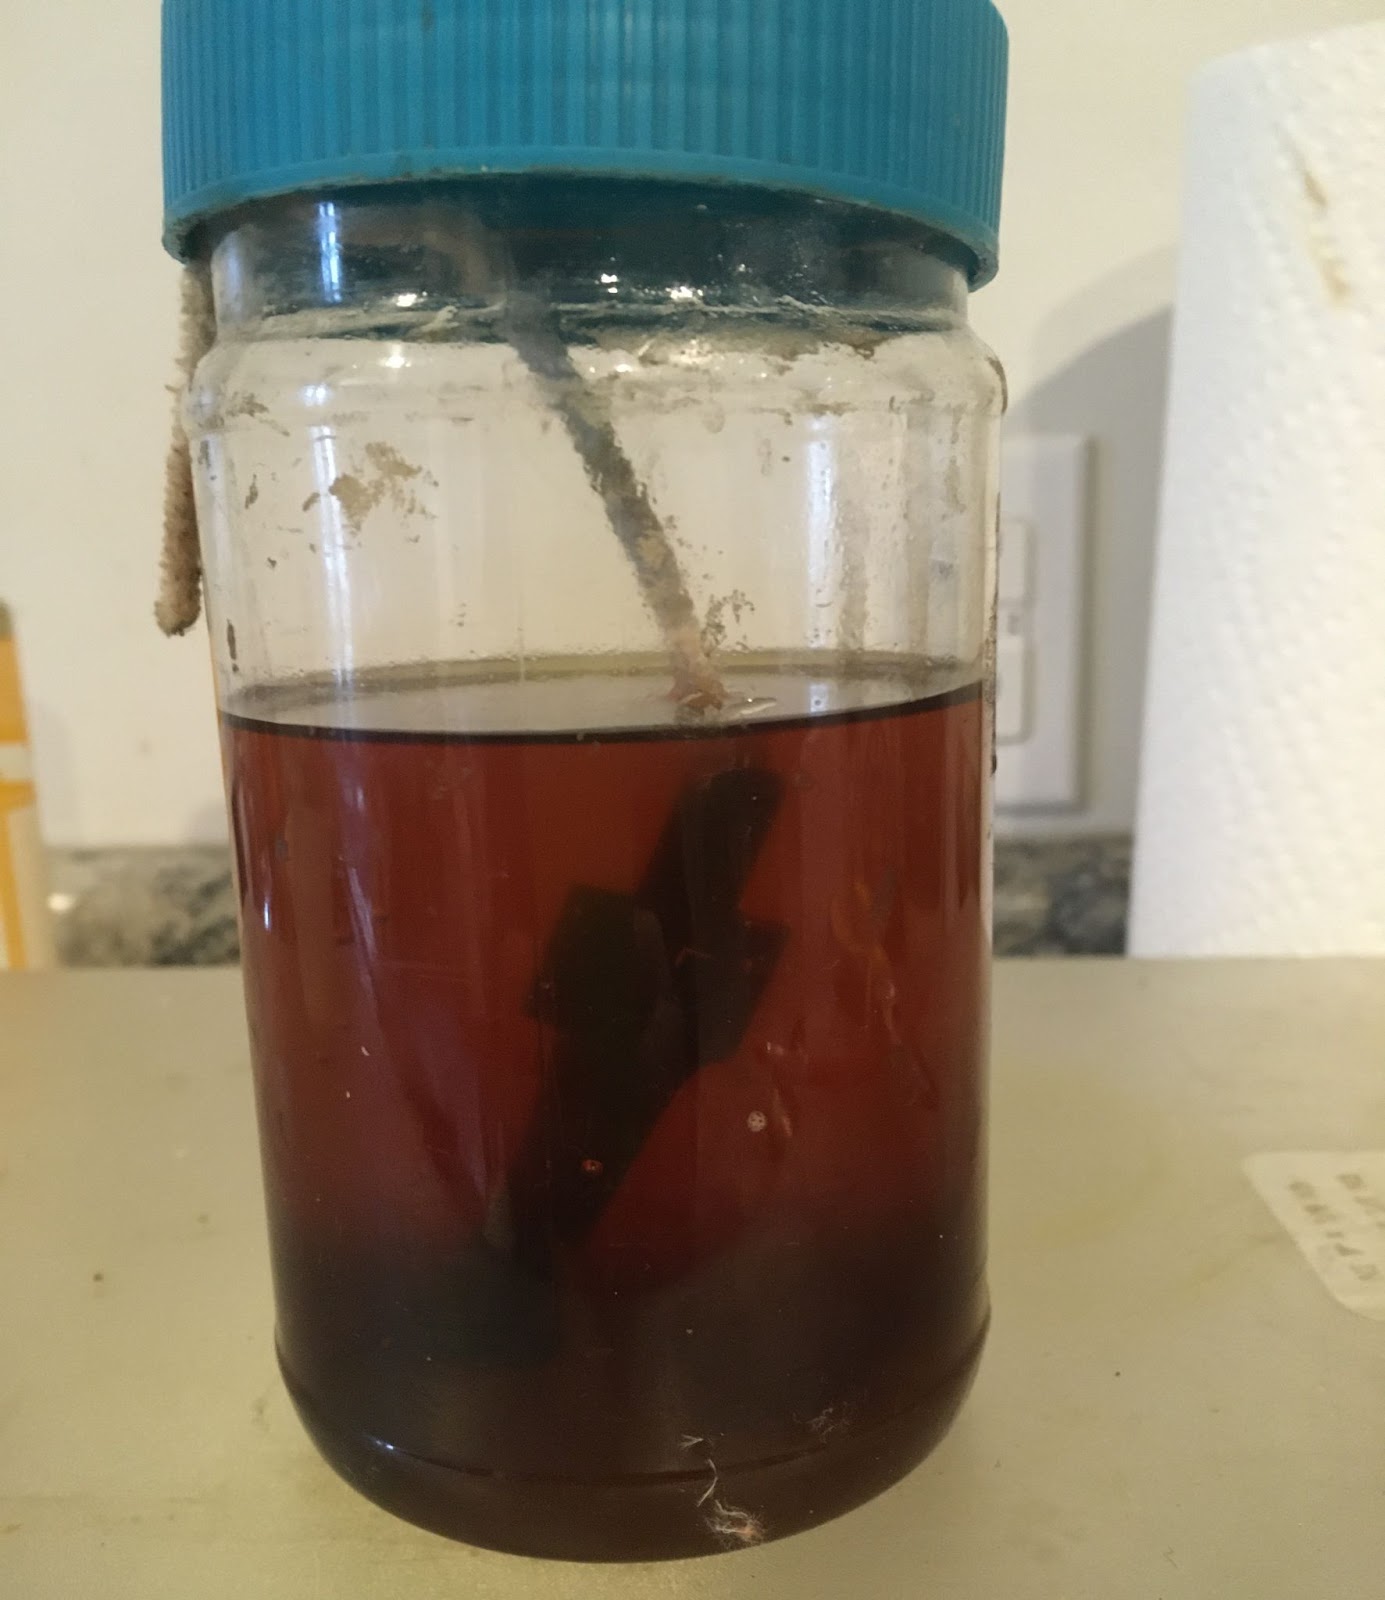
I like to call this “going into deox”. Normally I put a stem in for 2-4 hours, forget about it for another hour or so, then remove it. This time I purposefully left it overnight, to be retrieved in the morning. Then I forgot about it for 2 hours. Total deox time 14 hours.

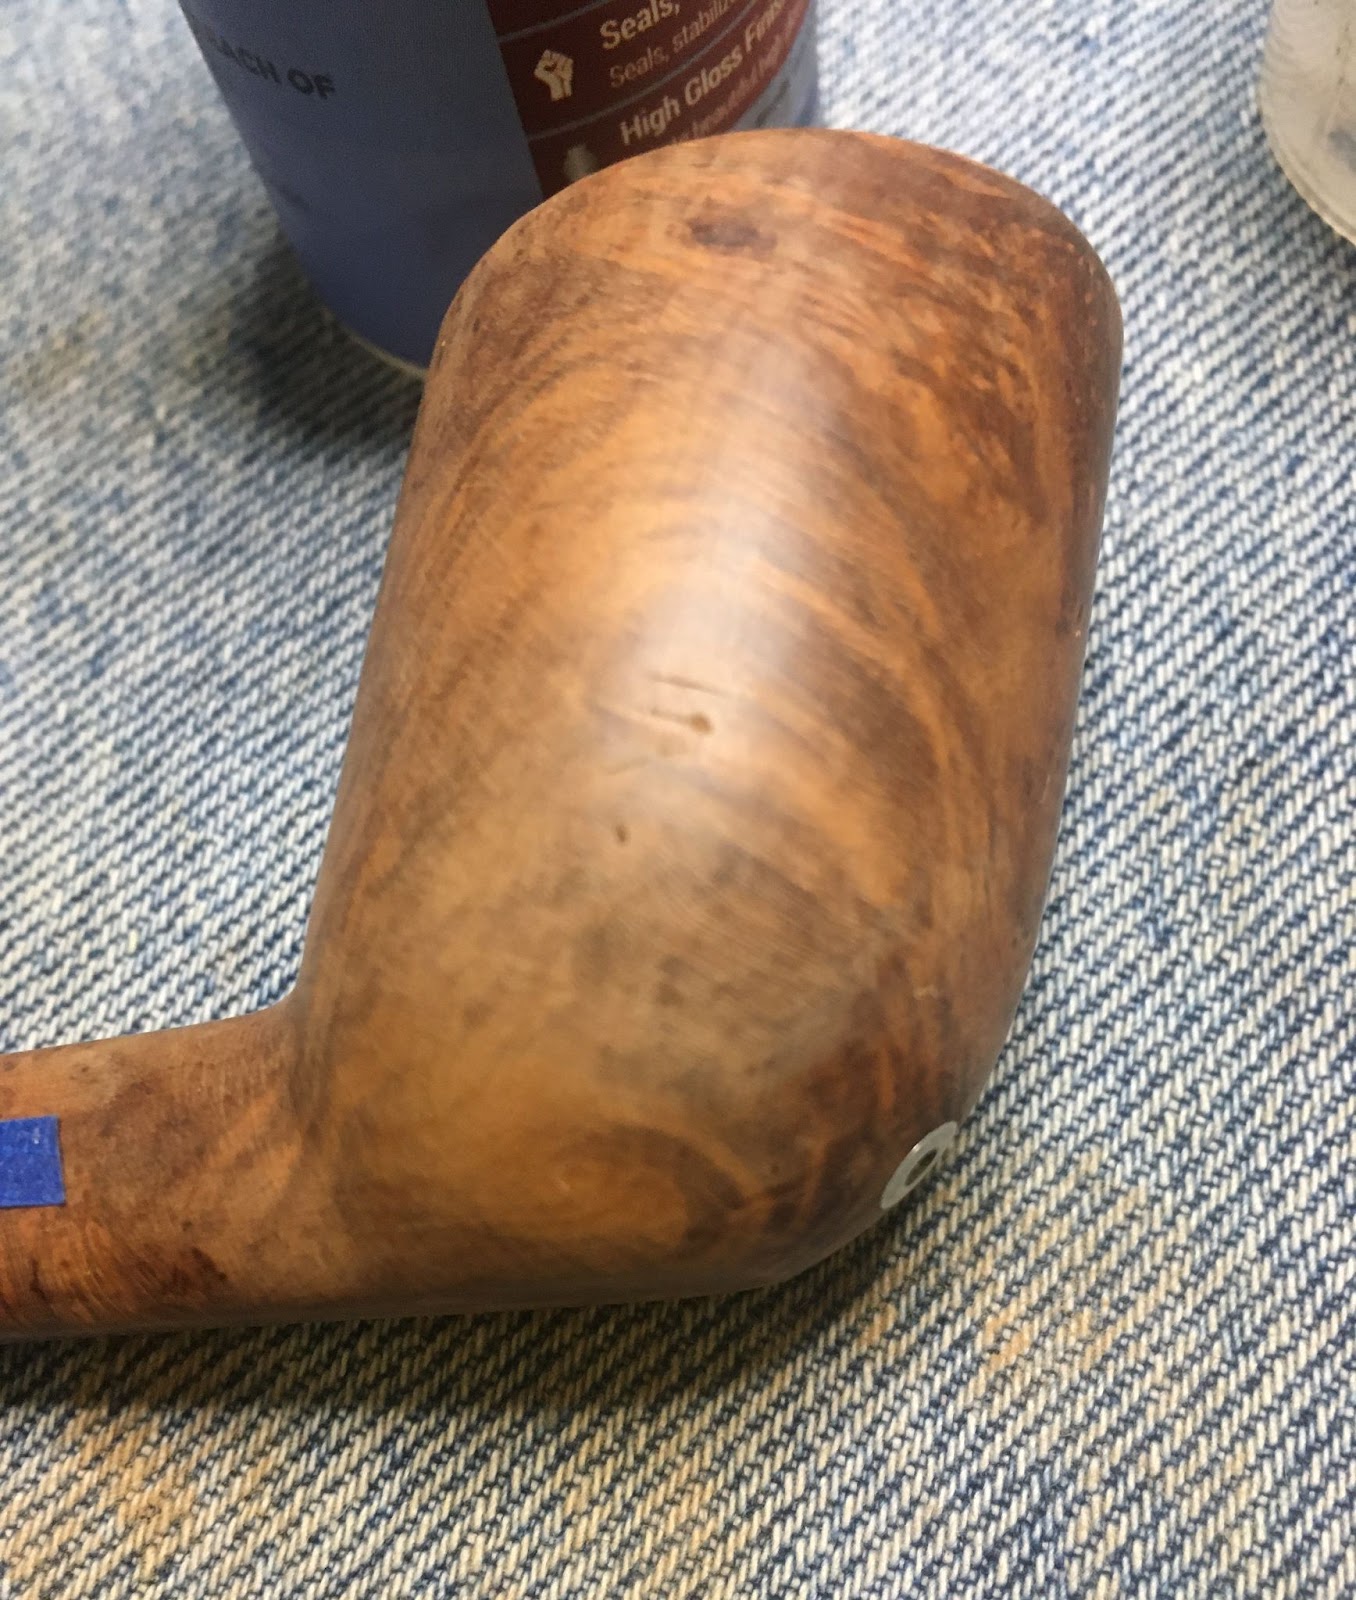
In the meantime I decided that I wanted to contrast-stain (please allow me to use stain and dye as synonyms) this stummel. The plan had two parts. Part one was to give it a coating of black to darken the softer grain of the briar, sand the surface removing the outer layer of darkened briar but keeping the soft grained area darker and the harder grained, less deeply dyed, areas lighter. Part two would be to redye the stummel with a diluted light brown dye, which is actually more yellow, allowing this to add a more yellow color to the light grained areas while not being noticed on the blackened areas.
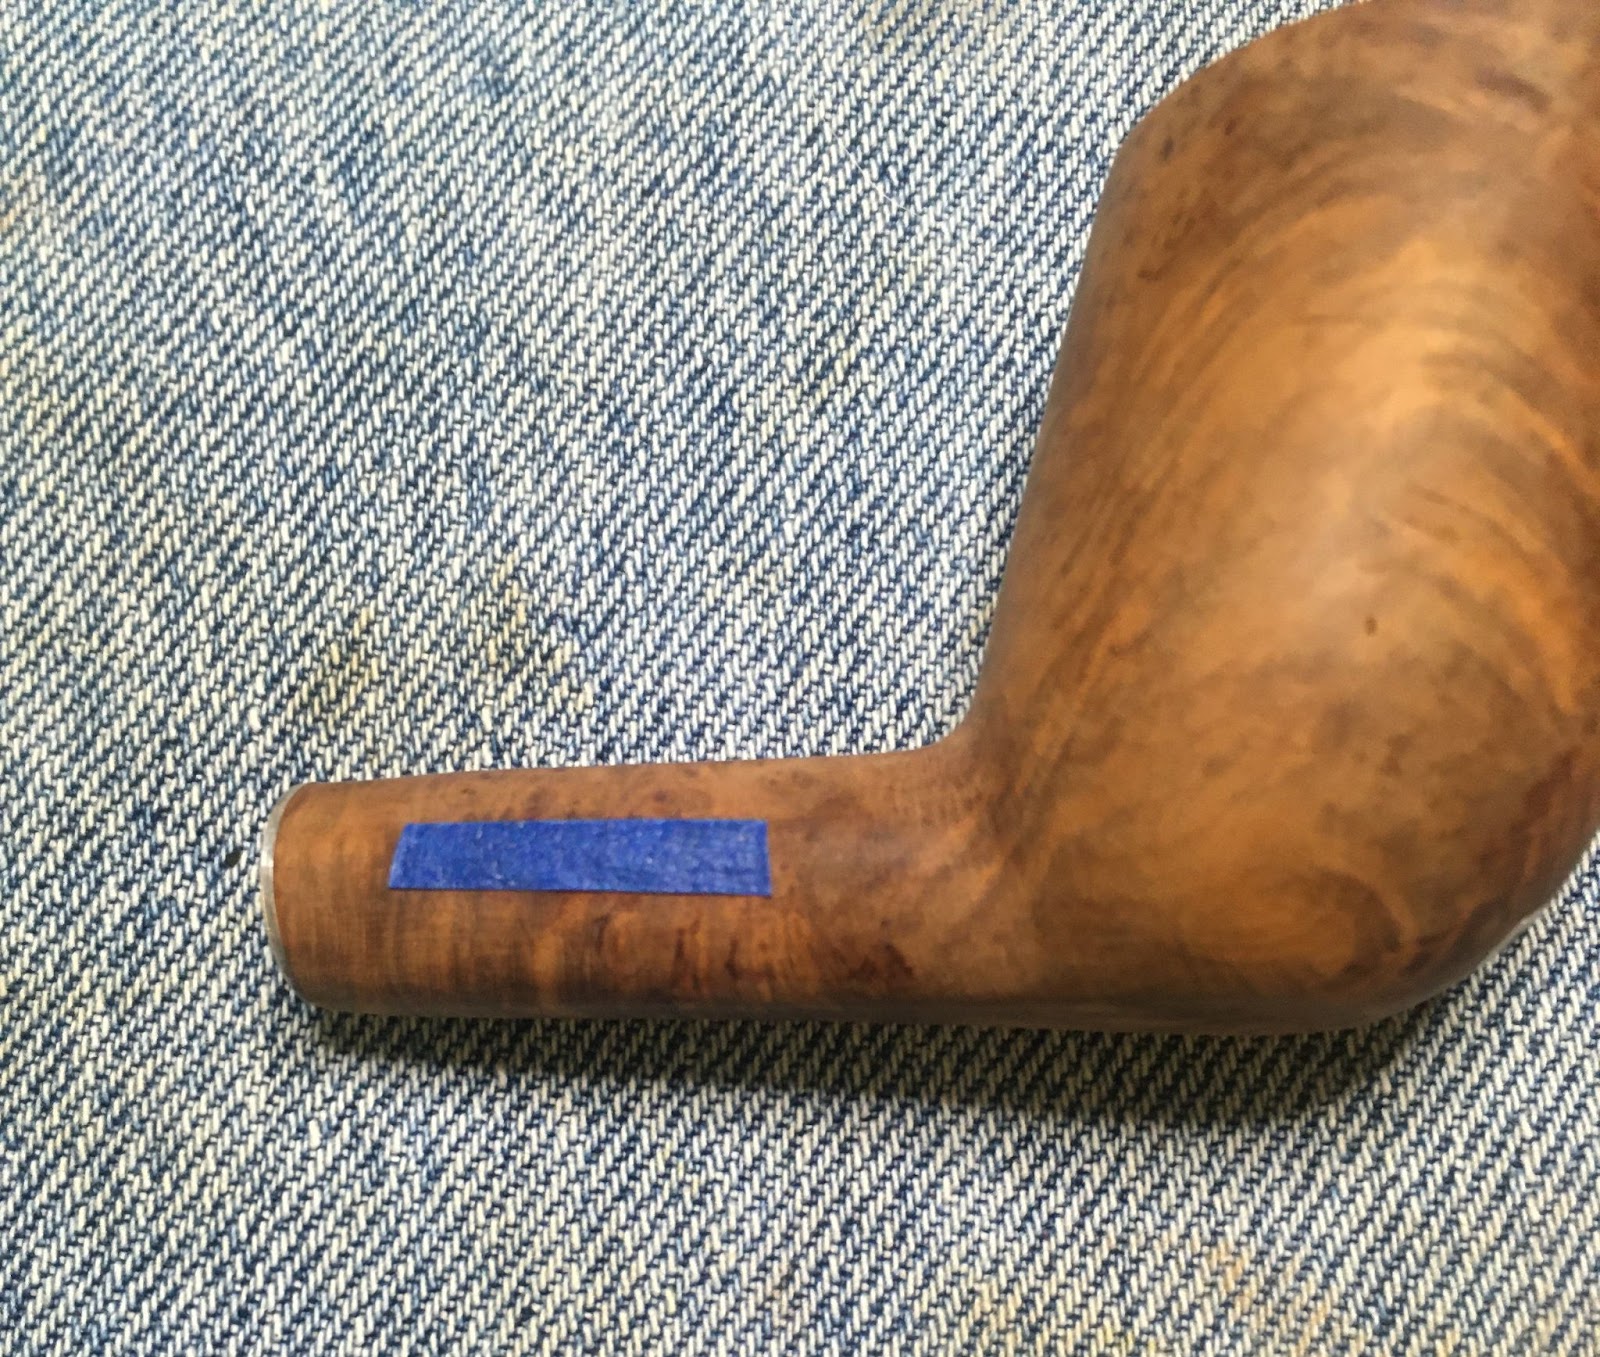
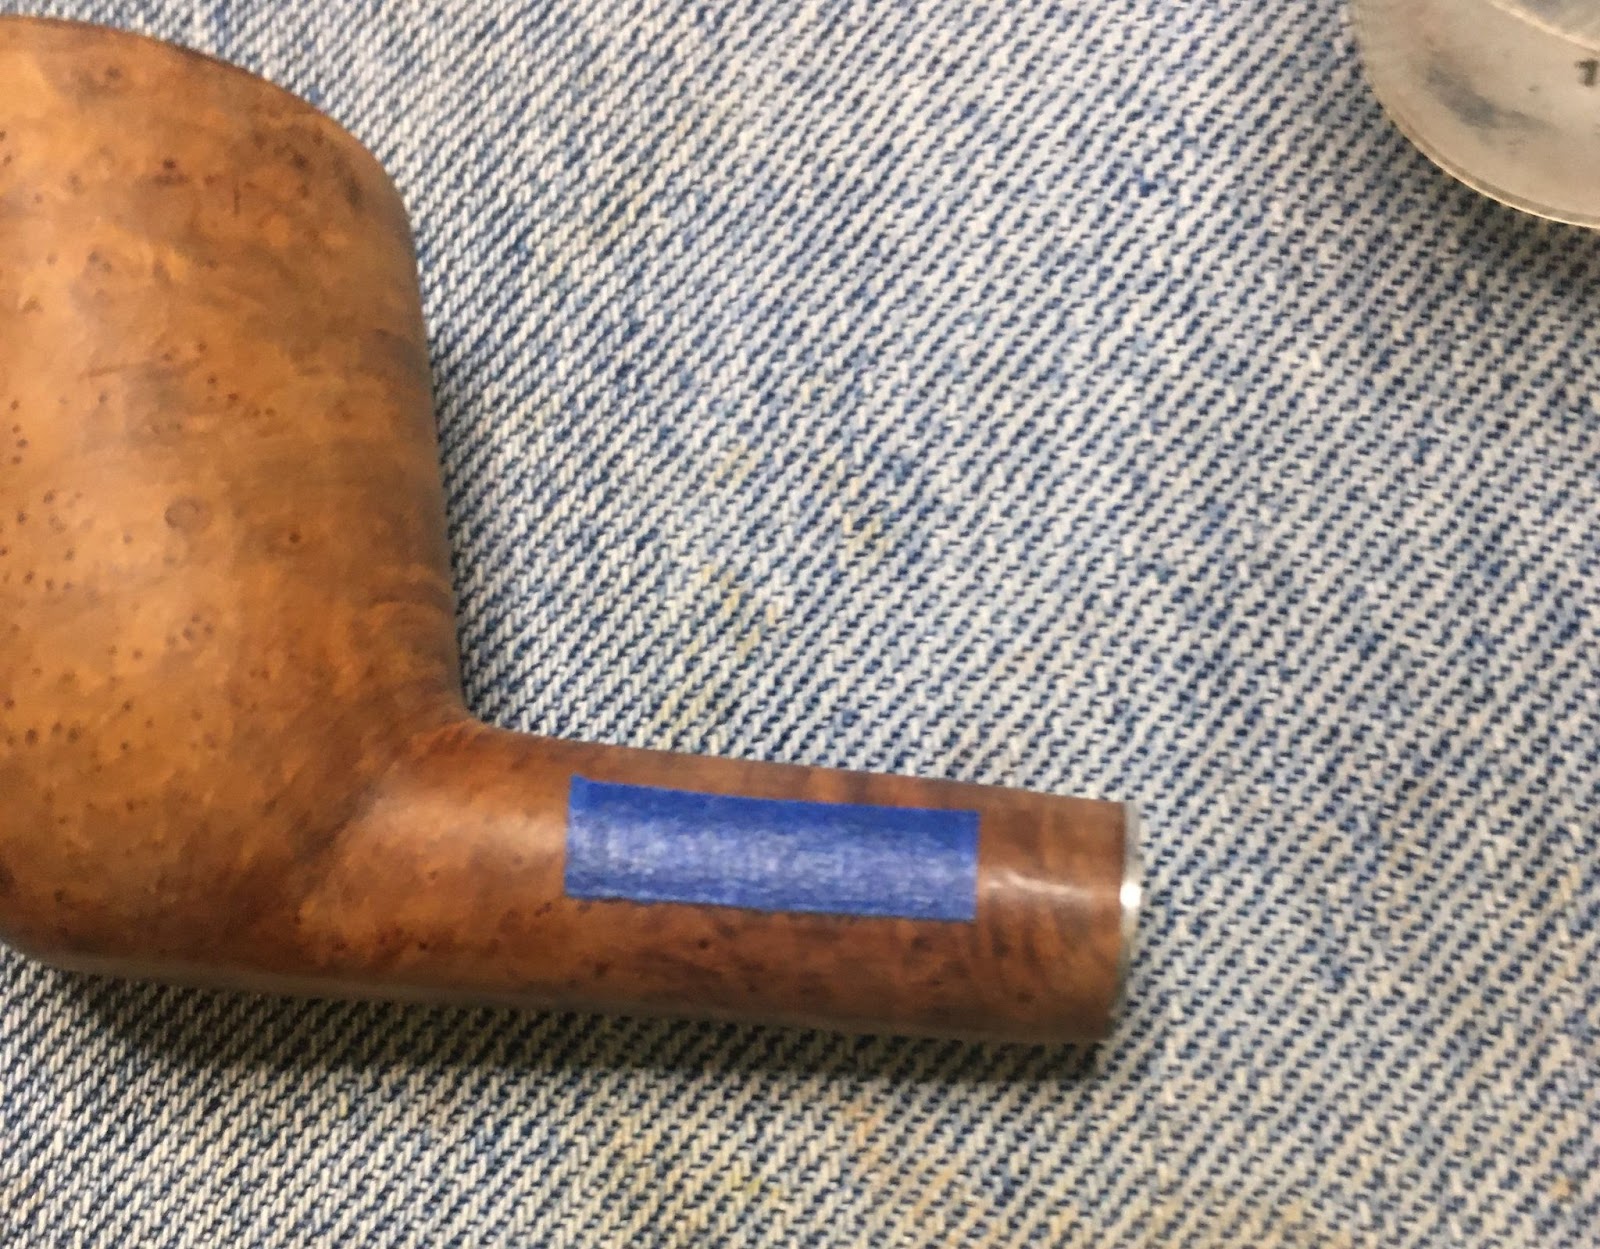
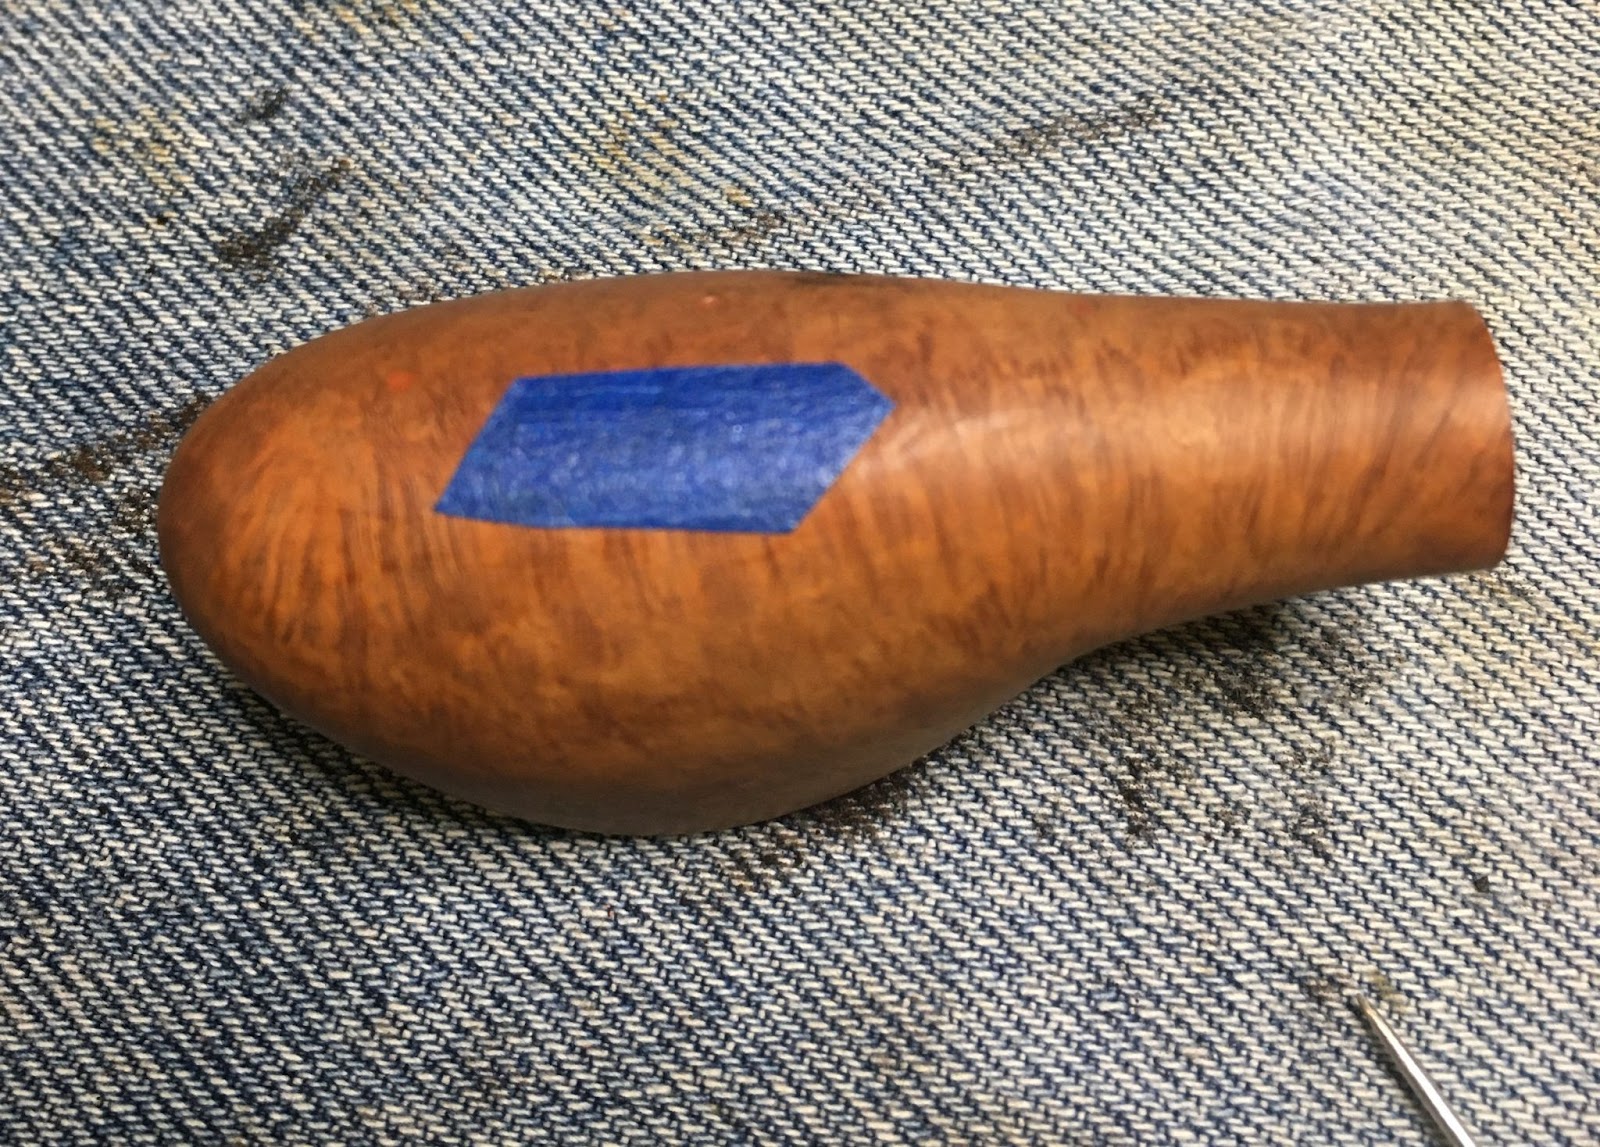
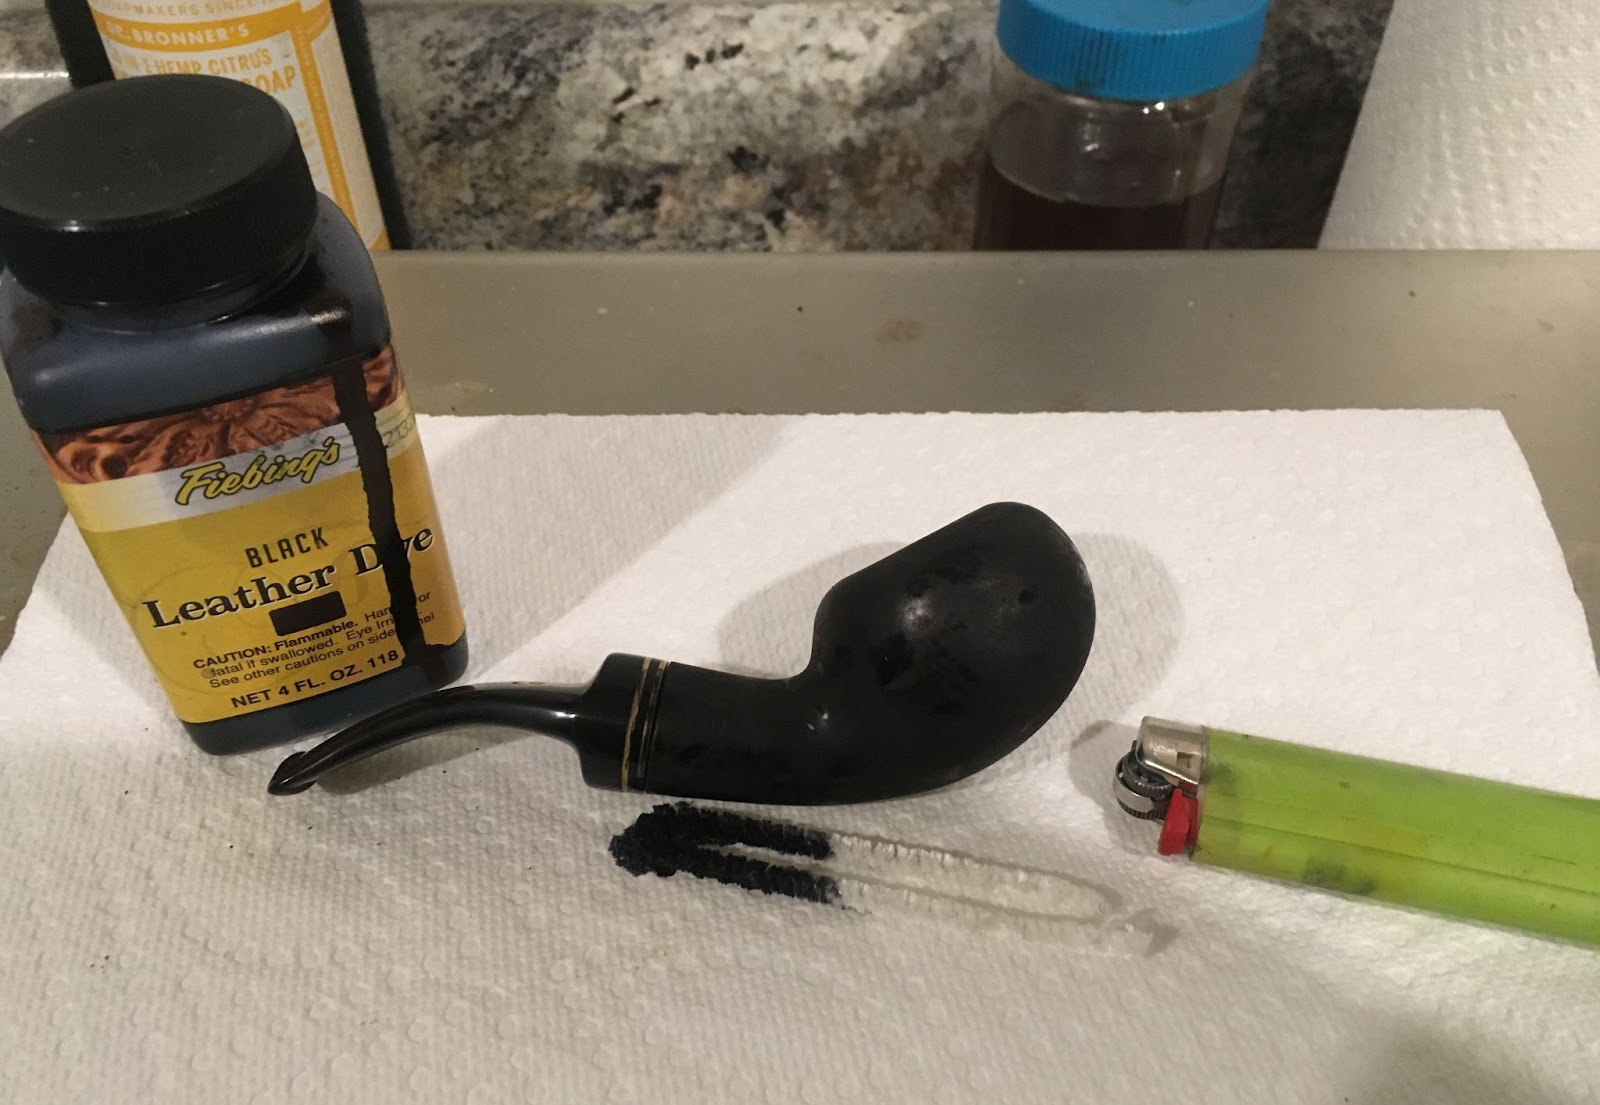
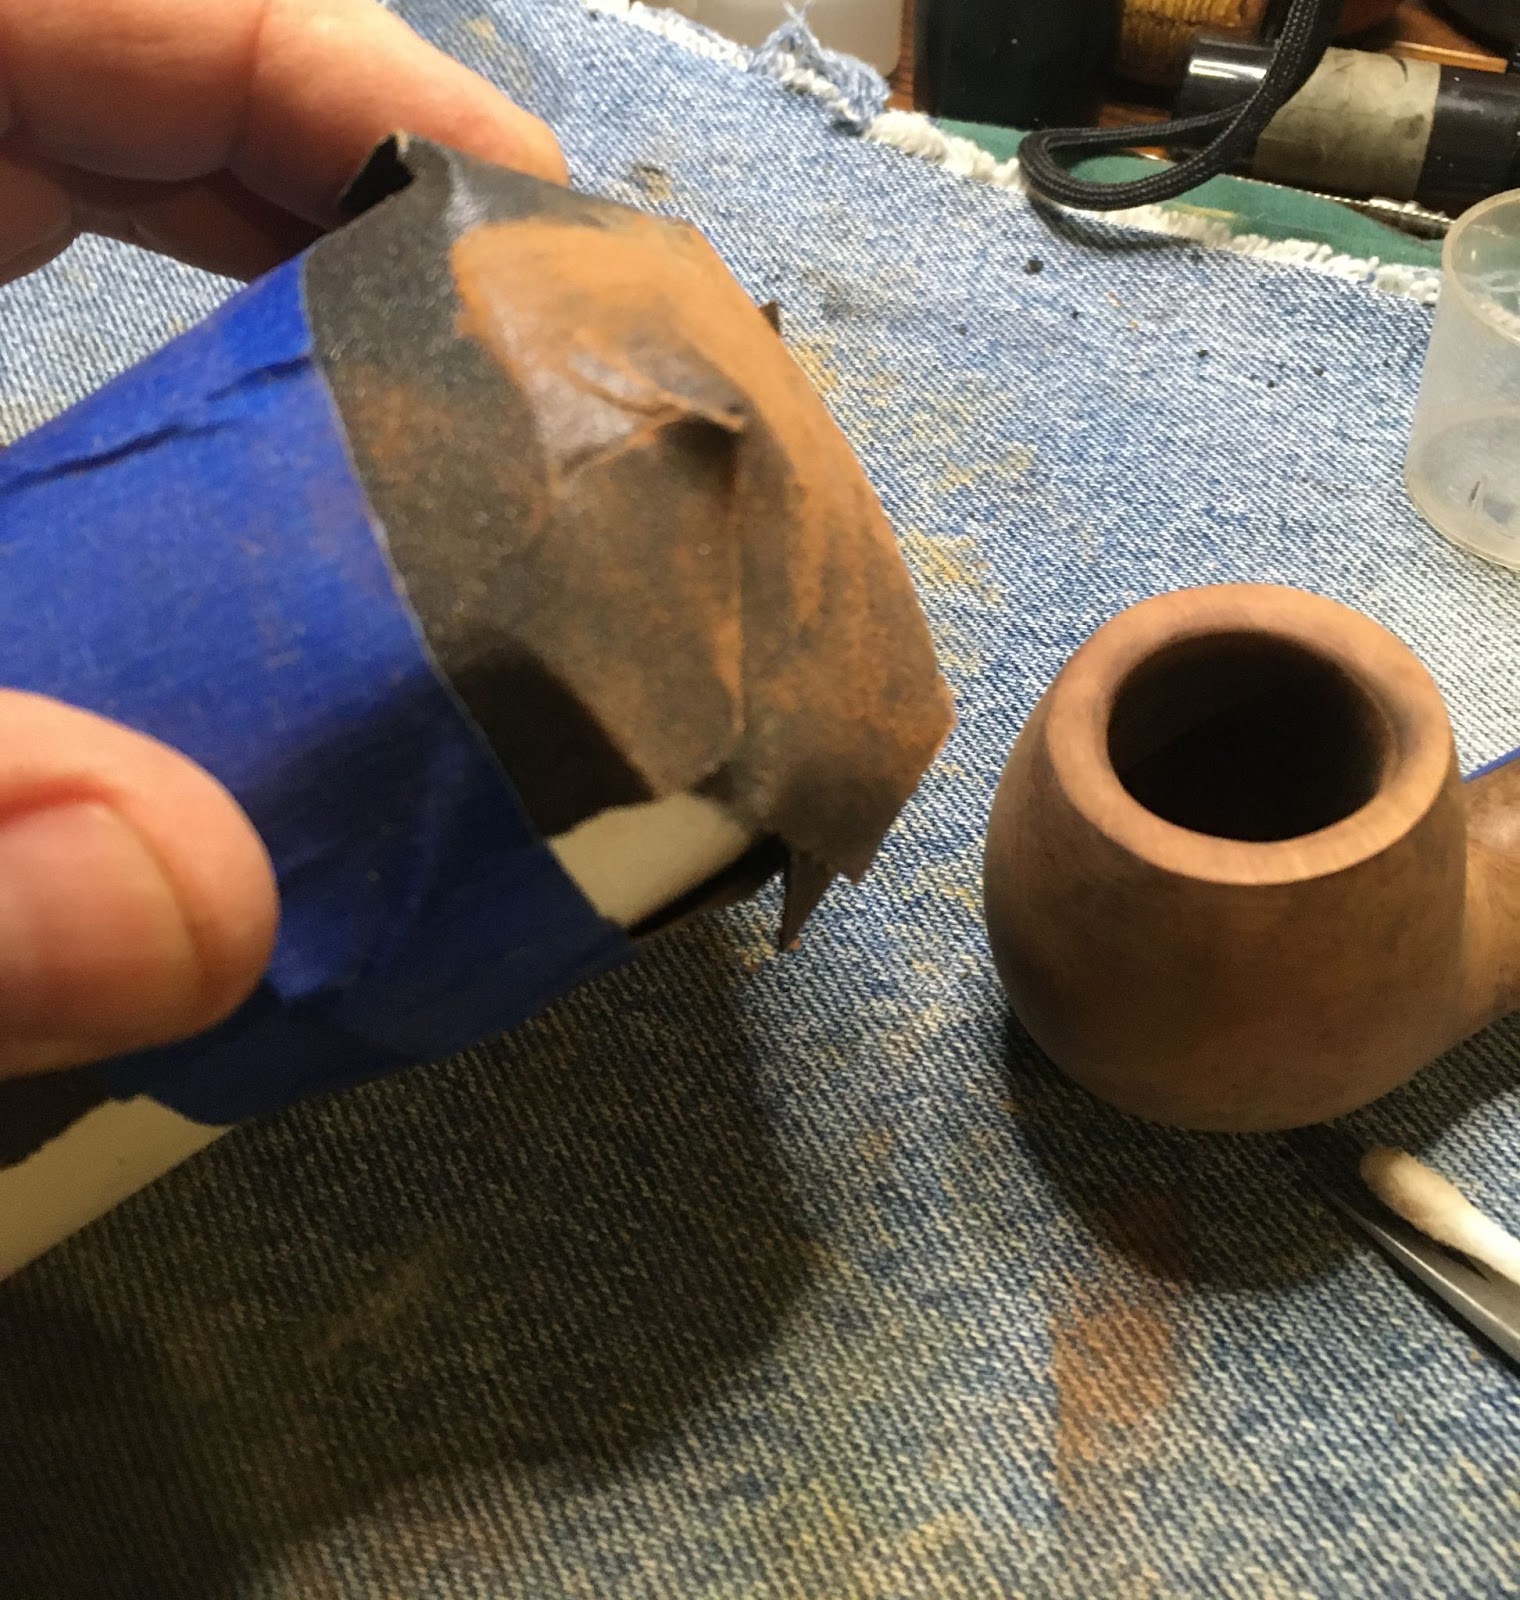
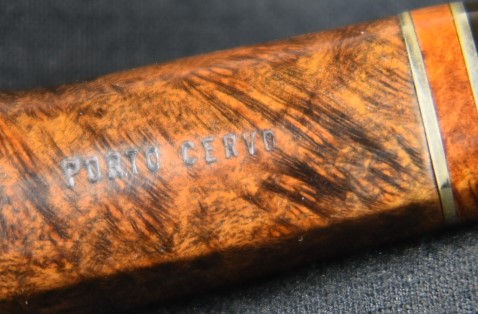
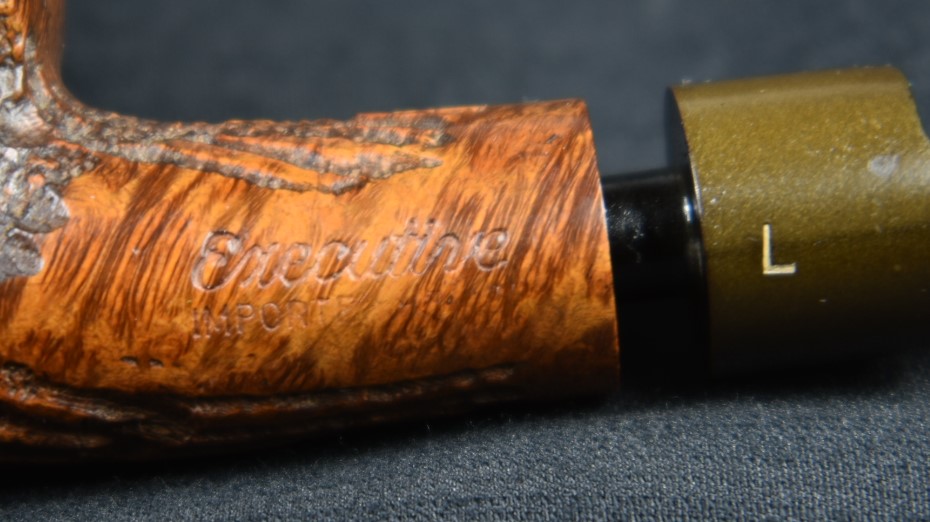
Here we go: Black Fiebing’s Leather Dye preparations. Cover the work area with a couple paper towels and gather the gear needed; disposable lighter, folded over pipe cleaner, black dye, a duct tape wrapped fishing bobber (wine cork if you have them) and the subject stummel. I taped the stamping in an attempt to keep the dye from staining it. If it had gotten stained then I’d have to sand over the stamping , weakening the stamp, in order to make the stain look like it was blended and not like a “CENSORED” rectangle.

Use the folded pipe cleaner as the applicator for the dye and coat the stummel with dye. The duct tape wrapped bobber keeps unwanted dye out of the tobacco chamber and provides a handle since you need to forget to wear nitrile gloves. While the stummel is still wet, the wet dye aflame with the lighter. Look around for someone to show this blue flaming stummel to then realize your dogs don’t care.

I wiped the stummel with a paper towel to remove excess dye, mainly because I wasn’t wearing nitrile gloves and didn’t need black hands.
Back at the workbench I noticed that my tape had come off early in the dying process but it had worked long enough to keep the stamp mostly free of dye. I wiped the entire stummel with a make-up pad wetted with 95% ethyl alcohol.

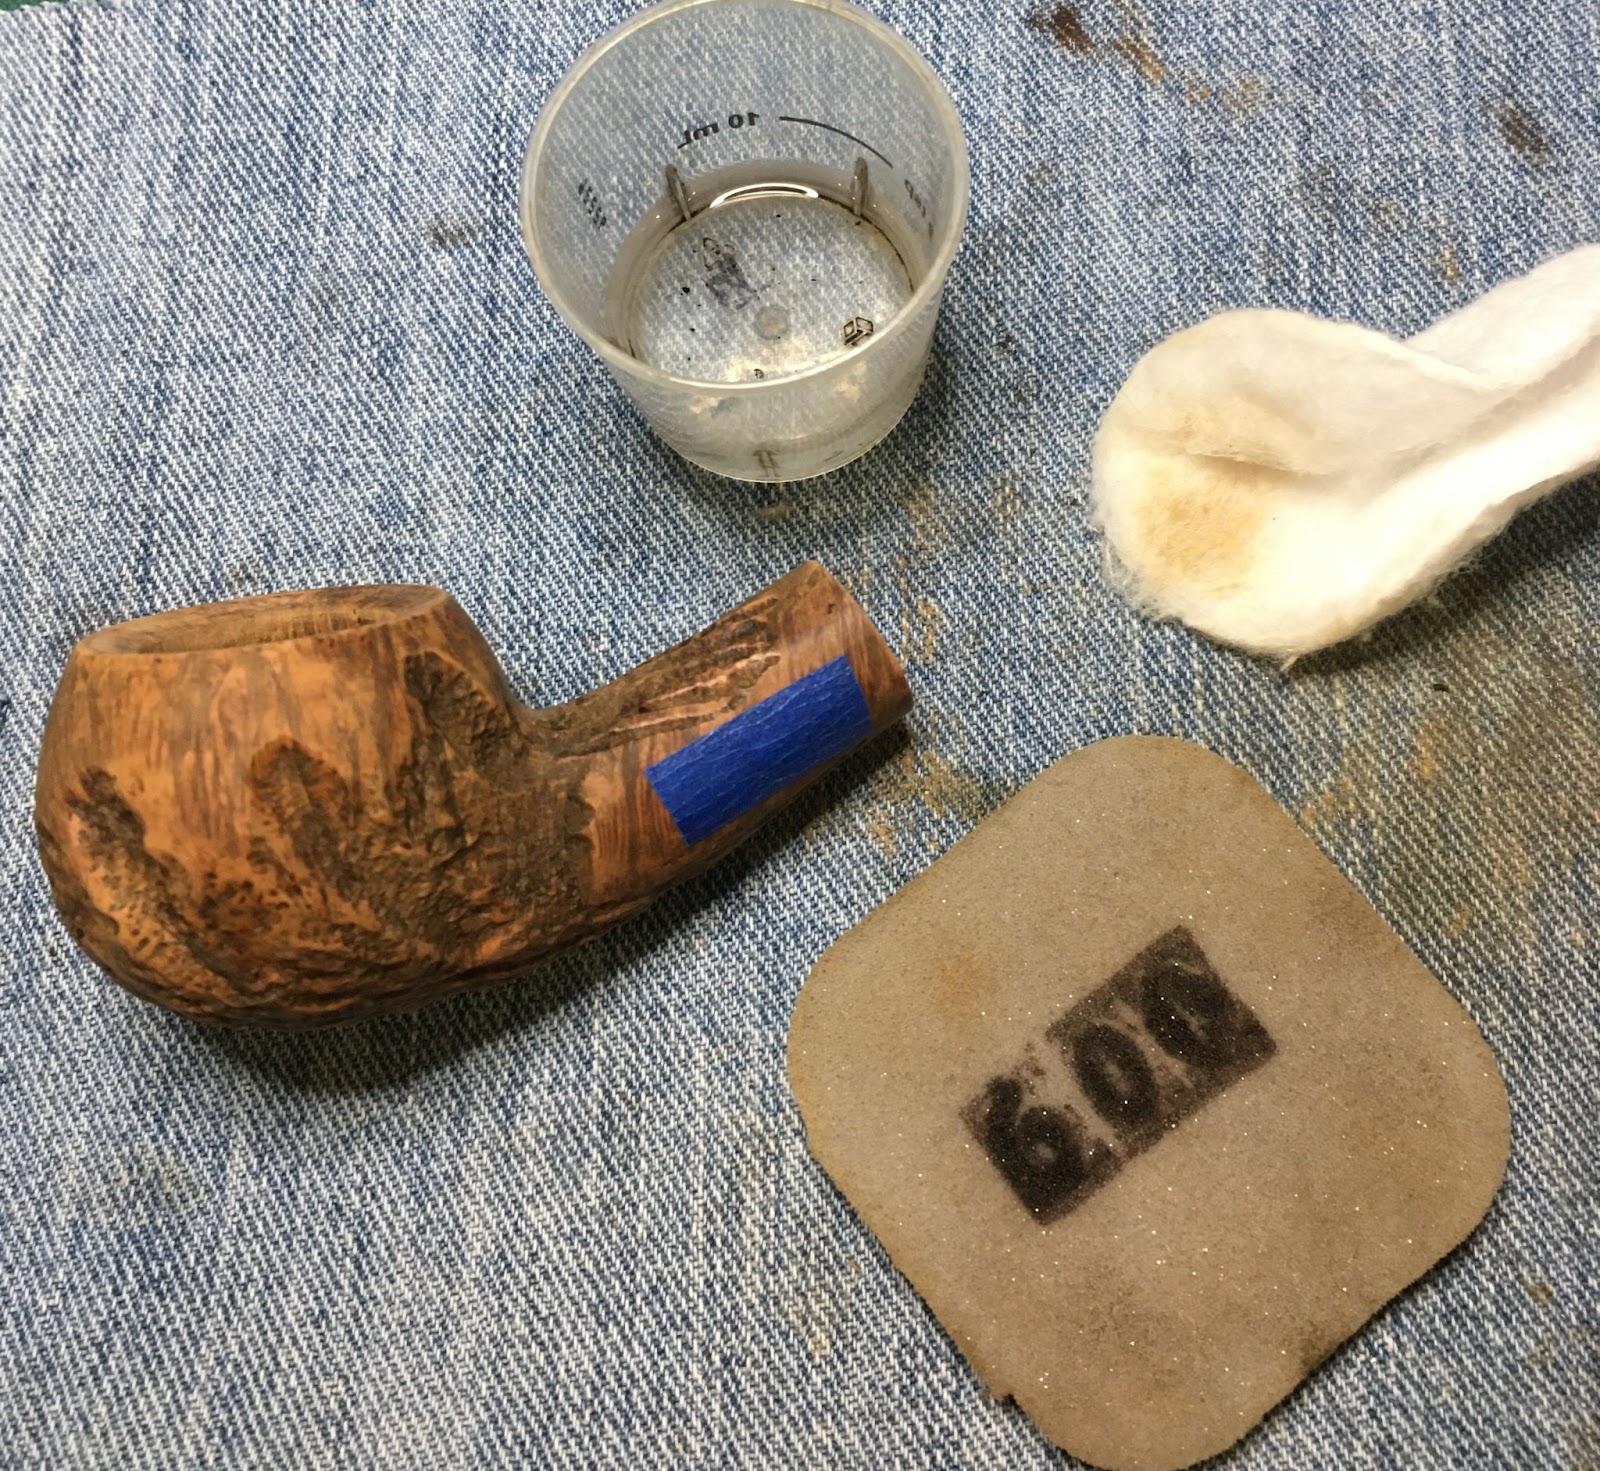
Next came the sanding of the stummel with a 400 sanding sponge. The sponge was wiped off on the denim surface frequently to keep the sponge clean and remove the black dyed outer layer evenly. After the 400 sponge I used the 600 and 1000 sponges to further smooth and remove a little more black from areas. The stummel was then wiped with an alcohol wetted make-up pad.

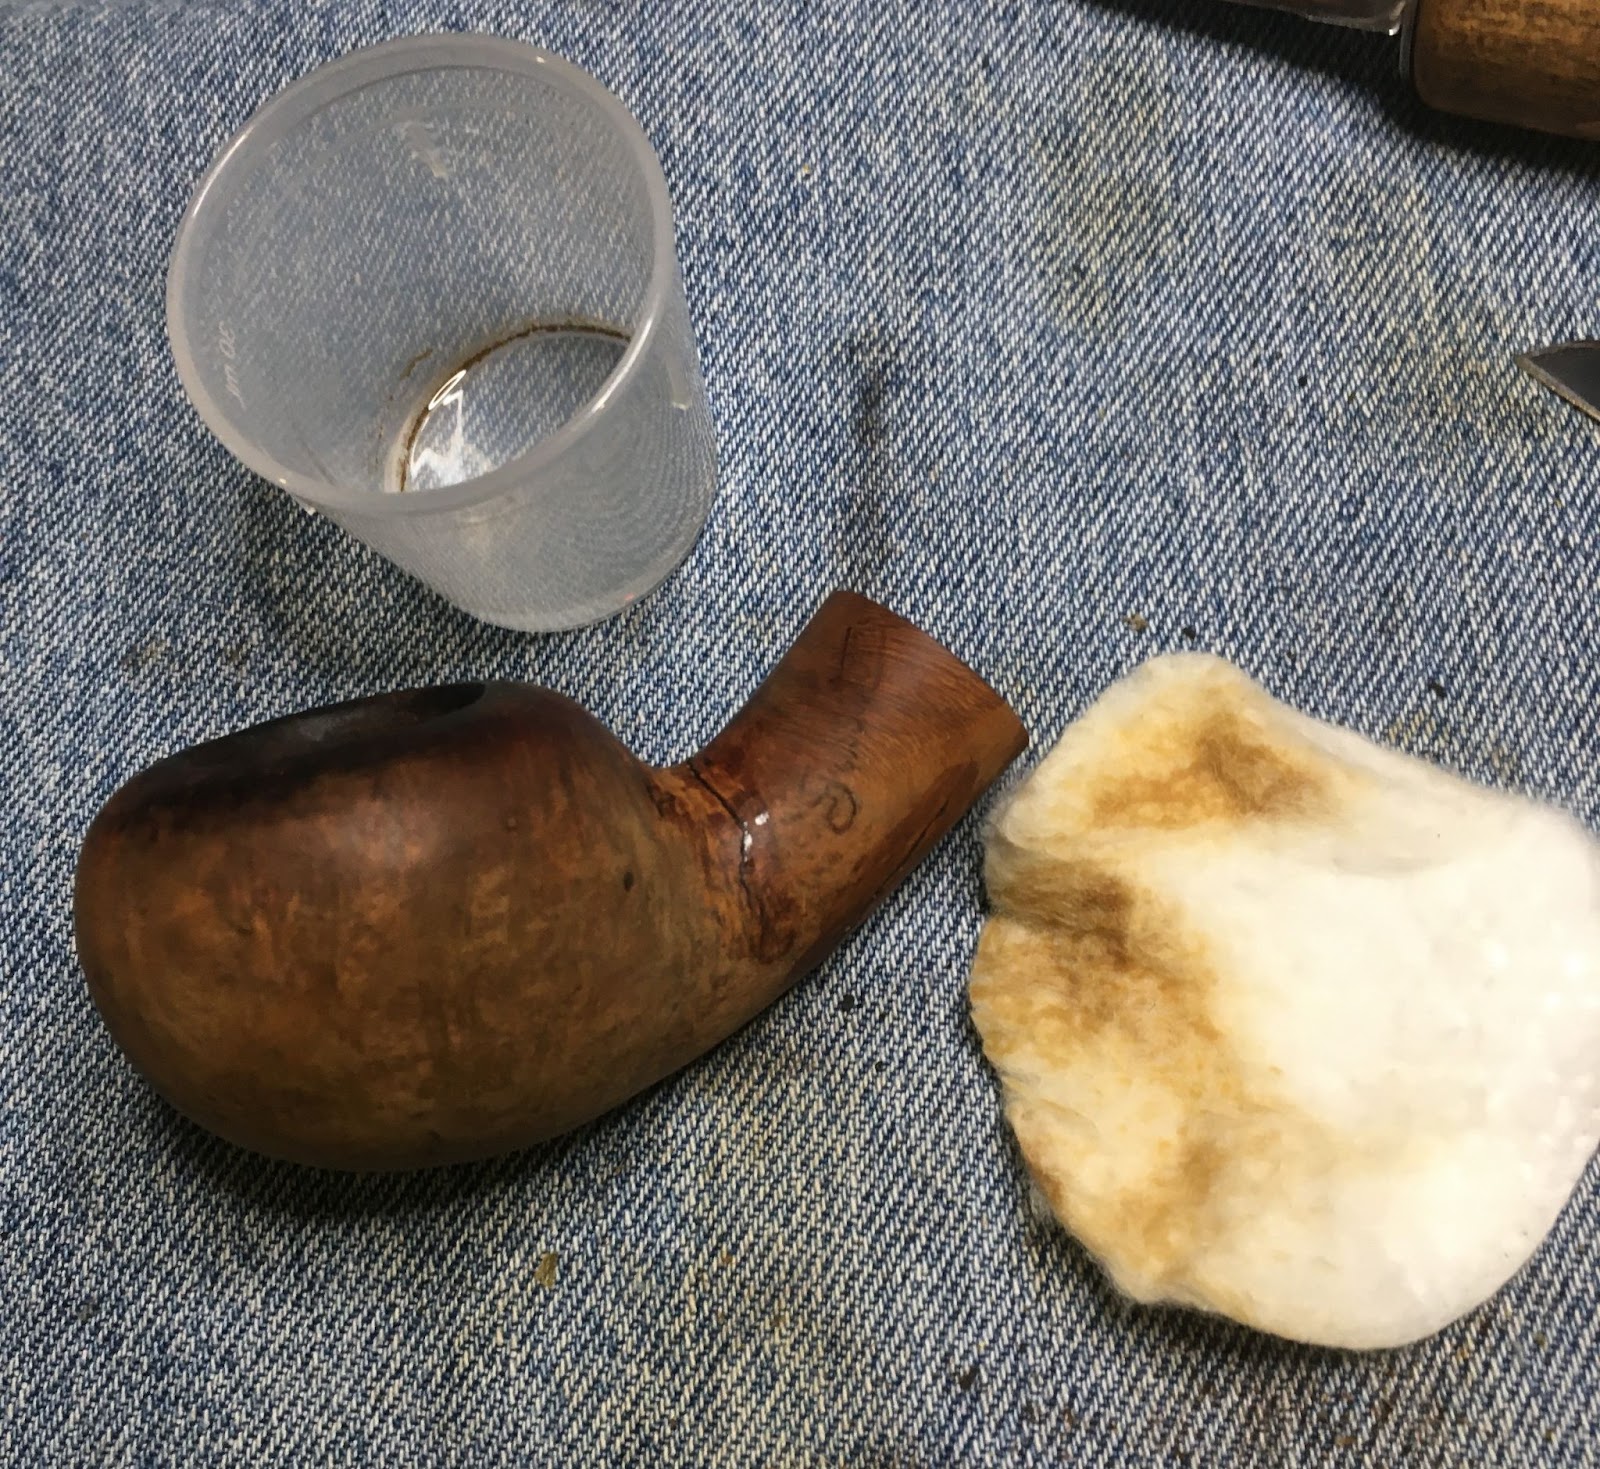
It was now time for the coloring of the lighter areas. I used Fiebing’s Light Brown Leather dye diluted to 50% with 95% ethyl alcohol. A disposable pipette was used to measure out equal amounts of each liquid. I used a medicine cup for the mixing. The same procedure was used as before. And yes, I forgot to wear nitrile gloves again.

Below you can see the stummel has a more yellow or orange tint to it. This will lighten more with additional sanding and the wiping off of the stummel.

I returned to the workbench and wiped the stummel with an alcohol dampened make-up pad. Removing some of the light brown dye.

The below photo shows the stummel wet with alcohol.

The photo below shows the alcohol evaporated away.

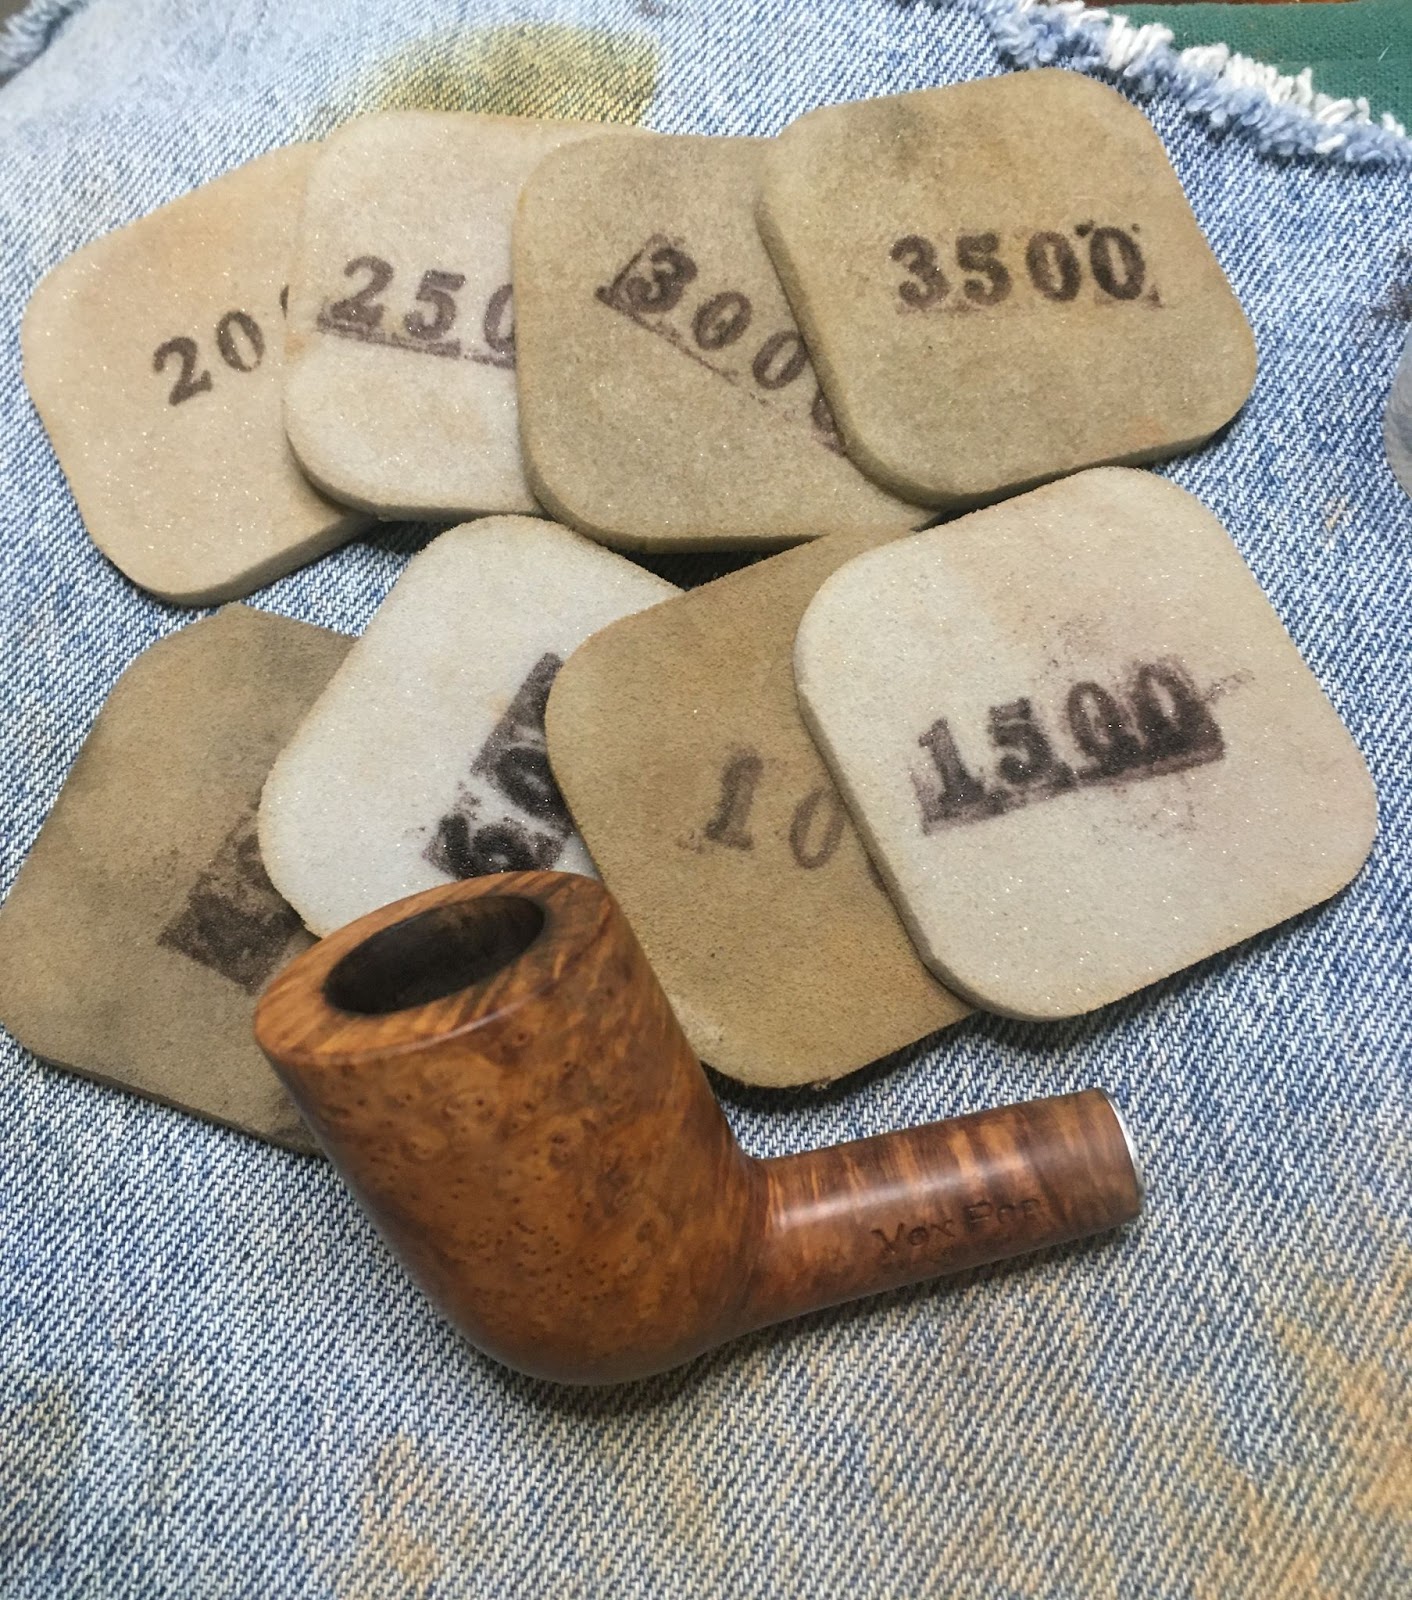
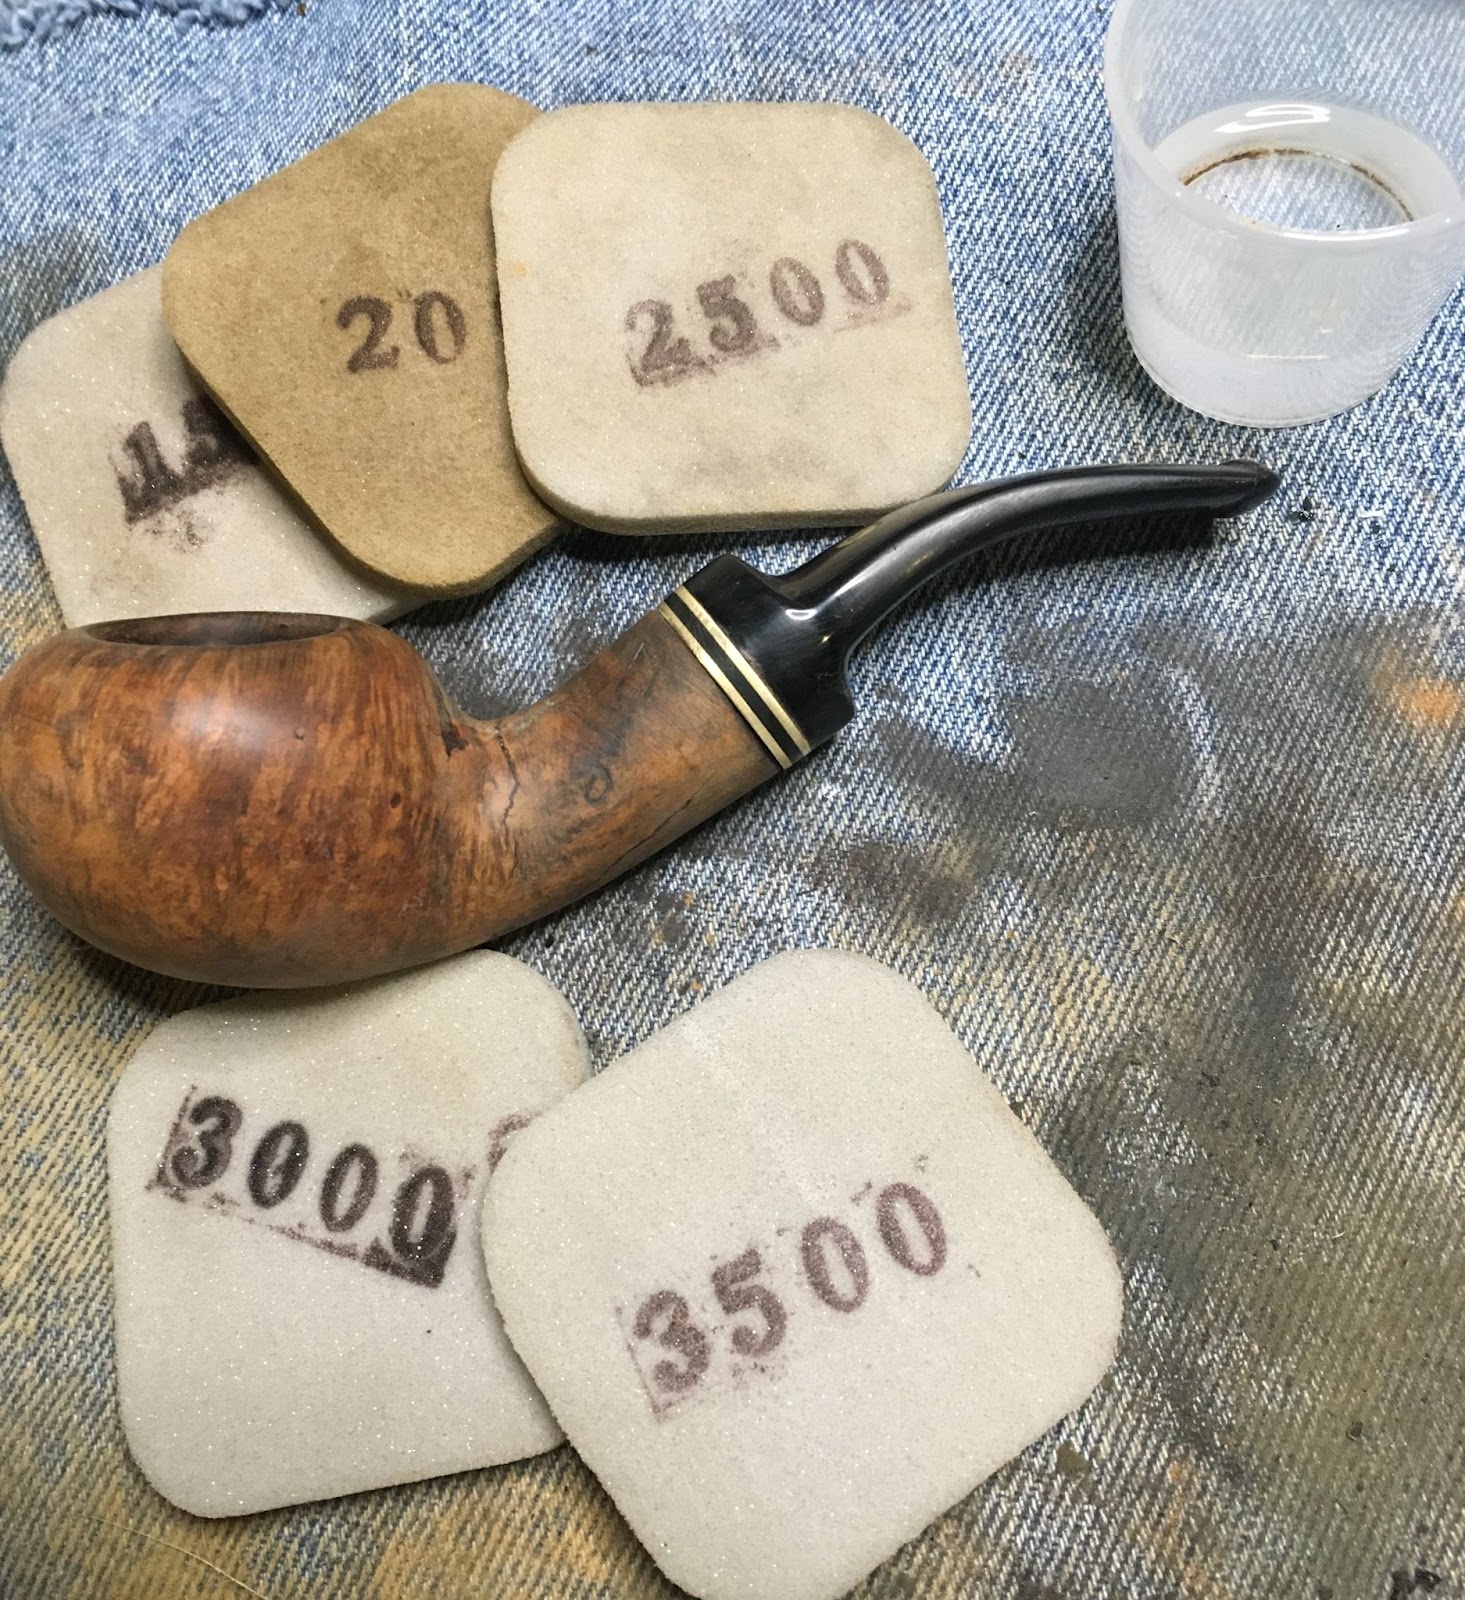
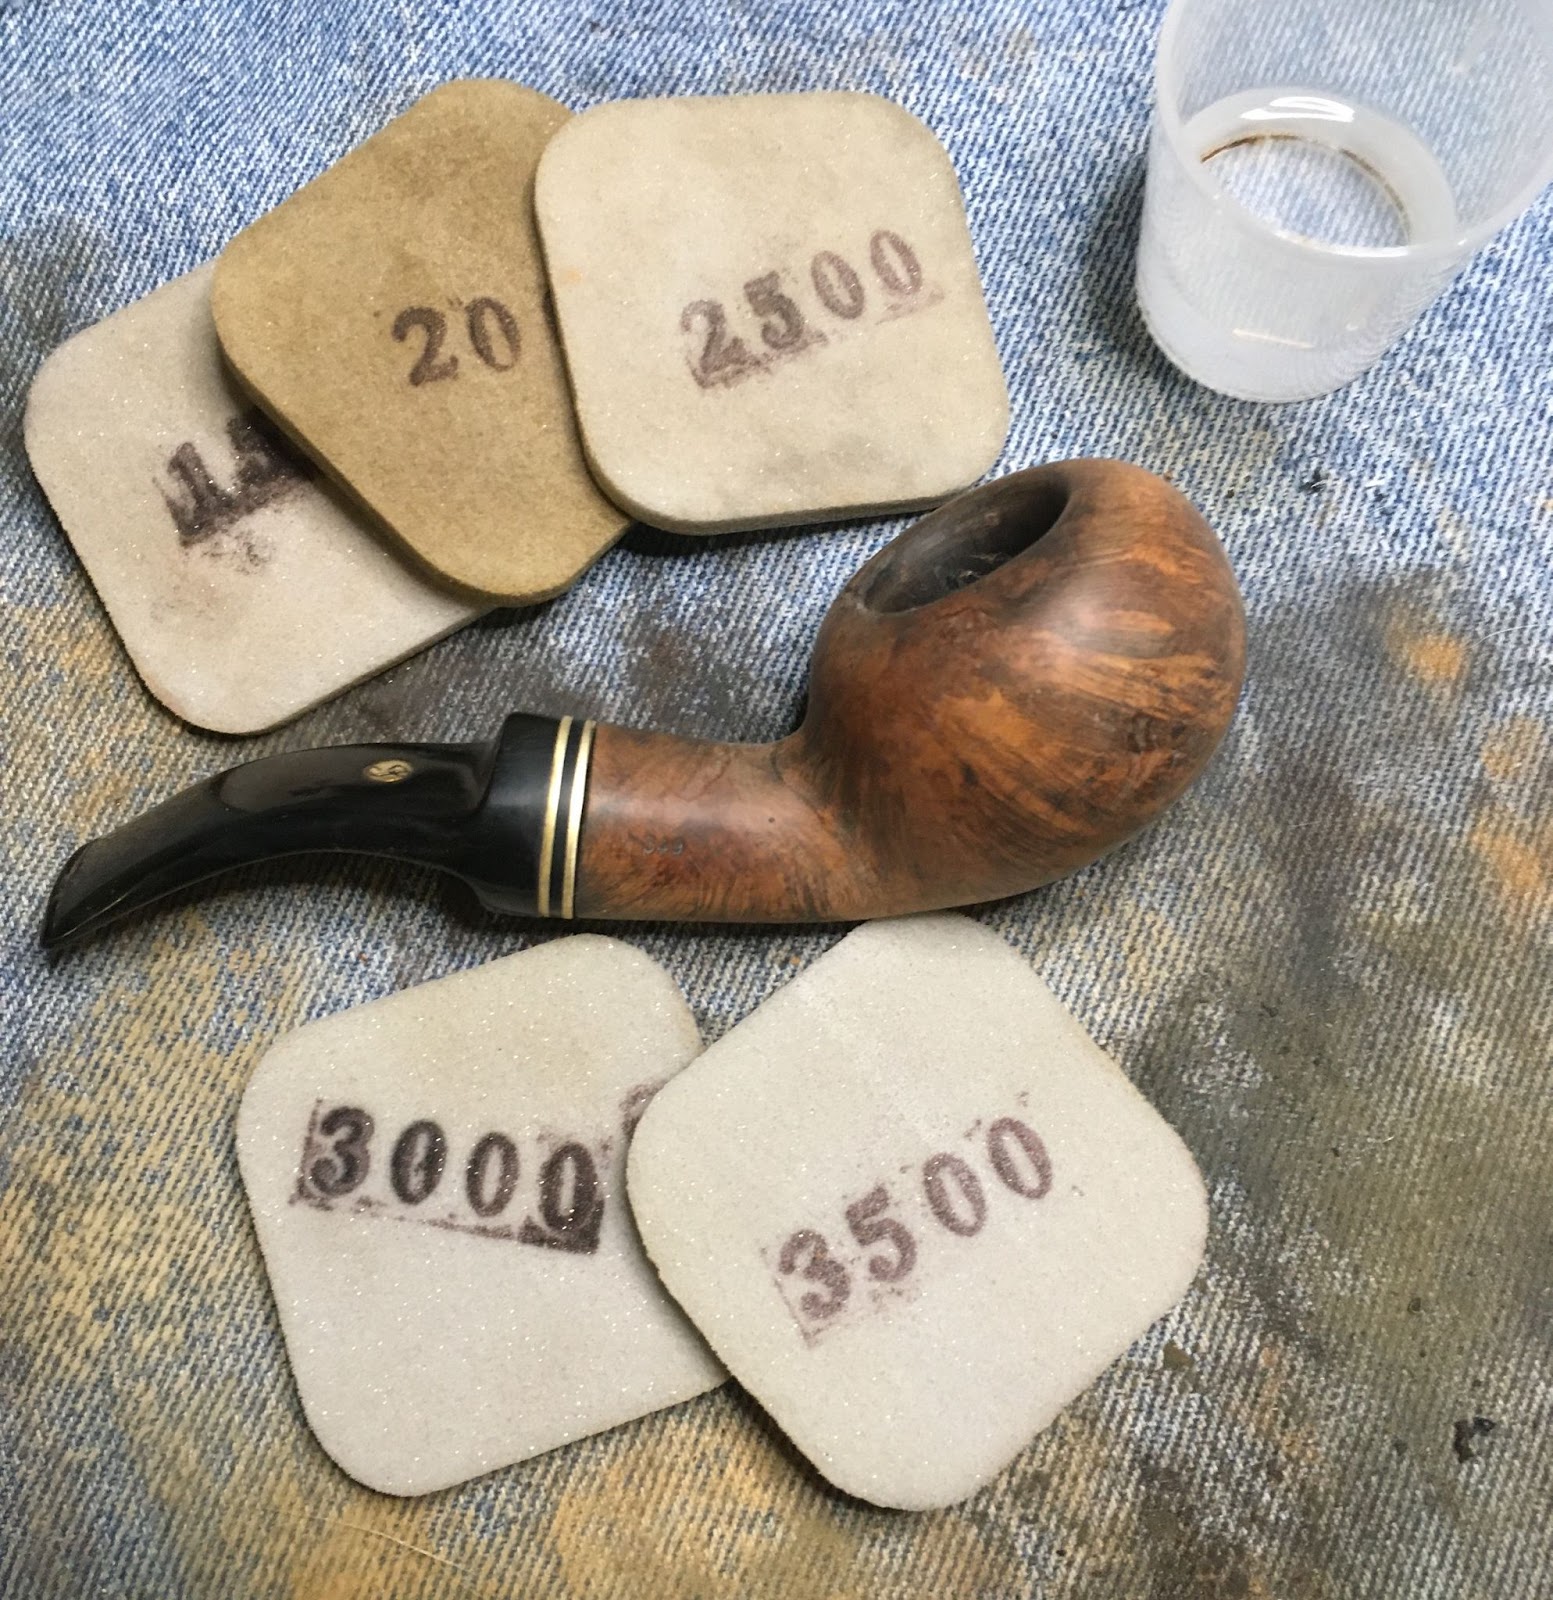
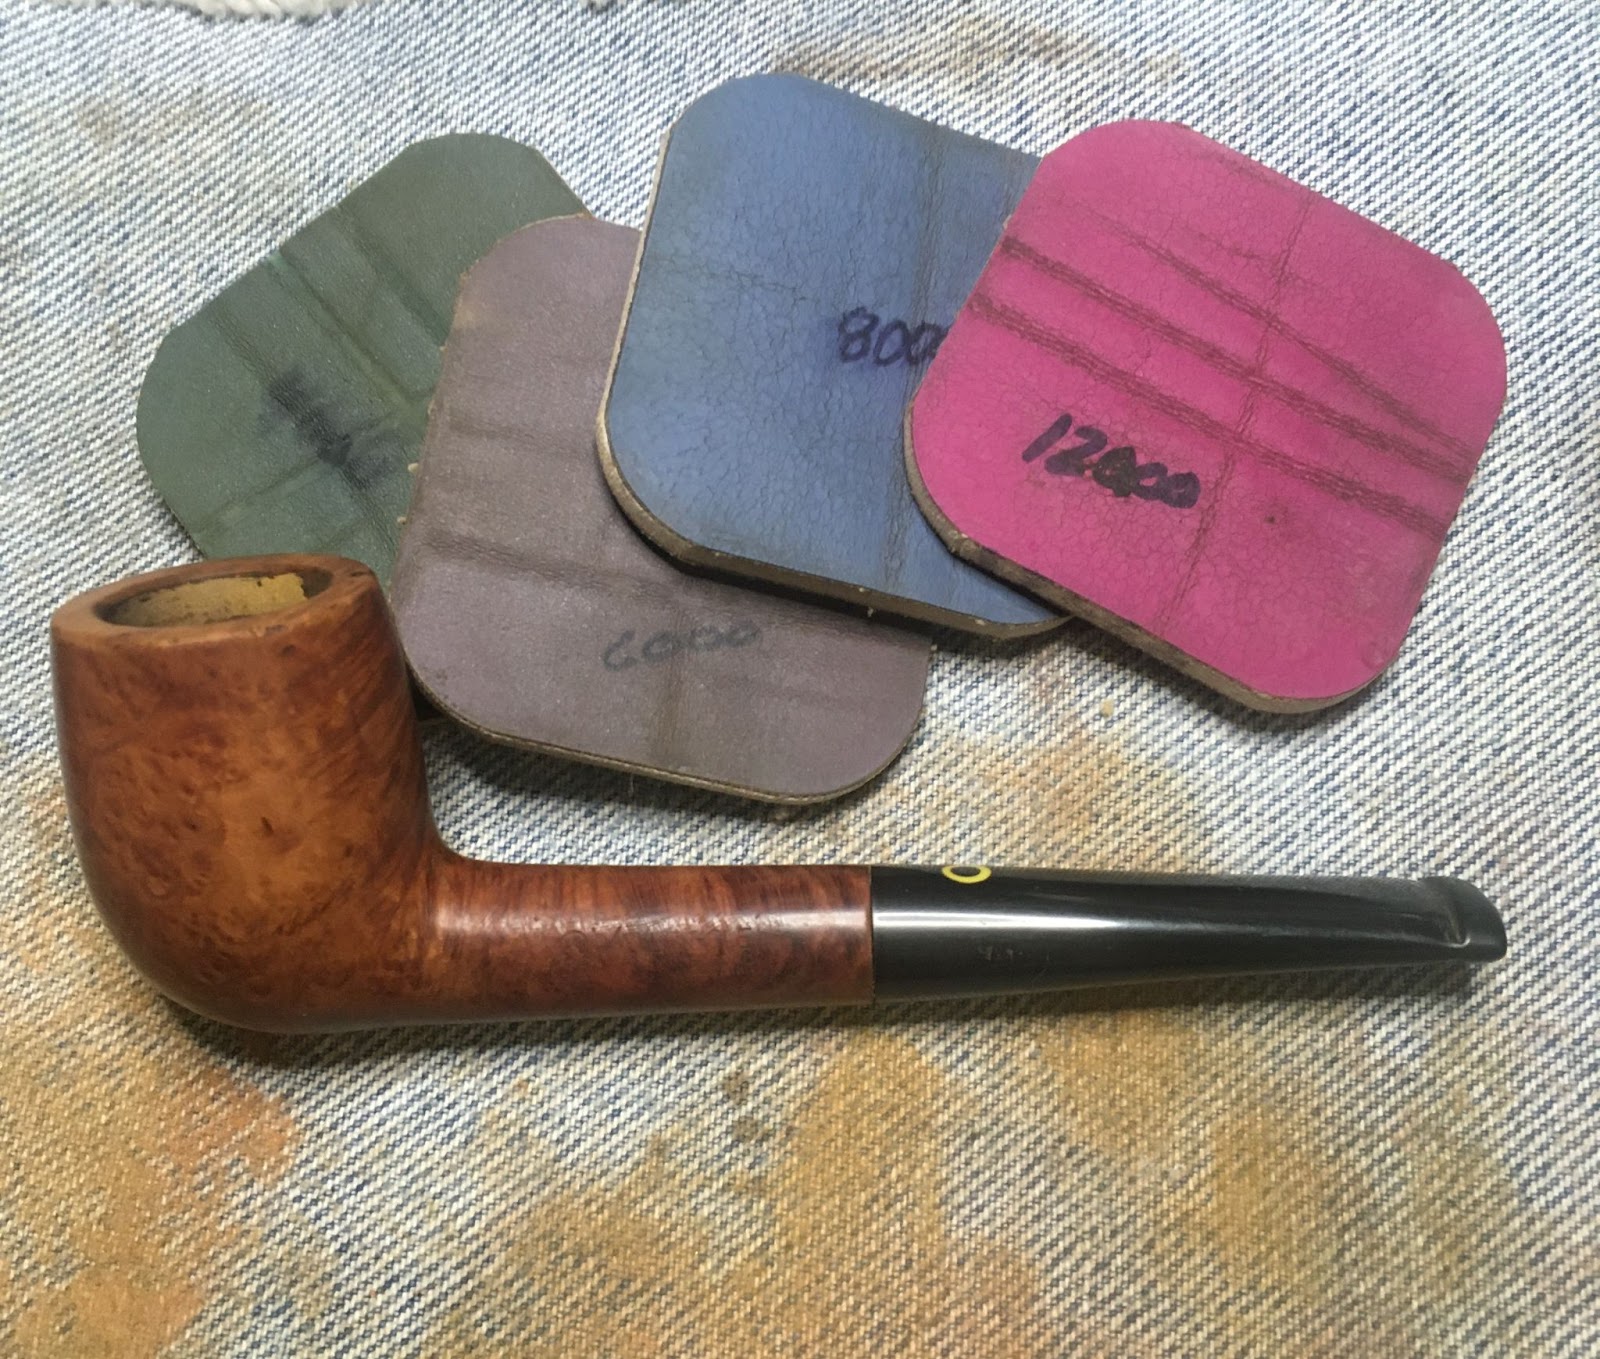
I sanded the stummel with the sequence of sanding sponges 1500-3500. The stamping was avoided as much as possible to keep from weakening the stamp. Between each sponge I wiped the stummel with a make-up pad wetted with alcohol.
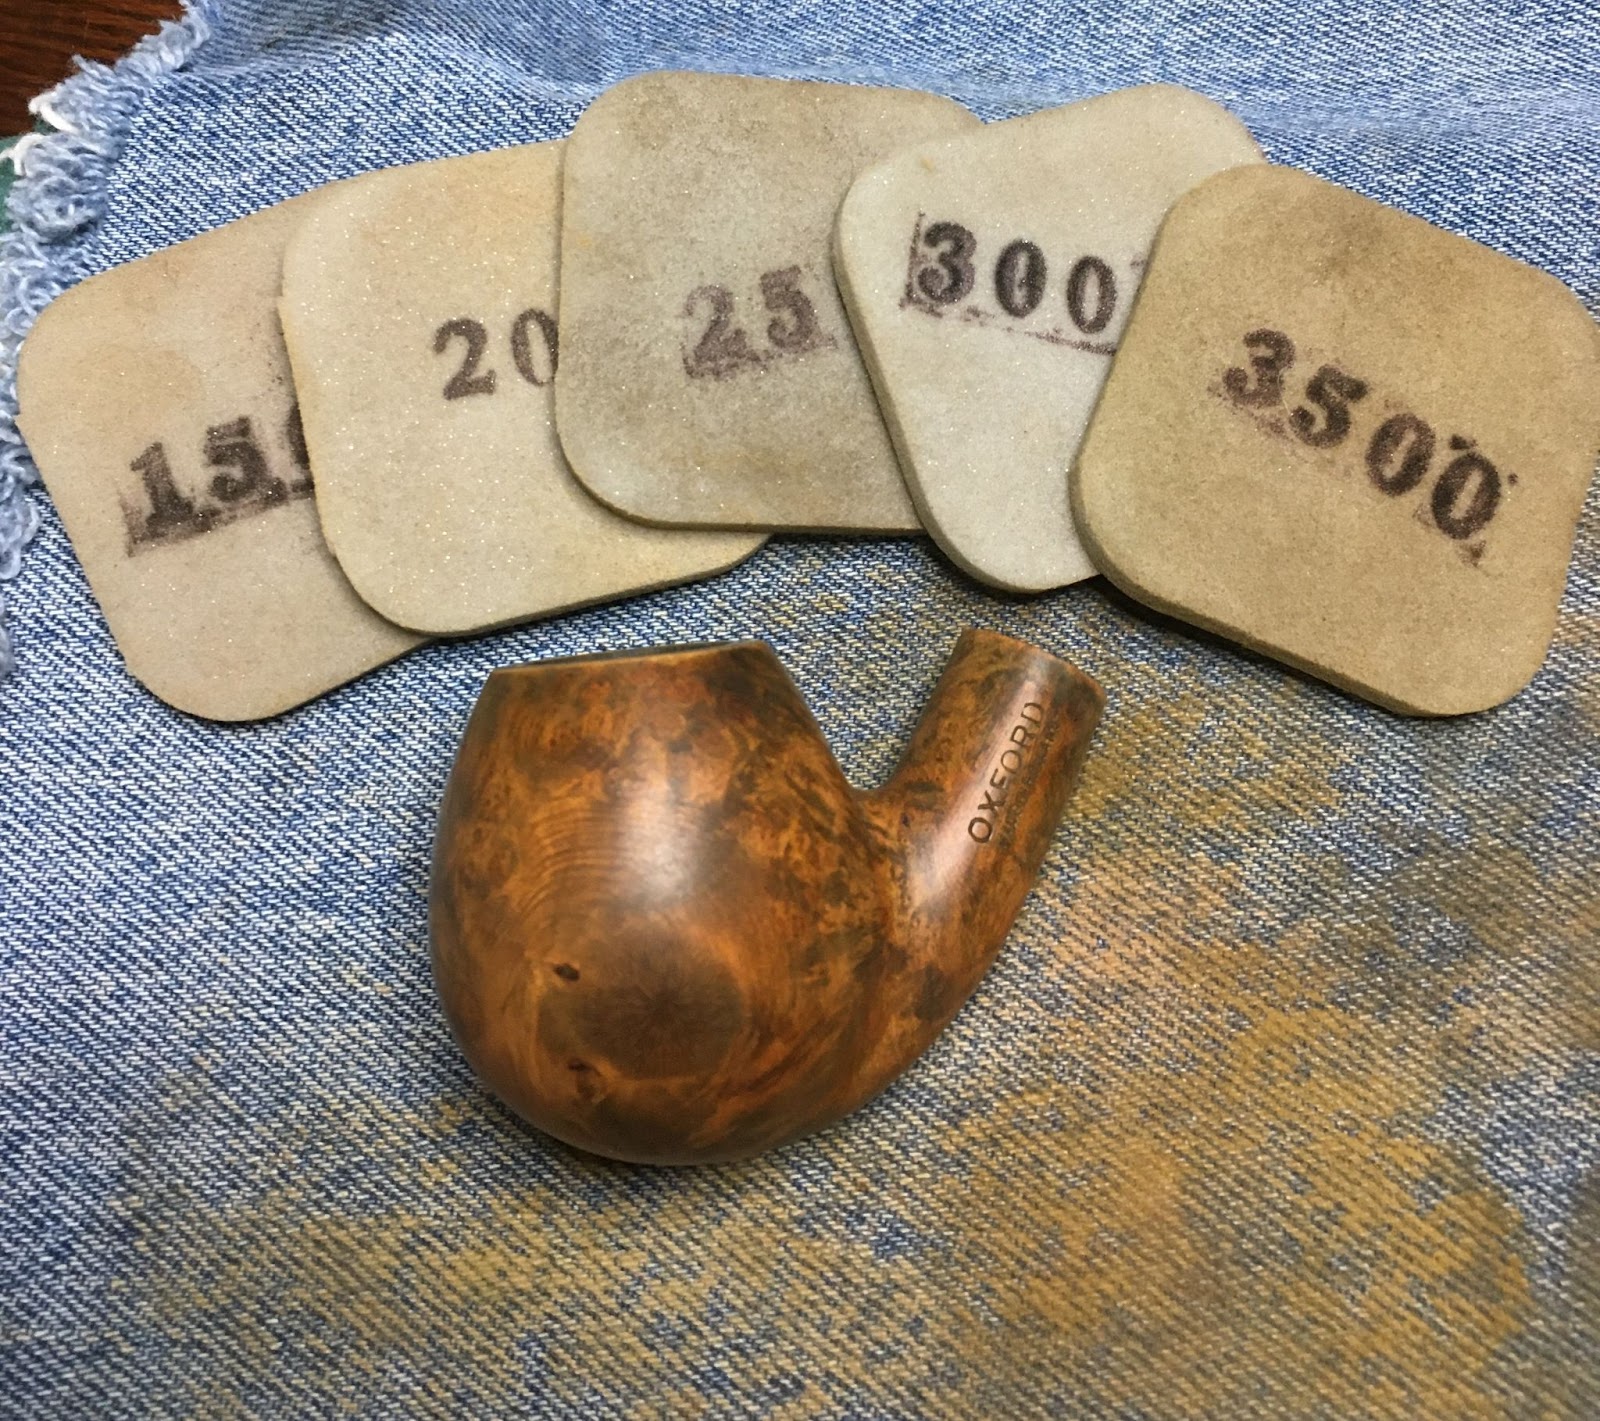
I micro-meshed the stummel with a sequence of 4000-12000 micro-mesh pads. Again wiping the stummel between each pad as done with the sanding sponges.

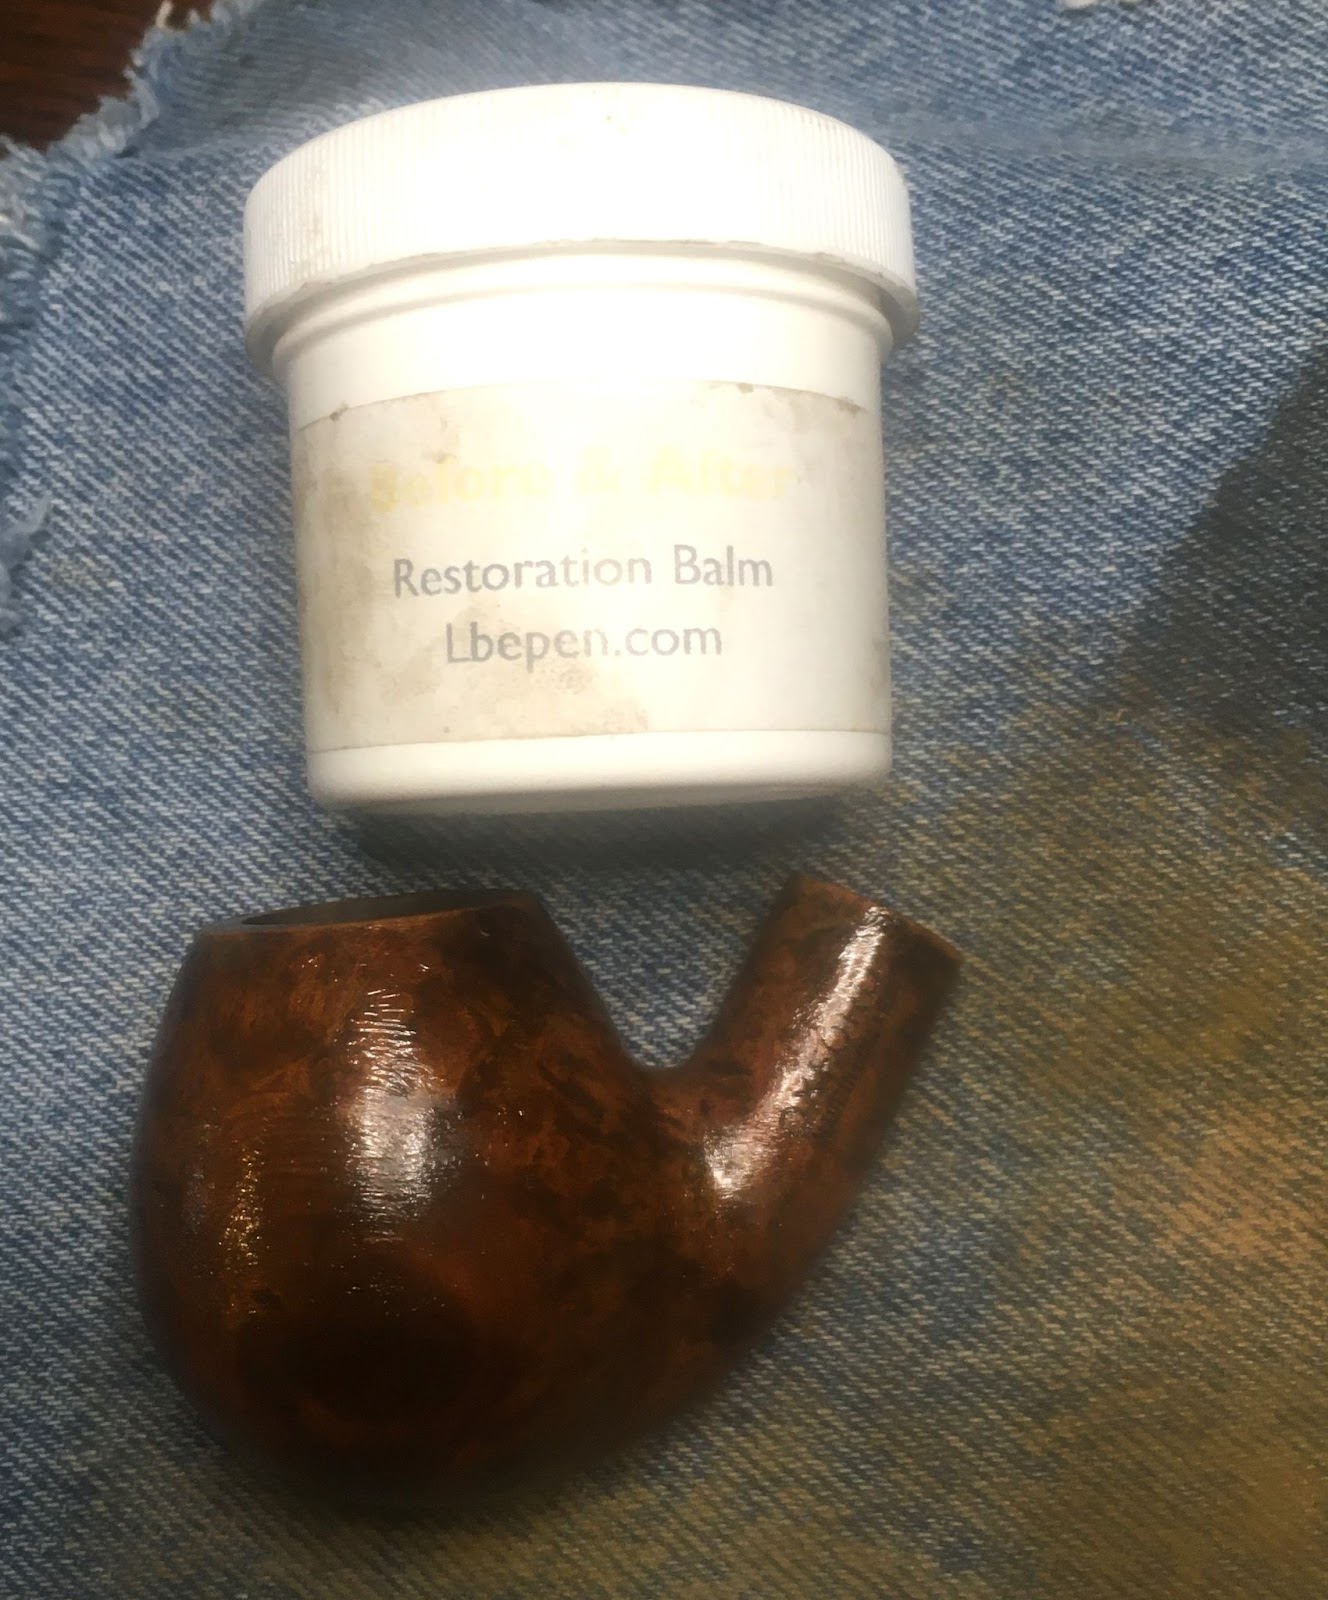
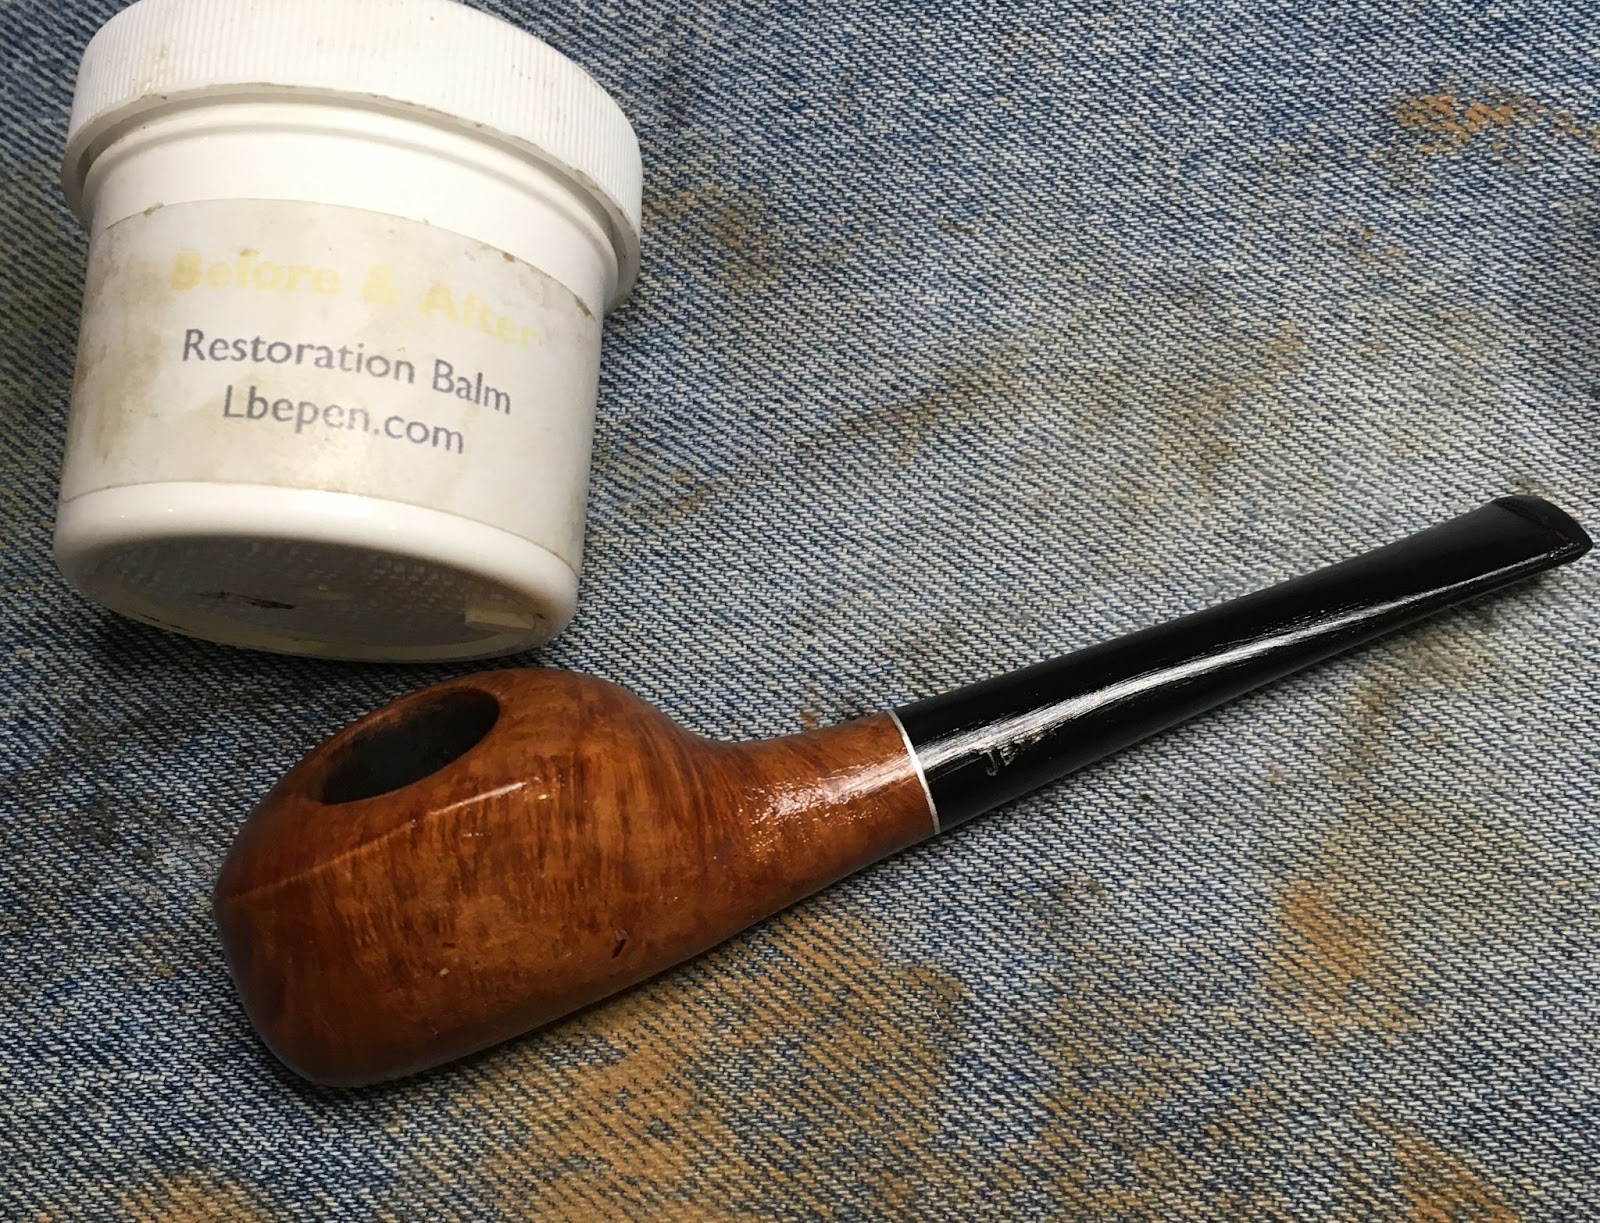
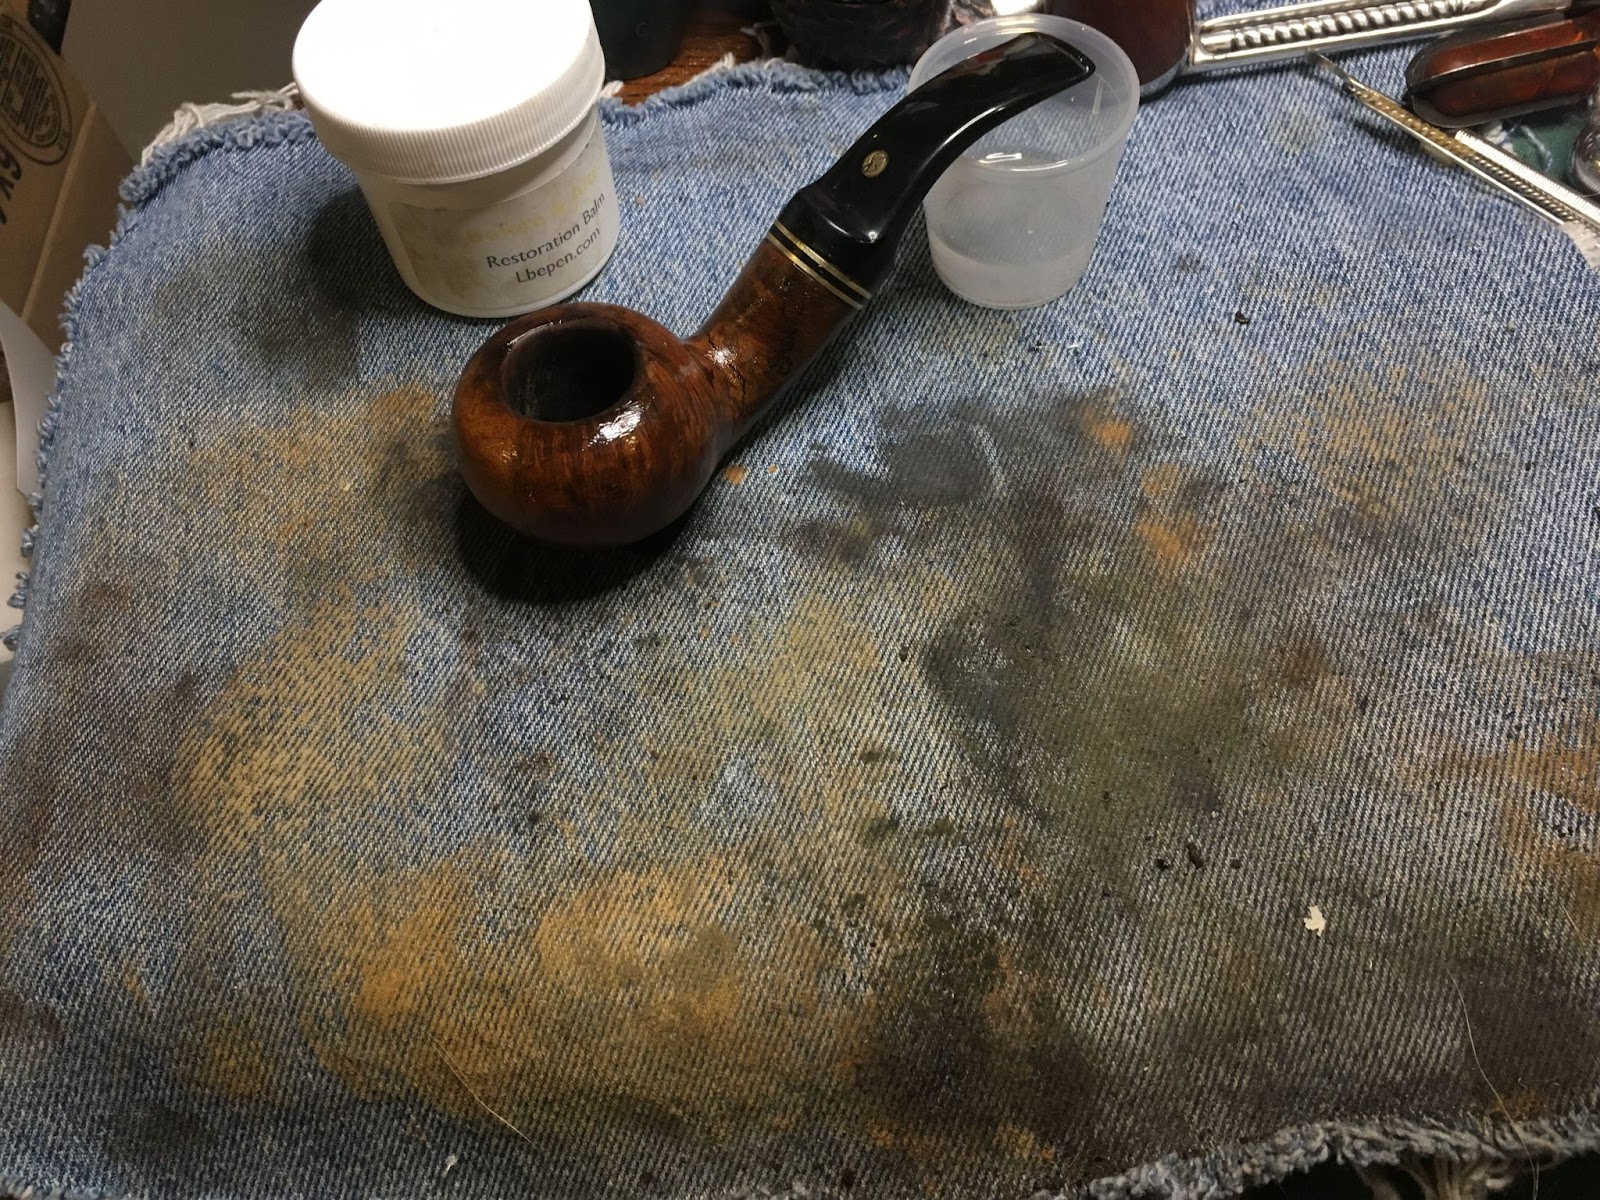
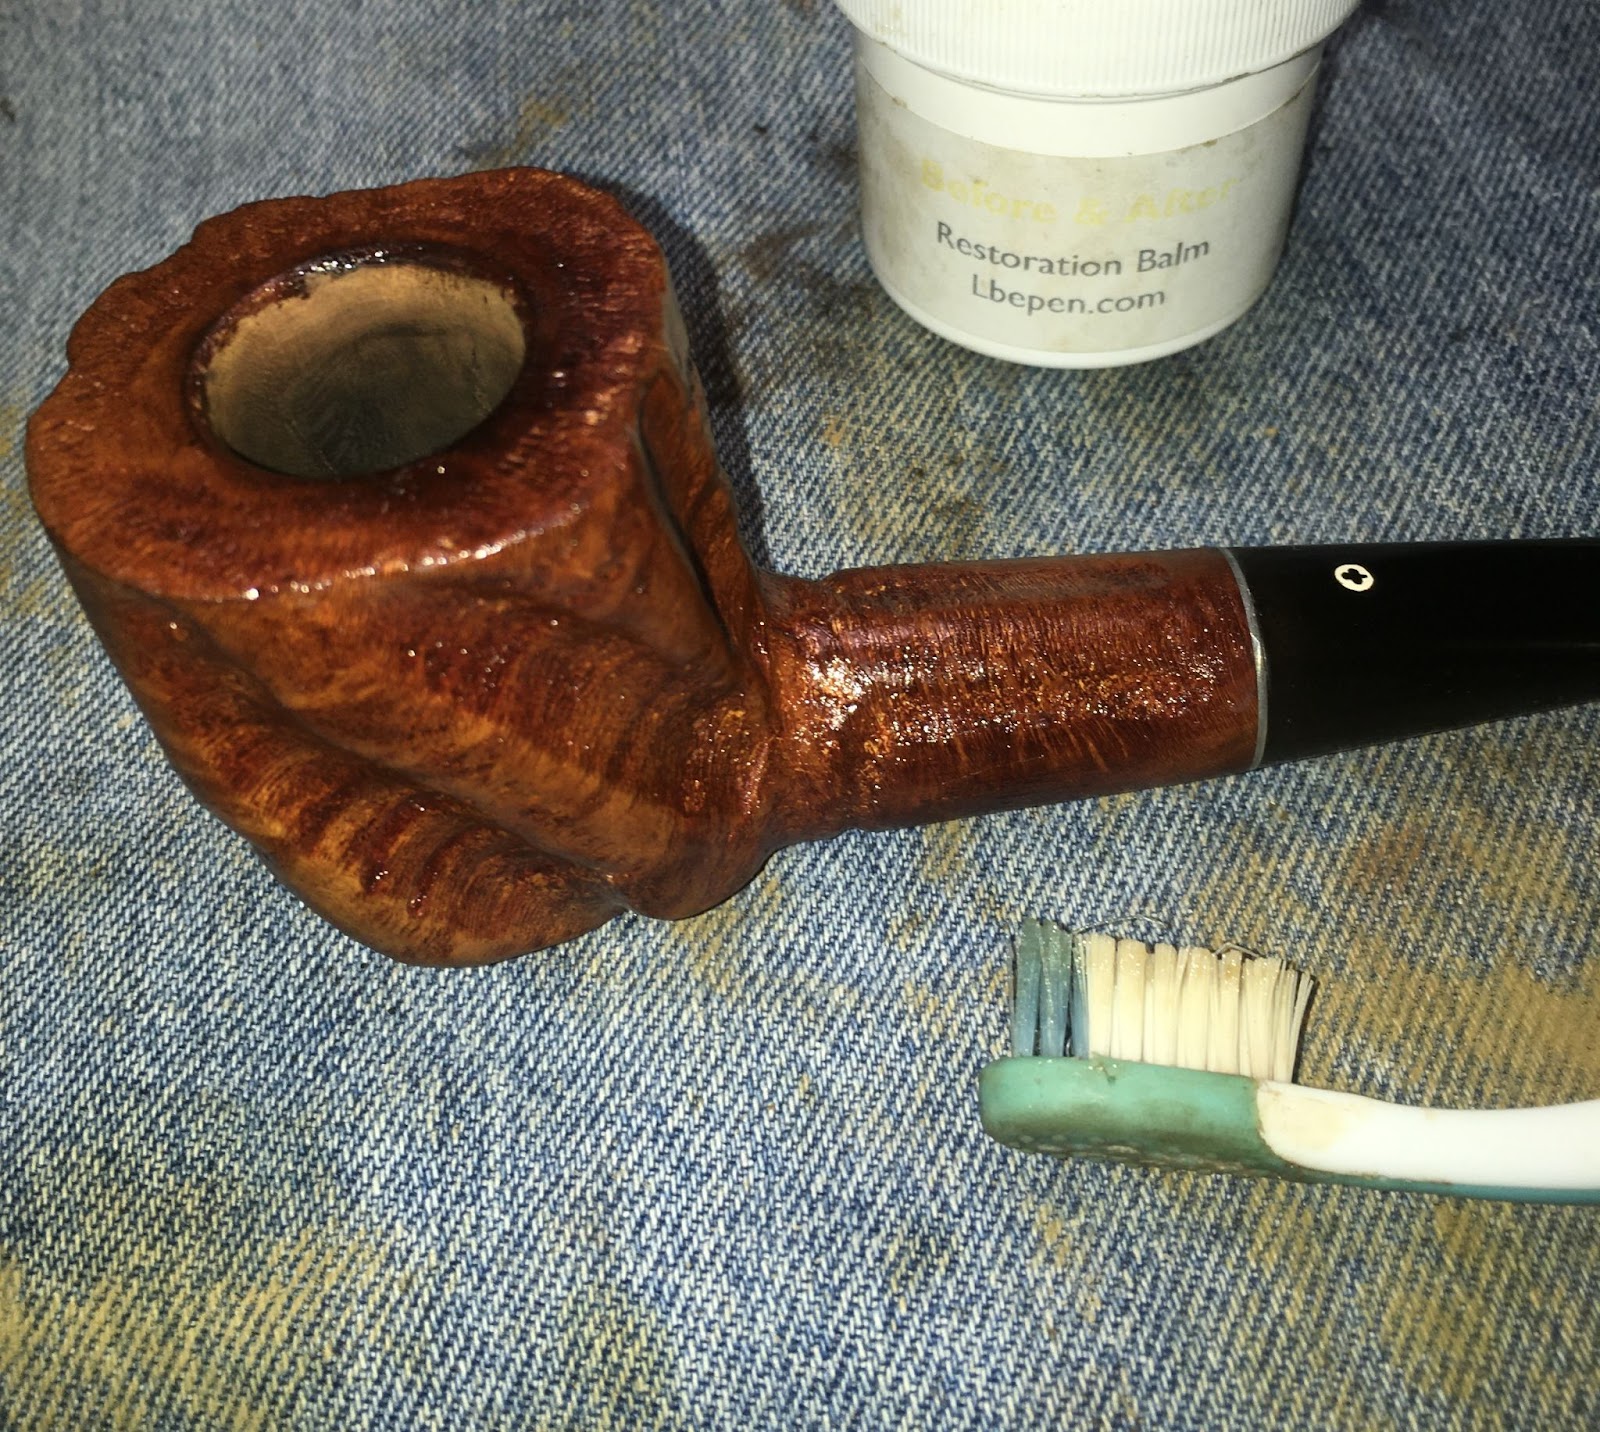
The stummel then received a coat of Before and After Restoration Balm applied by finger. The balm was allowed to sit and work it’s magic for 30 minutes.
The next morning, well two hours after I intended to, I removed the stem from the deox bath. It was hung and allowed to dip off excess solution. The stem was then vigorously rubbed with a coarse shop rag to remove any remaining deox solution.

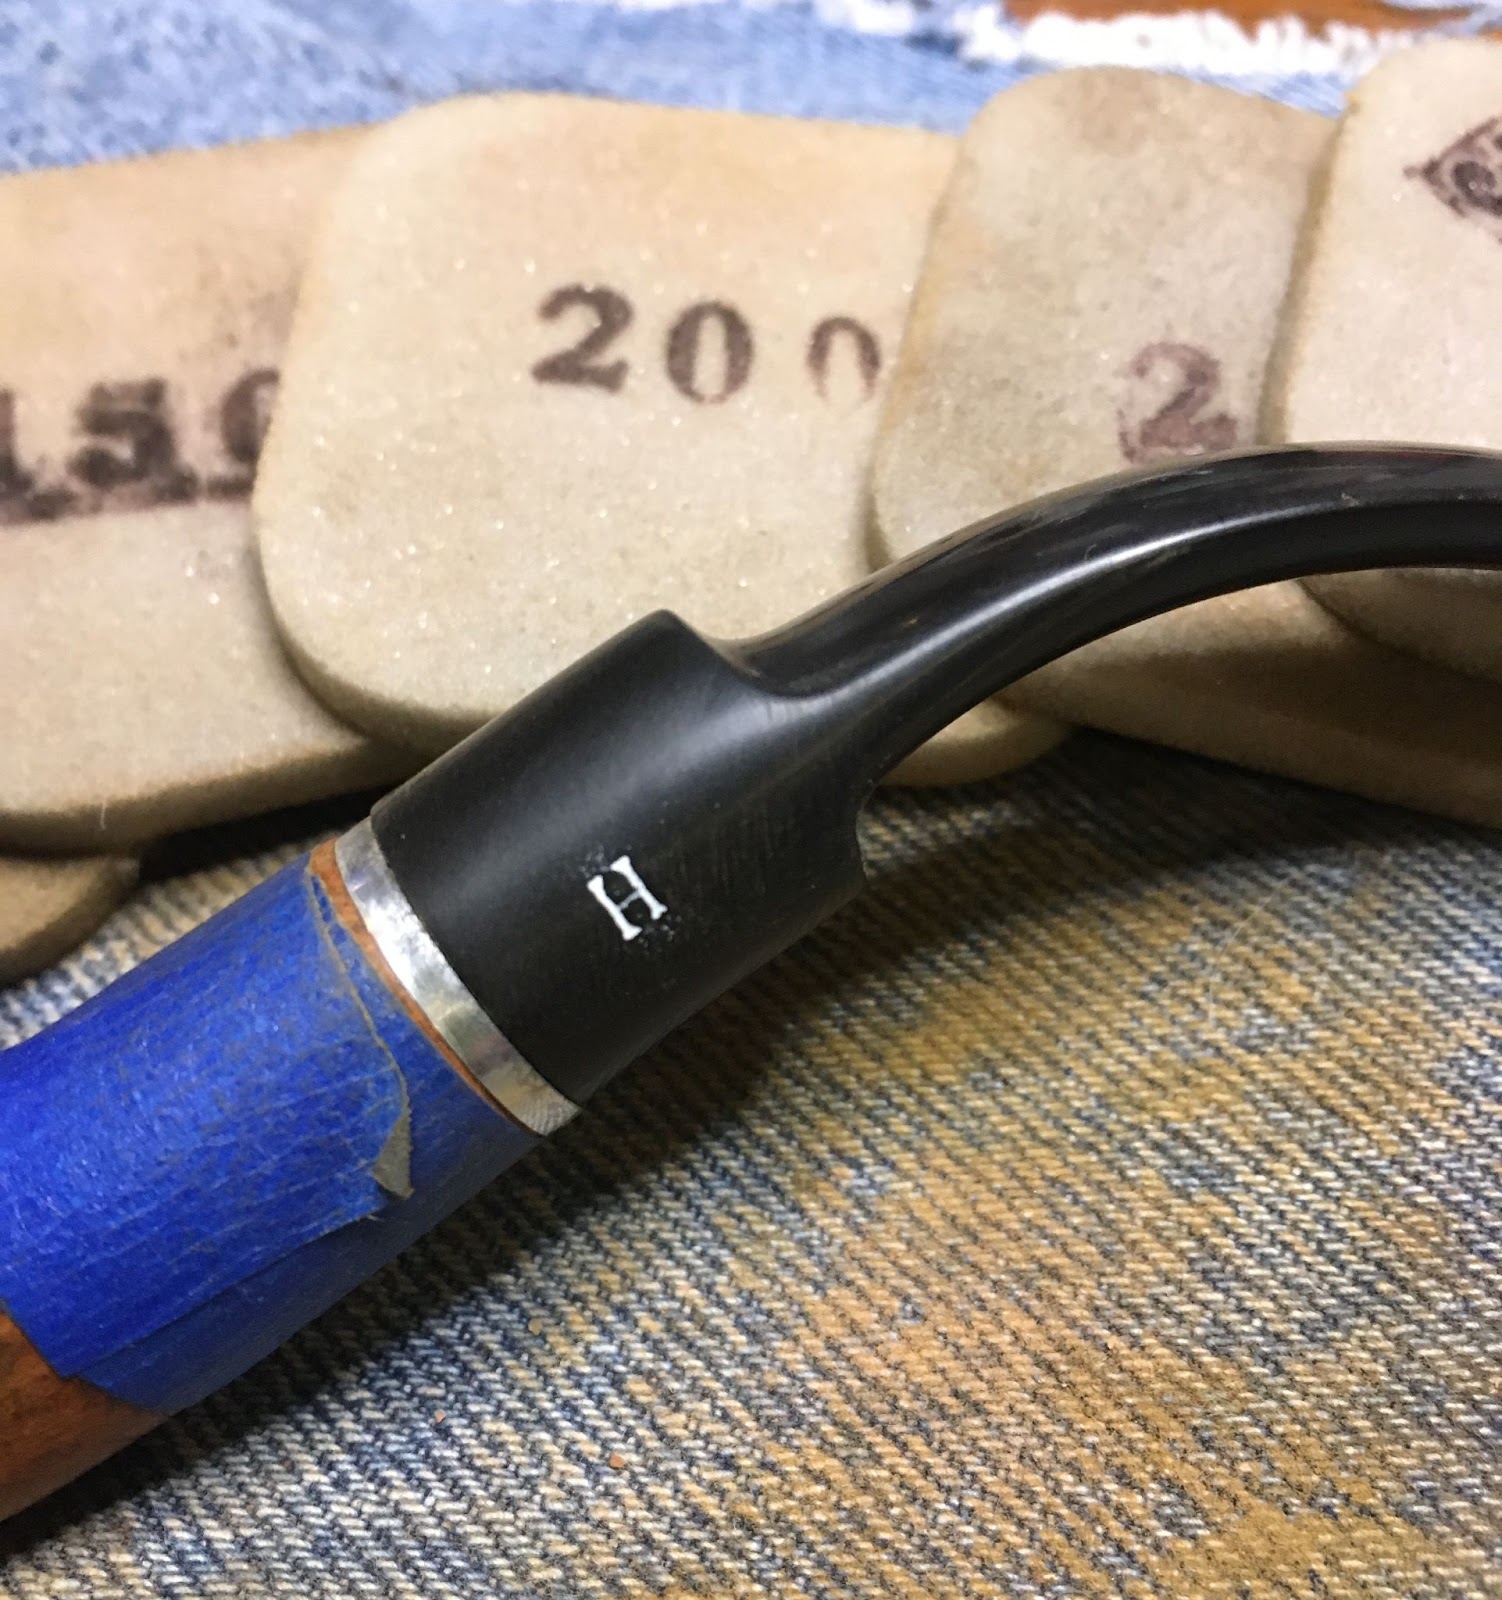
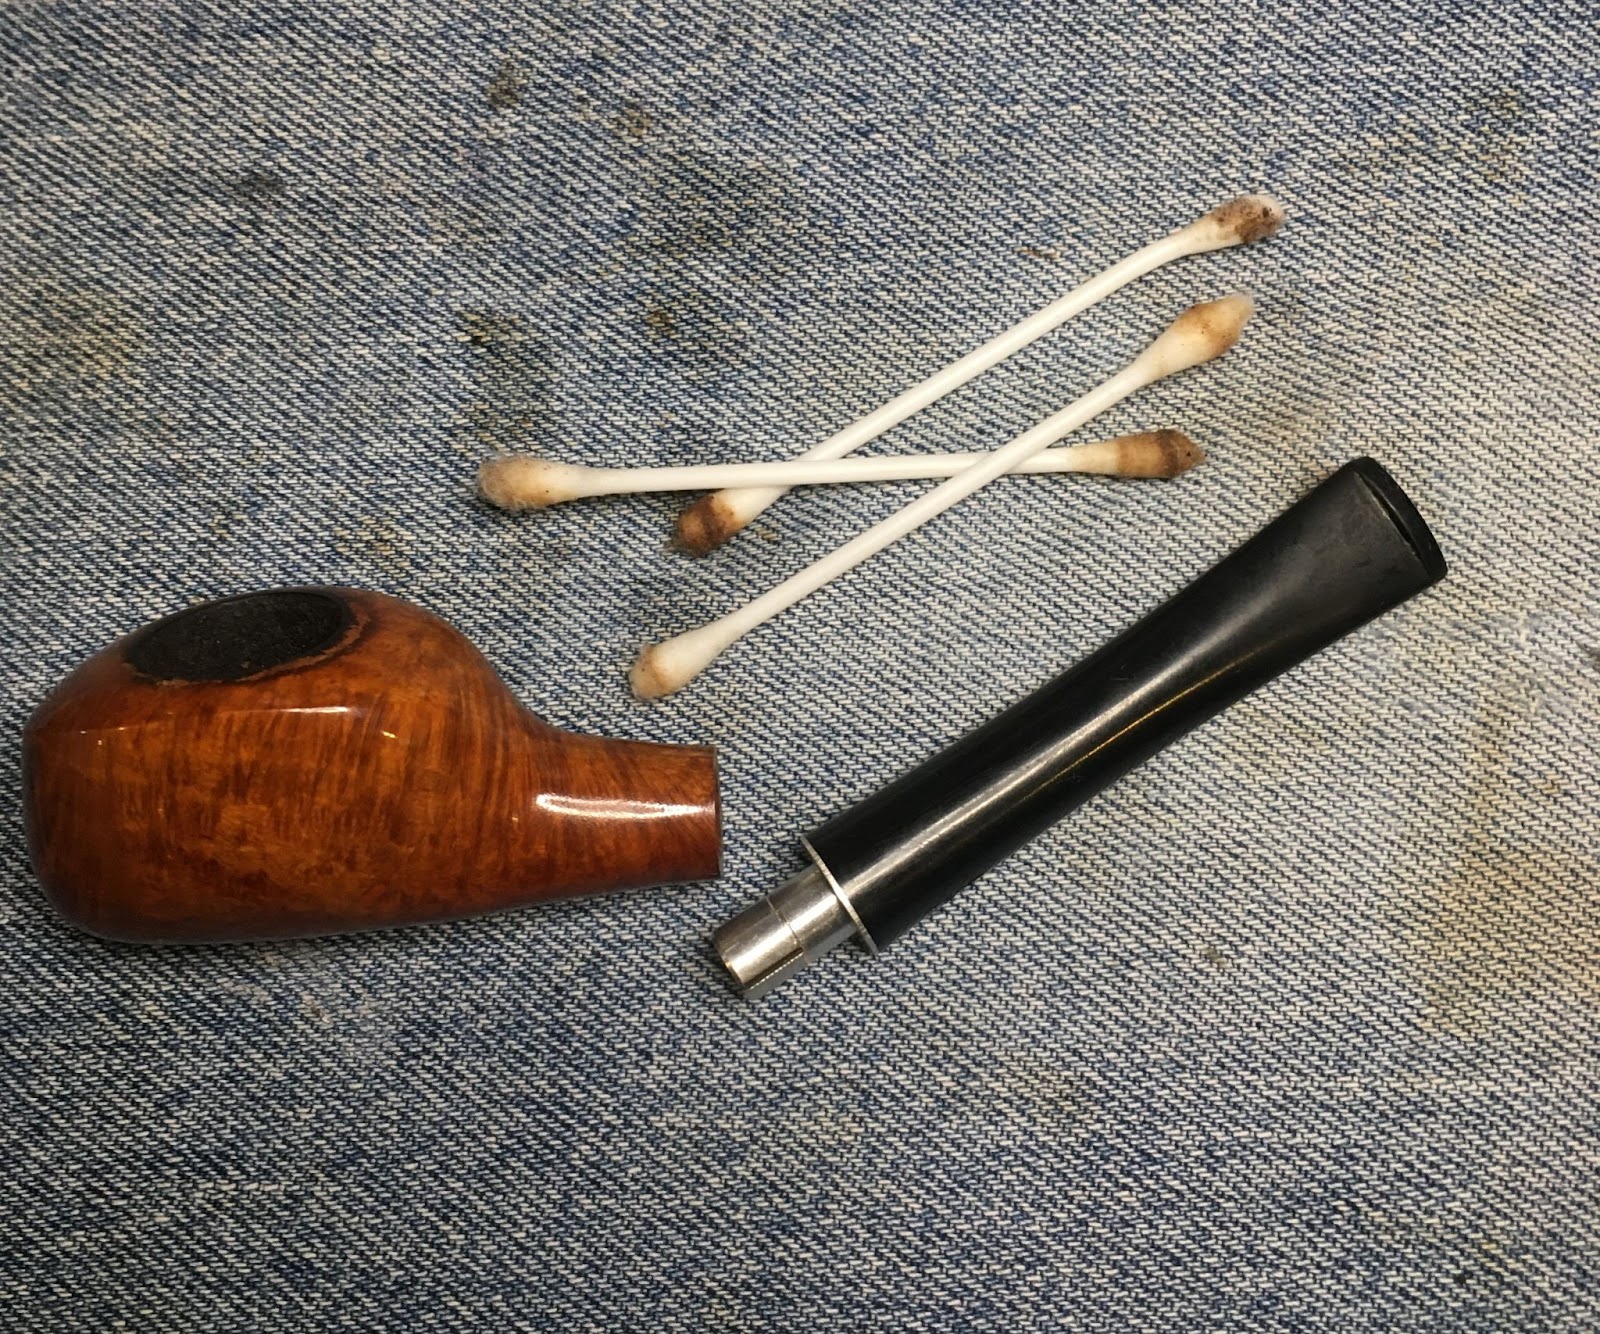
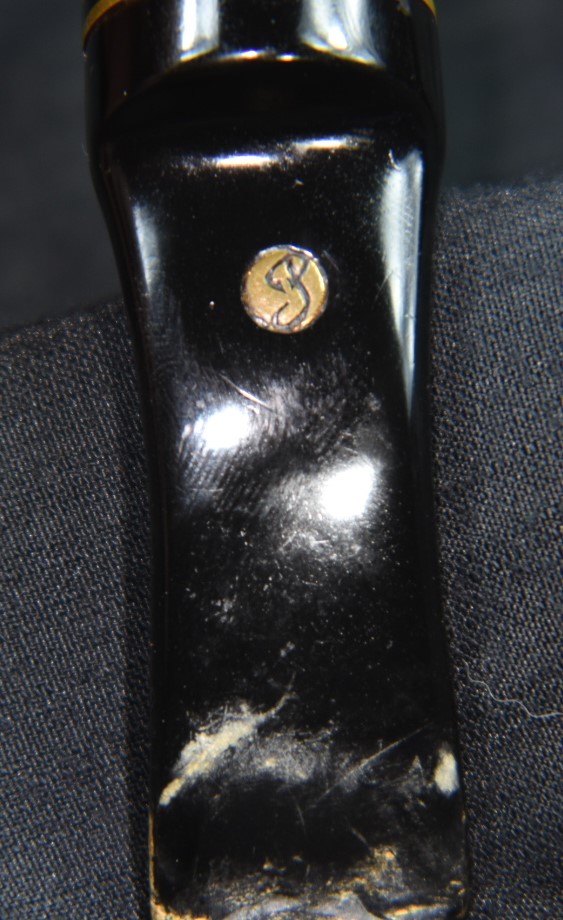
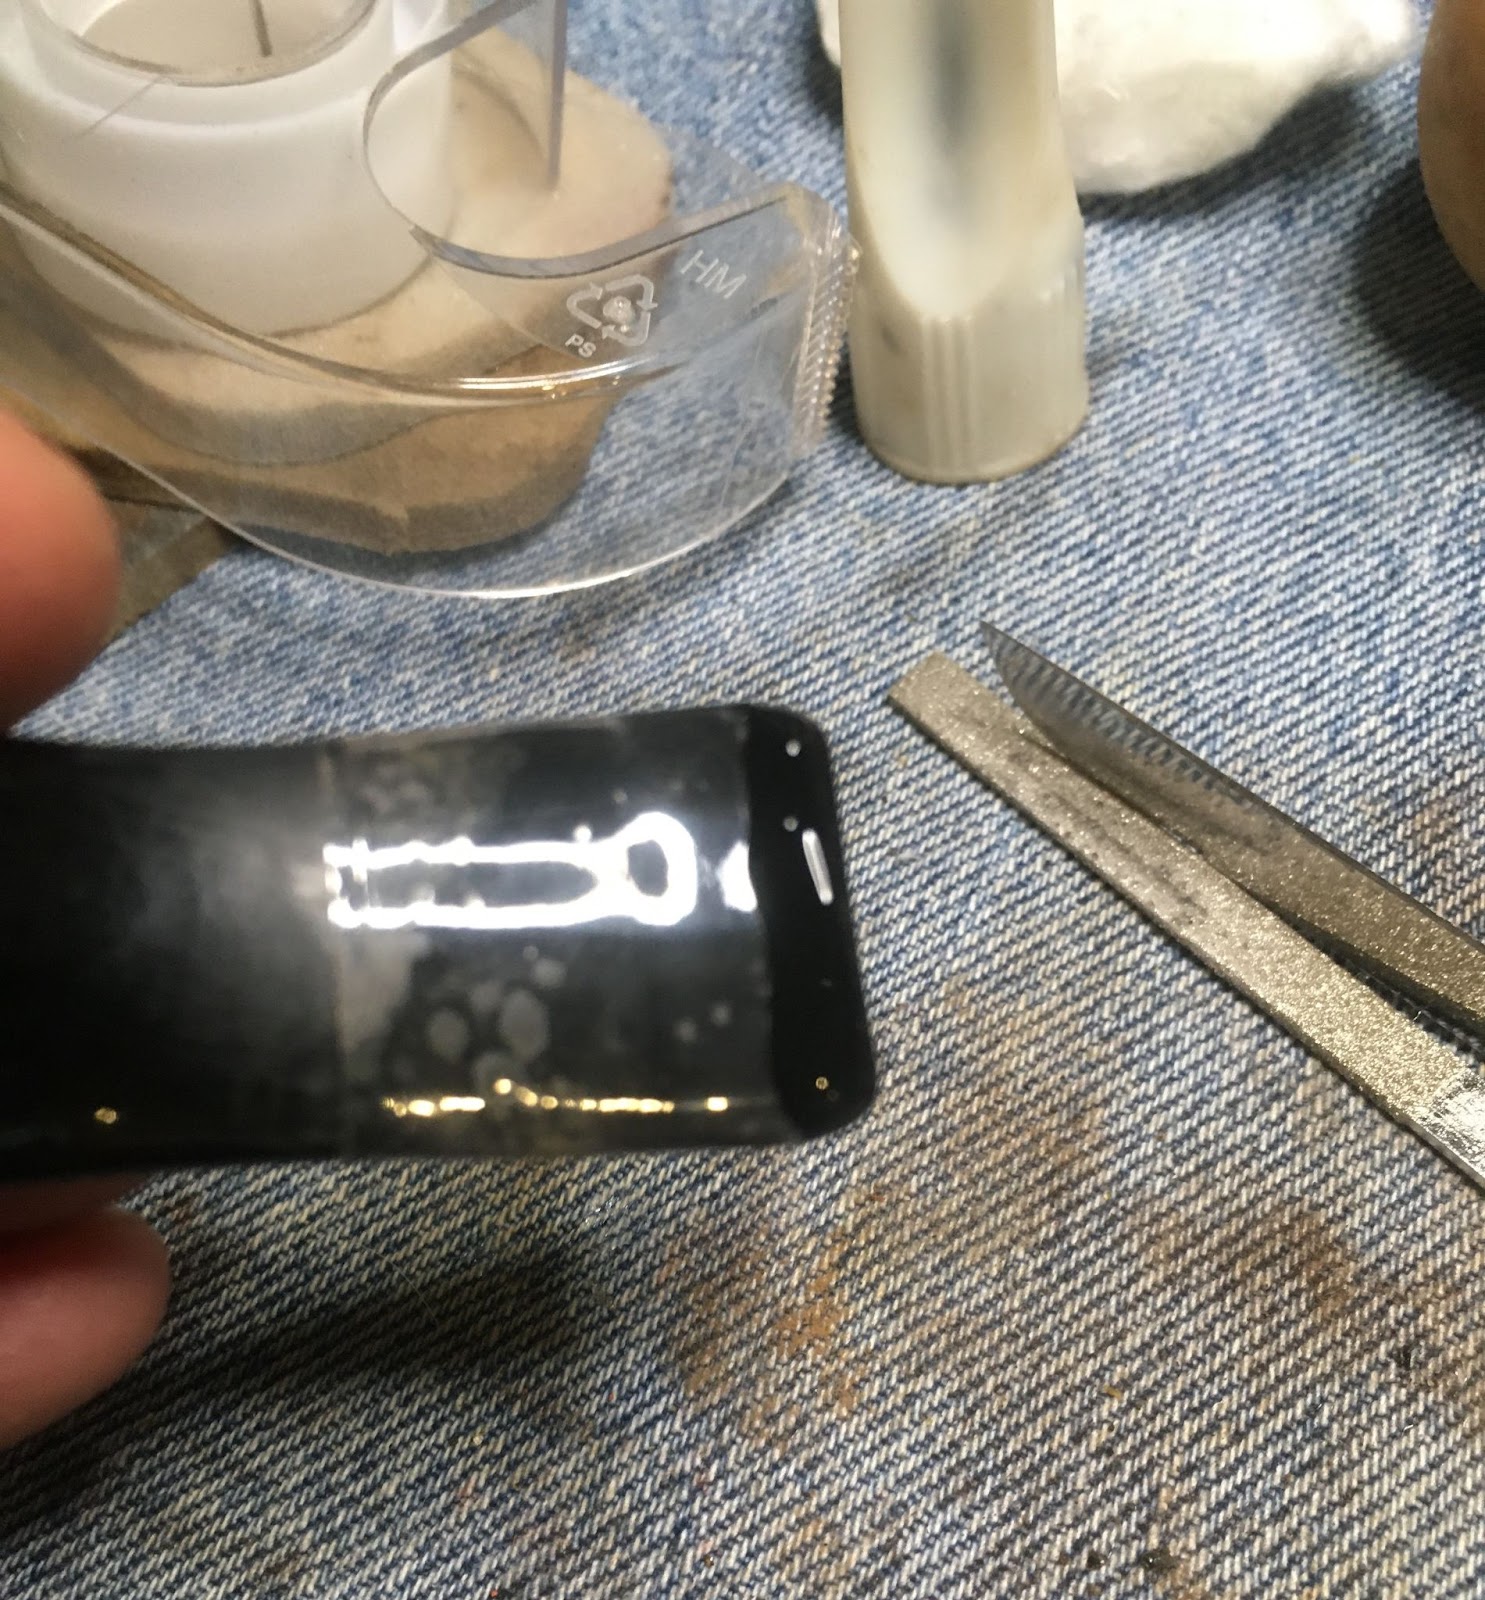
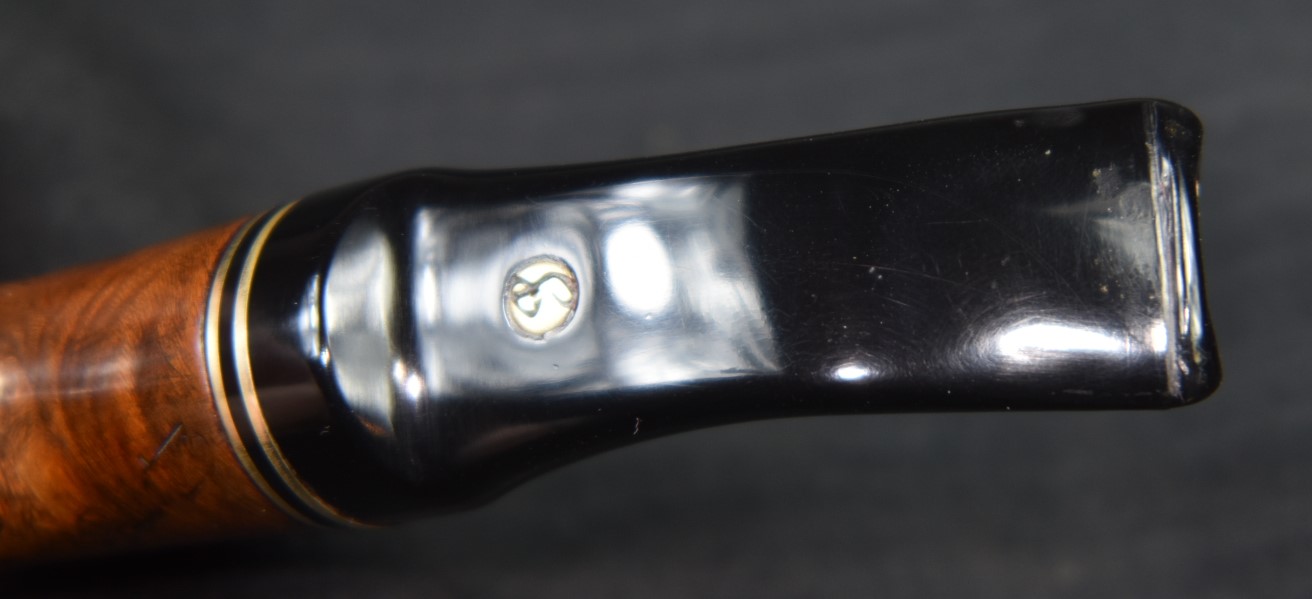
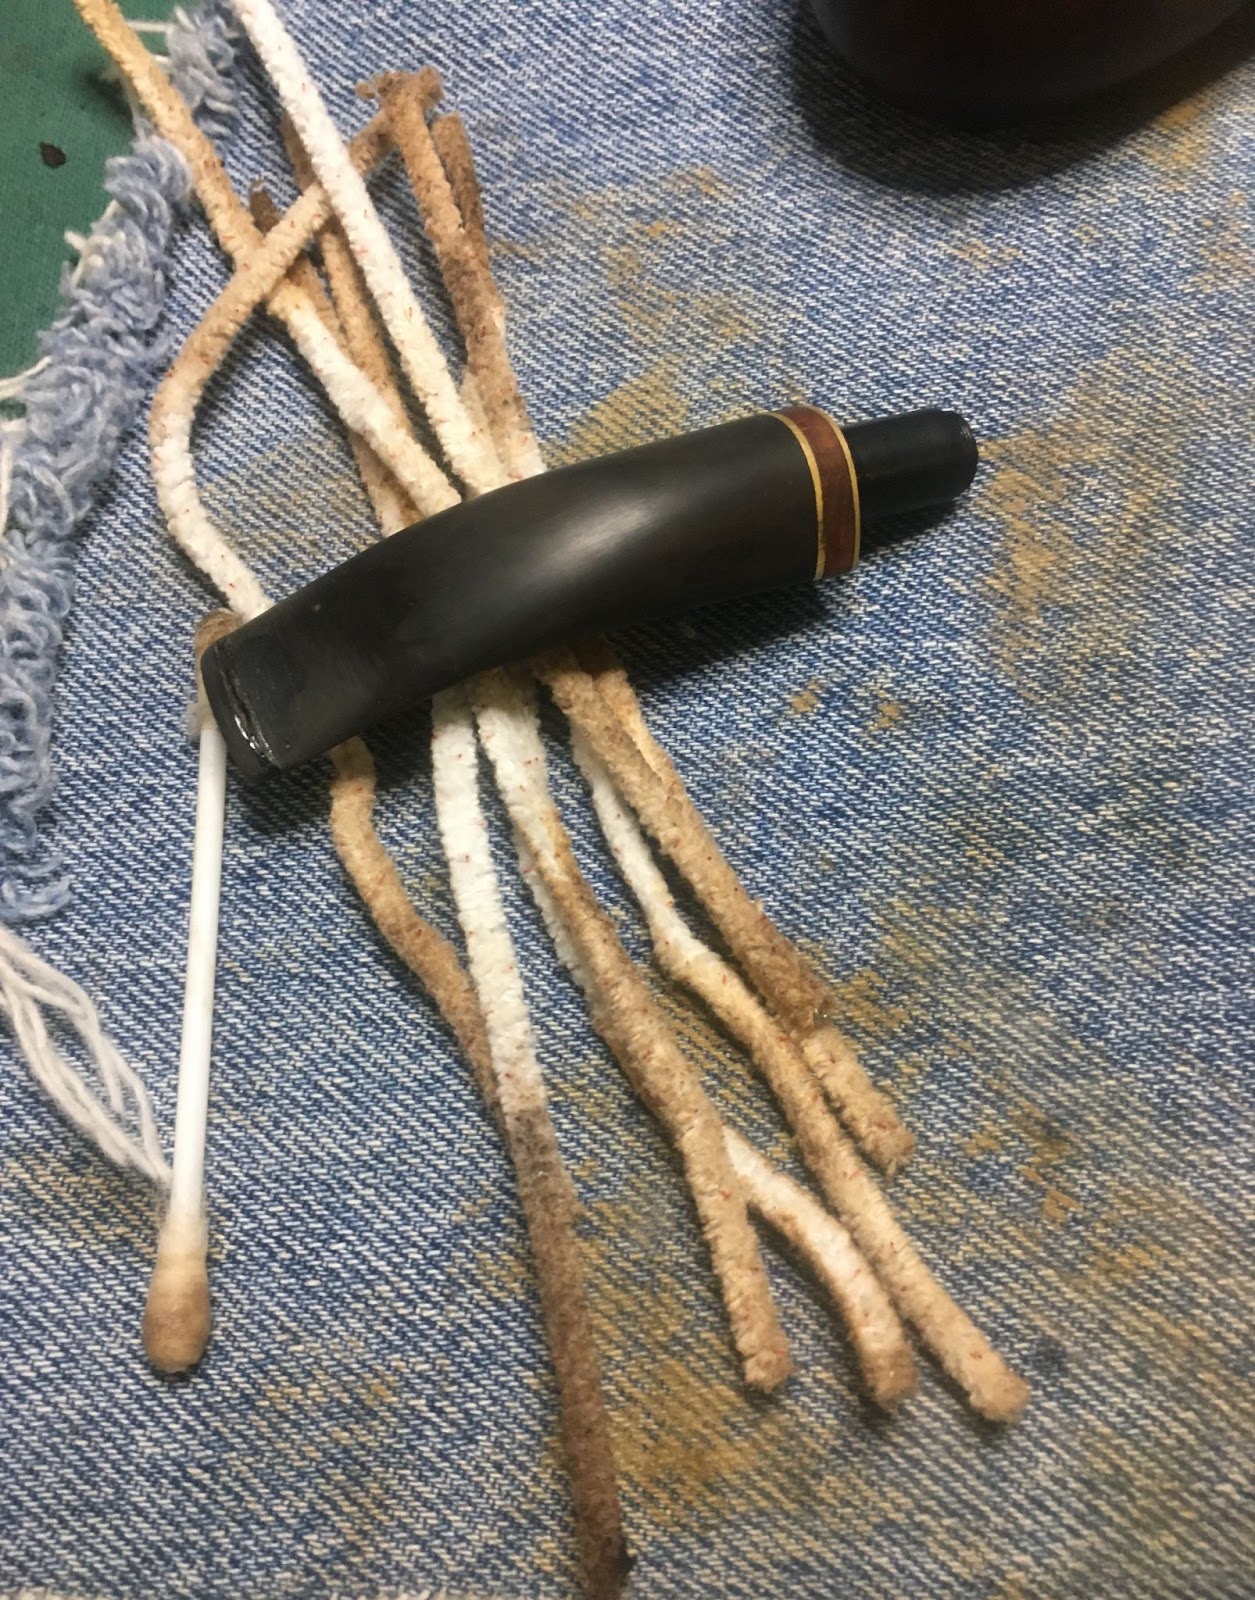
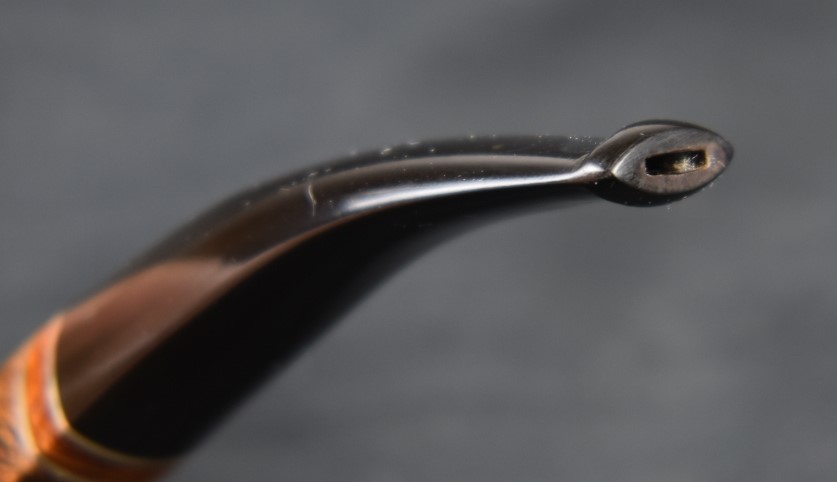
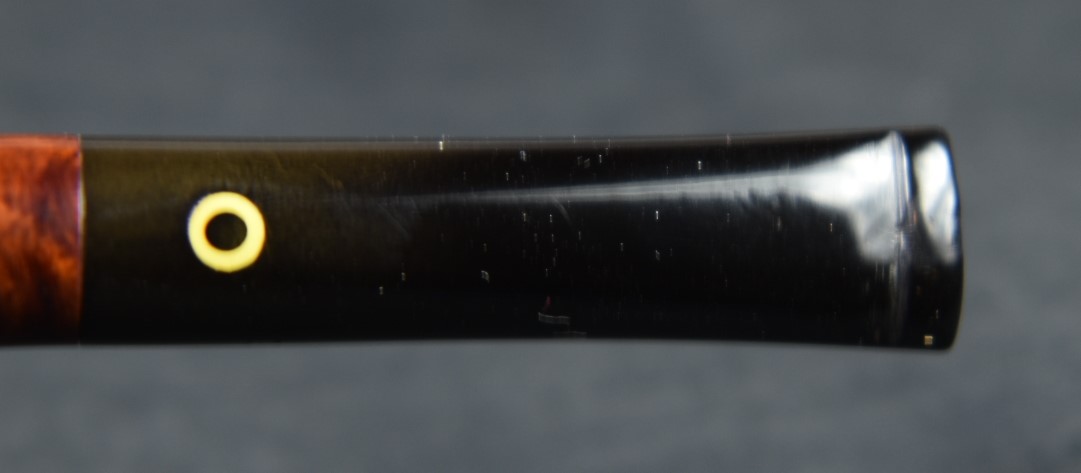
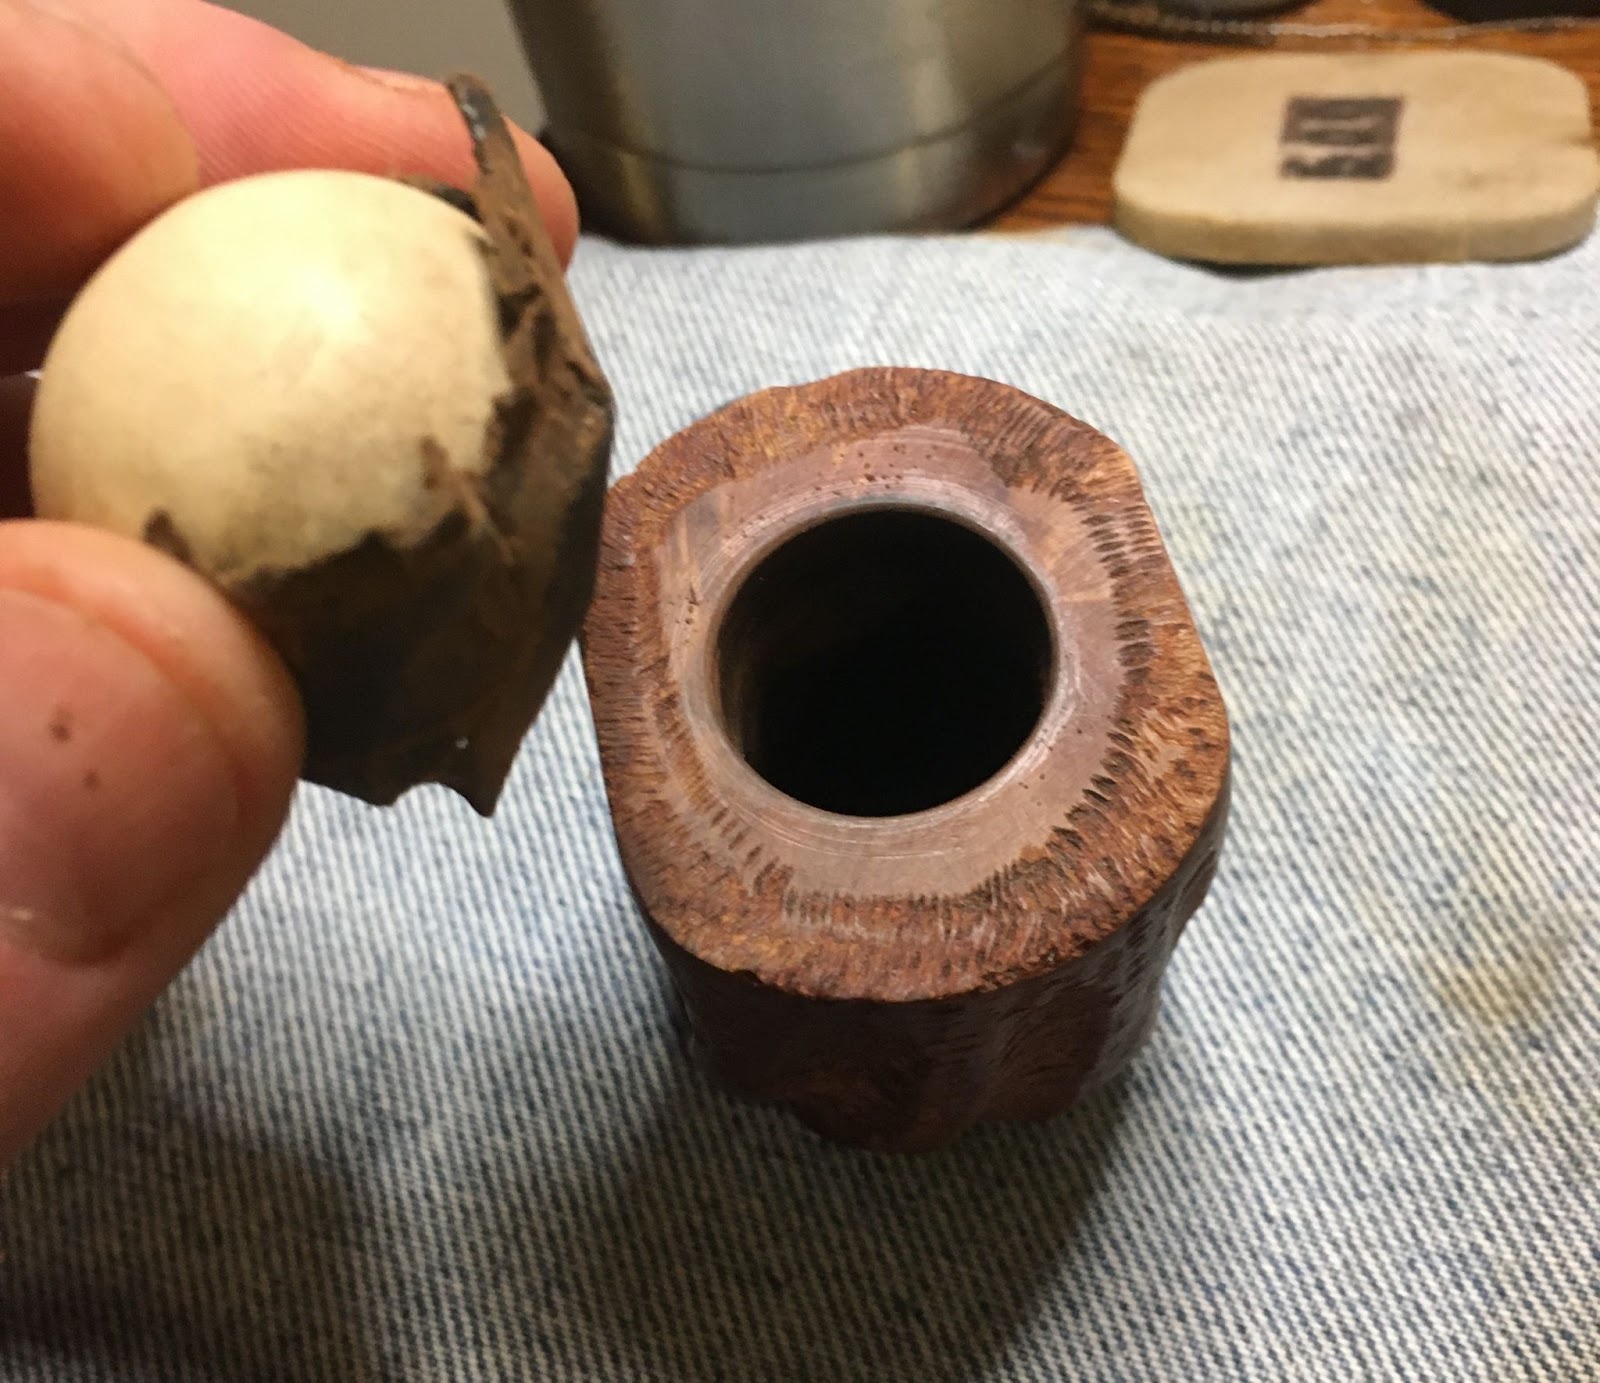
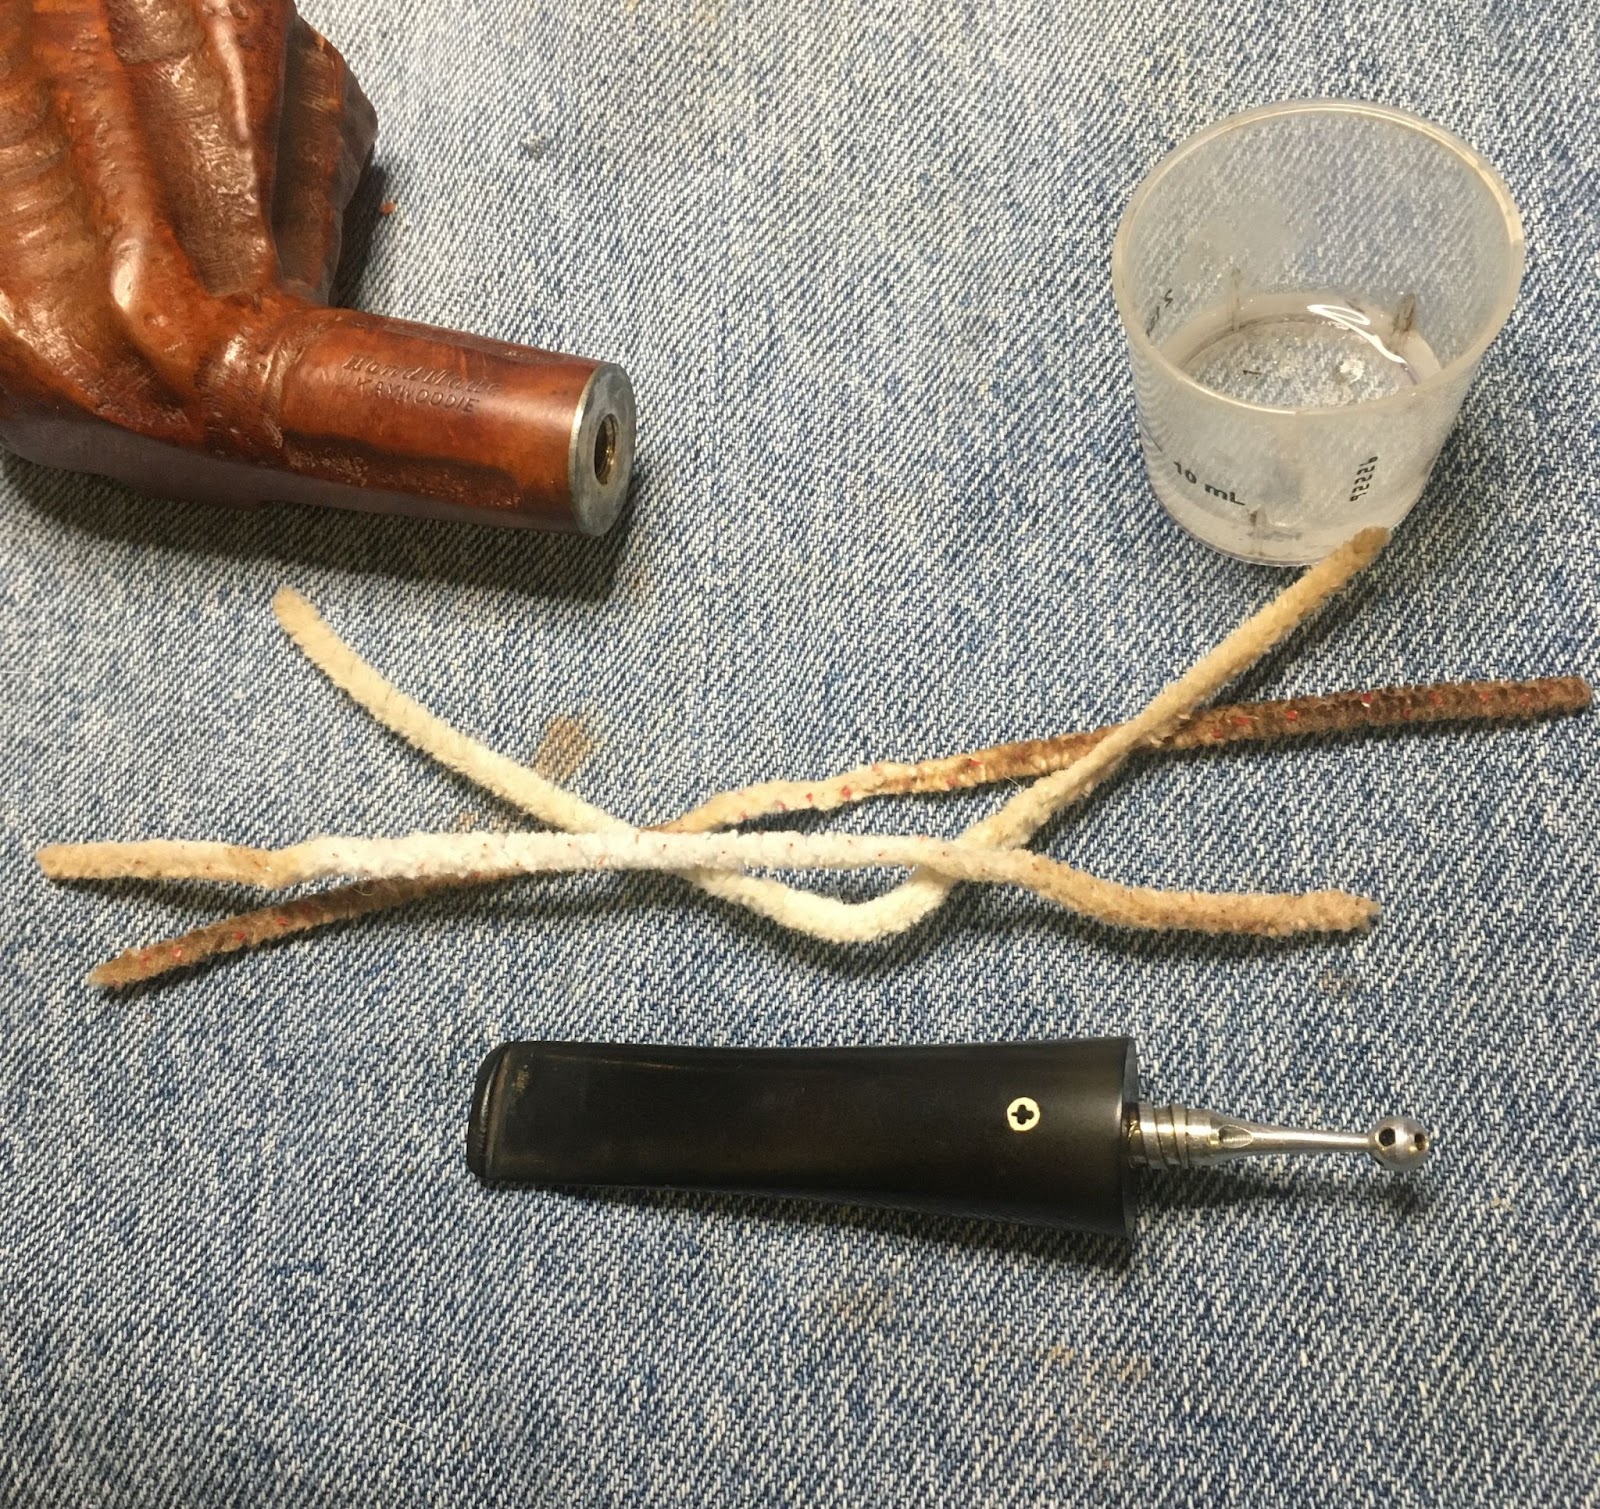
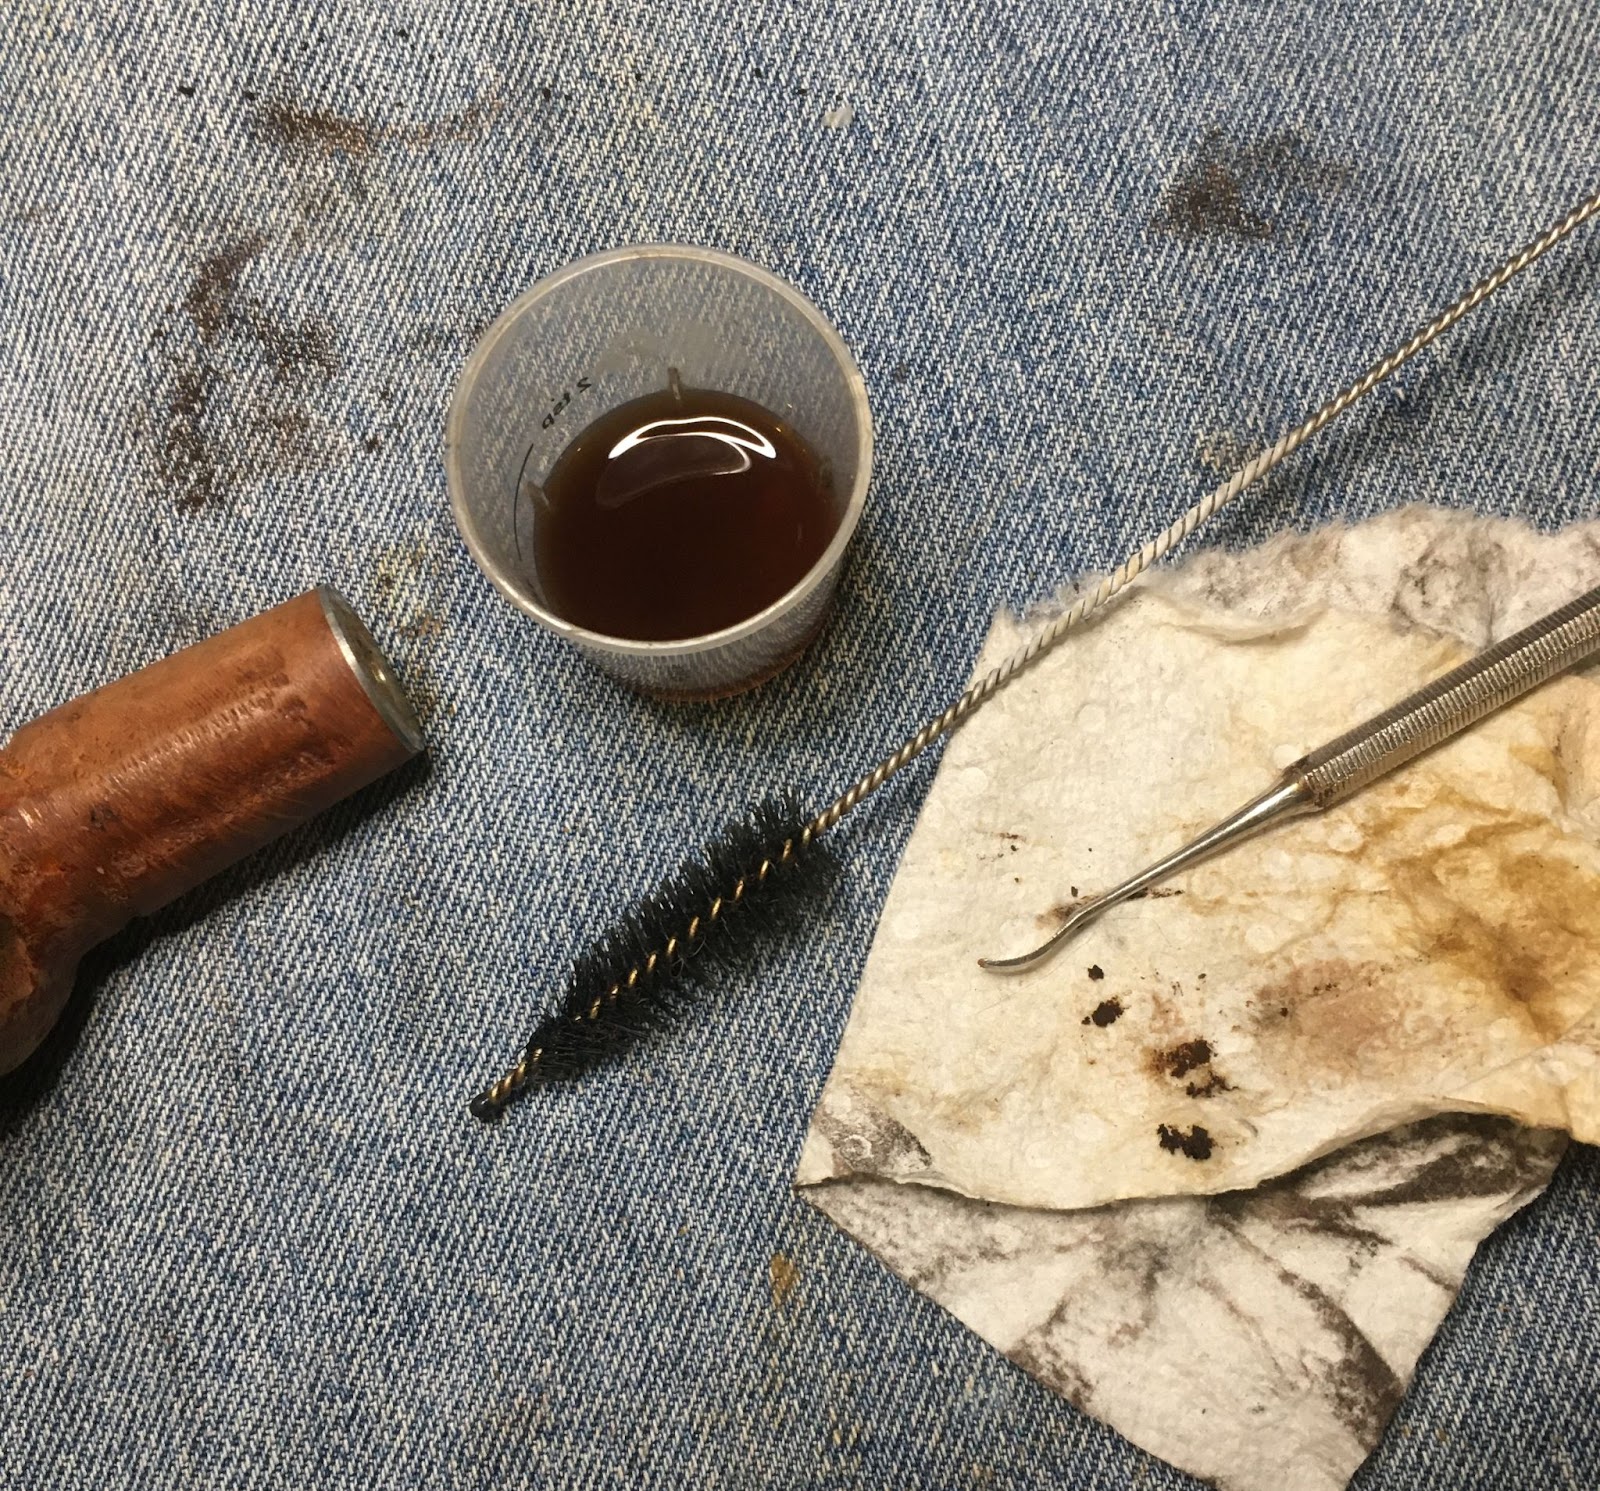
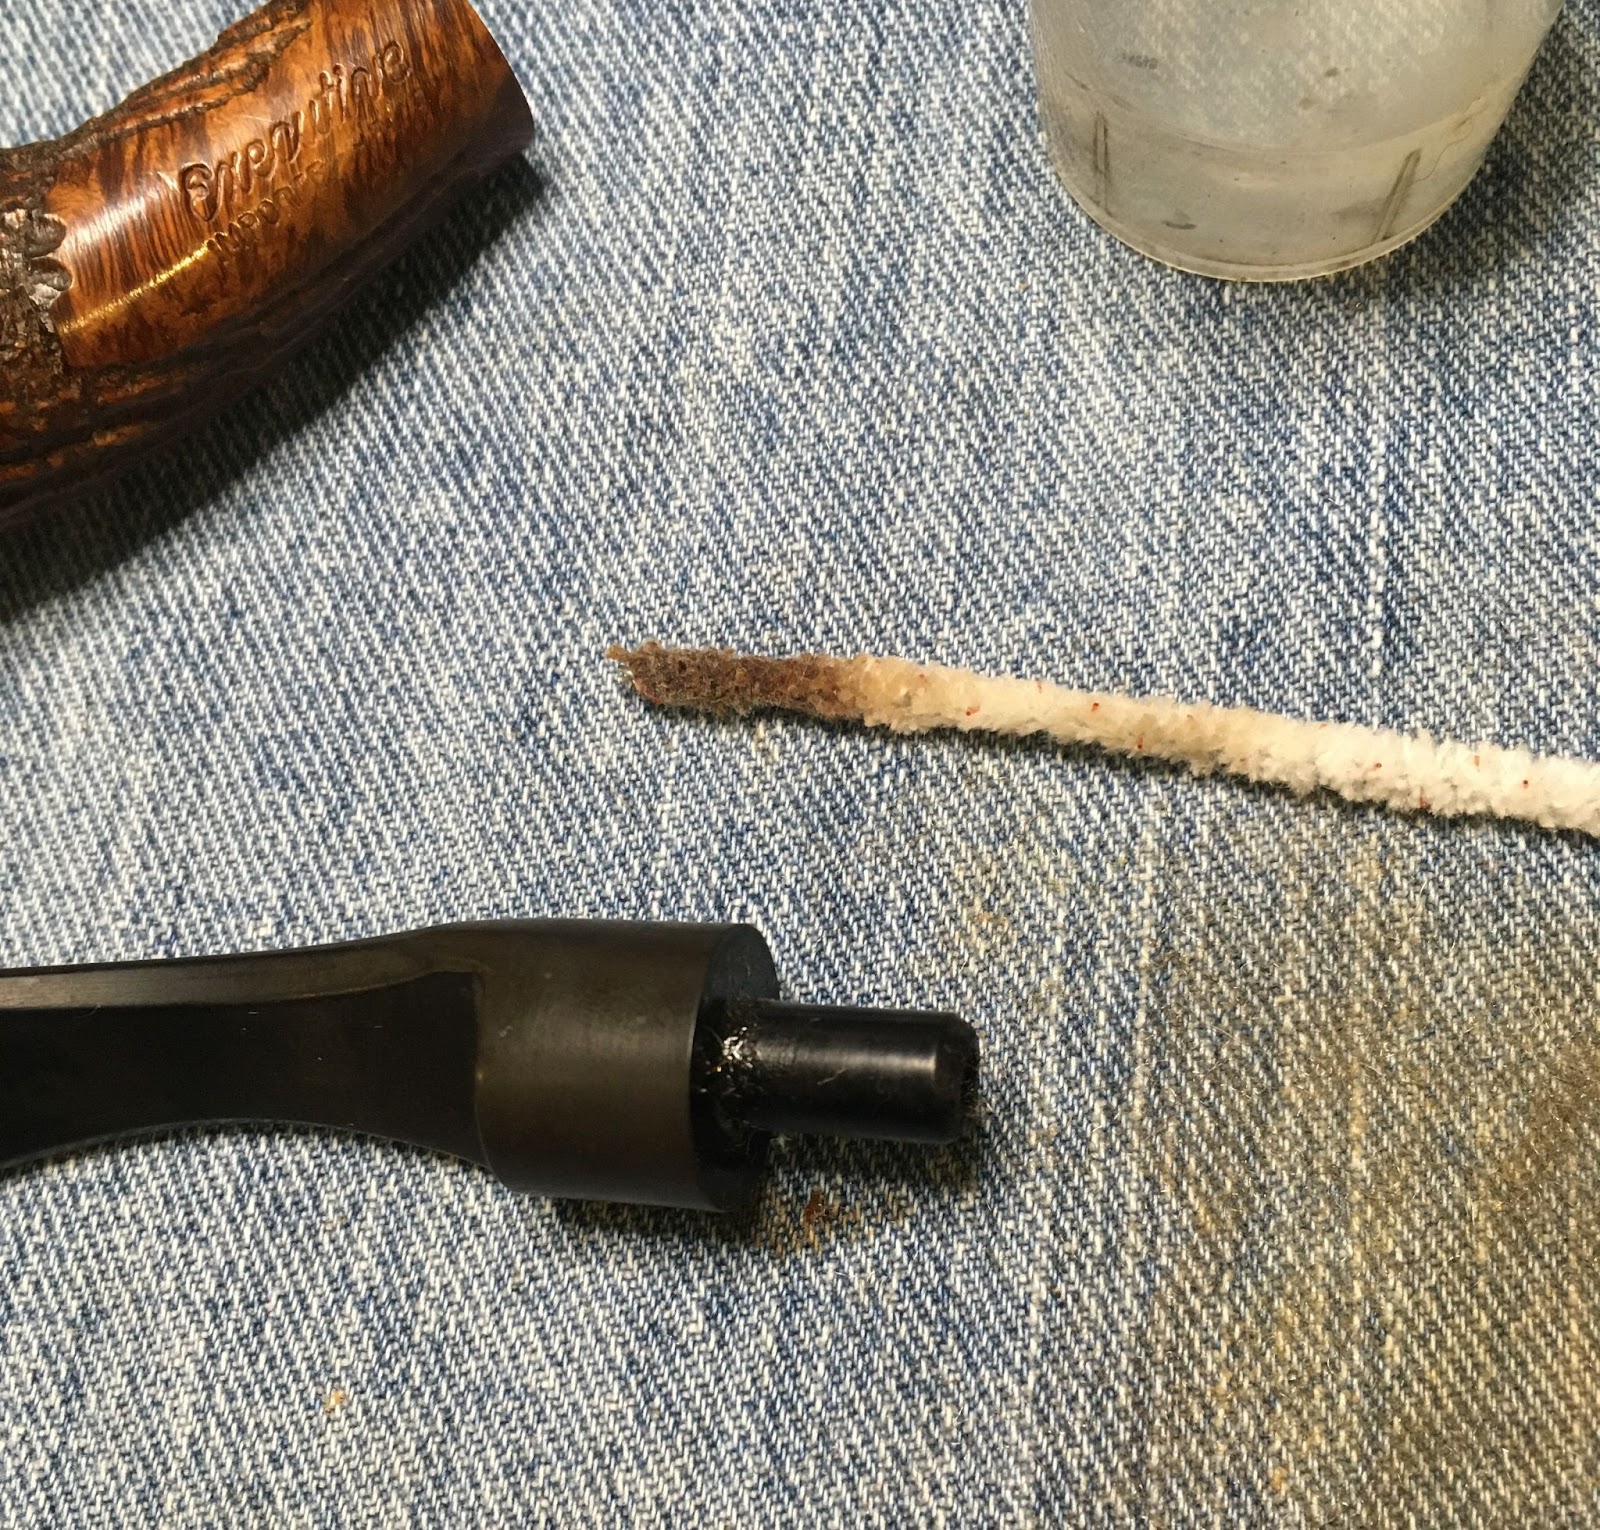
I ram a couple of pipe cleaners through the airway and cleaned the 9mm filter opening with cotton swabs to eliminate the deox solution within. The H logo survived the deox bath. Yay!

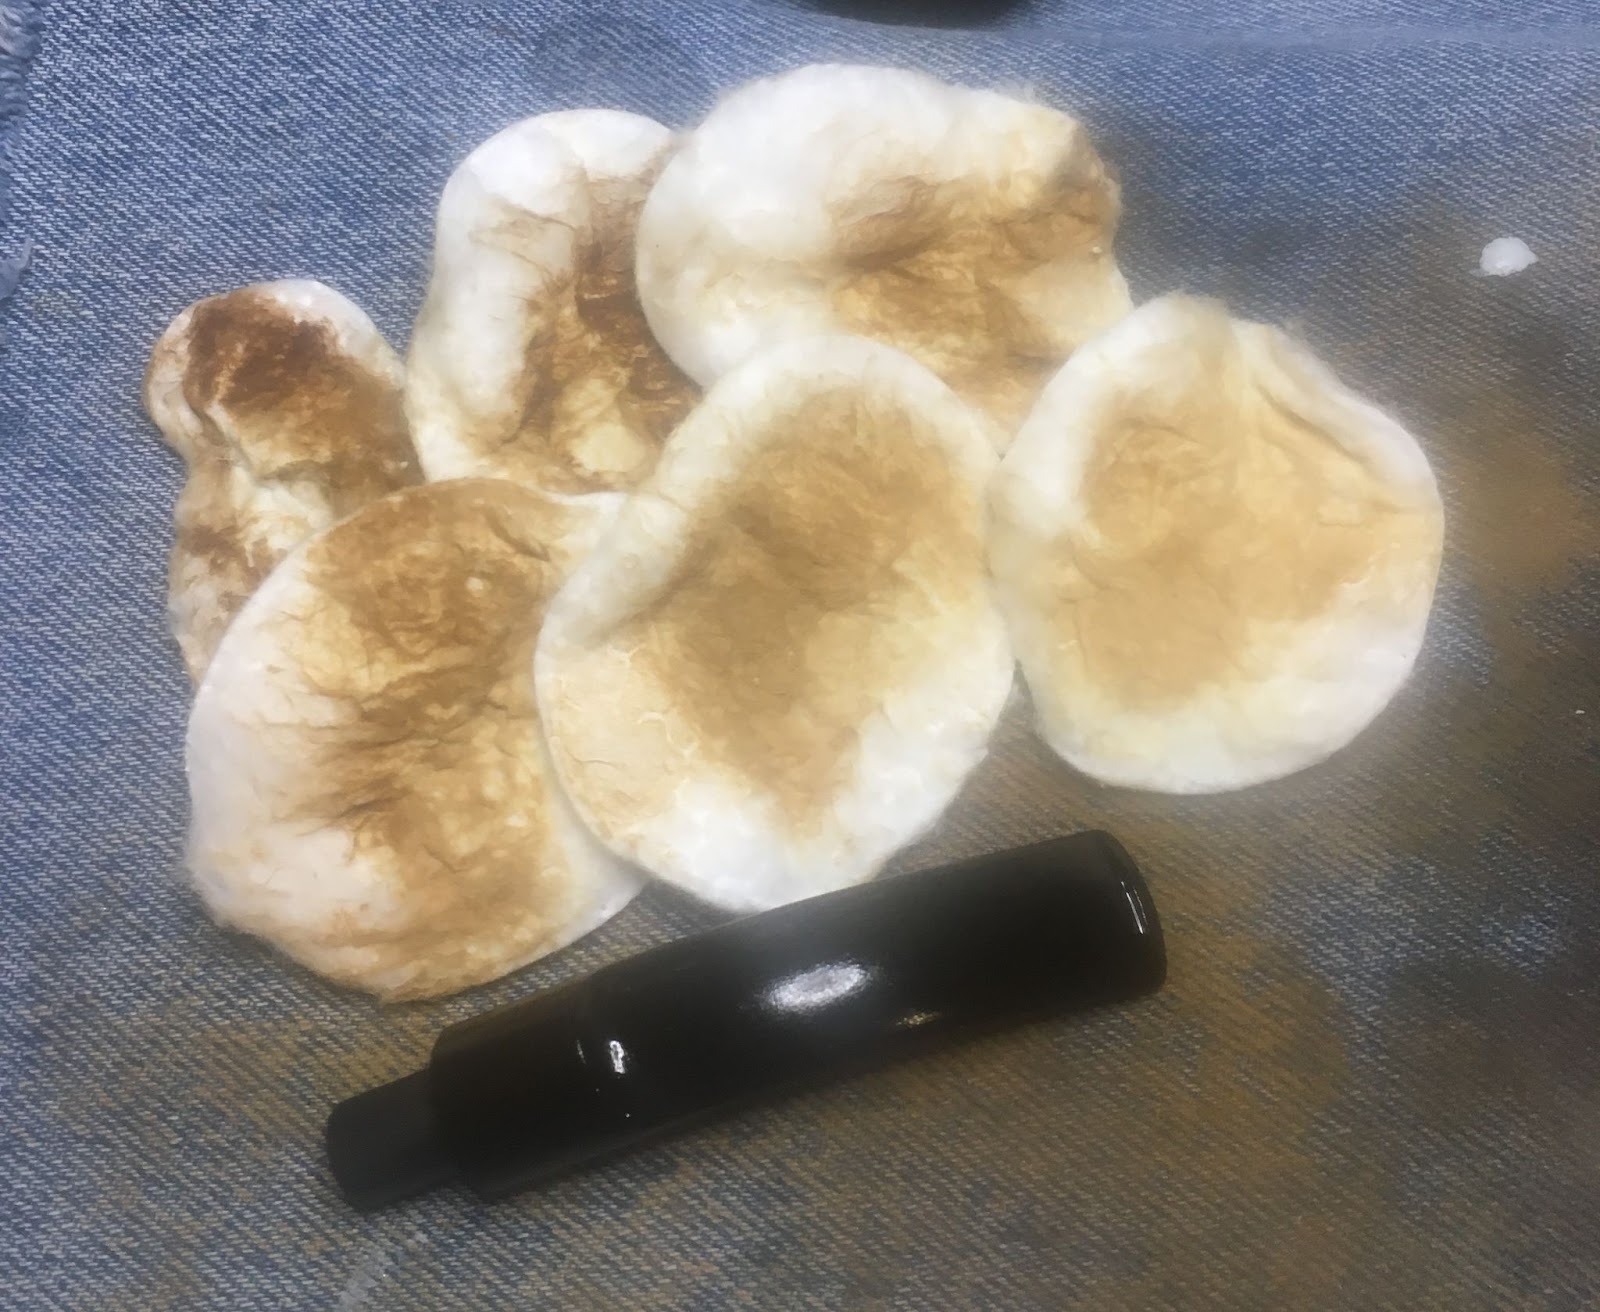
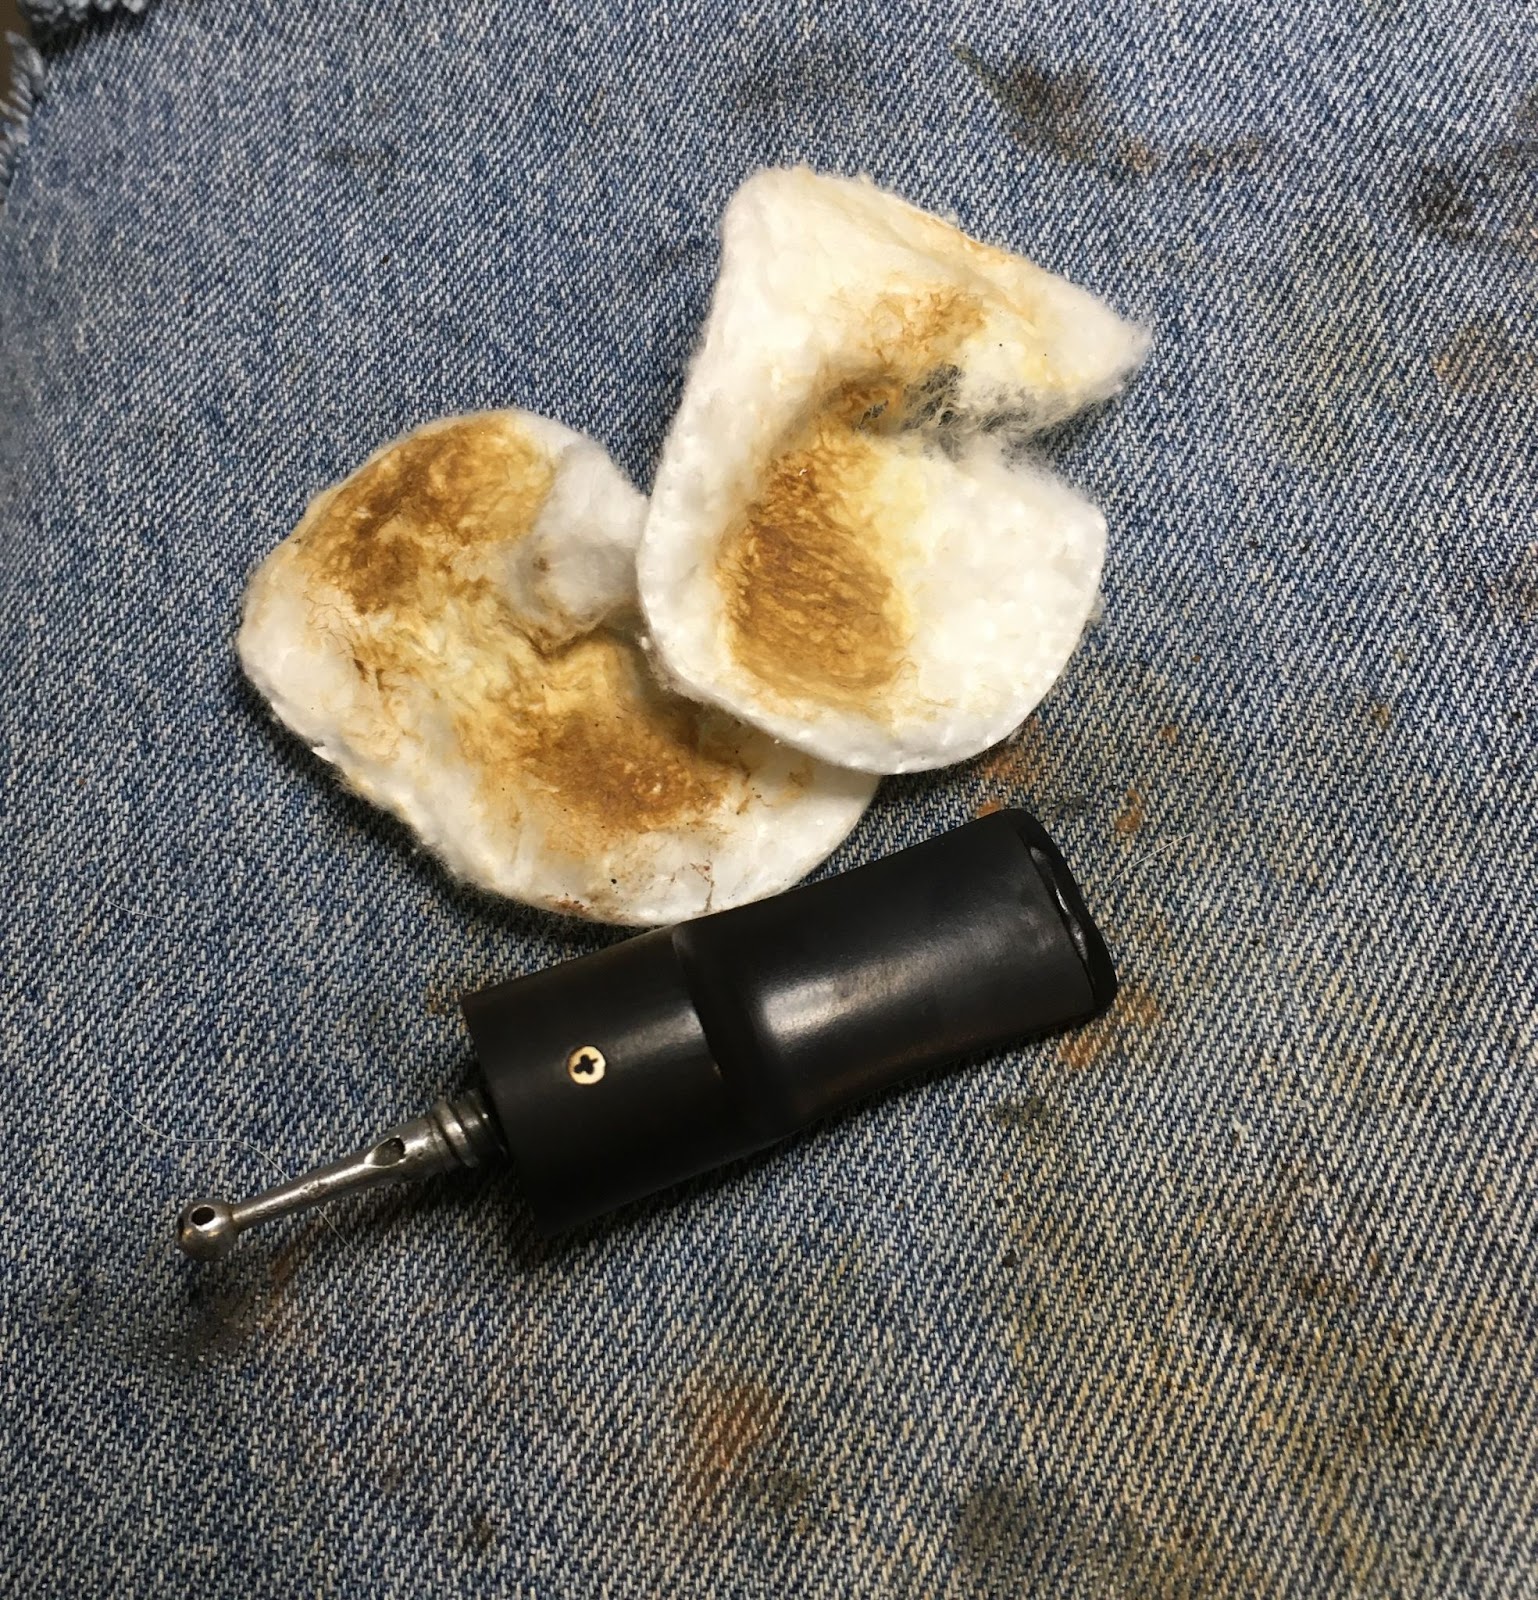
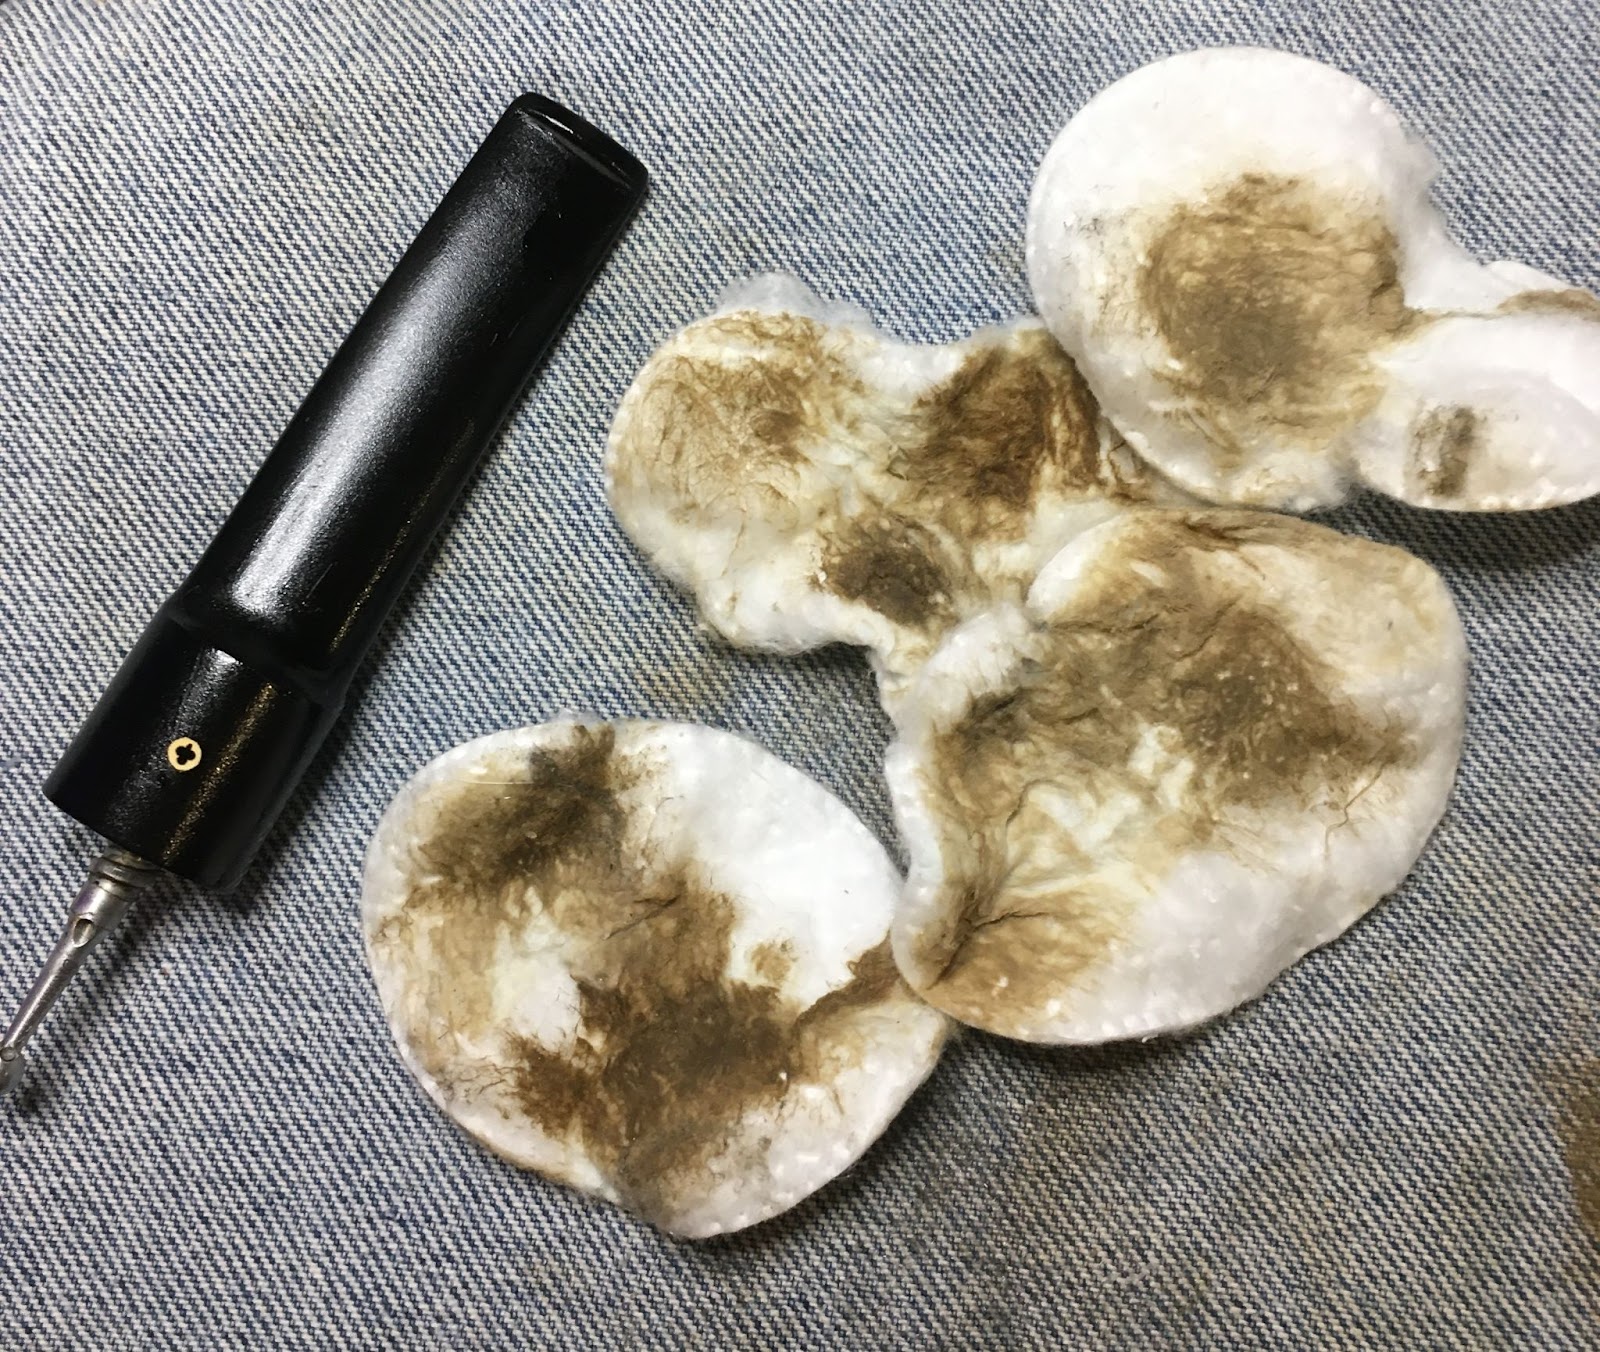
Next came the soiling of many cotton make-up pads with Soft Scrub, elbow grease and oxidized vulcanite. The stem exterior was rubbed with mineral oil while the airway received a mineral oil dipped pipe cleaner run through it. The oil was allowed to sit for 30 minutes.
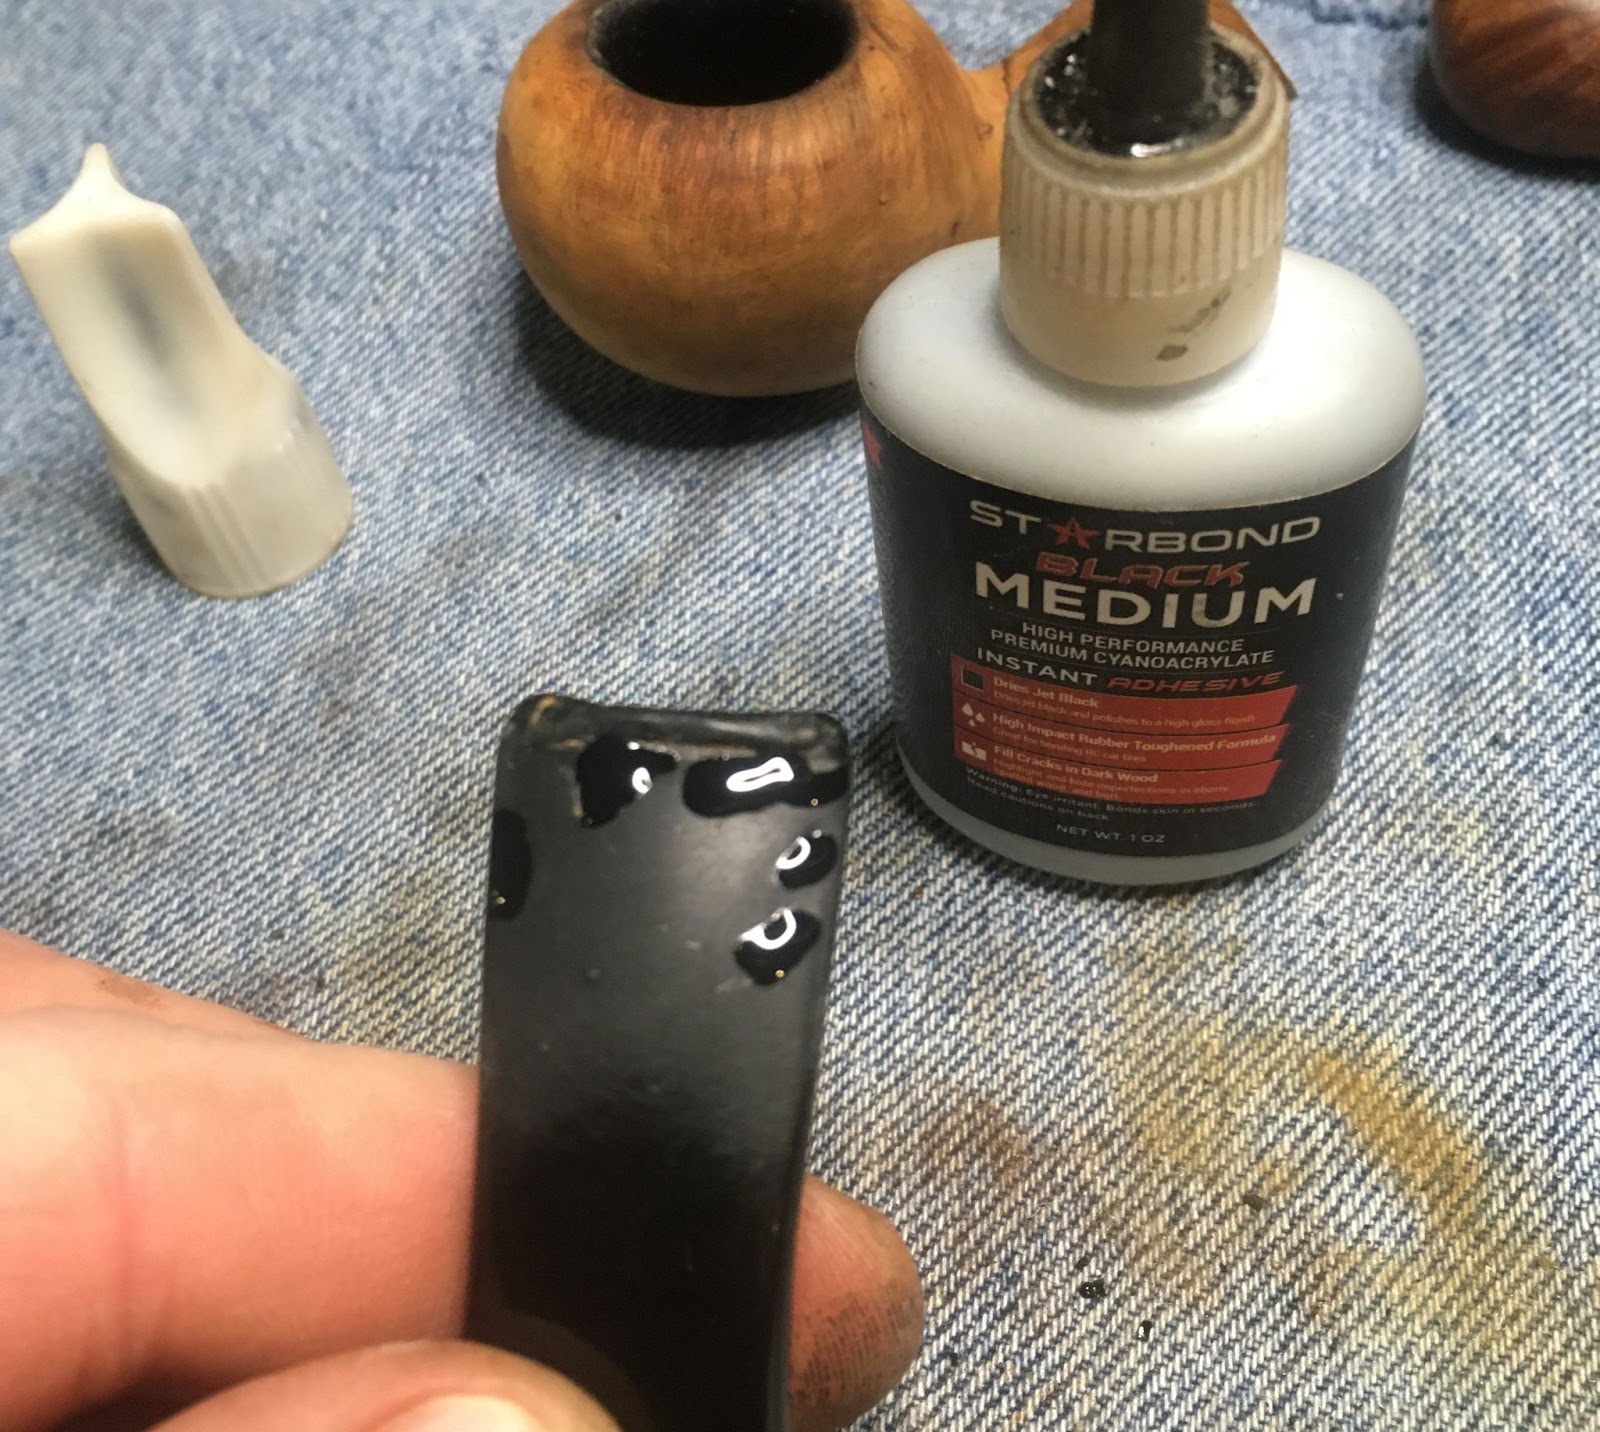
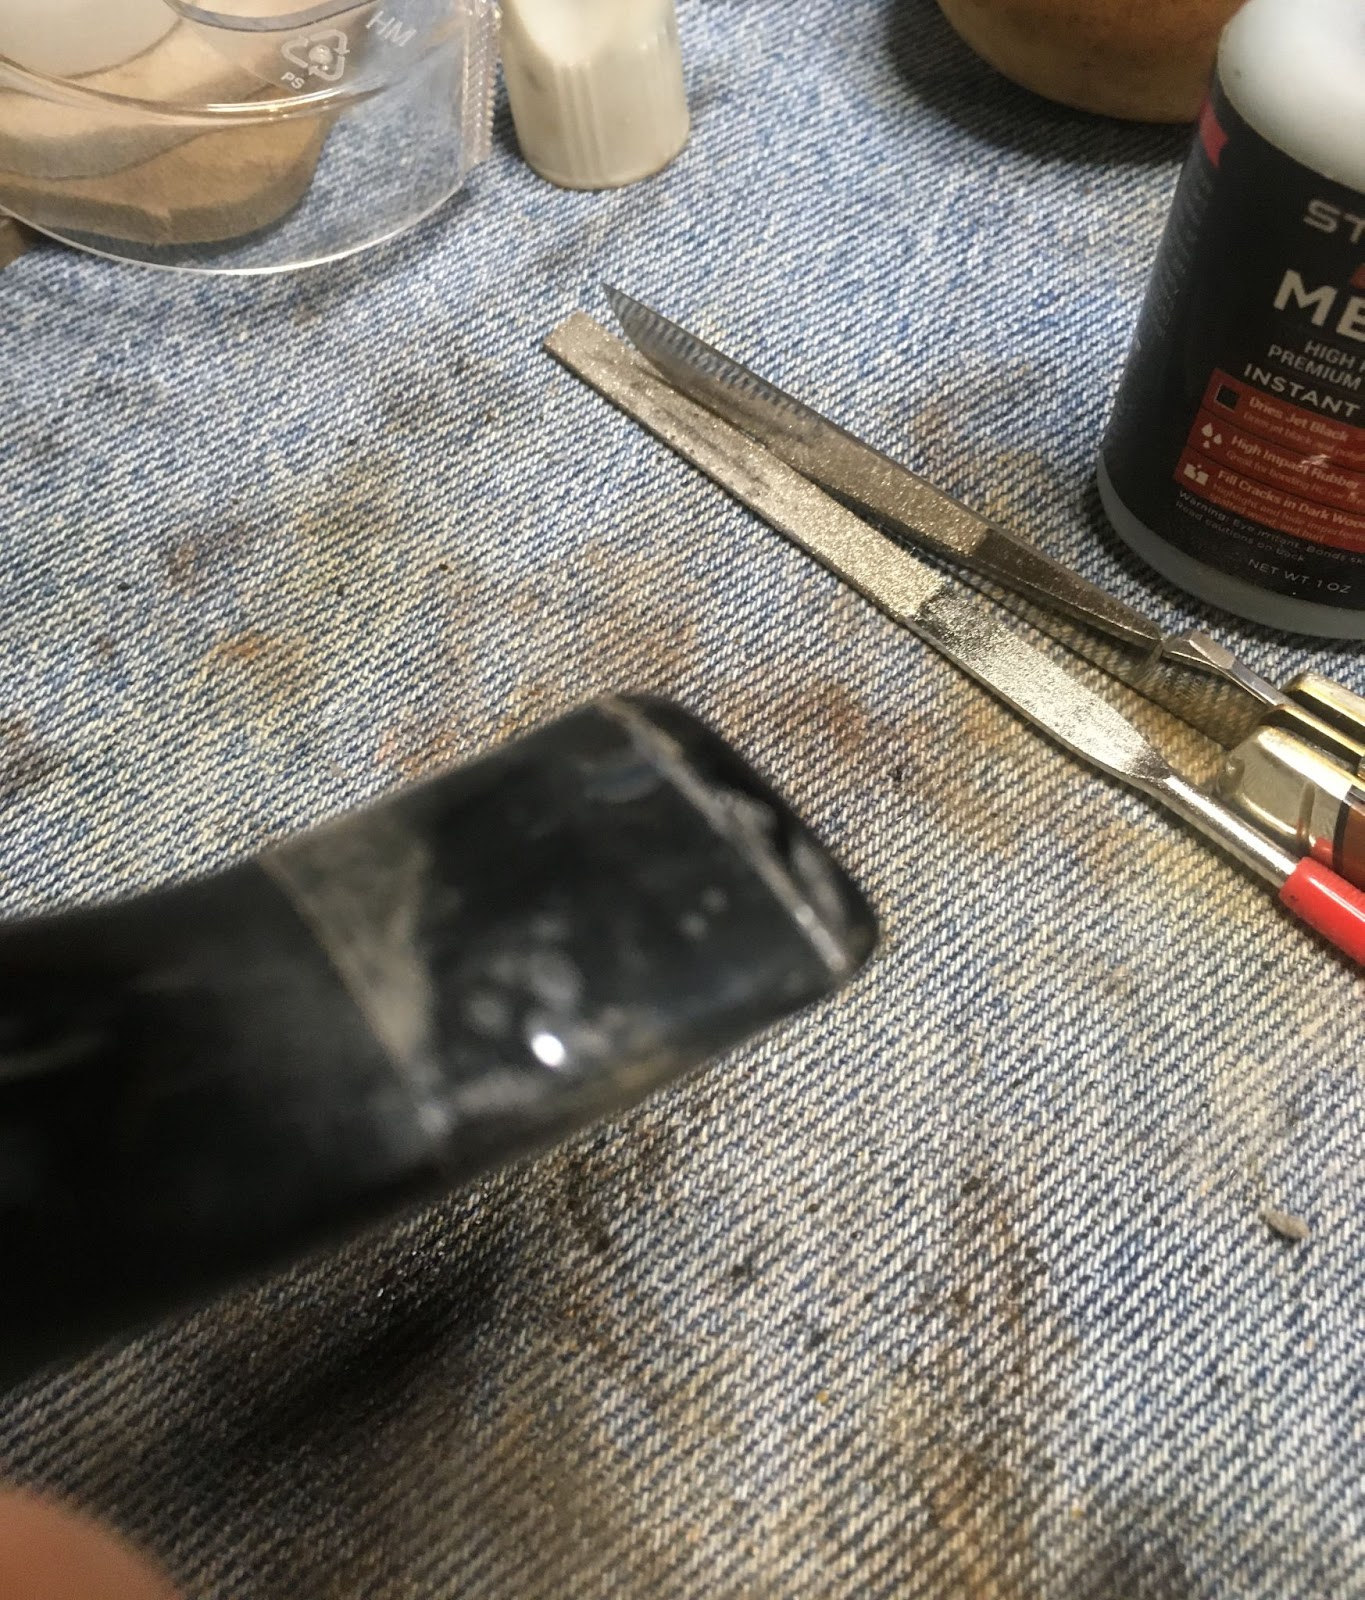
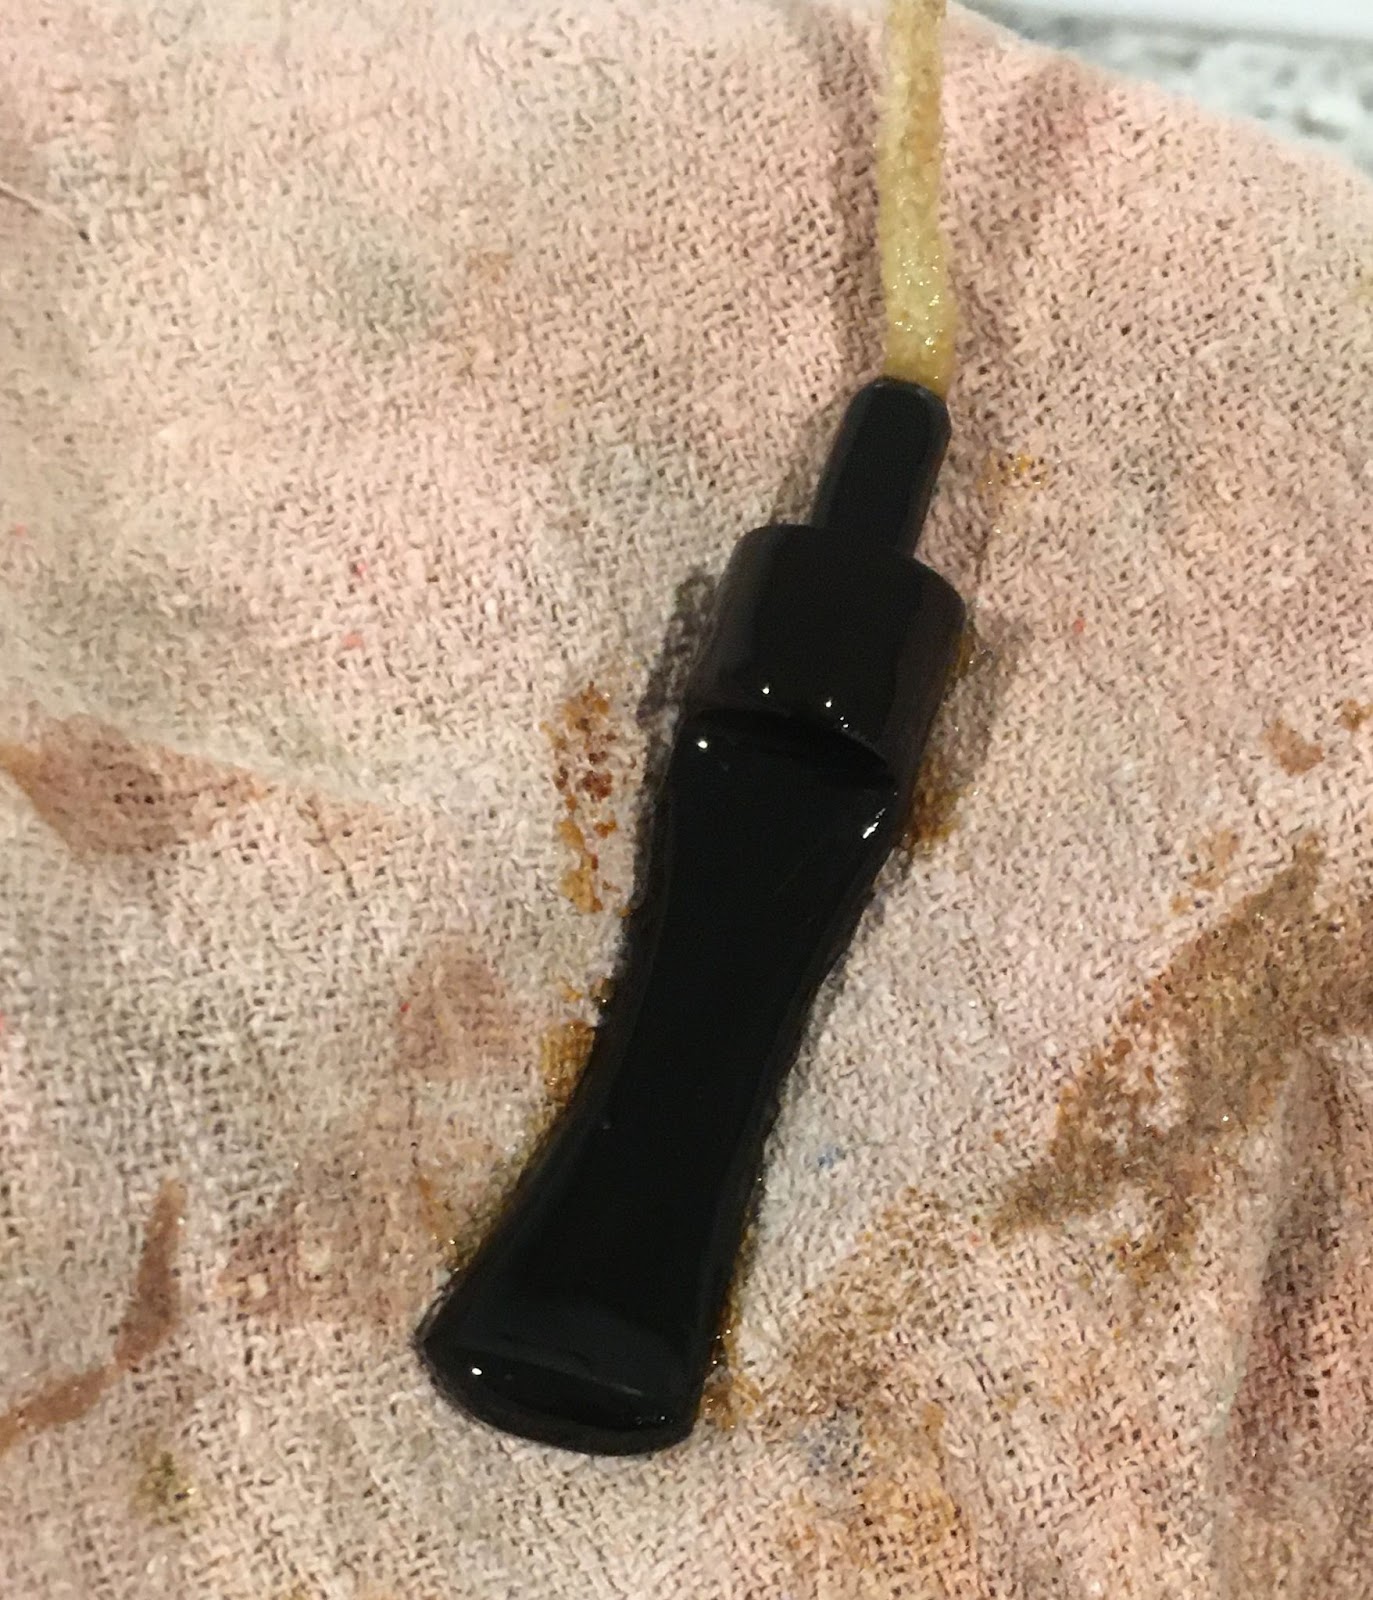
After the 30 minute oil absorption timer rang. It was at this time that I reglued the aluminum accent ring back onto the stem. I used a black CA bead around the base of the tenon then slid the ring into position. I applied a thin film of mineral oil to the tenon and the aluminum that contacted the shank in case any of the CA seeped away from where I wanted it. I hoped that the mineral oil would keep it from bonding to the shank or mortise. I taped the end of the shank and stem logo with painters tape. Either the mineral oil worked or the CA didn’t seep – after a few minutes the stem was removed from the shank and the aluminum ring was secure.
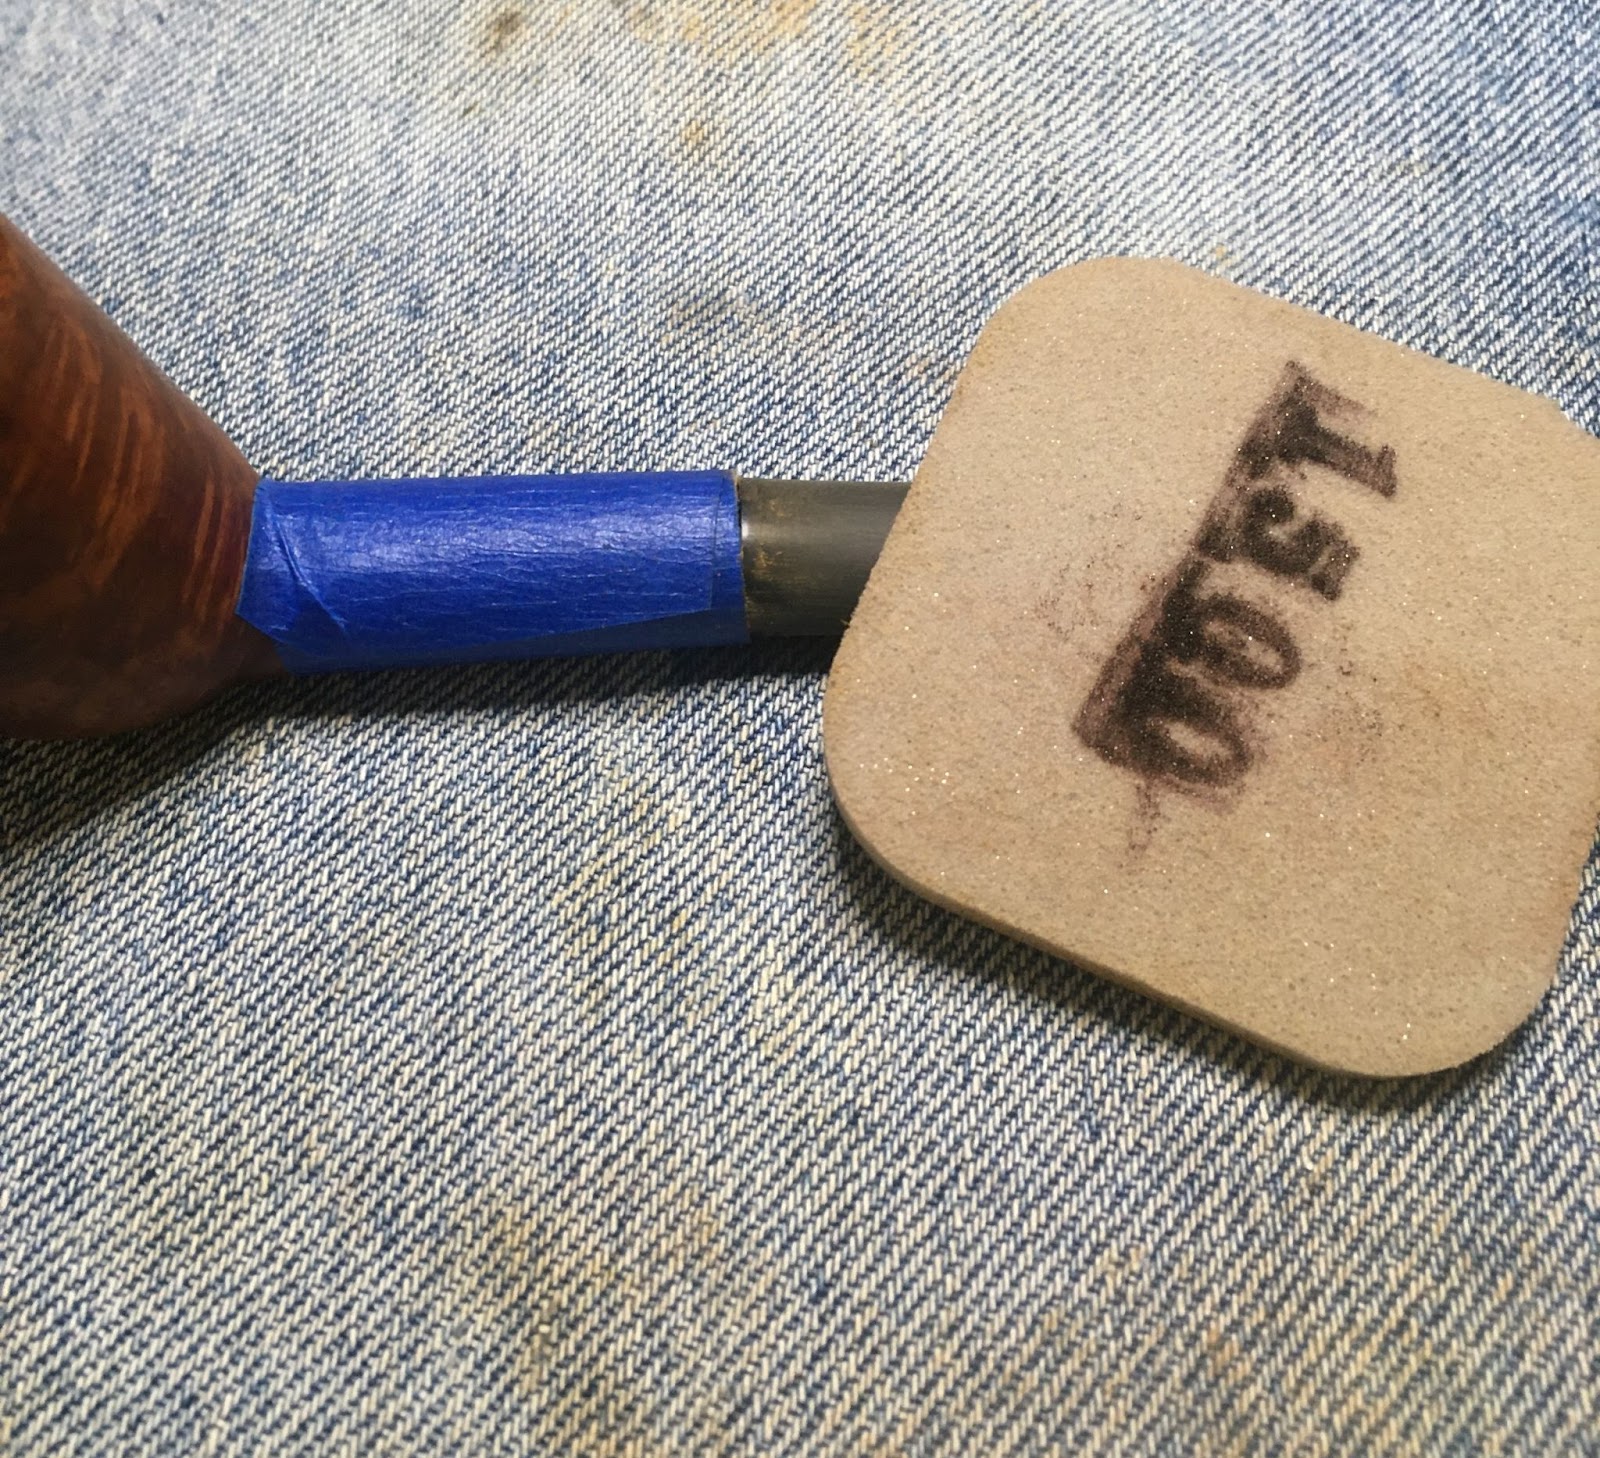
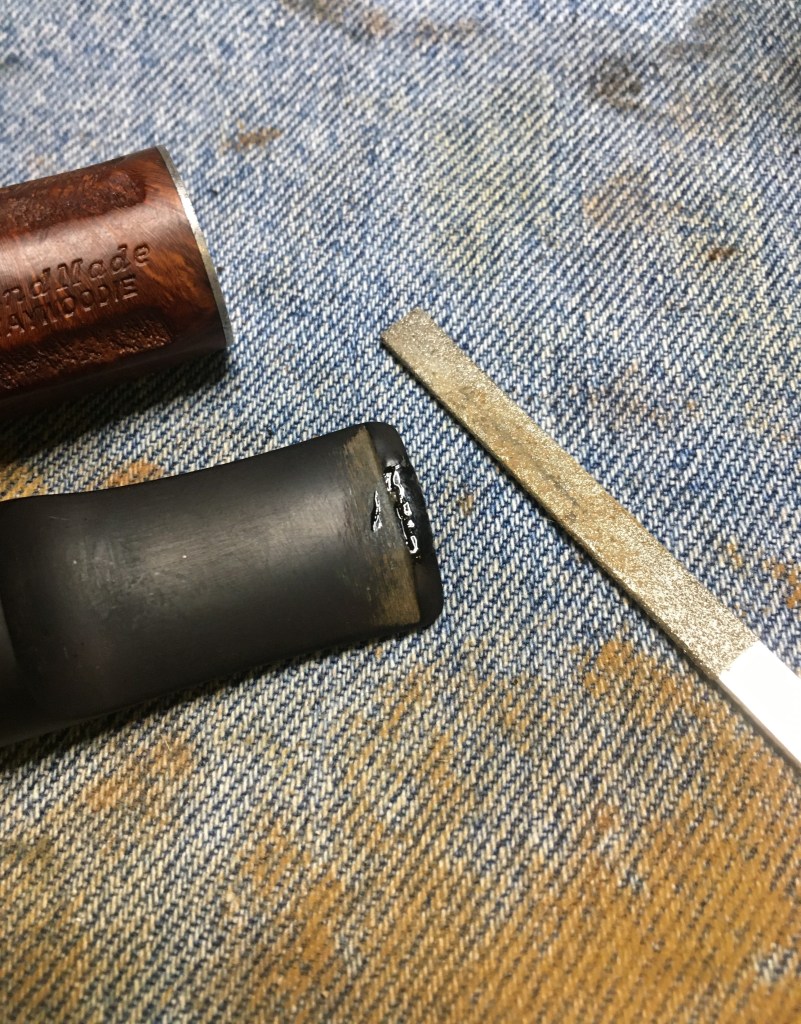
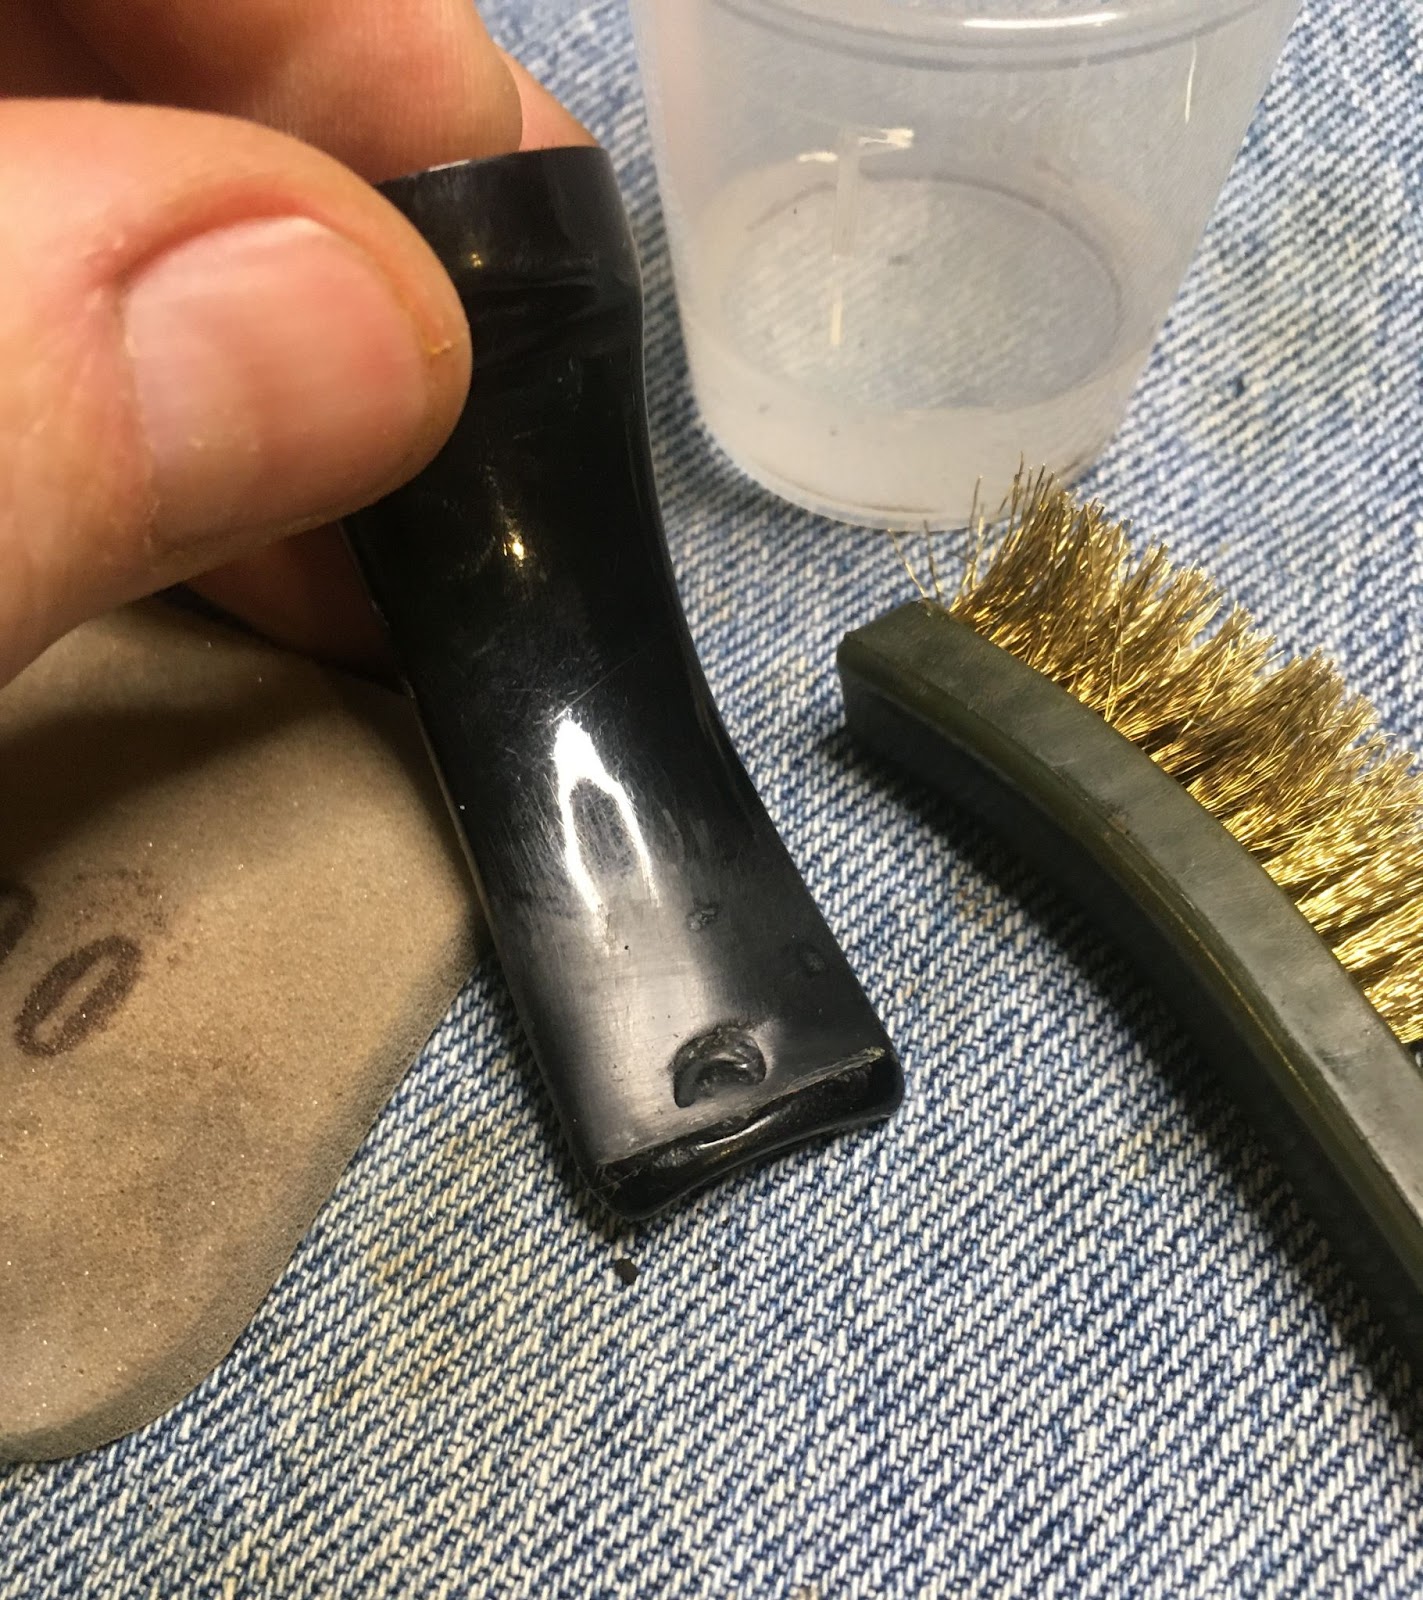
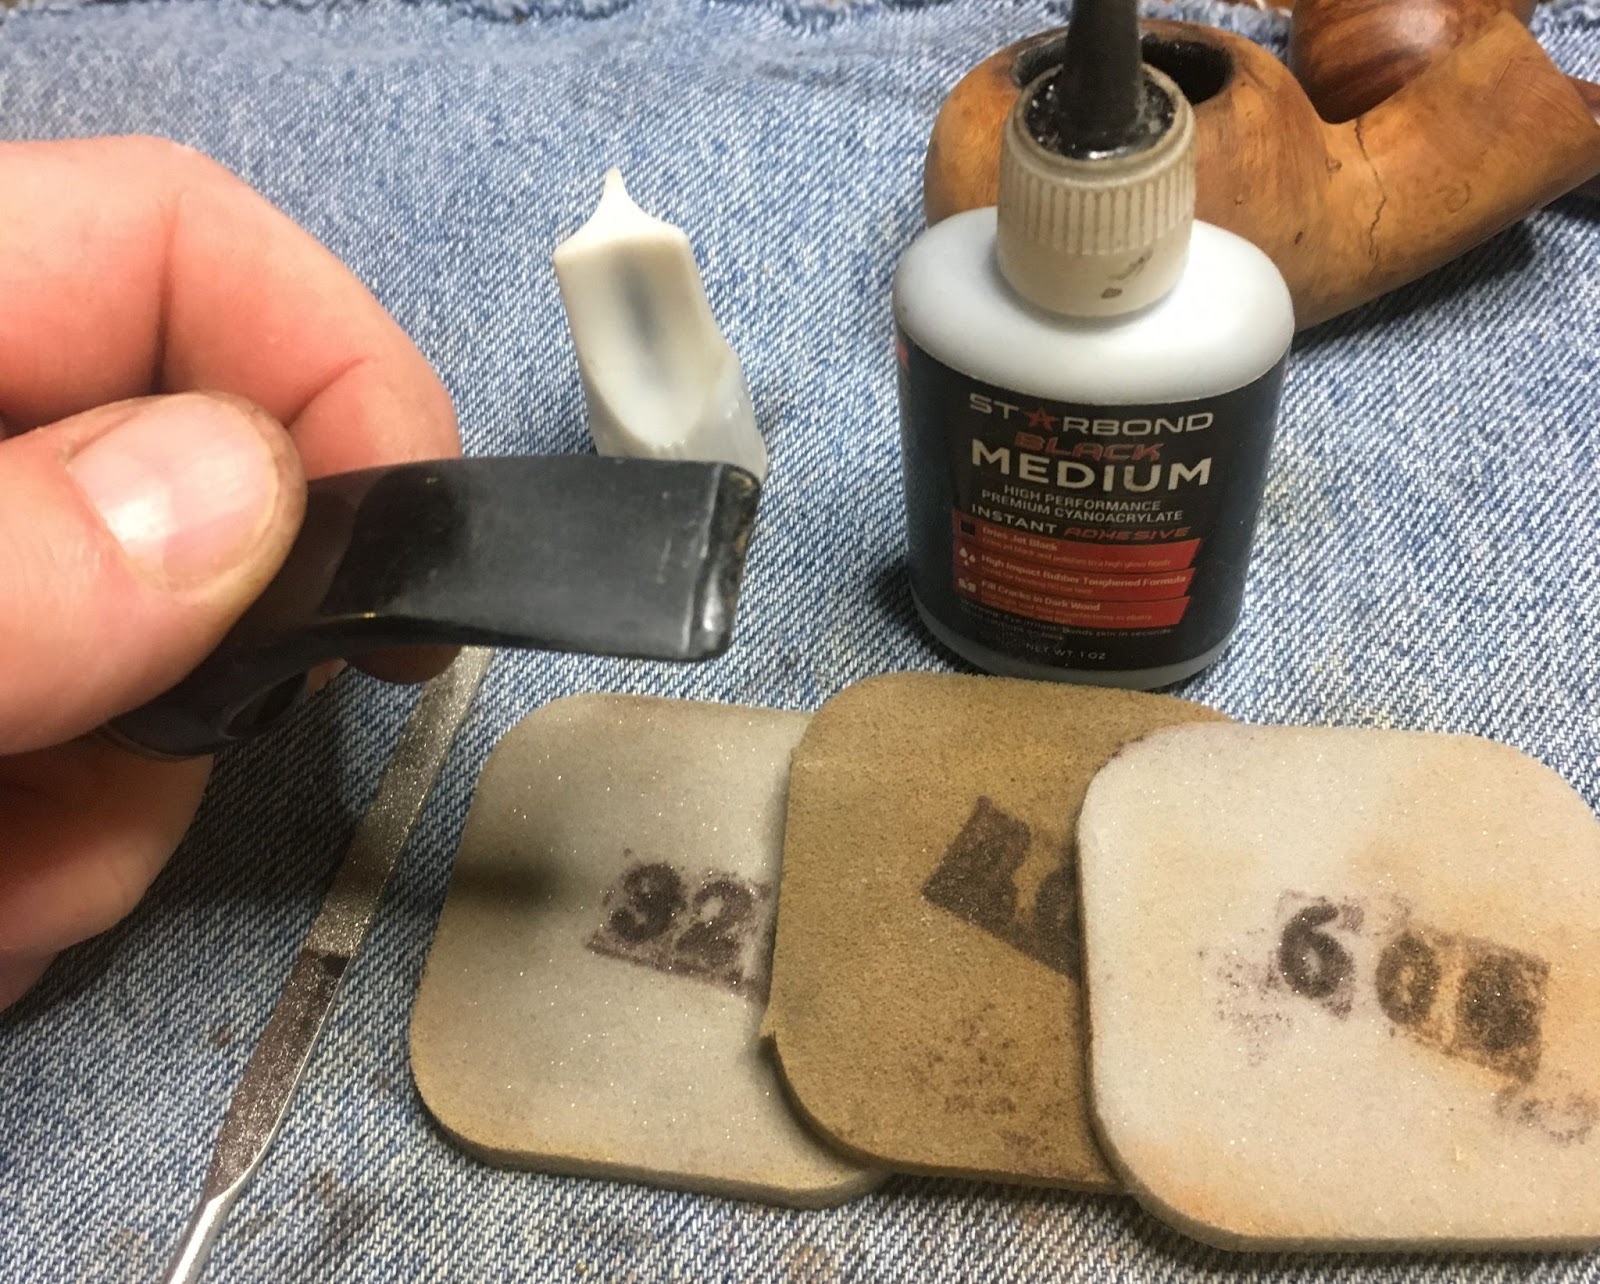
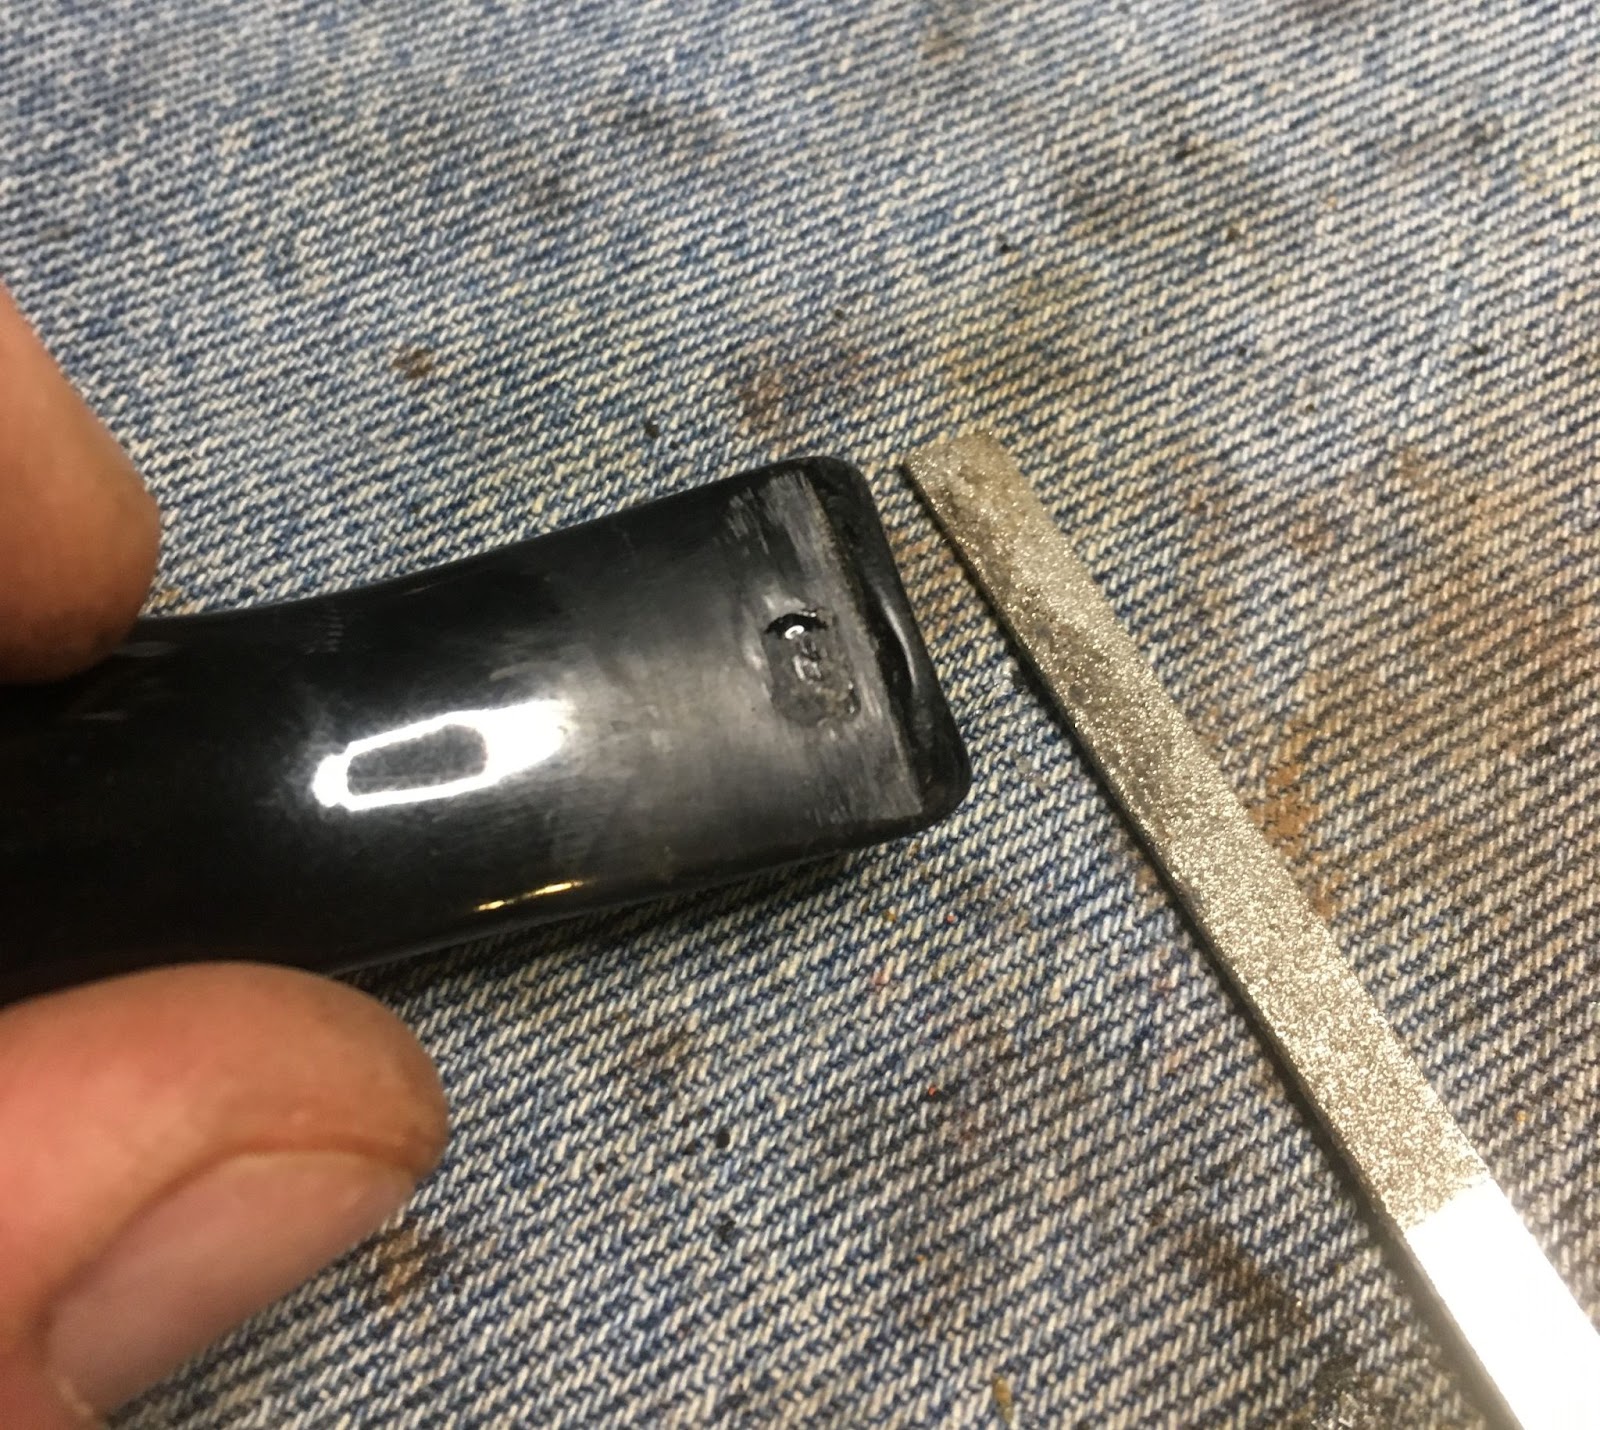
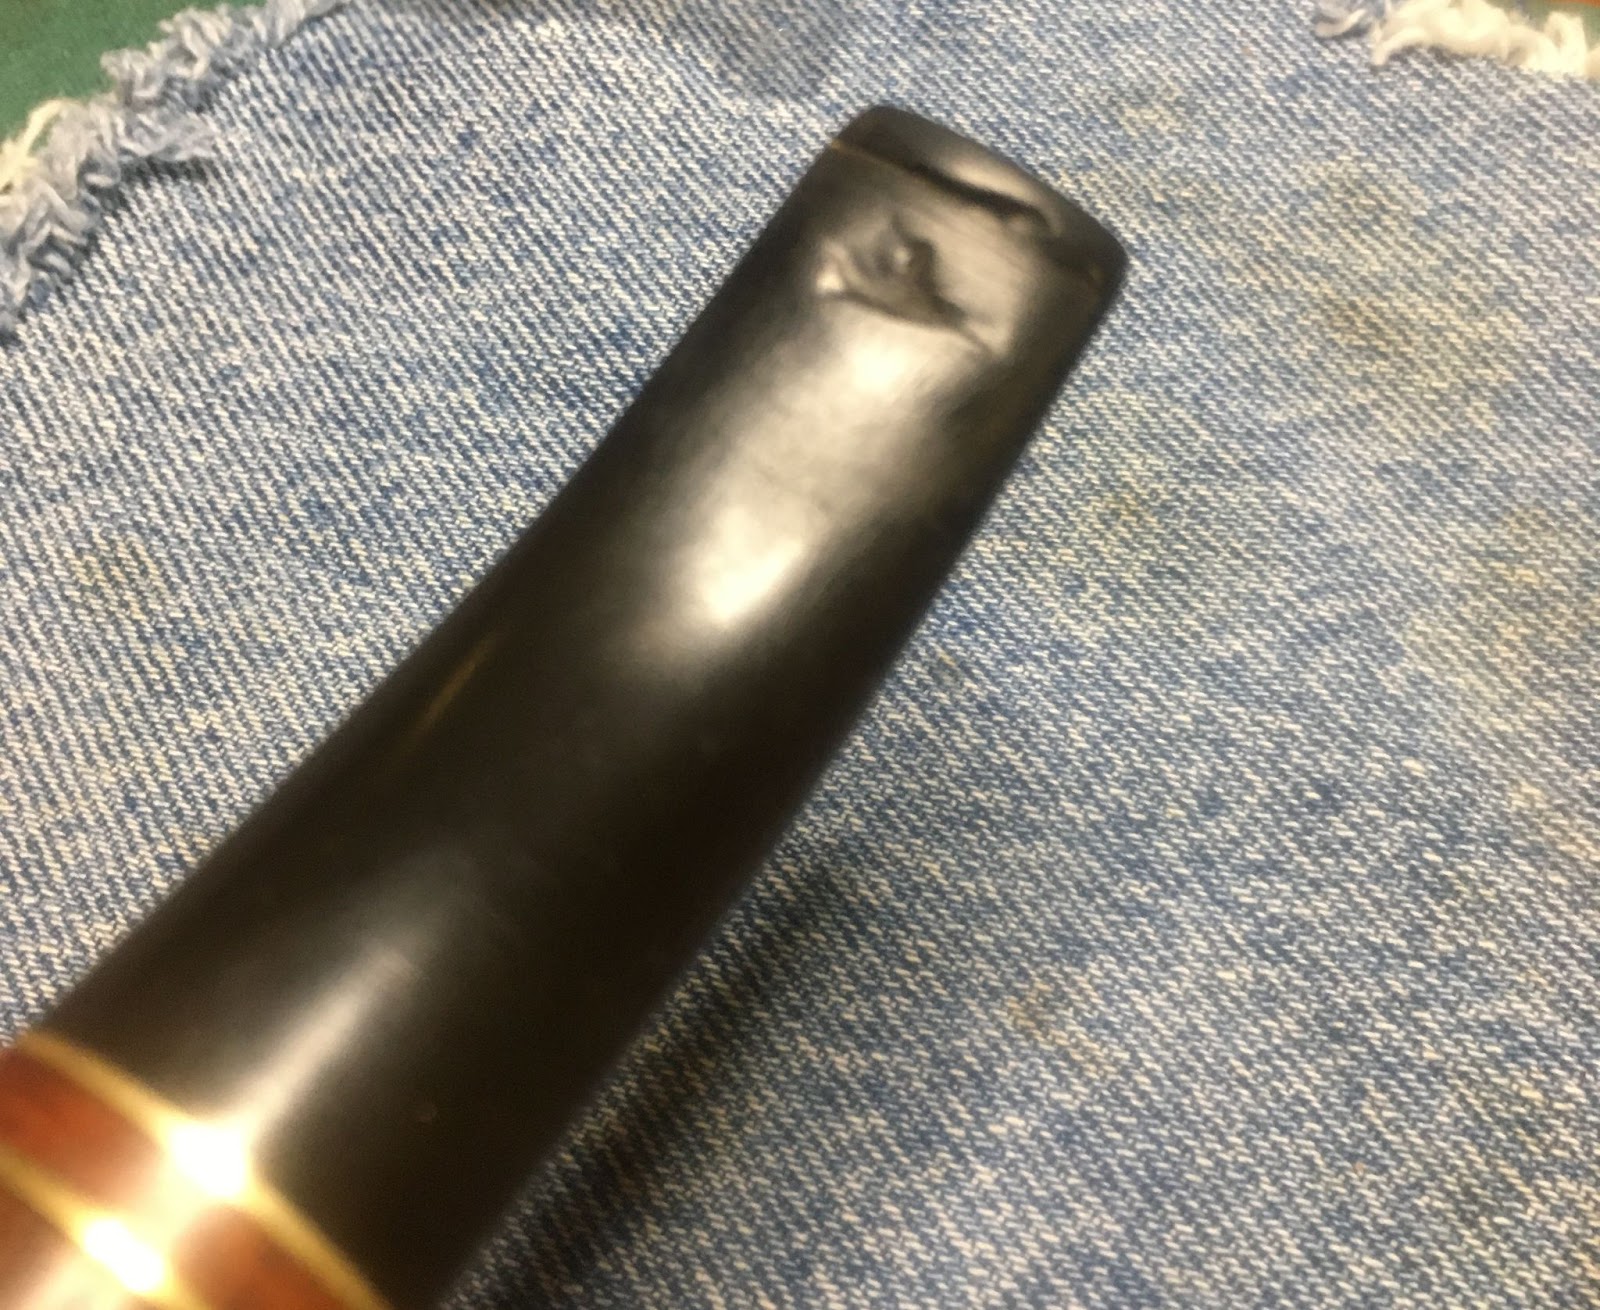
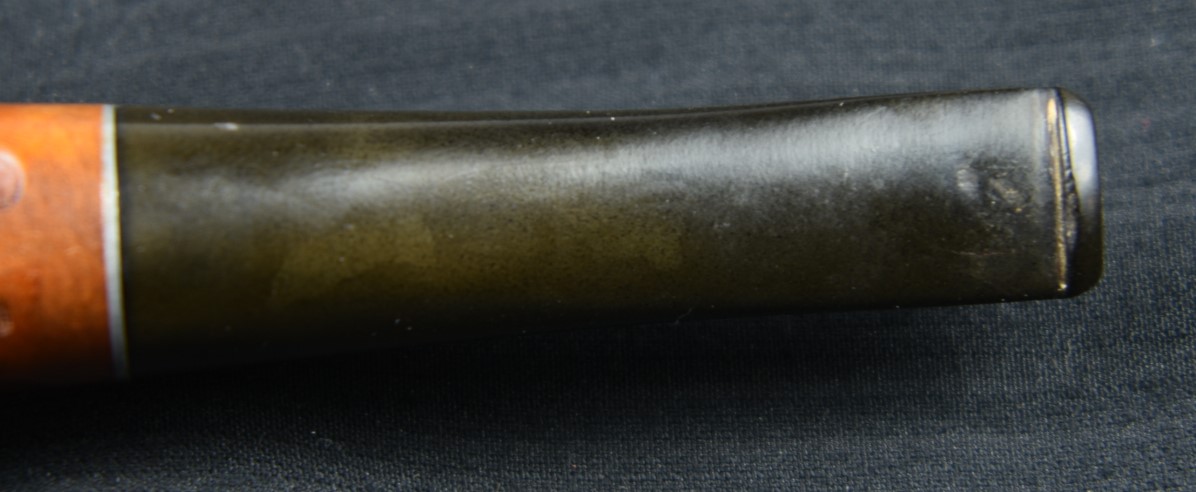
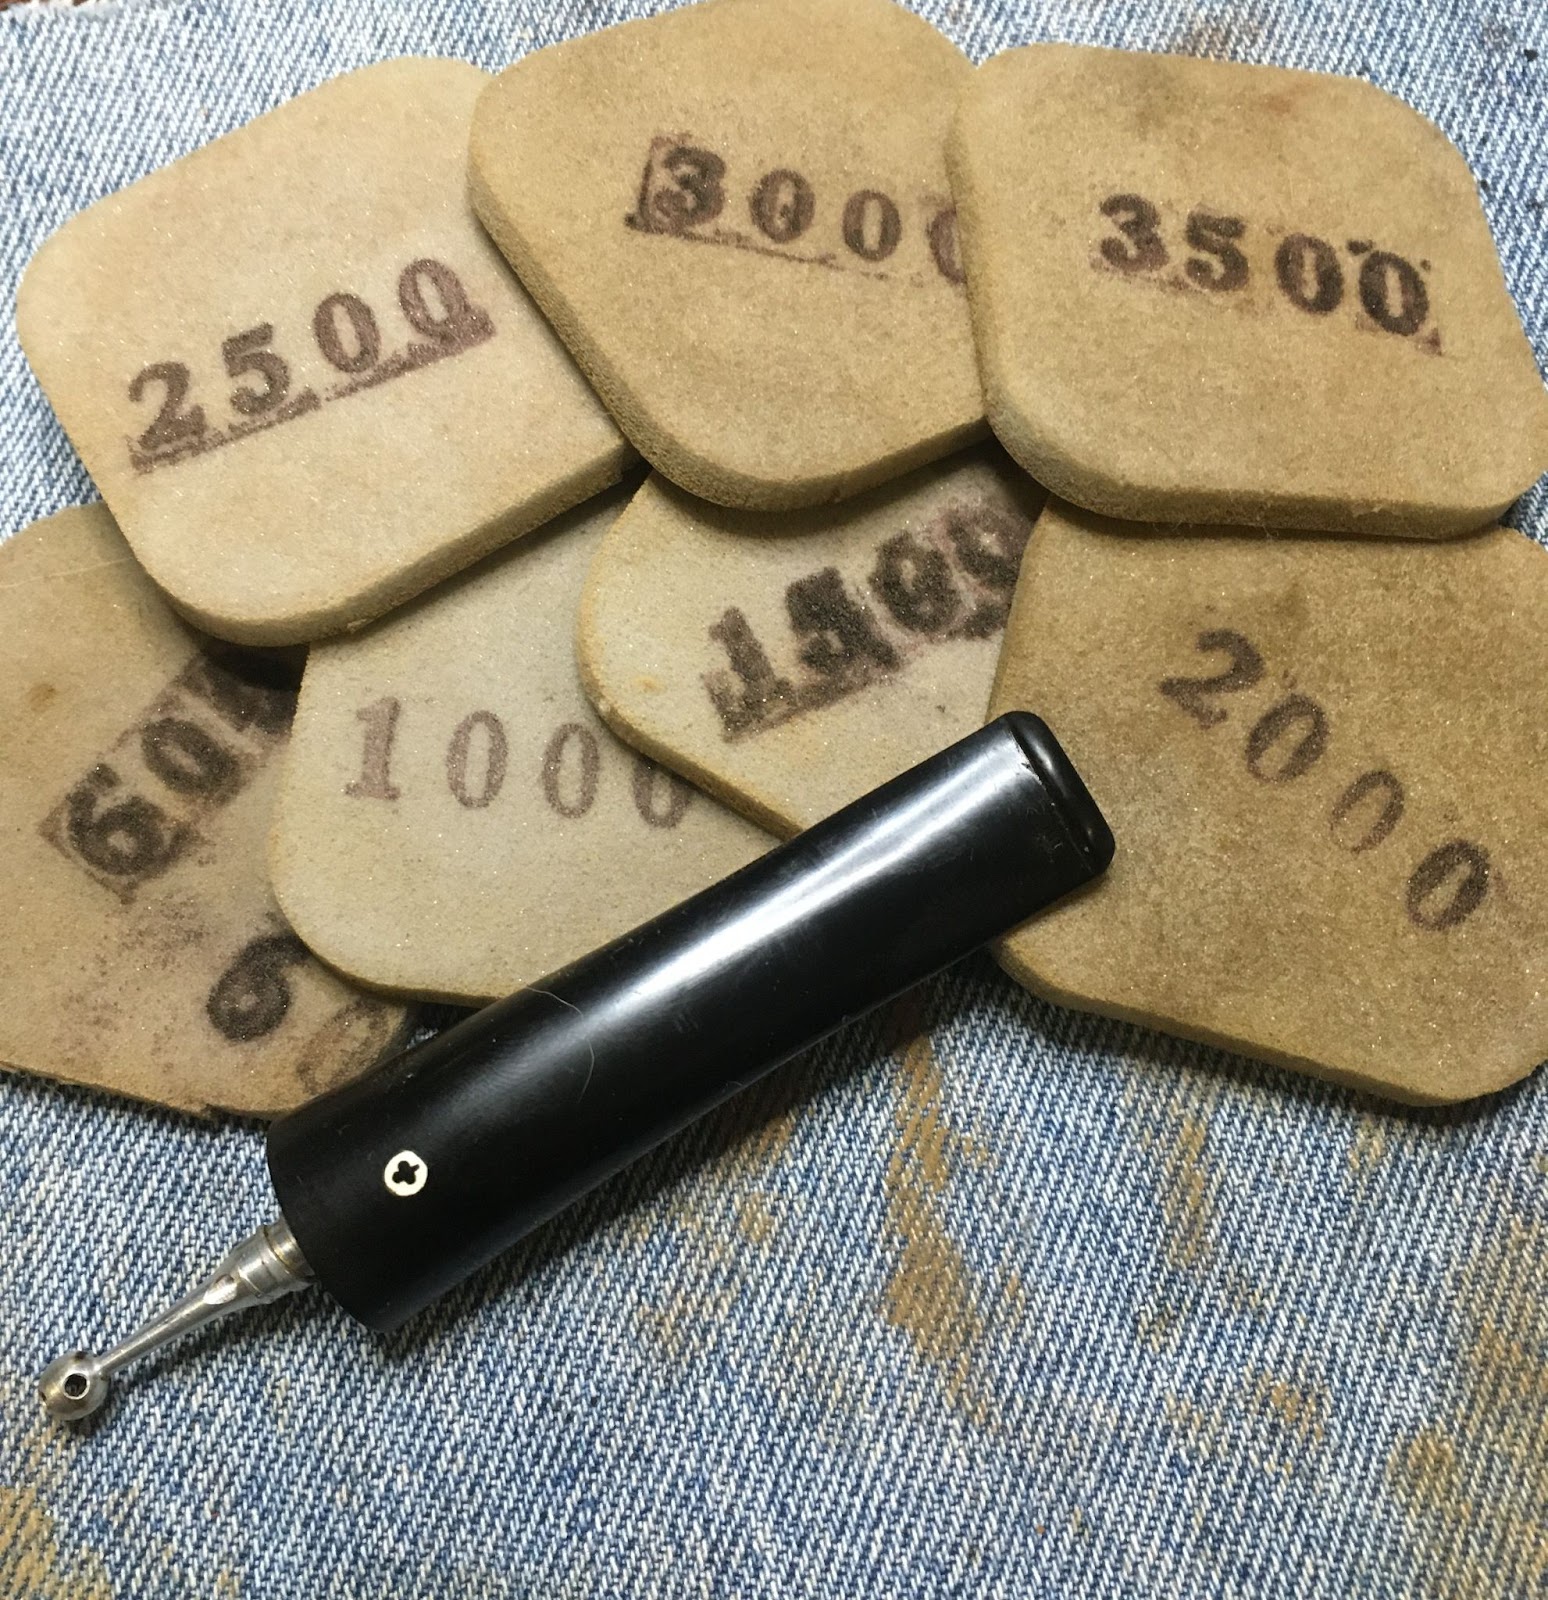
The logo was first scrubbed with an alcohol dipped cotton swab to remove oil and allow the tape to adhere. I then started sanding with a sequence of sanding sponges from 1000-3500 grit sanding sponges. Between each sponge, I would dip my fingertip in the mineral oil and rub the stem with oil then wipe away the oil with a paper towel.

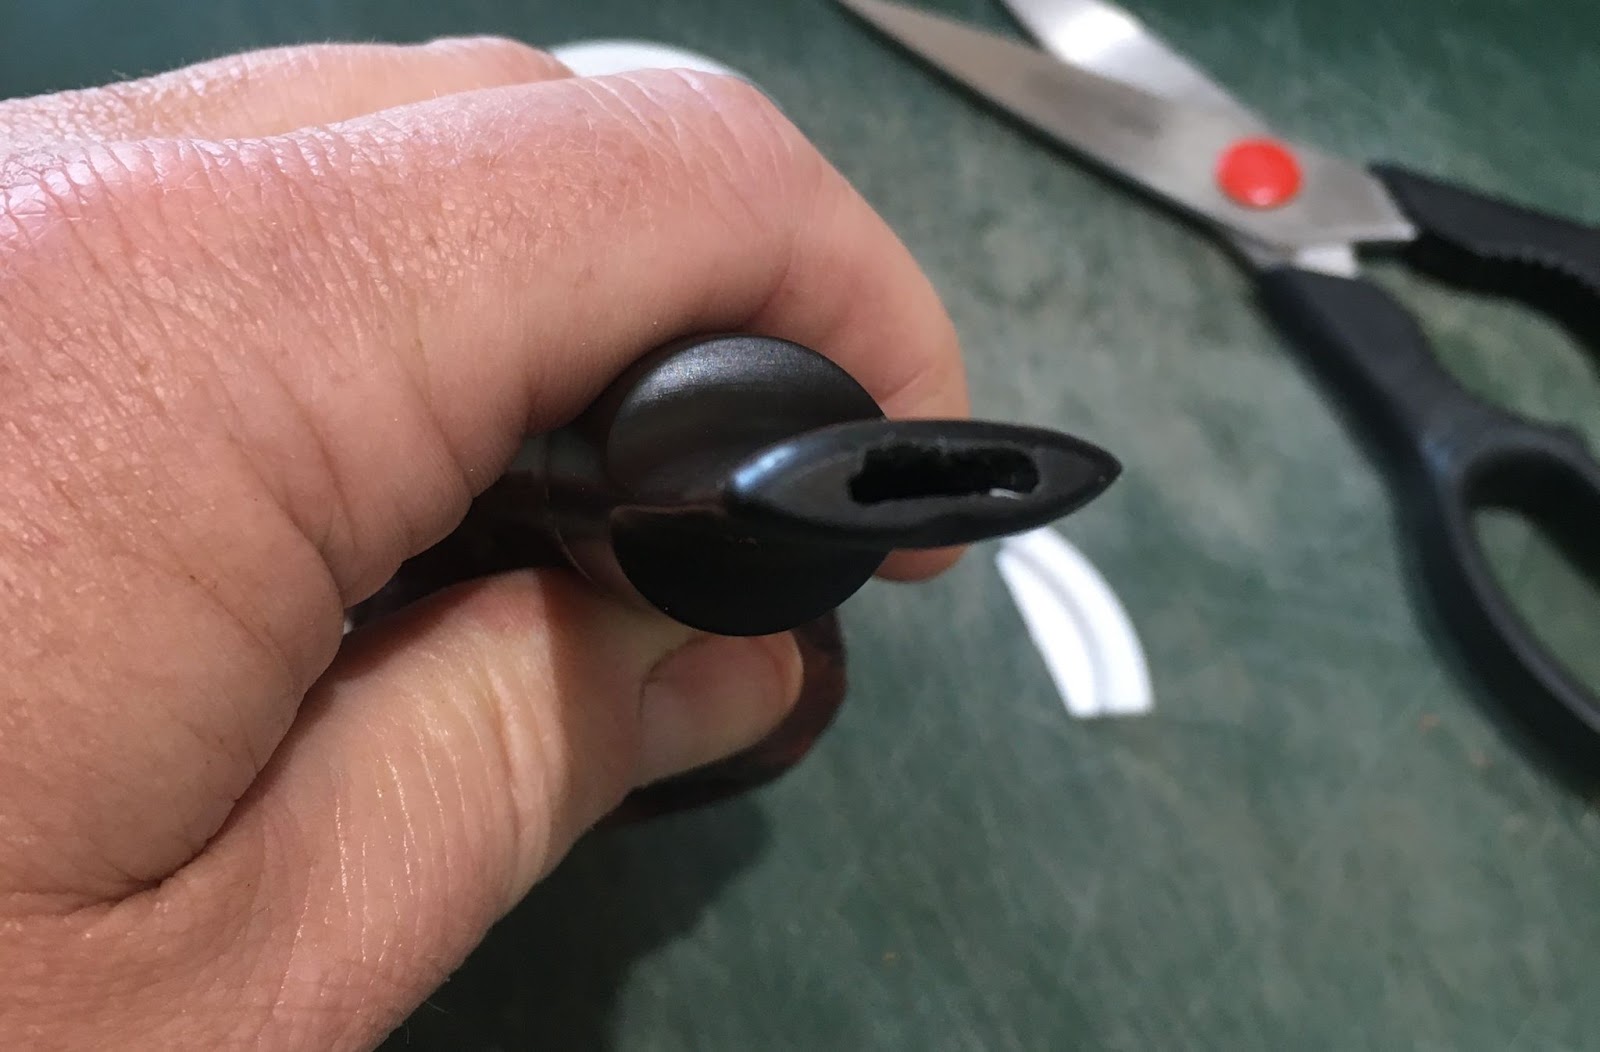
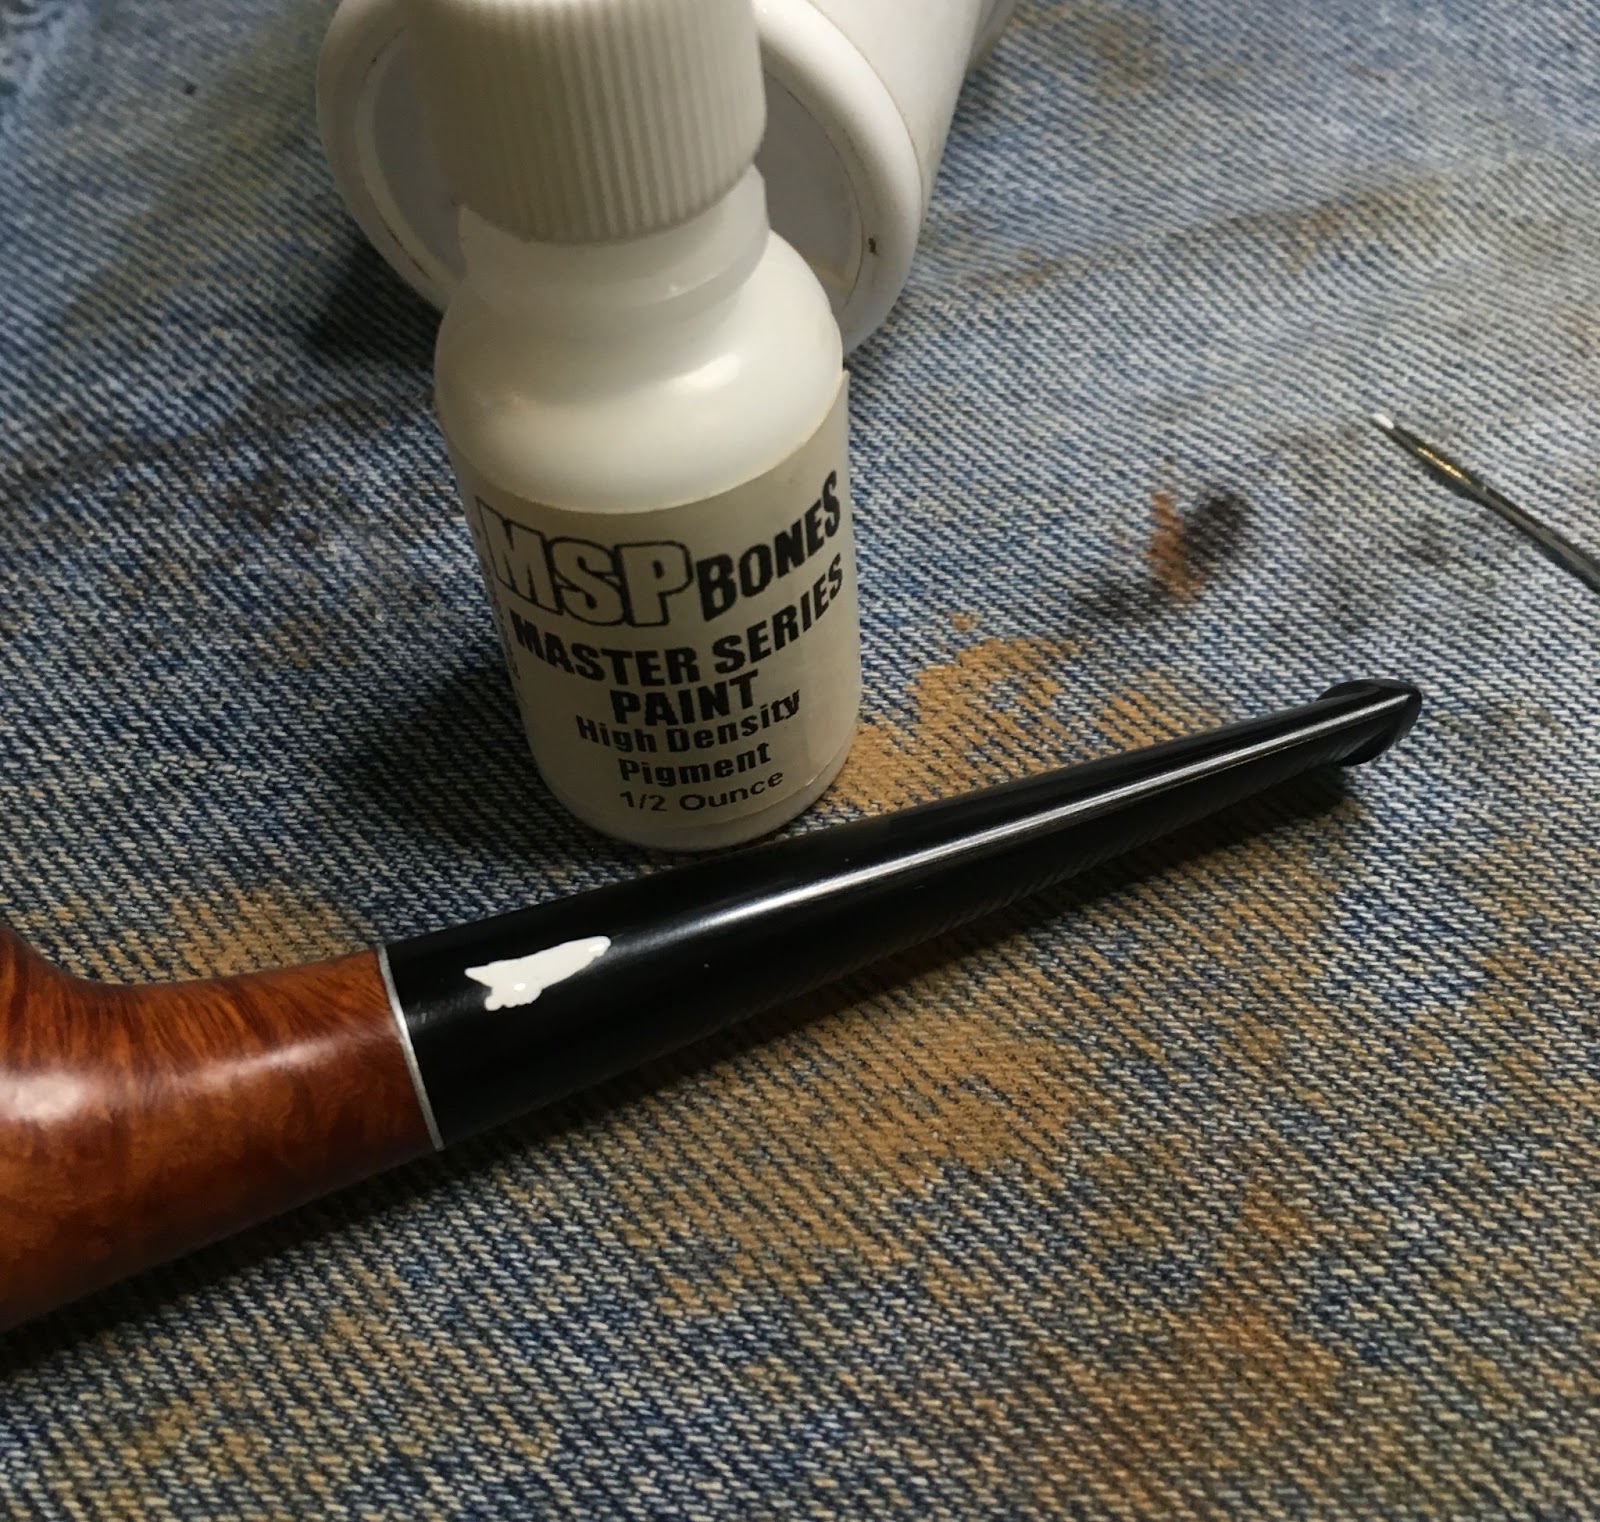
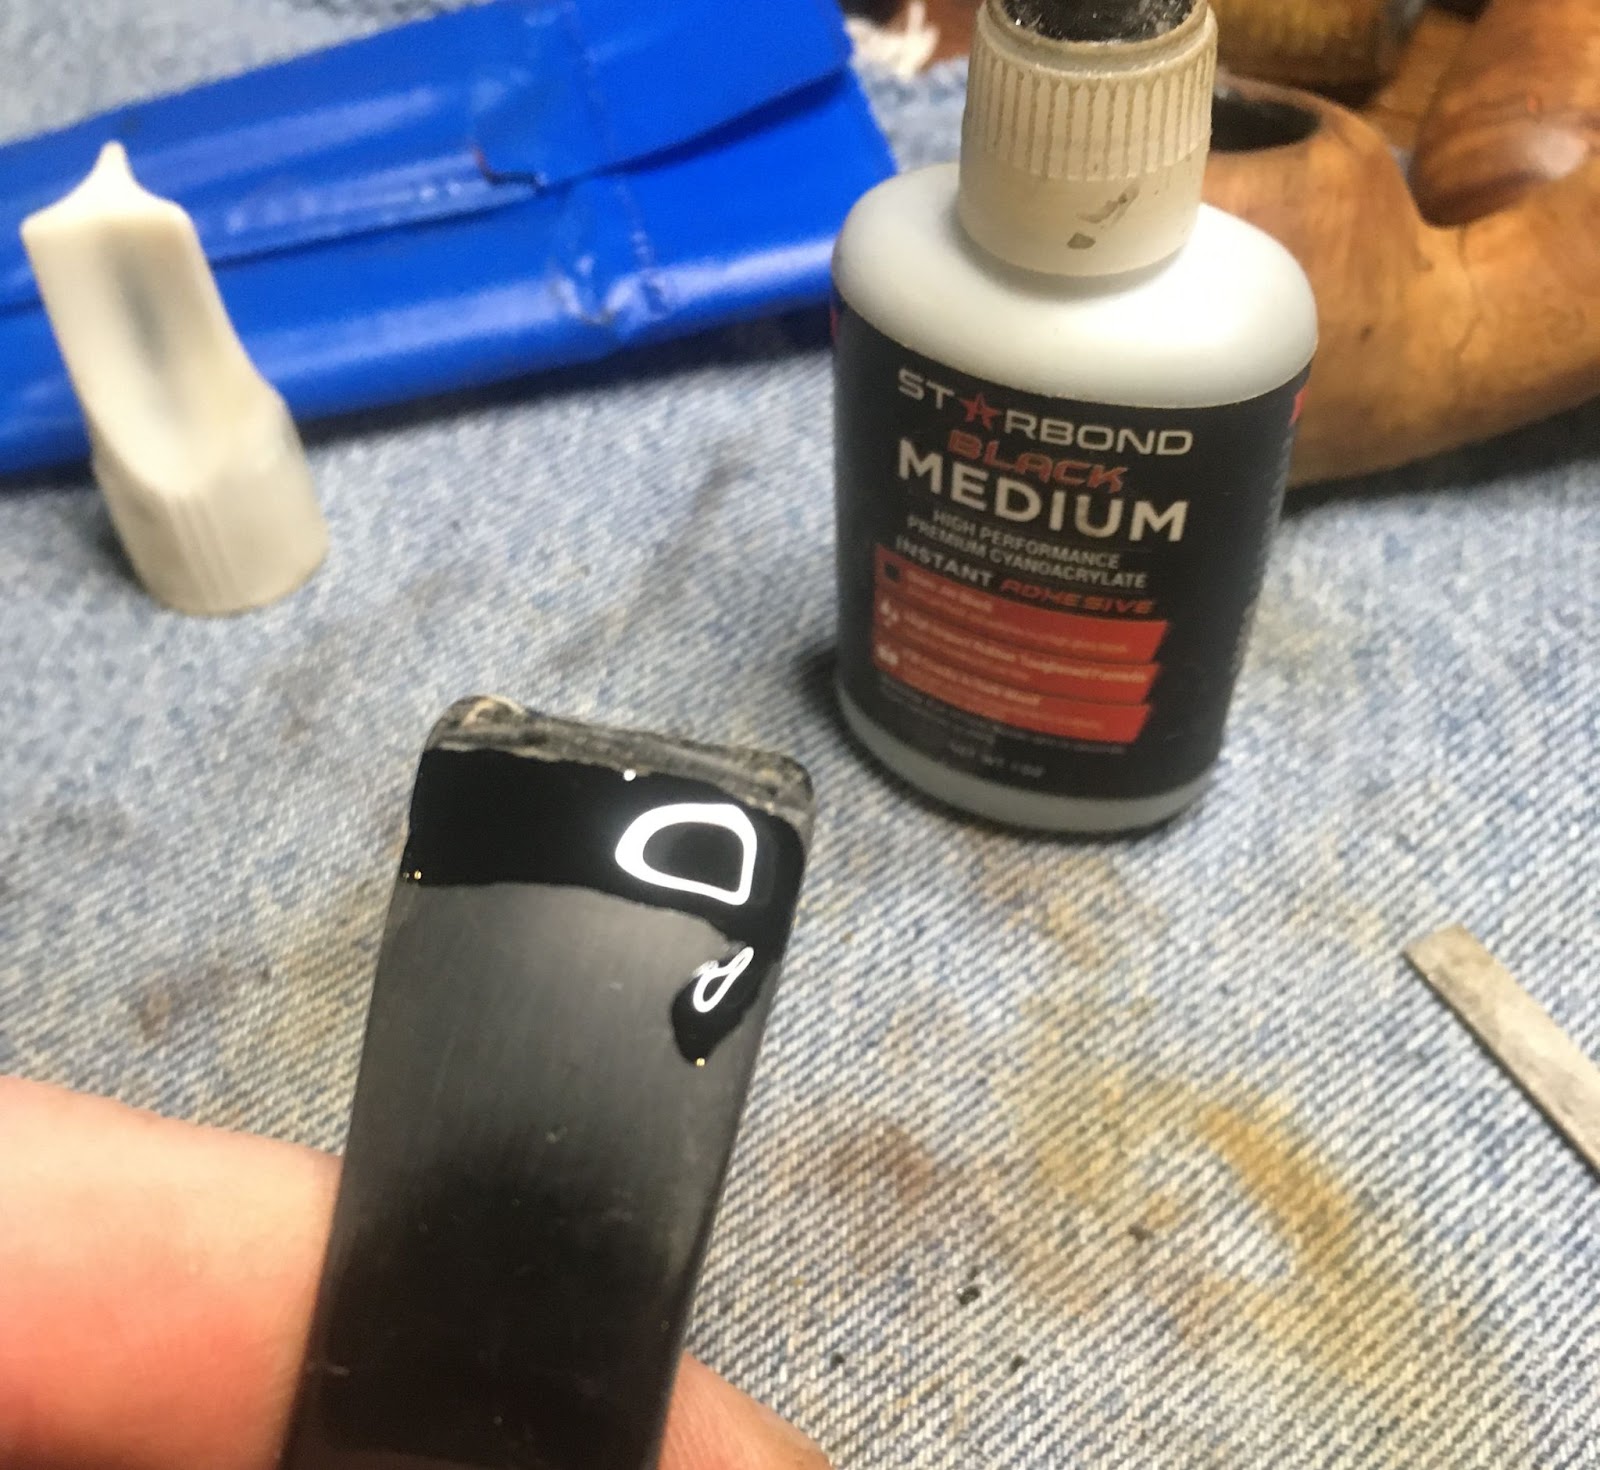
The stem needed a new application of paint to the stamped logo. I used white acrylic model paint. The logo area was first cleaned of oil with a cotton swab dipped in alcohol then painted white.

The logo was then gently sanded with the 3000 grit sanding sponge to remove the paint not in the depressions of the logo.
I removed the tape from the shank and began micro-meshing the stem with a series of micro-mesh pads 4000-12000. Between each pad I applied a small drop of Obsidian oil, rubbed it onto the stem then wiped it away with a paper towel.

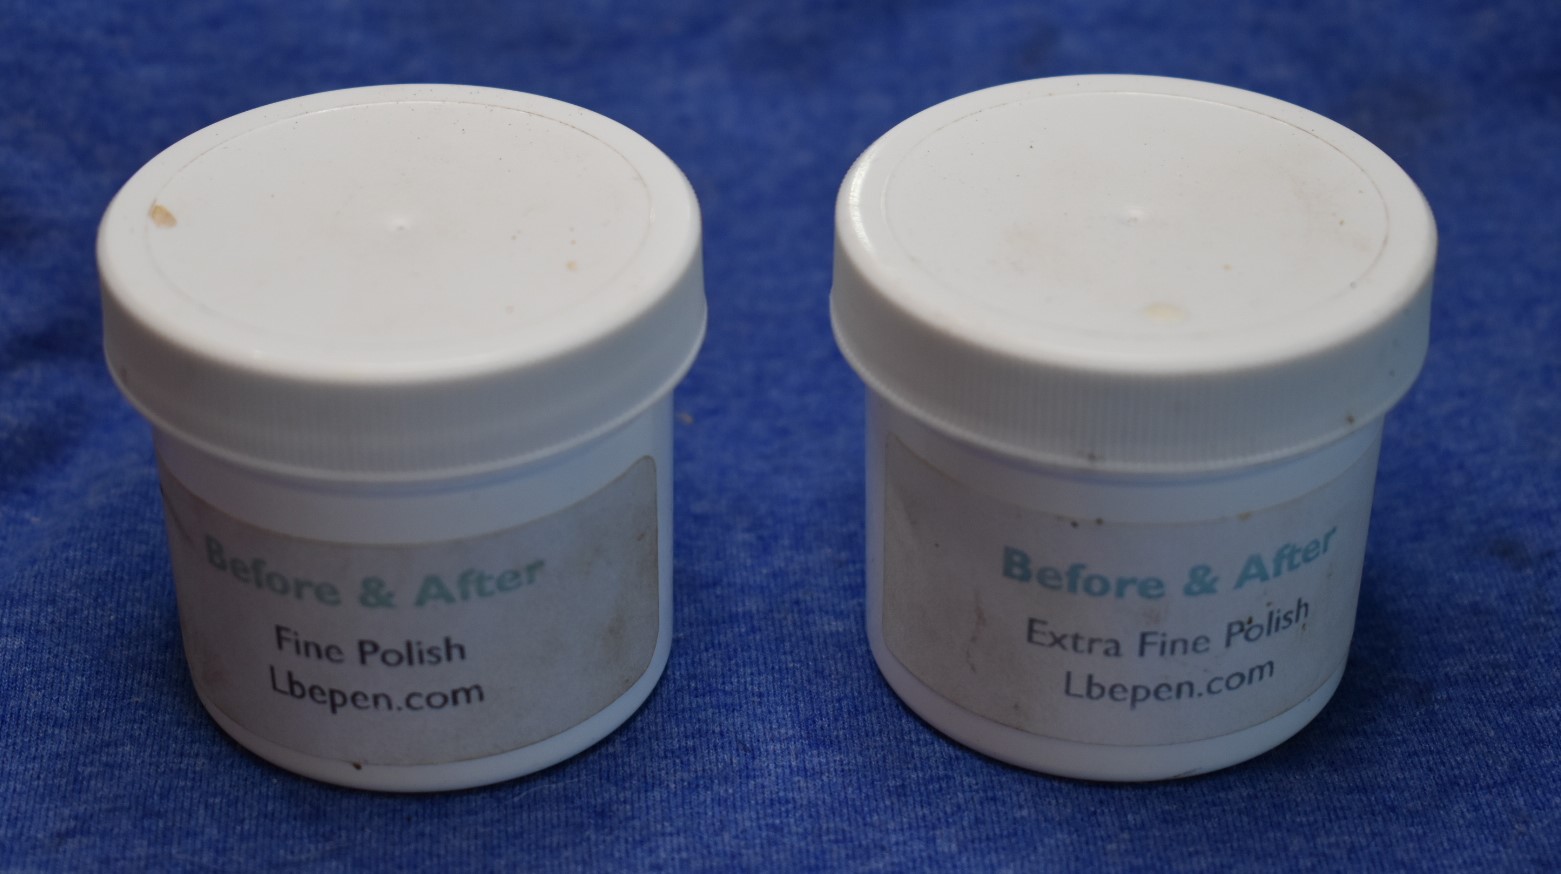
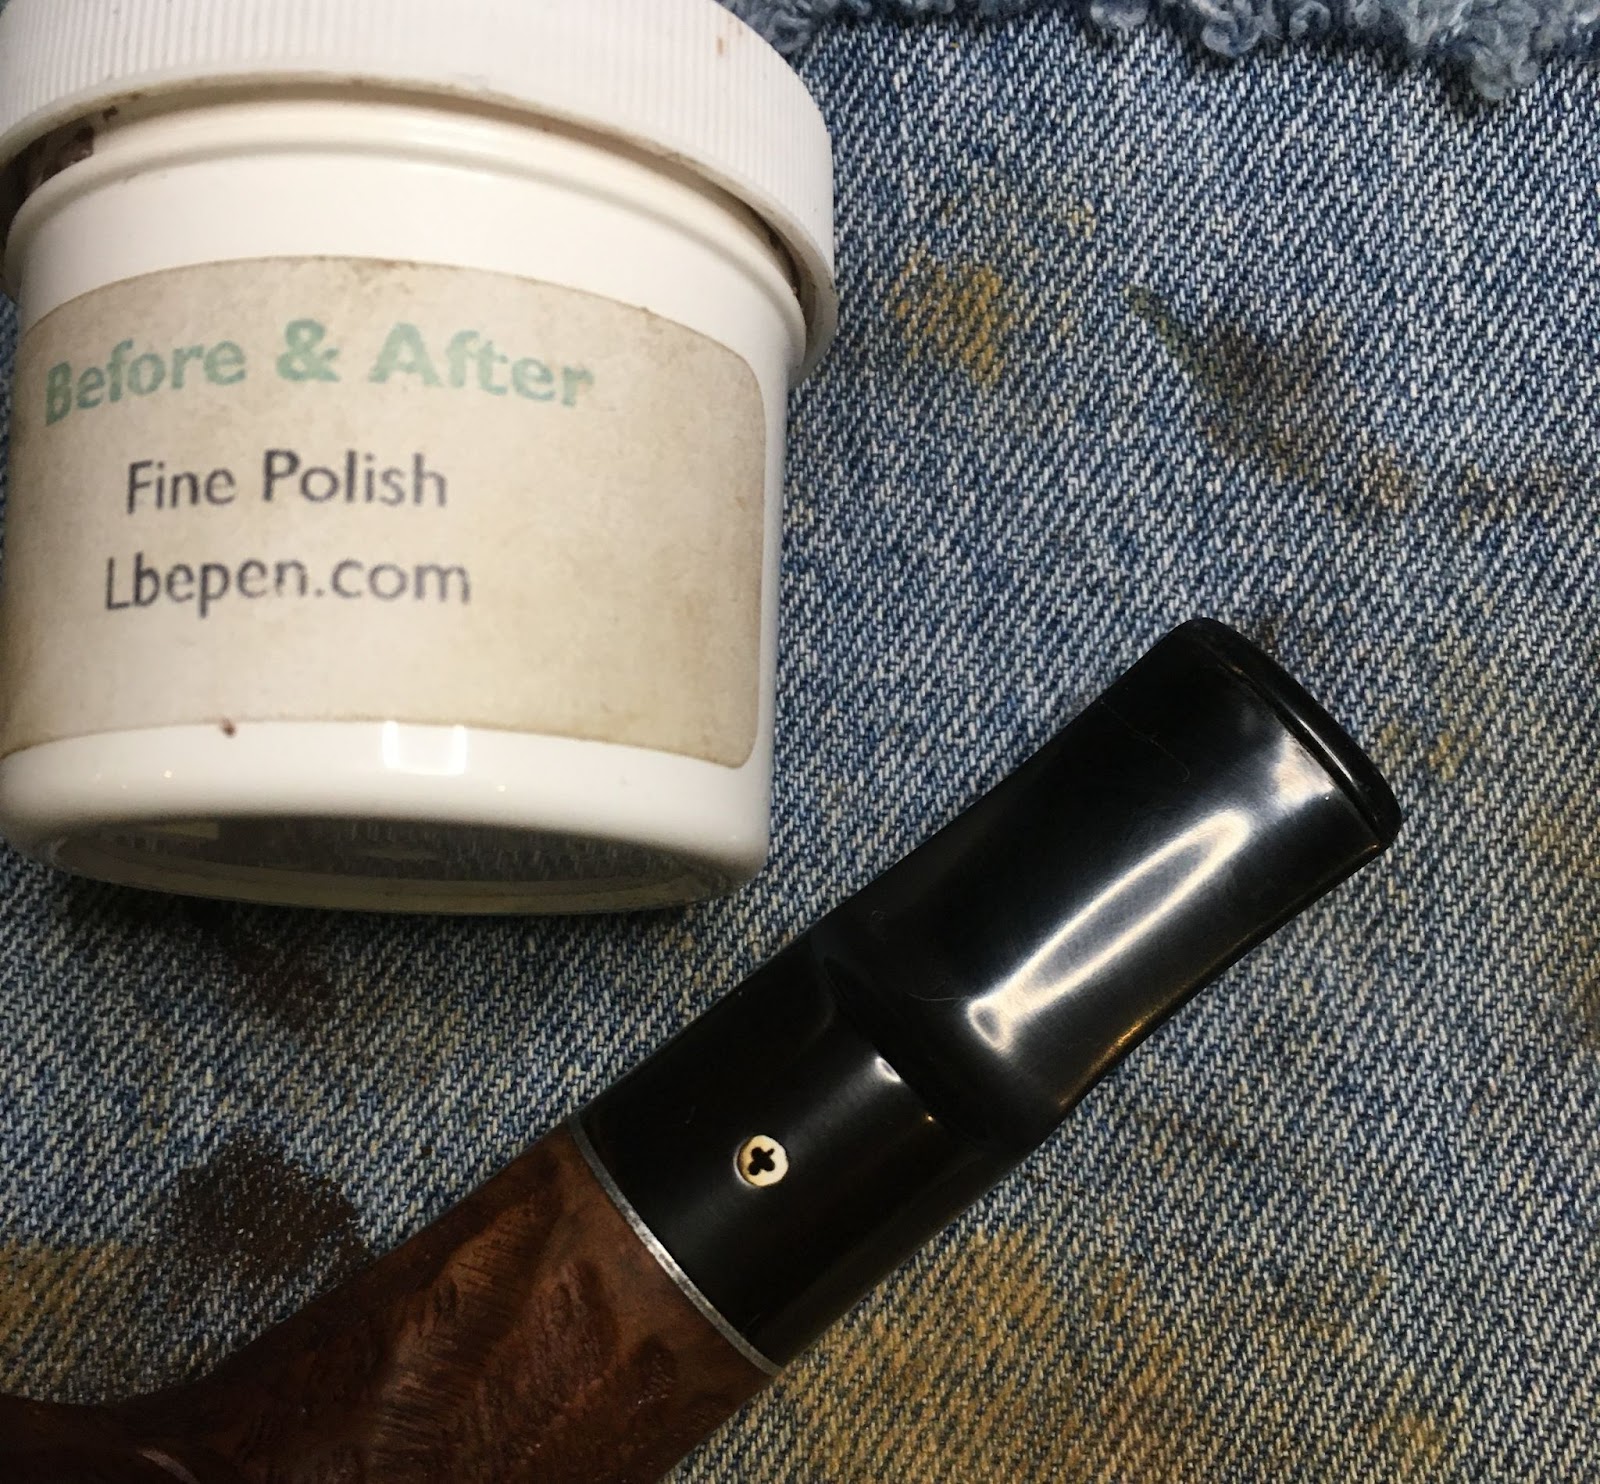
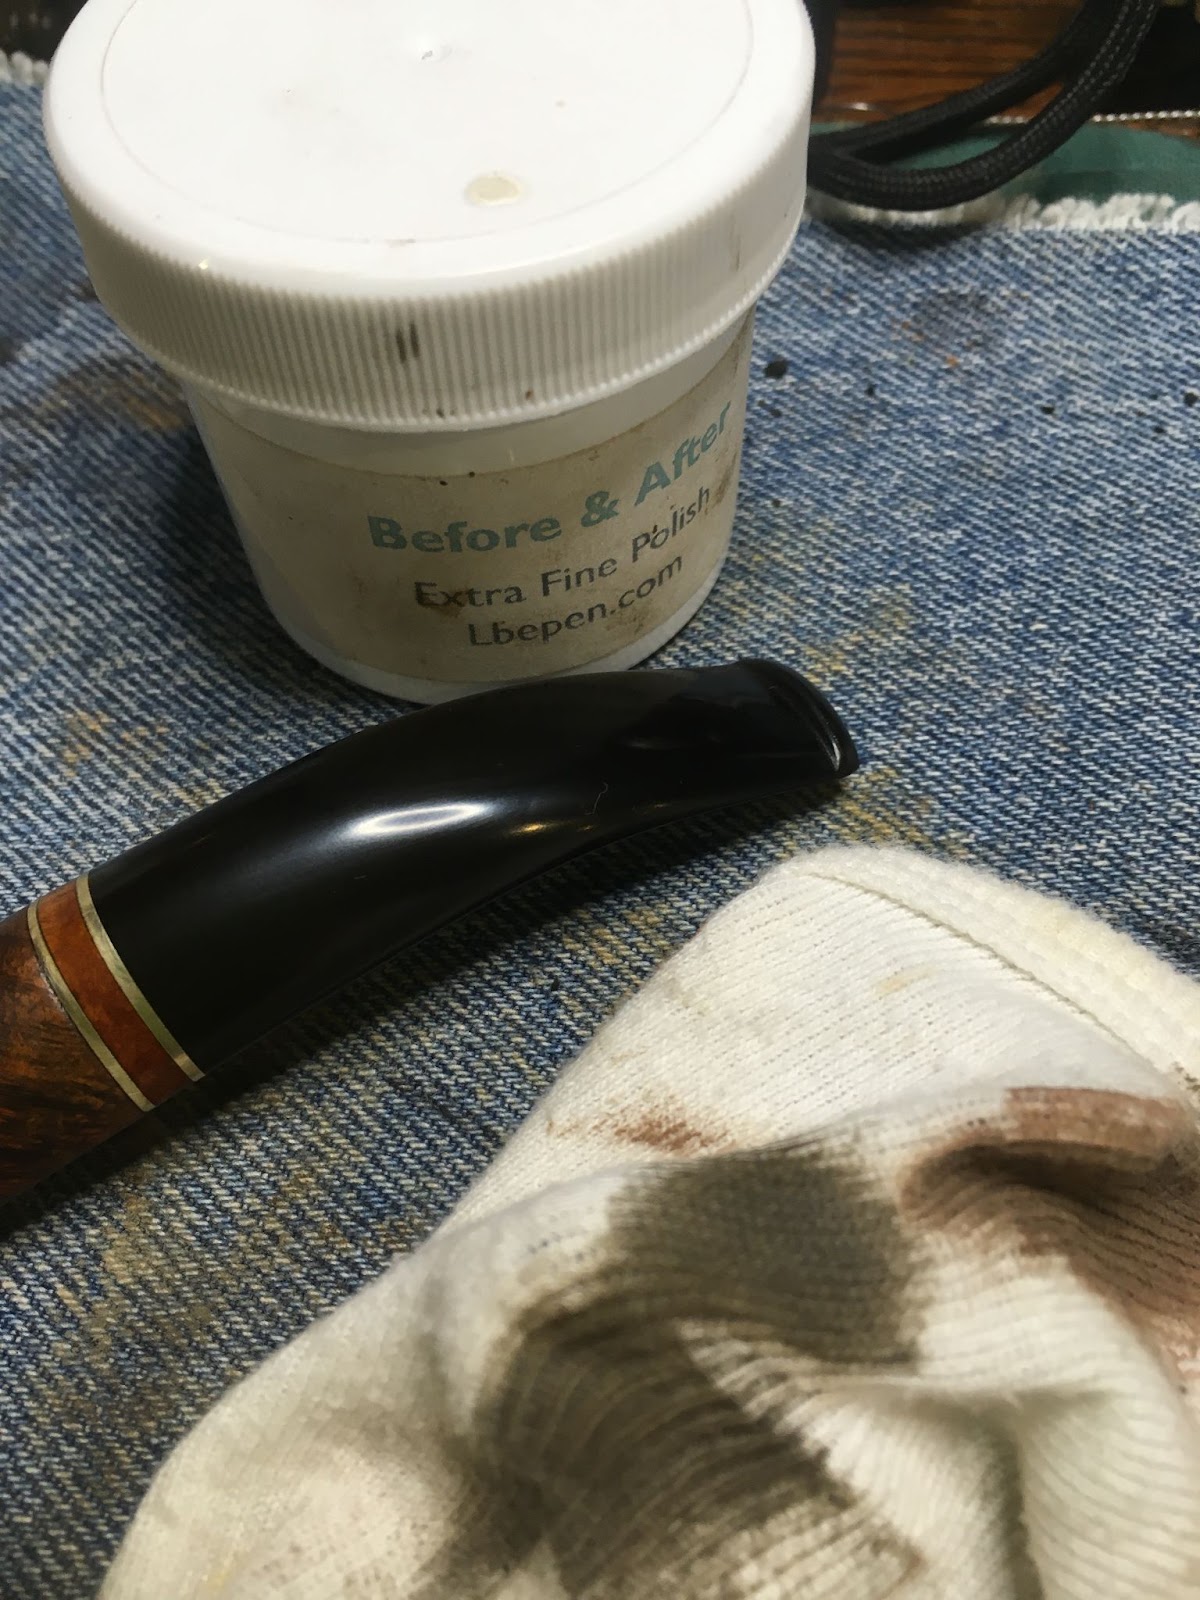
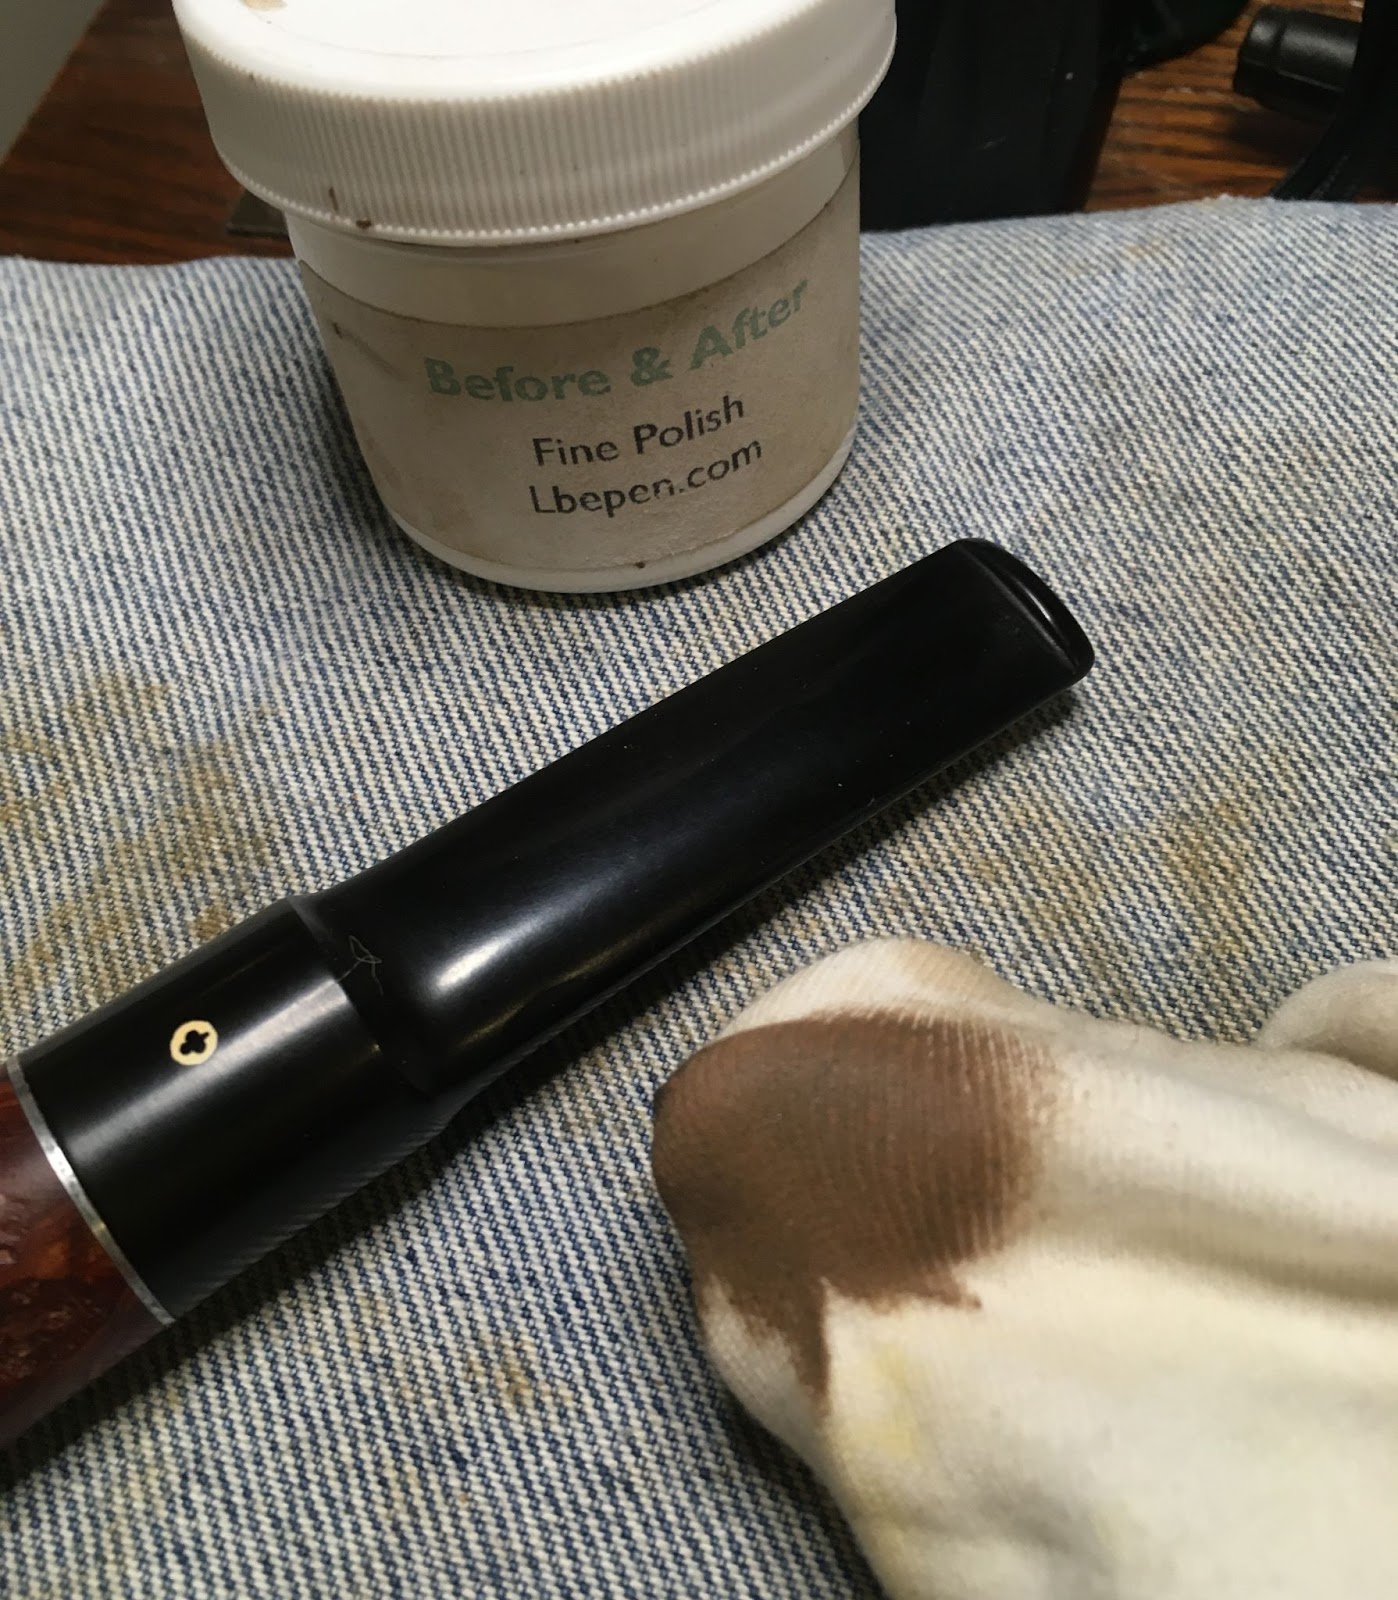
After the micro-meshing, I used Before and After Fine Polish followed by the Before and After Extra Fine Polish. Each polish was applied by finger then vigorously rubbed with a soft cotton cloth


The final step was to apply several coats of carnauba wax with the buffer. The wax was applied to both the stummel and stem. I then used a nanofiber polishing cloth to hand buff the pipe.
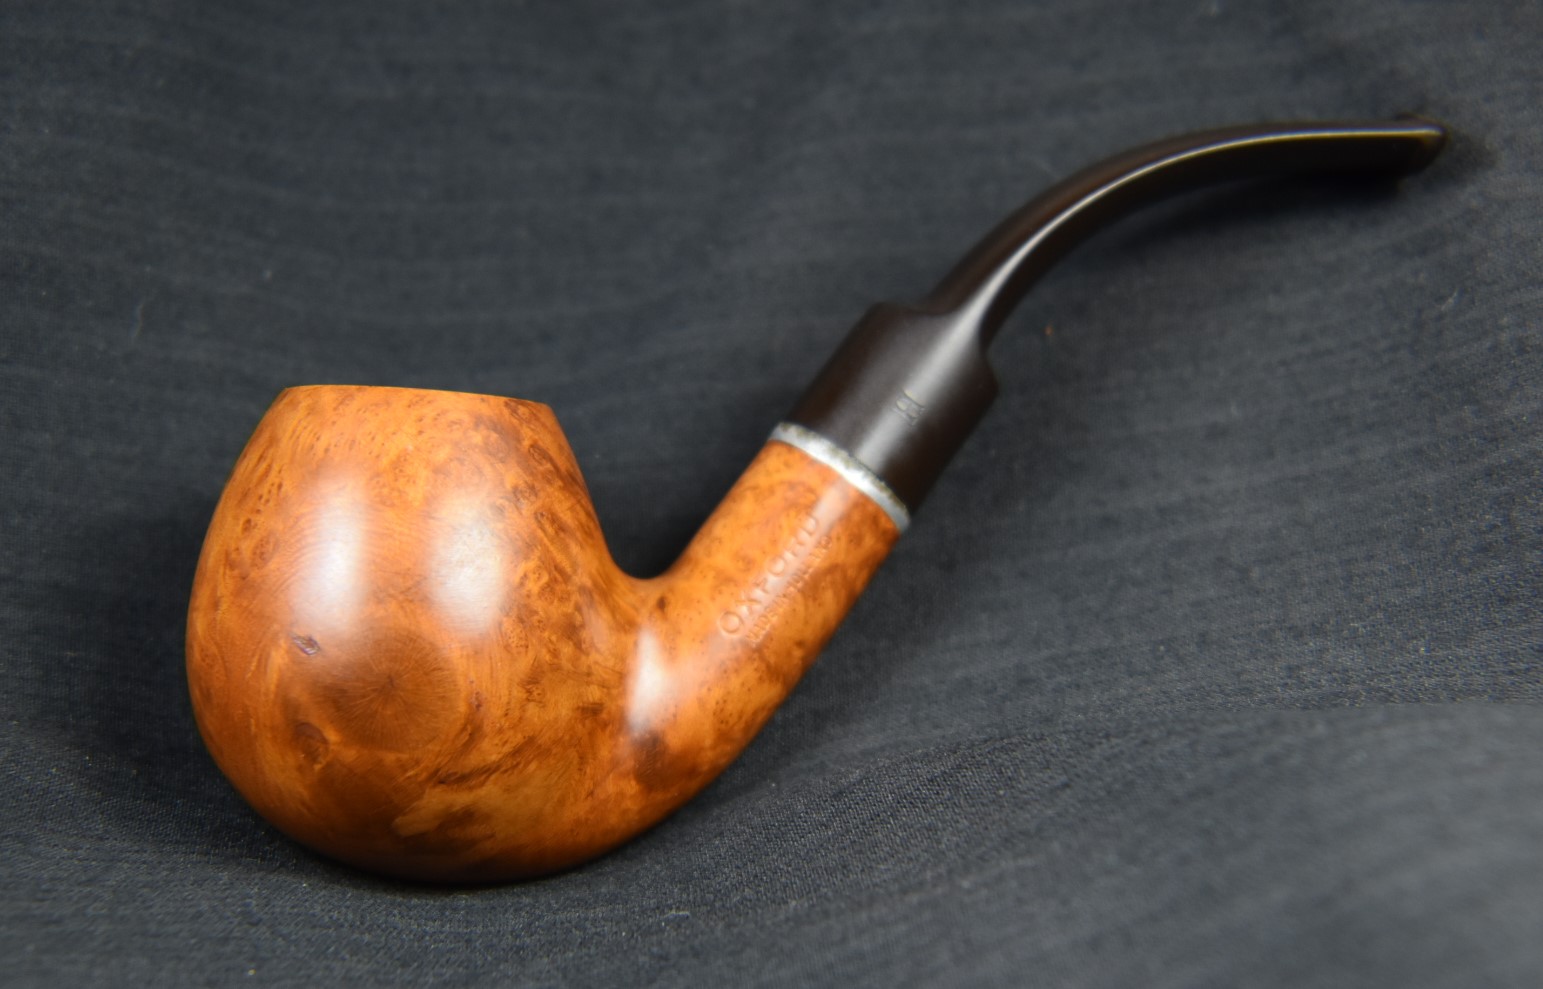
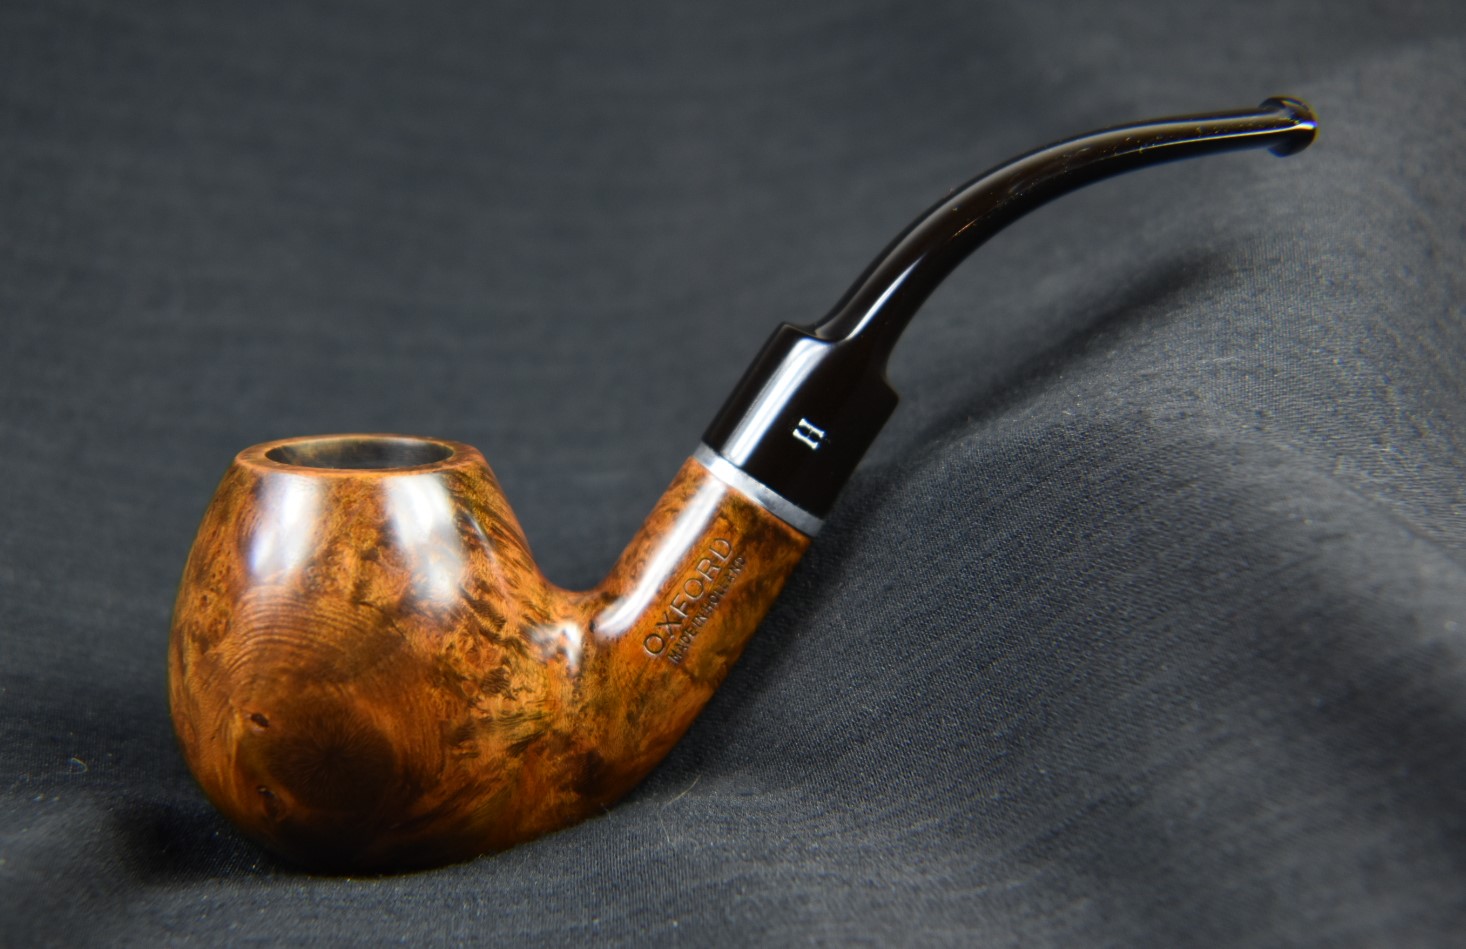
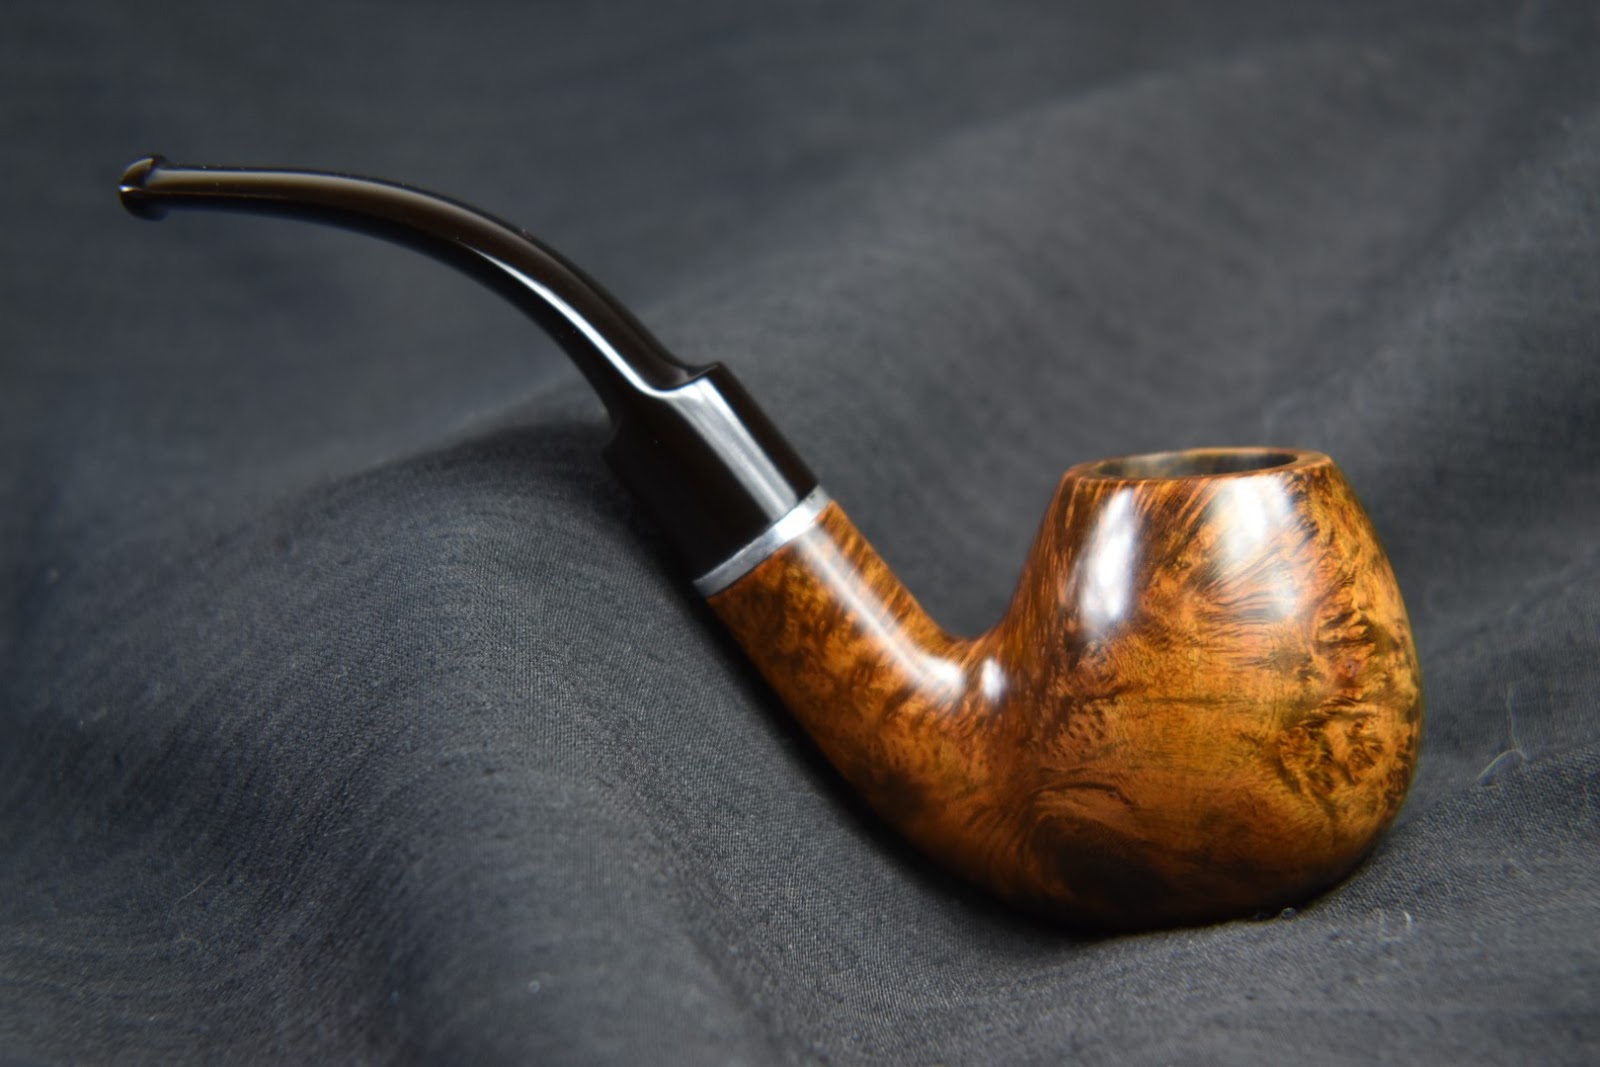
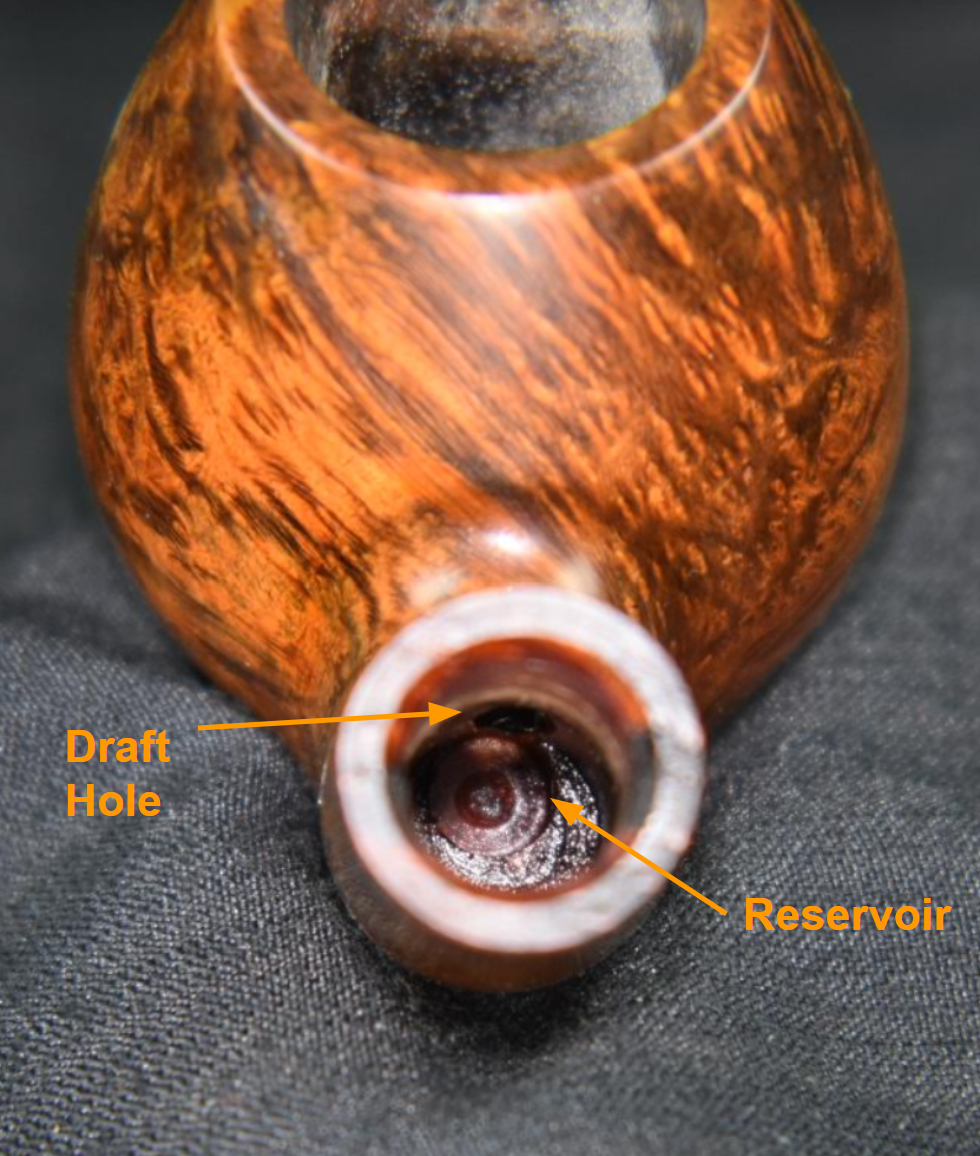
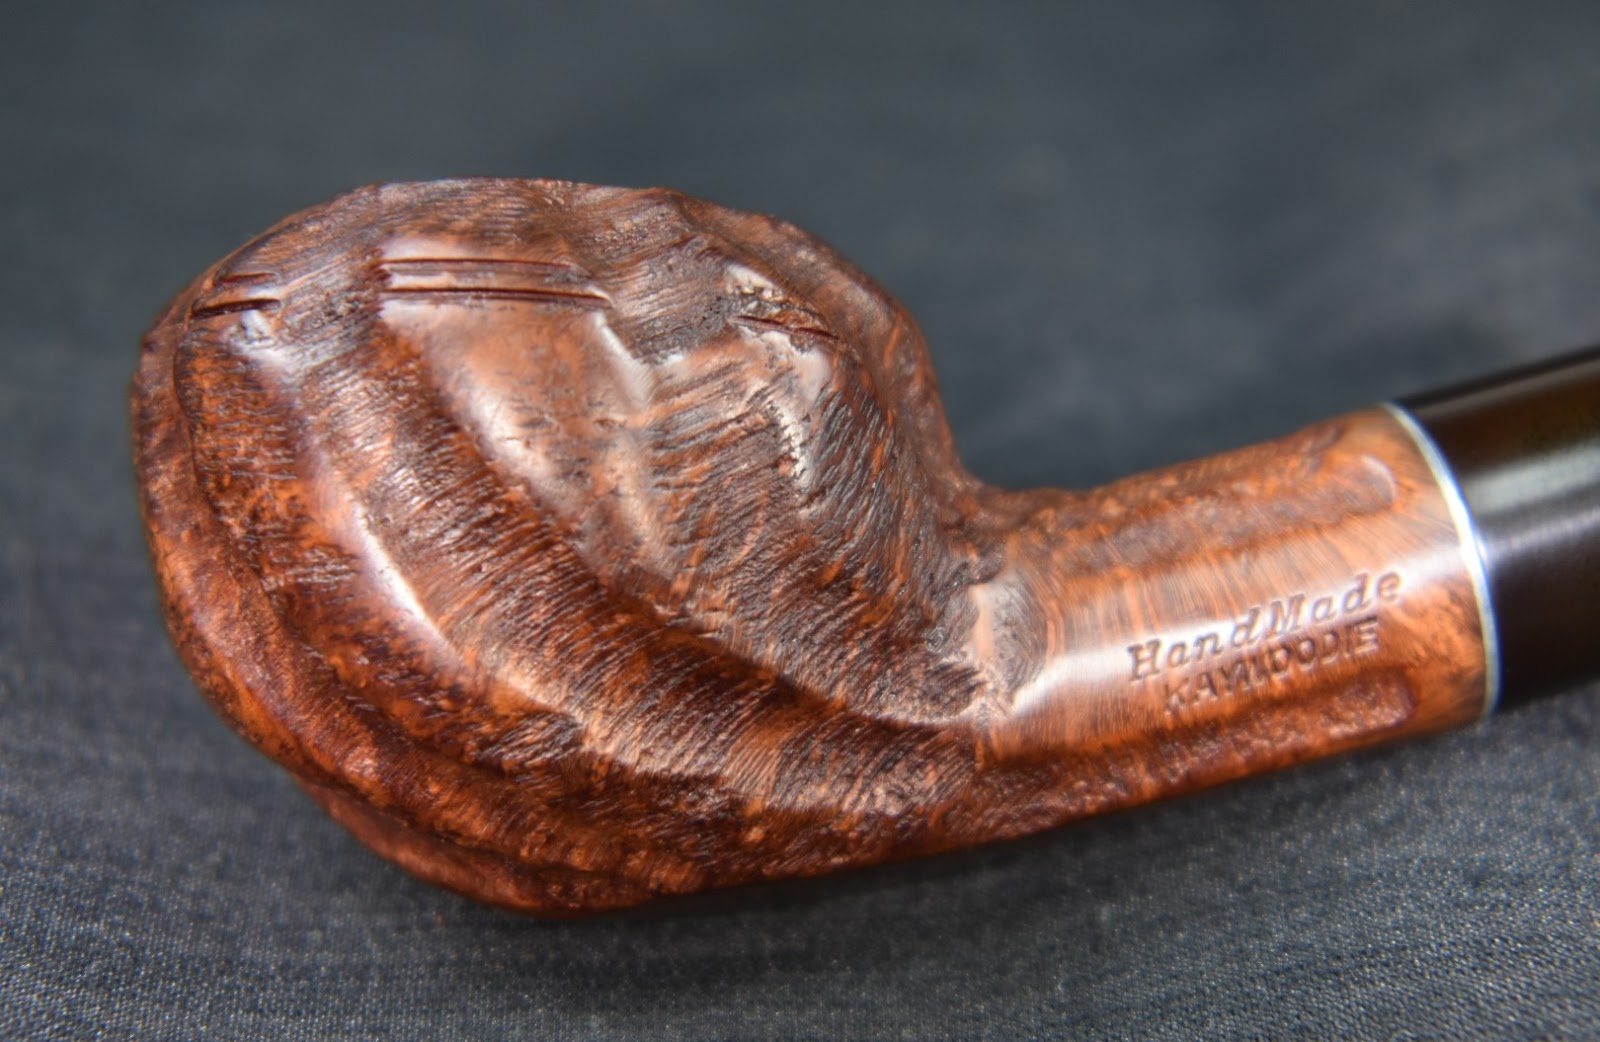
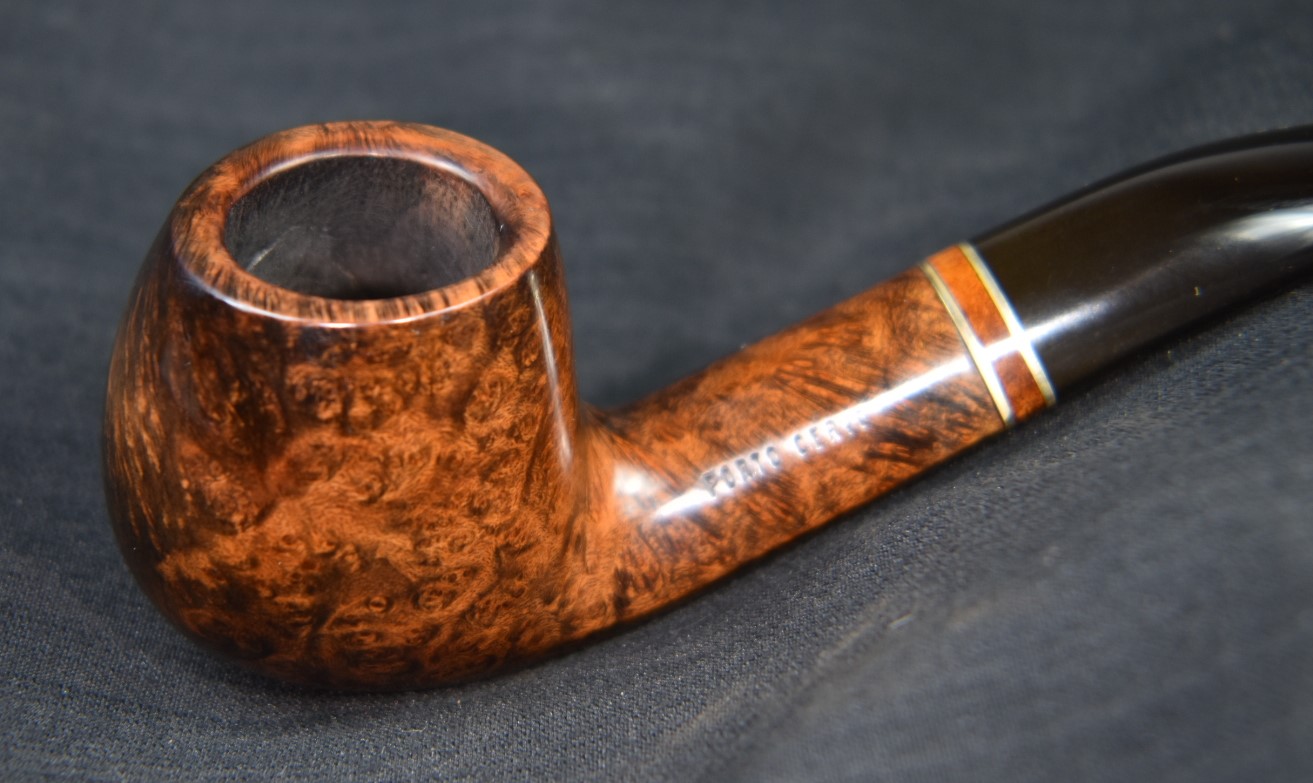
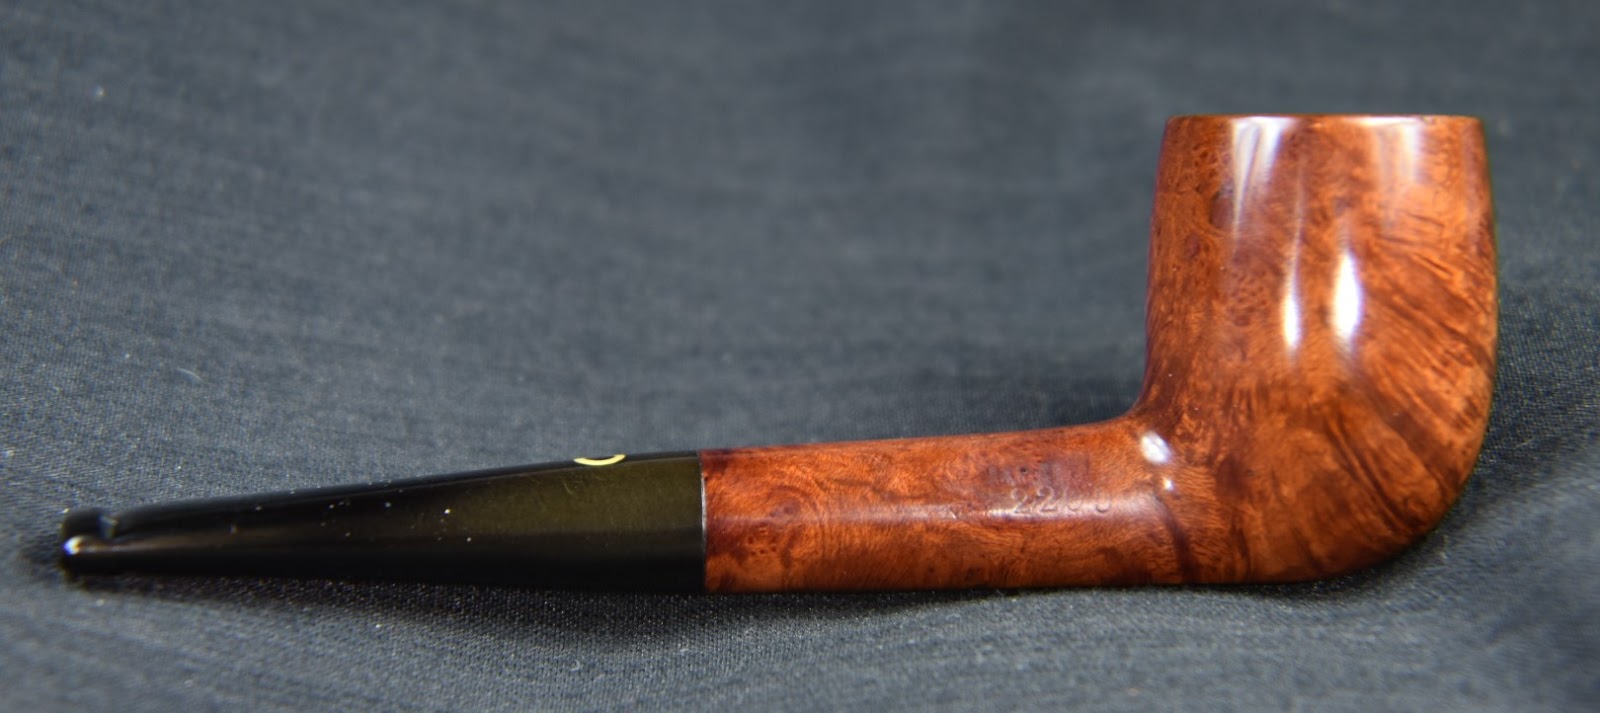
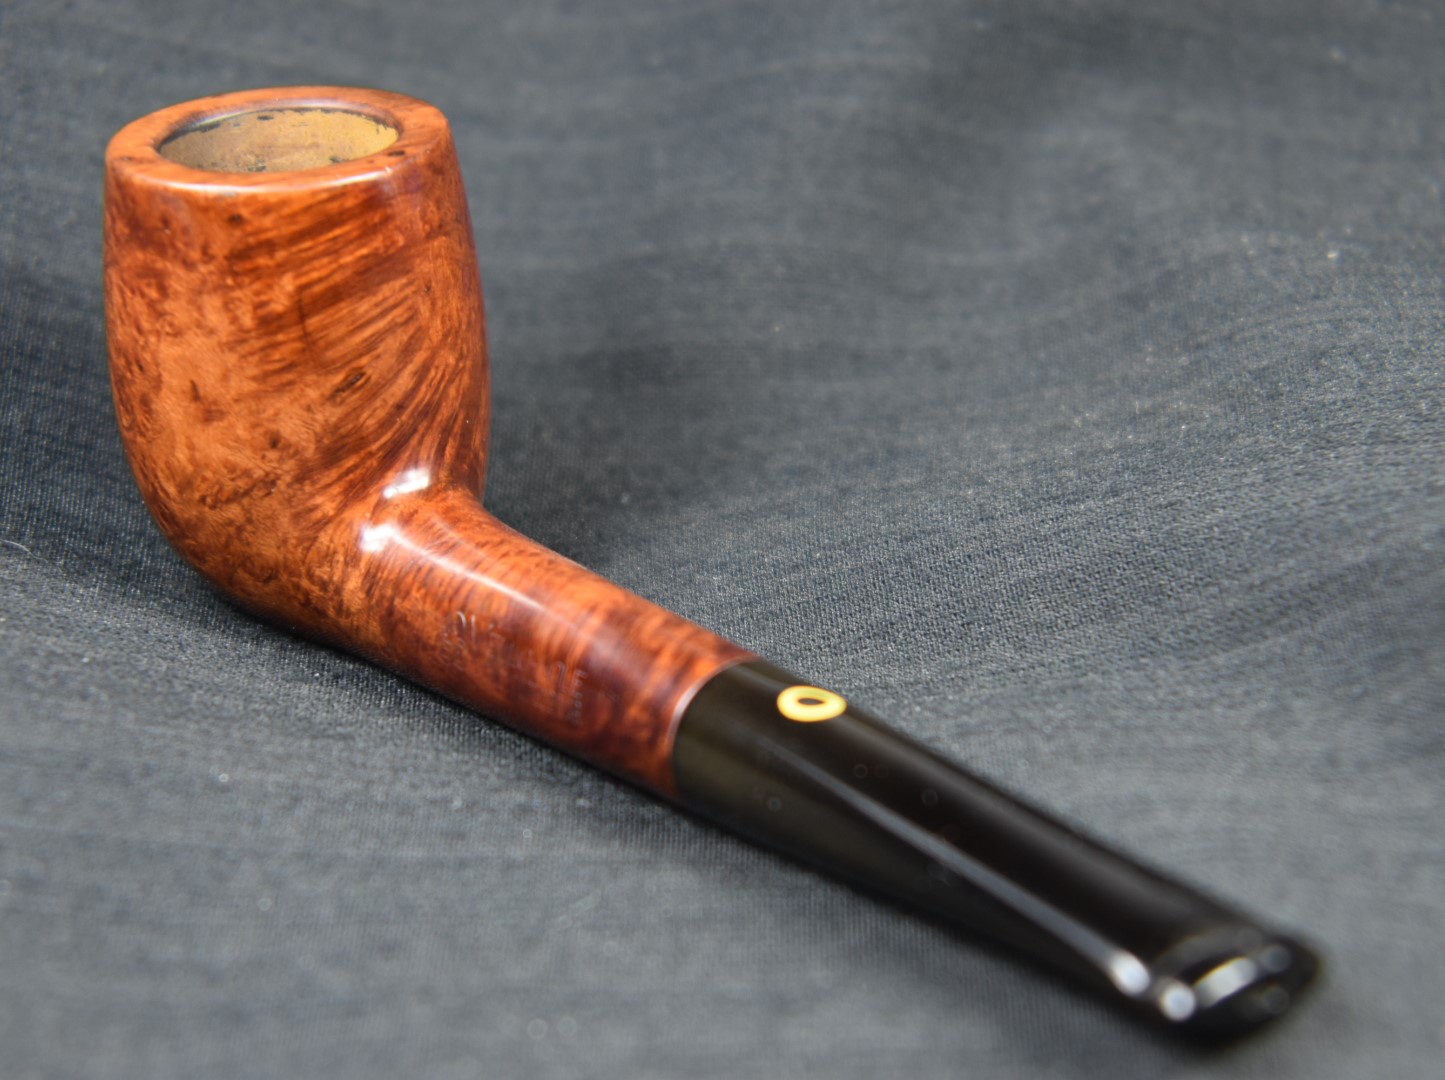
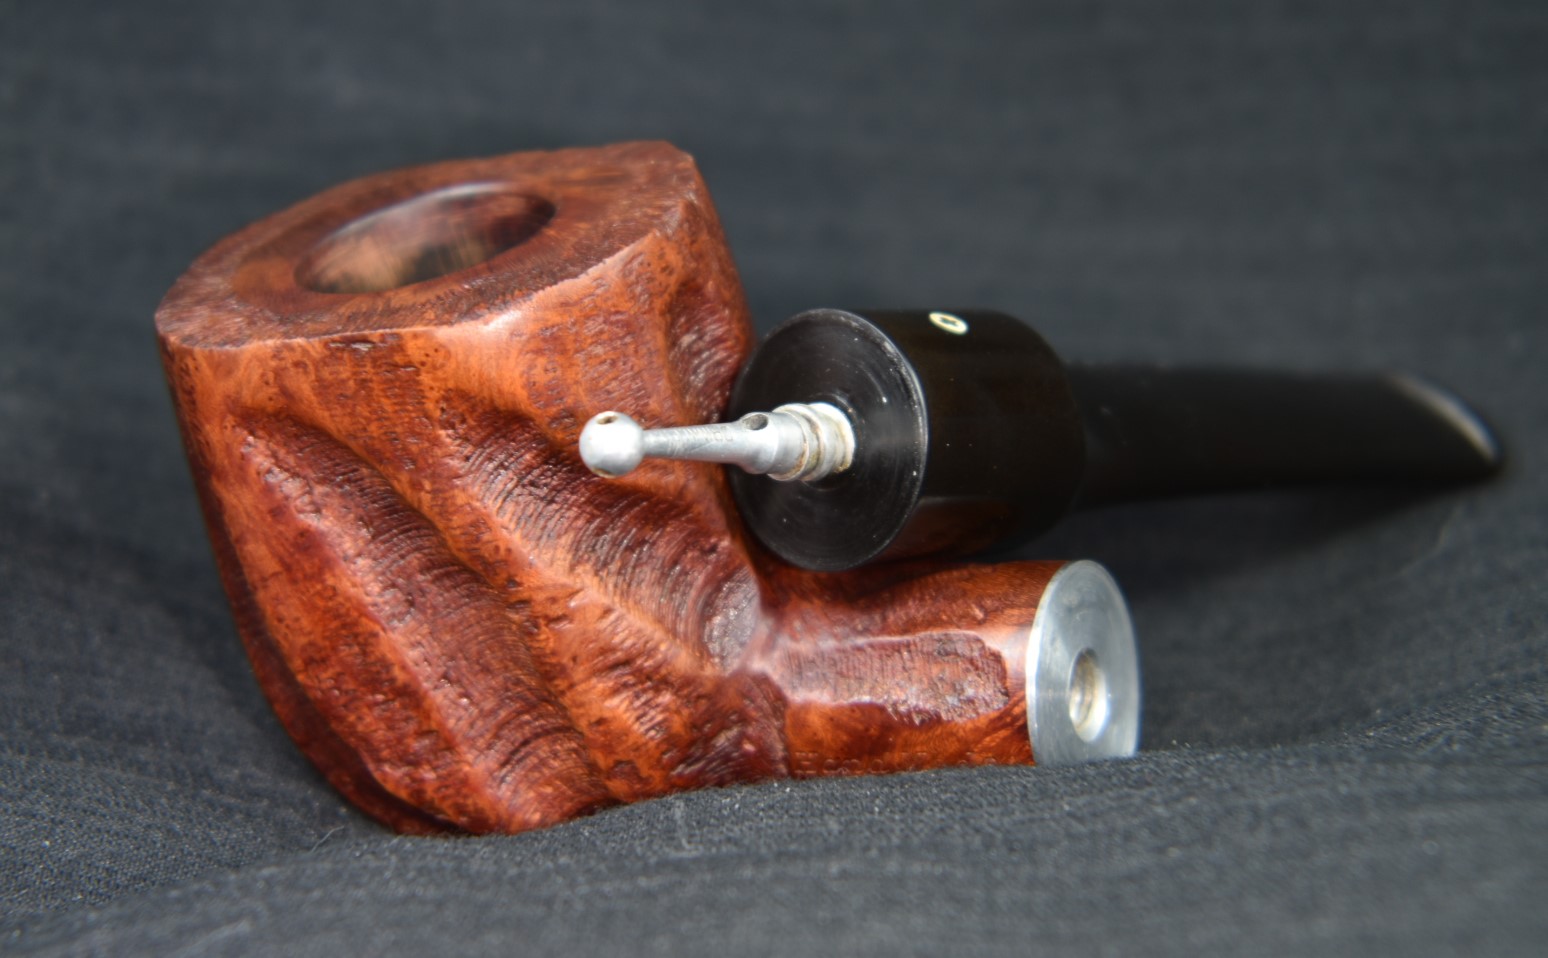
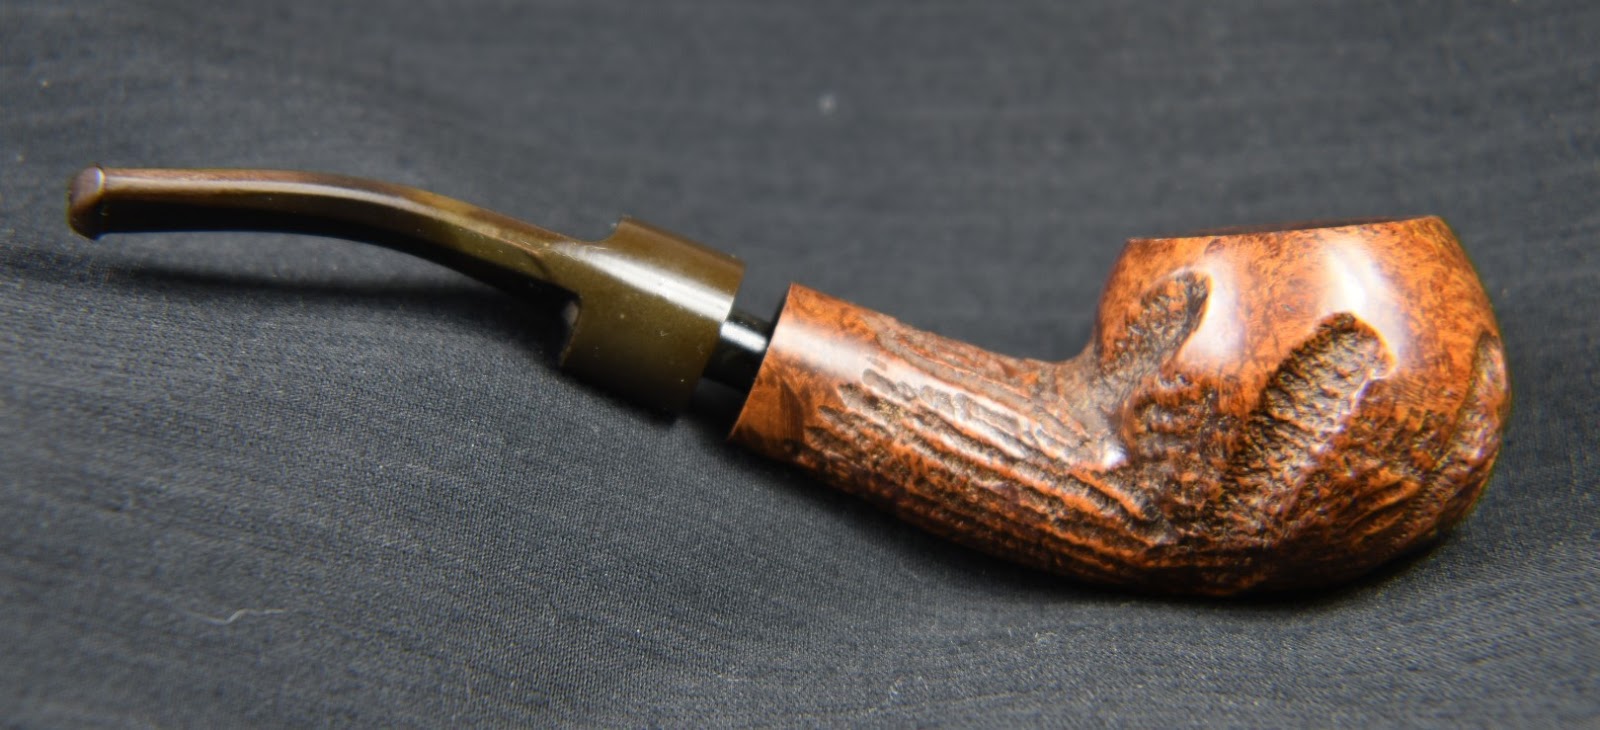
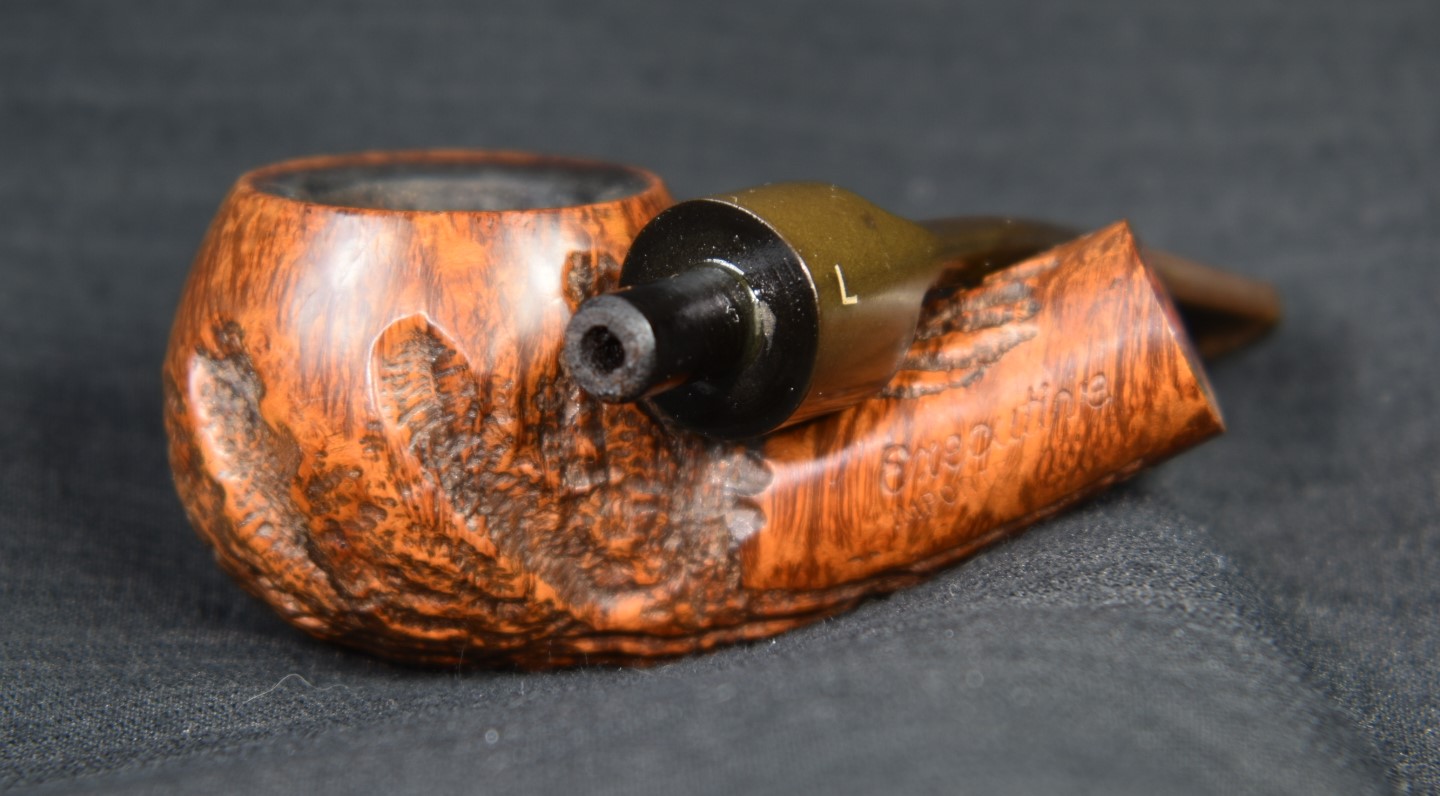
I liked the look of this pipe before and now after the restoration I liked it even more. The contrast staining produced the effect I was trying for although I did wish those two strange circular spots would have stained a bit better to show off the iris-like grain pattern. The stem polished up very nicely with the H now looking like a real logo. I did not have any 9mm pipe filters to use with this pipe to see if I like using a filter but I can attest to the pipe smoking very well without a filter. The thick briar provided a very cool smoke as well as feeling wonderful in hand. I did forget to mention that this pipe is drilled like a Peterson system pipe with a reservoir continuing down below the draft hole in the shank. I will try to photograph that and show it in the “finished” photos below. I do hope that you have found something here that you can use in the care or restoration of your pipes. If you like this sort of thing, please click the like and subscribe buttons. I thank you very much for reading the ramblings of an old pipe lover.
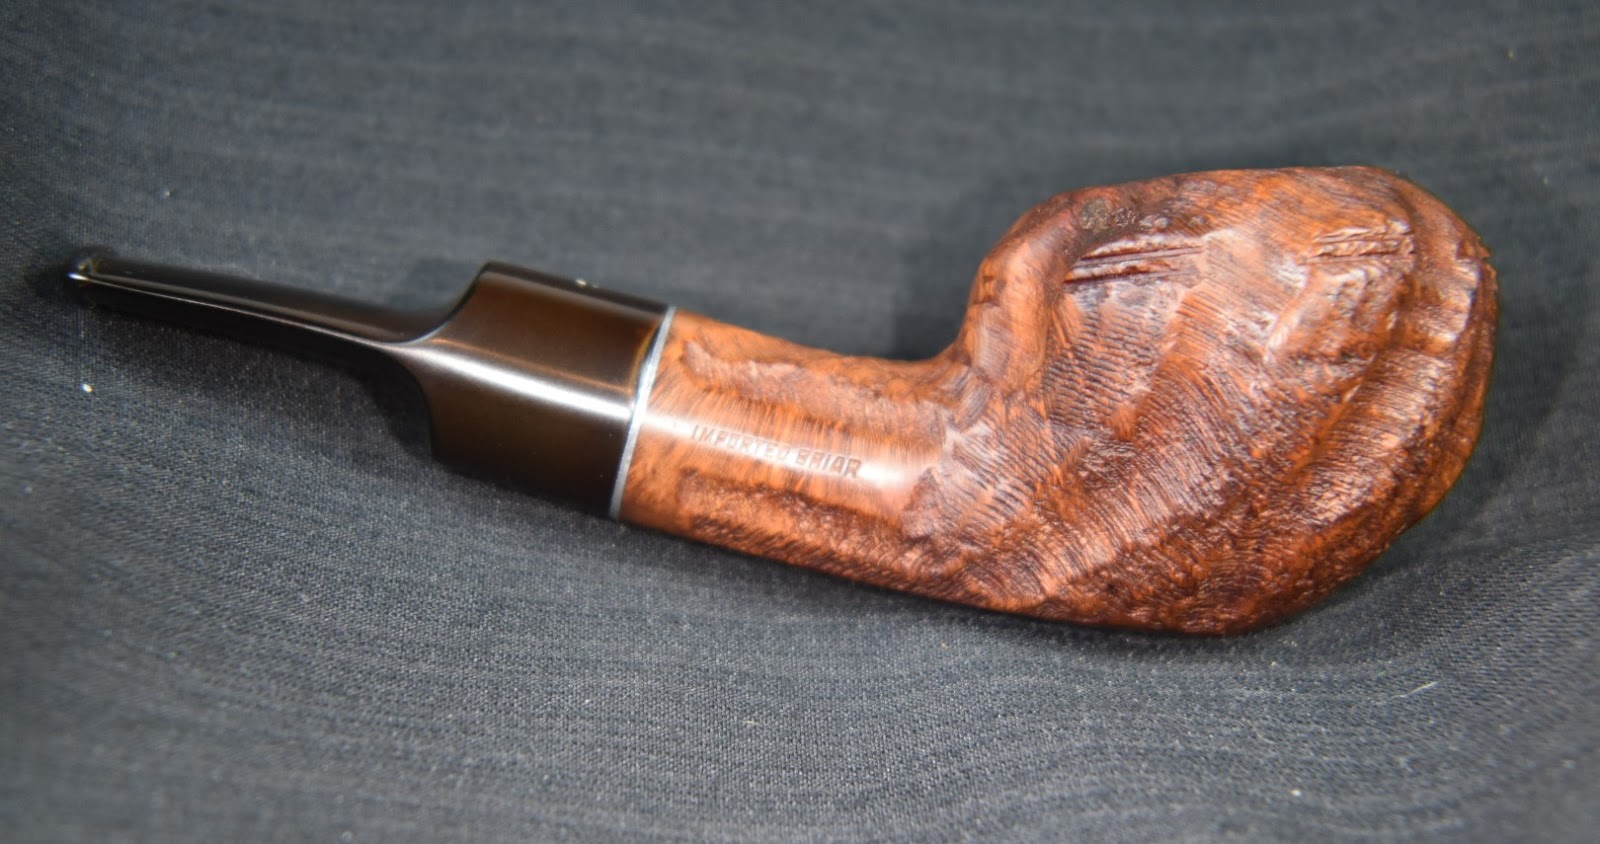
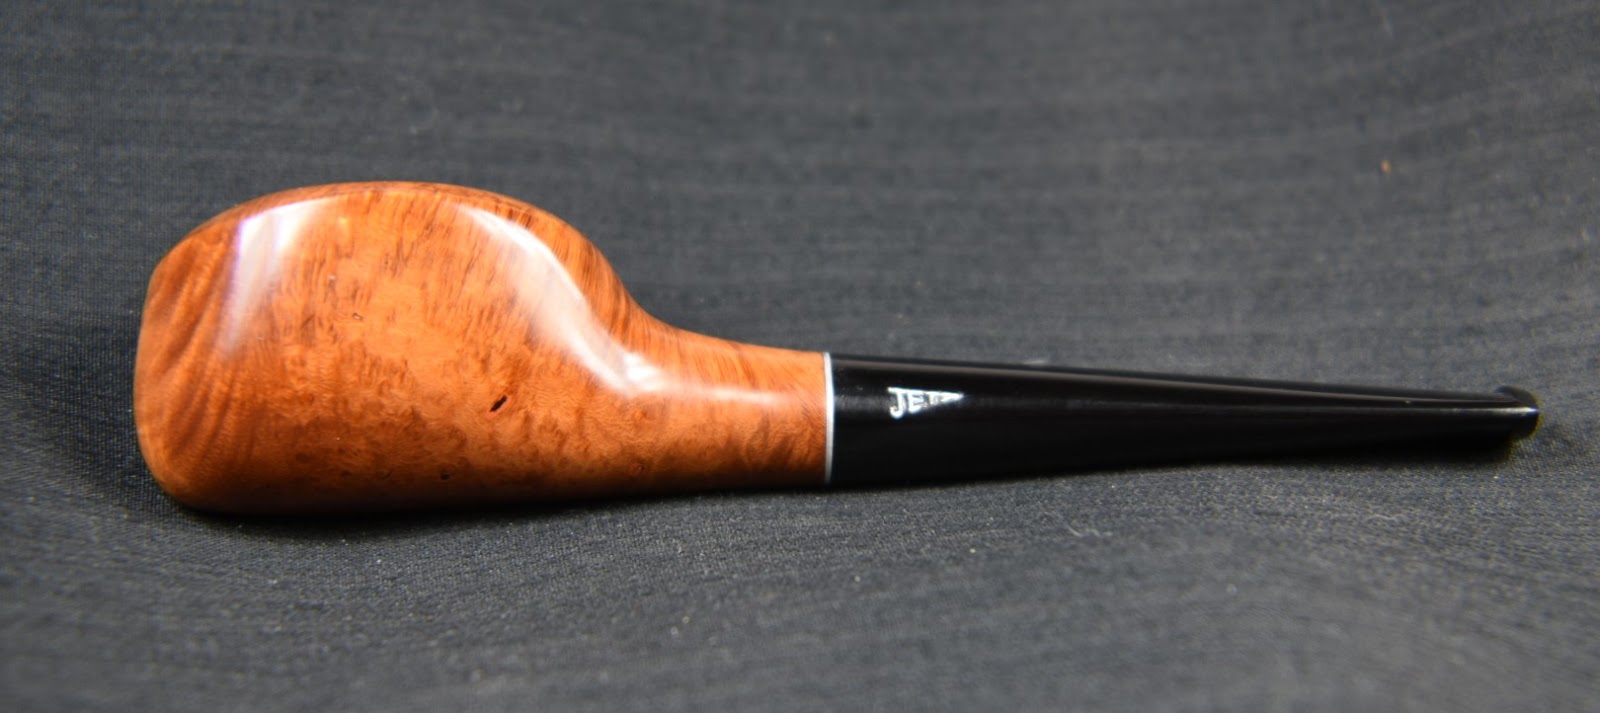
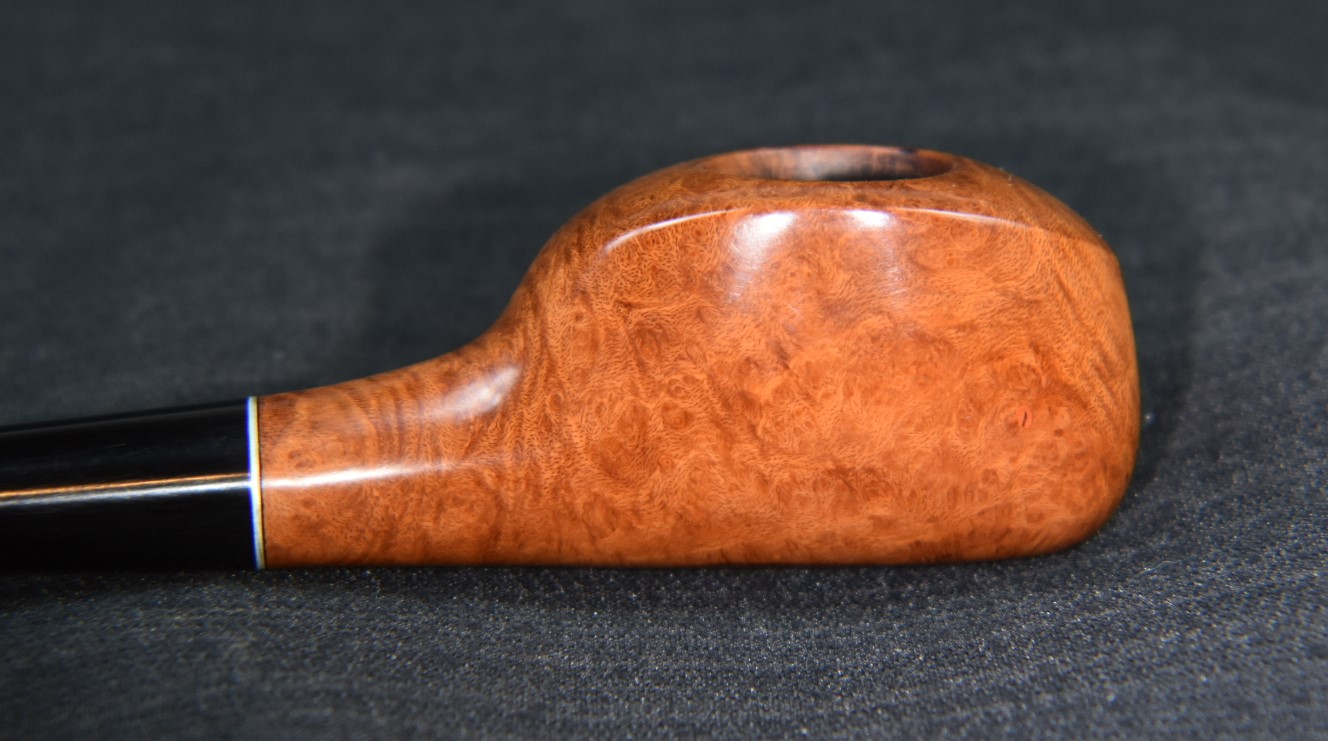
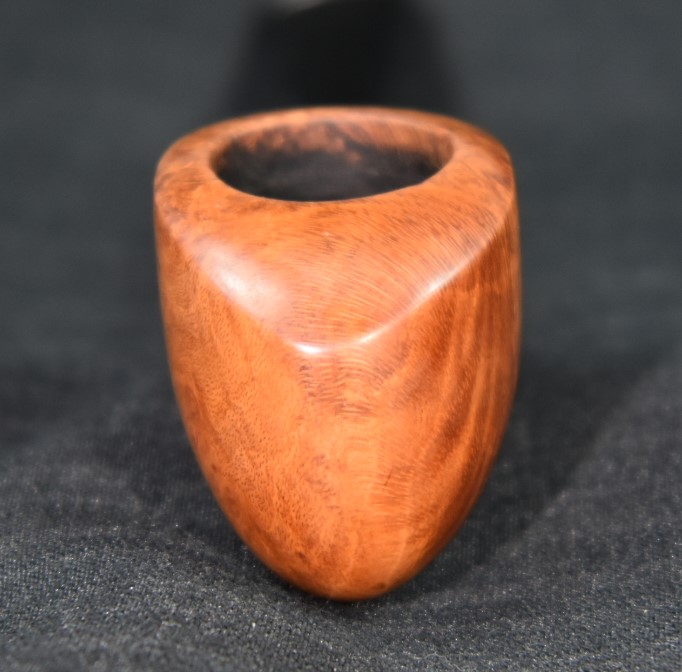
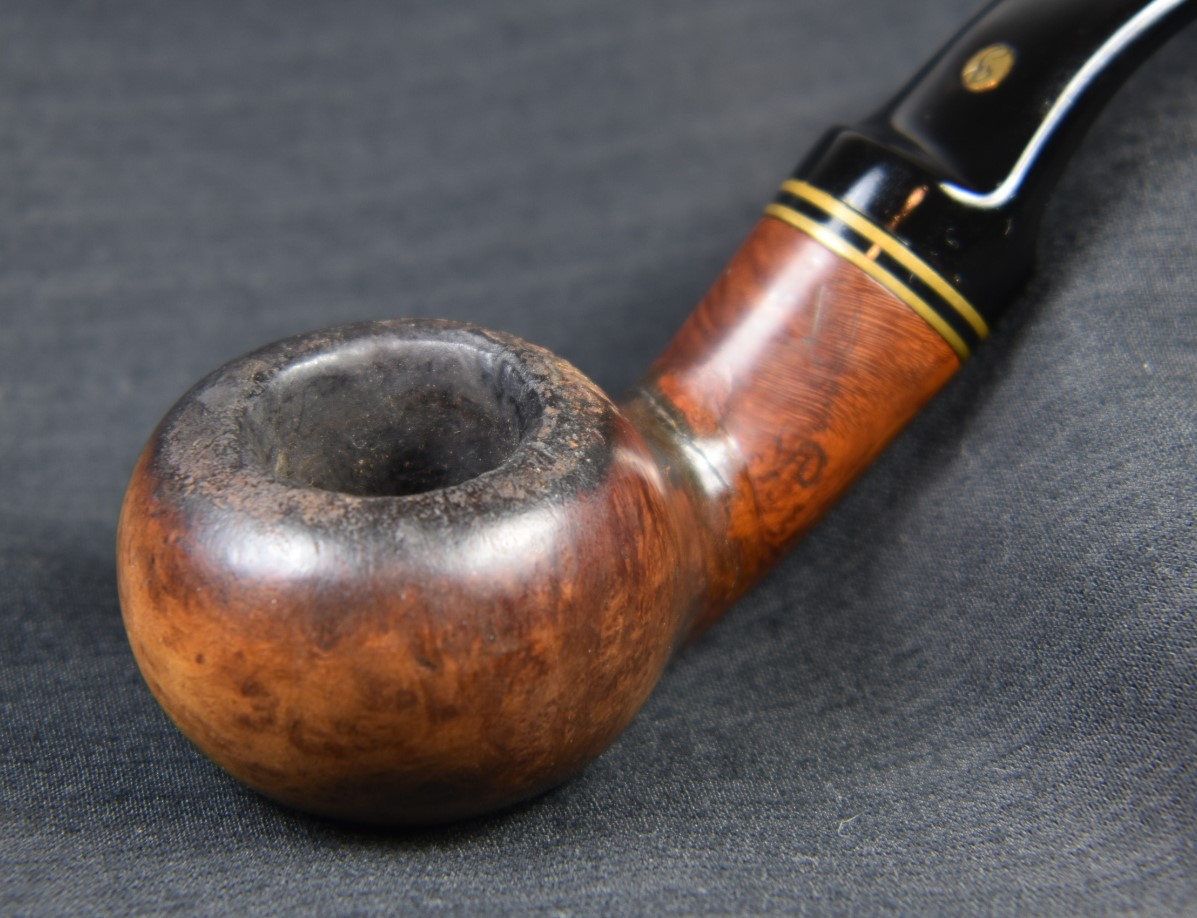
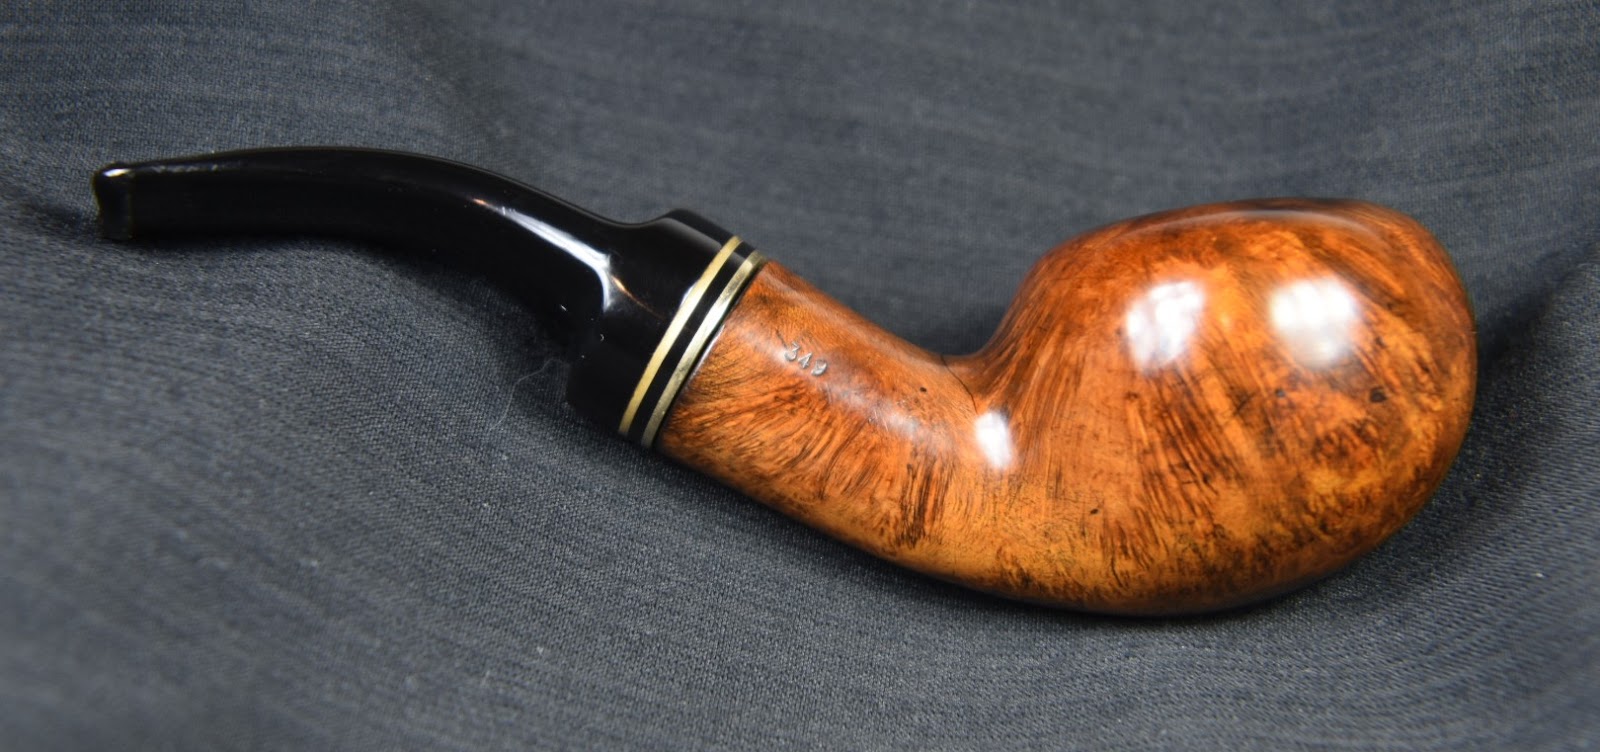
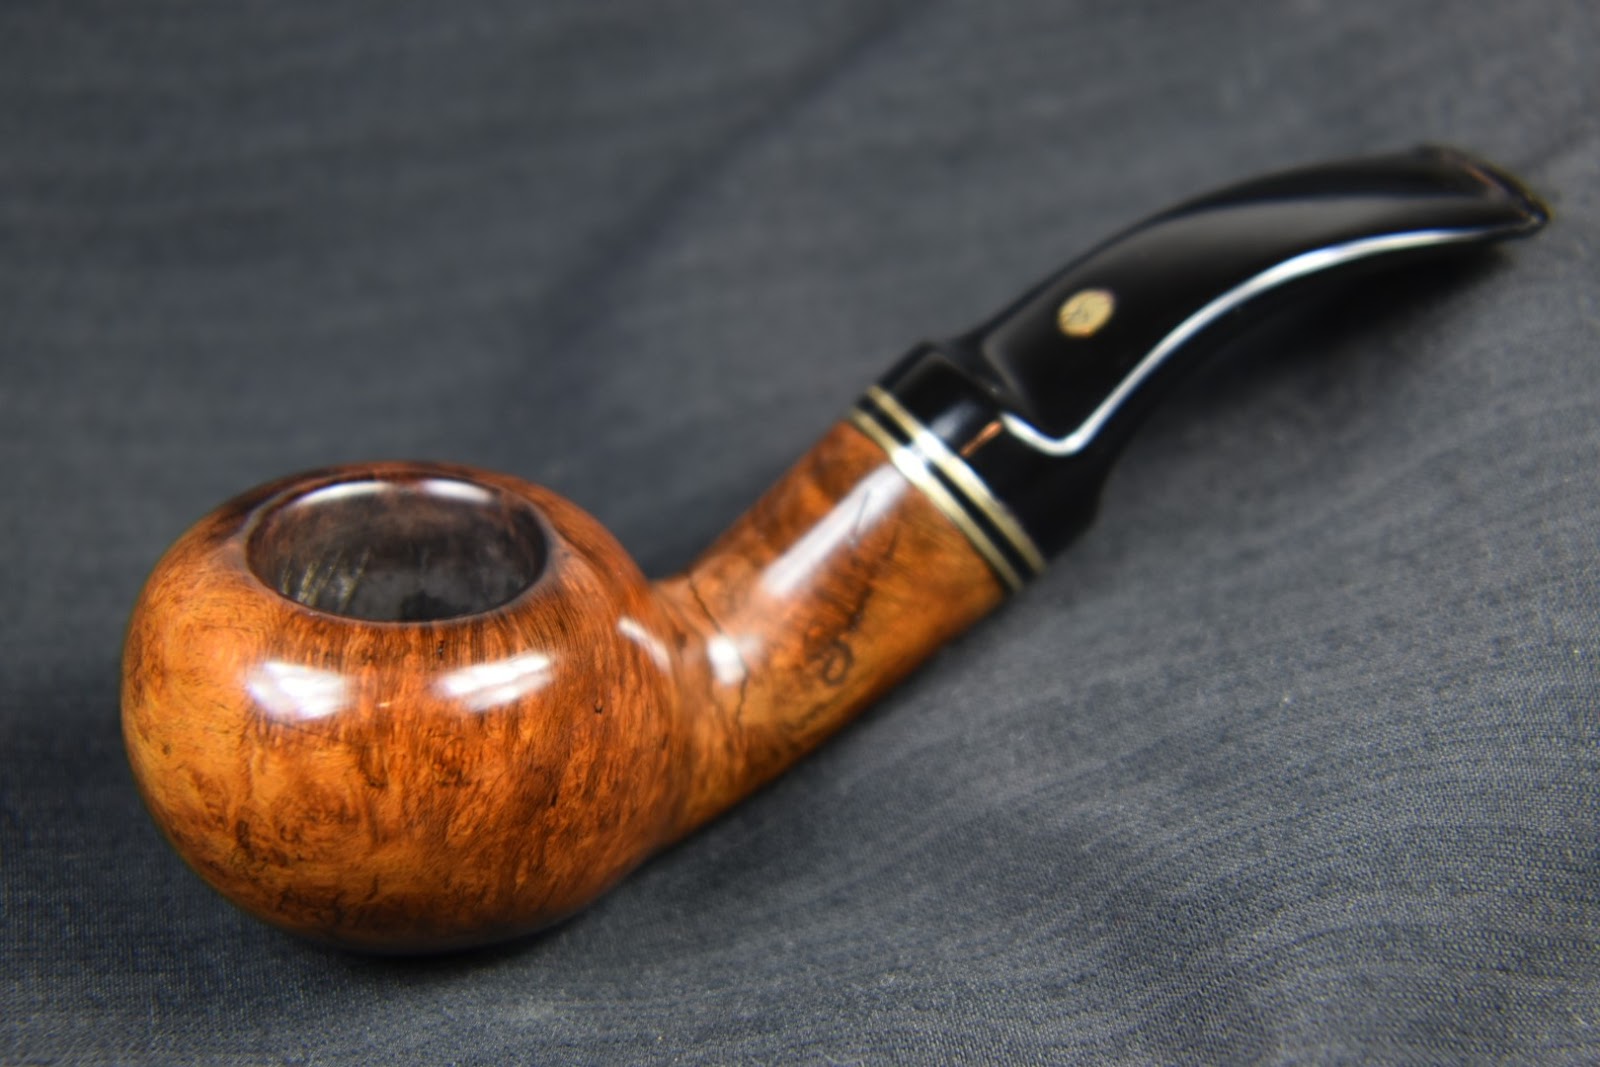
Below are some photos of the finished Oxford, made in Holland Bent Brandy.


 (
(


 (
(


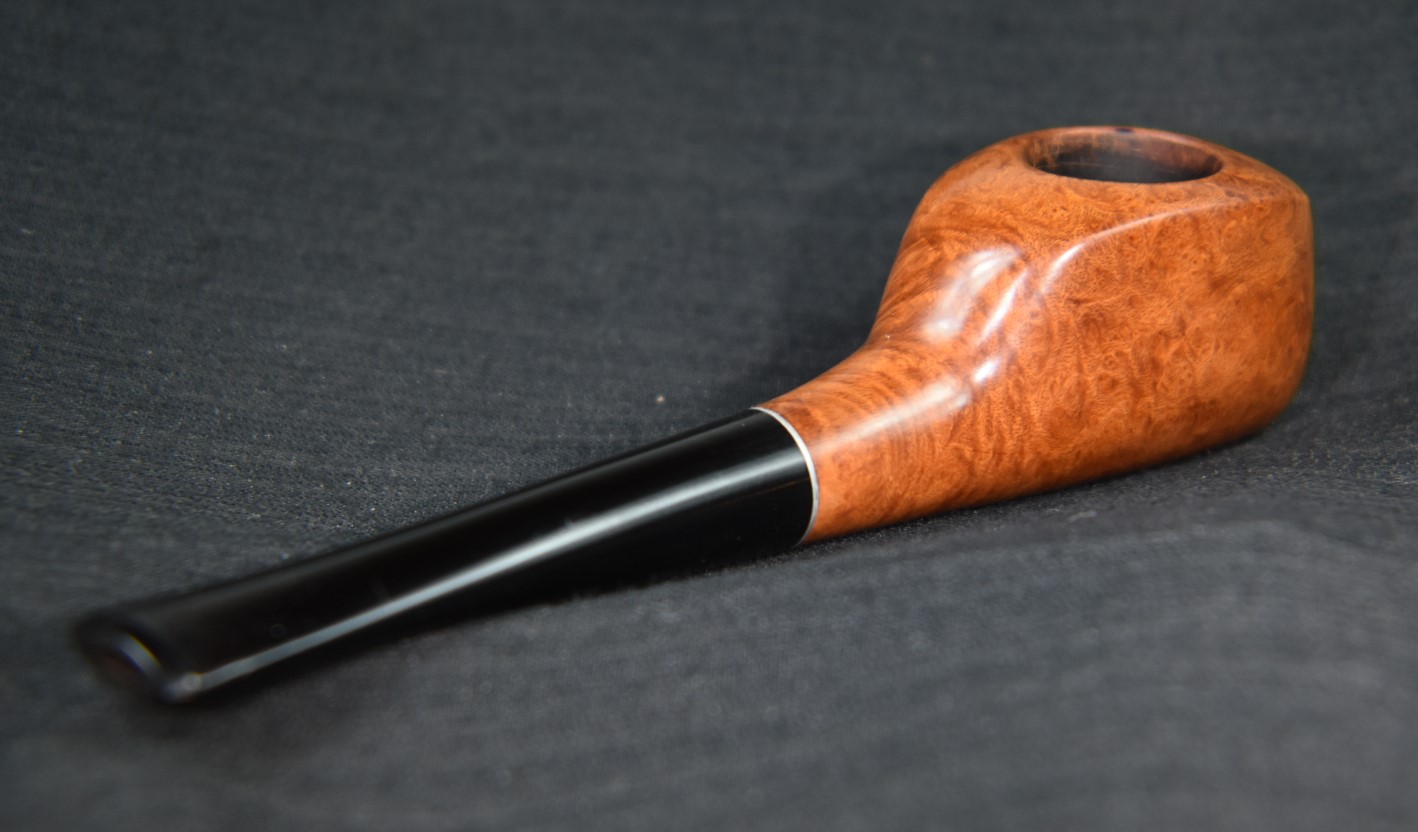


 (
(
 (Photo courtesy of Steve Laug)


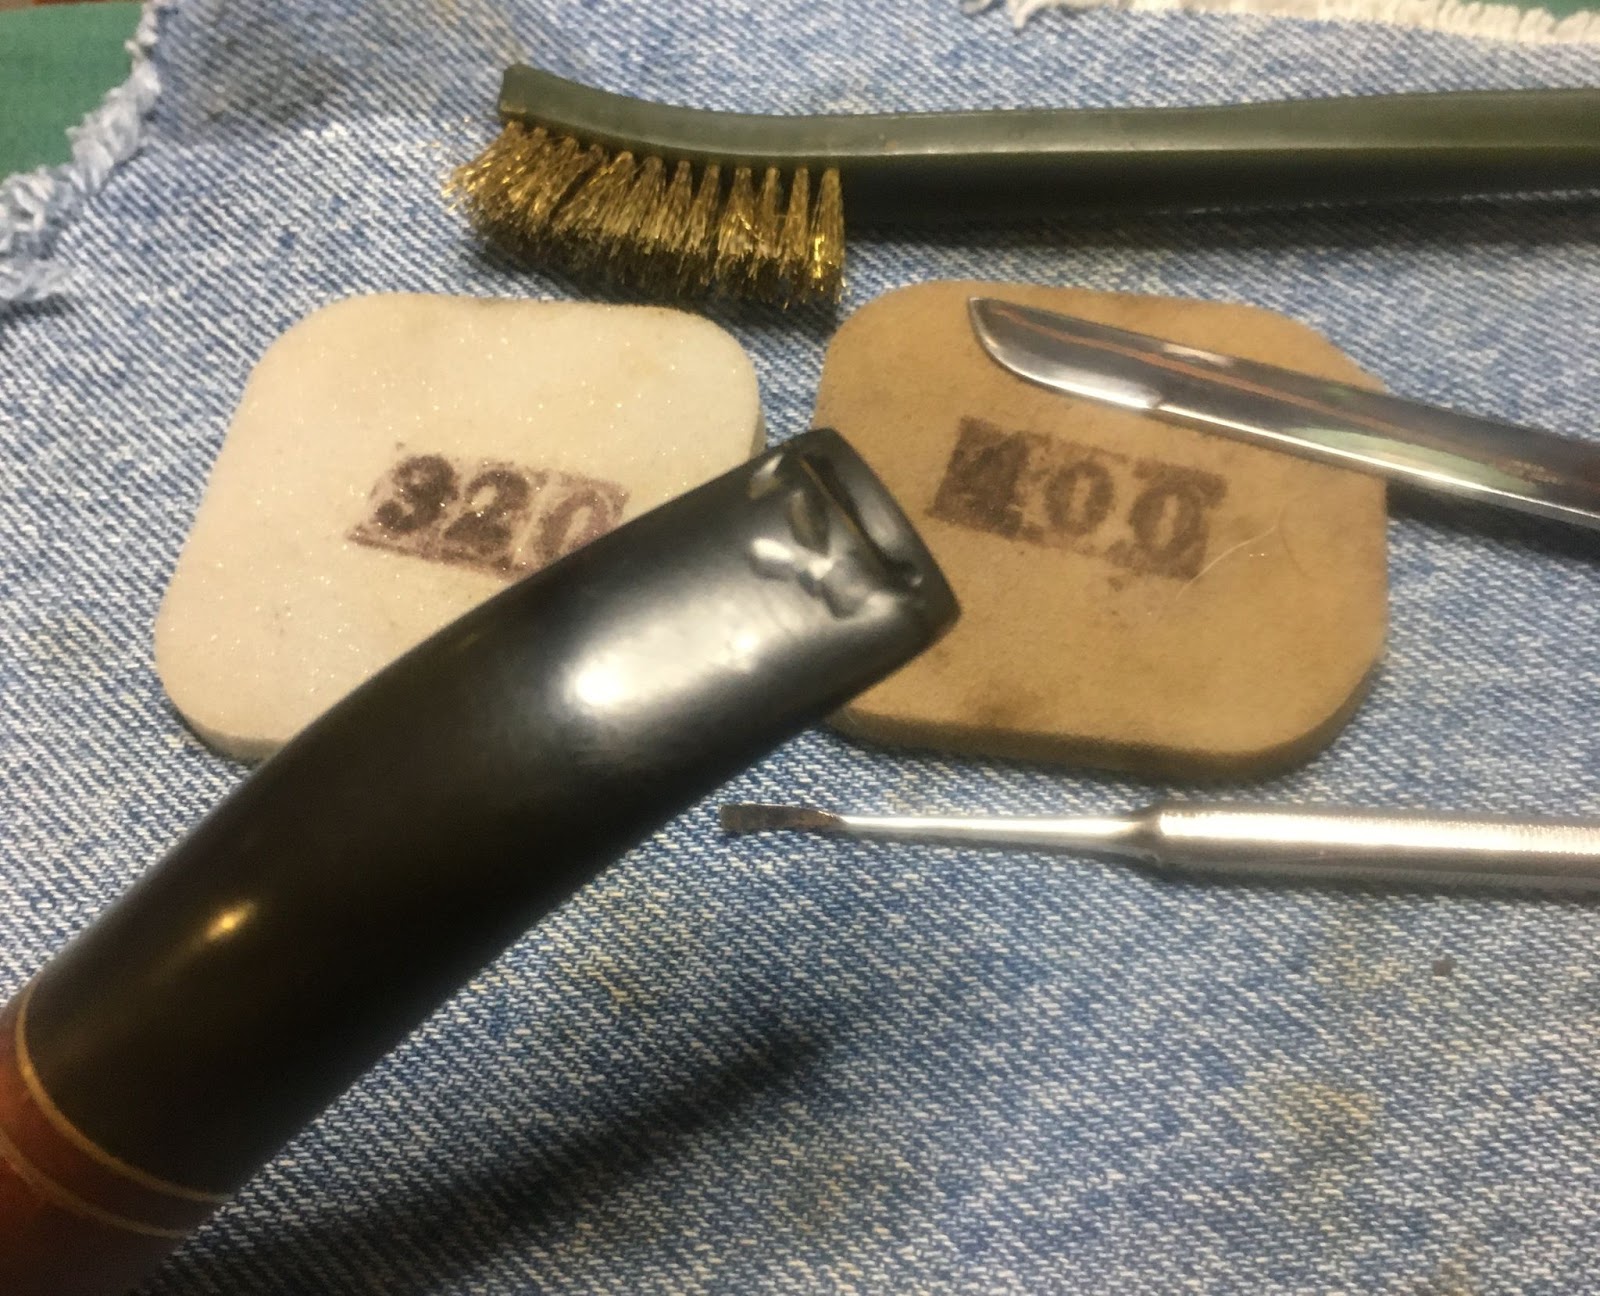


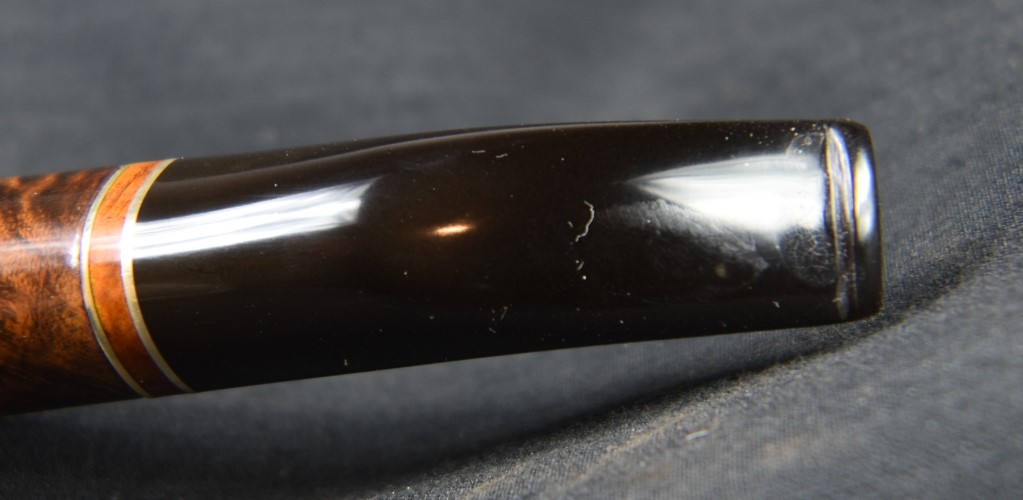


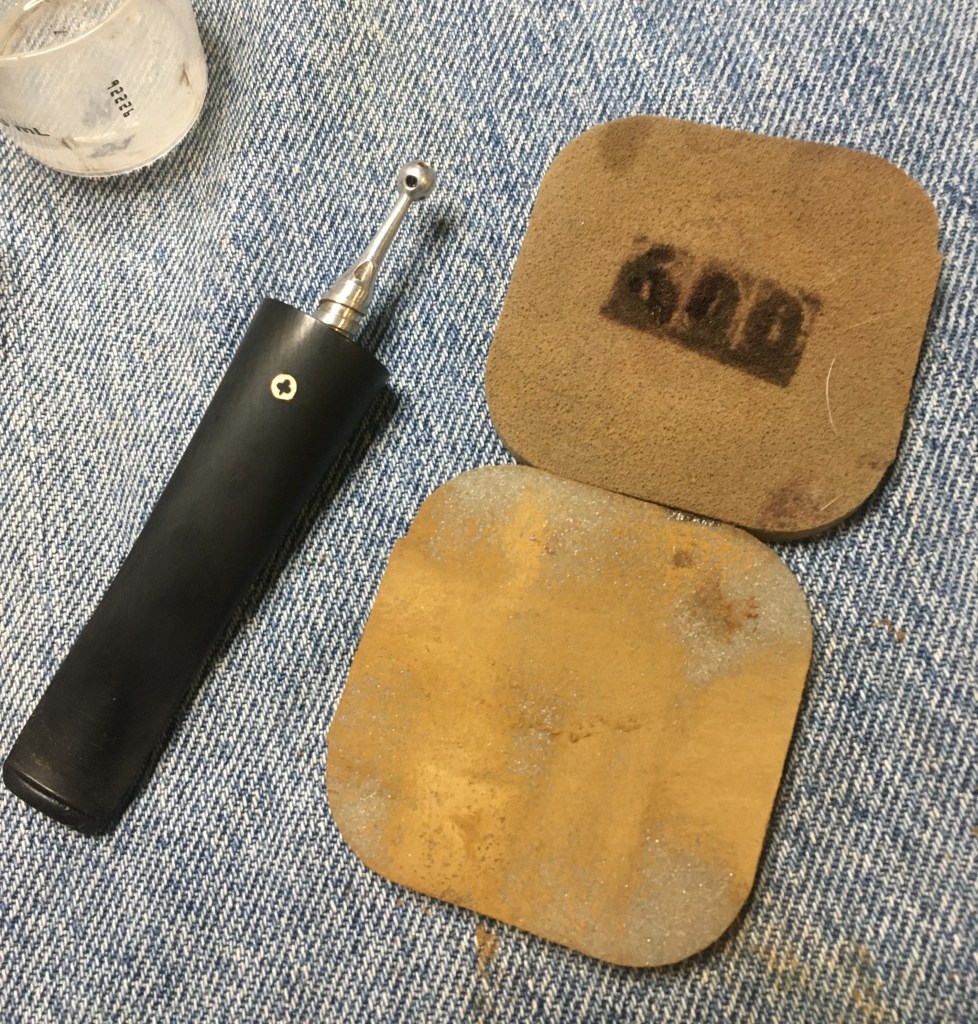

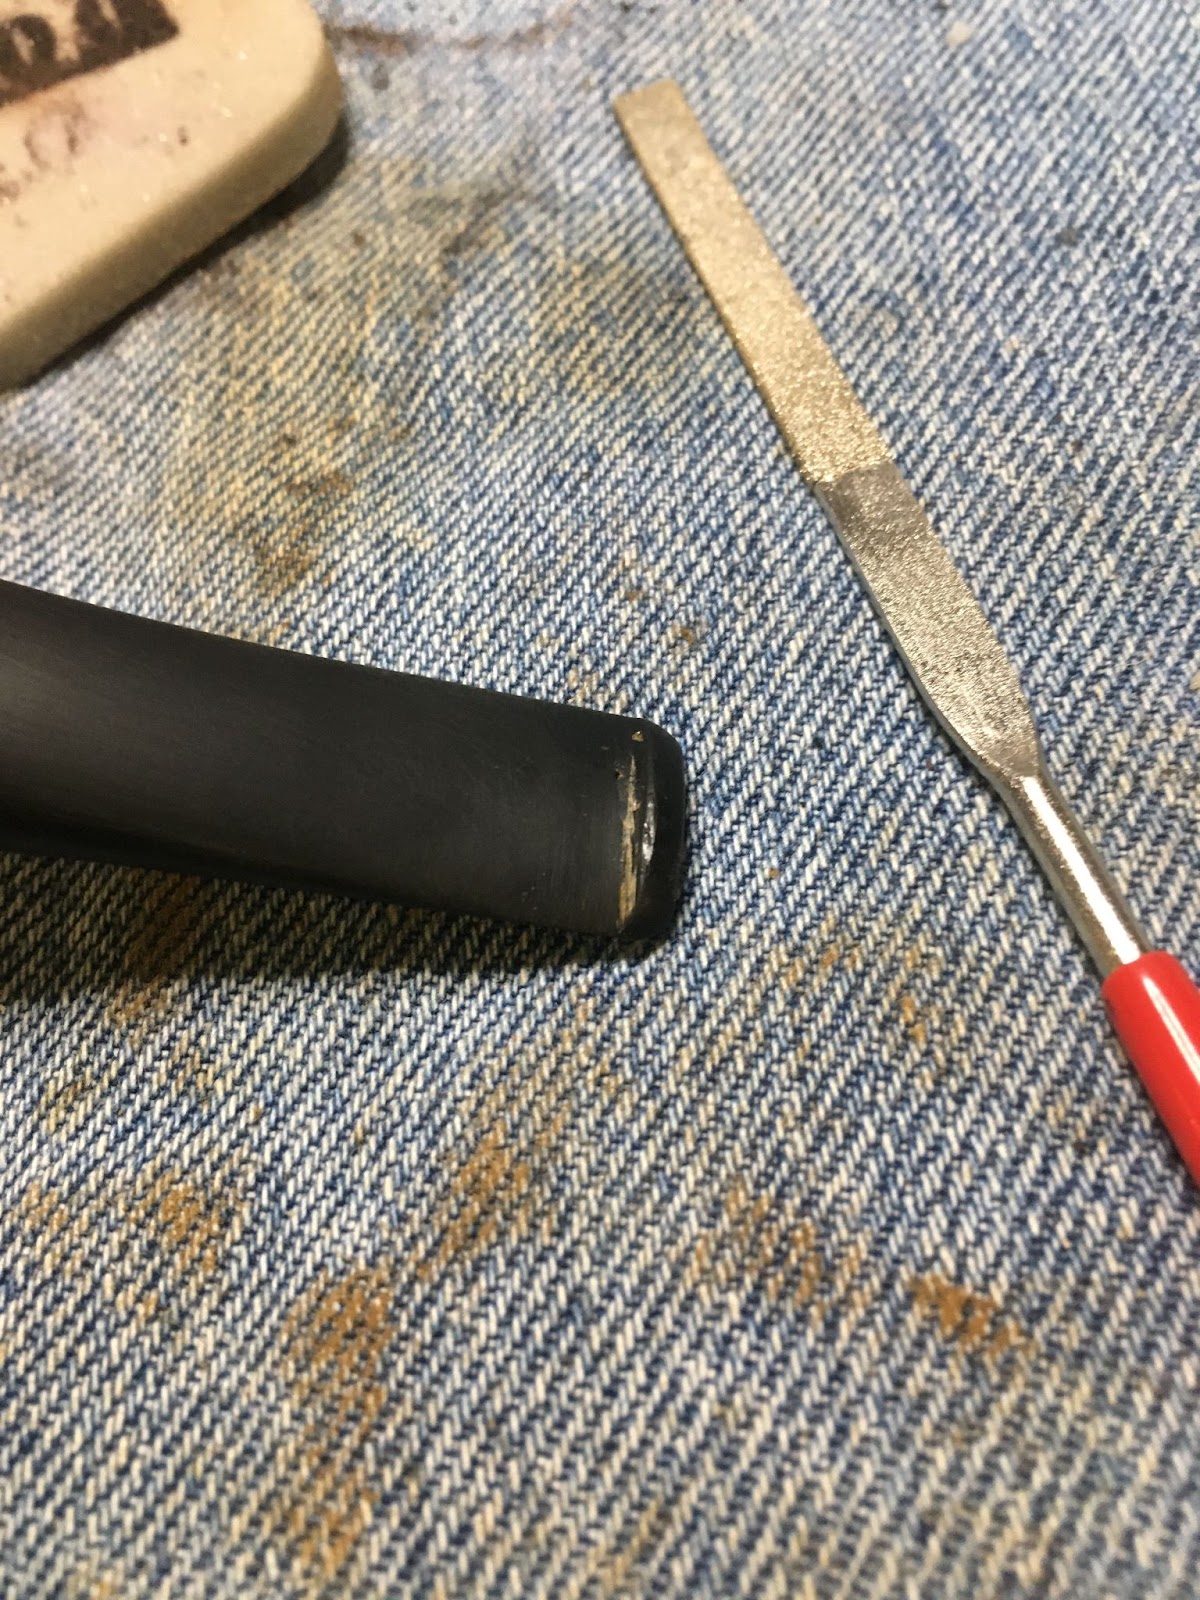


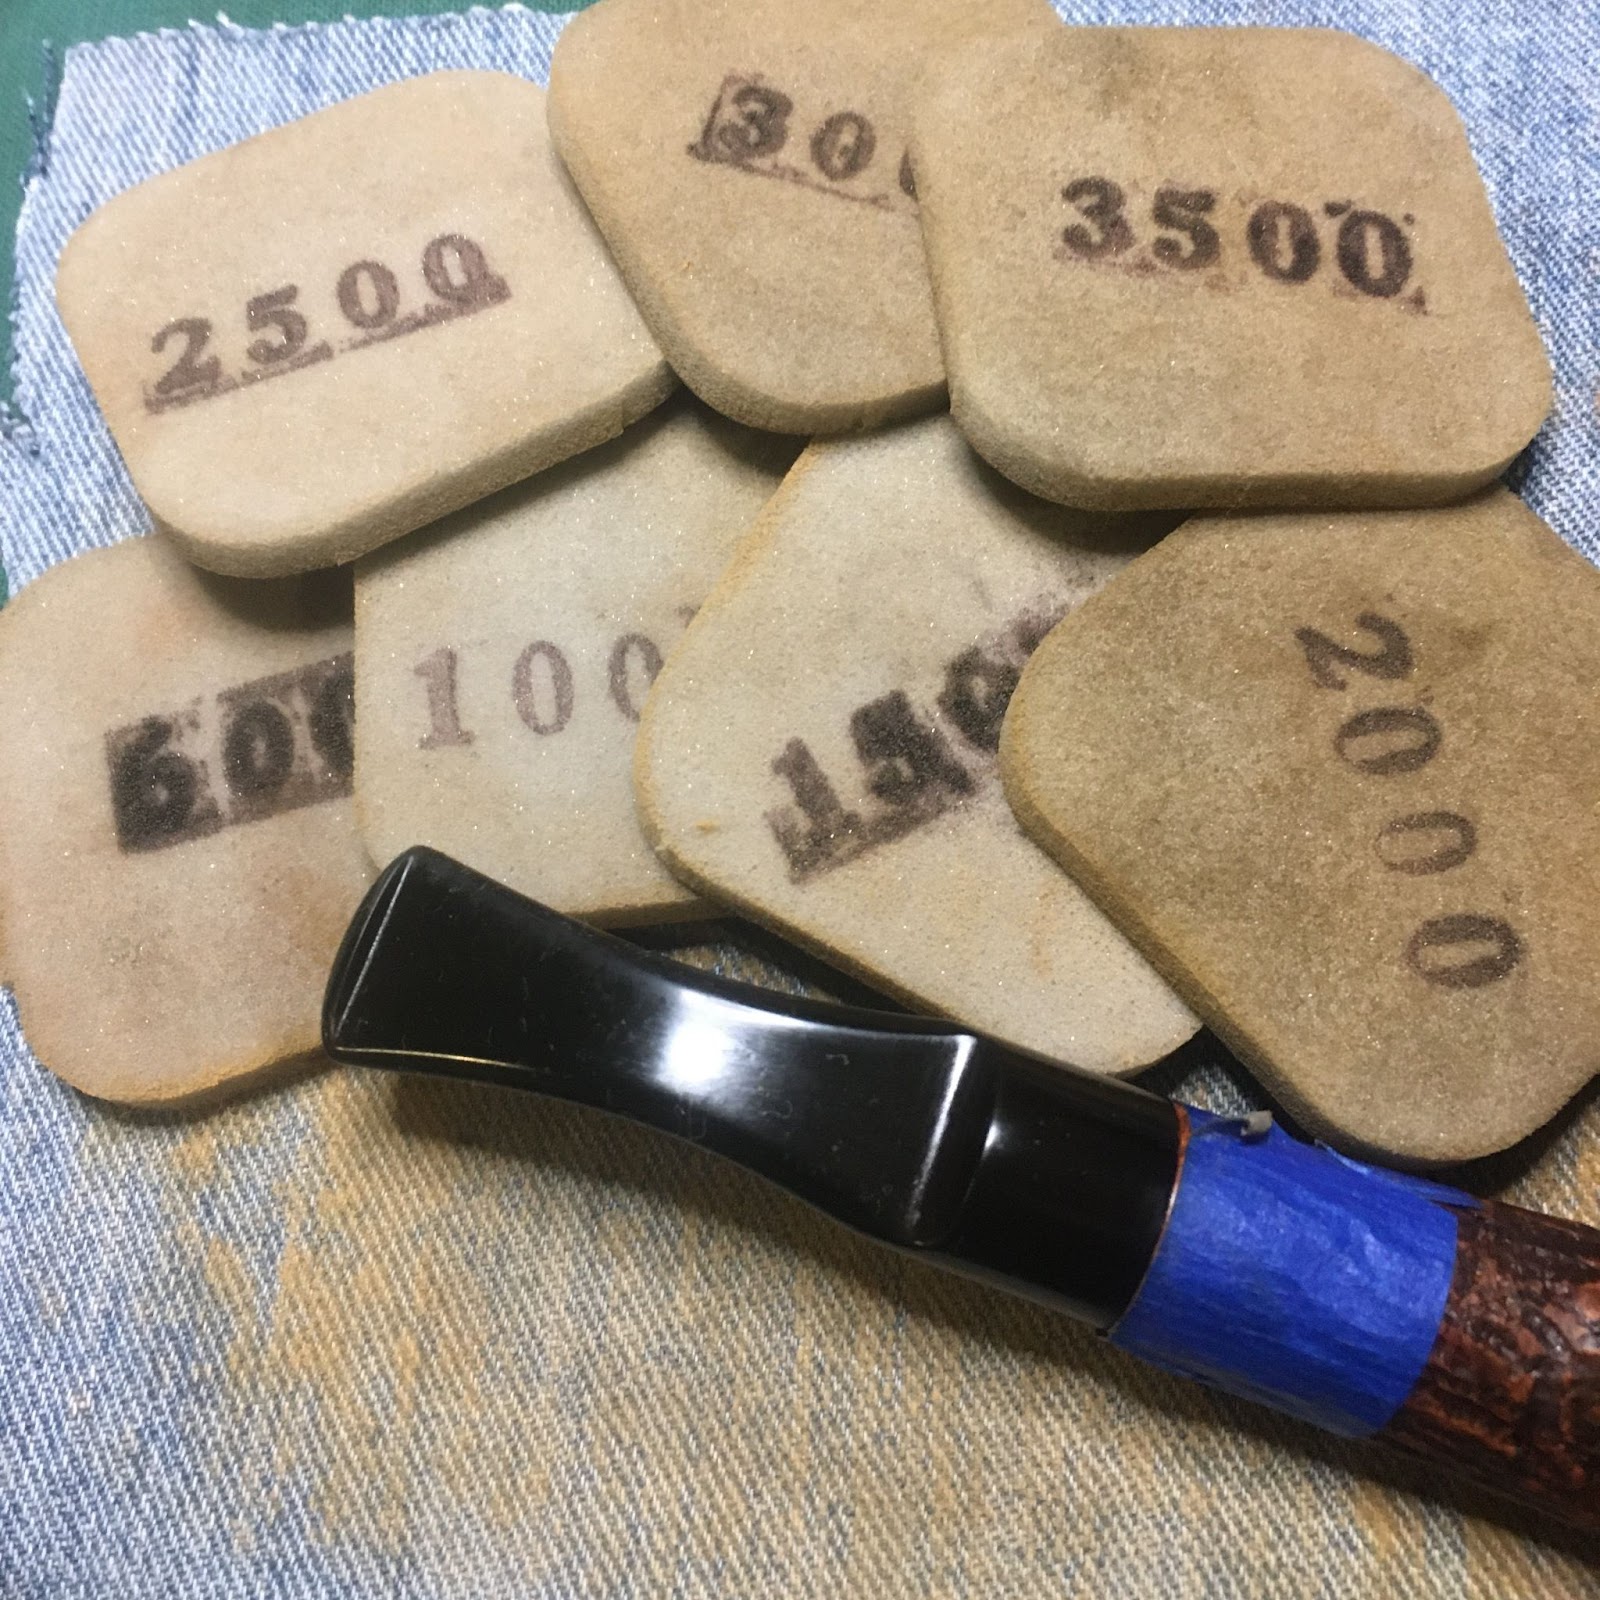
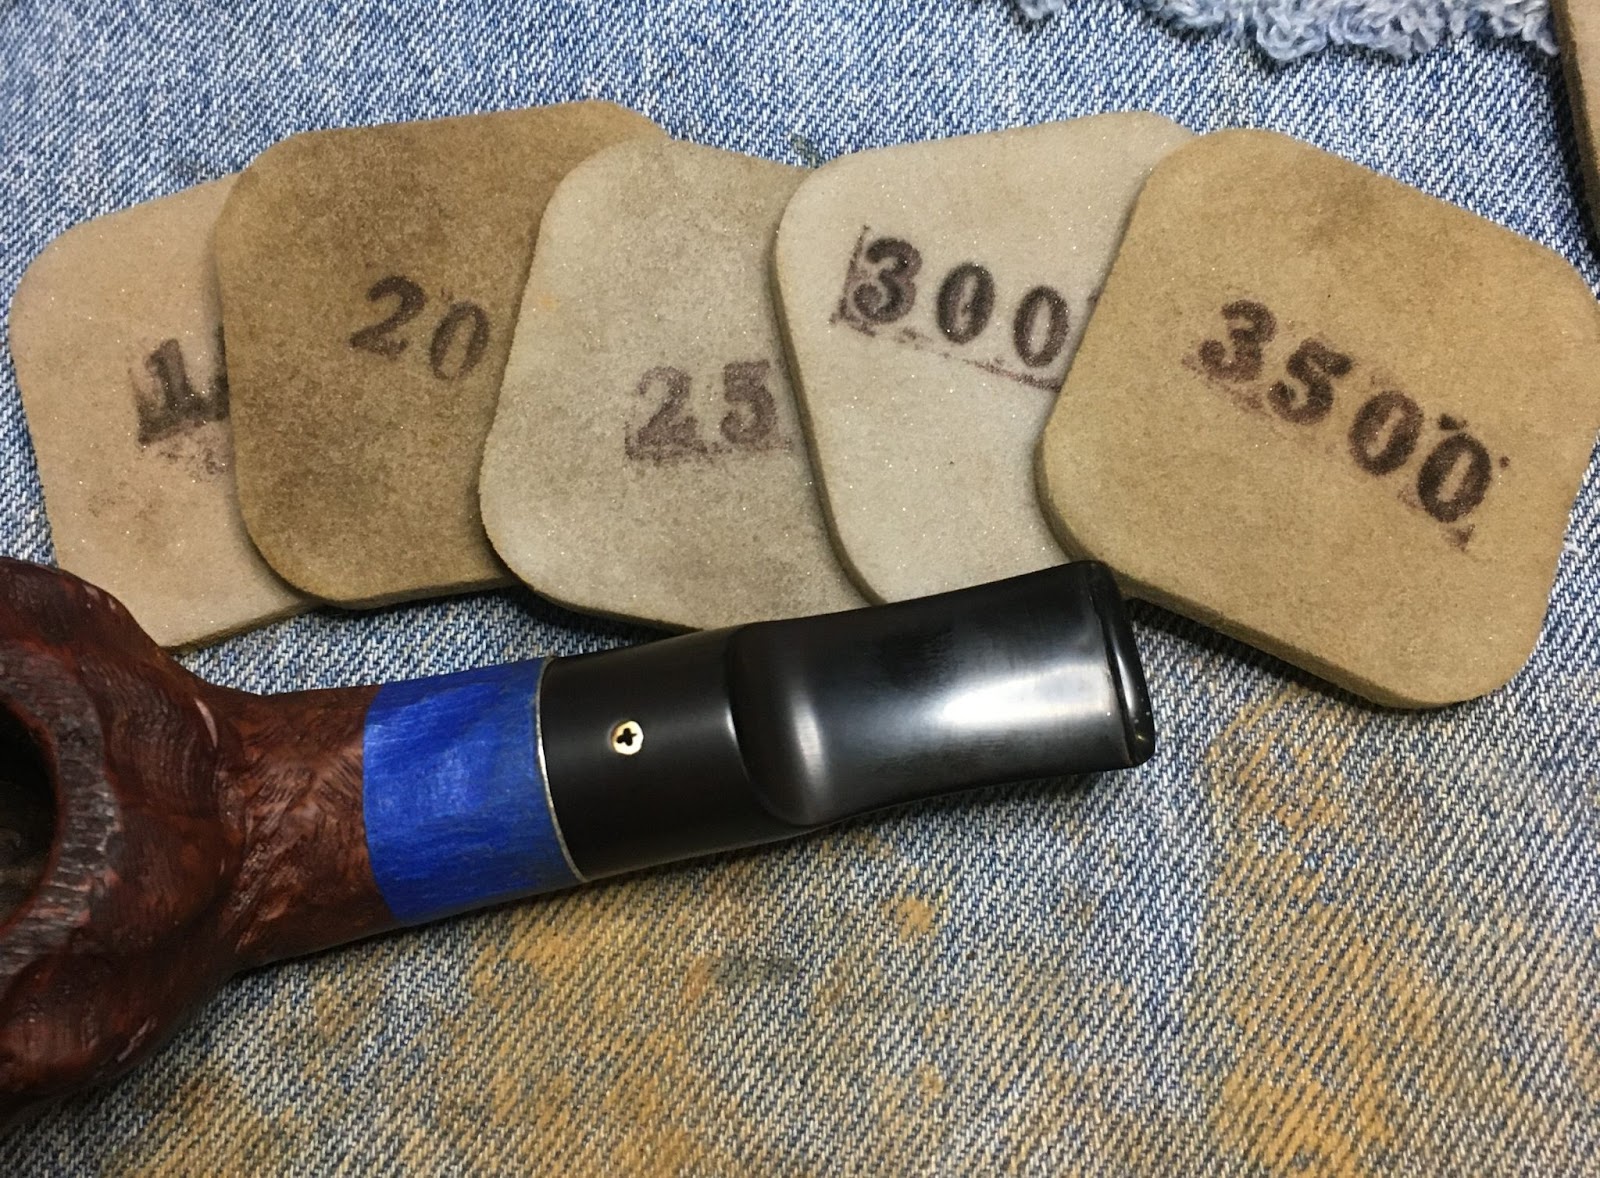
 I worked on the stem with the sanding sponges from 600-3500 in sequence. Between each sponges I applied mineral oil from my finger and wiped the stem with a paper towel.