
Photographed and written by
John M. Young
Being asked to restore a family heirloom is a flattering and frightening request. Flattered because the owner of the piece thinks highly of your ability to restore the item yet frightening because ethos is a one of a kind item that carries significant personal meaning. In this case personal and historical family meaning as well.
Background
Earlier this month I was contacted via email by a gentleman who had seen a link to my blog on Mark Irwin’s Peterson Pipe Notes. Below is an excerpt from an early email:
“I’m wondering if you do restoration work for others as well as for yourself?
I have an old Peterson System pipe that had belonged to my father’s Uncle, Richard McNamara. He would have bought the pipe while stationed in Northern Ireland as a technician with Lockheed Aircraft. He died unexpectedly in 1943 while still in Northern Ireland.
I intend to pass the pipe along to my nephew. I had sent it to Peterson’s for their assessment to date it and to clean it up a bit. I received a nice note from Glen Whelan, who set the pipe in the 1930’s/1940’s.
So, if you do restorations of this sort, I be happy to have you restore this pipe.”
I asked if it was possible to see some photos of the pipe in question to assess what I would recommend for the restoration. The following five photos were sent by the owner.


The pipe looked to be in very good condition. I replied,
“That is a beauty. I am assuming the Peterson boys told you that the pipe was probably from 1937-1945ish. That would be my guess anyway. Here is what I see that you may want to have restored:
The stem – Looks great. There are some very small scratches around the ferrule. Micro-meshing and a white diamond buff should make it like new.
The Cap – I saw a couple of small dents. The cap can be removed and the dents pressed/tapped out. Then polished and reglued into the original position.
The Stummel – The dings from contact with a rough surface can be 1) filled with cyanoacrylate and briar dust. This will smooth them but will also make for dark spots where each dent is. Or, 2) The dents can be steamed to see if the briar can rebound back. This may lessen the dent but probably not remove it.
The Internals – a general cleaning and yuck removal. “Yuck” is a highly technical restoration term referring to smoking residue. When in abundance, it can be called “yucky”.”
The owner replied,
“Thanks, it is a nice pipe with a special heritage.
All I got from Peterson’s was that it was from the 1930/40’s. But from further investigation I have learned that the 1937-1945 span is correct. Now, I’m assuming that my Uncle bought the pipe new as he was in Northern Ireland from about 1939 to 1943. I have photos of his travels to Dublin, so I’ll further my assumption that he bought it from Peterson’s.
Anyway, i agree with your suggestions about the stem and cap. I saw some crud around the button and the dents on the cap. As for the Stummel, I think I’d just as soon leave the dents as they are. After all, as far as I am aware, only my uncle Richard and I have used the pipe in it’s 80ish years, so, in my mind, it adds a touch of being authentic with continuity. The internals will need a cleaning. I don’t have the pipe in front of me now, it’s packed away in my pipe bin in our RV basement. I’ll pull it out in a day or two and check the bowl etc., but I don’t think it’s too bad.”
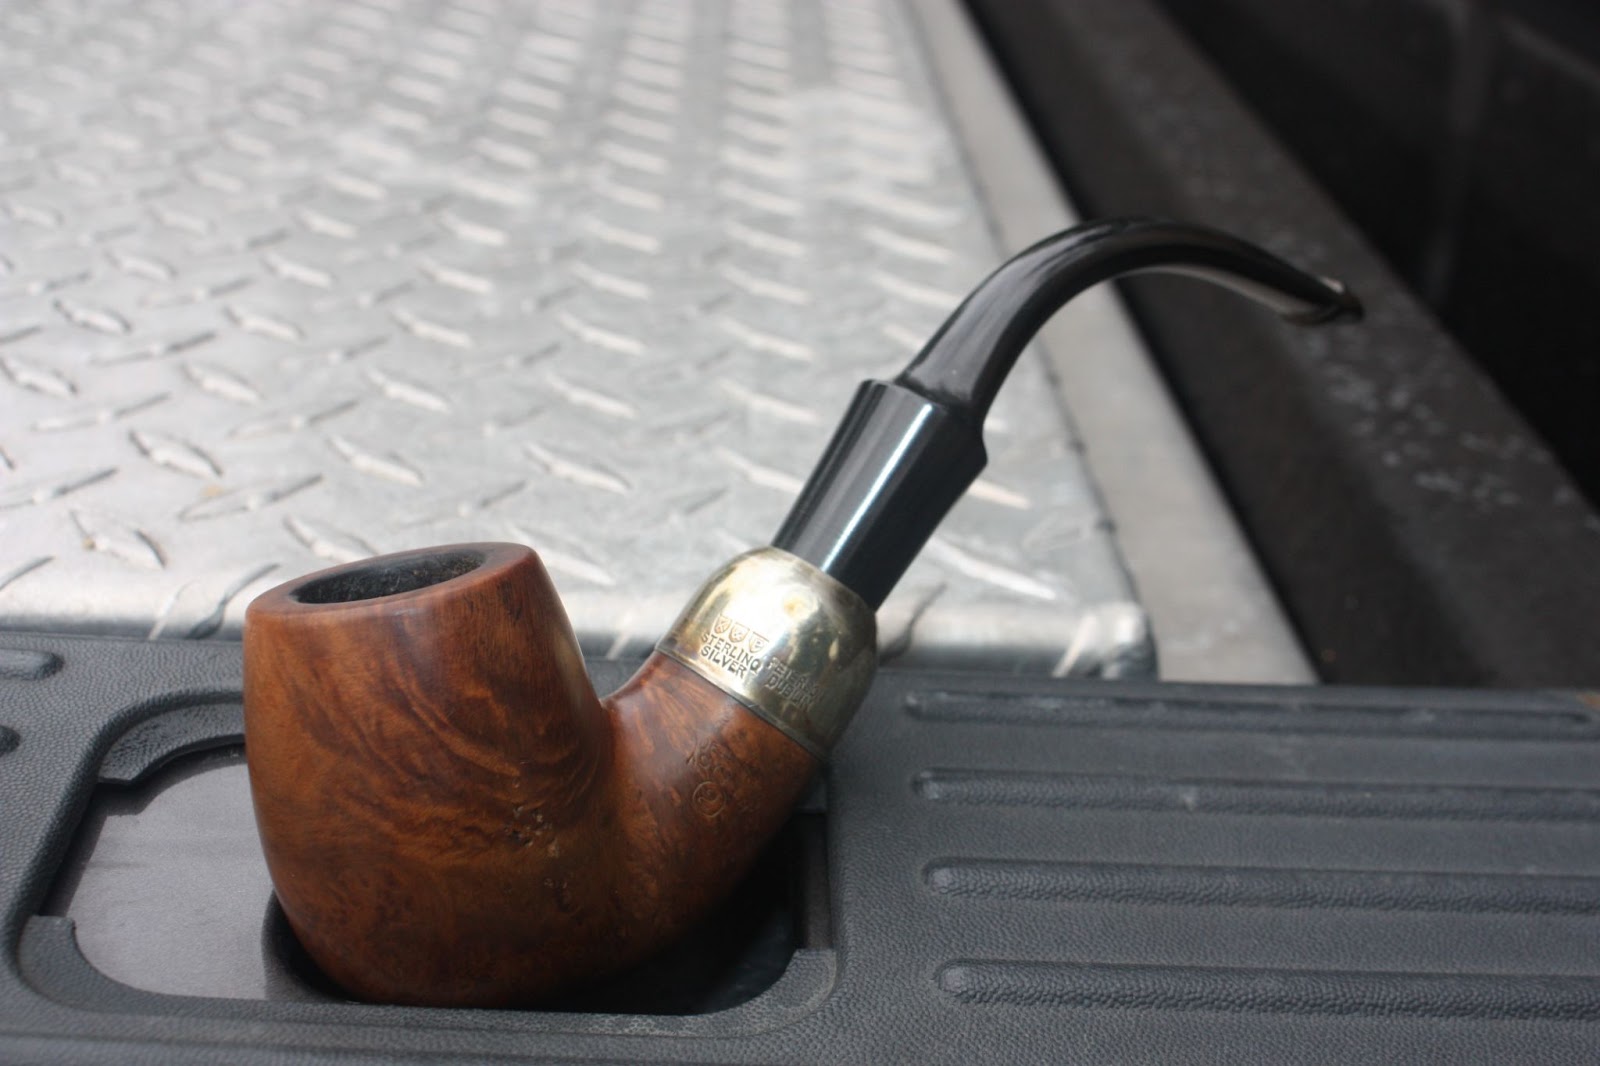
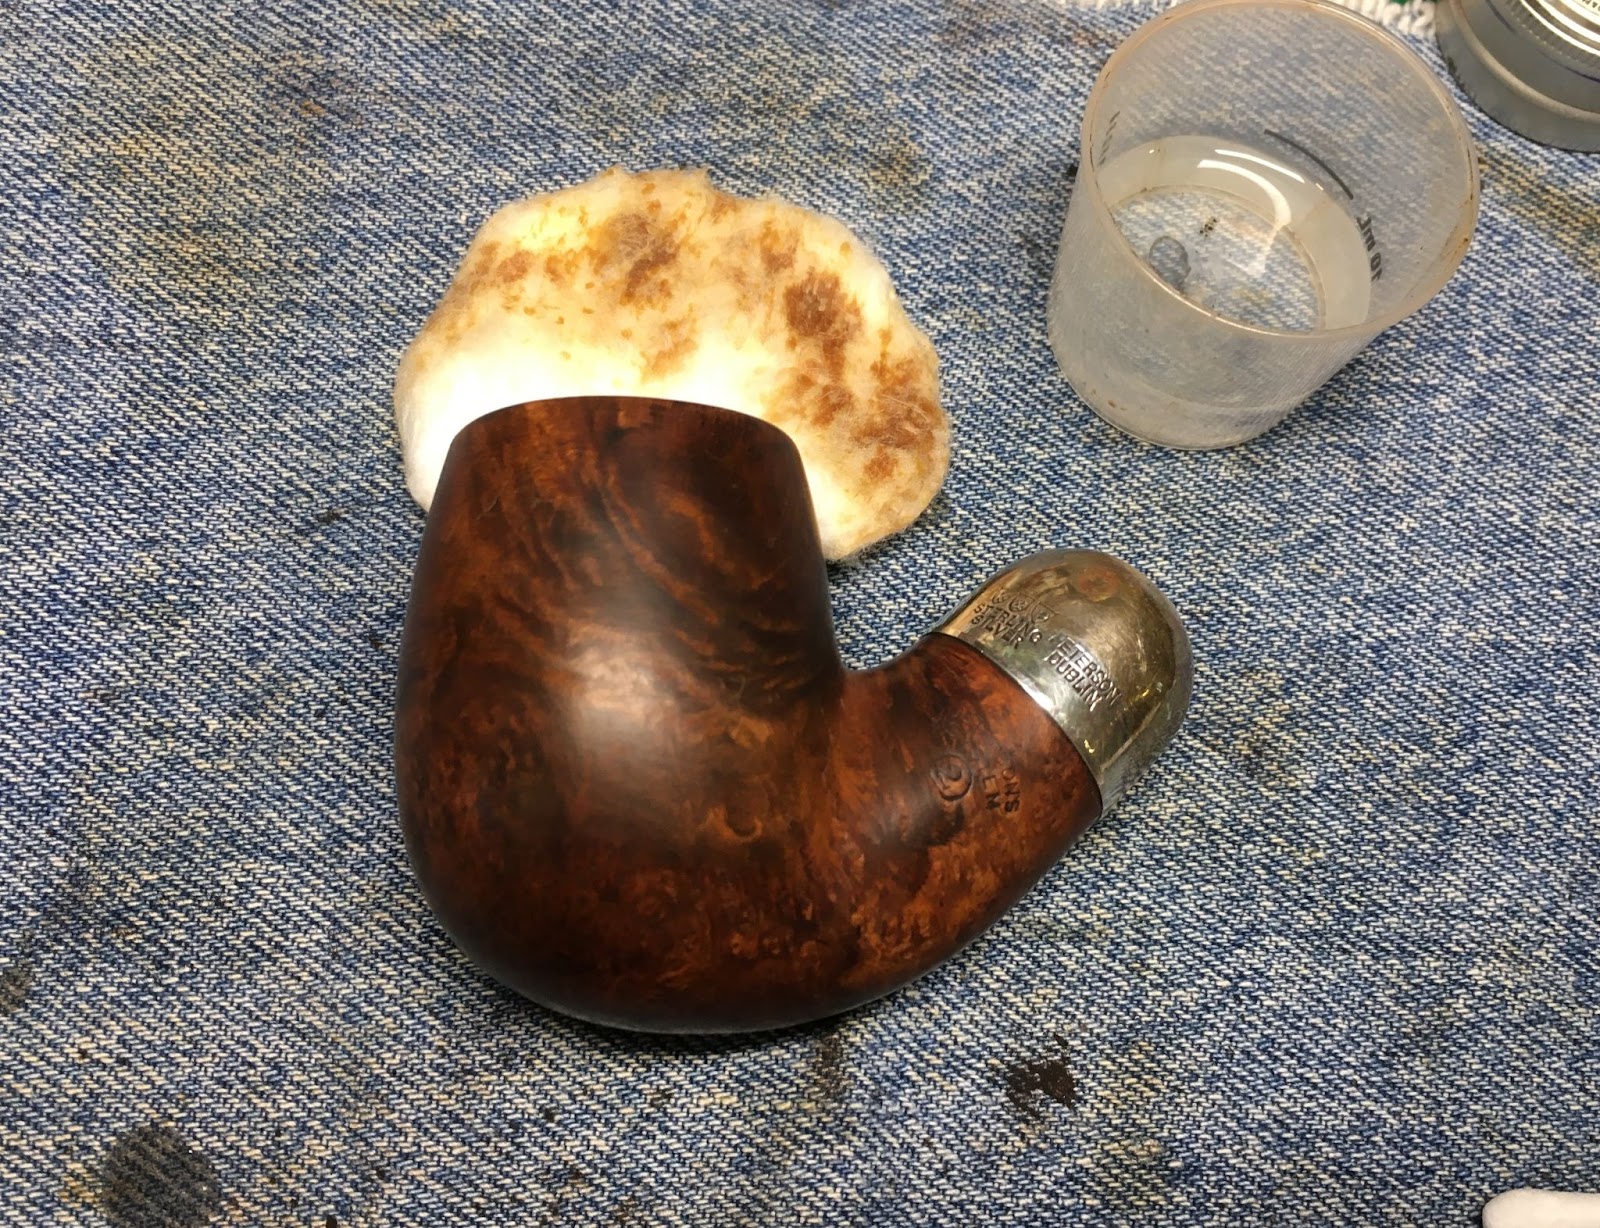
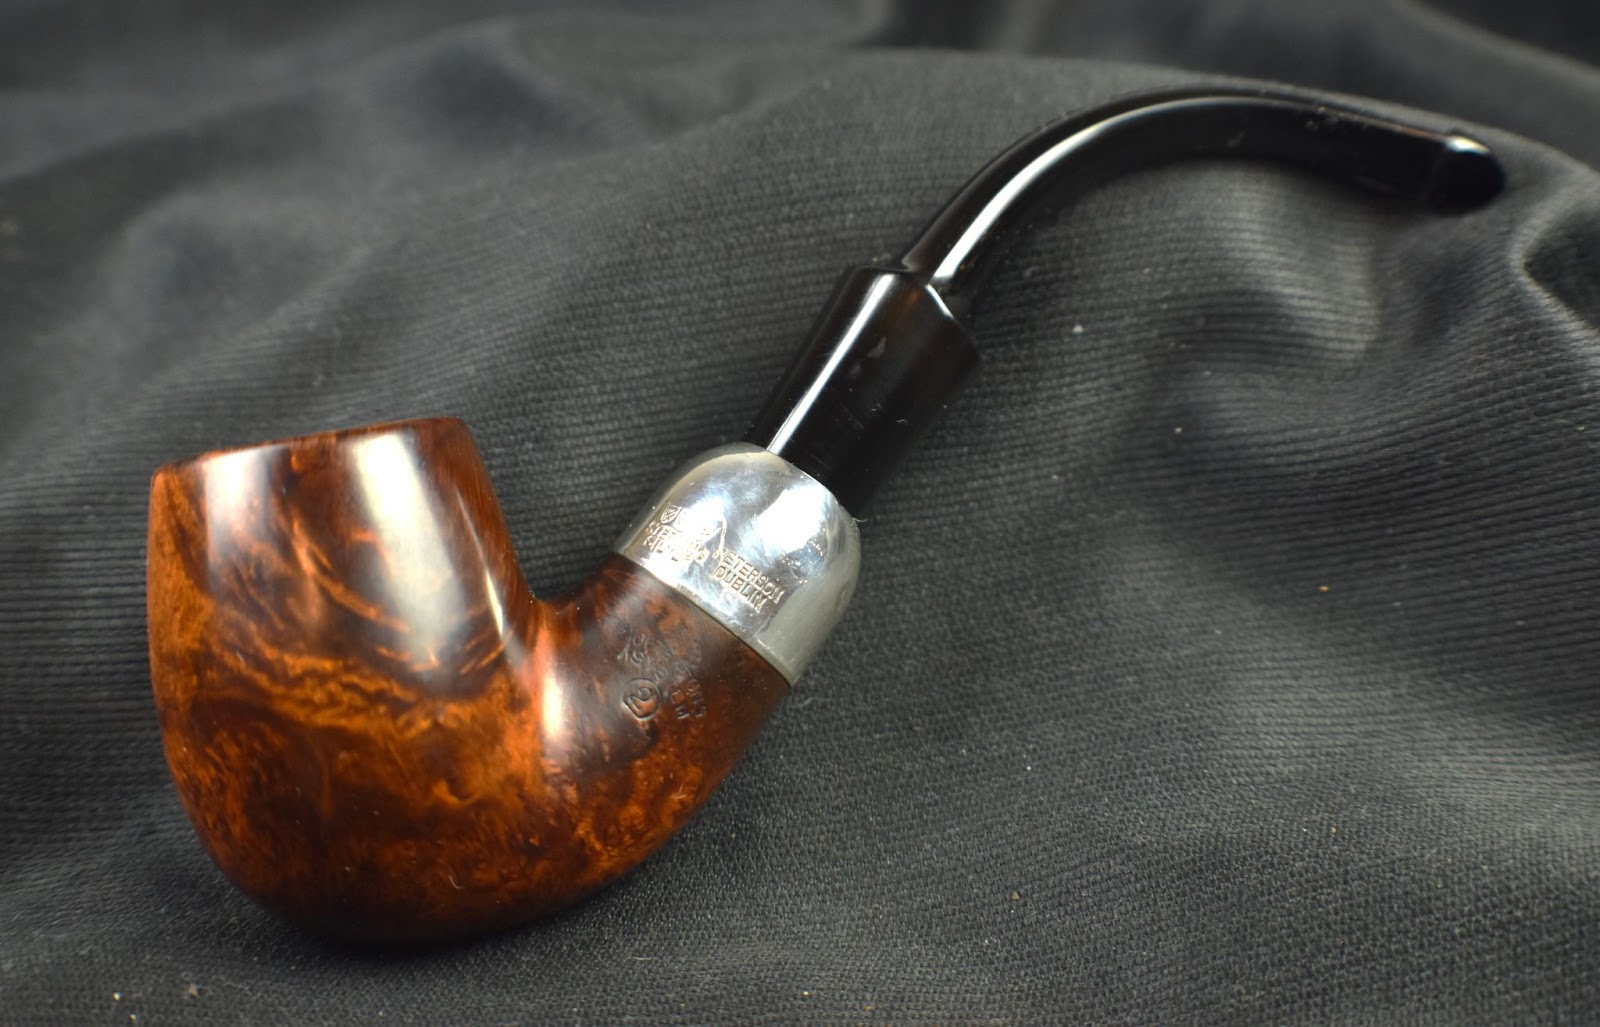
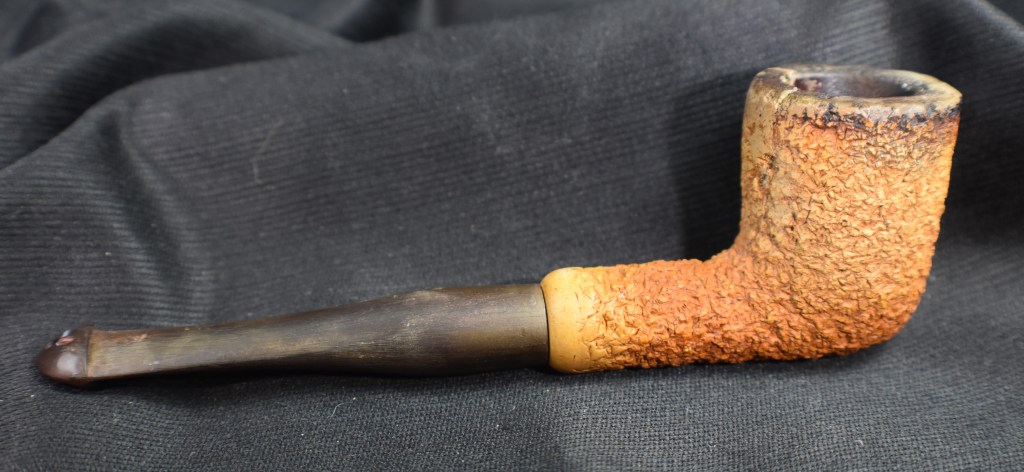
We agreed on the work to be done and arranged for shipping. A few days later the pipe arrived and was photographed prior to any work.


Though there was no sign of a shape number stamp, I think this is a 307 shape.
“The 307 is an original Patent bent billiard-shape, shown in the 1896 catalog as shape 9. It has retained its original shape number in the De Luxe version, but was issued in the 1937 catalog as the 307 (2nd quality) / 357 (3rd quality). Since then, it has also appeared as the 9S and 9B (De Luxe), Dunmore System 78 (1978-1983), and the Classic Range 9BC (1940s-1950s) / XL90 (1980s-Present). The 9B dating from the 1940s-1960s (the De Luxe System with a tapered rather than saddle bit) is rarely seen on the estate market. There have been changes in the shape since the 1960s, all toward less “cheeking,” making earlier versions, when available, preferable to those wishing to get back to the first, classic iteration of the shape.” (https://petersonpipenotes.org/146-a-guide-to-system-shapes-1896-2019-part-1-the-300-shape-group/). The 1937 issue of the SYSTEM 2 coincides precisely with the provenance of the pipe.
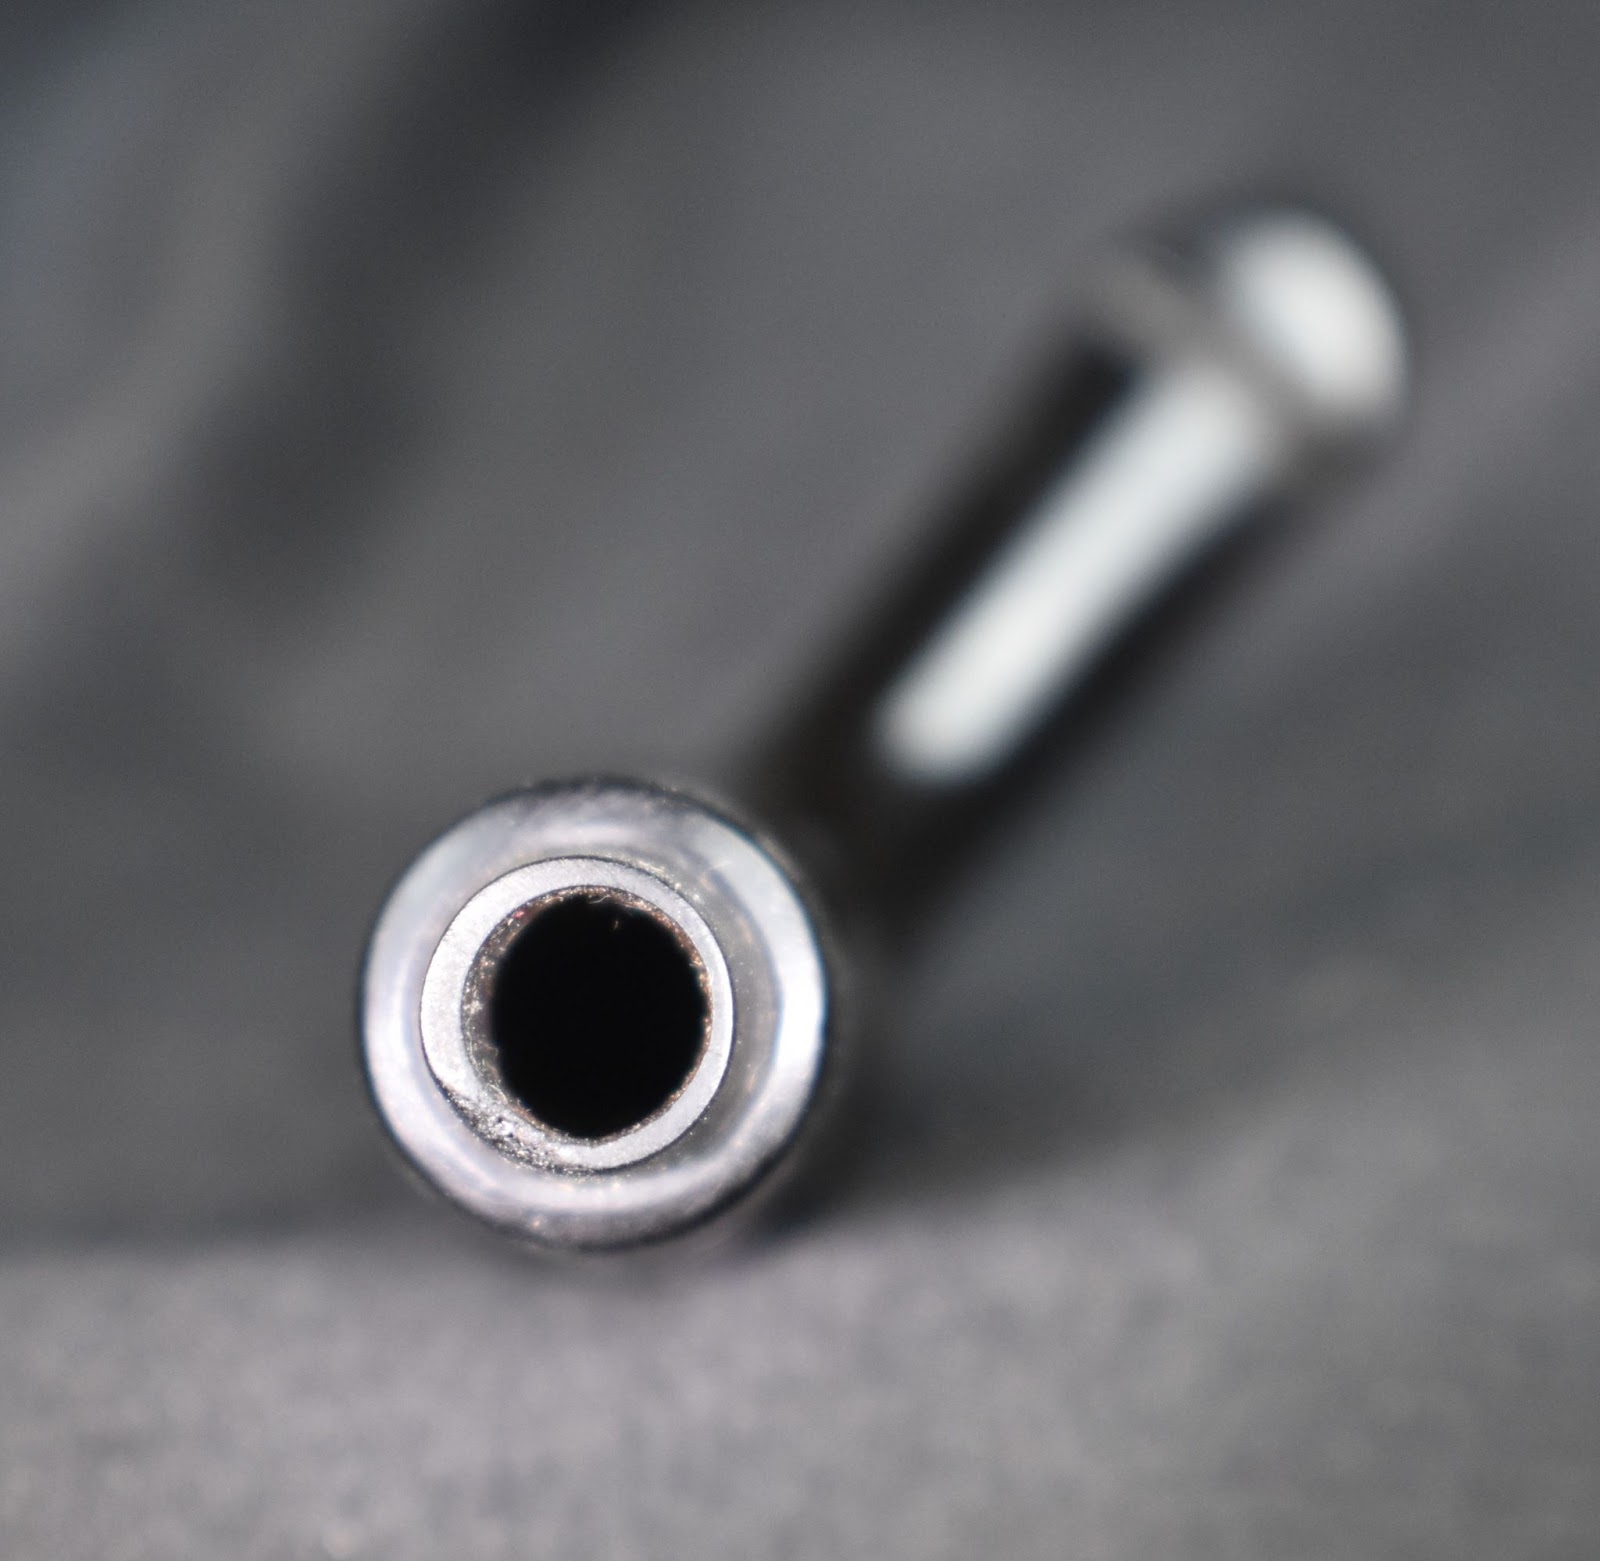
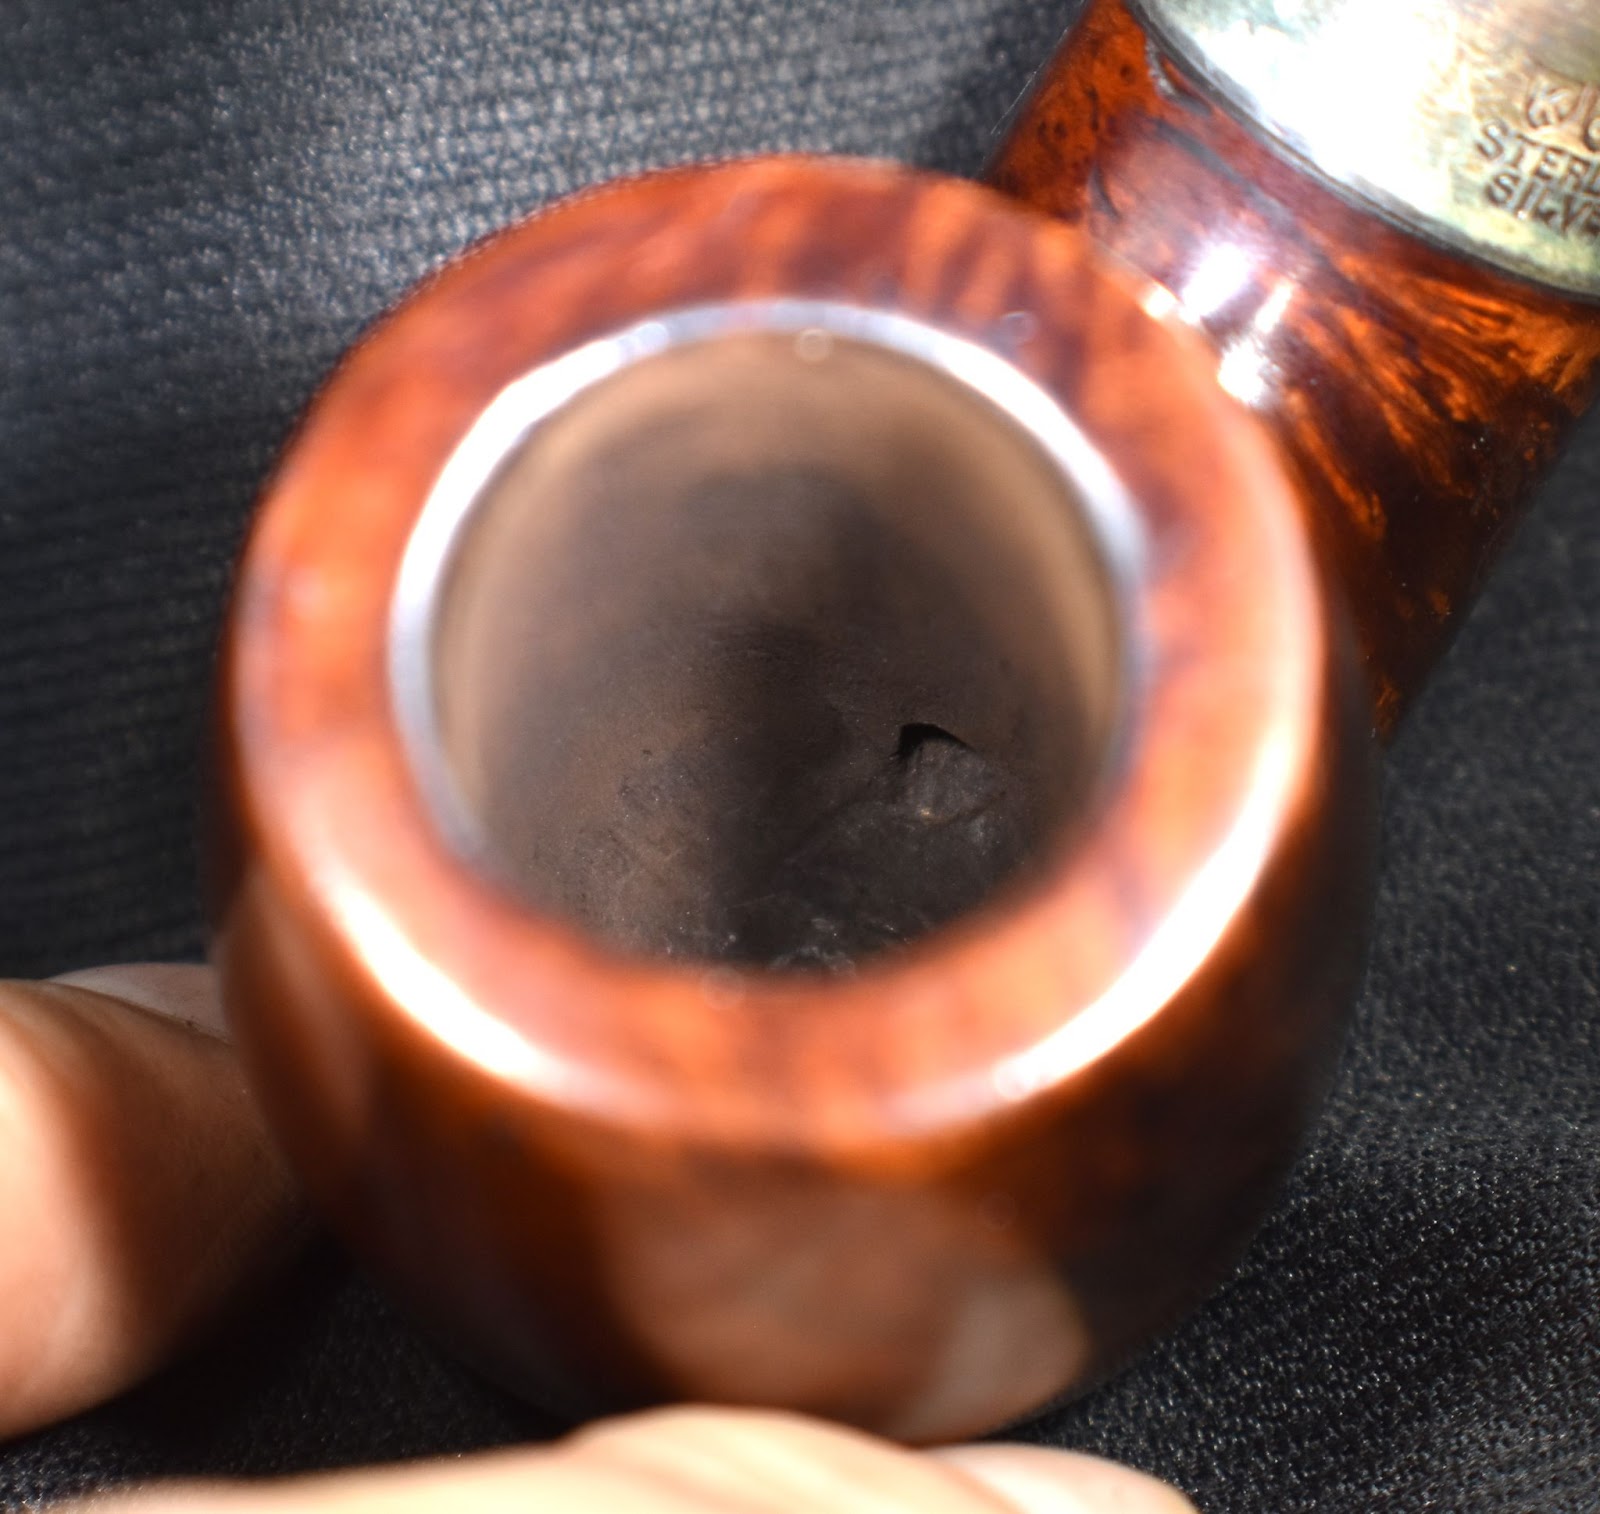
When I first received the pipe I thought that something had gone wrong like the wrong pipe was shipped. There were no dents on the left side of the stummel. Adding further to my confusion, which is pretty easy to do by the way, was the stem. A Peterson System 2 should have a bone tenon extension or “chimney”, as the Peterson factory folks call them. This tenon was smooth, without threads, and looked to be about 9mm. A closer examination of the pipe and comparison to the photos indicated that it was the same pipe pipe from the initial photos based on briar grain patterns. I could make out well done fills where the dents were supposed to be and there were slight bumps in a newly acquired finish. The finish looked like a lacquer and stain combo which had been sprayed on or maybe a lacquer sprayed onto a still damp stain. It also looked like the stem had received some of the lacquer then had been buffed with carnauba wax.
I emailed the owner with my questions. While awaiting a response I began working on the pipe.
The Restoration
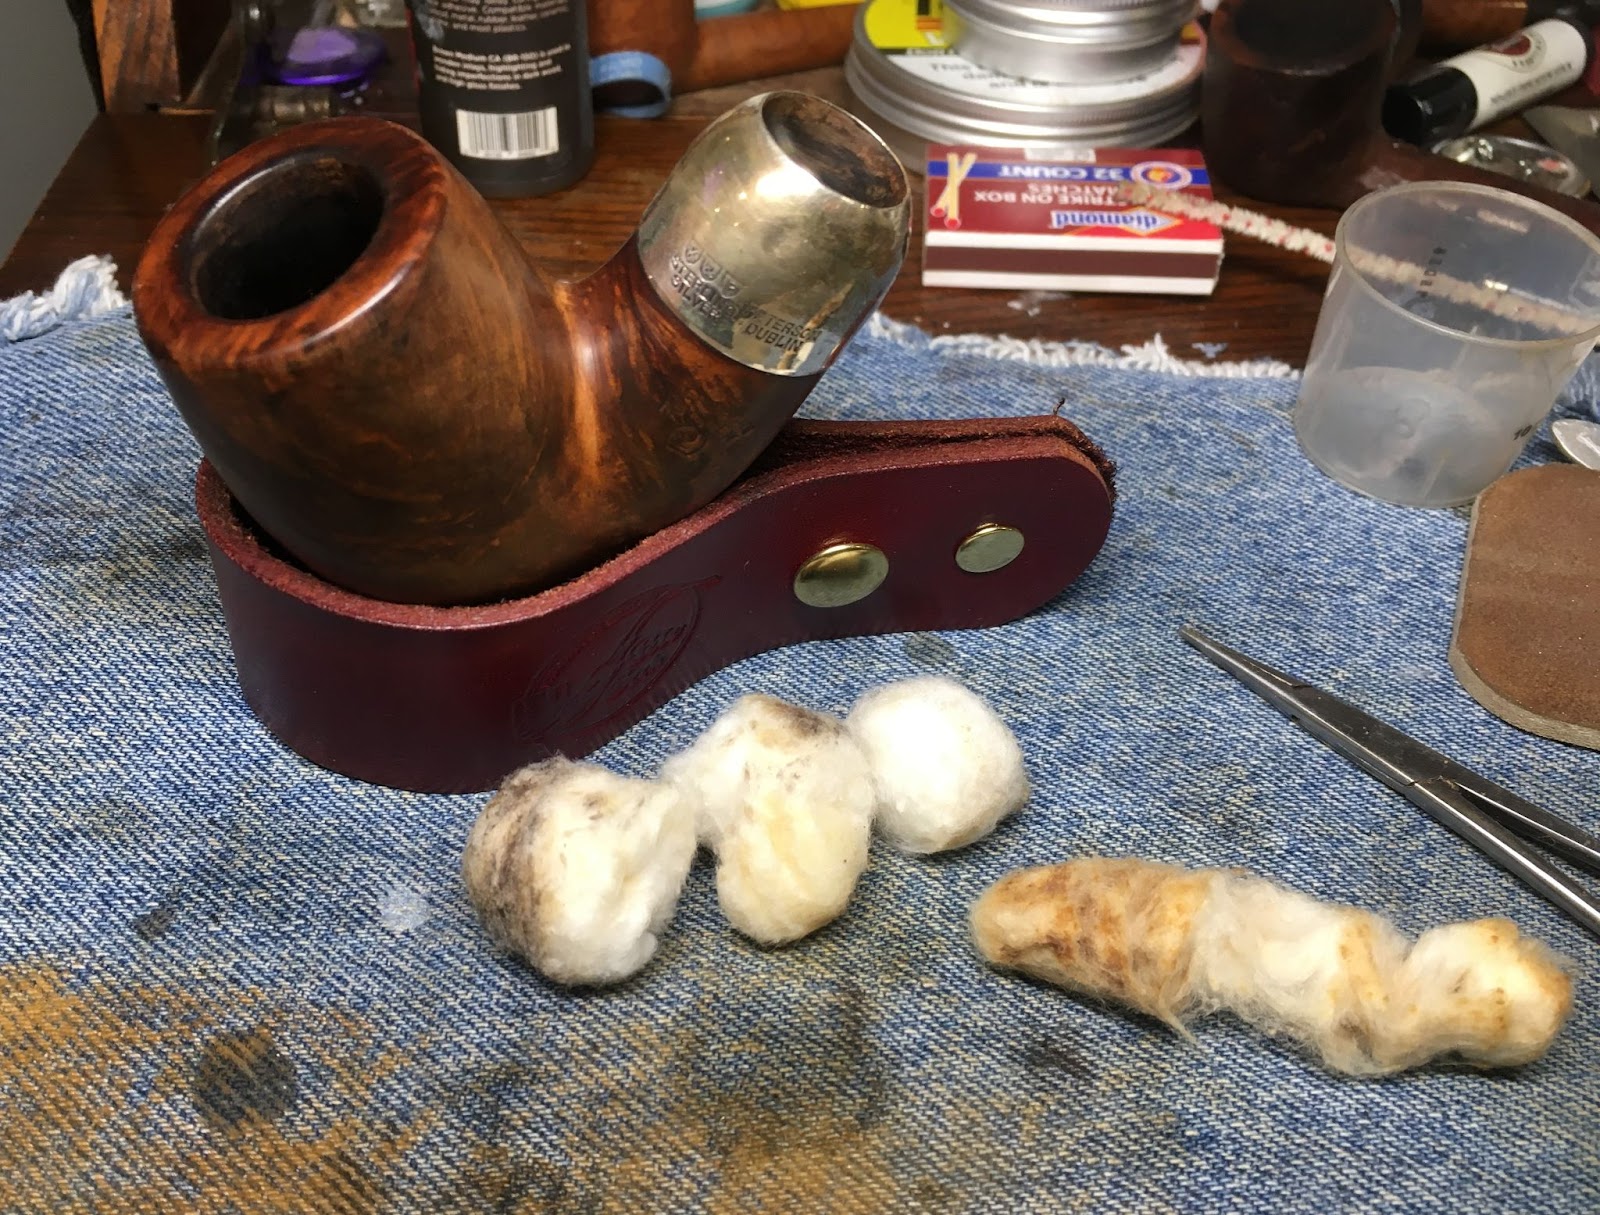
As usual the pipe was taken to the workbench where it was placed on a relatively clean denim piece.

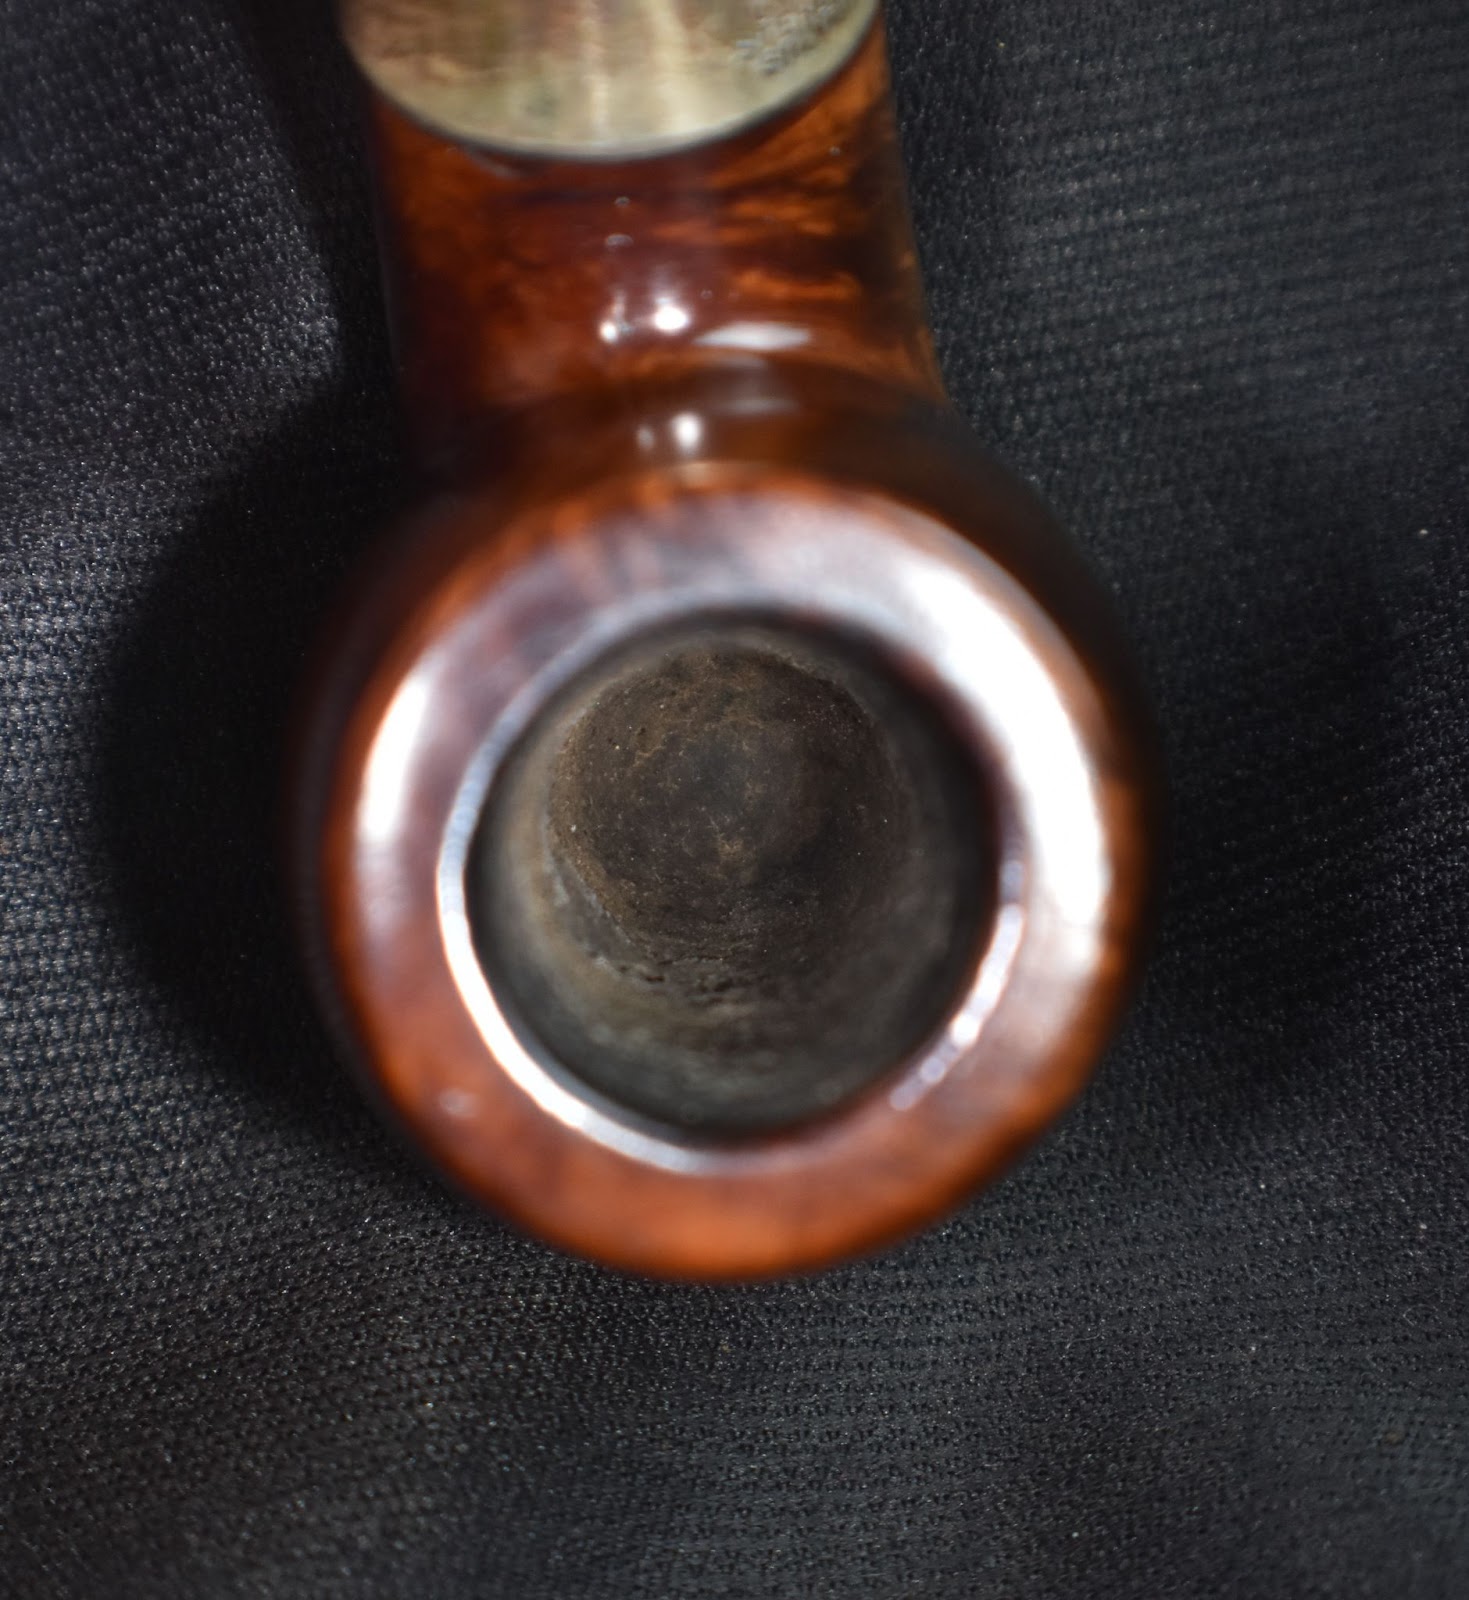
Next the tobacco chamber was reamed using the PipNet and #2 blades. The General triangular scraper and Smokingpipes Low Country Reamers also saw limited action. The chamber was then sanded with 220 sandpaper wrapped around a wood dowel. The sanding resulted in seeing the condition of the briar within the chamber which showed no signs of any damage from excessive heating or charring.

The stummel was then taken to the sink for a scrubbing with Murphy Oil Soap with a nylon scrub brush. The soap was rinsed with warm water and the stummel dried with a cotton hand towel.

Back at the workbench the stummel was wiped with a make-up pad dipped in 95% ethyl alcohol. This removed a good deal of color. Apparently the pipe had received a clear coat of some kind and a recent dye or stain. I could not believe that this was the original stain from the 1930’s or early 1940.
The stem was cleaned out with bristle pipe cleaners and ethyl alcohol and showed that the pipe was being well cared for and cleaned after use.
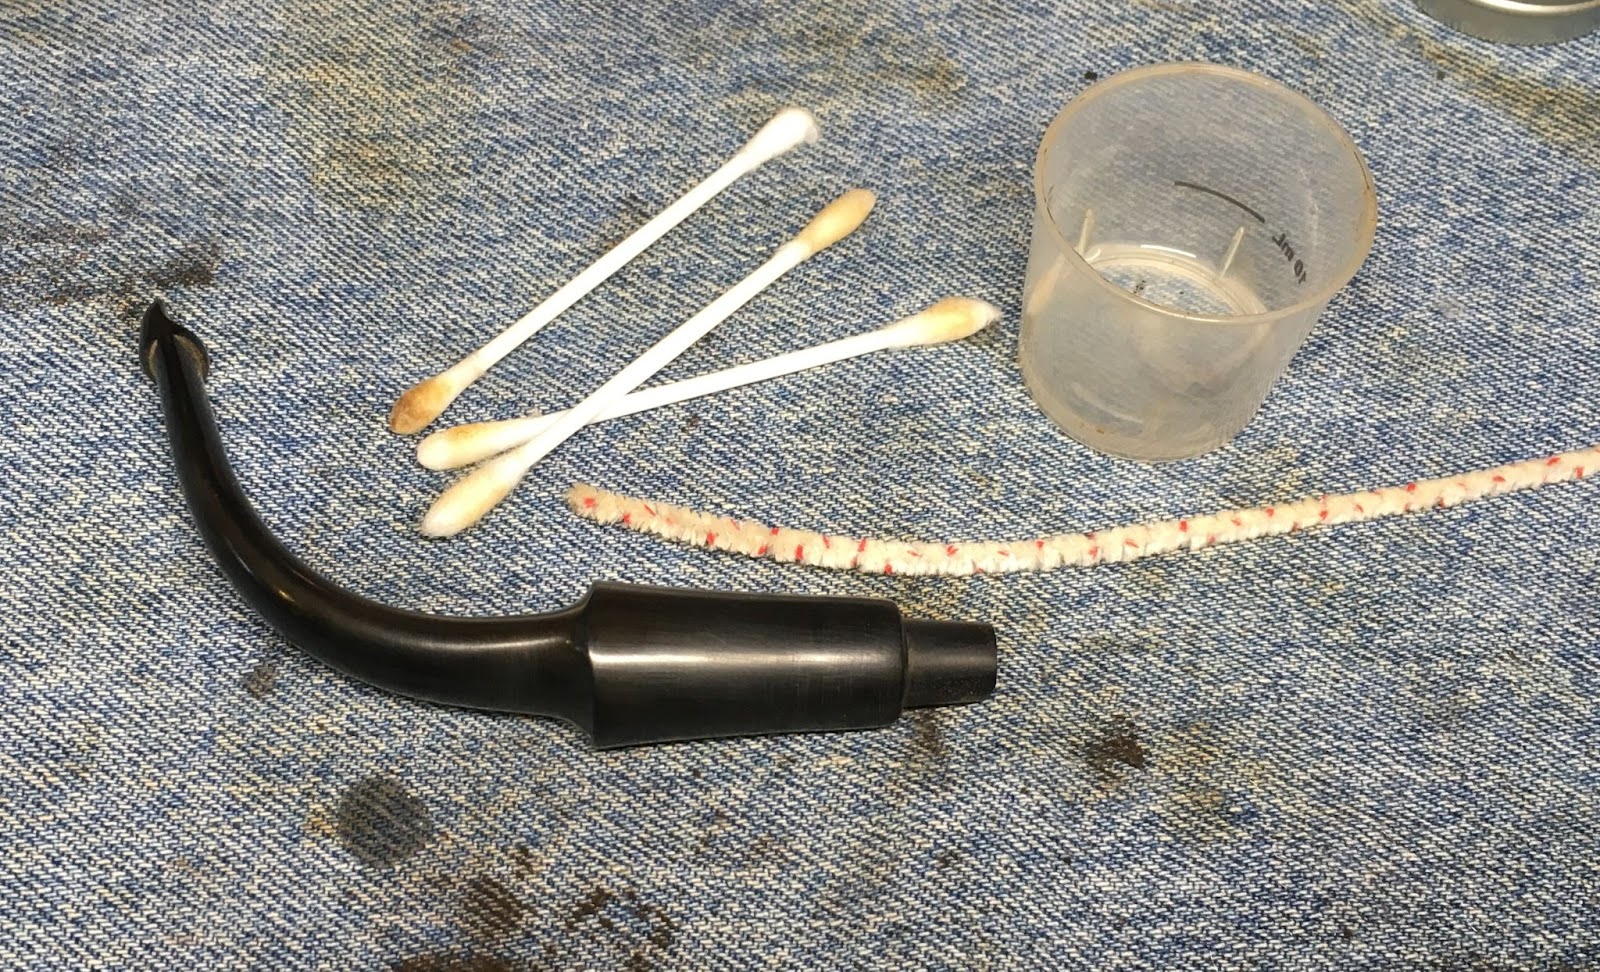
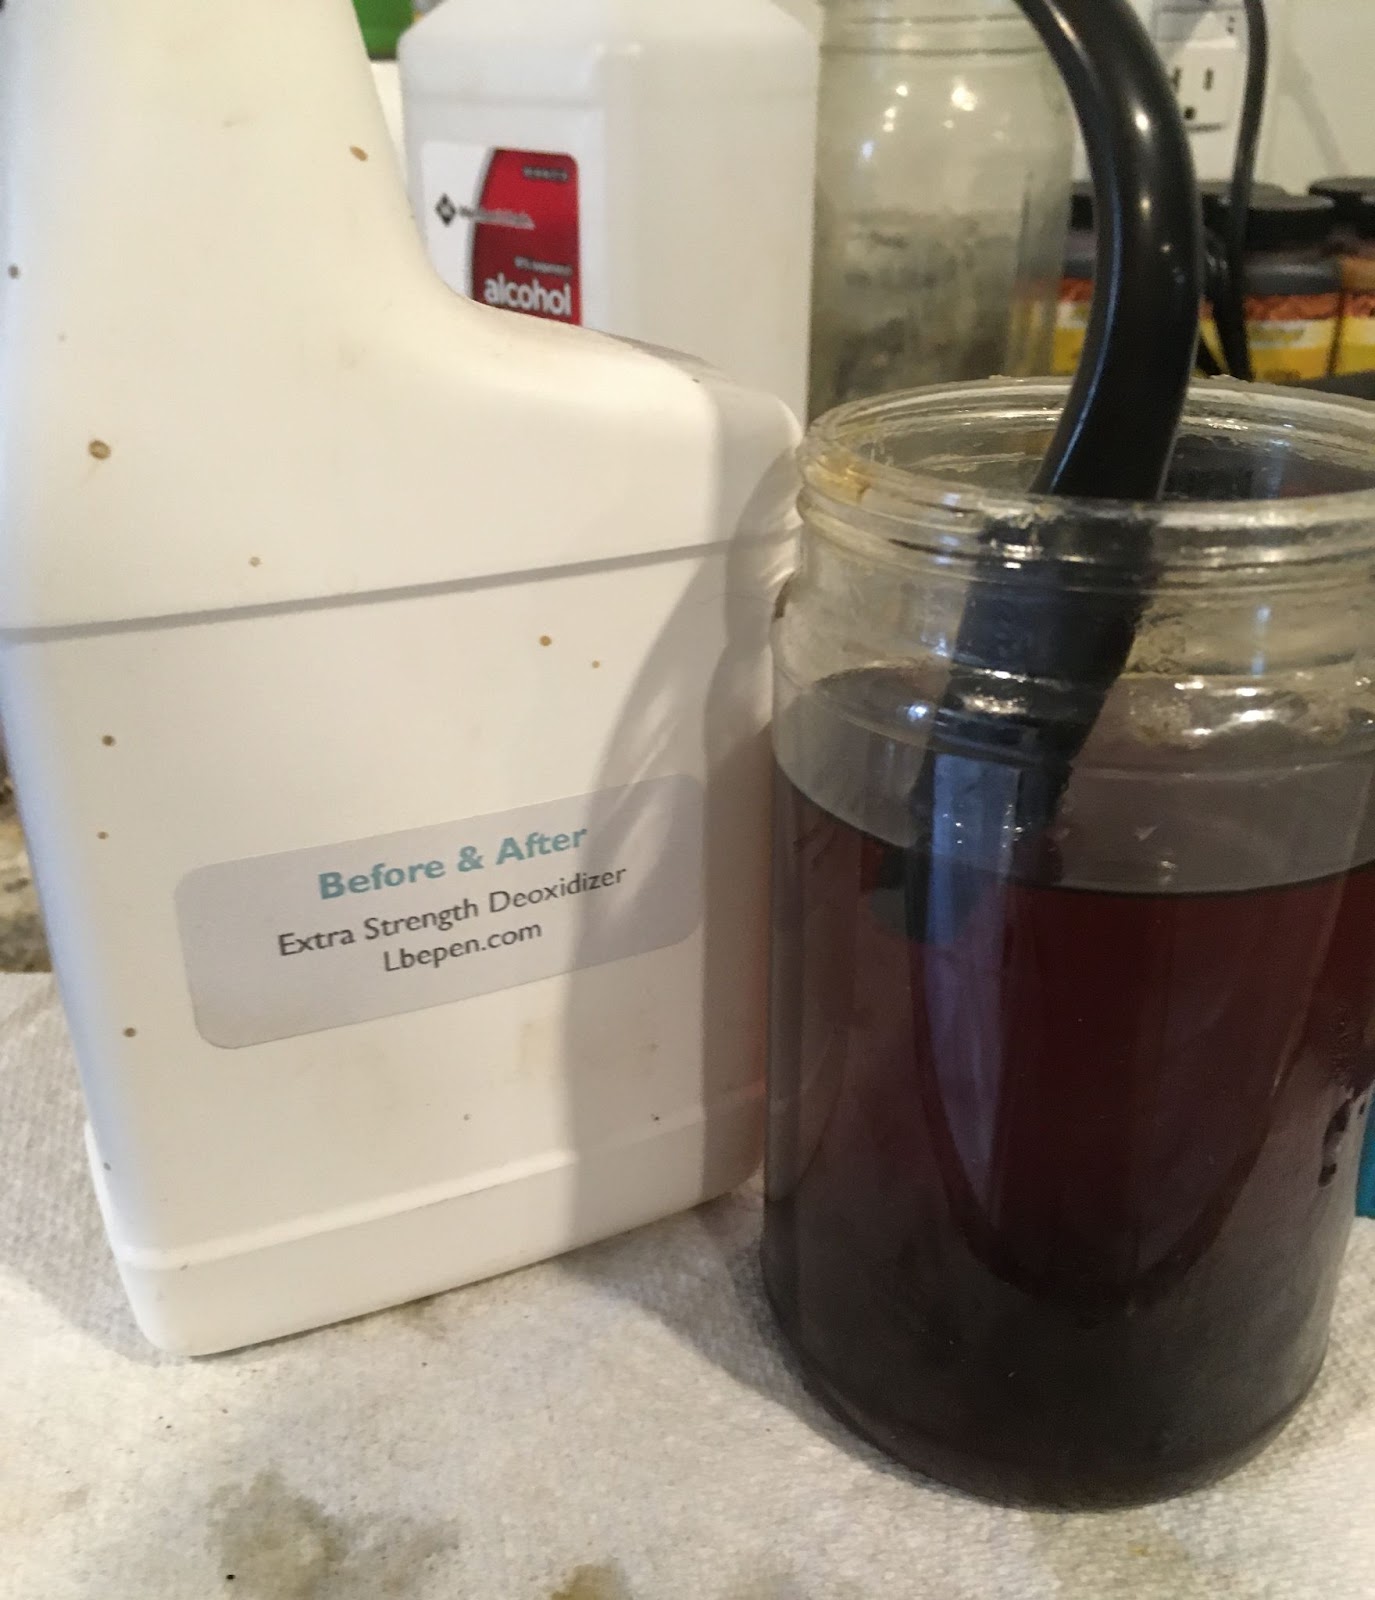
Oxidation, however, does not care how well a pipe is cared for and attacks at every chance it gets. This stem showed signs of oxidation though not very severe. I decided to remove the oxidation with Before and After Extra Strength Deoxidizer. The stem had a pipe cleaner inserted into the mouthpiece to act as a hanger and entered the deoxidizer solution.
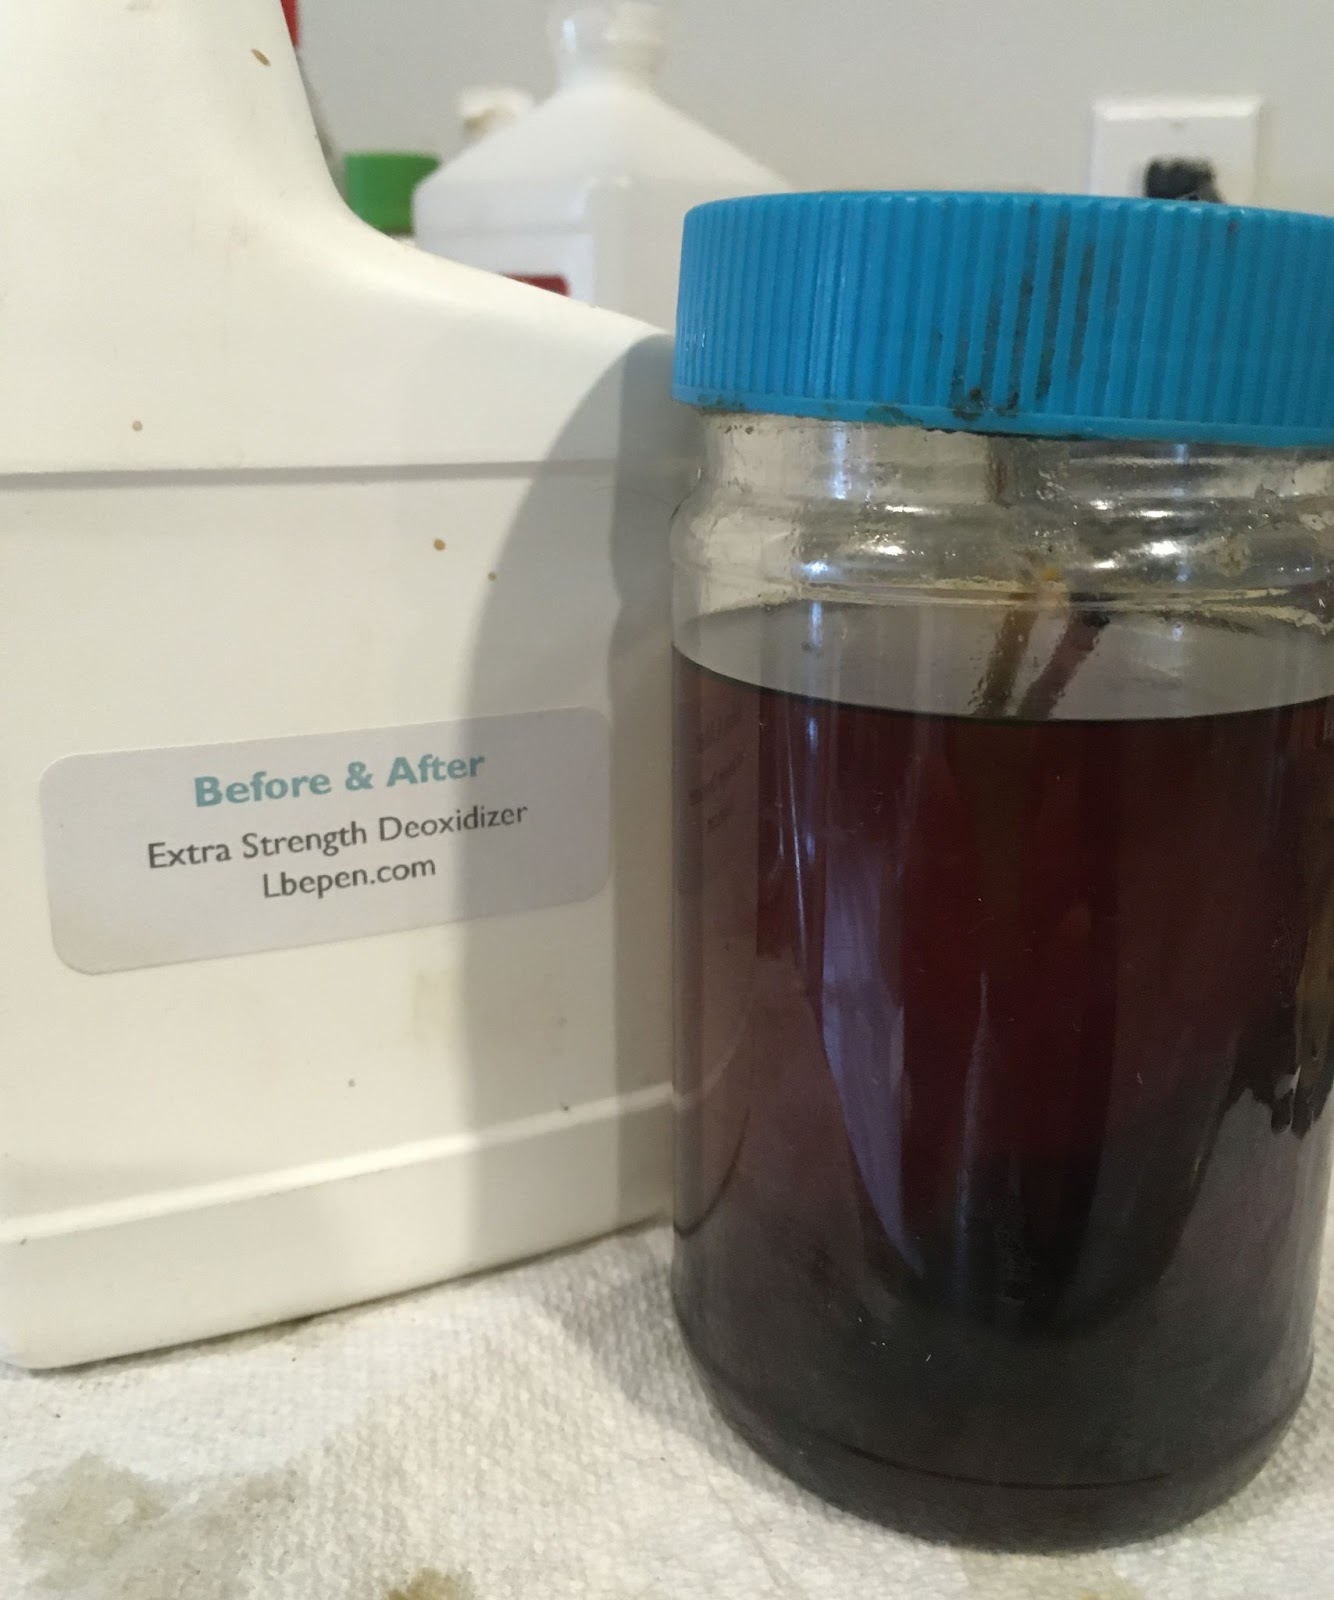
During the reaming, I noticed an off smell from the removed cake. It was not a foul smell, just a slightly sour hint. I decided to give the stummel an alcohol treatment to remove any traces of old smoking and tobacco residue. I packed the tobacco chamber and shank with cotton and filled the respective volumes with 95% ethyl alcohol. The stummel was propped up to allow the alcohol levels to remain level while filled.

The below photo is after two hours of the alcohol treatment. The shank was discoloring far more than the tobacco chamber.

During this waiting time I was able to check emails. Yeah I know, a phone can be used to check emails but I’m old and stubborn. Phones are for calling, texting and photos. Typing is done on a computer. Anyway, the owner had gotten back to me regarding my questions about the condition of the pipe. He had said that he had sent the pipe to Peterson in Dublin.
“Perhaps the boys at Peterson’s did more than I realized. Good on them.”
“I just checked the box in which the pipe was returned from Peterson’s and the extra stem they sent does not match the curvature of the stem in my pictures. So, the stem you have is likely the original.
As for the 9mm part, perhaps that allowed for a bone extension rather a filter, but it’s just a guess.”
The timeline was making sense to my old brain now:
1) Original photos were taken.
2) The pipe was sent to Peterson’s in Dublin. While there the stummel fills were done and a new finish was applied.
3)The pipe was sent to me.
The tenon still was giving me confusion. There were no threads for a bone extension. I knew that Peterson did have a line of Filter pipes which were described in the 1947 catalog but this pipe pre-dated that by several years. I emailed the owner that I’d like to reachout to Mark Irwin for his thoughts. The owner agreed.
Below is the correspondence between me and Mark Irwin:
Subject: Hate to bother you
Hi Mark,
You know those four words in the subject line are going to be followed by “but…” right?
I got a commission to restore an old Pete for a gentleman whose granduncle picked it up while stationed in northern Ireland around 1940, just prior to his unexpected passing in 1943. I figured the pipe was from 1937-1945. My question is why in the world does it have what appears to be a 9mm (though it is smaller than 9mm) filter type stem? There are no threads for a bone tenon. Any idea or just rack it up to “it’s probably a replacement stem”.
“Hey John,
My best guess is that this pipe was drilled for a “Good Health” K&P 6mm filter. You can see a photo of the filter box in the identification guide at the back of the big Pete book, as these still sometimes appear on eBay. Try measuring it with your micrometer and seeing if you think a 6mm would fit!” (Mark Irwin, personal email)
Another potential piece of the puzzle – The stem appeared to have been drilled for one of the early GOOD HEALTH stems. Since it was already a Peterson System 2, today’s equivalent of a “Deluxe”, it was also not stamped as a GOOD HEALTH though it did receive a GOOD HEALTH stem. I notified the owner and he was pleased with the new information.
Time to get back to work. After 3 hours the stem was removed from deox. That is my term for the Before and After Extra Strength Deoxidizing solution. Kind of a play on the idea of detoxification or detox used for drug and alcohol abuse patients in rehab. The stem was hung by its pipe cleaner on a tall bottle and allowed to drip excess solution back into the jar.
After dripping, I hand buffed the stem with a coarse shop rag. The coarse material both absorbs the excess solution and helps abbrade some of the oxidized rubber from the stem.

The next step was to scrub the stem with Soft Scrub applied to make-up pads. This mild abrasive cleanser further removes oxidized surface material from the stem.

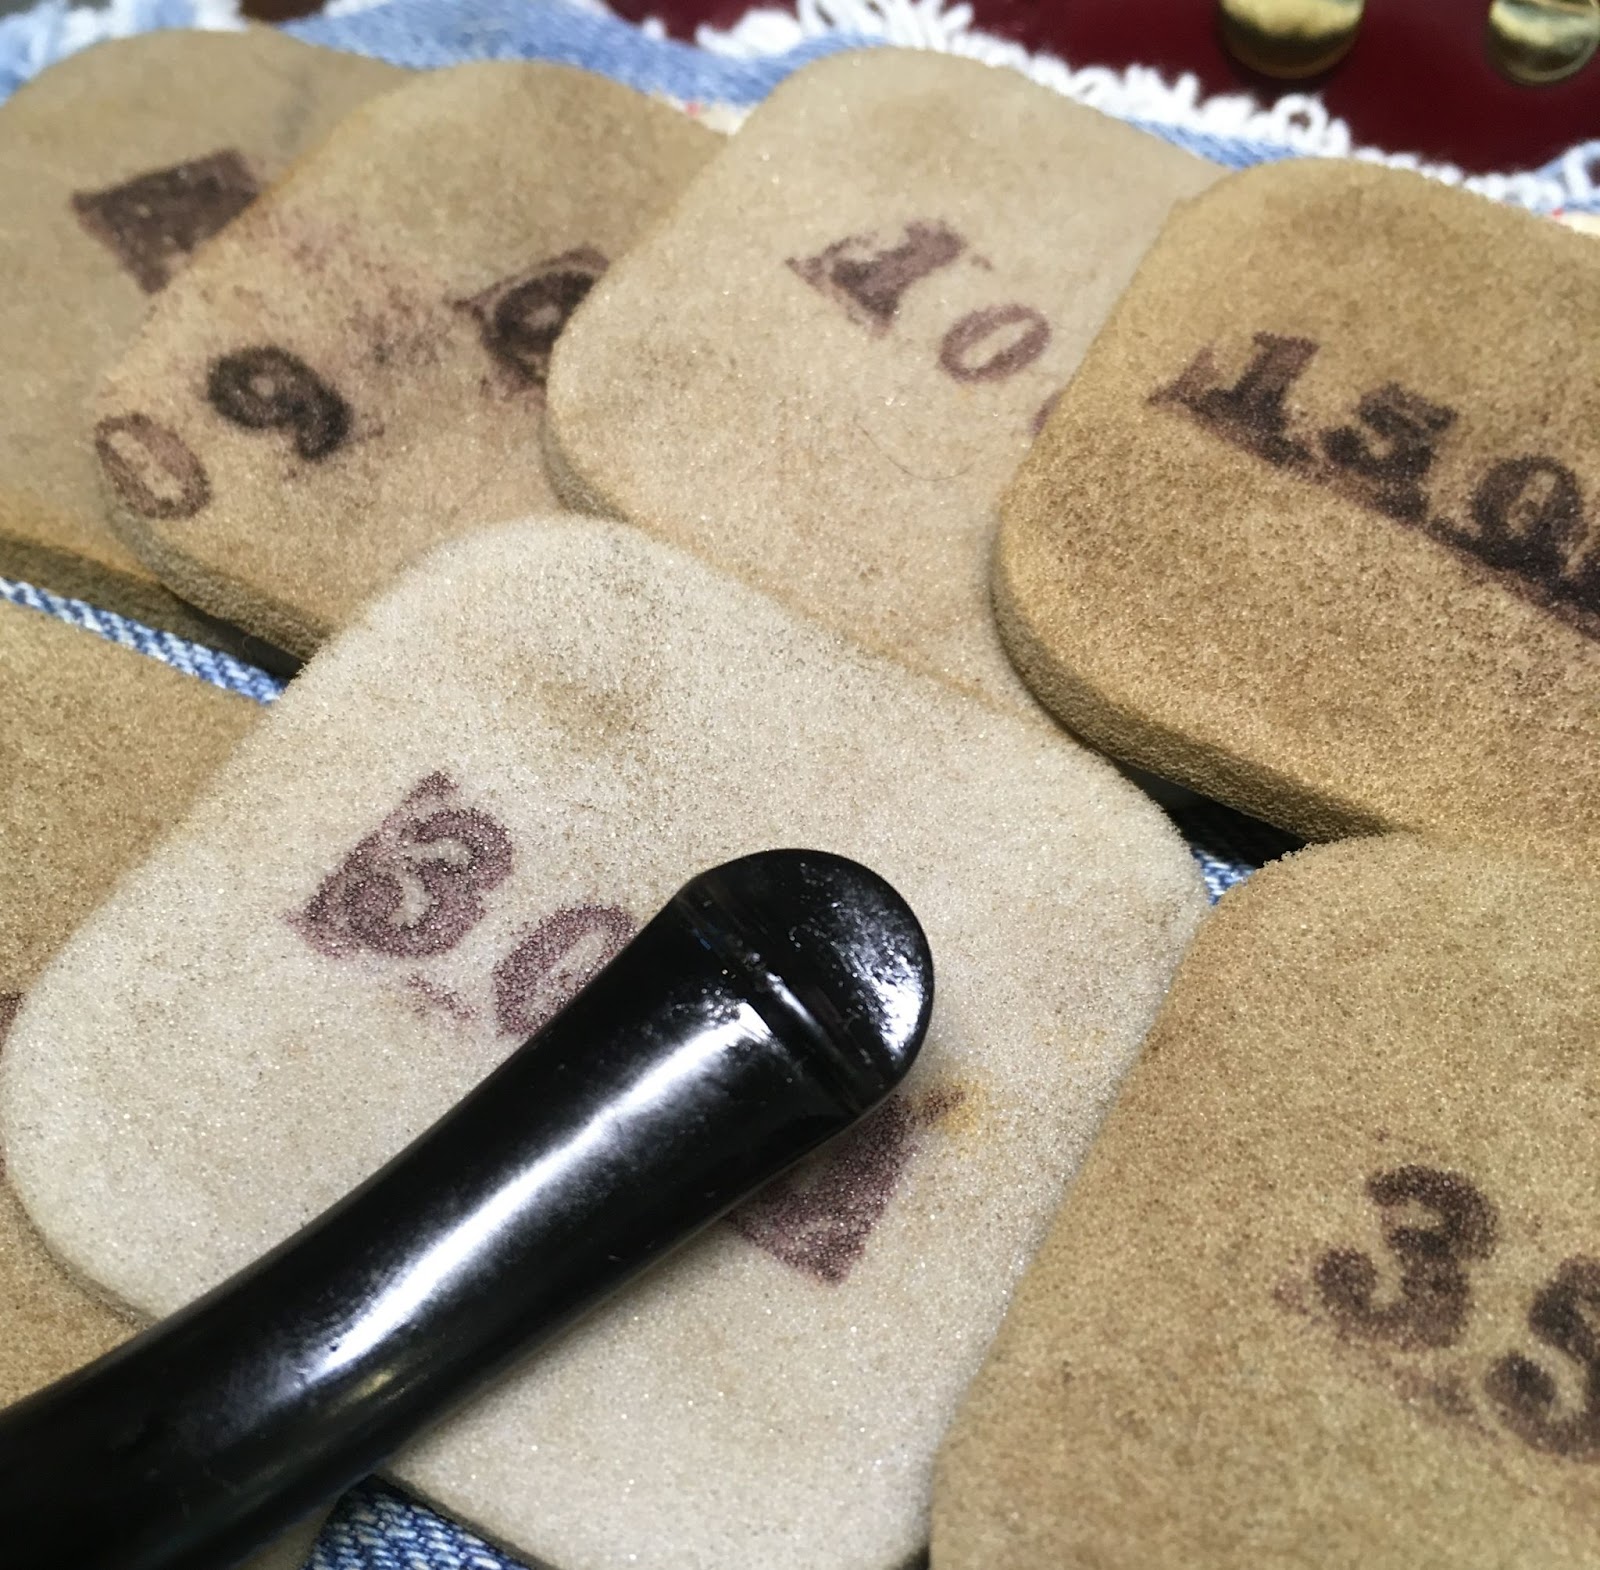
After the Soft Scrub scrub, that’s just fun to say, the stem was worked with a series of sanding sponges from 400-3500 grits. Between each sponge I rubbed the stem with mineral oils and wiped it with a clean dry paper towel.

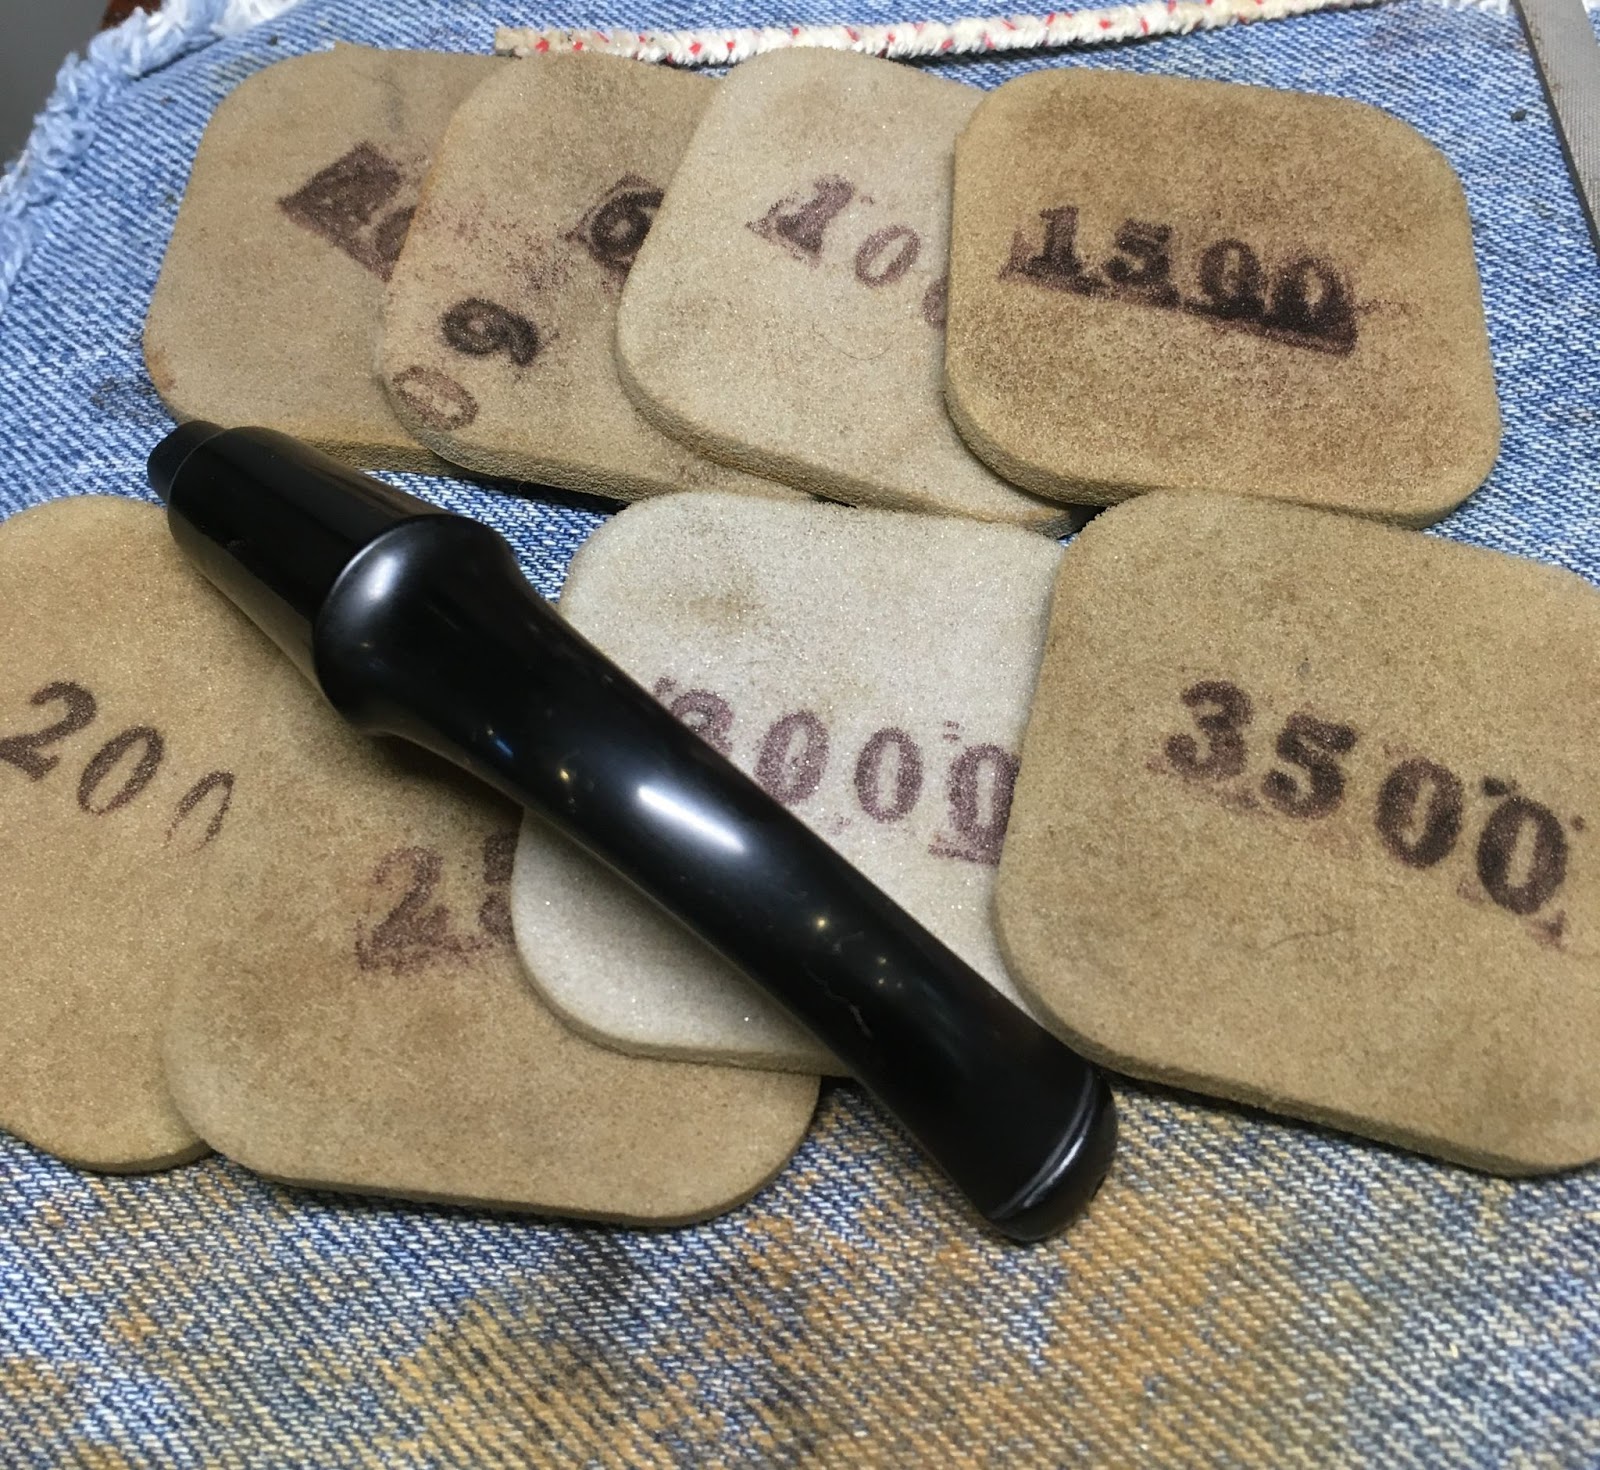
The sanding was followed by micro-meshing with pads 4000-12000. Between each of the pads the stem was rubbed with Obsidian Oil and wiped with a paper towel.

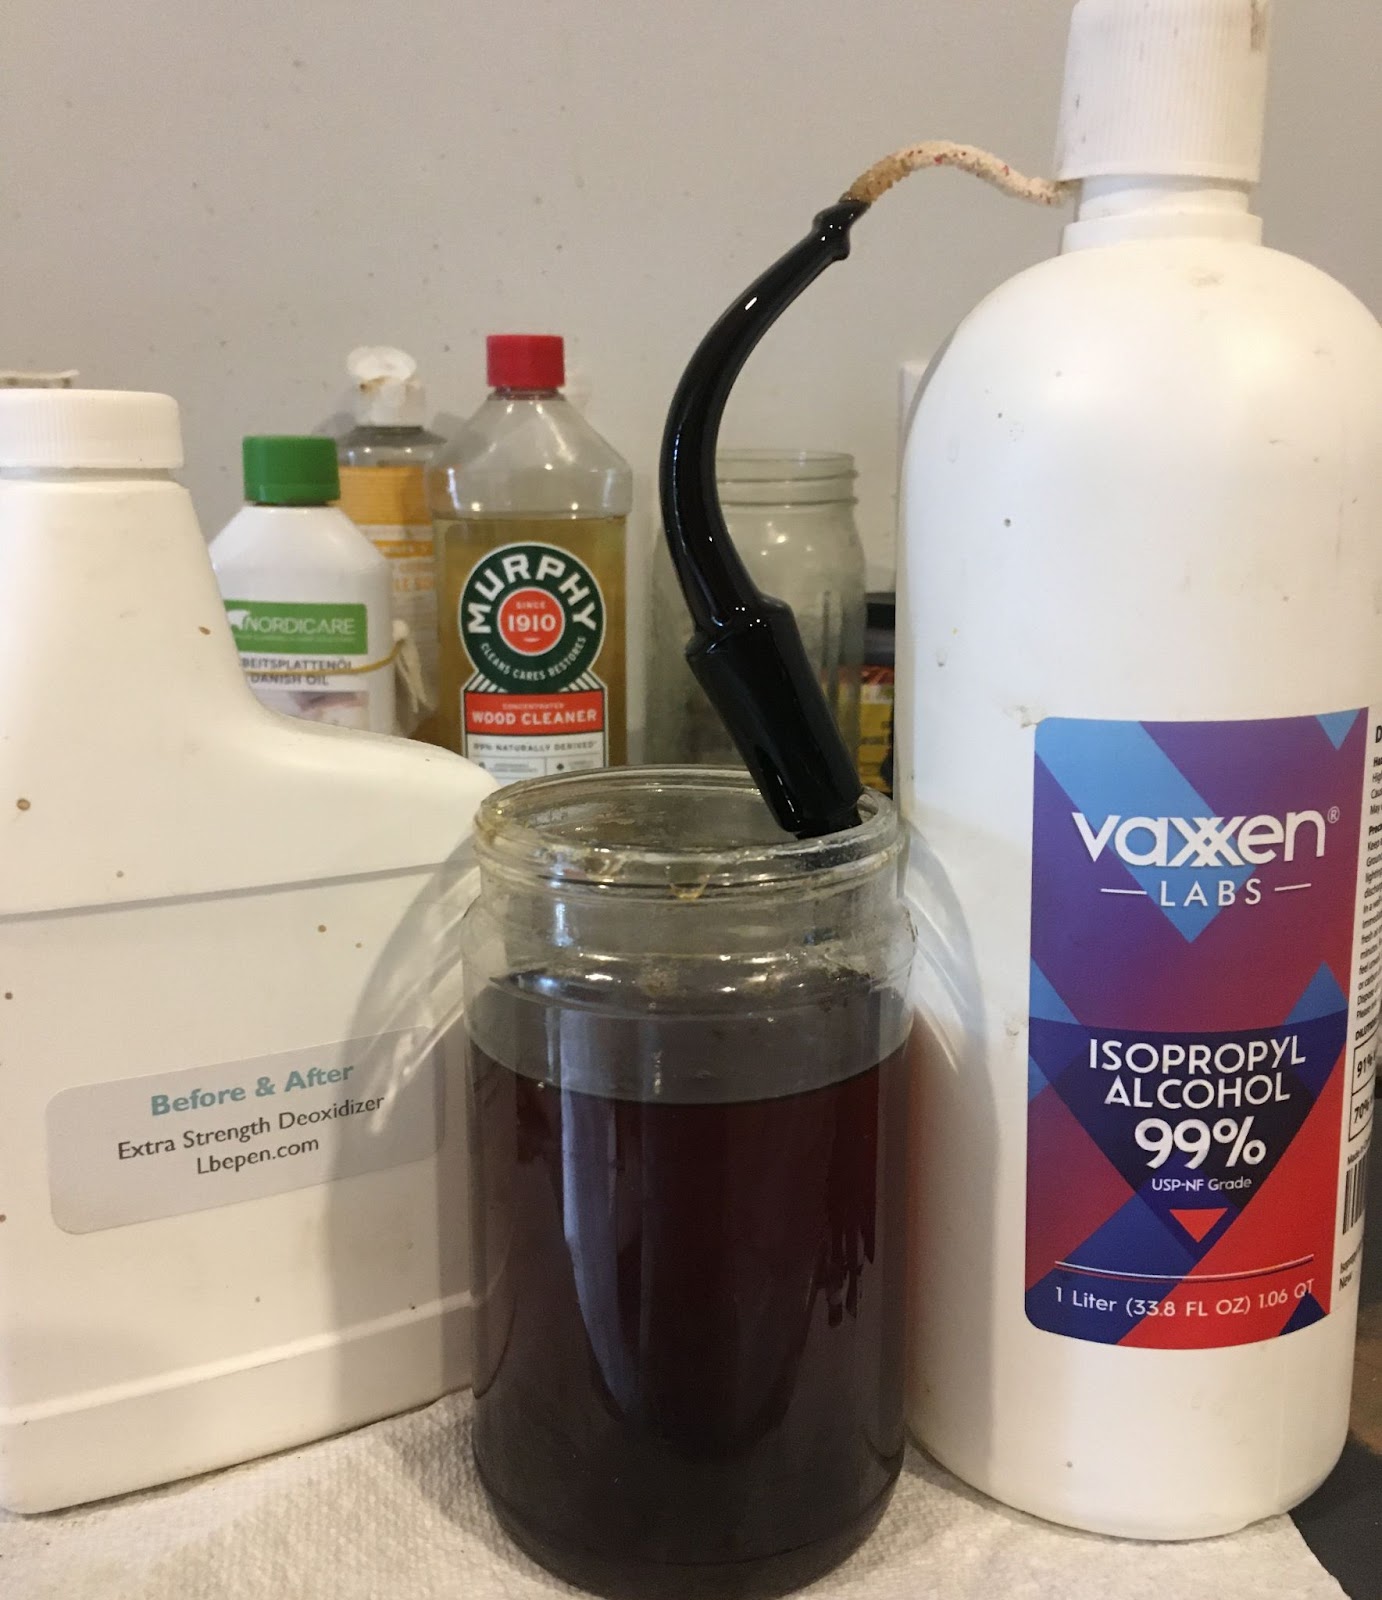
At this point the stummel was still having the yuck removed the the ethyl alcohol as it slowly evaporated pulling the yuck from the briar and depositing it in the cotton. That continued overnight. In the morning I removed the cotton. It had done a fine job at removing any trace of smell from the tobacco chamber, reservoir and shank.

The stummel was then worked with micro-mesh pads from 2400-12000. The 2400 pad removed the finish which can be seen wiped onto the denim and on the two alcohol dampened make-up pads in the photo below. Between each pad the stummel was wiped with a make-up pad for removing debris from the micro-meshing.

After the micro-meshing the stummel received a coat of Before and After Restoration Balm and was allowed to sit for 20 minutes.

After 20 minutes the balm was wiped from the stummel using an inside out athletic sock.

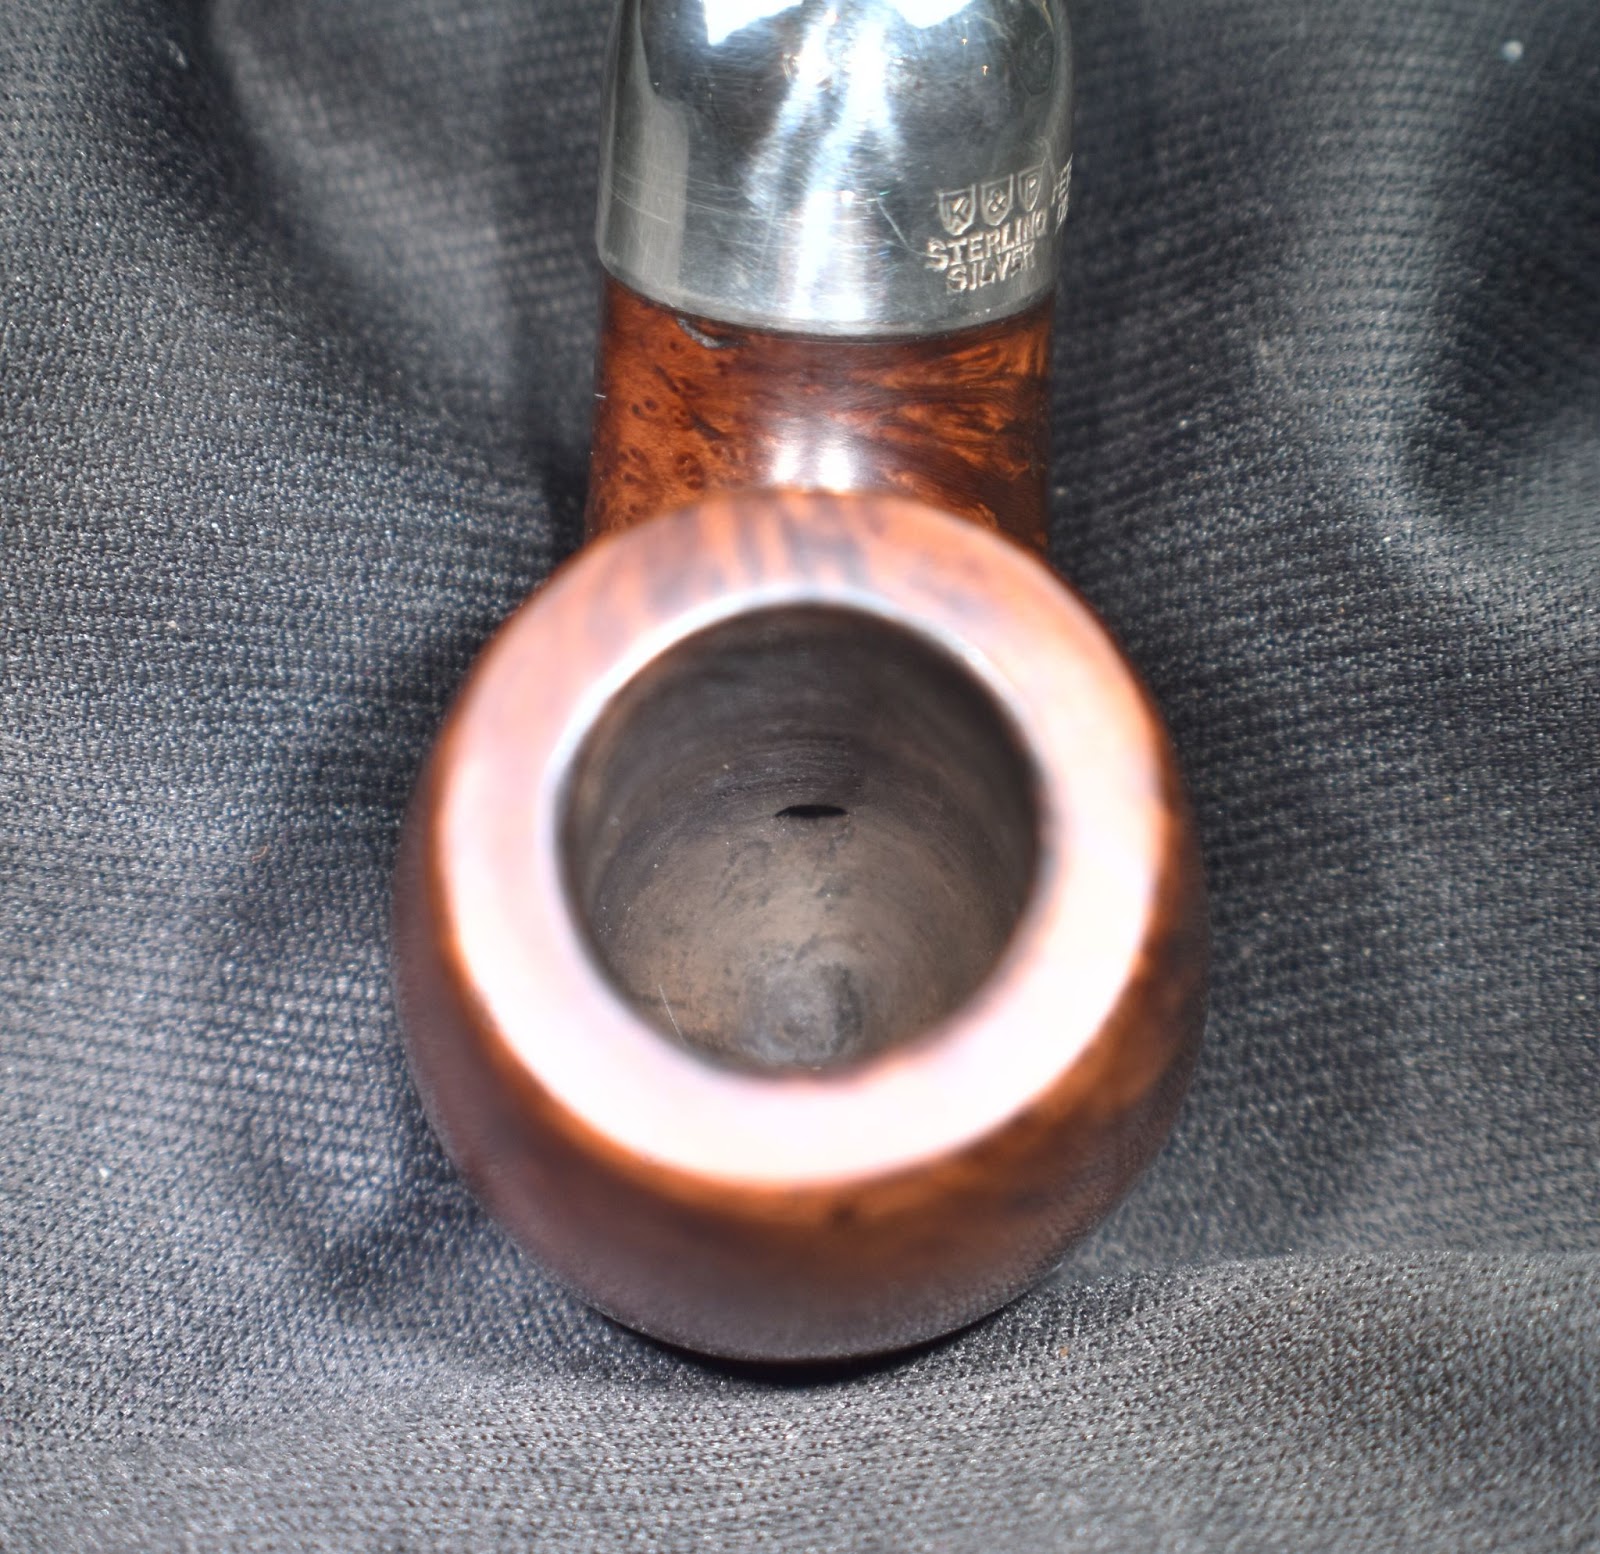
The briar of the shank was covered with painters tape to protect the wood and the silver ferrule was lightly polished with the micro-mesh pads. After the peds I polished the silver with Before and After Fine and Extra Fine Polish. I failed to photograph the earlier steps of this process but did capture the final step.

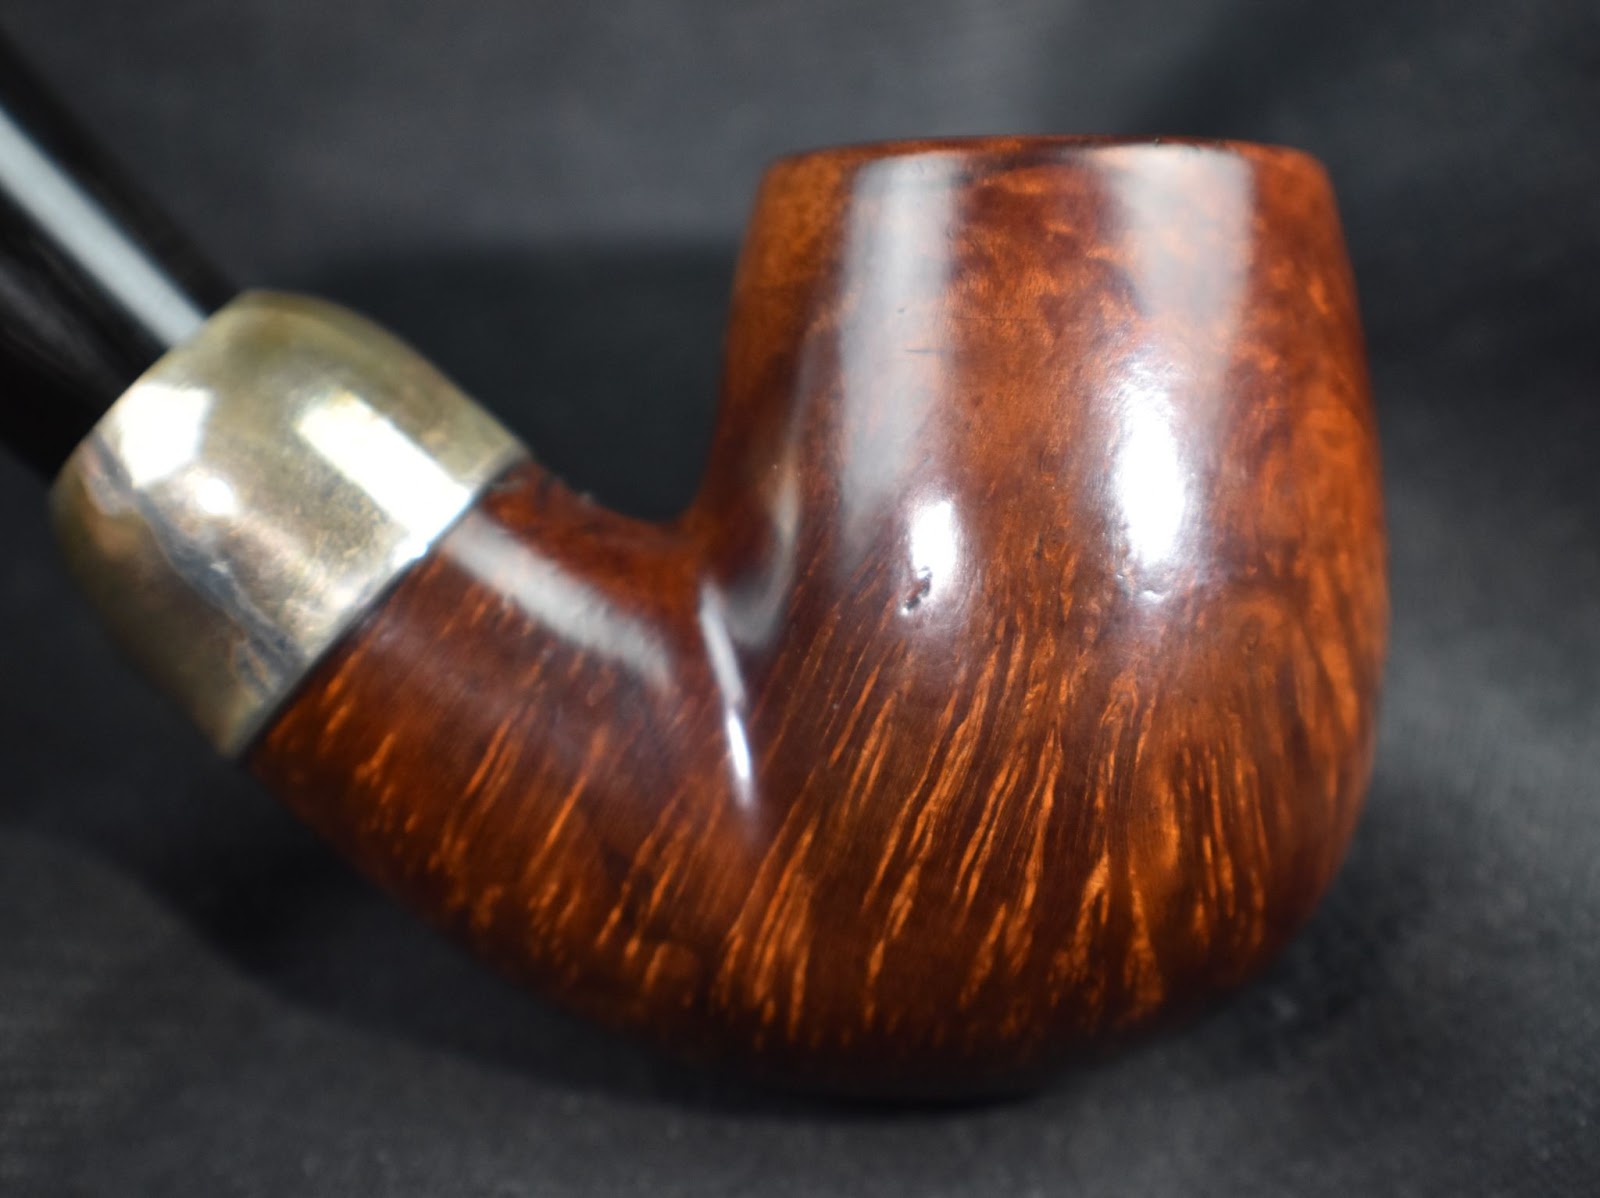
The stem and stummel were taken to the buffer where they were buffed with Blue Diamond Polishing compound on a flannel wheel. Reunited with the stummel, both then received several coats of carnauba wax. The pipe was finally hand buffed with a microfiber polishing cloth to further raise the shine.
I can’t say what my favorite part of this restoration was. The pipe was a beautiful example of Irish craftsmanship by Peterson. The family history and the story of the great uncle were the things that I always wish I could know about these old pipes. The mysterious details of the pipe stem and the path that the pipe took, both geographically and through time, to get to me were a fun exploration. The happiness and gratitude of the owner upon receiving the restored piped was also fulfilling. Being honored and trusted to work on a family heirloom is daunting but exciting. All of these were part of this restoration and all of them were unique and unforgettable. The pipe turned out beautifully. I don’t mean to speak disparagingly about the clean-up that the Peterson crew did. Their fills were impressive but a custom hand polishing and finish is something that a manufacturing shop cannot take the time to do. I failed to mention in the above blog that I could not remove the silver ferrule. I tried seeping both ethyl alcohol and acetone into the glue to loosen it. I tried heating with a heat gun and even speaking softly and gently but I could not get the silver to budge. In the end I emailed the owner and admitted failure. He was understanding and we both agreed that the dents added to the history of the pipe.
I do hope that you have found something here useful to your own pipe care, maintenance or restorations. If you like this sort of thing, please click the like and subscribe buttons. Thank you for reading the ramblings of an old pipe lover.
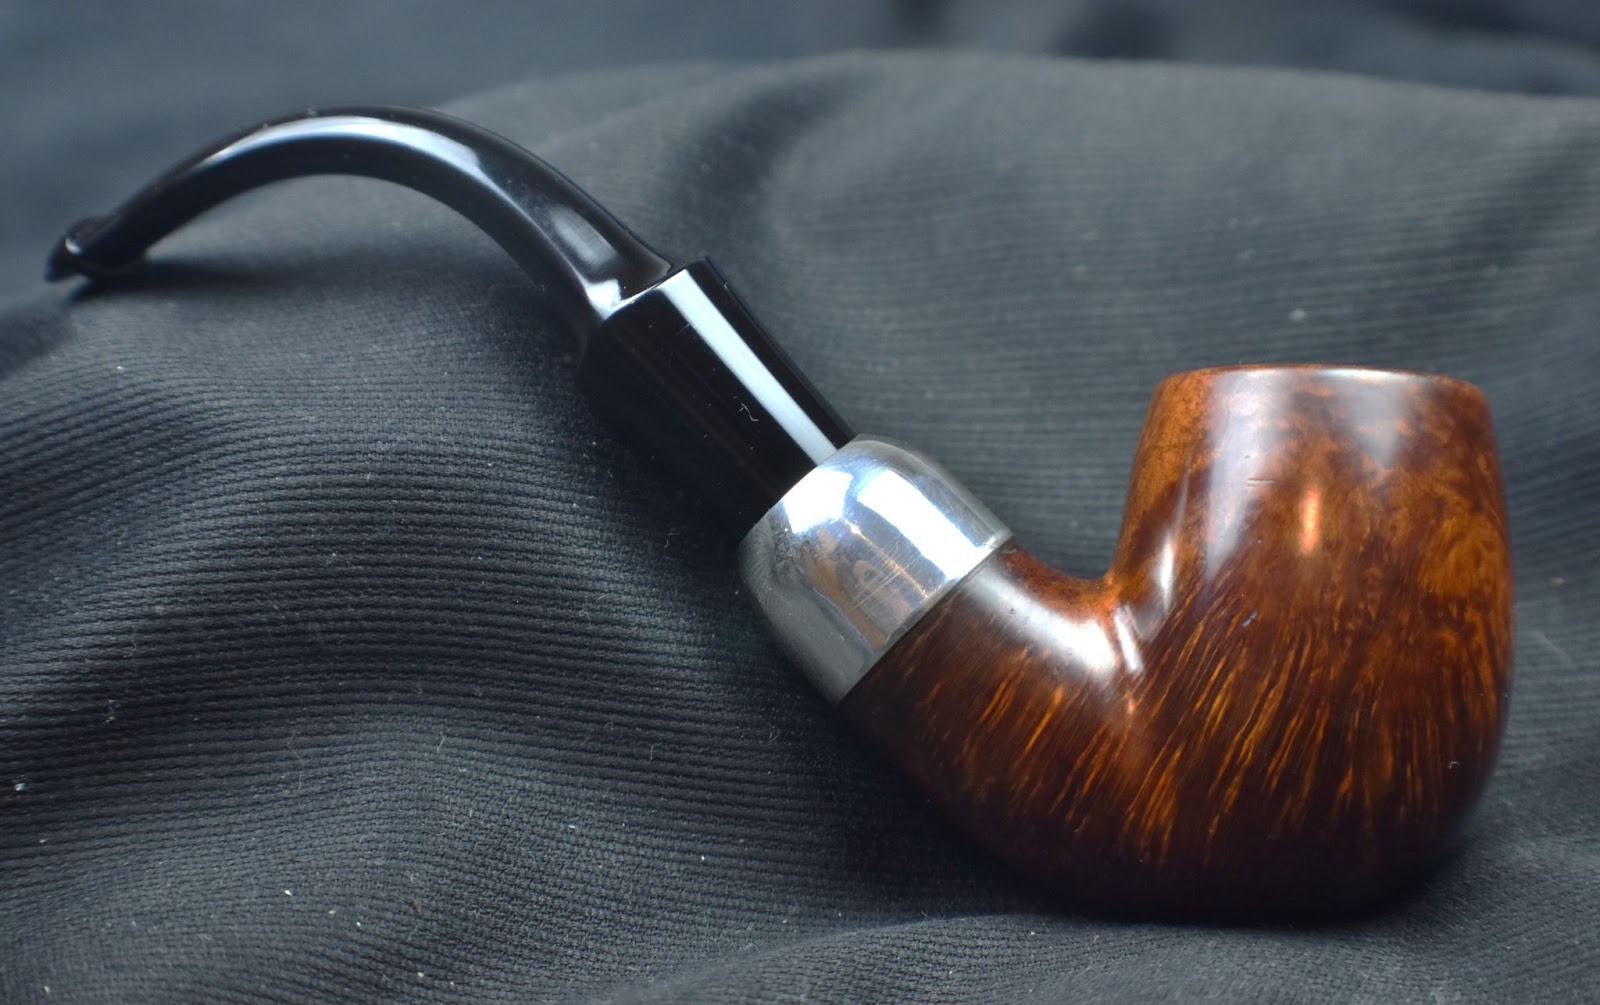
Below are some photos of the finished Peterson System 2.


 (
(


 Bah, fortunately, dear reader I am not easily dissuaded by failure. I did come across a few interesting reads regarding the original Needham patent and the flush of smoking pipe innovations from the late 1800s-mid1900s. First lets take a look at the original Needham patent submitted September 30, 1942.


 (
(


