Photographed and written by
John M. Young
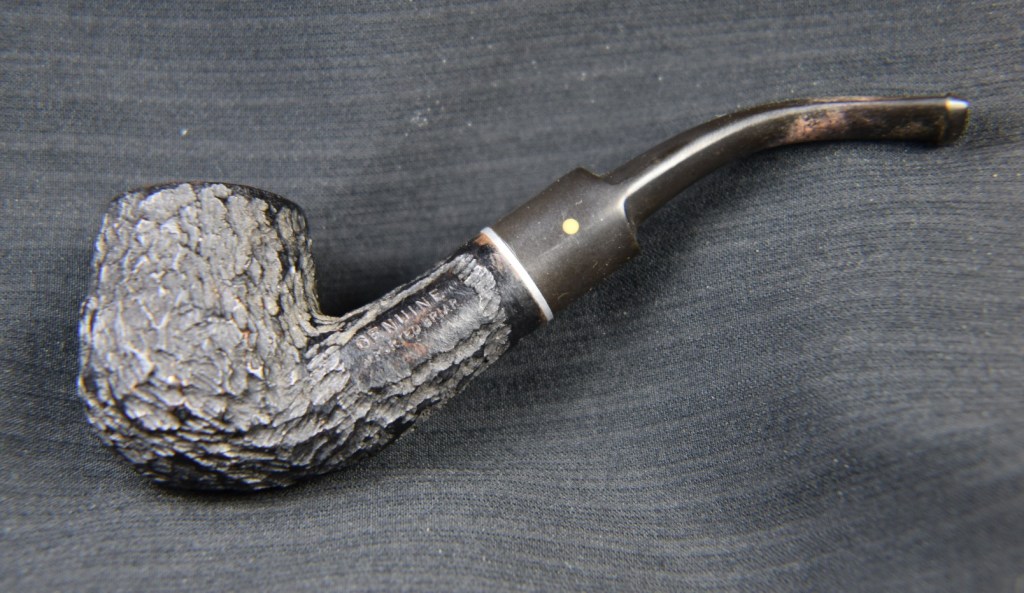
It has been said that ignorance is bliss. With that in mind let me say that in regards to Custombilt pipes, I am a blissful ignoramus. I can look at a pipe and say, “that is a Custombilt style pipe.” I also know that the company was started prior to World War II by Tracy Mincer. Oh, and this Custombilt in the photo above doesn’t look like a typical Custonbilt. That is about all I really know about Custombilt. You ask, “Then why did you go out of your way and buy that pipe?” I reply: “Good question. Because it looks cool and I wanted to restore a Custombilt. Preferably one that I could afford.”
Returning to ignorance for a moment. As a high school teacher, I frequently needed to intercede in social conflicts usually between young males. Inevitably, one of the two verbal combatants was “stupid” according to the other. This often provided a learning experience for both youngsters. I would say something like, “Roberto, Stupid means that someone is unable to learn. Now, we both know Kyle has learned some things, like how to annoy you. Stupid is not the term you need. I think you want to say ignorant. This means that Kyle does not know something. Maybe you can teach him what he doesn’t know.” Eyes would roll, sometimes even loud enough to hear, and I’d usually have to clarify with something easier to remember: “if stupid and ignorant were diseases then you can cure ignorant but, you are going to die with stupid.” That would usually get a smile or chuckle. My day was made if I could get one eyeroll that was loud enough to hear.
One thing I do give myself credit for is my ability to talk to just about anyone and my ability to learn new things. Given, these new learnings may be quickly forgotten but relearning comes far easier than initial learning. I love reading about history. Pipe history, Natural History, Archeology, Geologic History, they all interest me. When I get to learn something new for a reason other than my own selfish interests it makes it even more enjoyable. So, thank you reader, for giving me an excuse to go down the Custombilt rabbit hole and cure my own ignorance. Even if it is only temporarily.
The amount of information available on Custombilt pipe is pretty amazing. Rather than giving you a history of the company, I have chosen to provide several links which I think will provide some of the history of the company and their pipes.
Typically, my first starting point for information about a brand is pipedia.org.
- (Custom-Bilt – Pipedia).
- There is a book written on their history: THE CUSTOM-BILT PIPE STORY, by William E. Unger, Jr., Ph.D. (circa 2001). The book appears to be self published by the author and a search of the book will lead you to a review written by Rich Esserman (http://naspc.org/Archives/esserman.htm). The review is good and has several quotes from Unger’s original. If one goes to pipedia.org and searches “Custombilt”, the search will yield the above review and a second review:
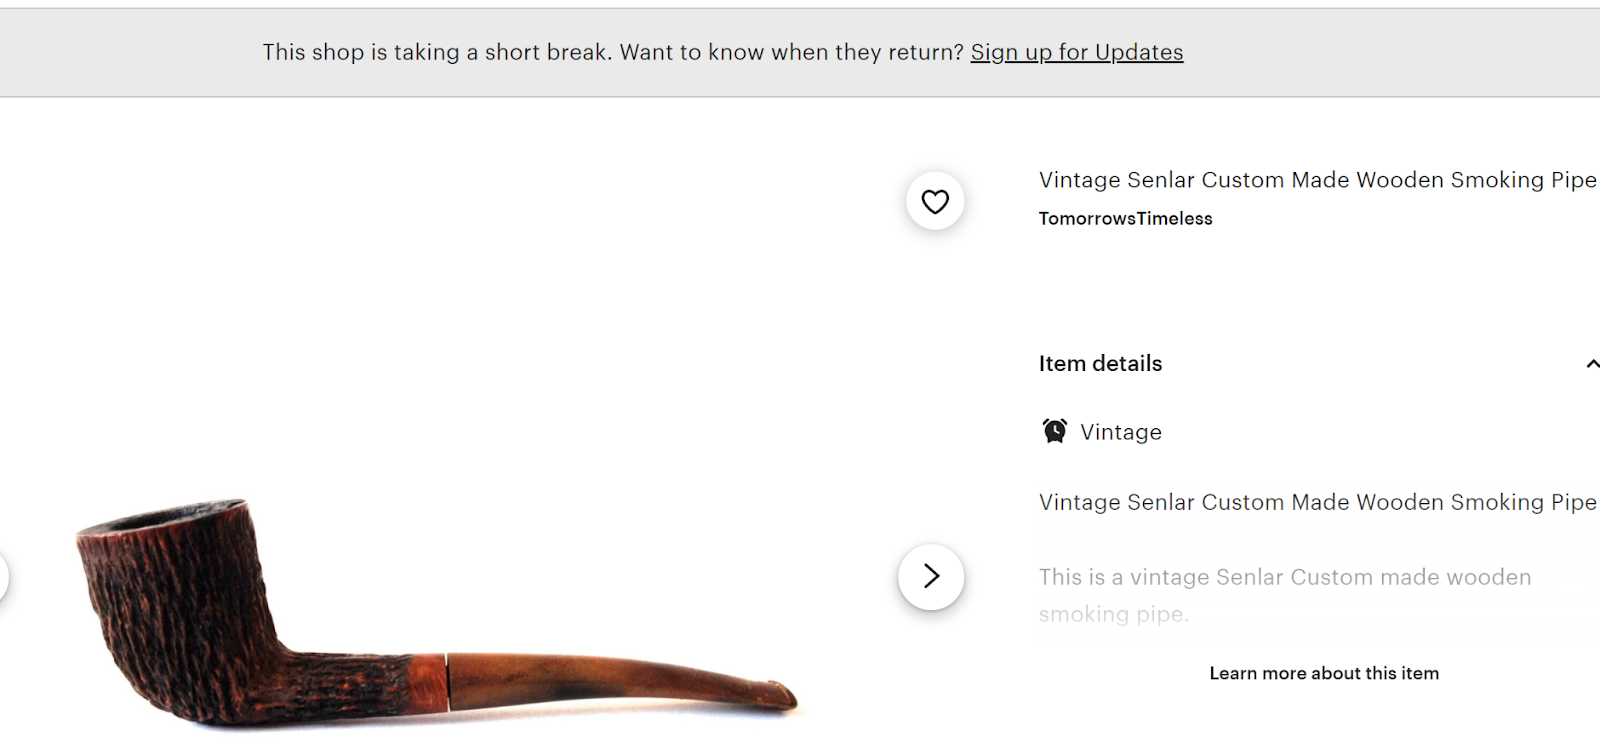
- “THE CUSTOM-BILT STORY: A Review By Tony Soderman” (Custom-Bilt – Pipedia). At the end of the pipedia.org Custombilt entry there is a link for ordering the book. Unfortunately the link takes you here:
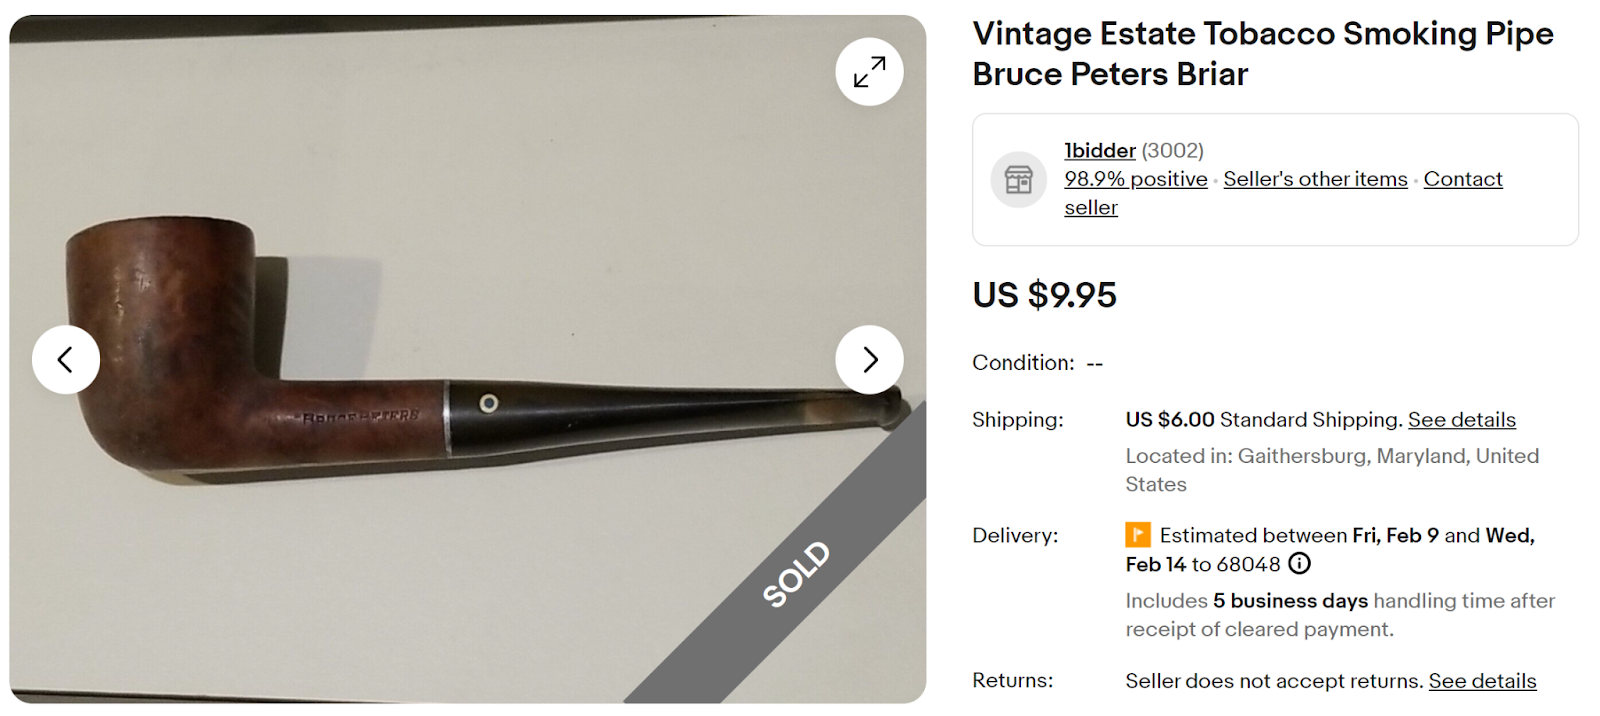
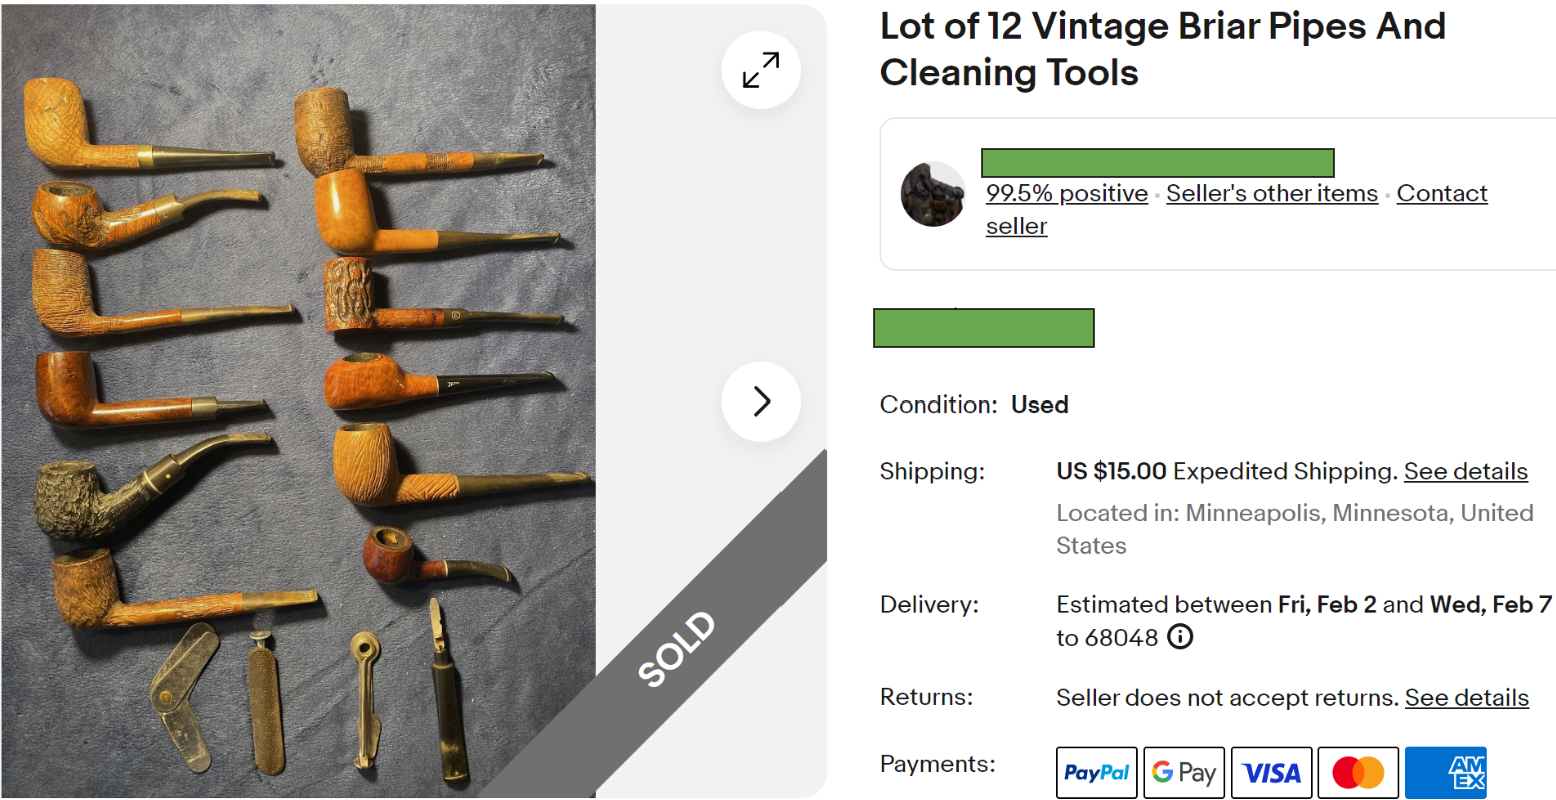
An eBay search for the original Unger signed book and a Custombilt pipe was recently available:

(RARE “As Individual As a Thumbprint” Unger Signed Copy & Custombilt Bulldog Pipe | eBay). Yikes! is all I have to say about that.
- The next link is a wordpress.com site that does a very nice job showing many examples of photographs of Custombilt stampings and pipes organized by “eras” of the company. (https://pipesrevival.com/).
- The final link is to a blog post by Paresh Deshpande. This post: “Restoring a Wally Frank Era Custombilt Sitter #633”, appeared on Steve Laug’s rebornpipes.com site and shows a restoration of a pipe with very similar carvings to the subject of this Custombilt Original 699 restoration. (https://rebornpipes.com/2018/07/20/restoring-a-wally-frank-era-custombilt-sitter-633/)
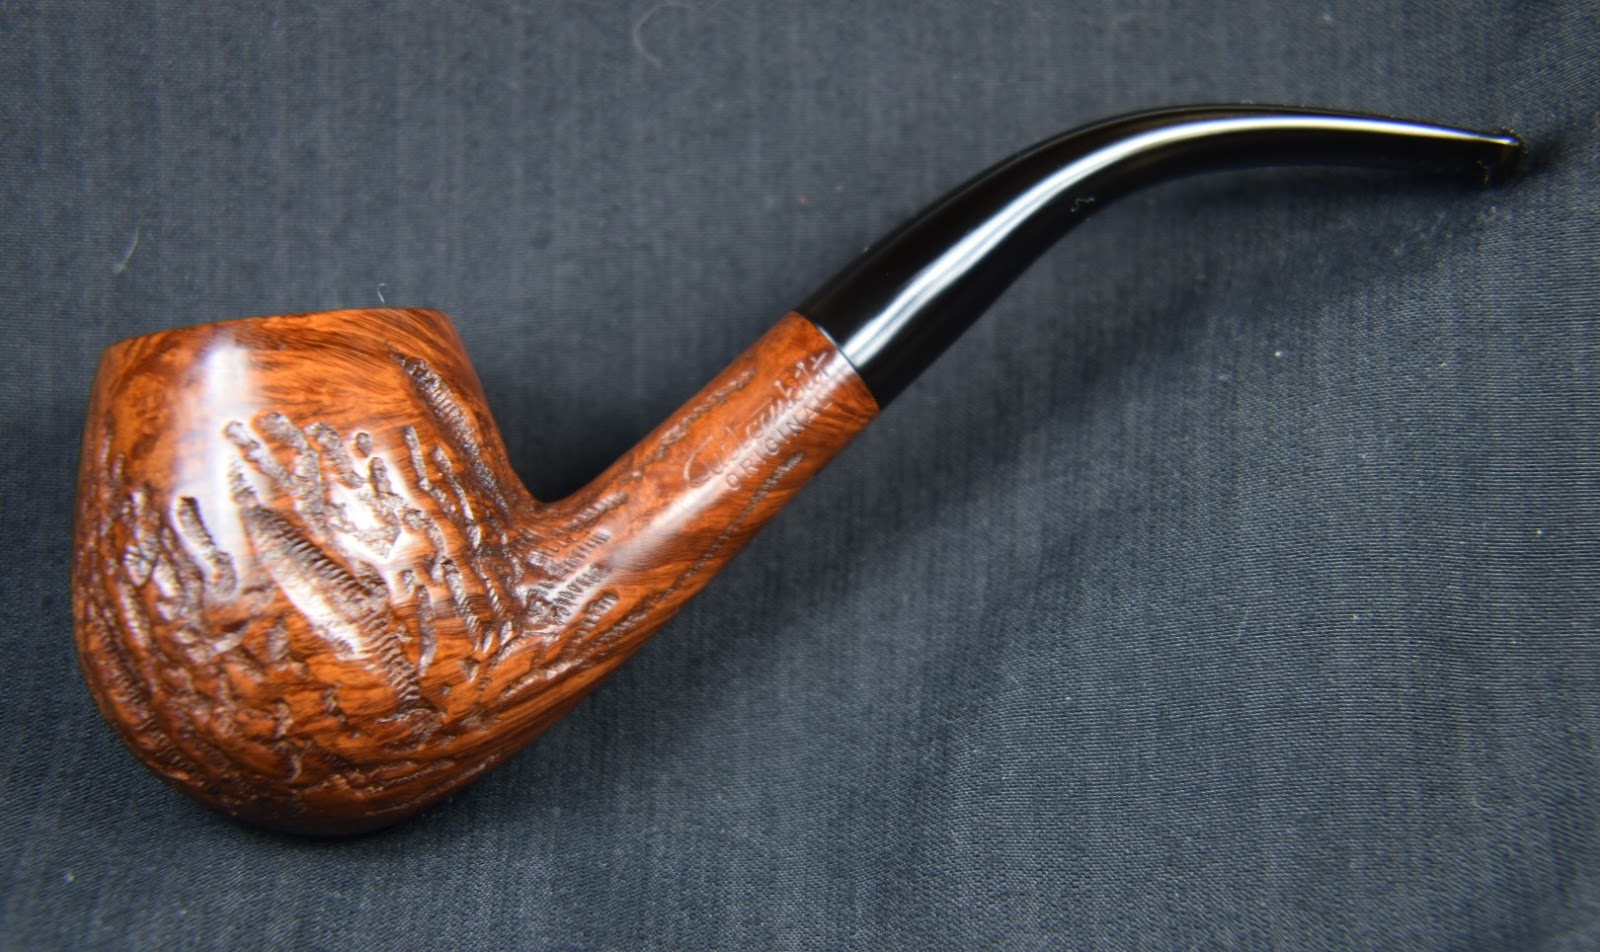
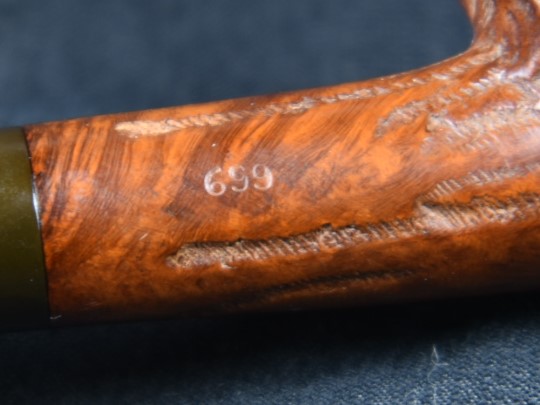
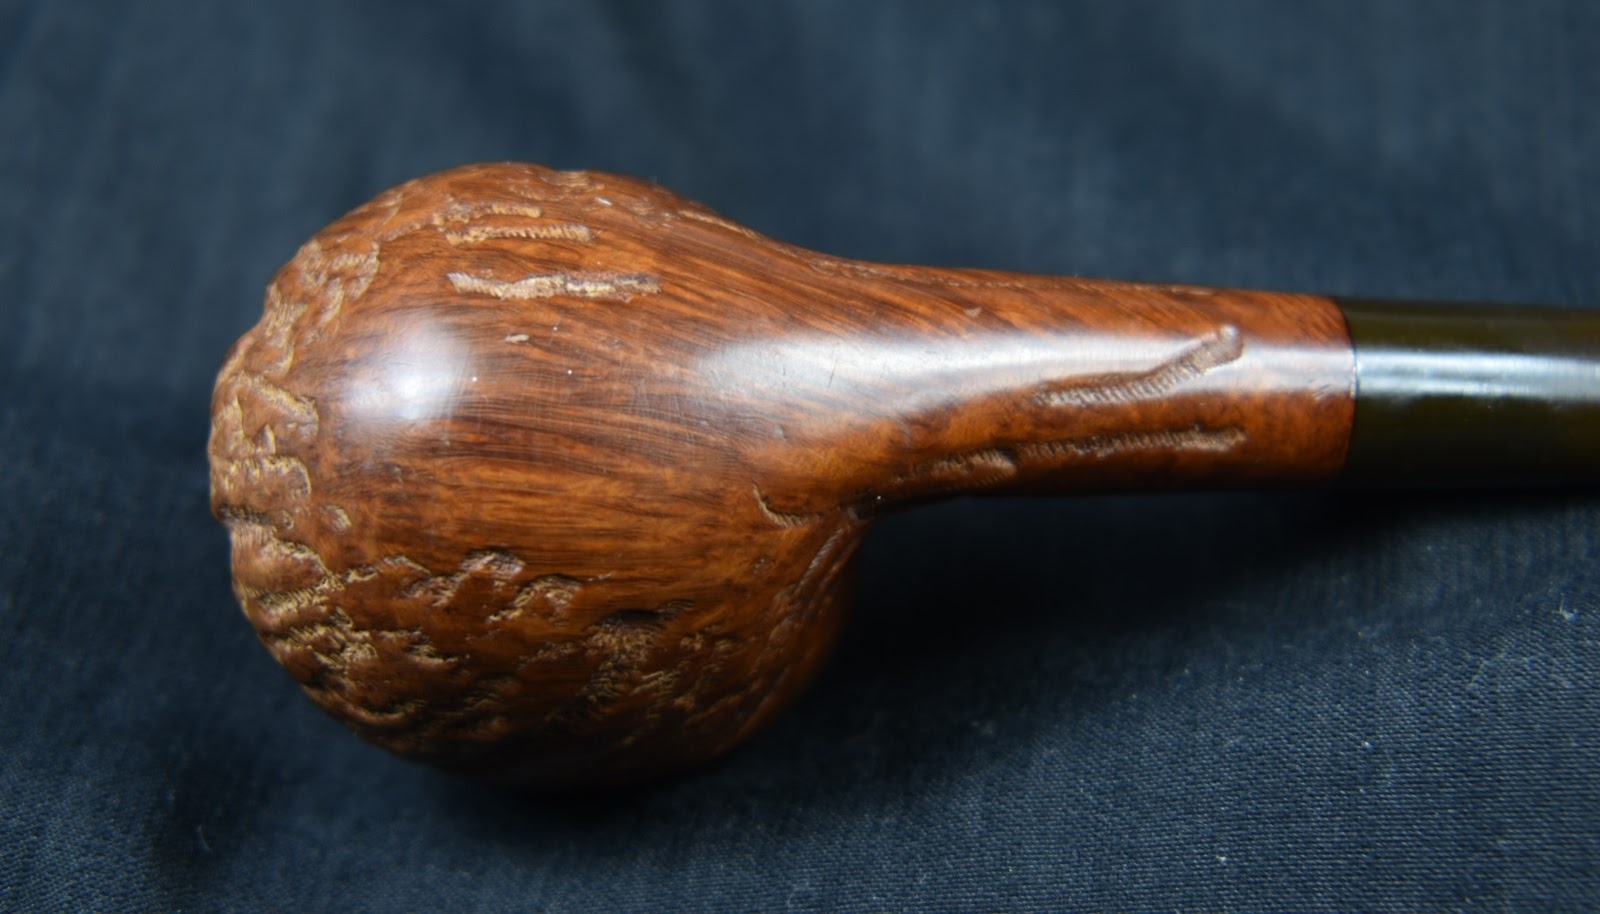
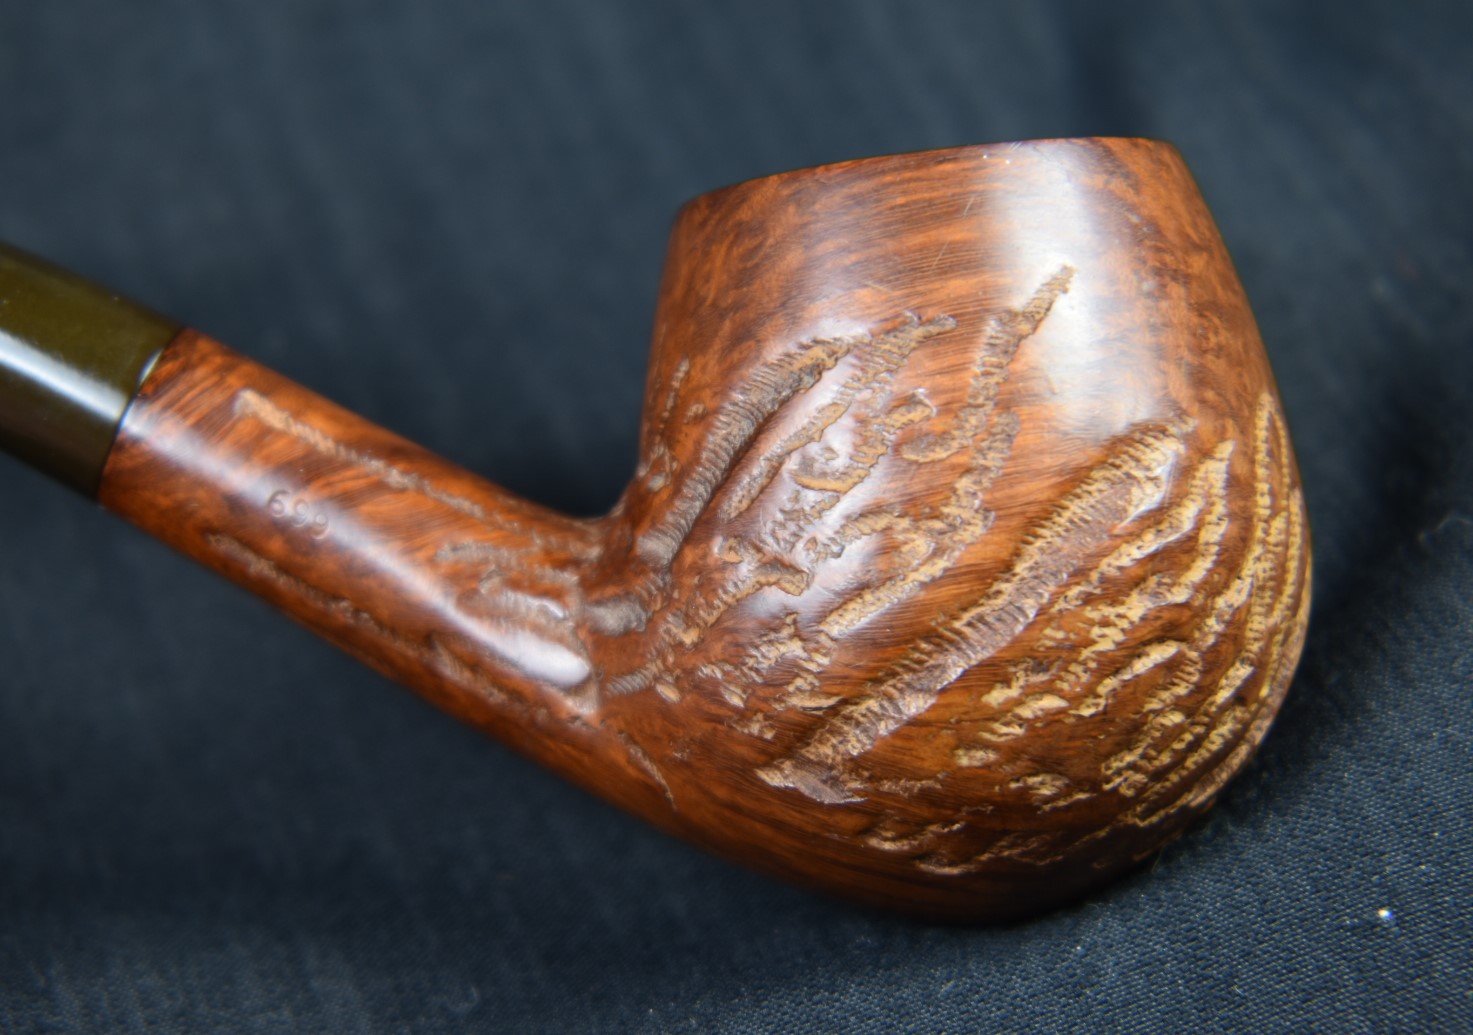
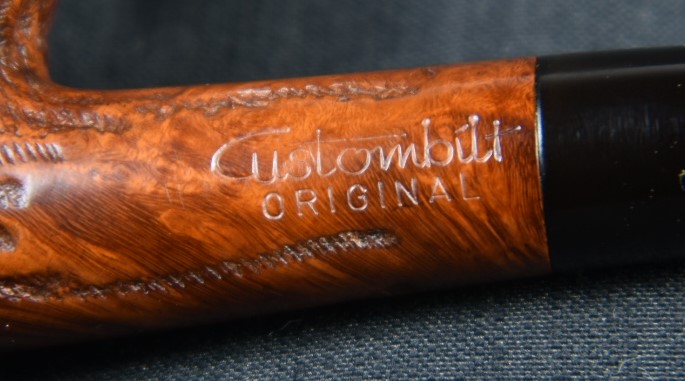
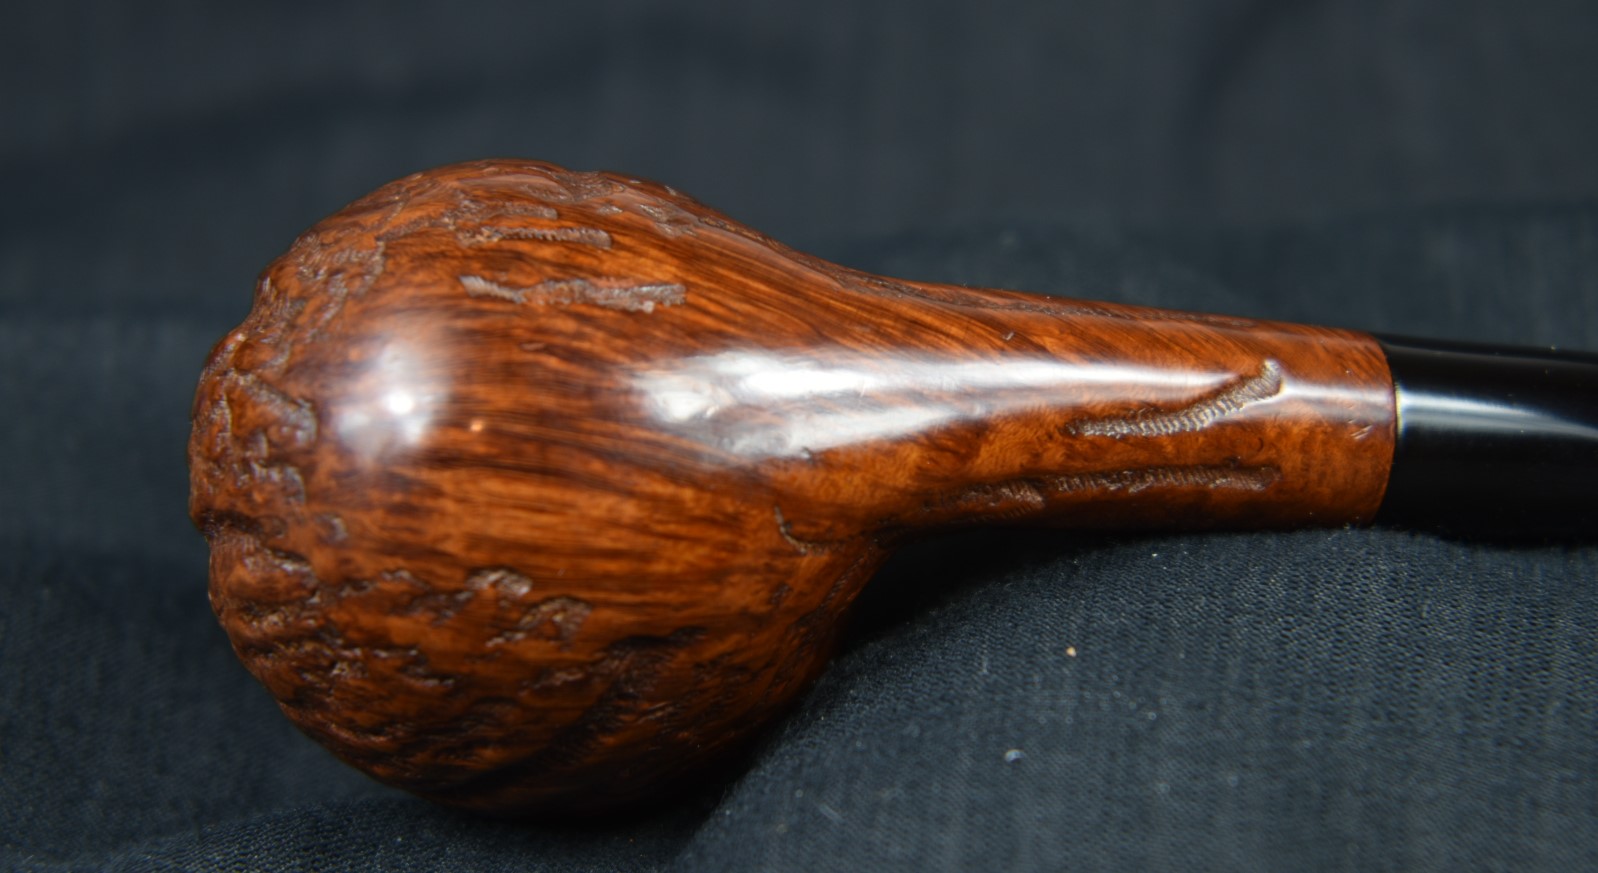
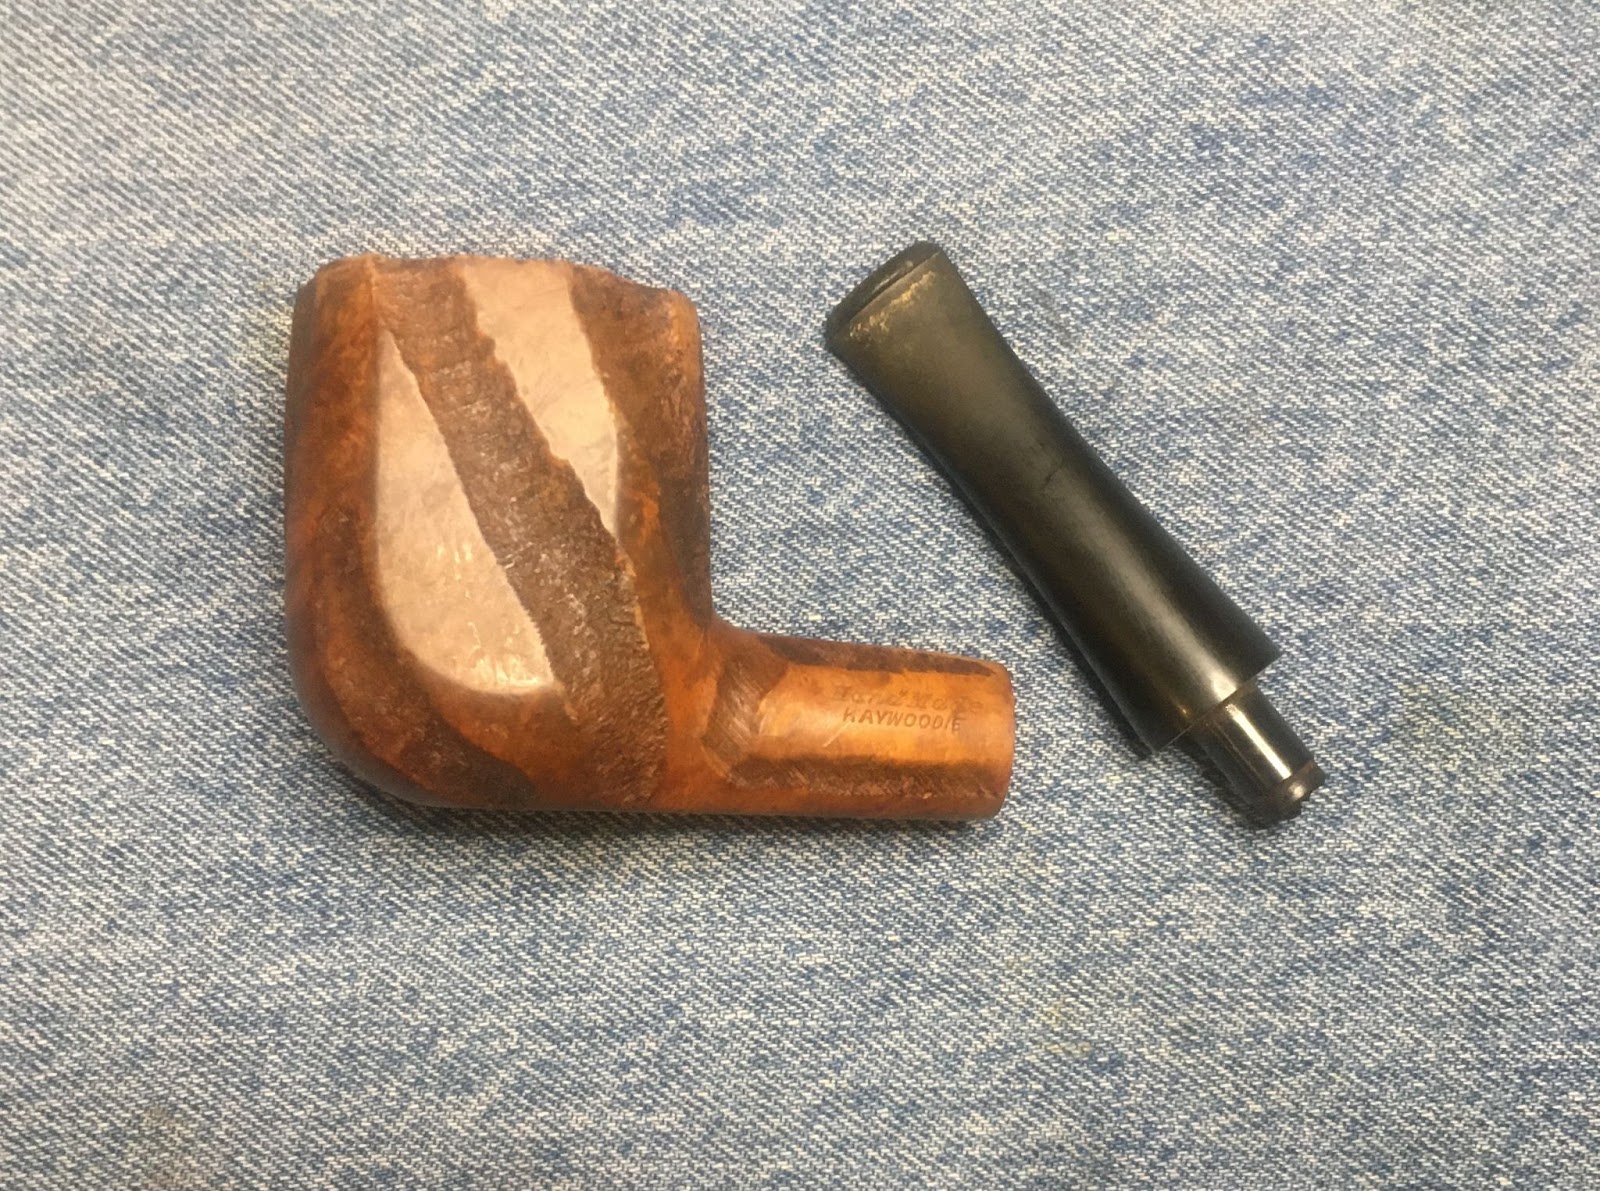
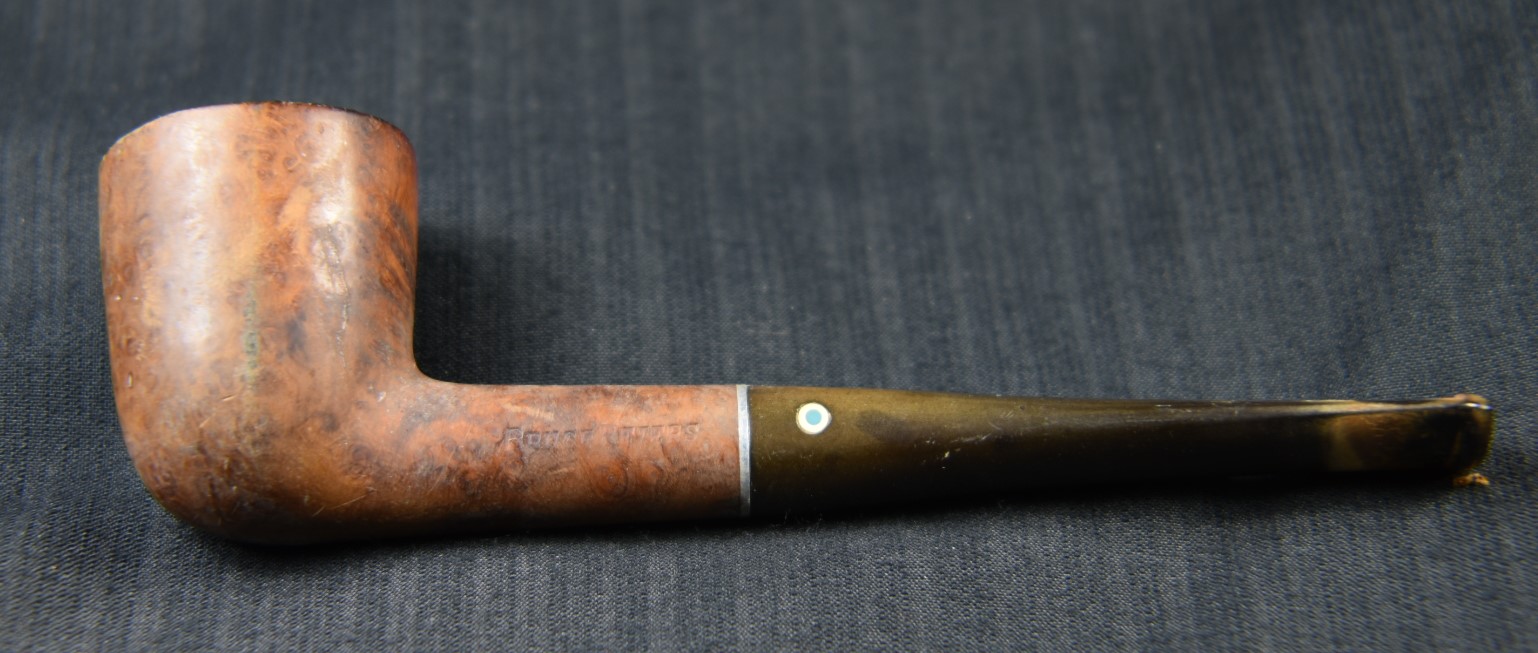
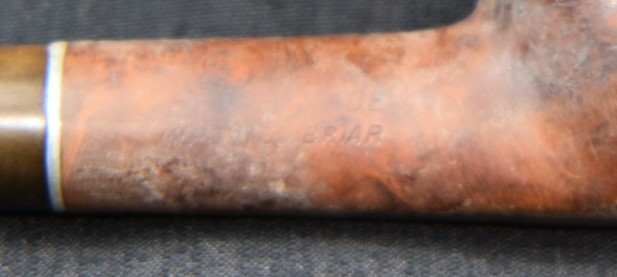
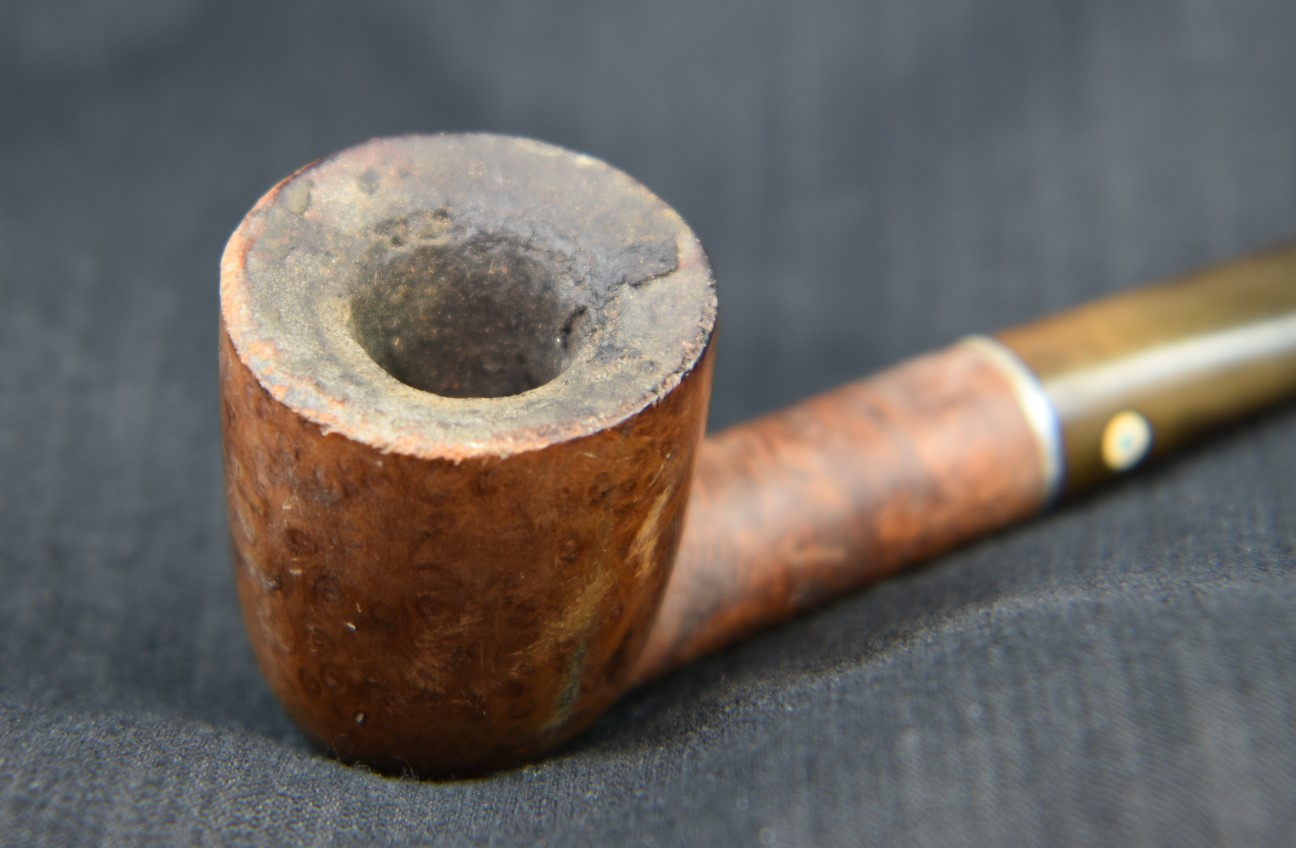
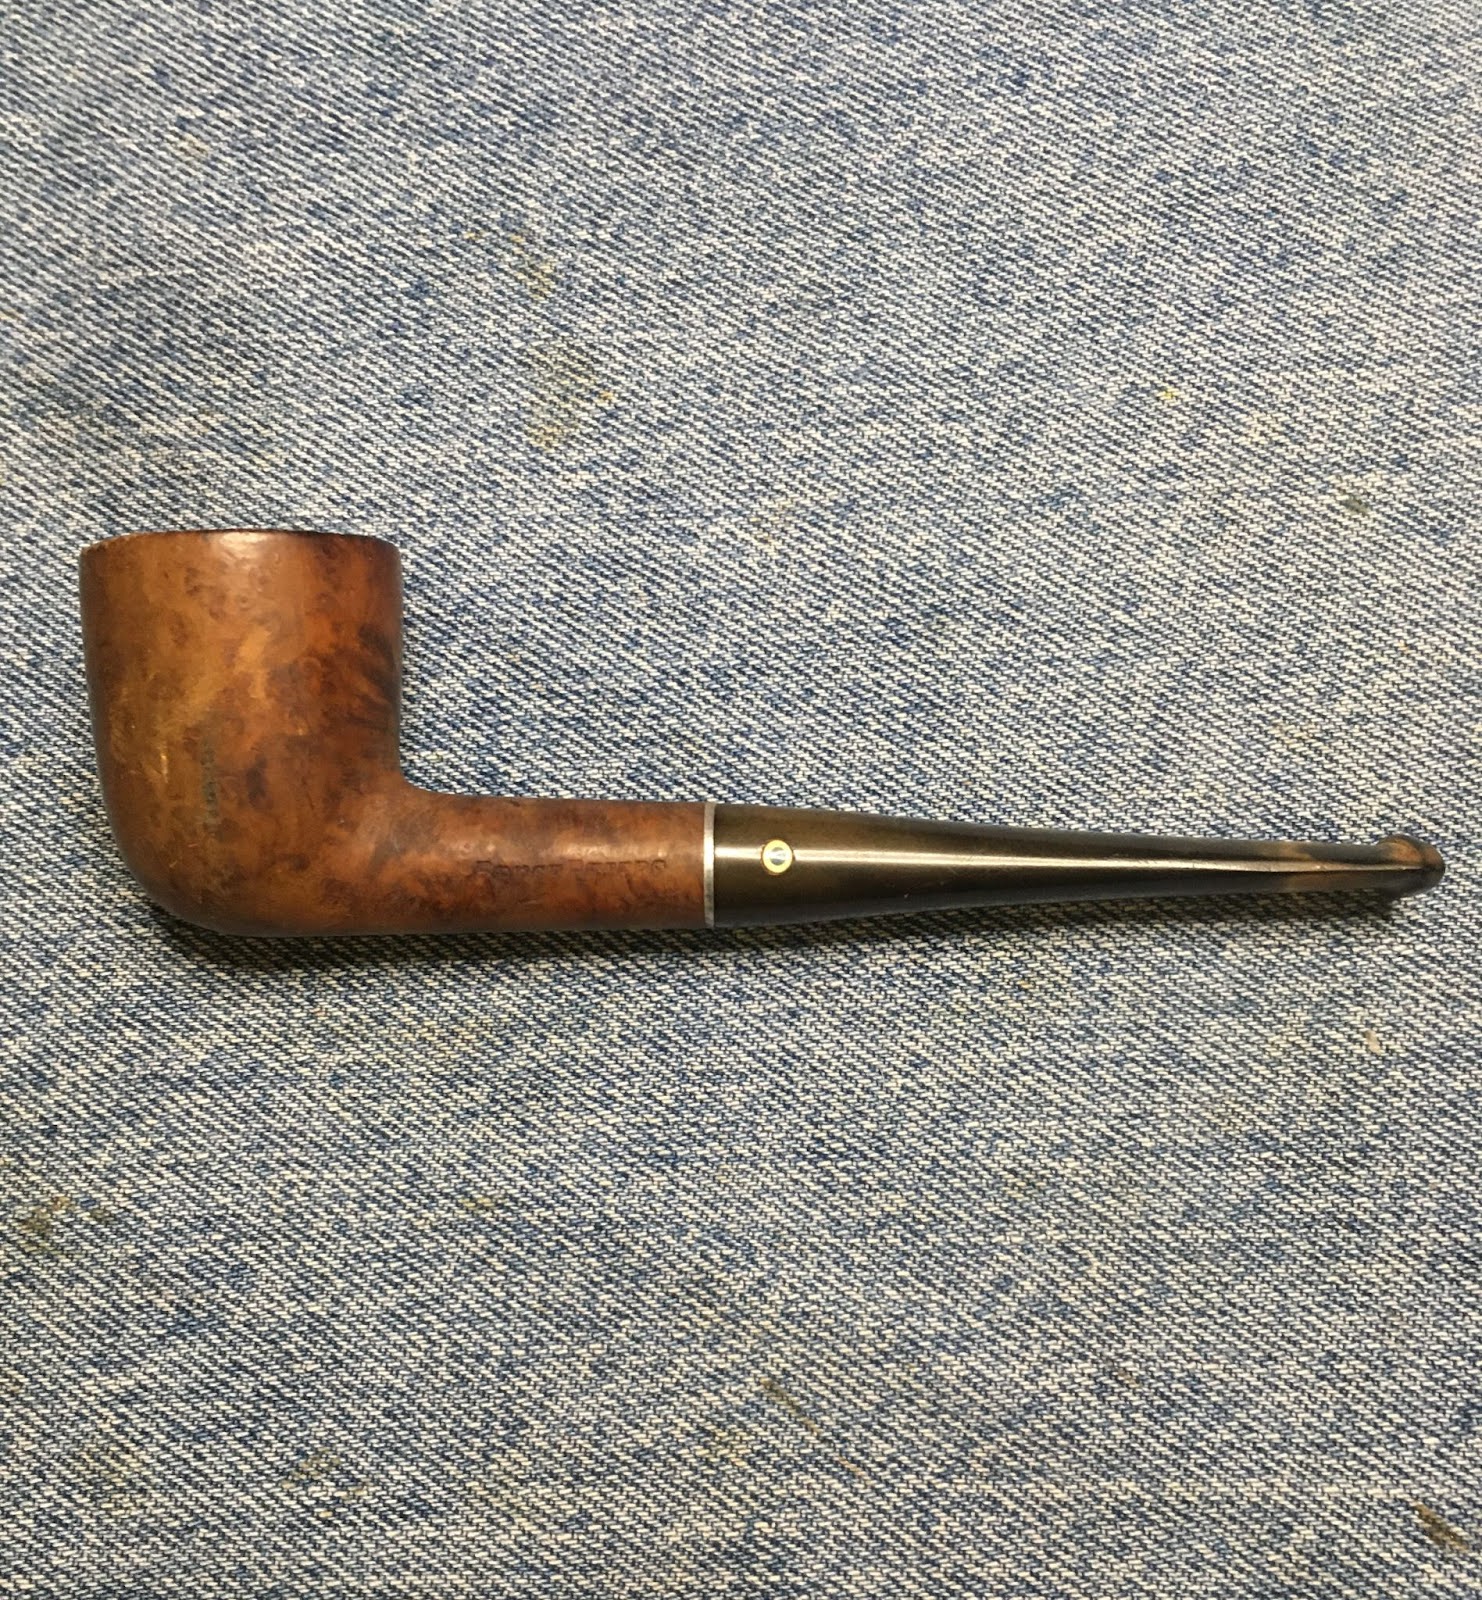
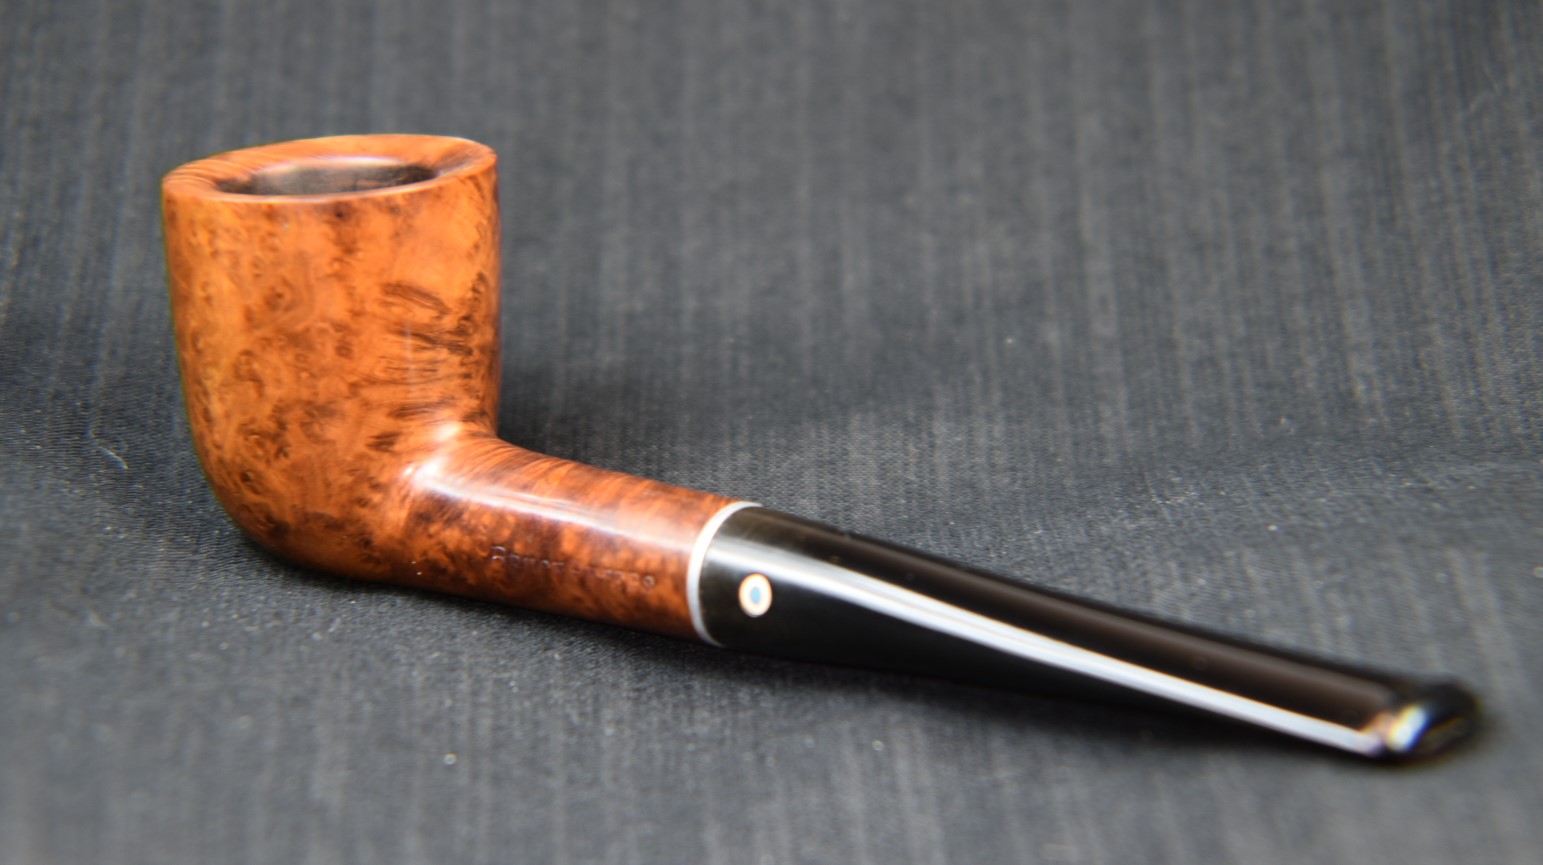
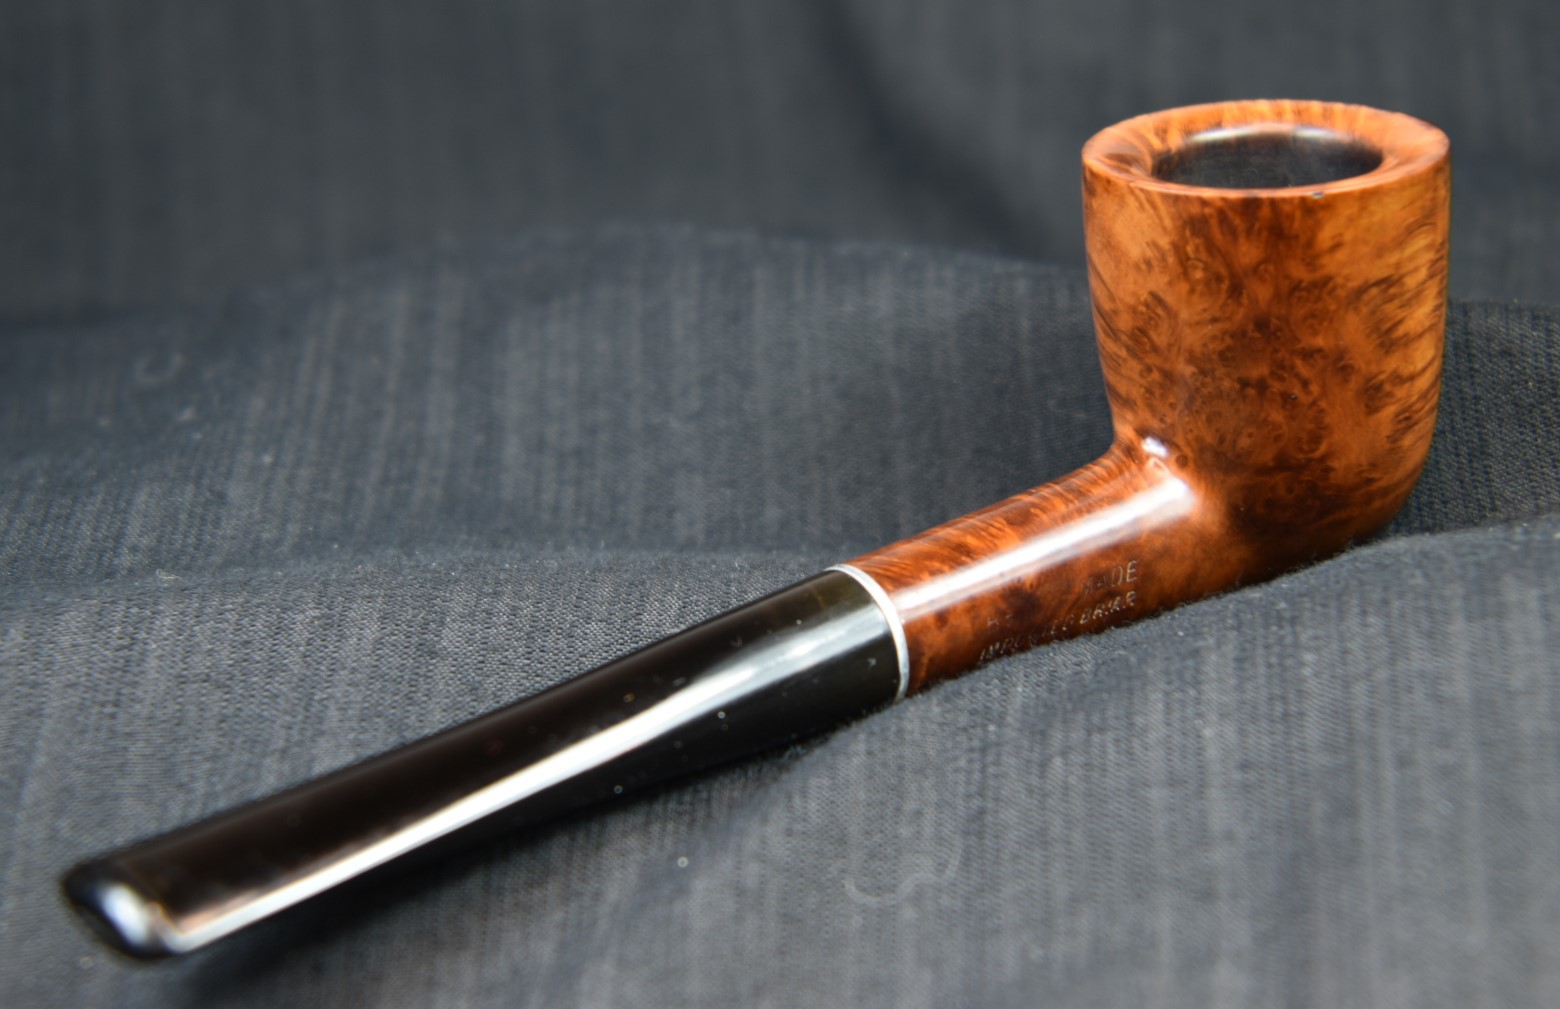
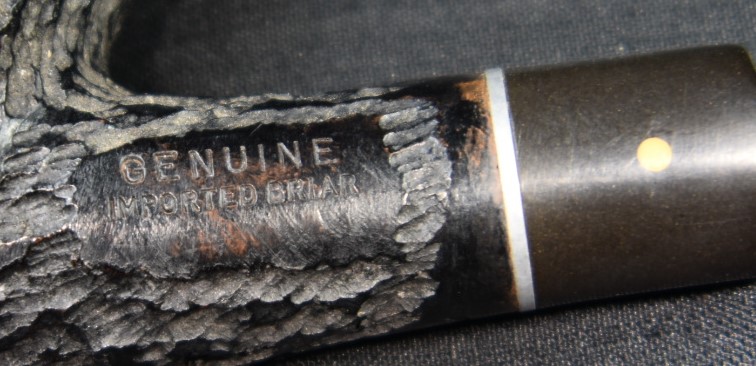
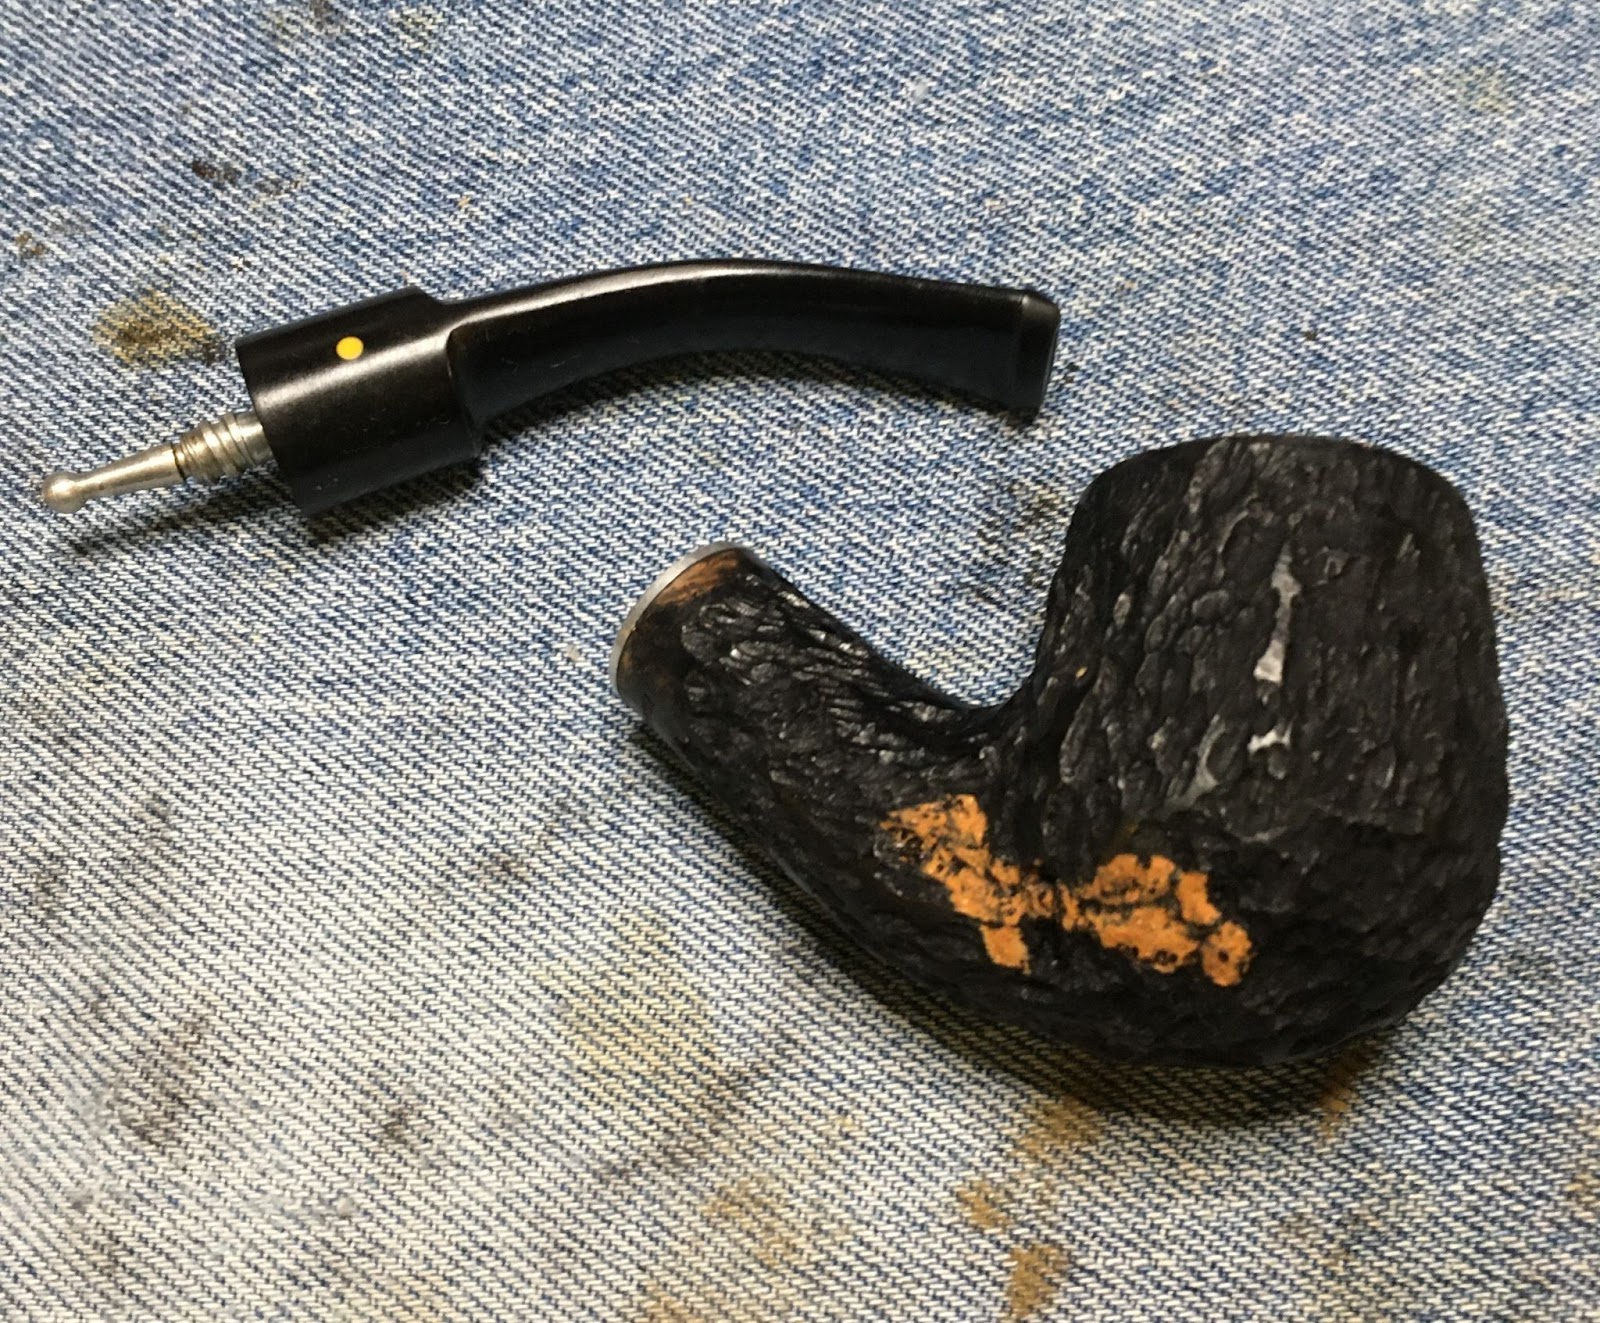
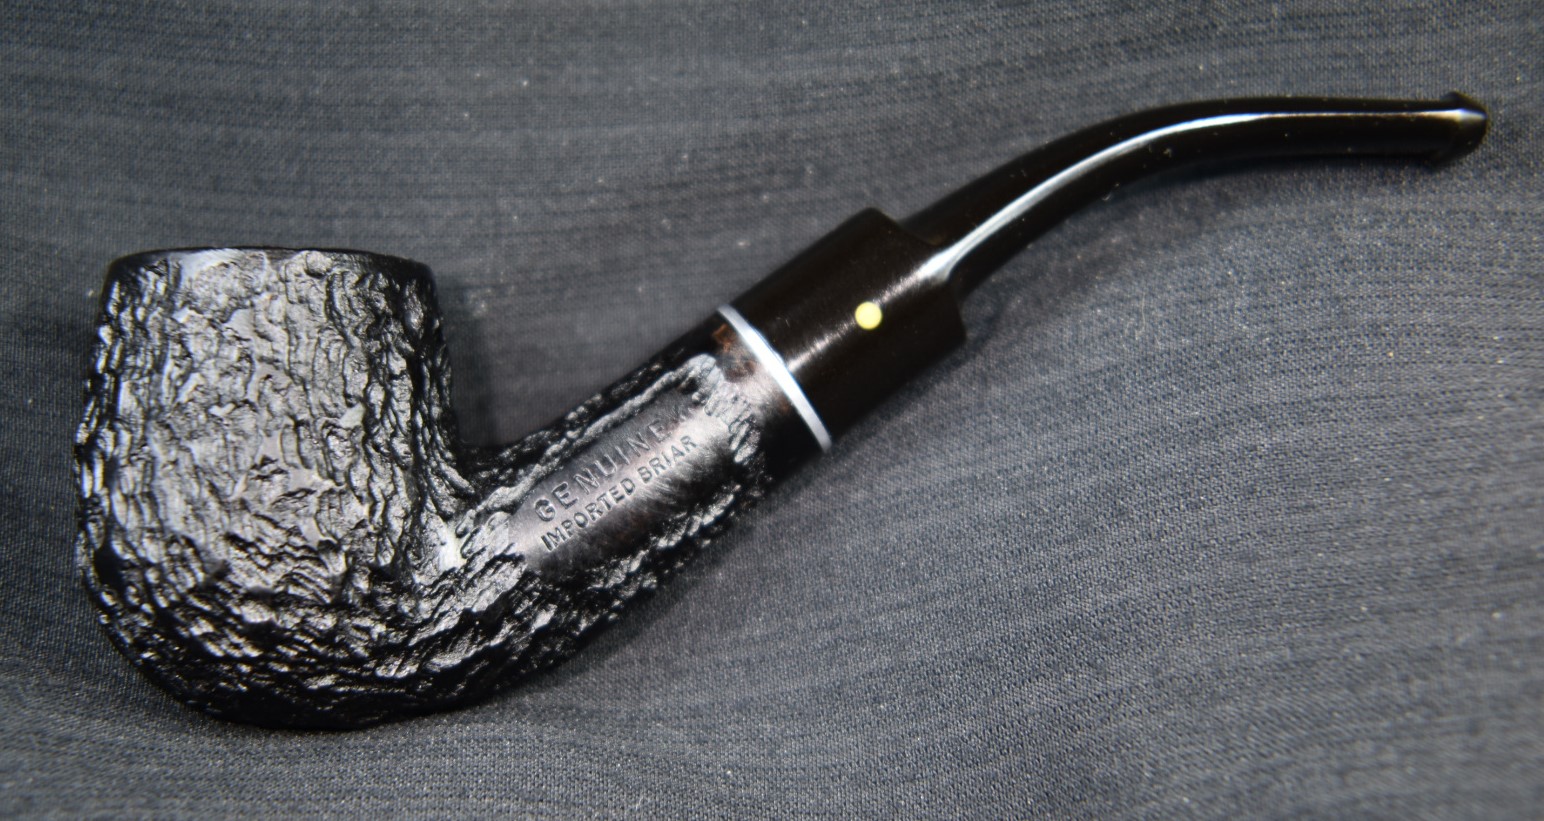
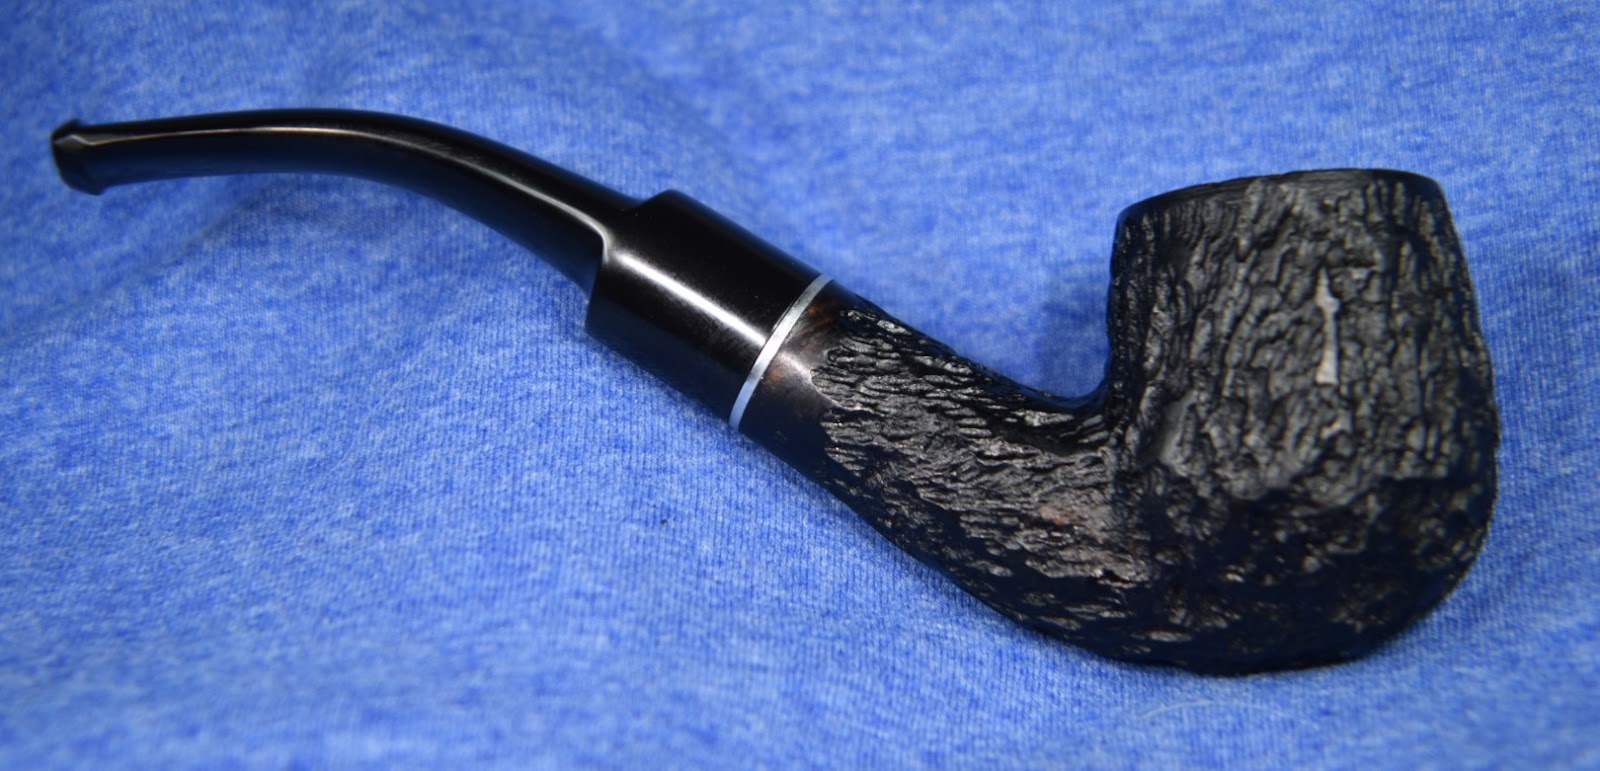
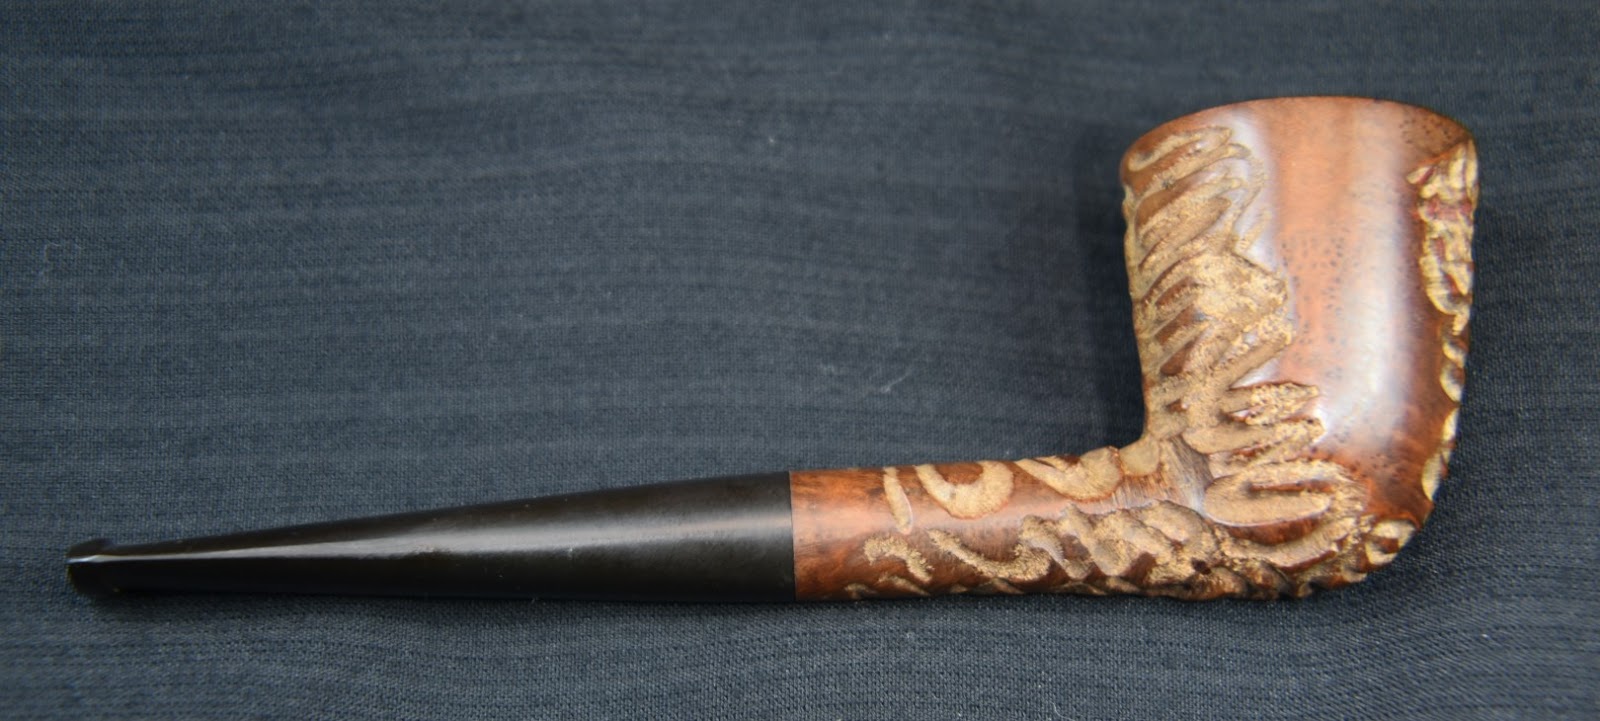
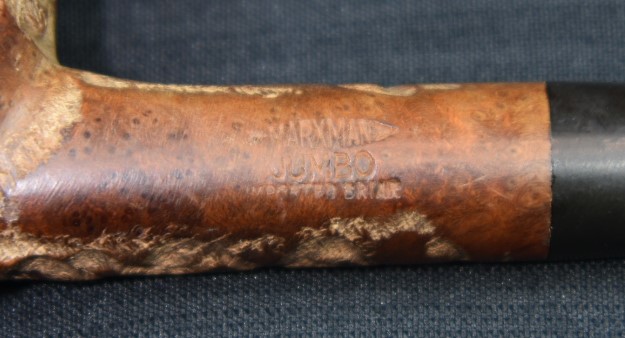
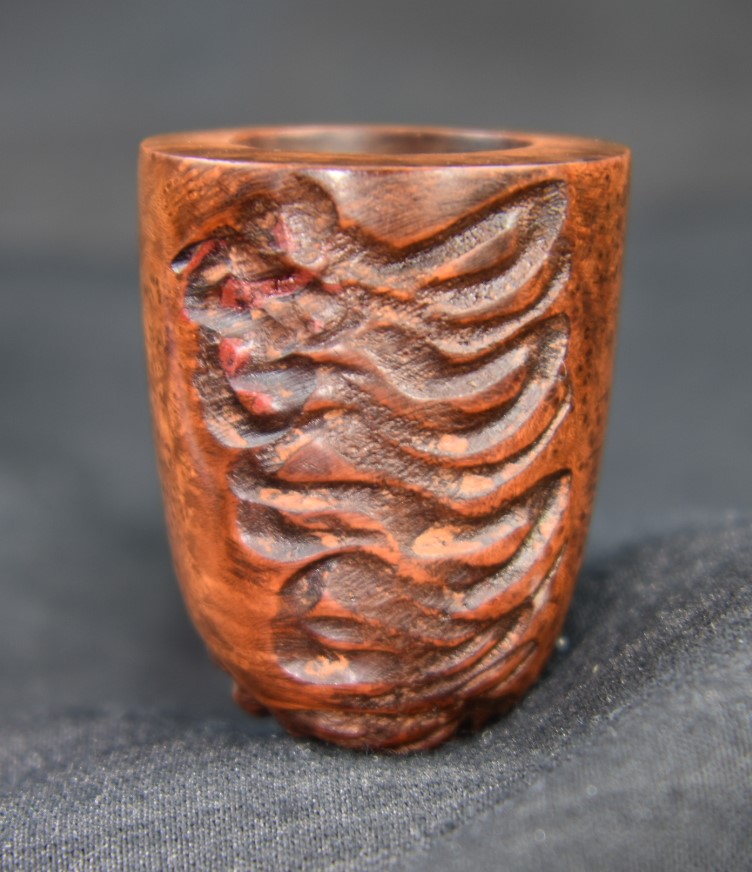
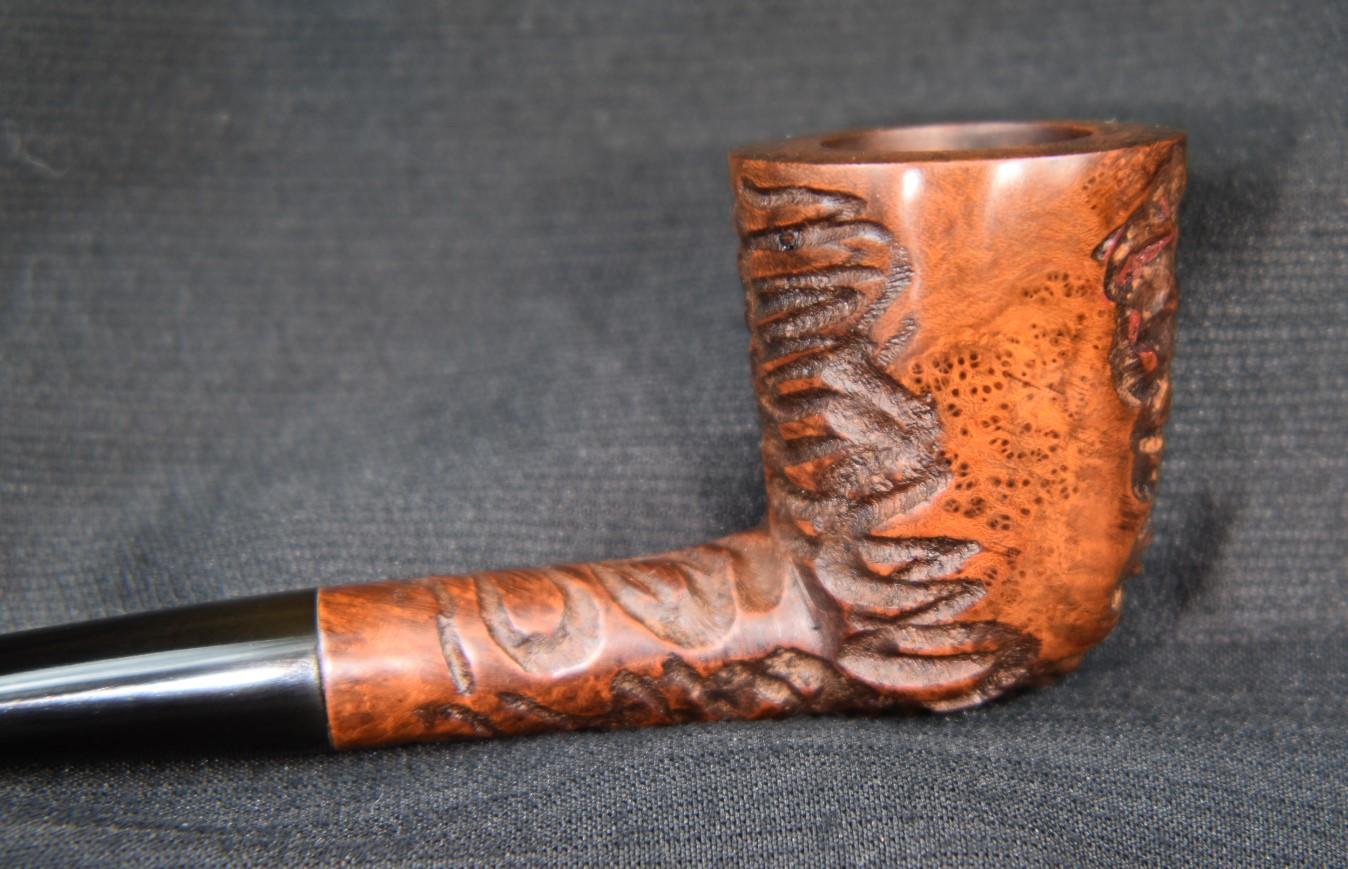
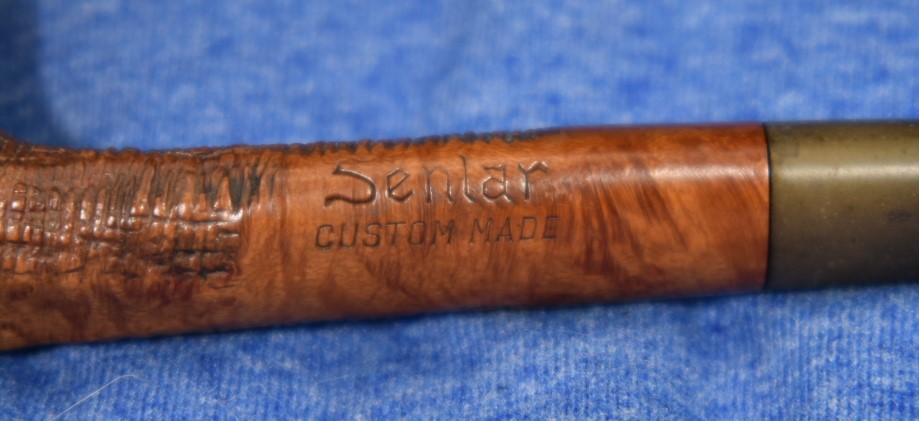
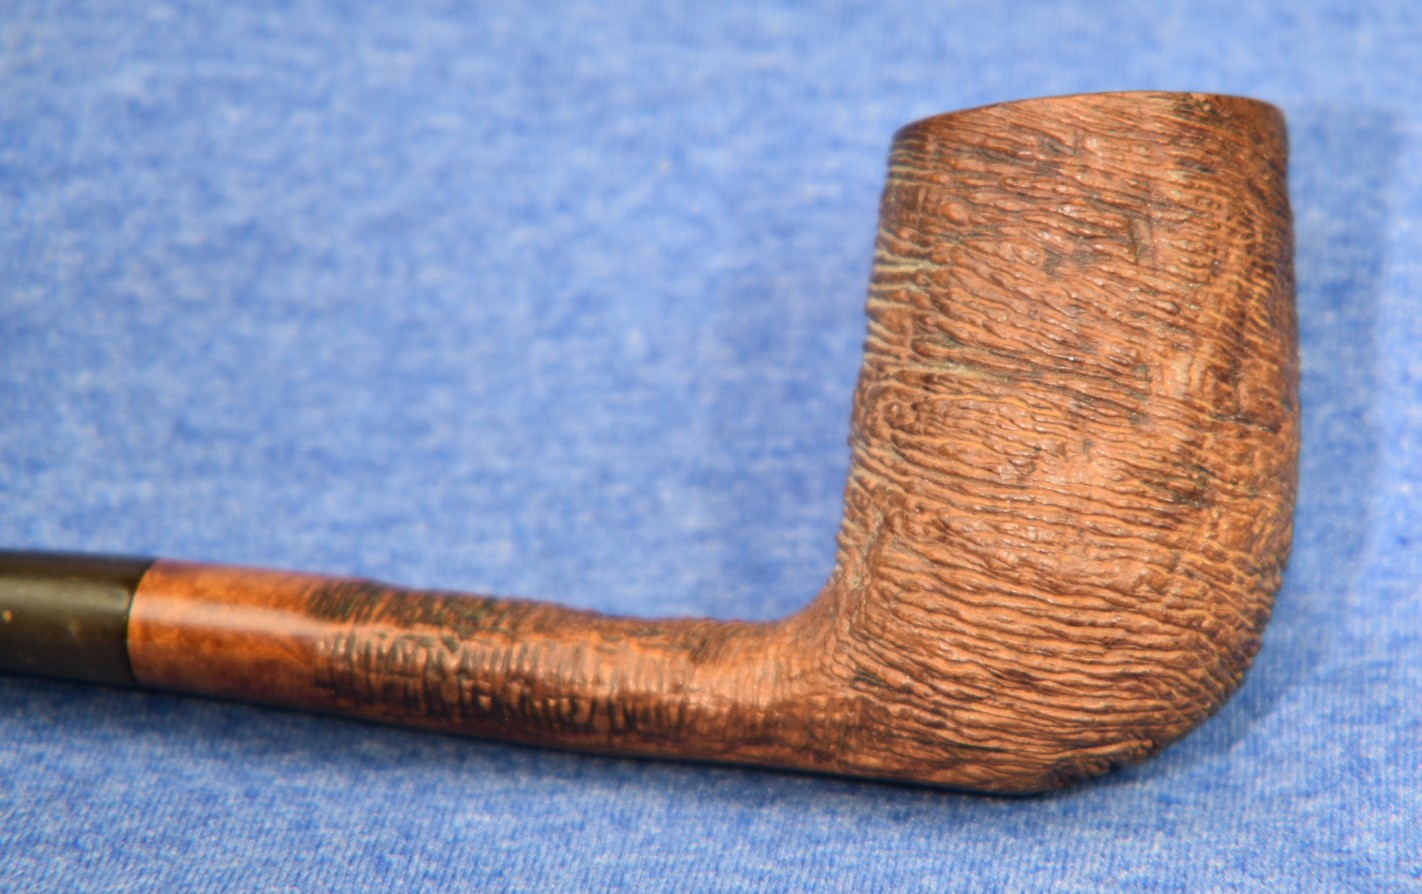
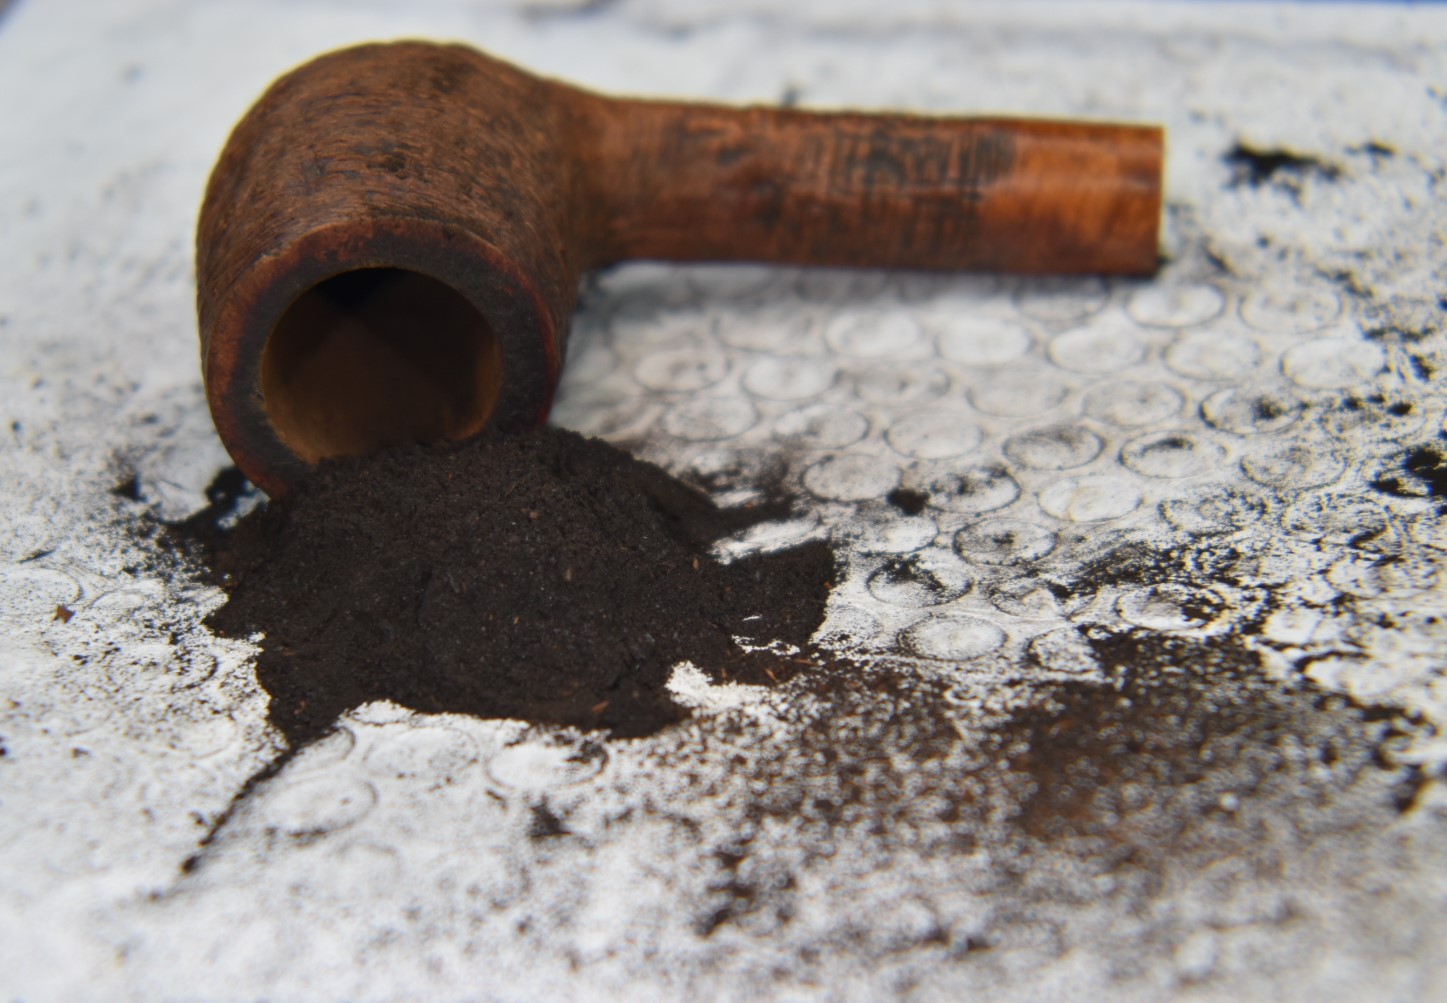
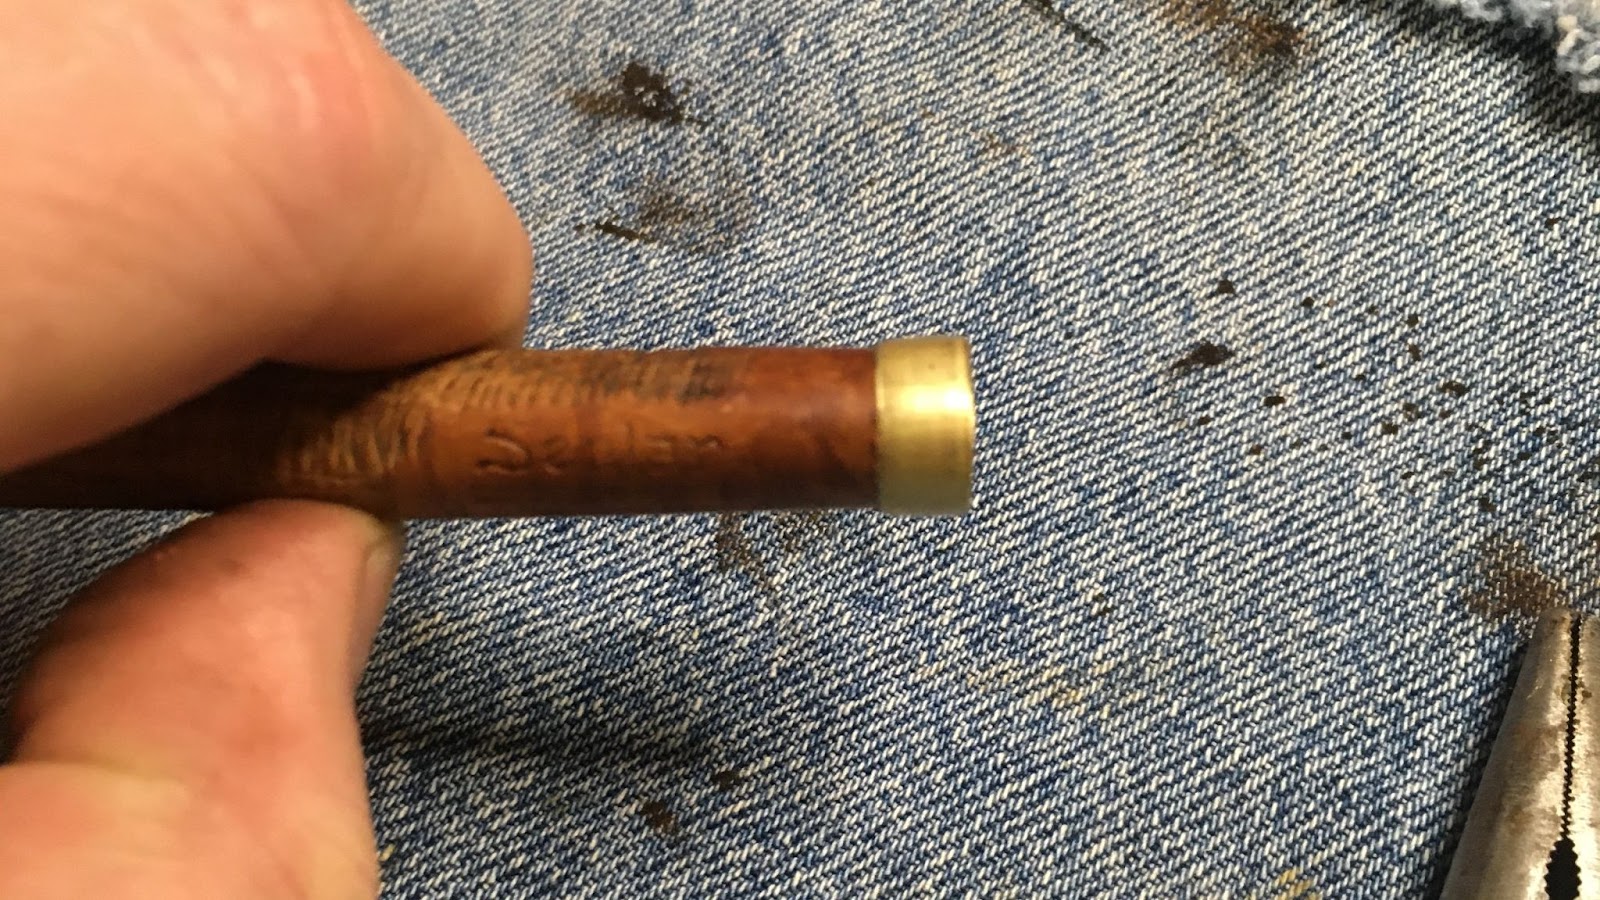
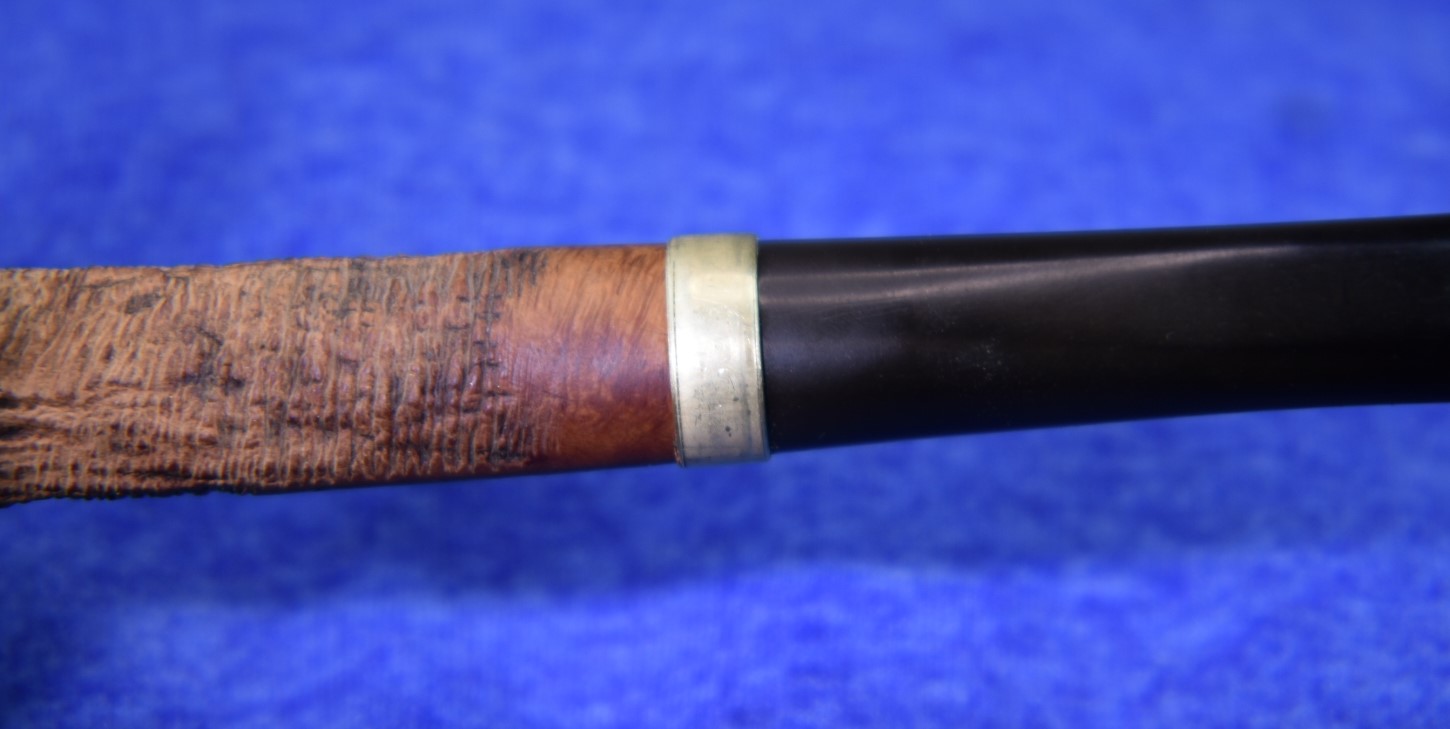
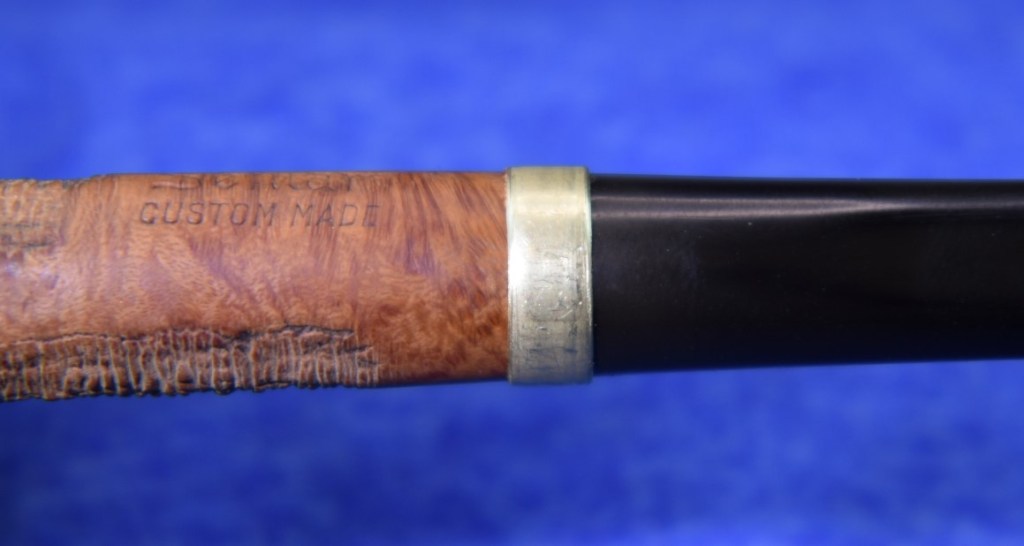
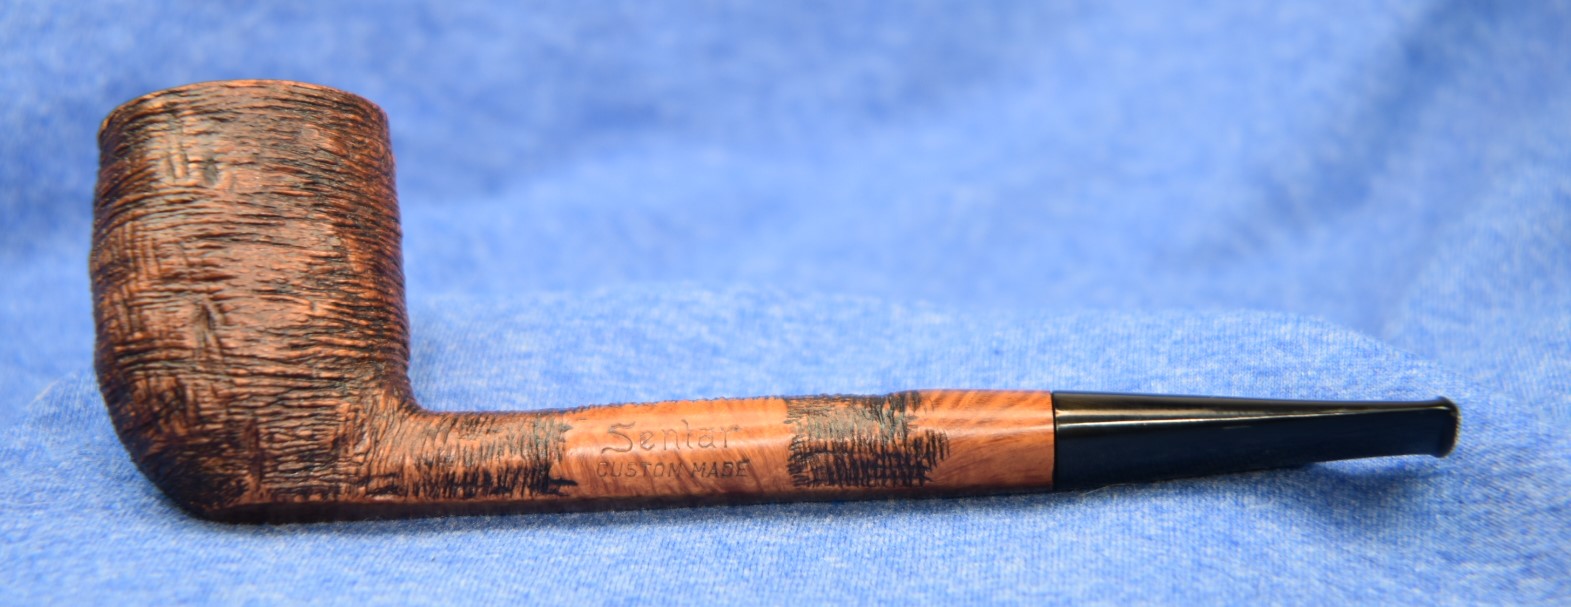
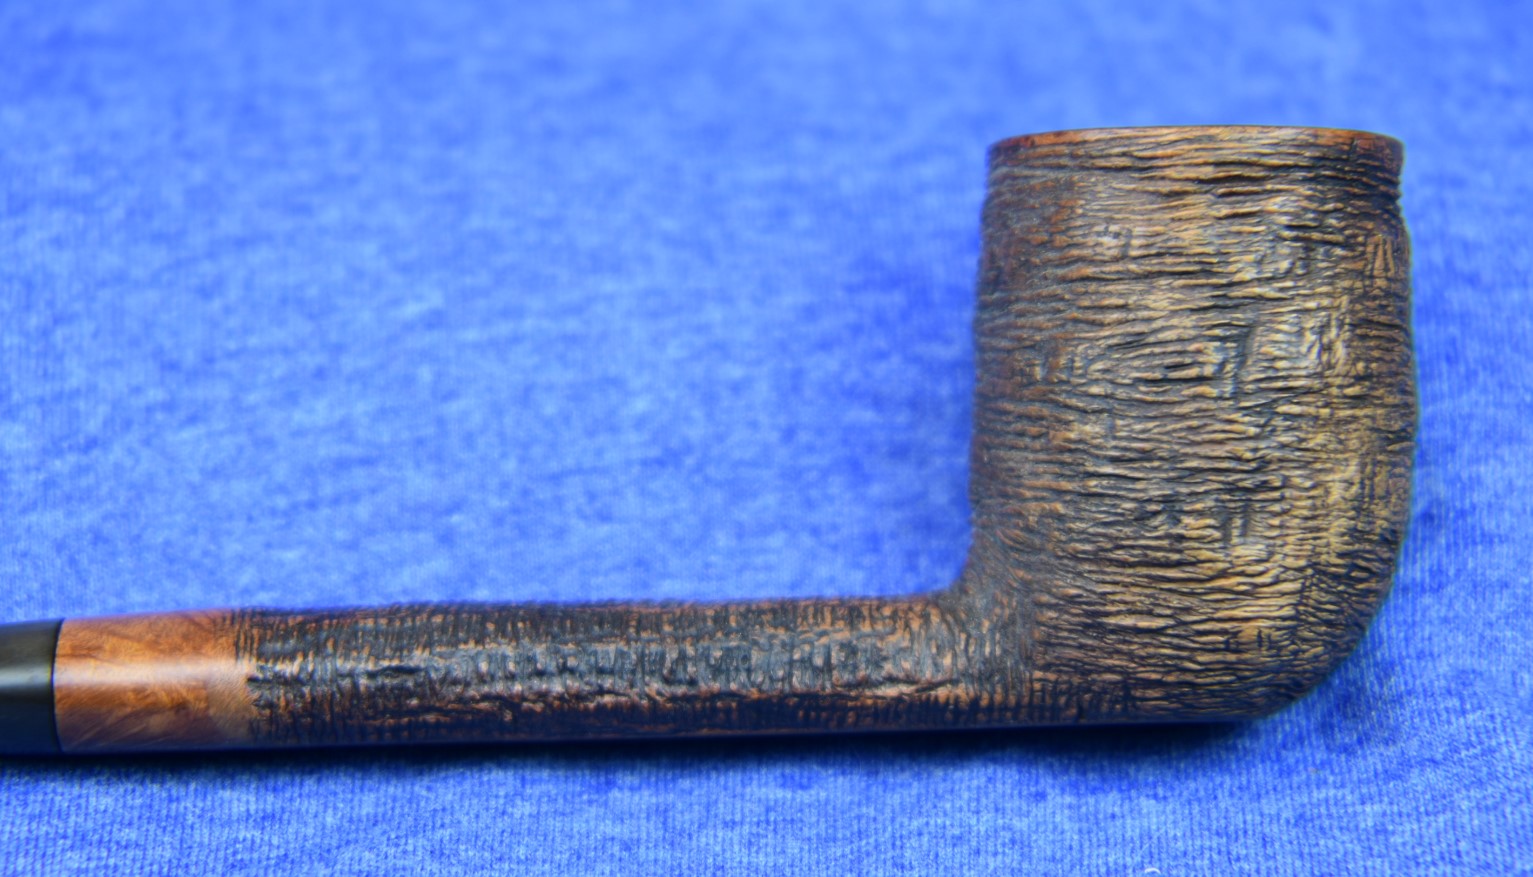
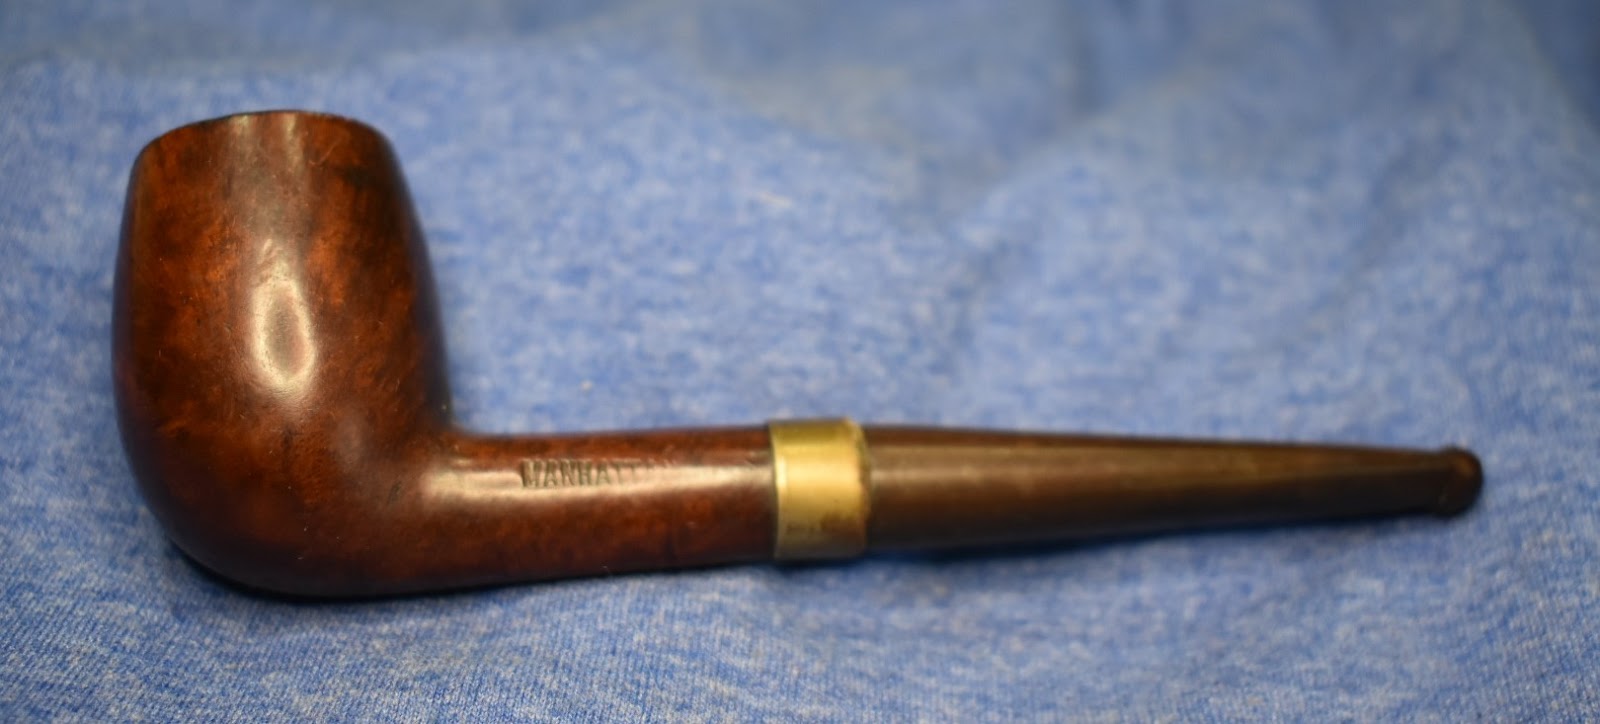
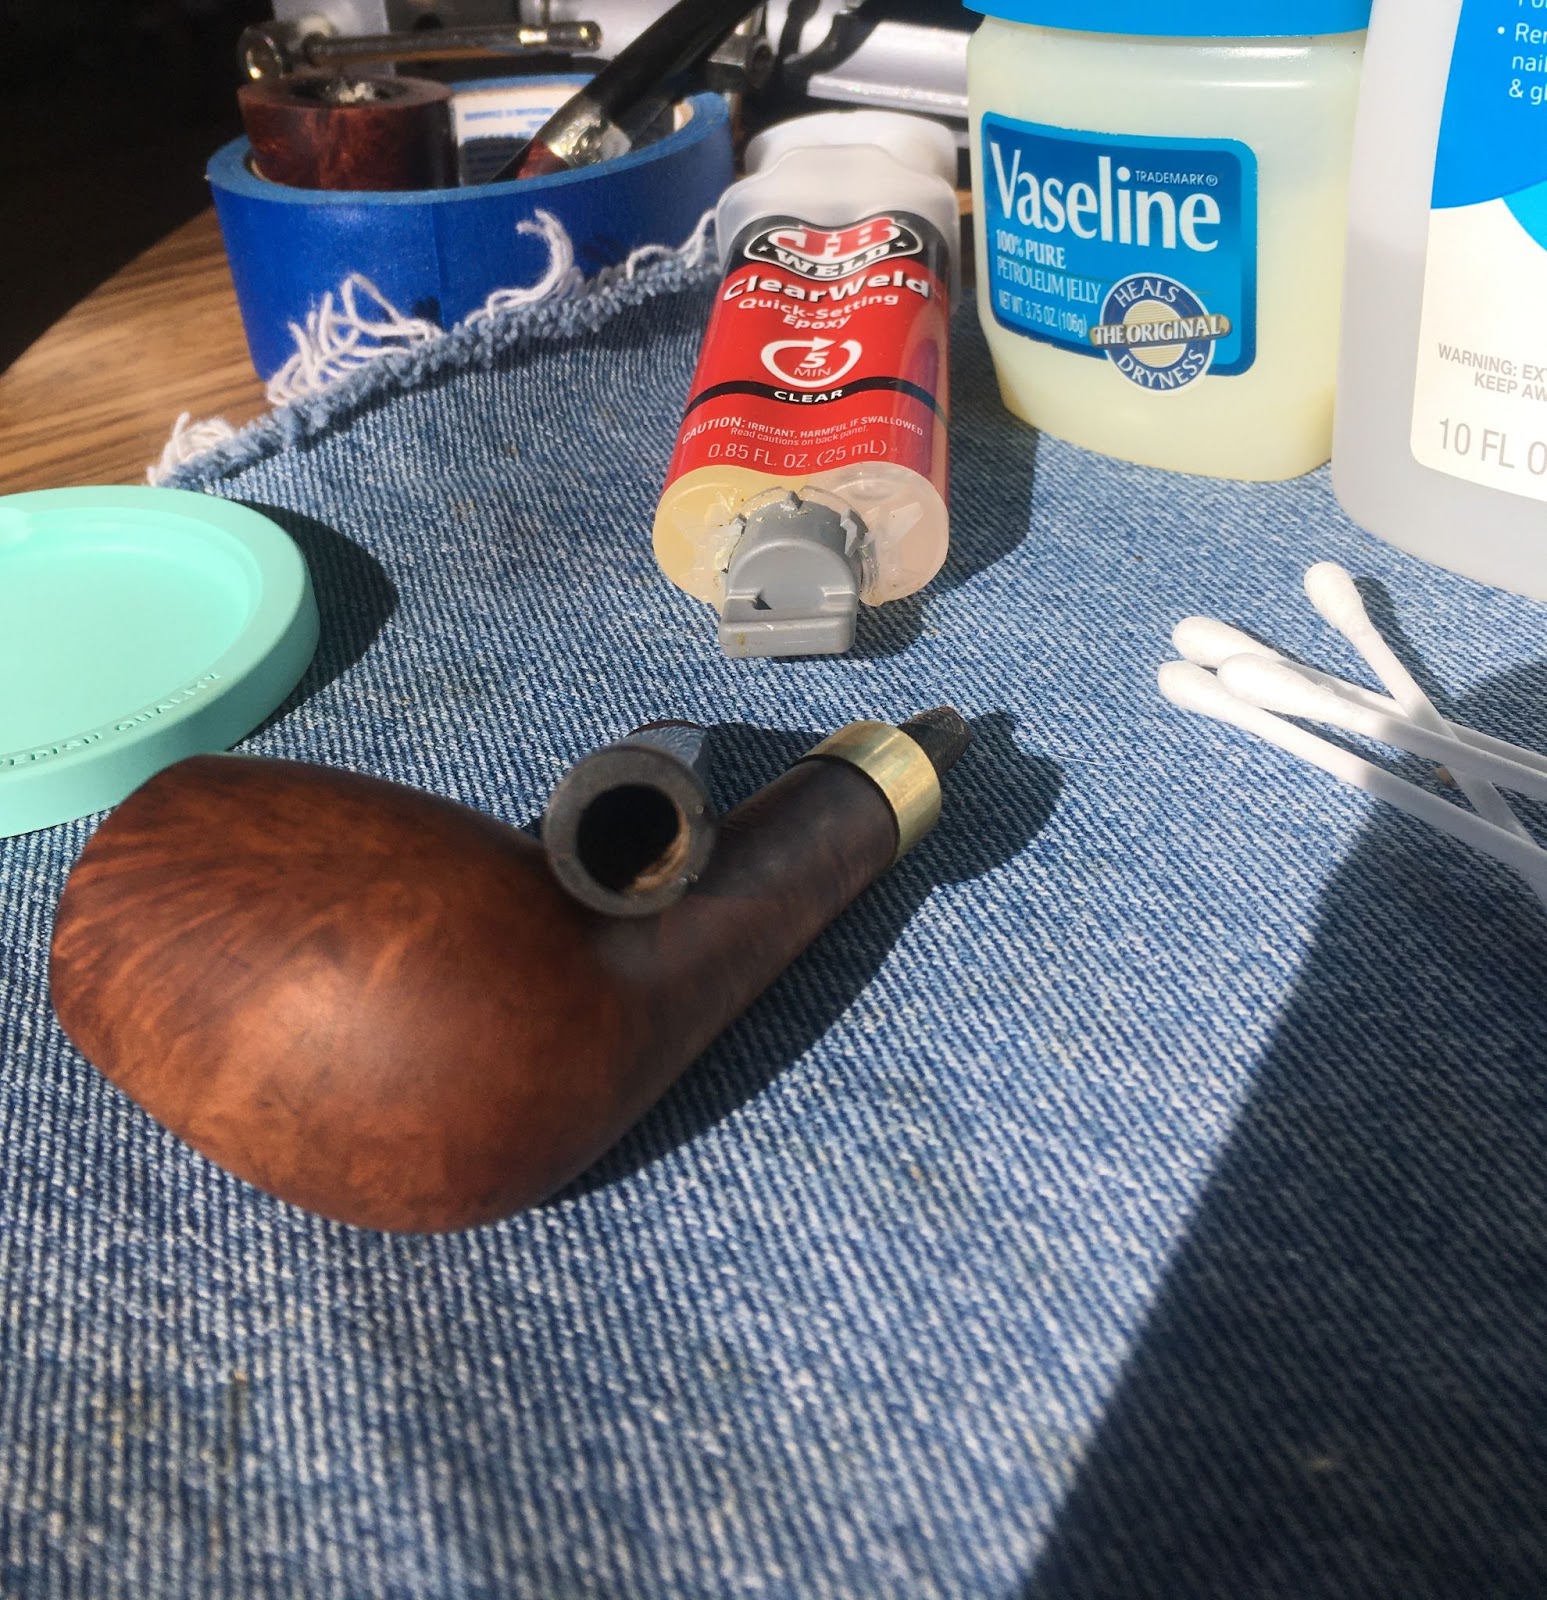
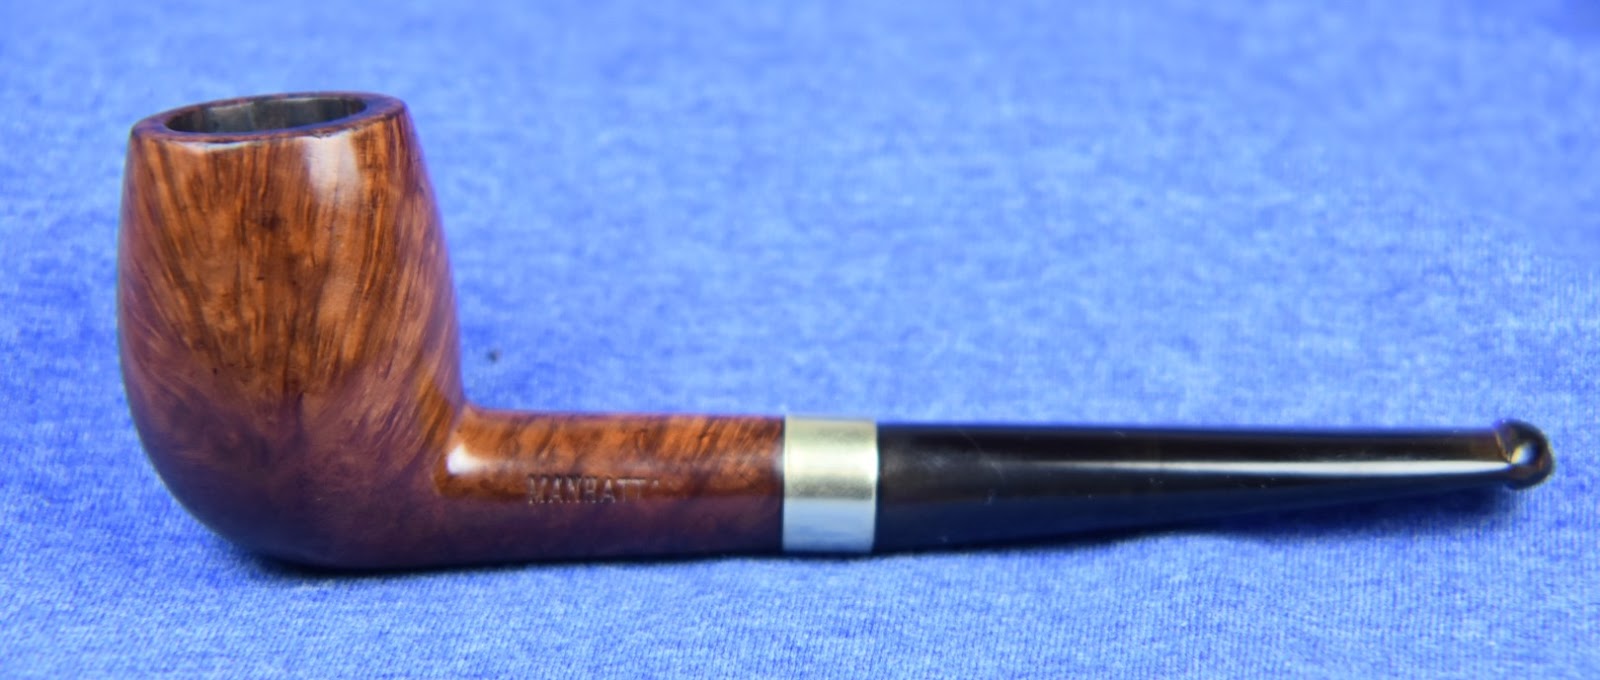
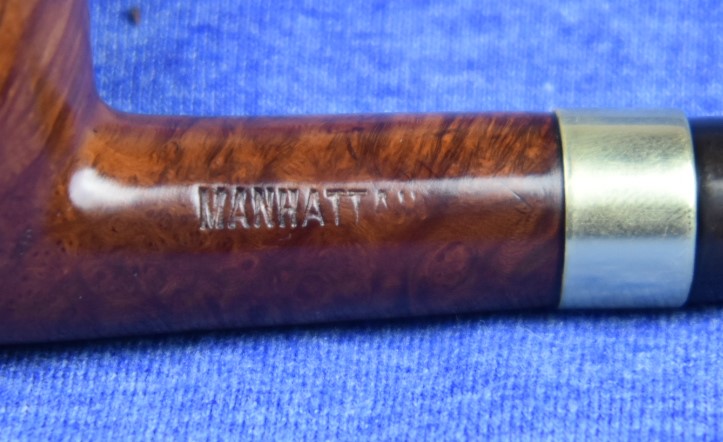
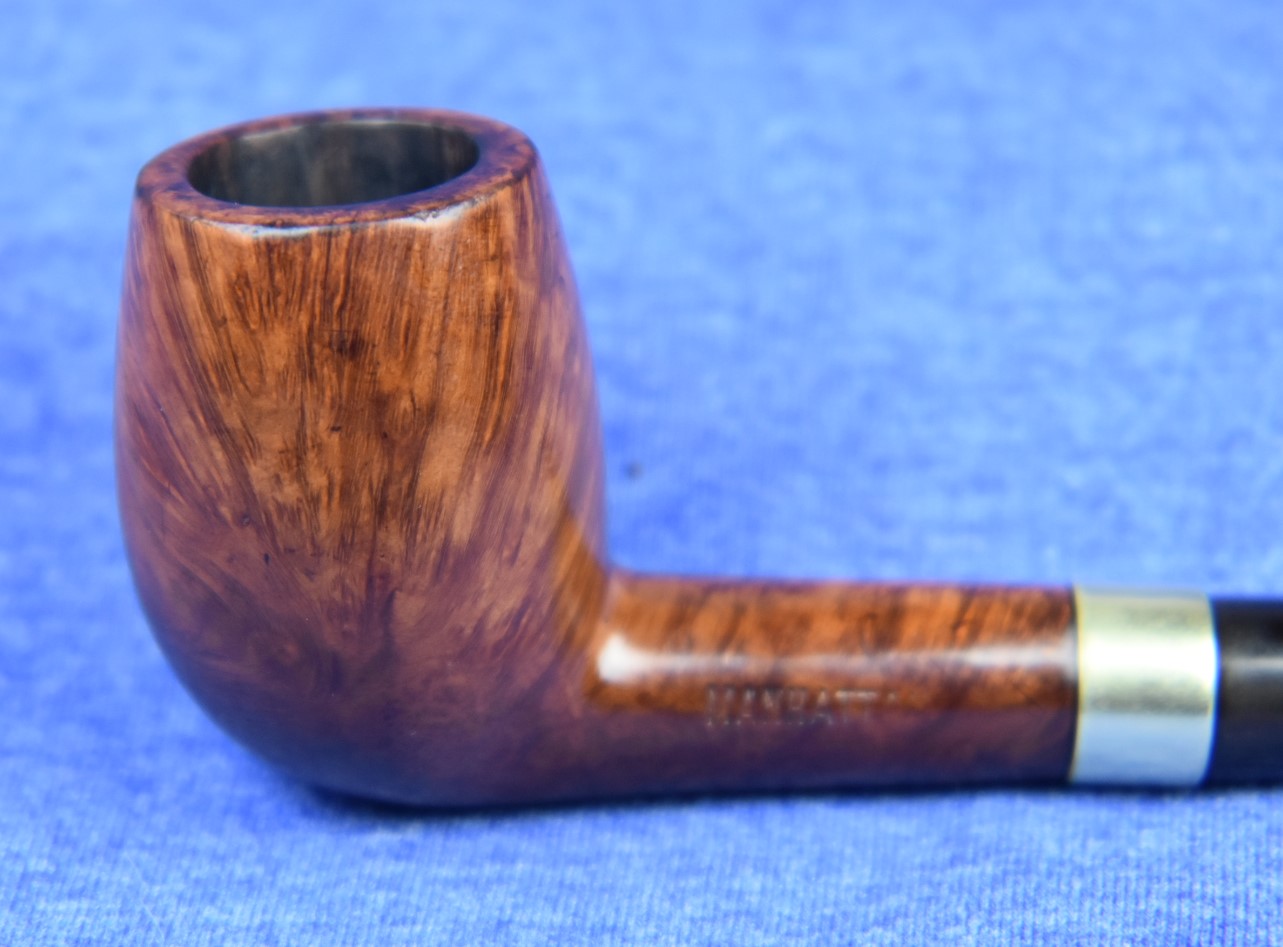
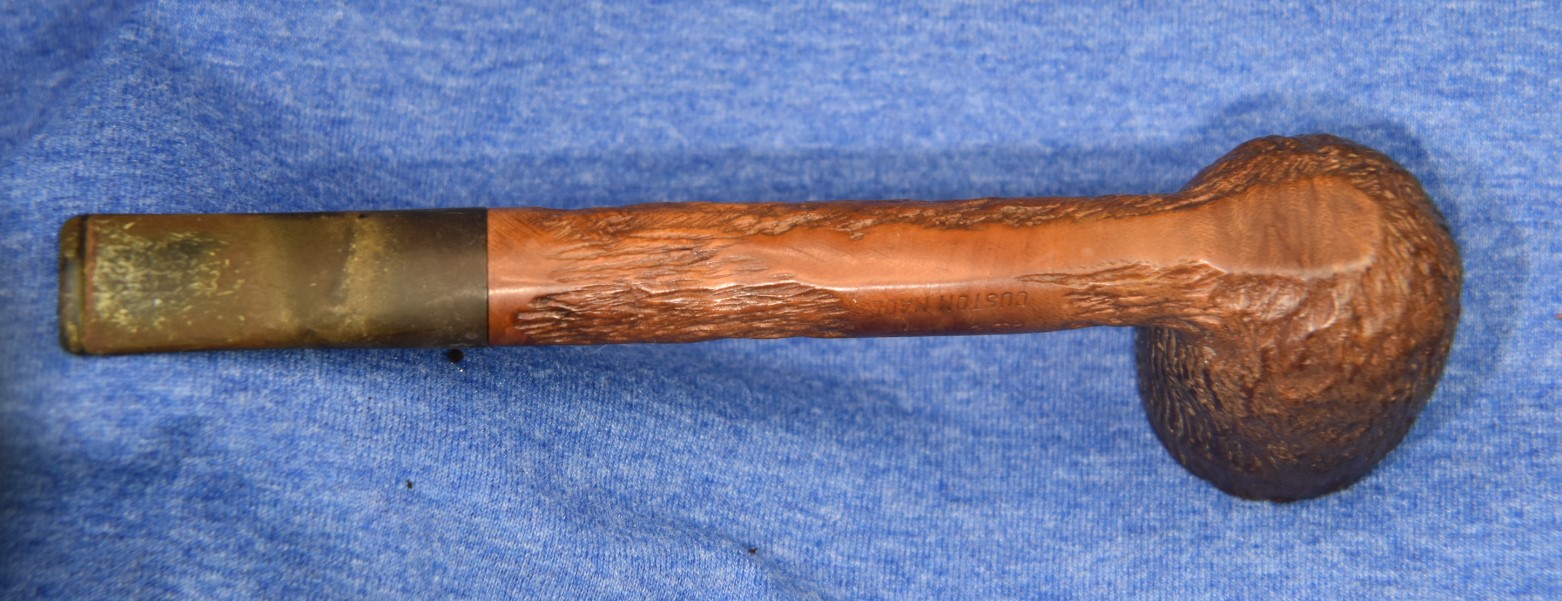
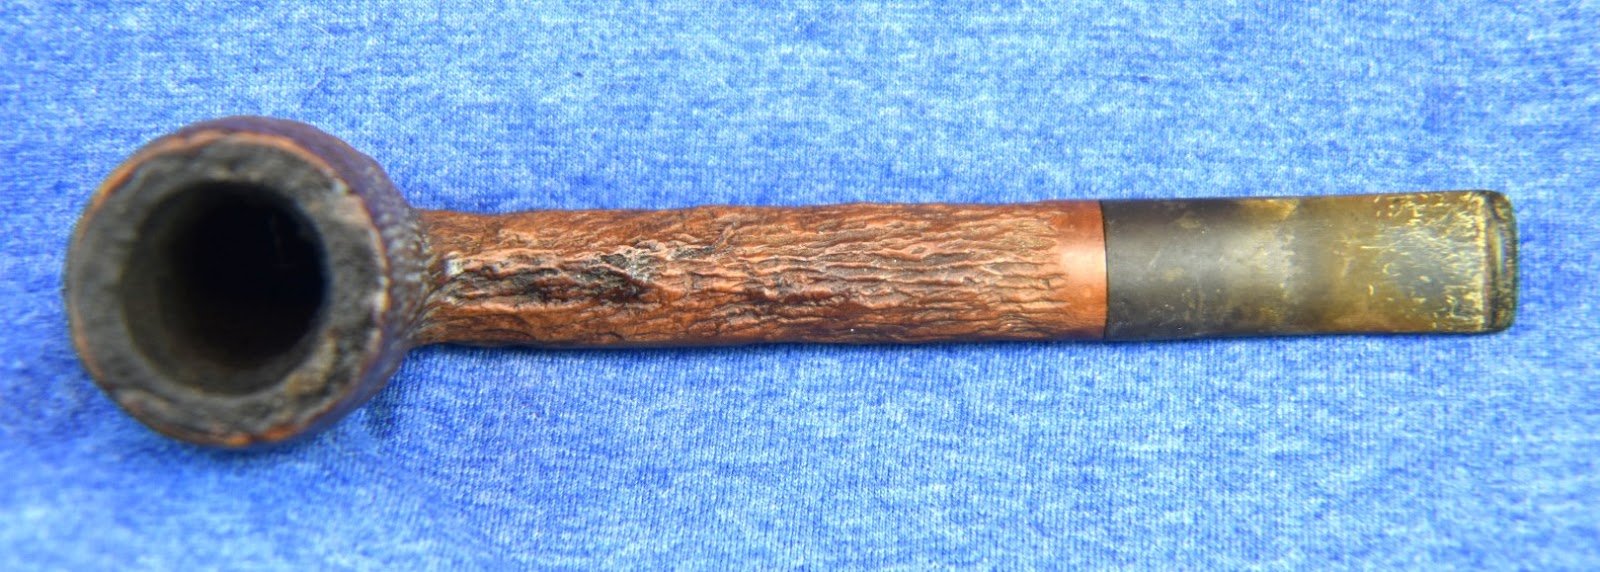
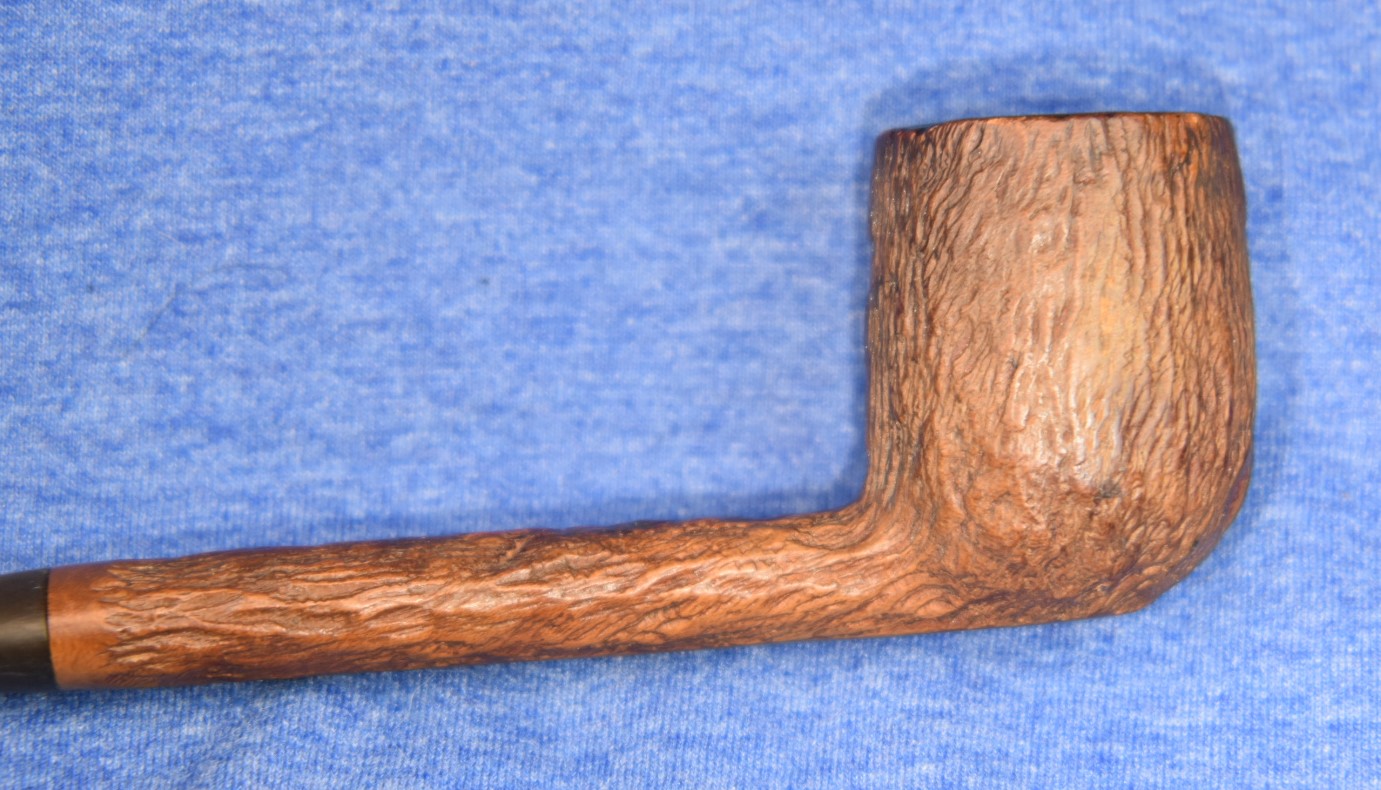
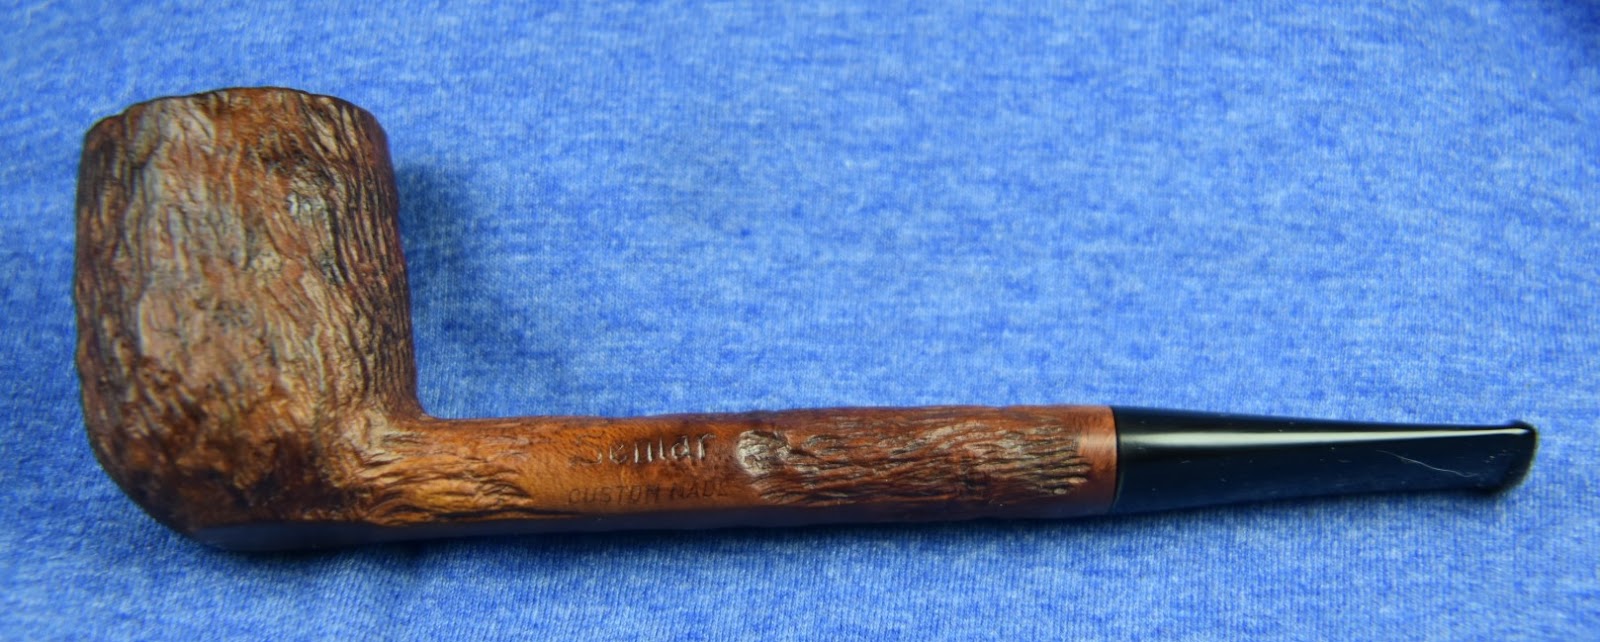
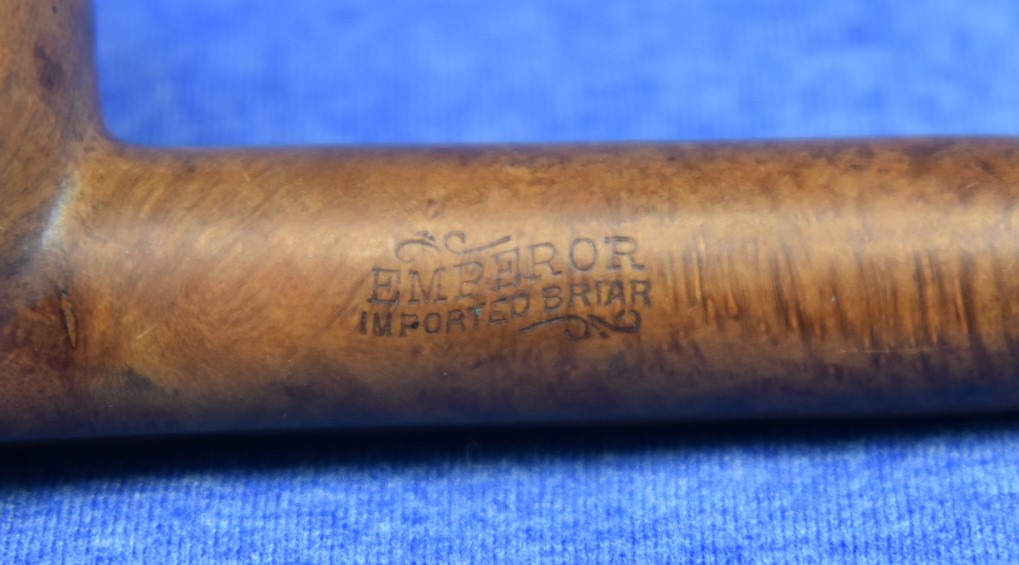
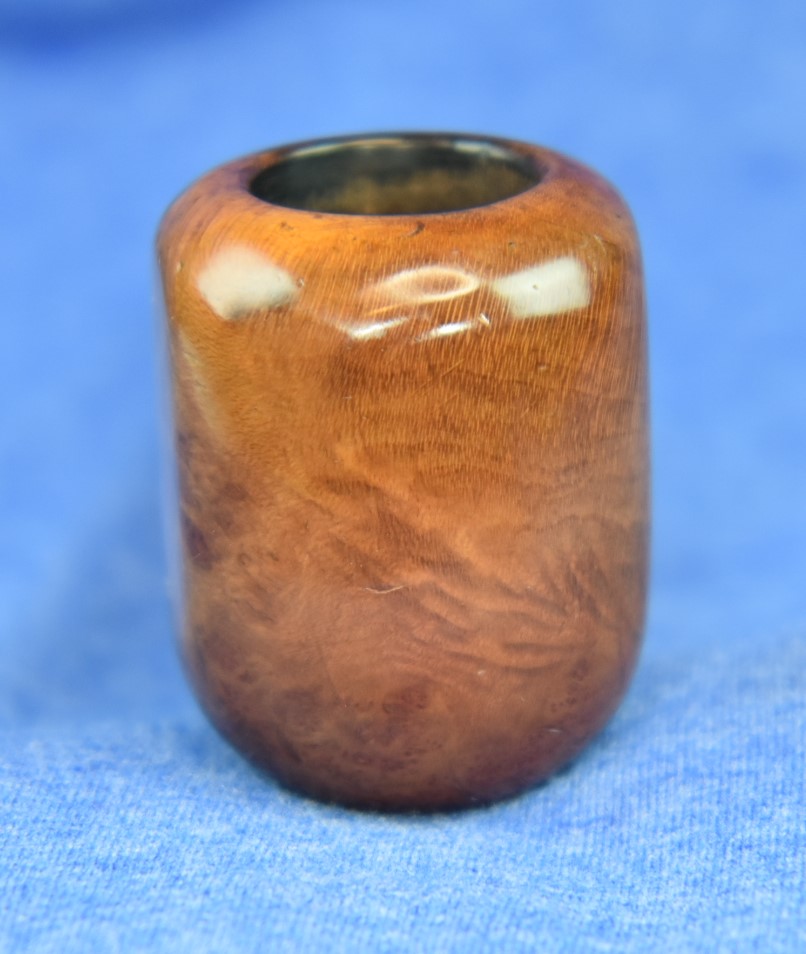
The Custombilt Original 699, subject of this restoration, just arrived last week. I saw it while searching for 1940’s and 50’s brands of pipes. The photos indicated a large pipe as to be expected from a Custombilt. Oh wait, I guess I did know something else about Custombilts, they’re big. When I opened the box and unwrapped the 699, I was a bit taken aback. It was really big. The next observation was at how nice the briar grain looked. That’s not supposed to happen. I mean, the whole reason for the Custombilt carving is to mask the unsightly appearance of Algerian Briar. Wow, there’s another thing I knew about Custombilts, they were made from Algerian briar. I guess I knew more than I thought I did. The stampings said I had a Custombilt over ORIGINAL on the left shank and 699 on the right. Here is what the pipe looked like prior to any work being done


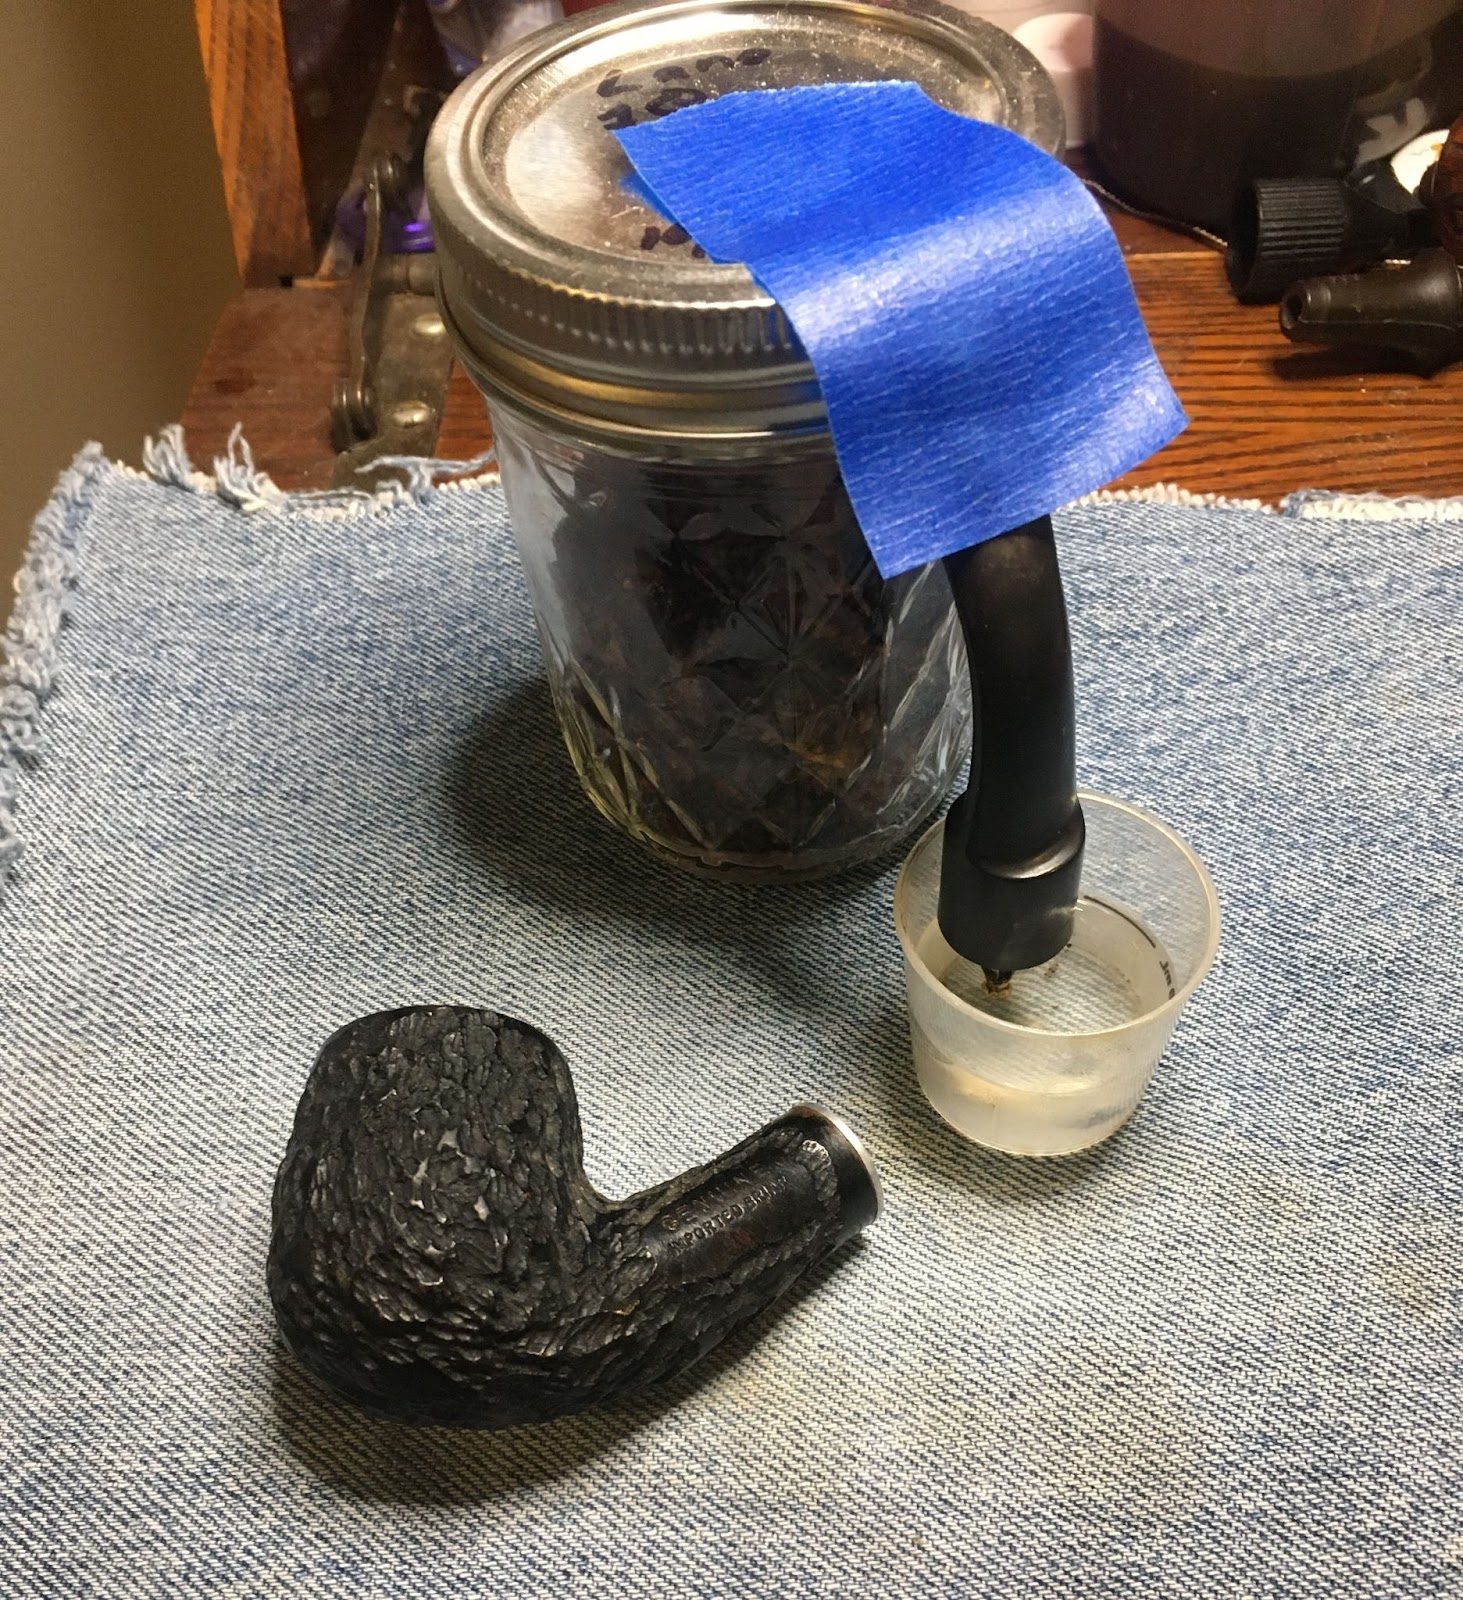
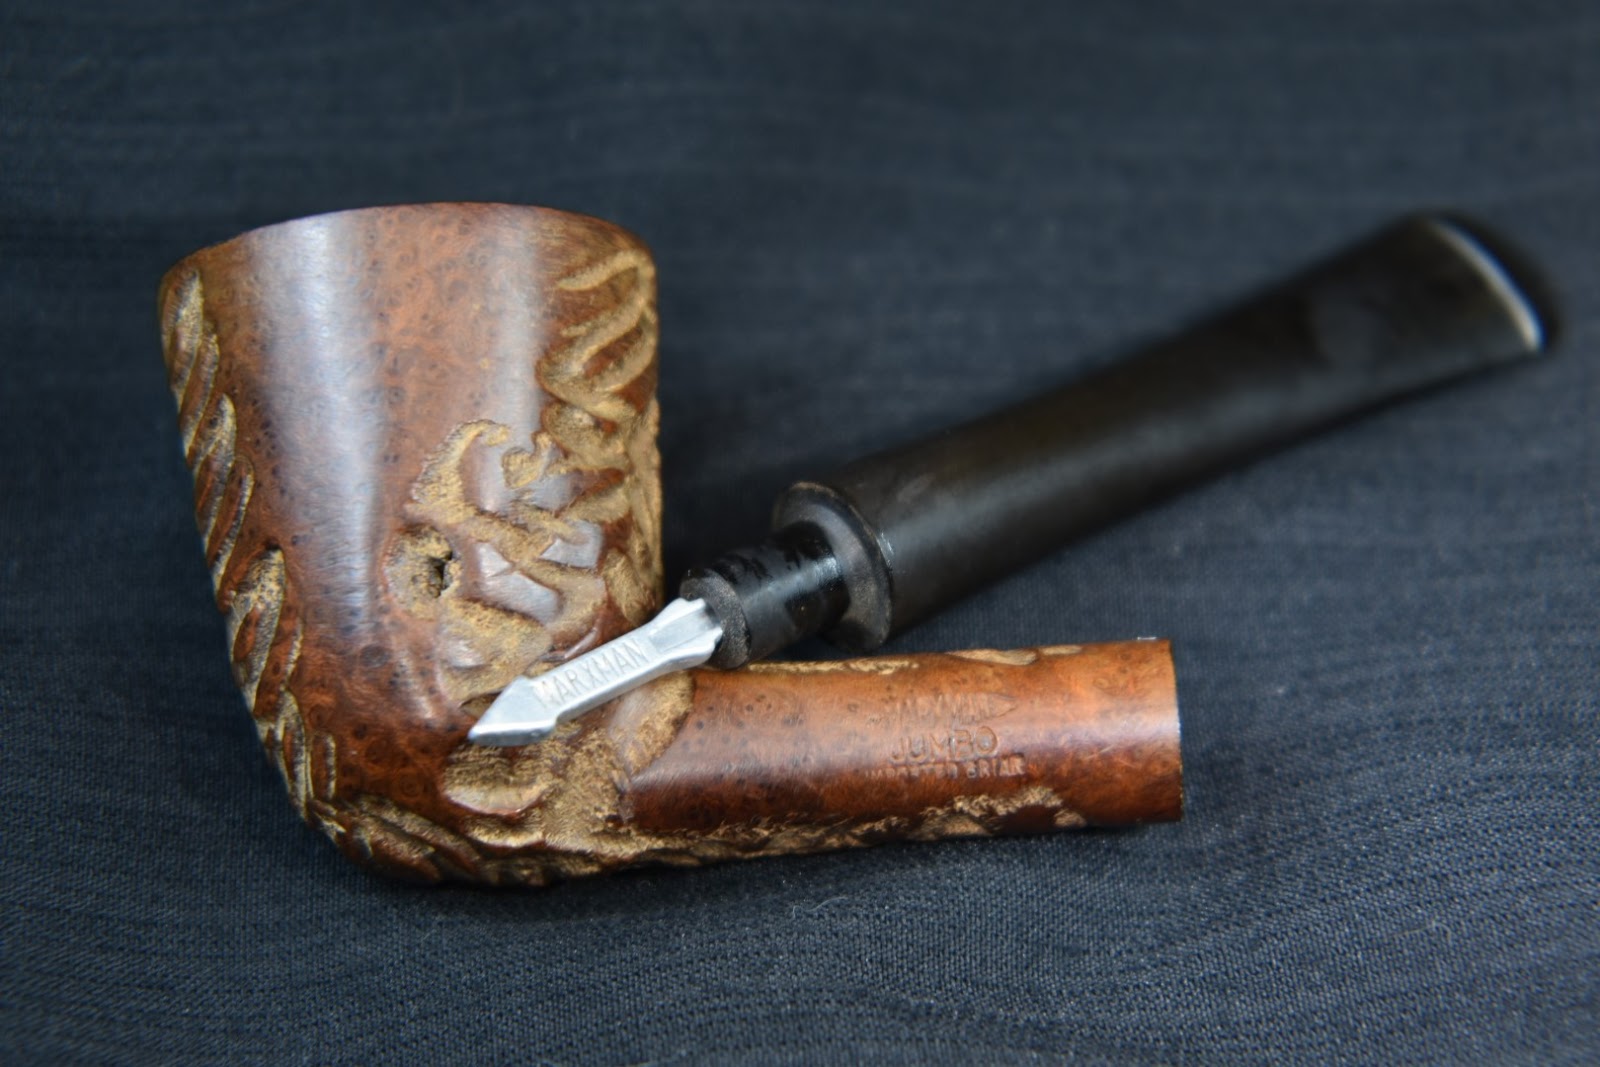
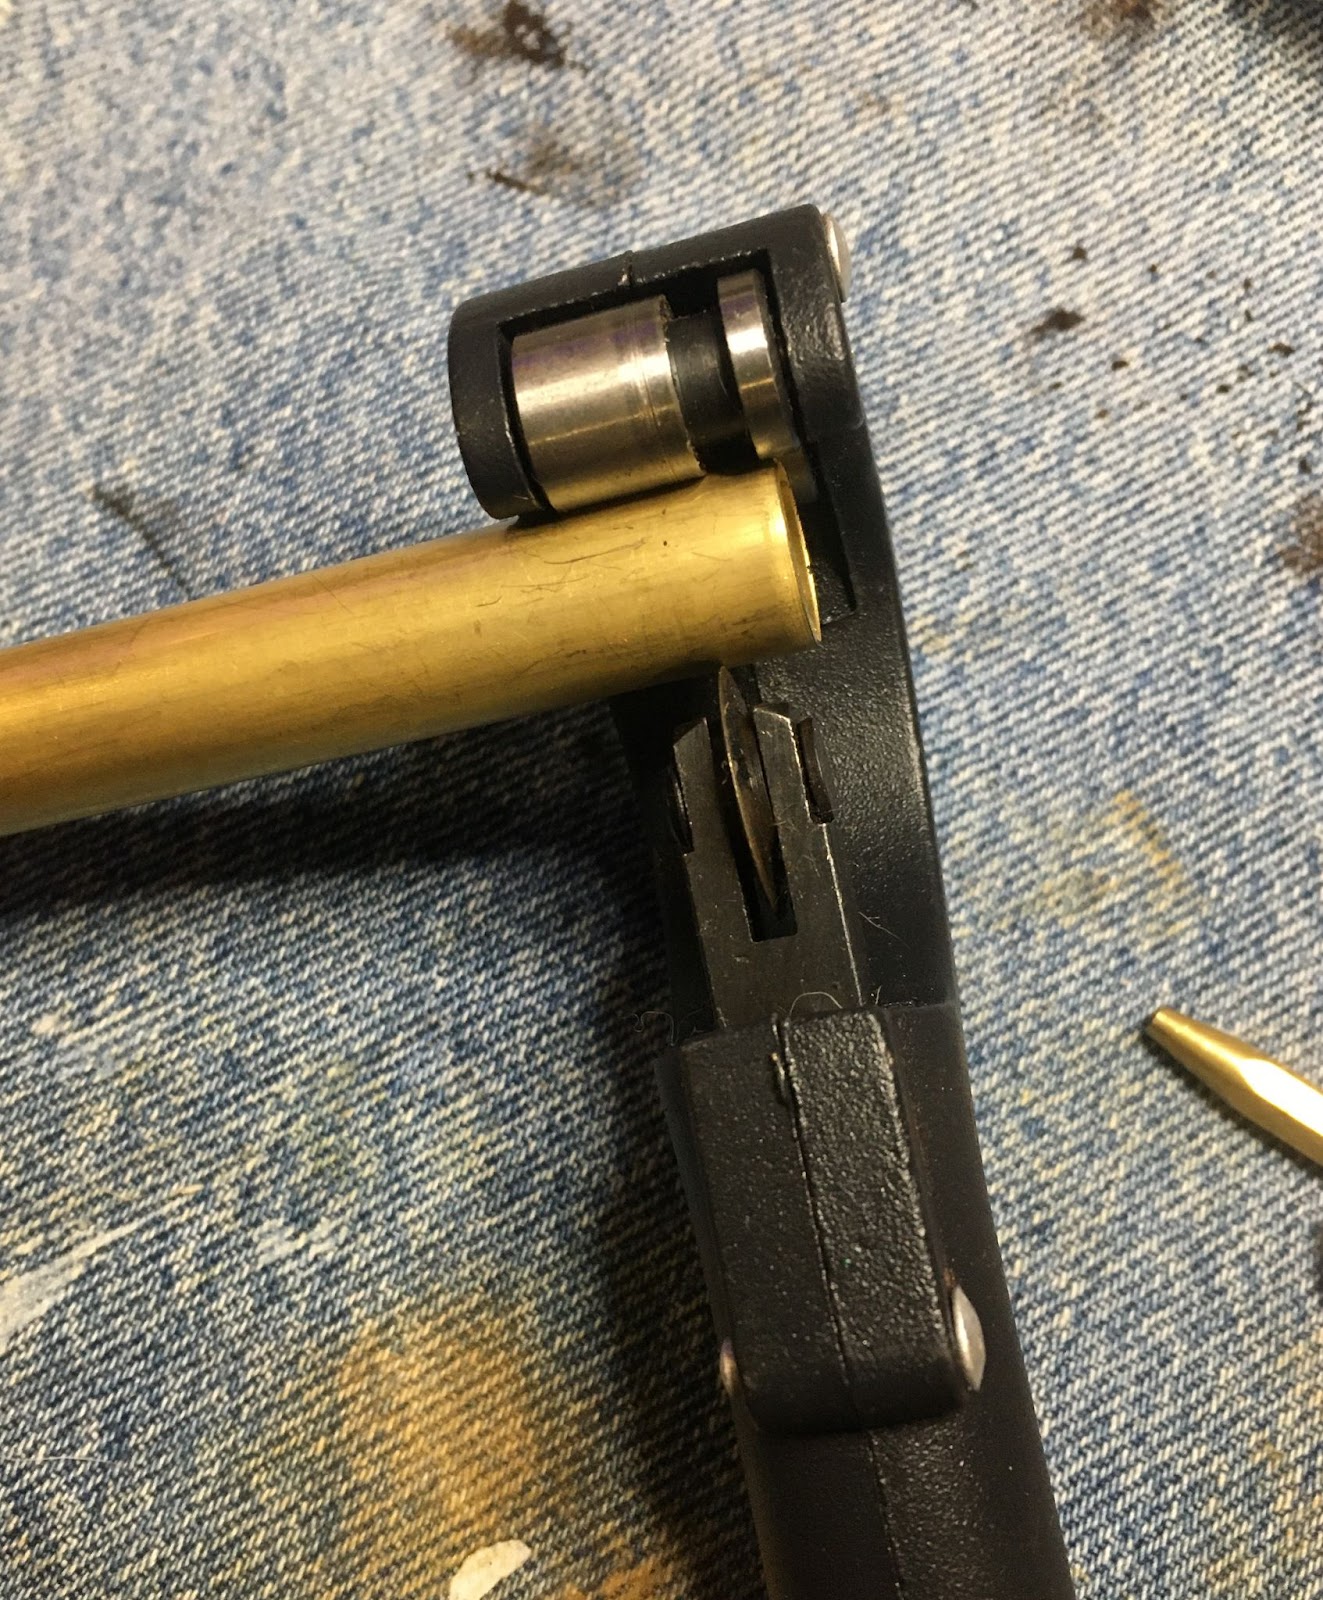
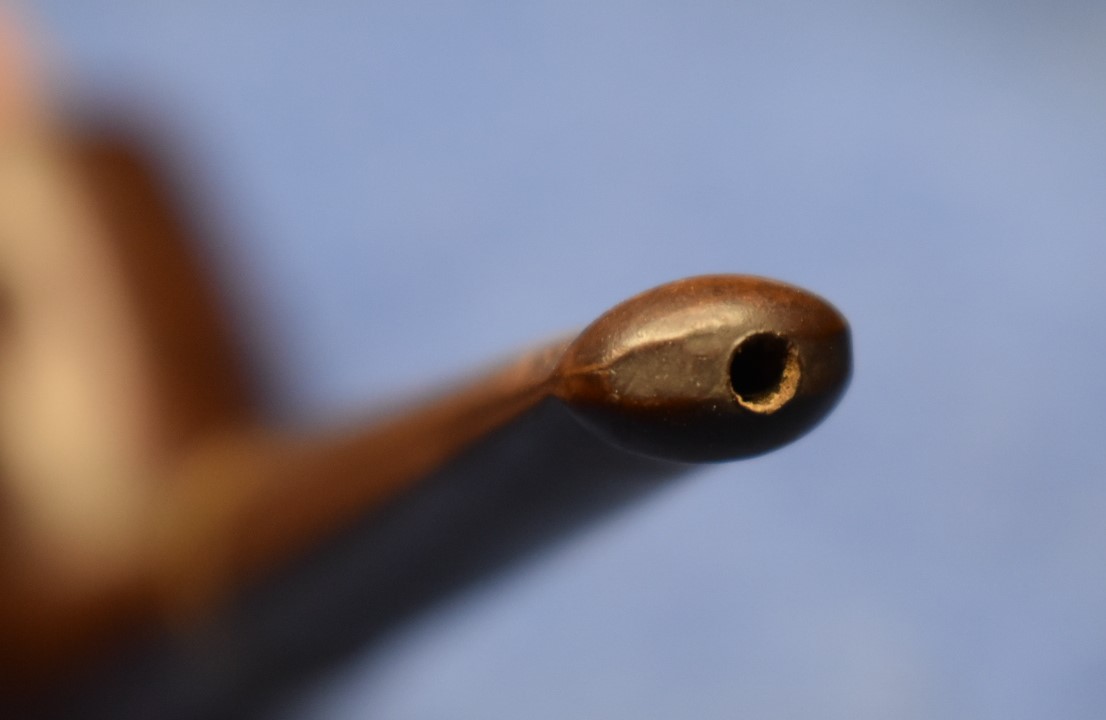
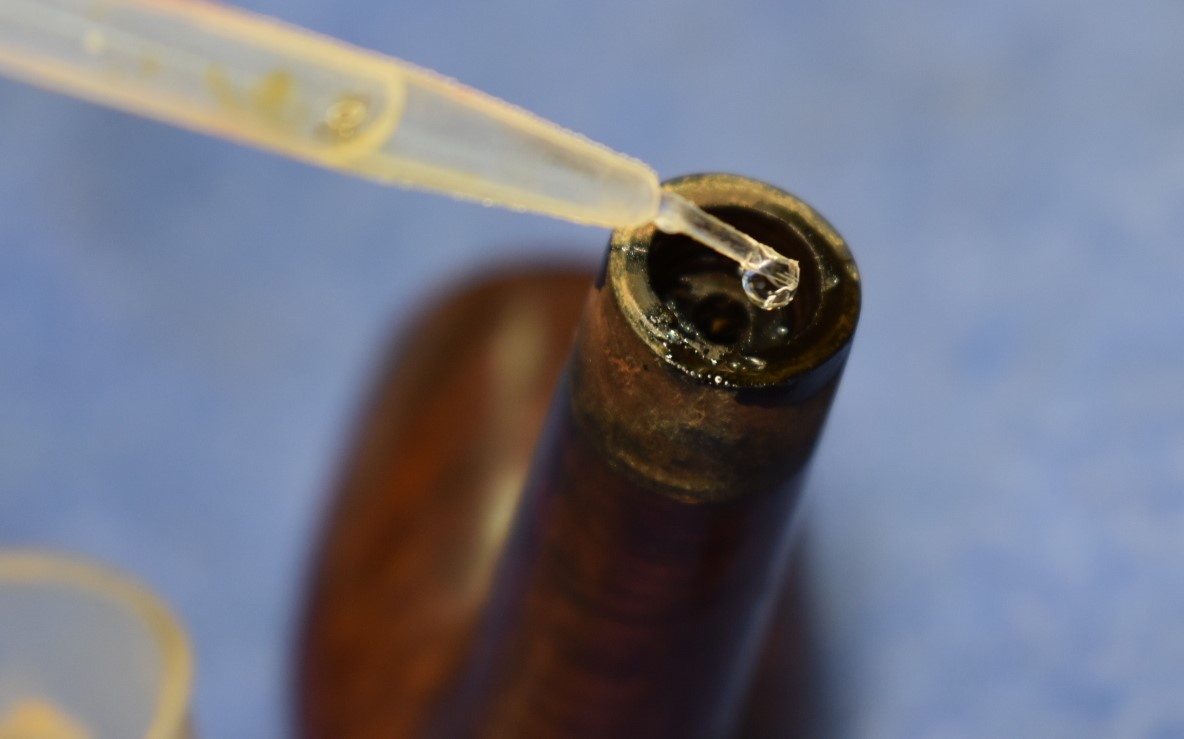
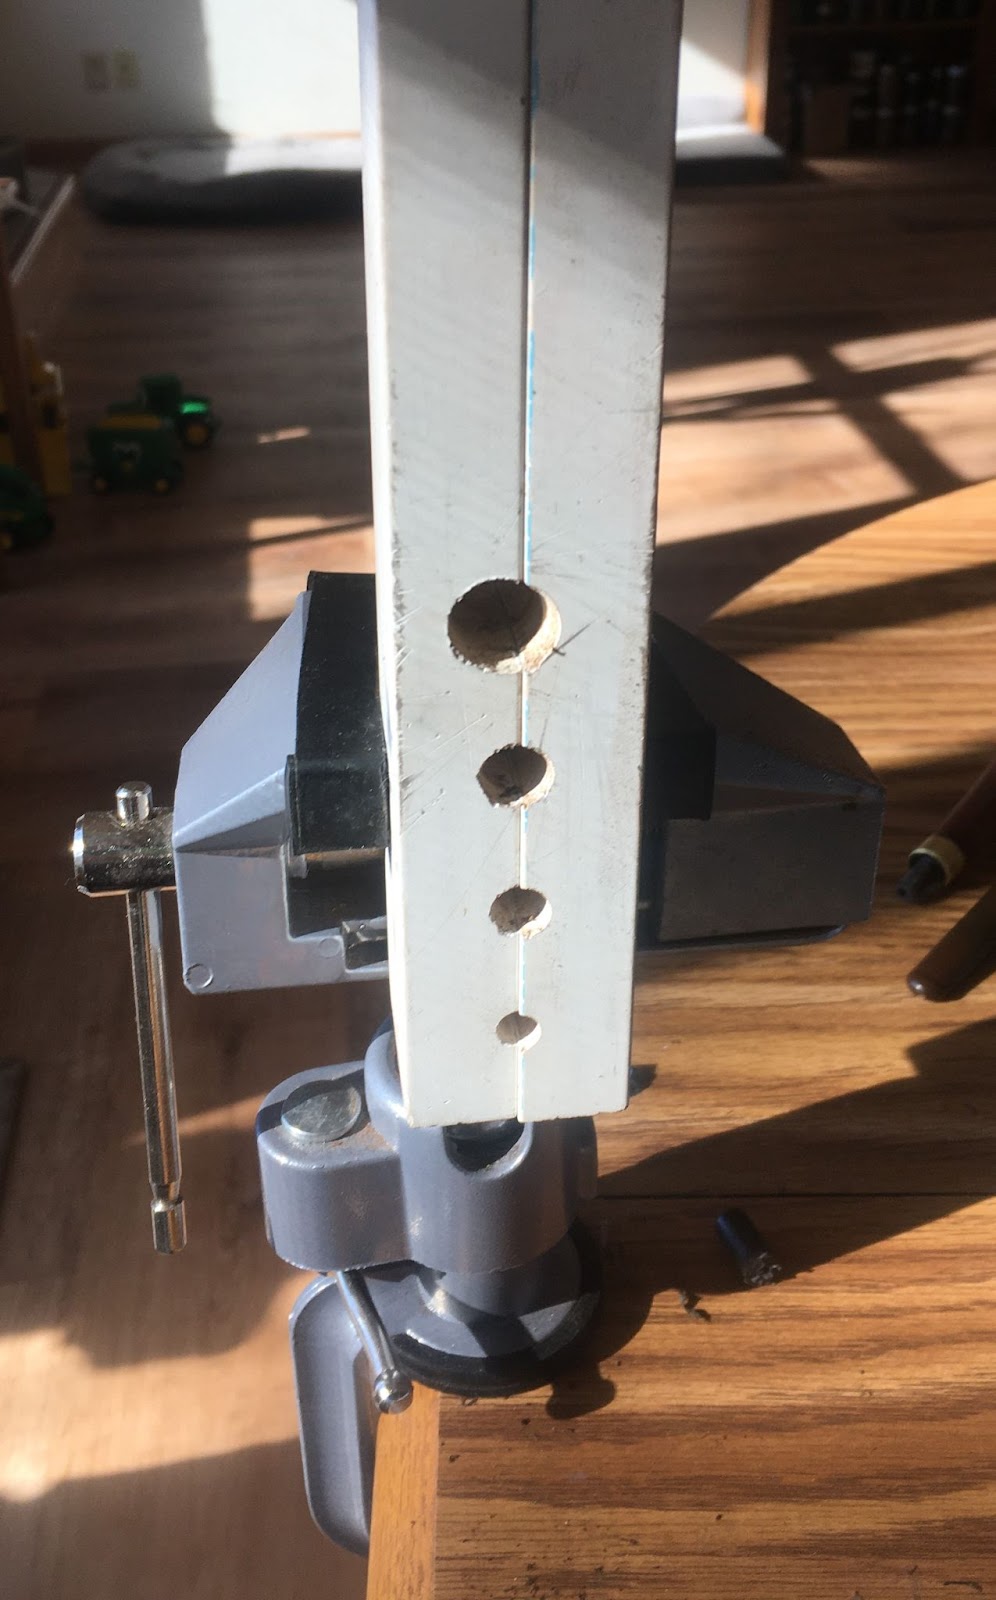
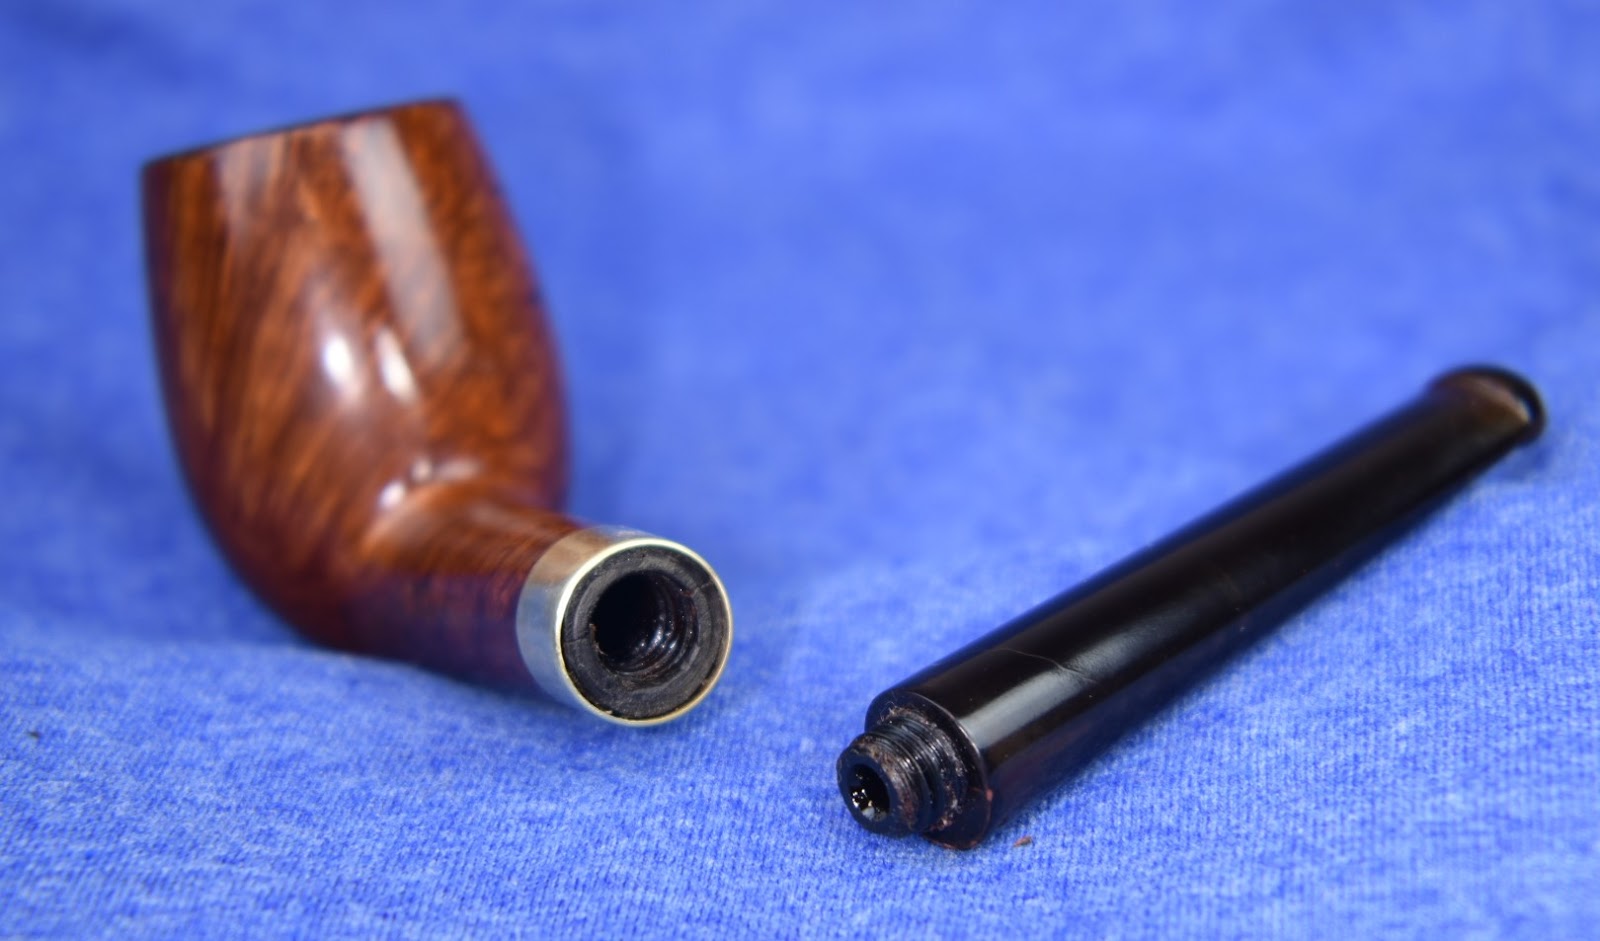
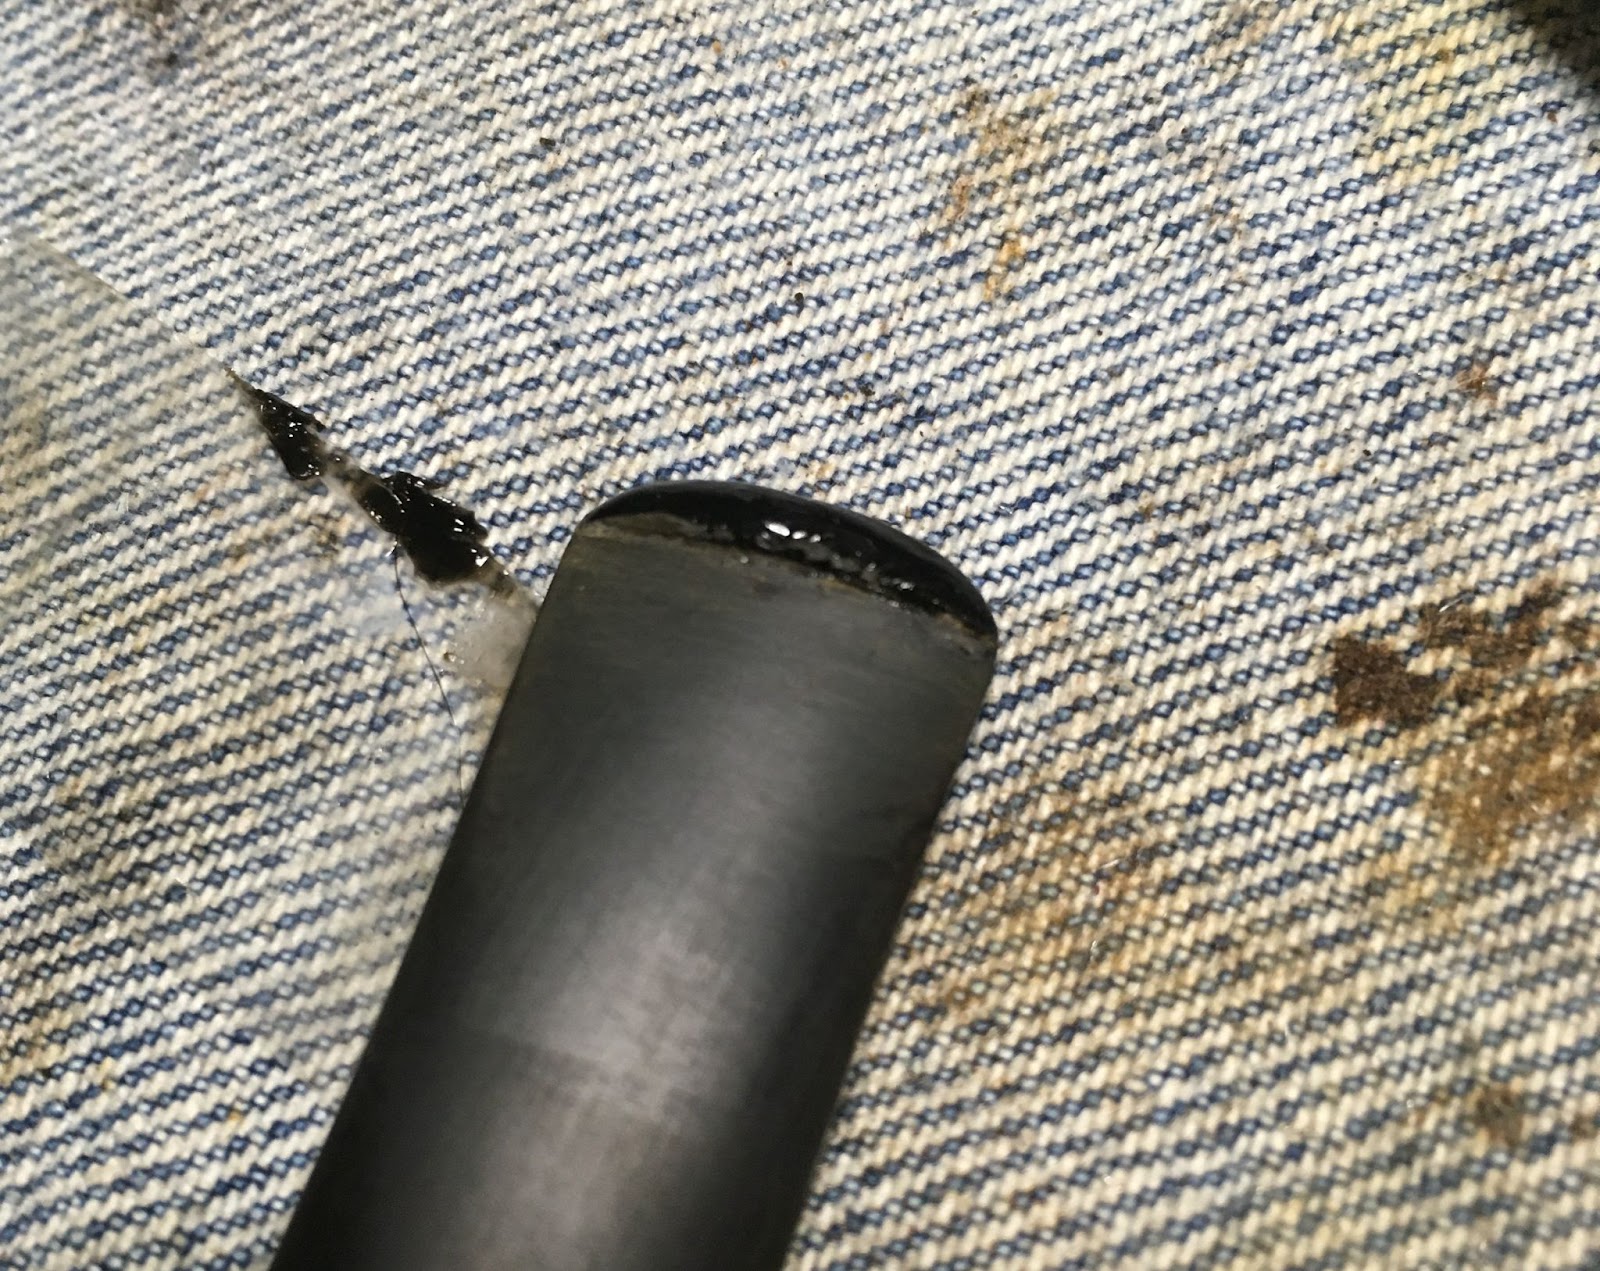
Notice that I didn’t show any photos of the tenon. That is because it was stuck. I could twist it about 90 degrees and move it off the mortise a few millimeters then it was really stuck. I sprayed some olive oil cooking spray into the gap and on the tenon. Allowed it to soak for about 30 seconds and resumed my twist-pull. That is all it needed. It was still cold from being outside but the oil was the secret sauce to free up the stem.

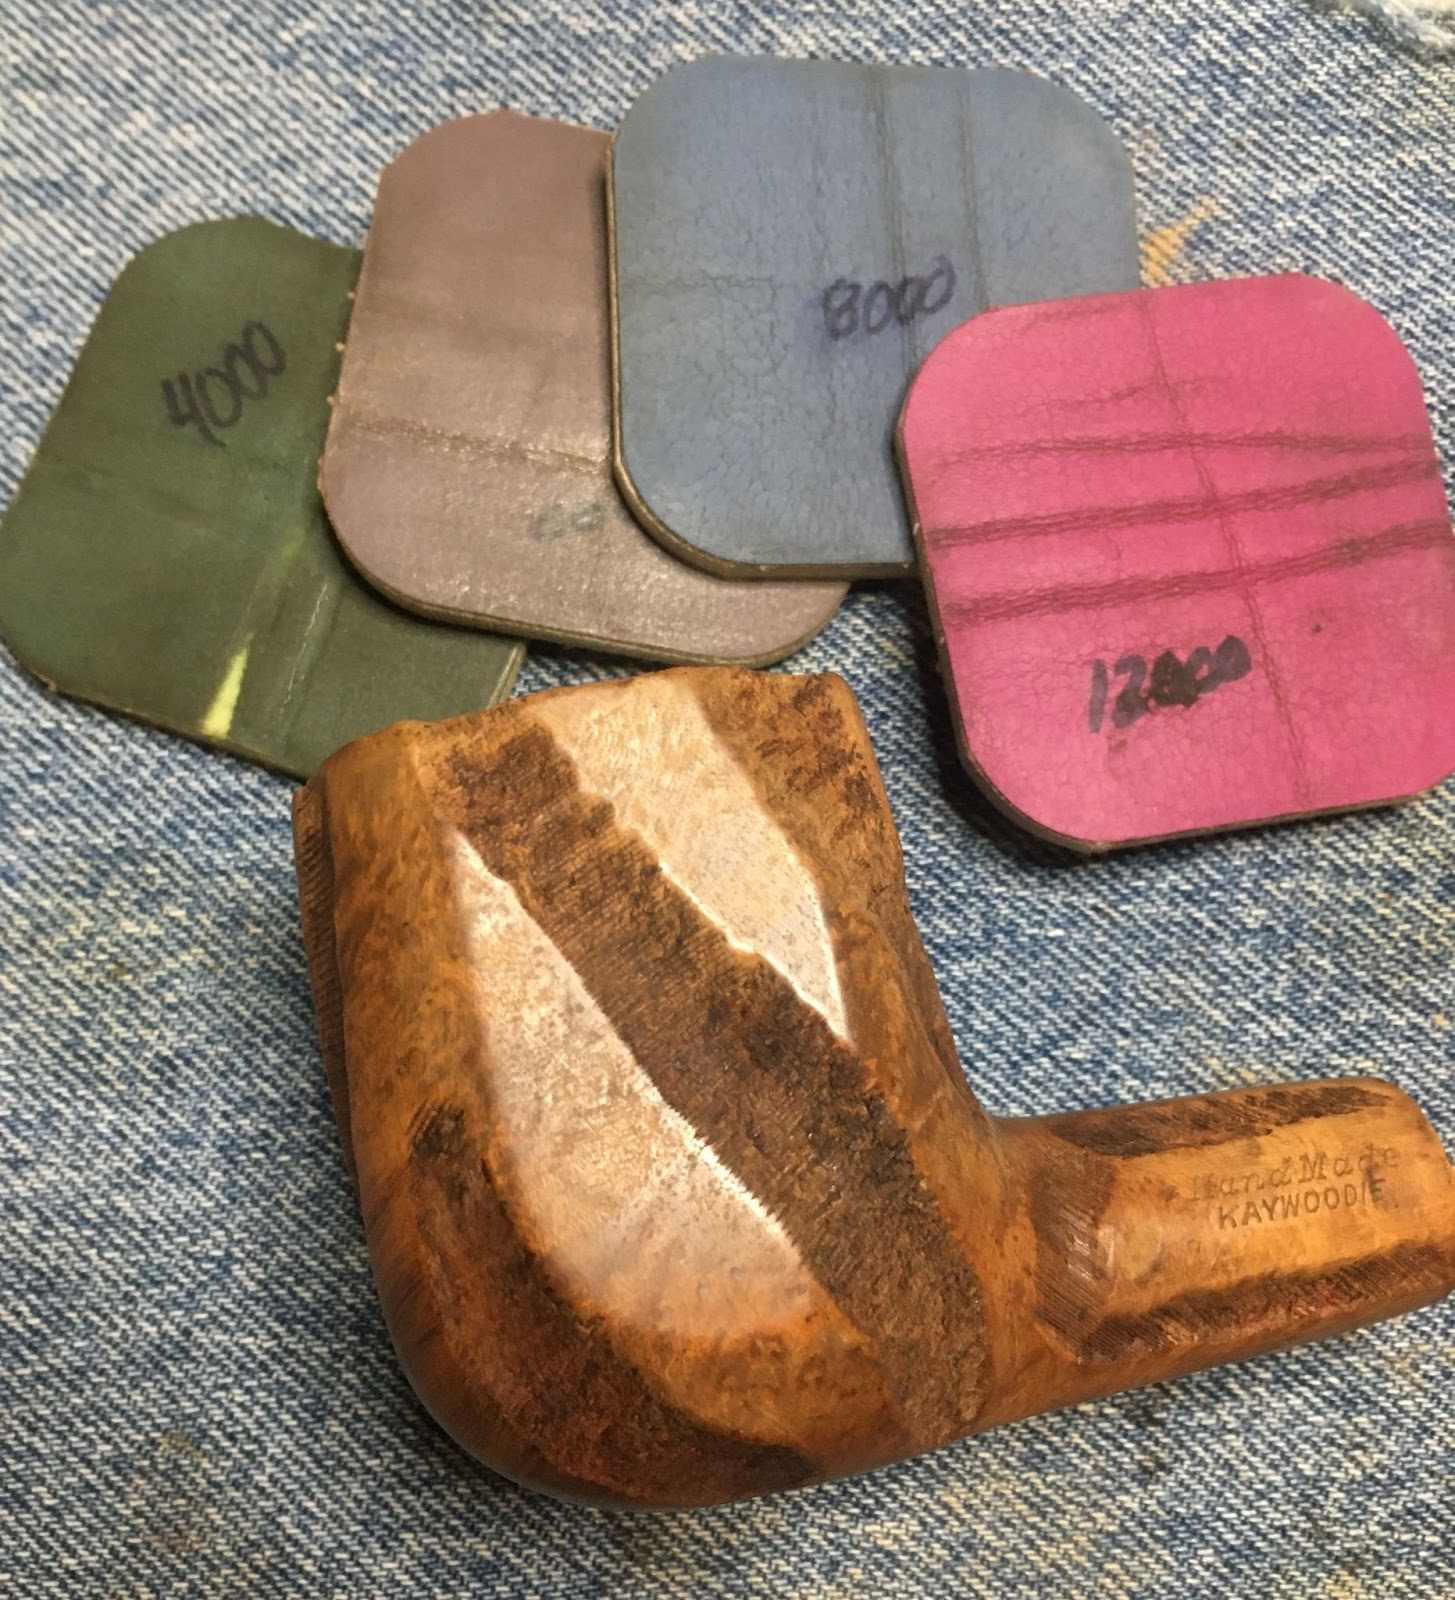
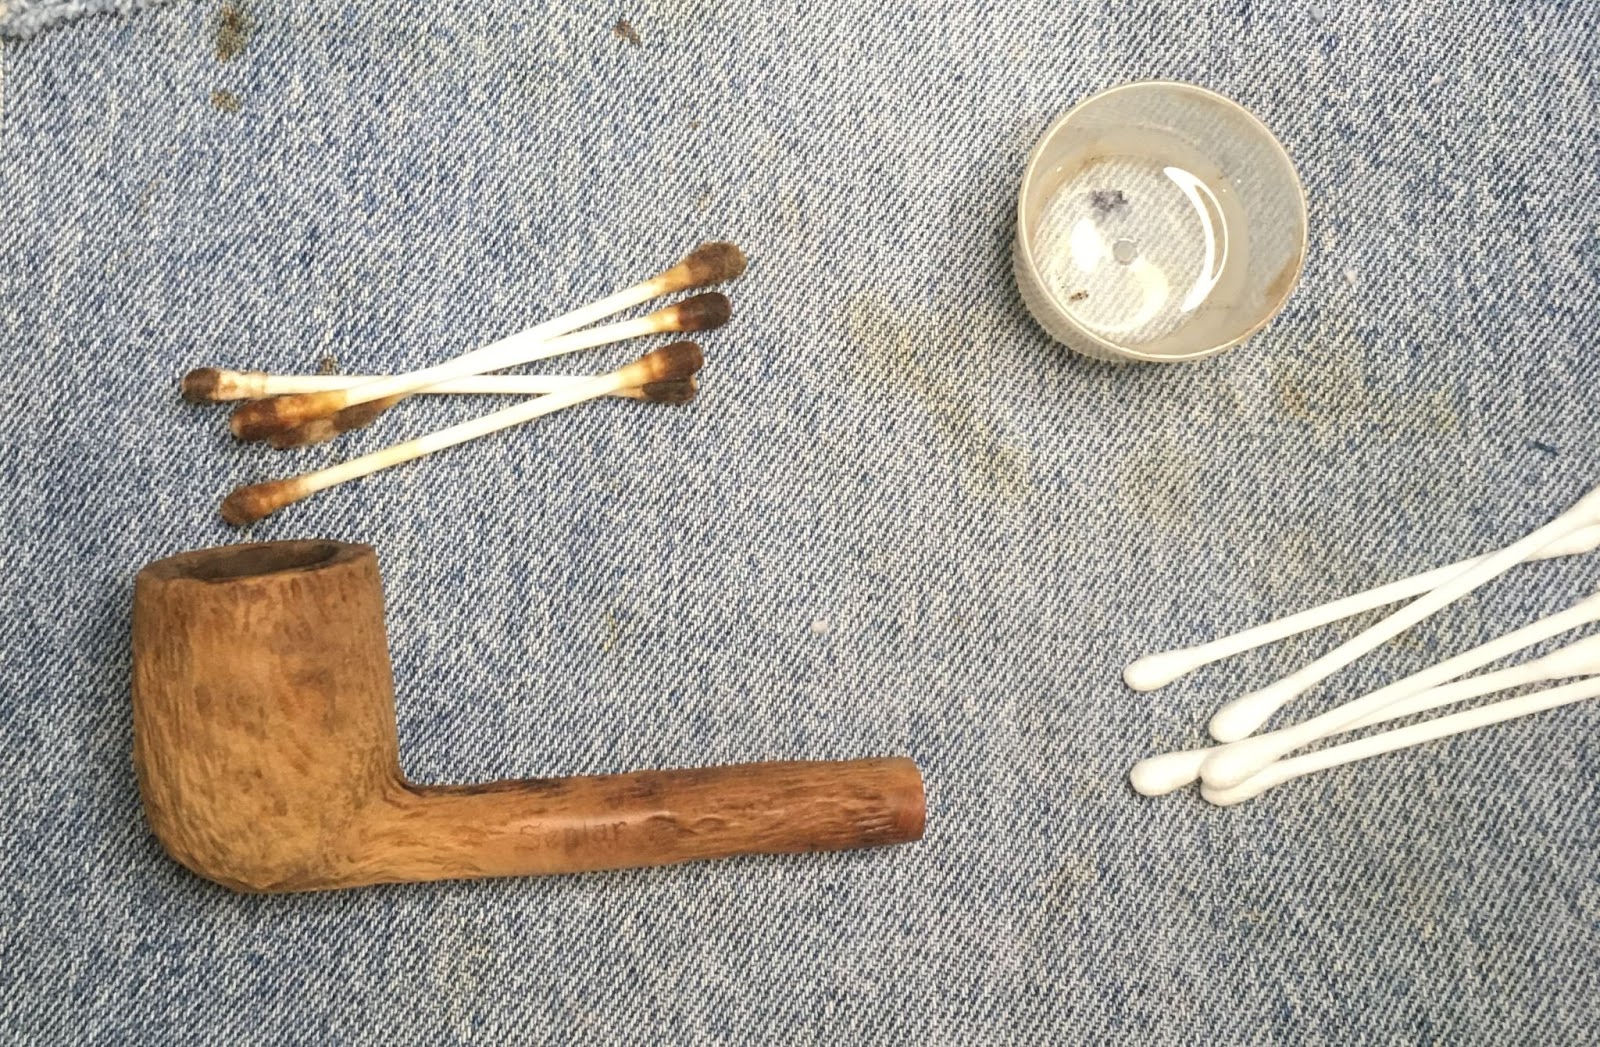
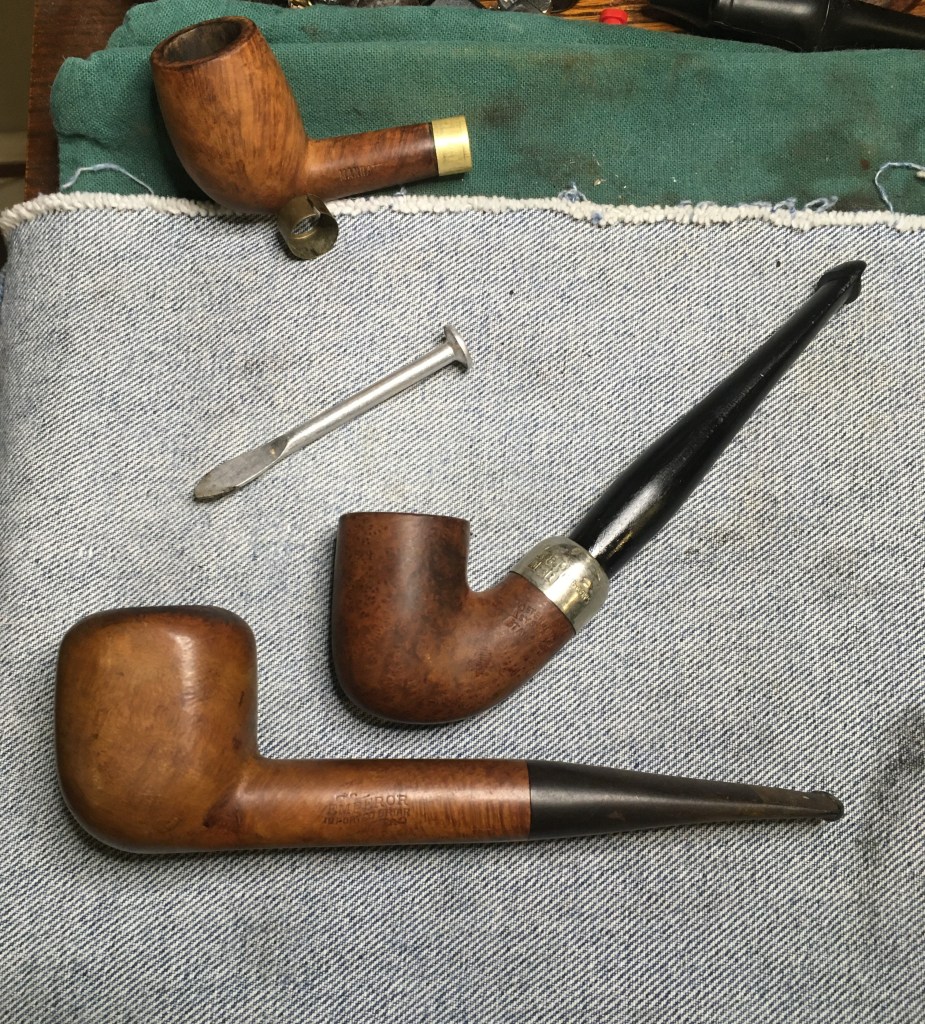
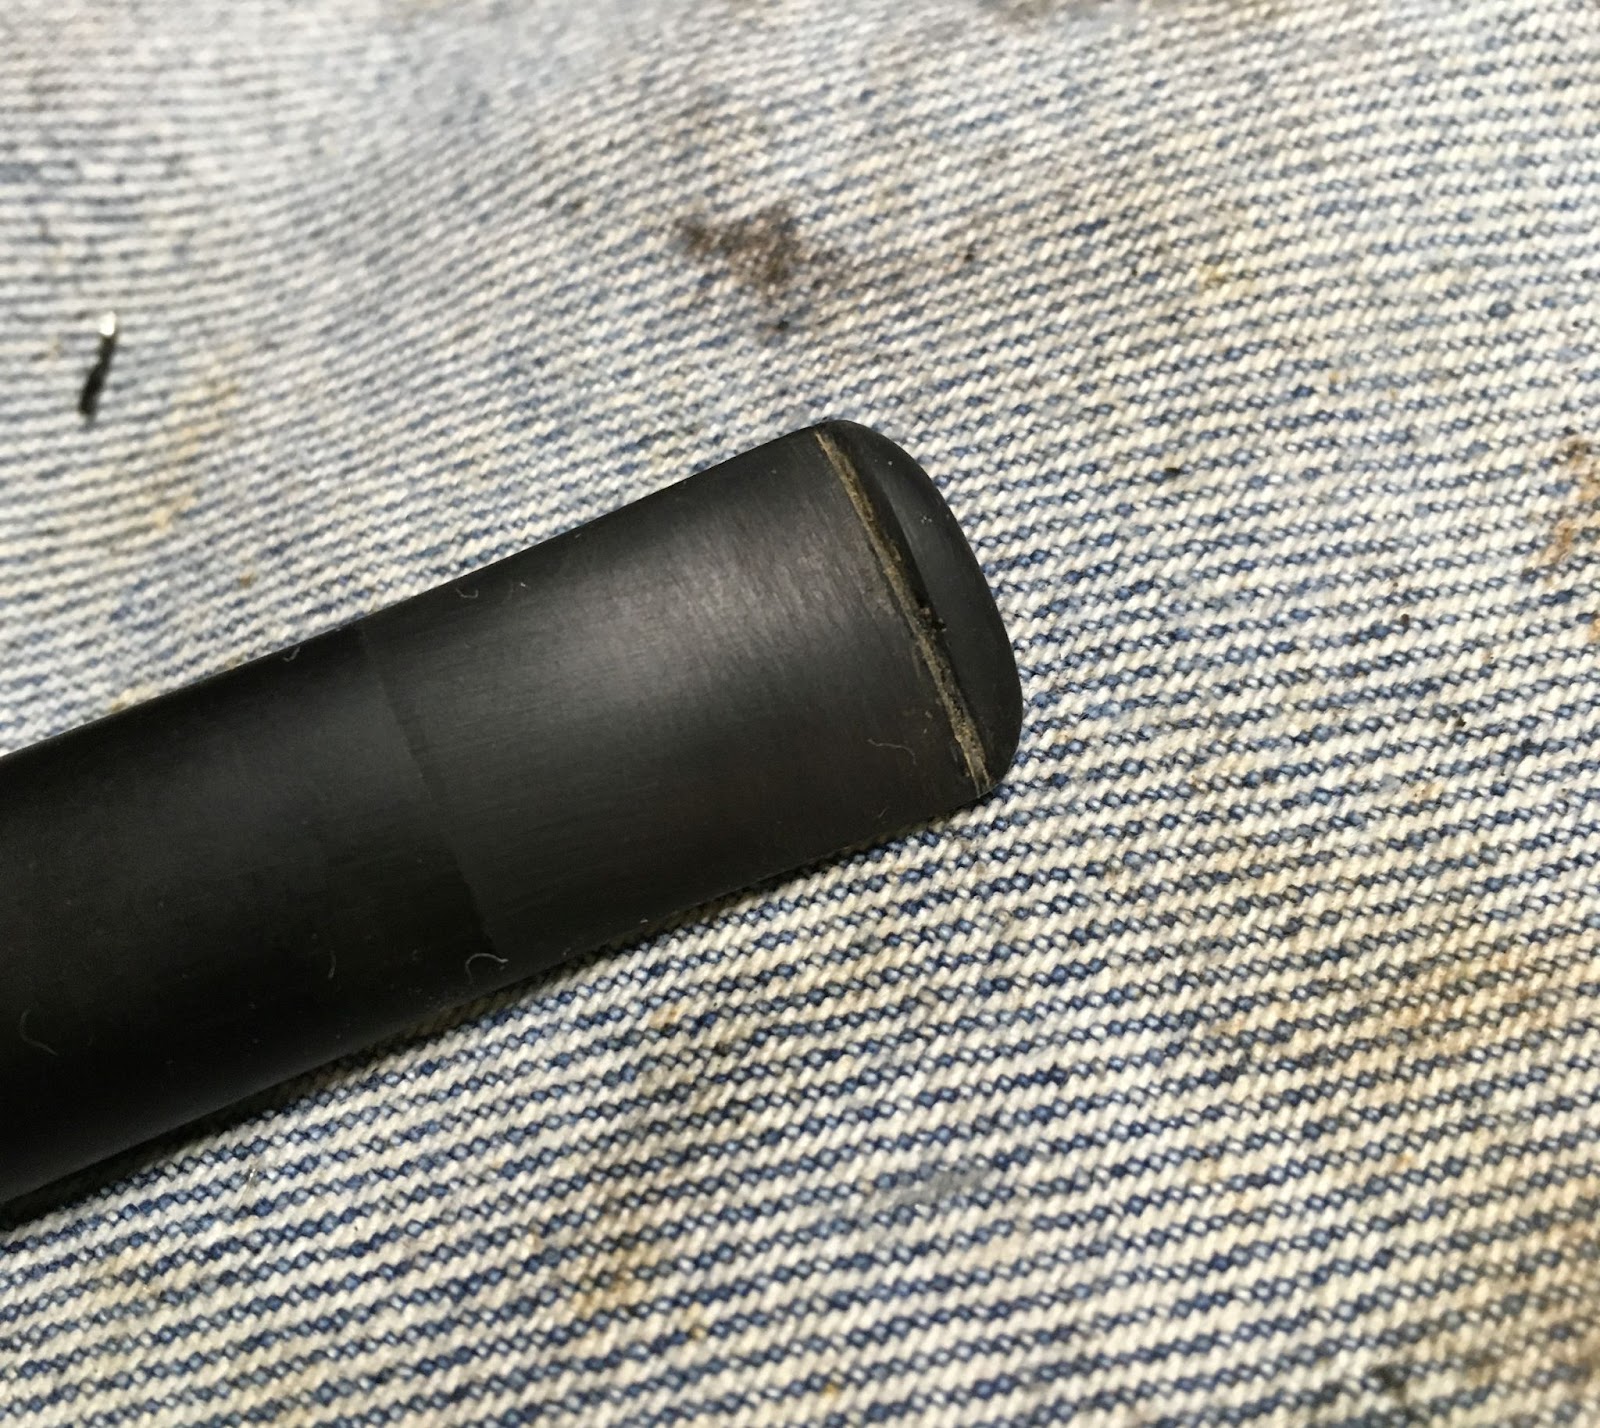
After the photos I took the 699 to the workbench. The pipe was worthy of a clean denim piece to protect both it and the work surface.

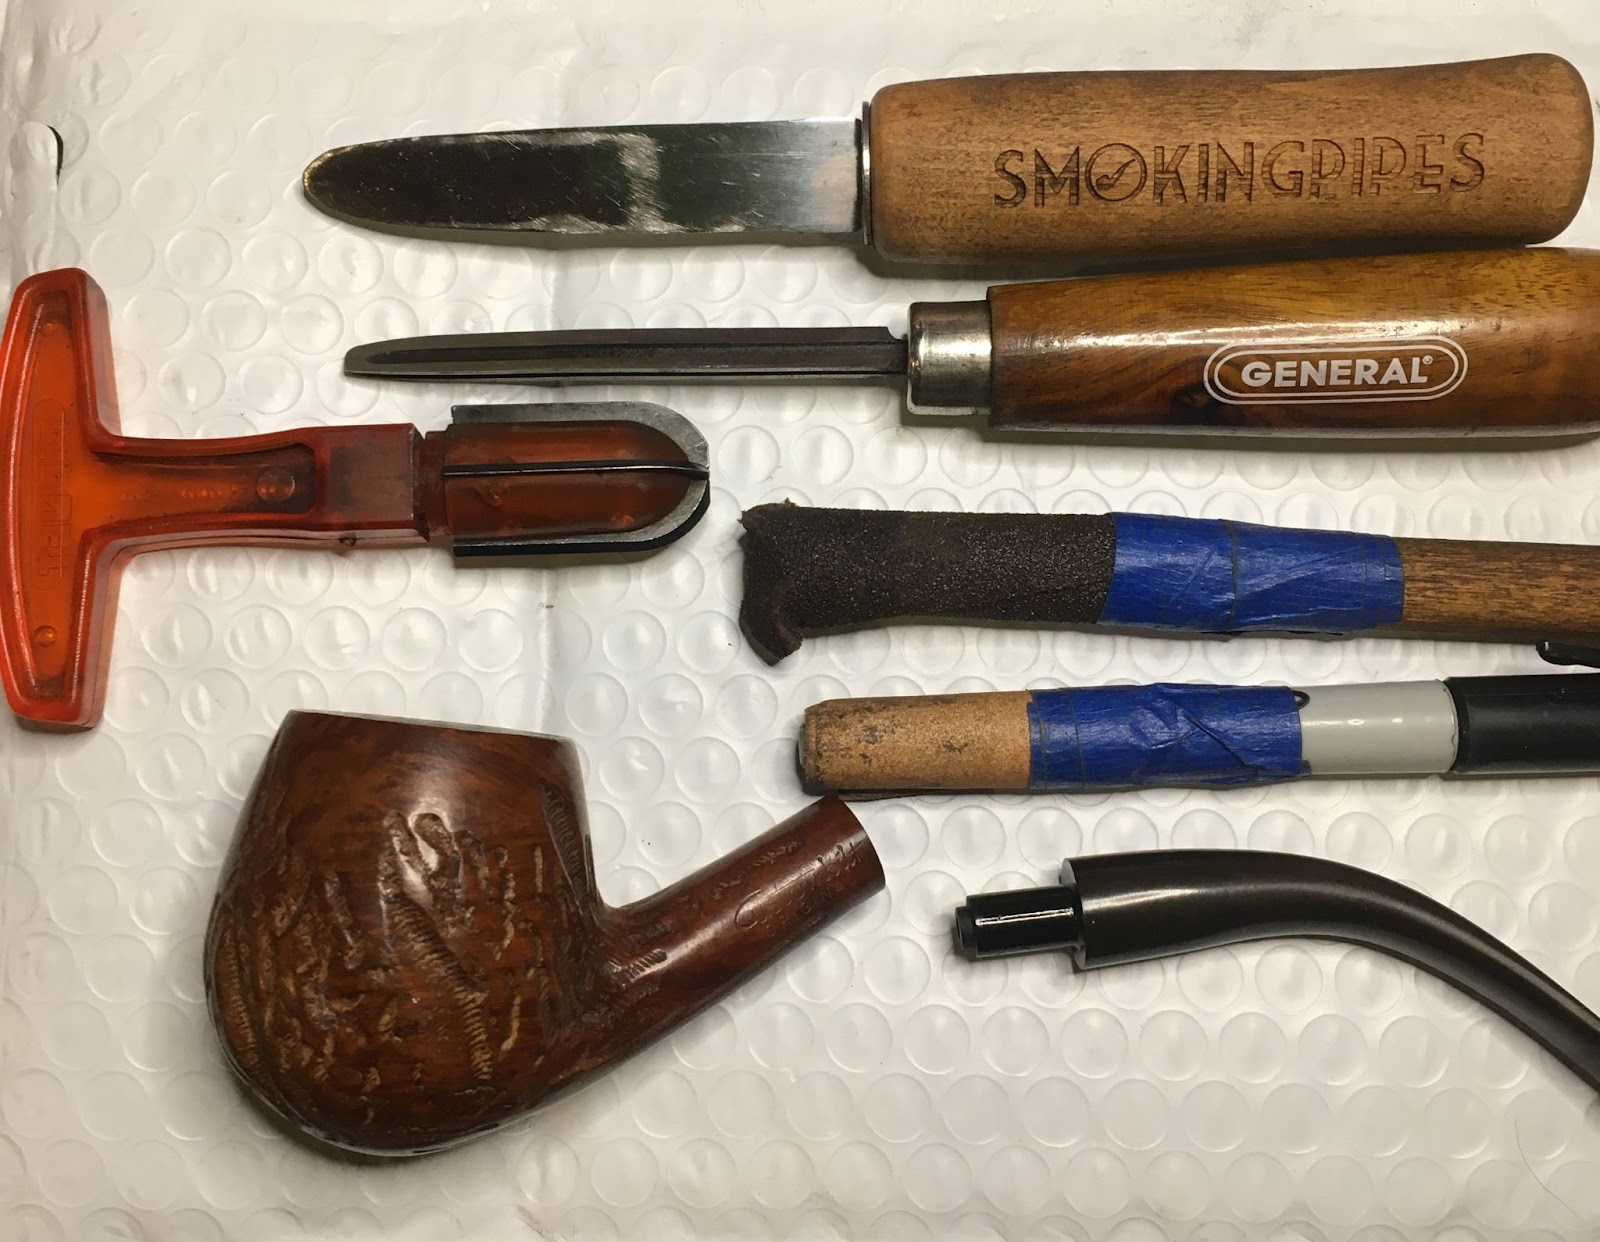
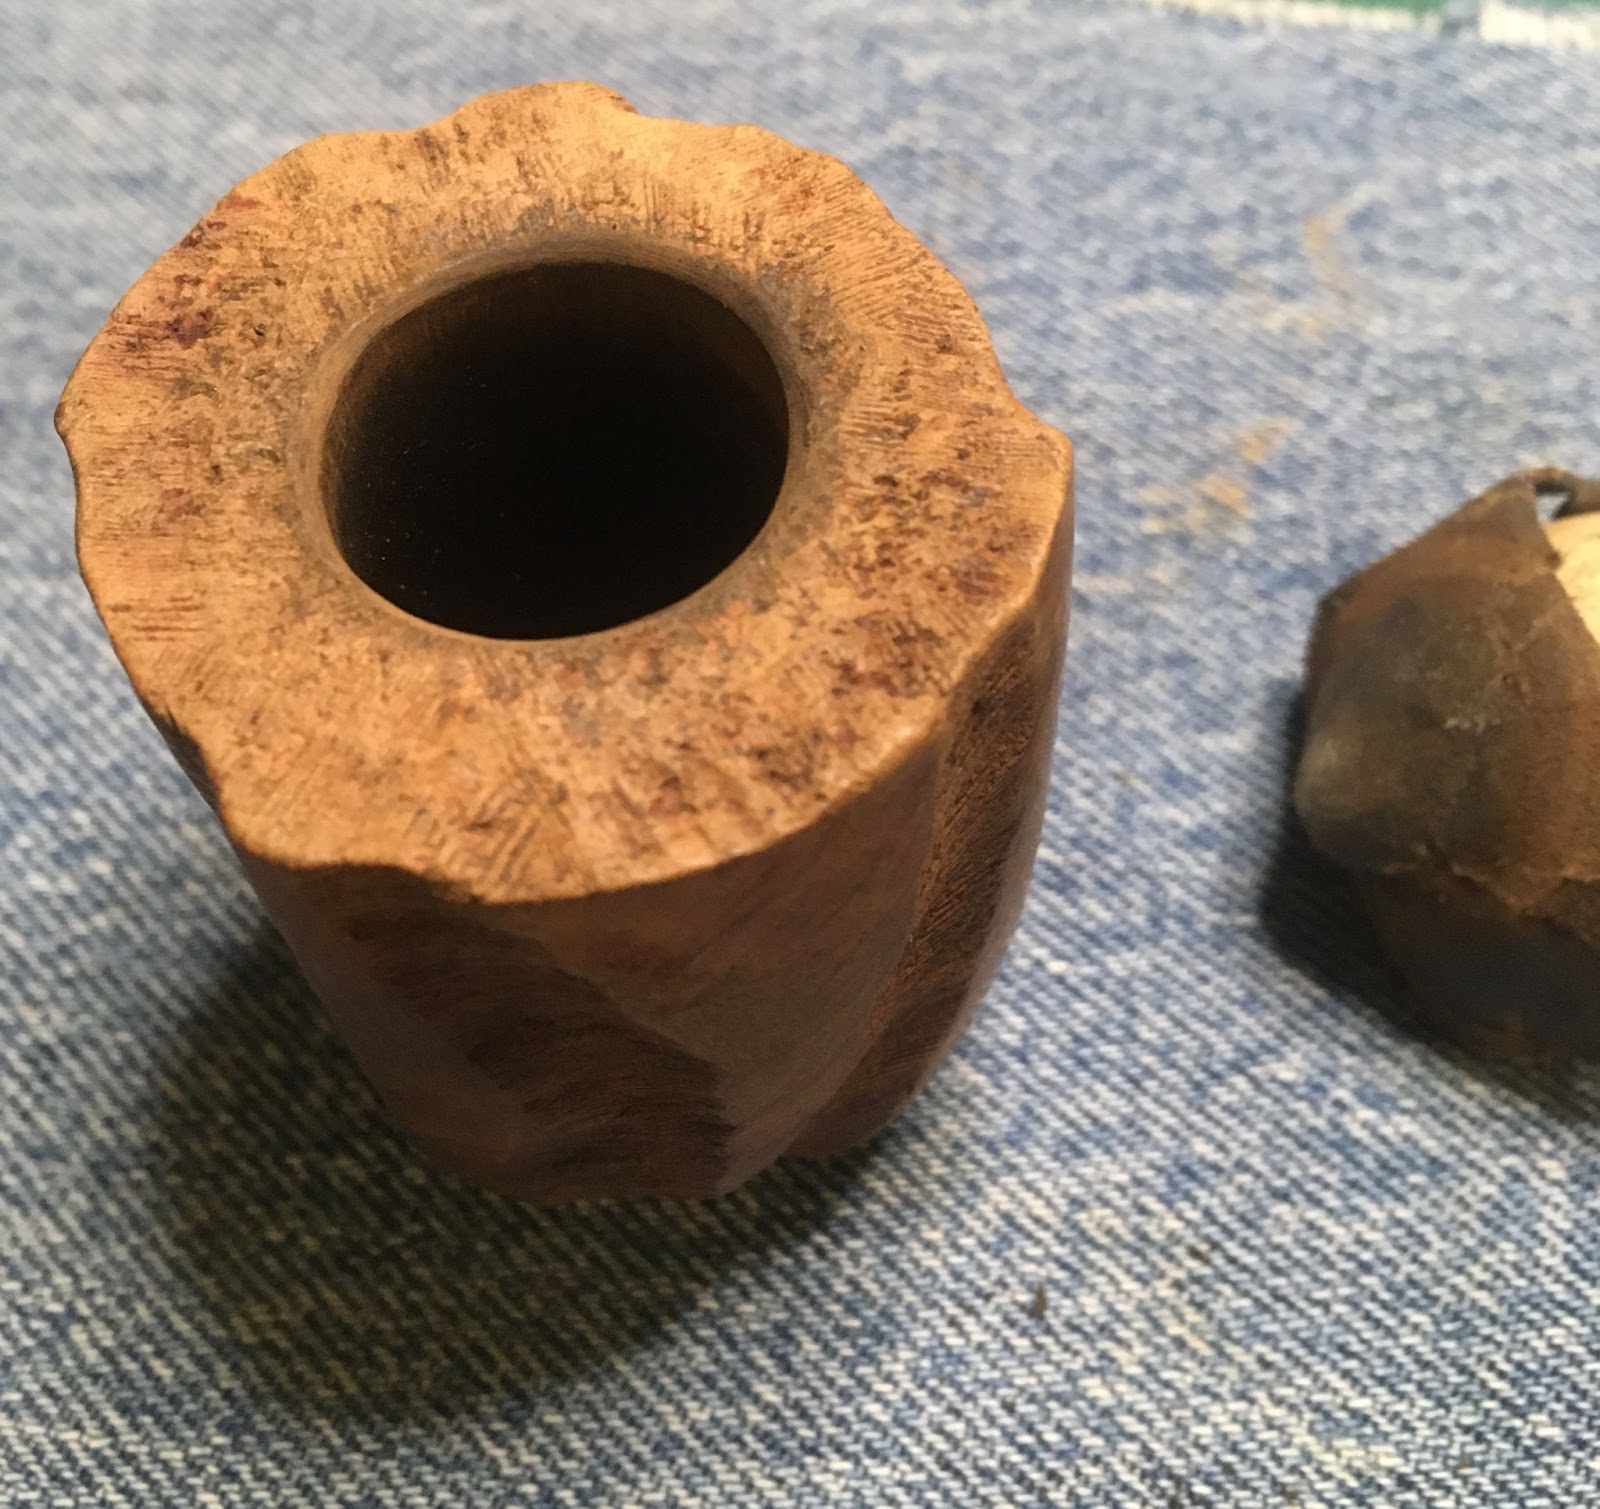
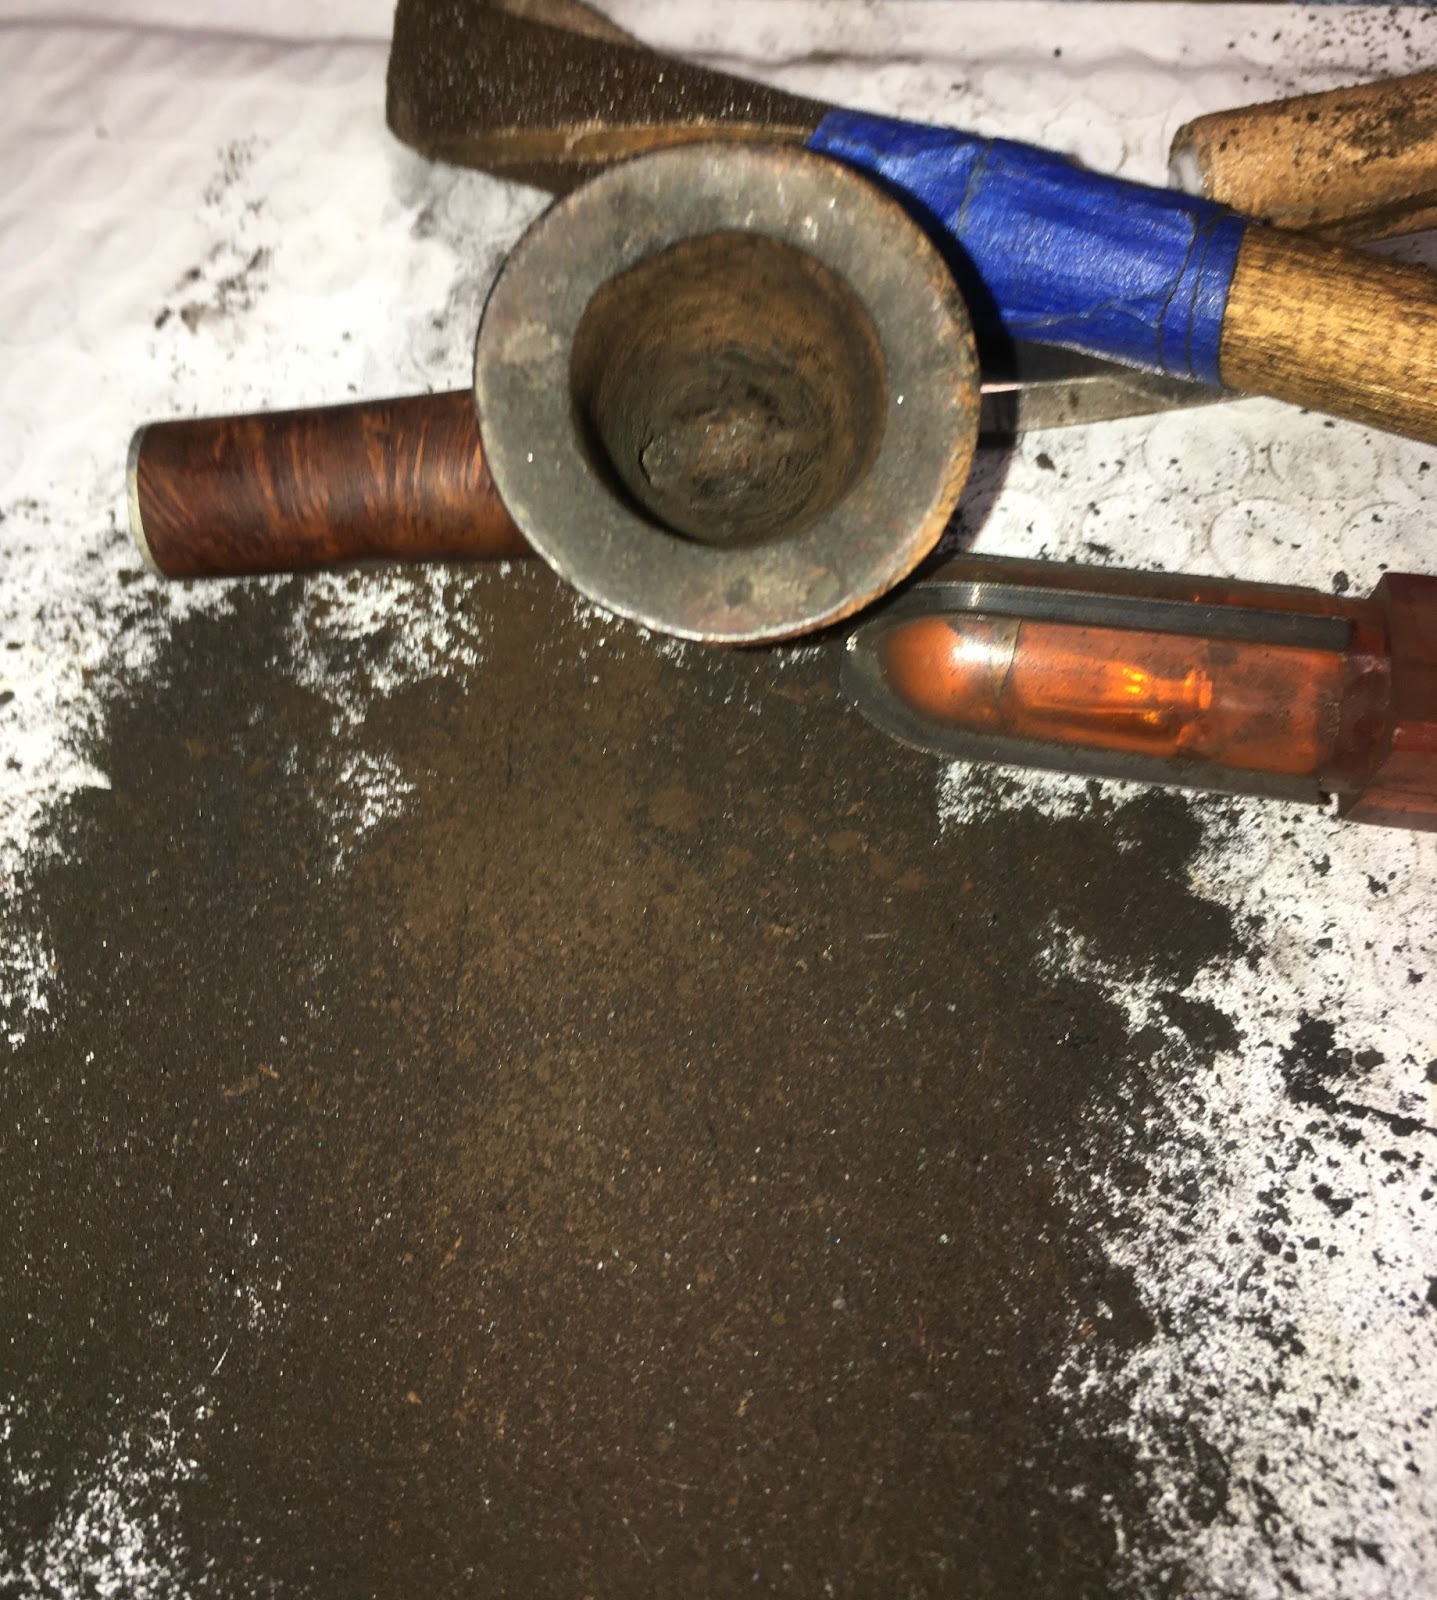
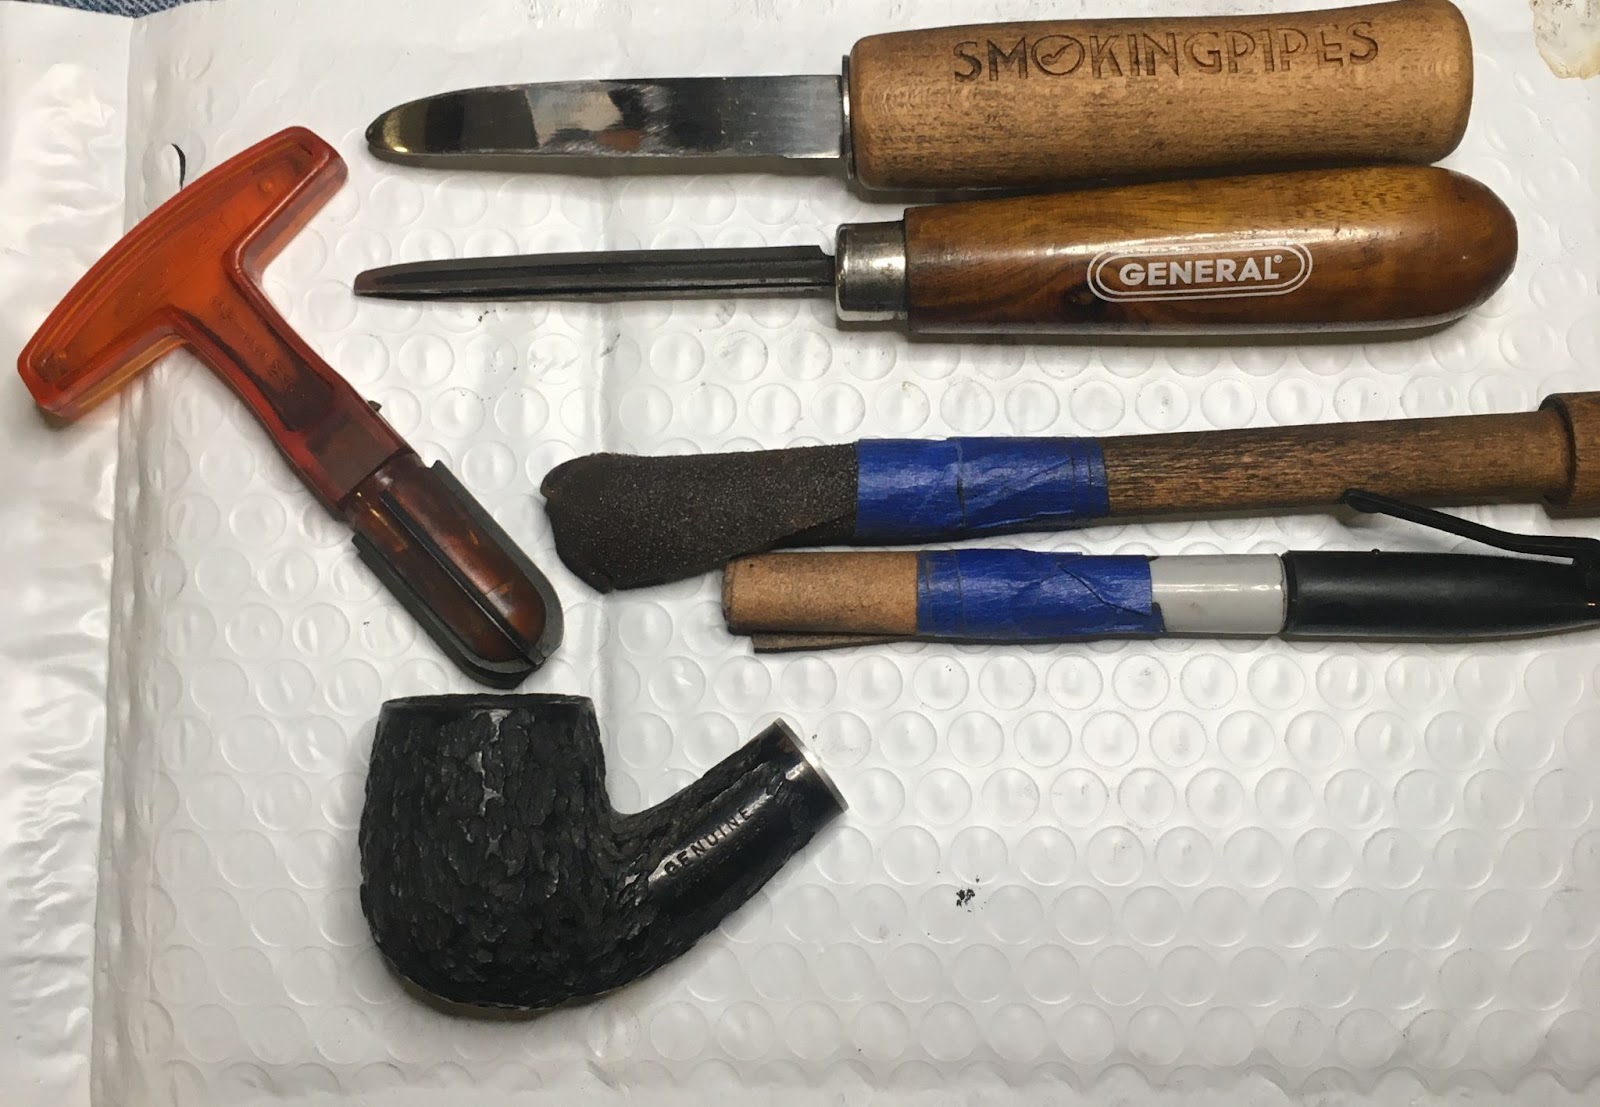
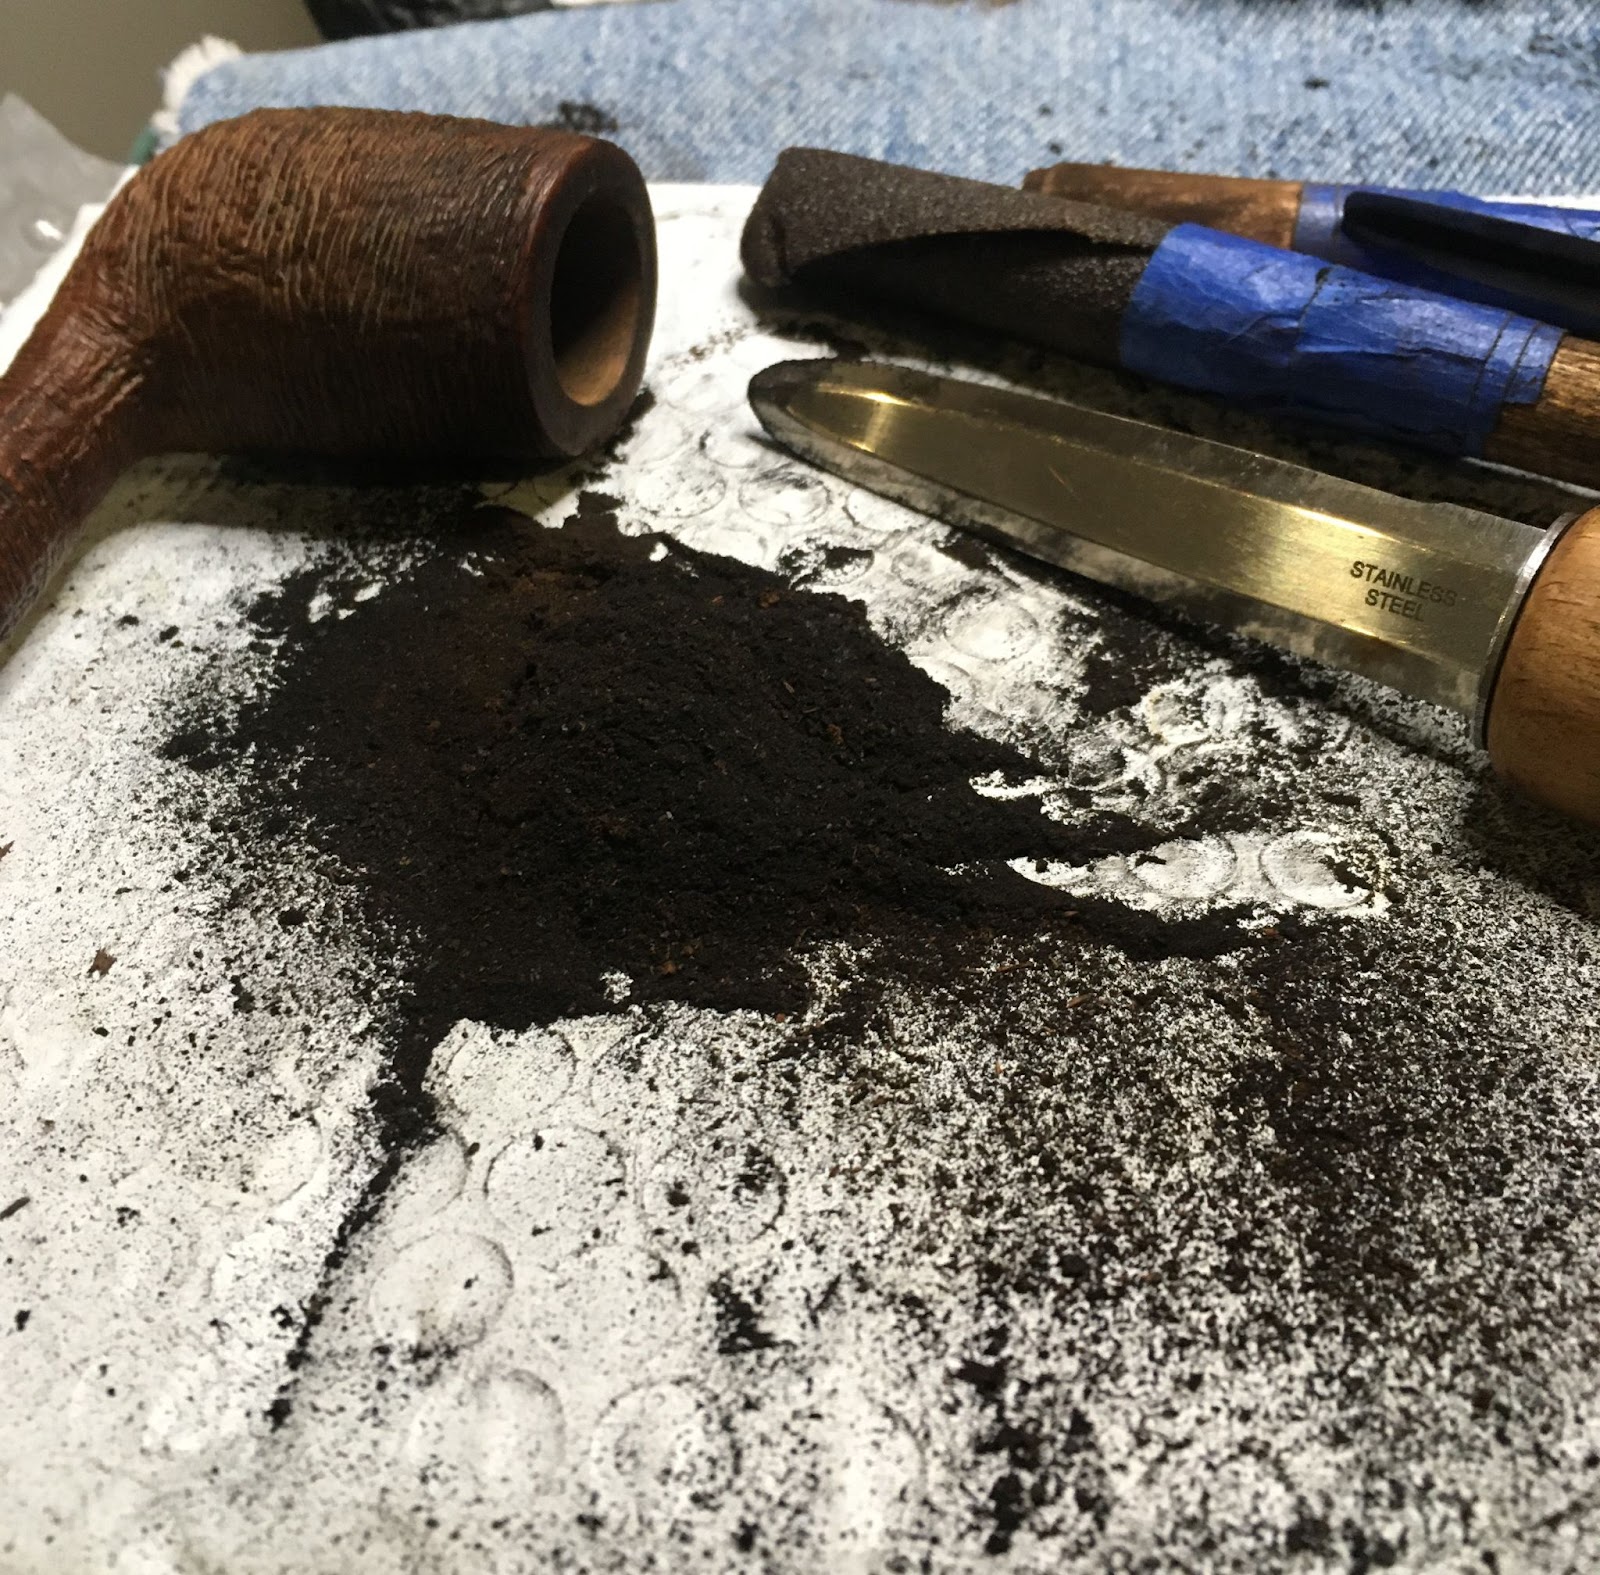
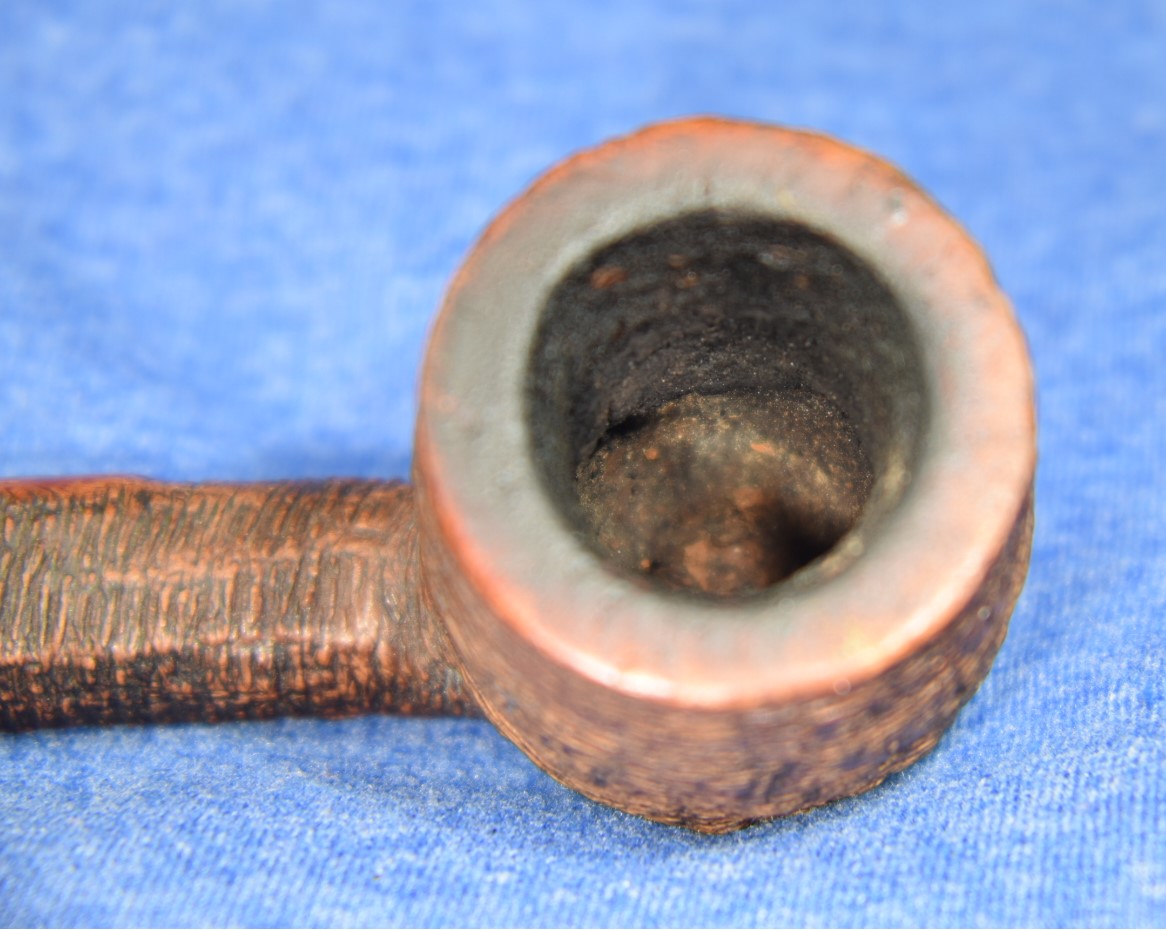
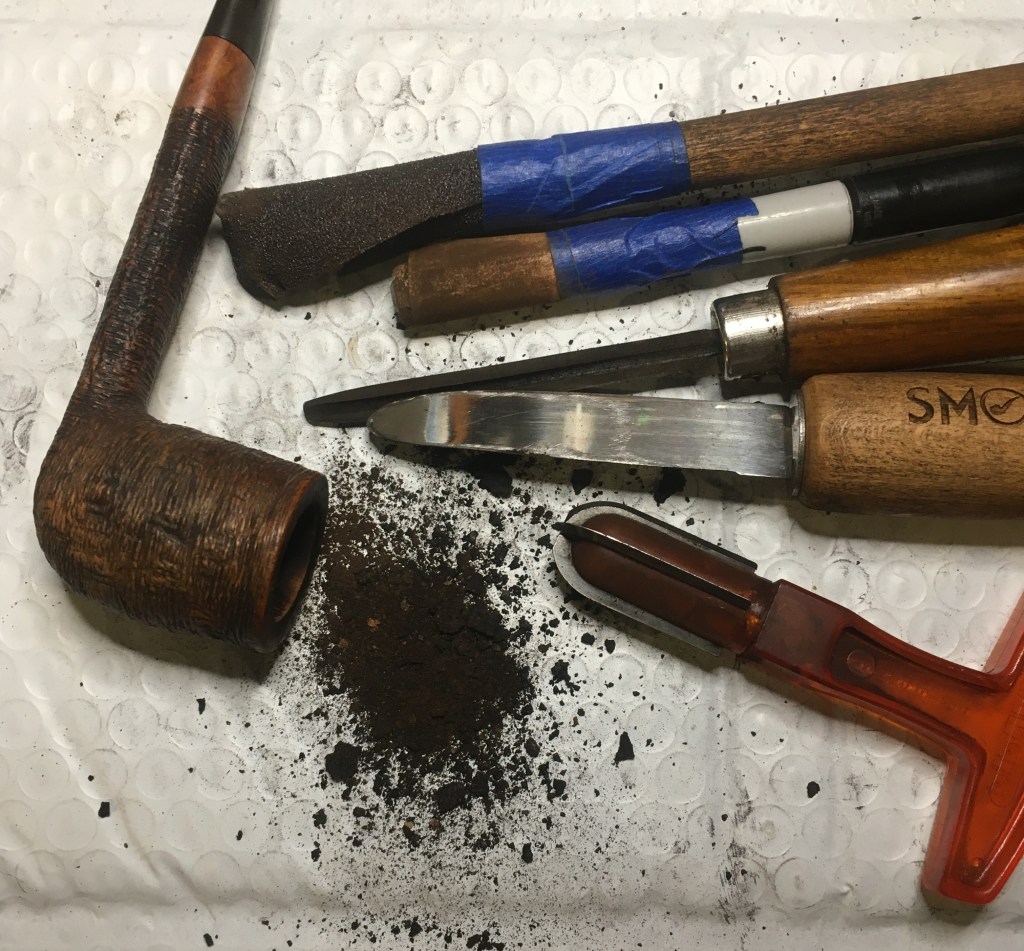
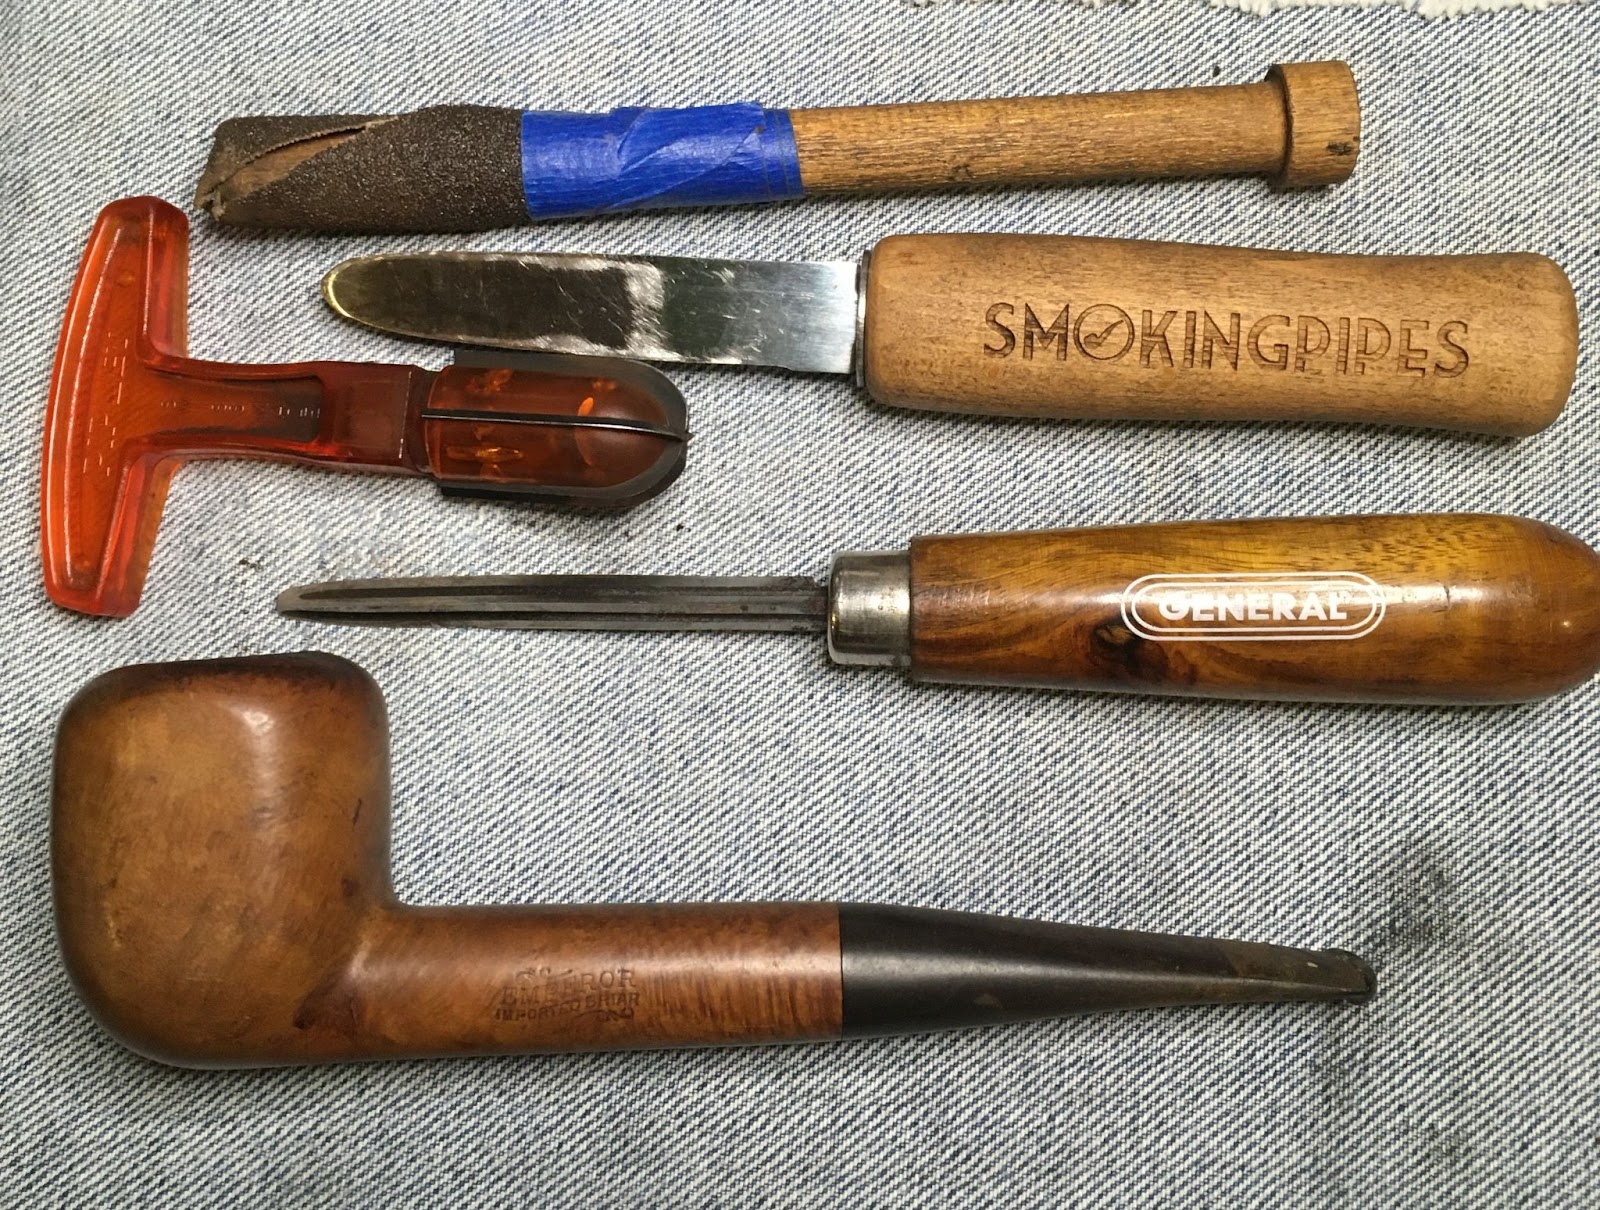
The reaming tools were gathered: The PipNet with #3 blade, Smokingpipes knife, General triangular scraper, 220 sandpaper wrapped around a wood dowel and 320 sandpaper wrapped around a Sharpie. The small amount of cake was mostly removed with the knife and scraper. THe PipeNet #3 blade was a bit too small and the #4 too large. This pipe had either been smoked rarely or reamed recently. The cleaning of the shank would certainly solve that question.
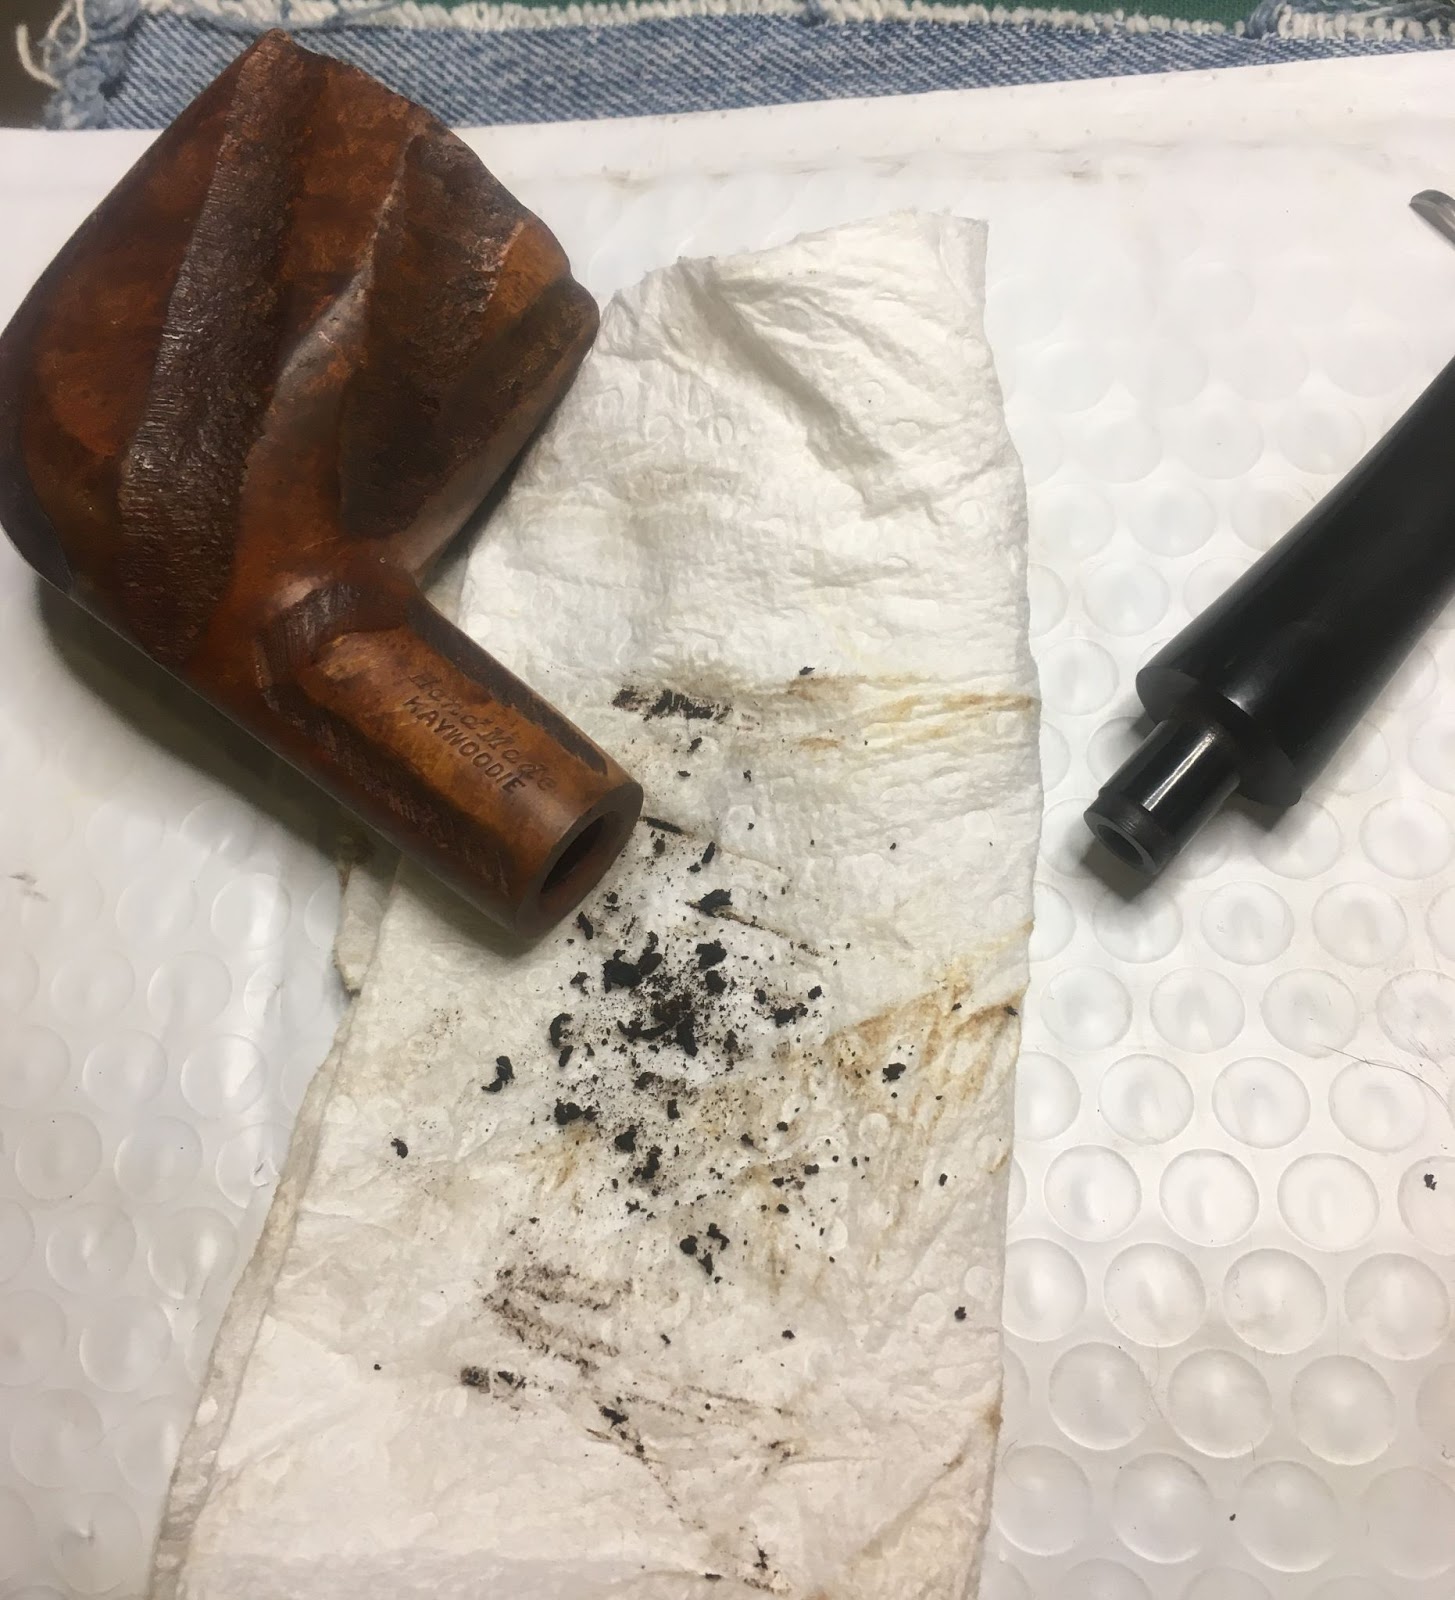
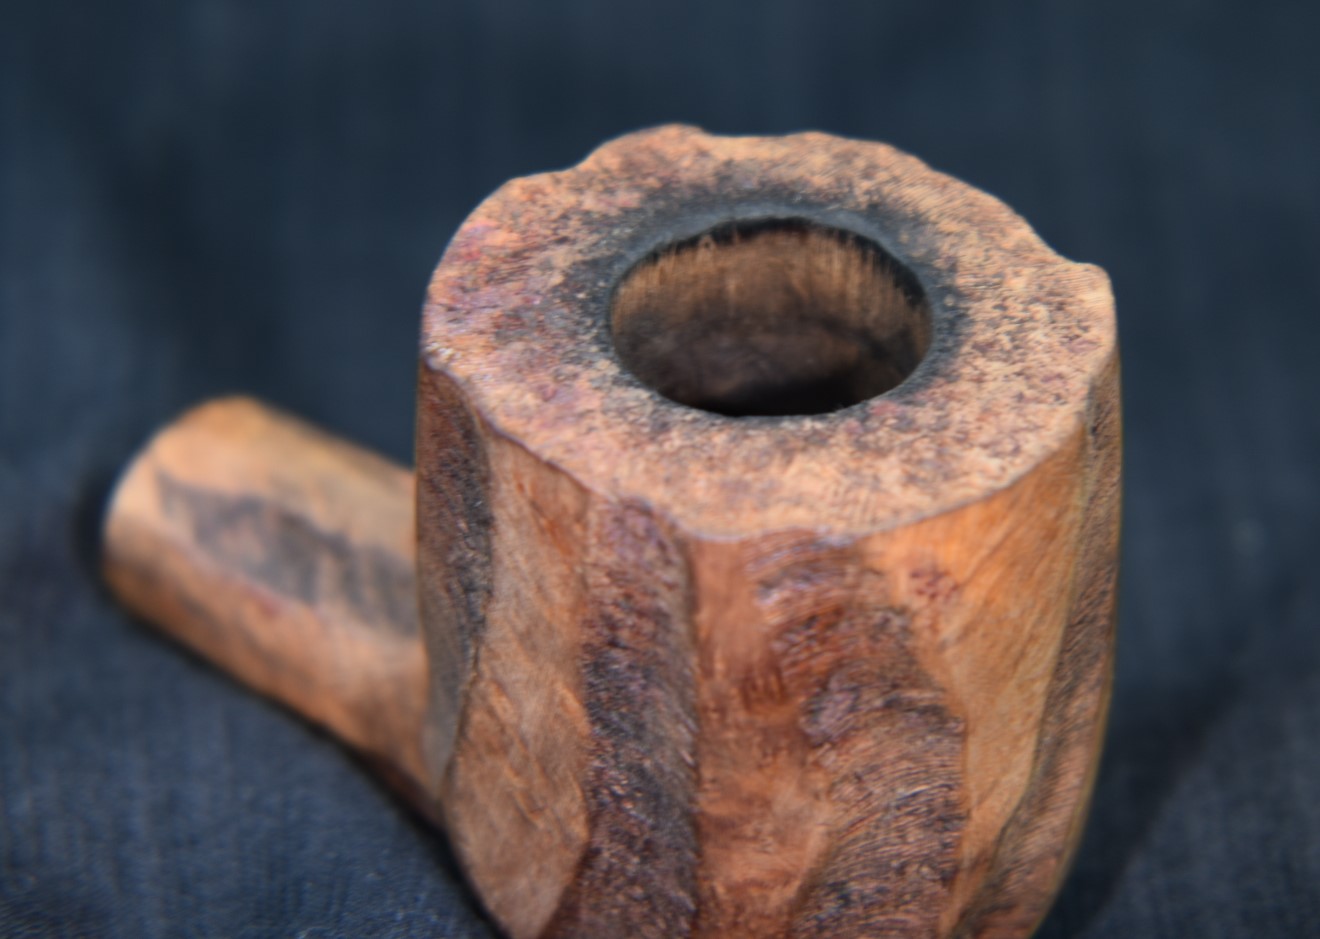
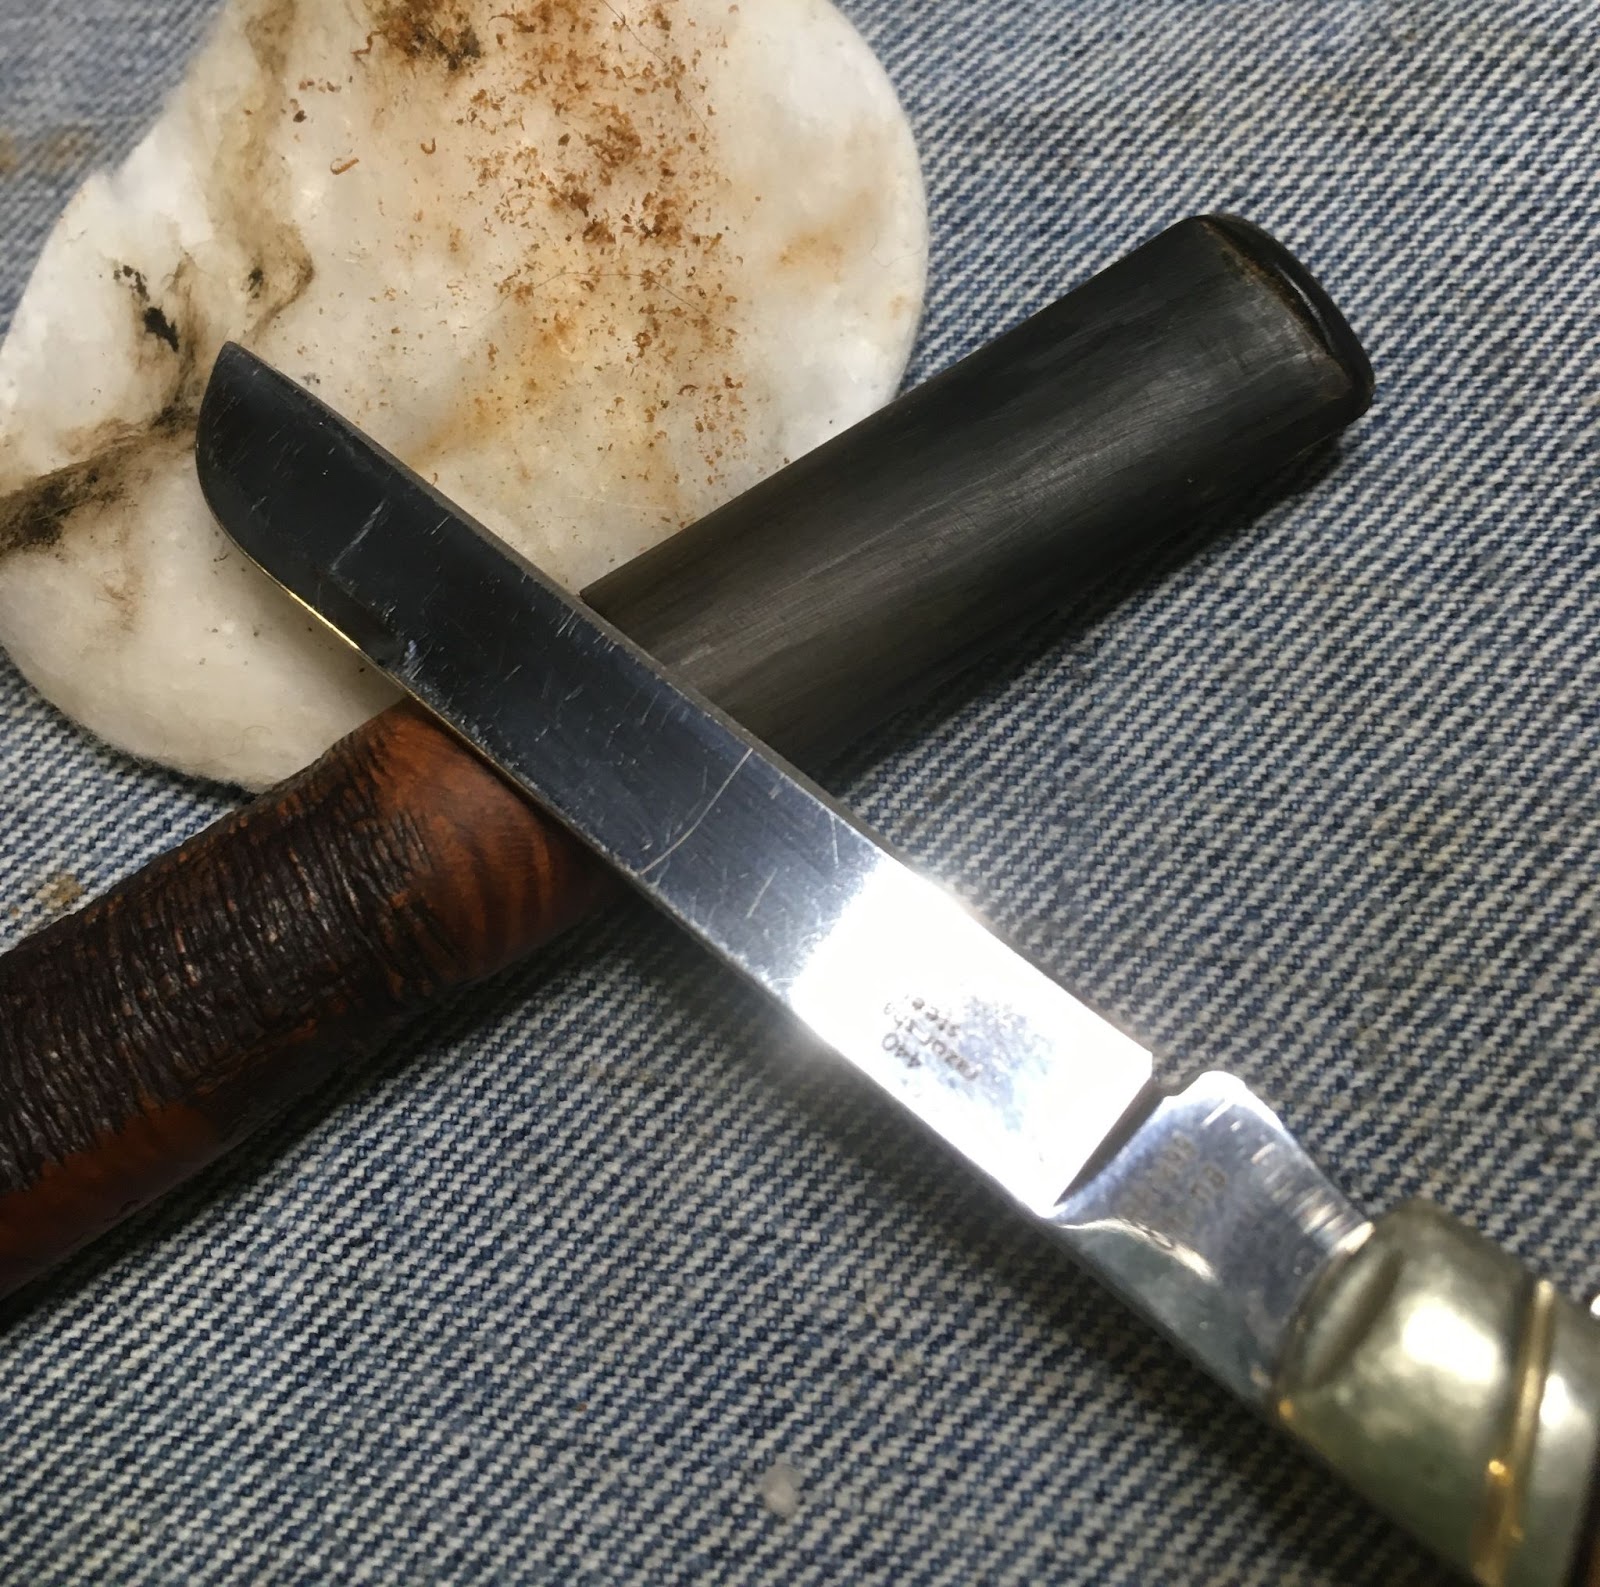
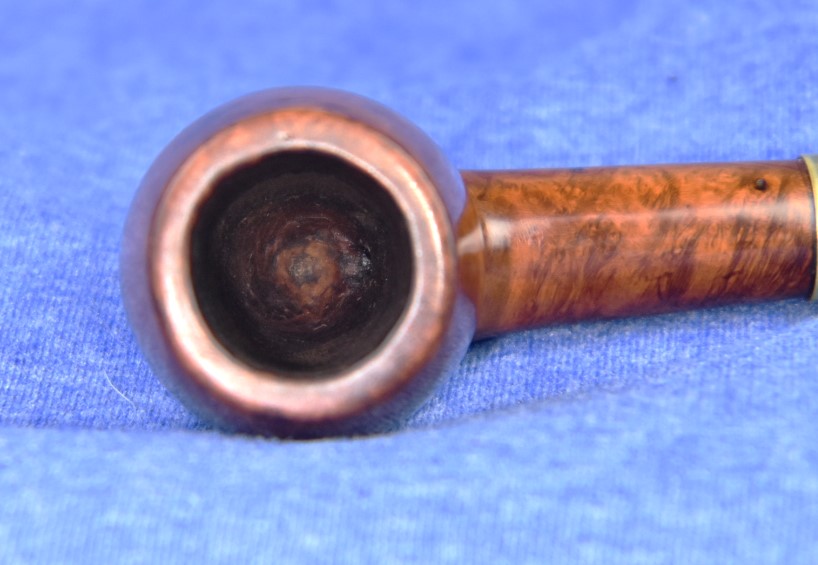
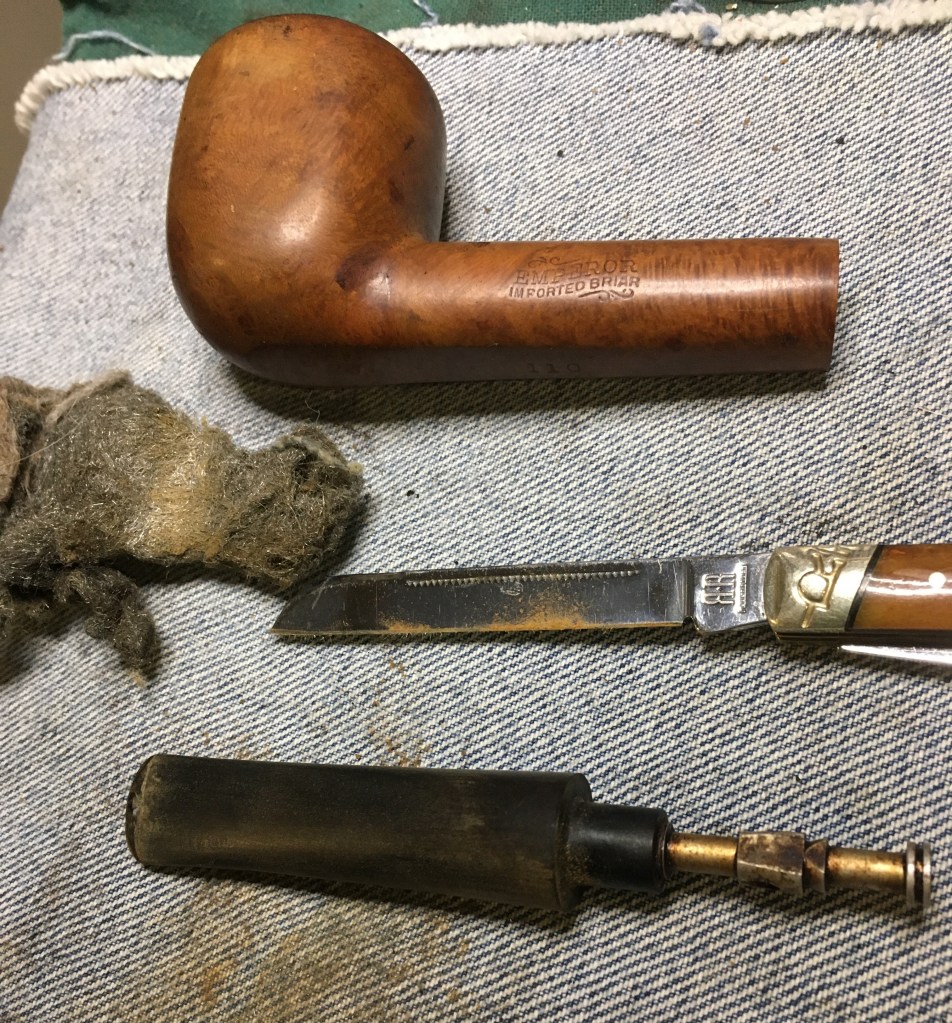
I apparently did not feel the need to photograph the minimal amounts of cake removed by the reaming. Trust me, it was quite uneventful and minimal. The next task was cleaning the rim. The lava was mainly on the sides and back surface. I moistened the rim with saliva and started carefully scraping with a sharp pocket knife. After the scraping I remoistened and rubbed the rim with a Scotch-brite pad.

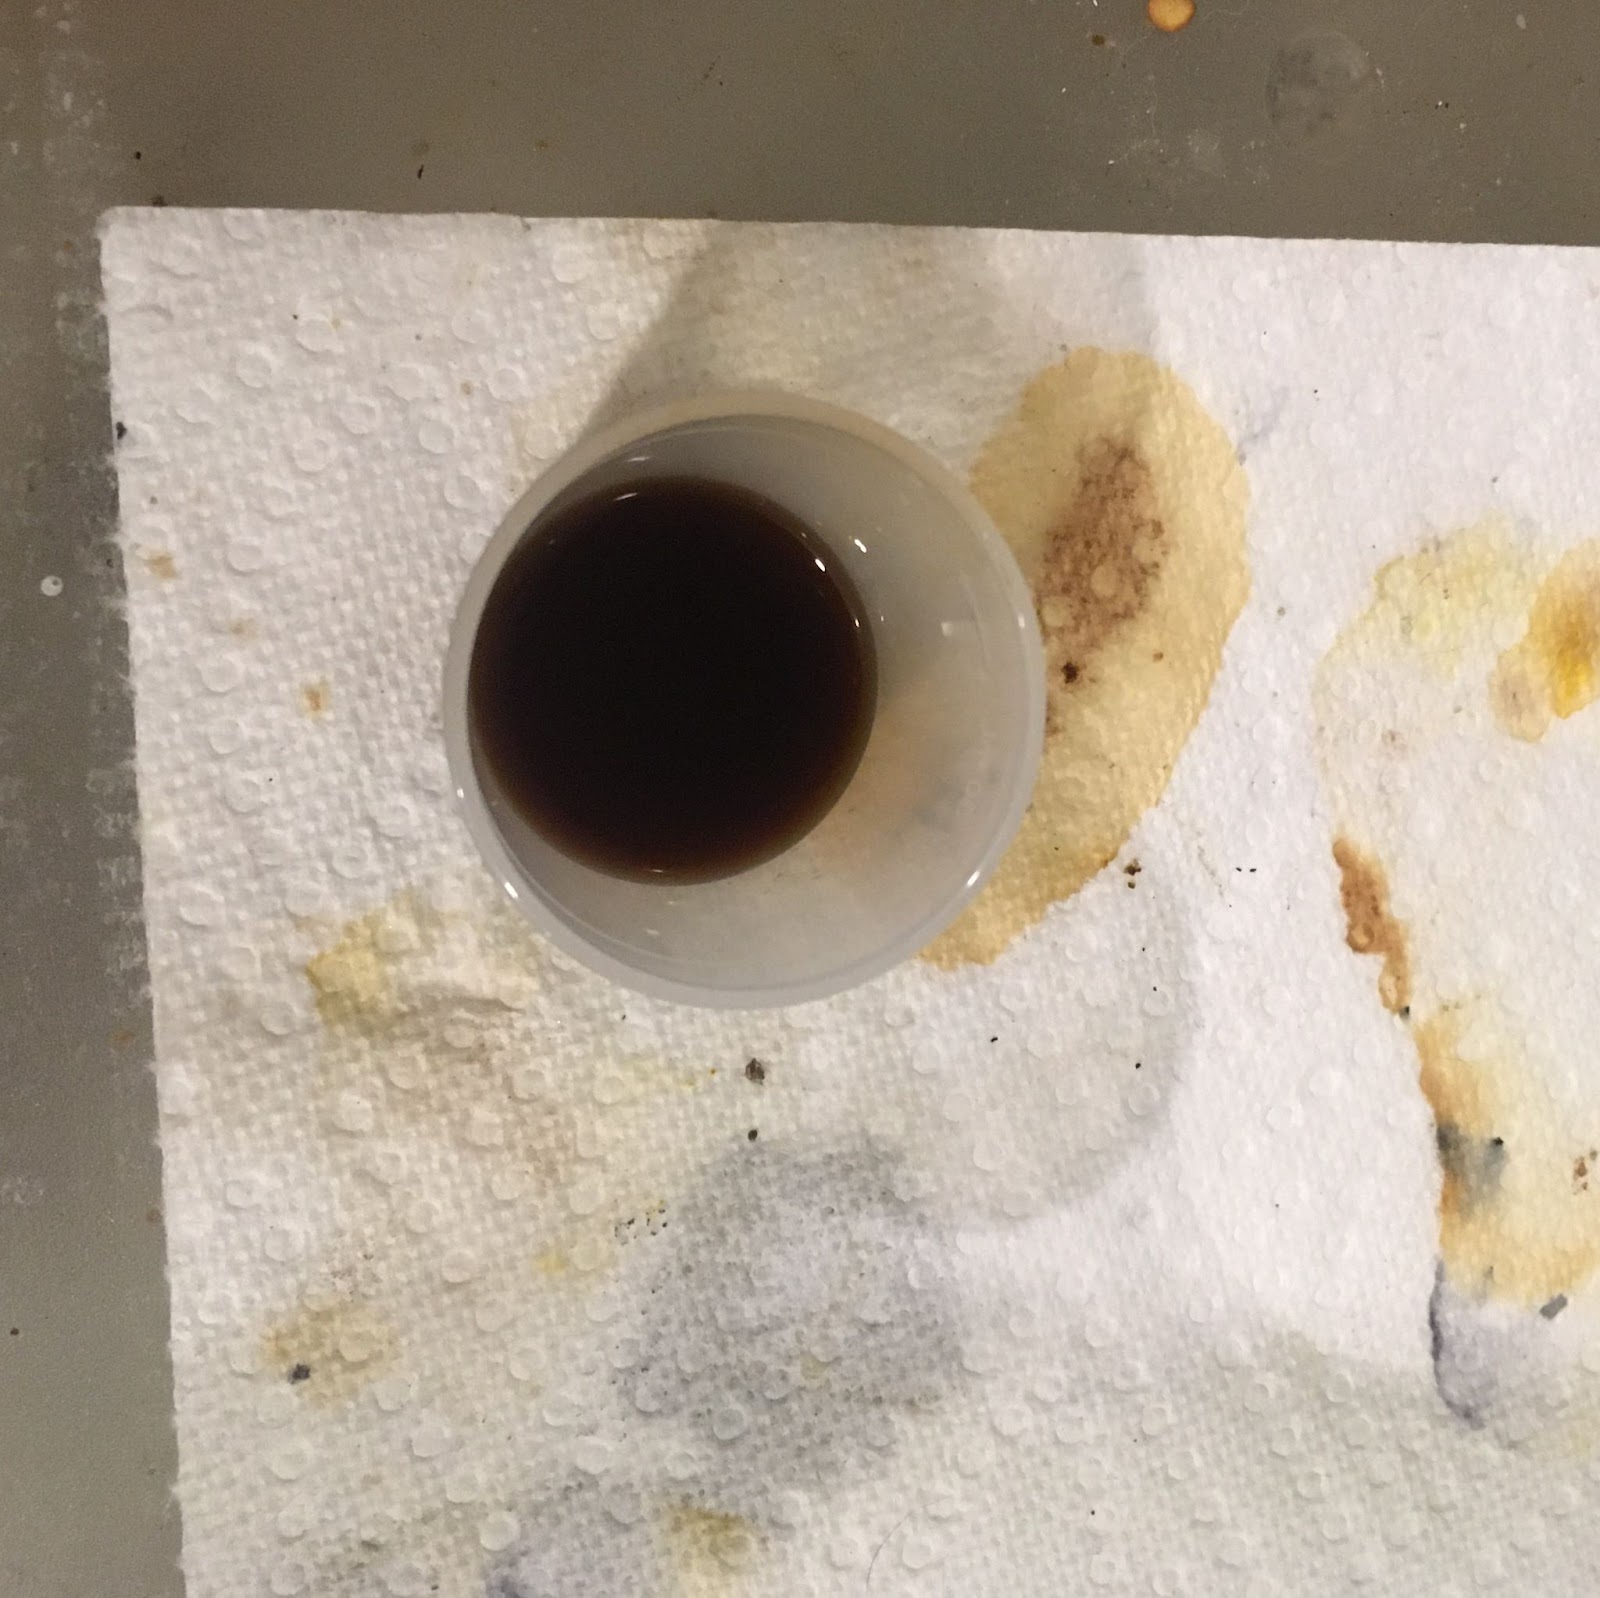
Below you can see the lava wipings from the knife and the corner of the Scotch-brite pad.

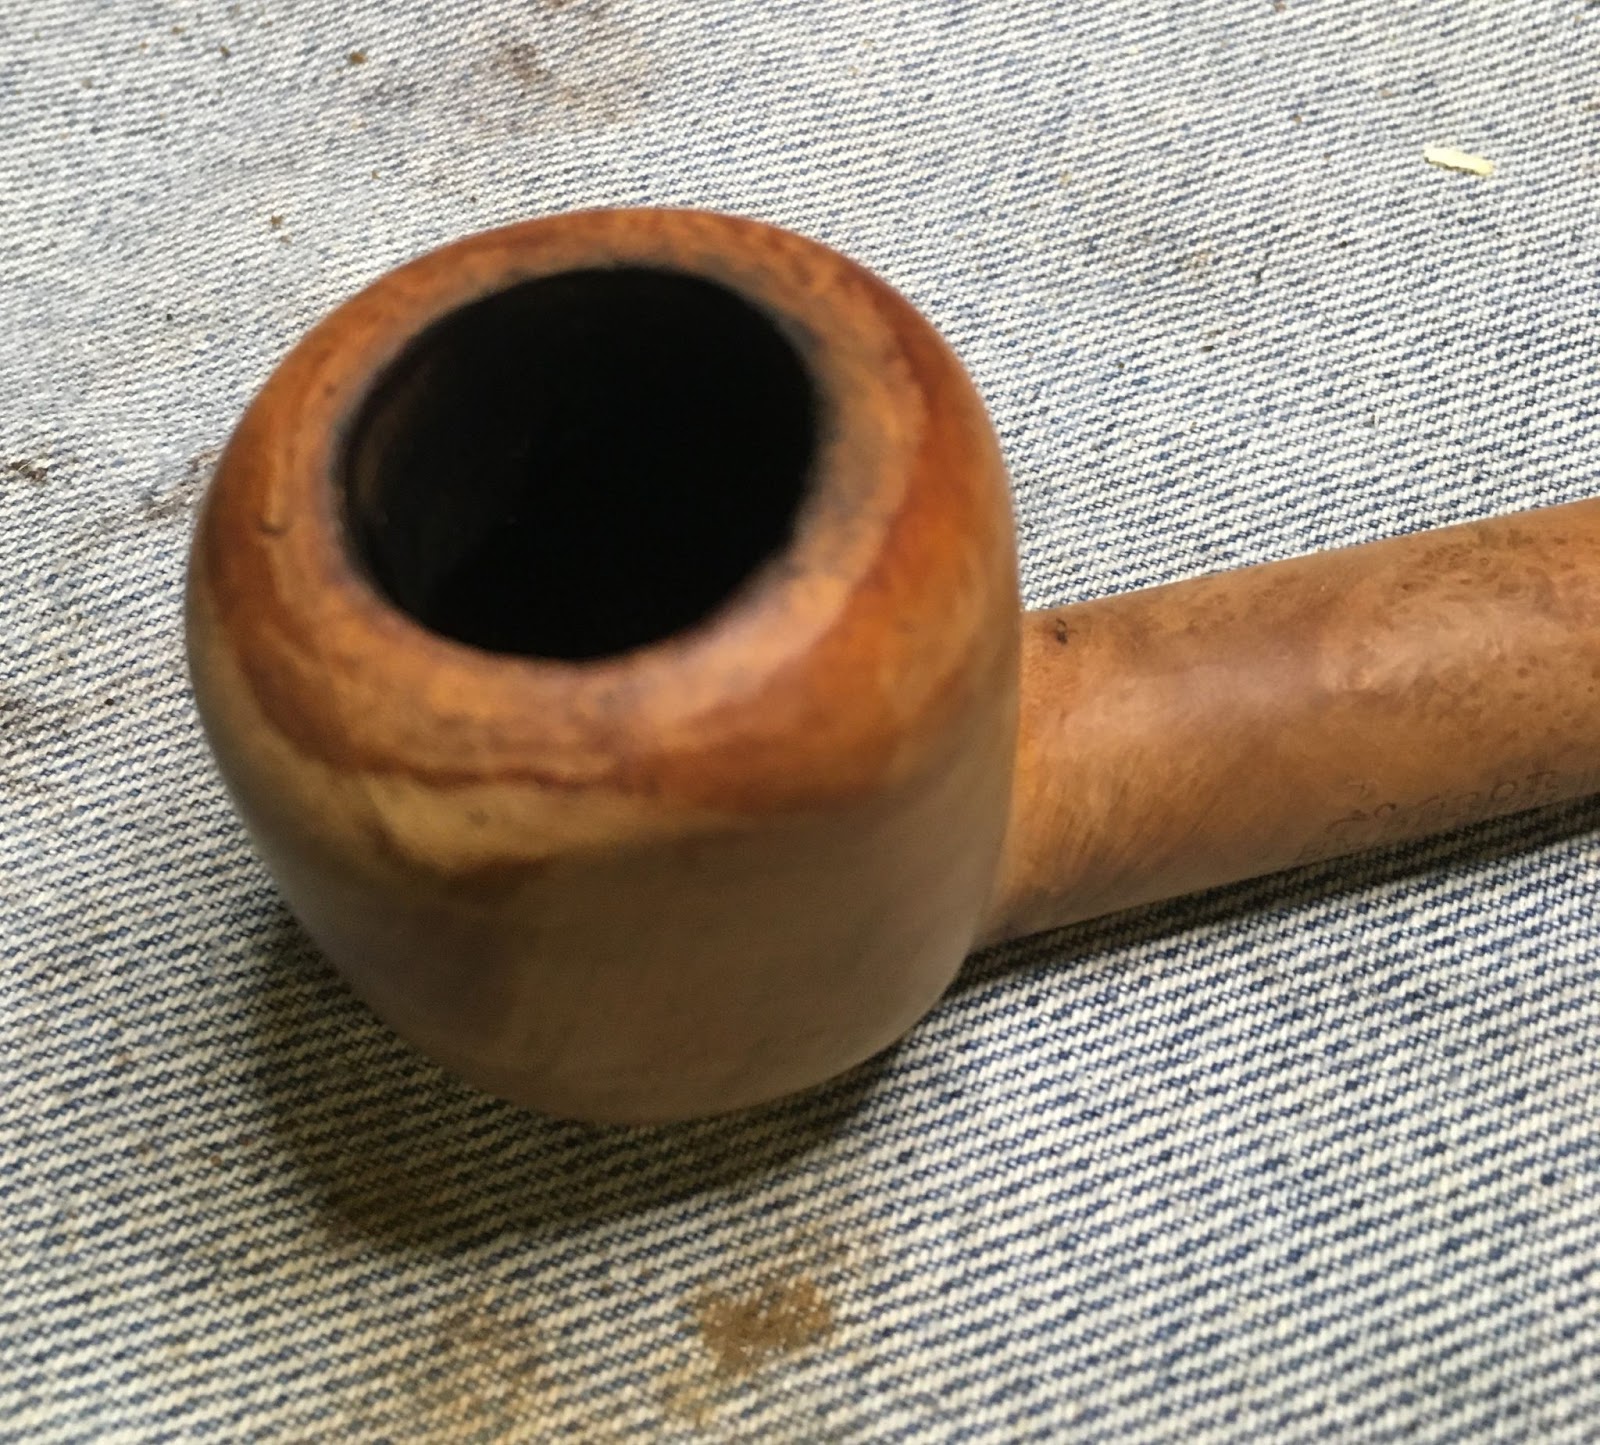
After the Scotch-brite pad the rim was wiped with a make-up pad wetted with 99% isopropyl alcohol.

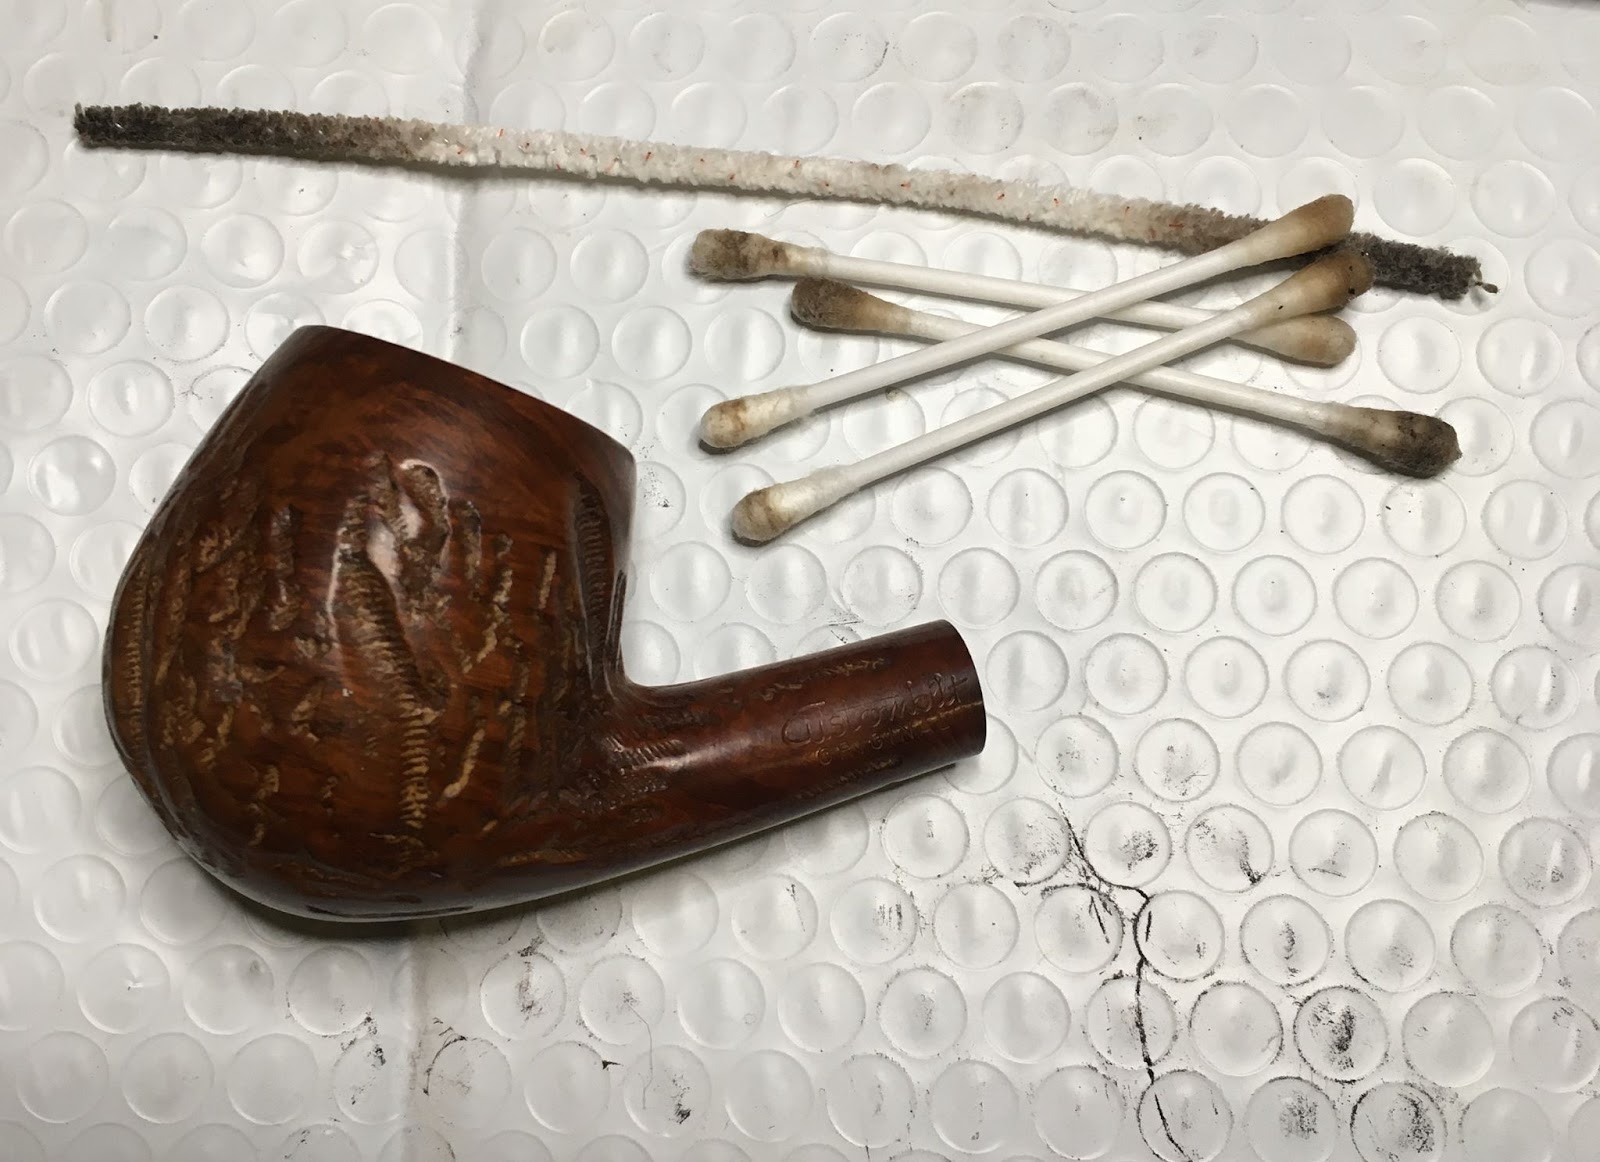
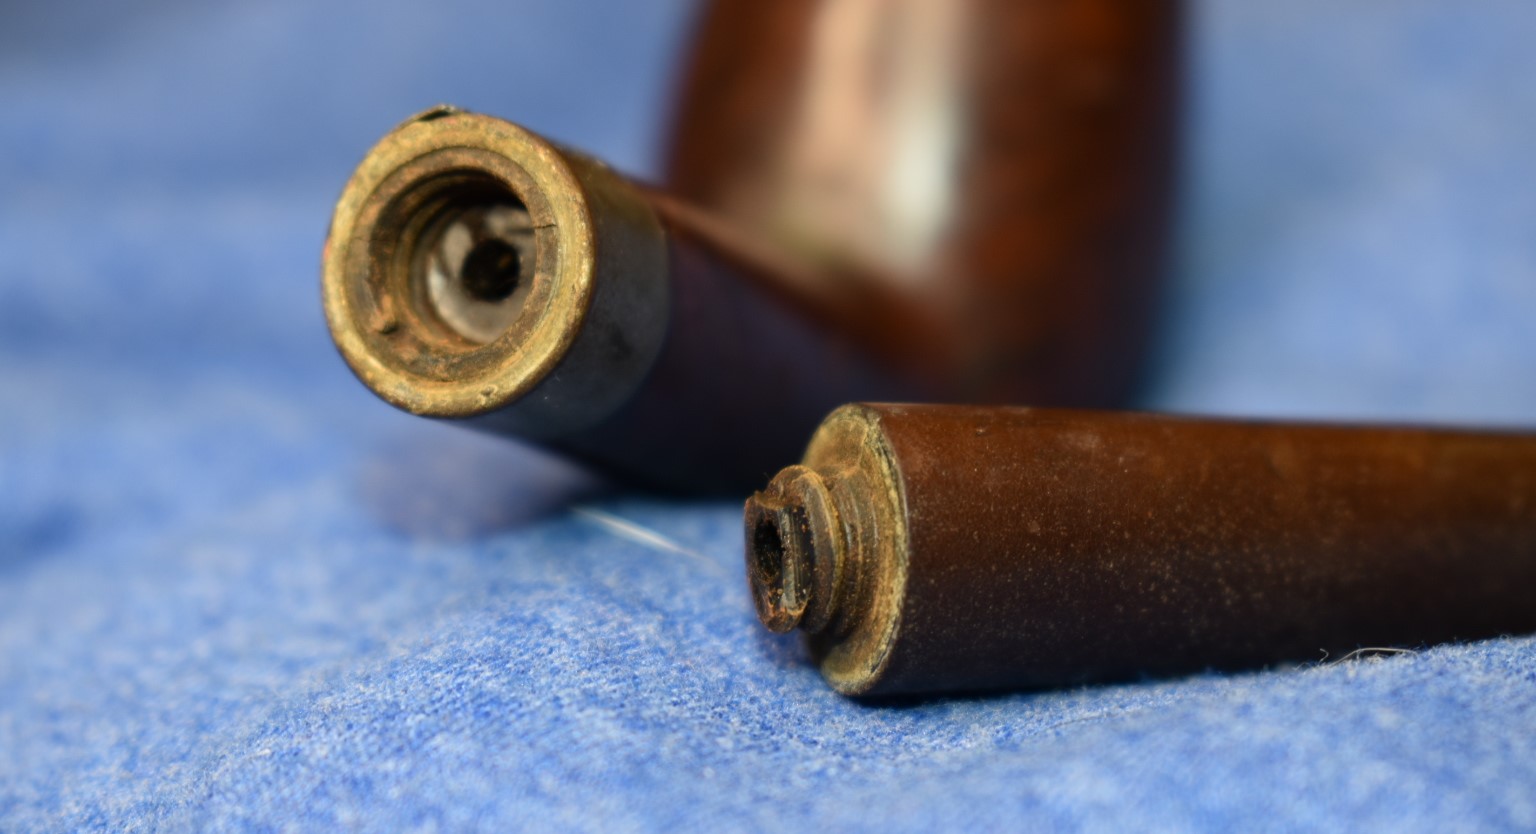
Next I decided to clean out the airway in the shank. This was quite clean and answered the previous question about the pipe being rarely smoked or recently cleaned. I think this pipe had only been smoked a handful of times.
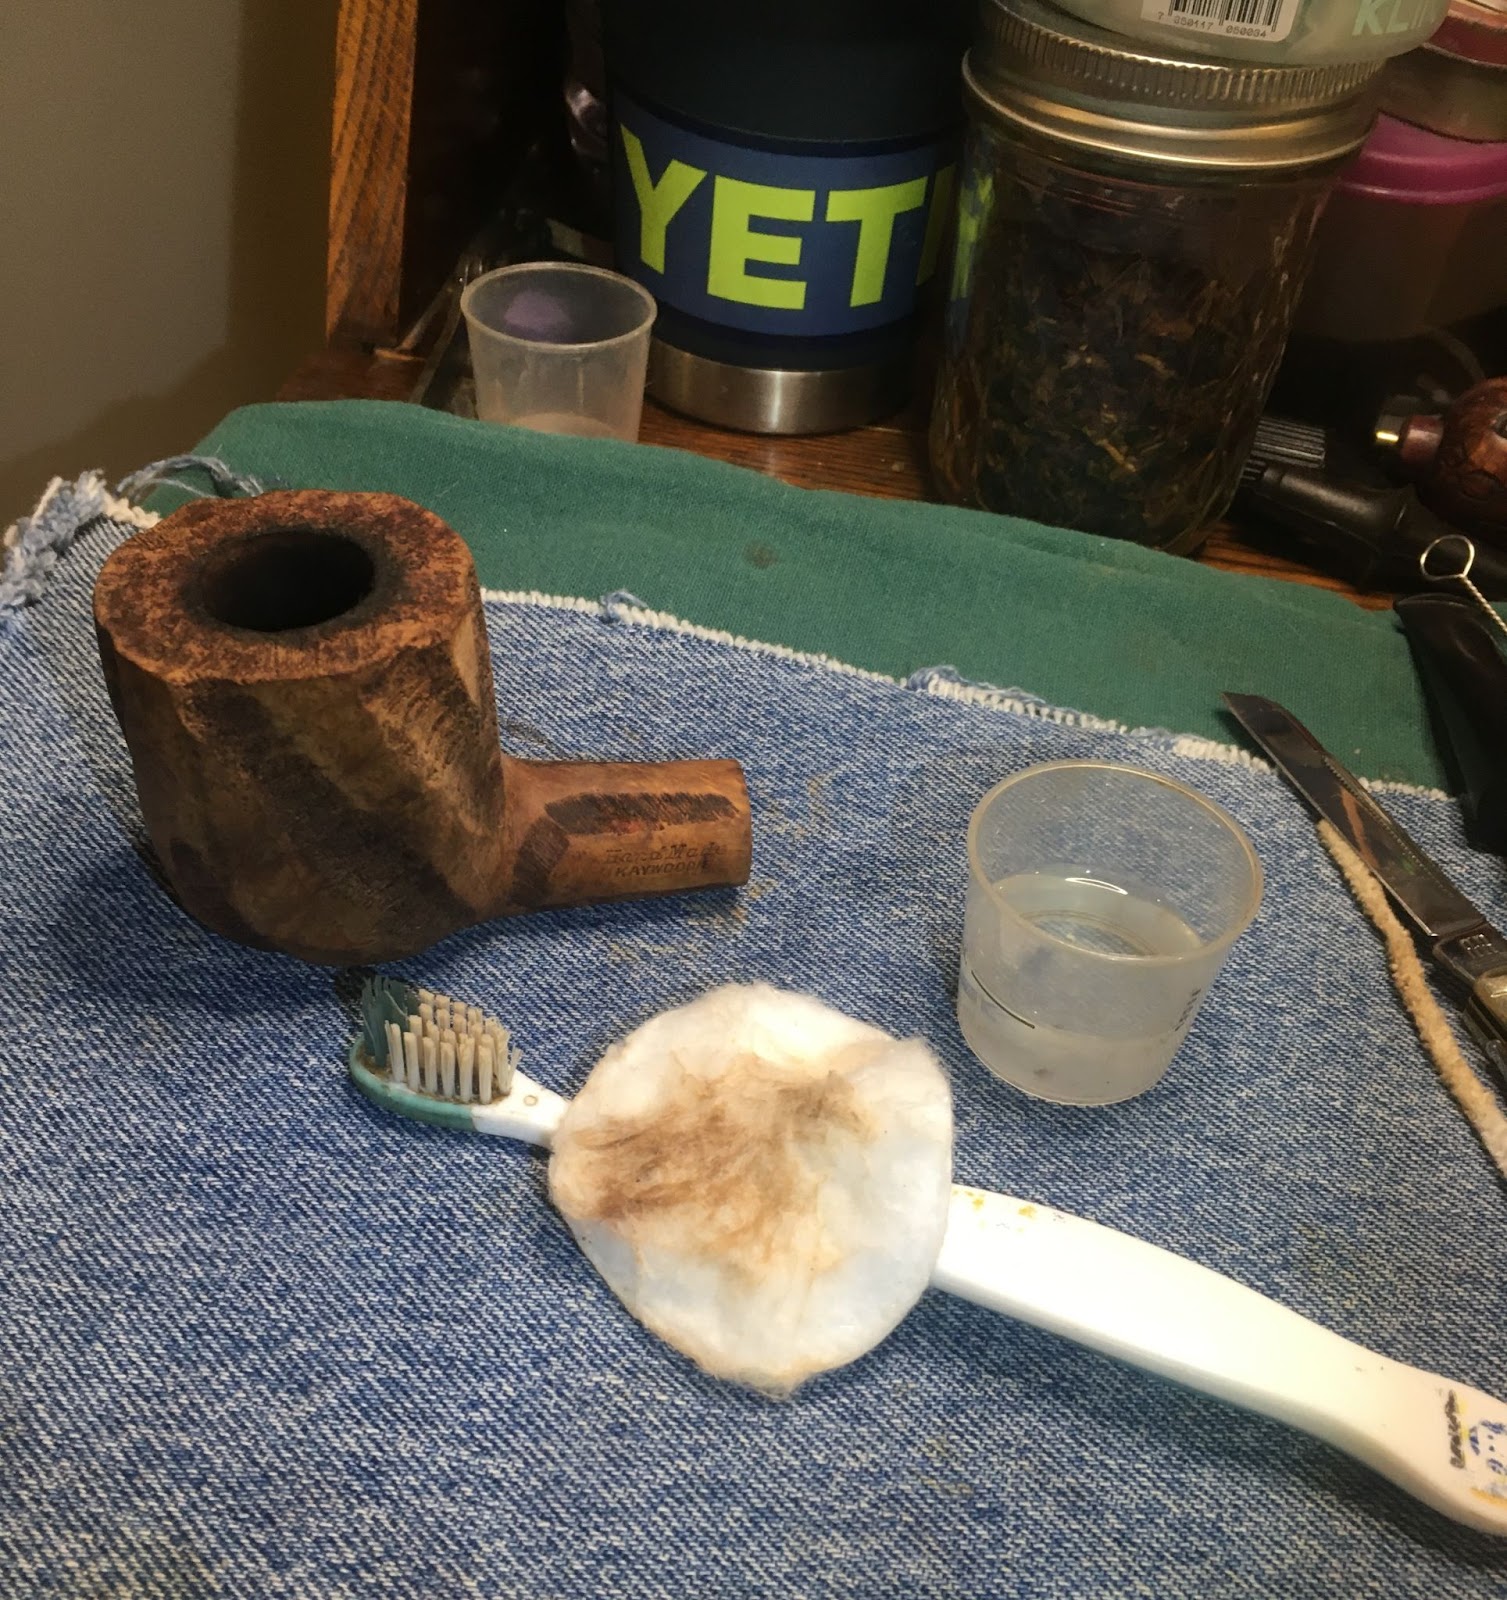
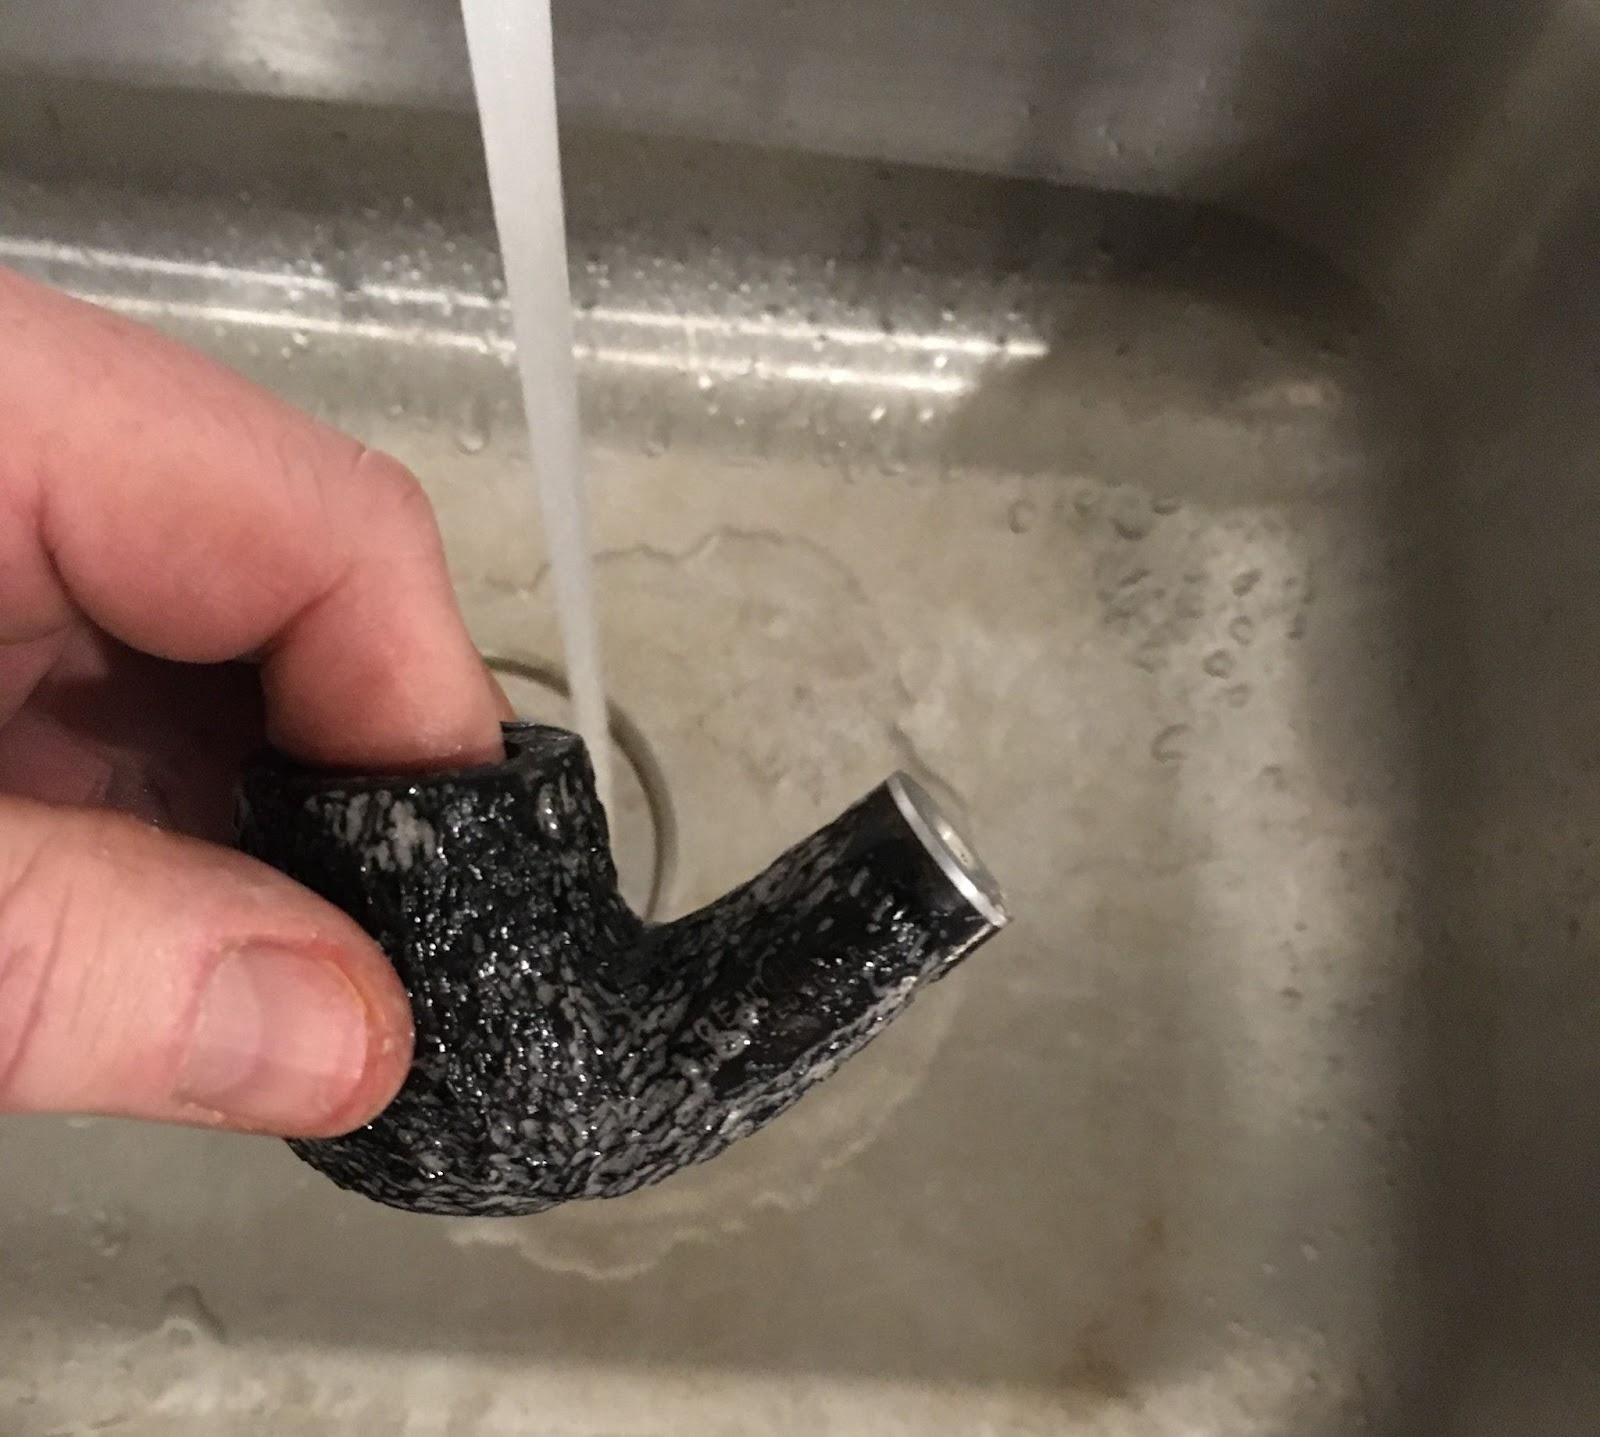
The internals were cleaned now it was time for the exterior. I took the stummel to the sink. I used Murphy’s Oil Soap undiluted and a medium bristle toothbrush to scrub the outside of the stummel. This was rinsed with warm water and then the stummel was dried with a cotton dish towel. Upon returning to the workbench I vigorously rubbed the surface with a make-up pad wetted with 95% ethyl alcohol. The pad showed that it removed something from the briar.

I repeated the rubbing with a fresh make-up pad wetted with acetone. There appeared to be some sort of clear finish on the rim.

Subsequent rubbing with the solvents did not produce the removal of more finish.
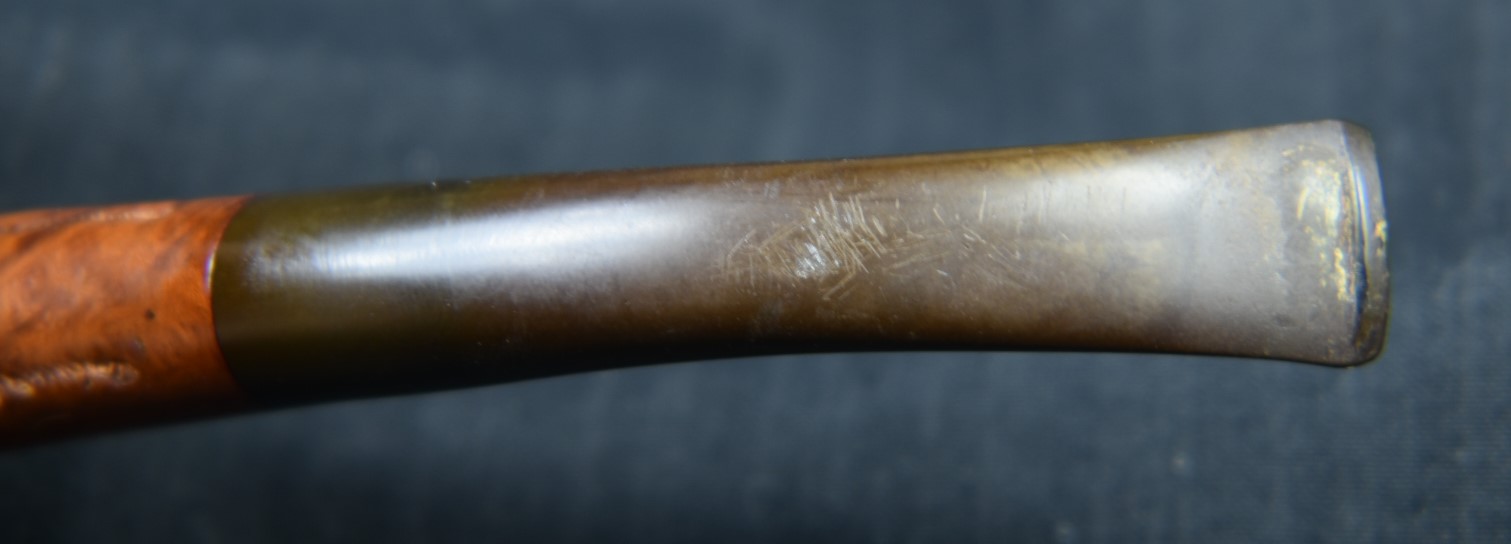
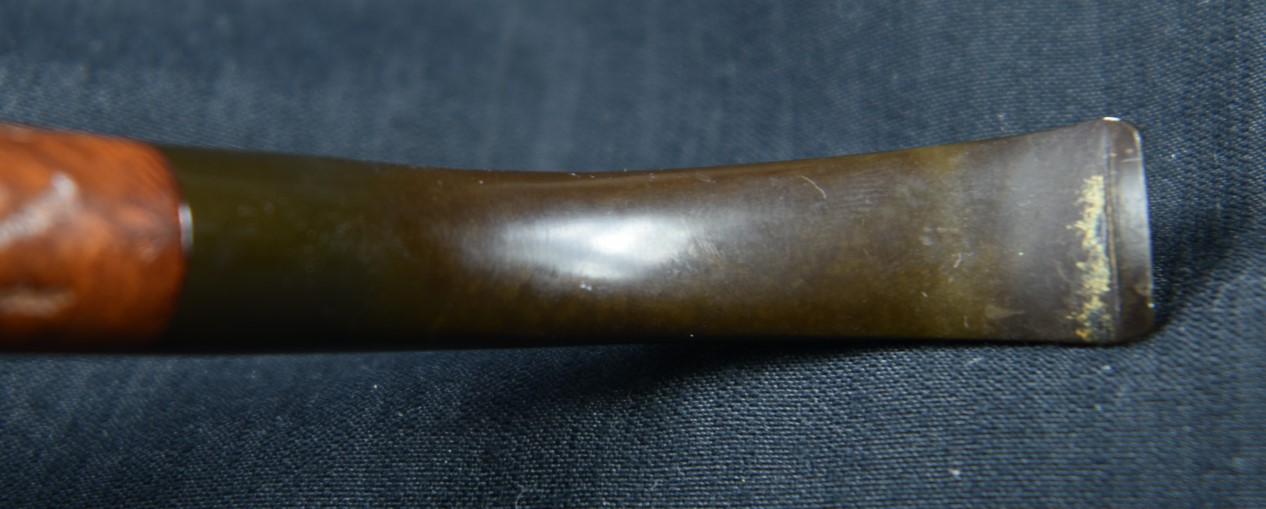
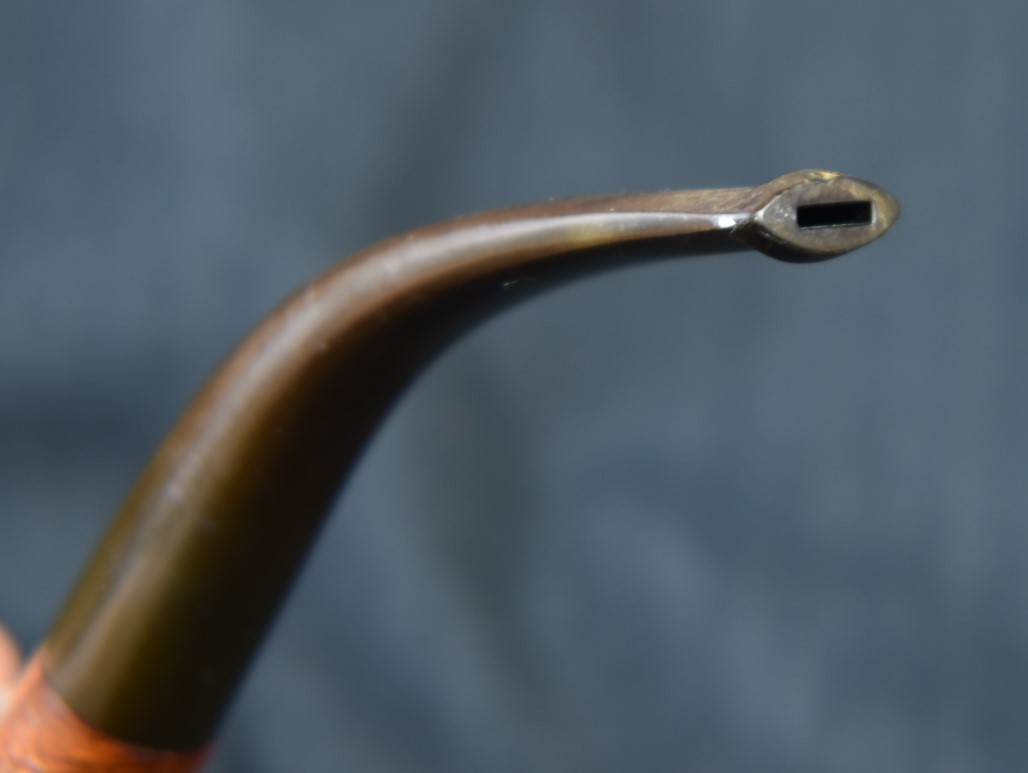
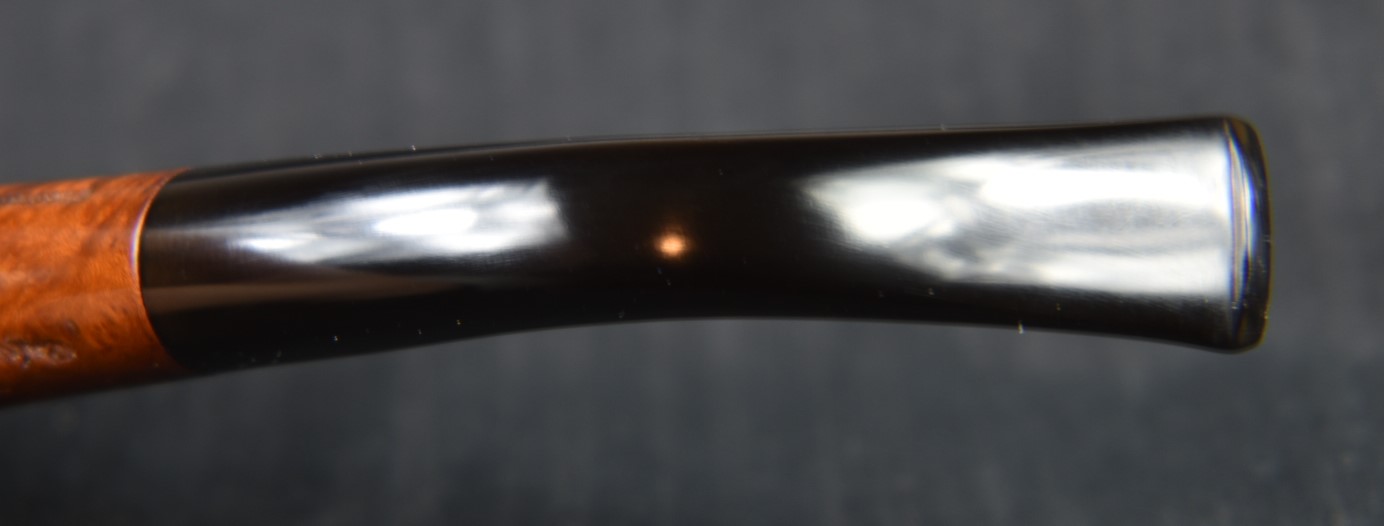
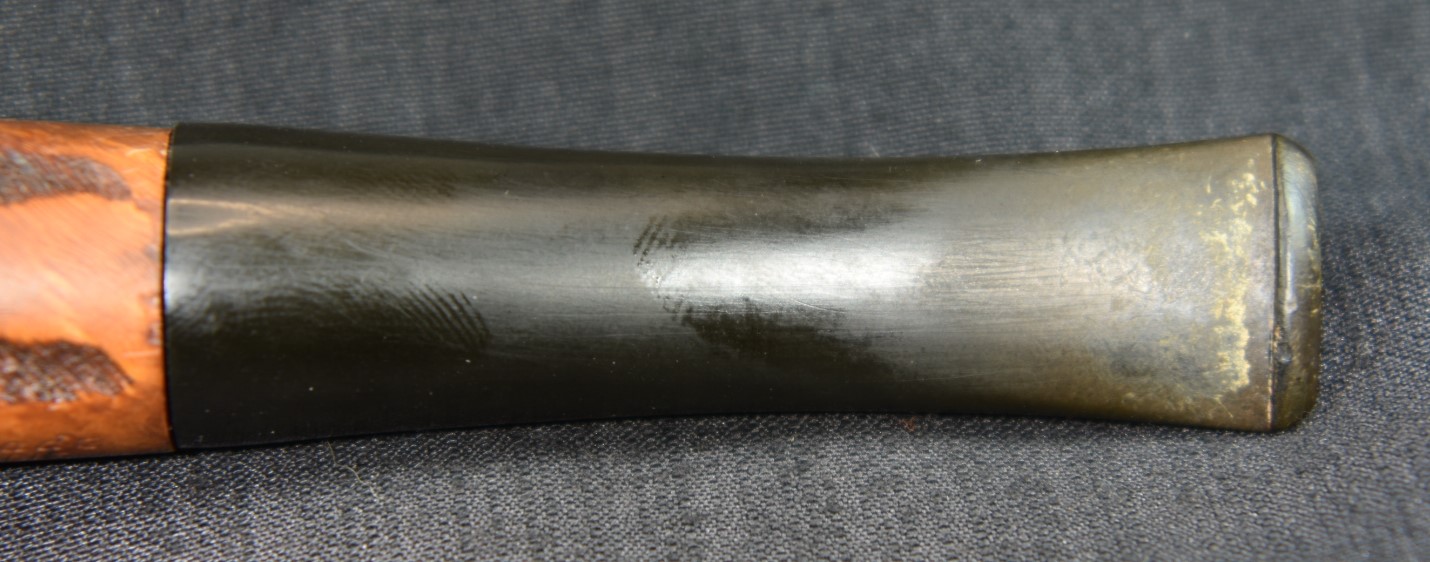
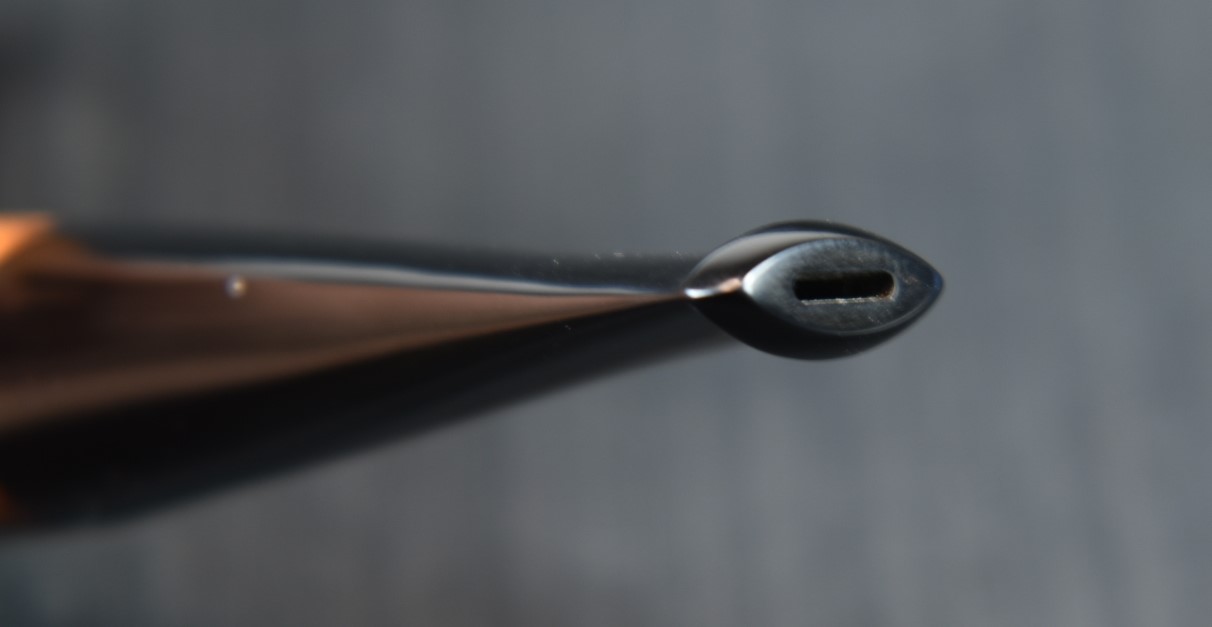
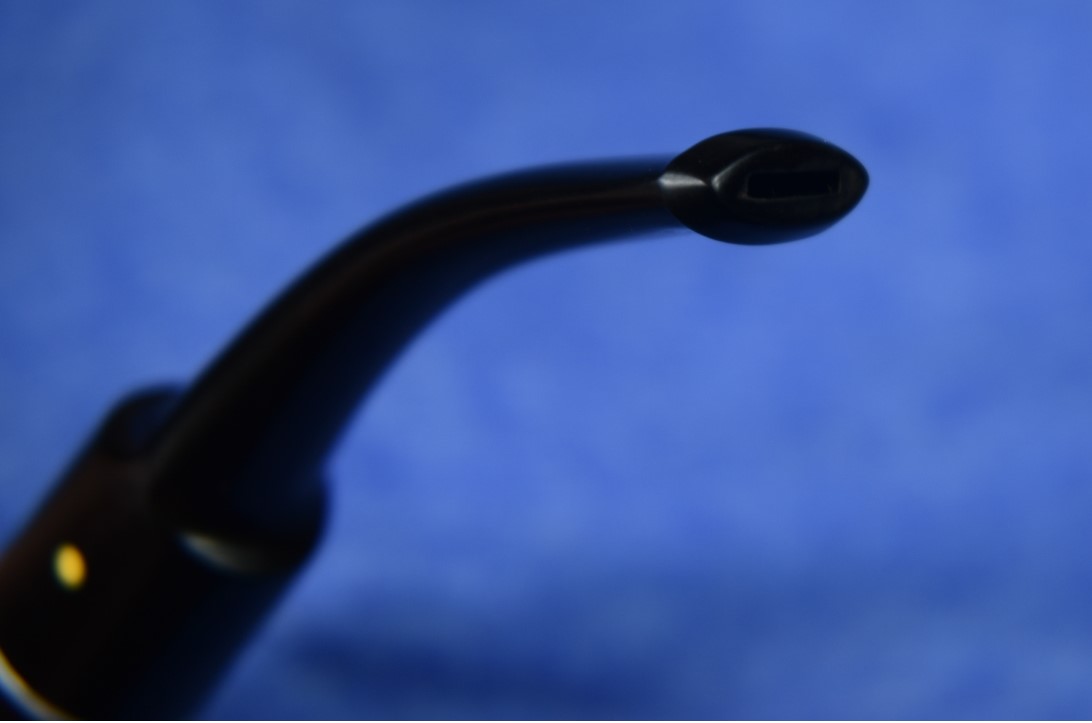
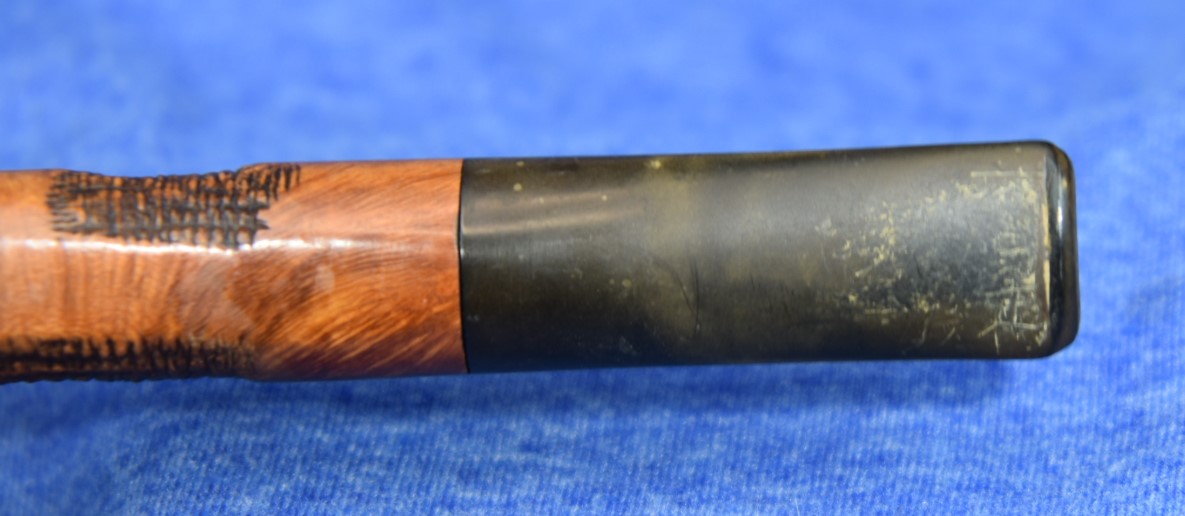
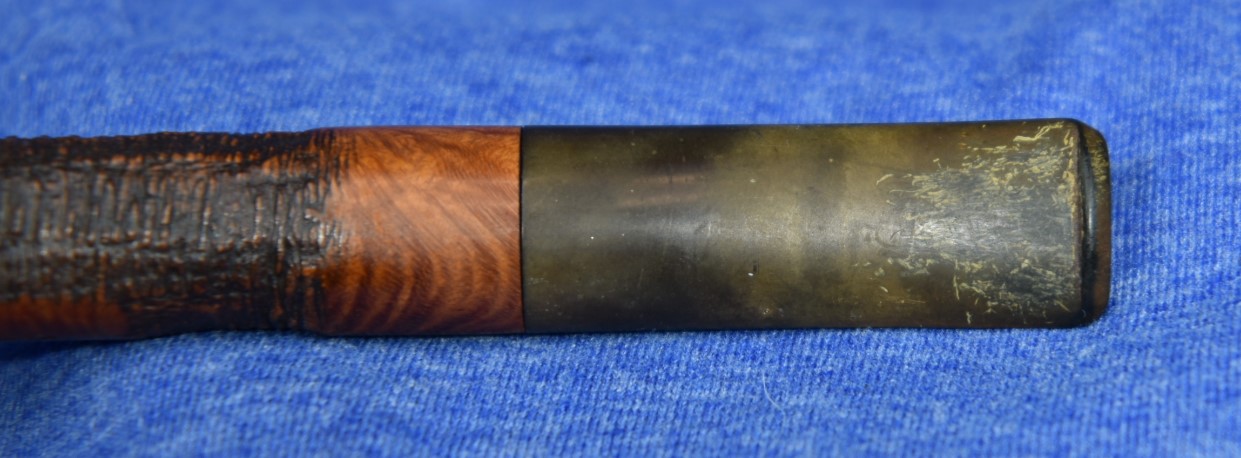
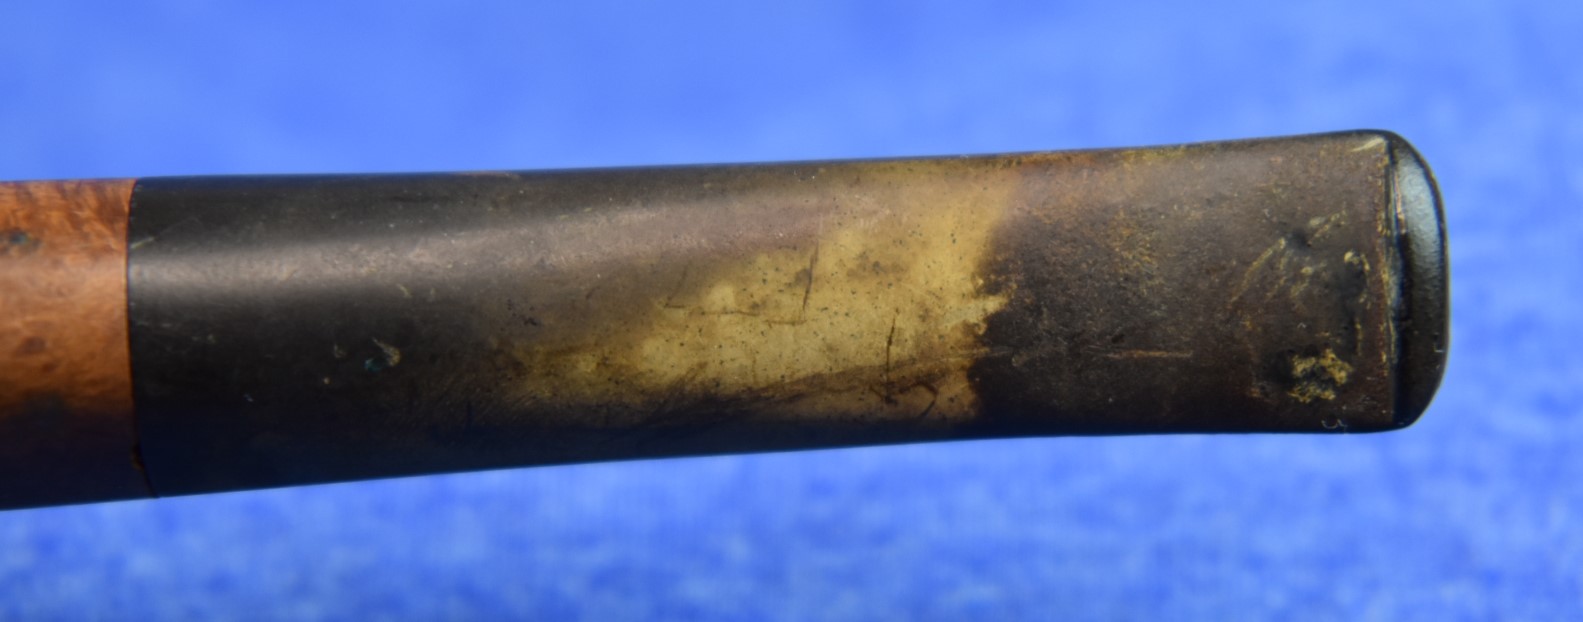
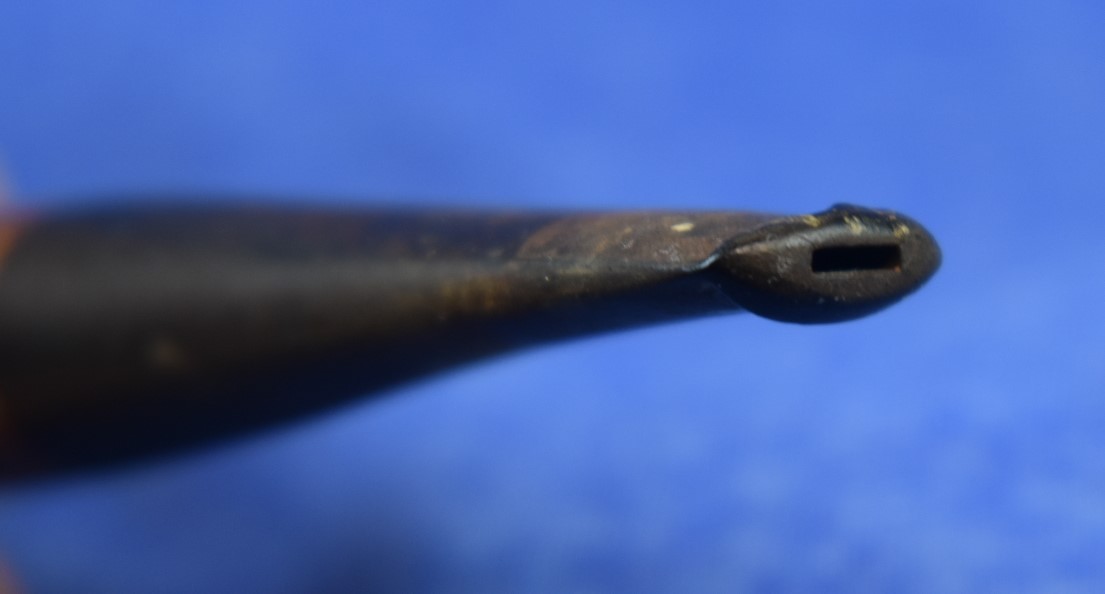
The stem showed signs of oxidation. I feared that this would be the most difficult part of this restoration. The cleaning of the airway of the stem was done with bristle pipe cleaners dipped in 95% ethyl alcohol and was uneventful.

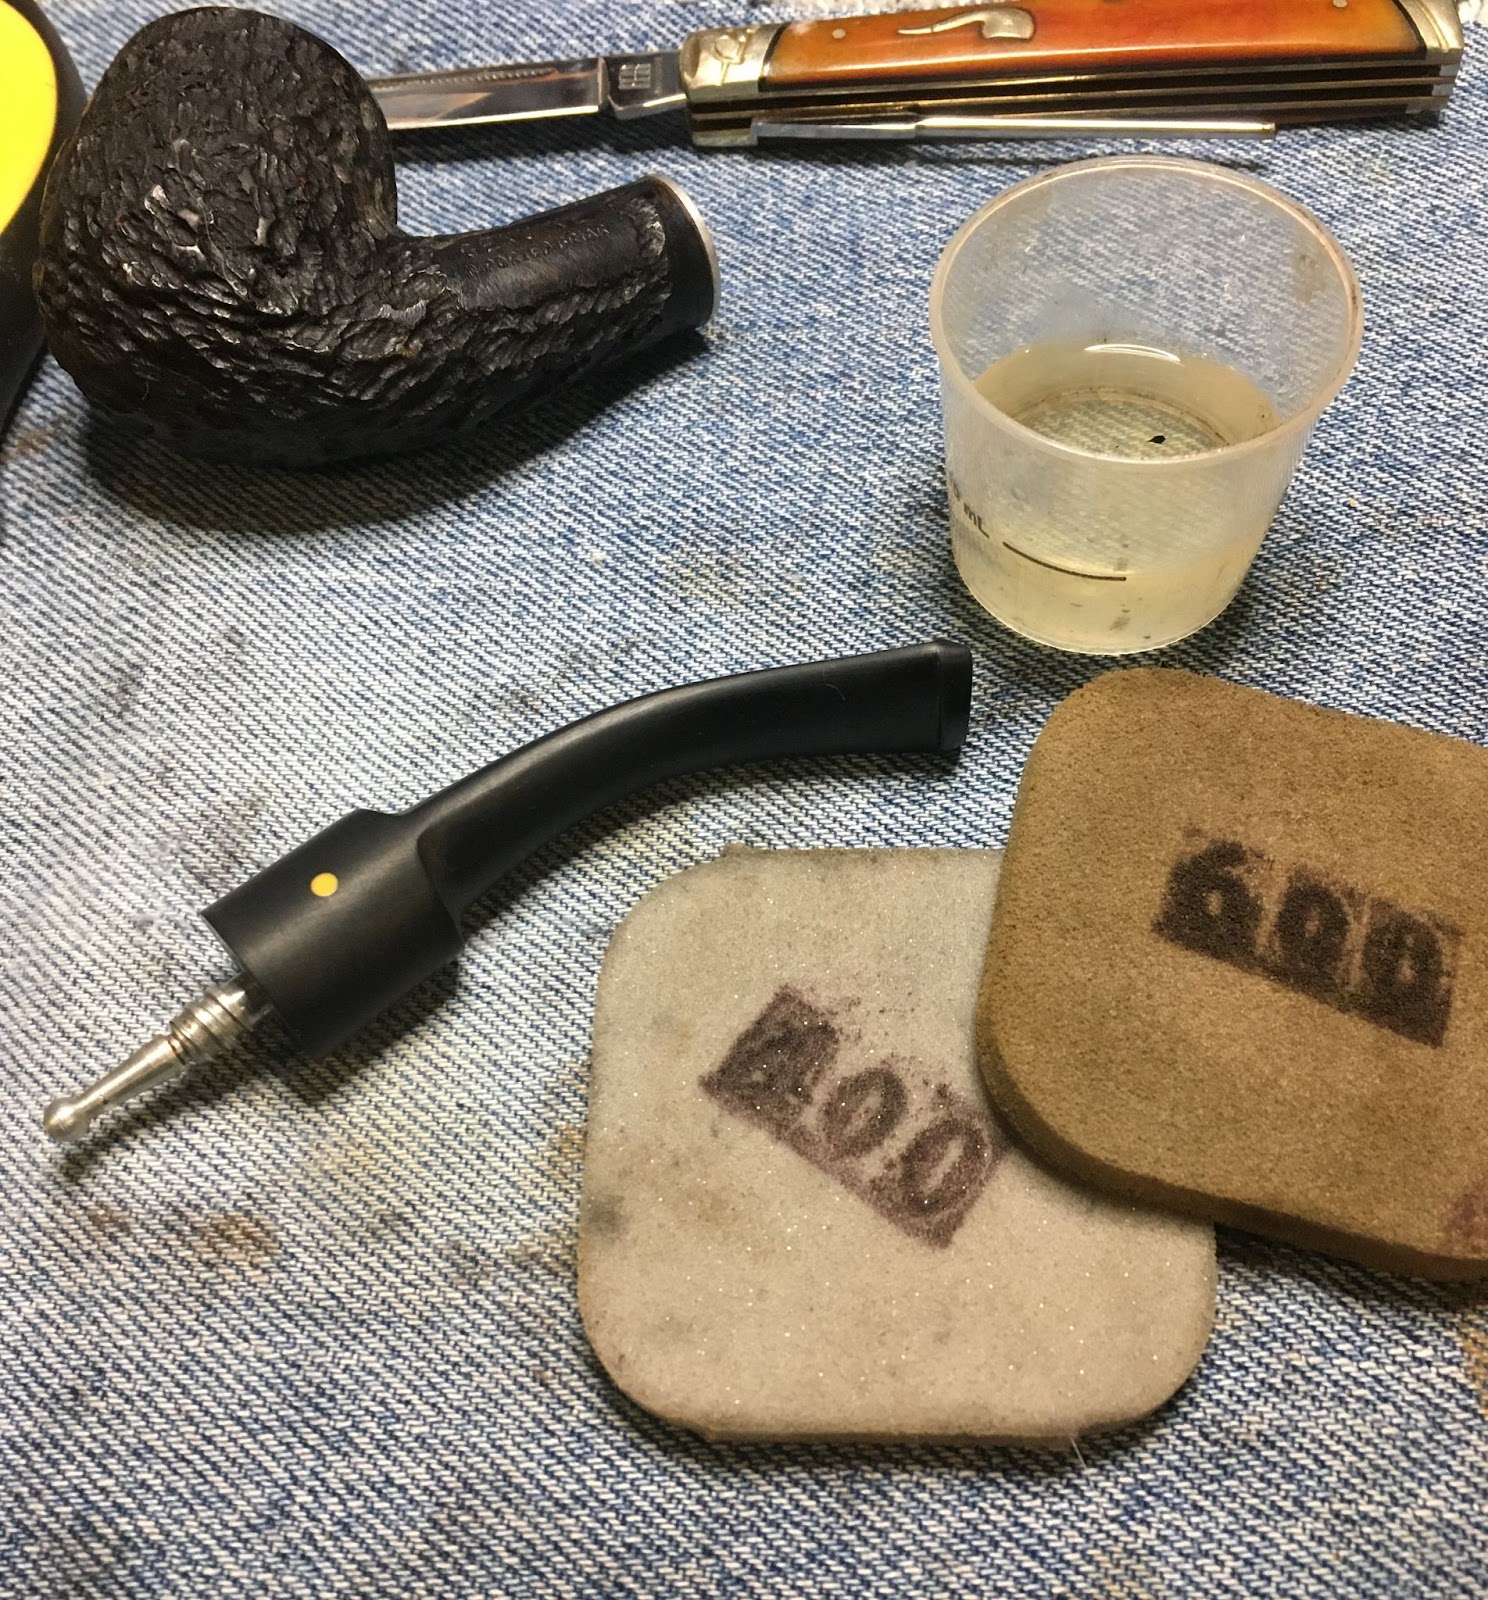
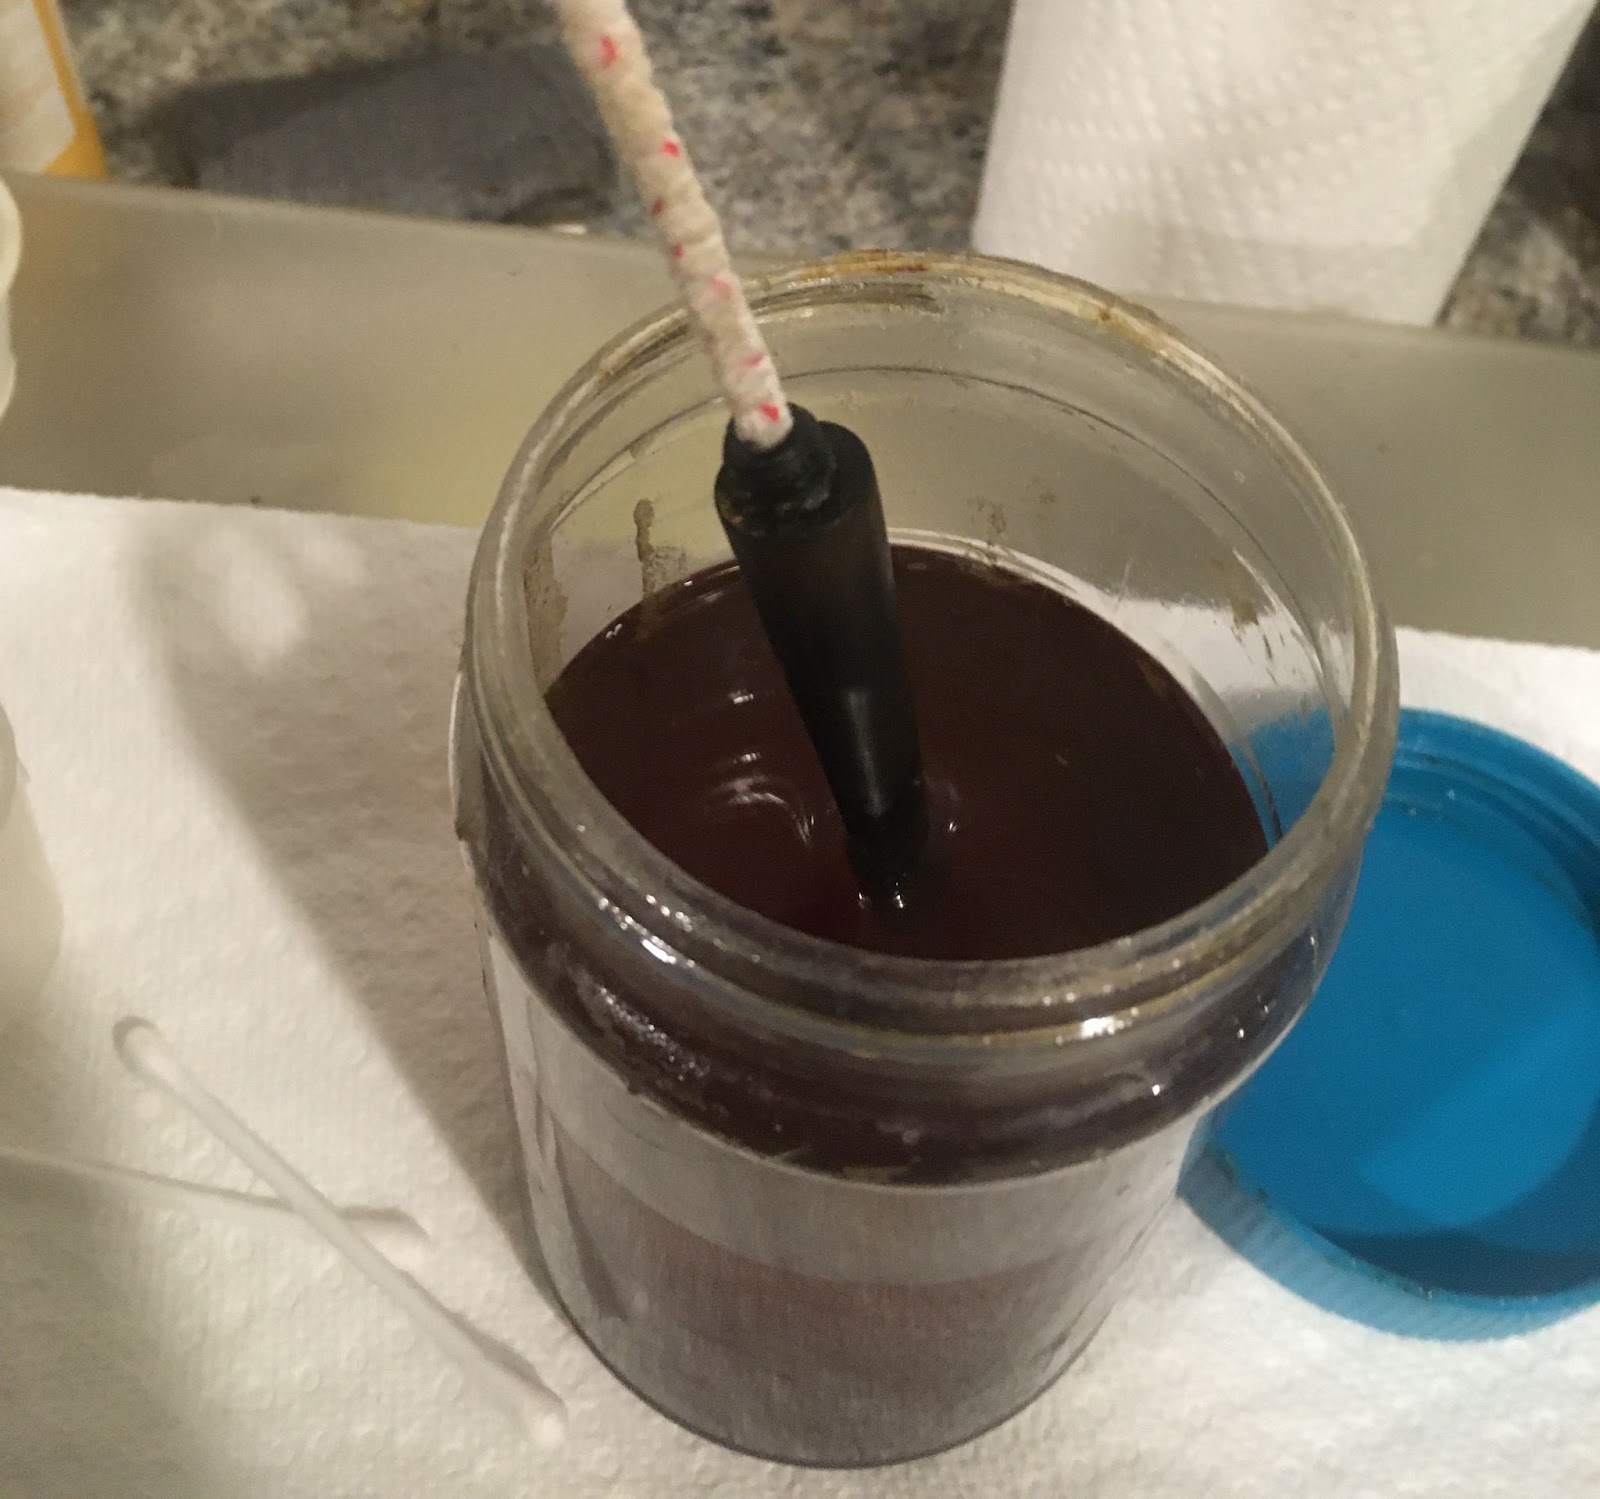
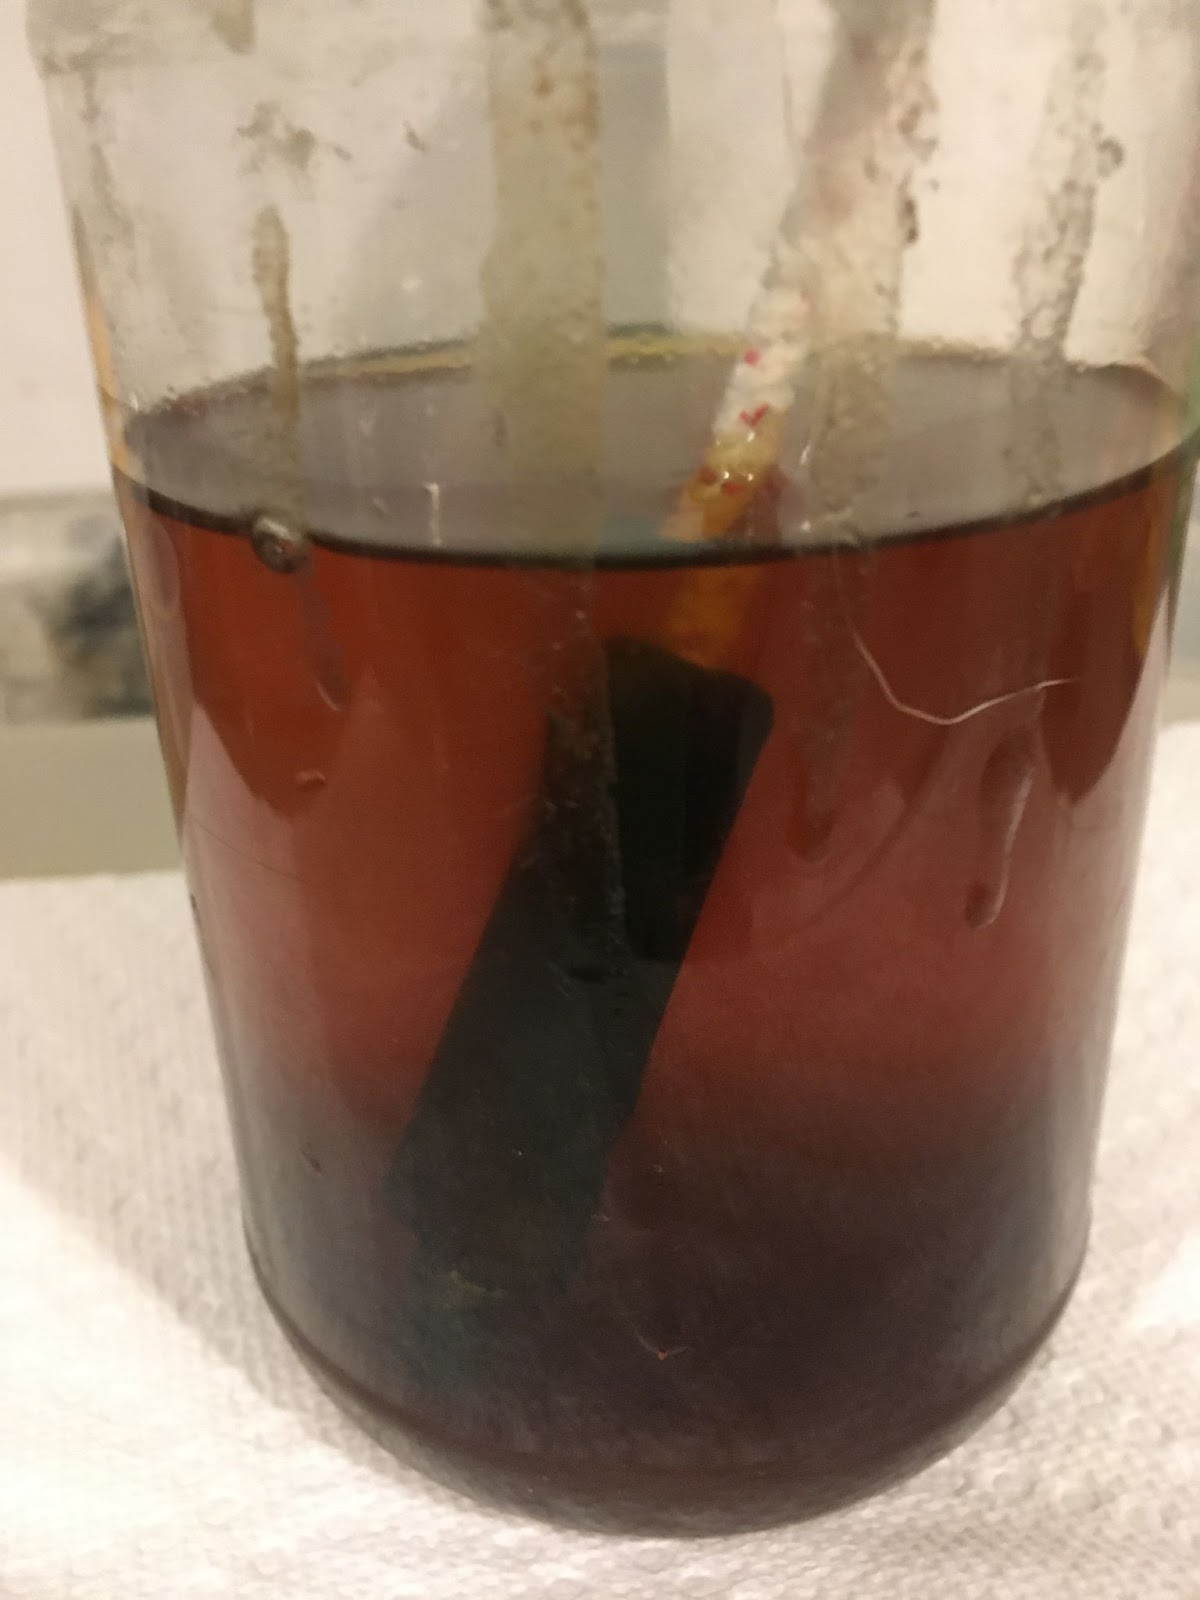
I lightly sanded the entire stem with the 400 and 600 sanding sponges. I then placed it into a container with a solution of Oxy-clean and water. I let the stem soak for 2 hours.

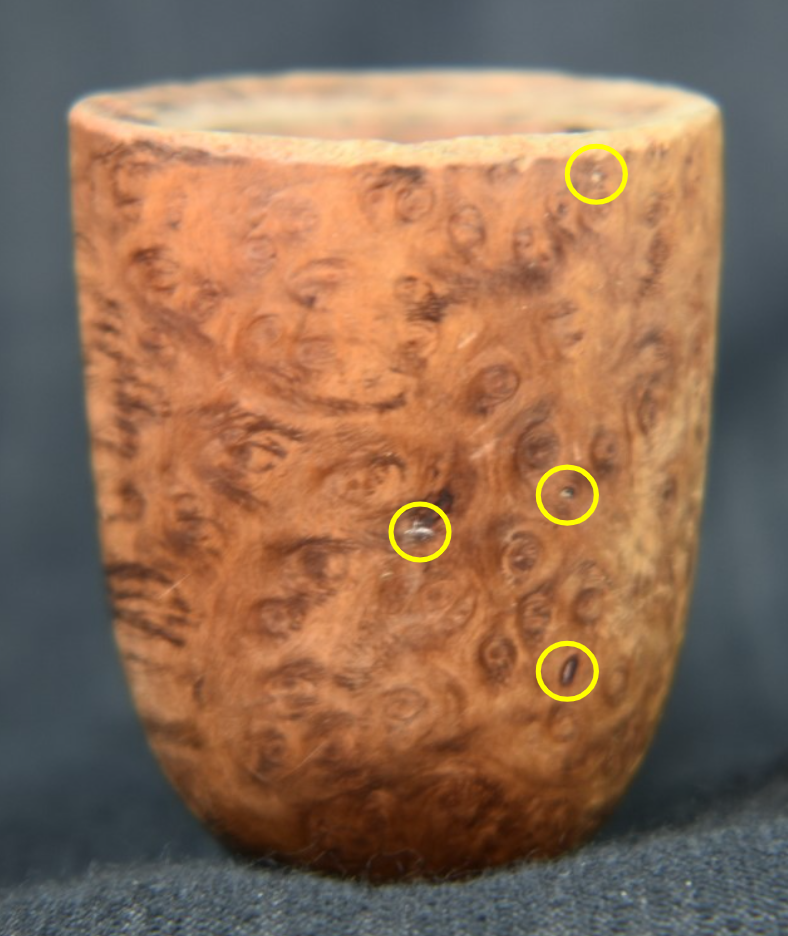
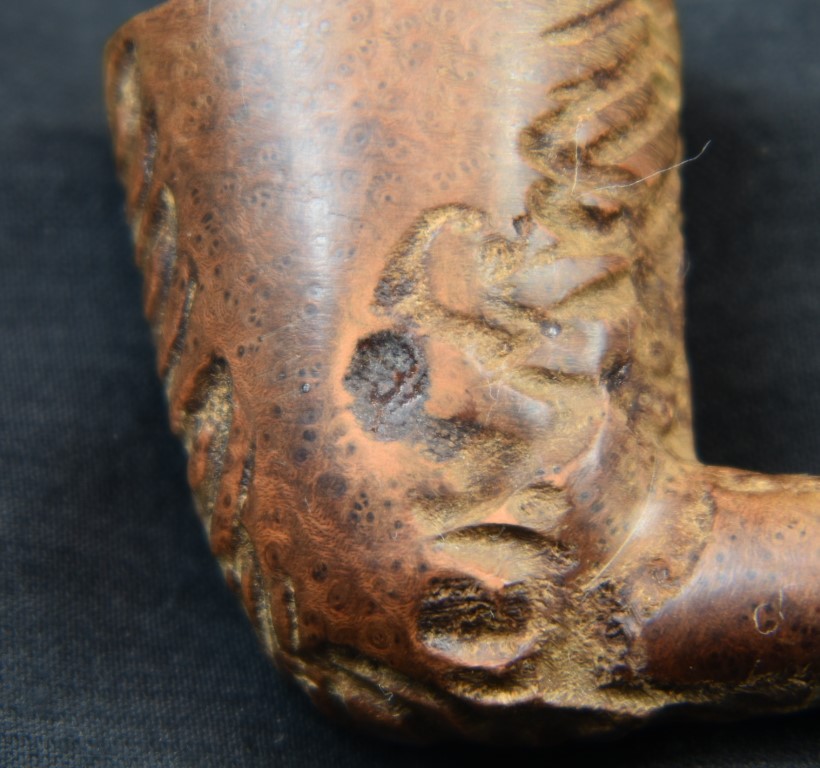
During the 2 hours, I started sanding the stummel with the 400 and 600 sanding sponges. I wiped the stummel off with a make-up pad wetted with alcohol. I could only see two small pits that I thought required filling. They were both on the rim. With a rim this large and smooth I did not want anything to detract from the smooth surface. I used a fly tying bodkin to apply small drops of brown cyanoacrylate (CA, super glue) to the pits. I then dipped my finger into my container of briar dust, getting a little dust stuck to my finger tip, and pressed it onto the CA filled pit. This was repeated for the second pit. The CA set-up quickly and was sanded smooth using the sanding sponges.

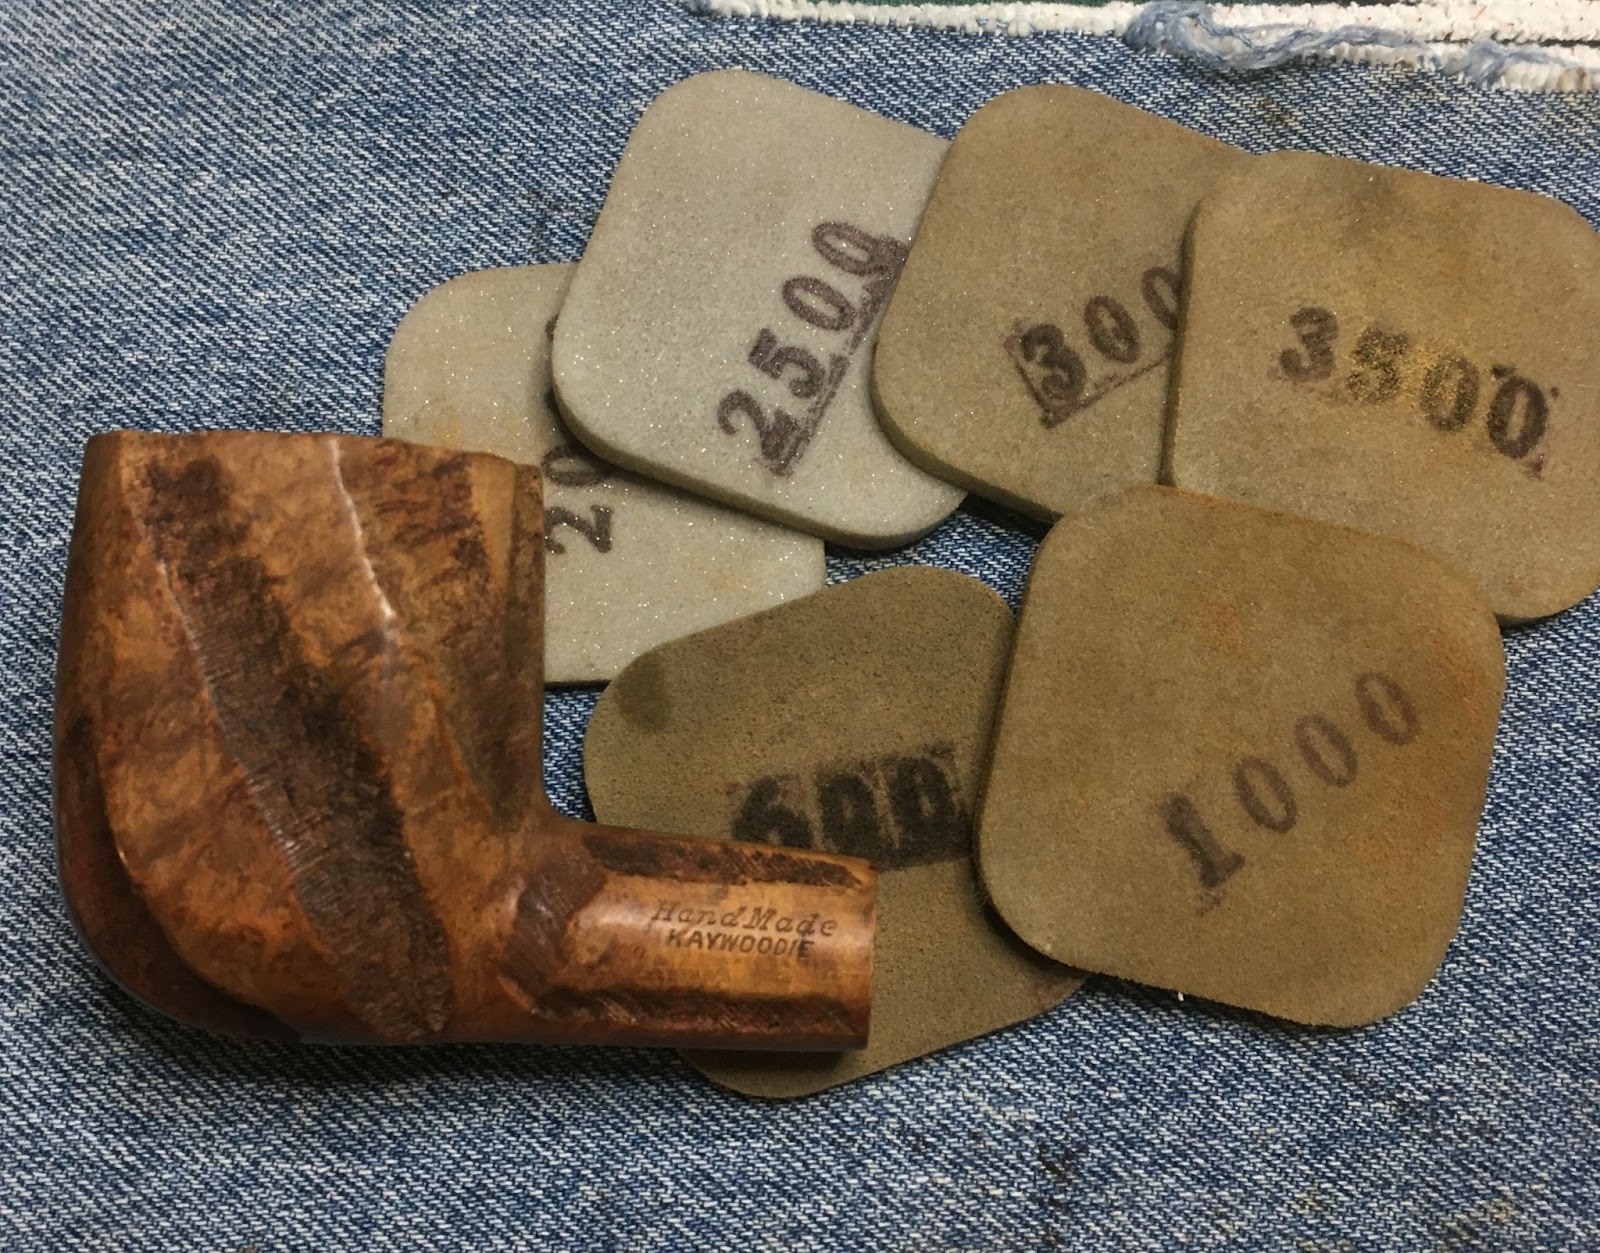
The sanding continued with the 1000-3500 sanding sponges in sequence. Between each sponge I wiped the stummel with a make-up pad dipped in alcohol. I was very careful to avoid the stamps and the edge of the mortise.

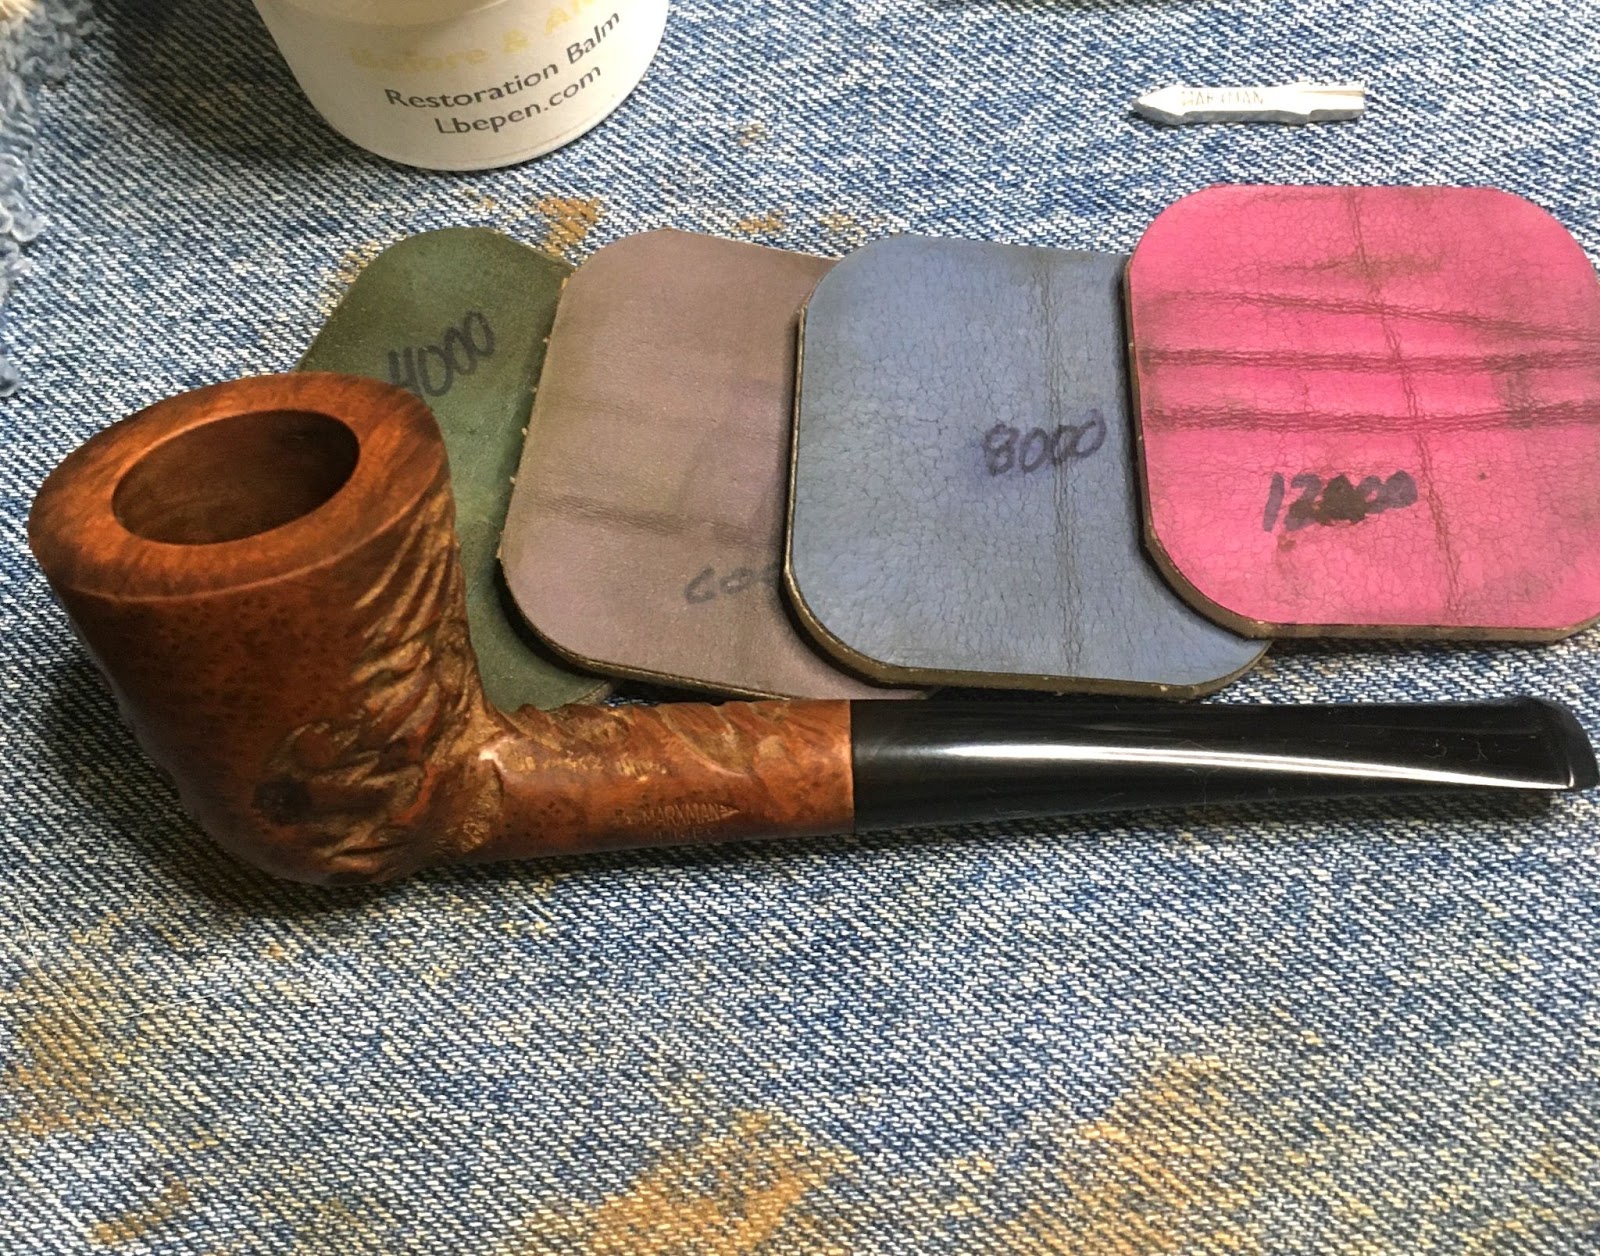
The stummel then was micro-meshed with the 4000-12000 pads. Between each pad the stummel was again wiped down with a make-up pad moistened with alcohol.

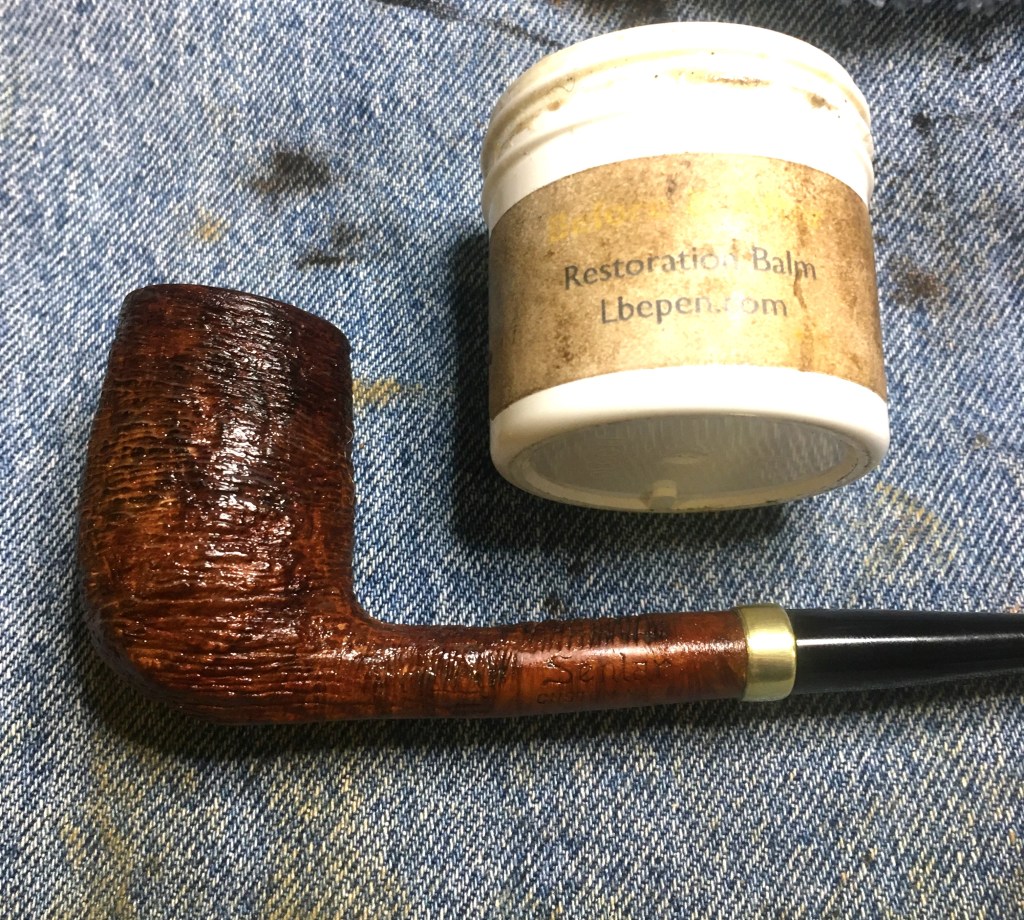
The stem was then slathered with Before and After Restoration Balm by finger tip and baby toothbrush.

After about 30 minutes I wiped the remaining balm from the stummel using the inside of an athletic sock. It was really looking good.
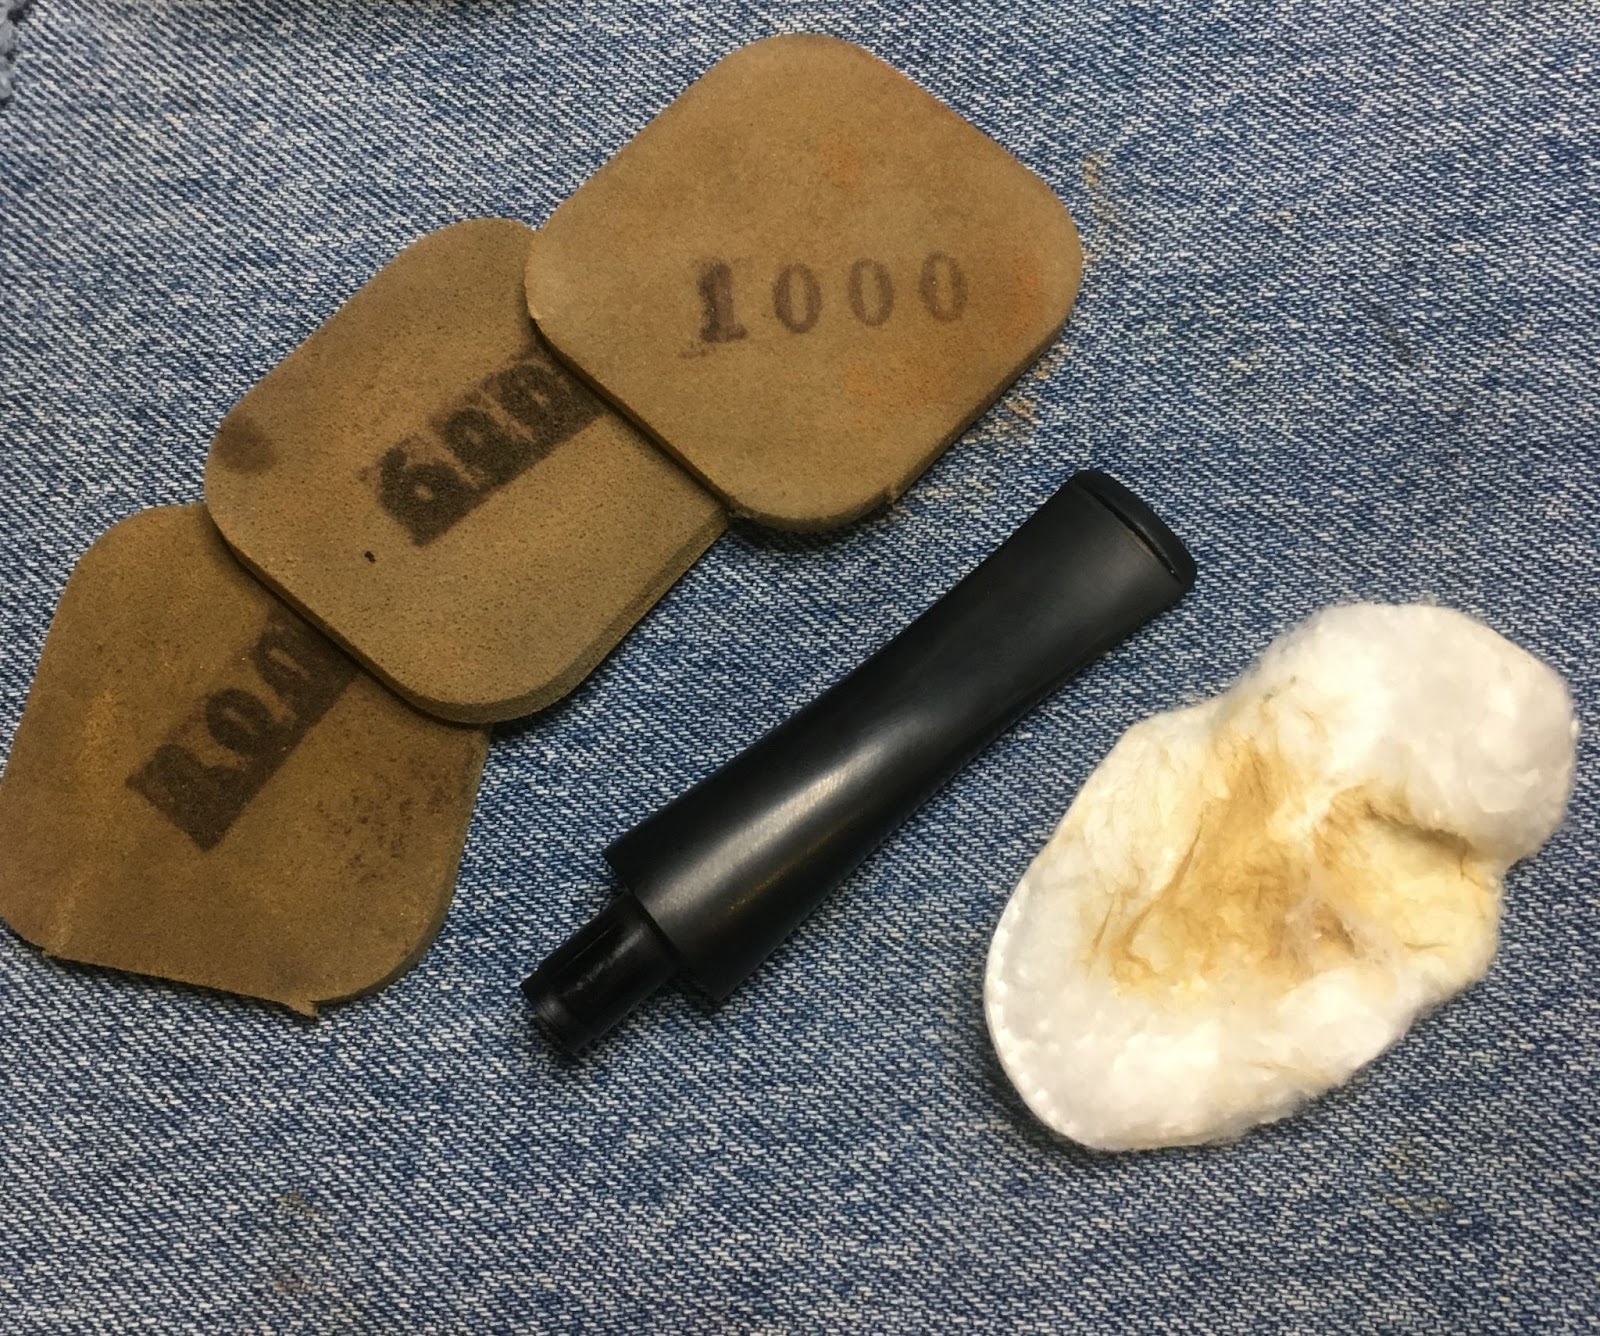
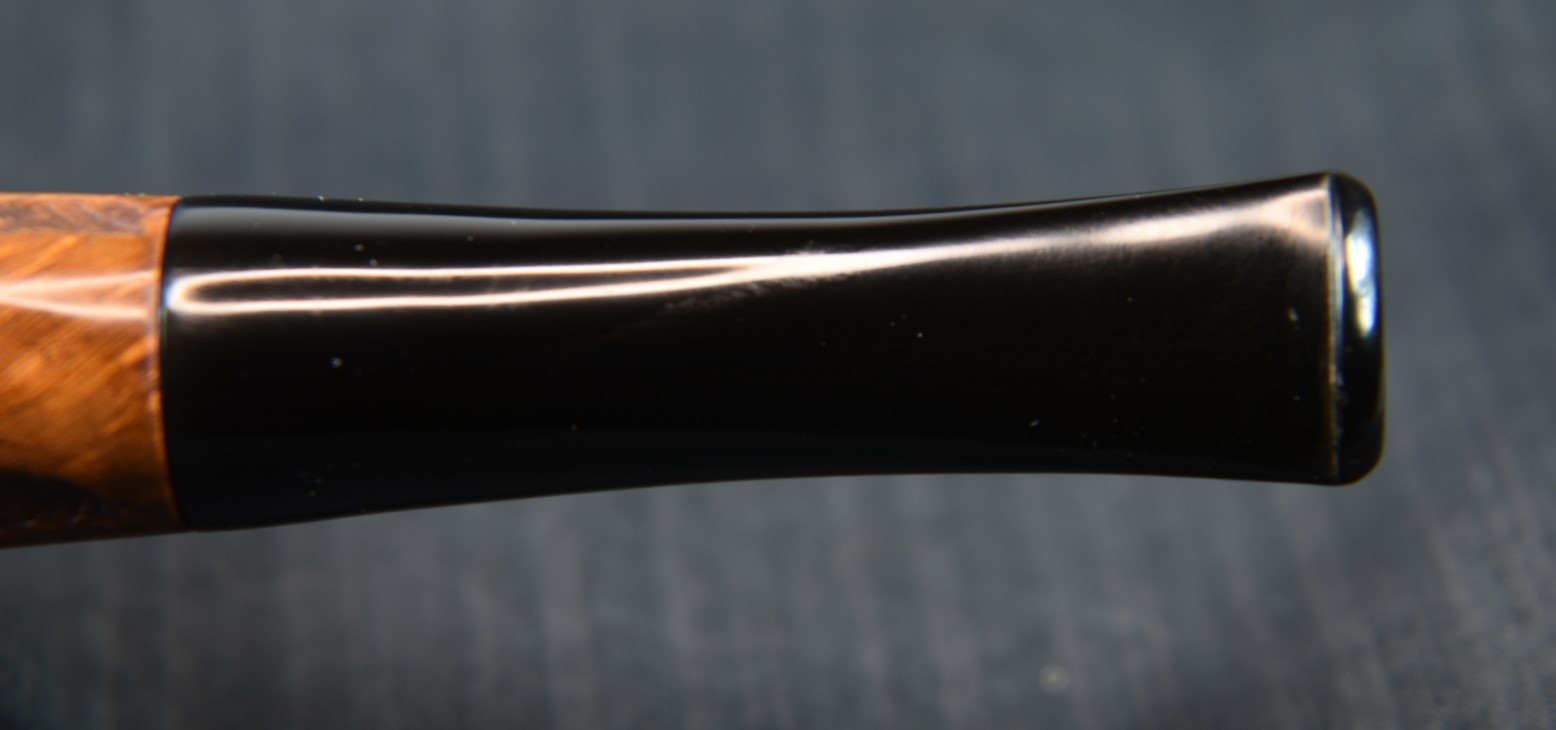
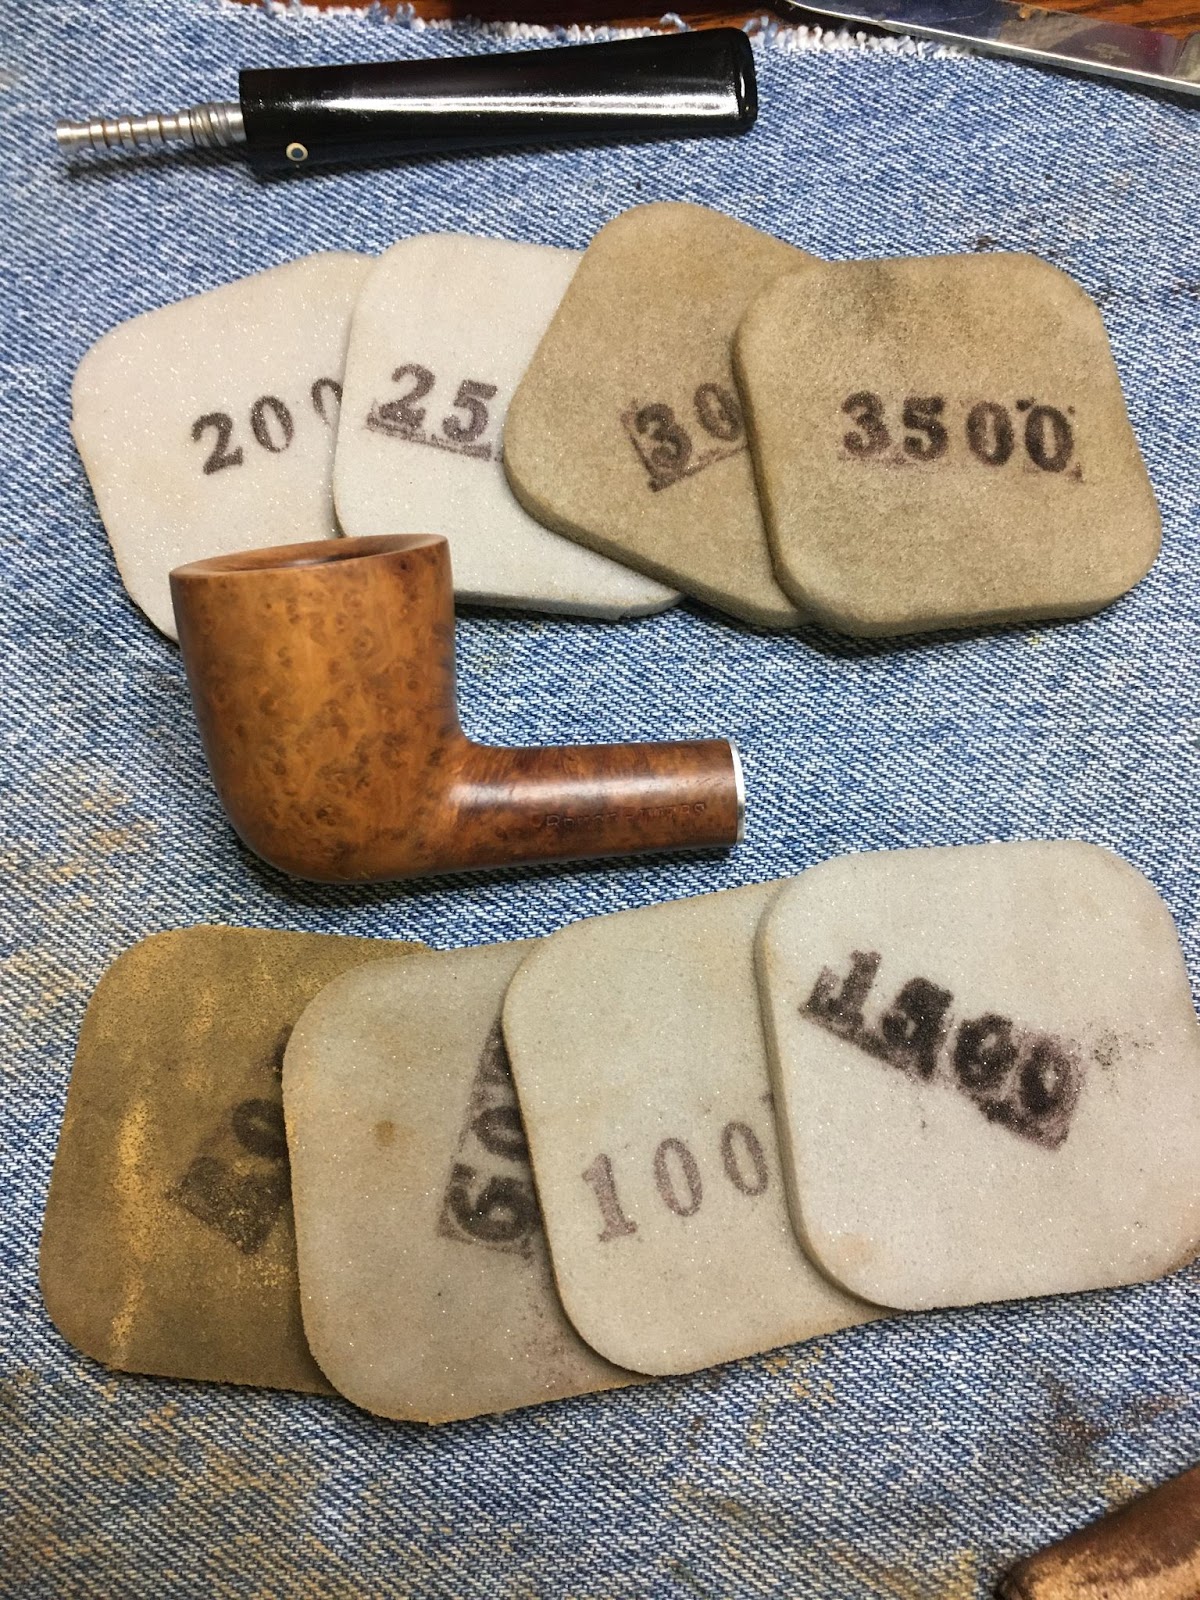
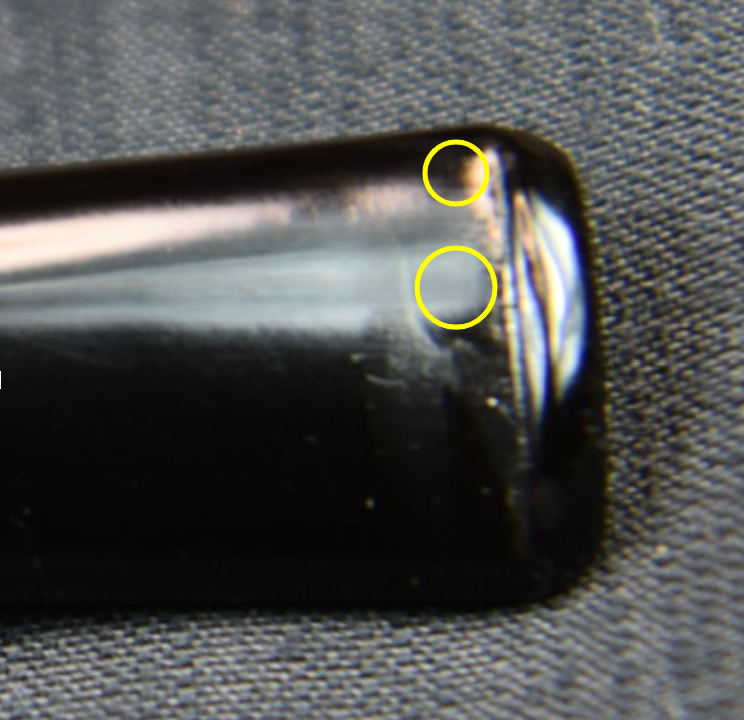
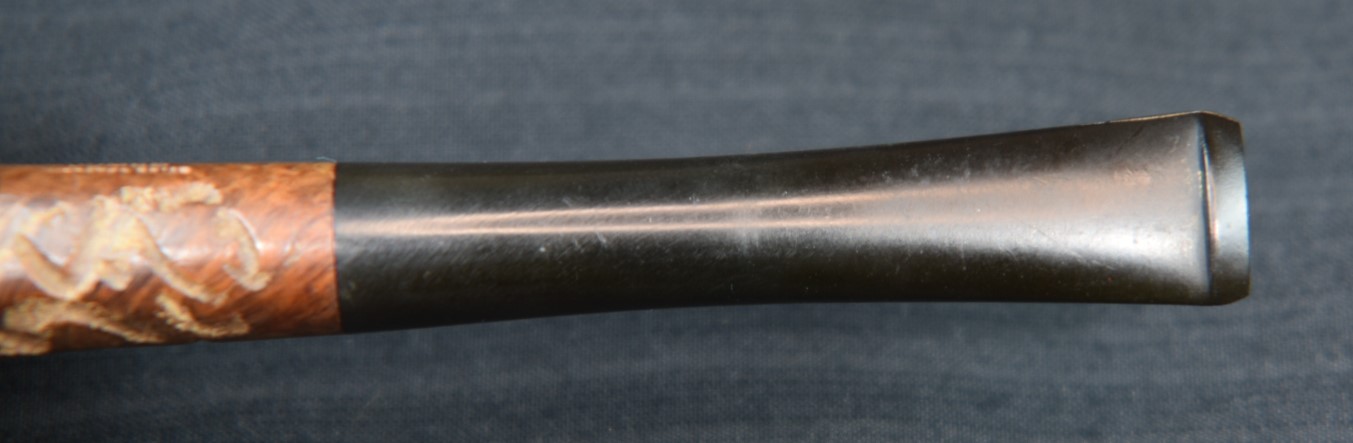
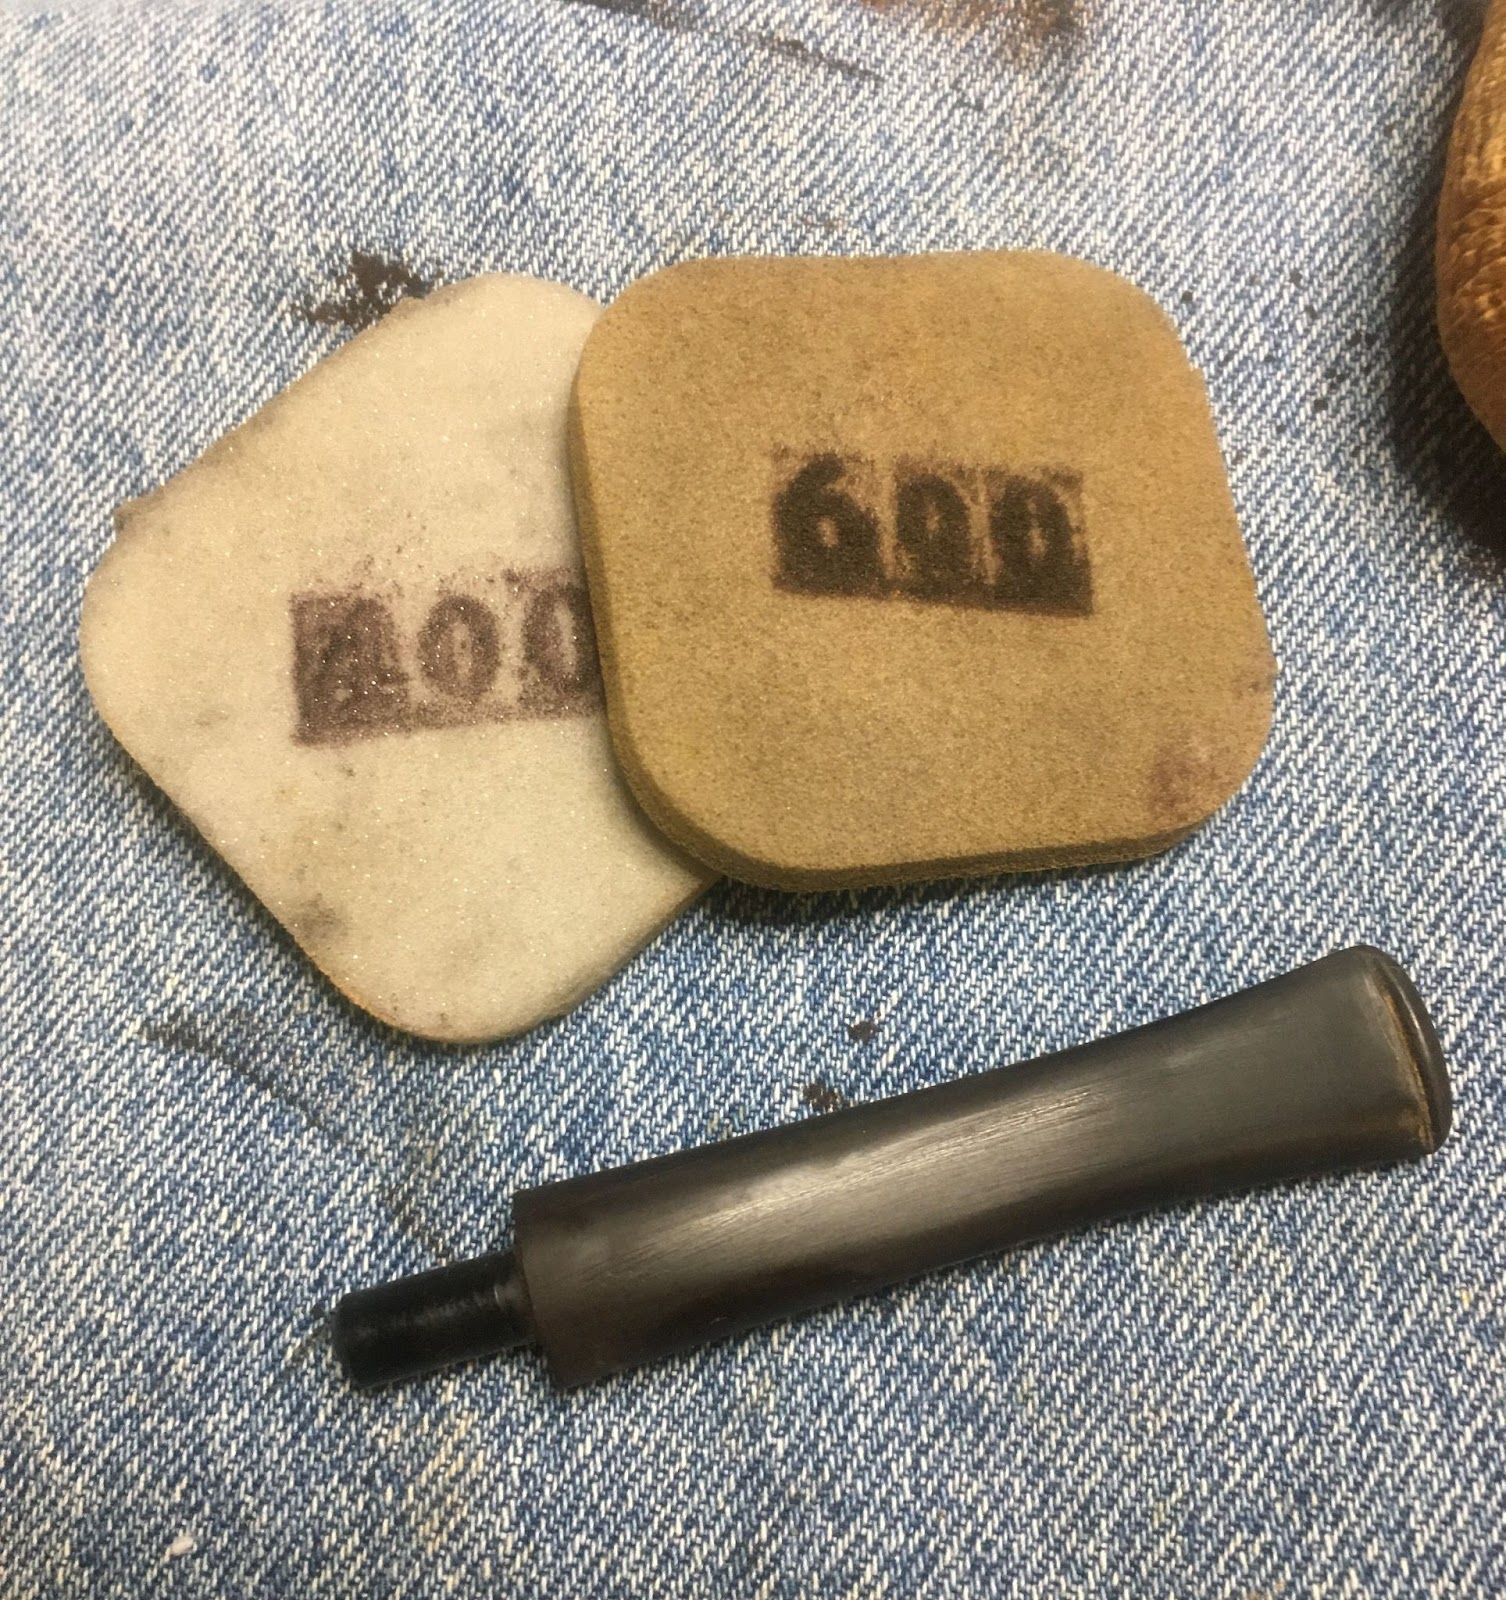
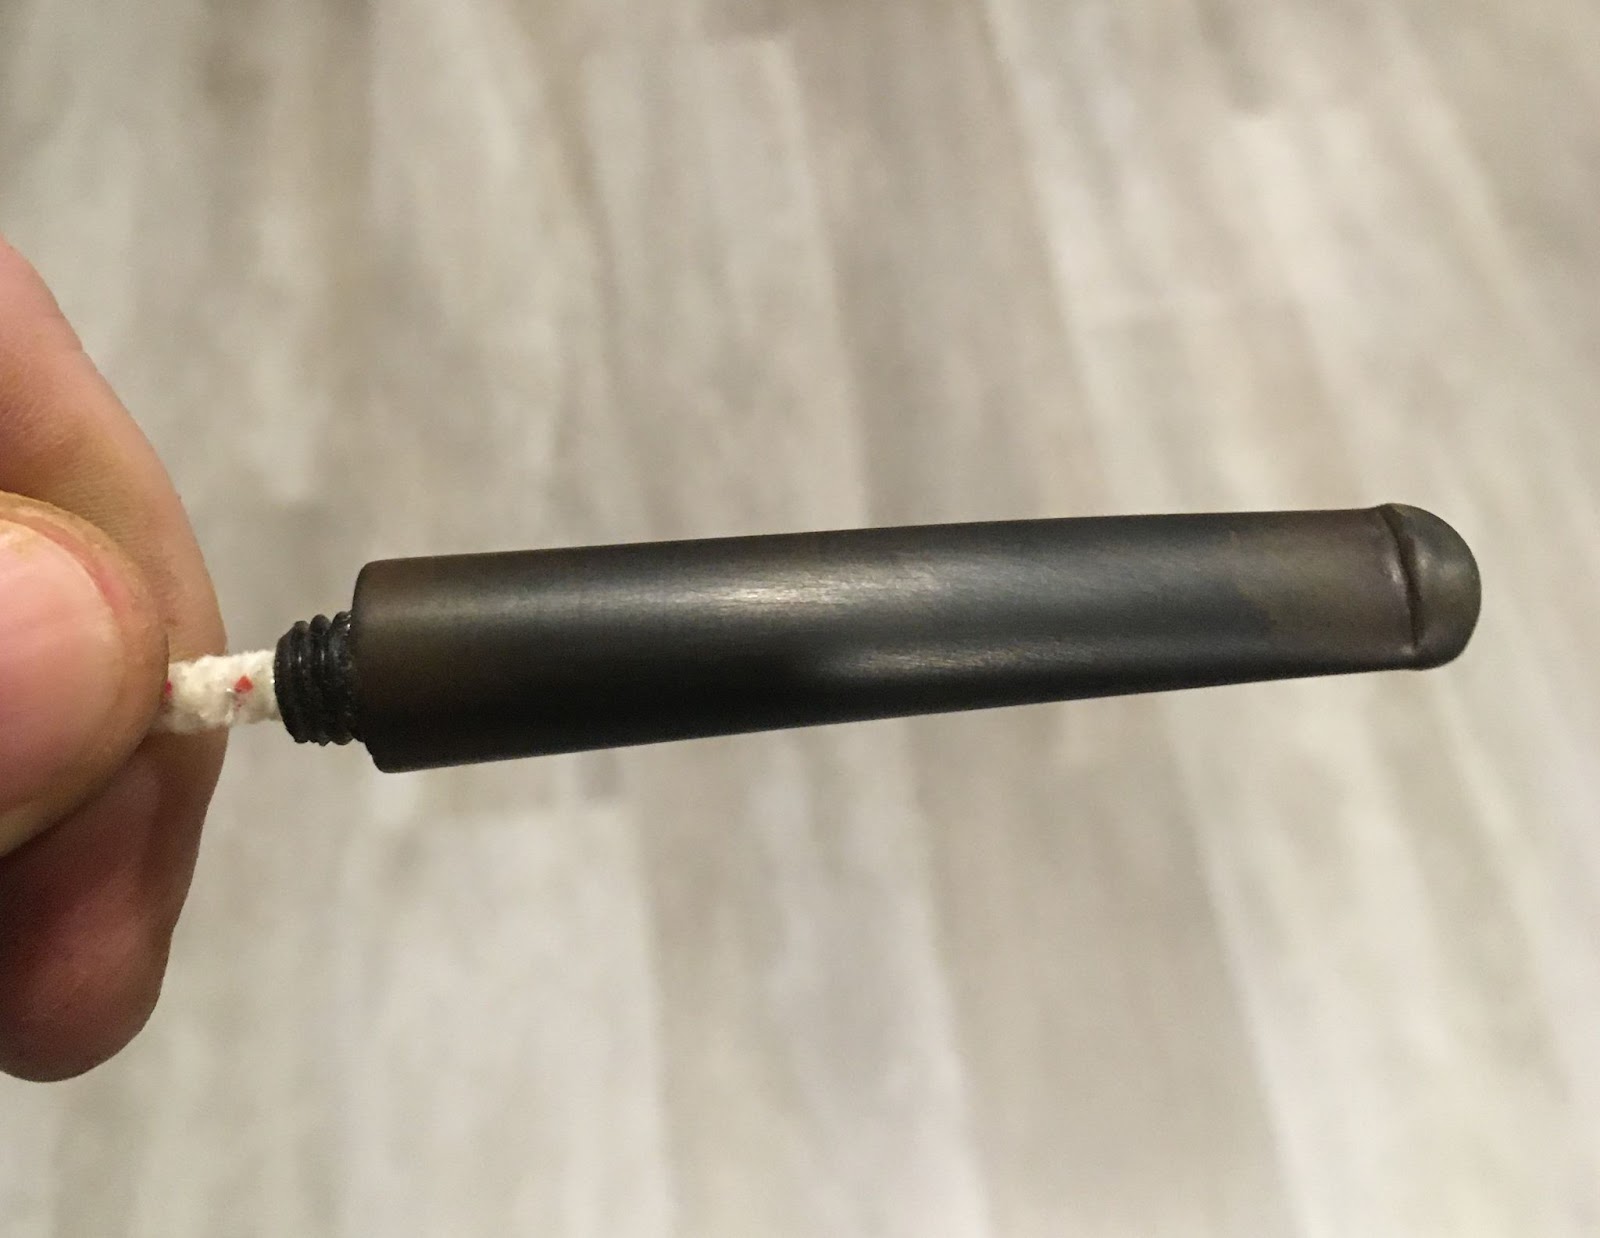
Before working on the stem, I wrapped the shank in a bit of painters tape to protect it from the Soft Scrub and the sanding of the stem. I wanted it attached as it gave me more to hold on to. I retrieved the stem from the Oxy-clean bath, dried it off with paper towels and started scrubbing with Soft Scrub on a make-up pad. The oxidation just kept coming off the stem. Several make-up pads later it was looking much better. The area immediately ahead of the tenon still had some light brown rather than black. I upped my efforts with the remaining scraps of a Magic Eraser and Soft Scrub. That seemed to do the trick. Below you can see some of the make-up pads and a mineral oiled stem.

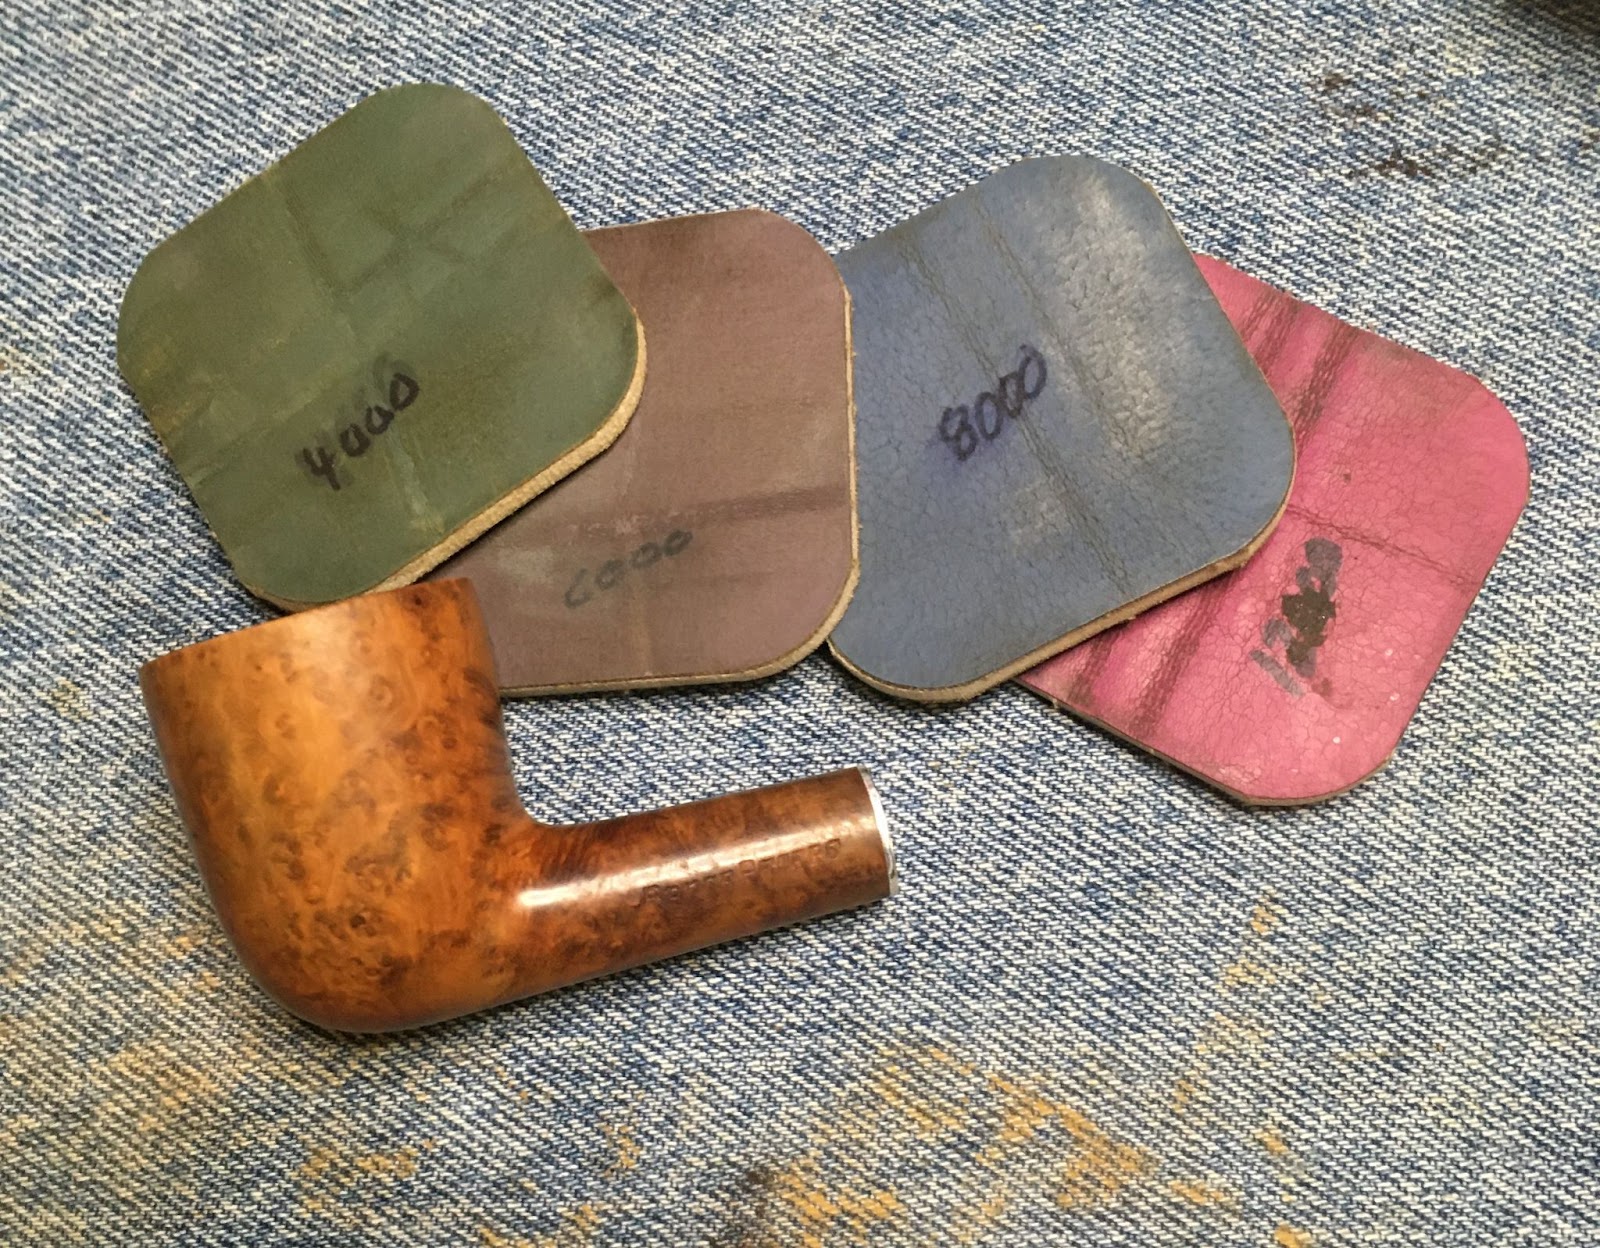
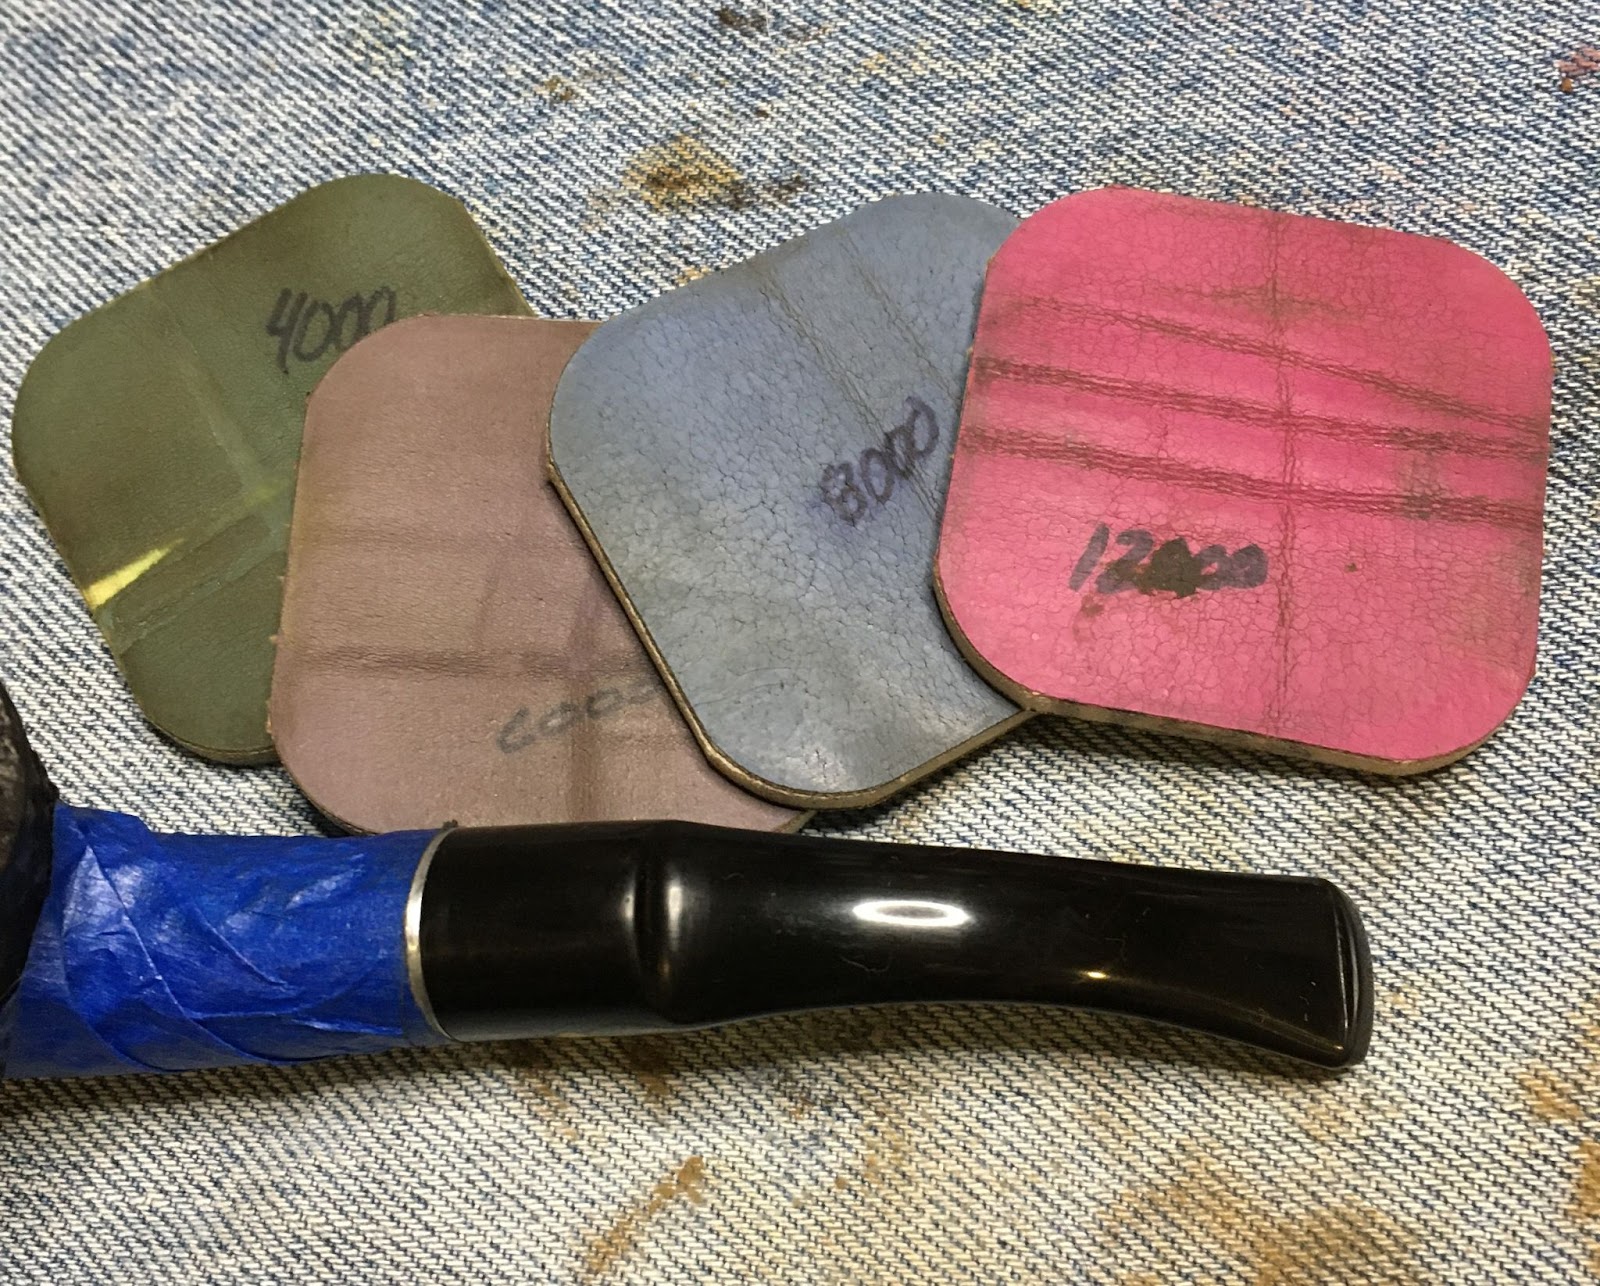
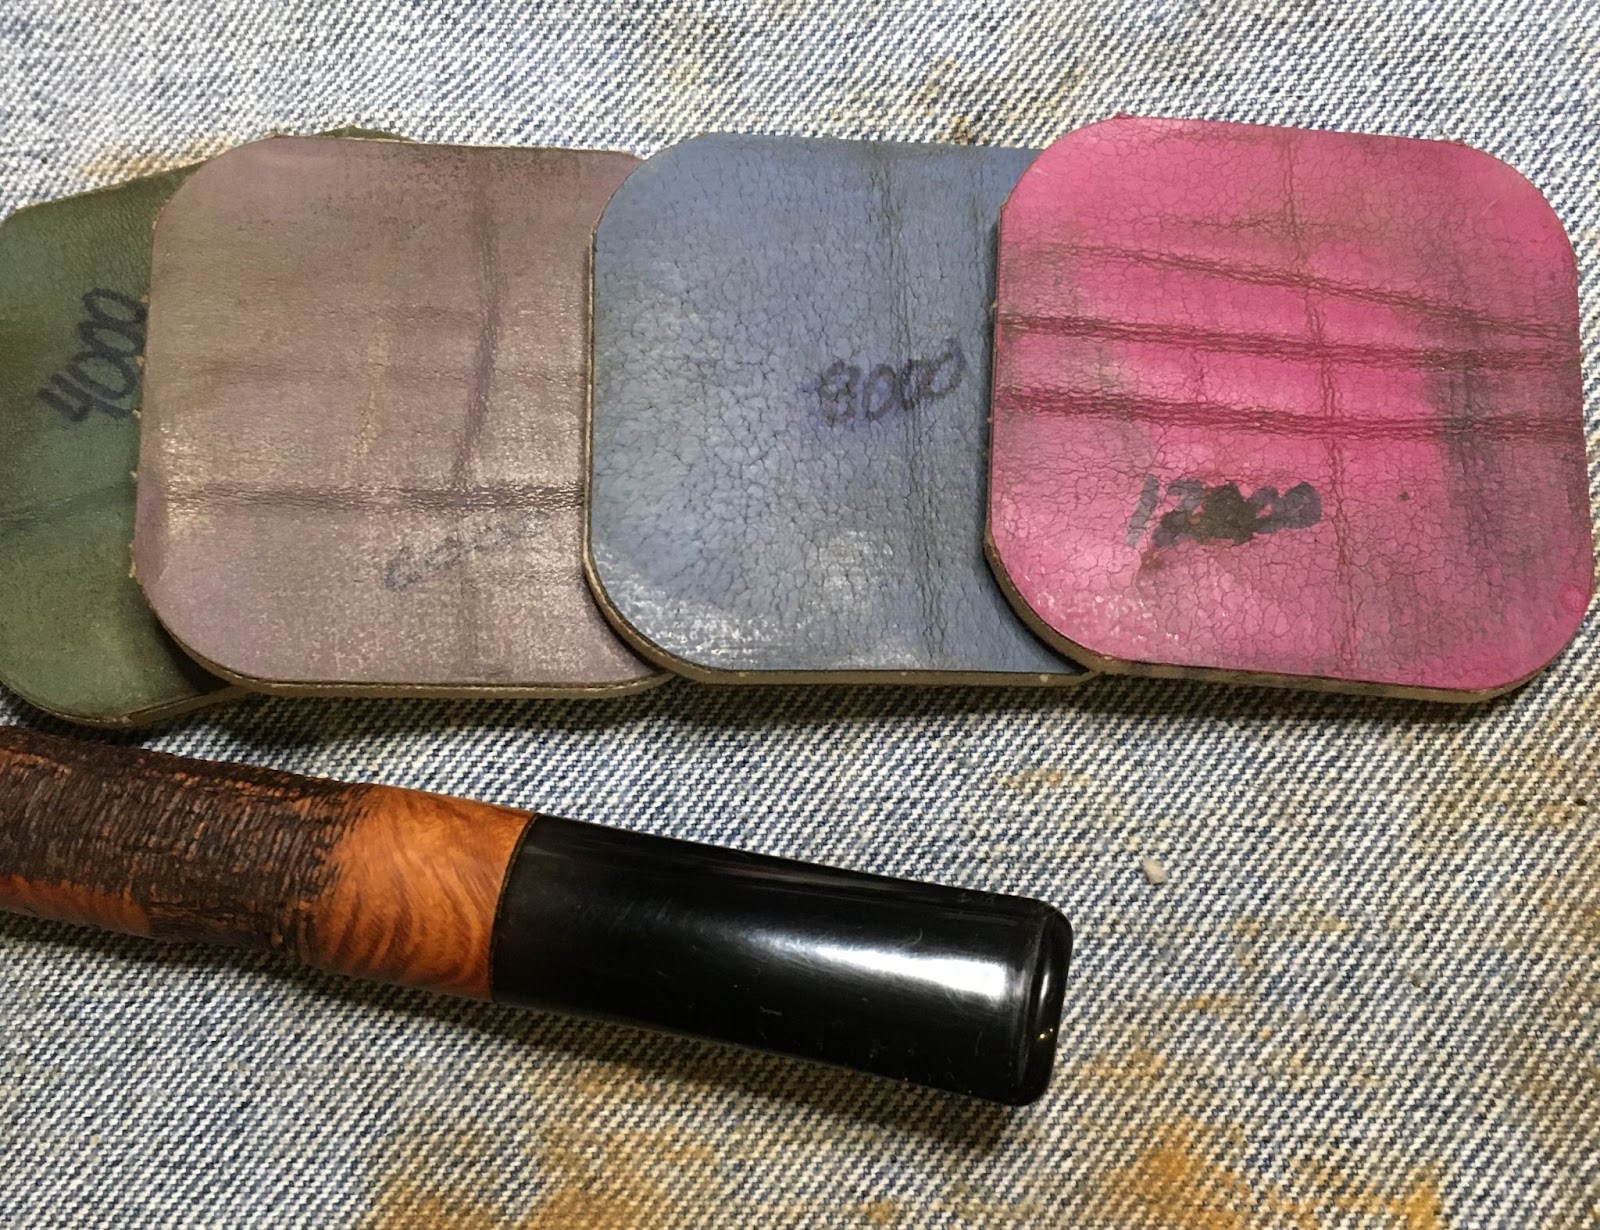
The tape didn’t stick too well to the freshly balmed shank so another strip of painter tape was applied before I sanded the stem. The sanding was done with the 1000-3500 sanding sponges. Between each sponge I rubbed in a drop of mineral oil with my fingers and wiped it off with a paper towel. After the sanding came the micro-meshing. Micro-mesh pads 4000-12000

were used in sequence. Between each pad rubbed in a drop of Obsidian Oil with my fingers and wiped it off with a paper towel.
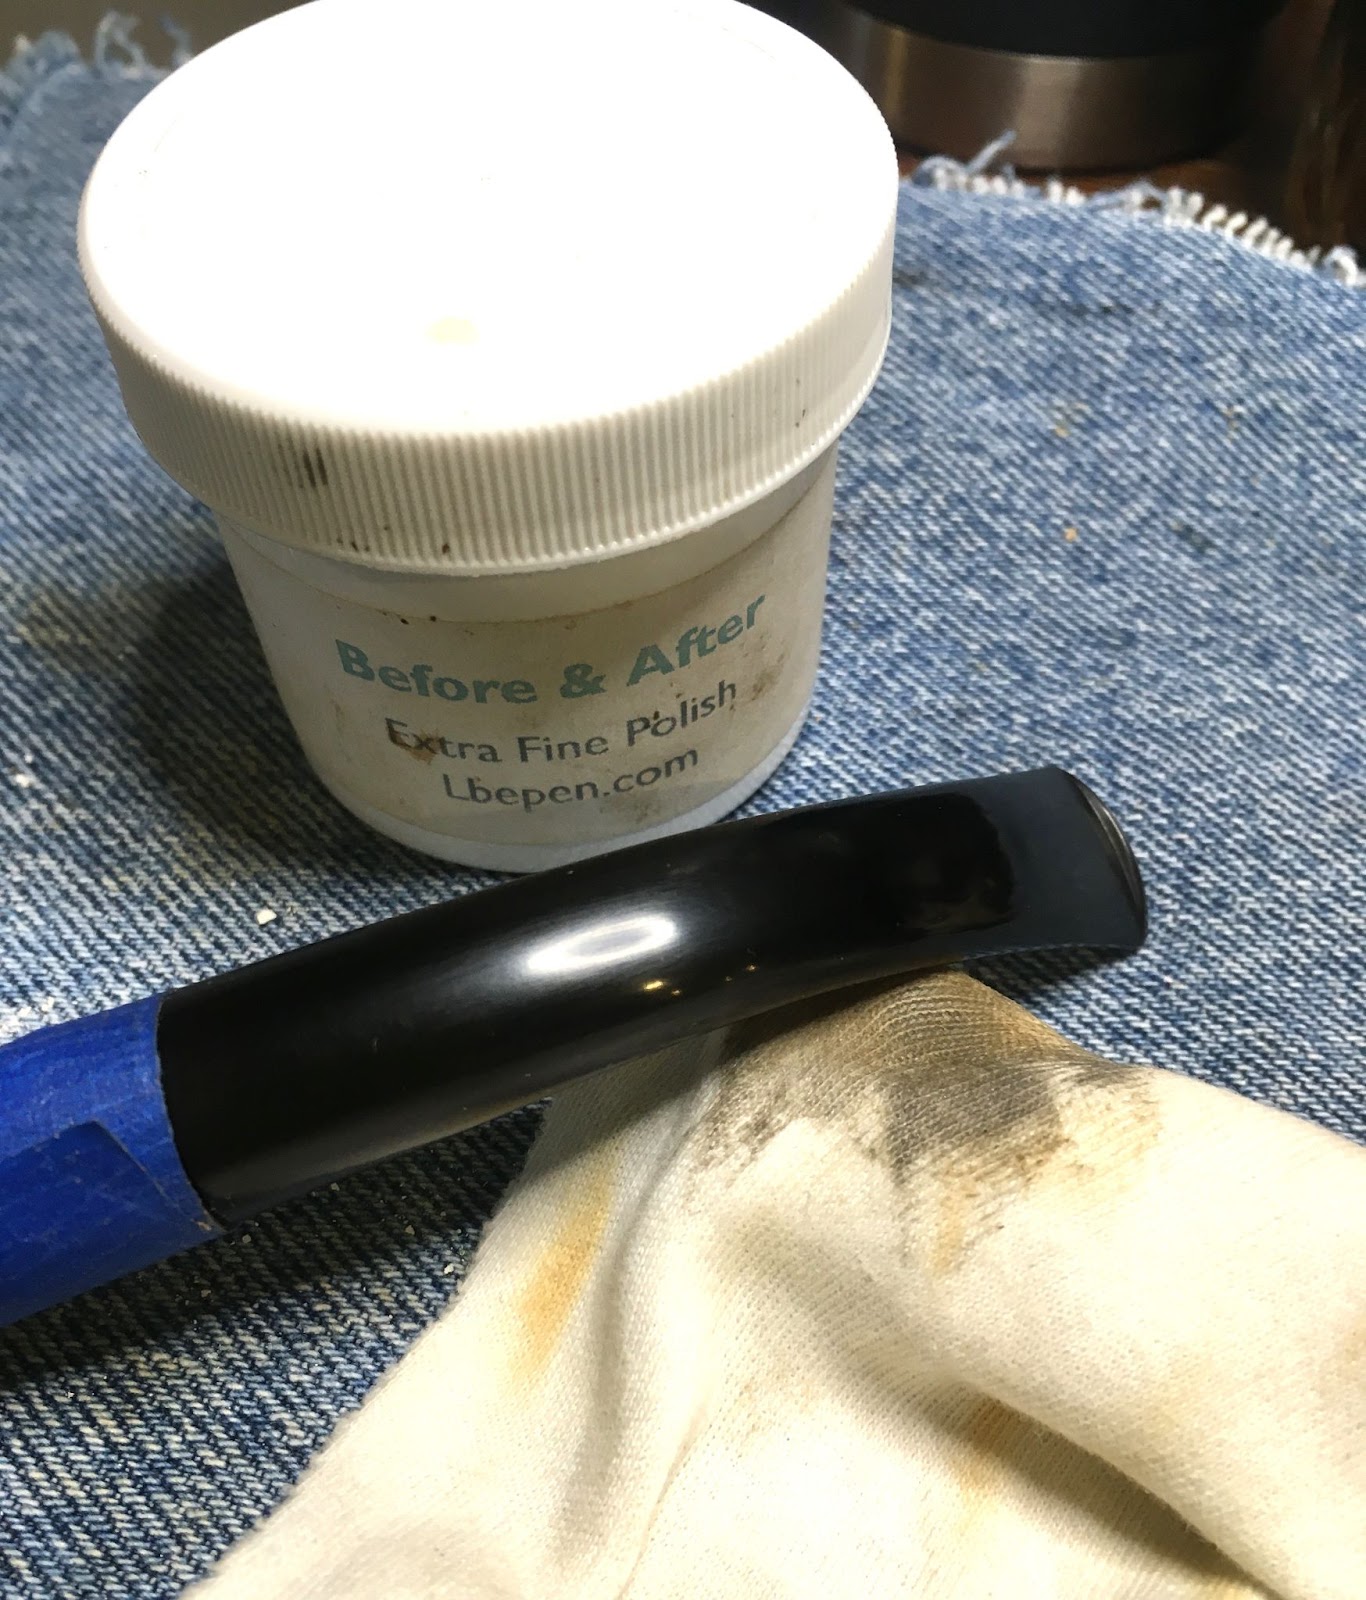
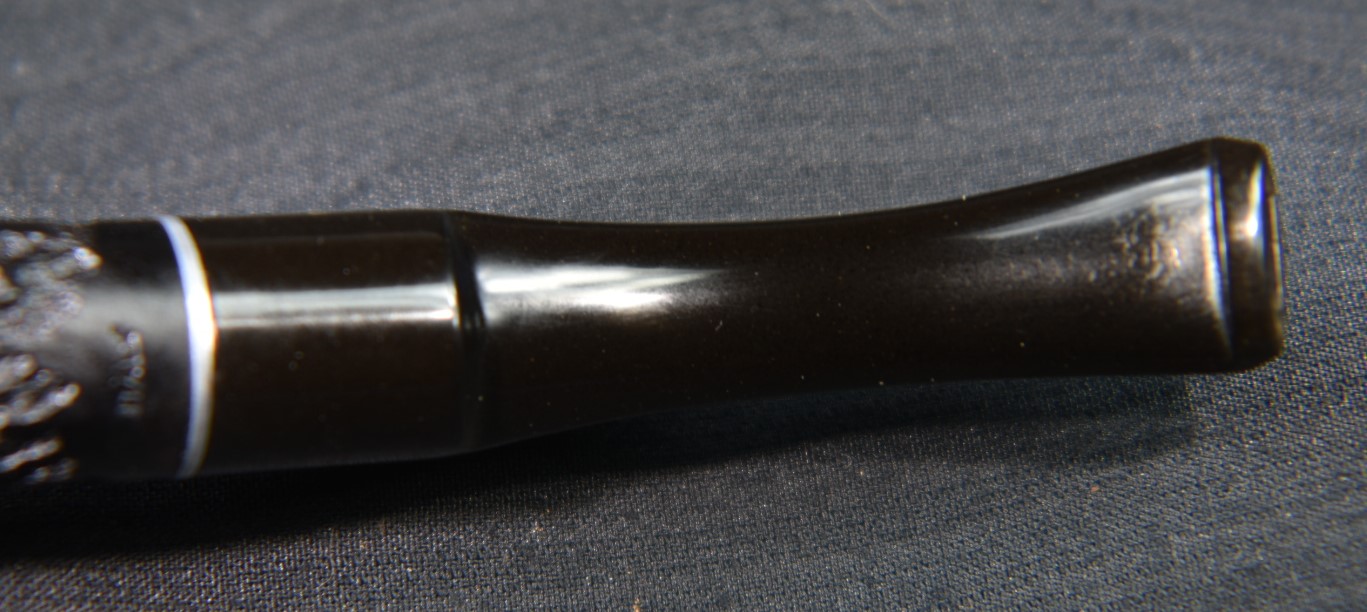
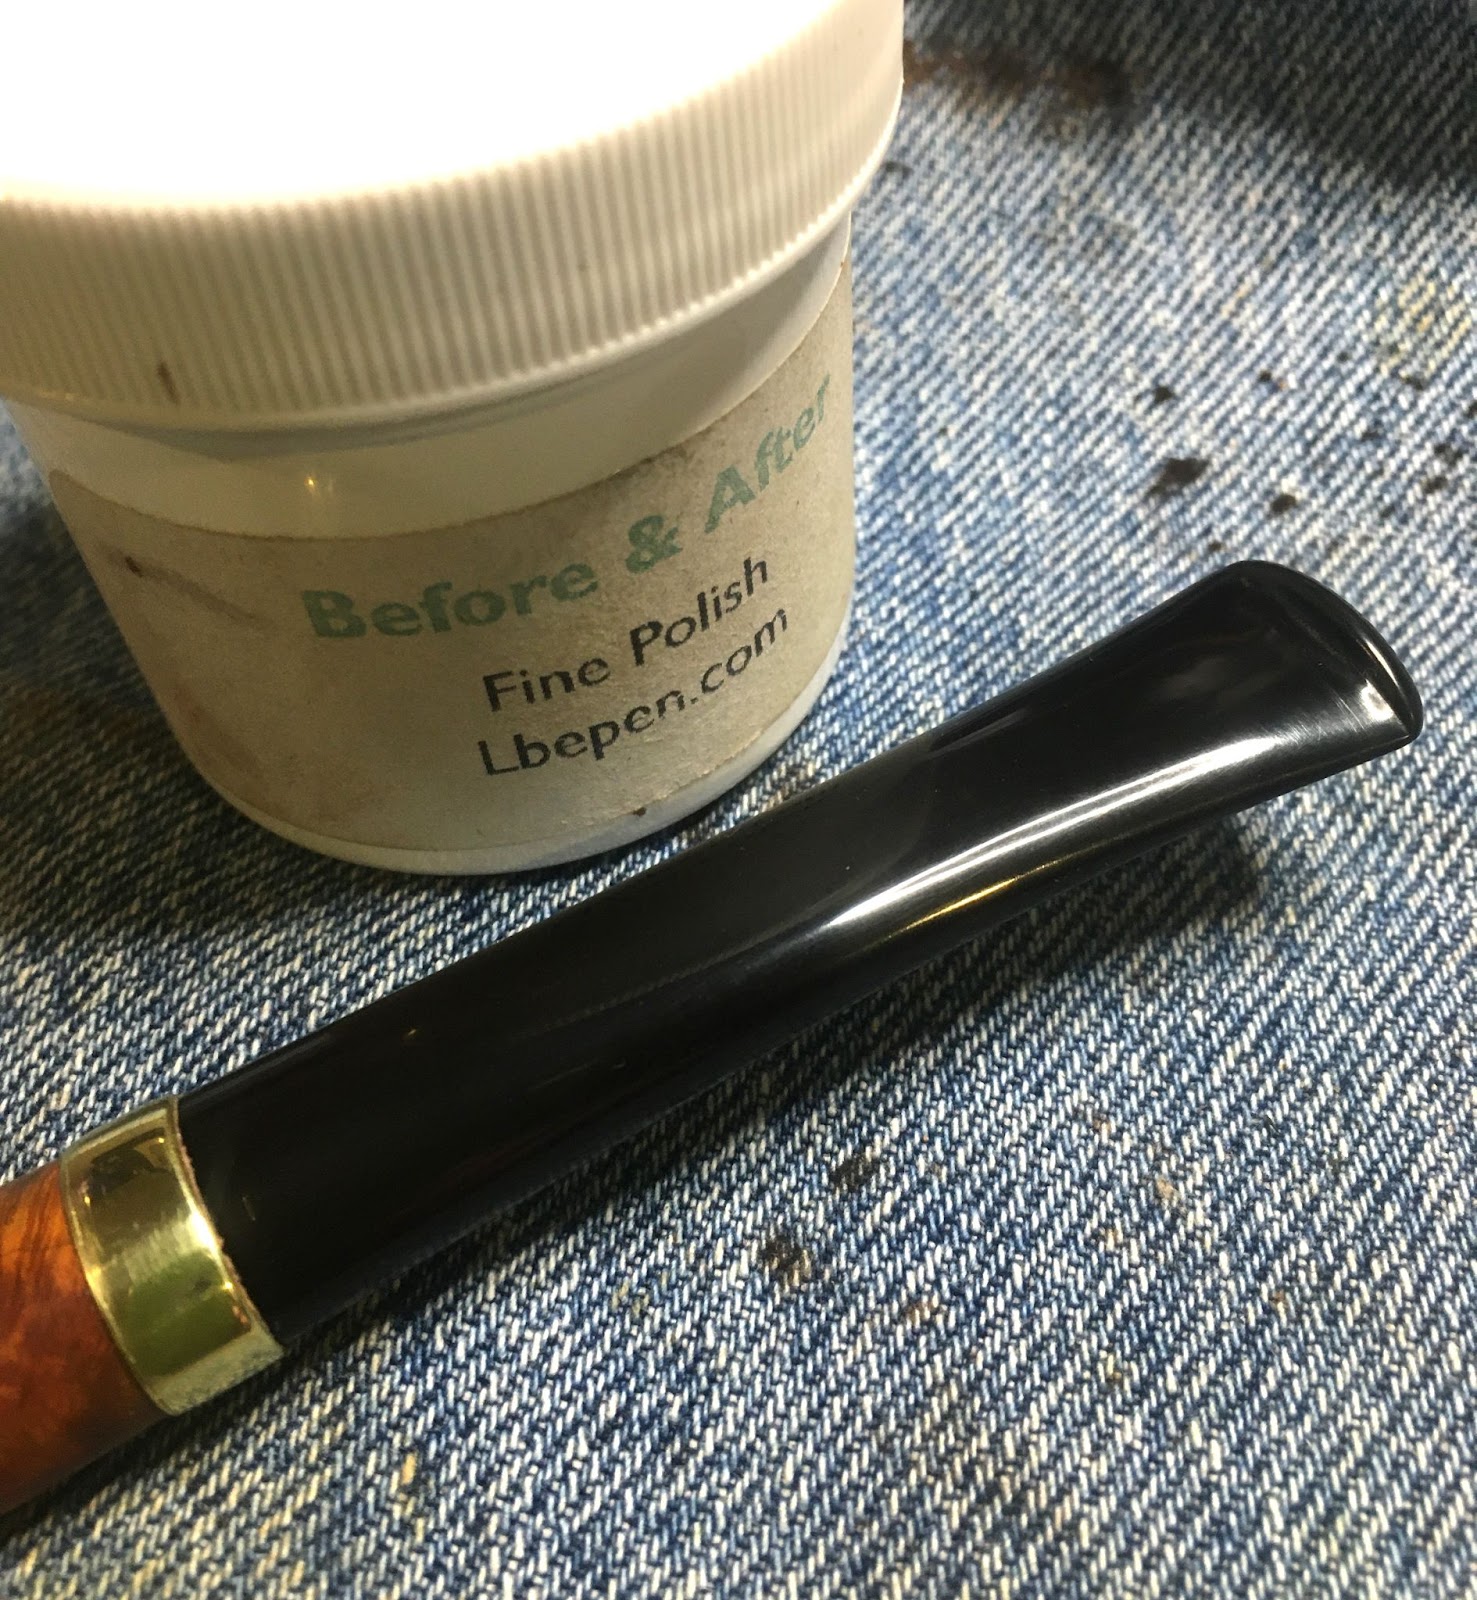
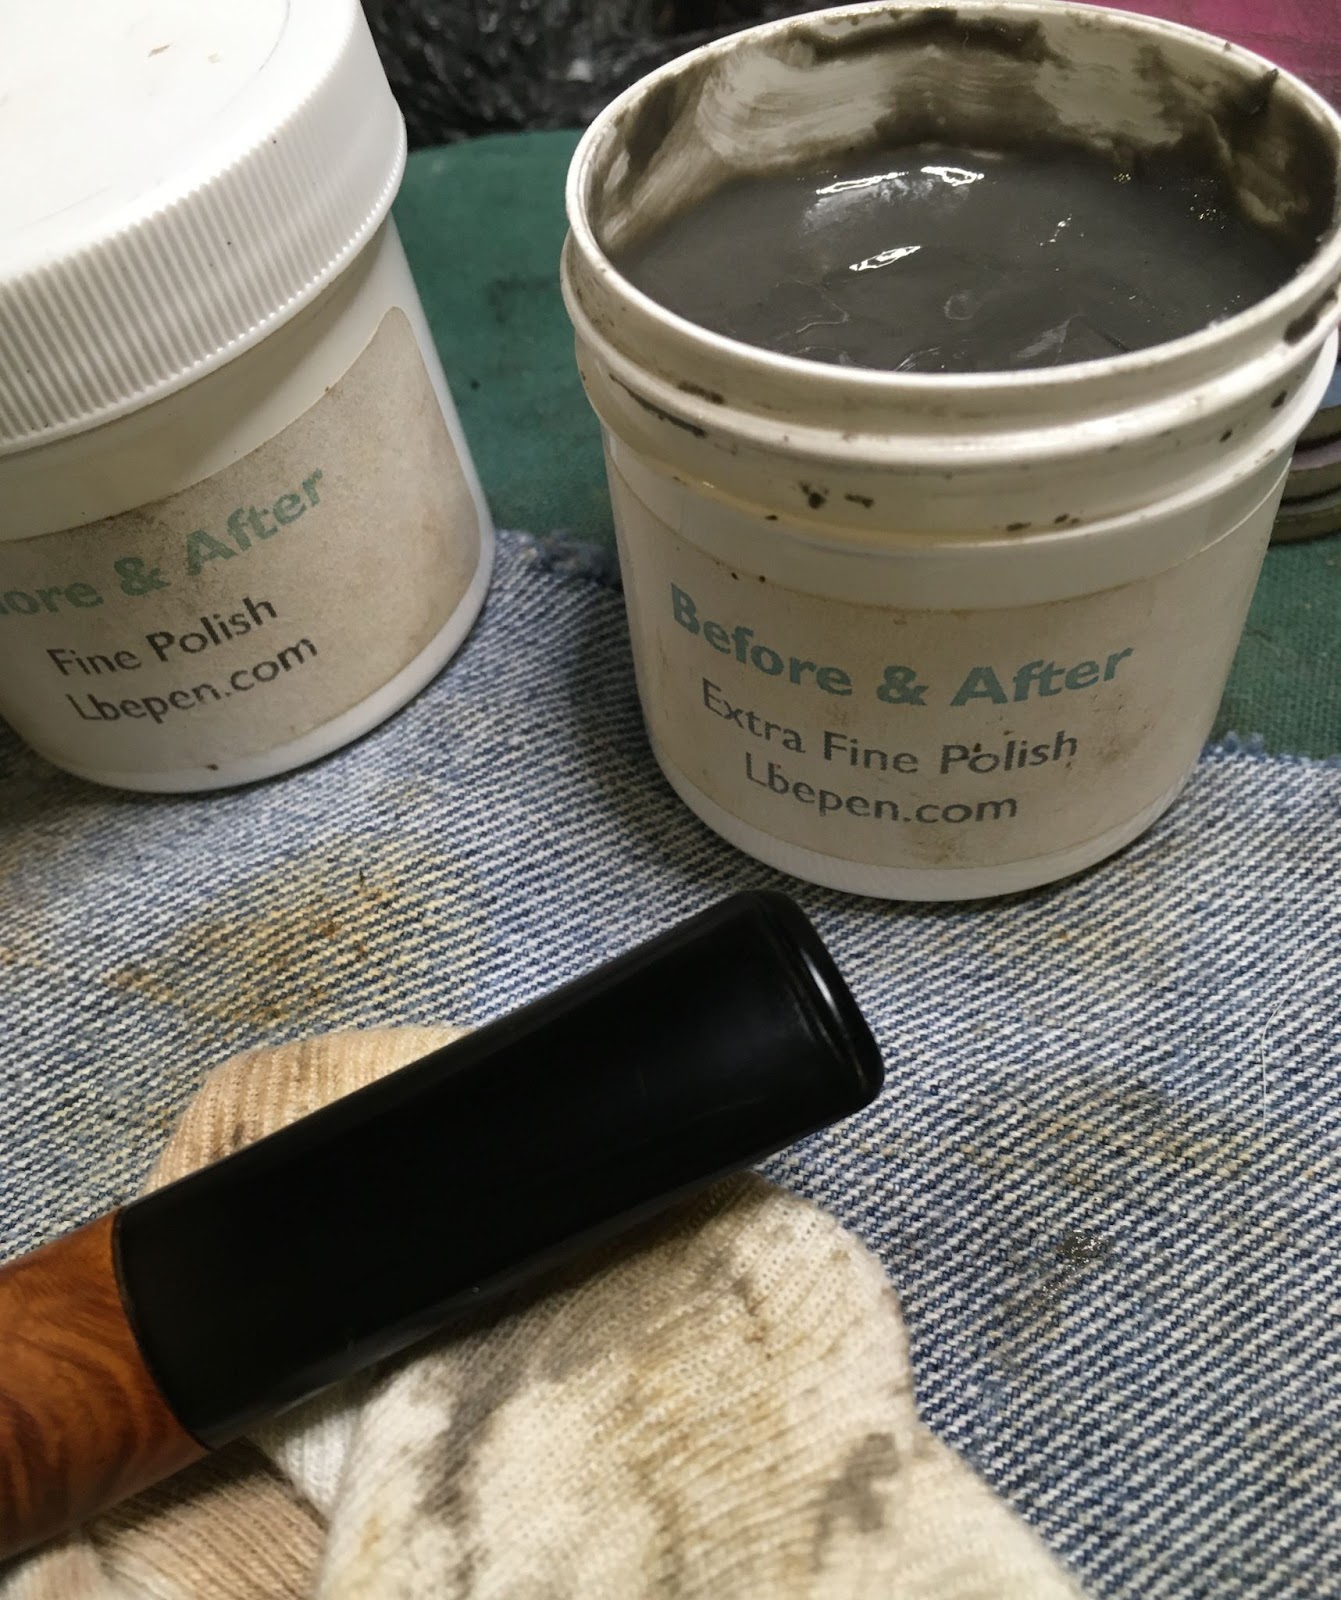
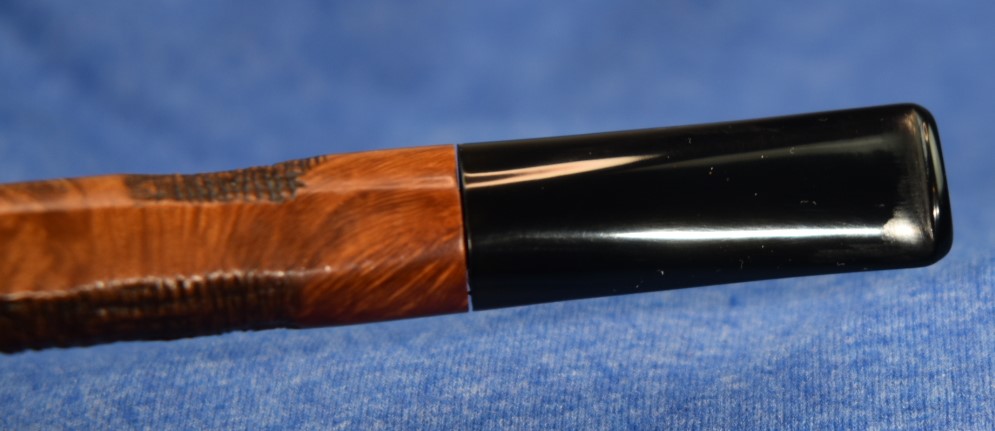
The last few tasks remained and the finish line was quickly approaching. I polished the stem with Before and After Fine Polish with a soft cotton cloth and repeated that polishing with the Extra Fine Polish.

All that remained was the carnauba waxing with the buffer.
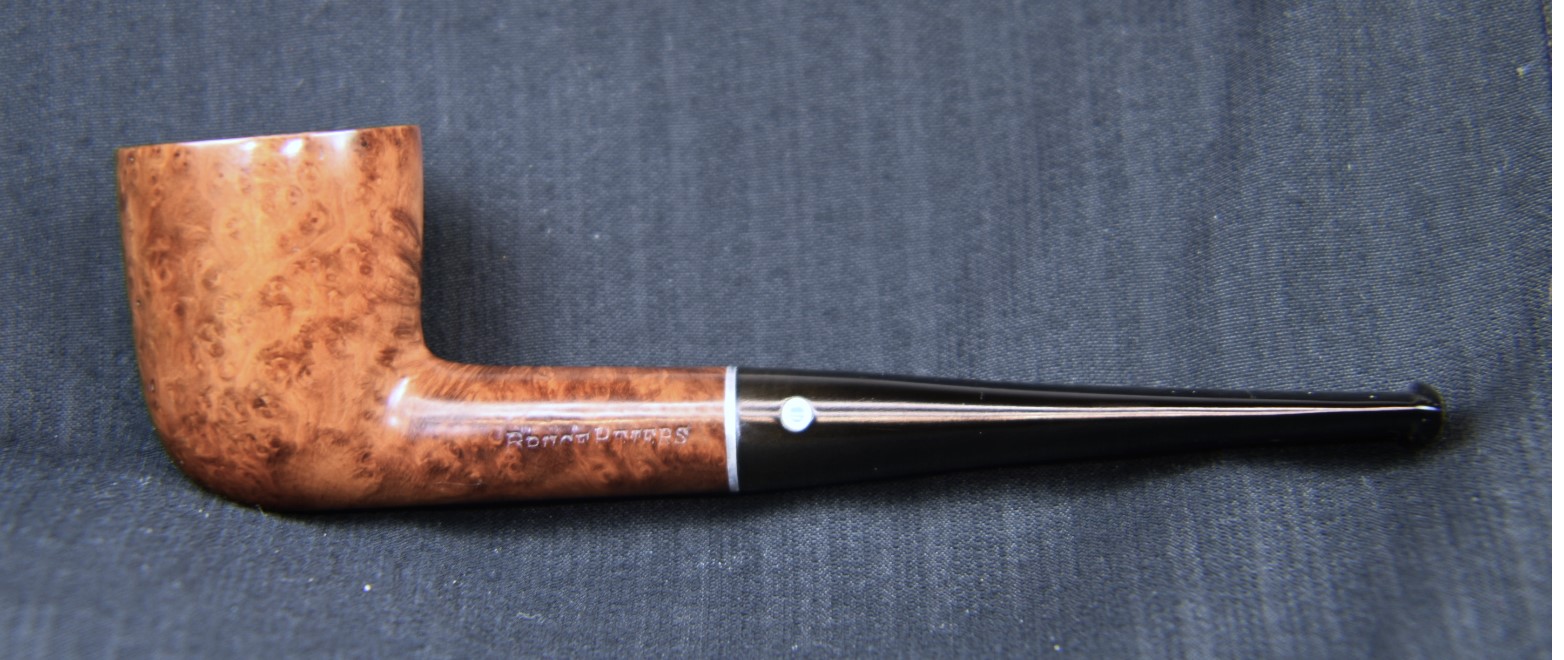
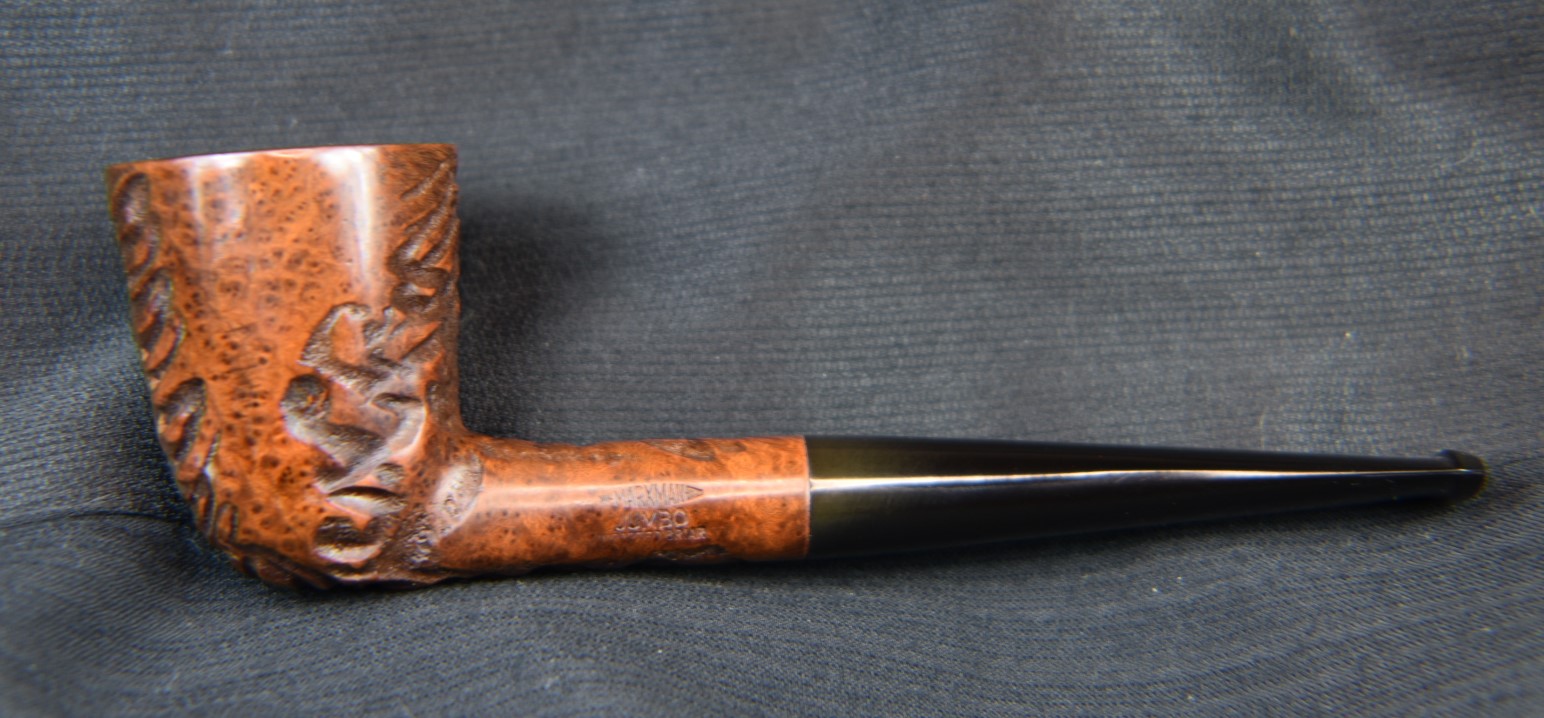
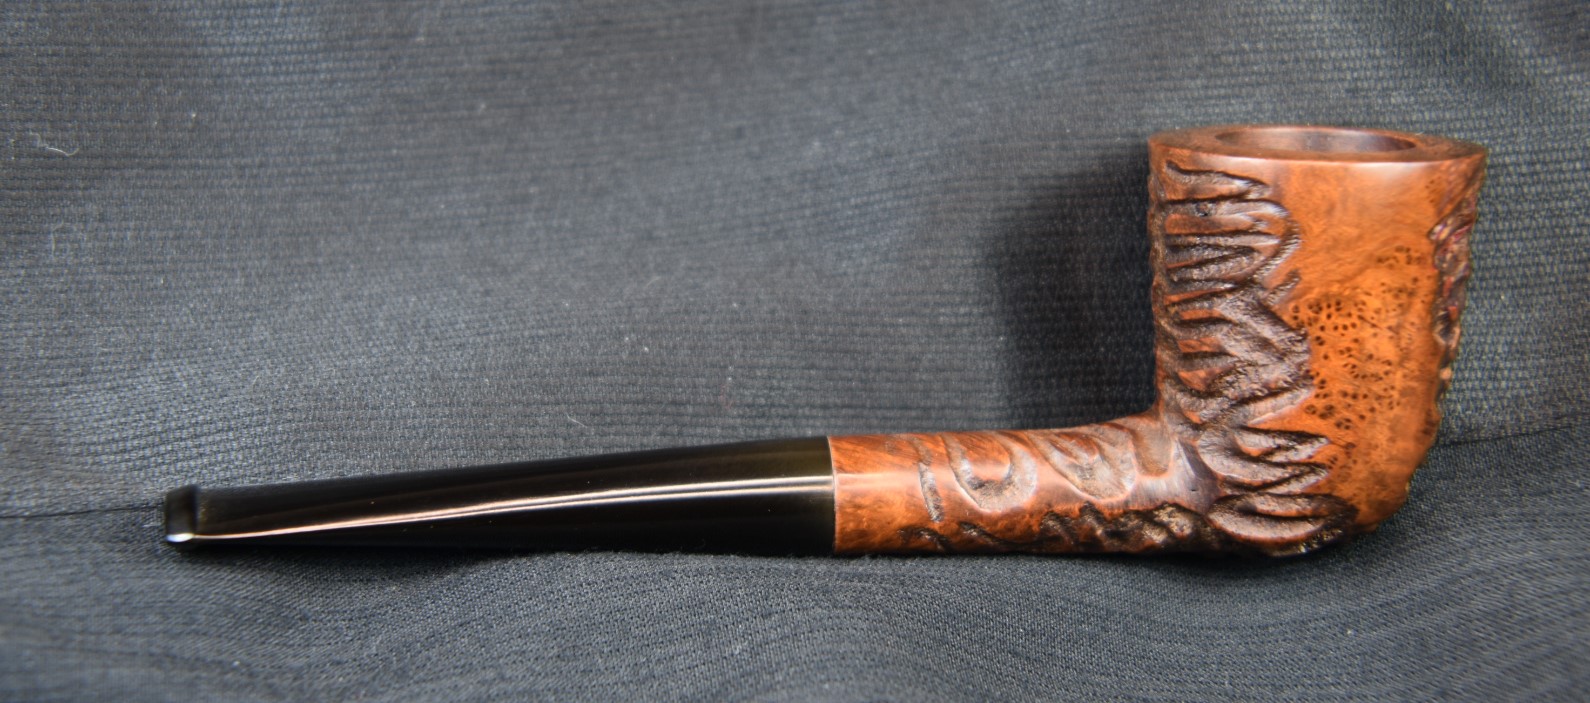
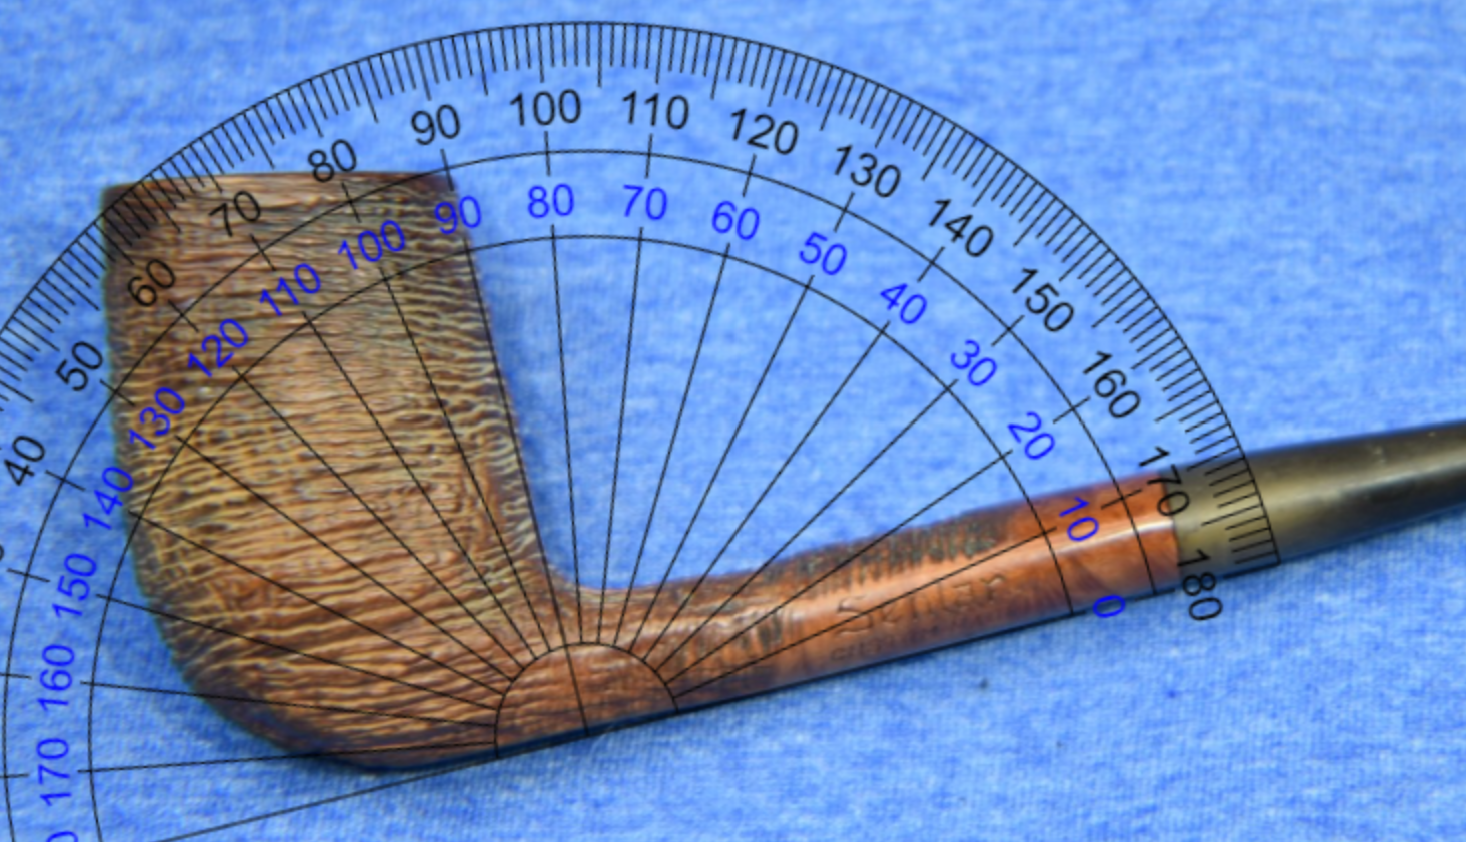
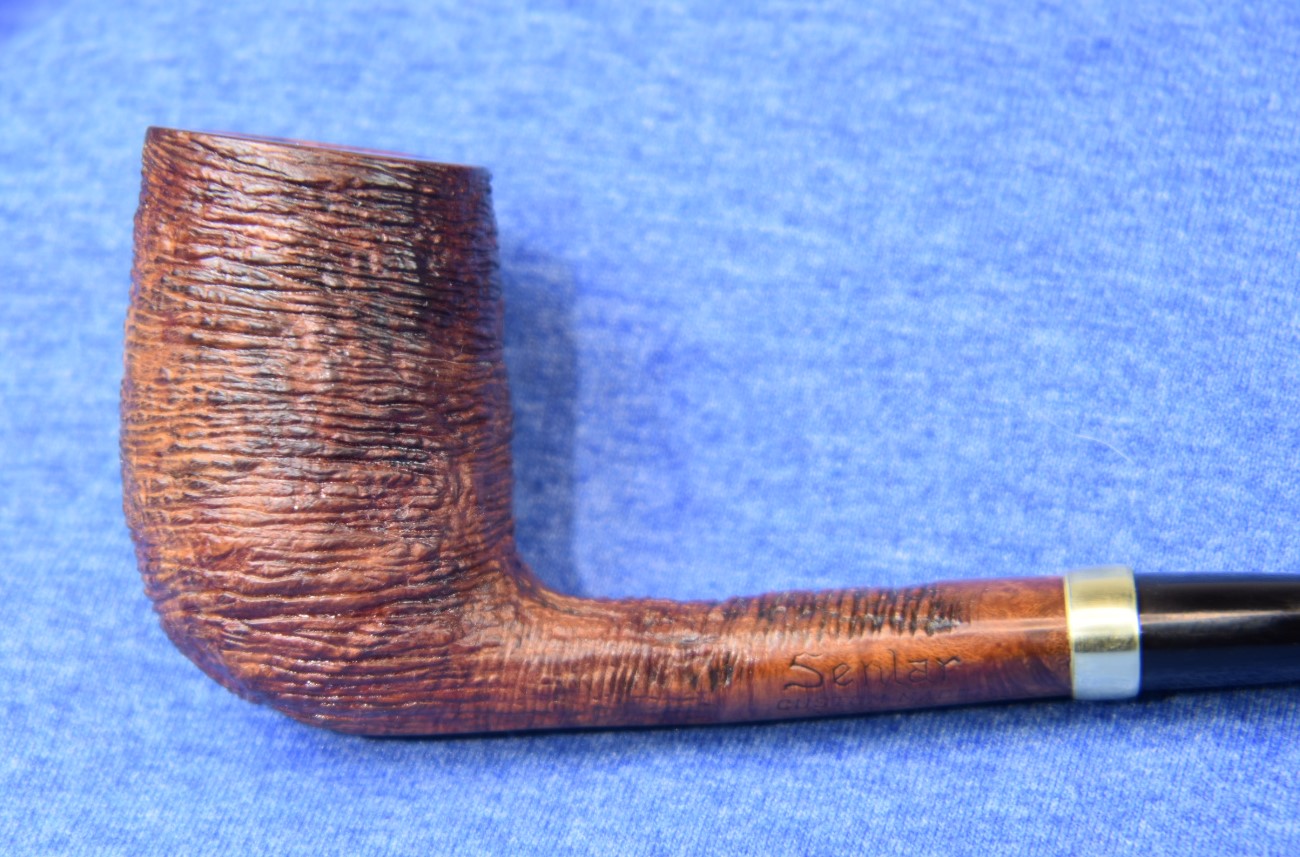
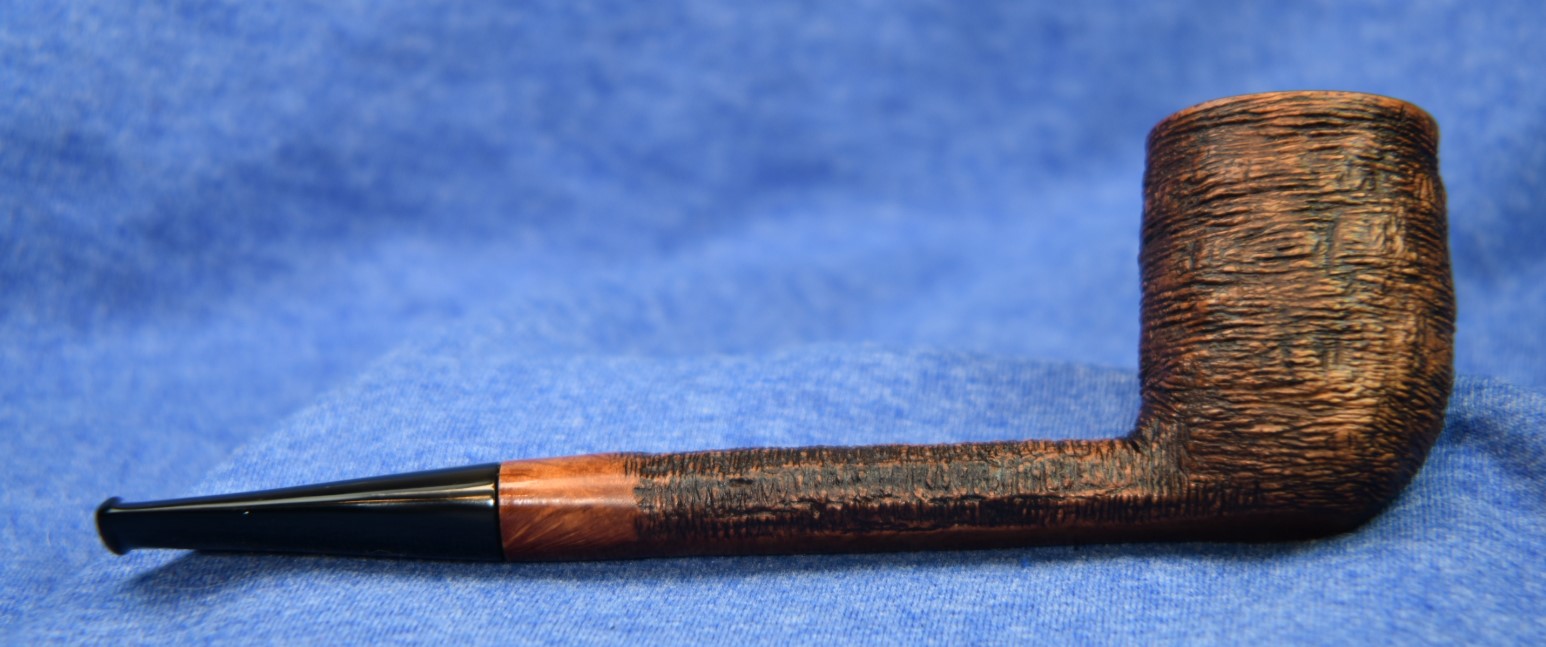
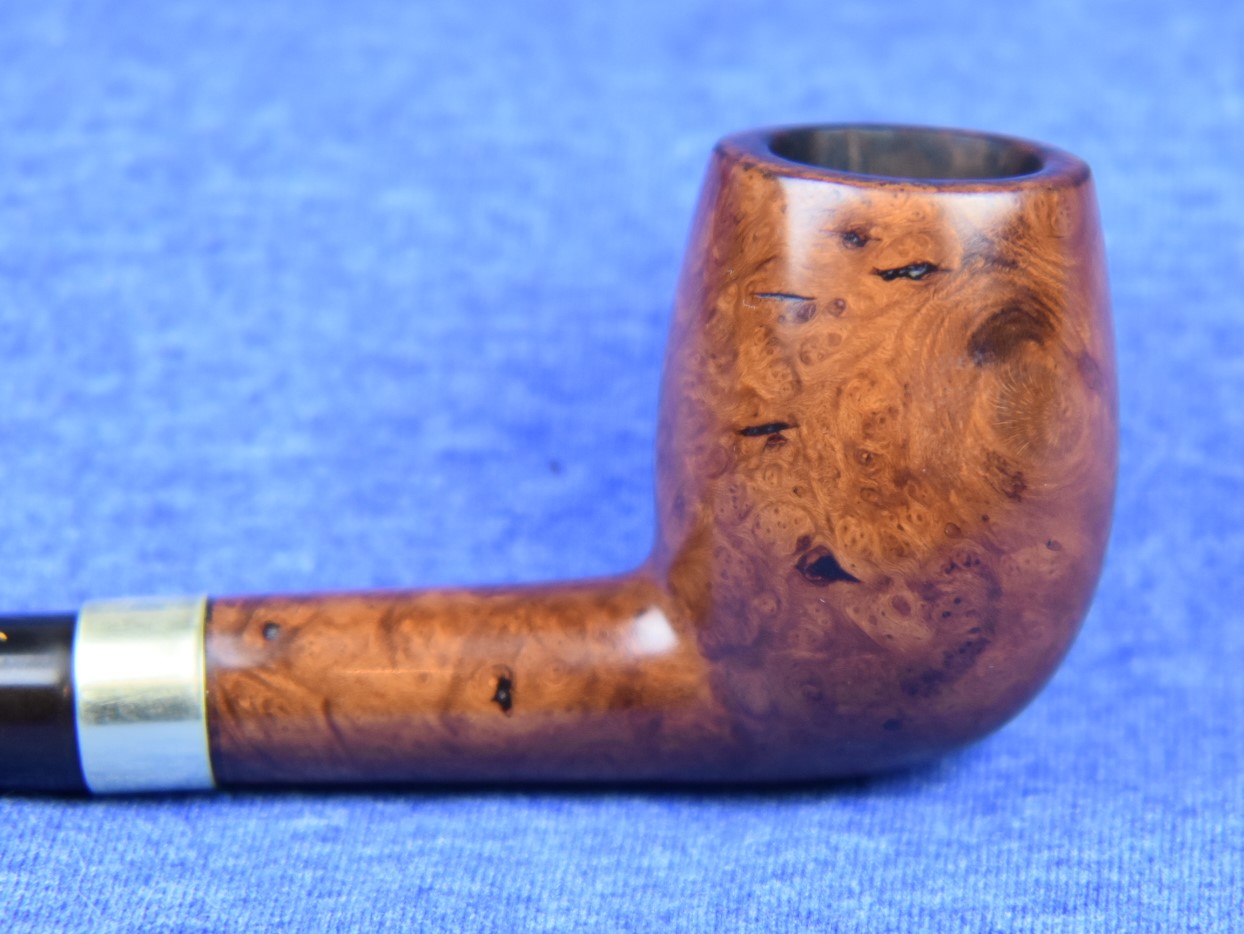
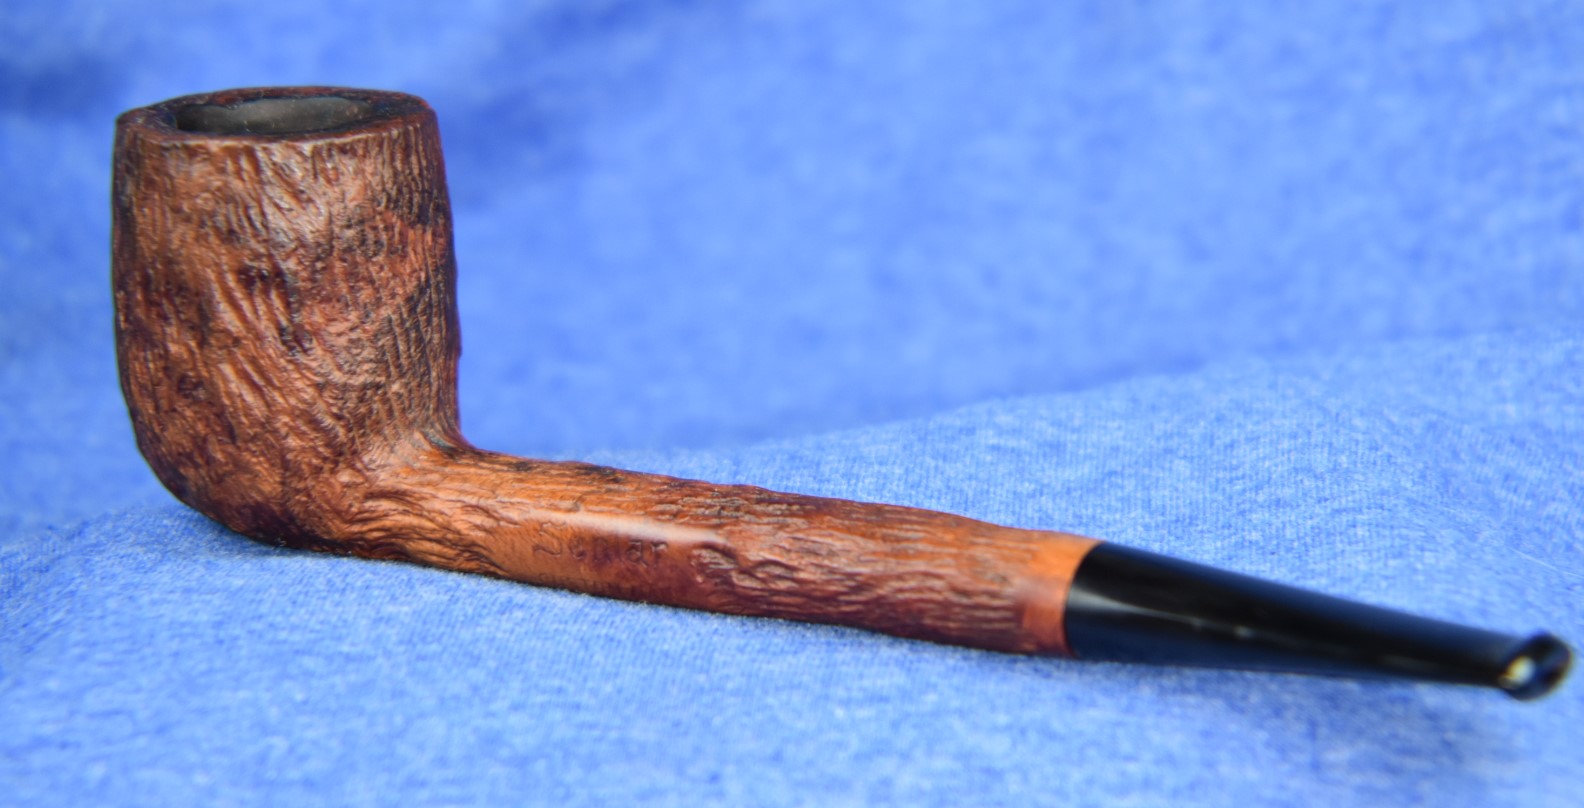
I would describe this Custombilt Original 669 as a large bent apple shape. It has been strange for me writing the latter half of this blog as I smoke the pipe. I don’t often smoke a restoration while typing up the restoration. By the way, it smokes very well, cool, dry and for the first few puffs the flavor of spice that I have only gotten before from a newly reamed Marxman pipe. I am very pleased with how this Custombilt turned out. I have a new appreciation for the brand. Given this pipe is not as1934-1940s original Tracy Mincer Custom-bilt (if you read the history you will get the hyphen, there) but it is a lovely old pipe. I do hope that you have found something useful here. If you like this sort of thing, please click the like and subscribe. I thank you for reading the ramblings of an old pipe lover.
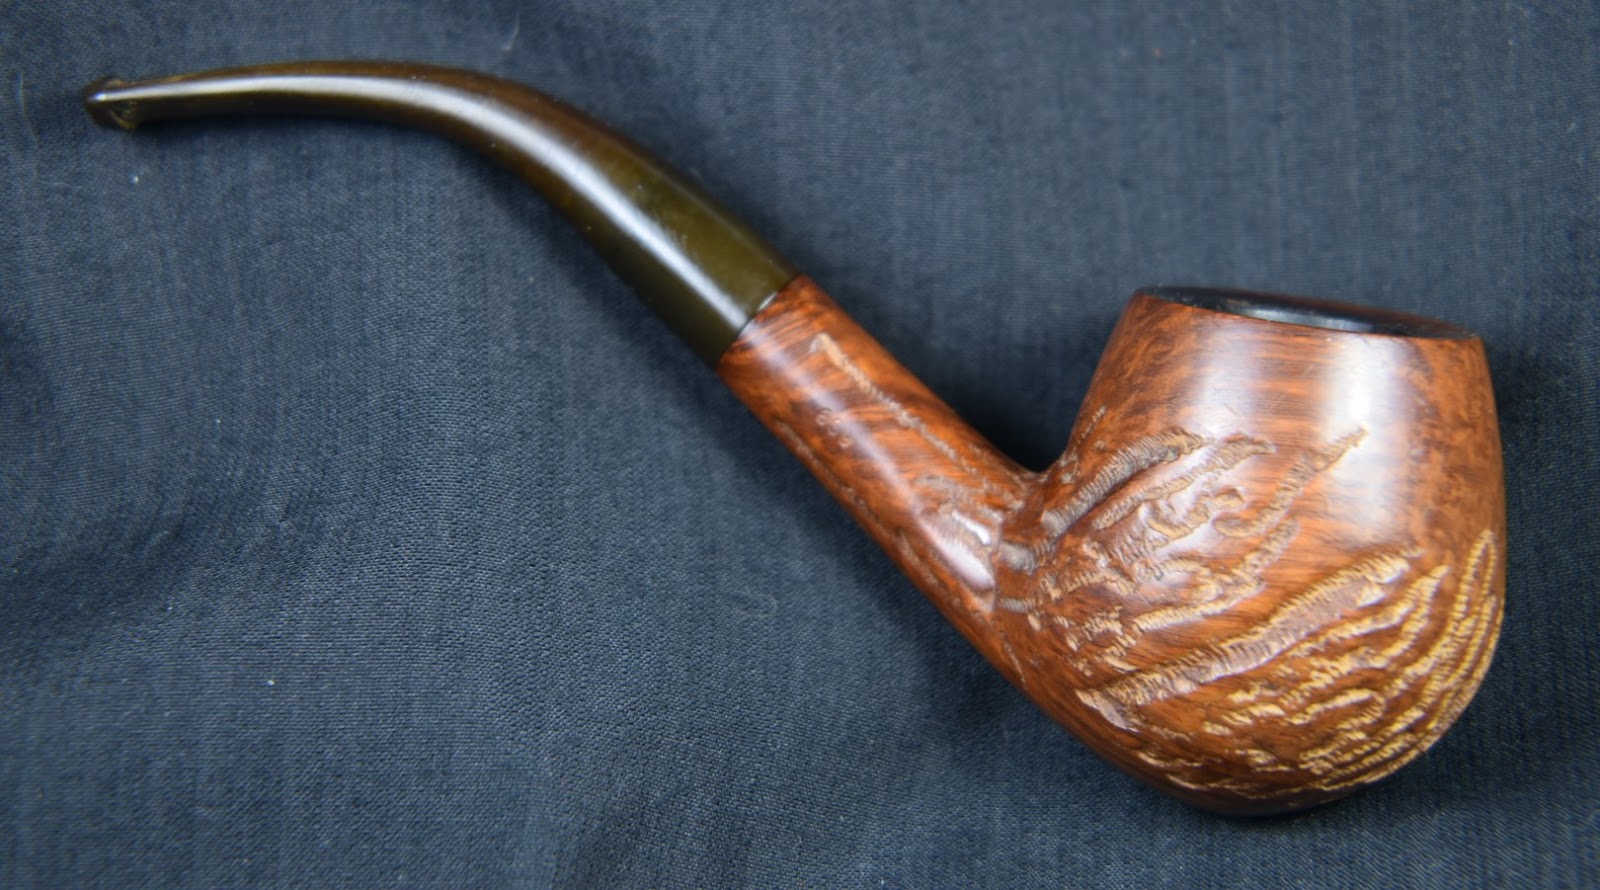
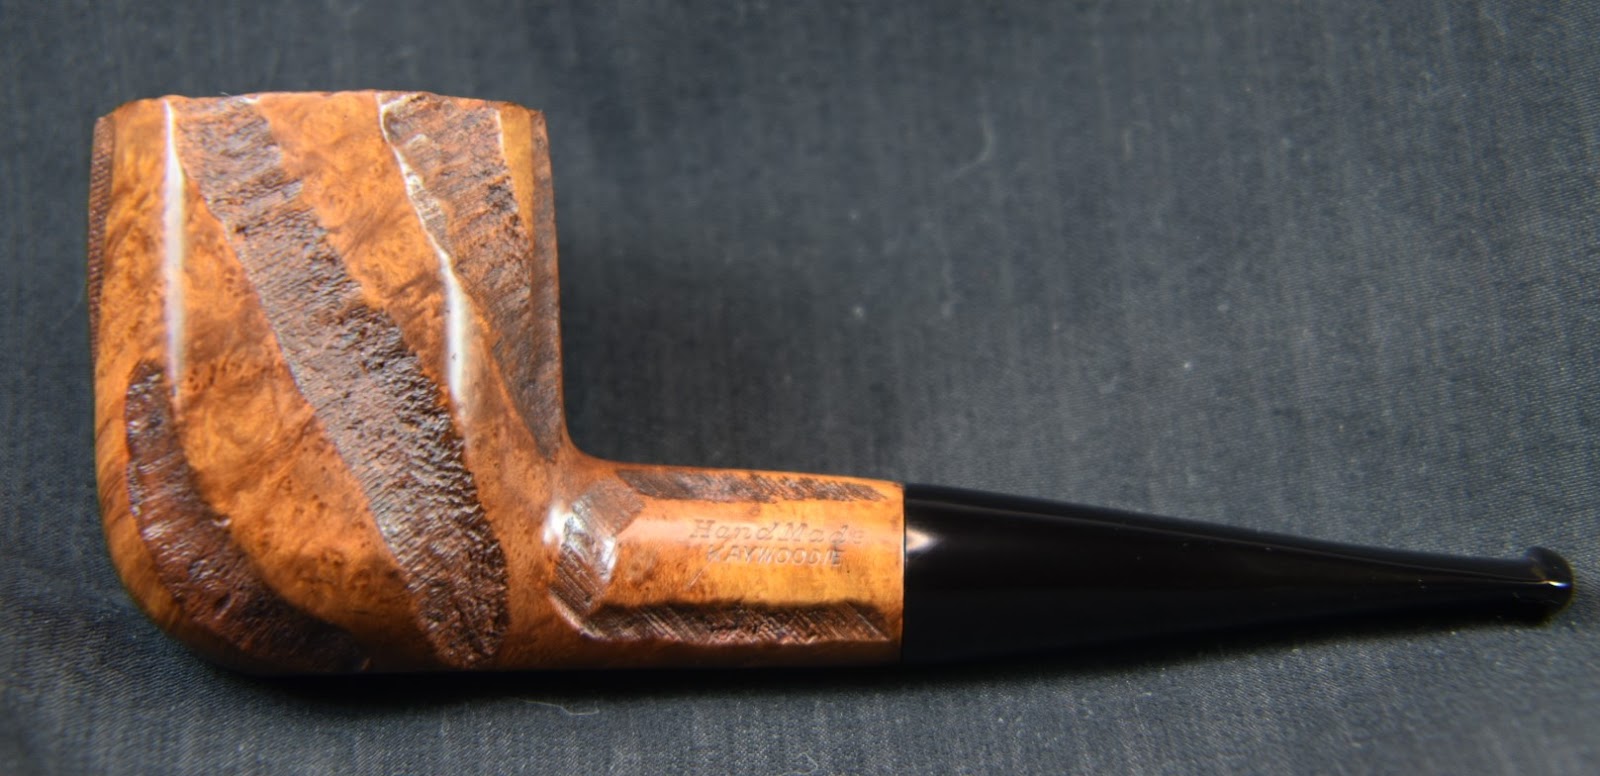
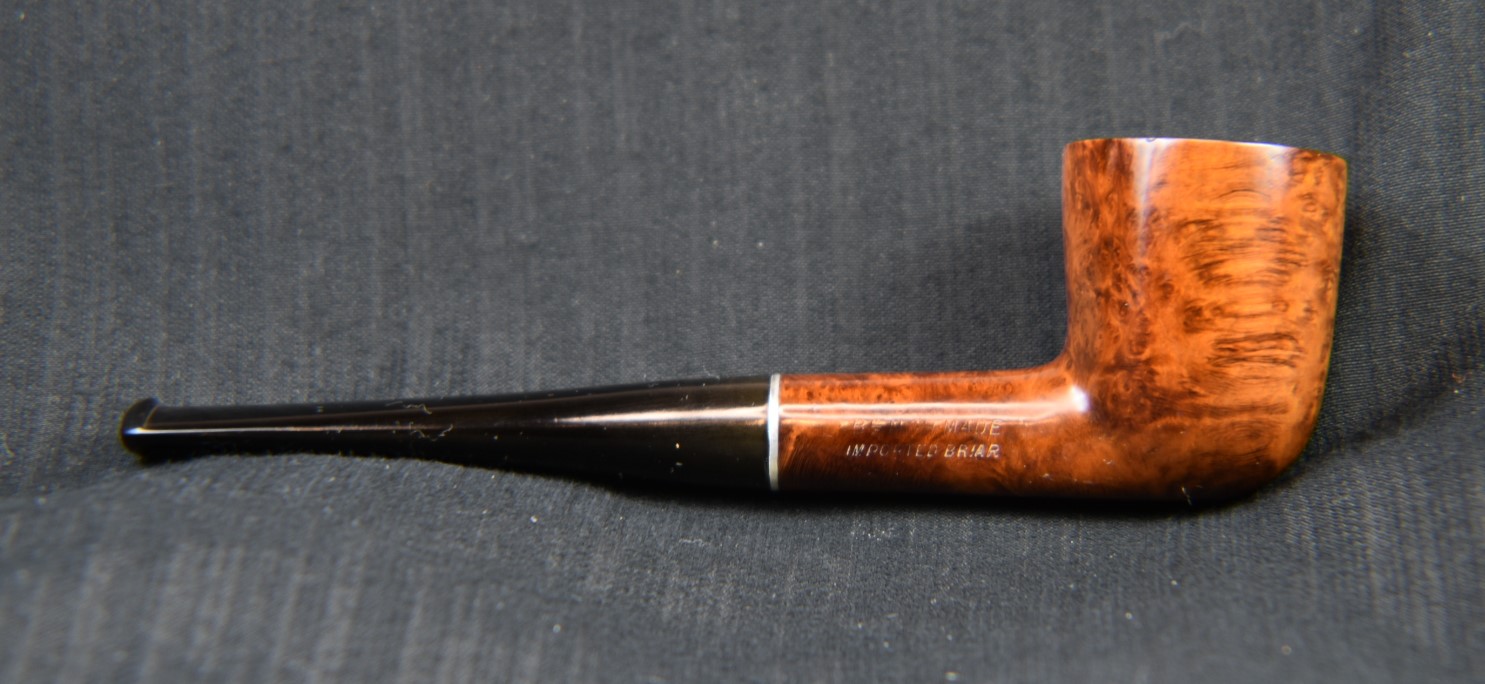
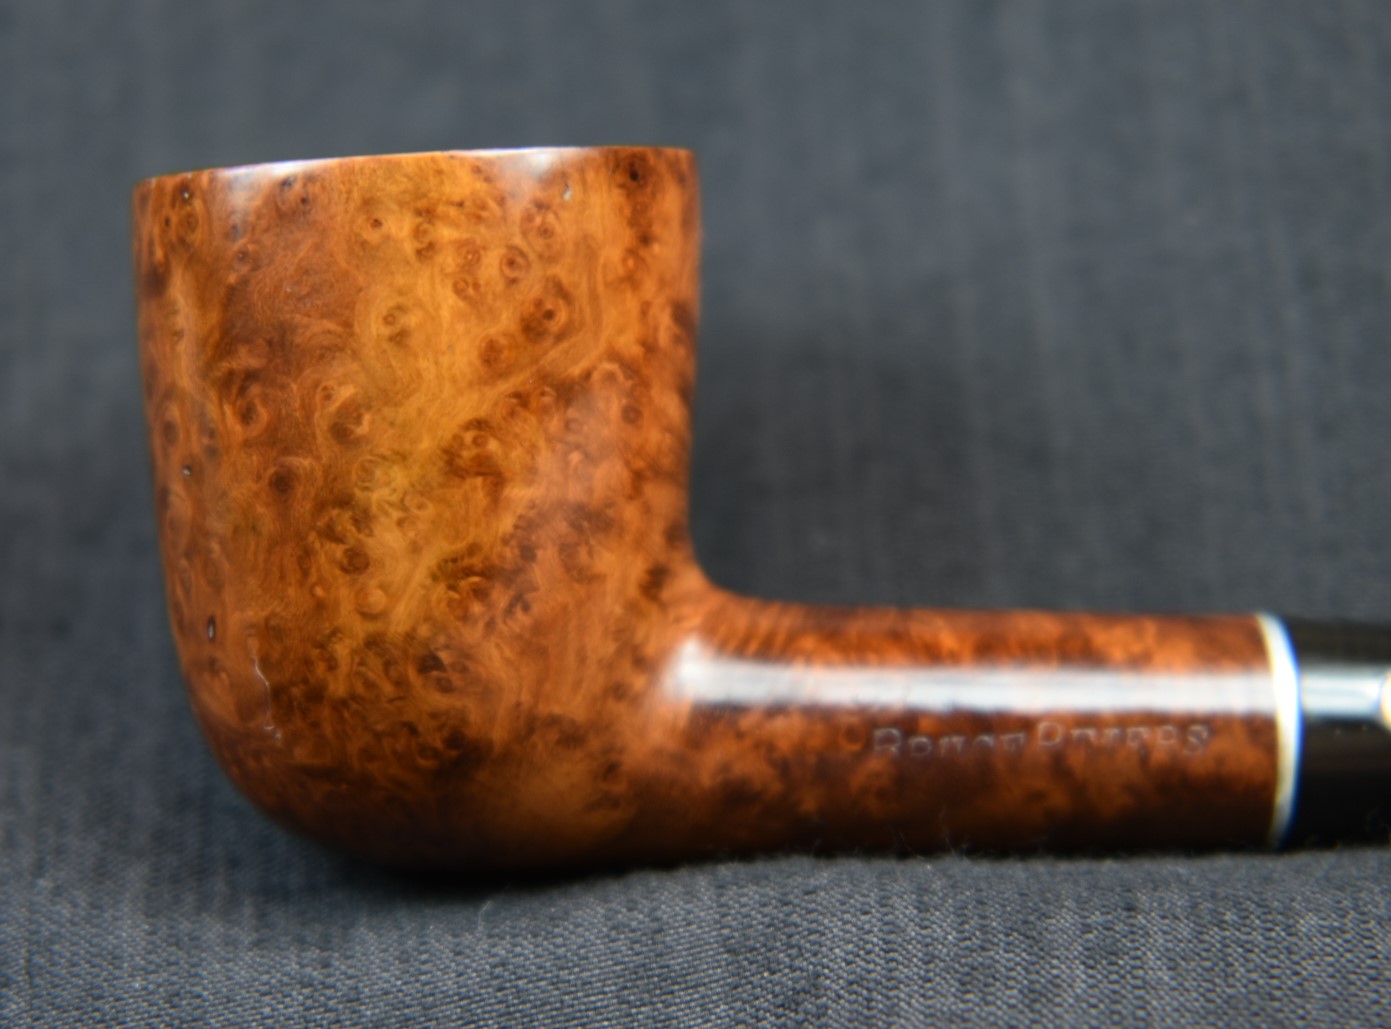
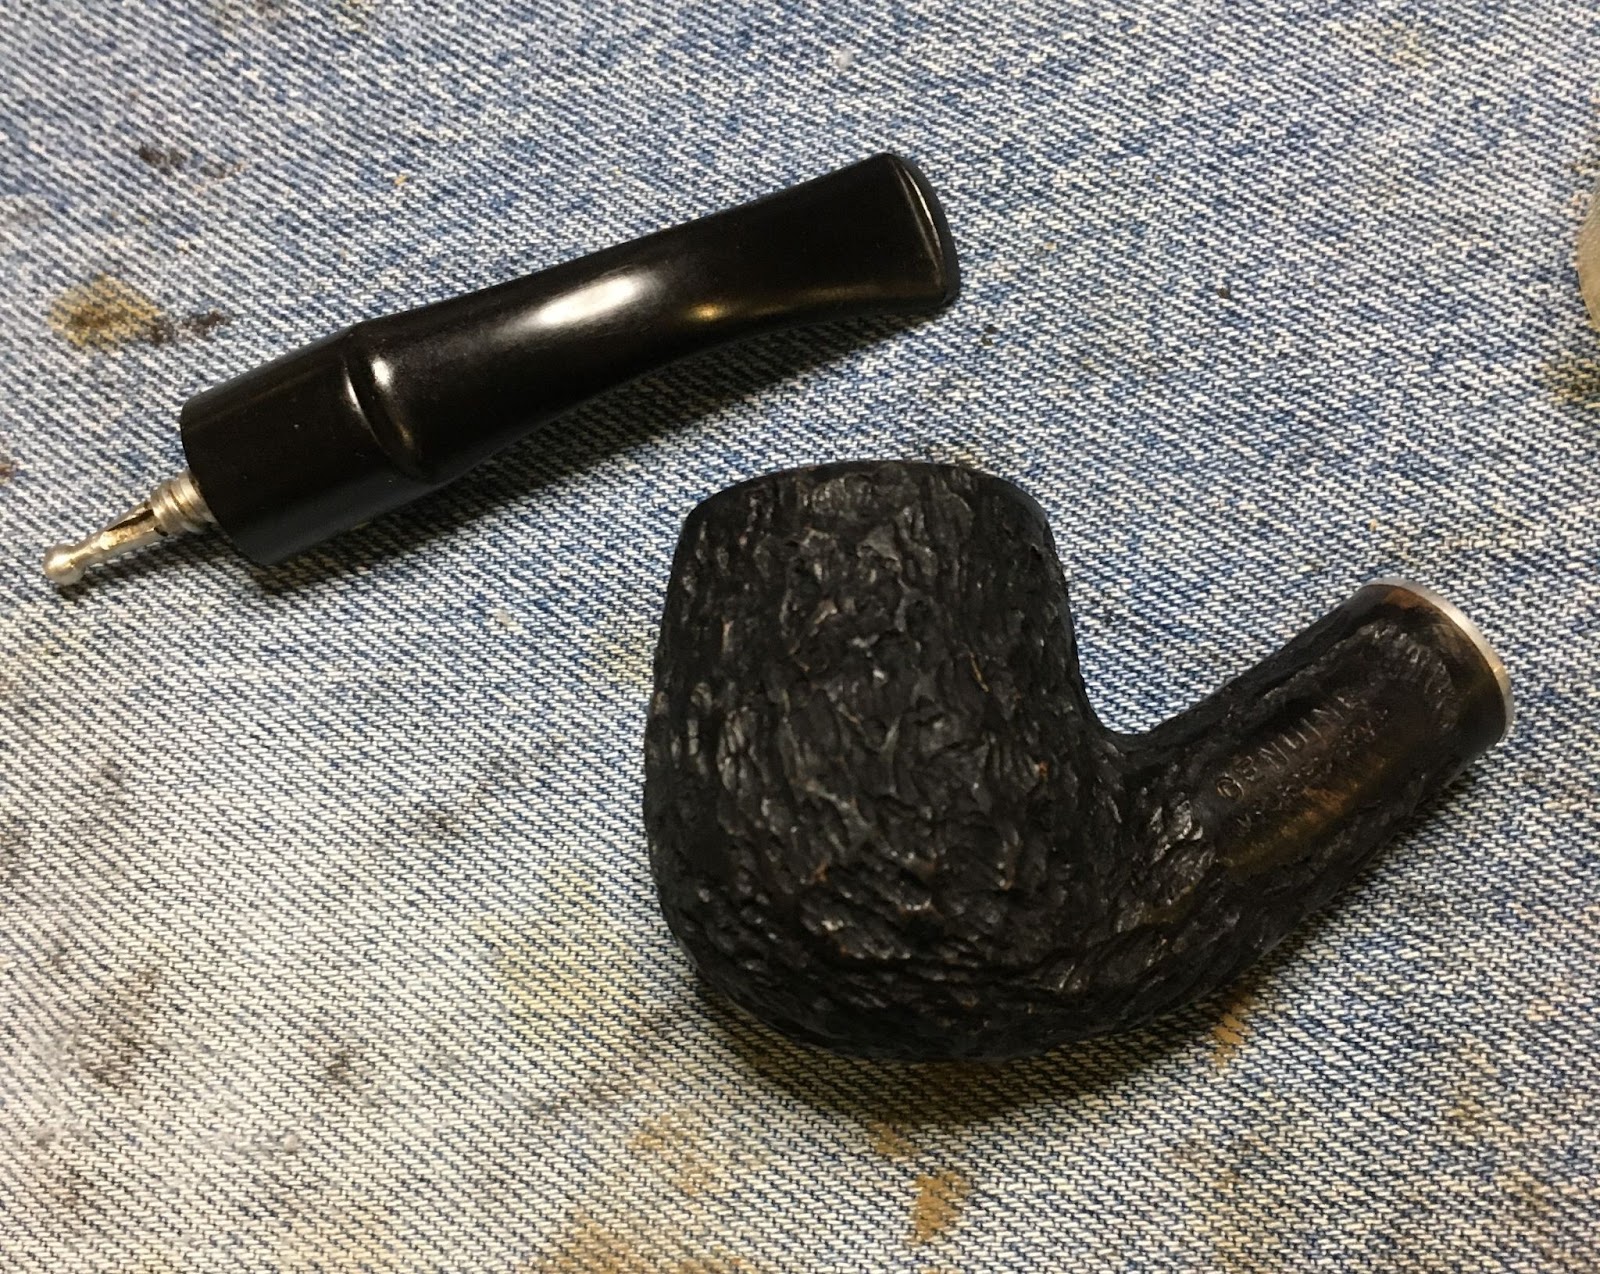
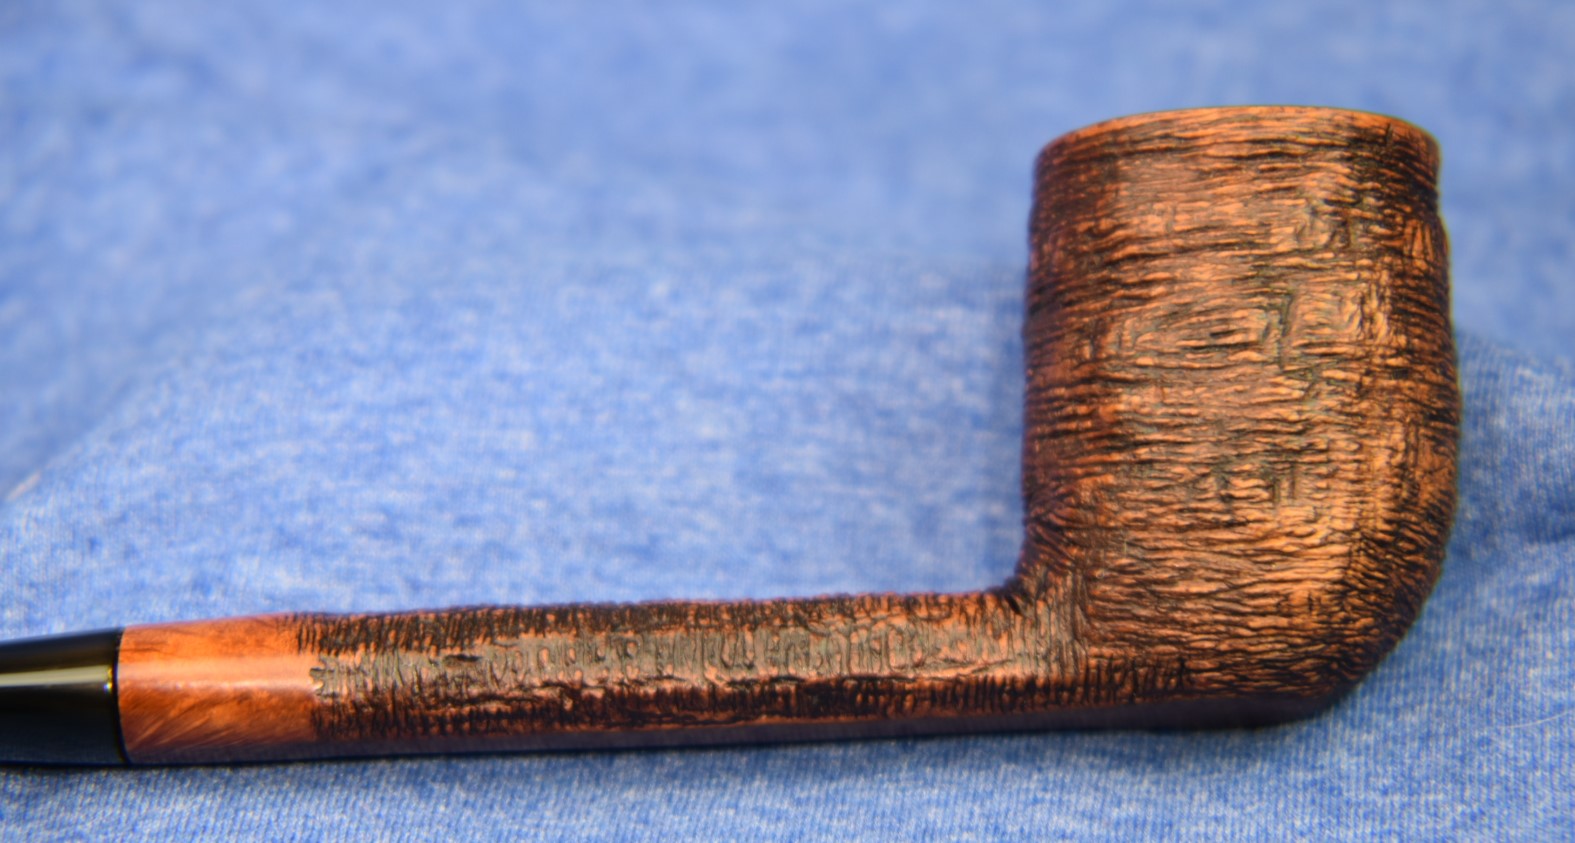
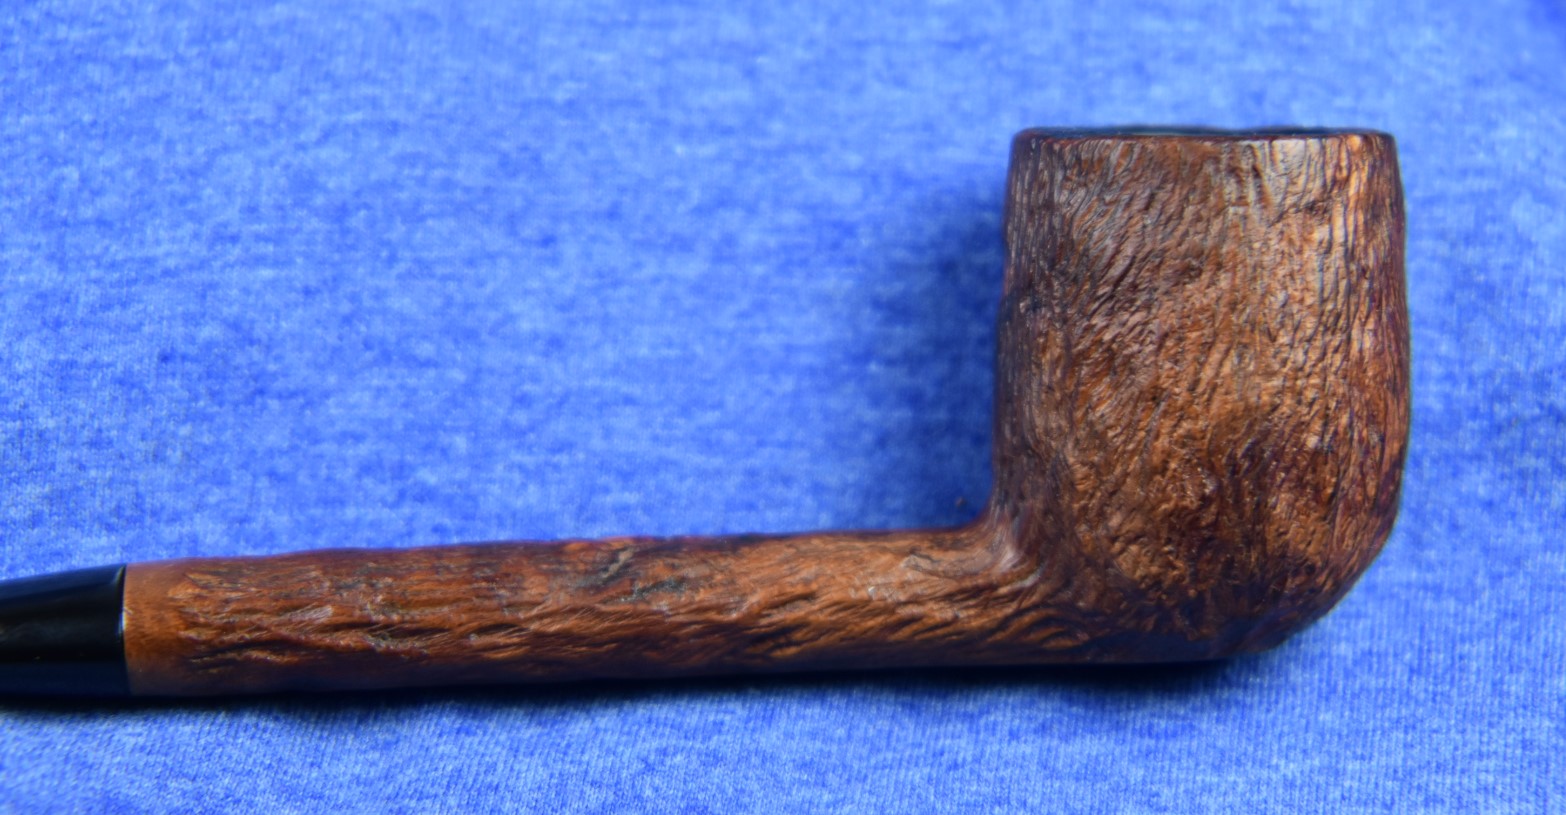
Below are some photos of the finished Custombilt Original 699.


 After 20 minutes, the remaining Restoration Balm was wiped away with the inside of an athletic sock. The terry cloth material was great at getting into the rough surfaces and wiping away the excess balm.


 Several days later I called the phone number on the website. Tim West promptly answered, a wonderfully helpful gentleman, he took my order and said he would send it out with an invoice. Wow, an item mailed to me prior to me paying for it? What an amazingly trusting person.


