Photographed and written by
John M. Young
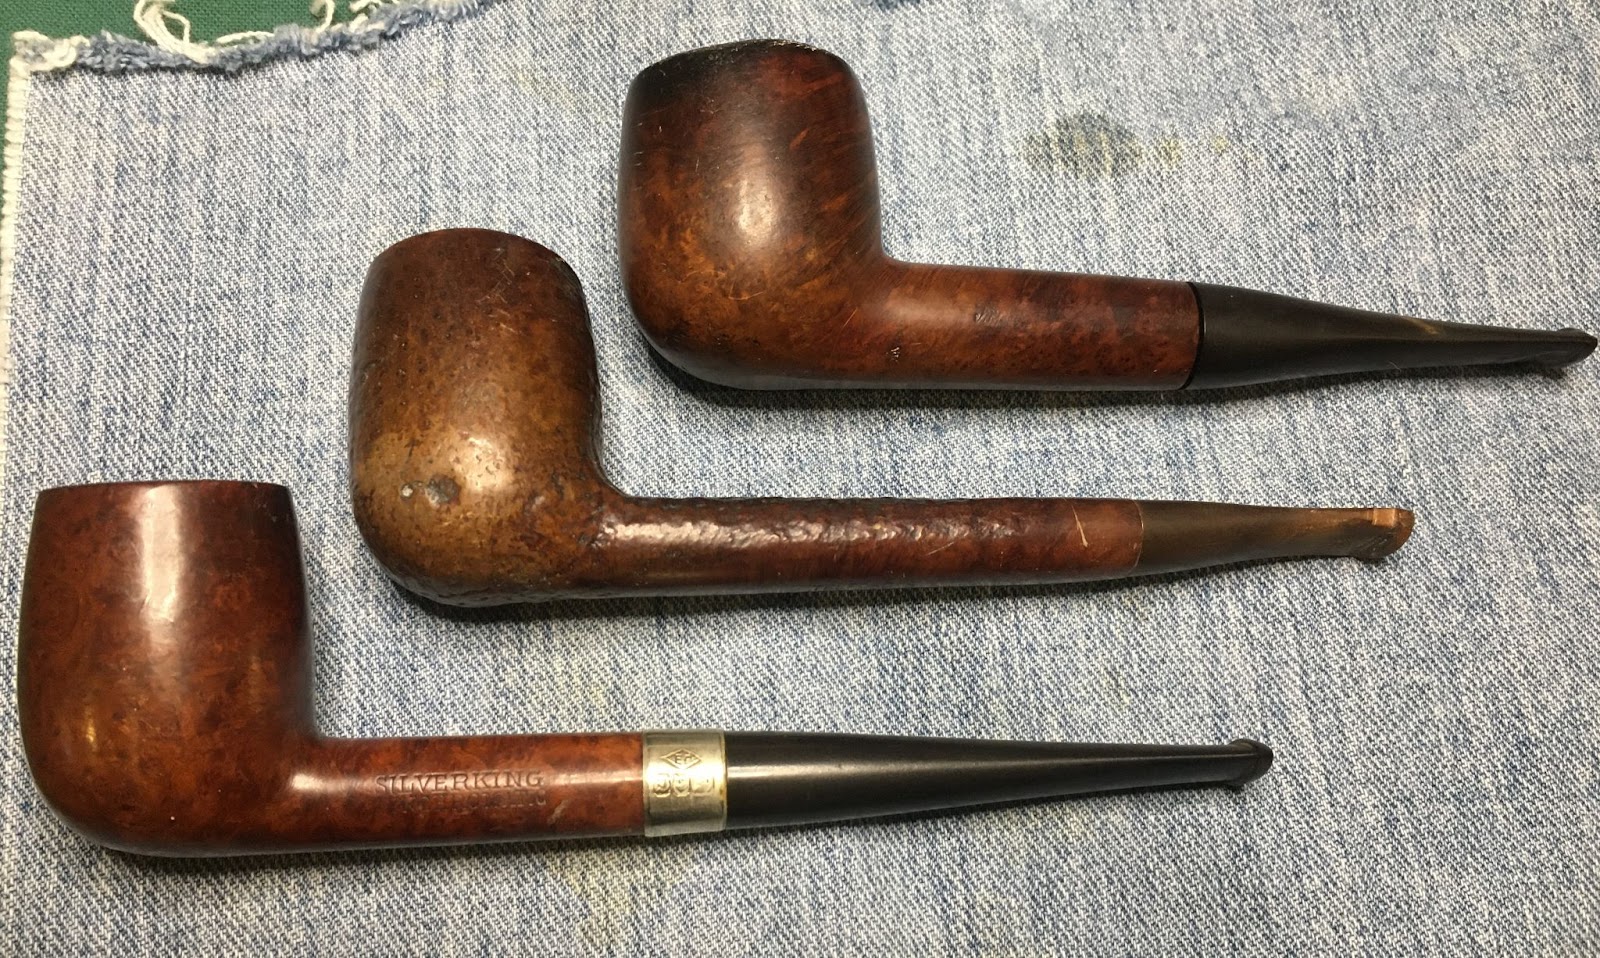
Back in the 1990s I worked with a fellow teacher and Nebraska Air Guard F4 pilot who often said, “Better lucky than good, any day.” That phrase has stuck with me over the years and applies to so very many daily occurrences. The acquisition of this pipe for instance. It was part of a lot of 12 pipes. The other 12 were nothing to be too excited about; Yello-Boles, Dr Grabows, a split seam leather Longchamp, etc… and what appeared to be a Peterson Meerschaum hiding in the background ashamed at it’s lot in life. The photos of the lot were as usual, less than perfect yet, I knew what I thought I was seeing. I was sure that someone else would see the same thing and the lot would sell quickly. It didn’t. The auction closed with no sale and was relisted. I cannot remember how many times this relisting occurred. I finally couldn’t take the thought of a Peterson meerschaum going unloved and messaged the seller with an offer. The auction was not set as a “Make Best Offer” but I figured it was worth a shot. The seller messaged me back saying that he reduced the price to my offer. Well, that was easy.
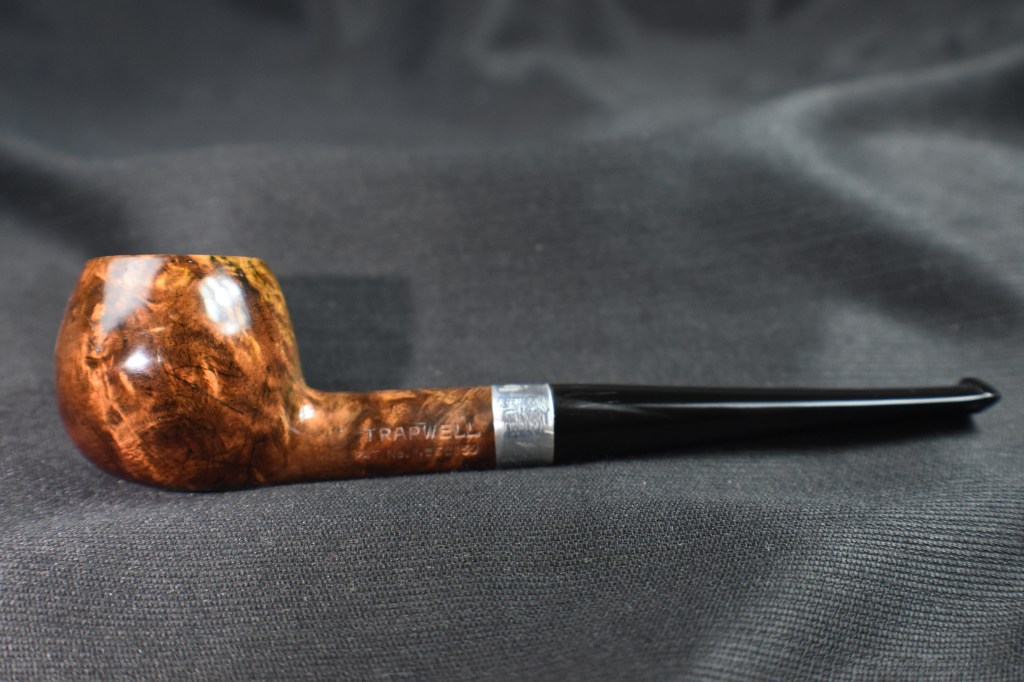
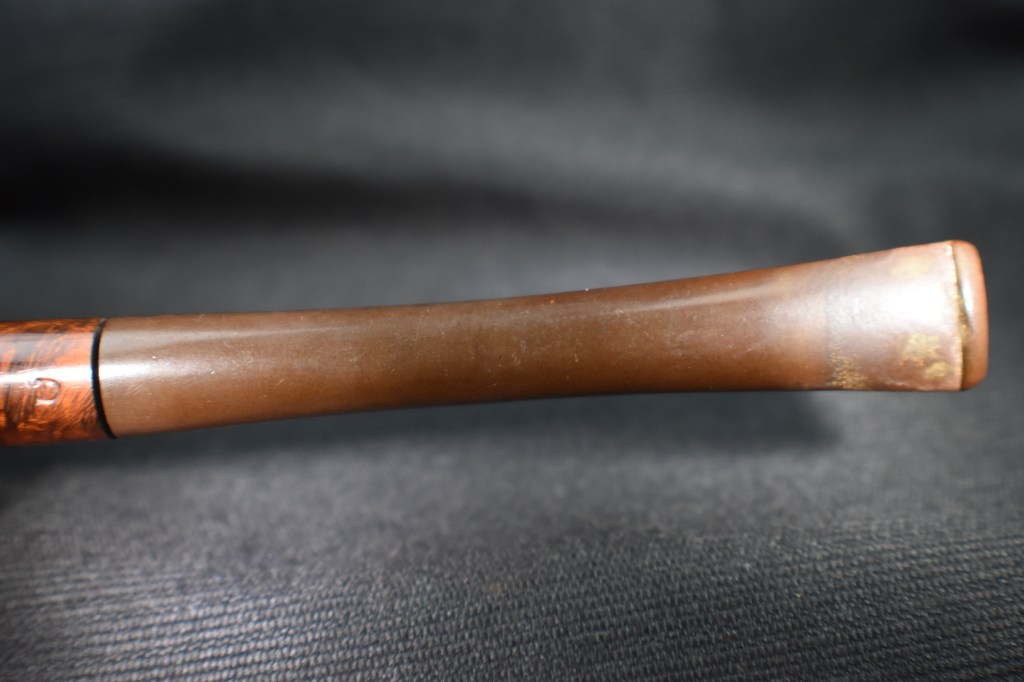
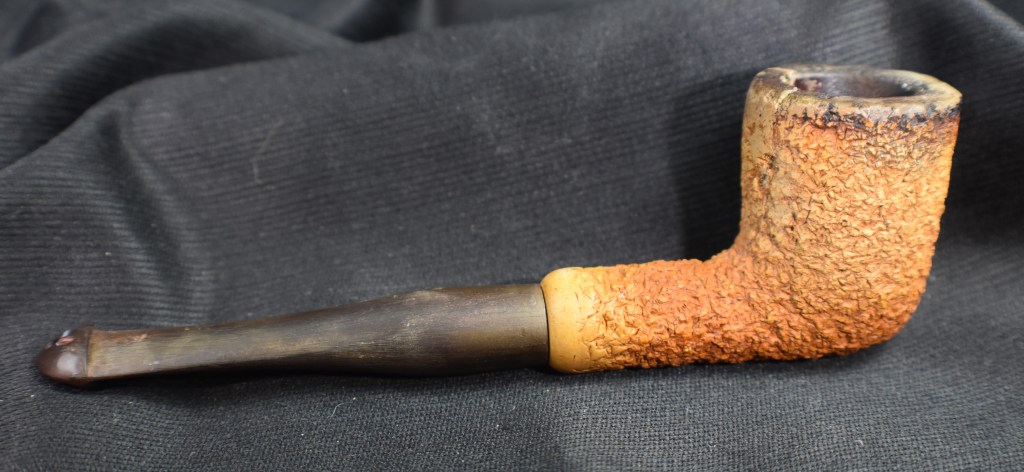
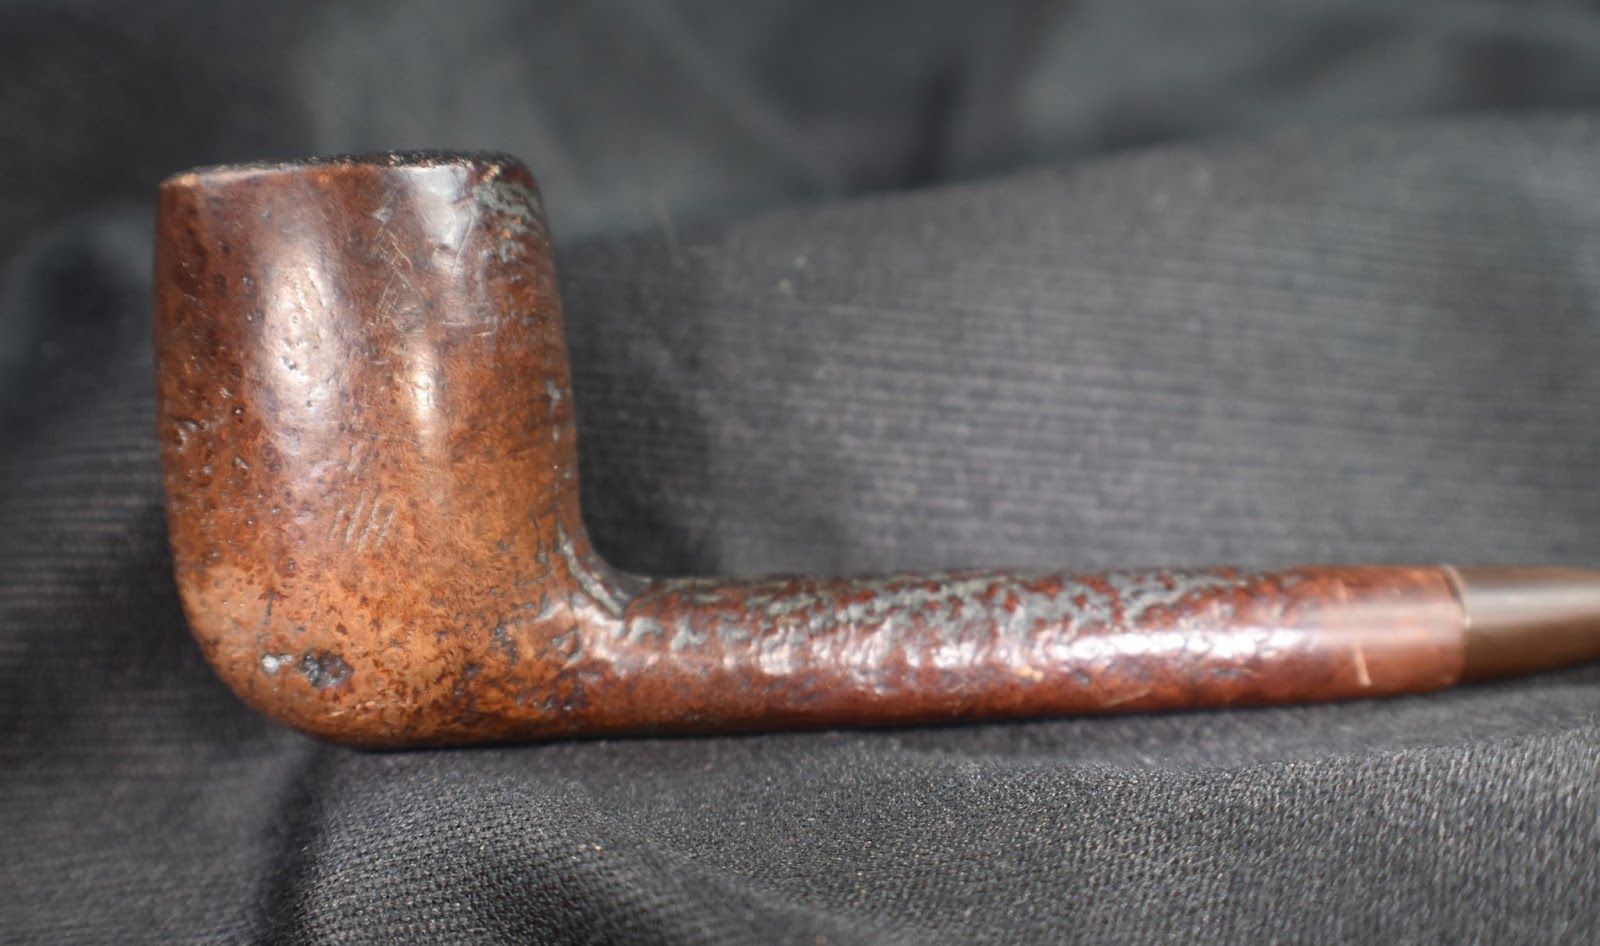
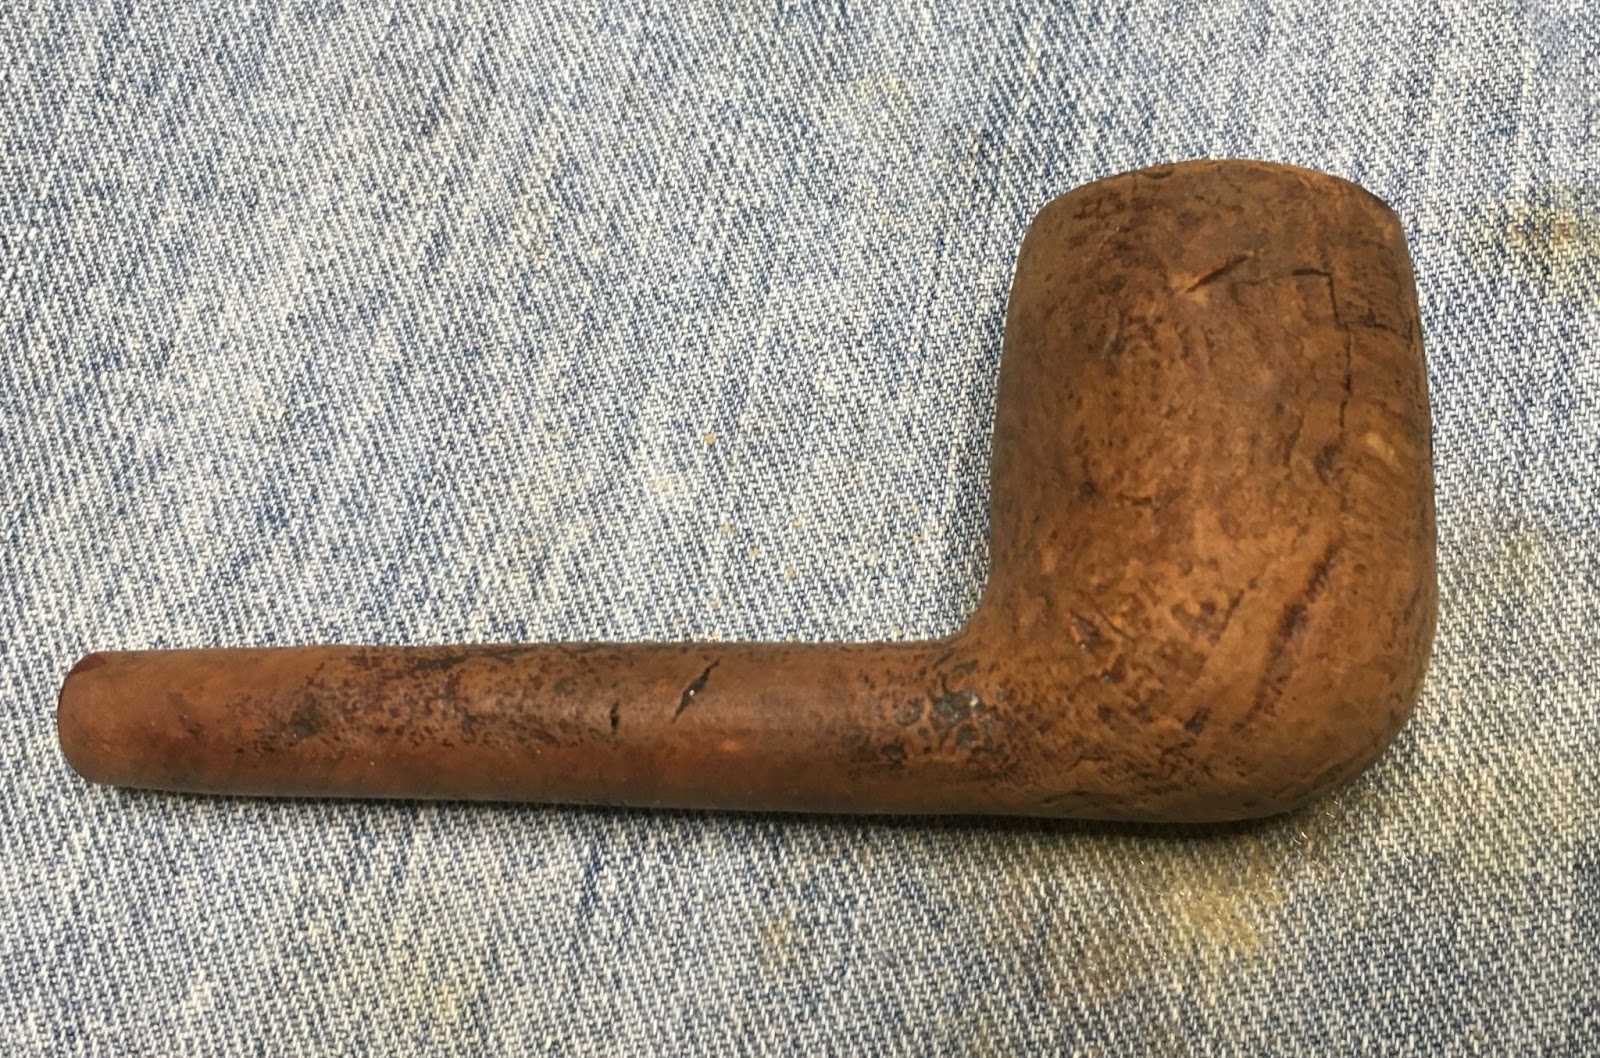
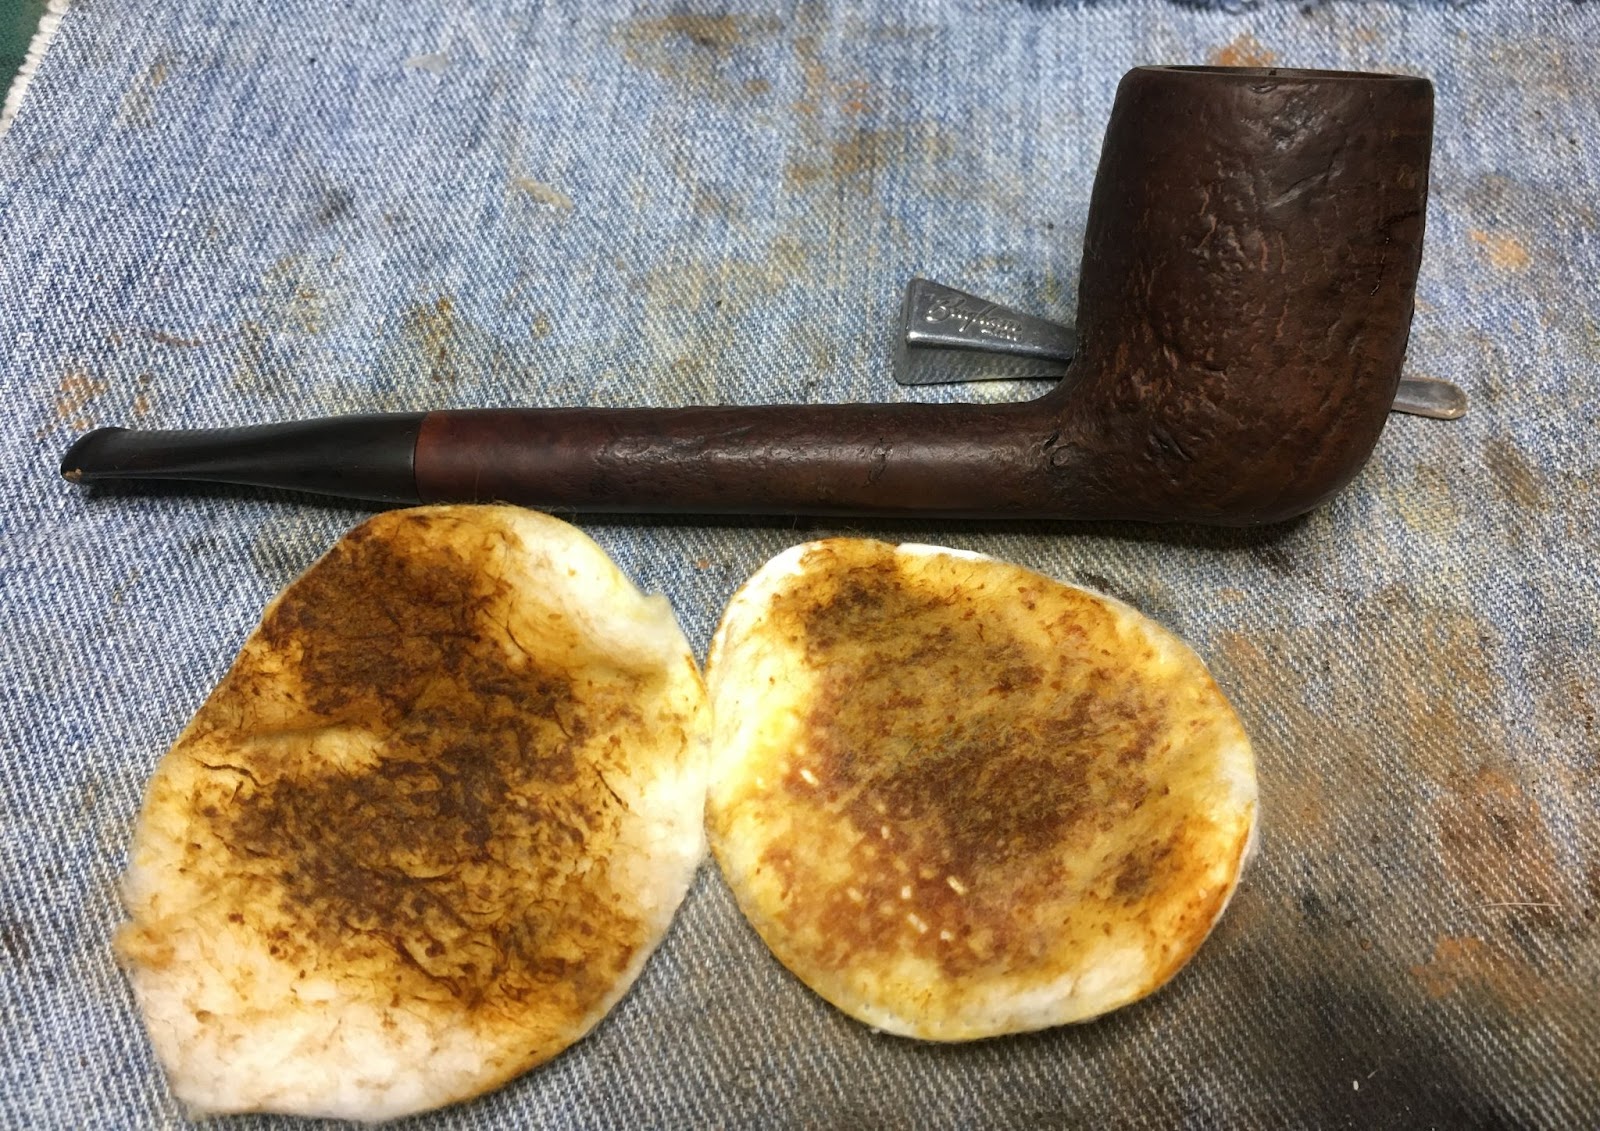
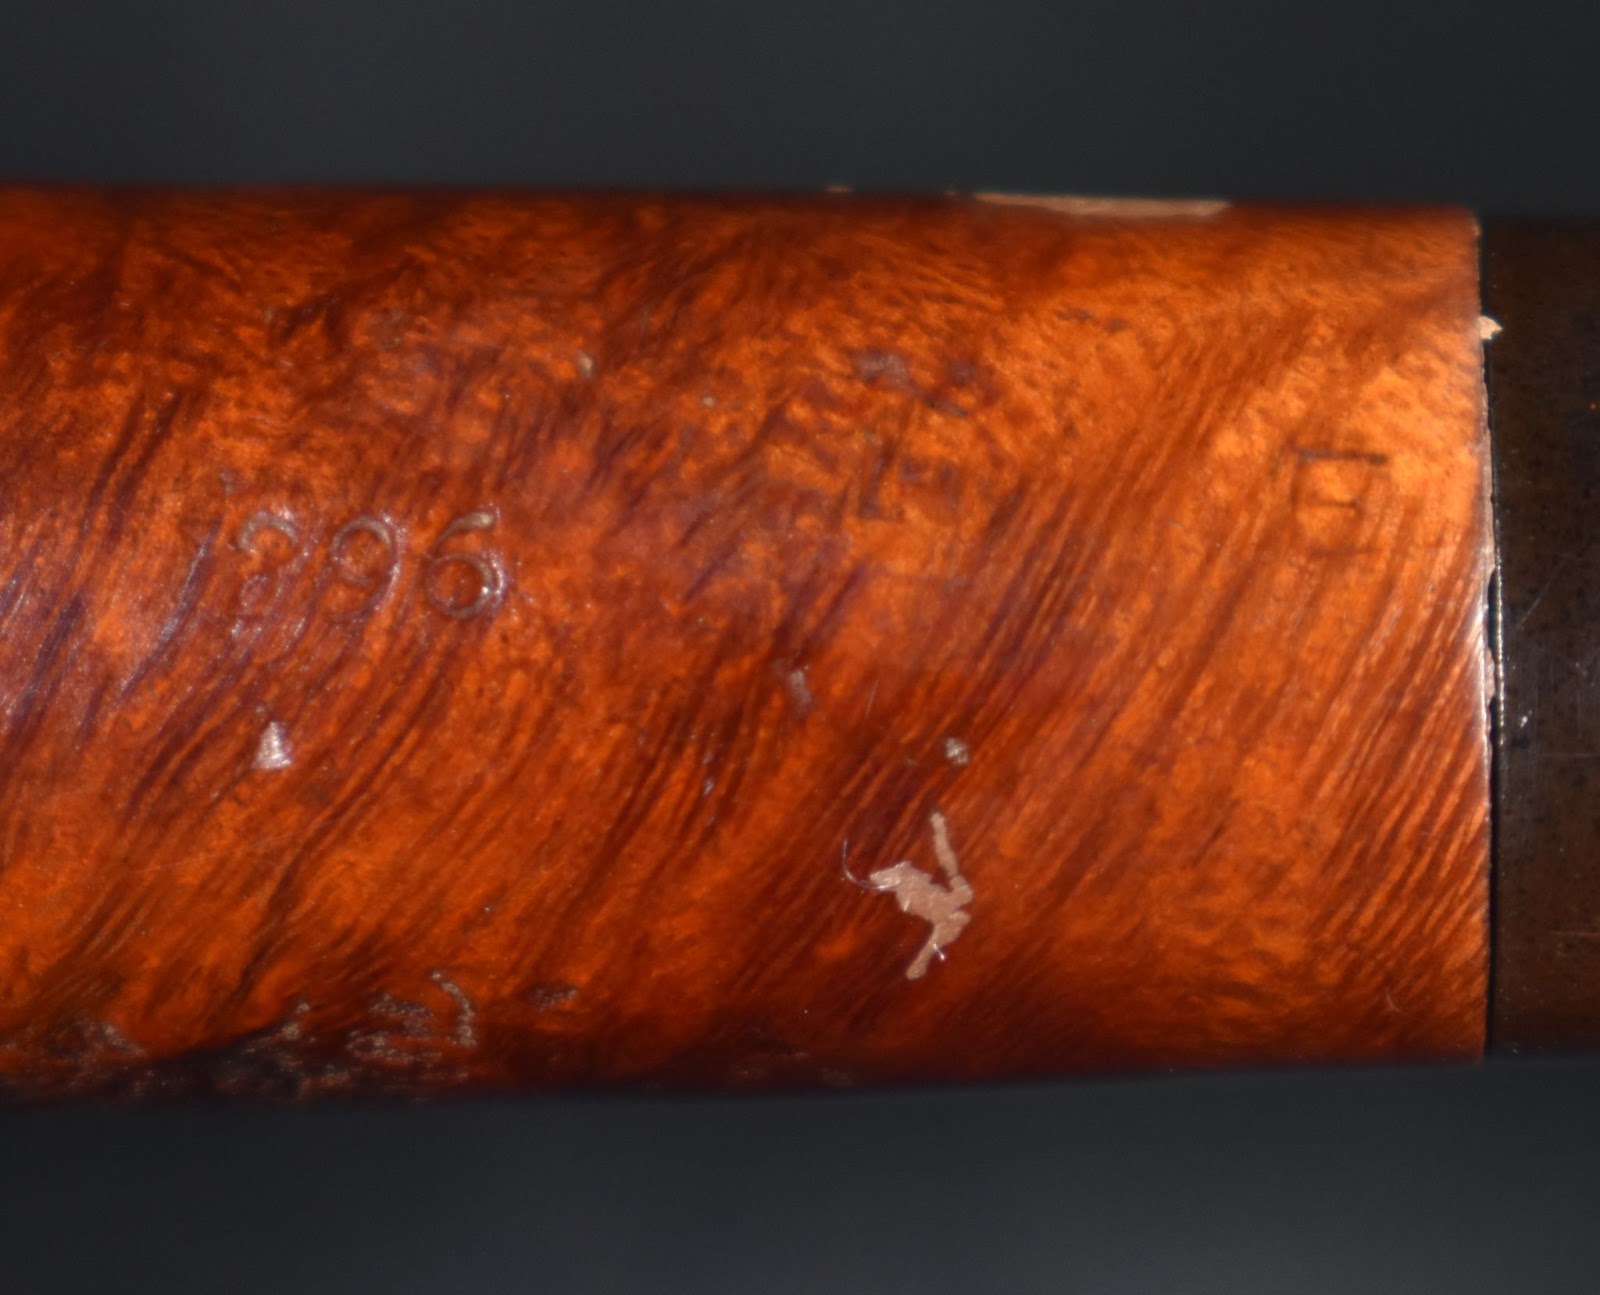
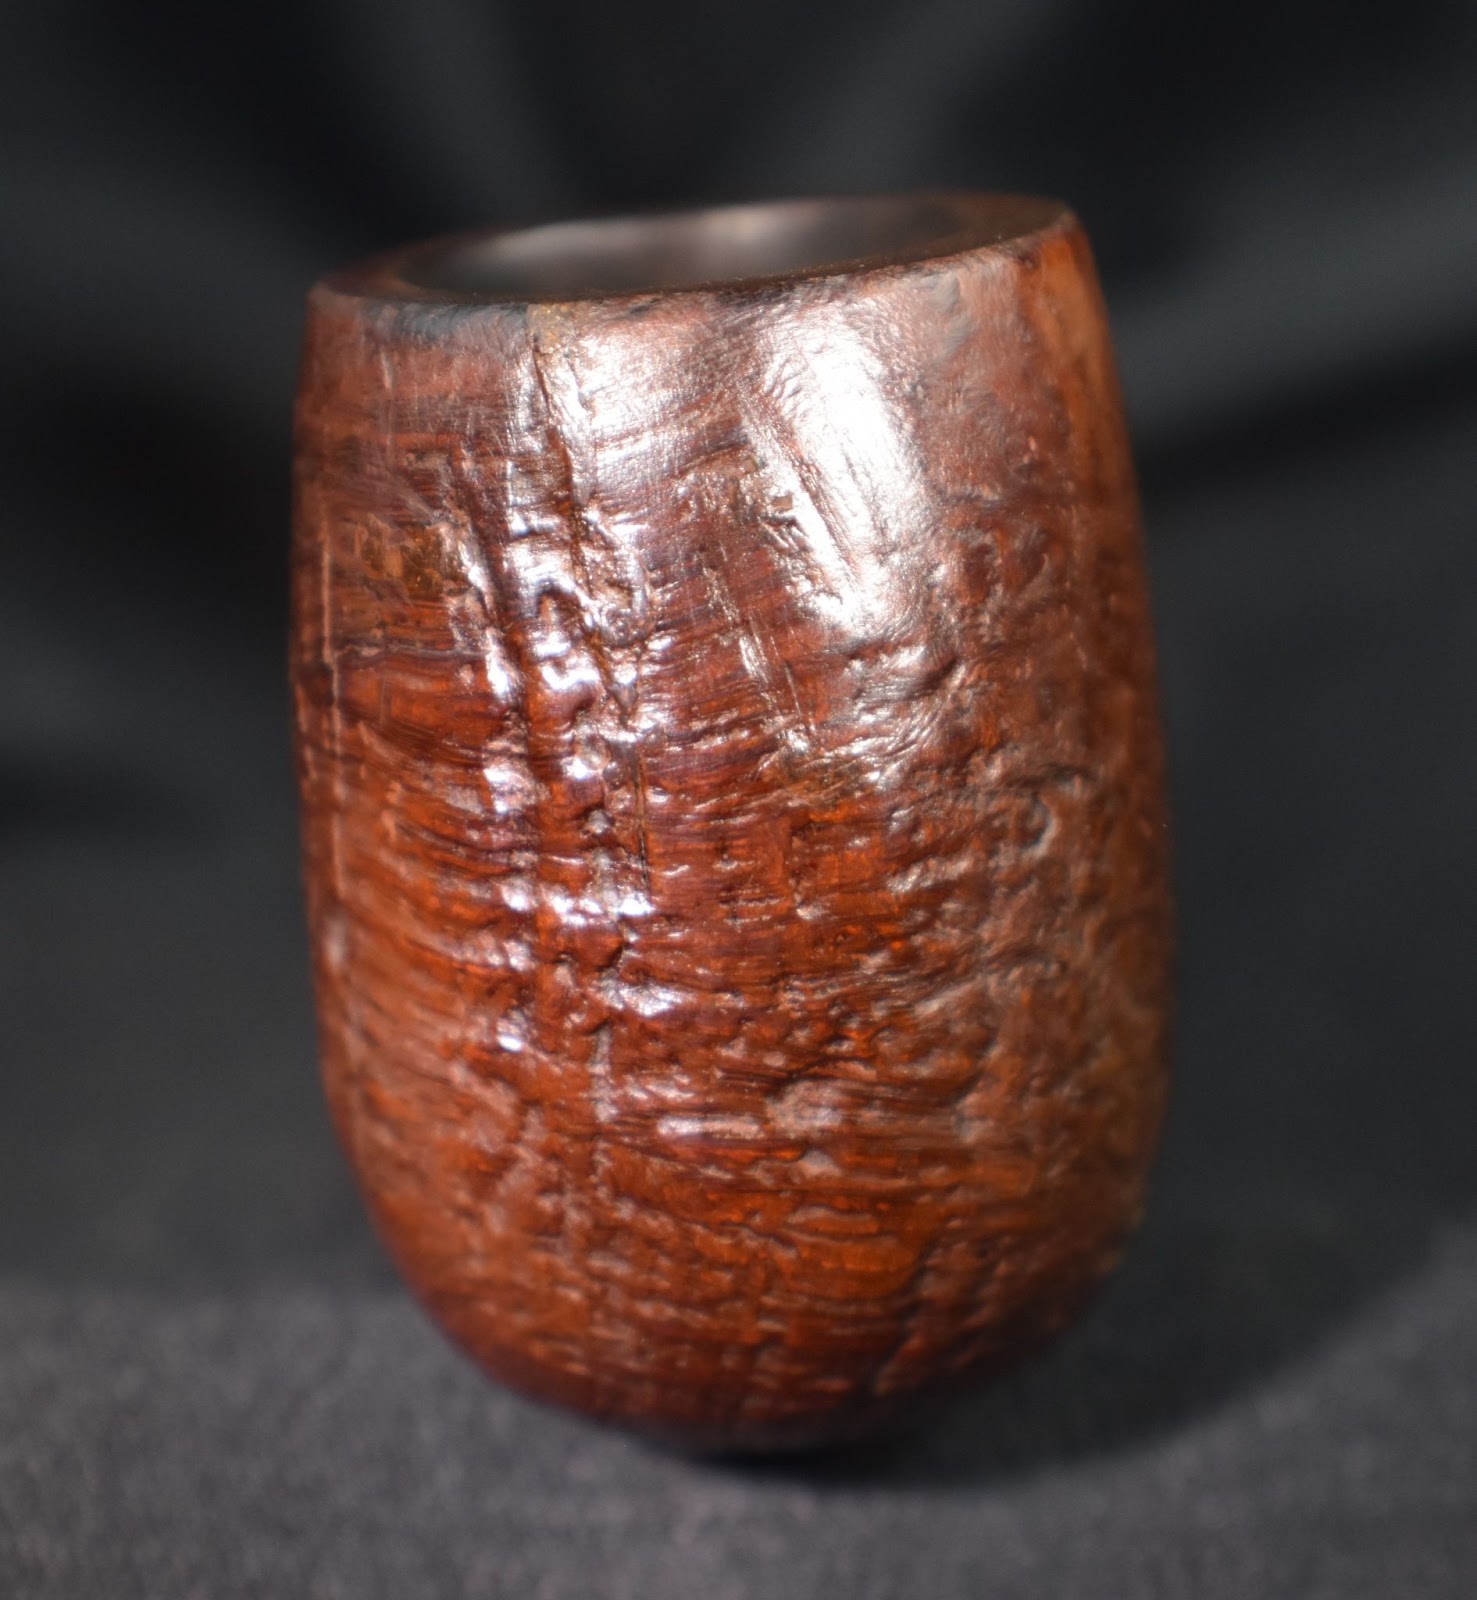
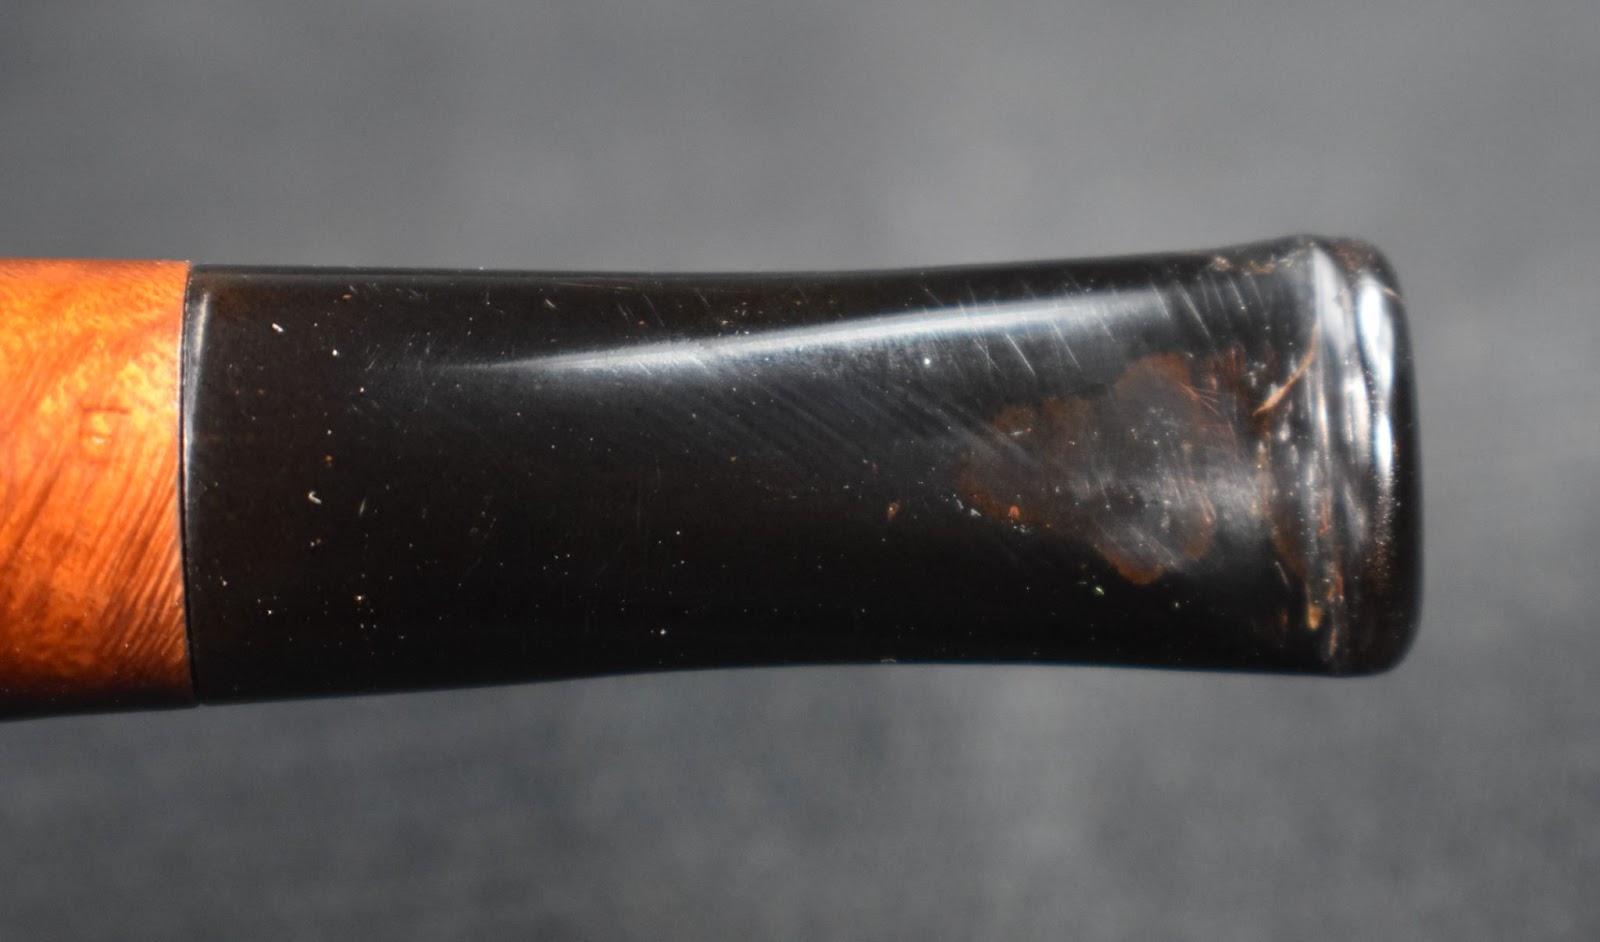
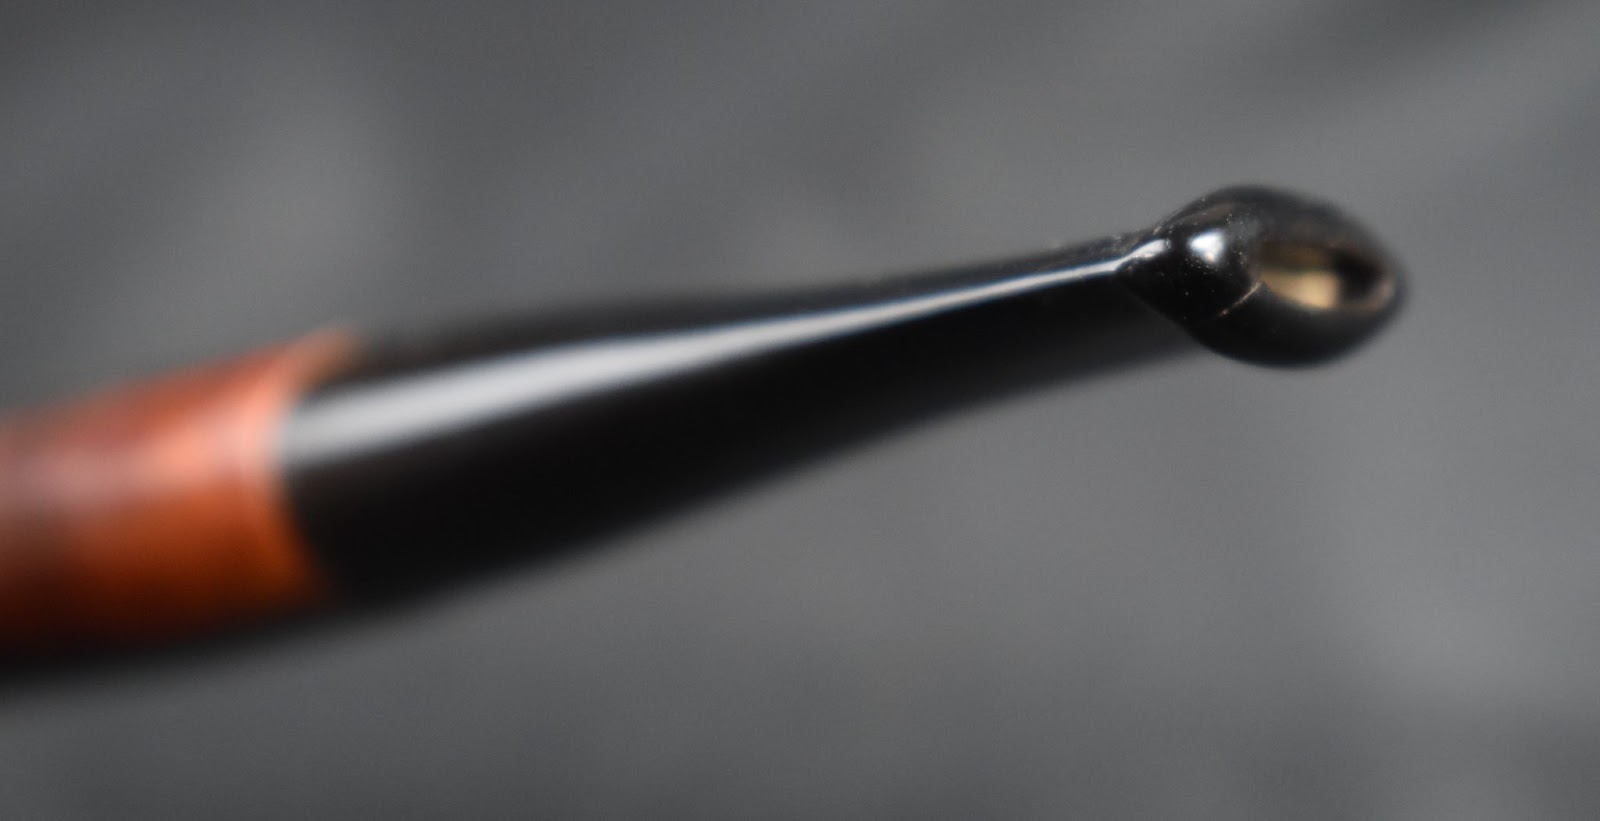
Needless to say, after a few days of waiting the package arrived here in the wilds of southeast Nebraska. The anticipation was palpable as I tore through the packaging. I eventually unwrapped a P-lip stem with the unmistakable P stamped clearly. I knew it! Next the stummel emerged from it’s protective tissue paper. The seller knew how to package and ship pipes and not just for dramatic effect. The stem and stummel were reunited and I saw my latest prize. As typical, the only stamp was the Peterson stem logo but the shape was unmistakable a 120 Dublin. Below are some photos of the pipe prior to doing any work on it.


Background
Earlier this year I restored a Peterson meerschaum 406 Prince. I will use a good deal of the “Background” from that blog here again:
I included a few links concerning the history of Peterson pipes. I will include those here also. “For a great history Mark Irwin and Gary Marlburg’s book is a must read for a Pete Geek.

(Available at https://www.smokingpipes.com/accessories/books/moreinfo.cfm?product_id=471478) Given the price is a bit high but worth every penny for a Peterson aficionado.
Irwin, Mark and Malmberg, Gary (2018). The Peterson Pipe The Story of Kapp & Peterson, First edition, second printing 2021. Briar Books Press, Canada.
The next site is pipedia.org’s History of Peterson by Jim Lilley (Peterson – Pipedia)
Lastly the pipephil.eu site for all things logo: Peterson: historical pipes — Pipes: Logos & Markings (pipephil.eu) They also have a few other links to things like the Peterson timeline and P-lip information.”
For the history of Peterson Meerschaums I will mainly be citing Irwin and Marlberg’s The Peterson Pipe book. Peterson has a long history of meerschaum pipe making dating back to the 1870s (Irwin, 2018 p. 15). At the time when Charles Peterson began working for the Kapp brothers in Dublin, meerschaum was the old traditional material while briar was a new innovation destined to become more popular in the next century. It was with briar that Charles Peterson created his original patents for the reservoir in 1890 and for the graduated-bore mouthpiece with what we call the “Patent-Lip” (P-Lip) today, in 1894. 1893 was the year that Charles Peterson and Henry Kapp bought out the shares of Christian Kapp of the Family business, which the brothers had run together. “Christian was evidently not happy with this arrangement and disliked Dublin. He trained to become a doctor, and on 12 June 1893 he sold his share of the business to his brother and Charles Peterson” (Irwin, 2018 p. 48). The Kapp & Peterson company was born and the Peterson System has continued for over 130 years.
Now obviously the lovely Peterson meerschaum pipe in hand is not something made at the turn of the century. According to Irwin and Malmberg, “ In 1968, Peterson returned to making block-meerschaum pipes after forty years. They had made block meerschaums in all Patent Systems and many Classic Range shapes from 1896 until about 1929. The scarcity and rising cost of amber, fragility of meerschaum and popularity of briar all contributed to the end of meerschaum production.” (Irwin, 2018 p. 158). The authors go on to state that, “These Republic-era meerschaums were first made in partnership with Manxman Pipes, Ltd., on the Isle of Man, a company Peterson bought outright in the early 1970’s (Irwin, 2018 p. 158).
I am not quite sure how the purchase of Manxman pipes worked. Manxman was an apparent subsidiary of Laxey Pipes Ltd. According to pipedia.org:
“Laxey Pipes Ltd. resided in a historical 19th century four-storey Man stone building at The Quay, Old Laxey, Isle of Man, which thankfully has been preserved.

The company specialised in the production of meerschaum pipes using the Meerschaum mined by the Tanganyika Meerschaum Corporation in the Amboseli basin in Tanganyika (since 1964 part of the United Republic of Tanzania).
Please note: you may often find names like “Manx Pipes Ltd.”, “Man Pipe Co.” and others more, but there is no indication of another Isle of Man pipe producer other than Laxey Pipe Ltd. at any time!
Laxey Pipes Ltd. marketed own brands like “Manxpipe”, “Manxman”, “Manxland” e.c. Names like “John Bull”, “White Knight” (unwaxed), “Domino” (black, or lined) indicated some shapes / colours of Laxey’s own series. The stems either showed the astronomical sign for “male” or “man” (circle + arrow), or the crest of the Isle of Man, the 3-legged X in a circle. Manxpipes and Laxey’s other brands were available through pipe retailers in general, but also were sold (mainly) to tourists through their own shop in Laxey.
Furthermore Laxey Pipes Ltd. manufactured the meer bowls for Peterson, Barling, Nørding and others from the later 1960’s until 2001. Man Pipe e.g. was a brand distibuted by Comoy’s. The bowls usually showed no nomenclature indicating the orderer. “Genuine Block Meerschaum” was engraved frequently. Often, just the stems were different, while bowls were the same.
Supply of meerschaum from East Africa run out (Kenya / Tanzania exhausted, Somalia inaccessible), and thus the last Laxey meers were supplied to trade in May, 2001. Laxey Pipes Ltd. tried to survive continuing with briar pipes – mainly in the Danish style -, but to no success. It closed down business in July, 2002.”
As for the age of this 120 Dublin, the first documented 120 shape I found in The Peterson Pipe book was on the 1947 shape chart (Irwin, 2018 pp. 156-157). During the Free State Era ( 1922-1937 the Dublin looking shape had an R413 number. The Patent Pipes from 1890-1921 had a Dublin-esque shape named the “Kaffir” and did not have shape numbers (Irwin, 2018 p. 122, 124).
In the “A New Leaf” meerschaum brochure from 1968 there appear photos of the Peterson meerschaums offered (Irwin, 2018 p. 105). The 120 shape is represented however the stem/shank joint is very flush and smooth with a continuous taper. This 120 has a rounded shank end at the stem shank joint. The 1975 catalog photos show meerschaum pipes with stem/shank joints like this pipe (Irwin, 2018 p. 164, 166). This leads me to believe that this Peterson Meerschaum was made in the mid1970s-early 1980s.
The Restoration
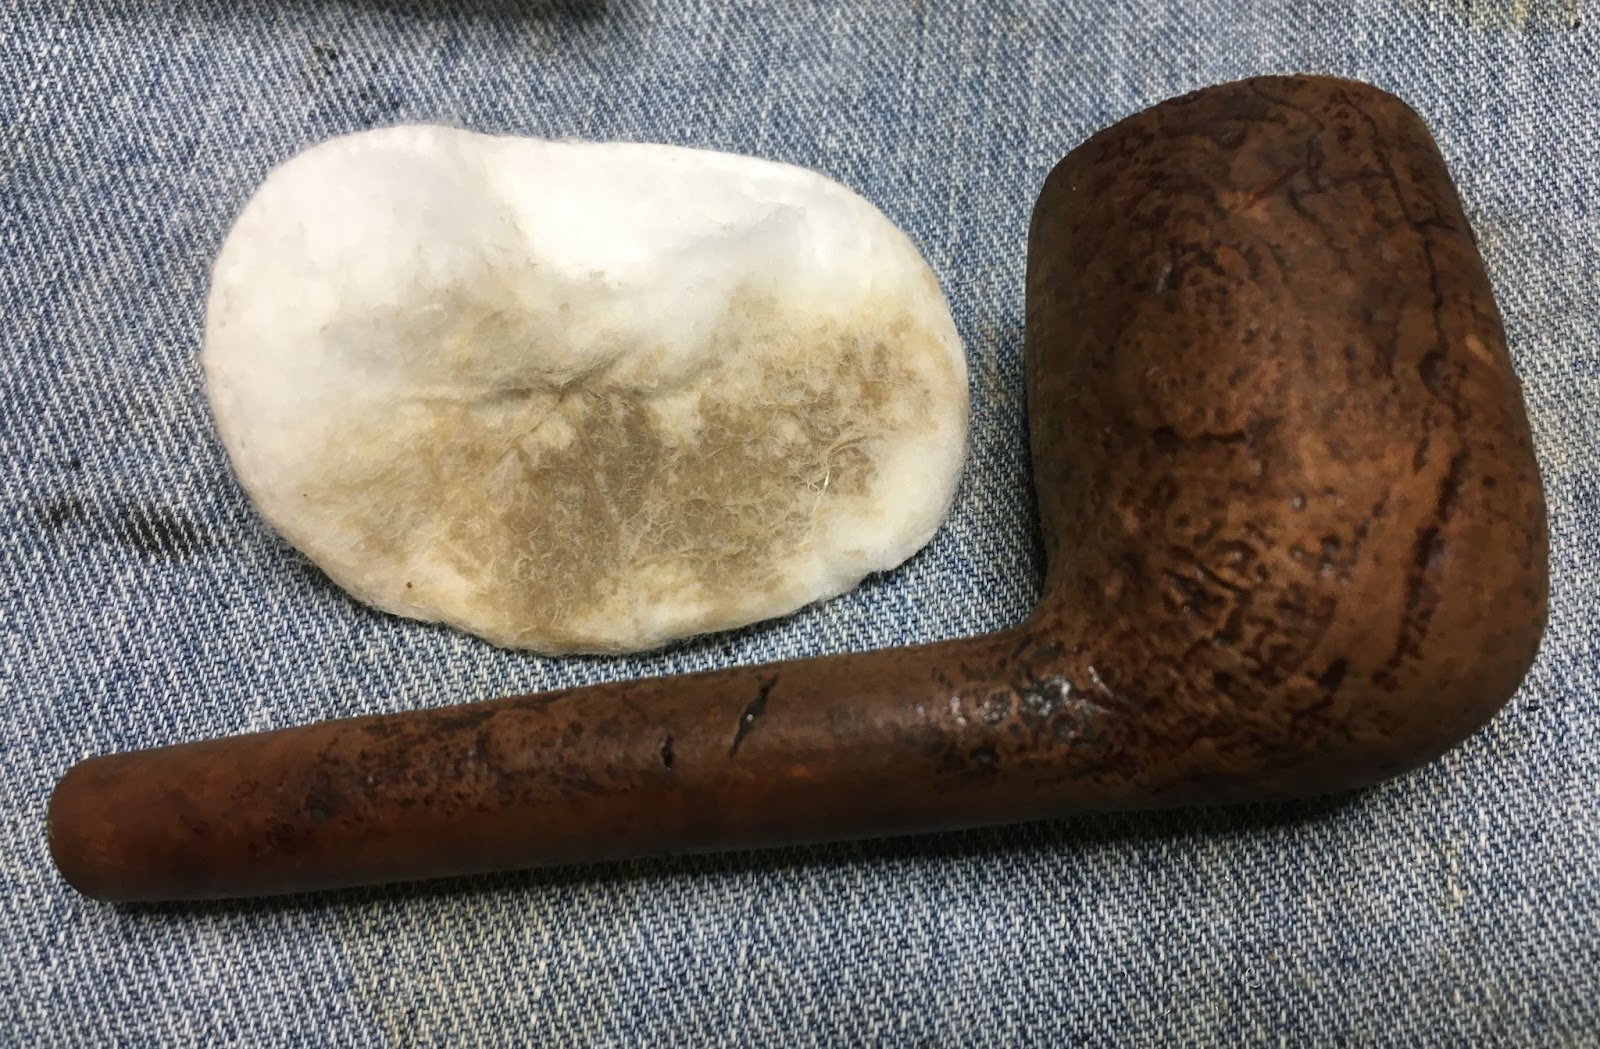
Like I usually do, I began with a clean denim piece to work on.

My old Oxiclean solution was getting discolored and was not smelling very good so a new solution was made. 1 ½ tablespoons of Oxiclean powder in about 500 ml of tap water.

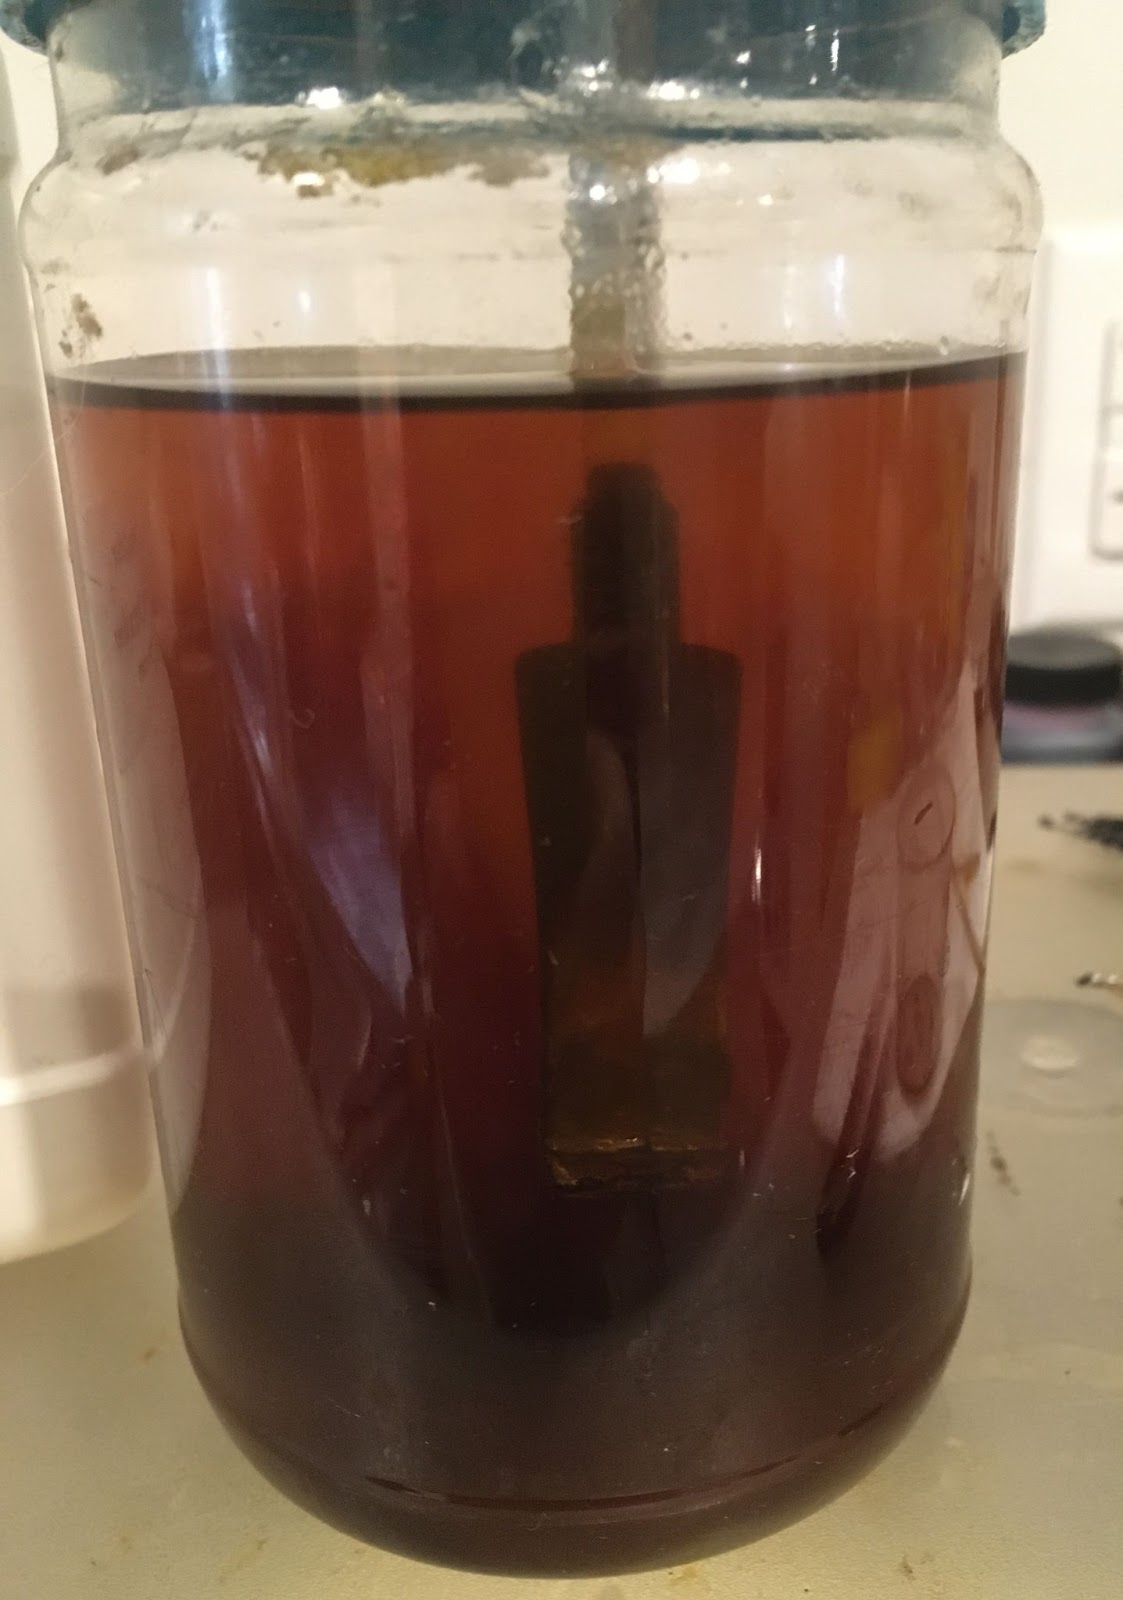
The stem of the Peterson was placed in the solution for a soak in the oxy.

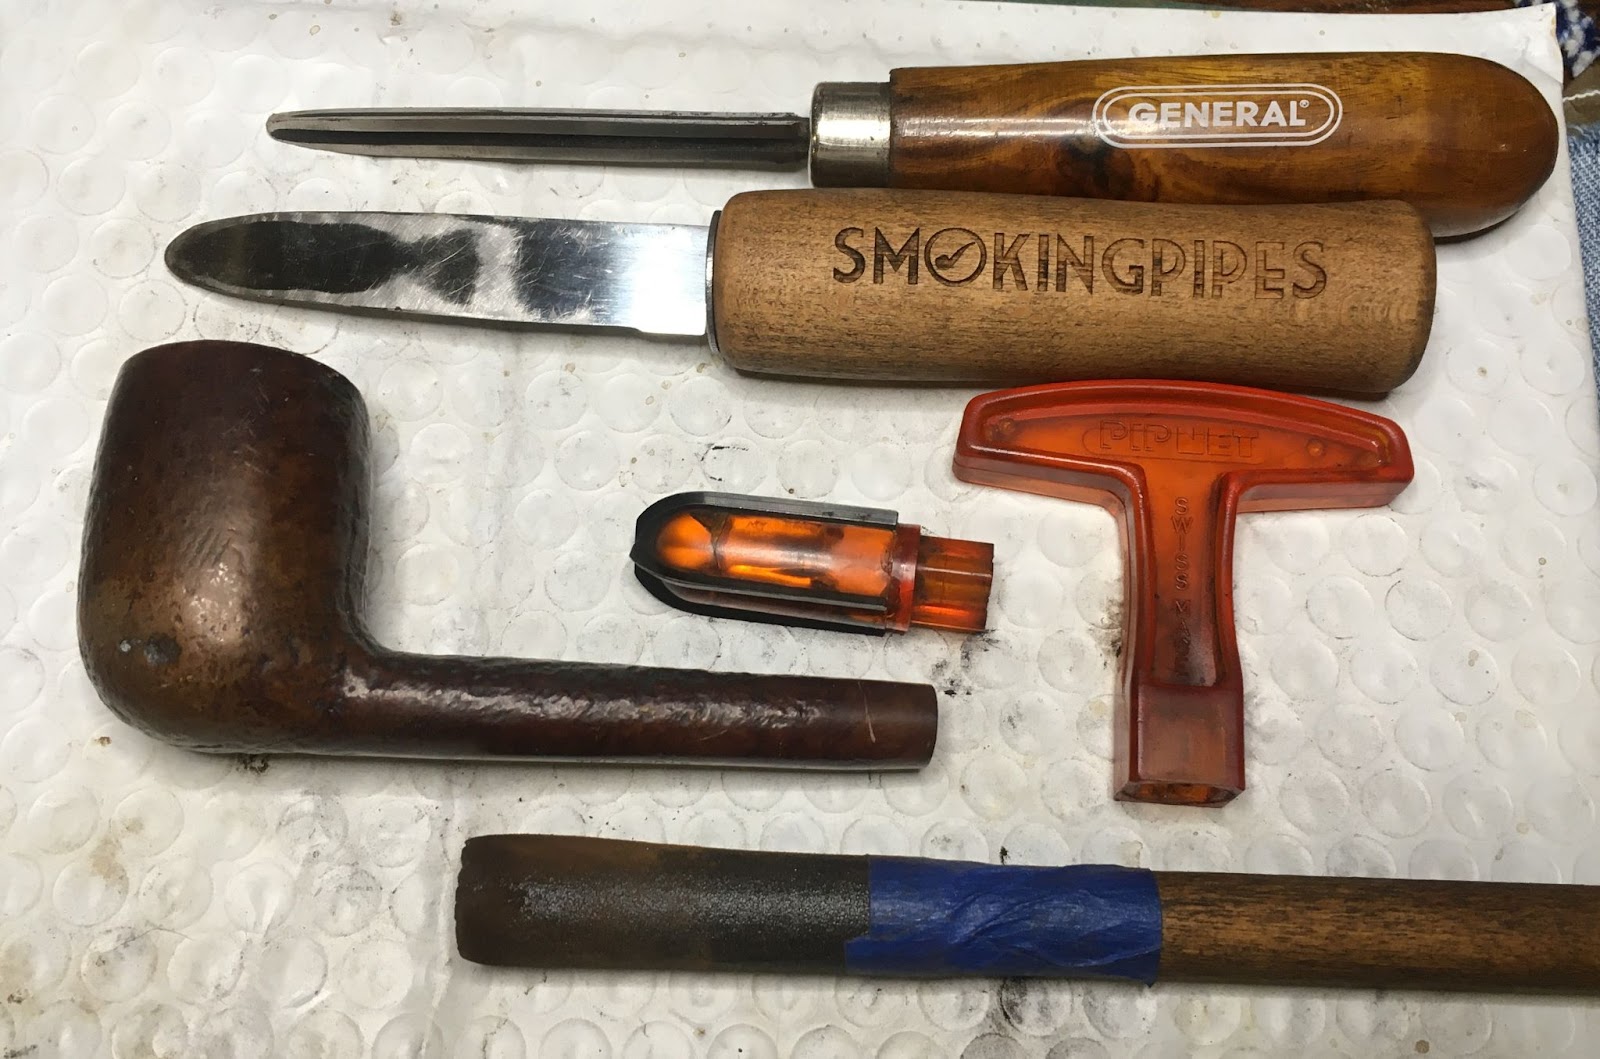
Reaming with a reaming tool like the PipNet is not recommended for meerschaum due to it’s brittle nature and the torque generated with a tool like the PipNet would probably not be a good thing. Instead I used the Smokingpipes Low Country reaming knife and the General triangular scraper. The tip of the General had been ground from the original sharp point to a more rounded tip with a grinding wheel. A wood dowel wrapped in 220 sandpaper joined in.

The scraping did not produce a great deal of removed cake but it did clear the tobacco chamber.

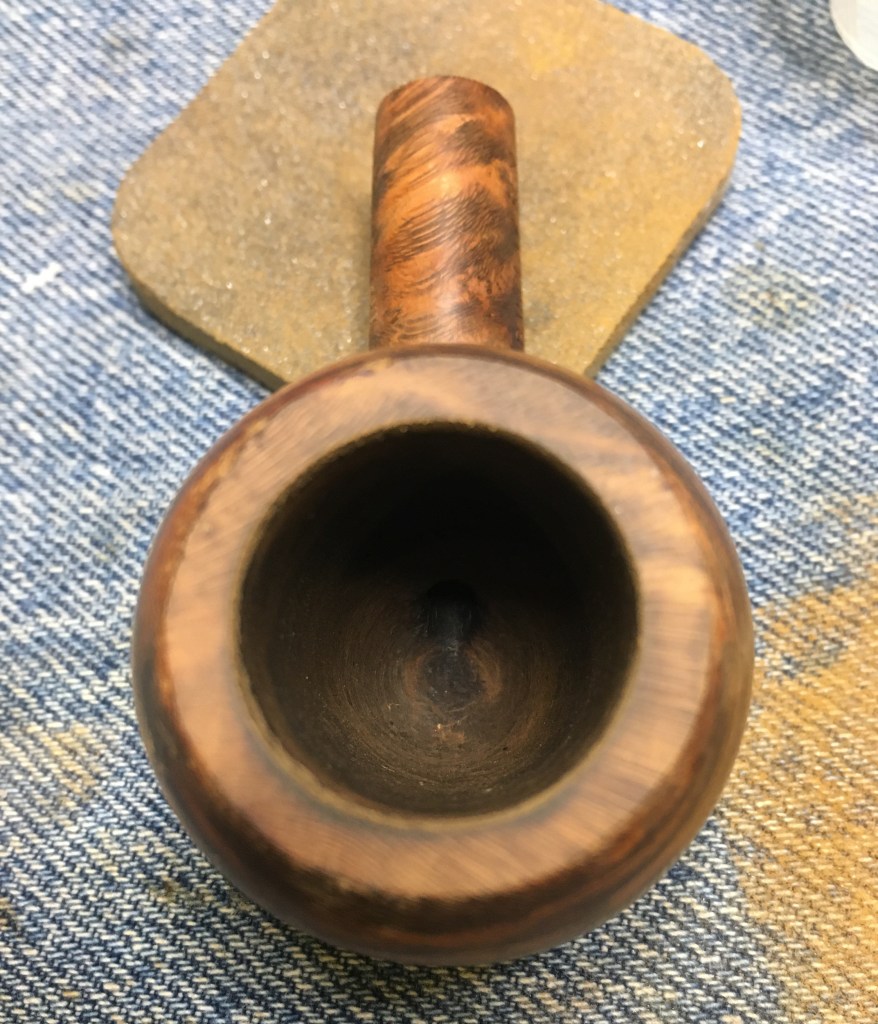
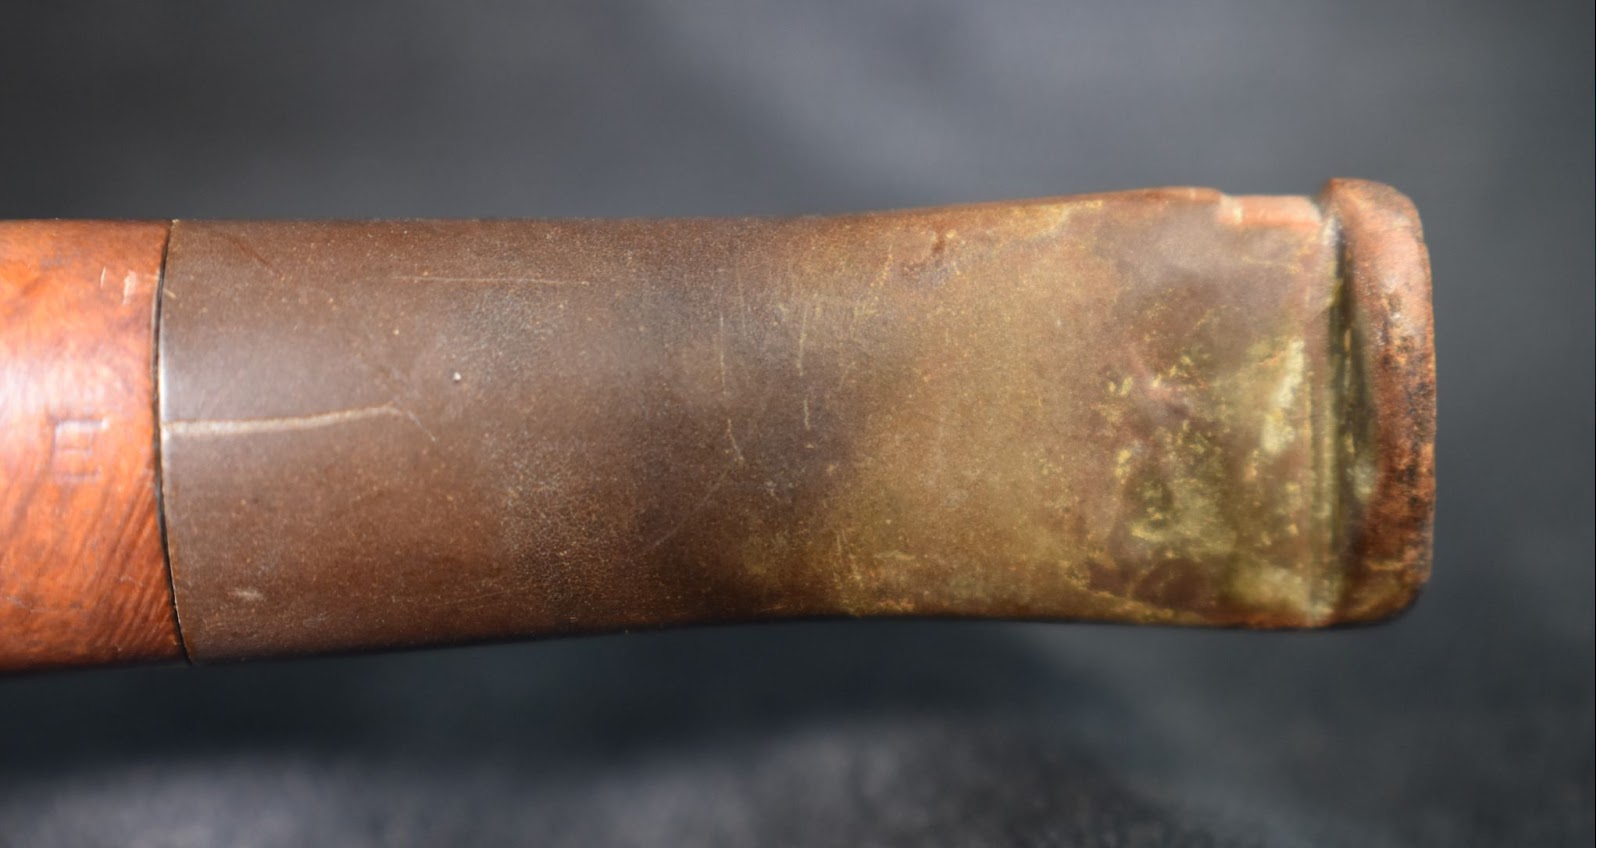
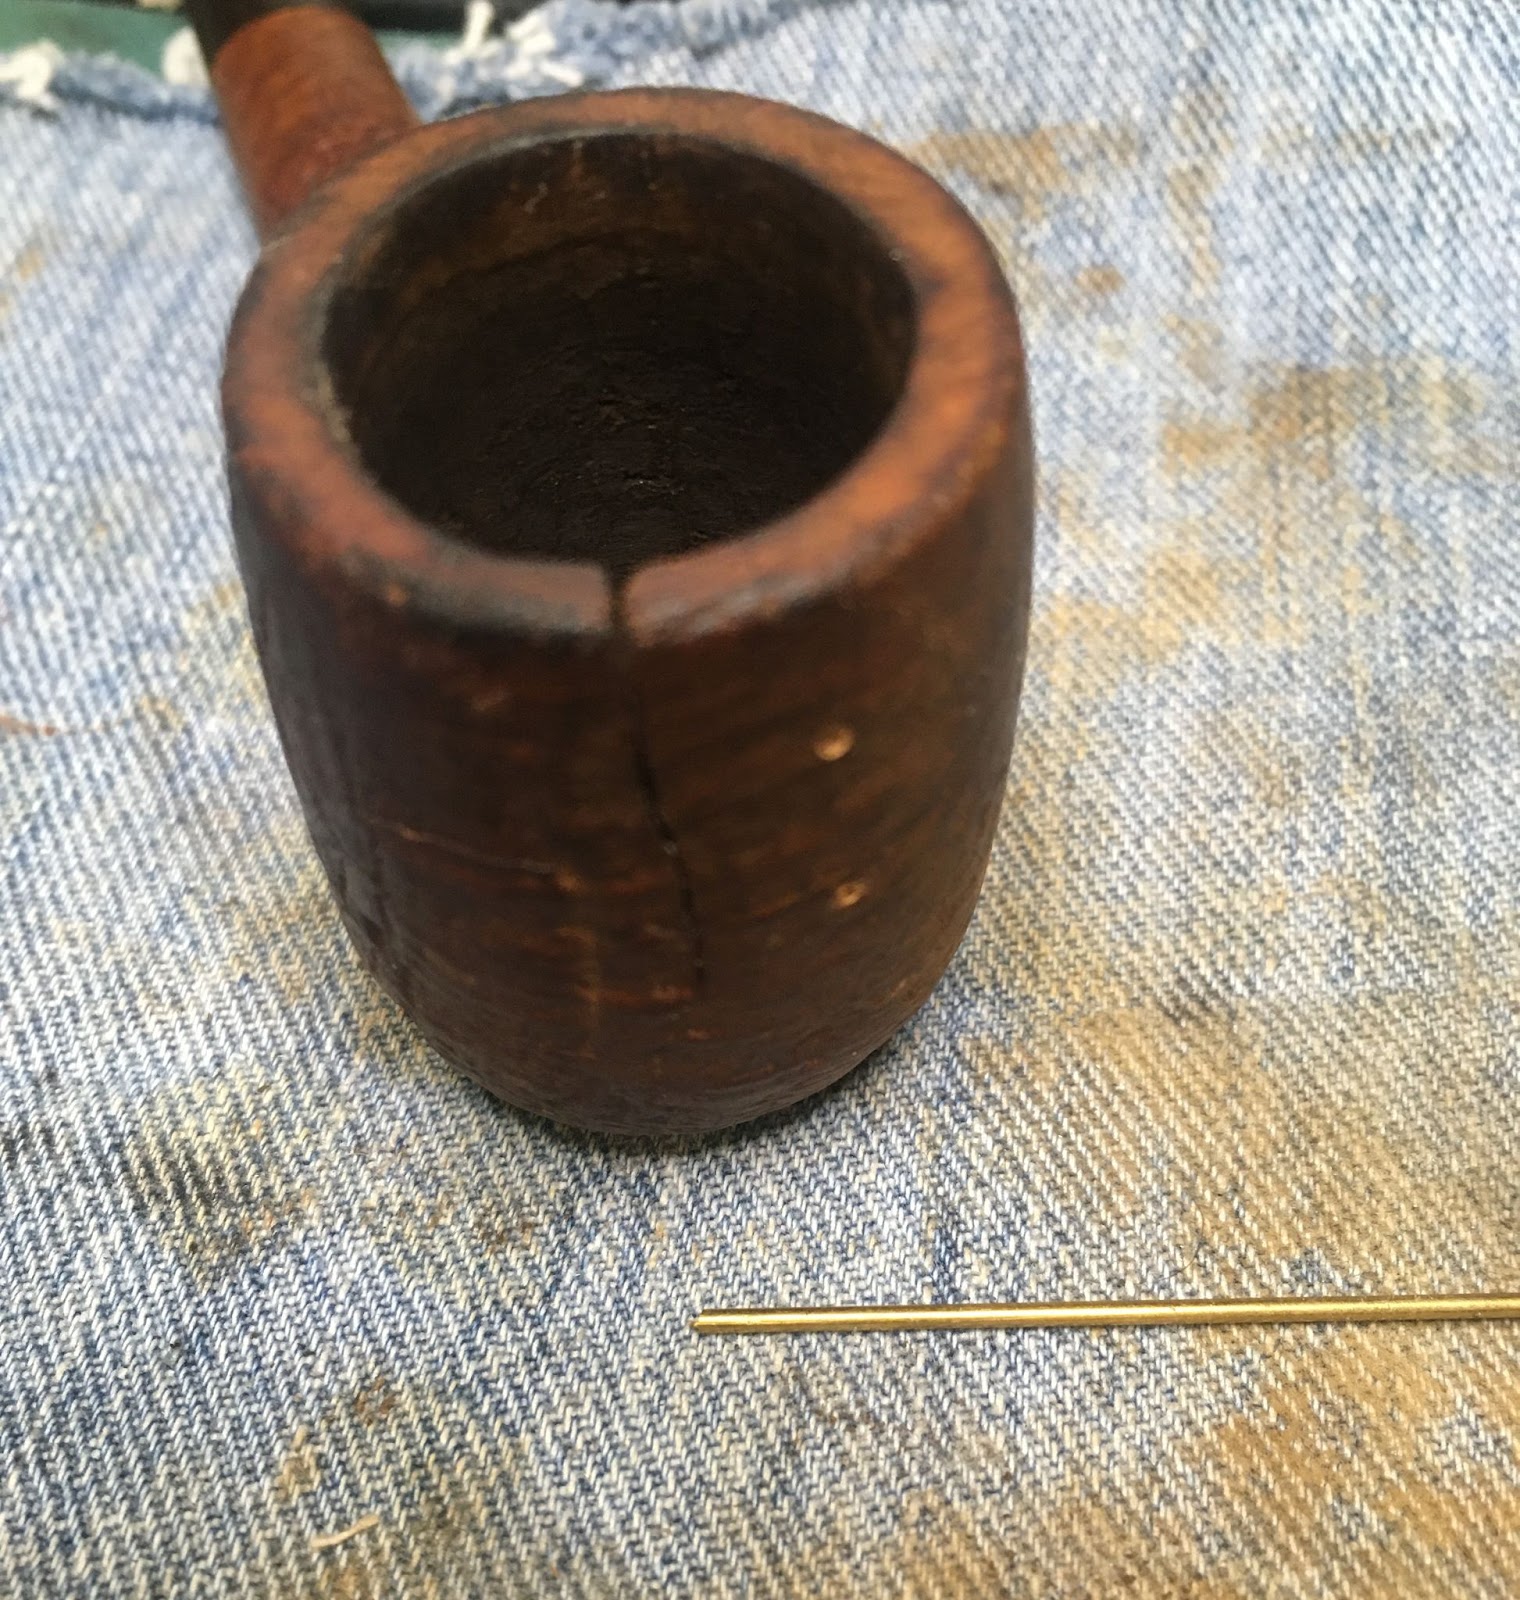
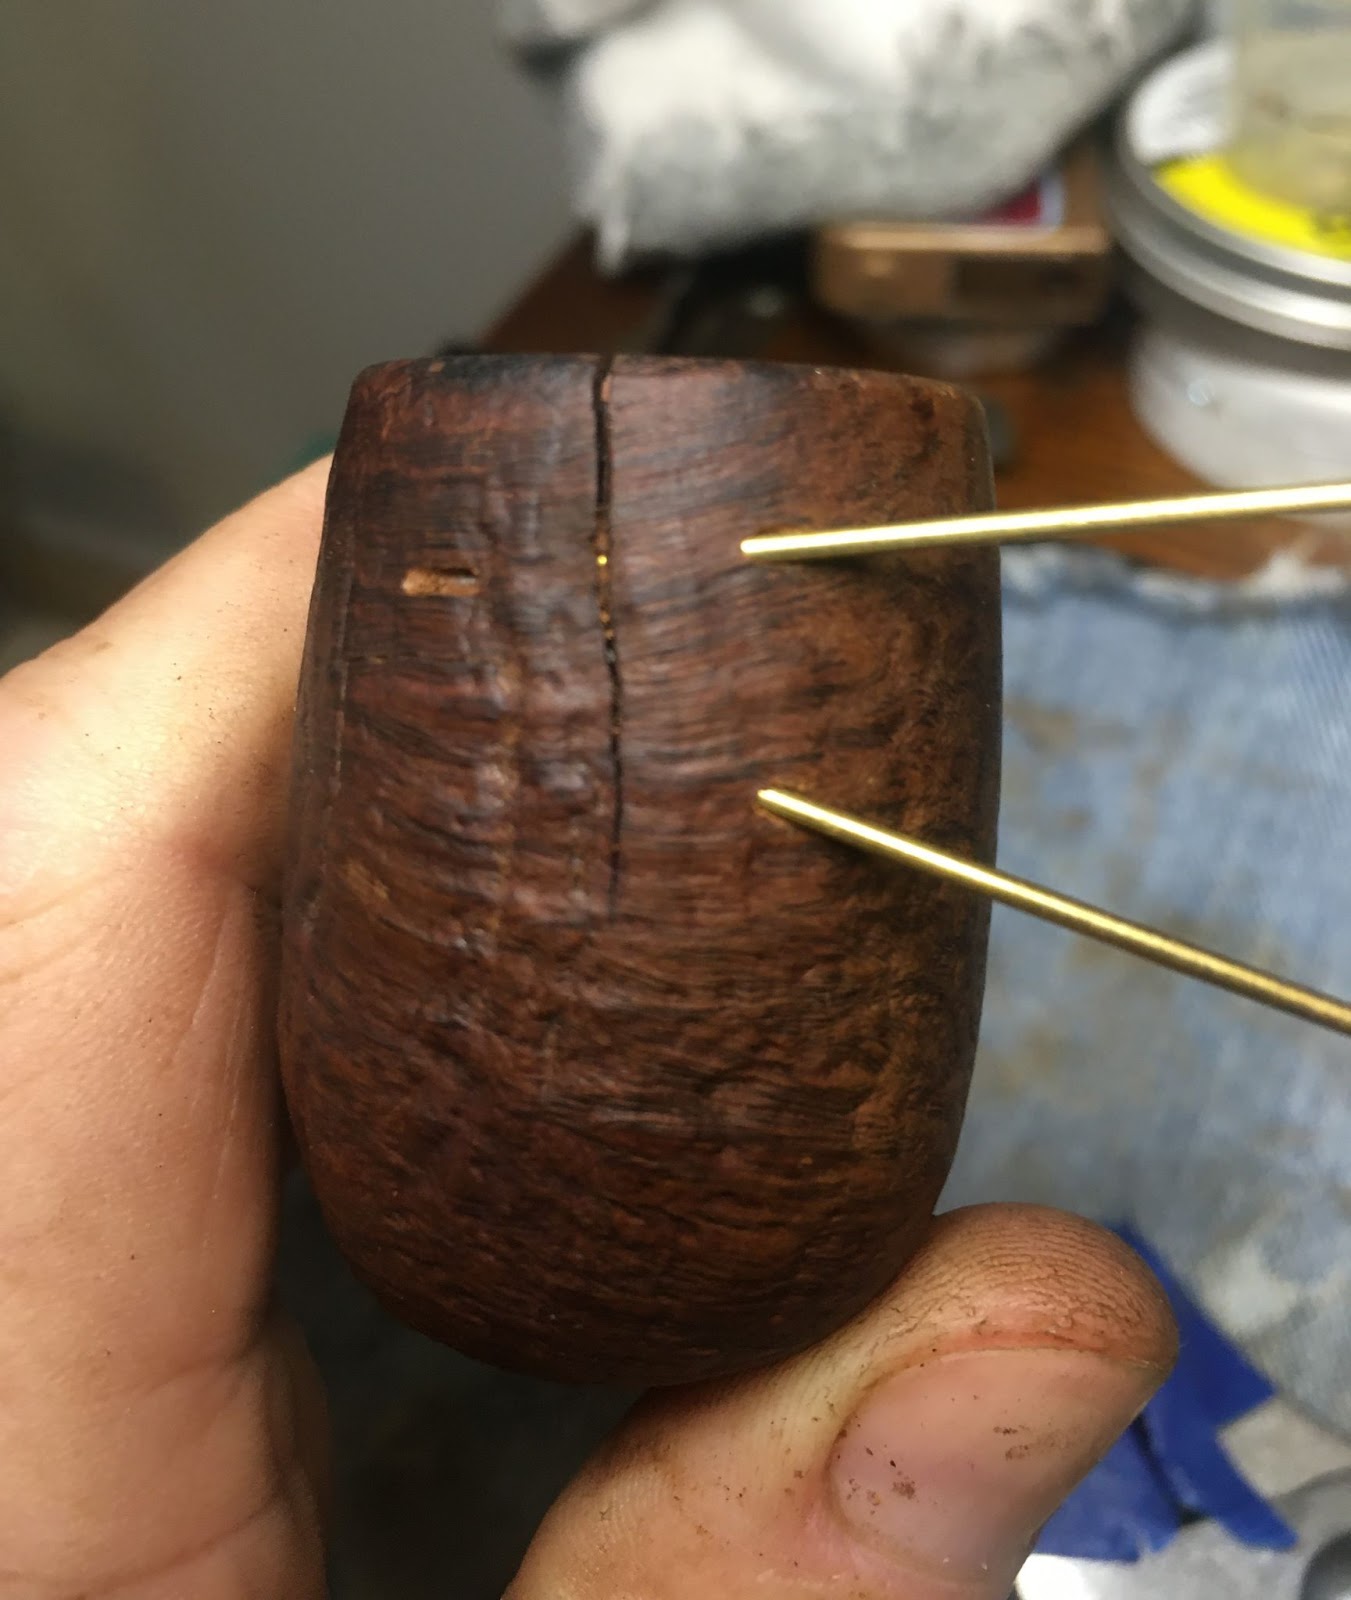
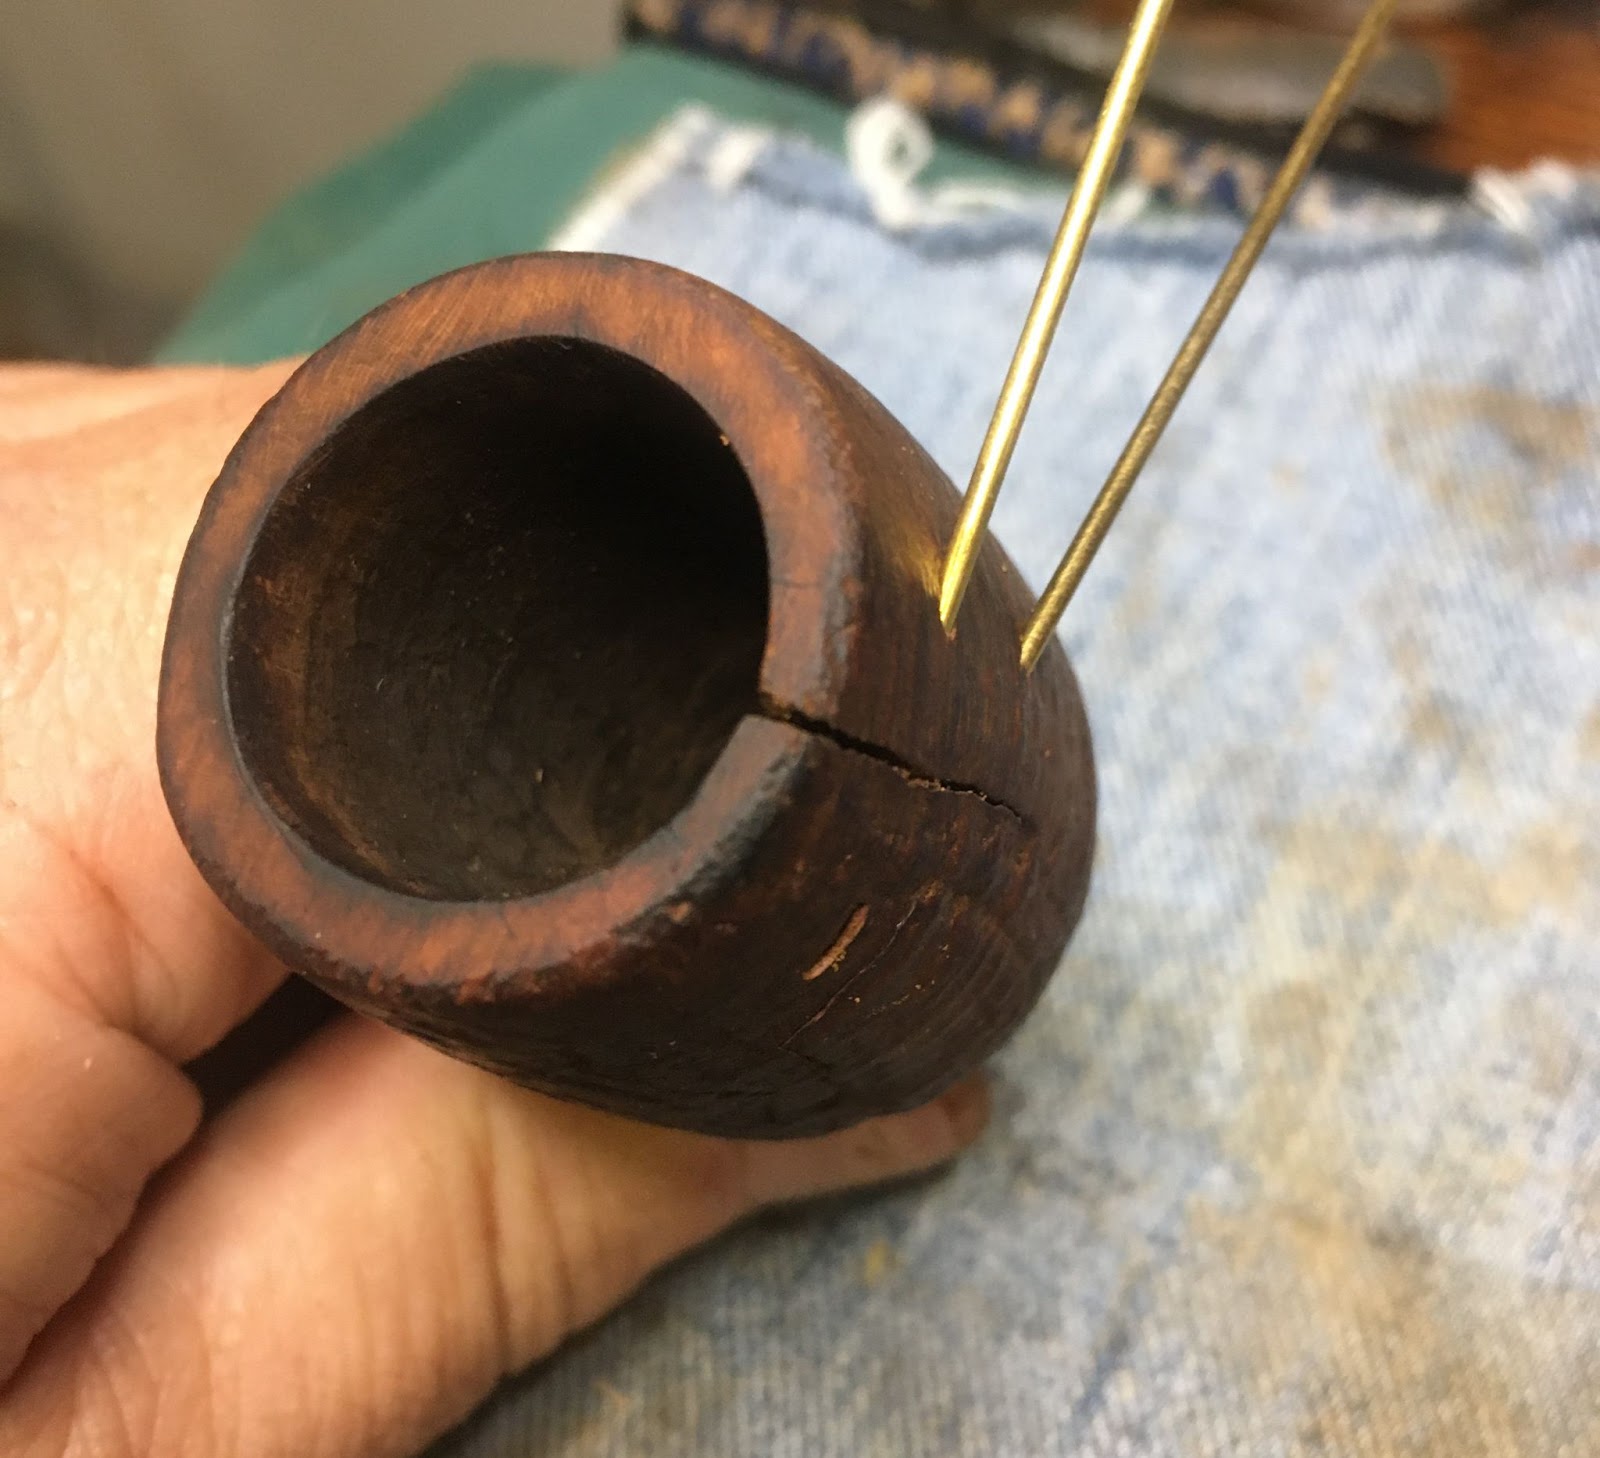
When cleaning the rim I noticed what appeared to be filled cracks. I saw no evidence that these cracks joined together and actually represented a large piece of the pipe that had been broken off and later repaired. Though looking at the outer stummel surface the finish is smoothed (without rustication) between the two cracks. The area between the crack also looked thinner than the rest of the stummel. I think this was evidence of a repair by a previous owner or an attempt by the factory to salvage a flawed stummel. Either way the stummel looked and felt structurally sound.

Scraping the tobacco chamber was difficult as the cake was very hard and held firmly to the walls of the chamber. Sanding was slow and exposed fresh meerschaum at the rim of the chamber.

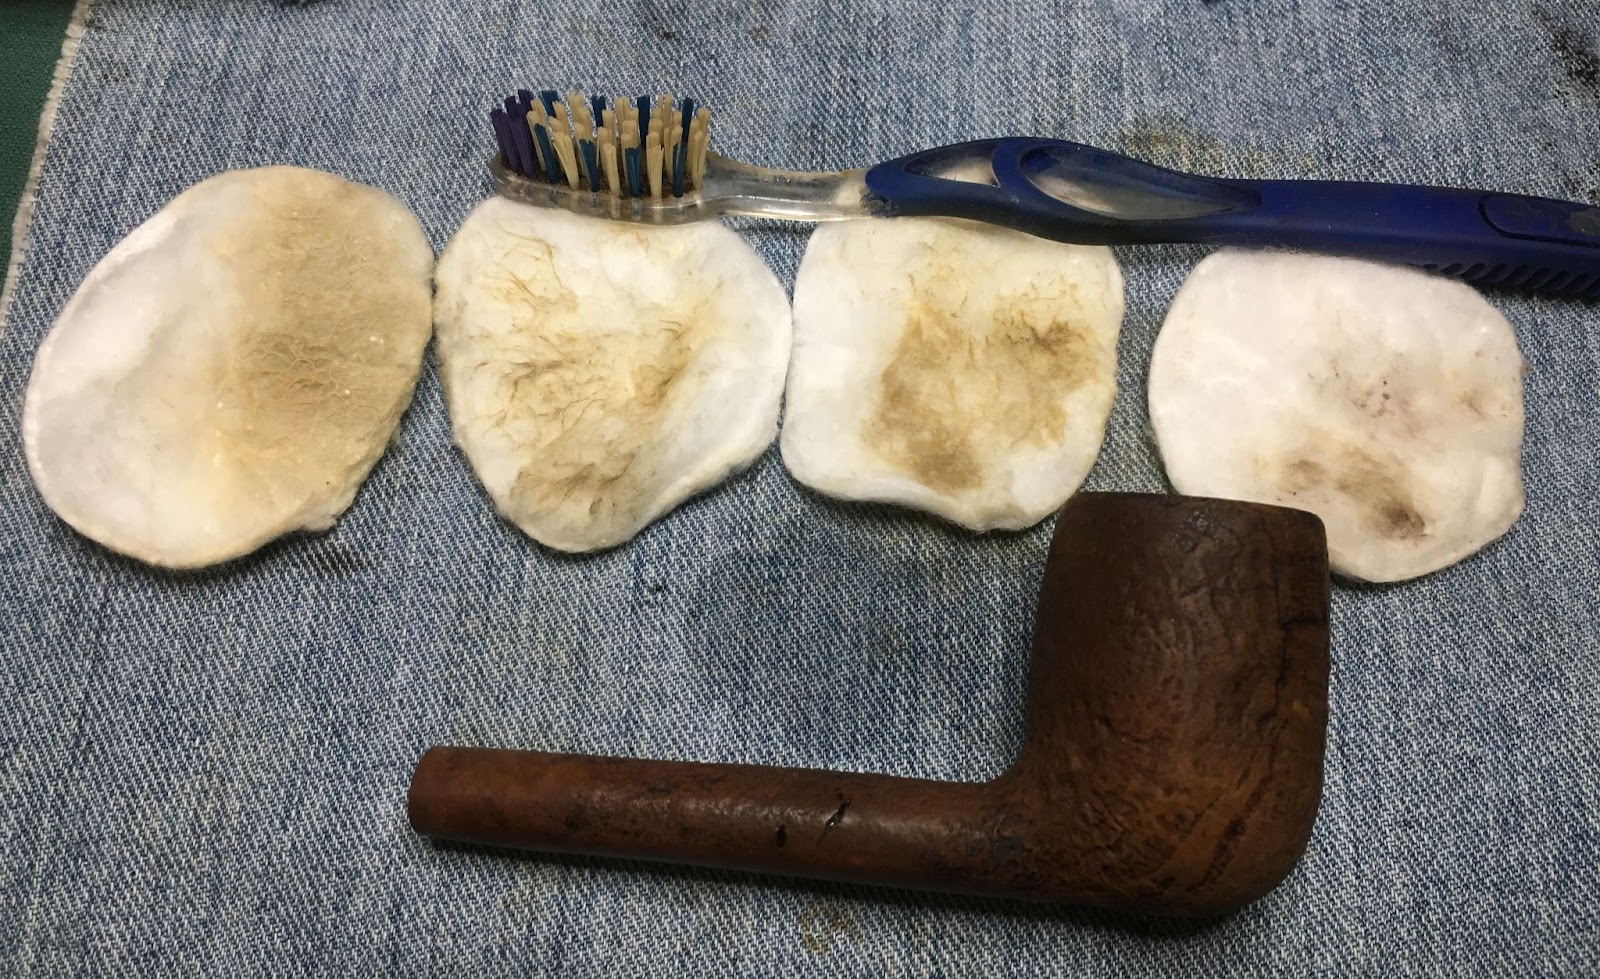
After the chamber was sanded I scrubbed the stummel with warm water and a medium toothbrush. The traditional Murphy Oil Soap was not used, only warm water. The water and toothbrush did appear to remove some of the accumulated grime making the stummel look a bit more clean than previously.

To unify the staining of the pipe’s rim, I used furniture touch-up stain markers.

I started with black around the rim.

I then used the mahogany immediately below the black. Sorry about the blurriness of the photo.

After the stain had dried a few minutes I used a make-up pad wetted with 95% ethyl alcohol to blend the two lines of stain together. Below you can see the results of my blending.

The stem was removed from the oxi bath after 2 hours and was wiped vigorously with a dry cotton make-up pad. A good deal of oxidized vulcanite was removed.

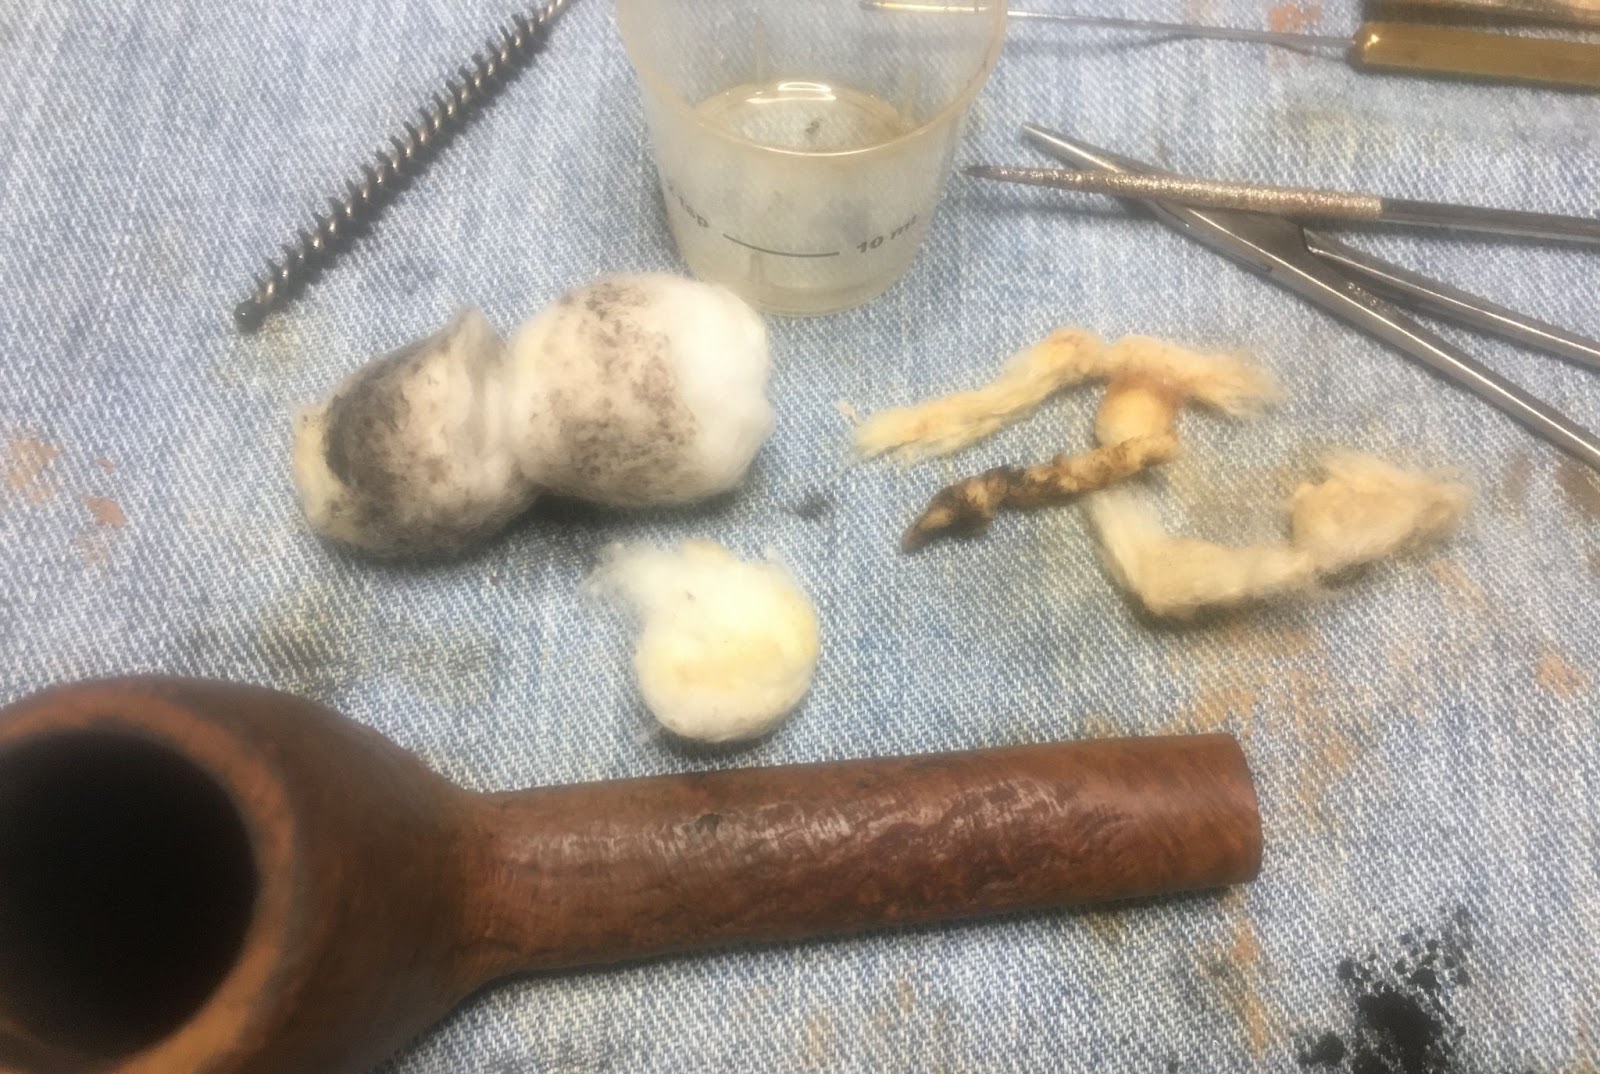
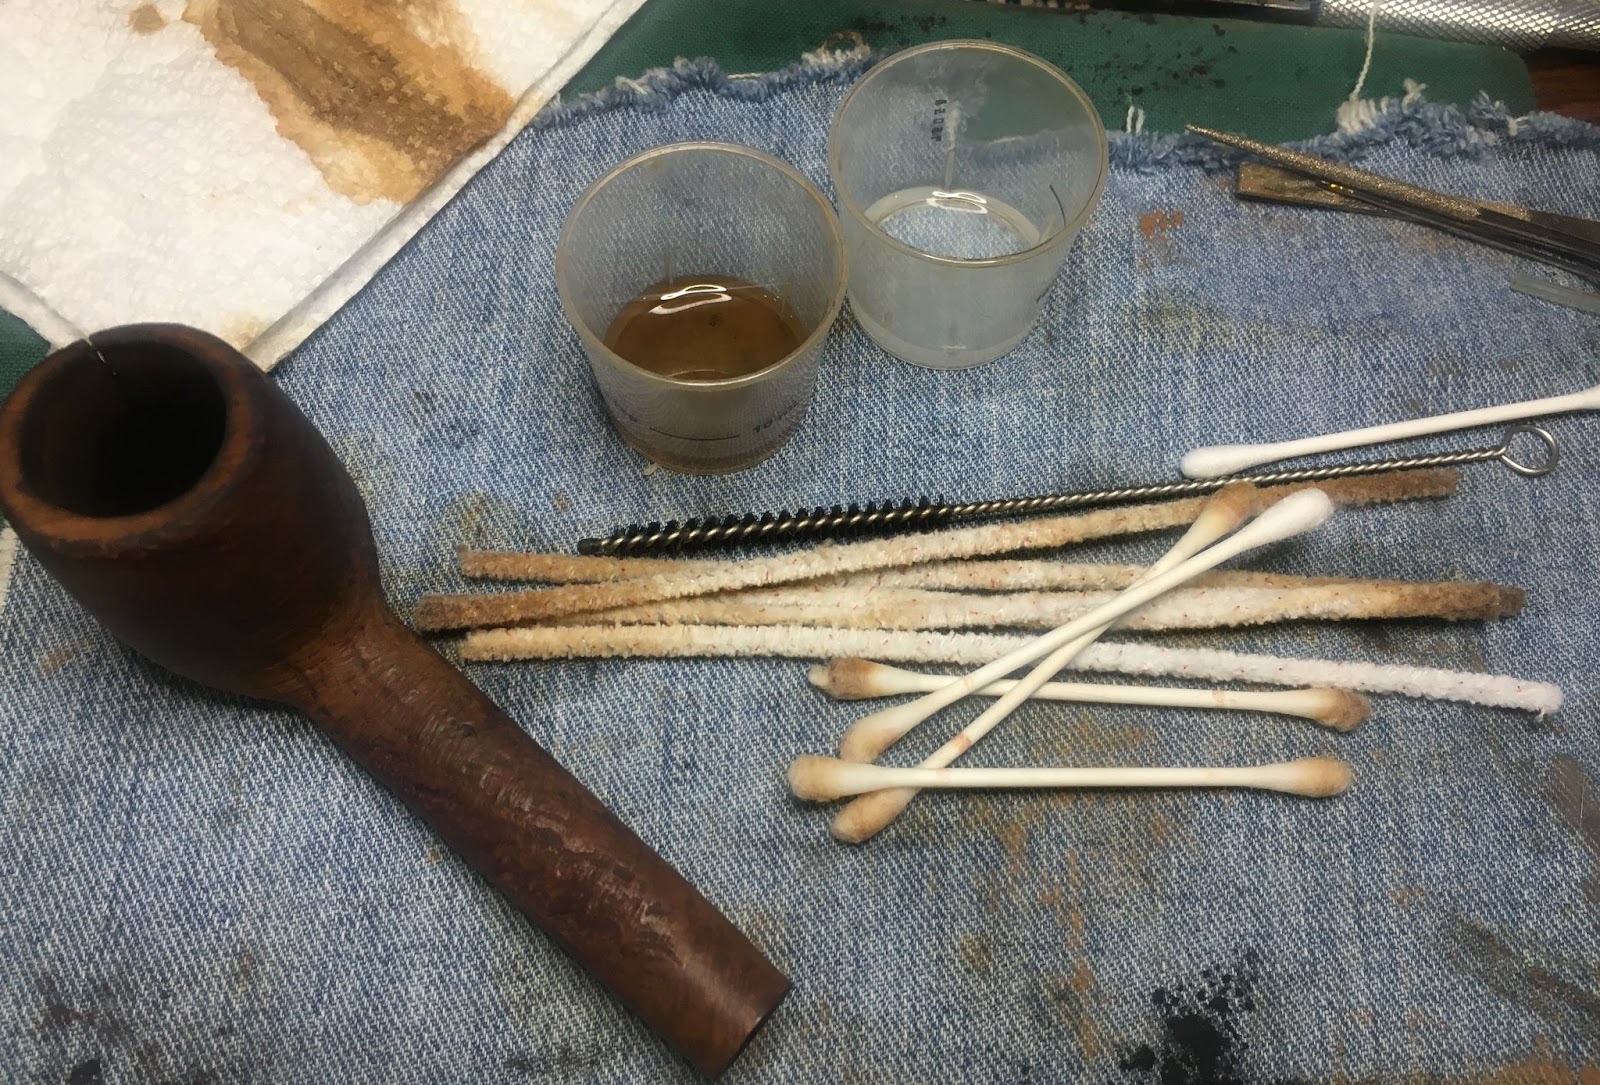
I cleaned the shank airway with folded over bristle pipe cleaners, a nylon shank brush and cotton swabs dipped in 95% ethyl alcohol.

The stem was then scrubbed with Soft Scrub cleanser applied to make-up pads. After scrubbing I applied a layer of mineral oil to the stem.

The airway of the stem was cleaned with bristle pipe cleaners dipped in 95% ethyl alcohol.

The pipe sat neglected for a whole day due to the incredibly busy schedule of a retired slacker, I mean teacher. When I returned to work on the stem I wiped the excess mineral oil and lightly sanded with the 320 sanding sponge.

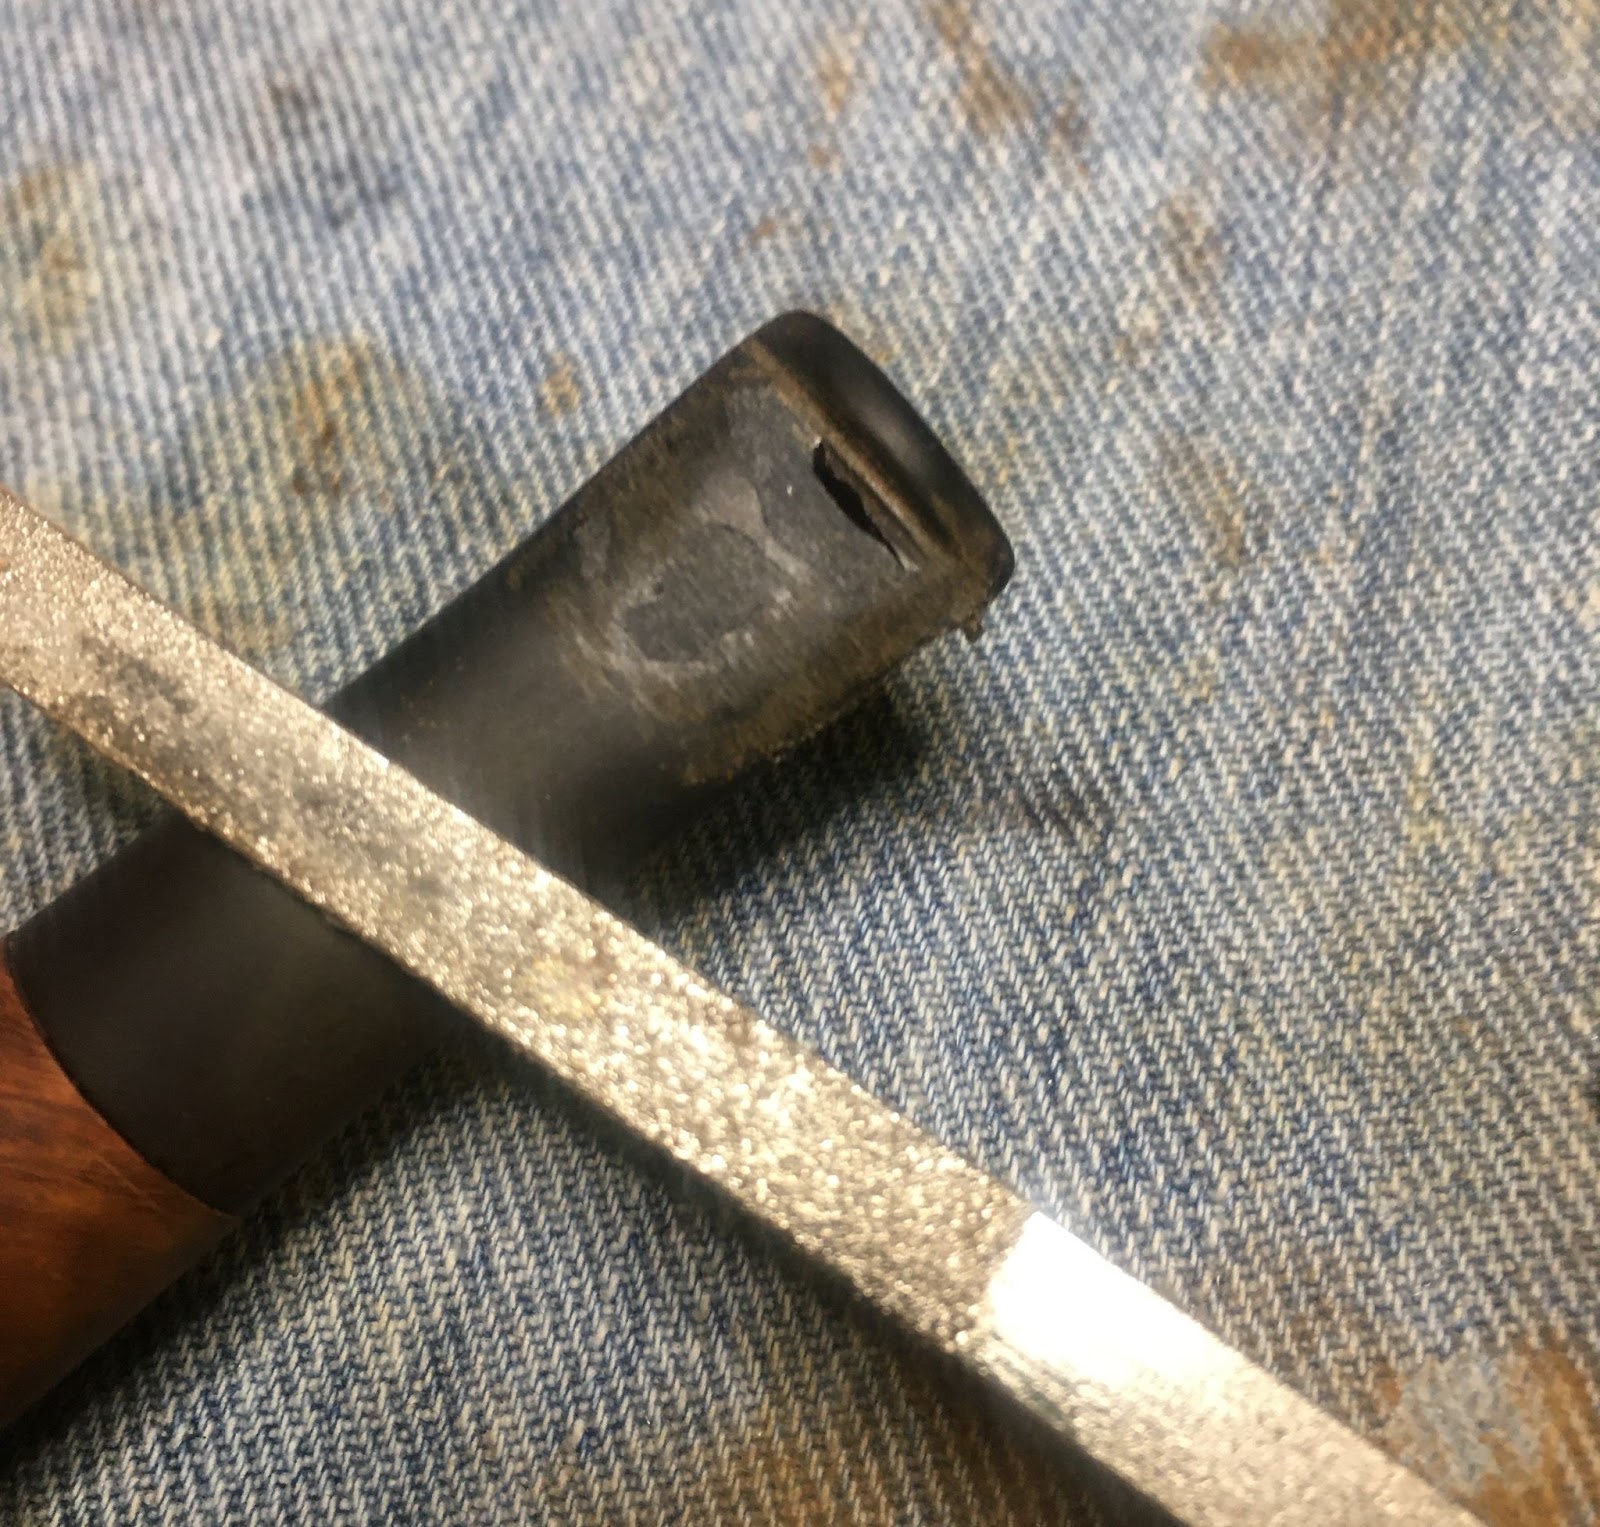
There were a few deep dents in the stem that would require filling with black cyanoacrylate (CA, super glue). Small drops of CA were placed onto each of the dents.

The CA was then spritzed with a CA drying accelerator. This allows the CA to cure almost instantly.

The cured CA was then lightly filed with a small flat file. This removes the top of the CA fill, getting it smooth with the surrounding vulcanite.

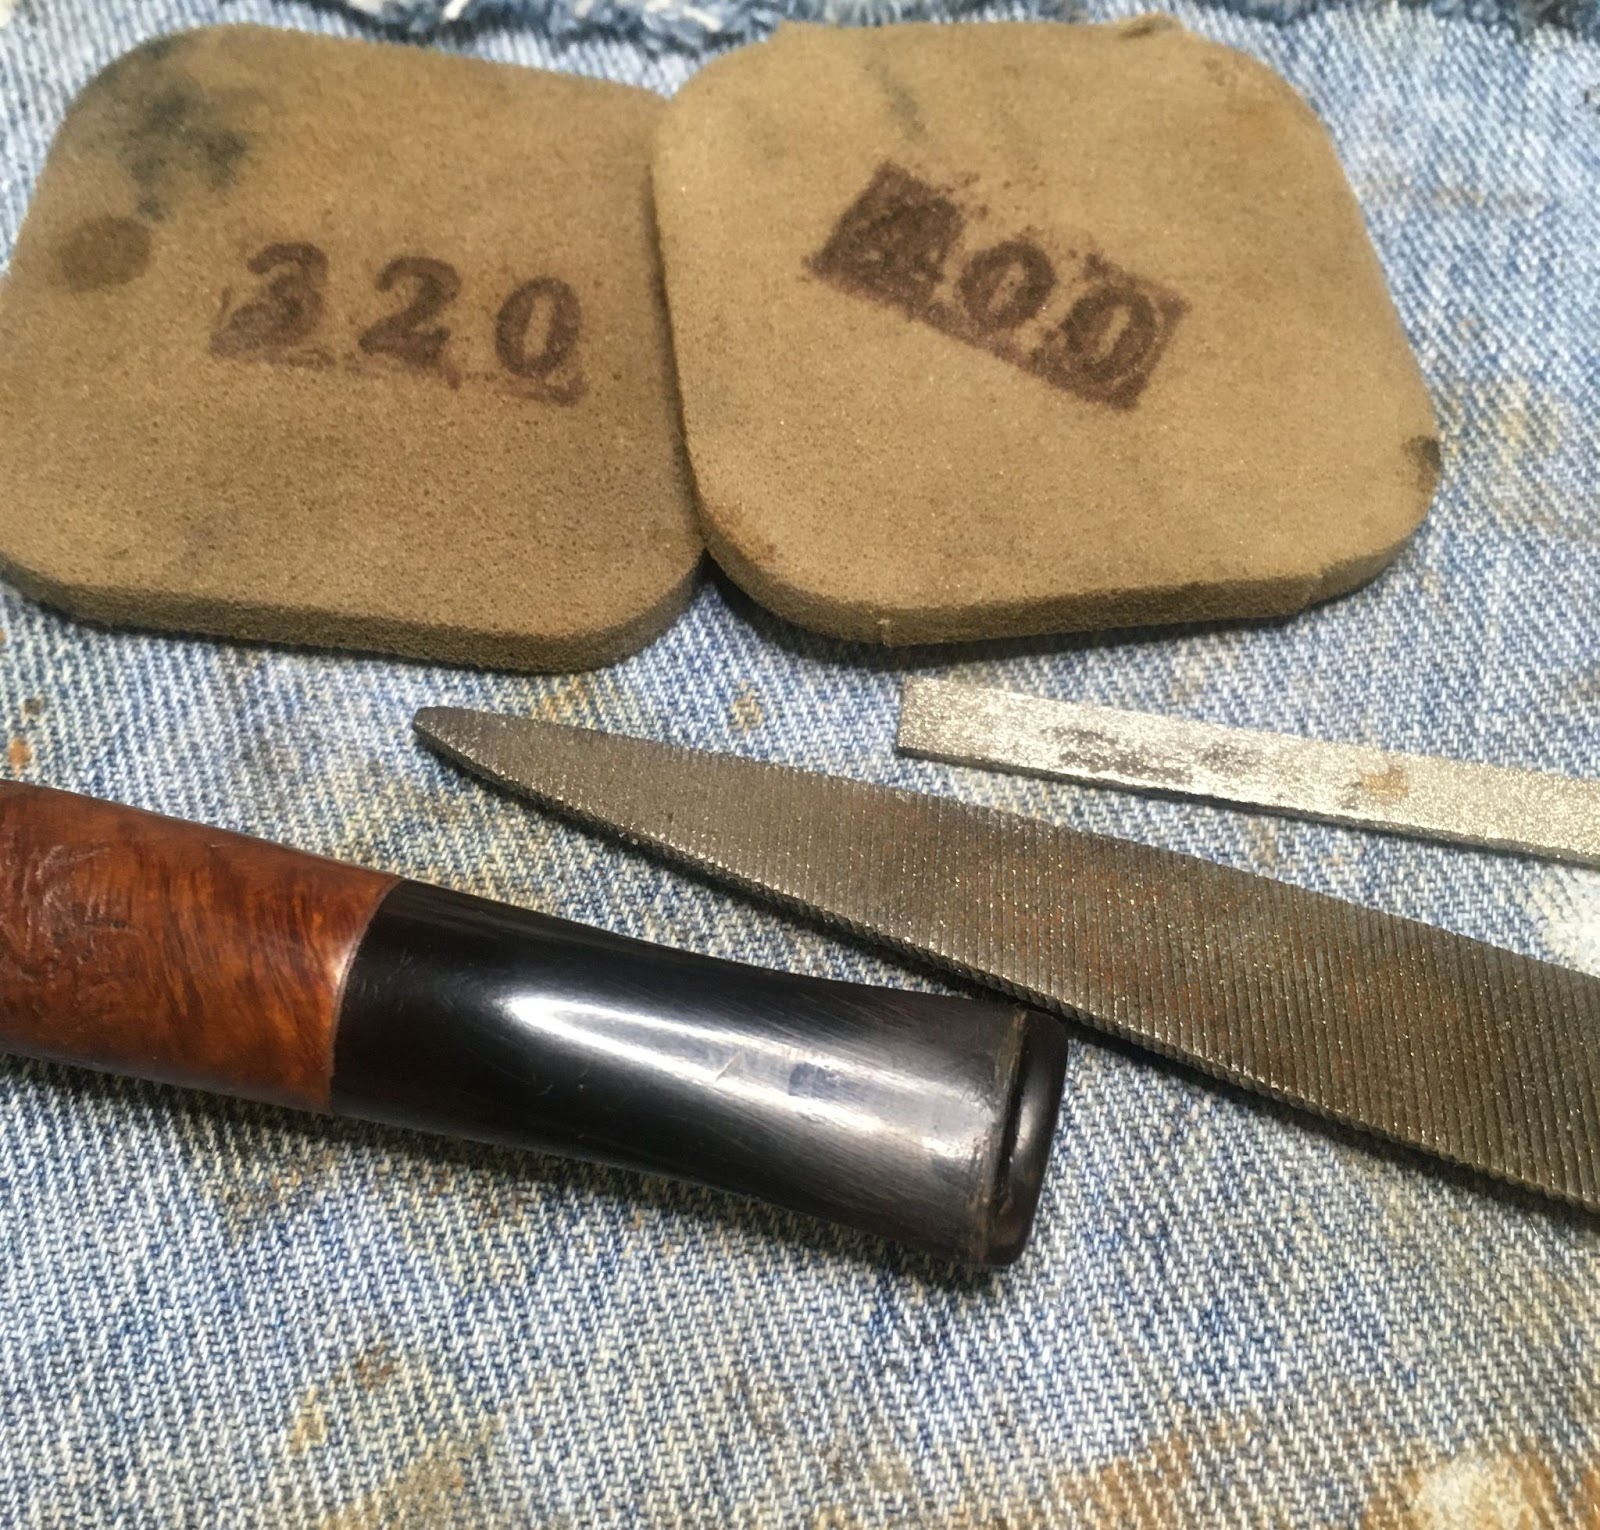
The new fill was then sanded with 320 and 400 grit sanding sponges. The logo was covered with a piece of painters tape to protect the logo from further sanding. The stem was then sanded with a series of sanding sponges from 600-3500. Between each sponge the stem was rubbed with a dab of mineral oil by fingertip and wiped with a dry paper towel.

The flaws on the surface of the rim were filled with a different black CA. The product I use for the stem is “rubberized”. I wanted a hader CA fill for the rim so I used a non-rubberized black CA. I placed a drop of the black CA on the bottom of an upside down medicine cup. I dabbed a fly tying bodkin into the drop to get some CA onto the bodkin then applied it to the flaws. This allowed me to have precise placement of the CA limiting the sanding of excess CA fill.

I allowed the CA to cure on its own without any accelerator. This was a slow process with a good deal of waiting between applications. Once cured, I very lightly sanded the rim with a 400 and 600 sanding sponge to remove the excess CA.

Several applications and sandings later I was pleased with the result. You can see that the sanding was very light leaving most of the previously dyed rim black or, mostly so.

The rim was then re-dyed with the black stain touch-up marker. And allowed to dry.

The finished rim has imperfections which I purposely left. I thought that a pristine smooth finish would look out of place with the rustication of the stummel.

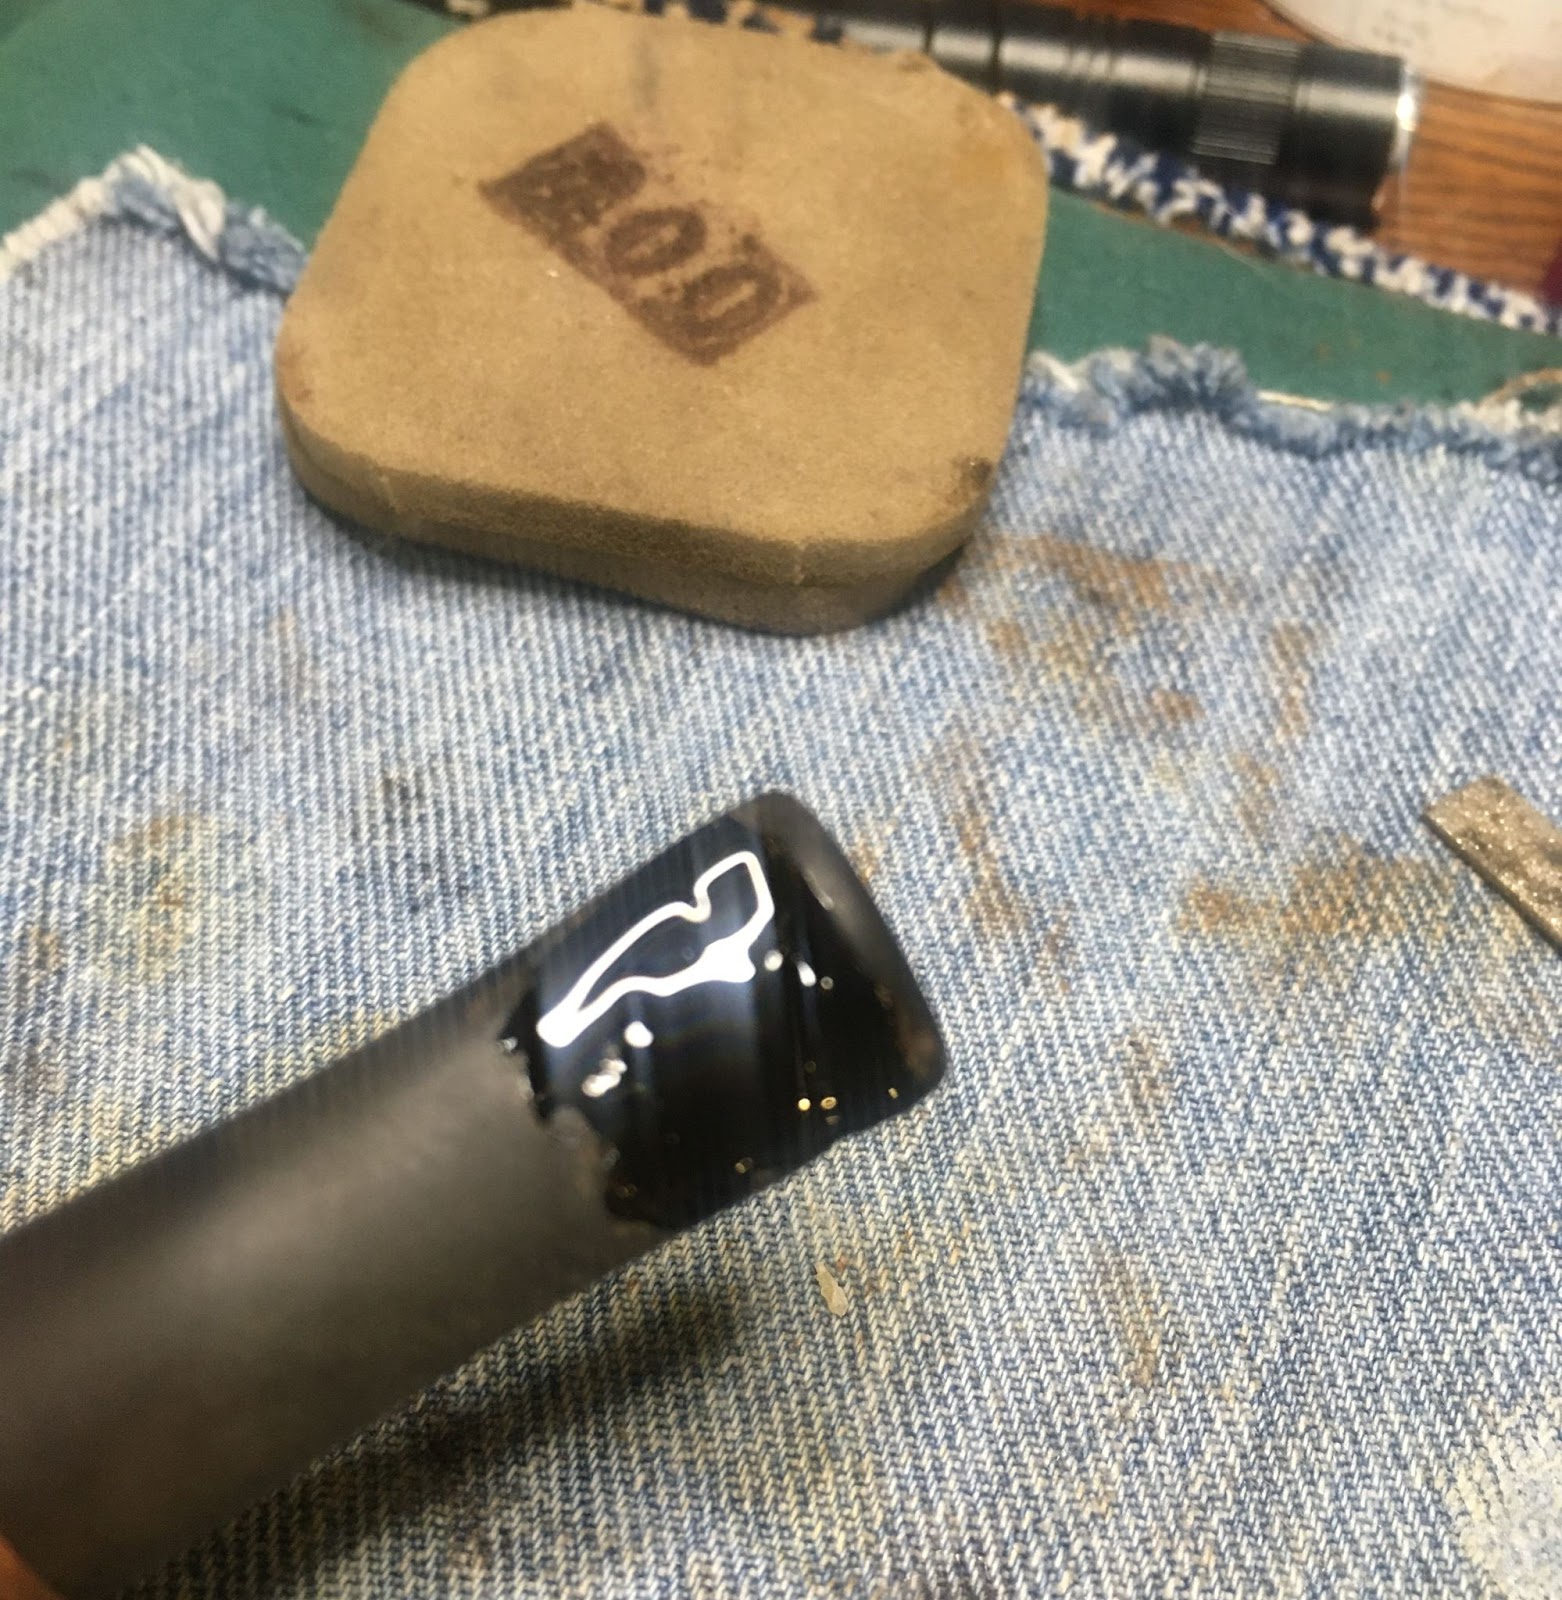
Next I cleaned the logo of any Obsidian Oil with a cotton swab dipped in 95% ethyl alcohol.

Using white acrylic model paint and a fine detail paint brush I applied white paint to the logo. This acrylic paint is water based and dries quickly.

The 4000 grit micro-mesh dam was used to remove the excess white paint.
I worked the stem with micro-mesh pads 4000-12000. Between each pad I applied a small drop of Obsidian Oil, rubbed it onto the stem and wiped with a dry paper towel.

Before and After Fine Polish was used with a soft cotton cloth on the stem to increase the level of polish.

The Fine Polish was followed with Before and After Extra Fine Polish applied and hand buffed with the same soft cotton cloth.

To finish the stummel I needed to prepare for a beeswax coating. I gathered the heat gun, canning jar with beeswax & brush, a catch tin for wax drips and a shallow pan with water. The pan and water help to heat/melt the wax and keep it melted while I work.

The canning jar with beeswax was placed into the water in the pad and the stove lit. The boiling water will melt the wax.

WHile I was waiting for the wax to liquify, I waxed the Peterson stem at the buffer with carnauba wax.

The hot water bath melted the wax. I heated the stummel with the heat gut. I have to admit I was a bit worried about heating the mortise and tenon too much.

With the stummel hot and the beeswax melted I started painting the liquid wax onto the stummel. I painted the top 1.3 and the entirety of the shank. As I painted the accumulating wax was cooling making a lumpy looking mess.

The heat gun was again turned on and the stummel was rotated in all directions in the flow of hot air. The wax remelted and flowed over the surface of the stummel. I herded the wax around with the paint brush to make sure that everything was getting it’s fair share of melted wax. The excess wax drips were accumulating in the catch tin.

With every part of the stummel well coated with hot liquid wax I used a paper towel to absorb the remaining excess wax from the stummel.

The pipe was hot to the touch so I laced it onto the workbench to cool.

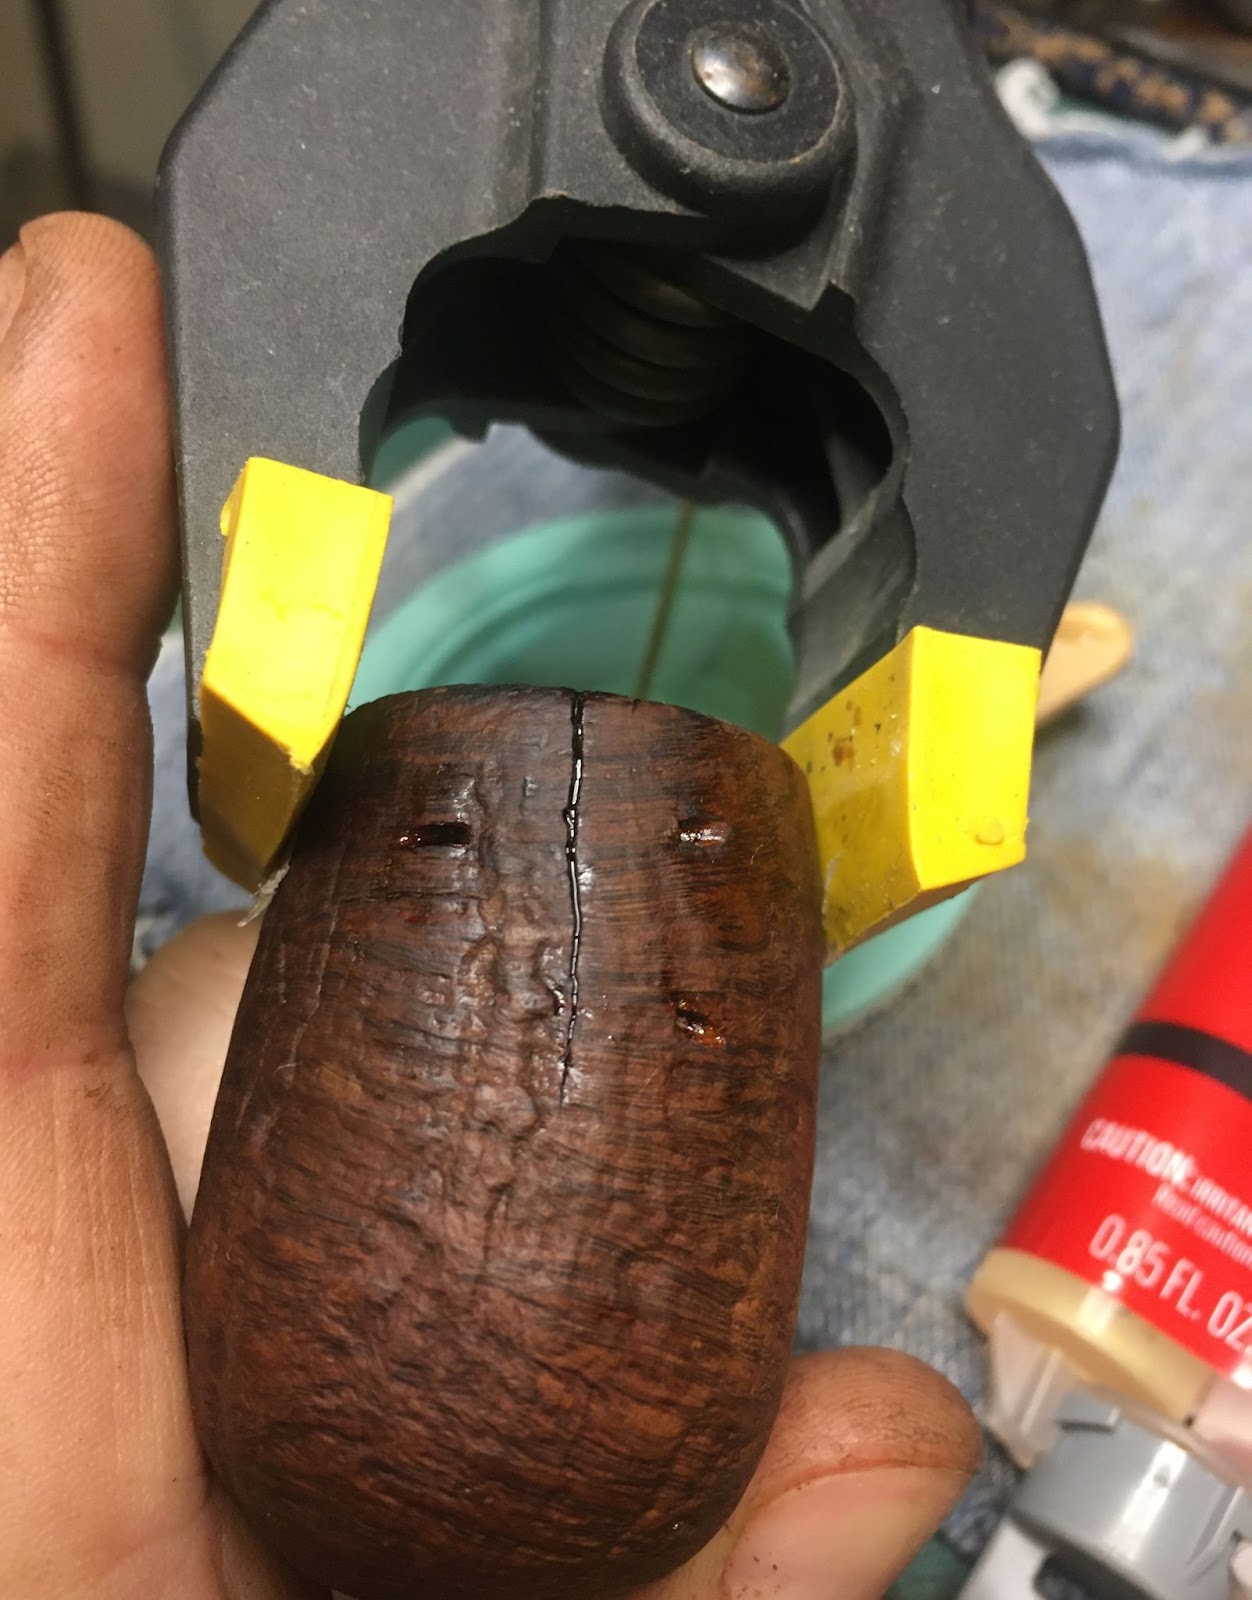
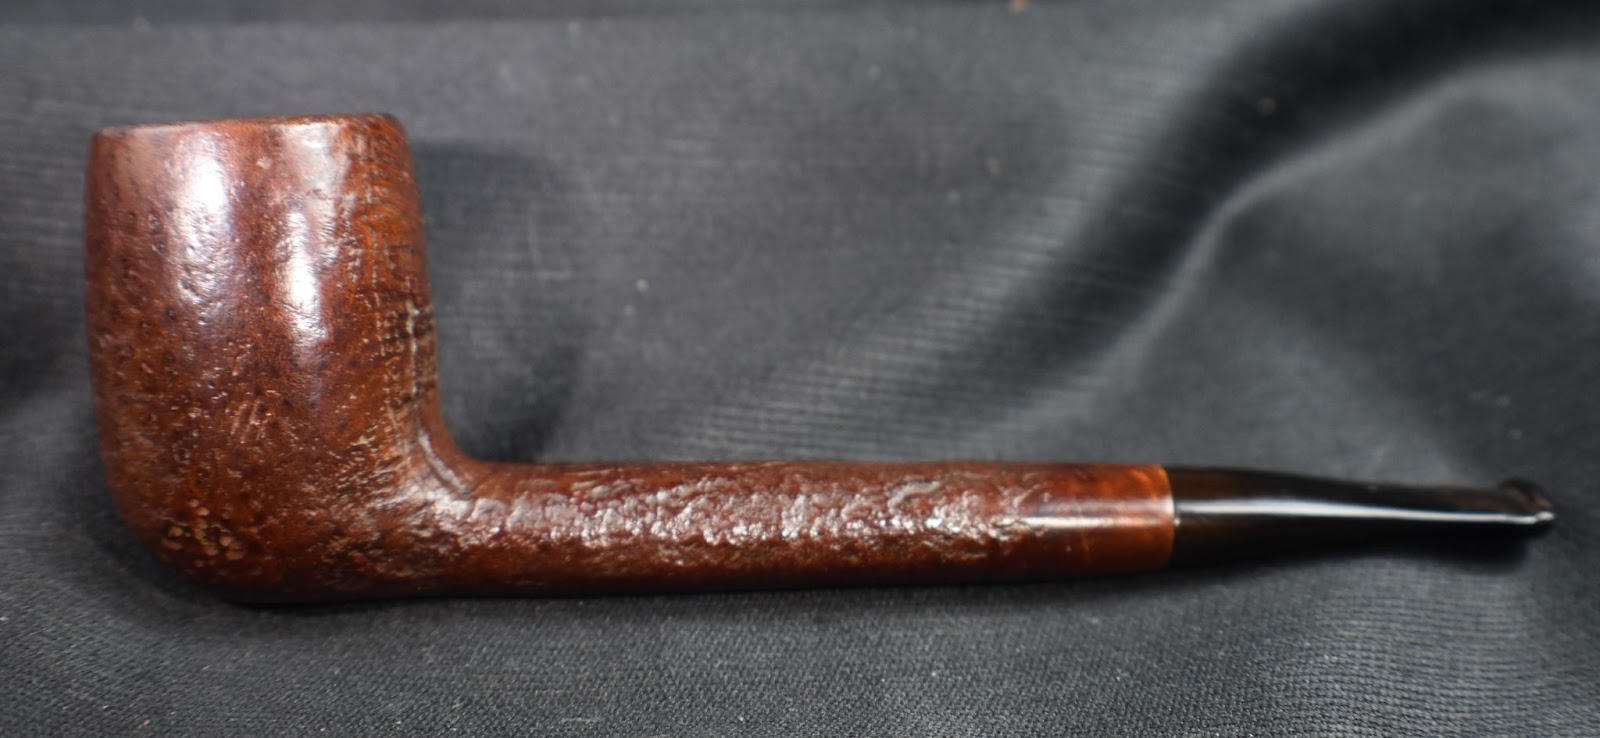
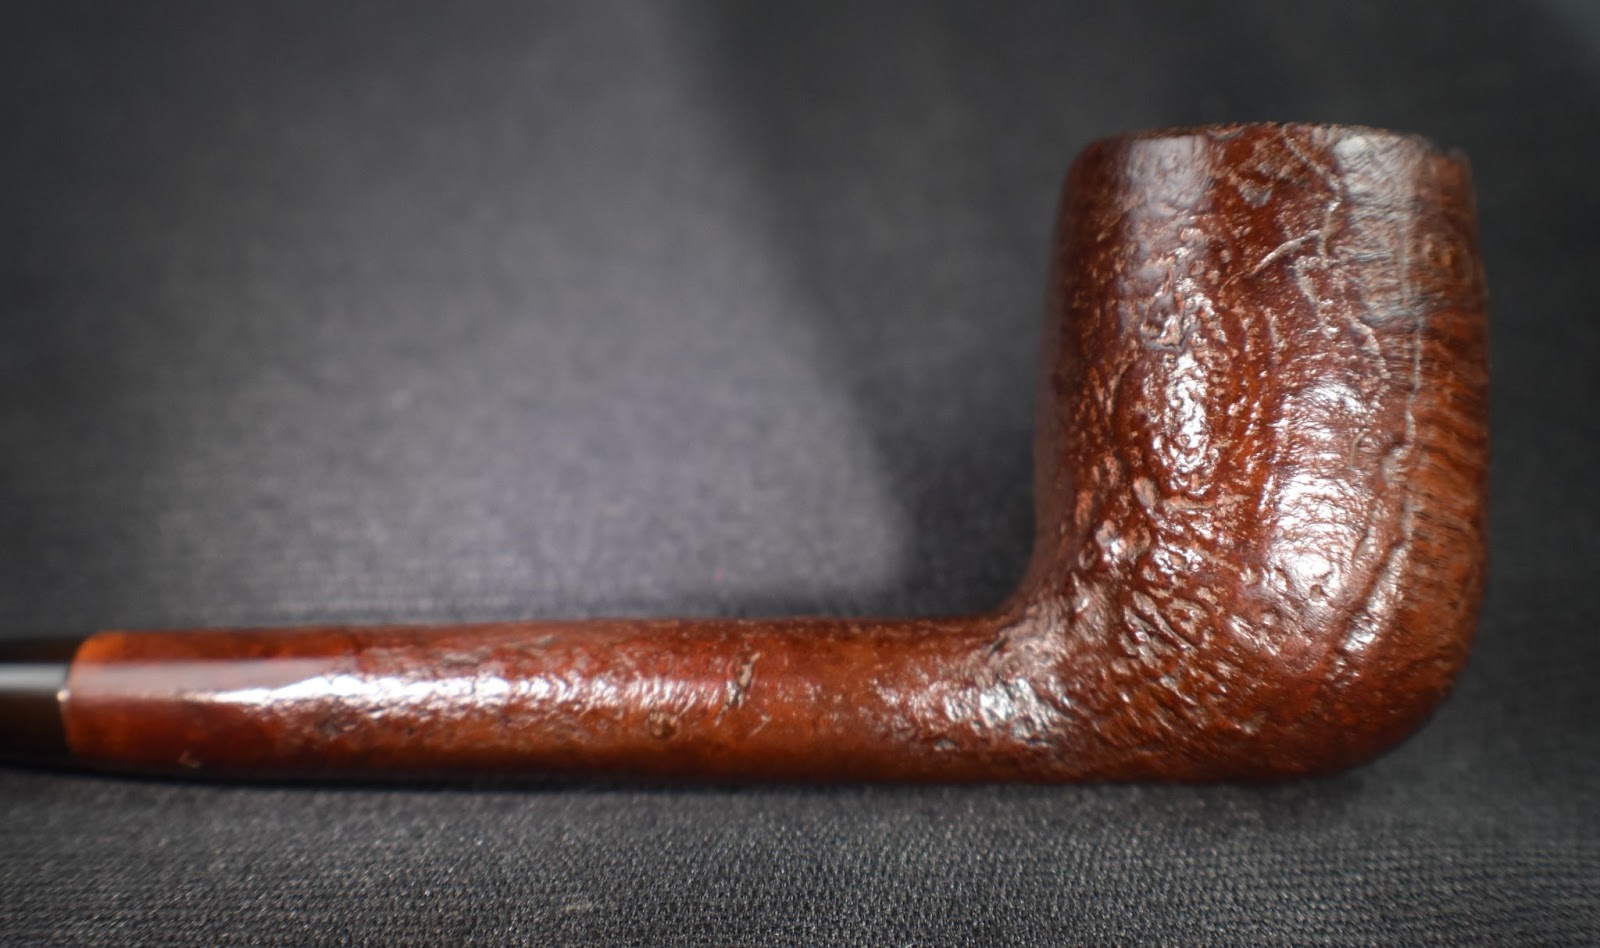
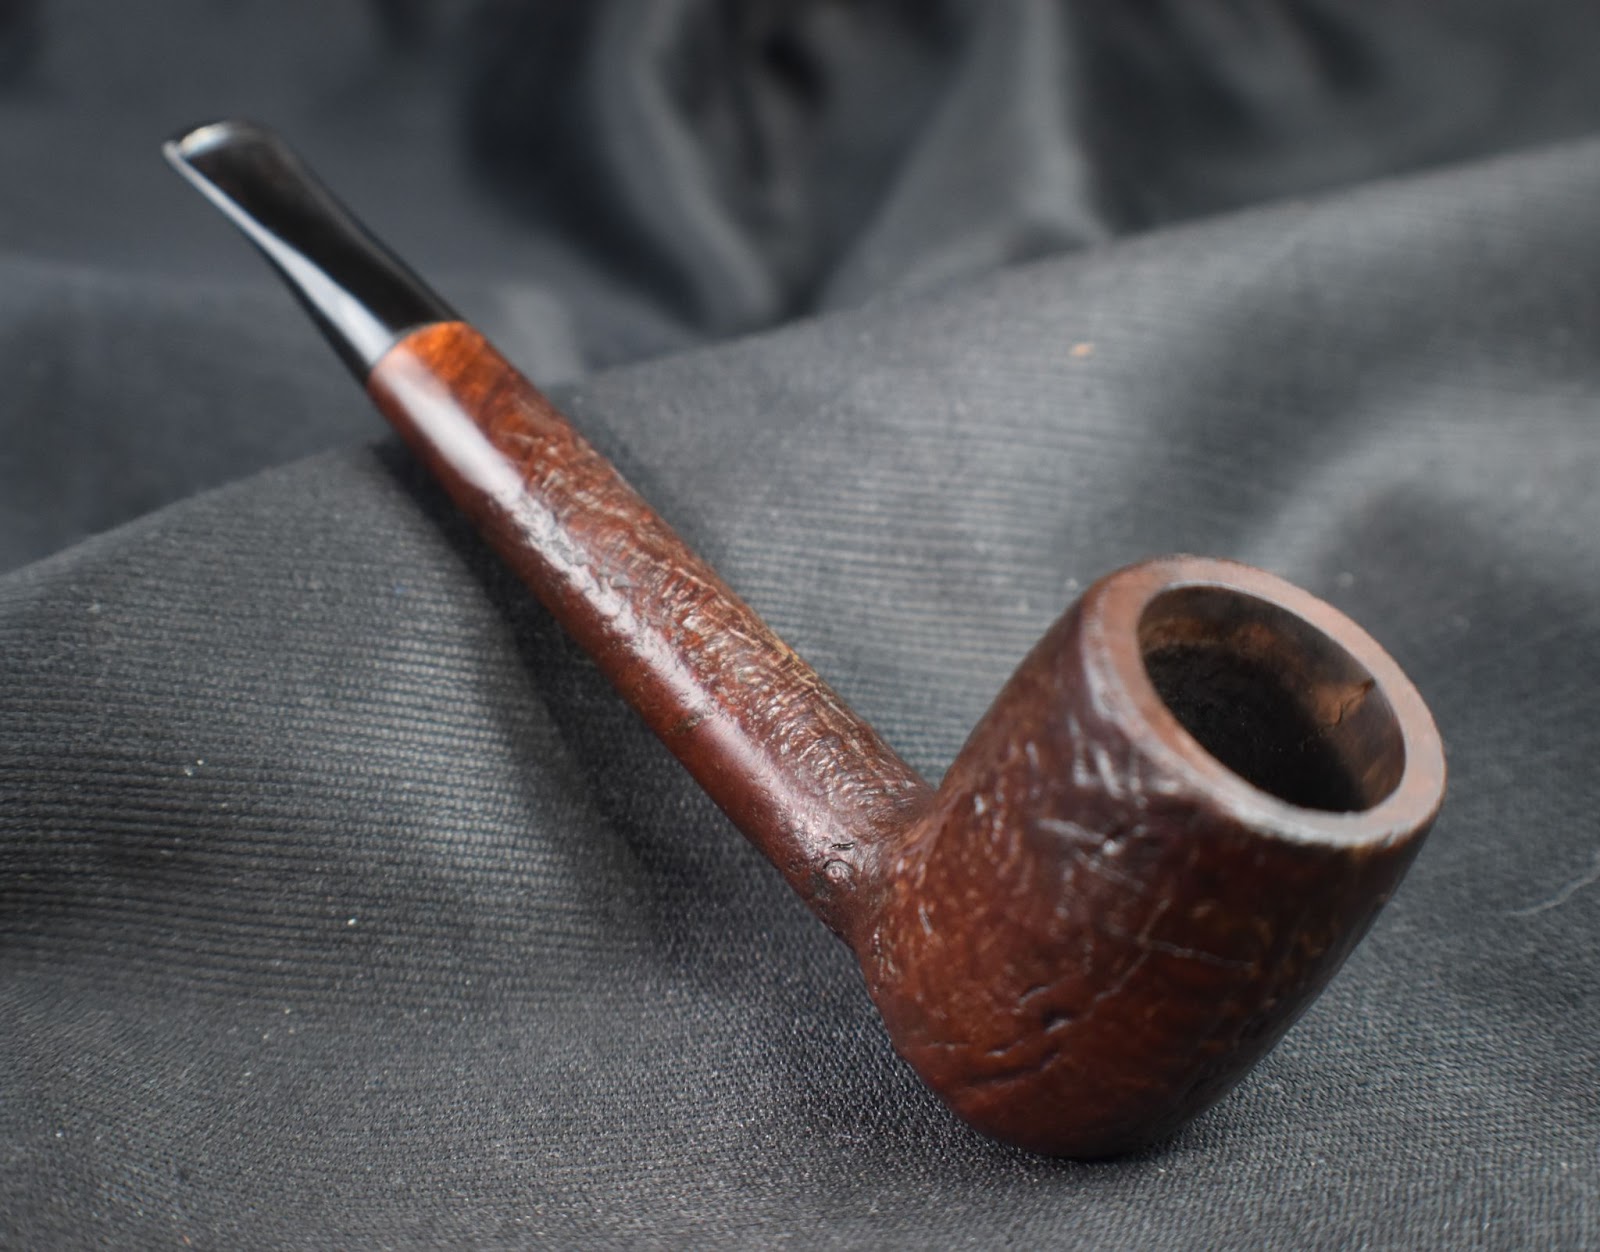
There you have it, the restoration of a Peterson Meerschaum 120 Dublin. This old girl turned out pretty well. I still wonder what happened to the Dublin Darling from the Isle of Man regarding the cracks in the bowl. I believe that the whole rear of the bowl was chipped out at some time and repaired with a pretty darn good glue job. The crack seems can kind of be made out in the photo below of the back/shank side of the pipe. Whatever happened she should continue being a grand little pipe for many years. The fresh beeswax looks good and the stem polished up very well. The dimensions of this 120 Dublin are:
- Length: 6.00 in./ 152.40 mm.
- Weight: 1.28 oz./ 36.50 g.
- Bowl Height: 1.71 in./ 43.43 mm.
- Chamber Depth: 1.47 in./ 37.34 mm.
- Chamber Diameter: 0.74 in./ 18.80 mm.
- Outside Diameter: 1.33 in./ 33.53 mm.
I do hope that you have found something here useful to your own pipe care, maintenance or restorations. If you like this sort of thing, please click the like and subscribe buttons. Thank you for reading the ramblings of an old pipe lover.
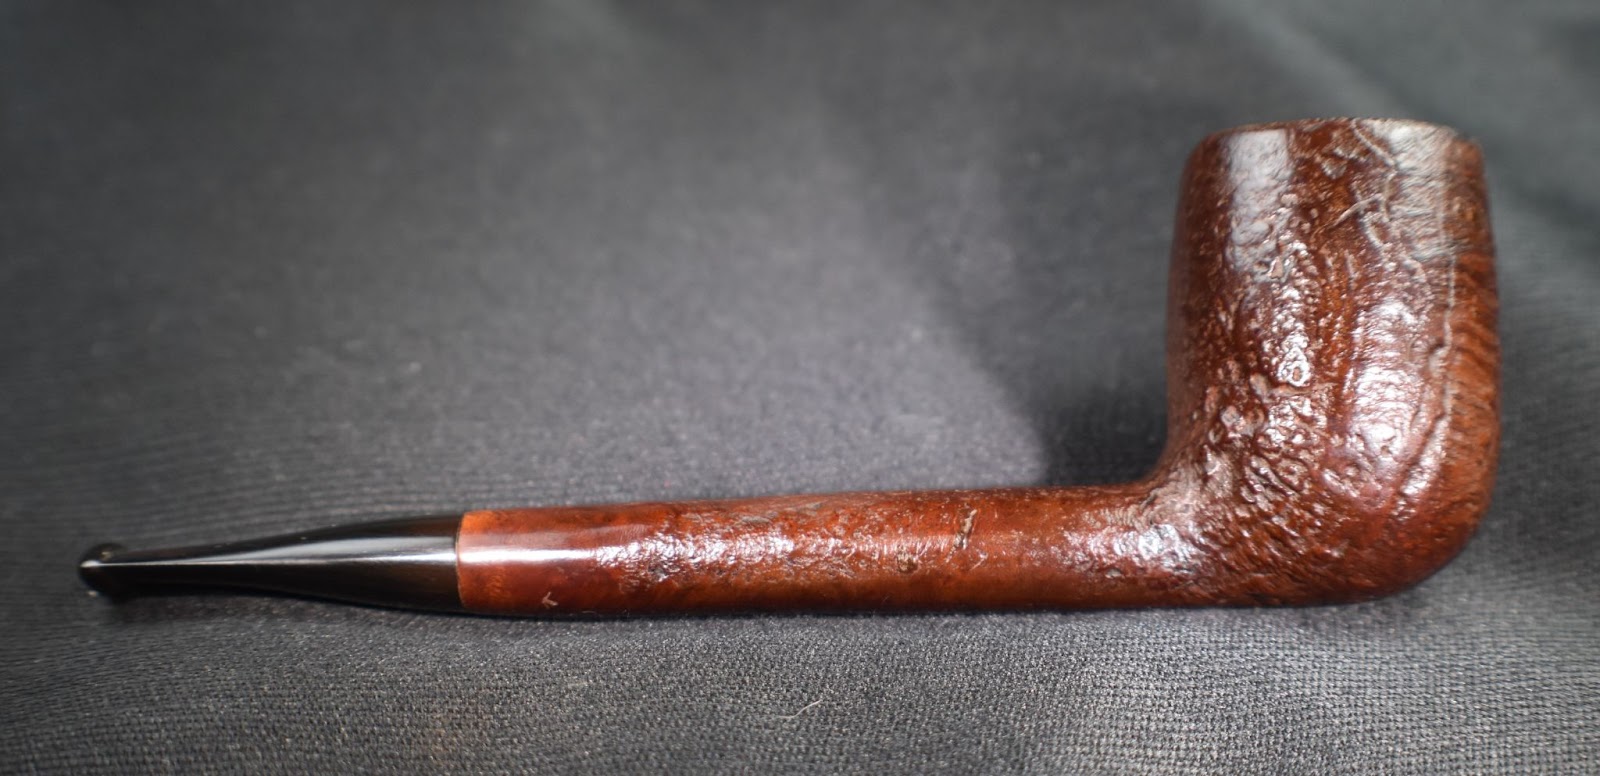
Below are some photos of the finished Peterson Meerschaum 120 Dublin.


 Bah, fortunately, dear reader I am not easily dissuaded by failure. I did come across a few interesting reads regarding the original Needham patent and the flush of smoking pipe innovations from the late 1800s-mid1900s. First lets take a look at the original Needham patent submitted September 30, 1942.


 (
(


 ” (
” (