Written and photographed by John M. Young

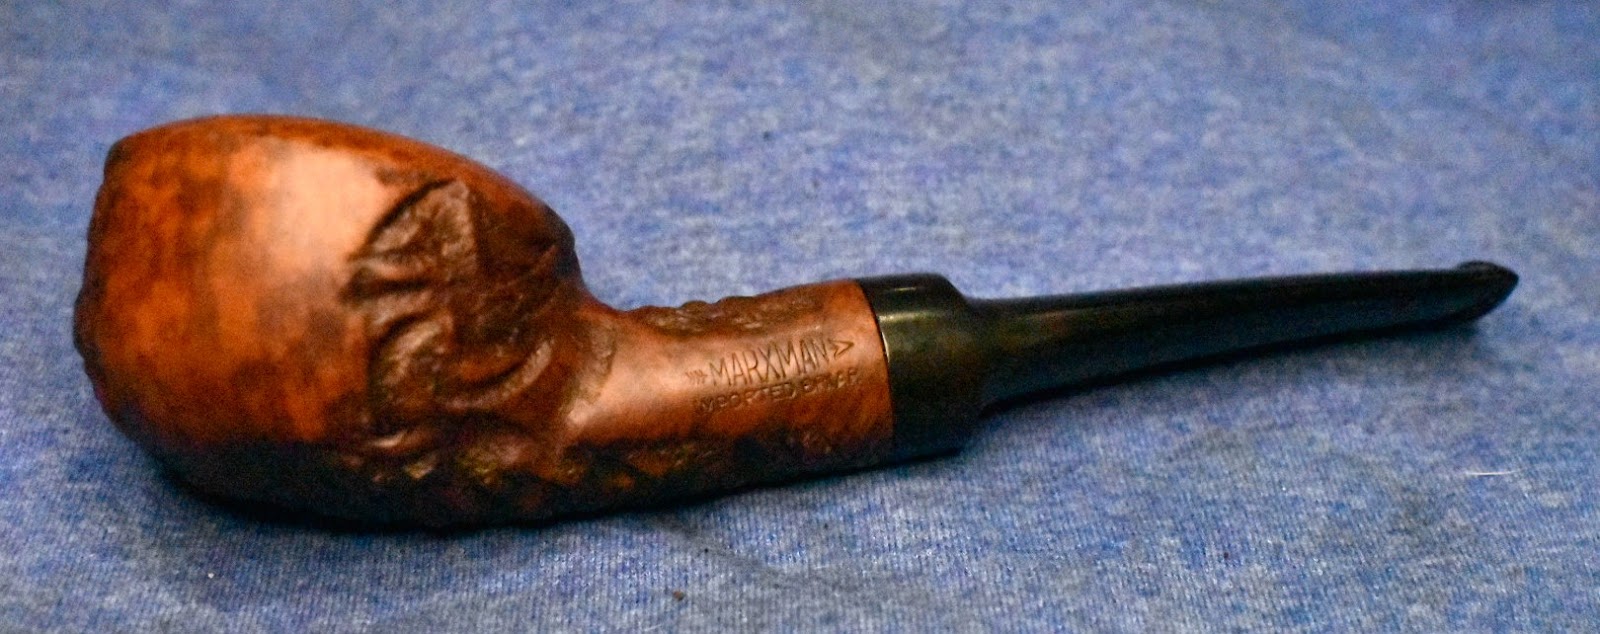
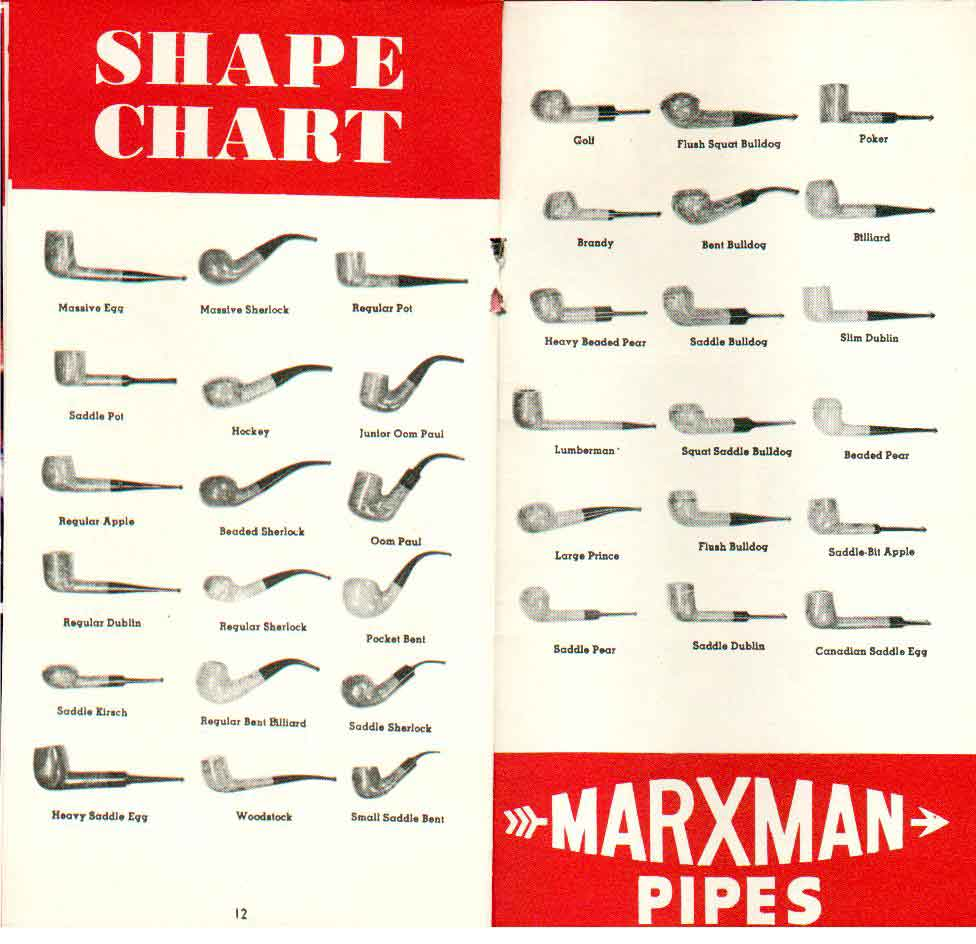
The title of this one is a mouth full. I was happily calling this Marxman a pot throughout the photography, restoration and transfer of the images. When typing the restoration, I asked a Marxman connoisseur, Briar Lee of PipesMagazine.com forum fame, “What would this Marxman shape be called?” He quickly messaged me the answer: “That is a quarter bent Big Boy Rhodesian.” Firstly, thank you, Briar Lee. Secondly, now I have to go and change the titles of 56 computer files from “Marxman pot…” to “Marxman quarter bent Big Boy Rhodesian…”. Oh, if only there were an app for THAT.
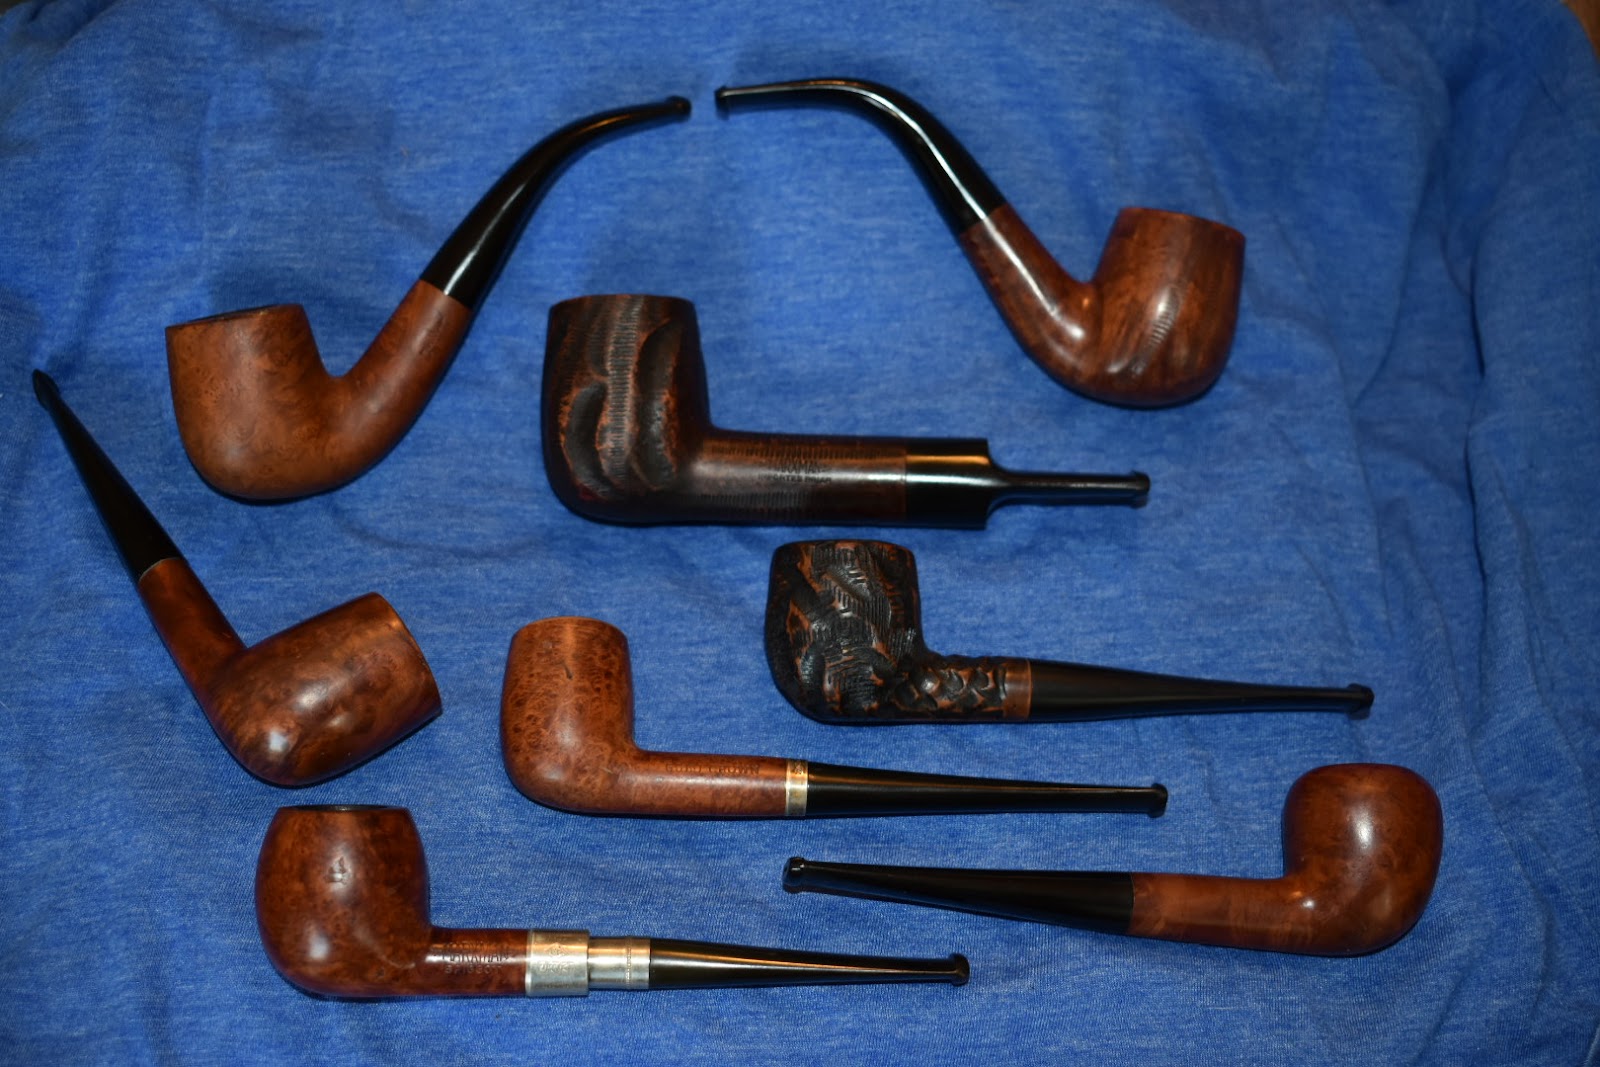
This Marxman, not a pot, came to me via an eBay auction. If you have frequented this blog, you will have seen a couple of other Marxman pipes restored. If you are a new viewer, welcome. I love old Marxman pipes made before the founder sold the company to MasterCraft in 1953.
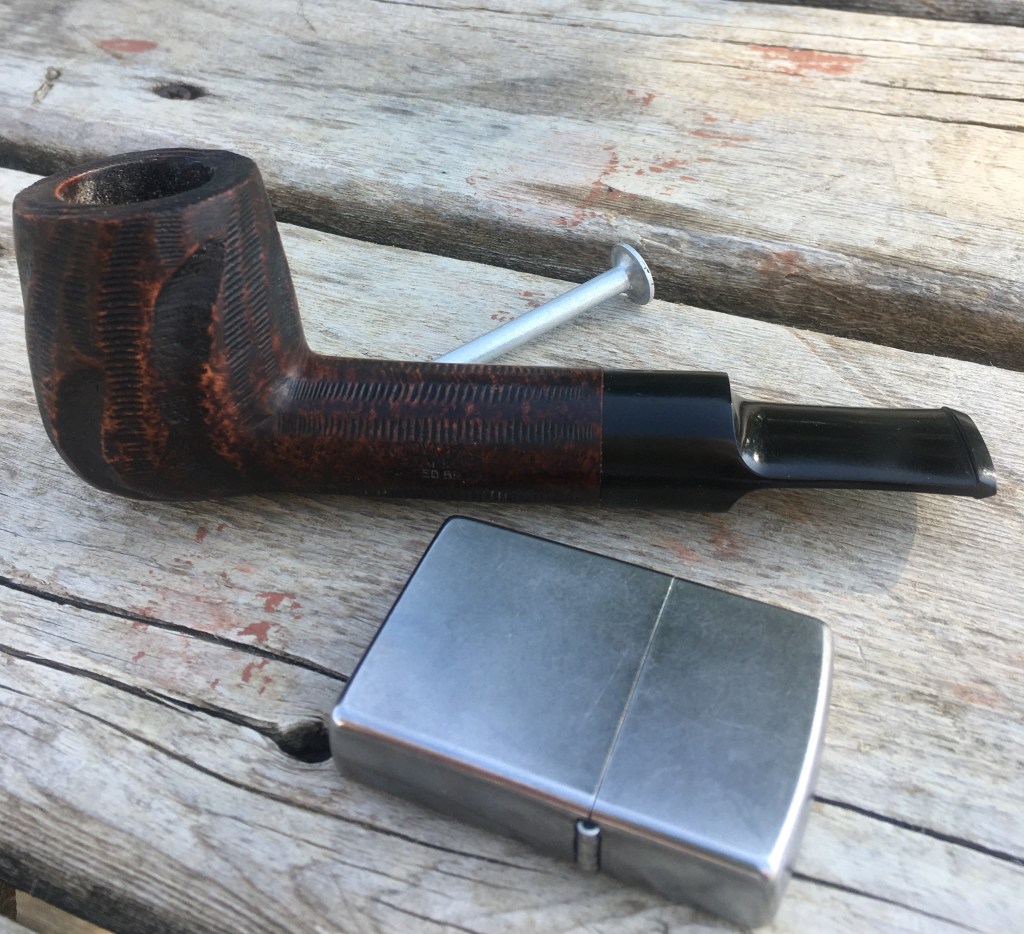
Yes, the big ugly chunky Marxman pipes. A buddy describes one of my Marxman pipesas, “It’s like a tank made love to a lovat.” and he continued. “Not a brand new tank. Like an old one that went through two or three world wars.” Thank you, Don Cole. He was referring to the beauty to the left. I don’t have to try very hard to see exactly what he meant.

I will again refer to the best sources for information available to pipe hobbyists pipedia.org and piphil.eu. Pipedia’s short history of Marxman pipes reads as thus:
“Marxman (Marxman Pipe Company) was created by Robert (Bob) L. Marx in 1934, when he was 29, and after he had worked for the William Demuth Company. His pipes were not outstanding because of the quality of their wood (probably Algerian), but Bob started making unique sculpted pieces, which brought the brand fame in the World of Hollywood cinema. Actors like Zachery Scott, Dennis Morgan, Jack Carson, Alan Hale, Joel McRae, and Ronald Reagan were some of the faces that appeared on the bowls. Bob new how to innovate and took full advantage of marketing and press advertising in order to sell the brand–one of his slogans being “Relax with a Marxman”.” (Marxman – Pipedia)
In my last Marxman blog (Marxman Super Briar) I discussed the prices of Marxman pipes and adjusted them to current U.S. dollars. Briar Lee messaged me with some thoughts of his regarding Marxman pricing and pipe lines.
“In my experience, how to tell … a Big Boy … Marxman is:
1. No size stamp. If there’s a B or C those were $7.50 or $10 pipes.
2. The inside of the bowl is at least .850. Most are bigger.
3. Most have thick shanks with saddle stems.
4. 60 to 90 grams. Two or three times more than usual 30 gram medium size.
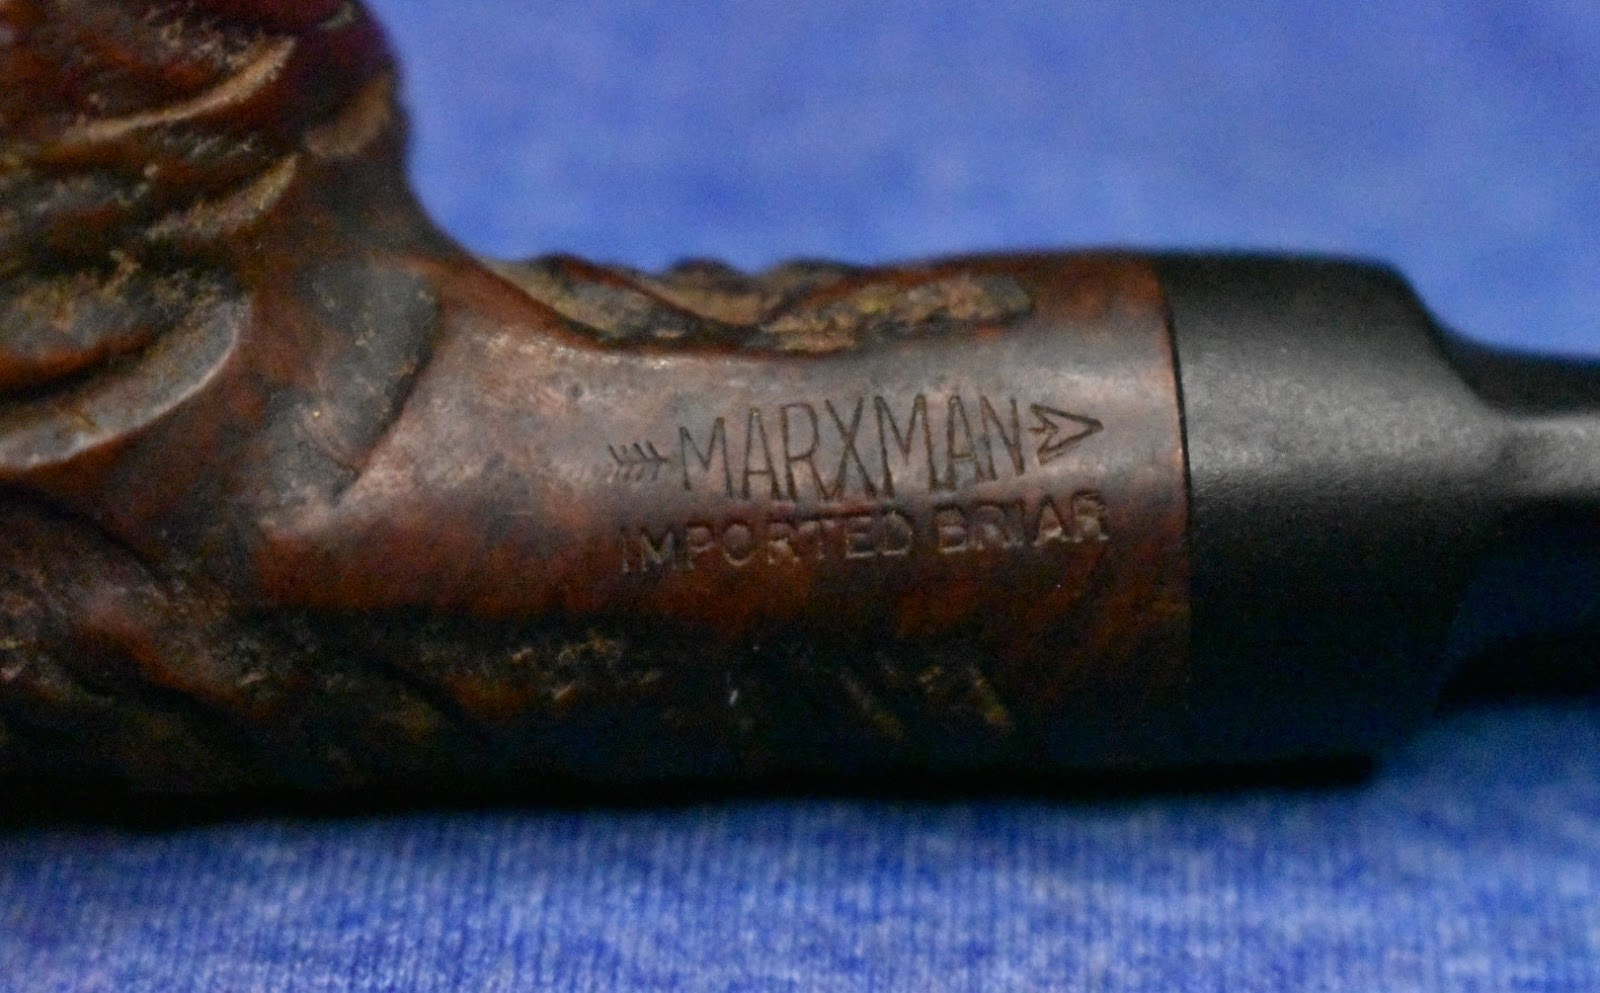
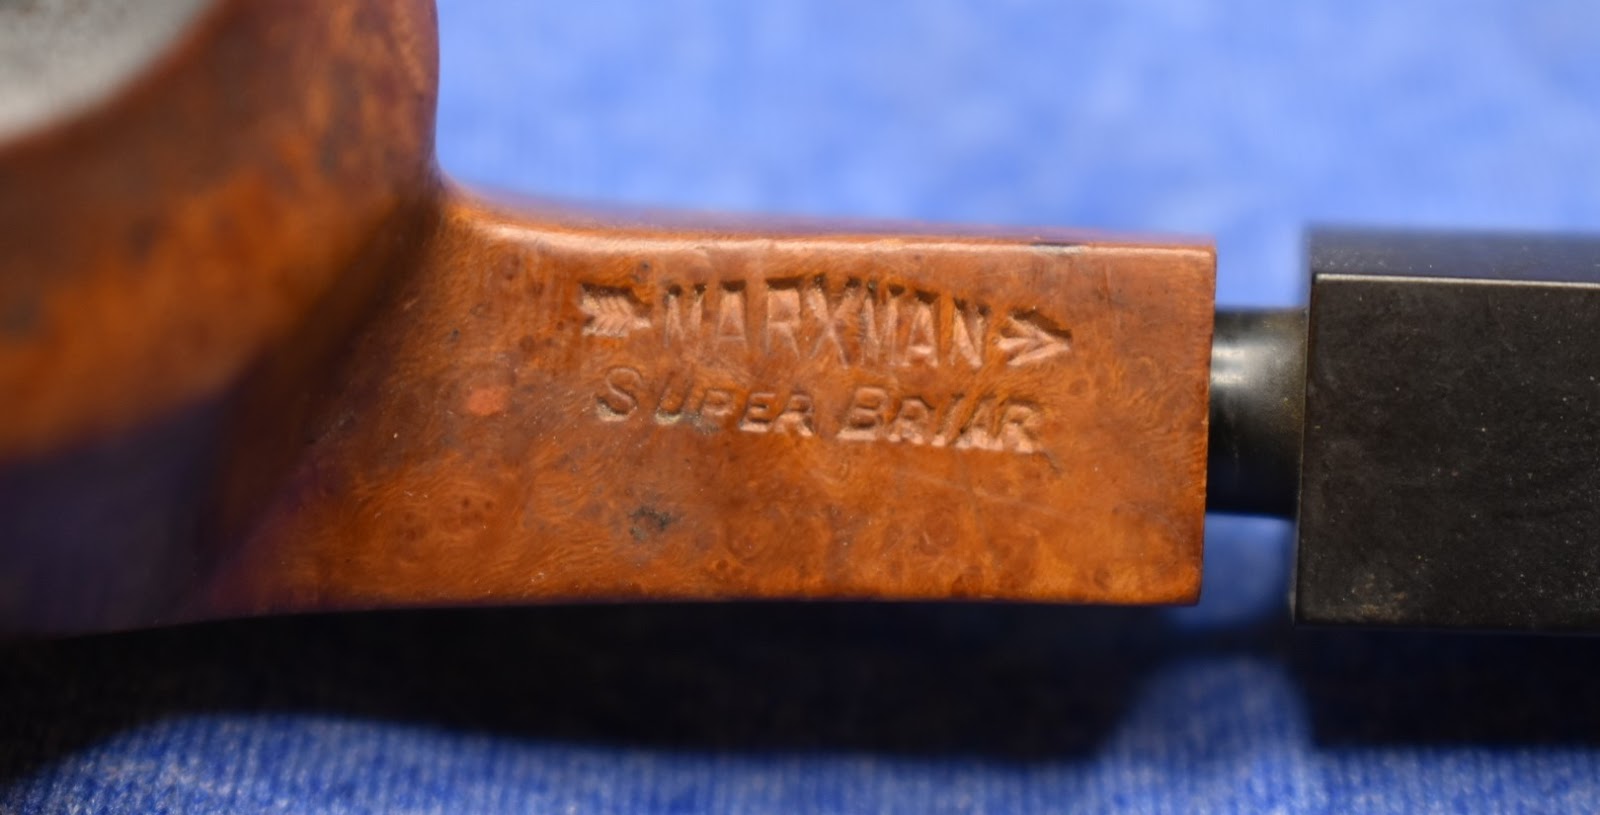
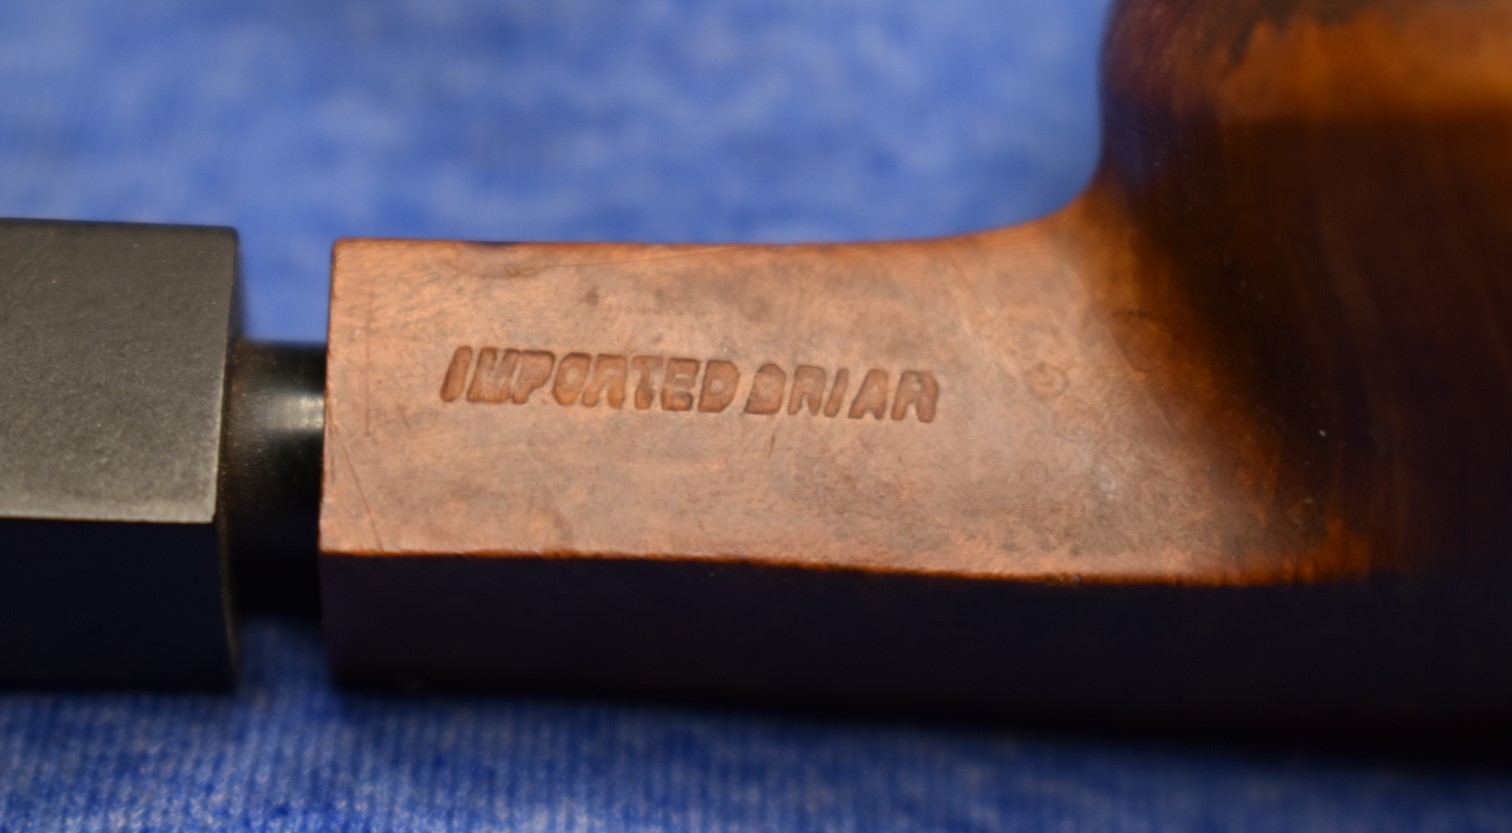
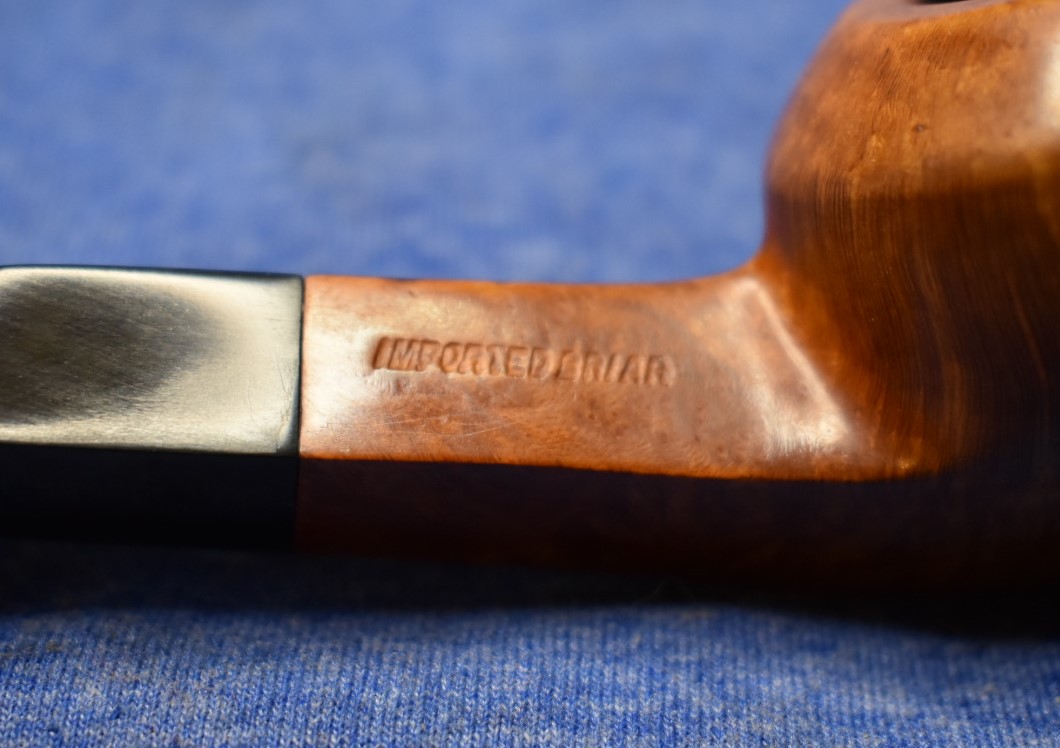
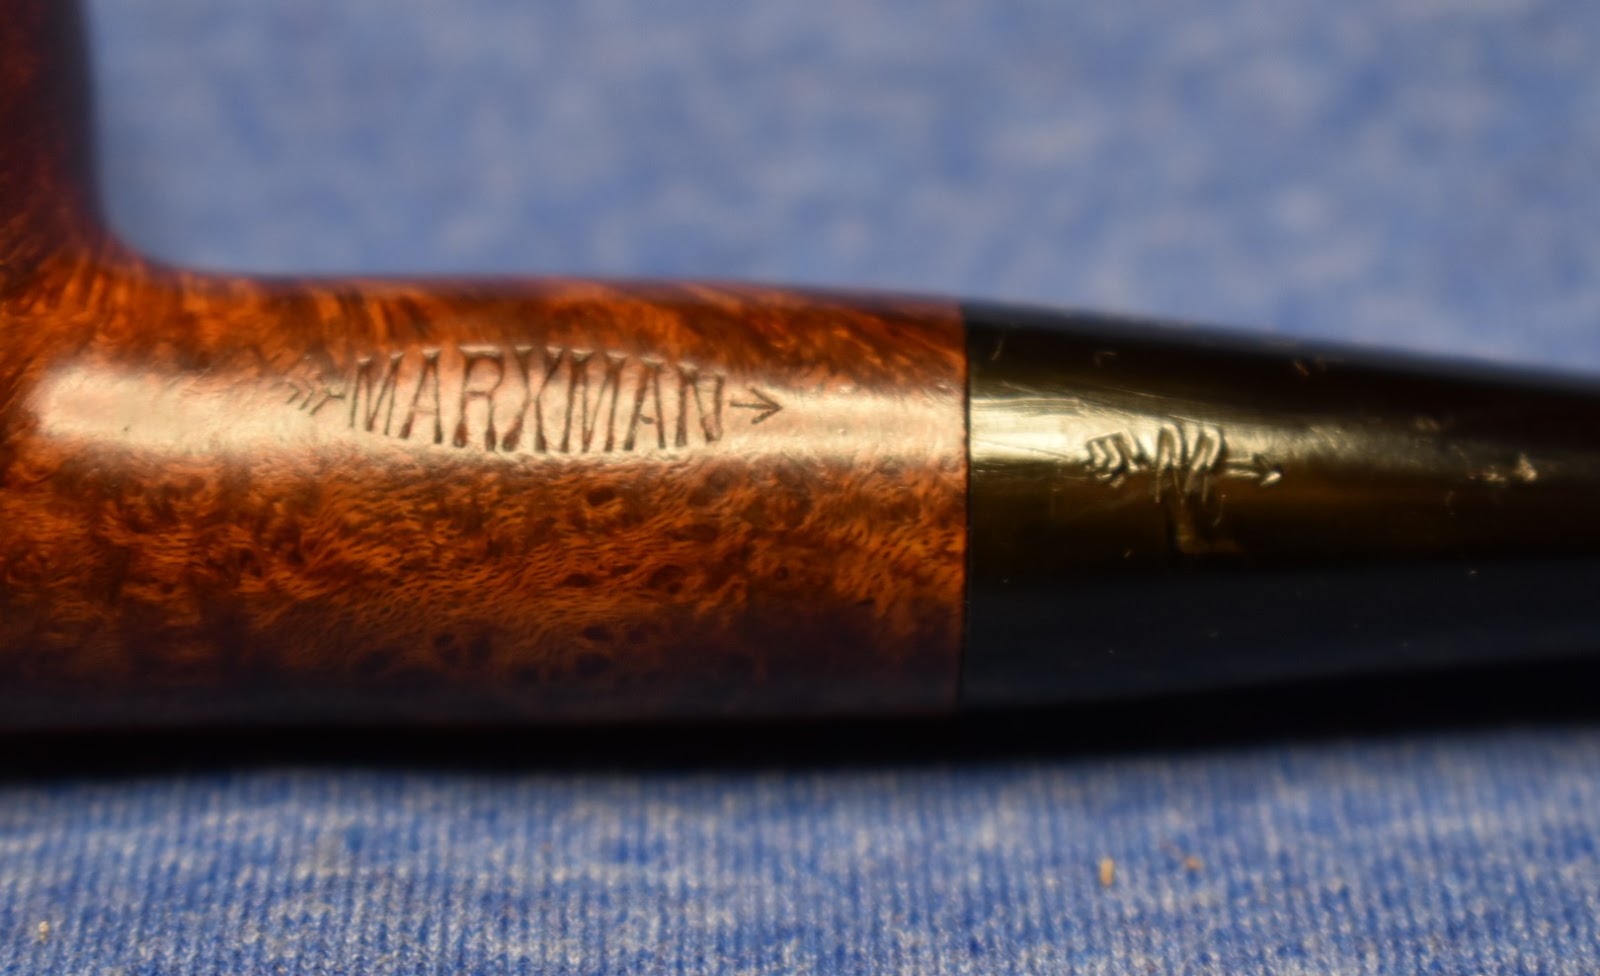
5. Not always, but usually no Jumbo or Benchmade or Super Briar grade stamp. Most common is just Marxman with arrow over IMPORTED BRIAR.”
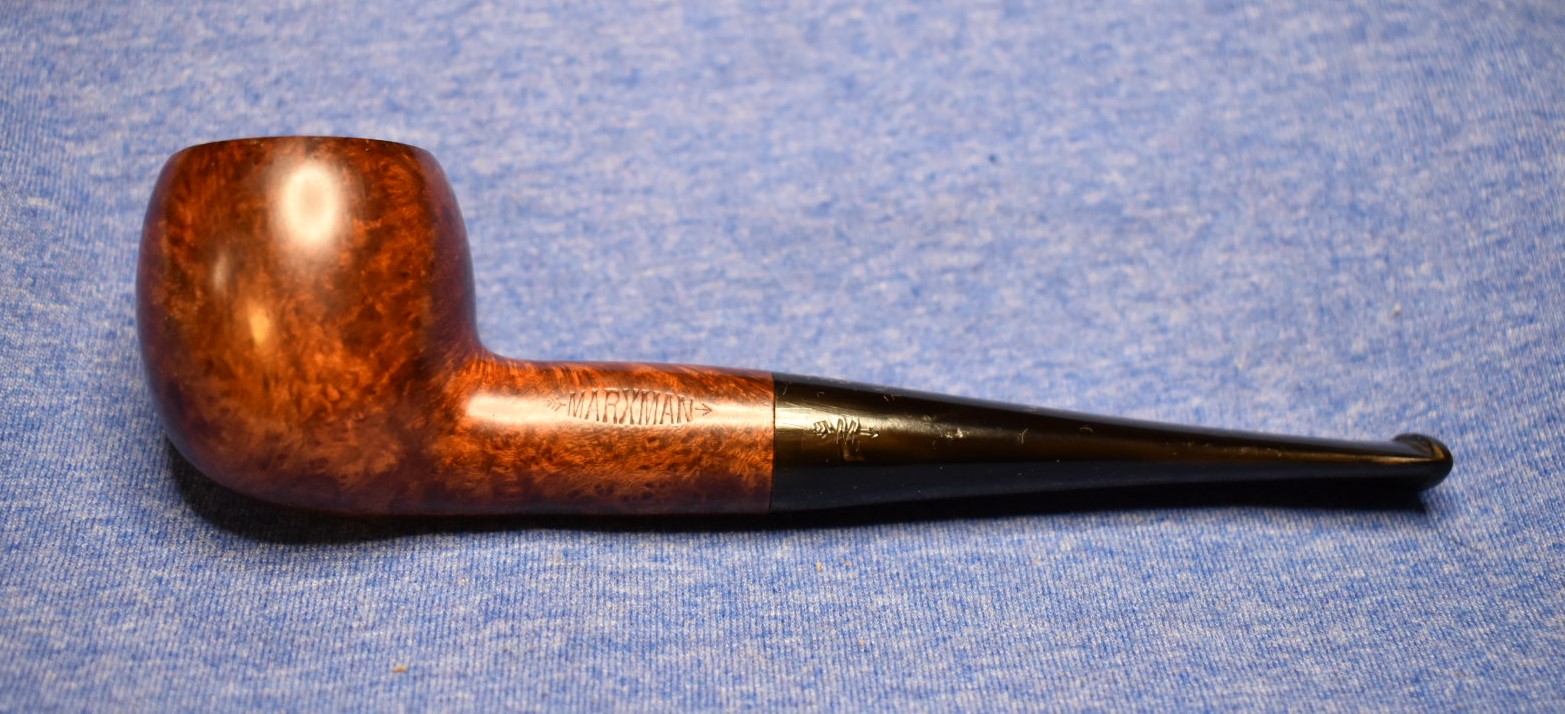
The stamping that Briar Lee is referring to is:

And,
“All the beautiful full page of a national magazine in color advertisements Marx ran in Look, the Saturday Evening Post and other such big circulation magazines would have the 400 at $25, a Jumbo at $10, a Benchmade at $7.50 and a Super Briar at $5 and a Mel-o at $3.50.
Not any mention of his figural pipes at all.
Sometimes in the fine print there was a $15 size.
My guess is almost all pipes over $5 were bought as gifts.
The B and C size Jumbos are big pipes, too.
But the $15 size were not just huge (for the forties) but magnificent, the ones in the top of the store display.” (Briar Lee, personal communication)
Using an inflation calculator and comparing November 1945 to November 2023 we can see that $3.50-$25 is equivalent to $59-$424. (https://www.bls.gov/data/inflation_calculator.htm) The $15 and $25 ($254 and $424) Marxmans were not the price ranges of lower quality pipes nor were they the pipes of the “everyman” who was having a pipe. These were the luxury items of their time. I could not find a 1945 Dunhill catalog but did find a 1951.

(File:Dunhill catalog 1951 11.jpg – Pipedia)
The prices are indicated in pounds. Below are historical exchange rates of the U.S. Dollar to the British Pound Sterling for 1950.


A £10 Dunhill in 1950 would have cost approximately $28.50 (10 / 0.3508) or a £50 Dunhill would be $142.50 (50 / 0.3508). In today’s dollars these would be $354 and $1,771.45 respectively. Dunhill, then and now, a luxury item.
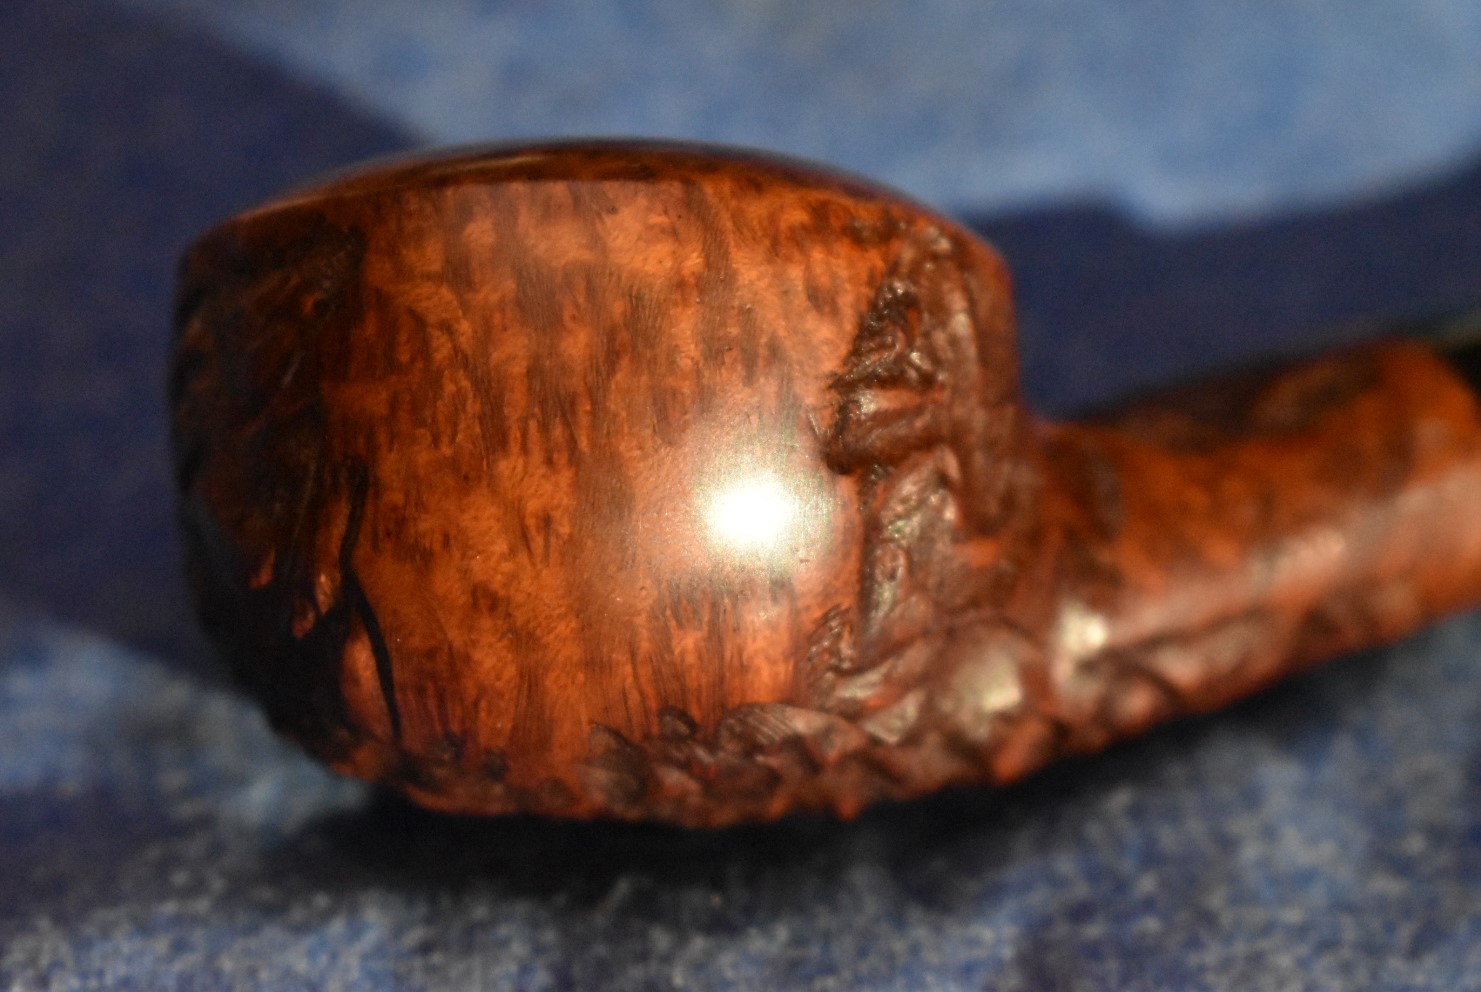
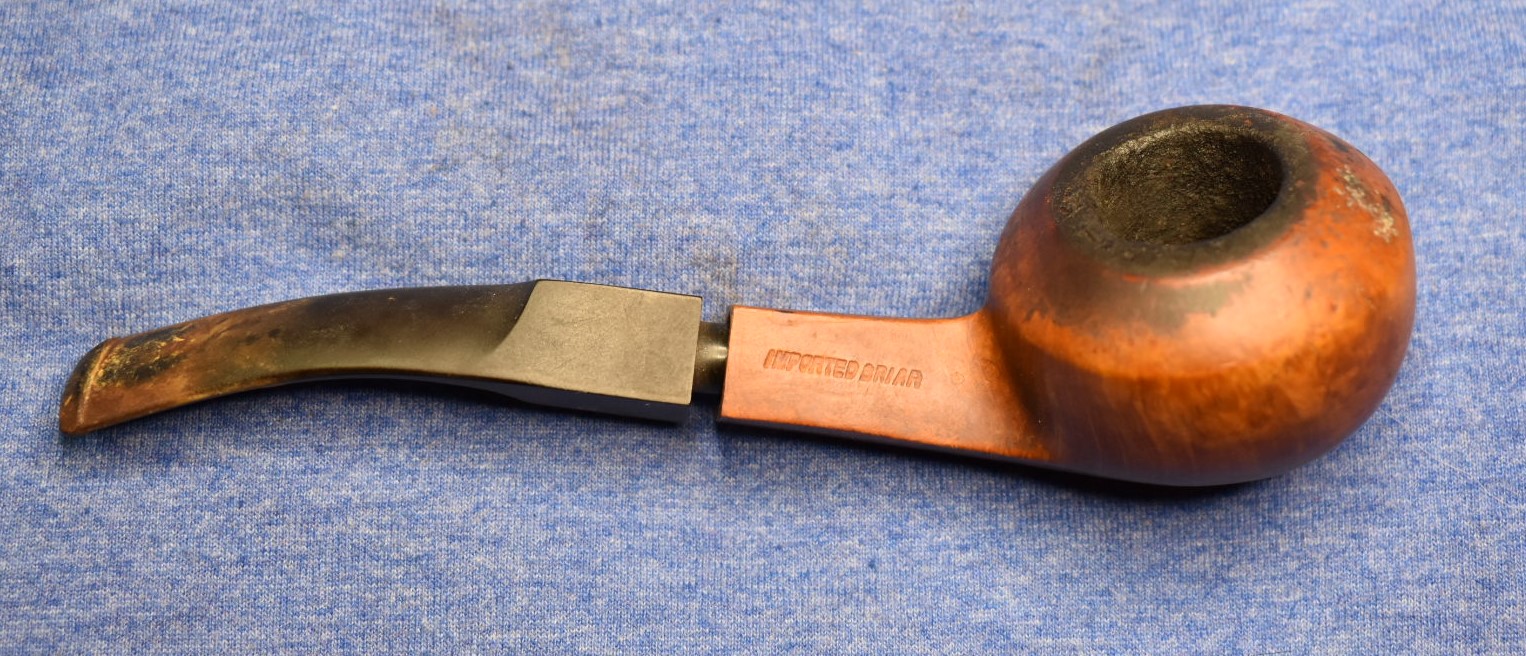
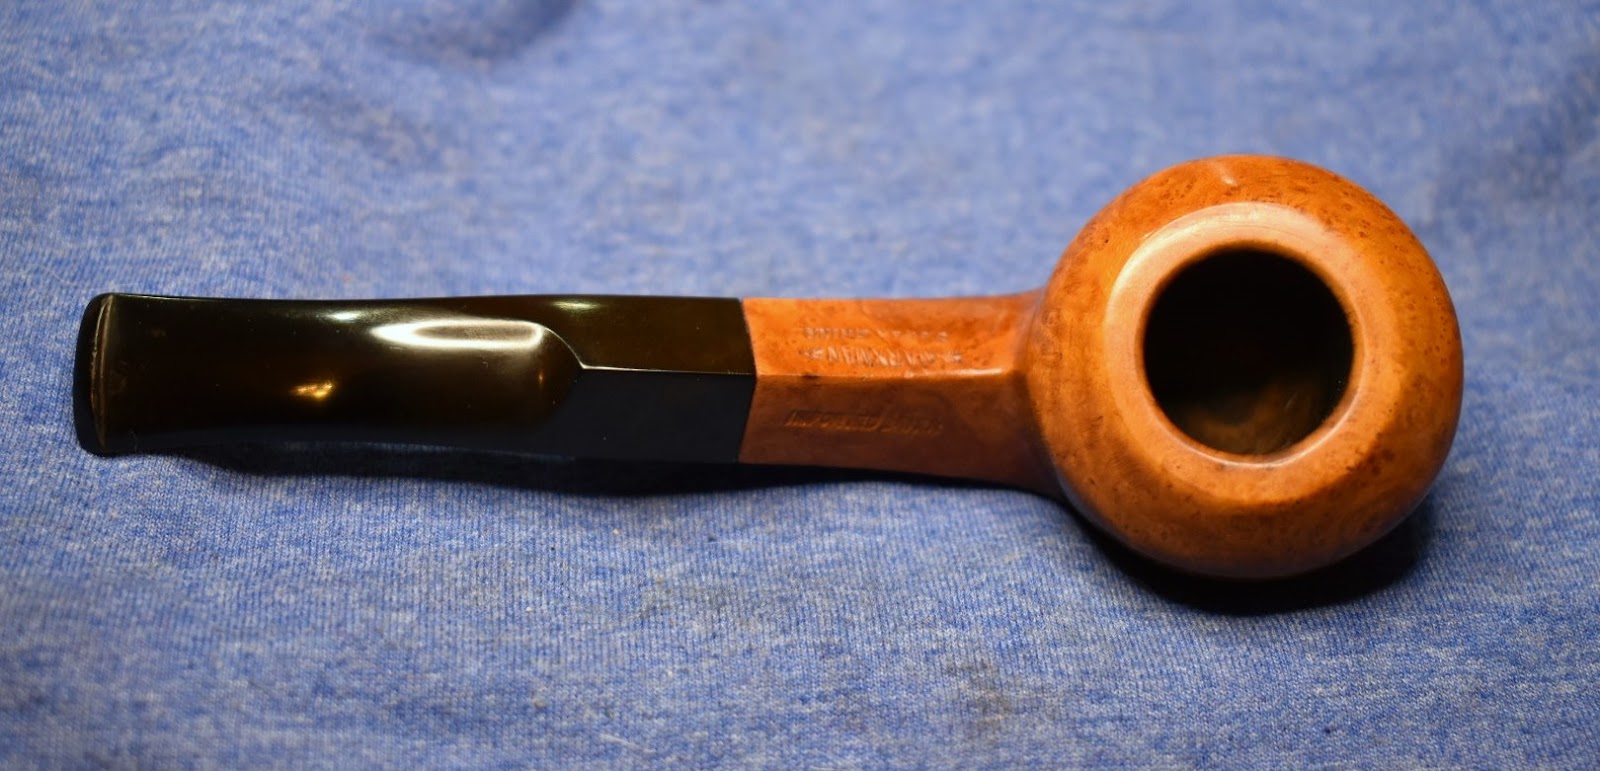
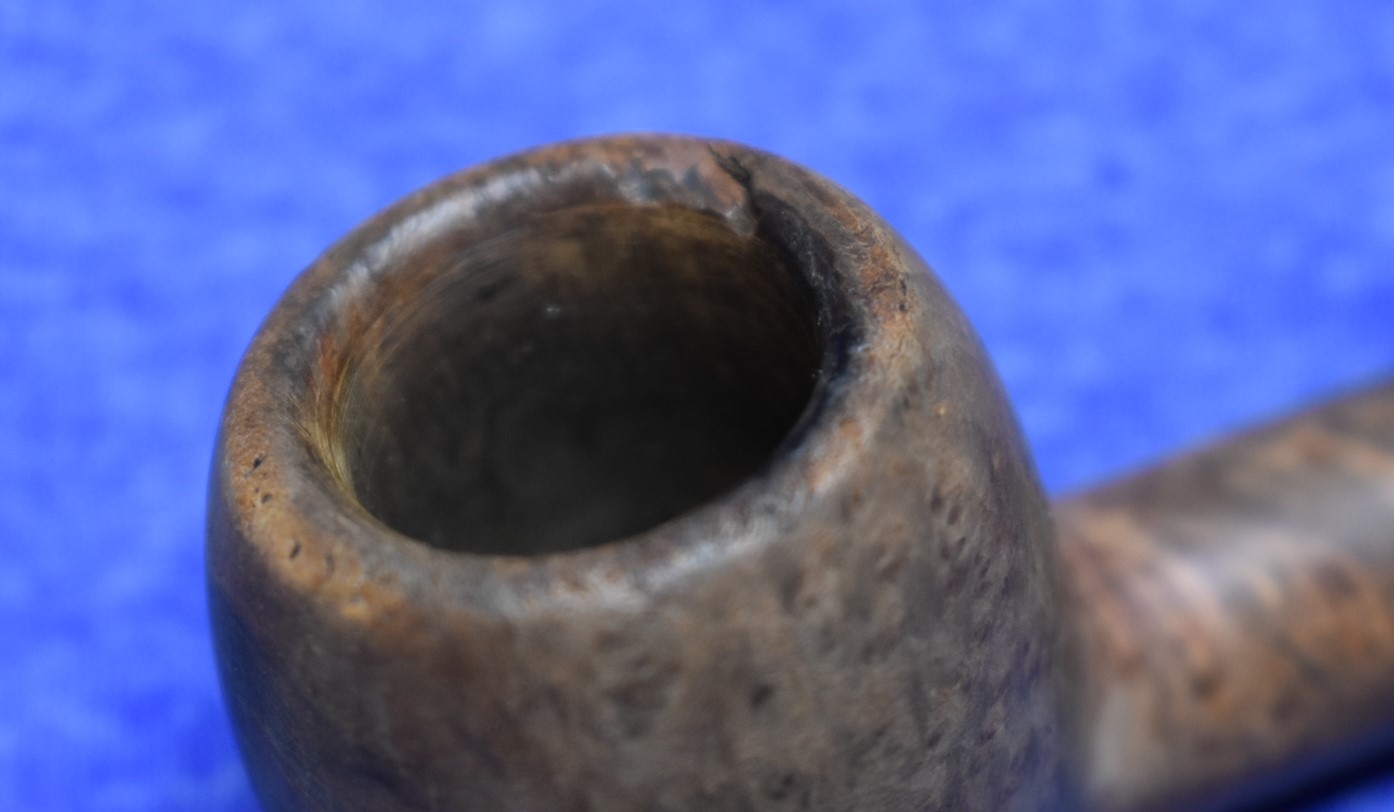
The Marxman pipe that this blog is dedicated to is a quarter bent Big Boy Rhodesian. The date of manufacture would be between 1934 and 1953 and was probably a $15 pipe in 1945. Upon arrival the pipe looked like this.
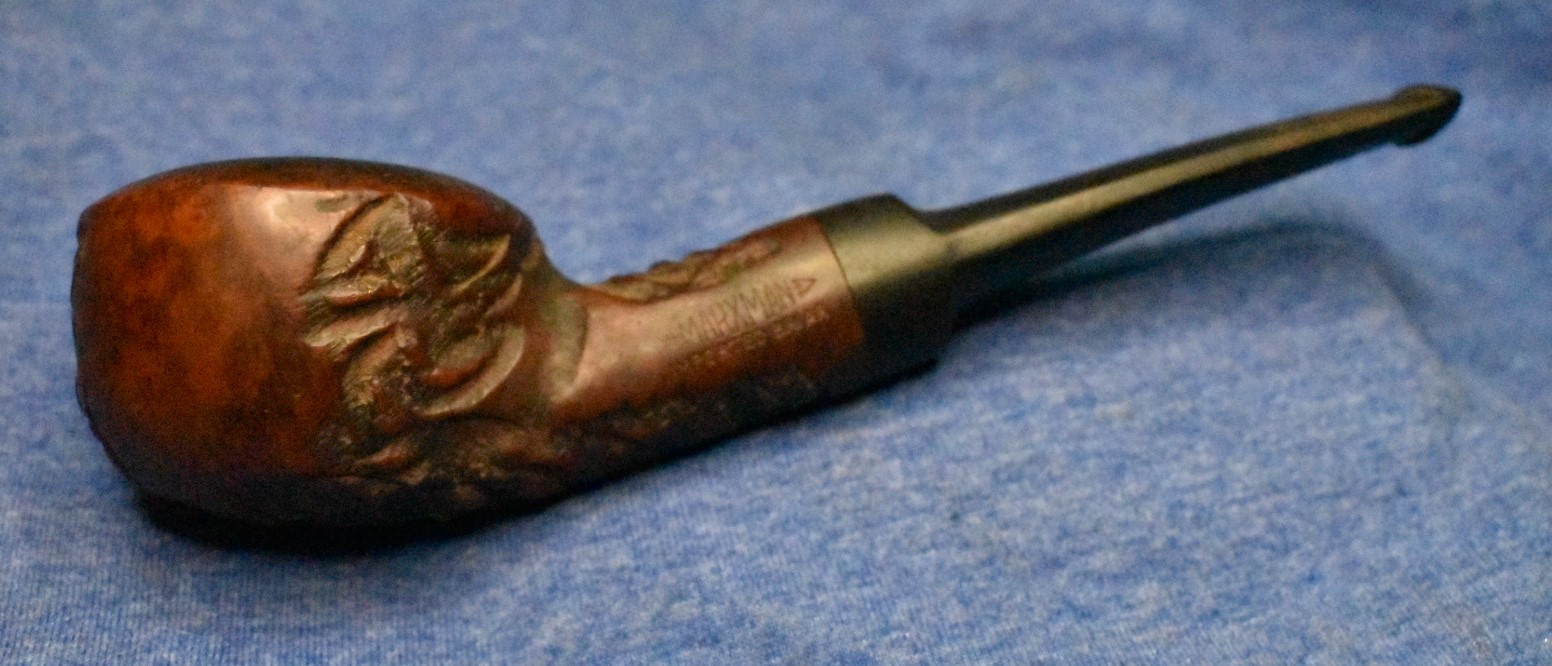

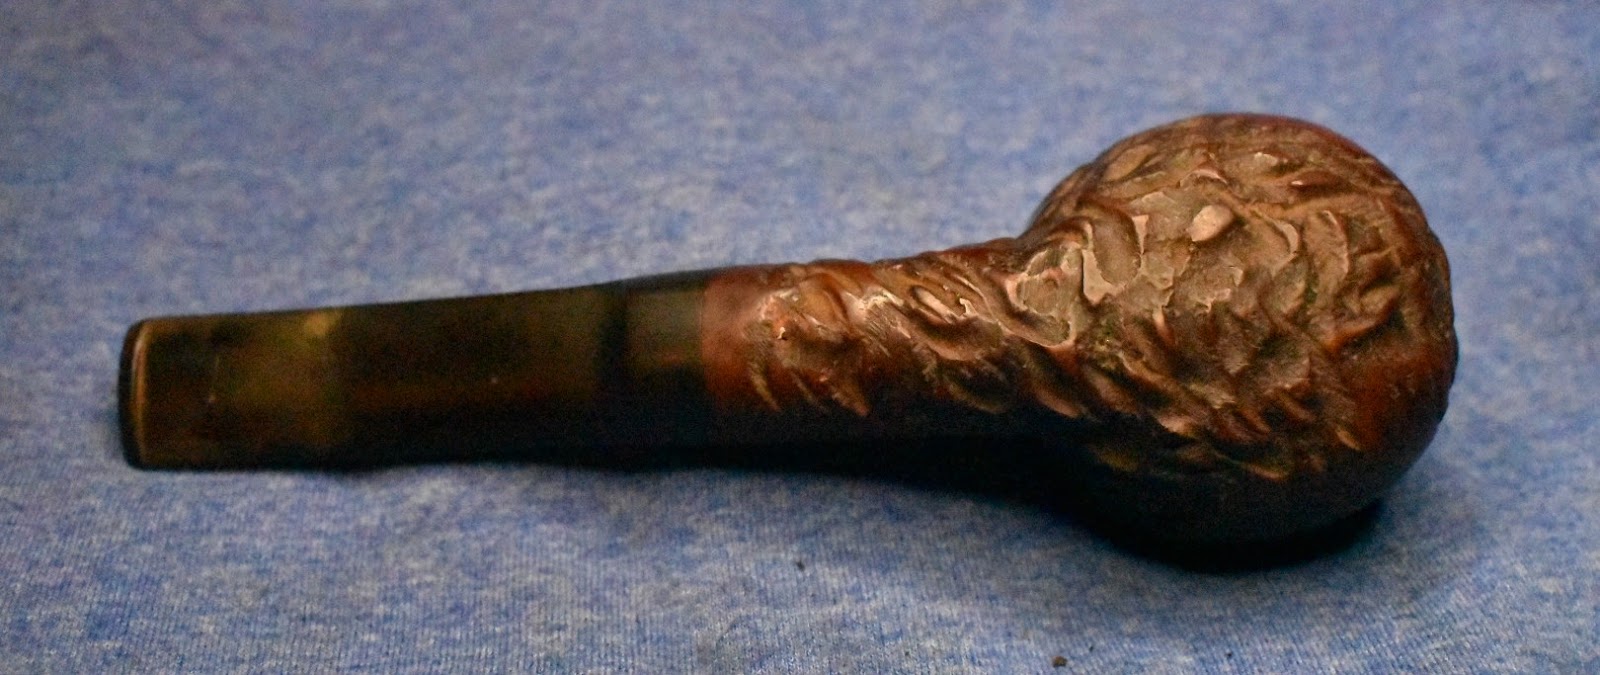

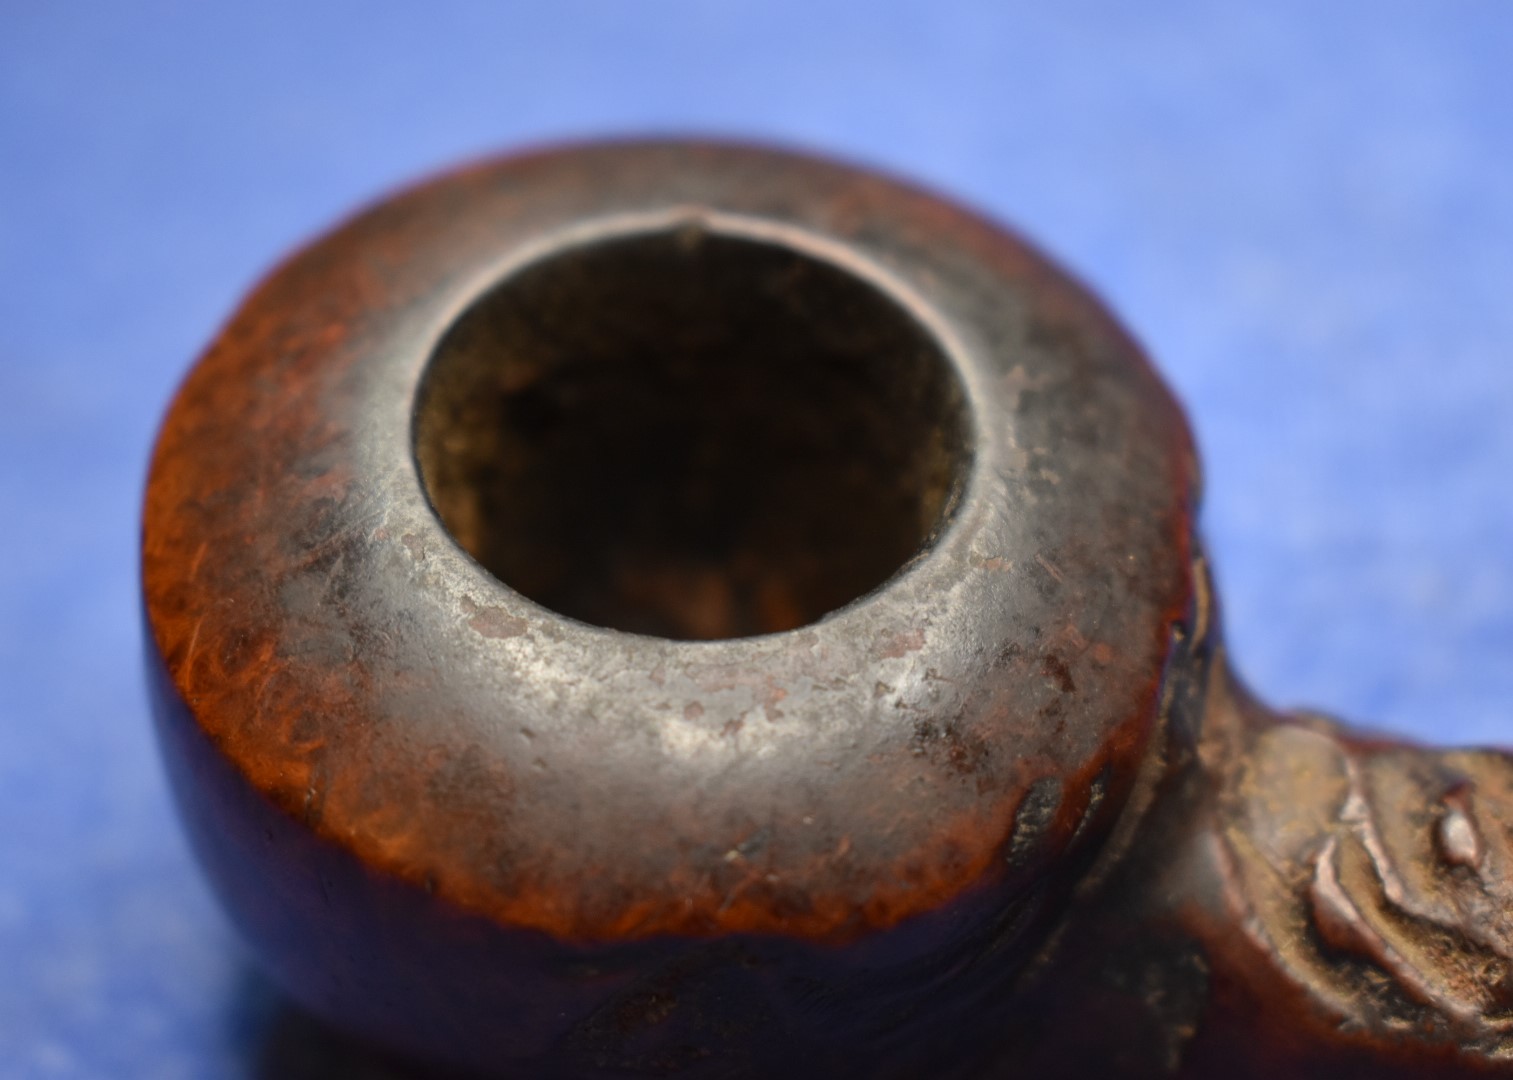
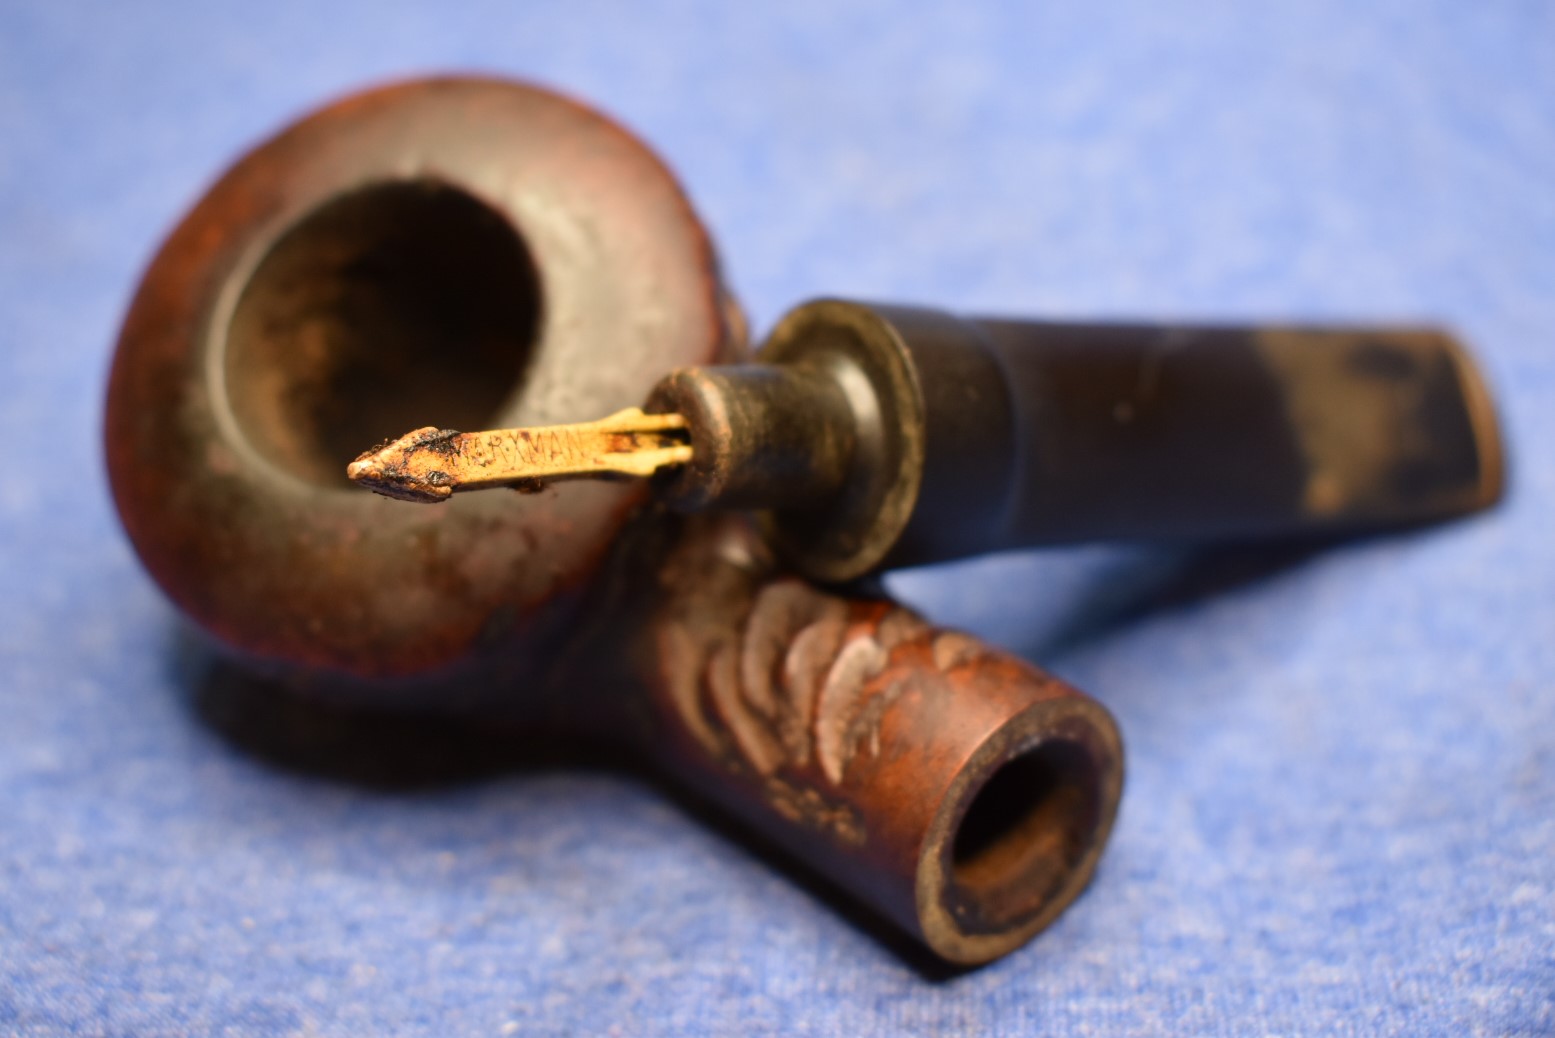


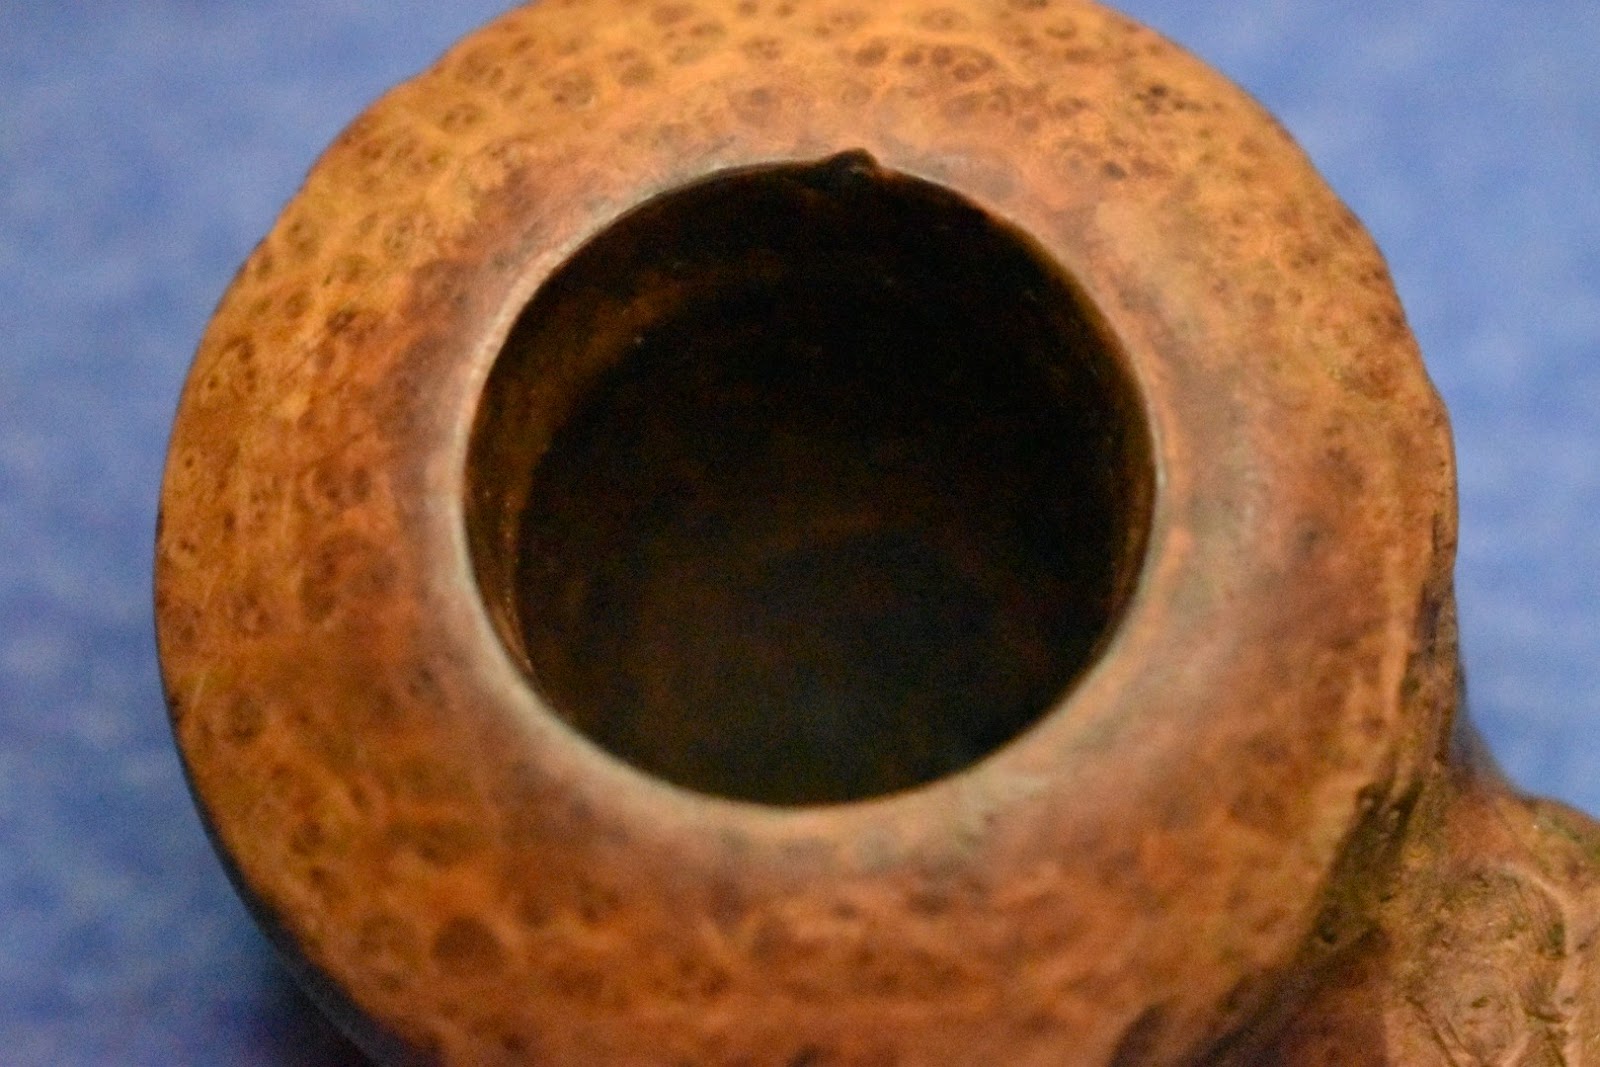
The condition of the pipe was very good for a pipe of this age and use. The tobacco chamber appeared to have been either frequently reamed or seldom used. The rim had evidence of lava but no heavy deposits. The stem showed no heavy denting nor chatter from teeth. I was pretty sure this was going to be a simple restoration.
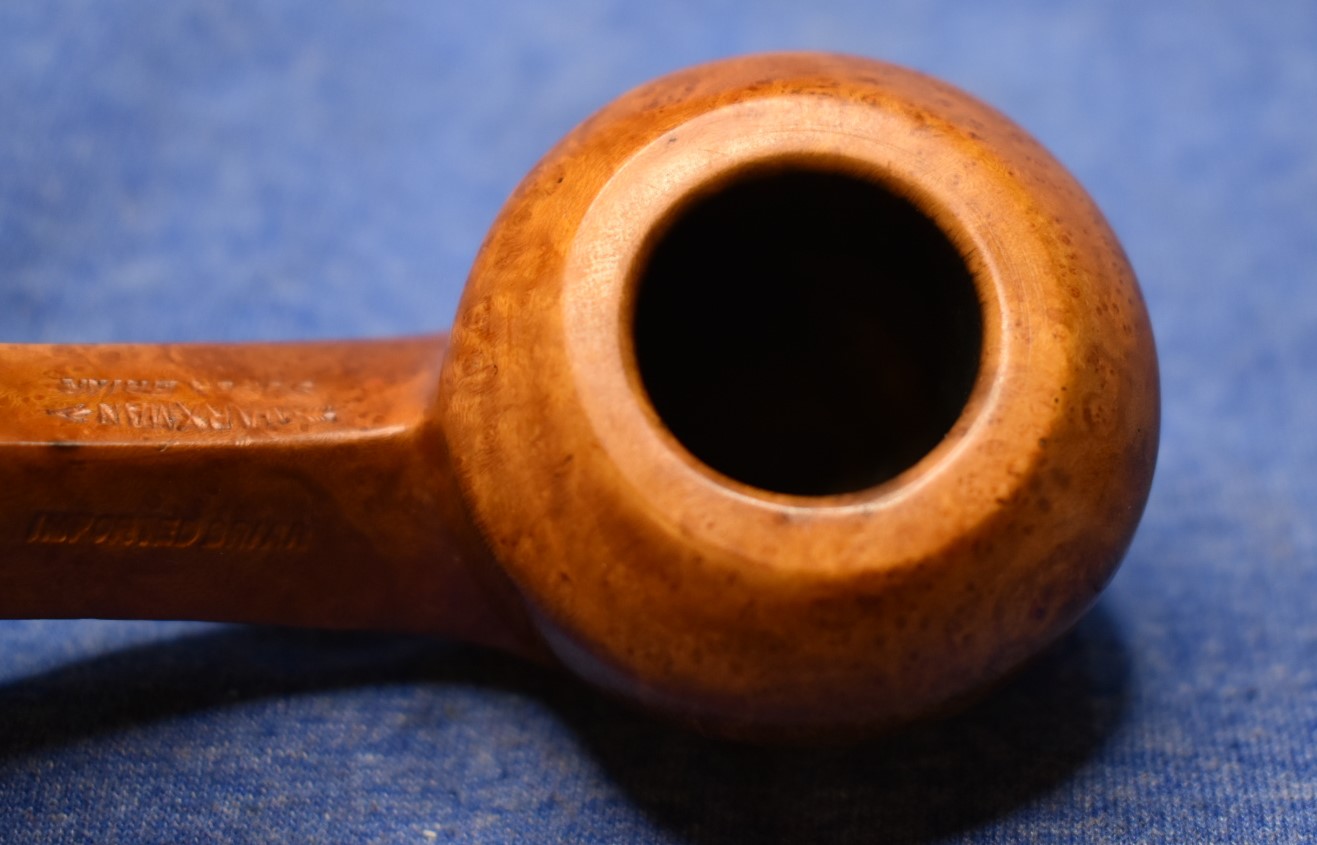
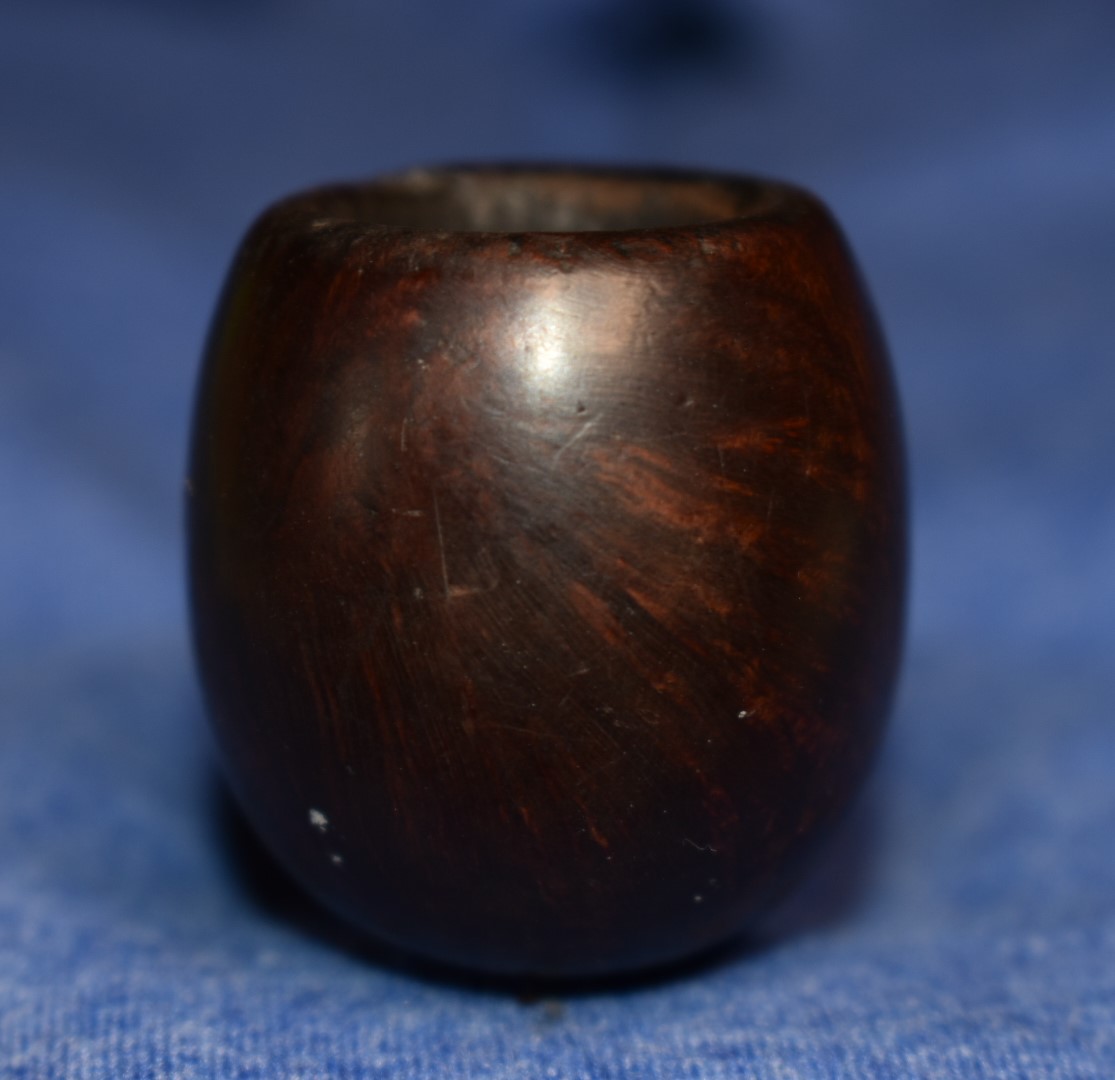
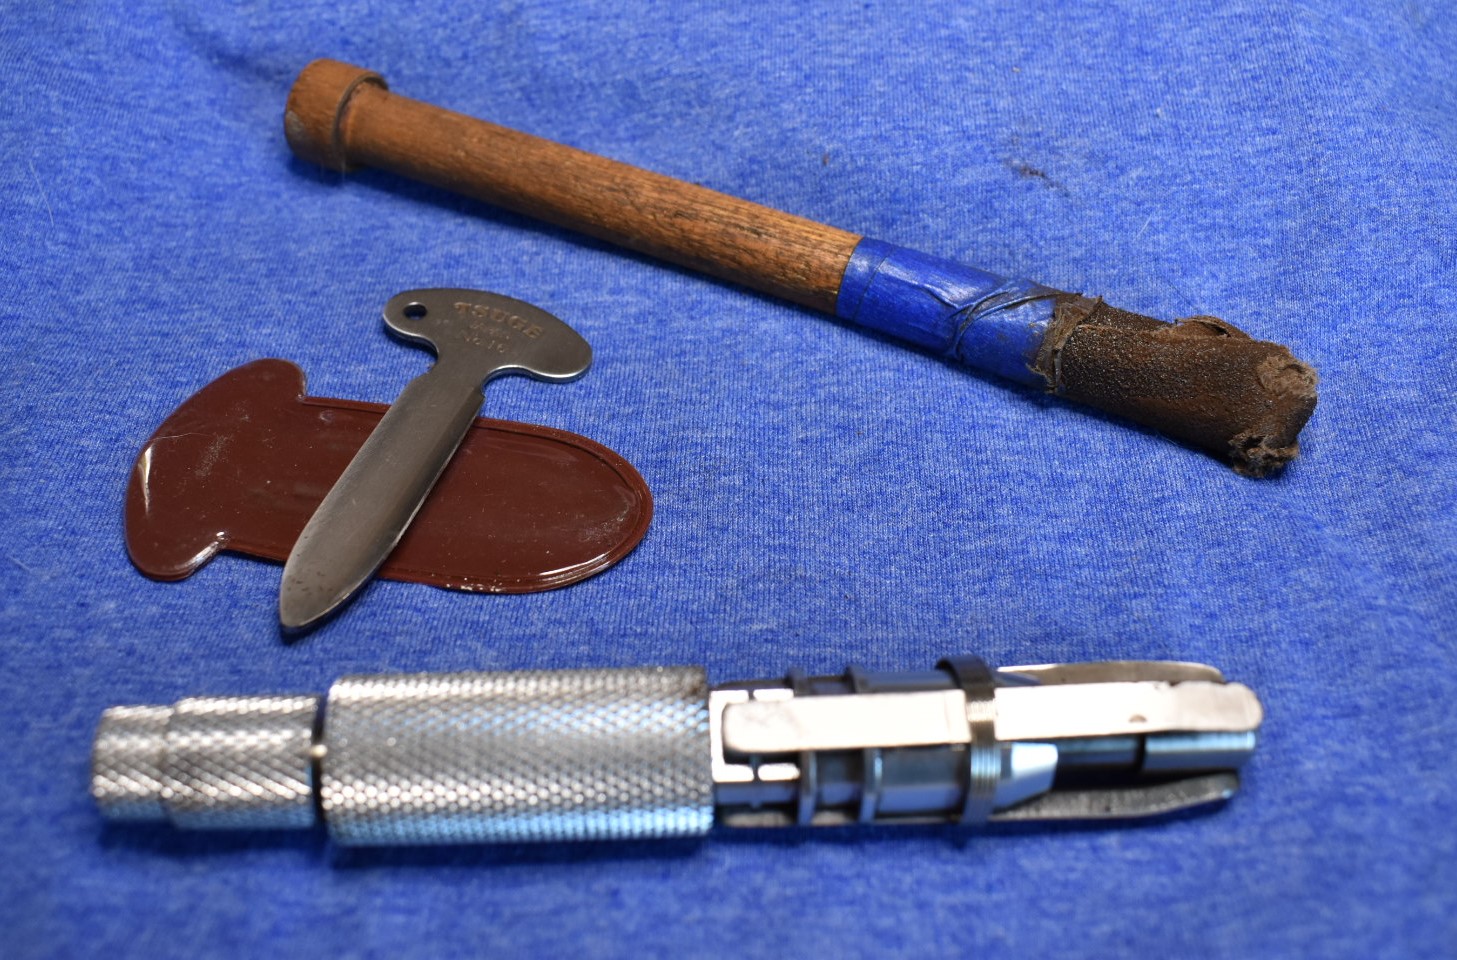
The first step was to completely ream the tobacco chamber and sand it to bare briar. This was done with a PipNet reaming tool with the largest size blade, Smokingpipes Low Country reaming knife and a General triangular

scraper. The reaming eliminated the minimal cake quickly. Further scraping with the knives was required as the chamber diameter was larger than the largest blade of the PipNet. The chamber was then sanded with 220 wet dry sandpaper and my finger. Those huge bowls are so nice and easy to sand with a finger.
With the reaming finished I took the stummel to the sink for a scrub with Murphy’s Oil Soap. The Murphy’s was used undiluted. The scrubbing was done with a medium bristle toothbrush. All of those nooks and crannies of the rustication trapped a significant amount of dirt and grime. After the first scrub I poured on another blob of Murphy’s and scrubbed the stummel a second time. The Murphy’s was then rinsed with war mater and dried with a cotton dish towel.
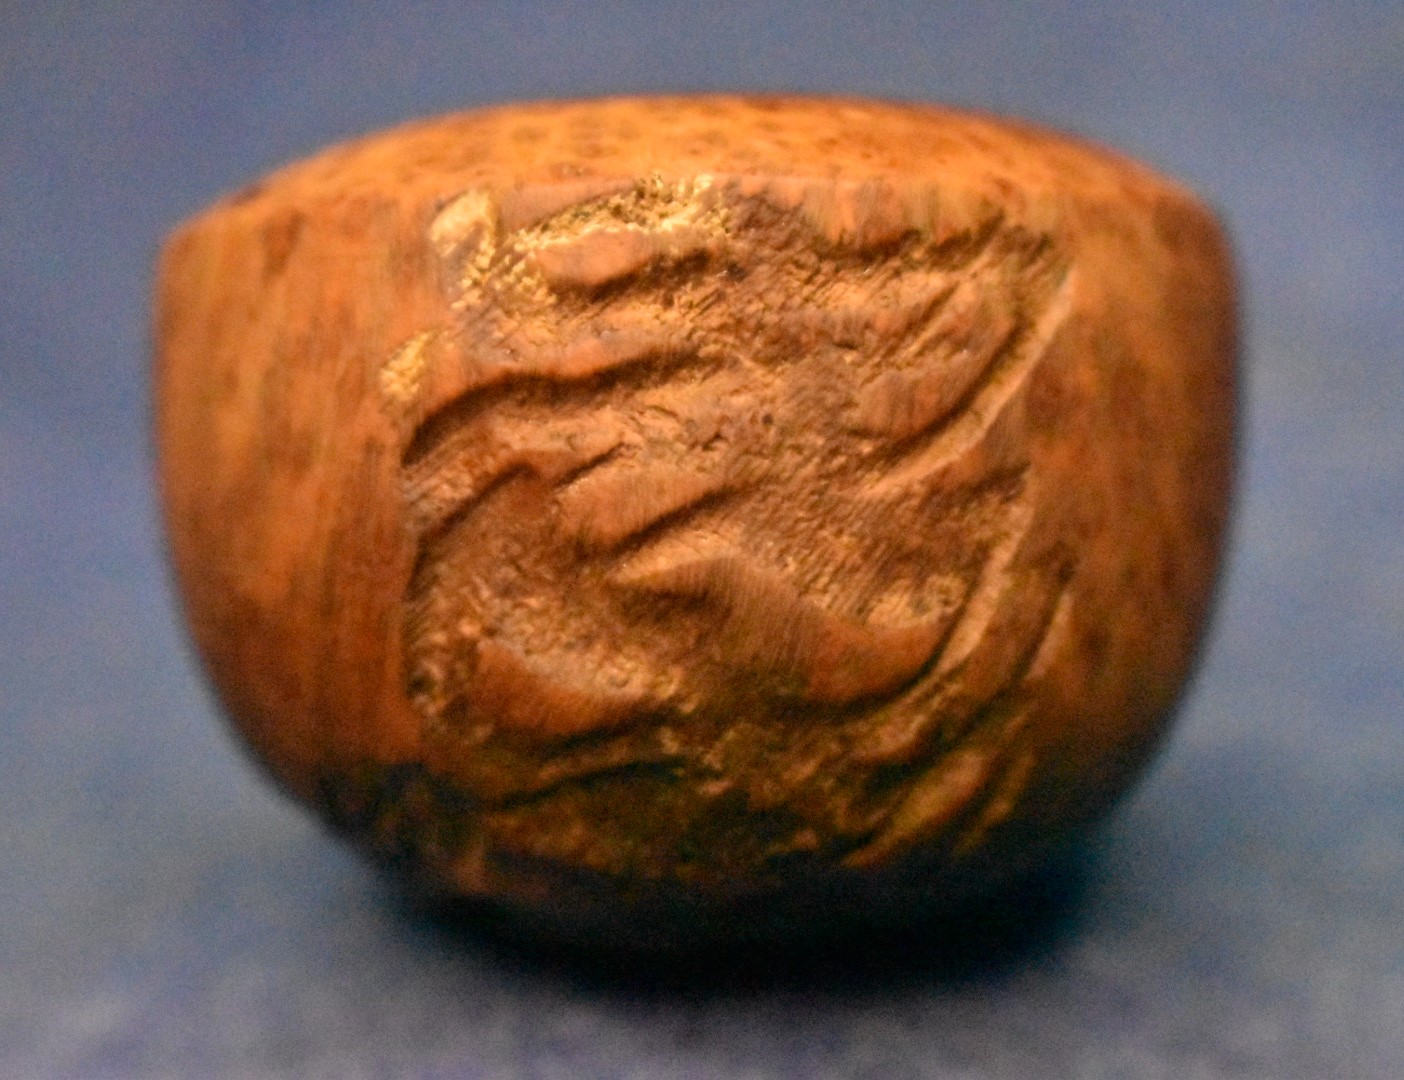
I returned to the workbench and used a 95% ethyl alcohol soaked make-up removal pad to vigorously rub the entire stummel. The pad was quickly shredded by the rusticated surface but little color came off the pipe indicating that there was no stain nor finish used on this briar. It probably was only treated with wax from the factory. At this stage the pipe stummel looked like this:


I thought, “wow, this is going fast and easy”. Yeah, I know, “why did you say that? Now the next thing you do is going to be terrible.” I am pretty sure those were the same words that George Armstrong Custer said prior to running into the Sioux nation on June 25th 1876. Okay, I think you can see where this is going and I admit to exaggeration. Custer didn’t run into the whole Sioux Nation, just a large number of irate Lakotas and some Cheyenne. I, on the other hand, narrowly escaped defeat with the cleaning of this shank.
The first thing to do when cleaning a shank is to moisten a cotton swab with alcohol and rub it around the inside of the shank. Often the first rub in the shank doesn’t look so bad as the alcohol is actually starting to dissolve the tars and dried oils in the airway. The second alcohol dipped swab then goes into the shank and gets introduced to the now softened yuck (technical term used in restoration for tars, oils or general filth). This poor second swab can

become very darkly stained and covered in yuck. That is exactly what happened except it wasn’t just the second cotton swab it was the 2nd through the 46th. To be fair, I alternated with using the dental pick to scrape the walls of the airway, filling the airway with alcohol and scrubbing it with a nylon brush, cotton swabbing, wrapping a piece of a paper towel around a round needle file and scrubbing with the paper towel then back to cotton swabs. In other words the

airway was doing a very good impression of the La Brea Tar Pits without any dead megafauna. After what seemed like eternity, I packed the tobacco chamber and shank with cotton and poured in 95% ethyl alcohol until the cotton was saturated and the alcohol pooled slightly. I then turned my back on the stummel and let it soak overnight.
In the morning, the cotton looked like this. I began with another alcohol soaked cotton swab. I quickly became loaded with dissolved tar and yuck. I

began scraping with the dental pick and then swabbing. Just when I was about to surrender the cotton swabs started to lighten. They
changed from dark brown to a lighter golden brown then to light brown, then tea stained, then clean. I was victorious, unlike Custer.
This whole filthy shank admittedly took me by surprise. The bowl had been in good condition, indicating a cleaning regimen, the stem did not appear heavy chewed on again indicating that care was taken with this pipe. Then to find a shank that had apparently never had any type of cleaning surprised me.
On to the stem. The draw of the stem seemed open but it did have the taste and smell of old tobacco residue and tar. I could see light through it so, how bad could it be? The first bristle pipe cleaner was dipped in alcohol and would not go all the was through. I just scrubbed back and forth with the length that would pass. Upon repeating I was able to get the next pipe cleaner further. The next went even further after 4, I could get a pipe cleaner through the entire stem. They were still coming out stained with the before mentioned yuck. Another two, still yuck. I then moved to a churchwarden bristle pipe cleaner. I dipped the pipe cleaner as far as possible into the alcohol bottle, clamped one end in the vice and threaded the stem onto the other end. Holding the free end in one hand I moved the stem up and down along the length of the pipe cleaner. This cleaned out the remaining residue. Subsequent normal pipe cleaners then came out clean.
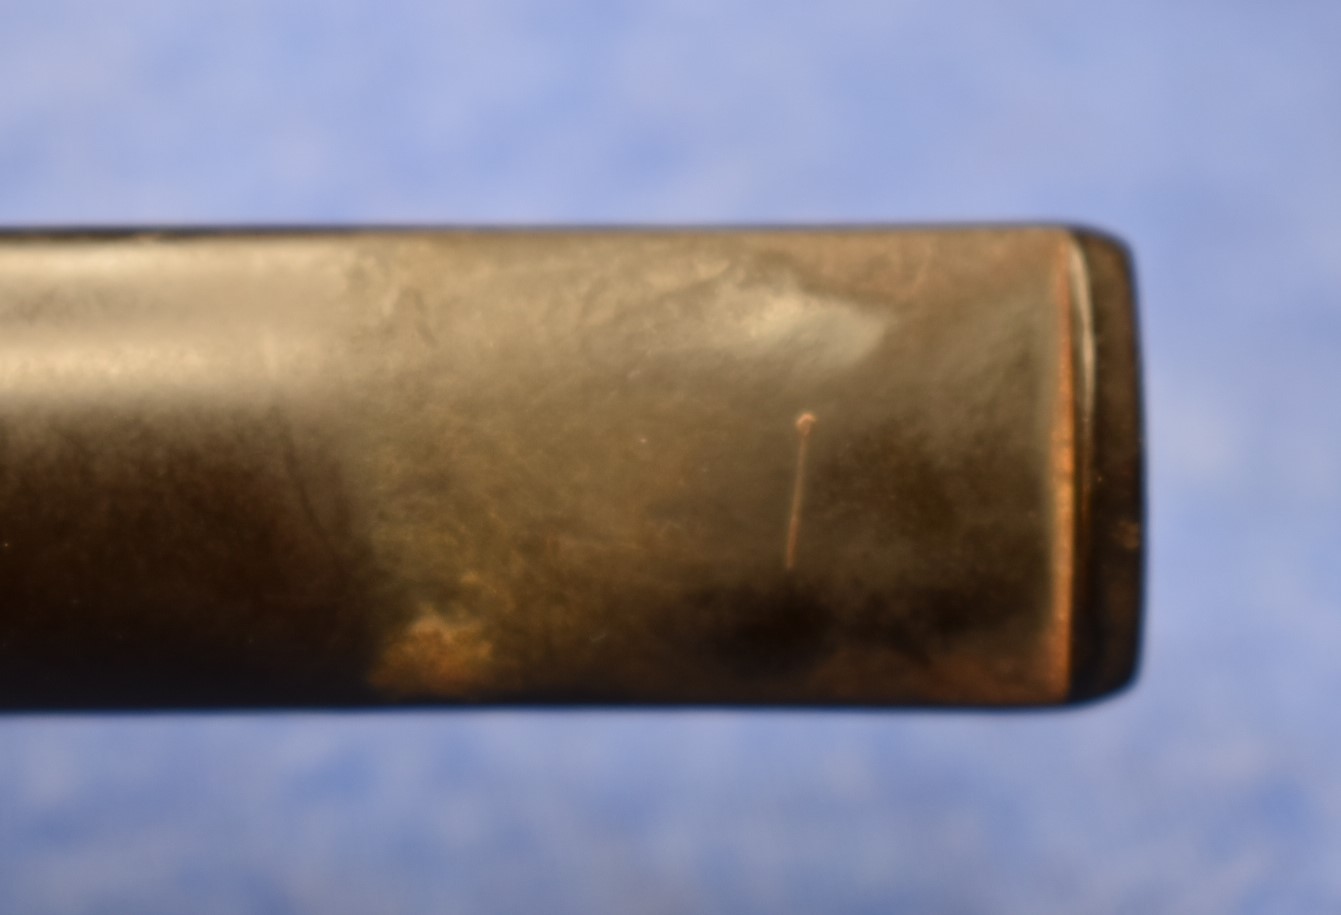
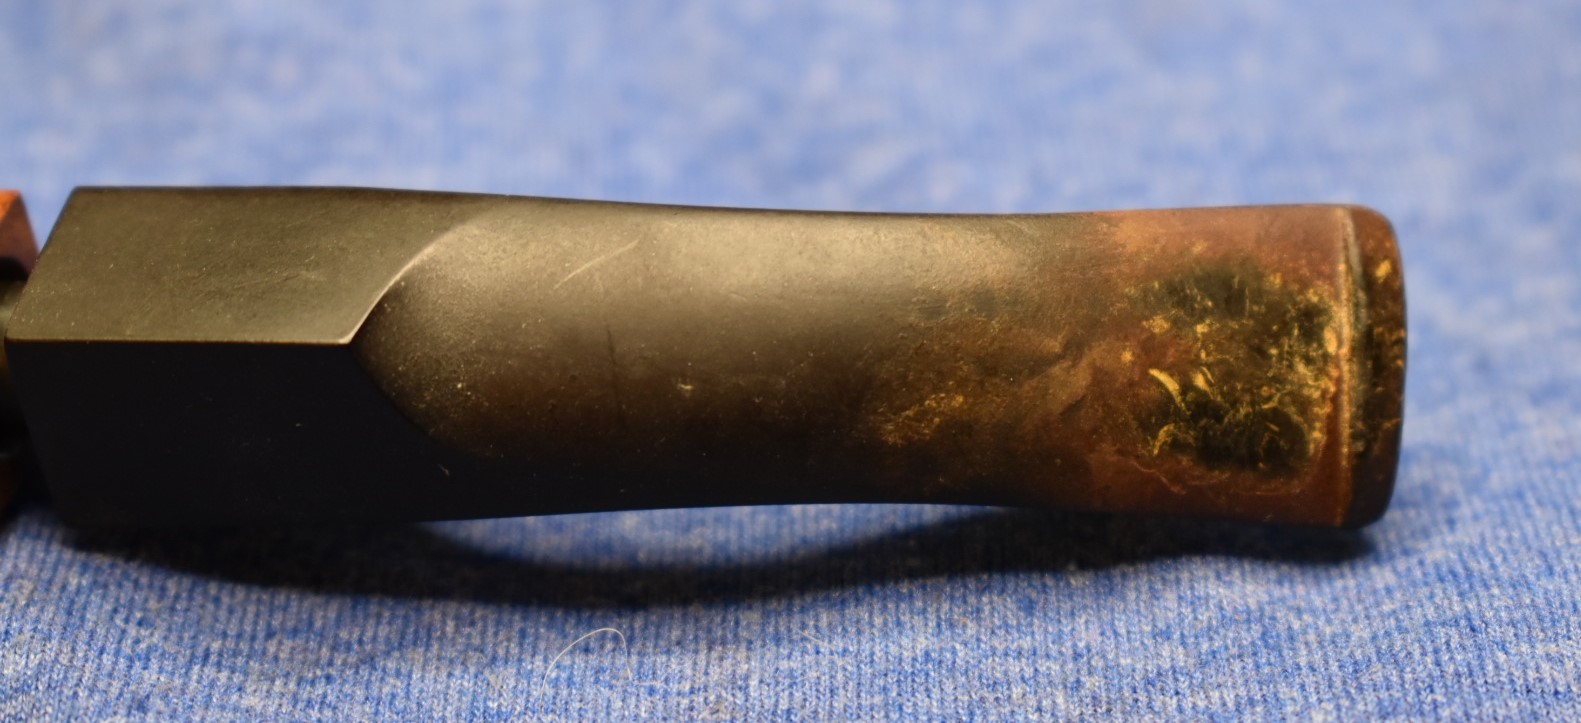
The exterior of the stem was in good shape. It may not have been pretty but
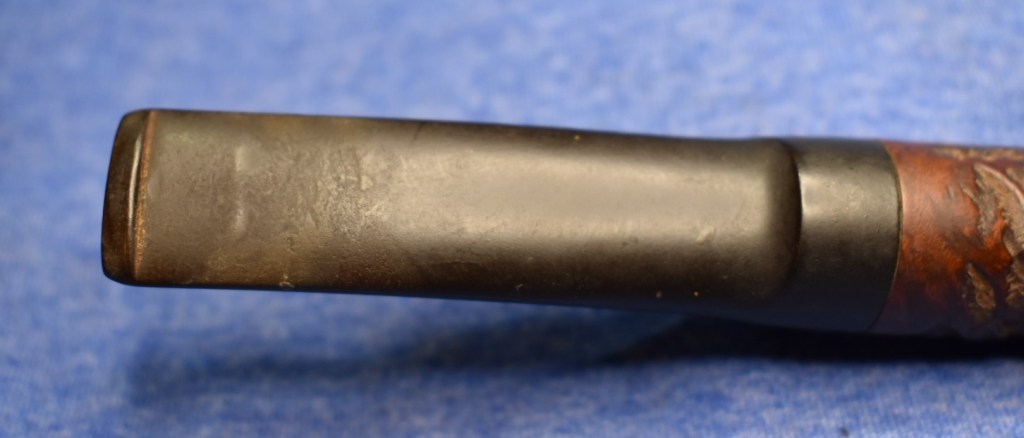

There was not actually much to do. I used 0000 steel wool eliminate most of the surface oxidation from the vulcanite. I used a dental scraper to clean out the corners where the button meets the stem. Then I used Soft Scrub with OxyClean on make-up pads to vigorously rub/scrub the stem. The pads would quickly become discolored requiring me to use a clean spot on the pad or to replace the pad altogether. After 5 pads or so, the stem was really looking good. I then reattached the stem to the stummel. Hmm, all that stummel scrubbing must have made the stem fit a bit loose.
It might have tightened up with a smoke or two but I did not like the loose fit. I used a dry-brushing paint brush and black cyanoacrylate (CA, super glue) to increase the diameter of the tenon. I placed a drop of CA onto the
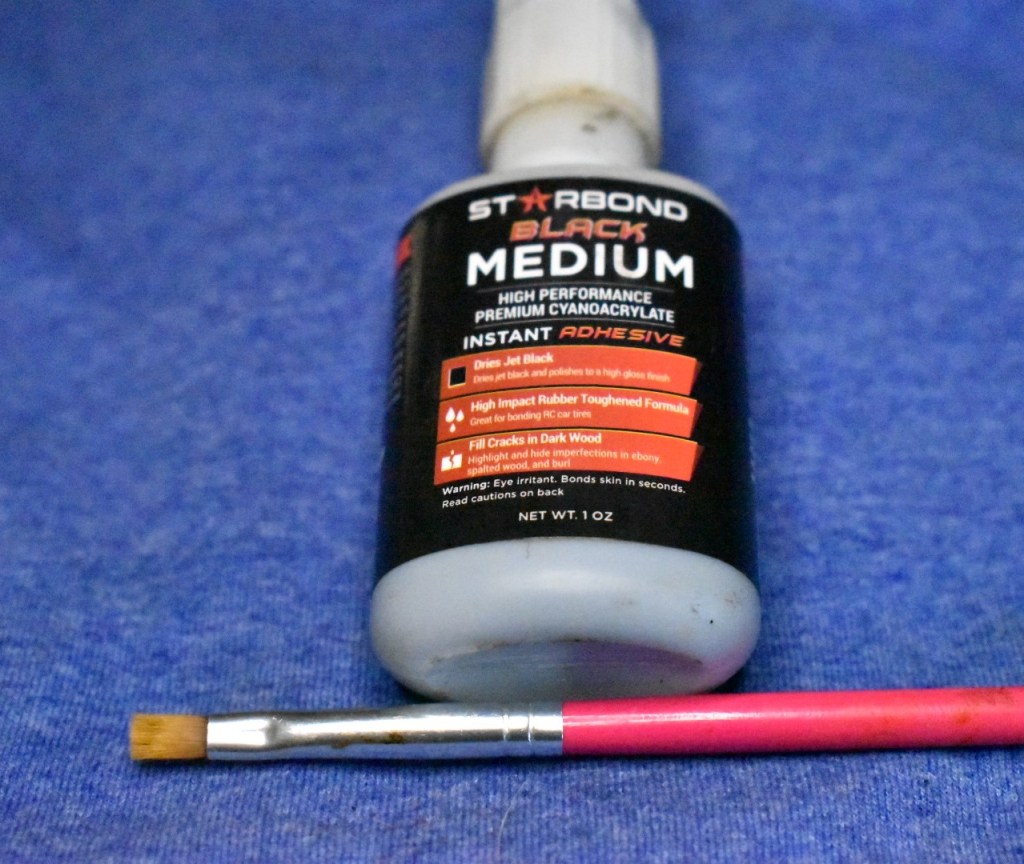
tenon and used the brush to paint a very thin layer onto the tenon. Avoiding the shoulder of the stem. The stem was then set aside to dry. I hardened within a few minutes. I then tried fitting tenon into the mortise. It was still loose, better but loose. I applied another drop of CA and “repainted” the tenon and allowed it to dry. After the second coat of CA i used a 3600 micro-mesh pad to polish the tenon then tested the fit. Perfect. The paint brush was cleaned with acetone after each use.
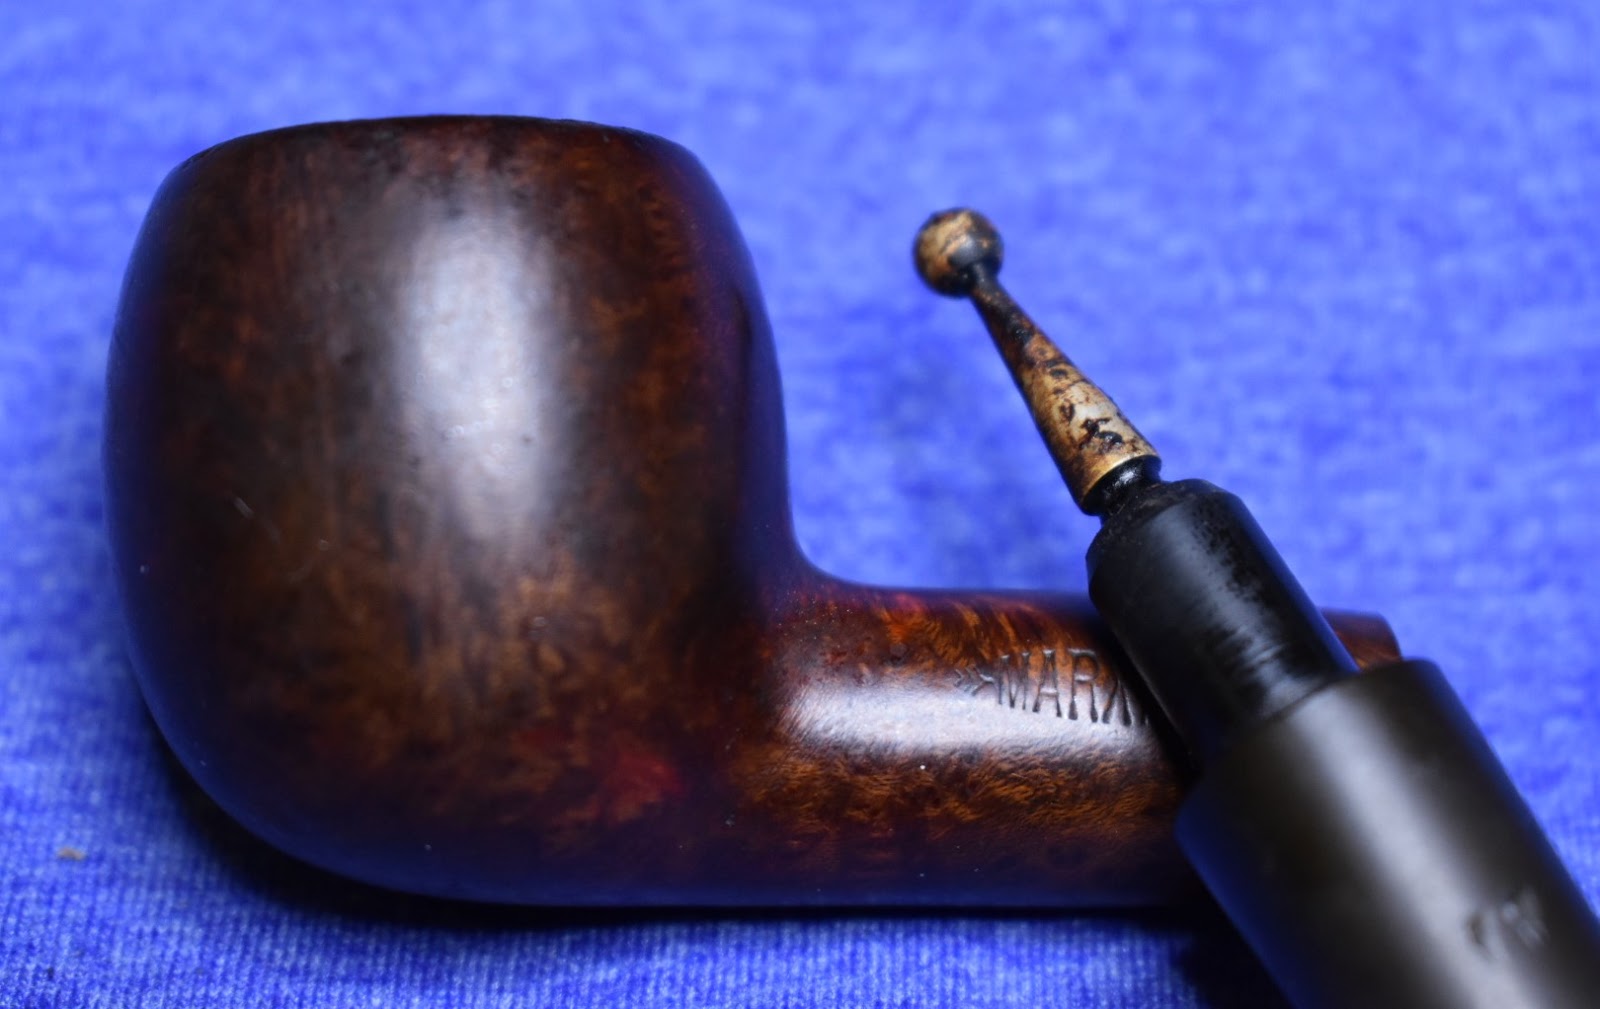
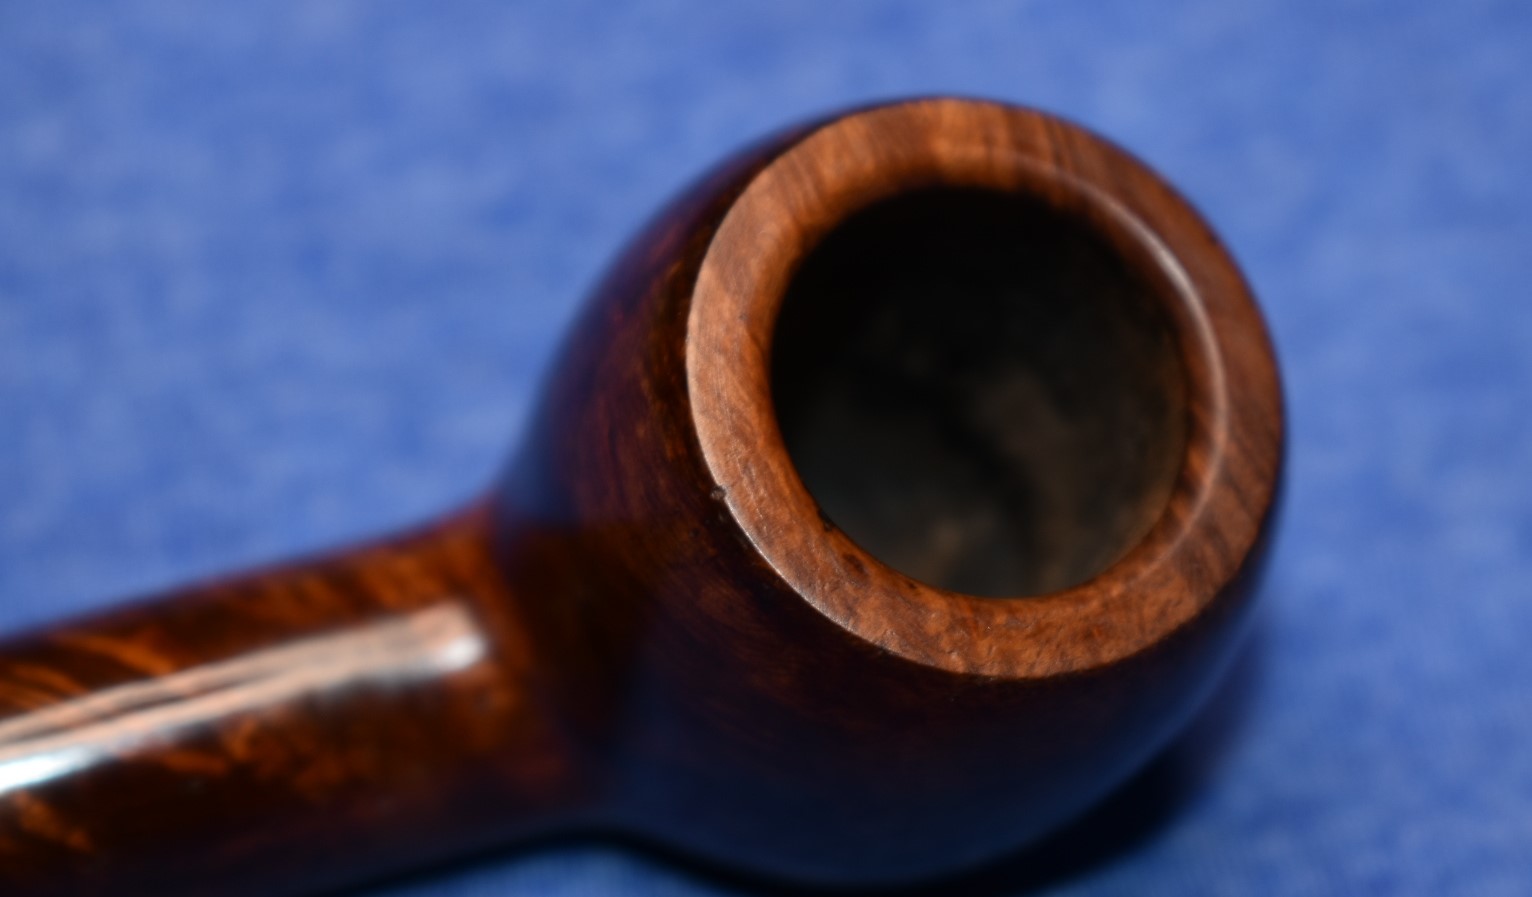
Okay, let’s try reattaching again. I reattached the stem to the stummel – nice. I was ready for the micro-mesh pads. I covered the MARXMAN stamp with painters tape to protect it from sanding. I remembered that I wanted to get

rid of 2 small sand pits on the rim and the one remaining dent on the inside rim. The photo doesn’t show the pits but trust me, they were there. I used a fly tying bodkin to apply a small drop of CA to the pits/dent, I then forced a pinch of briar dust into the CA wetted pit/dent. The CA sets up nearly instantly. The fill was then carefully filed using a flat needle file and sanded with 400 sandpaper. This briar that Marxman used is incredibly soft. You can easily dent it with your fingernail. This softness makes it difficult to work and if there is one grain out of place on your sandpaper it will scratch the surface.
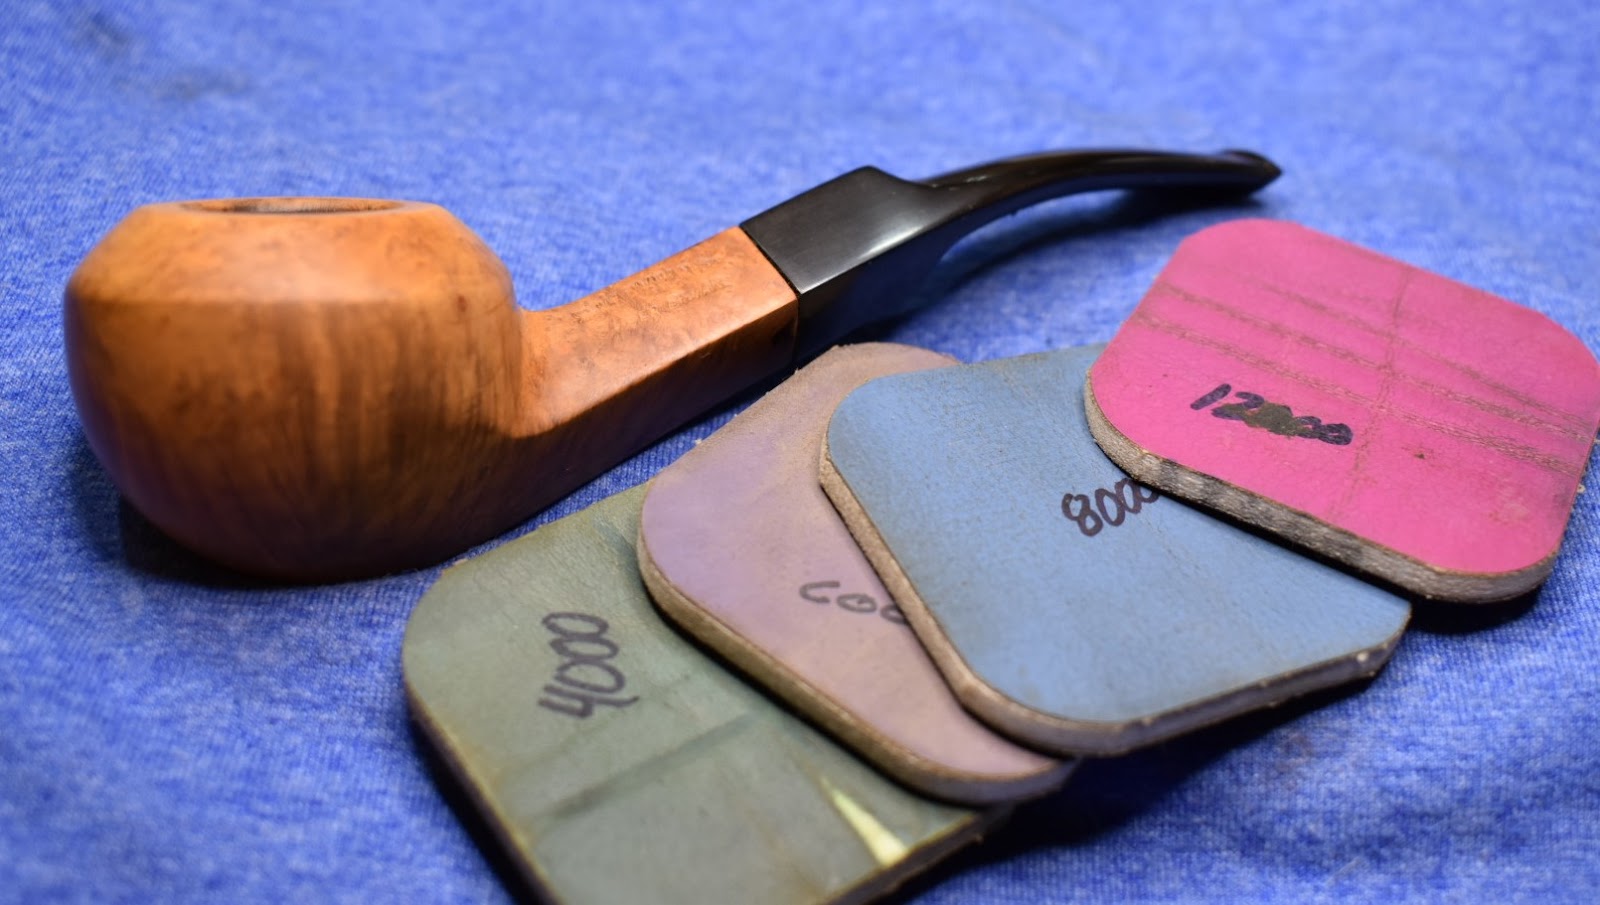
The micro-meshing was tedious on the wide smooth rim due to the softness of the briar. The stem went quite well. I started with the 1500 micro-mesh pad after wards I wiped down the briar with an alcohol dampened make-up pad and I rubbed a drop of Obsidian Oil over the stem and wiped it with a paper towel. I then moved to the next micro-mesh pad. Each pad was used in succession with the same wiping between each. When I got to the 6000 micro-mesh pad I removed the painters tape from the stummel and wiped the area free of any adhesive with the alcohol pad. I then progressed through the remaining micro-mesh pads.


Tis pipe proved to have hidden and unexpected issues regarding the level of yuck in its shank. Perhaps that is a sign from above, to remind me that things are not always as they seem. The same way that this less than beautiful pipe can provide unparalleled smoking pleasure. I actually smoked this pipe as I was typing this, earlier. Typical of a Marxman of this type and era it smoked amazingly. Cool and delightful are the words that come to mind. I immediately berated myself for complaining about the soft briar. That very briar is what makes these Marxman pipes the wonders that they are. I guess I will just have to smoke them more often to avert my forgetfulness. If you have found anything here useful or entertaining click that like and subscribe. Thank you so much for reading the ramblings of an old pipe lover.
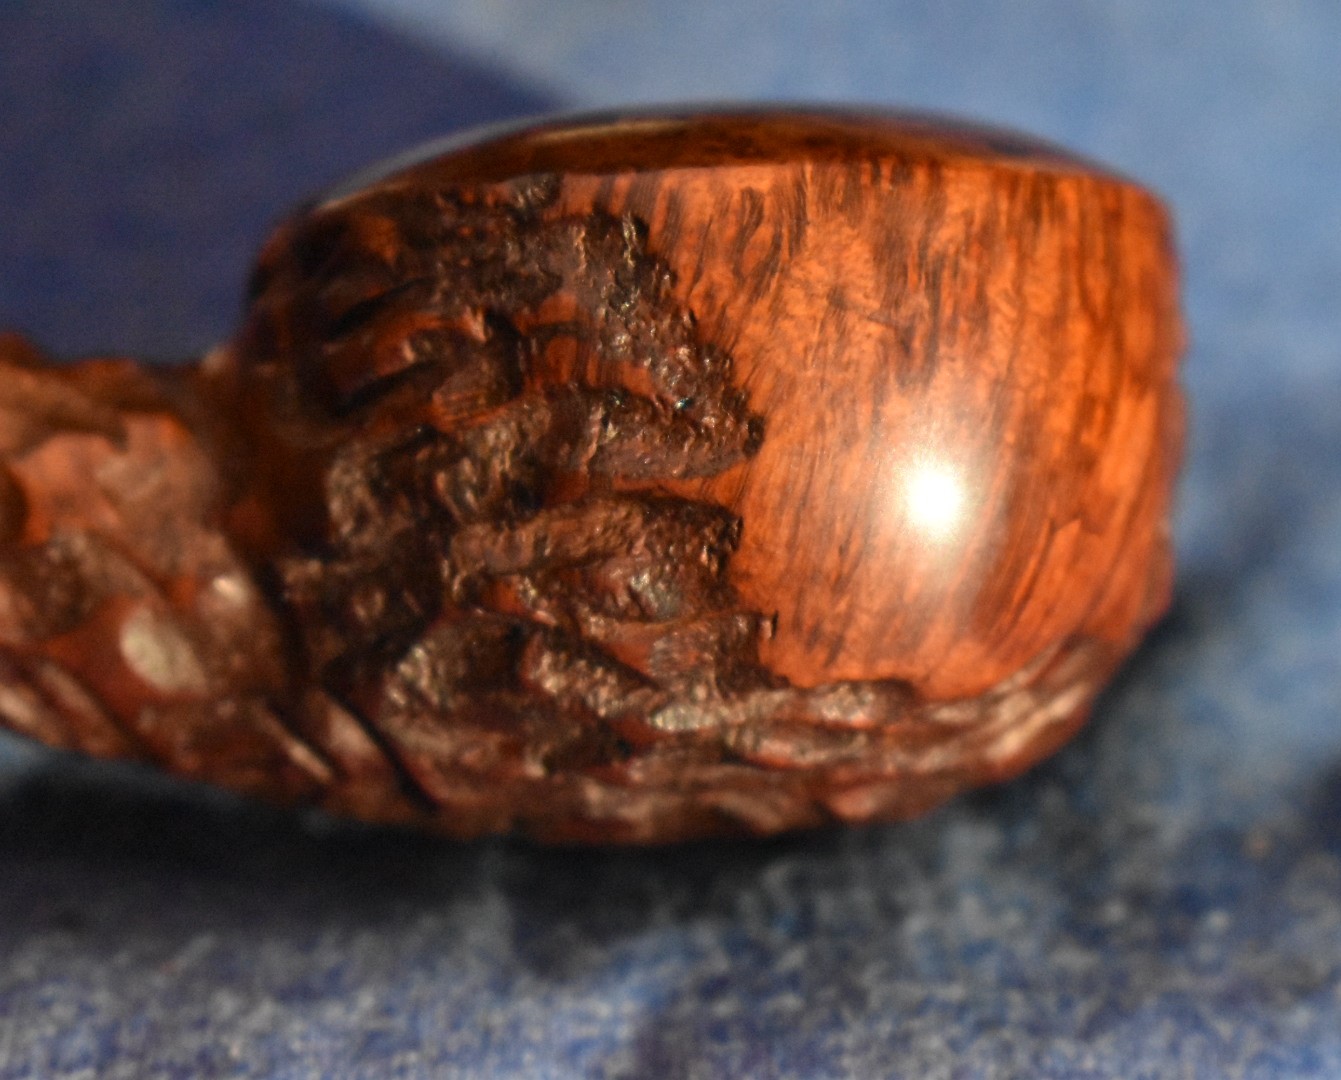
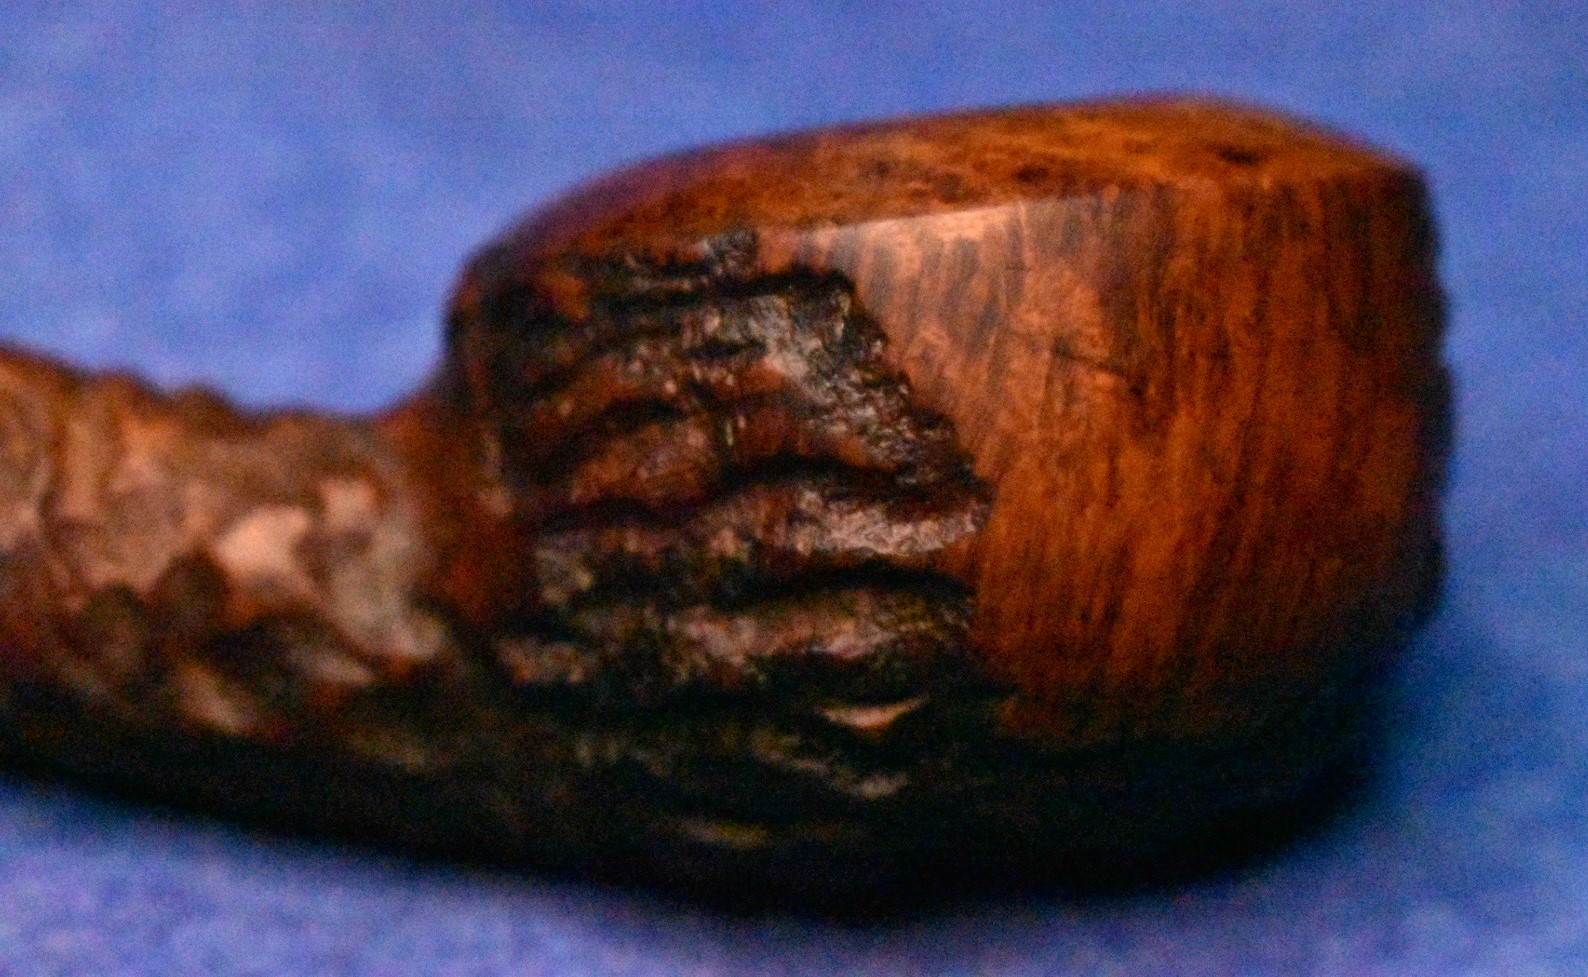
Below are some photos of the Marxman quarter bent Big Boy Rhodesian, both with sun and without..


The stem photos in the sun were taken before redid the area near the button.


 Okay, I’ll give you that one.
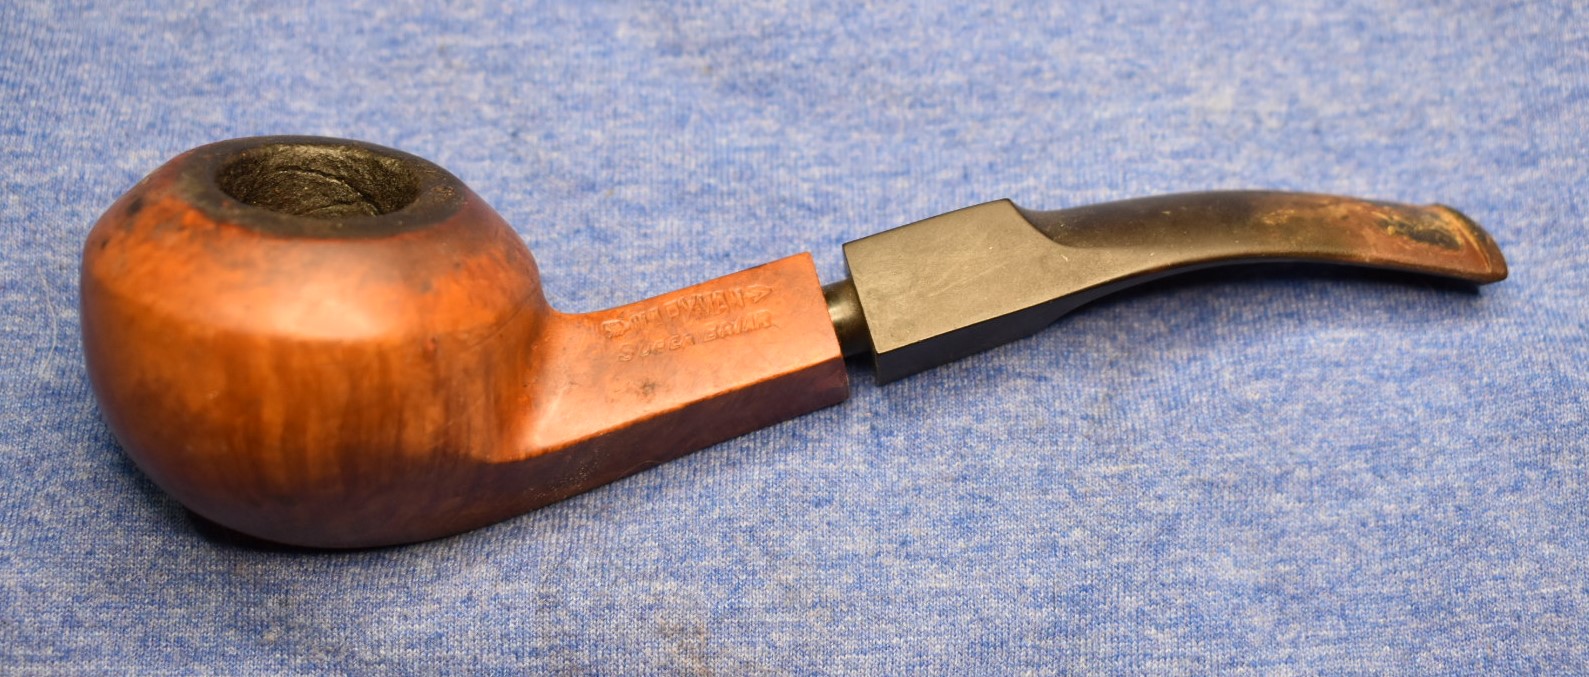


