Photographed and written by
John M. Young


Background
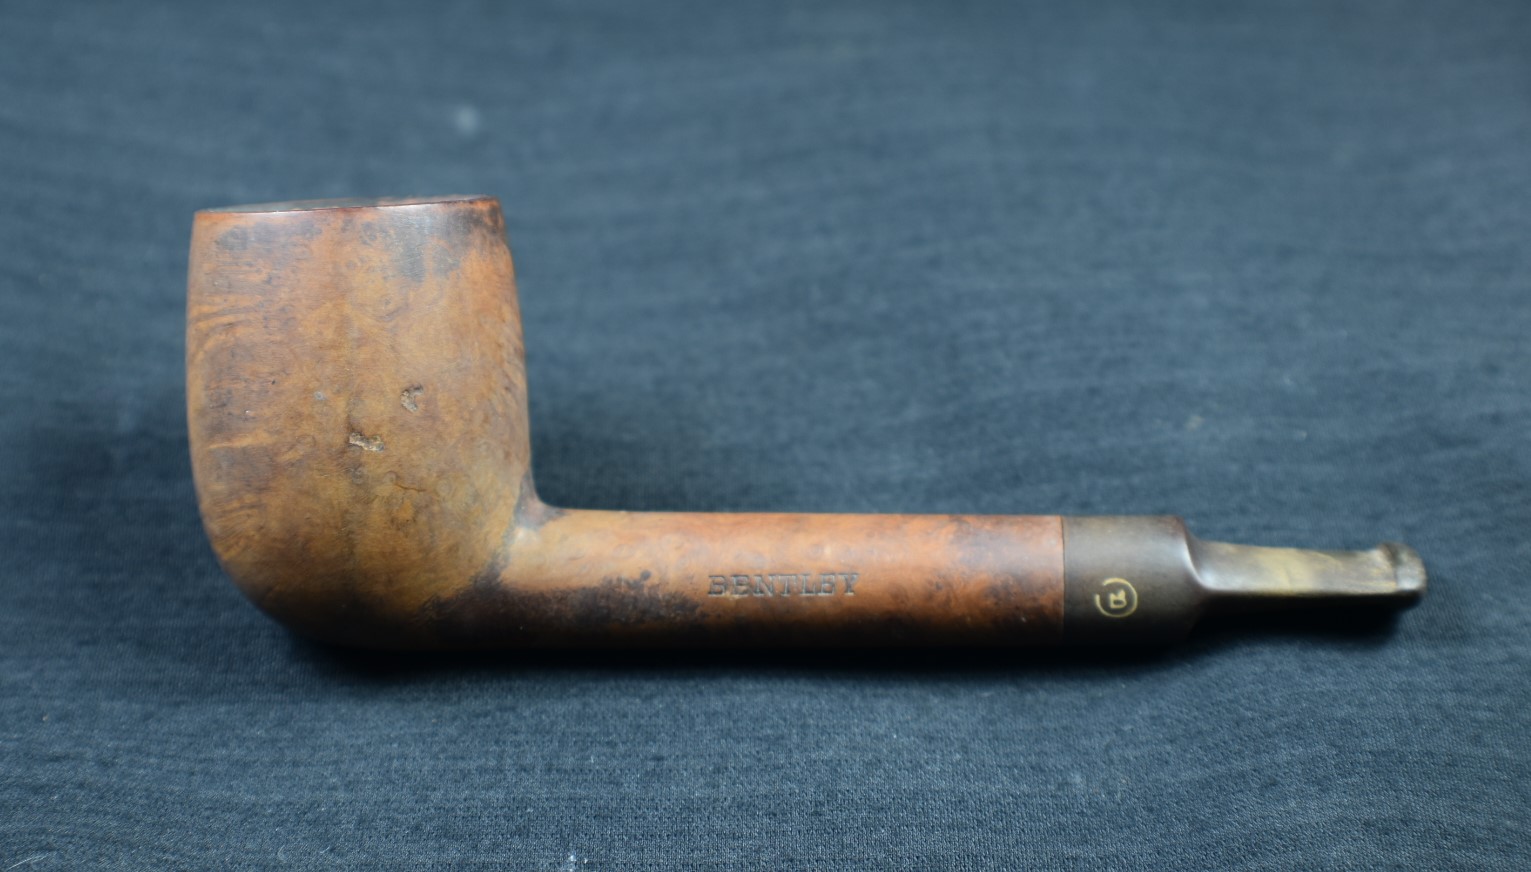
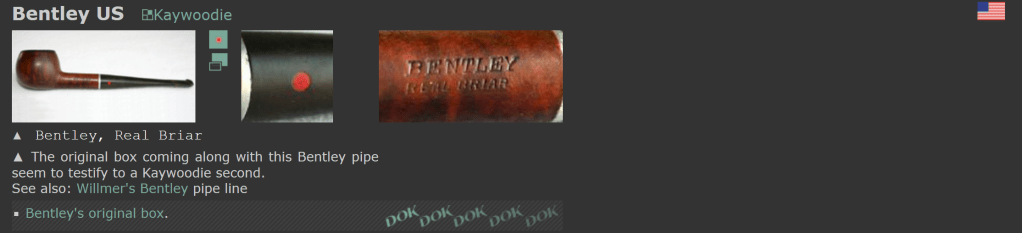
I have good news and bad news: The good news is that this pipe’s provenance is pretty certain – it is a Comoy’s second. As seen here from pipephil.eu:

(Can-Car — Pipes : Logos & Markings)
This brings me to the bad news, the bad news is that it is a Comoy’s. I suppose I should explain, Comoy’s is really a collaboration between the Chapuis and Comoy’s families and centered in two locations, the Saint-Claude region in France and London, England. There are many names involved over a 150 year period. The various people are related and moved between countries over the years. This is why I said, “The bad news”. It is because I find this all confusing.
In a nutshell Henri Comoy was from the Sainte-Claude region. As many folks did, he followed his father as a wood turner. He ends up married and living in London, making pipes from briar. His wife’s sister provides the connection to the Chapuis name. His wife’s sister, Fanny Beausire was married to Charles Pierre Chapuis, a Swiss watchmaker. They had seven children, three of which are important to this story; Charles Chapuis dies leaving the children partially orphaned, Emile (21 years old when Charles dies), Louis (19) and Charles (15). Louis and Charles are adopted by their Aunt Anna, Henri Comoy’s wife, and moved to London. Here they are taught the Comoy family business of pipe making alongside Henri and Anna’s two biological children, Paul and Adrien Comoy. The four boys, Louis Chapuis, Charles Chapuis, Paul Comoy and Adrien Comoy are treated equally regarding inheritance within the business.
This leads to the start of the start of the company. “H. Comoy & Co. Ltd was established in 1914. It was a partnership between Henri, his sons Adrien and Paul and his nephews Louis and Charles.” (Comoy’s – Pipedia) By 1921 the company expands to the United States. Now the adopted brothers remain in contact with the older Emile. He is in the pipe business as well selling pipes wholesale in Paris, according to the pipedia.org article. In the early 1922 Emile, Louis and Charles started another company, Chapuis-Comoy, in Saint-Claude. This company serves the French market for briar pipes. I know, this nutshell is becoming larger and larger. Old man Henri Comoy died in 1924 and within 5 years H. Comoy & Co. Ltd became part of Cardogan Investments Ltd. In 1928 the two pairs of brothers created Chacom in Saint-Claude. Now Chacom can have the French and European market while Comoy’s deals with England and the US. Here is where things get weird, both companies use the same shape charts thus all the overlap in Comoy’s and Chacom shapes.
As pipedia explains, “In 1929, H. Comoy Co. Ltd became part of Cadogan Investments Ltd, created by the Oppenheimer Group, which at that time already owned a number of very important and well-known brands such as Maréchal & Ruchon (GBD), Civic & Co Ltd, BBB de Frankau, Sina, Verguet Frères, Orlik and Loewe.” (Comoy’s – Pipedia). Comoys are apparently allowed to manage their own business affairs and continue with business as usual. Of course there is an “UNTIL” coming. Comoys was left alone until the 1980s when Cardogan took over and quality went downhill.
Chacom had their ups and downs as well, with mergers with La Bruyere in 1932. Then the war, the recovery, the reassertion or market share, the regaining of their own name Chacon from Le Bruyere and eventual integration with Ropp. For the much longer version please see some of the following links:
Comoy — Pipes : Logos & Markings
Document: GBD Comoy Chacom — Pipes: Logos & Markings
Hopefully this all kind of explains why CARLYLE from the pipephil.eu photos is an English maker while the pipe is sporting a country of manufacture (COM) stamp clearly saying FRANCE. I told you it was confusing…
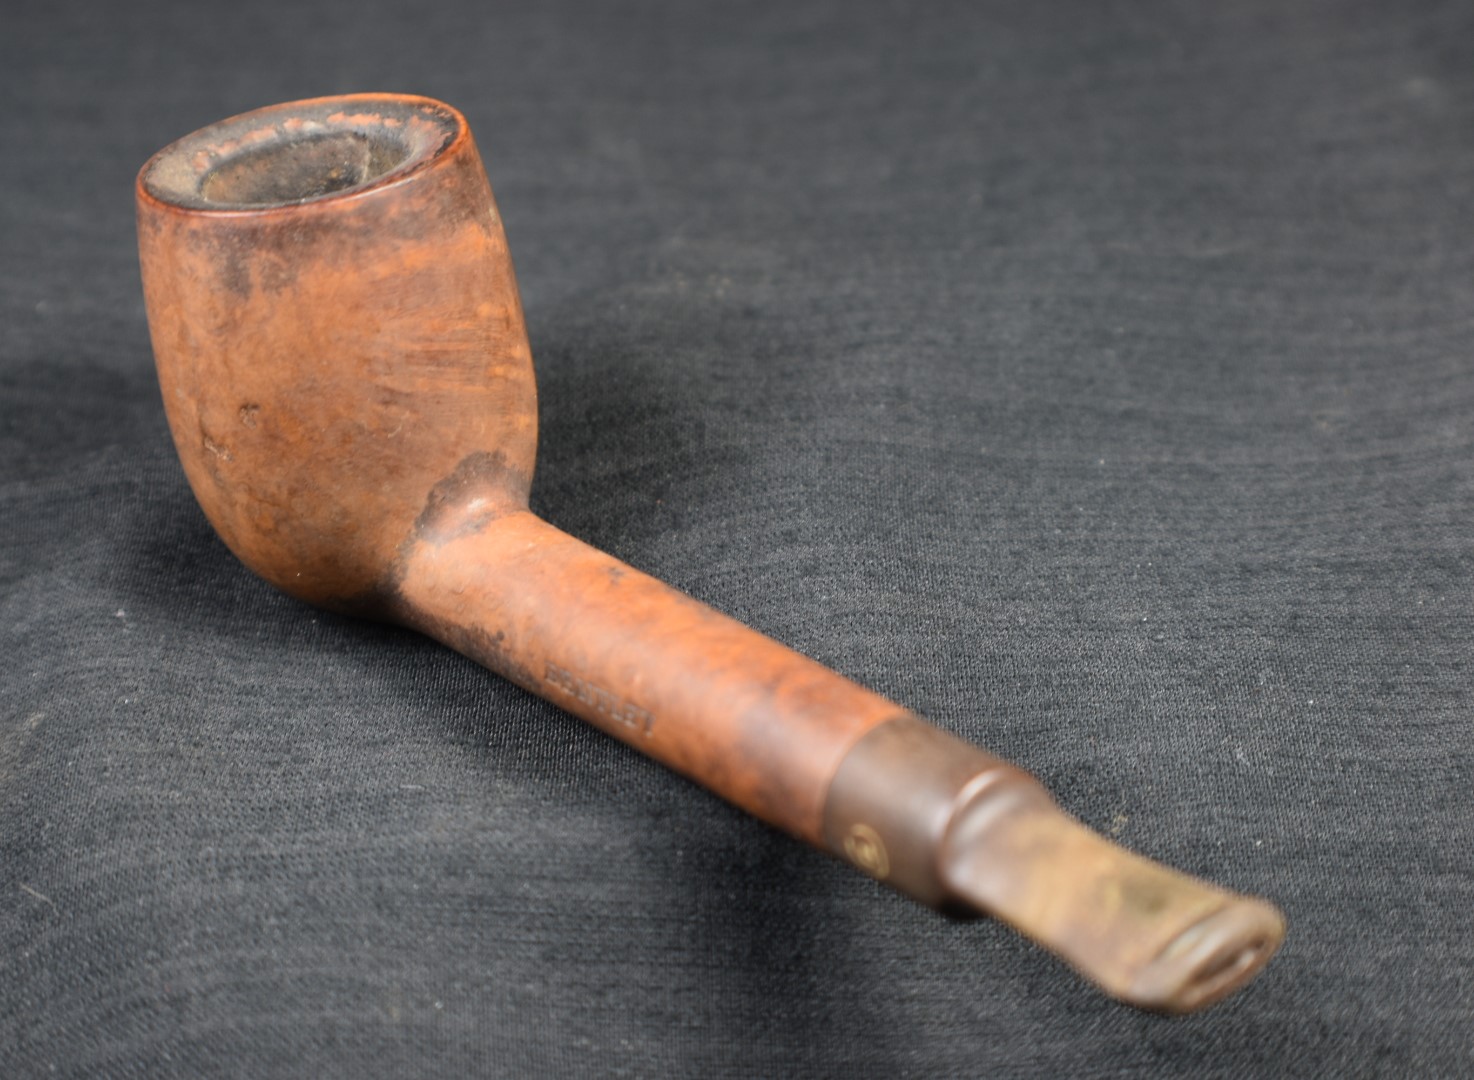
The Restoration
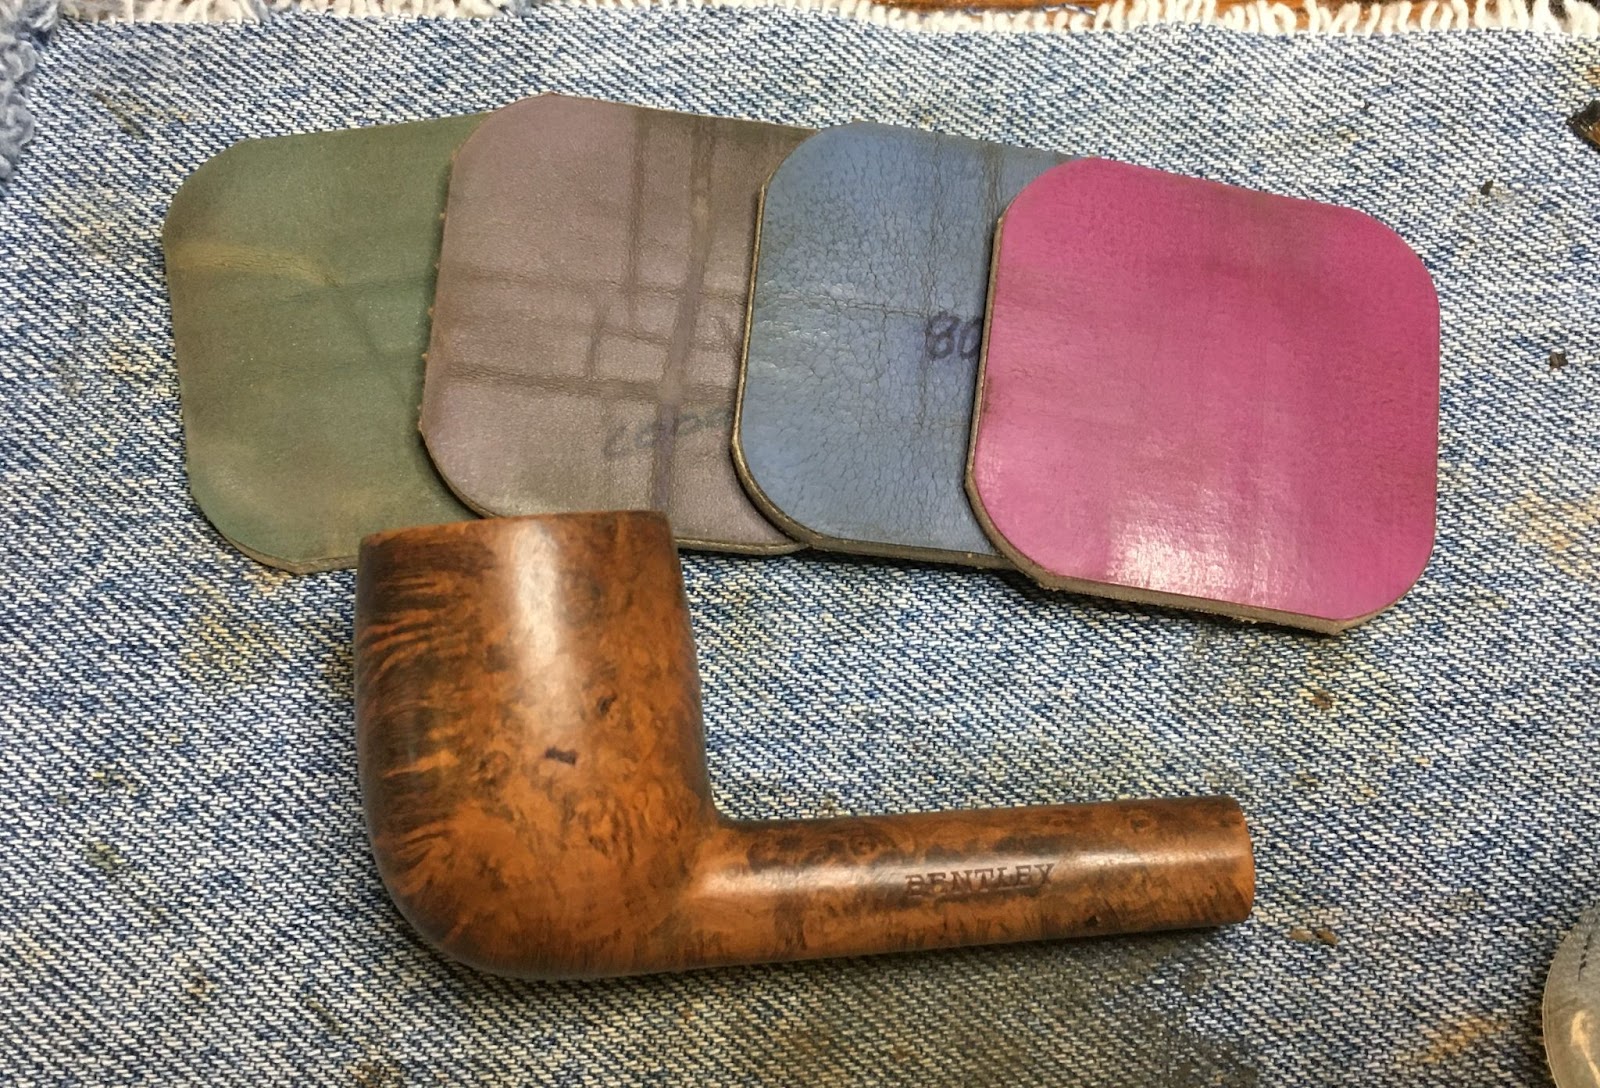
After all that background it’s good to get back to the easy stuff, for me anyway – the restoring. The Carlyle began the procedure with a clean denim piece on the workbench.

The airway of the stem was cleaned with bristle pipe cleaners and 95% ethyl alcohol.

The stem was then lightly sanded with a 500 grit sanding sponge and a pipe cleaner was inserted into the tenon to act as a hanger for suspending the stem in Before and After Extra Strength Deoxidizer solution (hereafter called deox).

The stem was immersed in deox for two hours.

The reaming tools were gathered.

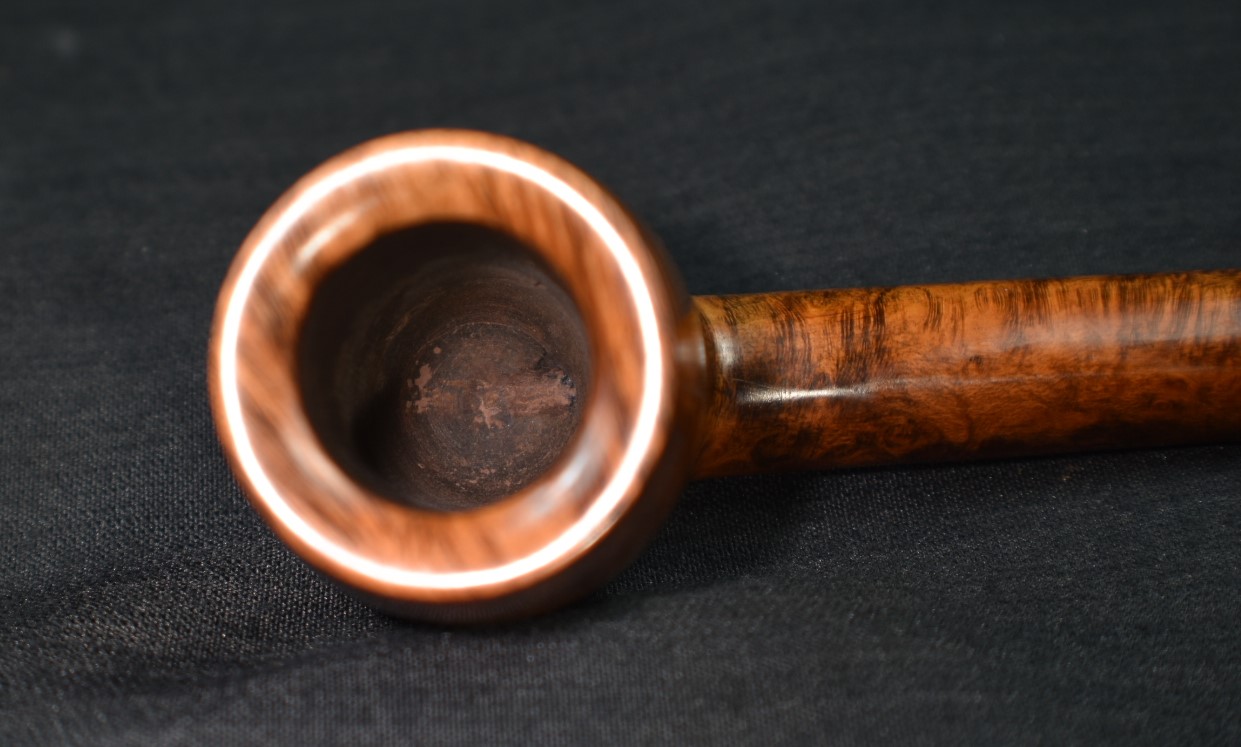
The PipNet and the #1 blade was only used to clear the bottom of the tobacco chamber as this chamber was quite conically bored. The #2 blade did most of the work reaming the chamber. The Smoingpipes Low Country Reamer and the General triangular scraper were used for some light clean-up work. The chamber was then sanded with 220 sandpaper wrapped around a wood dowel.

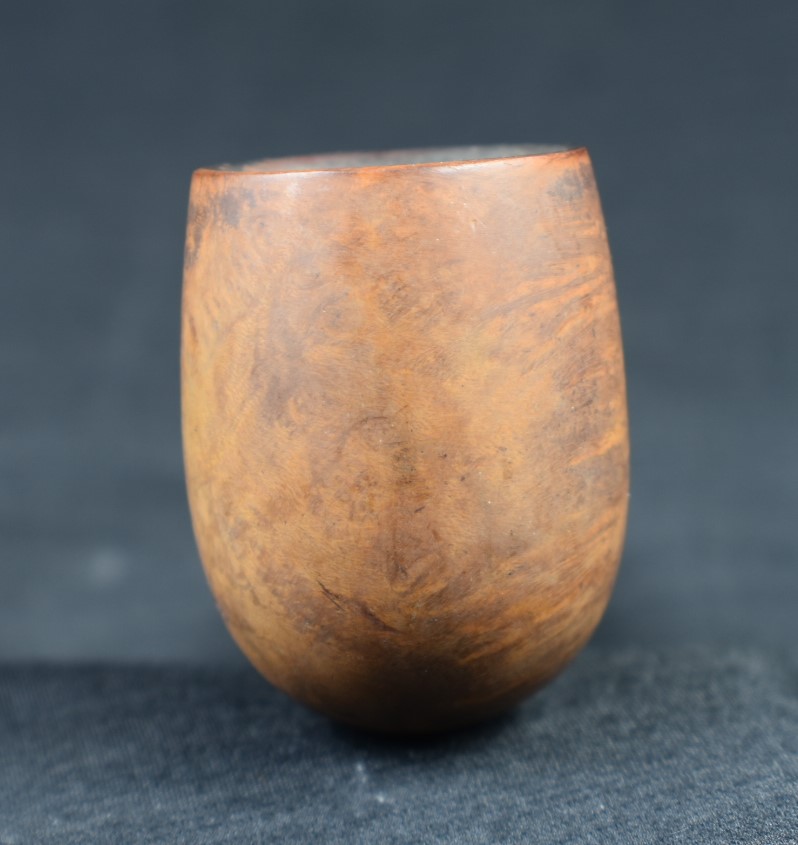
The tobacco chamber showed no signs of heat damage or charring.

Another view of the chamber, below.

Scrubbing with undiluted Murphy Oil Soap and a nylon brush came next. The soap was rinsed with warm water and the stummel dried with a cotton hand towel.

Returning to the workbench the stummel was wiped with 95% ethyl alcohol on a couple of make-up pads. This removed some of the finish and stain.

I then wiped the stummel with acetone on new make-up pads. This removed more of the clear coat finish and more stain.

With the clear coat removed, I started picking the old fill material from the largest of the three fills. Additional acetone was used to soften the old fill material for picking with a fly tying bodkin.

There was one other large fill at the front of the bowl. This too was picked out.

The airway of the shank was cleaned using a dental scraper, bristle pipe cleaners and cotton swabs along with a healthy dose of 95% ethyl alcohol.

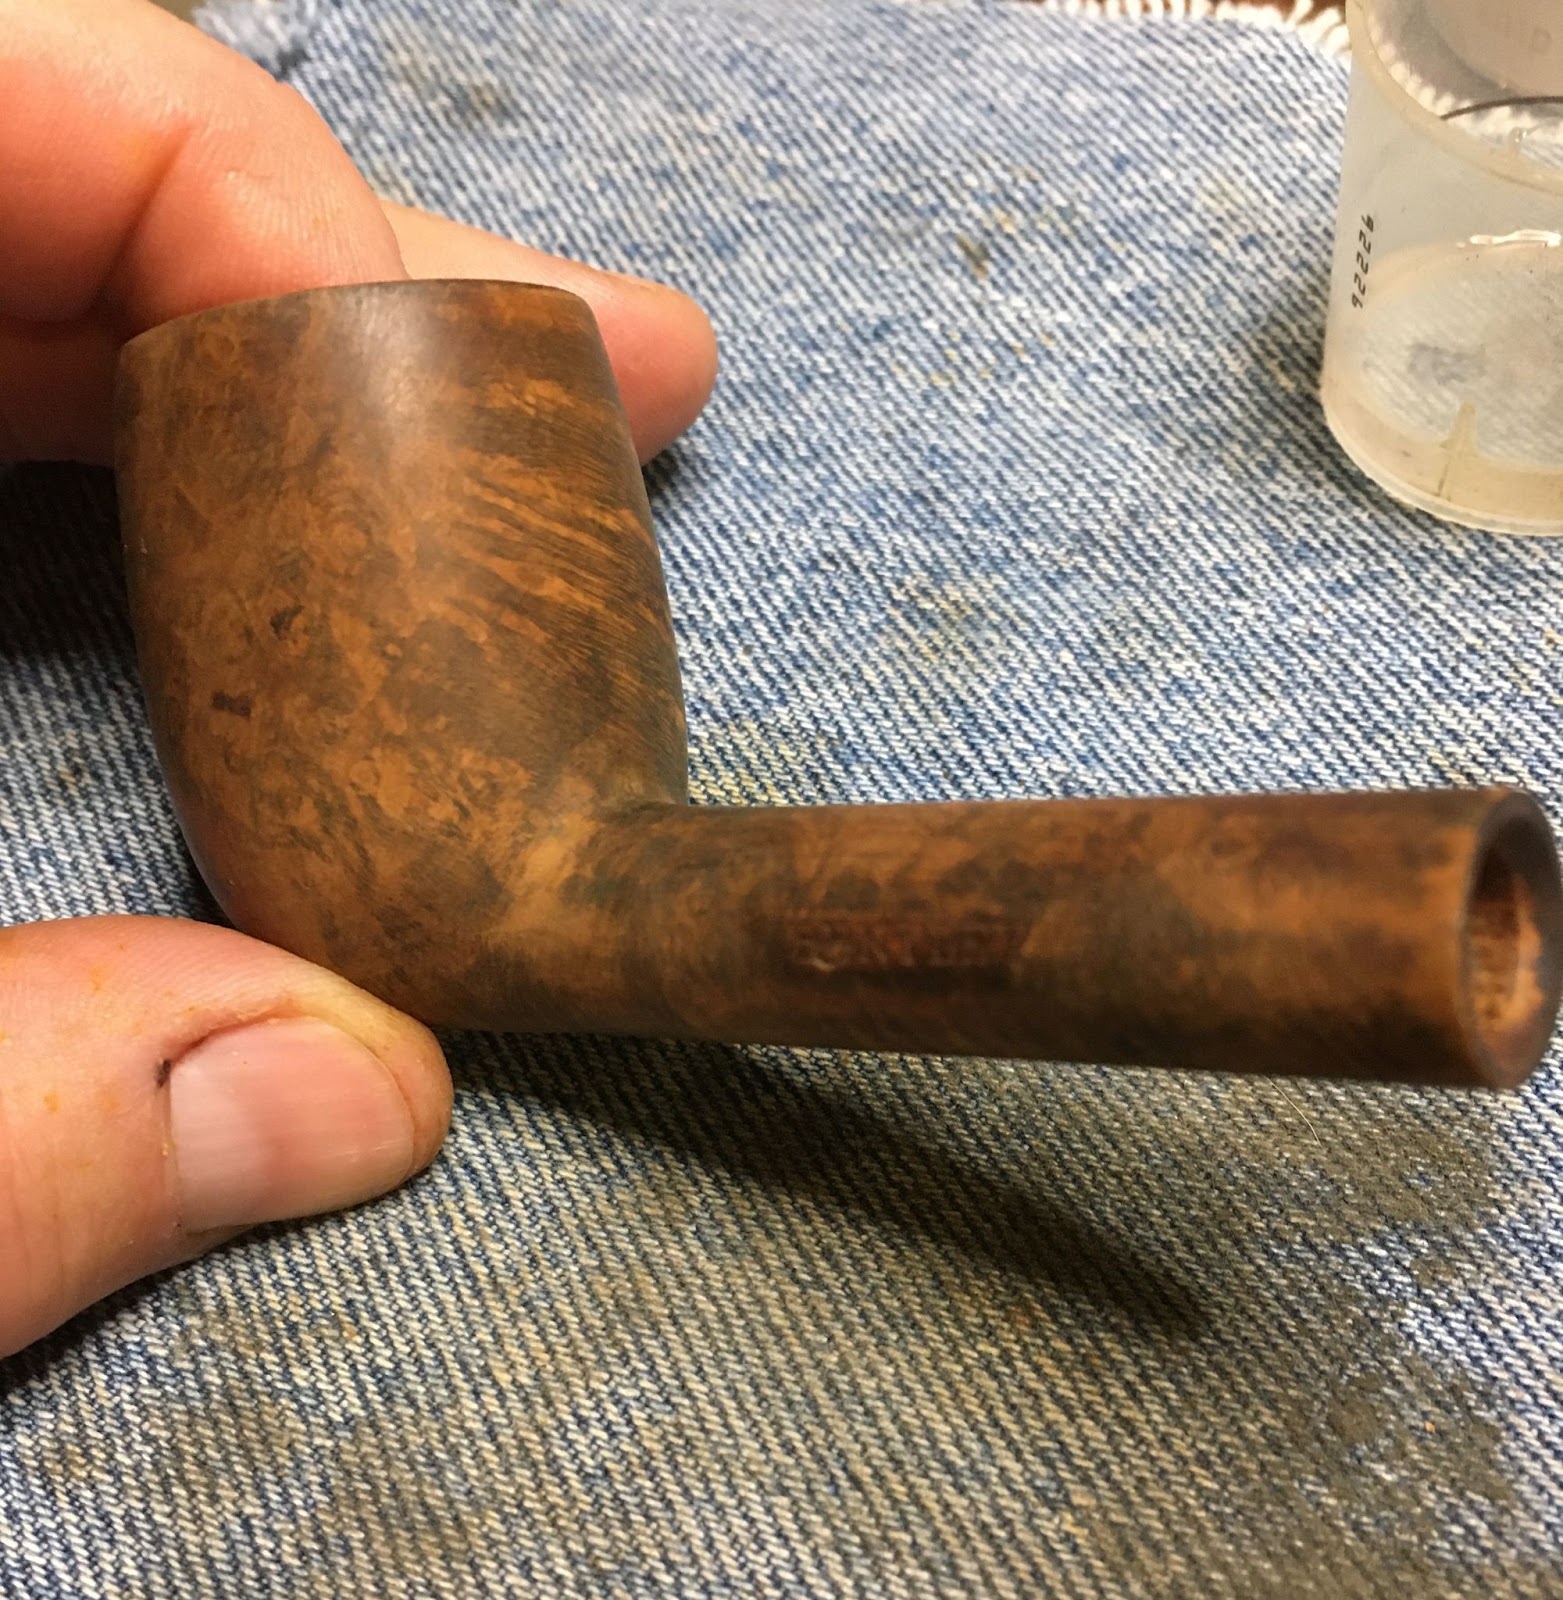
The stummel was then lightly sanded to reveal any additional areas where old fills may have been hiding.

The depth of the front fill was minimal and was filled with brown cyanoacrylate (CA, super glue).

The two pits on the right side were deeper. These were filled with brown CA applied into the pit with a fly tying bodkin.

Briar dust was then scooped with a dental scraper and a small pile placed on top of the wet CA. The back of the dental scraper was used to press the dust into the CA filled depression.

The briar dust cured almost immediately with the briar dust. The resulting fill was then filed with a small flat file.

The front fill received a second coat of brown CA. and was filed after it had cured.

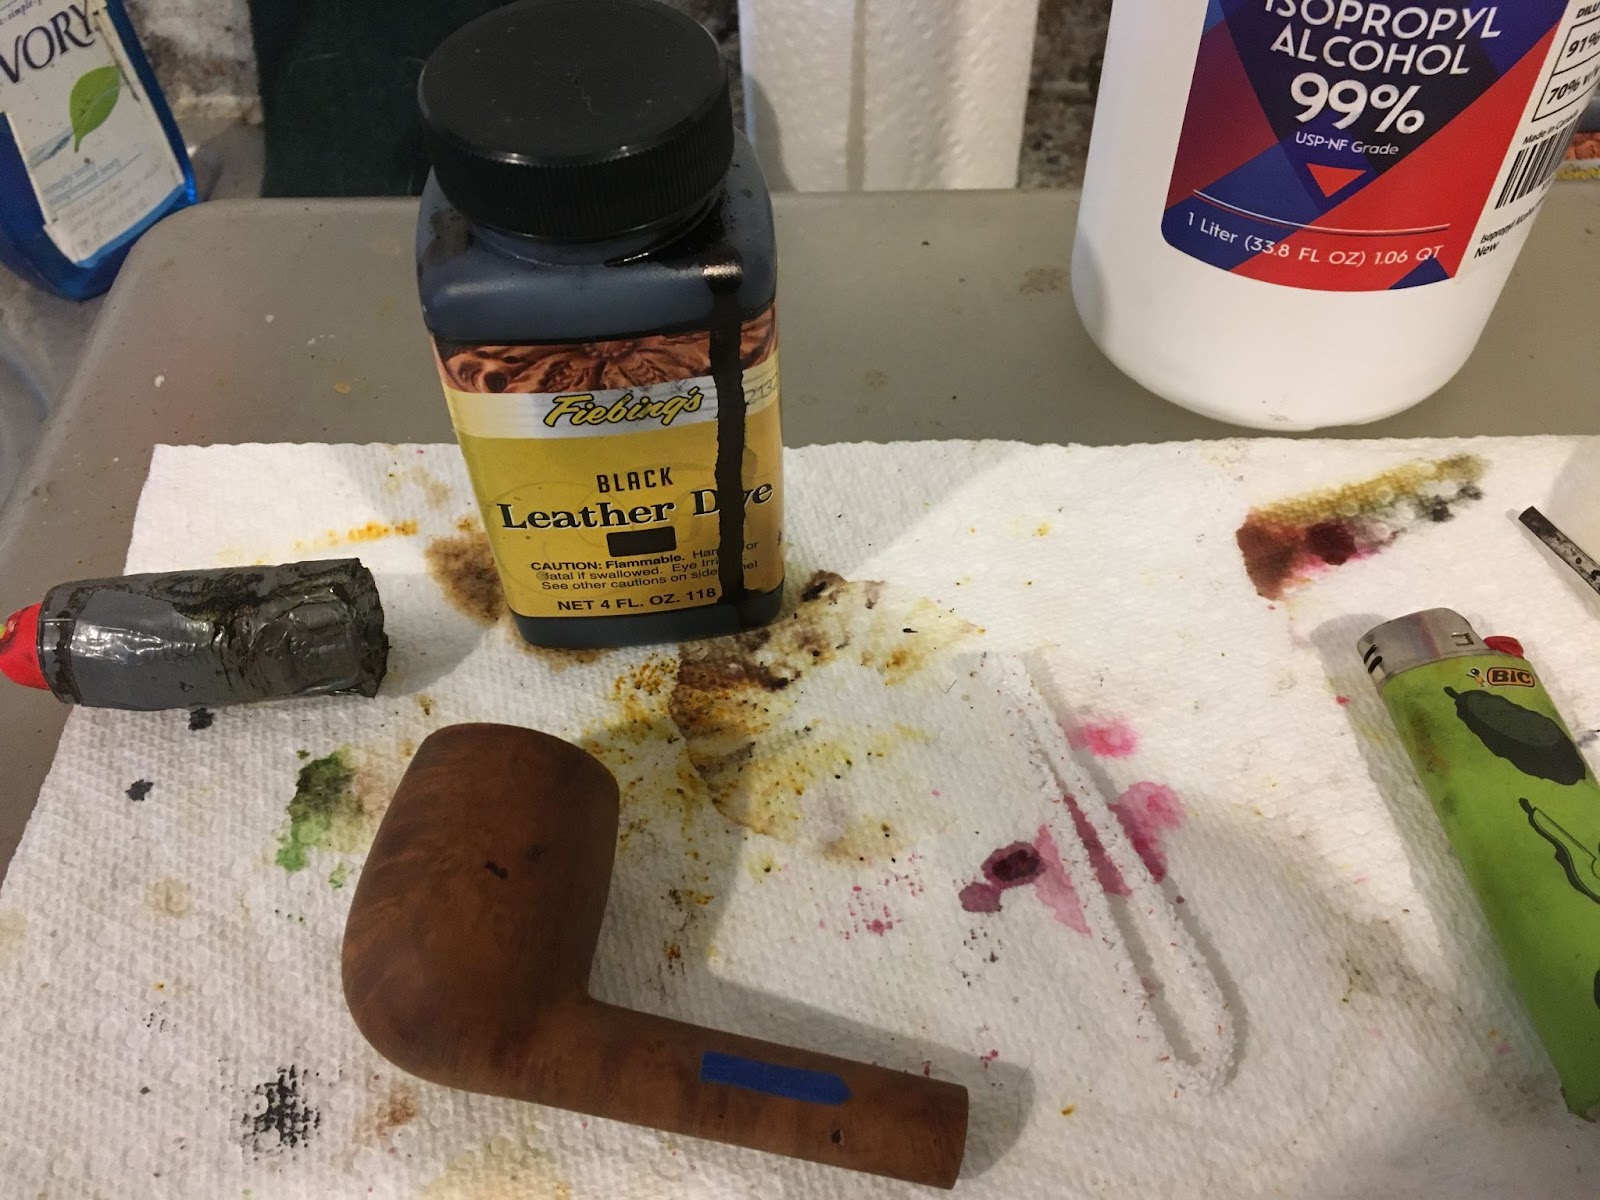
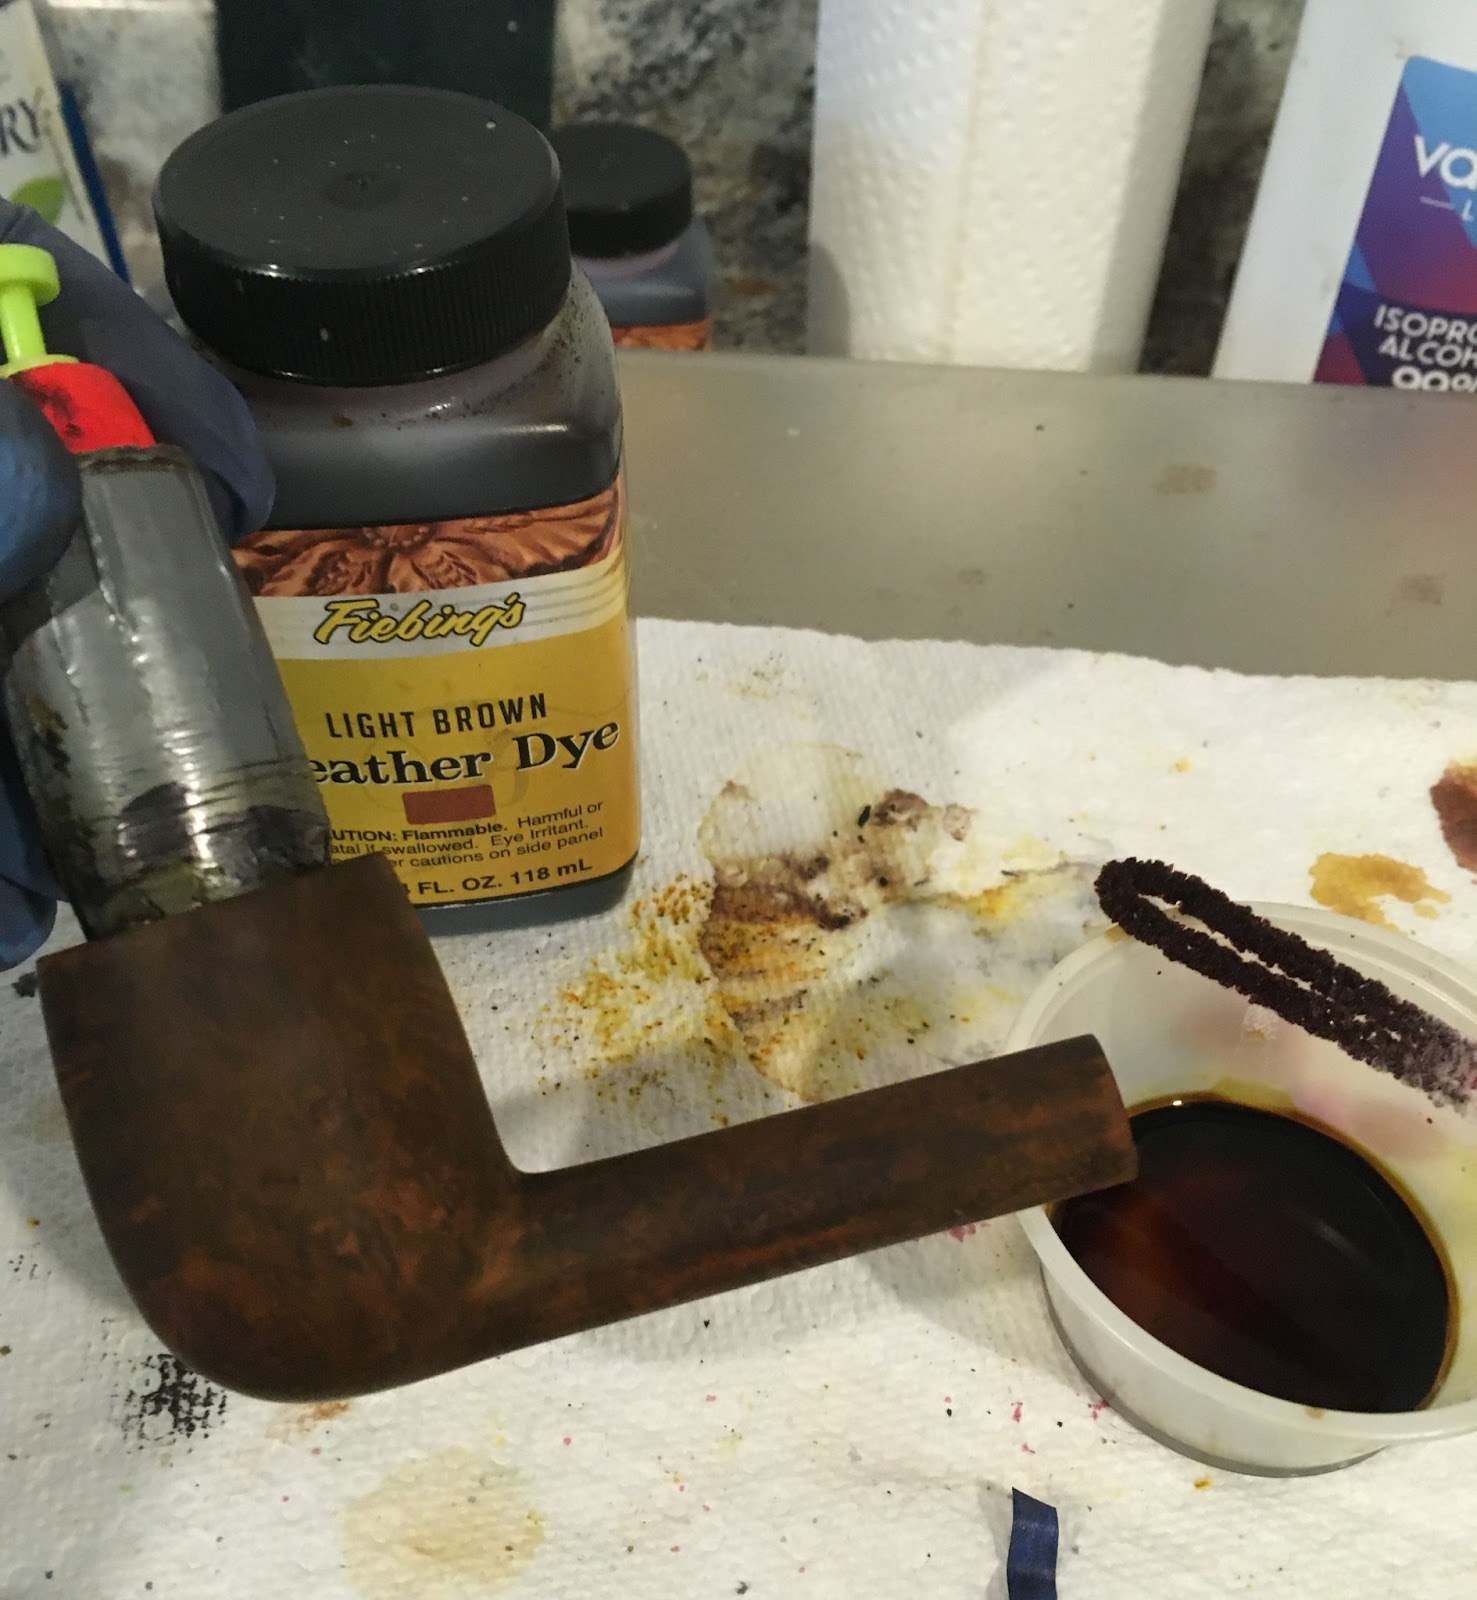
The new fills had slightly lighter areas around them from the filing. I wanted to blend the color to match the existing stain.

I first used a Cherry Furniture Touch-up Marker and allowed the stain to dry. The area was lightly wiped with a make-up pad moistened with 95% ethyl alcohol.

The color was close but not close enough. I used the Mahogany marker over the area, allowed it to dry and re-wiped with the alcohol. I was happy with the results of the second stain.

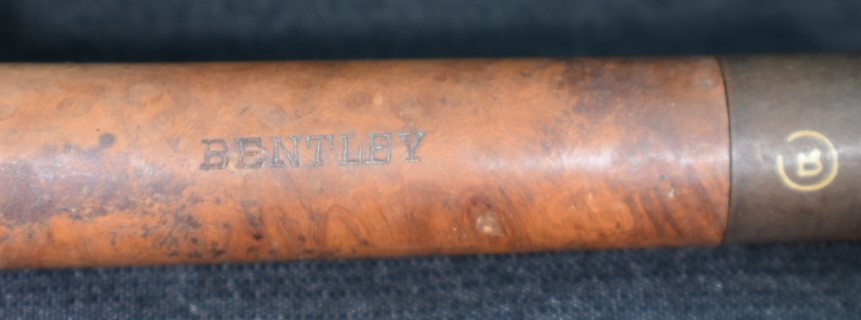
The stamp was taped with painters tape for protection from the sanding.

After two hours, the stem was allowed out of deox. The drip-dry-o-matic (patent pending) was deployed to allow excess solution to join it’s jarred brethren.

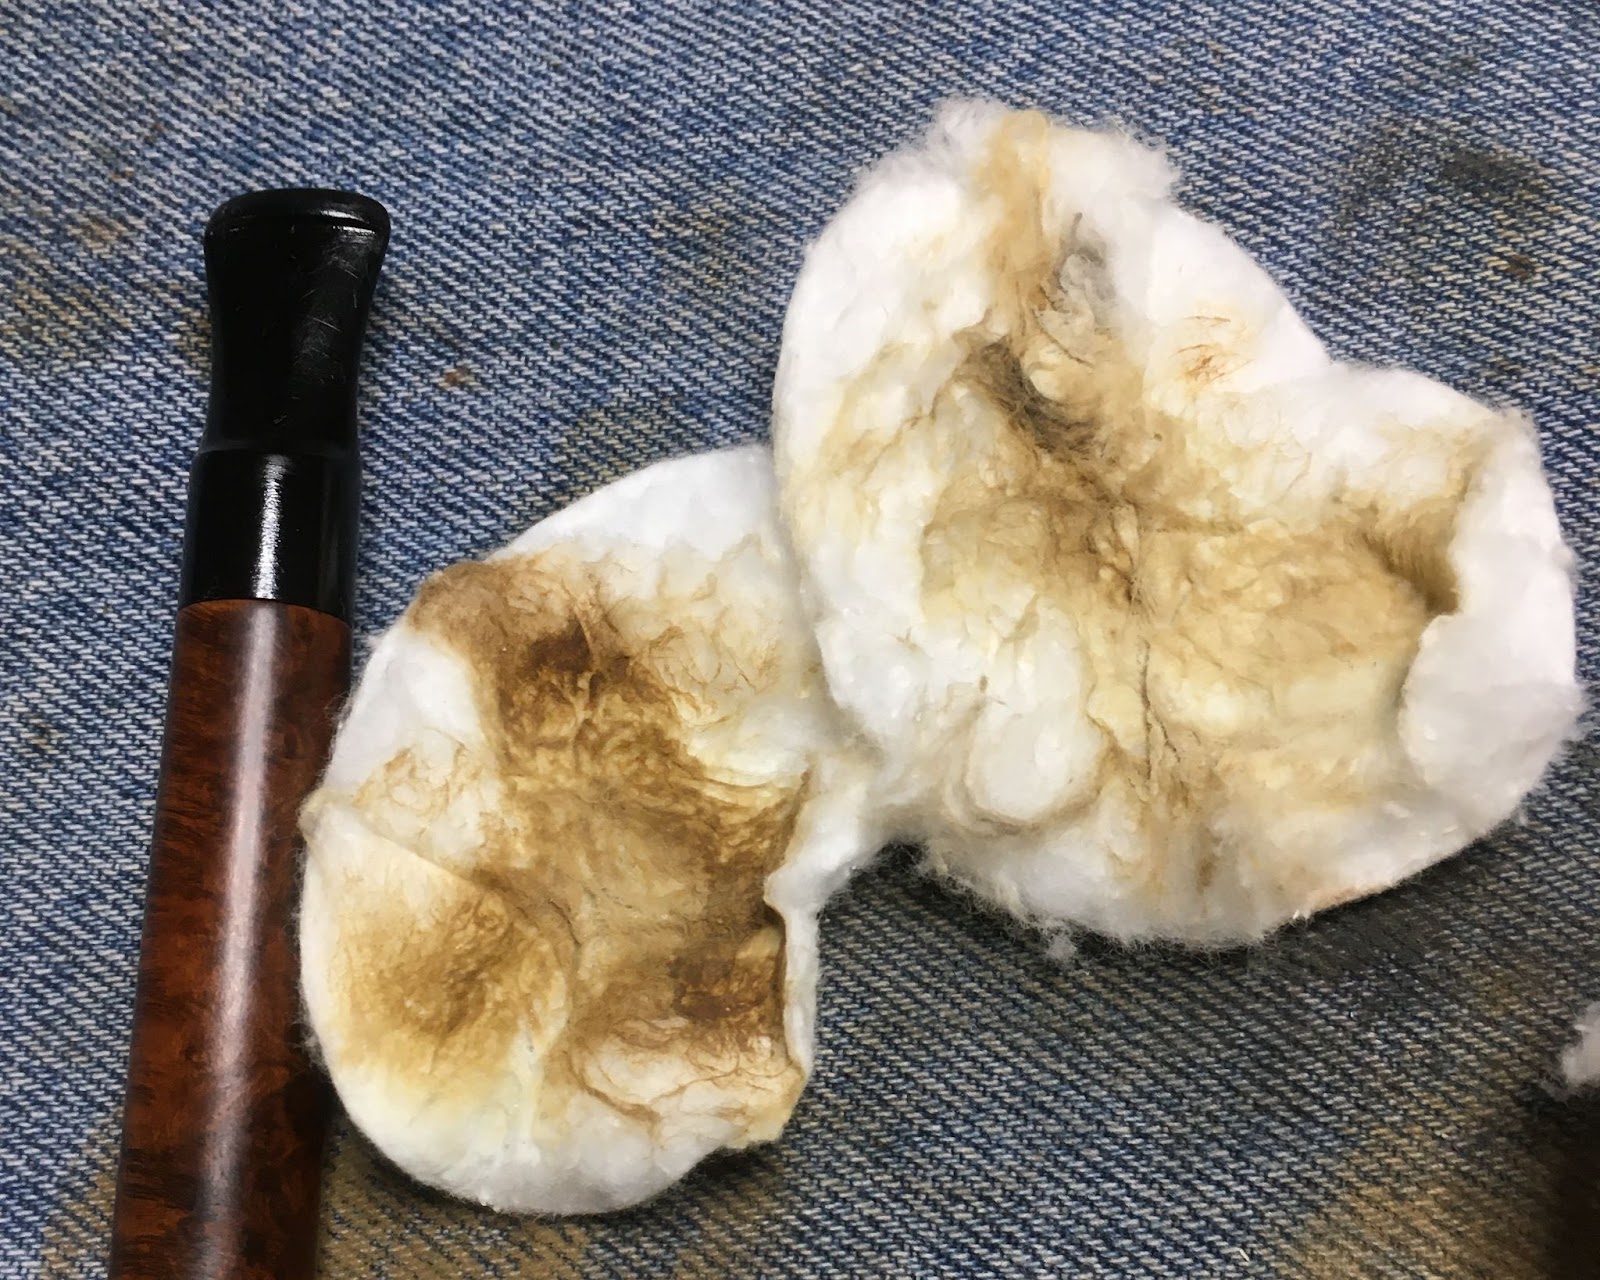
I used a coarse shop rag to vigorously rub the remaining deox solution from the stem. This removes some of the oxidized vulcanite from the surface.

Back at the workbench I used Soft Scrub cleanser on make-up pads. This removed a great deal of the oxidized vulcanite.

And, some more.

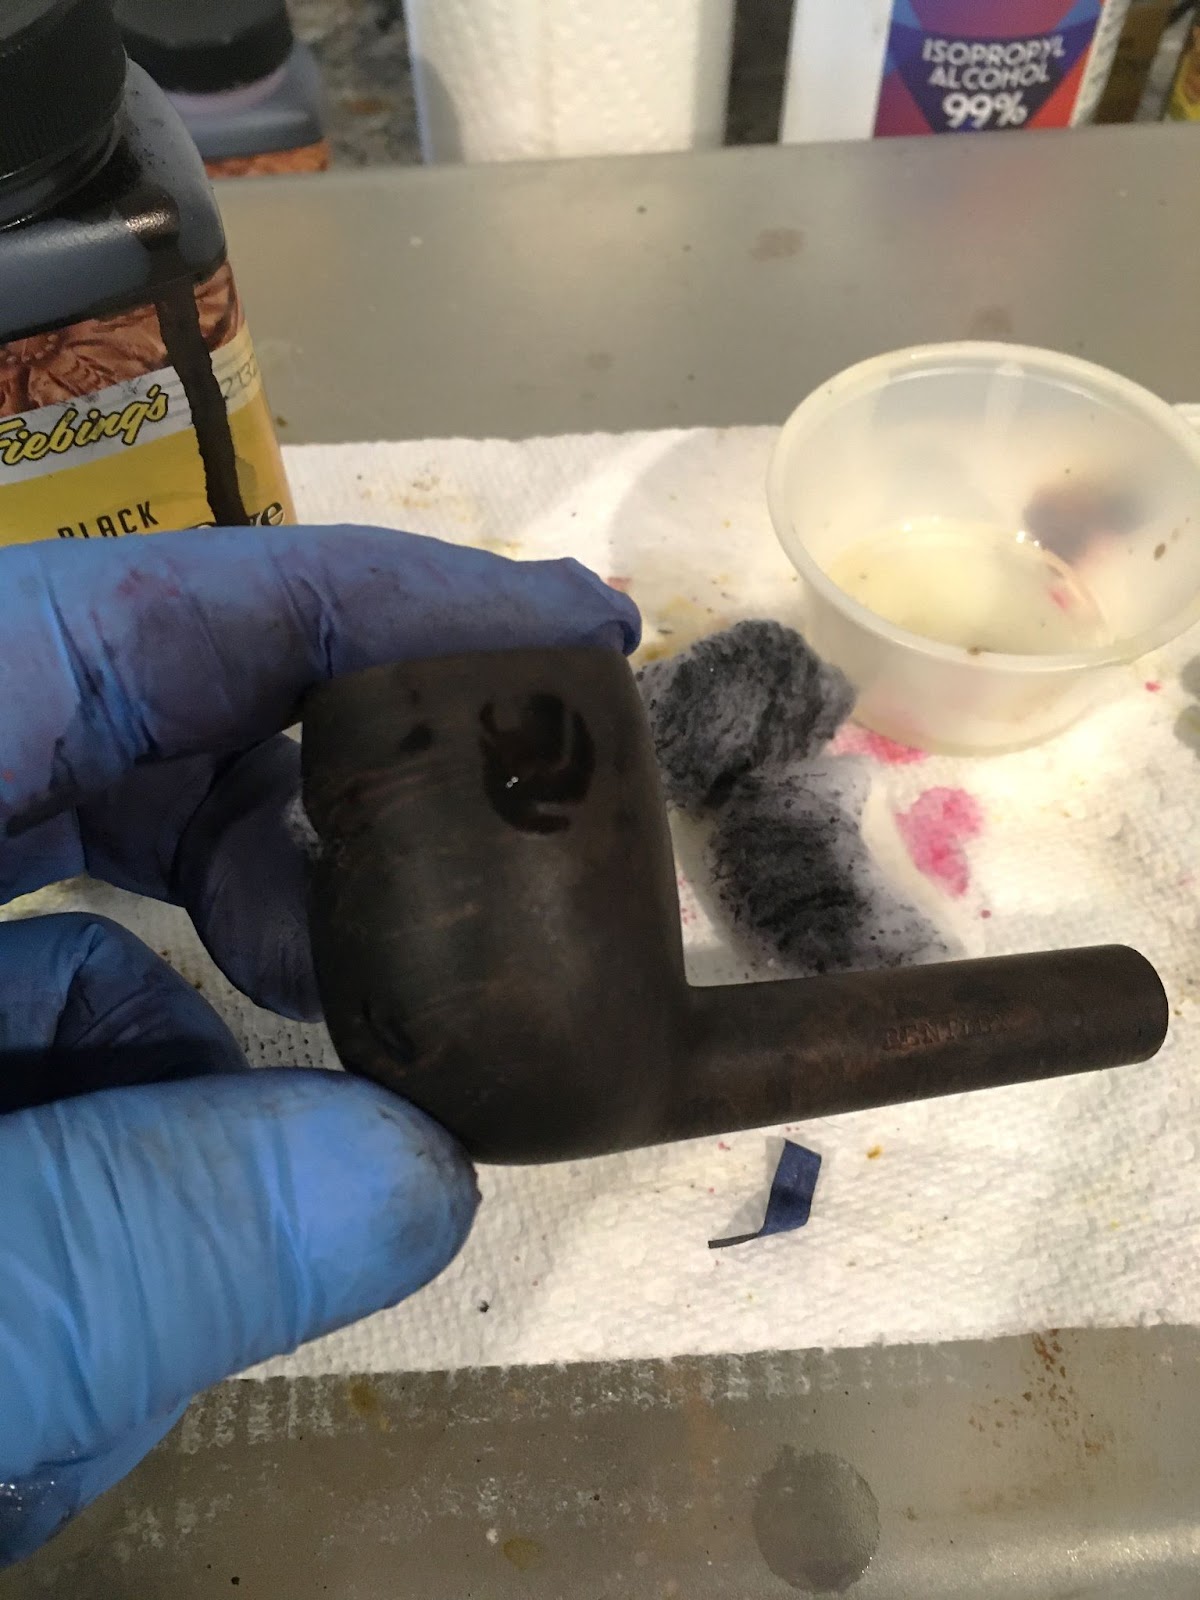
The COM stamp and the “maybe” logo were taped with painters tape to protect them from sanding.

Ready for sanding.

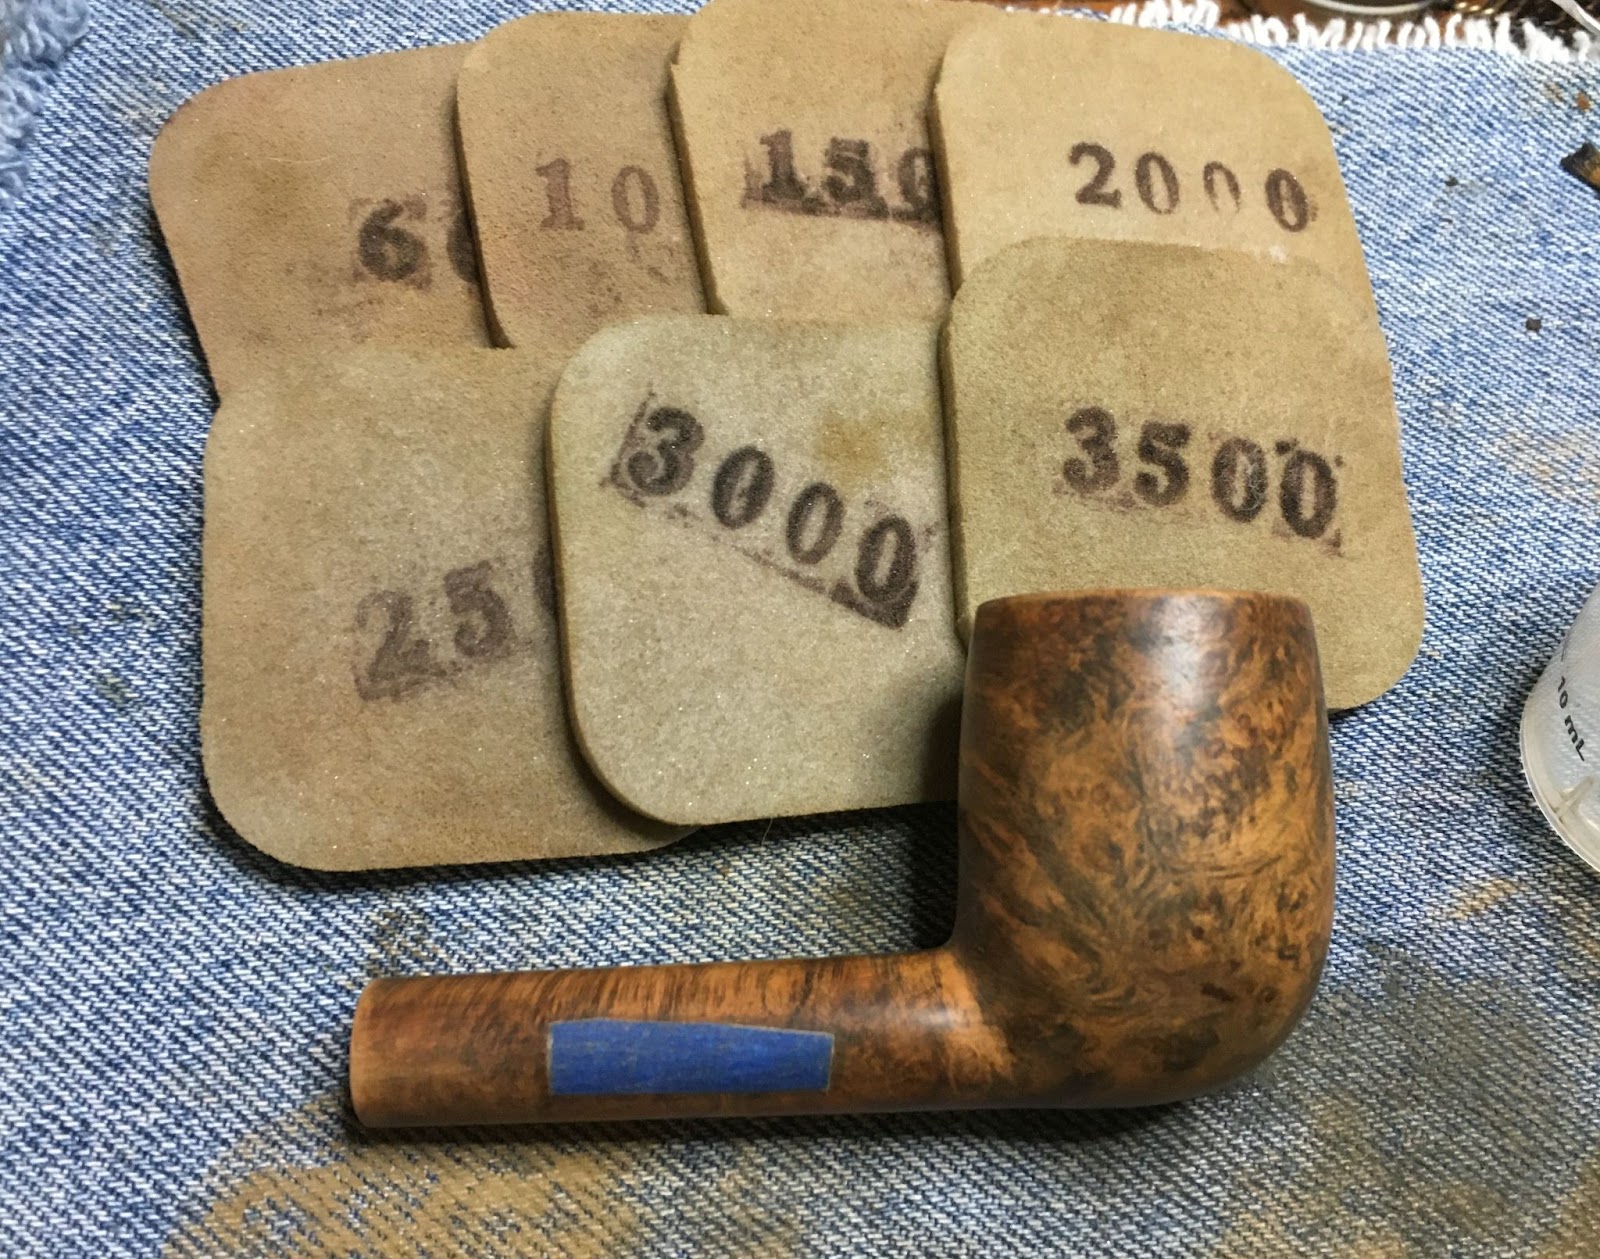
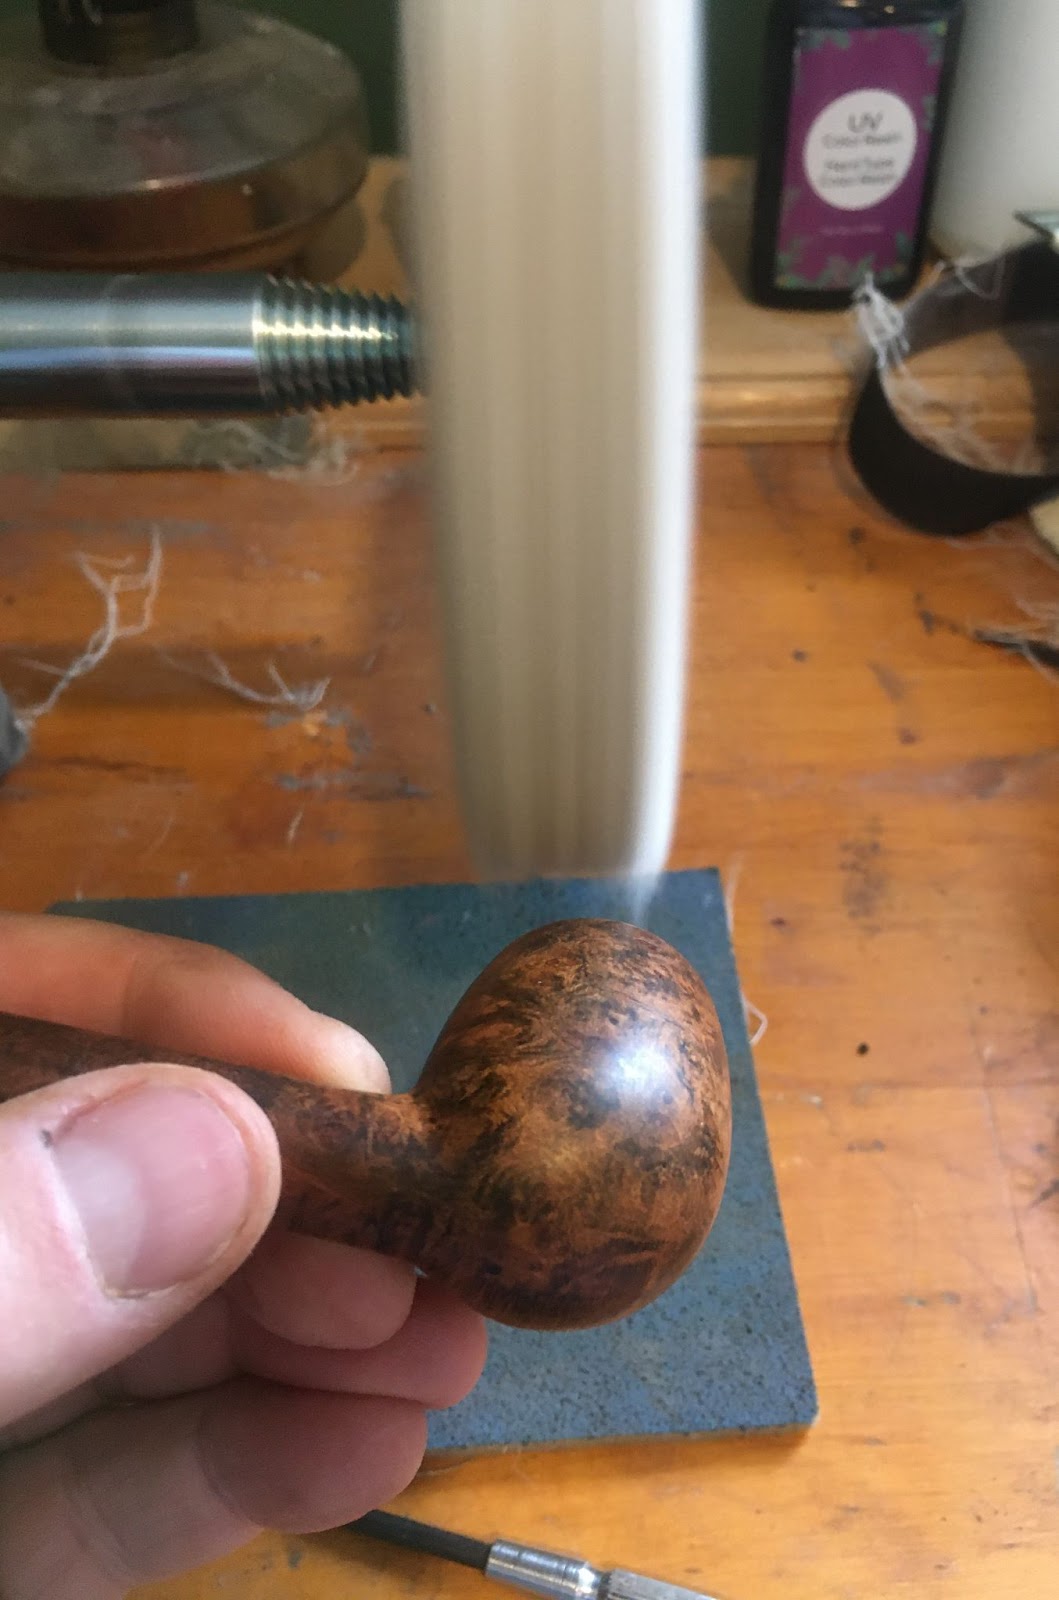
The stem and stummel were sanded intact to avoid the rounding of the edges of each part. A series of sanding sponges from 400-3500 grit. Between each sponge I wiped the stummel with a make-up pad moistened with alcohol. The stem was rubbed with mineral oil and wiped with a paper towel.

The painters tape was removed and wiped with alcohol to remove any adhesive remaining. The pipe was worked with micro-mesh pads from 4000-12000. Again, between each pad I wiped the stummel and stem between each pad as with the sanding sponges except in place of mineral oil I used Obsidian Oil.

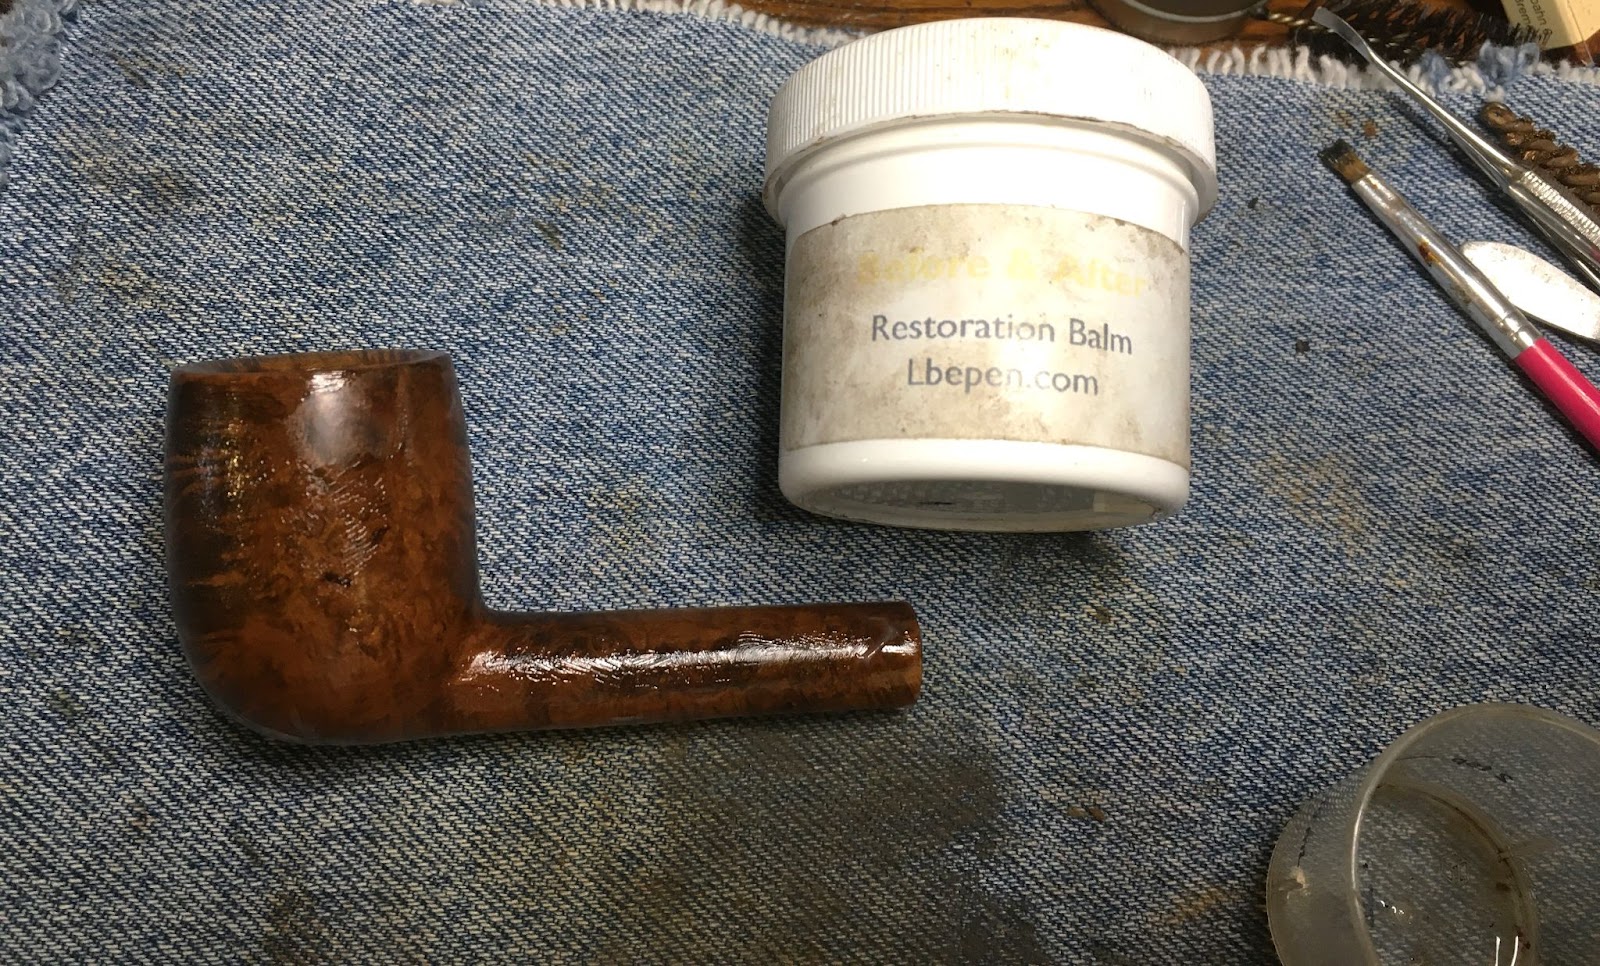
The stummel received a coating of Before and After Restoration Balm. The balm was allowed to stay on the stummel for 15 minutes.
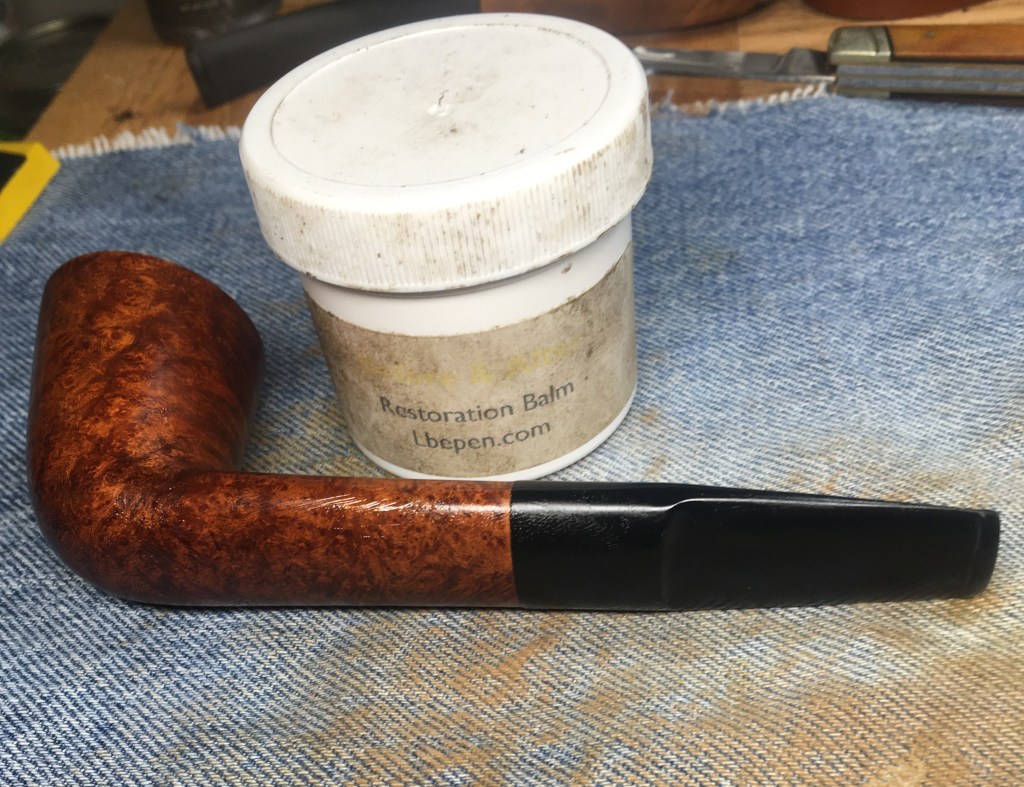
The remaining Restoration Balm was wiped from the stummel using an inside out athletic sock.

The pipe was then taken to the buffer where the pipe was given several coats of carnauba wax.

The final step was a hand buffing with a microfiber polishing cloth.
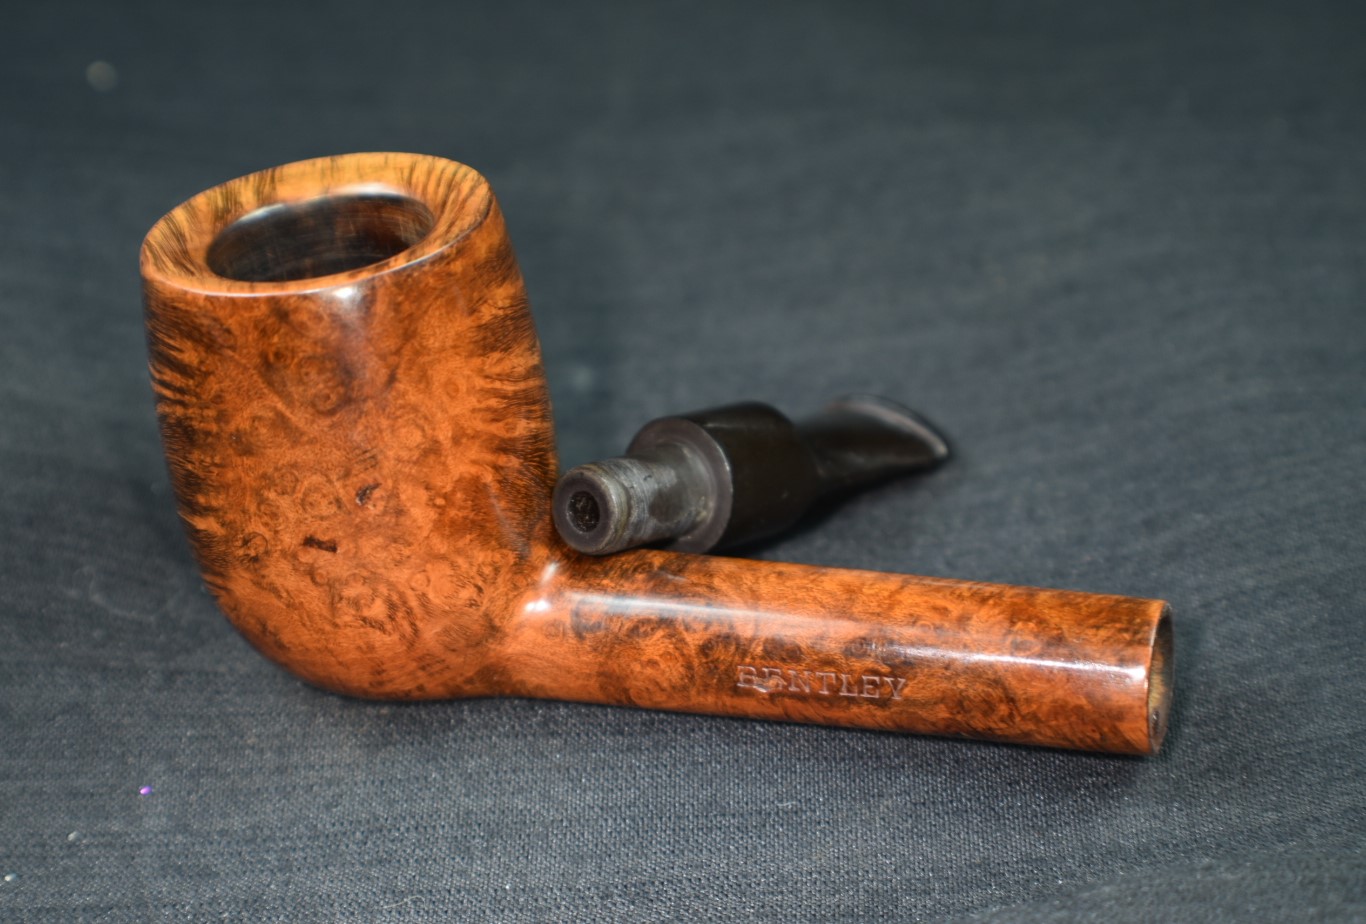
I am developing a new appreciation for the oval shank. It is a feature that provides a more robust feel in the hand while retaining a more elegant contour in profile. I am sure the extra briar also provides additional strength for those who are a bit more hard on pipes. This oval shank Carlyle Dublin restored in beautiful fashion. The briar grain grain is lovely and the factory staining was preserved. The stem lost the oxidation without losing the FRANCE stamp though I would have liked to see the factory fresh top stem logo but that appears to have been lost years ago to wear and buffing. Overall I am very pleased at how well this pipe turned out. The dimensions of the Carlyle Oval Shank Dublin are:
Length: 5.43 in./ 99.57 mm.
Weight: 1.20 oz./ 18.71 g.
Bowl Height: 1.84 in./ 38.10 mm.
Chamber Depth: 1.57 in./ 27.69 mm.
Chamber Diameter: 0.74 in./ 16.00 mm.
Outside Diameter: 1.35 in./ 28.45 mm.
I do hope that you have found something here useful to your own pipe care, maintenance or restorations. If you like this sort of thing, please click the like and subscribe buttons. Thank you for reading the ramblings of an old pipe lover.
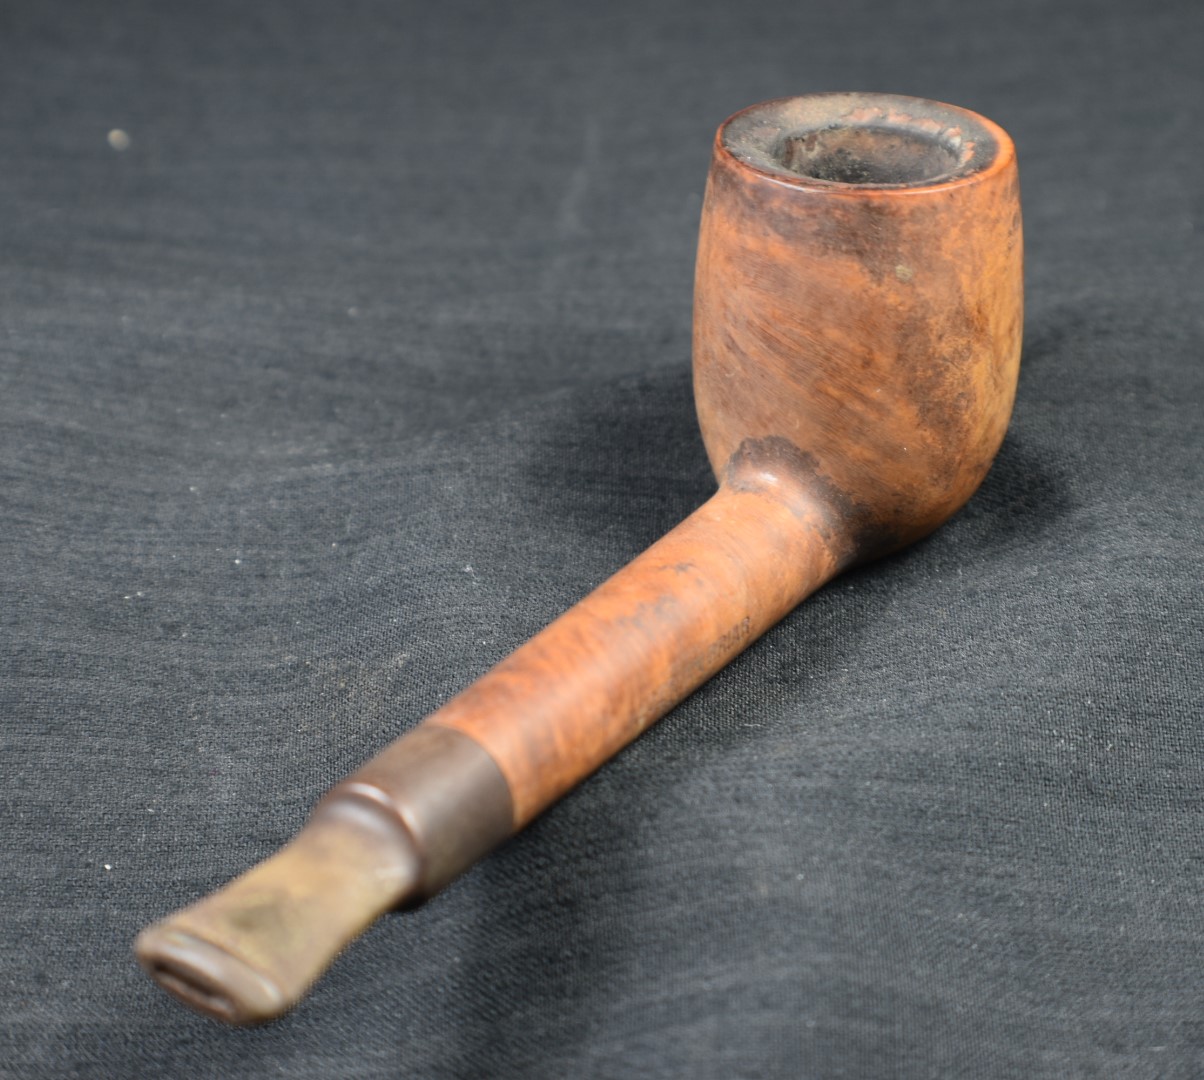
Below are some photos of the finished Carlyle Oval Shank Dublin.


 This all leads me to say with some certainty that this Jima was made in France in the 1970s.