Photographed and written by
John M. Young
It is kind of an American tradition to love the underdog. Maybe it goes back to our founding when 13 little colonies took on the greatest empire of the time. Nothing personal, United Kingdom. I look at Yello-Bole pipes in a similar light. They kind of have the reputation of being third string benchwarmers to the “real” players of Kaywoodie. Sure they were a second, but I am a guy who loves leftovers from the night before meals. So I kind of have a soft spot in my heart for seconds.
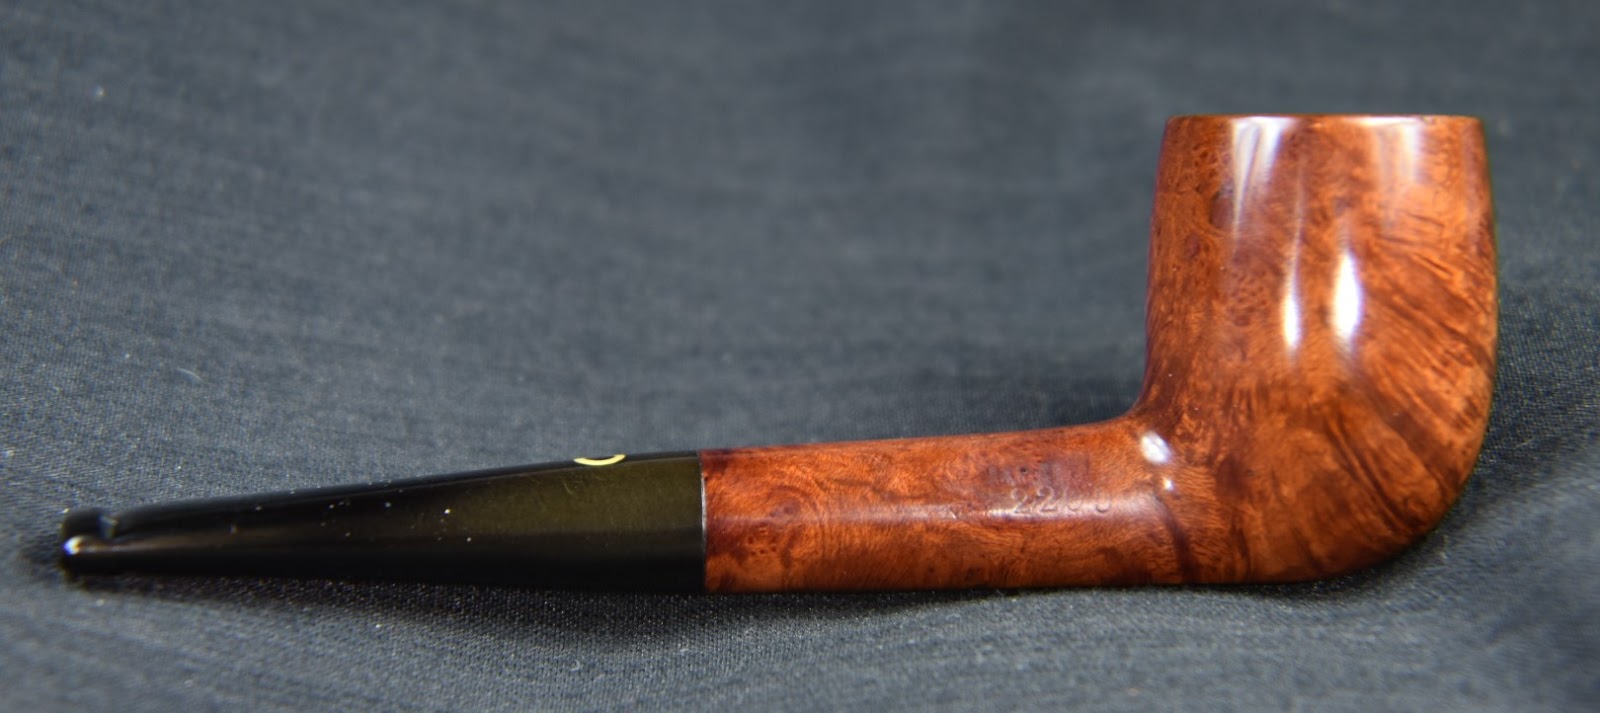
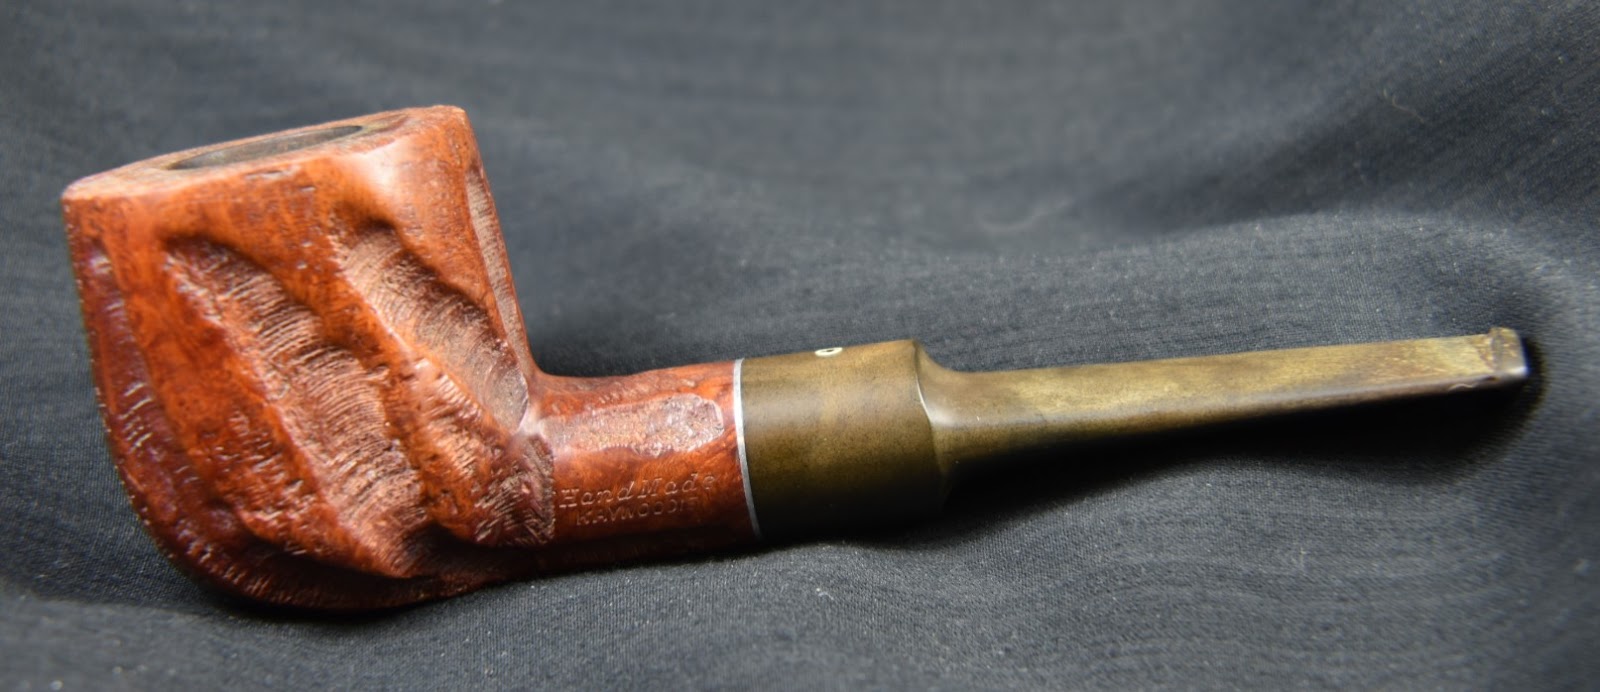
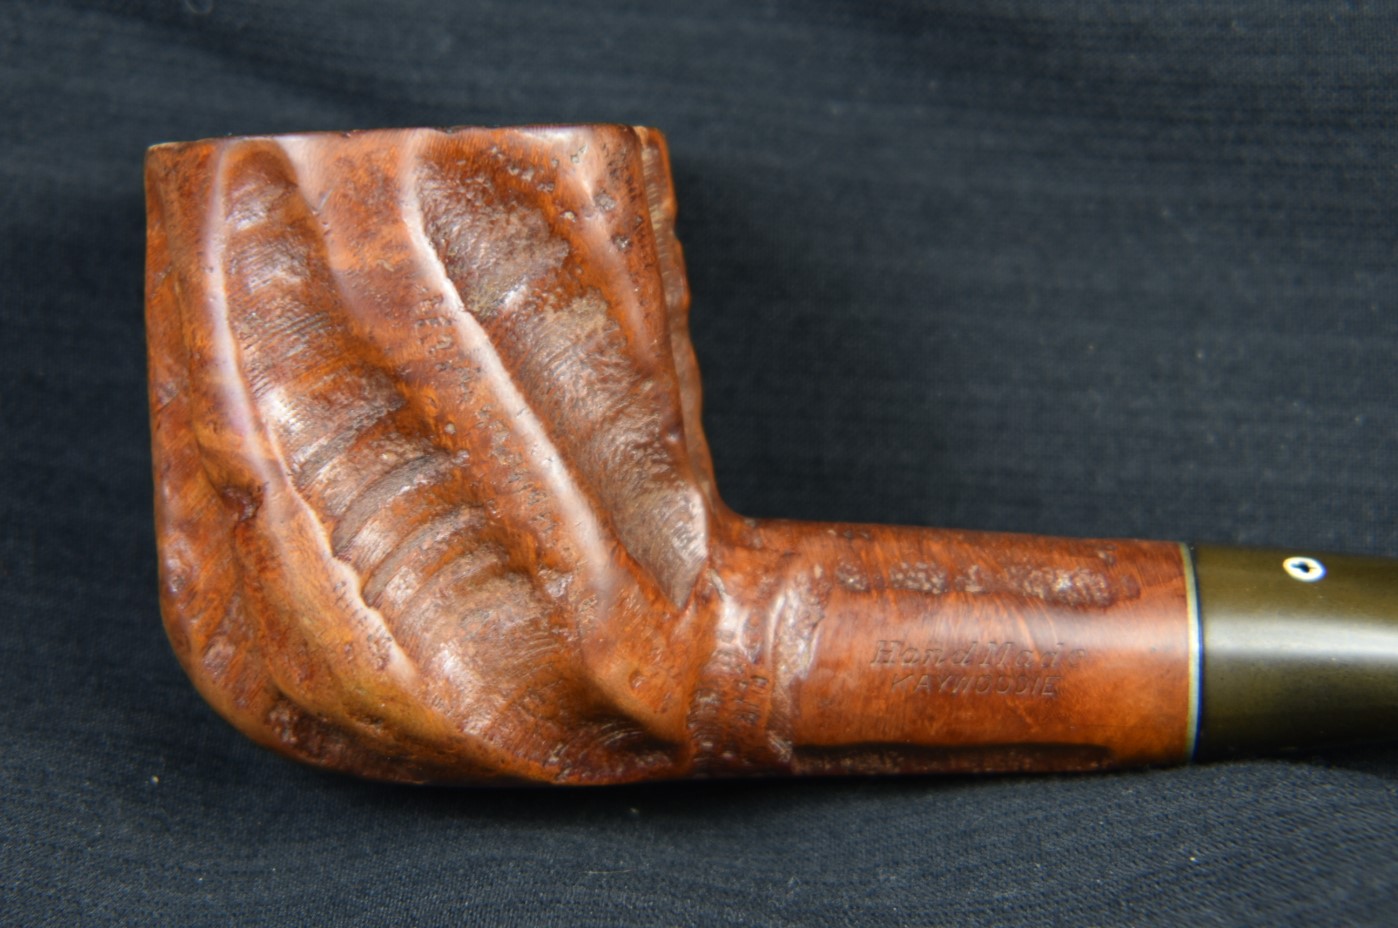
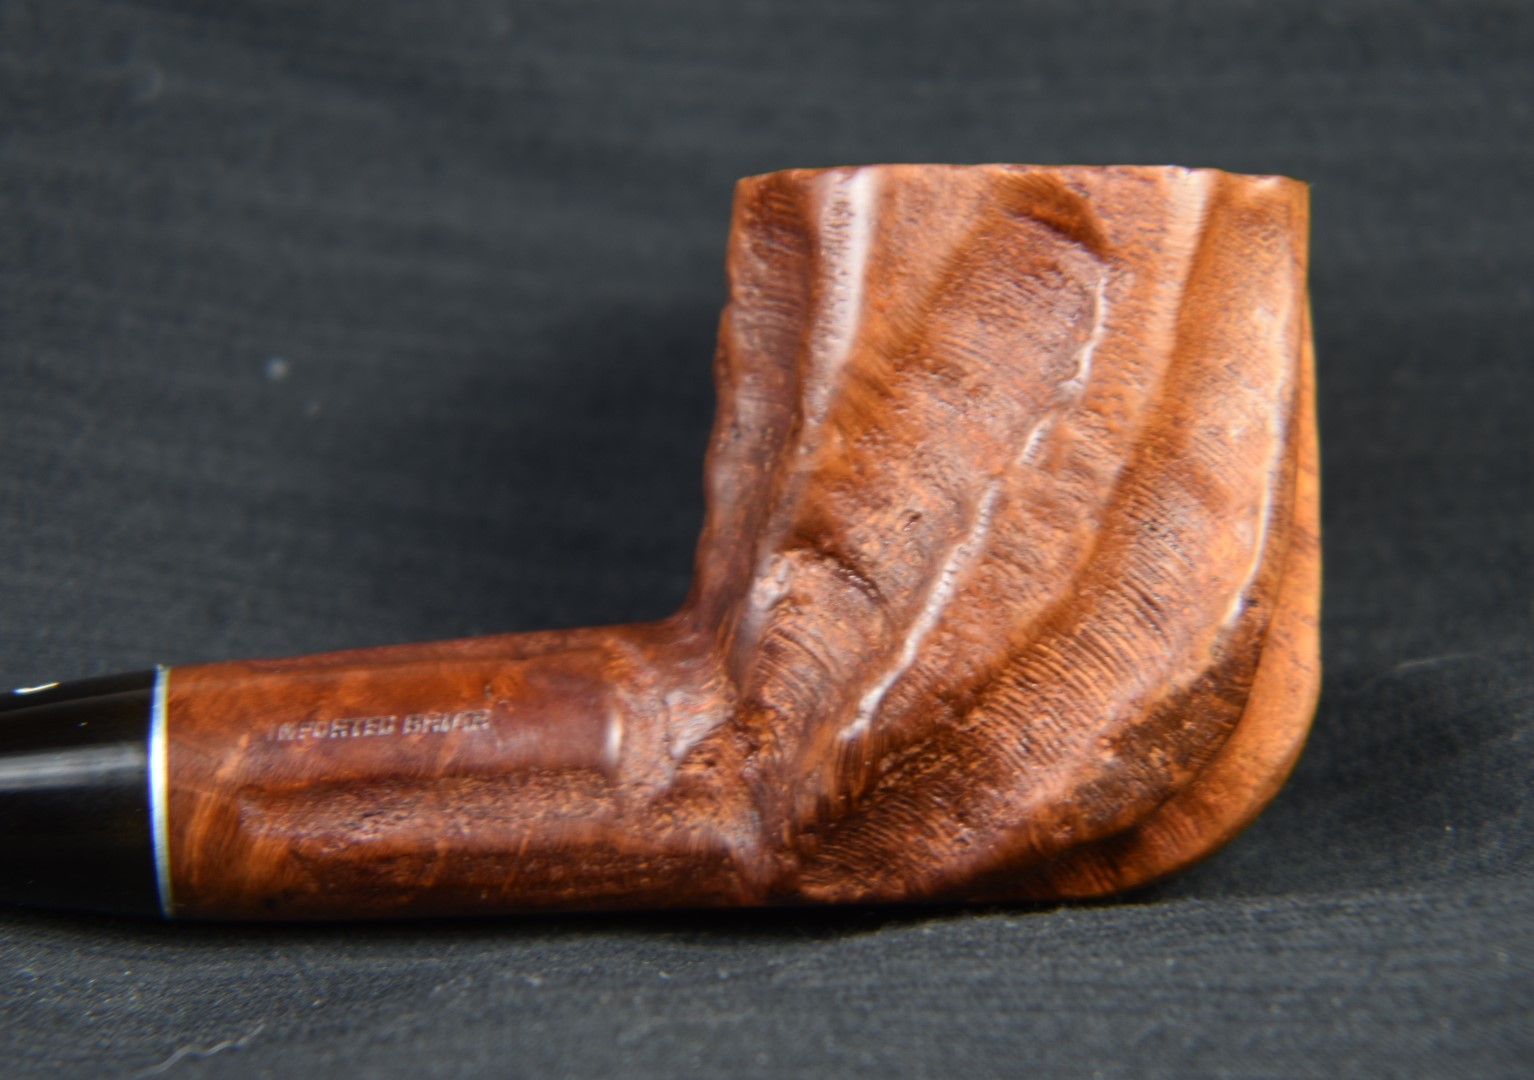
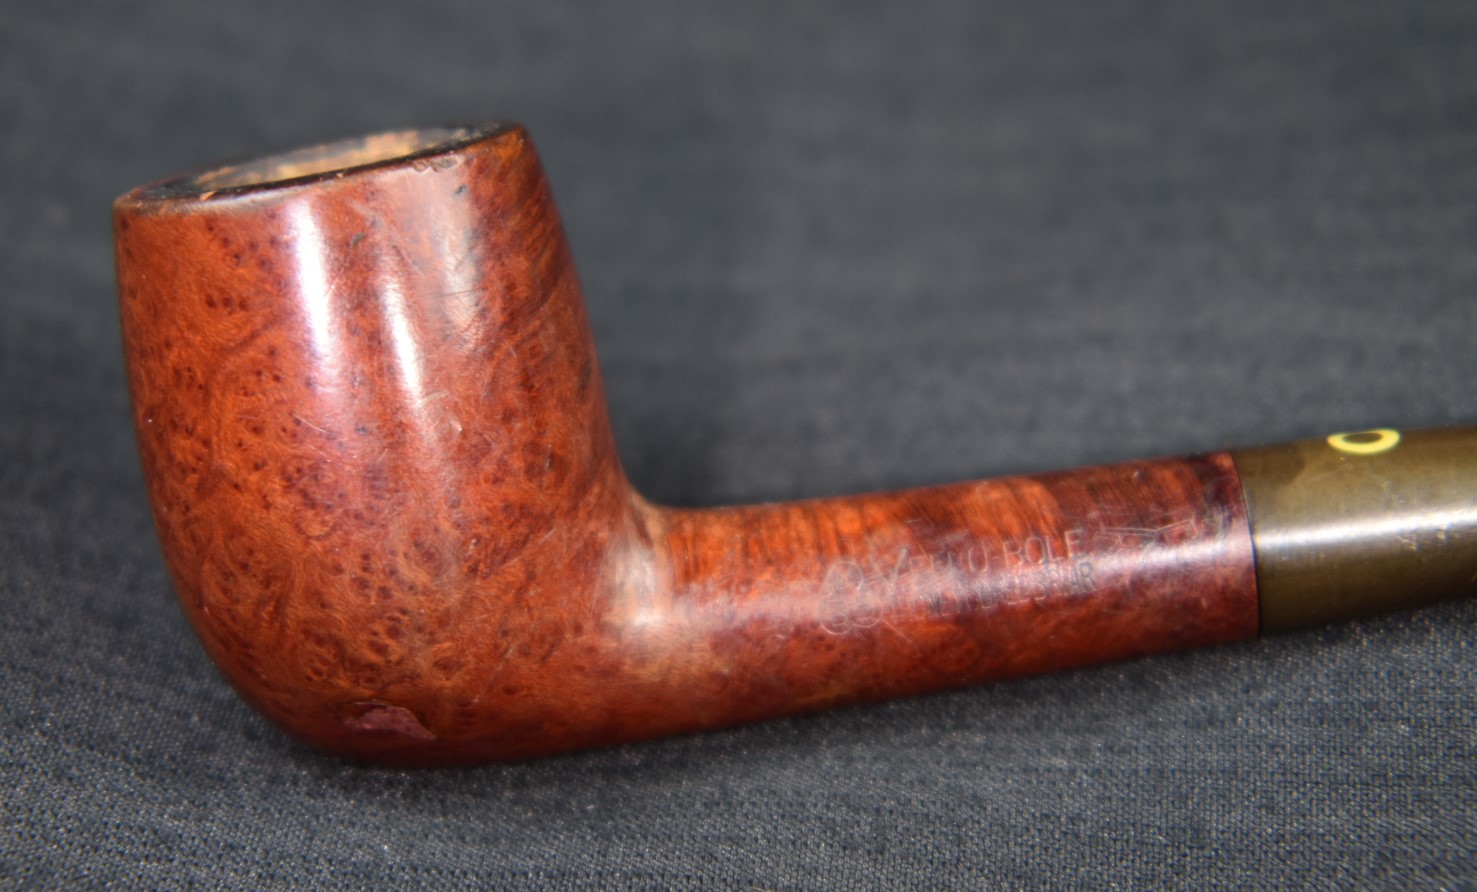
This little Yello-Bole billiard caught my eye because of the stamp “Honey Cured Briar”. This is a bit more of a rarity than the usual “Cured with Real Honey”. According to pipedia.org, “Pipes from 1933-1936 they were stamped “Honey Cured Briar” (https://pipedia.org/wiki/Yello-Bole). That provides pretty finite dates for this old pipe. Let me show you what it looked like upon arrival.


Yello-Bole was started as a processor of briar that did not meet the quality standards for Kaywoodie pipes. I’ll allow pipedia.org to tell the story as a more reputable source than my failing memory.
“In 1932 Kaufmann Bros. & Bondy (KB&B), est. 1851, expanded their programm consisting of KB&B pipes, Reiss-Premier and Kaywoodie as the mainstay brand by introducing the Yello-Bole line. Yello- Bole was designed as an outlet for lower grade briar not used in Kaywoodie production.
At that time KB&B produced their brands in Union City and in West New York, both New Jersey. Deviating from that, Yello-Boles were manufactured by The New England Briar Pipe Company in Penacook, New Hampshire to use this KB&B subsidiary to capacity.1966 Add
As briar was hardly had during World War II, the KB&B Company embarked on a project of domestically grown briar wood, called Mission Briar or manzanita early in 1941. The Pacific Briarwood Company, a subsidiary founded for this purpose, began harvesting the burls growing on the slopes of the Santa Cruz Mountains of California. Though this wood is botanically the same as briar form the Mediterranean countries, the smoking characteristics were not quite as good and the project was abandoned after the war.
Was it for that reason? Advertising from the 1940’s pictures the Yello-Bole “Honey Girl”, who gently urges the pipe smoker to smoke the pipe with “a little honey in every bowl.” In fact, honey was an ingredient of the material used to coat the inside of the bowl. It was said to provide a faster, sweeter break-in of the pipe.
In 1952, 101 years after the Kaufmann brothers had opened a small pipe shop in the Bowery section of New York City, Kaufmann Bros. & Bondy Company with all subsidiaries was purchased by an unknown company strange to pipe industry. (At least, the new owner was economical because the KB&B managers had to leave their luxurious bureaus on 630 Fifth Avenue, New York – the Rockefeller Center – for new rooms in the factory on 6400 Broadway, West New York.) This interlude ended after only 3 years in March of 1955, when S. M. Frank & Co. bought Kaufmann Bros. & Bondy, The Kaywoodie Company, Reiss-Premier Corp., The New England Briar Pipe Co. and – of course – Yello-Bole.
From the time of S.M. Frank’s purchase in 1955 until 1972 Yello-Bole was run as a separate company, as division of the parent. Through this period, Yello-Bole, same as Kaywoodie, had it’s own officers, sales force and maintained the production facilities in West New York. These 17 years were probably the most glorious years in Yello-Bole’s history.” (https://pipedia.org/wiki/Yello-Bole).
“Tips for Dating Yello-Bole Pipes
- KBB stamped in the clover leaf indicates it was made in 1955 or earlier as they stopped this stamping after being acquired by S.M. Frank.
- Pipes from 1933-1936 they were stamped “Honey Cured Briar”
- Post 1936 pipes were stamped “Cured with Real Honey”
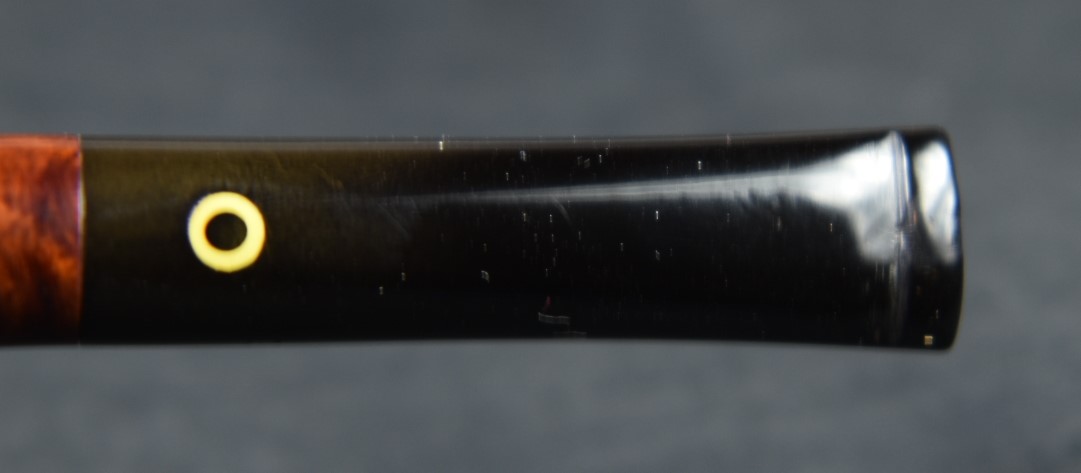
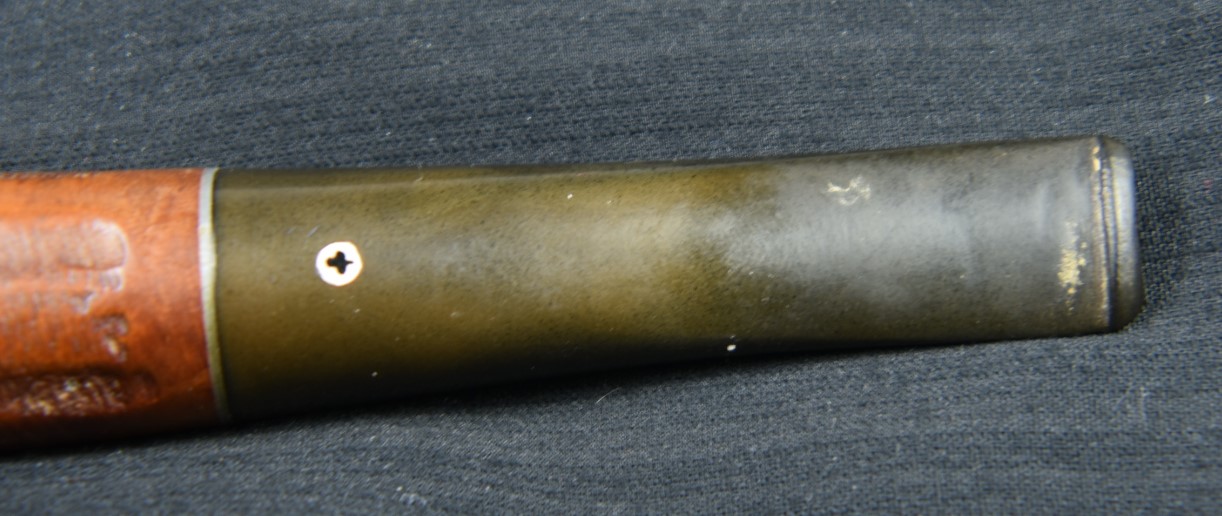
- Pipe stems stamped with the propeller logo were made in the 1930’s or 1940’s – no propellers were used after the 1940’s.
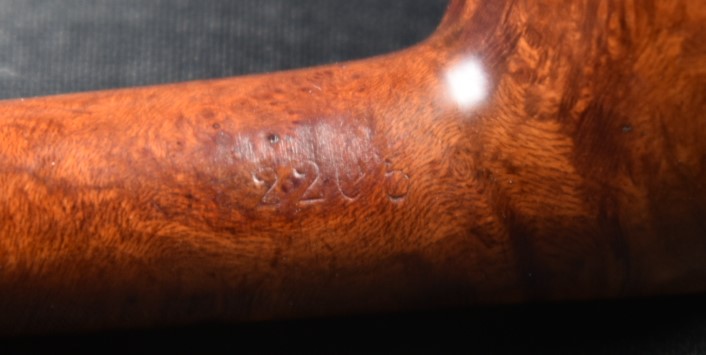
- Yello Bole used a 4 digit code stamped on the pipe in the 1930’s.
- Pipes with the Yello-Bole circle stamped on the shank it were made in the 1930’s, this stopped after 1939.
- Pipes stamped BRUYERE rather than BRIAR it was made in the 1930’s.”
(https://pipedia.org/wiki/Yello-Bole).
Using the above guidelines this pipe represents the 1st, 2nd and 5th bullet points:
- KBB stamped in the clover leaf
- “Honey Cured Briar”
- 4 digit code


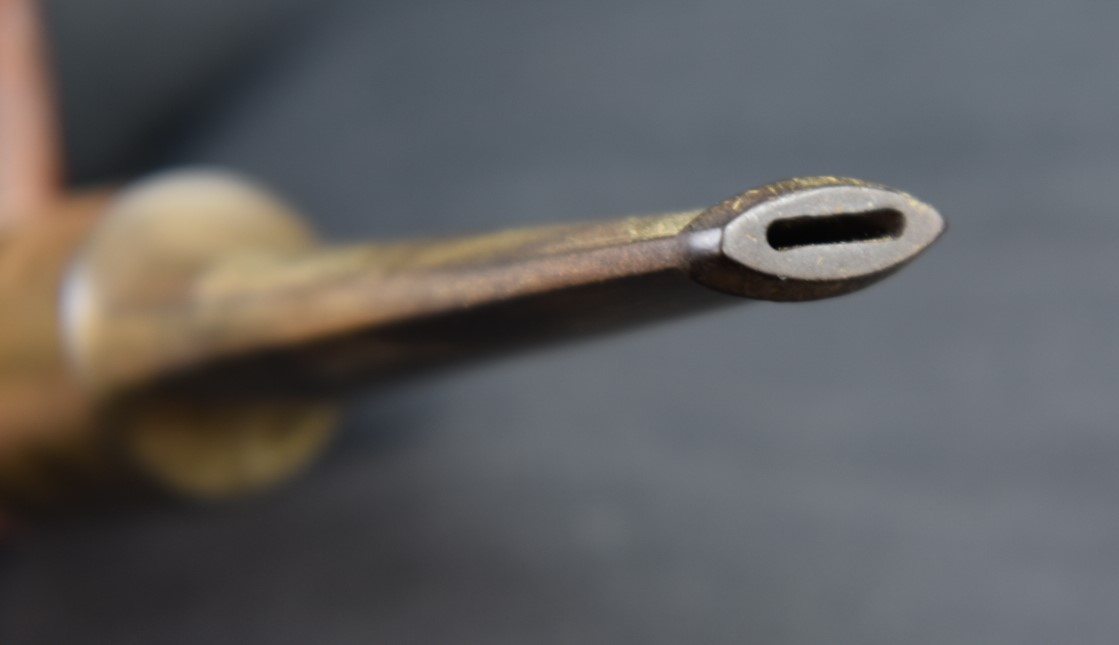
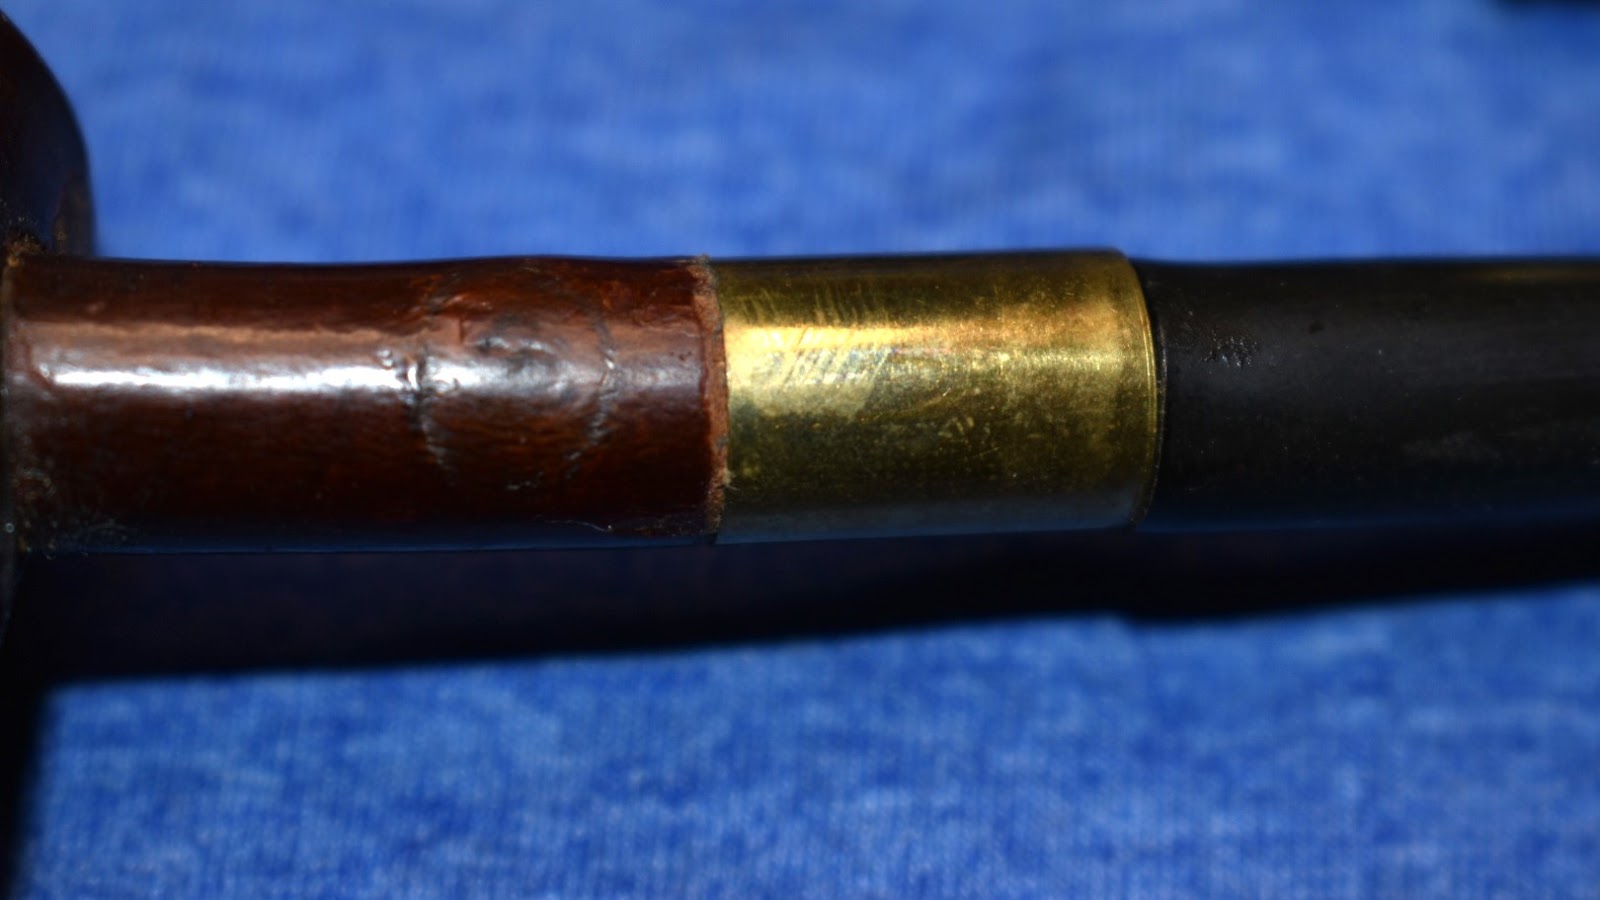
Other than the stampings it also had some of the hallmarks of an older pipe. The button for example was filed in a “not so modern” fashion and had a narrow rectangular draft hole. Overall the pipe was in good condition for a 90 year old pipe that I paid less than 5 dollars for. Heck, the shipping cost more than the pipe. In examining the old girl I could still see some of the yellow bowl coating in the tobacco chamber. The stem was very tight, actually “scary tight”. I rubbed the tenon with olive oil when I reassembled it for the before photos.
I figured that the restoration would be fairly simple. It needed a light reaming, airway cleaning, stinger removal and cleaning, oxidation removal from the stem, stummel sanding and fills, button rebuilding with cyanoacrylate (CA, super glue), briar refurbishing, stem polishing and a wax. That sounded like a relaxing evening.
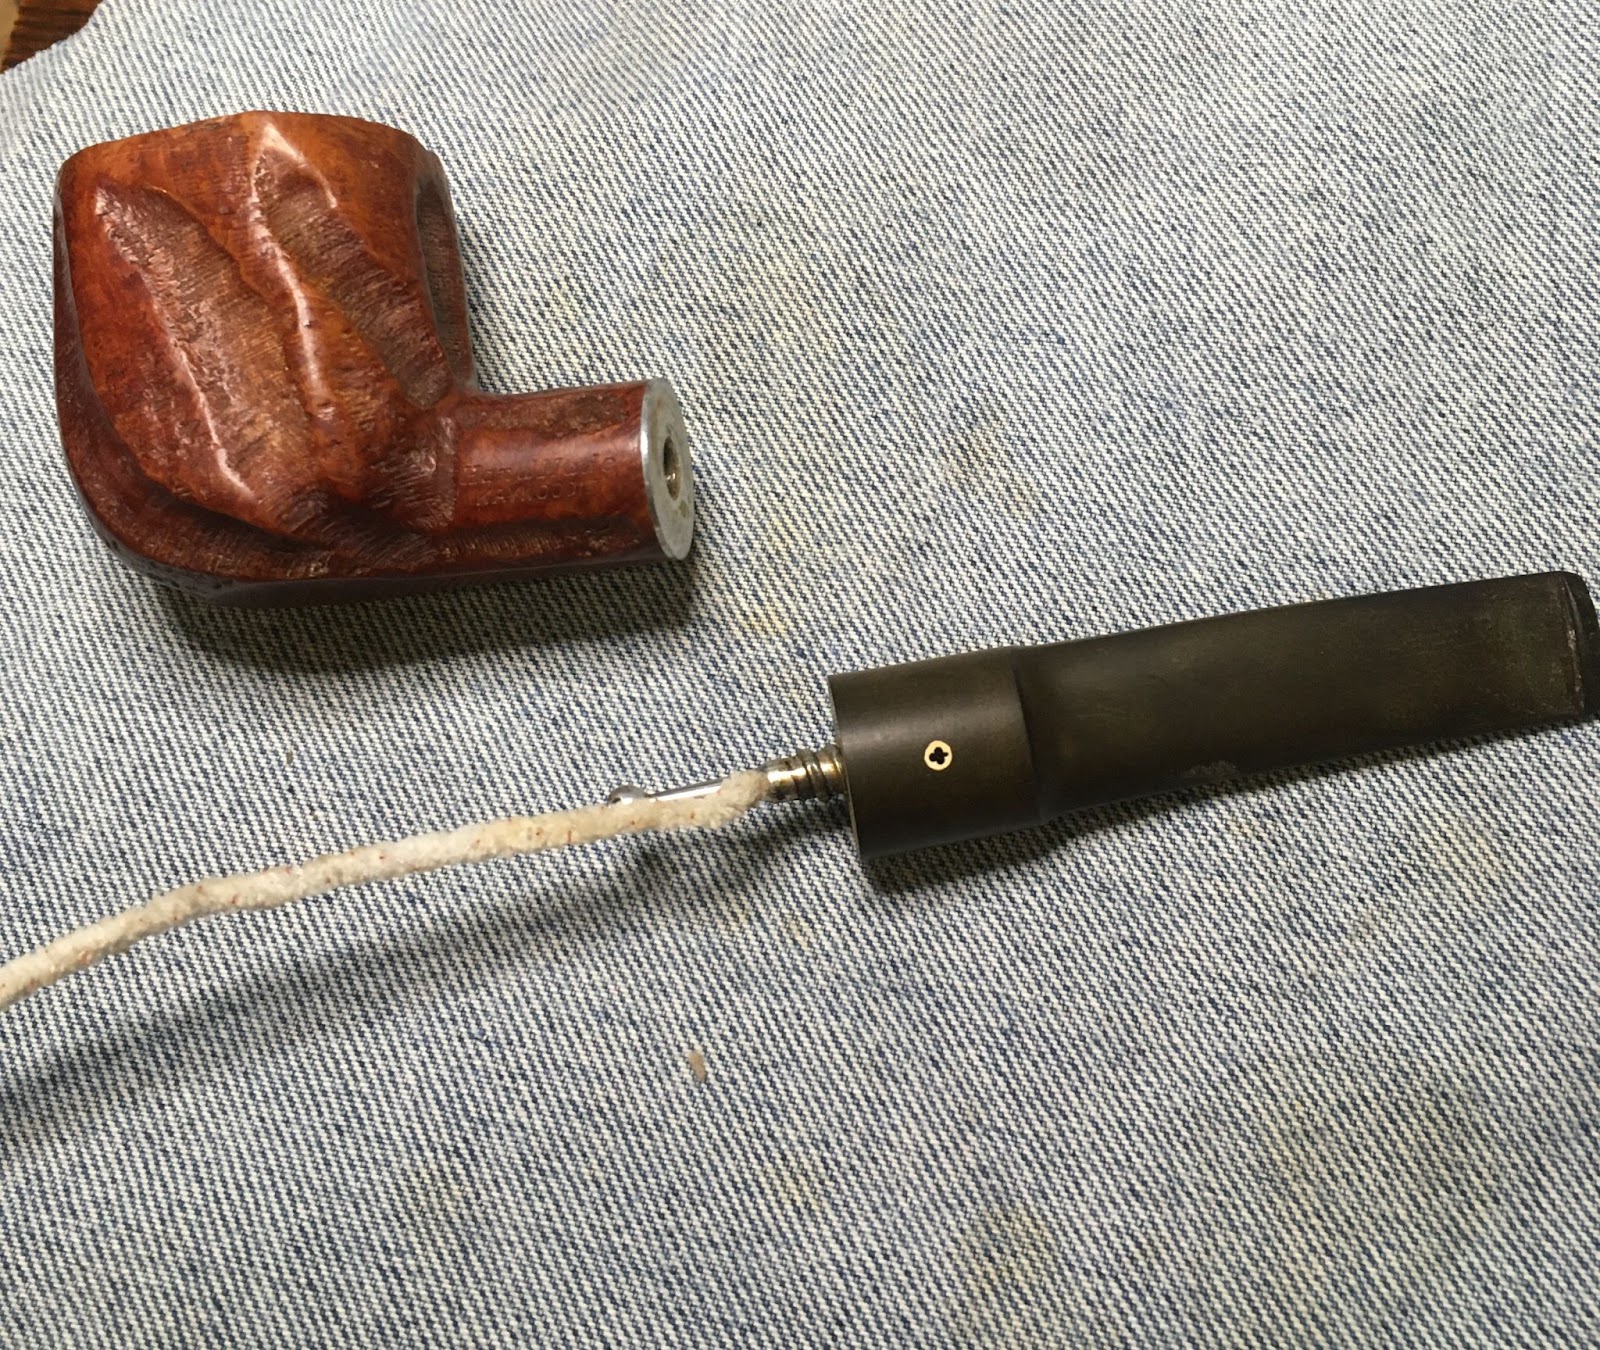
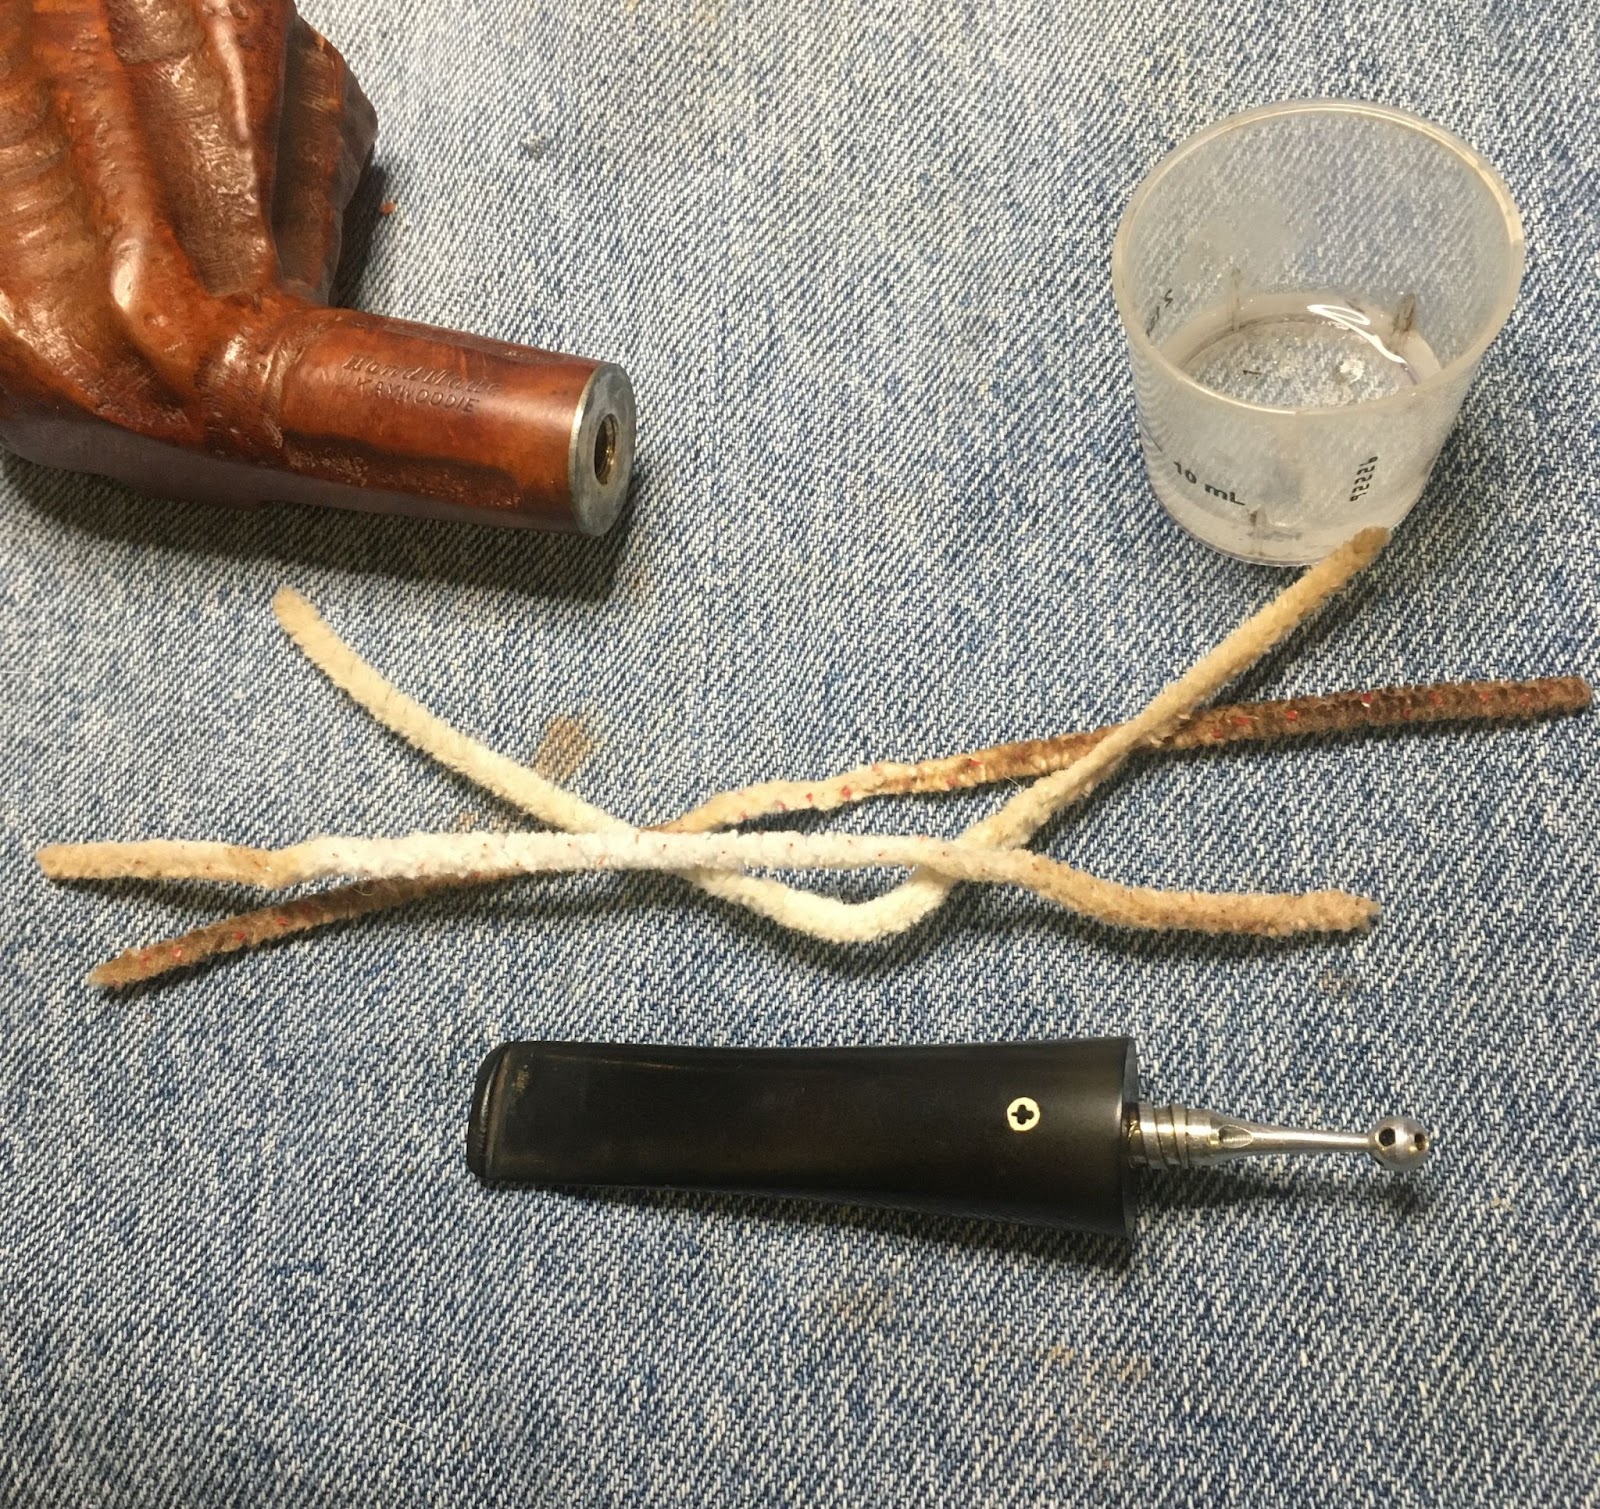
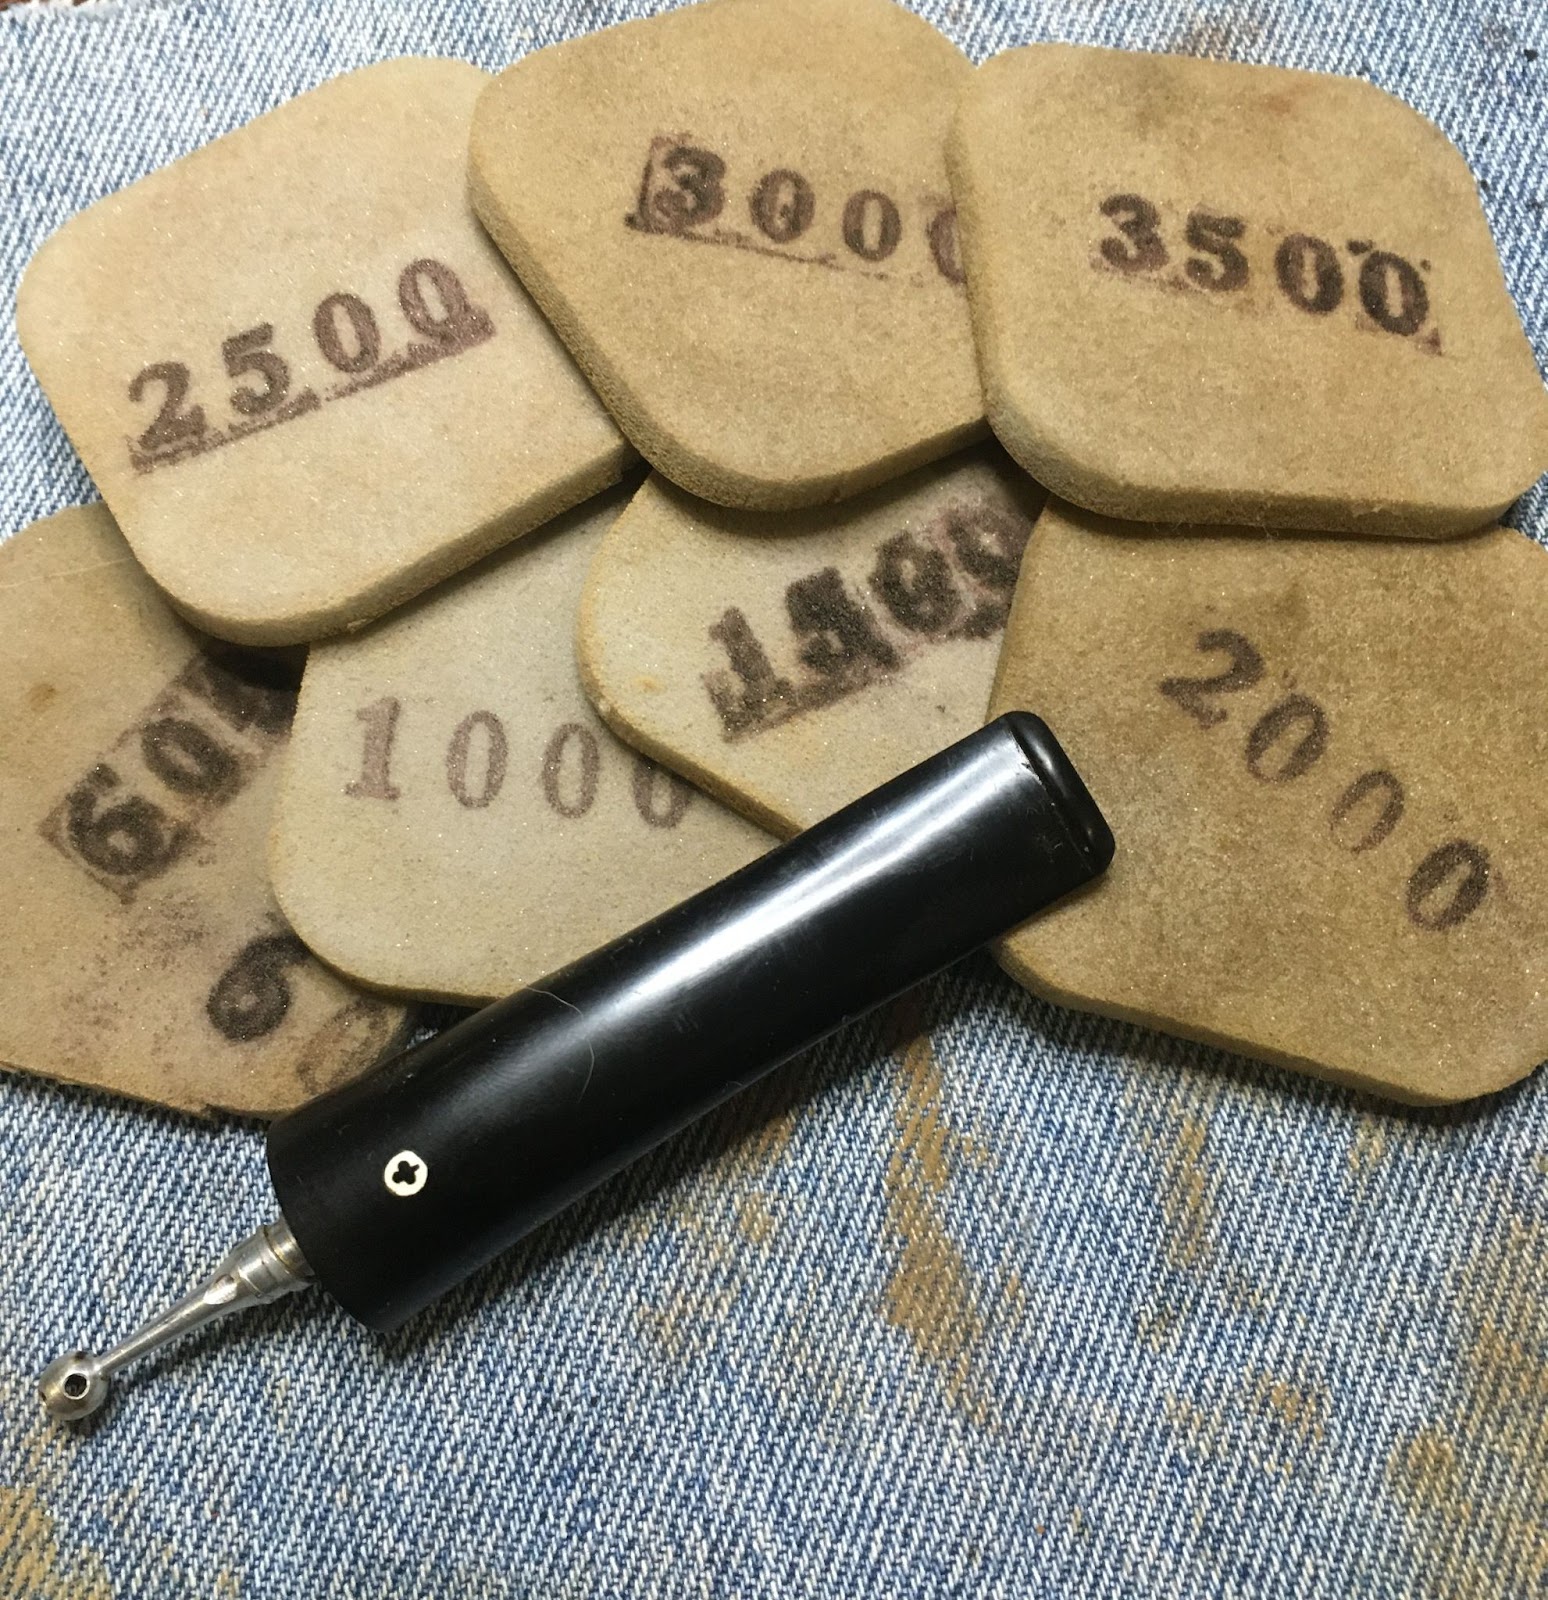
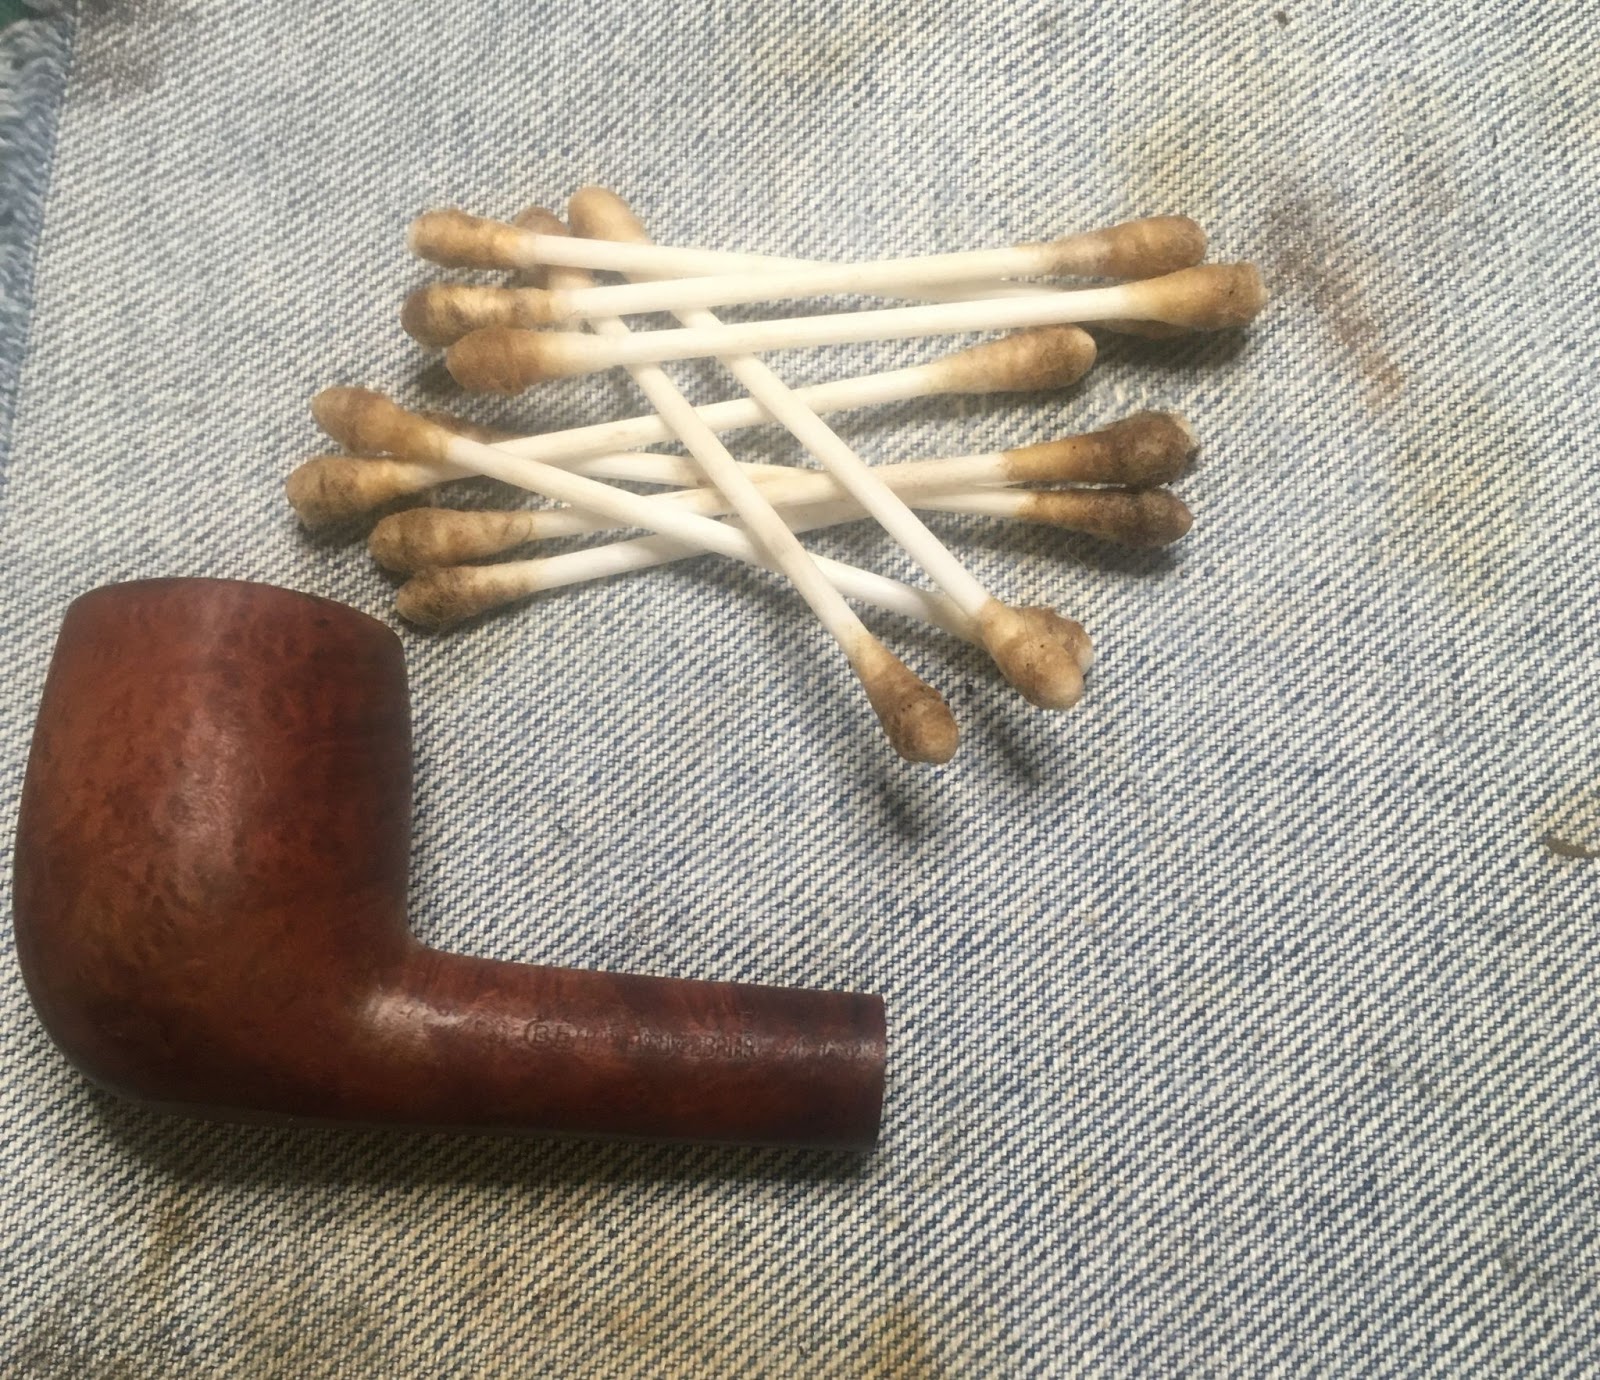
I started out with a clean denim piece to protect the work surface. Even though this pipe looked pretty clean I knew the denim wouldn’t stay clean

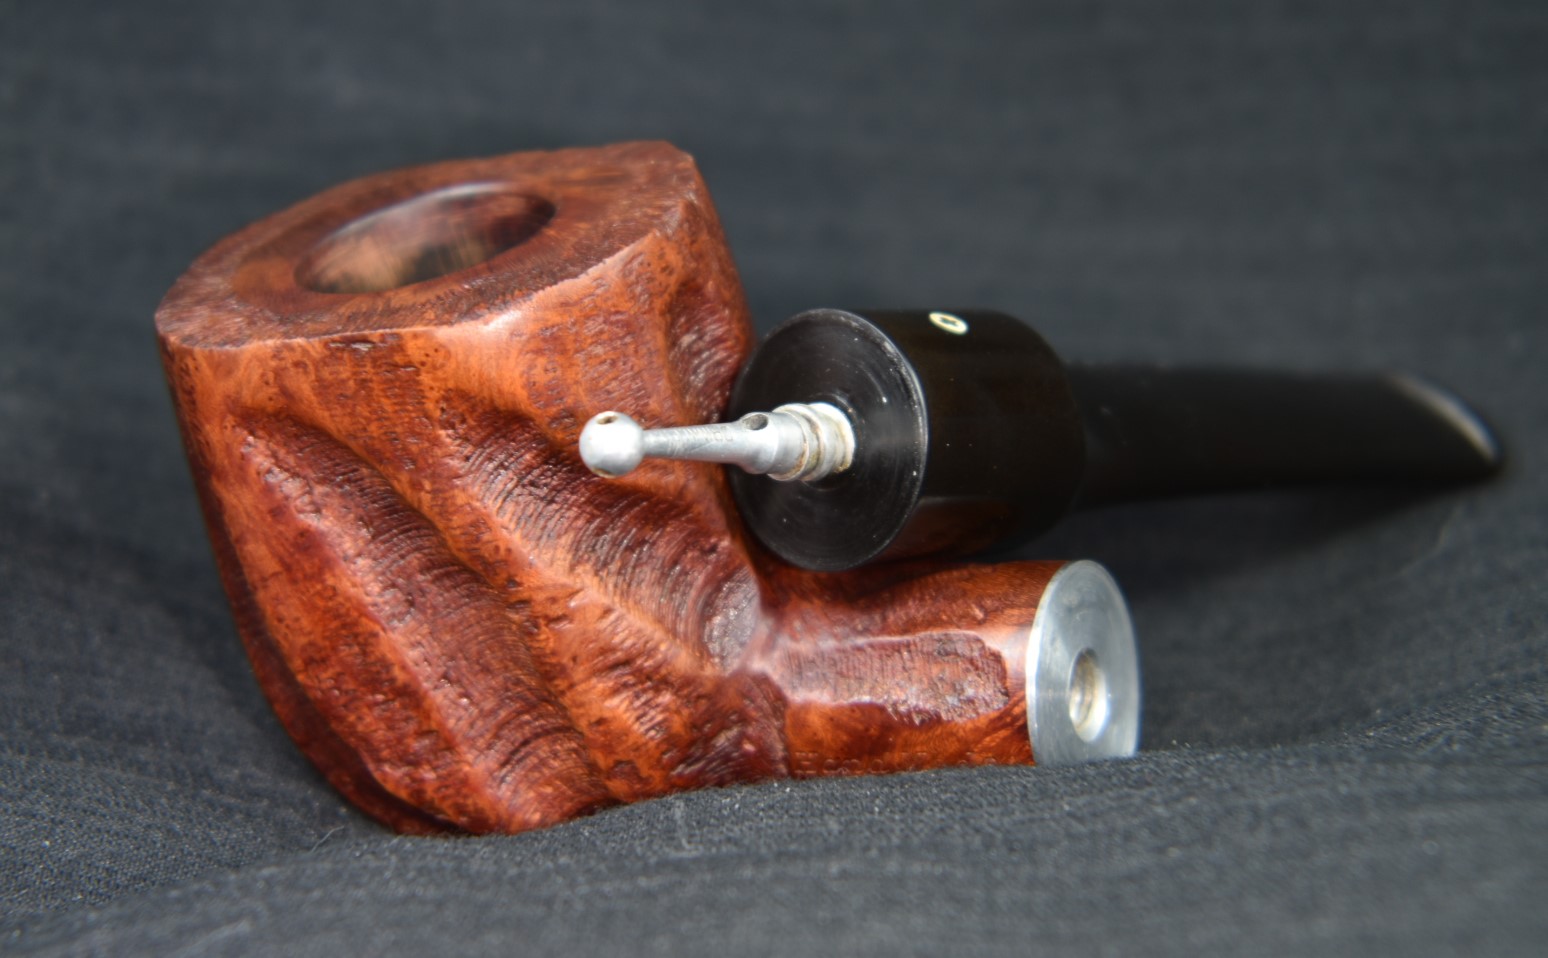
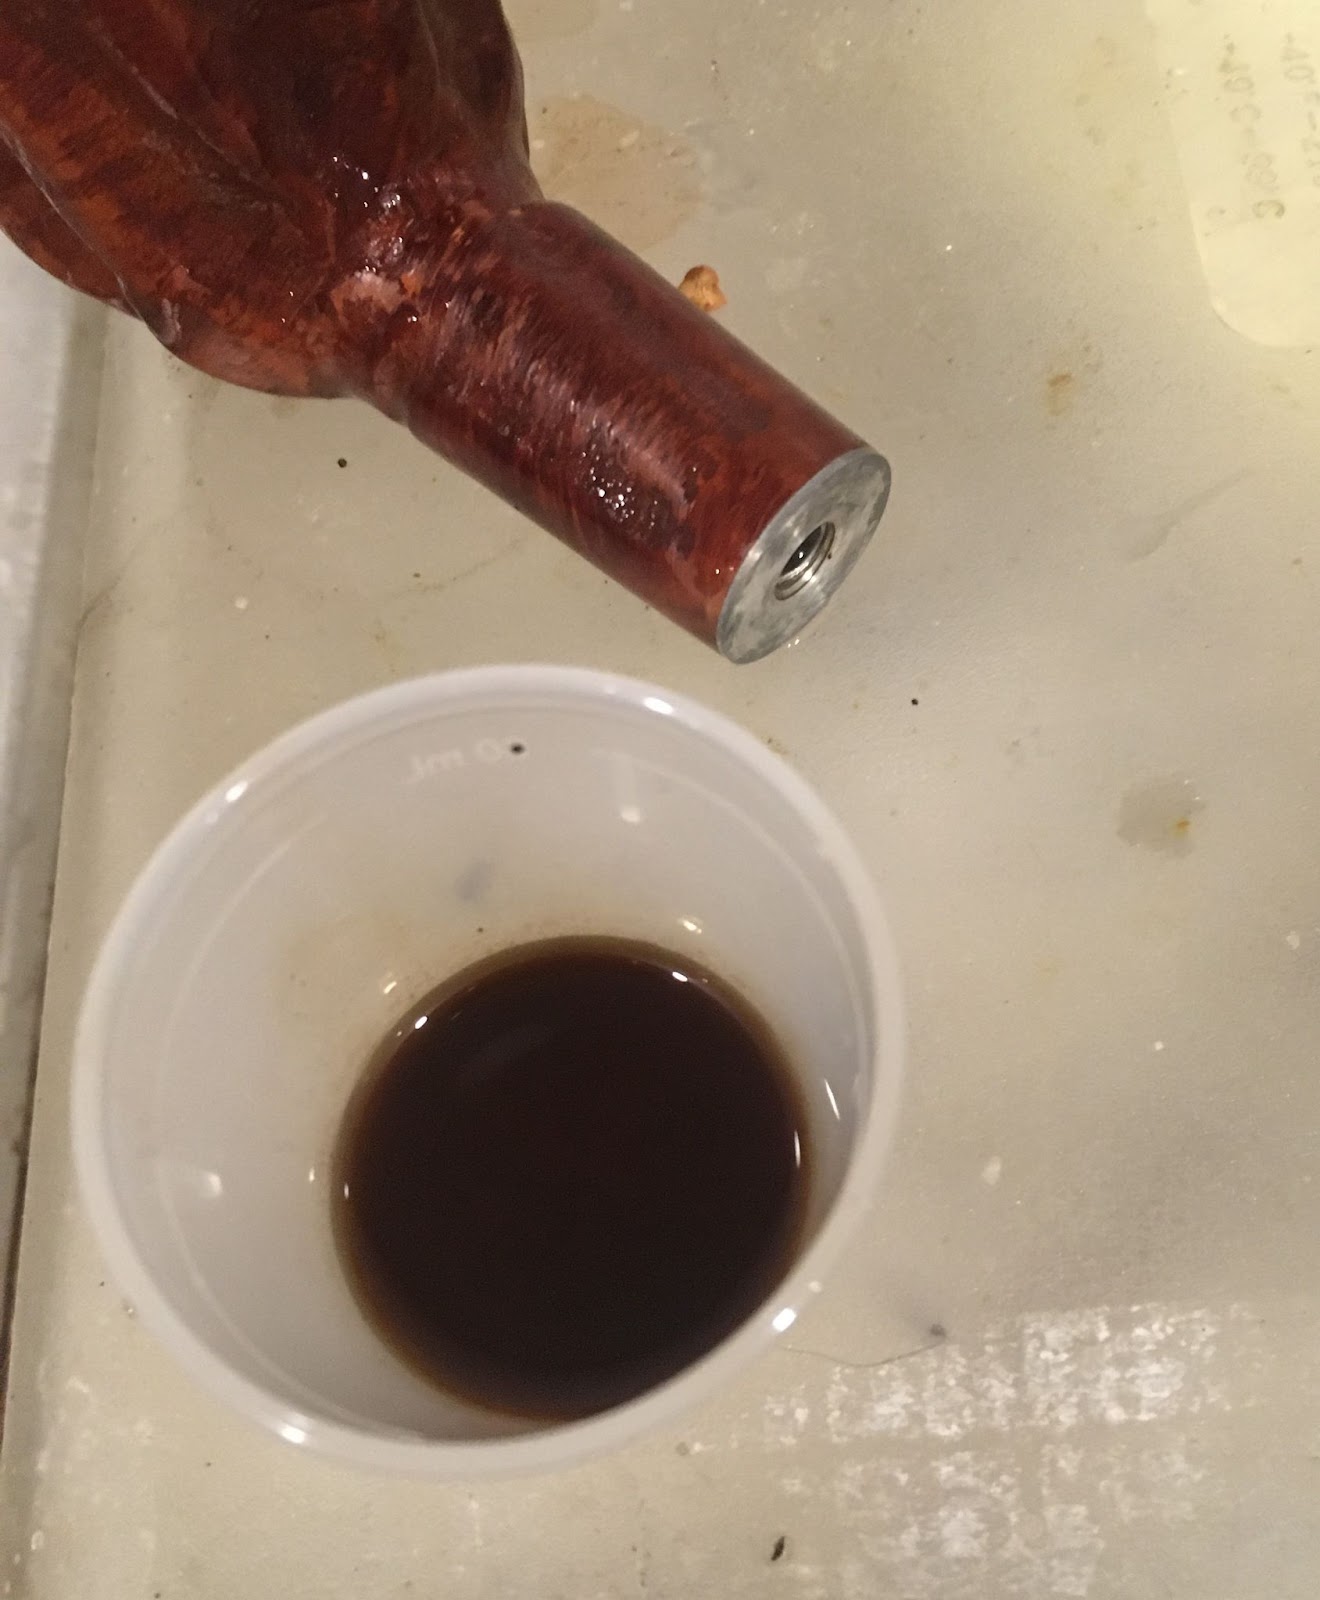
for long. I wanted to get the stinger out of the stem so I could let it soak in alcohol and soften the tar lacquer (that is my new name for that version of yuck – tar lacquer). The darn thing was stuck. I tried wrapping it in fabric and gripping it with pliers. Tried wiggling, tried sweet talking and swearing but it wouldn’t budge. When all else fails, alcohol. I used to use that saying for more things than a stuck stinger.

With the stem occupied with the alcohol, I turned my attention to the stummel.
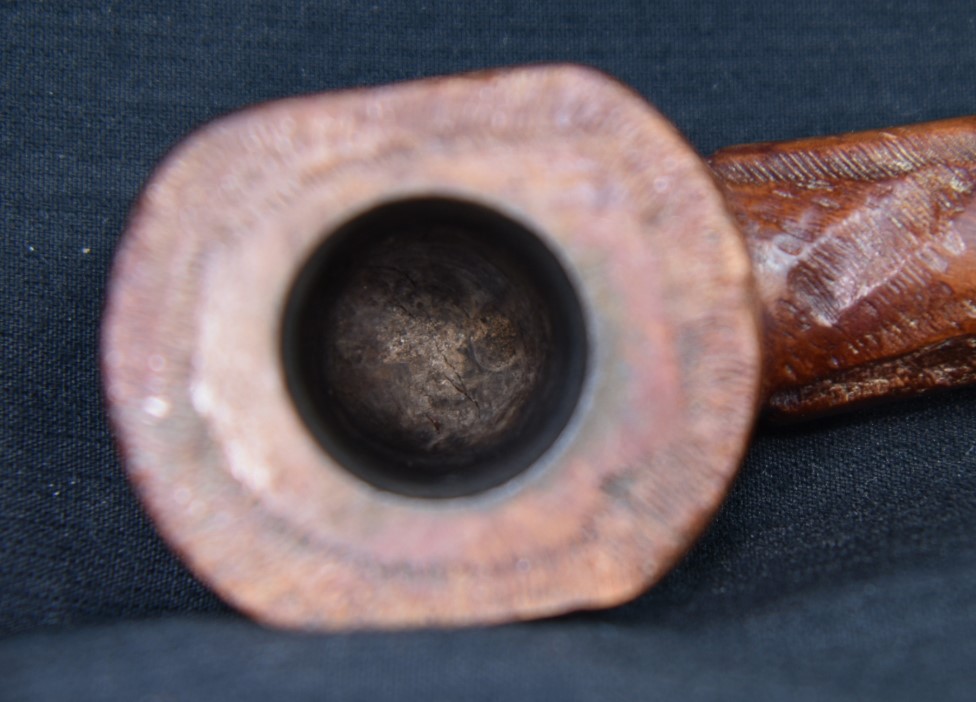
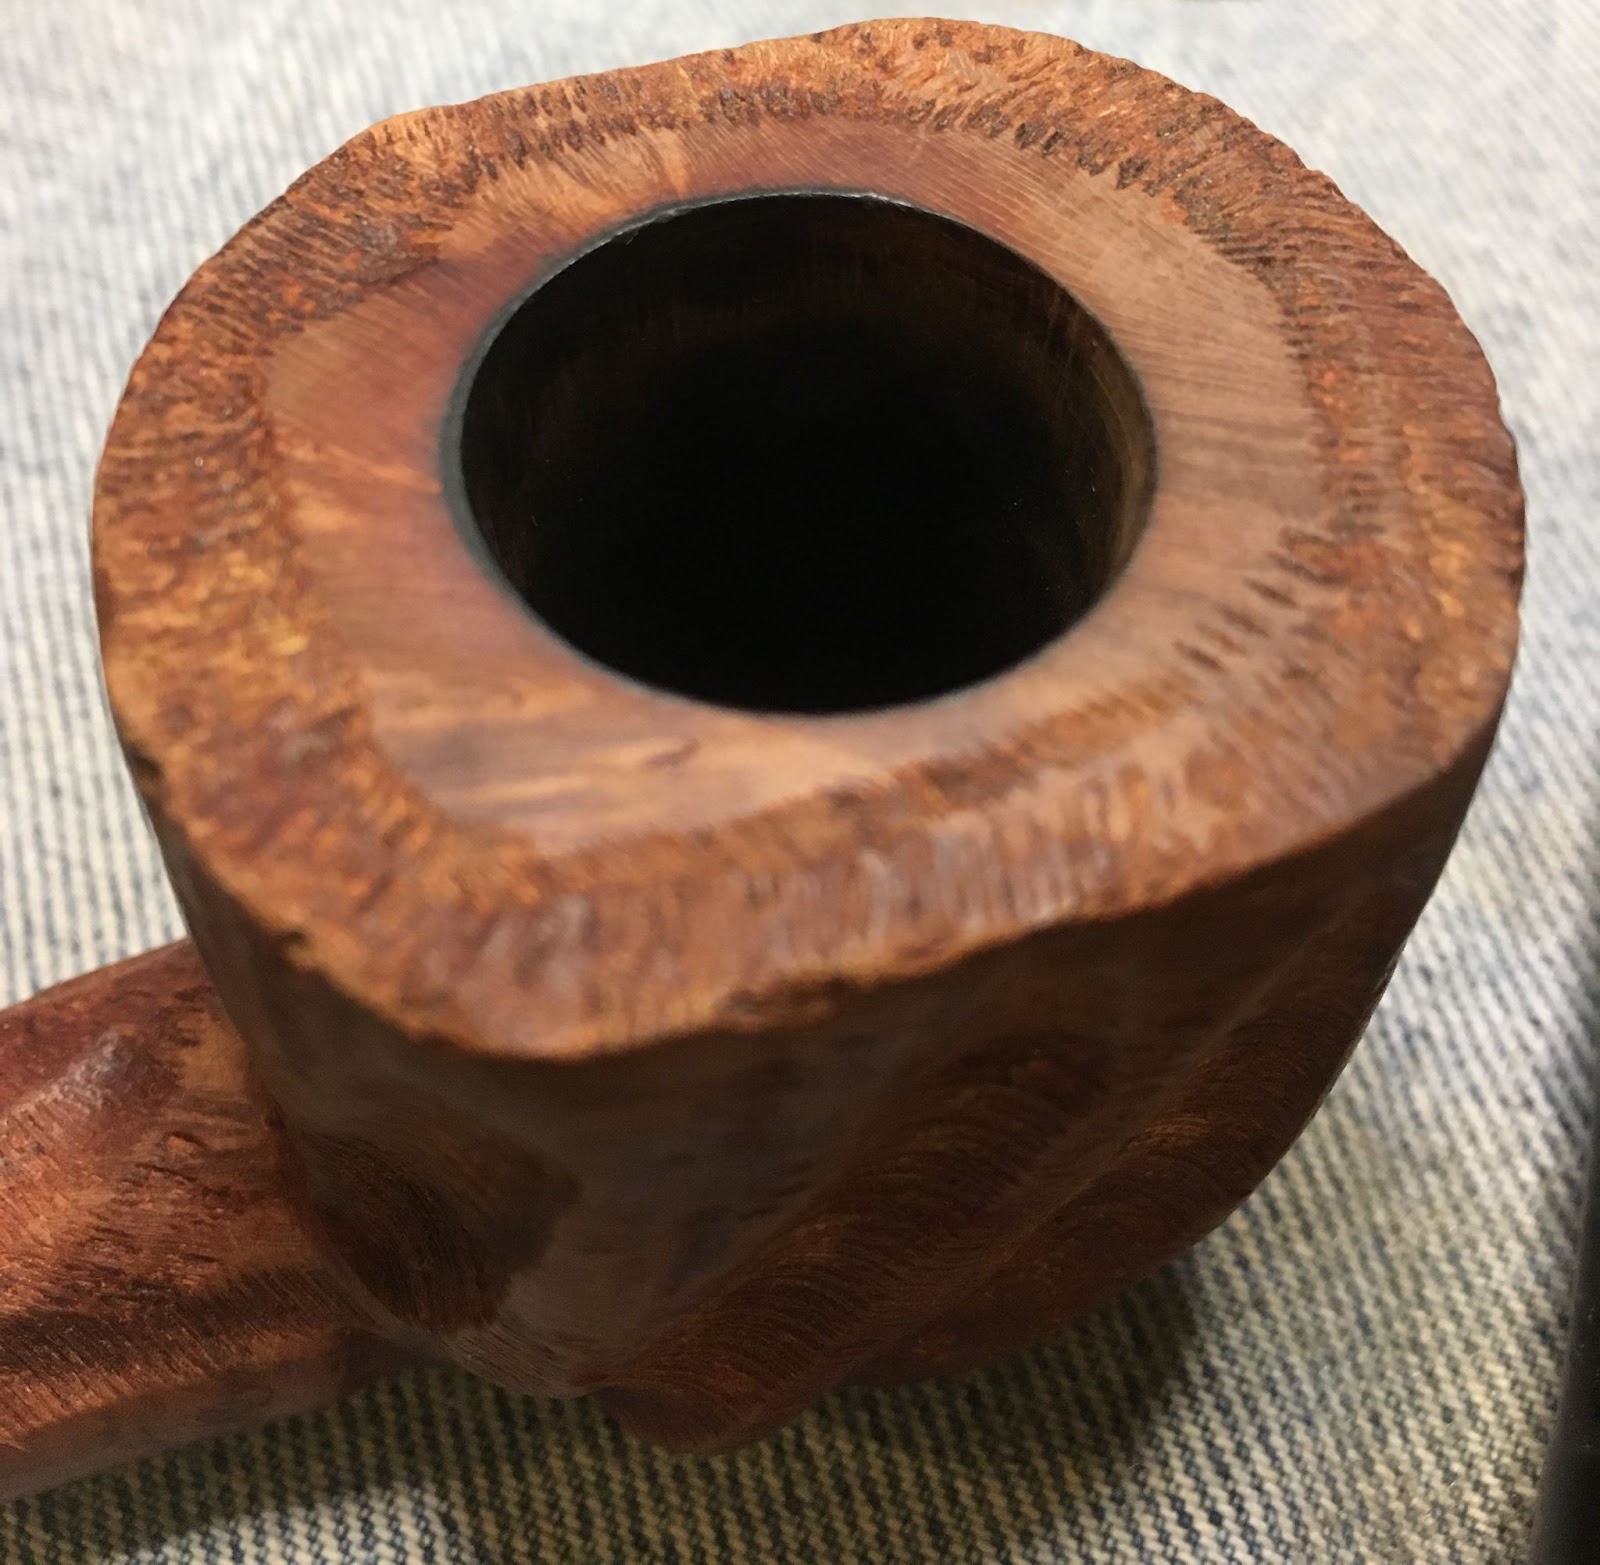
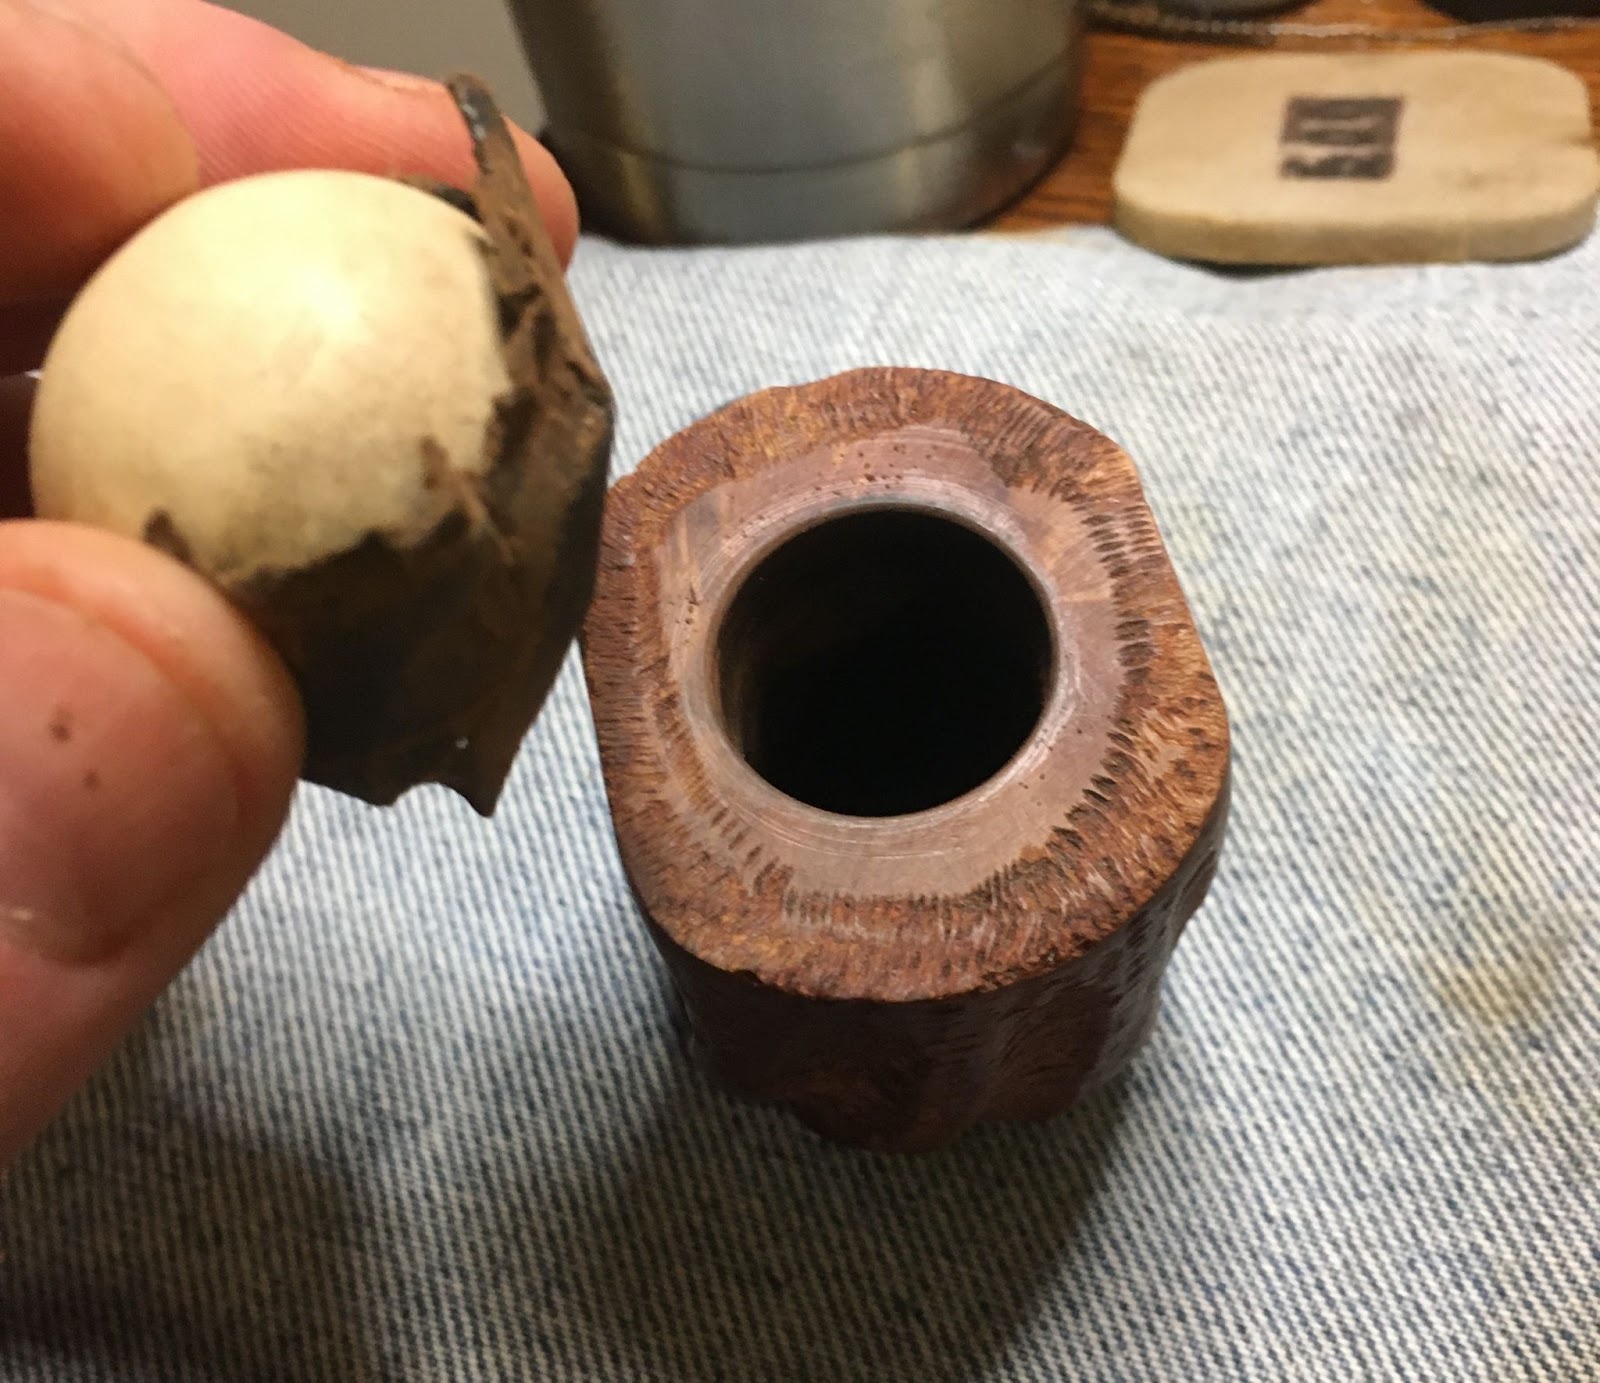
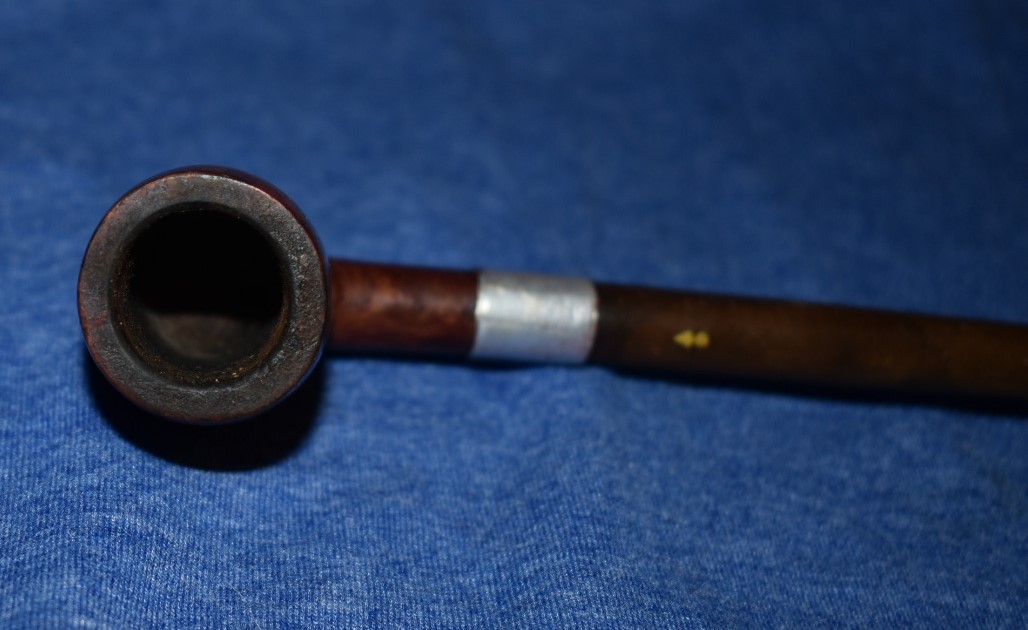
The reaming of the tobacco chamber was easy and uneventful. I probably even could have skipped it. After the reaming I sanded the chamber smooth, some of the original yellow bowl coating didn’t want to budge so I left it to remind me that it was a Yello-Bole and because it’s probably a lead based paint. Just kidding, the environmental control laws of the 1930’s are well known for their extensive product testing. Yeah, kidding again.
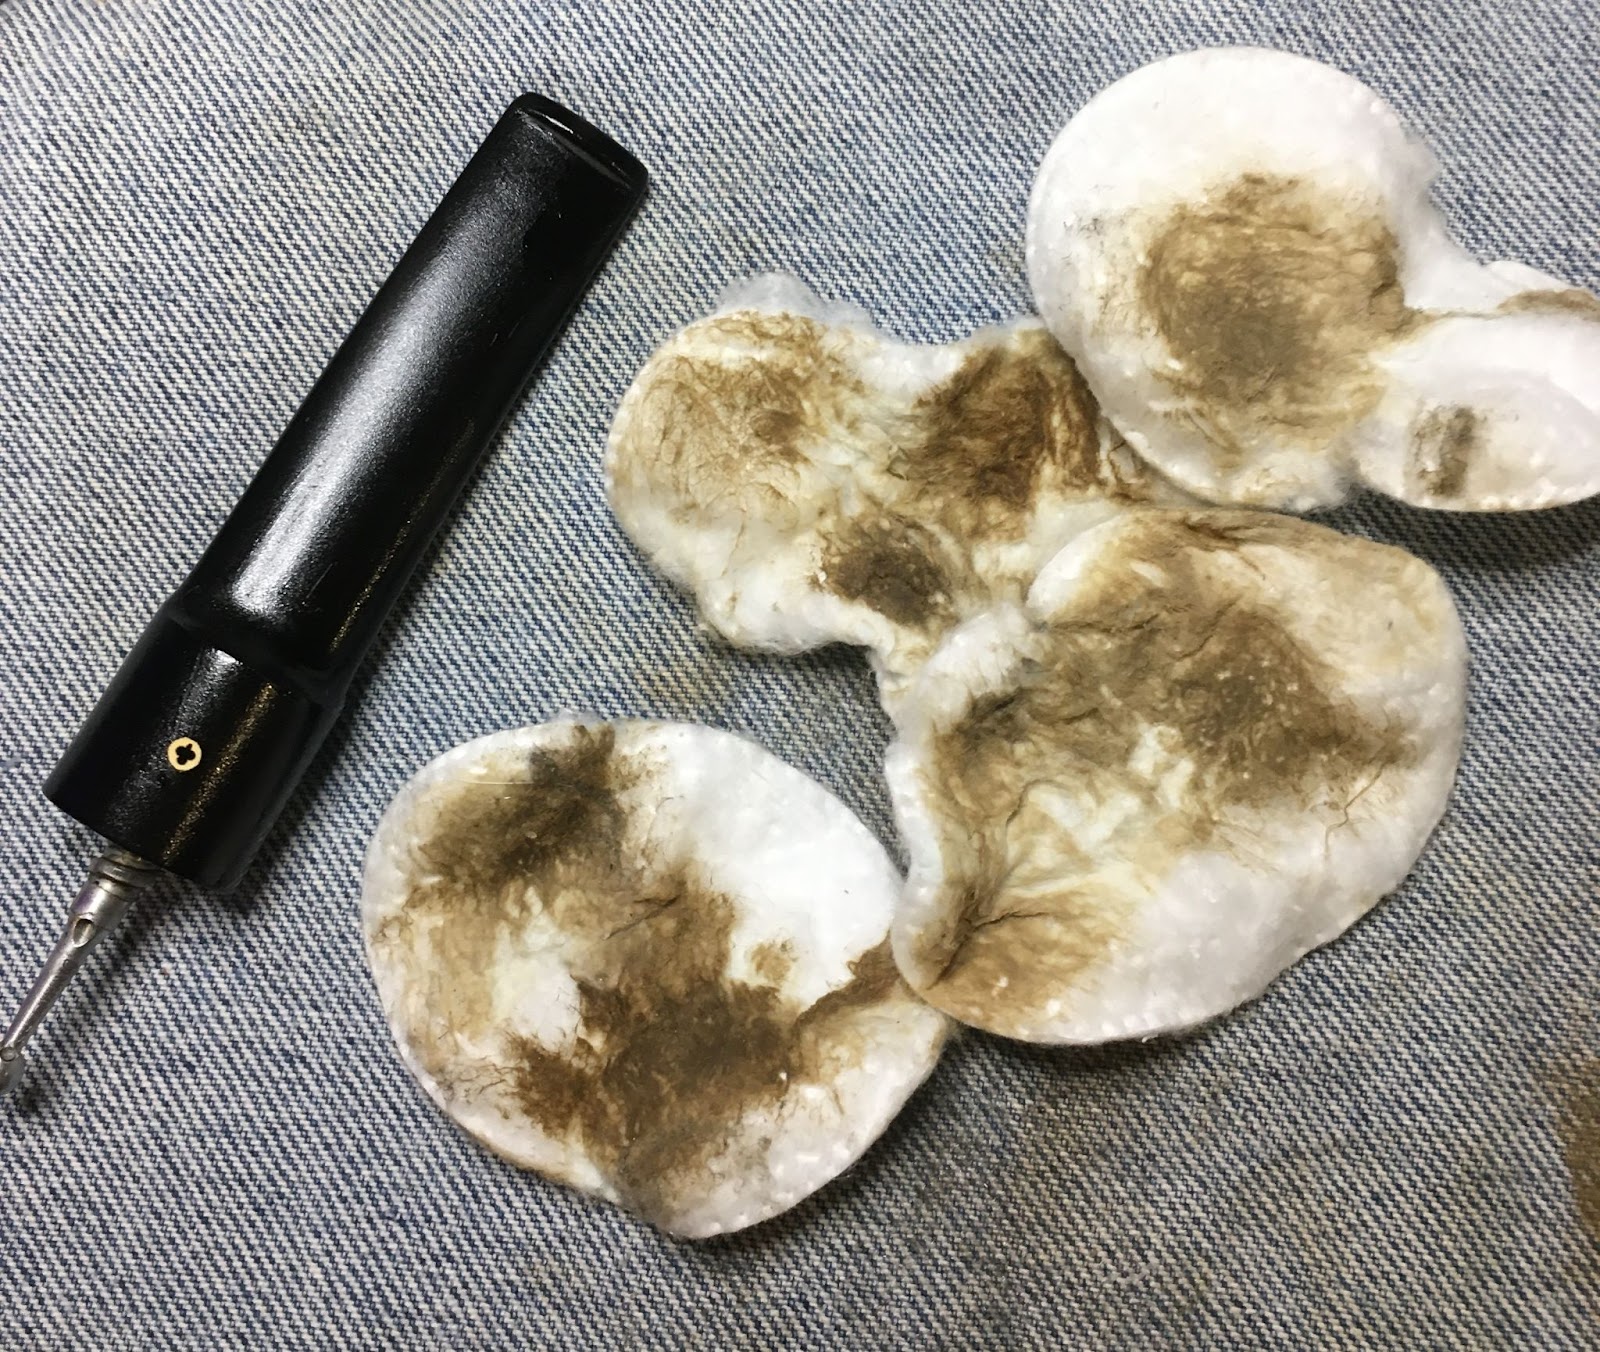
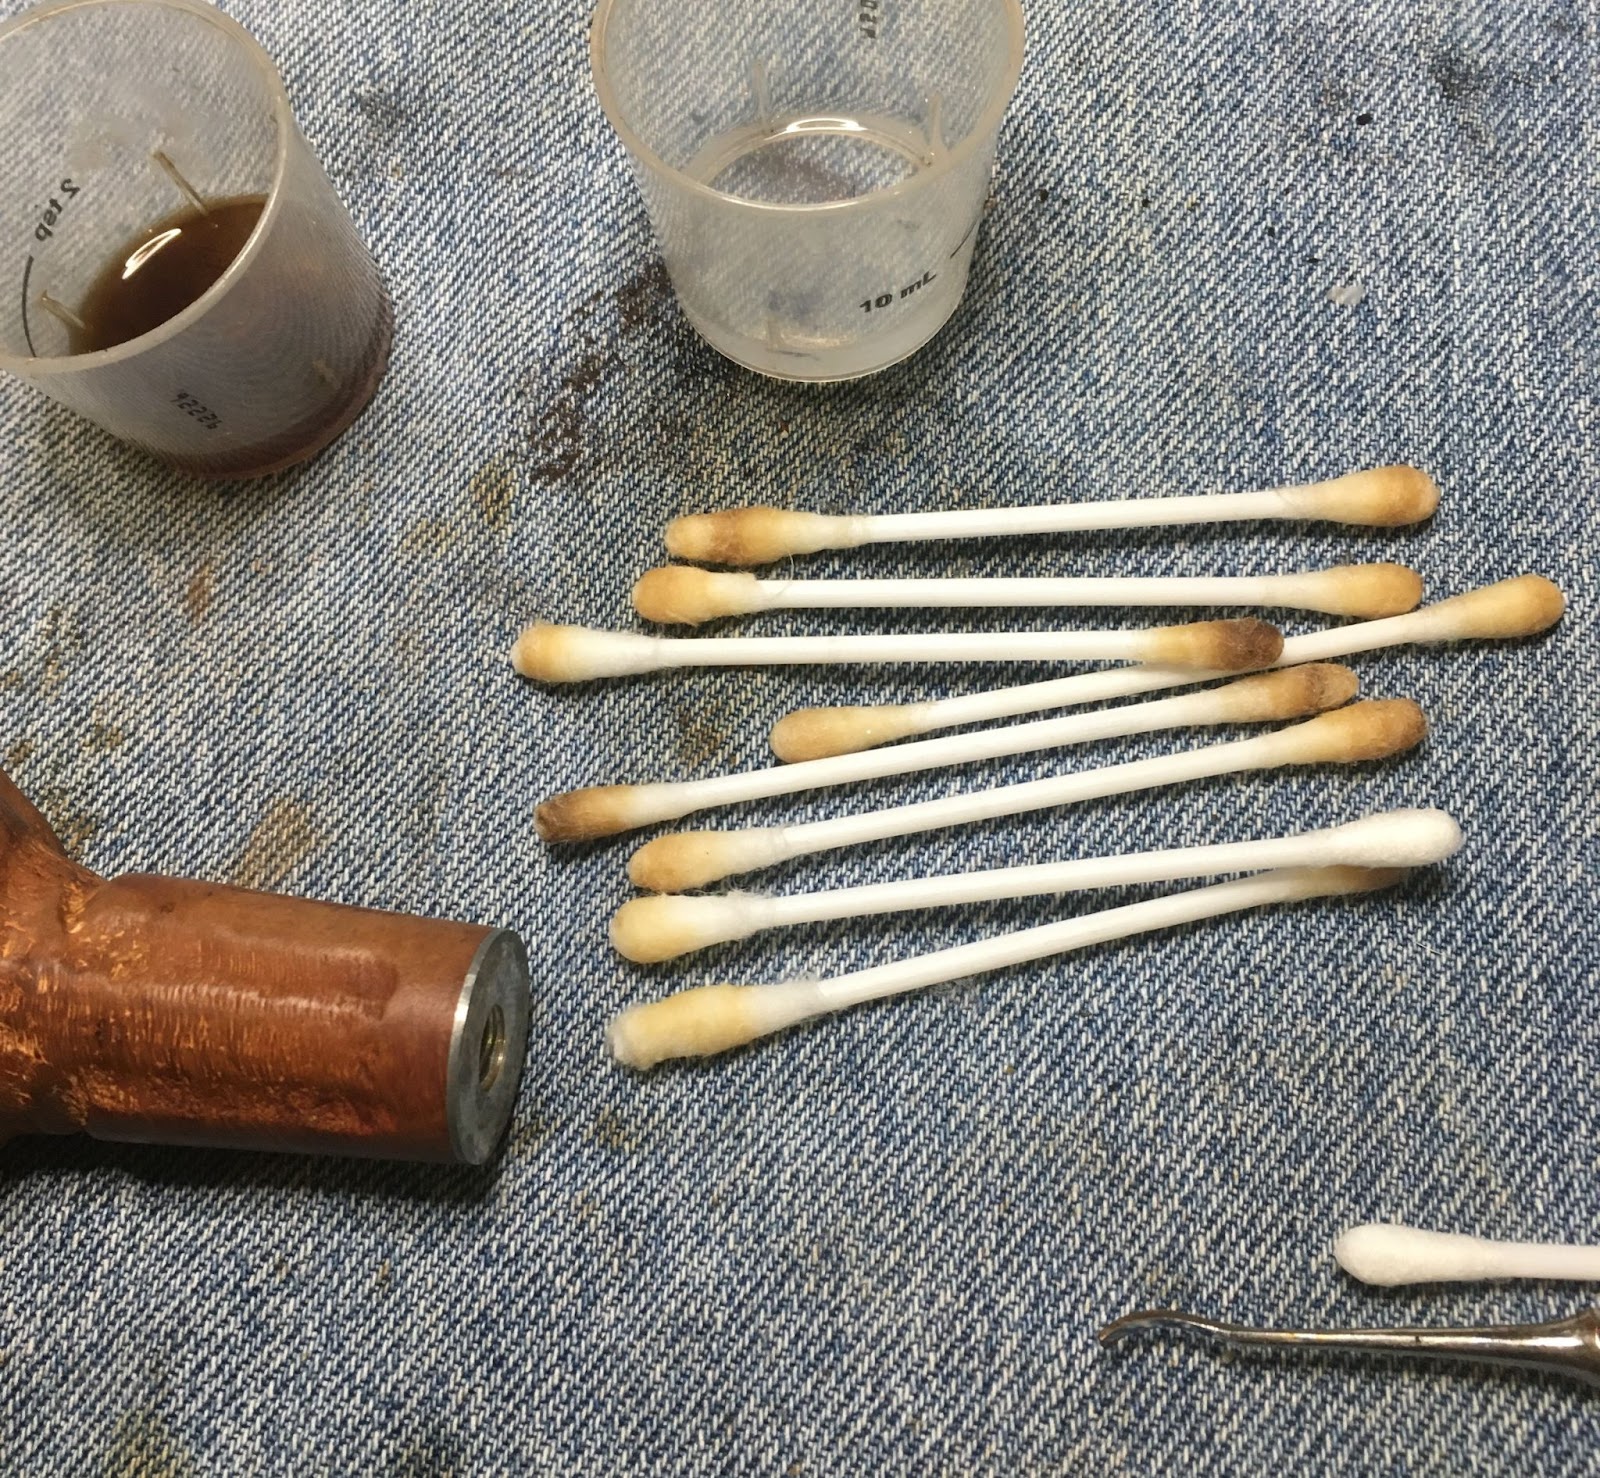
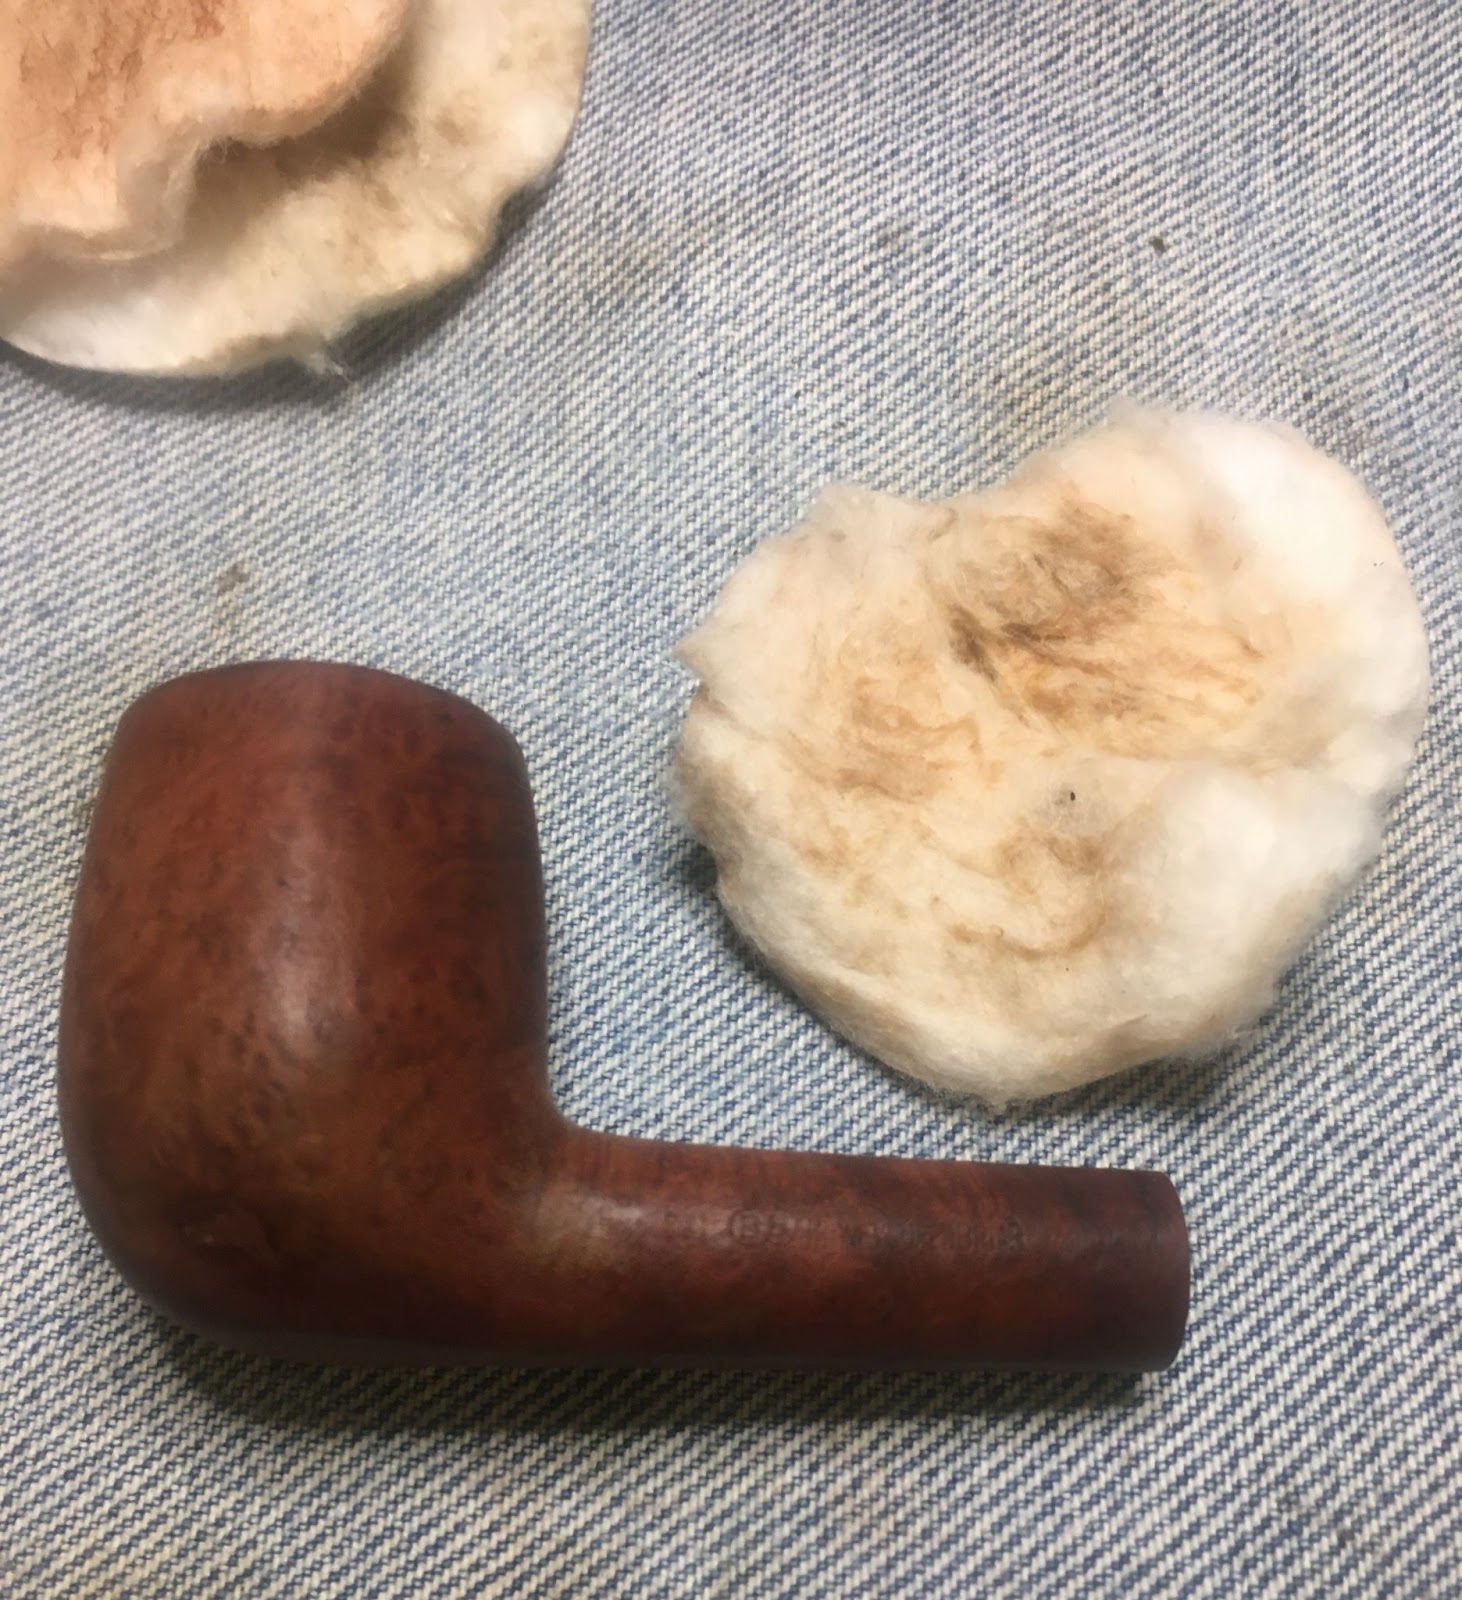
I didn’t think the shank airway could be too dirty since the pipe did not appear to have smoked very much. Cotton swabs dipped in 95% ethyl alcohol would clear out any tar lacquer and associated yuck. I have to admit being a bit surprised by the number of swabs it took to get the airway clean but clean it was.
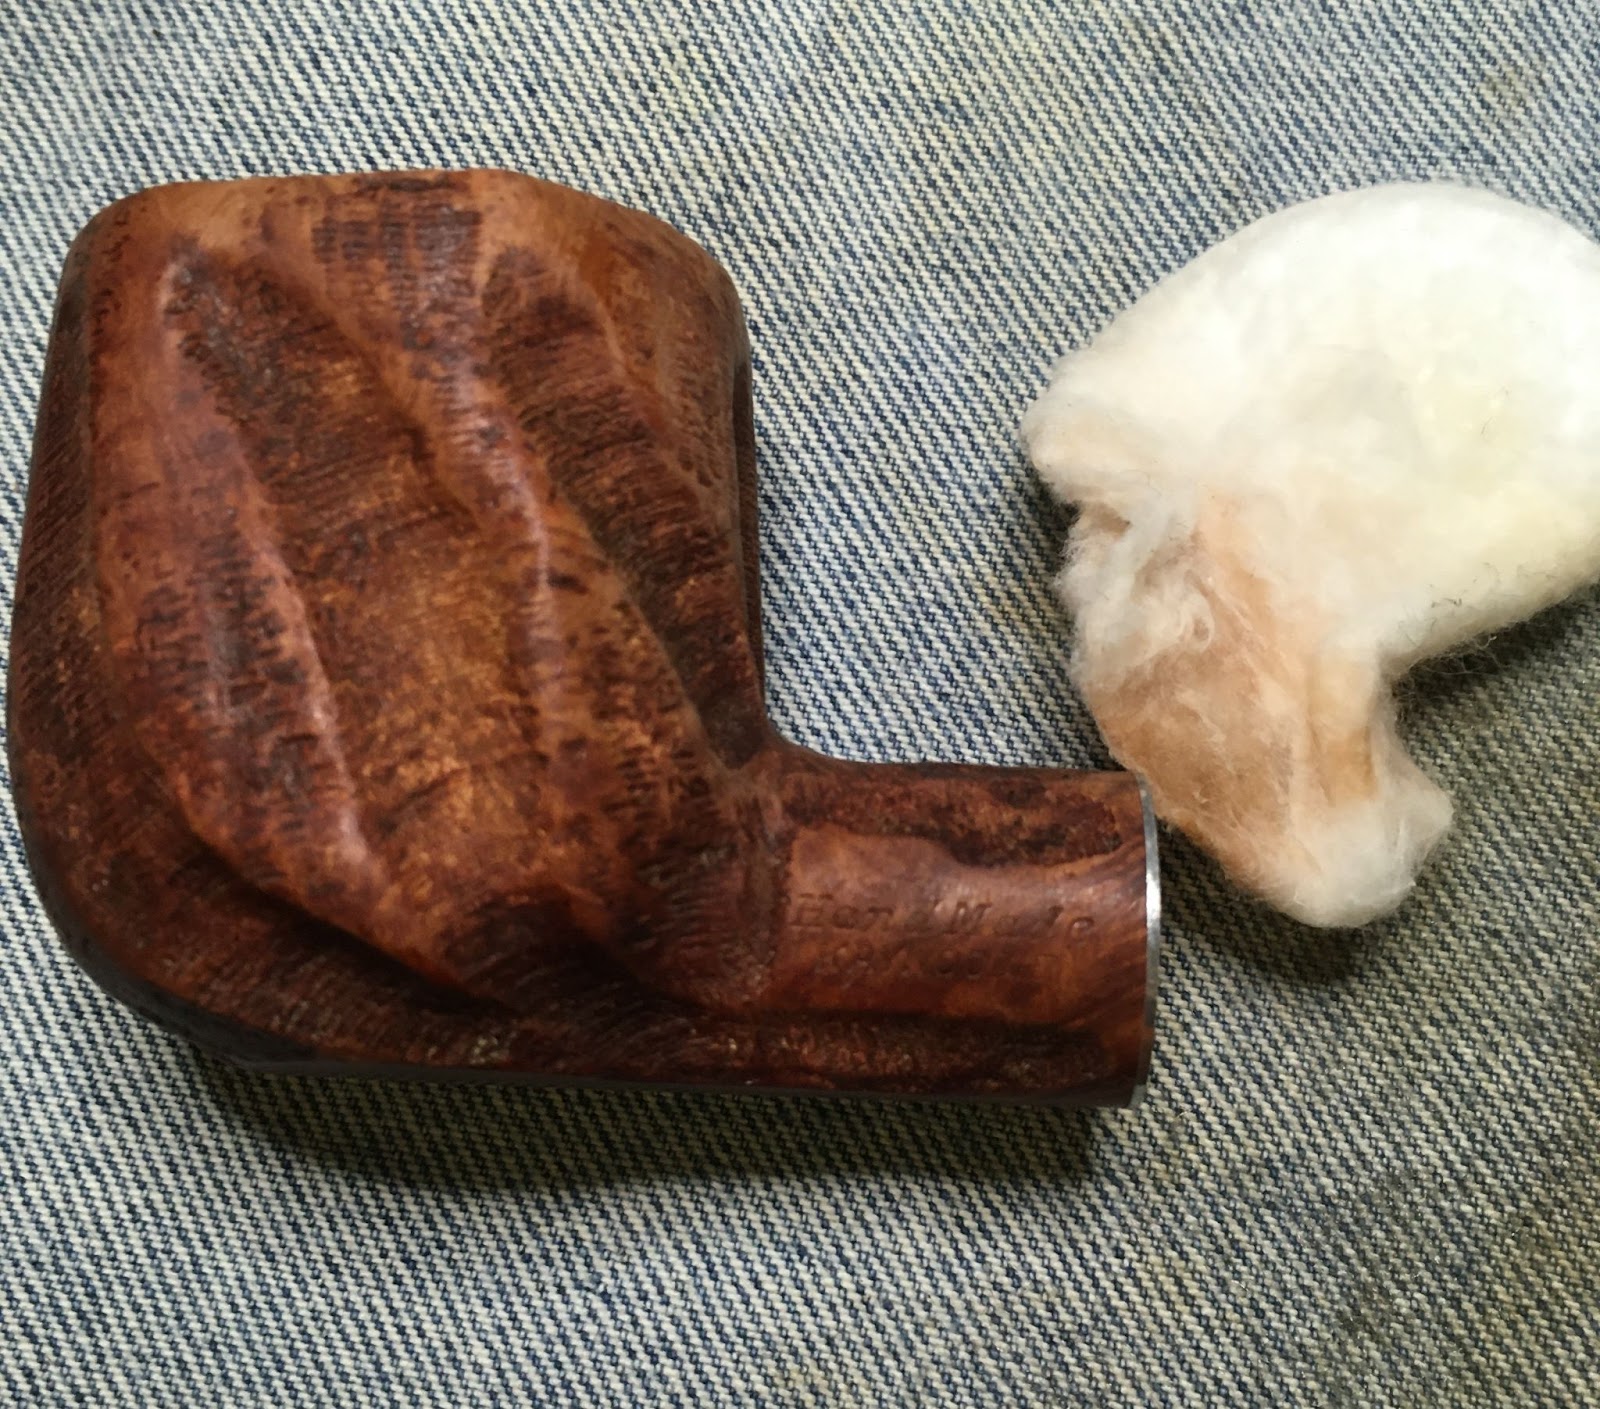
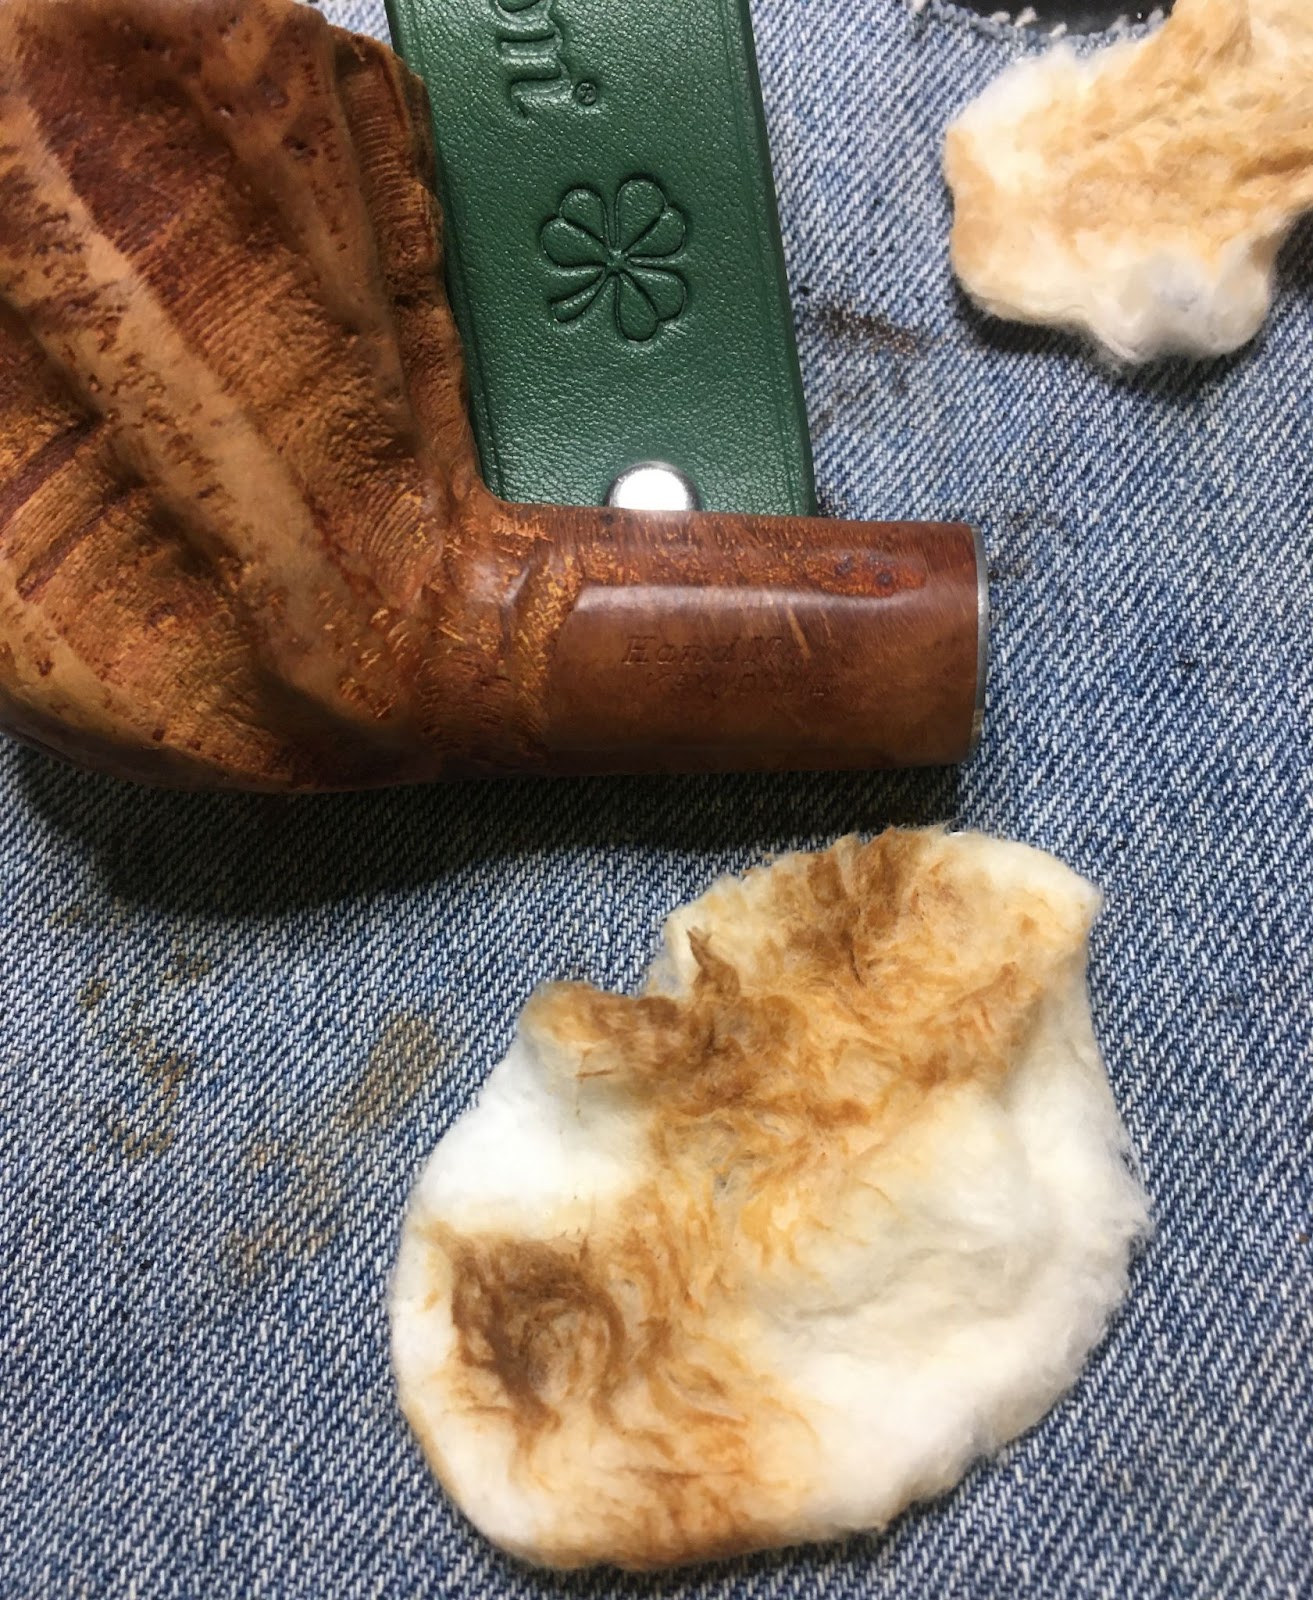
I must have been feeling lazy because I did not give this stummel the usual Murphy’s Oil Soap scrubbing. I figured that I would just clean and remove the finish in one fell swoop. Using 95% ethyl alcohol on a make-up pad I started wiping the exterior of the stummel.

Now I remembered why I used Murphy’s. The first pad just removed the accumulated dirt and grime from 90 years of existence. The next pad did remove a little finnish but the alcohol was not having the desired effect of removing all of the finish.

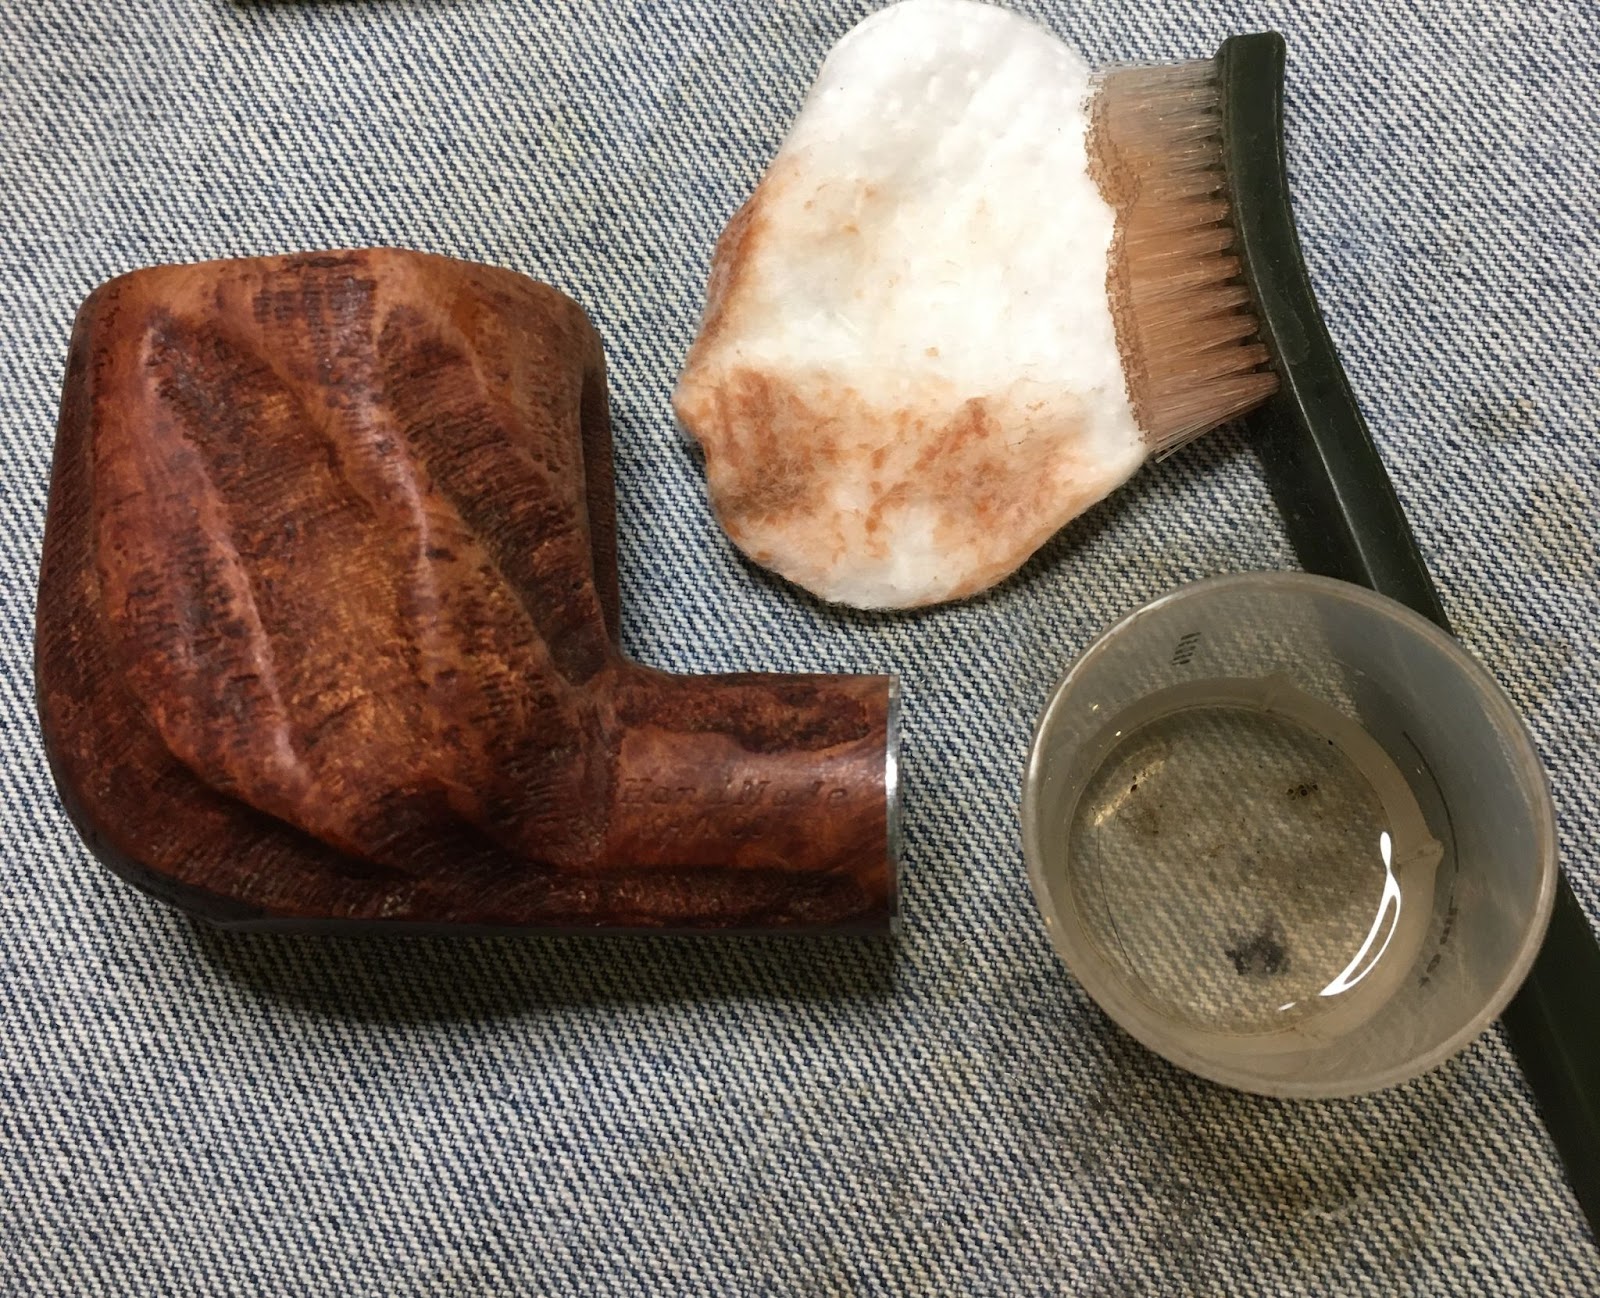
Pad number three was enlisted with acetone. This one did what I wanted it to do. The acetone dissolved the finish readily.
A couple more for good measure and the stummel was ready for sanding.
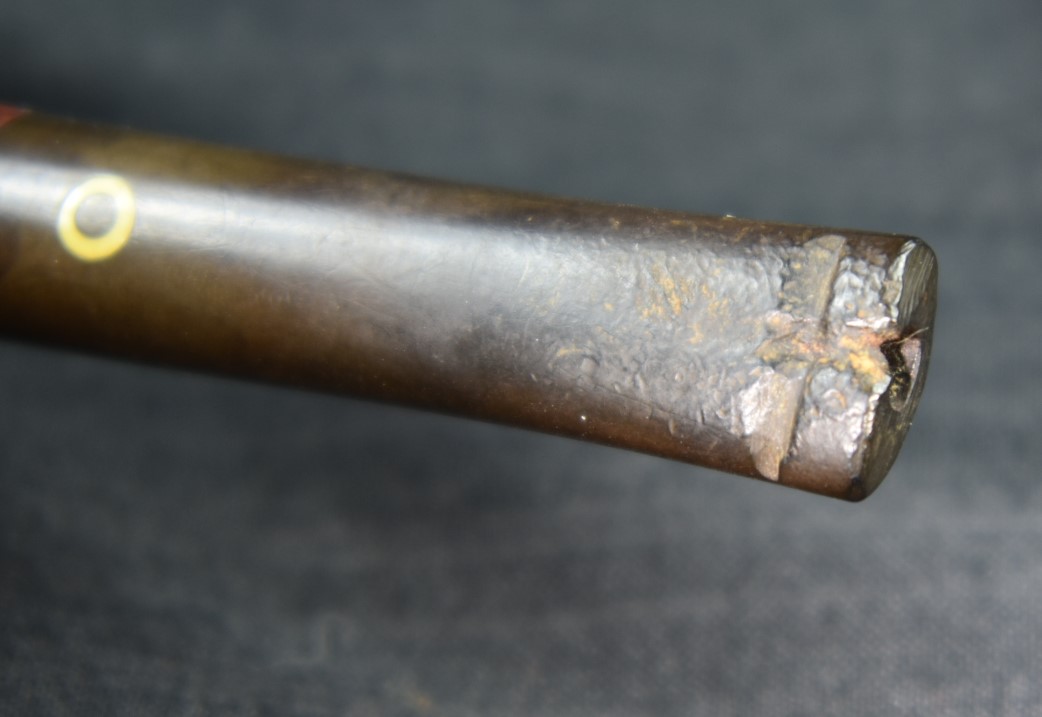
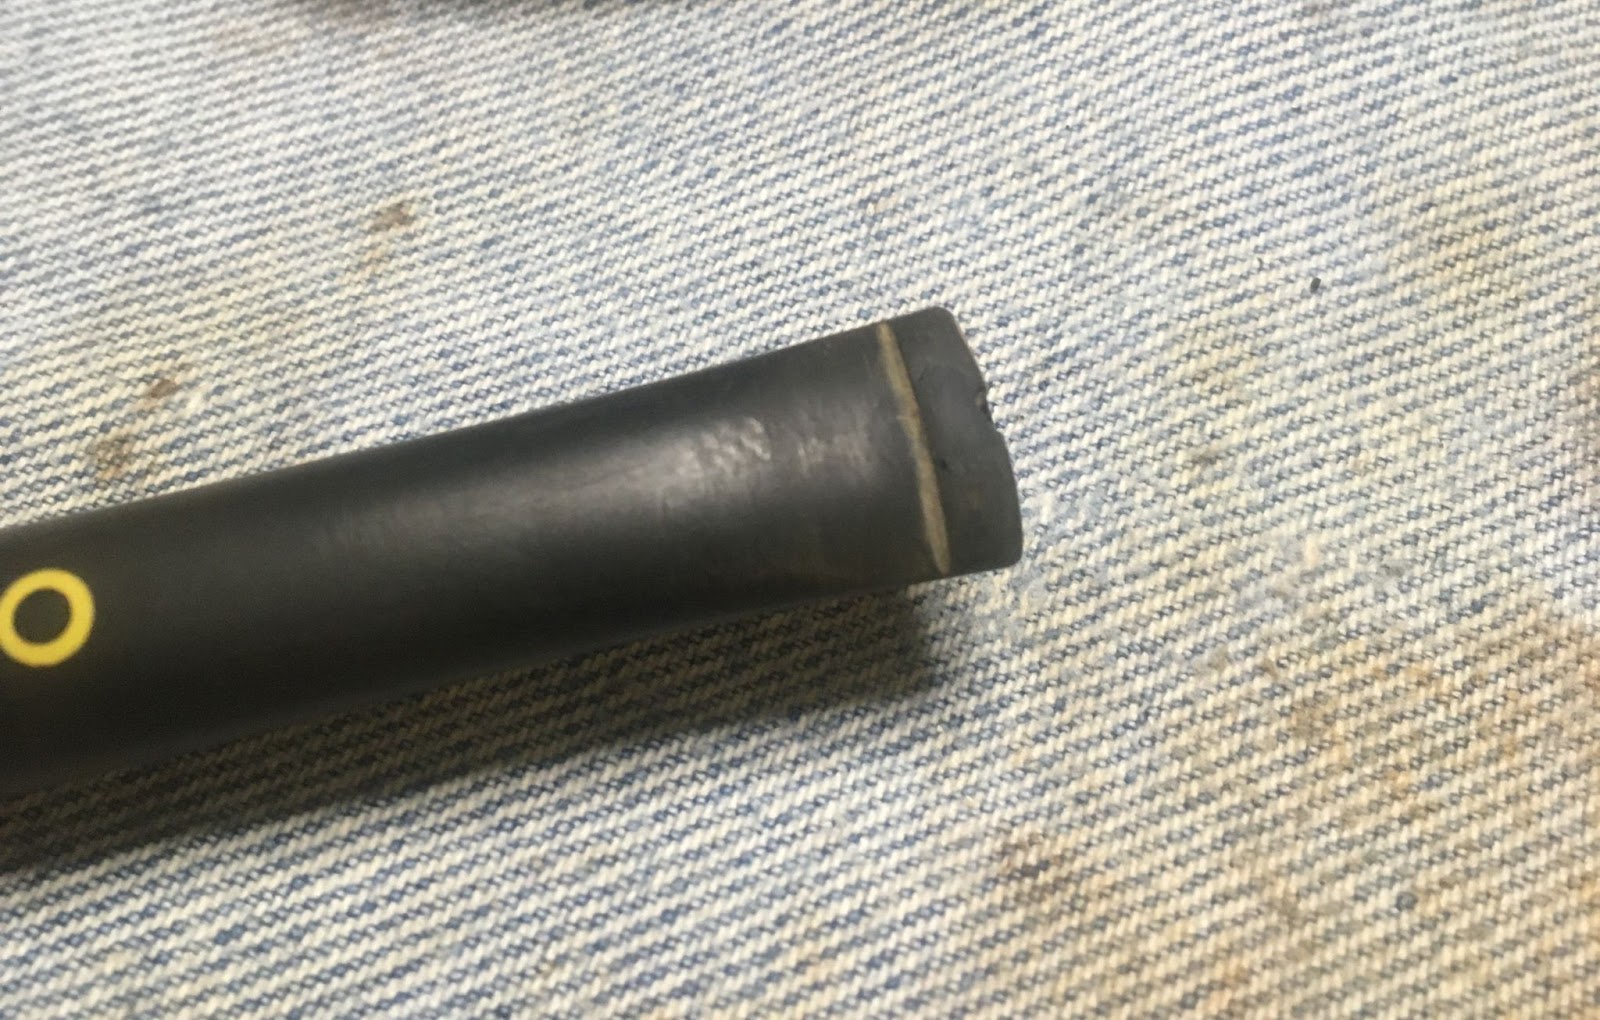
I checked back on the stem. The stem retained it’s death grip on the stinger. Again, the pliers, fabric, sweet talk and swearing were employed with no result. I will be victorious, just not yet. I gave the stem a little bit of work with the flat needle file and 320 sanding sponge to smooth out the roughness around the button. How a pipe that appeared relatively little smoked could have a stem chewed up this badly is a mystery to me. Perhaps it had been smoked frequently and just well cleaned. That concept broke with my experience with pipes from this era but remained a possibility.
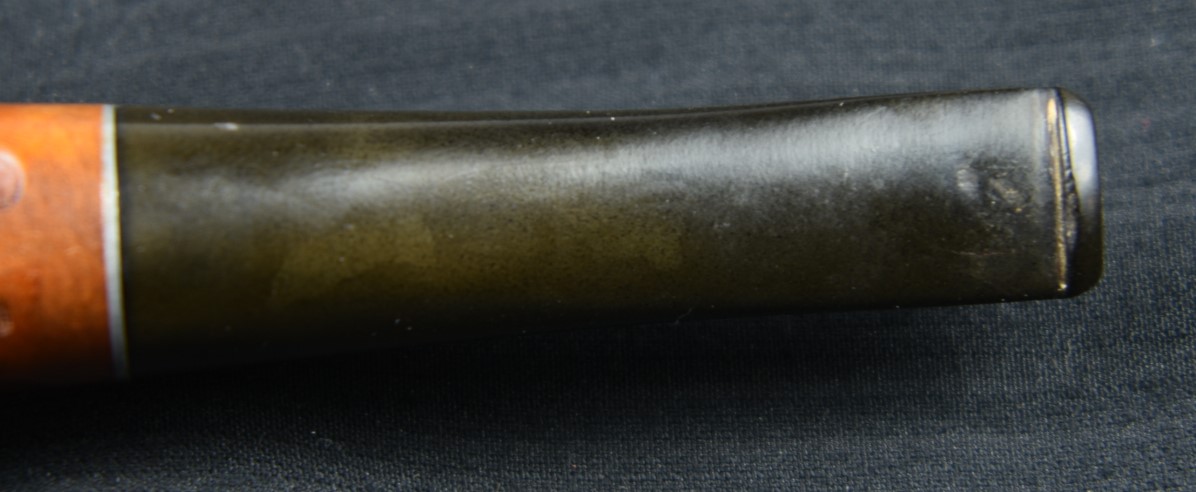
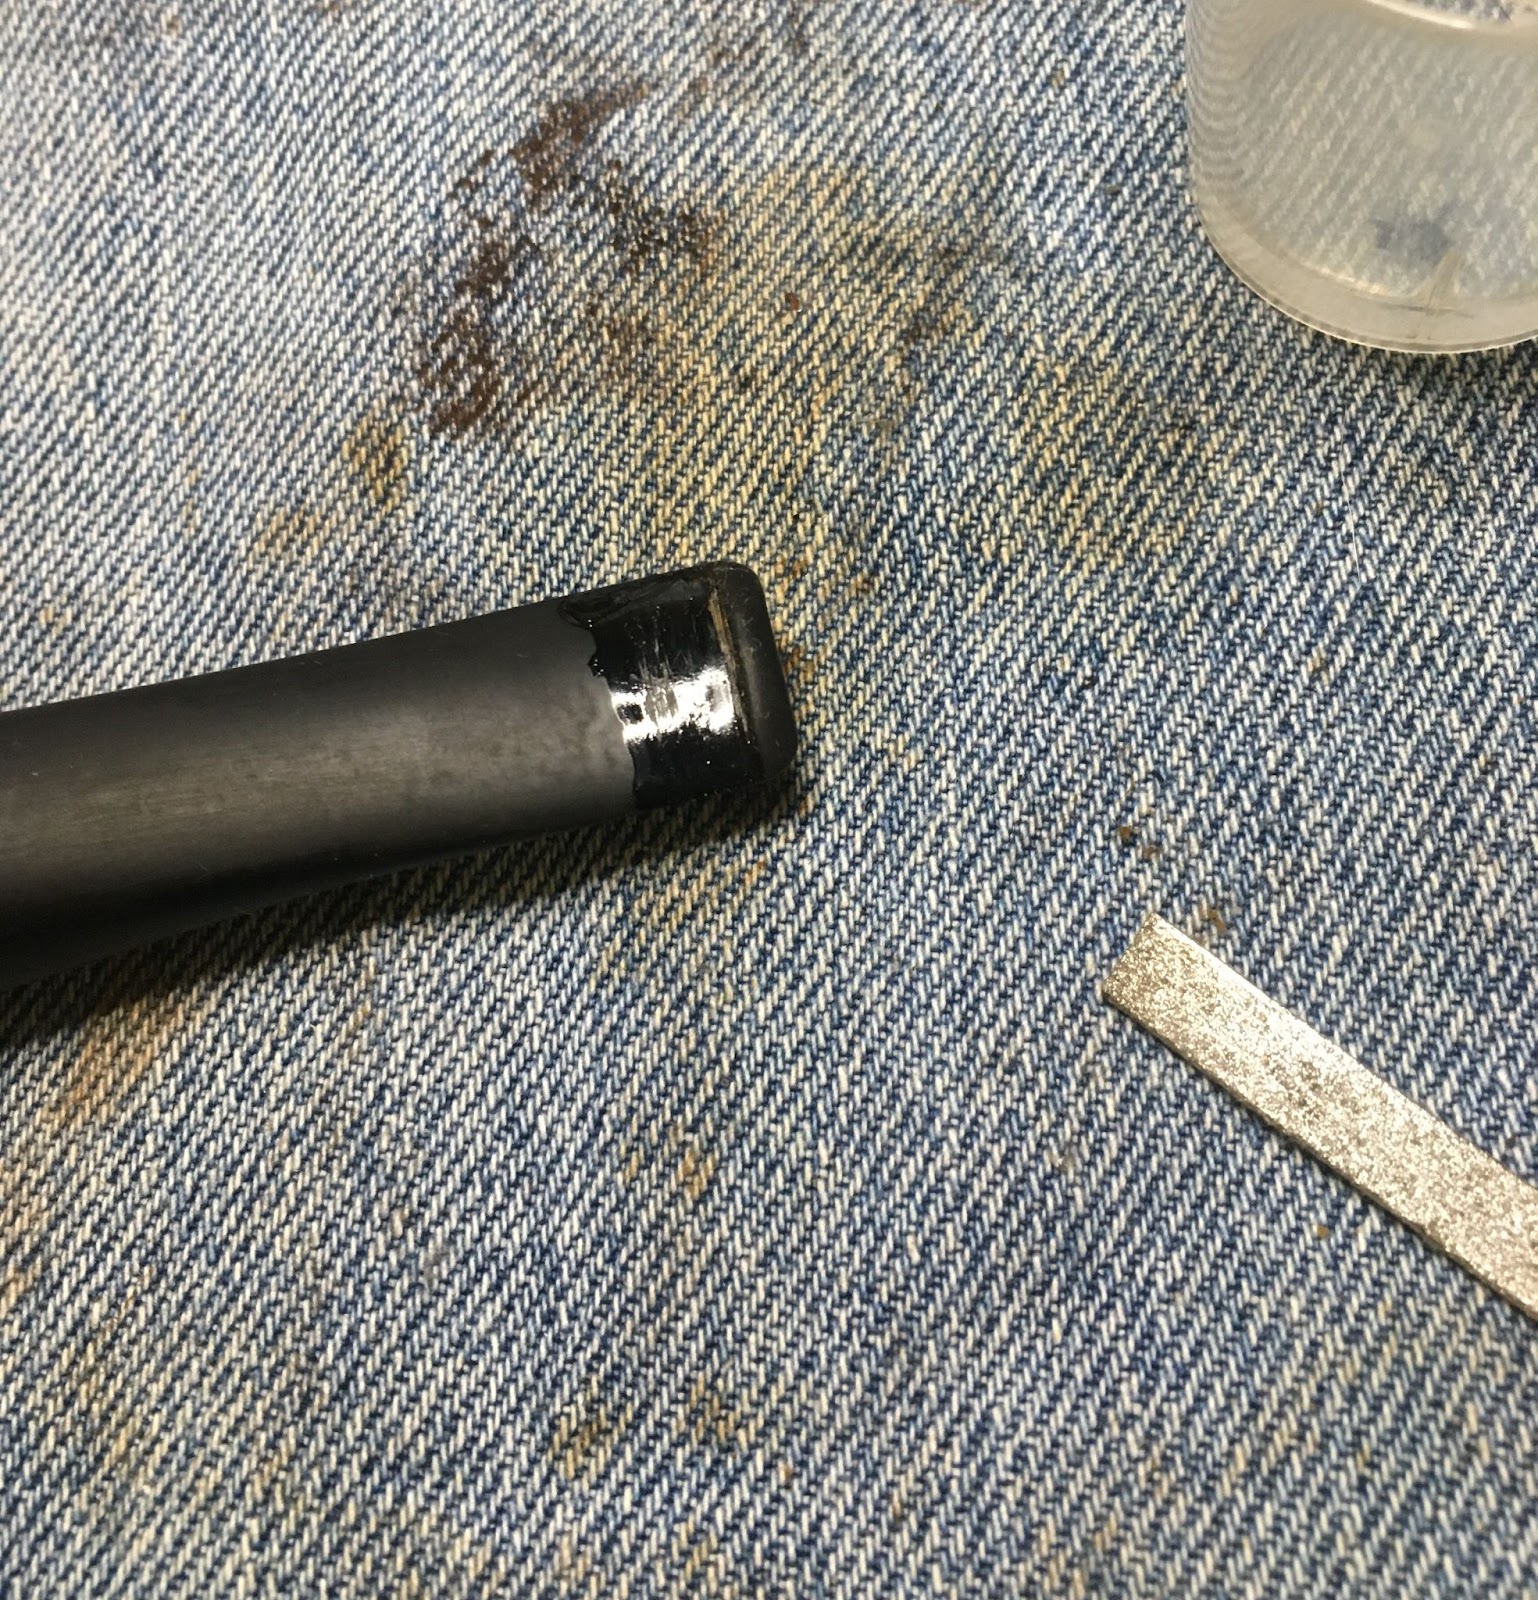
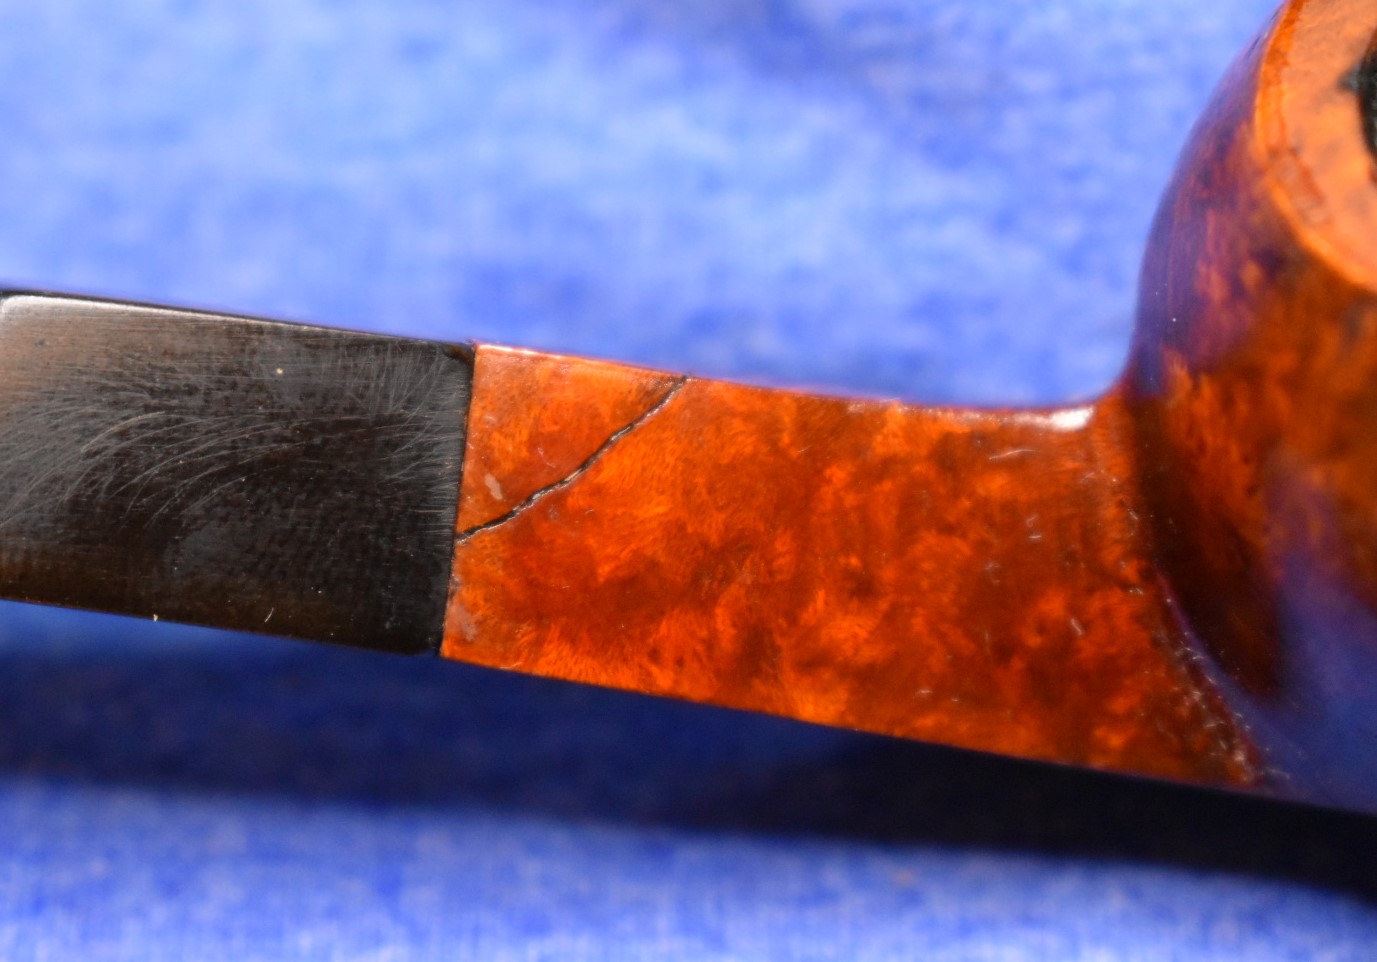
Once the worst of the oxidation had been removed by sanding, I started the rebuilding of the button. The dent above the button was filled first using thin applications of black CA, spritzing with CA drying accelerator, filing and sanding. The resulting area then received a second coat of black CA with the above speed drying and smoothing until it was filled.
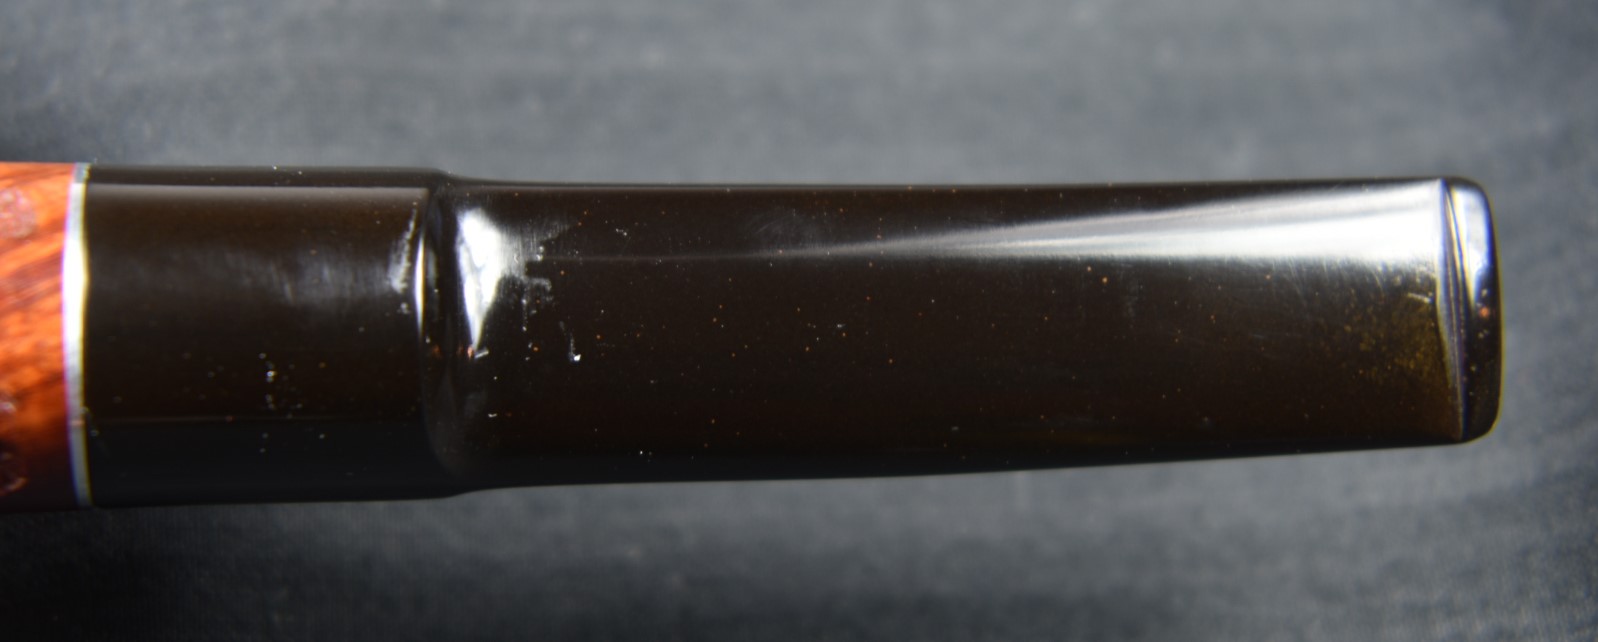
The below photo shows the rebuilt area smoothed inside a yellow square.

The draft hole of this Yello-Bole was rectangular, nearly square. I thought about items to use to support the liquid CA prior to it setting-up with a CA accelerator. The cotton swabs I had been using had a plastic “stick portion. I thought I could square this off with a bit of force and make it work. I worked very well. The CA did not stick to the plastic and the size and shape fit with near perfection. The plastic was inserted into the airway, while I applied a drop of black CA to the chewed through section of the button. The wet CA was then inverted and held upside-down while I spritzed it with the CA drying accelerator.

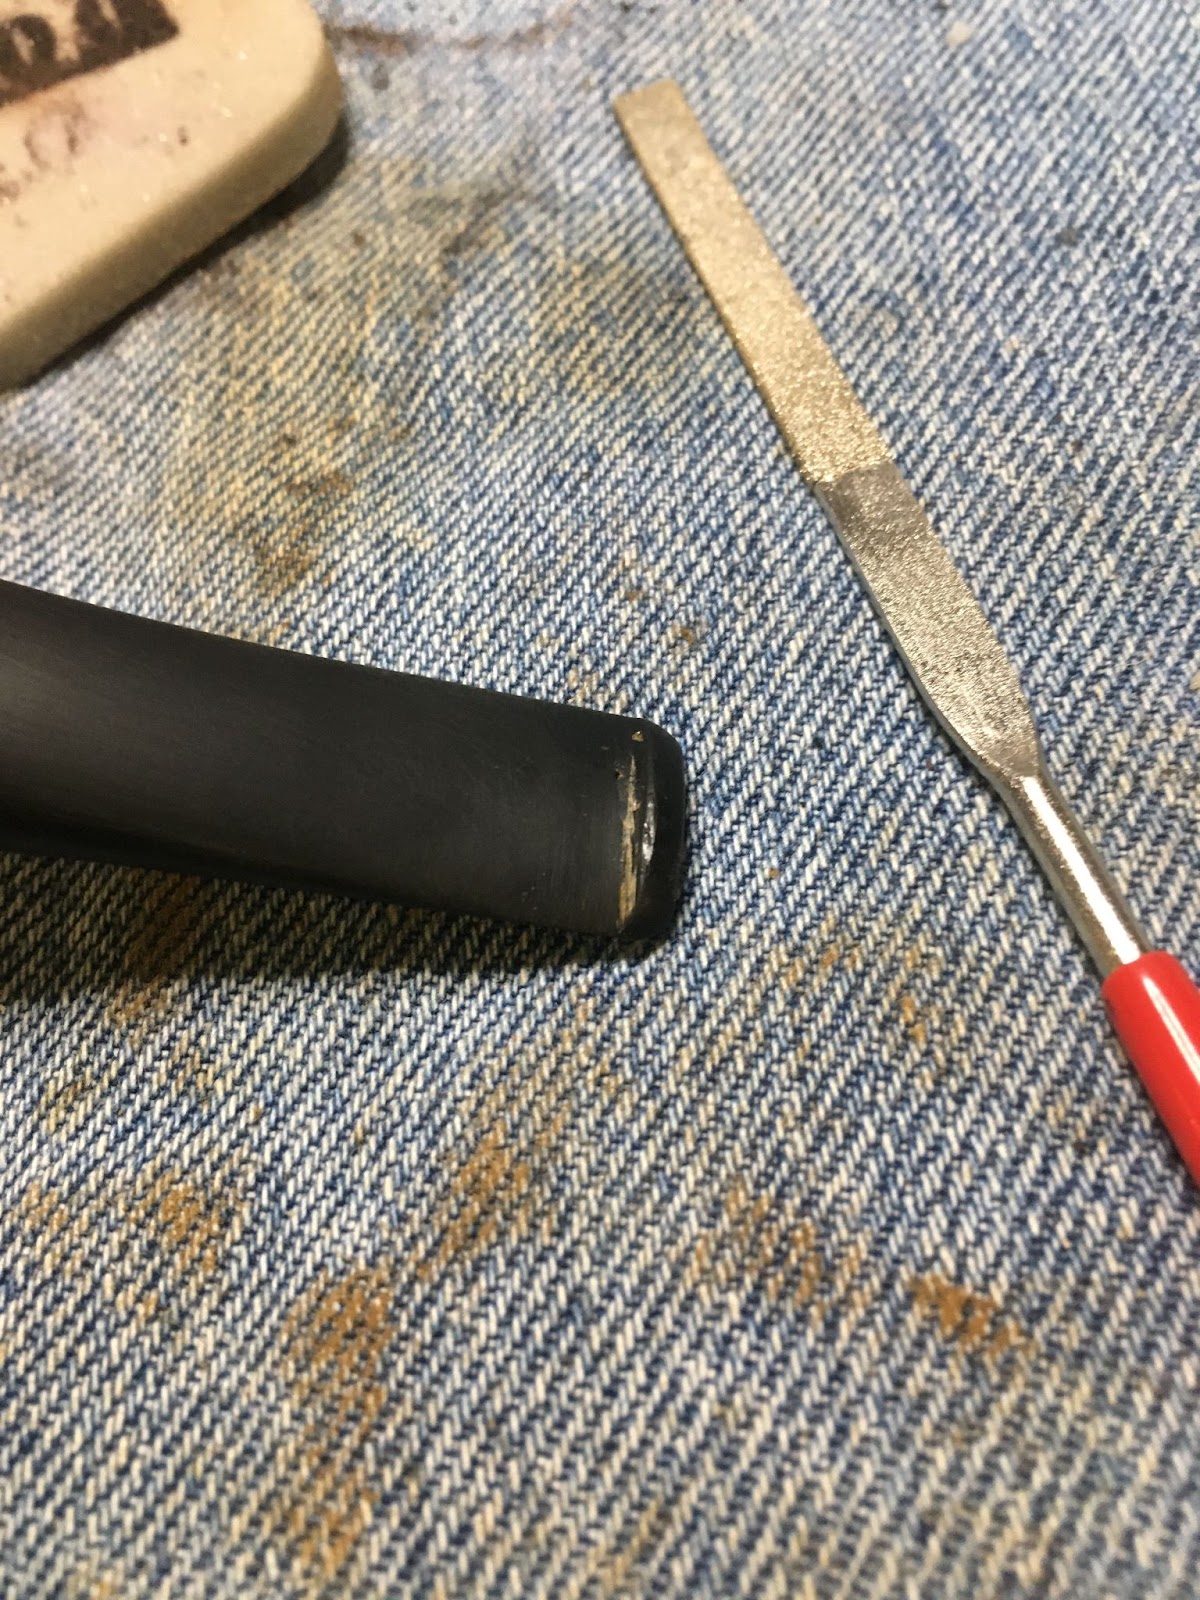
Once the CA had set-up I continued adding additional thin layers of black CA followed by spritzing with the accelerator. Eventually the gap had been spanned with new material. This new material was shaped with a flat needle file and smoothed with a 400 sanding sponge.

Final shaping and smoothing were done until I was happy with the results. My reshaping did take away that “older look” and did make the stem look more modern. I have conflicting feelings about that. It is more comfortable and looks more finished but It lost that apparent “old pipe” look.
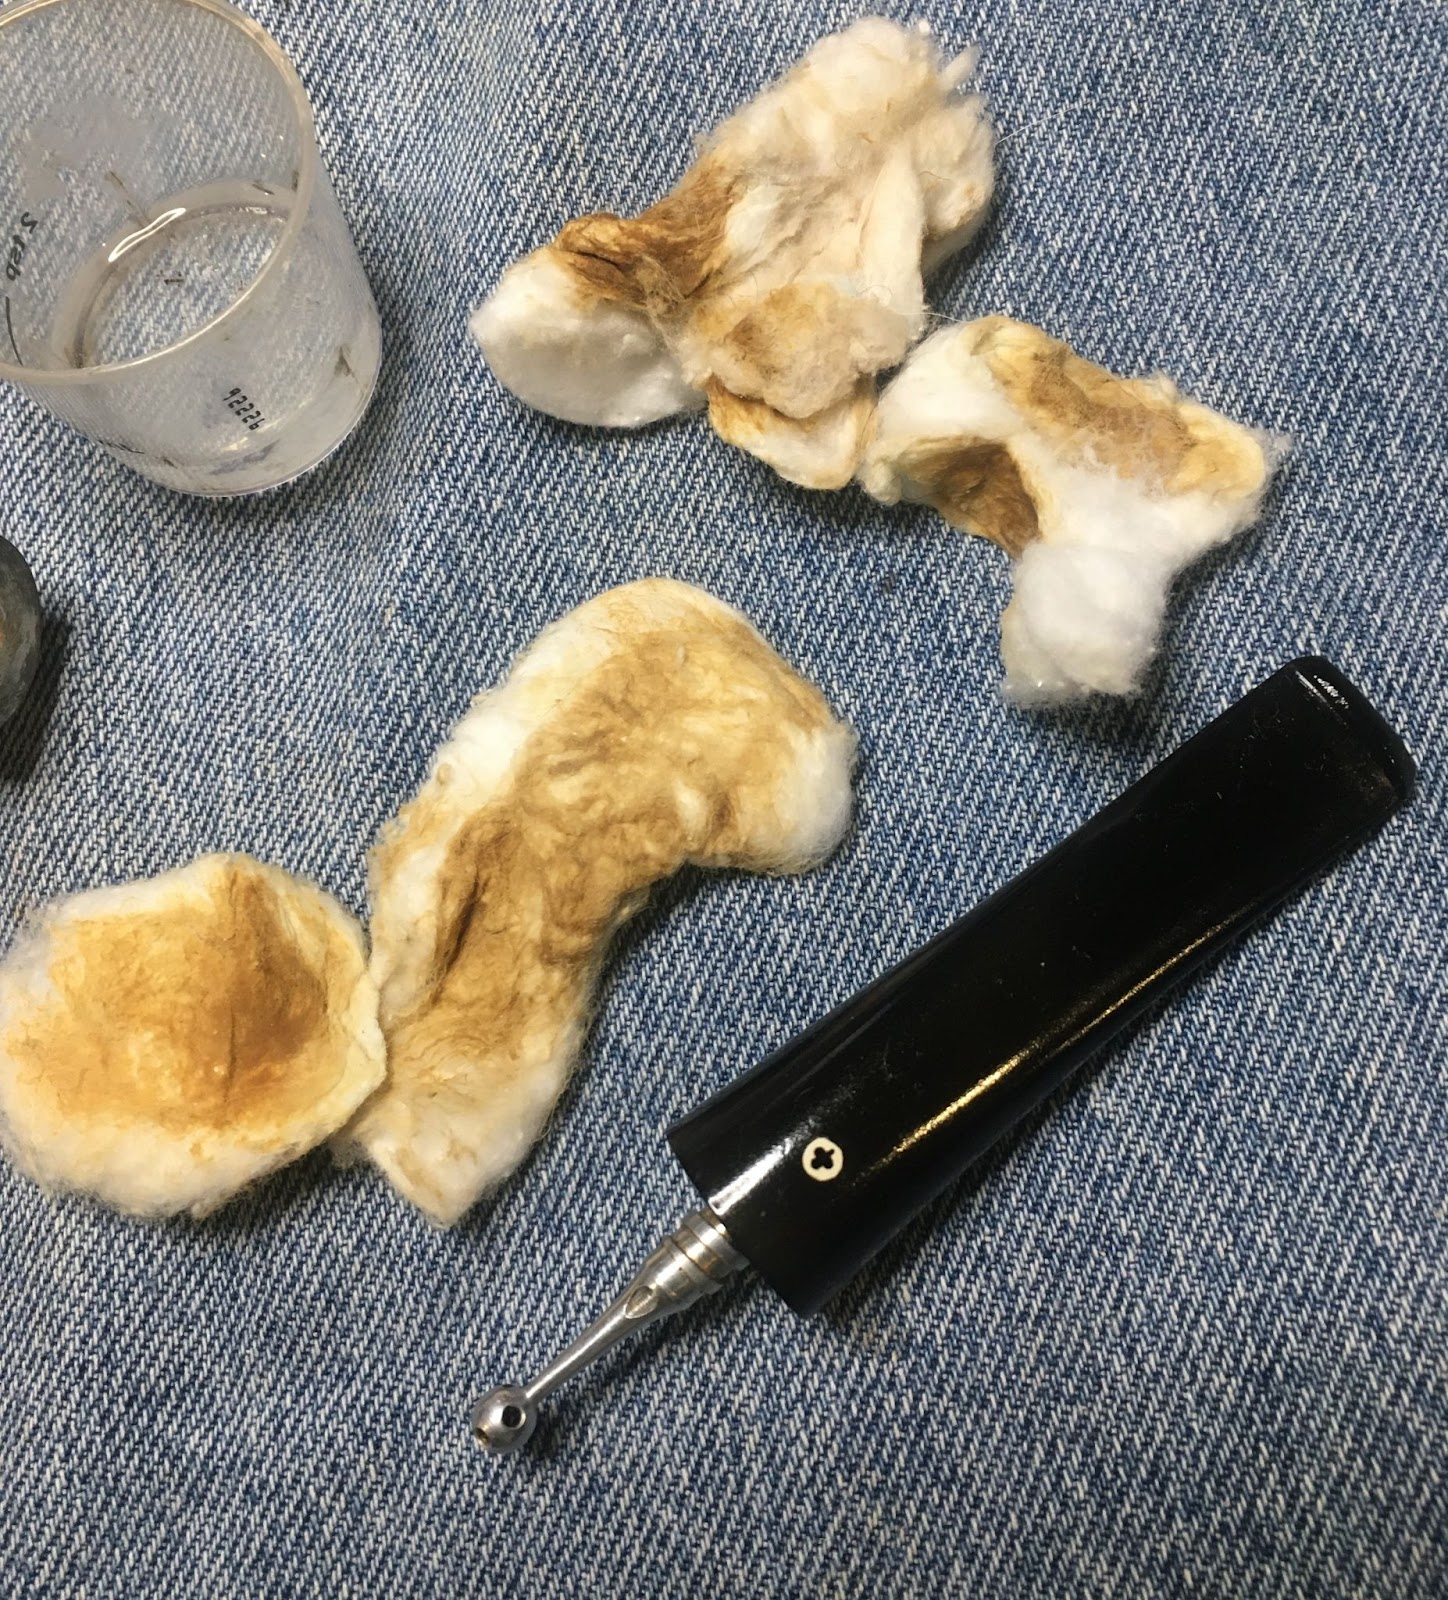
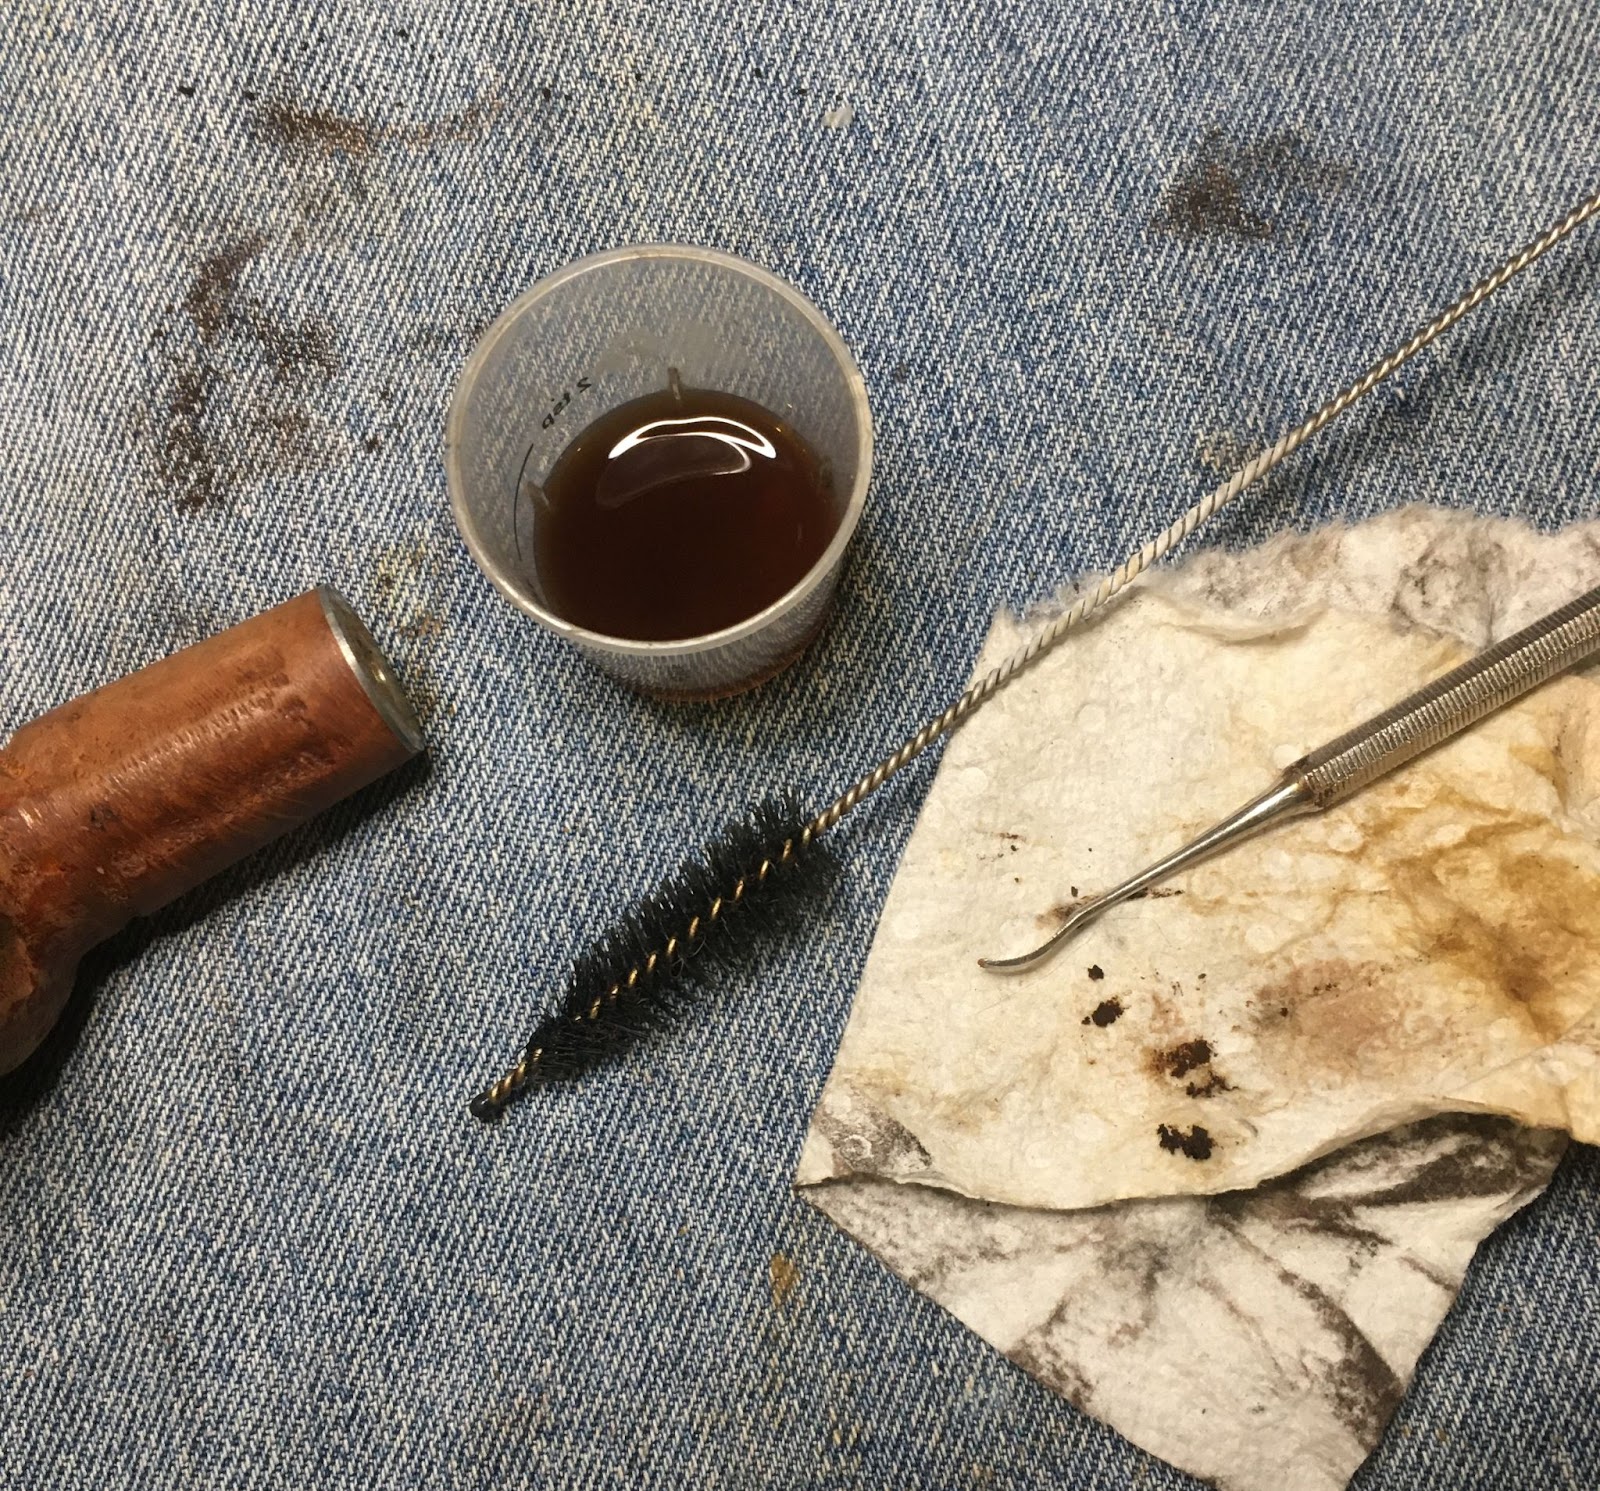
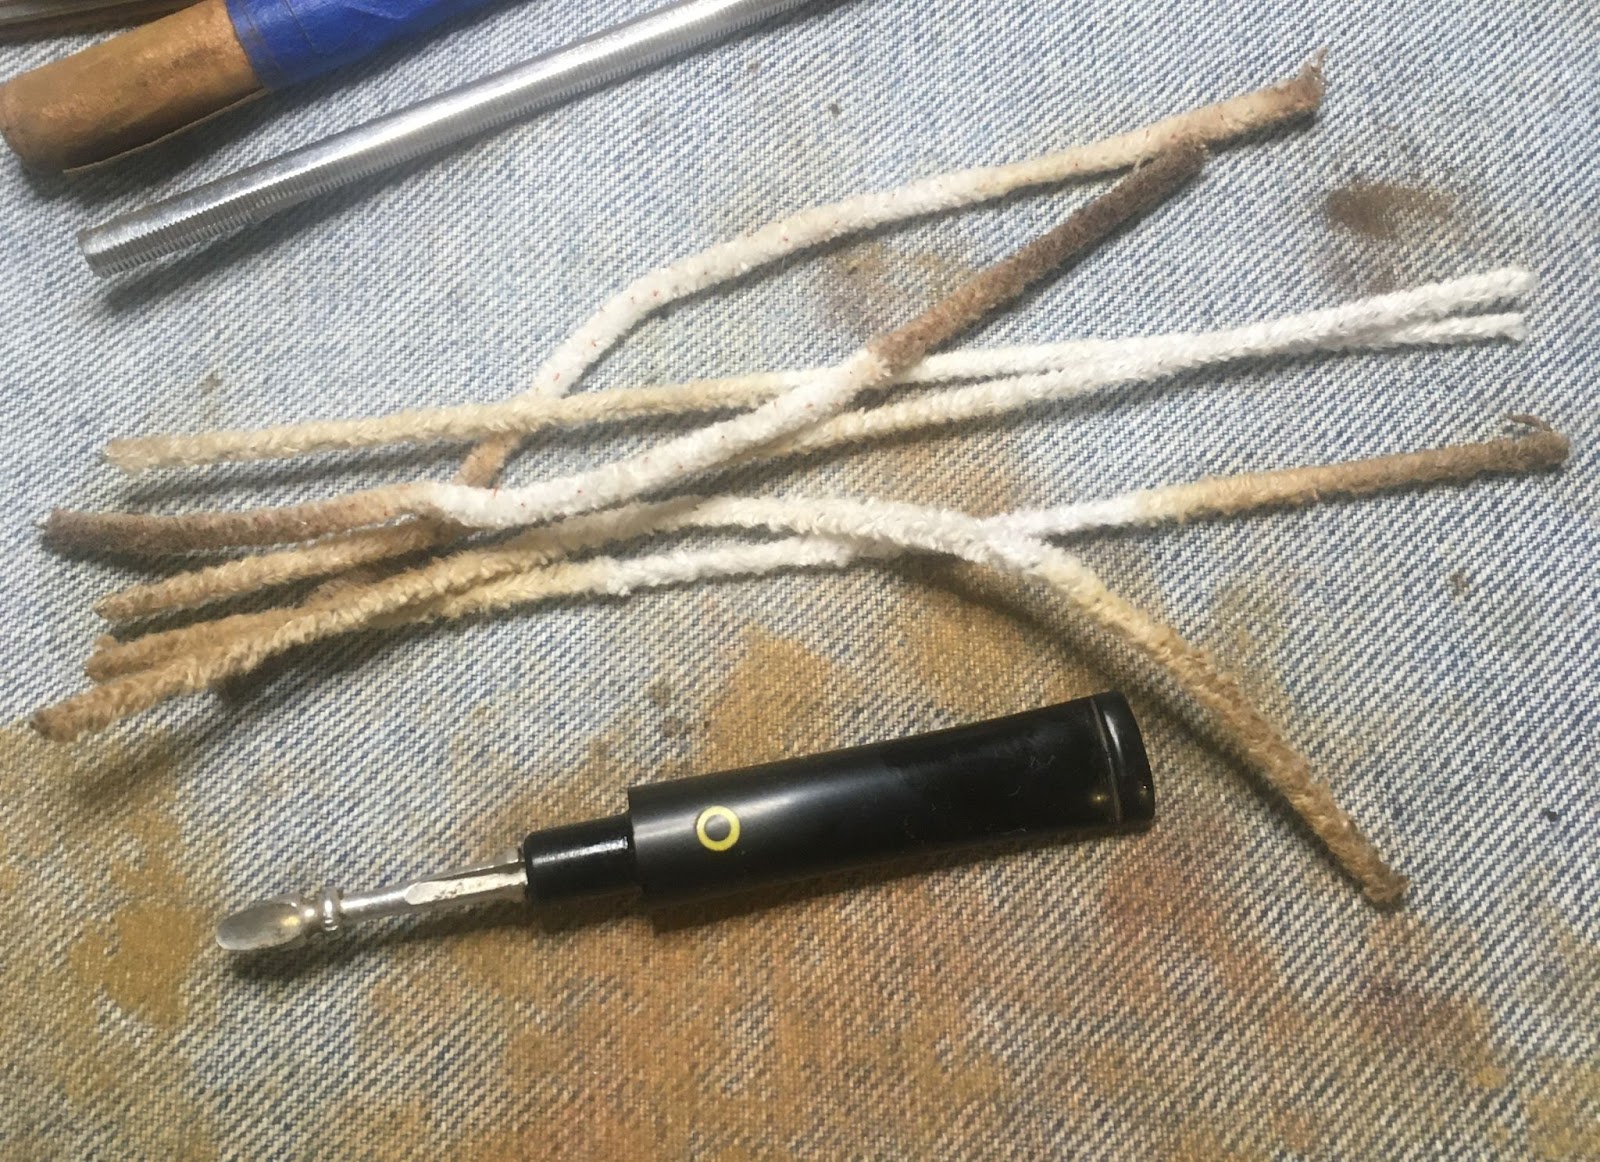
After the button was finally shaped I started cleaning the airway in the stem. This went quite smoothly using bristle pipe cleaners and 99% isopropyl alcohol.
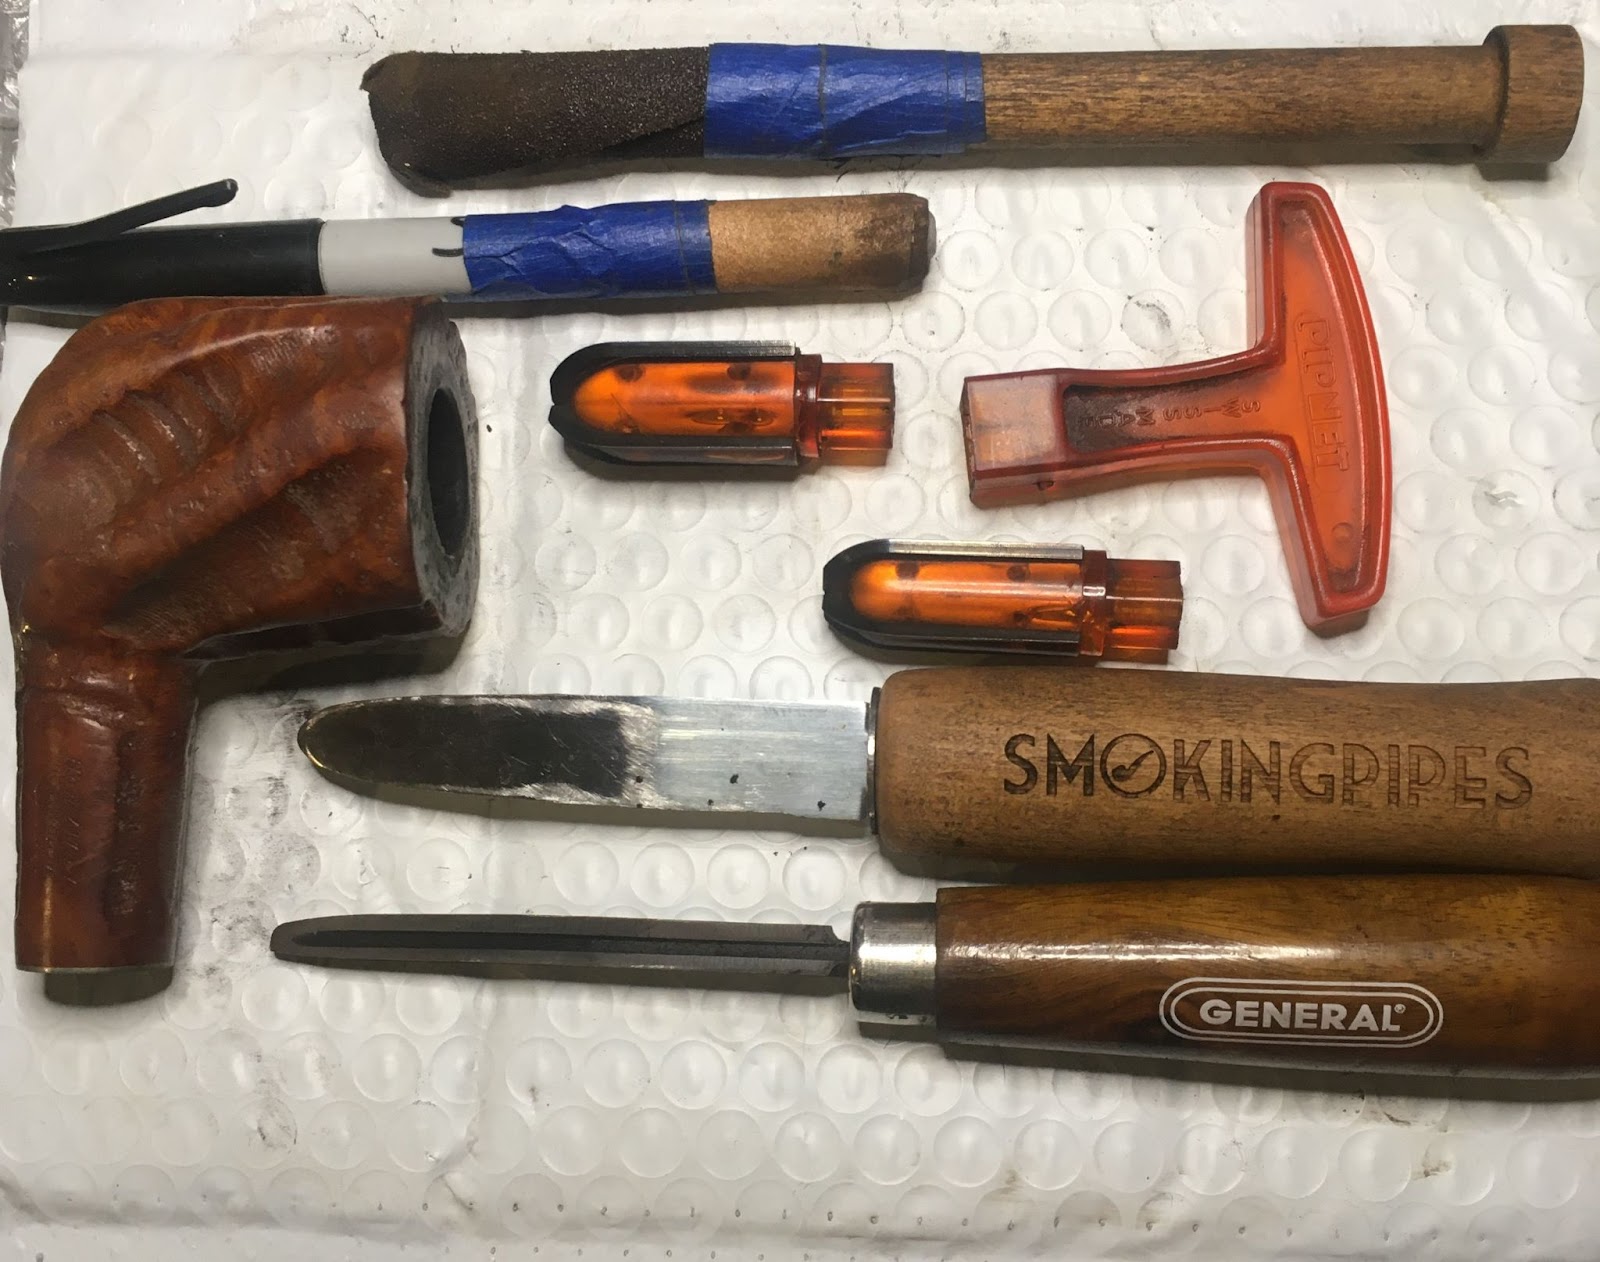
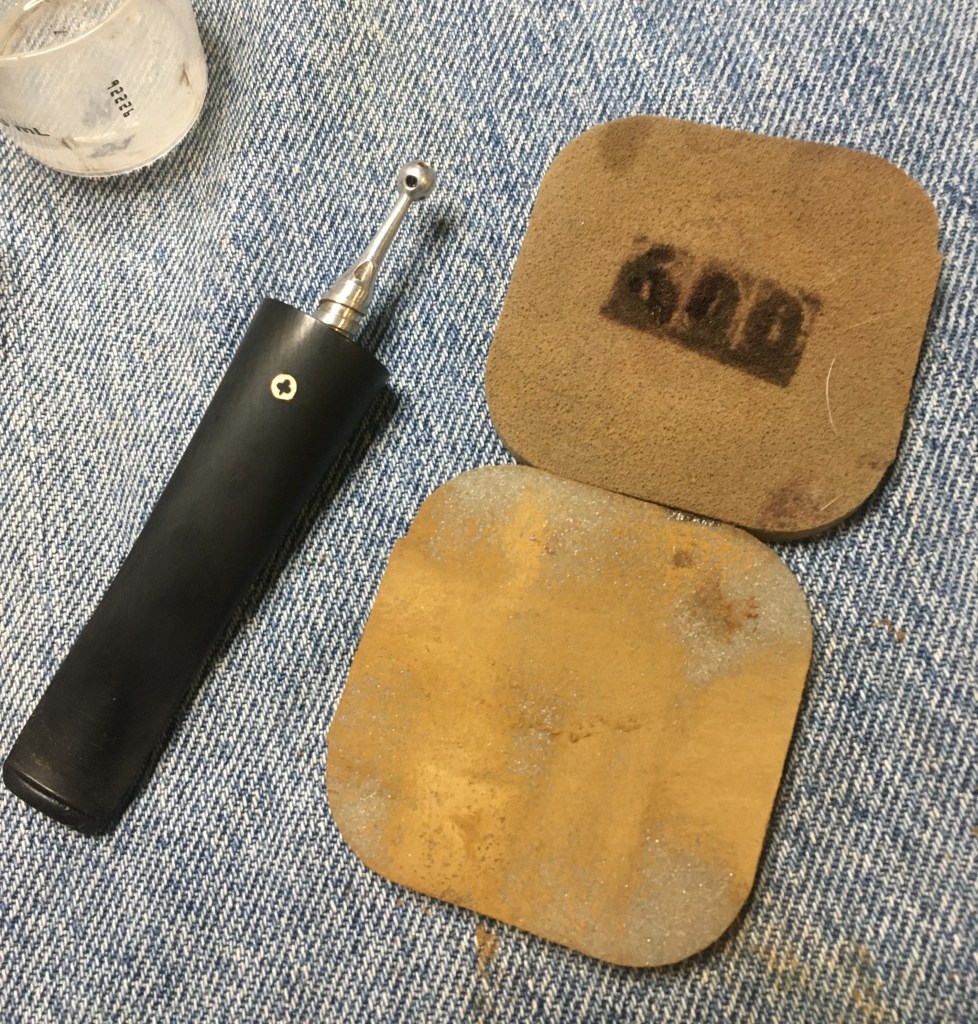
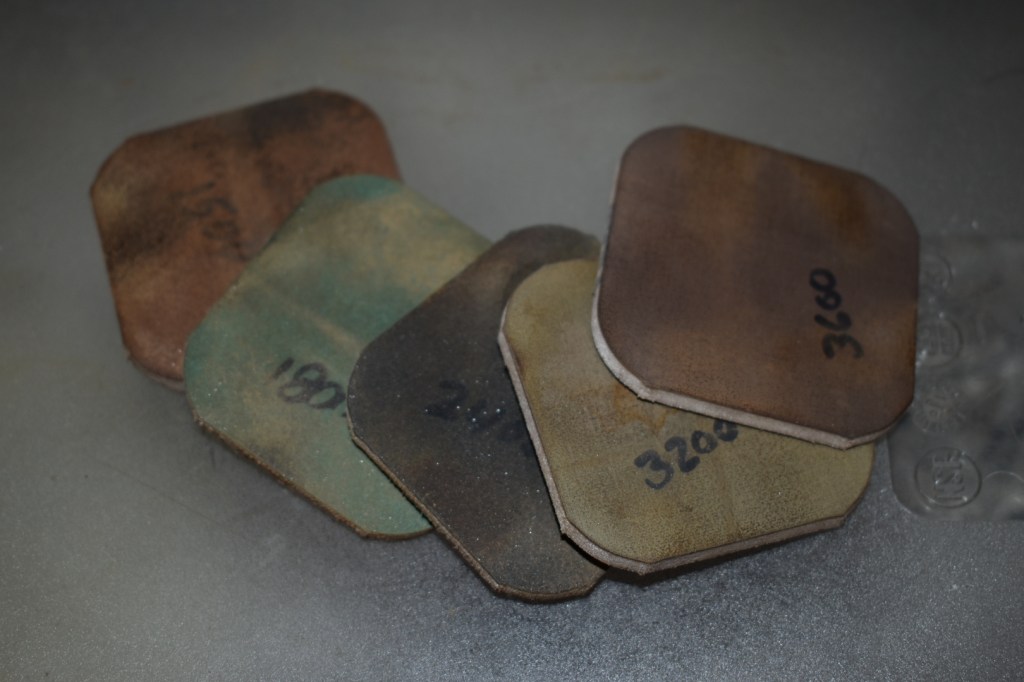
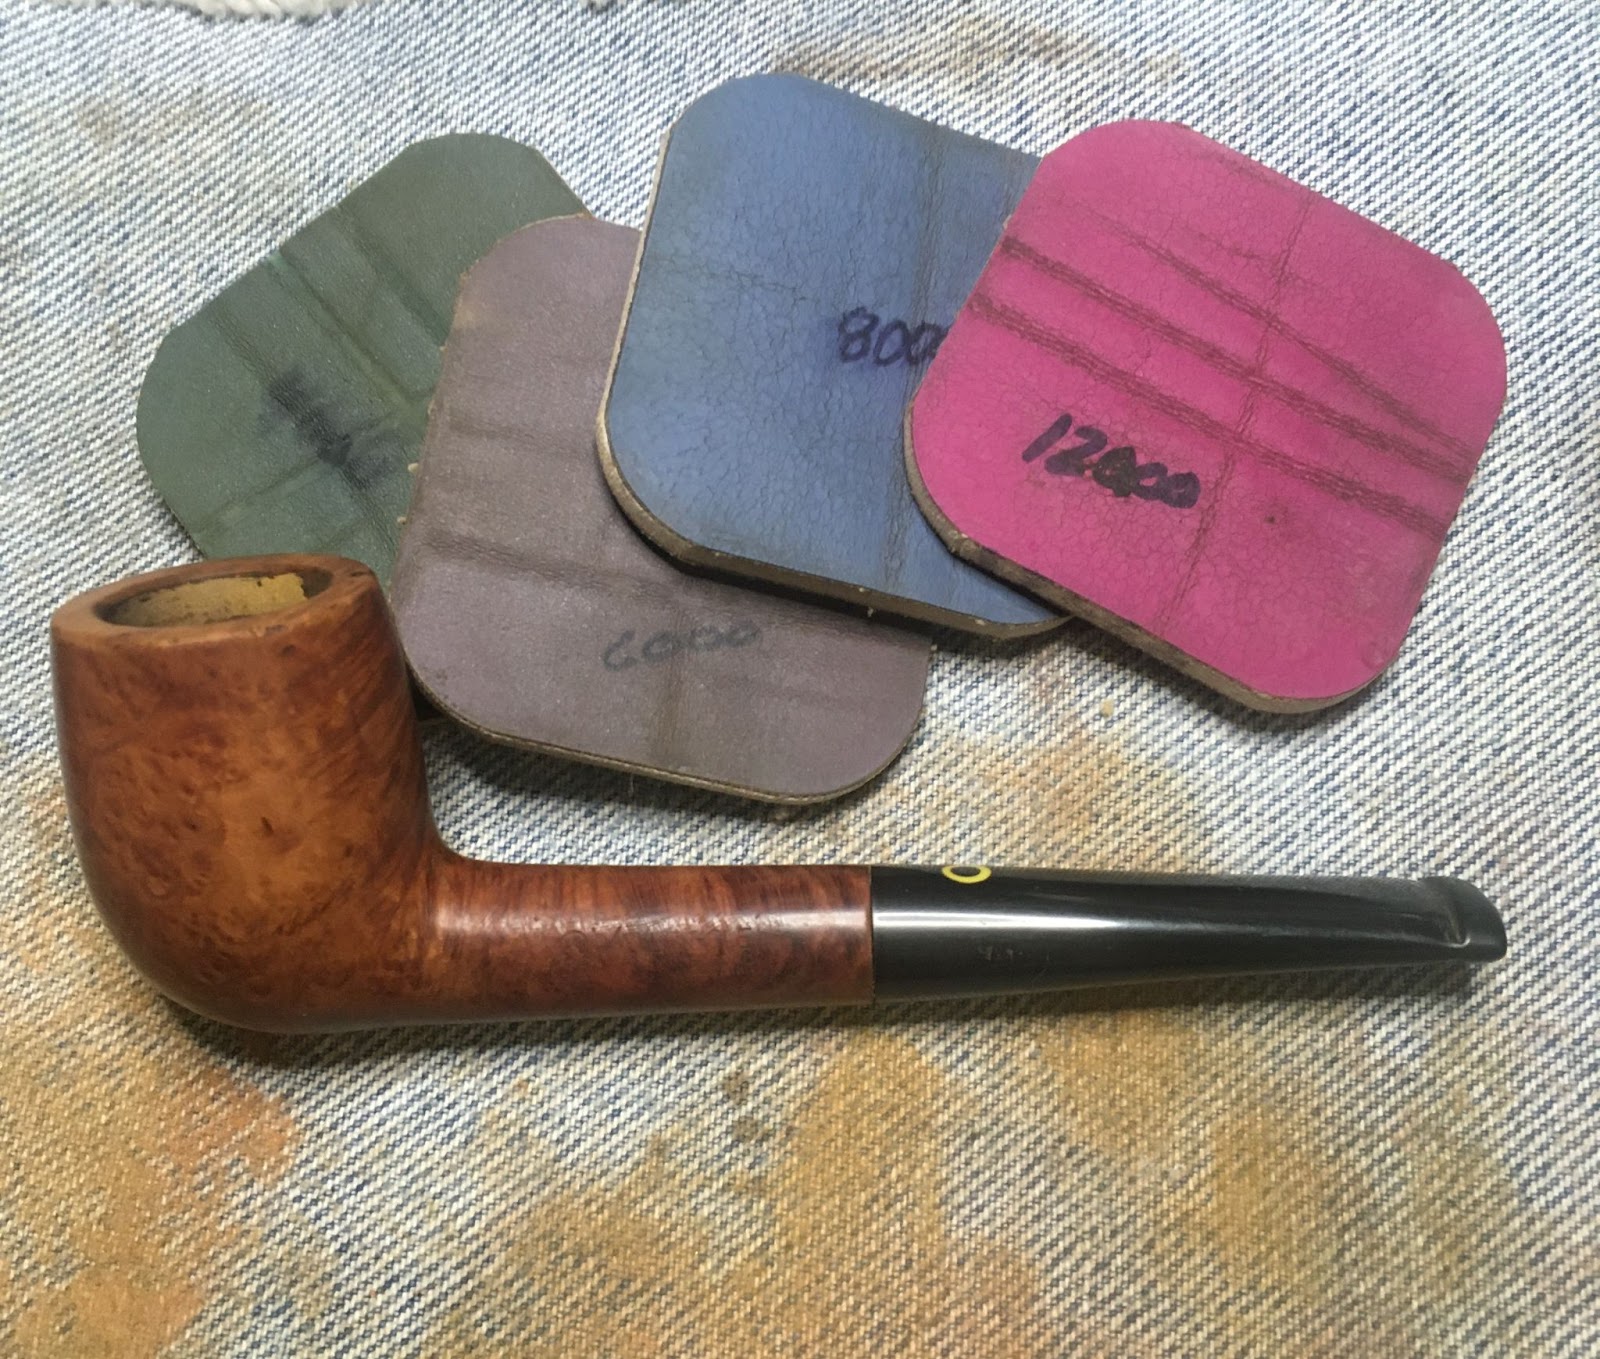
For the sanding I wanted the two pieces together so as to not round the edges of the joint where the pieces join. I taped off the stampings; right, left and bottom. The sanding was done with a series of sanding sponges from 600-3500 grit. Between each sponge I wiped the stummel with a make-up pad moistened with 95% ethyl alcohol. The stem was rubbed with my finger dipped in mineral oil then wiped with a dry paper towel.

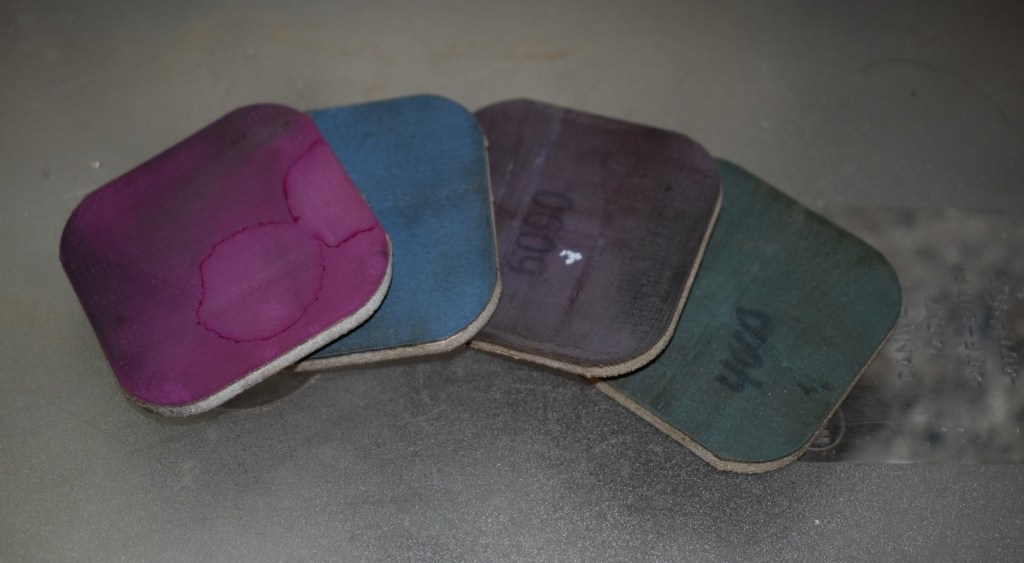
Next, I worked the pipe with the micro-mesh pads 4000-12000. I wiped the stummel as above but the stem received a drop of Obsidian Oil rubbed in with my finger and wiped with a paper towel.between pads.
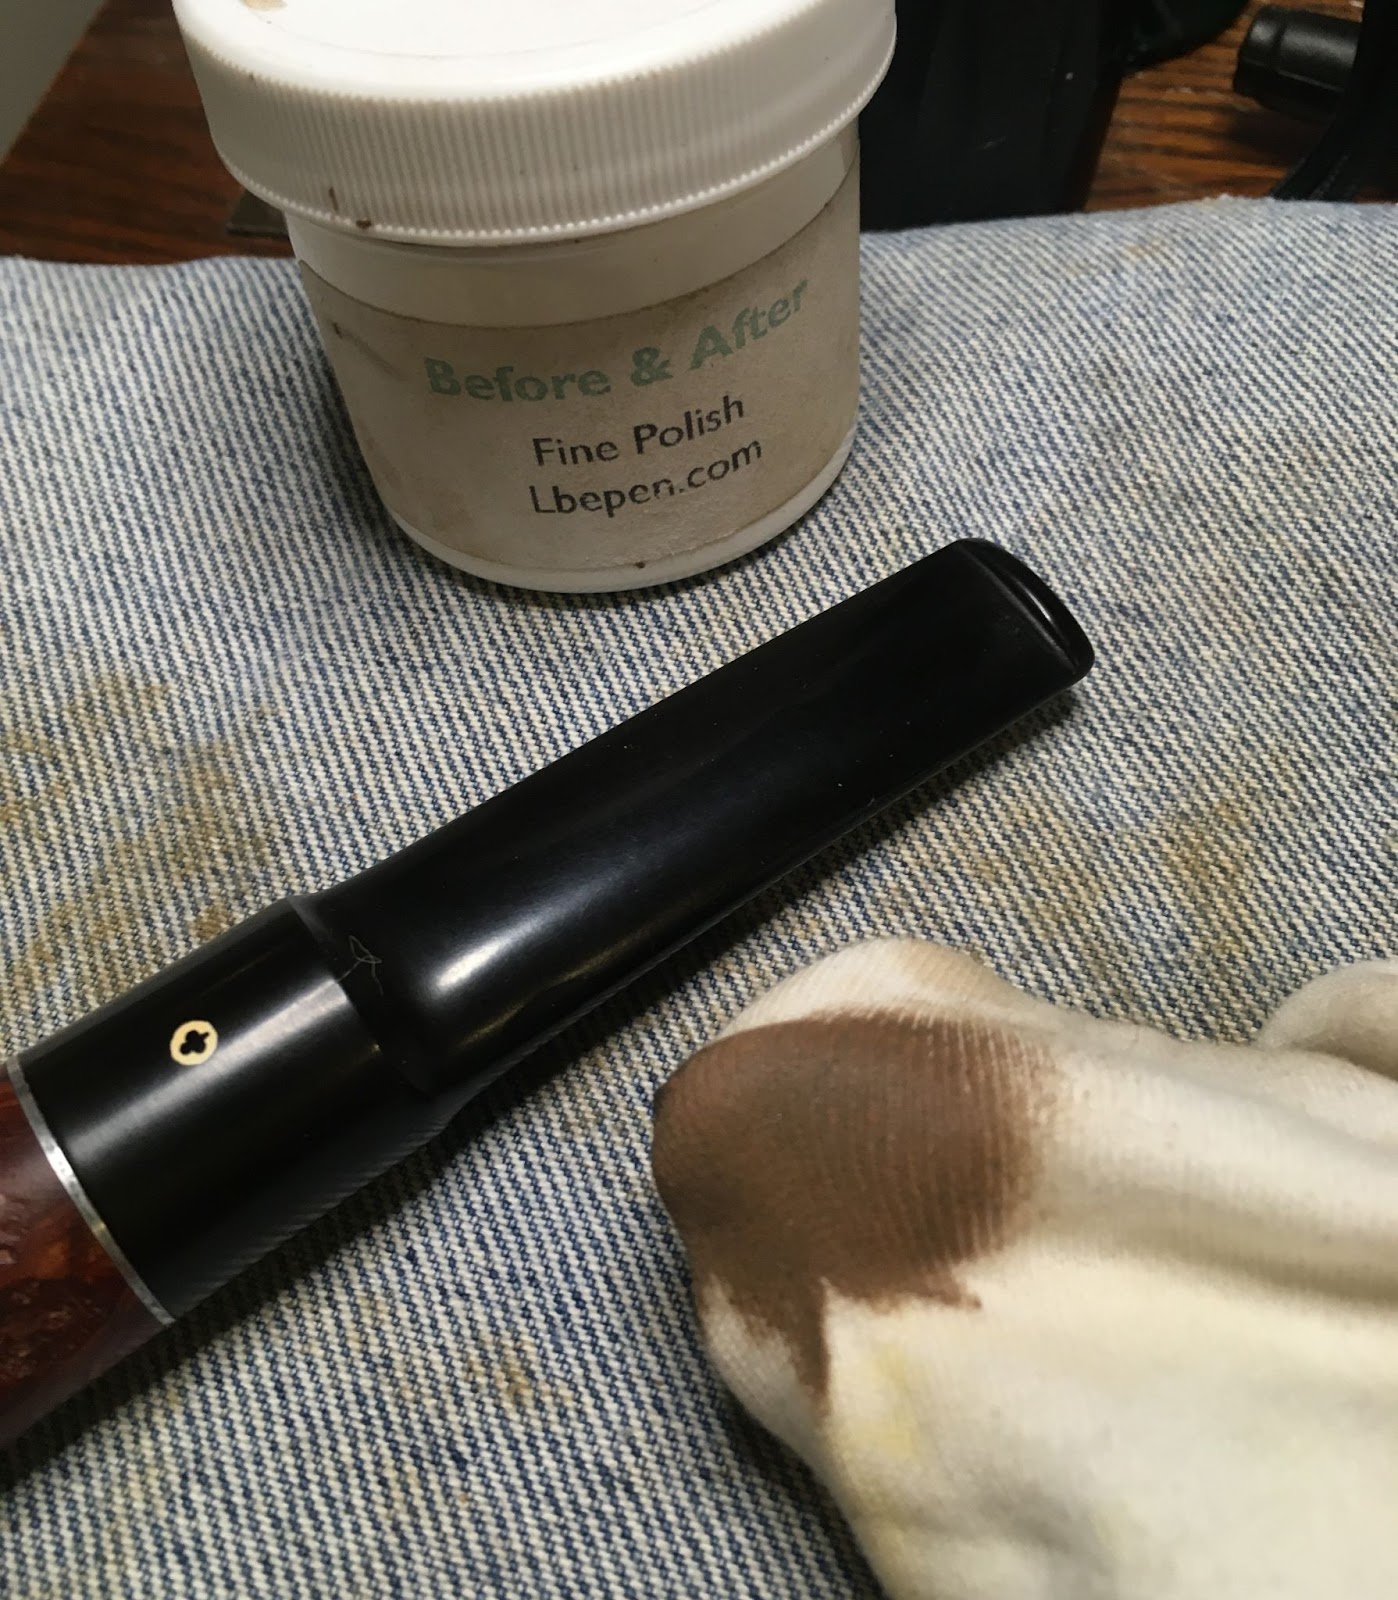
The final stem polishing was done with Before and After Fine and Extra Fine Polish, respectively. Each polish was applied by fingertip and hand rubbed with a soft cotton cloth.

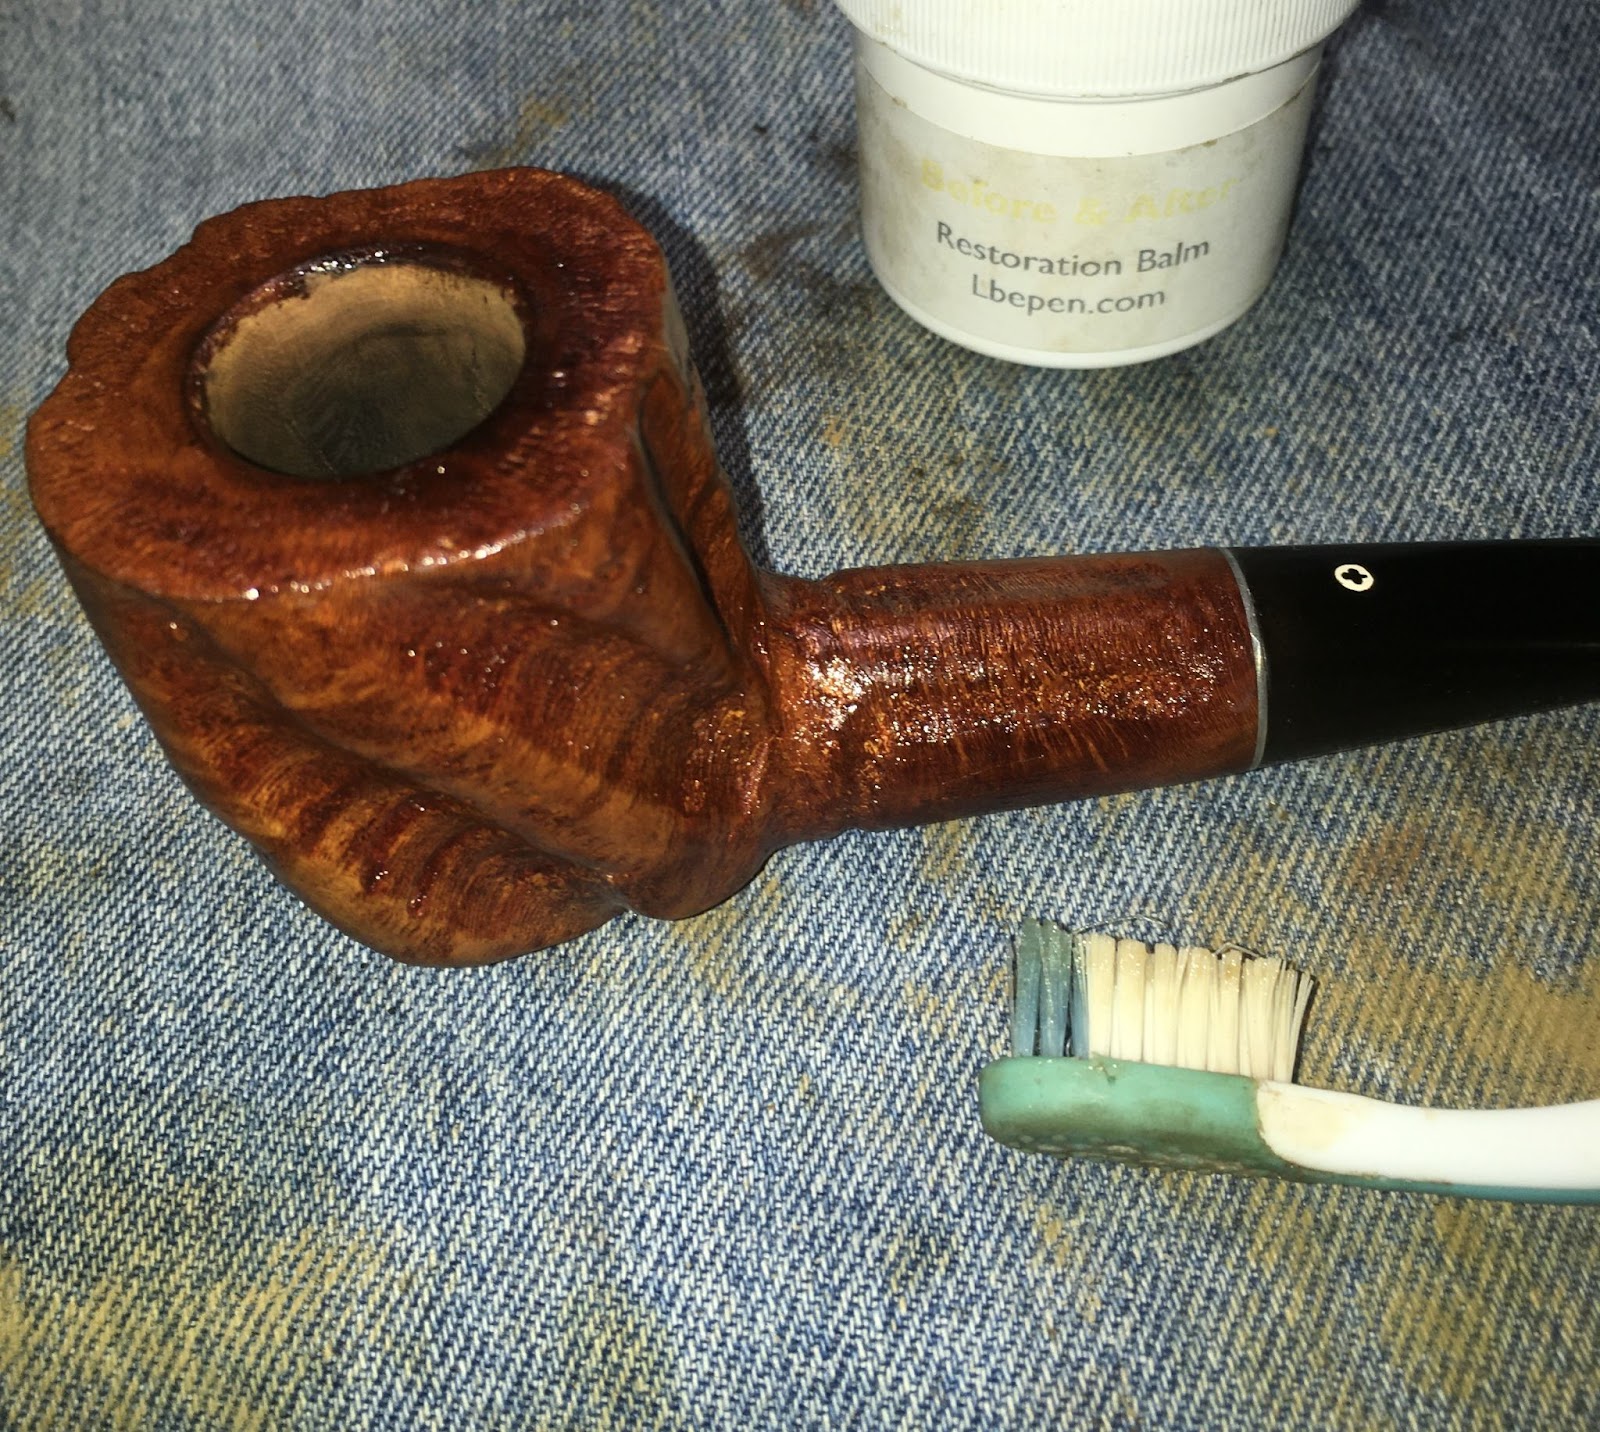
The entire pipe was coated with aBefore and After Restoration Balm and allowed to sit for 30 minutes.

Once 30 minutes were up, I used the inside of an athletic sock to wipe away the excess balm.

THe stinger was still stuck. I said that I would be victorious and I had some thought as to how that could come about. The first plan was to try to soak the stinger in boiling water. The thought was that the aluminum would heat up the surrounding tar lacquer, softening it so that I could remove the stinger with a little bit of force. Good idea, no results.

THe next idea was to apply heat in the form of flame. The hotter than boiling water temperature would soften the tar lacquer releasing it’s death grip on the stinger and allow me to remove it. As I was heating the stinger I was steam coming from the point where the stinger was inserted into the stem. Some water must have seeped into the stem and was being vaporized by the flame heating the aluminum stinger. I knew that if the water was vaporizing I was at the boiling point of water also the temperature that vulcanite begins to soften. I wrapped the stinger in a cotton handkerchief and pulled on the wrapped stinger with a pair of pliers. It came free. Victory! I then cleaned the stinger with 99% isopropyl alcohol and a nylon scrub brush. I ran a couple more alcohol dipped pipe cleaners through the stem, now unimpeded to get it completely cleaned also.

All that remained was to apply several coats of carnauba wax with the buffer to the whole pipe.
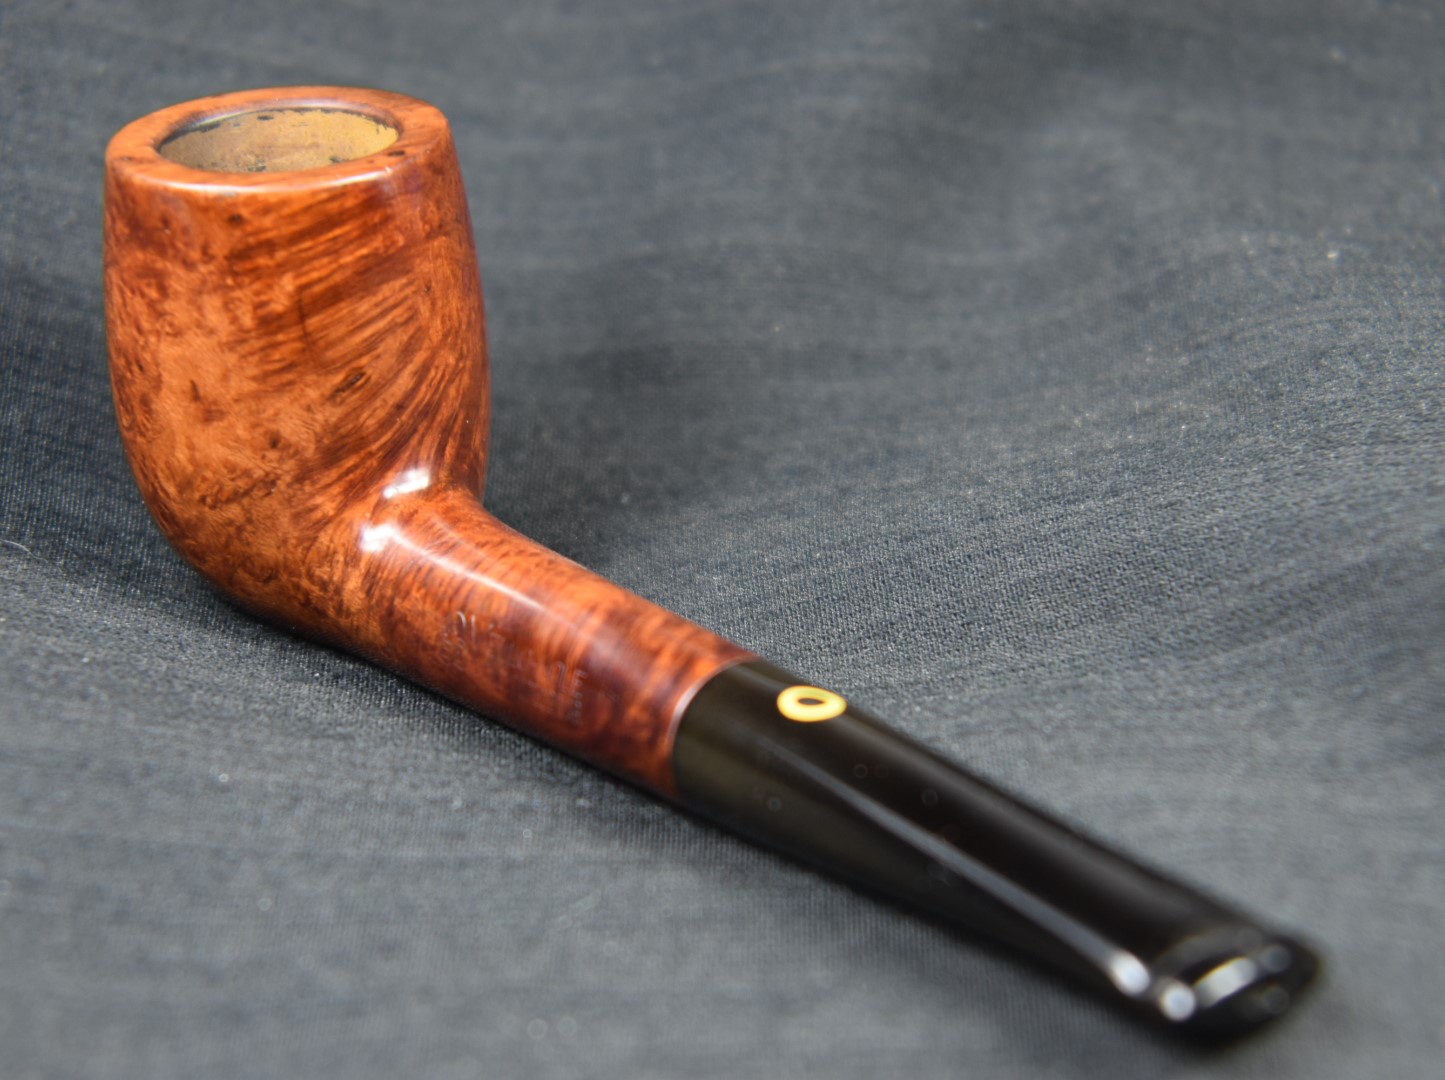
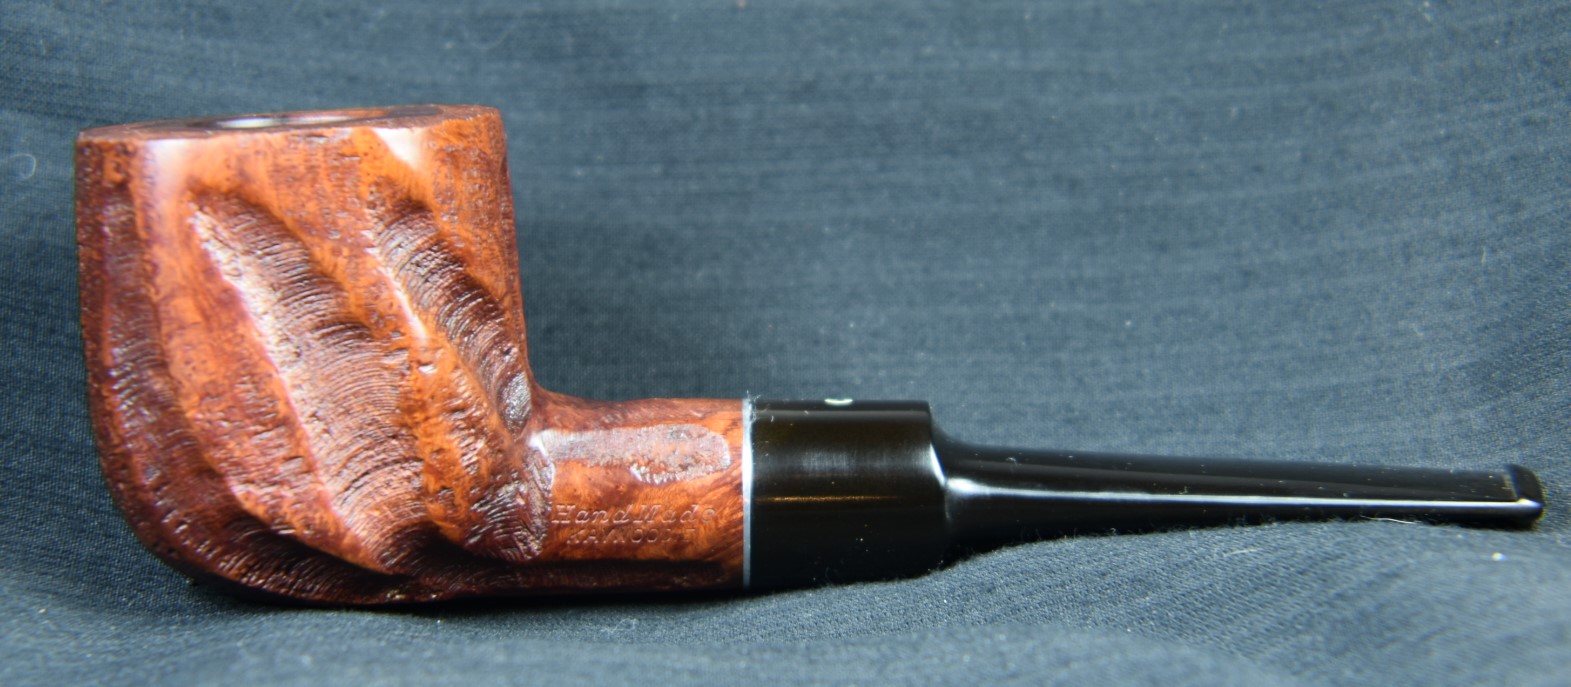
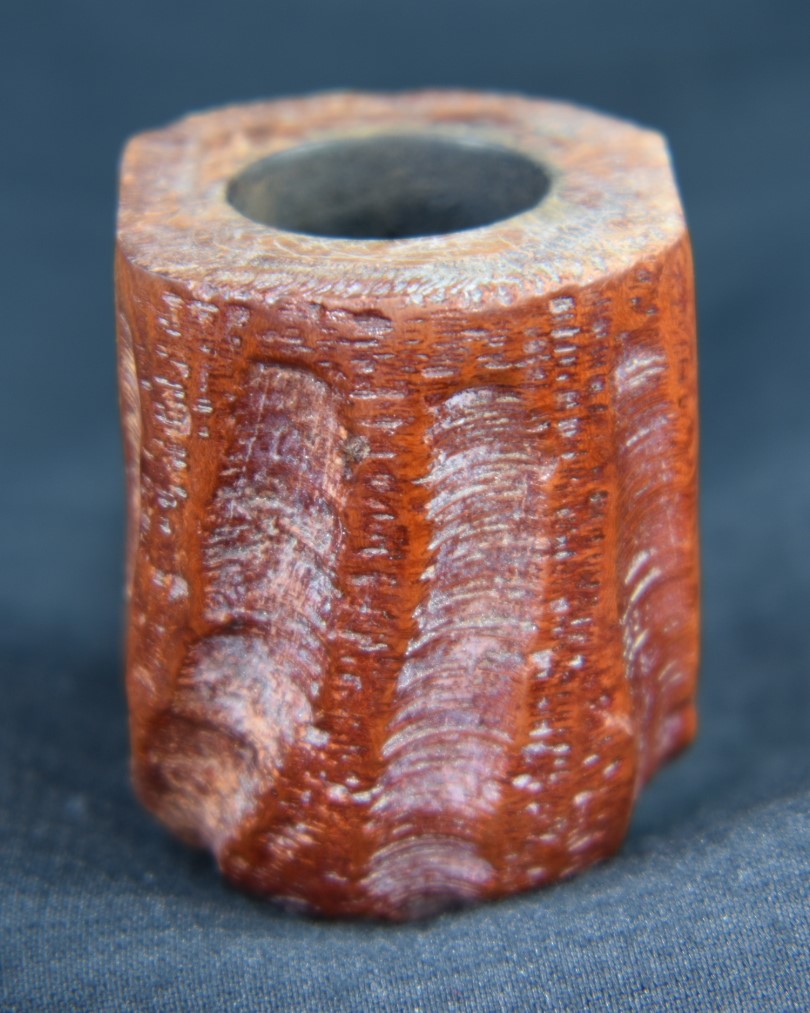
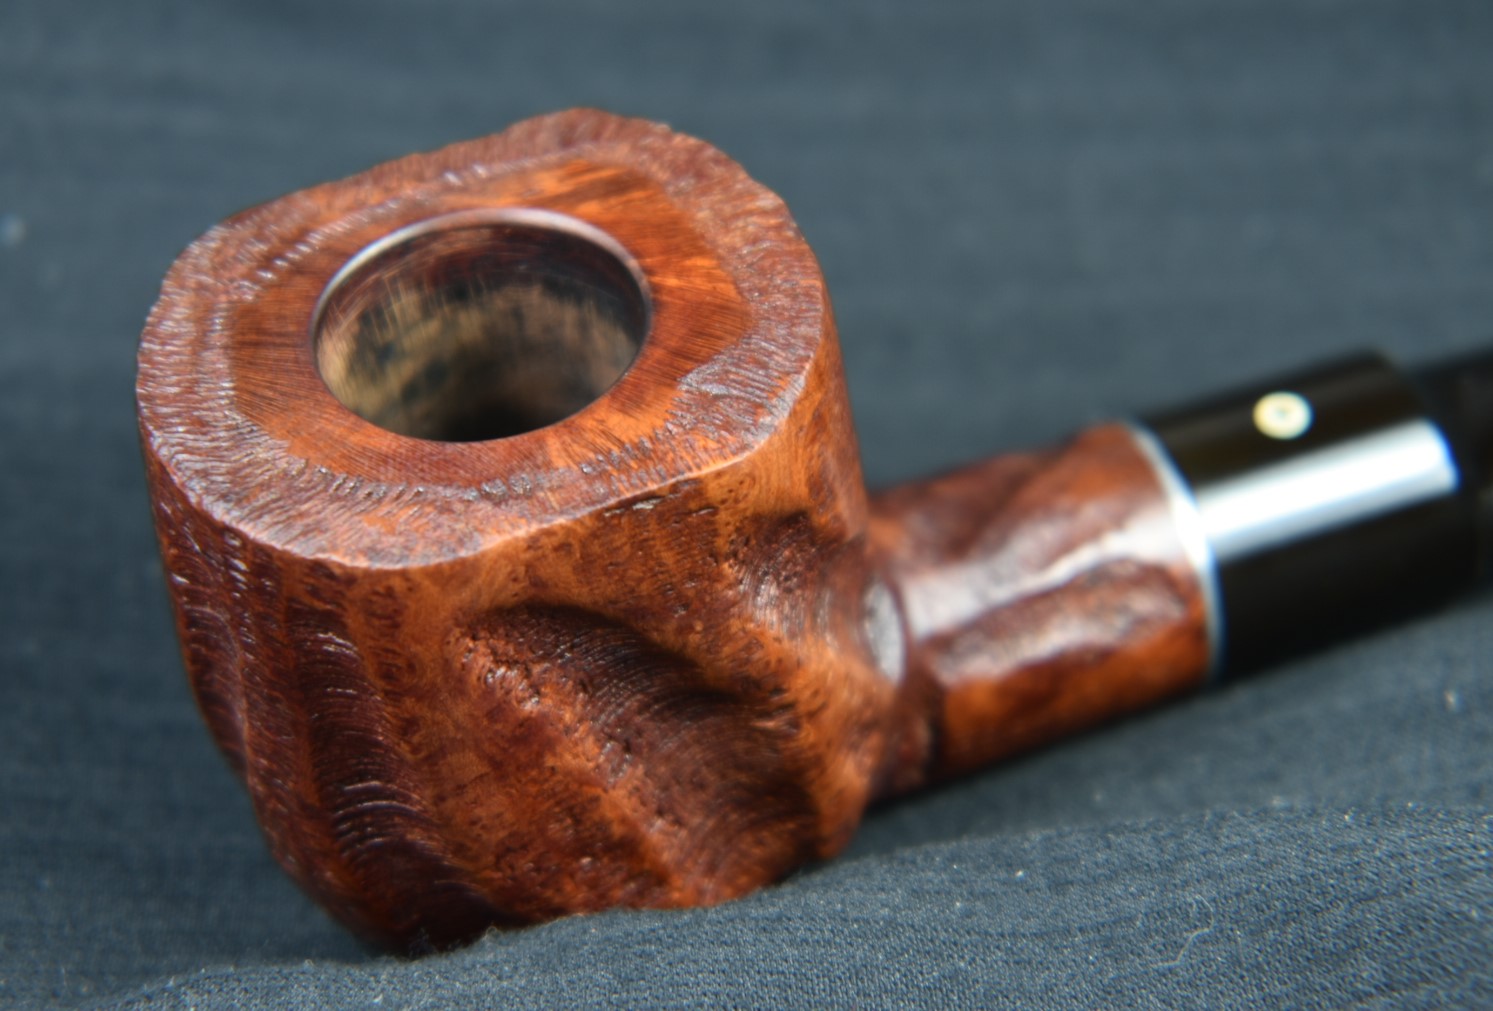
I love how this 90 year old Yello-Bole turned out. The wood grain is beautiful. Sure, it has some fills. I left the old olds and only fixed a couple of small scratches while I was sanding. It was a “second” after all. The stem was cleaned-up and polished nicely. The logo and stampings all remained intact and are more clearly legible now than they were under the grime and finish. I did get to smoke this pipe earlier and it smokes very well for being a smaller pipe. The walls are thick enough that they remained cool throughout the bowl of tobacco. This pipe was never intended to be a showcase item and I intend to use it as it was designed as a nice pipe to smoke on the way to town for errands when a 15-20 minute smoke is what is needed. I hope that you have found something here useful to your restorations or were entertained. If you like this sort of thing, please click the like and subscribe. Thank you for reading the ramblings of an old pipe lover.
Below are some photos of the finished Yello-Bole Billiard.