
Photographed and written by
John M. Young
This is the third Kaywoodie Tuckaway that I have come across. The previous two were purchased and restored before I started blogging restorations, prior to October 31, 2023. They are two of my favorite pipes and have places in a three-pipe rack on my mantleplace. Below is a photo of the three amigos.

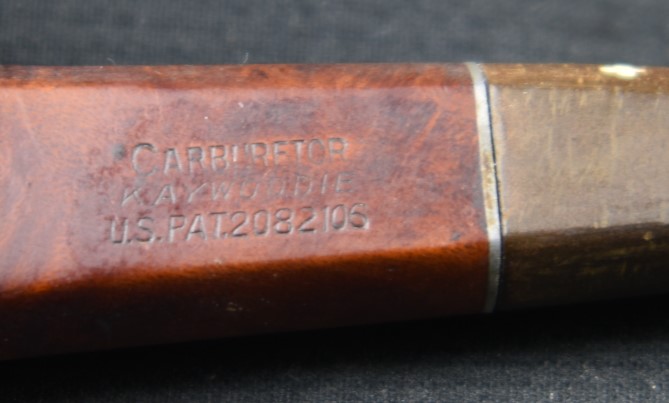
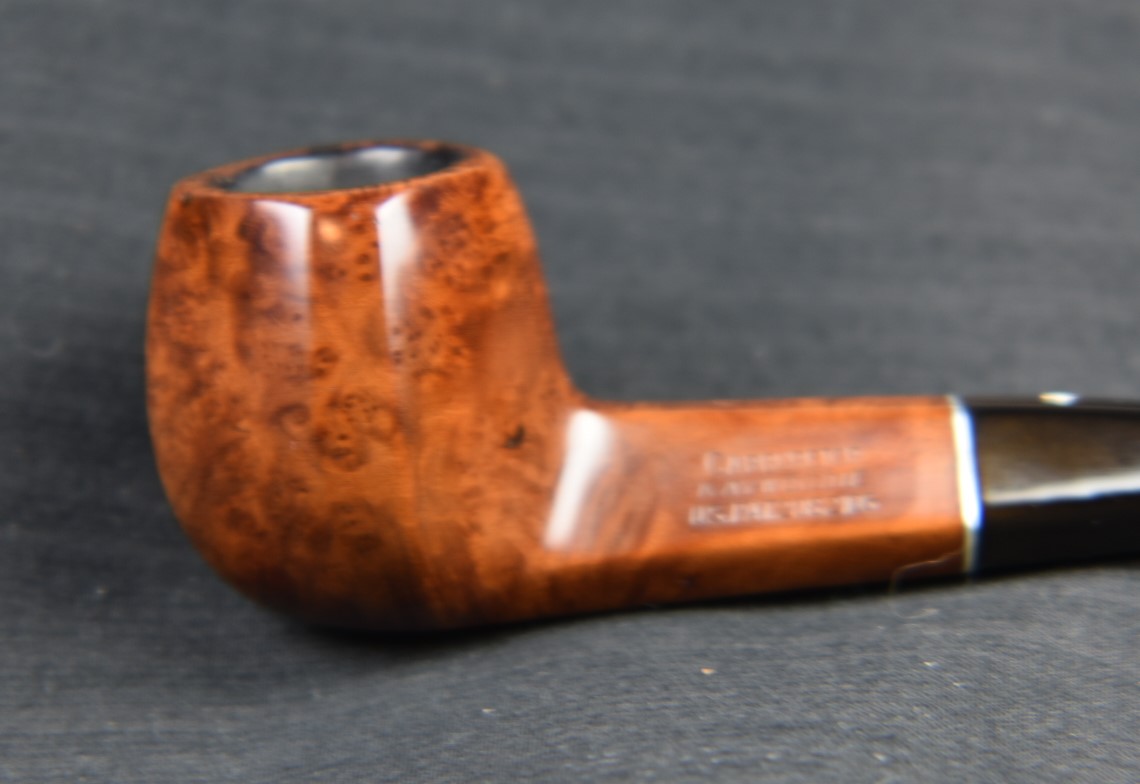
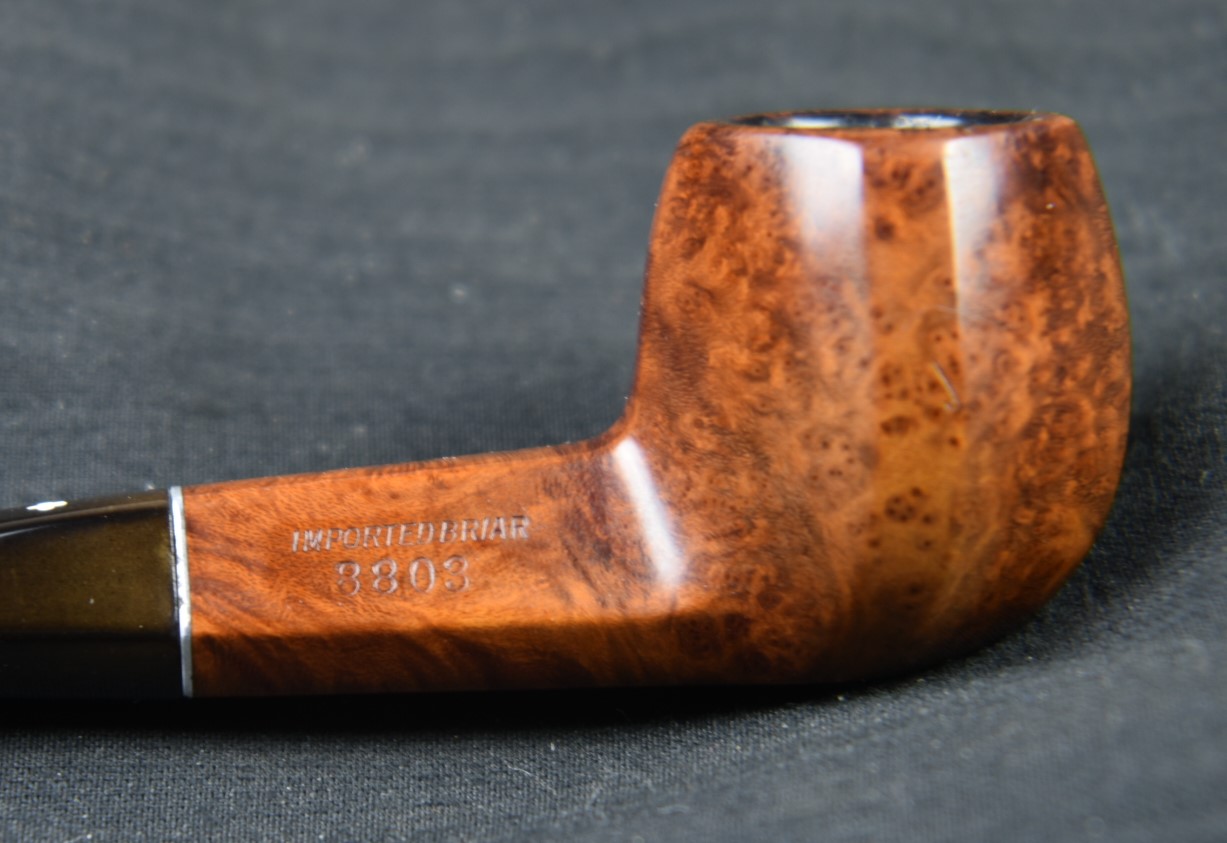
The stamping of my original two, the first has KAYWOODIE over Super Grain (in script) over IMPORTED BRIAR (on the shank bottom), a 042 on the right side shank and a logo-less stem. The second pipe has KAYWOODIE over Standard (in script) over IMPORTED BRIAR on the left shank with 022 on the right and a Kaywoodie clover logo stem. I identified the newest pipe from what appeared to be an assortment of pipe parts on eBay. Apparently no one else thought this mess was worth the $9.99 opening bid.
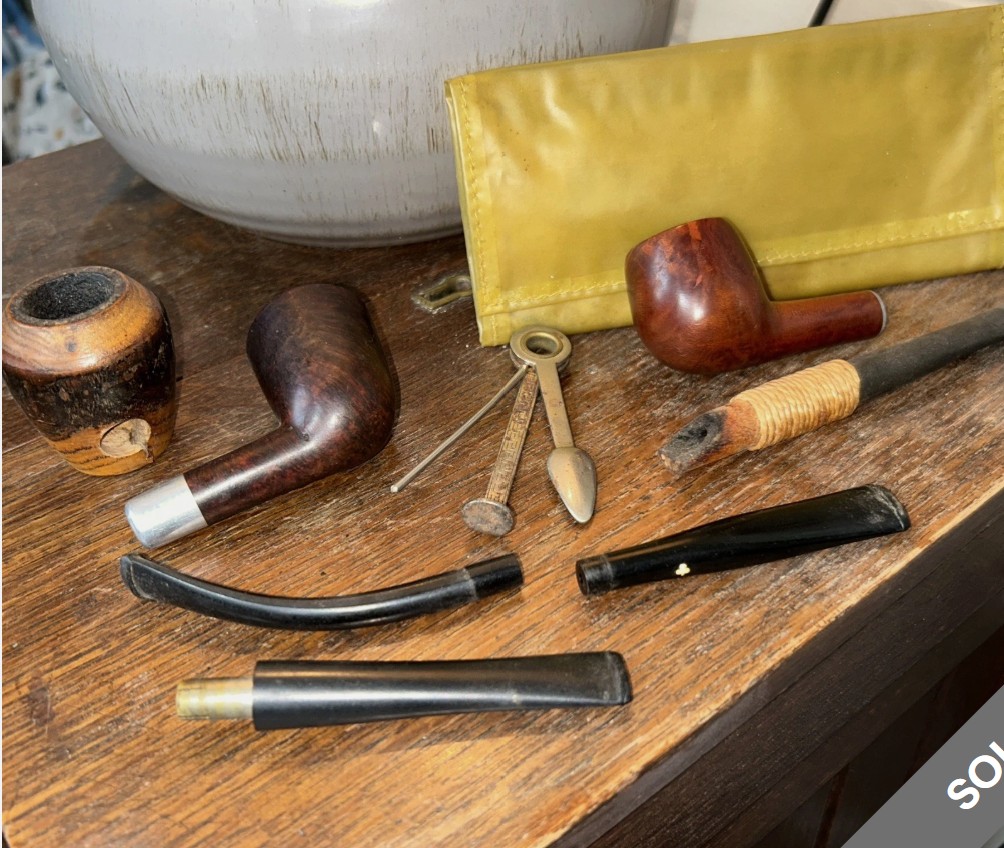
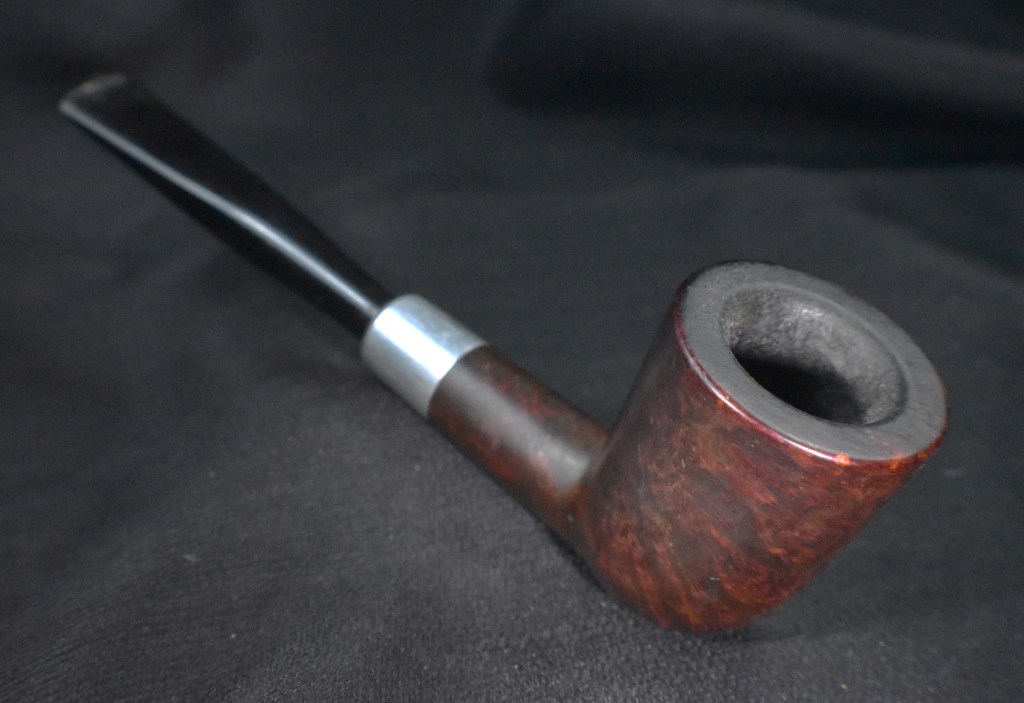
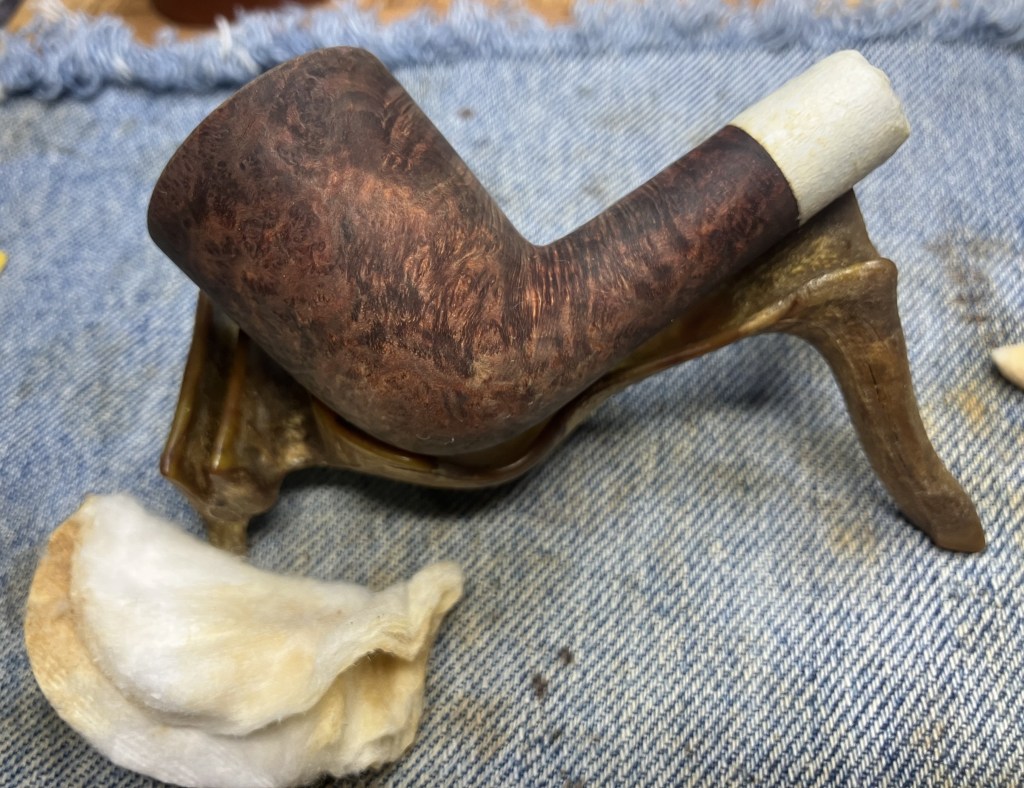
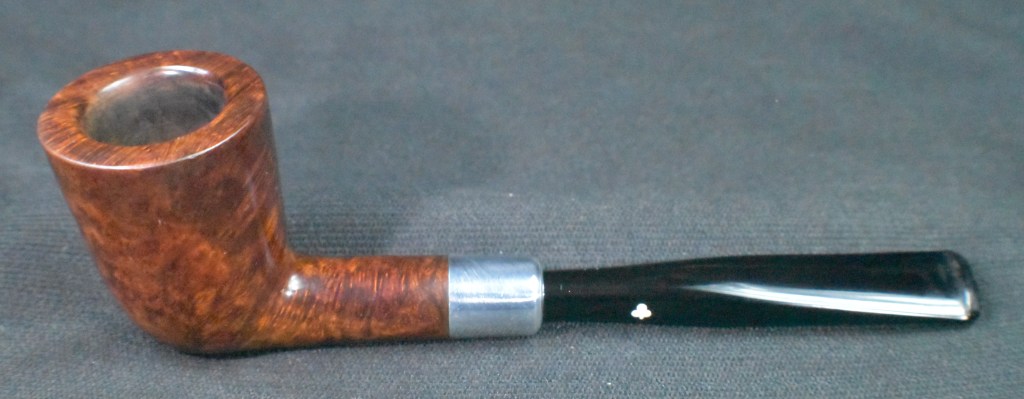
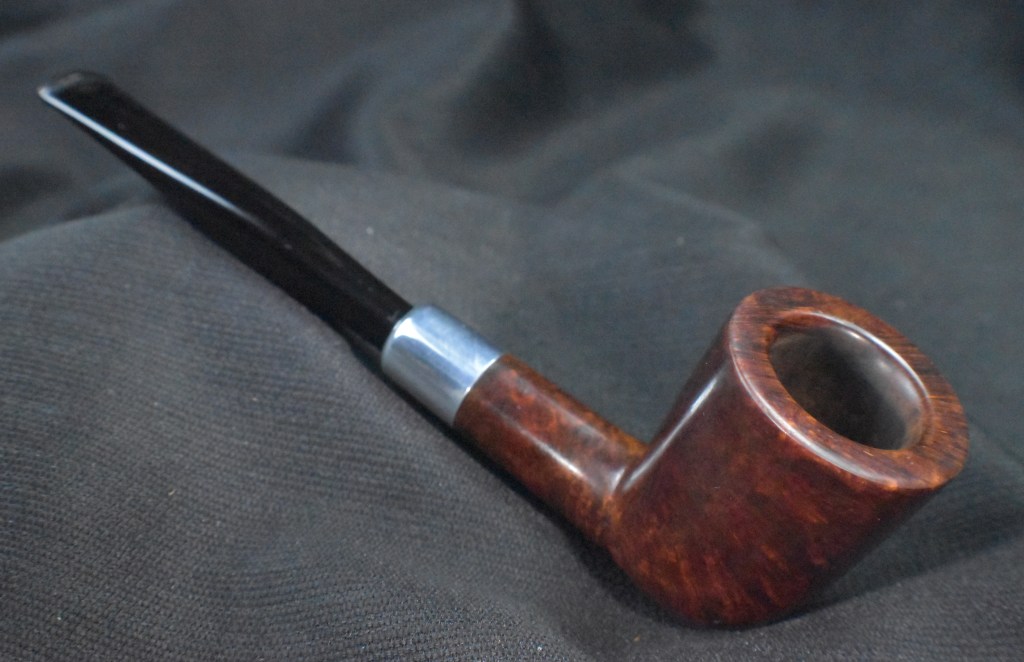
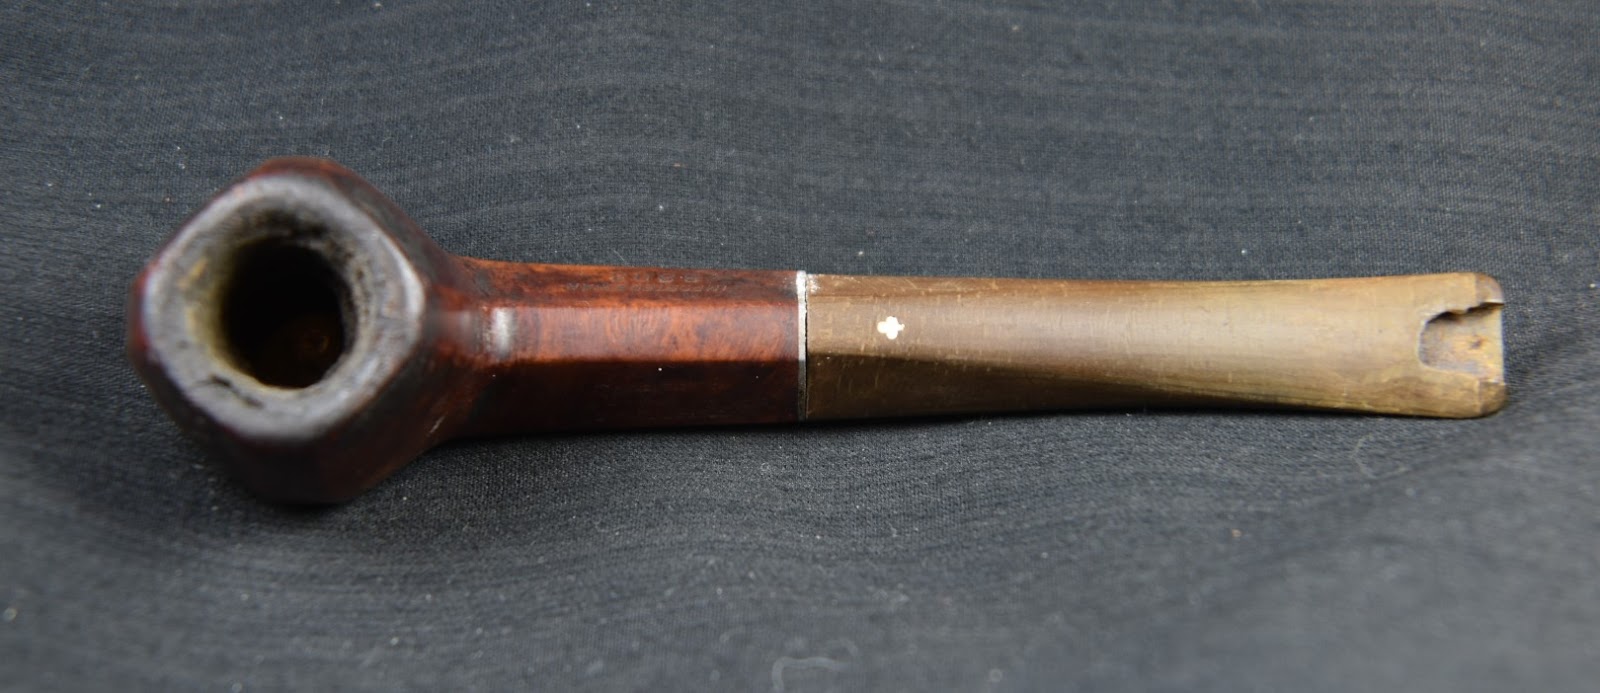
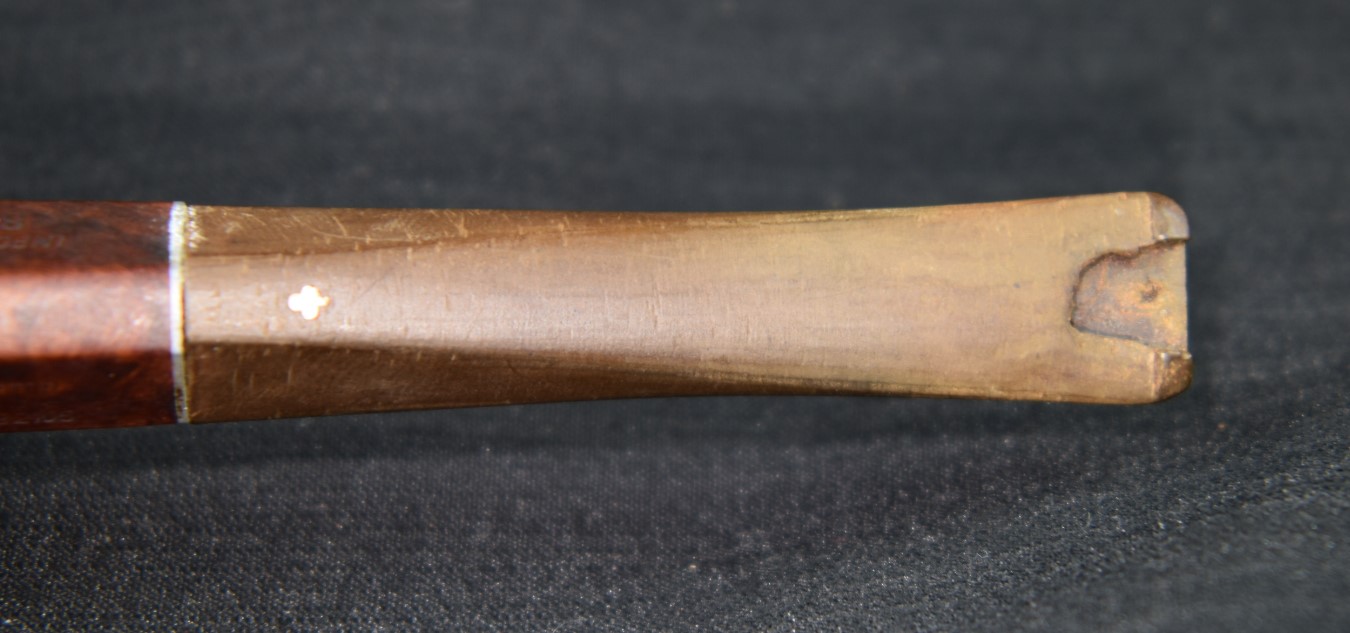
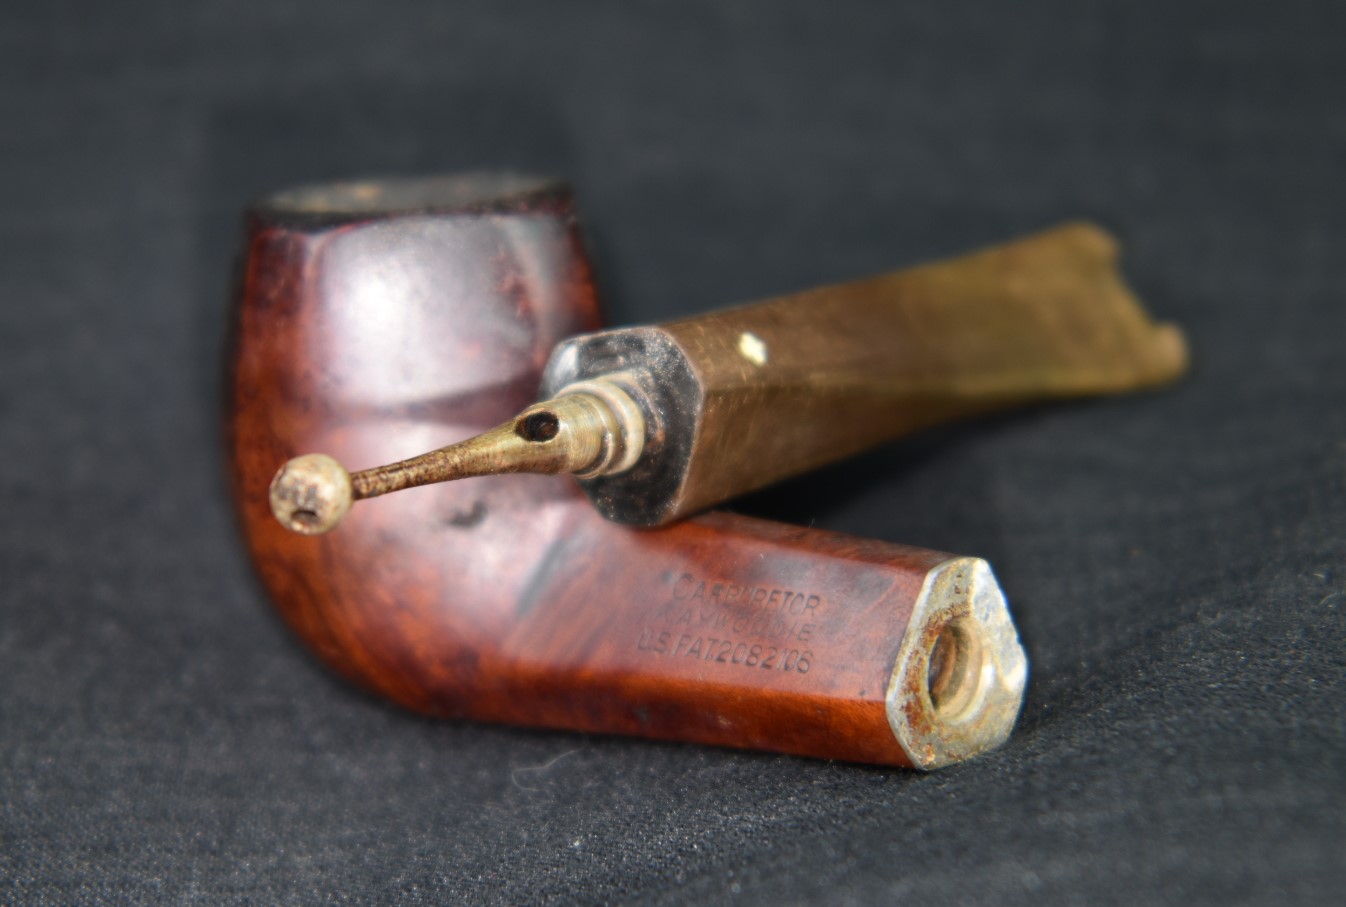
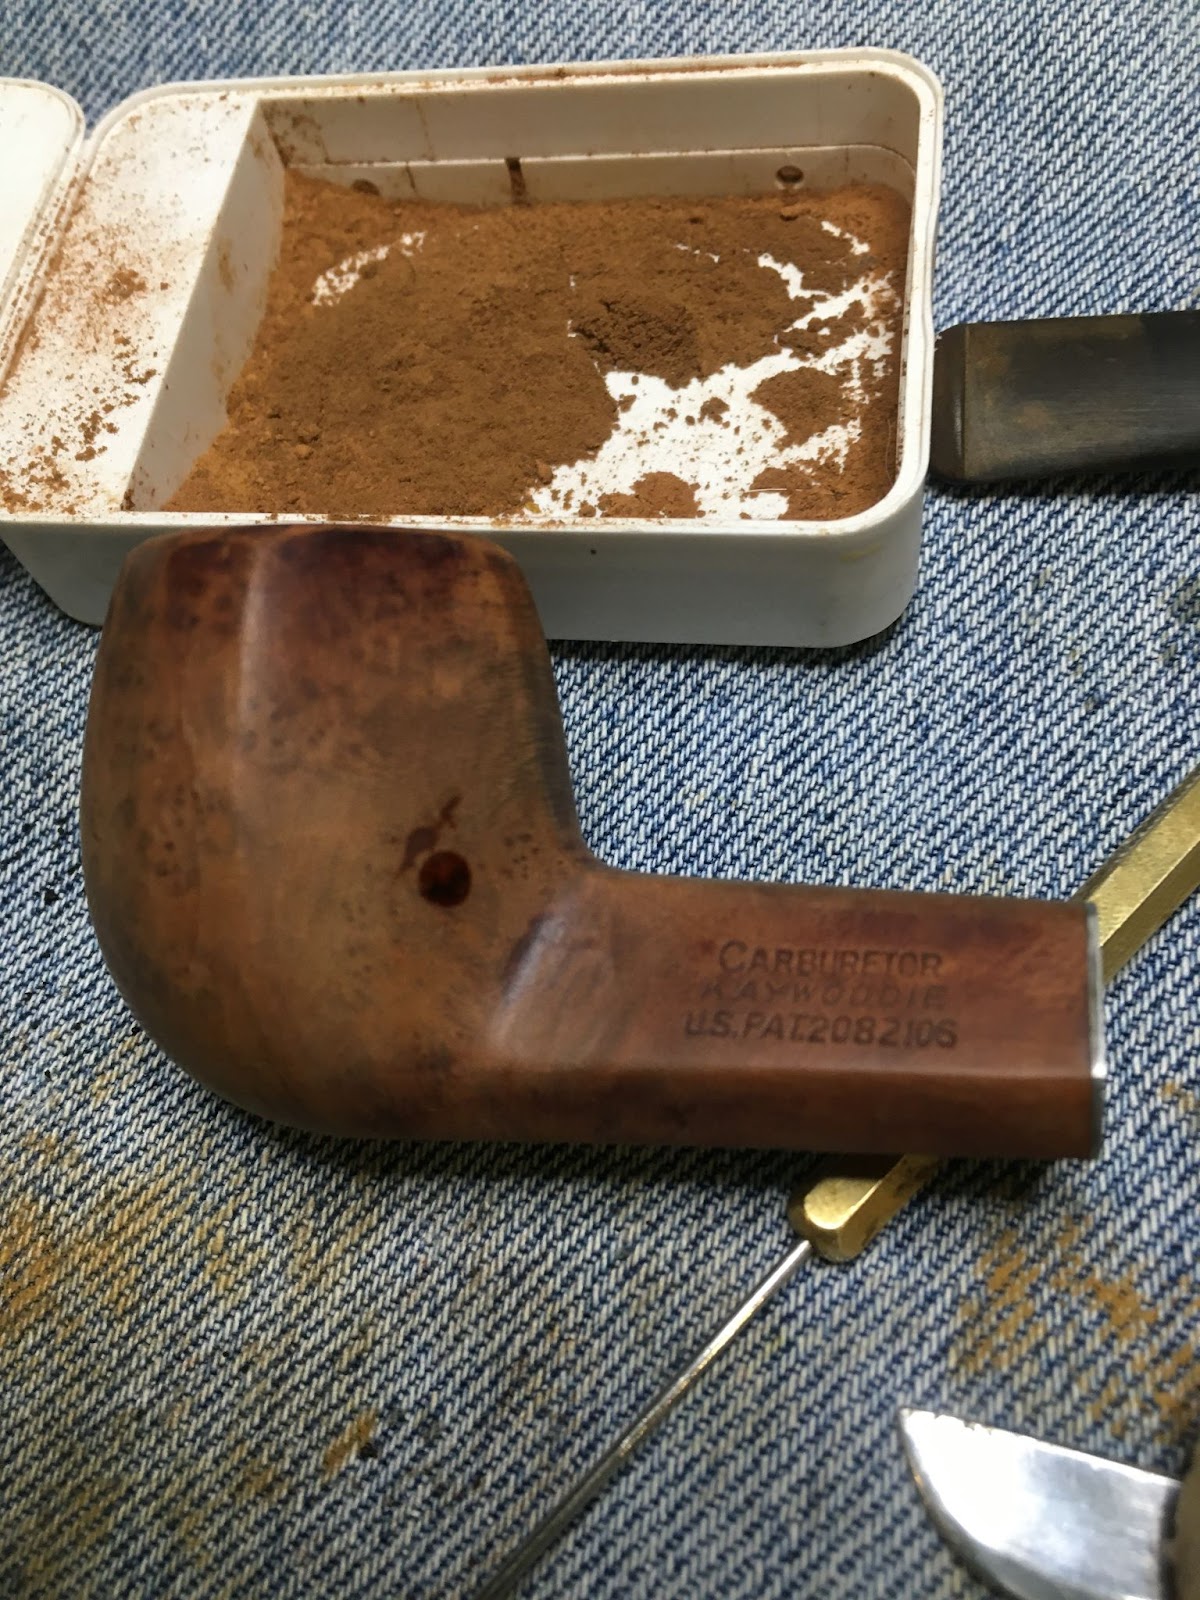
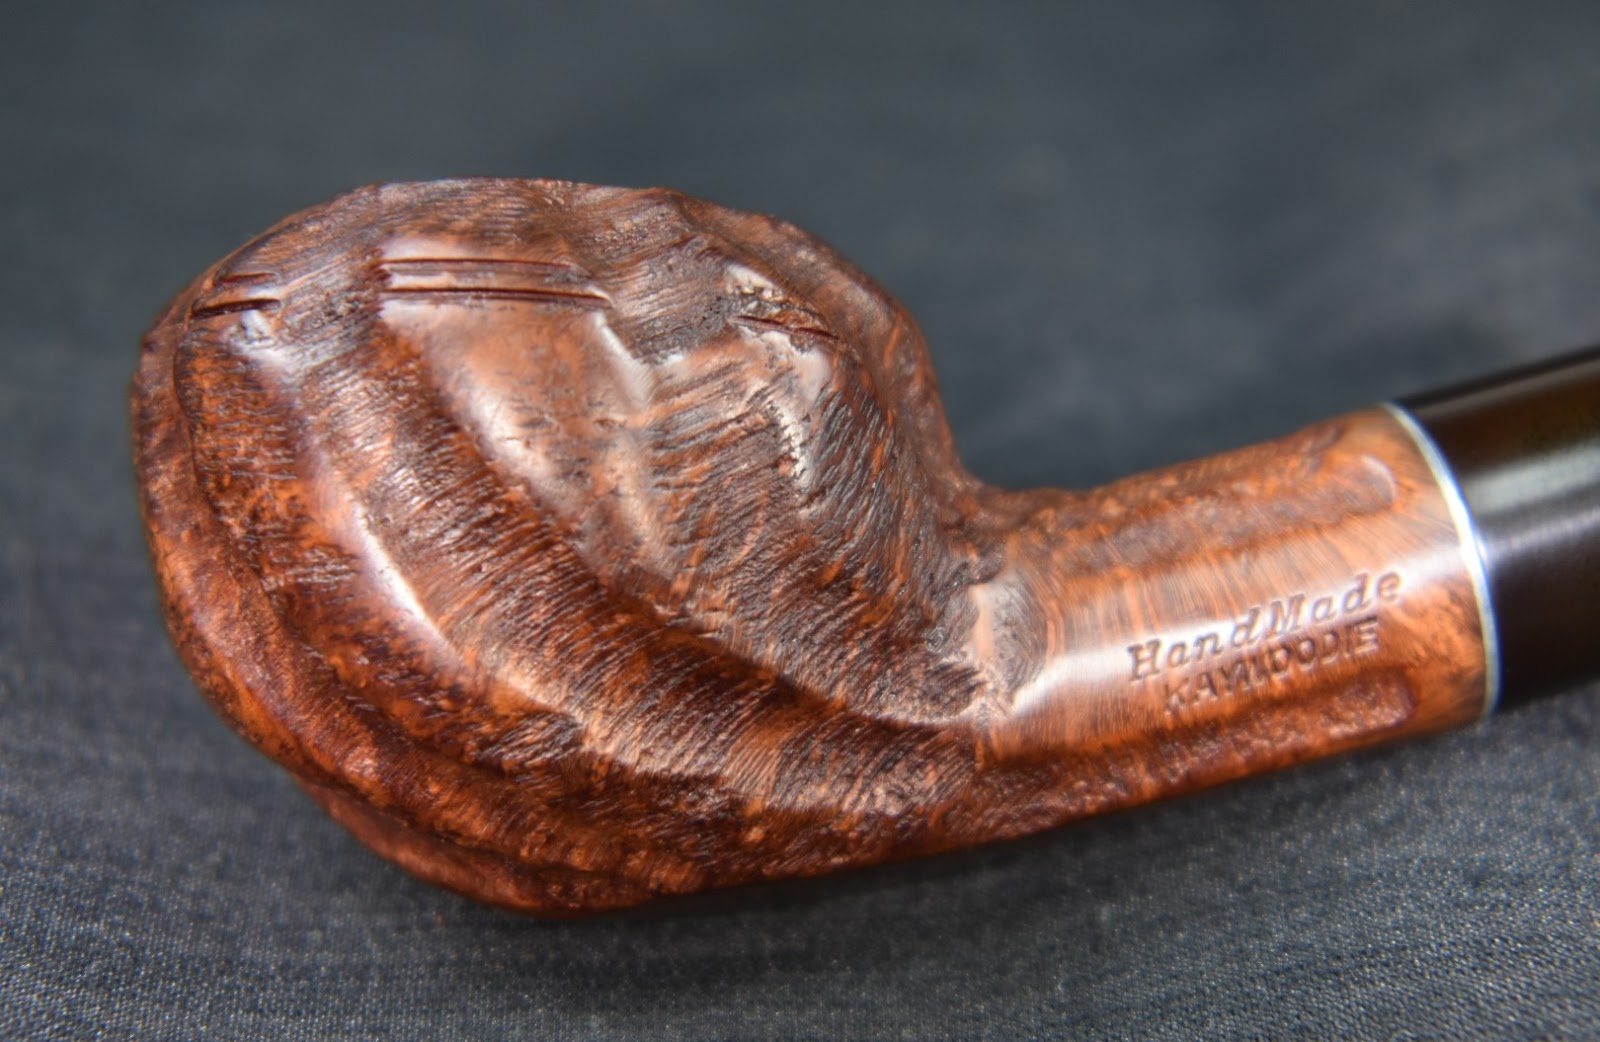
The newest pipe has no discernable stampings but it does have a Kaywoodie clover logo stem. The stems of all three pipes are interchangeable. Below are some photos of the pipe prior to starting work on it.
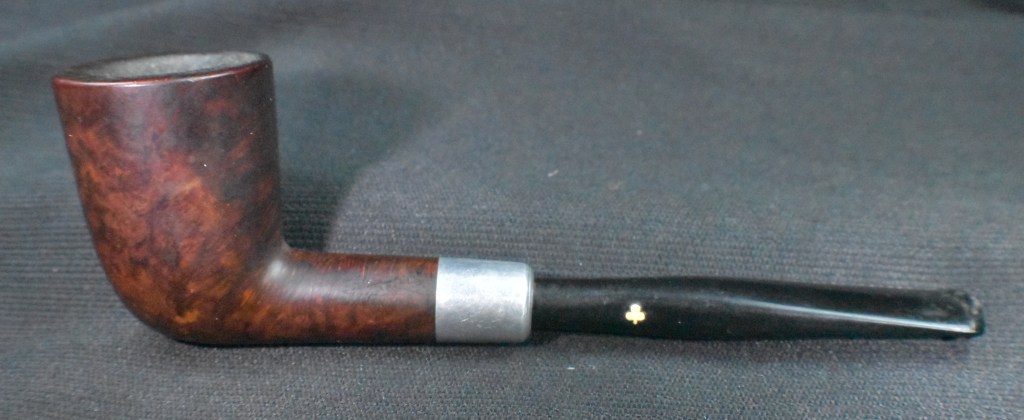

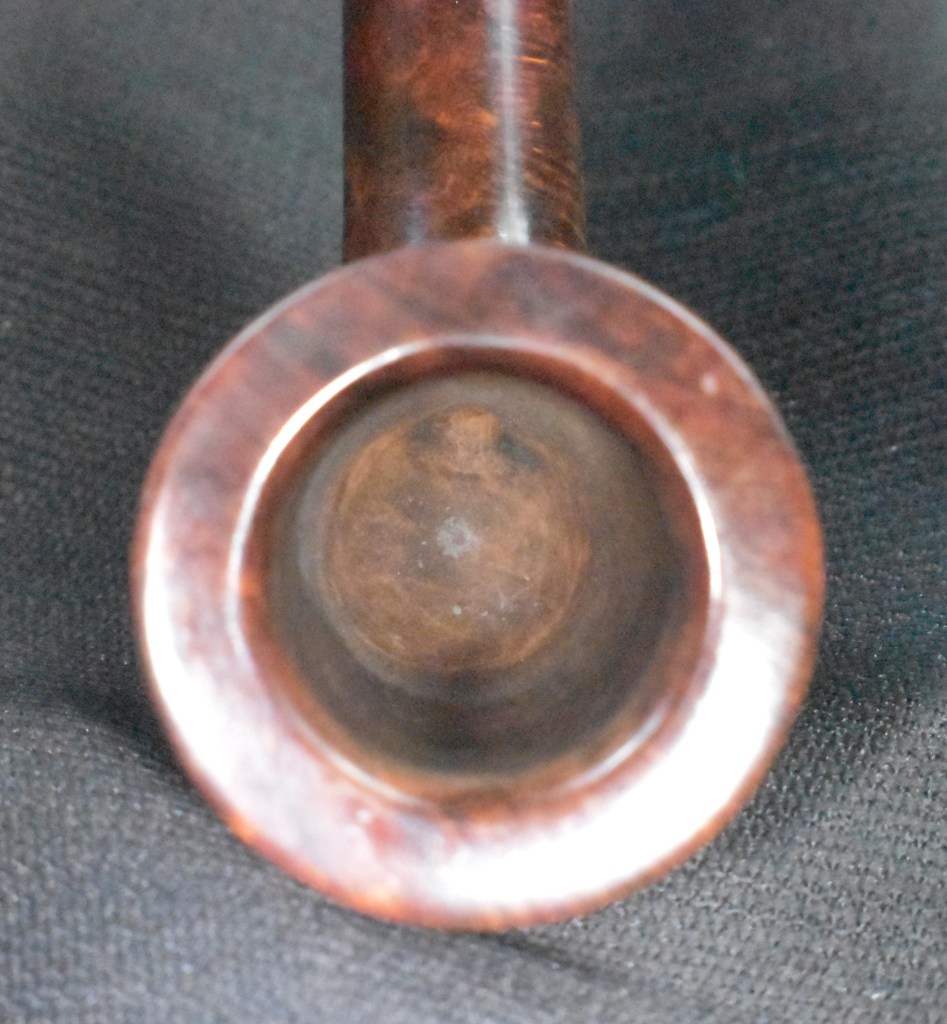
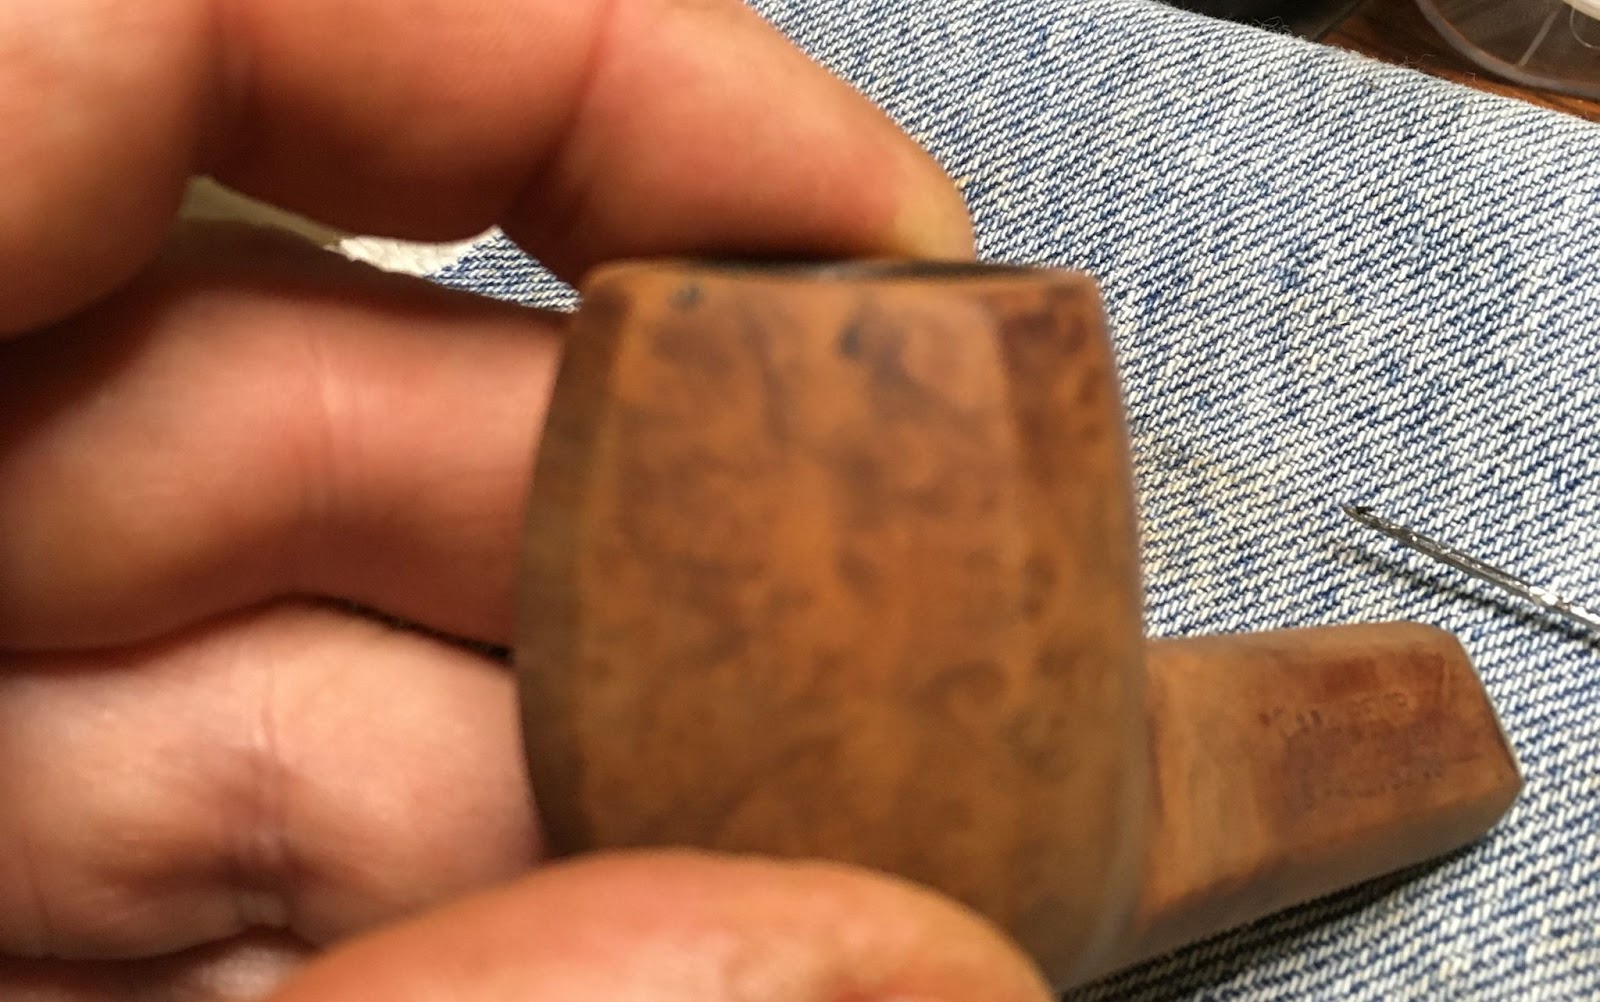
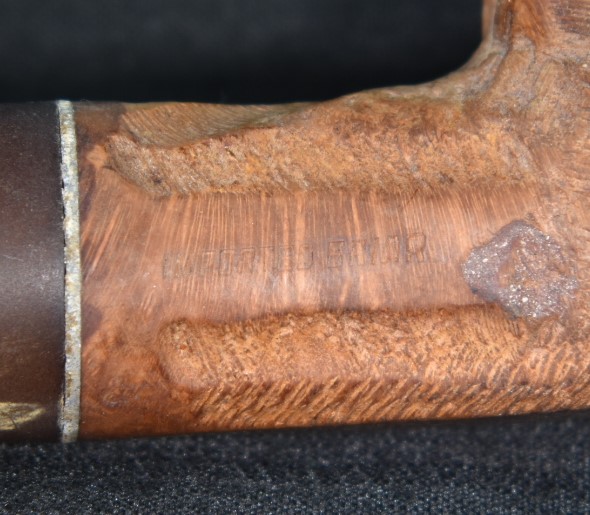
No stamping bottom, left nor right.


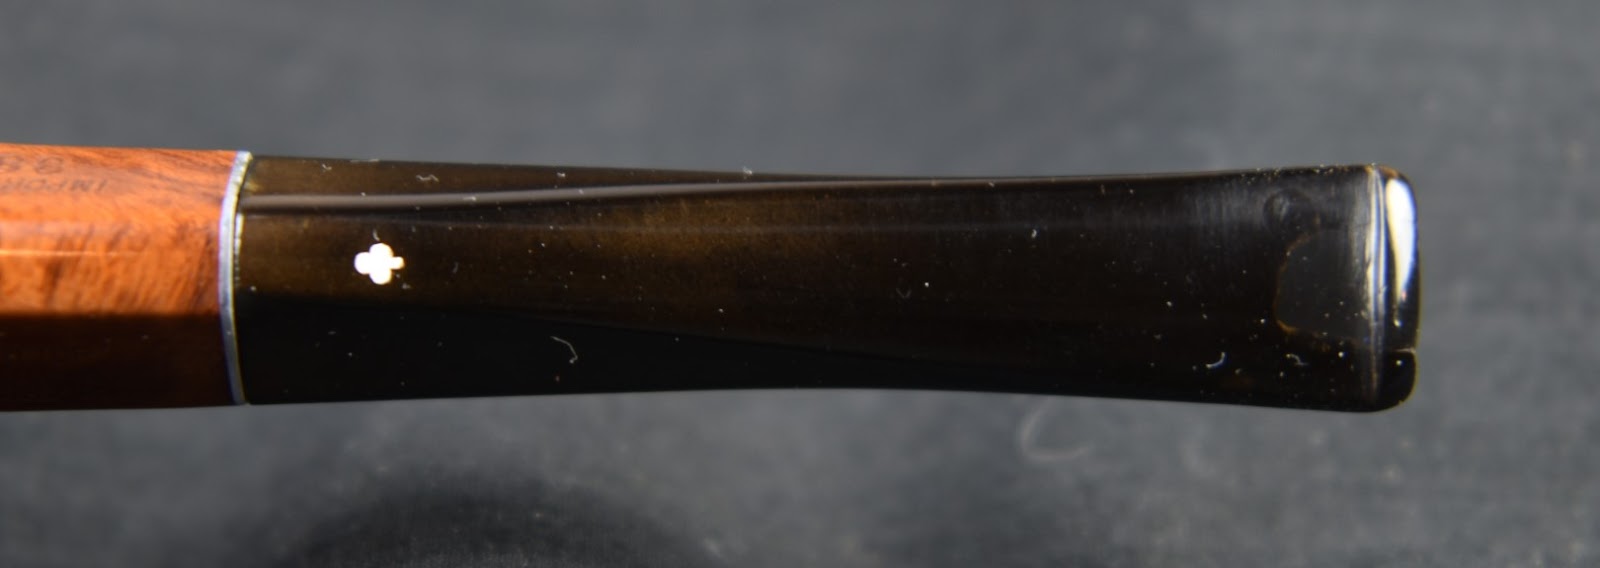
The only distinguishing feature is the stem logo.

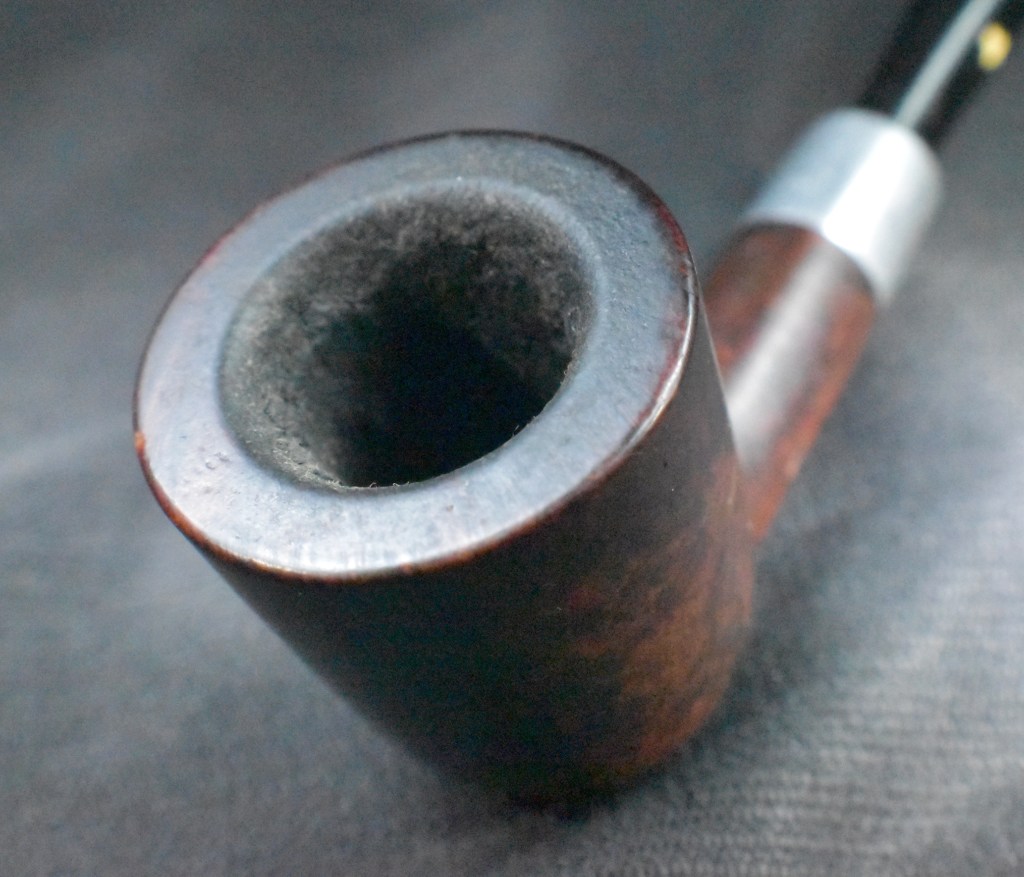


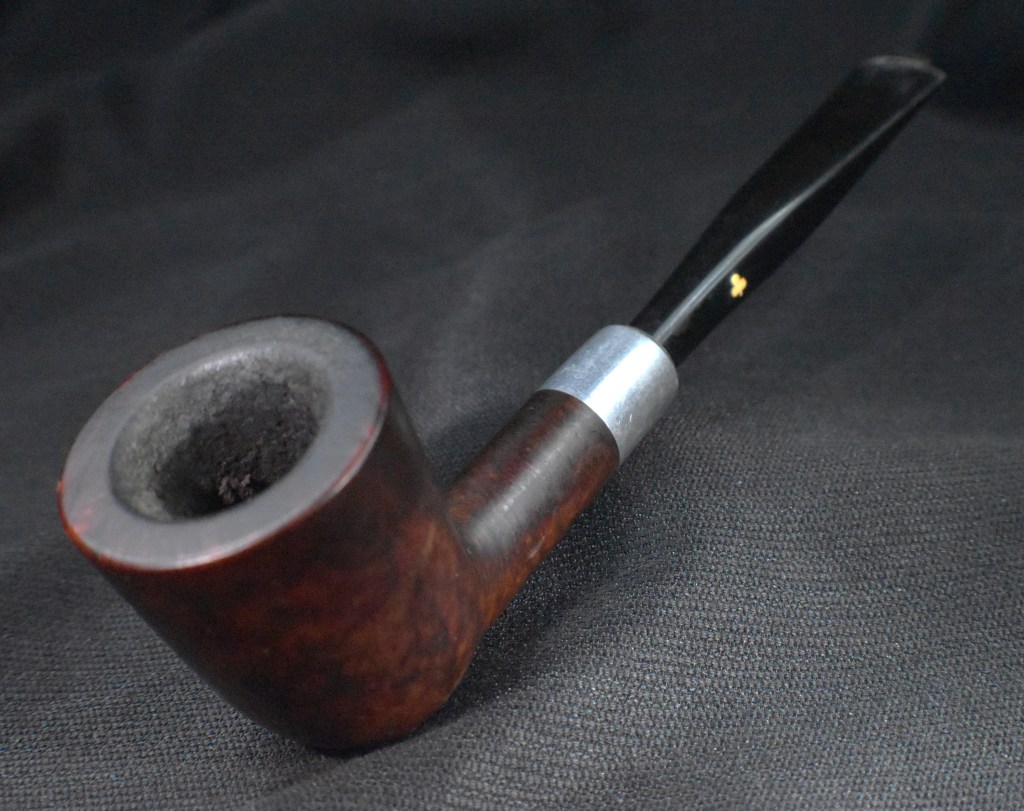


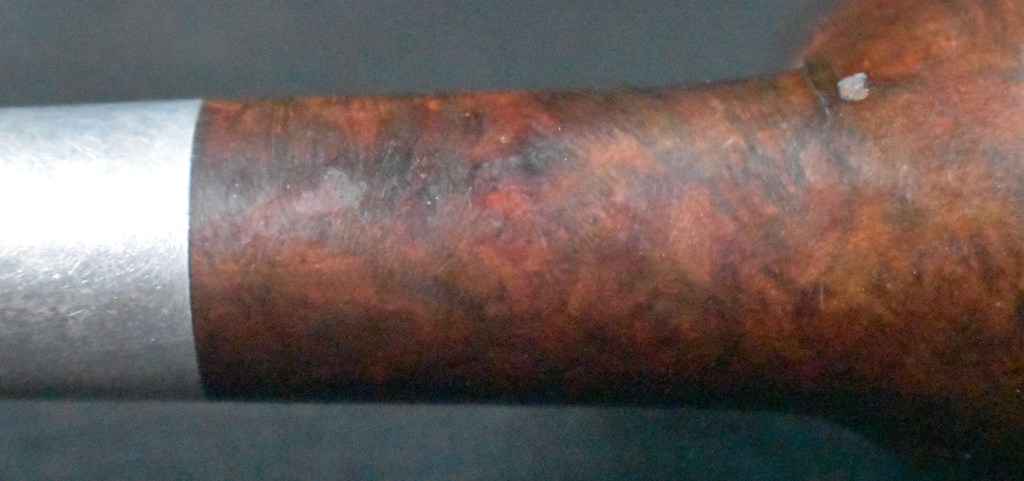
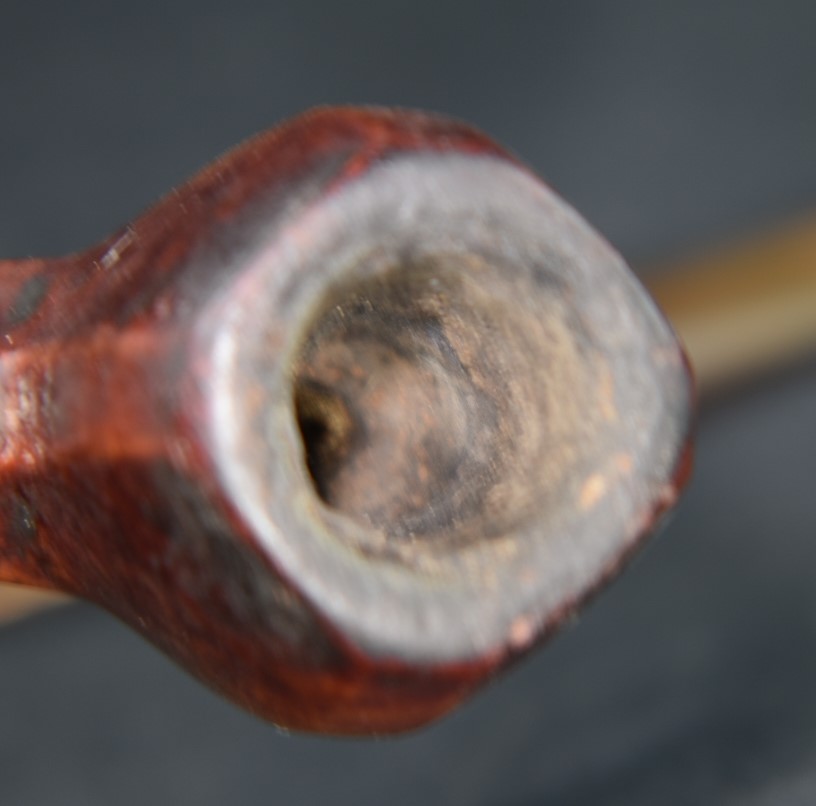
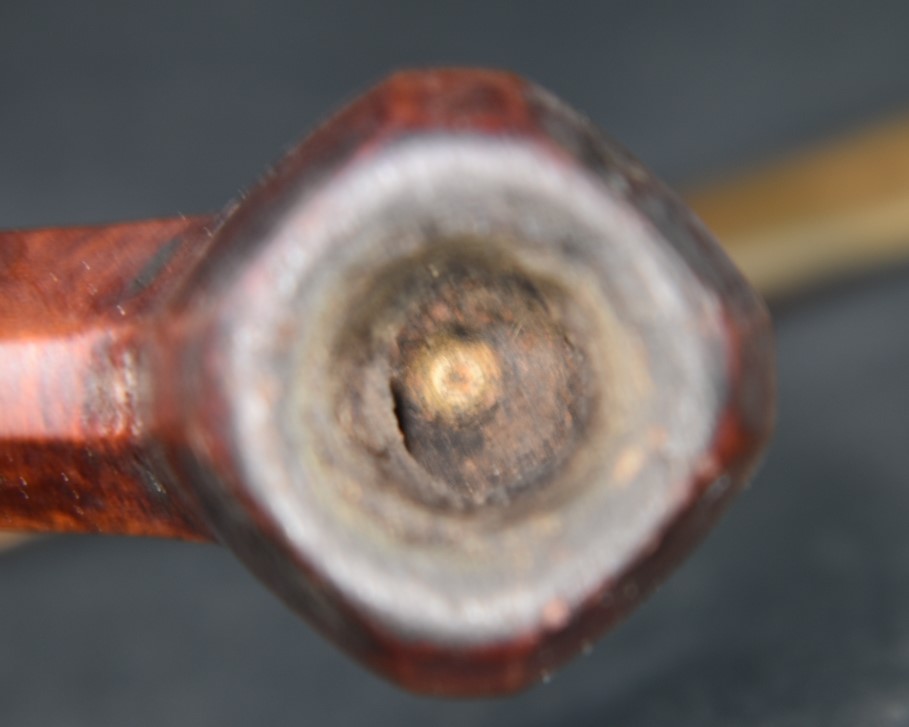
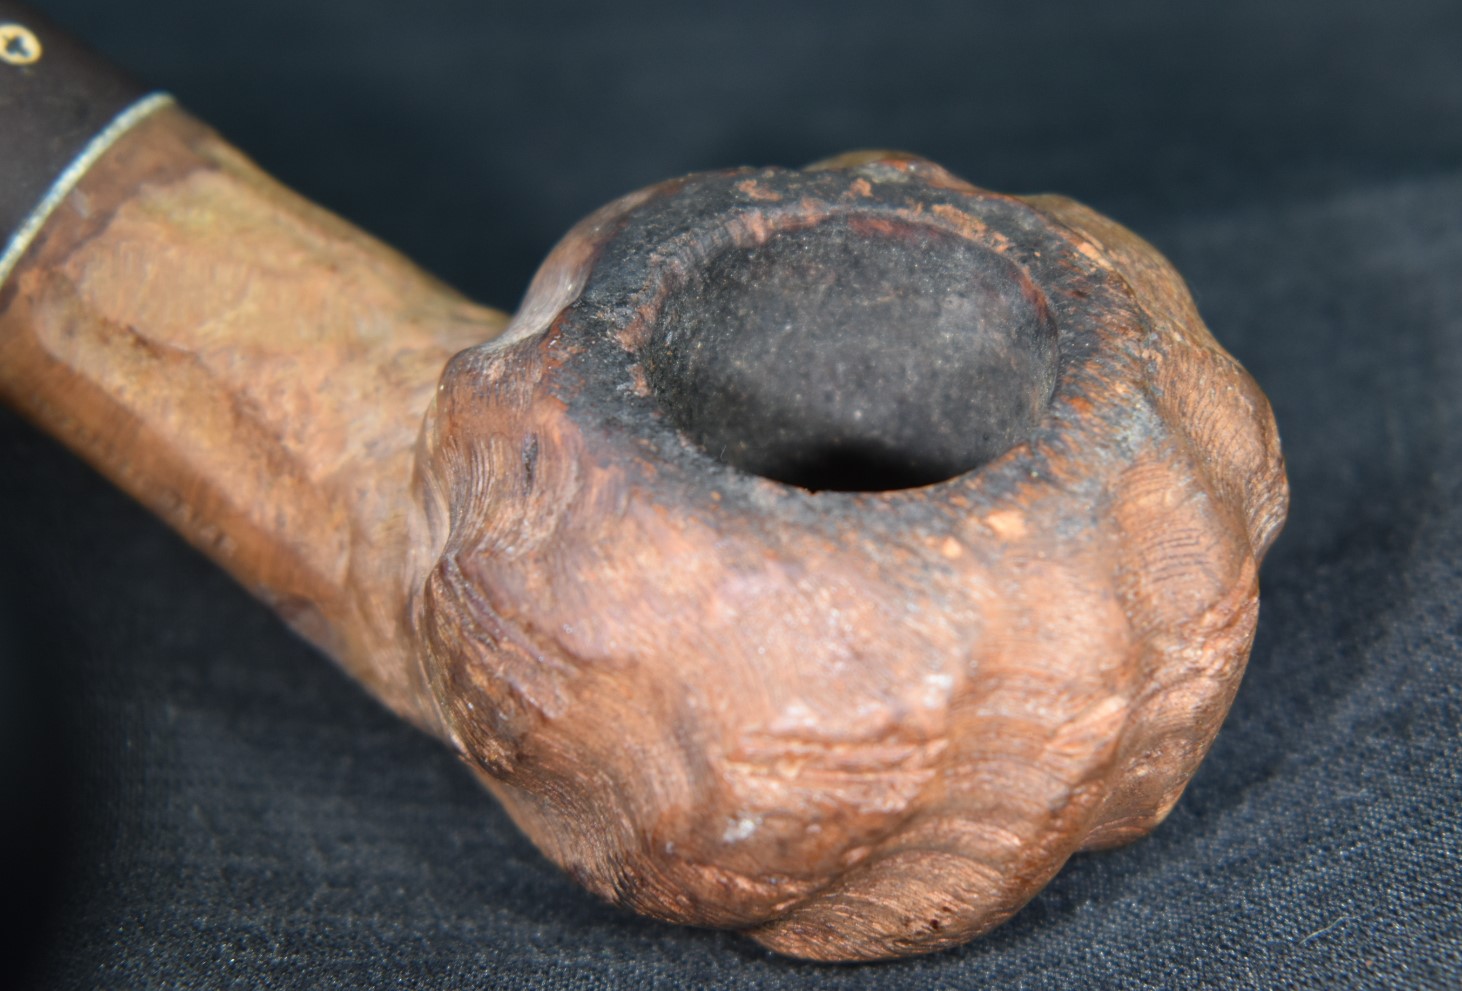
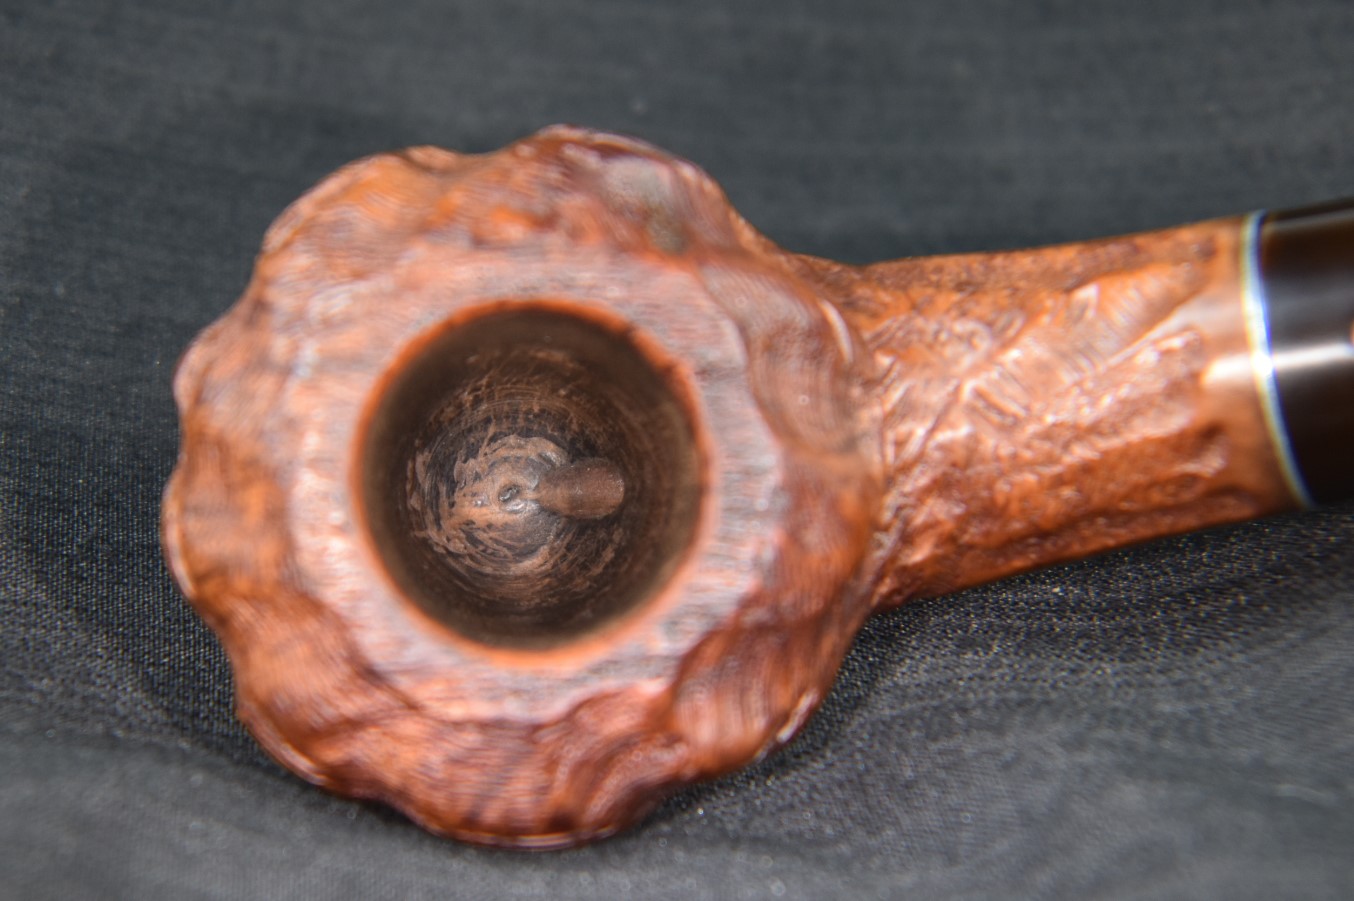
The pipe was in relatively good shape. It had a moderate cake in the tobacco chamber and some lava on the rim. The stem showed signs of tooth chatter but without any deep dents or wear. The fit of the stem in the mortise was snug and proper. The grime on the stummel made it a bit difficult to see the grain of the briar but there were hints of beauty under the accumulated dirtiness. As for the slightly off colored clover logo, I thought it would brighten to the original white once sanded. Overall, this looked like a nice and easy restoration.
Background
Kaywoodie has a long and colorful history dating back to their origins, “Kaywoodie name first appearing in February of 1919.” (Kaywoodie History – Greywoodie LLC) The history of Kaywoodie pipes is fortunately well documented thus, allowing rather precise dates for a Kaywoodie collector to declare the provenance of their charges. Rather than deposit it here, I will link the two outstanding histories of KB&B/Kaywoodie – Greywoodie’s site has a well written history of the company (Kaywoodie History – Greywoodie LLC) and pipedia.org has pretty much the same written history with a rich library of Kaywoodie catalogs, photos and images of old print advertisements, (https://pipedia.org/wiki/Kaywoodie). I can’t recommend them enough for those interested in reading more about the company and the products. There is a third document which provides information more specific for tracing the providence of a specific pipe or model of pipes and that is he Collector’s Guide to Kaywoodie Pipes (https://pipedia.org/wiki/Collector%27s_Guide_to_Kaywoodie_Pipes).
- Tuckaway. The 1955 catalog shows a Drinkless Tuckaway that was simply a smaller version of other Kaywoodie styles. The Tuckaways of the 1955-1968 period had military mountings, filter-free see-thru bits, and were packaged in a leatherette case. Available in Standard, Relief Grain, and Super Grain grades ($6-$8, depending on grade). Miniatures. Two-inch miniature replicas of “their big brother”, complete with the Drinkless fitment and Synchro Stem. The catalogs show these as individually-cased pipes but multiple pipe sets were apparently available. Price: $5.00 (Collector’s Guide to Kaywoodie Pipes – Pipedia)
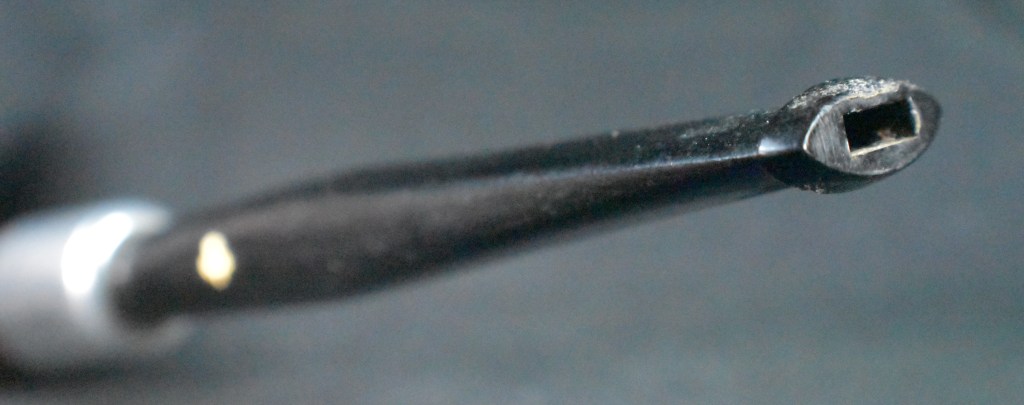
Back in October, 2025 Dal Stanton published a restoration blog about a Kaywoodie Tuck away that he did New Life for a Rare, Early 1960s Kaywoodie ‘Tuckaway’ Standard 050B – The Pipe Steward. This well researched and written post does a fine job at documenting the Kaywoodie Tuckaway far better than I have done. Dal’s pipe also has the “filter-free see-through bits” alluded to in the Collector’s Guide quoted above. This forces the question of when did Kaywoodie produce the three examples which I have come across? Well the only thing which I state is the above quote, “The Tuckaways of the 1955-1968 period had military mountings” (Collector’s Guide to Kaywoodie Pipes – Pipedia). The bits associated with these three pipes are not exactly vulcanite, nor are they nylon. They are apparently some different plastics. They do not oxidize like vulcanite but they are softer than acrylic. They dent from tooth chatter more like nylon but they are easier to sand file and sand than the nylon bits of Medico or Falcon pipes. The white clover logo does show a yellowing with age which was refreshed to the white with sanding.
The Restoration
After the “Before” photos the pipe made its way to the workbench.

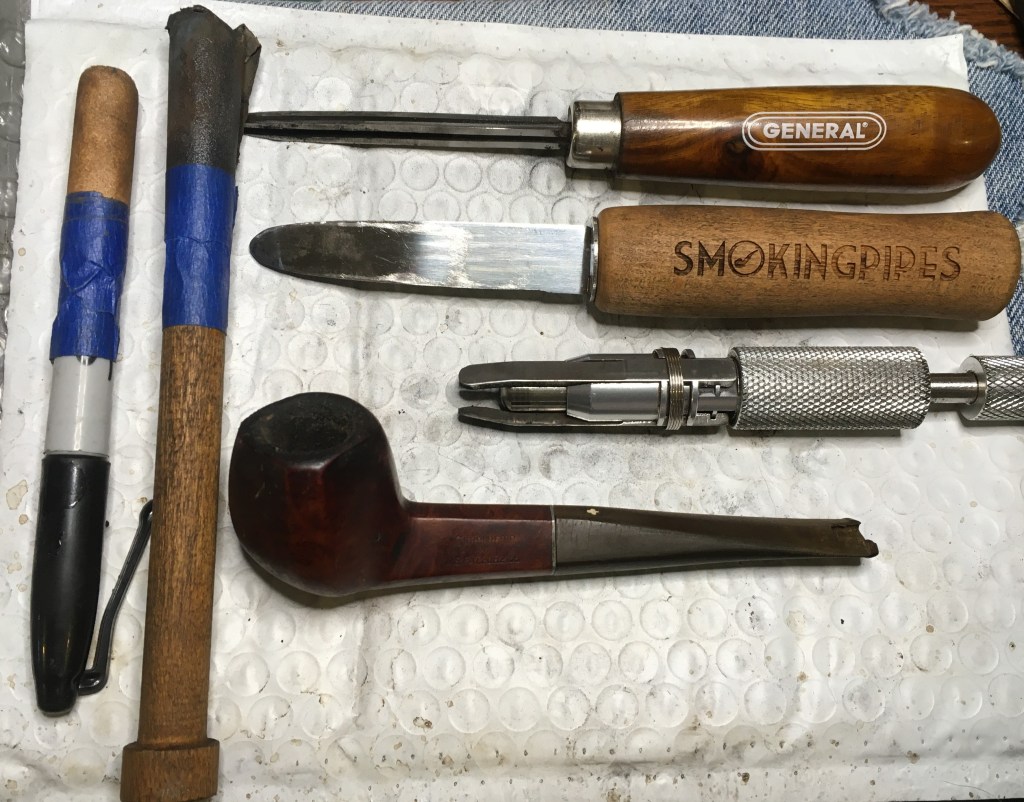
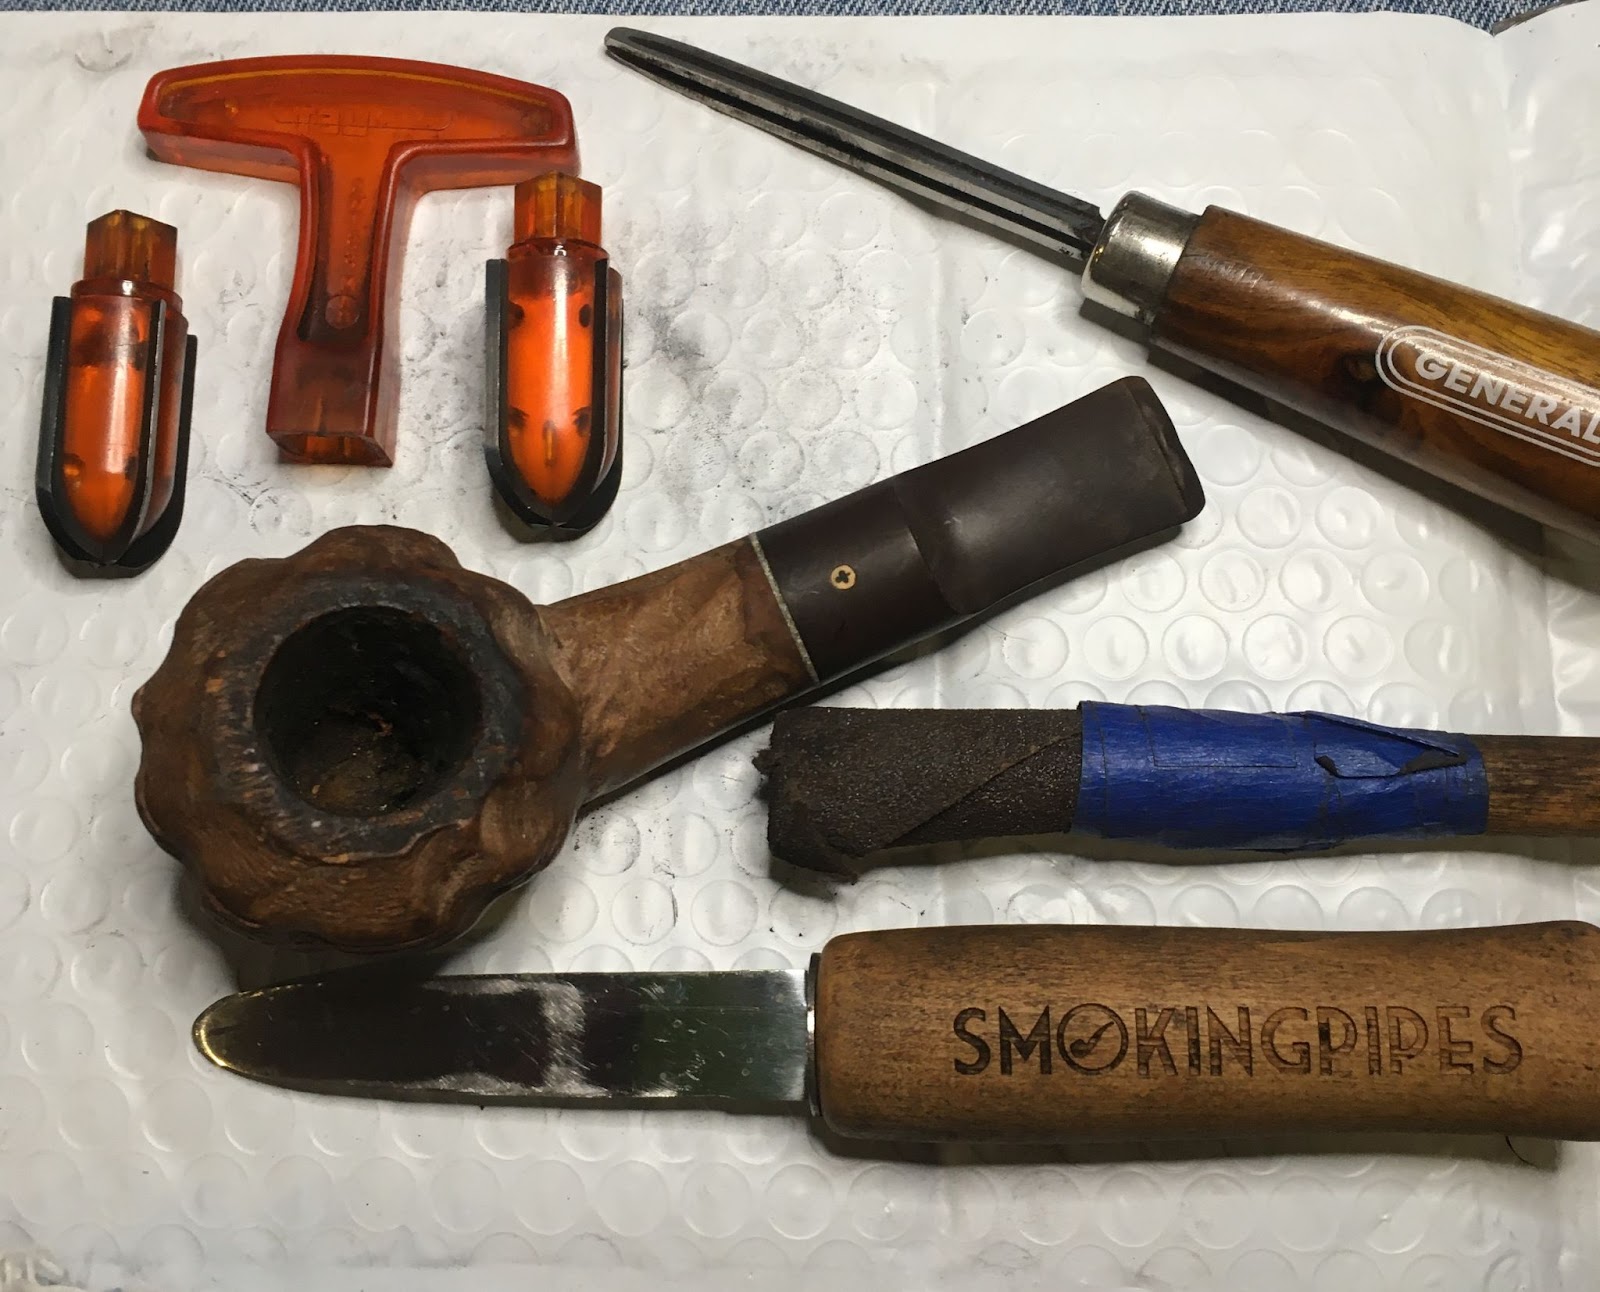
Reaming was the first task. The PipNet with #1 and #2 blades, the Smokingipes Low Country reamer and the General triangular scraper were recruited for the task.
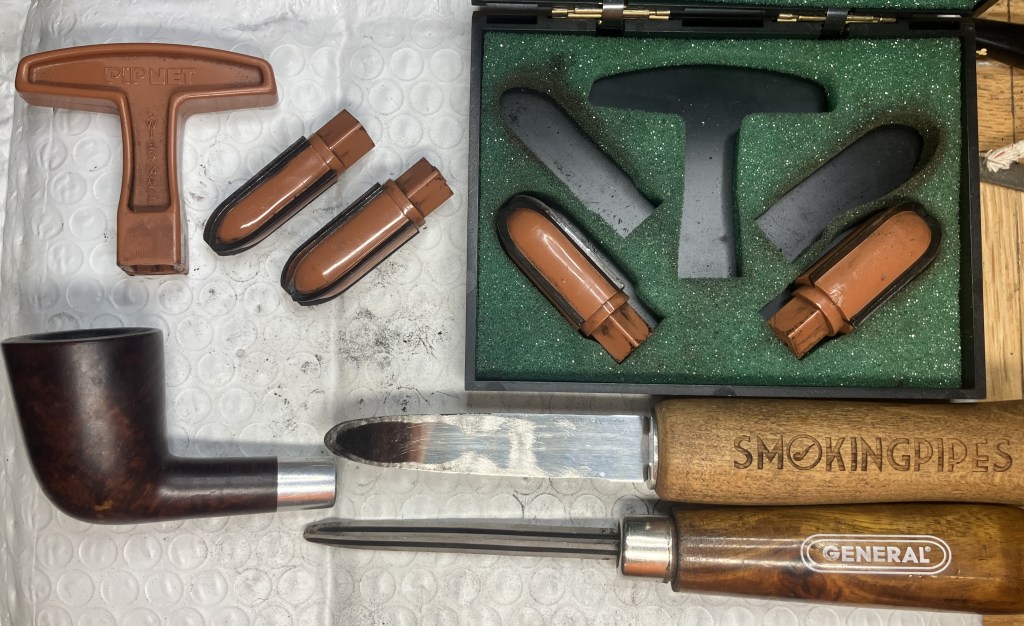
The PipNet blades did most of the work.

This Tobacco chamber was drilled with a more conical bit, as is traditional for a Dublin shape pipe. The Kleen-Reem fit this chamber better that the PipNet and was used as well.
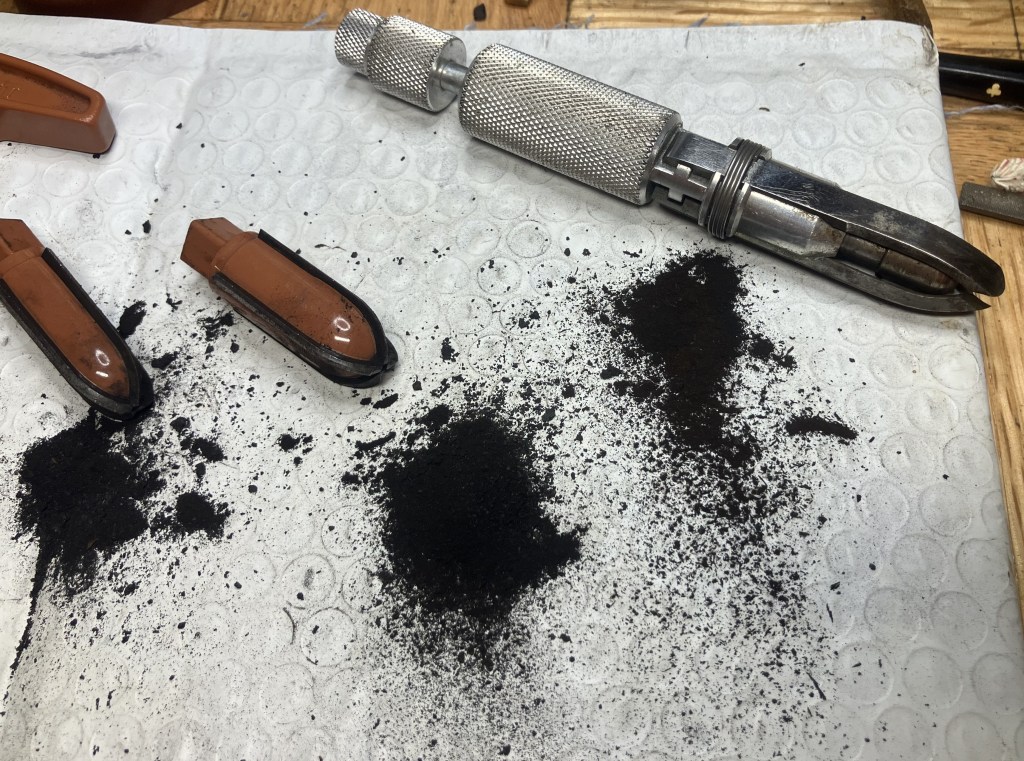
There was little for the General to do, but for a bit of clean-up.

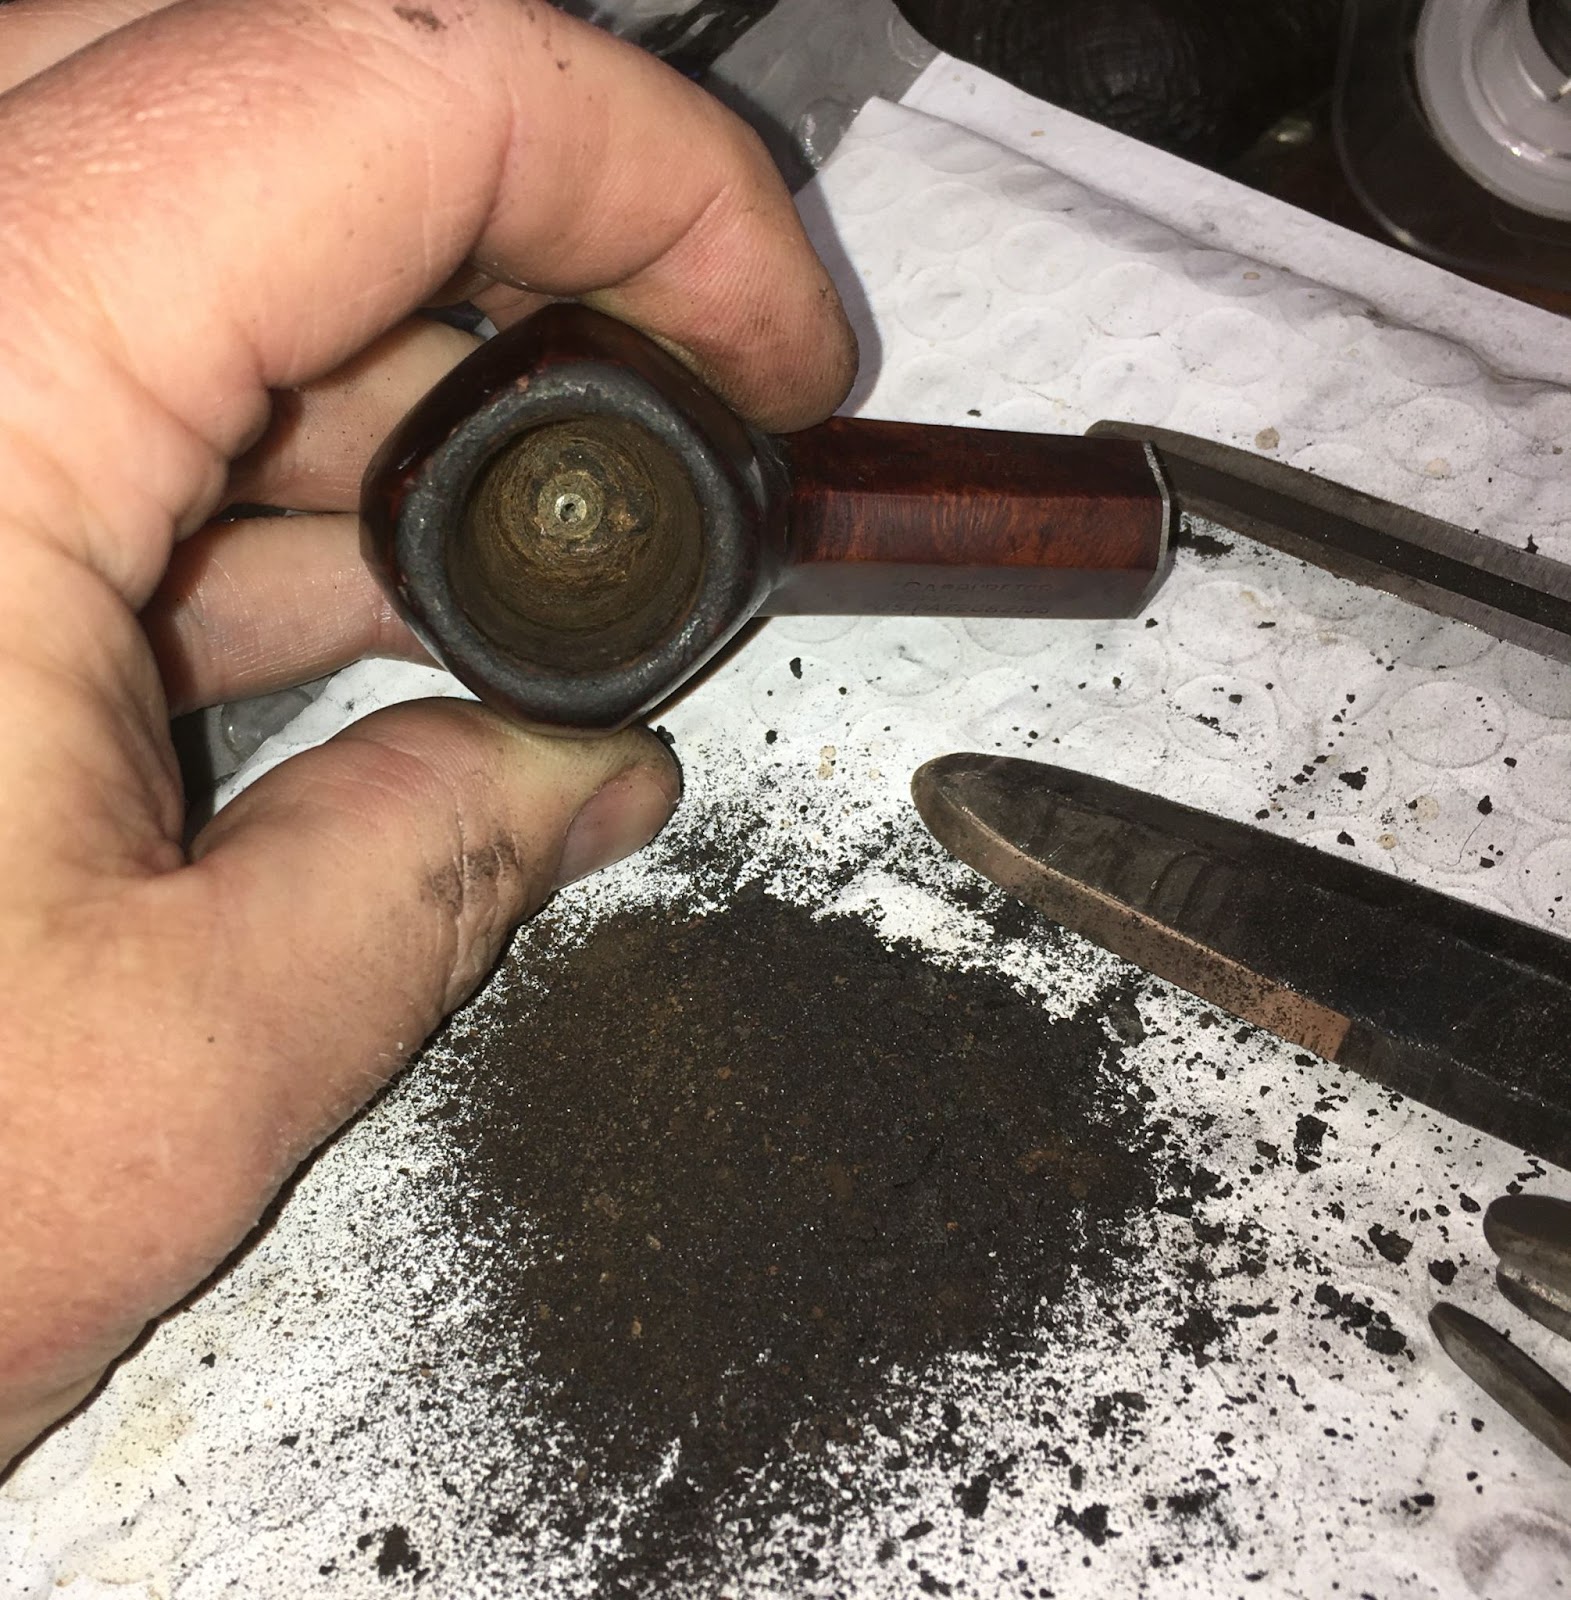
Below is a down chamber photo of the reaming results.

The chamber was sanded with 320 sandpaper wrapped around a wood dowel. The exposed bare briar showed no signs of any heat damage.

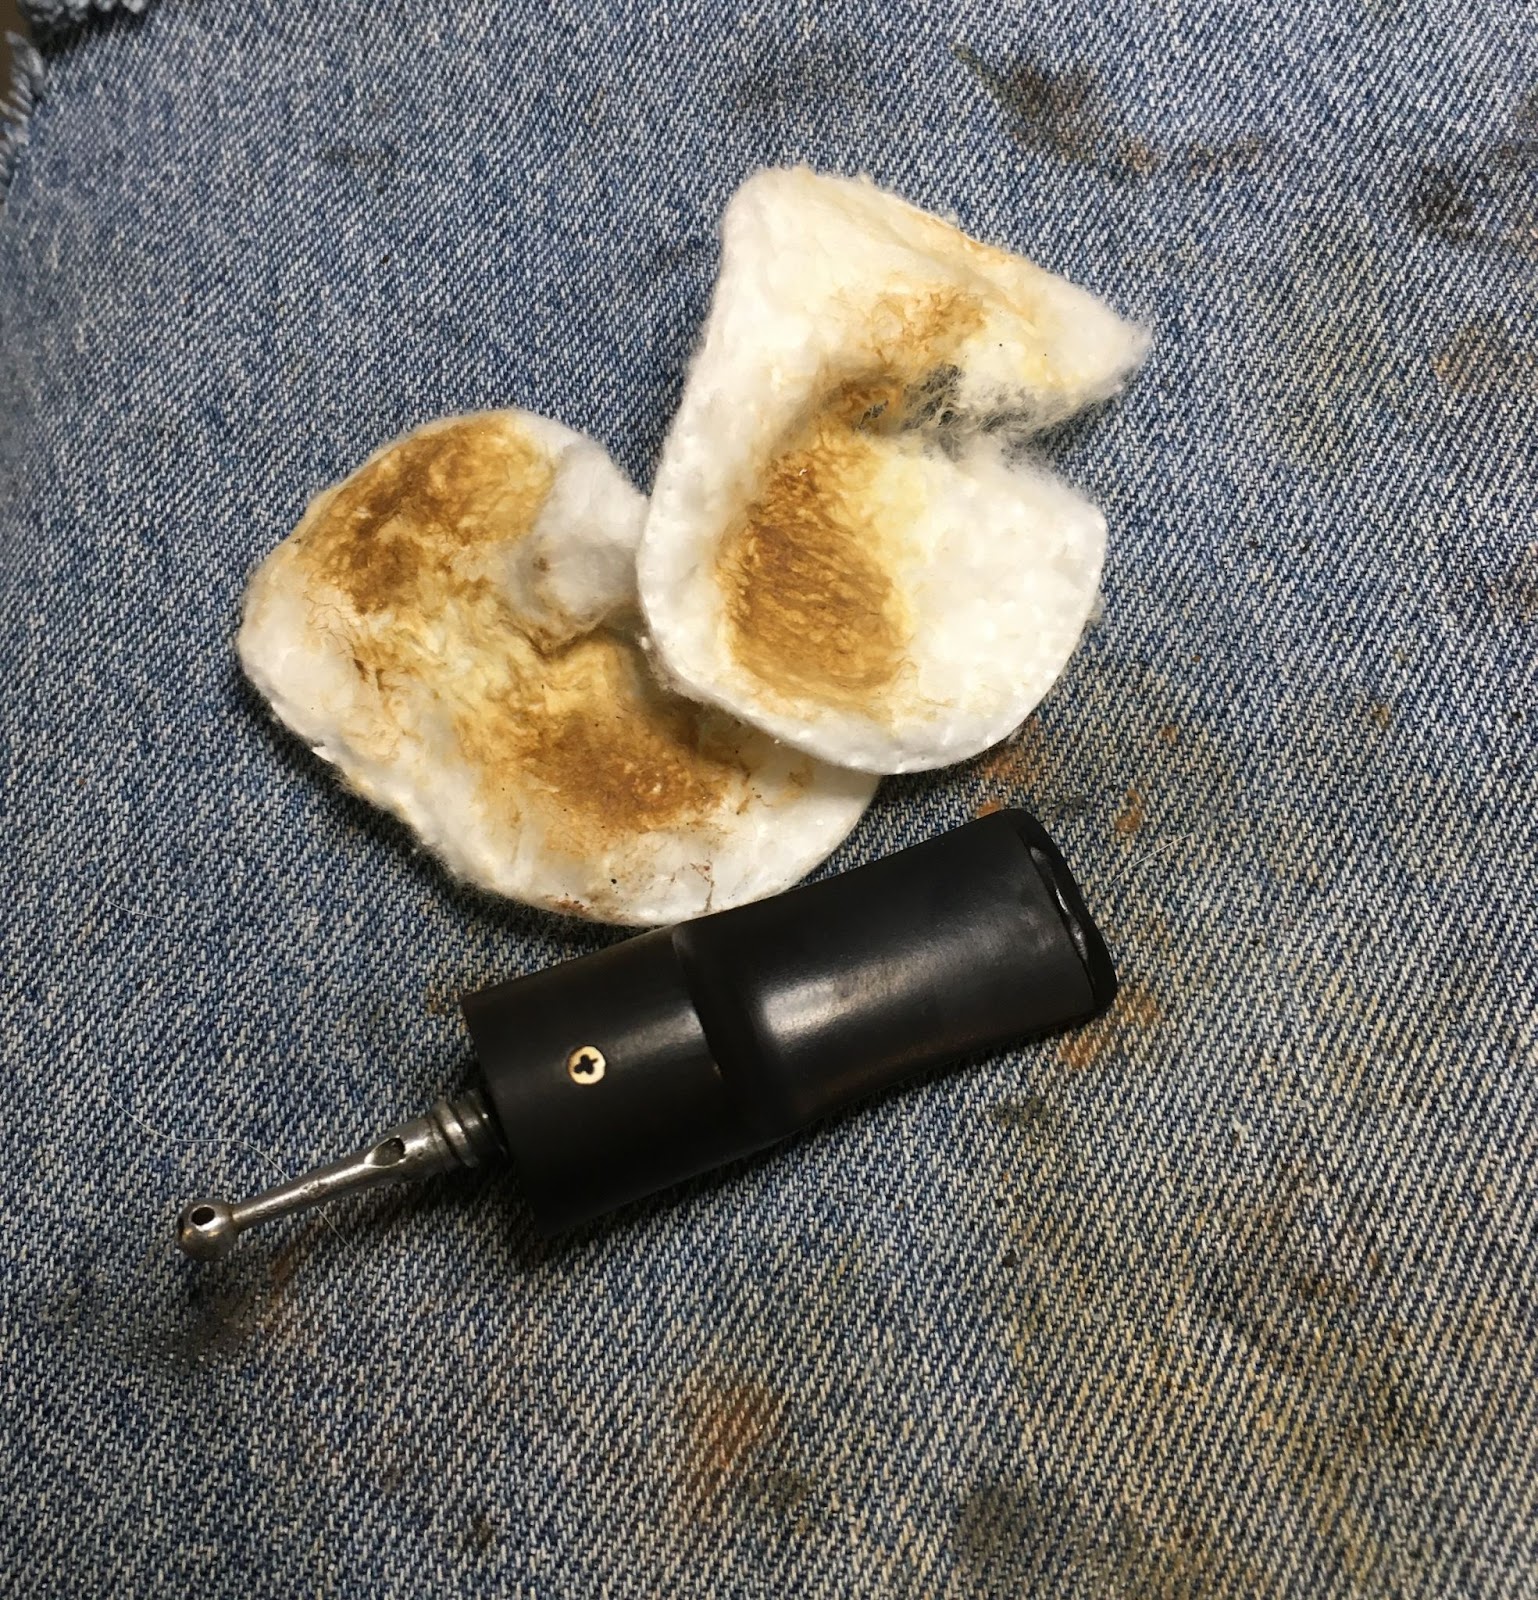
The rim had a layer of lava on the back half. I hoped there wouldn’t be any charring underneath.

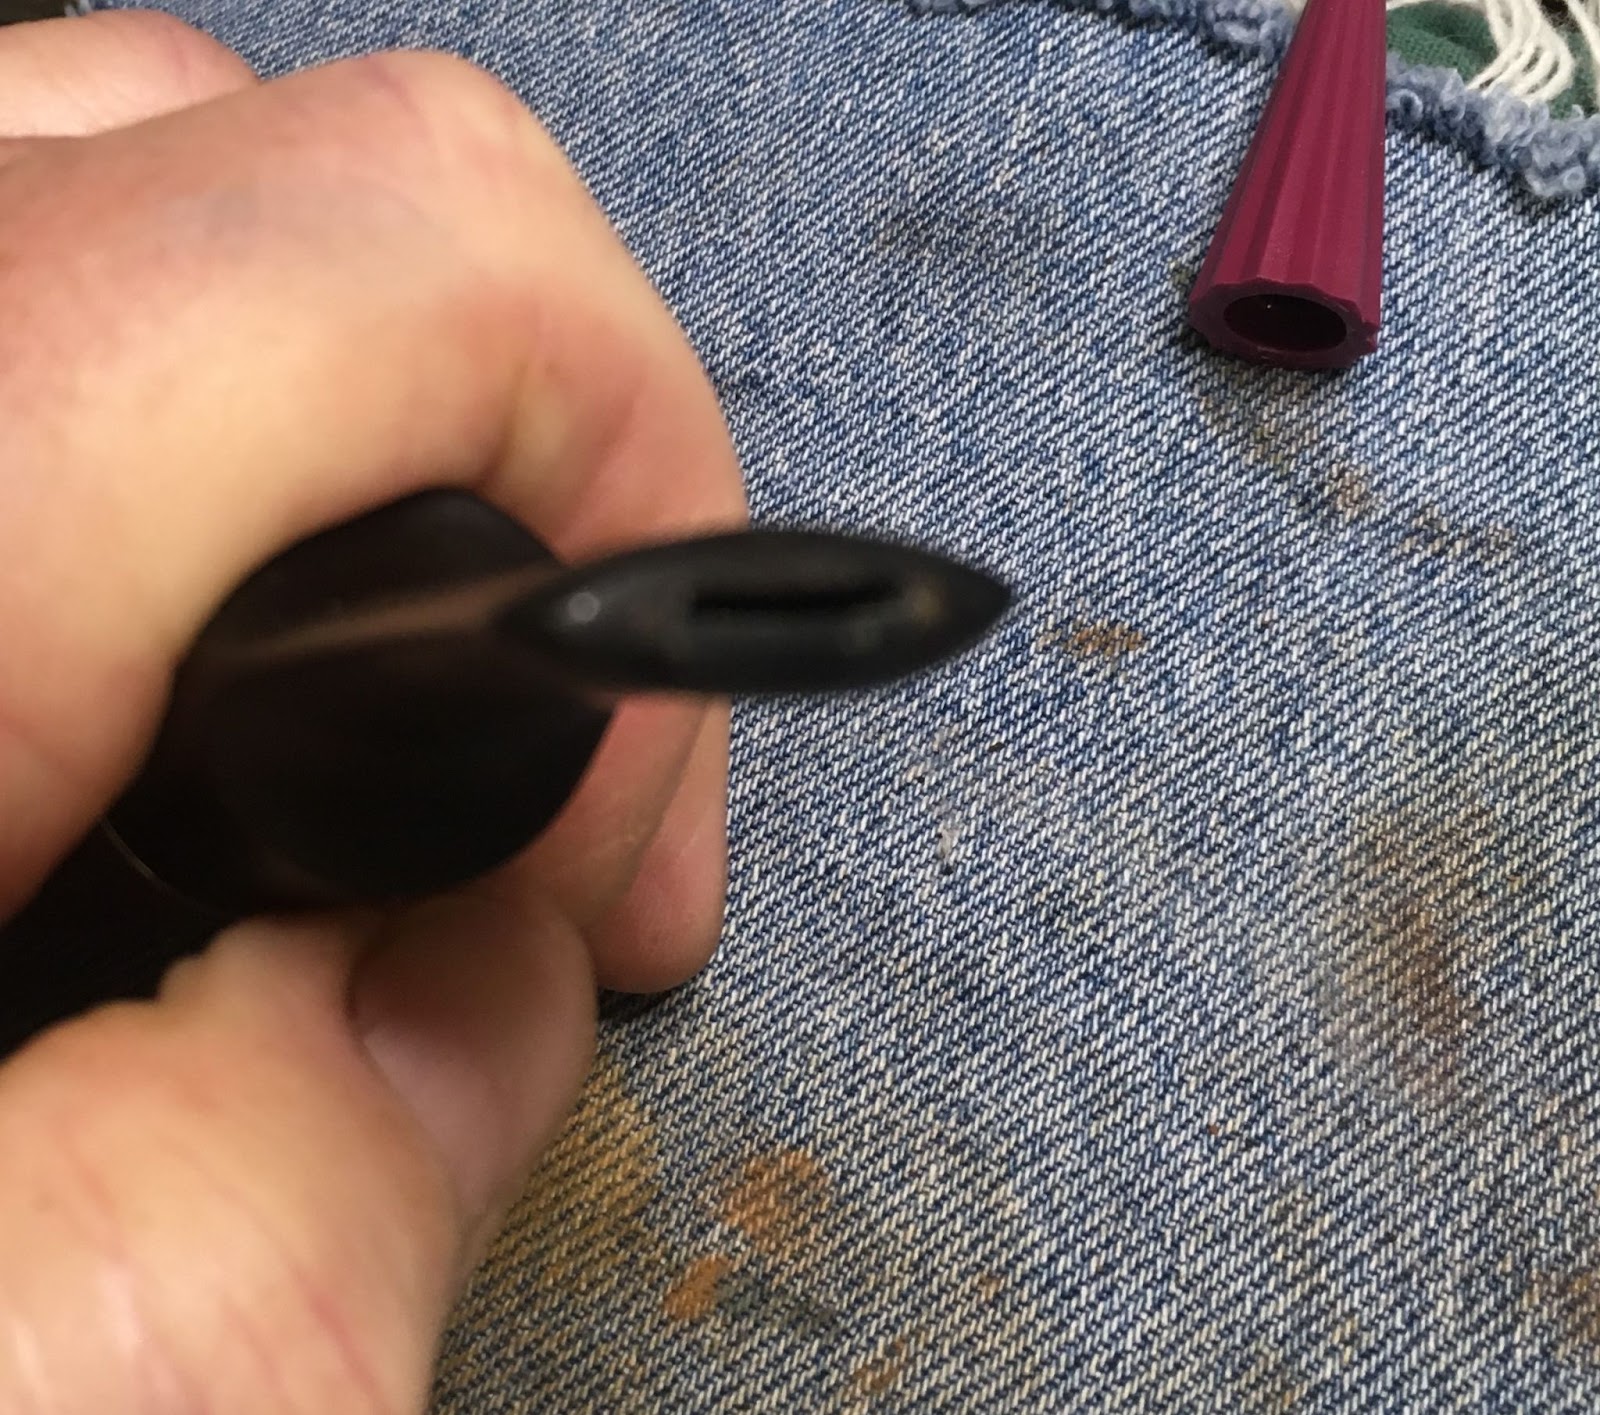
The rim was moistened with saliva. I then took the knife upstairs for a resharpening on the sharpening stone. A few minutes later the rim was scraped with a very sharp blade.

I was surprised at how clean, relatively, the airway of the shank was.Some scraping with a dental scraper was done followed by an alcohol soaked shank brush and several bristle pipe cleaners and cotton swabs also dipped in the 99% ethyl alcohol.
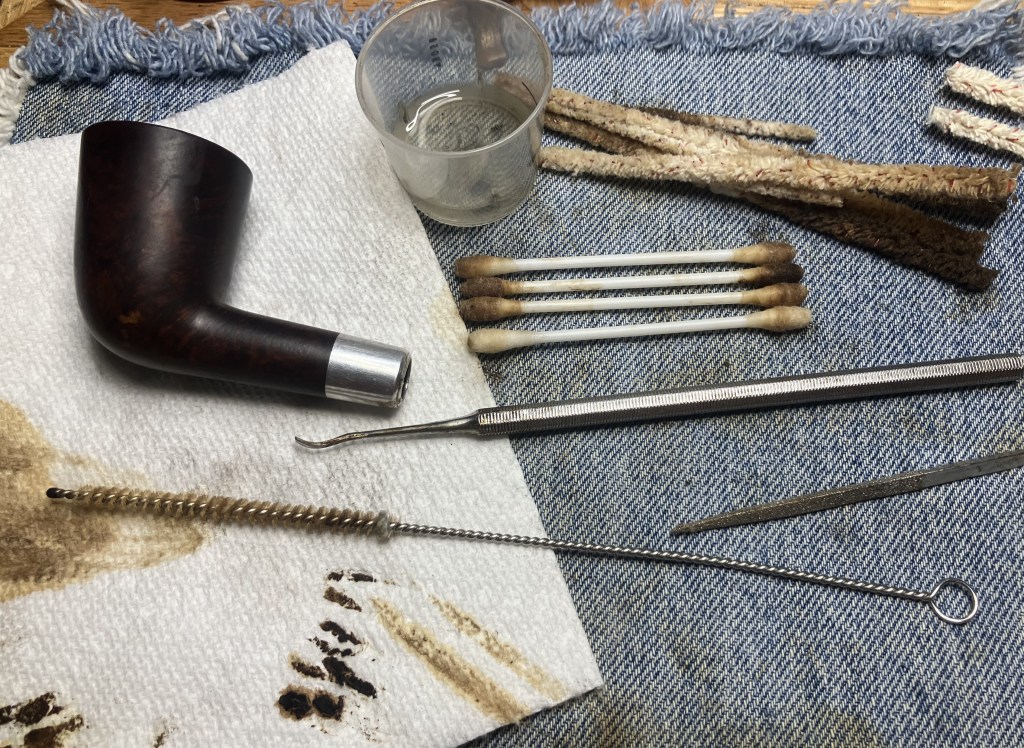
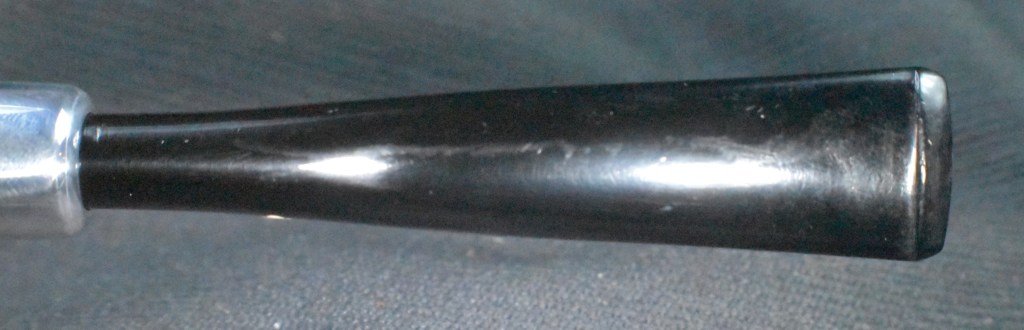
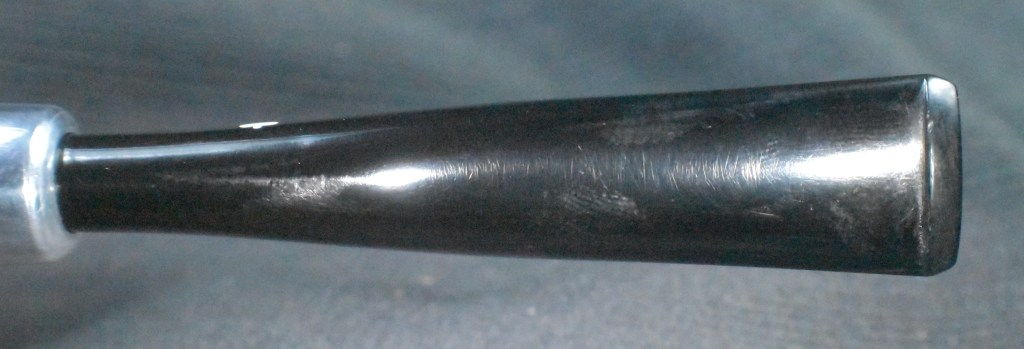
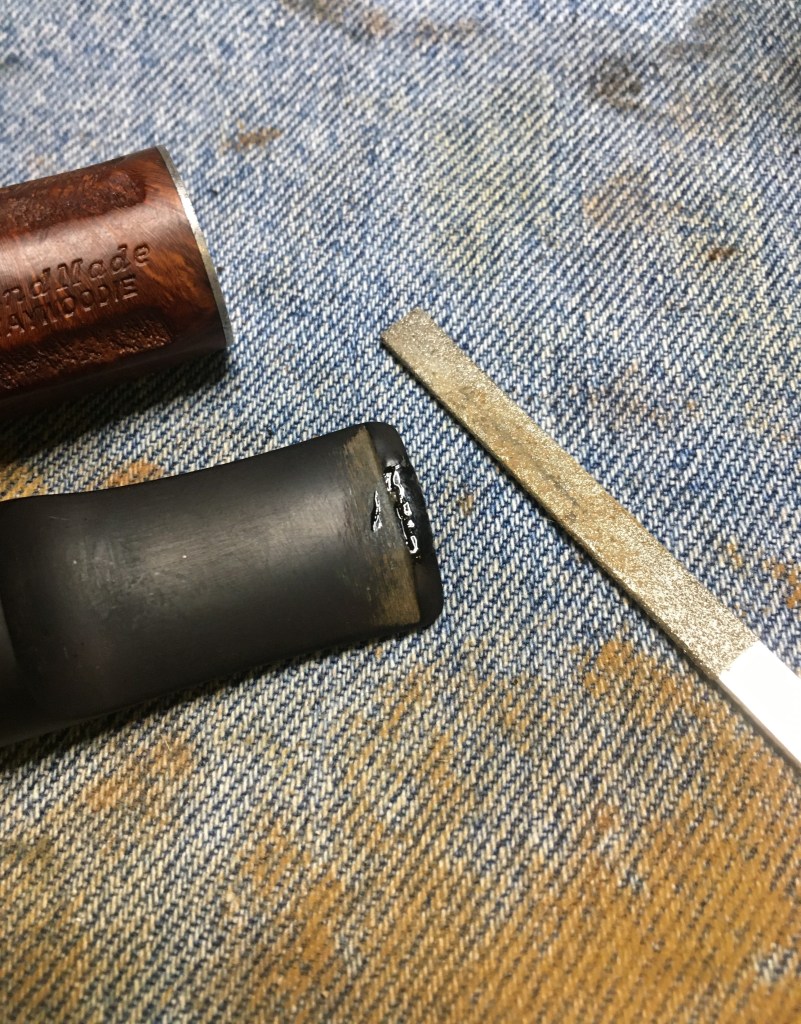
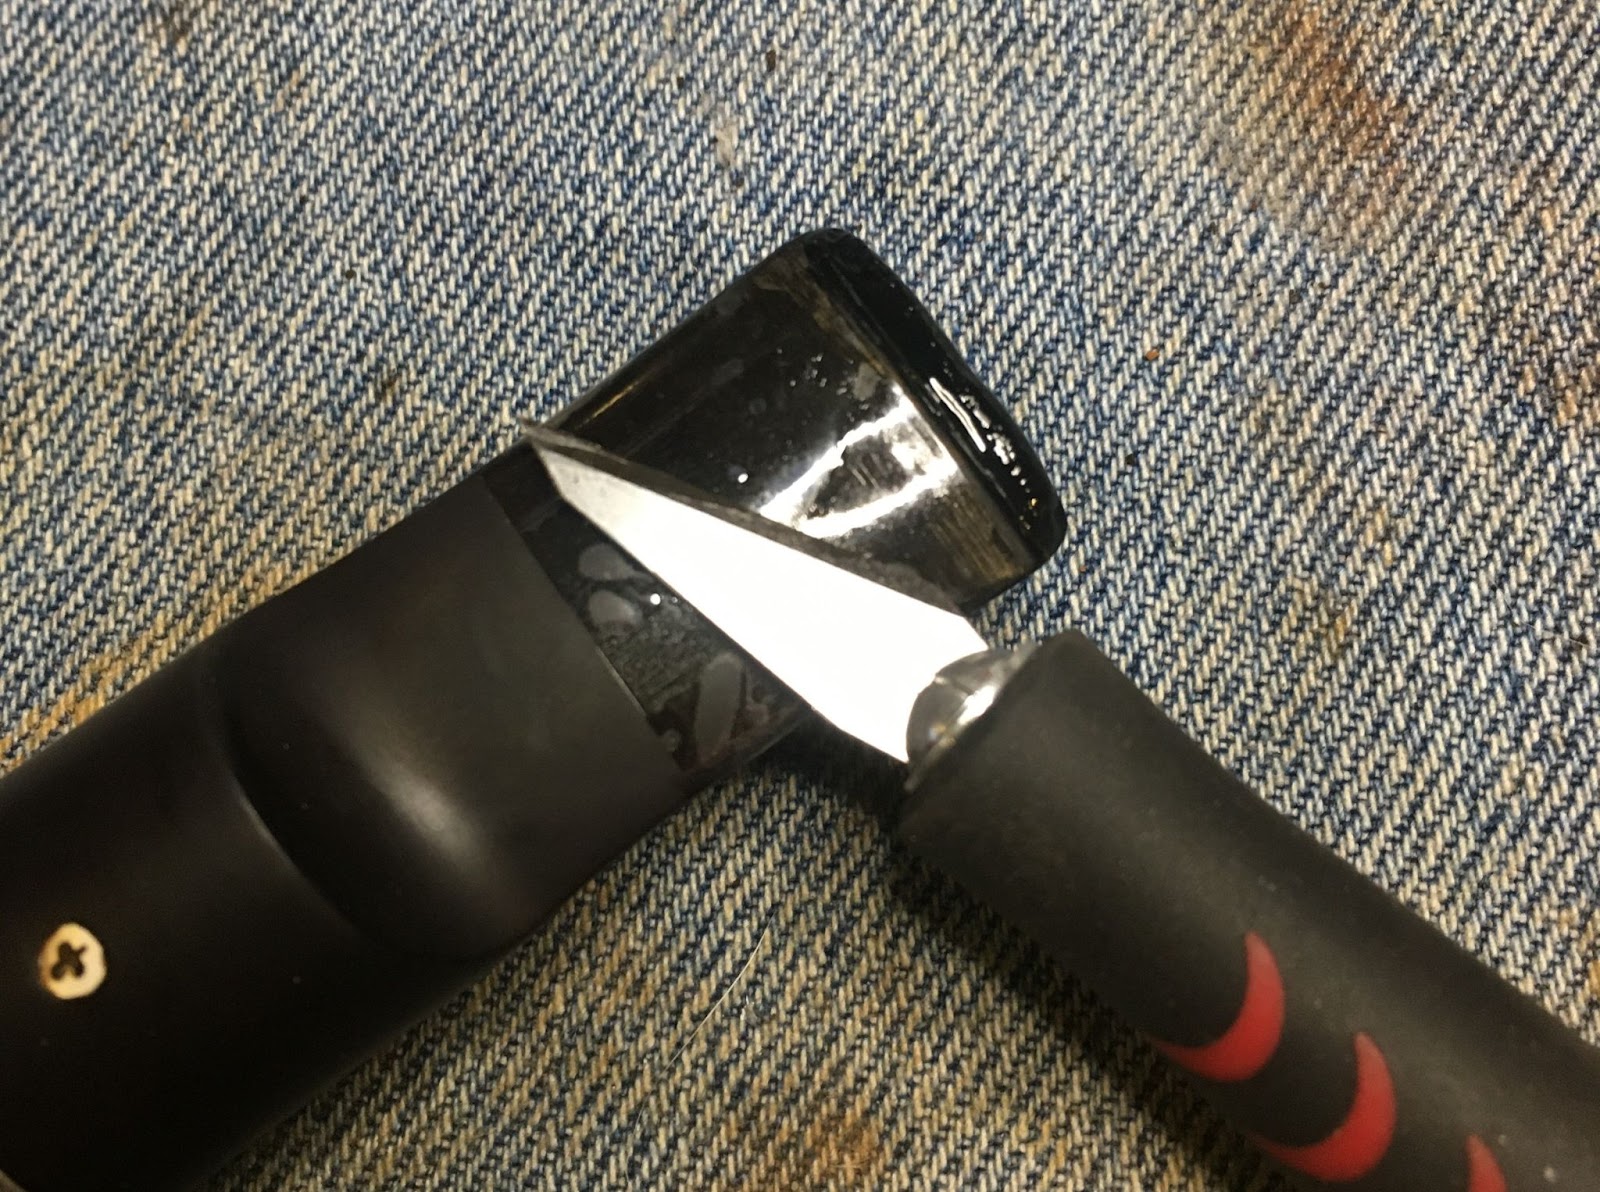
Below are two close-ups of the tooth chatter on the top and bottom sides of the bit. Notice how it looks more like the nylon of a Medico pipe.


I was able to file the bite zone to eliminate most of the chatter on both the top and bottom surfaces.
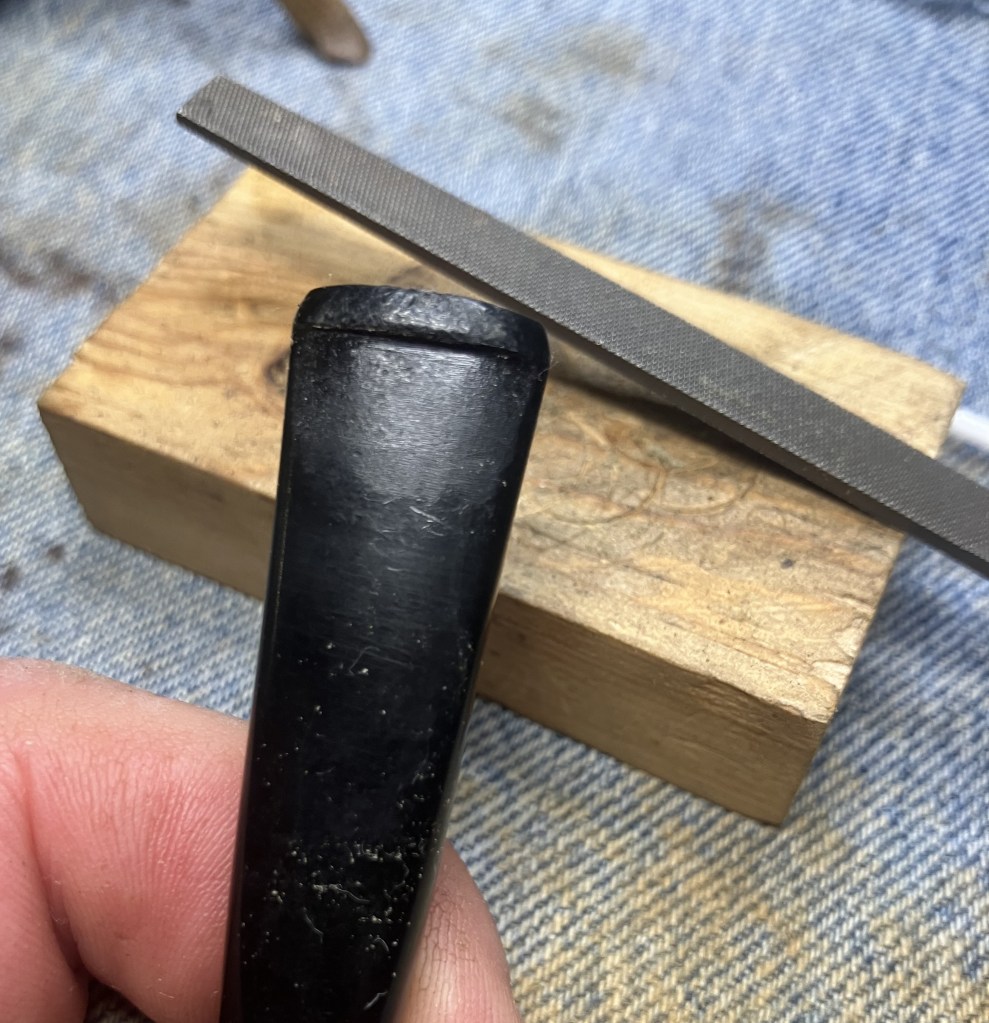
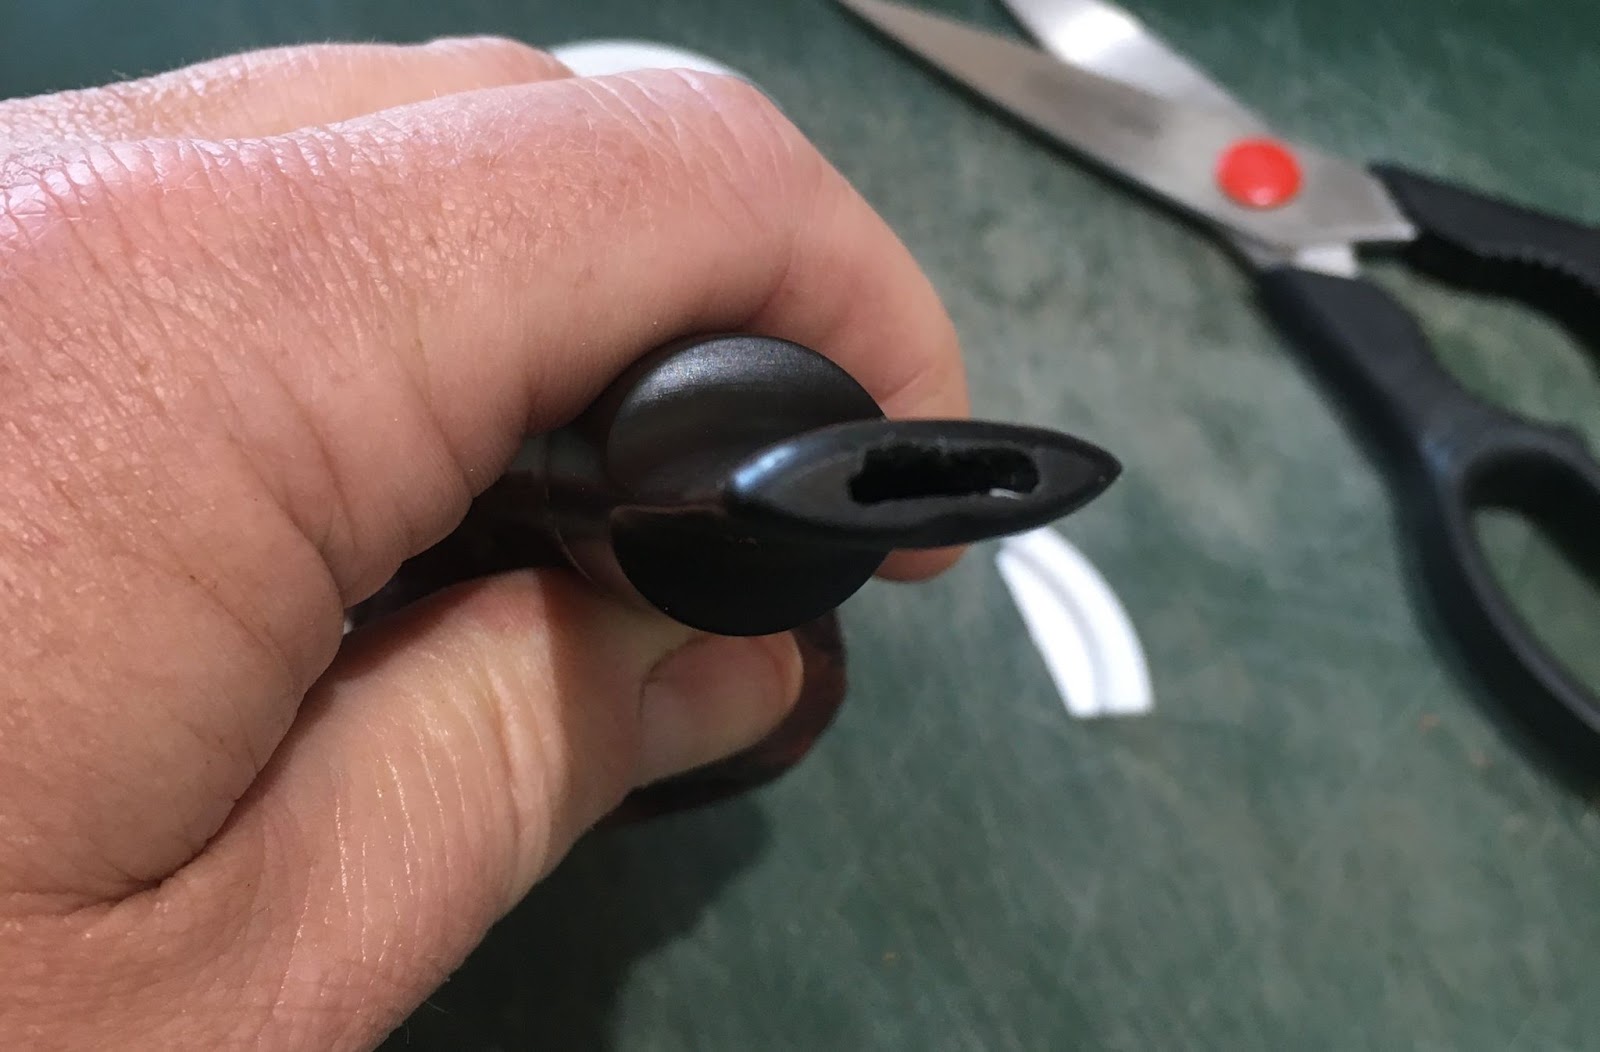
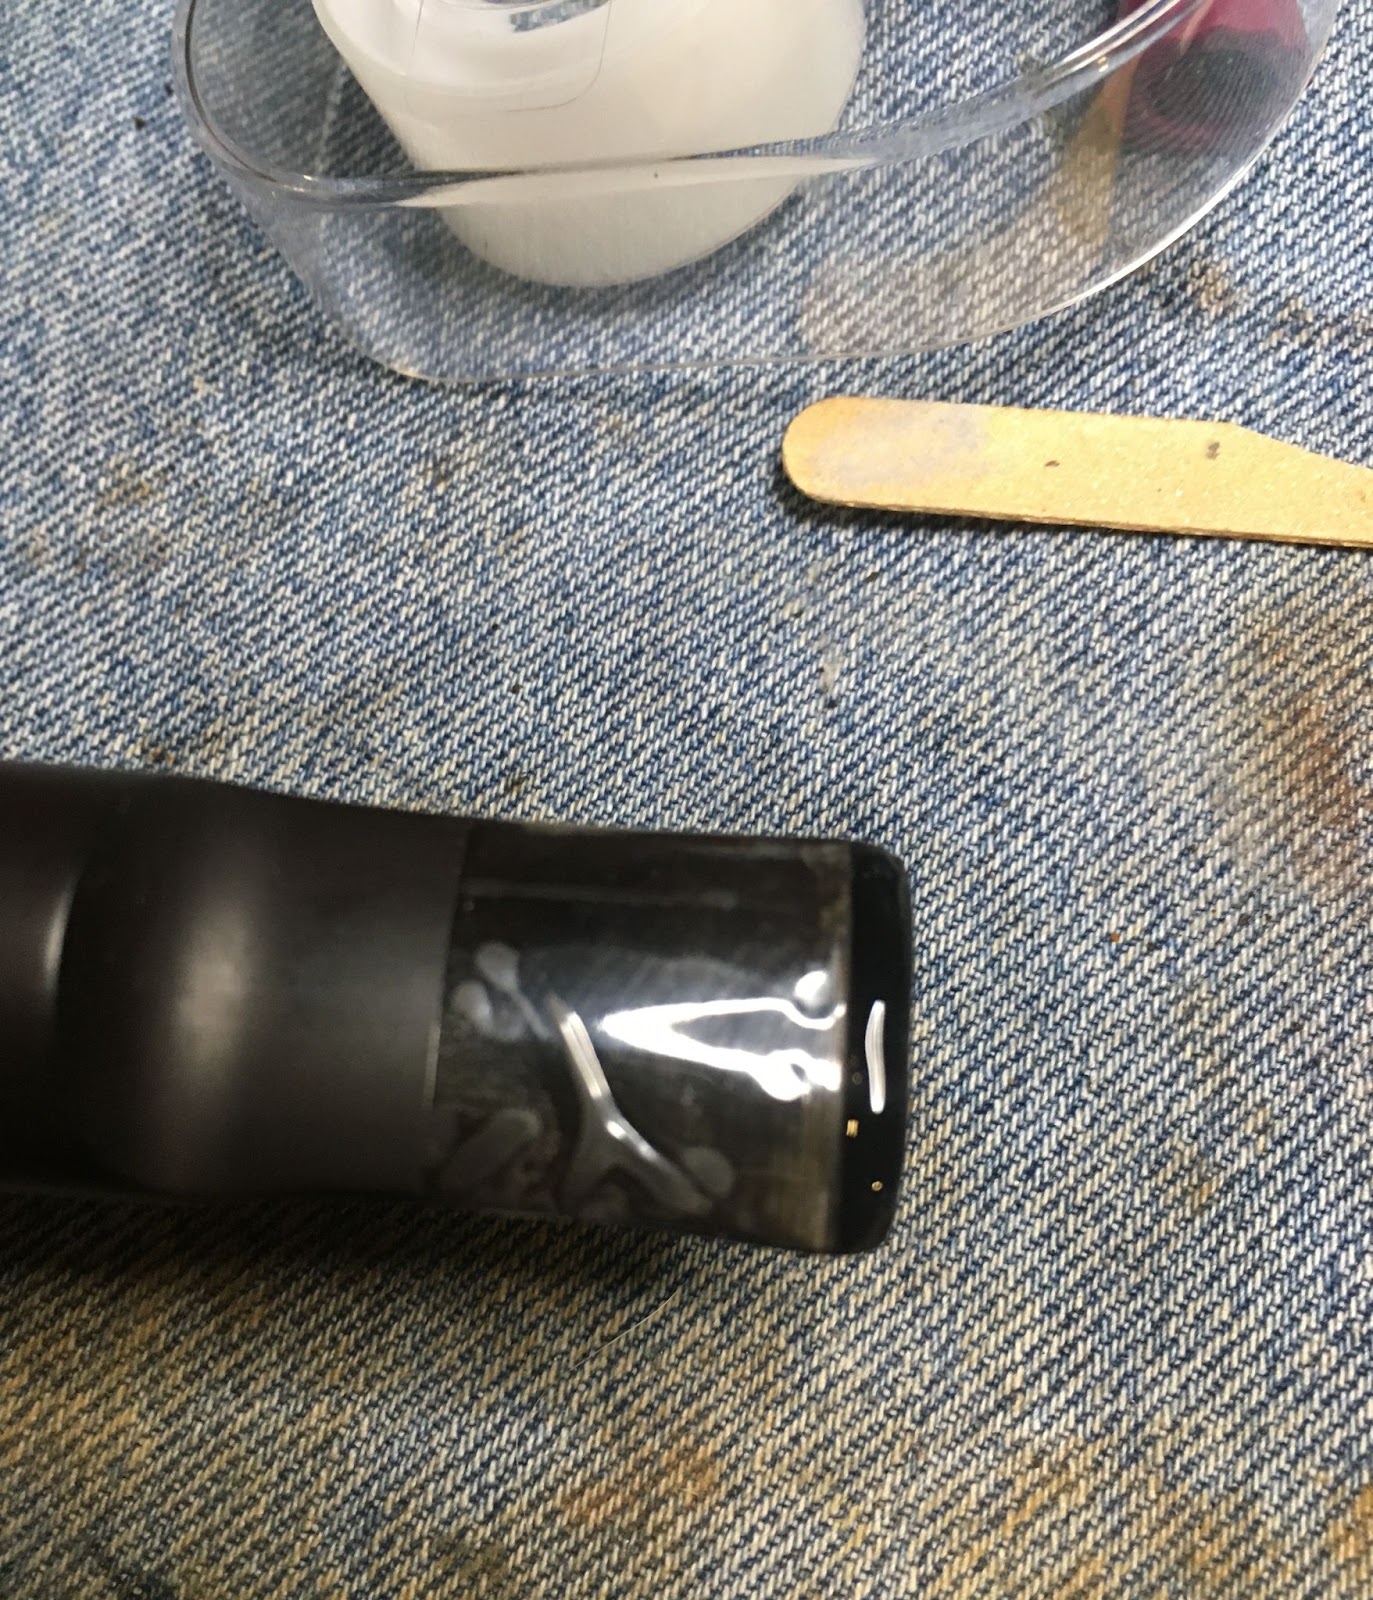
After the file, I moved to an emery board, like for filing fingernails.
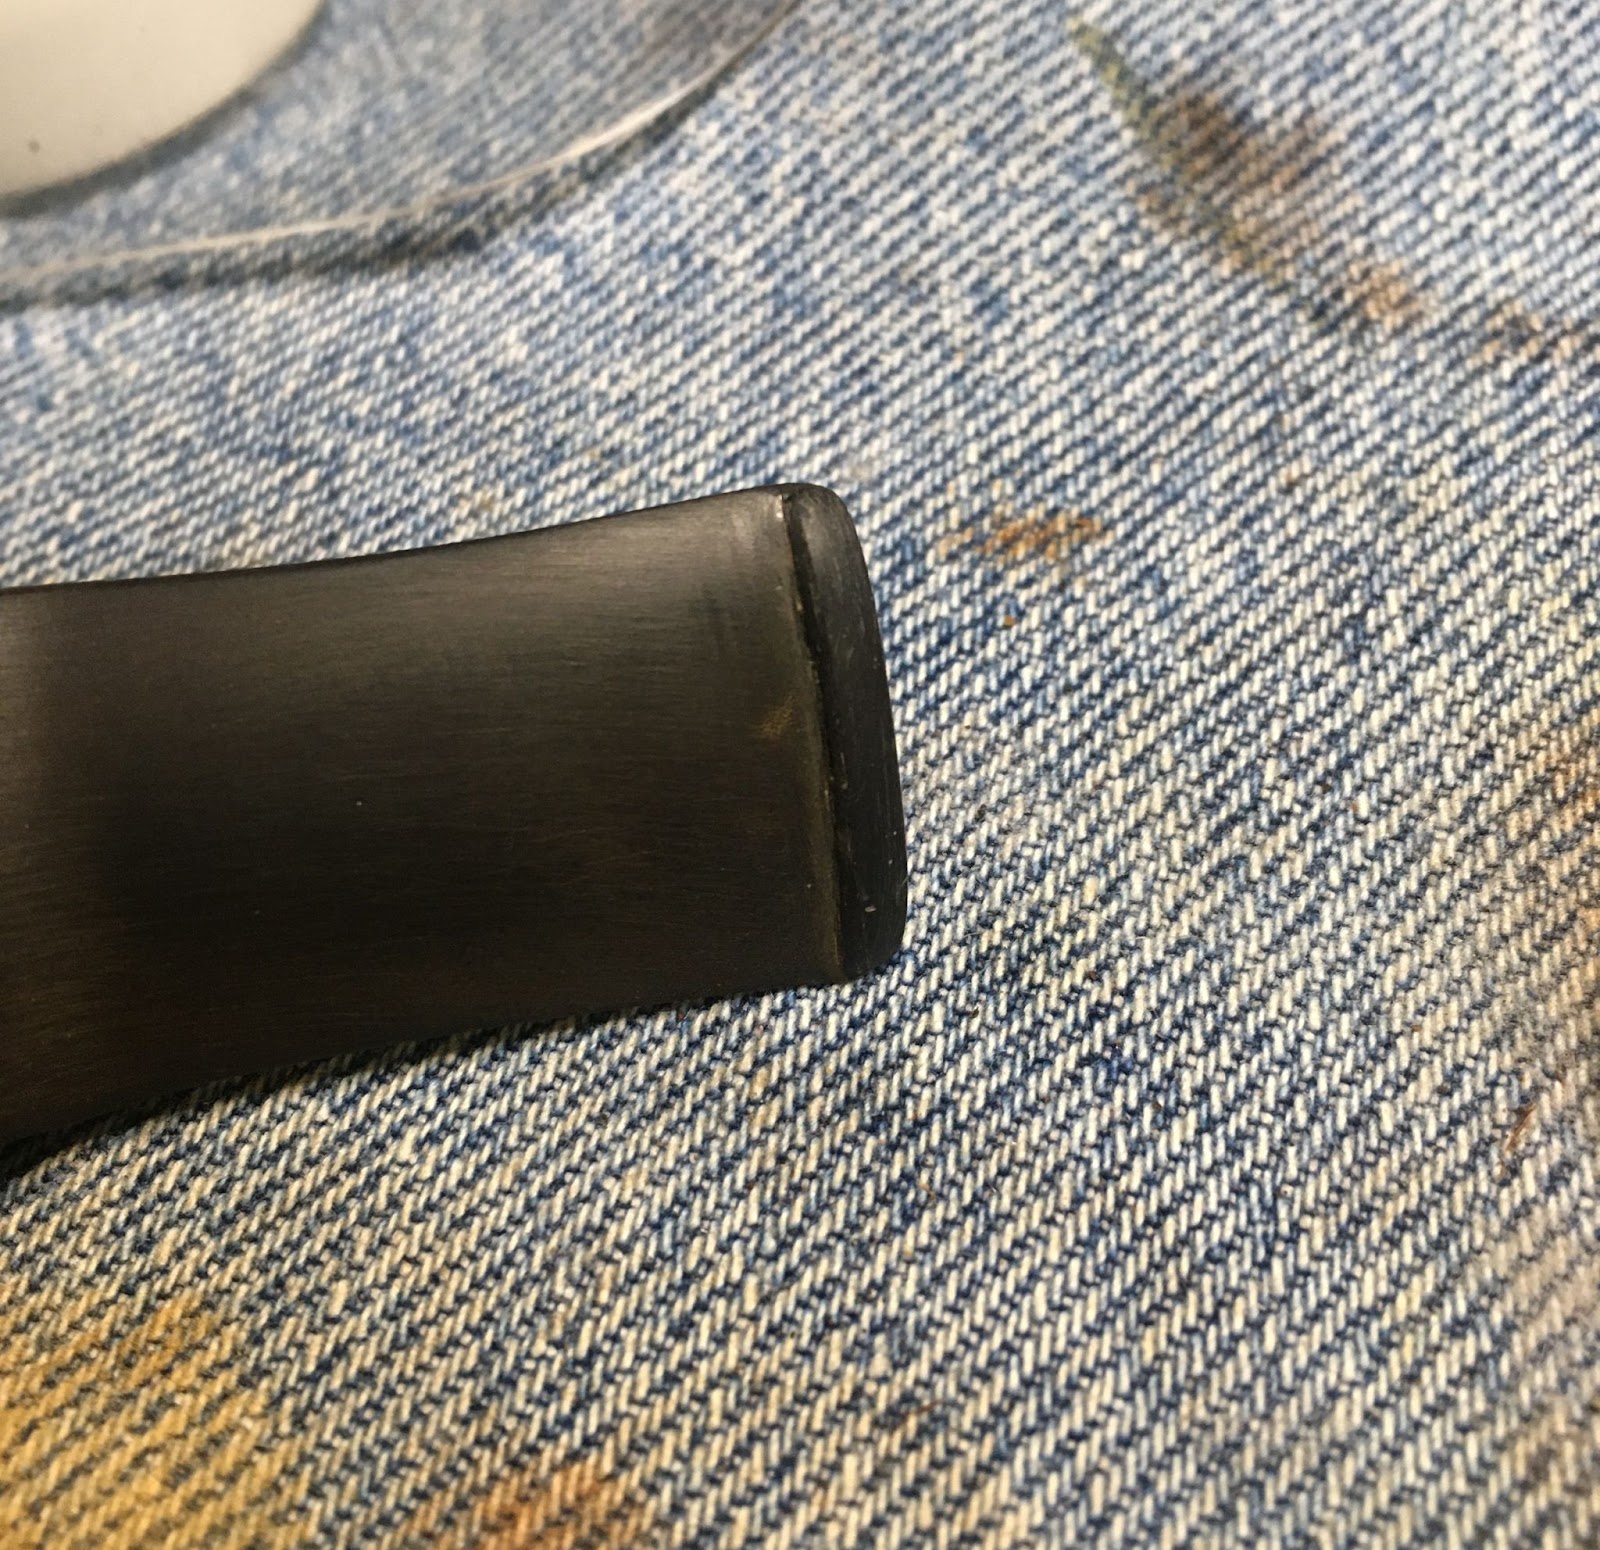
The emery board was also used to reestablish and redefine the button.

There were still some minimal dents which were being difficult. I thought, “maybe a flame painting”. This is where the flame from a lighter is moved along the dented surface. In my experience this is usually to minimal effect but it did seem to work.

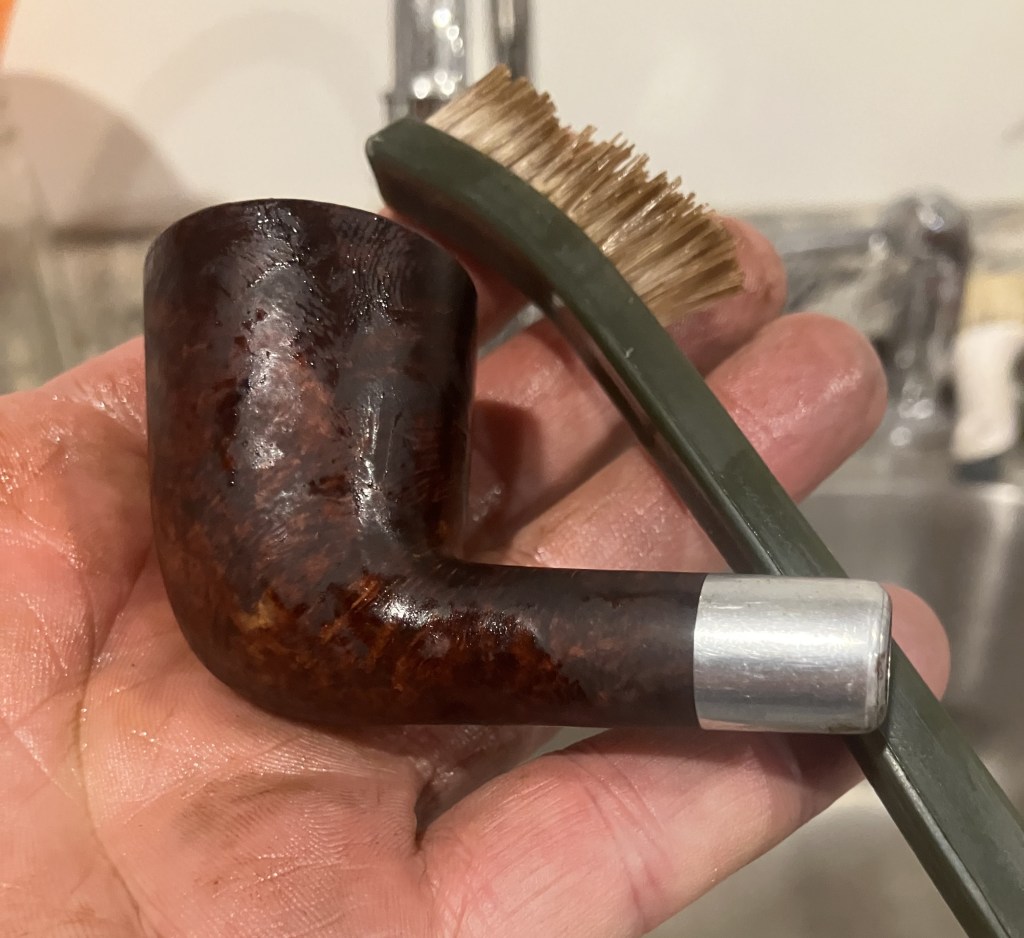
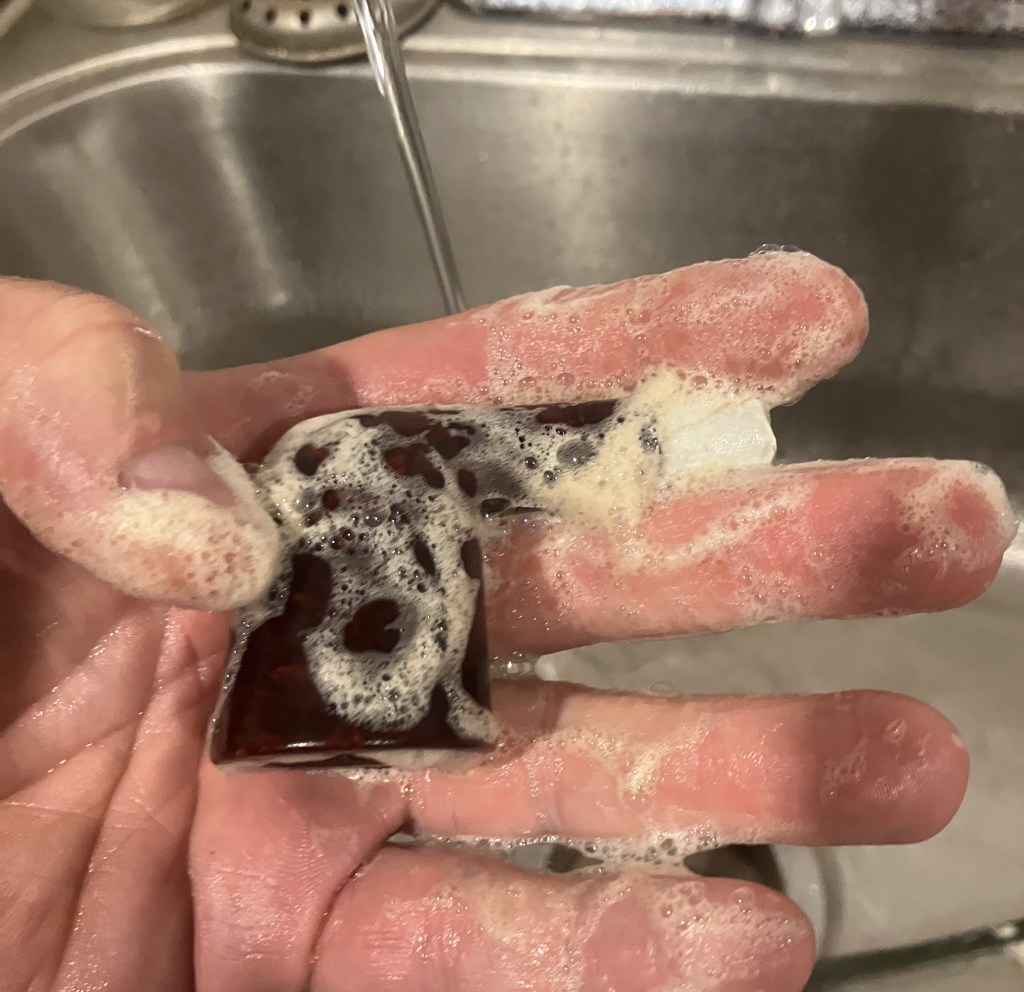
The stummel was then taken to the sink for a scrub with undiluted Murphy Oil Soap and a nylon brush. The soap was rinsed with warm water and the stummel hand dried with a cotton hand towel.
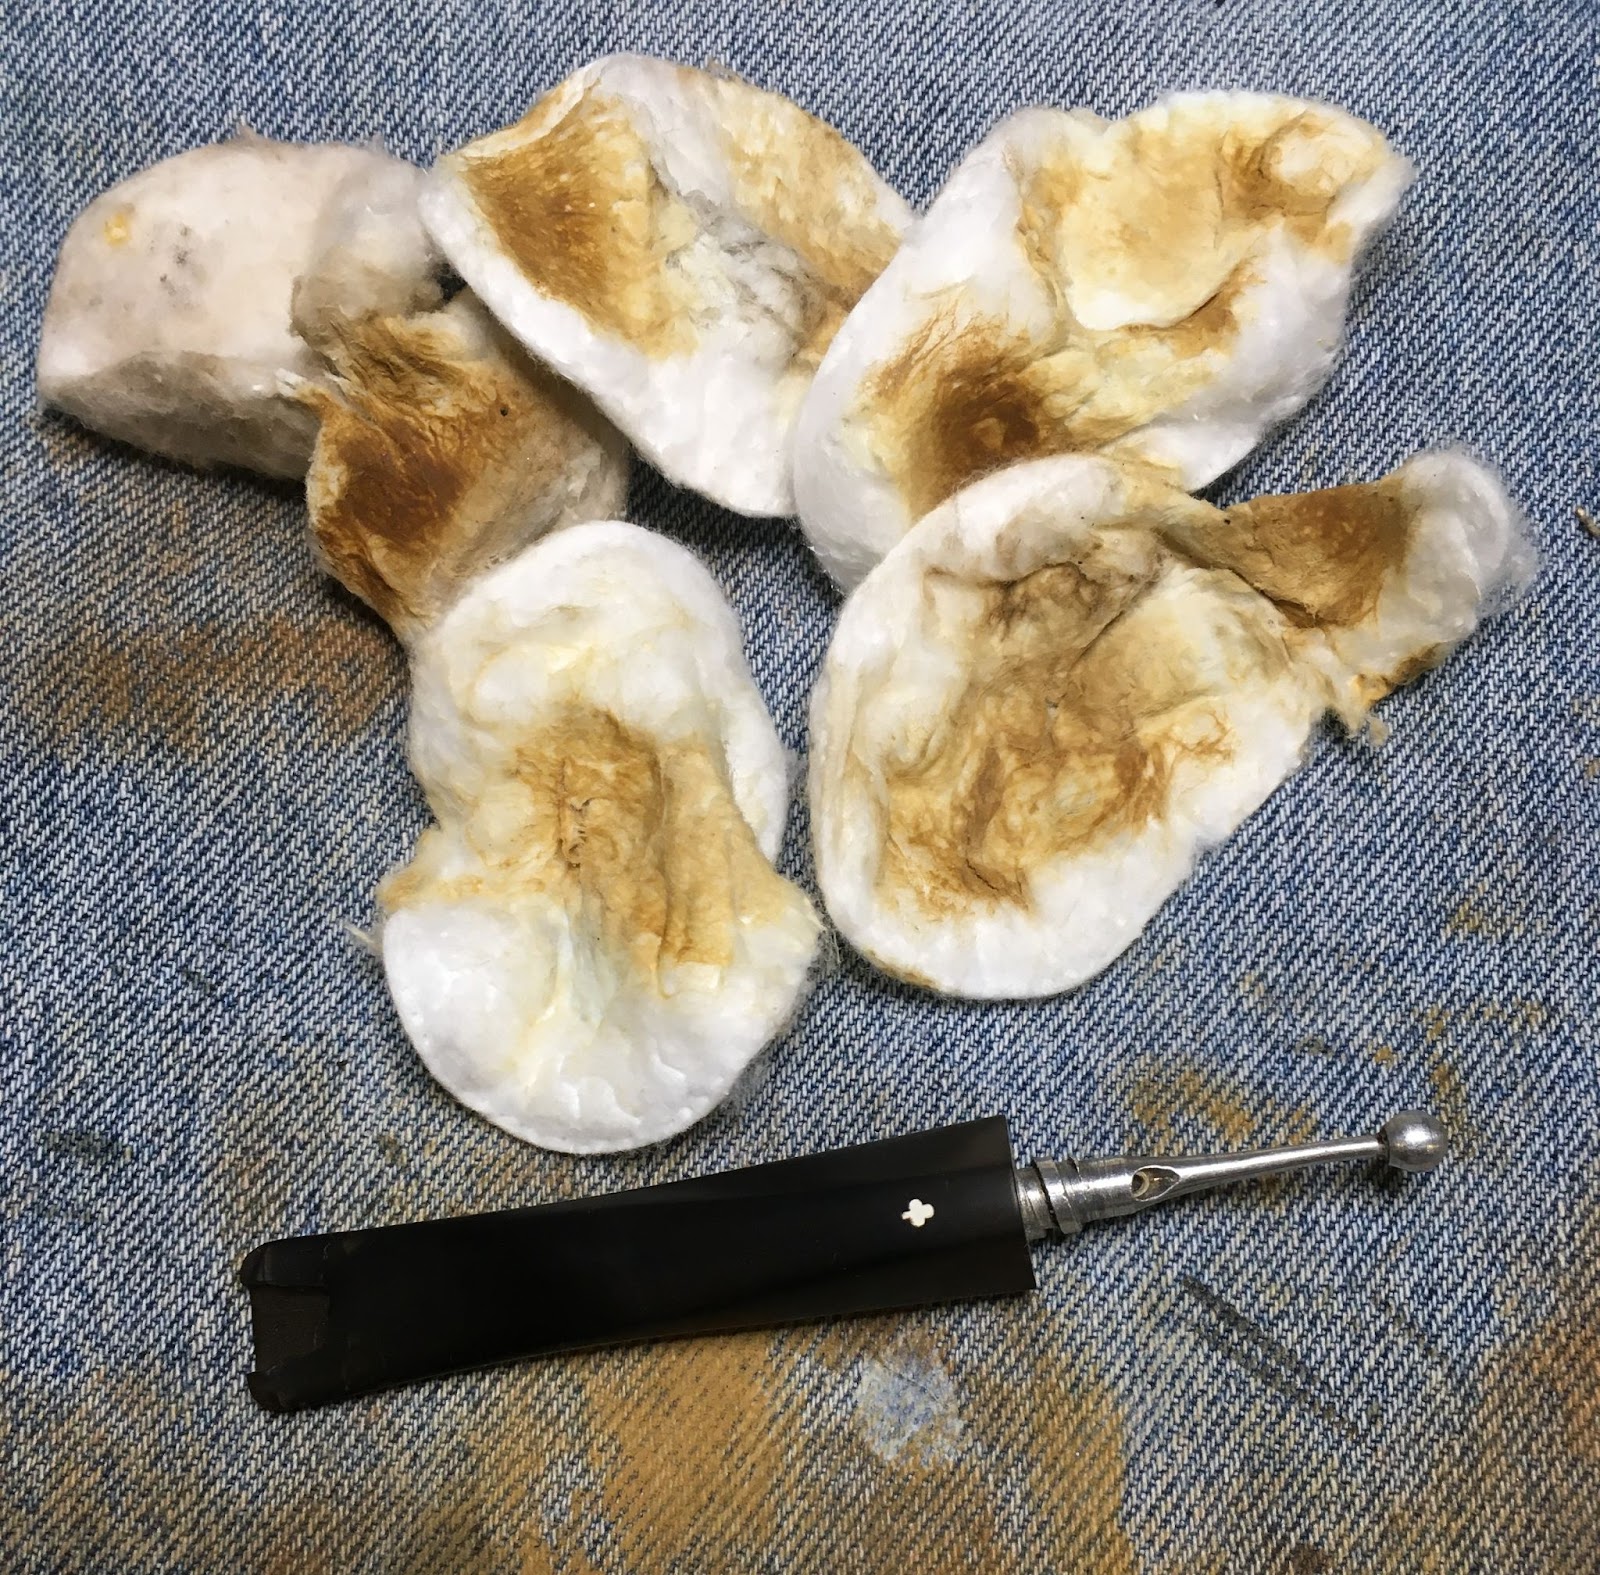
Back at the workbench I rubbed the stummel with a make-up pad wetted with 99% ethyl alcohol. This produced some color on the pad as dye or stain was removed from the briar.

I wanted this pipe to be lighter in color to show off the briar grain. I first started a light sanding with a 320 grit sanding sponge.

The sanding helped but not as much as I had hoped. Hmm, plan-B: An application of oxalic acid was the remedy that came to mind.
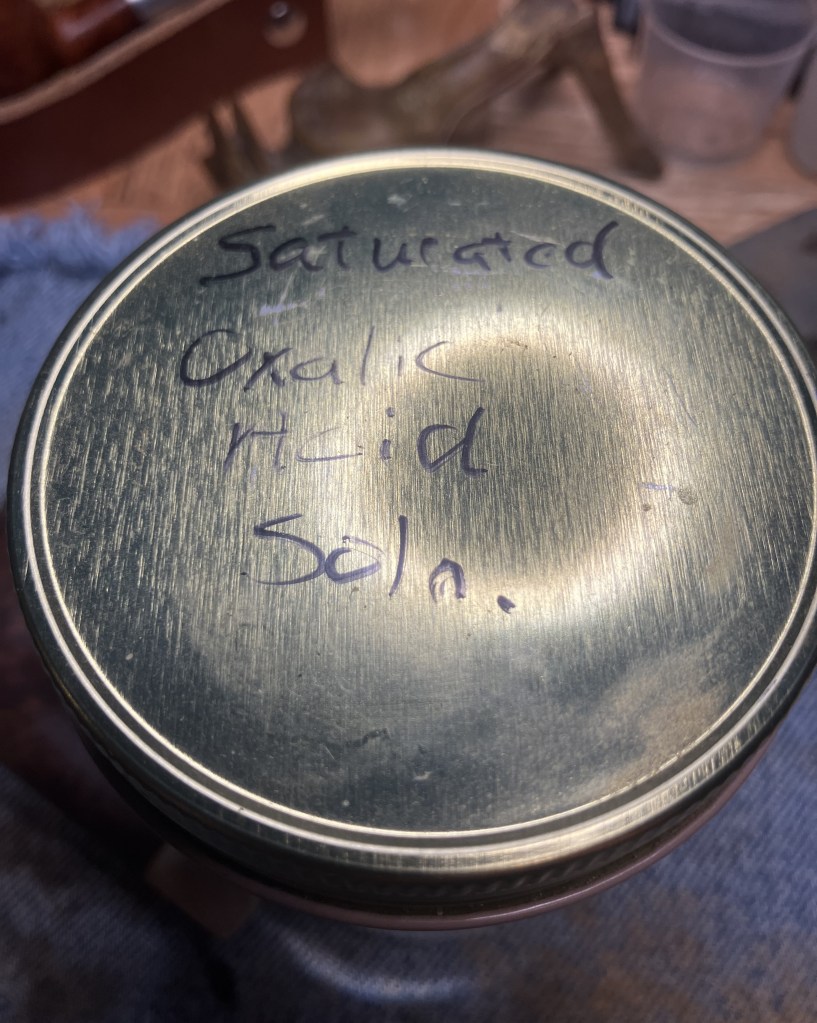
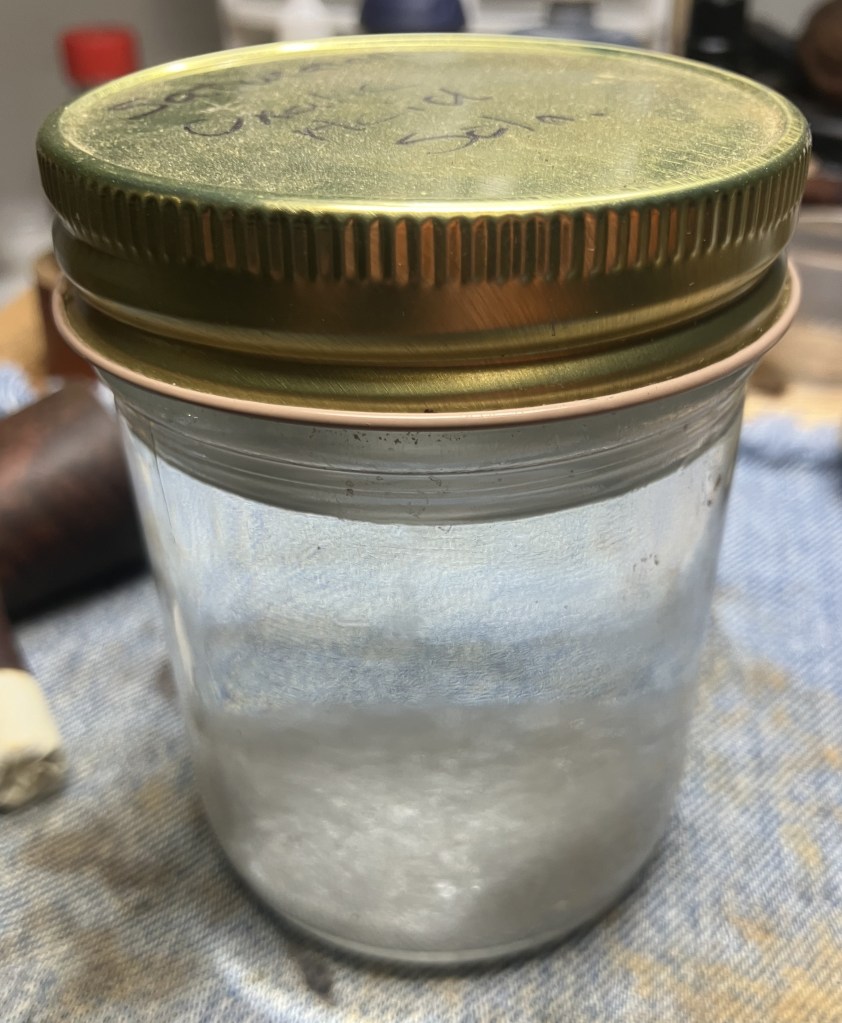
The crystals present at the bottom of the jar indicate the solution is fully saturated. Oxalic acid is known to bleach stains in woods. My hope was to lighten the color of the briar. Previous attempts at this have met with varying degrees of success.
I applied the first coating of oxalic acid to the stummel with a cotton swab.
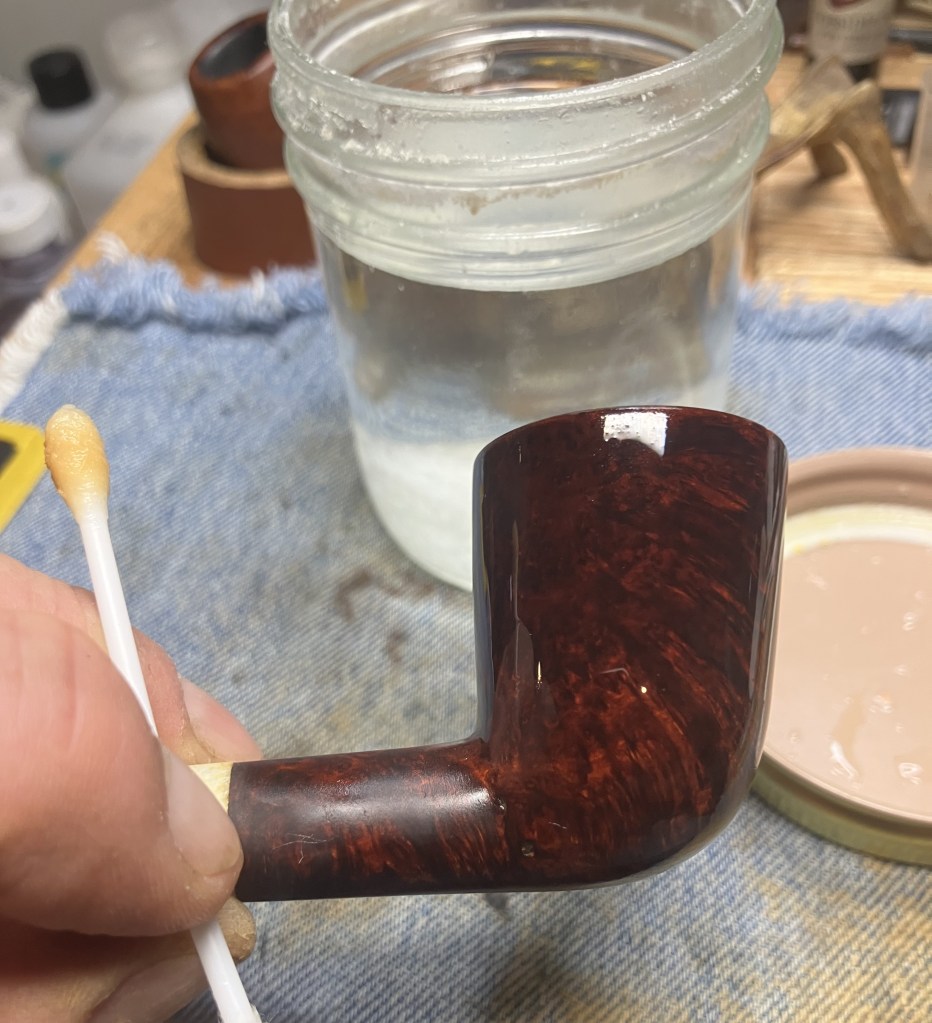
This was allowed to sit for 30 minutes while I finished watching an episode of Homeland (glad that it finally made it’s way to NetFlix).

After 30 minutes I recoated the stummel with a second application of the oxalic acid solution.
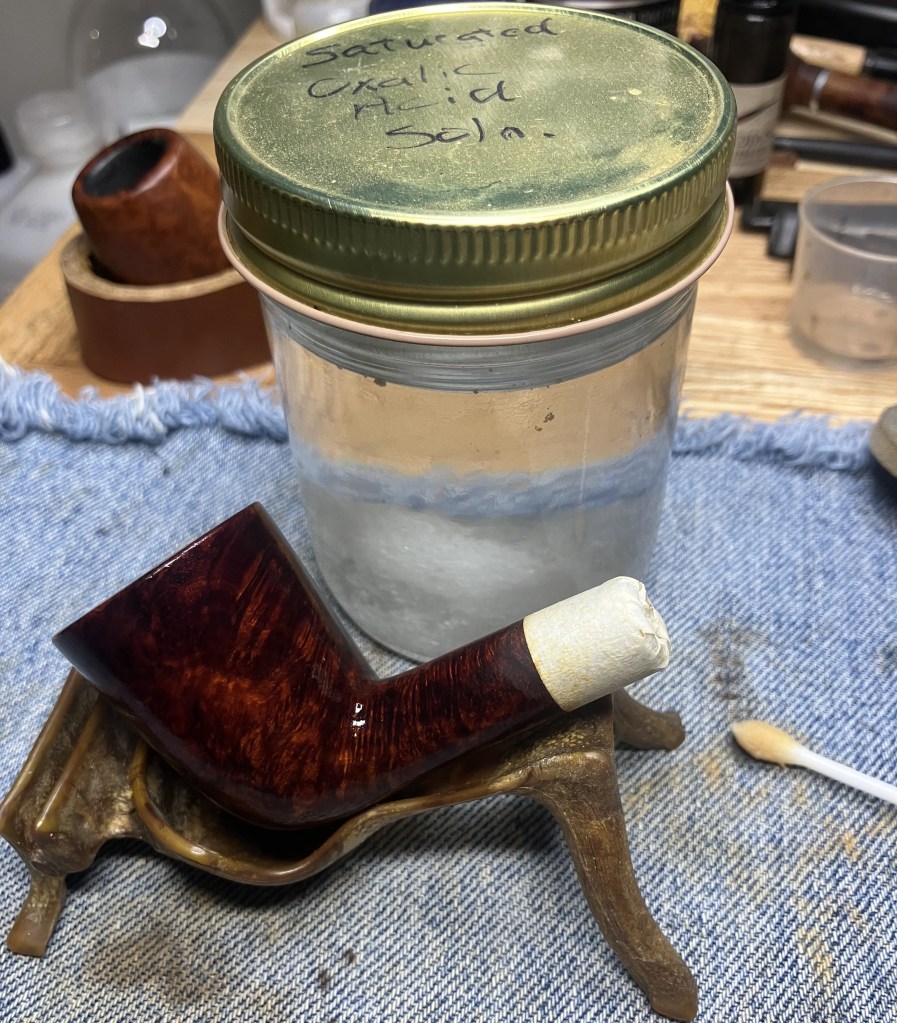
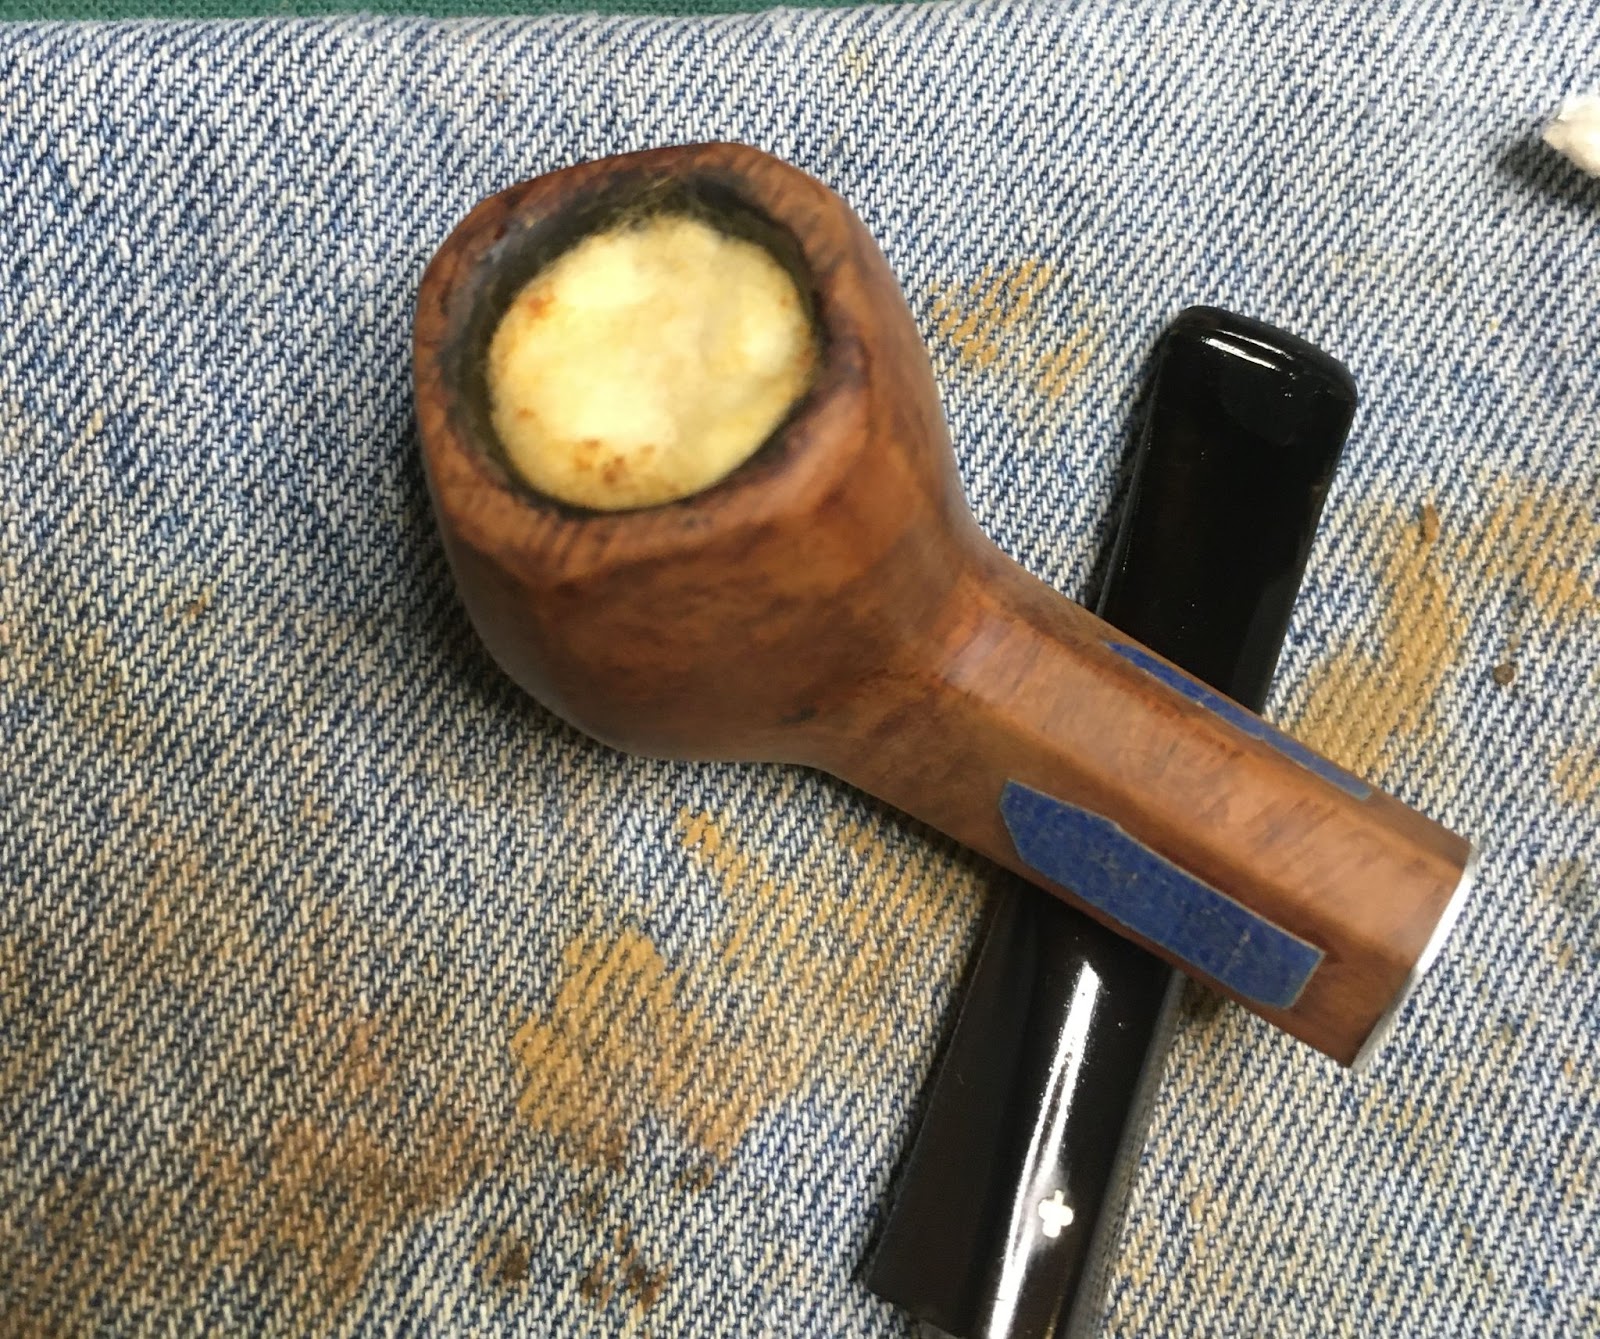
This one sat for another 20 minutes. The photo below shows what it looked like dried.

The stummel was returned to the sink for rinsing with copious amounts of water. To make sure the oxalic acid was completely rinsed and neutralized I scrubbed the stummel with Castile soap and a nylon brush. I figured that the basic nature of the soap would neutralize the remaining acid.

More rinsing and then some more rinsing, oxalic acid can continue the bleaching if not completely removed.
Once dried I wiped the stummel with 99% ethyl alcohol on a make-up pad again. Far less color came off on the pad and the stummel did appear lighter, though not to the extent I was hoping for.
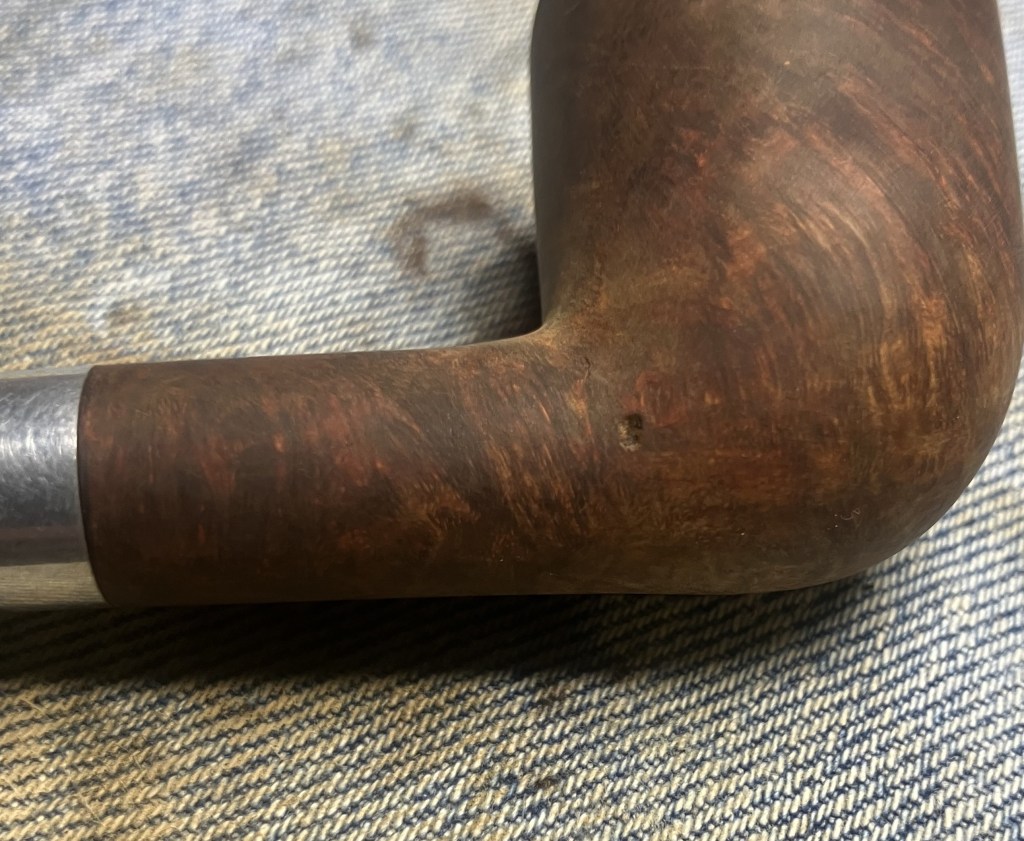
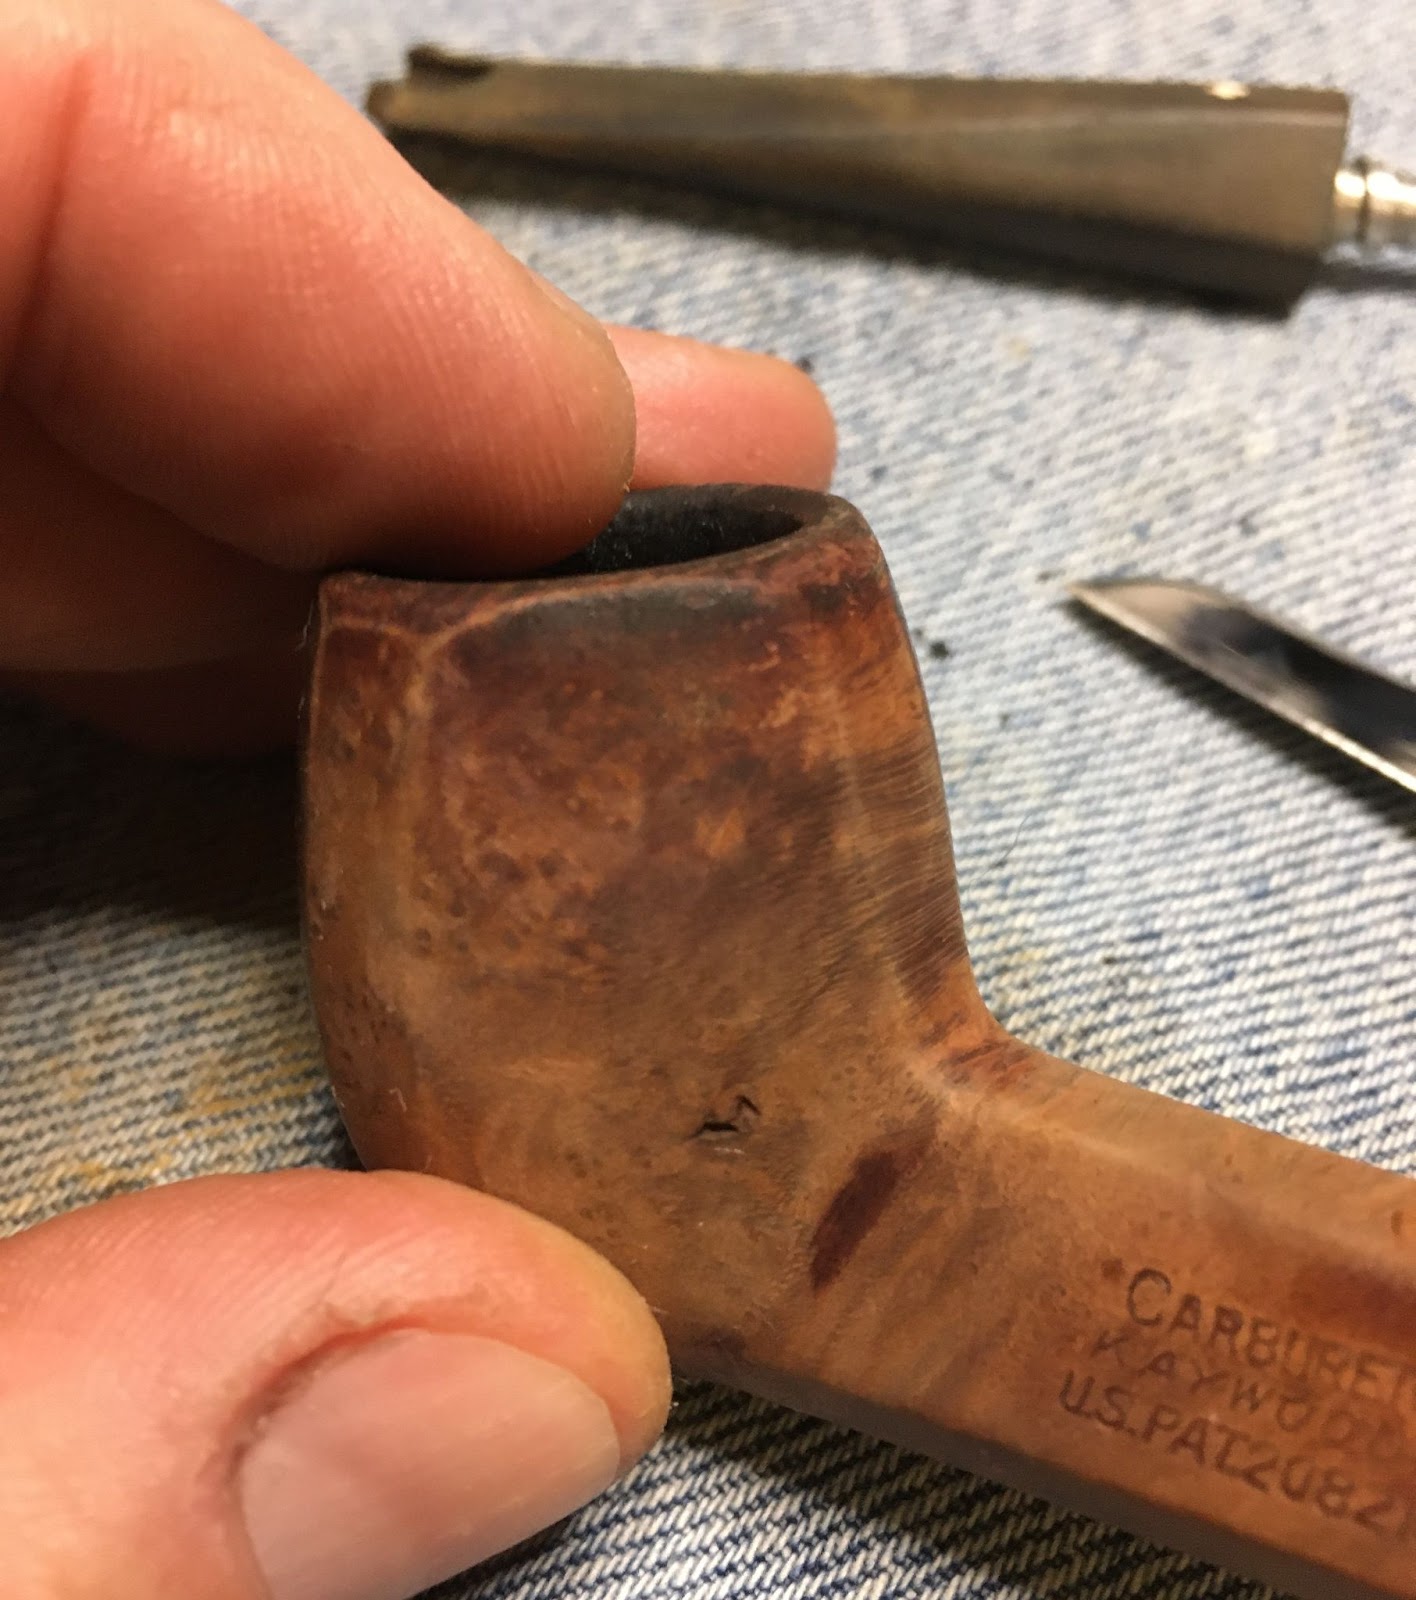
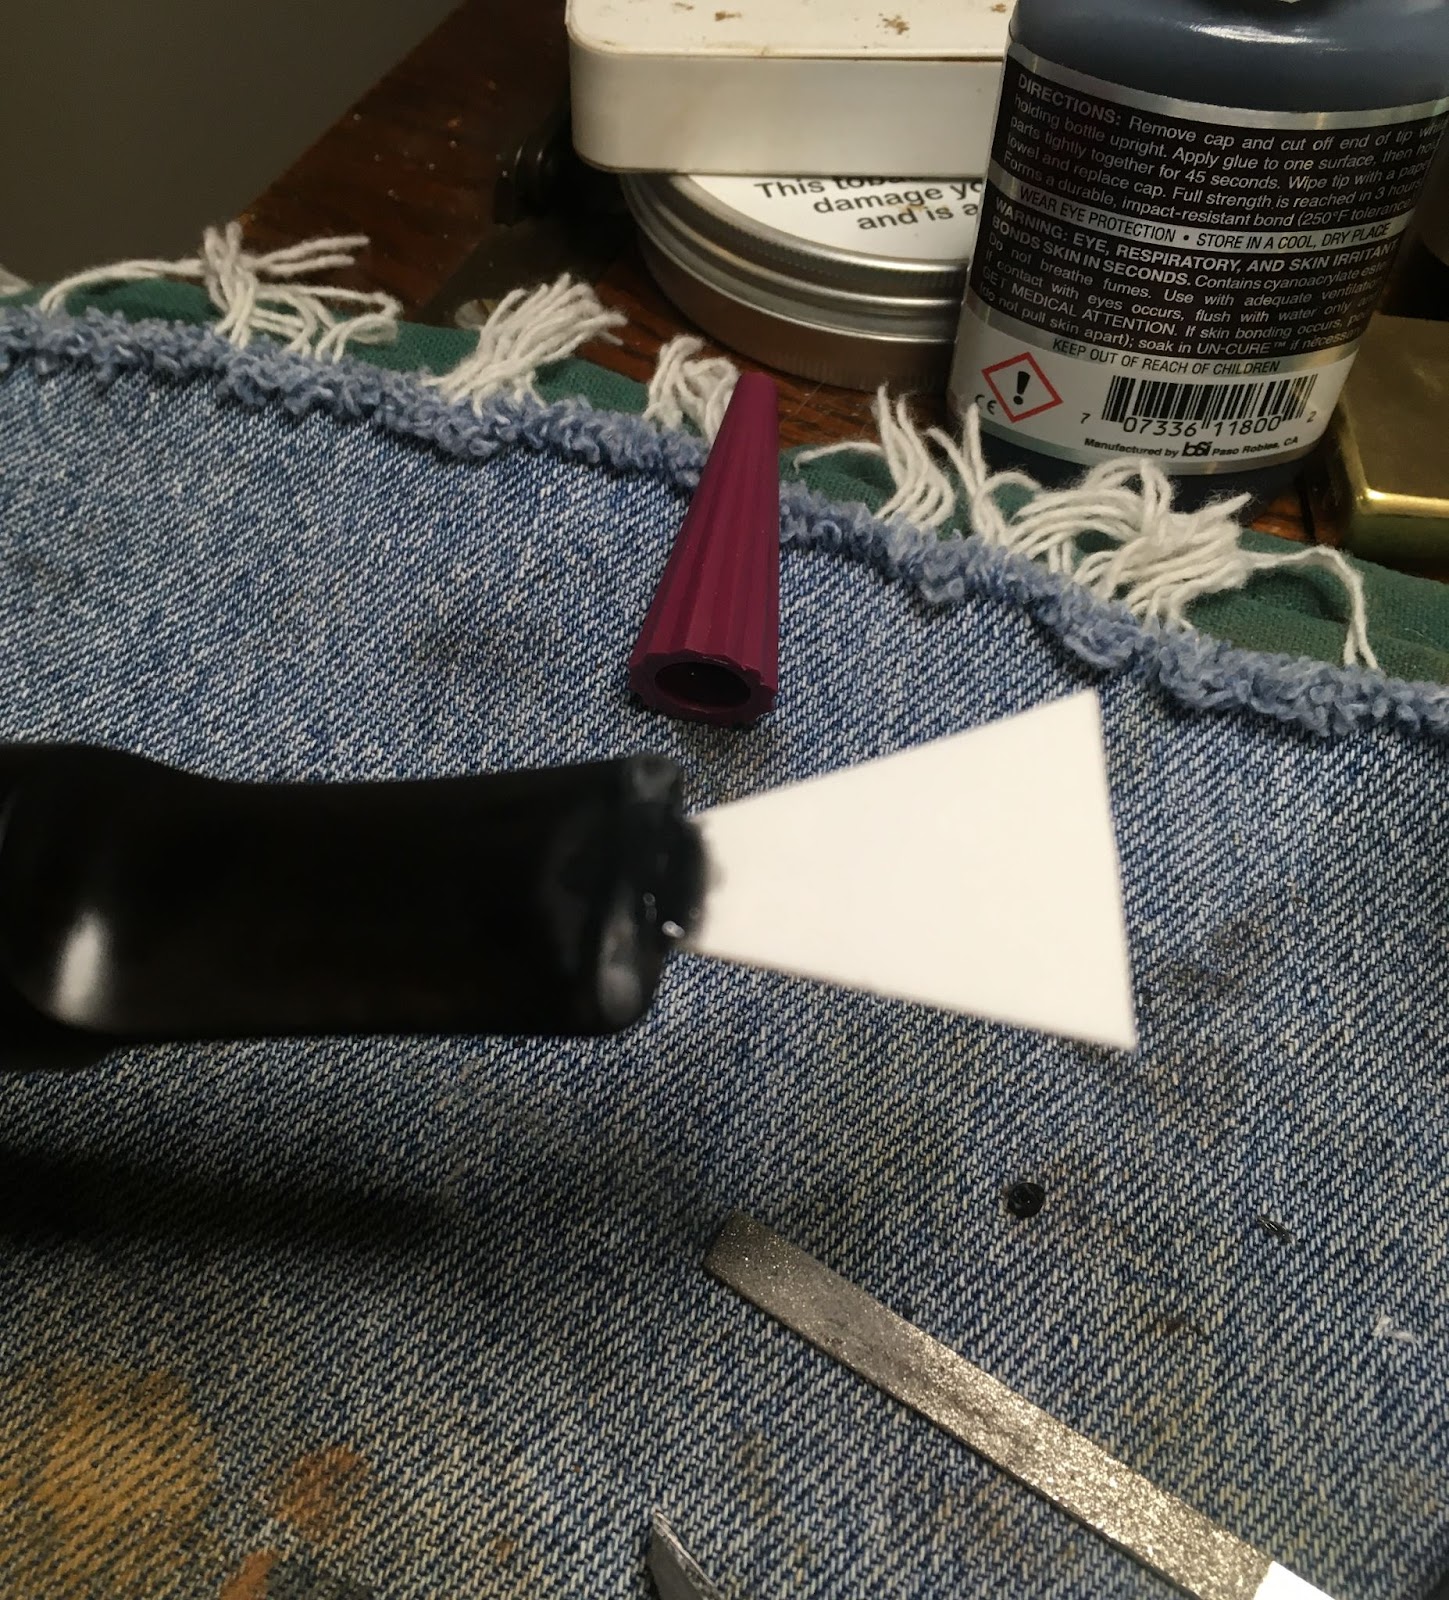
The only fills that I thought necessary were two on the lower left of the stummel.
The pits were filled with briar dust which was pressed into the pit. The dust then received a small drop of thin cyanoacrylate (CA, super glue). The CA was absorbed into the briar dust and bonded the dust to the stummel nearly instantly.

The fill was then sanded smooth with a 400 grit sanding sponge.

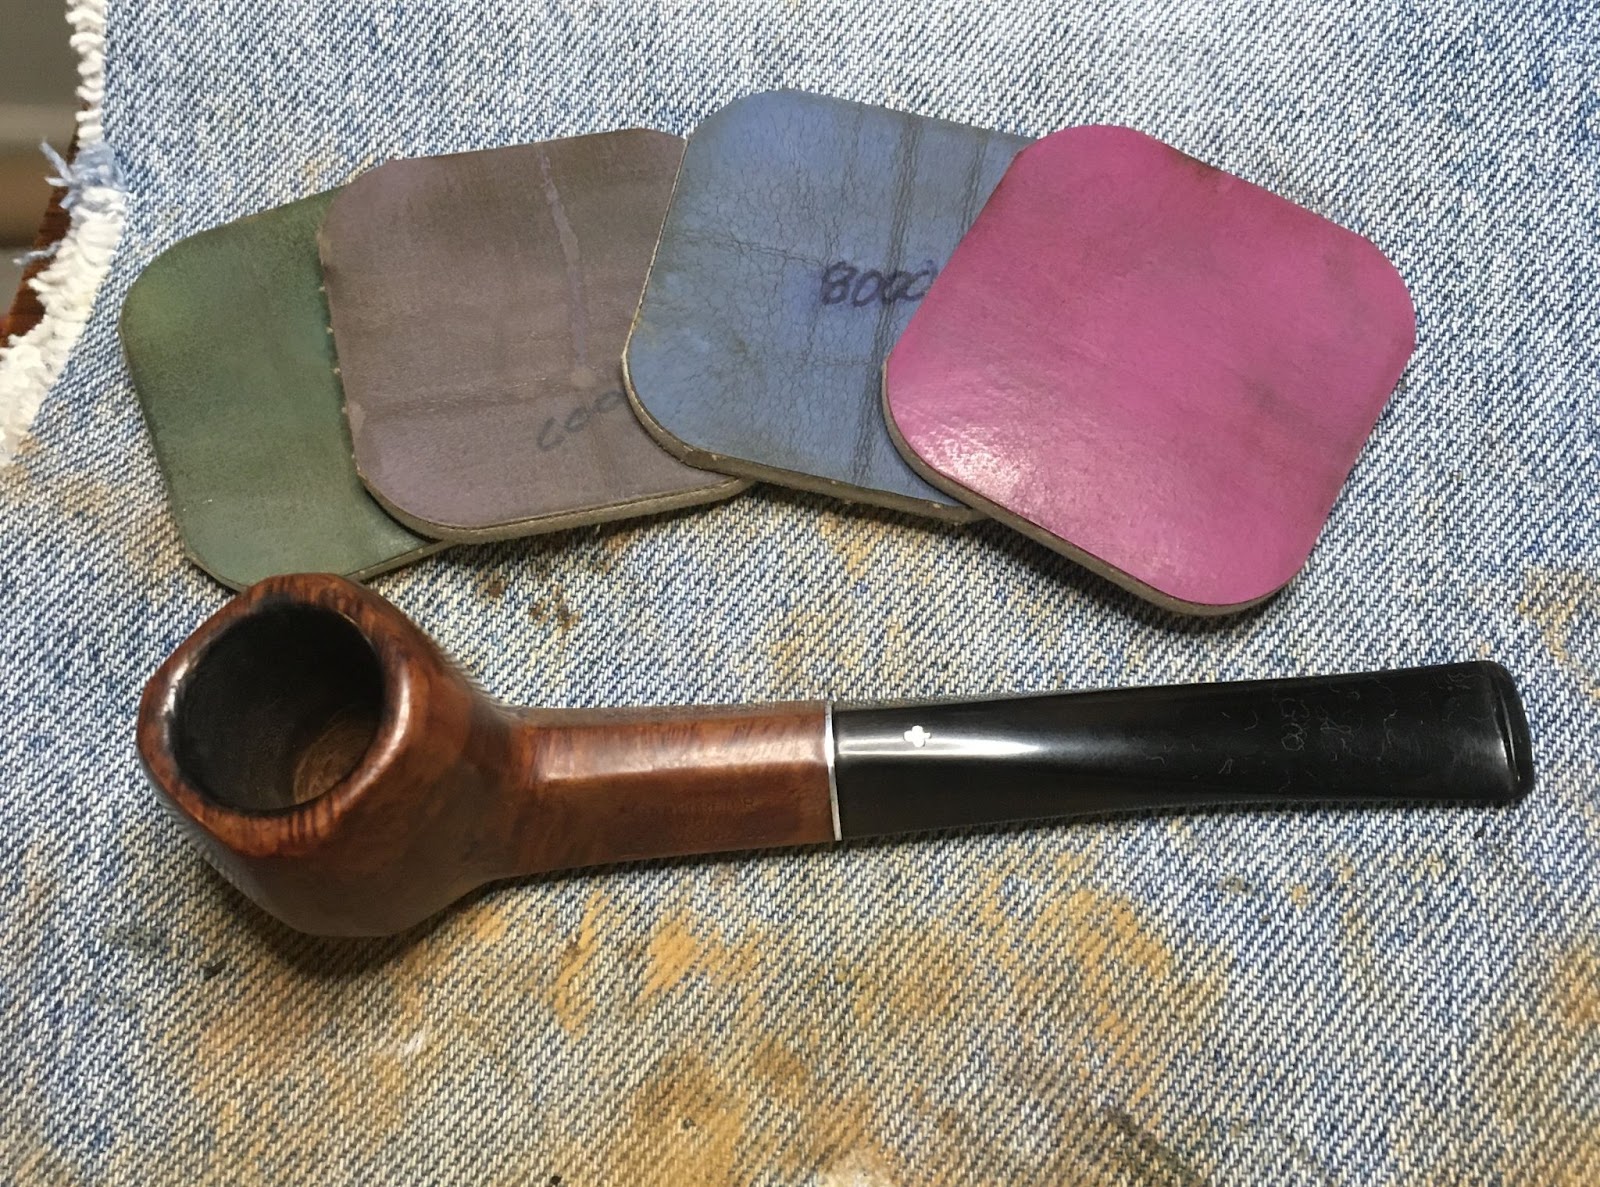
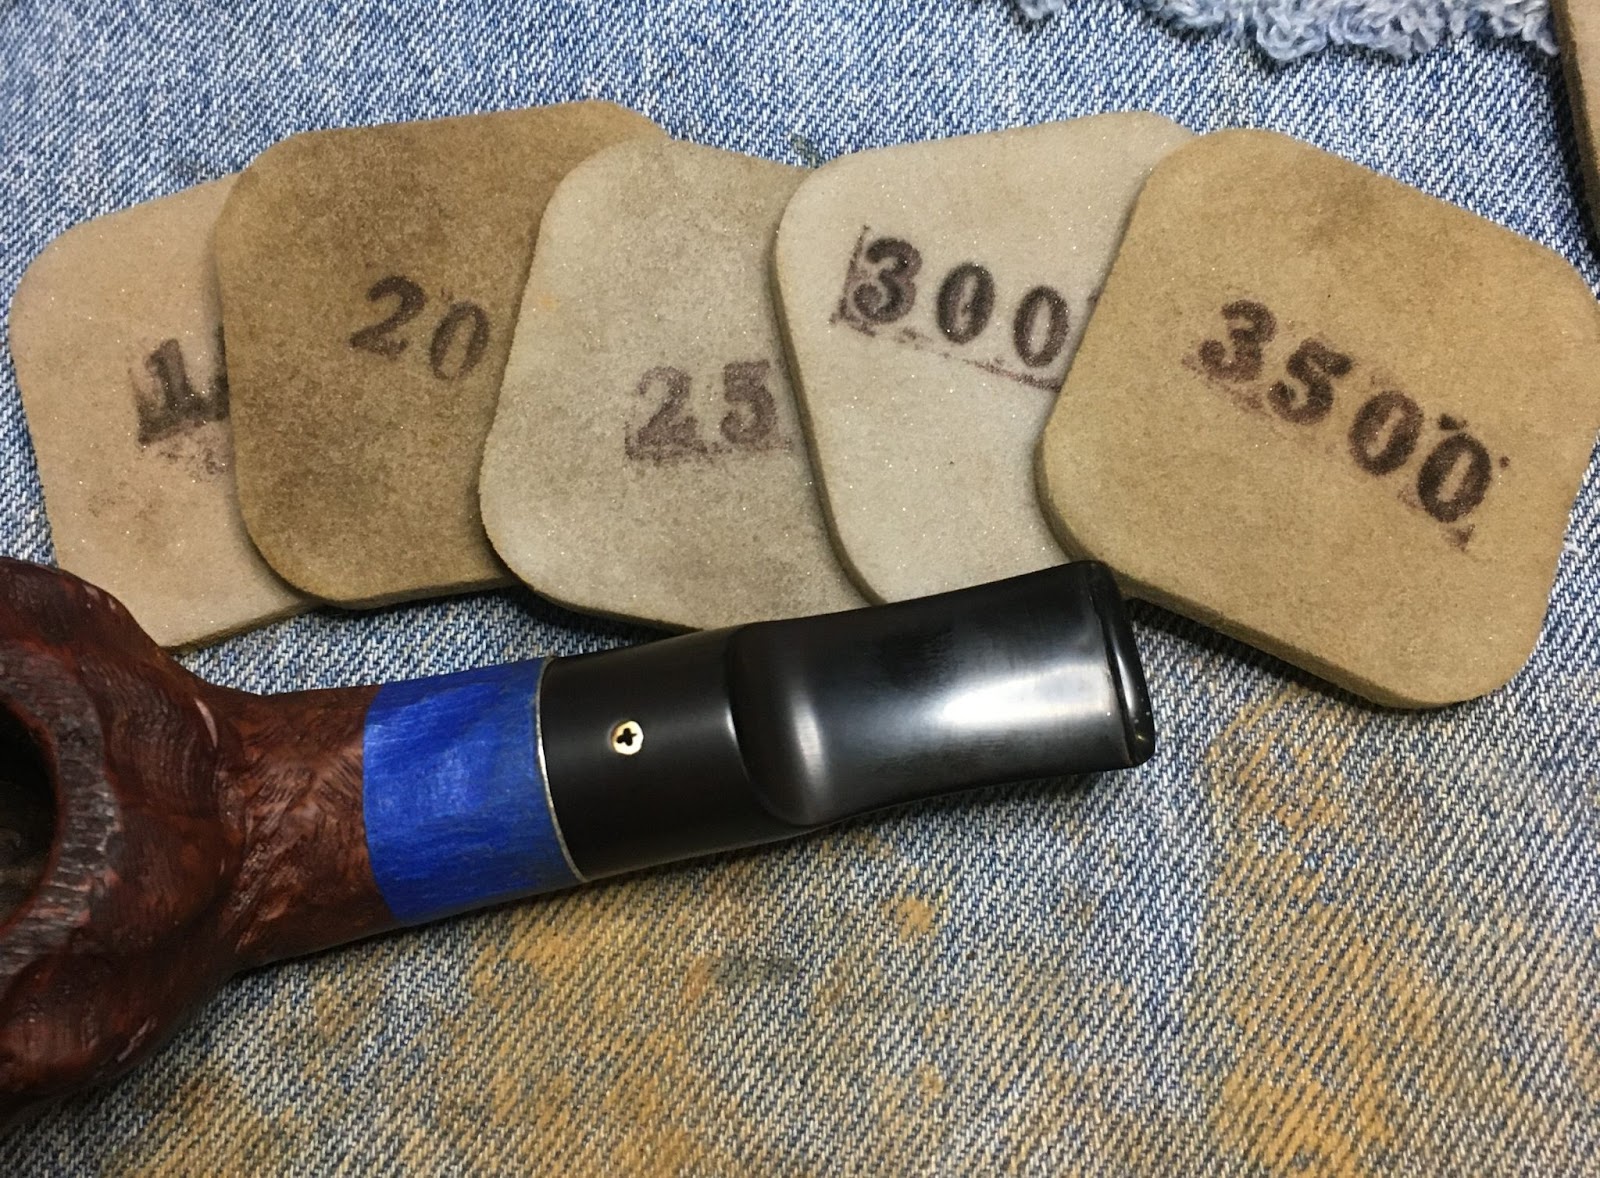
The aluminum collar was covered with masking tape, then the stummel was sanded with a series of sanding sponges from 400-3500 grit. Between sponges the stummel was wiped with an alcohol moistened make-up pad to remove sanding debris.

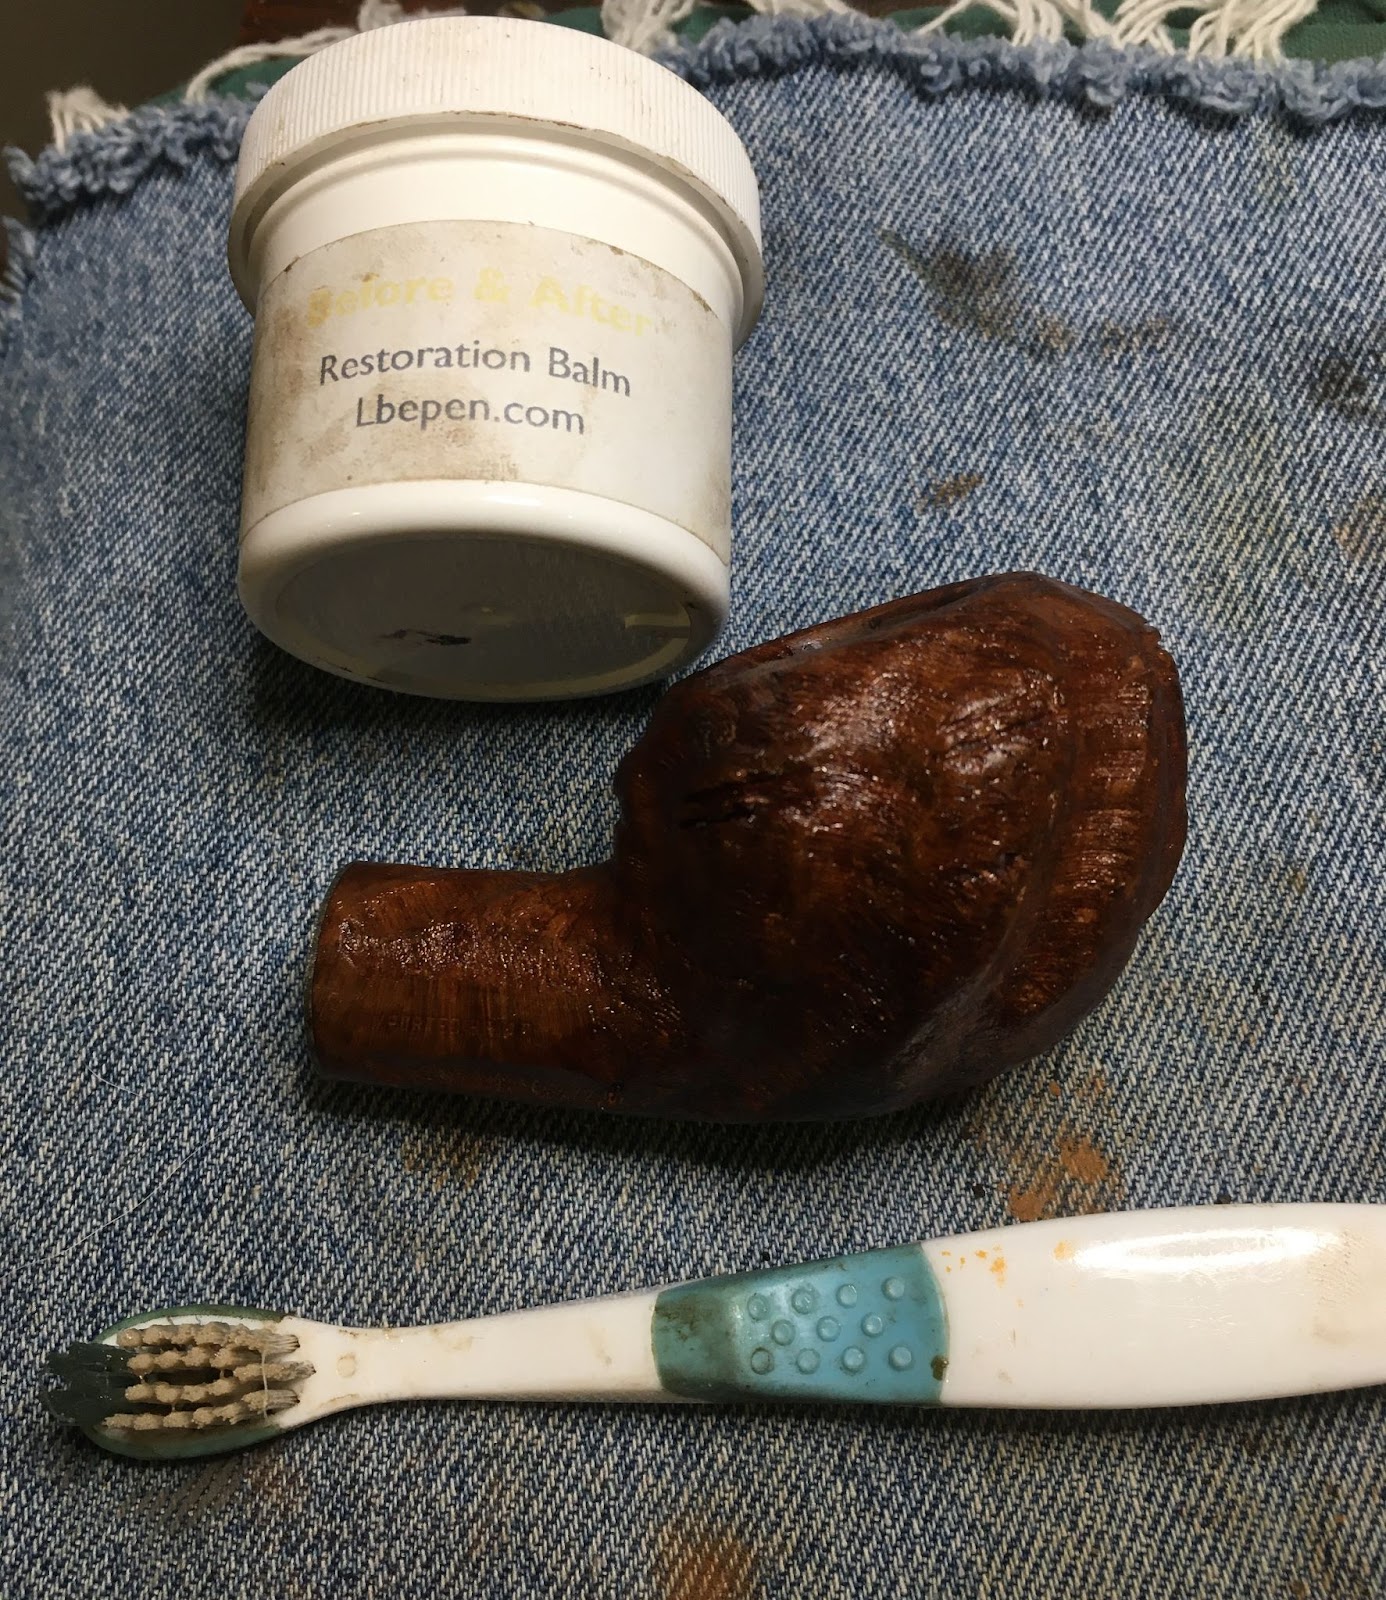
The stem was sanded with a series of sanding sponges from 400-3500 grit. The masking tape remained on the collar for this sanding. Between sponges the stem was rubbed with mineral oil and wiped with a paper towel. This wiping was to remove any sanding debris. Once the sanding was finished the masking tape was removed and the stem oiled with Before and After Hard Rubber Balm.

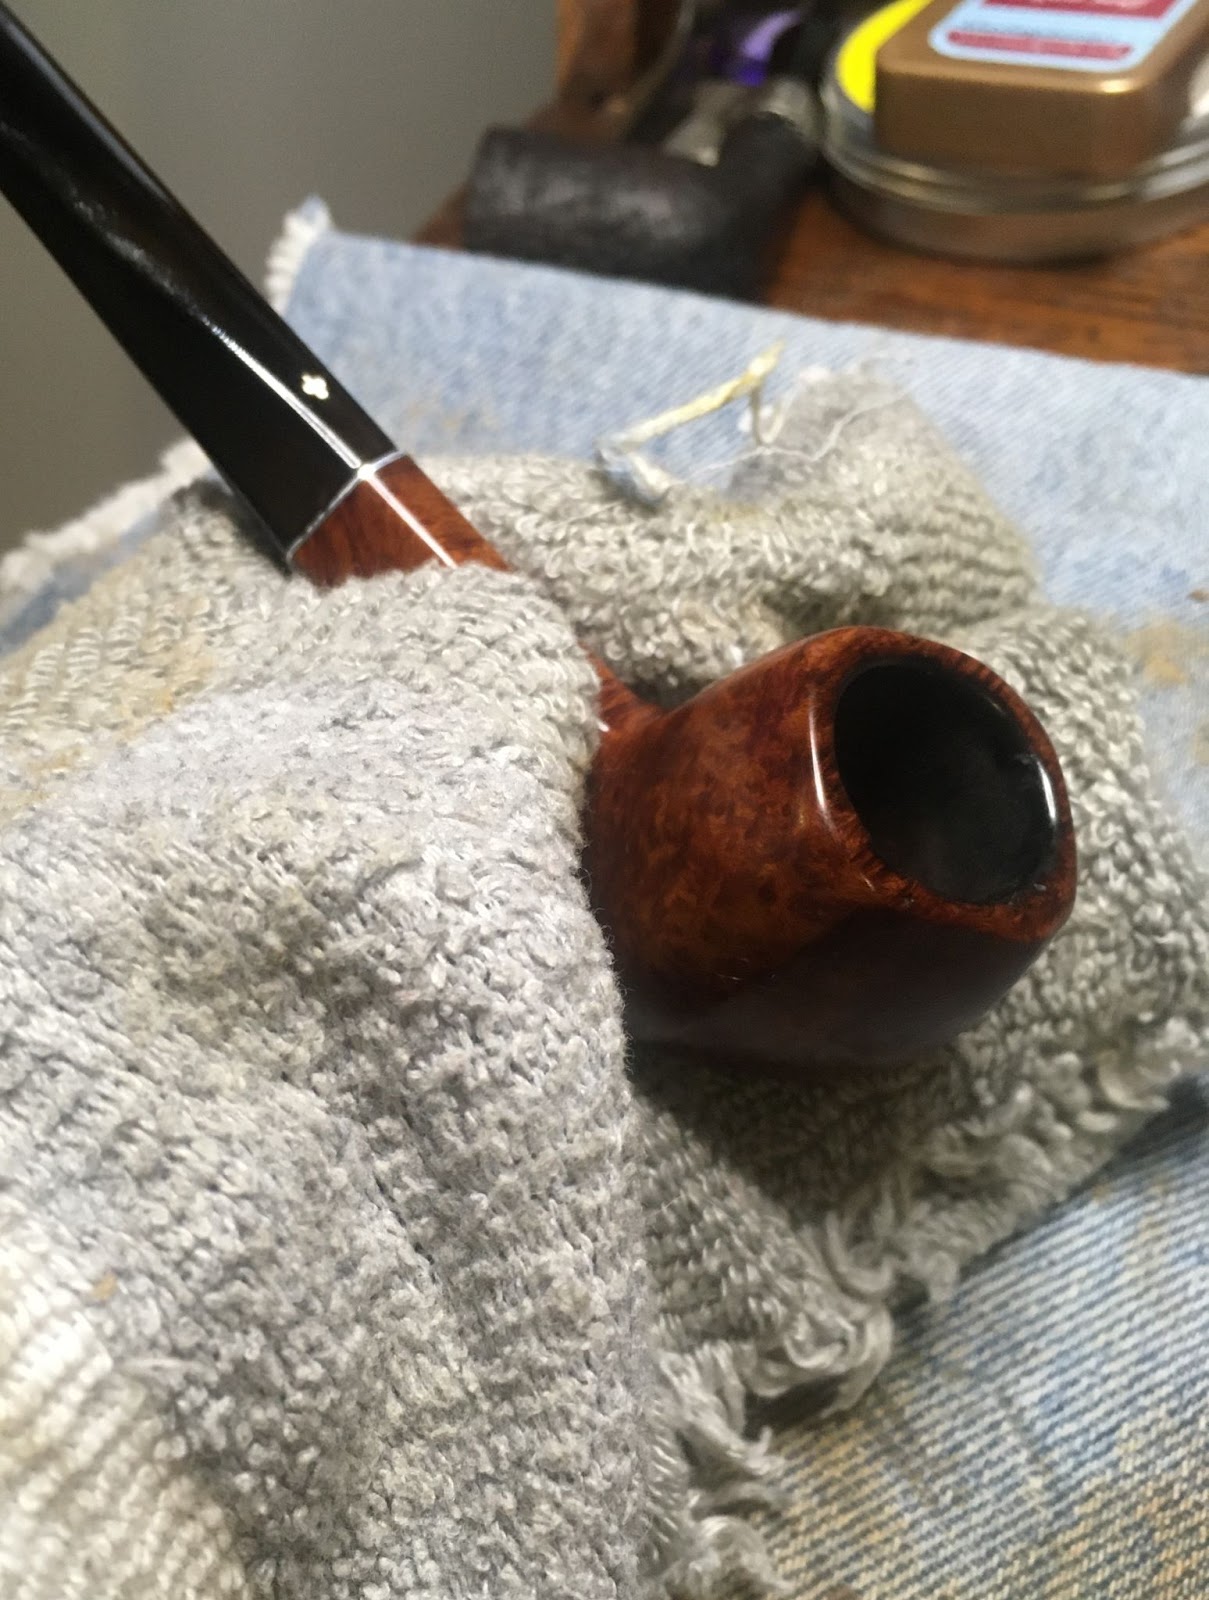
I thought that the entire pipe would look better with a buffing with white buffing compound.

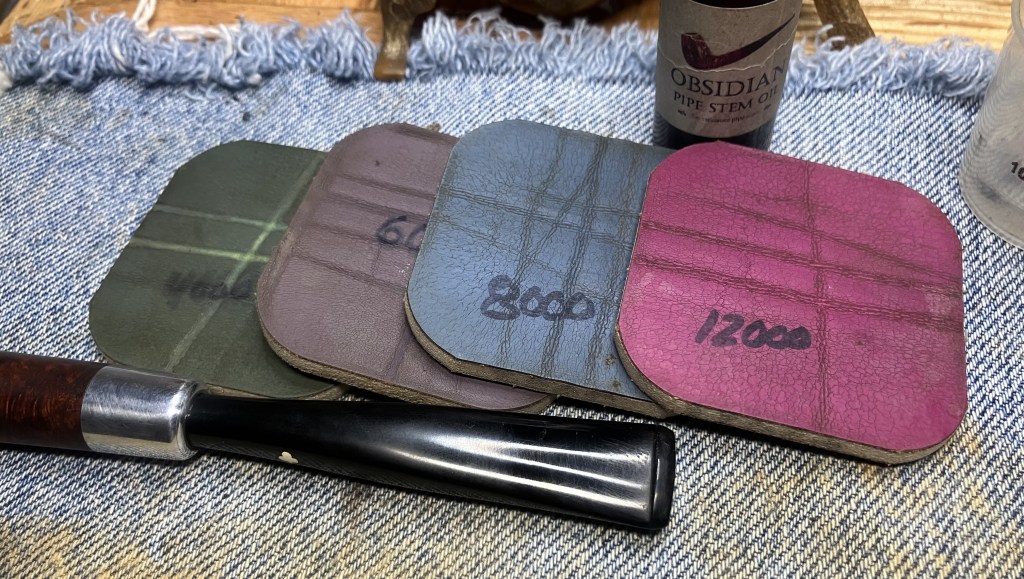
After cleaning the buffing compound residue from the pipe I was happy with the briar and the collar but not with the stem. I worked the stem with a series of micro-mesh pads from 4000-12000 grit. Between each pad I rubbed the stem with Obsidian oil and wiped it with a paper towel. The stem looked better but not as well as I thought it could look.
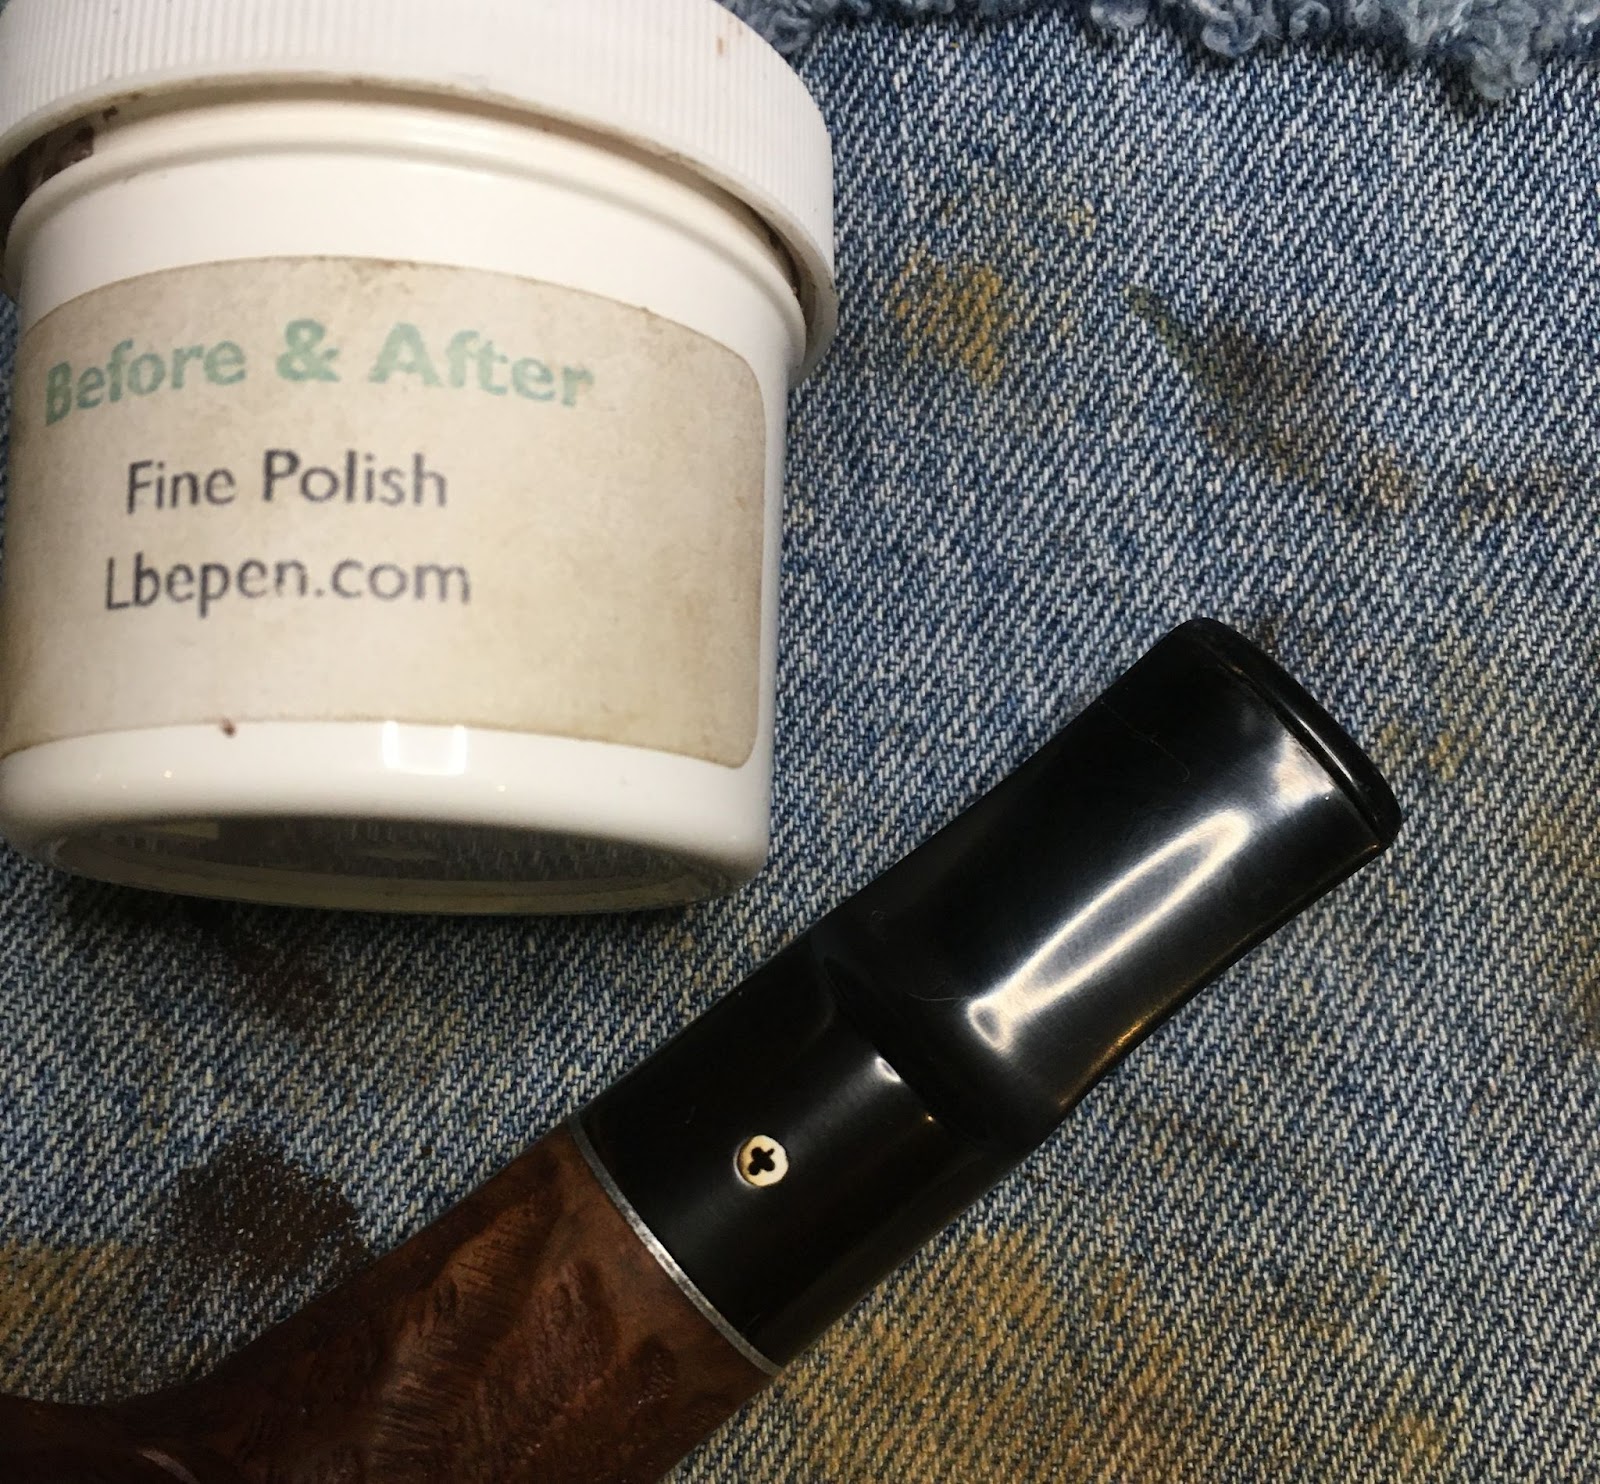
I got out the Before and After Fine and Extra Fine polish and worked the stem, especially the bite zone with these and a soft cloth.

That did the trick, the stem looked good. Next I returned to the buffer and applied several coats of carnauba wax with the buffer.

The final step was to hand polish the pipe with a microfiber polishing cloth.
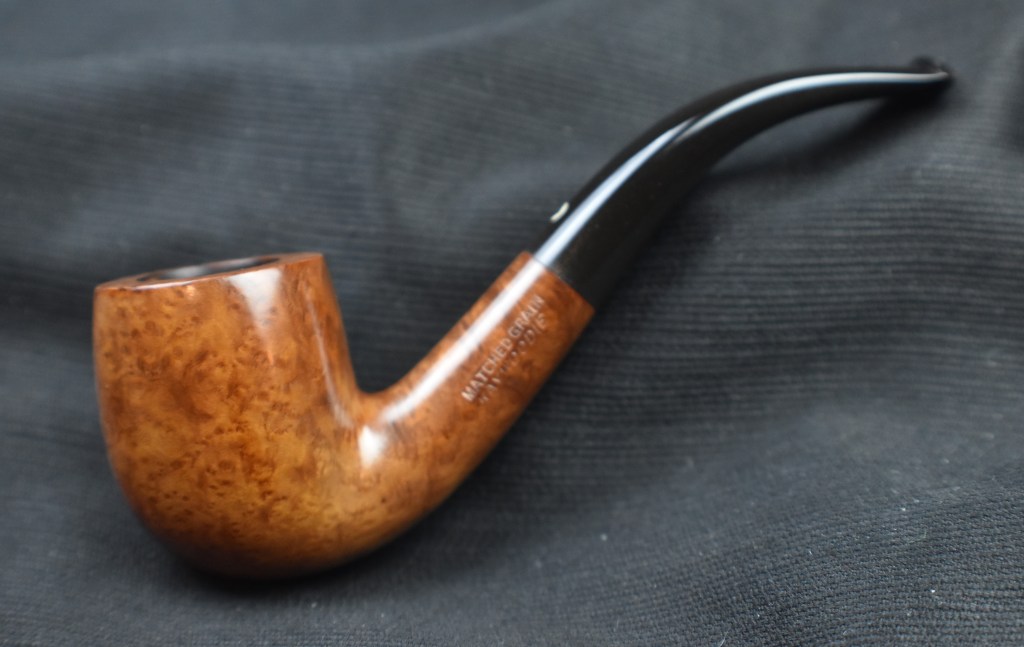
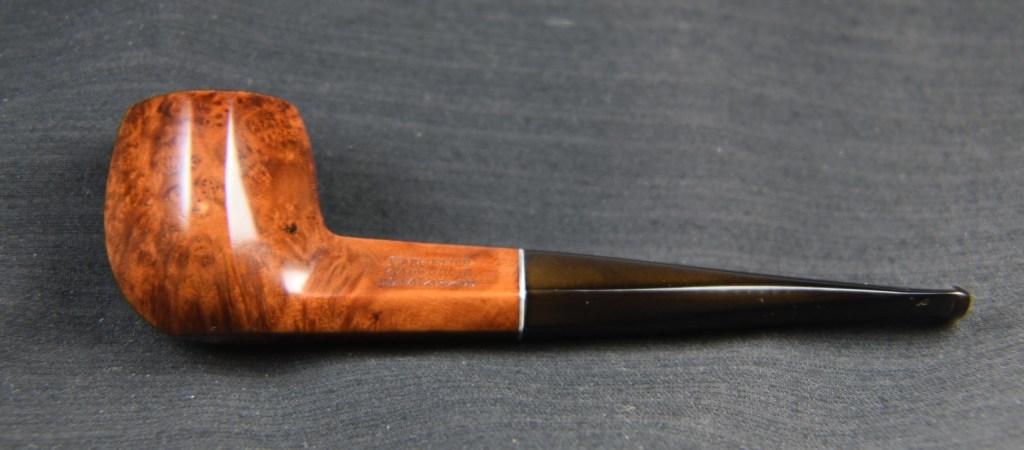
This Kaywoodie Tuckaway turned out beautifully. I was pleased with the way that the briar lightened with the oxalic acid and subsequent sanding. The briar needed no additional stain or dye and has a lovely warm brown appearance. The stem did turn-out nicely. I cannot say that I like working with whatever plastic it is made of but the end result is attractive. I do wish that this pipe had some official Kaywoodie stampings though. I know they would not affect the pipe’s performance and I am certain of this pipe’s provenance, still I do miss the stampings. The dimensions of this Kaywoodie are:
The dimensions of this Kaywoodie are:
- Length: 5.54 in./ 140.72mm.
- Weight: 1.03 oz./ 29.20 g.
- Bowl Height: 1.74 in./ 44.20 mm.
- Chamber Depth: 1.51 in./ 38.35 mm.
- Chamber Diameter: 0.72 in./ 18.29 mm.
- Outside Diameter: 1.32 in./ 33.53 mm.
I do hope that you have found something here useful to your own pipe care, maintenance or restorations. If you like this sort of thing, please click the like and subscribe buttons. Thank you for reading the ramblings of an old pipe lover.
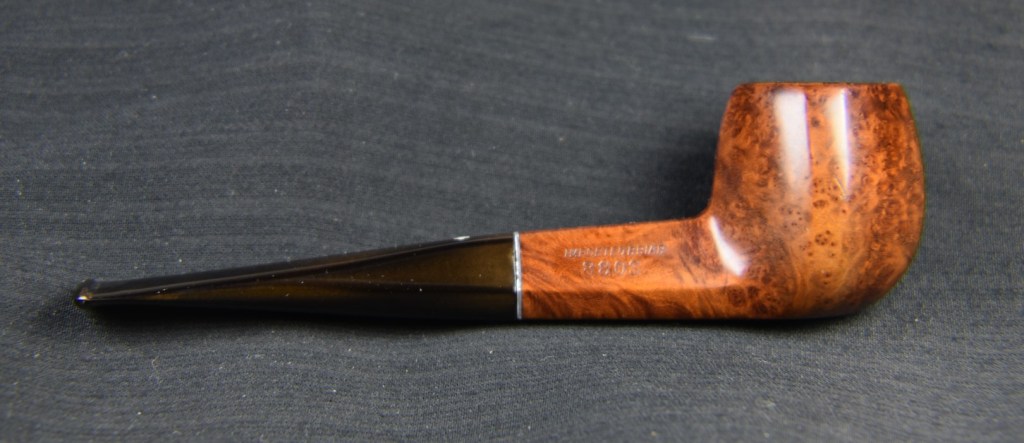
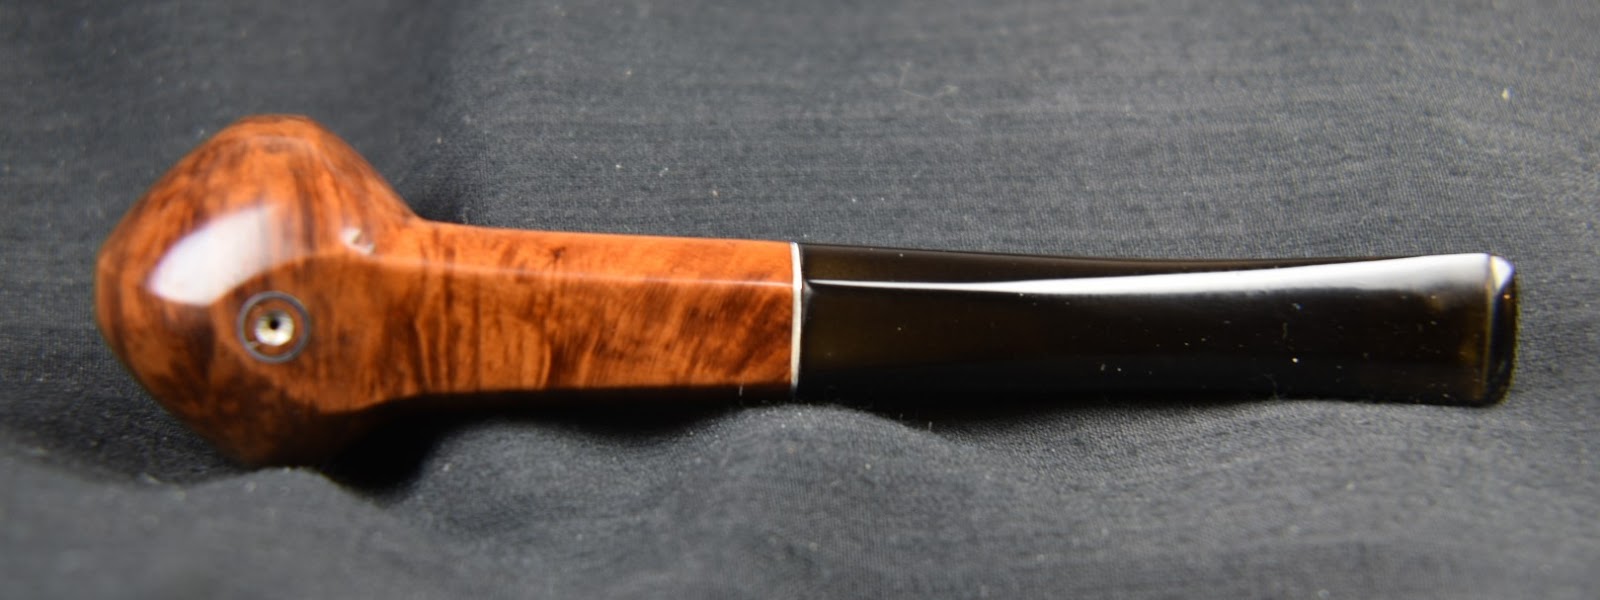
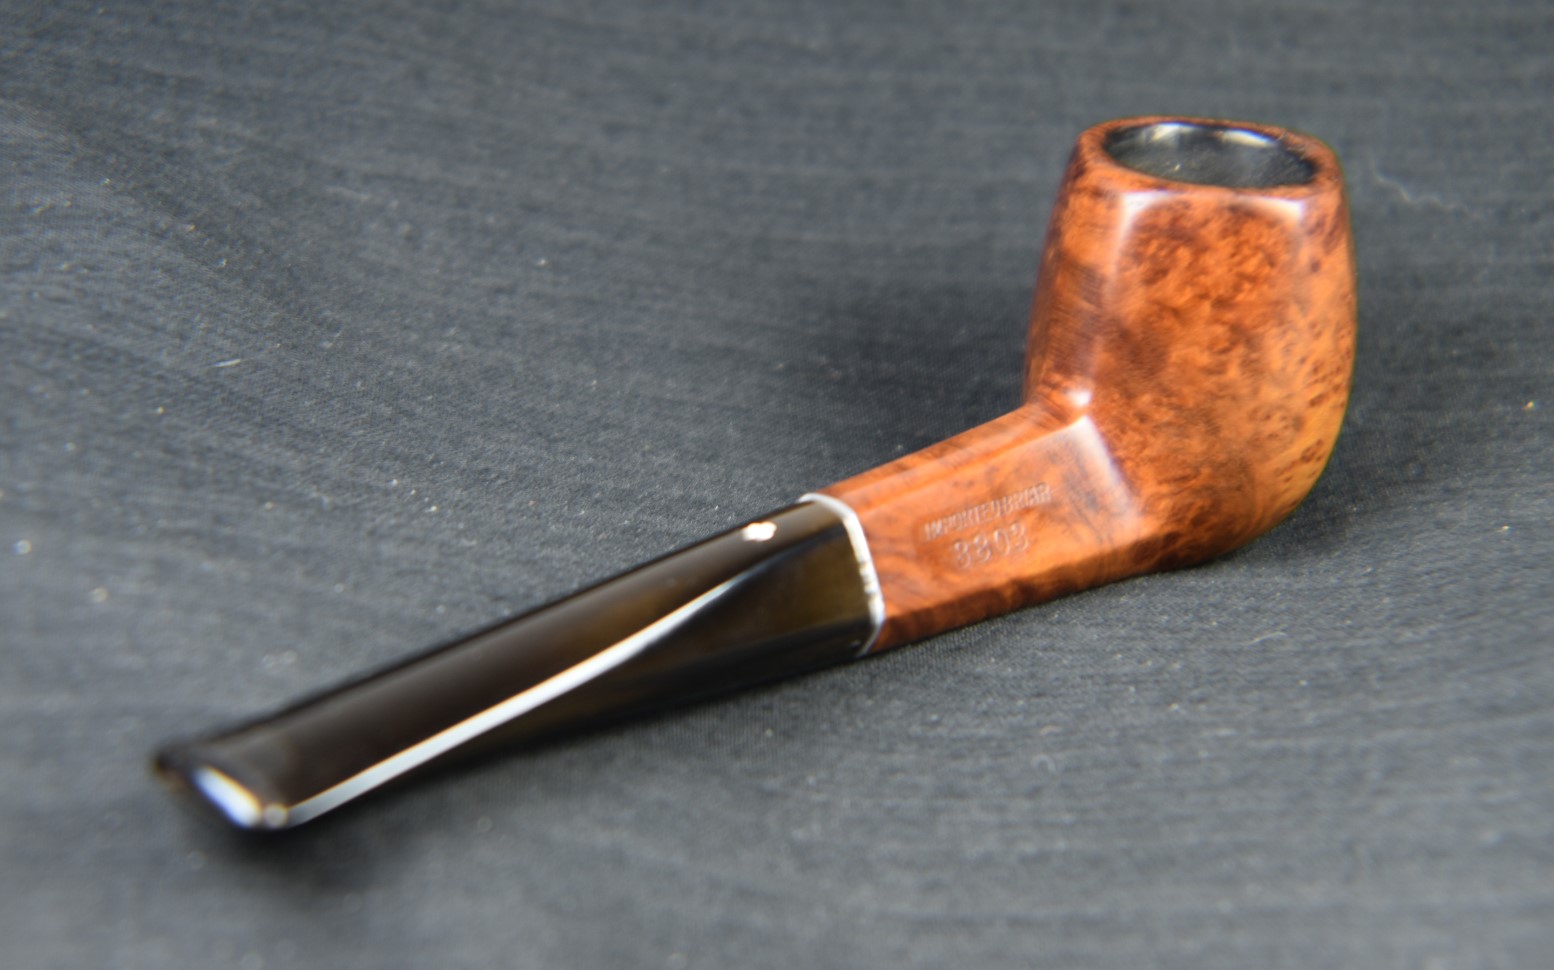
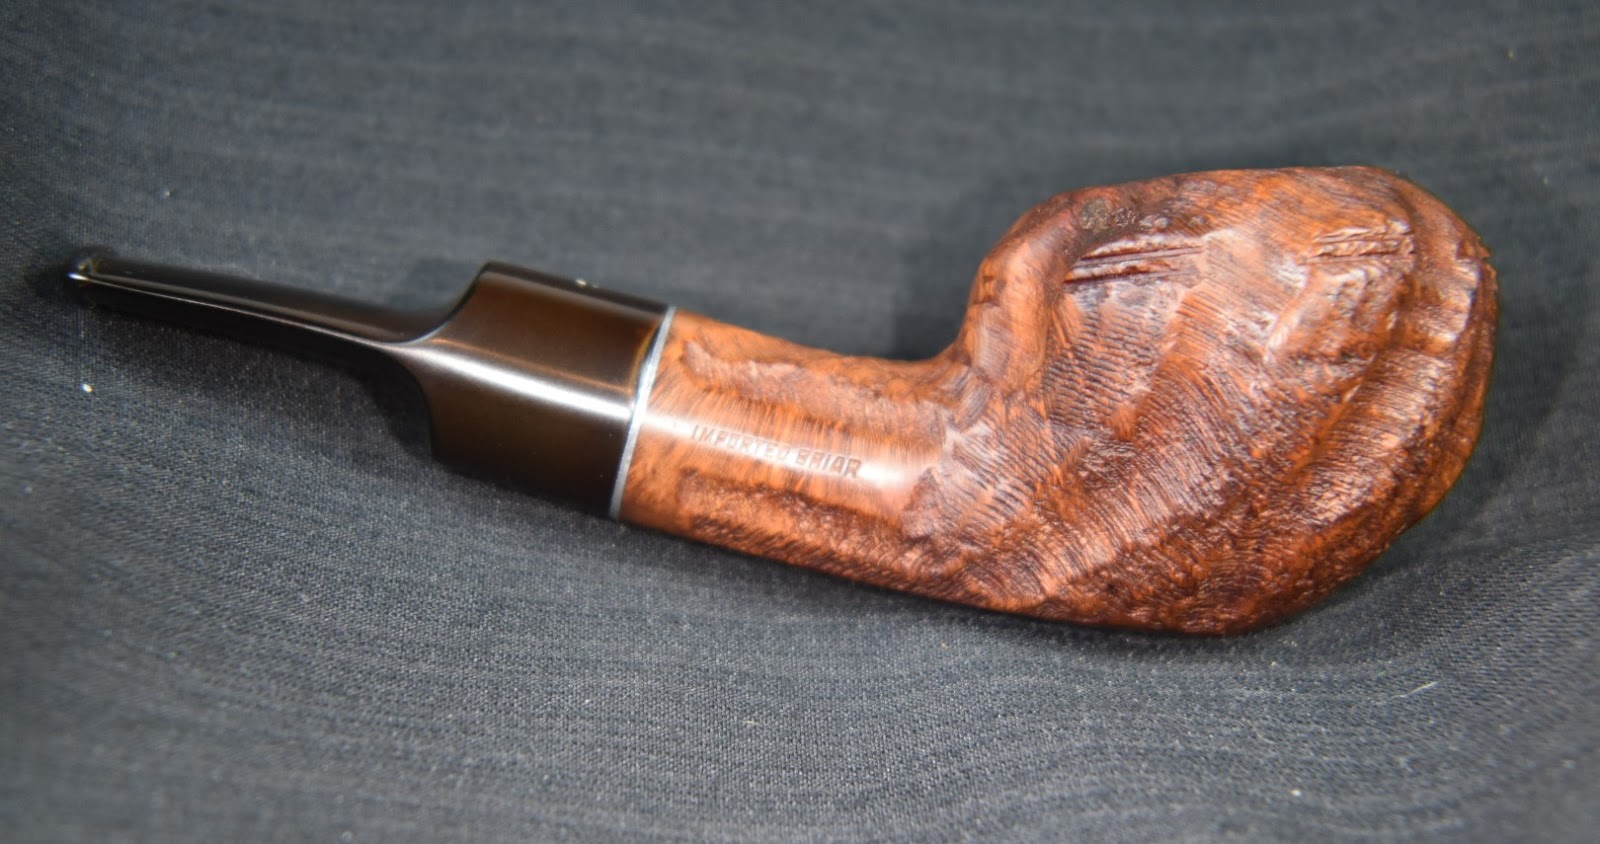
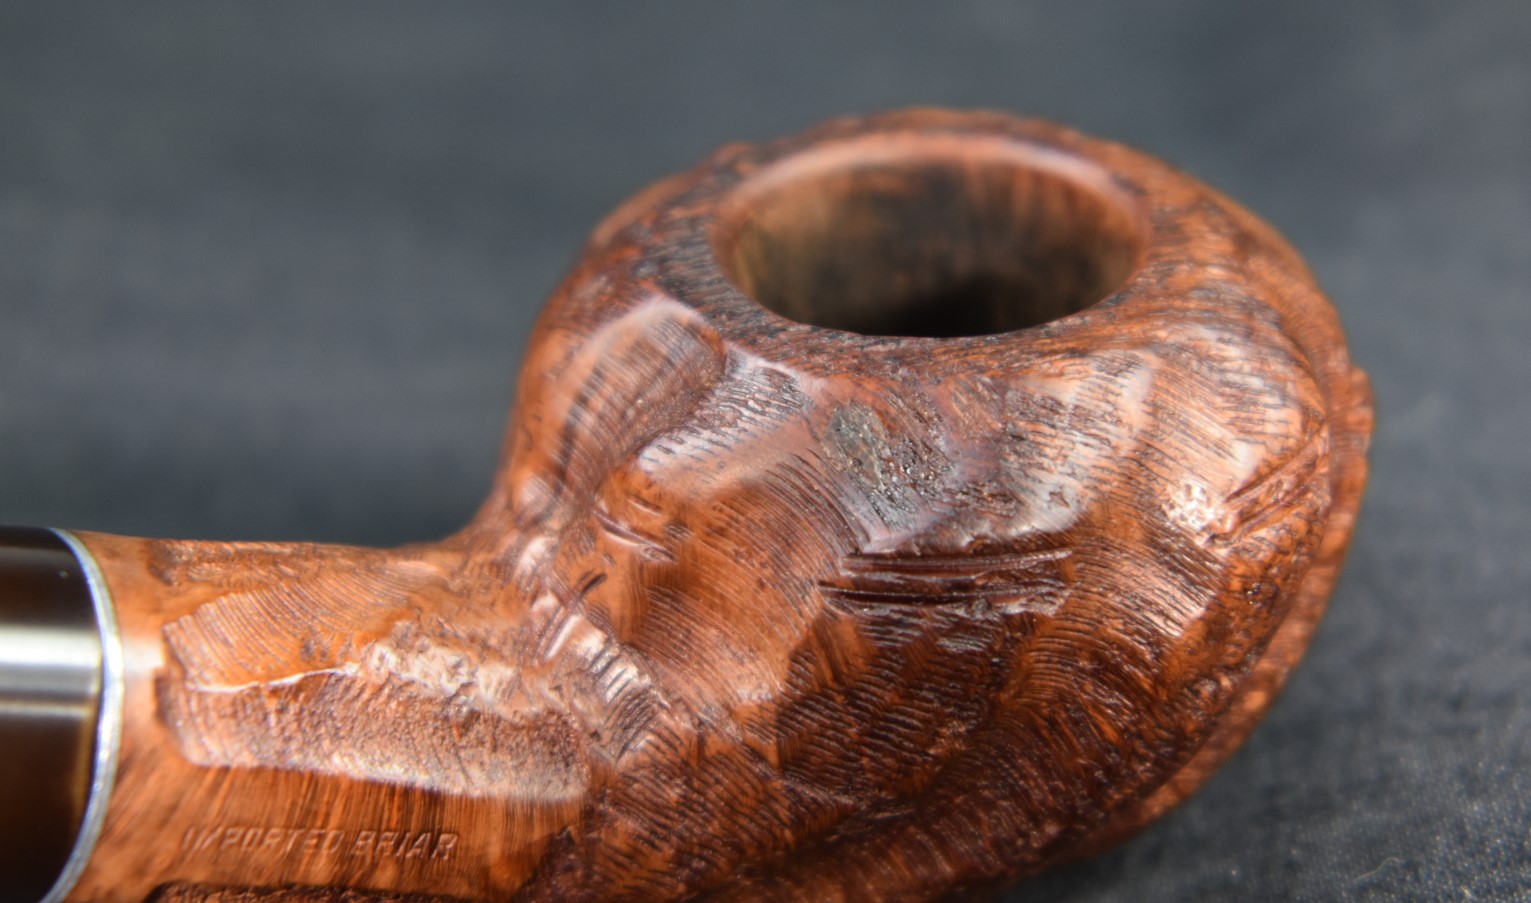
Below are some photos of the finished Kaywoodie Tuckaway.


 (
(


