
Photographed and written by
John M. Young
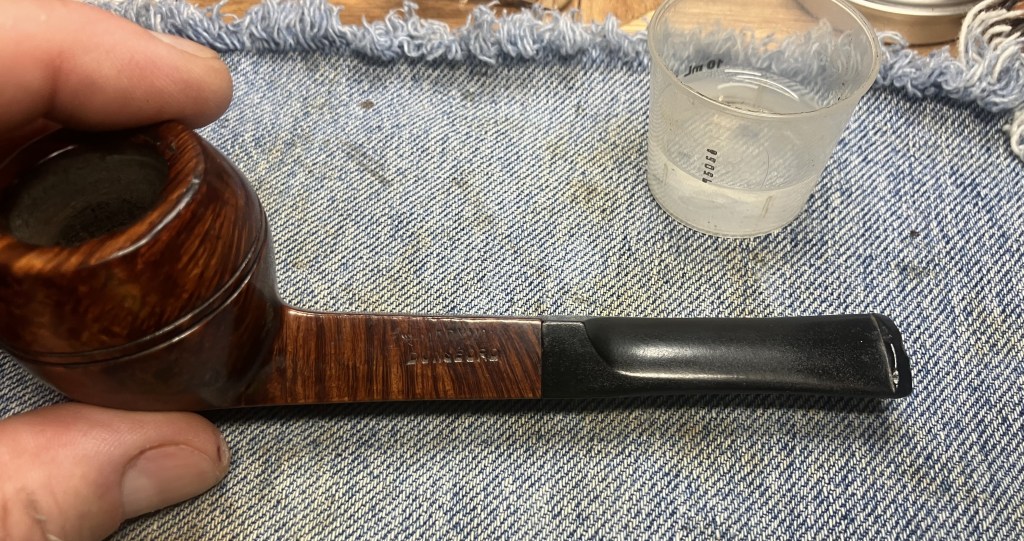
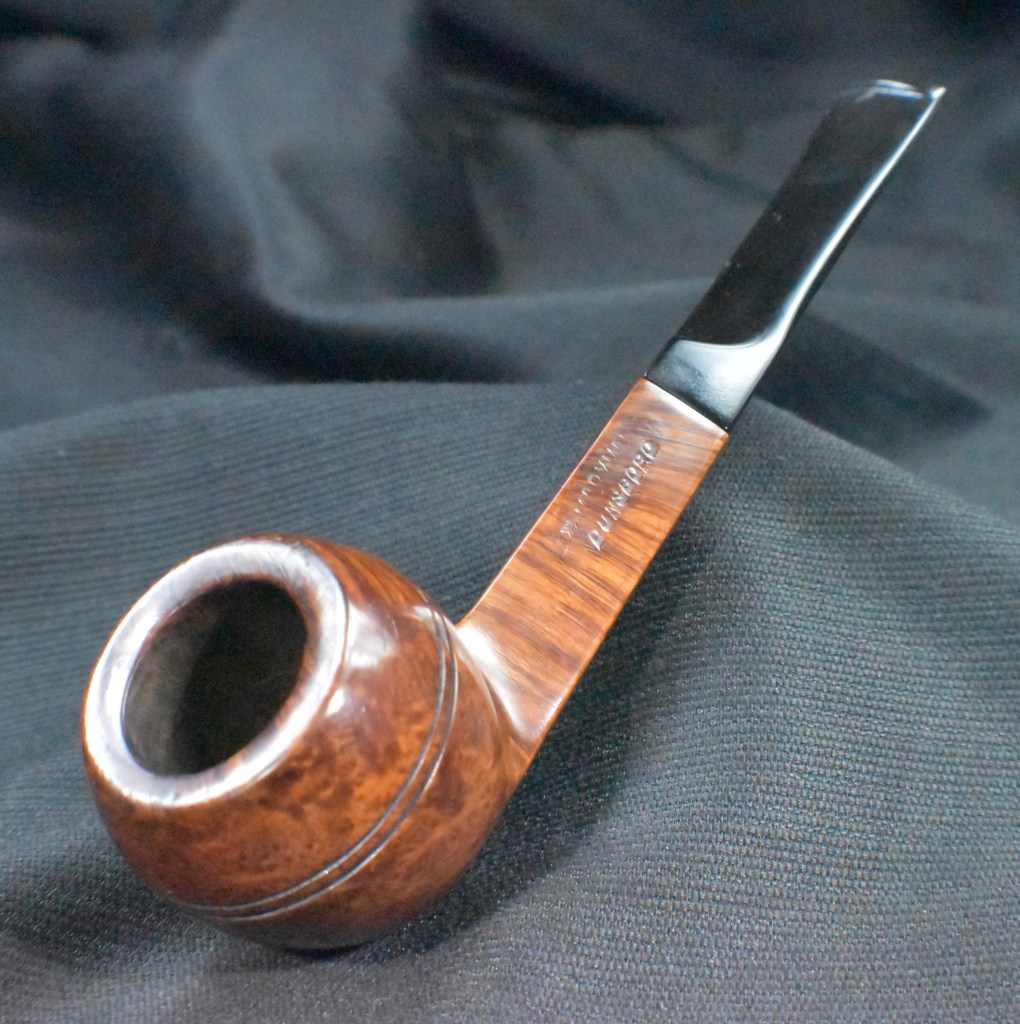
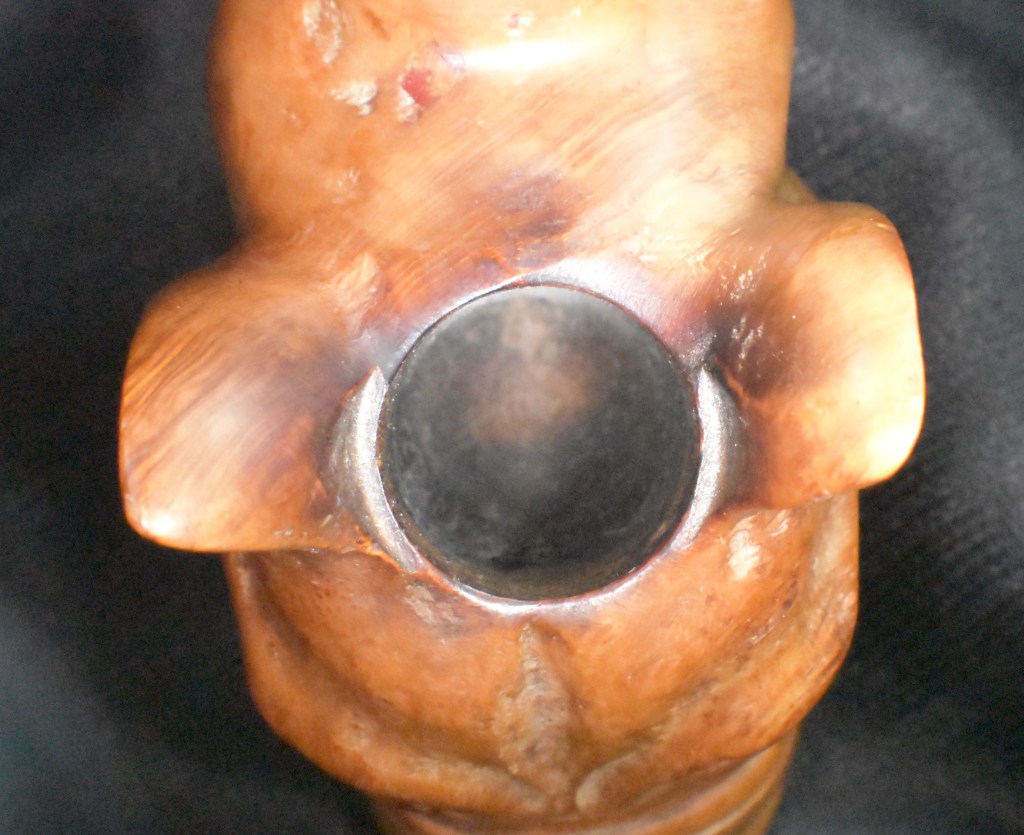
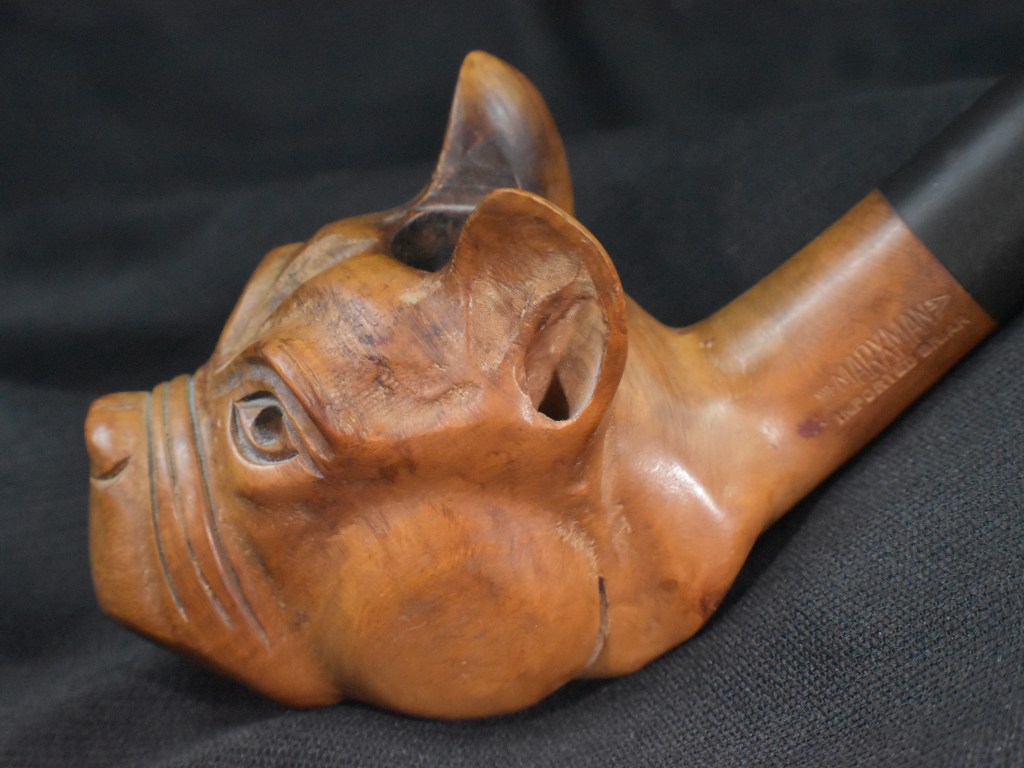
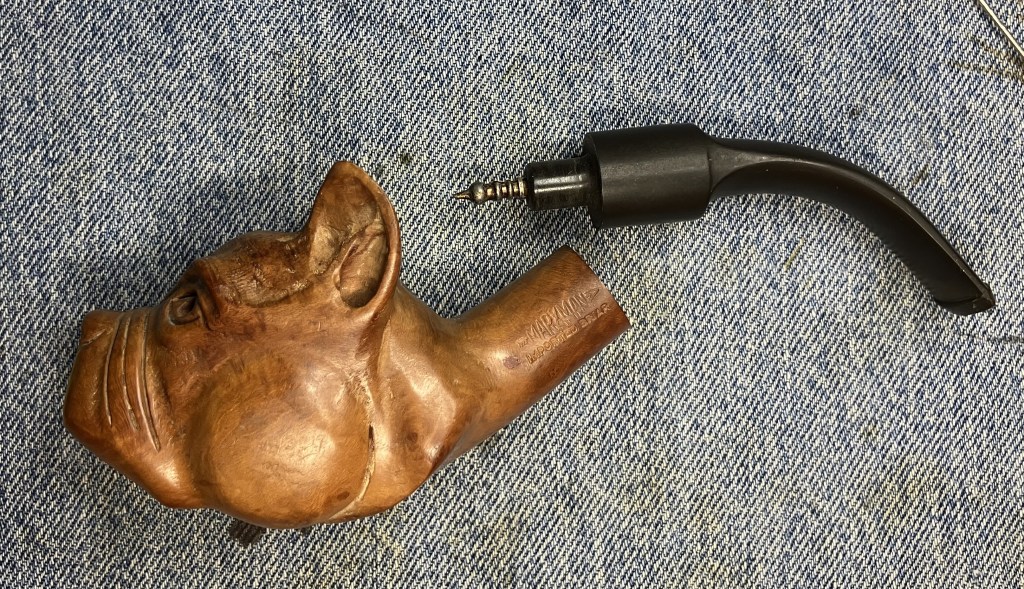
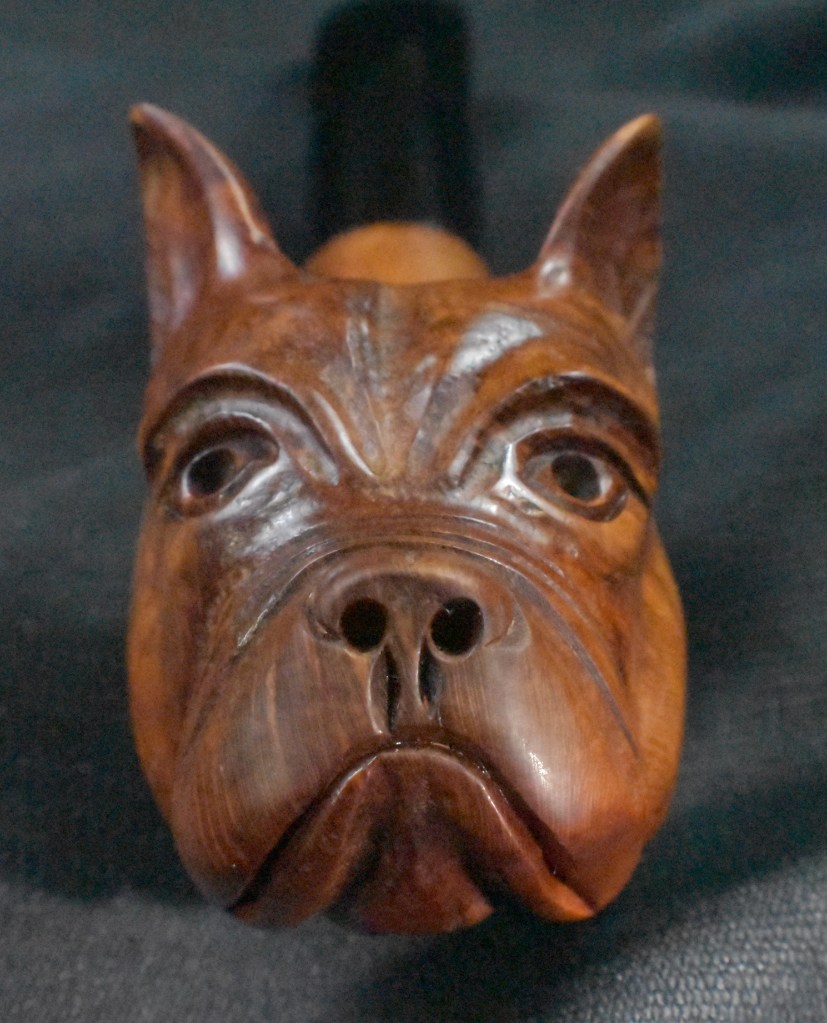
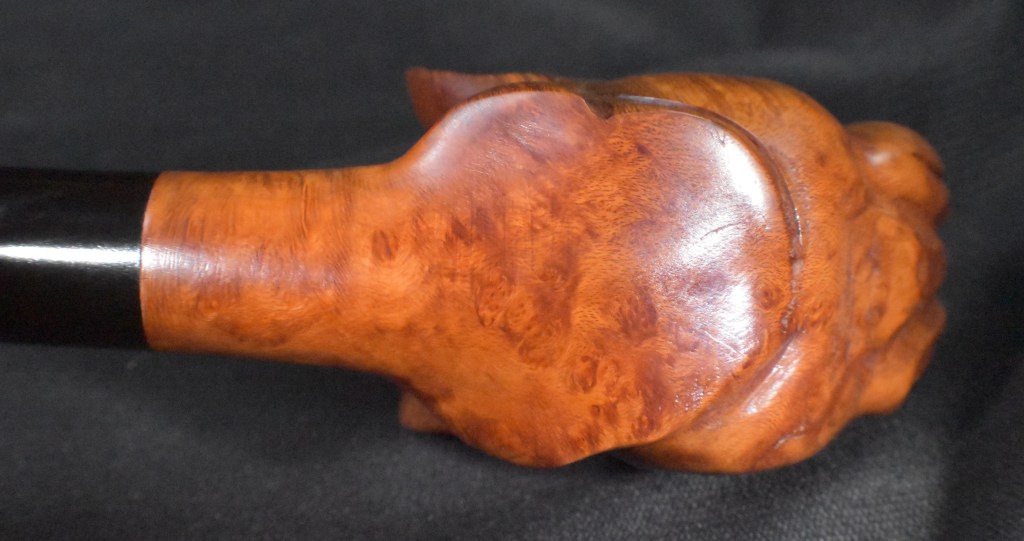
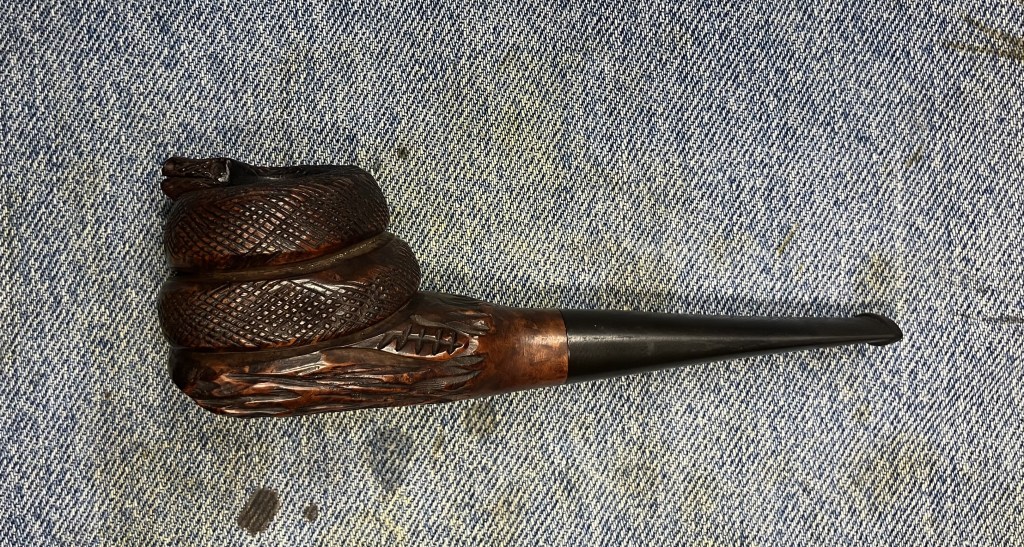
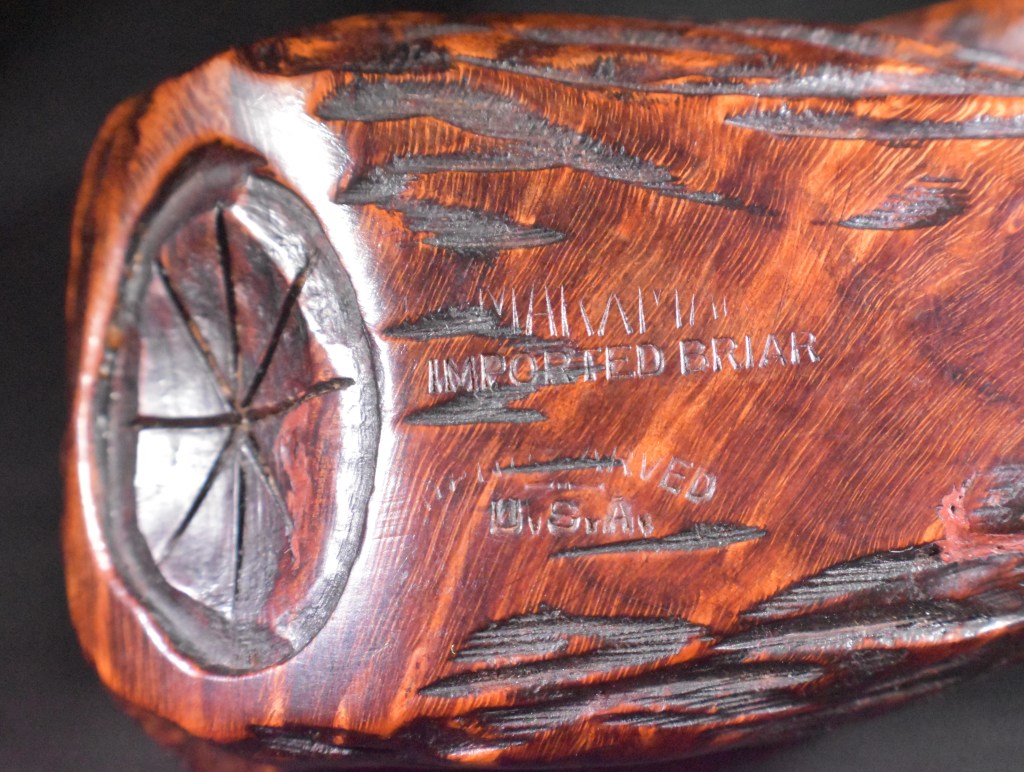
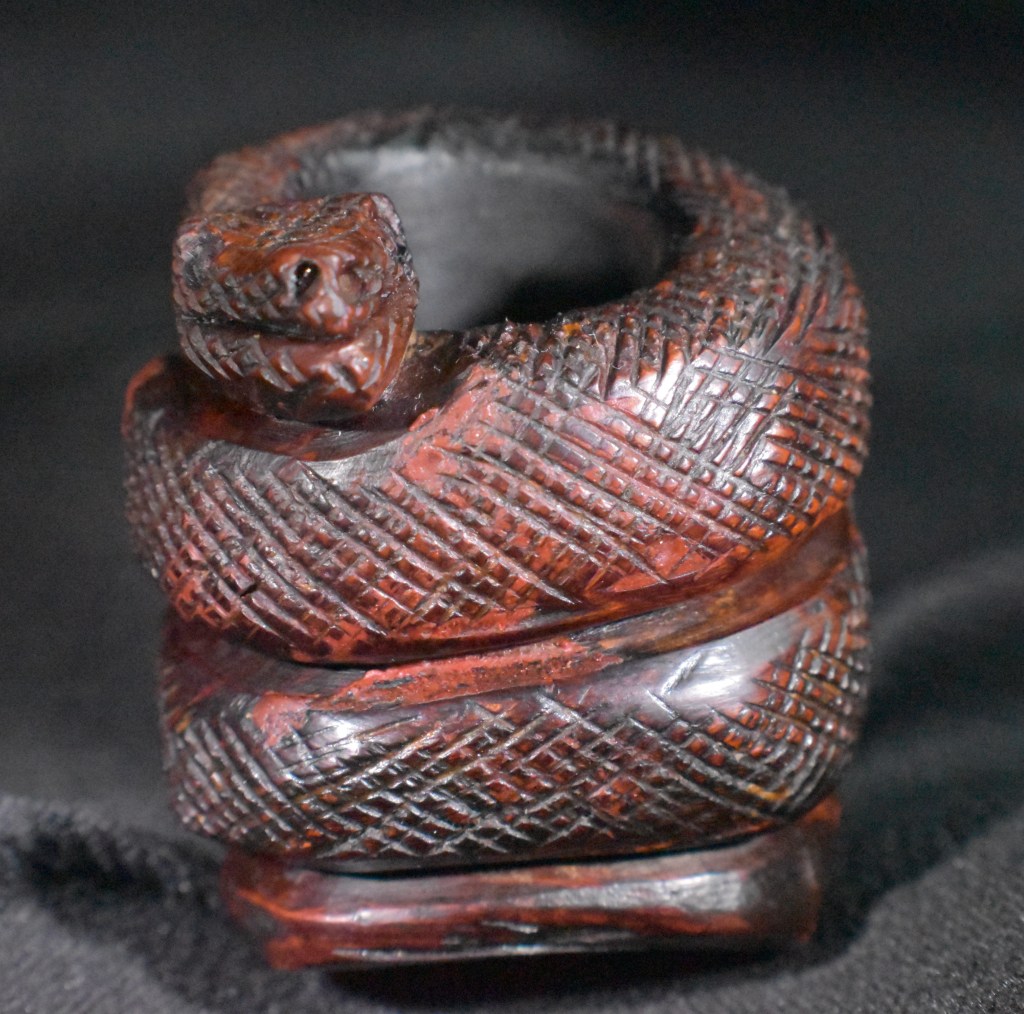
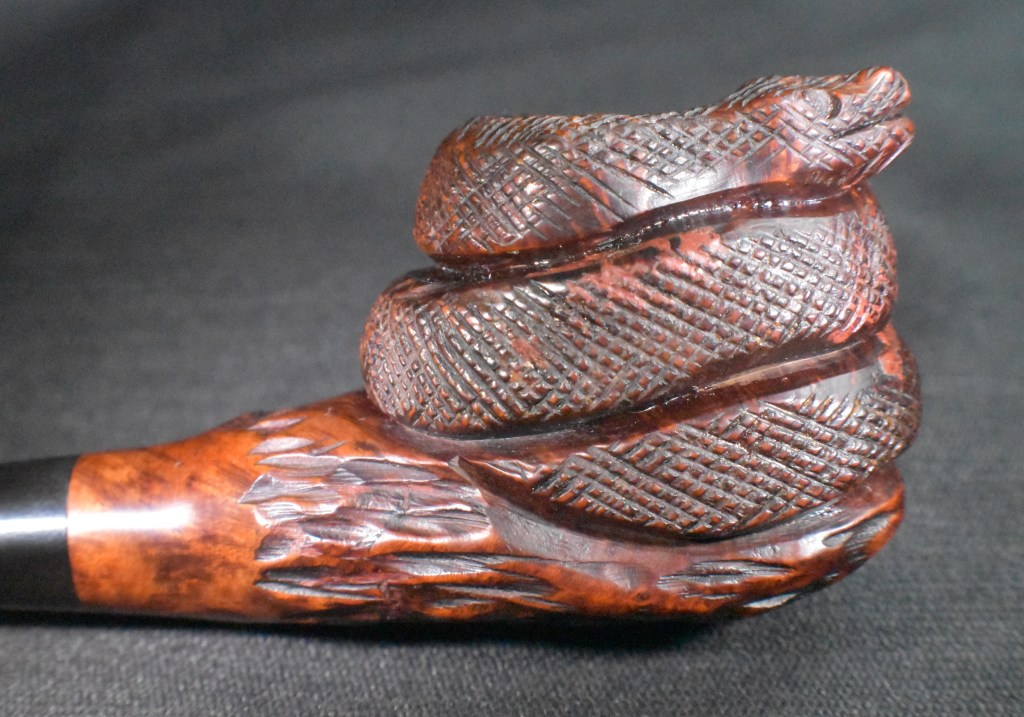
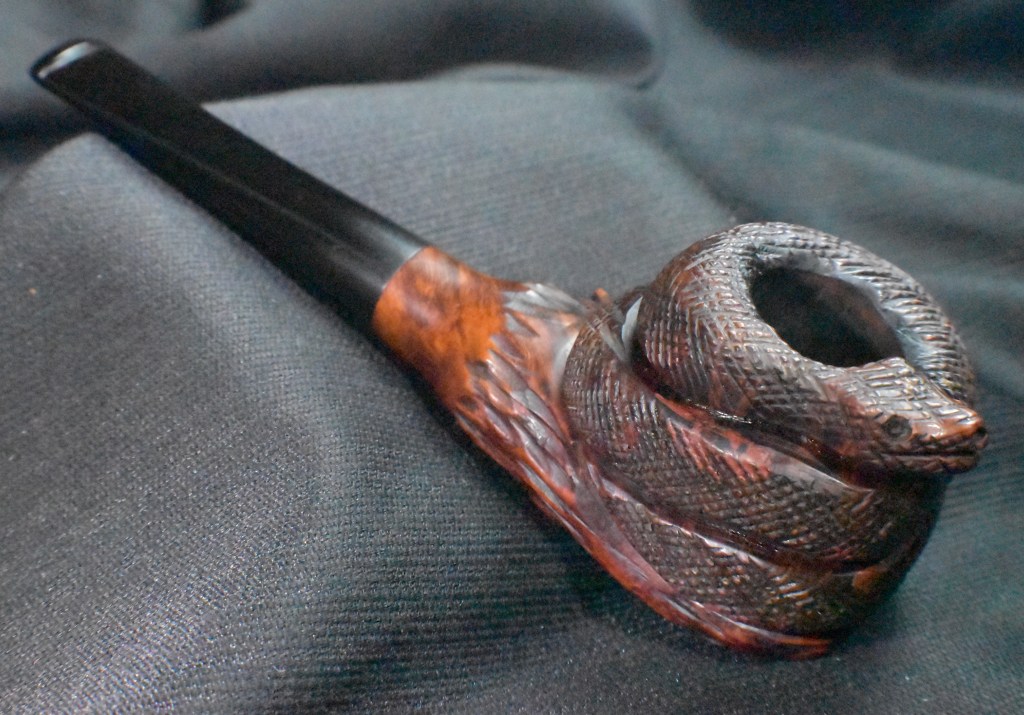
I’m back into Marxman mode. This one has sat neglected in the queue for several months. Everytime I looked over at the pipes waiting to be restored I thought about doing this one, then I got distracted like a dog whose owner yells, “squirrel!” Speaking of dogs, I frequently call my 85 pound four-legged tongue a “big headed freak”. This bulldog is kind of like that except it’s a big bowled freak with a lovely forward cant. I ordered this pipe from Judds Pen and Pipes, a well known seller of eBay, back in May of 2024. I told you it had been waiting in the queue for a while… Below are some photos I took before starting work on this pipe.
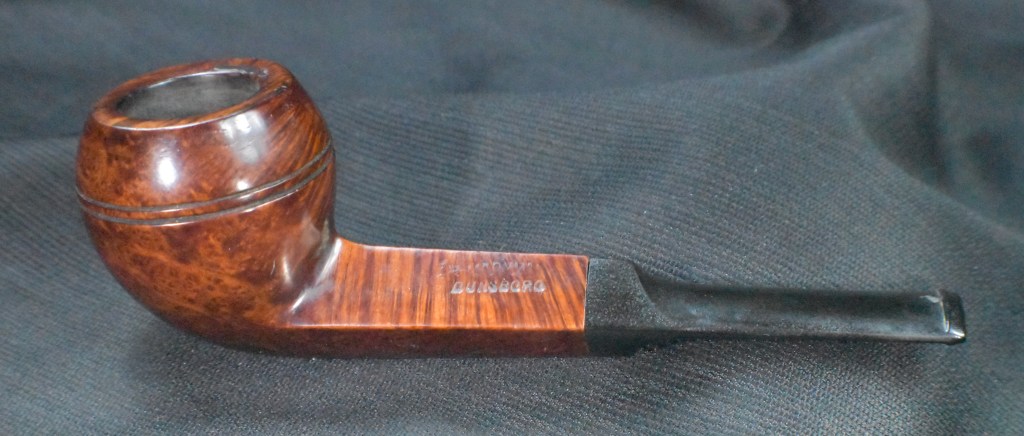
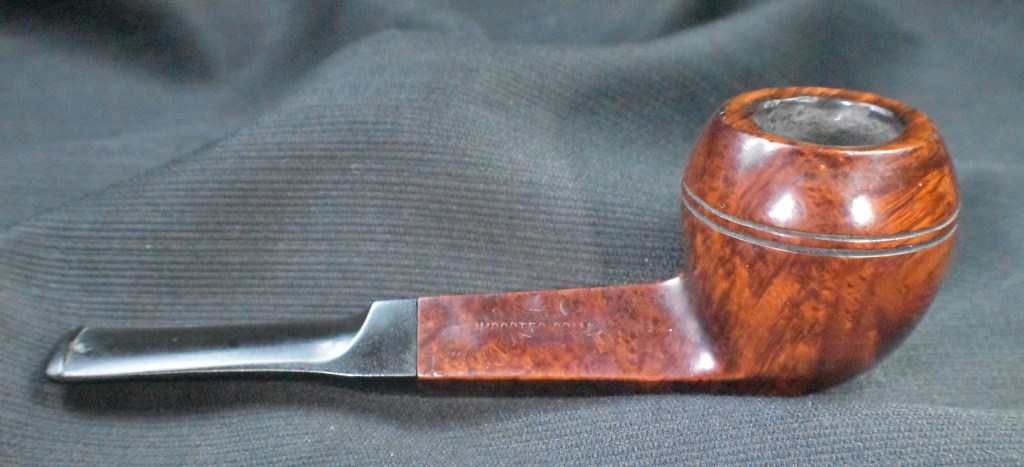


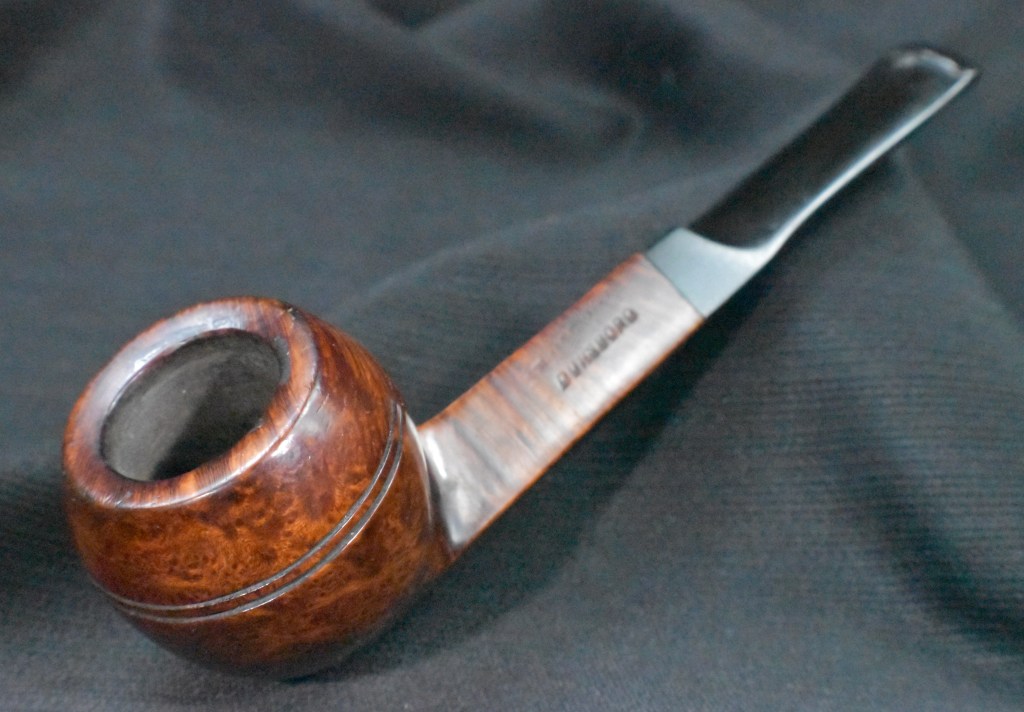
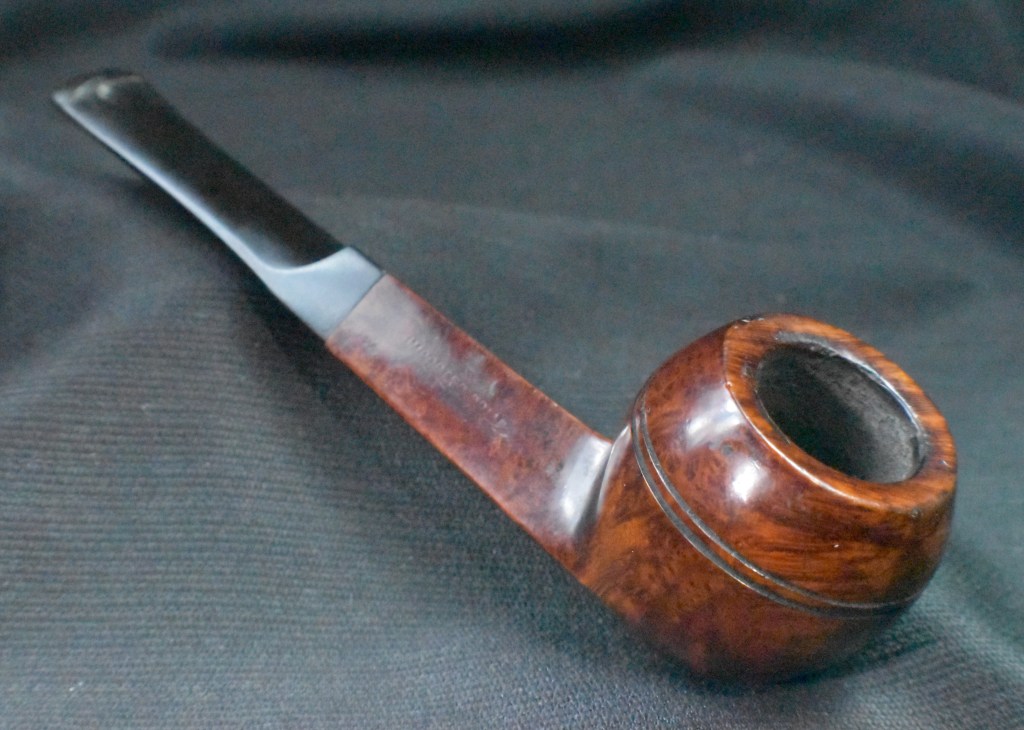
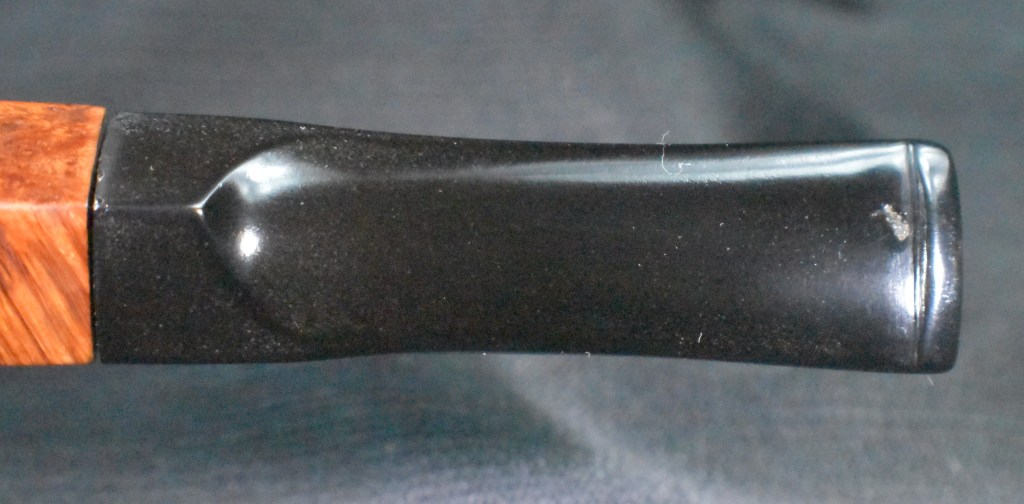
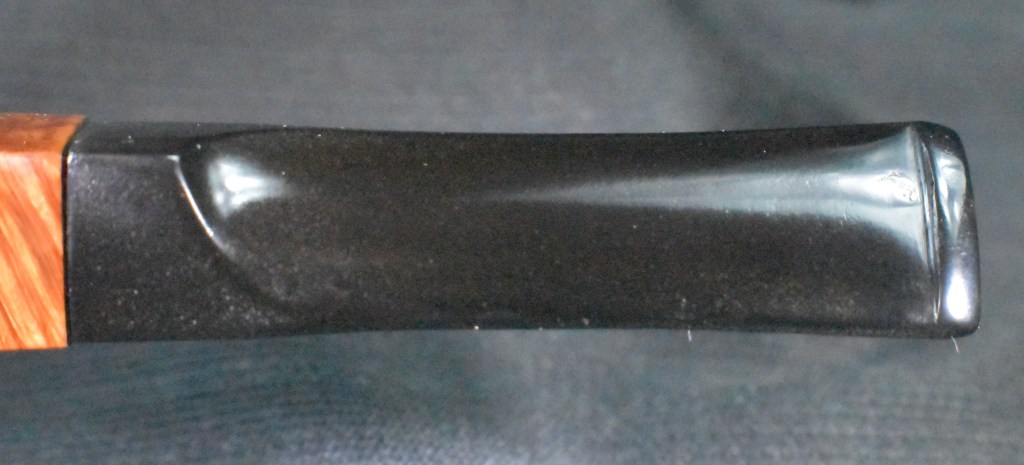
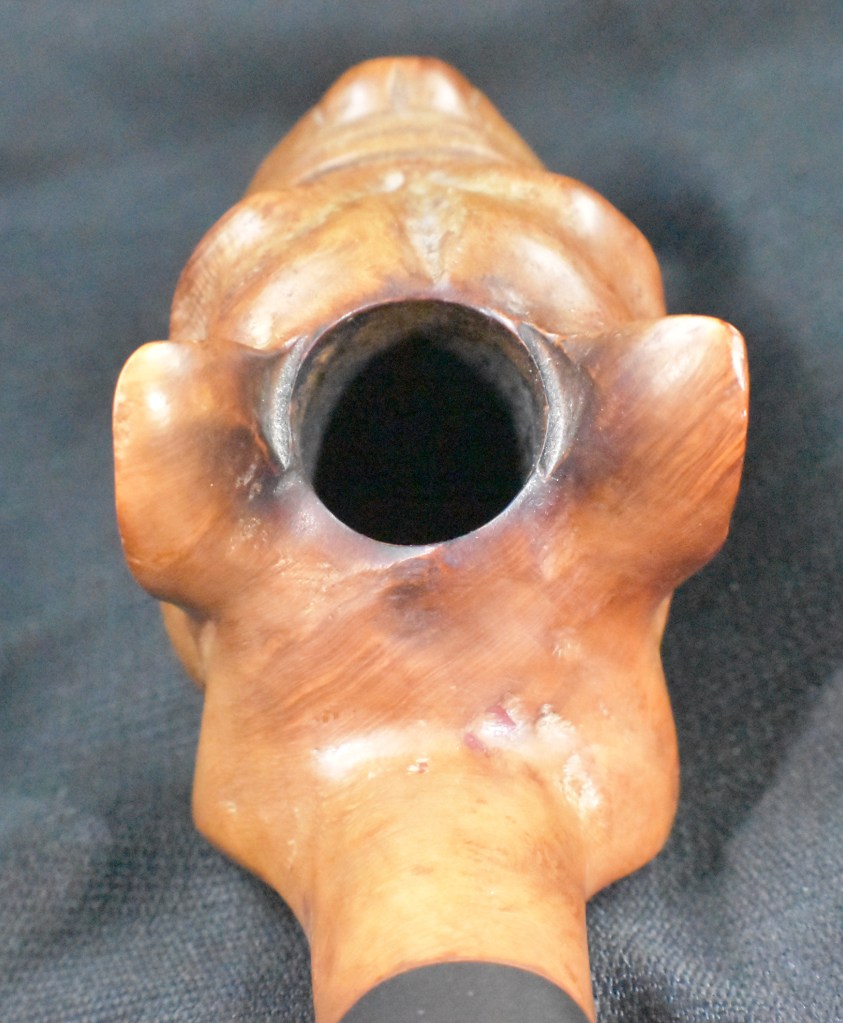
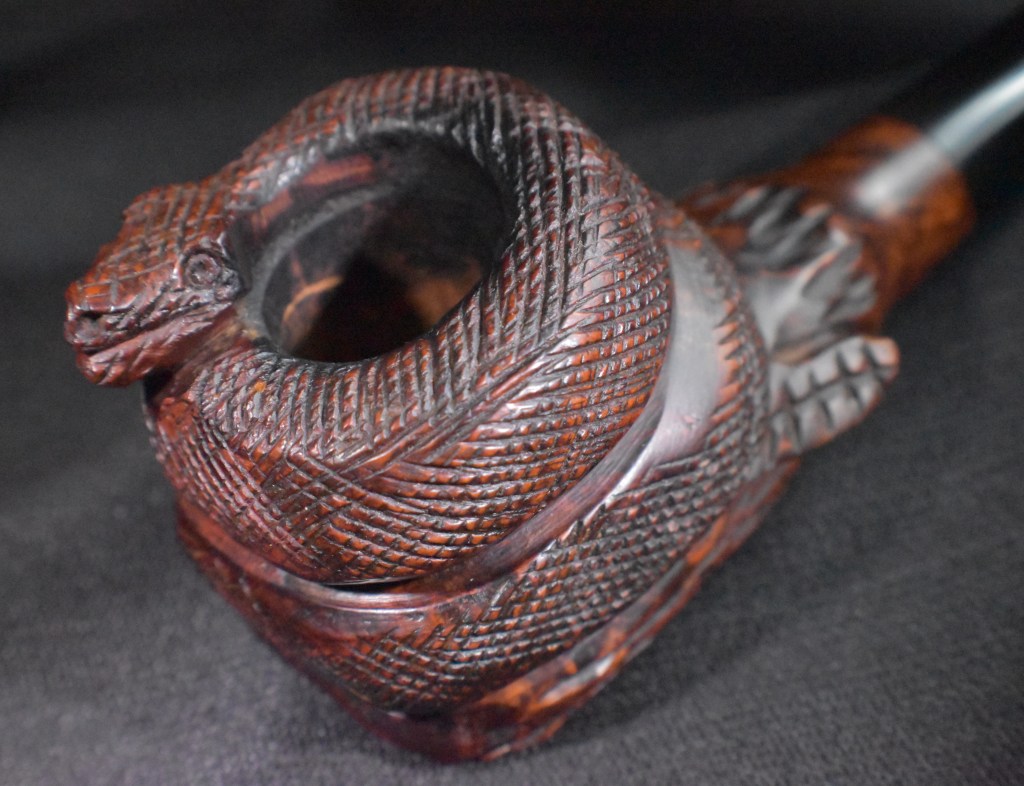
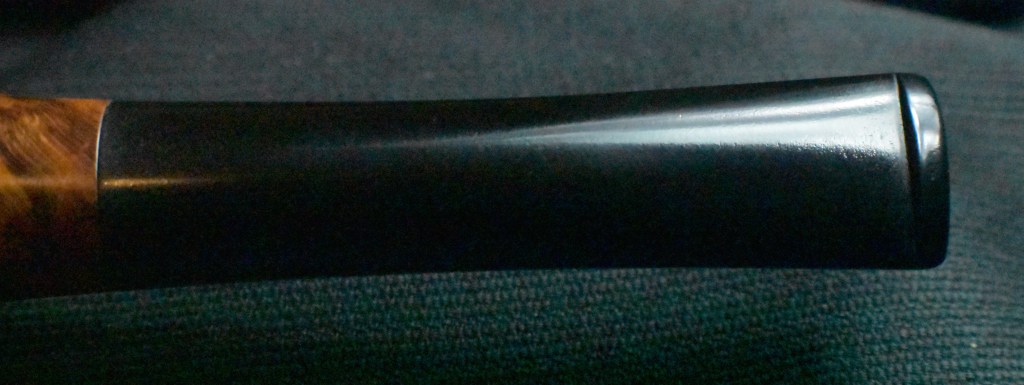
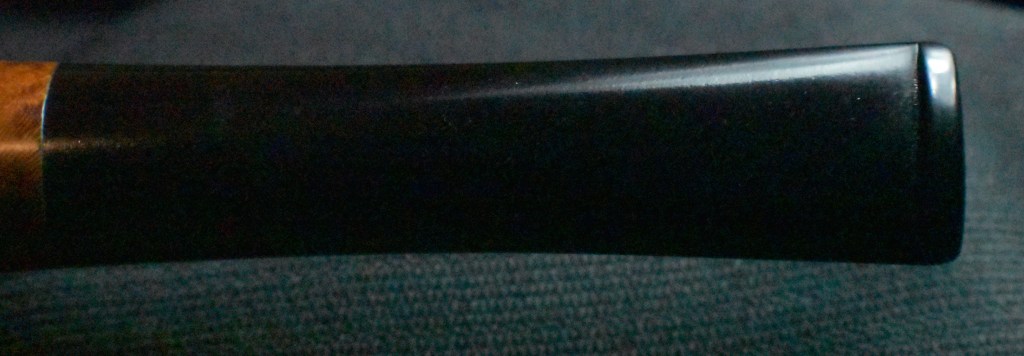
This pipe was in very good condition with grain that looked very promising under the accumulated wax/finish and did not look like it would require a tremendous amount of work. I did not like the overly glossy appearance of the pipe in general. Either it had a very thick layer of carnauba or there was an evil clearcoat finish lurking. The stem fit was not very tight, that would have to be addressed. The tobacco chamber had some cake and hopefully no damage beneath it. The stem showed almost no browning from oxidation. This was strange for a pipe over 75 years old but I wasn’t complaining. There was some tooth chatter and dents in the stem to be restored.
Background
Believe it or not this would be the 20th Marxman pipe which I have restored and blogged about. There are also a few that I didn’t write up as well. I would like to think Robert Marx would approve. In each of the Marxman restorations I have done, I have included a background section. I think the most complete history is from “A Marxman Jumbo C Restoration” ‹ NebraskaPeteGeek — WordPress. Rather than copy-paste it here, I will let those interested pursue that link.
There is a shorter history of Robert Marx and the Marxman company here, at pipedia.org.
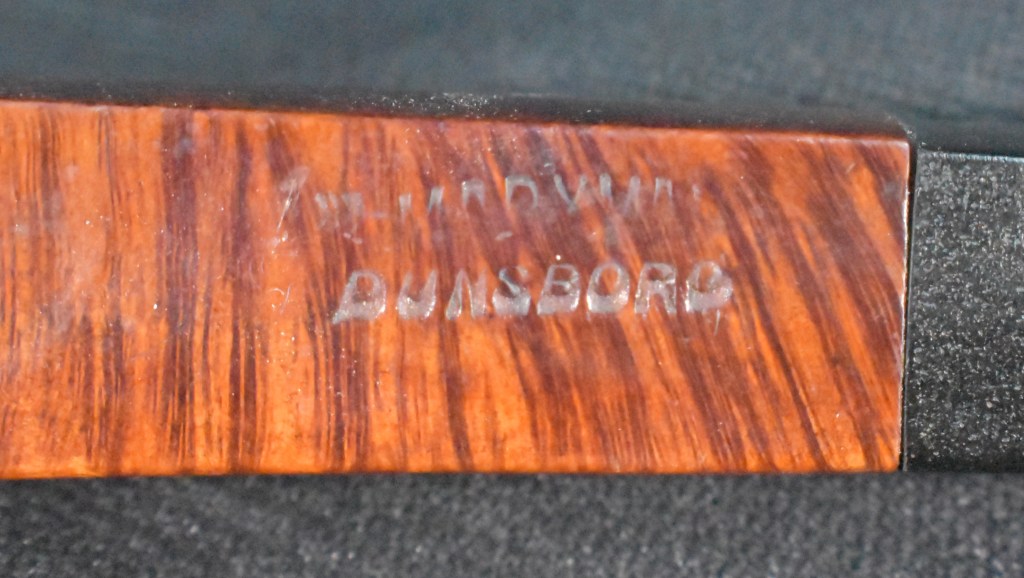
The Dunsboro name can be found in a catalog image on pipedia.org. The site lists the catalog as “circa 1950s” but Robert Marx sold the company to MasterCraft in 1953, making the catalog likely from the early 1950s.
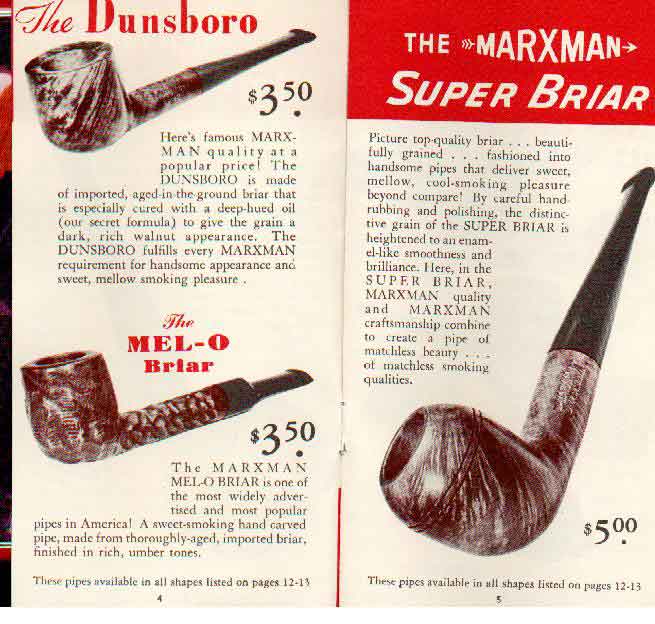
(File:MarxmanCatalog3.jpg – Pipedia)
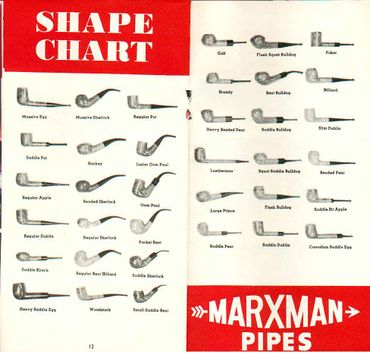
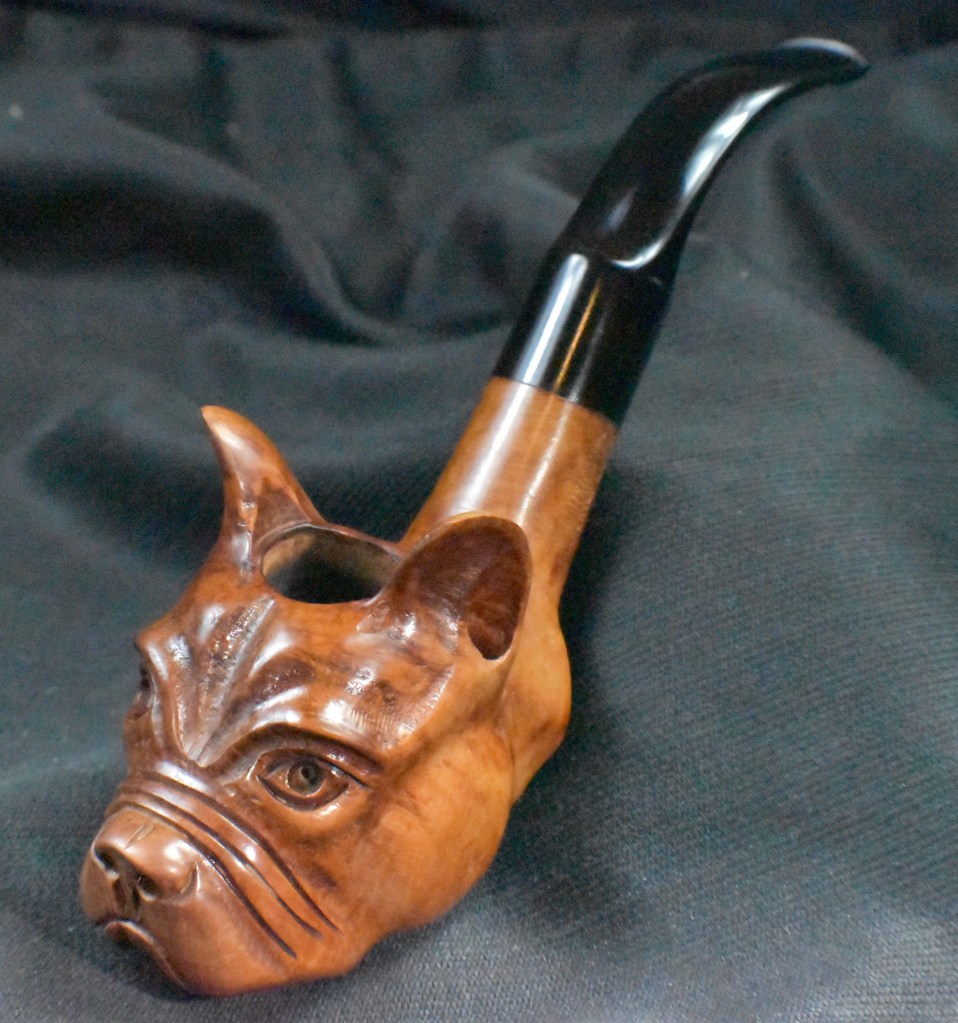
This bulldog coincides with the “Saddle Bulldog”, from the 5th column 3rd pipe from the top.
(File:MarxmanCatalog7.jpg – Pipedia)
The Restoration
Once on the workbench and underlain with the required denim, I again wondered about the finish.
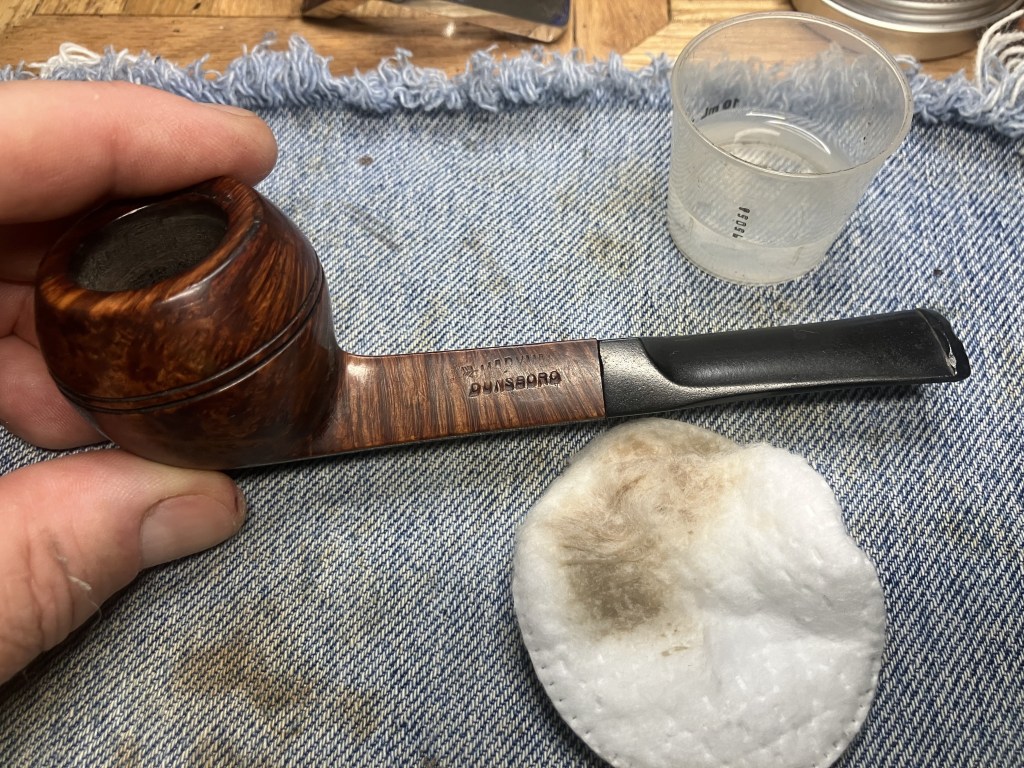
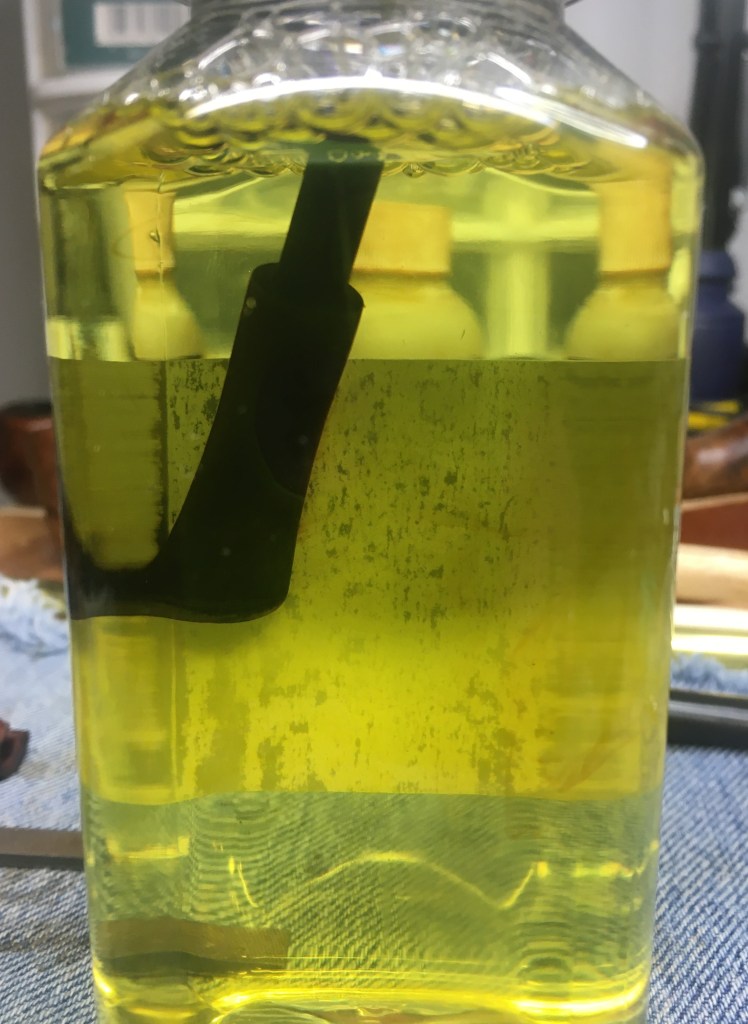
I began with rubbing the pipe with a make-up pad wetted with 99% ethyl alcohol.
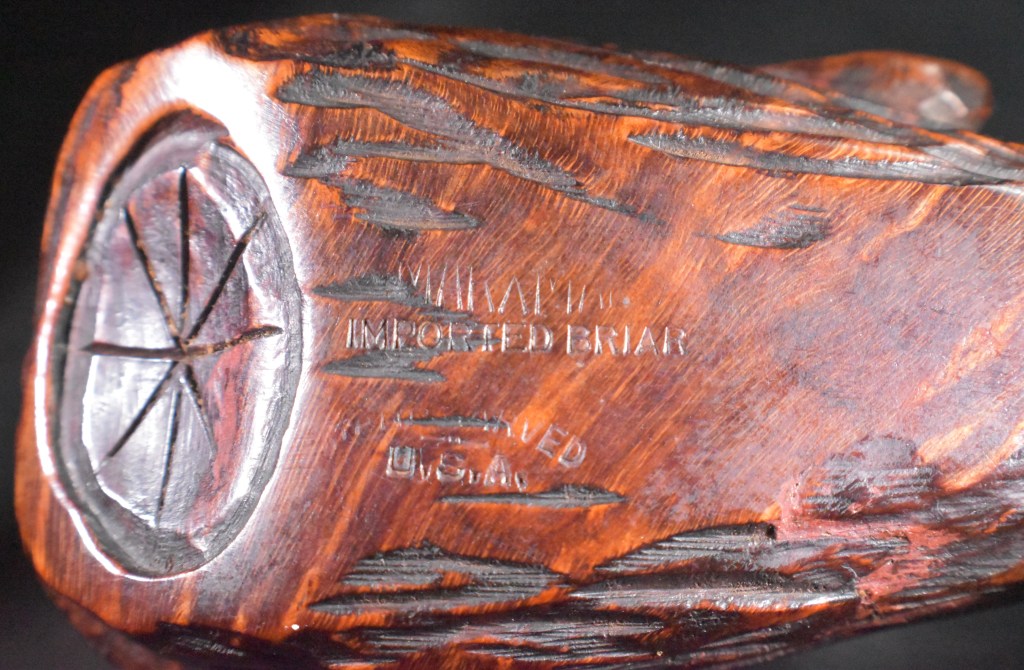
This came back with dark stains of dirt and old wax. Well, I assumed it to be old wax. The stamping immediately became more clear and easier to read.
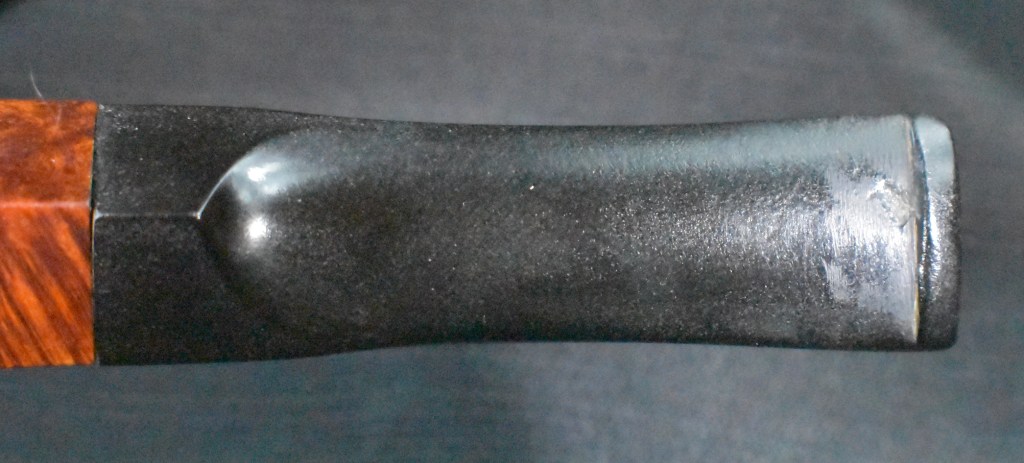
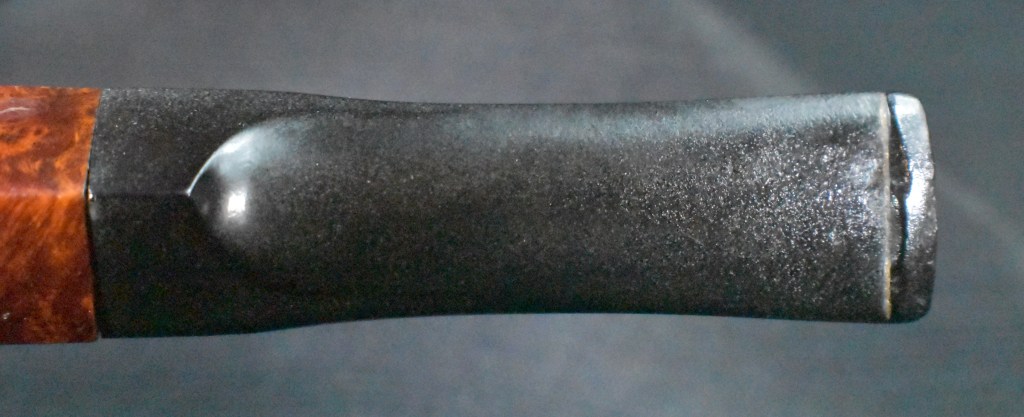
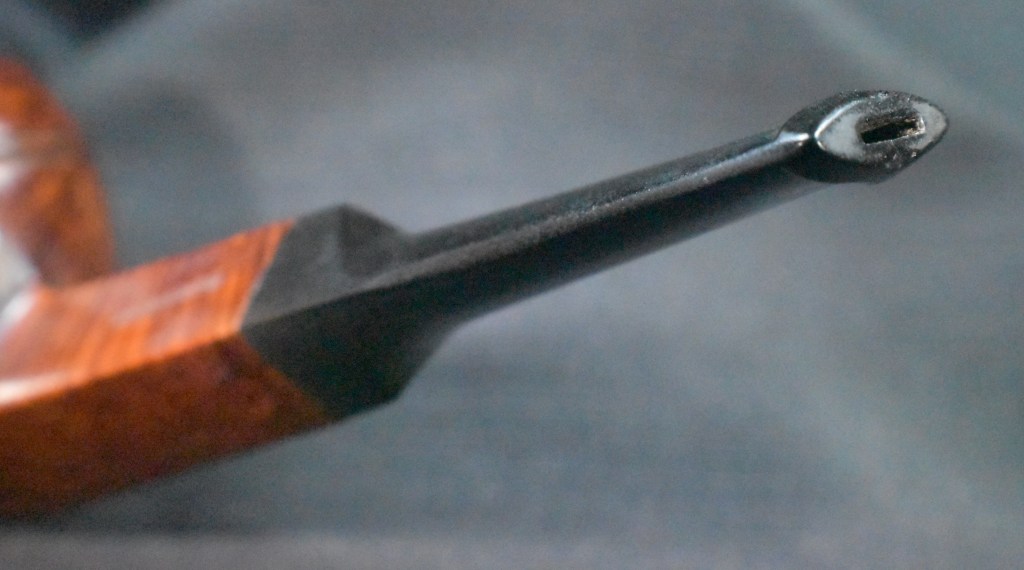
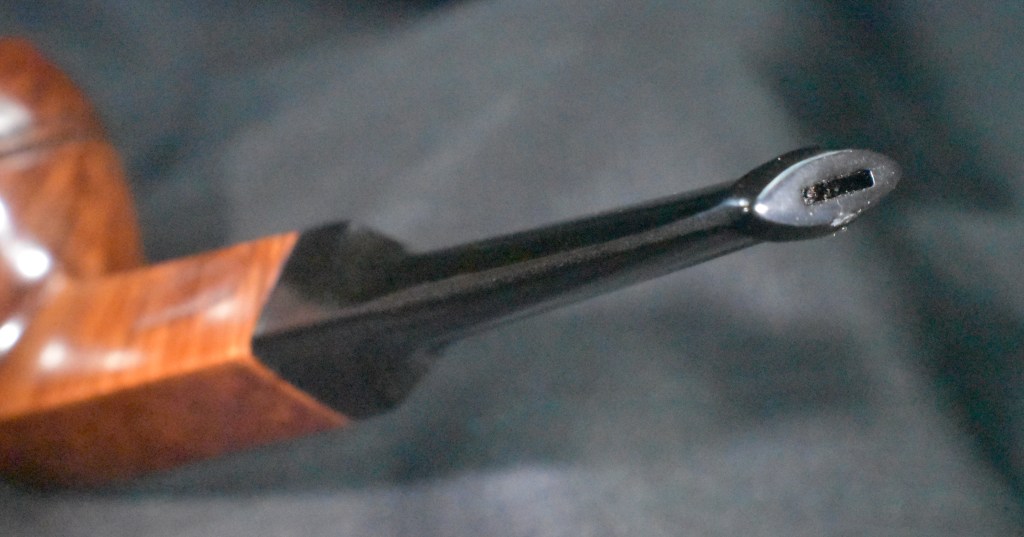
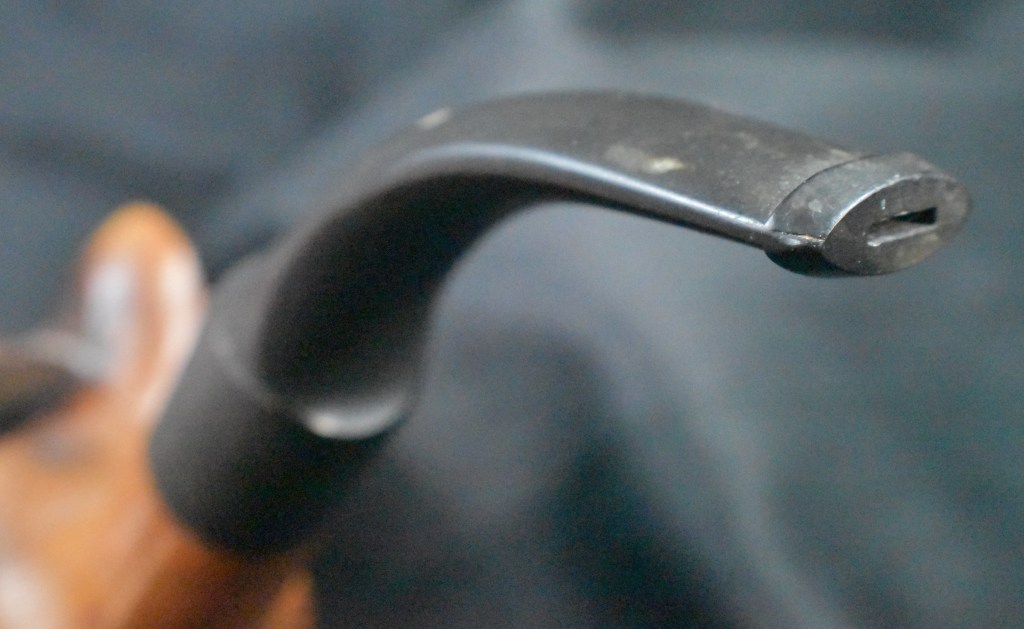
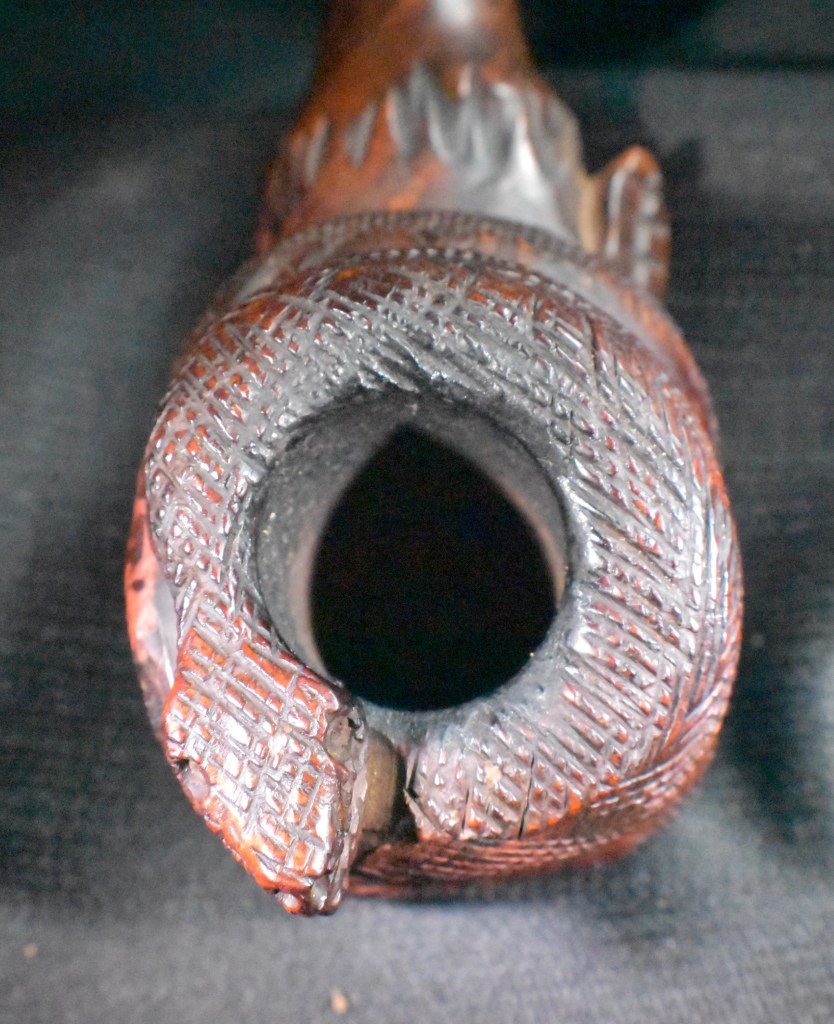
The stem fit was an issue.

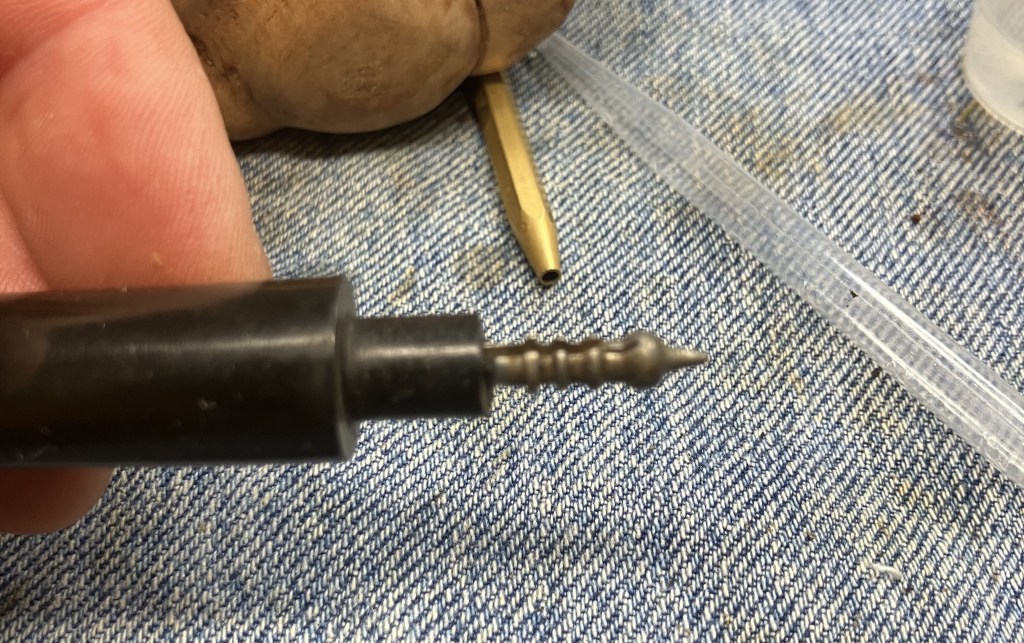
With a closer examination of the tenon, I saw why this tenon was either abused to this was a poor attempt at restemming using a chainsaw as a tool for fine-tuning the fit of the tenon.

I started by attempting to re-face the edge of the stem with the tenon.
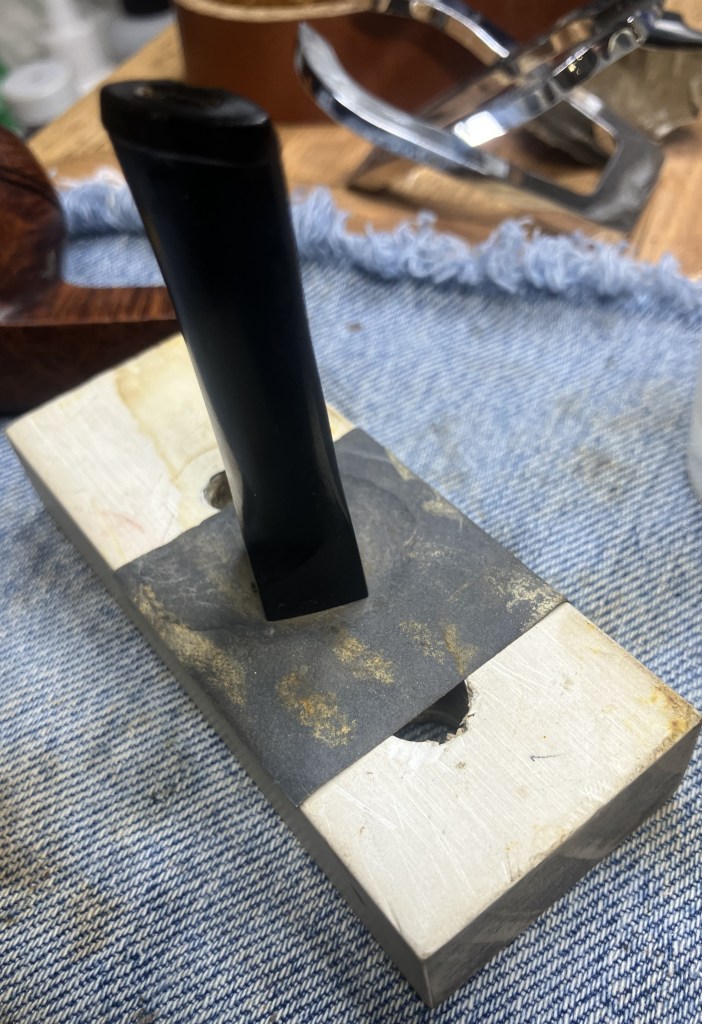
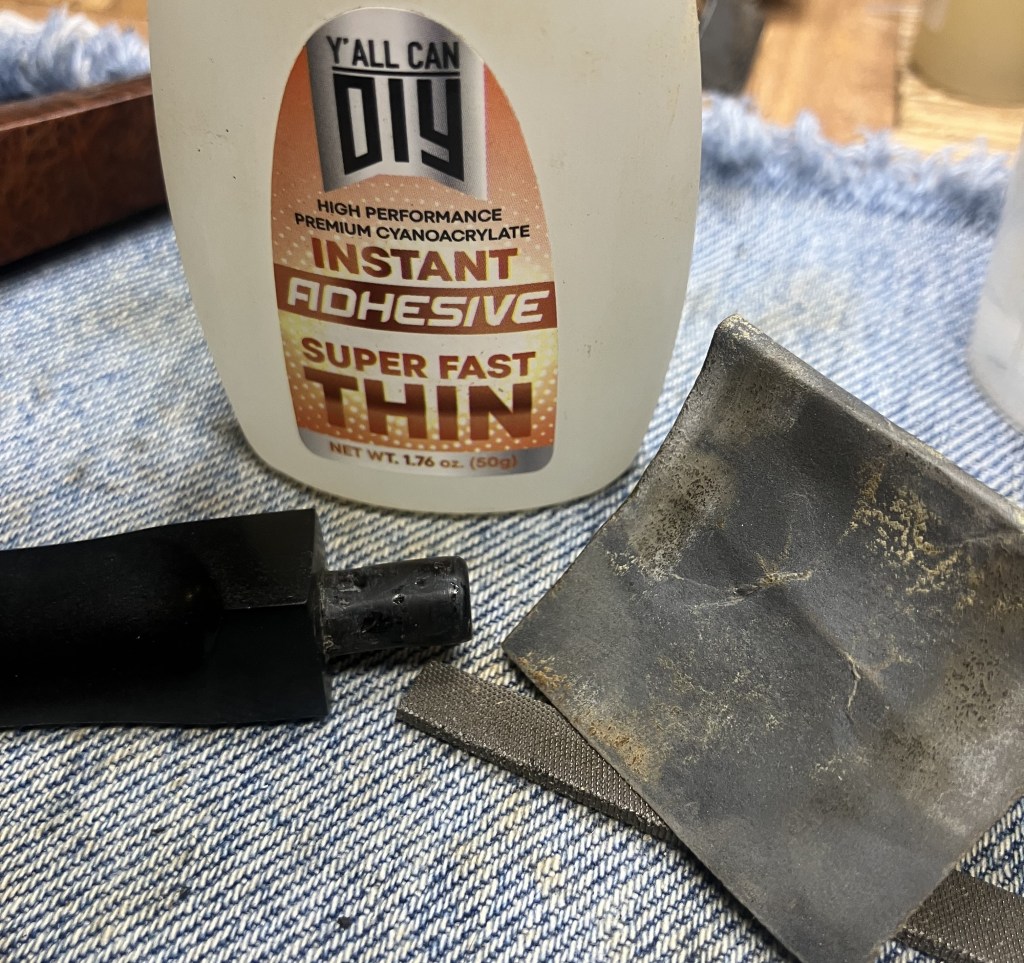
The refacing was done using a wooden block with holes cut to fit various diameter tenons and some 400 sandpaper.
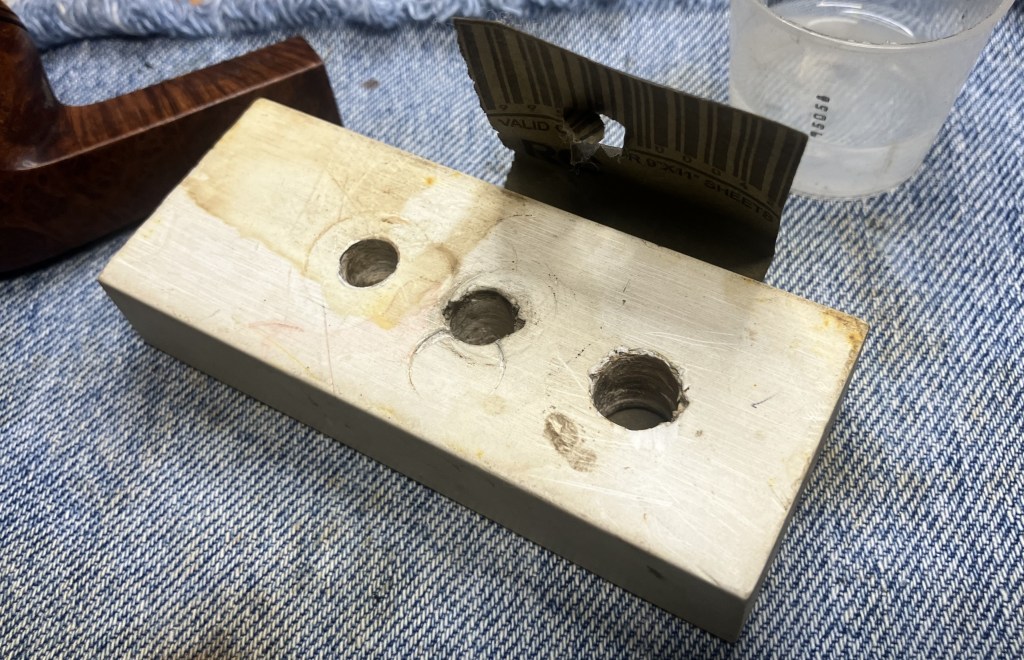
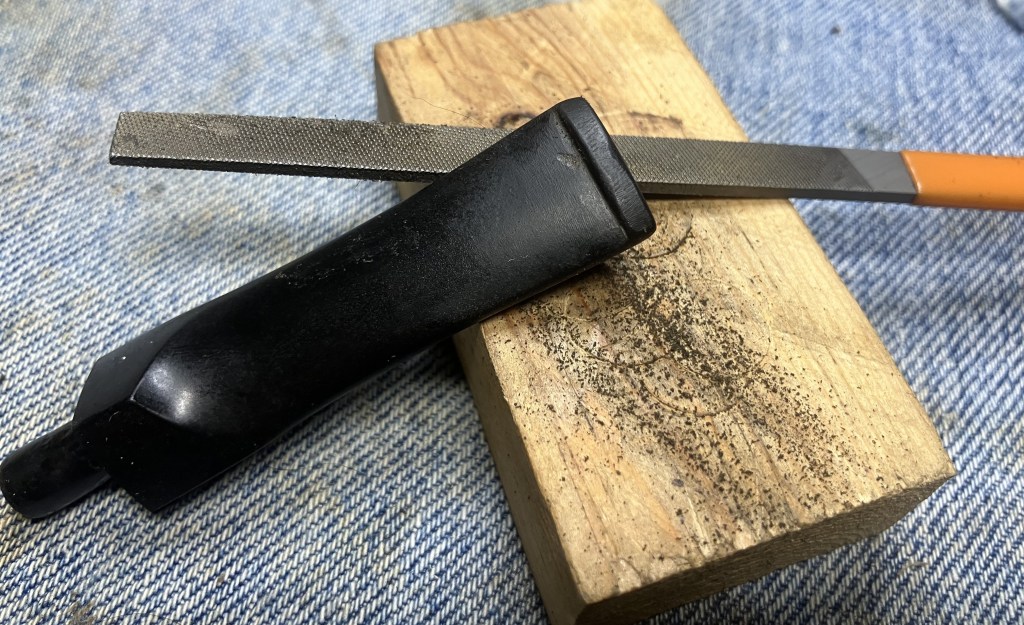
The end of the mortise was far from straight.

I filed it flat with a small flat file.

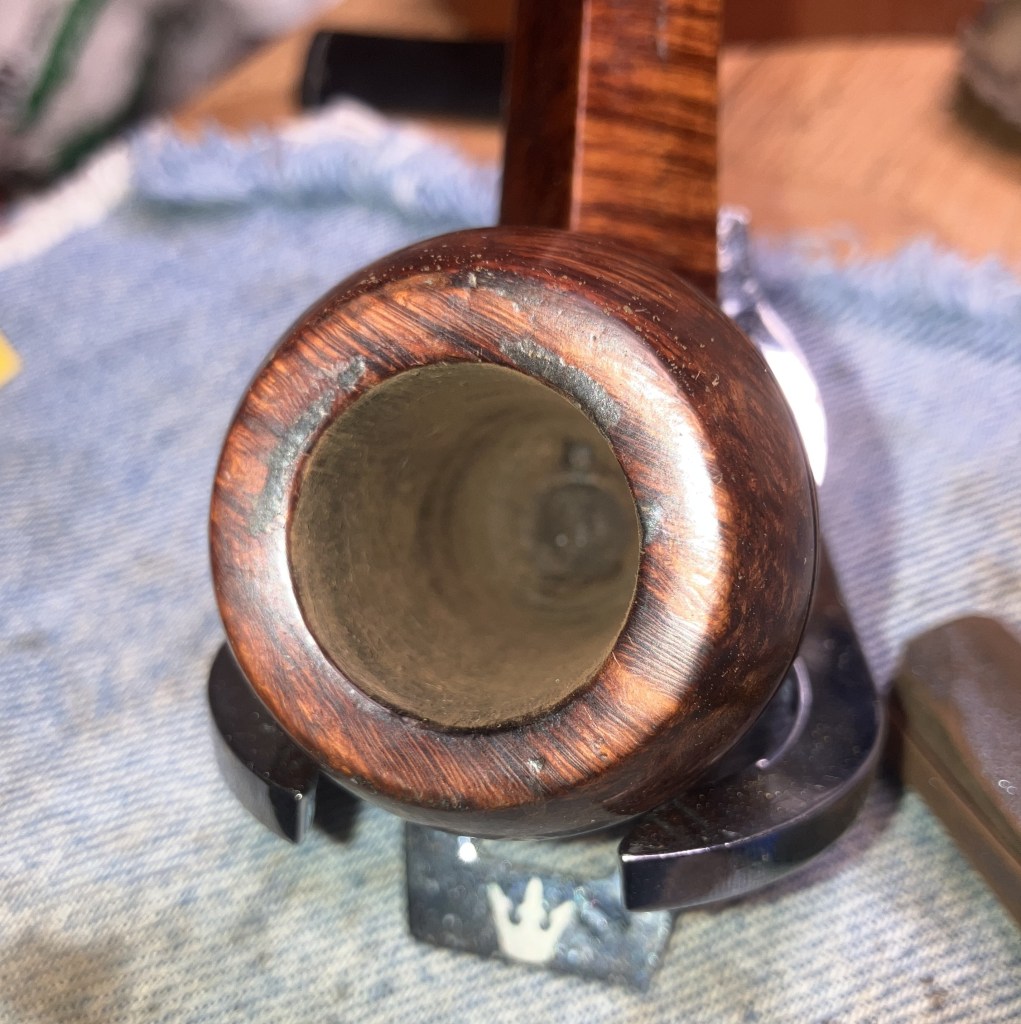
I then used a ½ inch counterboring bit to give the airway a slight bevel.

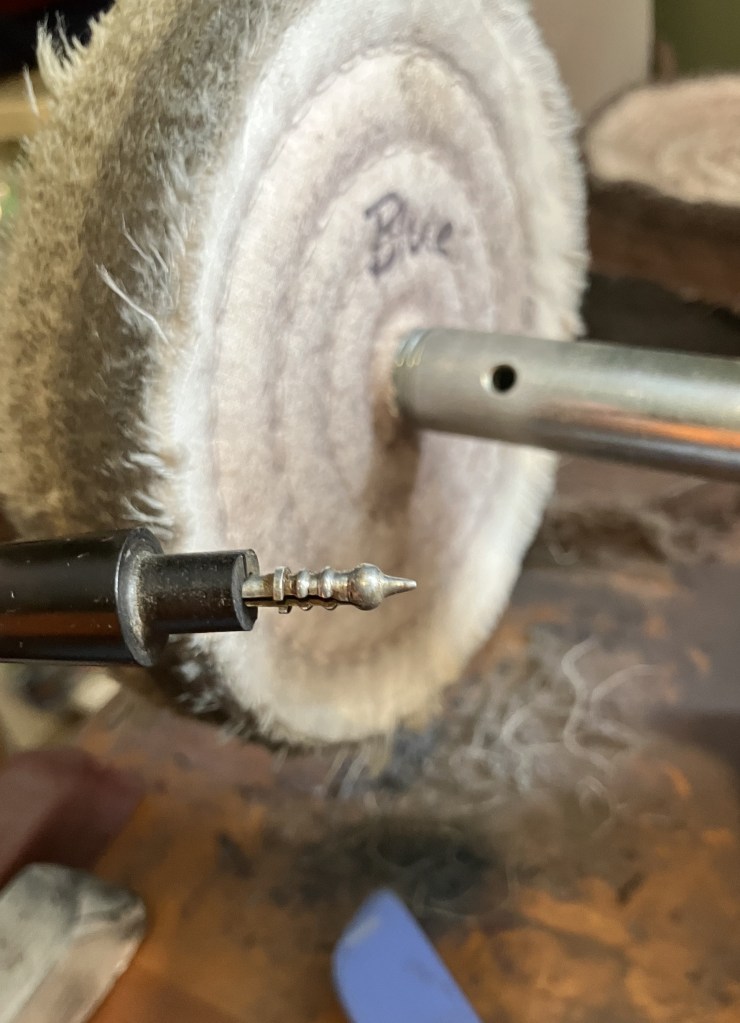
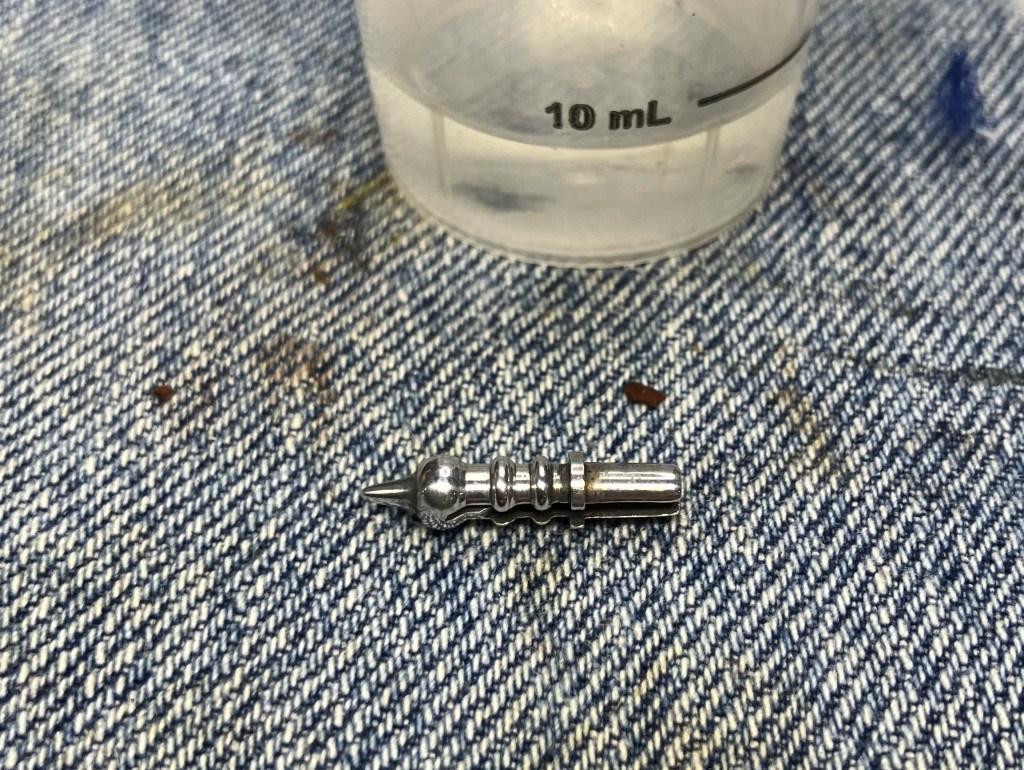
The tenon was restored to cylindrical shape by applying several light coats of Thin cyanoacrylate (CA, super glue). These were lightly filed and sanded between coats of CA.
I had to test to make sure gravity was still affecting liquids, it was. No really, I didn’t spill the alcohol while cleaning the stem with bristle pip cleaners.

I filed the top and bottom surface of the bite zone with a small flat file to remove most of the tooth chatter.
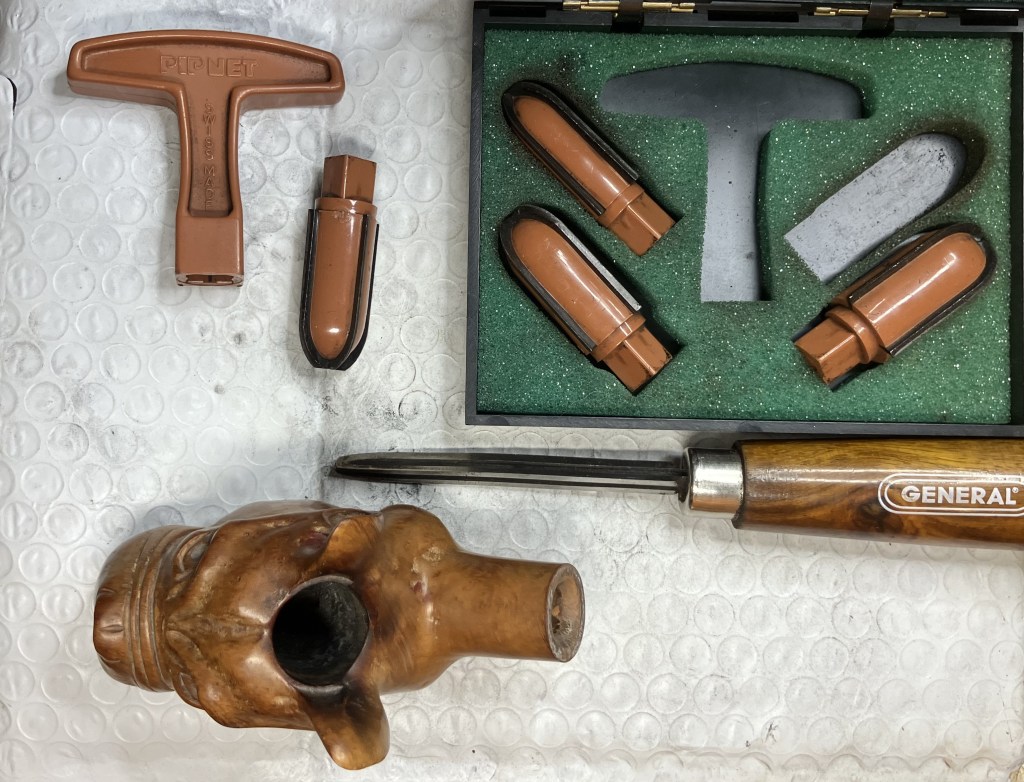
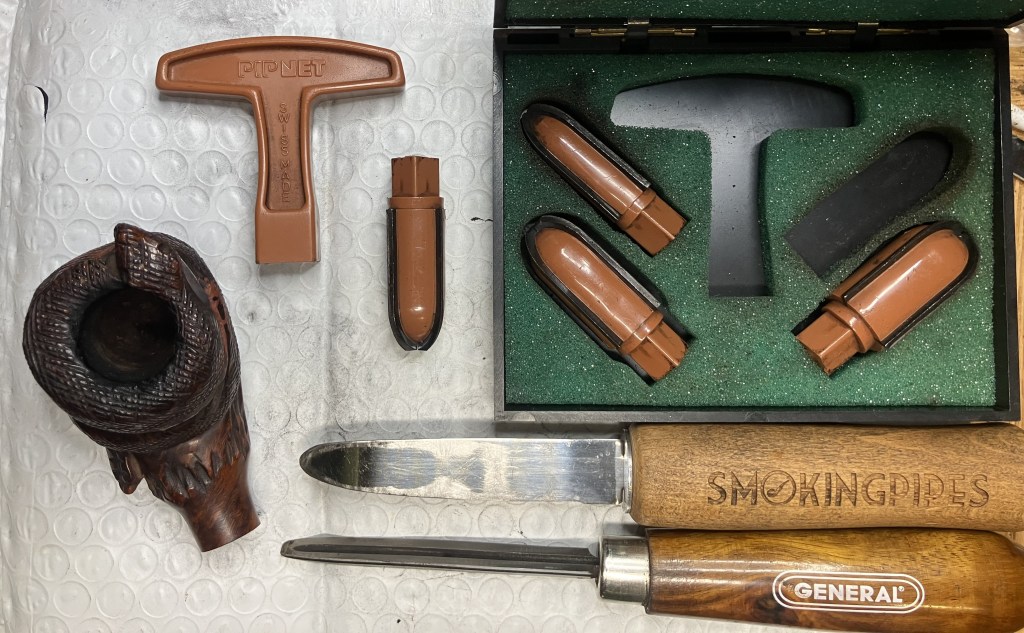
The reaming tools were gathered.

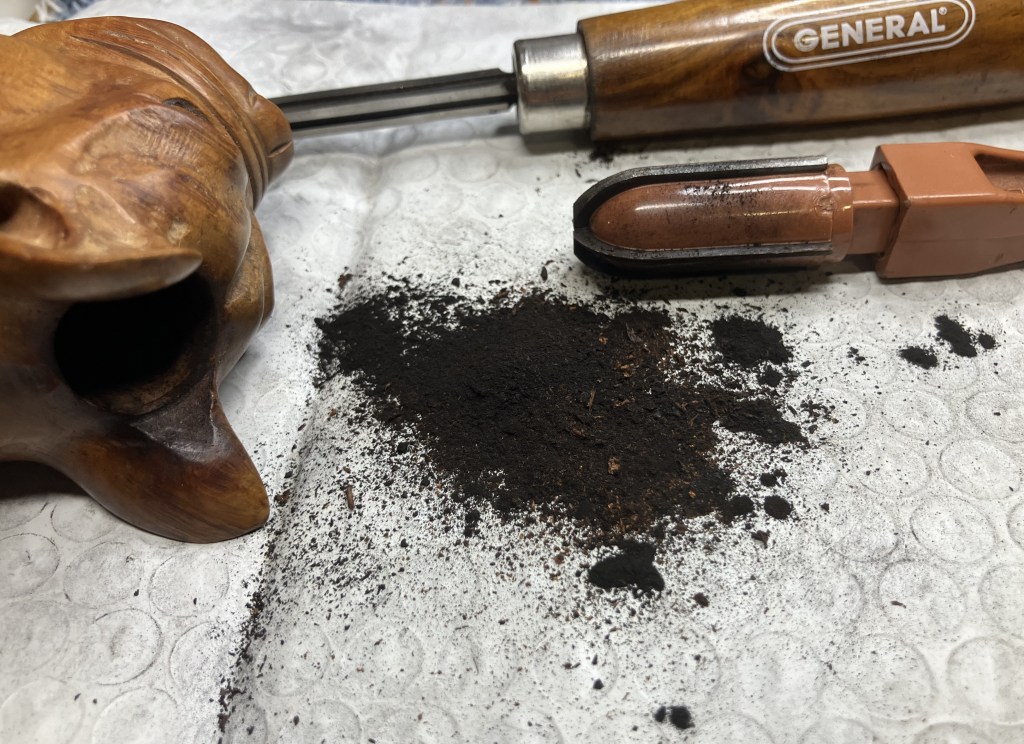
To ream the tobacco chamber the #2 and #3 PipNet blades were used. A small amount of clean-up was done with the General triangular scraper.

After sanding the chamber with 320 sandpaper wrapped around a wood dowel the chamber looked good with no signs of heat damage, though there was some scratching of the wall by a previous owner.
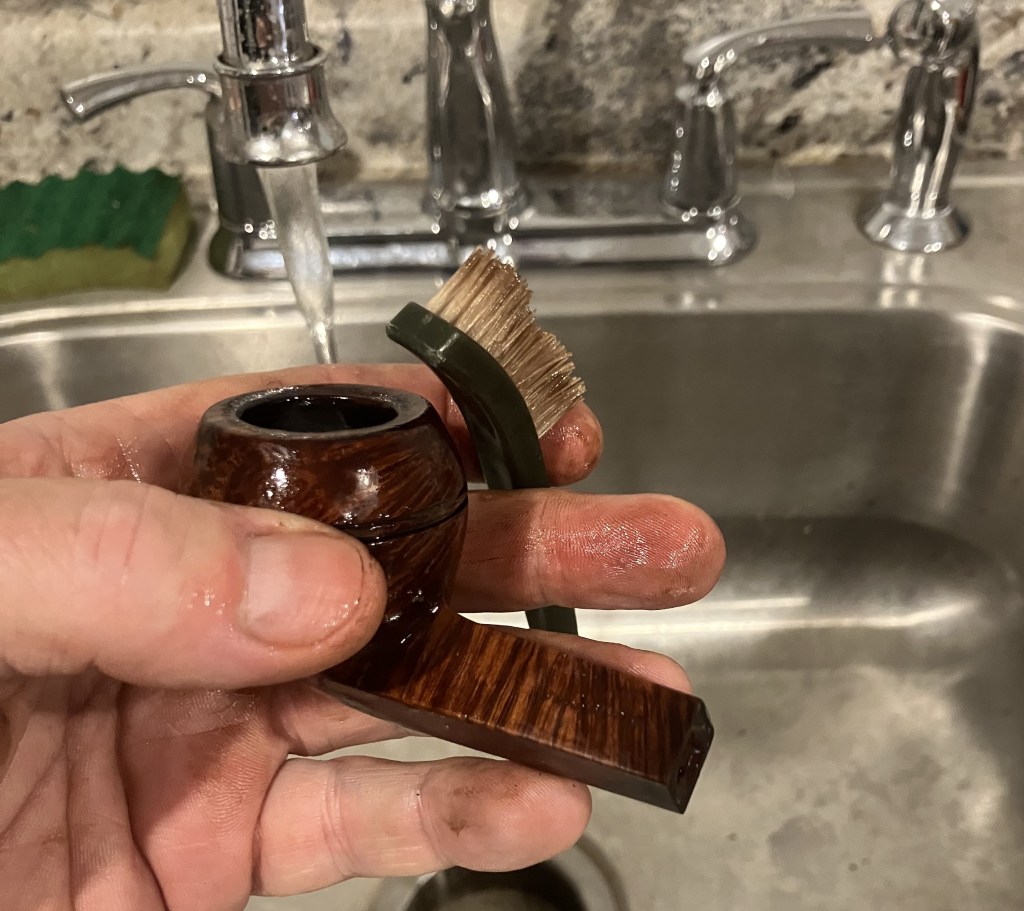
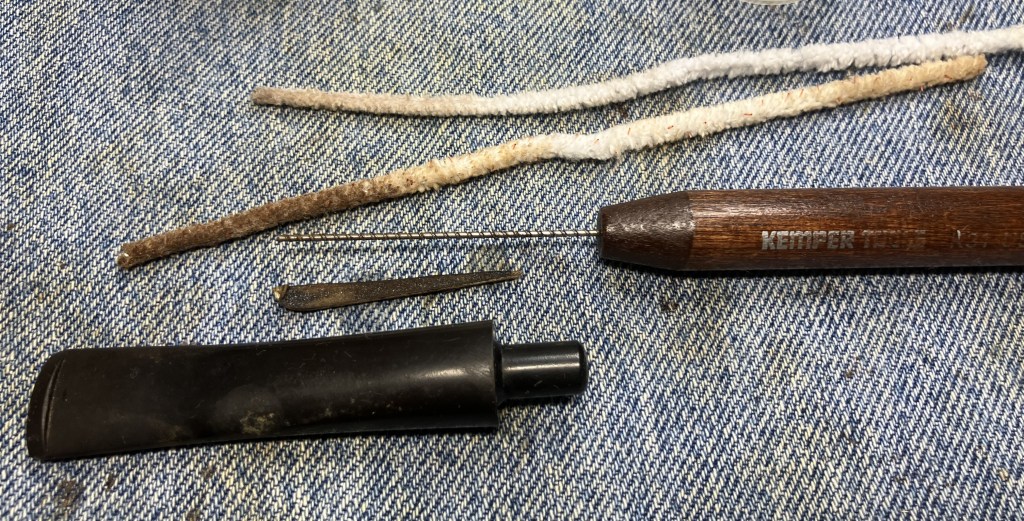
The shank went well using cotton swabs and bristle pipe cleaners dipped in ethyl alcohol. There was also a bit of scraping done with a dental scraper and boring of the airway with the Scotte stainless steel pipe reaming tool – shank drill.
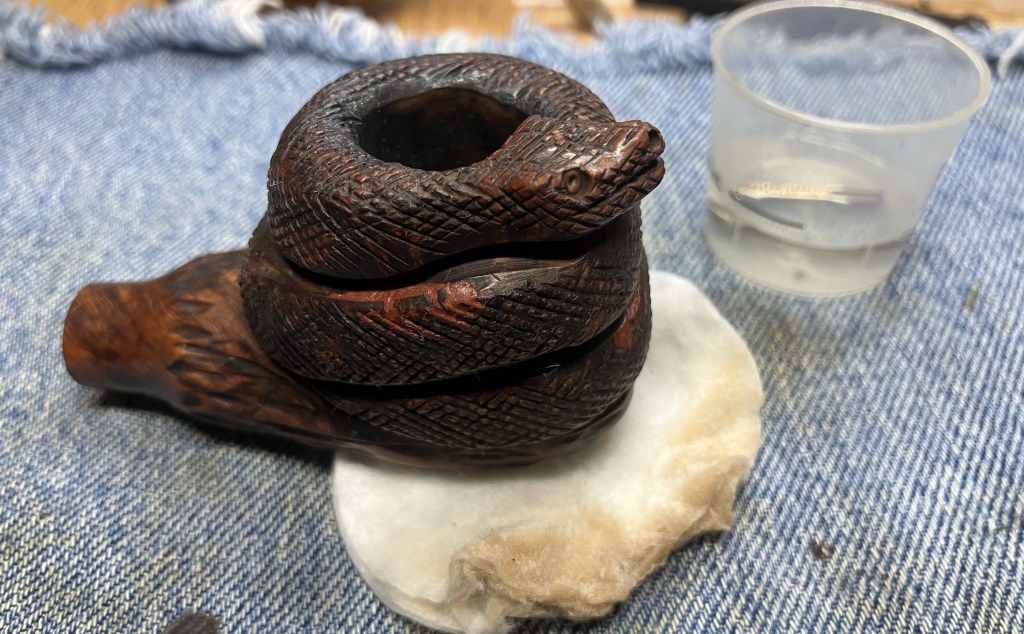
Next, the stummel was scrubbed with a nylon brush and undiluted Murphy Oil Soap. The soap was rinsed with warm water and then dried with a cotton hand towel.
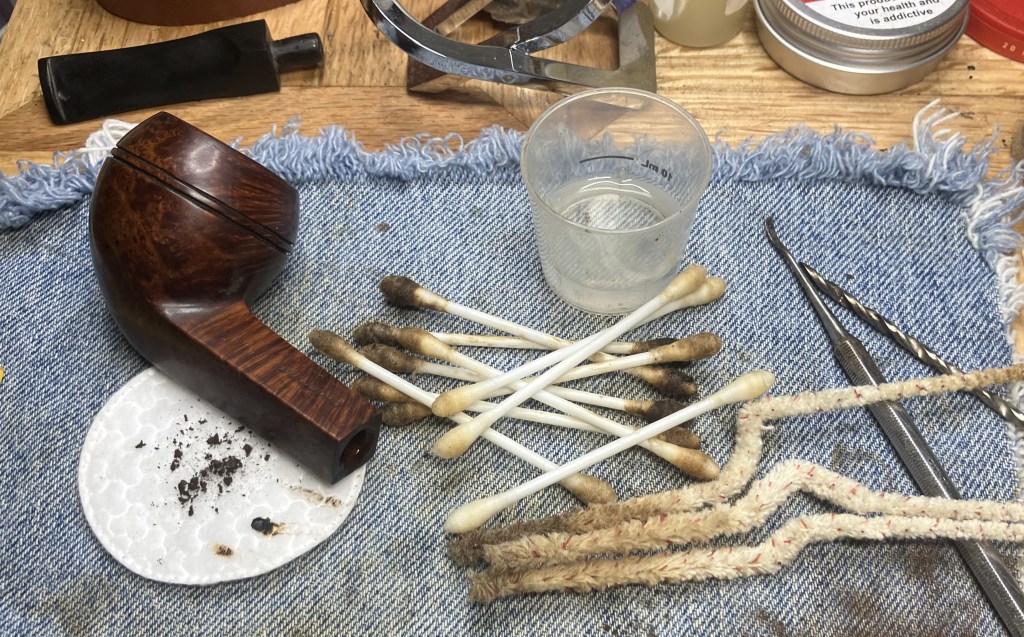
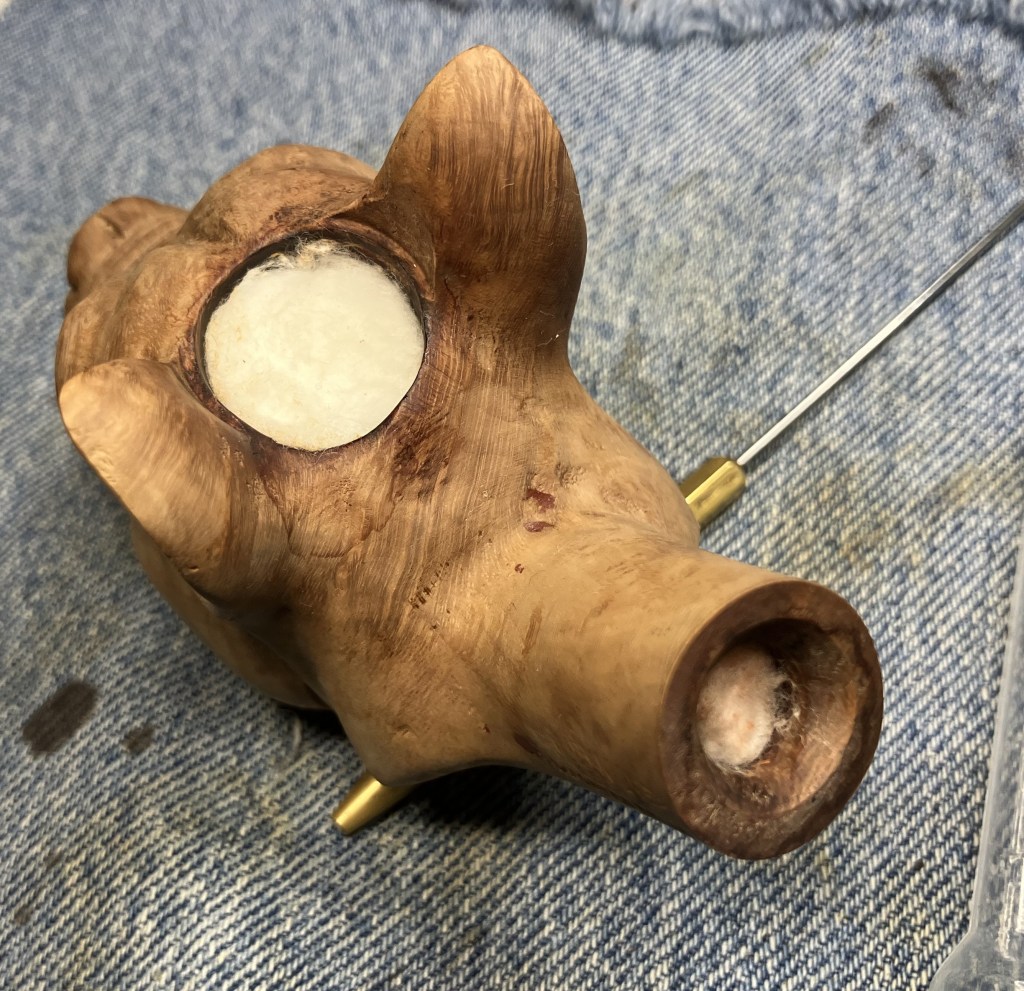
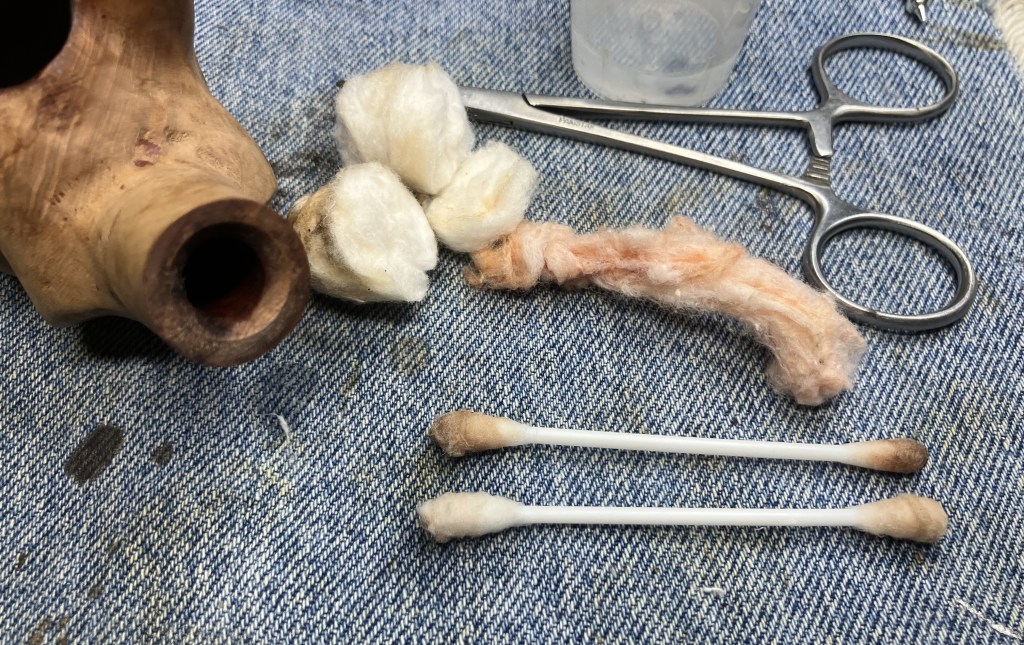
I packed the tobacco chamber, airway and shank with cotton.
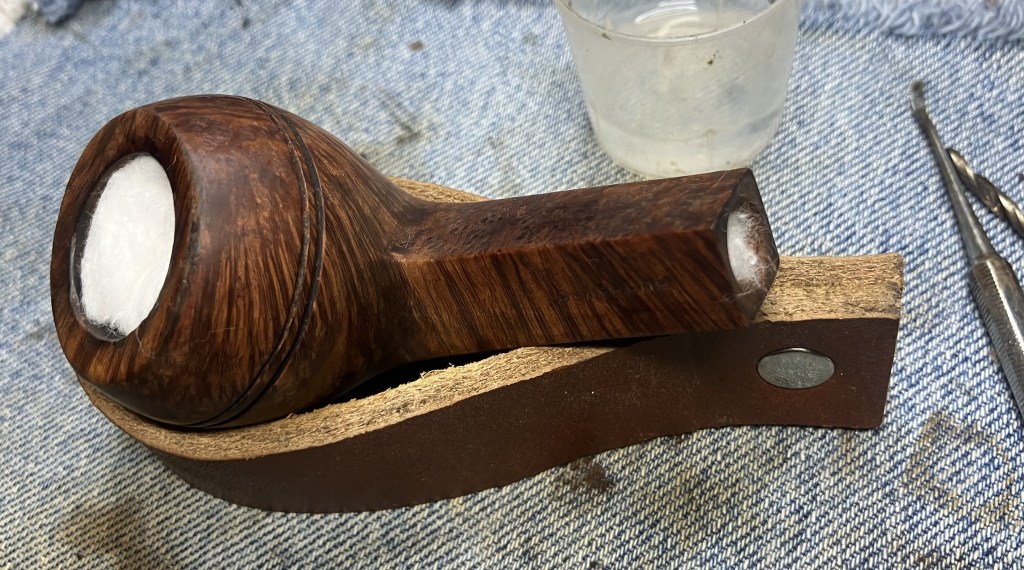
I then applied 99% ethyl alcohol with a disposable pipette to the cotton until it was saturated. The alcohol would be allowed to evaporate overnight. This softened and dissolved some of the accumulated tars in the airway, moved them from the briar into the cotton as the alcohol evaporated.

The next day the cotton showed signs of the successful removal of tars from the briar.
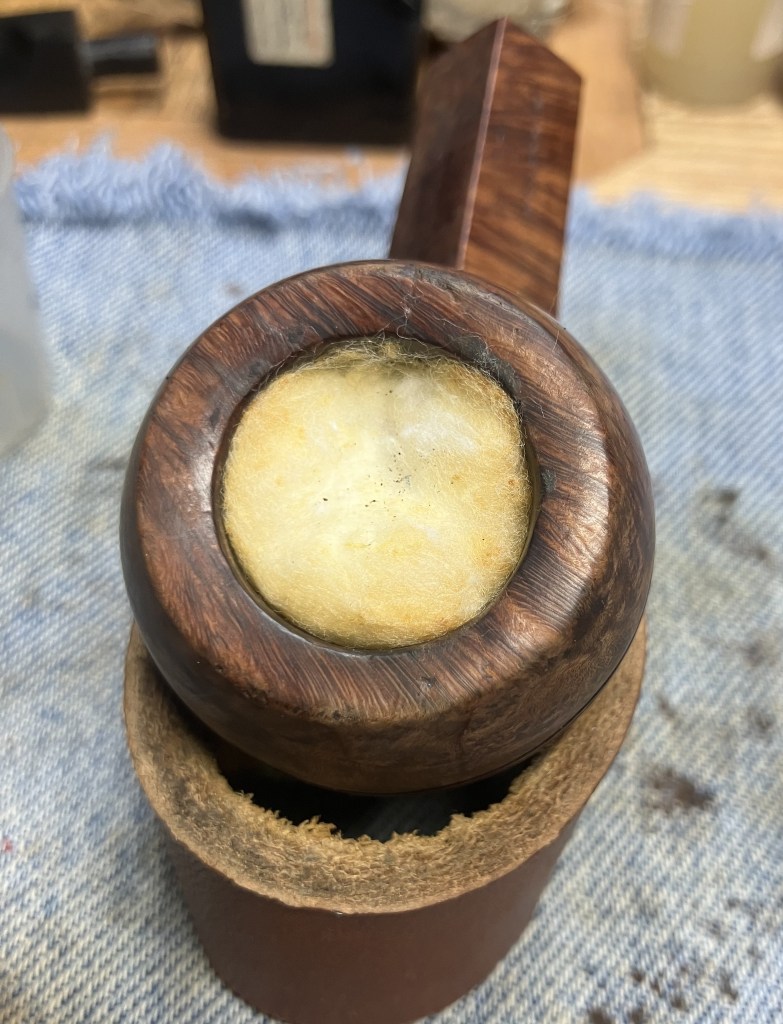


The cotton was removed using a forceps.
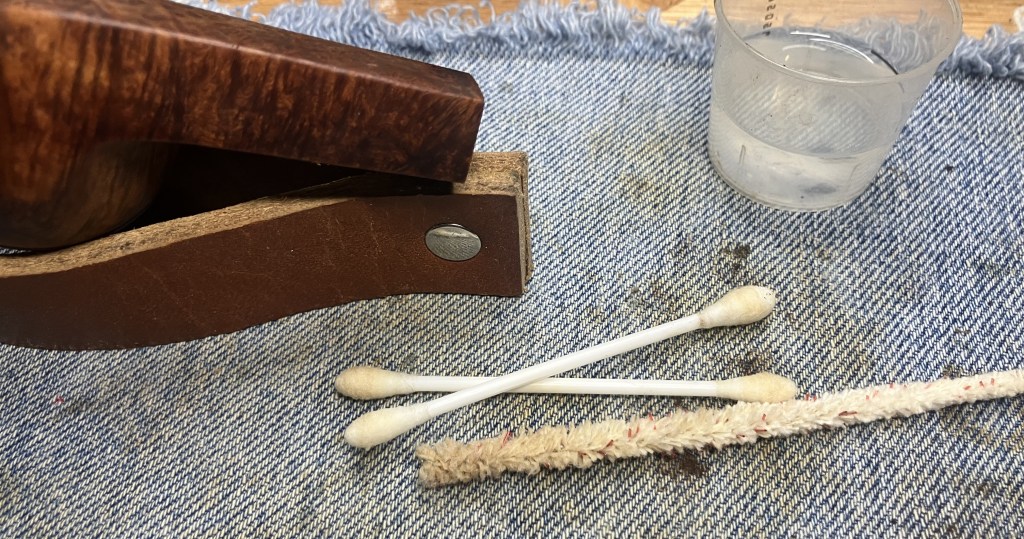
Recleaning of the airway indicated that the initial cleaning and the cotton/alcohol treatment were successful.
The shank stamps were masked with masking tape for their protection during the upcoming sanding.
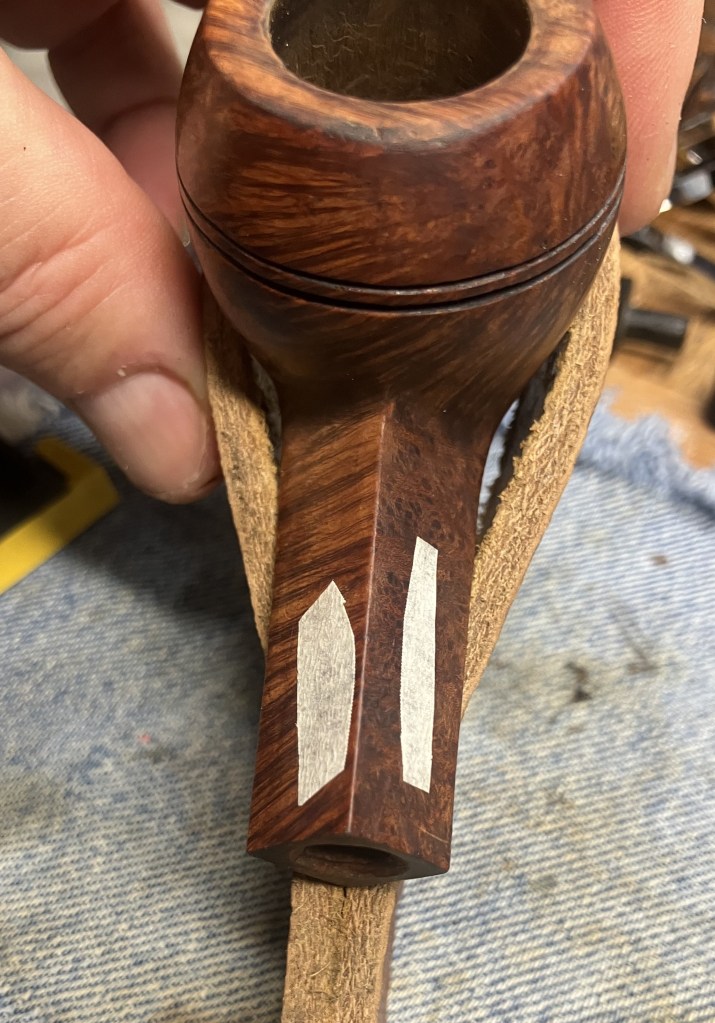
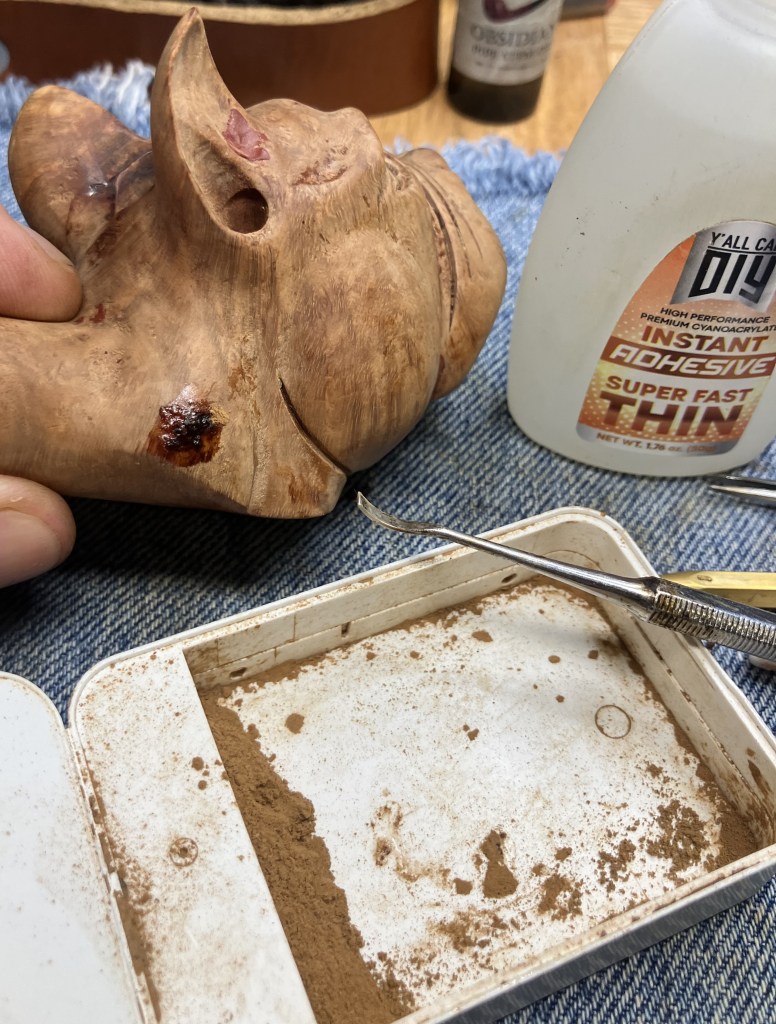
I nearly forgot to fill the tooth chatter on the stem beforeI started sanding. Black rubberized CA was used for the fills. This was allowed to cure for about an hour before filing and sanding it.

A small flat file and 400 sandpaper were used to smooth the new fills.

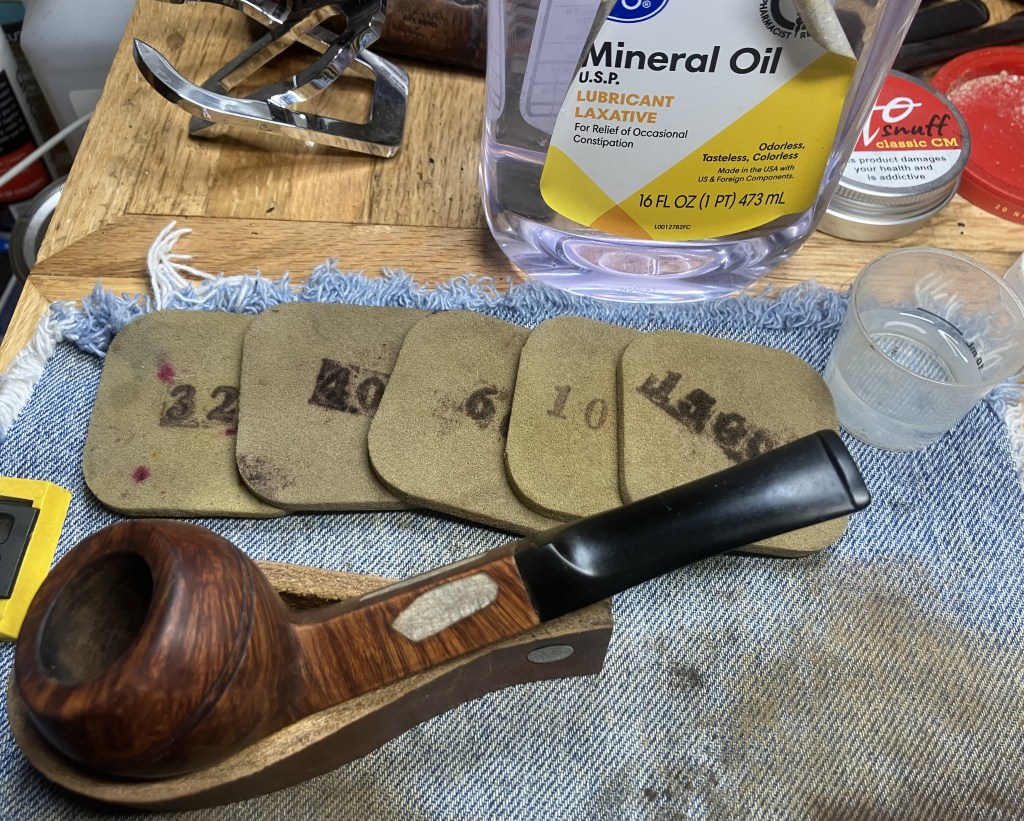
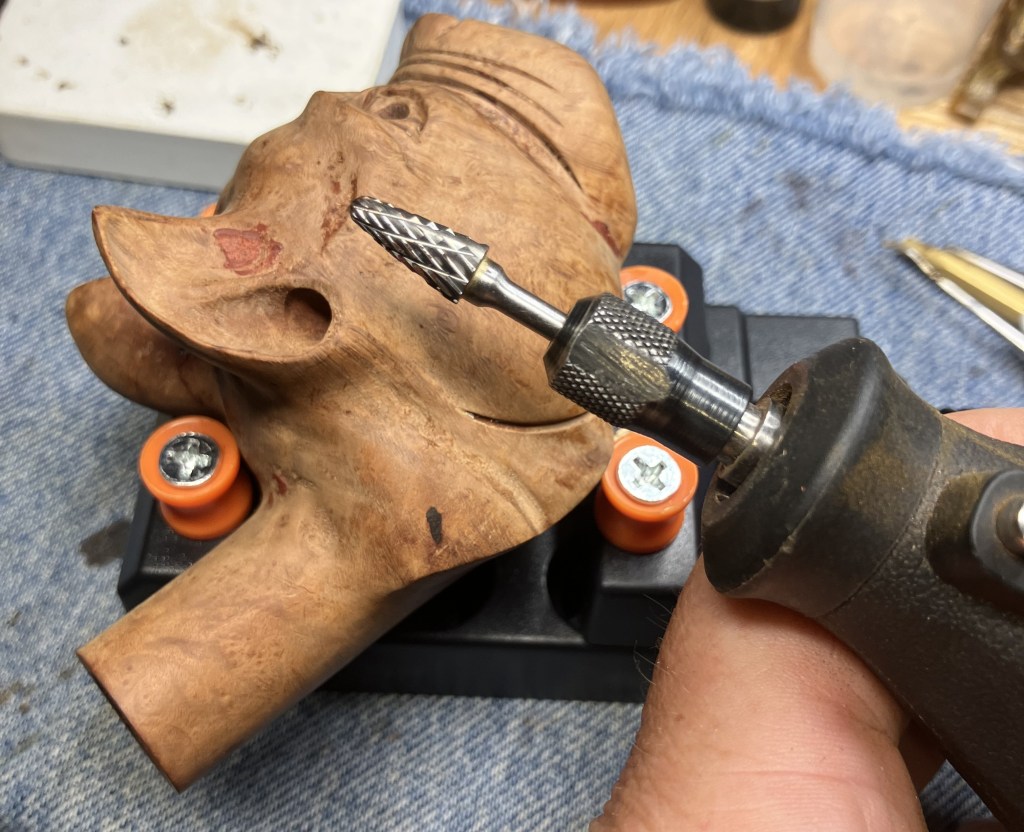
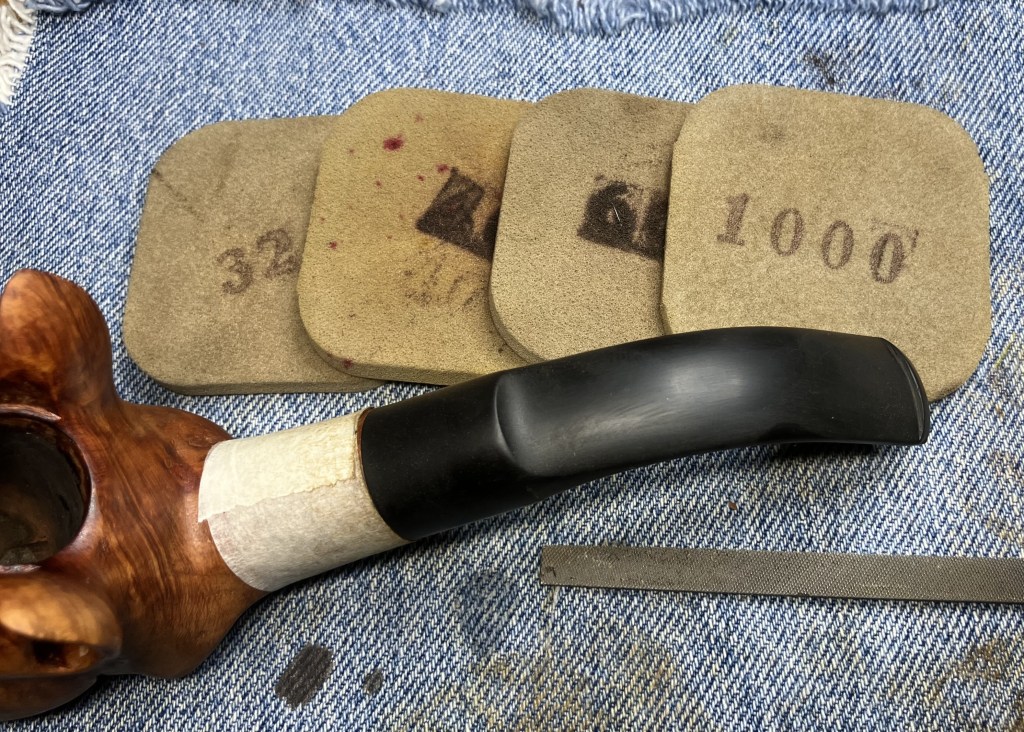
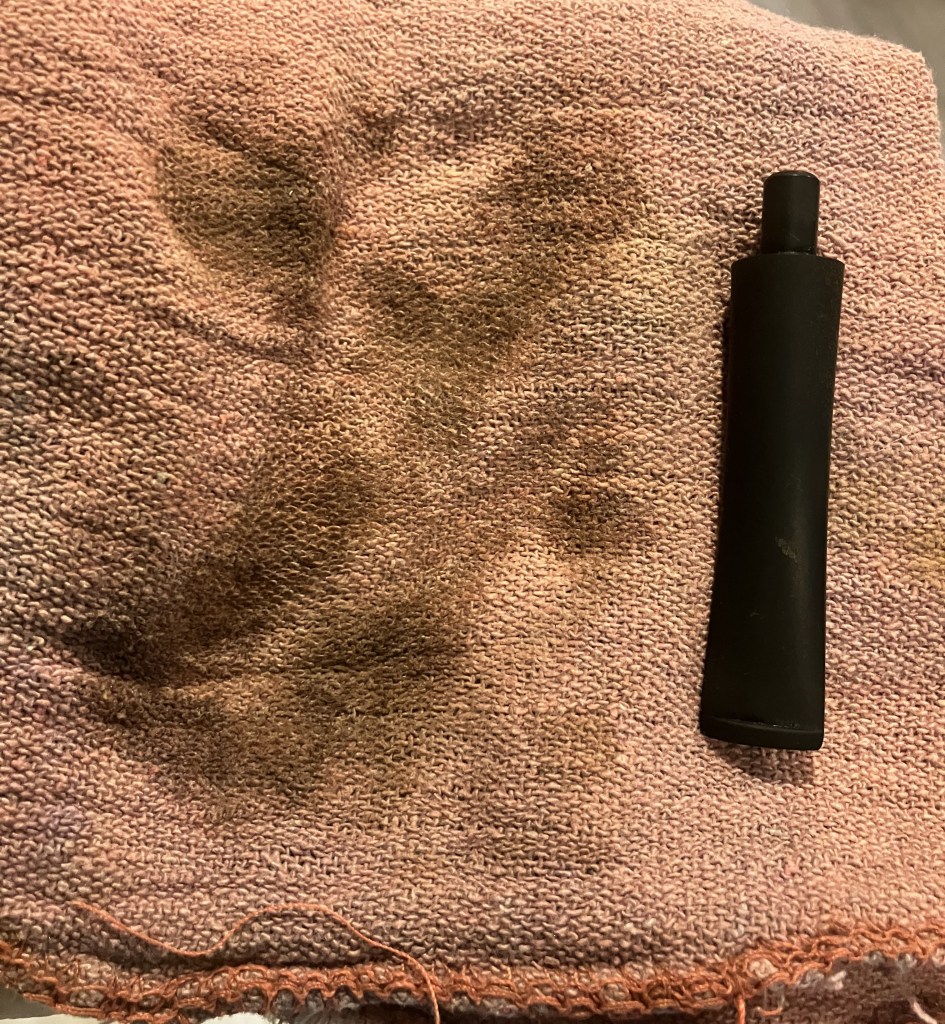
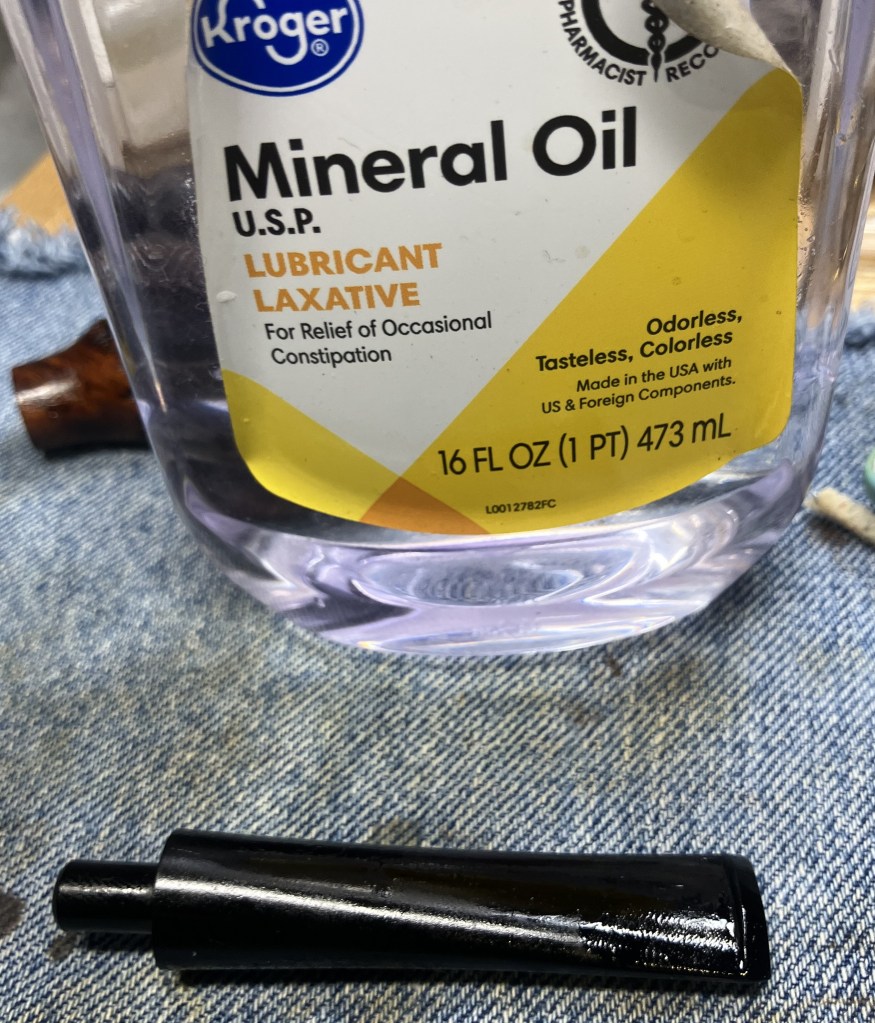
I wanted to keep the pipe intact during the sanding avoids the rounding of the edges of both the shank and the stem, though some rounding of these edges had occurred by previous Keeping owners. The sanding was done with a series of sanding sponges from 320-1500 grits. Between each sponge the stummel was wiped with an alcohol dampened make-up pad and the stem rubbed with mineral oil then wiped with a paper towel. The wiping was done to remove sanding debris.
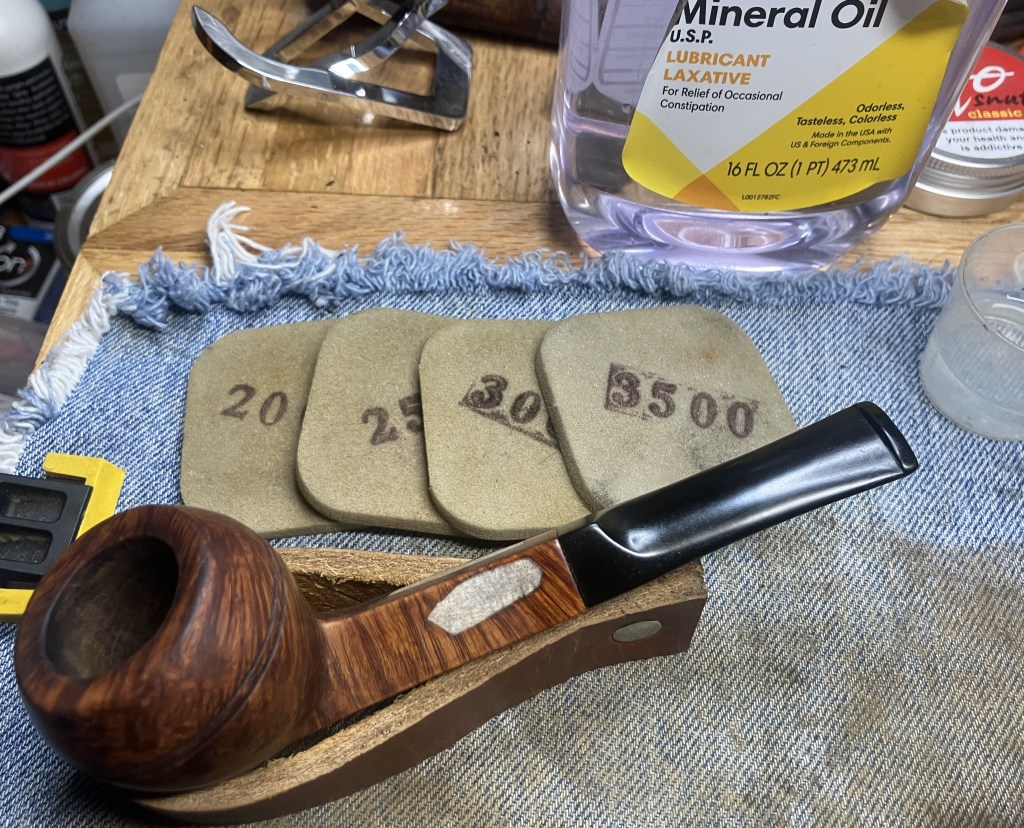
The sanding progressed with the 2000-3500 sanding sponges with the above wiping after each sponge.
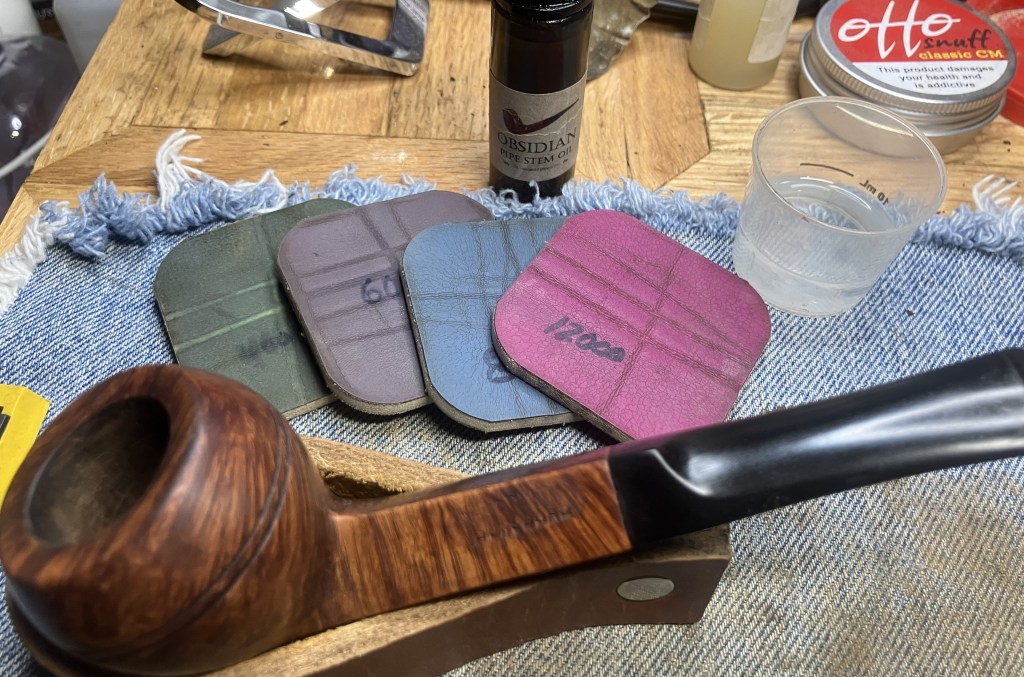
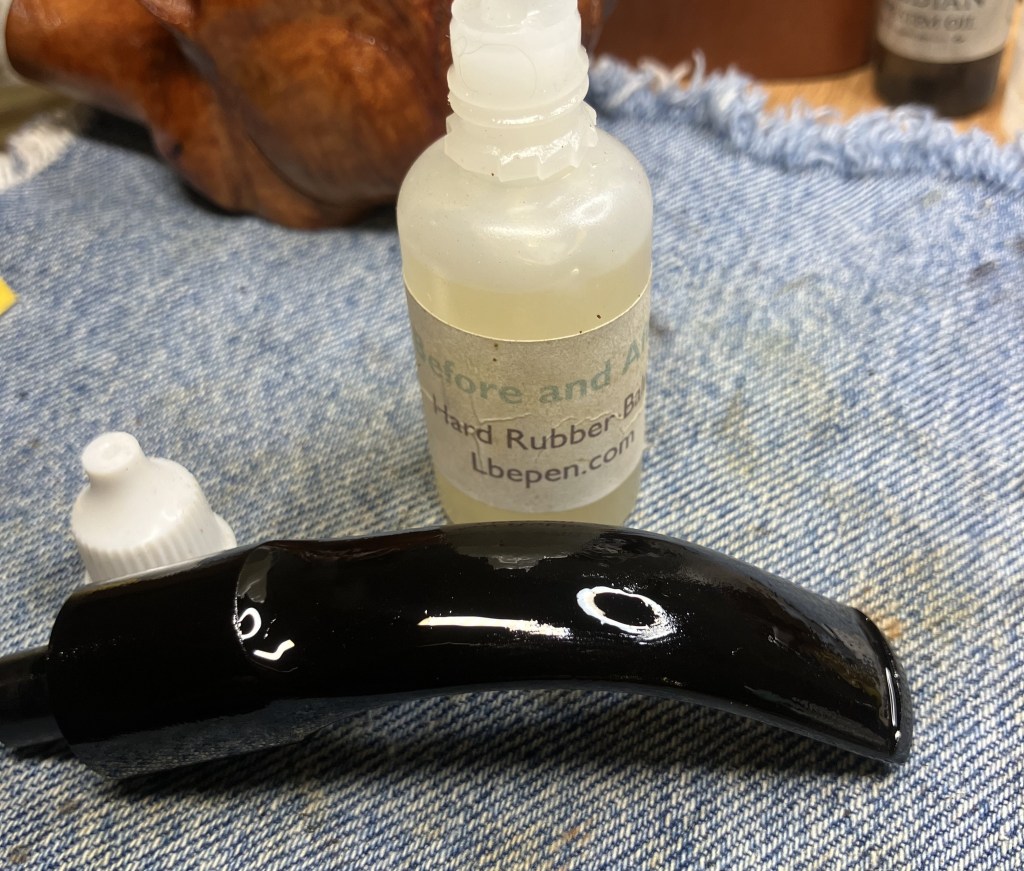
Eventually the pipe was worked with micro-mesh pads 4000-12000. Here the wiping was done similarly to the sanding stems except instead of mineral oil I used Obsidian Oil on the stem.
The pipe was then taken to the buffer and buffed with white buffing compound on both the stem and stummel. The excess buffing compound was wiped off with a cotton hand towel then the pipe was cleaned with a make-up pad dipped in 99% ethyl alcohol to remove any remaining buffing compound.
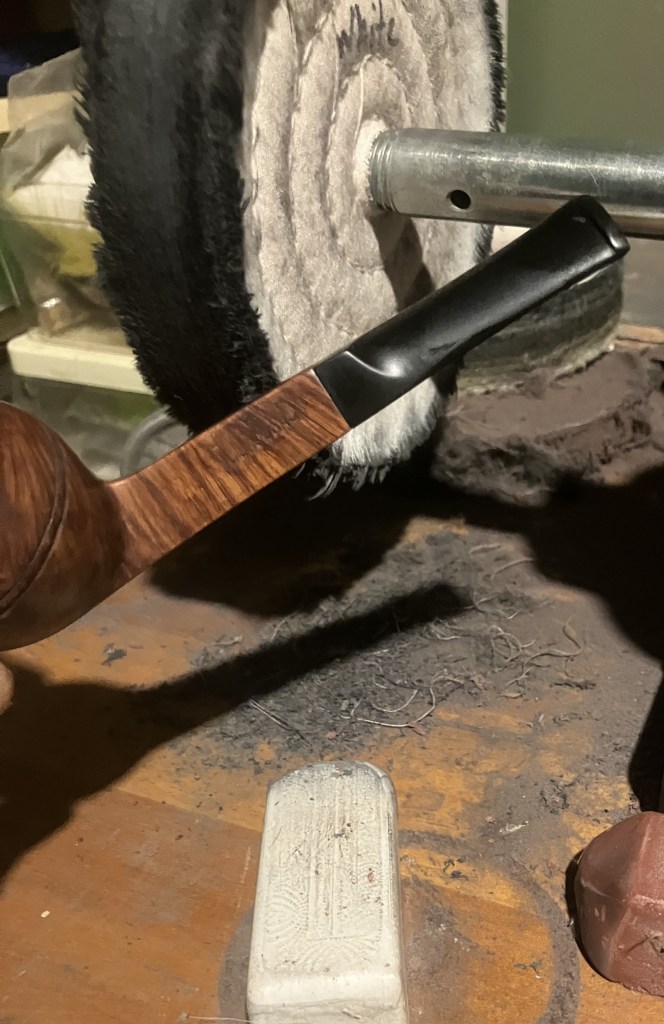
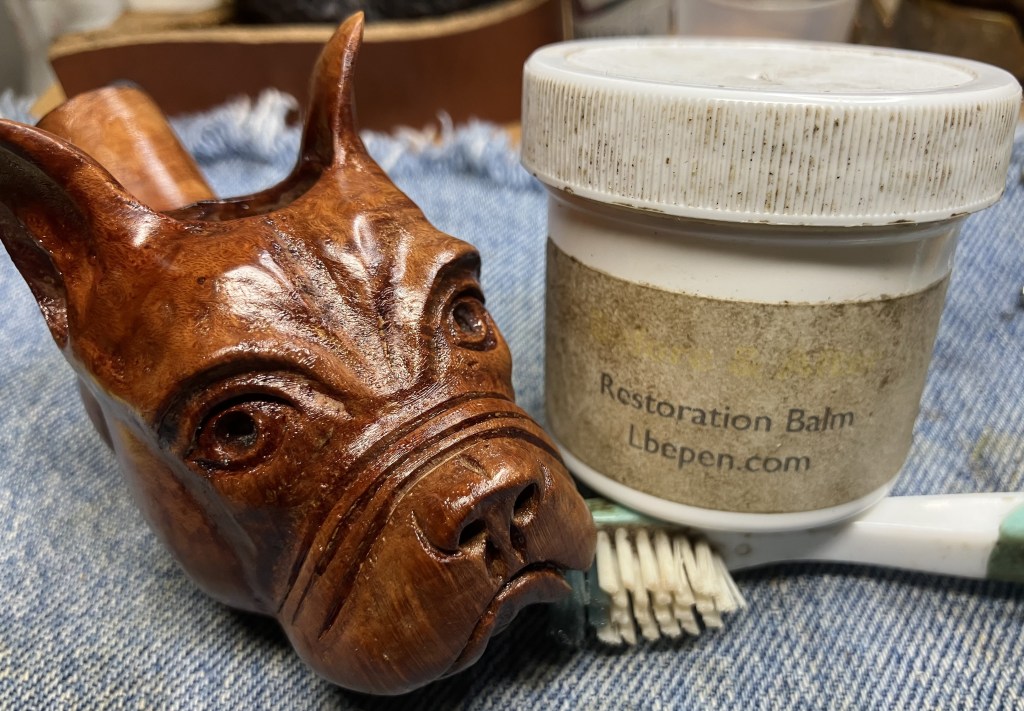
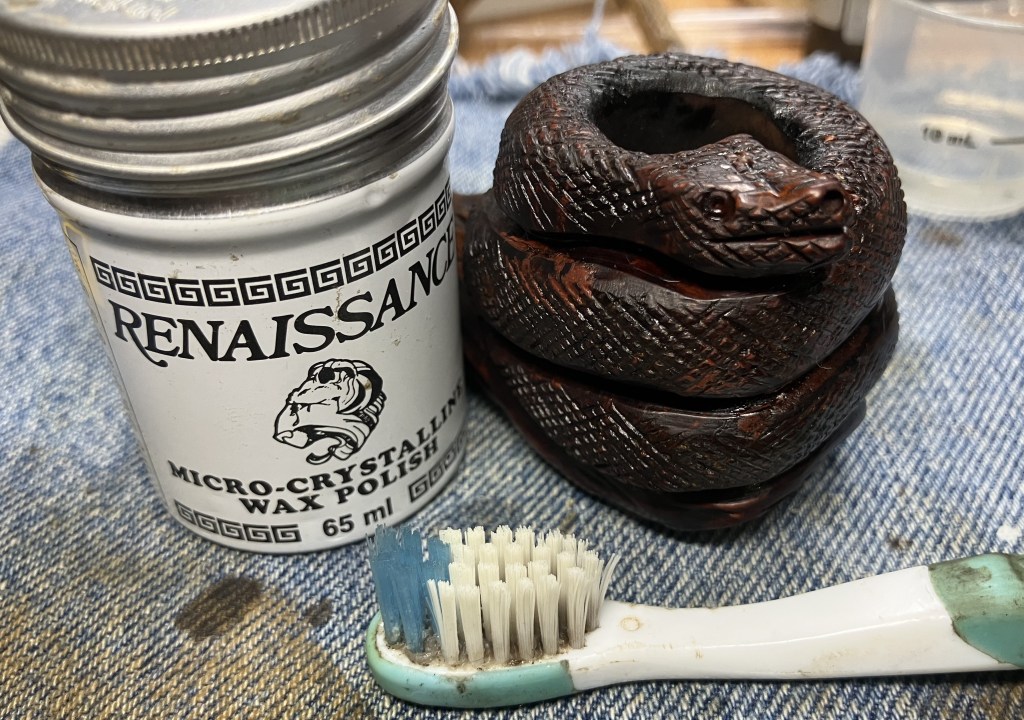
I returned the pipe to the buffer for several coats of carnauba wax.

The final step was a hand buffing of the carnauba wax with a microfiber polishing cloth.
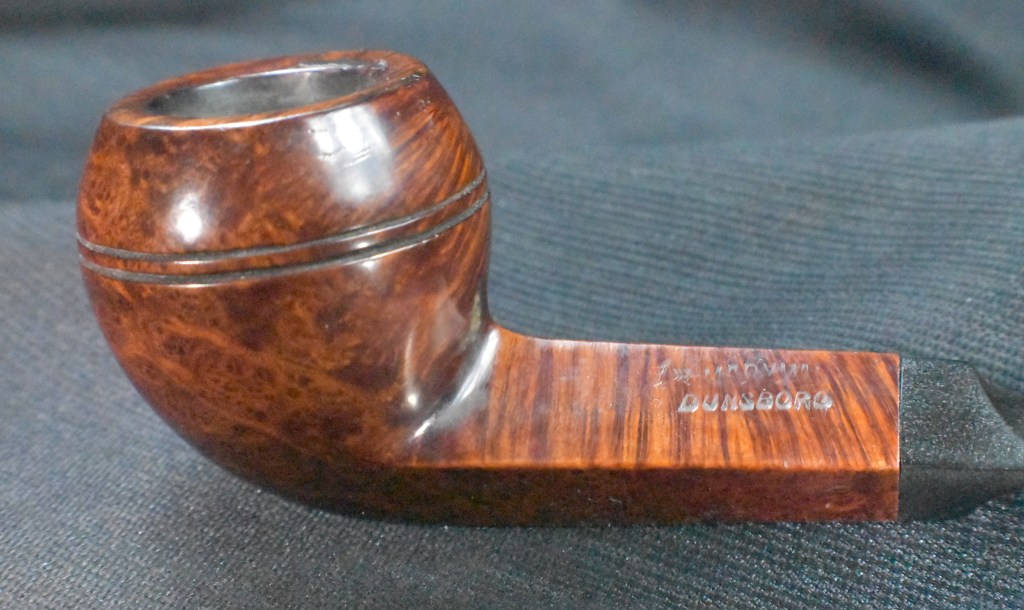
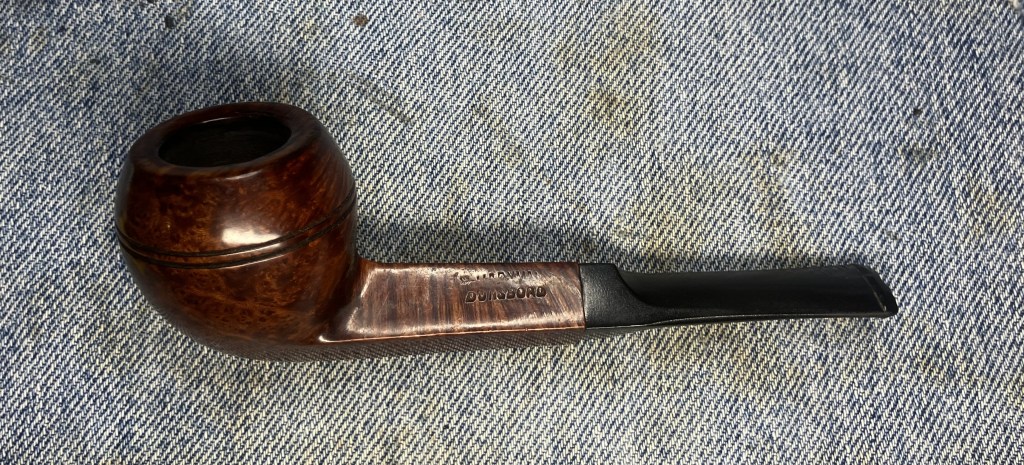
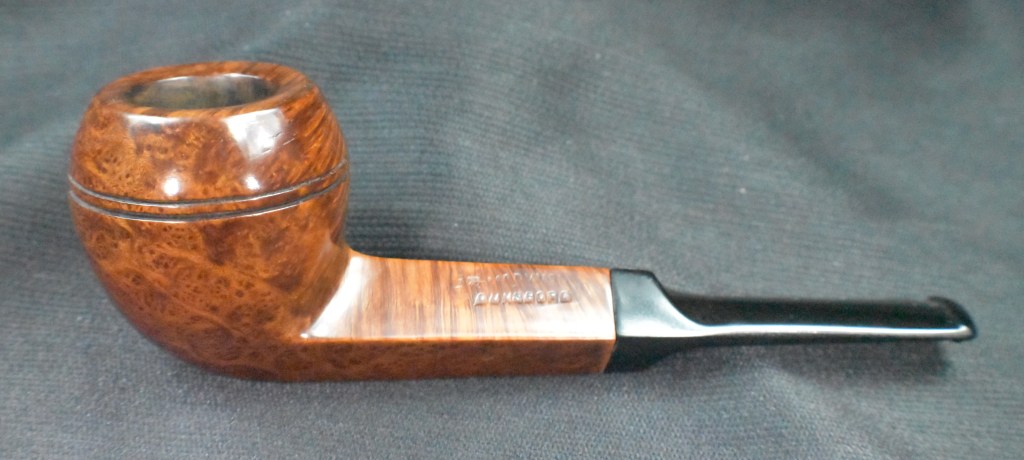
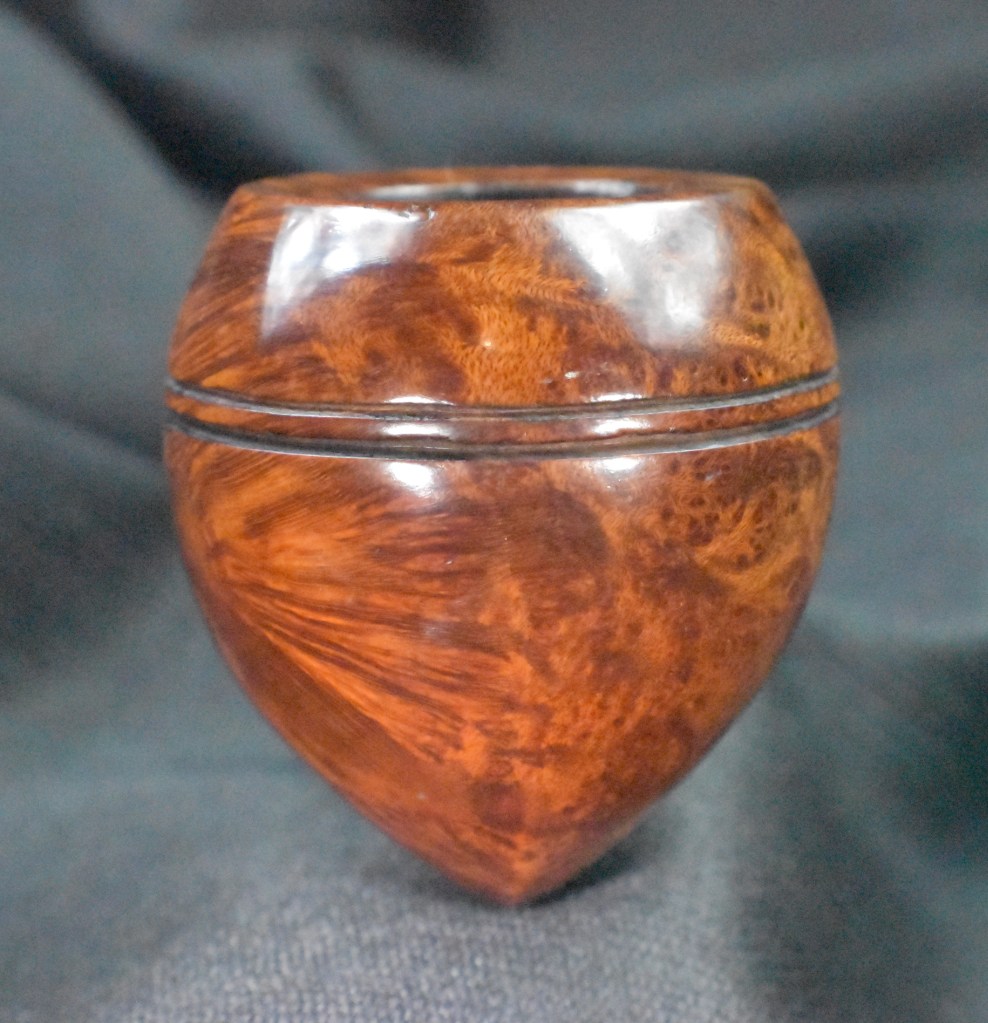
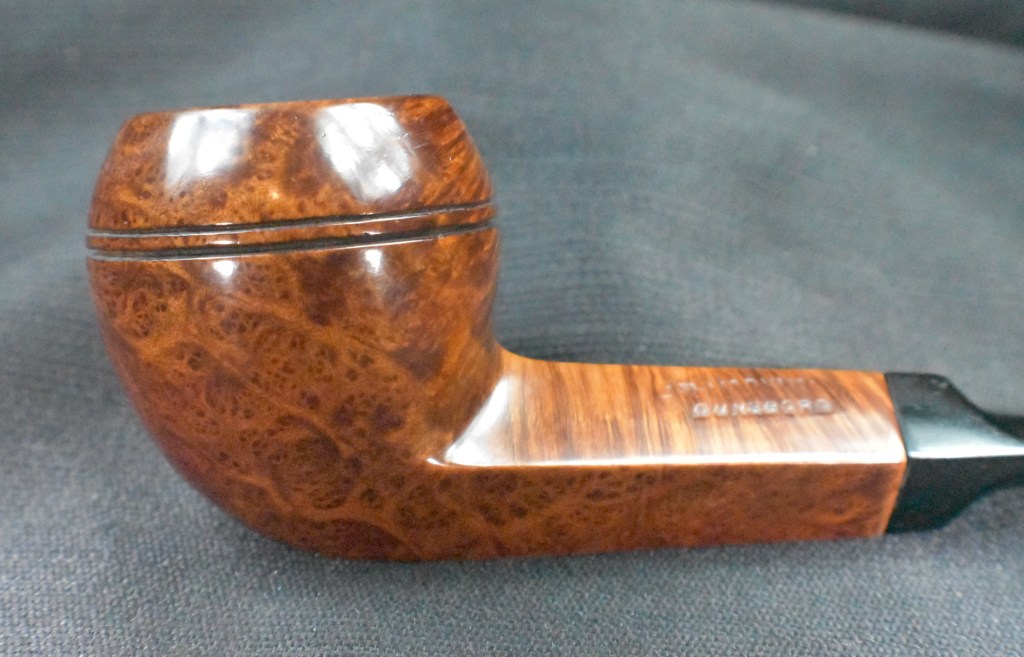
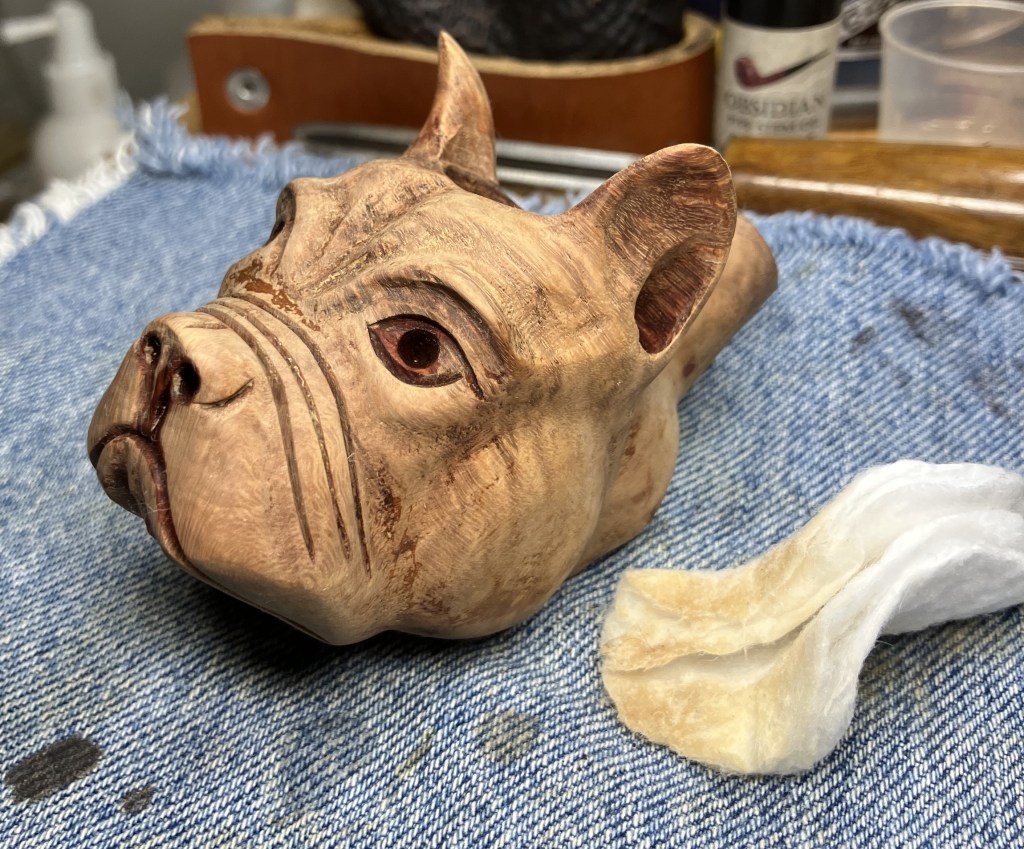
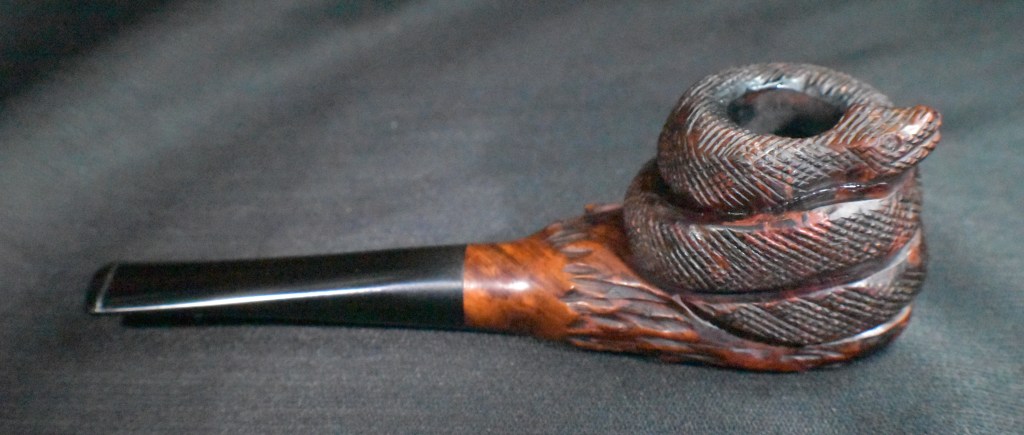
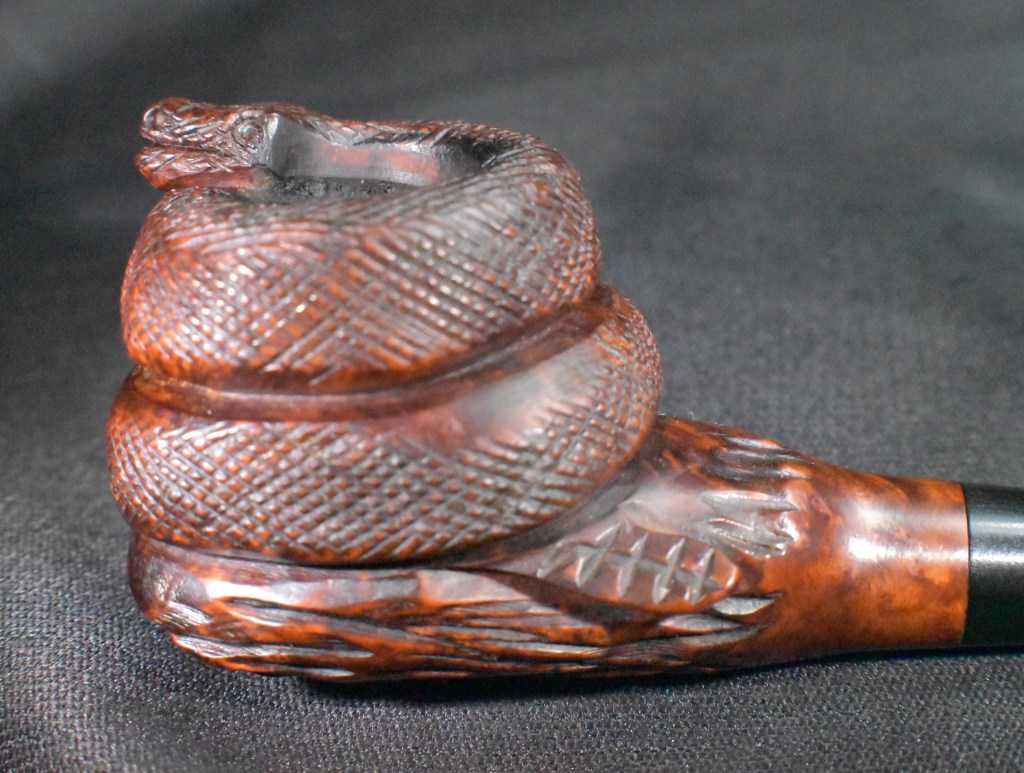
This Marxman Dunsboro turned out quite nicely. The briar grain is exceptional, for a Marxman. I added that disclaimer since Marxman pipes are kind of known for their rougher textures. The stem material is not of the highest quality vulcanite and even when polished it retains a less glossy finish. The repair of the tenon went better than expected producing a nice cylindrical tenon. Unfortunately, the mortise had become worn by the old uneven tenon and a rigid tight fit was near impossible to achieve. It is far better than it was though. Overall, this pipe will make a great smoking pipe and shows some of the characteristics of the better-quality WWII era Marxman pipes. The dimensions of the Marxman Dunsboro Saddle Bulldog are:
Length: 5.47 in./ 138.94 mm.
Weight: 1.45 oz./ 41.11 g.
Bowl Height: 1.82 in./ 49.78 mm.
Chamber Depth: 1.56 in./ 39.62 mm.
Chamber Diameter: 0.76 in./ 19.30 mm.
Outside Diameter: 1.62 in./ 41.15 mm.
I do hope that you have found something here useful to your own pipe care, maintenance or restorations. If you like this sort of thing, please click the like and subscribe buttons. Thank you for reading the ramblings of an old pipe lover.
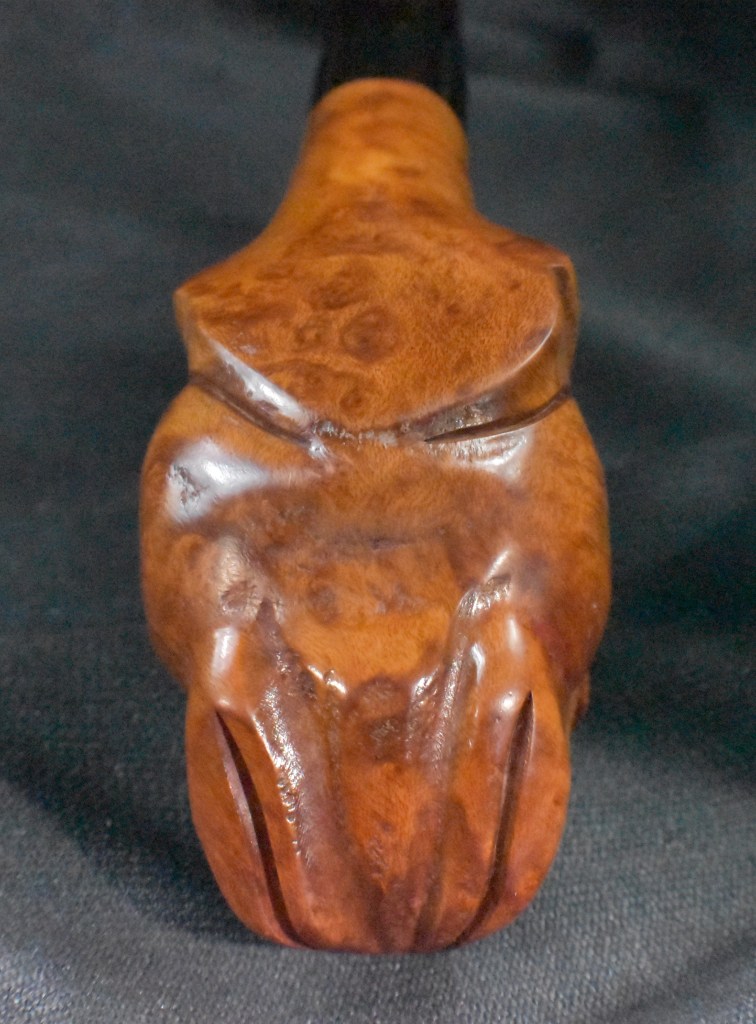
Below are some photos of the finished Marxman Dunsboro Saddle Bulldog.


