
Written and photographed by
John M. Young
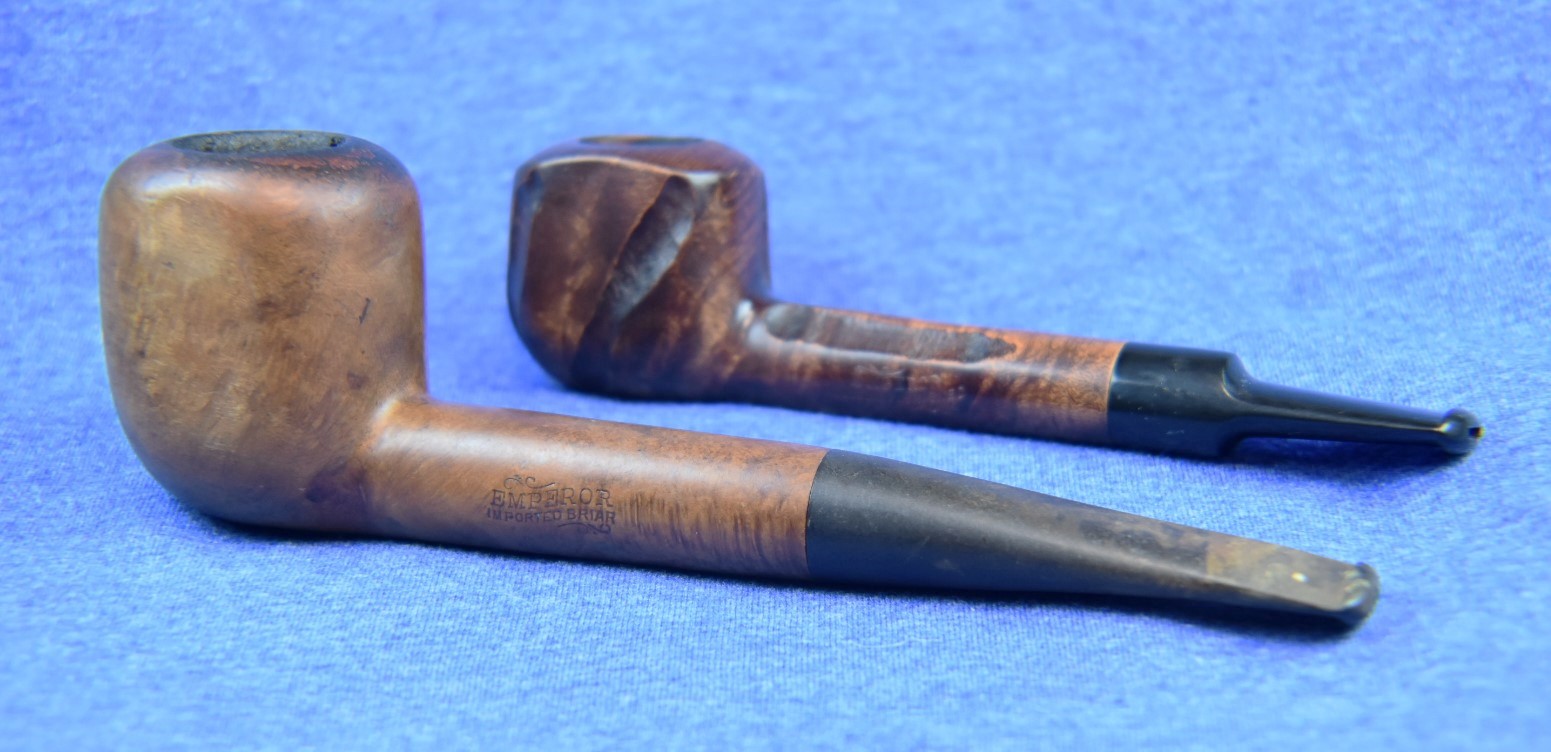
It looks like I have returned to the 1940s and with another Emperor. I have restored an Emperor De Luxe (Emperor’s spelling), Supreme and now a Limited. I have to say that I was a bit flummoxed when I first laid hands on the Limited, it was huge compared to the Supreme.
I first saw this, I can’t say little beauty, big girl on eBay. No one was meeting the sellors opening bid. I waited until the last day and sent an offer. It was accepted and the Emperor Limited made the journey from warm Fort Worth Texas to the less warm southeast Nebraska. I would like to say that the United States Postal Service was prompt with the delivery of this girl. According to the tracking she was shipped on January 13 and to arrive on January 17. We were hit by a pair of 6 inch (15 cm) snow events around that time which dropped a total of 12 inches (30 cm) of snow. Notice I did not say snow fall. Falling typically refers to vertical displacement. These storms both delivered their snow horizontally (weird, I know). The package left Fort Worth then disappeared from the face of the earth. I checked with the local post office and they recommended waiting a couple more days. I messaged the seller, and he said that he’d look into it. The seller must have magical powers over the post office or have photos of postal employees in compromising positions because the next day the package miraculously arrived, skipping over both the Kansas City and Omaha distribution centers.

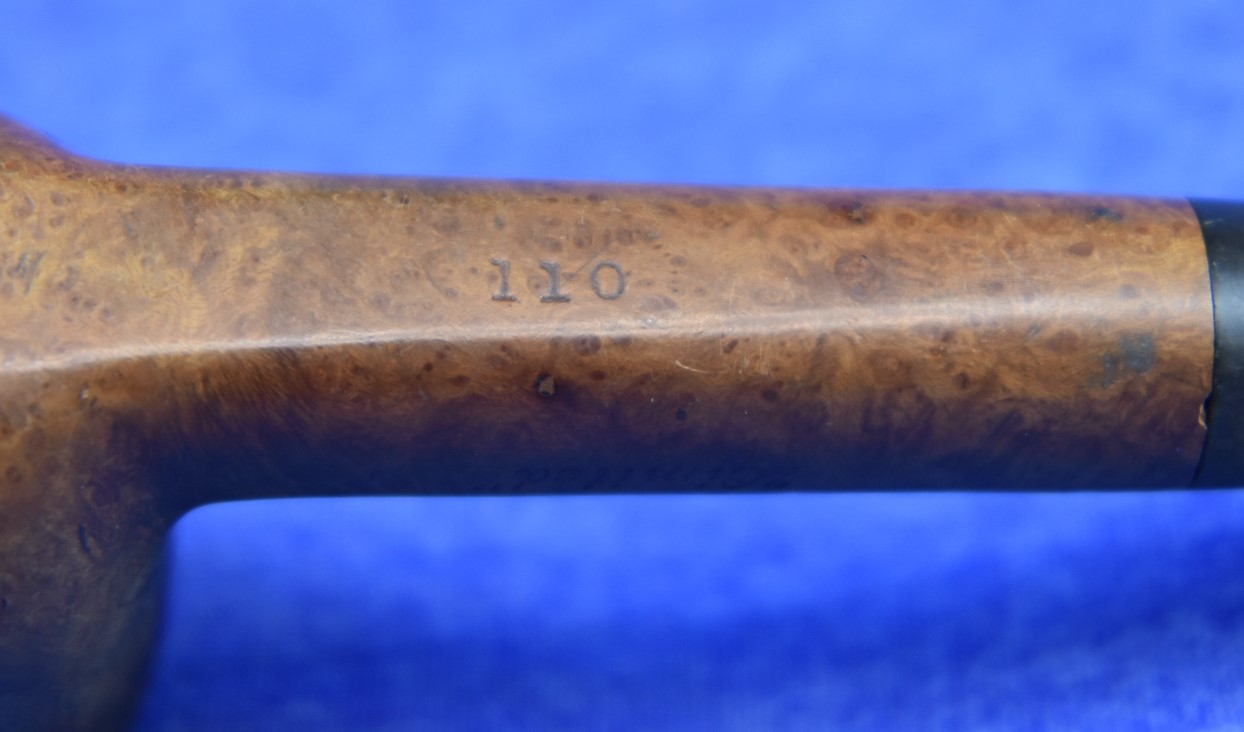
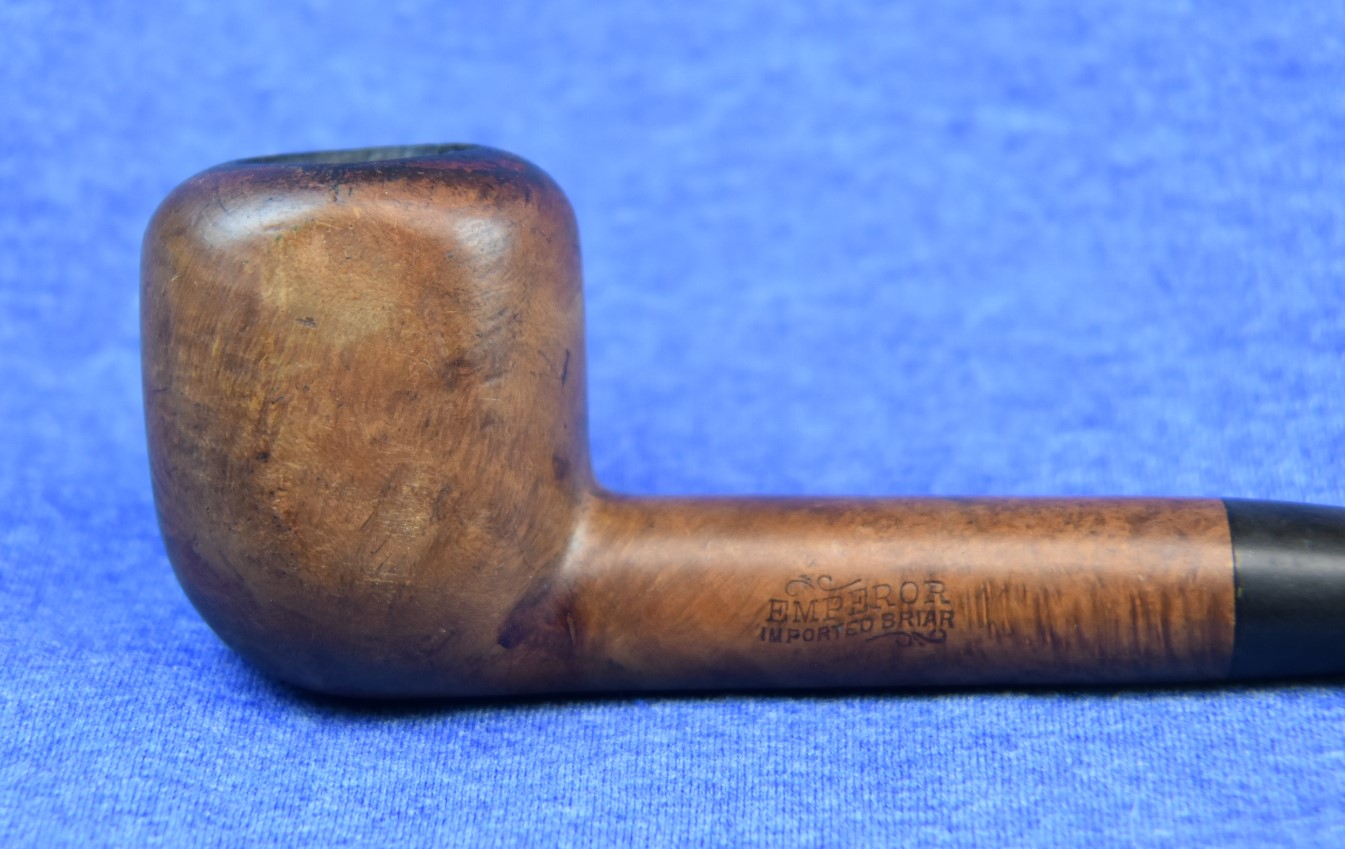
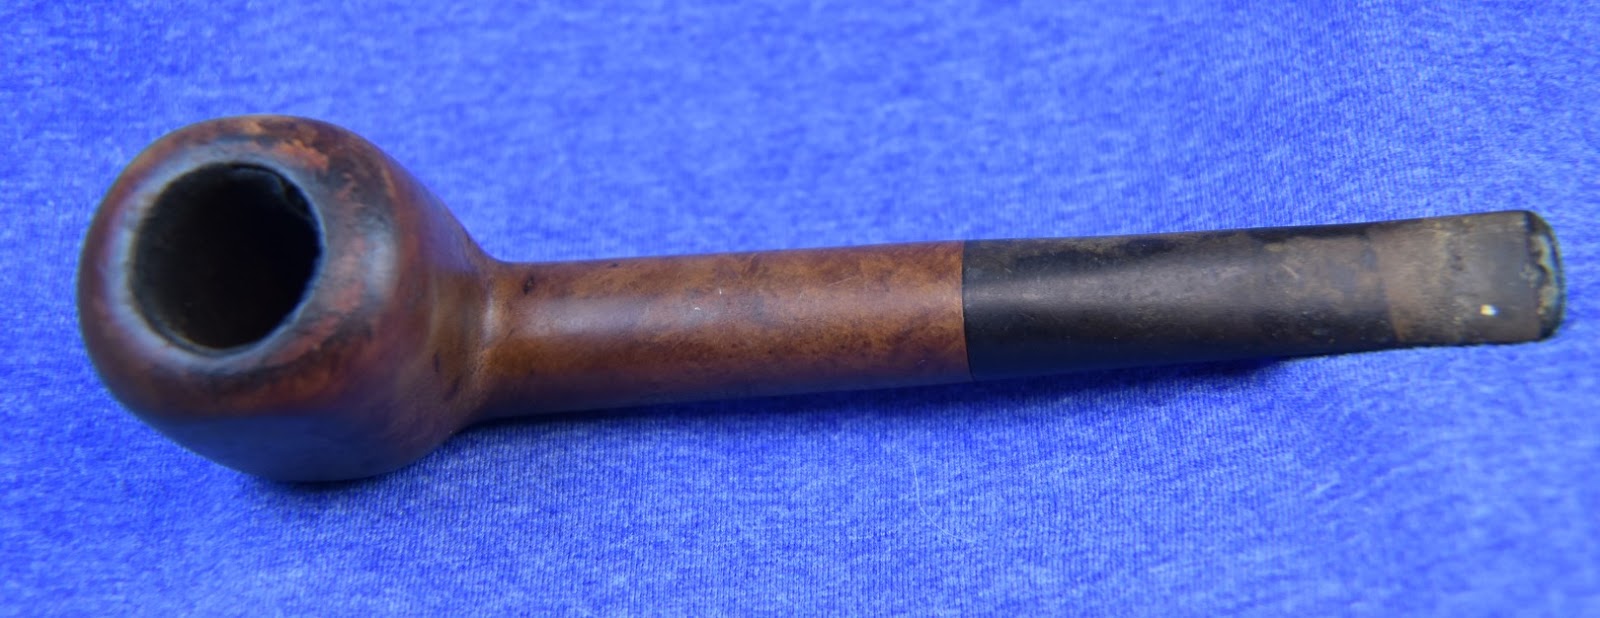
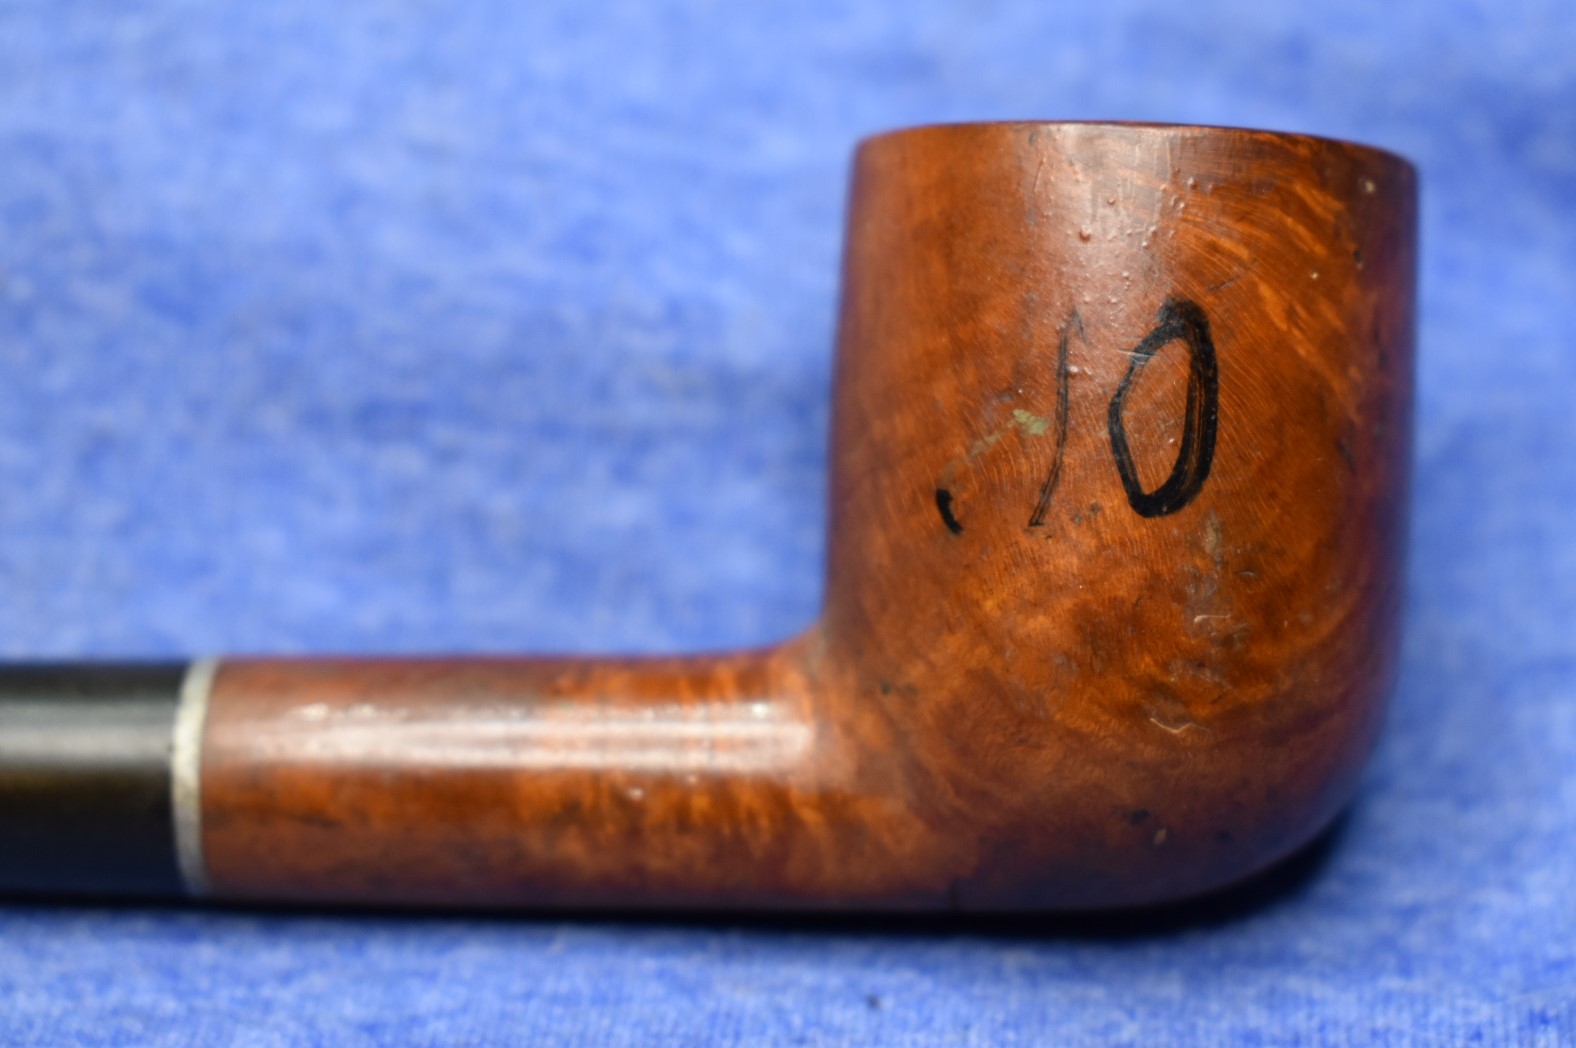
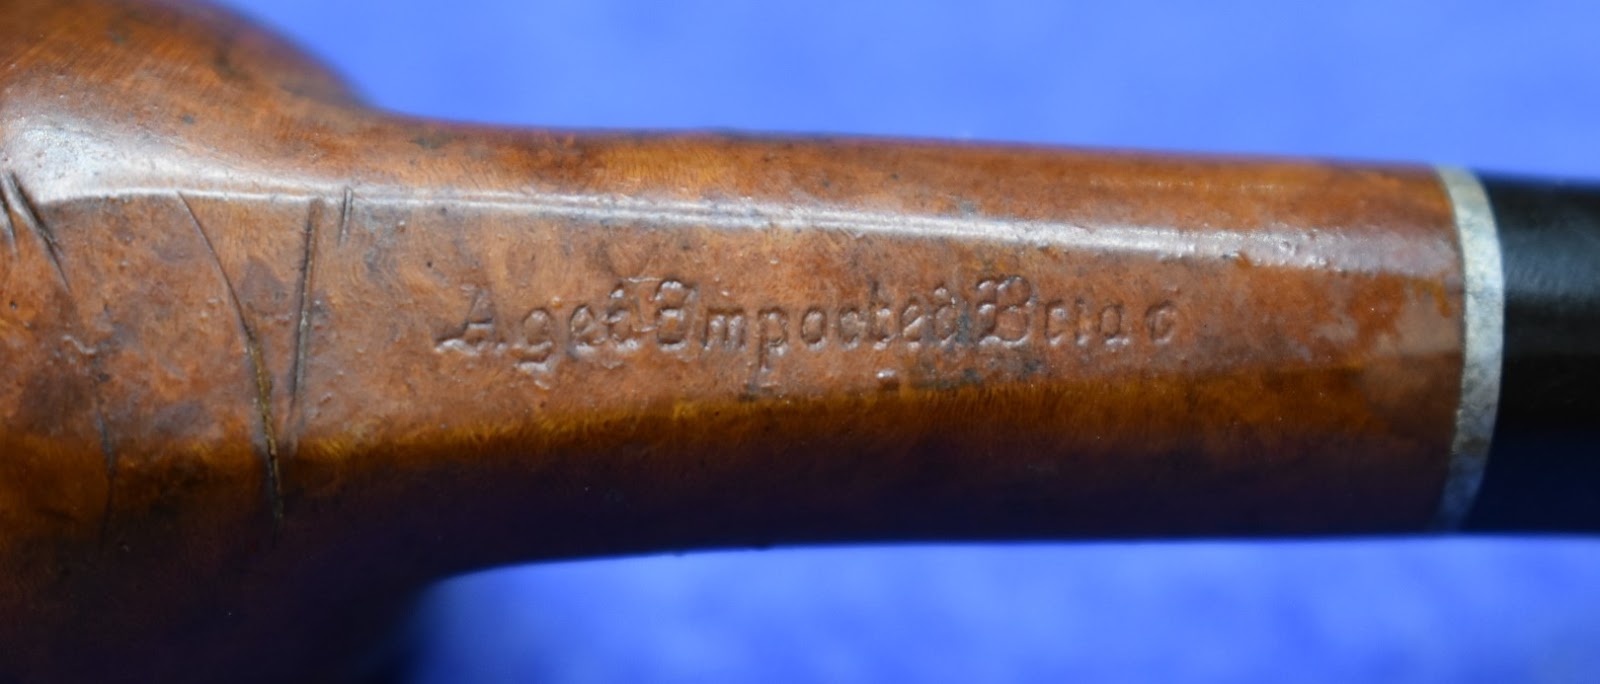
Anyway, opening the package led to another surprise – the HUGE Emperor Limited. I am at a loss as to what name I should give this shape. I cannot find an equivalent in any Emperor catalogs or advertisements. I guess, I’ll call it like I see it – large paneled billiard.
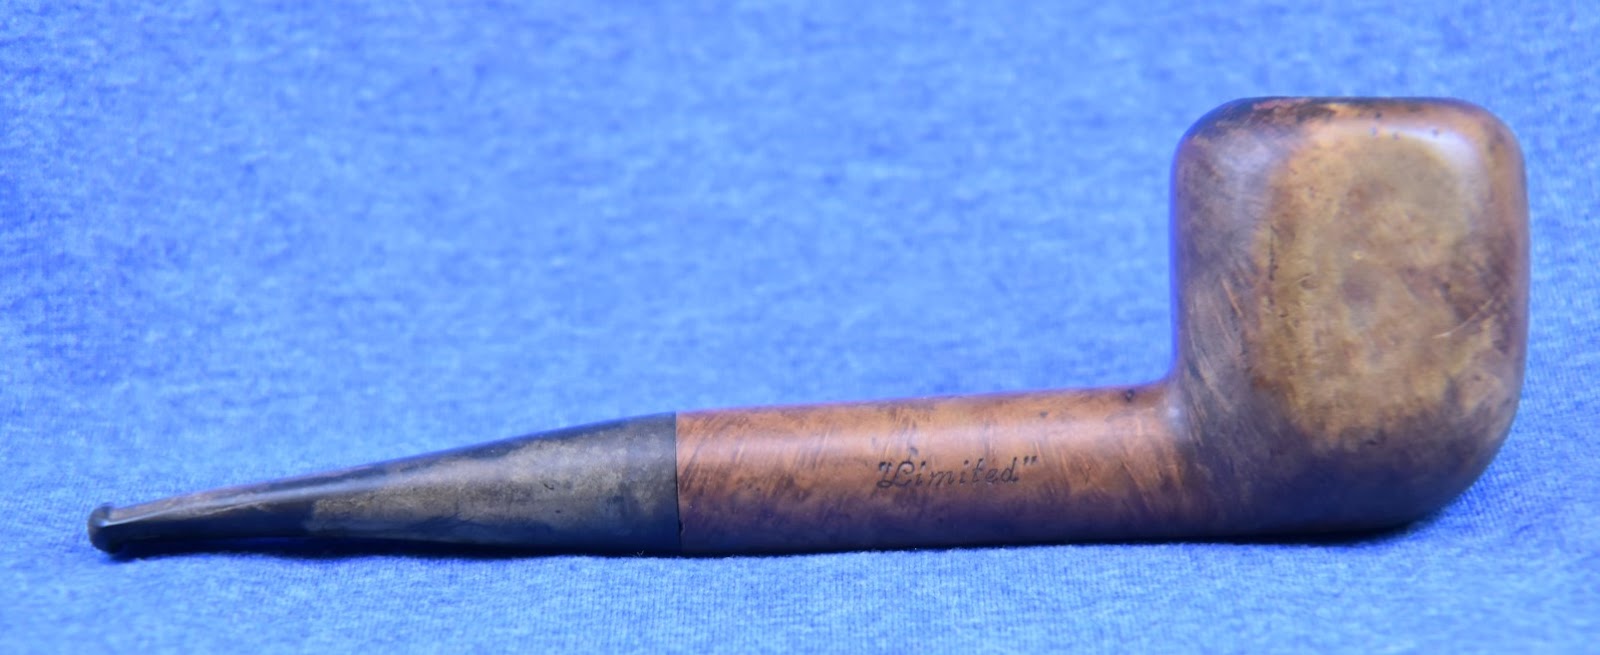
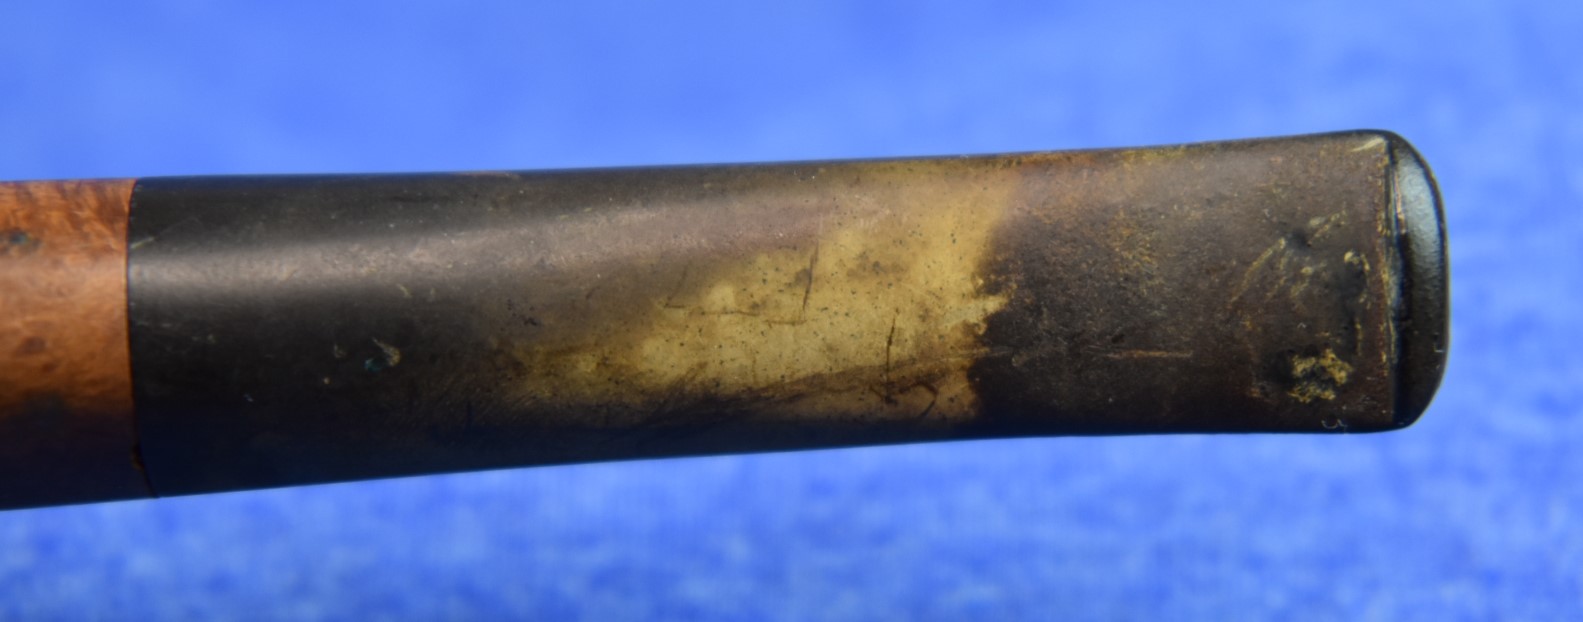
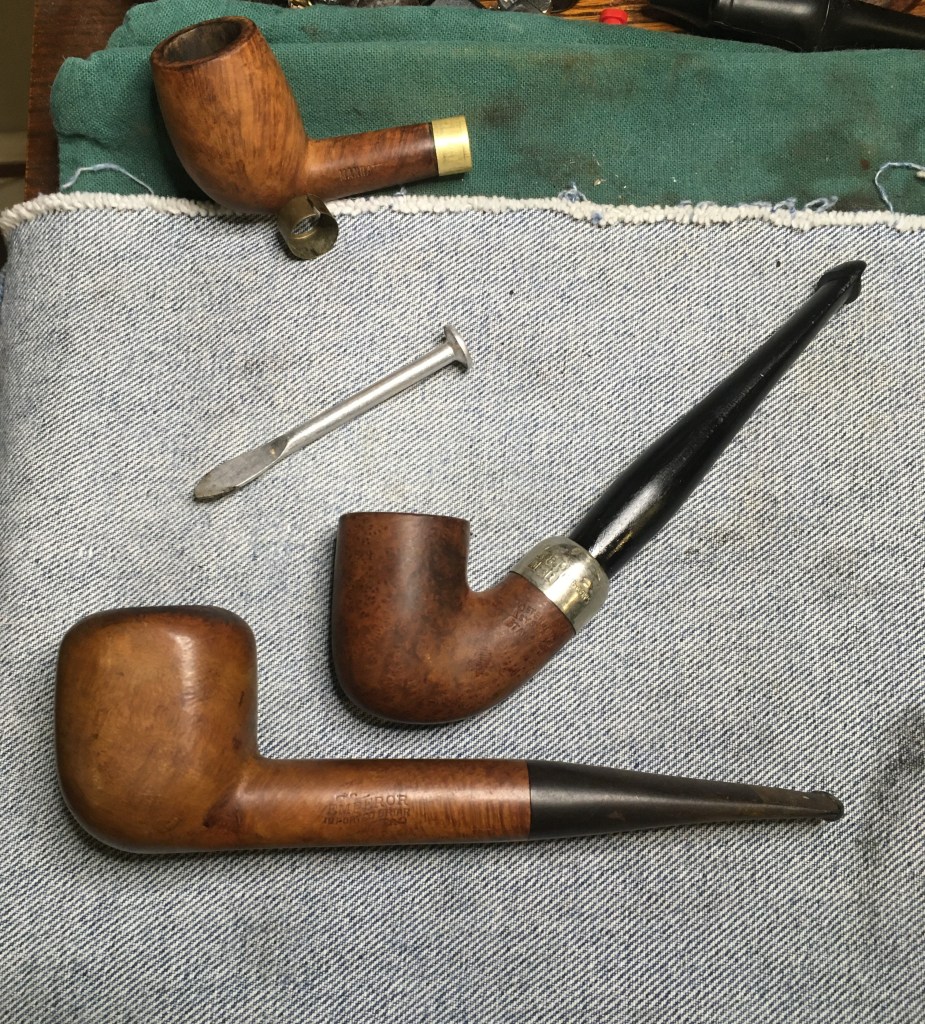
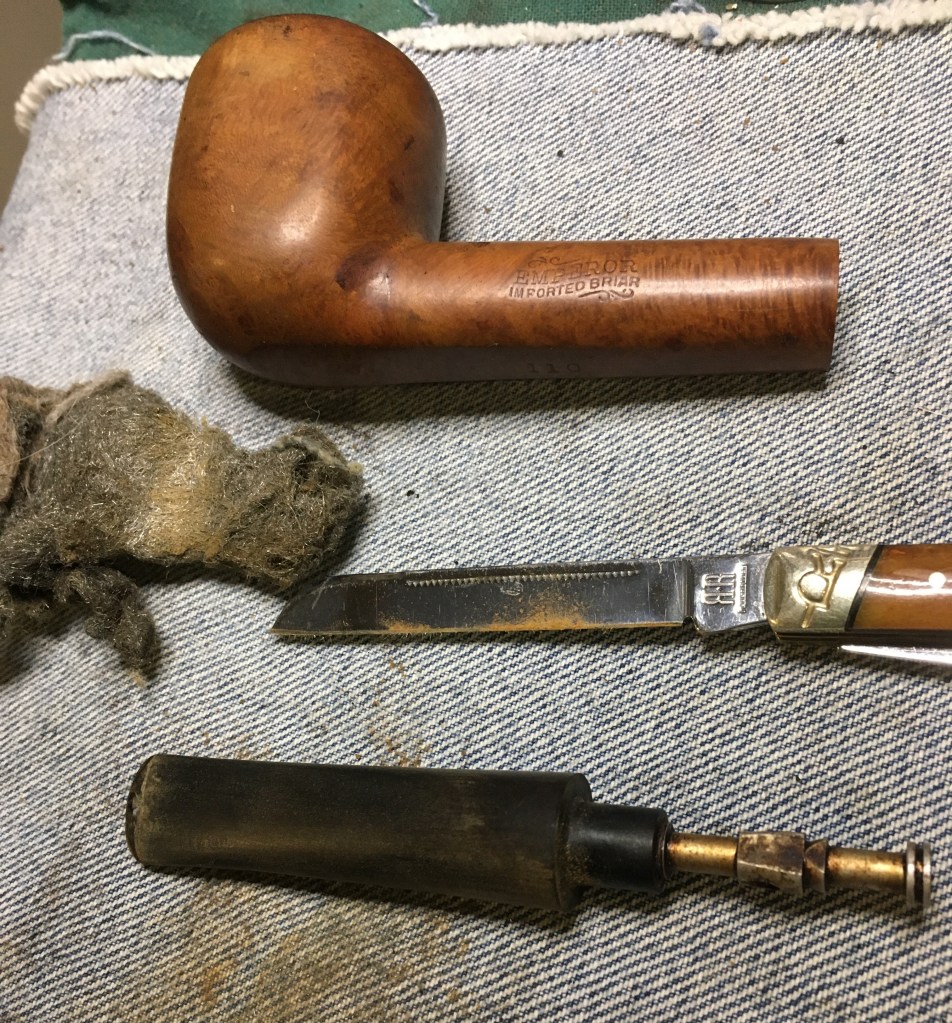
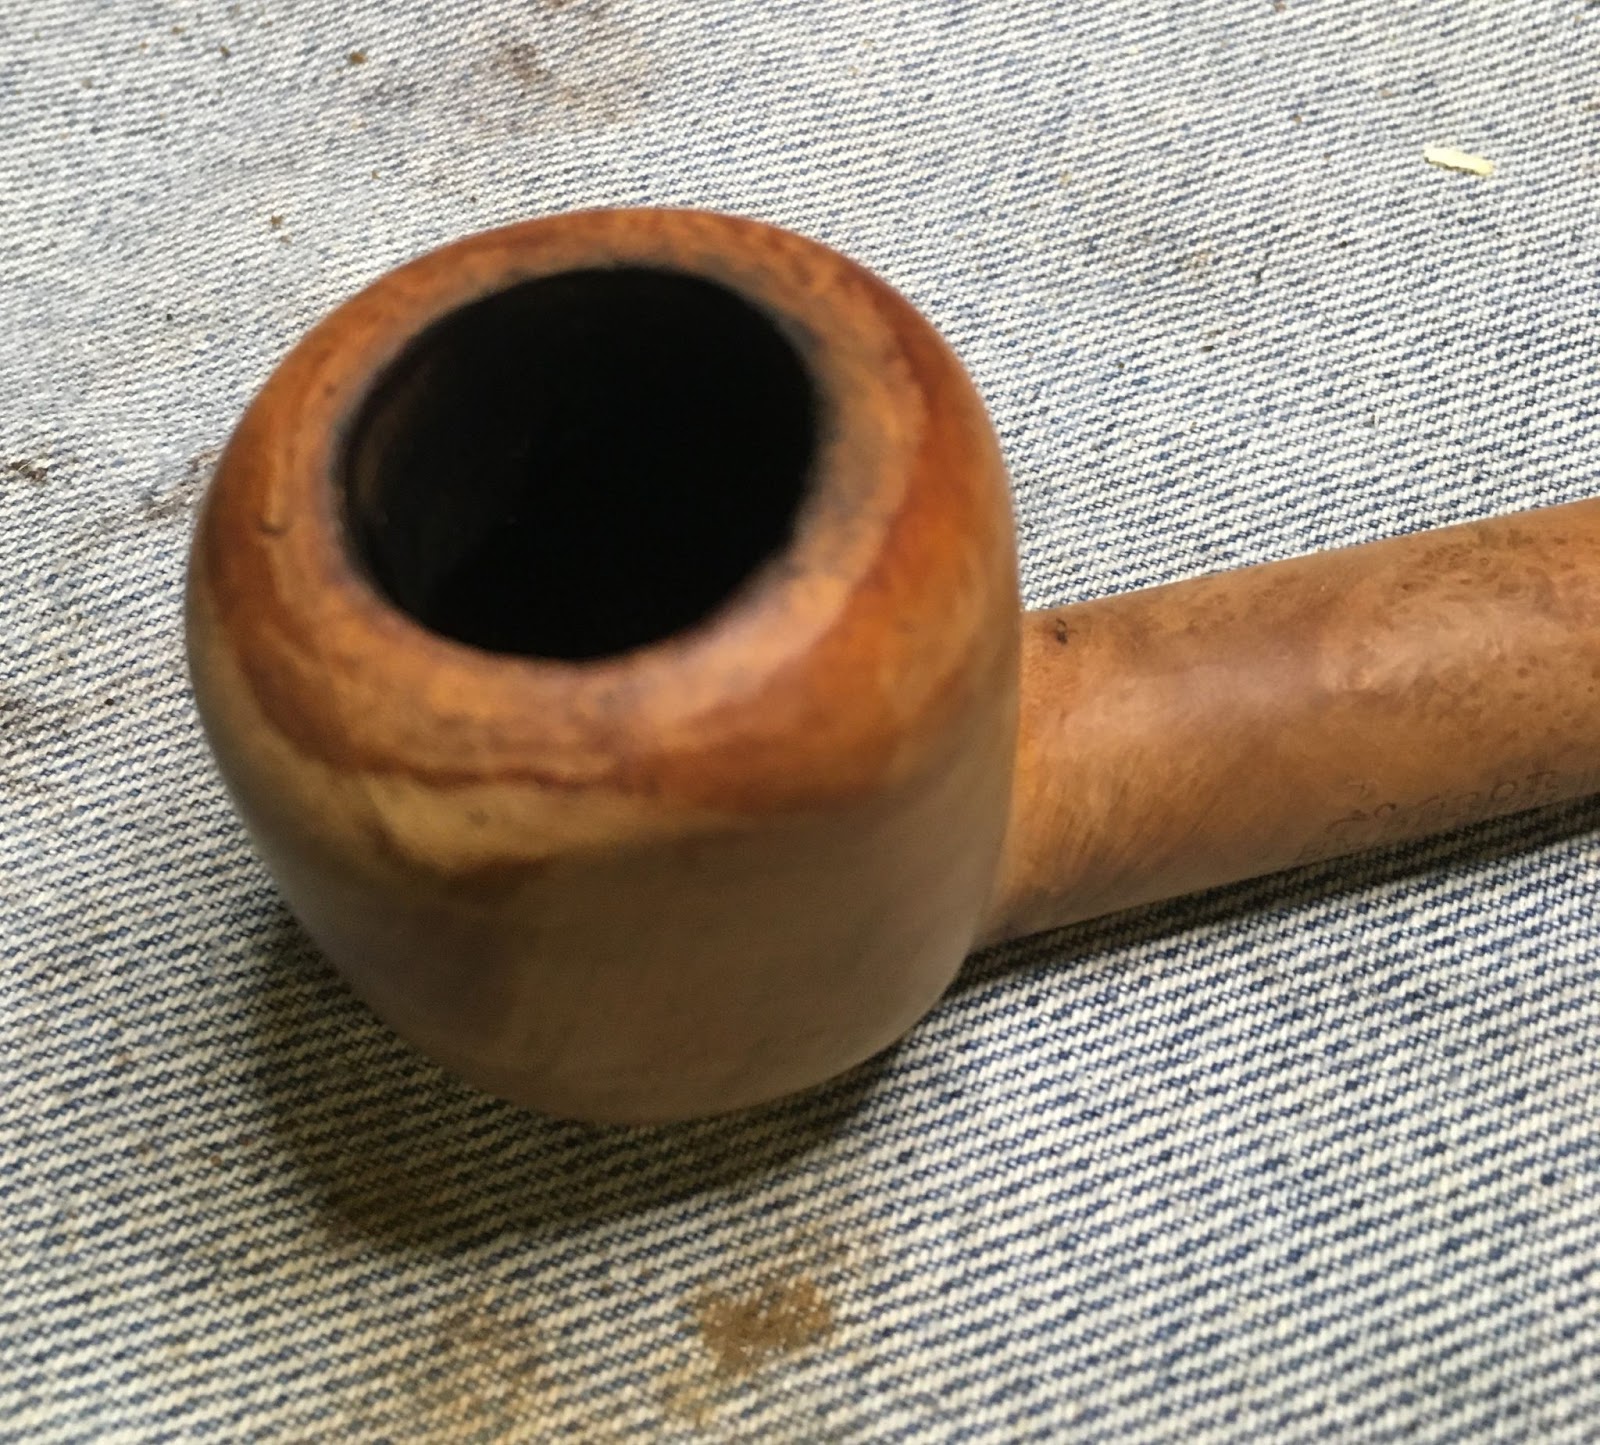
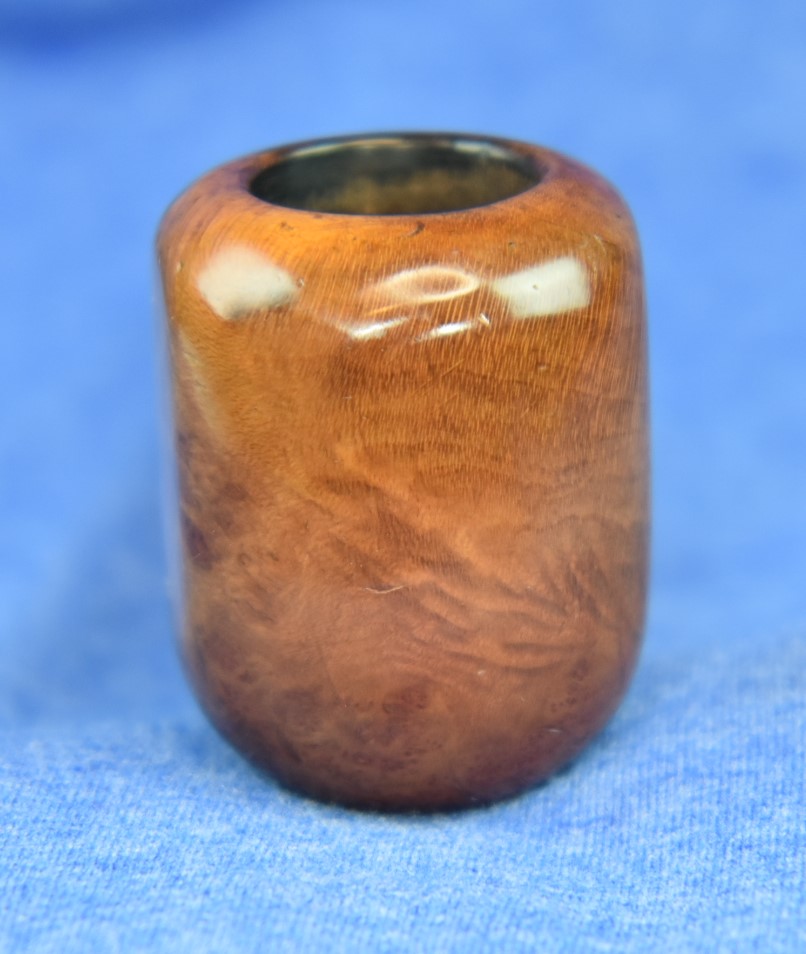
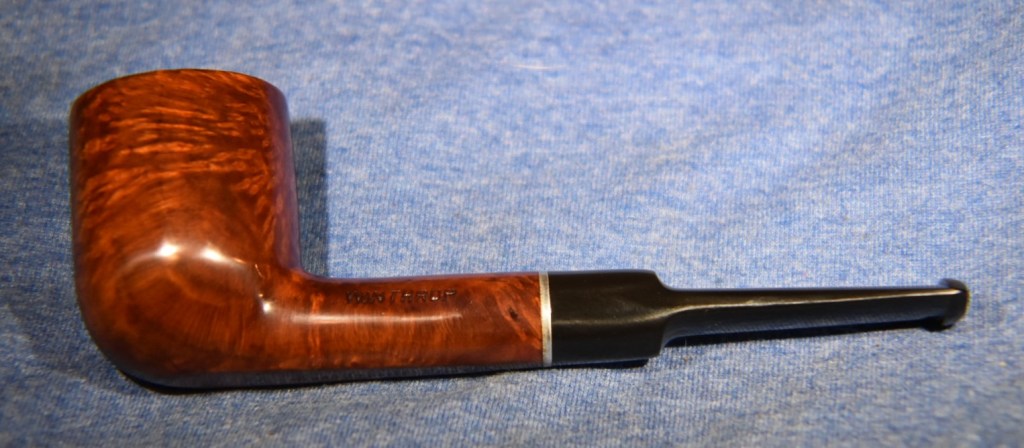
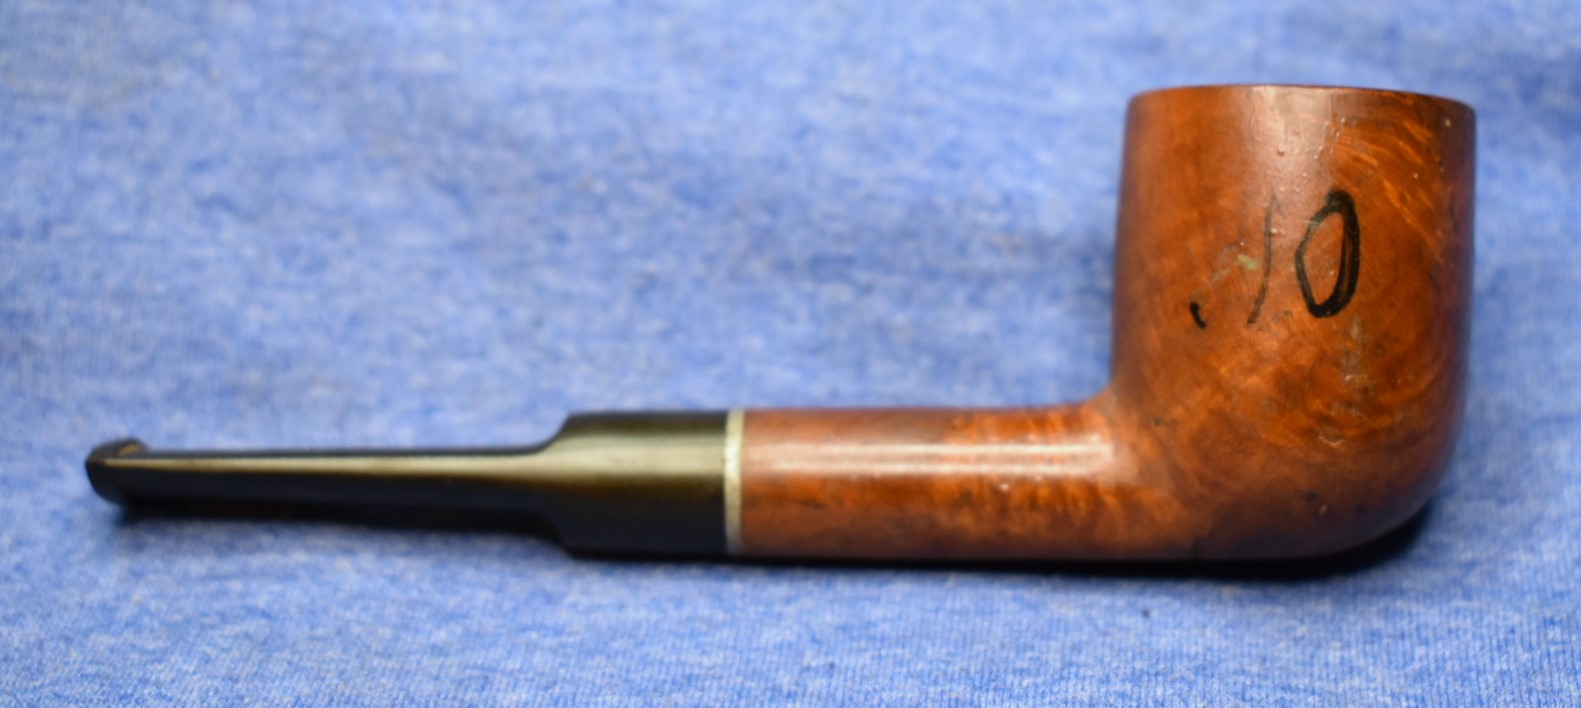
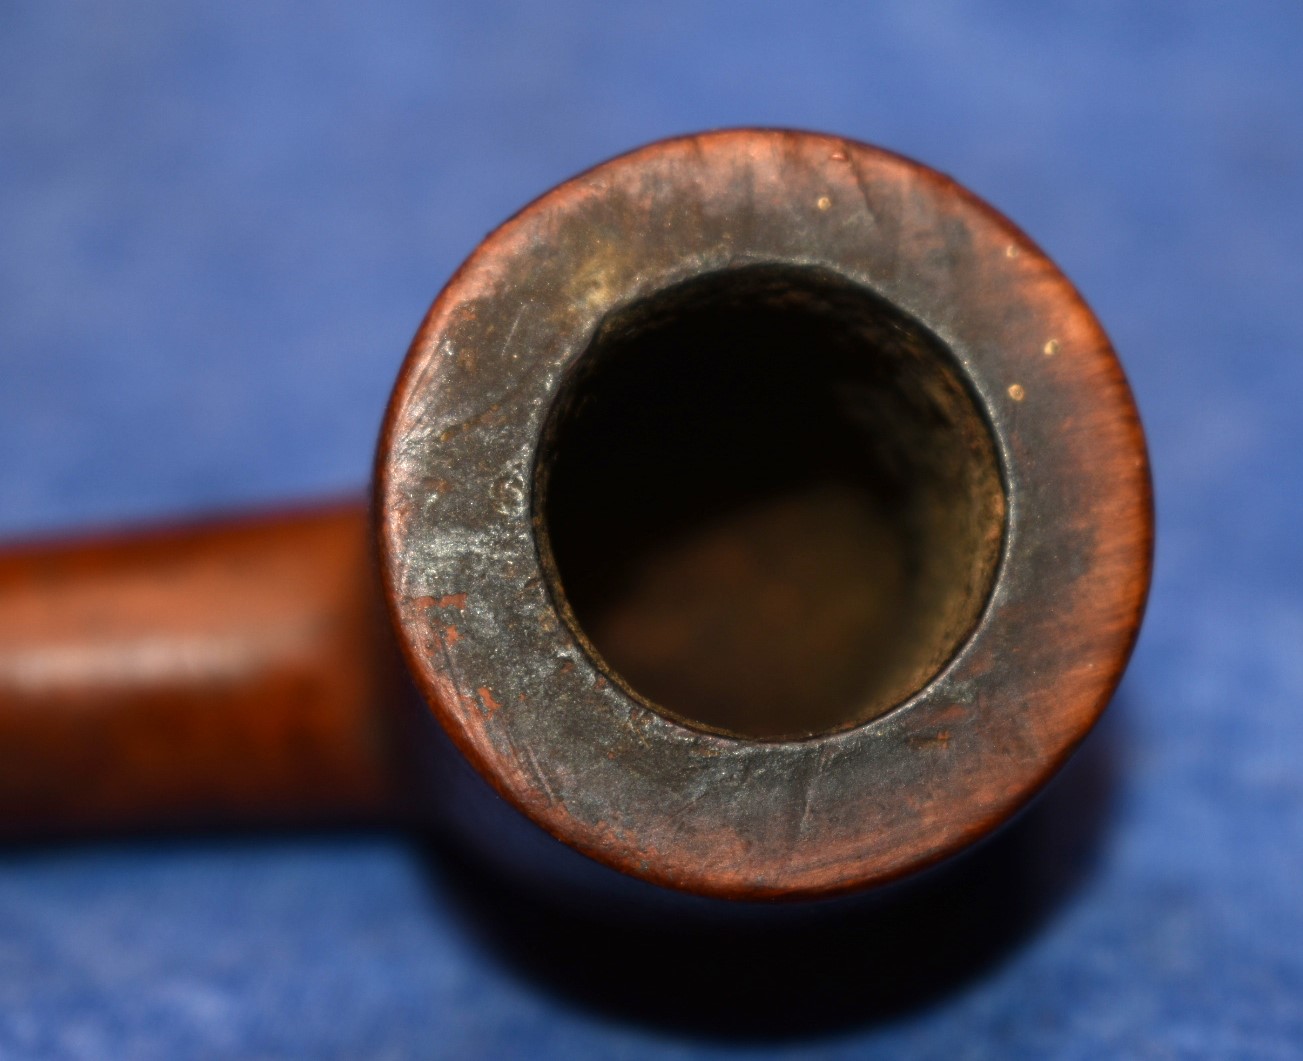
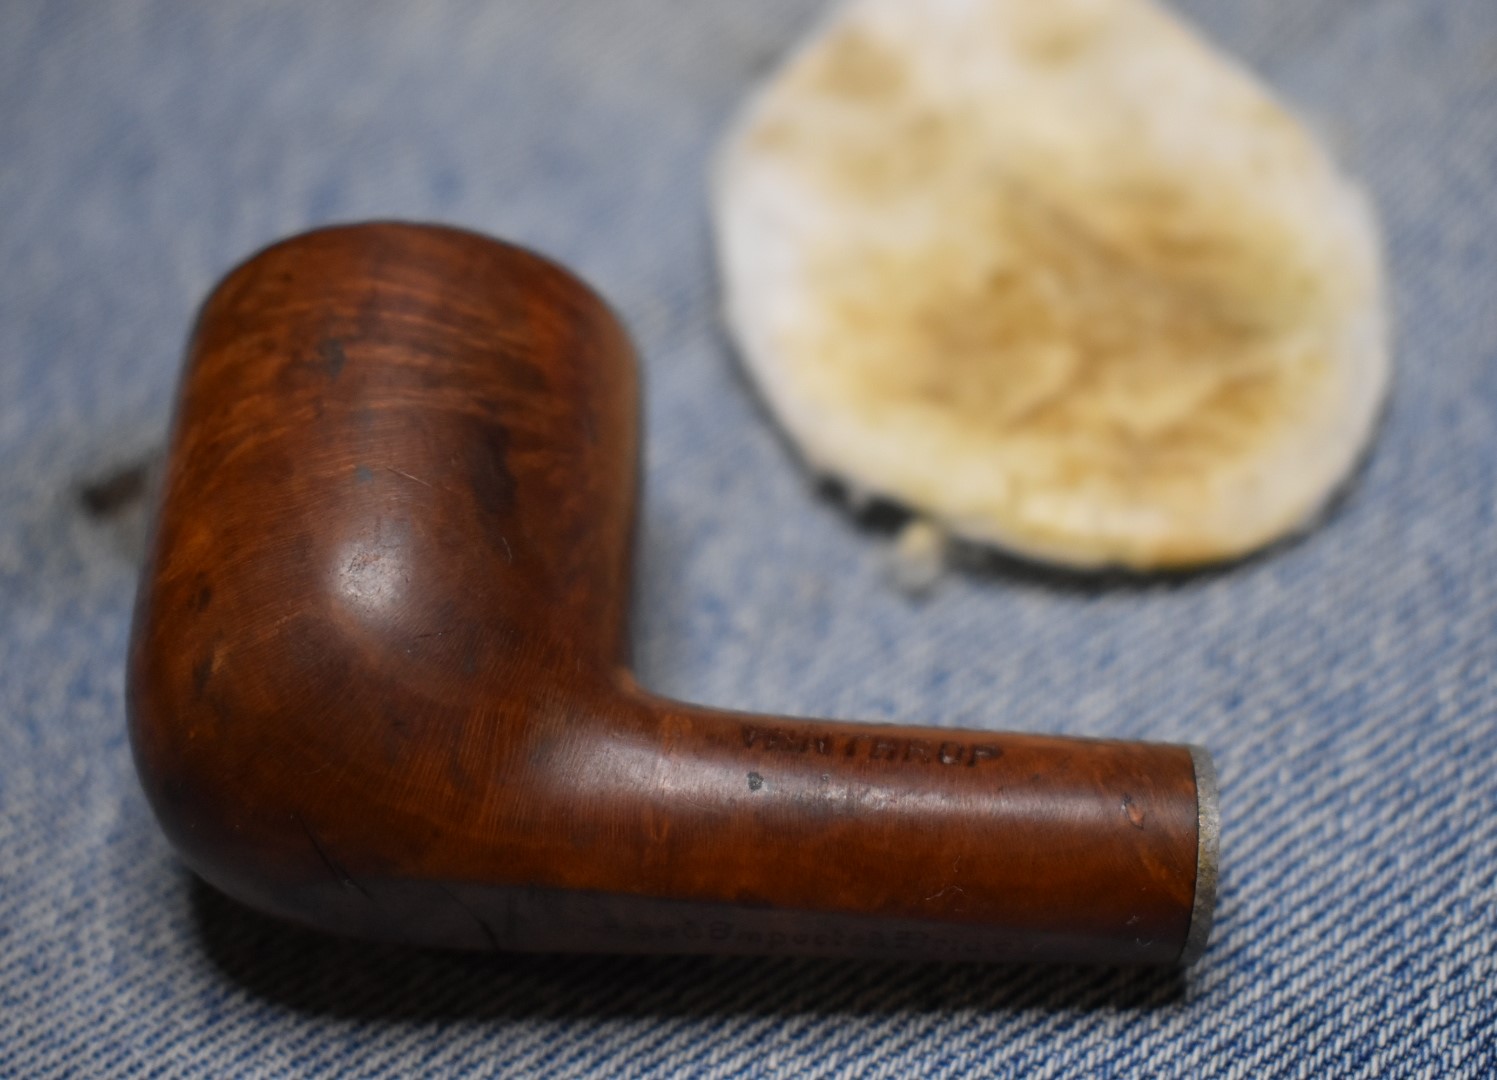
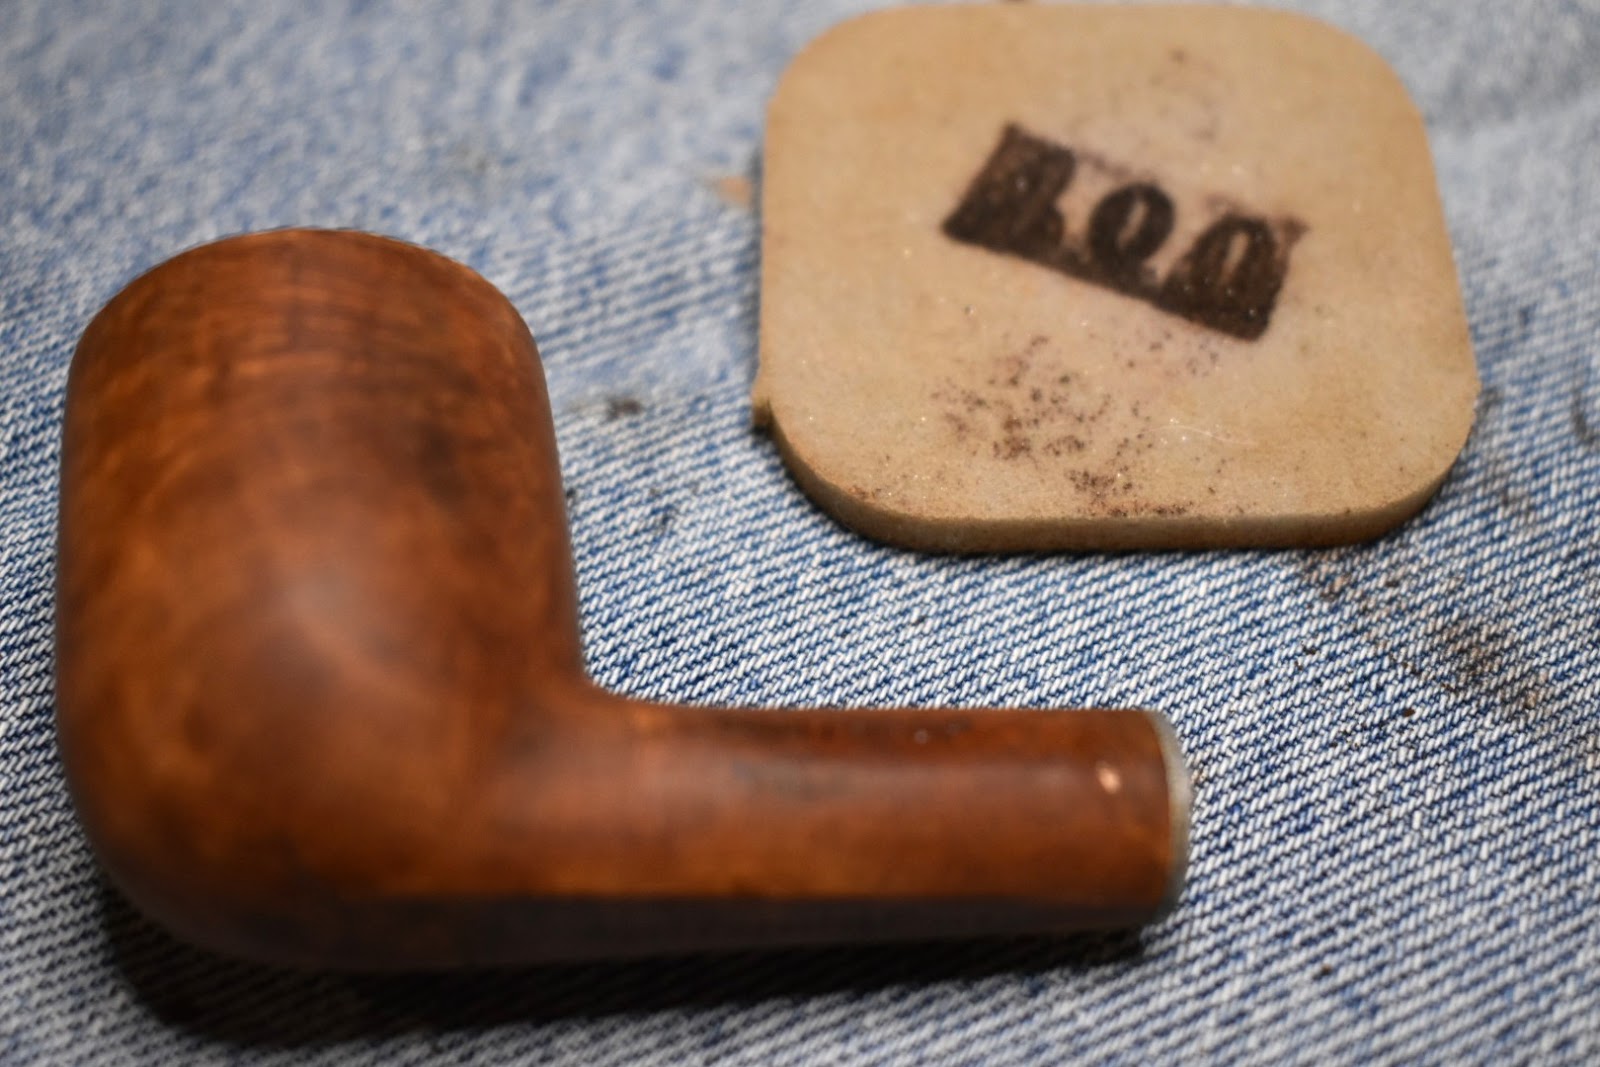
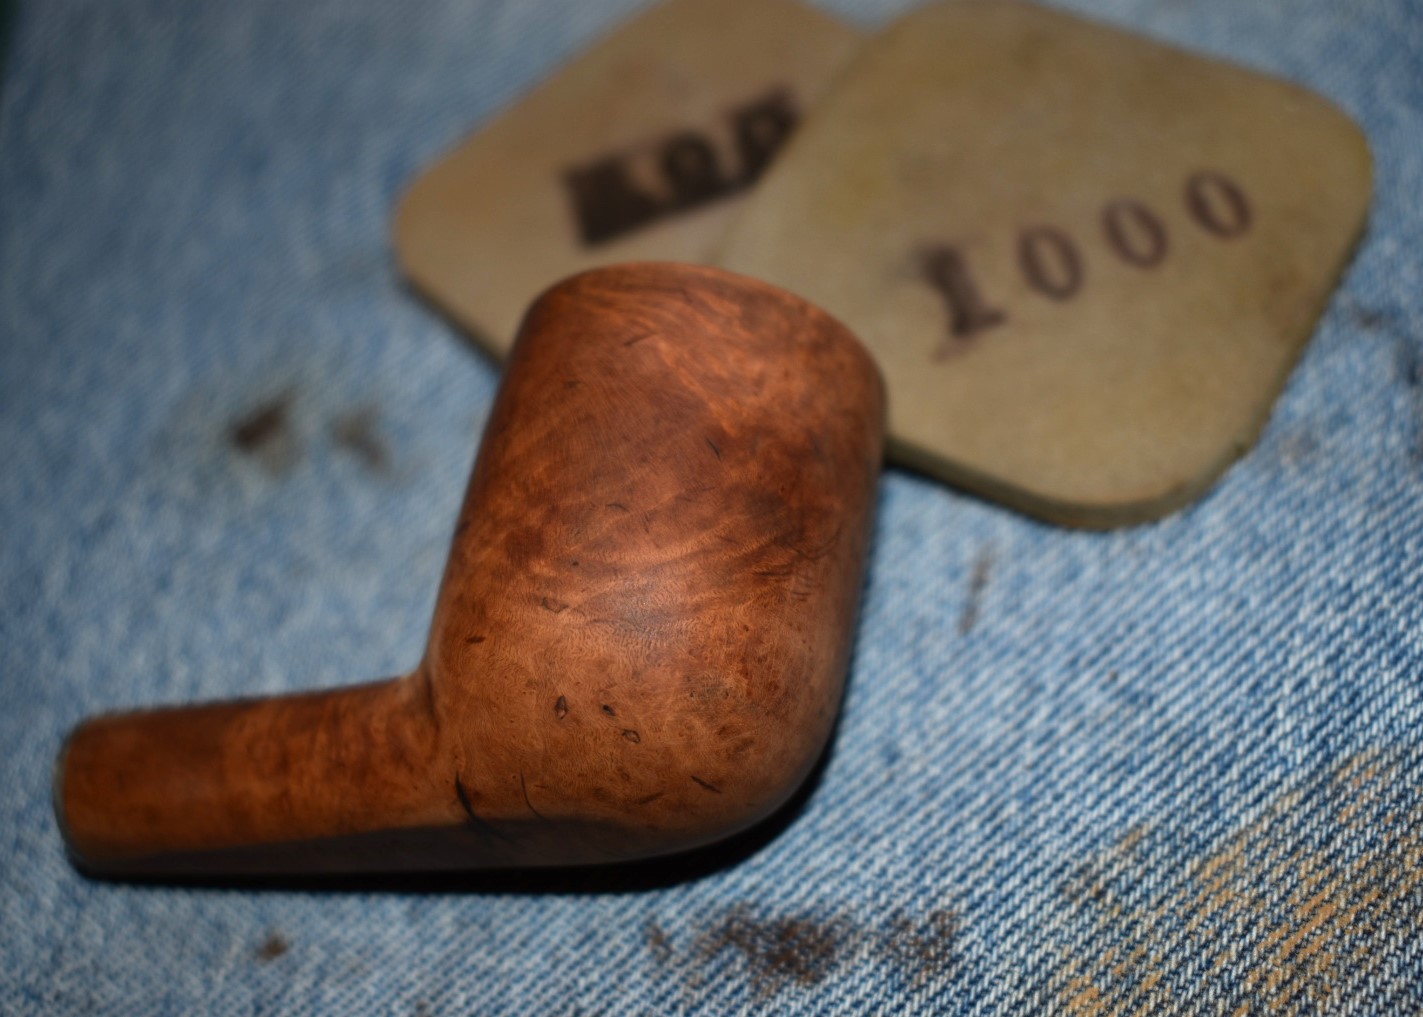
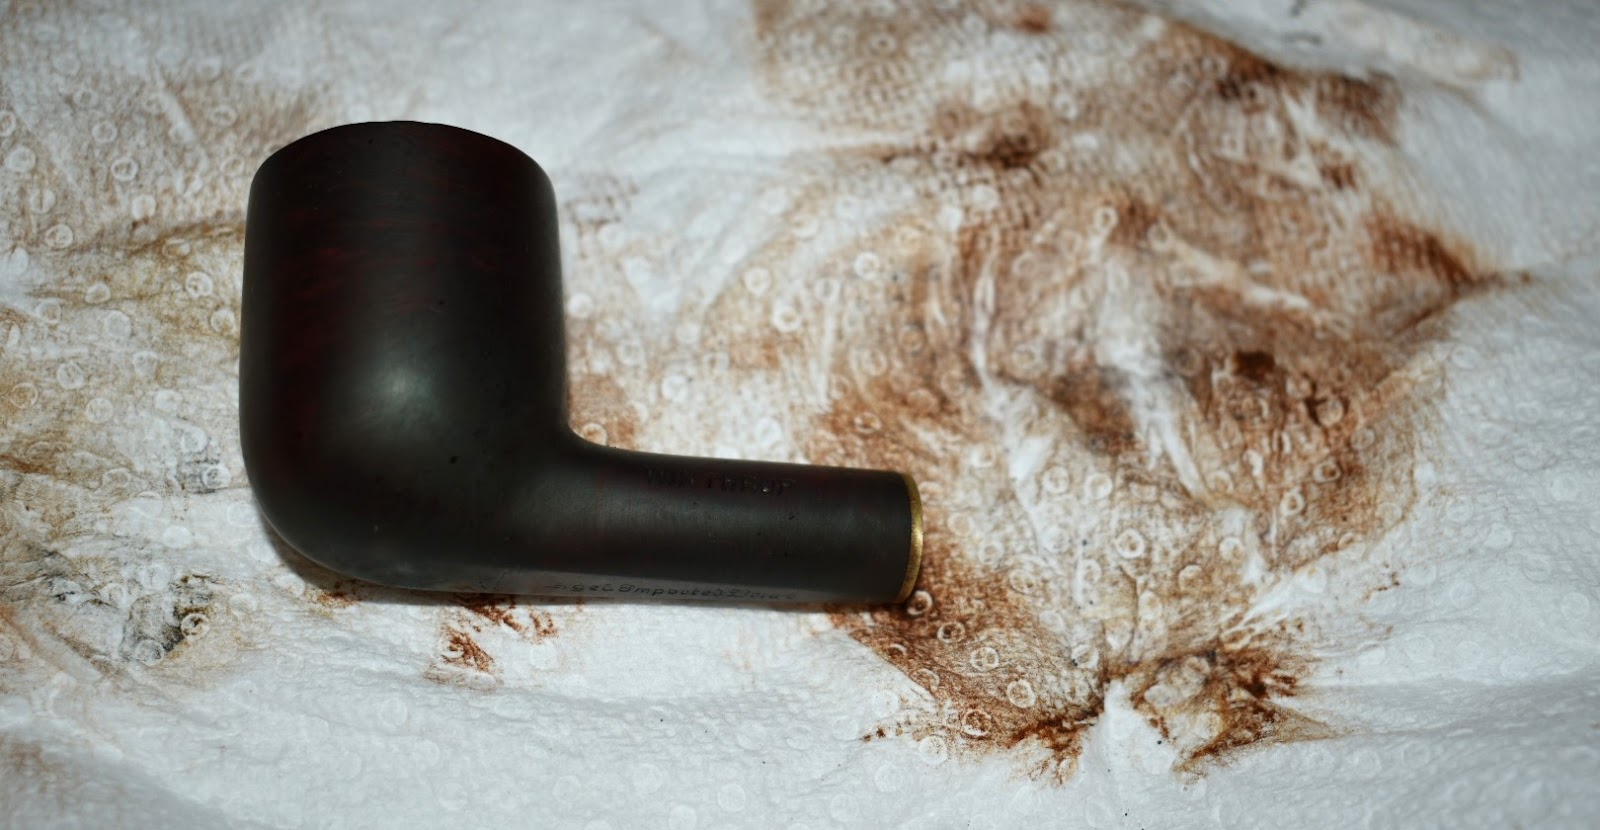
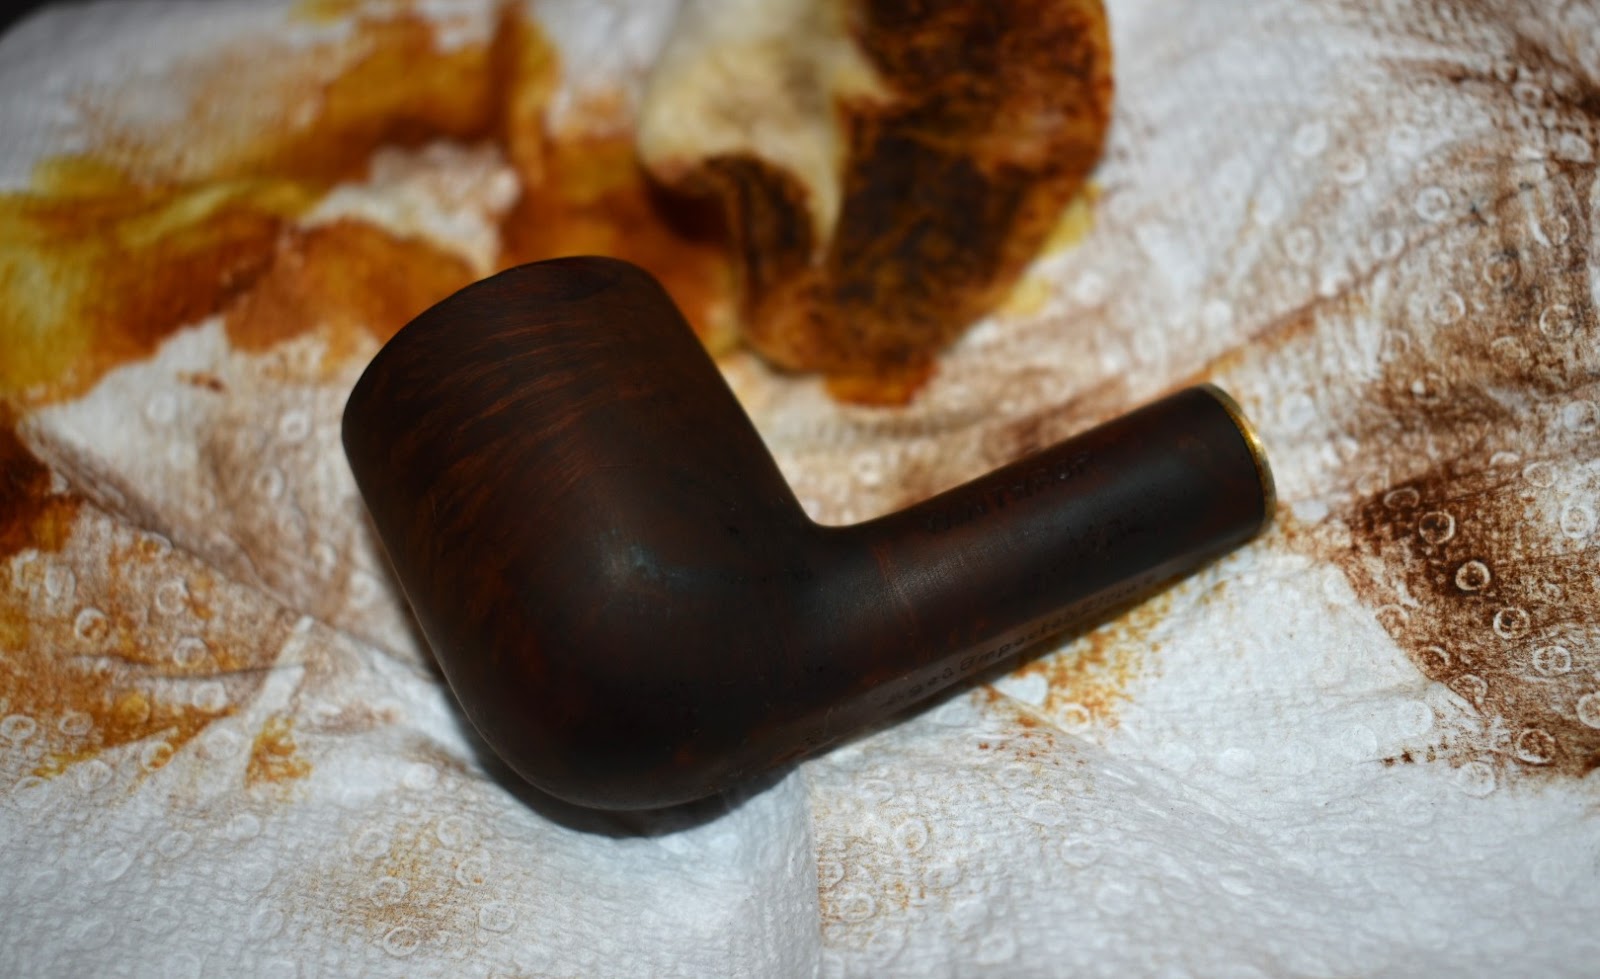
Here are some photos of the pipe upon arrival.


Now, before you go saying, “You paid money for that?” (The answer is a definitive “Yes”, by the way), you have to realize the historic significance of this piece. Ok, I made that up. It’s just an old pipe from an old maker that I thought looked cool.
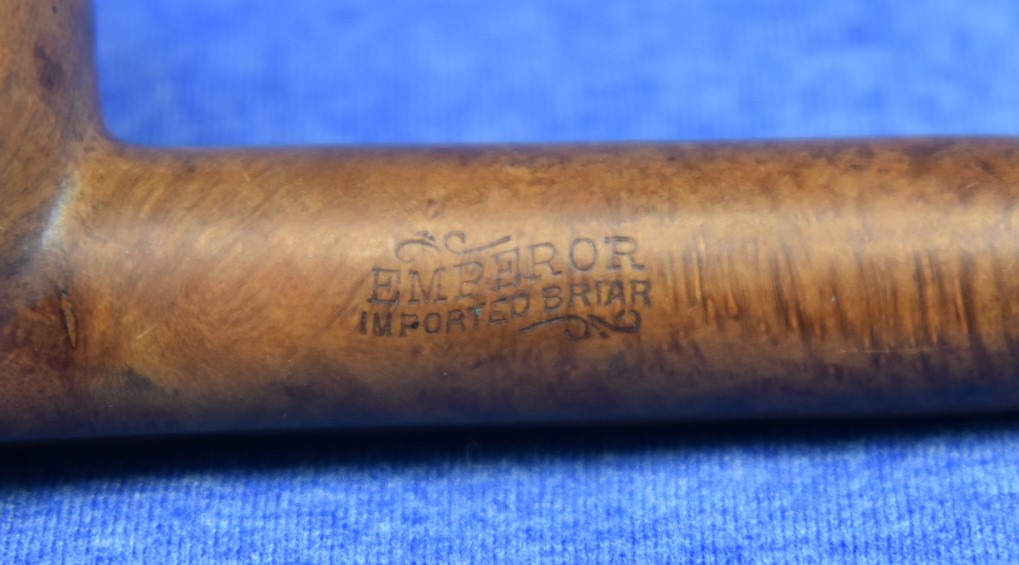
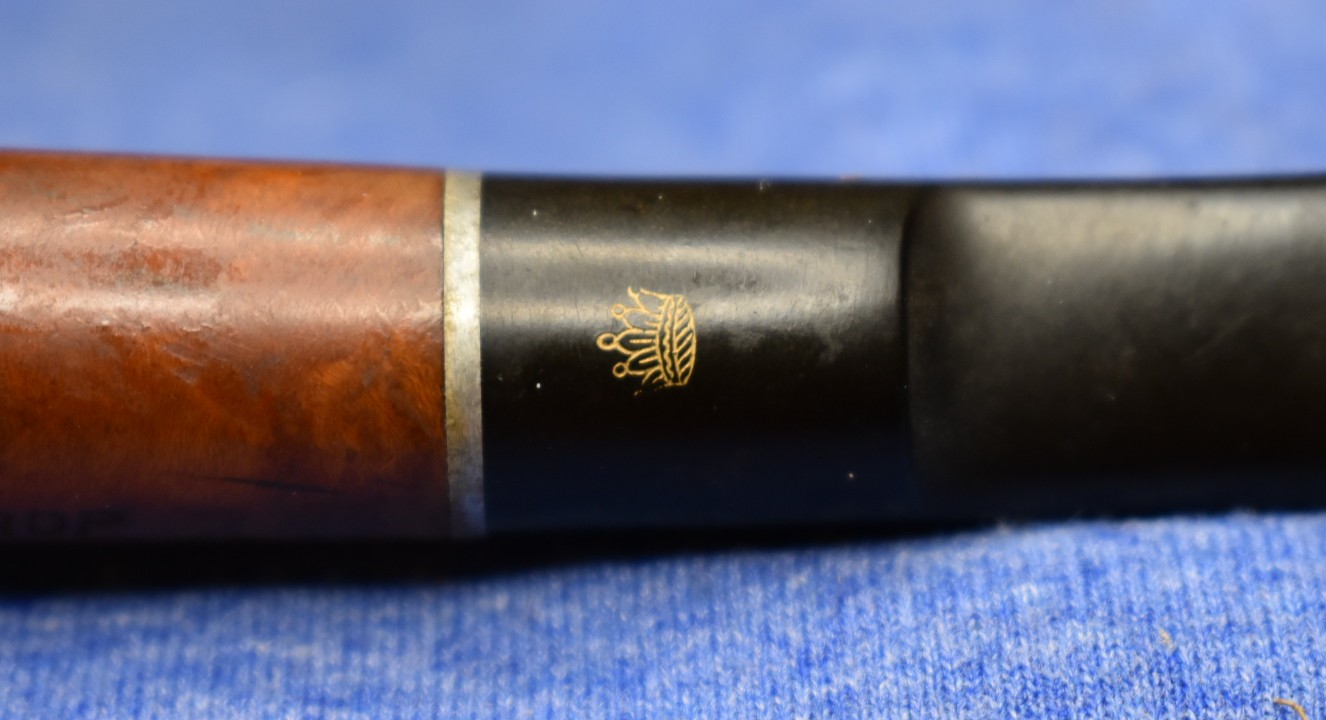
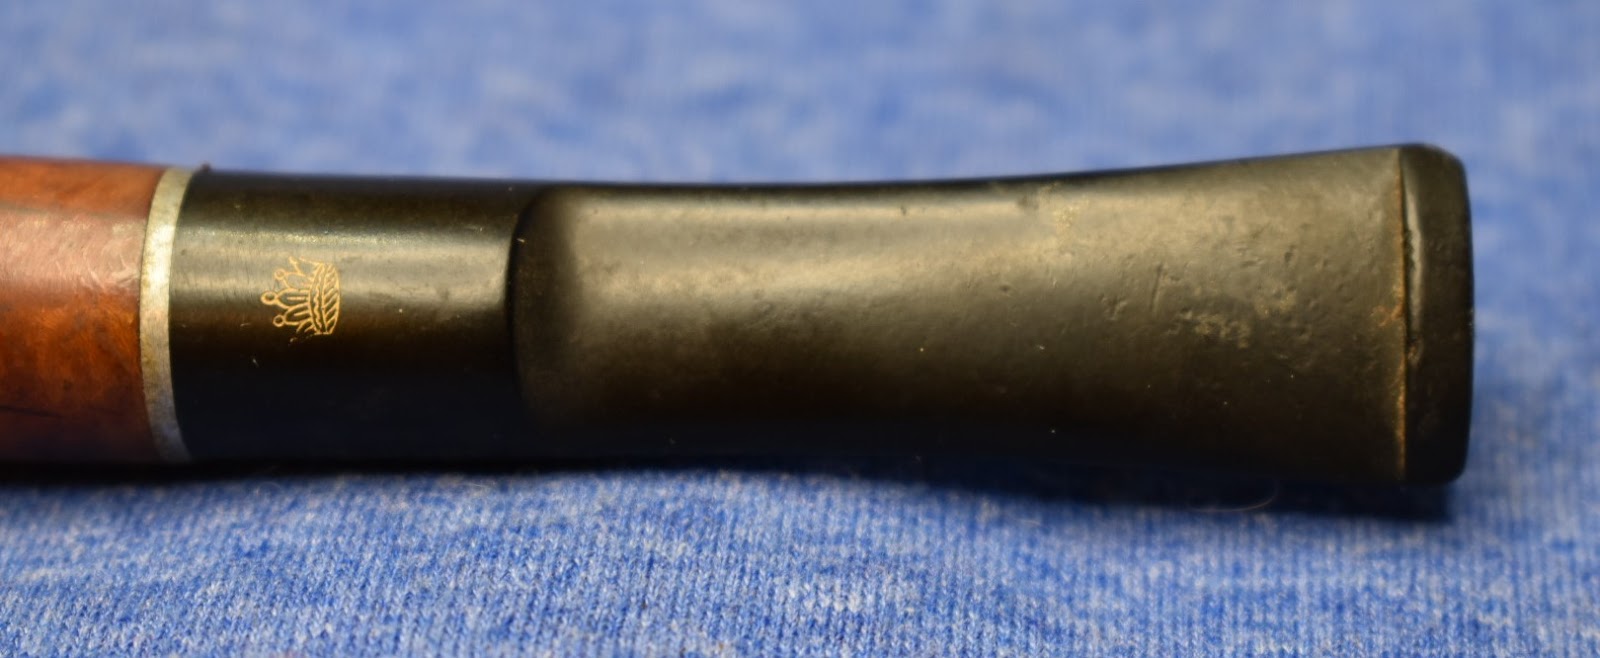
For a bit of a review of Emperor pipes, feel free to take a look at the previous blogs about the De Luxe and the Supreme. I’ll just quickly say that Emperor pipes were made by the Empire Pipe company of Brooklyn New York during the 1940’s. According to one of their ads, below, they were made in various shapes and sizes and the buyer could specify the quality of the pipe; “”Standard”, “Deluxe”, “Supreme”, “Limited” or “Meerschaum-lined””.
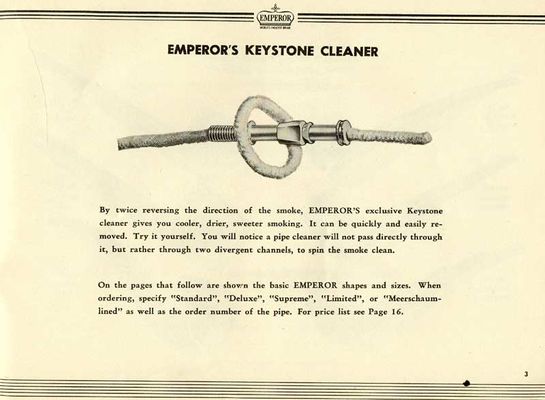
(https://pipedia.org/wiki/File:EmperorKeystone.jpg)
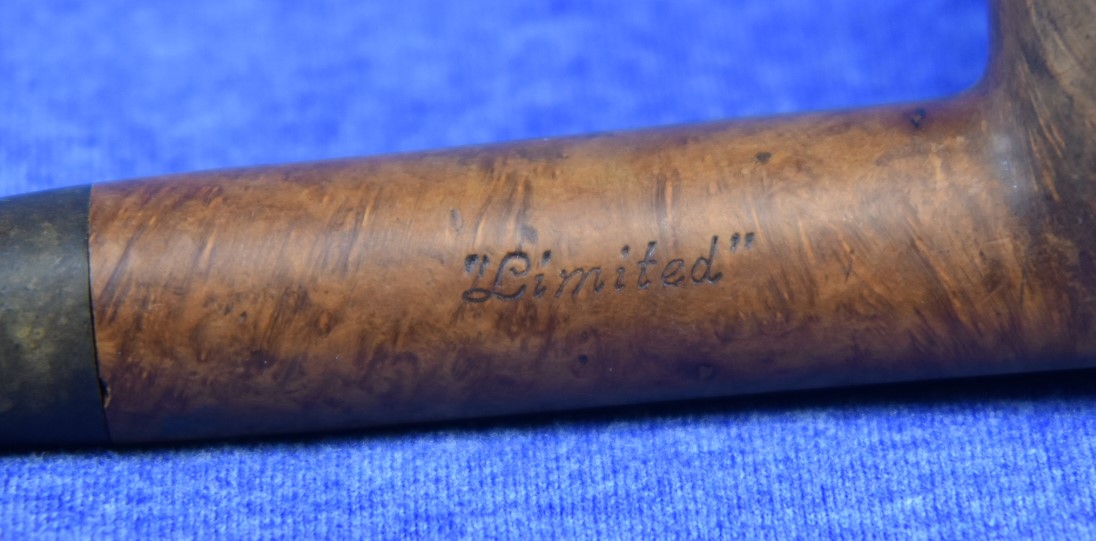
Oh how I wish I could see that 16 plus page catalog. I am working under the assumption that this makes the “Limited” as one of their highest qualities of pipe.
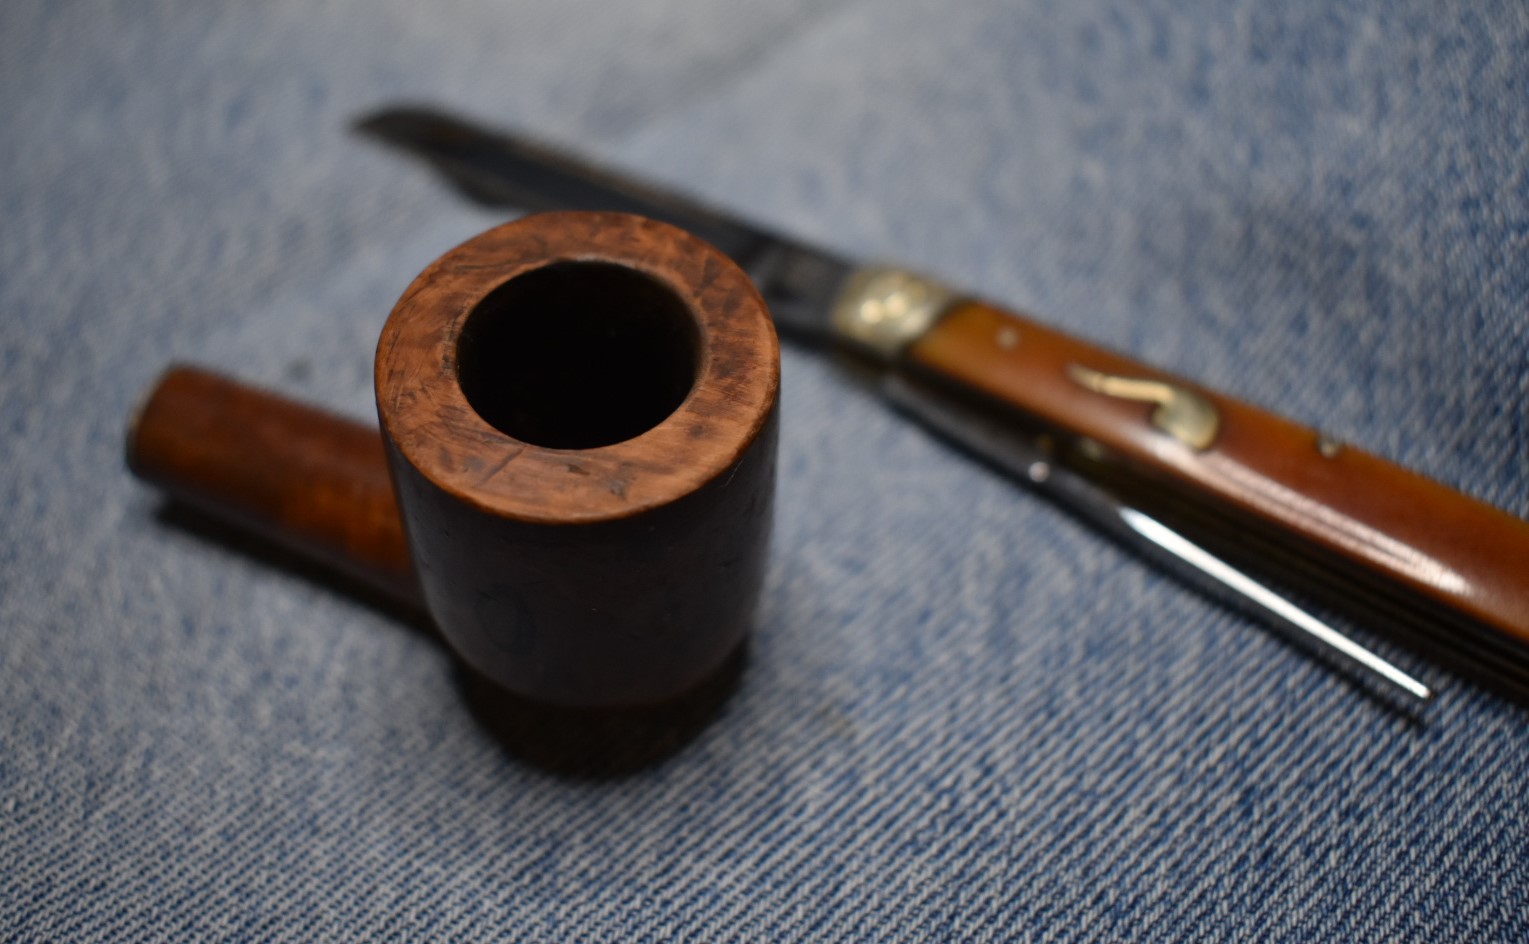
The restoration began with a clean piece of denim on the workbench surface. I again compared the size of this pipe to another project, a Peterson 313 that is getting a new stem. I just couldn’t get over the size of this billiard.
Next the reaming tools were assembled.
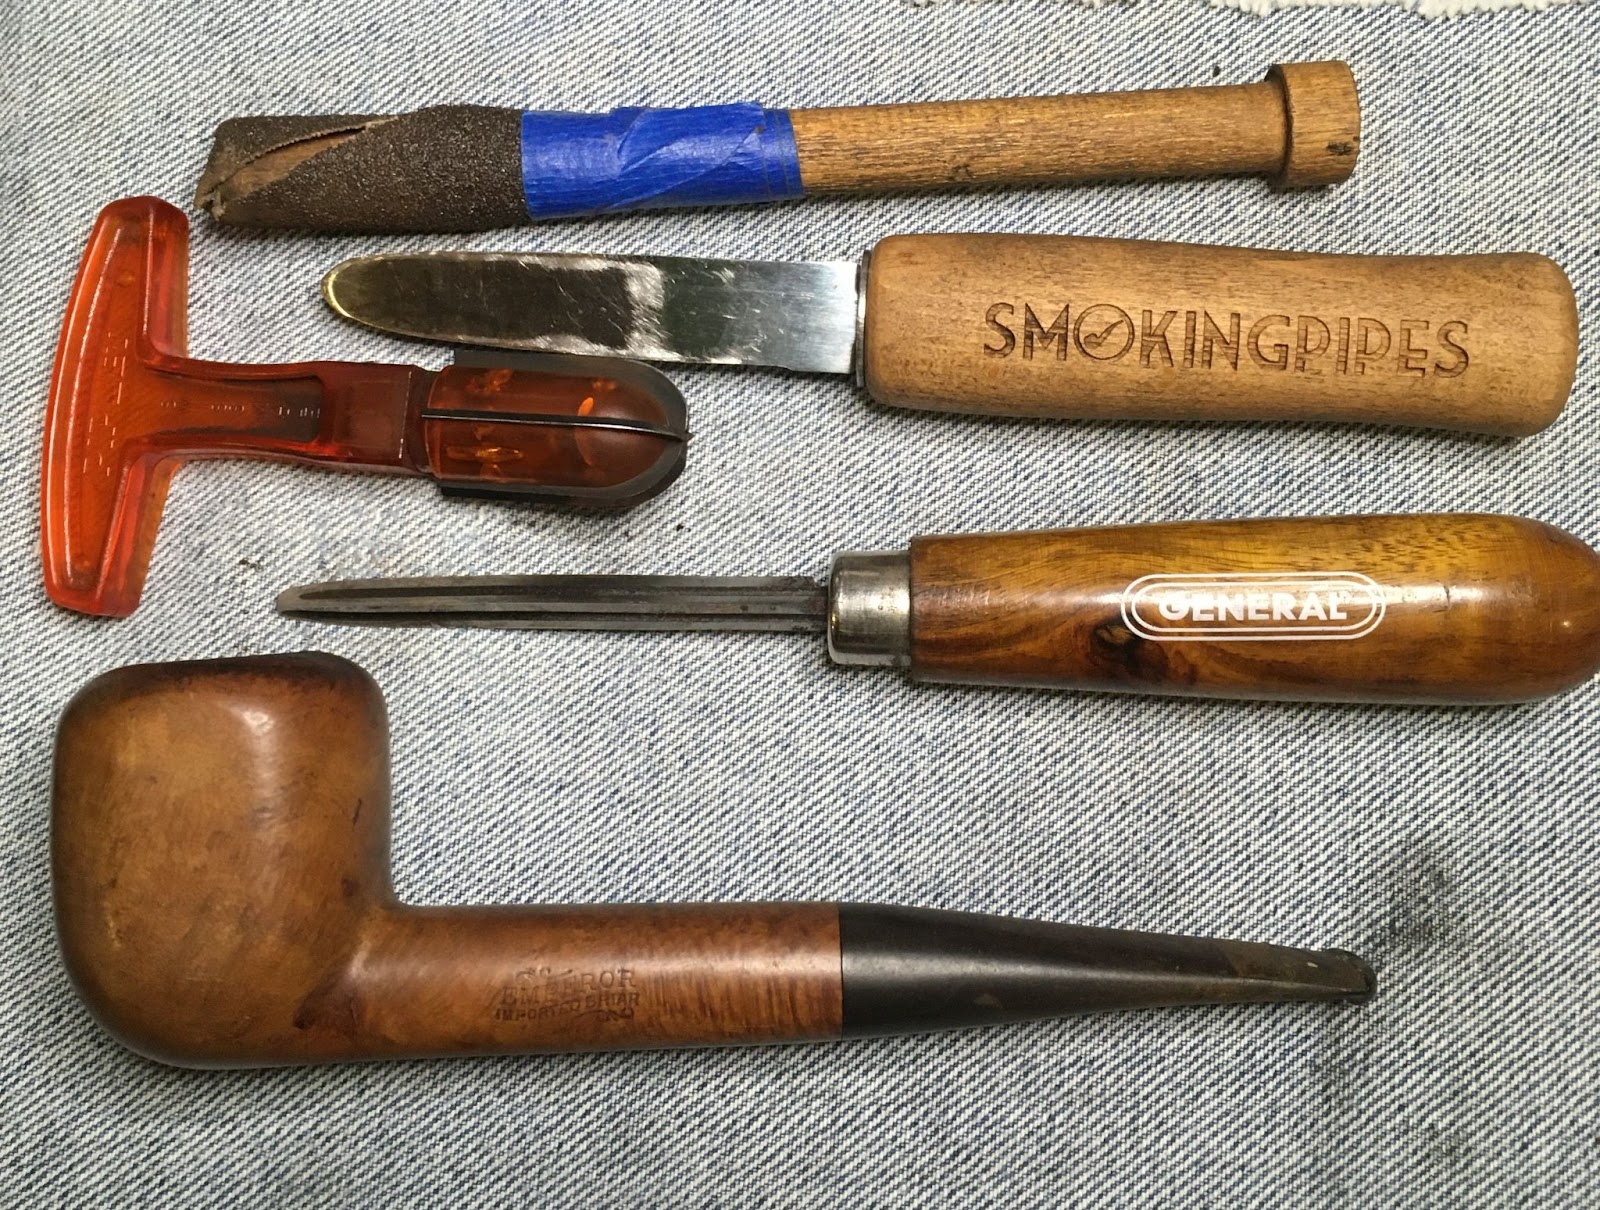
The PipNet got to employ the #3 blade, while the General triangular scraper, Smokingpipes Low Country knife and 220 sandpaper wrapped wood dowel joined the party for the later stages of reaming.

There was a fairly well developed cake that was removed with the PipNet. Upon scraping and sanding of the tobacco chamber the interior had been well protected by the cake and showed no signs of any heat damage nor charring.
Next I removed the stem and scraped the calcium and oxidation from the surface. The stem also received a good rubbing with 0000 steel wool.
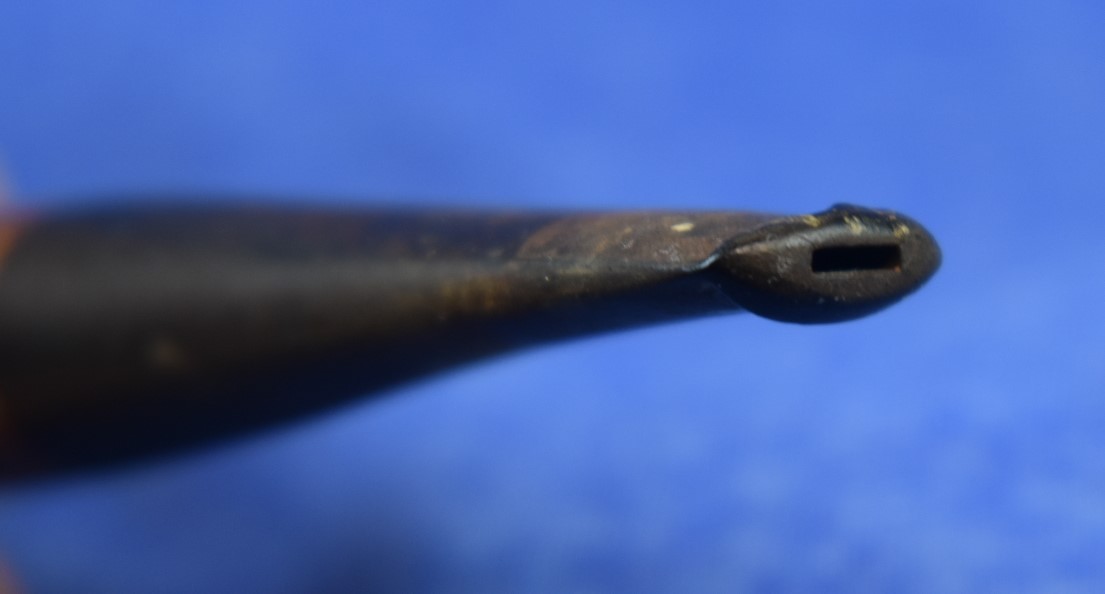
I tried to remove the “Keystone Cleaner”, AKA stinger but it remained quite firmly stuck. I then placed the stem into a container of OxyClean dissolved in water. I am unsure of the amount of Oxy dissolved in the water as this is an old solution and my old brain can’t remember how much I used. Next batch I make I will write it on the lid with a Sharpie. The stem was allowed to soak for a couple of hours.

In the meantime, I took the stummel to the sink for a scrub with Murphy’s Oil Soap. The Murphy’s was used undiluted with water and scrubbed with a medium bristle toothbrush.

The Murphy’s was rinsed with warm water and dried with a cotton dish towel. Upon returning to the workbench I decided that the charred briar around the rim needed to be removed.. I used a technique from a German Facebook buddy, Sascha Mertens, where a coating of Vaseline was applied to the rim and the charred wood was gently scraped with a sharp knife.

The vaseline does soak into the briar but will most likely be removed with the numerous alcohol wipes, sanding and micro-meshing in the stummels near future.
Next was a light sanding with the 400 sanding sponge. I did this to look for spots to fill. I only found one that I deemed worthy of a cyanoacrylate (CA, super glue) and briar dust fill job. It was a small pair of sand pits on the rear of the bowl. I used a fly tying bodkin to apply a small dab of CA to the pits and sanded with the 400 sanding sponge. The sanding sponge had plenty of briar dust which combined with the CA and filled the pit nicely.

It was time for some shank cleaning. One of my least favorite tasks. I dipped a cotton swab into 99% isopropyl alcohol and began scrubbing the airway in the shank. The first couple of cotton swabs usually just begin to soften the dried tars and smoking residues. Then the real scrubbing begins. This shank was no different. It was dirty and required quite a bit of scrubbing. I was reading a blog by Kenneth Lieblich where he was using Castille soap. Always looking for a way to improve, especially on jobs I’m not fond of, I ordered some. I took the stummel to the sink and poured about 5 ml of 95% ethyl alcohol into the bowl. I held the stummel at an angle to allow the alcohol to flow into the shank but not pour out. I then used a nylon shank brush to scrub the airway and allow the alcohol to dissolve the tars. I poured this dirty alcohol into a medicine cup.

I then poured a little of the Castille soap onto the nylon brush and scrubbed the shank with the soap. The soap was rinsed with warm water. I then repeated the alcohol scrub followed by another Castille soap scrub. I continued alternating between the alcohol and soap. When the alcohol turned dark brown from dissolved tars I replaced it with new alcohol. This alternating scrubbing lasted for three days. Okay, that is a slight exaggeration but it seemed like a long time. Every once and a while I’d go back to the cotton swabs or a piece of paper towel wrapped around a round needle file and check their color. Eventually the cotton swabs returned clean.

With that tack completed I retrieved the stem from the Oxy bath. I used a Scotch Brite abrasive pad with a dose of Soft Scrub to remove the softened oxidized surface from the stem. I then used make-up pads with more Soft Scrub to remove remaining oxidation. THe stem was then heavily oiled with mineral oil and allowed to absorb some of the oil.

It was now time to go upstairs and make a pizza. The breadmaker had been diligently kneading the dough and warming it to rise. The Italian sausage and red peppers needed a saute. Wait, this is a pipe restoration blog not the Food Network.
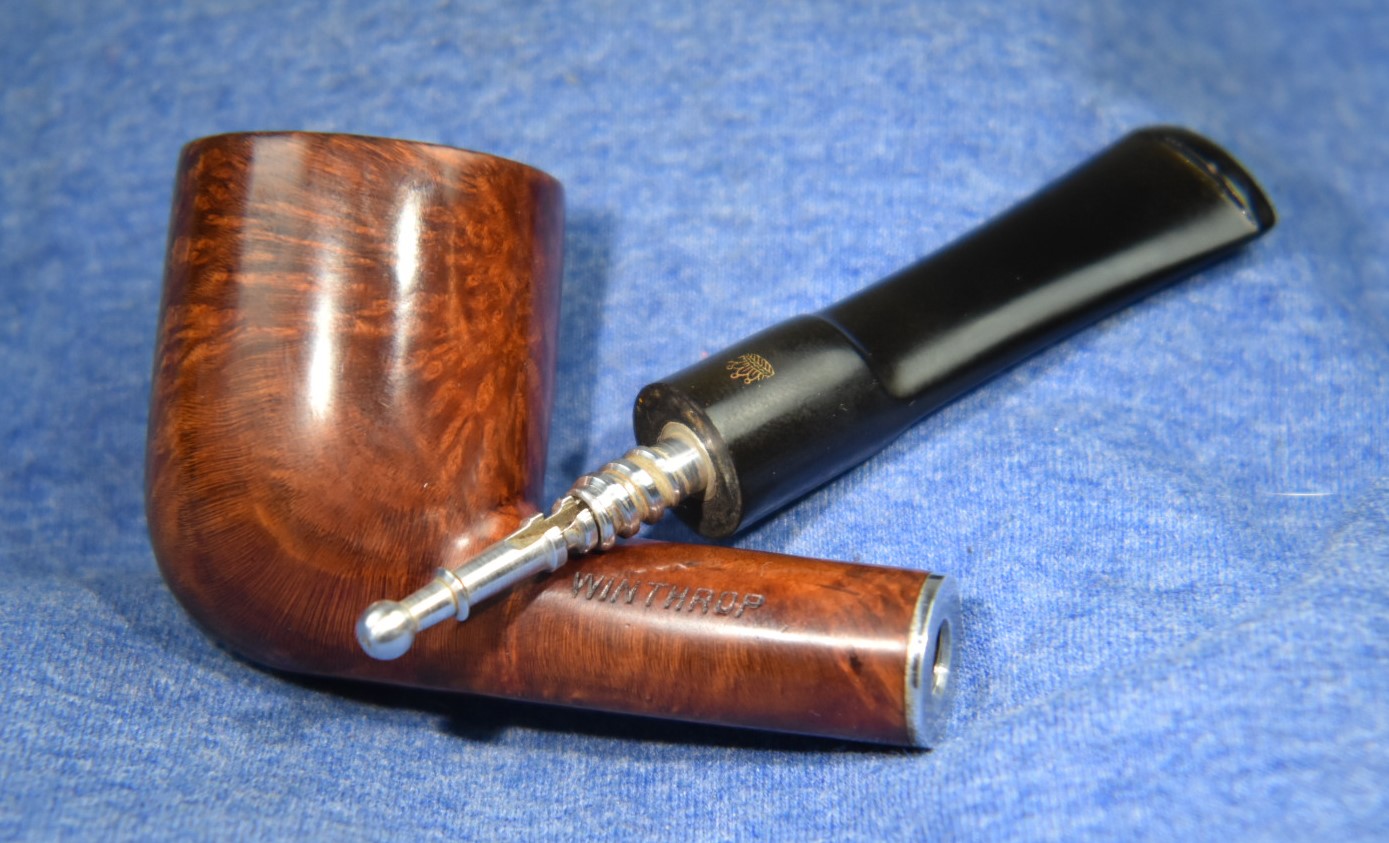
Now calorically satisfied, I returned to the Emperor. I again tried to remove the Keystone Cleaner. This time with a piece of denim wrapped around the aluminum and a pliers. Fortunately I remembered that these Keystone Cleaners were threaded and applied force in a counter clockwise fashion. Success!

The Oxy bath did little to clean the tars from the Keystone Cleaner so it went into an alcohol bath.
The stem cleaning was all about using alcohol dipped bristle pipe cleaners to scrub the airway of the stem. Mayn alcohol dipped bristle pipe cleaners and a nylon brush too. Eventually the stem too was clean. The Keystone cleaner was cleaned out using the same technique but started with Falcon Thin pipe cleaners rather than the bristle pipe cleaners. It did eventually graduate to the bristles though. The exterior of the Keystone Cleaner was finally cleaned using a dental scraper and some alcohol wetted 0000 steel wool to rid it of the tars.

With the stem cleaned out I started sanding it so see what kind of fill/rebuilding it would need. The 400 and 600 sanding sponges removed the rough surface and allowed me to see what needed to be restored.

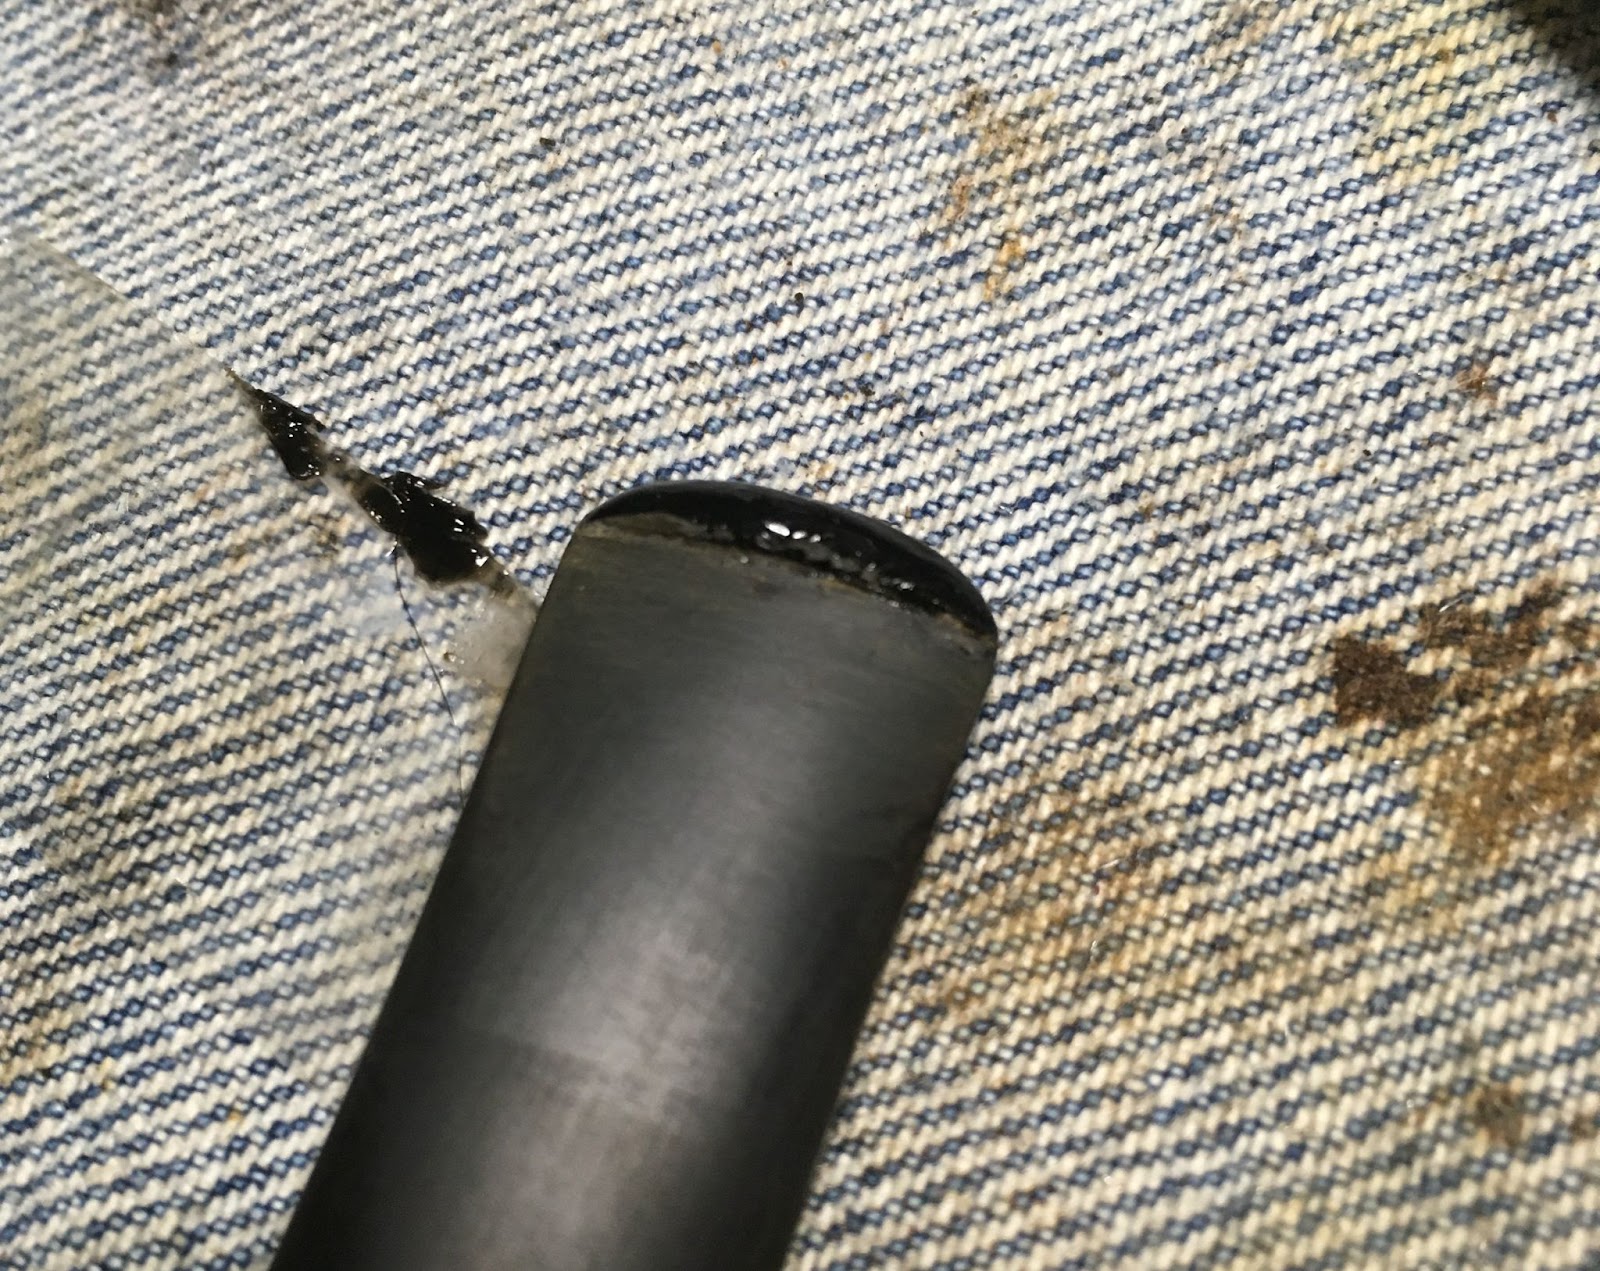
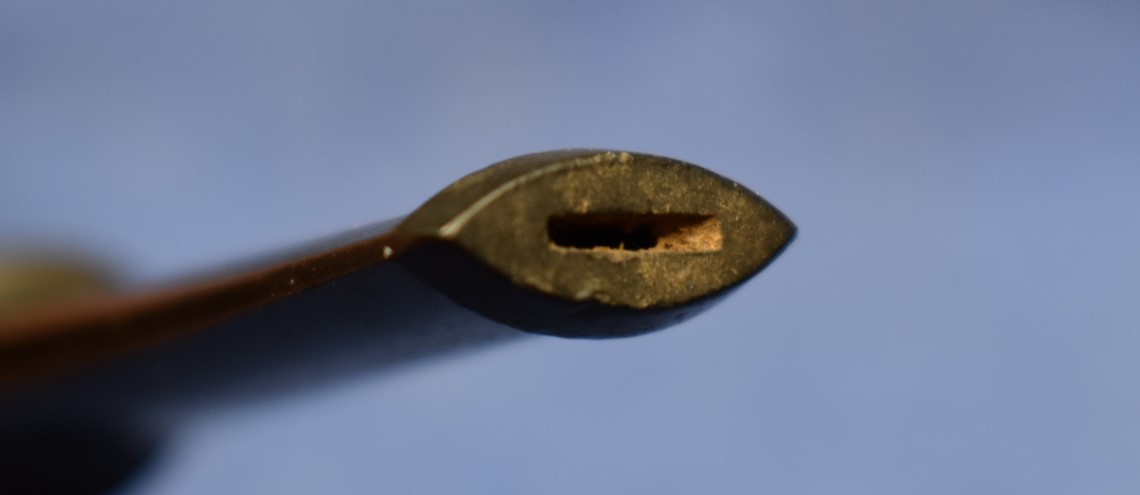
The button was where I began. It had been chewed on and deformed. This would require some black CA rebuilding. I wrapped the newly sanded surface with clear scotch tape right up against the button.

Next I applied a line of black CA to the button. Once applied I rotated the stem so gravity would pull the wet CA download, surface tension held it onto the button so it did not drip. I used a CA accelerator spritz to quickly dry the CA. Immediately after the accelerator spritz I flipped the stem back over and used a sharp knife to cut through the still soft CA along the edge of the button.

The tape was then removed taking the cut away part of the CA with it.

Some of the CA had moved under the tape along the button edge. This was sanded with the 600 sanding sponge.
I applied a new piece of tape to cover the sanded stem and protect it from the file as I reshaped the button.
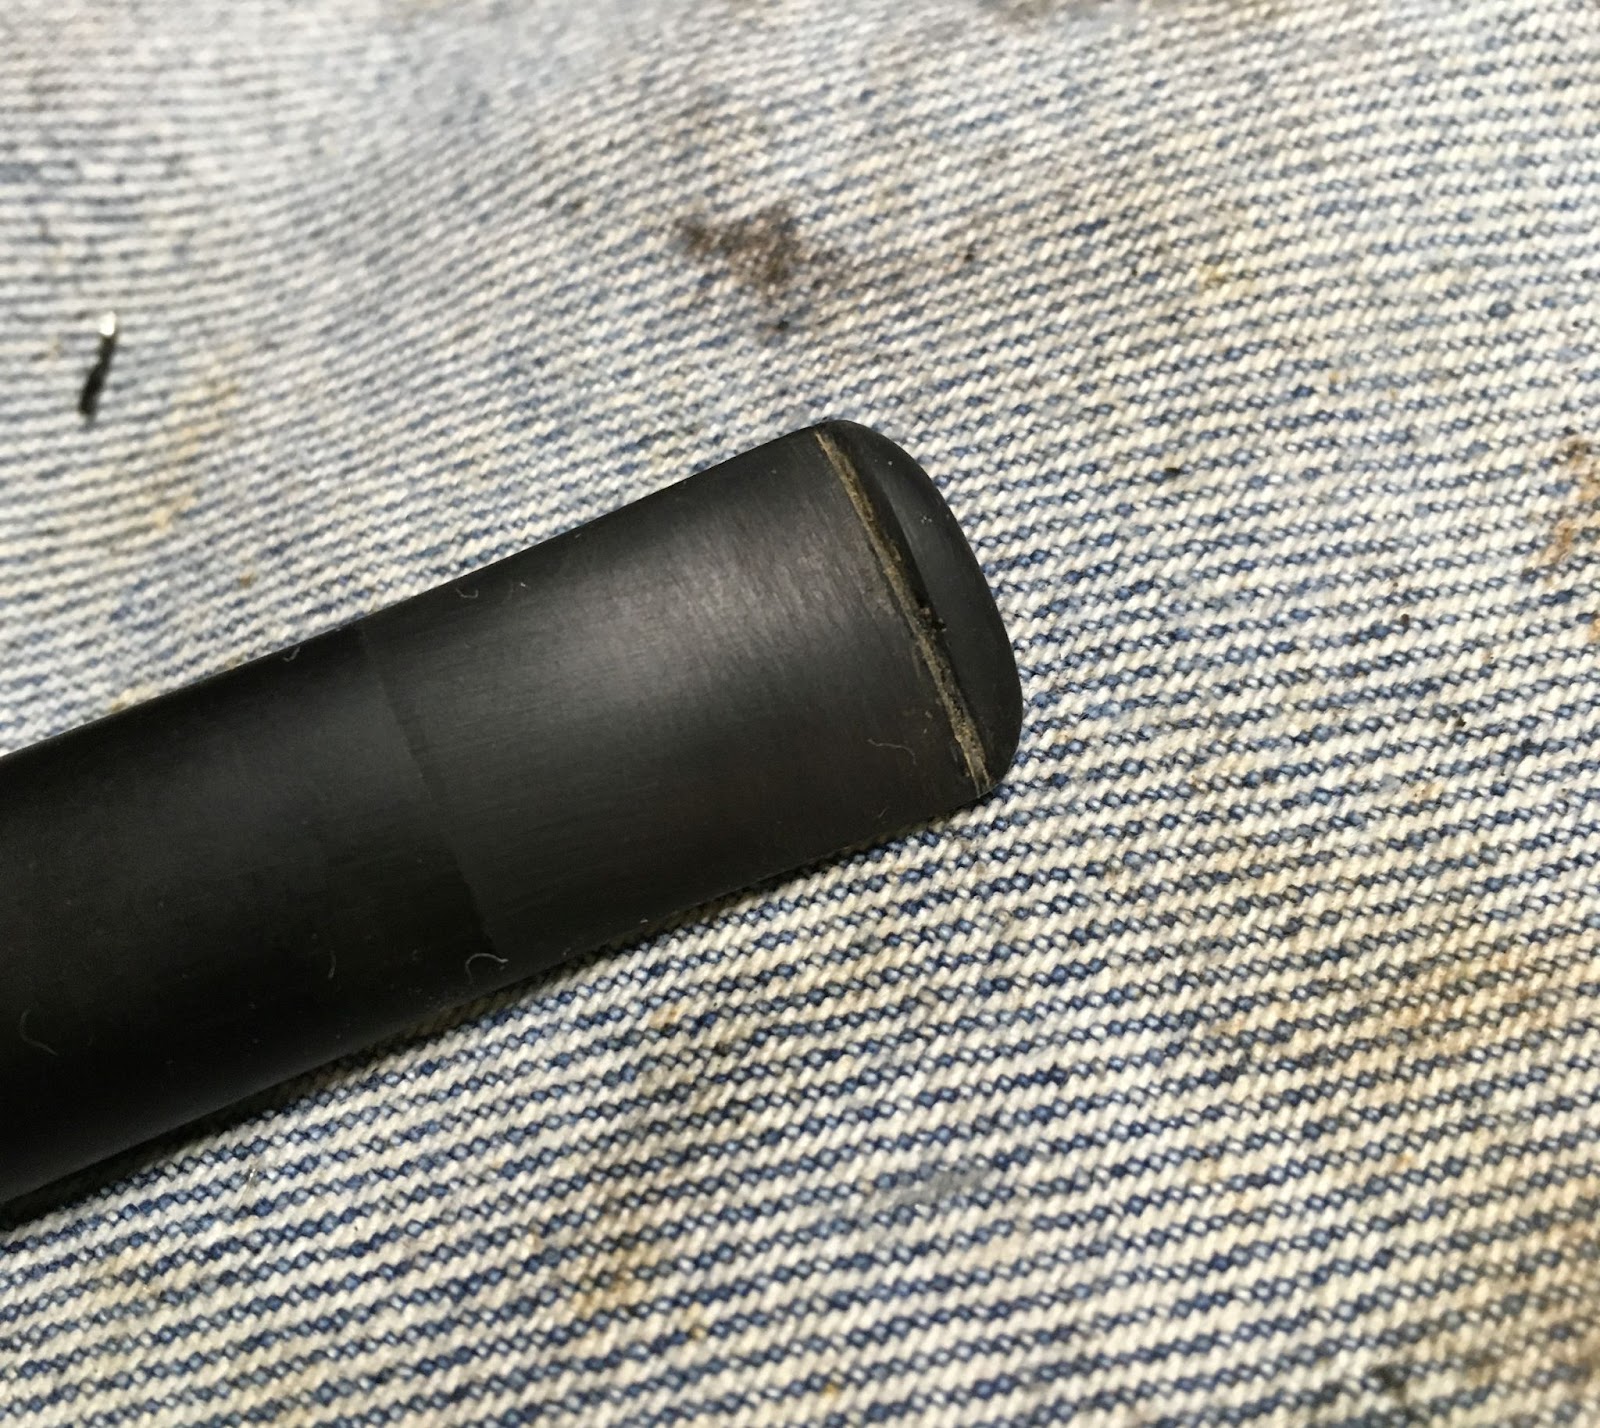
The button was then sanded with the 400 and 600 sanding sponges to smooth the rough spots of the newly built button. THe top of the stem had a couple of dents, from teeth, that I tried to remove by just sanding. I did not think they were deep enough to allow a good repair with the black CA.
With the stummel and stem rebuilt, I taped the stamps in preparation of the sanding. There were three, one on each side and the bottom.


I reassembled the stem and inserted it into the shank. I wanted to sand it together so as to not round any of the edges where the stem met the shank. The pipe was sanded from 600-2000 using the sanding sponges. I wiped the dust from the pipe with a dry paper towel between sponges. The sponges were wiped off onto the denim work surface to clean them of dust frequently. As can be seen in the photo below.

It was here that I decided to give the inside edge of the rim a slight bevel. I used a small wooden sphere wrapped with 320 sandpaper to sand a slight bevel. This was smoothed with the sanding sponges. I finished sanding using the 2500-3500 sanding sponges. Between these sponges I wiped the pipe with a very slightly wet-with-alcohol make-up pad. Once finished I removed the tape and cleaned any remaining adhesive from the stummel with the alcohol pad.

The pipe was ready for the micro-meshing. I used the 4000-12000 micro-mesh pads. Between each pad I wiped the stummel with a make-up pad wetted with alcohol and the stem received a drop of Obsidian Oil rubbed in by fingers and wiped with a paper towel.

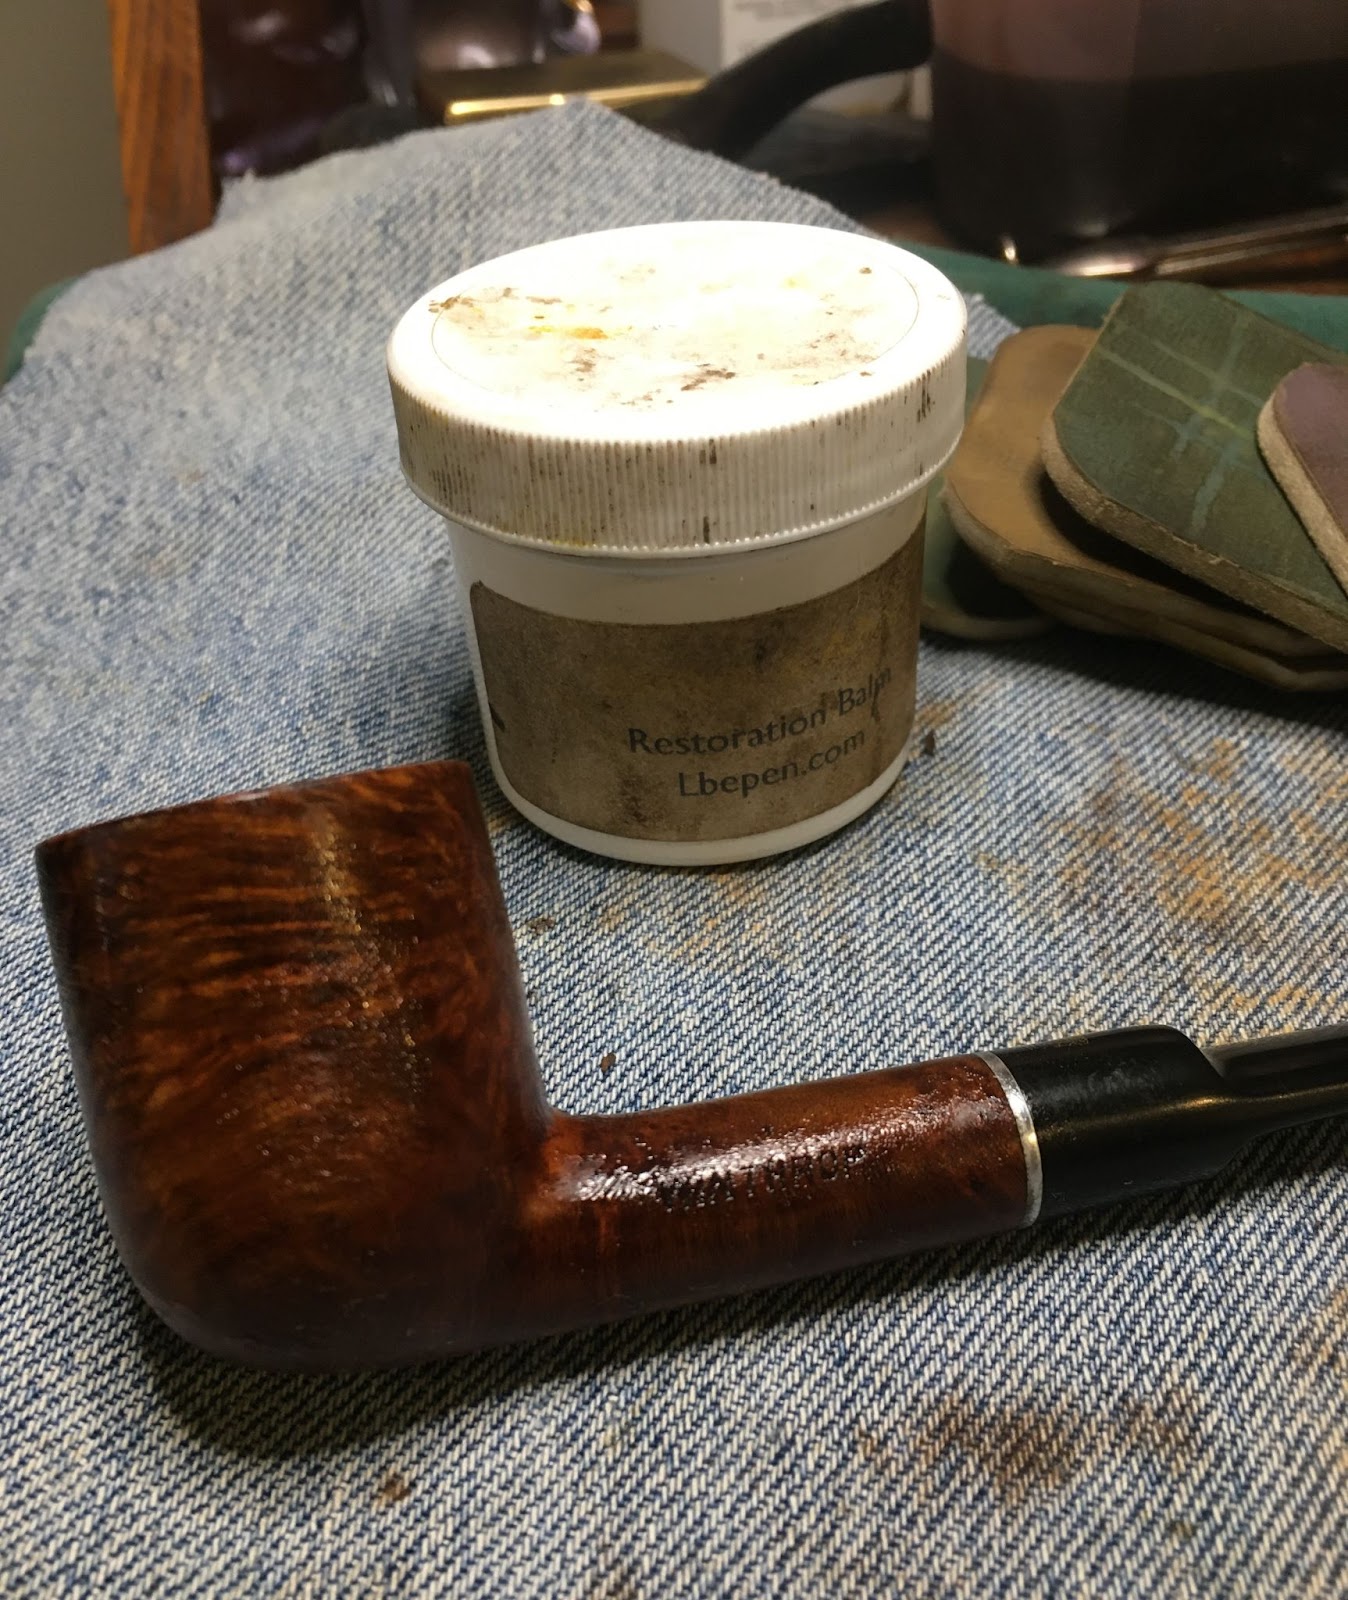
I applied a coat of Before and After Restoration Balm to the stummel and headed off to bed. In the morning I hand buffed the remaining balm from the stummel and thought that it really looked nice.
I Polished the stem with Before and After Fine Polish by applying it to the stem with my finger and energetically rubbing it with a soft cloth. This was repeated with the Before and After Extra Fine Polish. The stem was looking far better than it did originally.


The final step was to apply several coats of carnauba wax with the buffer.
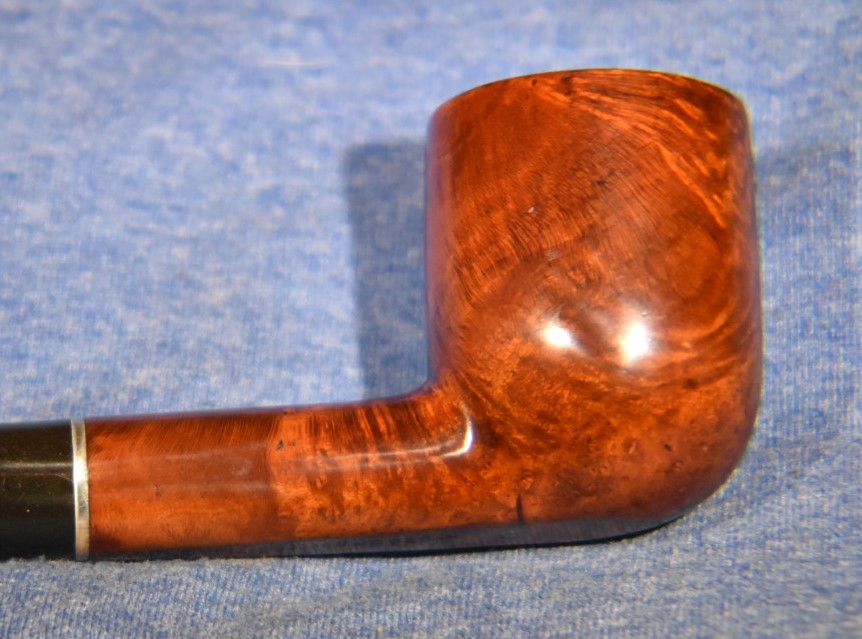
This Emperor Limited paneled billiard (no caps since it is not the official name) looks amazing. It is a very large pipe with a voluminous tobacco chamber. The briar reminds me of the Algerian briar used by Marxman and Lee, very soft and without a highly discernable grain. In the case of Marxman, I think, many of the pipes were heavily carved to make up for the lack of grain. The other thing about that type of briar is that it has a noticeable spice-like taste with a new or freshly reamed bowl. A taste that I think is like cinnamon and cardamom. I have yet to try this pipe with tobacco so the jury is still out on that. Overall this was a fun restoration of a brand that I am developing a real appreciation of. I do hope that you found something here that is useful in your restorations or have at least been entertained. If you like this sort of thing, please click the like and subscribe. Thank you for reading the ramblings of an old pipe lover.
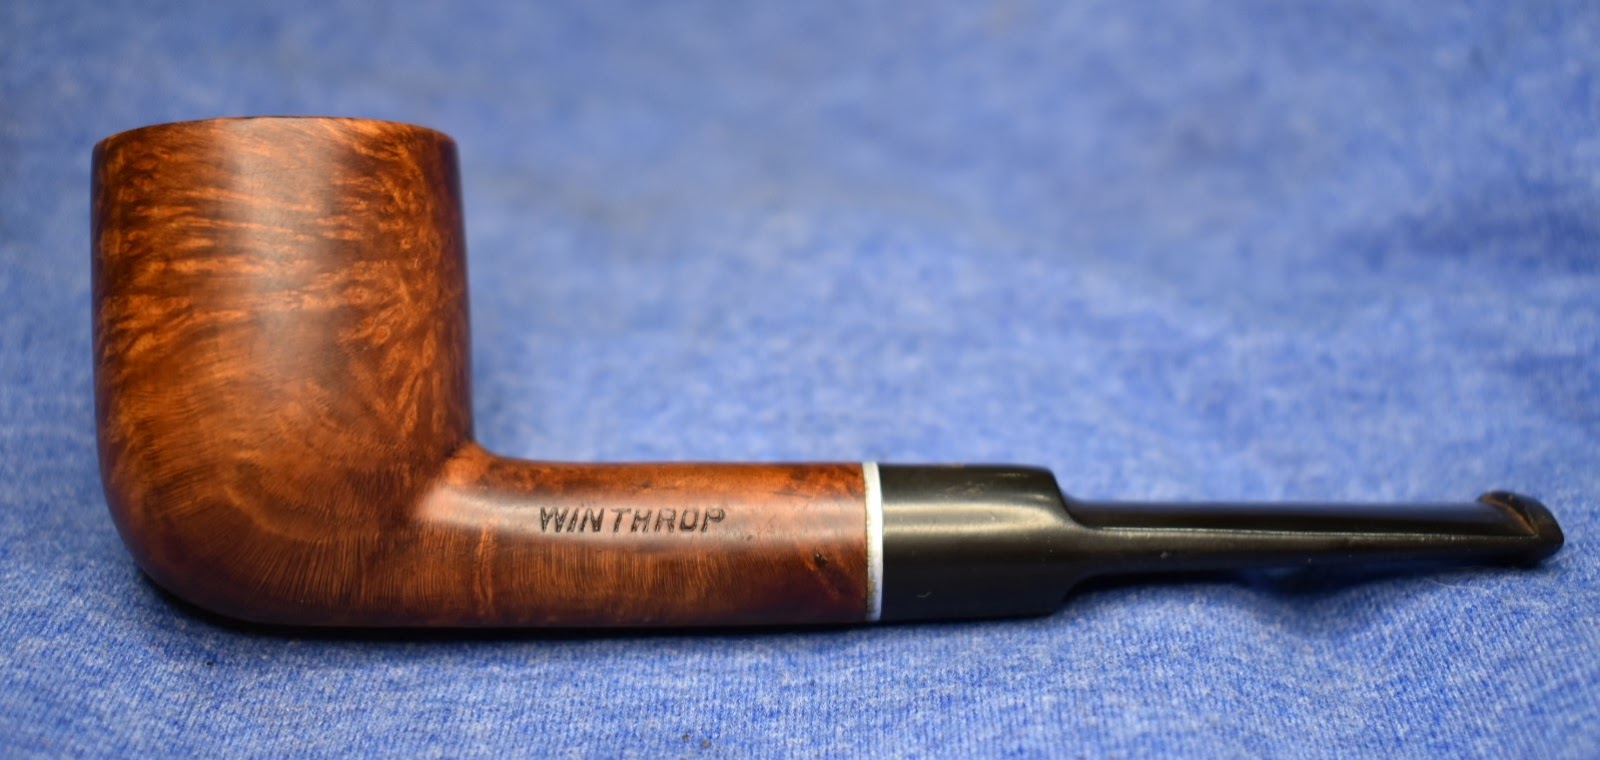
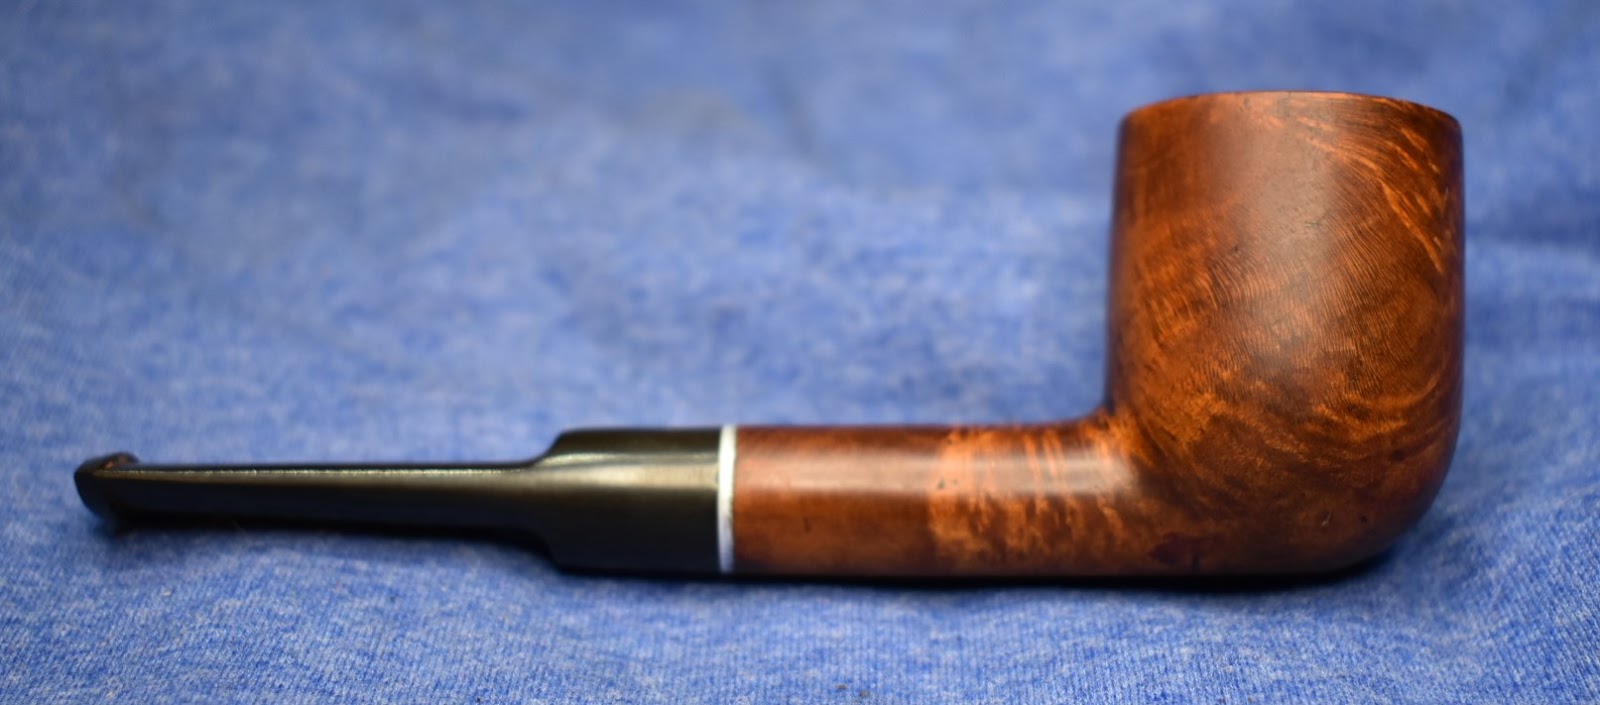
Below are photos of the finished Emperor Limited paneled billiard.


