Photographed and written by
John M. Young
Yeah, metal pipes intrigue me. I don’t have many and frequently smoke even fewer. There is just something about them that makes me think of George Jettson, space age polymers and TANG. Although this pipe dates back farther than the 1960s space age, more on that in the background. Last winter I got a wild hair (sorry, American idiom meaning spontaneous enthusiasm) and decided that I needed to work on metal pipes. Like a typical ADHD gerbil (another idiom meaning, I have too short of an attention span), I lost interest after acquiring several in-need–restoration Kirstens and a bag of a dozen metal pipes that I purchased from Steve Laug (reborpipes.com). I sharpened my very dull metal polishing skill with some encouraging words and over the phone instruction from Doug Bisbee (dkmetalpipes.com/Estate Vintage Metal Tobacco Pipe Restoration & Sales). A couple of restorations later I had moved on to other projects and interests.
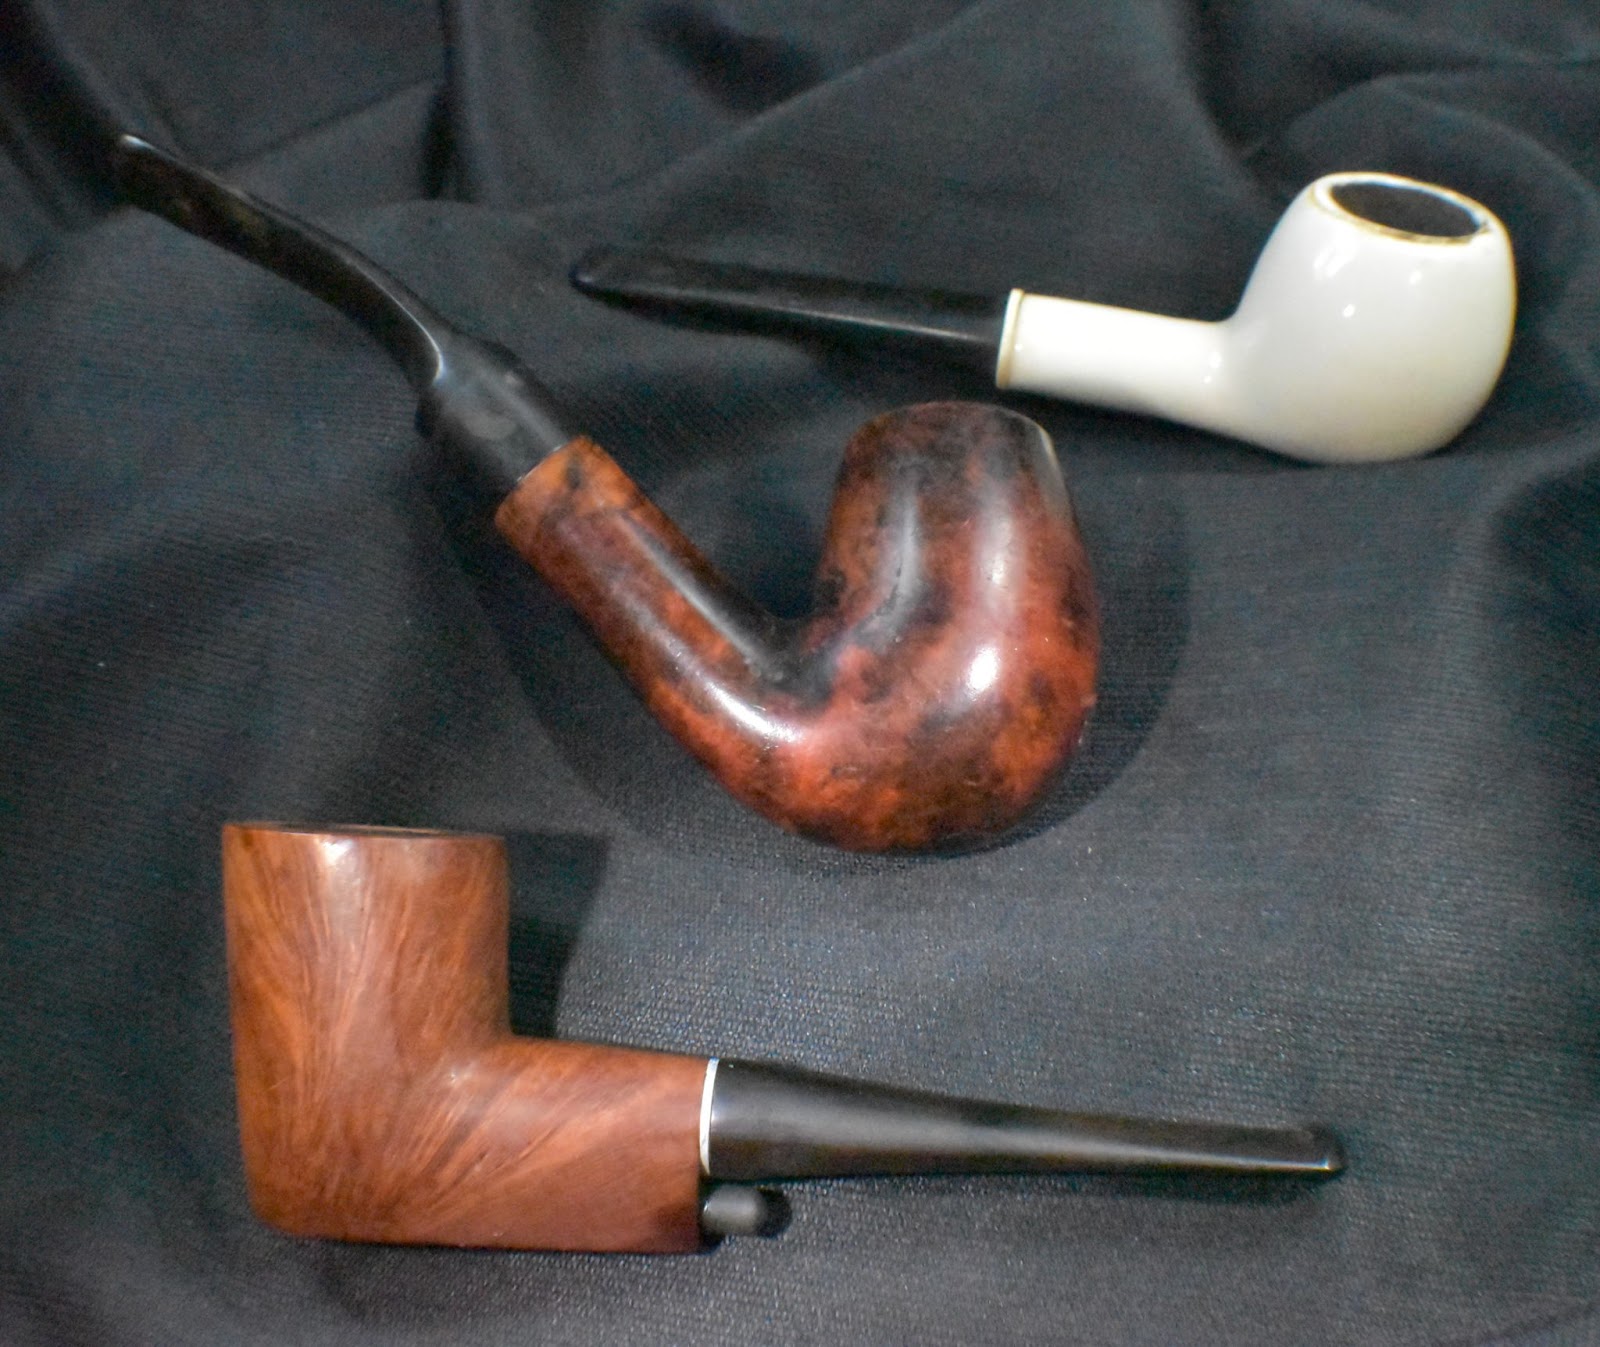
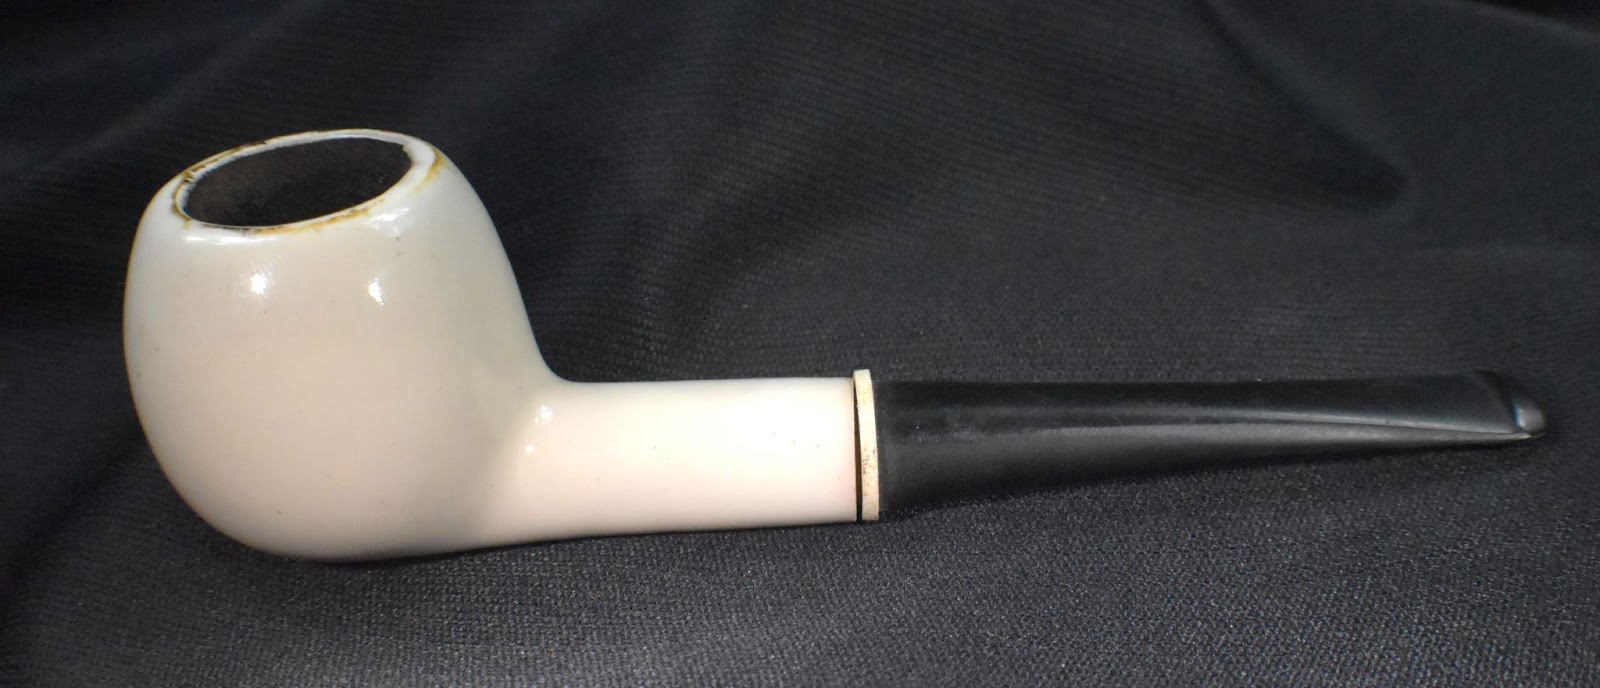
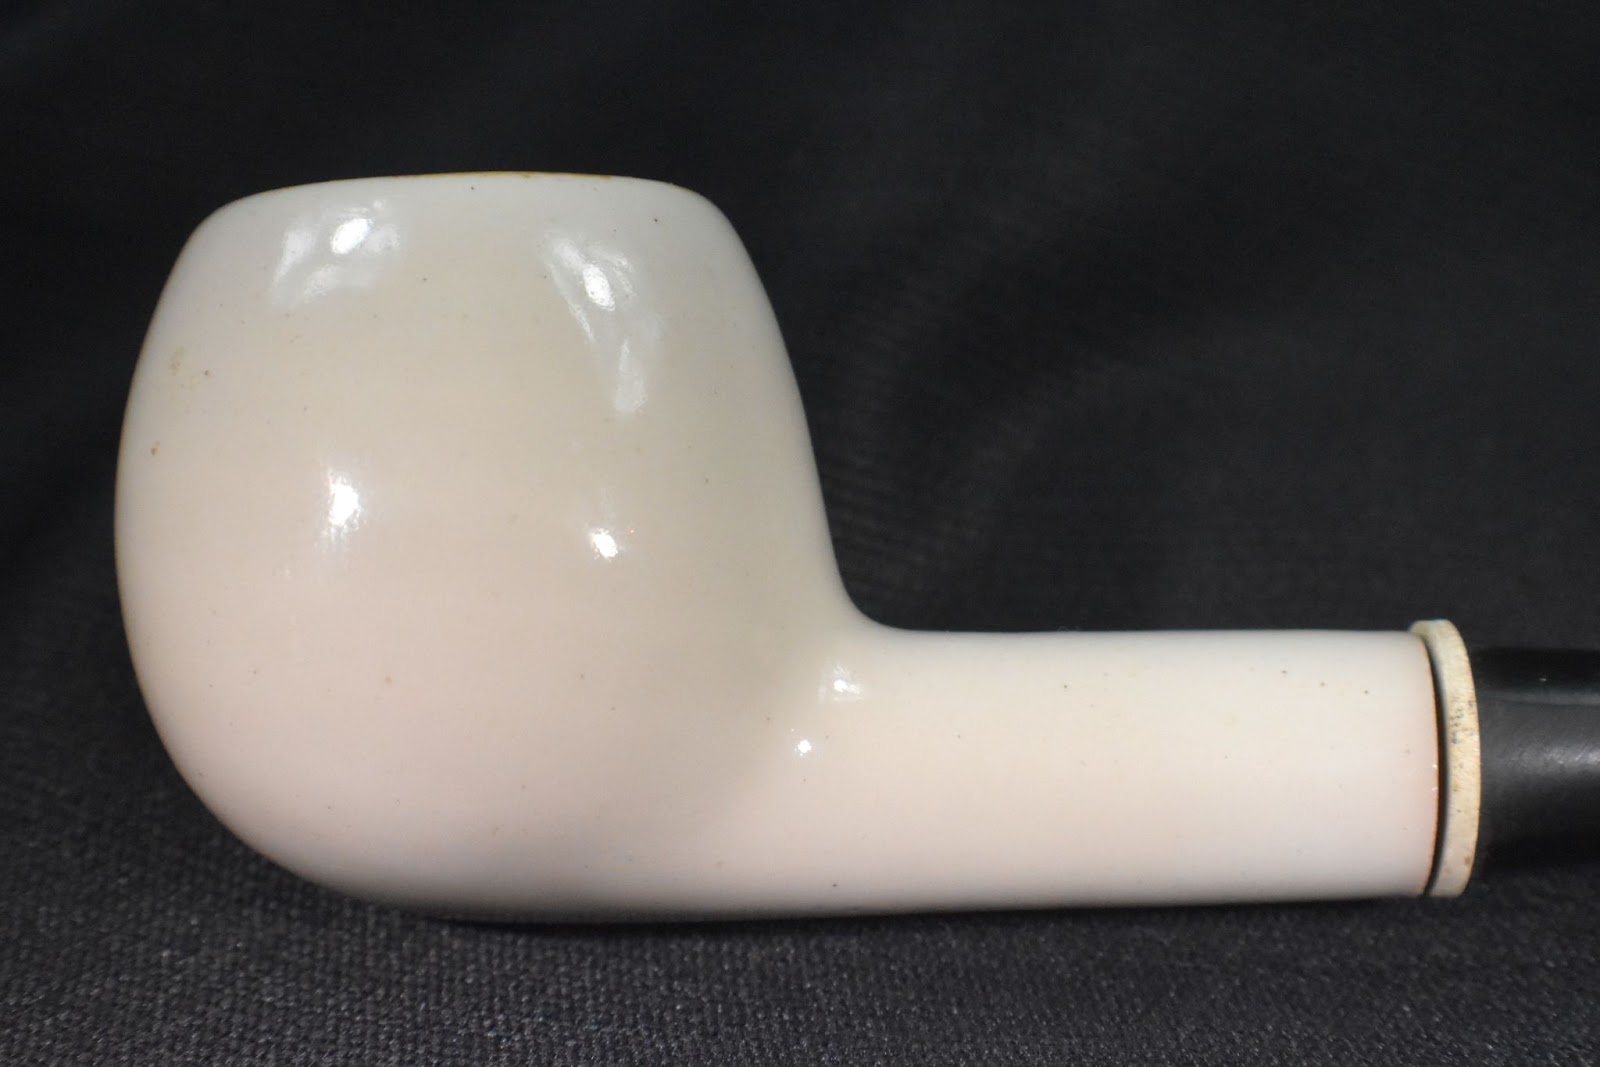
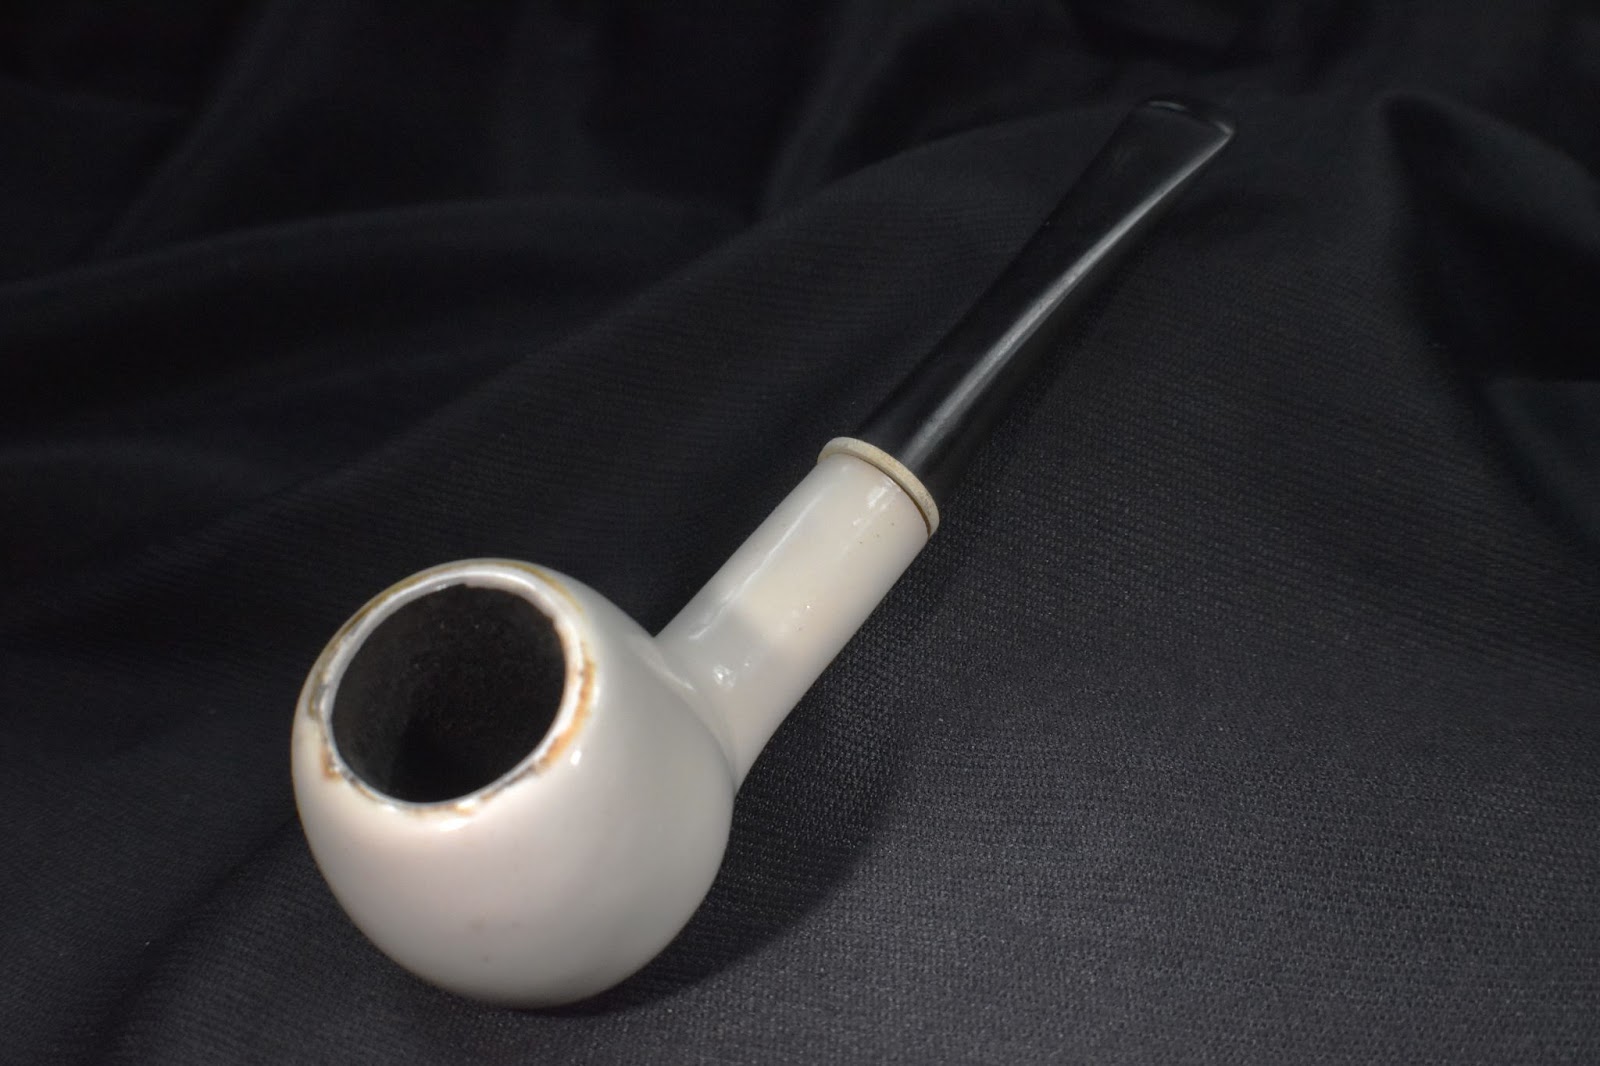
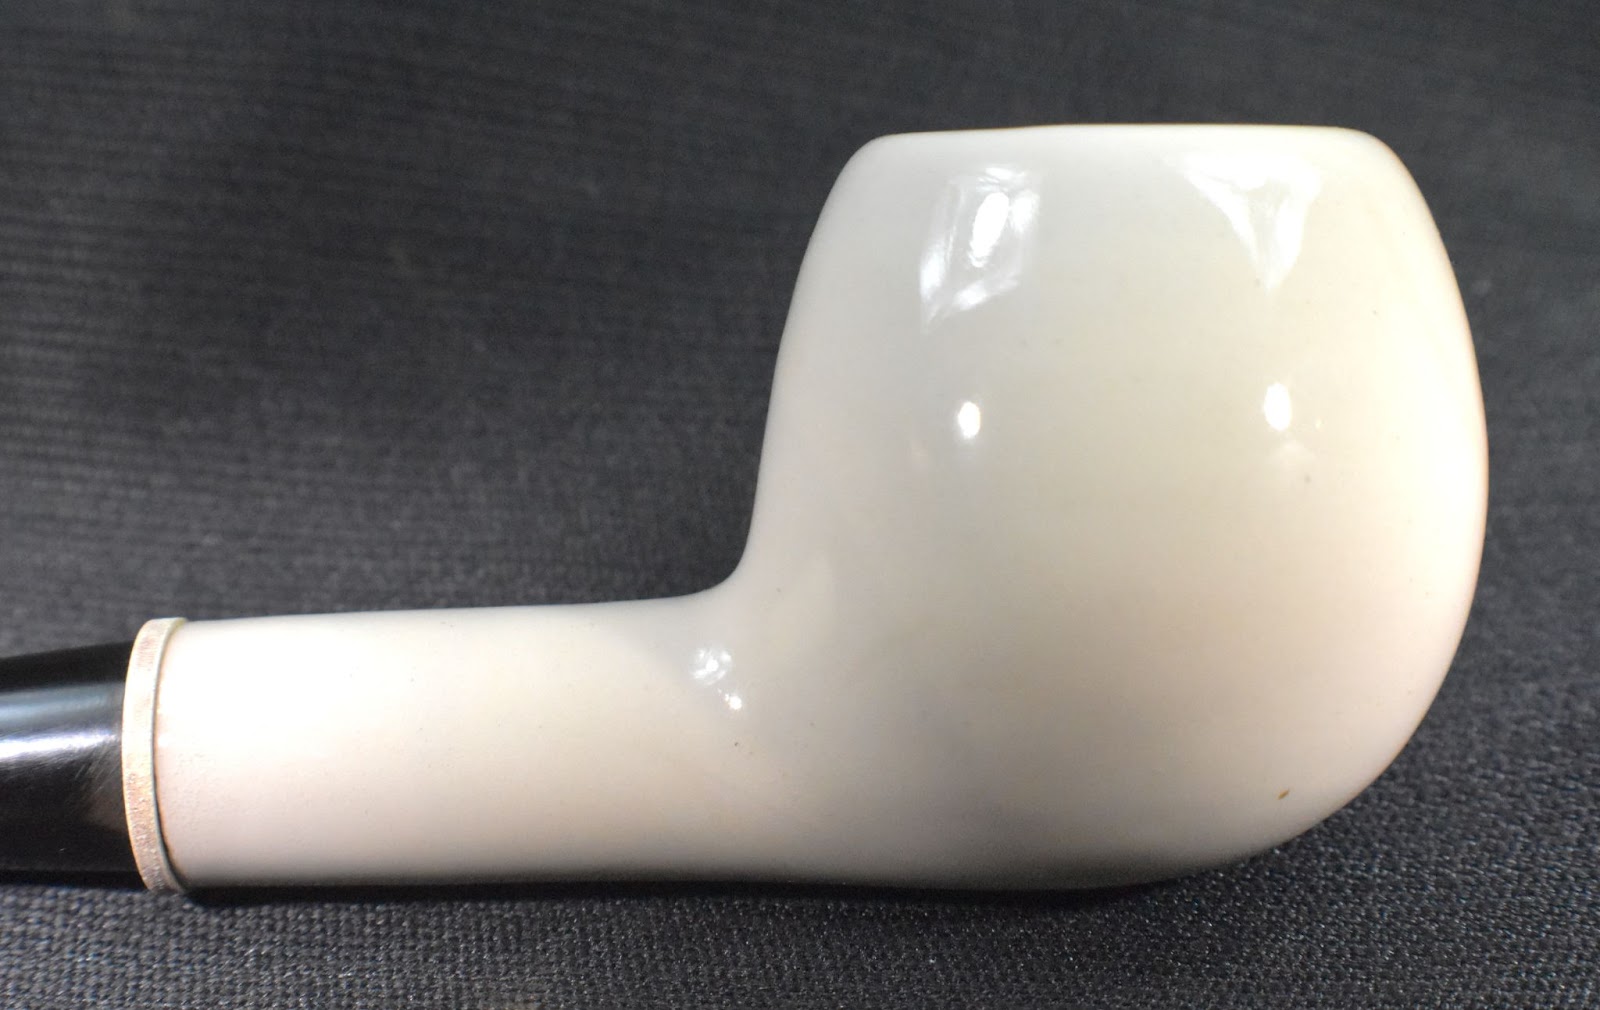
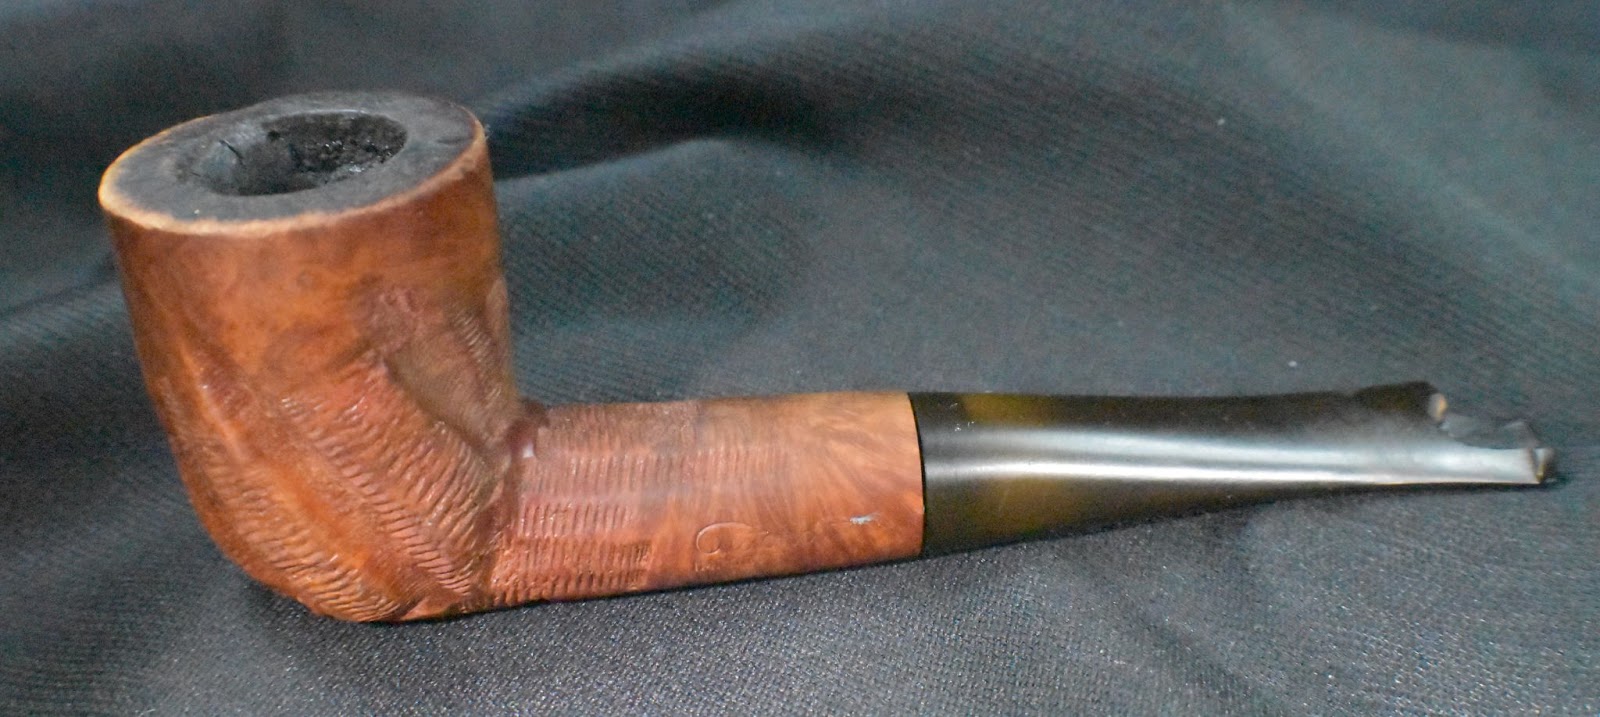
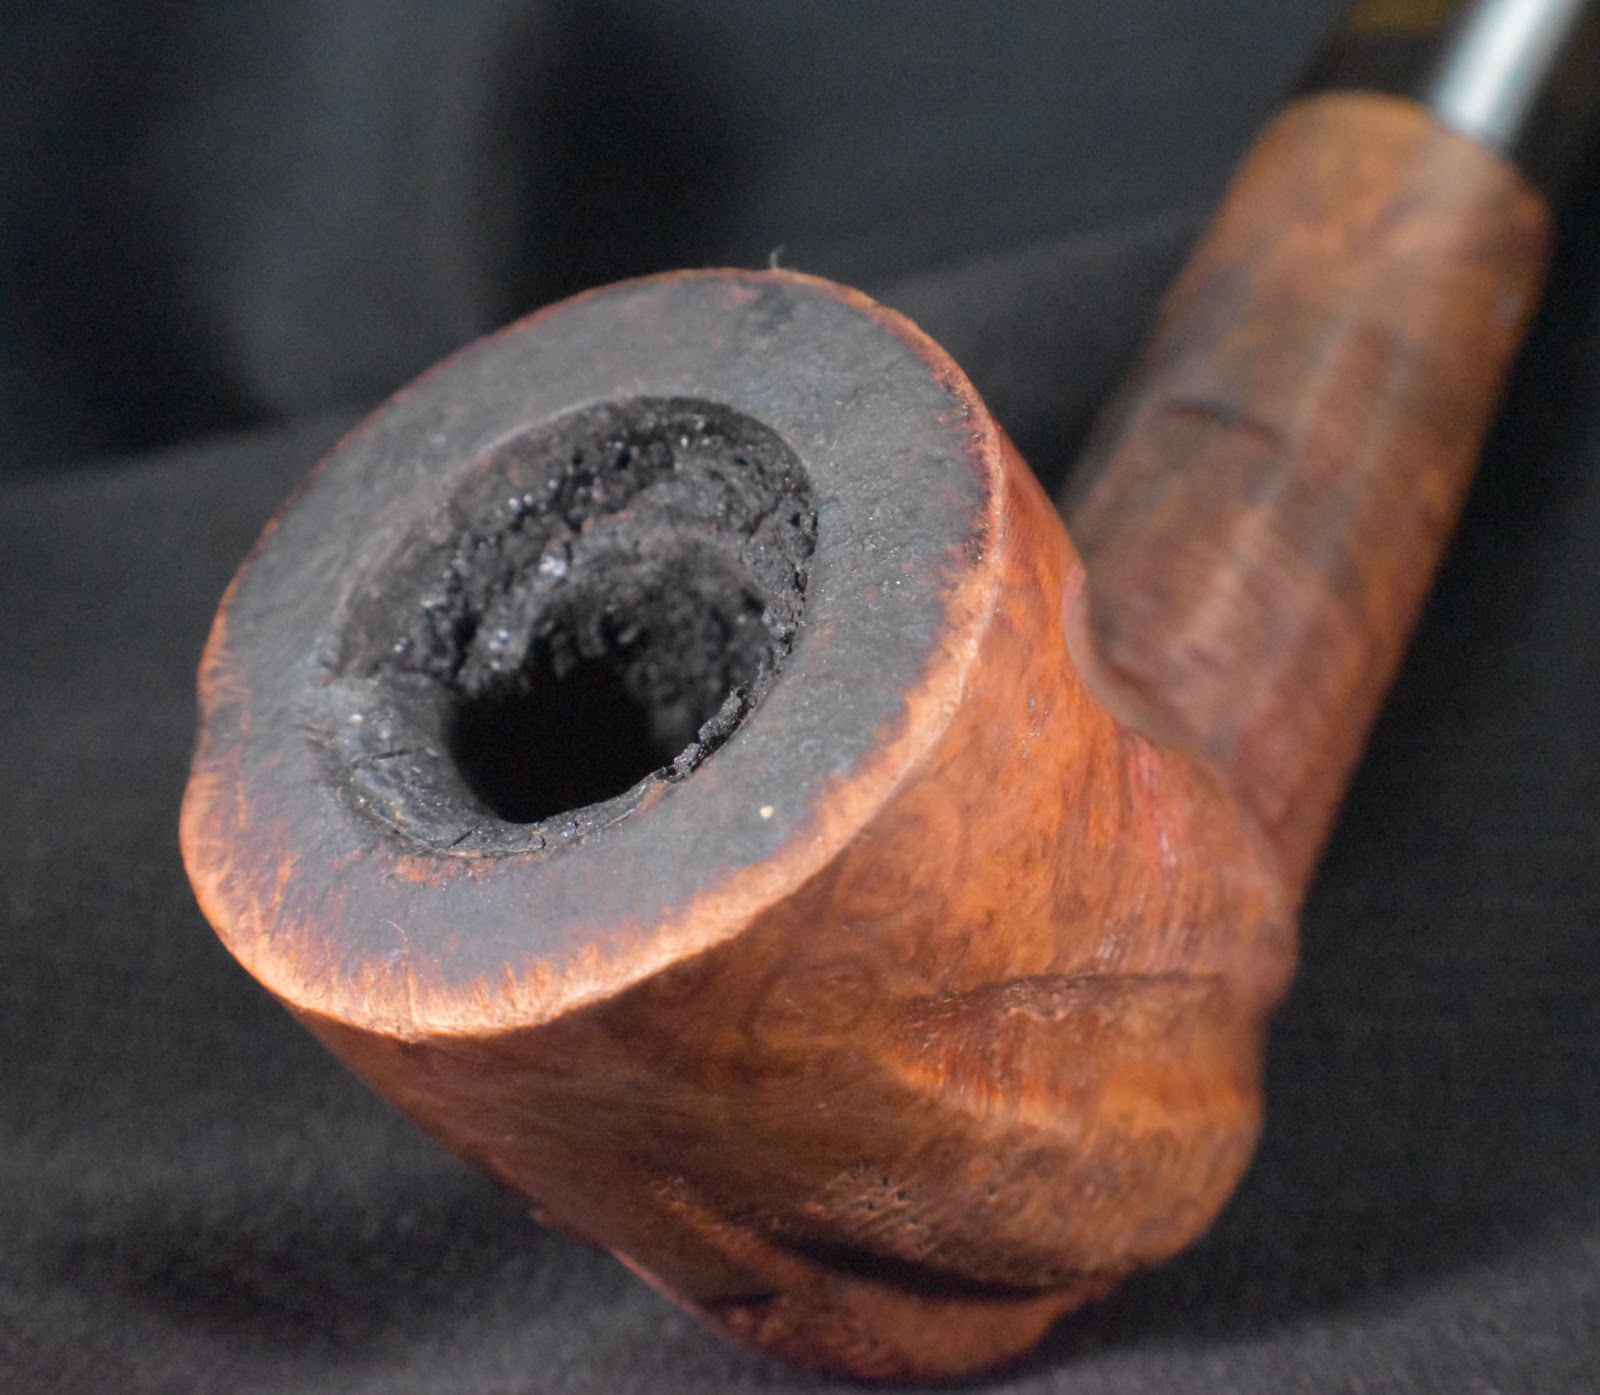
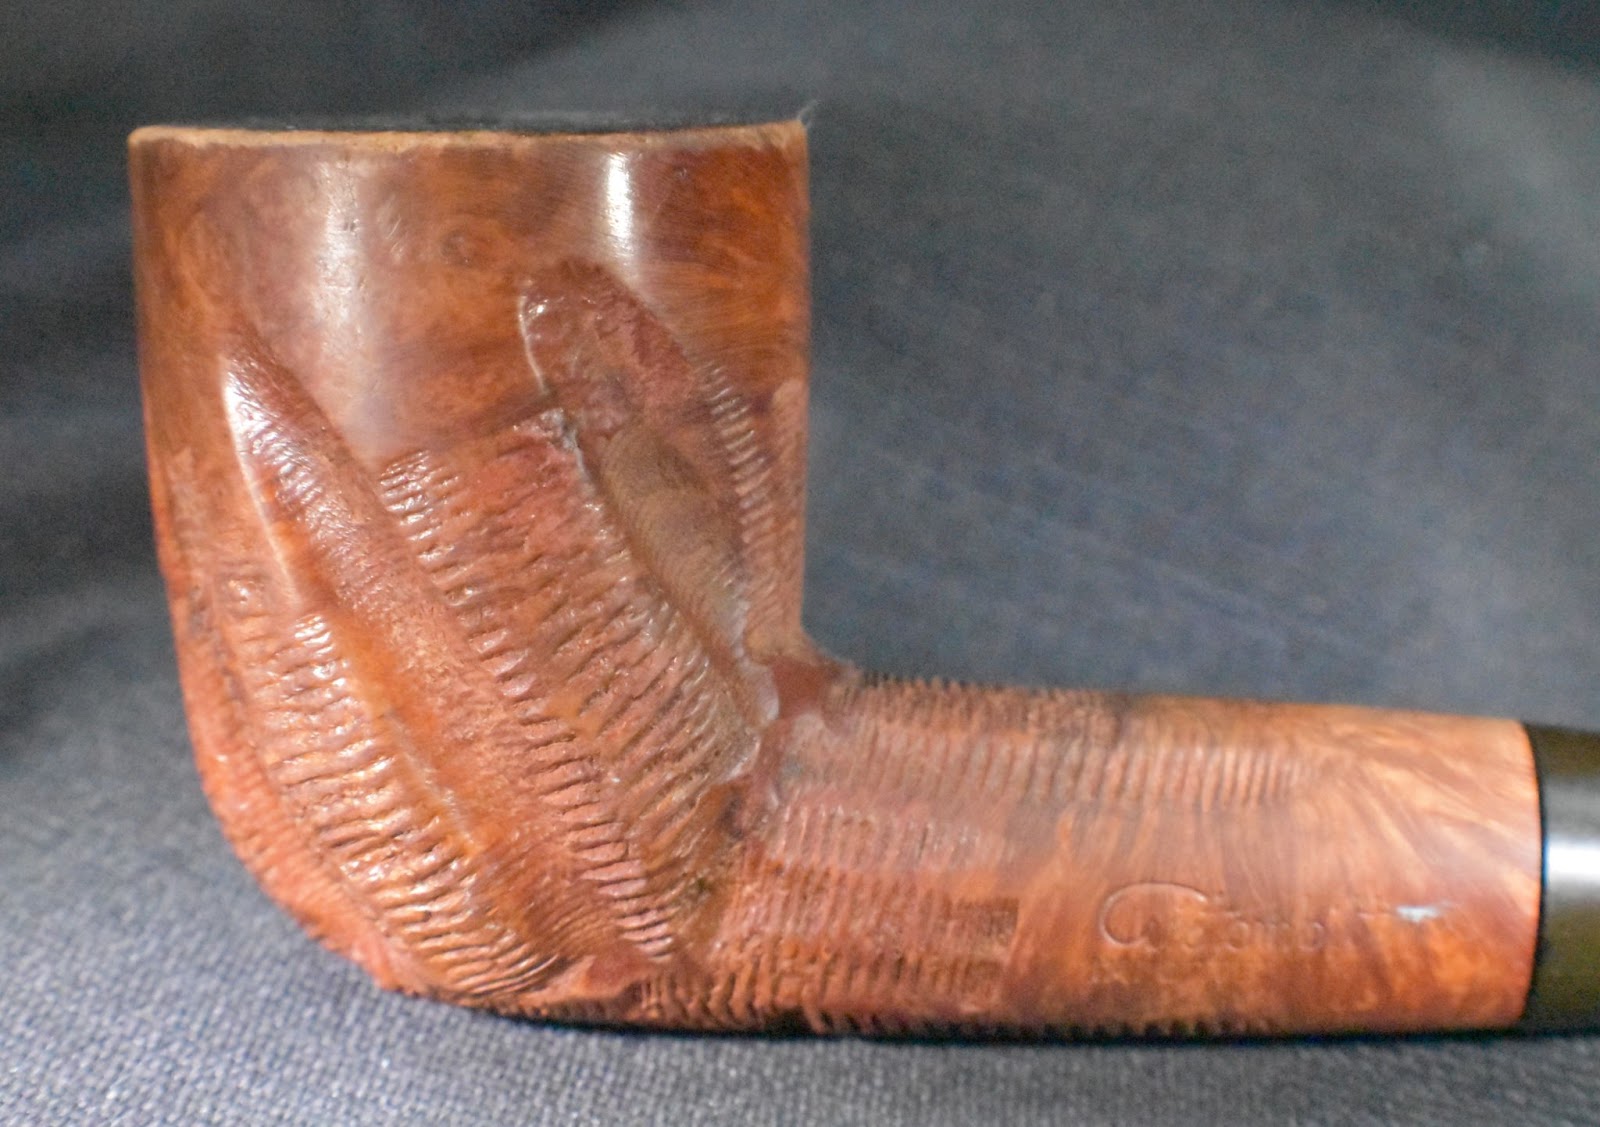
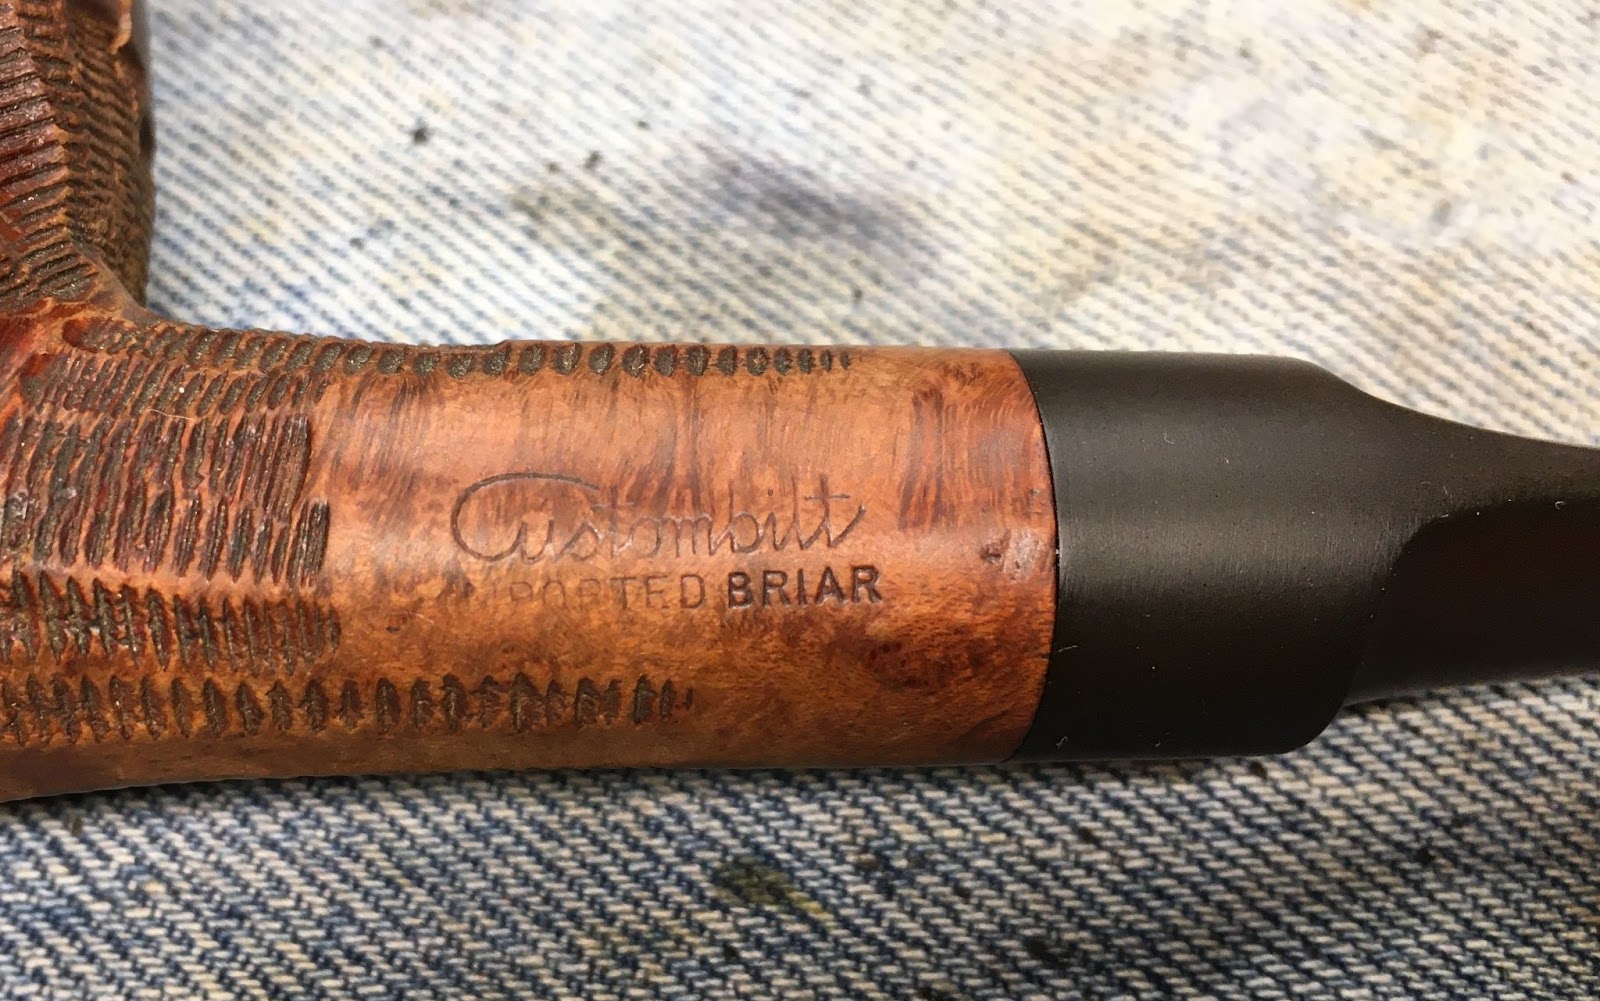
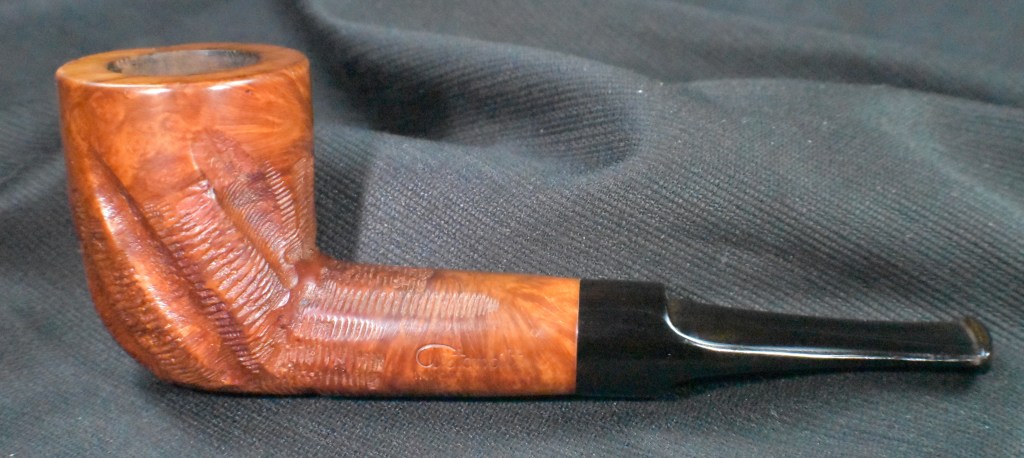
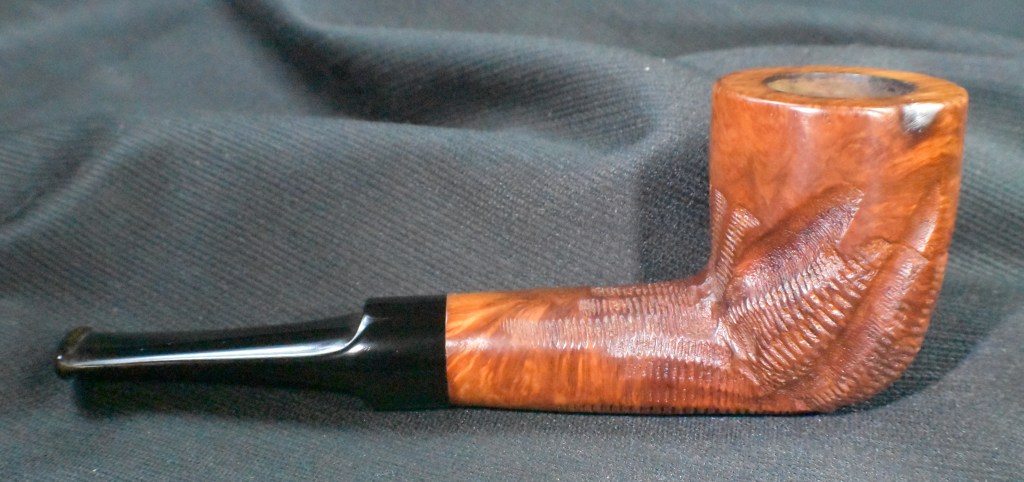
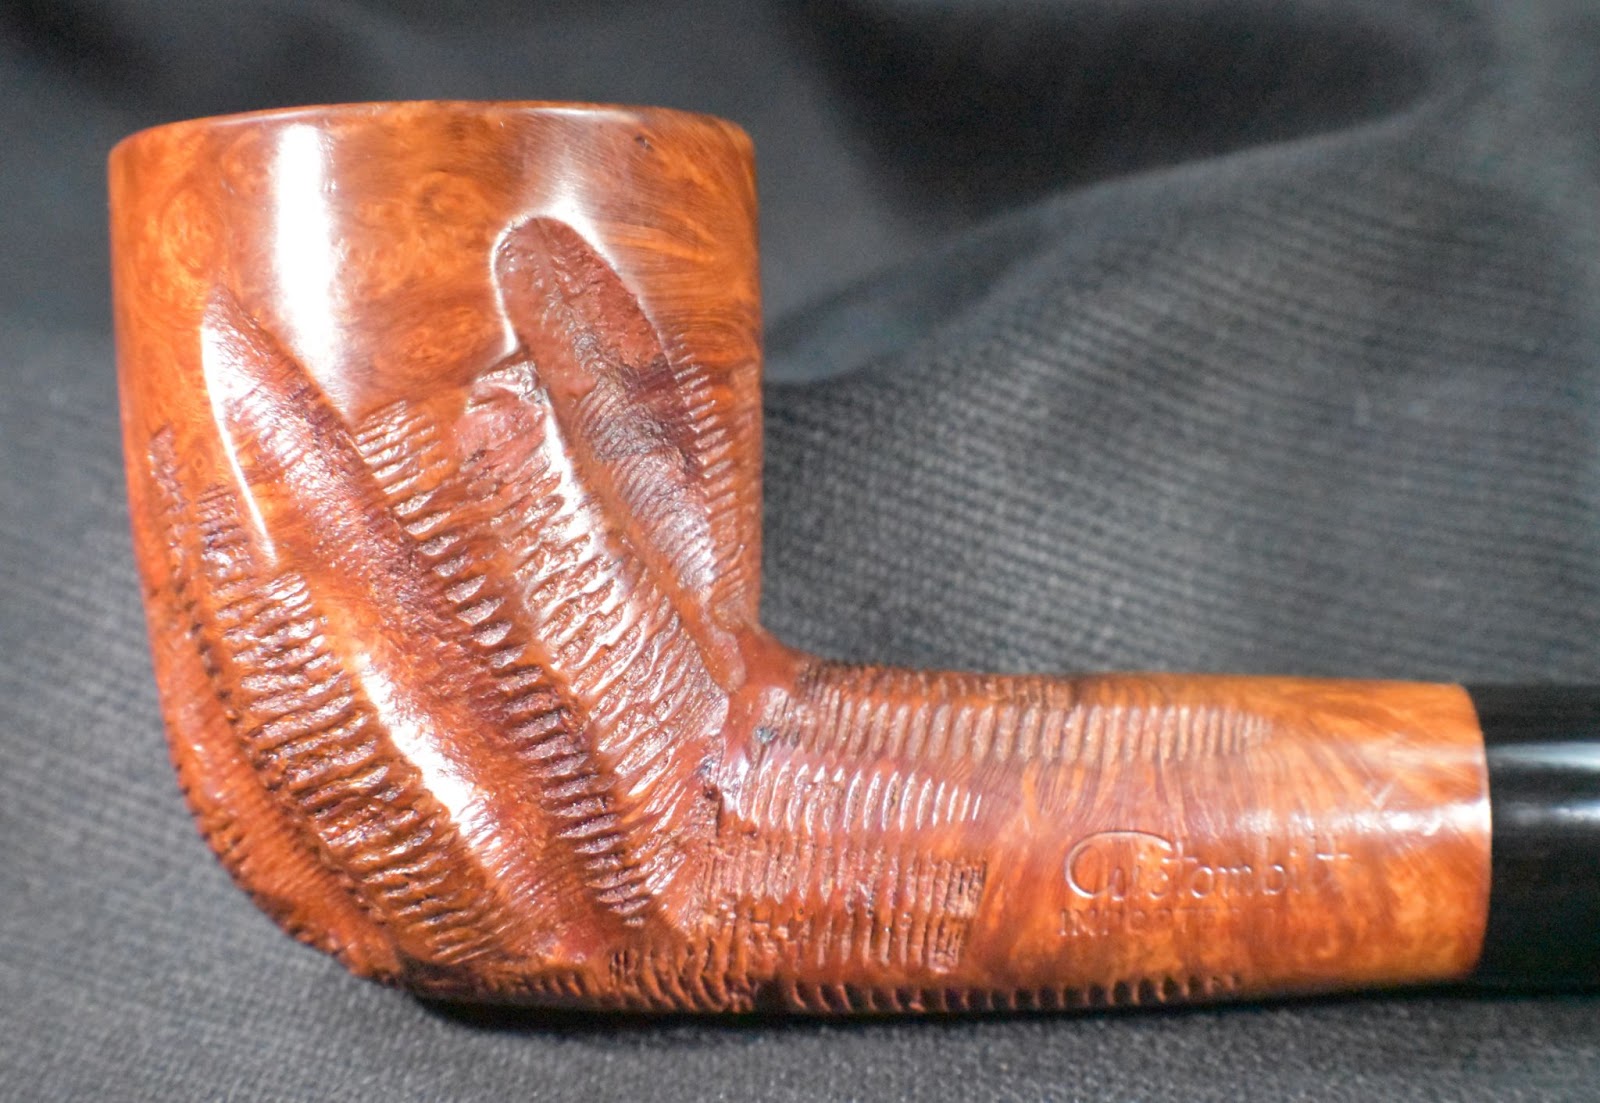
For some reason this pipe yelled out to me from a box on the shelf and demanded that I move it to the front of the queue. The pipe was one that I’d received from Steve Laug. It looked dingy and oxidized but I thought that it showed promise. On the bottom of the pipe was stamped Design by Curtis in a cursive script over PAT. PEND. Below are some photos I took prior to working on the pipe.


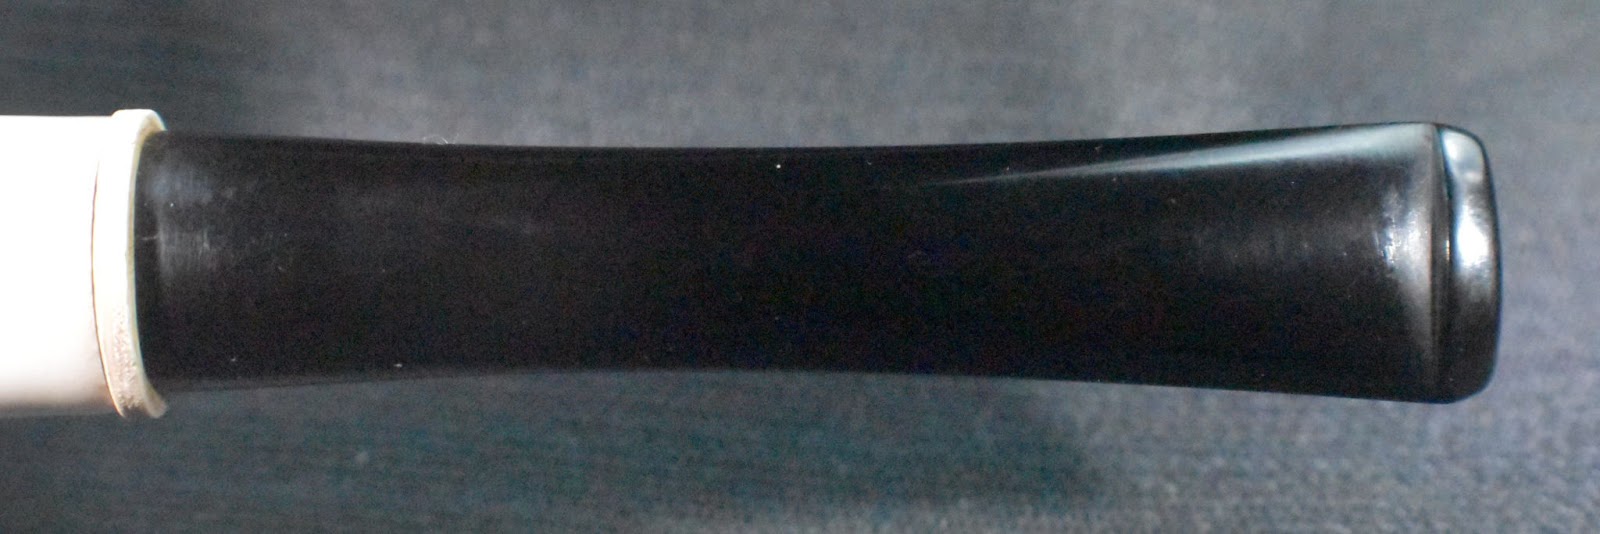
The aluminum was oxidized. So much so that I actually rubbed the pipe with a dry towel before photographing it on the black fabric. I didn’t want to get white aluminum oxide all over the fabric. The internals showed signs of dried hard smoking residue. I was sure that the pipe should disassemble more than I did in the above photos but the residue had stuck some parts together. The stem had tooth chatter top and bottom with a couple of deeper dents. This looked like it would be a great project allowing me to stay in the basement workshop and avoid the heat of August.
Background
The previously mentioned Doug Bisbee not only runs dk Metal Pipes but also is the manager or administrator of SMOKING METAL TOBACCO PIPE COLLECTORS & FANATICS. This is a repository of an immense collection of metal tobacco smoking pipes. It is also my “go-to” source whenever I want to learn anything about a metal pipe. According to the Smoking Metal site,
“The Curtis Custom-Built Pipe Model 100
Manufactured by Curtis Industries of 1120 East 222nd Street, Cleveland 17, Ohio. First seen around 1946
The actually markings are �Design by Curtis PAT .PEND. �.
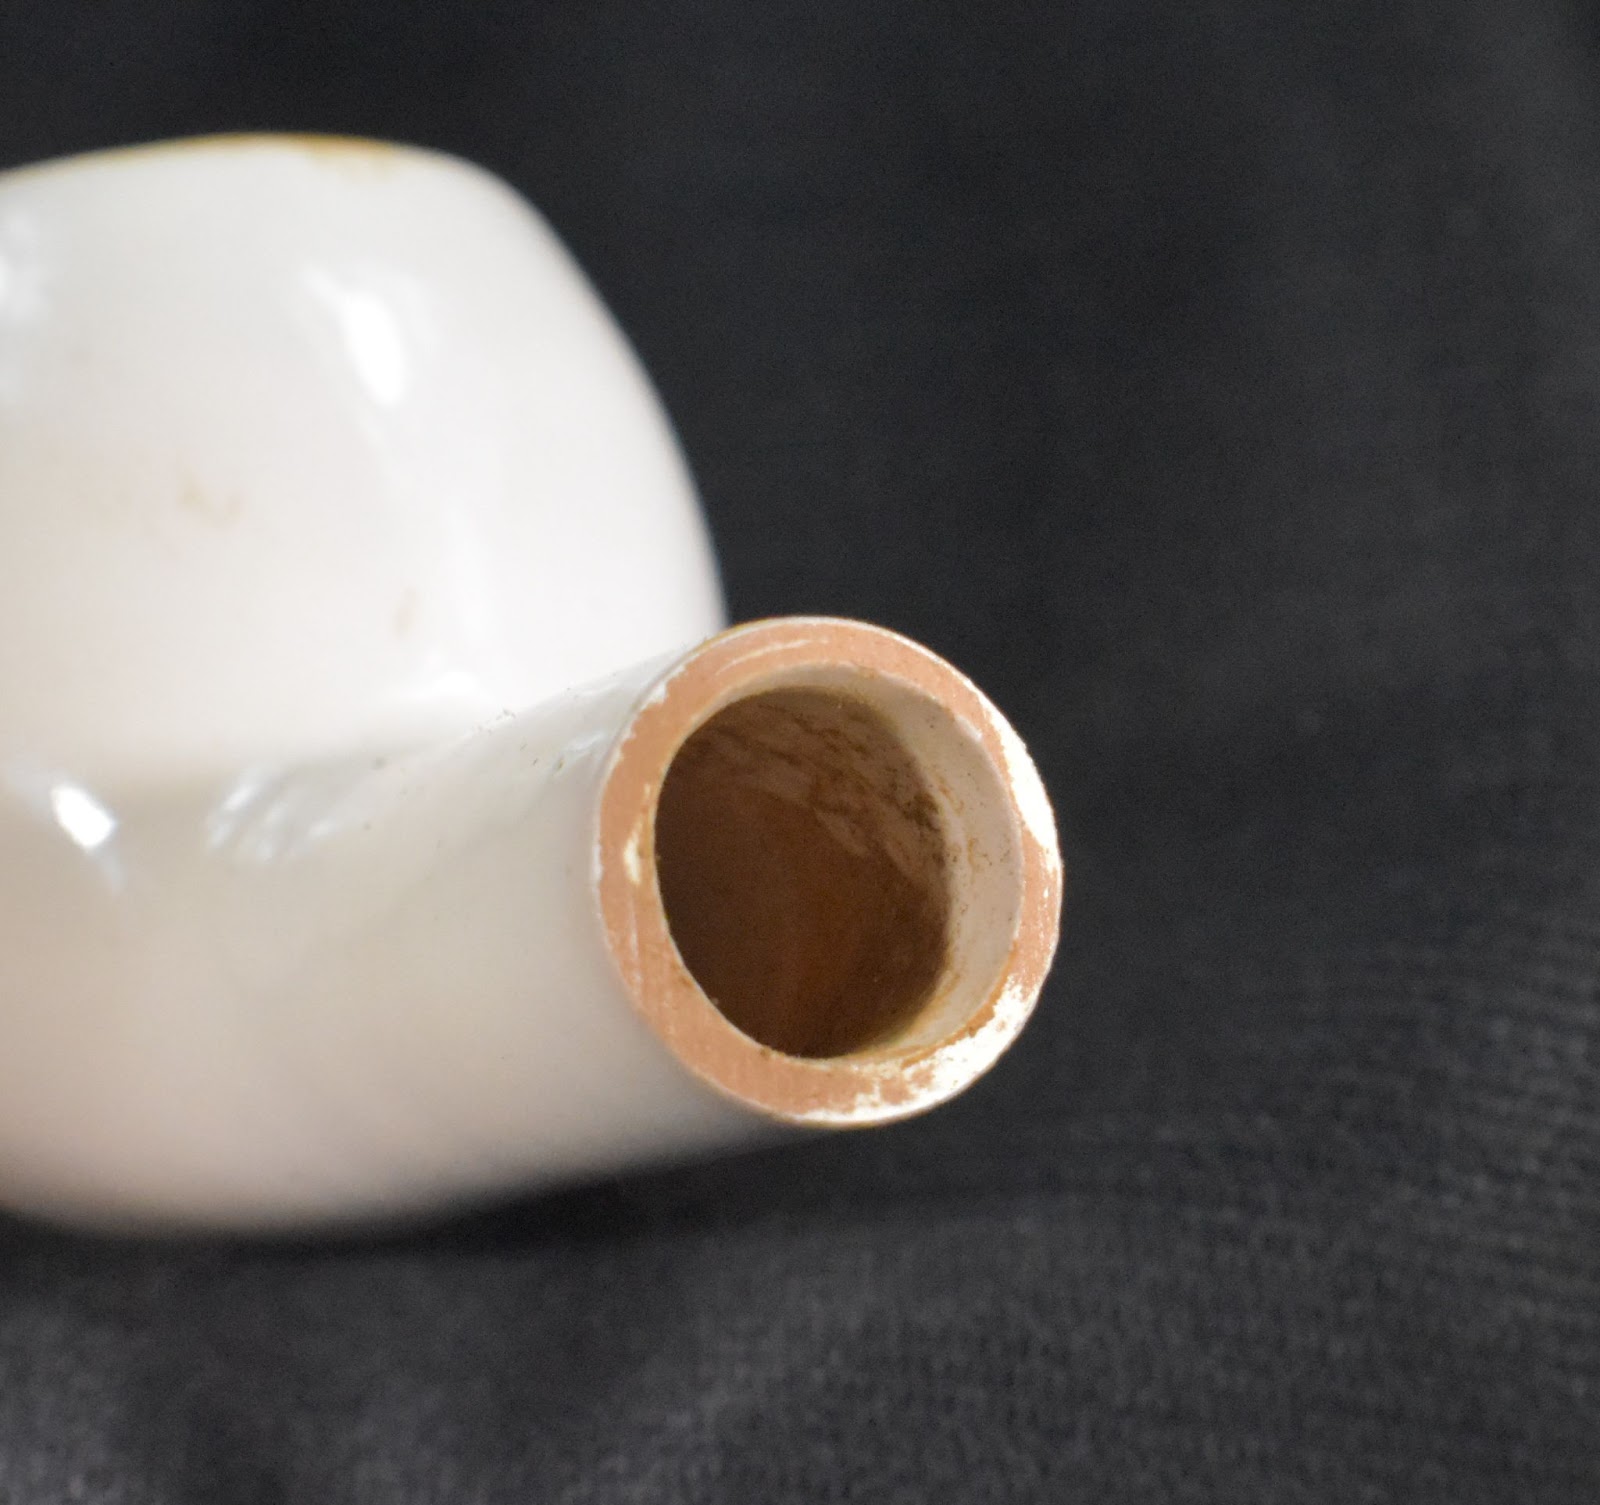
The bowl insert appears to be briar, despite having only had many examples am still unable to get the bowl apart, I am loathe to risk damage. The top plate does revolve but whether it is a screw attachment or a push fit cannot yet be ascertained
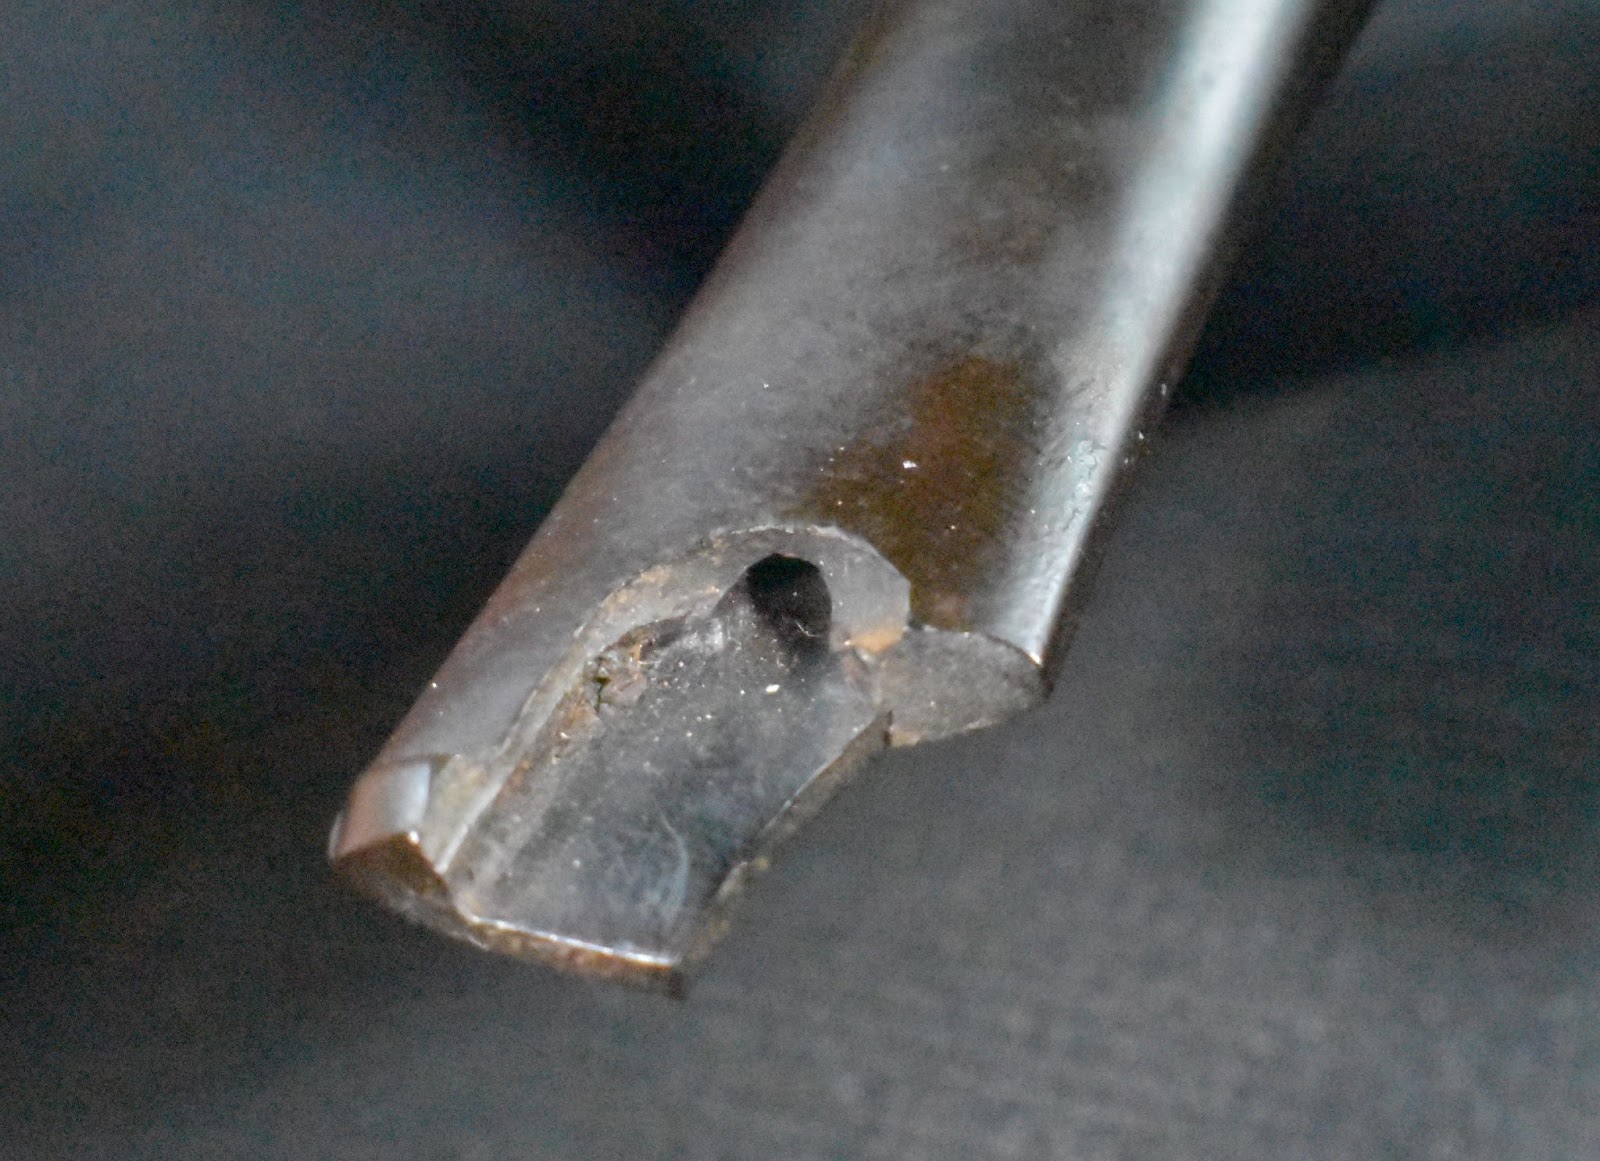
The interior of the stem is more complicated, taking an inline filter inside the tube. The shape of the end plug makes it more than interesting to undo. On many examples this part is the piece most damaged by pliers
With so many threads in the �gunk� part of the pipe it can be a problem to clean.
25 Dec 1945 US patent # D143257 Inventor Howard Abrams, University Heights, Ohio” (CURTIS)
The smokingmetal site also had a photo of an old Curtis pamphlet. Though a bit difficult to read it is an interesting source of information from the origins of the company.

(CURTIS)
Inventor Howard Abrams applied for the patent on September 10, 1945 and received the patent, astonishingly quickly on Decemper 25 1945. A Google patent search resulted in the following:


(USD143257S – Design foe a smoking pipe – Google Patents)
With my search providing the above information and a definitive date I turned to the restoration.
The Restoration
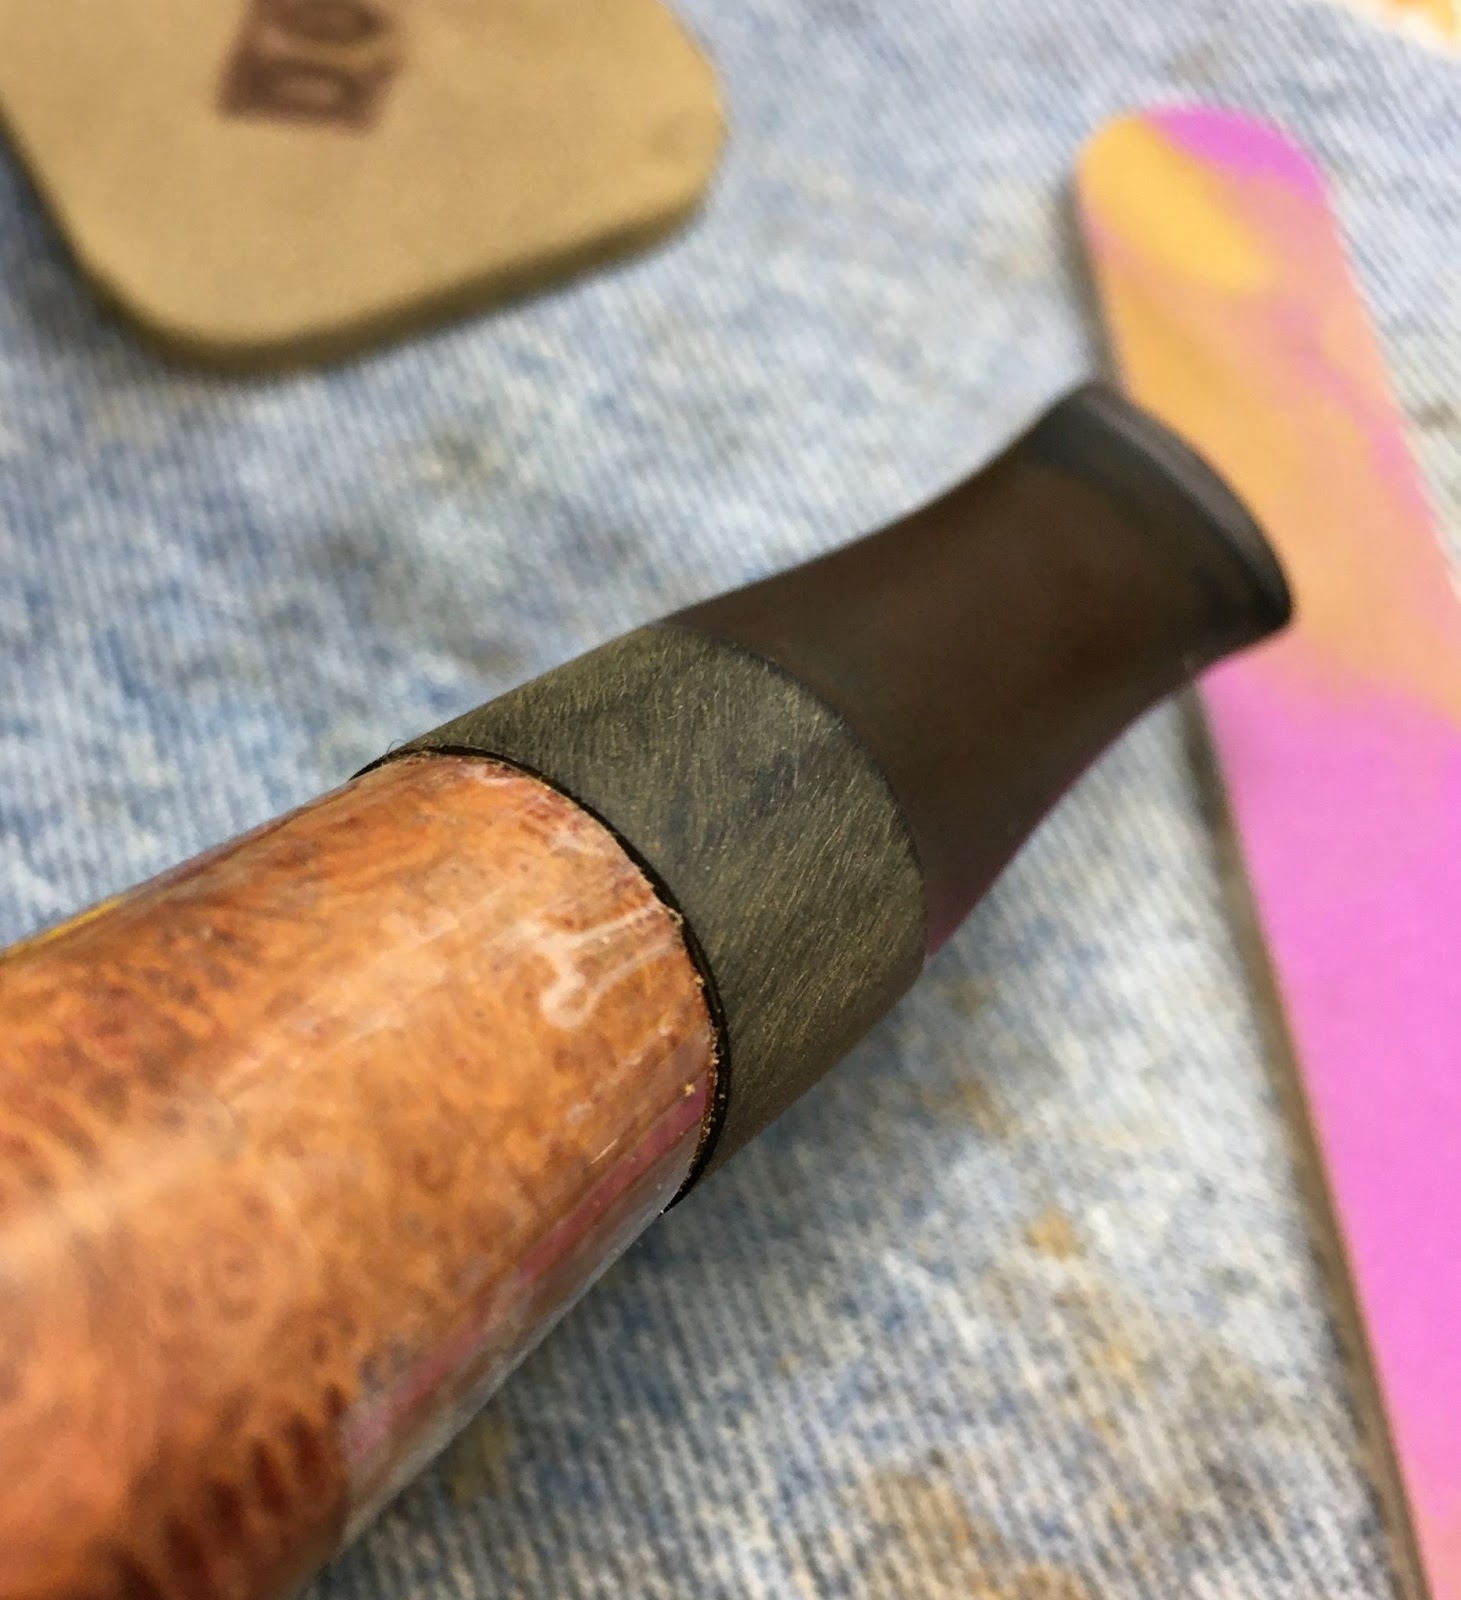
As usual the pipe made its way to a cleaned denim piece at the workbench.

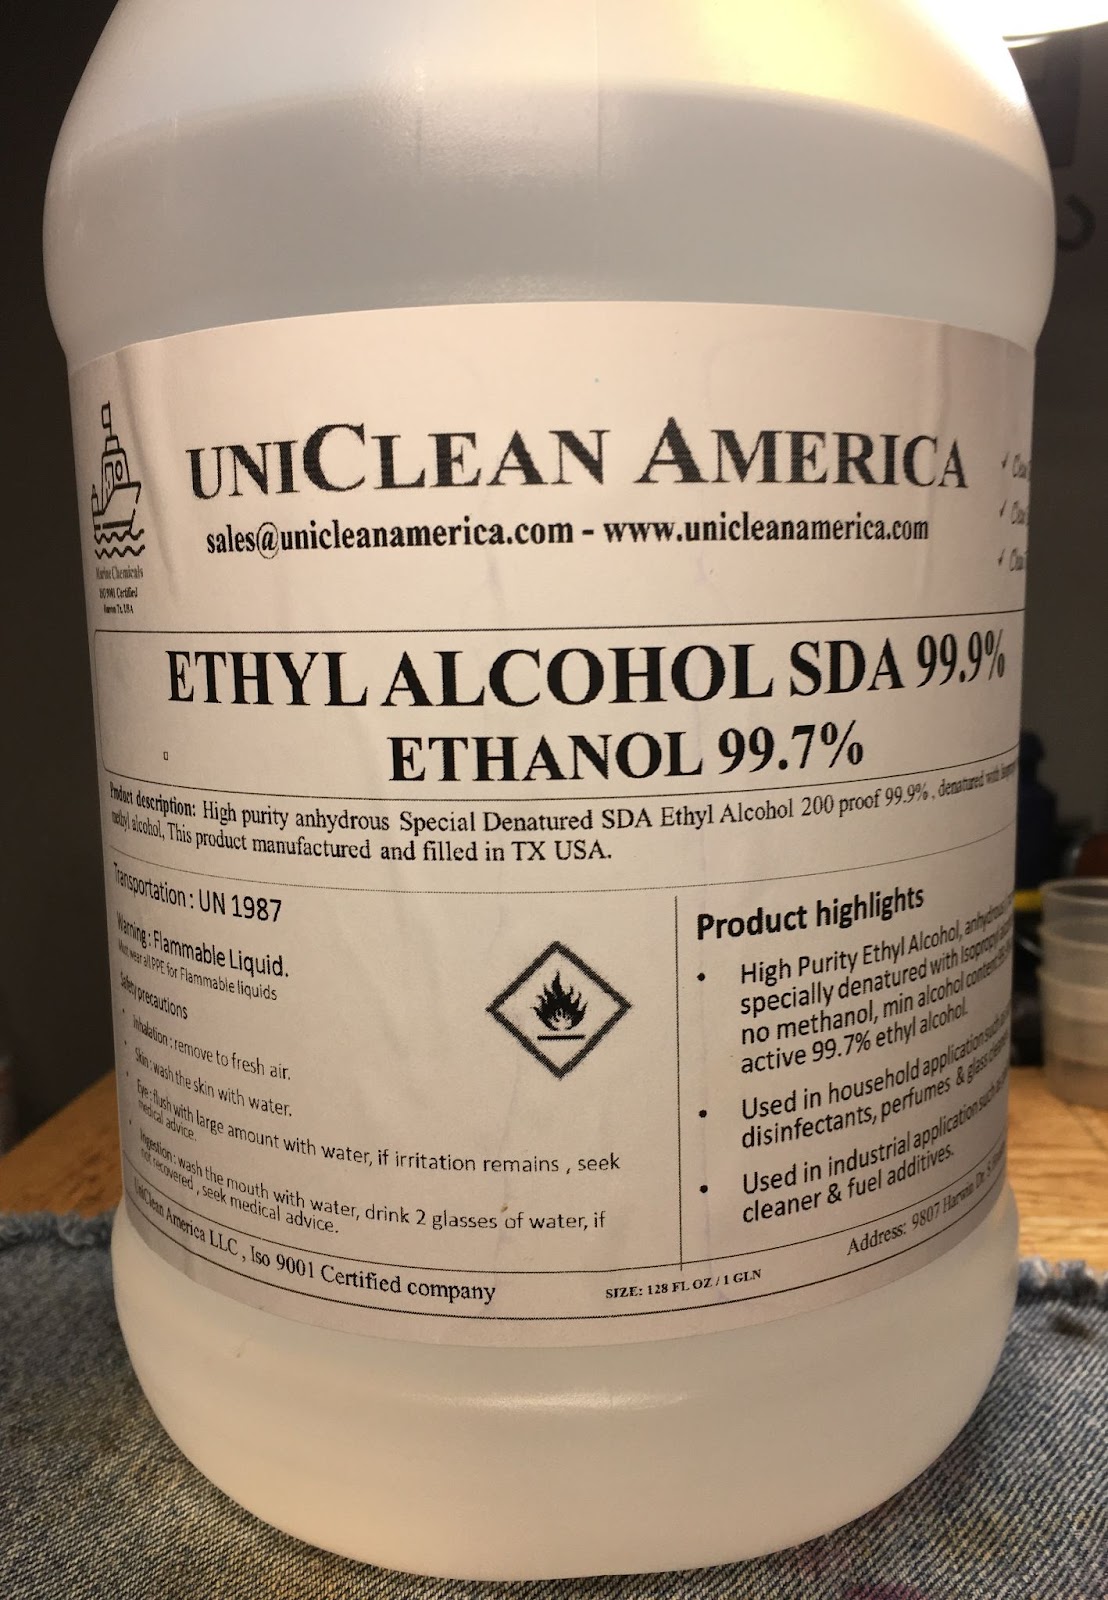
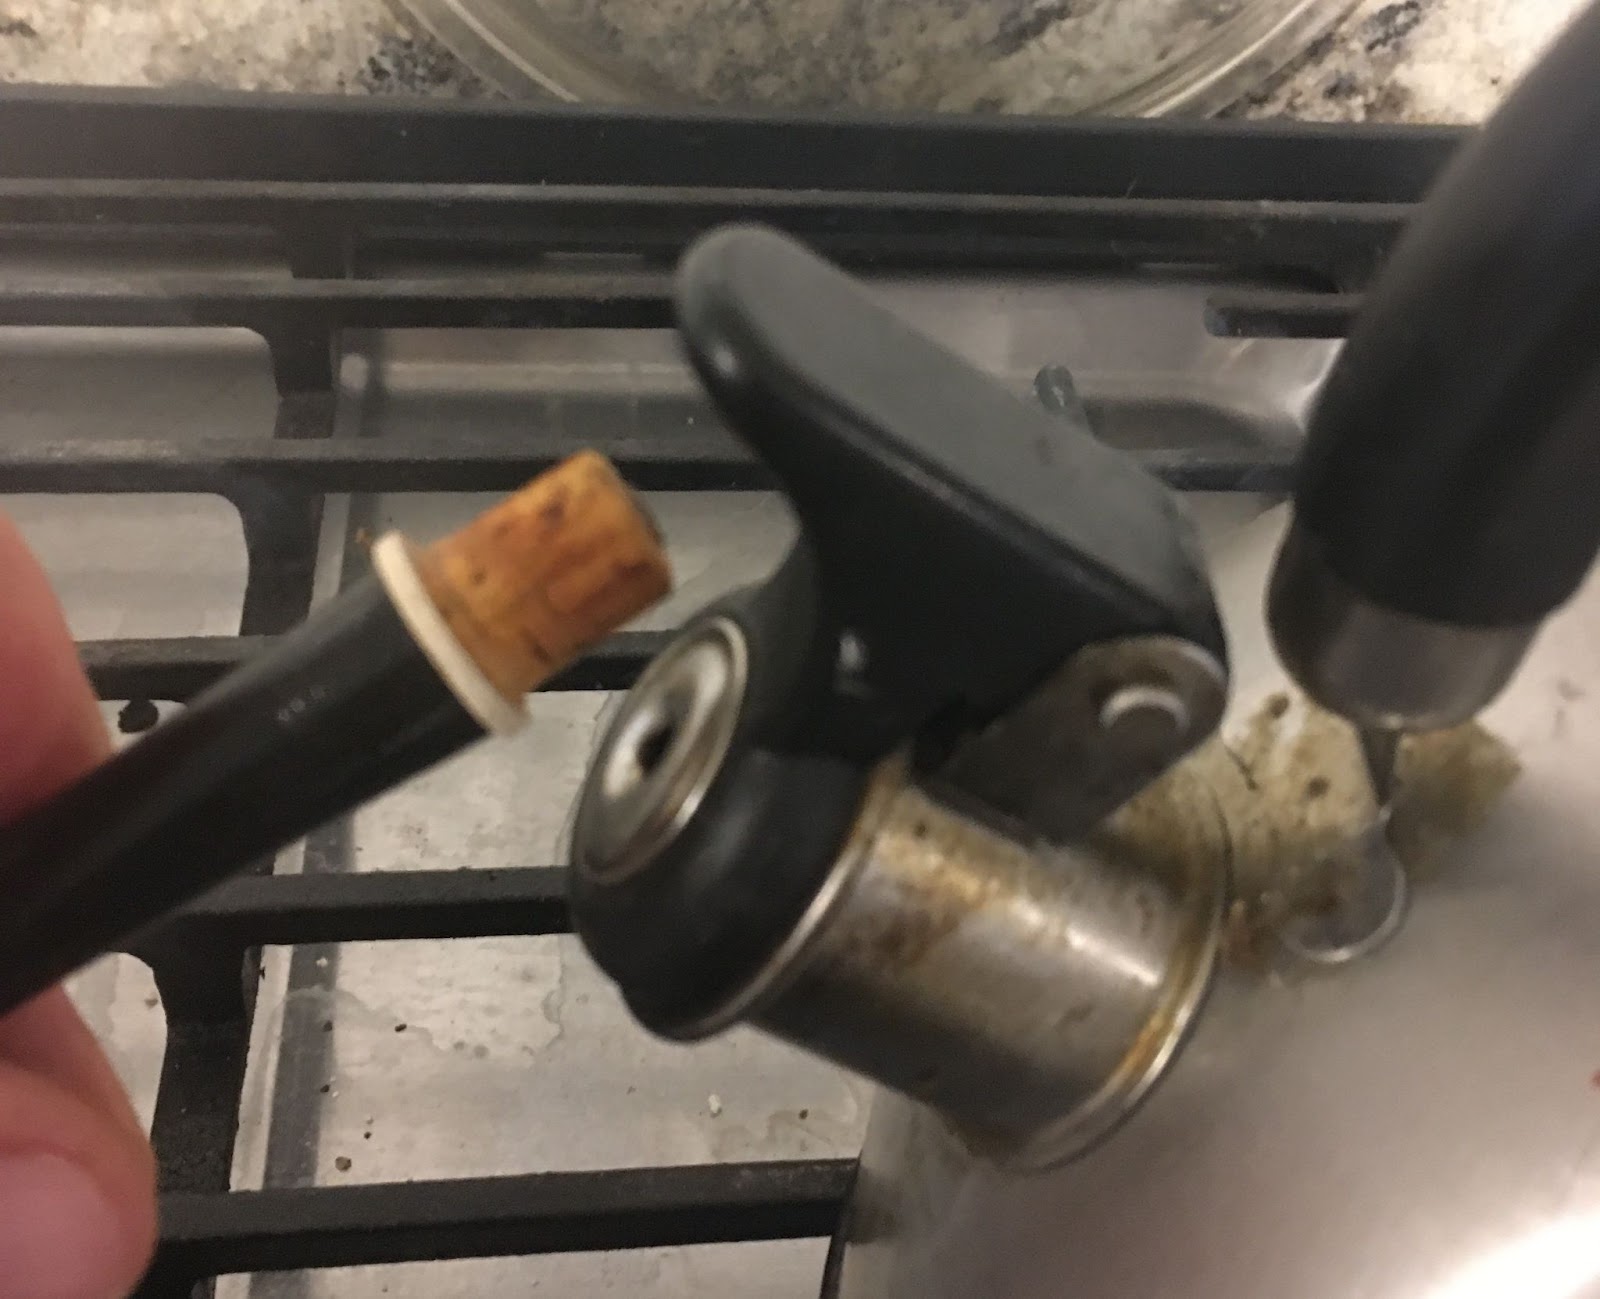
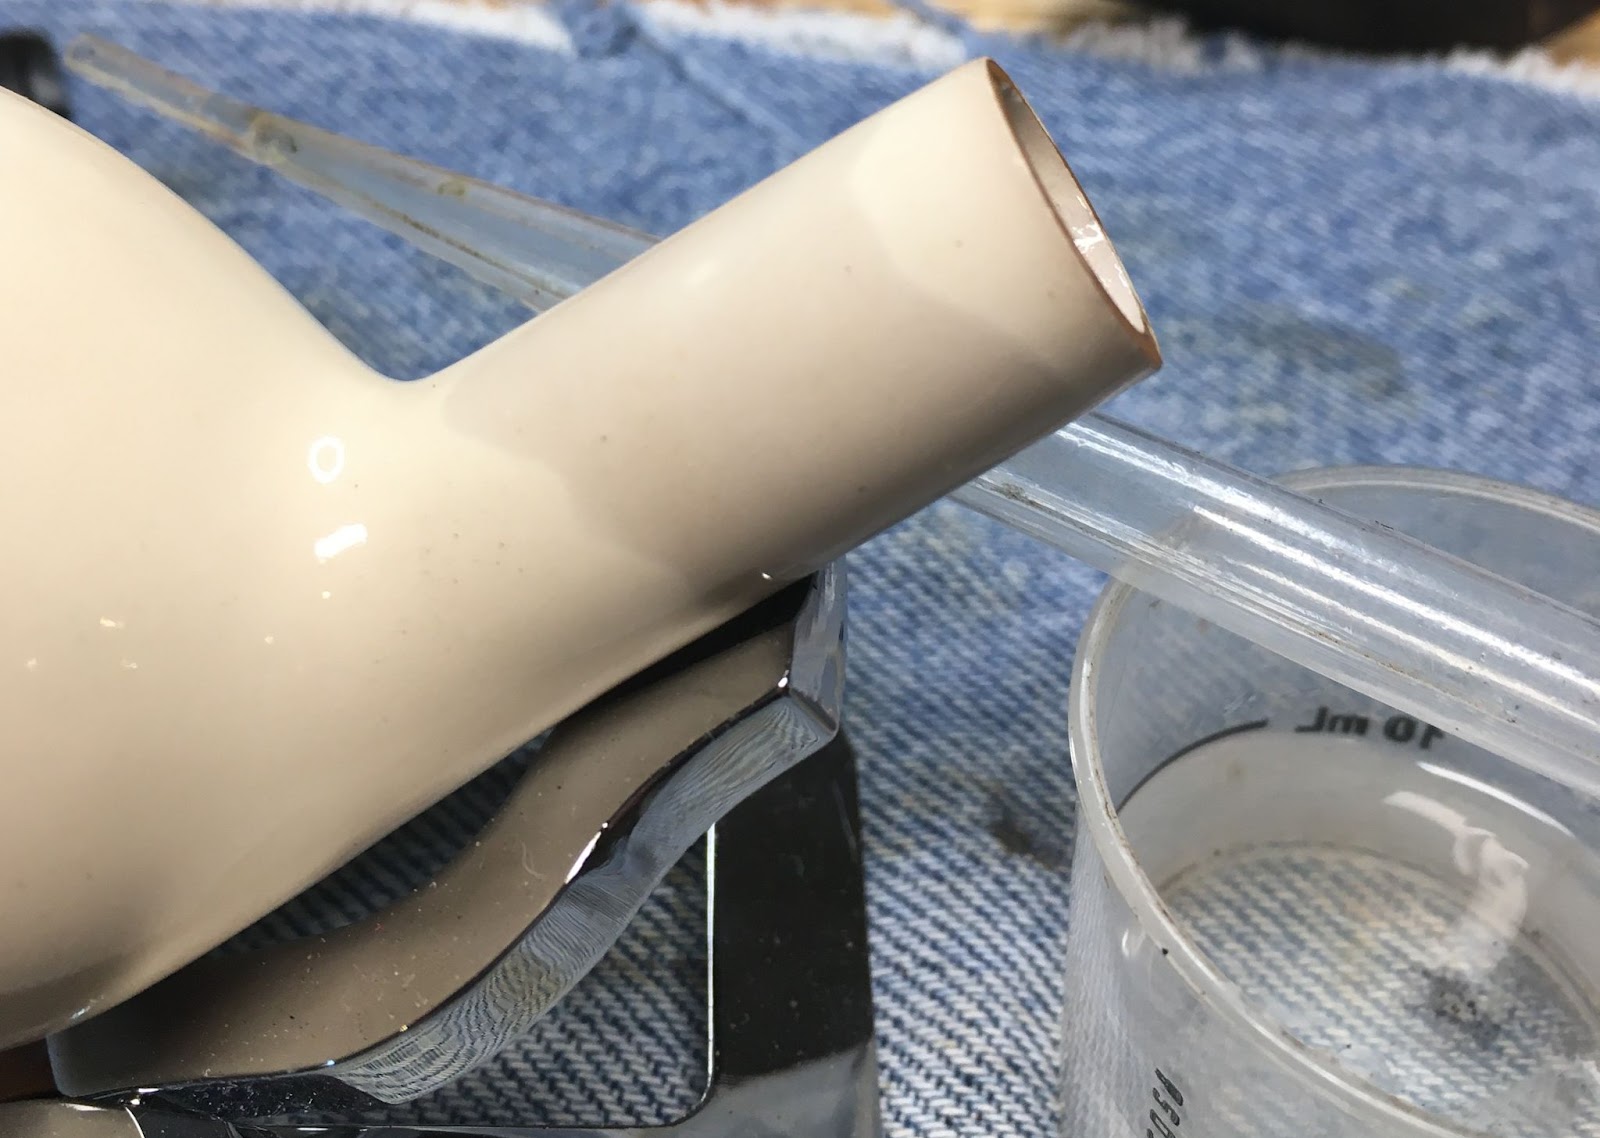
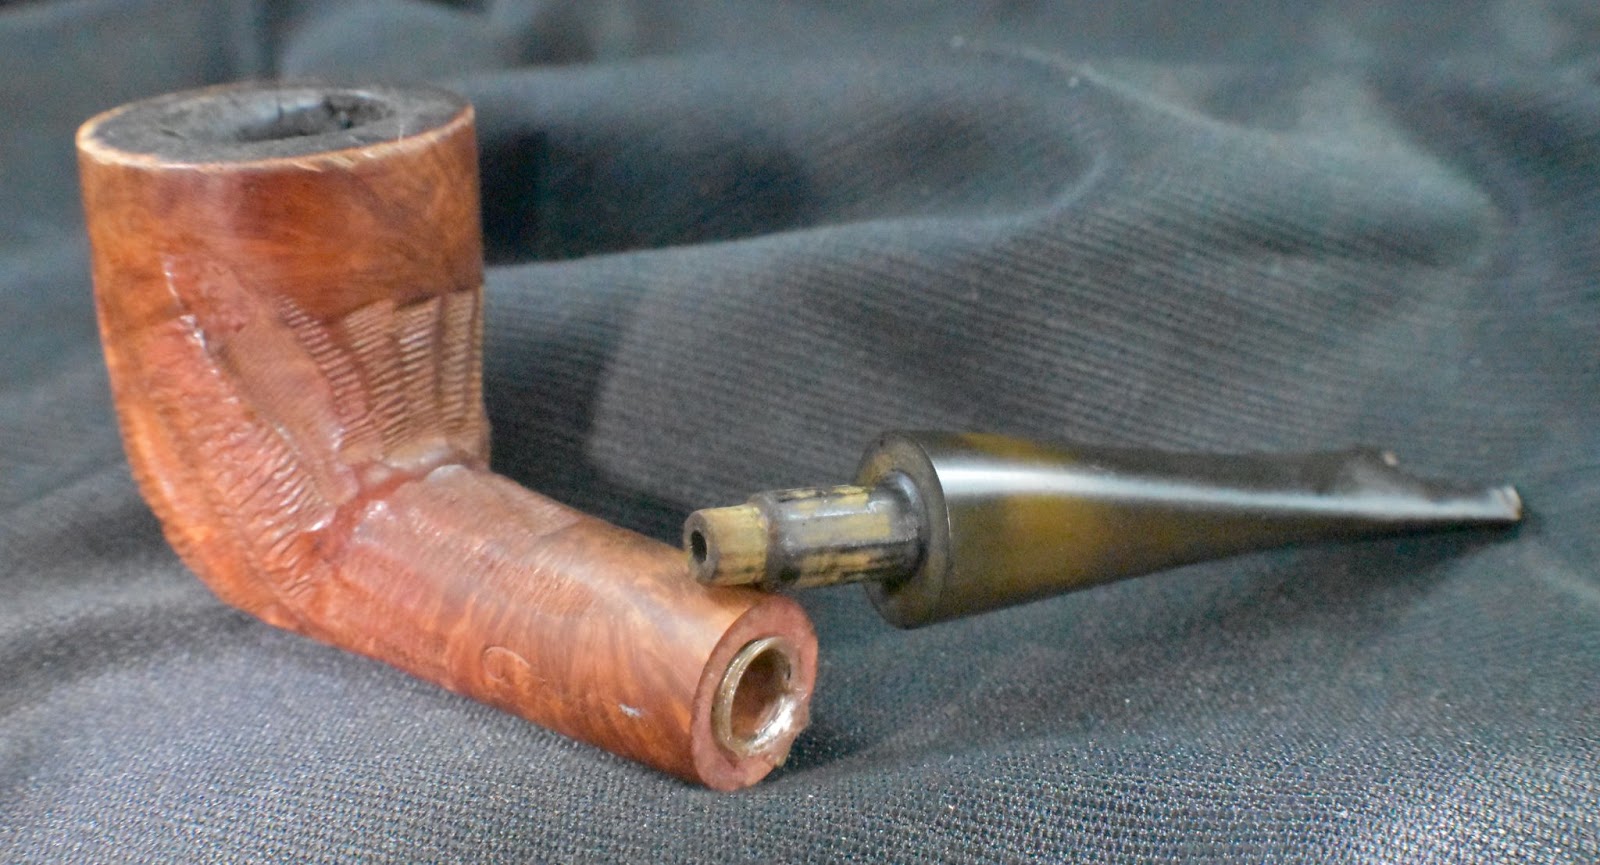
I started with cleaning the chassis. I do not know if that is the proper term for the main body of this pipe as Howard Abrams failed to leave us a labeled diagram of the parts of his innovation. Perhaps that is how he got it approved so quickly. I could not get the conical endcap to loosen at all during the cleaning so I let it soak in the 99% ethyl alcohol.

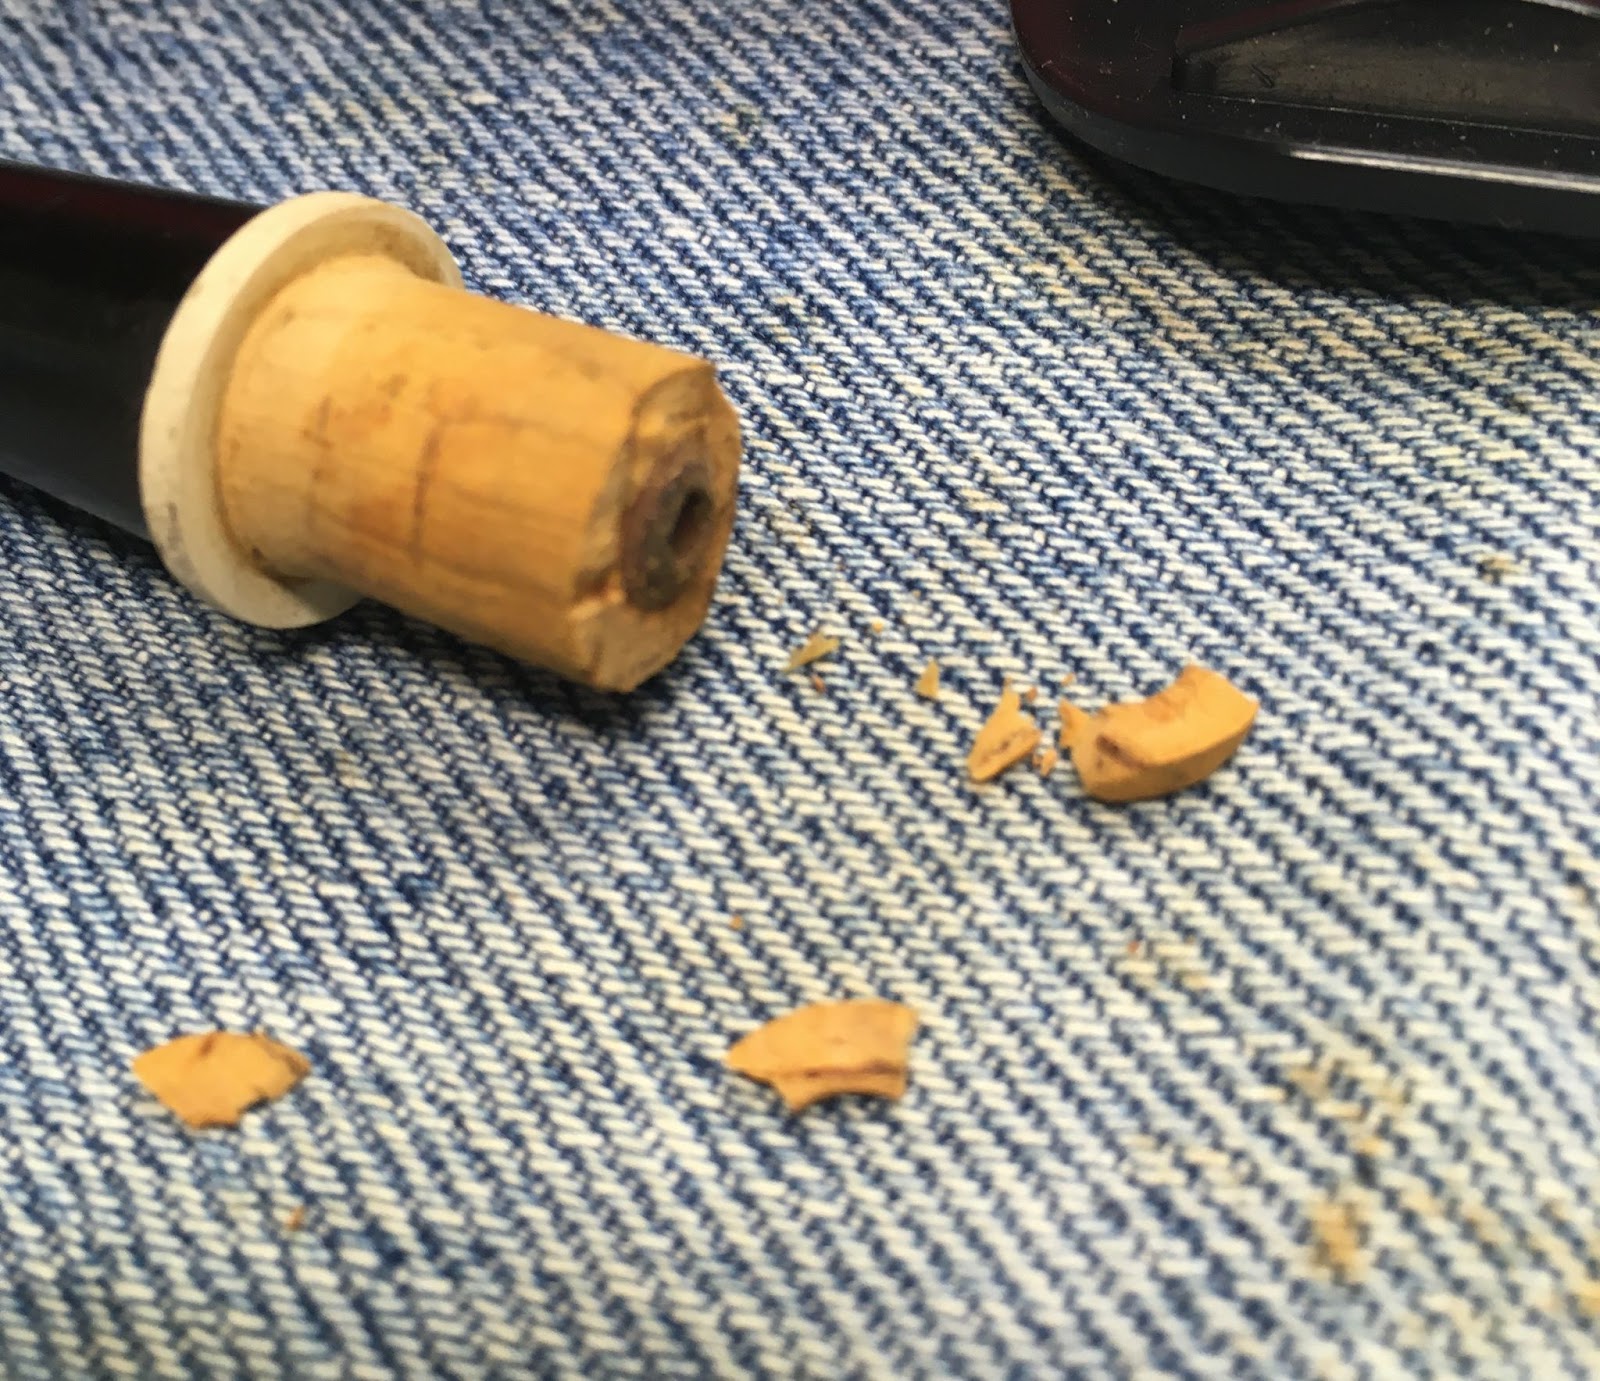
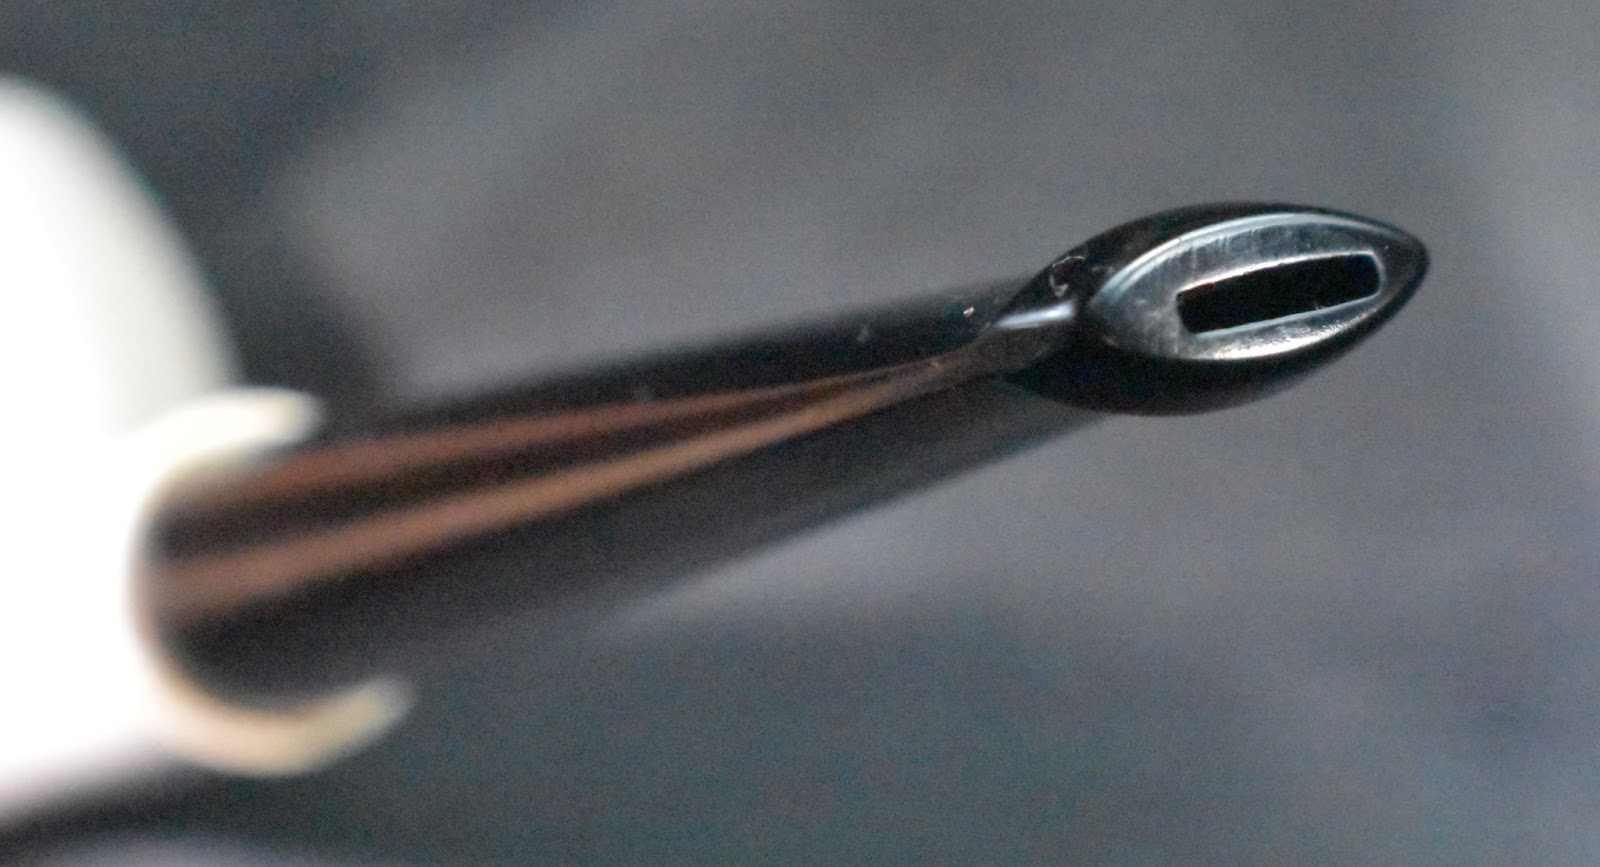
I call this stem assembly. The end of the assembly did come off, let’s call it the nozzle. The stem will accept a Medico filter if 0.58 inches or 15 mm of the filter is cut off.

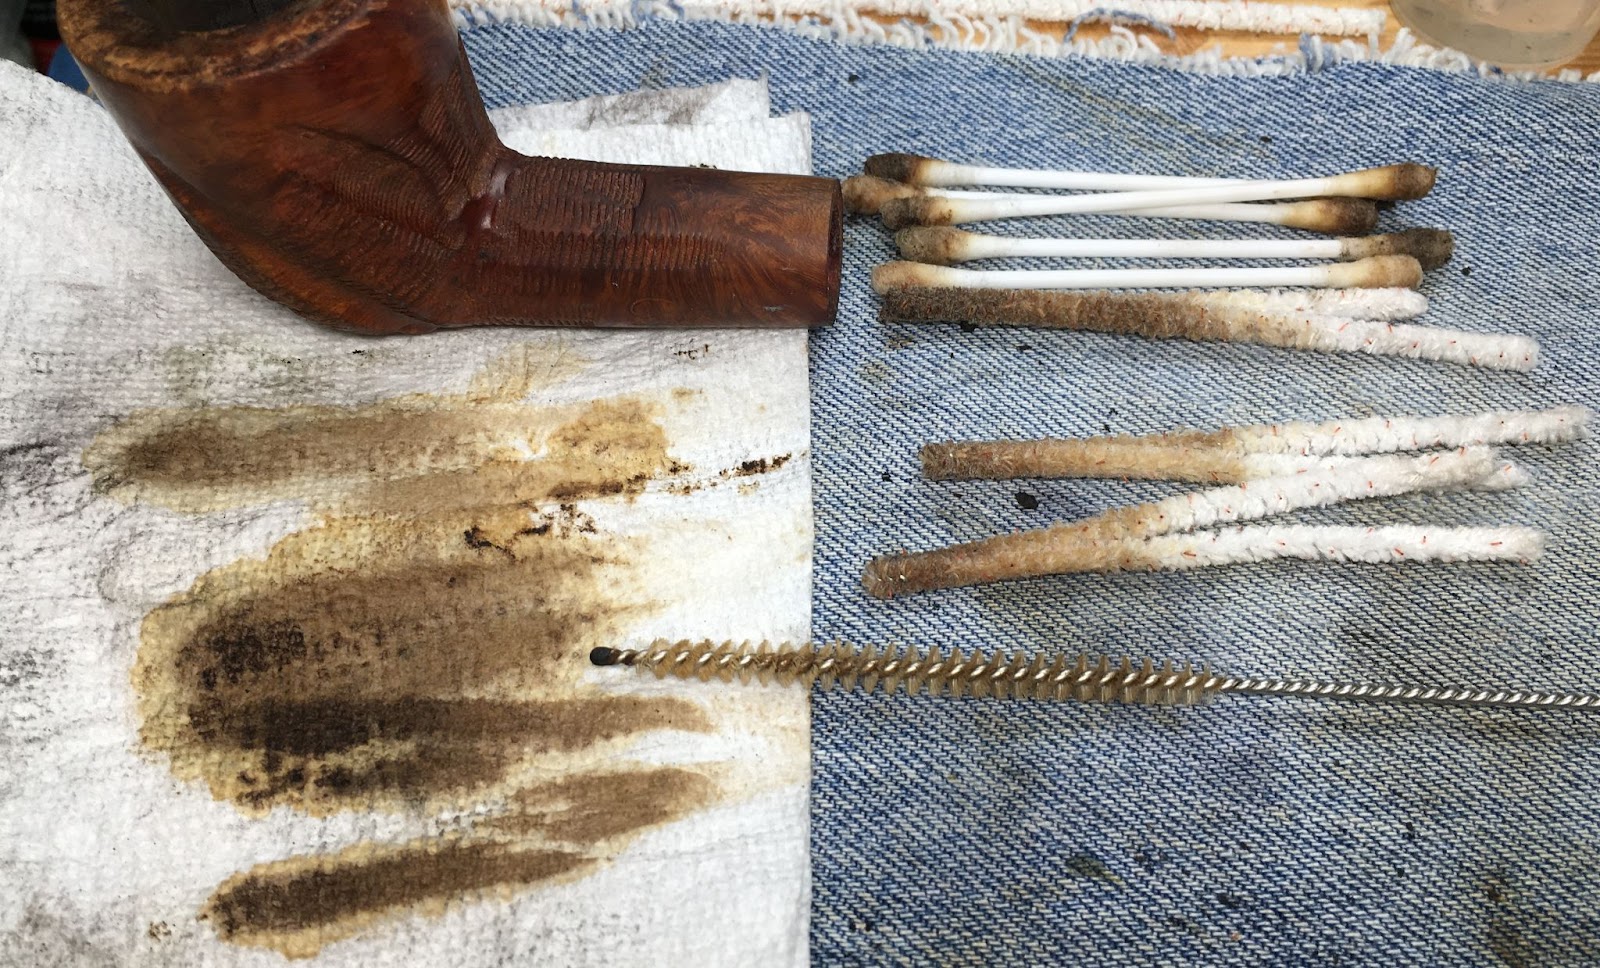
The stem nozzle was also soaked in ethyl alcohol while I cleaned the stem with cotton swabs and bristle pipe cleaners dipped in alcohol.

The aluminum of the stem would be buffed with white compound along with the rest of the aluminum eventually

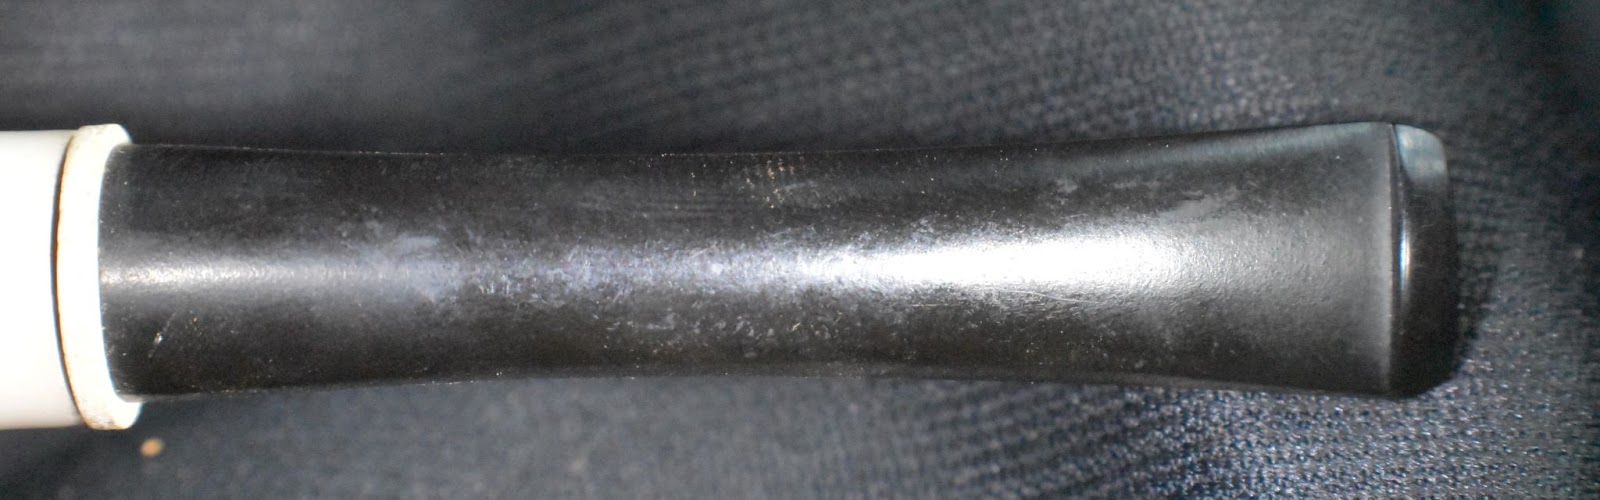
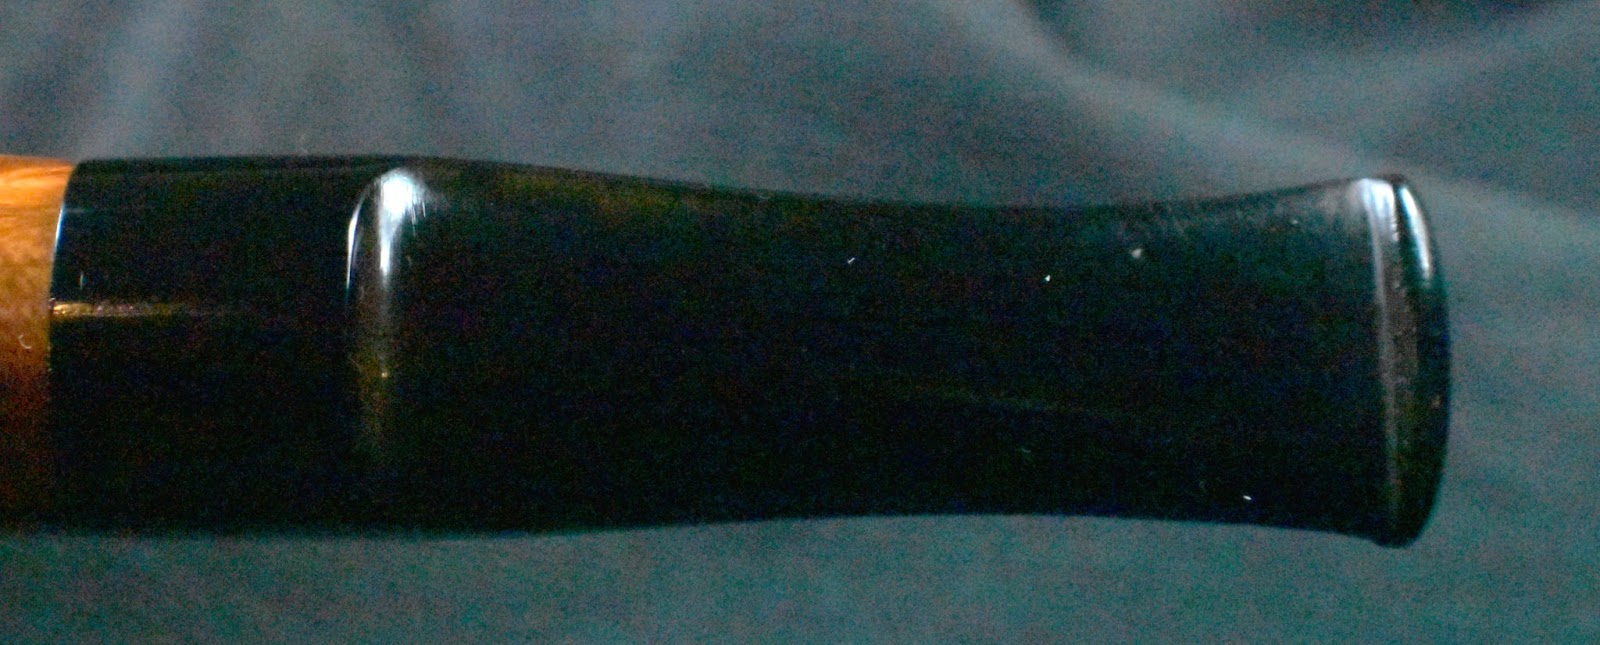
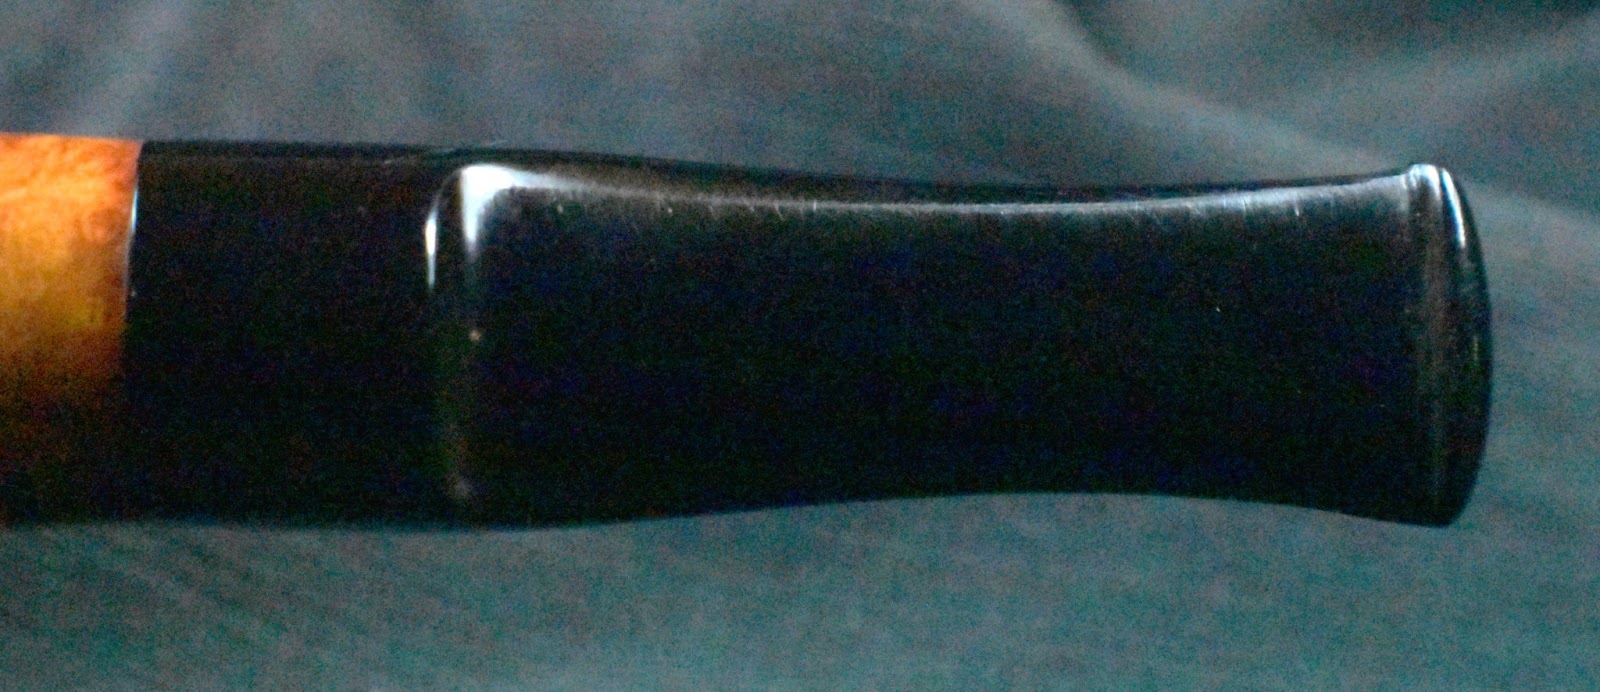
The stem’s bite zone had significant tooth dents on both the top and bottom along with the typical chatter. The top dent was deeper and small.

The bottom dent was broader but shallower.

Both bite zones were filed with a small flat file then sanded with a 320 grit sanding sponge.


The sanding debris was cleaned off with a cotton swab dipped in ethyl alcohol. A small drop of black rubberized cyanoacrylate was placed on each depression.

Both drops were allowed to cure and harden on their own.

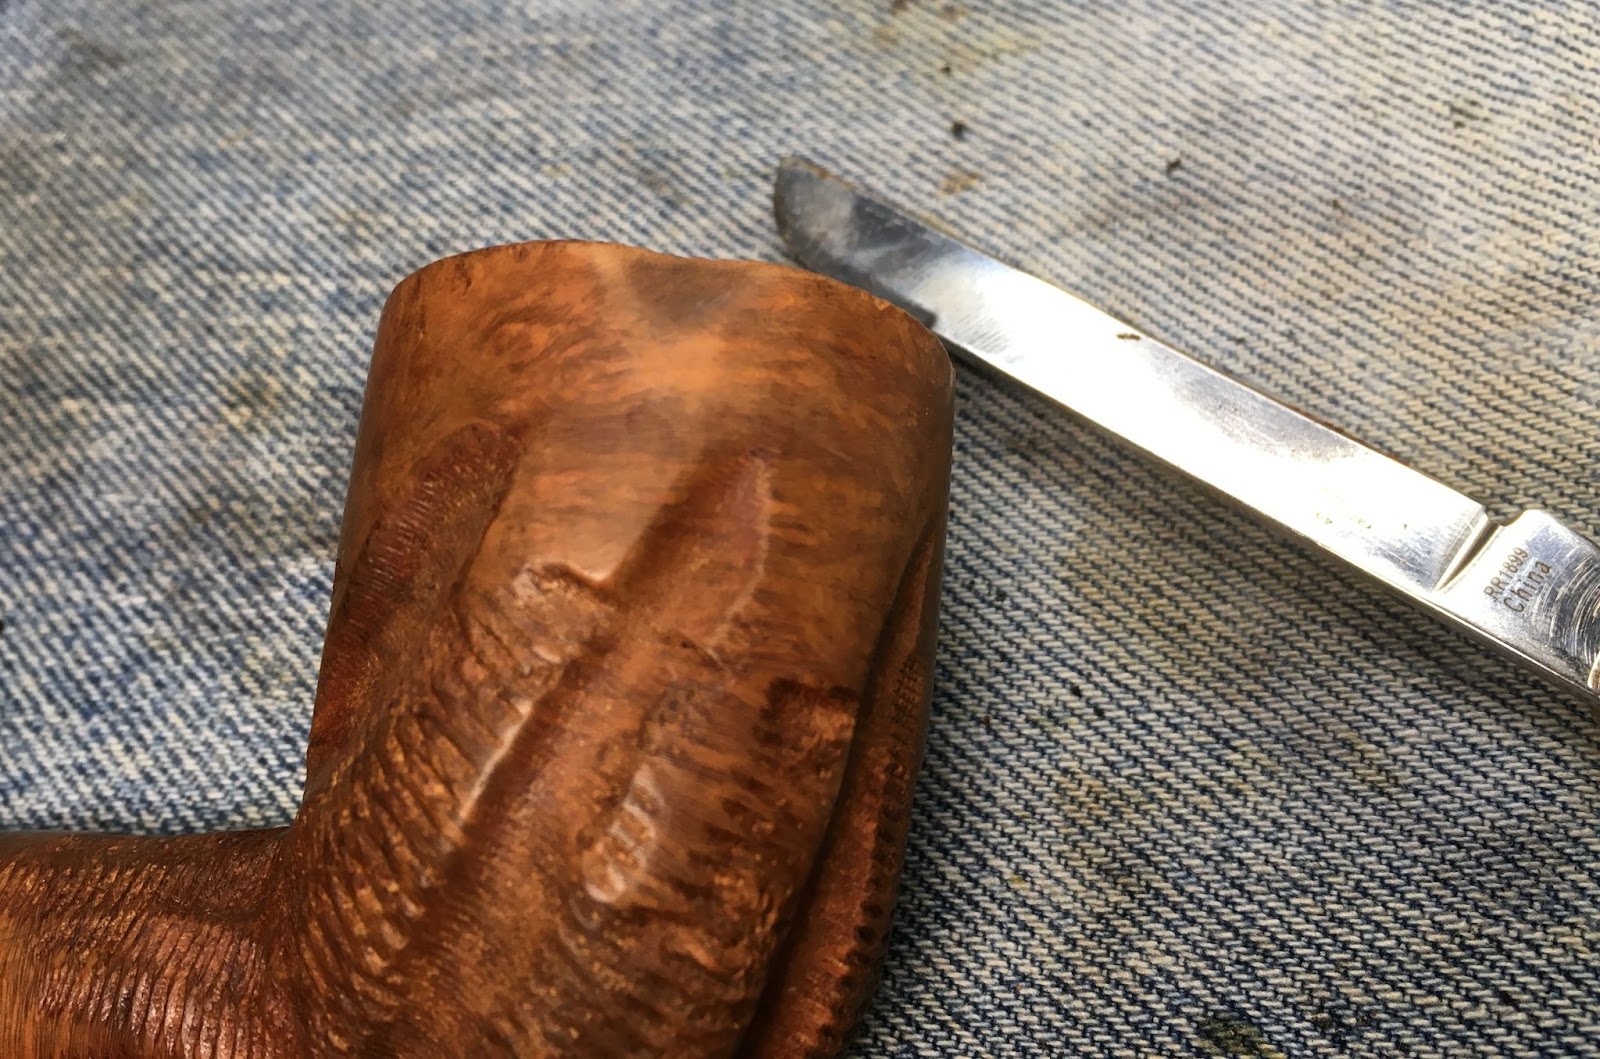
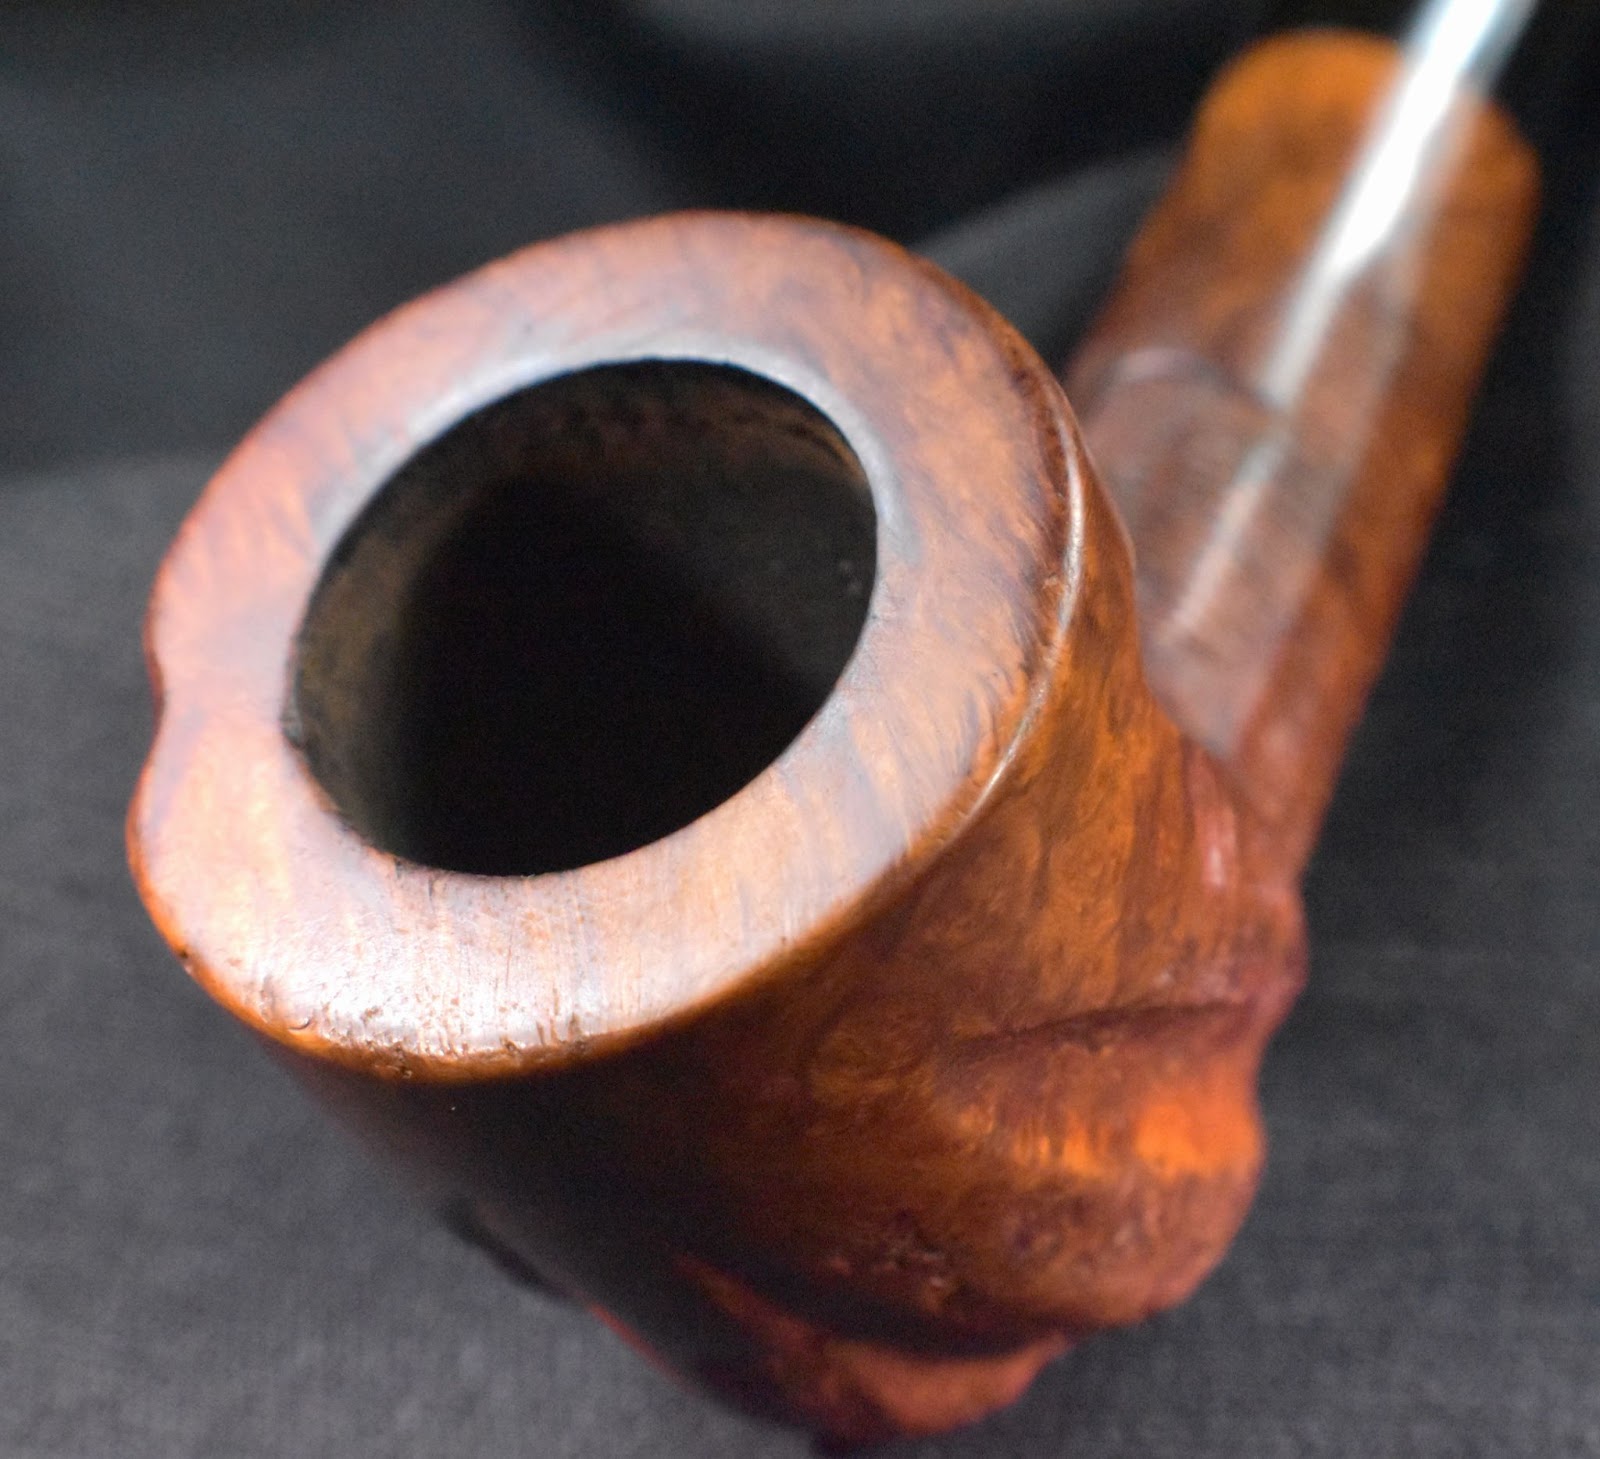
While that was curing, I turned to the rim. It just needed some scrubbing. The little bit of lava was moistened with saliva and rubbed with a paper towel. Then I realized that I could use the alcohol freely since there wasn’t a finish to protect .

Tada, not perfect but far better.

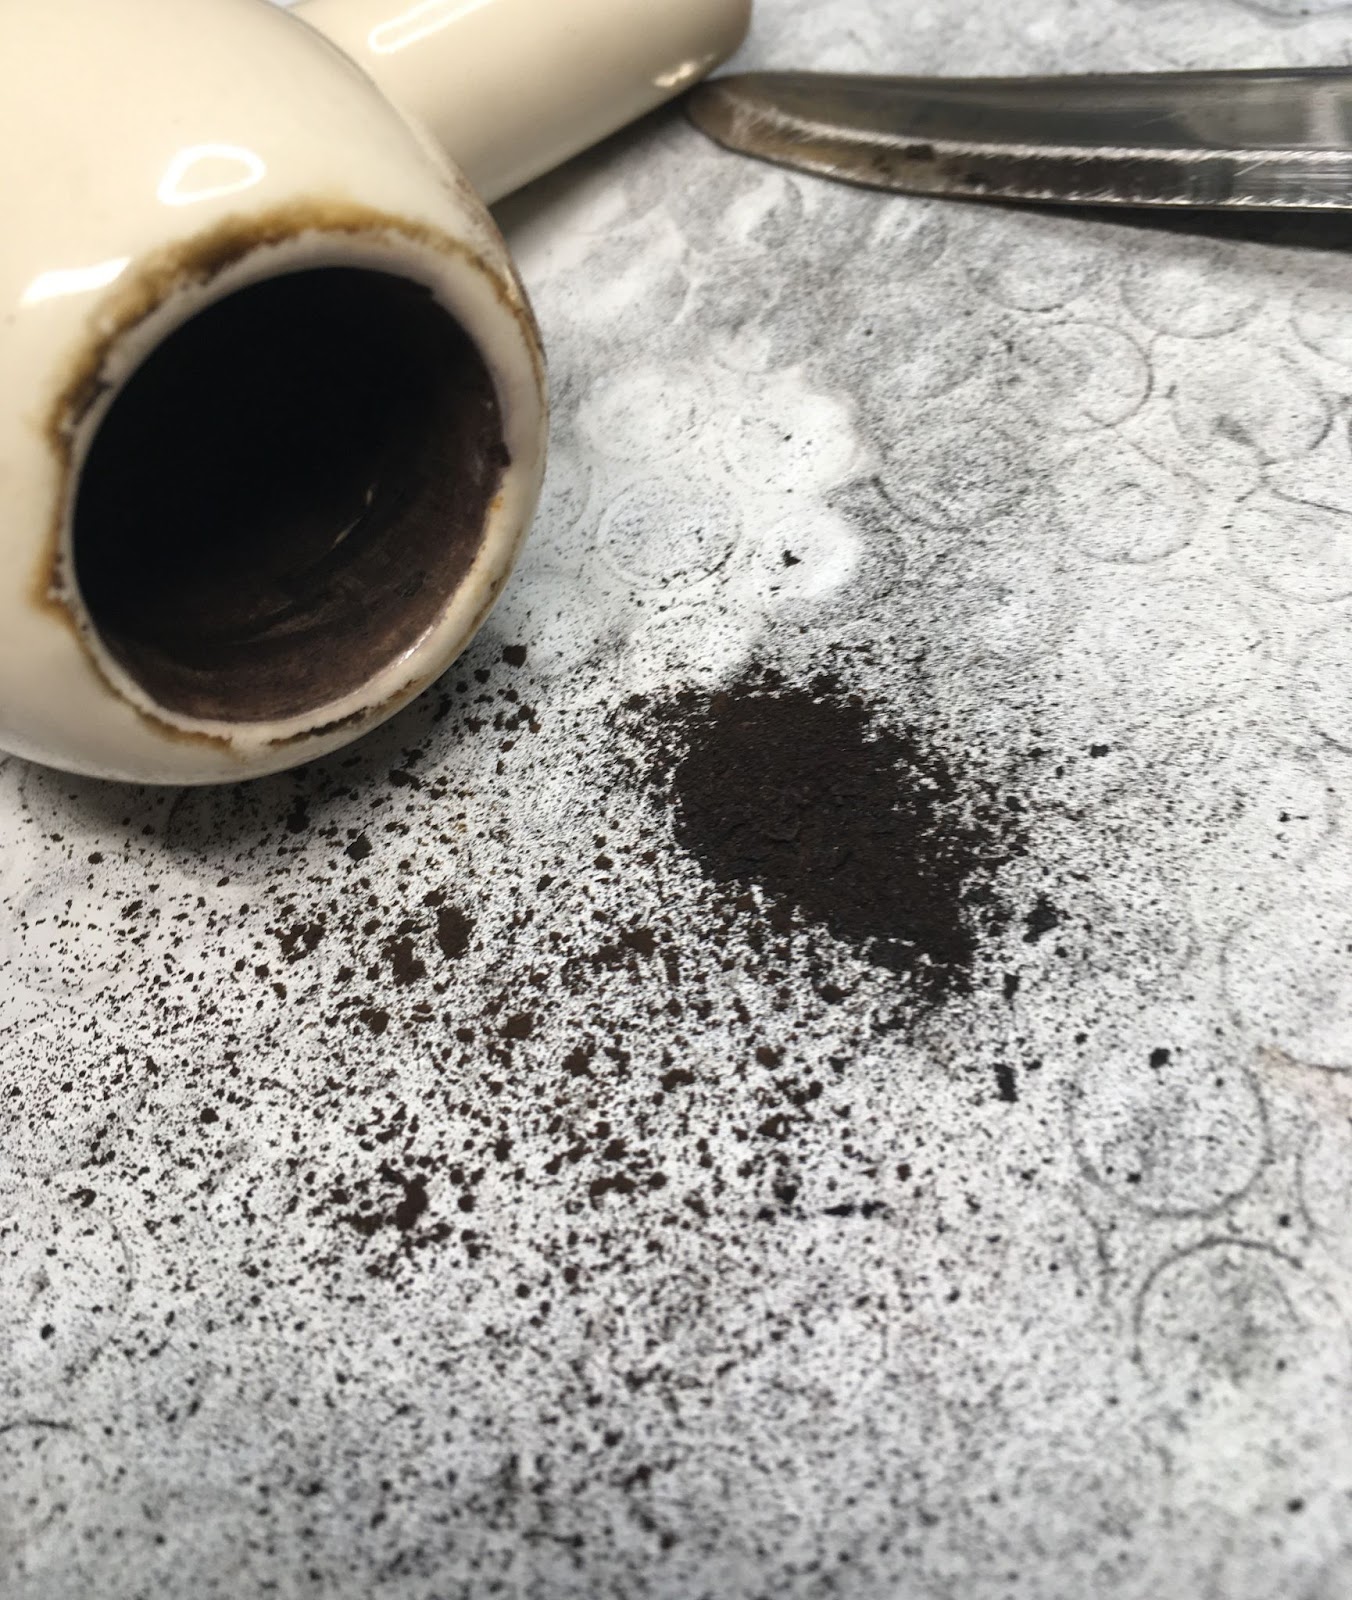
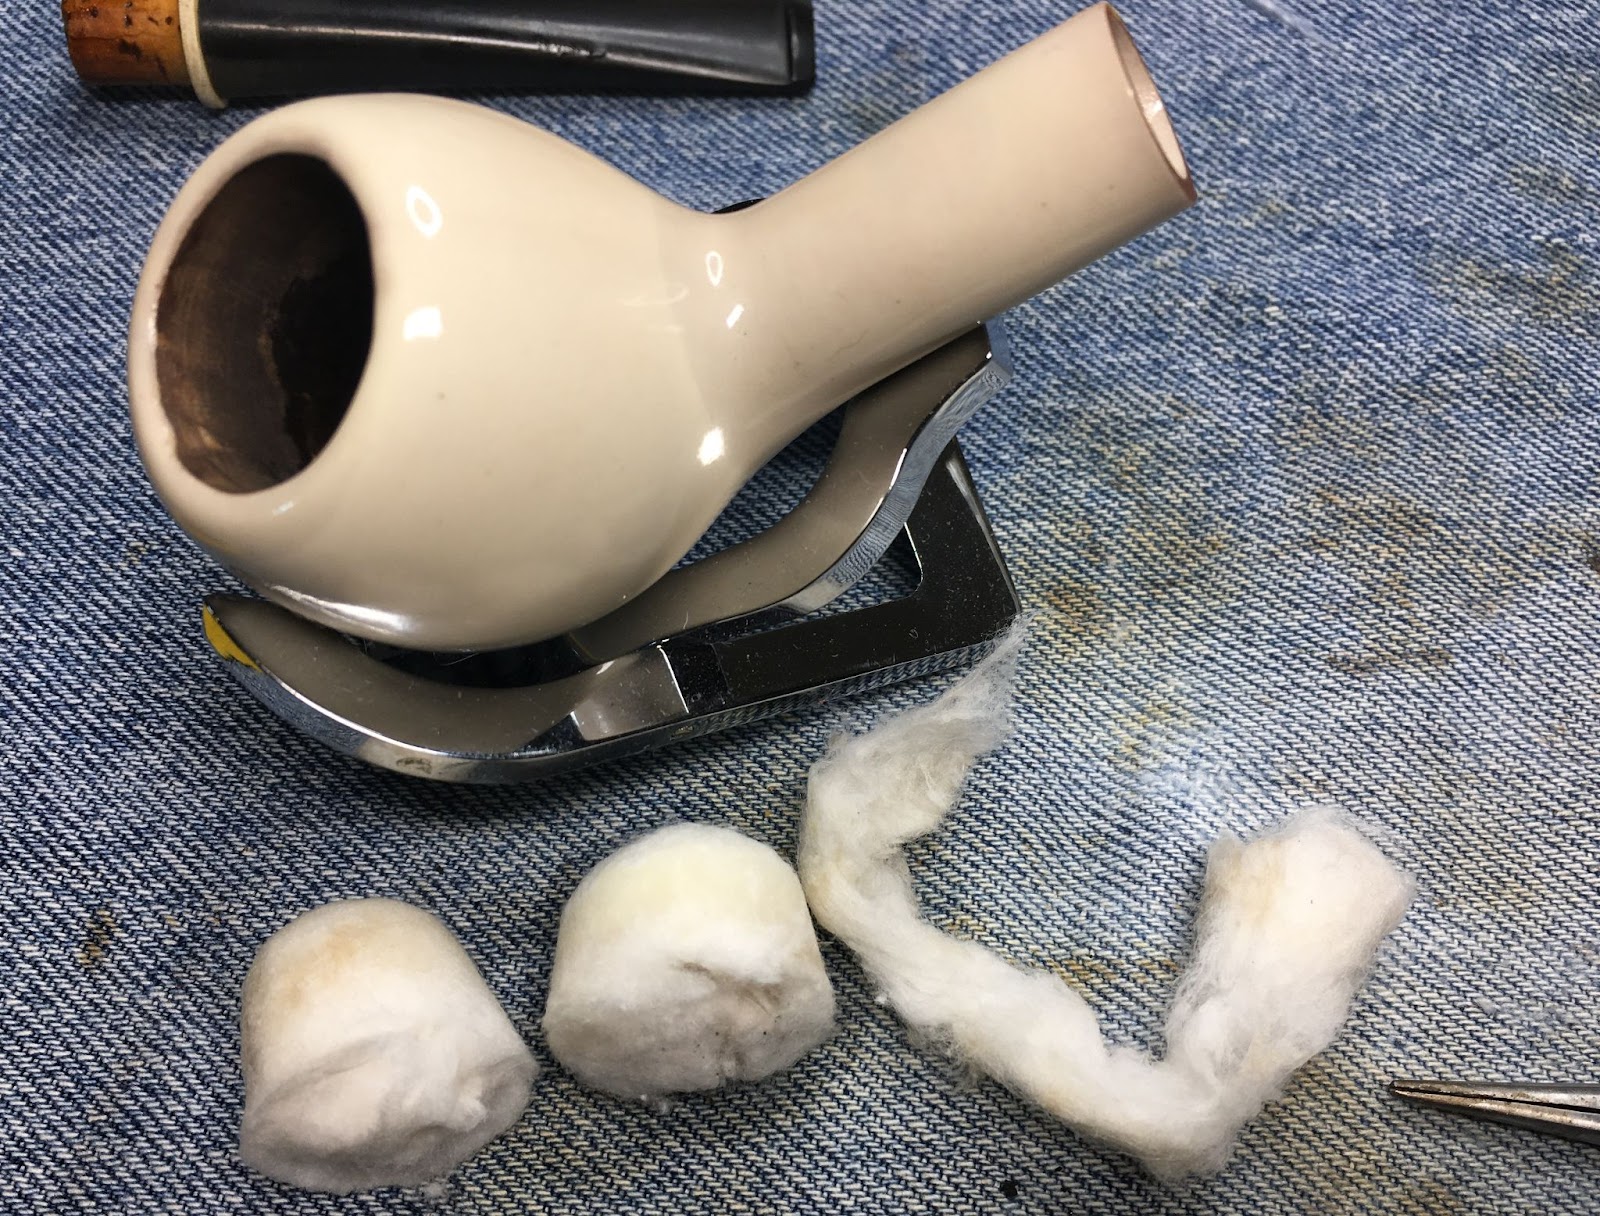
The bottom of the bowl required several cotton swabs and more ethyl alcohol. It was pretty gunked up with smoking residue and tar.

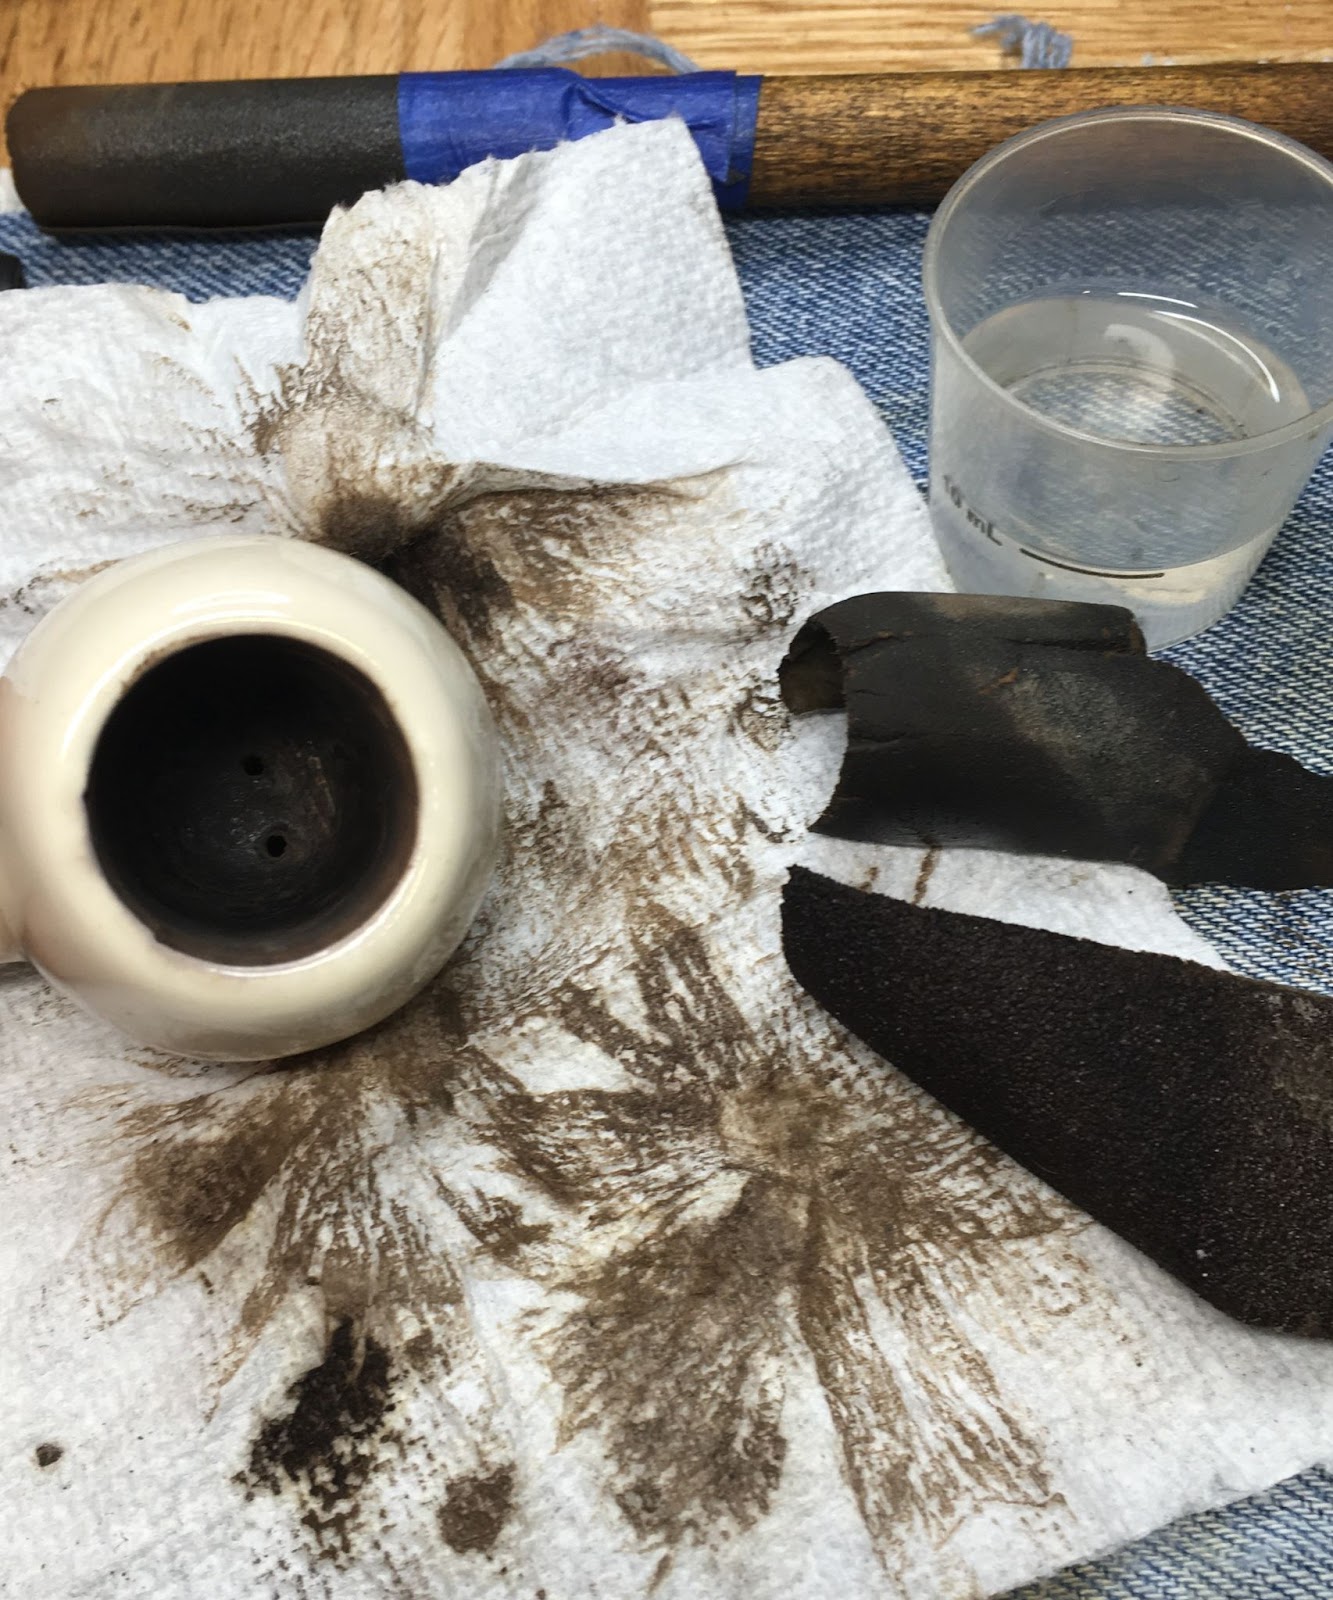
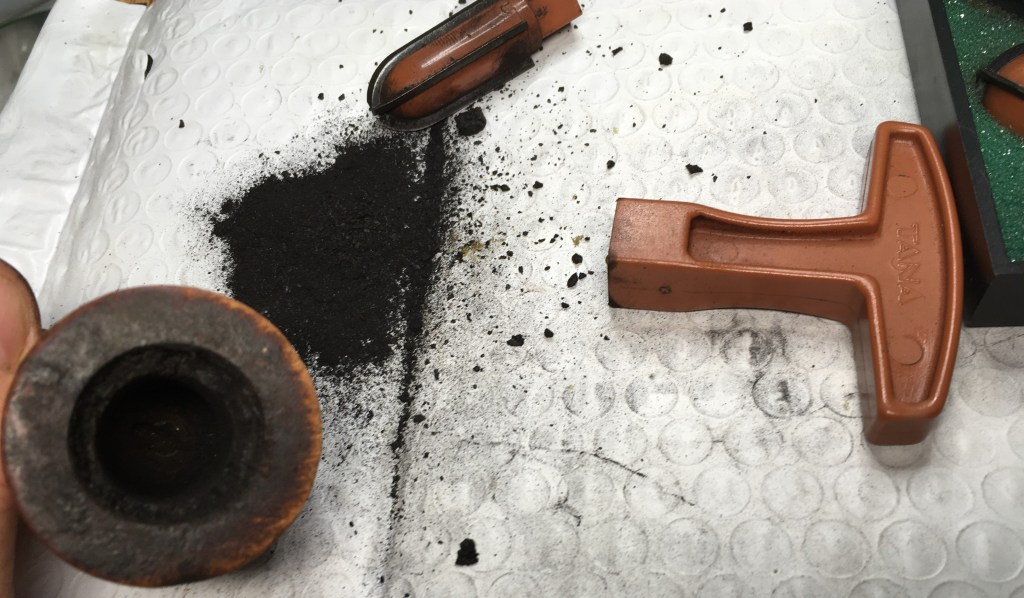
I used the PipNet with the #2 blades to ream the tobacco chamber. It was a narrow bowl and had a surprisingly flat bottom. The General triangular scraper with its tip ground off with a grinder helped return the chamber to briar. At least I thought it was briar. Sanding the chamber walls with 320 sandpaper wrapped around a wood dowel confirmed that the wood had the color of briar. The sanding also revealed no signs of heat damage. This was not surprising considering how well I imagined the pipe would remove heat via the conductive aluminum.

Later that night, I returned to the now hardened CA to file it smooth with a small flat file and sand the fill with 320, 400 and 600 grit sanding sponges. The fill looked good.

The above process was repeated with the bottom fill.

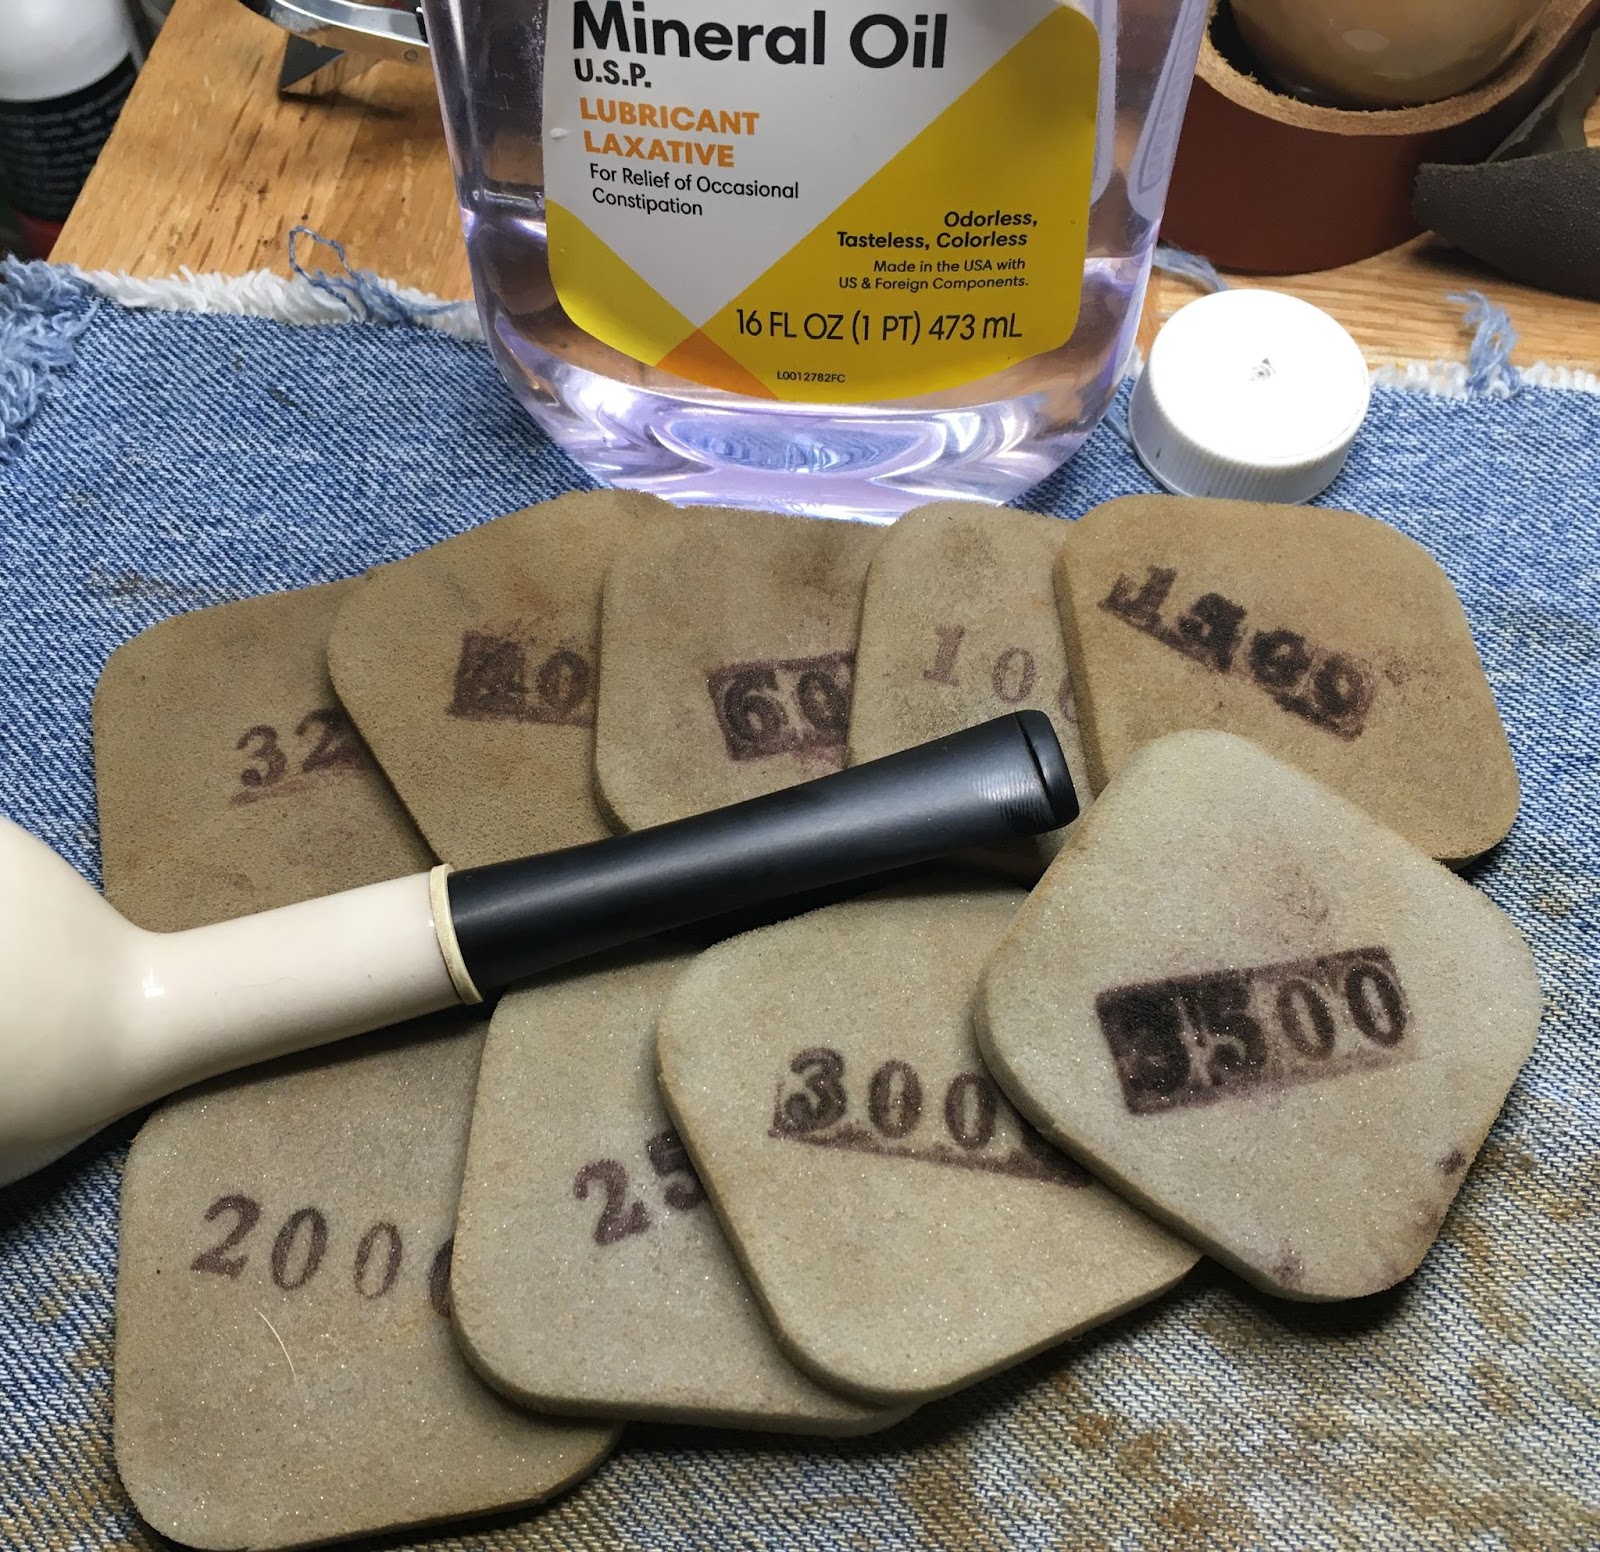
The stem was coated with mineral oil and I went to bed.
The following day, I returned to the workbench and sanded the stem with a series of sanding pads from 320-3500 grits. Between each sponge the stem was rubbed with mineral oil and wiped with a dry paper towel.


The nicely polished aluminum of the stem was masked out of habit. I took it to the buffer and the oxymoronic black white compound wheel. Feel free to ask, “why did you mask the aluminum?” Because of habit and the fact that I’m not too bright. Anyway, the stem was buffed and looked very nice. Well, not so nice in the photo below but after the buffing compound was removed, it really did look good.

After the buffing compound was wiped from the stem, I unwrapped the tape and wiped the whole pipe with a cotton ball dipped in ethyl alcohol. The pipe was then returned to the buffer for several coats of carnauba wax. The final step was a hand buffing with a micromesh polishing cloth.
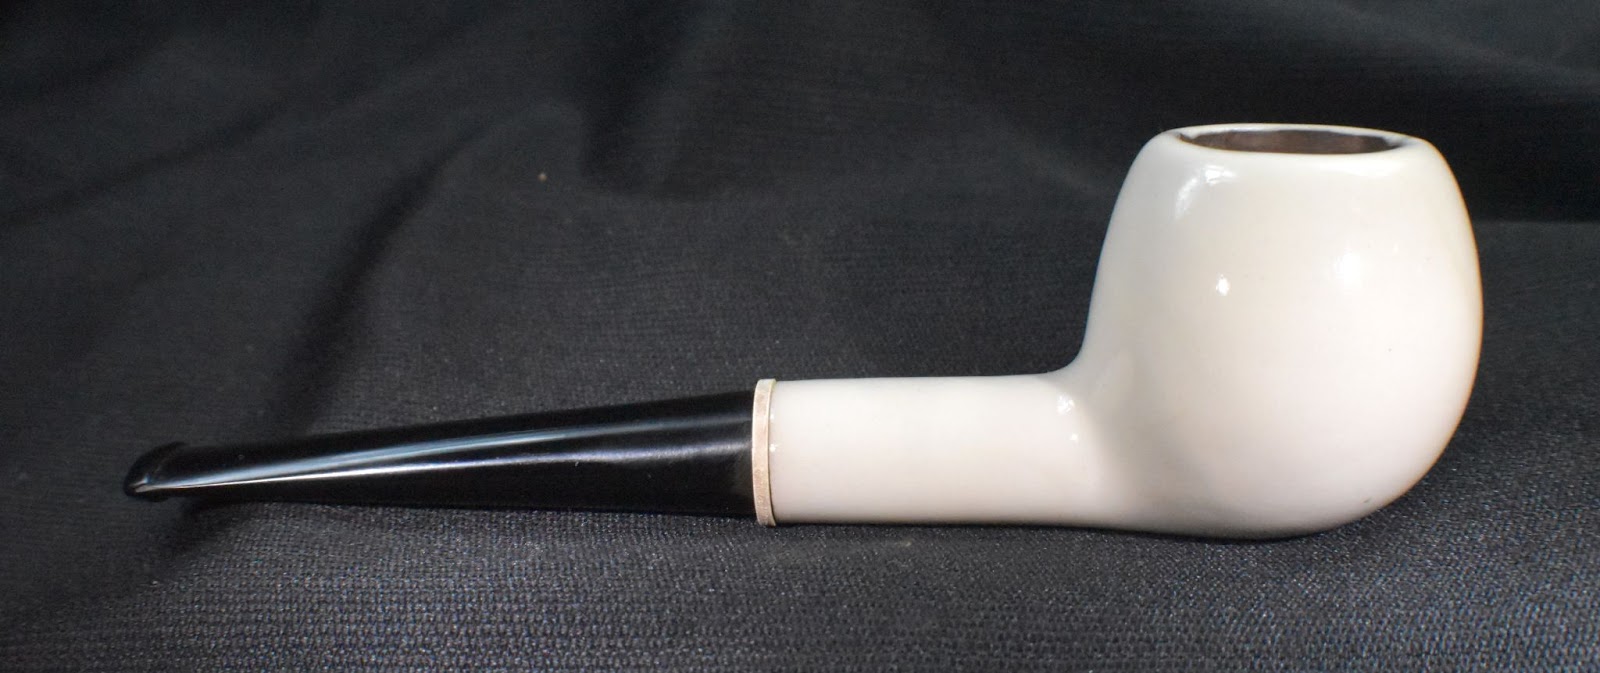
I have to say that this pipe looks stunning in person. My ability to capture the polished surface of the pipe with my camera is mediocre at best. This pipe will certainly turn heads if smoked out in public. The aluminum polished up very nicely. Yes, there were a couple of places where the aluminum was pitted by oxidation and these are visible. The stem also polished very nicely and is an amazing contrast and accent to the aluminum. Here the CA repairs are only discernable upon very close inspection. I admit to being unable to free the conical endcap from the grip of the smoking residue. I will continue to soak the chassis in alcohol hoping this will eventually release the threads. Doug Bisbee said to soak it for a week and try again. The dimensions of this Design by Curtis are:
Length: 6.42 in./ 163.07 mm.
Weight: 1.65 oz./ 46.78 g.
Bowl Height: Attached to chassis 1.97 in./ 50.04 mm. Separated 1.42 in./ 36.07 mm.
Chamber Depth: 1.03 in./ 26.16 mm.
Chamber Diameter: 0.61 in./ 15.50 mm.
Outside Diameter: 1.48 in./ 37.60 mm.
I do hope that you have found something here useful to your own pipe care, maintenance or restorations. If you like this sort of thing, please click the like and subscribe buttons. Thank you for reading the ramblings of an old pipe lover.
Below are some photos of the finished Design by Curtis.


 I reattached the stem and tried the draw. Yikes! There was barely any airflow. I pulled the stem and tried it. The stem was clear. I looked into the mortise.