Written and photographed by
John M. Young
A couple of blogs ago I wrote about an Emperor Supreme Golfer (I thought it to be a lovat at first). This pipe will probably be called something other than a bulldog but that is what I am going with right now. I do hope that you will not feel cheated that I am going to use much of the history from the previous Emperor Supreme Golfer, the pipe formerly known as lovat. (I do love a good Prince reference).
I recently became inthralled with Pipe Lovers Magazine from 1946 and 47. I imagine the multitudes of service men and women returning home to a simpler and safer life than what they had experienced during the war. I am immediately reminded of J.R.R. Tolkein’s Hobbits. They too enjoyed a simpler and safer life. Judging from the Magazine, the number of pipe smokers during that era also was at record levels. And just like the Hobbits of Middle Earth all those pipe smokers would need pipes, tobacco and a magazine telling them of the 5 Ws – “Who, what, where, when and why” of pipe smoking. Okay, the Hobbits didn’t have a magazine but they were fond of their pipes and their “pipe weed”.
Searching through eBay for estate lots which contained one or more of the makers proved to be fun as well. One listing that I came across was this one:
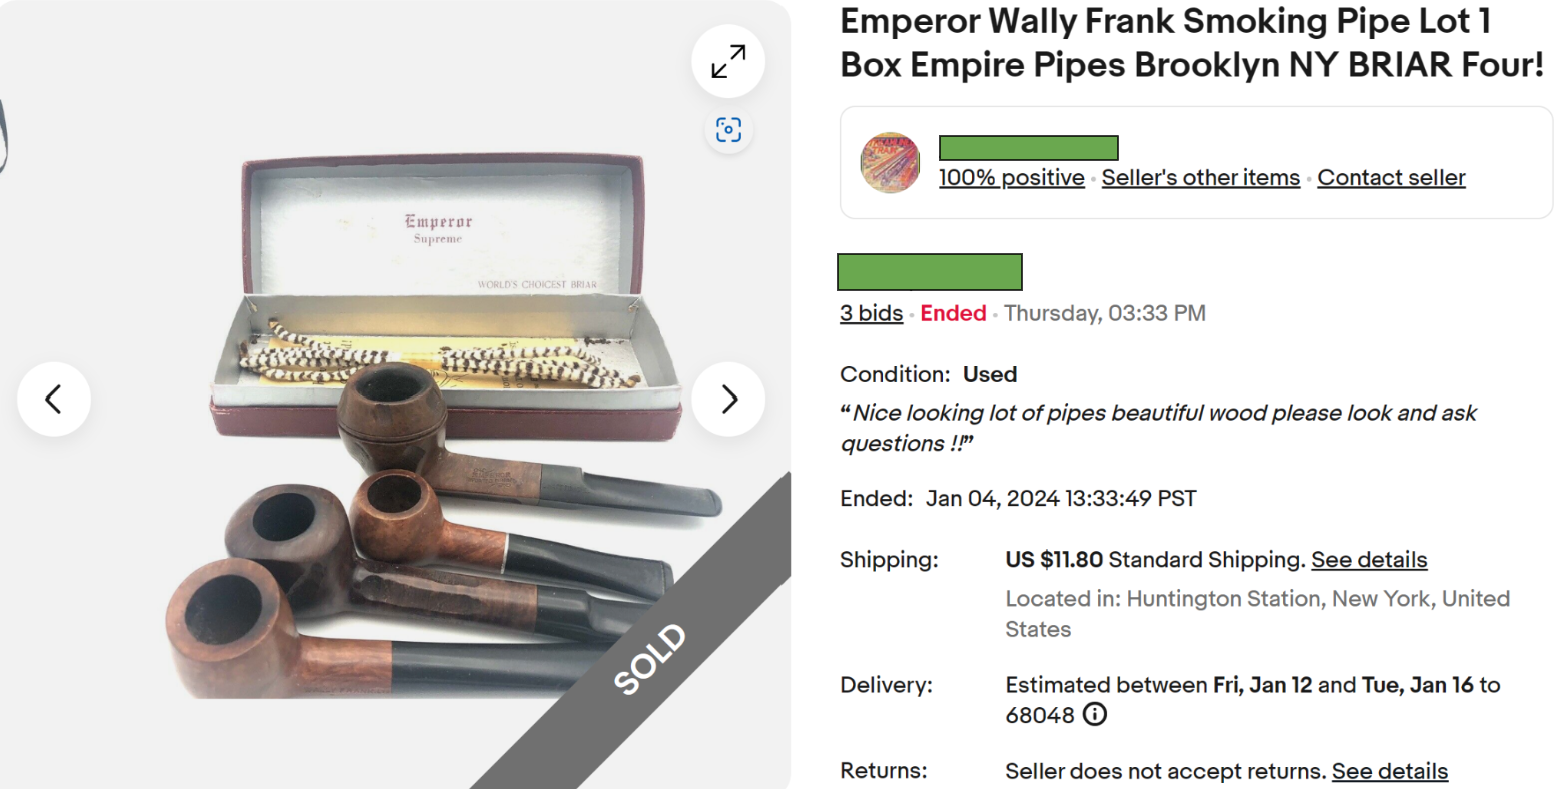
The description by the seller read as:
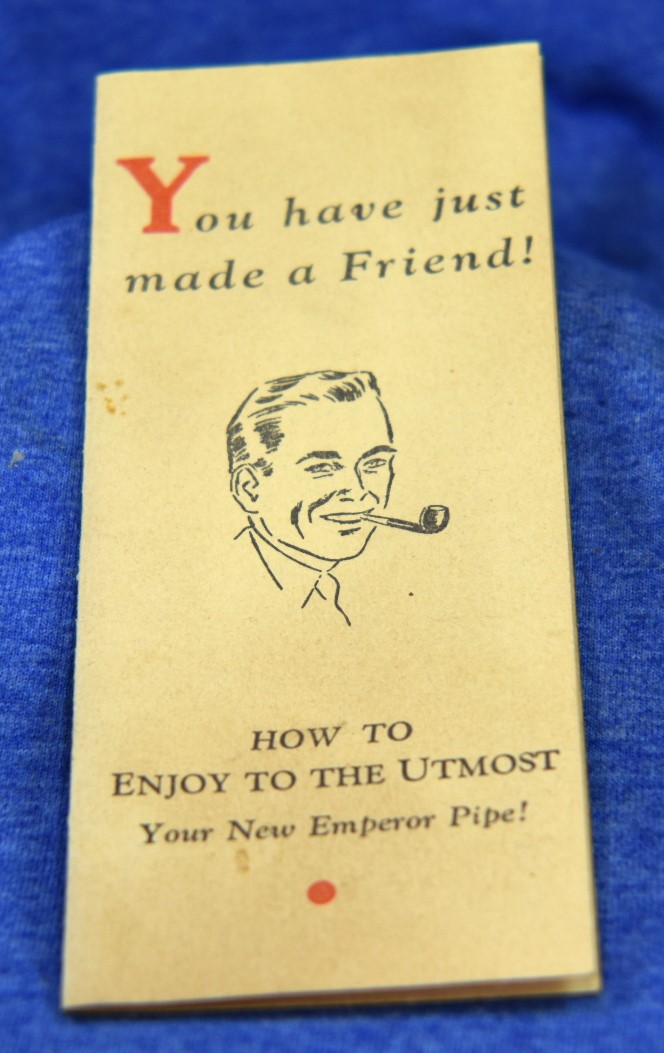
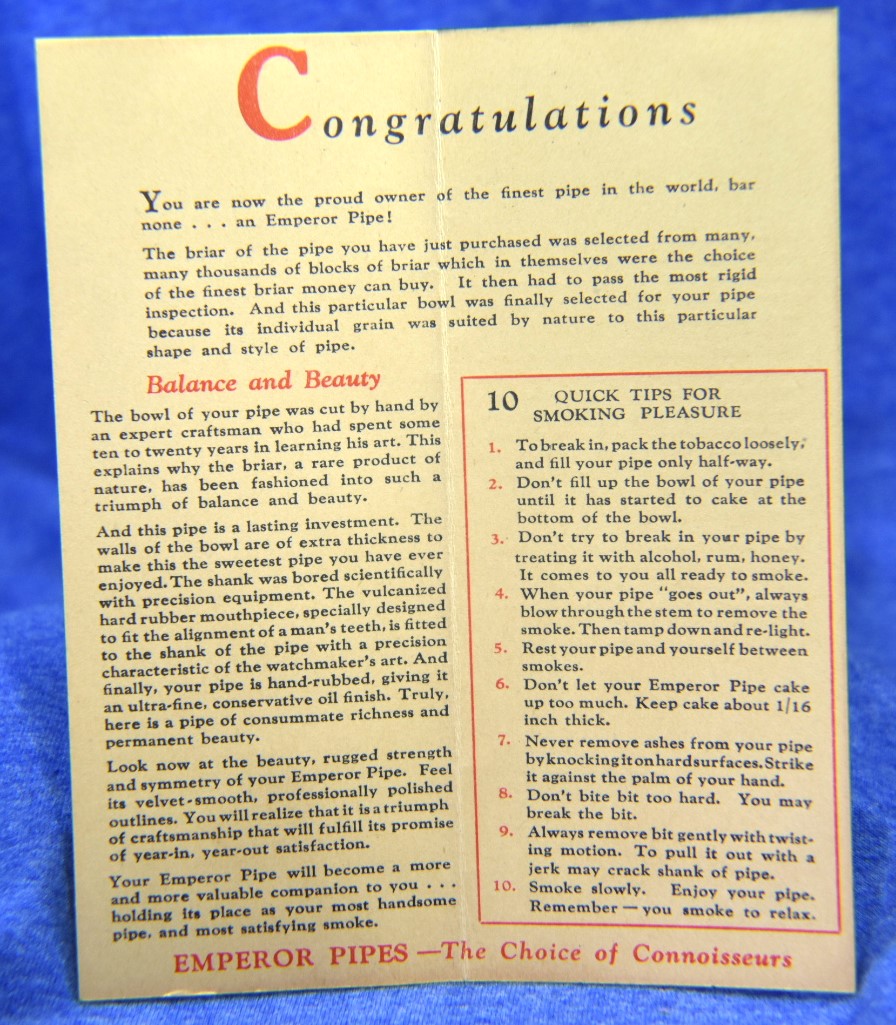
“This vintage Emperor Wally Frank smoking pipe lot includes a box of Empire pipes made in Brooklyn, NY. Crafted from high-quality BRIAR, this lot is perfect for collectors of estate tobacco items. The pipe features a unique body shape and is made by a renowned brand. The country/region of manufacture is the United States. This lot is a must-have for any serious collector of tobacciana and will make a great addition to any collection. All four pipes look in nice shape all are nice wood. Interesting box with instruction pamphlet ! Do not know a year I know nothing about these. My father had them. So please ask questions and look at all pictures took a lot not sure how many are Wally frank. All say imported BRIAR thank you.”
When the lot arrived I sent the seller a message saying that the pipes arrived and that everything looked good. I also usually ask the seller if they would be interested in seeing photos of the pipes after they’ve been restored. I received a message from this seller that read as follows:
“”Thank you very much they were my dads! yes would love to see them!!”
I did send them some photos of the finished Emperor Supreme Golfer and a link to the restoration of that pipe. I had previously asked if they would be willing to share any other information about their father and his pipes. The reply arrived and was short and to the point:
“Hi My dads name was ED he probably bought those new as he lived in Brooklyn NY he passed about 10 years ago very glad you won them thanks larry” (personal message).
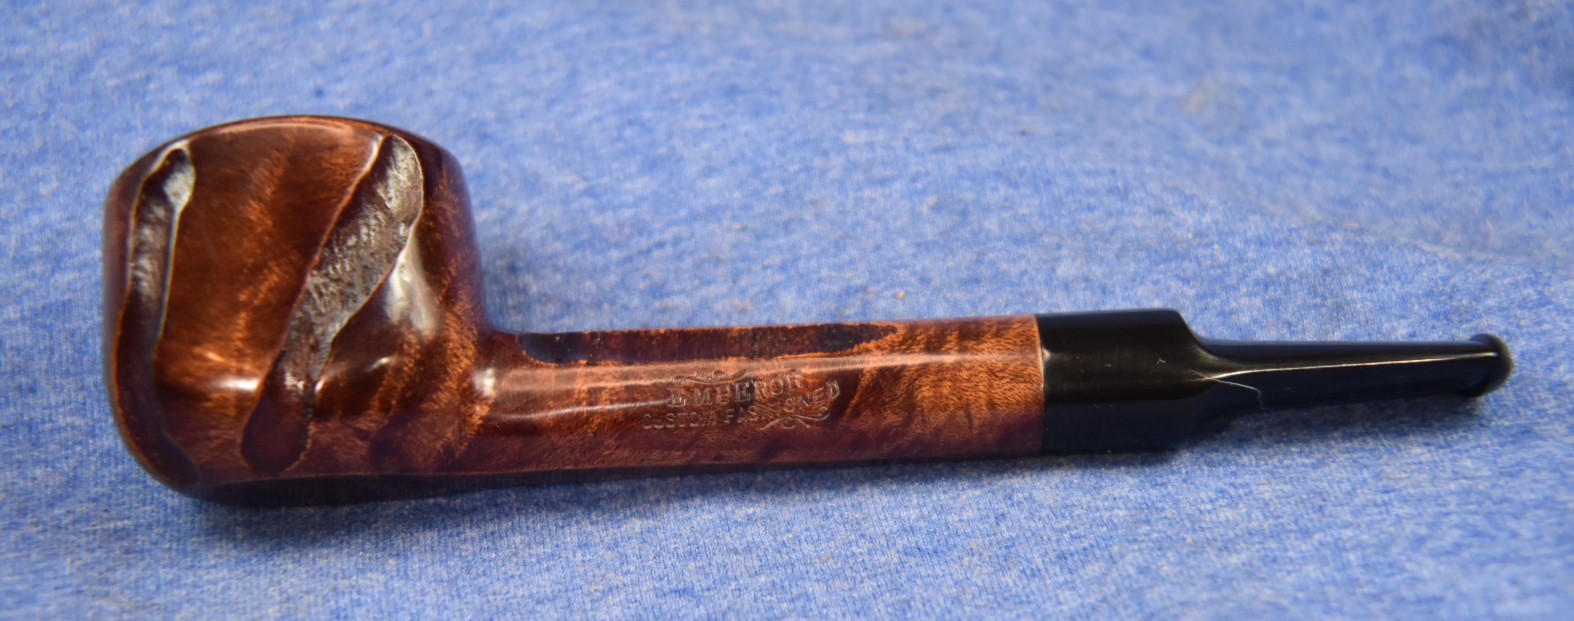
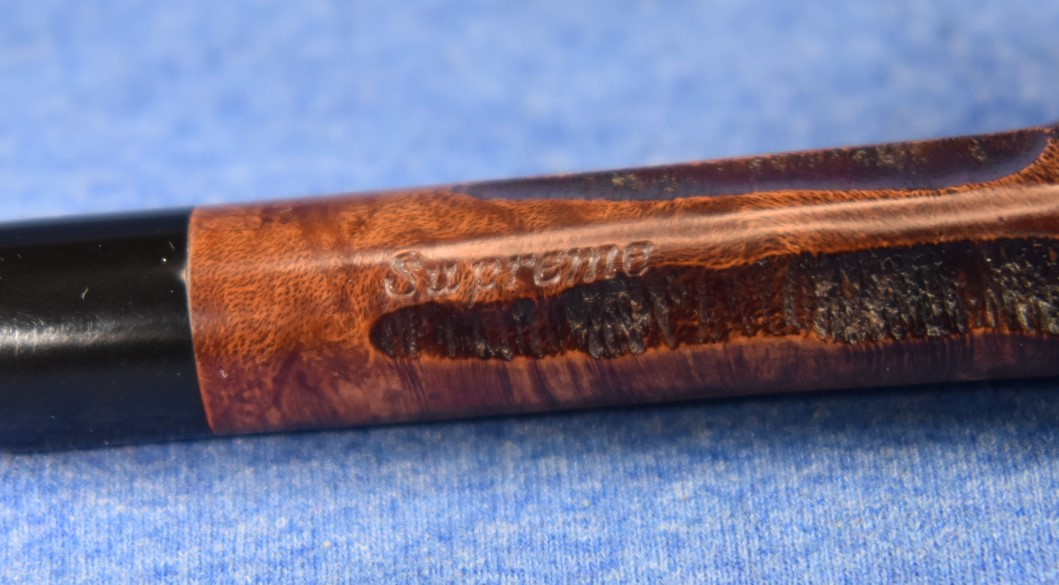
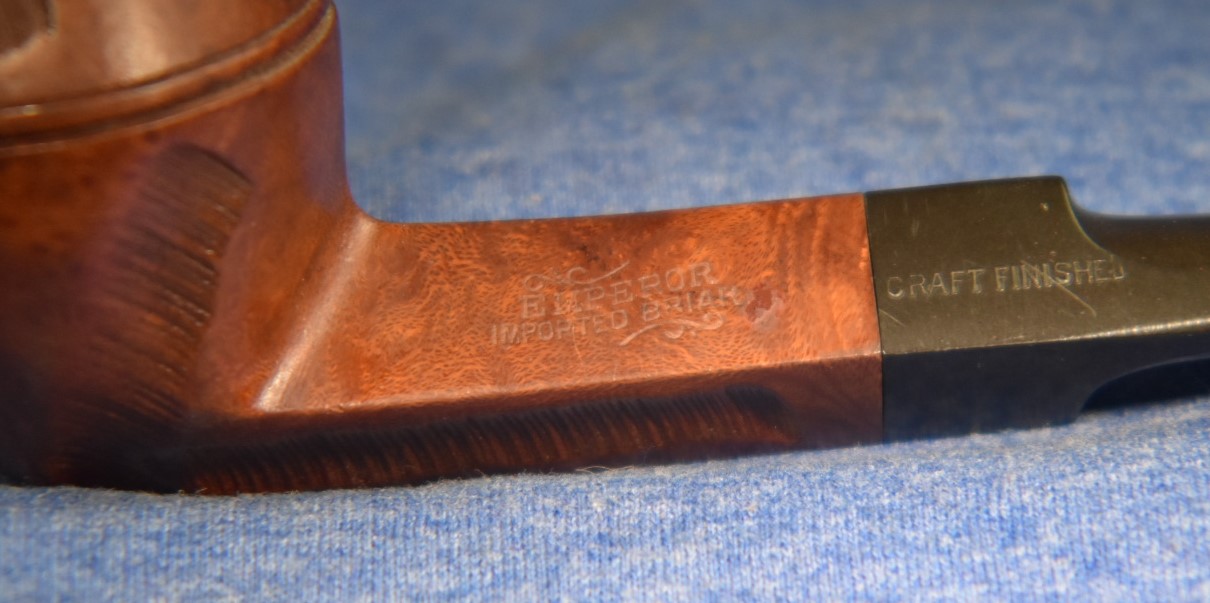
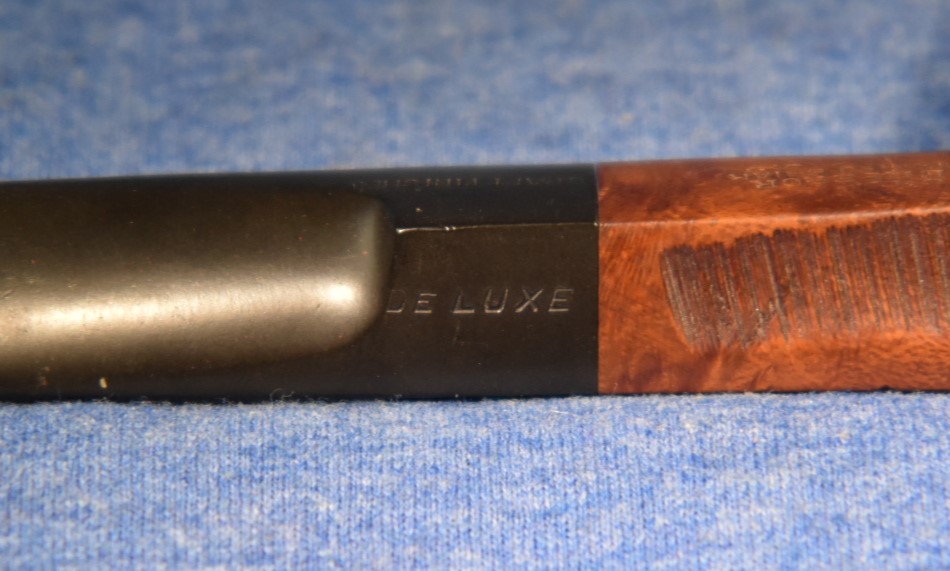
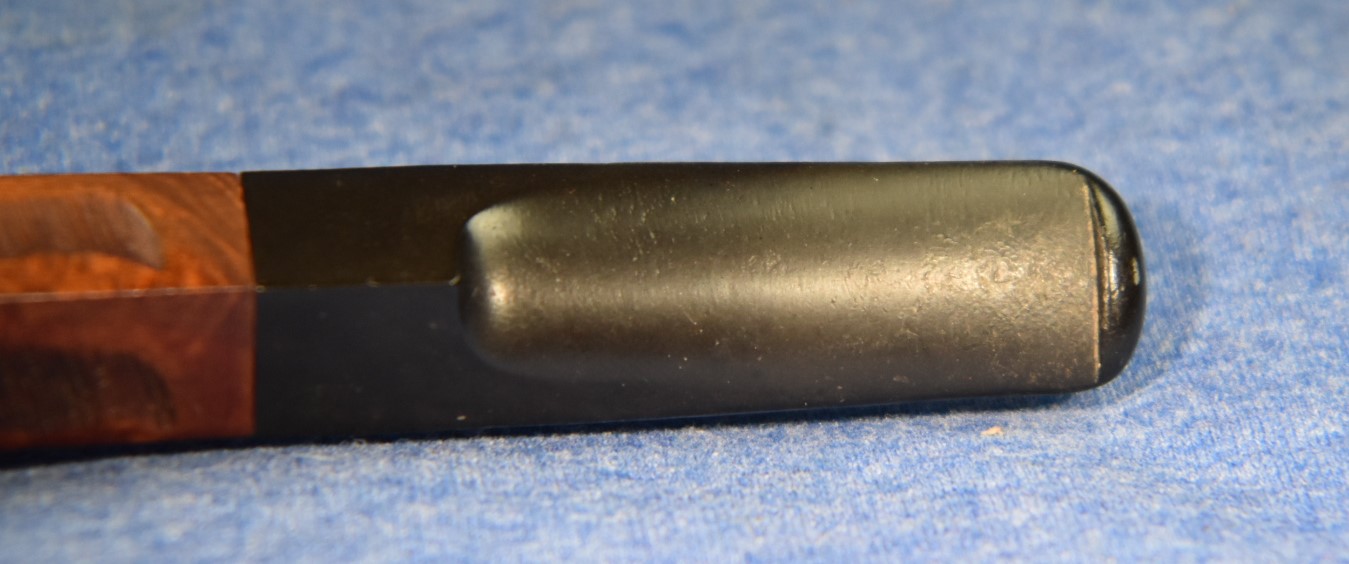
The third pipe of that lot, is what traditionally is called a bulldog. The finish was mostly smooth with carved grooves in the way that Custombilt or Marxmam rusticated some of their pipes. There was a stamp on the left side – EMPEROR over Imported Briar. The stem also had stamps on two sides. Left – CRAFT FINISHED and right – DE LUXE. I started researching Emperor with the usual starting sources pipehil.eu for logos and pipedia.org for information.
First I went to pipedia.org for information about the Emperor. According to the site;
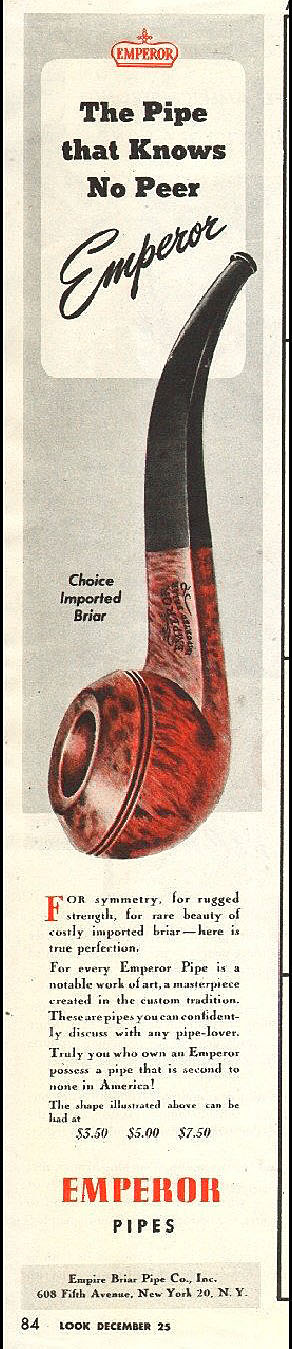
“Empire Briar Pipe Company Inc. of New York produced Emperor pipes. Known as “The Pipe that knows no Peer” as their 1945 advertising promotes. That ad reads “The pipe that knows no Peer. For every Emperor pipe is a notable work of art, a masterpiece created in the custom tradition.” They are a subsidiary of the Continental Briar Pipe Co. Inc. 80 York Street, Brooklyn, New York.
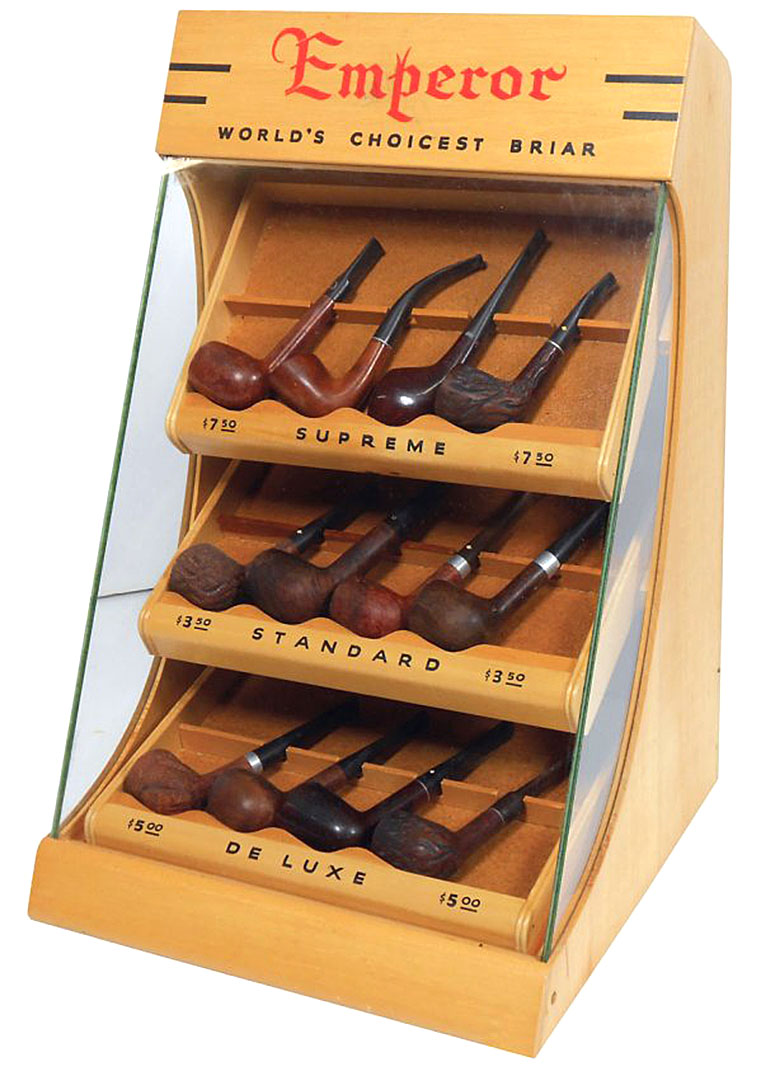
They had Three grades: Standard, De Luxe and Supreme.”
Pipedia also had an example of an Emperor store display and advertisements from the late 1940s courtesy of Doug Valitchka. Thank you, Mr. Valitchka.


I could not find a pipe with the same shape as this bulldog shown in any of the company photos and continue to refer to it as a bulldog.

This pipe was missing the keystone cleaner which was a bit disappointing. I am including a photo of the Keystone cleaner from the Golfer:

The next stop was pipehil.eu we can see the logos stamped on representative pipes in their collection of images:

(Em-Eq — Pipes : Logos & Markings (pipephil.eu))
The DE LUXE bulldog on the desk beside me shares EMPEROR over IMPORTED BRIAR as with the photos of both pipes from pipehil.eu.
The final bit of research was done perusing the 1946 and 1947 Pipe Lovers magazines. There I found a couple of references to Emperor. Item one is for an essay contest as the first prize.

(Pipe Lovers Magazine February 1947 p. 60)
And the second is a “What’s new” article also 1947, from the July issue.
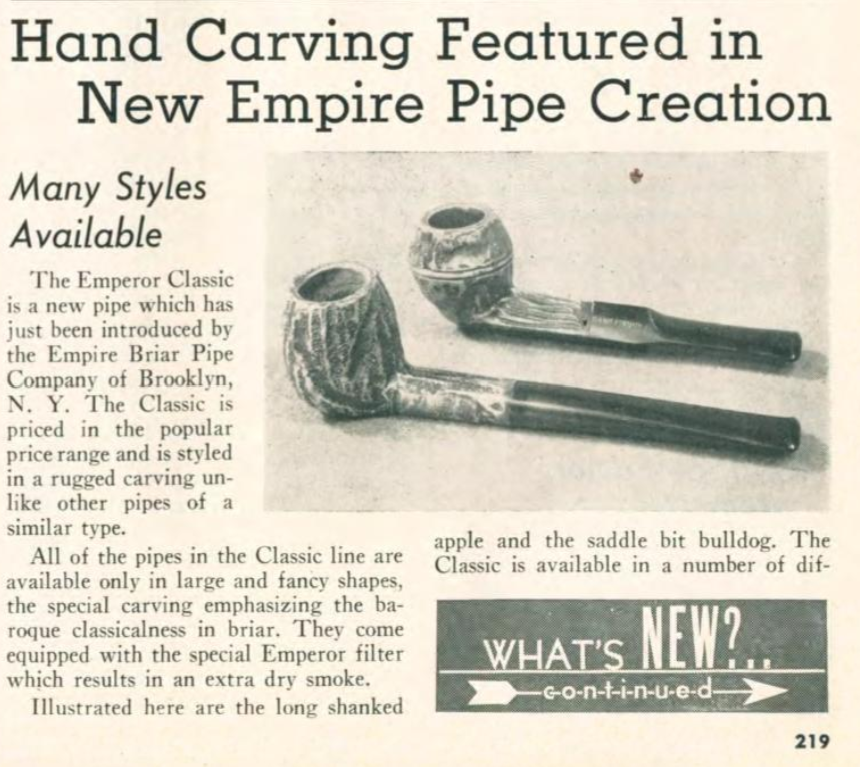

(Pipe Lovers Magazine July 1947 pp. 219-220)
Ah hah, finally a reference to the name of this pipe – “saddle bit bulldog”. I just changed the title of this restoration blog entry. I dub thee Emperor De luxe Saddle Bit Bulldog.
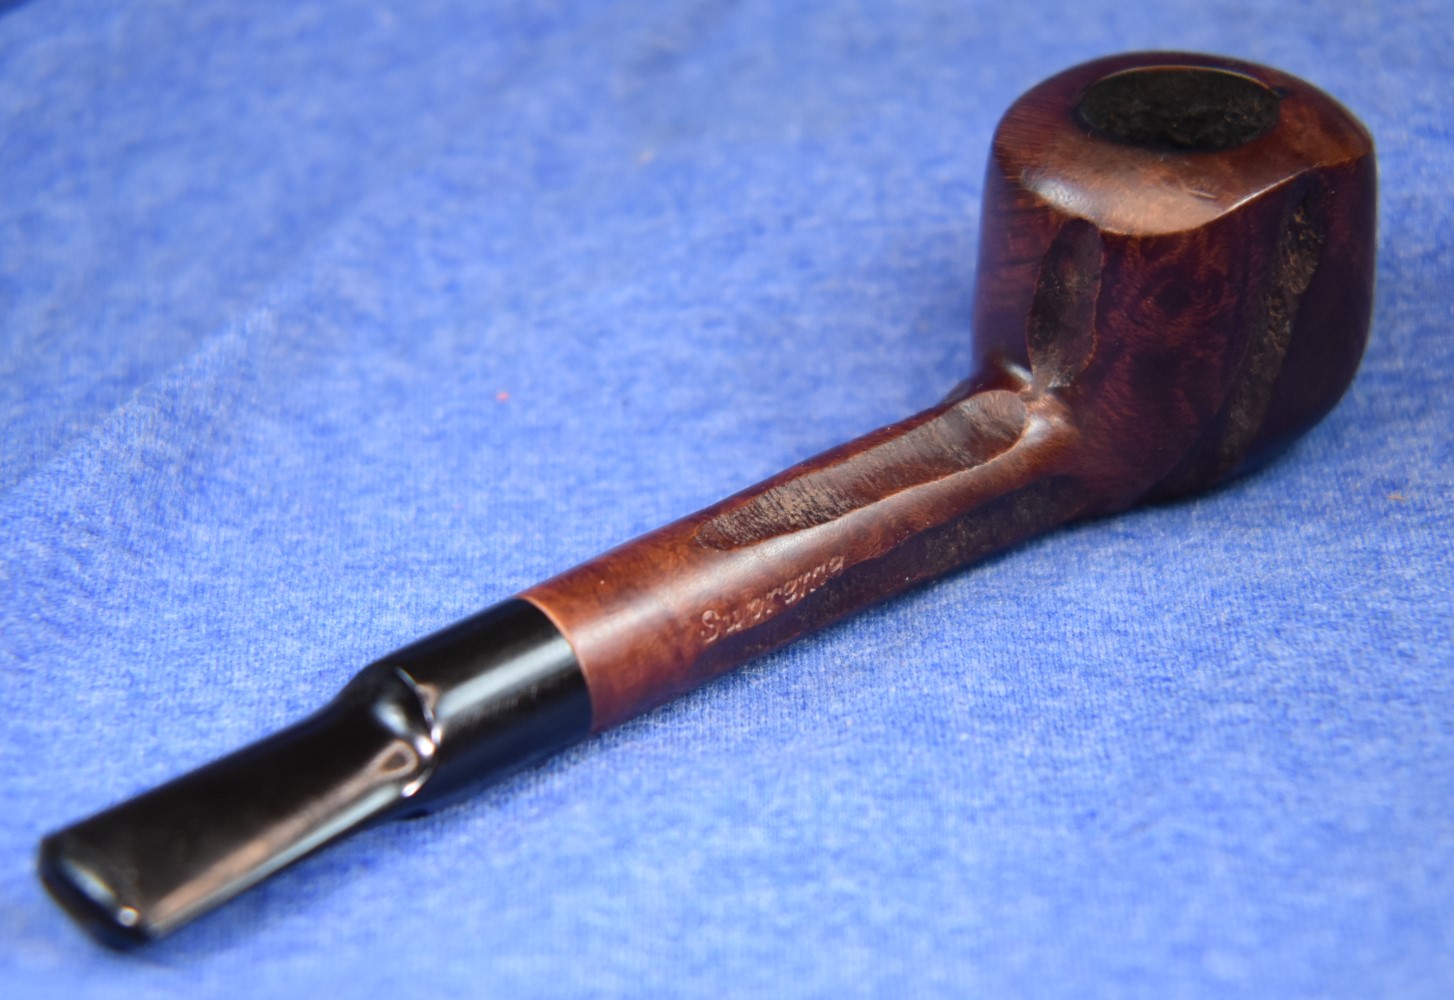
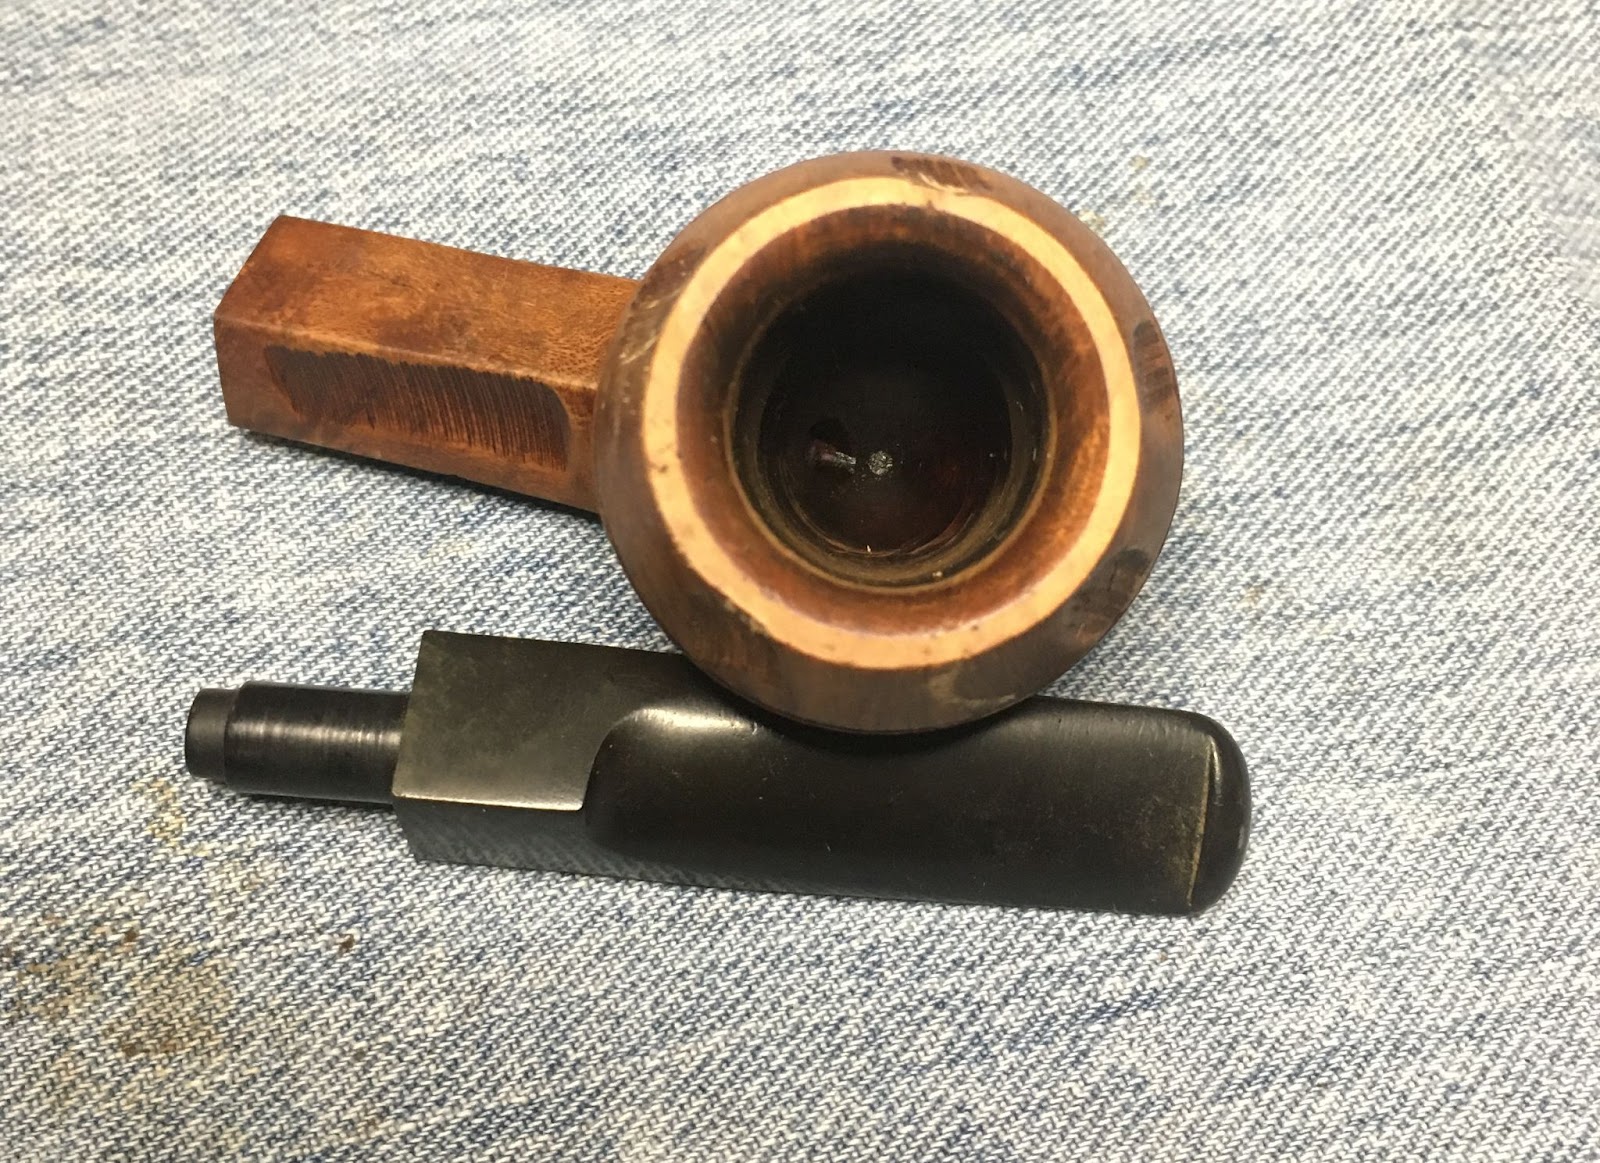
There we have it, a late 1940s Emperor with a bit of personal information from the son of the previous and only owner. And here is how it looked upon arrival.


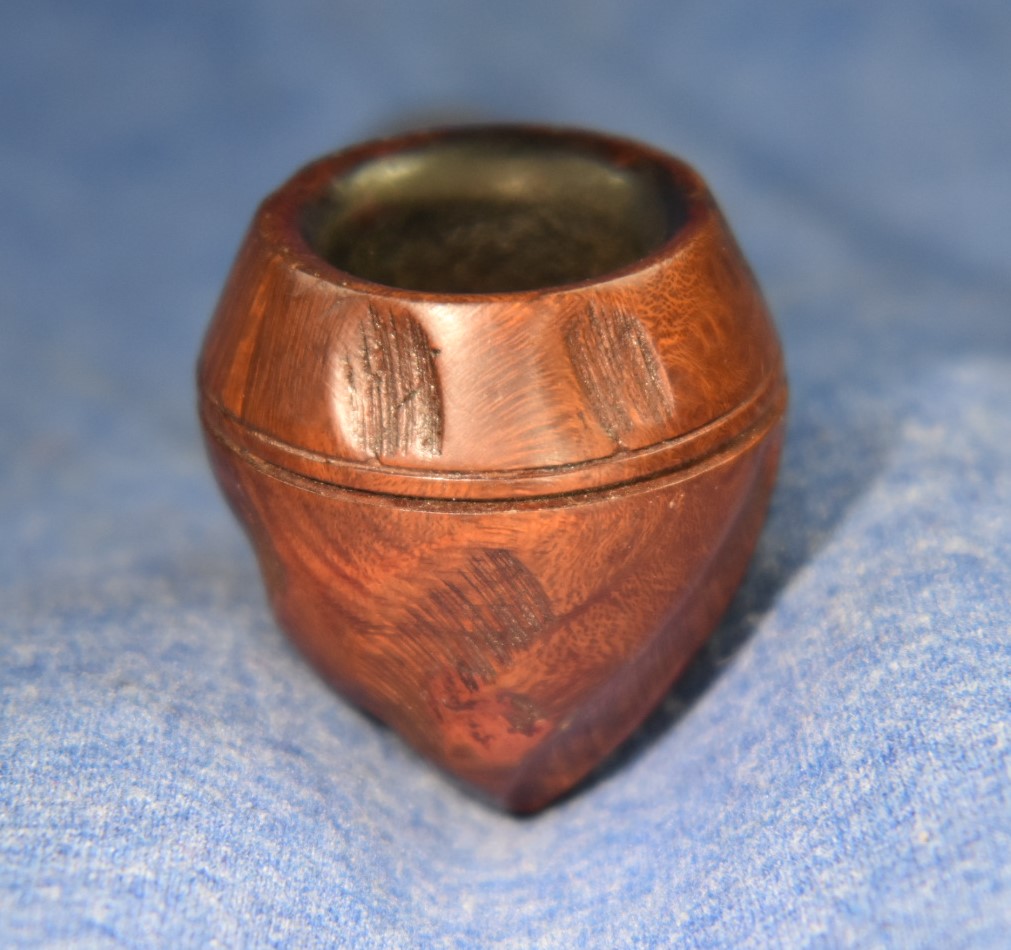

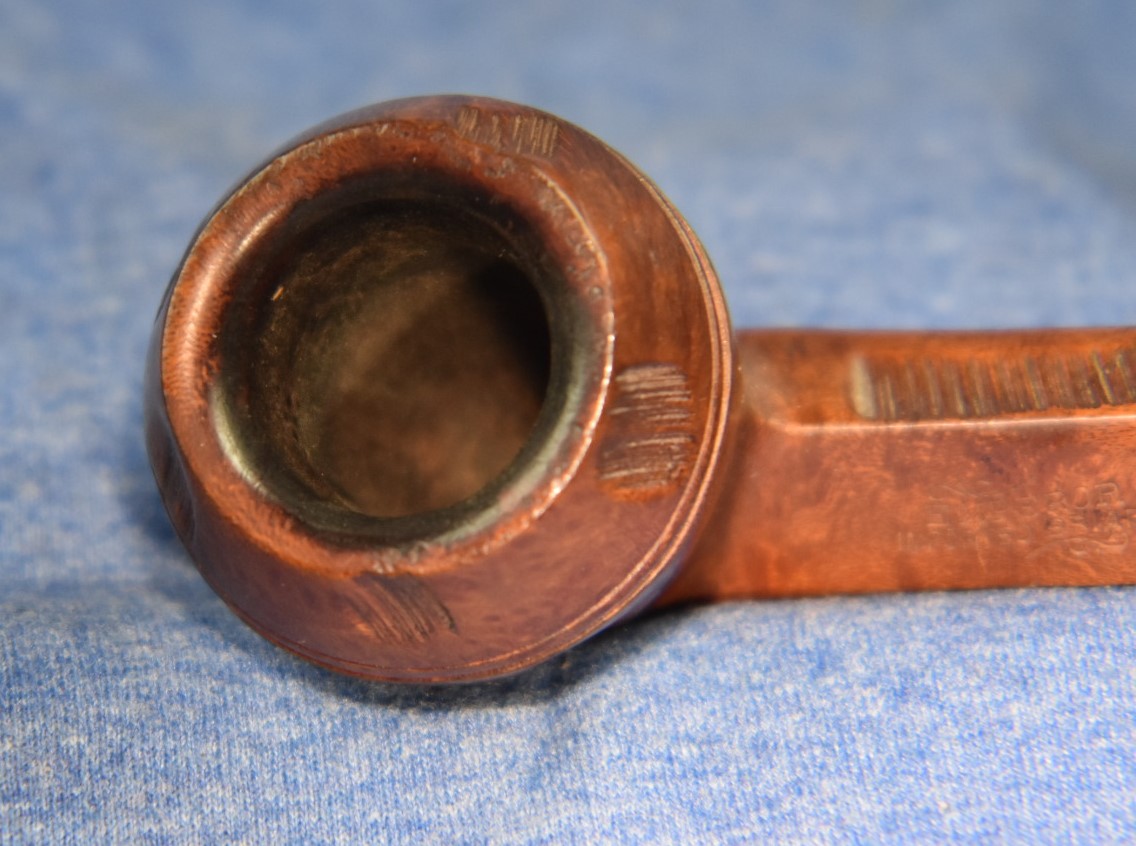

This Emperor is in very good condition and is showing that the majority of this restoration looks to be confined to the stem. Lovely, just lovely, compared to the restoration of the previous pipe, also known as the Marxman from hell. I plan on reaming the tobacco chamber, cleaning out the airway, sanding and micro-meshing the stummel and stem, a light topping of the rim, filling any noticeable pits on the smooth surfaces of the stummel and finishing with a few coats of carnauba wax. This looks like it will be a relaxing restore.
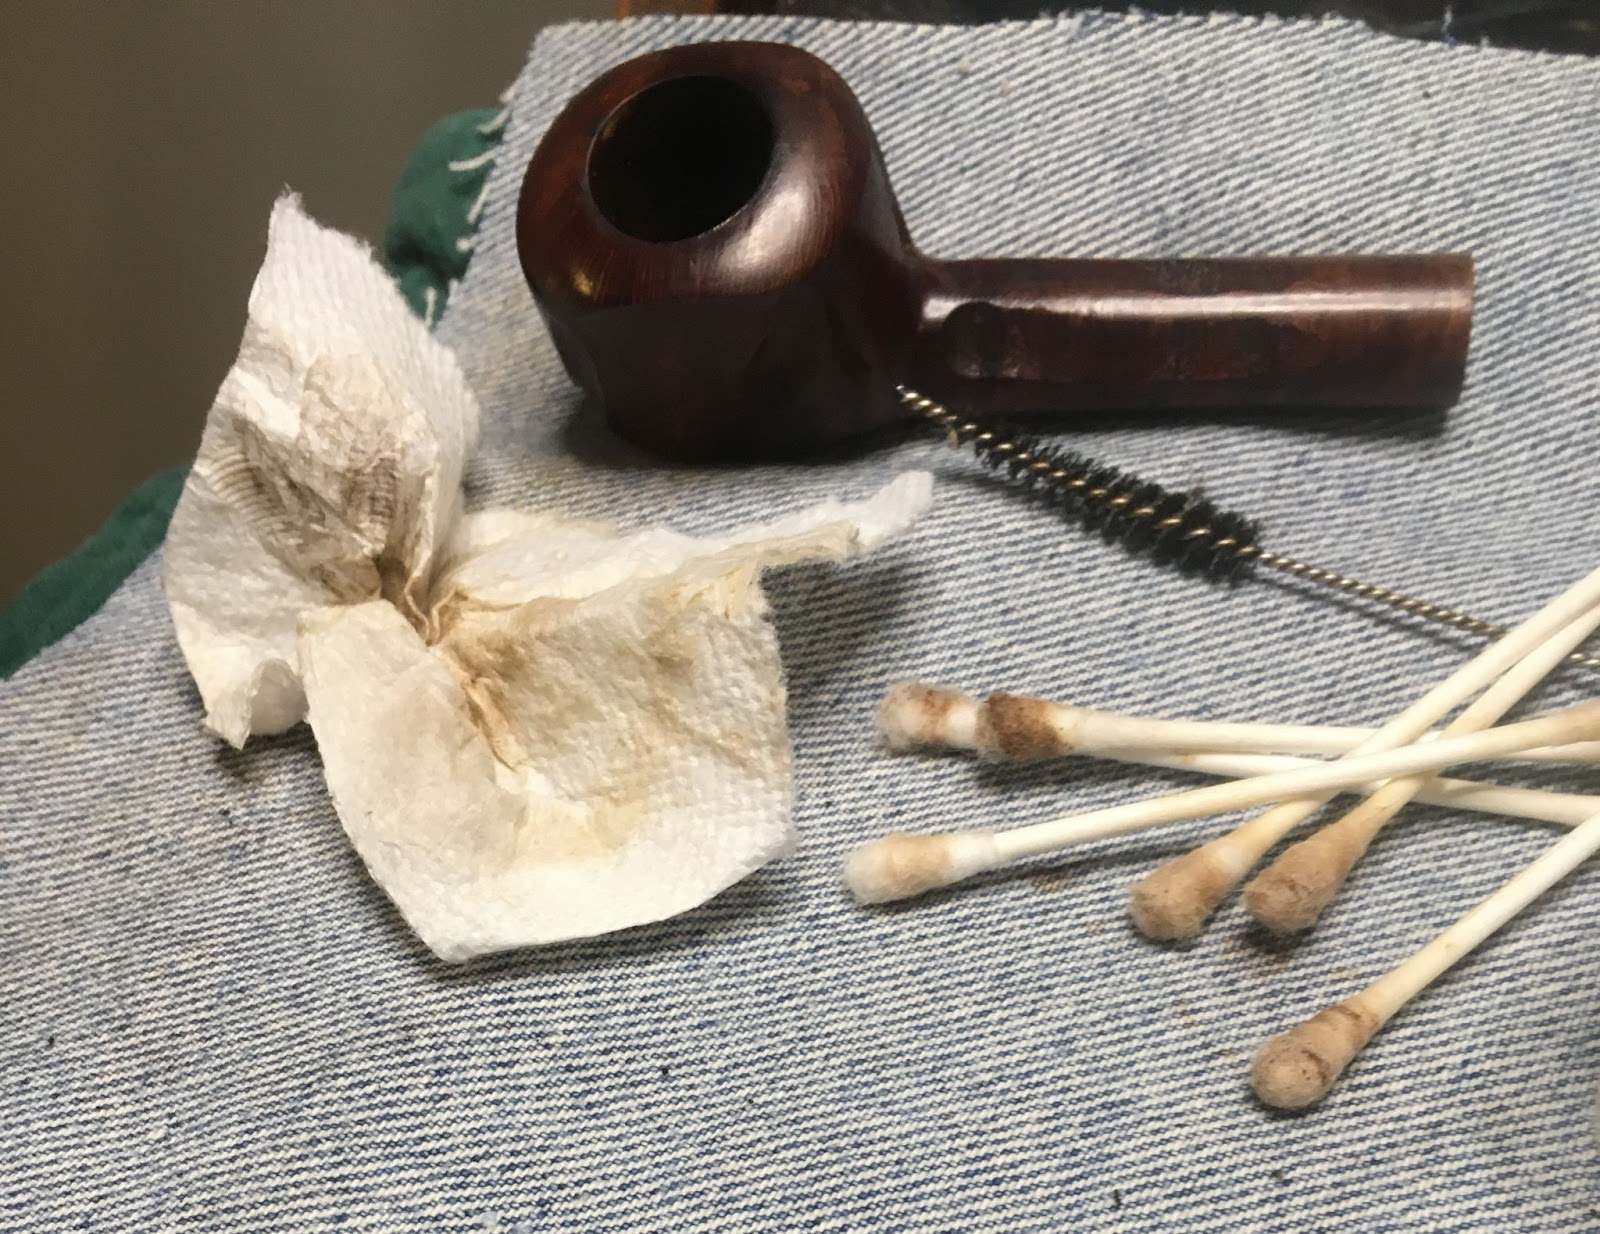
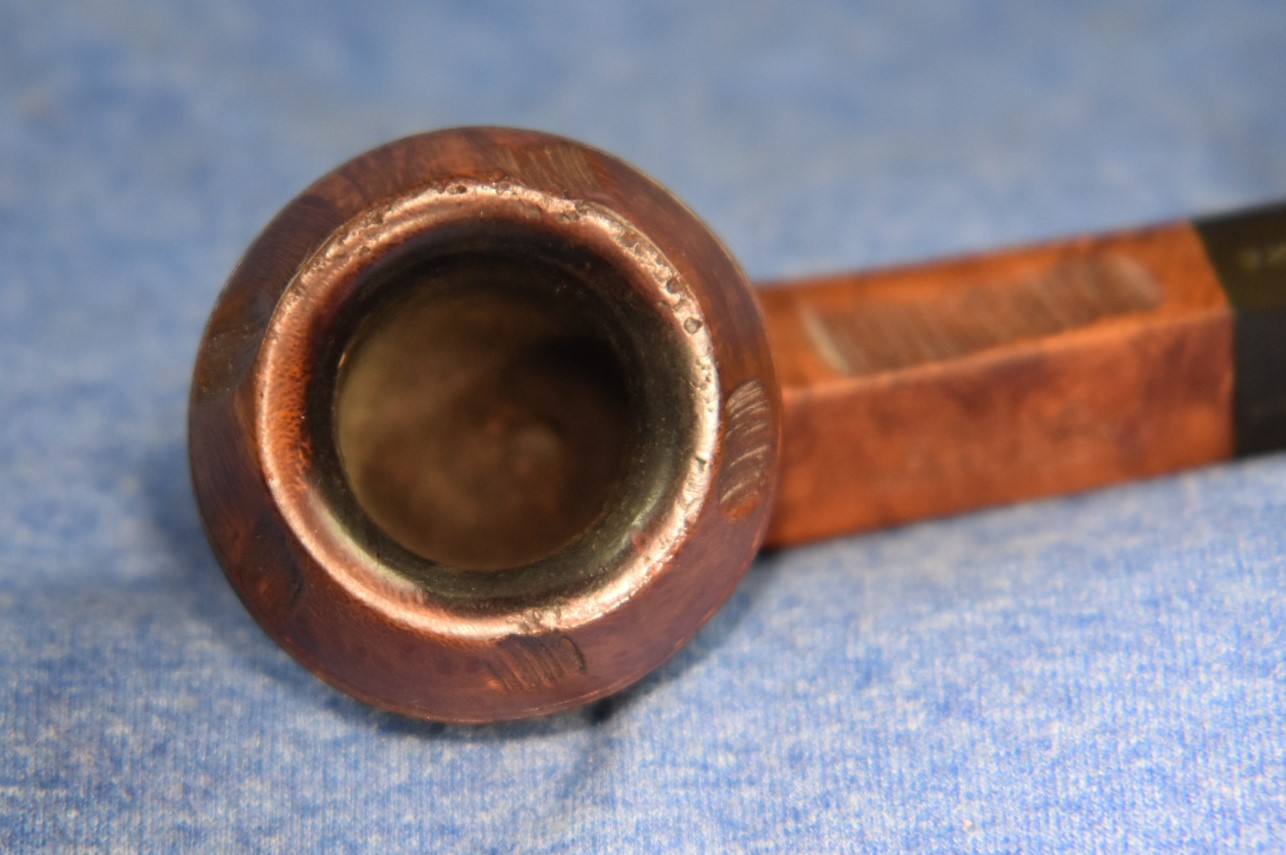
The first step was the reaming. Typing that sentence was about as difficult as the reaming. I used the Pipenet with blade 2, the Smokingpipes knife and the General triangular scraper. I also sanded in with 220 sandpaper wrapped around a dowel rod.

Next up, cleaning out the shank airway. The boring here was a bit different. A single pipe cleaner went through with too little contact while a cotton swab was too big to fit past the mortise. I folded pipe cleaners in half and gave them a hard pinch. Just right. The folded pipe cleaners were of the bristle variety and were dipped in 99% isopropyl alcohol. The first four removed most of the yuck with the final two removing the last of it.


Have I mentioned how nice it is not to use 81 cotton swabs to clean a shank? Yeah, I’m talking about you, Marxman Dublin.
Next up was the ever popular Murphy’s Oil Soap bath. It is Friday night so, baths are in order. I used the Murphy’s undiluted with a medium bristle toothbrush. As clean as this pipe looked the Murphy’s still did what it does and removed the accumulated dirt and grime of 75 years. The soap was rinsed with warm water and dried with a cotton dish towel.
While I’m over here I may as well give the rim a light topping. I used a light touch on a piece of 220 sandpaper laid flat on the counter top. Then repeated it on a piece of 400 sandpaper. Returning to the workbench, I needed to blend the the newly sanded rim to the existing stain.
I used a maple furniture touch-up stain marker. I thought the maple looked a bit too red and light so, I used the mahogany marker as well, then used a


make-up pad dipped in isopropyl to lightly wipe/blend the stains to the stummel. The stummel was then wiped with a make-up removal pad dipped in 99% isopropyl alcohol. It removed a little bit of color from the briar. Not enough to notice a difference.
I also poured 3 ml of the alcohol into the tobacco chamber and let it flow into the shank. The alcohol was poured back into it’s medicine cup and I was very happy to see that it remained clear and un-browned. Yeah Marxman Dublin, you better hide like a dog who knows they’ve been up to no good.
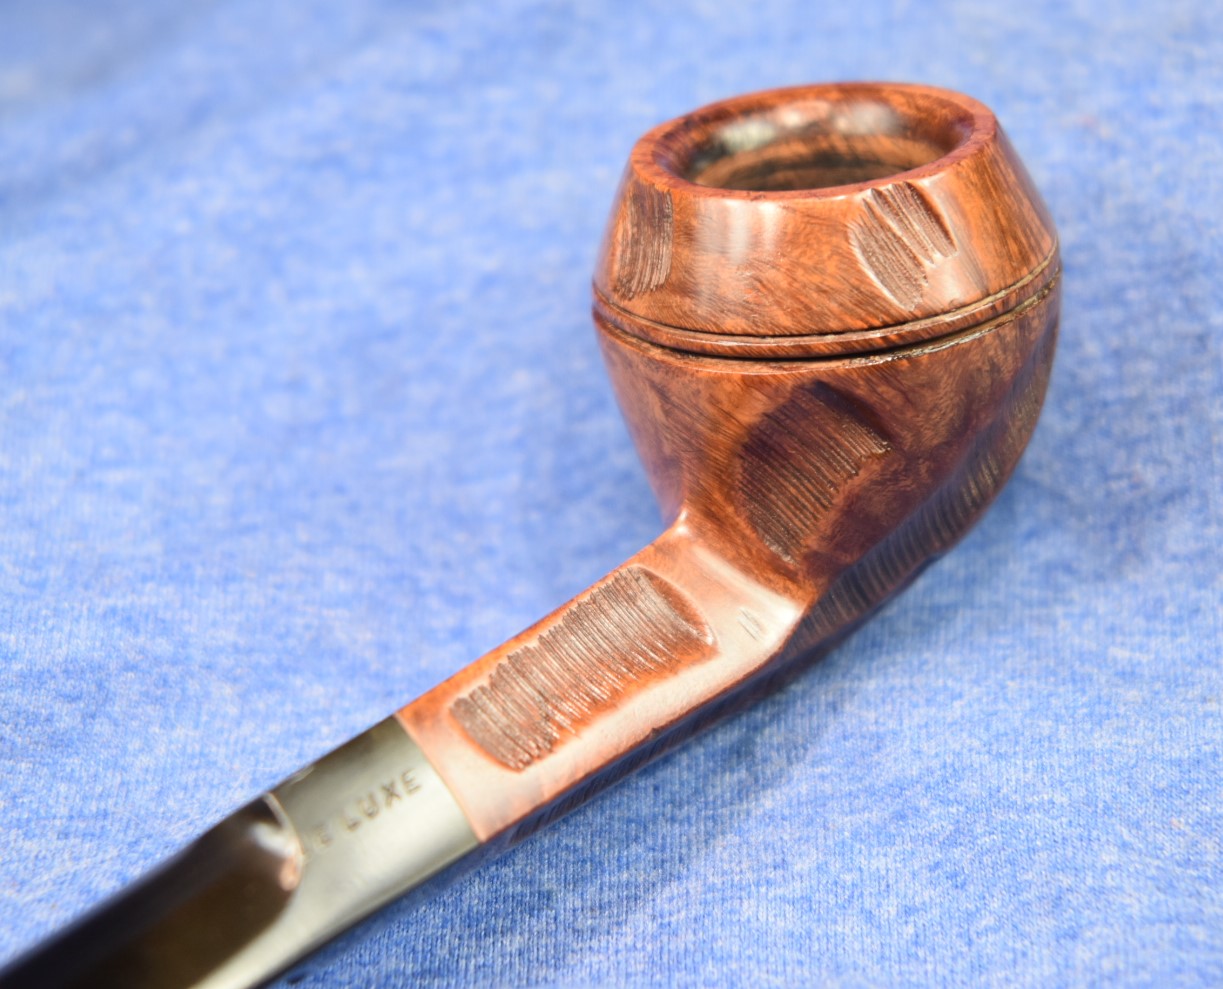
Once the alcohol had evaporated, I did notice a few spots where there was still some shine remaining. This was probably just wax that wasn’t removed with the scrub and the isopropyl. I wetted another make-up pad with 95% ethyl alcohol. Those smaller 2 carbon ethyl molecules might be less forgiving than their 3 carbon isopropyl comrades. The ethyl did a better job and

completely removed any trace of shine. Hmm, I wonder how methyl with only one carbon would work? Although as much as I use, it would probably soak through my skin causing blindness and death, both of which are permanent. Yeah, I could wear gloves but we both know I’d forget. That little bit of red you see on the photo above is from the fresh stain from the topping touch-up. I knew I thought it looked too red.
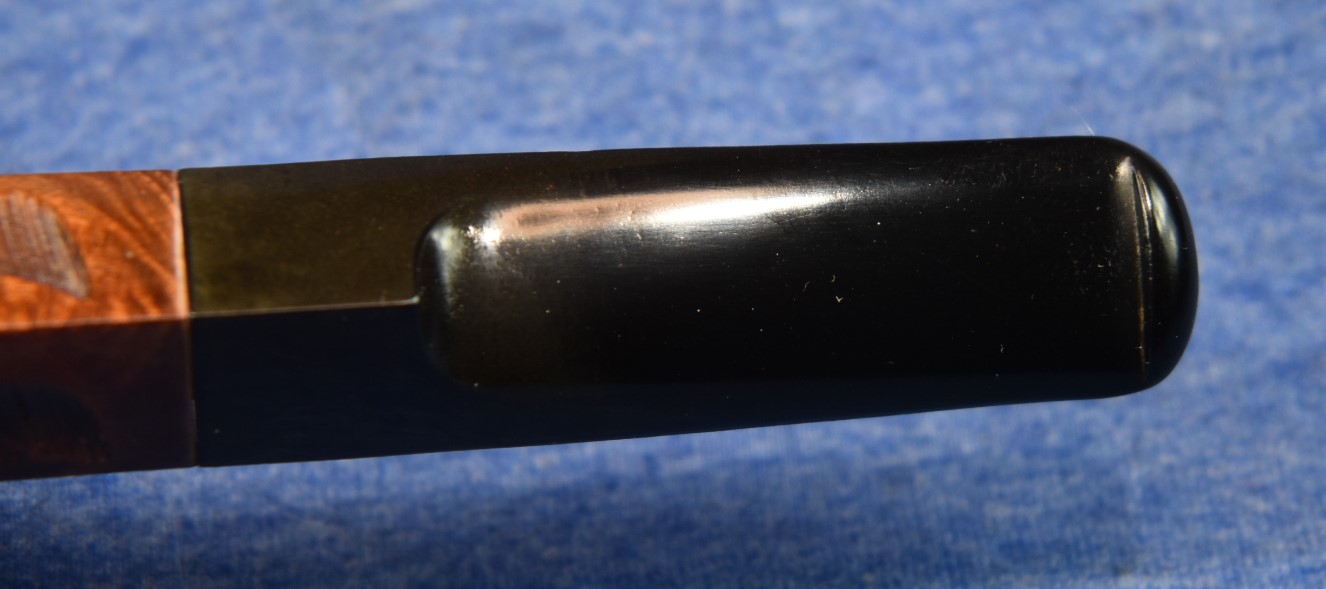
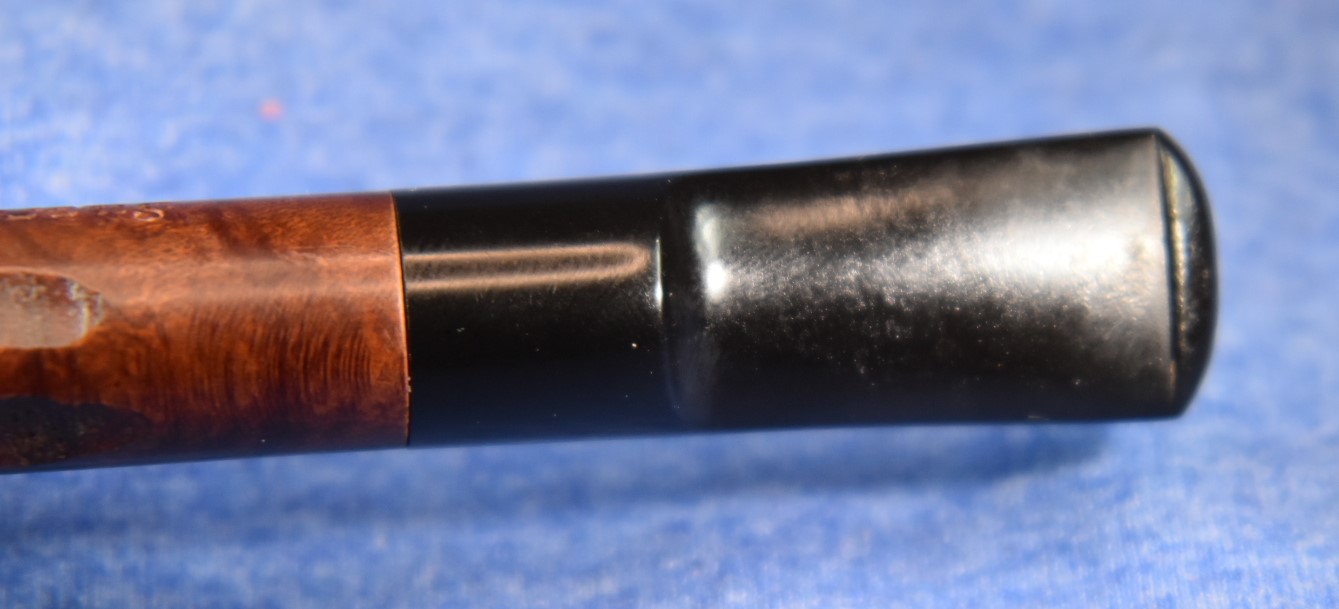
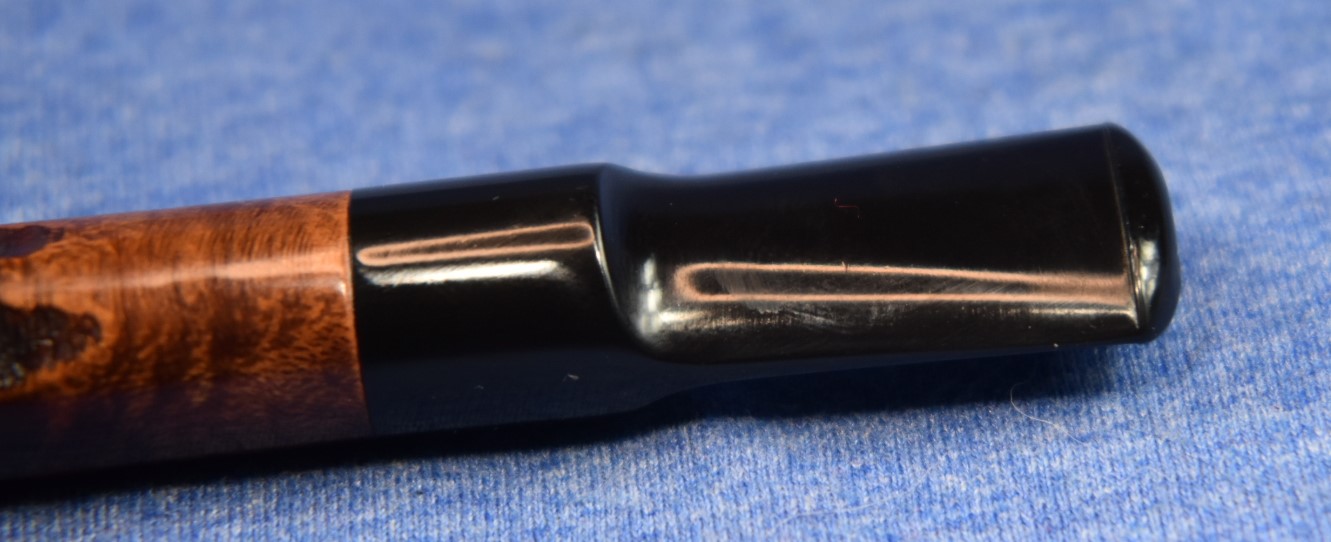
The stem needed to be rid of that tooth chatter that it had picked up. Since it wasn’t very bad I figured a quick painting with a disposable lighter might get rid of some of it. That helped but the sanding sponges were still required. I didn’t need a real aggressive grit and started with the 1000

sanding sponge. It was slow or maybe I was just going slowly relishing the easy relaxing change of pace from the dreaded Marxman Dublin. I made a slow deliberate look out of the corner of my eyes while frowning to where the Marxman was sitting. Like you would, to intimidate a bad dog. It had no effect on the pipe but it made me feel good. The 1000 sanding sponge was followed by the 1500-3500 sanding sponges. Between each sponge I would rub in a drop of Obsidian Oil with my finger and wipe it away with a paper towel. I didn’t bother taping the stamps on the stem since there was no oxidation to speak of so I just didn’t sand them until I got to the 3500. Then they got a light sanding avoiding the stamp as much as possible.
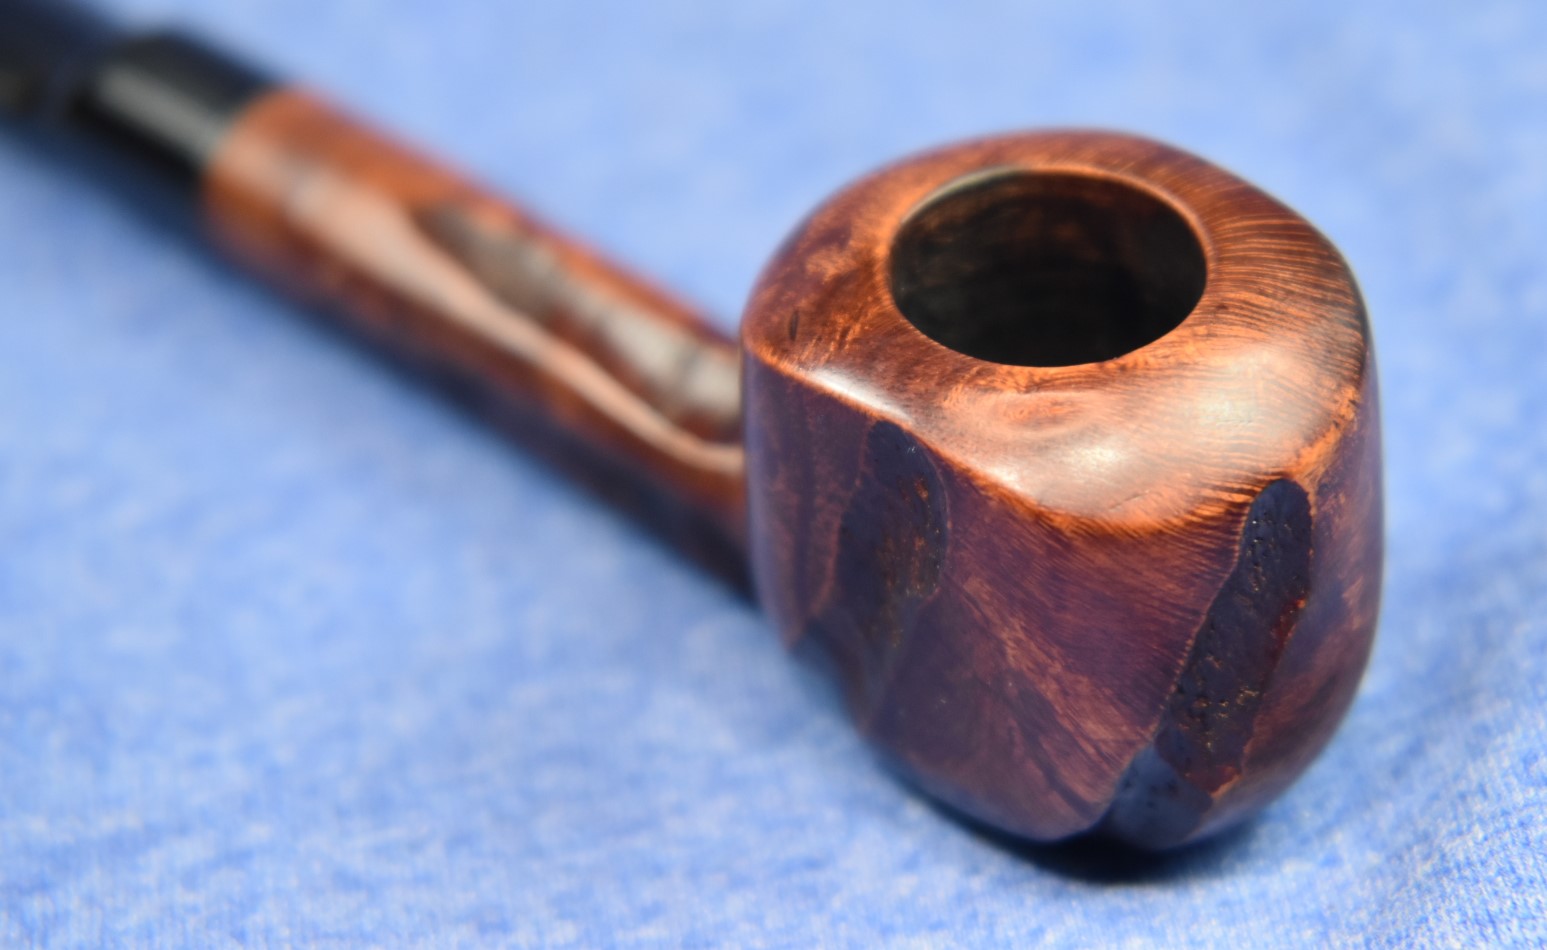
In looking the stummel over I noticed something for the first time. There
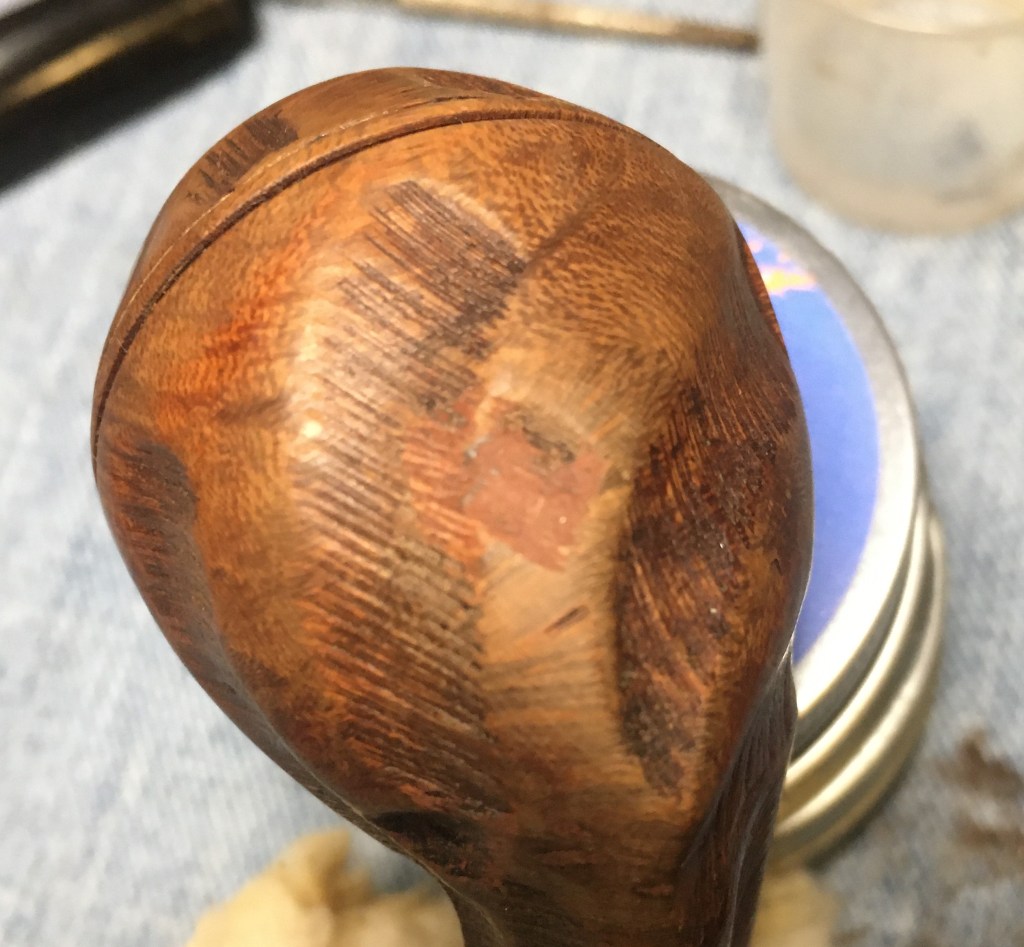
was a fill and it was a big ugly one. How had I missed that? I guess I was just so enamored by the lack of difficulty, I was blind to it. I used the sharp tip of a round needle file to cut some grooves into it, trying to match the lines from the carving. That helped but, ugh, it was now knocked from the pedestal I had placed it on. I thought maybe with some sanding the fill would become less noticeable. I started sanding the stummel with the 1500 sanding sponge. I jumped to the 2500 then the 3500. “Why?” you ask. This is a very soft briar reminiscent of the soft algerian briar that the good Marxman and Pipe by Lees used at this same time. It is so soft that you can easily get carried away with sanding and end up marring the briar. I have found that a very light touch is all that is required. Between each sanding sponge I would use an alcohol moisted make-up pad to wipe the stummel.
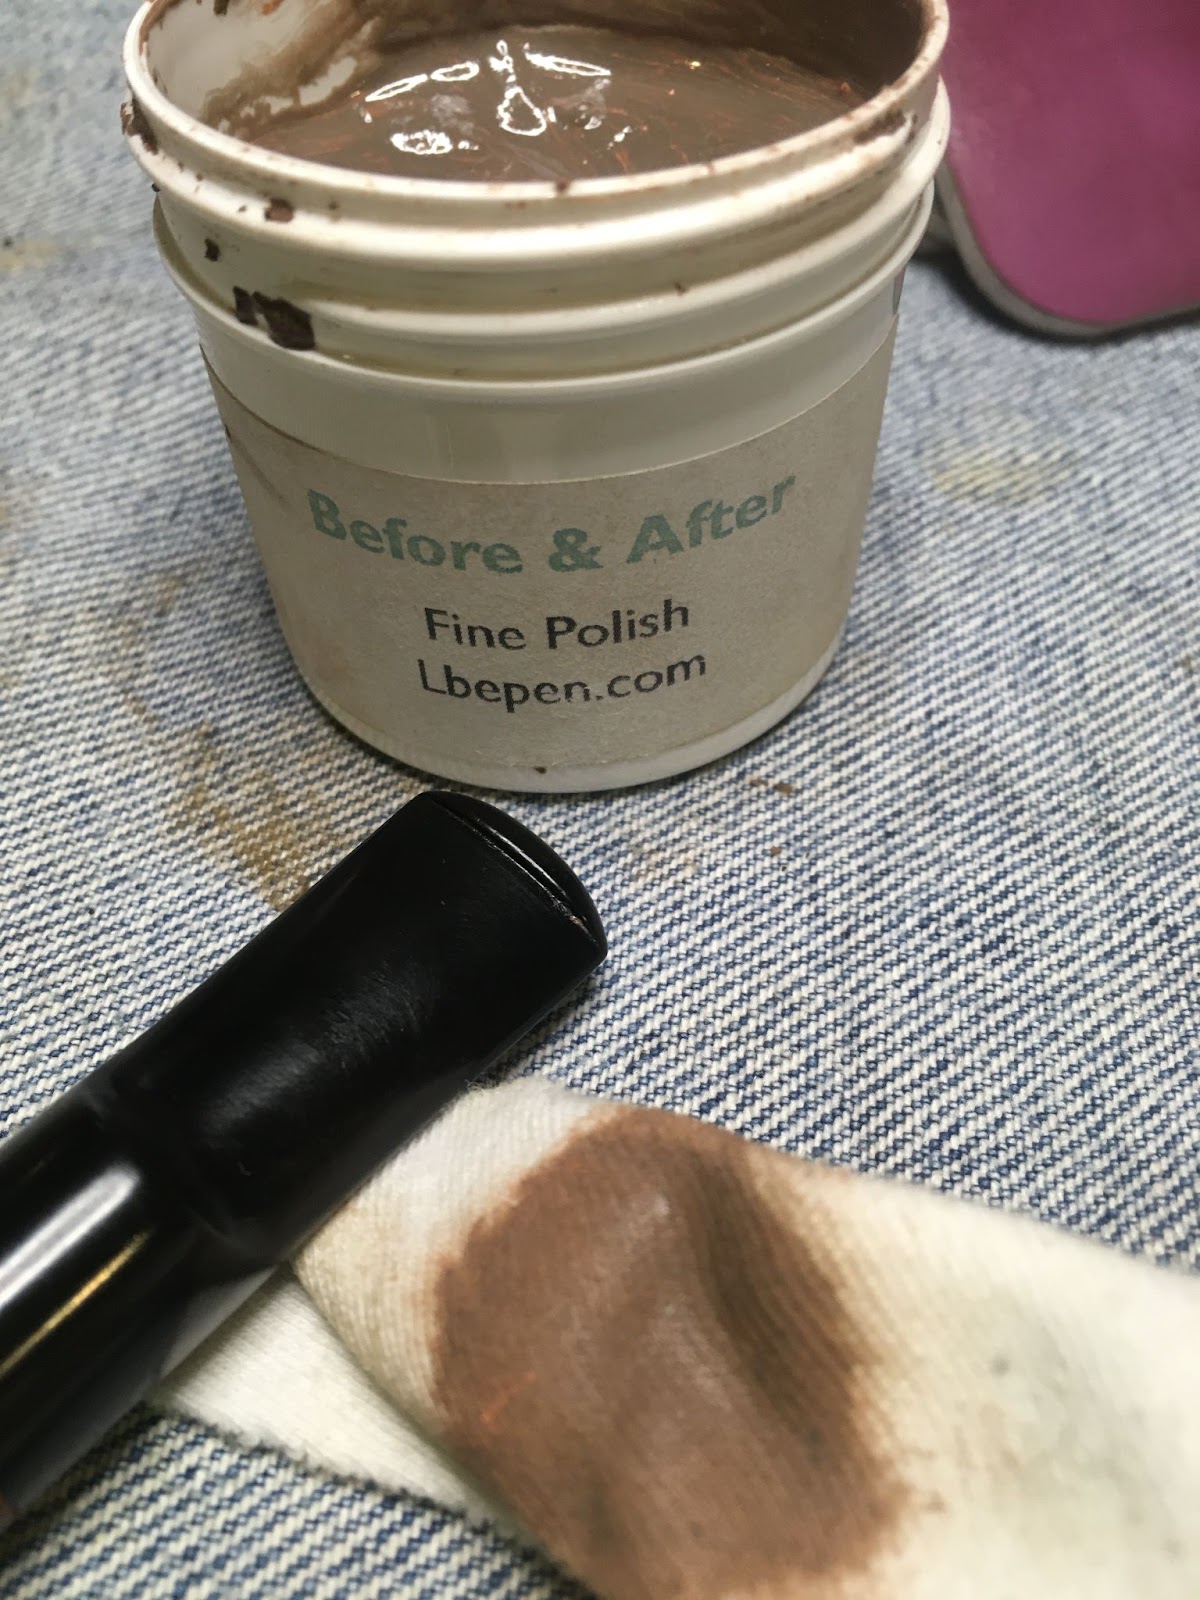
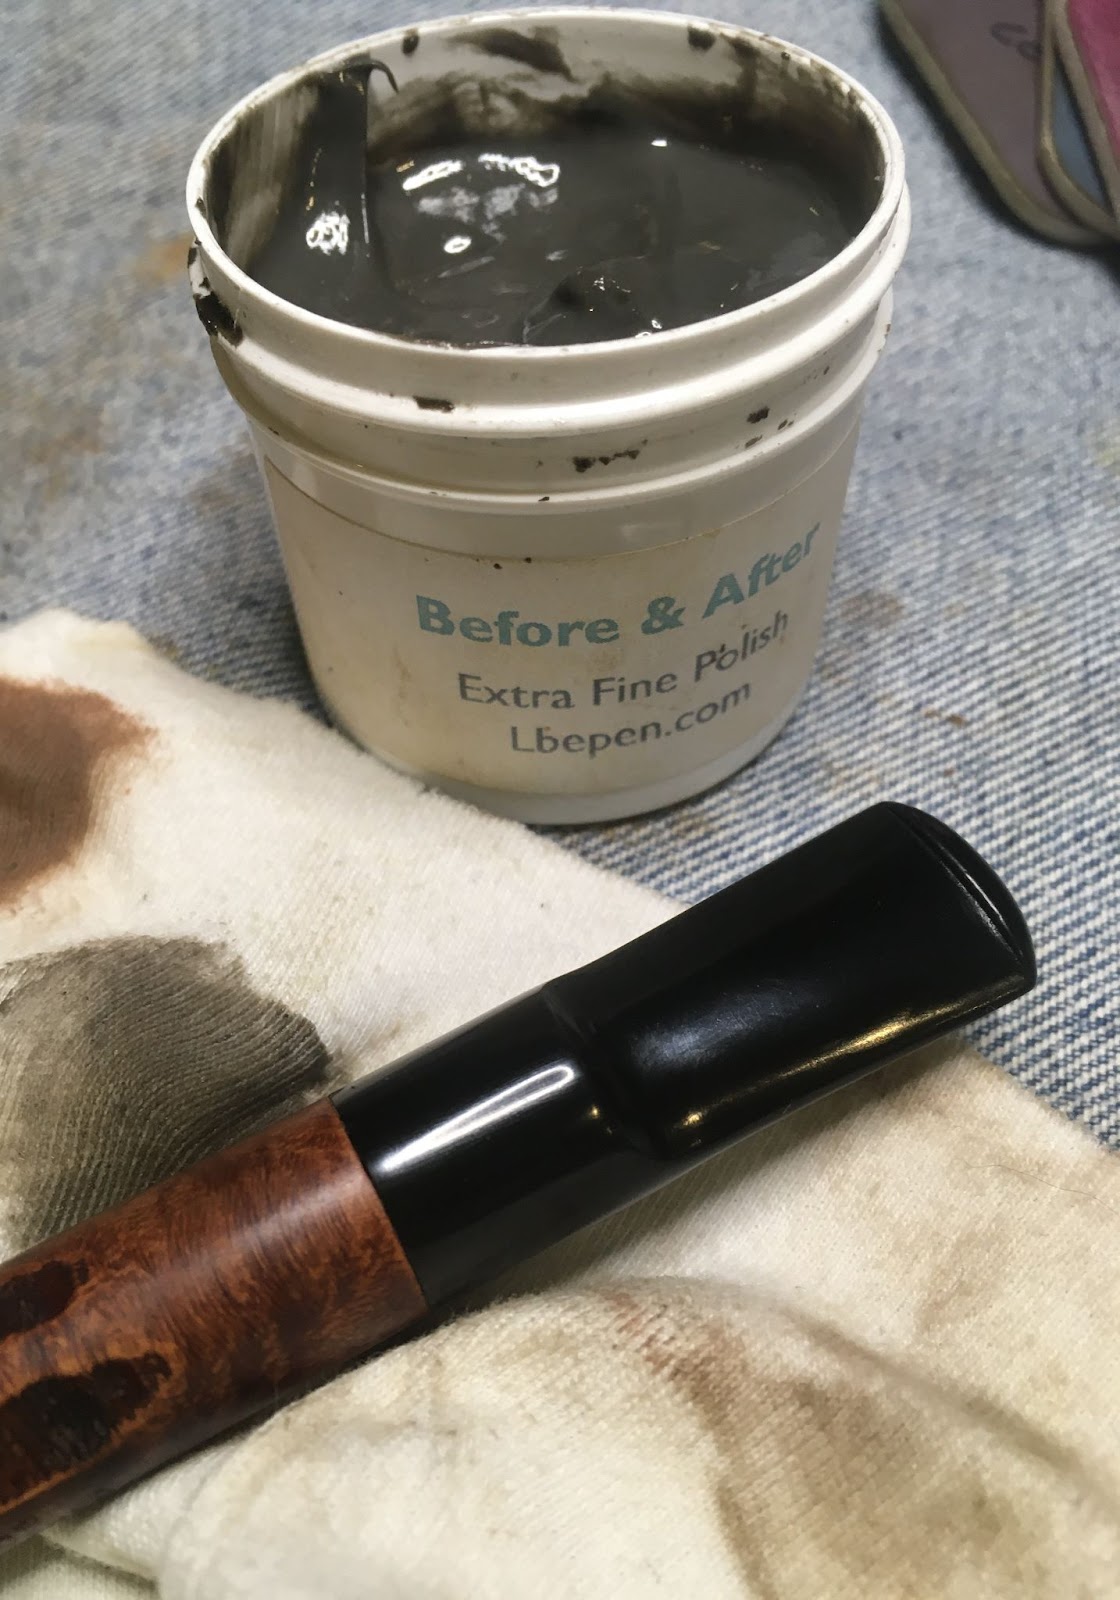
On to the micro-meshing. I started this with the 4000 micro-mesh pad, micro-meshing the stem and stummel together. I worked up through the series and wiped the stummel with an alcohol moisted make-up pad between micro-mesh pads. The stem was again rubbed with Obsidian Oil and wiped with a paper towel. When finished, I cleaned out the beads around the bowl with the sharp tip of a round needle file.

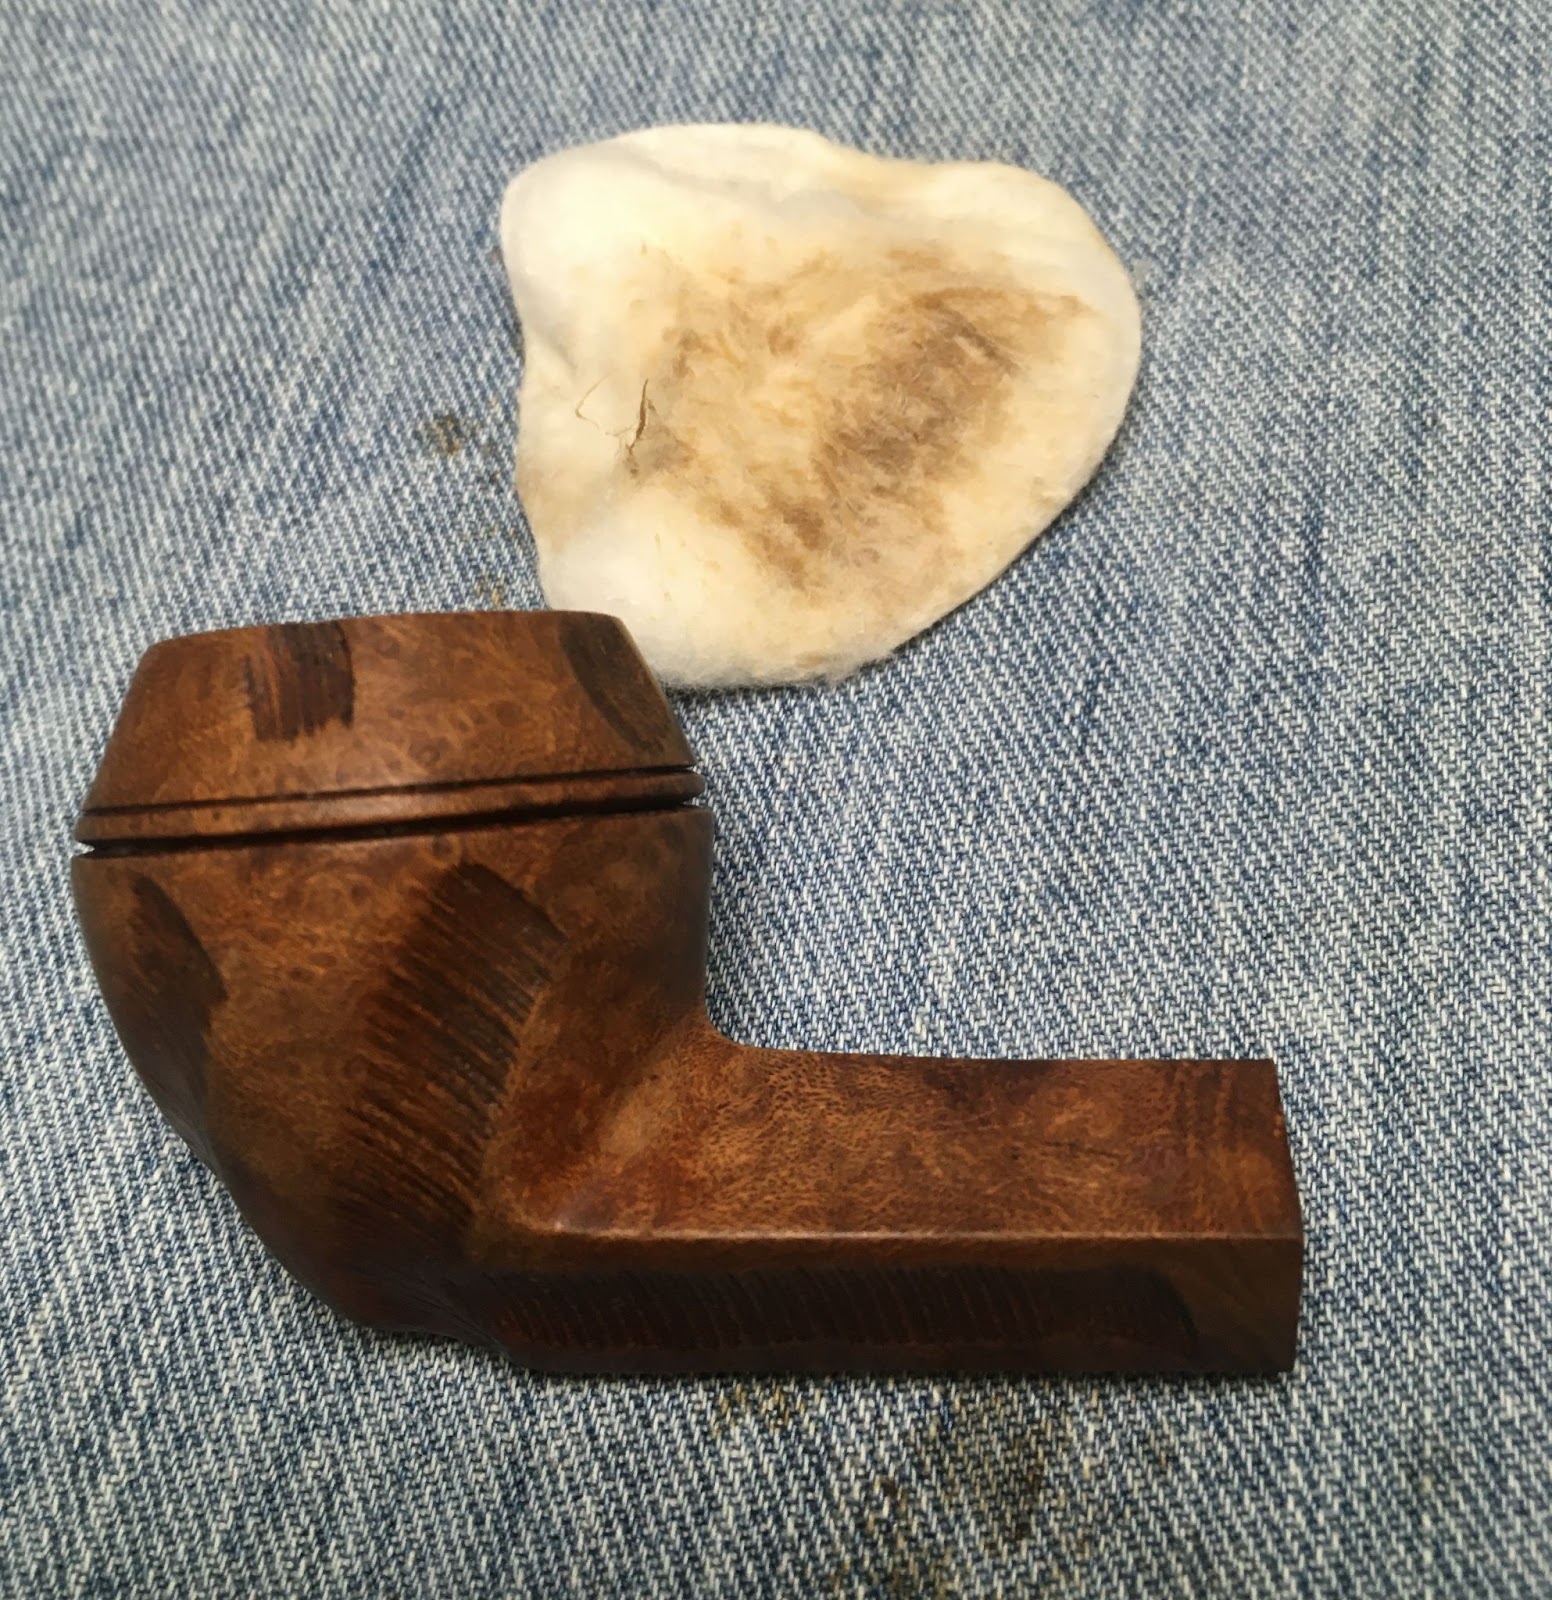
I left this photo more un-cropped to show where I had been wiping the sanding sponges and the micro-mesh pads on the denim surface. It really does help to keep the pads cleaned of removed material. After the micro-meshing the stummel was given a coating of Before and After Restoration Balm. This was allowed to do wherever magic it does for about 10 minutes before I wiped it off with the inside of an athletic sock. The pipe was then given several coats of carnauba wax at the buffer.
Overall, I am very happy with this bulldog. It was exactly the pipe I needed to work on after the Marxman Dublin. Sideways glance and furrowed brows. I am saddened by the lack of the keystone cleaner and that horrific frontal fill but still it is a beauty. I am sure that it will make someone very happy by delivering their smoke with grace and style. I do hope that you have found something here helpful in restorations of your own or that you were at least entertained. If you like this sort of thing please click the like and subscribe. I thank you for taking the time to read the ramblings of an old pipe lover.
Here are some photos of the finished Emperor De Luxe Saddle Bit Bulldog.


Yeah, I am probably putting off showing the front…


Heh, from this angle you barely notice the fill.