Written and photographed by John M. Young

When I first started this blog back on October 30, 2023 one of the first pipes I discussed was a Dr. Grabow Westbrook Dublin. In that blog I wrote: “We all know of Dr. Grabow pipes and likely have our own opinions of them. Anyway you look at it Dr. Grabow pipes are an American icon. I do not feel the need to examine the history of the brand and am including links regarding history for those who are interested.” I think that sums up how I feel today as well as it did then.
History:
Dr. Grabow Pipes: https://www.tobaccopipes.com/dr-grabow-history/#:~:text=The%20famous%20smoking%20pipe%20brand,US%20patent%20number%201.896%2C800.
Dr. Grabow on Pipedia:
https://pipedia.org/wiki/Dr._Grabow
Dr. Grabow timeline, Pipedia:
https://pipedia.org/wiki/Dr._Grabow_Pipe_History_Timeline
Current Dr. Grabow:
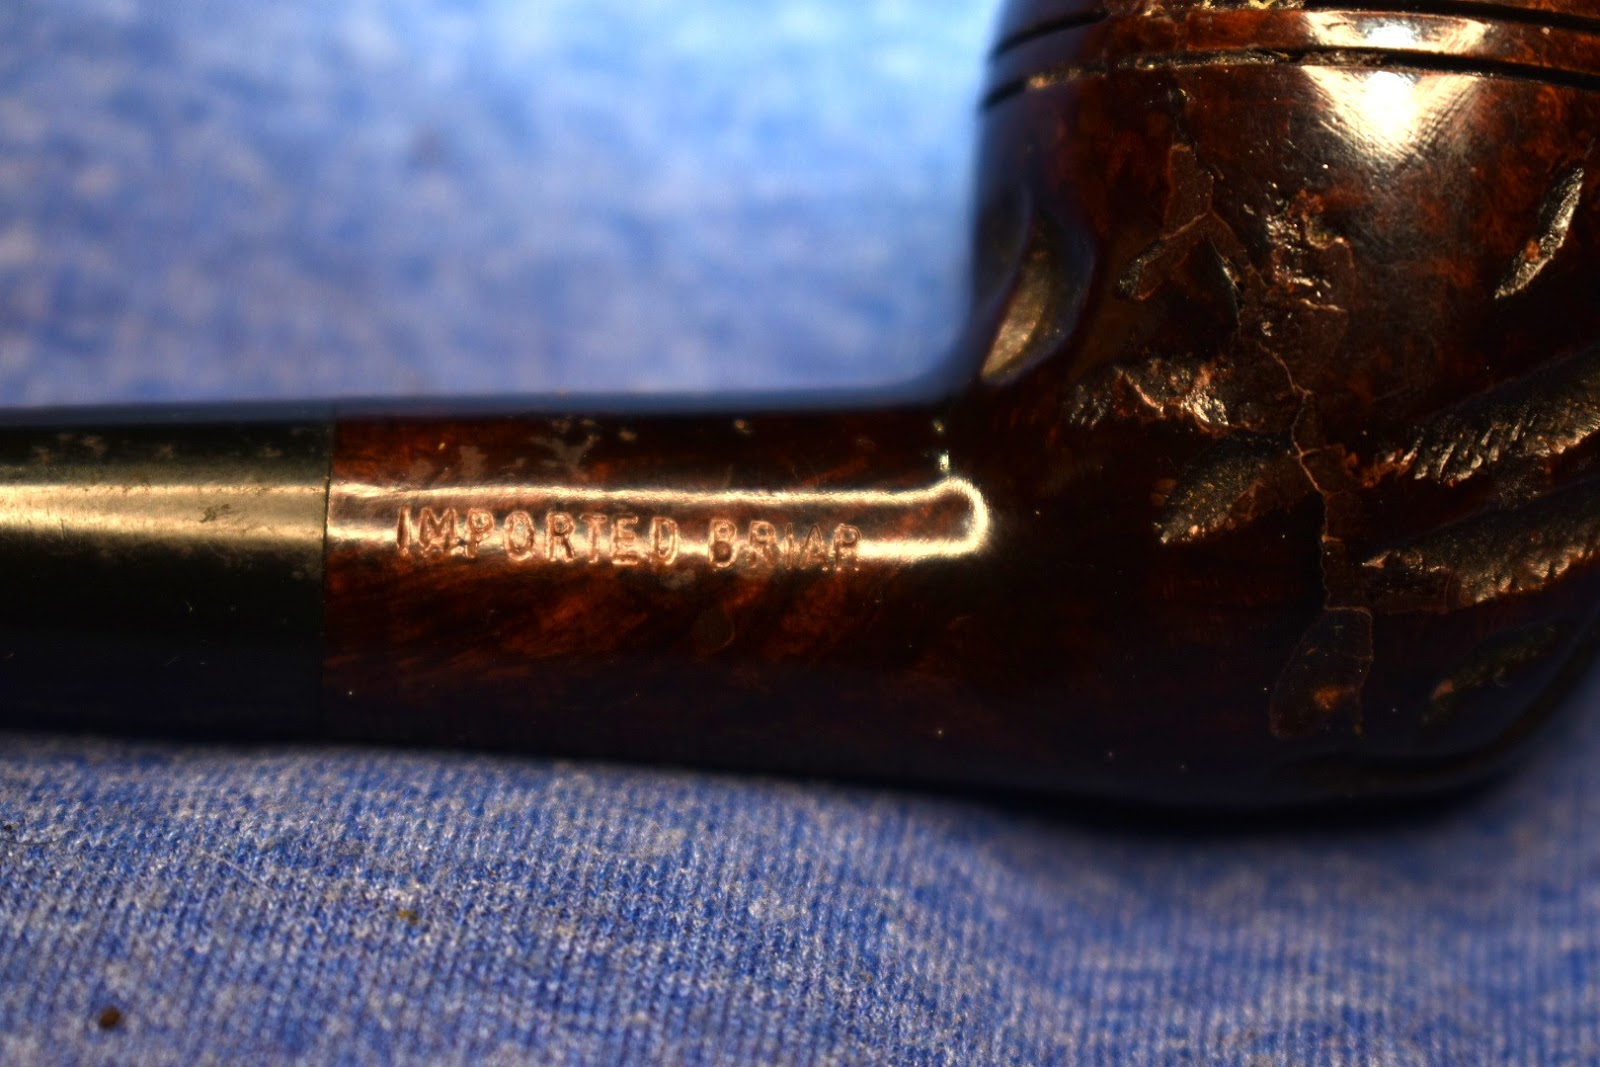
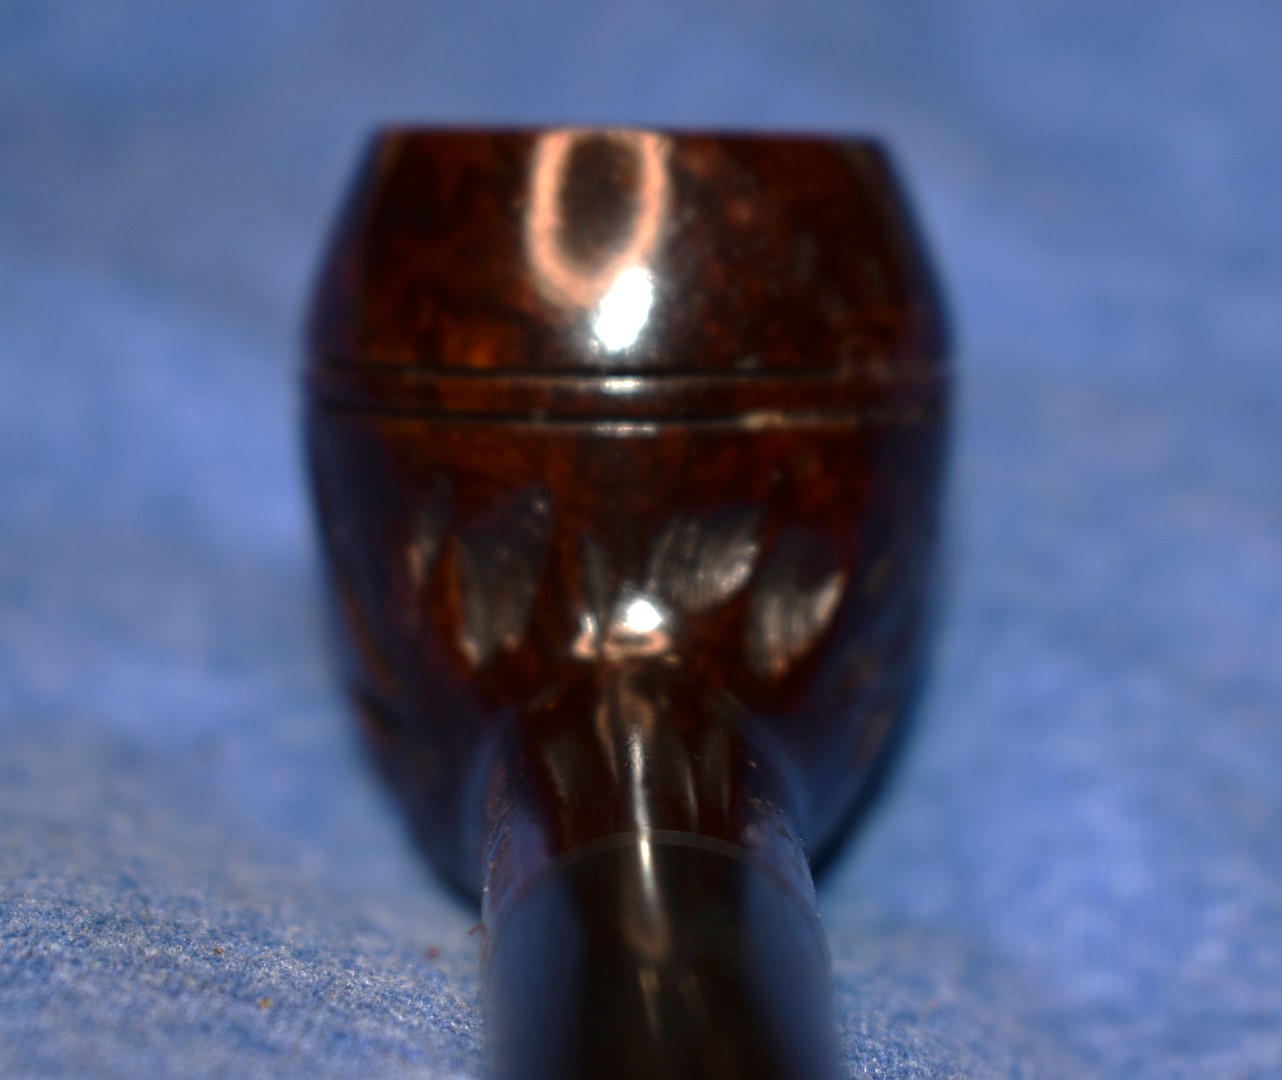
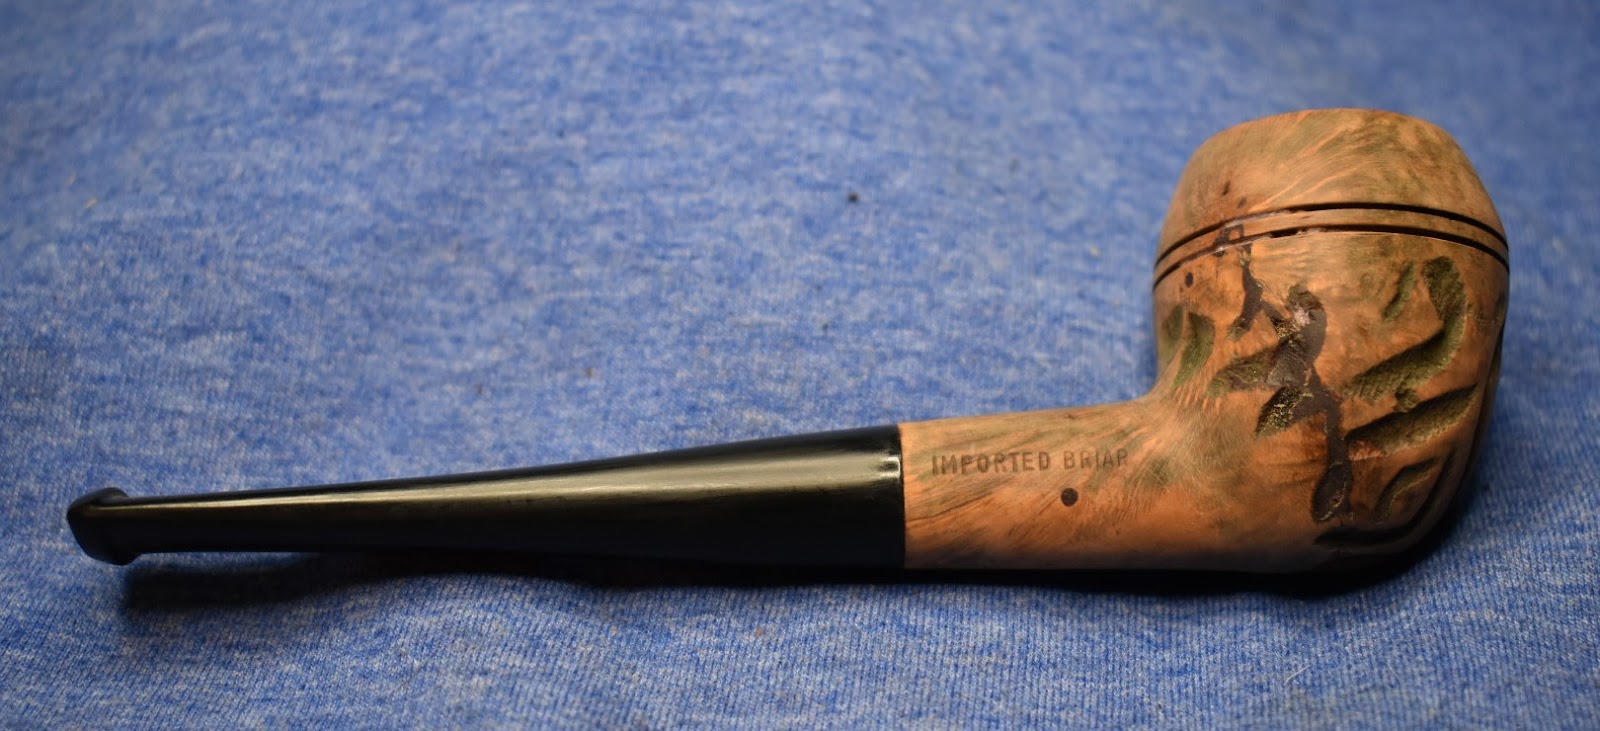
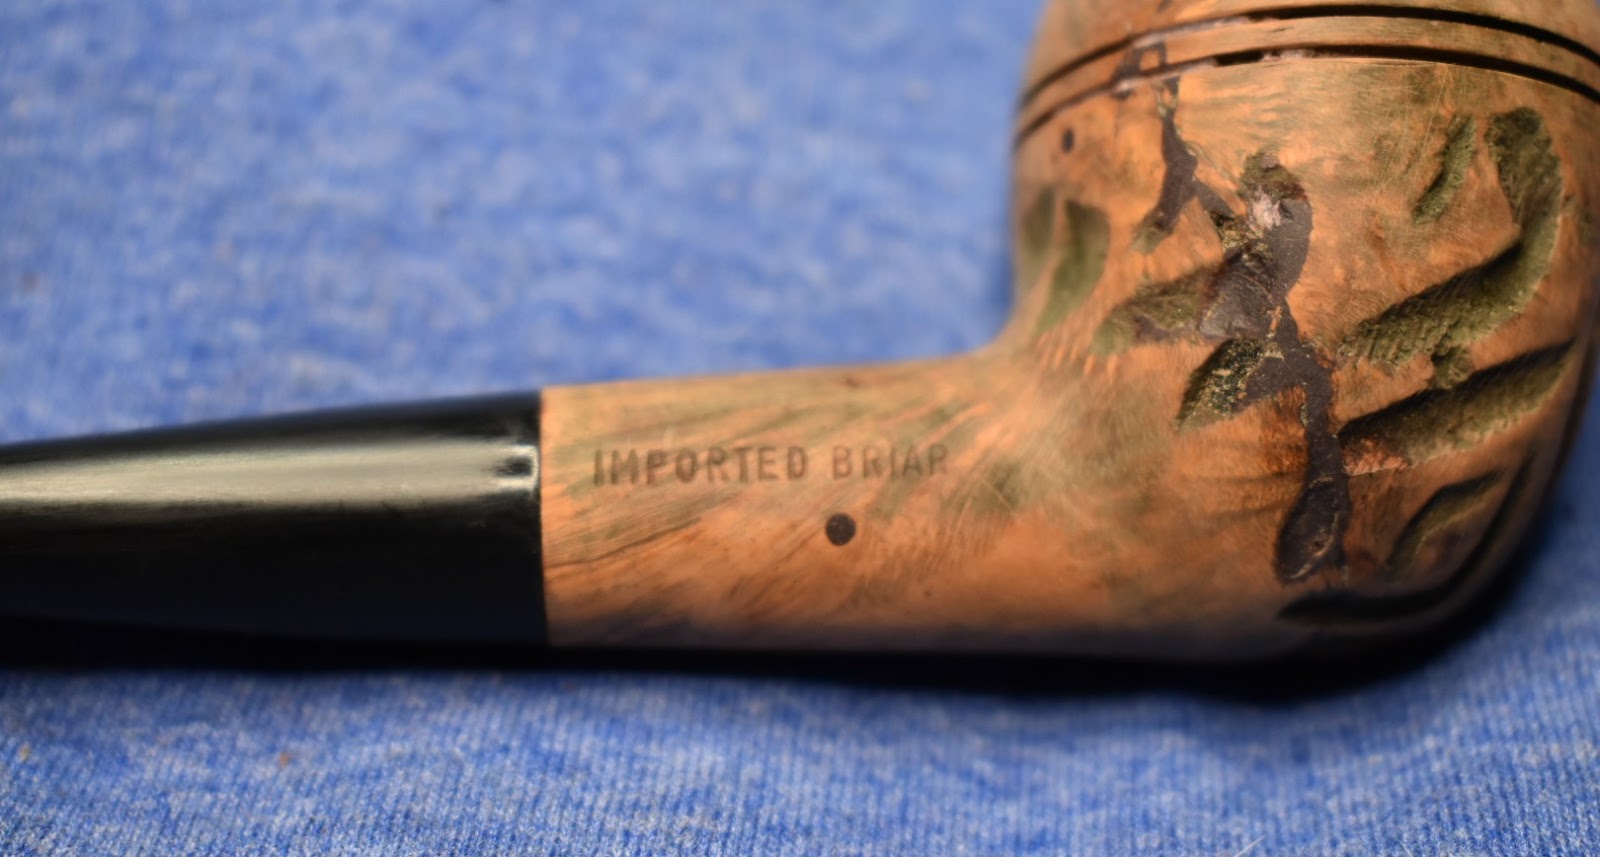
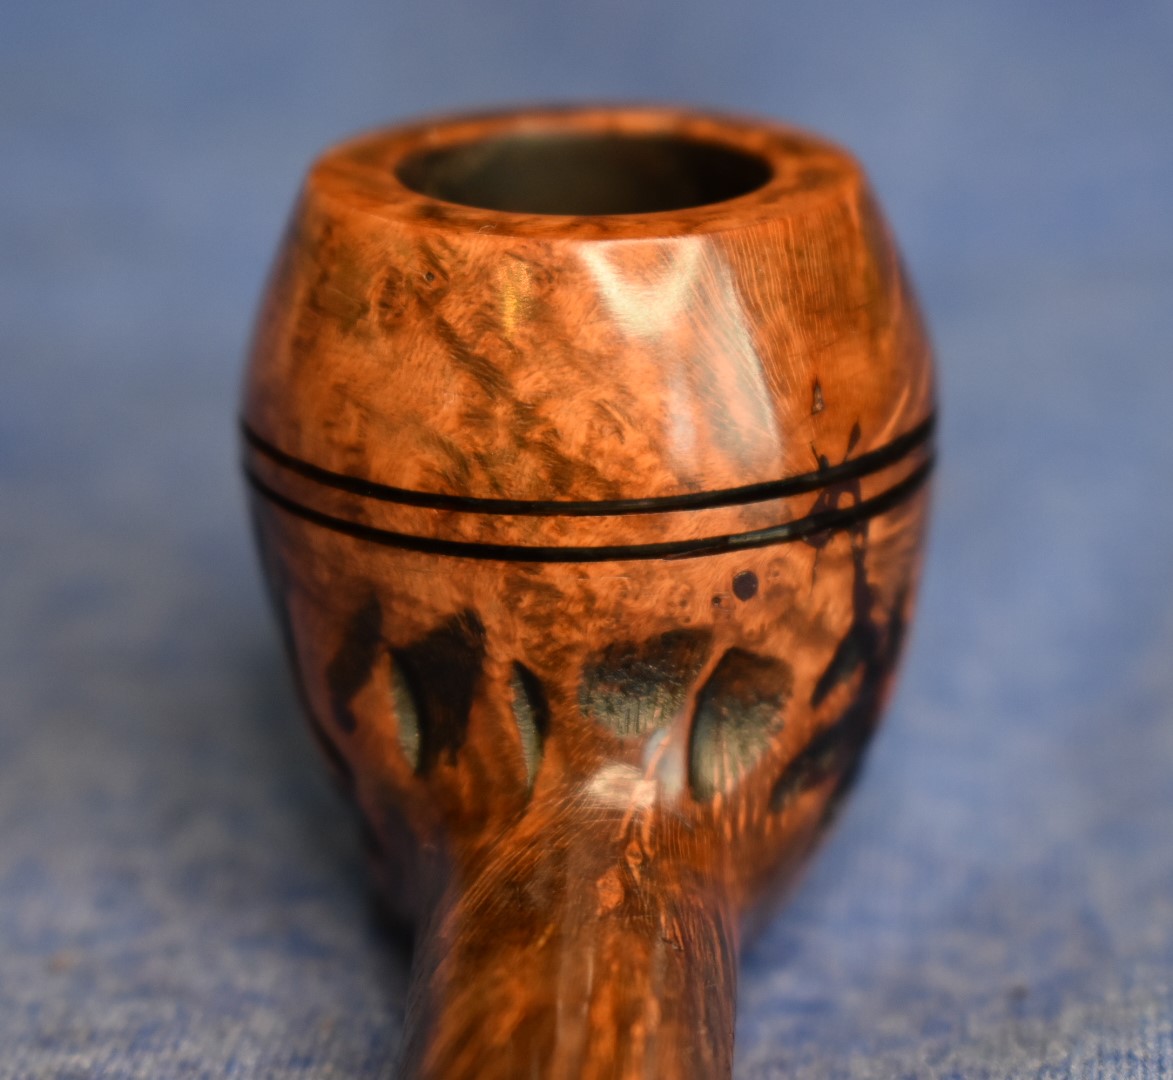
The Dr. Grabow being restored here is a Grand Duke Medium Bulldog. This pipe was part of an estate lot and was not my “target” of the lot. It was just along for the ride. I have nothing against this pipe other than a dislike for heavy clear coat finishes. Here is what this Grand Duke looked like upon arrival:

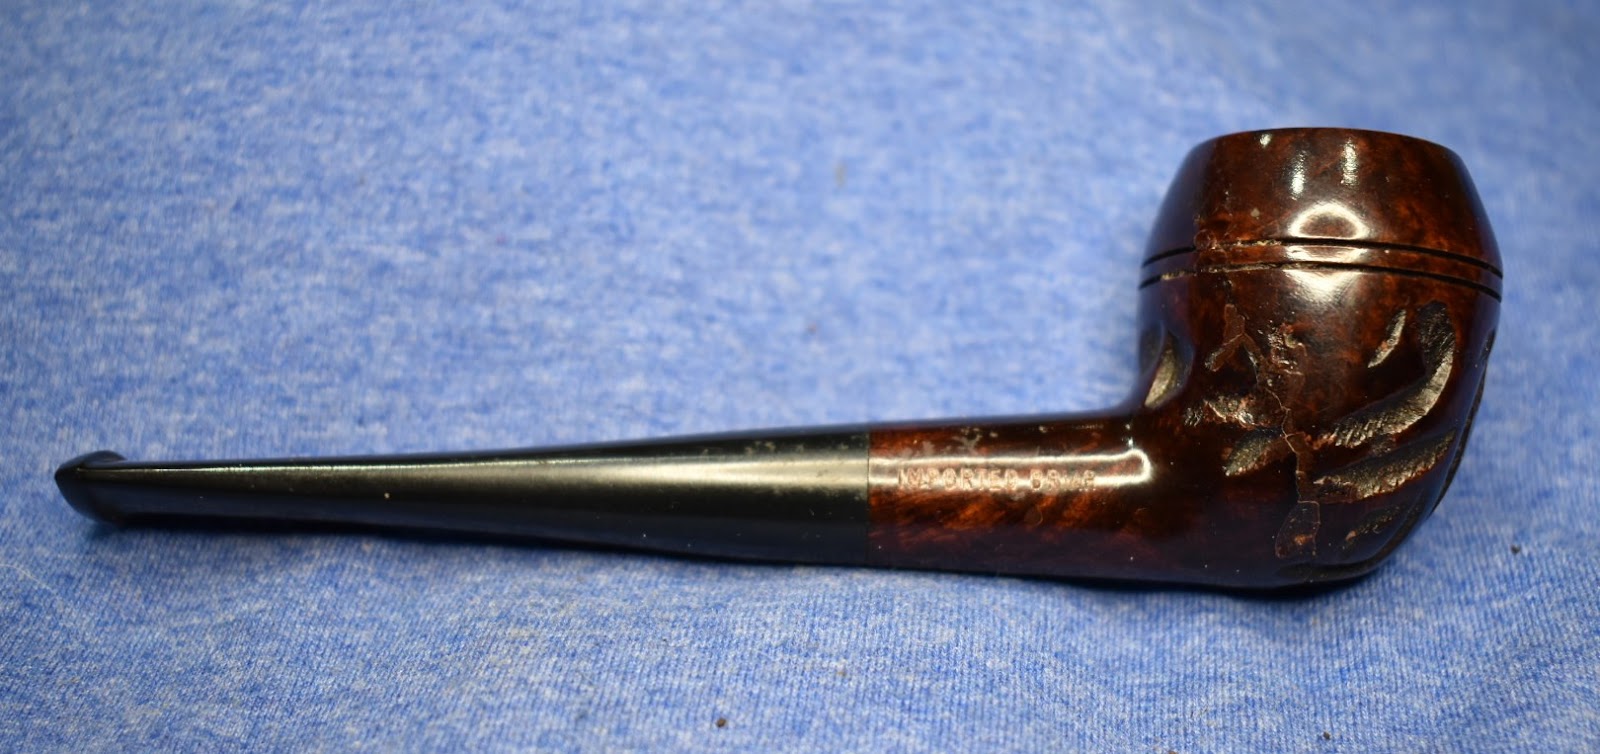


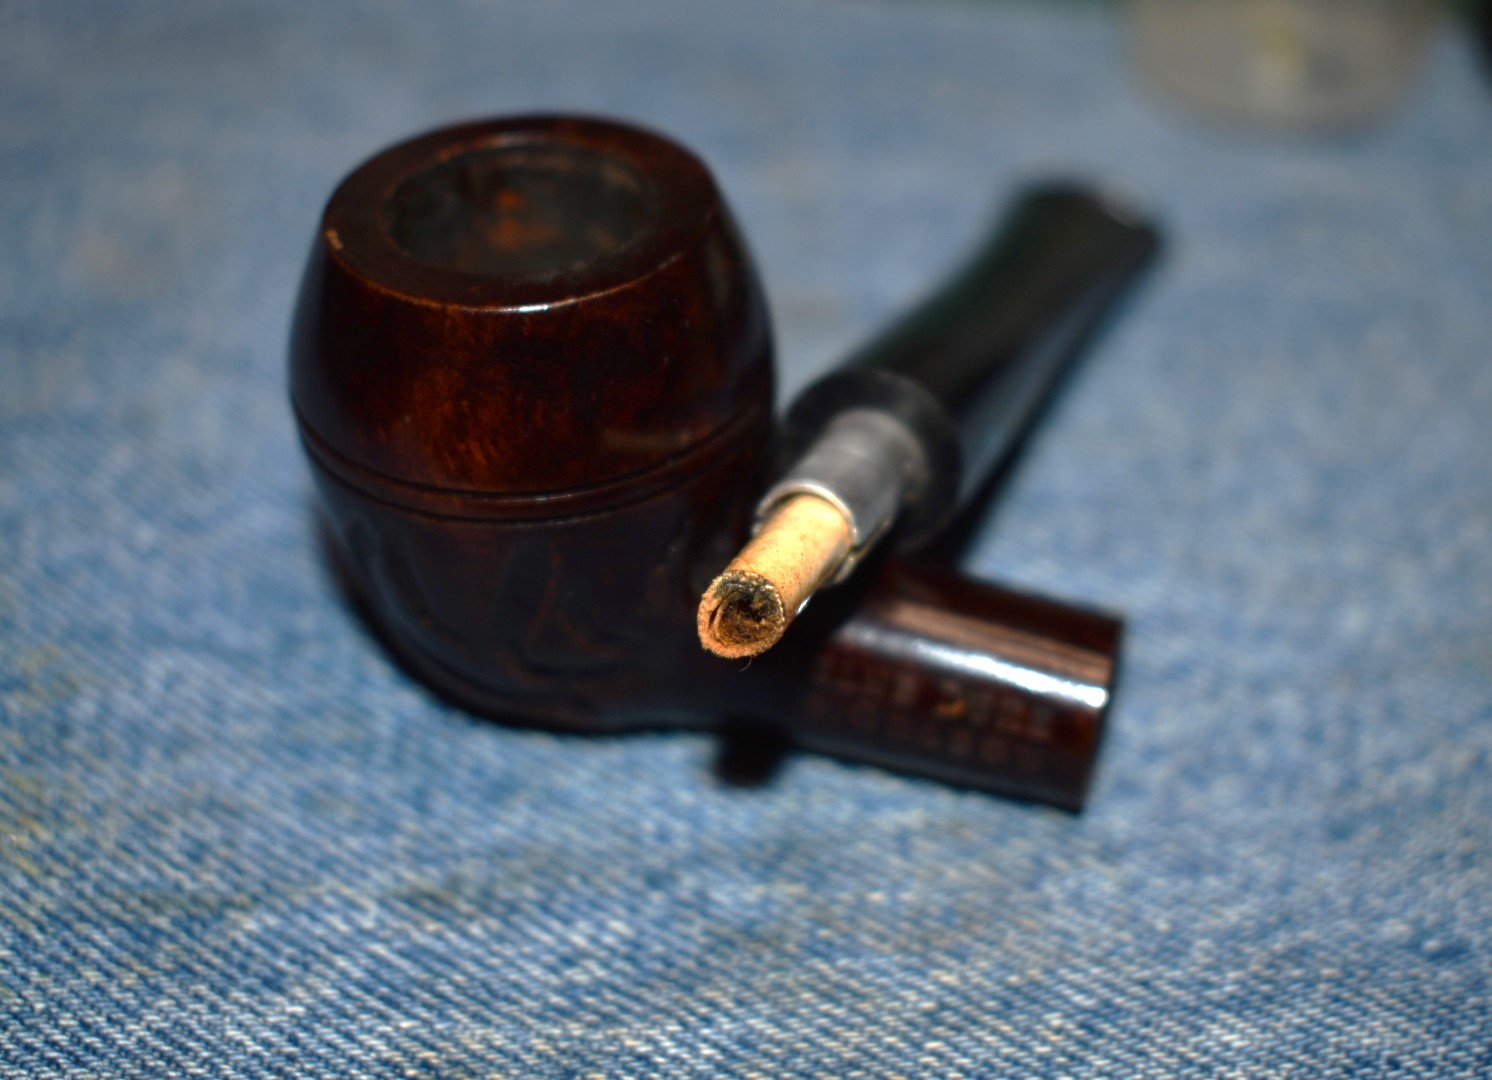


As you can see from the photos this pipe was pretty much new perhaps, only smoked a couple of times. Judging by the tobacco chamber and the filter I am inclined to say maybe only smoked once. So, what are the steps for this restoration? I am thinking that I will: Ream the bowl, strip the finish, perhaps restain/dye the stummel, polish the stem, clean the minimal residues from the airway and finish with several coats of carnauba wax.
Heavy clear coat is frequently used to hide the blemishes of a flawed briar block. I remember the Waldorf restoration where the clear coat covered and supplied a “glue” to hold literally cubic centimeters of fill in place. I have also seen beautiful pieces of briar hidden from the world with indiscriminate applications of stain and heavy finish. This is not meant to be an indictment against factory made pipes. The turning out of thousands of pipes by using the briar that the company has purchased rather than the selecting the absolute best pieces to work with is how these companies produce mass market pipes and sell them for prices that nearly anyone can afford. This means that these pipes are more of a gamble – will you get lucky and have a “magic” piece of briar or a flawed piece that will serve its purpose?
I first cleaned out the tobacco chamber, reaming is hardly the term I would choose. There was
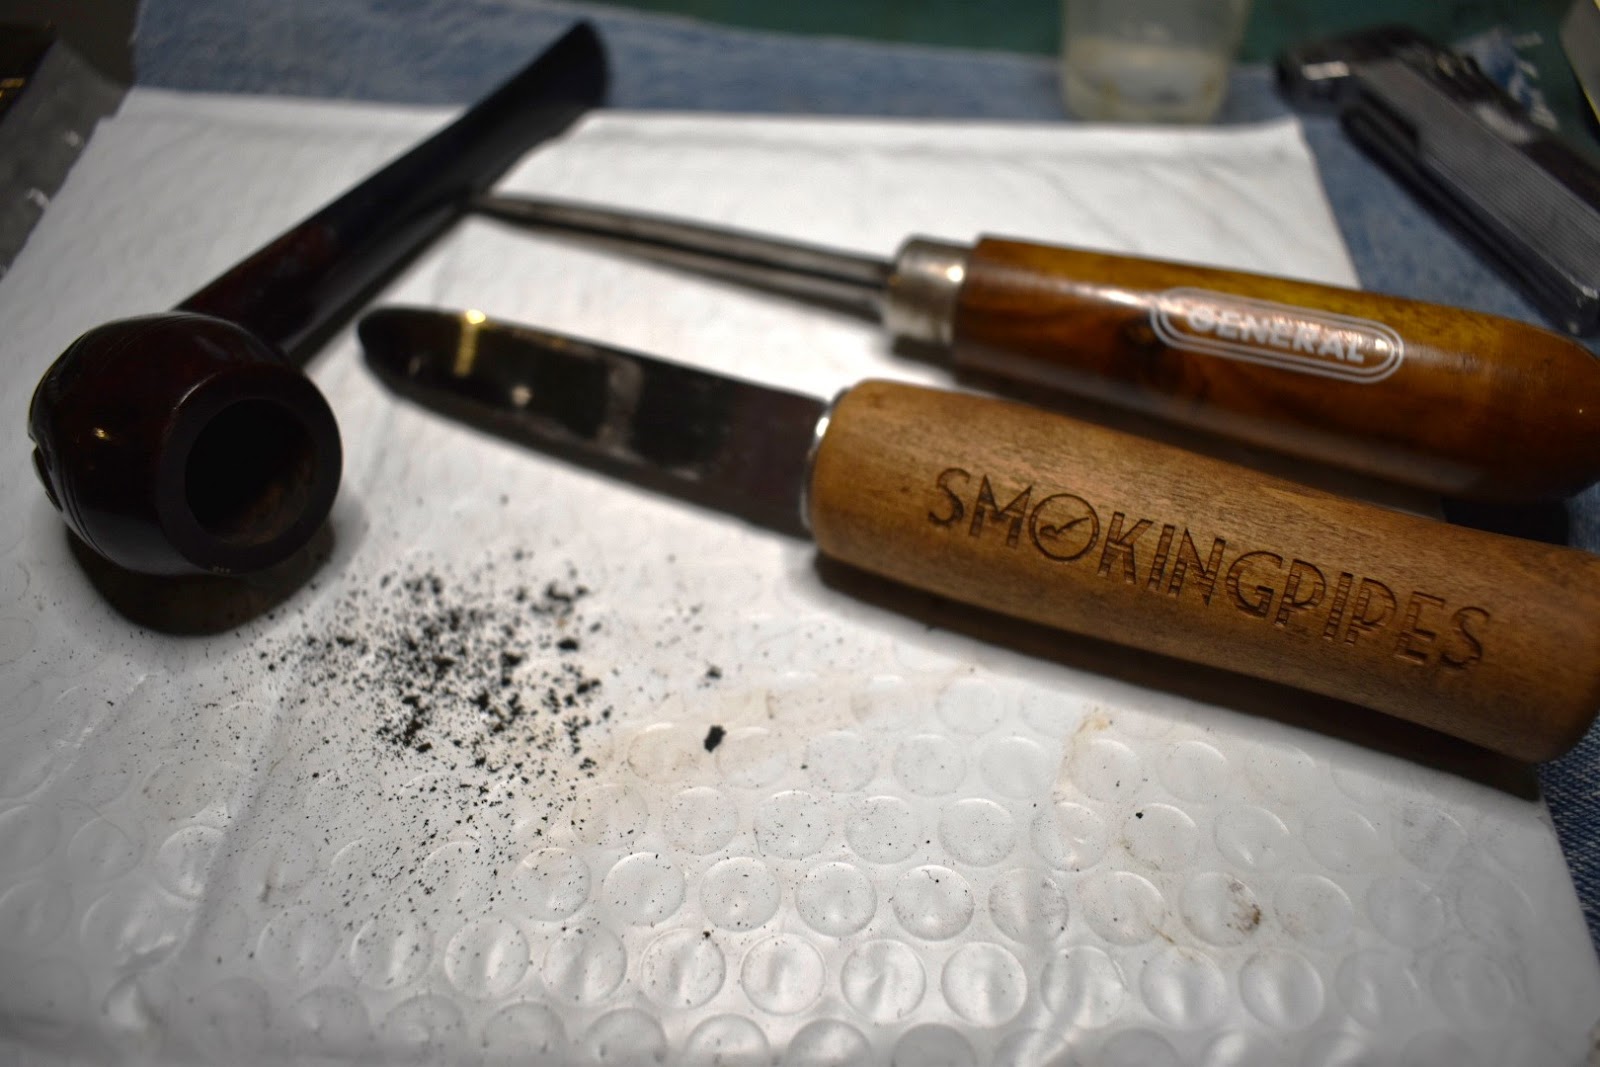
minimal residue accumulated in the chamber. I used a Smokingpipes Low Country reaming knife and a General triangular scraper for the scraping. I finished with a 320 sandpaper wrapped around a wood dowel. There was no damage to the interior of the chamber.
Next I wanted to determine which solvent would dissolve this type of finish. The easiest finish to remove is shellac. That is easily removed with 95% ethyl alcohol. Next on the “easy” scale is a varnish that is soluble in acetone. After that we move into the “poly” or as I call them “Space Age Polymers”. That is a tongue in cheek reference to the commercials advertising all kinds of crazy products during the 1960s and early 70s. I have a Kaywoodie with a finish
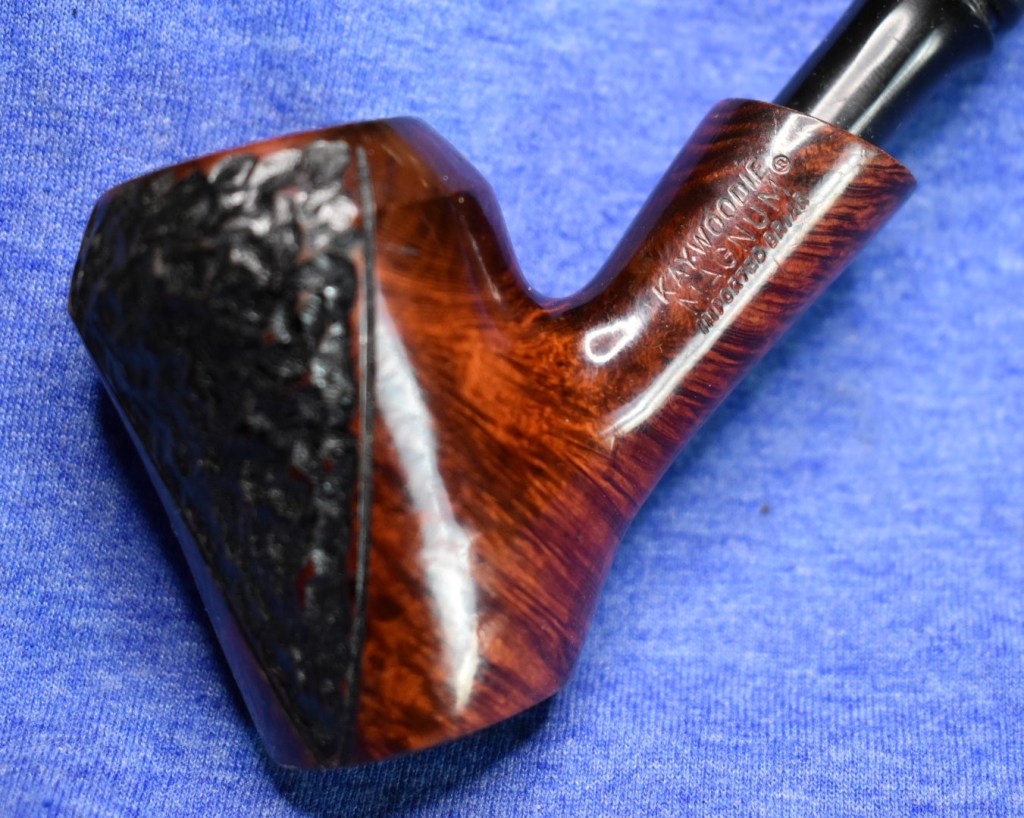

that I lovingly refer to as diamond coating as I cannot find anything that can affect it, short of sanding. I started the finish removal with 95% ethyl alcohol on a make-up removal pad. It had no effect on the Grand Duke finish. Next I tried acetone on a make-up pad. It did little at first but I could feel the surface becoming tacky as I rubbed. Okay, I think we have the solvent. The rubbing was far too slow a process so, I decided to submerge the stummel into an acetone bath. I keep glass canning jars of solvents for this purpose. The EtOH is an abbreviation for ethyl alcohol. I dropped the stummel into the acetone and topped it off with some fresh solvent to completely cover the stummel. I figured that I would see the results in an hour.
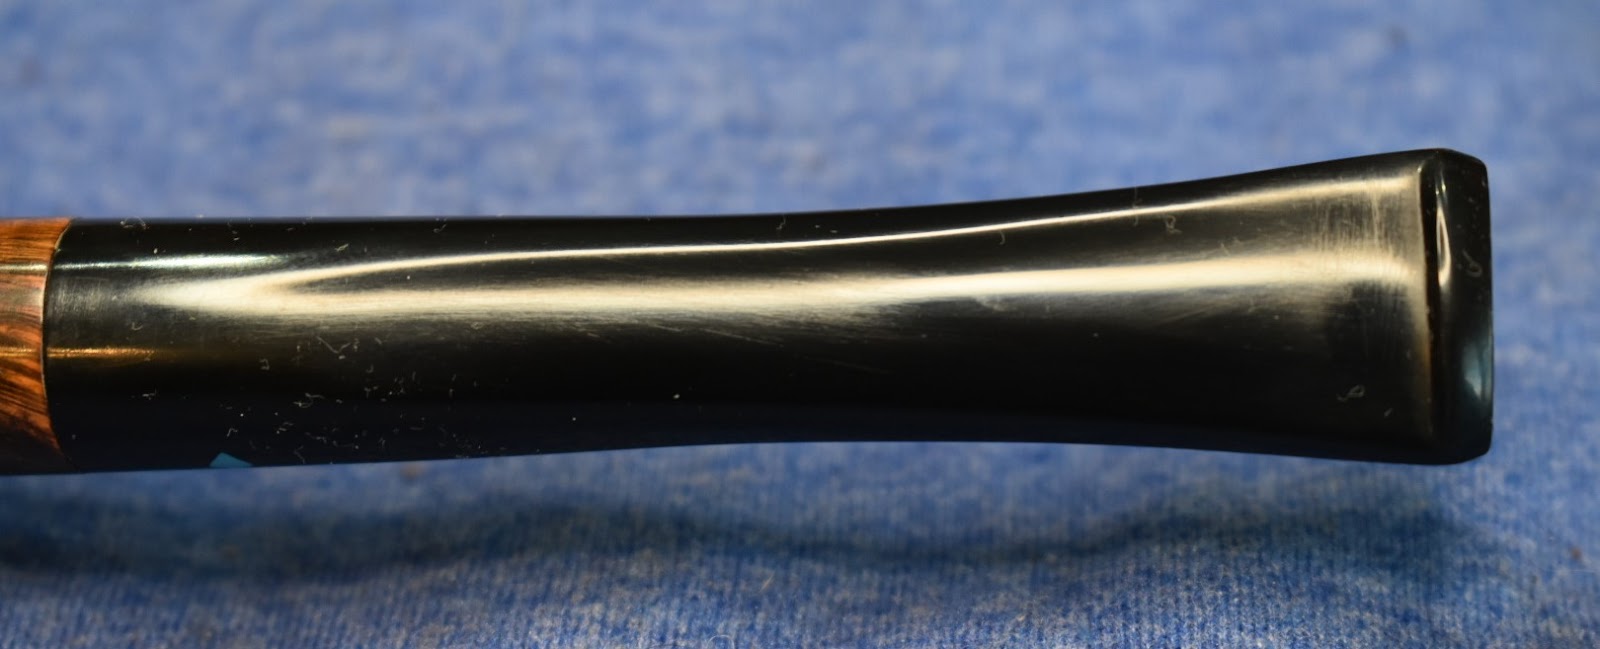
During the acetone bath I turned my attention to the stem. The stem was in excellent shape with only some scratches from light handling of jostling around in a drawer or shipping box. I started polishing with a 2400 micro-

mesh pad. The material was not vulcanite. It too is impervious to the ethyl alcohol but acetone quickly dissolved the plastic stem. Not to self, keep acetone away from the stem. I worked the stem with the 2400, 3200, 3600 and 4000 micro-mesh. Between each pad I would wipe the stem off with an alcohol dampened make-up pad.
After about an hour I used a forceps to remove the stummel from the acetone bath. The finish was very soft and tacky. The problem with acetone soluble finishes is
that they will re-harden with the evaporation of the acetone. That is exactly what this one was doing. I took a couple of paper towels and folded them in half to absorb the spent acetone. I then used a steel brush dipped into the acetone and lightly scrubbed the stummel. The brushing with wet acetone worked very well at removing the finish.
Once removed I sanded the stummel with 400 sandpaper and wiped the stummel down with a make-up pad moistened with alcohol. With no finish obstructing the

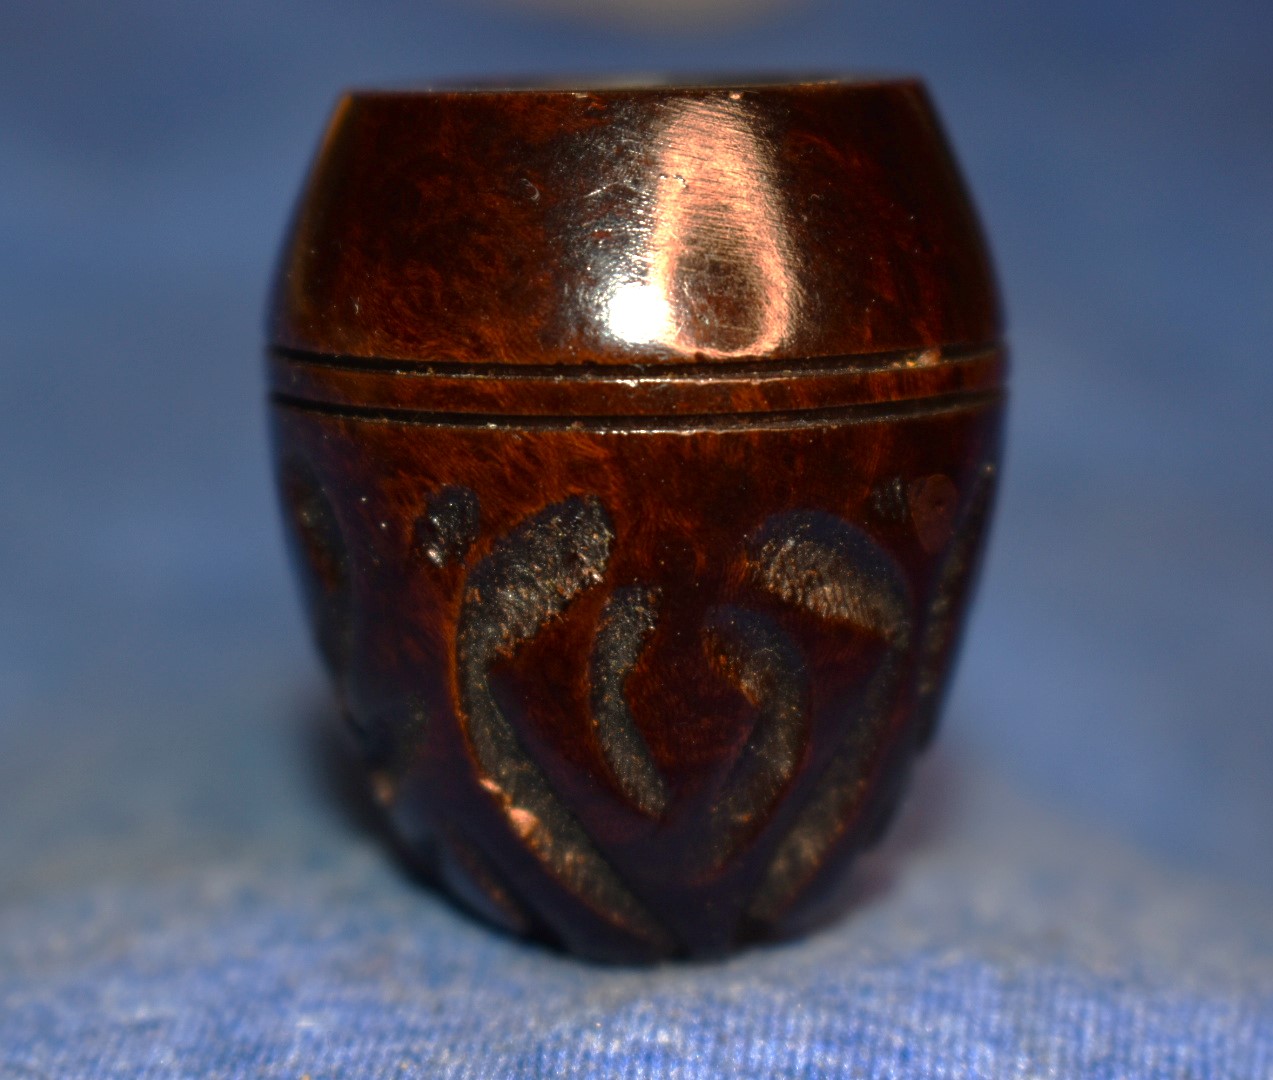
view, I could now see there were some serious fills that had been made to this pipe. Along the right side of the stummel there must have been a gouge that ran from about shank high to right above the bead. The rustication attempted to conceal the gouge but there had been some filling as well. I used a fly tying bodkin to remove some of the old fill material that was loose or softened. I then applied brown cyanoacrylate (CA, super glue) to the areas where there were small pits that I wanted filled. I quickly used the 1500 micro-mesh pad to smooth these areas. The dust from the micro-meshing was incorporated into the CA and filled the small pits. I allowed the stummel to dry overnight to rid it of the acetone that had soaked into the briar. Acetone is very volatile and would be completely gone by morning. Below are photos of the pipe stripped of finish.

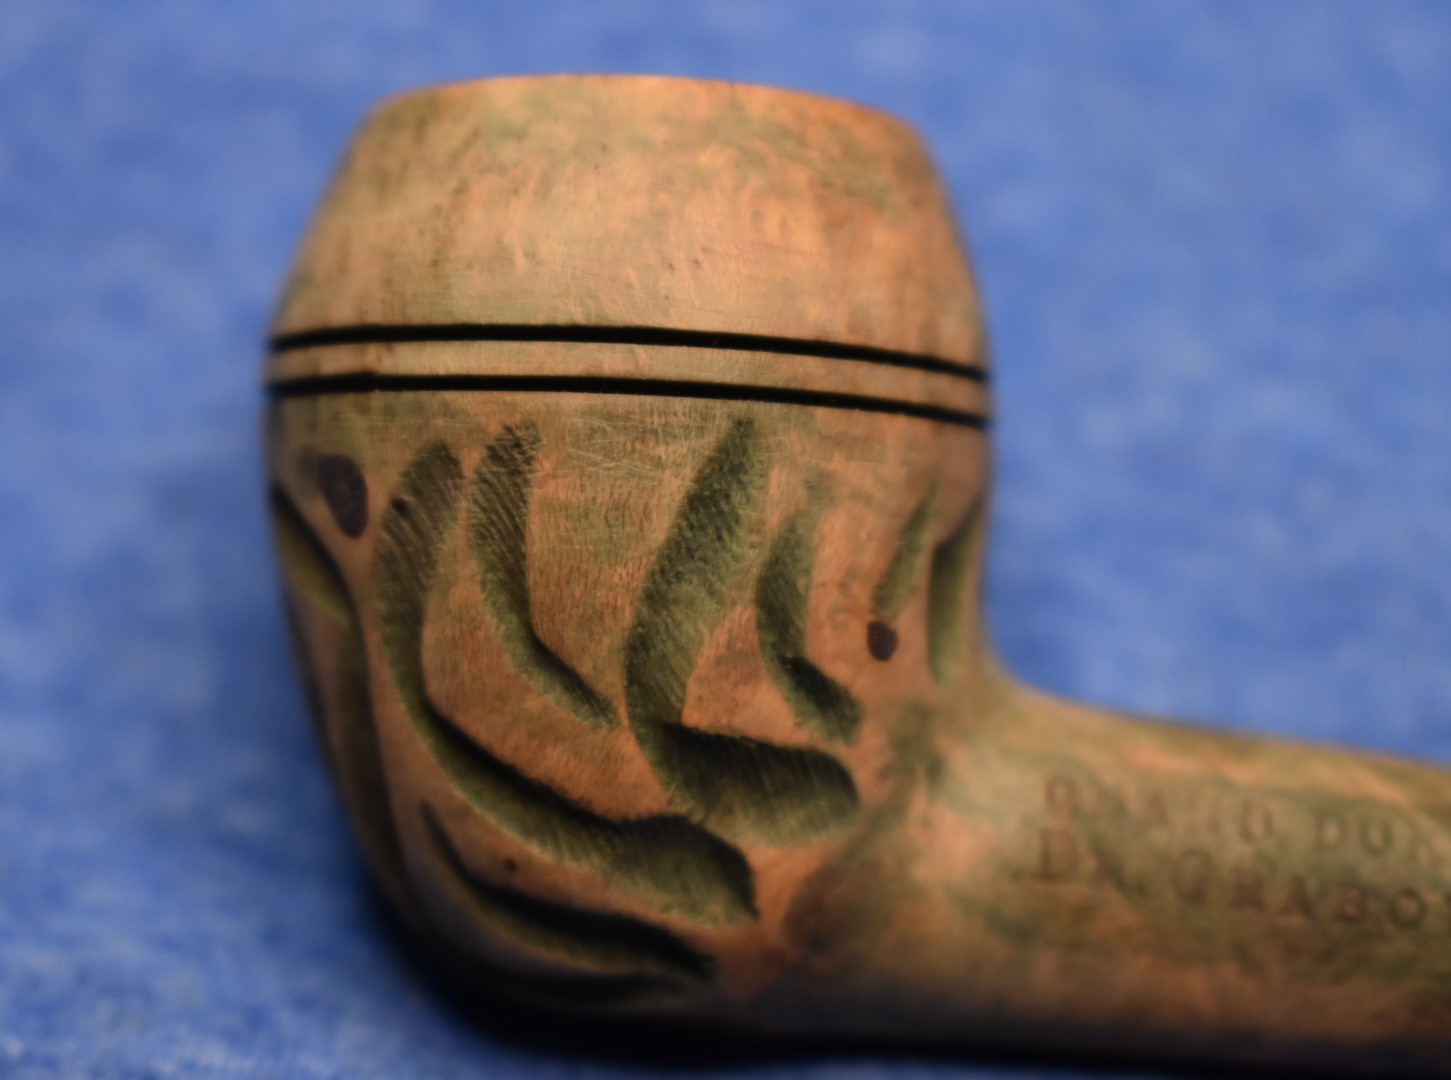


In the morning. I reworked the rustication with a Dremel tool and a round carving bit. This would smooth the filled areas and better blend them to mask the flaws.


There was also a little bit of old filler in the bead cuts. This made them appear like they were “clogged”. I tried to open them more with a piece of folded sandpaper. Unhappy with the result I used a cutoff disk with the Dremel tool to open them. I sanded with the previously mentioned folded sandpaper and applied the black Fiebing’s Leather Dye to the bead cuts as well.


in the briar. I used Fieding’s Black Leather Dye applied with a detail paint brush to darken the recarved areas. When the dye had dried I dabbed the

newly dyed areas with an alcohol dipped make-up pad to blend the new dye with the older. After the dye had dried I again micro-meshed the stummel with the 1500 micro-mesh pad to remove any black dye from the high spots.
With the re-carvings done, I reattached the stem and masked the stamps on both sides of the stummel with painters tape. I micro-meshed the entire pipe from the 1800-3600 micromesh pads. Between pads I wiped the pipe with an alcohol

moistened make-up pad. When finished with the 3600 micro-mesh pad, I removed the masking tape and wiped the pipe with the alcohol. I finished the micro-meshing with the 4000-12000 micro-mesh pads, wiping between

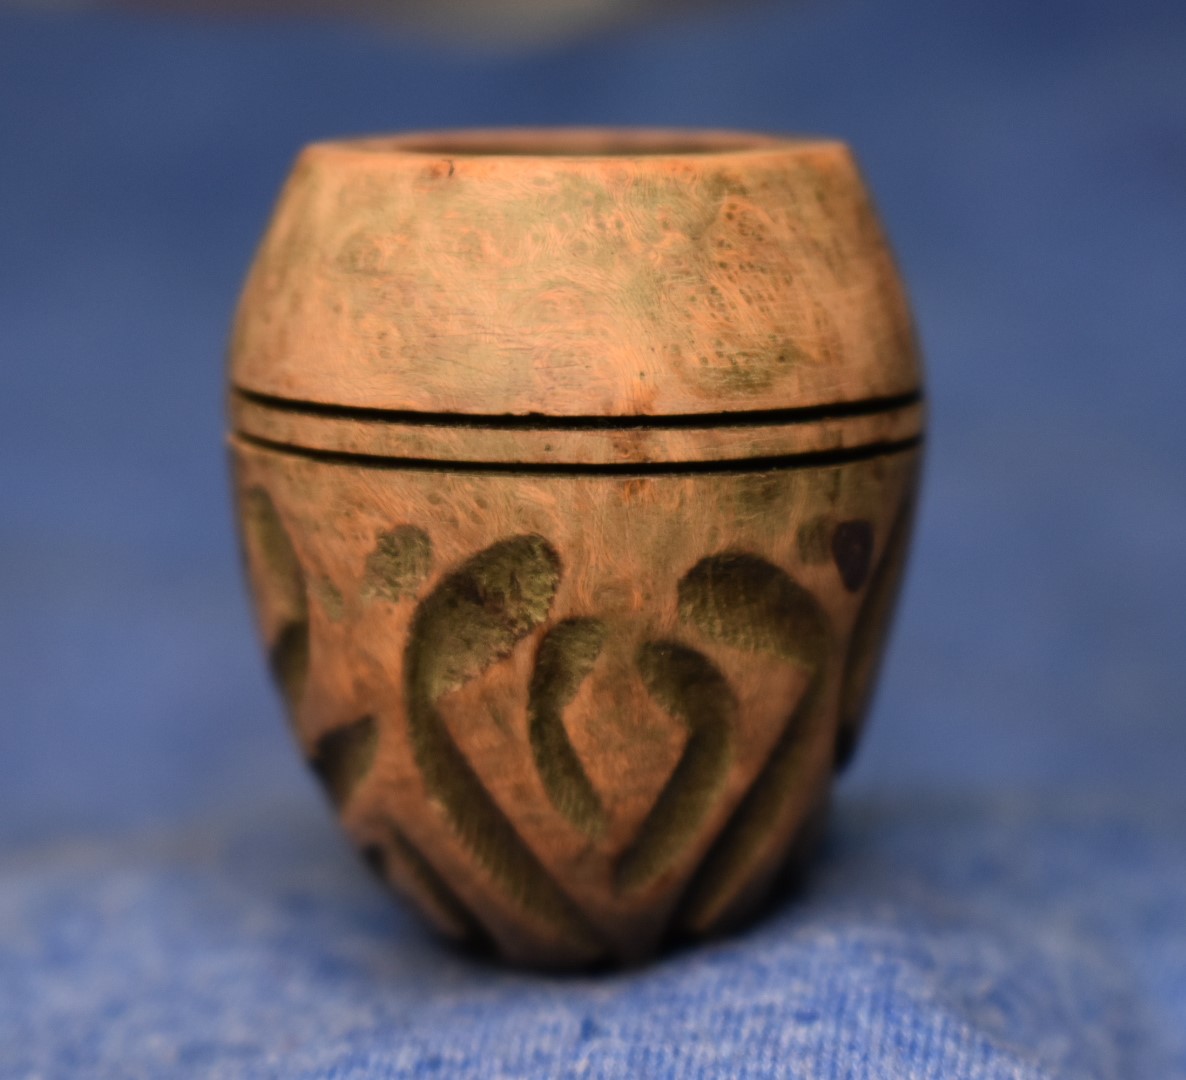
each as before. The pipe was looking far better than when it arrived. I was debating whether to stain/dye the briar with a light brown leather dye. I decided to apply a coat of Before and After Restoration Balm to the pipe and see how the briar looked without a stain.
After a few minutes I used the inside of an athletic sock to remove the remaining Restoration Balm. The briar looked good, almost like a contrast stain had been used. I thought the light brown Fiebing’s unnecessary. A took the pipe to the buffer and applied several coats of carnauba wax. I normally do not use carnauba on a rusticated pipe but this one has enough smooth areas that it seemed worthwhile to do. The pipe was then hand buffed with a microfiber cloth to further enhance the shine of the smooth surfaces.
I admit that I really like the look of this Dr. Grabow Grand Duke Rhodesian. The remaining dark stain gives the natural briar the look of a light contrast stain which stands out against the dark depressions of the rustication. The highly polished stem just makes the whole pipe look even nicer. I think the restoration was a “grand” success in changing a cheap looking drugstore pipe into a pipe that will make people look twice. I love when a couple of hours work changes the subject from the old cast off or ordinary to something unique and pretty. I hope that you found something here that you can use in your own restorations or had an entertaining read. If you like this sort of thing please click the Like and Subscribe buttons. May you have a wonderful and prosperous New Year. Thank you for reading the ramblings of an old pipe lover.
Below are some photos of the finished Dr. Grabow Grand Duke Rhodesian.


 The following two photos show the hole after the pipe was cleaned and reamed.


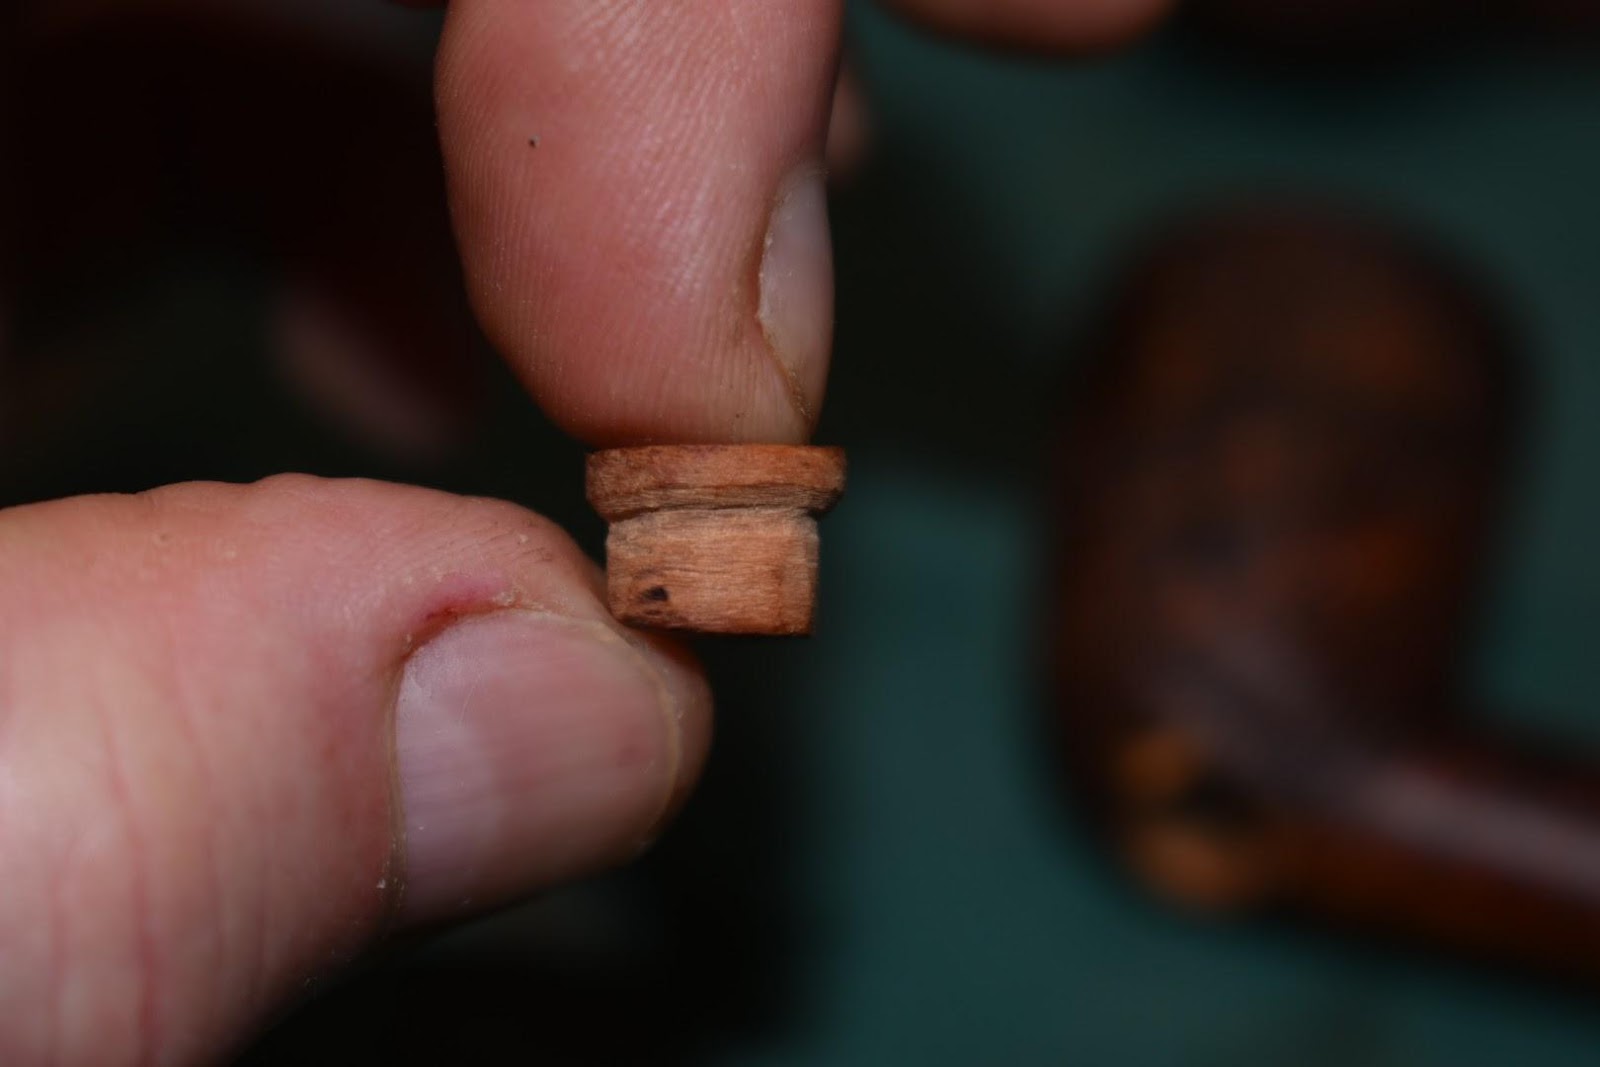

 It turned out that the plug was not quite thick enough to completely fill the hole on the bottom of the pipe. This led me to do some creative fill work.


