Photographed and written by
John M. Young
I did not set out to break this cute little meerschaum pipe. If the title of the blog insinuates that, I apologize. During the summer, I decided it was time to learn more about meerschaum pipes and techniques for the restoration of meers. I had worked on a few this year and had found them intimidating at first. That was mainly just due to my inexperience with sepiolite or meerschaum. Risking the proverb, “familiarity breeds contempt”, I continued to pick up various meerschaum pipes as I came across them, mainly through auctions. That is where this little pipe enters the scene. I was intrigued by it for a few reasons; it was unsmoked, made in Austria, looked to be a rather modular construct and it looked very light weight. Oh, and it was under $20, yeah I’m cheap.
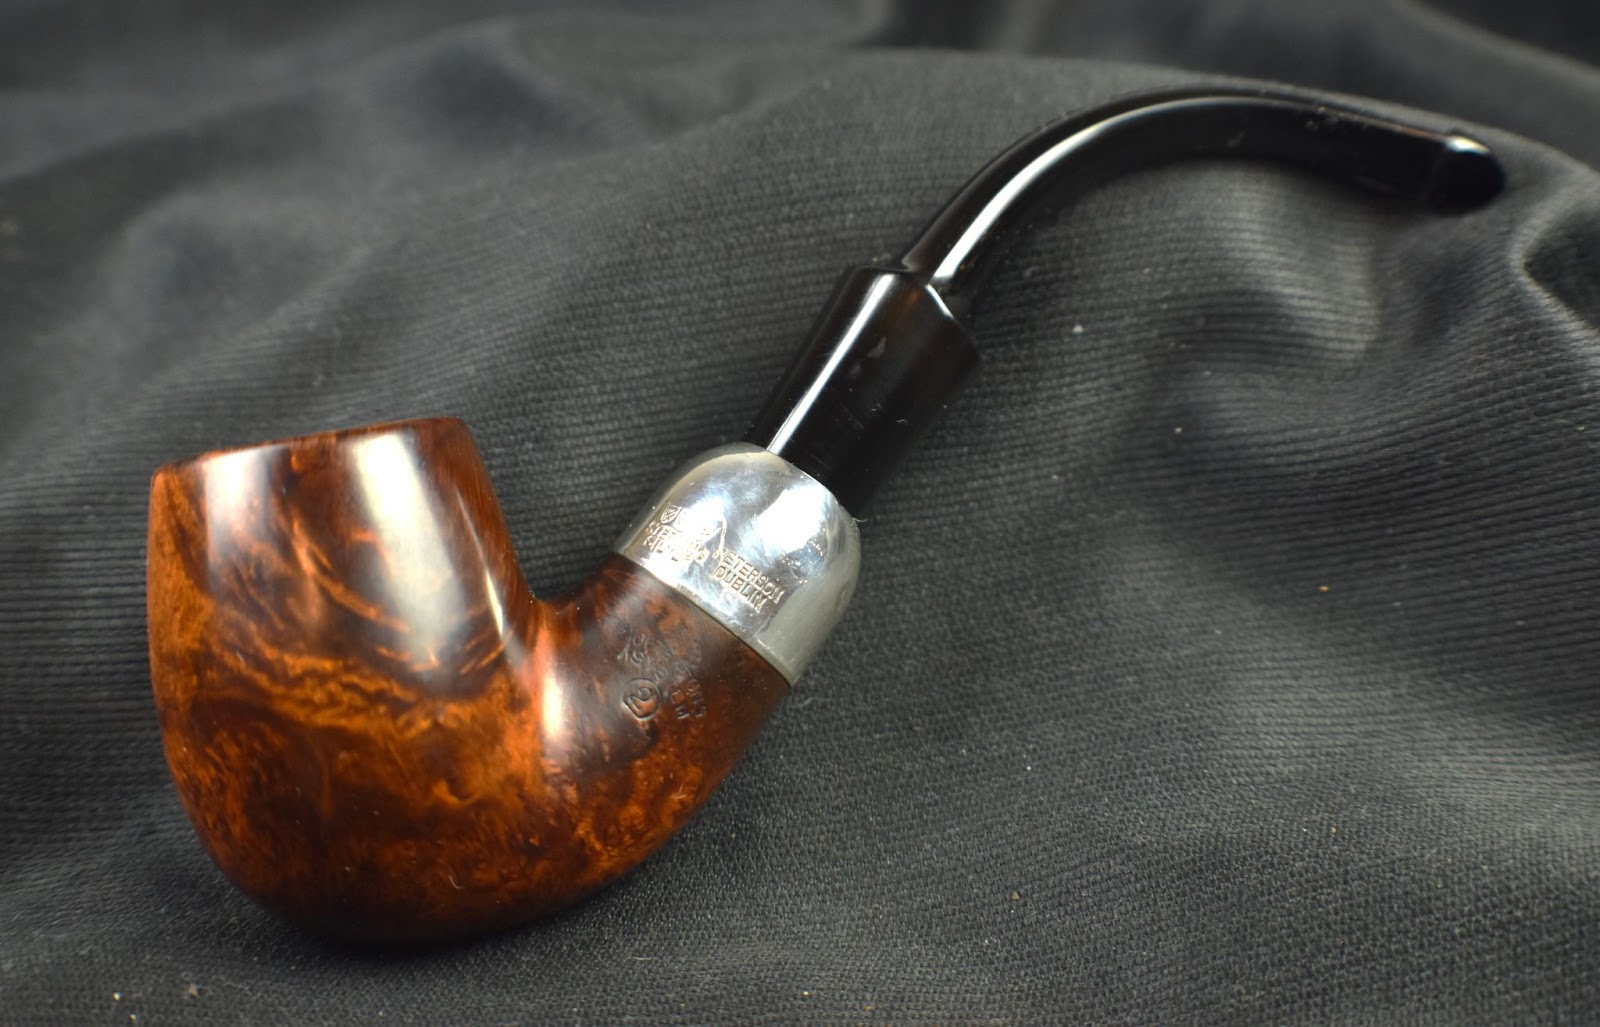
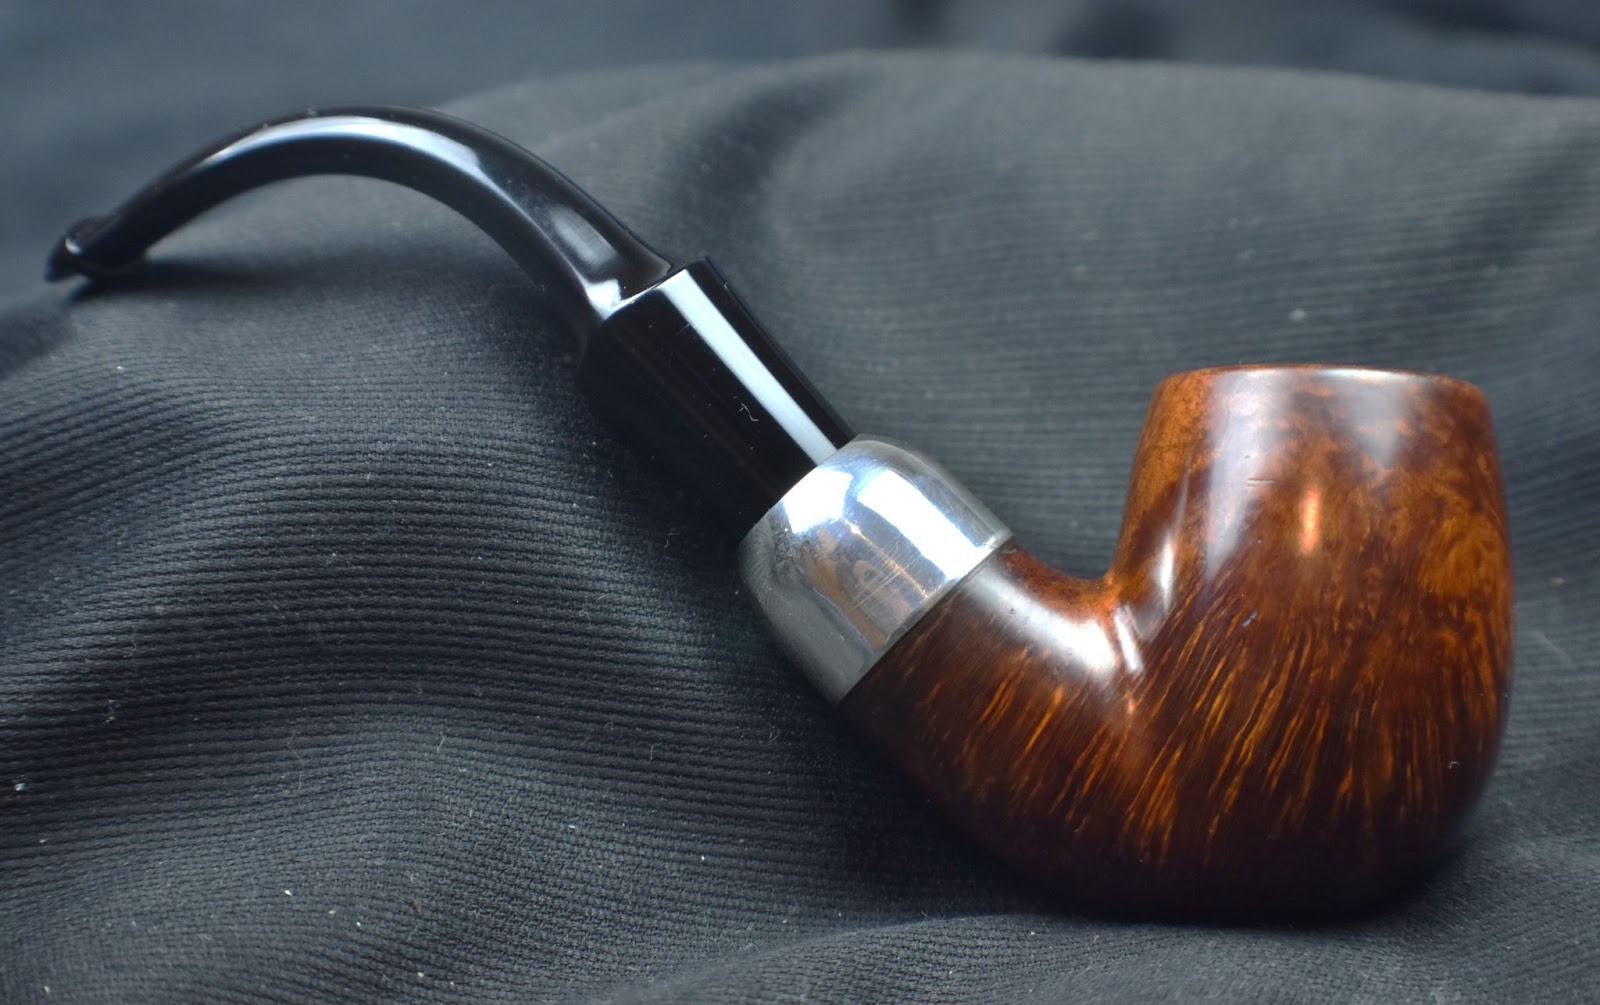
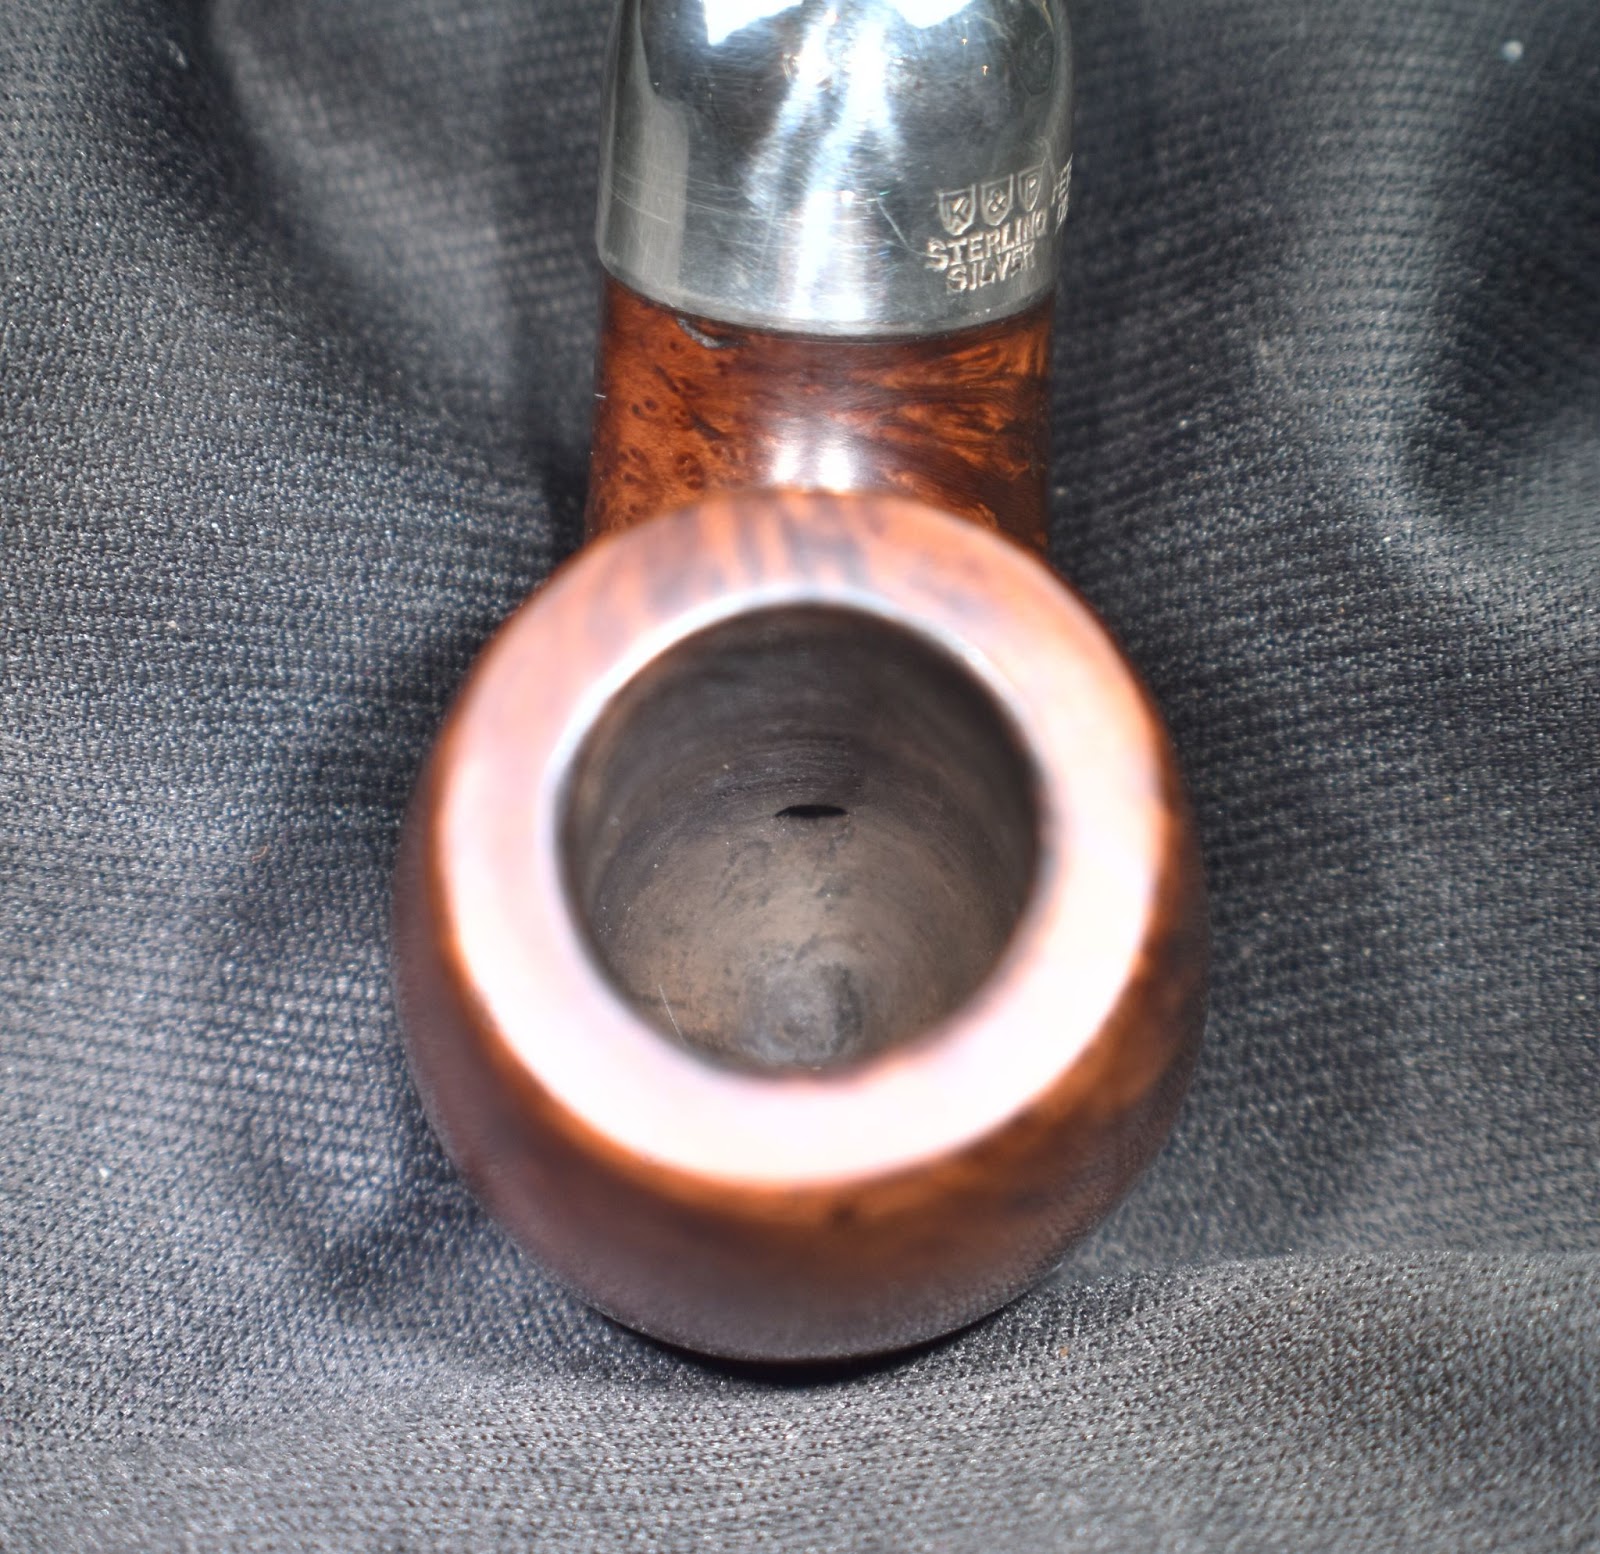
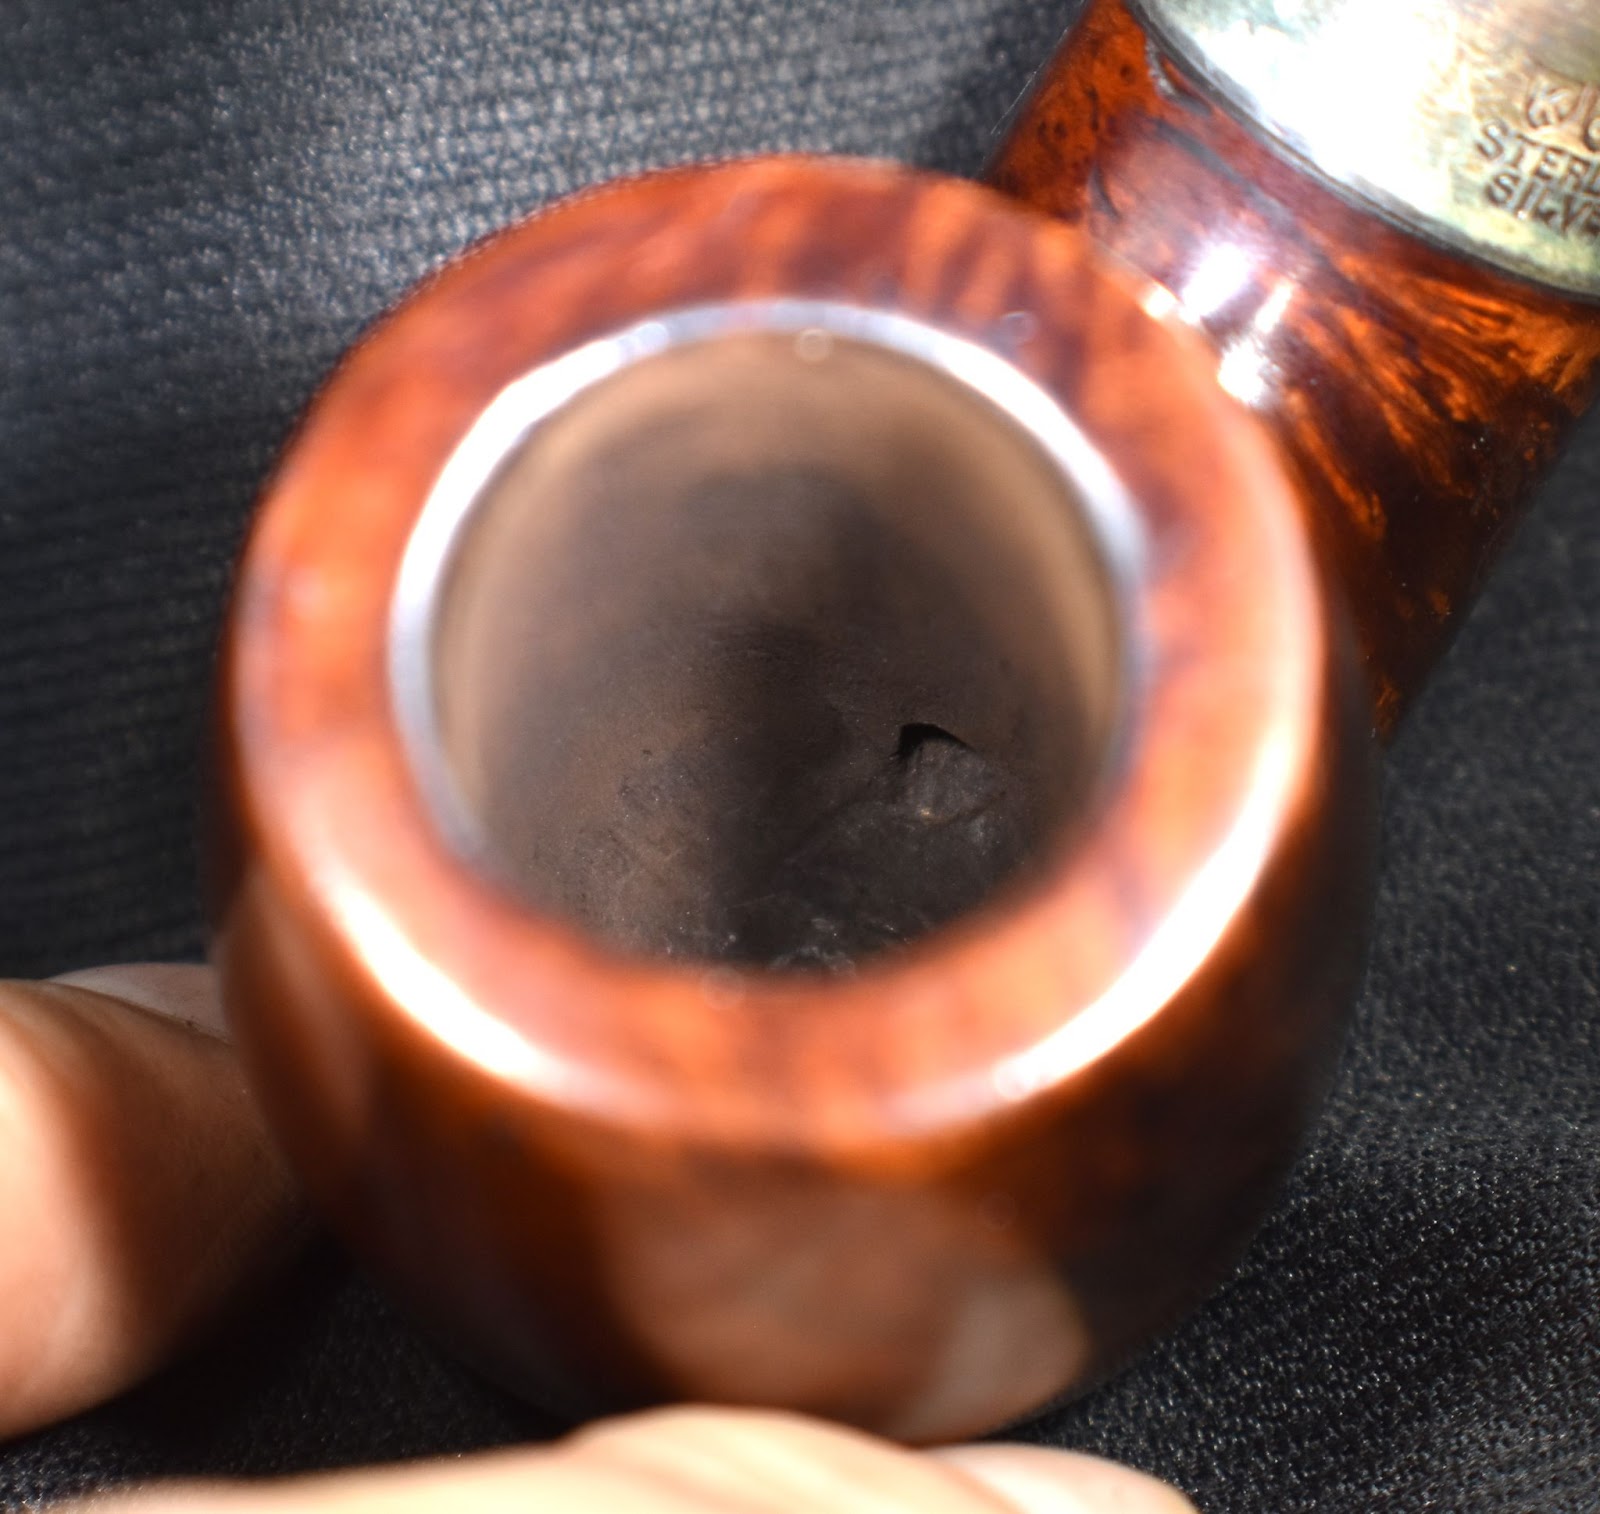
The little darling or kleiner Liebling, in German, made the journey to southeast Nebraska from Ormond Beach, Florida. The only markings on the pipe was an adhesive sticker which read, “AUSTRIA”. No stampings on the base, meerschaum bowl nor stem. Below are some photos of the pipe after its arrival.


Since this was not a restoration I had nothing to do to the pipe other than to fill it with tobacco and give it a smoke. That is what I did and that is where the trouble began.
Background
Again, I stress my ignorance of most things, meerschaum. I knew that prior to the discovery of briar, meerschaum was a widely used material for pipe making. The cost of a meerschaum pipe was likely reserved for the upper classes, socio-economically speaking. Folks of less disposable income likey smoked their tobacco with a clay pipe. I also knew that artisans in London and Vienna had grand reputations for fine meerschaum pipes. This little fact was the spark that fueled the intrigue regarding the AUSTRIA label.
I turned to the internet for a general search on meerschaum pipes. There was a very informative article on tobaccopipes.com: Meerschaum Pipes: The Complete Overview
(https://www.tobaccopipes.com/blog/meerschaum-pipes-the-complete-overview/).
Regarding this Austrian meerschaum. I had little information to go on. I messaged Facebook friend and fellow pipeman, Sascha Mertens. Sascha is my German connection and provides a wealth of knowledge regarding everything from restoration tips to background on European pipe makers and tobacco. I sent him photos of the little Austrian meer and asked what he could tell me about it. From Sascha I learned the easiest way to tell if a meerschaum is a block or made of pressed meerschaum is to lick it. He said that my tongue would stick to block and not pressed. Hmm, could this be some strange German example of hijinx? I tried it.

No striking on either the tobacco chamber nor the outside of the stummel. Verdict – pressed meerschaum.

I thought that I had better test a known block meerschaum for comparison. I grabbed a Kiko Caveman and – YIKES! The anhydrous nature of the meerschaum pulled the water in saliva into the mineral at the speed of light. To be honest I had done this kind of test many times. I spent the first four years of undergraduate college as a Physical Geography major. I had taken many physical geography and geology courses and had licked my share of minerals and this is indeed a field test for anhydrous minerals. The feeling is still always a bit of a shock though.

So, Now I knew that this little meer was a “cheap” meerschaum pipe made in Austria. Hmm, that might explain the <$20. Sascha said that the Turkish meers were never cheap. Still no other information concerning the date of production or the maker was to be had. I guess I’ll just have to enjoy smoking the little cutie.
The Break
As you have probably surmised, smoking the Austrian meerschaum did not go as well as I had envisioned. During the first bowl of tobacco the glue holding the bowl to the base failed and left me with a lap full of smoldering tobacco, a stem clenched between my teeth and a bowl rolling on the floor. Hmm, I heard the voice of someone saying, “you get what you pay for.” Stupid voices.
Below are a couple of photos of the separated bowl and base.


There is no need to further describe the separation. I am sure that your imagination can provide both the visual hilarity and the auditory barrage that ensued. Please feel free to enjoy those imagined scenes.
The Repair
The planning of a repair is often my favorite part of a restoration. If you have read a few of my previous blogs you may recall that I come up with a plan then attempt to execute said plan. The execution occasionally goes along with the plan. More often than not the execution has to deal with something called “reality” which cares little for my careful well thought out planning.
The plan for this repair was to strengthen the joint securing the meerschaum bowl to the acrylic base. To do this I came up with the following plan:
- Sand the surface of the bowl and the base. This would remove the inadequate glue and roughen the surfaces allowing greater surface area for the new glue.
- Drill 4mm hole 2.5 mm deep into the existing draft hole from the bottom of the bole up and from the top of the base down.
- Cut a 5 mm piece of stainless steel tubing, with an outside diameter of 4mm. This stainless steel tube would be the connector between the bowl and the base.
- Drill 2 small holes into both the bottom of the bowl and the top of the base to further add surfaces for the new glue to adhere to.
- Use a two part epoxy as the new glue.
- Clamp the bowl and base together and allow to cure for 24 hours.
That seemed like a good plan. Okay reality, what are you going to do to foil that?

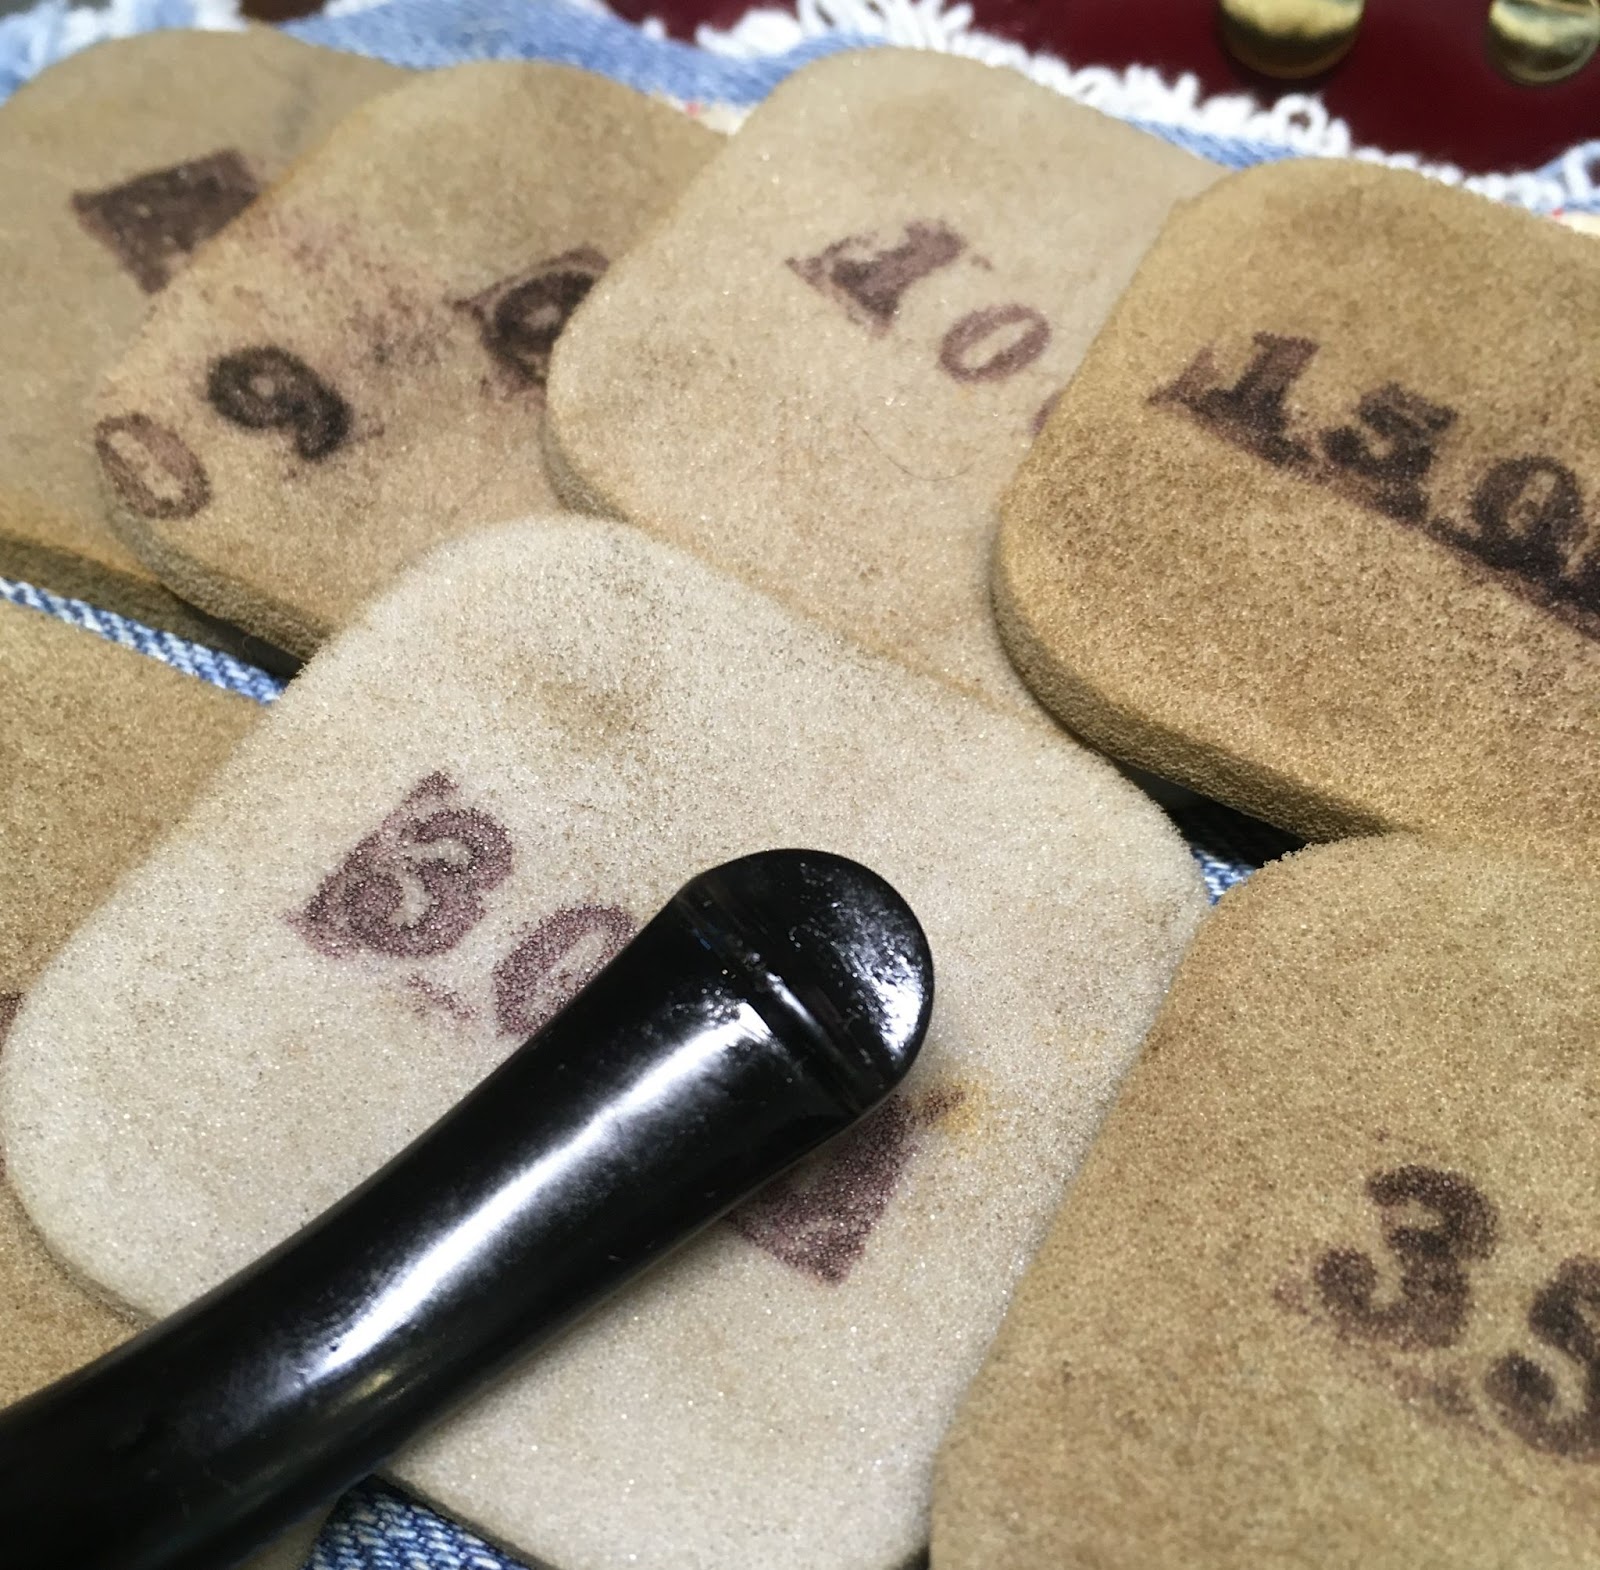
Step 1) The bottom of the bowl and the top of the base were sanded with 220 sandpaper laid flat on the countertop.

I had 4 mm outside diameter (OD) stainless steel tubing from a previous restoration.

Step 2) I marked with a Sharpie 2.5 mm on the 4 mm drill bit and drilled out the draft hole at the top of the base.

Still step 2) This draft hole drilling was repeated for the bottom of the bowl.

Steps 3 and 4) The short piece of stainless steel tube was placed into the hole to check for fit. Also in the photo below I circled four additional spots where I drilled indentations on the gluing surfaces of the bowl and the base. This was done in an attempt to add surface area for the epoxy to adhere to (step

Step 5) The stainless steel tube was a perfect fit for both the base and the bowl. I proceeded to mix the epoxy.

Some more step 5 and step 6) The stainless tube, the base and the bowl were lightly coated with epoxy and clamped together. The joints were wiped with a cotton swab dipped in acetone to remove any excess epoxy while the draft hole was cleared with a pipe cleaner dipped in acetone. These pieces were allowed to cure for 24 hours.

Tah-Dah!
The little Austrian meerschaum pipe was repaired. I did not go back and shoot a series of photos since I did not do anything to the surface of the pipe. The only noticeable difference is that the tobacco chamber is no longer unsmoked. The repair seems to be holding very well. I have smoked the pipe numerous times and have had no other lap fulls of smoldering tobacco nor has the epoxy separated. Special thanks to Sascha Mertens for helping with the research and the plan development. The little meer is a delightful working pipe that can join other favorites as outdoor work pipes and fishing buddies.
The dimensions of the Austrian meerschaum pipe are:
- Length: 6.08 in./ 154.43 mm.
- Weight: 3.12 oz./ 88.45 g.
- Bowl Height: 1.74 in./ 44.20 mm. (including the base)
- Chamber Depth: 0.99 in./ 25.15 mm.
- Chamber Diameter: 0.74 in./ 18.80 mm.
- Outside Diameter: 1.36 in./ 34.54 mm.
I do hope that you have found something here useful to your own pipe care, maintenance or restorations. If you like this sort of thing, please click the like and subscribe buttons. Thank you for reading the ramblings of an old pipe lover.


 This all leads me to say with some certainty that this Jima was made in France in the 1970s.


 (
(