Photographed and written by
John M. Young
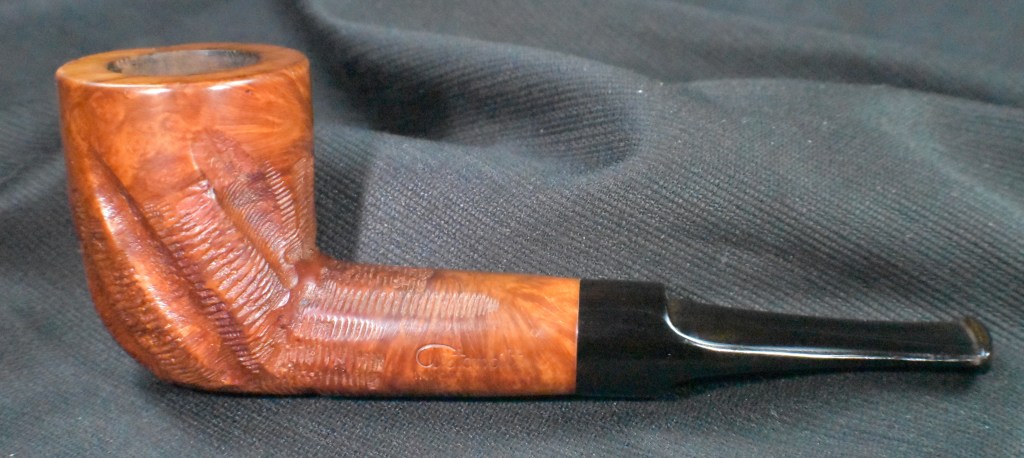
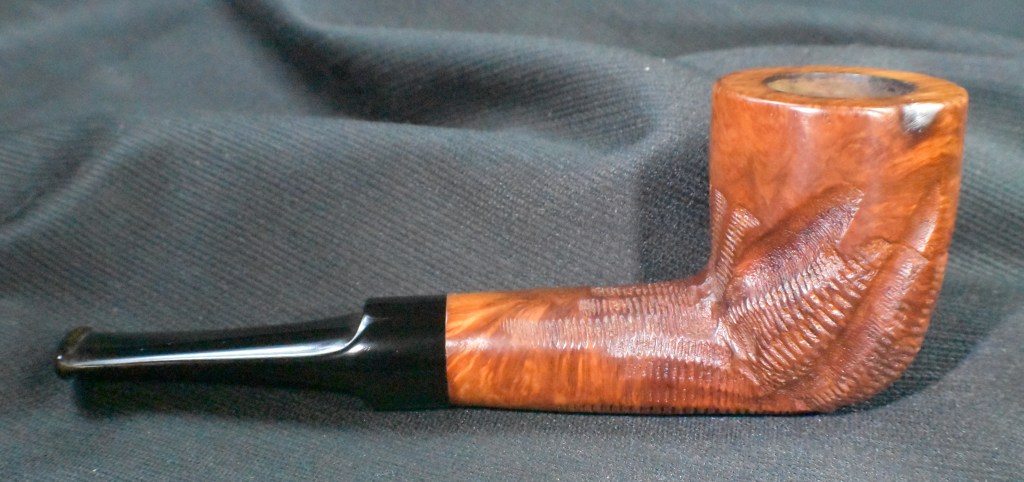
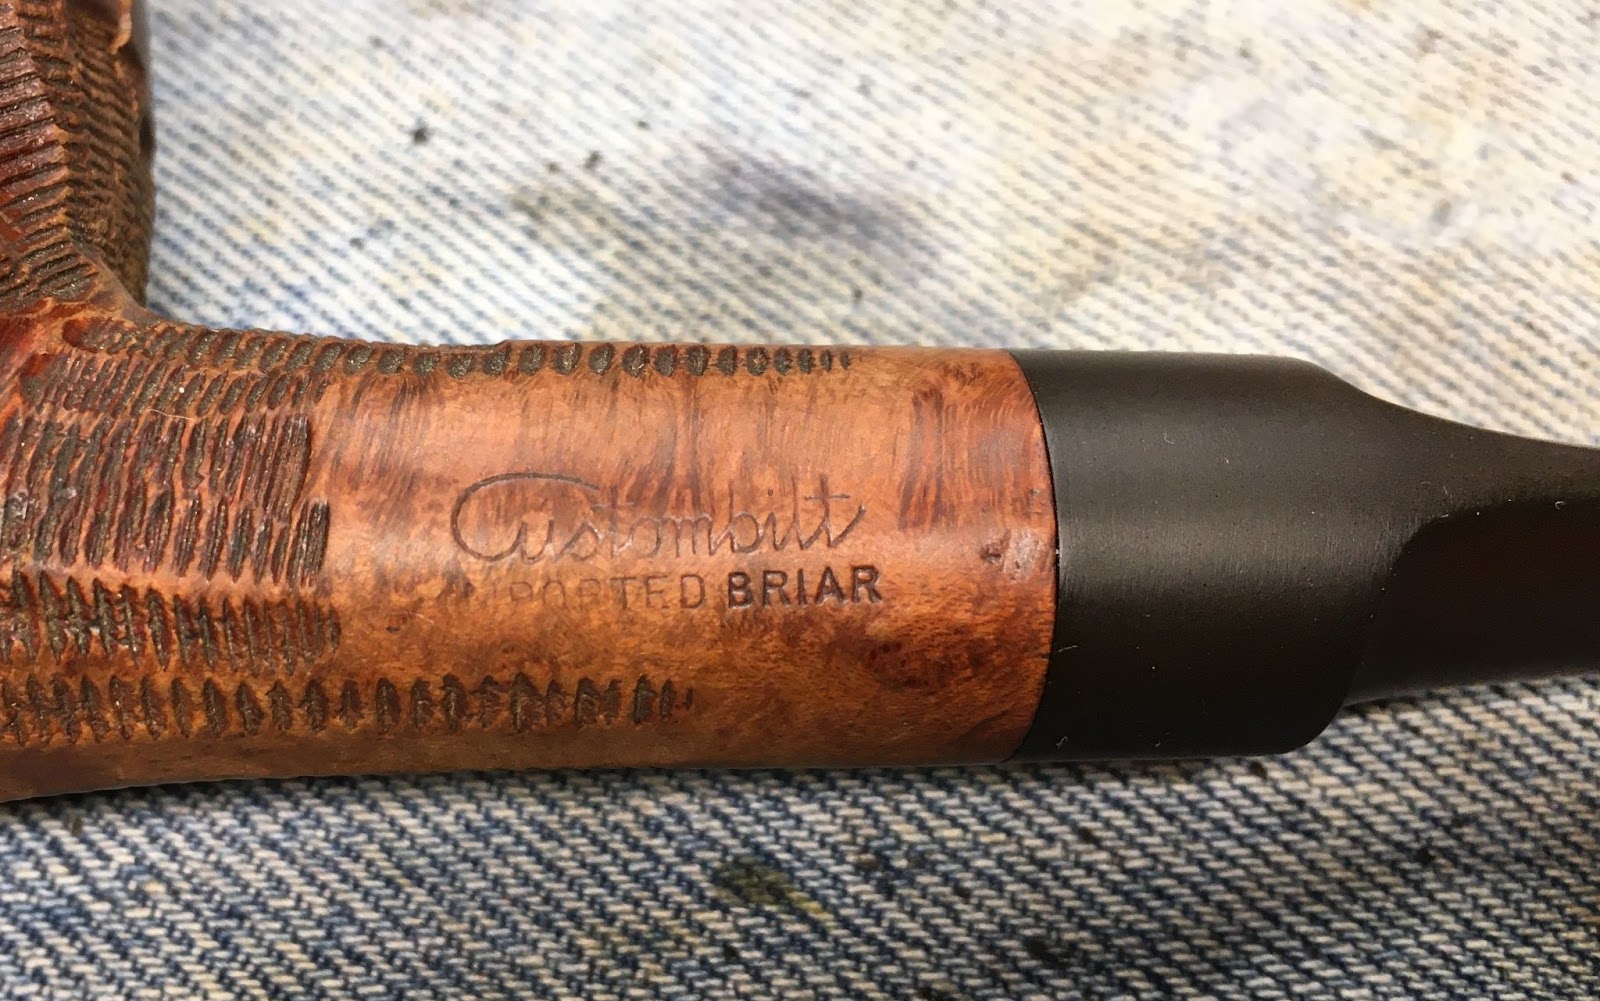
I suppose some people dream about finding an original unsmoked CUstom-bilt pipe in an antique shop with a price of $5 hung delicately from a tag on a string. That sounds to me more like a nightmare. Well, the $5 would be okay, I guess but finding a Custombilt that didn’t need to have hours of work done sounds terrible. They are fun pipes to work on and I am a restorer. Sure, I am self-proclaimed lazy and like to work on an easy restoration on occasion but still, it is a restoration. Bringing an abused greatly loved pipe back to life so that it can be greatly loved some more is what I look forward to. And today’s restoration was just that. This Custombilt had been smoked quite heavily in its day. A three tier wedding cake had nothing on the cake in this pipe’s bowl. This pipe came as part of a trio, 2 Custobilts and a third “look-alike” back in March. This pipe wears a Custombilt, all one word no hyphen, over IMPORTED BRIAR stamped on the left shank. No other stamps were found. Below are some photos taken prior to work being done on the pipe.
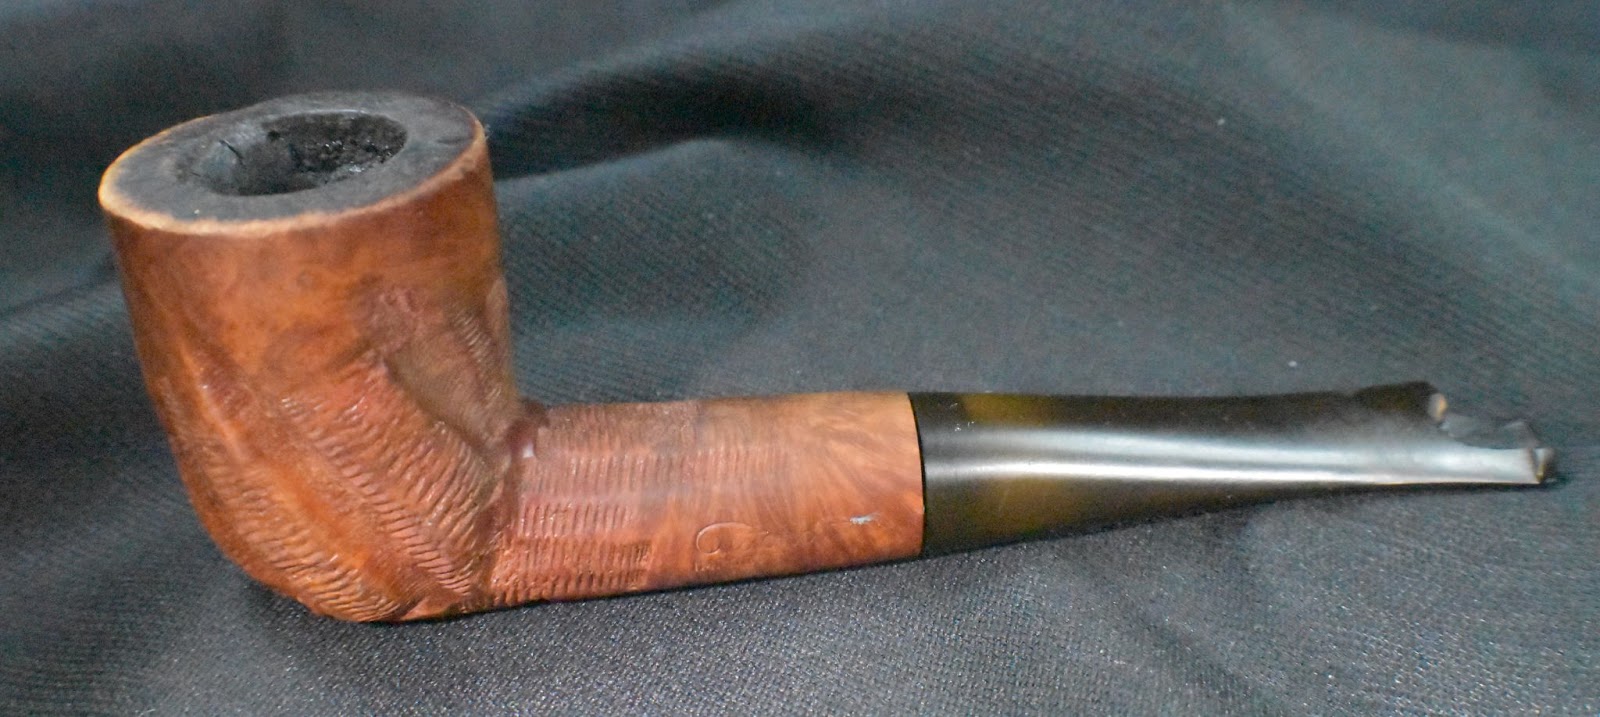


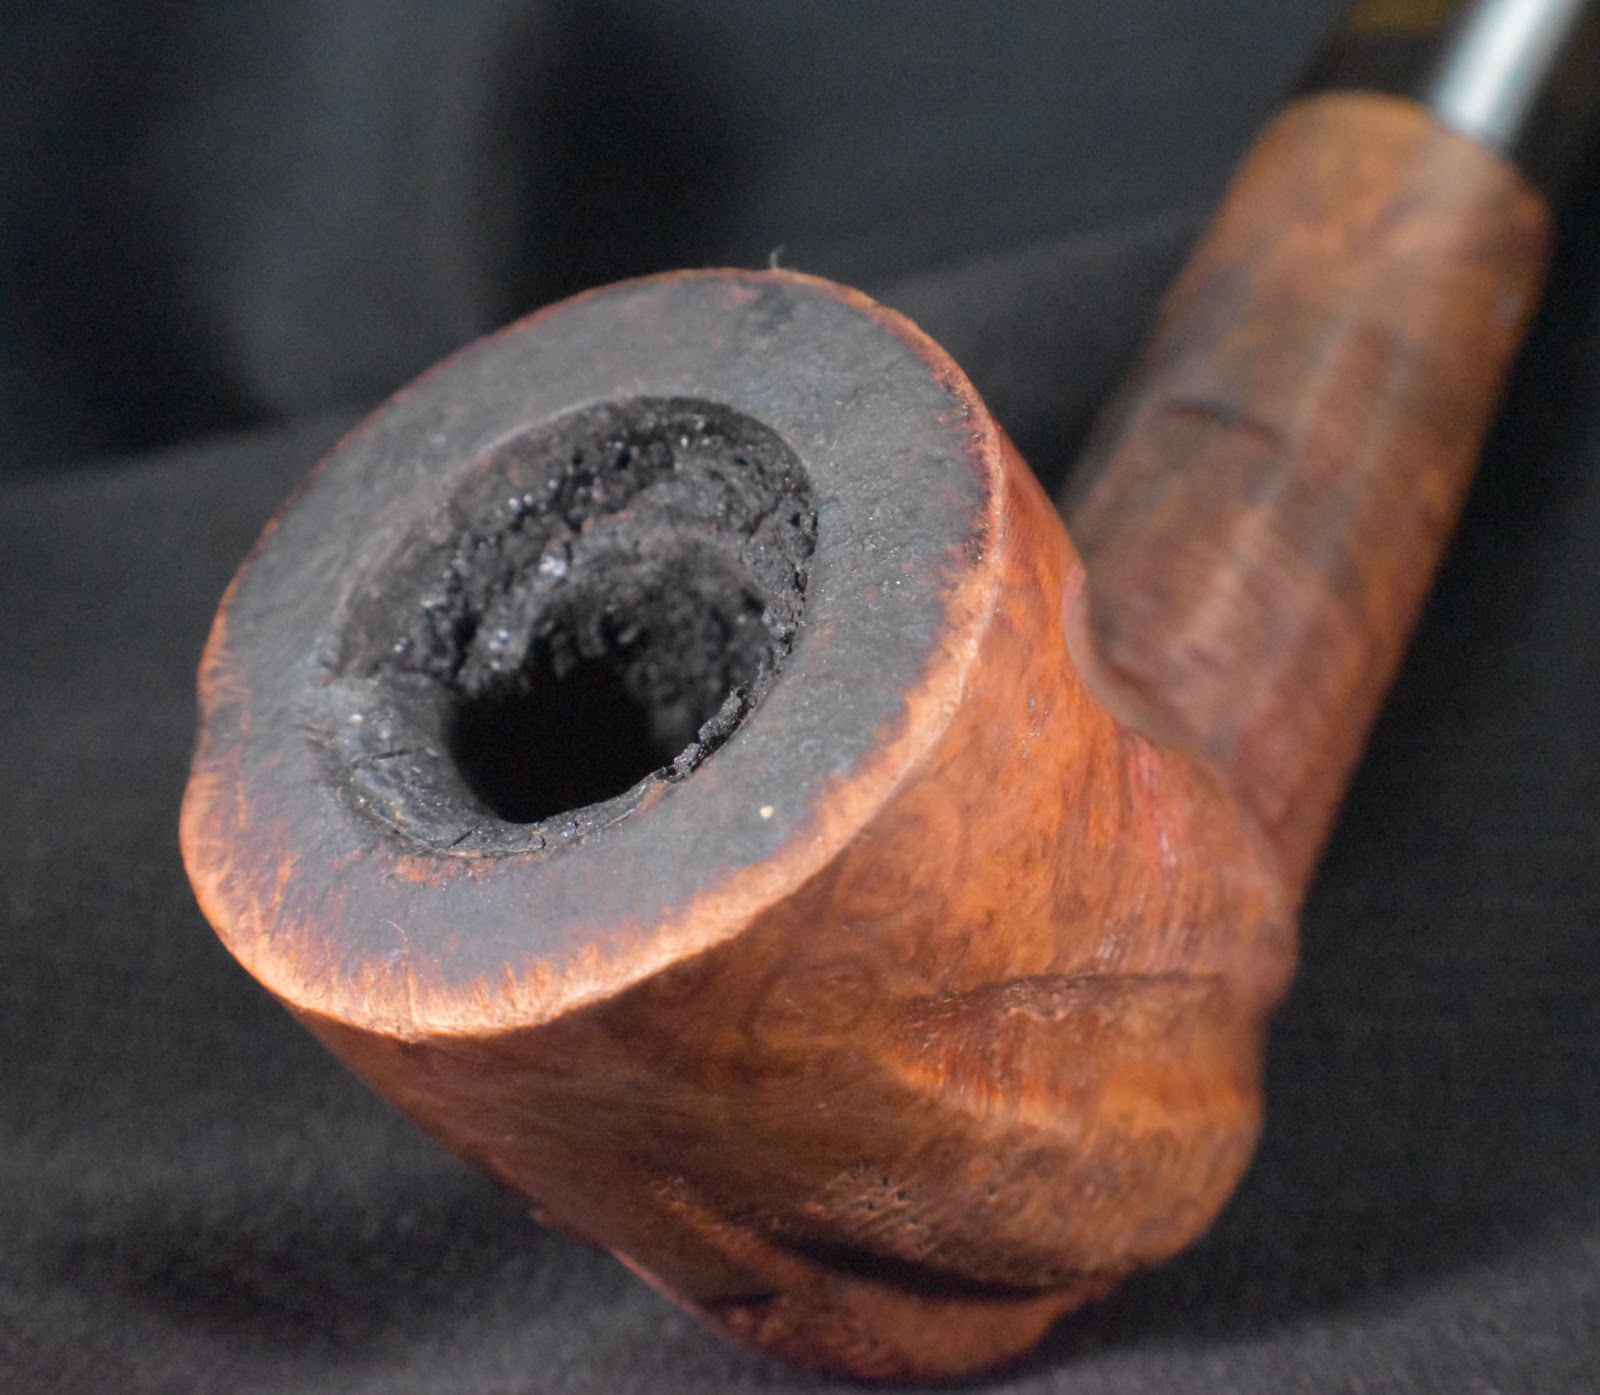

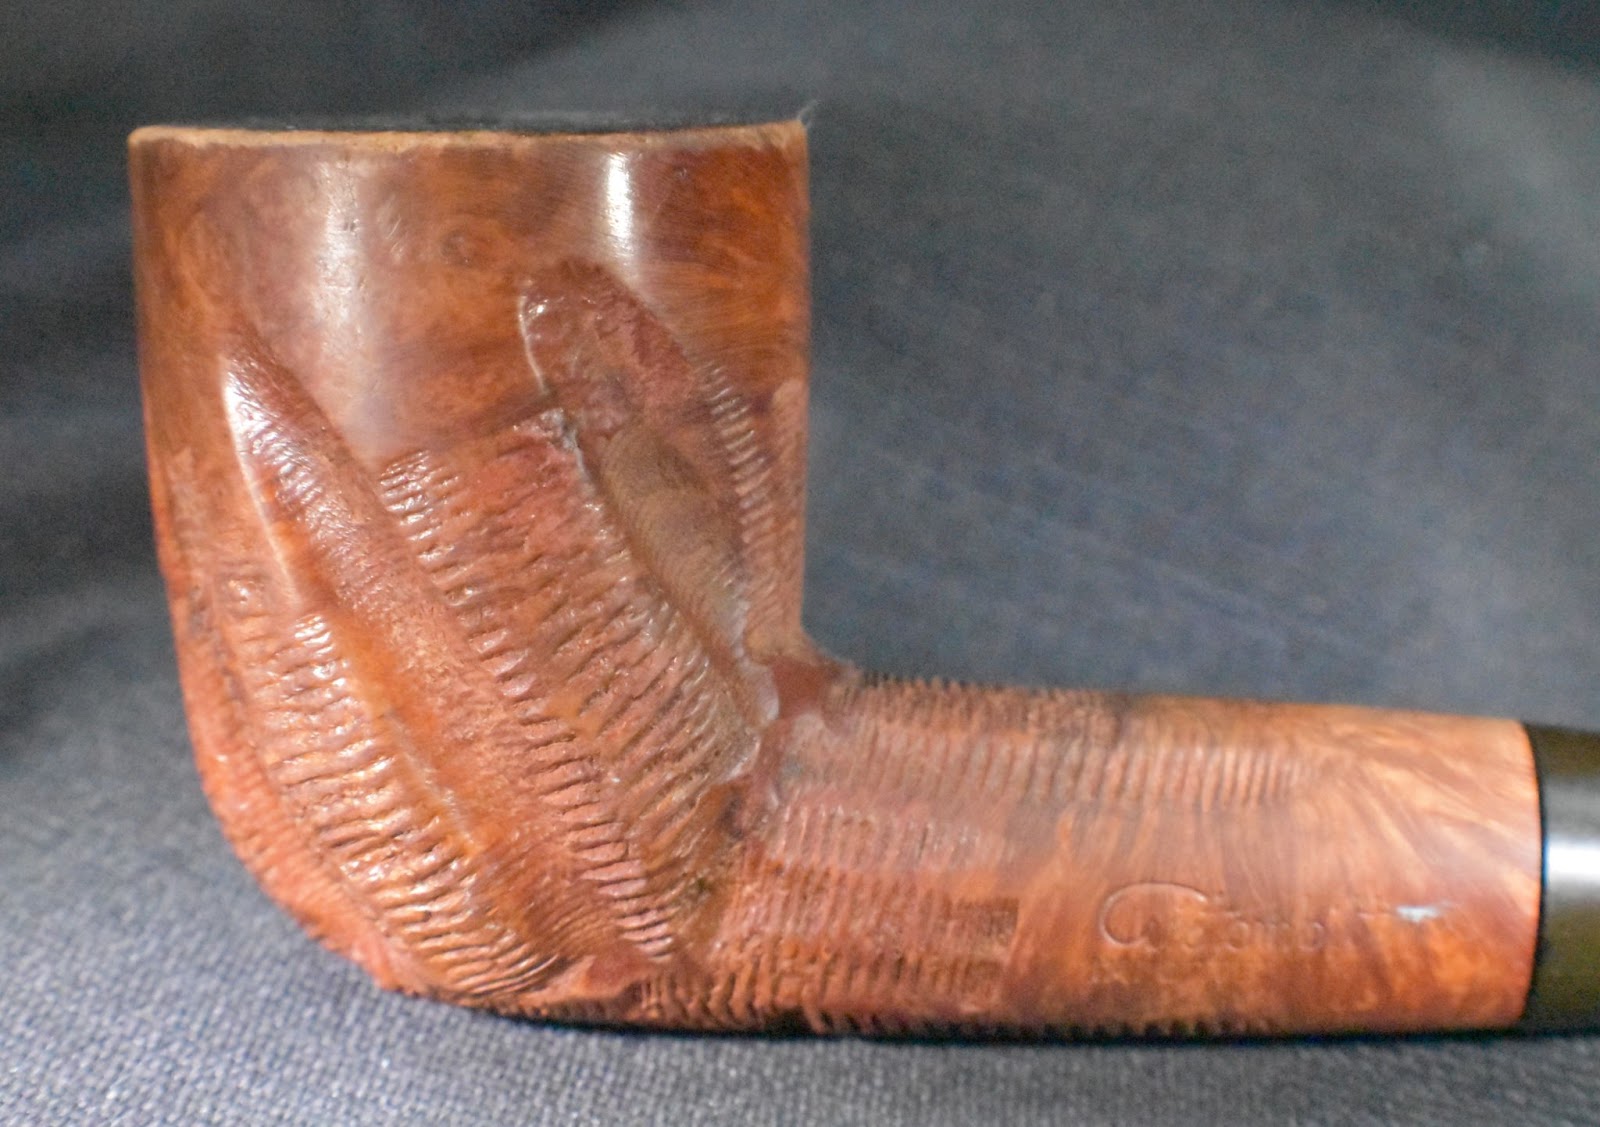


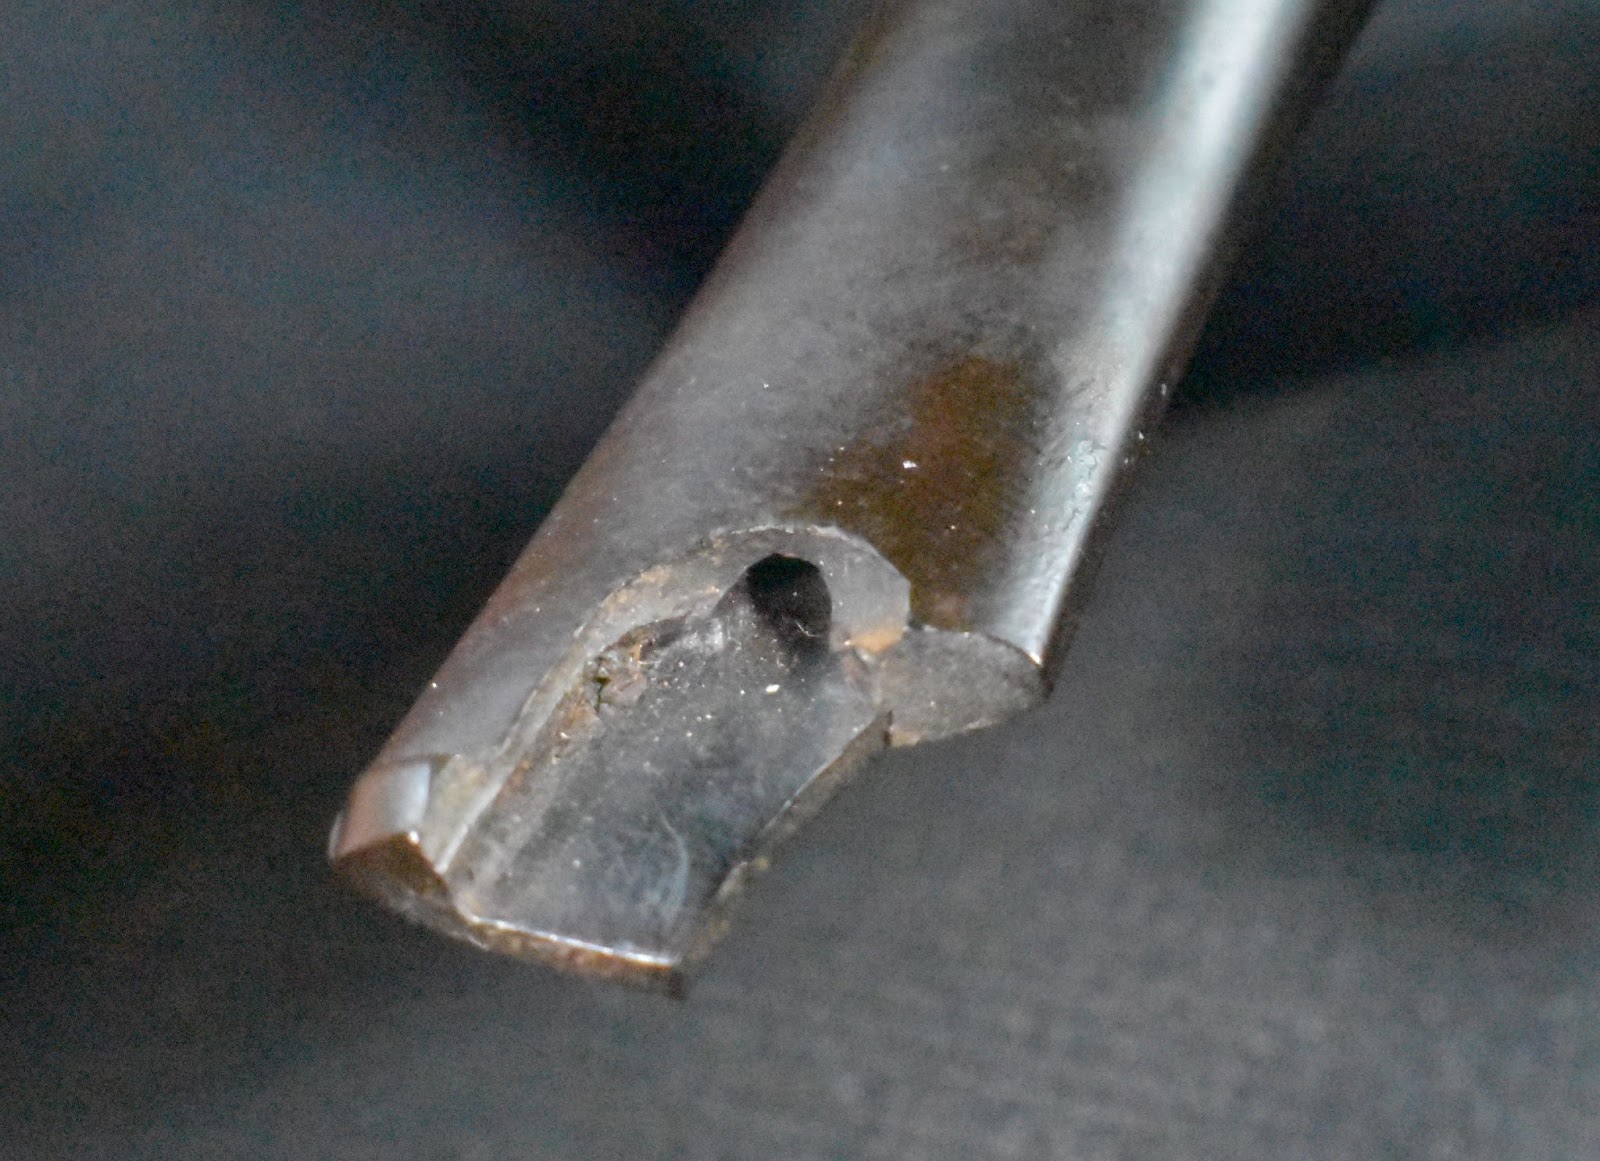


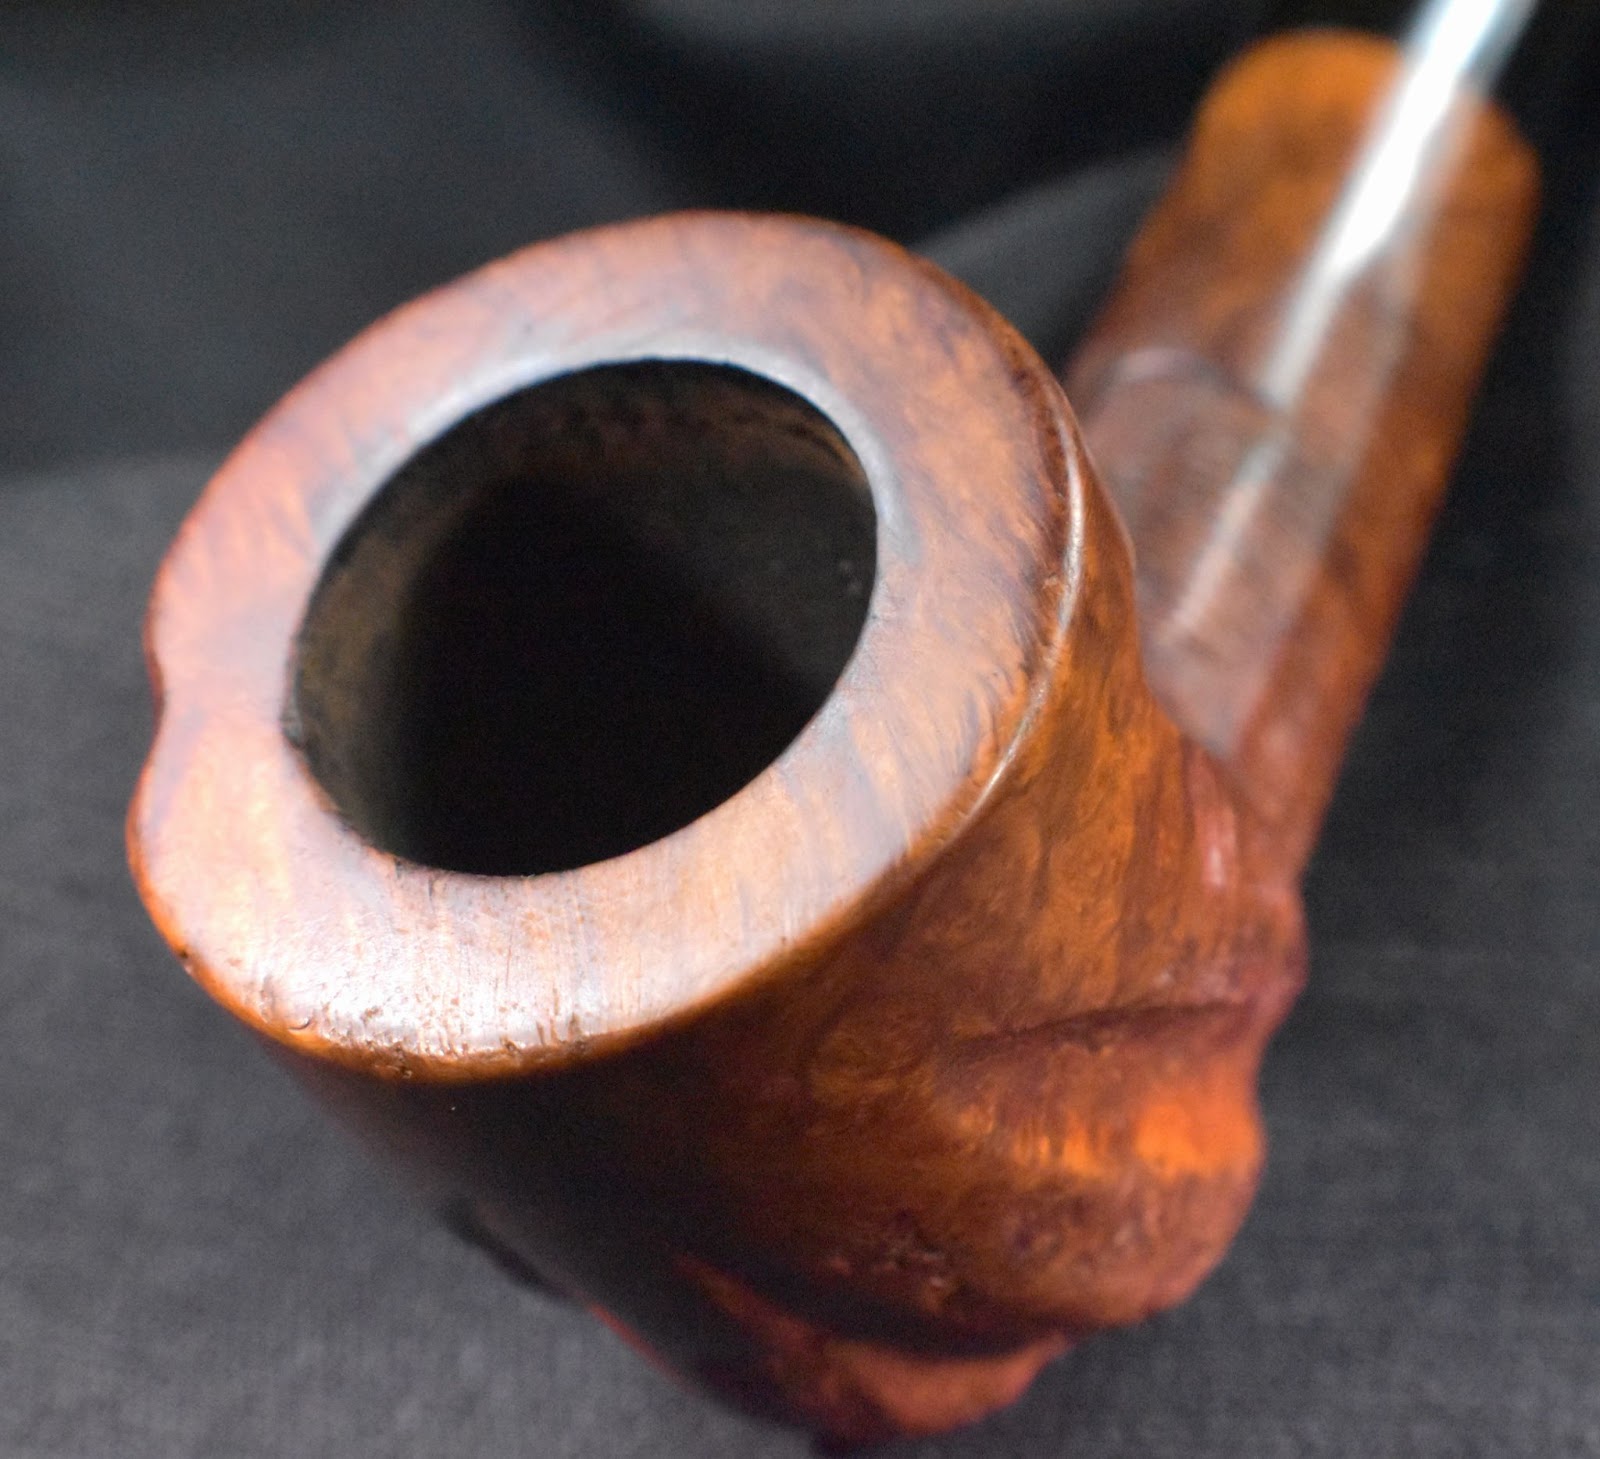
Now, you may think this looks like a nightmare. For me, the stuff dreams are made of. The pipe would need a replacement stem. Remember when I said this was part of a trio? The other Custombilt in the trio was a stem donor. I am still not sure if that pipe can be saved but it certainly can donate its saddle stem for this recipient. The bowl would definitely need a good reaming. Here is to not finding any charring in that well used tobacco chamber. The rim was quite lava encrusted, probably concealing a charred rim. Some people call me a pessimist, I call myself a realistic optimist – always expecting the worst thus avoiding the horror of disappointment.
Background
Back on January 2, 2025 I did a blog on a Custom-Bilt pipe. Below you will find the “Background” information from that restoration. Being a proud Generation X slacker type, I will include it here rather than try to come up with something original.
“The standard starting point for researching a pipe typically includes pipedia.org. The query of Tracy Mincer, originator of Custom-Bilt, will take you to this brief entry:
“Tracy Mincer started the original Custom-Bilt pipe company in 1934. In 1946, the name was changed to Custombilt after Mincer began an association with Eugene J. Rich, Inc. There were some big changes in advertising and distribution. The slogan “AS INDIVIDUAL AS A THUMBPRINT” began at this time as well.
In the early 1950’s, Tracy Mincer developed severe financial problems that caused him to stop making the Custombilt, and he lost the name. n 1952, Mincer began a new pipe, The Doodler, that due to the holes in the bowl had to made primarily in a billiard type shape in three sizes. In the early 1950s, National Briar was turning the bowls for Mincer. Based upon the documentation, it appears that Mincer made the pipe until the mid 1960s, when National Briar Pipe Co., Inc. began making and selling the Doodler.
Mincer died in 1964. Based upon the information provided, Mincer seemed to always have money, production, distribution and other problems. Mincer was probably a terrific craftsman but a very poor businessman and administrator. To me, Mincer sounds like your typical small business entrepreneur who always knew what was right and if you disagreed¼problems. Mincer always seemed to be on the brink of going out of business, not meeting payroll and so on.
Claude Stuart purchased the Tracy Mincer Pipe Company and began making pipes using the Tracy Mincer stamp. Stuart finished nearly all the pipes produced, mostly carved and textured bowls and the occasional straight grain. Claude made the Tracy Mincer Pipe Company a moderate success. Stuart became ill and in 1990 The Tracey Mincer Pipe Company went out of business. Currently, Jim Tedesco owns the Tracy Mincer name.
These interesting examples bellow are pipes made with the Tracy Mincer stamp. If you any additional information about these pipes, or can otherwise add to the history of this interesting pipe man, please add it here, or send it to sethile.pipes@gmail.com, and we can add it for you.” (Mincer – Pipedia).
There is a book written by William E. Unger, Jr.,Ph.D titled “As Individual As A Thumbprint”: The Custom-Bilt Pipe Story. This book appears to be self published by Dr. Unger at The Graphic Touch, of Columbus, Ohio. Printed in 2001 and bound with a black plastic spiral, the book states that the entire contents are “All rights reserved…without permission in writing from the author”. Dr. Unger passed away January 1, 2013 (obituary: https://www.legacy.com/us/obituaries/dispatch/name/william-unger-obituary?id=12197453) and the book is no longer in print. This unfortunately means that I will not be including any quotes from the book. We’ll see how I get around that, I guess. I got lucky and purchased a copy from eBay for under $30 (with shipping) earlier this year, after watching several copies sell for what I considered astronomical prices. The book is a remarkable piece of work and is the definitive history of the Custom-Bilt pipe. The research that Dr. Unger put into getting the story correct is amazing. Fortunately there were several past employees, friends and relatives associated with Tracy Miller and the company that were able to give interviews and explanations to the inner workings of the company.
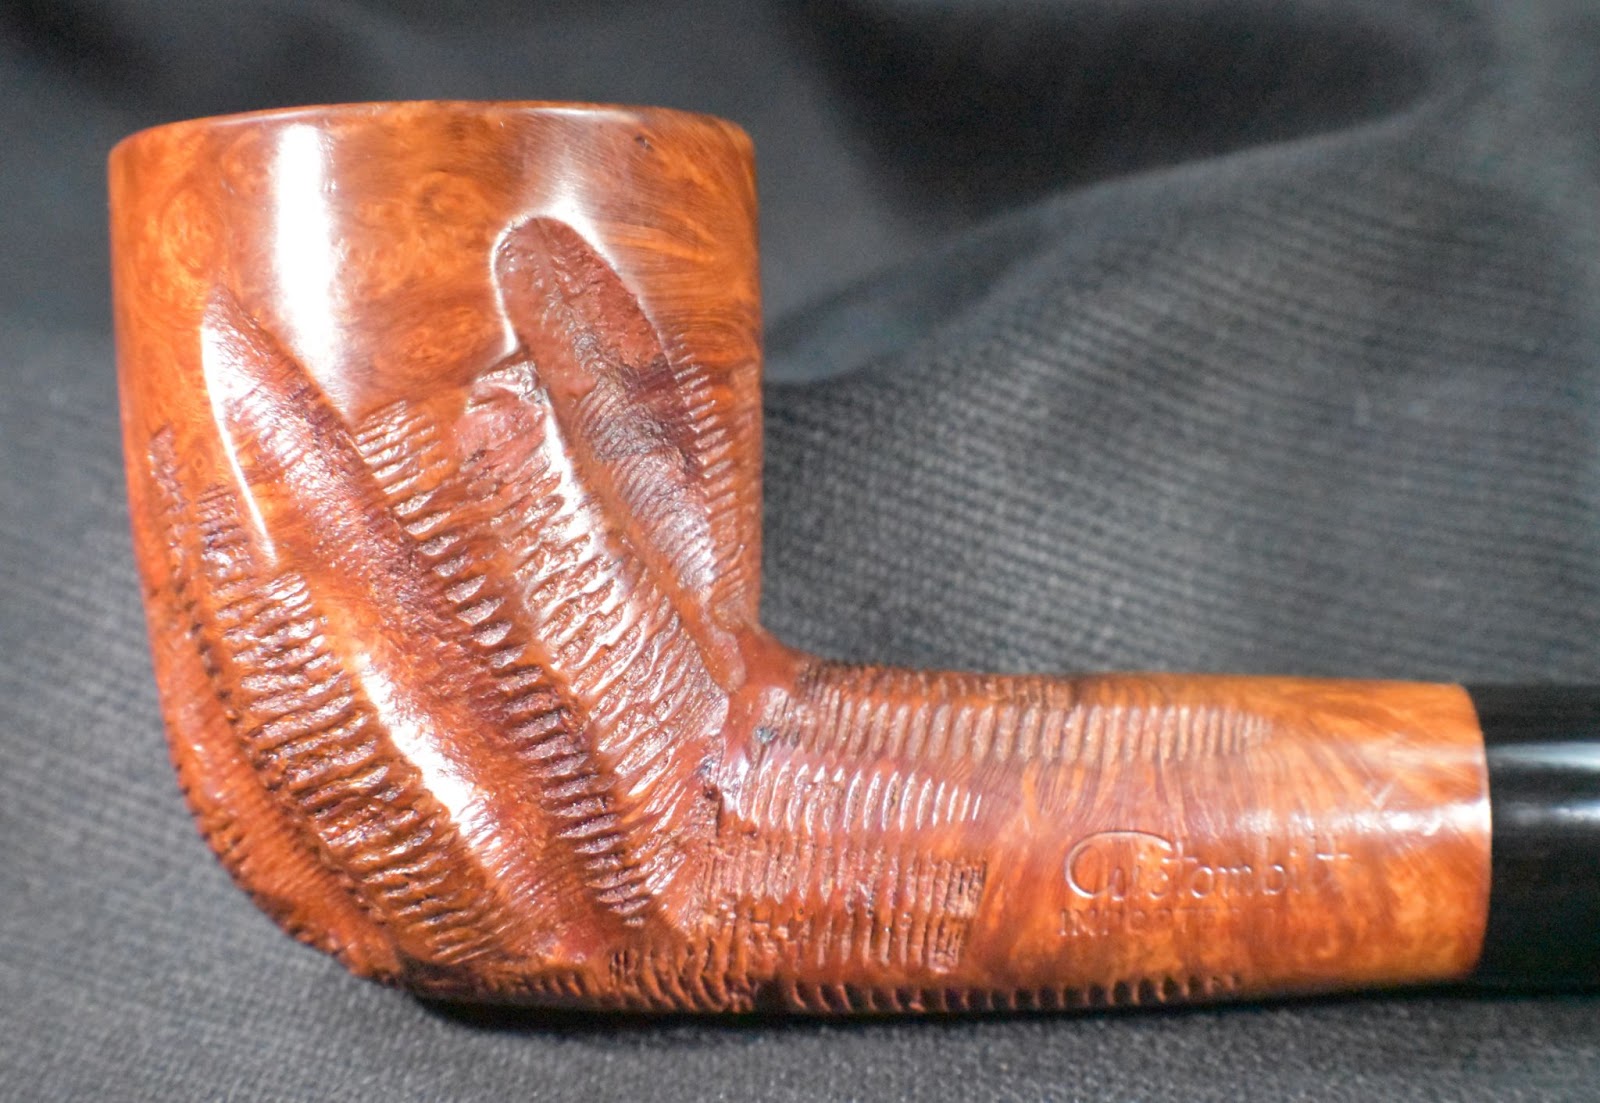
In regards to the stamps on the pipe in hand, I will speak to what I have found in Unger’s book, without quoting any of it. The first thing that needs clarification is the Custom-Bilt vs. Custombilt name. I’ll paraphrase William Unger here, the first stamps used by Tracy Mincer were “Custom-Bilt”. These were used from 1938-1946 definitively and less definitively prior to 1938. You could, perhaps, find reference to this in the book on page 91. There, I think that should give me legitimacy and keep any lawyers at bay. Next we examine the IMPORTED BRIAR stamp on the bottom of the pipe. Unger states that he has inspected a large number of Custom-bilt pipes and that about ½ of them do not have this stamp. He declares that he is at a loss to explain either their absence or presence This lack of explanation might be seen towards the bottom of page 114. The final stamp on this Custom-Bilt is the geometric circle stamped on the shank. Certainly these stamps have some utilitarian meaning. Nope. Unger declares that he is not able to explain any system where shapes such as circles, triangles, stars, rectangles, half moons or even trapezoids have any systematic meaning. This may or may not be seen on the top of page 114.
Pipephil.eu does allow quotations with proper referencing and shows nice examples of the above-mentioned geometric stamps.

(Cos-Cz — Pipes : Logos & Markings)” (Young, John M. A Custom-Bilt Circle Stamped Restoration – NebraskaPeteGeek)
Regarding this pipe, I looked at the stamp diagrams from Unger’s book and matched this pipe with stamps from the Wally Frank years. This would date this pipe to 1974-1987 and most likely put production at the Weber factory in New Jersey.
The Restoration
The pipe made the 20 foot trip from the photos table to the bench and received a cleaned piece of denim.

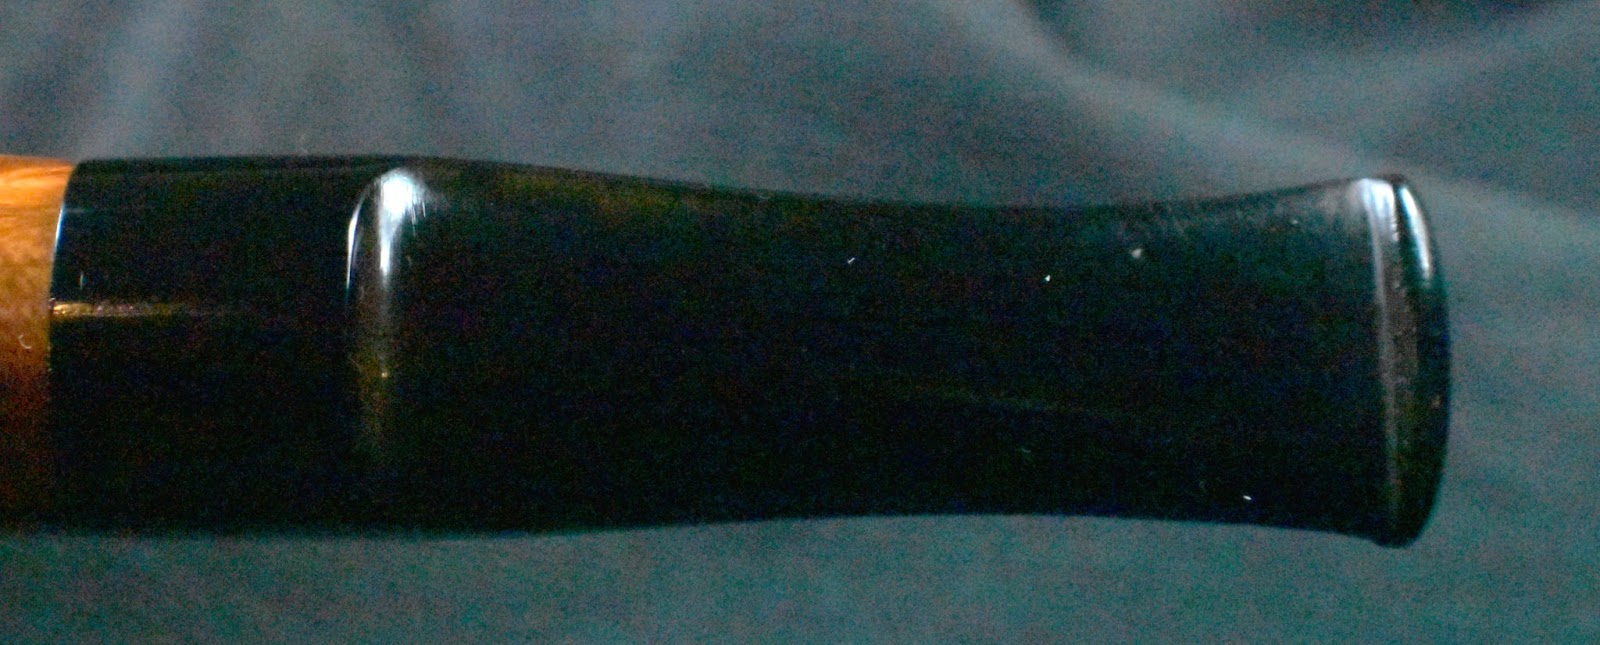
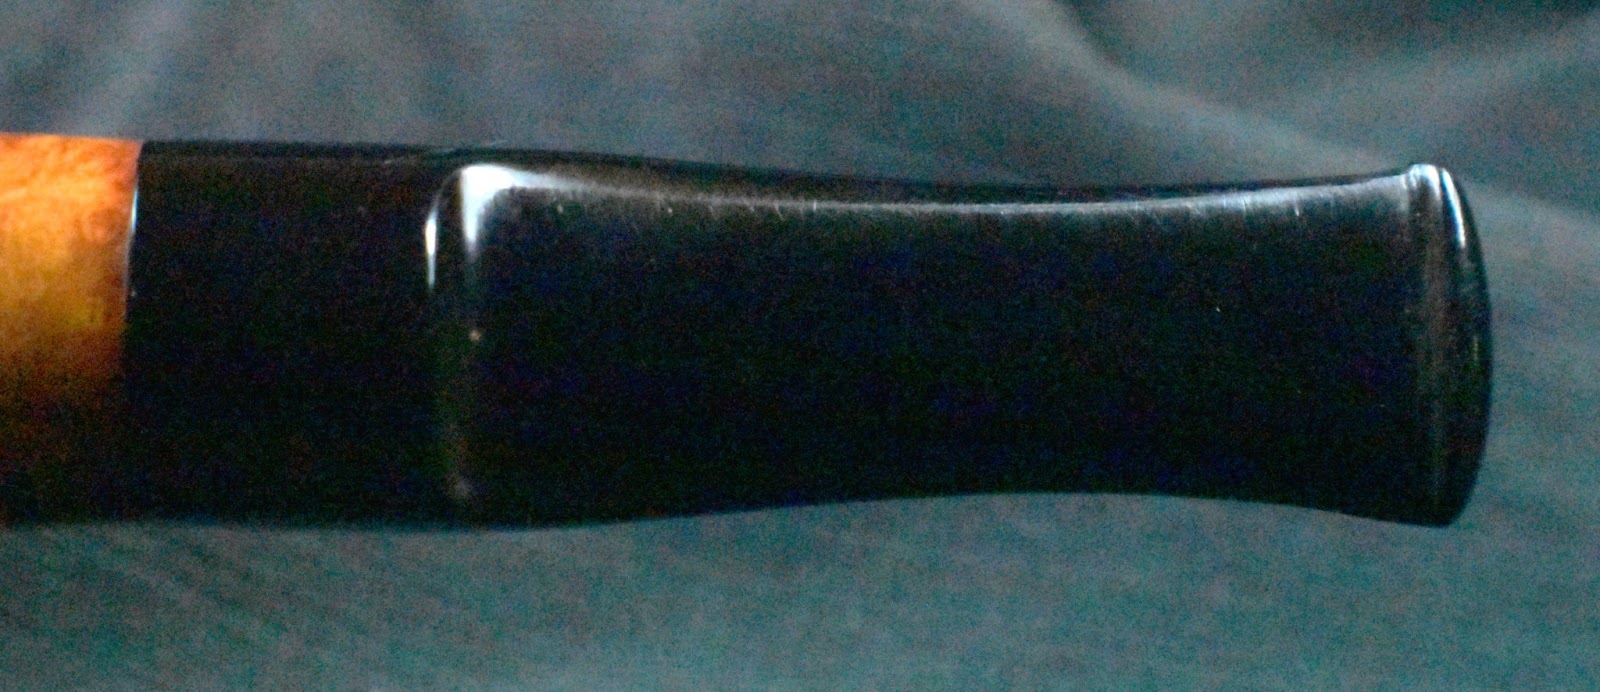
I reexamined the cellophane tape spacer in the mortise.

I had no plans of attempting to salvage that mouthpiece and that tape had to go. I removed it with gentle pressure and forceps.

The old adhesive gave way and the tape was removed in a single piece.

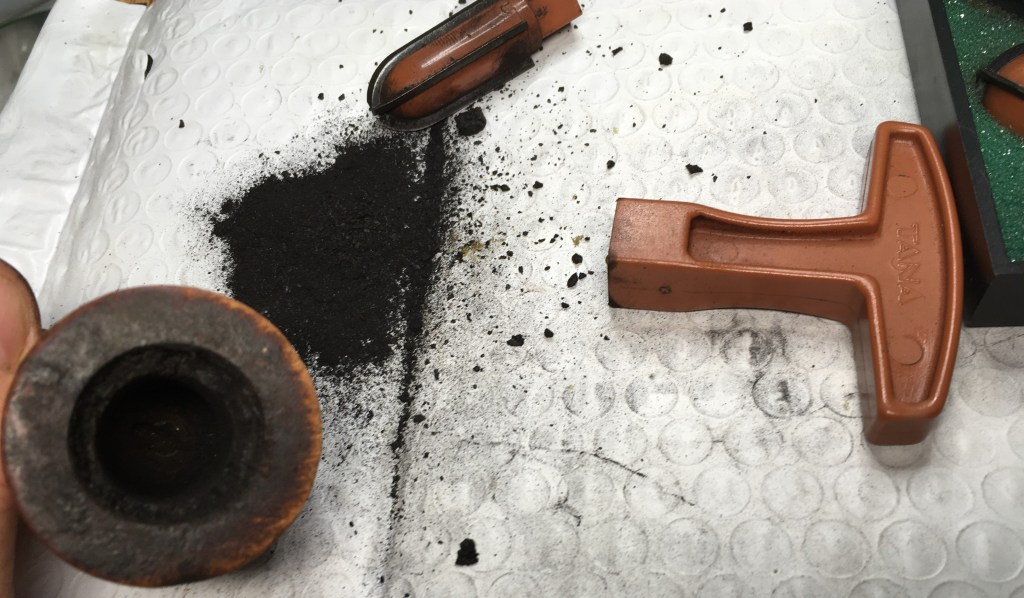
The reaming tools were gathered. I planned on using the PipNet blades in sequential order from smallest to largest with each one removing a layer of the overabundant cake.

The first blades did a fine job. It was here that I decided that I wanted to know how much cake was actually present.
I started pouring the removed cake into an empty snus container for weighing at the end of the reaming.

The 2nd blade also did a fine job.

With the results deposited into the plastic cup.

Of course the 3rd blade came next and performed valiantly.

I was accumulating quite the pile of cake.

Finally the fourth blade, the poor fourth and often unused blade that infrequently is not needed, got his chance to shine.

There it was the collection of all four PipNet blade’s work.

I took it up to the electronic balance and was surprised to see 0.22 ounces or 6.24 grams of cake. Dang near a quarter ounce. I wondered, “how much tobacco did that take?”

Back to work. The tobacco chamber was sanded with 32 sandpaper wrapped around a wood dowel. The chamber looked good but…

On both the left and right sides of the interior front of the chamber there were signs of “spider web” cracks from excessive heat.

The spider webbing was light and superficial. That thick layer of cake had protected the briar quite well. I did think that a good bowl coating would be in order at the end of this restoration.

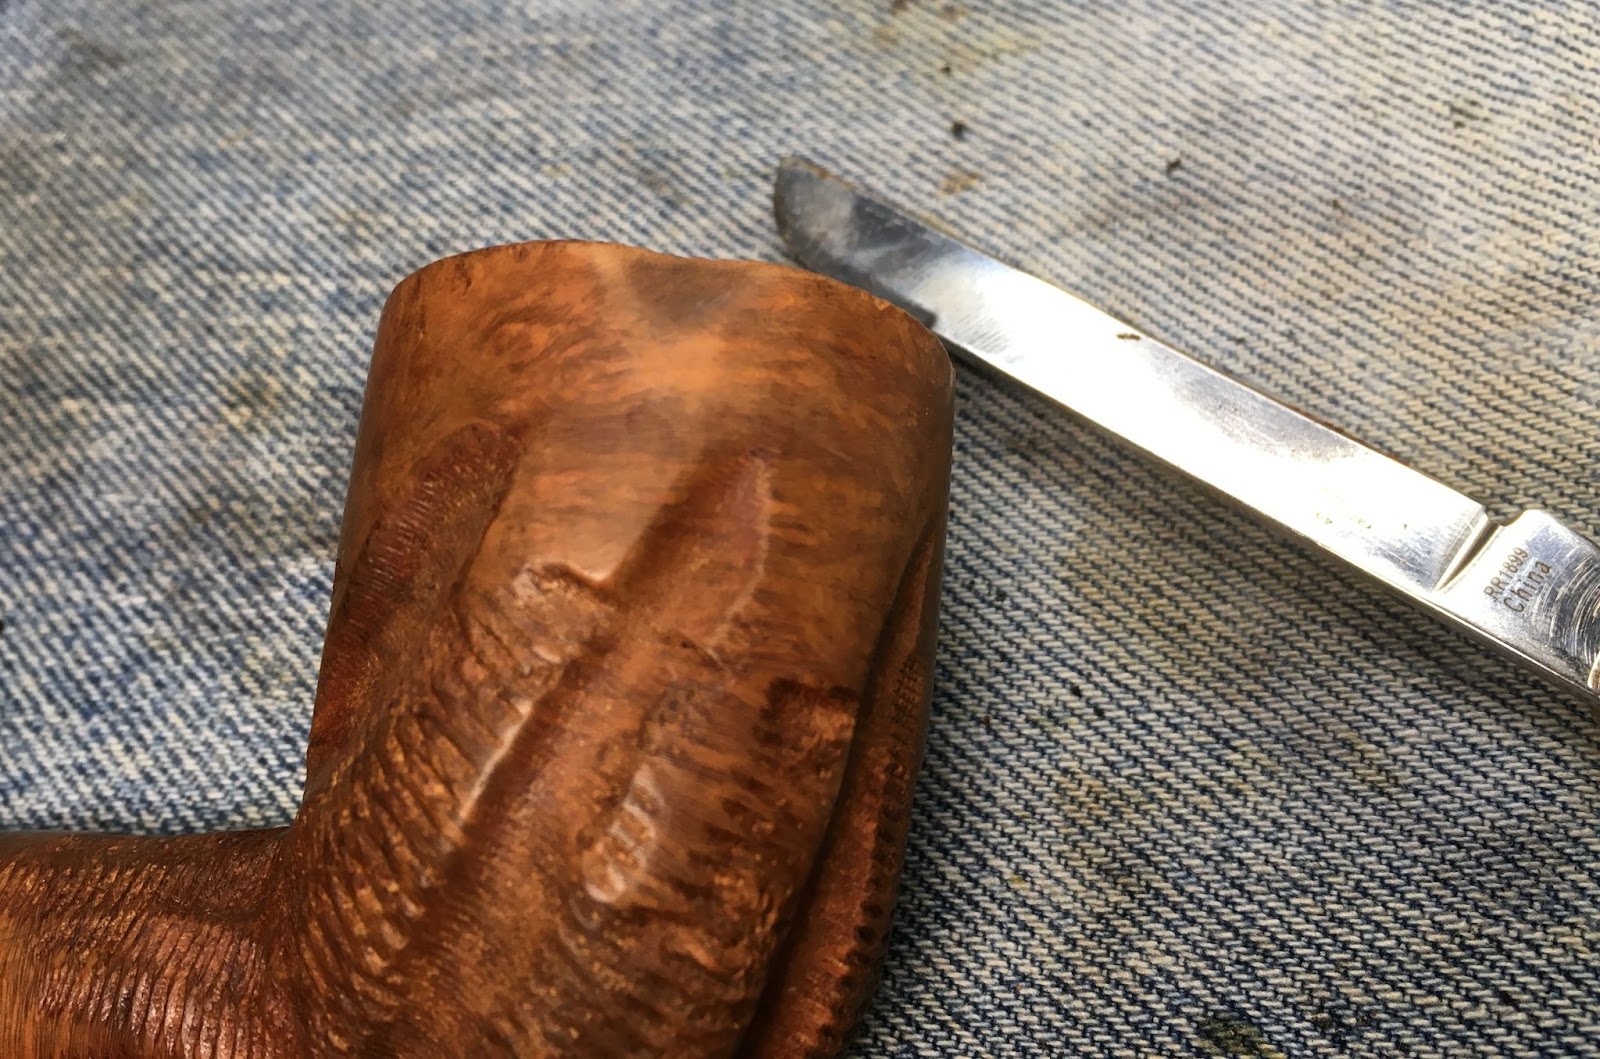
Next came the scraping of the rim. The lava was moistened with saliva and allowed to sit for a few moments while I put away all the reaming tools. I then used a sharp pocket knife to carefully scrape the lava from the rim. There was one large char area at the 8:00 position on the outside edge of the rim. This was likely due to a lighter.

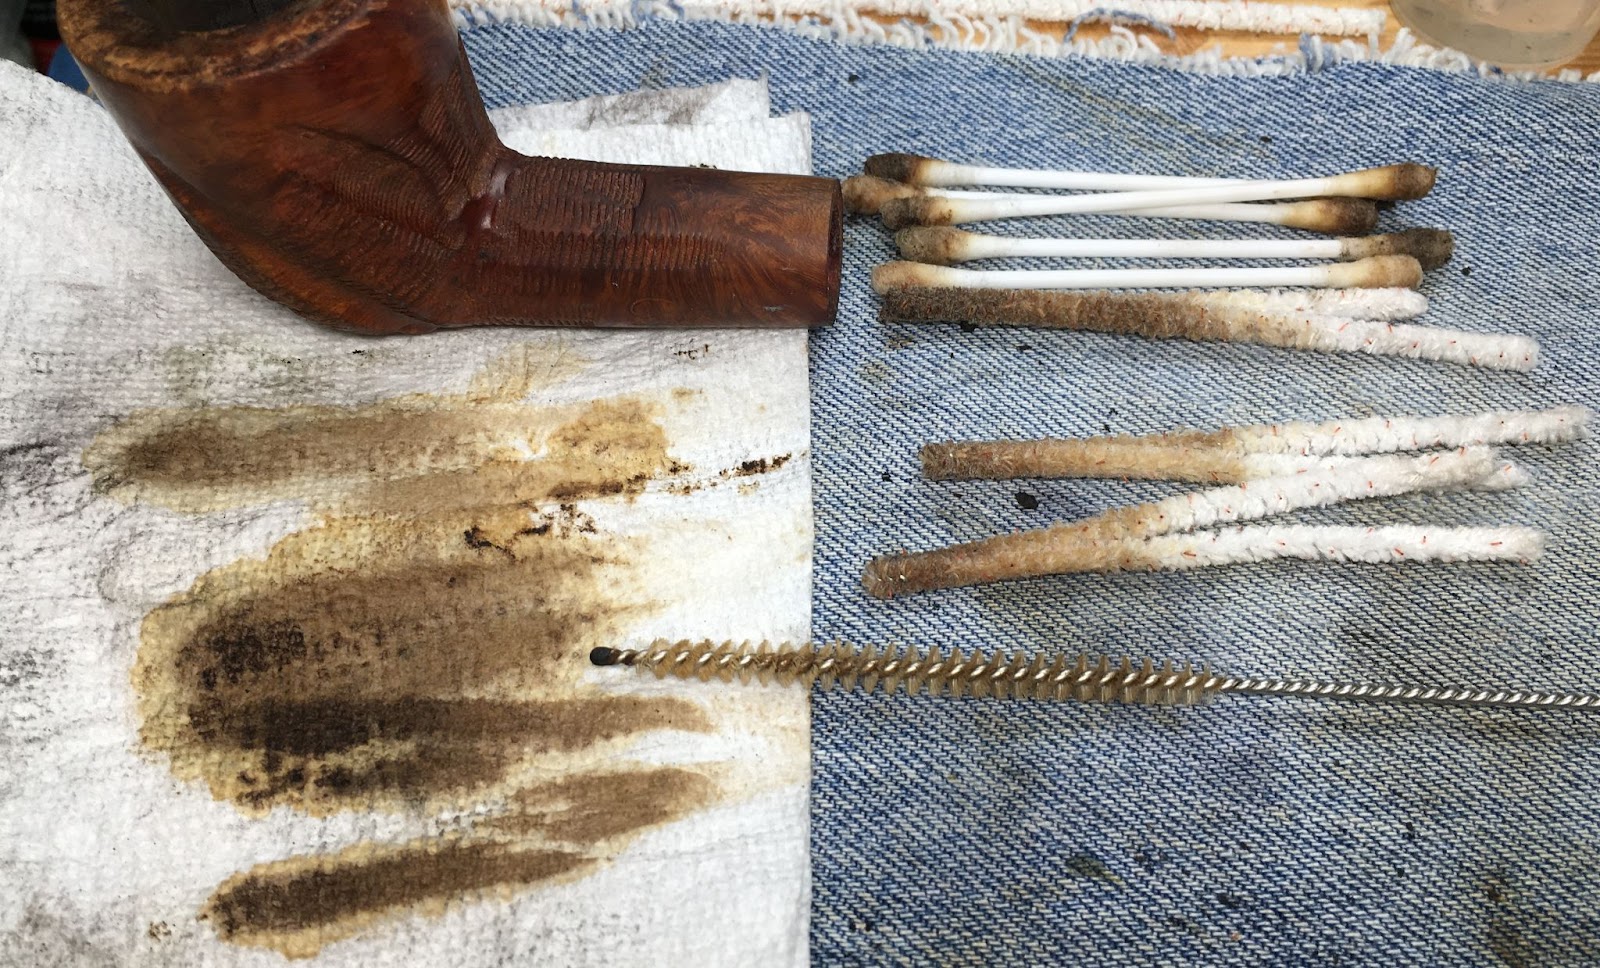
The shank cleaning was next and after the condition of the tobacco chamber, I had visions of using boxes of cotton swabs and liters of alcohol. I used a couple of alcohol dipped cotton swabs to moisten the residues in the airway and ran the Kleen-Reem shank drill through the airway. It brought out a good deal of crusty yuck. Additional scraping was done with a dental scraper.

I then used a nylon shank brush dipped in alcohol. You can see from the photo below that this started out very dirty. Folded bristle pipe cleaners along with more cotton swabs and a good dose of ethyl alcohol helped clear the filth Within a few scrubbings the airway was cleaned.
The stummel was then taken to the sink for a scrub with undiluted Murphy Oil Soap and a nylon brush. The soap was rinsed with warm water and dried with a cotton hand towel.

Back at the workbench the stummel was wiped with a cotton ball wetted with 95% ethyl alcohol.

The rim looked much better than it did but would require a light topping with 320 then 400 grits sandpaper.

The charred spot on the outer rim was scraped with a sharp pocket knife then sanded with a 400 grit sanding sponge.
The rim was topped with 320 and 400 grit sandpaper laid flat on a countertop.

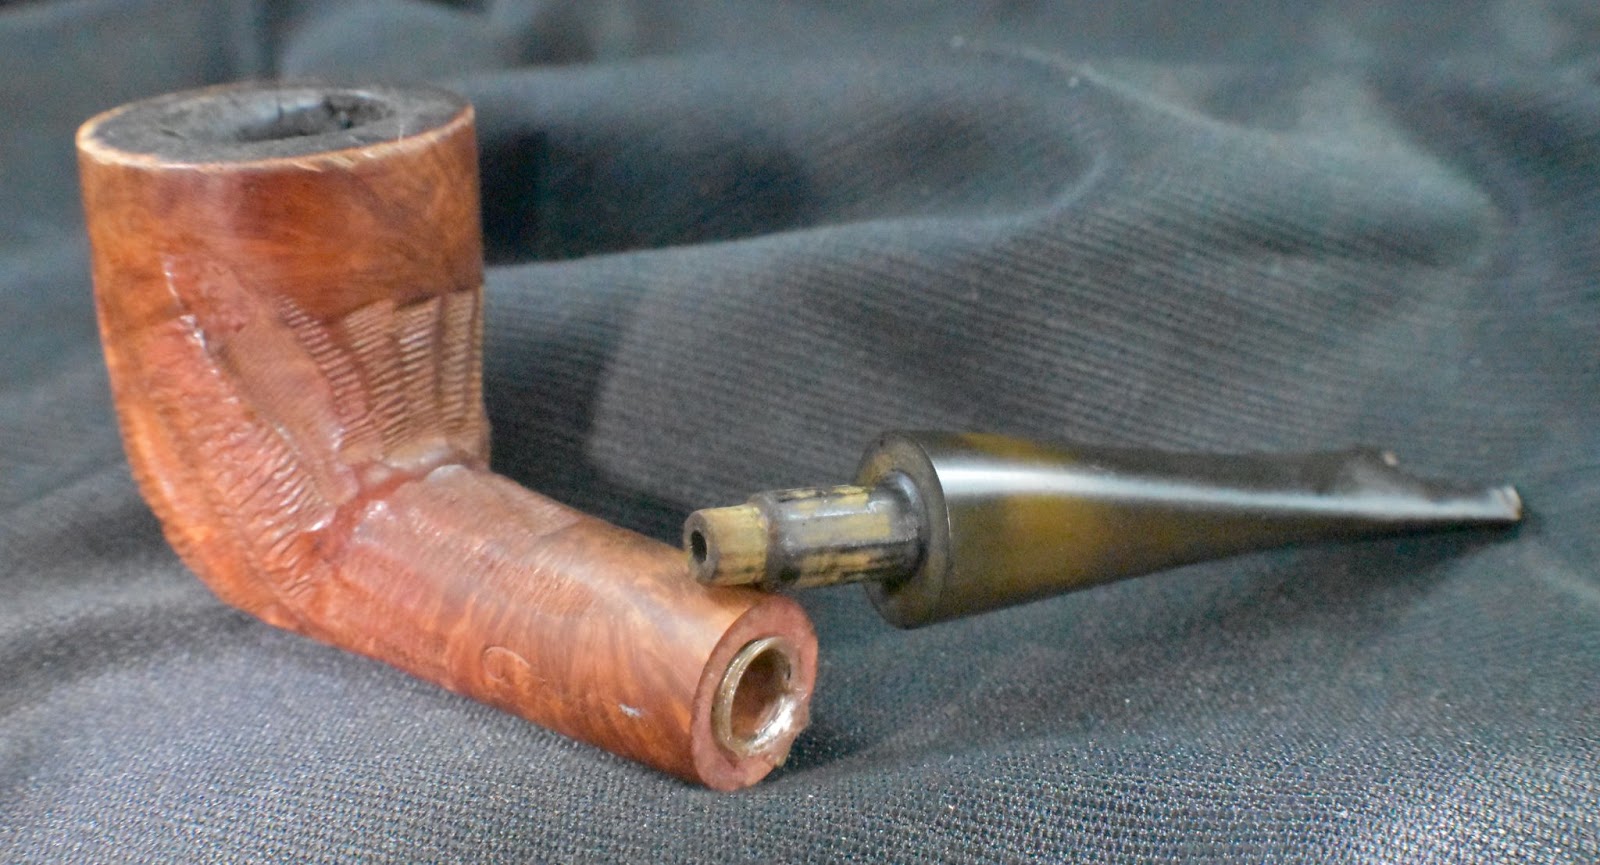
It was time to find a donor. Fortunately this CustomBilt arrived with another. This other had a saddle stem and a crack through the bowl on both the front and back. I have tried to reduce and compress these cracks to no avail. I have pretty much set the cracked CustomBilt aside and think about potential fixes now and again. The stem from the cracked pipe seemed like a near perfect fit to the Custom Bilt at hand.

I realized that the original stem was a taper and this replacement was a saddle stem but they were both CustomBilts of the same era.
The fit of the donor stem was slightly larger than the shank of the original pipe.

Since I know of no way to increase the diameter of a shank, I do know how to reduce the diameter of a vulcanite stem.

First things first. I had to snug up the tenon so that it was a nice solid fit to the mortise. I decided to do this by thickening the tenon with black cyanoacrylate (CA, super glue). A thin bead of black CA was added to the tenon

I used a curved dental scraper to evenly spread the CA over the tenon.

The wet CA was spritzed with a CA drying accelerator then sanded with a 400 grit sanding sponge. The new fit was very good.

With the stem securely attached to the stummel I could start the shaping of the stem. I wrapped the shank in masking tape to protect it from the activities with the file. The tape had to be replaced several times to keep the shank covered.

Eventually I stopped filing and started smoothing the stem with emery boards for finger nail filing.

To make the seam even better fit, I use Scotch tape as it is even thinner than the masking tape.
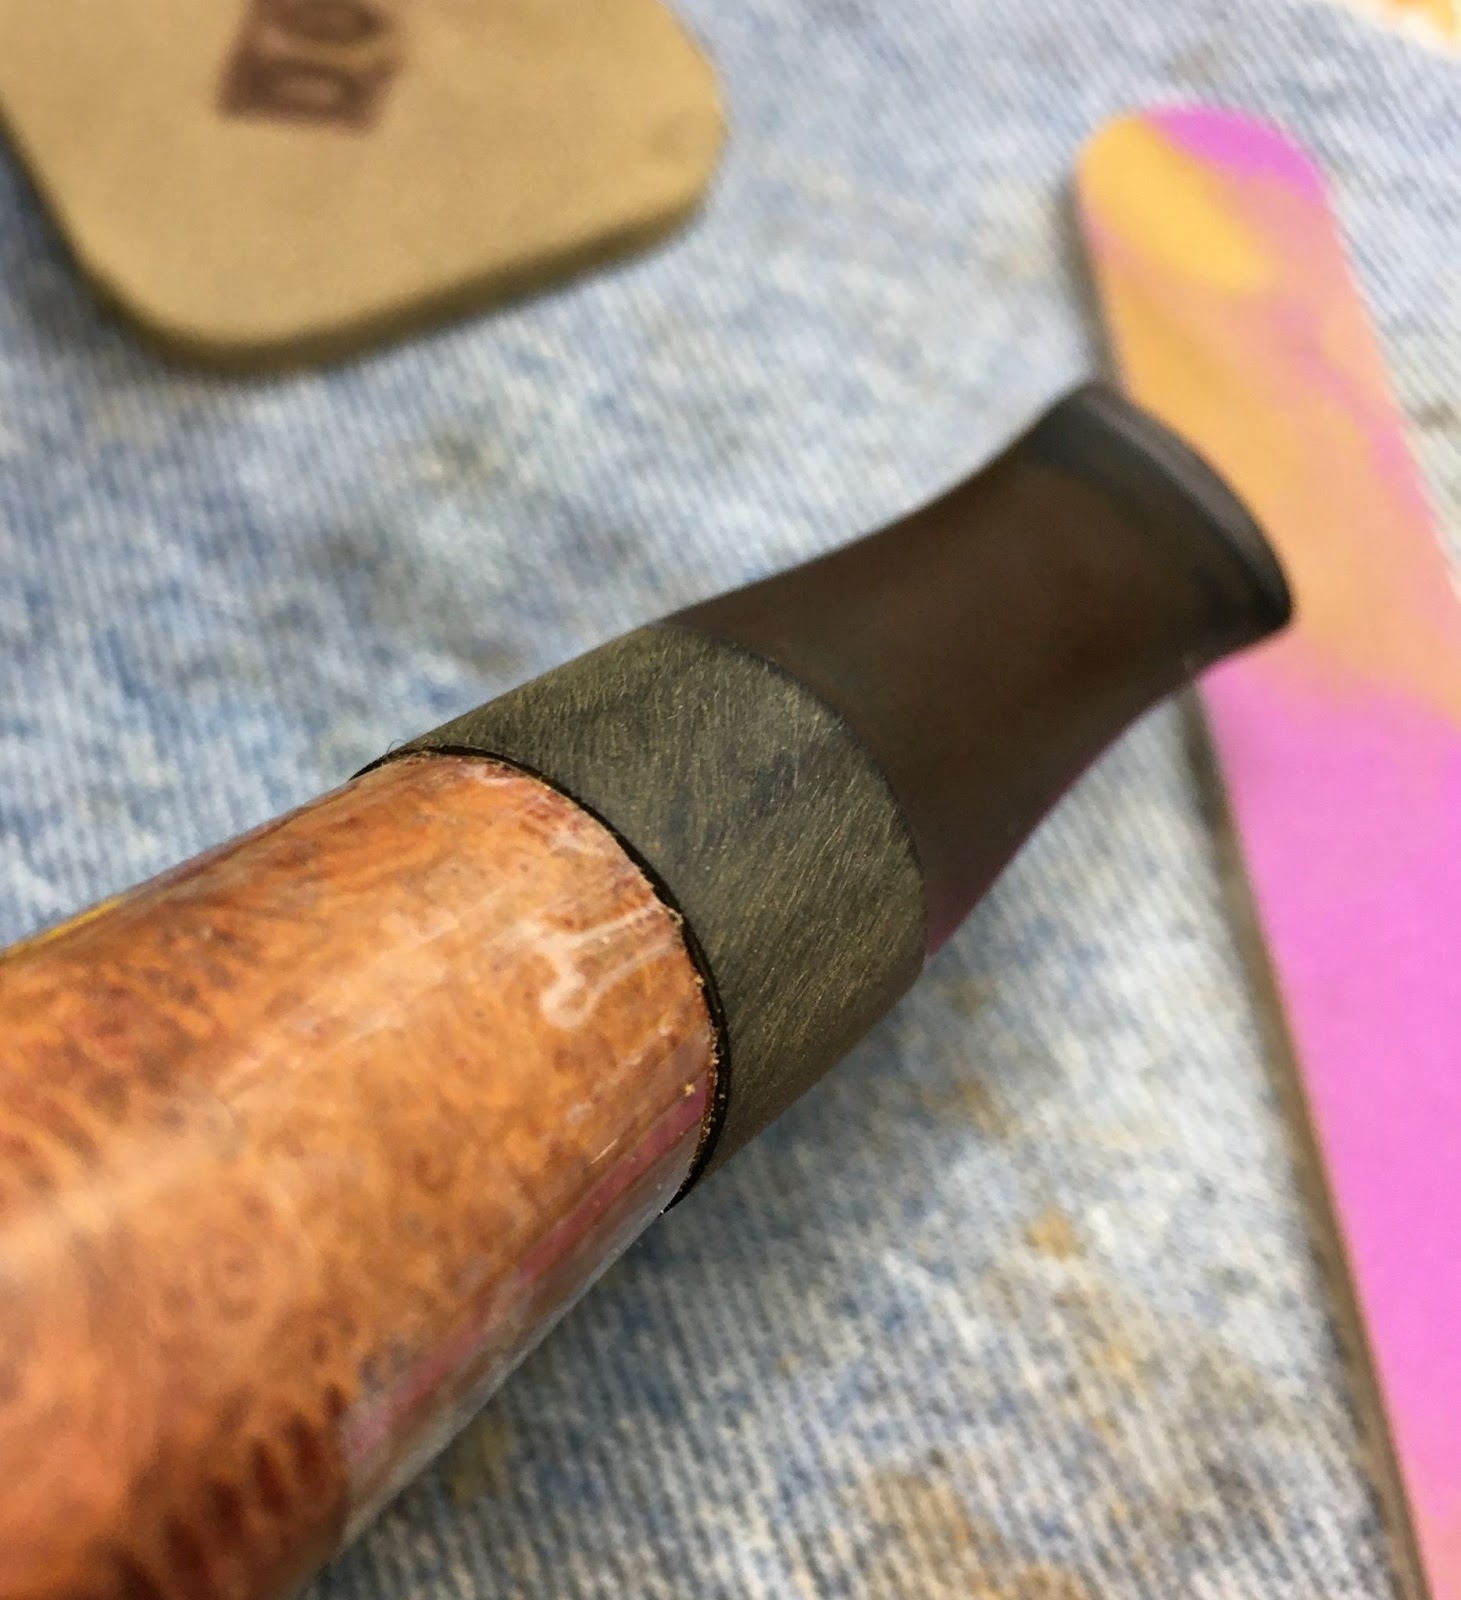
Eventually I removed the tape altogether and sanded the shank and the stem in unison. This worked because there was no rustications or stampings on the end of the shank. I had little fear of blending the briar from the old finish to the new. The stummel and stem were worked with a series of sanding sponges from 320-3500 grits. Between each sponge the stummel was wiped with a cotton ball moistened with alcohol. The stem was rubbed with mineral oil and wiped with a paper towel between sponges.

The stummel was given a coating of Before and After Restoration Balm applied with a soft bristle toothbrush and allowed to sit for 20 minutes

The excess balm was wiped from the stummel using an inside out athletic sock.

The shank and stem were buffed using white buffing compound on the buffer. Next, several coats of carnauba wax were applied to the pipe. The final step was another hand buff with the microfiber polishing cloth then a return to the photography table for the finished pipe photo shoot.
I realize that I changed the appearance of this pipe quite a bit by replacing a taper stem with a saddle stem but I feel that since they were both original CustomBilt stems it was more acceptable.The notch on the rim doesn’t detract from the appearance and almost looks like it is supposed to be there. The rustications cleaned up very nicely and look great with the freshly sanded smooth portions. The replacement stem also polished up very well and it looks good with the stummel. I think this restoration was a great success and will allow some new owner to make and have many memories of their own with this wonderful old pipe. The dimensions of the now saddle stem CustonBilt are:
Length: 5.65 in./ 143.51 mm.
Weight: 1.79 oz./ 50.75 g.
Bowl Height: 2.09 in./ 53.09 mm.
Chamber Depth: 1.71 in./ 39.88 mm.
Chamber Diameter: 0.88 in./ 22.35 mm.
Outside Diameter: 1.56 in./ 39.62 mm.
I do hope that you have found something here useful to your own pipe care, maintenance or restorations. If you like this sort of thing, please click the like and subscribe buttons. Thank you for reading the ramblings of an old pipe lover.