Photographed and written by
John M. Young
In a previous blog about customizing a Missouri Meerschaum Riverboat Gambler I made the following comment, “Expecting perfection from a new corn cob pipe is kind of like expecting a perfect first date. Sure it can happen but more often than not the pipe will have flaws typical of cobs like a first date will undoubtedly have awkward, “damn, I should never have said that” moments.” () As far as cobs go, this is a rather expensive one Missouri Meerschaum (MM) lists the Freehand at just north of $50 (https://corncobpipe.com/product/freehand-corn-cob-pipe/). I have to say I was a bit disappointed when I held my new cob for the first time. The size was impressive and the stem beautiful but the nickel collar was wonky.

Given the wonkiness was not very much but it was enough to bother me.

When I tried removing the stem, the shank separated from the cob.

So now I had a new MM Freehand in two pieces, which I wanted, but not in the way I wanted. The stem fit was very tight and I was able to liberate the stem from the shank with more force than I thought necessary. Once separated the wonk was even more pronounced.

Now given, it was only a couple of degrees off but it bothered me.

To remedy the stem collar fit I first had to remove the collar. The glue here was holding fast, unlike the shank… I used a heat gun to heat the collar and soften the glue.

The heat worked and the collar was removed.

Looking at the stem, I wondered why it was so darn tight. It had been sanded as evident by the sanding marks on the tenon.

The one side of the tenon looked as if it had been polished to a high gloss. Weird, is all I could think. I sanded the tenon with a 400 grit sanding sponge until I got a tightness which I thought more appropriate.

I looked at the collar wondering why it was not fitting the shank. It was even in thickness.

When placed standing upright the stem had a cant to one side. It is hard to notice in this photo but trust me it was there and annoying.

Upon close examination of the collar I saw the issue. There was an inner flange to the collar which was not flush with the outer collar. Hmm I thought, “how can this be adjusted?”

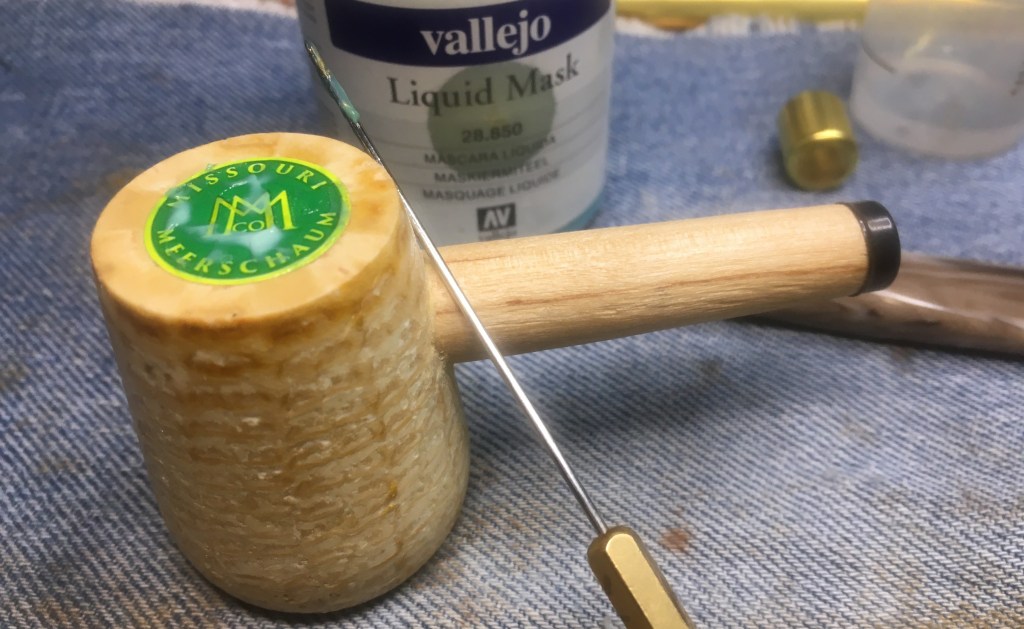
I looked through a snuff tin of various parts and scraps from previous restorations and found a solution in true Redneck Merican fashion – a gun and a hammer. Well not really a gun but a spent .44 Mag case which had donated much of its length for a band at some time. I thought the brass case could be tapped with a hammer to straighten the flange of the collar.

It worked. Although it did take some fine tuning by flipping the collar ofer after adjusting too far.

The inner flange was eventually made flush with the outer edge of the collar.

Now when pressed back onto the shank, the stem stood upright perpendicular to the benchtop.

The collar was glued in place using brown cyanoacrylate (CA, super glue).

Since the shank was no longer fixed to the cob, I thought that I may as well trim the inside tobacco chamber end of the shank. I know this is not necessary but it was already apart so why not? I marked the excess shank with a pencil.

Below is the marked shank removed from the cob.

I used a cutoff bit in the Dremel rotary tool to cut the end from the shank and smooth it.

Once reinserted the shank end could be just seen.

The shank was glued into place using Elmer’s white general purpose glue. The glue was applied to both surfaces, pressed together tightly and allied to dry for 15 minutes.

Below is a photo of the mounted shank as it was drying.

Since I had a few minutes until the glue had dried, I thought, “why not use the new tapered bit from Vermont Freehand to open up the airway in the stem?”

I do hope that you have found something here useful to your own pipe care, maintenance, restorations or customizations. If you like this sort of thing, please click the like and subscribe buttons. Thank you for reading the ramblings of an old pipe lover.
Below are a couple of photos of the finished Missouri Meerschaum Freehand.