Written and photographed by
John M. Young

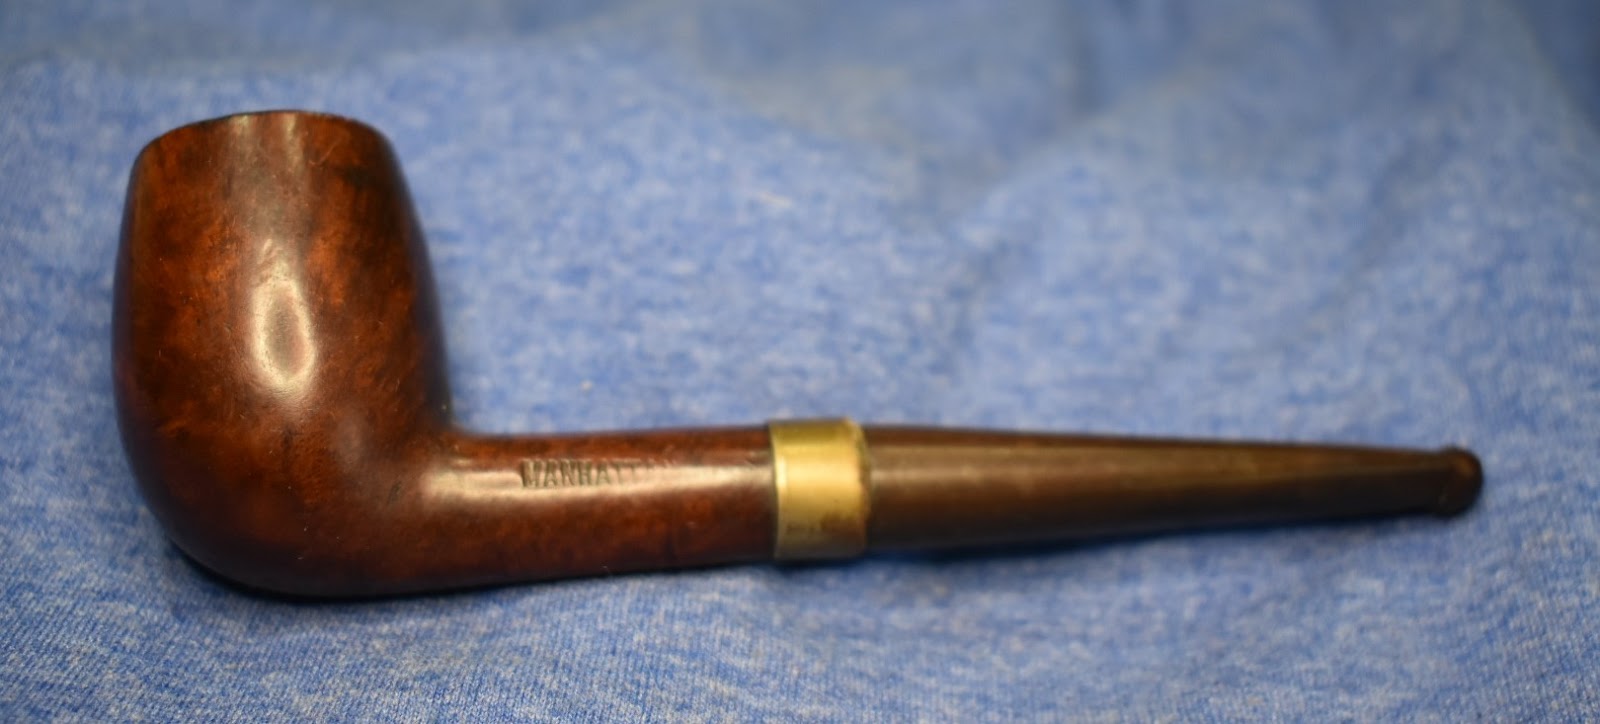
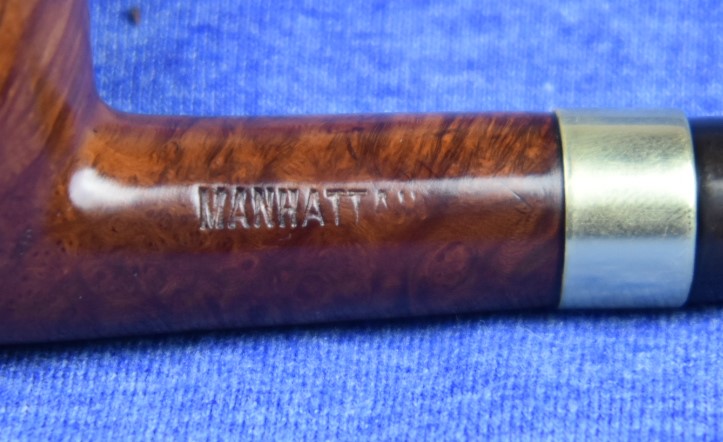
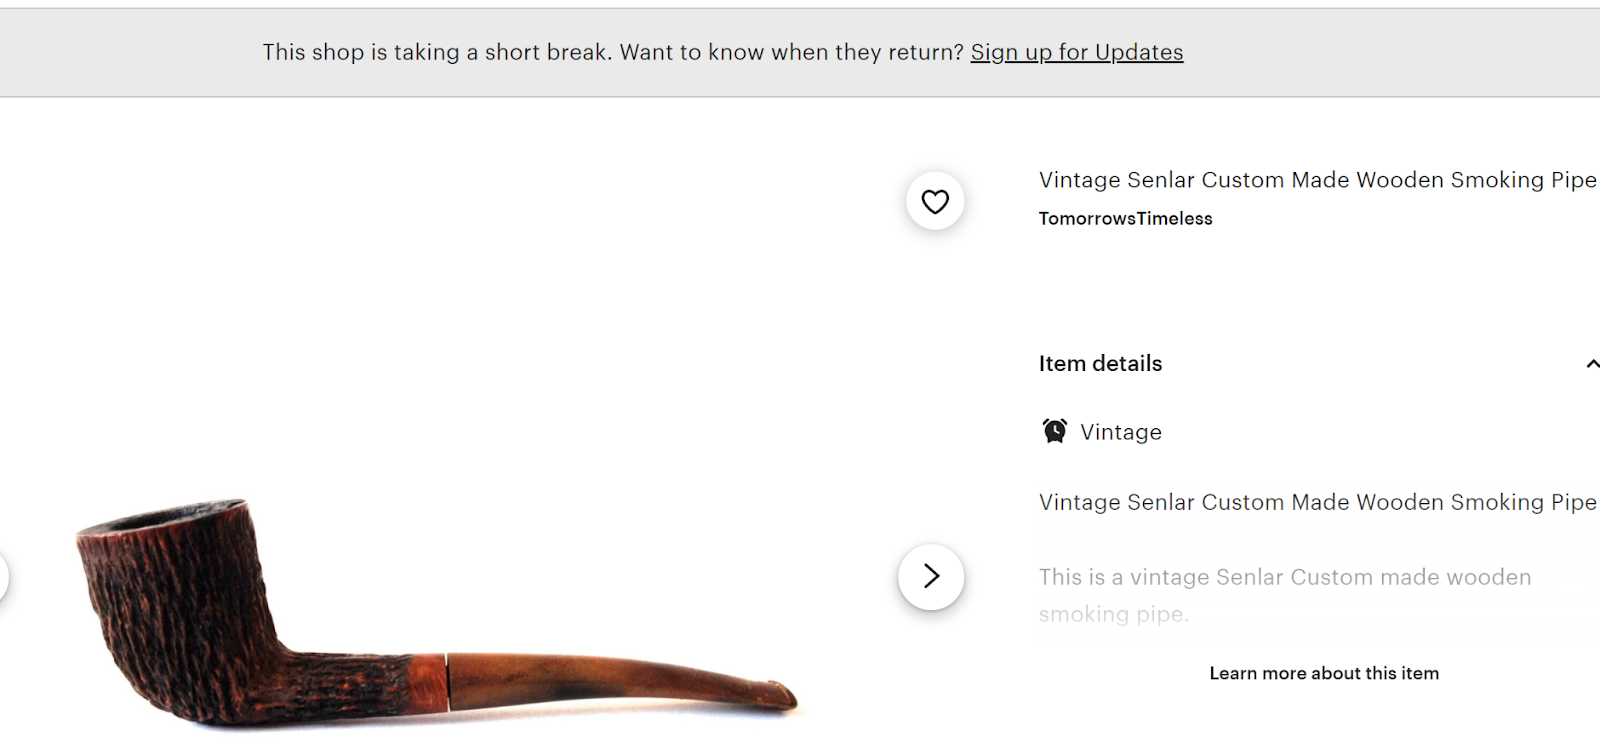
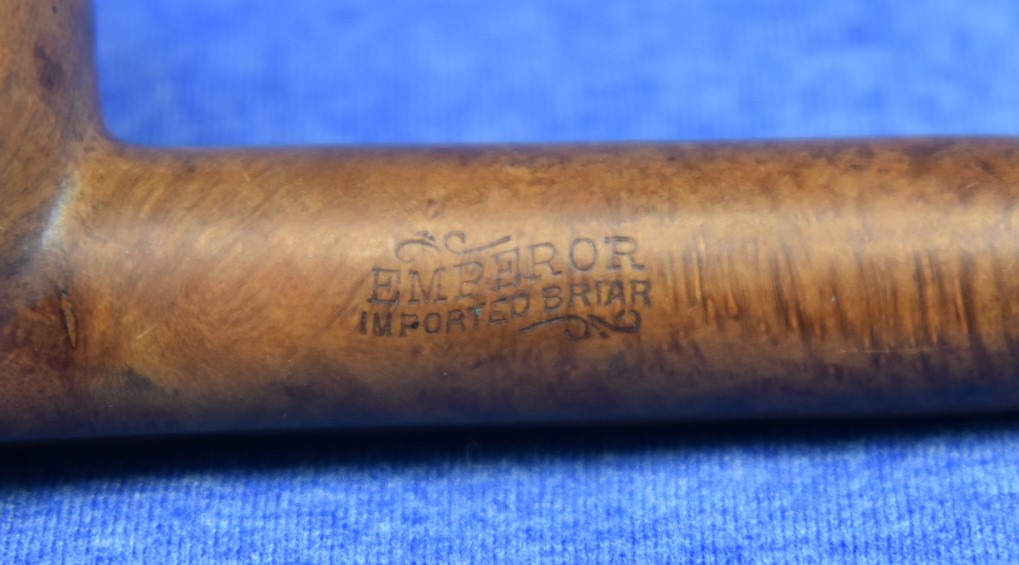
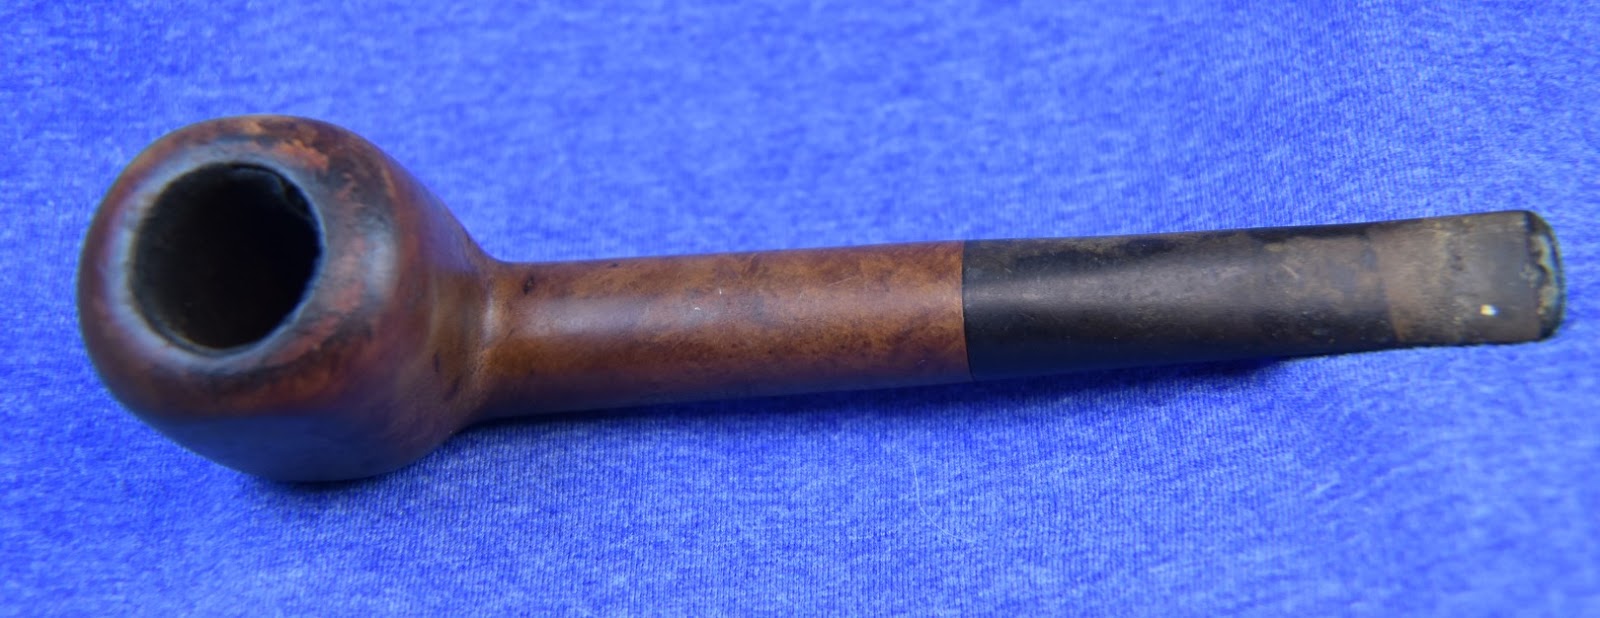
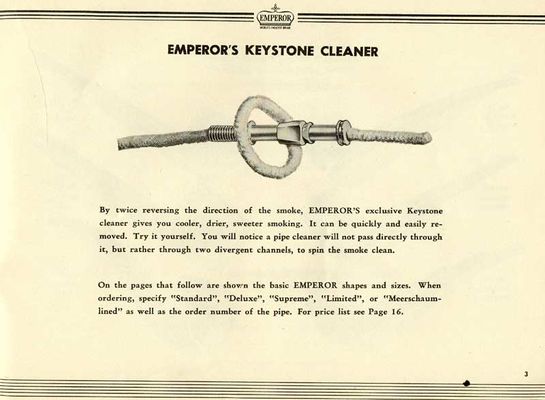
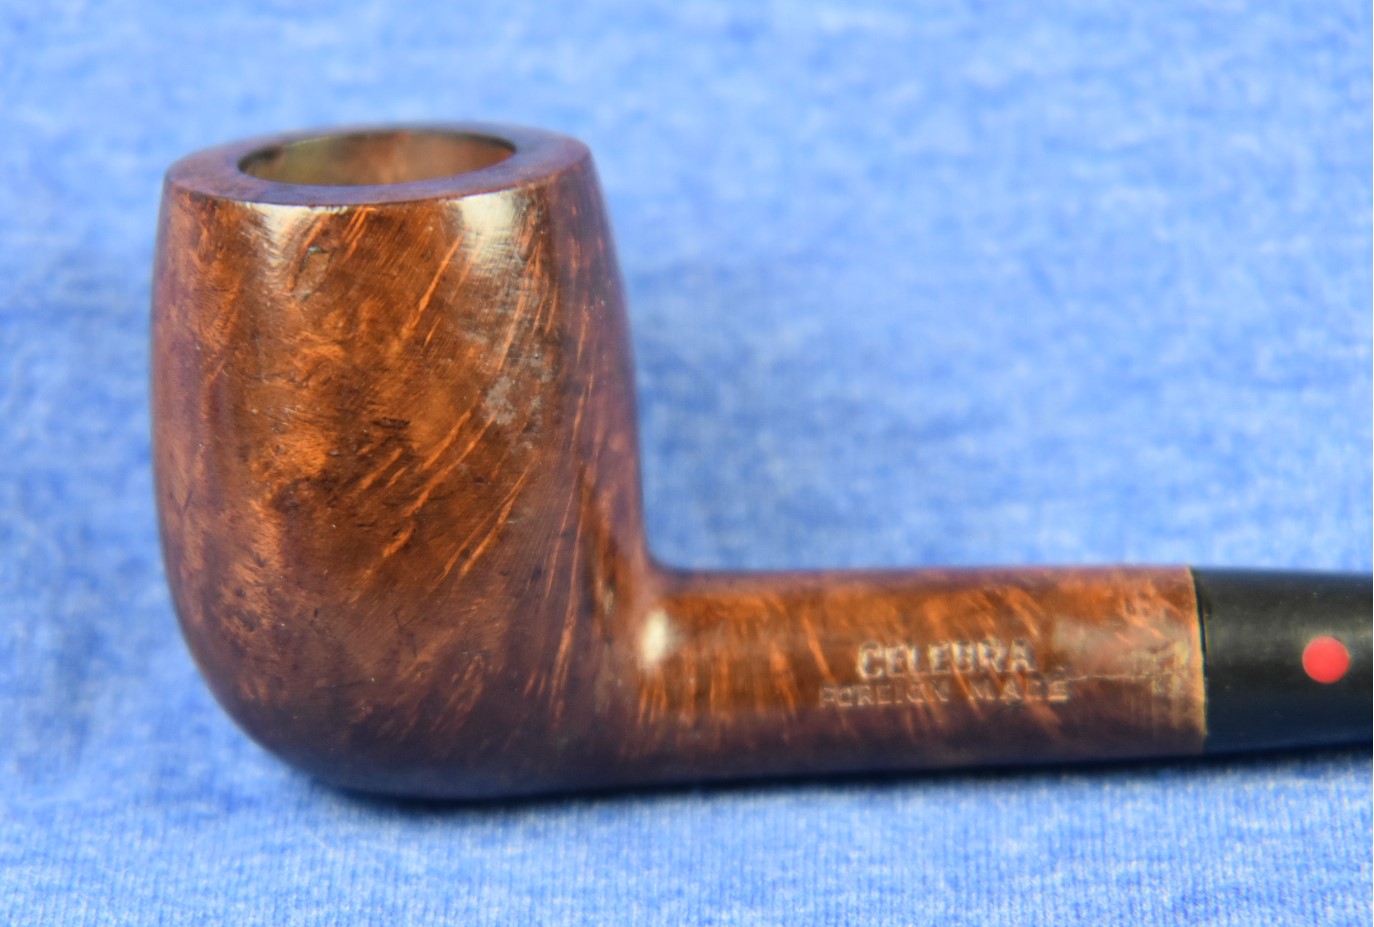
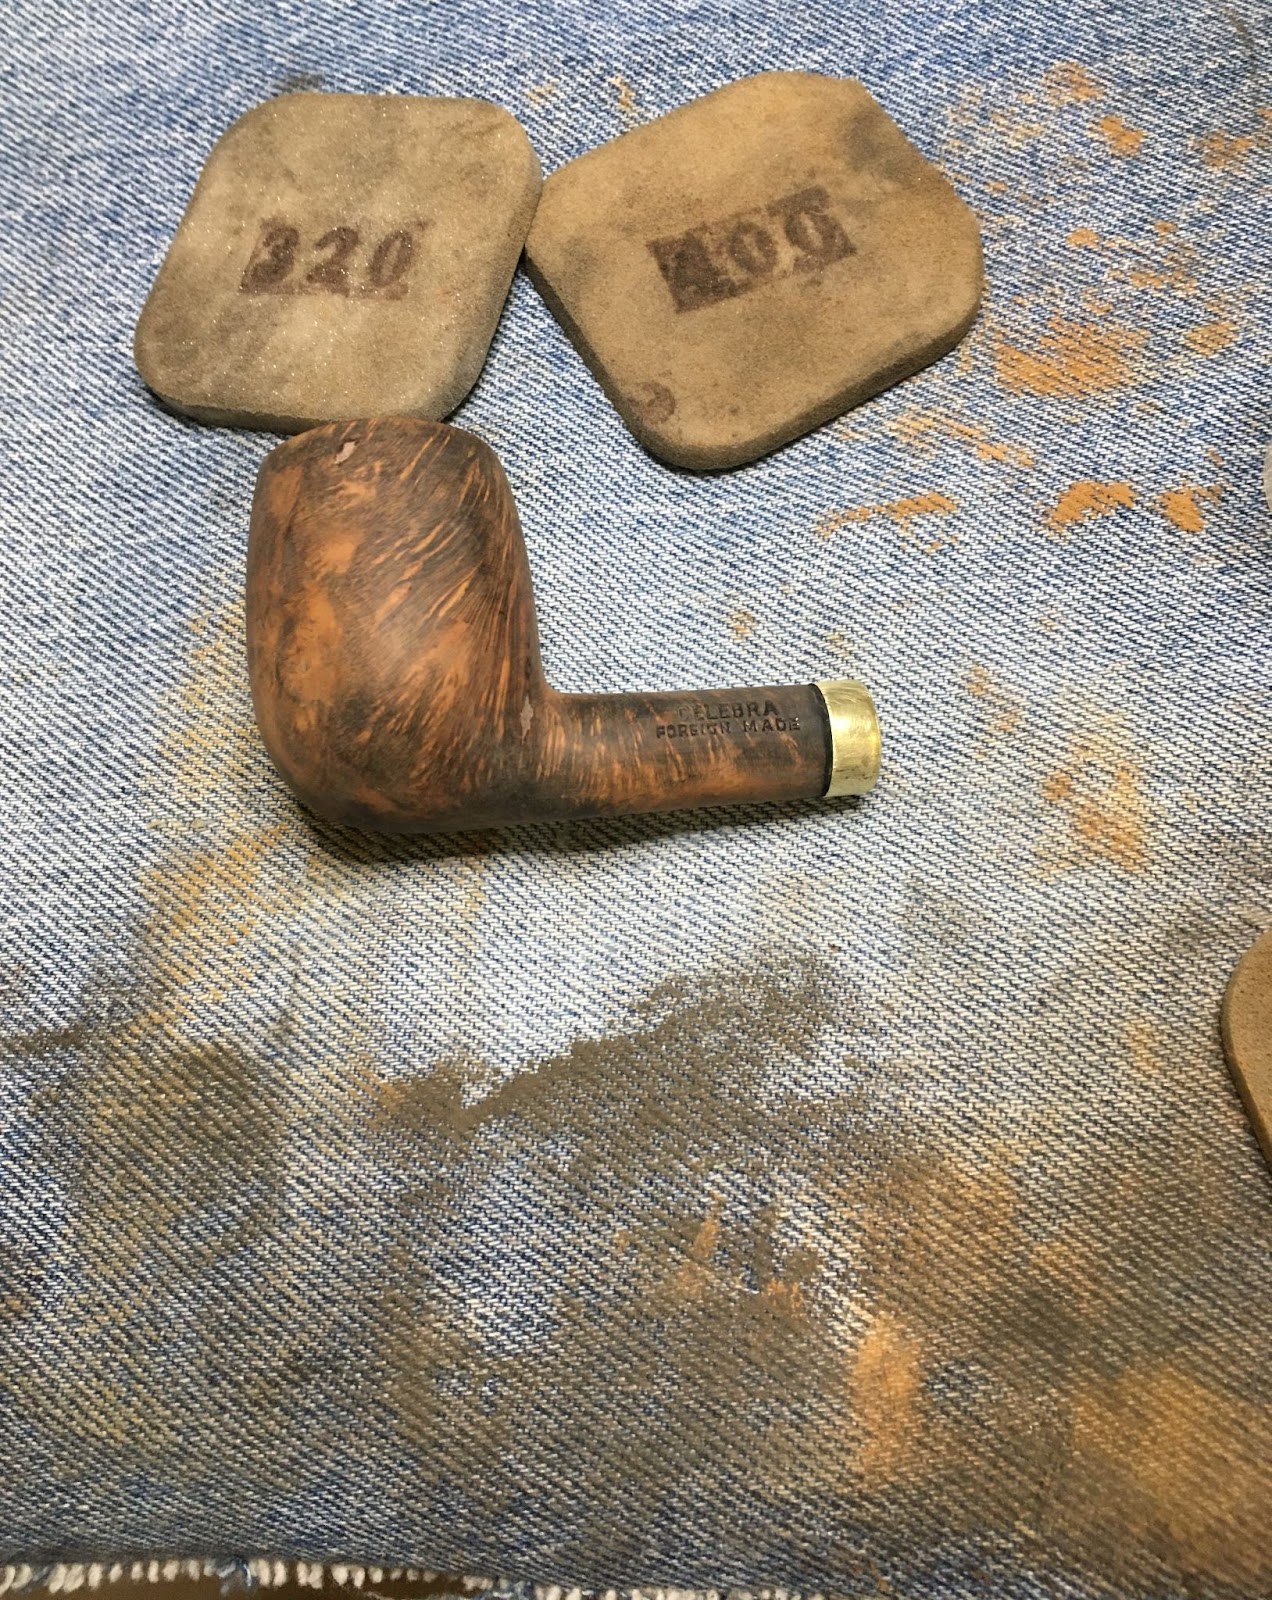
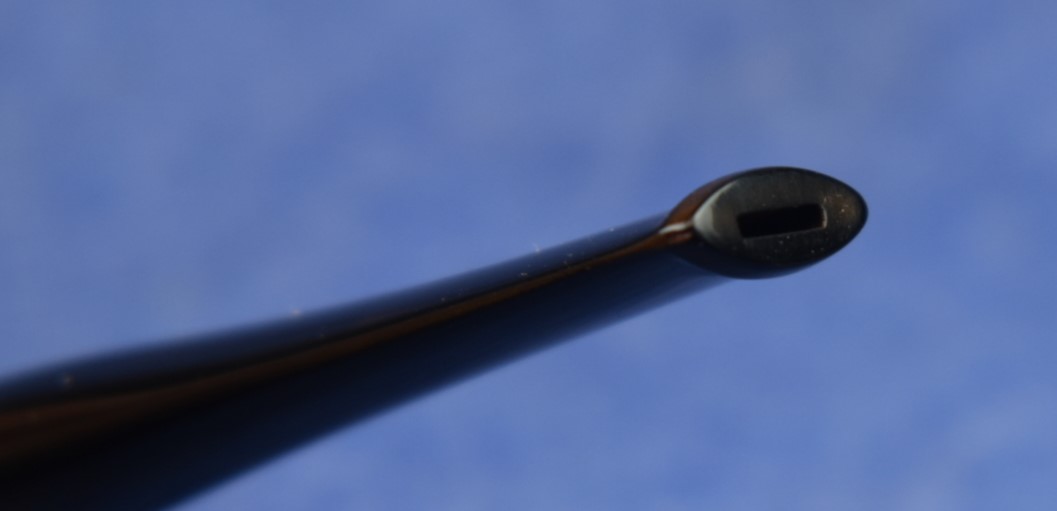
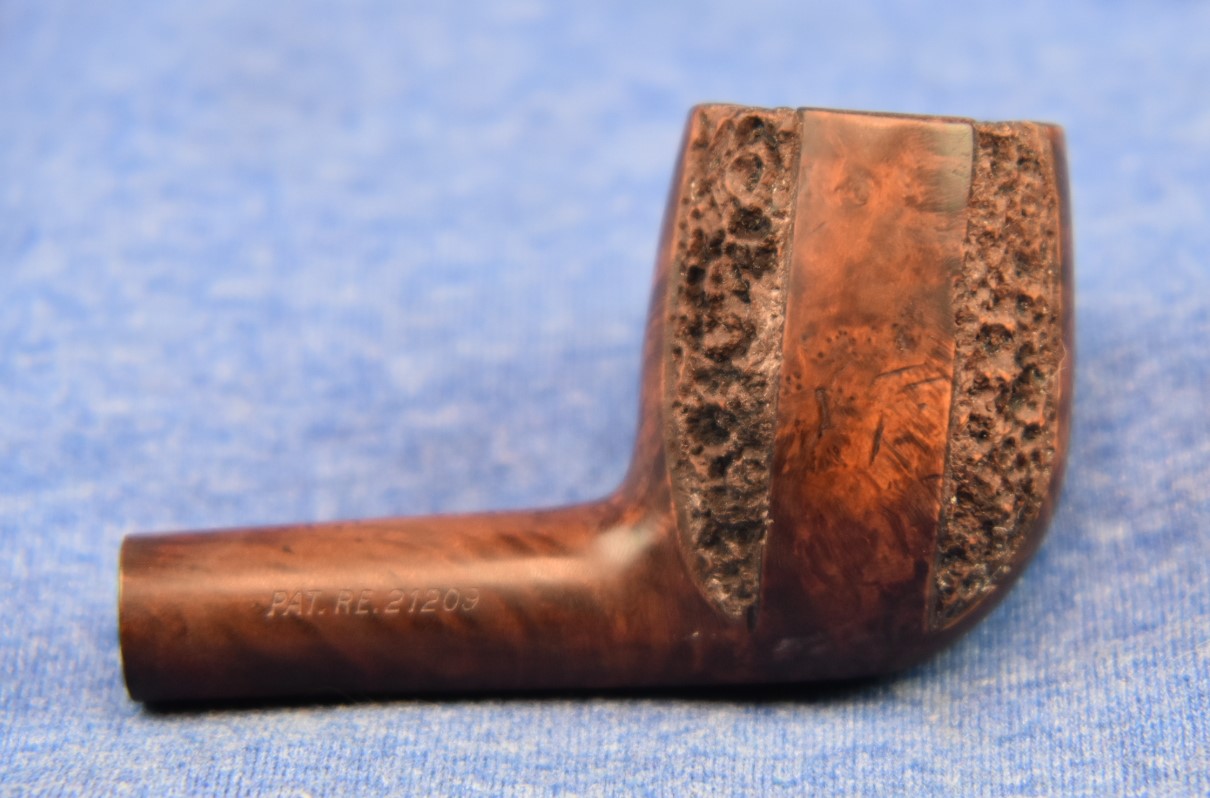
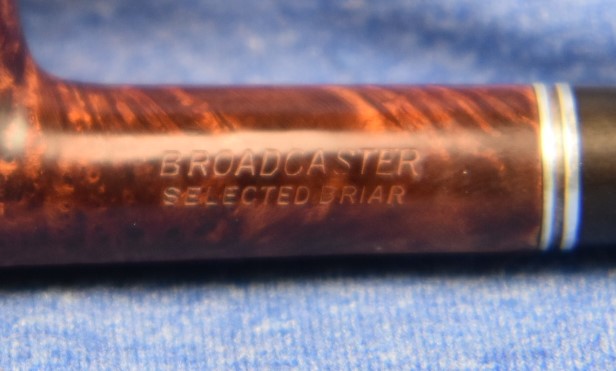
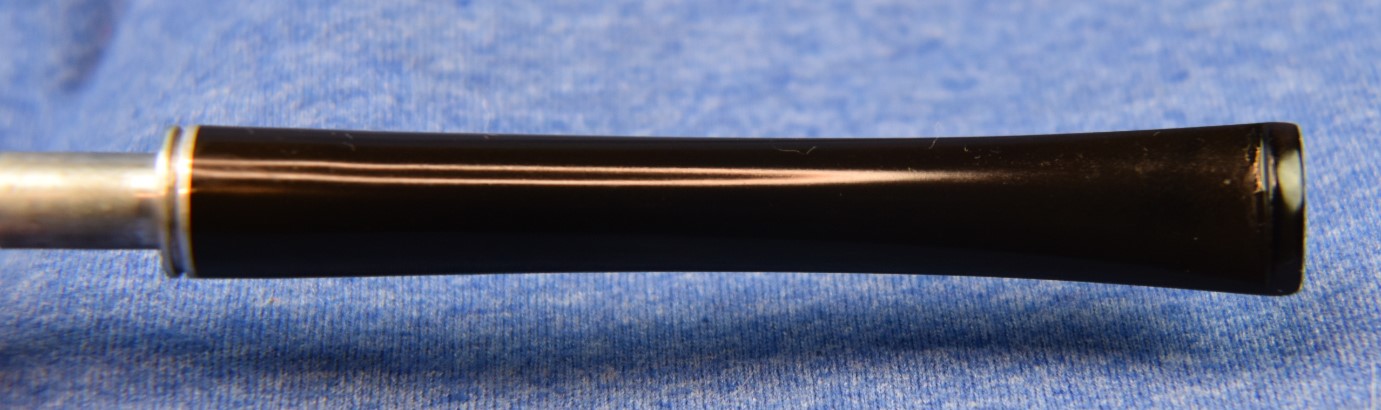
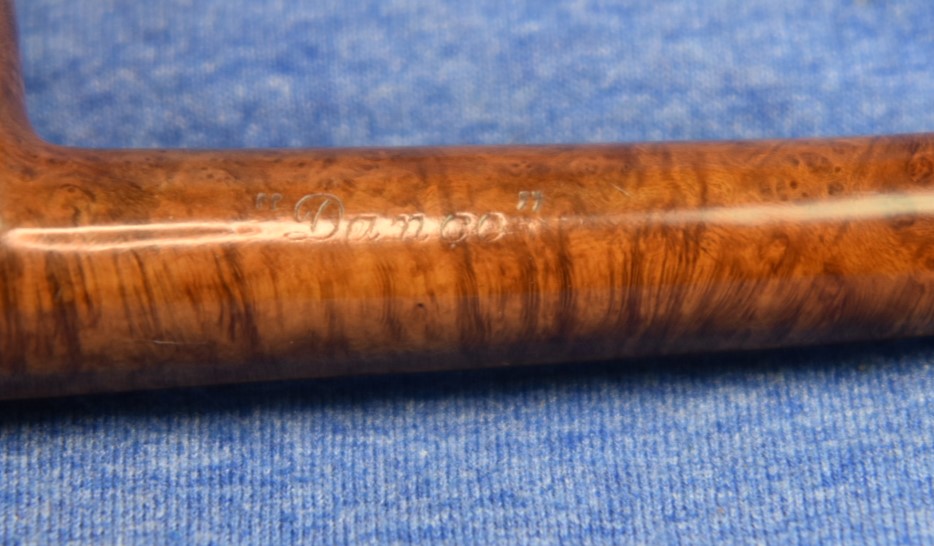
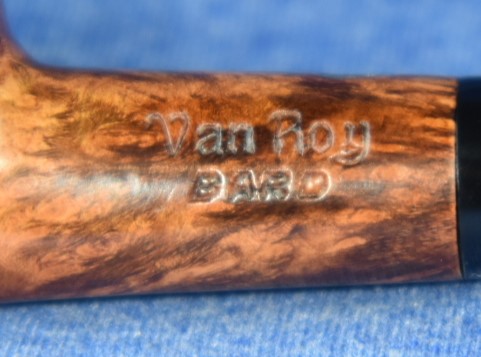
Yeah, not the photograph that you were expecting on one of my blogs, eh? Well this sets the stage for a fun restoration. Before I begin with the restoration let me tell you a bit about Manhattan pipes. Manhattan pipes are hardly a world renowned brand. I could find only a couple of references to the brand but they are good ones:
“The Manhattan Briar Pipe Co. was organized in October, 1902 by the American Tobacco Company, under an agreement with the owners of the Brunswick Briar Pipe Company, as a New York corporation. Its initial address was 111 5th Avenue, New York City, and the value of its stock in 1902 was $350,000.00. American Tobacco Company had itself been founded in 1890 by J. B. Duke through a merger between a number of U.S. tobacco companies, and was one of the original twelve members of the Dow Jones Industrial Average in 1896. It was commonly called the “Tobacco Trust”.
The majority of the stock in Manhattan Briar Pipe Company was immediately acquired by the American Tobacco Company after the company was organized, but the prior owners retained a controlling minority interest for some years. In October, 1906, however, the American Tobacco Company acquired the remaining shares of stock, and from that point on Manhattan Briar was the pipe making branch of American Tobacco. By 1911, however, American Tobacco had been dissolved in anti-trust litigation, and Manhattan Briar Pipe Co. became a separate concern.
Manhattan Briar Pipe Co. had started operations in 1905 in Jersey City, New Jersey, having taken on a lease for a ten year period in 1905, and maintained a factory at Marion, New Jersey, where the pipes were made. By 1913, former American Tobacco pipe department chair John Glossinger was the president of Manhattan Briar Pipe Company, and began a significant advertising push for high grade pipes, using the slogan “Don’t spoil good tobacco by using a poor pipe”. It appears from cases having appeared on the estate market that Manhattan also sold meerschaum pipes, most likely rebranded articles originally made by European craftsmen.
After the expiration of the Jersey City lease the Manhattan Briar Pipe Company maintained offices and a factory at 415-425 Greenpoint Avenue, Brooklyn, New York beginning in 1915, evidently under the direction of W. C. Bastian, who had been granted a patent for a chambered pipe stem[1] otherwise seemingly identical to a Peterson P-Lip in 1910. An employee of the company, one J. Gianninoto, was granted a patent for a device meant to permit the emptying of a cuspidor[2] without the mess in early 1918, and the company continues to be listed in local directories through 1921. In 1922 Manhattan Briar was purchased by S.M. Frank and merged into that company[3].” (Manhattan Briar Pipe Co. – Pipedia)
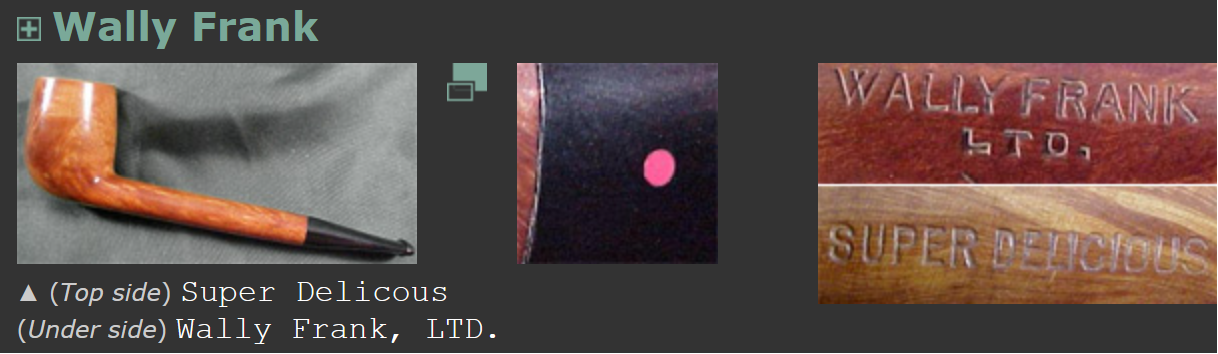
“In the year 1900 Sam Frank Sr. started his own business, selling pipes and other tobacco items. His original office was located at 20 W. 17th Street, NYC. He was also closely associated with the sales staff of Wm. DeMuth & Co., selling their line of pipes. It was at this time that Mr. Frank first met Ferdinand Feuerbach and formed what would be a lifelong friendship. Mr. Feuerbach started working for the DeMuth company in 1897 and by 1903 had become the production manager. In 1919, when Mr. Frank needed an experienced pipe man to run his pipe factory, located at 168 Southern Blvd., in the Bronx, he persuaded his old friend Ferdinand to join him. Mr. Feuerbach is credited with developing DeMuth’s popular Royal DeMuth and Hesson Guard Milano pipelines. In 1922, when S. M. Frank purchased the Manhattan Briar Pipe Co. the company incorporated. In 1933, the paper Medico filter was introduced along with the Medico brand line of pipes. The Medico filter is the “original” and most absorbent paper filter on the market that is recognized by pipe smokers world-wide. Filtered pipe smoking, a debatable issue among pipe smokers, reduces tars and nicotine in the smoke stream to make a “safer” smoke.” (S. M. Frank & Co. – Pipedia)
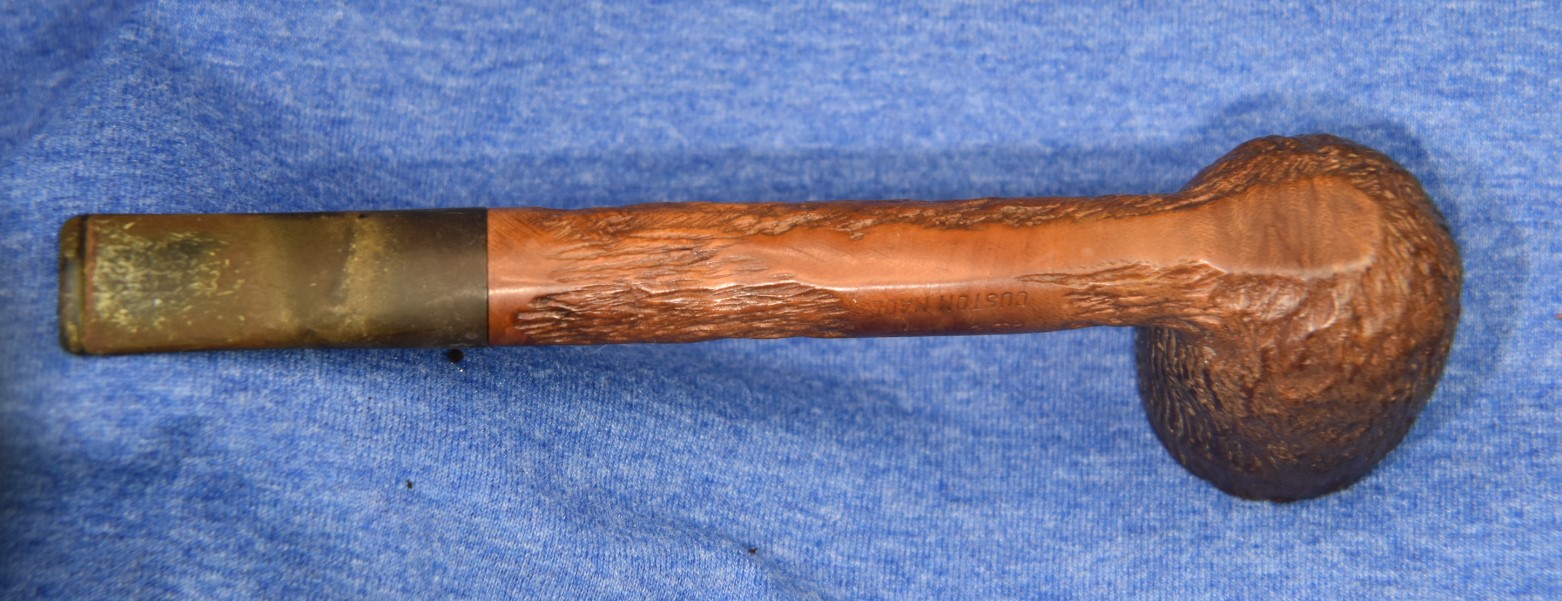
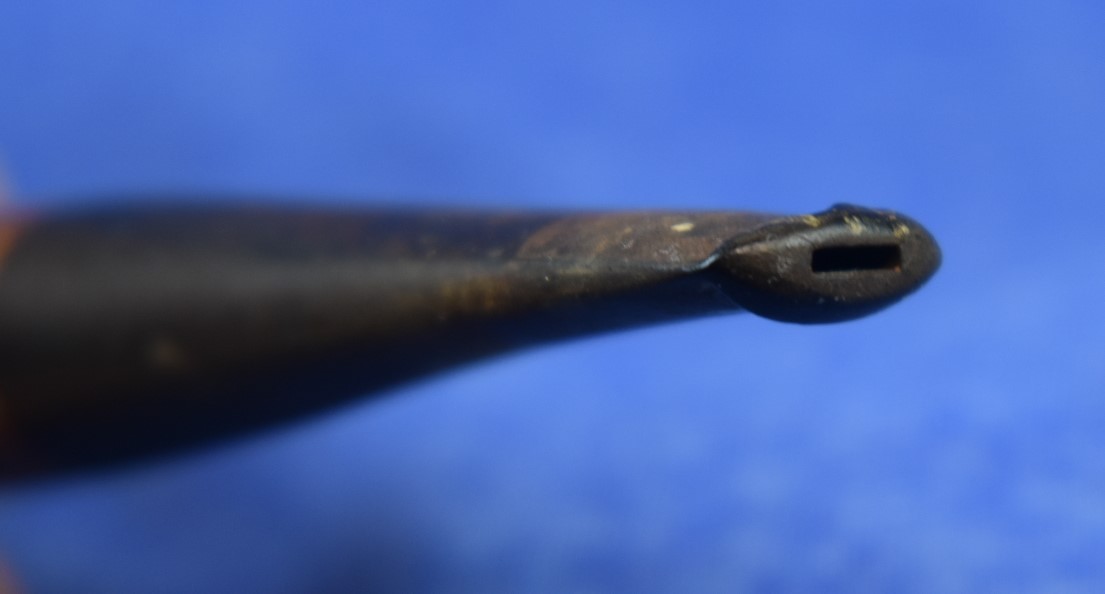
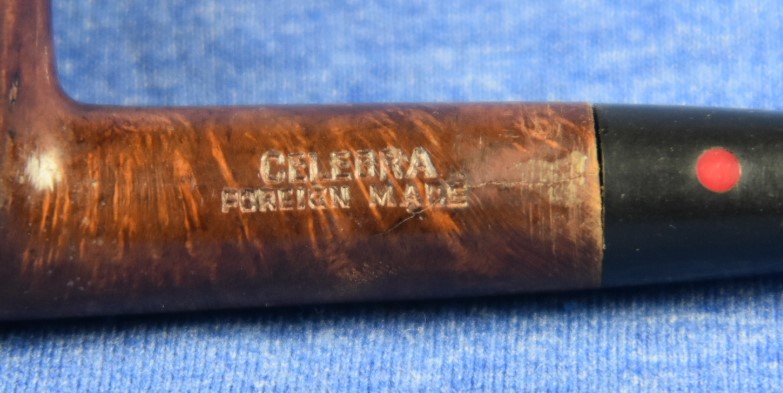
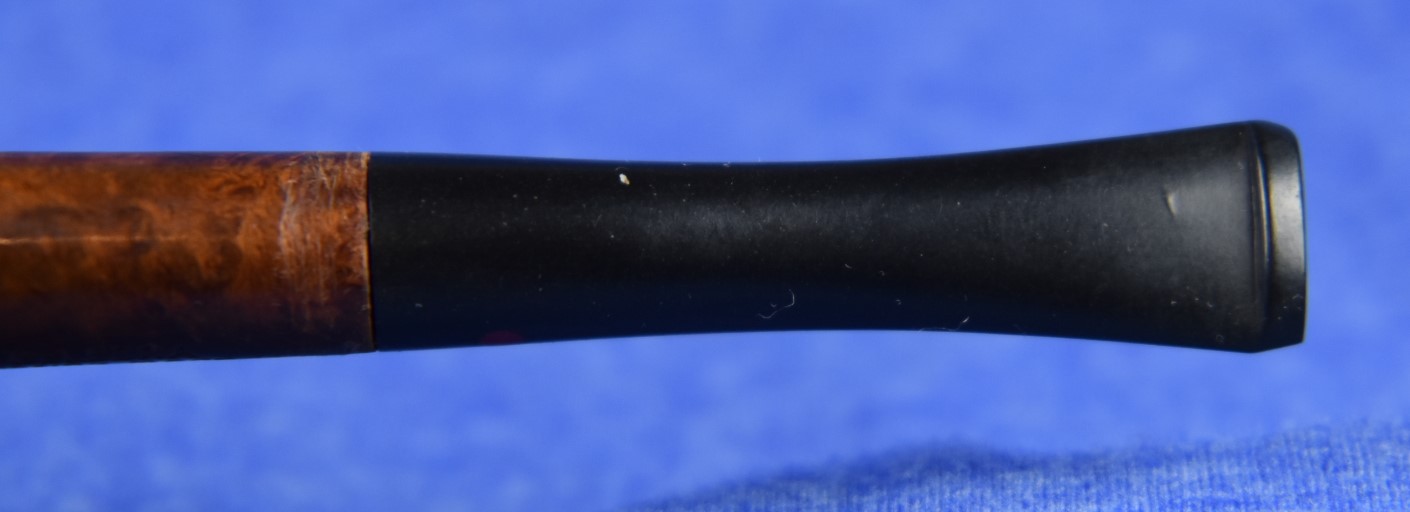
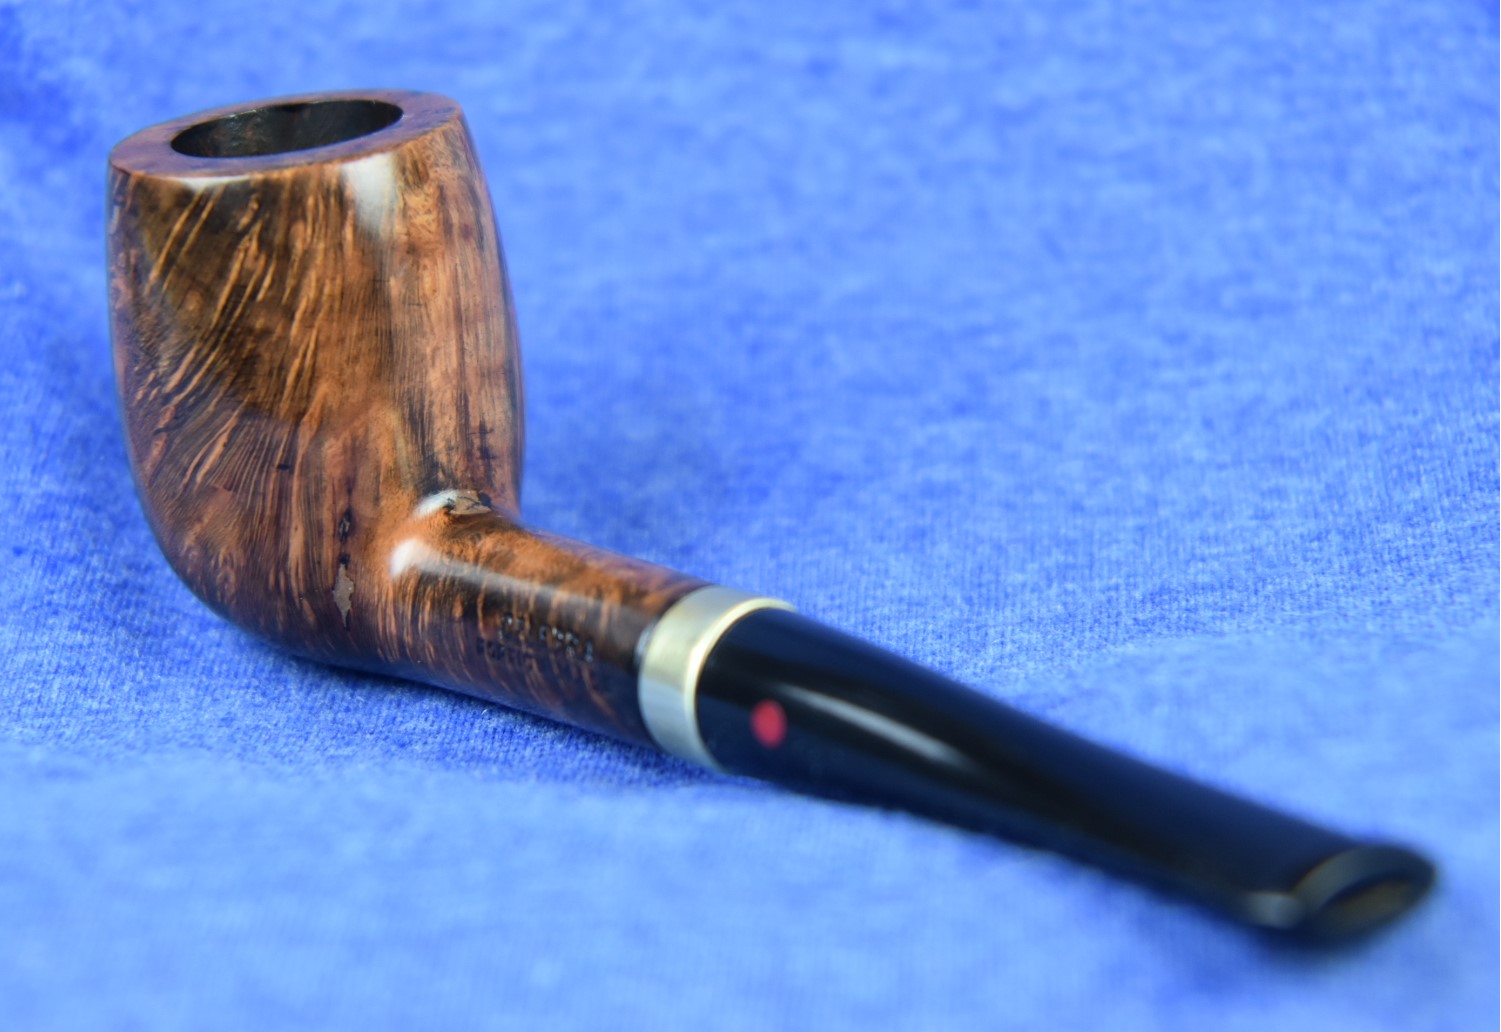
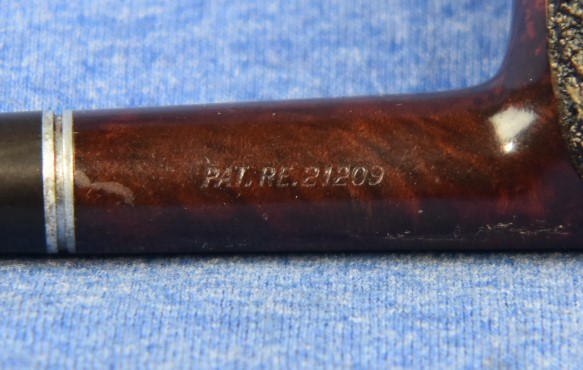
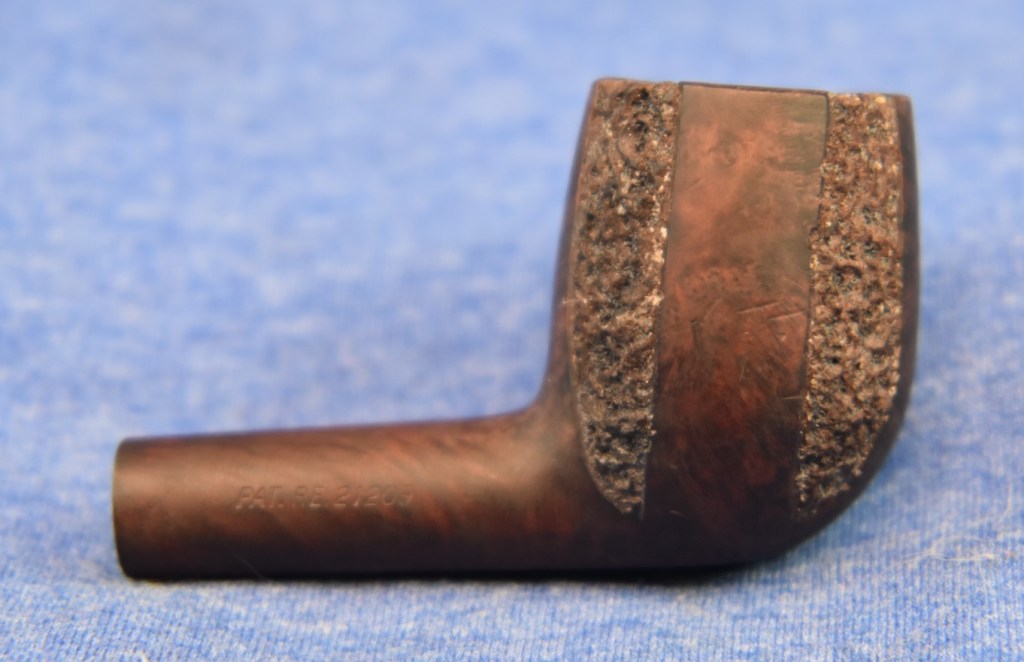
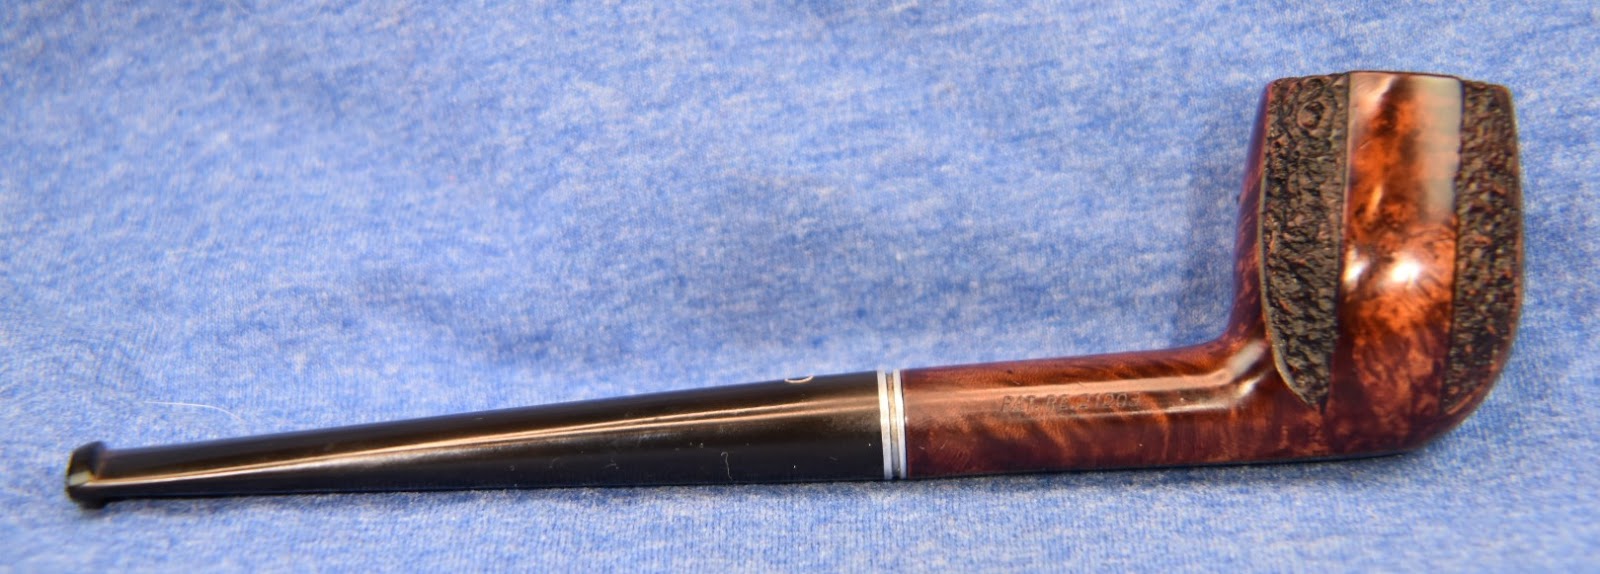
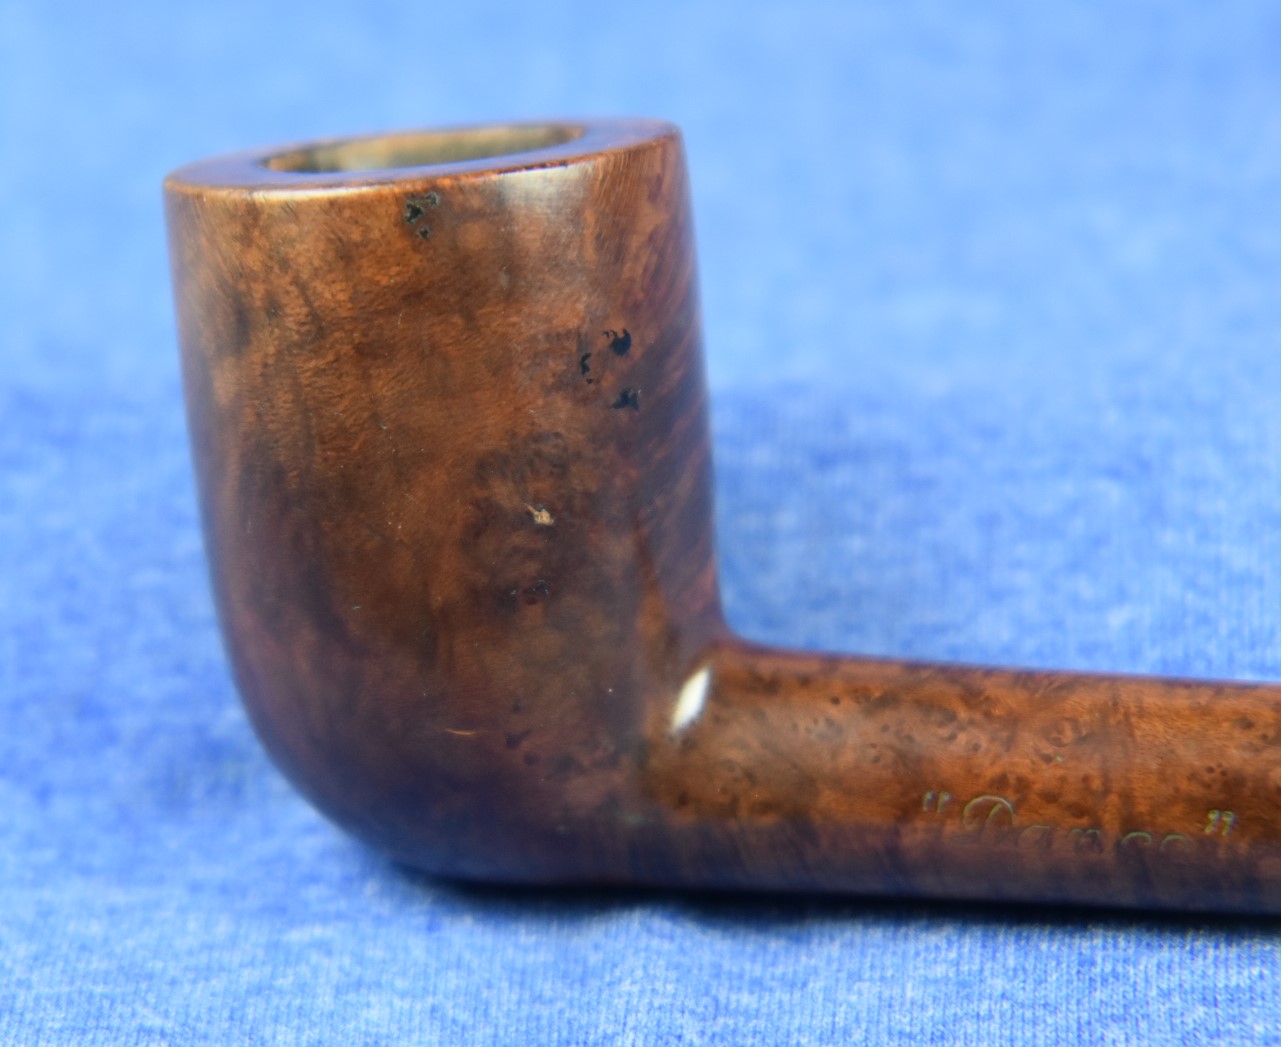
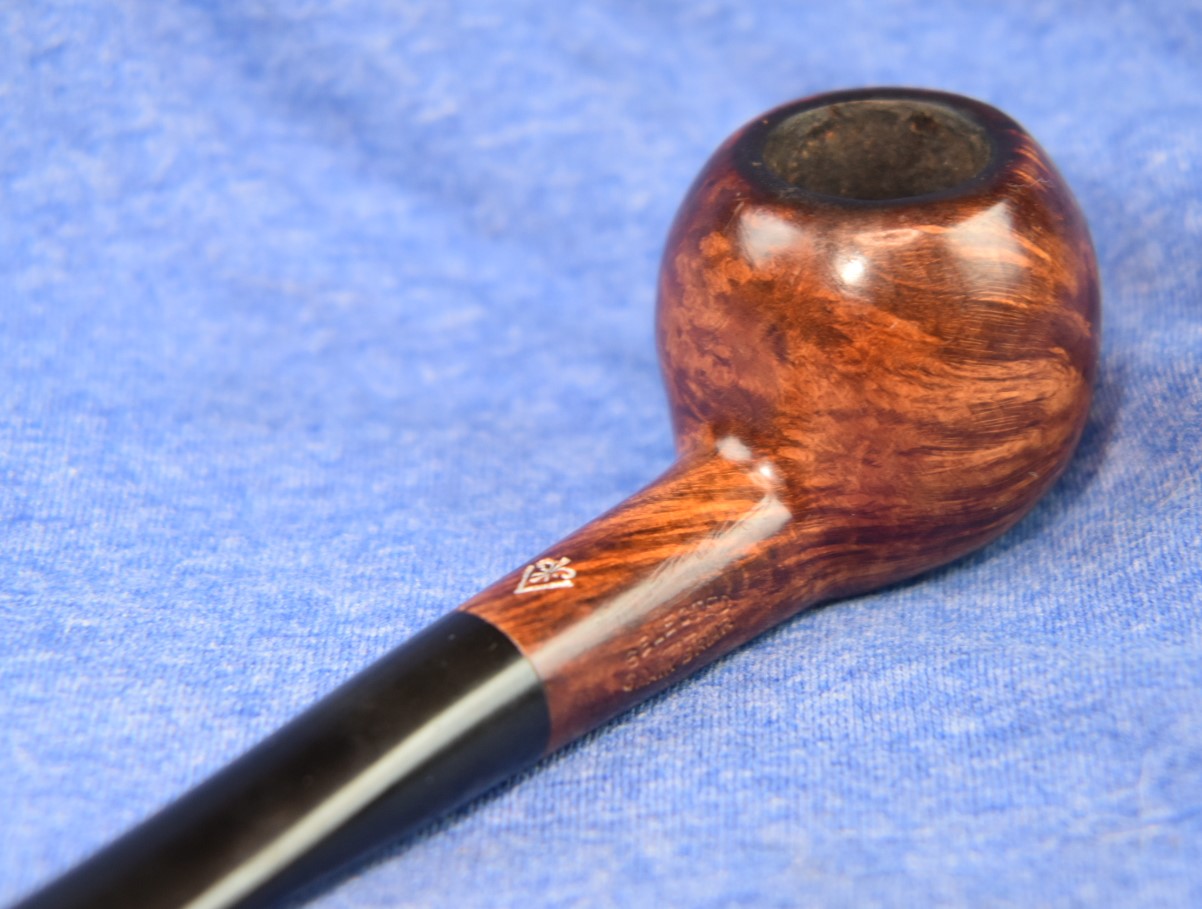
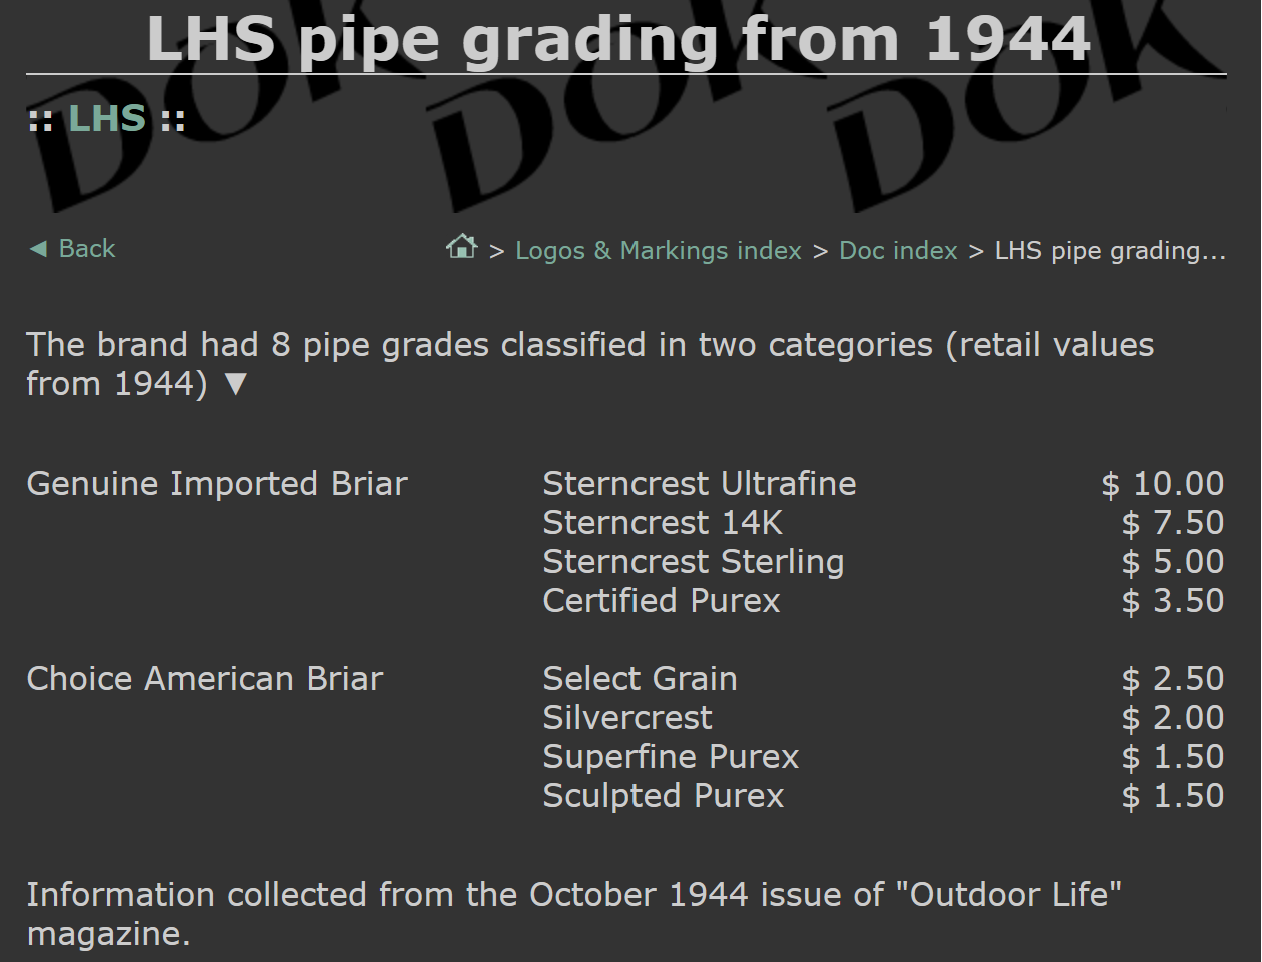
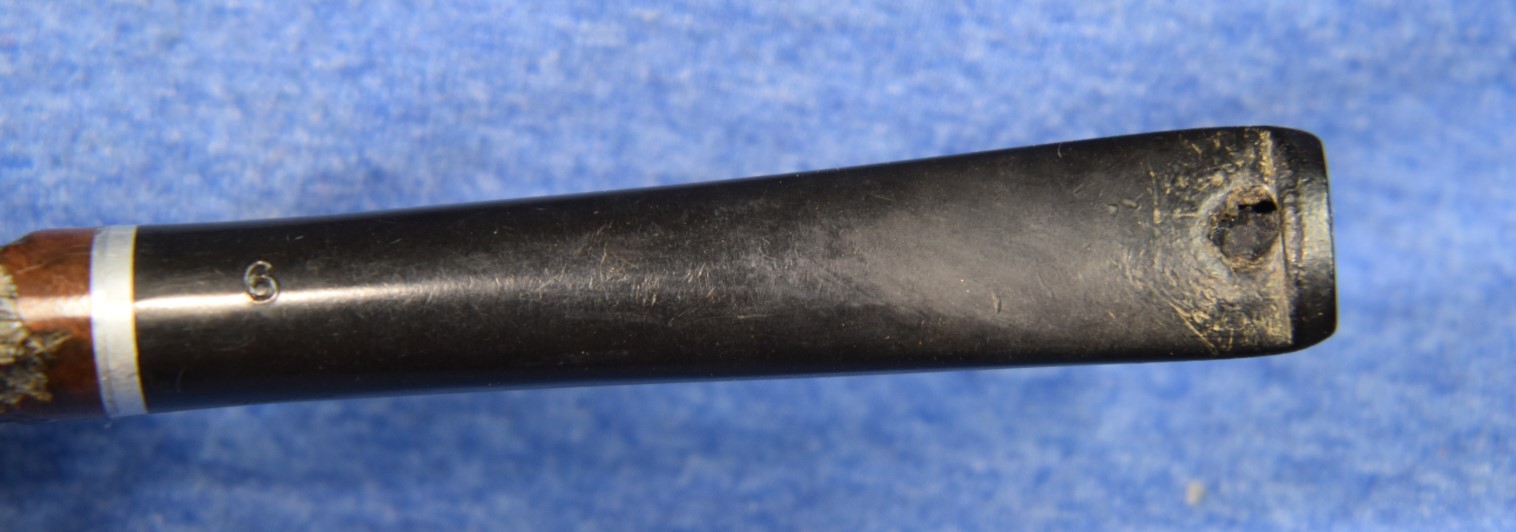
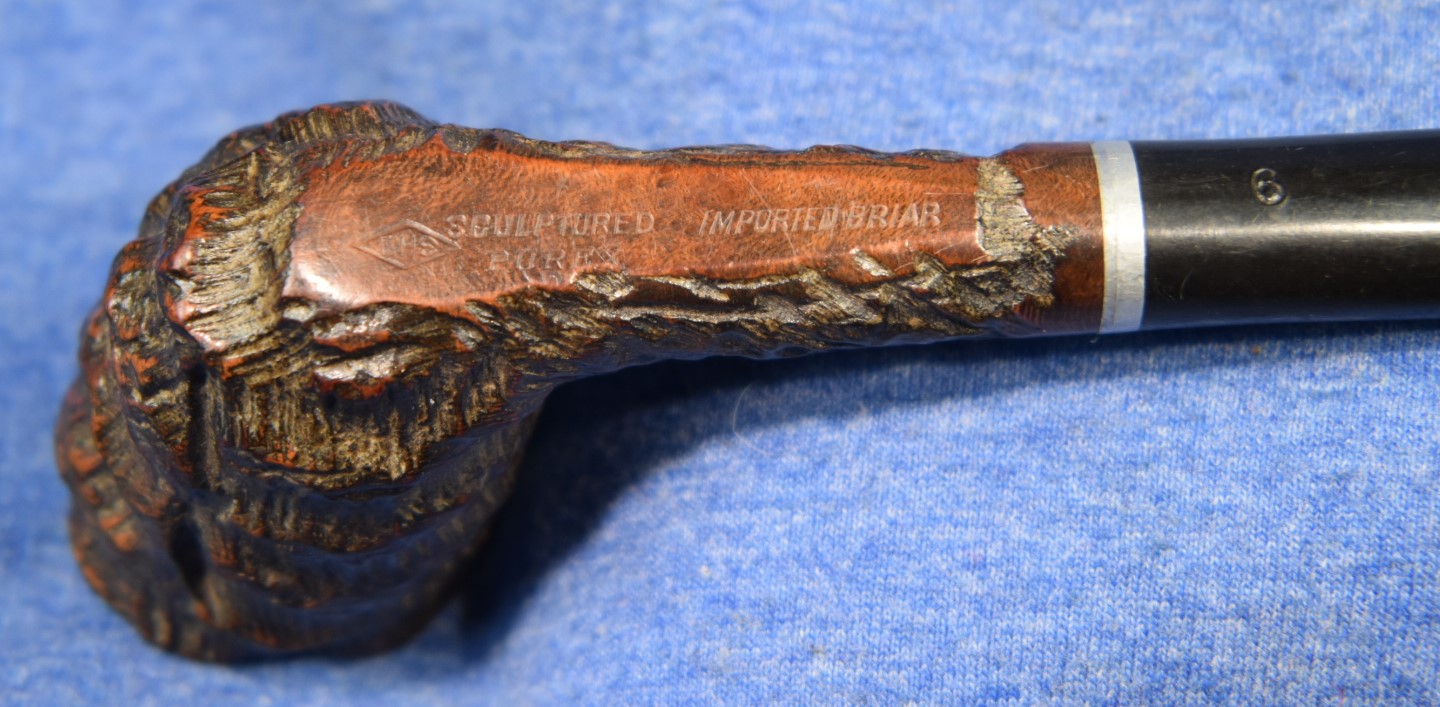
The date looks correct for the characteristics of this pipe. The button definitely looks like a much older era and the cut threads of the mortise and tenon strike me as significantly pre-WWII. The date that the company was taken in by S.M. Frank, was1922. That puts this pipe at least one hundred years old. No pressure with that little piece of information.
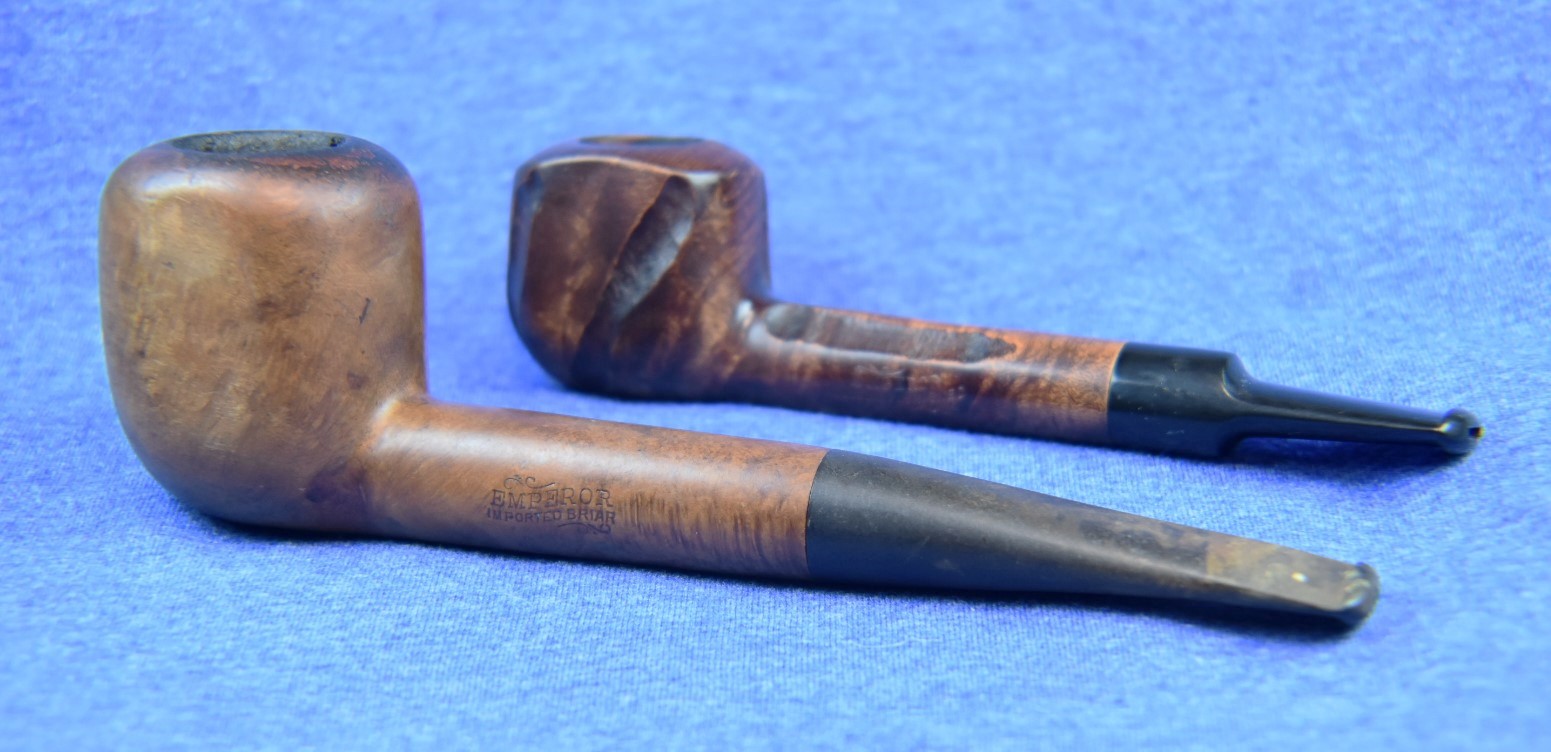
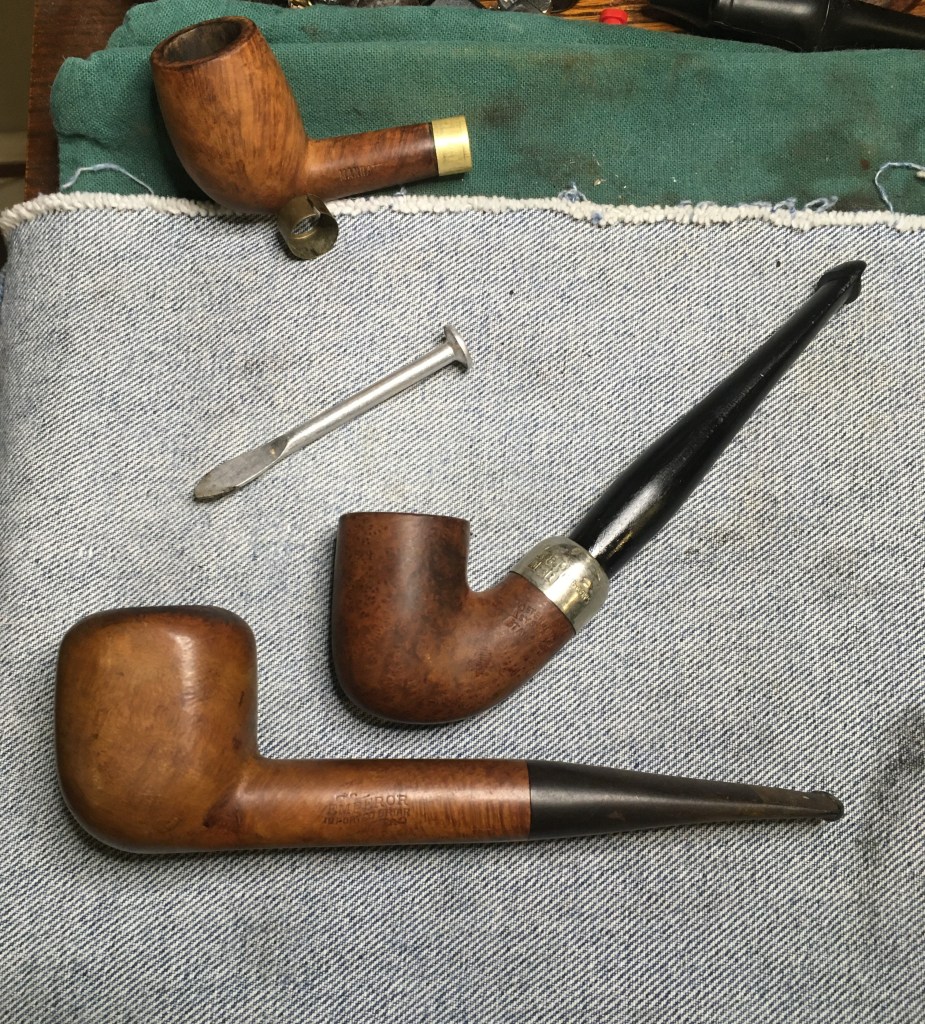
Now for the restoration. The pipe was purchased as part of an estate lot and included this Manhattan, a Marxman, Tropical Paints Cleveland and a Winthrope. The only name I recognized was Marxman. The Marxman

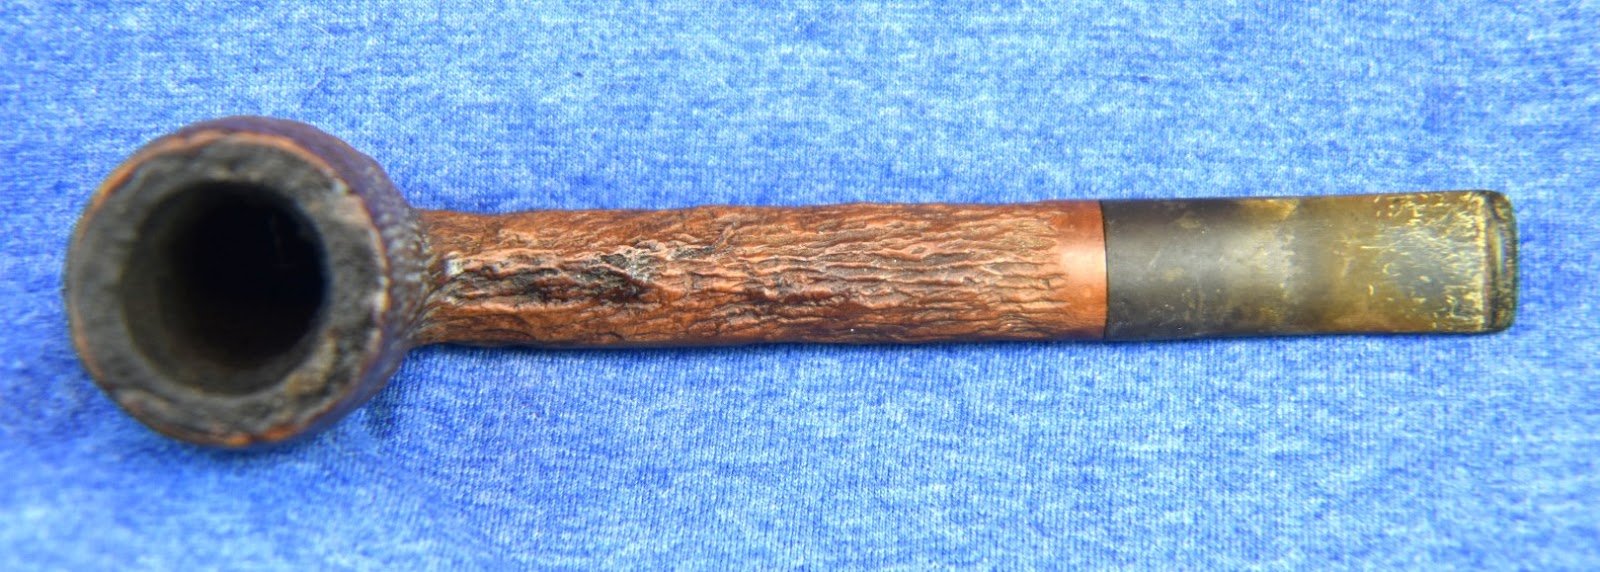
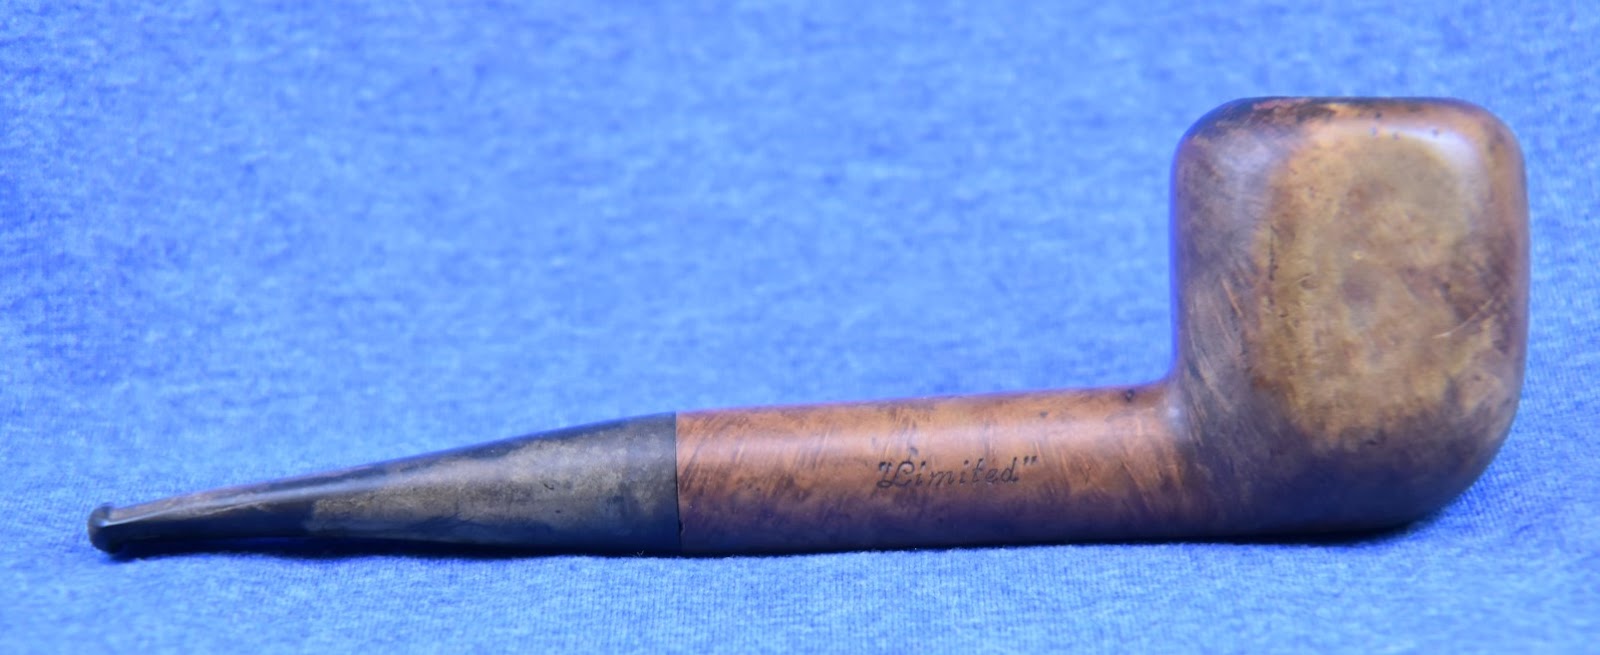
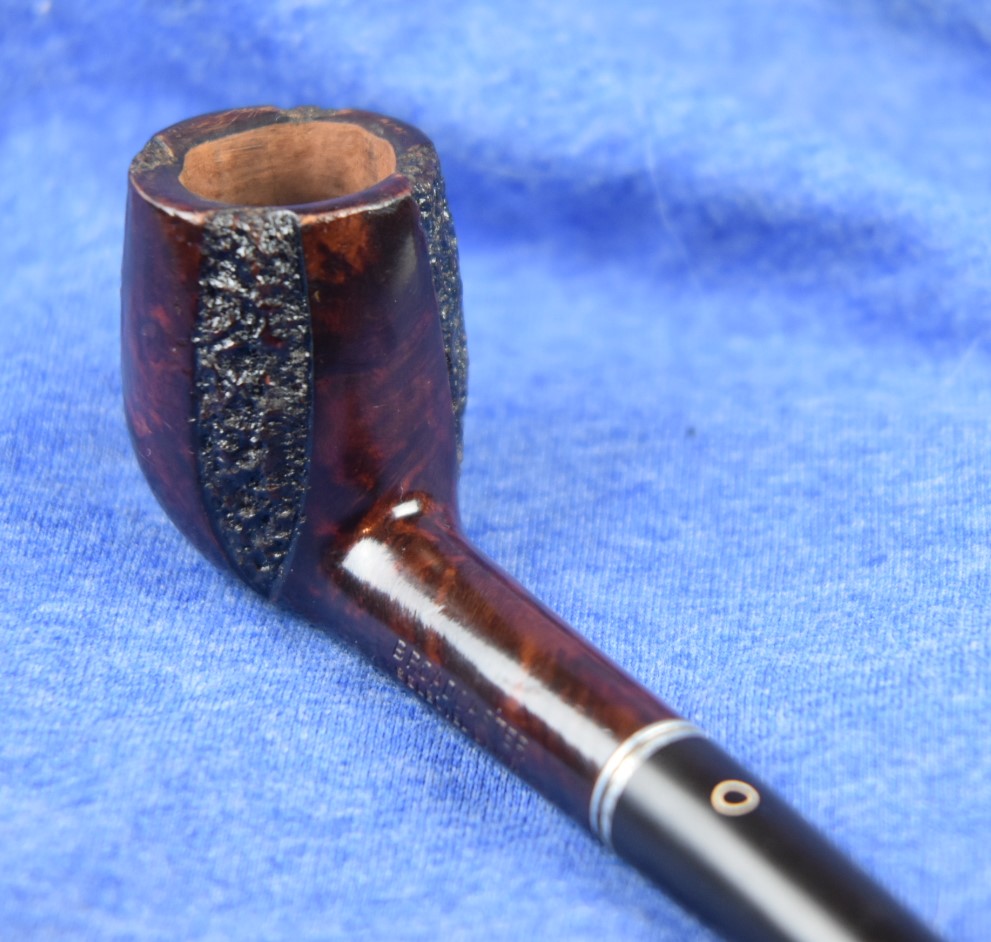
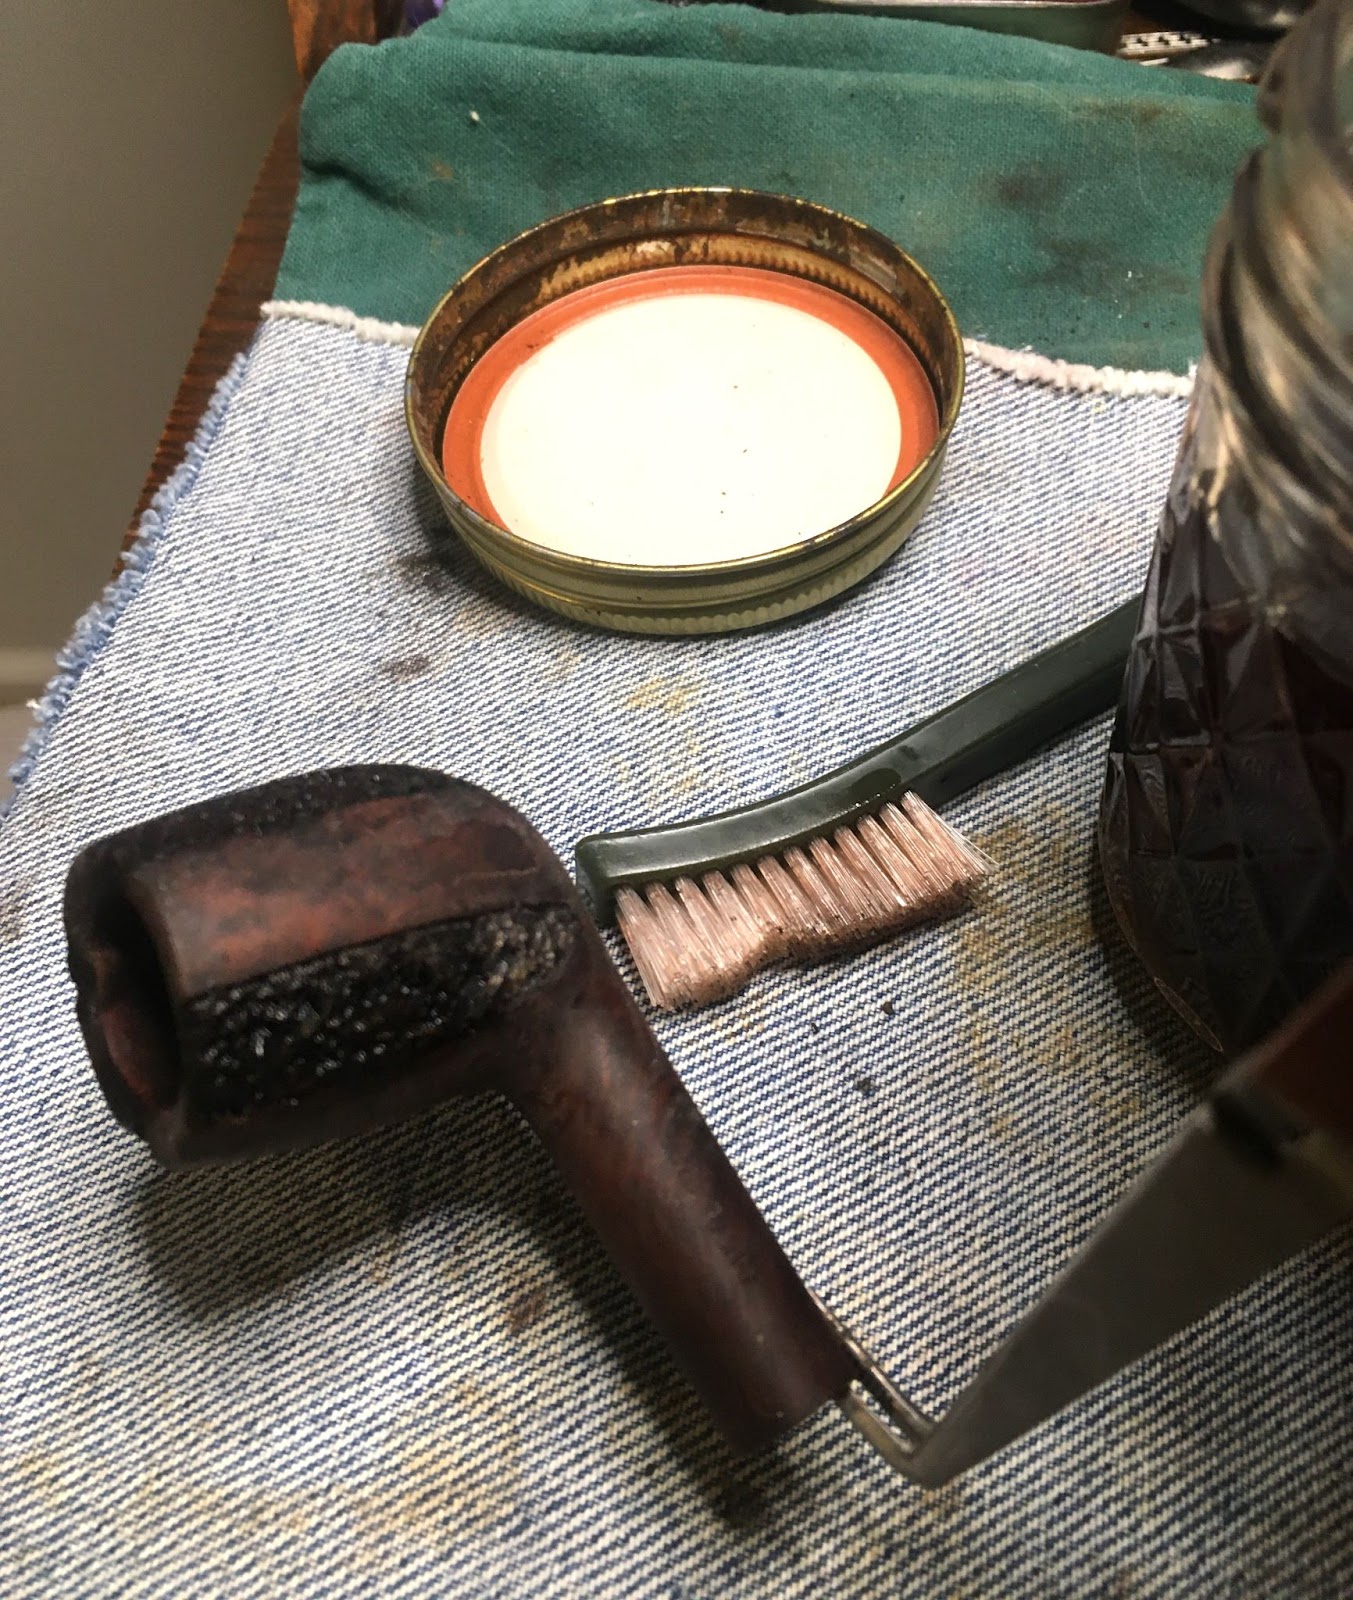
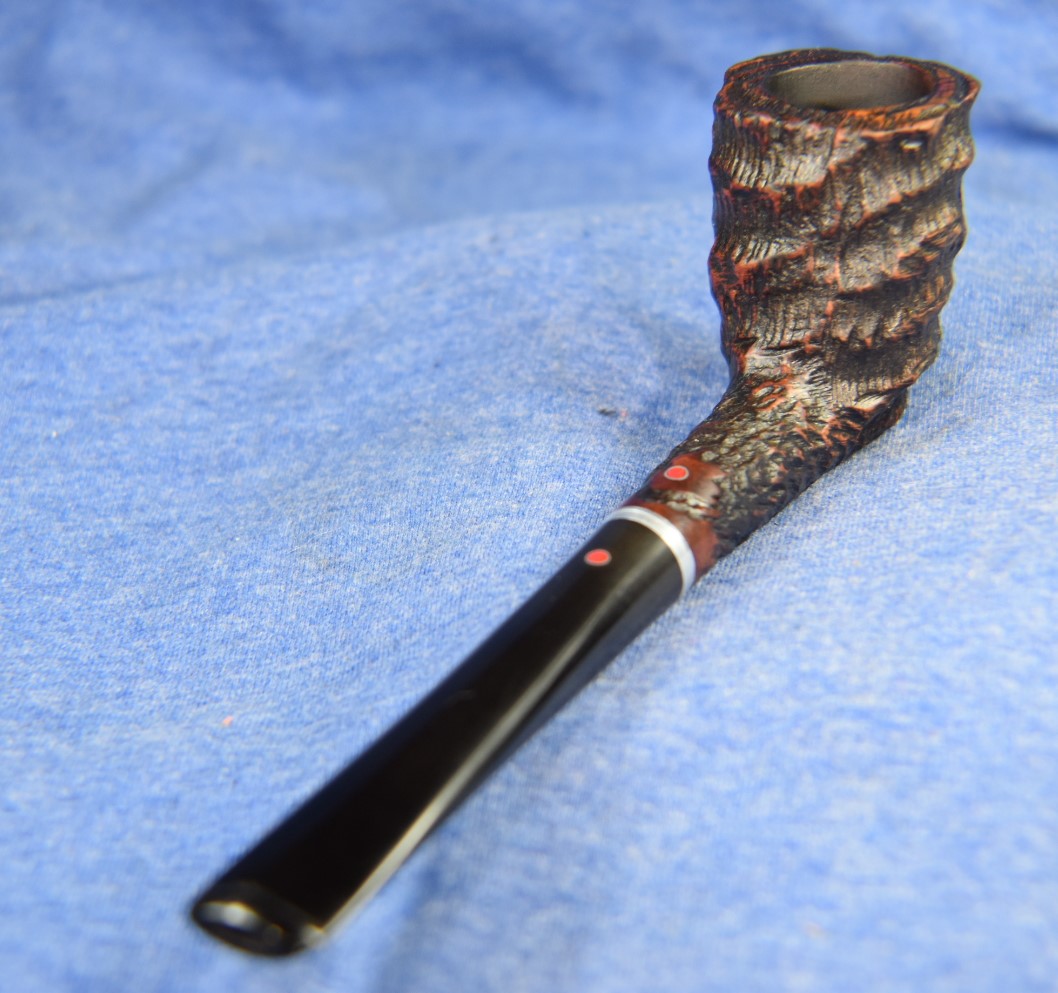
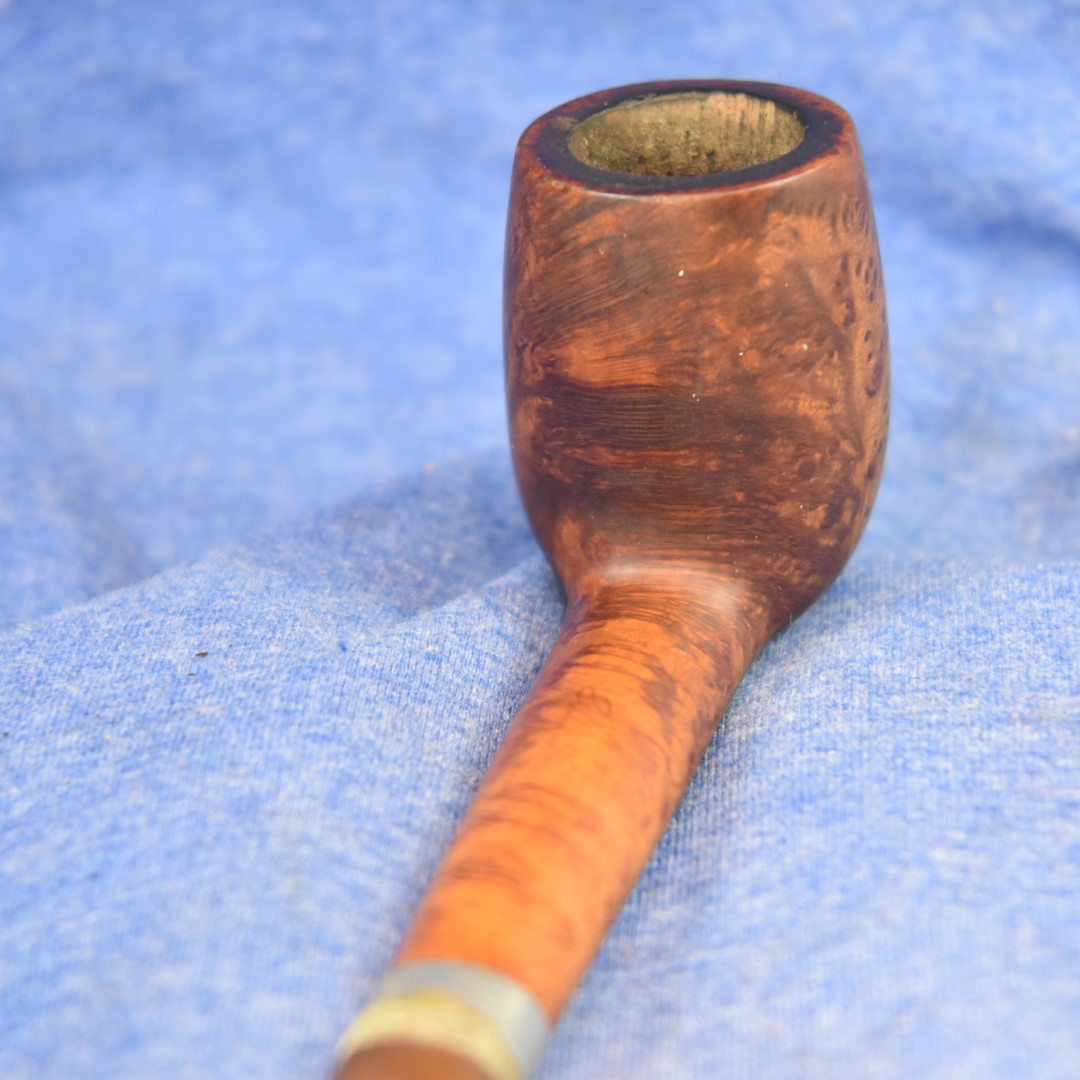
originally looked most interesting. It turns out that all four were interesting. The Winthrope, Marxman and Tropical Paints Cleveland were each done previous blogs. Here is what I saw upon the arrival of the Manhattan.


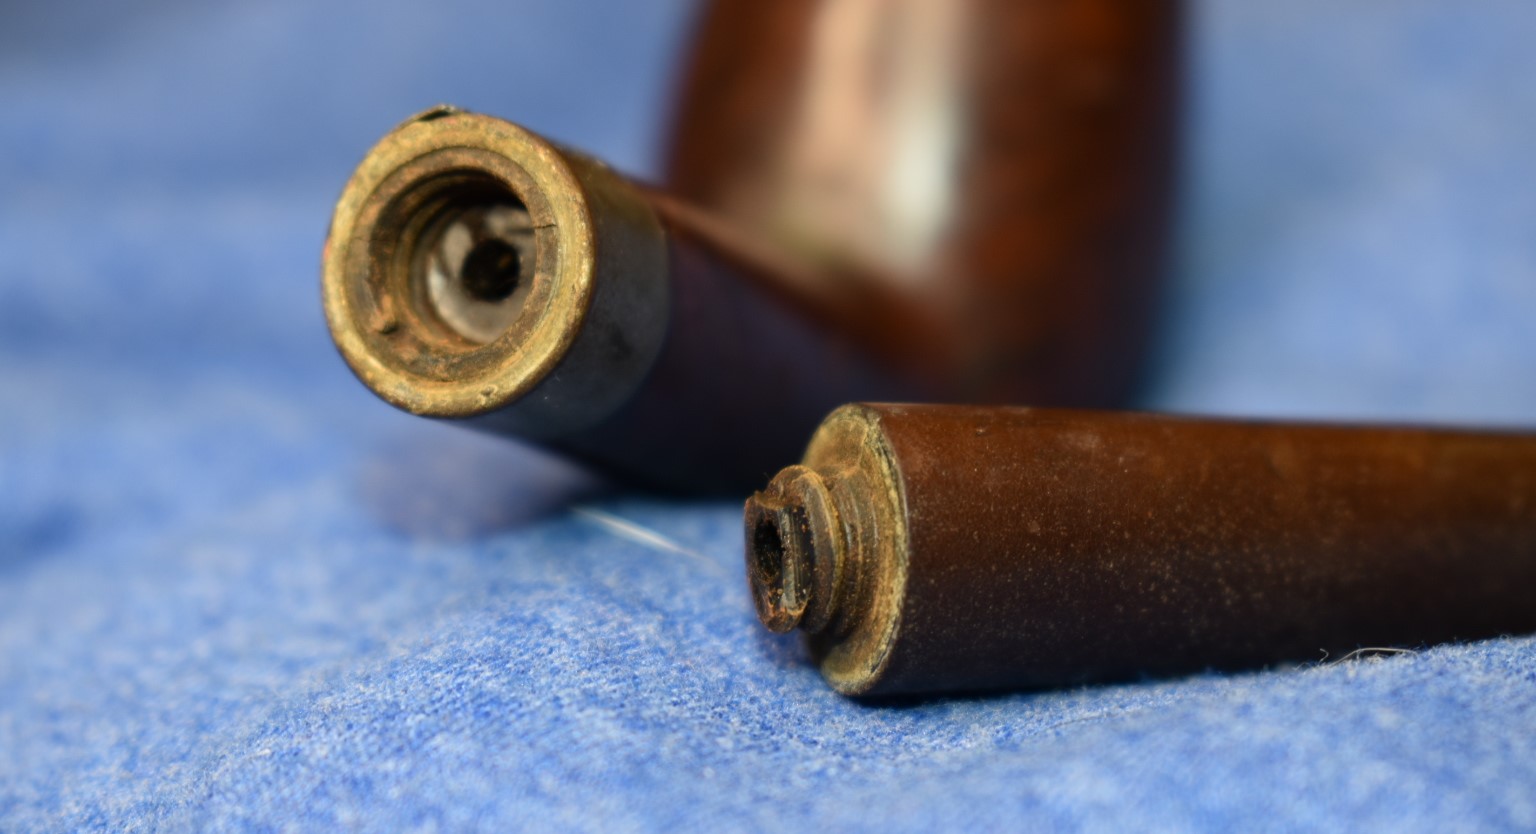
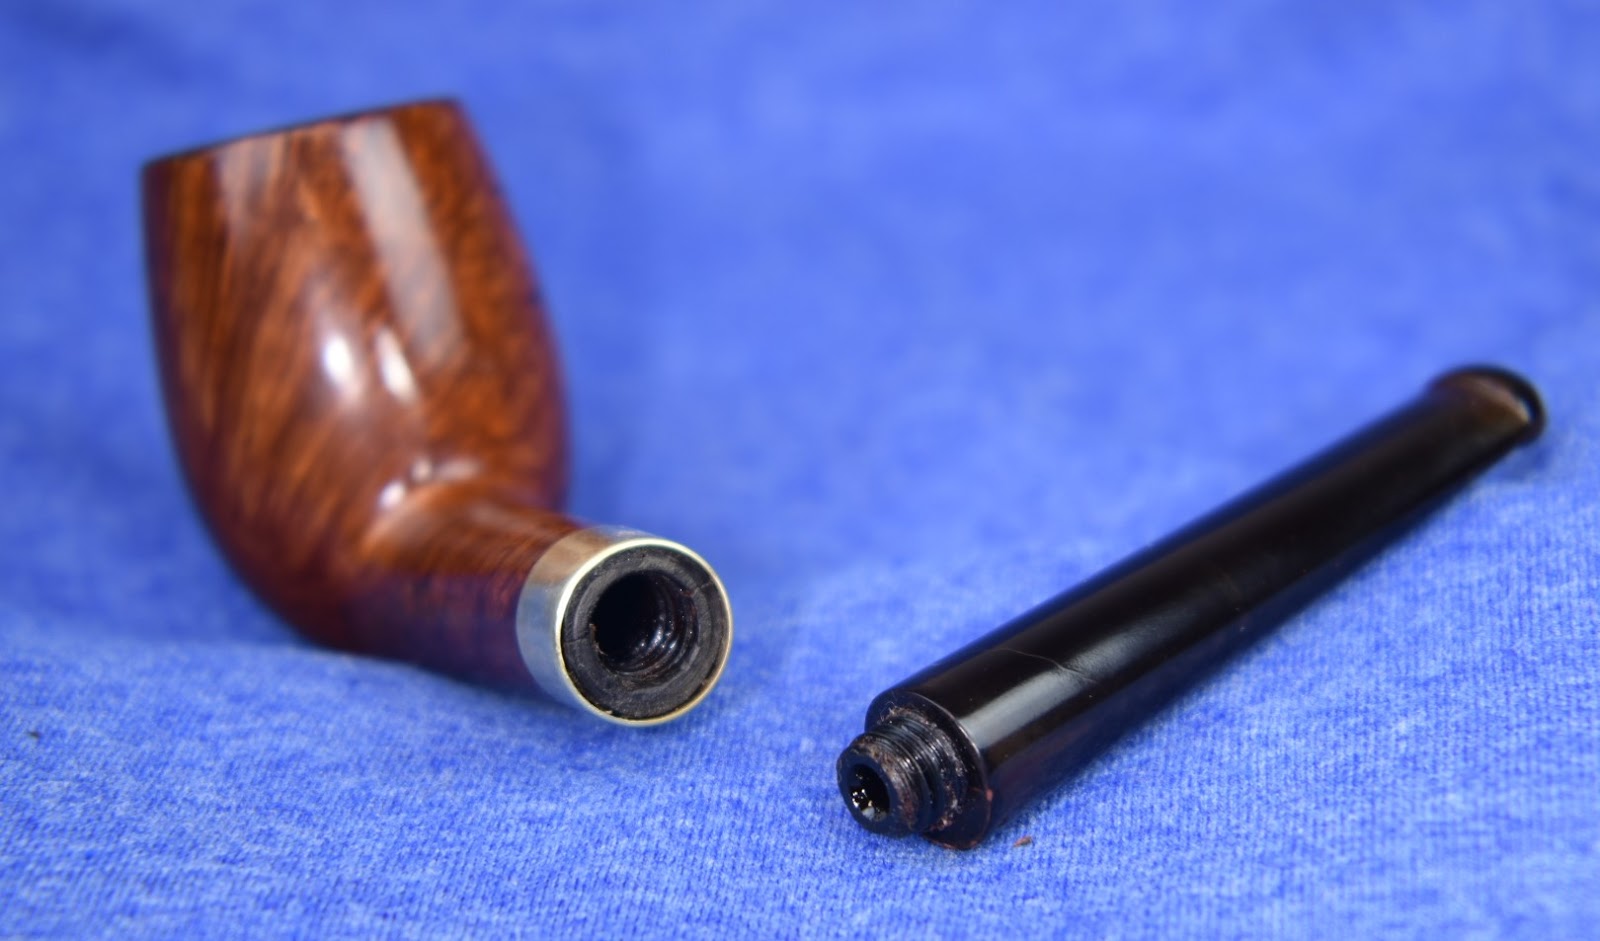
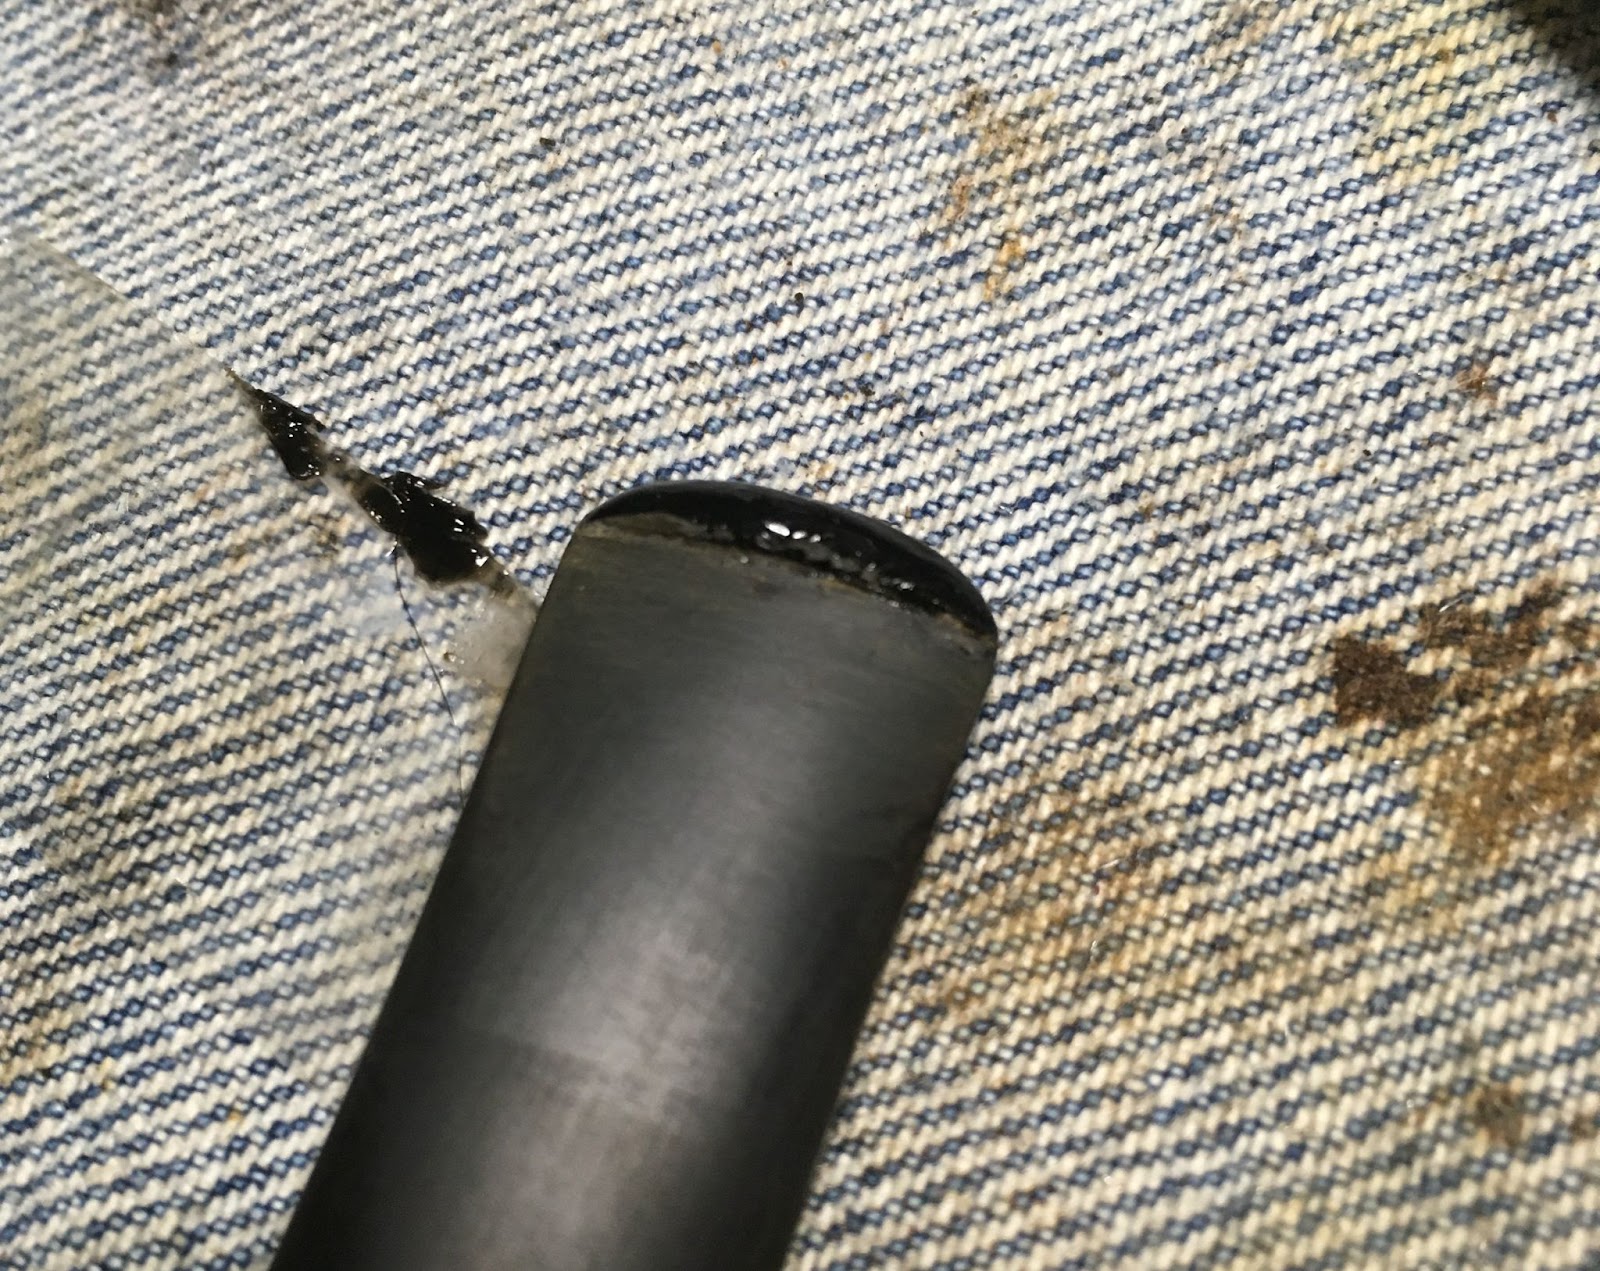
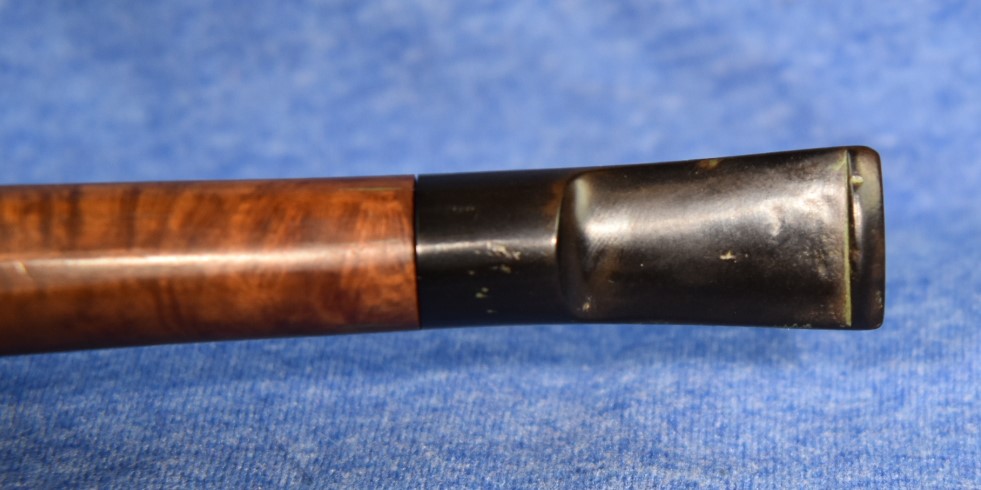
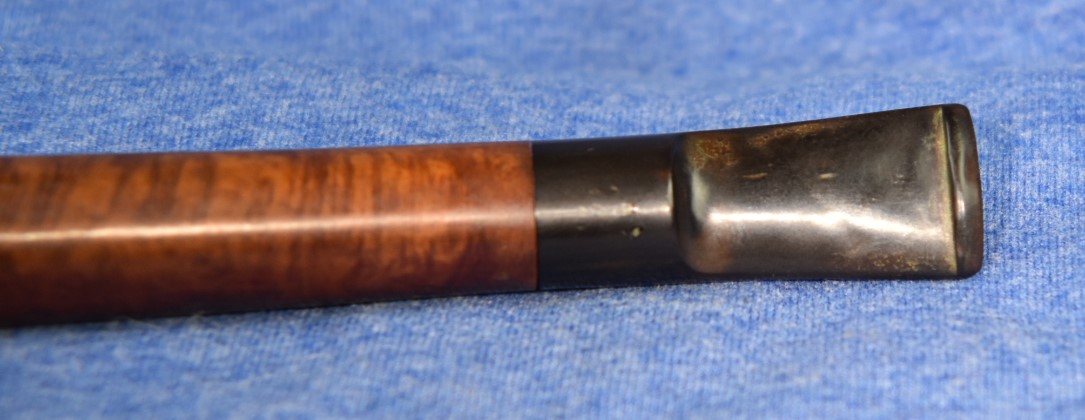
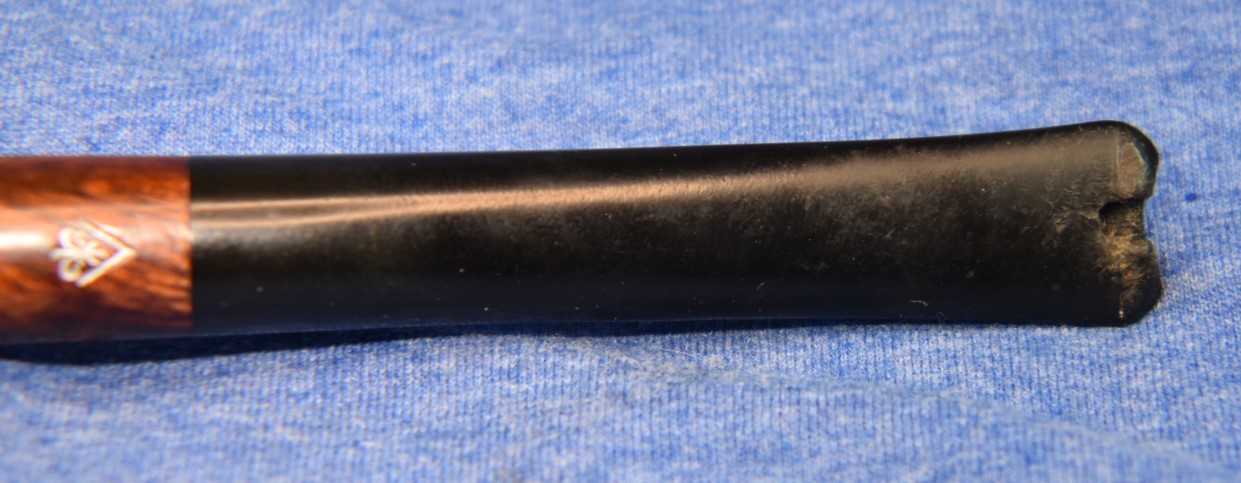
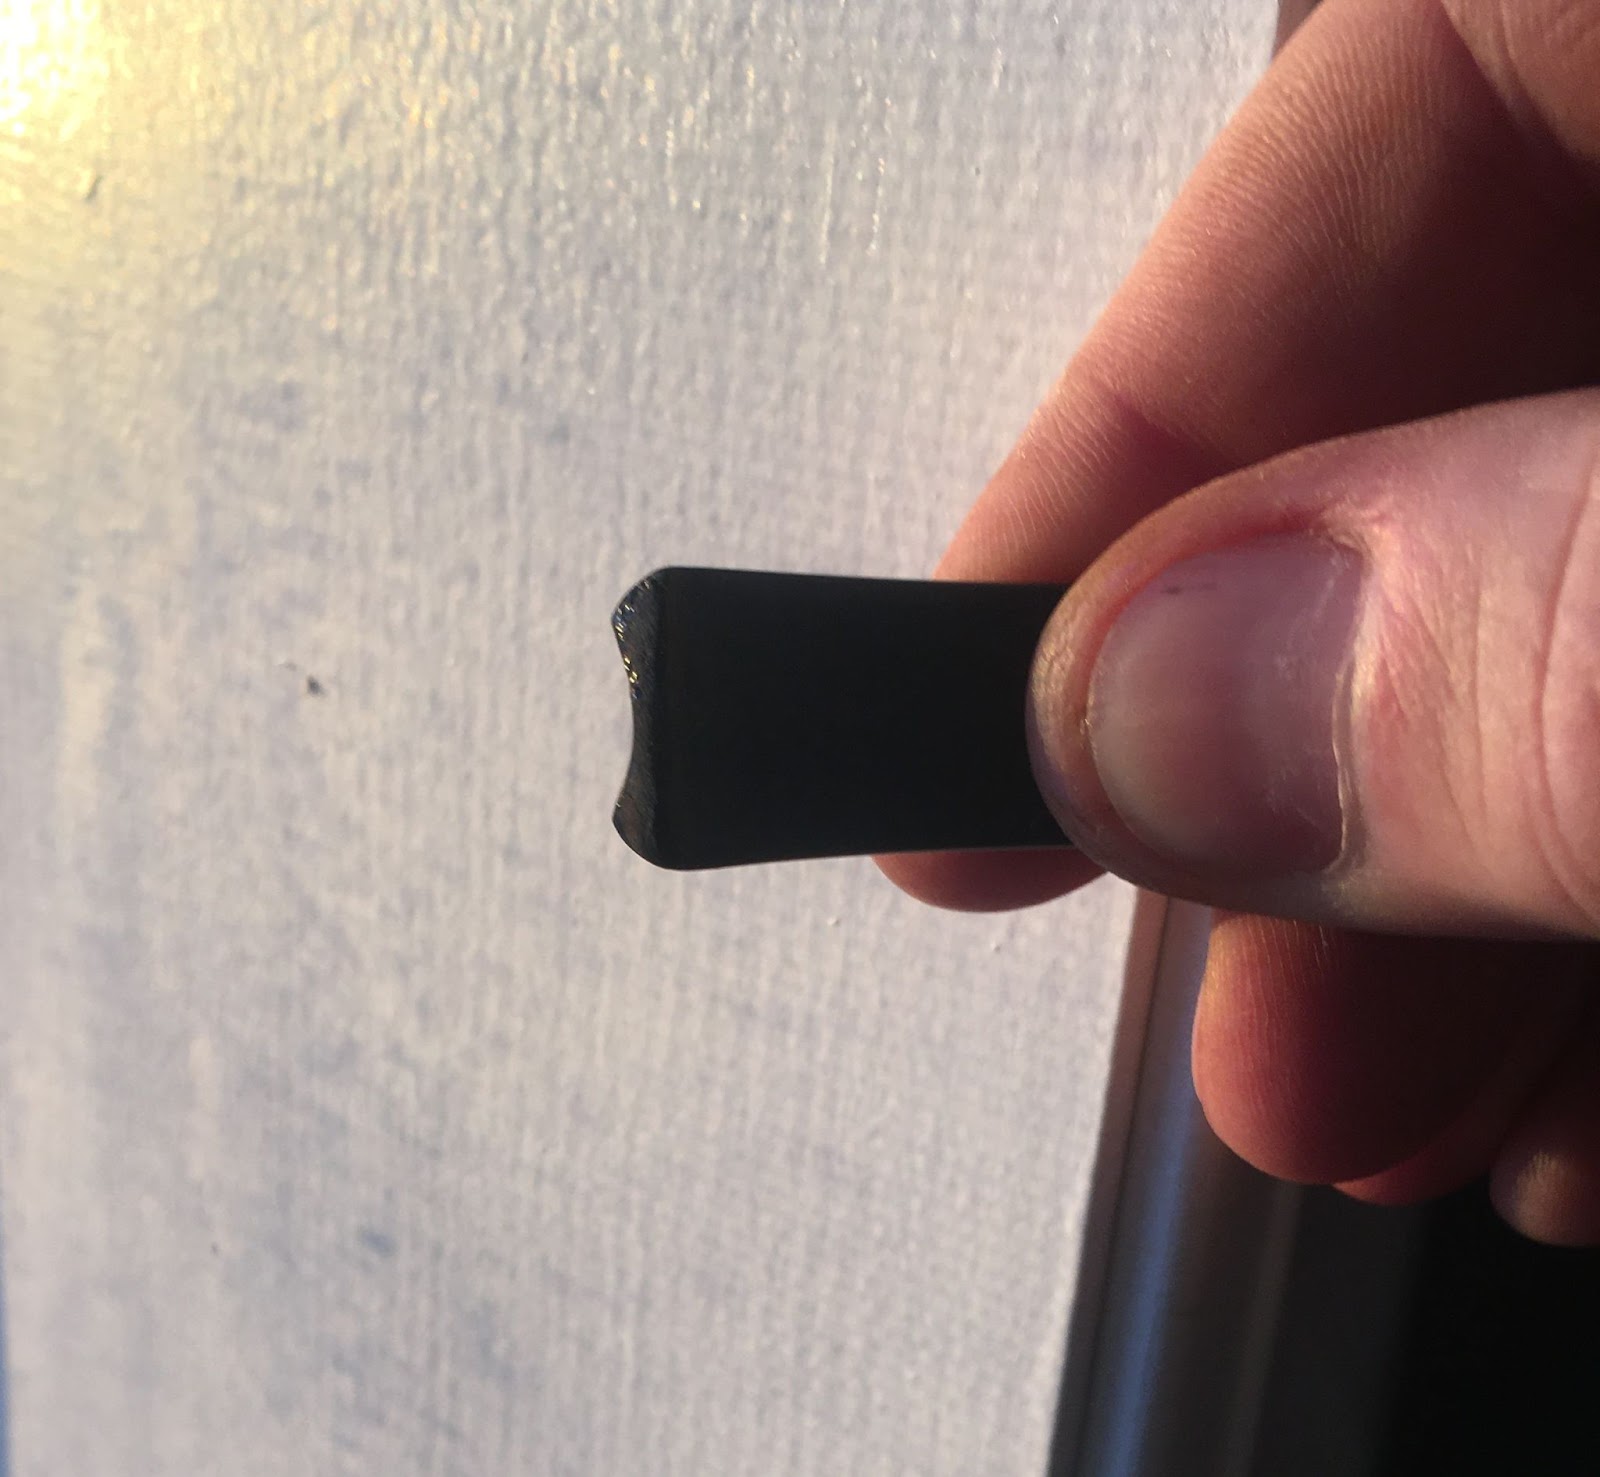
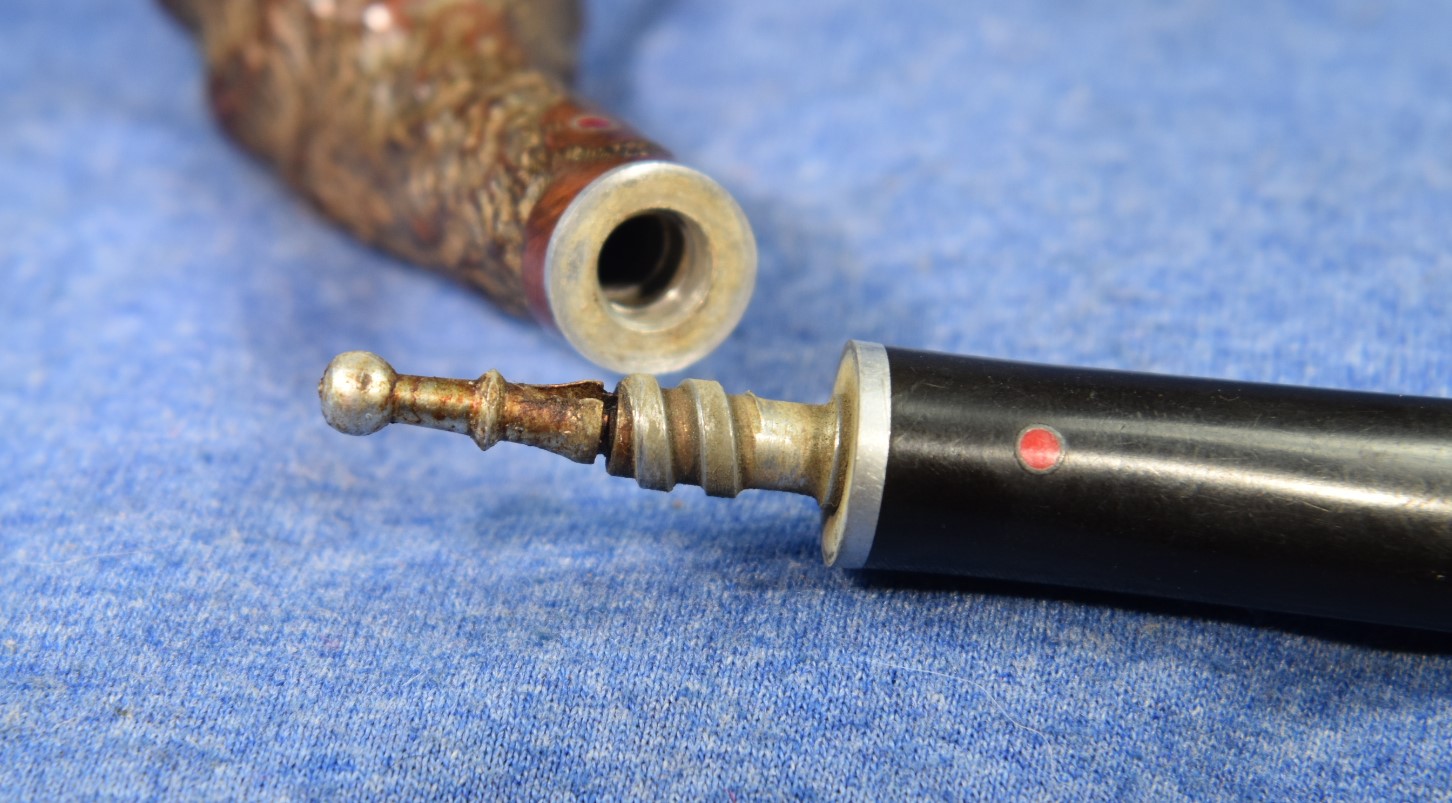
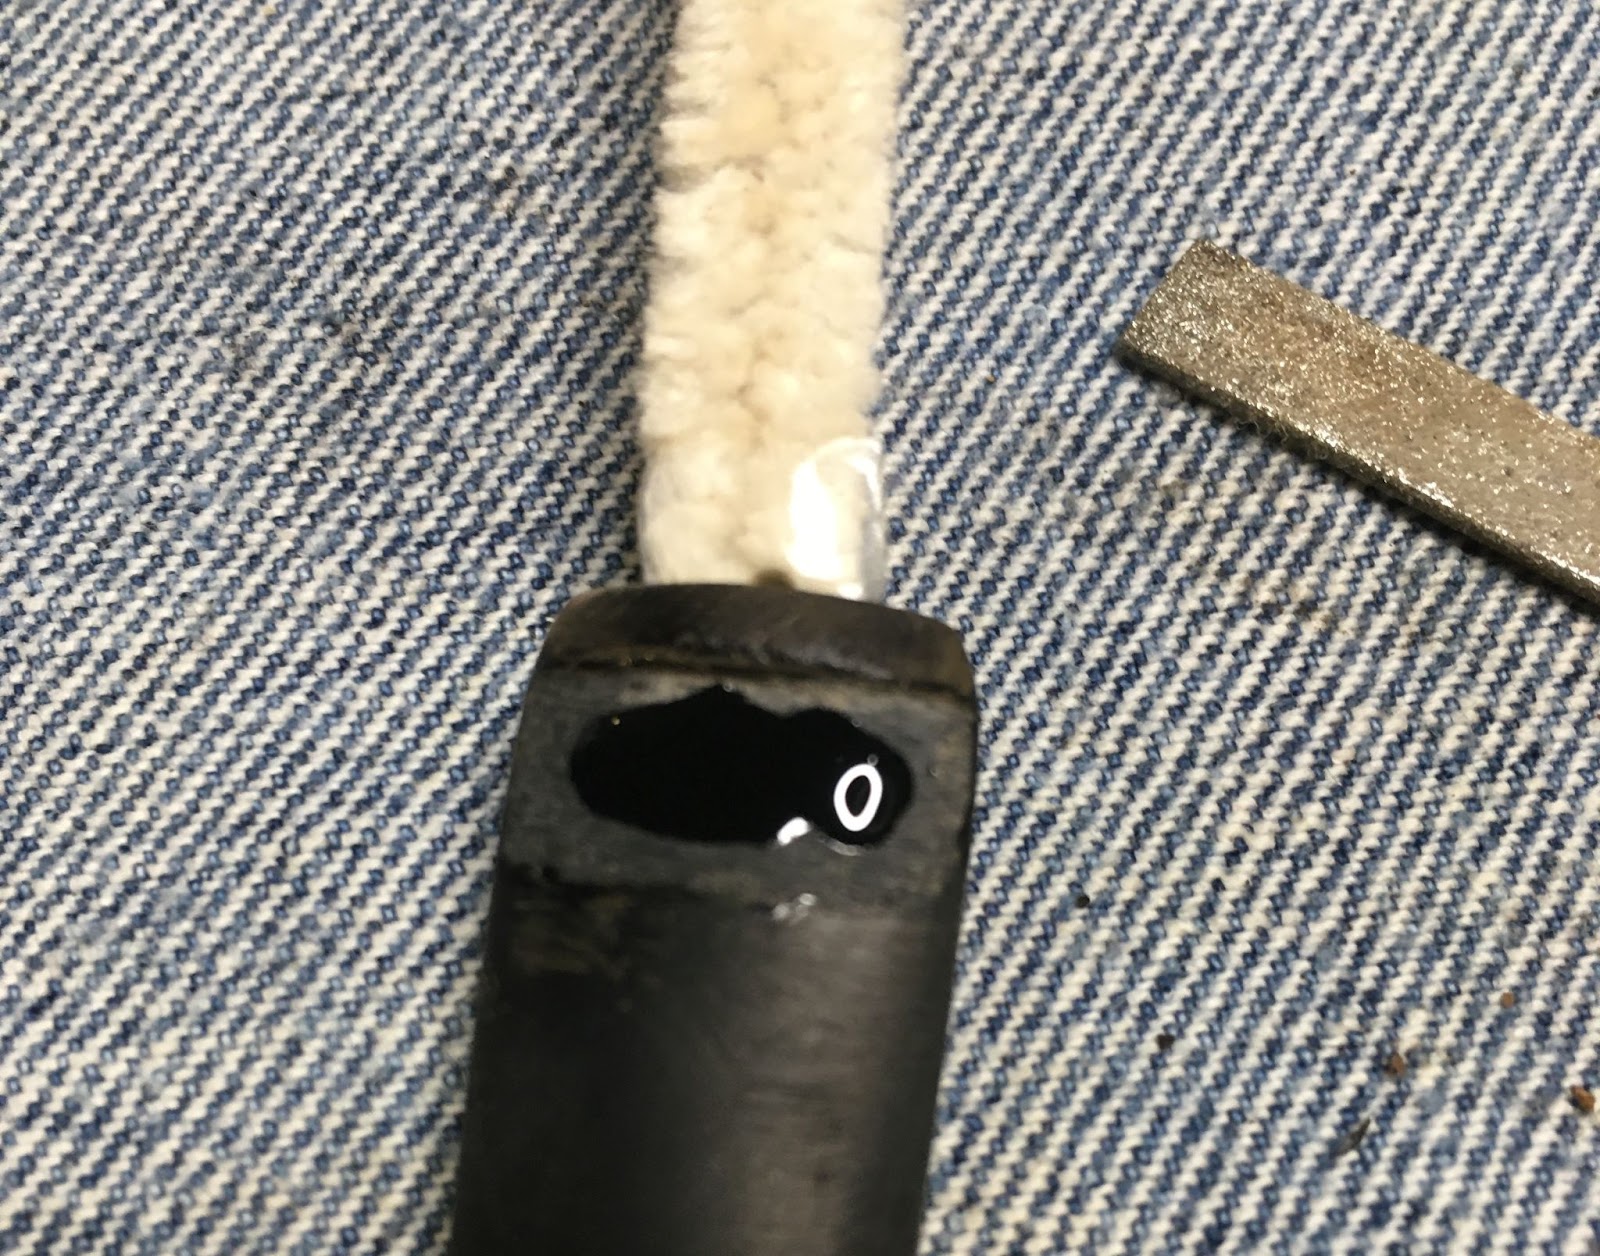
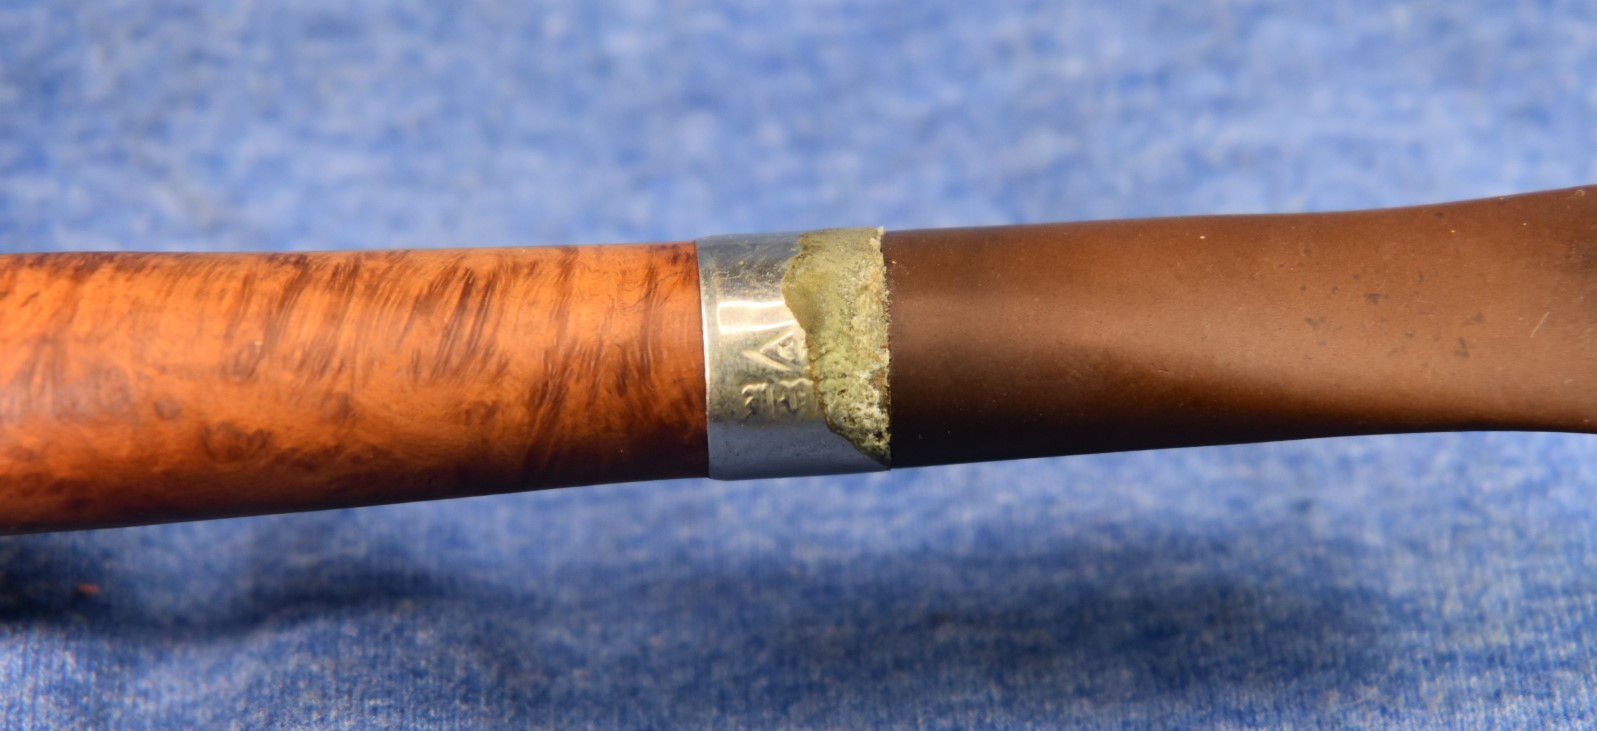
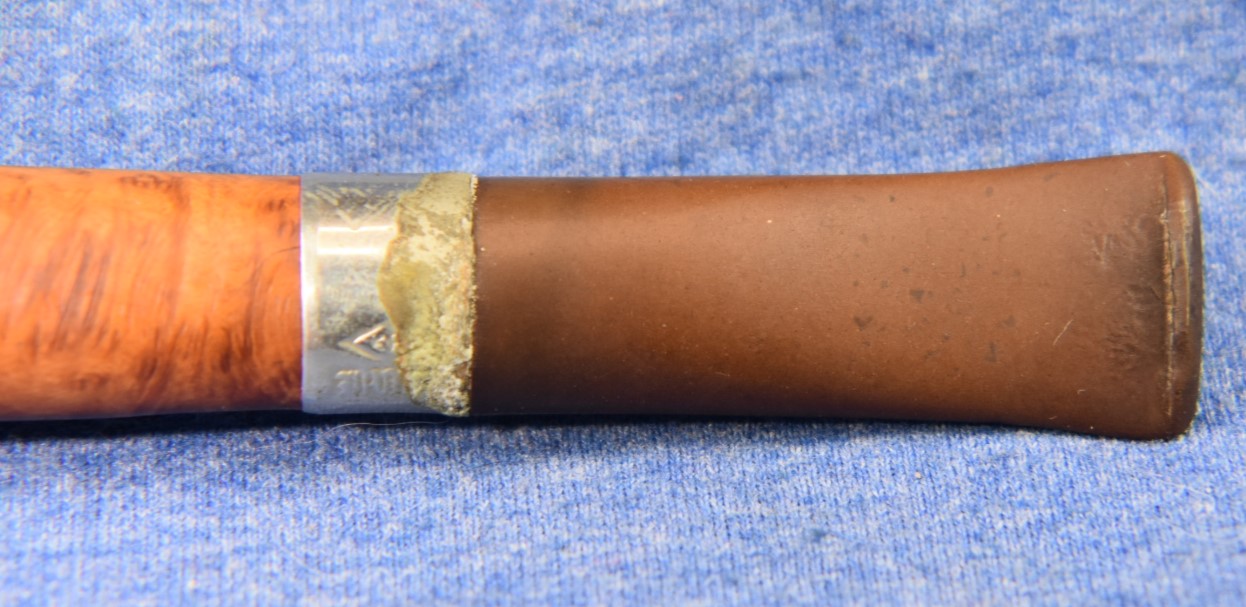
I am sure you saw the photo with the cracked band. You were probably thinking the same as I was, “Yeah, bands crack all the time and never have a cracked shank, right?” Hmm, have you heard of a big river in Egypt? Speaking of denial, the seller of this auction either didn’t know the stem was broken, didn’t declare the stem was broken or was a very bad packager of pipes leading to the stem becoming broken in shipping. I messaged them about the broken stem and said that I would not complete the “feedback” for the purchase until they had responded to my informing them of the broken stem. They never did respond. This forced me to give a relatively unfavorable “feedback”.
Hmm, how to fix this? My pondering led me to solution #1 first. Pretty original, solution #1 first, eh? Okay, here it is:
- Carefully drip alcohol onto the threads to loosen the dried yuck holding the broken tenon piece in place.
- While the piece and threads are soaking, drill out the airway to 4 mm. “Why 4 mm”, you ask. Because I have some 4 mm outside diameter, stainless steel tubing.
- Press the stainless steel tube into the newly drilled 4 mm hole and try to work the piece free.
- Drill the stem out to 4 mm also to a depth of about 7mm..
- Cut the stainless tubing to length, approximately 10 cm so it can be a connecting piece holding the two tenon pieces together. Like a sleeve except on the inside.
- Thus preserving the original stem and its threaded tenon.
Great plan.
I soaked the threads and made sure not to let any alcohol go through the airway.
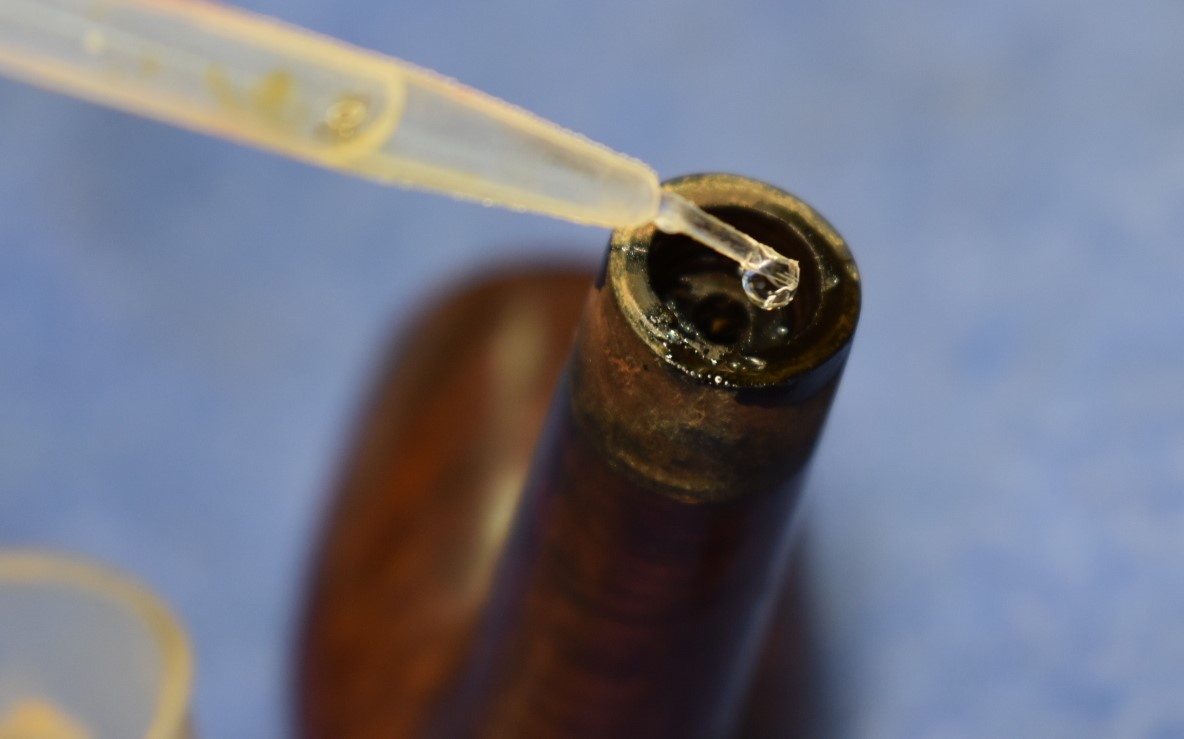
After several drops, I saw alcohol seeping into the tobacco chamber. This was good, it meant the alcohol had penetrated the threads and that they were not sealed to the tenon piece

like a Tupperware lid. I carefully drilled out the piece of tenon while it was still stuck in the mortise. I figured that this would be the best situation for drilling such a small piece of rubber and it may act to loosen the tenon. It didn’t. I applied a little more alcohol. Earlier in my life I thought that alcohol improved everything and that if a little was good more would be better. It didn’t and it wasn’t. This time the alcohol didn’t help either.
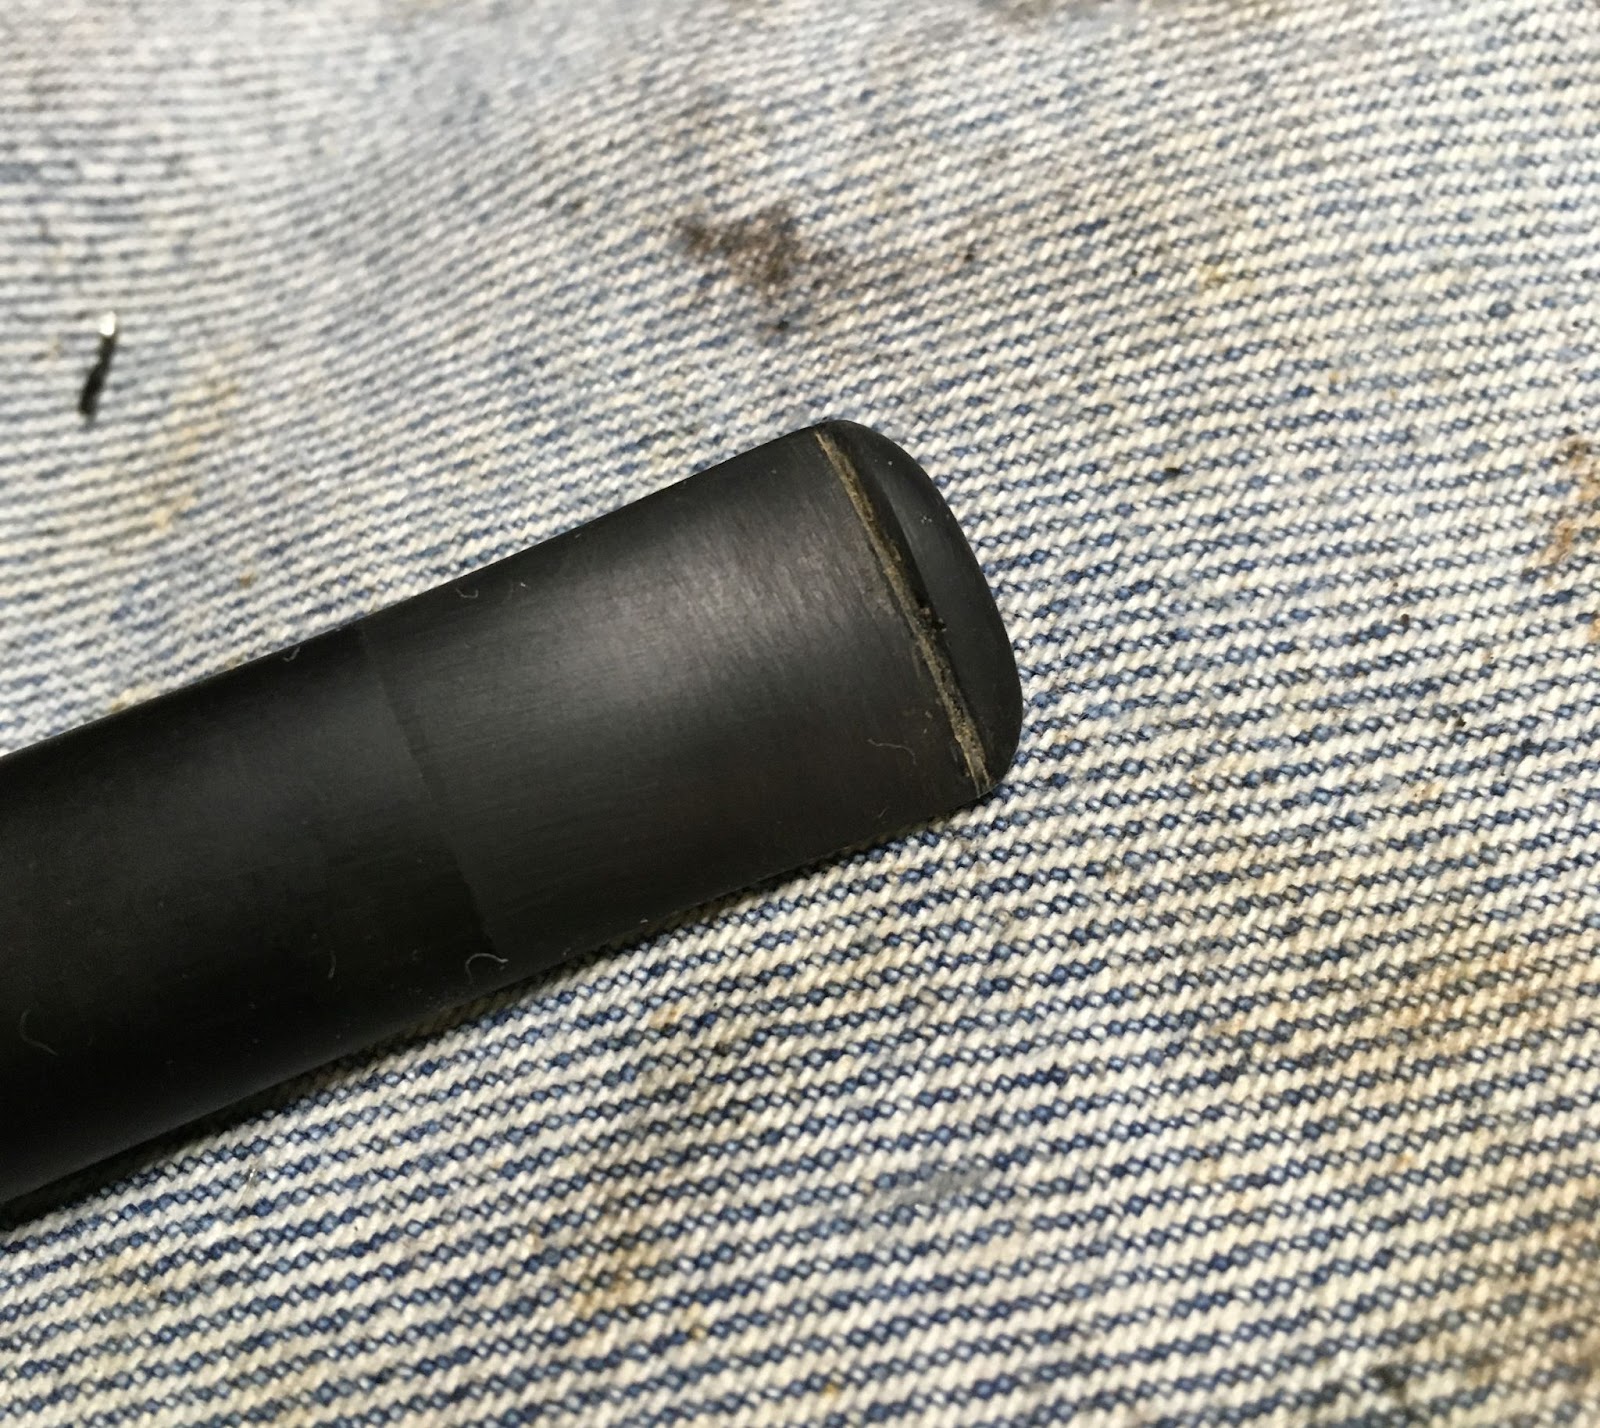
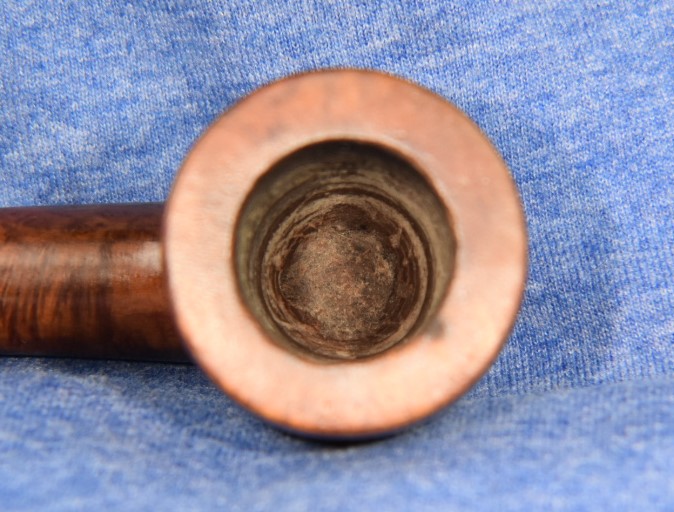
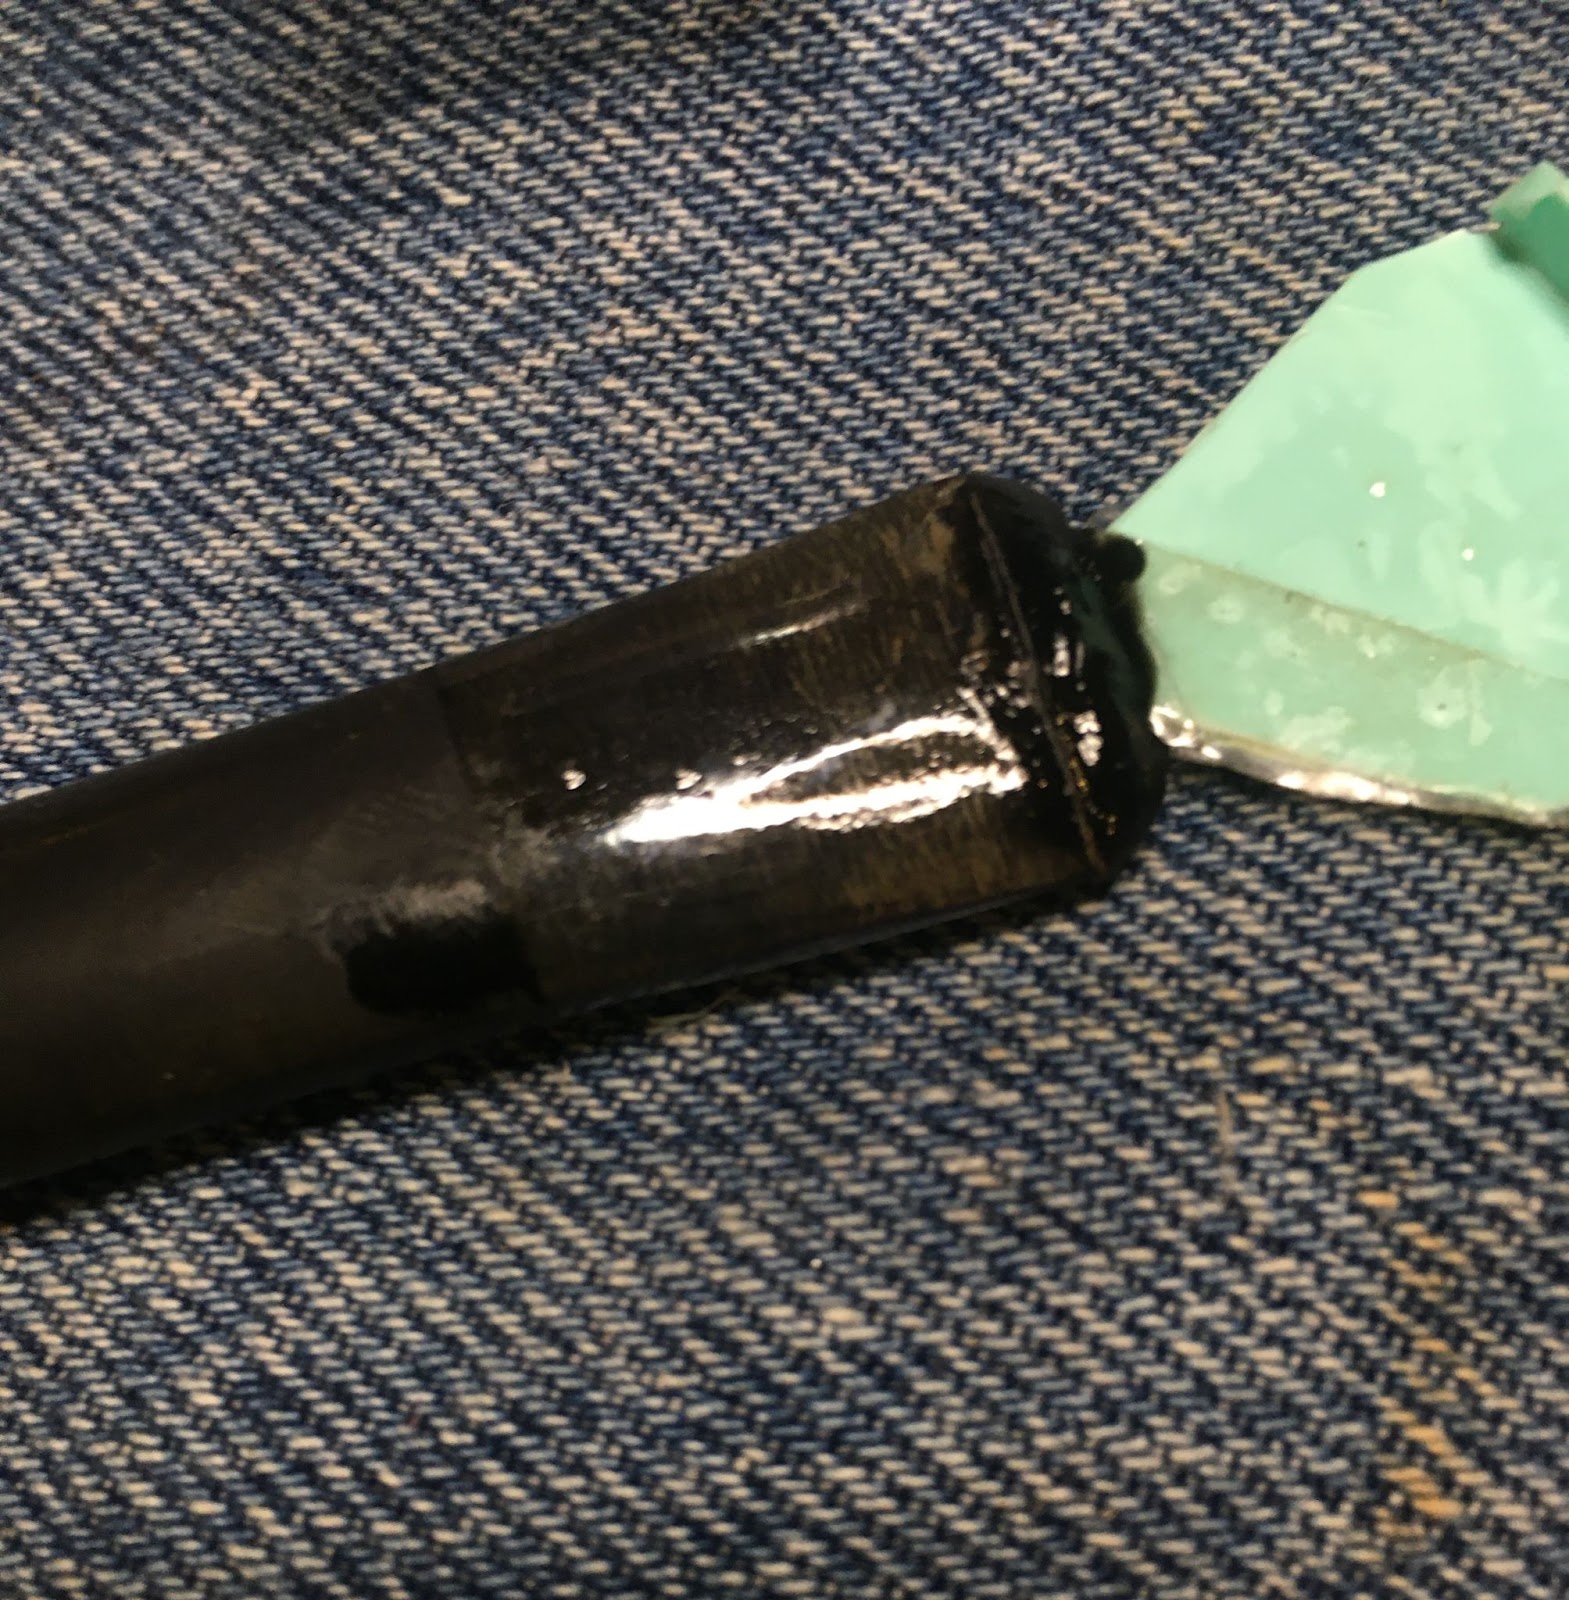
Hmm, I tried scraping any gunk out of the threads and the backside of the tenon with a curved dental pick. The threads cleaned nicely as the gunk there had been softened by the alcohol. When I scraped the inside of the tenon I realized that the piece was only about 3mm thick. I tried inserting the 4mm tubing. It went in with a little bit of twisting and pressure. It was good to know the hole worked. I could not get the piece to budge. I then noticed the cracks in the shank. Yes, I said cracks, plural, more than one. They were tiny and only extended for a 2-4 mm but they were there. This led me to think that the piece was wedged hard enough into the mortise to 1- break the stem and 2- crack the shank. Oh, this just keeps getting better and better.
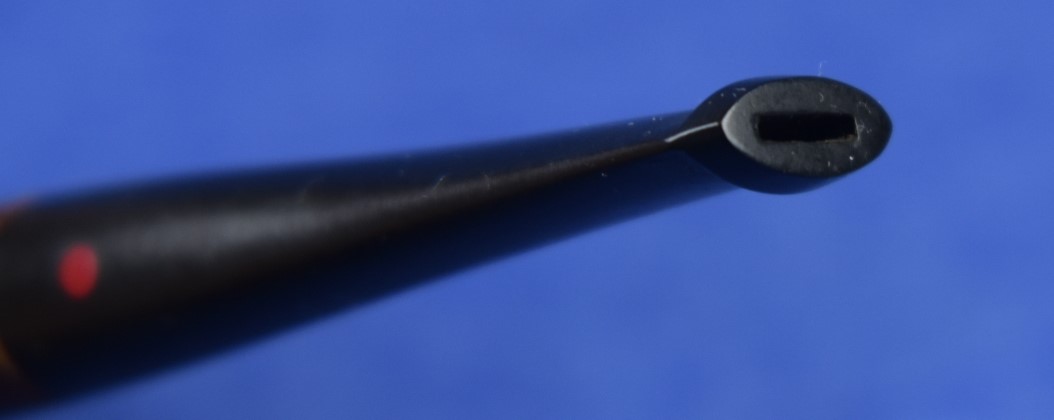
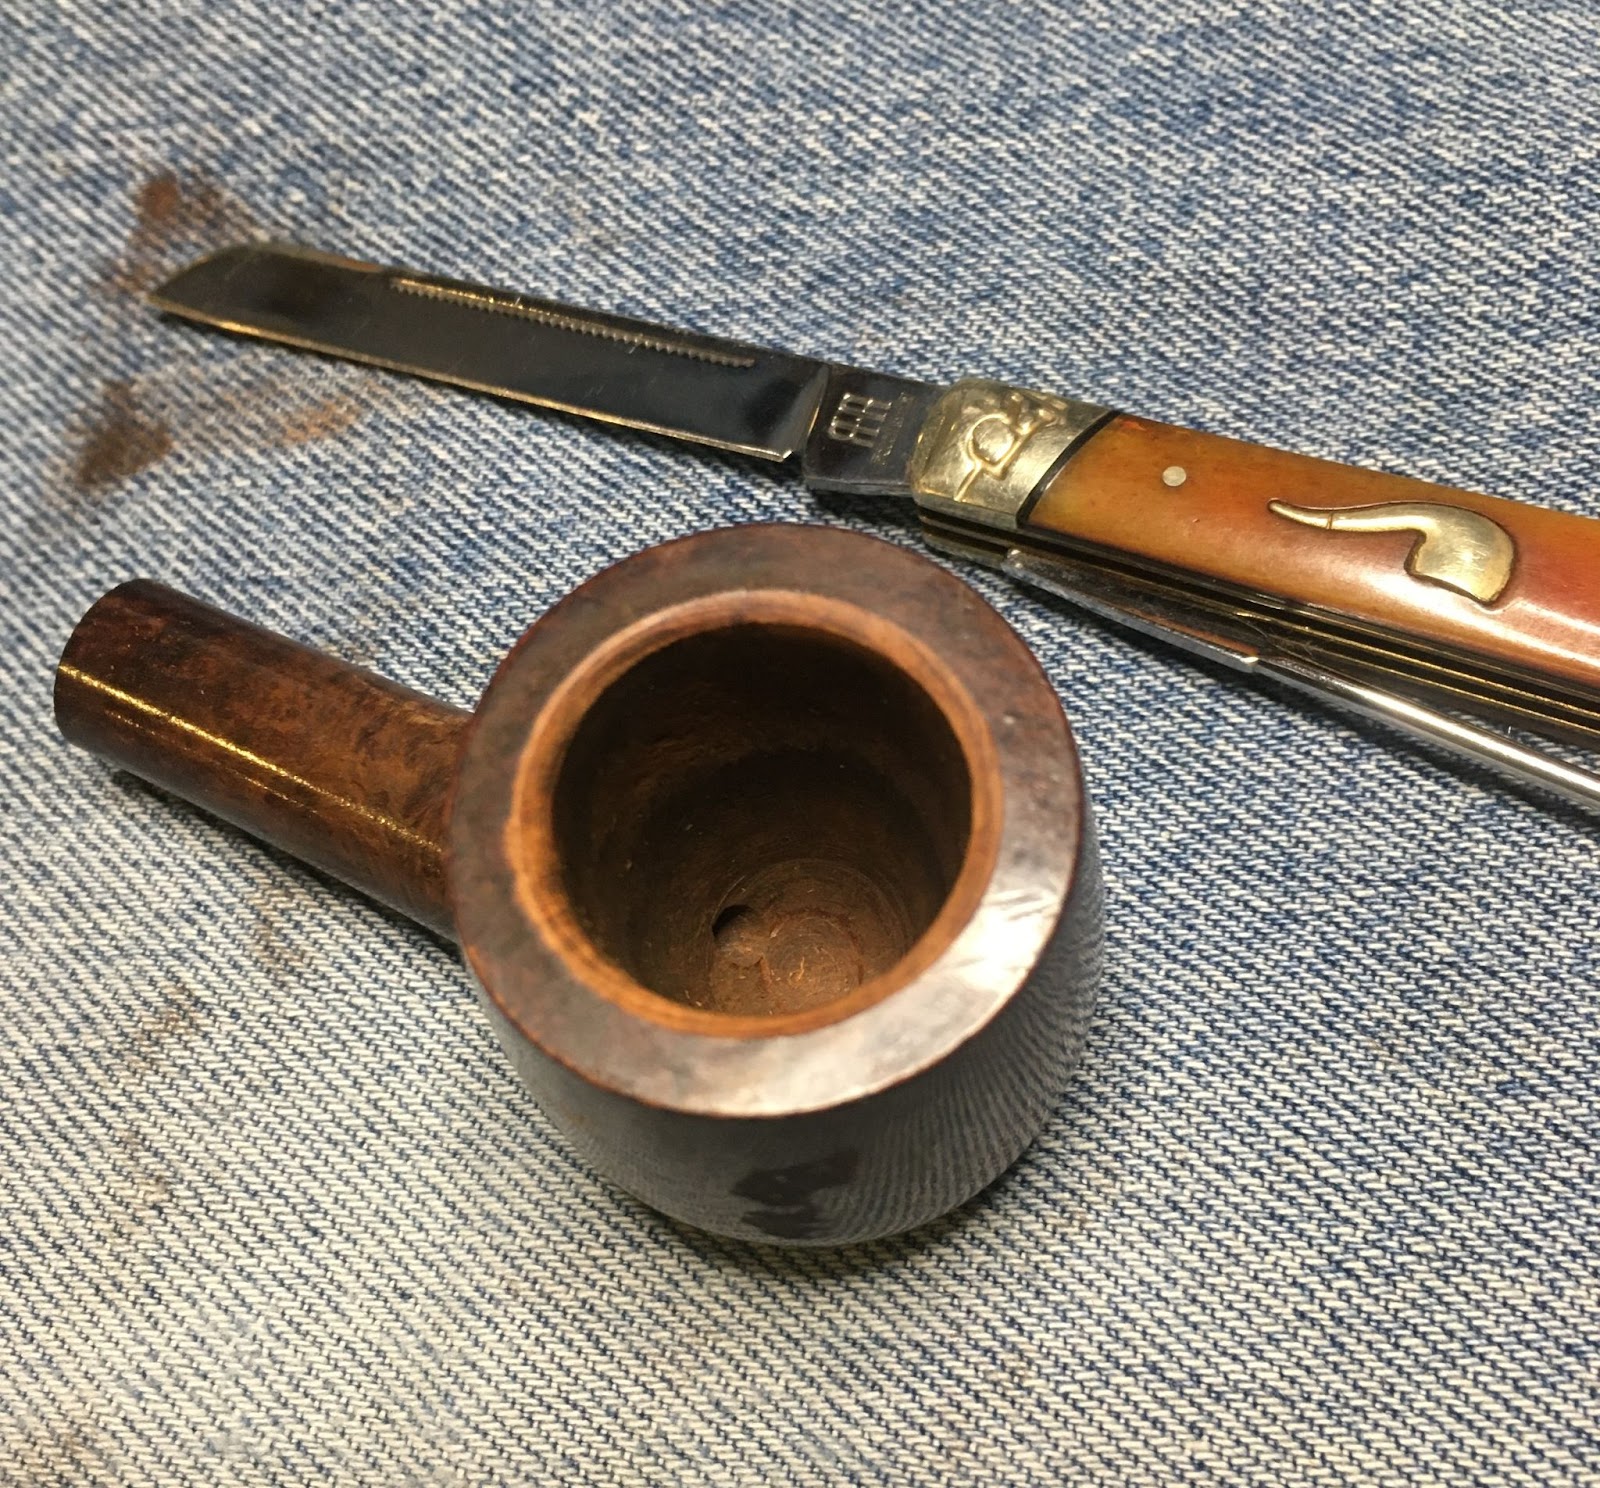
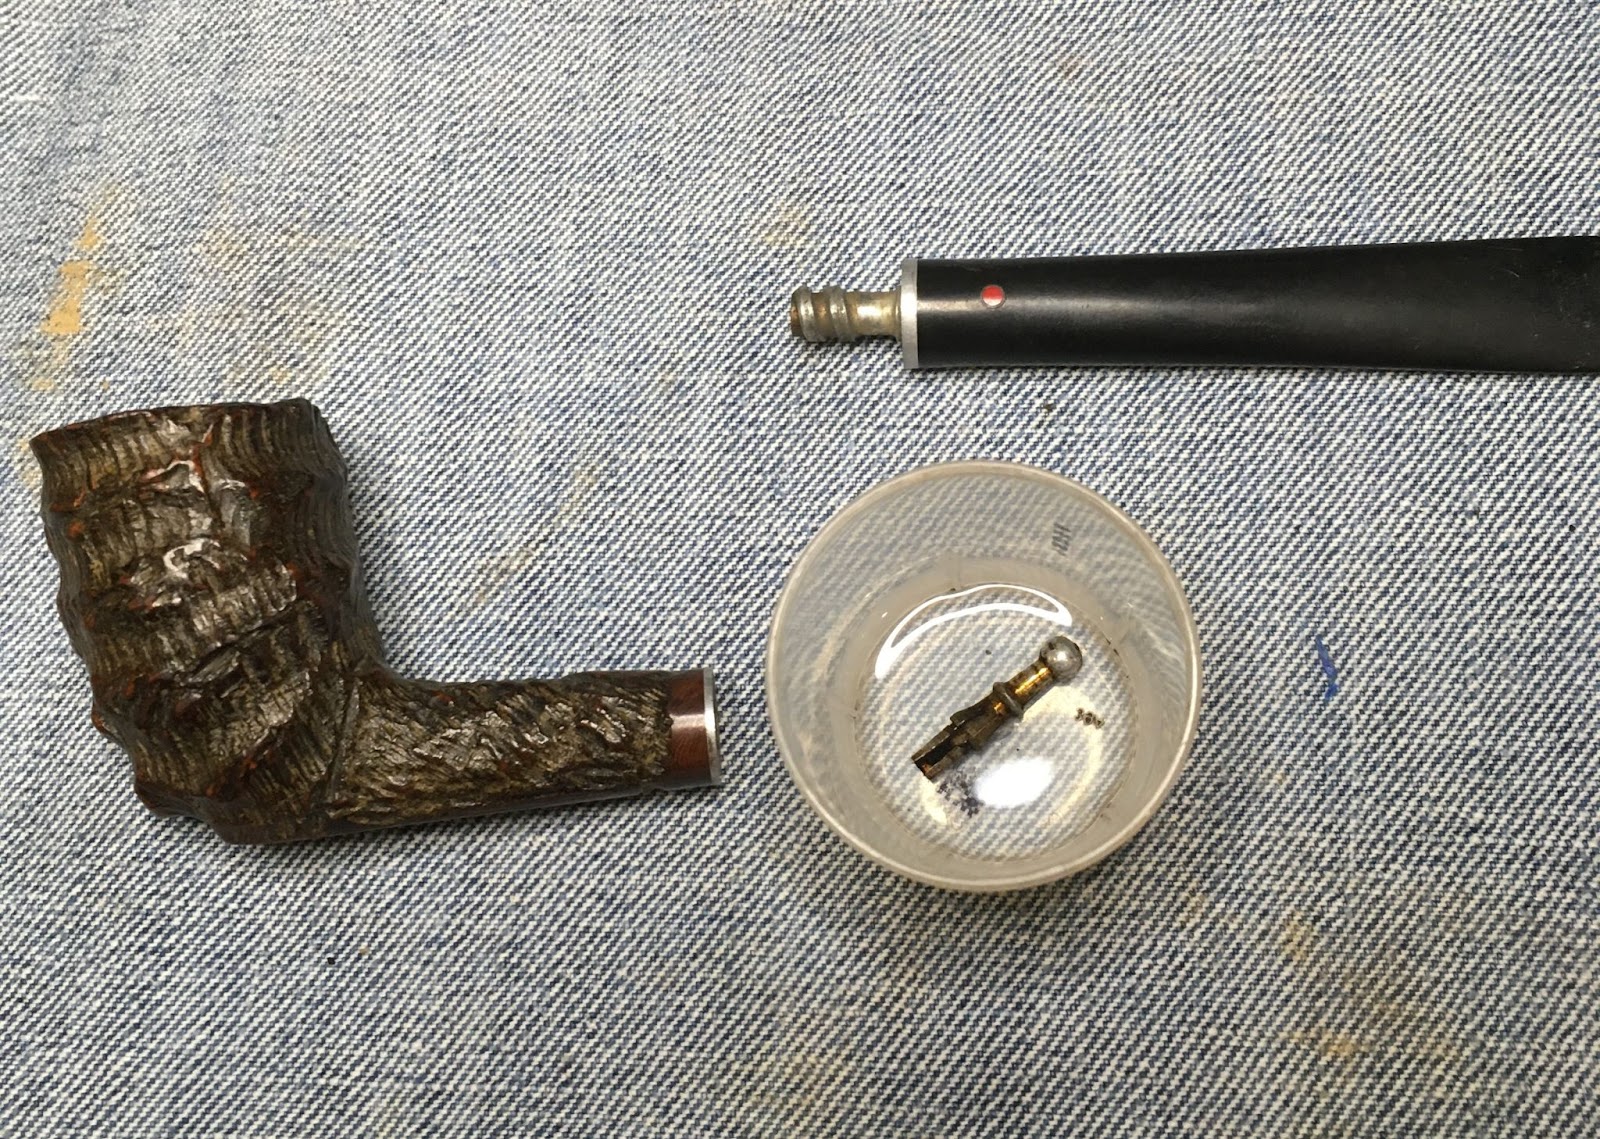
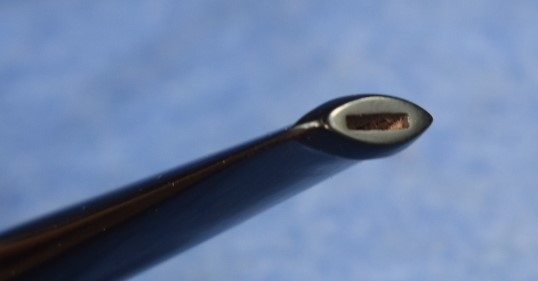
I removed the tubing and thought that maybe if I inserted a thin bladed knife into the airway it would act like a regular screw head and I could just unscrew the piece through the cleaned-out threads. Another grand idea. I found a perfect knife and inserted it until I felt “enough” resistance and turned it counter-clockwise, lefty loosey. I felt like it should be working but it wasn’t. More pressure. Still nothing. More pressure, “tick”. That must have been the sound of the piece breaking free of the shackles of the mortise. Nope, that was the sound of the piece breaking. Using the dental pick I removed the shattered pieces of the tenon.


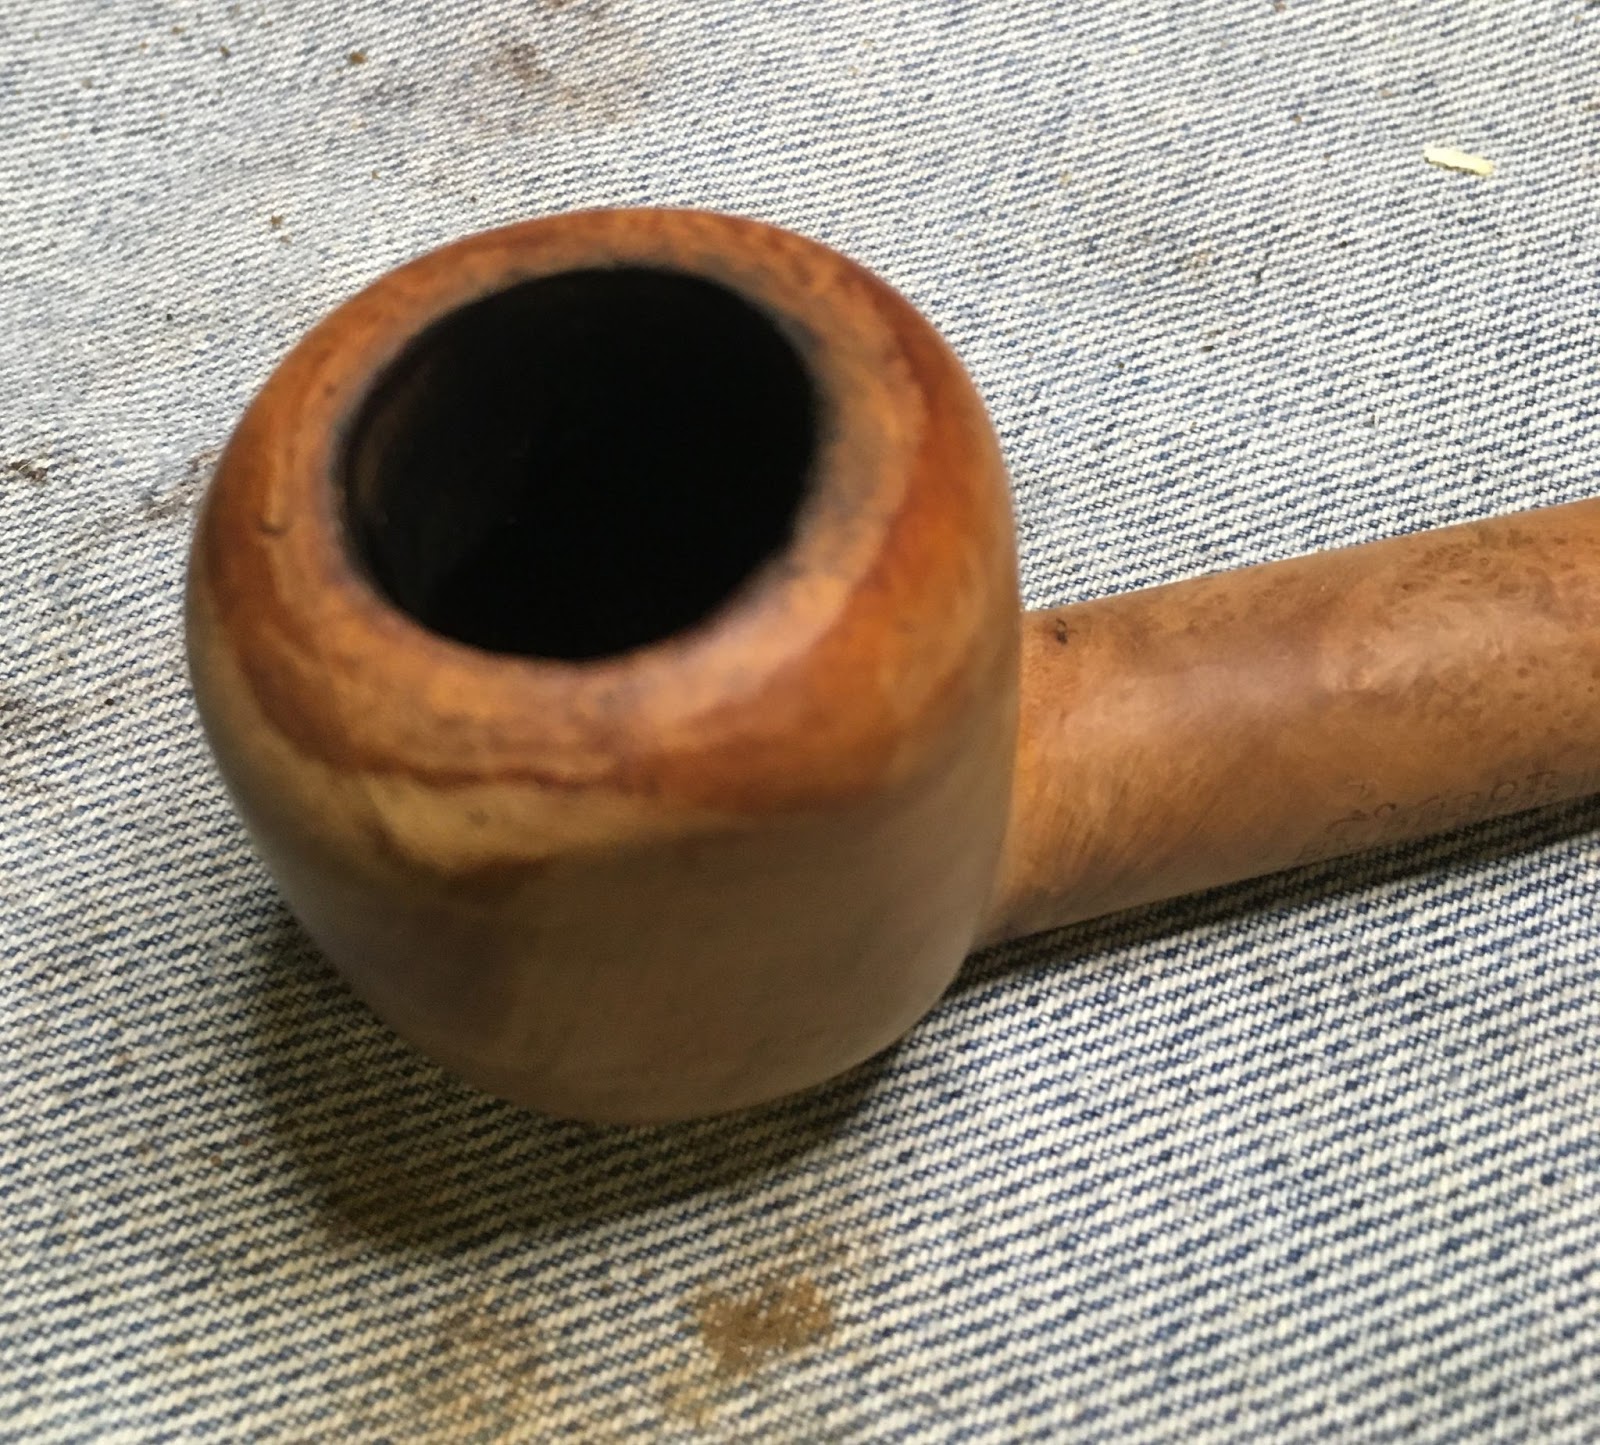
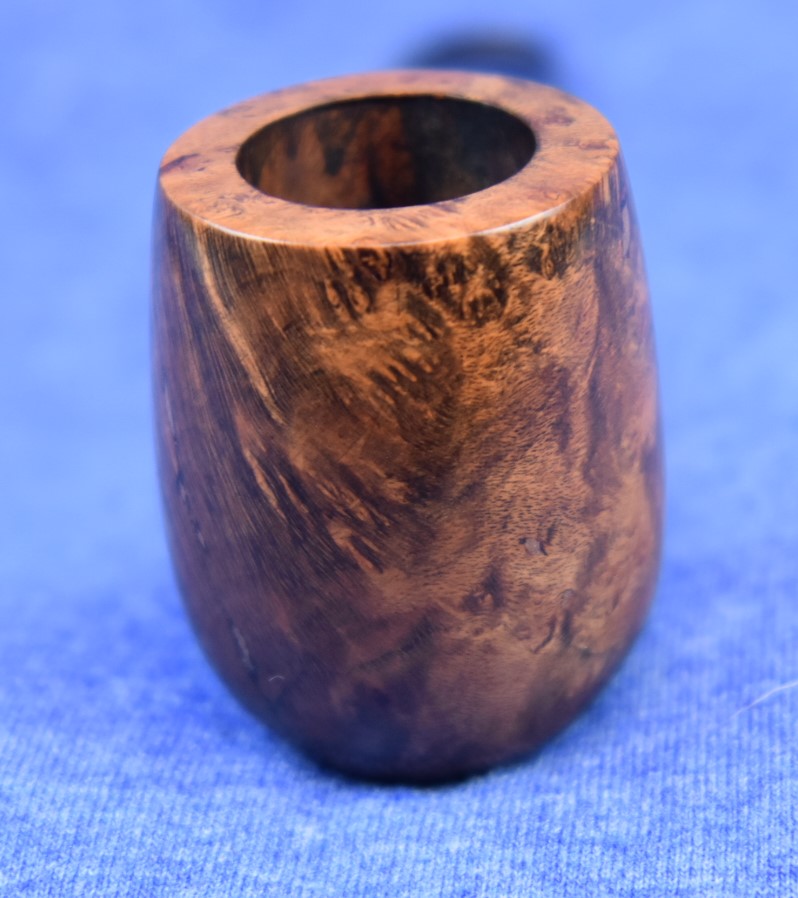
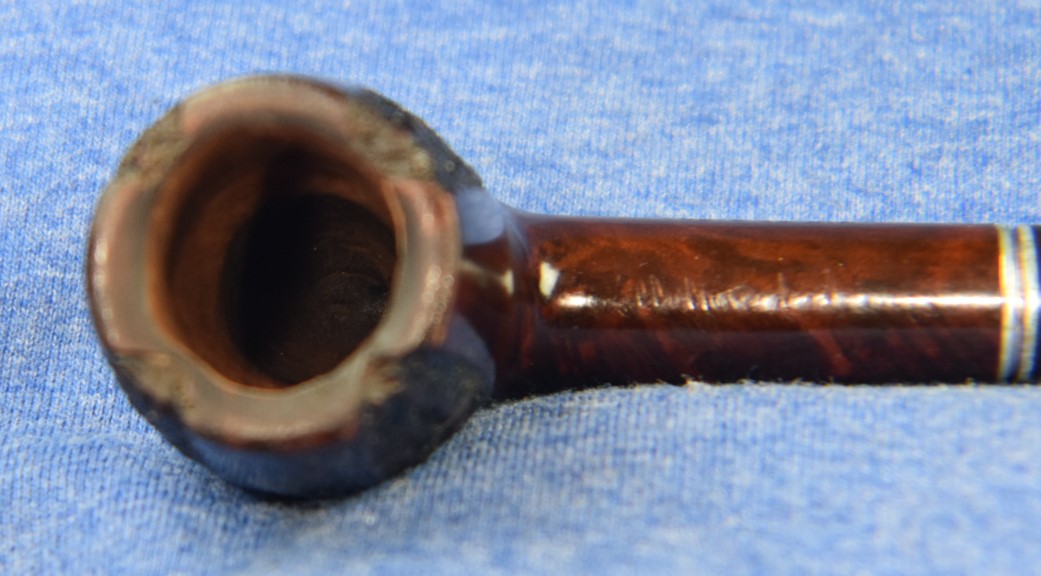
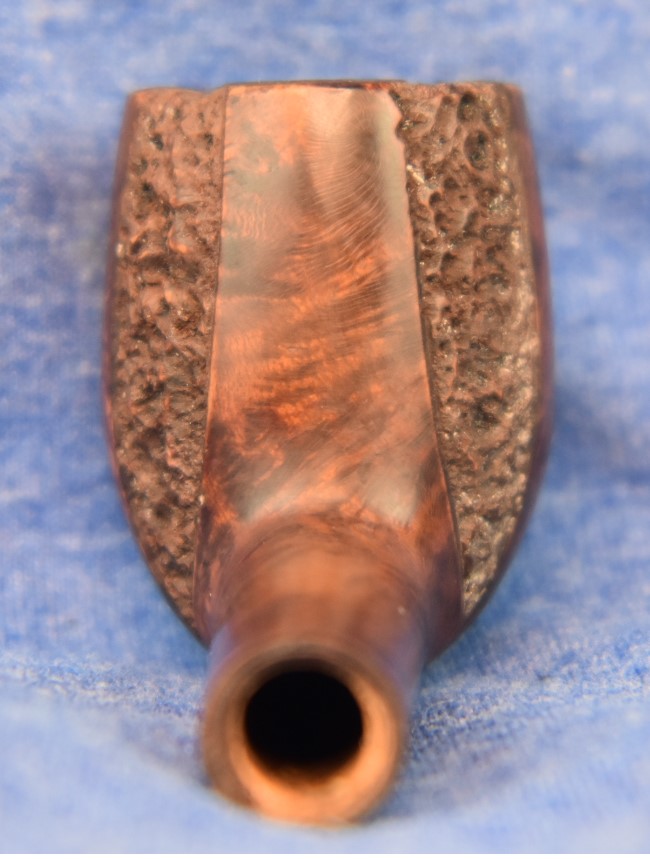
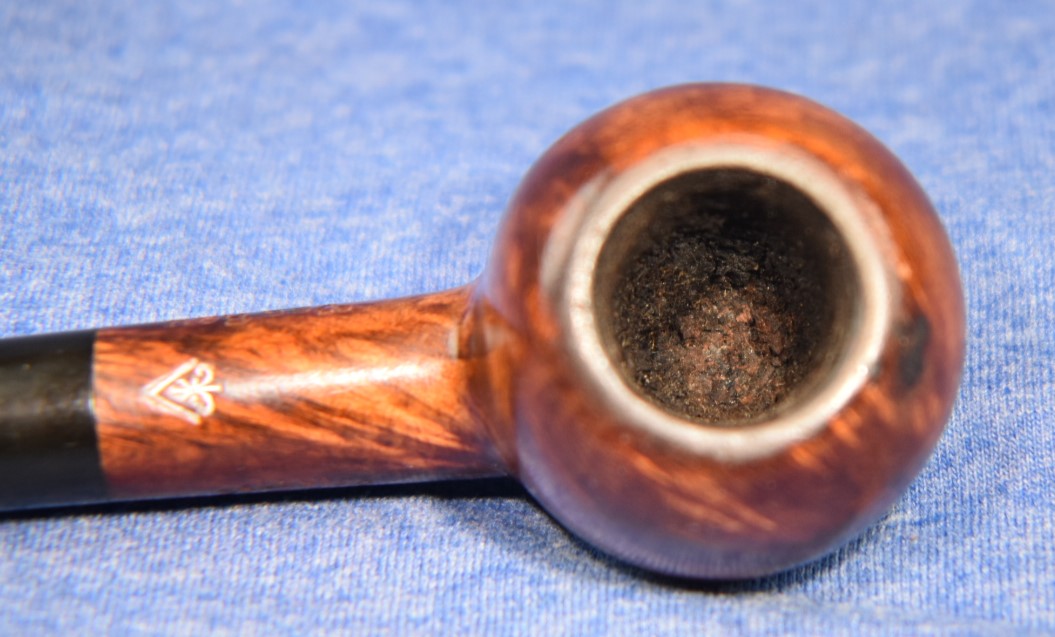
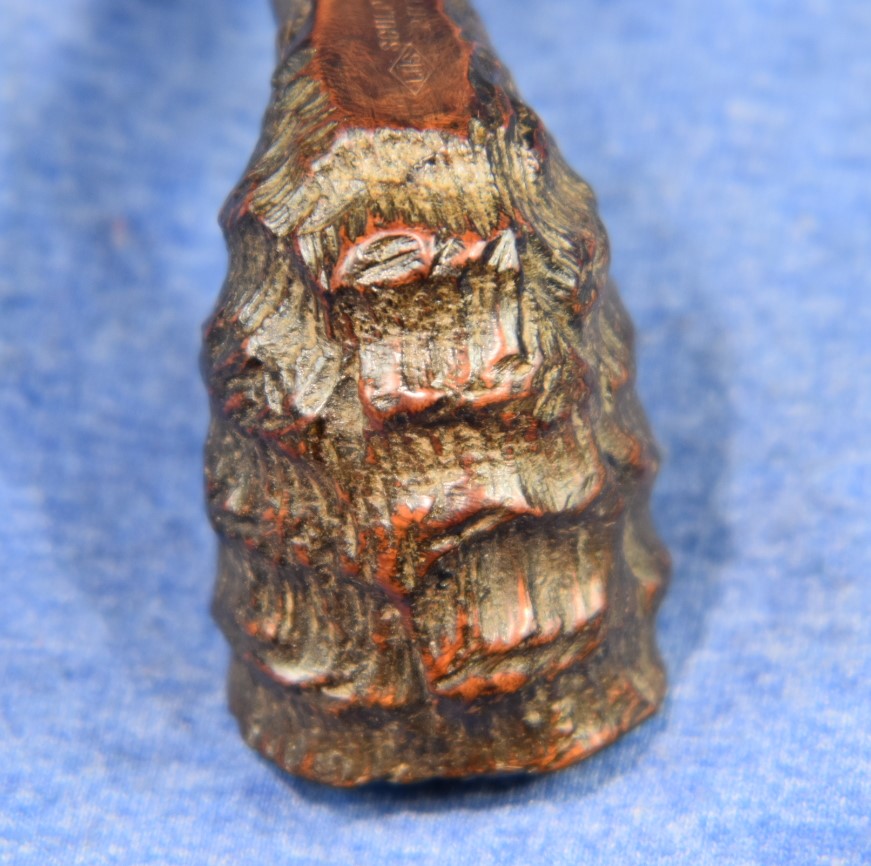
Here you can see the shank cracks at about 3:00 and 9:30.
Okay, that first plan, #1, didn’t completely pan out. I removed my tinfoil hat and donned my thinking cap. The second plan emerged. I’ll call it #2. Oh, the originality-train is stuck in the station. I thought:
- Measure the threads at their widest point.
- Buy some Delrin tenons of that diameter.
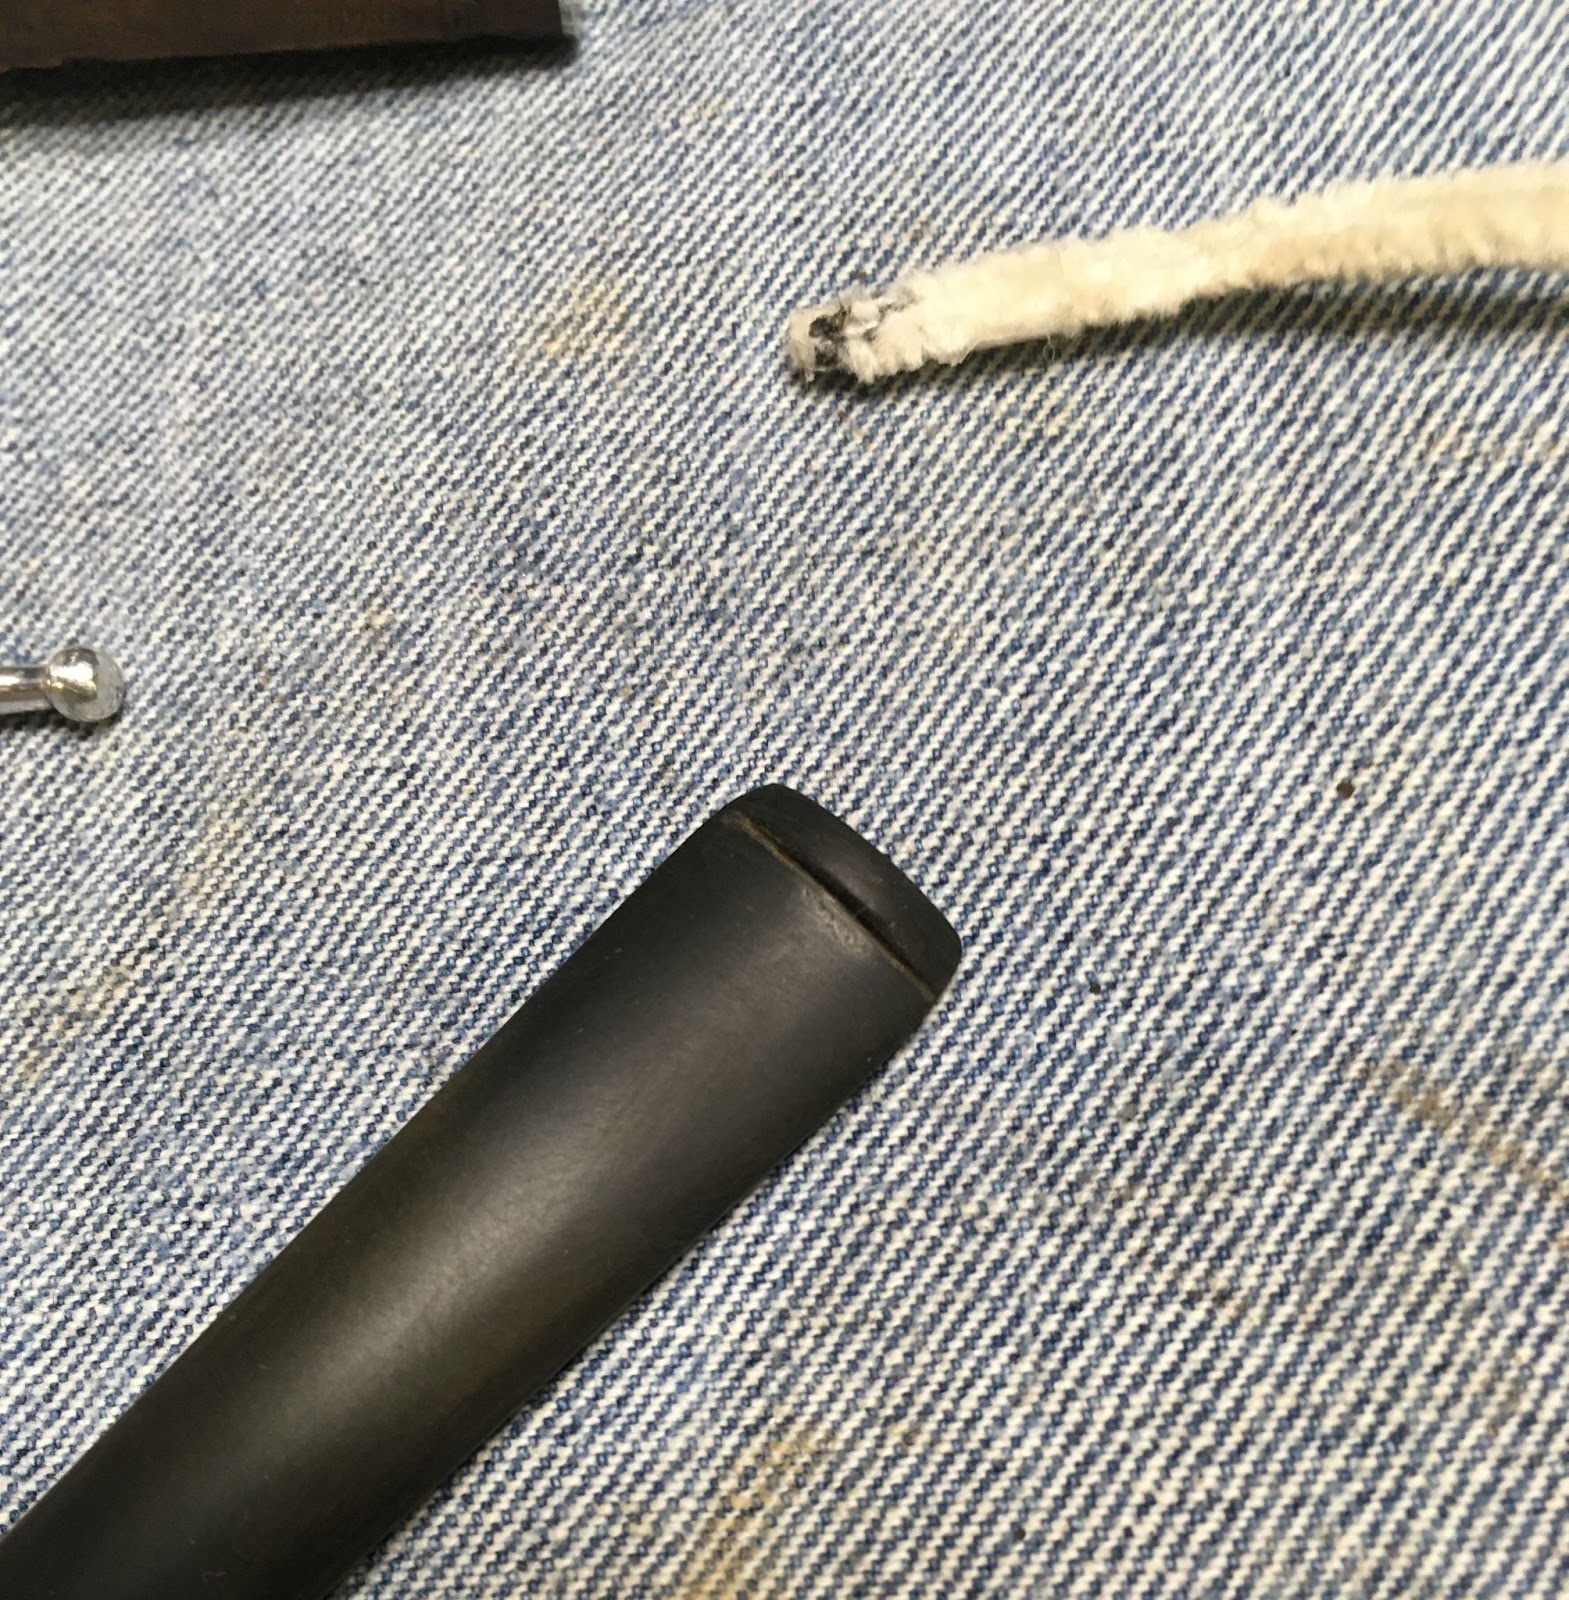
- Cut off the broken tenon flush with the stem.
- Drill out the stem to accept the Delrin tenon.
- Cut new threads into the Delrin tenon.
- Screw the Delrin tenon into the mortise.
- Apply epoxy glue to the non-threaded end of the Delrin tenon.
- Slip the glued Delrin tenon into the newly drilled-out hole in the stem.
- Align stem to the correct position before glue sets.
- Perfection!
Wow, this will probably work as well as plan #1. I measured and 5/16 was close to perfect. I looked at https://jhlowe.com/catalog/#delrin-plastic-tenons-smooth and they existed.
I sent them an email requesting a dozen of the tenons.
At this point I actually started the restoration of the Winthrop saddle stem billiard (https://wordpress.com/post/scimansays1787.wordpress.com/1939). I had never dealt with J. H Lowe before. A great gentleman and Facebook buddy, Donald Cole, recommended them and had dealt with them in the past. I had no idea how long it would take for the J.H. Lowe folks to respond to the email. Of course I sent it on a late afternoon Friday. After waiting for a few days, I used the official J. L. Howe “order” button. This worked as well as my previous email, which is, it also met with no reply.

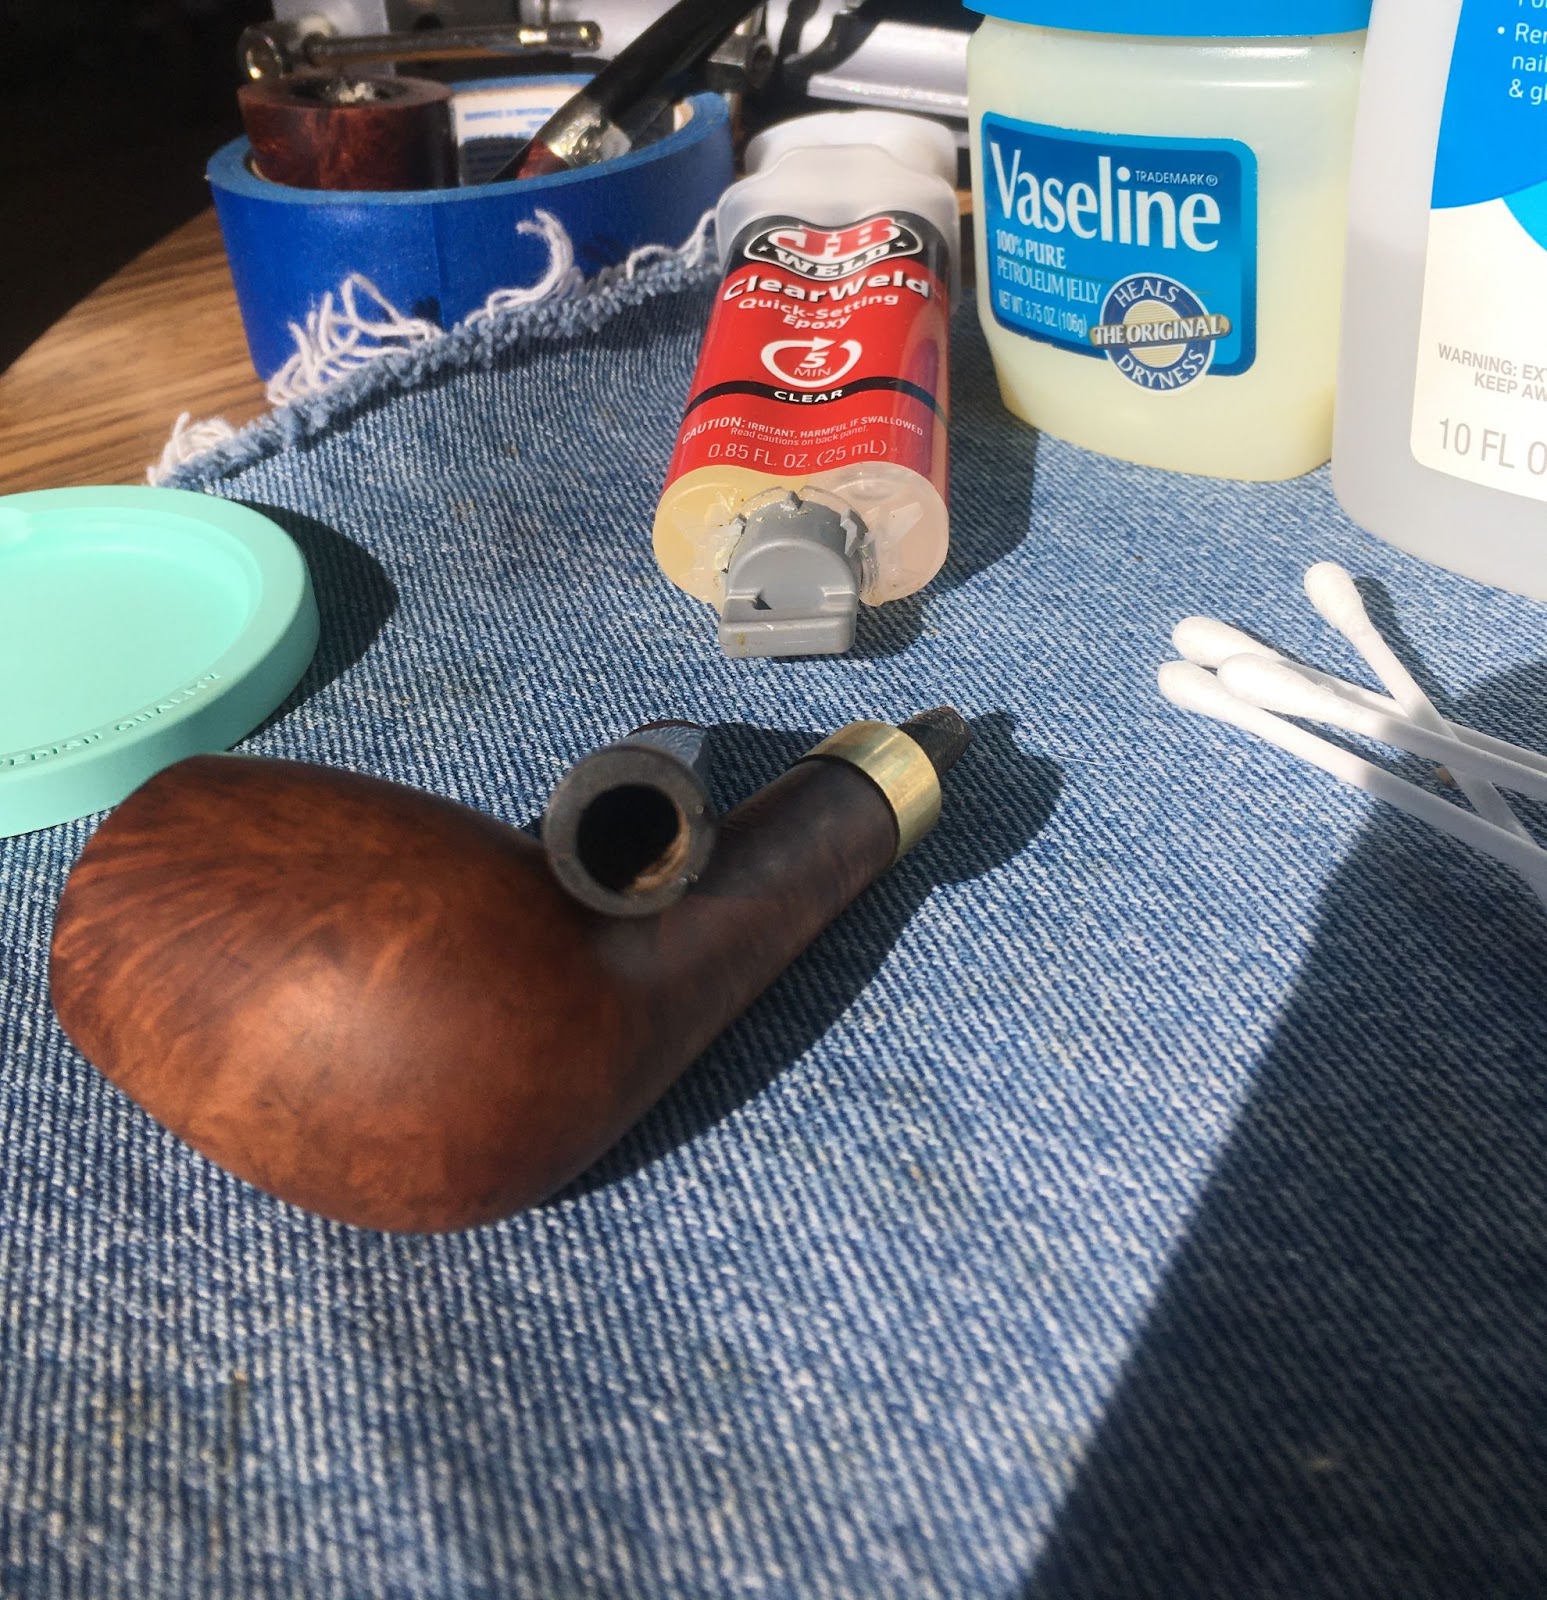
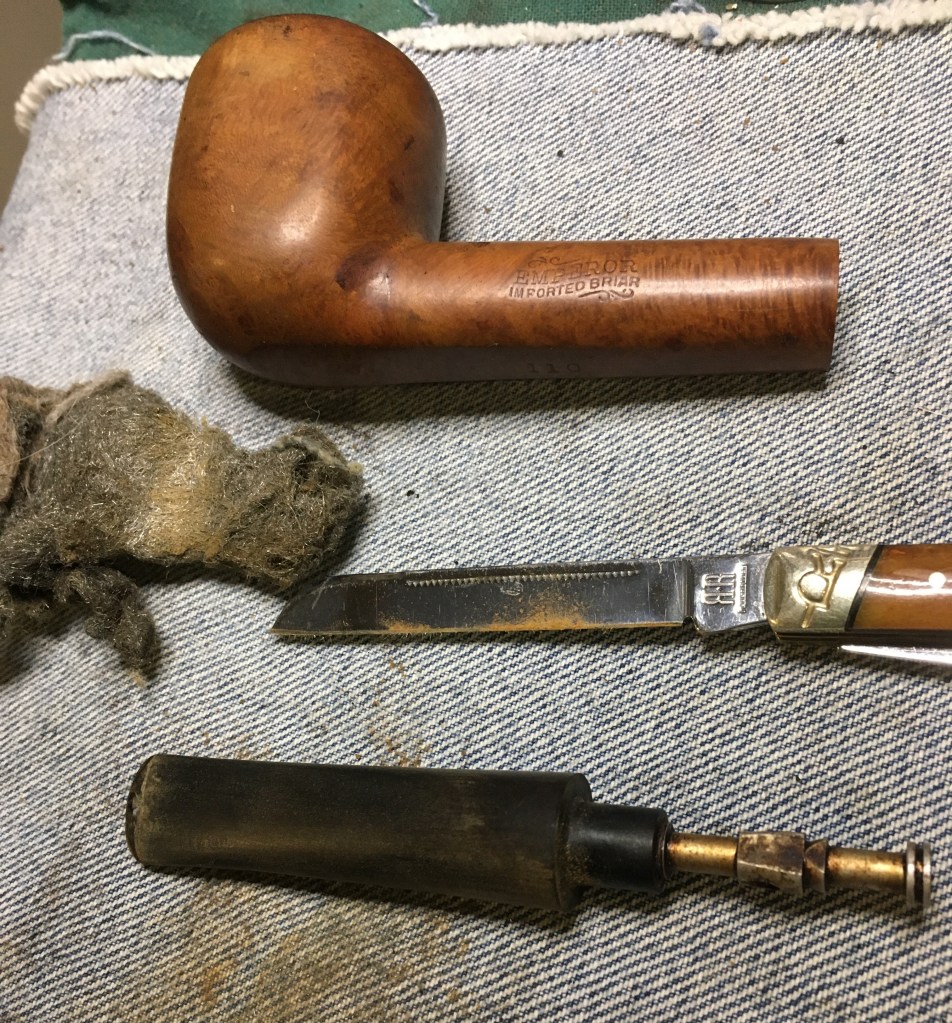
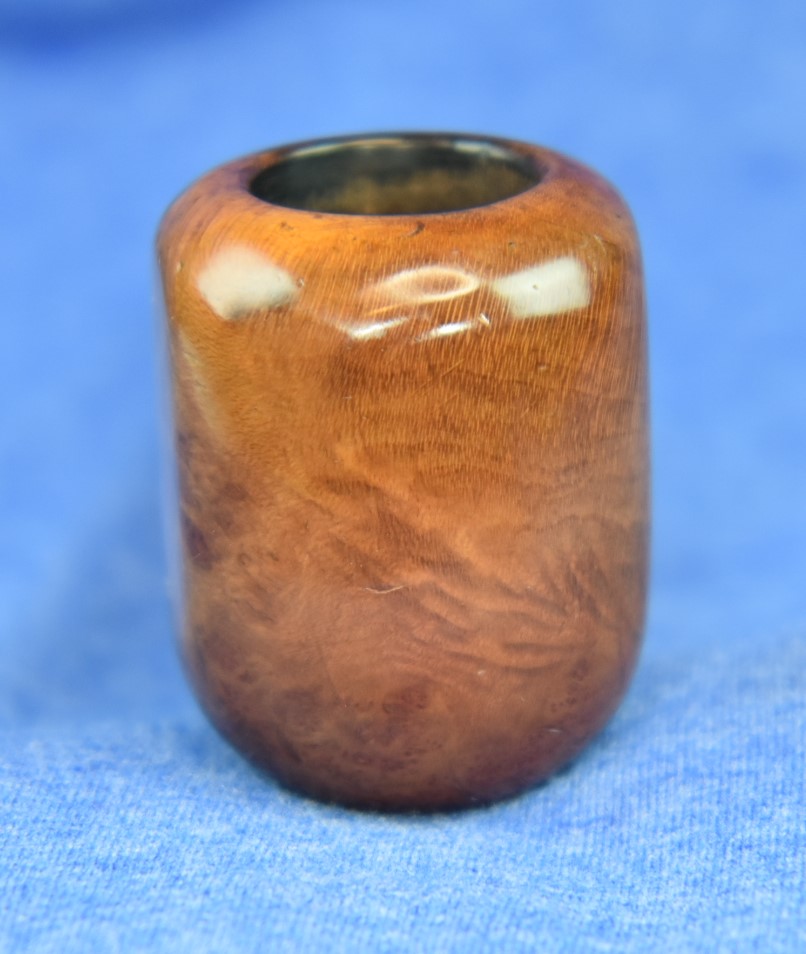
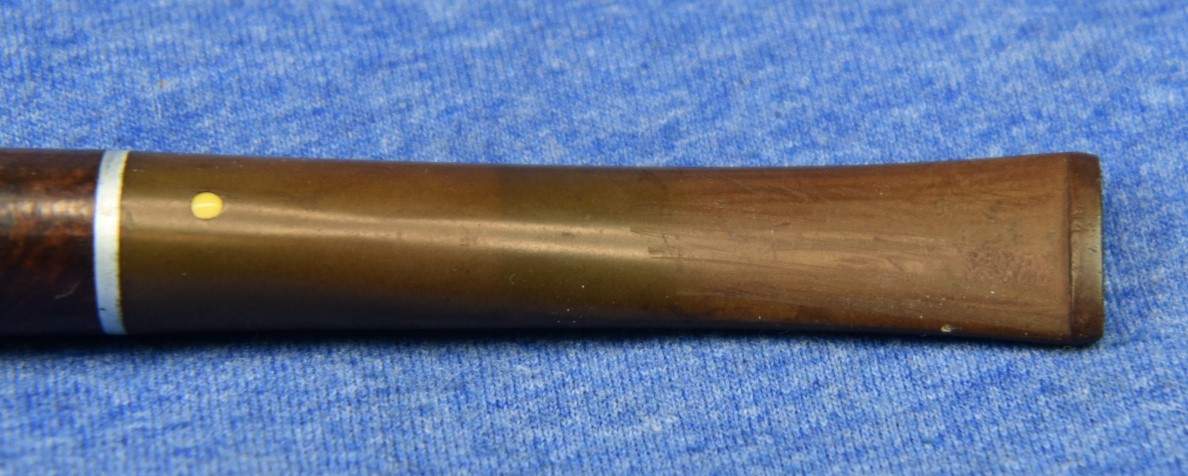
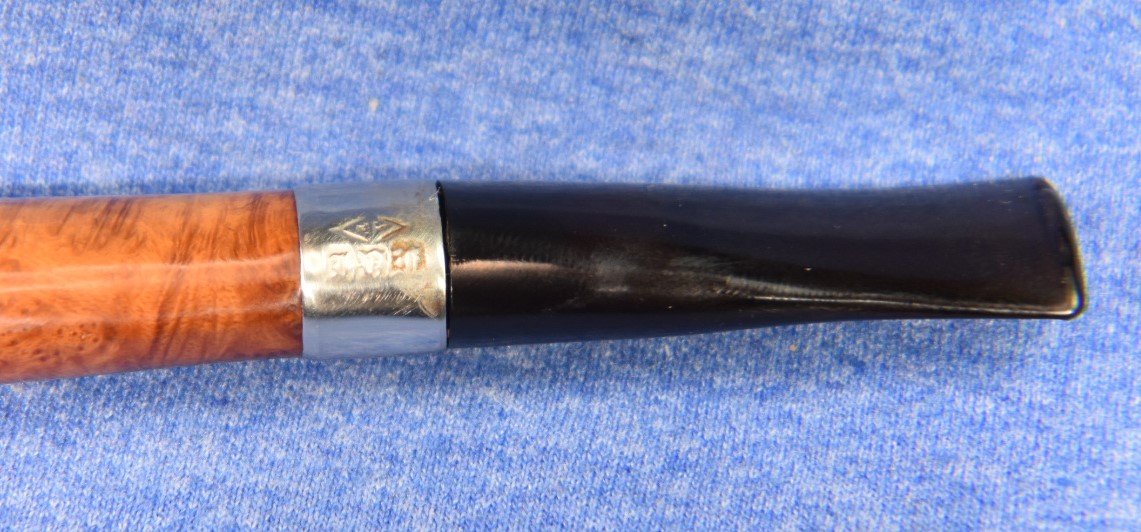
During the wait time to receive the Delrin tenons I decided to make a new band for this old girl. I looked through the brass tube stock that I had on hand. The 17/32 inch outside diameter (O.D.) tube was a near perfect fit. I measured the length of the old band and used that to cut a new band from the 17/32 stock. The new band was slightly larger which would not be a problem when glued in place. The mortise side of the band needed a slight bend to soften the edge. To do this I slid the new band over the ½ inch O.D. tube and tapped the edge with a small hammer as I rotated the band. This is a slow process and is best done while watching something on TV. Eventually the band got a nice even bevel.
Seven days after ordering them, the 12 Delrin smooth plastic tenons arrived (SBT-6, https://jhlowe.com/catalog/). Looking at them and the existing Manhattan stem I thought, “this might not work” The 5/16 inch Delrin just looked too thick in diameter. The original stem would most likely crack during the drilling. Maybe with a precision vice and a drill press it would work but no way with hand tools. I thought back to the Plan #2 steps. I skipped ahead to steps 5 & 6 – cutting thread in the new tenon. The tap and die set rarely gets used so I was looking forward to that. I used the thread gauge on the existing threads of the tenon. Size 18 and a diameter of 5/16. I clamped the Delrin in the vice and started cutting the threads. The portable vice that I have has plastic covers on the clamping surfaces. These would not grip the slick Delrin. I had to unclamp the tenon and hold it in a pliers and I finished cutting the threads.

They threaded into the mortise of the stummel very nicely. I was glad to save the original wooden threads in the shank of the old Manhattan. Now for the task I think I had been putting off, step 4 the stem drilling.
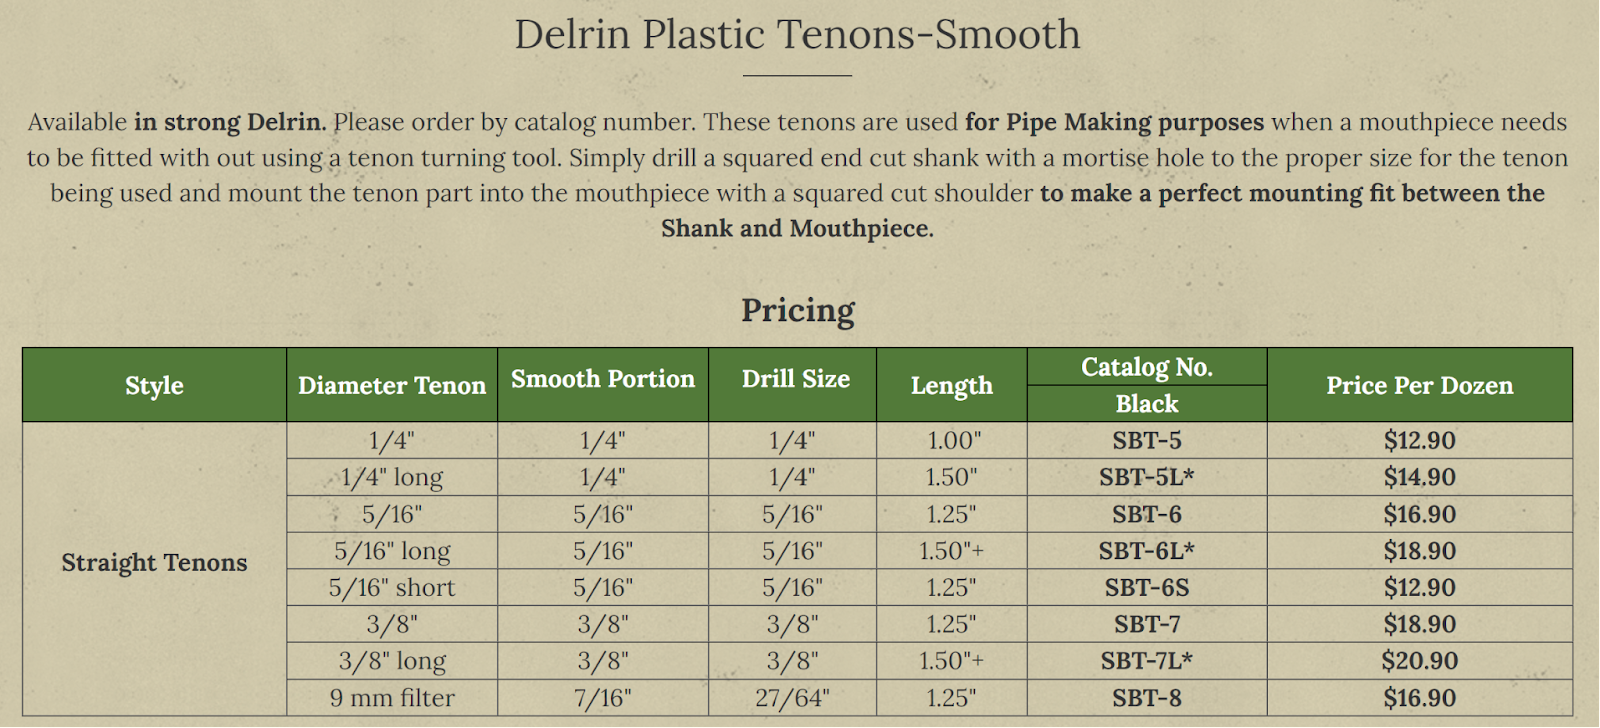
I retrieved my round-thing-holding-jig for clamping round pieces in a vice. It would work to hold the stem while I used a hand drill. I might be able to get up to ¼ inch by stepping up through increasing sized bits. I wrapped the stem in a triple layer of scotch tape hoping that that might allow an extra layer of protection from cracking. Then clamped the stem into the
round-thing-holding-jig in the portable vice. The 3 mm bit went through without removing much material. Next, came the 7/64 inch. I marked the ½ inch depth, to drill, with painters tape on the drill bit and started drilling – no problem. I repeated the taping and drilling with a ⅛ in bit. Again, no problem. The threaded tenon was getting very thin but I wanted to keep it as long as possible to aid in keeping the drill bits running straight. The 4 mm bit was taped and I started drilling – the threaded tenon cracked and parts broke away. Not a problem, I thought. I used the Dremel tool with a cut-off bit to remove the remaining threaded tenon as flush as possible. The remaining material would be sanded away. The next bit was a 3/16 inch. Again, I taped it for depth and proceeded – no problem.
To save time, for you reading this, I continued stepping up the drill bit size to ¼ inch. The hole in the stem was now noticeably off center. I don’t know if this was due to my drilling or if the original airway was not centered. Either way, the 5/16 inch hole was going to be a problem. I thought maybe if I started the 5/16 bit with the drill then switched to a bit in a screwdriver I would be able to drill it by hand. This worked but I soon saw a crack develop in the stem. The crack was filled by applying clear Thin Cyanoacrylate (CA, super glue) which penetrated into the crack. This was sanded smooth using an emery board. I figured once the epoxy was inside the drilling and adhered to the Delrin tenon there would be enough adhesion to keep the crack from being an issue in the future. A new plan was needed, perhaps it should be called “#3”.
Plan #3
If the hole can’t get larger then the tenon must get smaller. That sounds far too easy.
- Use the drum sanding bit with the Dremel tool to sand down the diameter of the Delrin tenon.
- Cut the Delrin tenon to appropriate length.
- Screw in the Delrin tenon until tight.
- Check the stem fit over the Delrin tenon. Sand tenon to fit.
- Apply Vaseline to surfaces where no epoxy is wanted.
- Use epoxy to glue tenon into the stem.
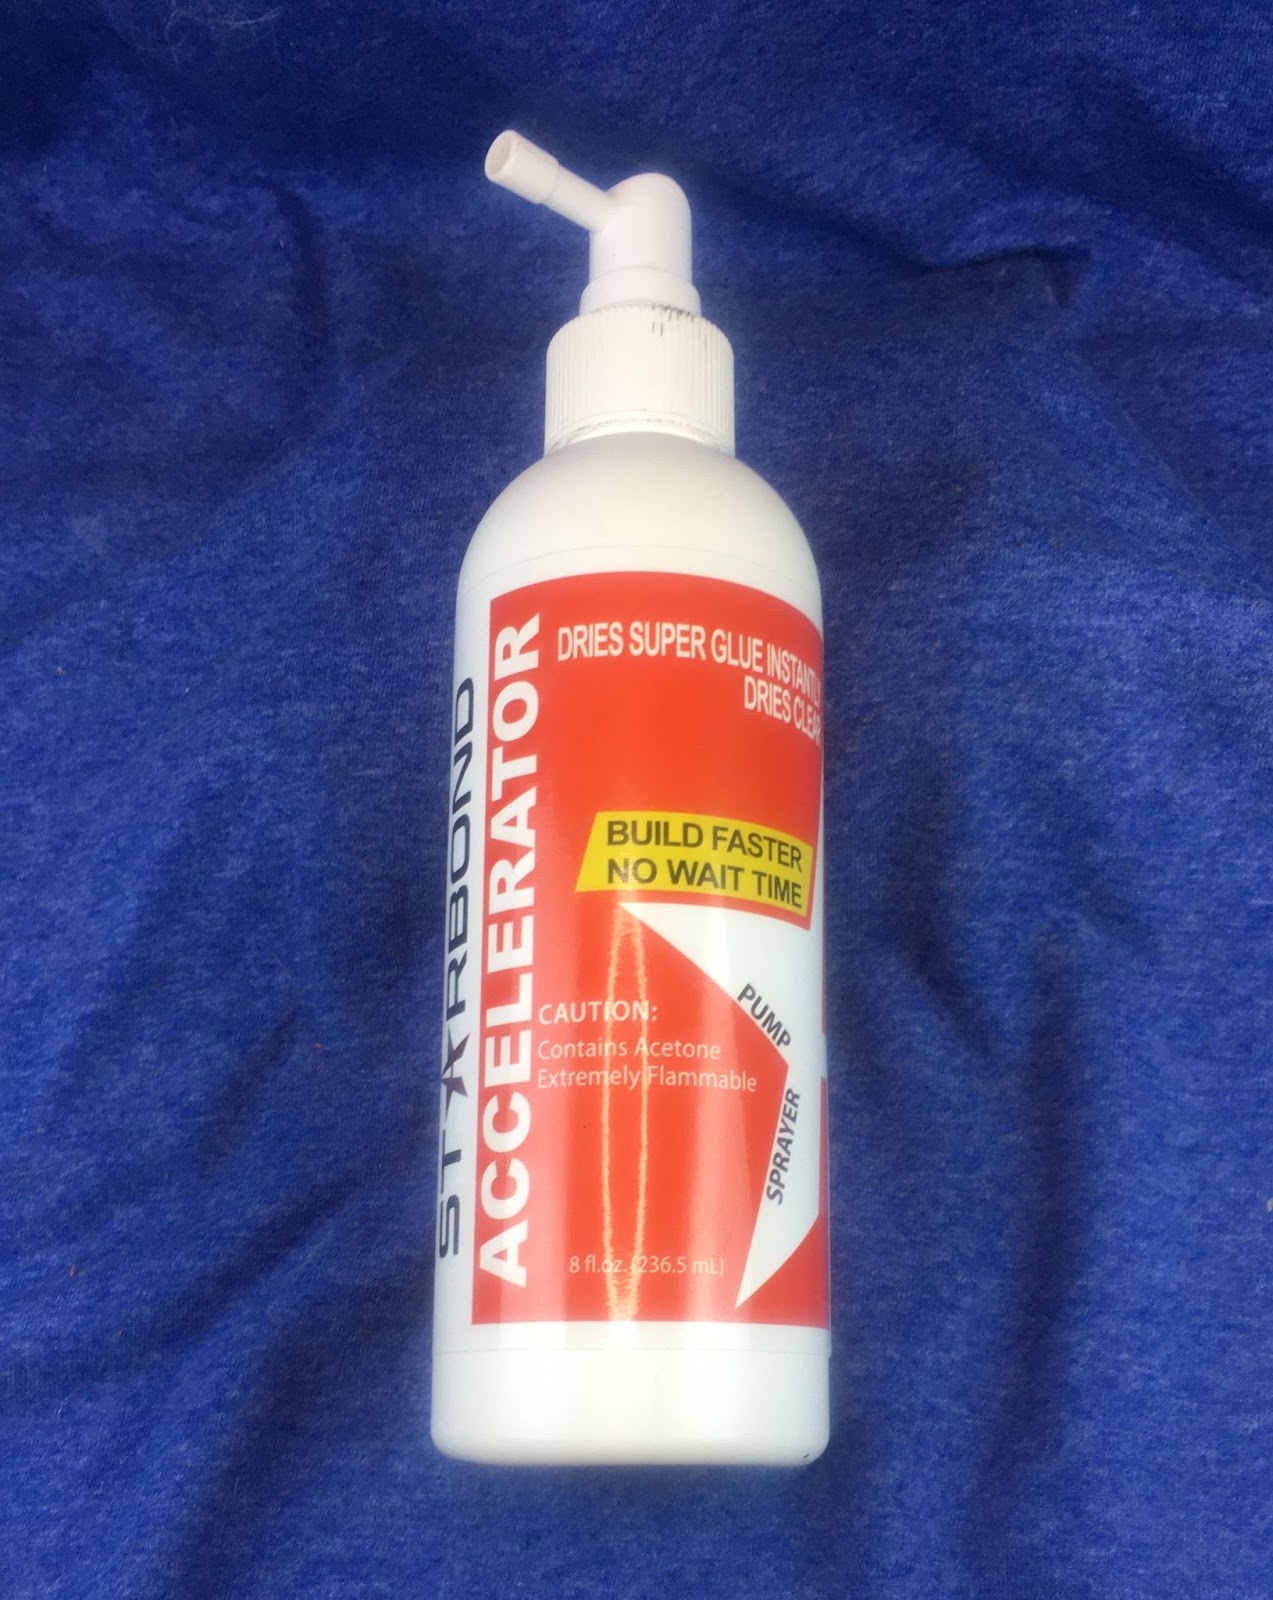
- Run an acetone dipped pipe cleaner through the stem to make sure no epoxy interferes with the airway.
- Tah-dah.
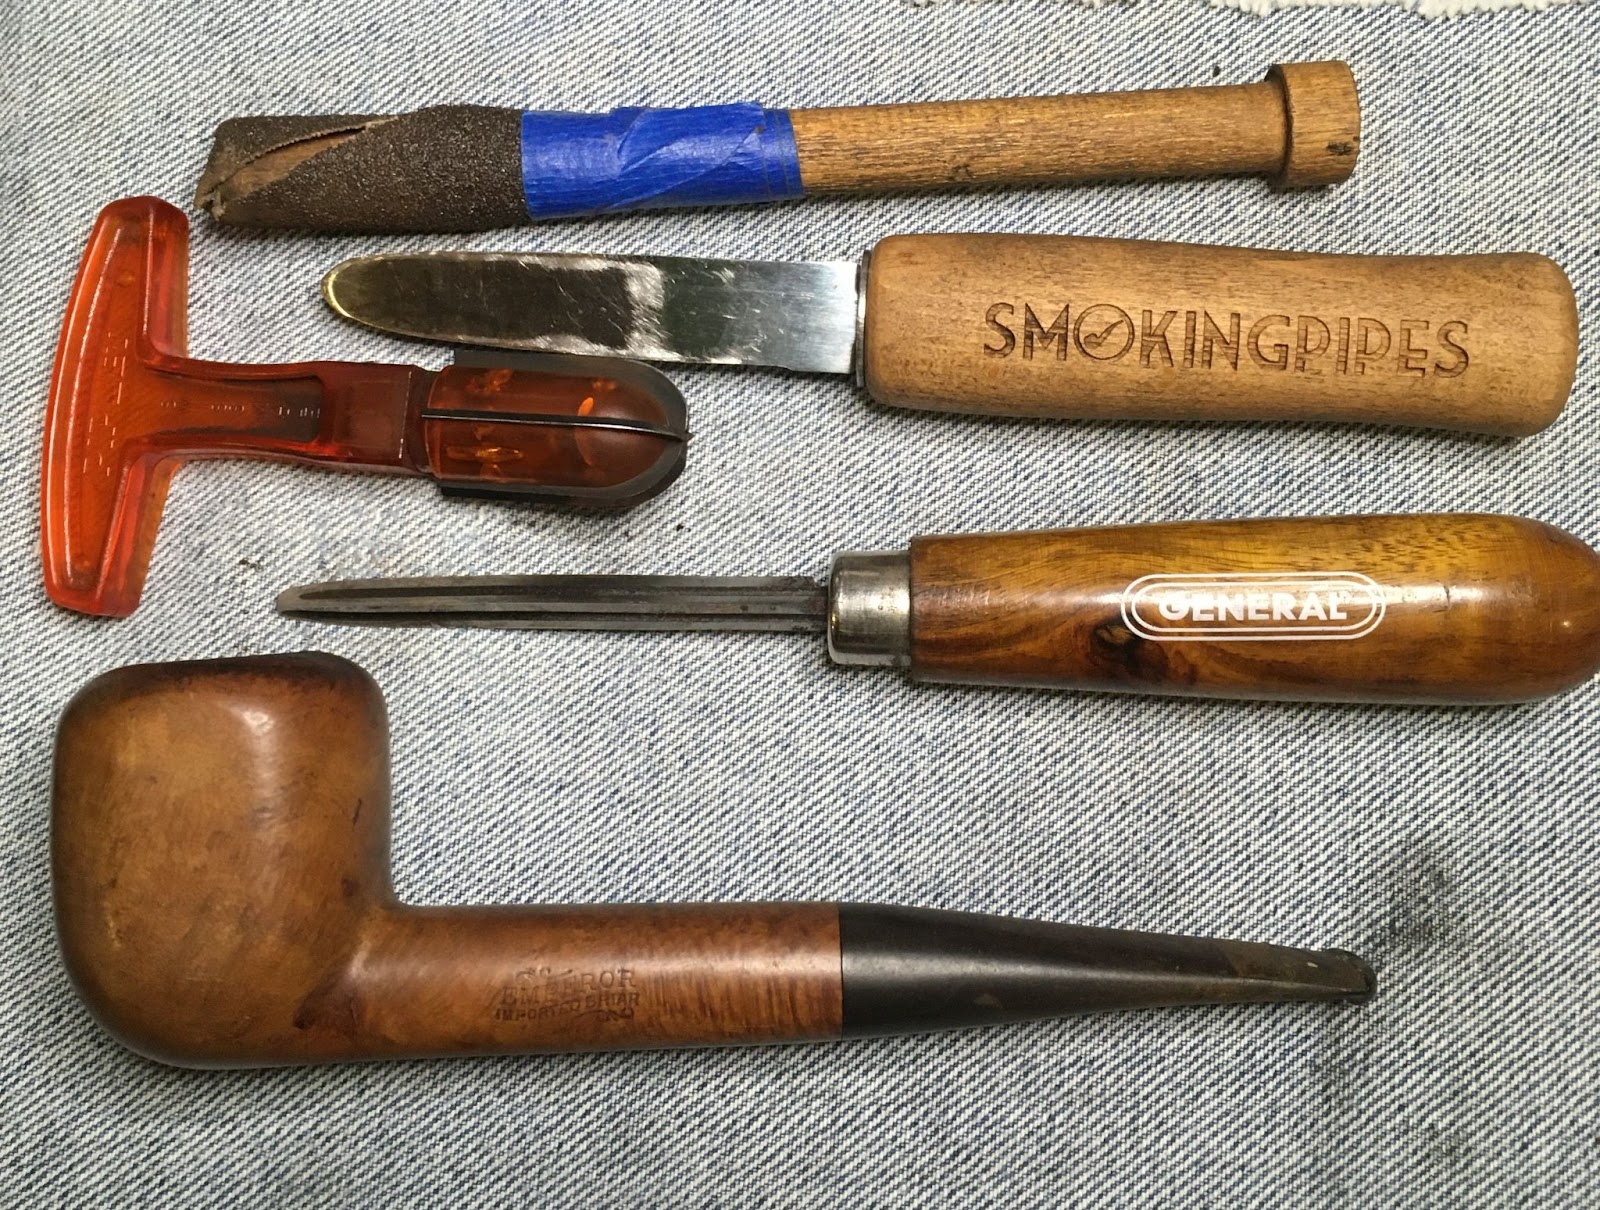
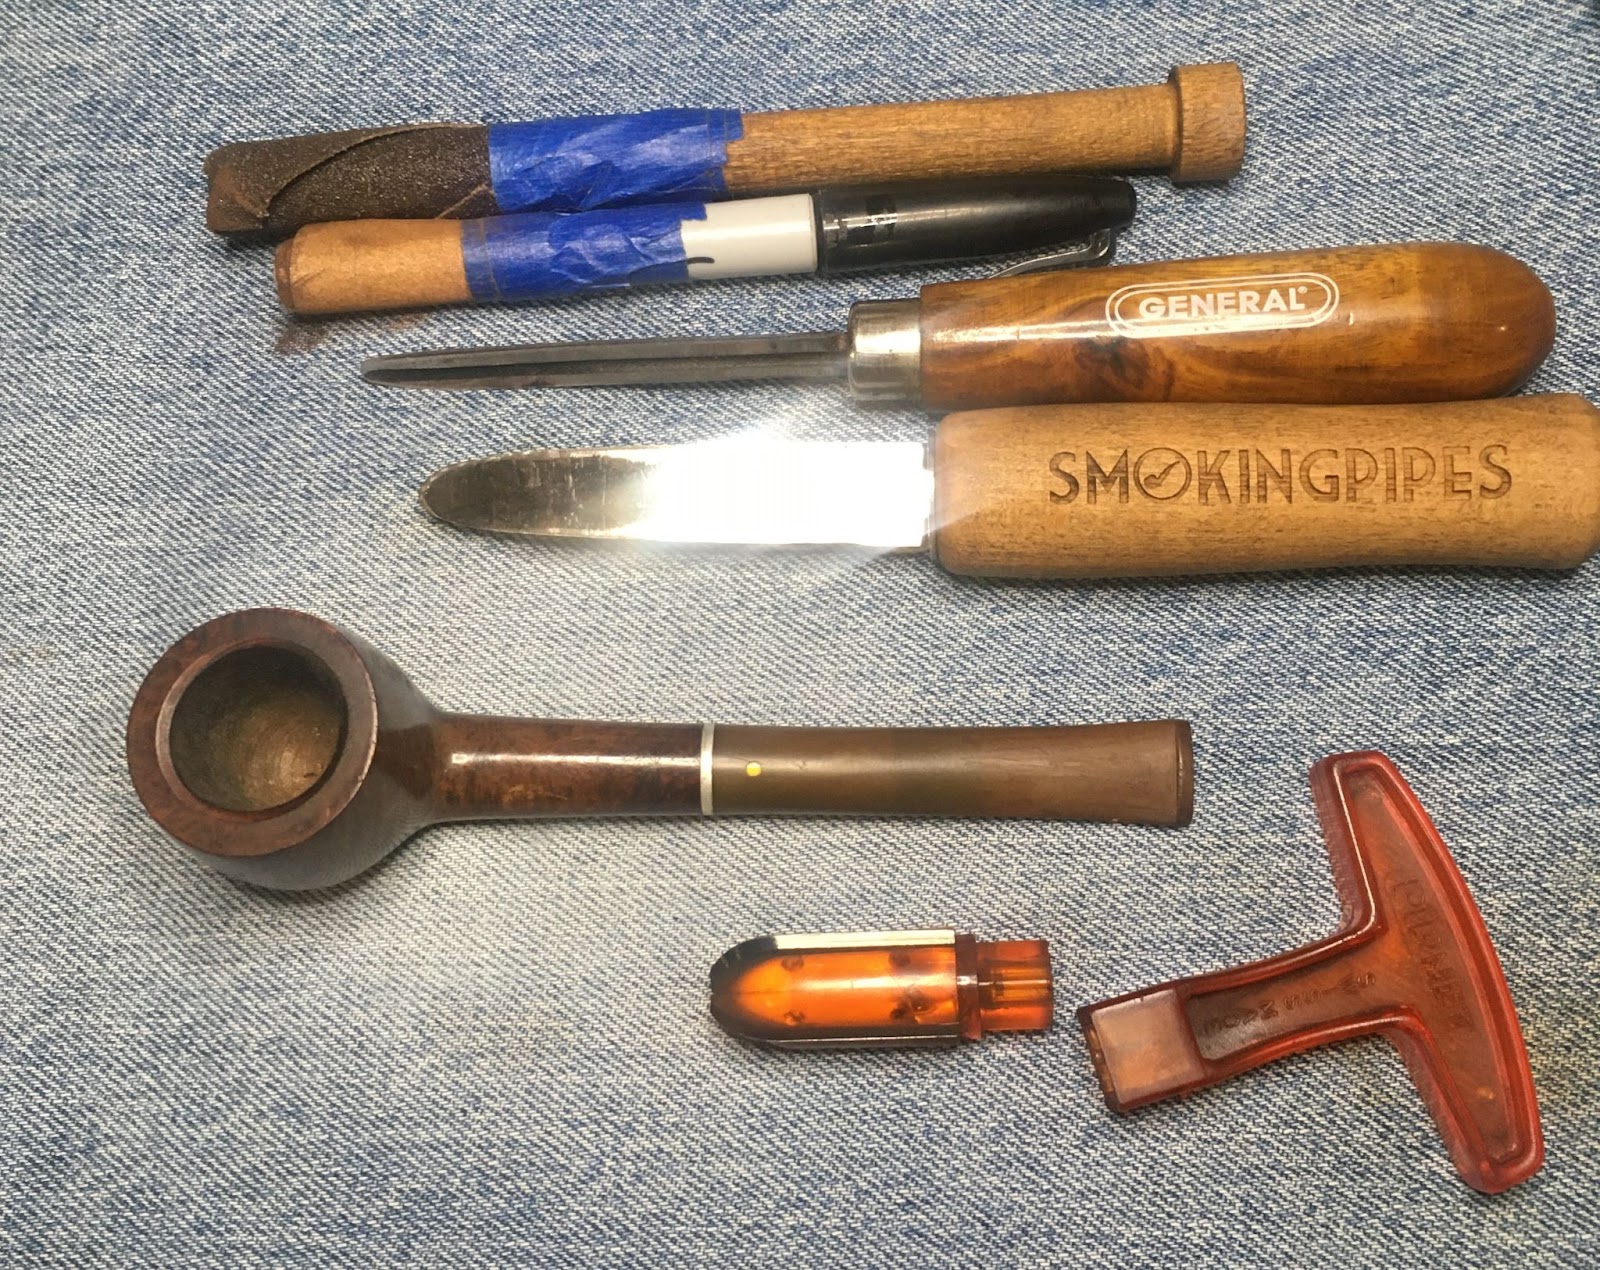
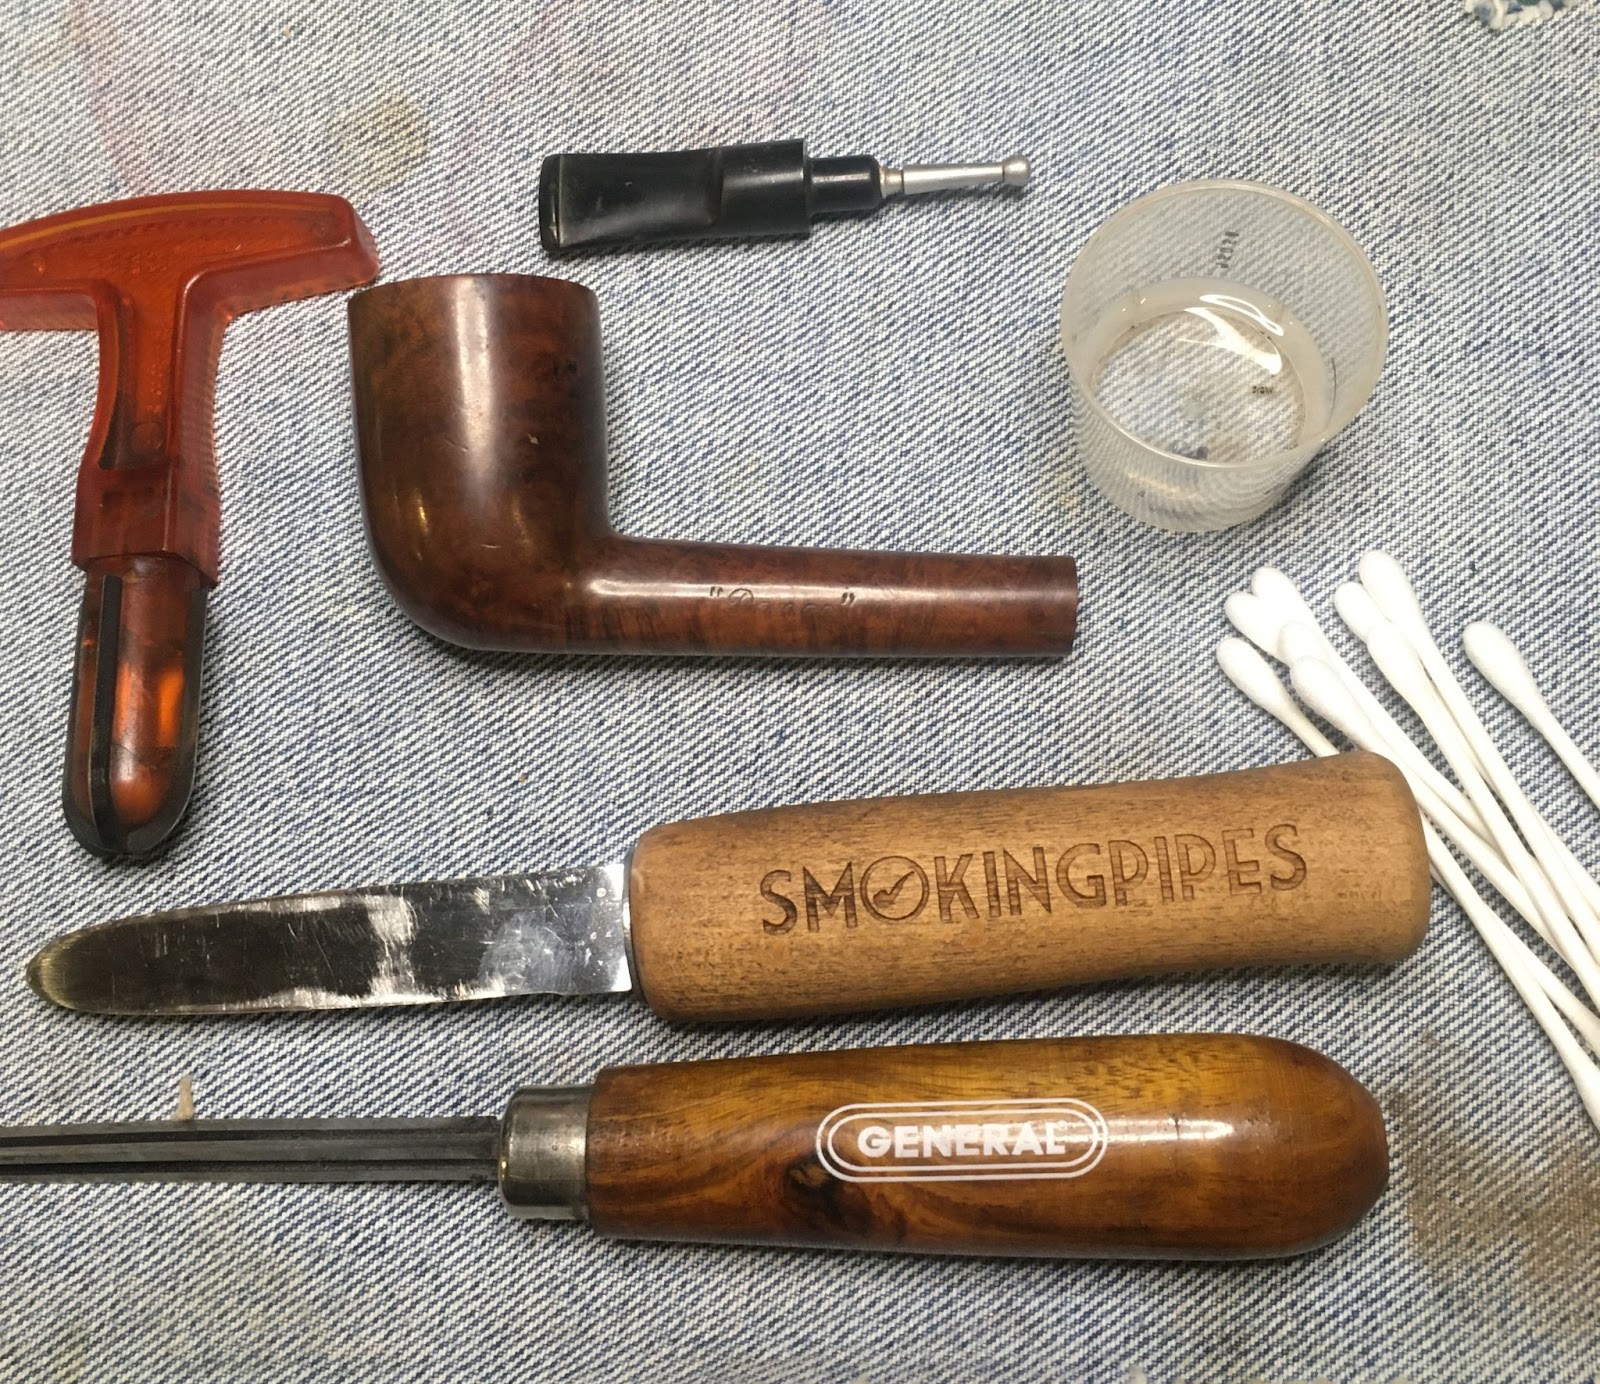
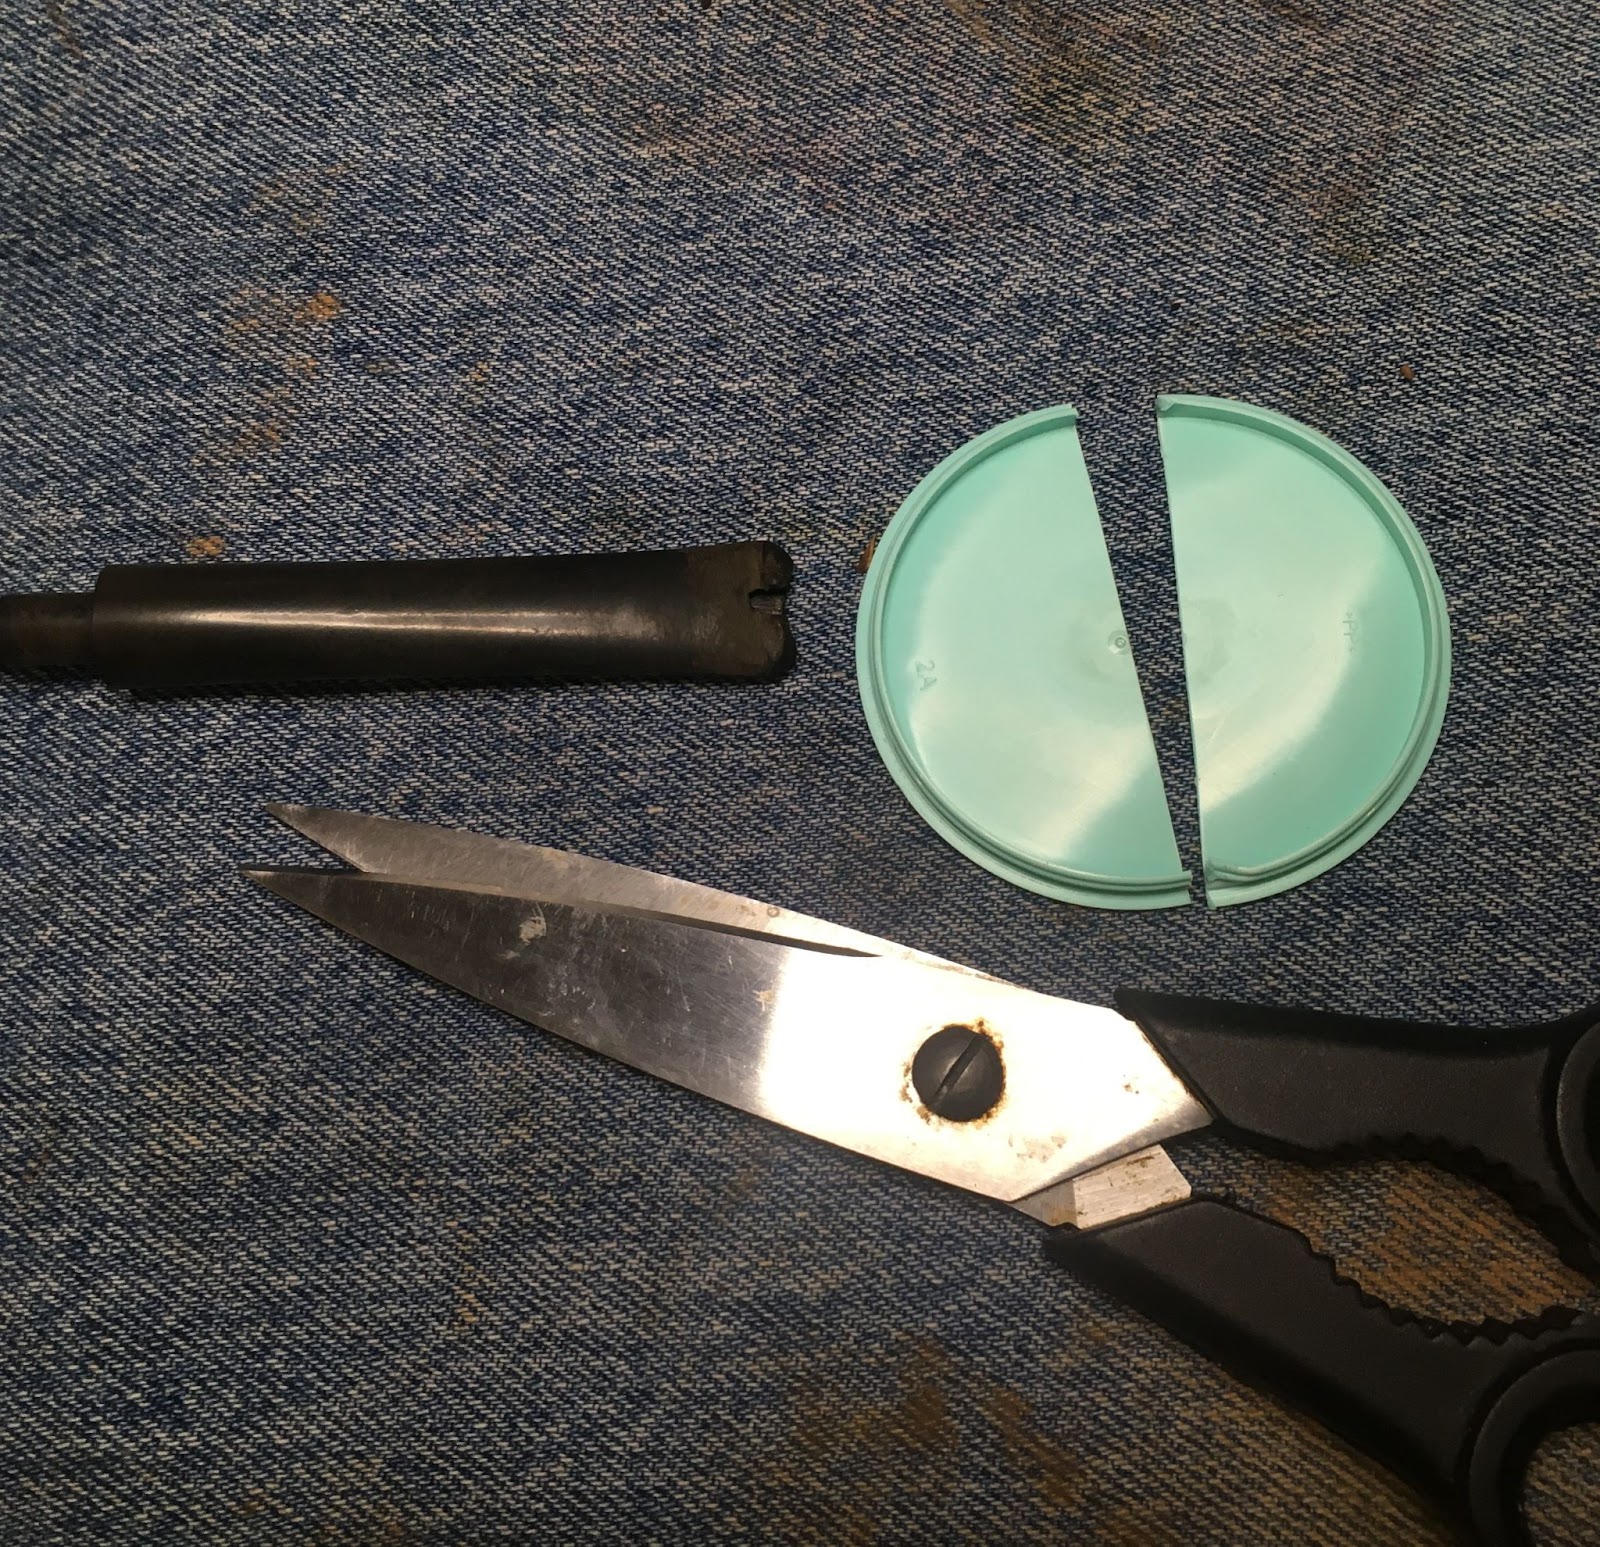
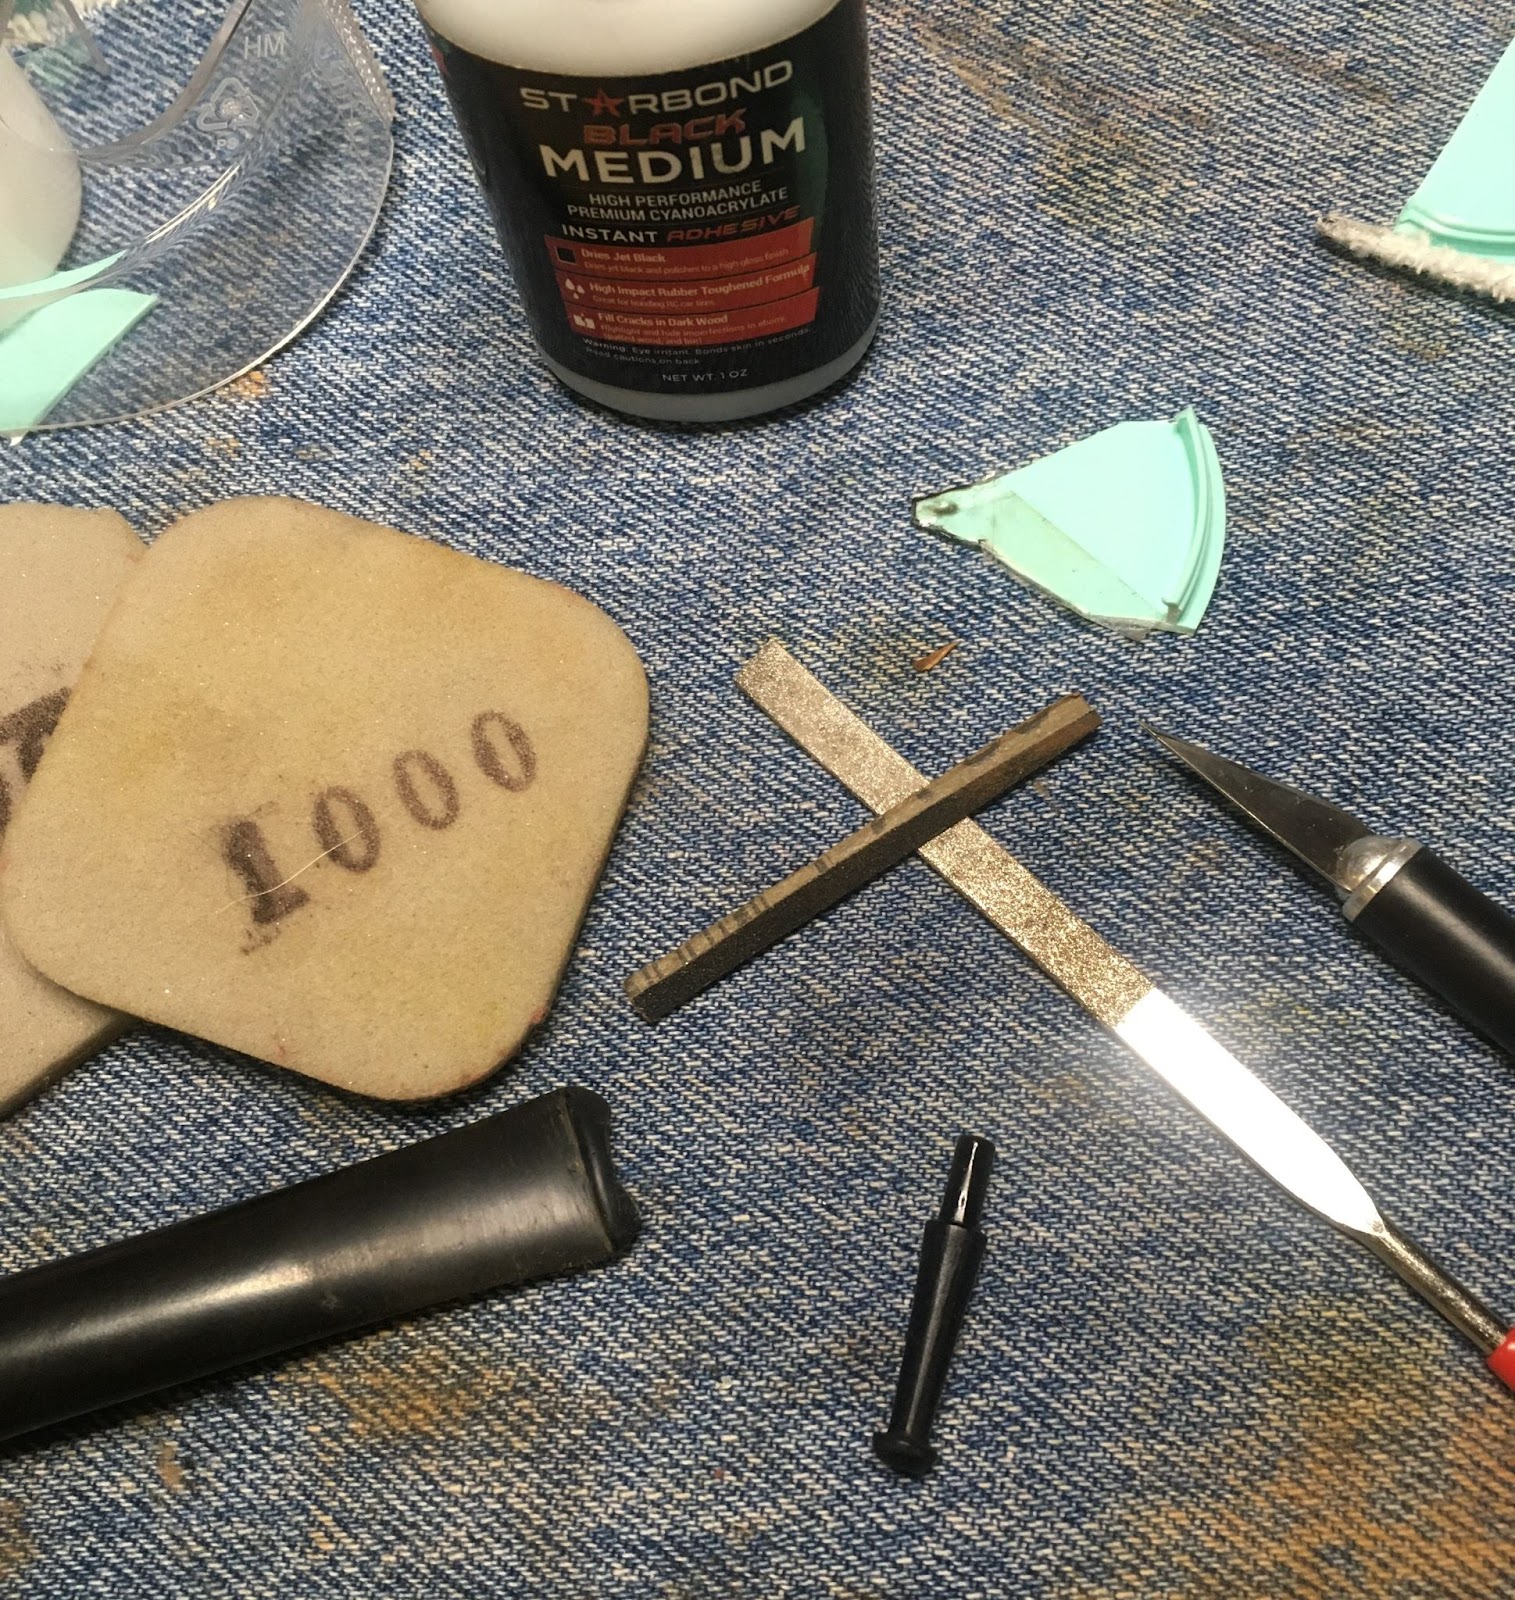
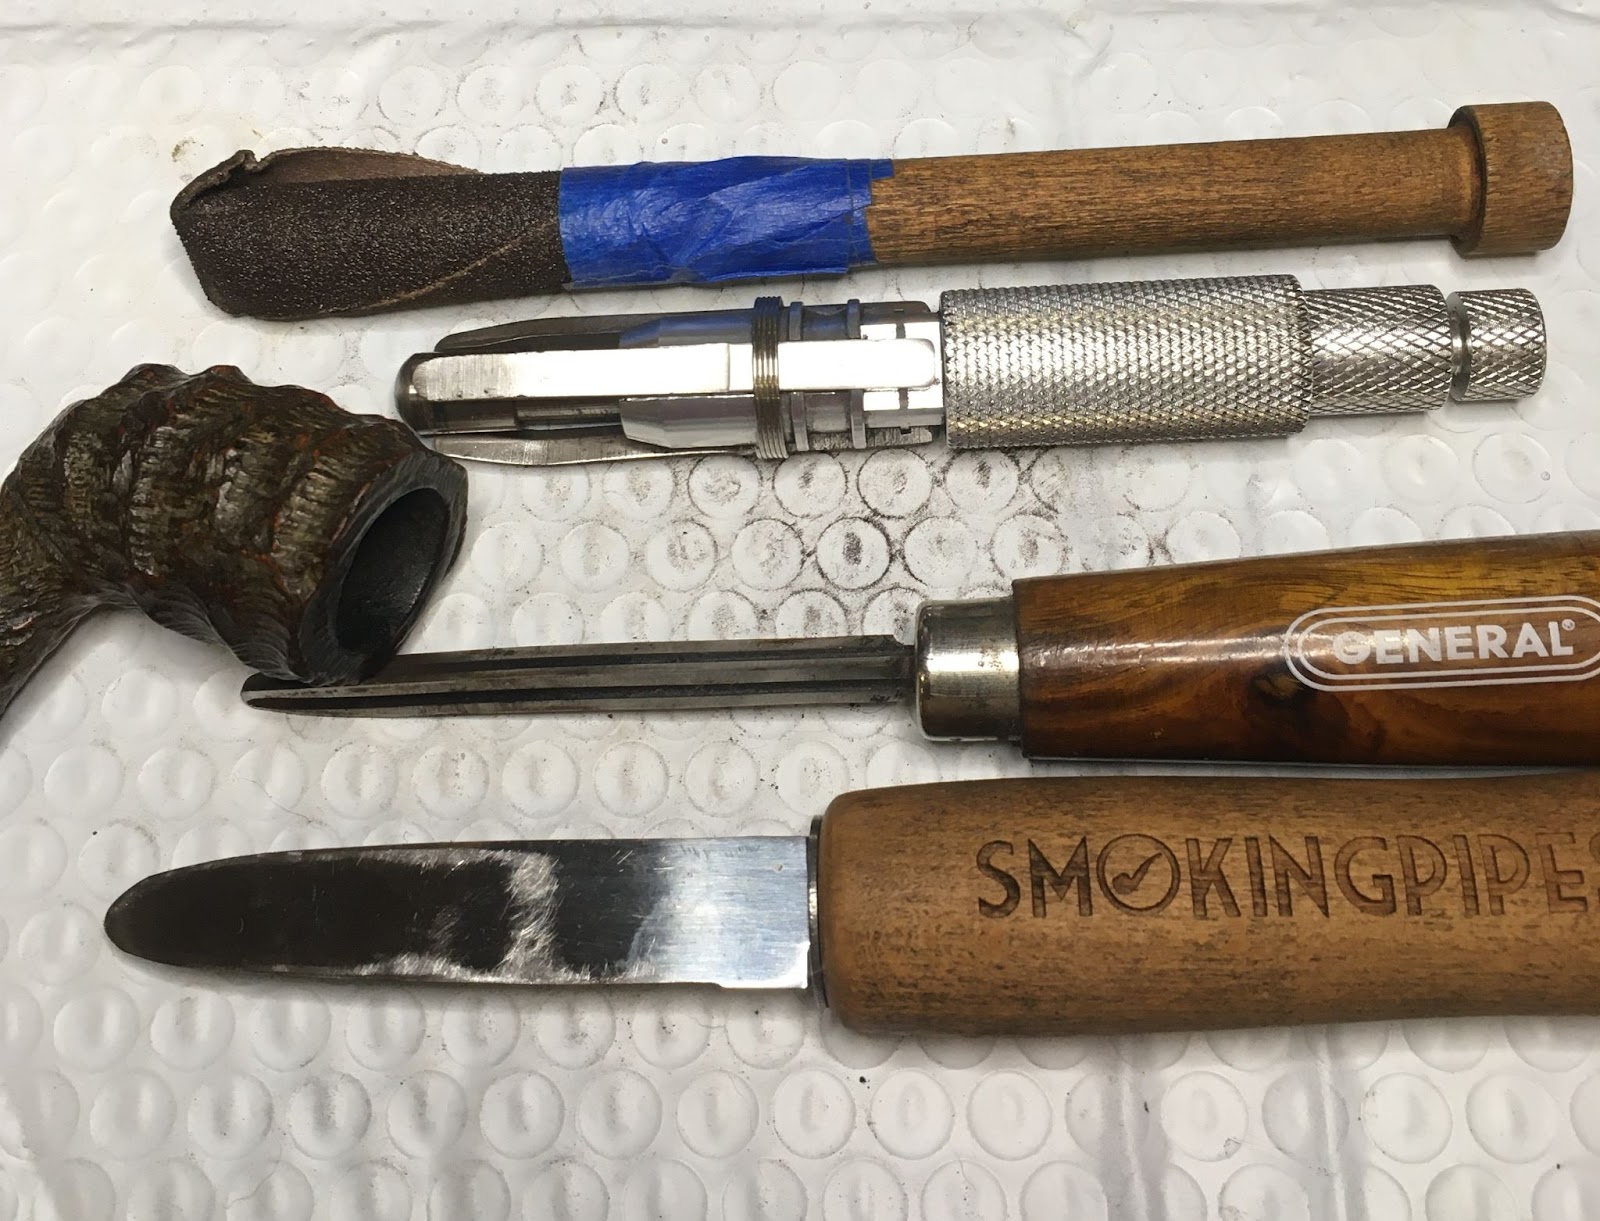
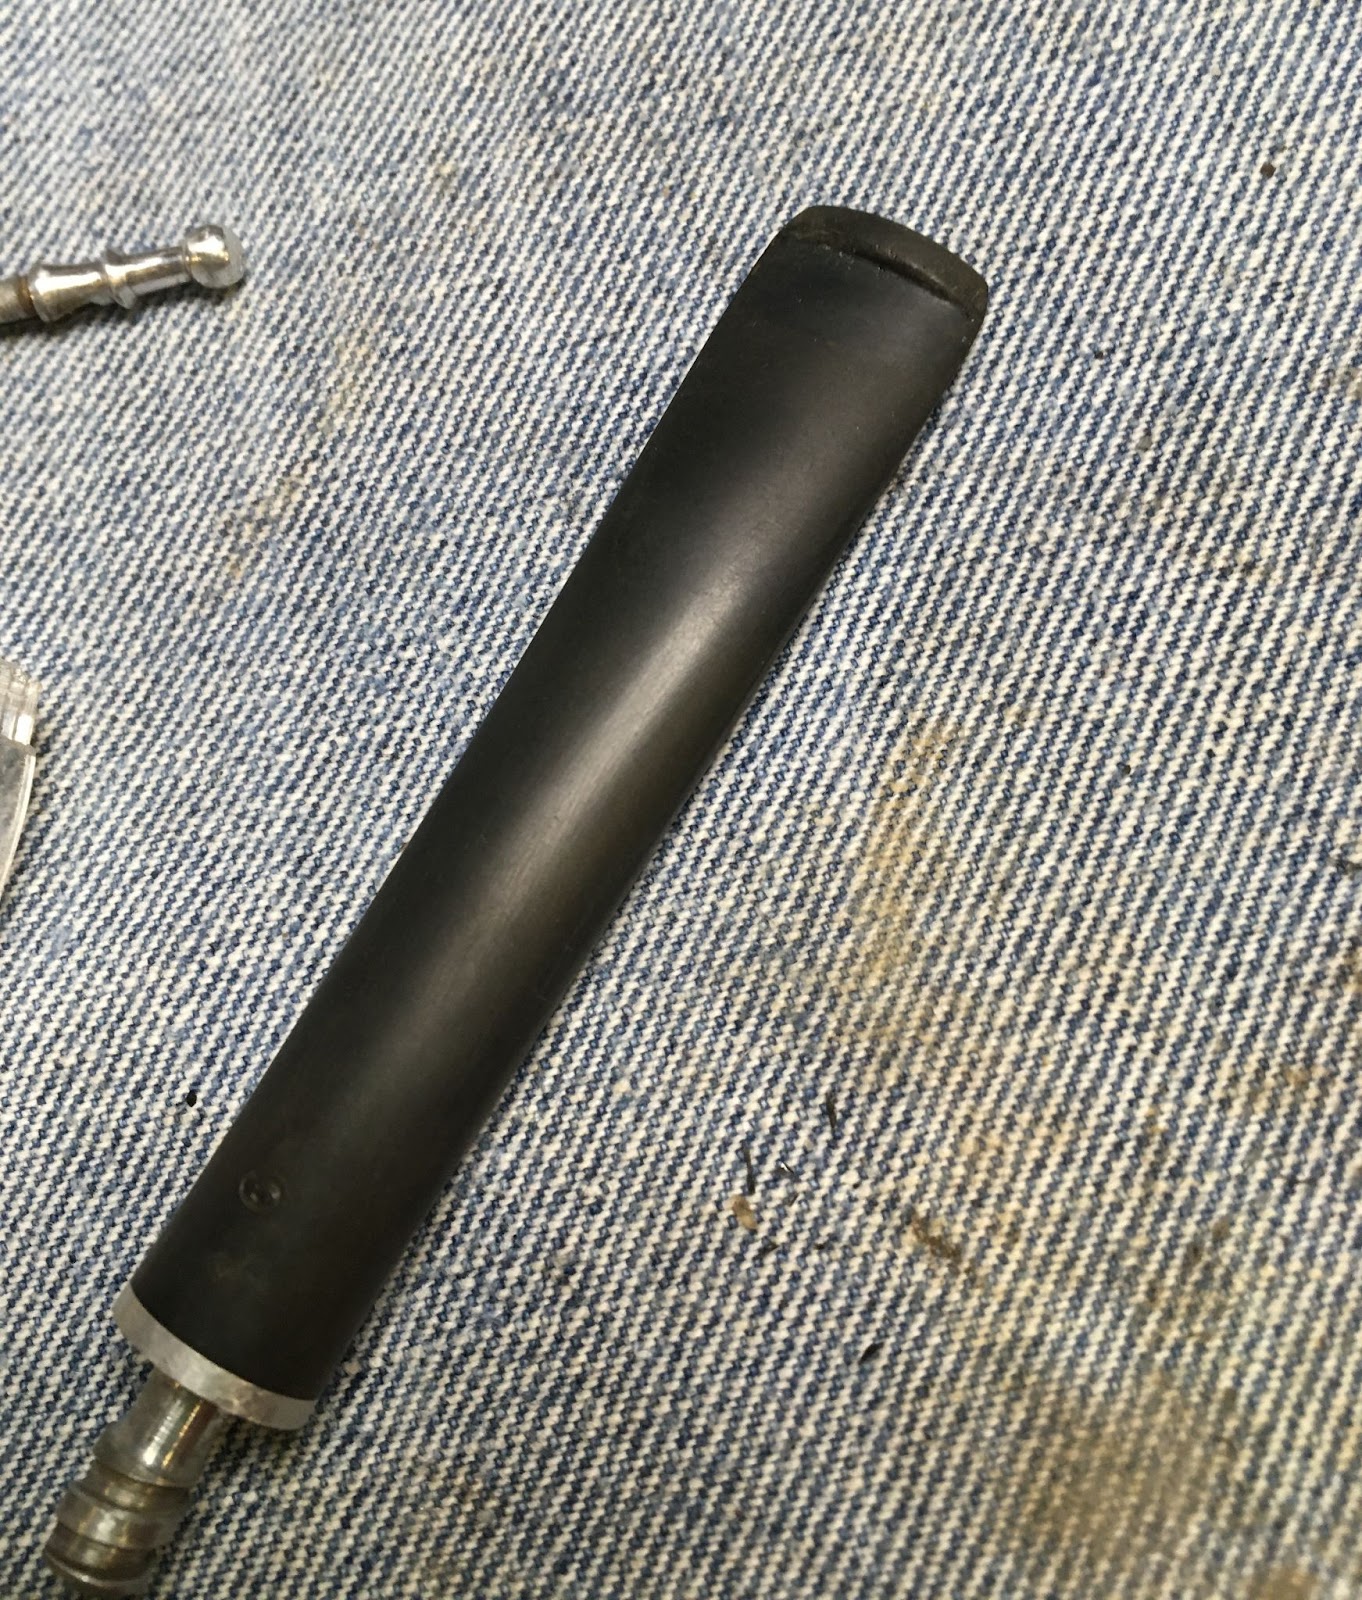
That was the plan and that is what I did. The Delrin sanding with the Dremel was not photographed due to it taking both of my hands. The next two photos show steps 1-3.


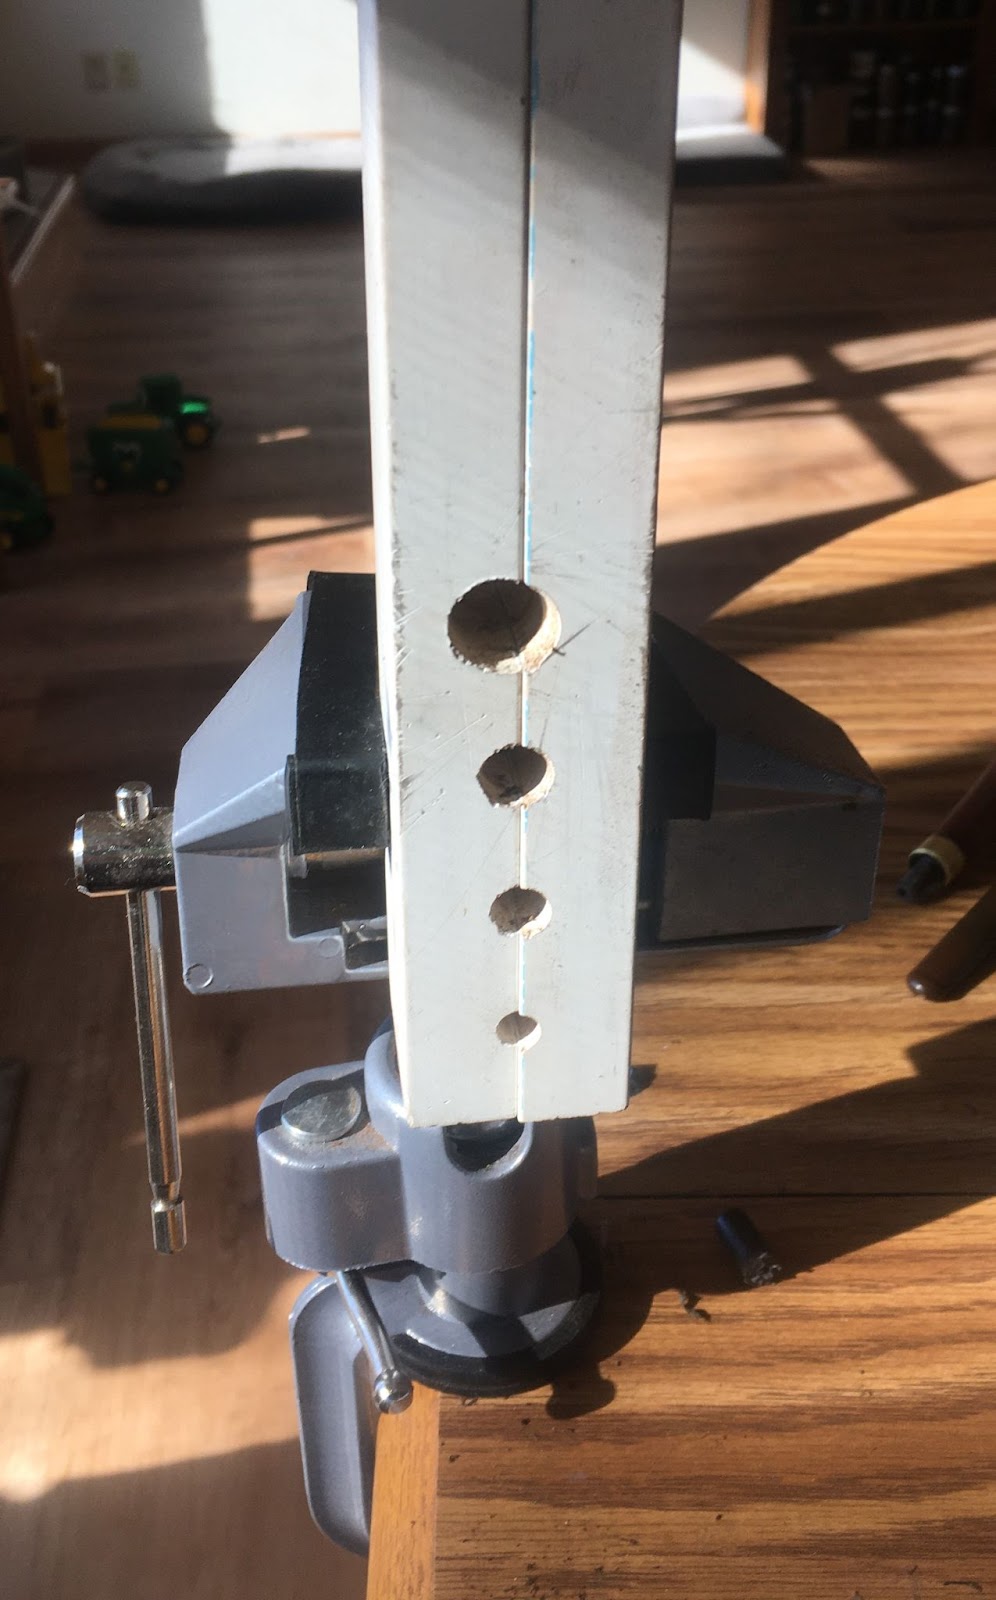
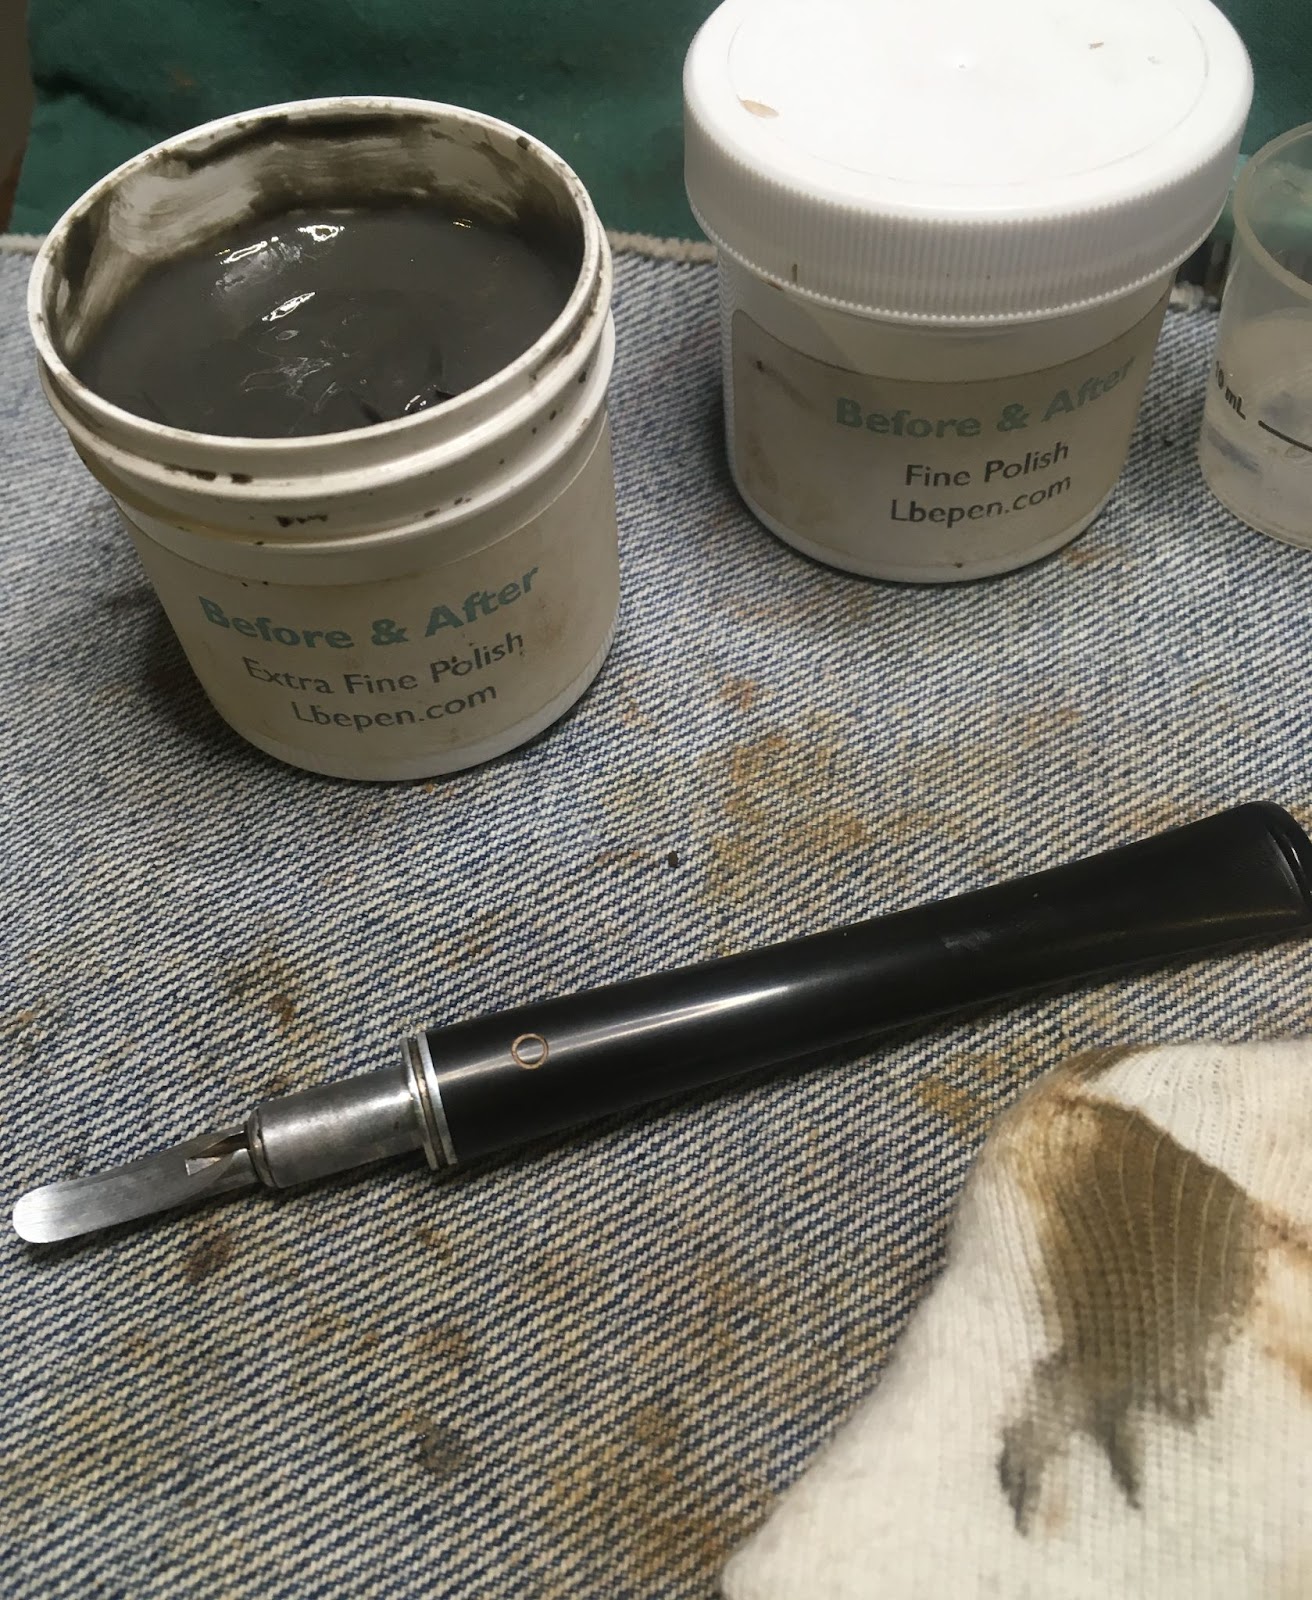
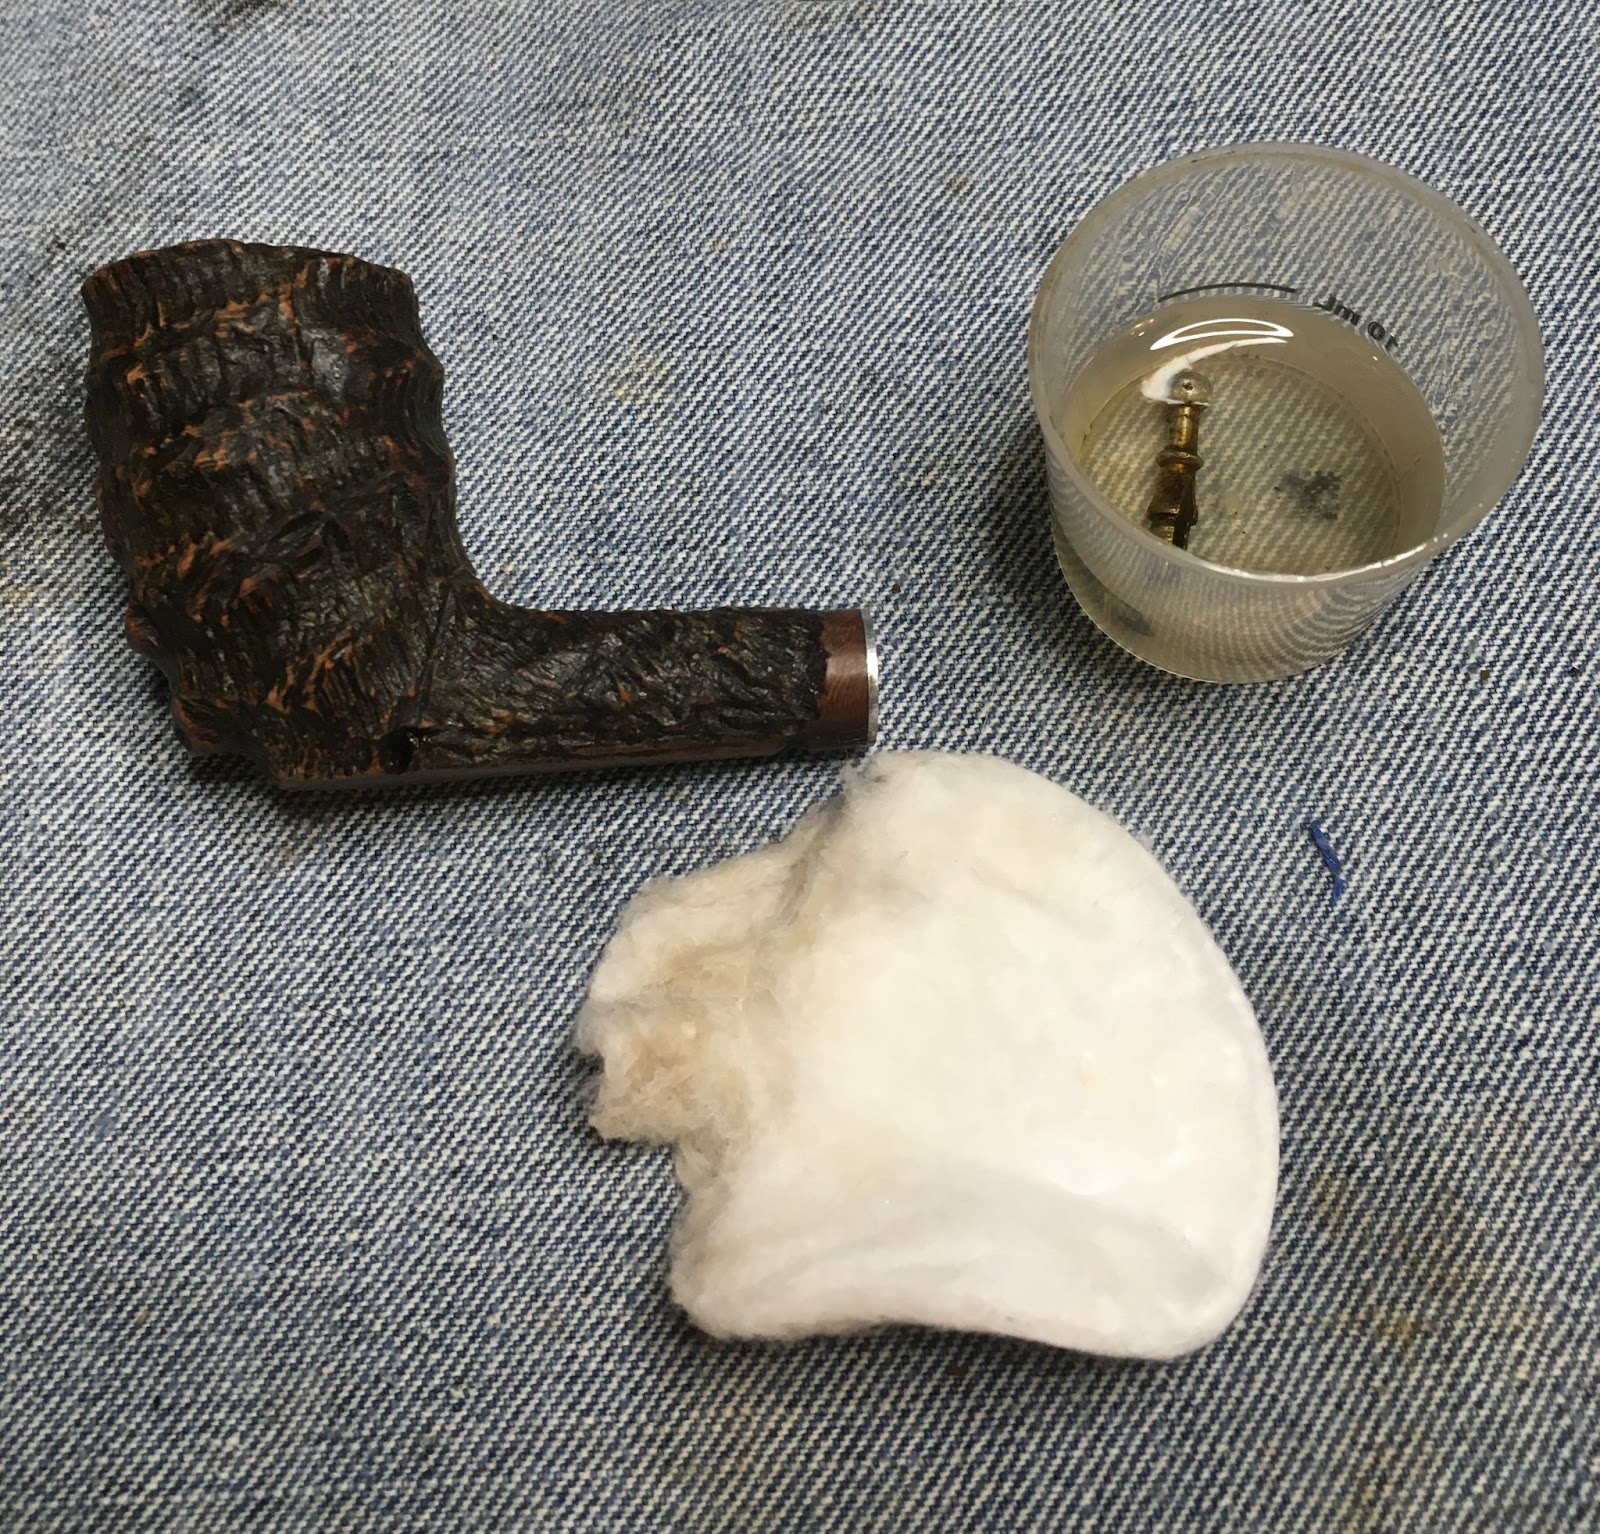
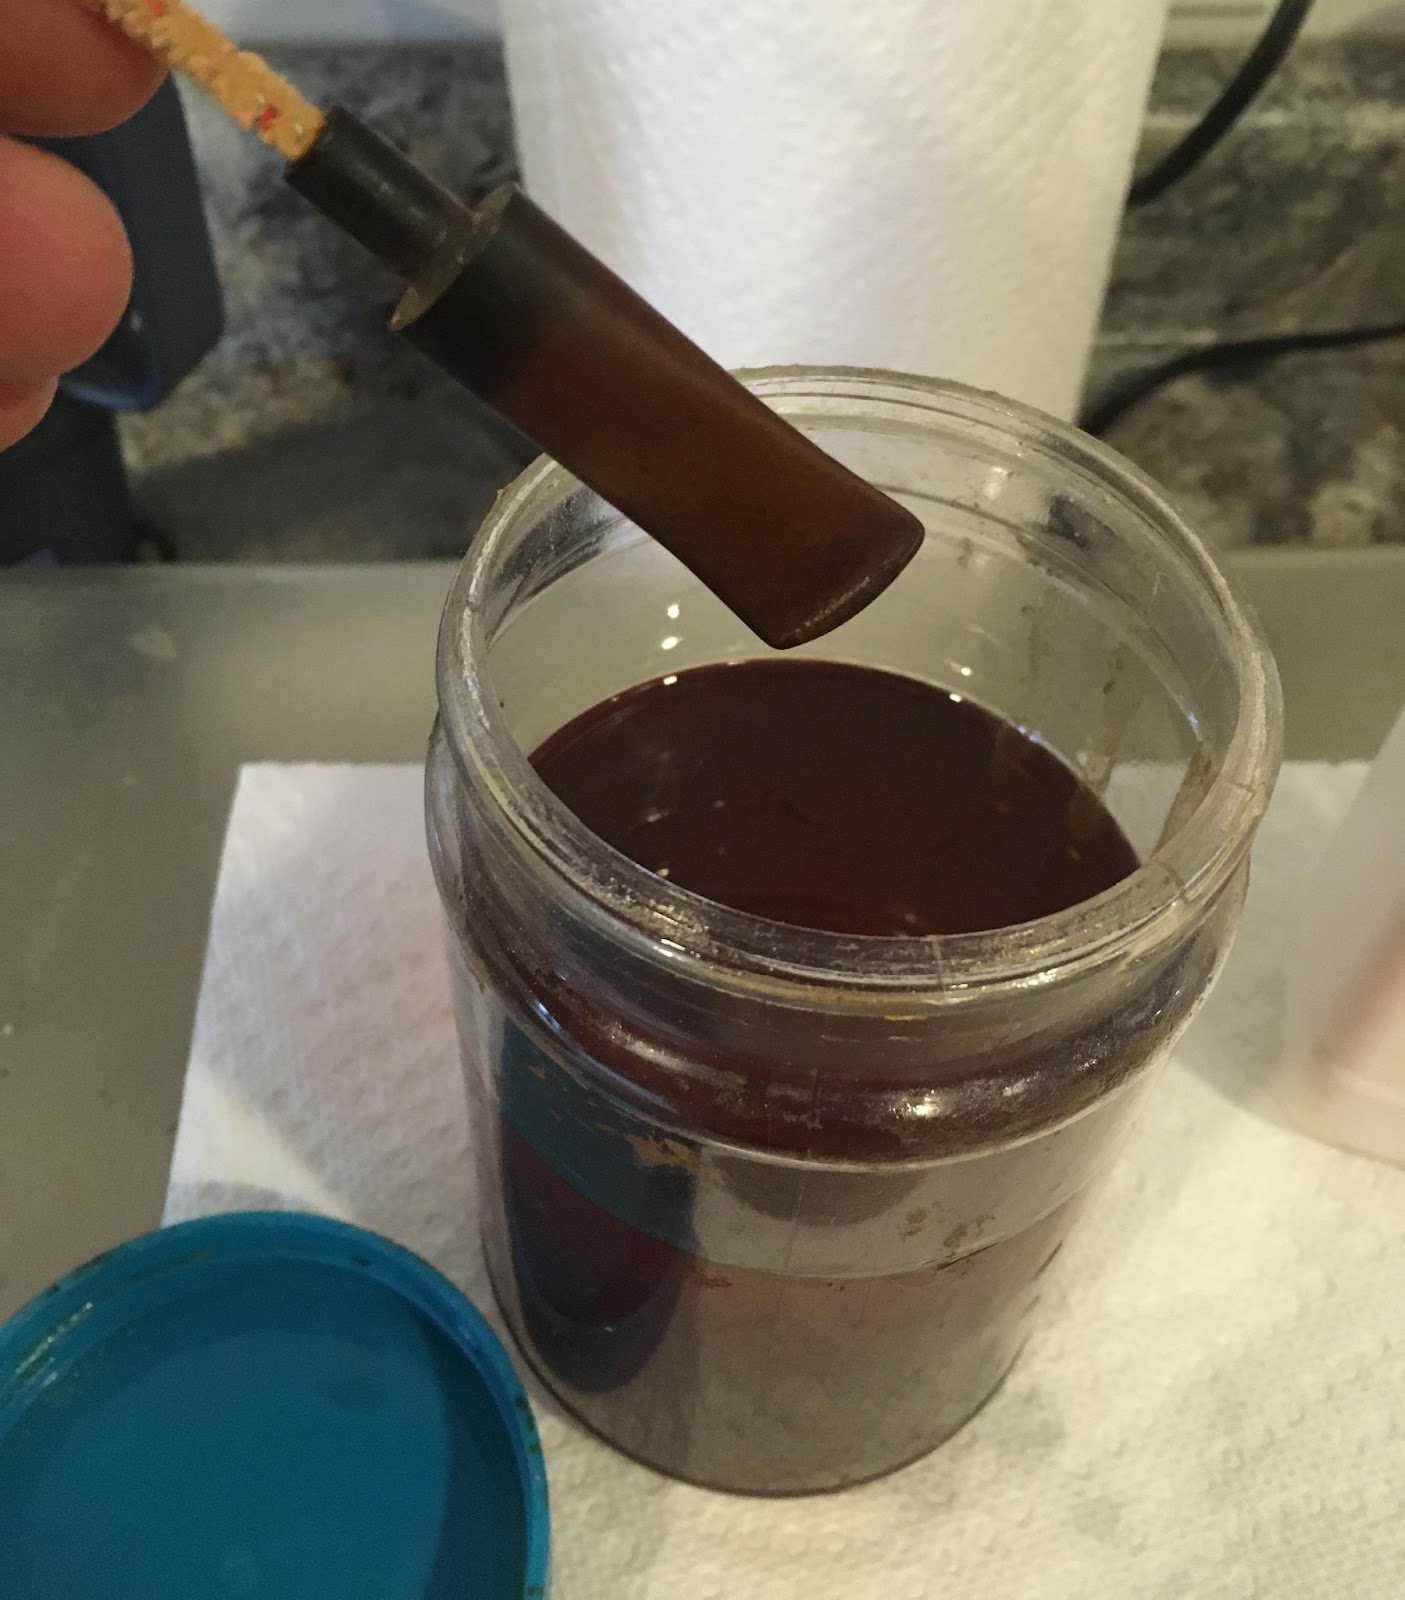
I did not include a step for getting all the gluing gear together but, here is a photo.

Step 5 “Apply Vaseline to surfaces where no epoxy is wanted“, is shown by the next two photos. The Vaseline did not photograph well on the stem but it was there.

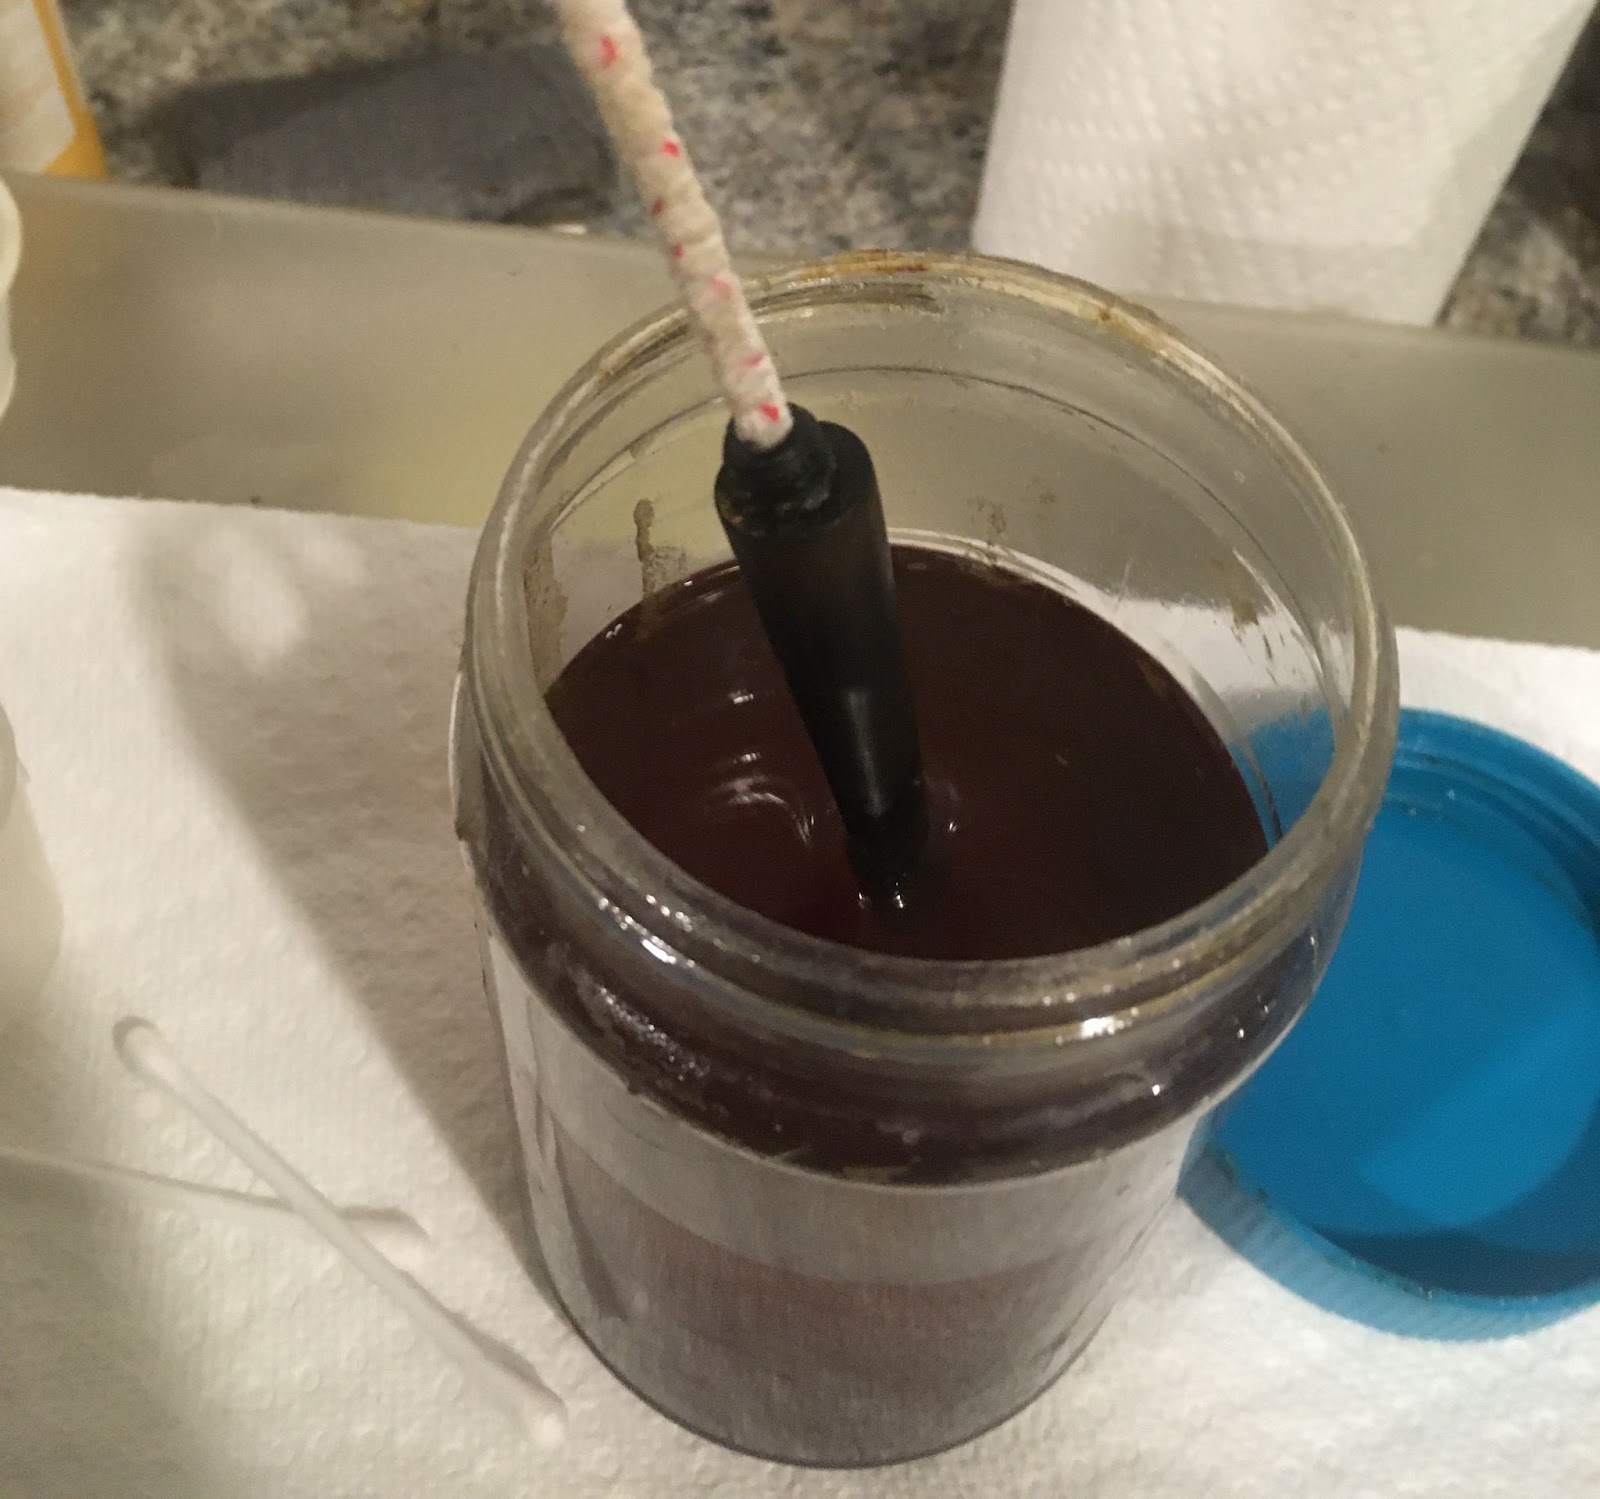
Step 6) Sorry that the focus is so bad. Trust me the tenon is wet with epoxy as was the drilled out stem.

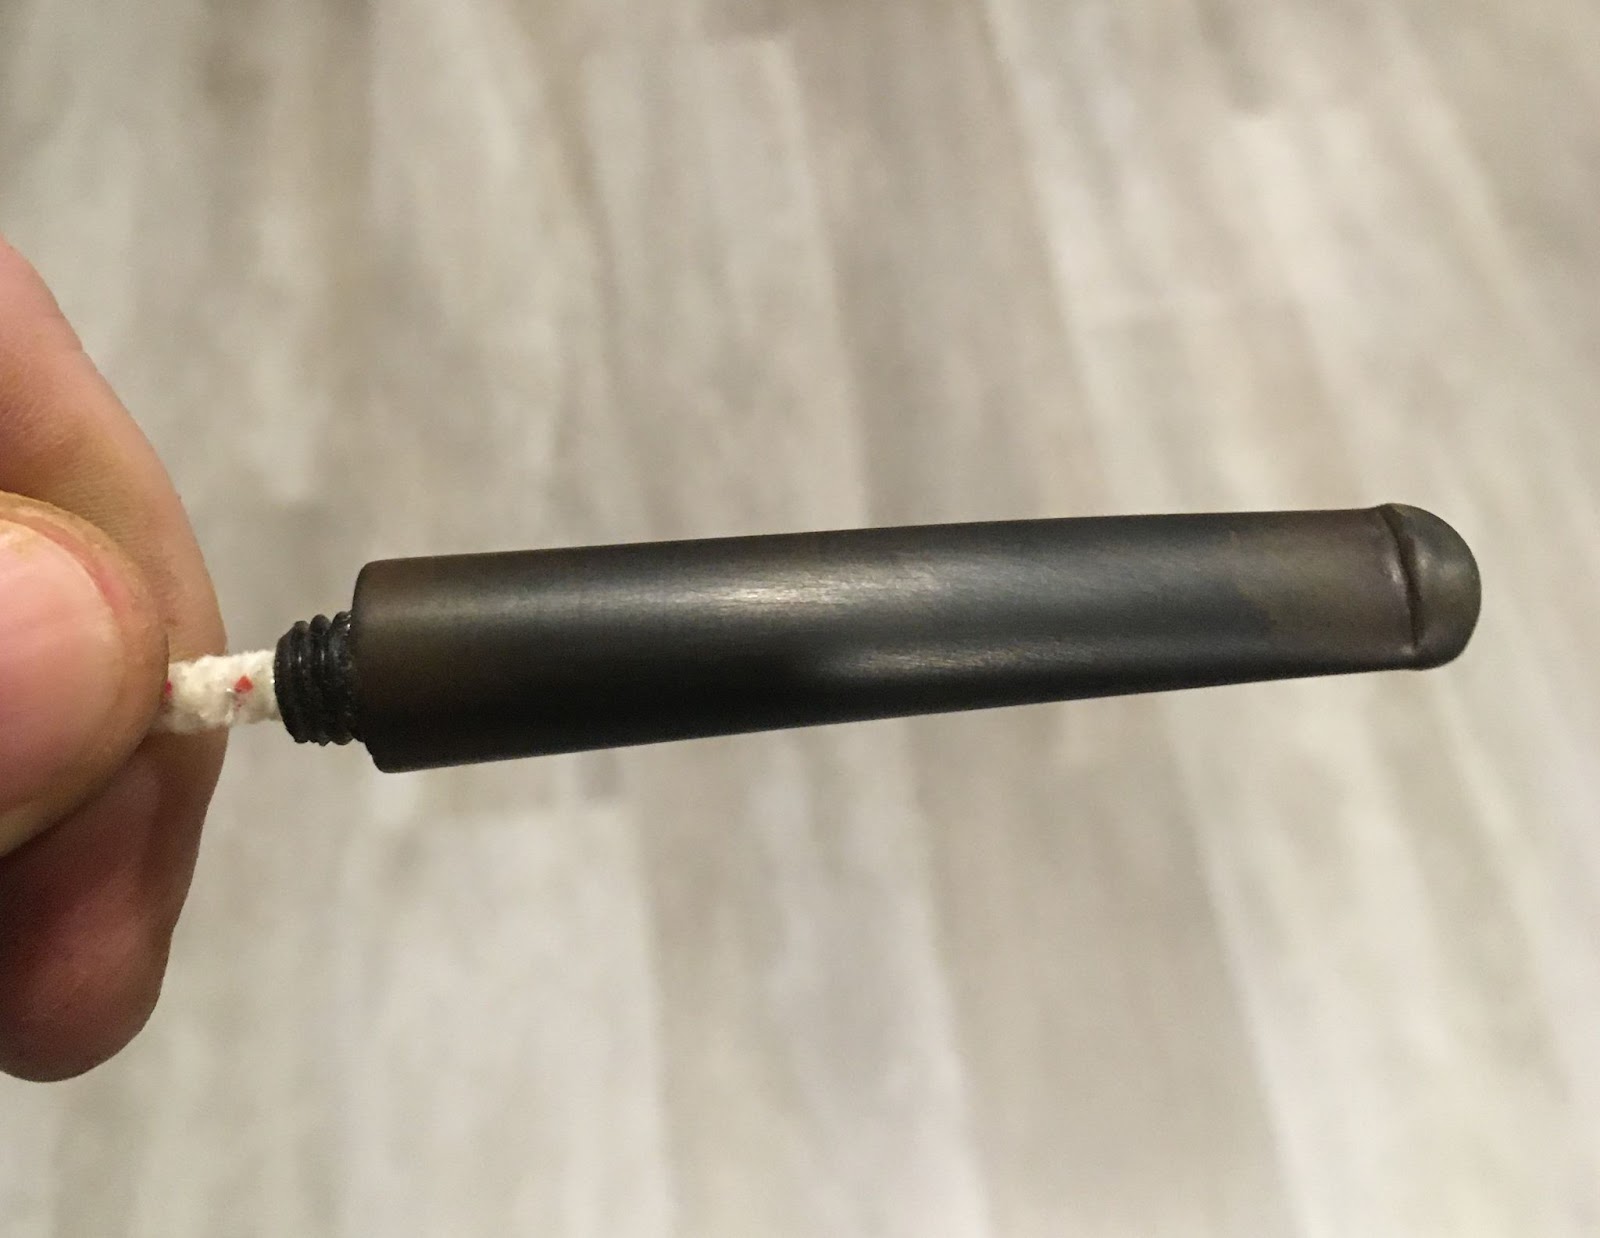
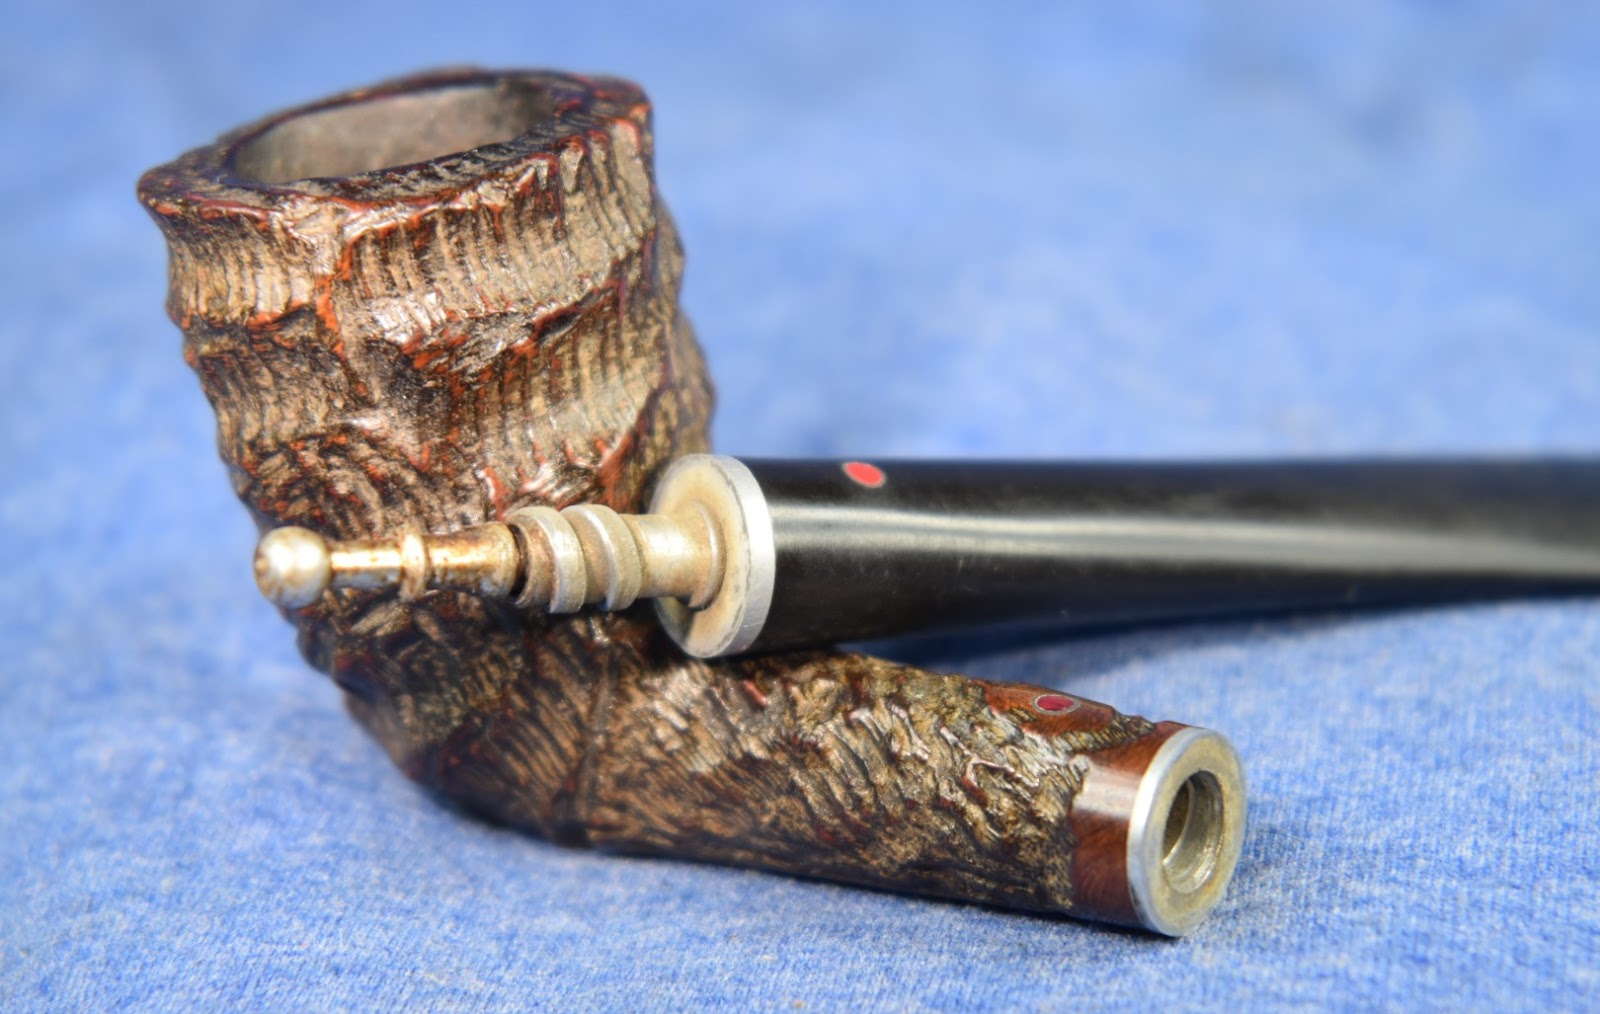
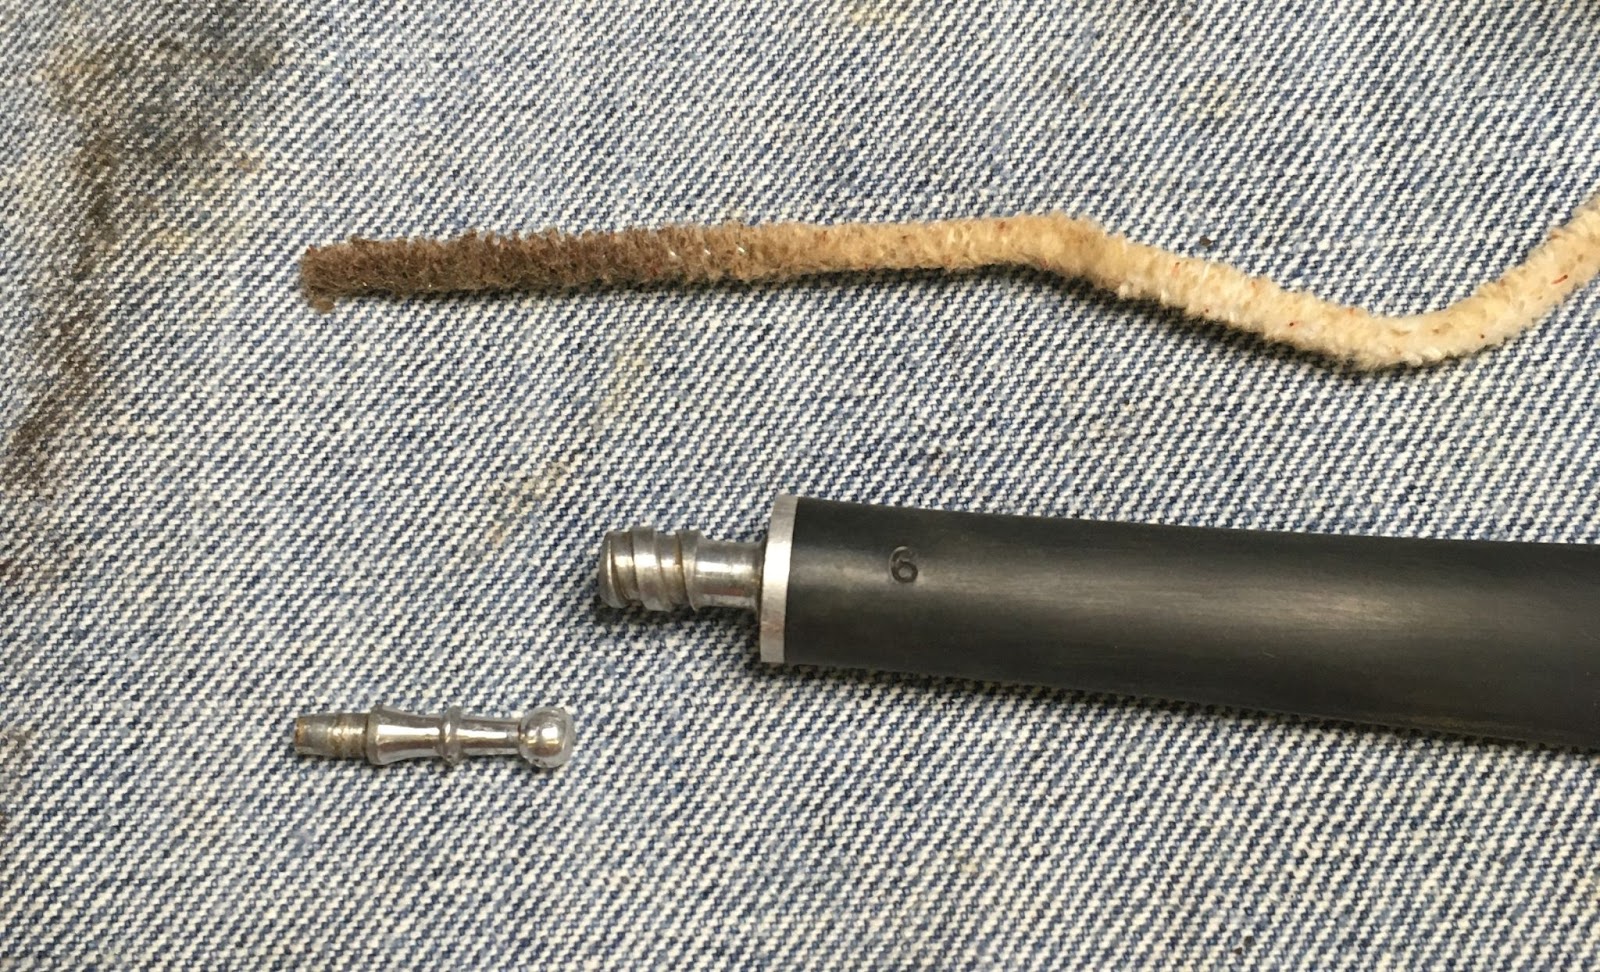
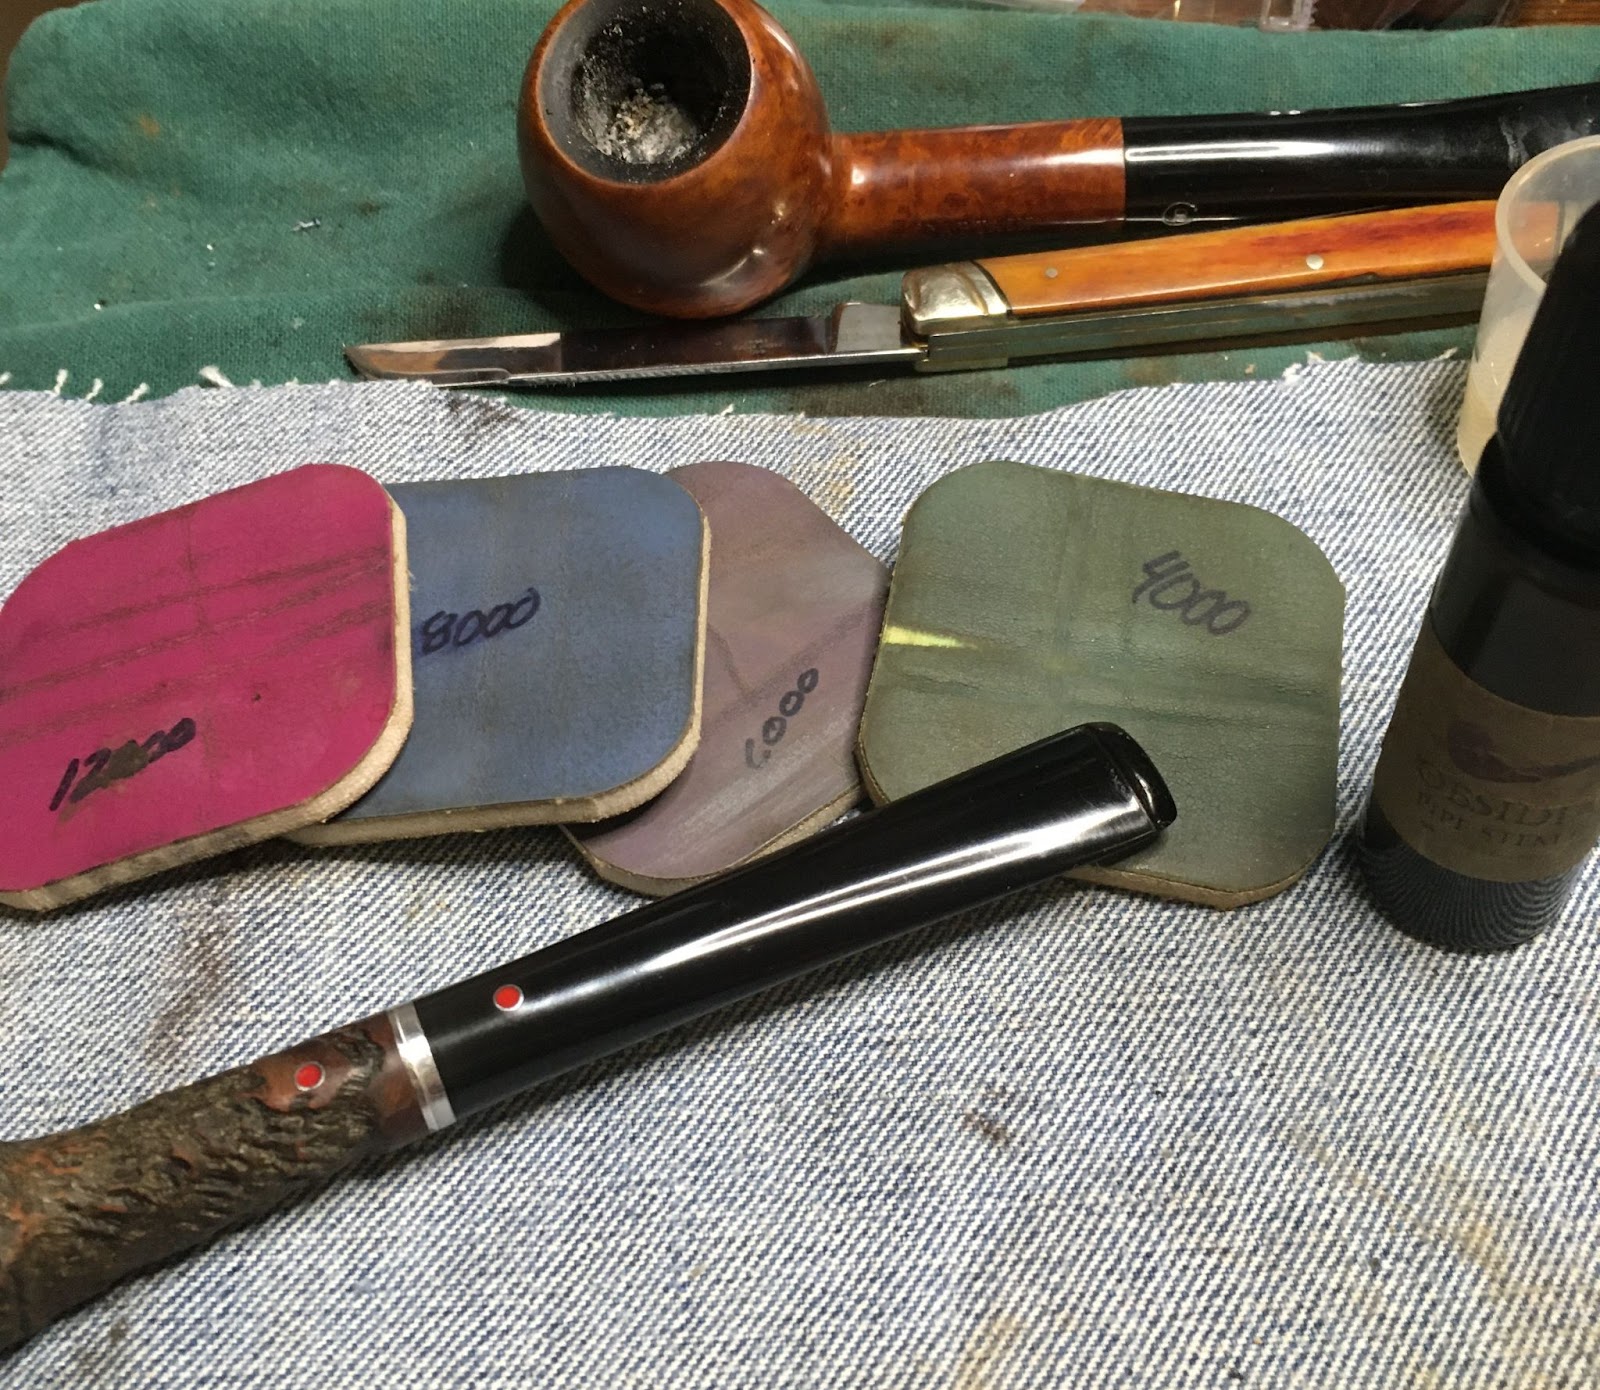
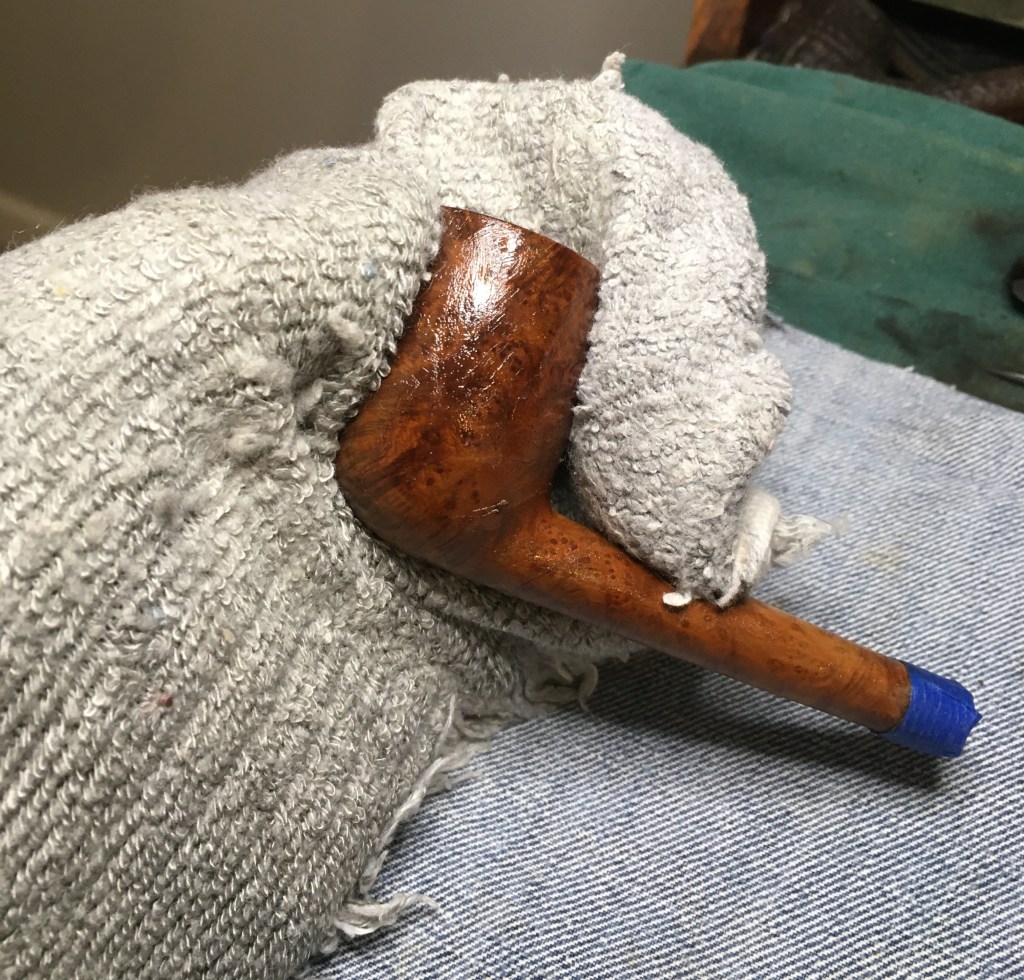
Below is the tenon inserted into the stem as the epoxy is drying. I did run a couple acetone dipped tapered pipe cleaners through the stem and spun them with my fingers to make sure that no epoxy was fouling the airway. The blue and white pipe cleaner in the photo below was one of them.

I set the time for 15 minutes hoping that that would be long enough for the epoxy to hold tight to the tenon and allow me to unscrew it. It was. The Vaseline did its job beautifully. Excess epoxy was scraped with an Exacto knife while it was still soft.
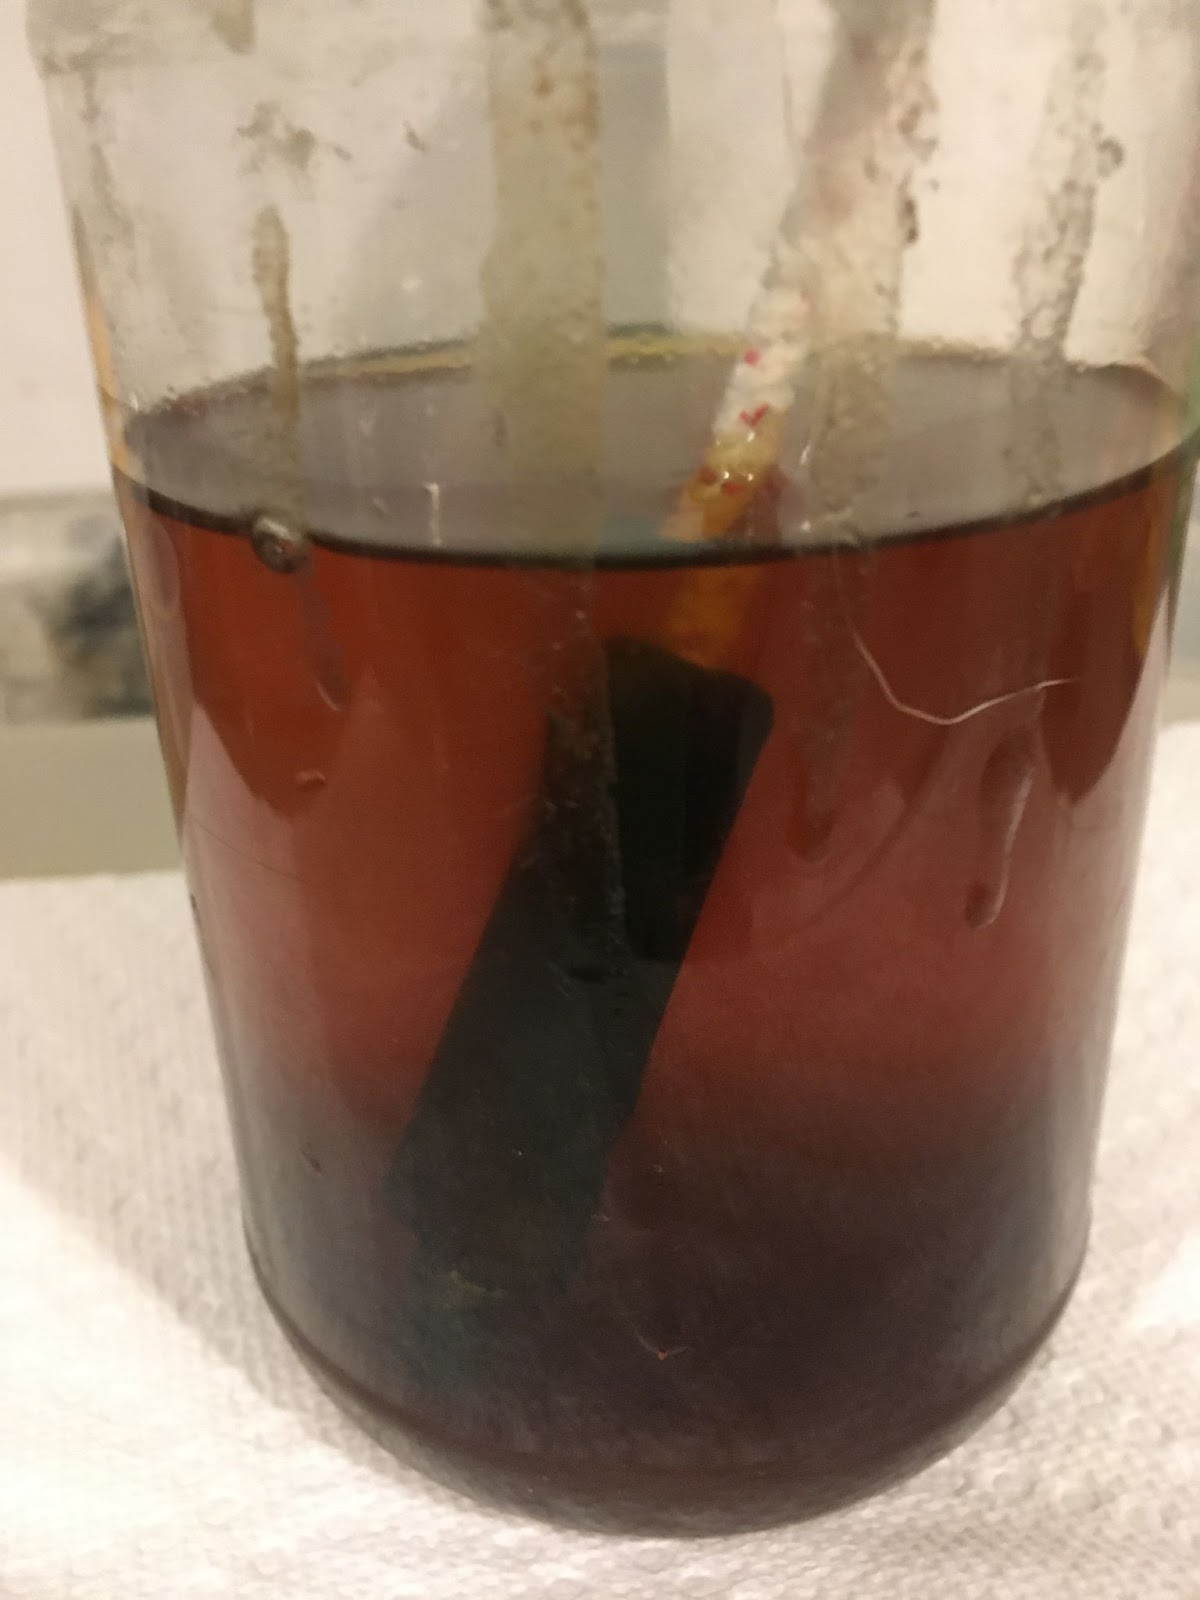
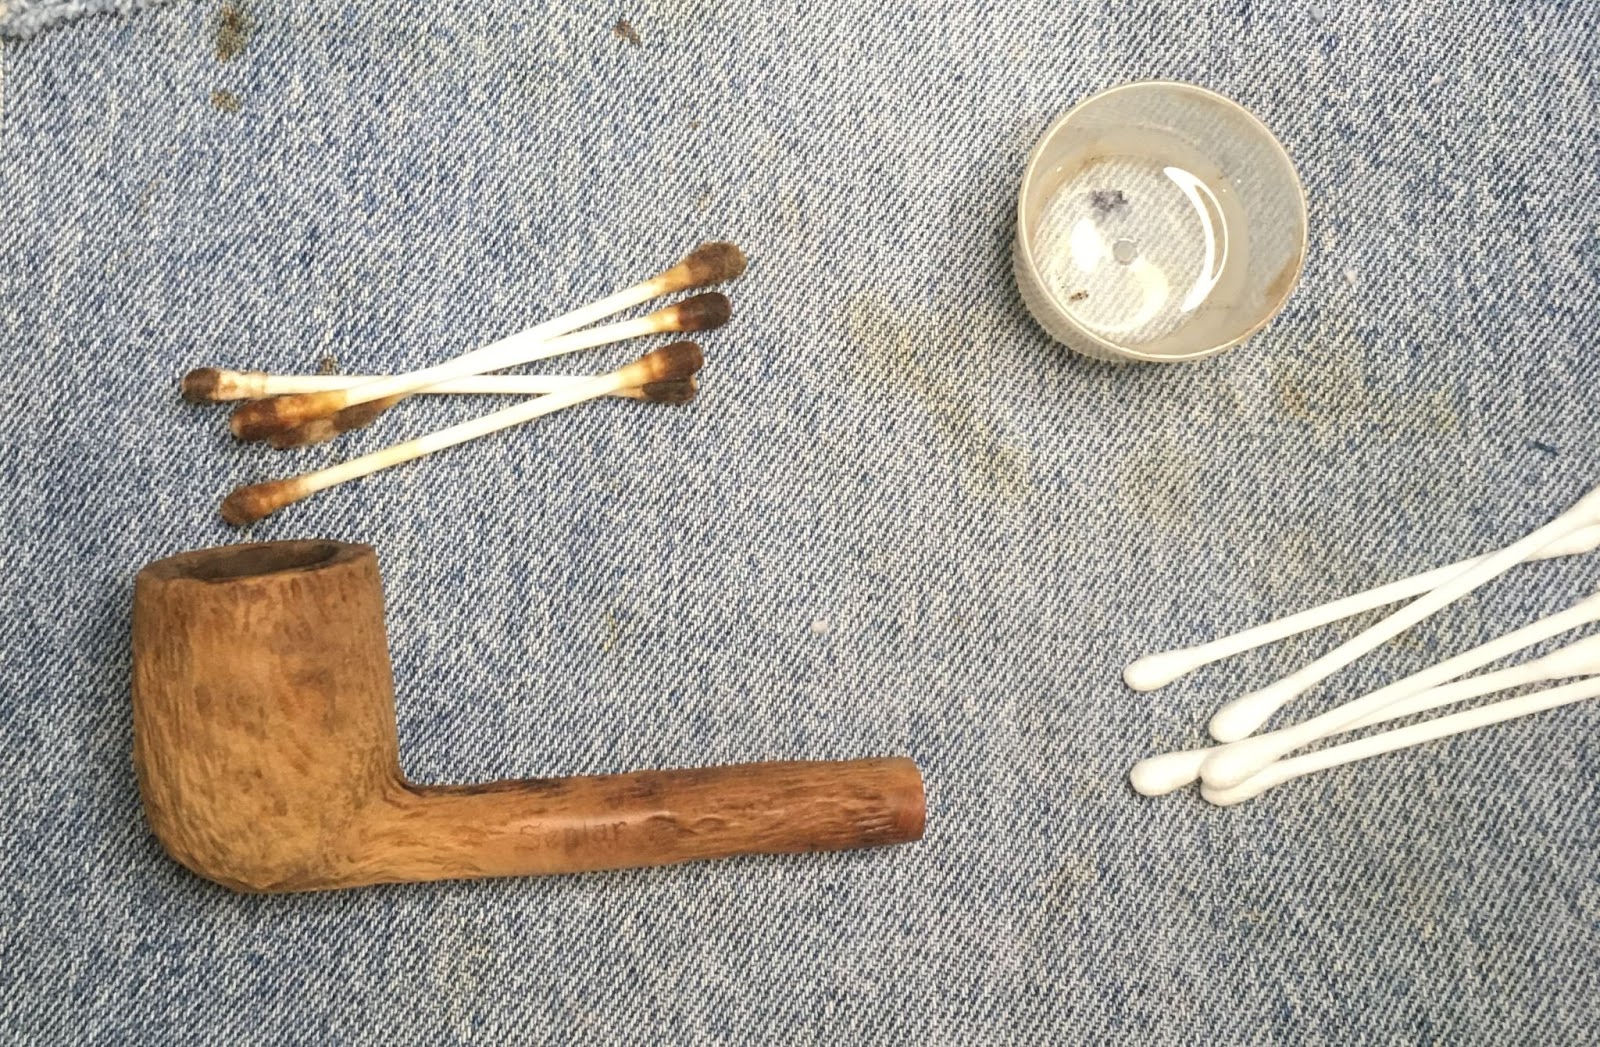
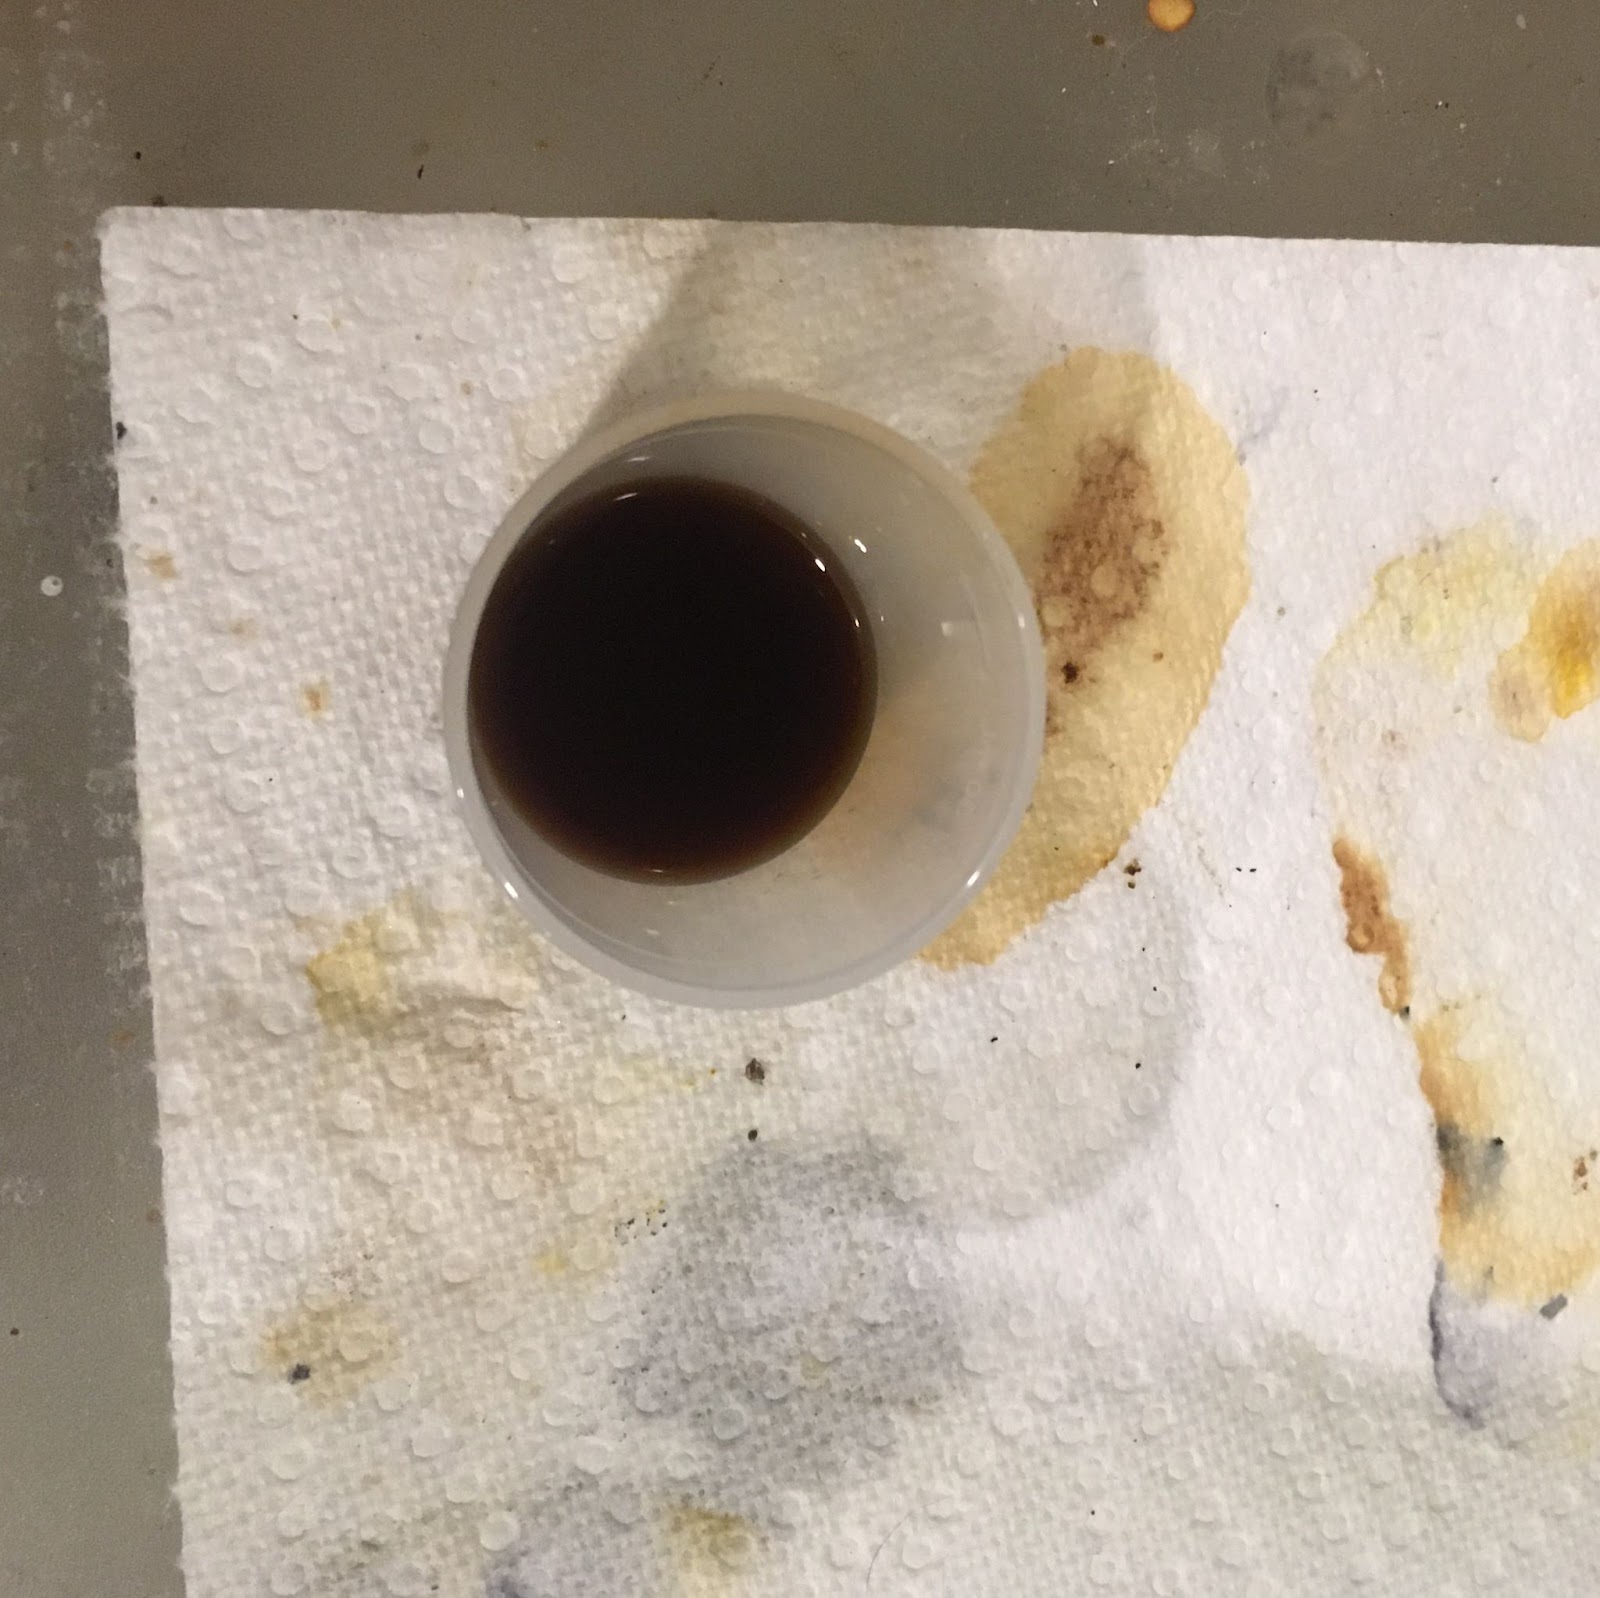
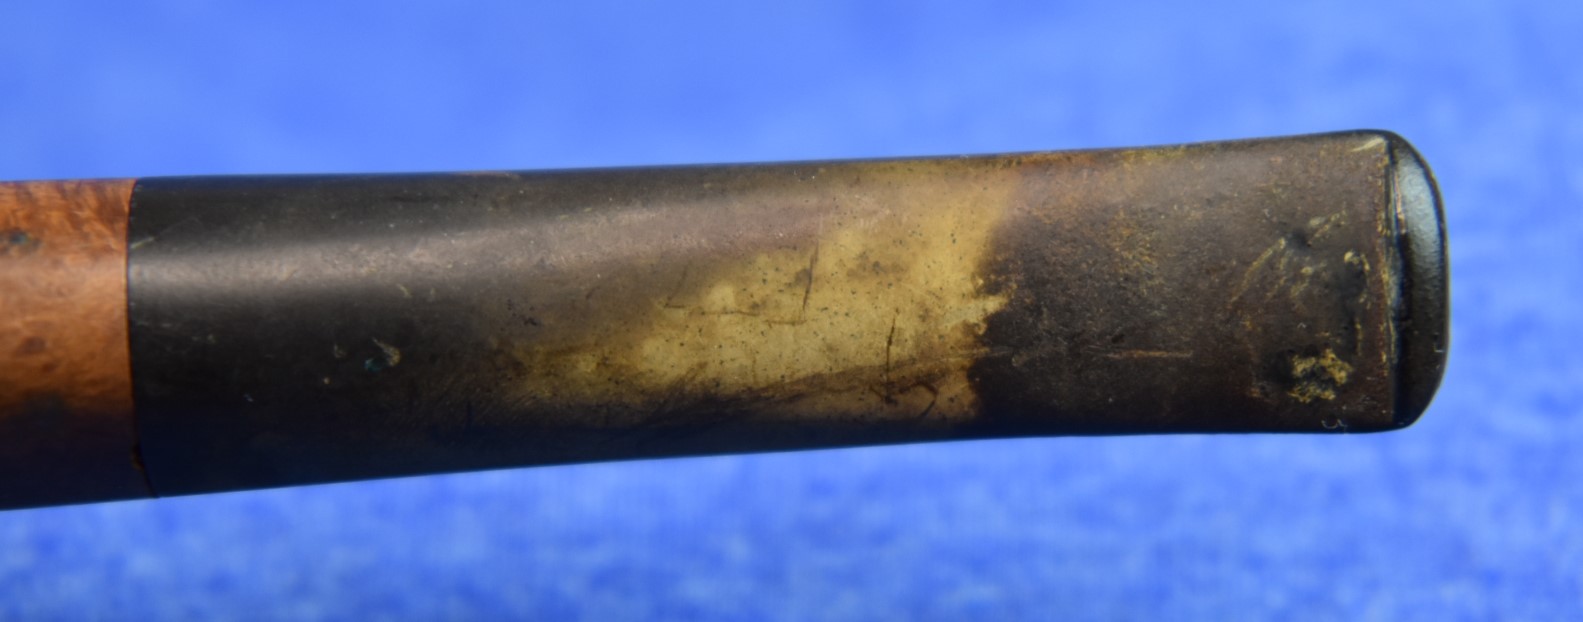
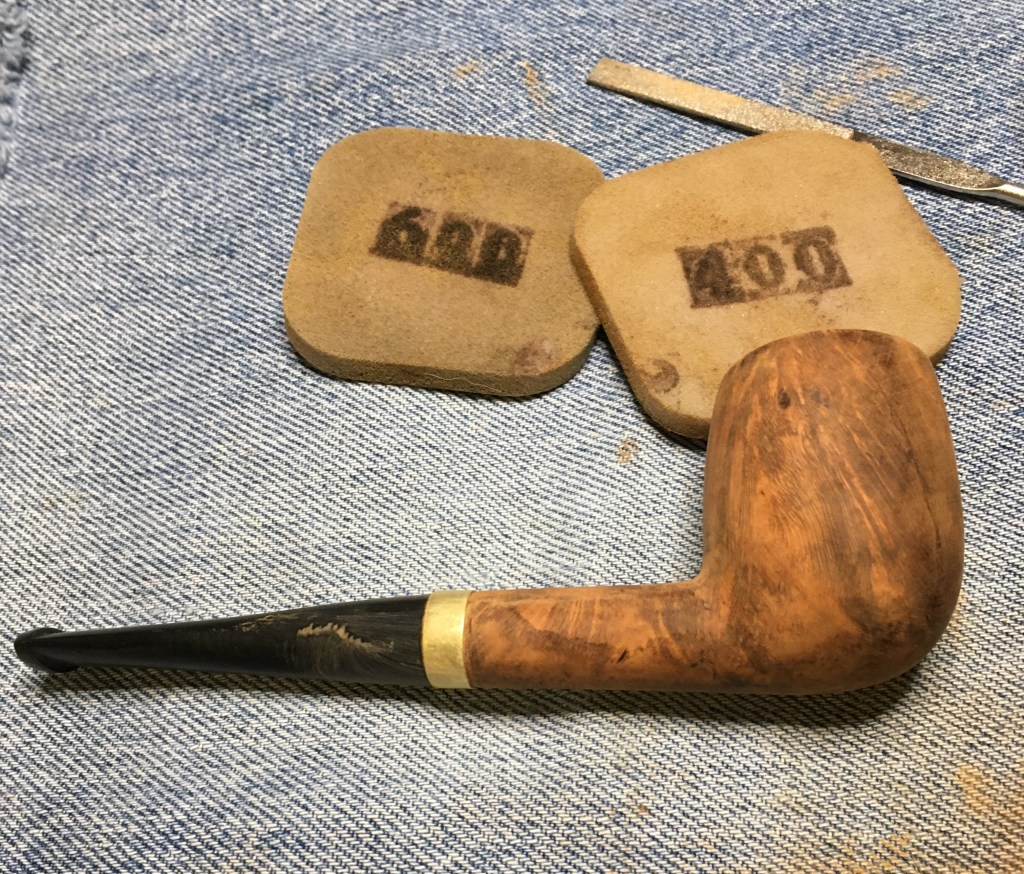
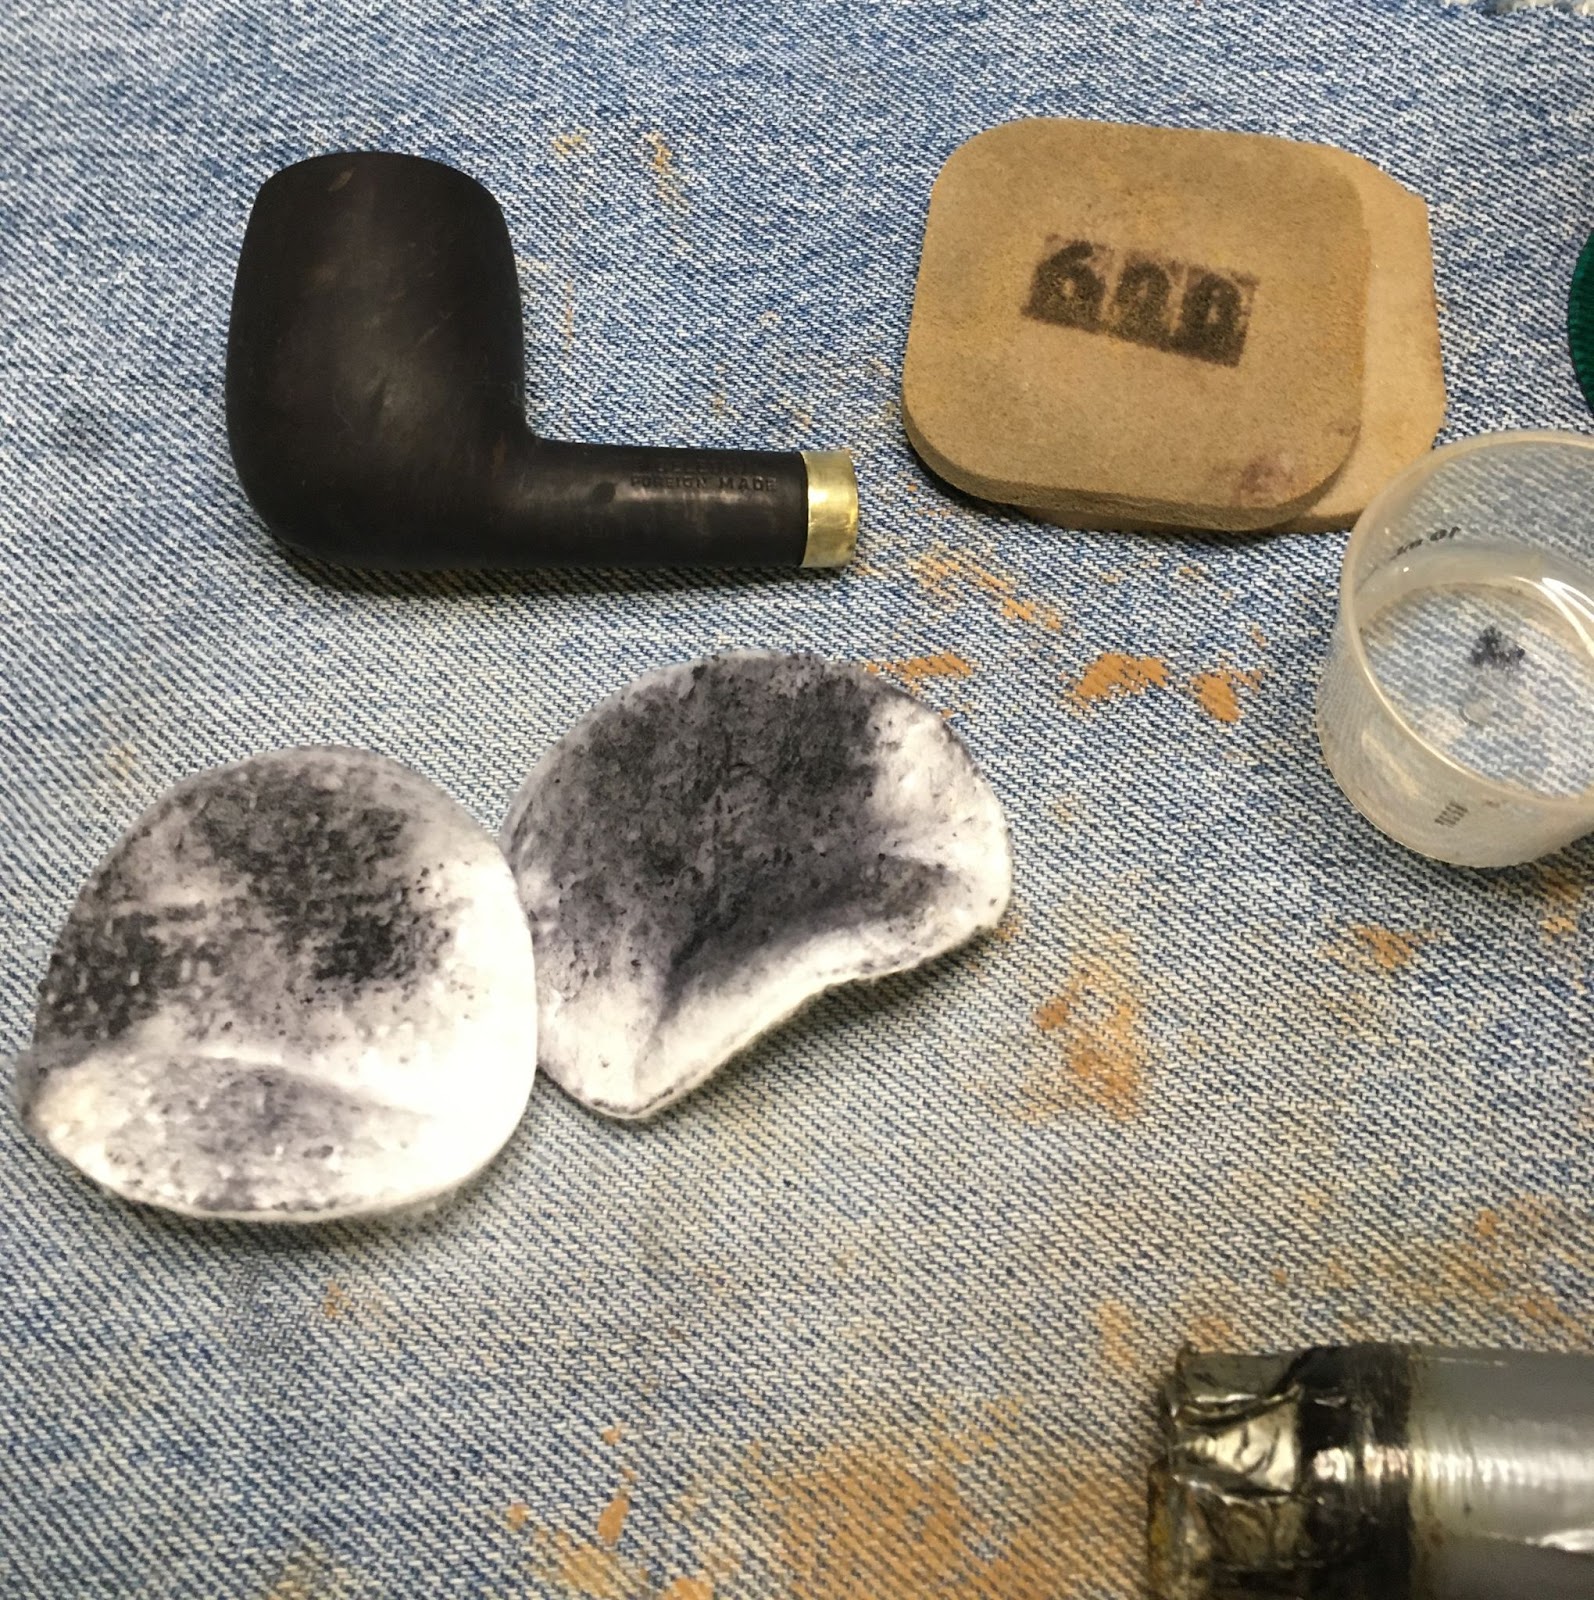
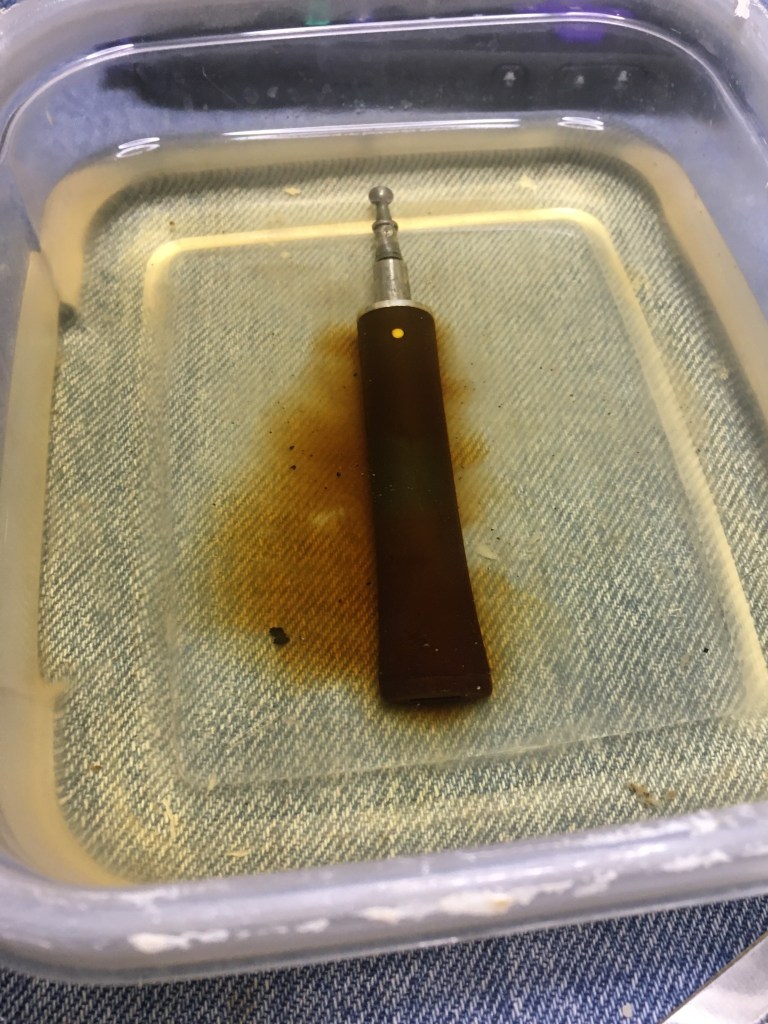
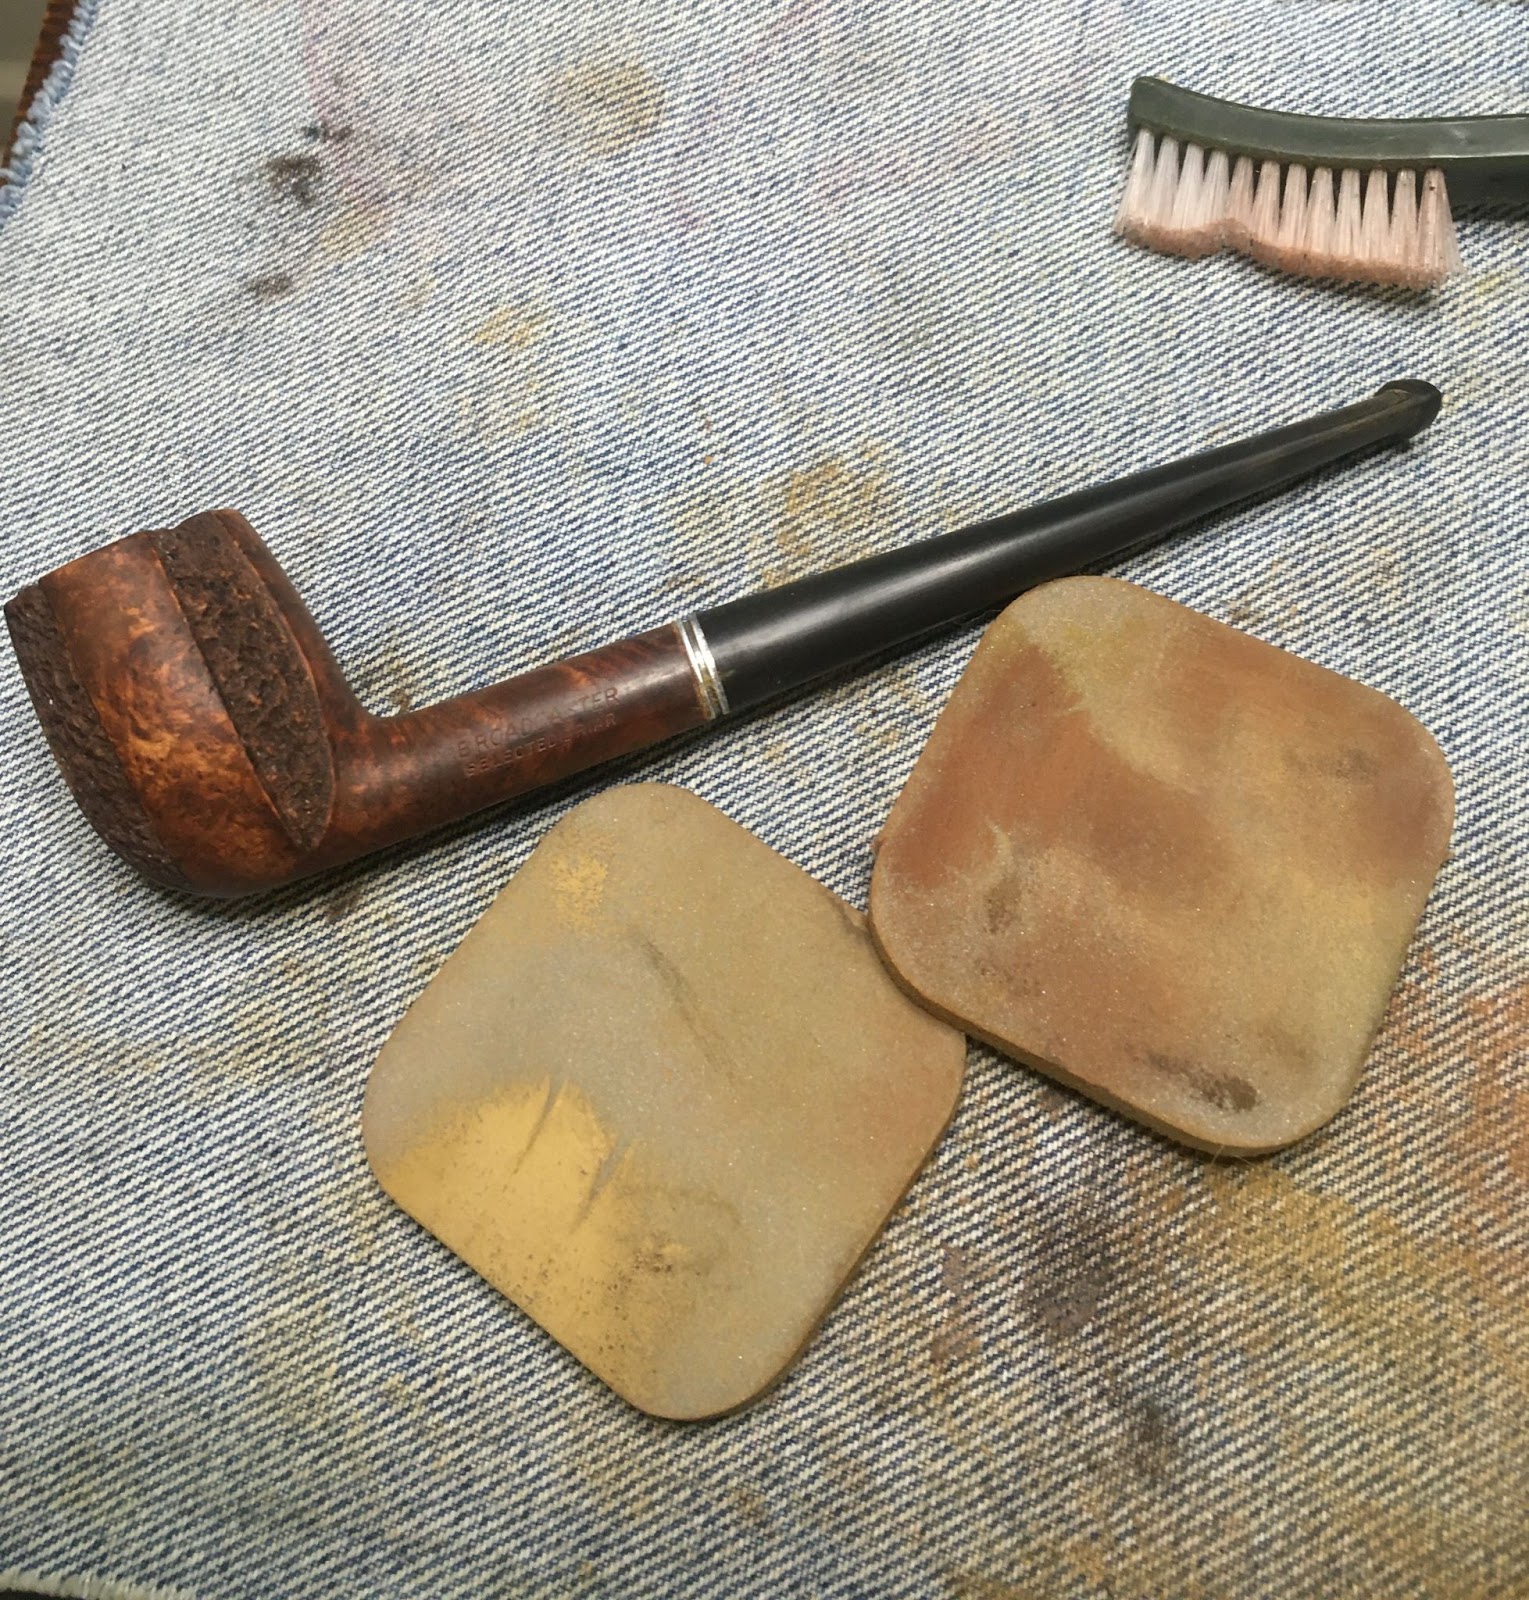
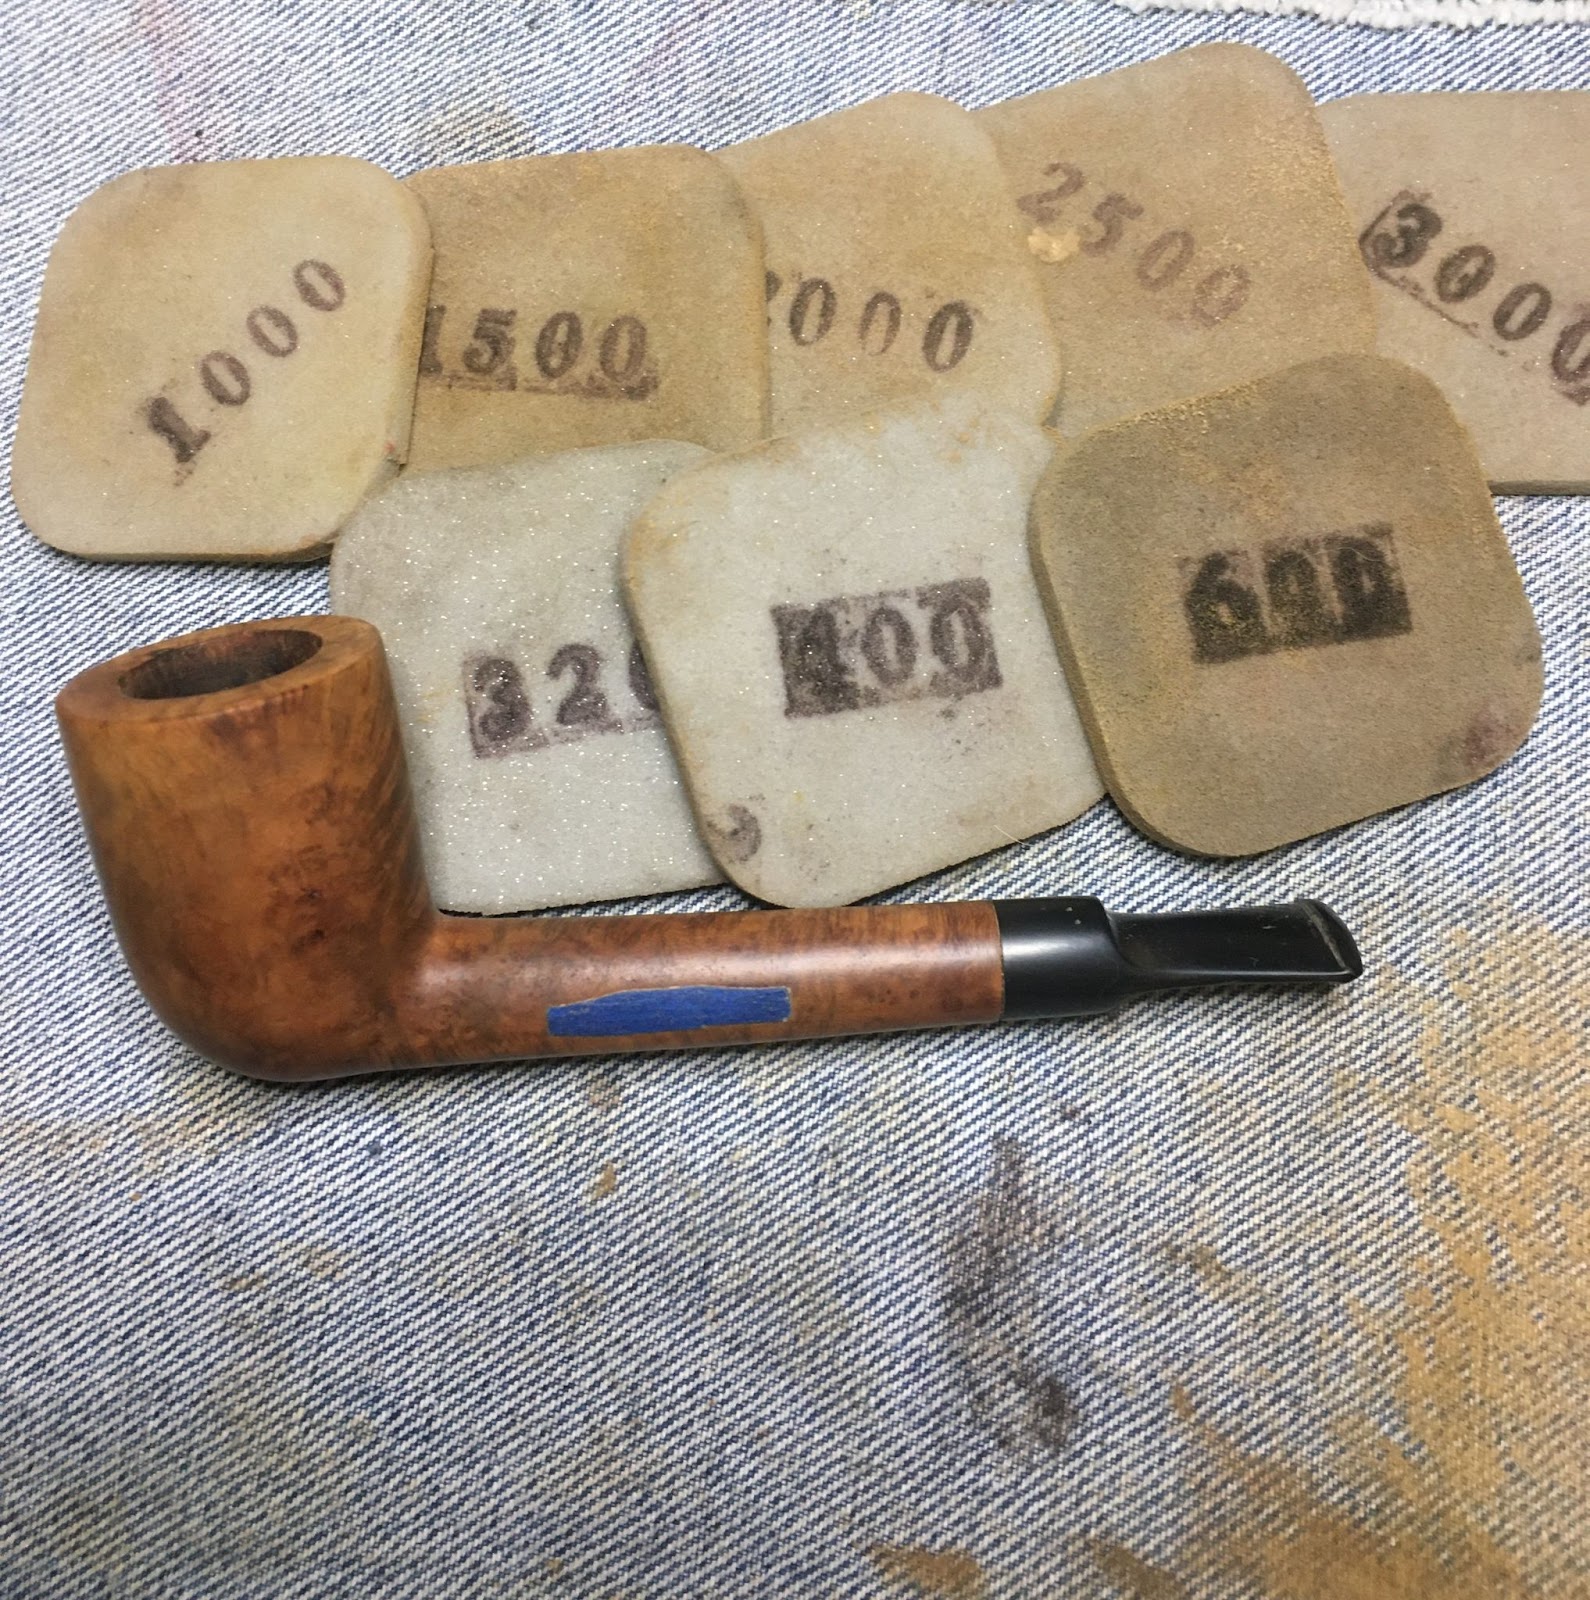
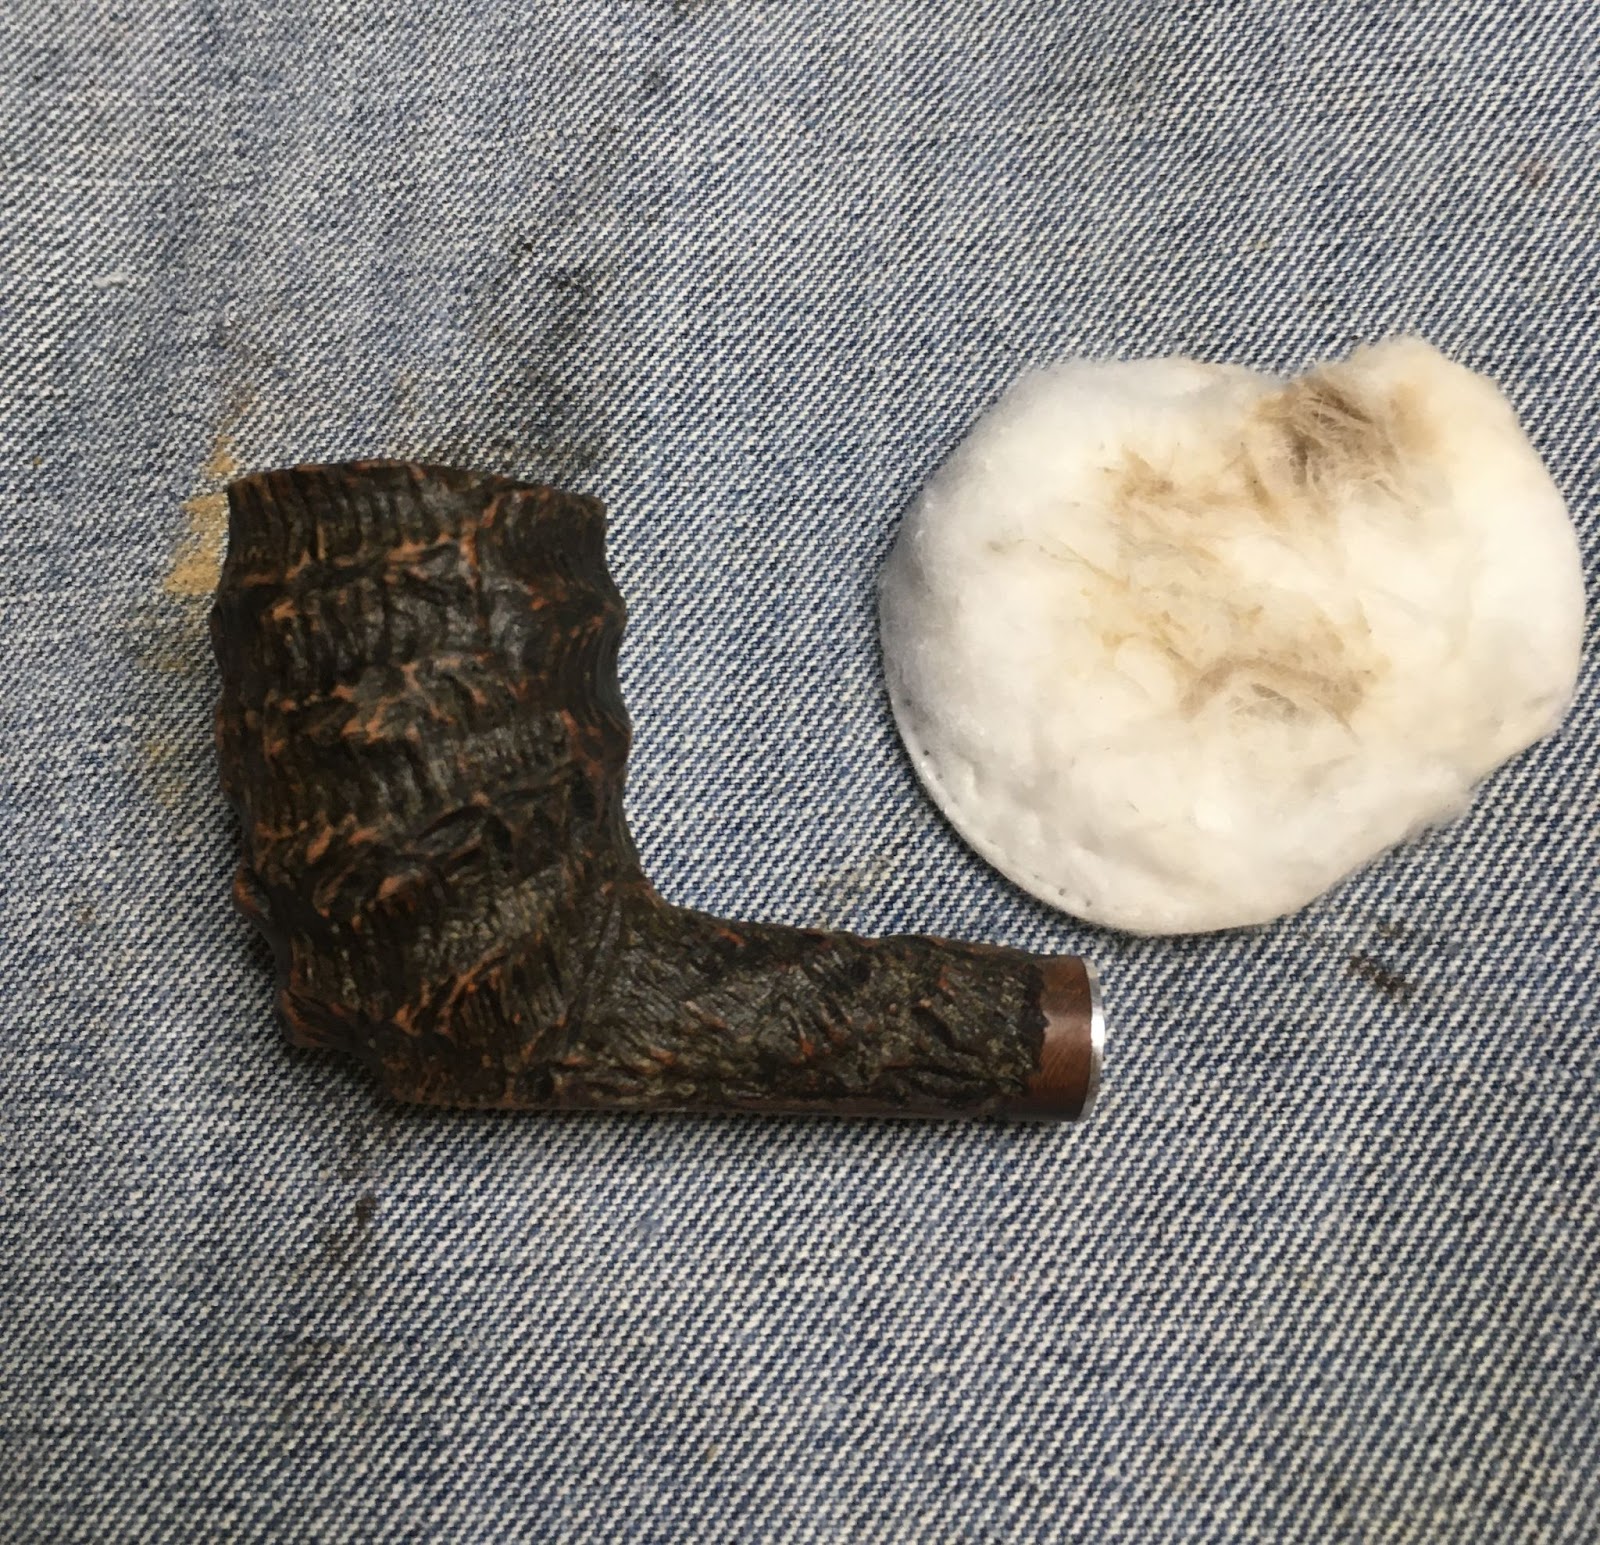
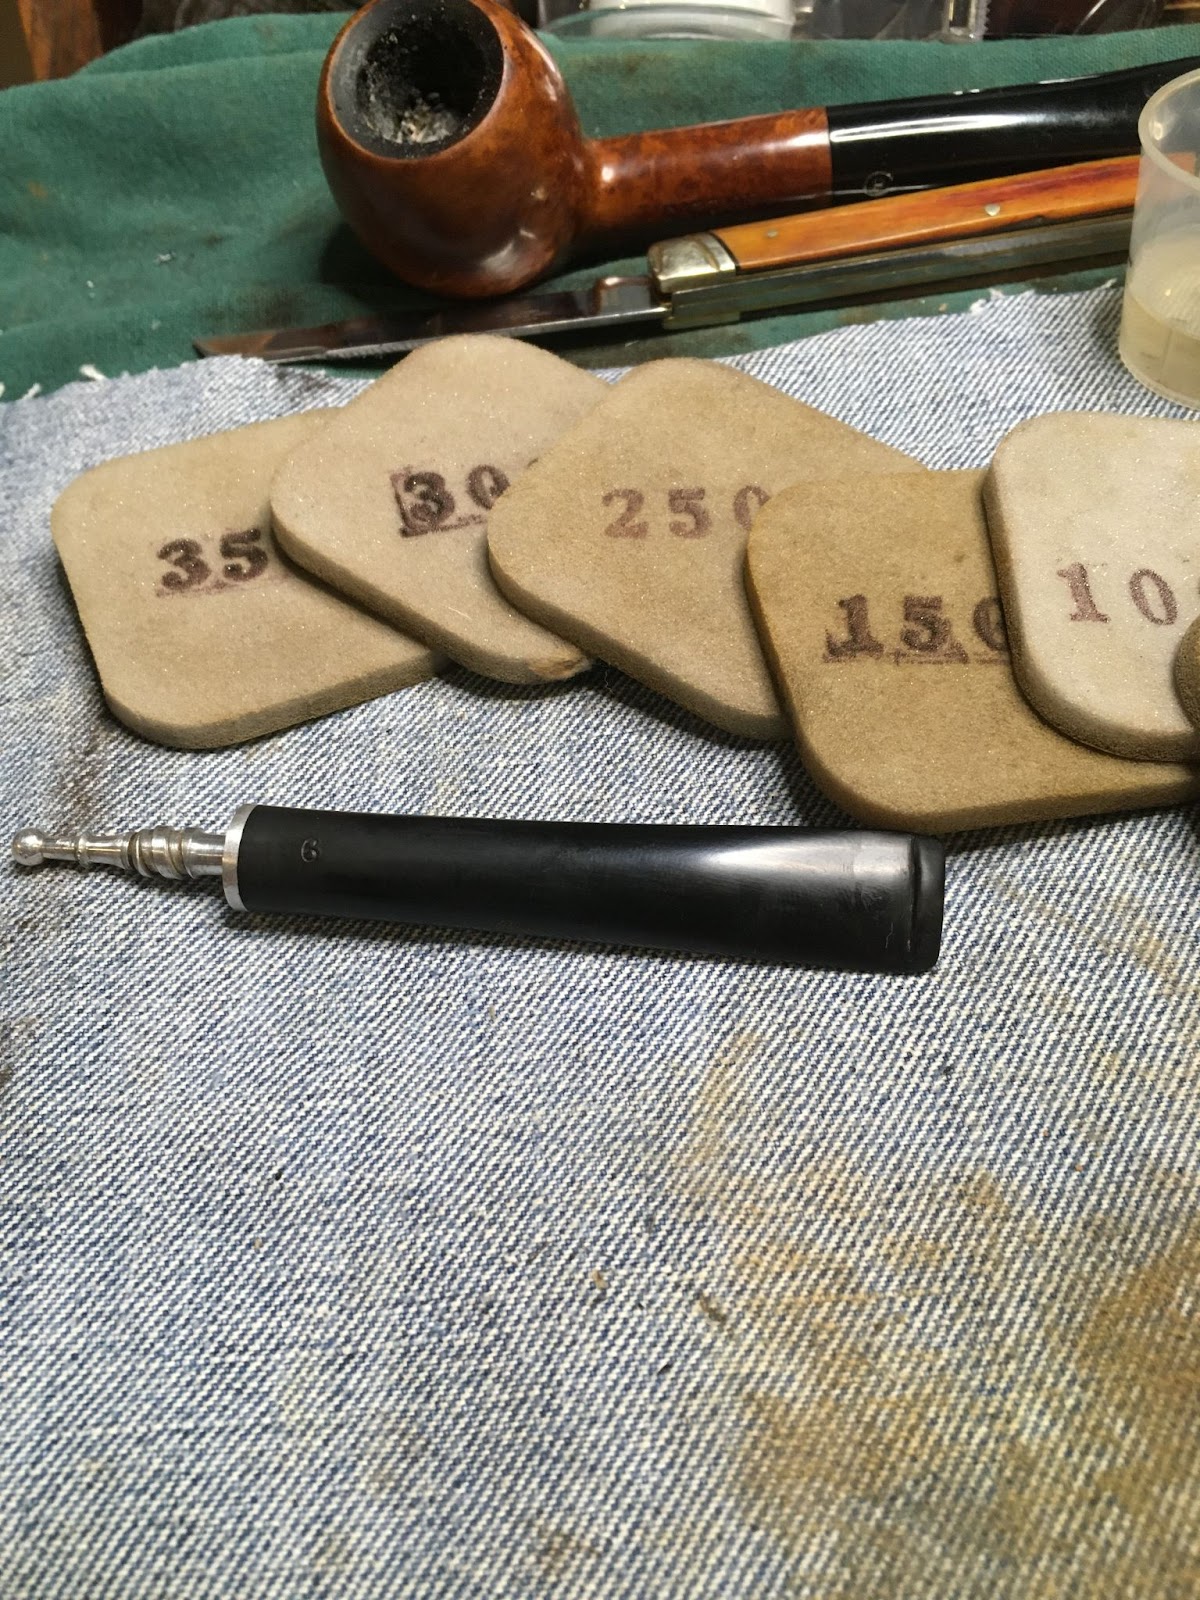
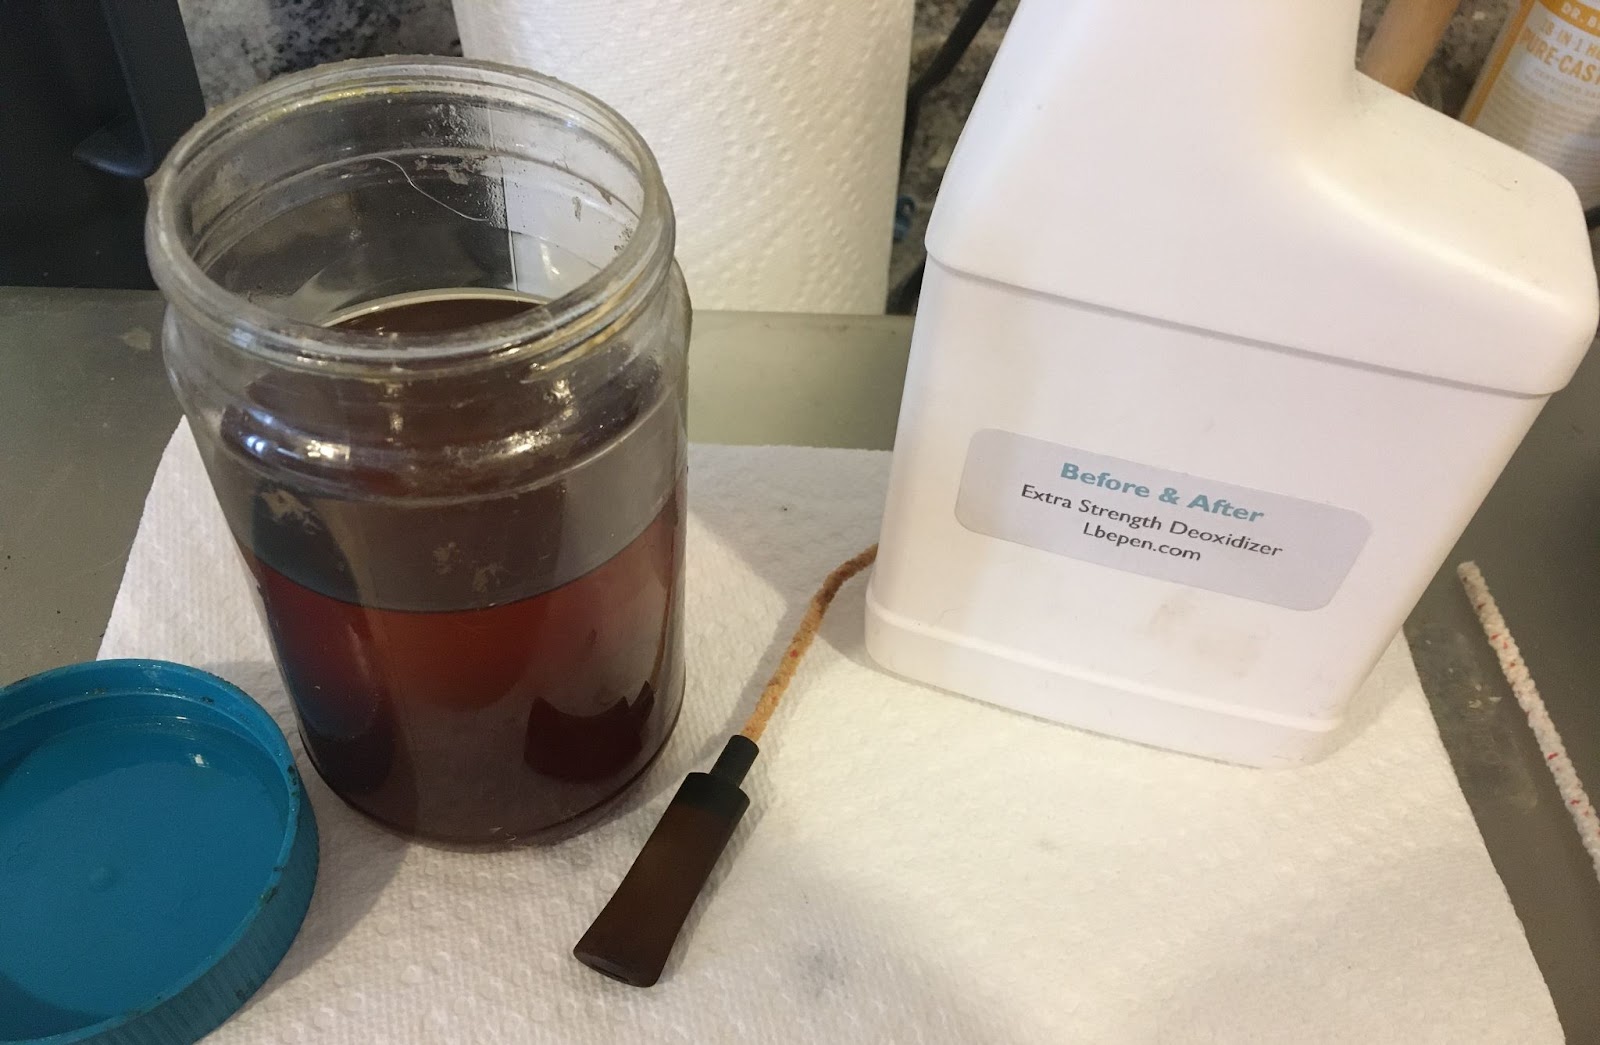
It worked, it actually worked. Well, it eventually worked, you know, 3 plans later. Let’s finish this restoration. The pipe left the bright sunny upstairs and headed back to the workbench. The stem was very oxidized, again indicating that this was an old pipe. I used the 600 sanding sponge to smooth the entire surface and remove the outermost layer of oxidized rubber. I decided to give the stem a couple of hours in the Before and After Deoxidation solution or, deox as I like to call it. A pipe cleaner was inserted into the stem to act as a hanger to suspend it in the solution.

During this time, I worked on sanding and micro-meshing the stummel. Okay, this was weird. I had already sanded and filled the dents and dings on this stummel. I don’t remember when I did it and I took no photos. This is another reason not to work on pipes in starts and stops. I had been so focused on the stem that I didn’t even notice that the stummel had been sanded and filled. There were 6 spots that received fills all on the right side of the stummel. I do now remember doing them. I used a dental pick to

remove the old fill material. None of them were large but they were all too deep to be just sanded away. I used cyanoacrylate (CA, super glue) in the depression then sanded over them with a sanding sponge. This allowed the

briar dust from the sponge to combine with the CA and fill the hole. The area was then sanded smooth. If the depression remained a second application of the CAA and further sanding was done.
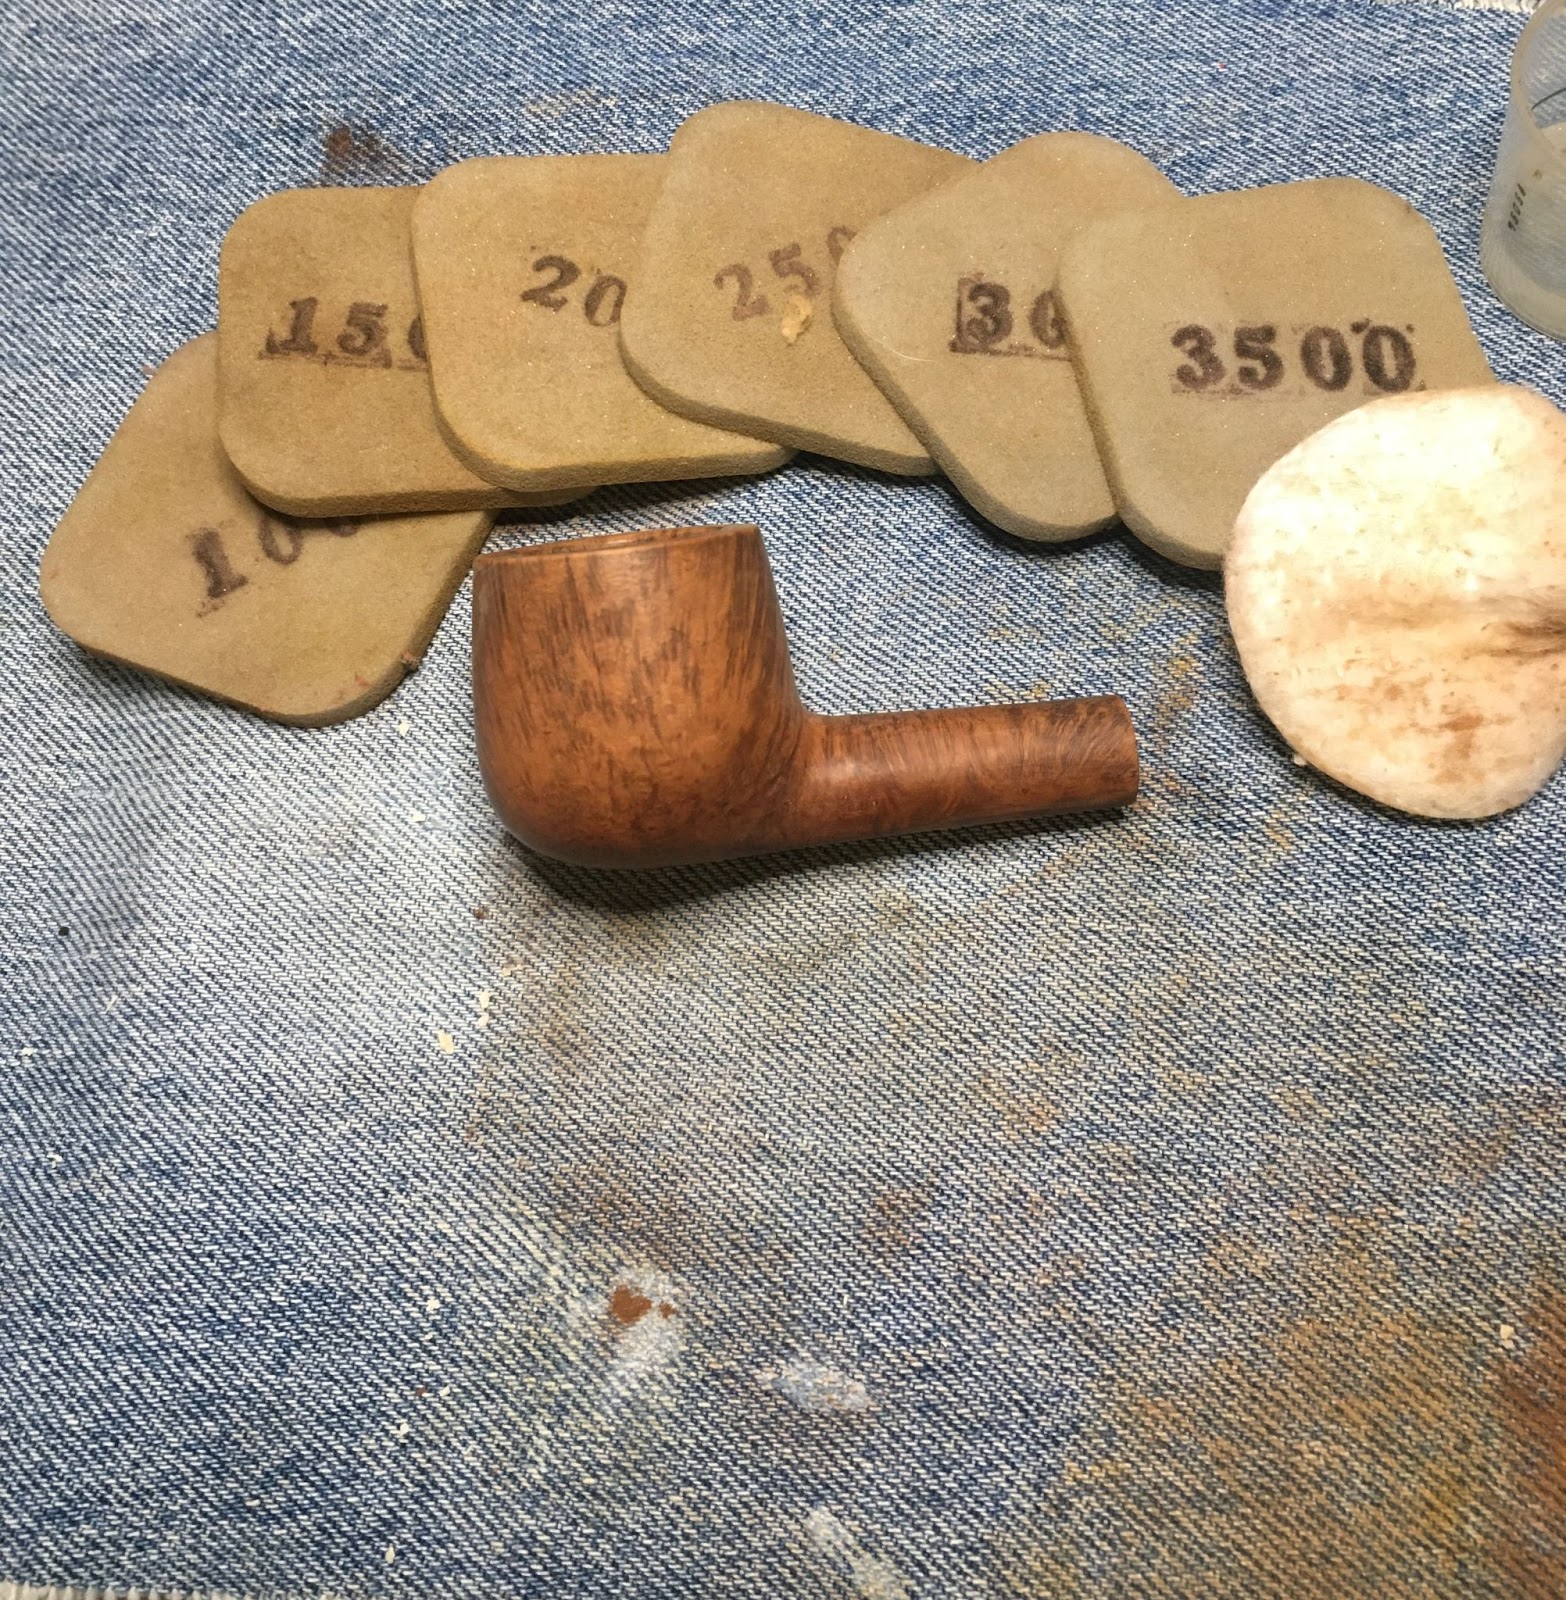
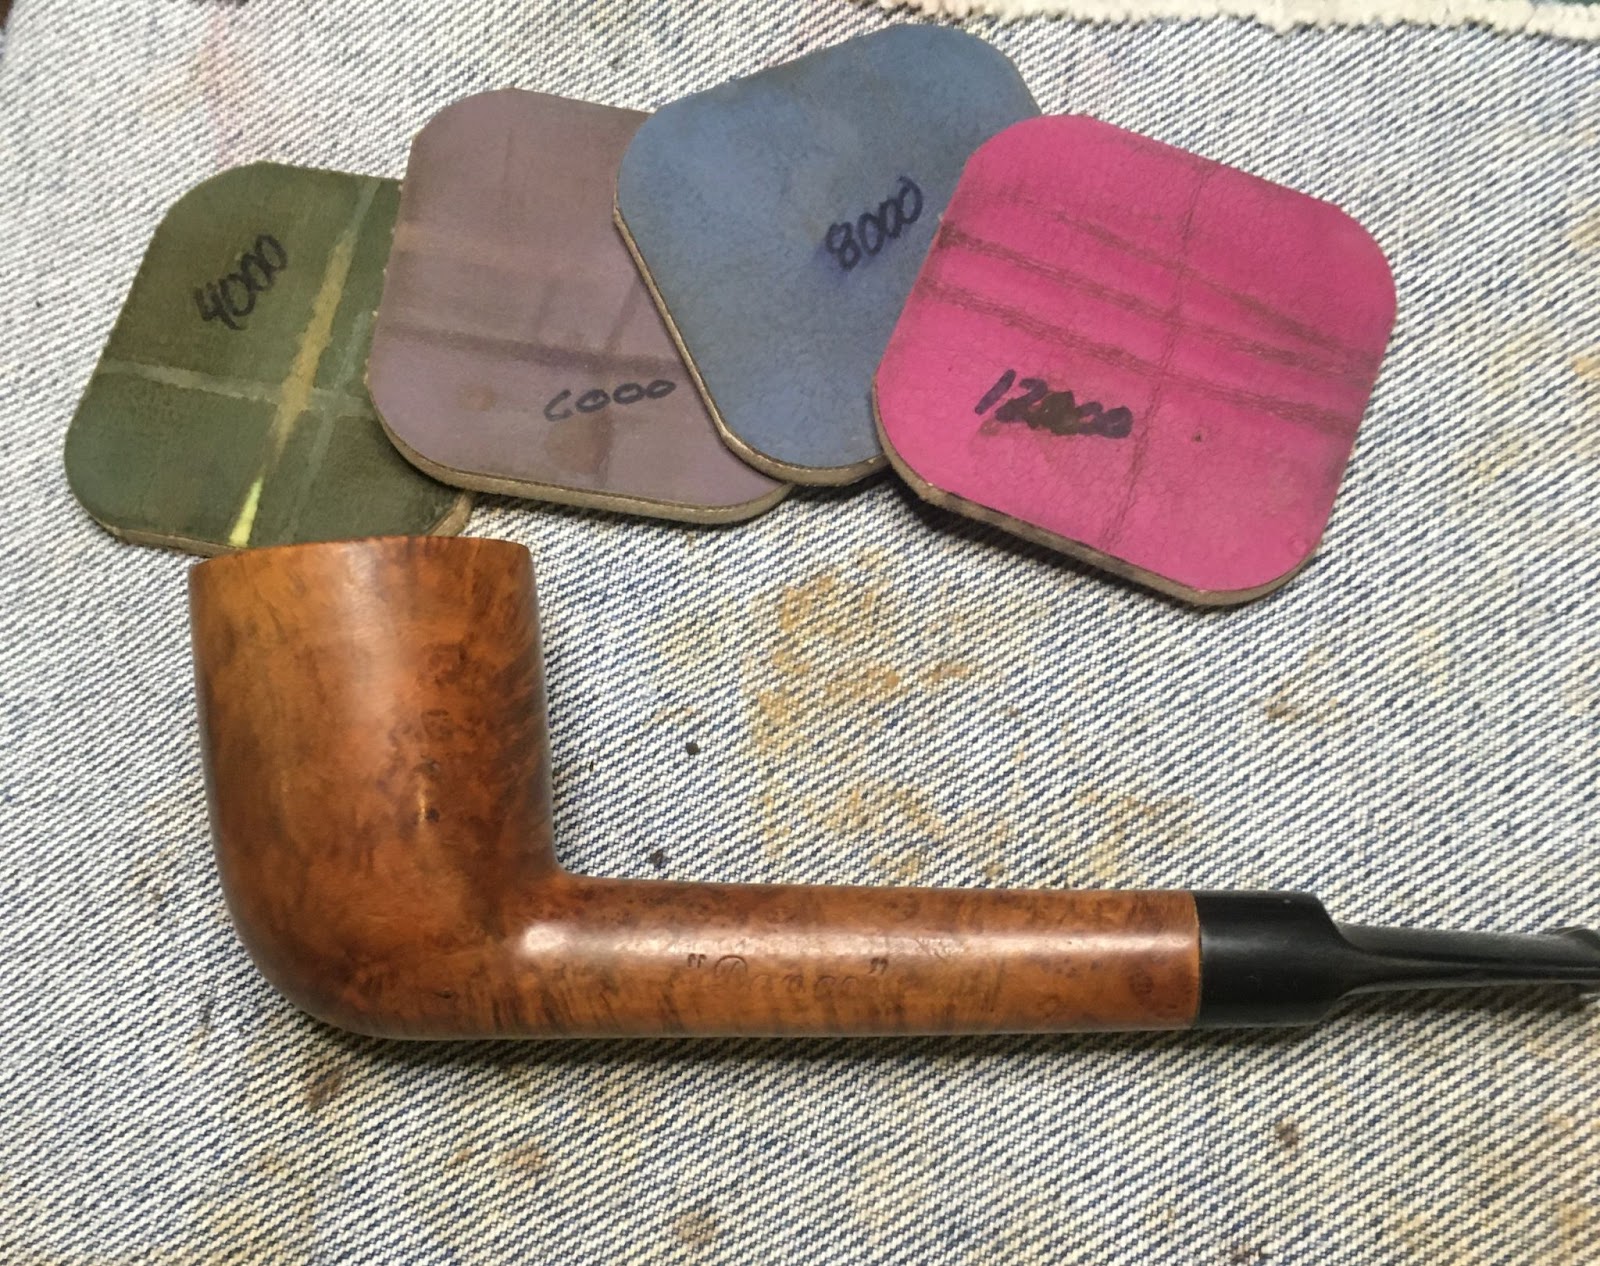
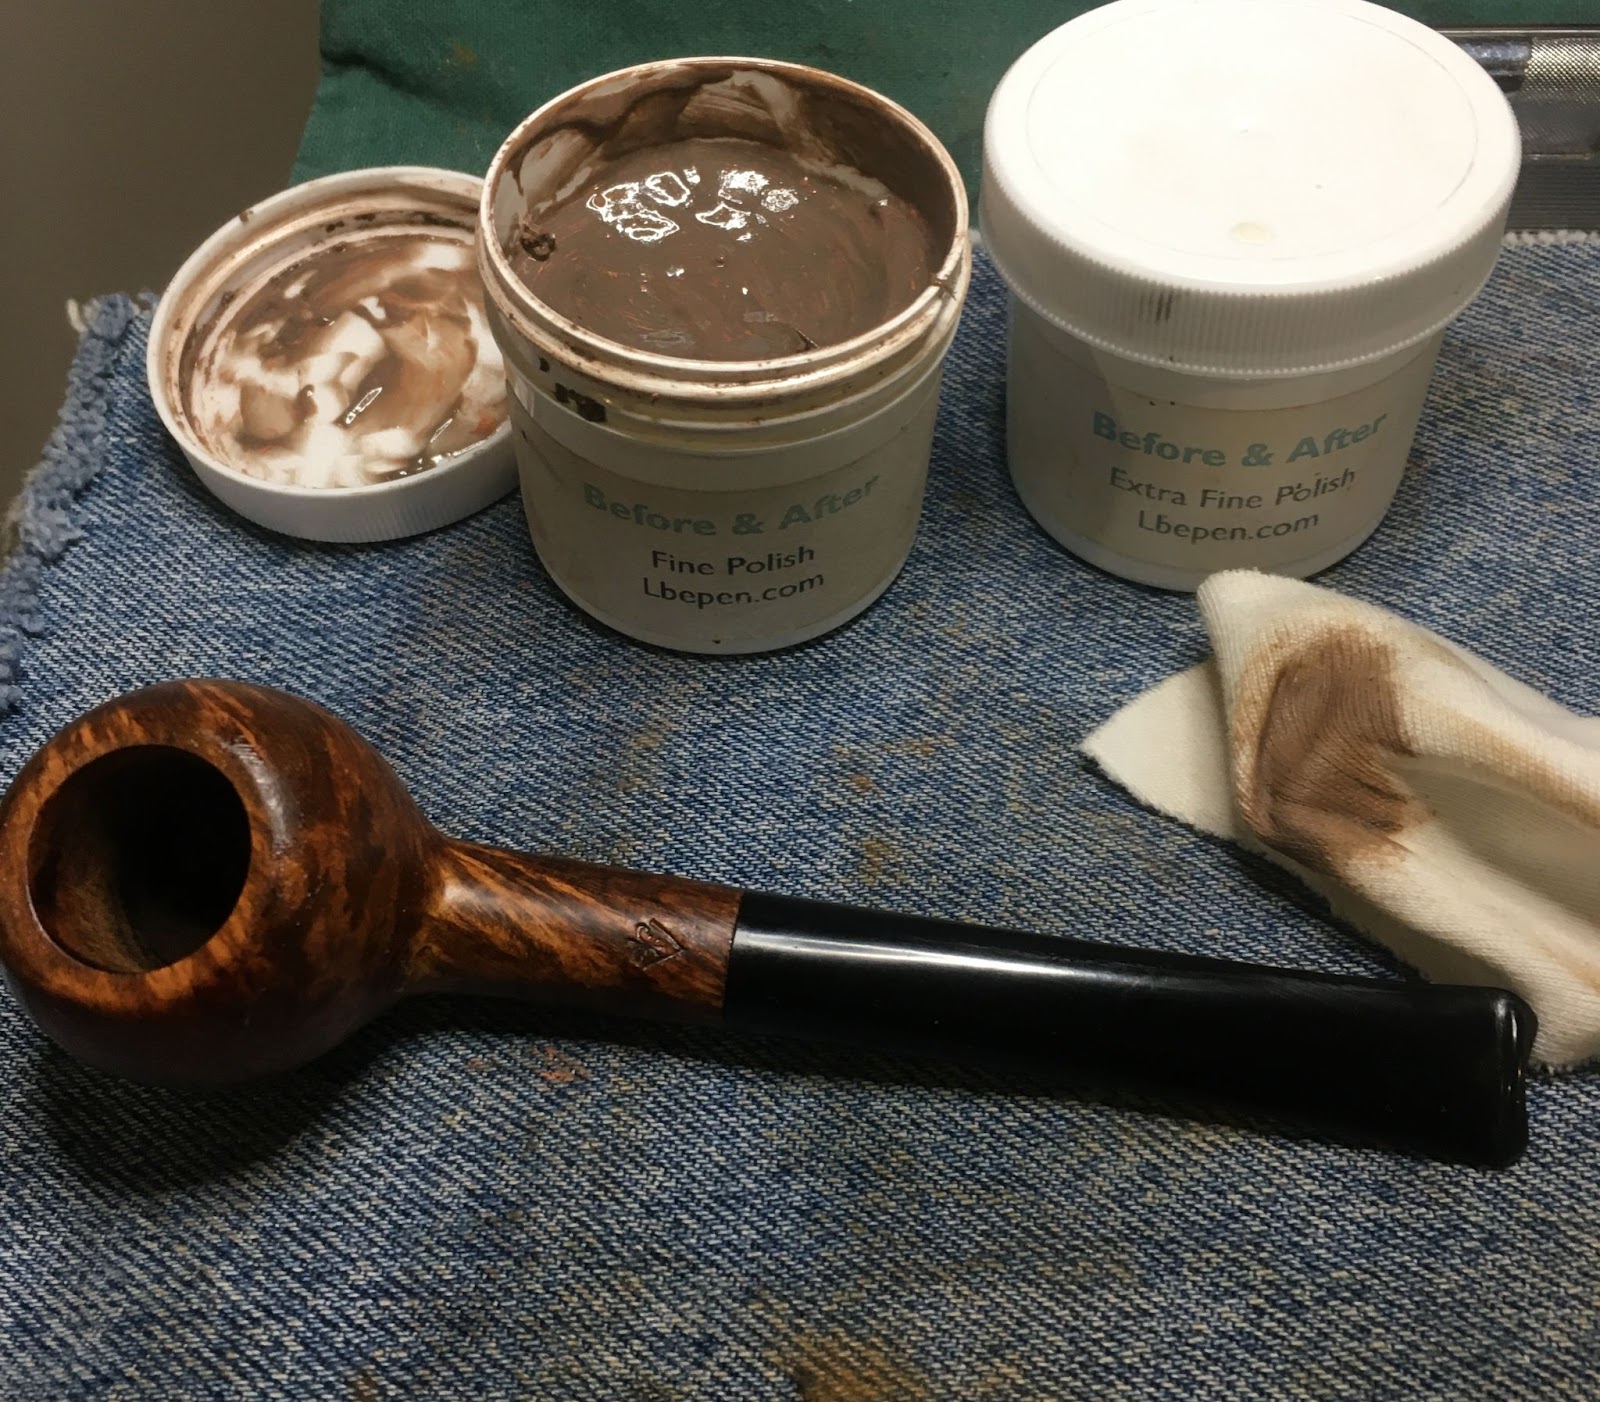
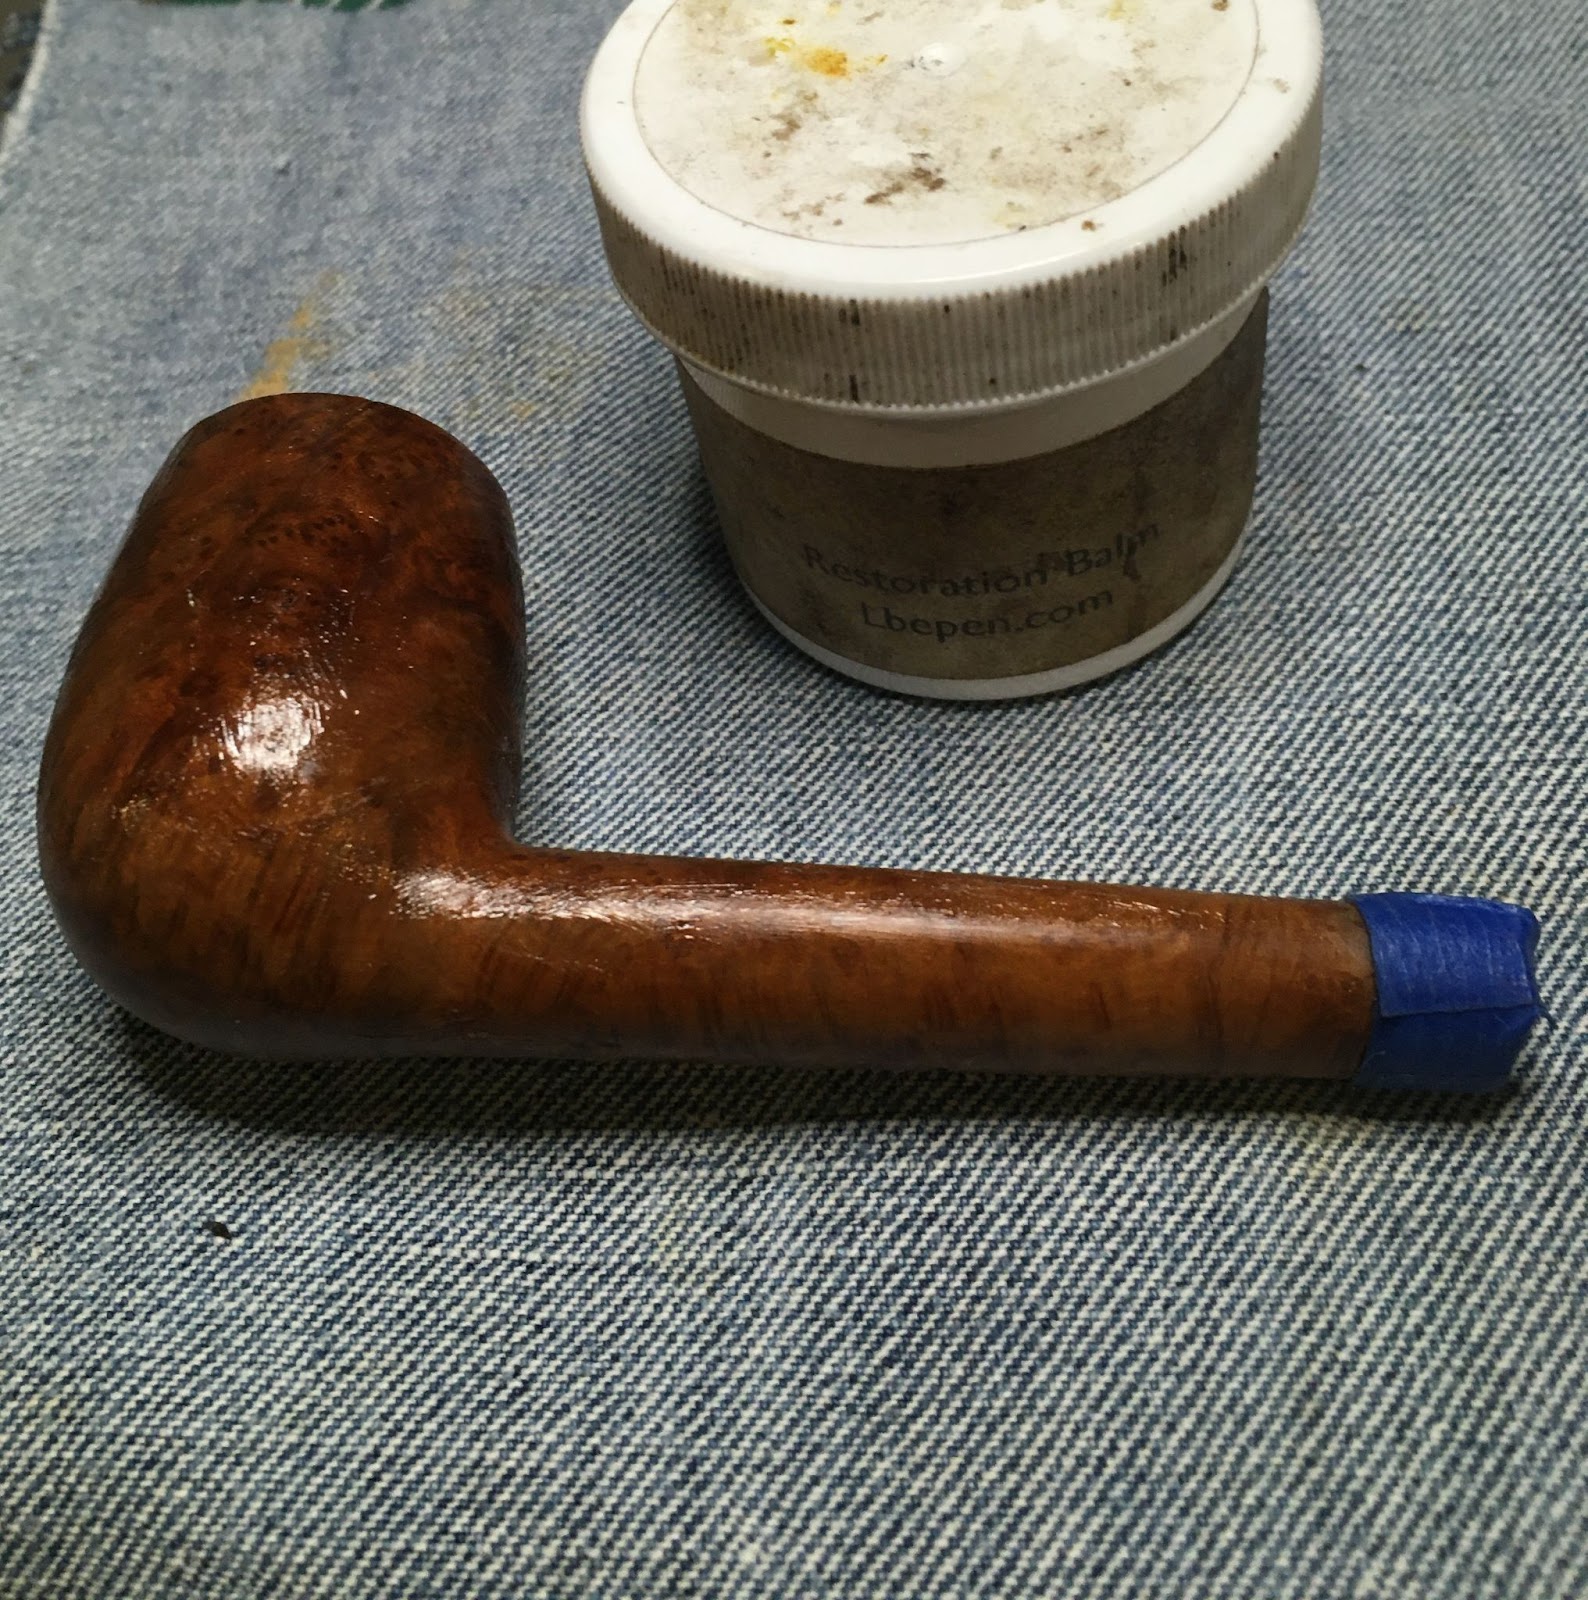
With the sanding done, I moved on to the micro-mesh pads. I used the 4000-12000 pads. Between each pad I wiped the stummel with a make-up pad dipped in 99% isopropyl alcohol. After the final alcohol wipe I allowed the stummel to dry and applied a layer of Before and After Restoration Balm. The balm was allowed to sit and do the magic that it does for about an hour.
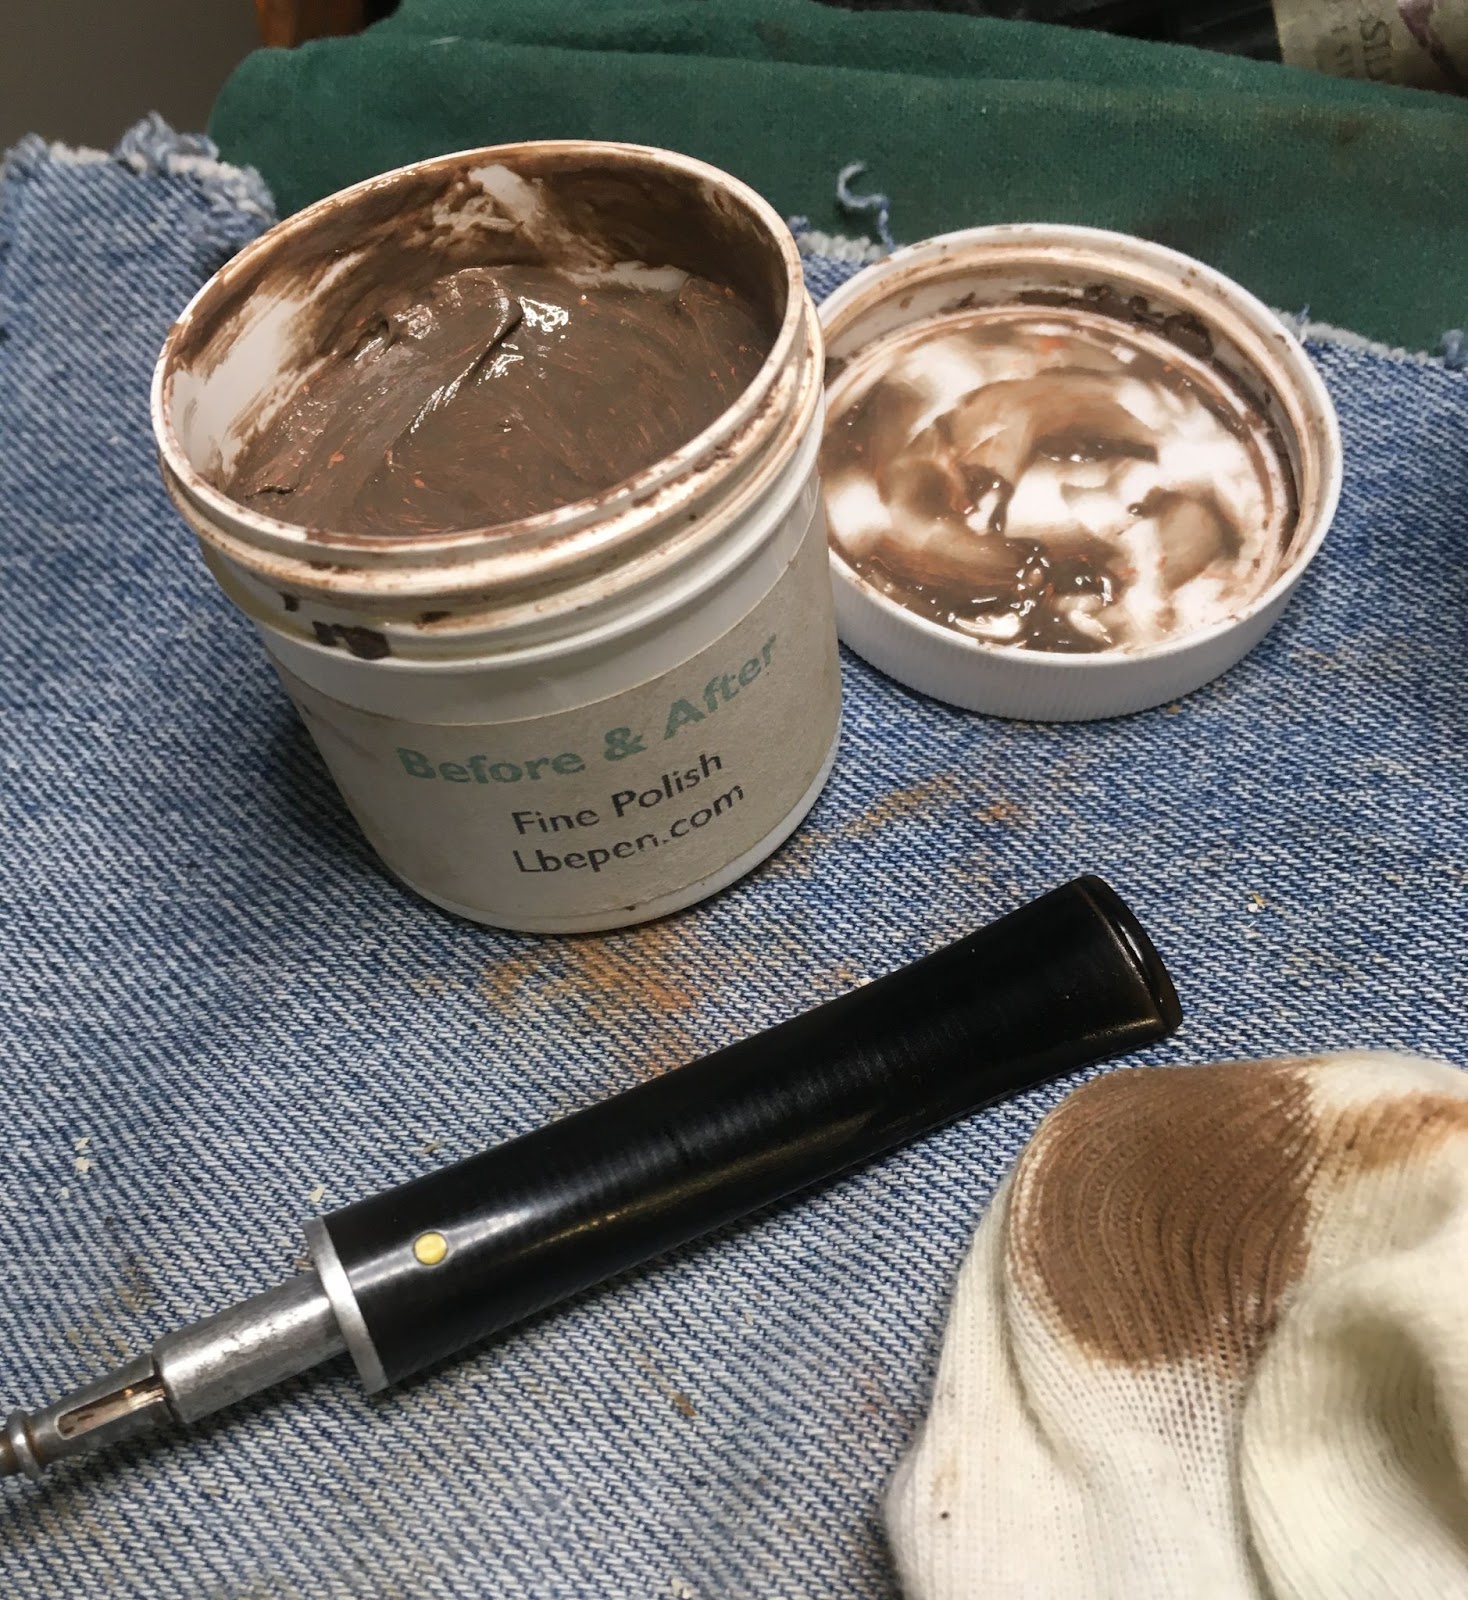
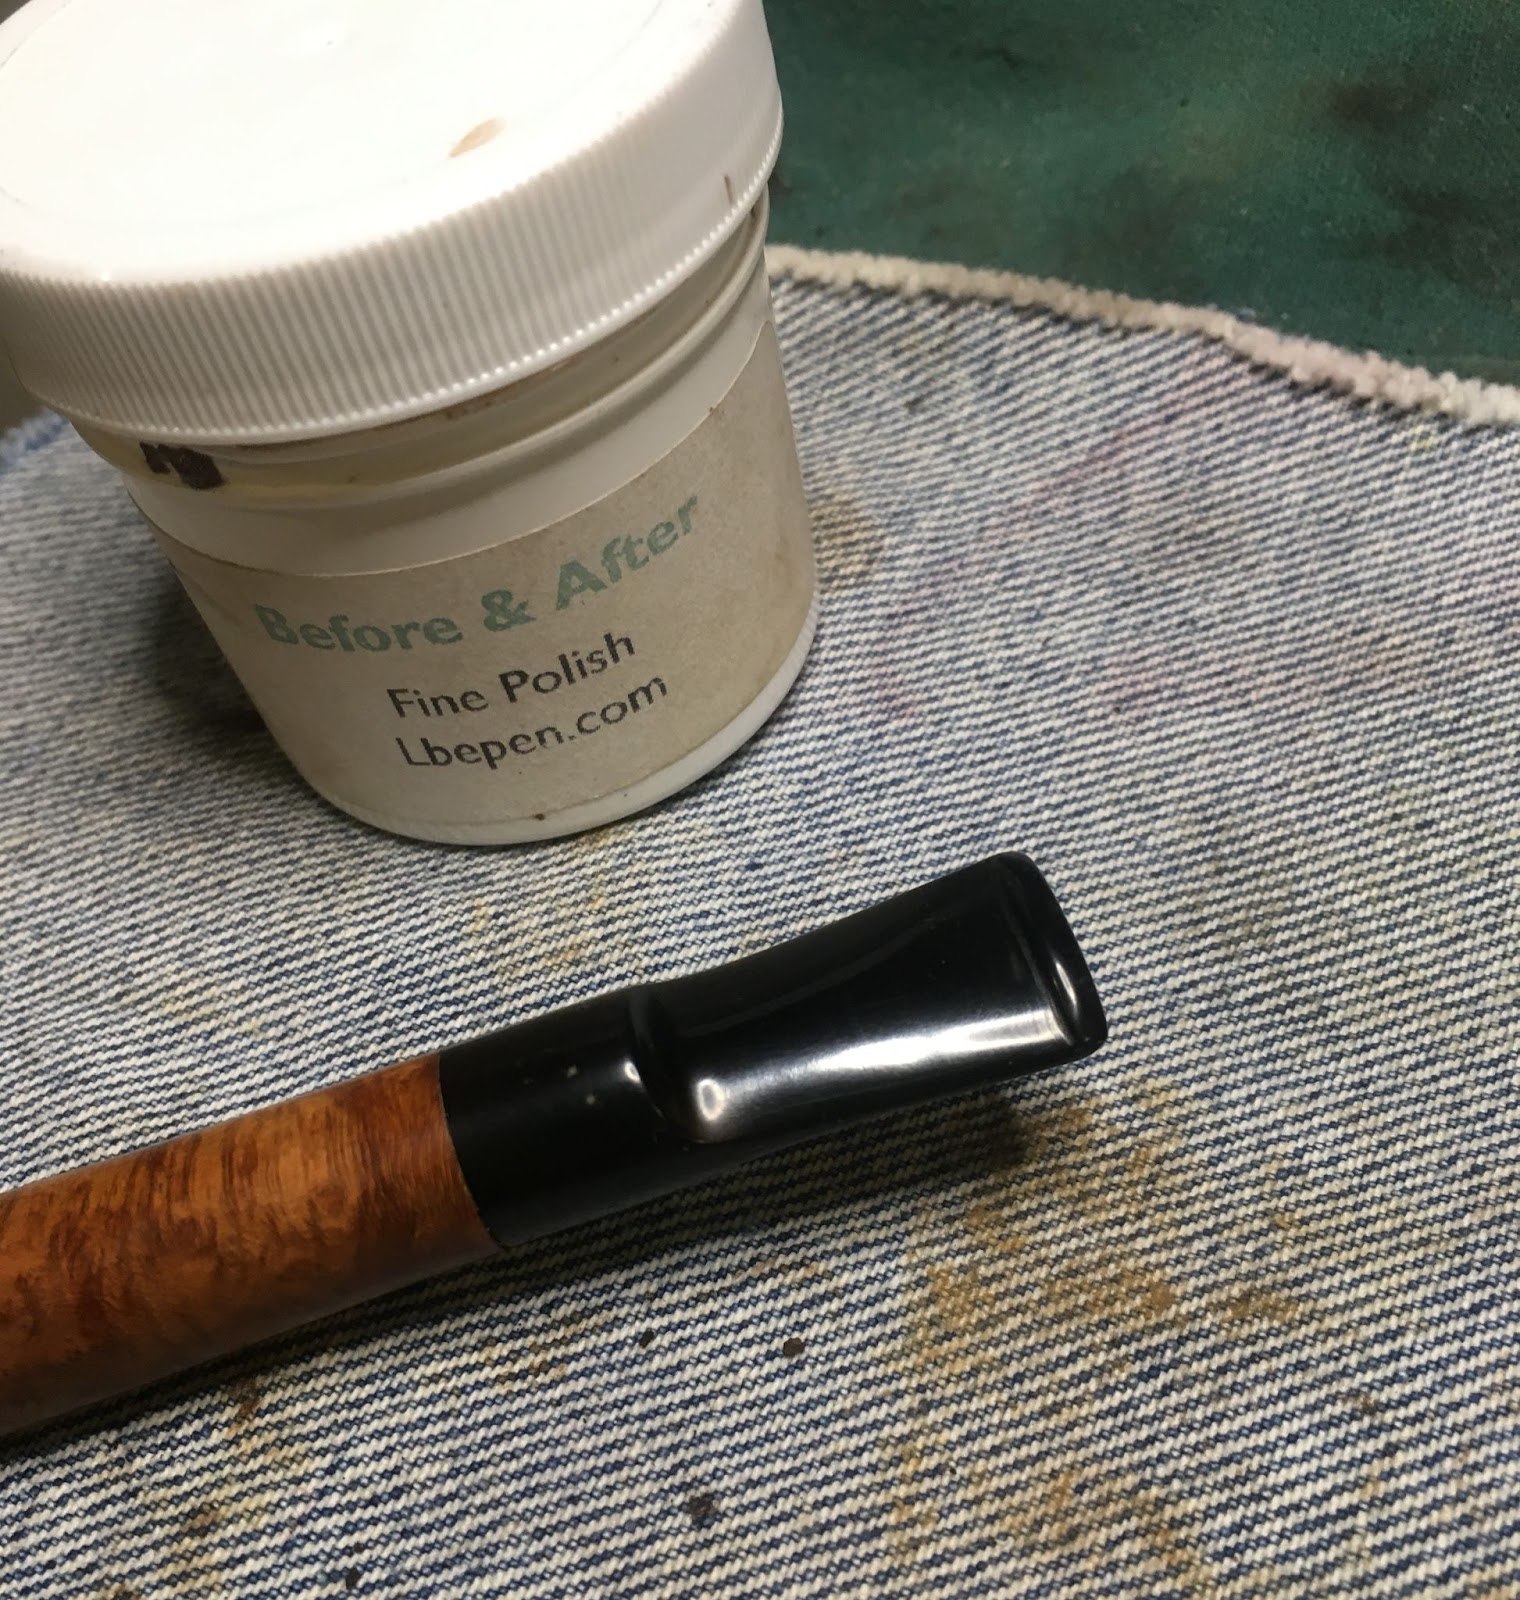
I returned an hour later and wiped the remaining Restoration Balm from the stummel with the inside of an athletic sock. The stem had been in the deox for a couple of hours so, I retrieved it from the solution. I allowed the excess to drip off the stem. The stem was then vigorously rubbed with a coarse cotton shop rag. THe rag absorbed the remaining solutions and rubbed away the oxidized rubber. The inside of the stem was cleared of solution with a couple of pipe cleaners. The stem was returned to the workbench and rubbed with mineral oil. I ran a mineral oil dipped pipe cleaner through the stem as well.
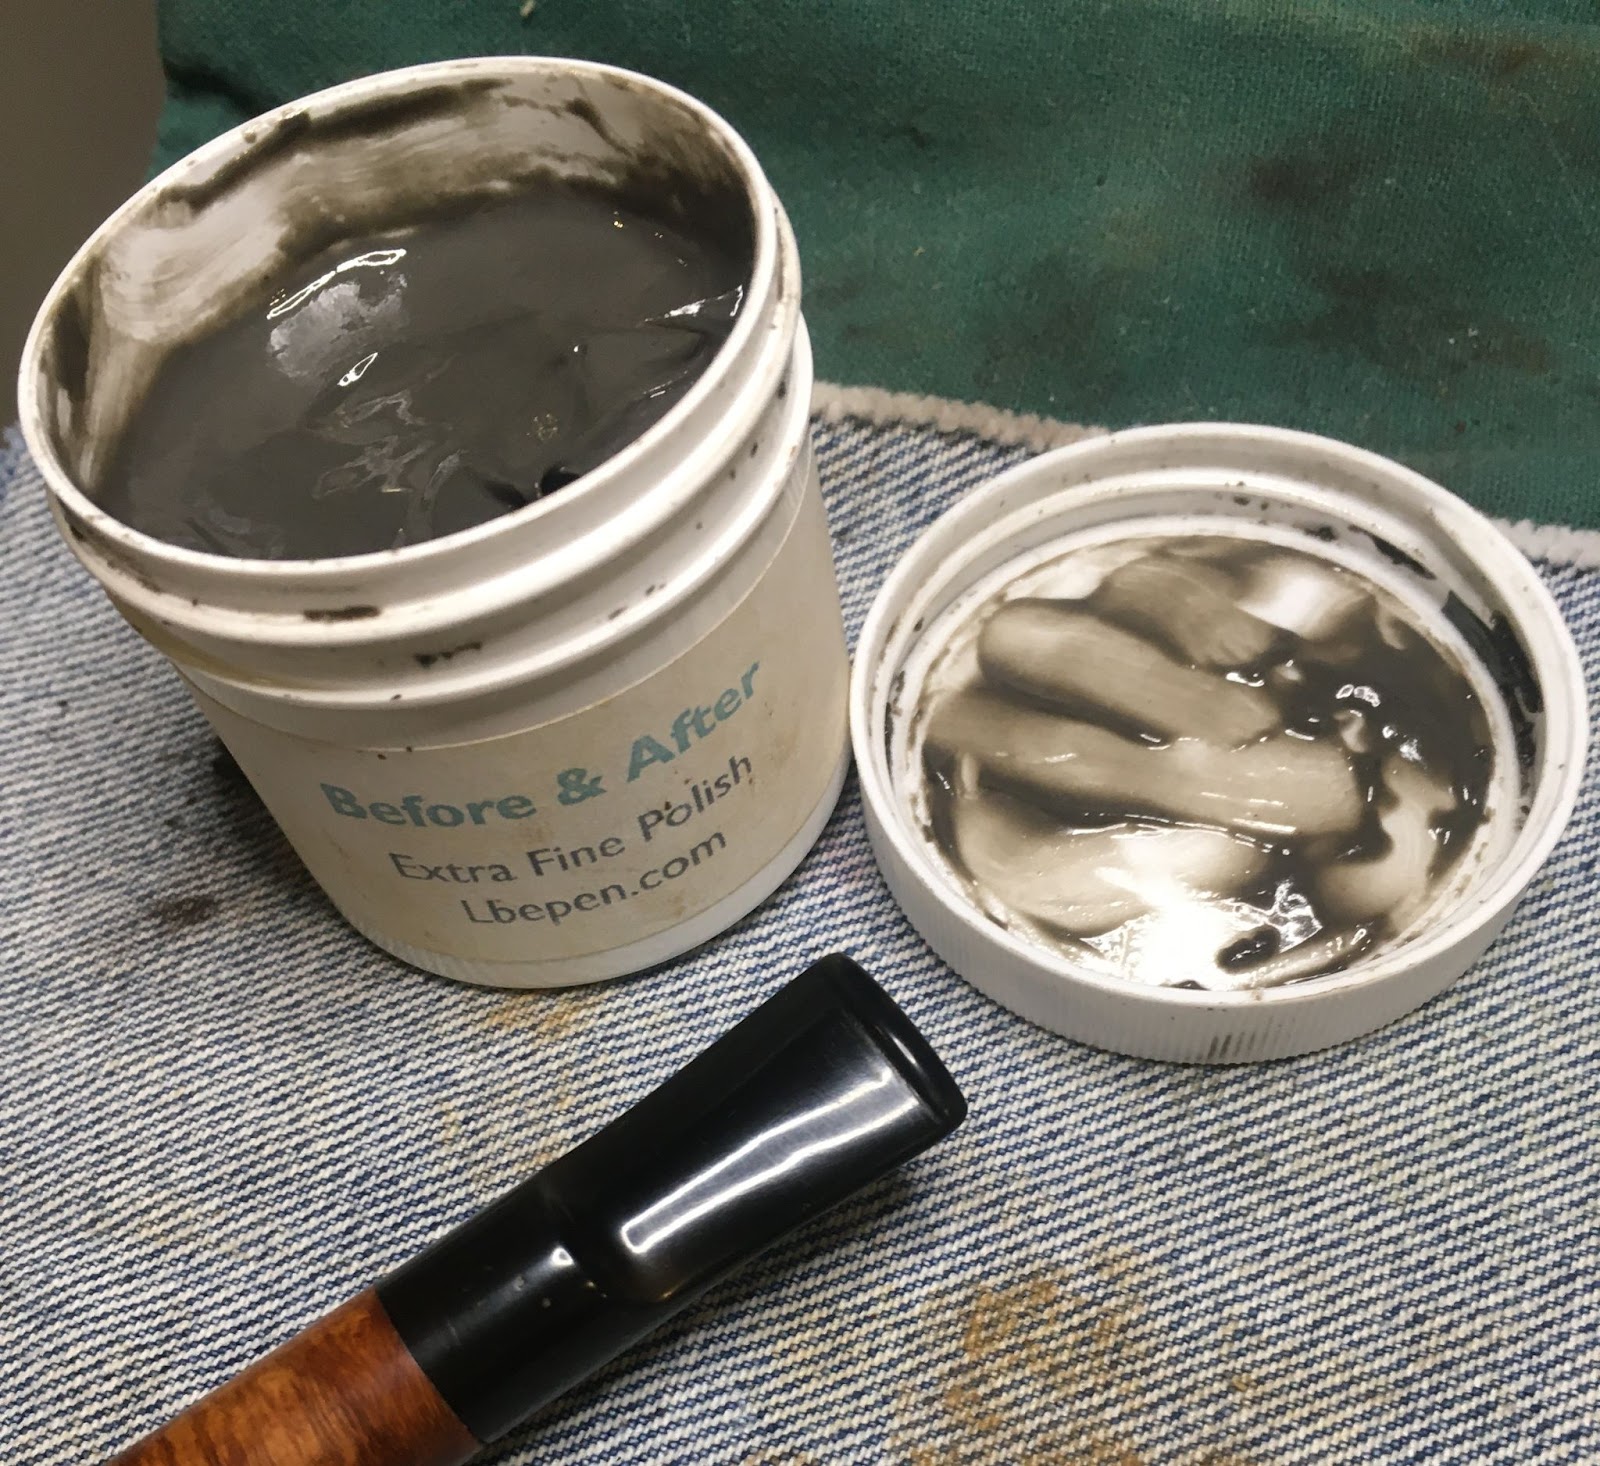
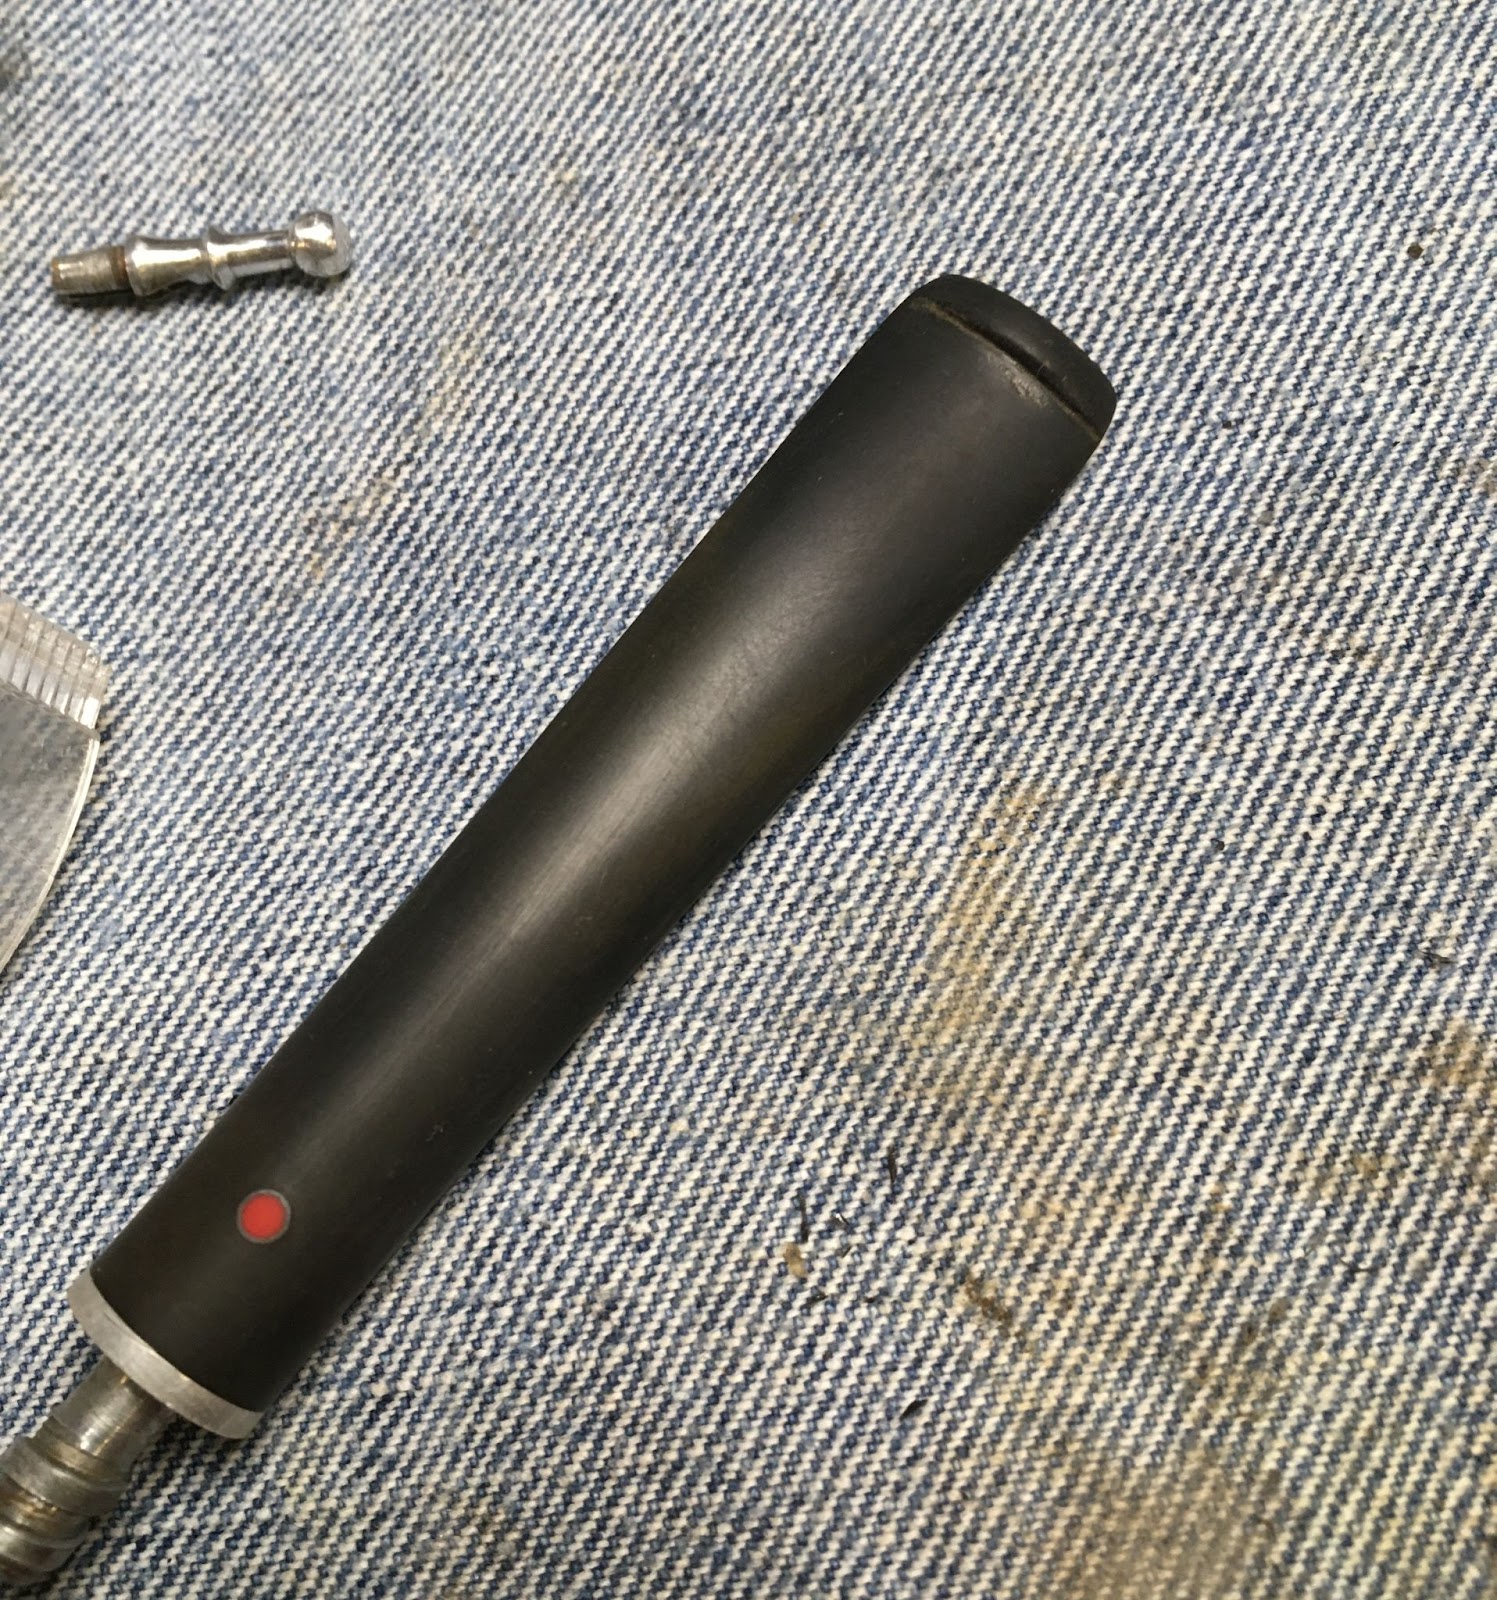
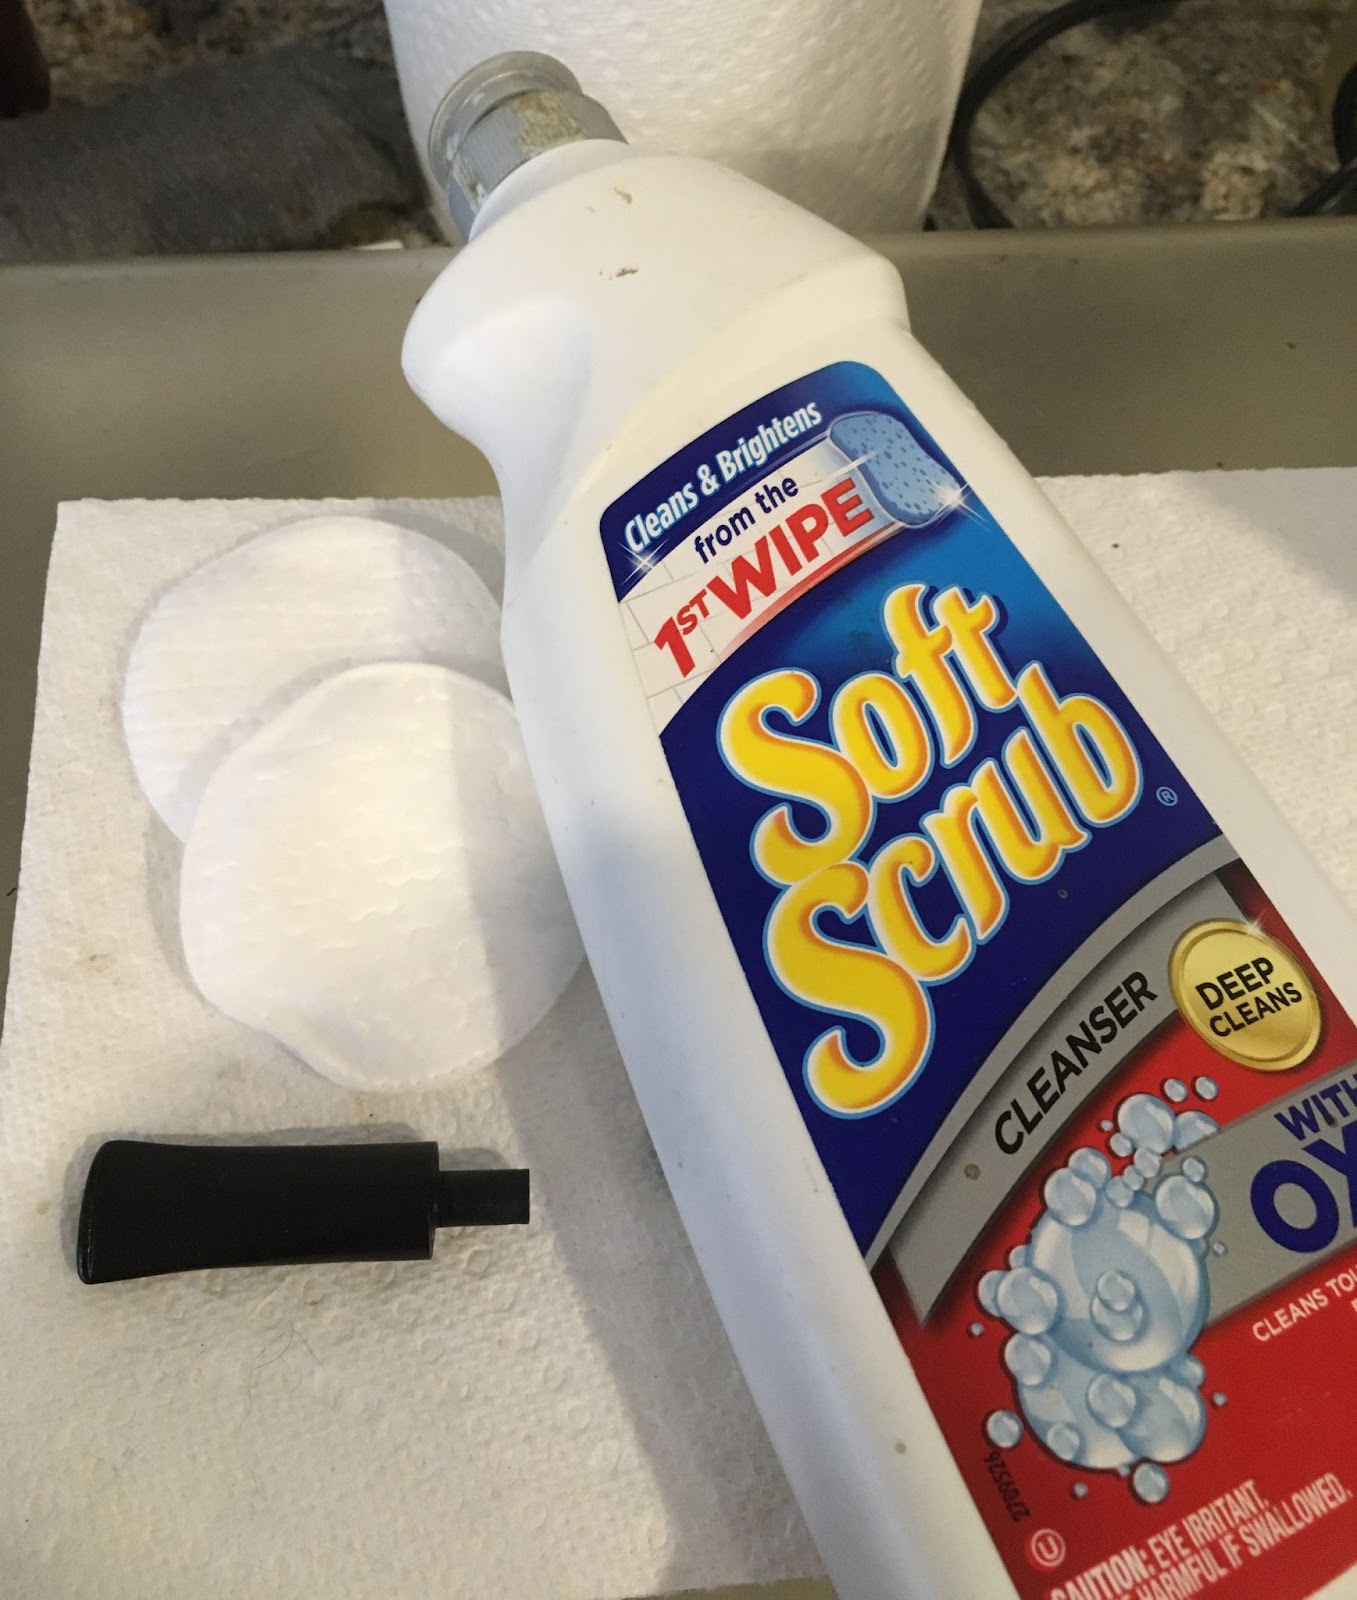
There were still areas of brown oxidation visible on the tenon end and right below the button. I was getting frustrated with this stem. I thought, “try buffing it with the buffer and some red compound.” I did, It helped but the oxidation remained. I returned to the workbench and scrubbed the stem with Soft Scrub on a make-up pad. This barely turned the pad tan. The oxidation seemed to be deep into the rubber of the stem. I ran through the micro-mesh pad series 4000-12000 and the stem did take on a good polish but under bright light the brown was still visible. I gave up. The final task for me was to apply several coats of carnauba wax to Manhattan.
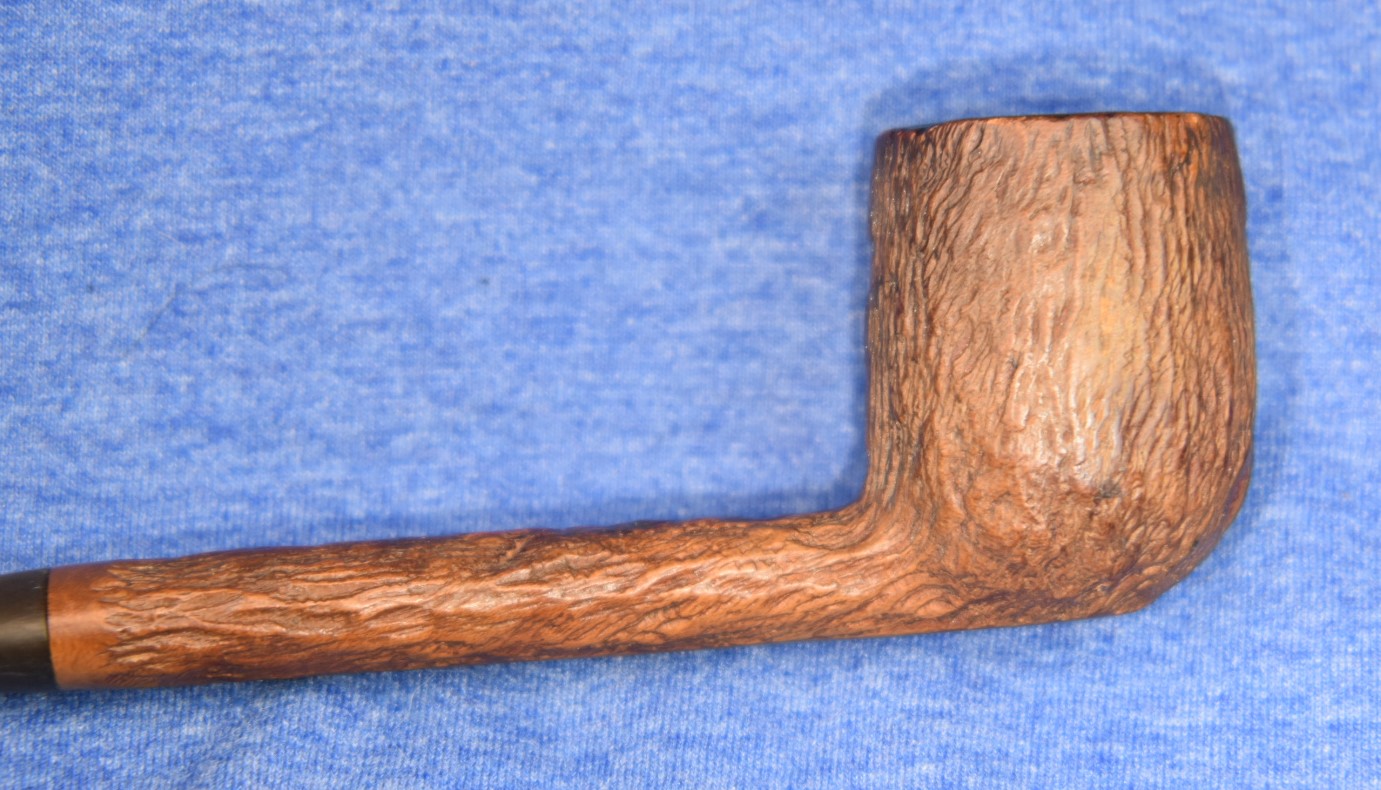
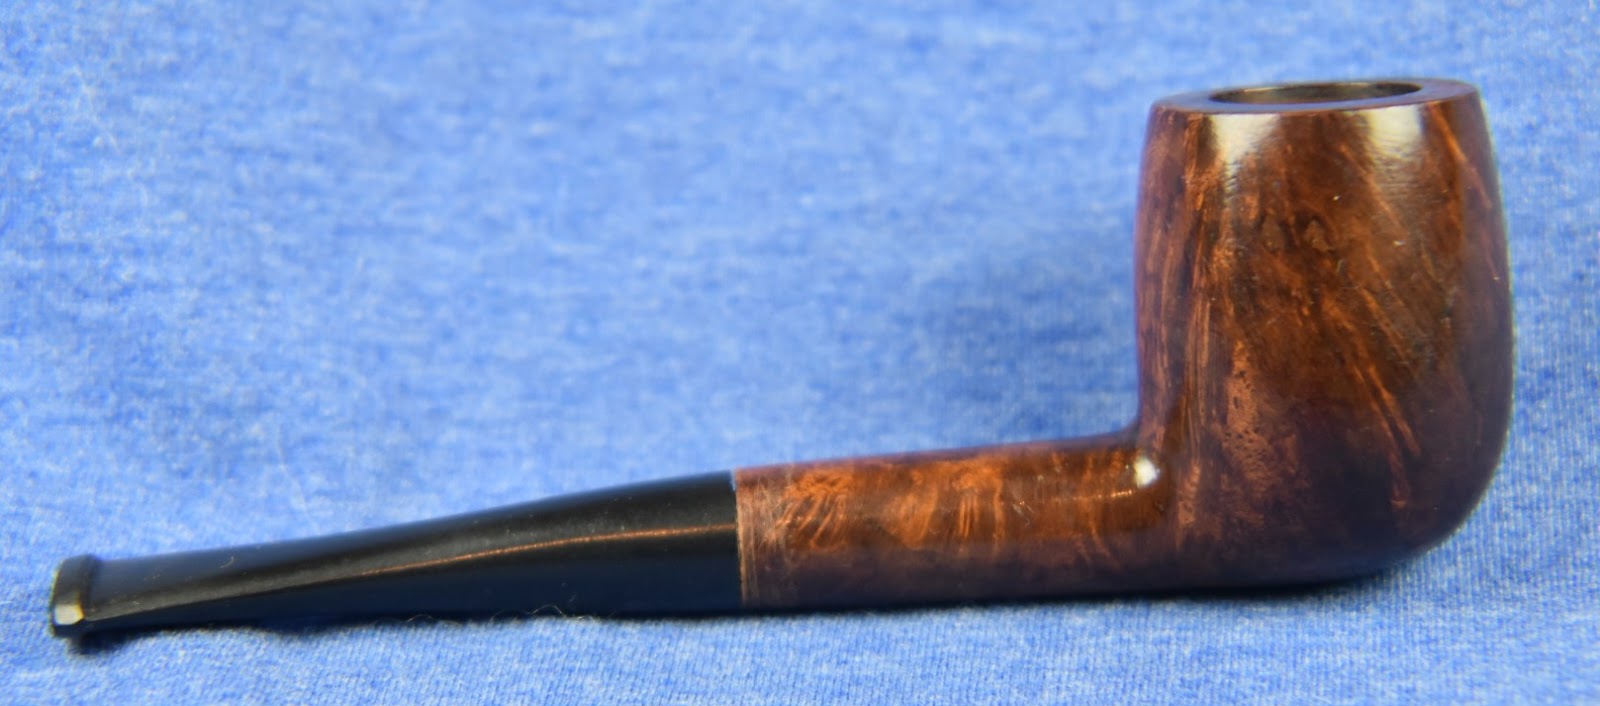
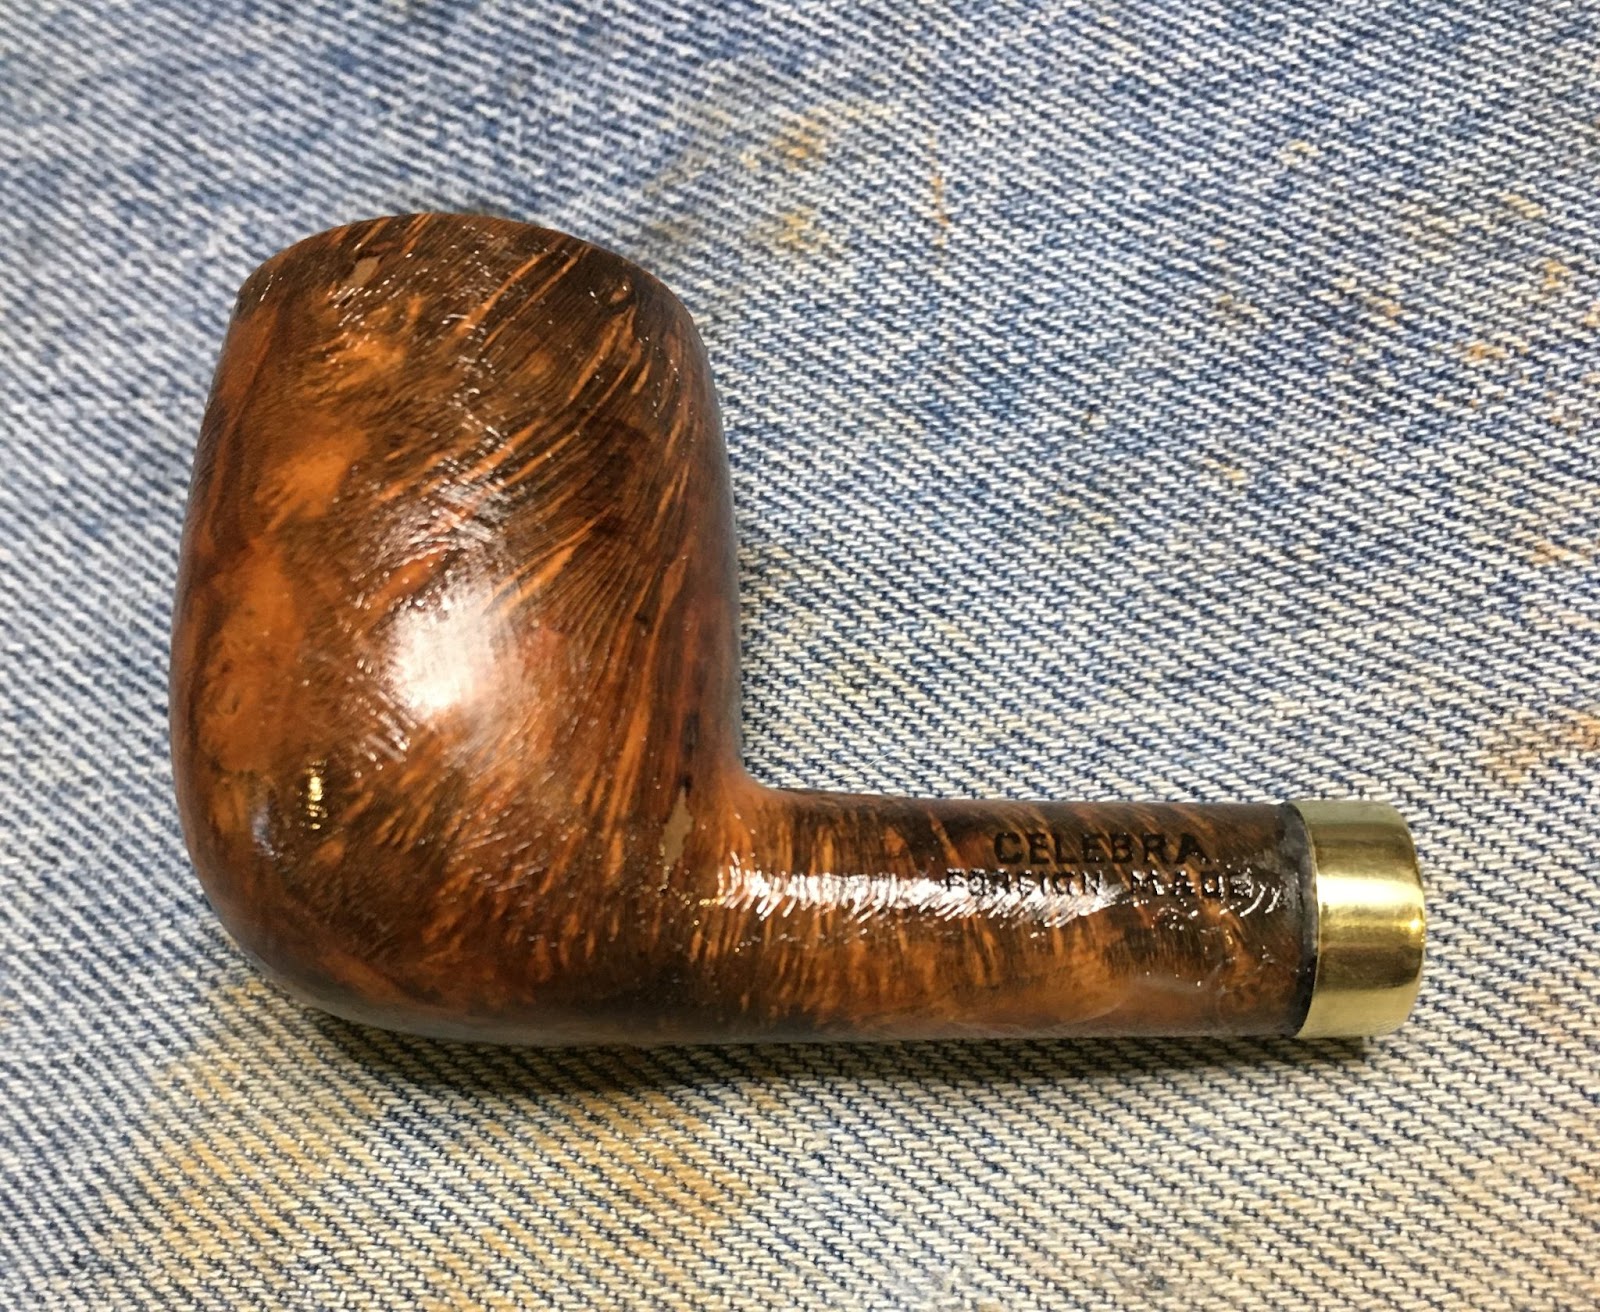
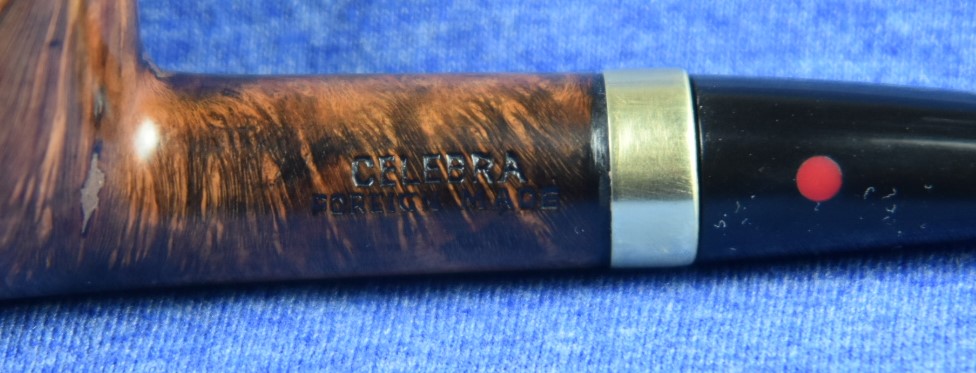
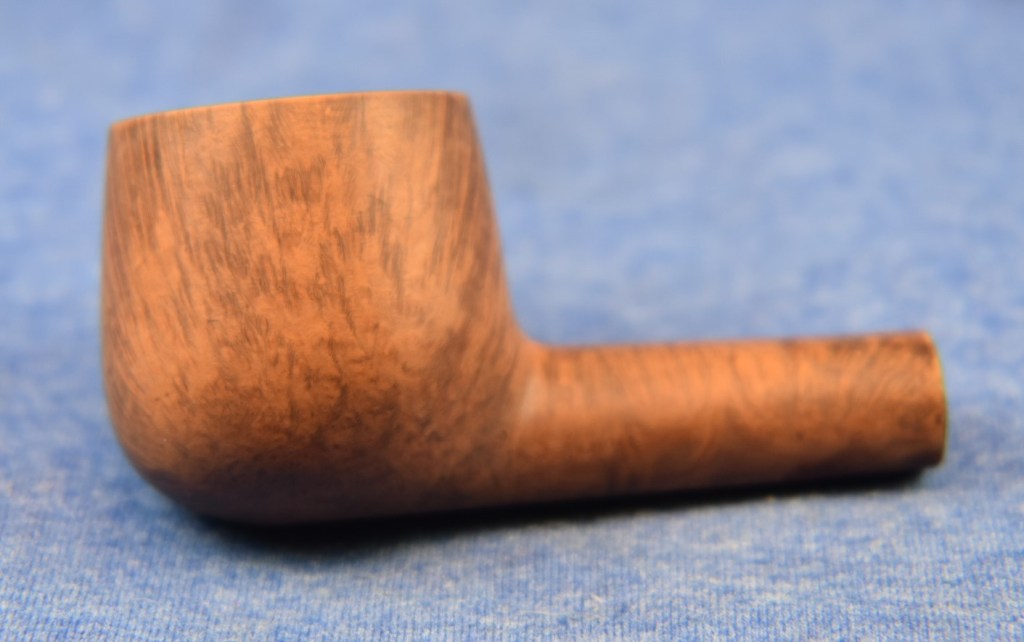
As frustrating as this restoration was, it was still fun and provided a great learning experience for me. I had never cut threads in Delrin before and I had never drilled out a stem for a new tenon. The new band turned out very nicely and will keep those two pesky shank cracks in their place. The finish of the briar was restored to what I assume it looked like 100 years ago. Do I think this pipe will be around in another 100 years? I see no reason that it couldn’t. I can foresee a scenario where the Manhattan’s next companion decides that it does need a new stem, one without oxidation. A good pipe repairman could do that with a lathe and some ebonite. Other than that, this old pipe is ready for some tobacco. I hope that you have found something here interesting or useful. If you like this sort of thing, please click the like and subscribe. I thank you for reading the ramblings of an old pipe lover.
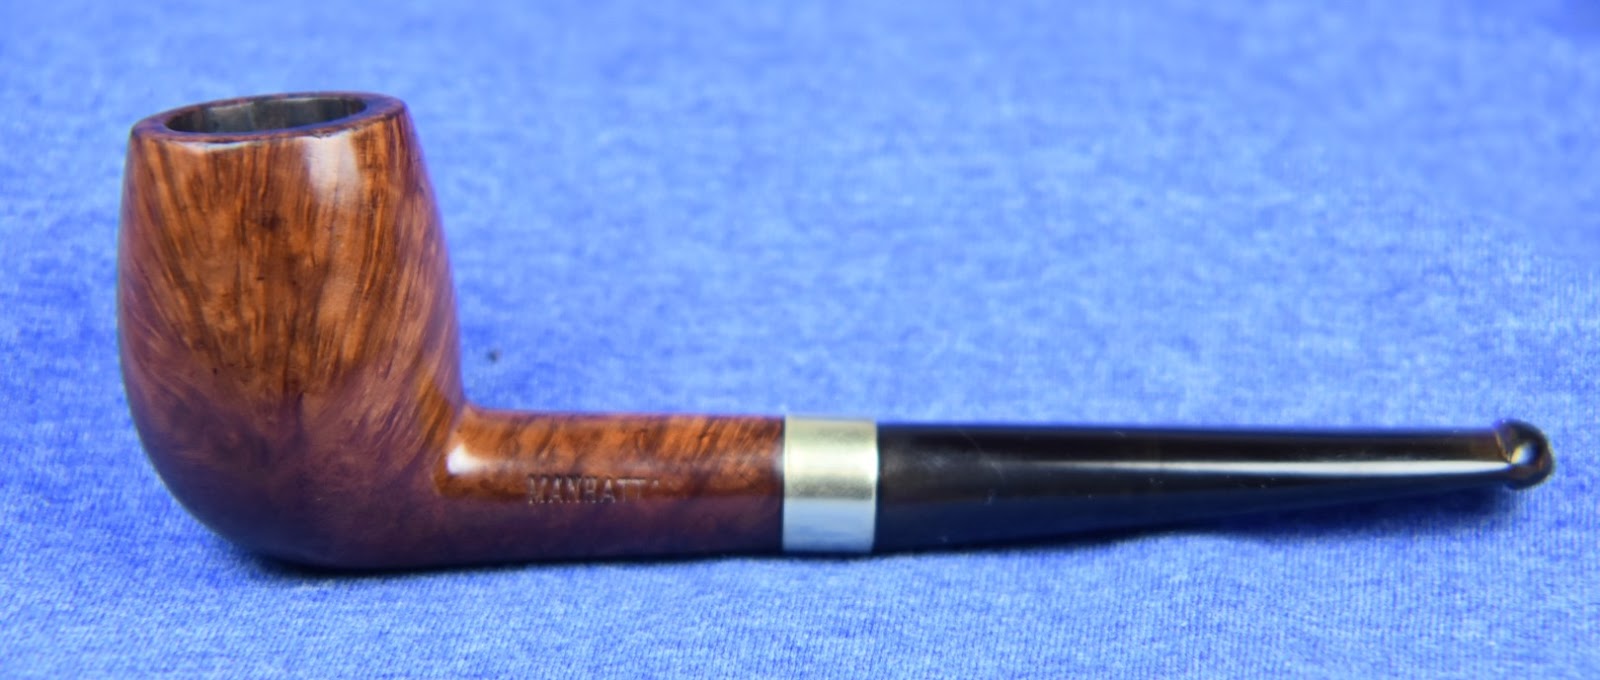
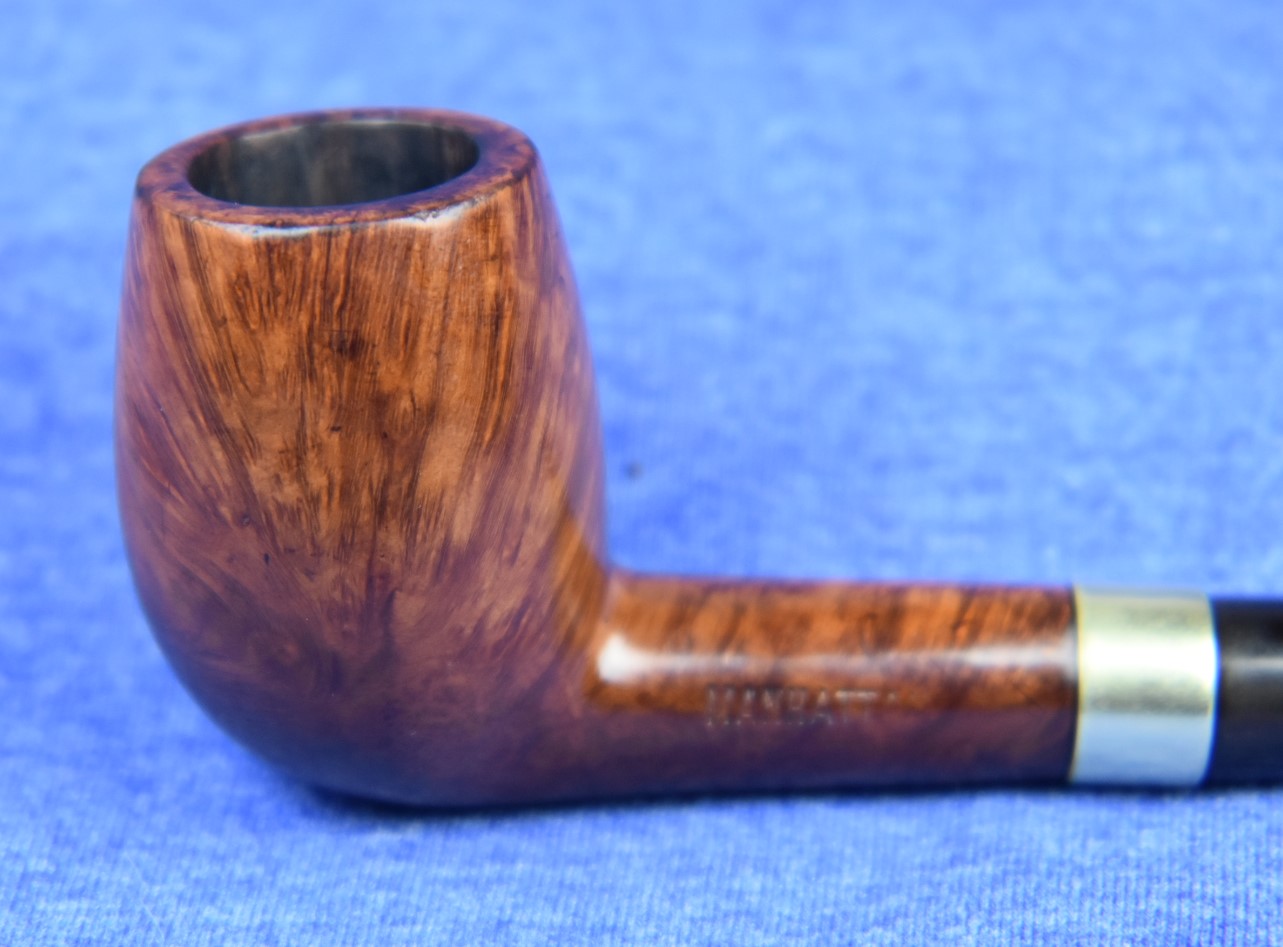
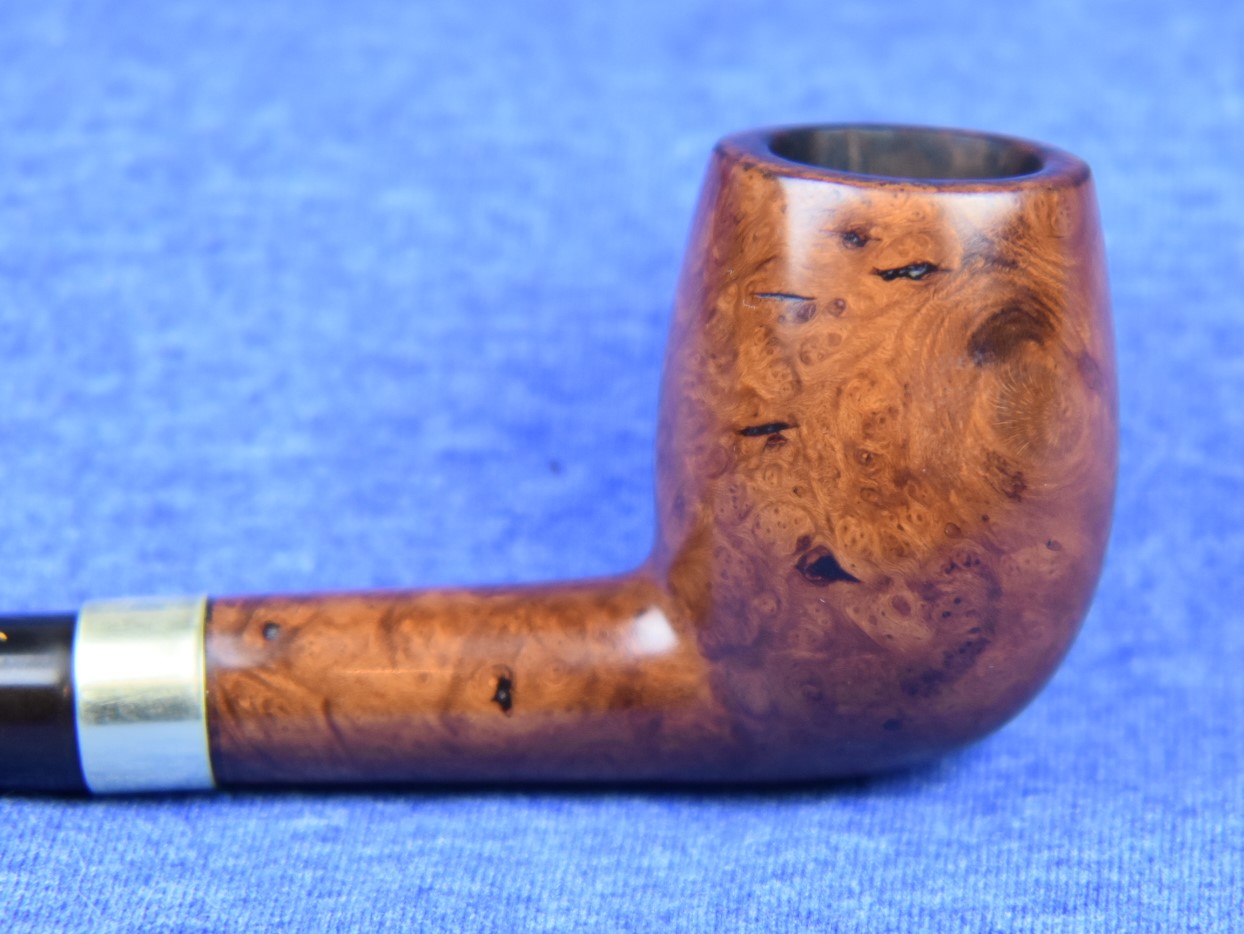
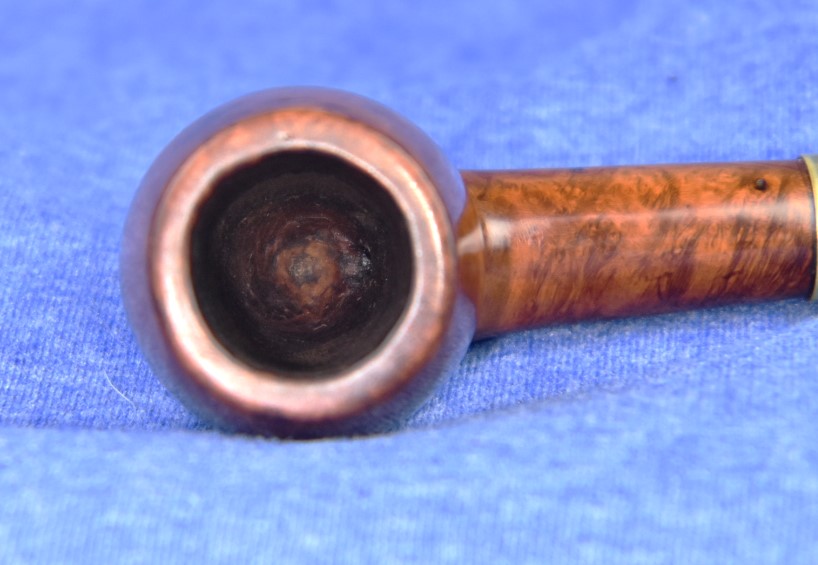
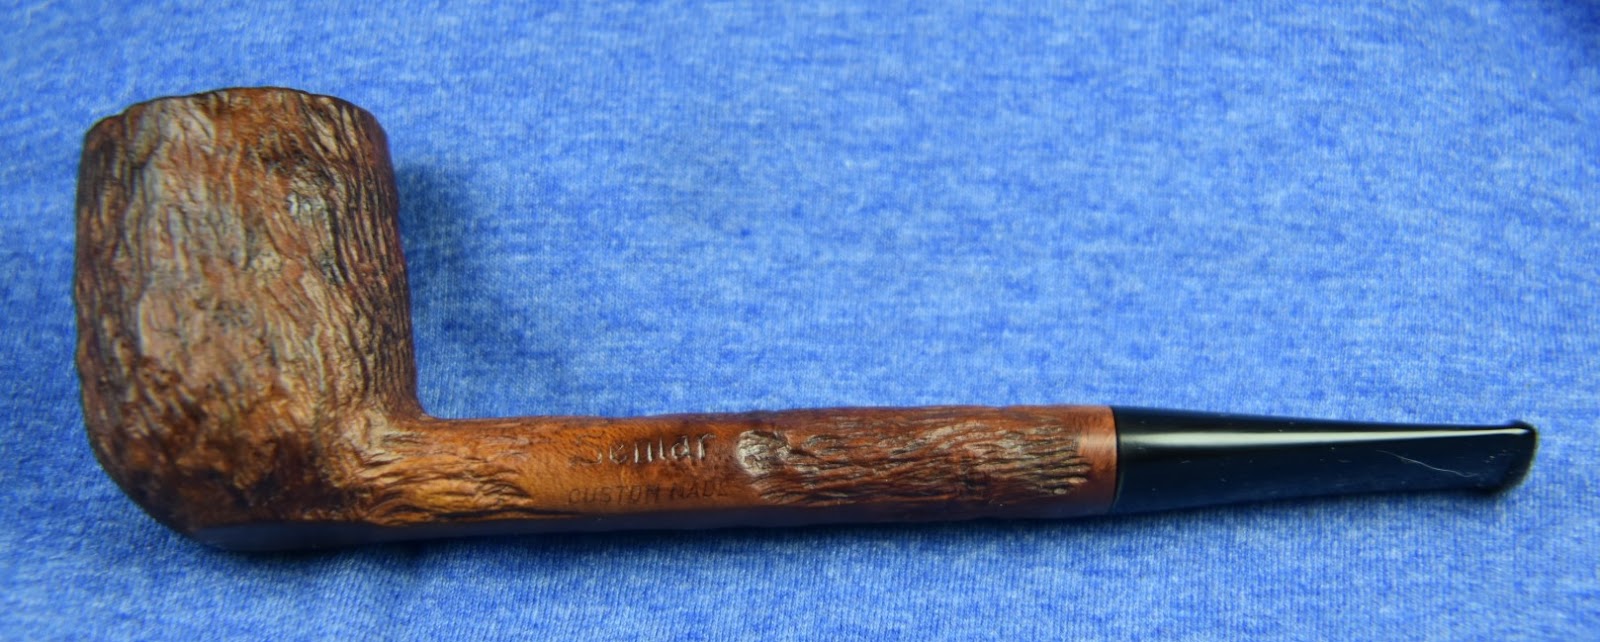
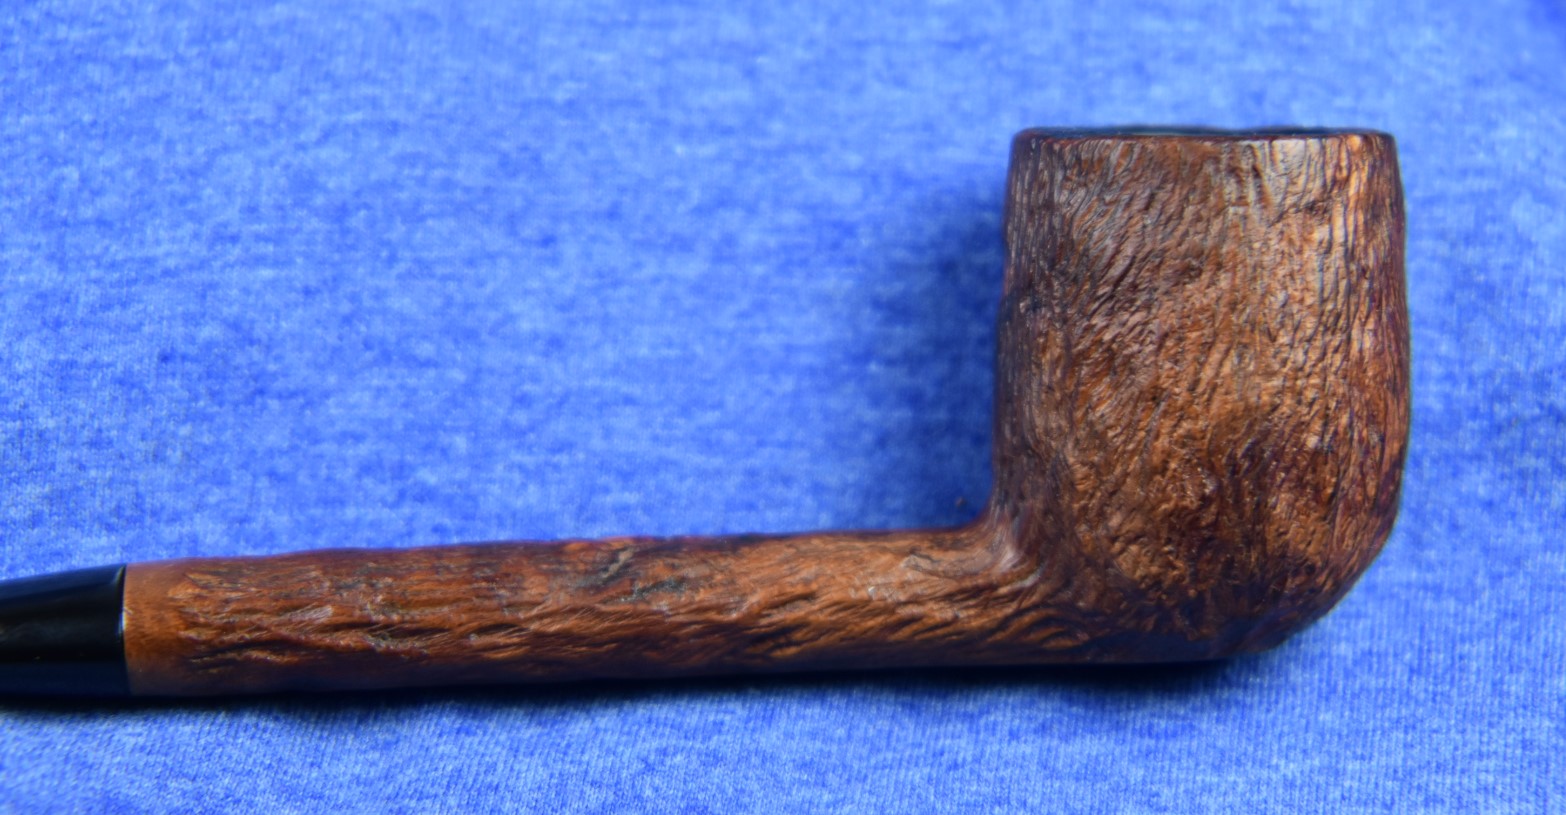
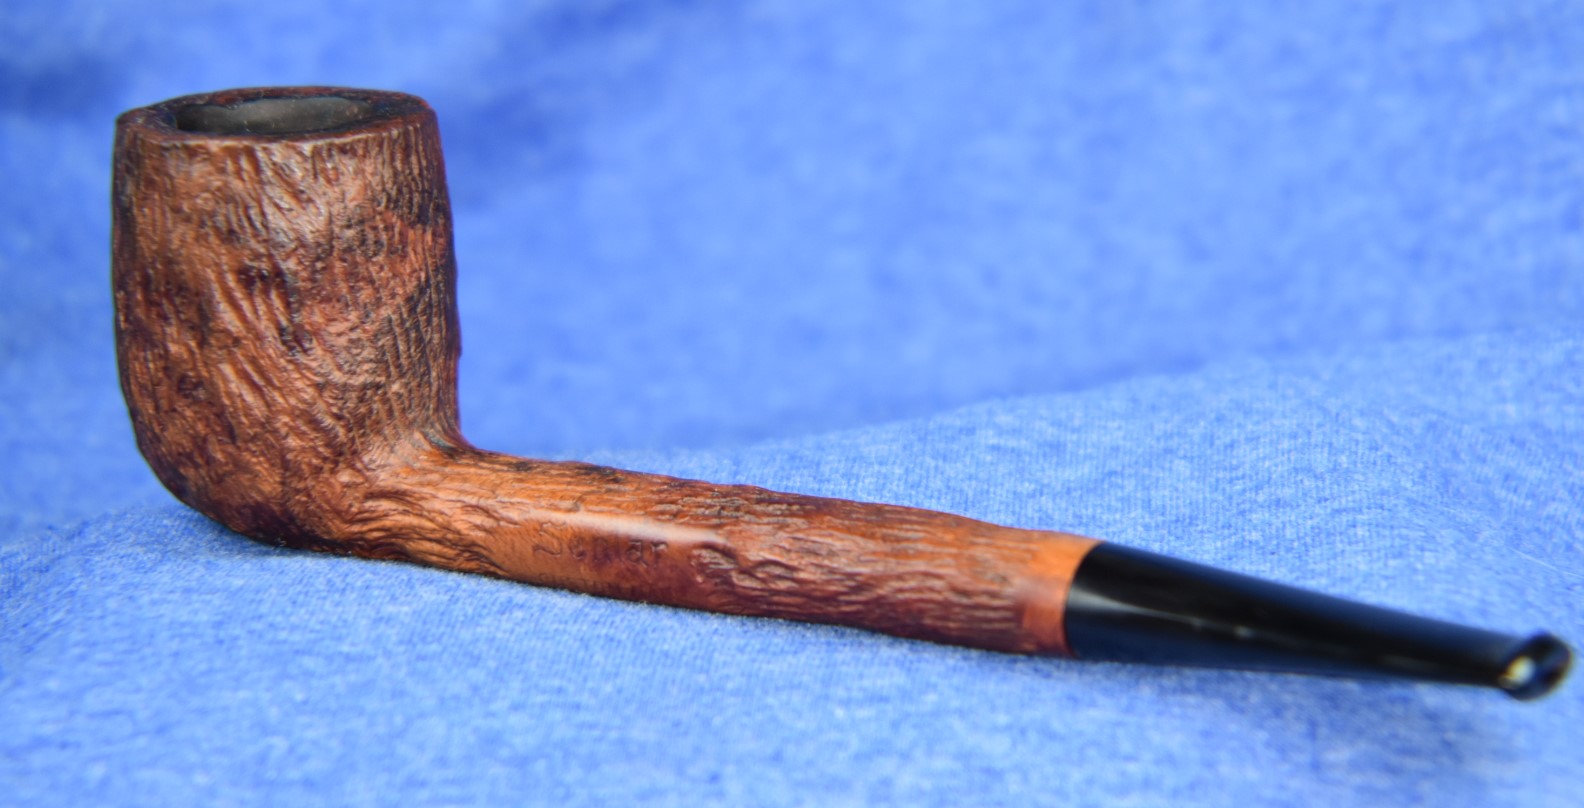
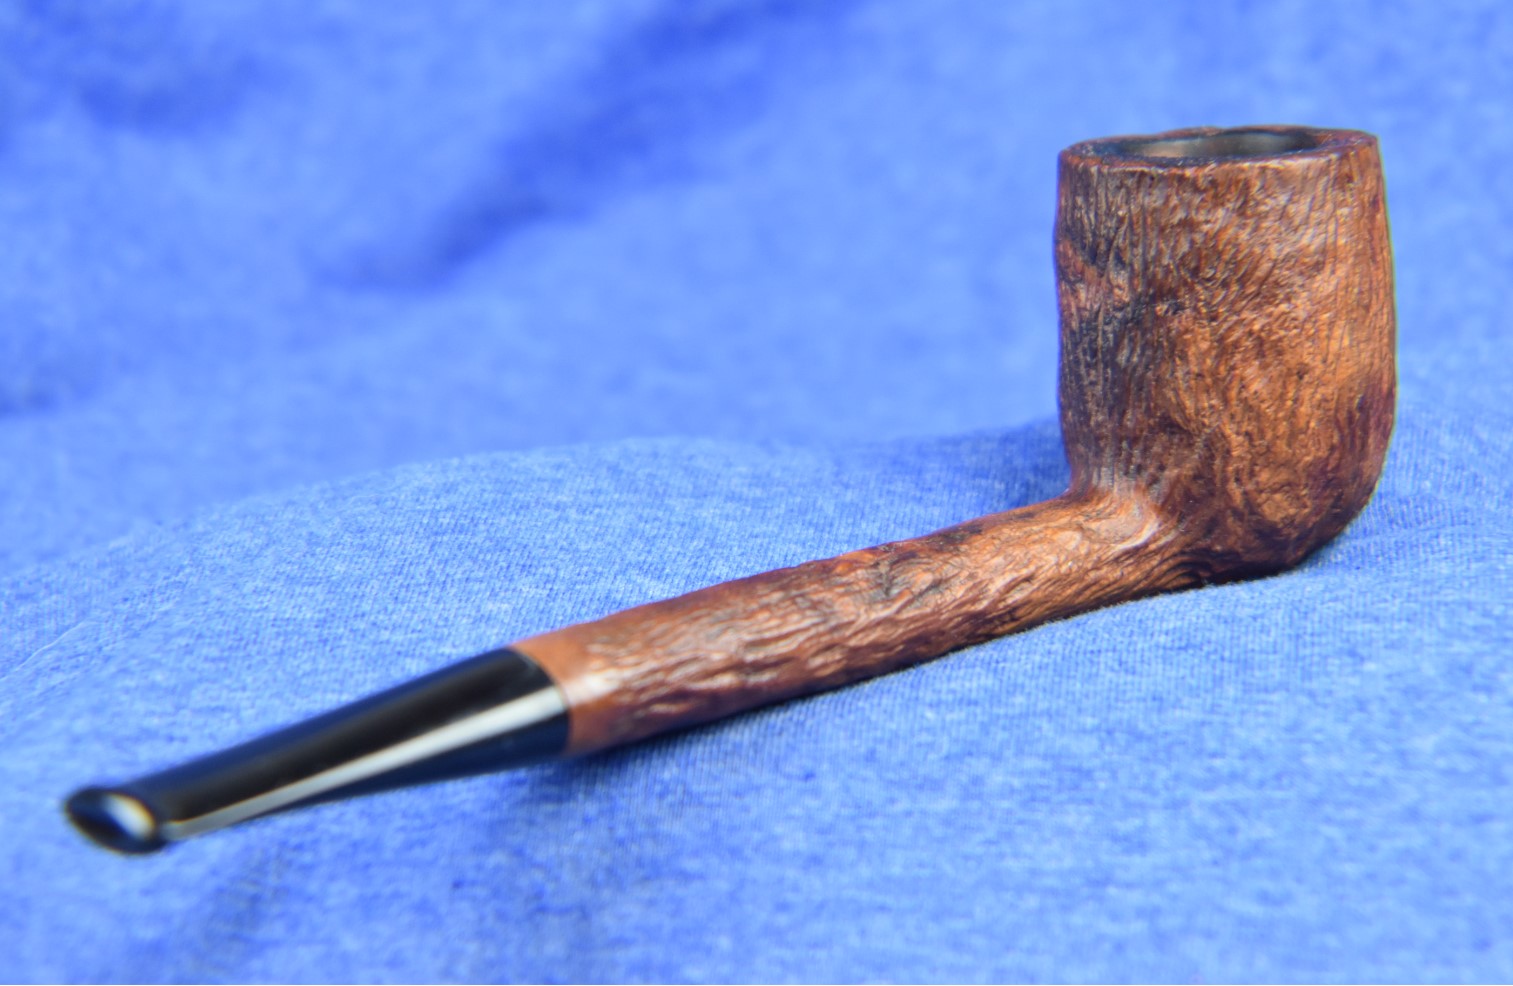
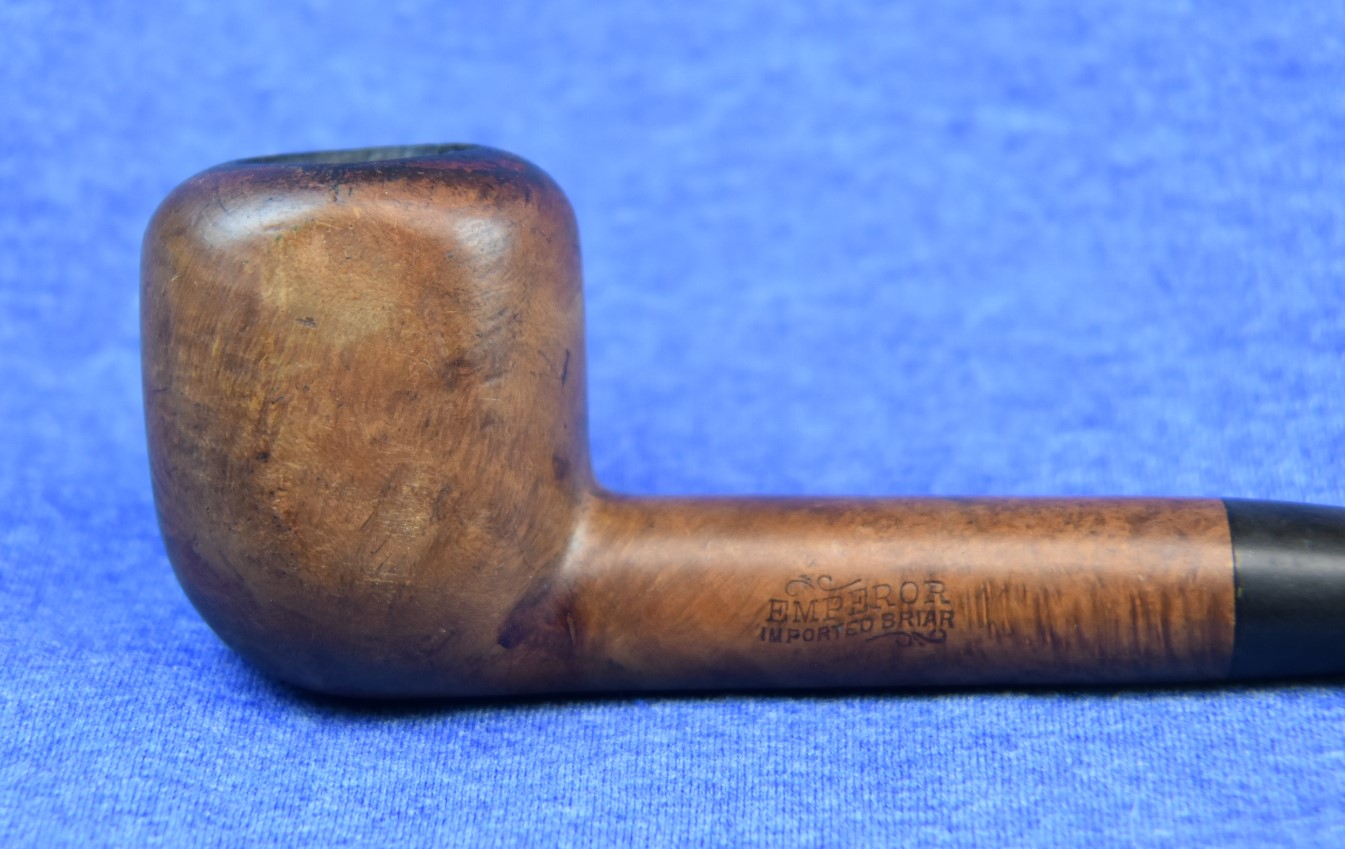
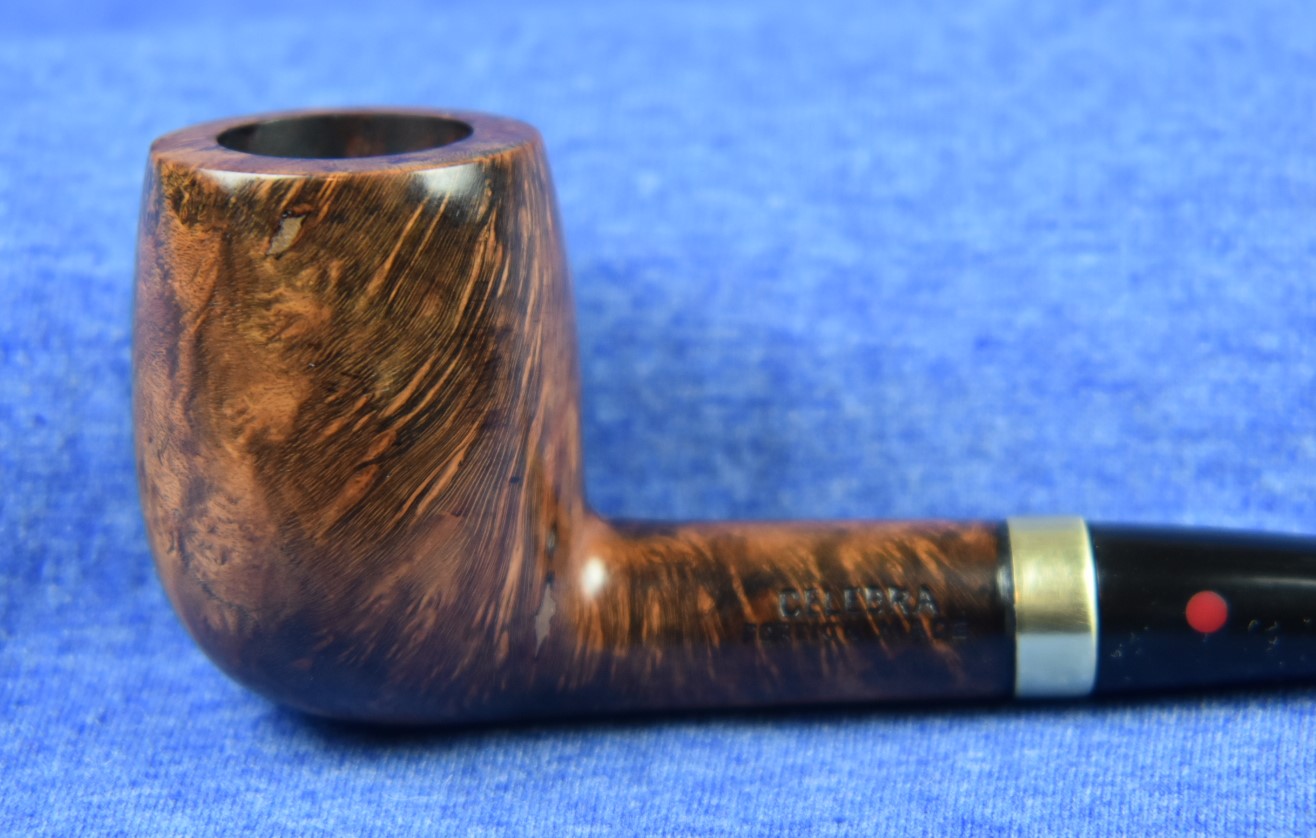
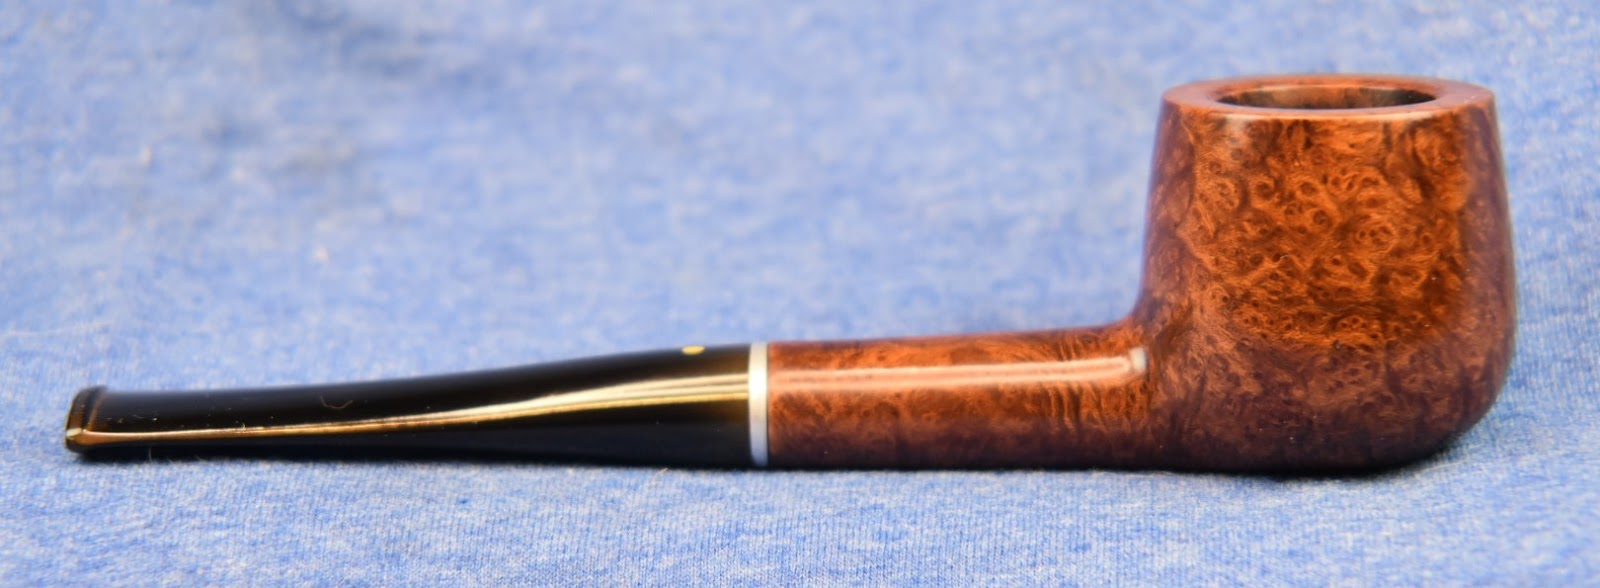
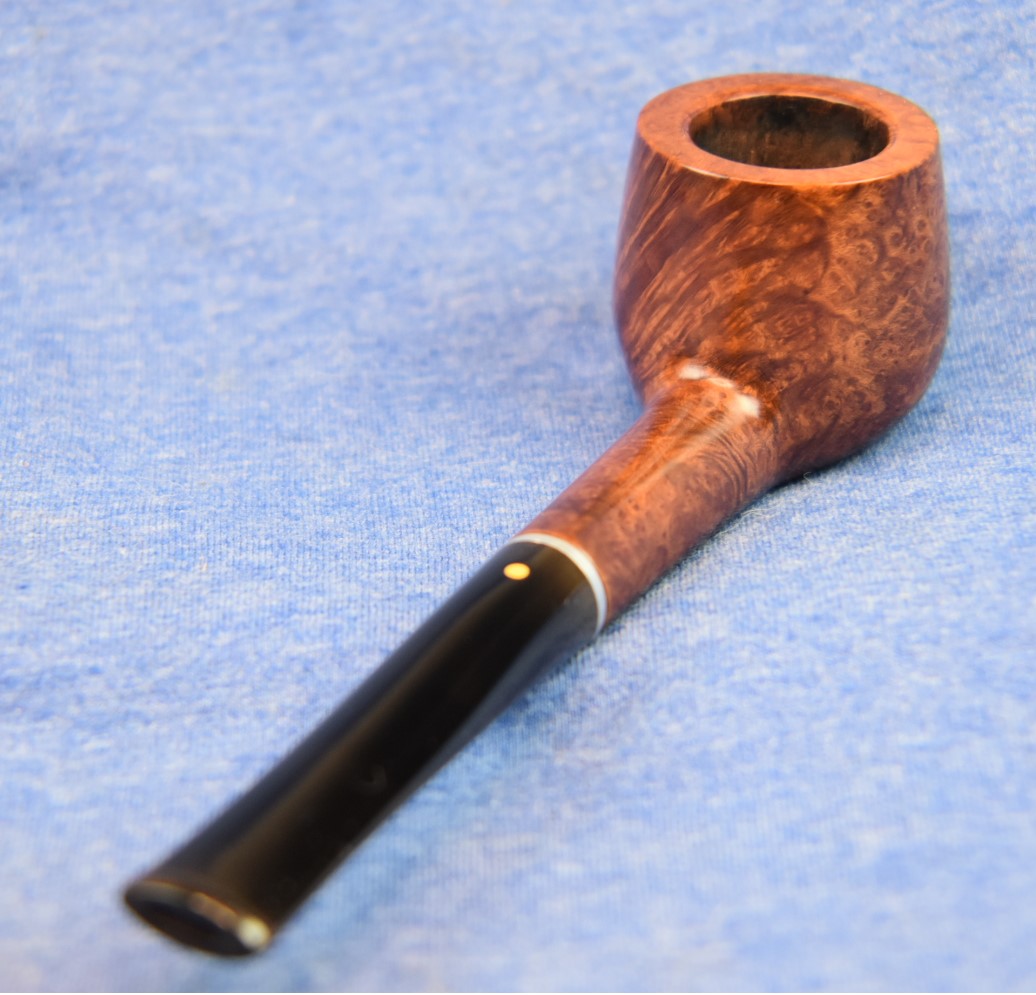
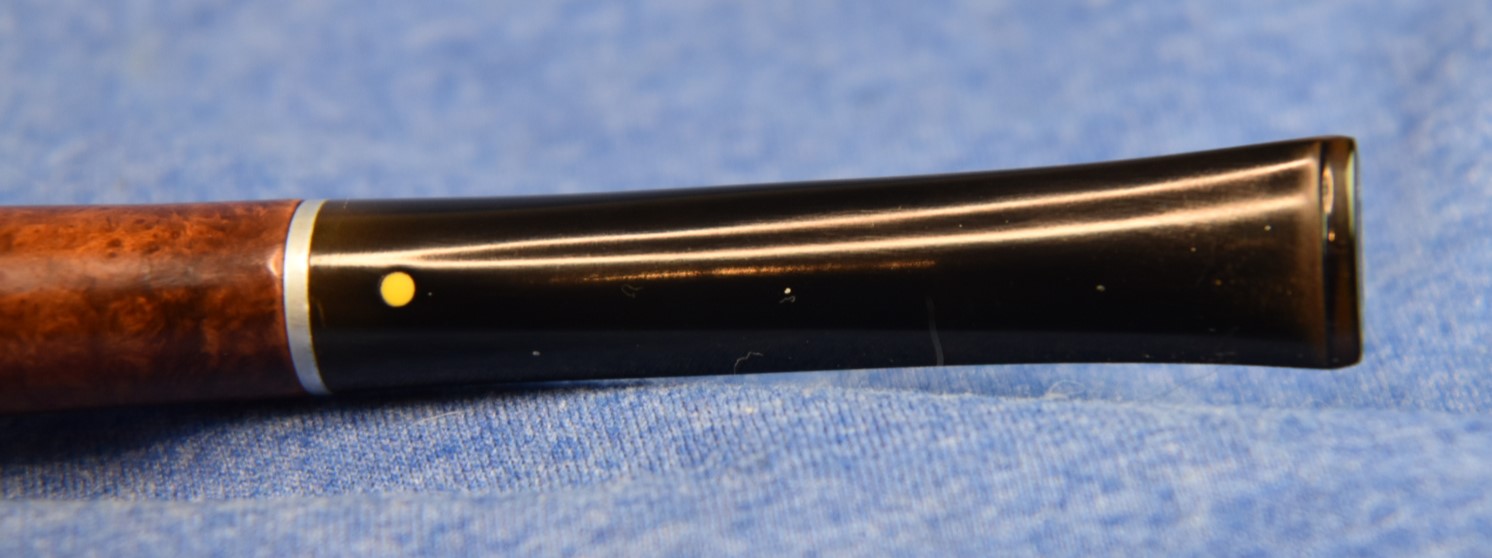
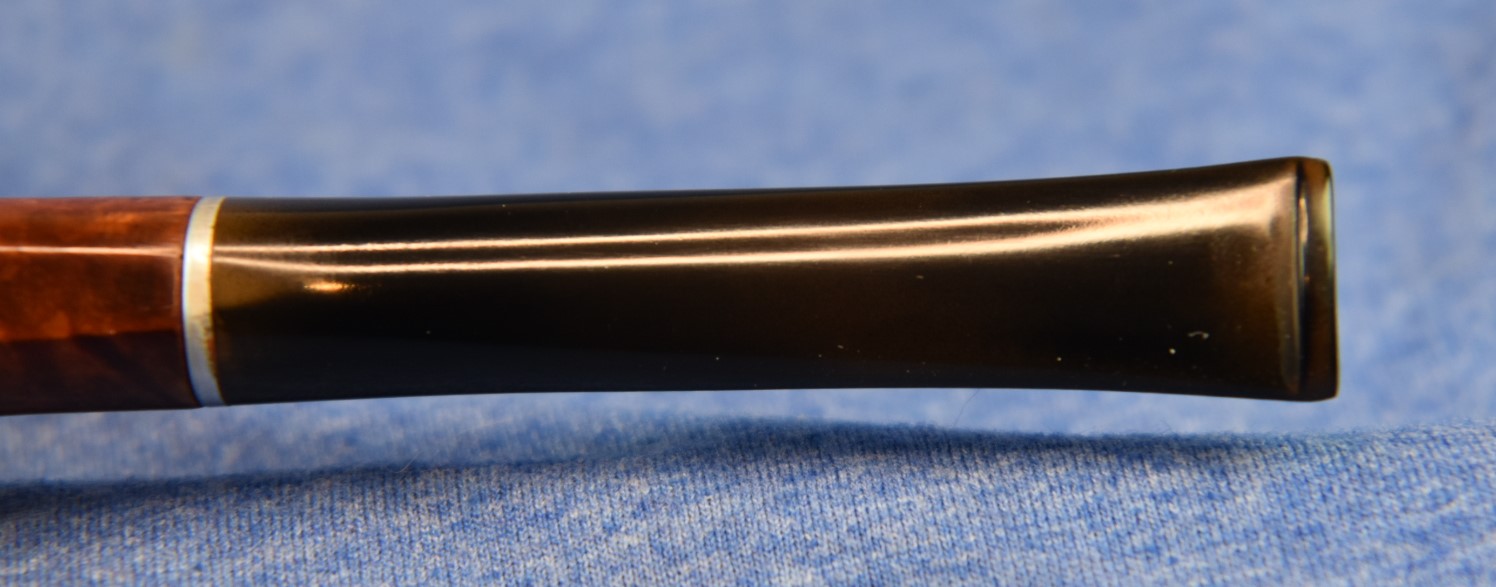
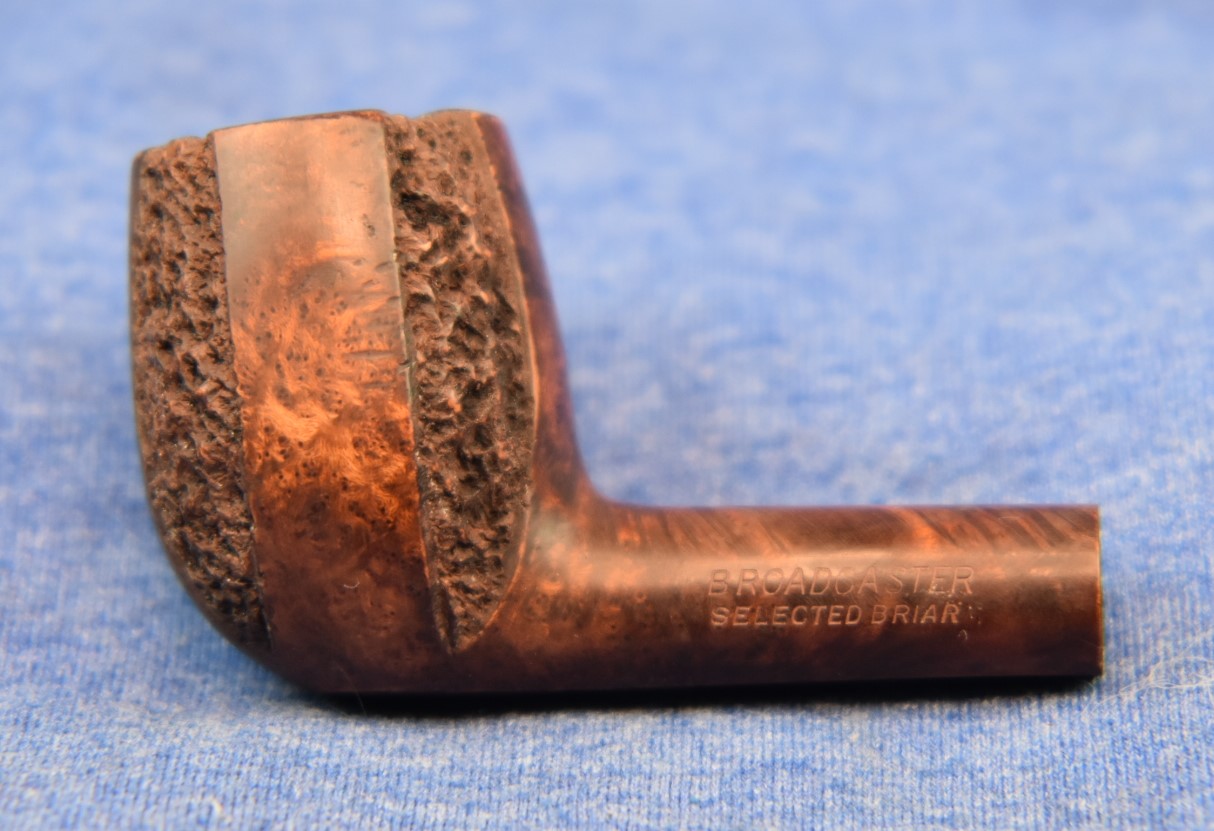
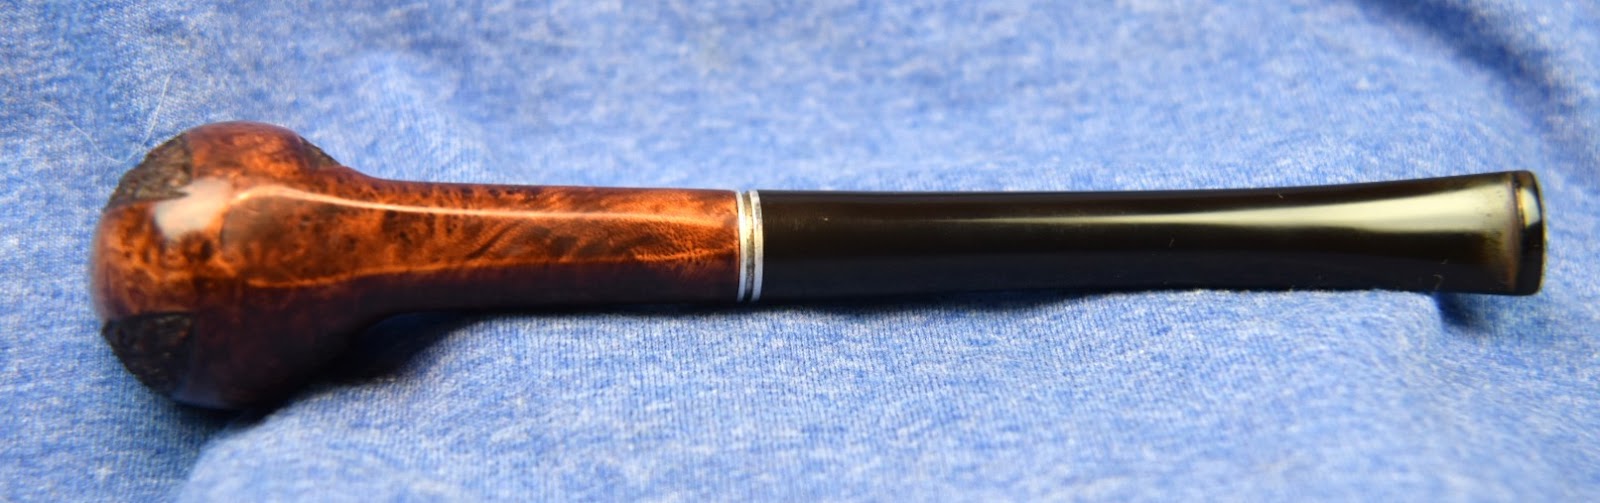
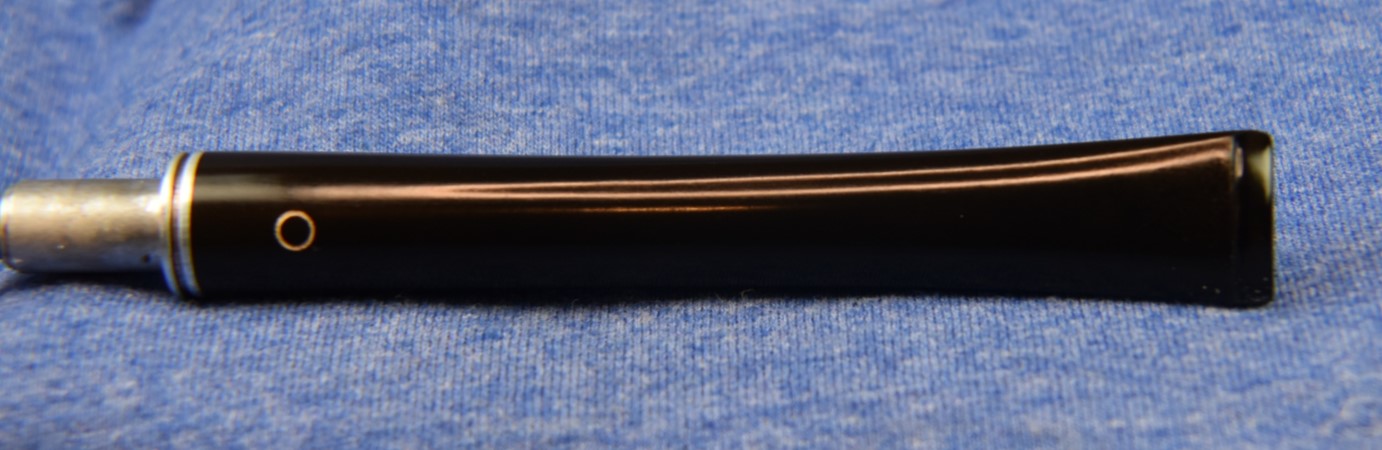
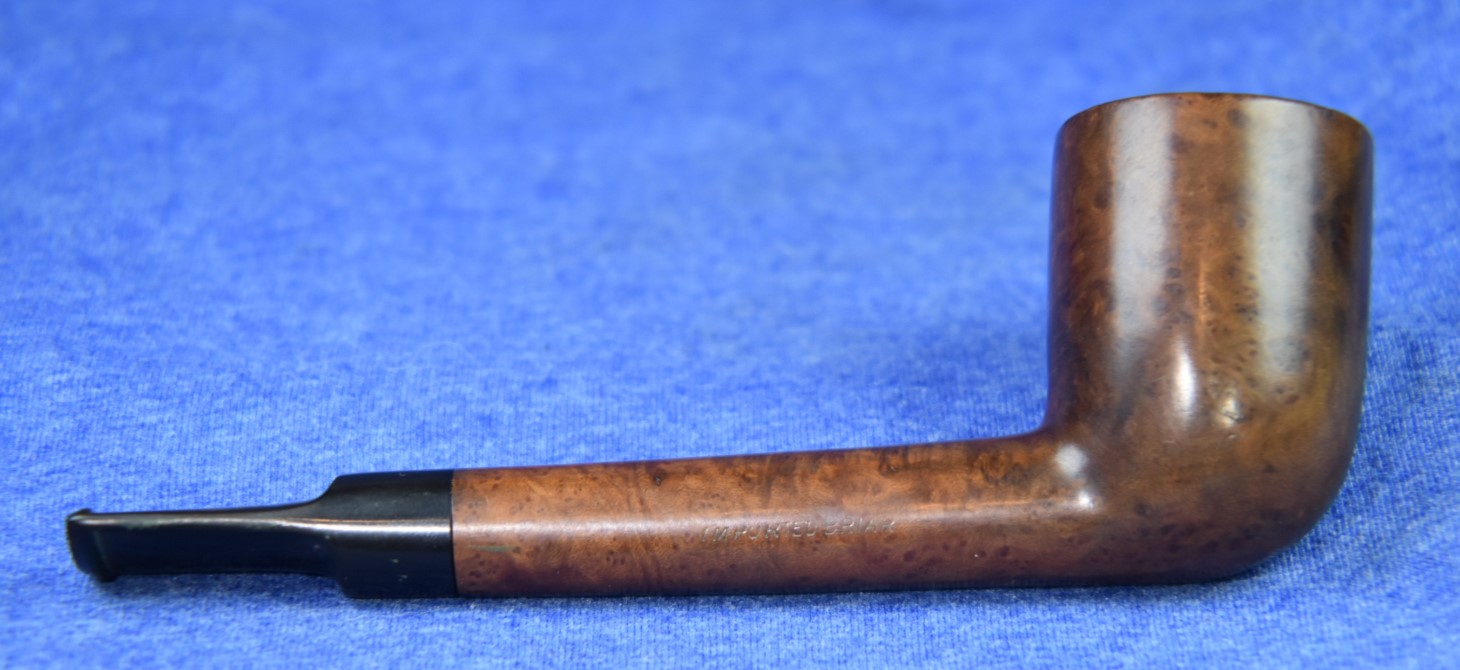
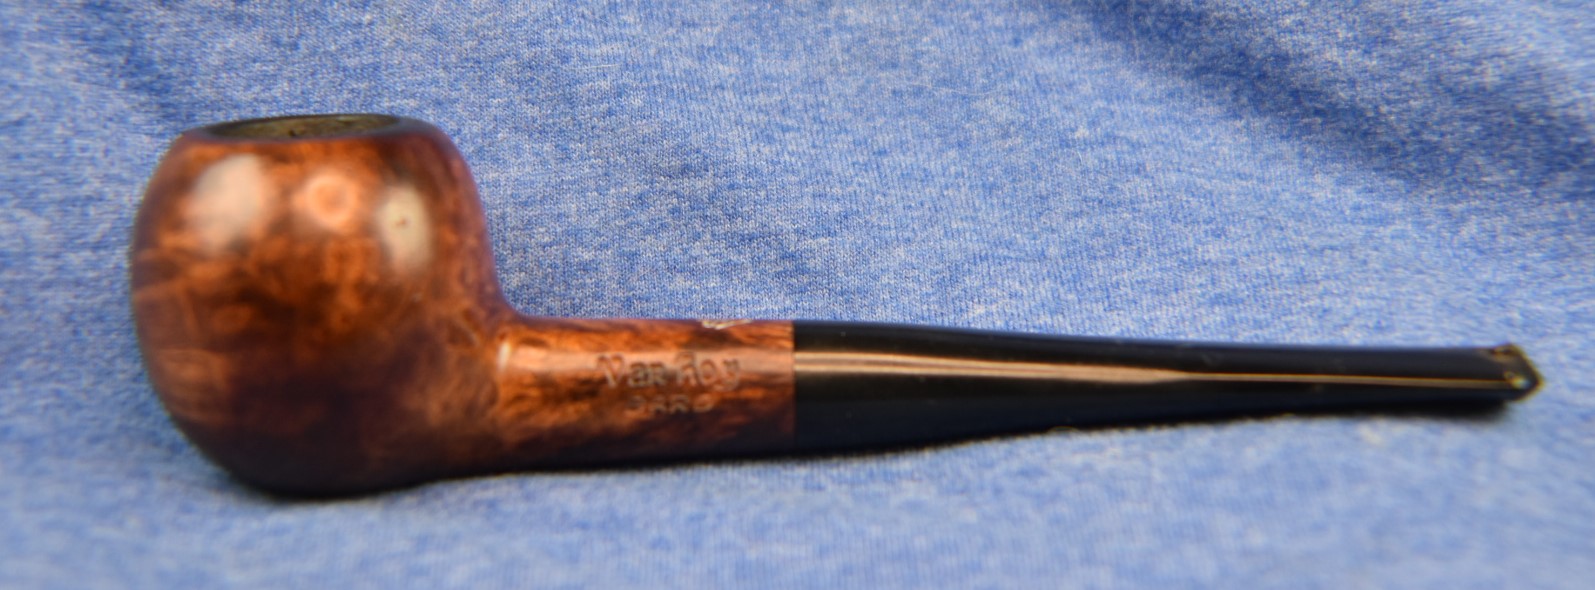
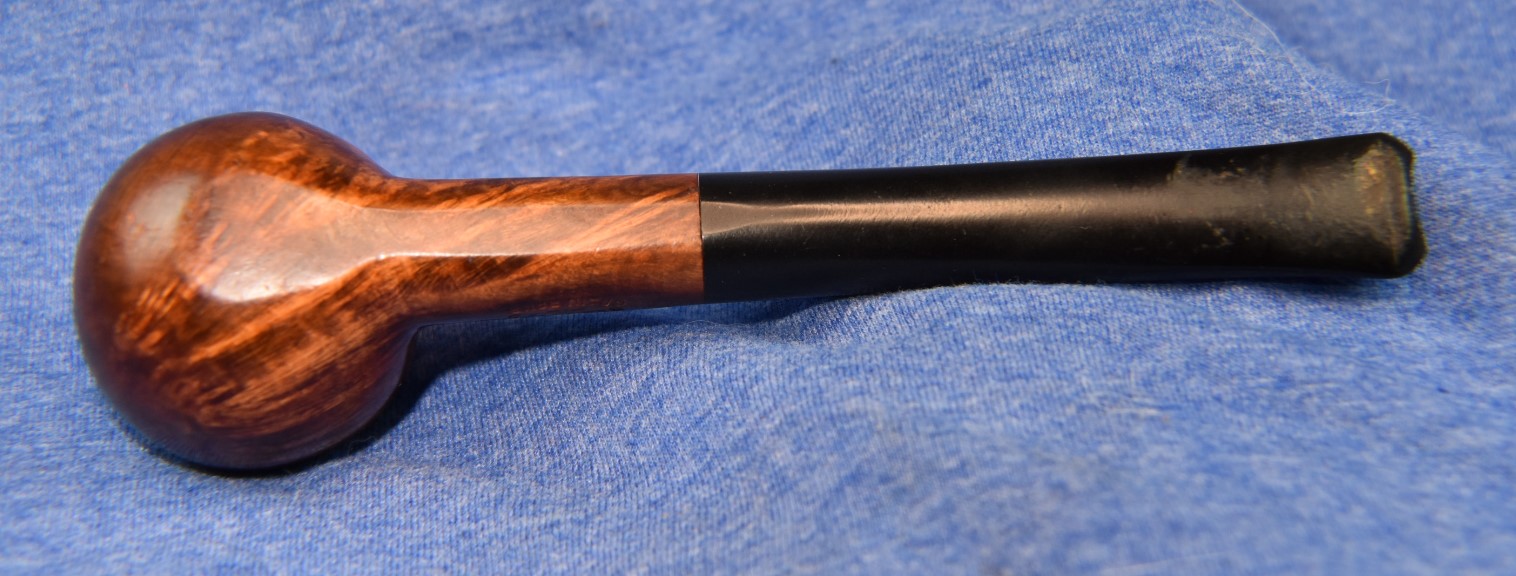
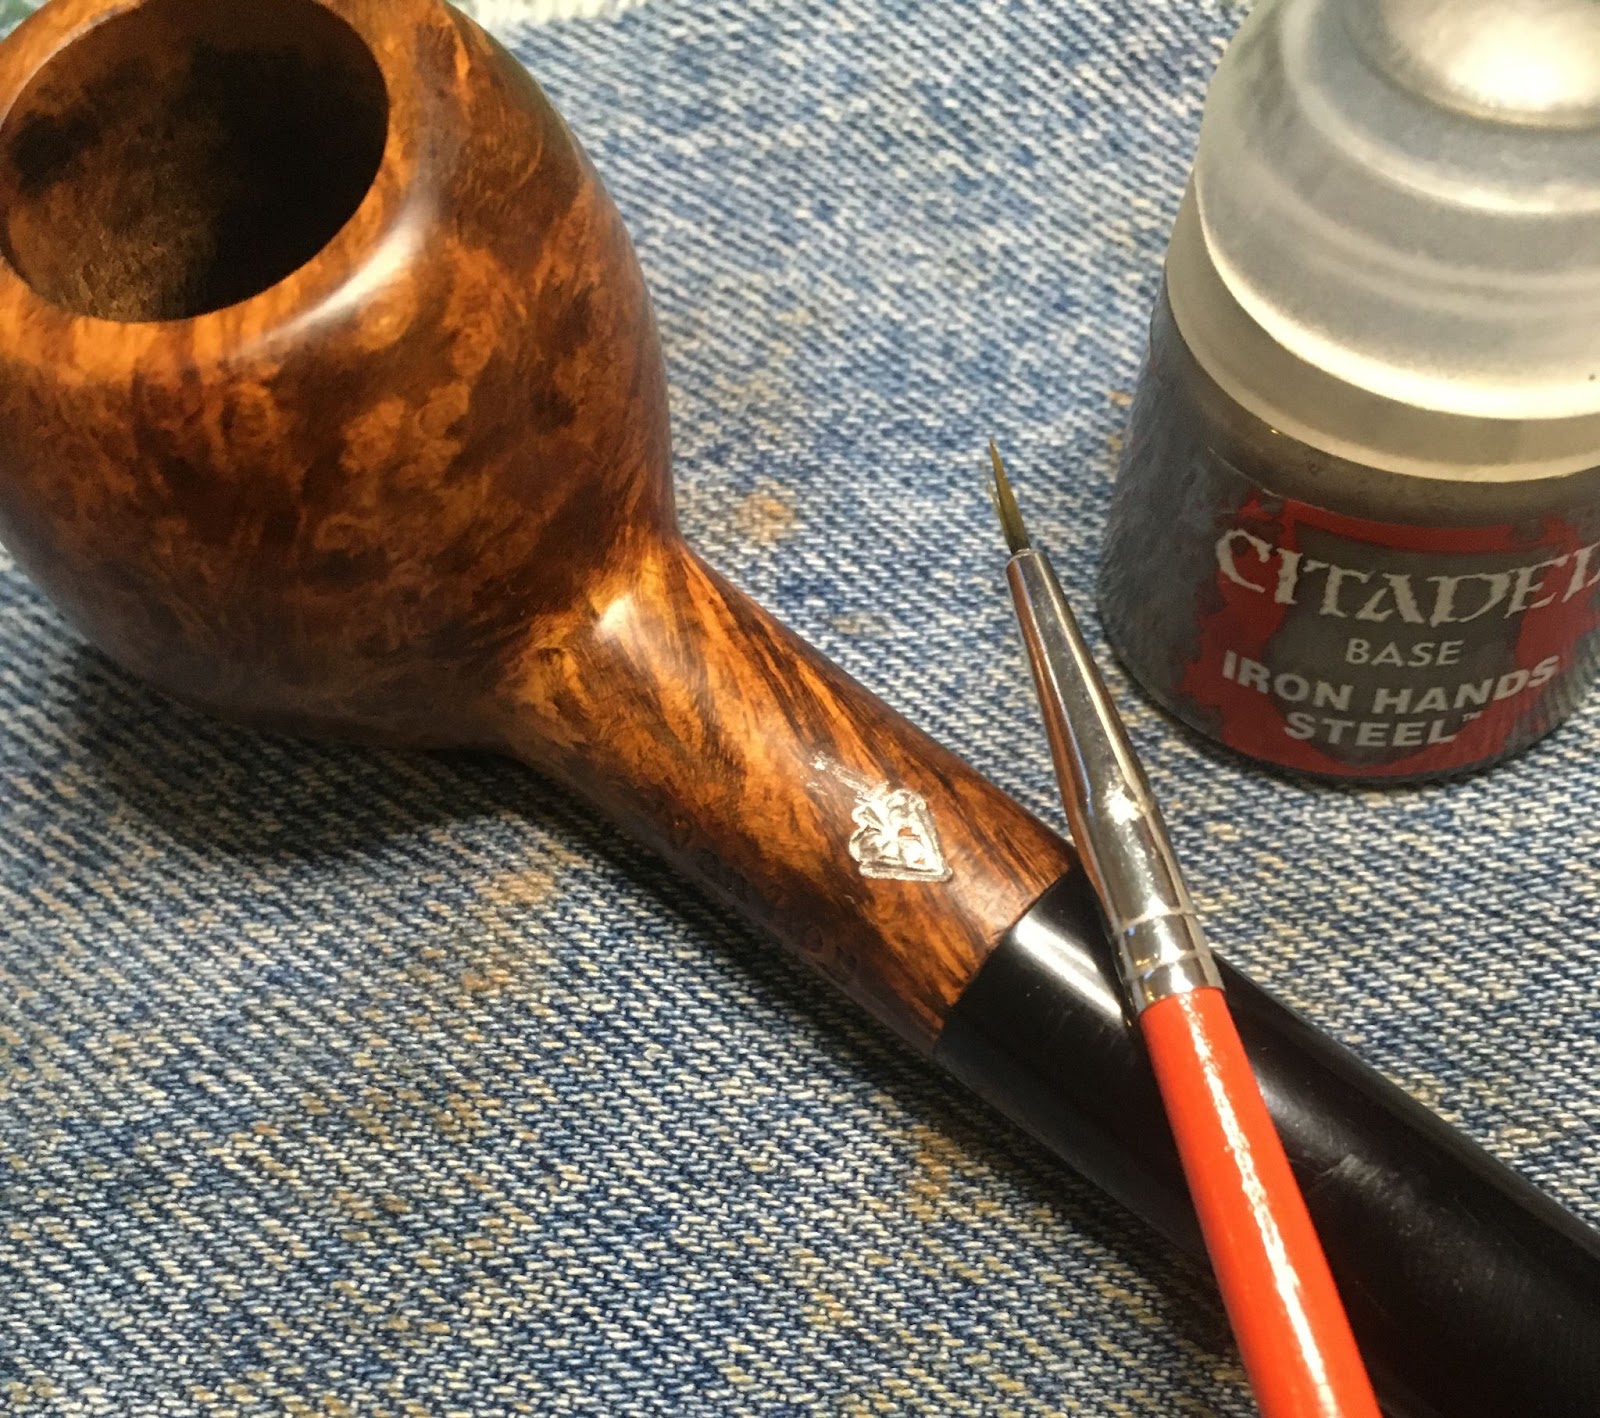
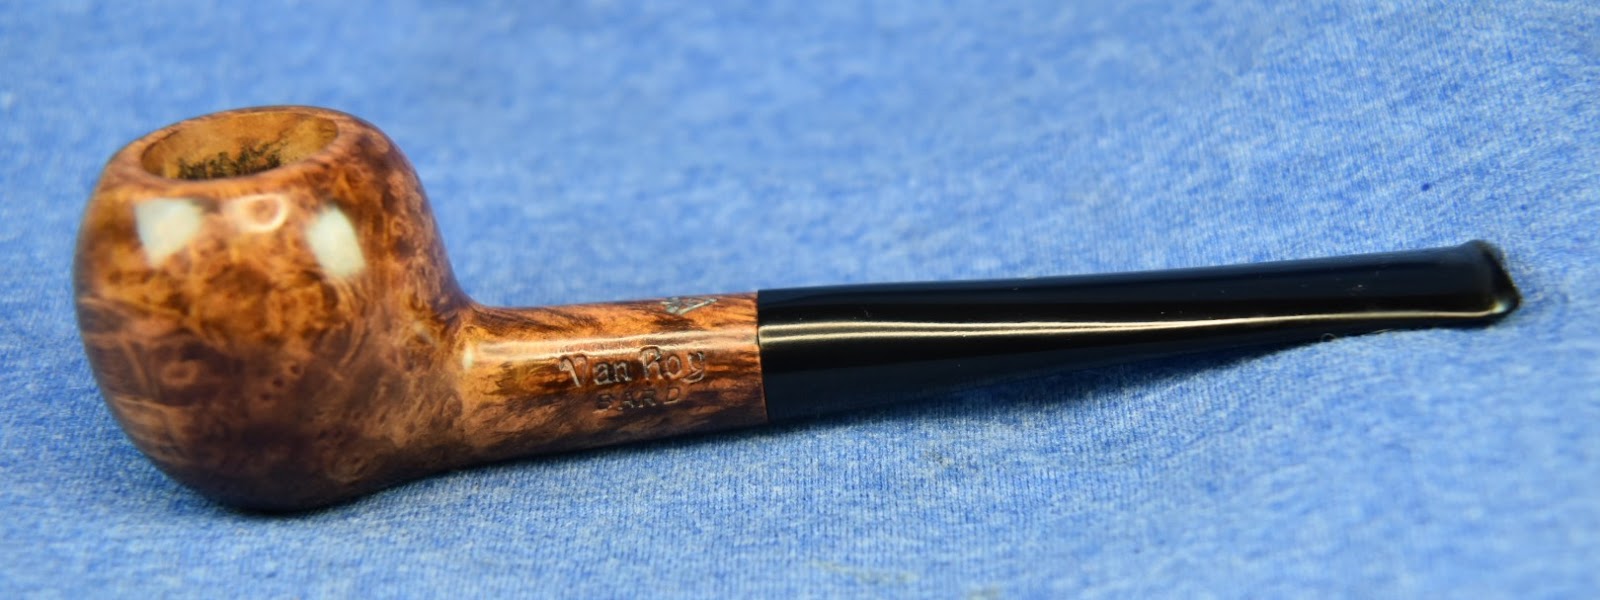
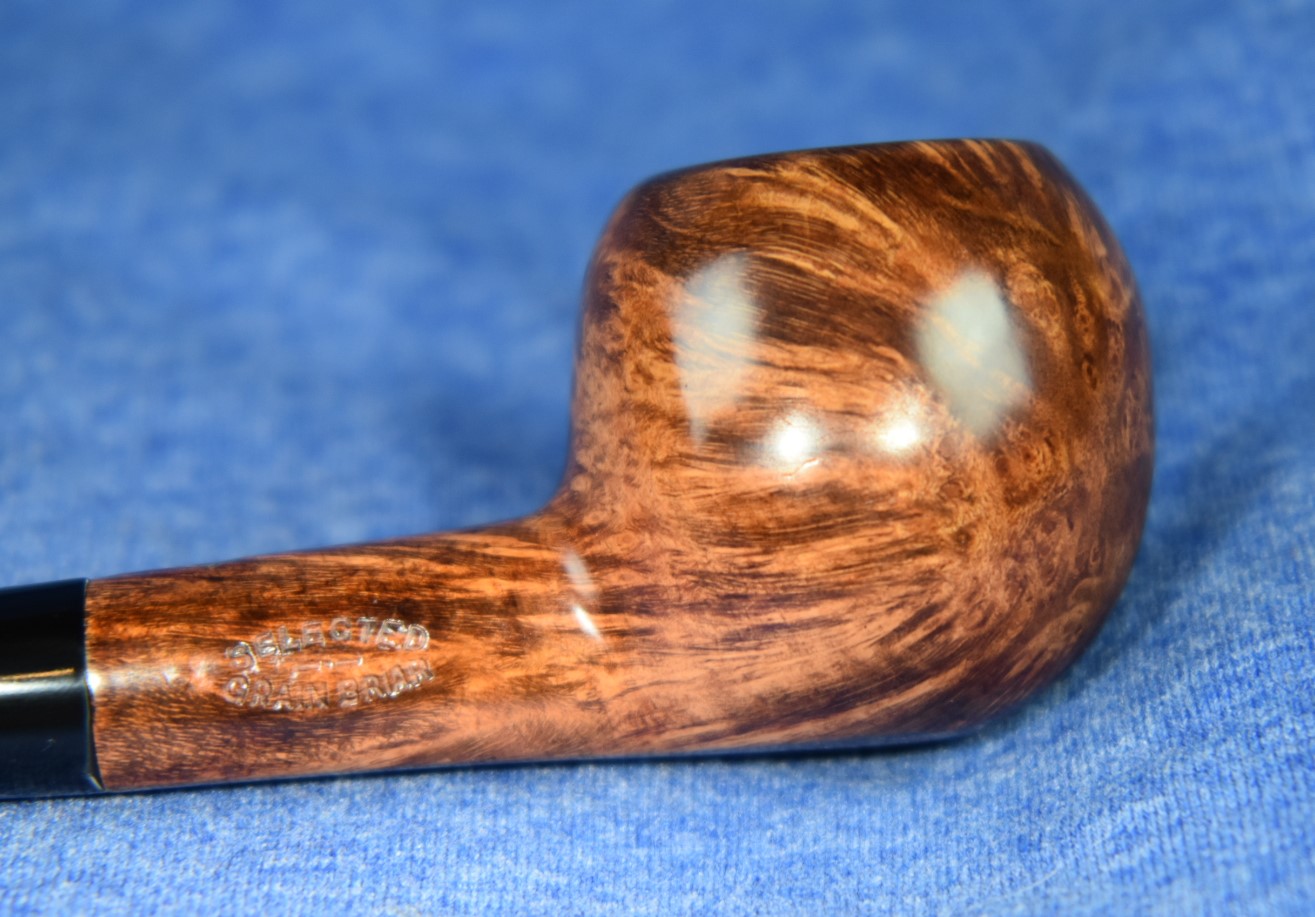
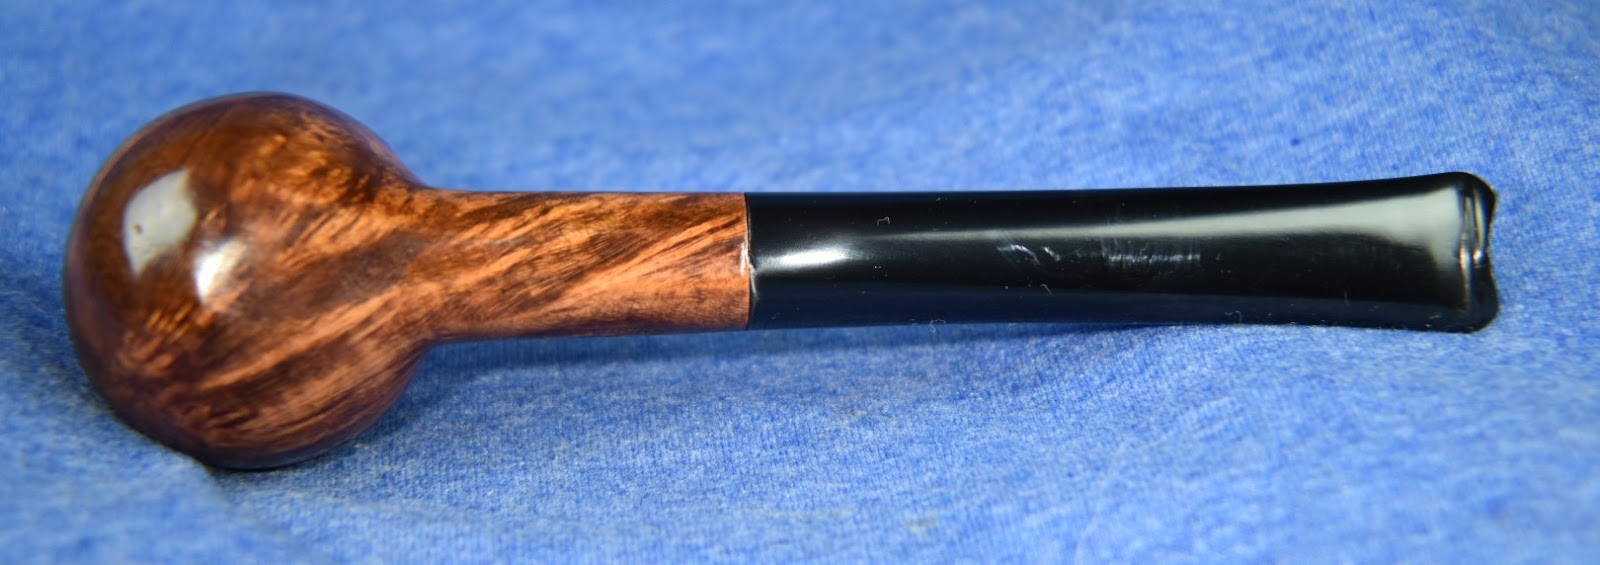
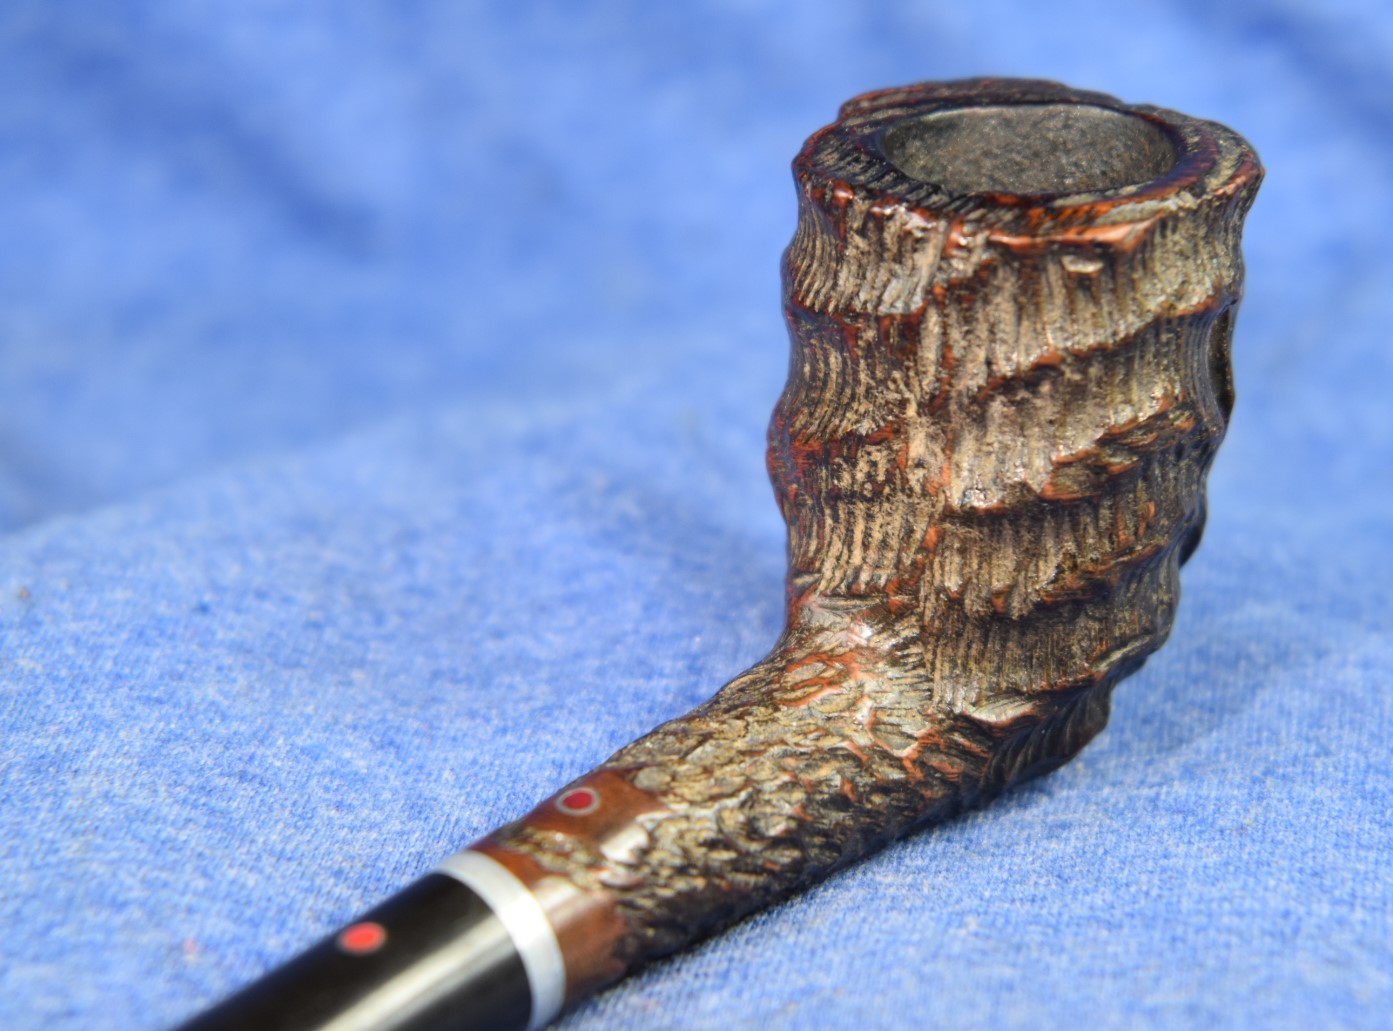
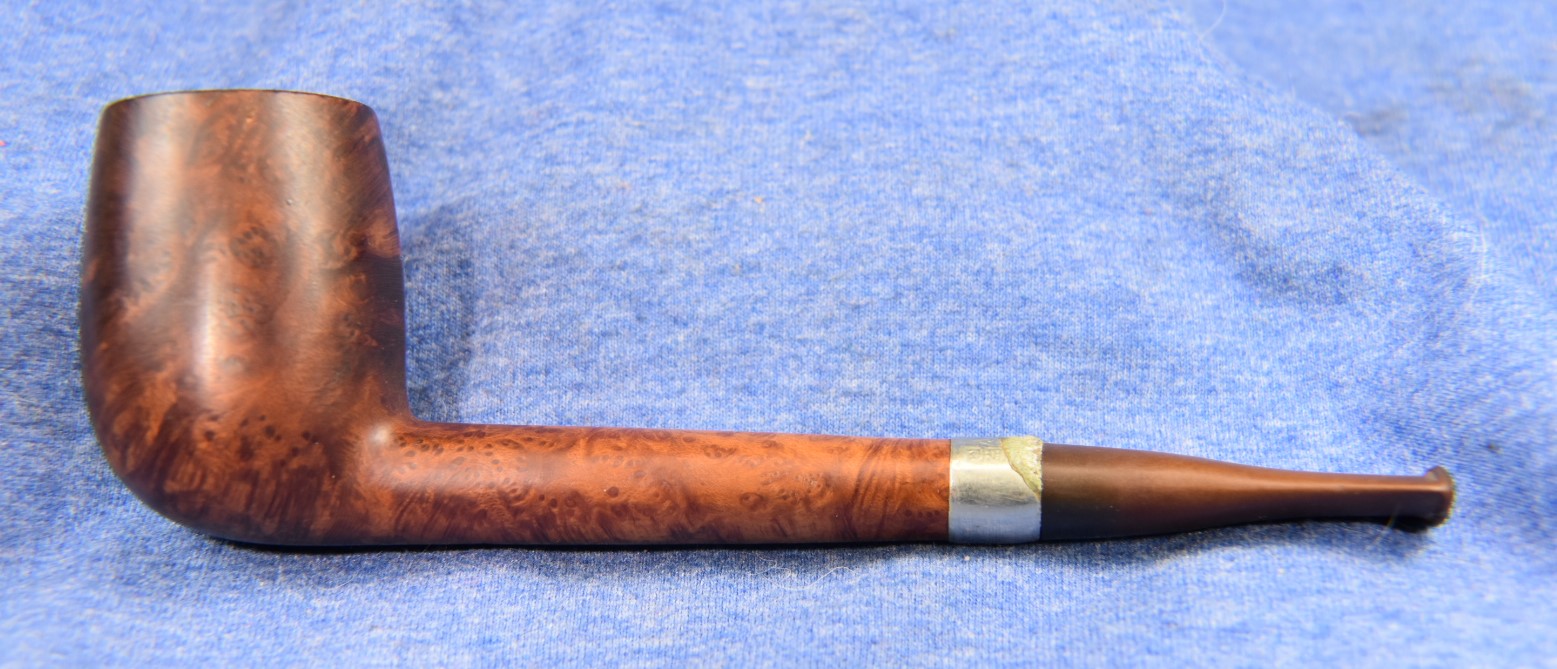
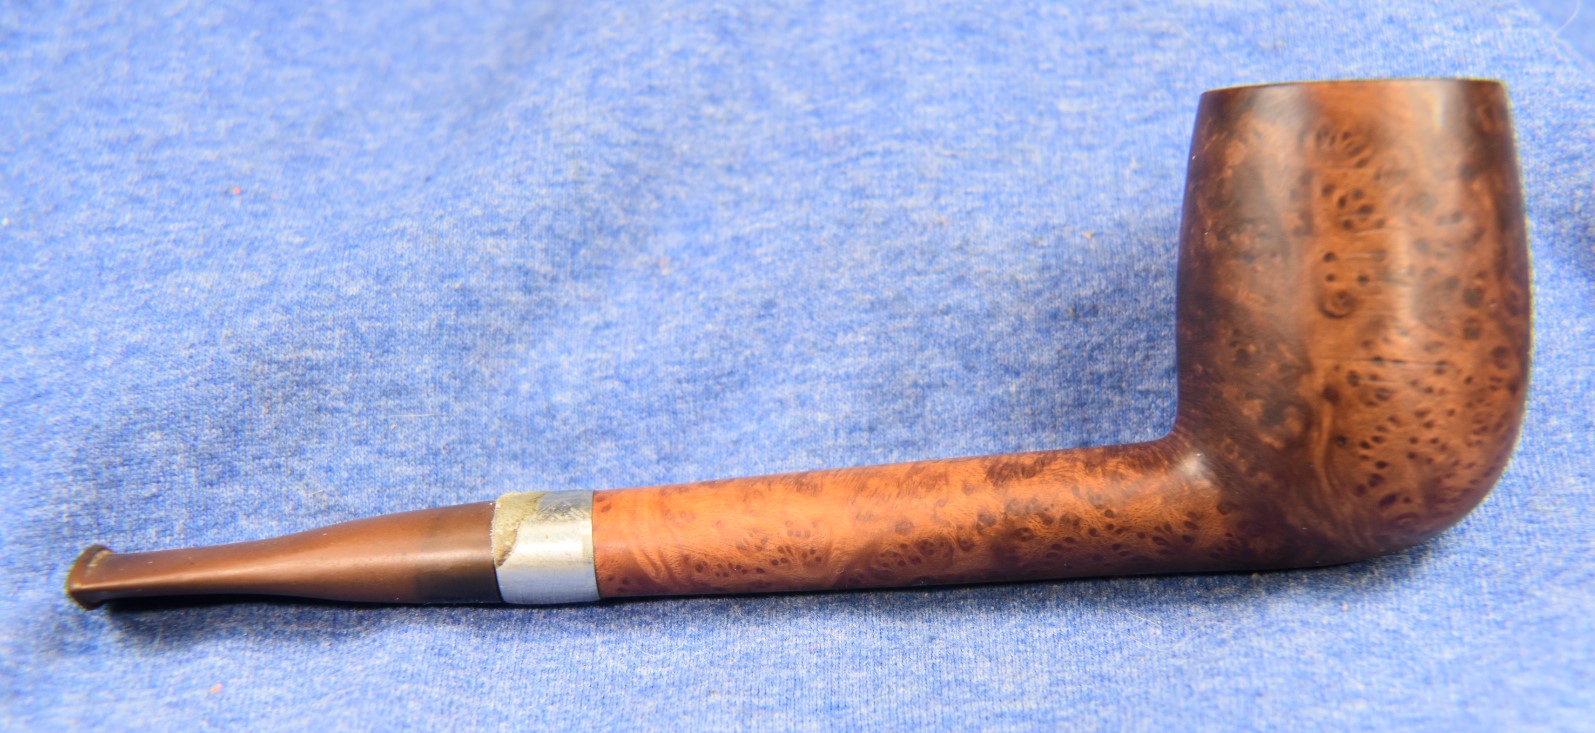
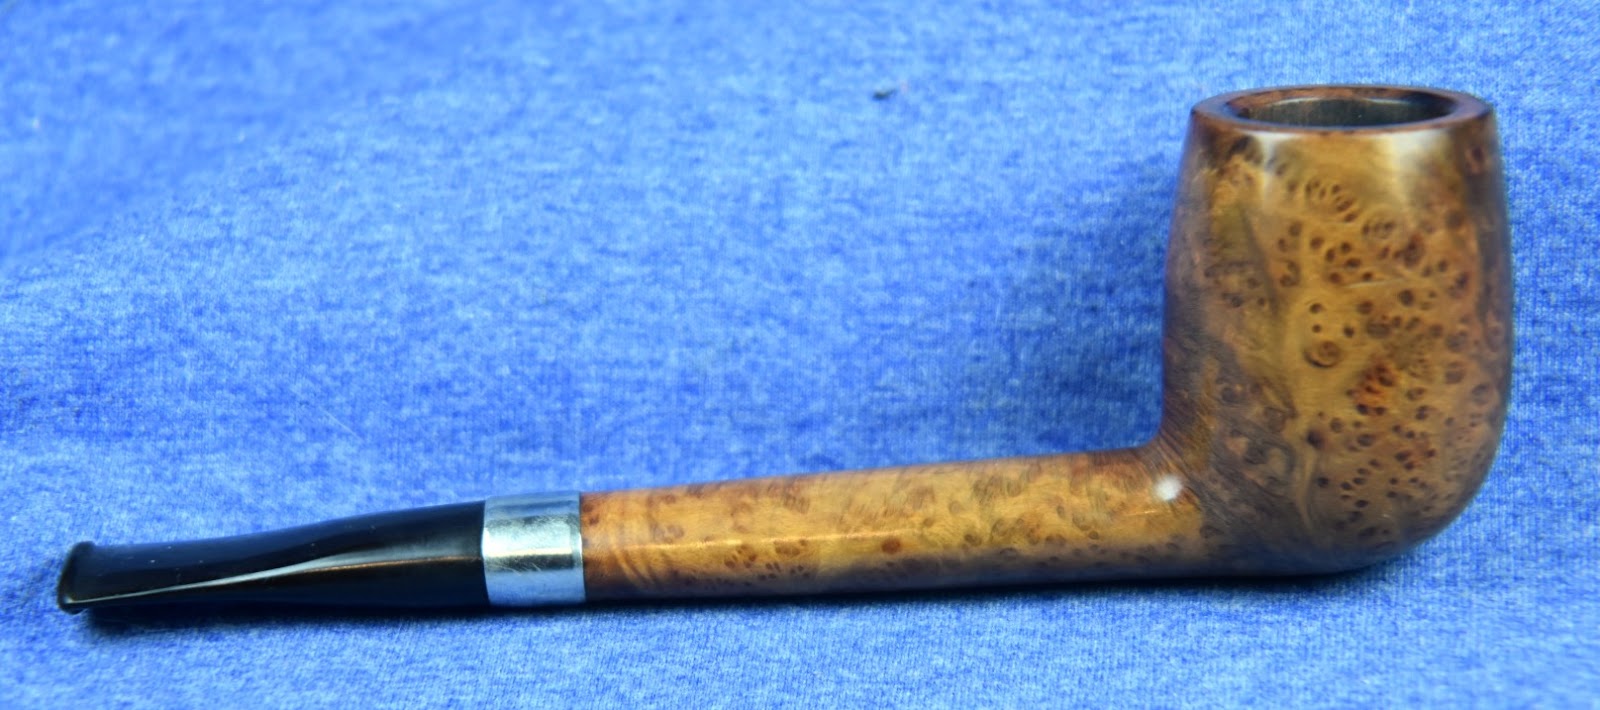
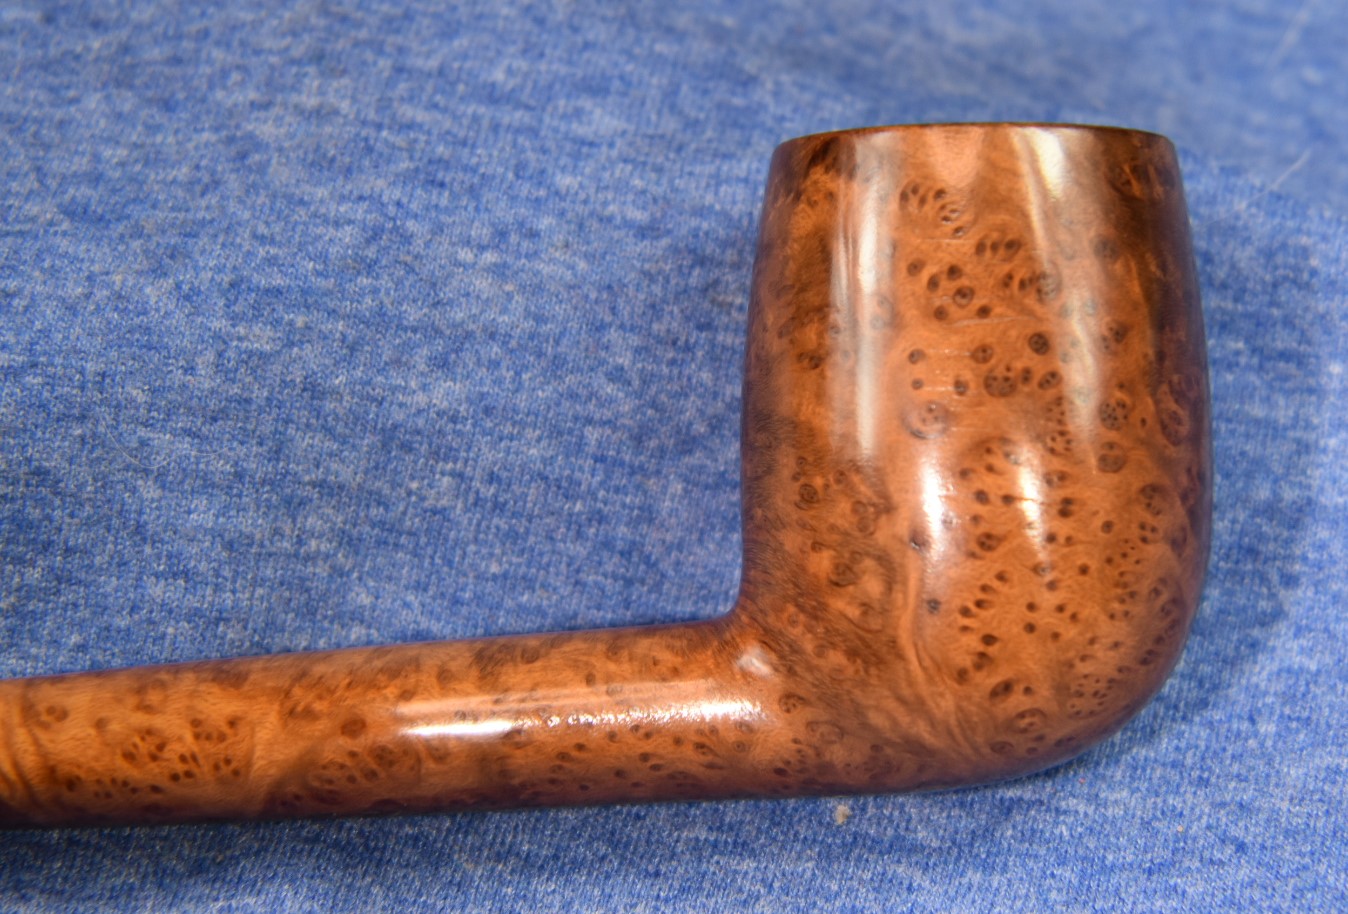
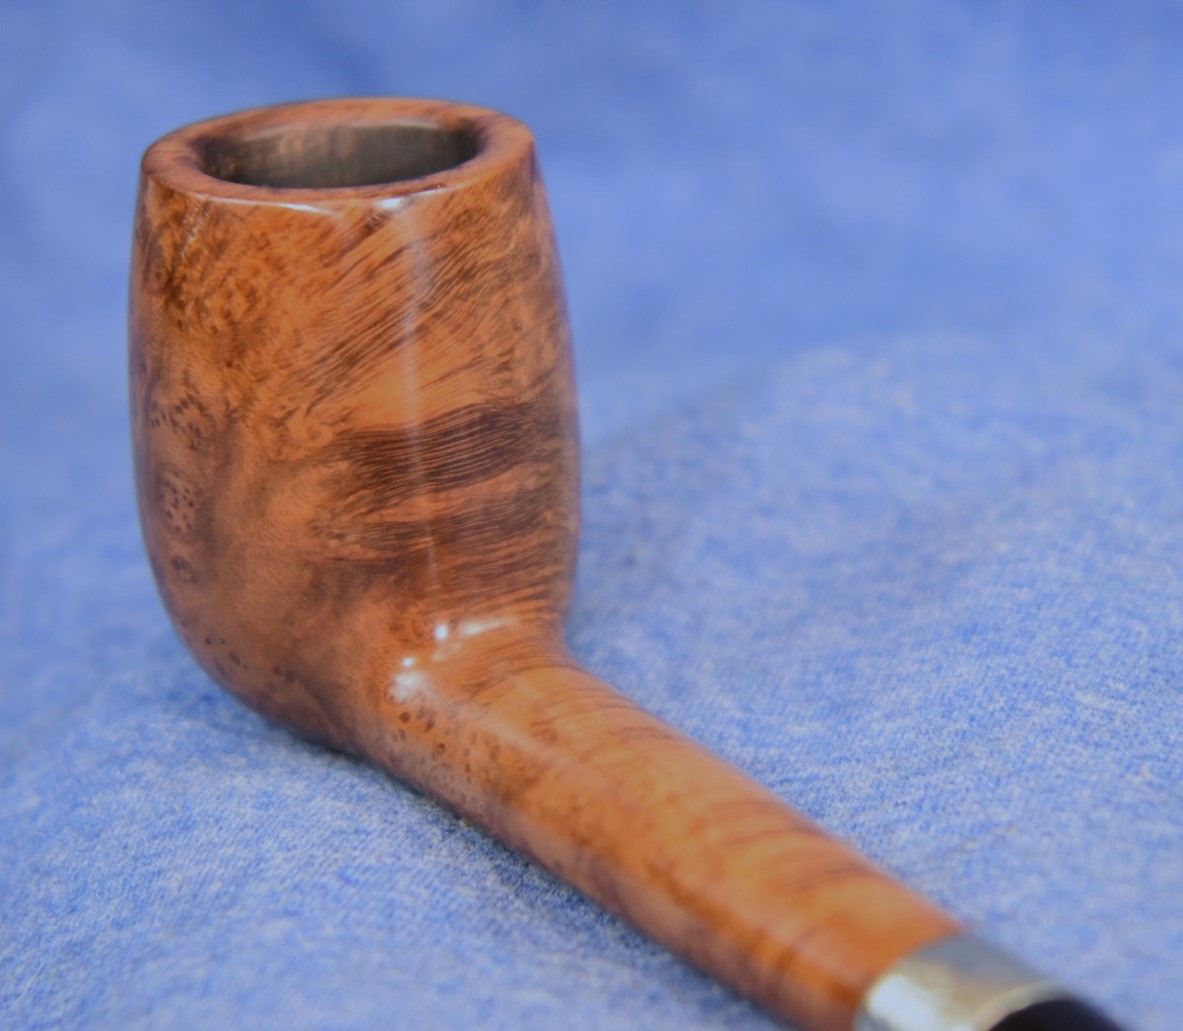
Below are some photos of the finished Manhattan Billiard.


