Written and photographed by
John M. Young
I remember the warnings about peer pressure in the 1980s Before that it was just called “running with the wrongs kids”. I think this pipe purchase represents me being affected by peer pressure, although in a good way. I had not heard of Malaga pipes or their founder, George Khoubesser, until reading about them in Steve Laug’s rebornpipes.com. He has restored several of George “Manny” Khoubesser’s Malaga pipes over the years.
It was chatting with Steve that had piqued my interest in Malagas. I later mentioned that I had tried bidding on one listed at eBay. He said that his brother was also bidding on that same pipe. Well rather than run up the bidding and compete against one another we started coordinating on future Malage pipes as they became available. Eventually I saw this one back at the beginning of May. I made an acceptable offer to the seller and had a Malaga of my own to restore.
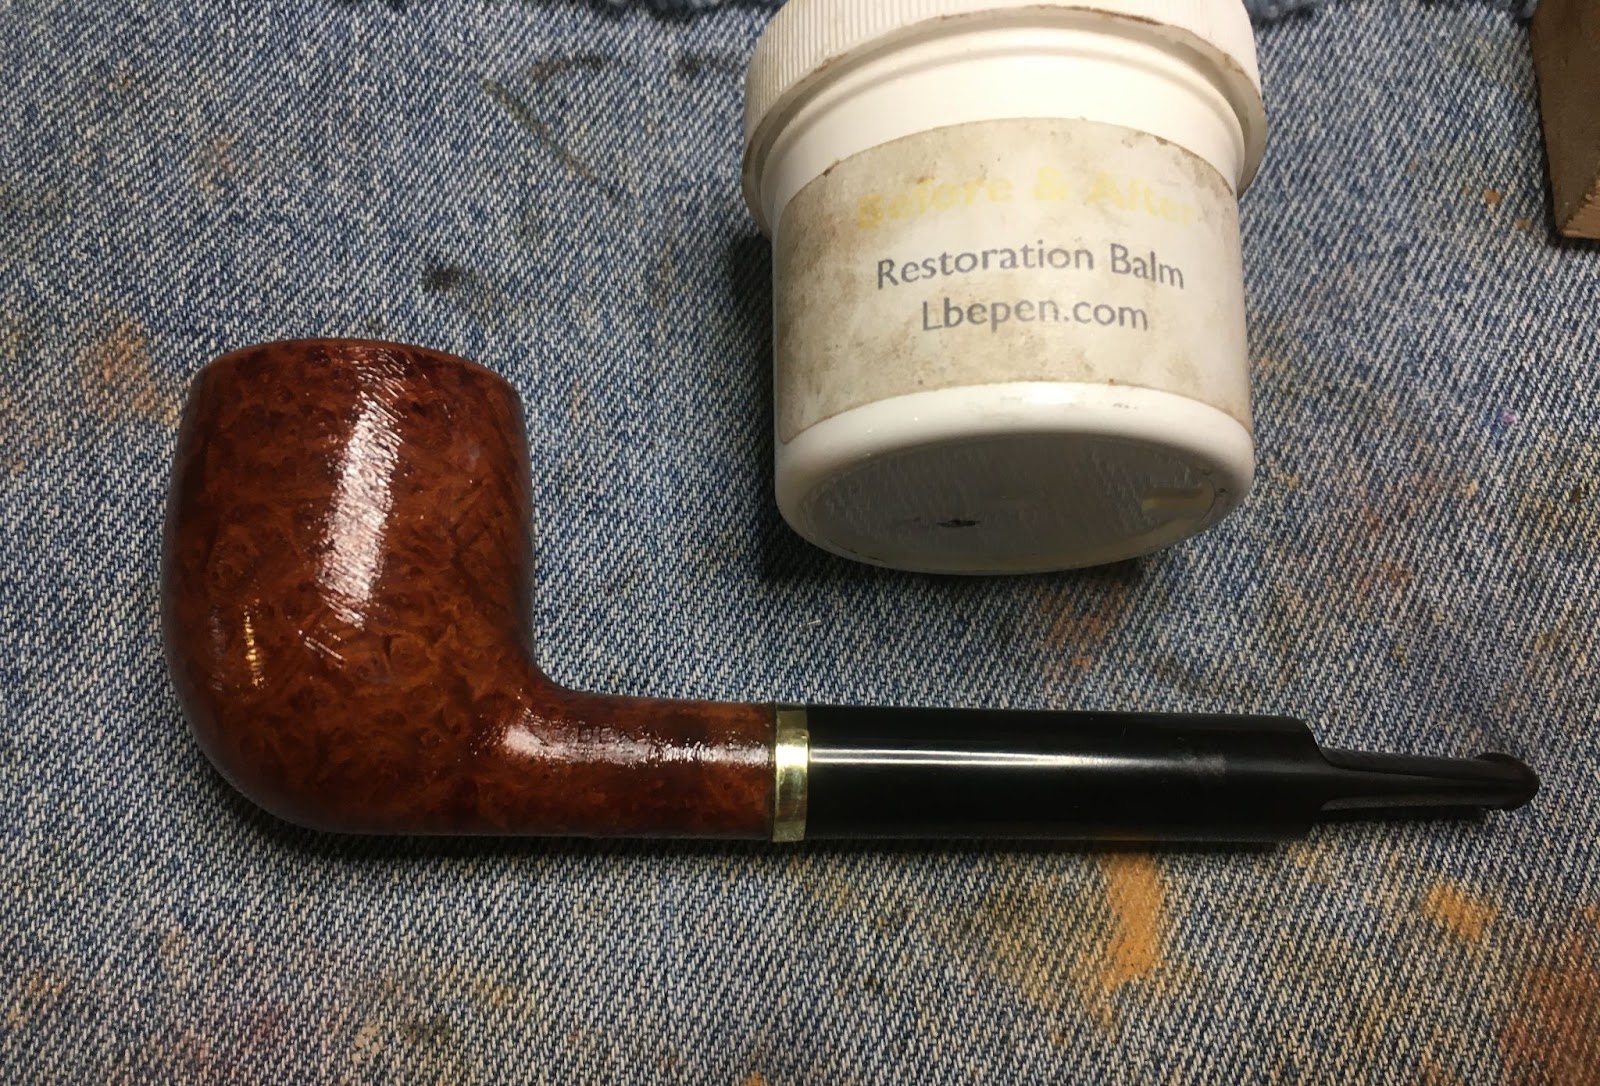
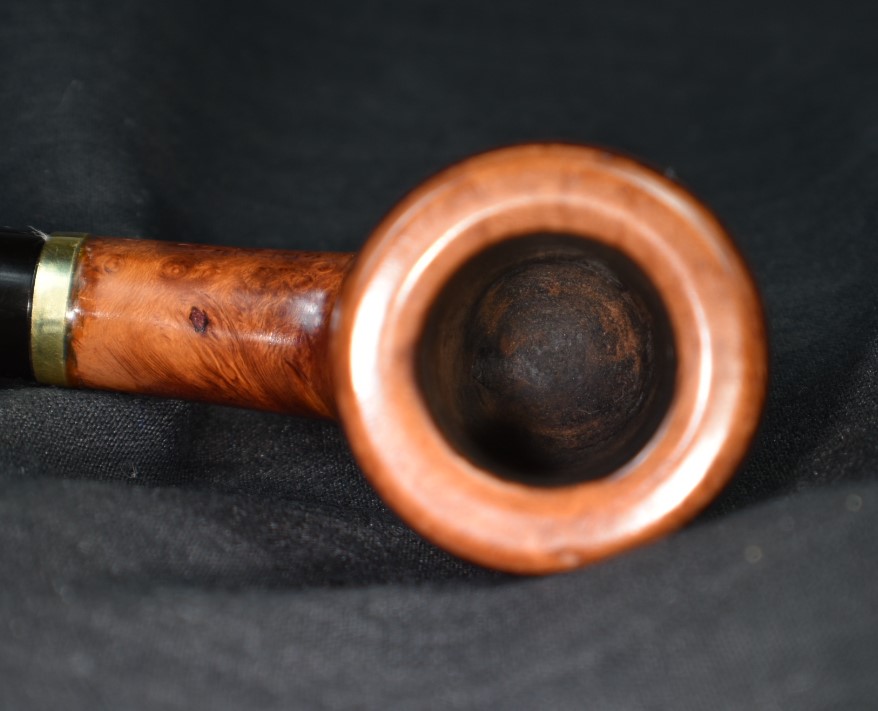
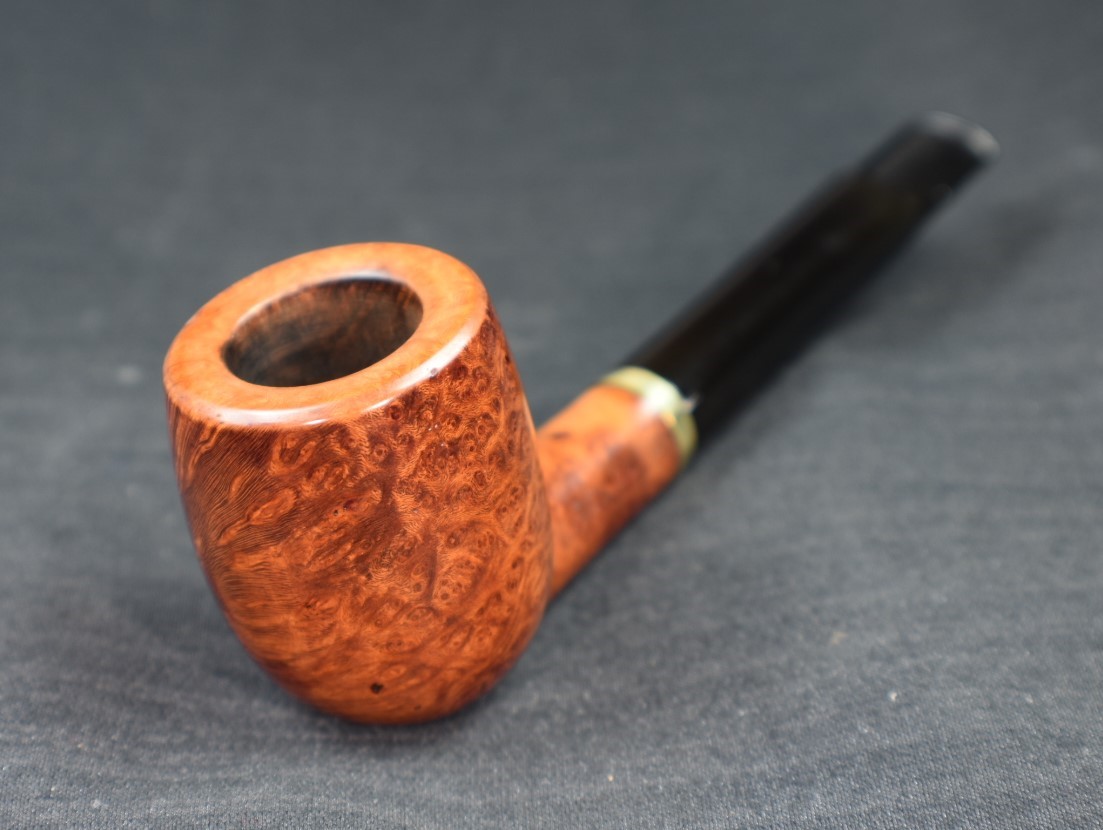
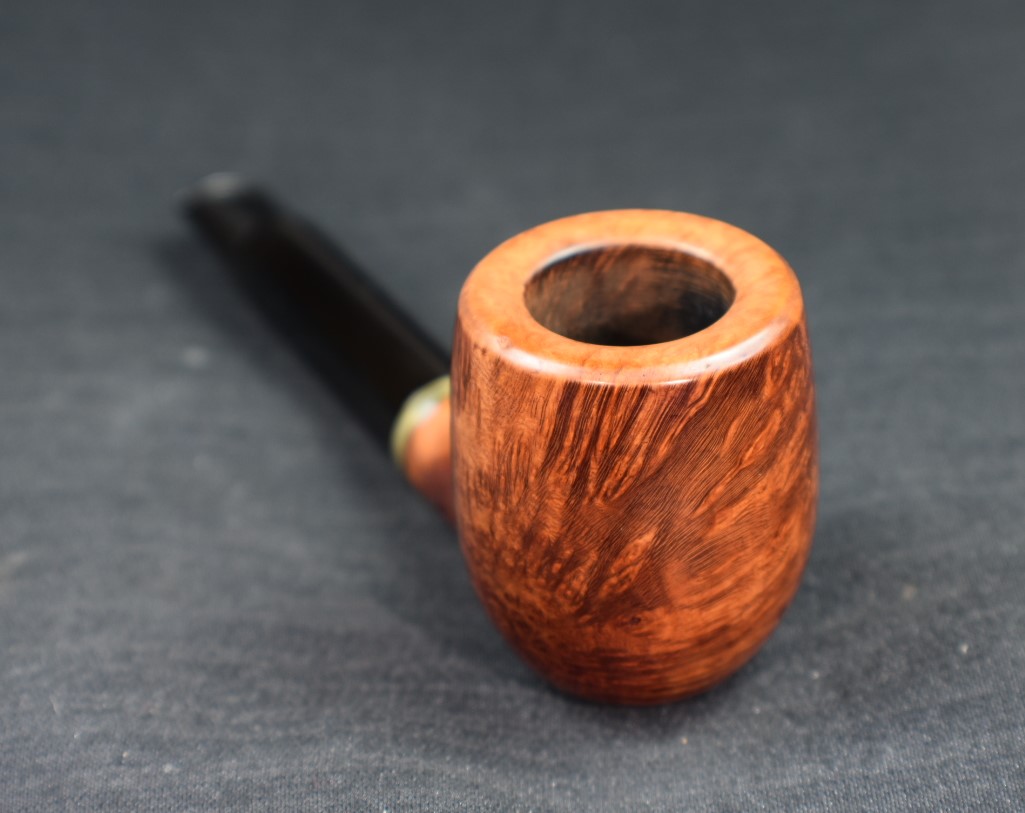
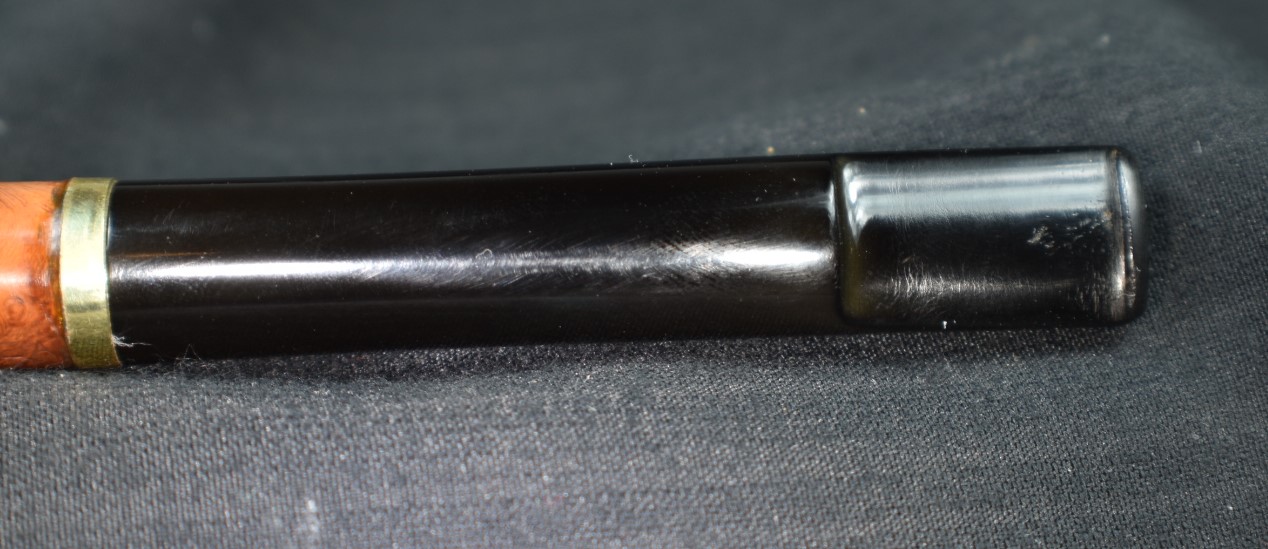
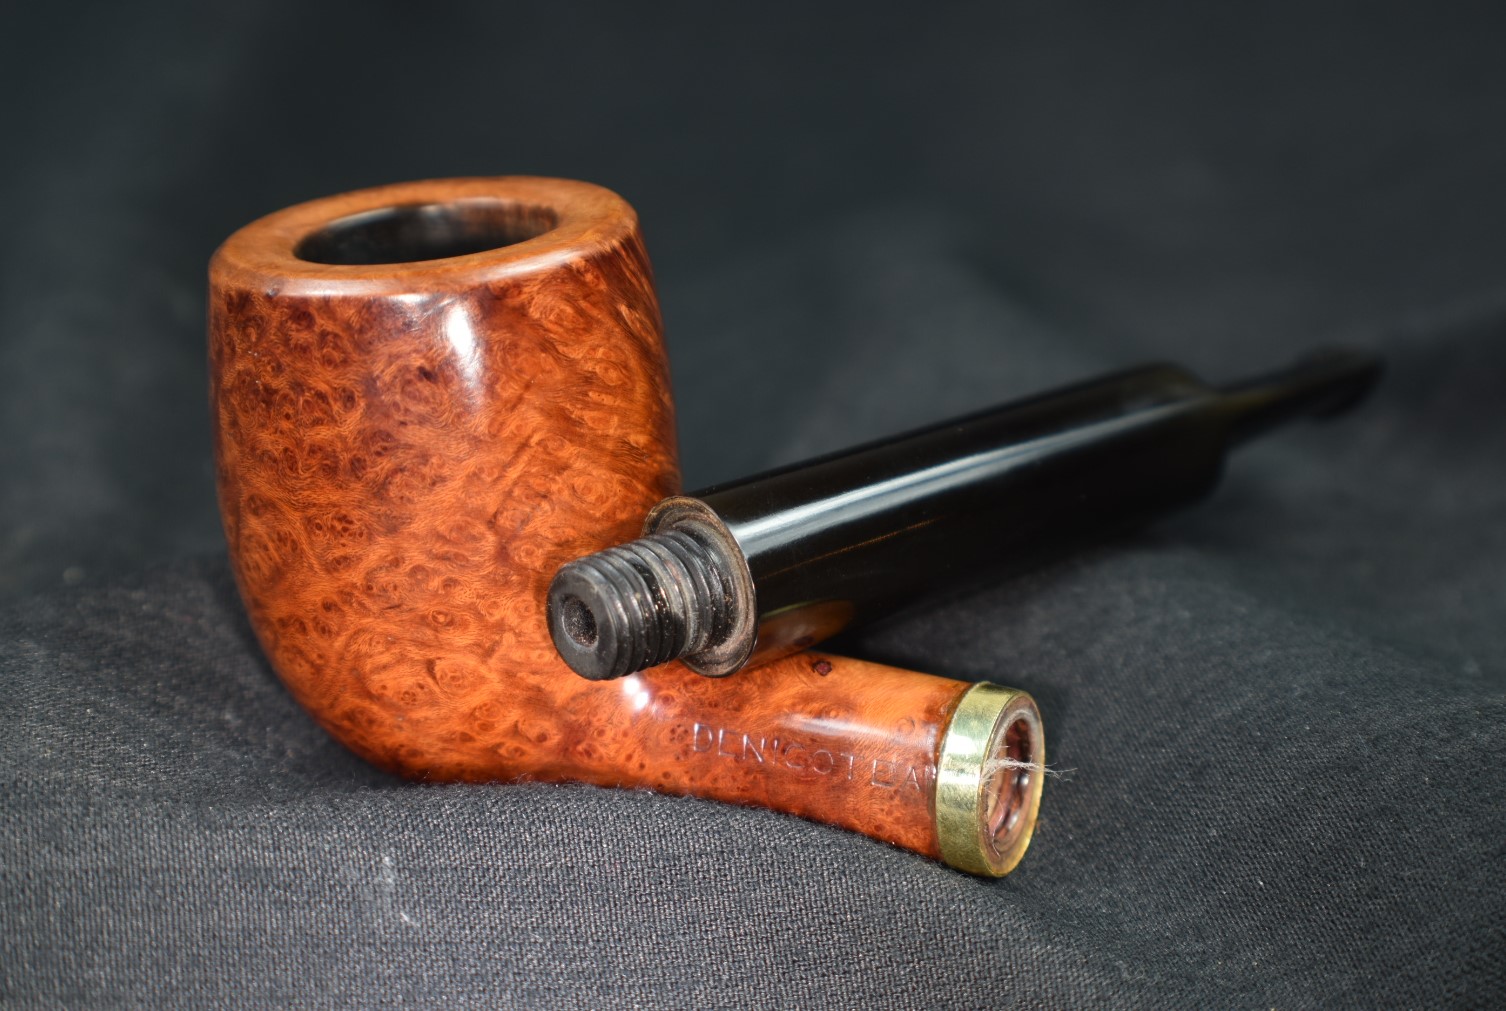
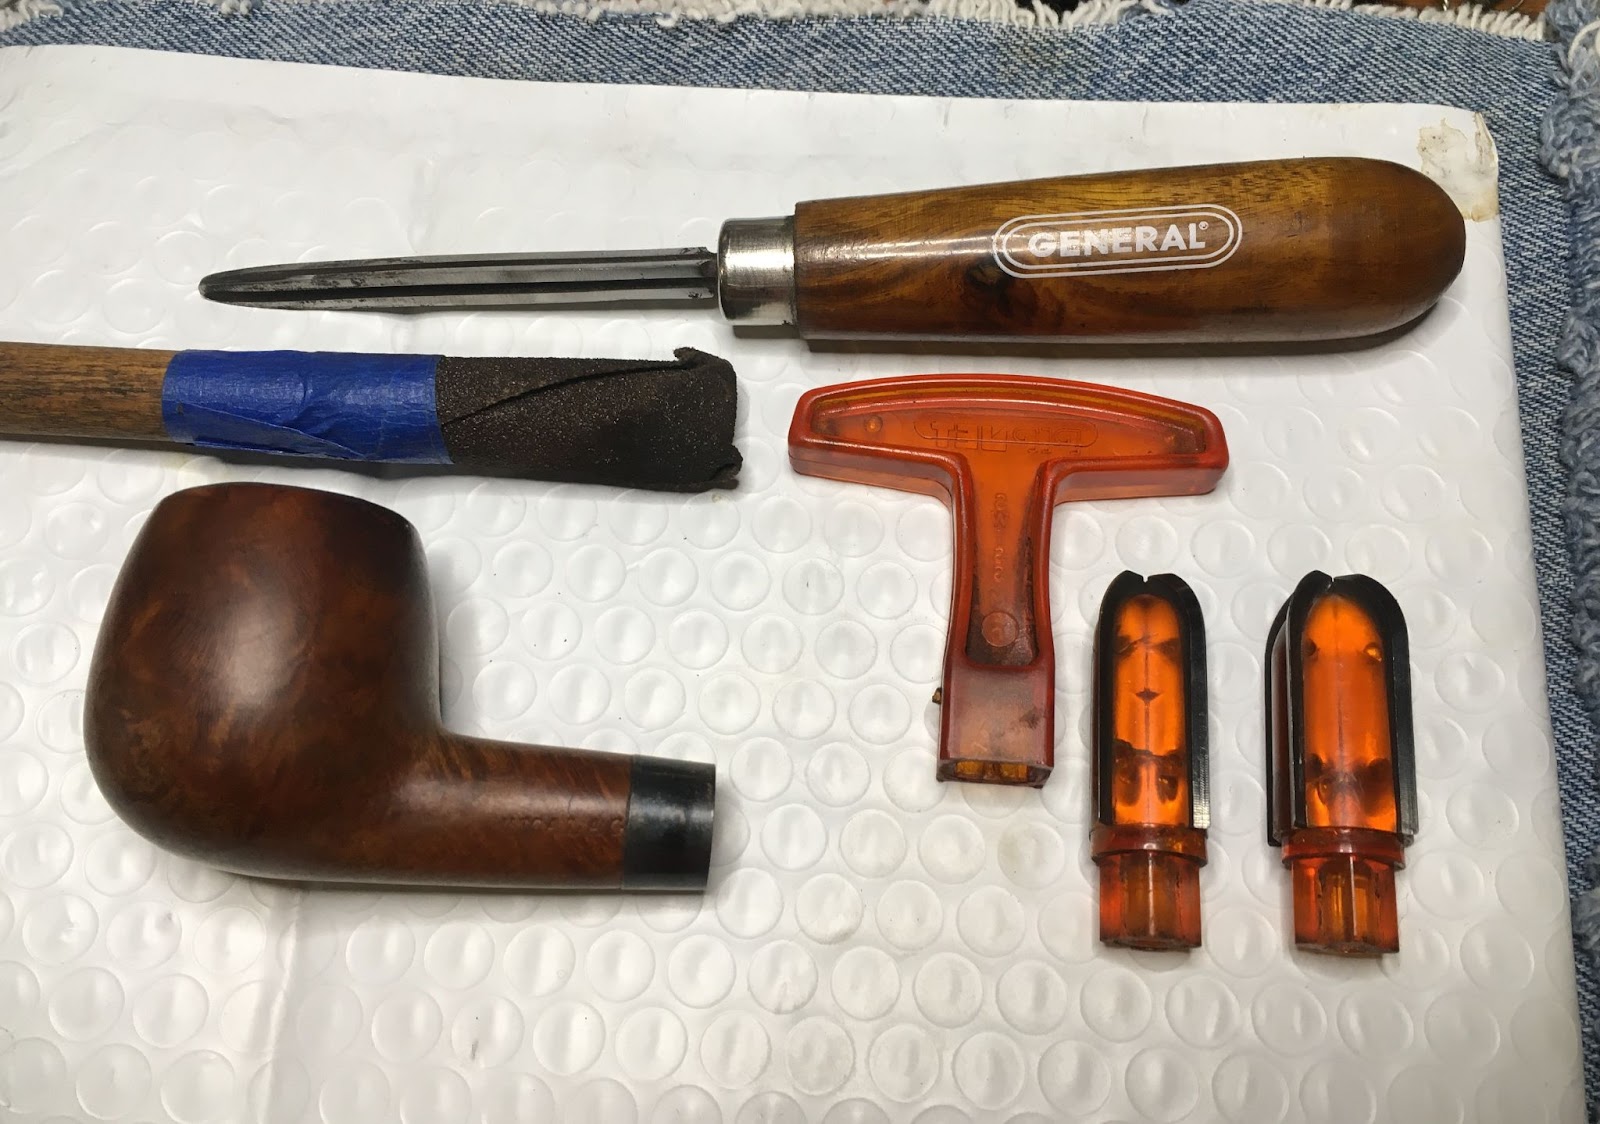
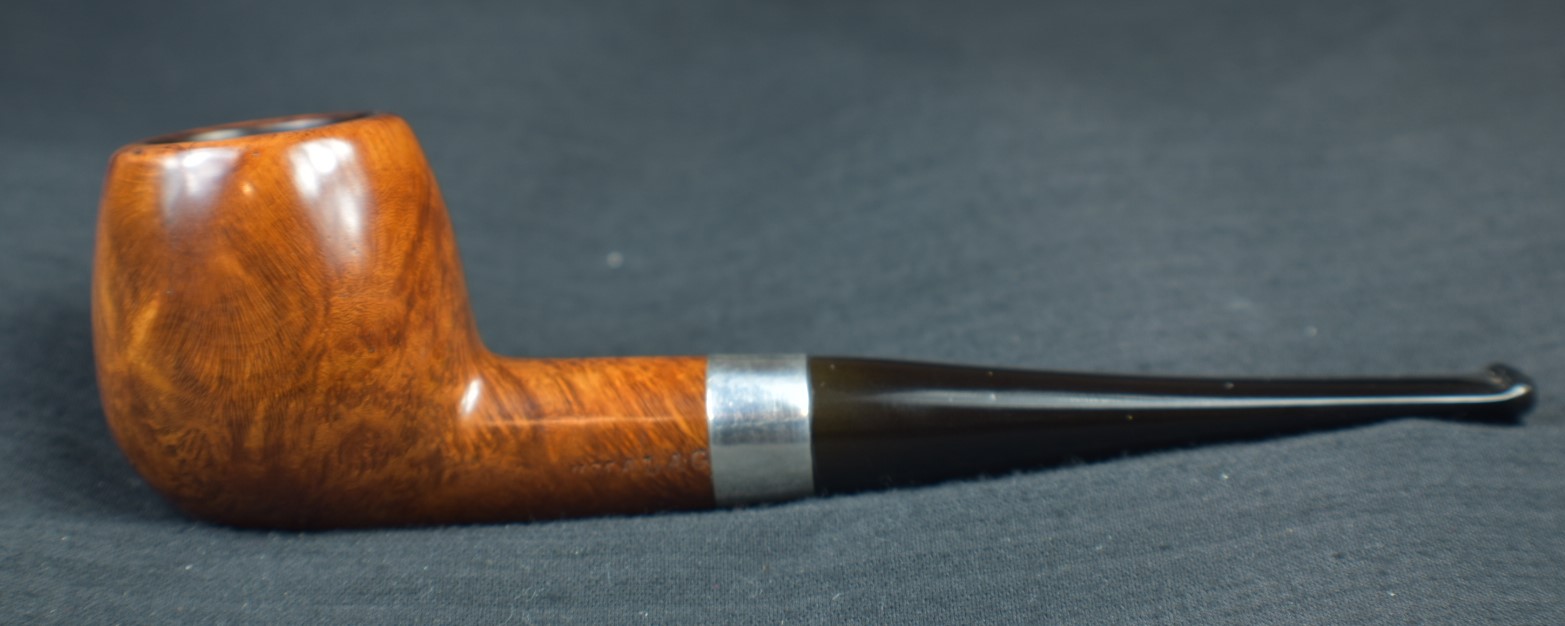
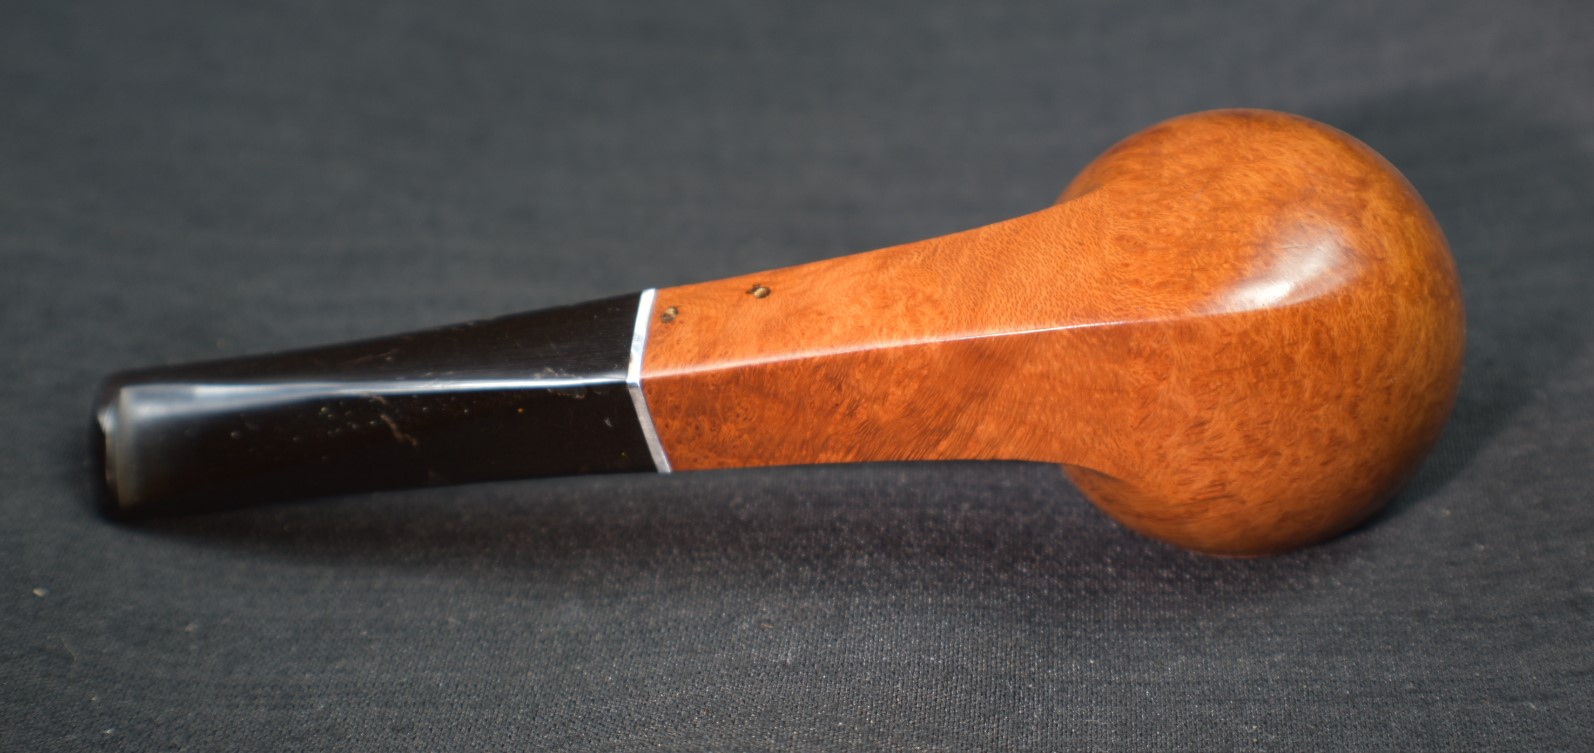
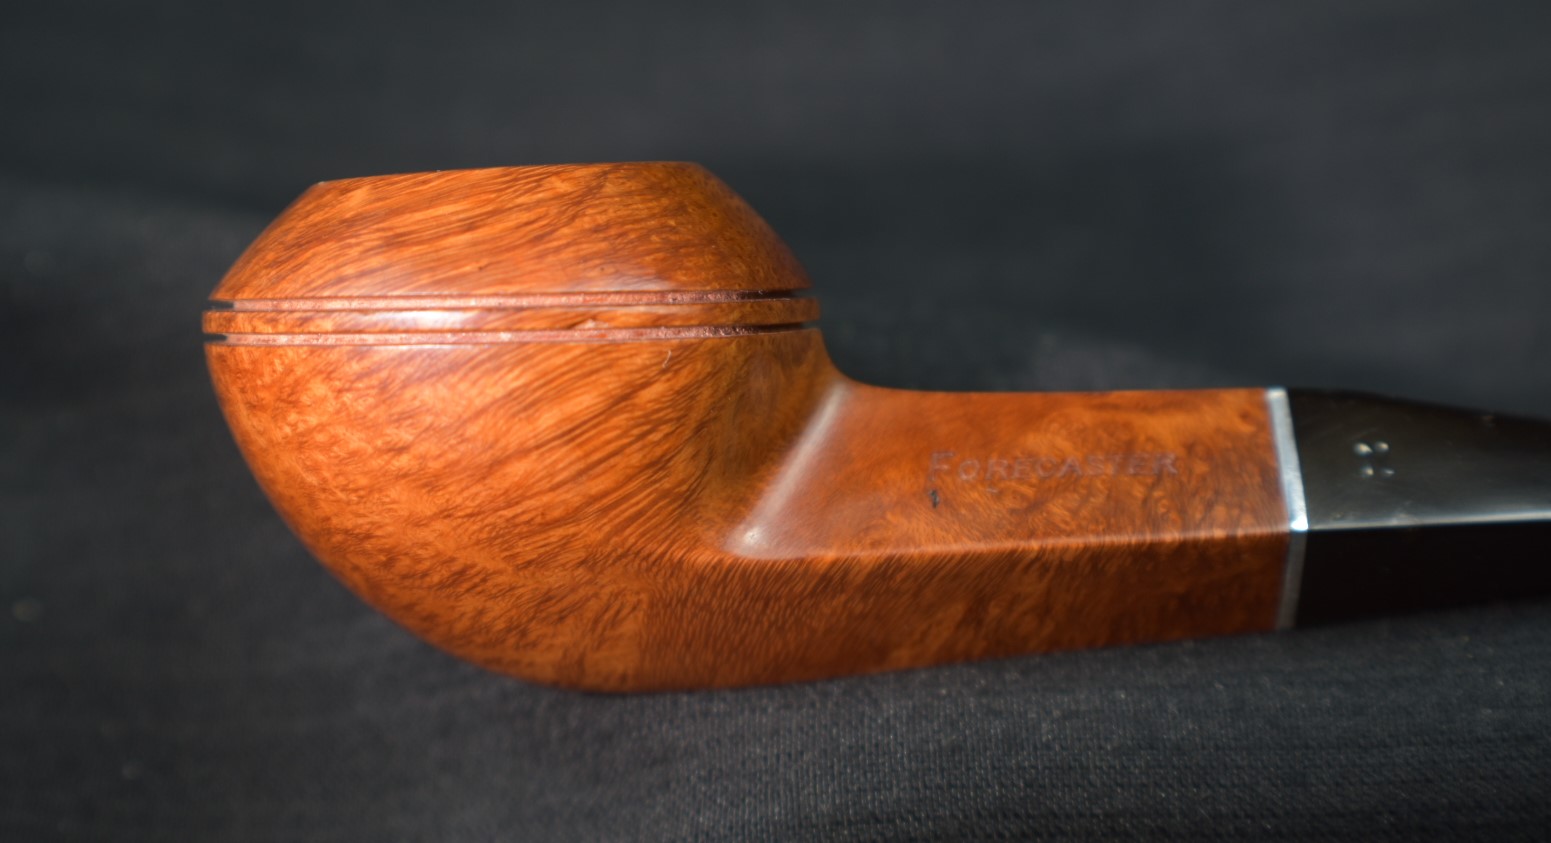
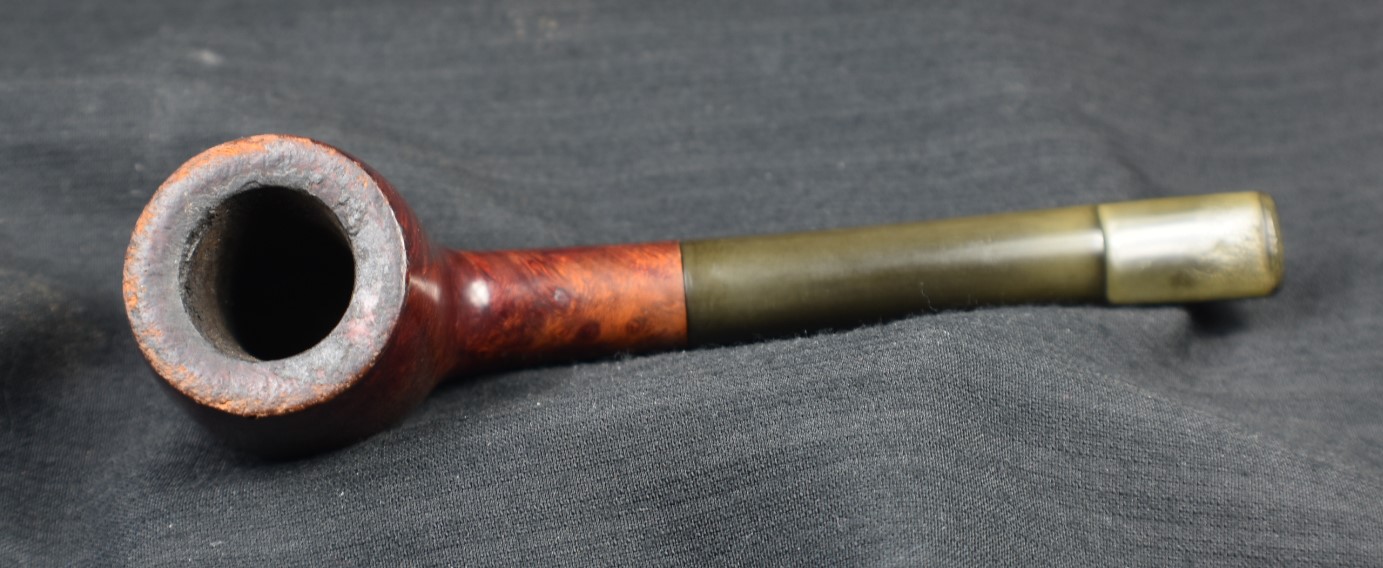
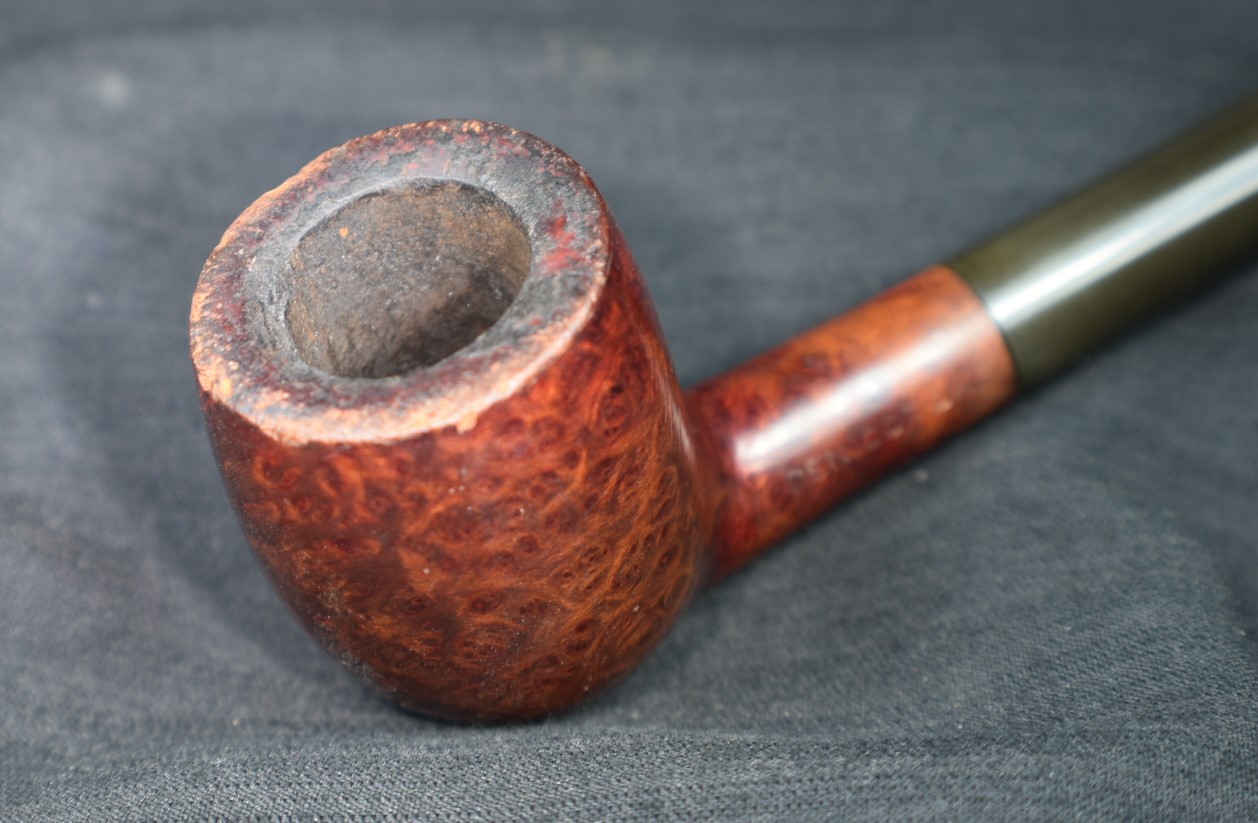
Below are some photos of the pipe when it arrived here in southeast Nebraska.


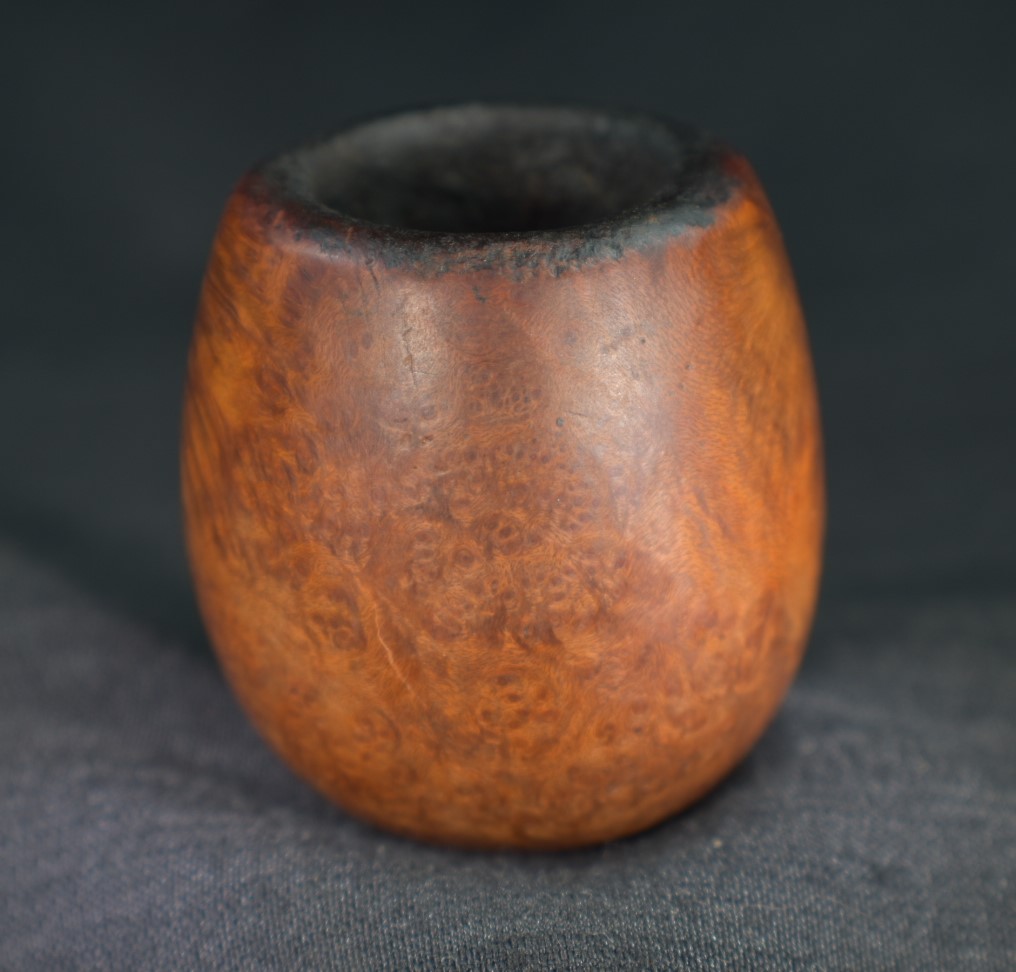


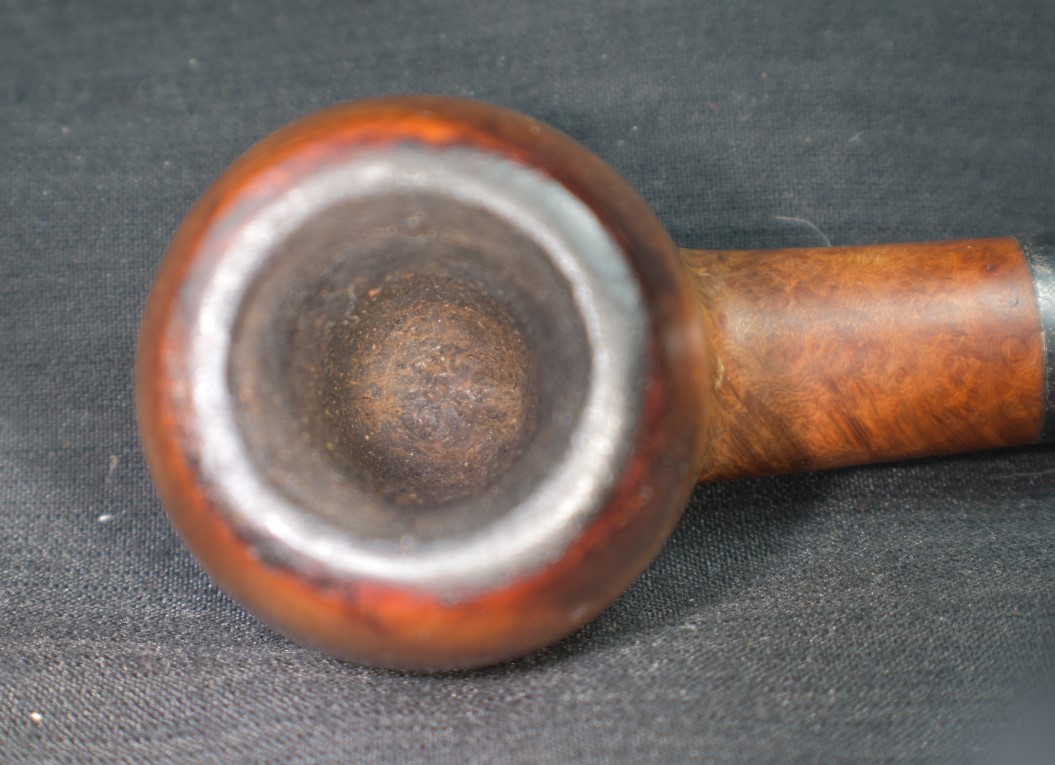


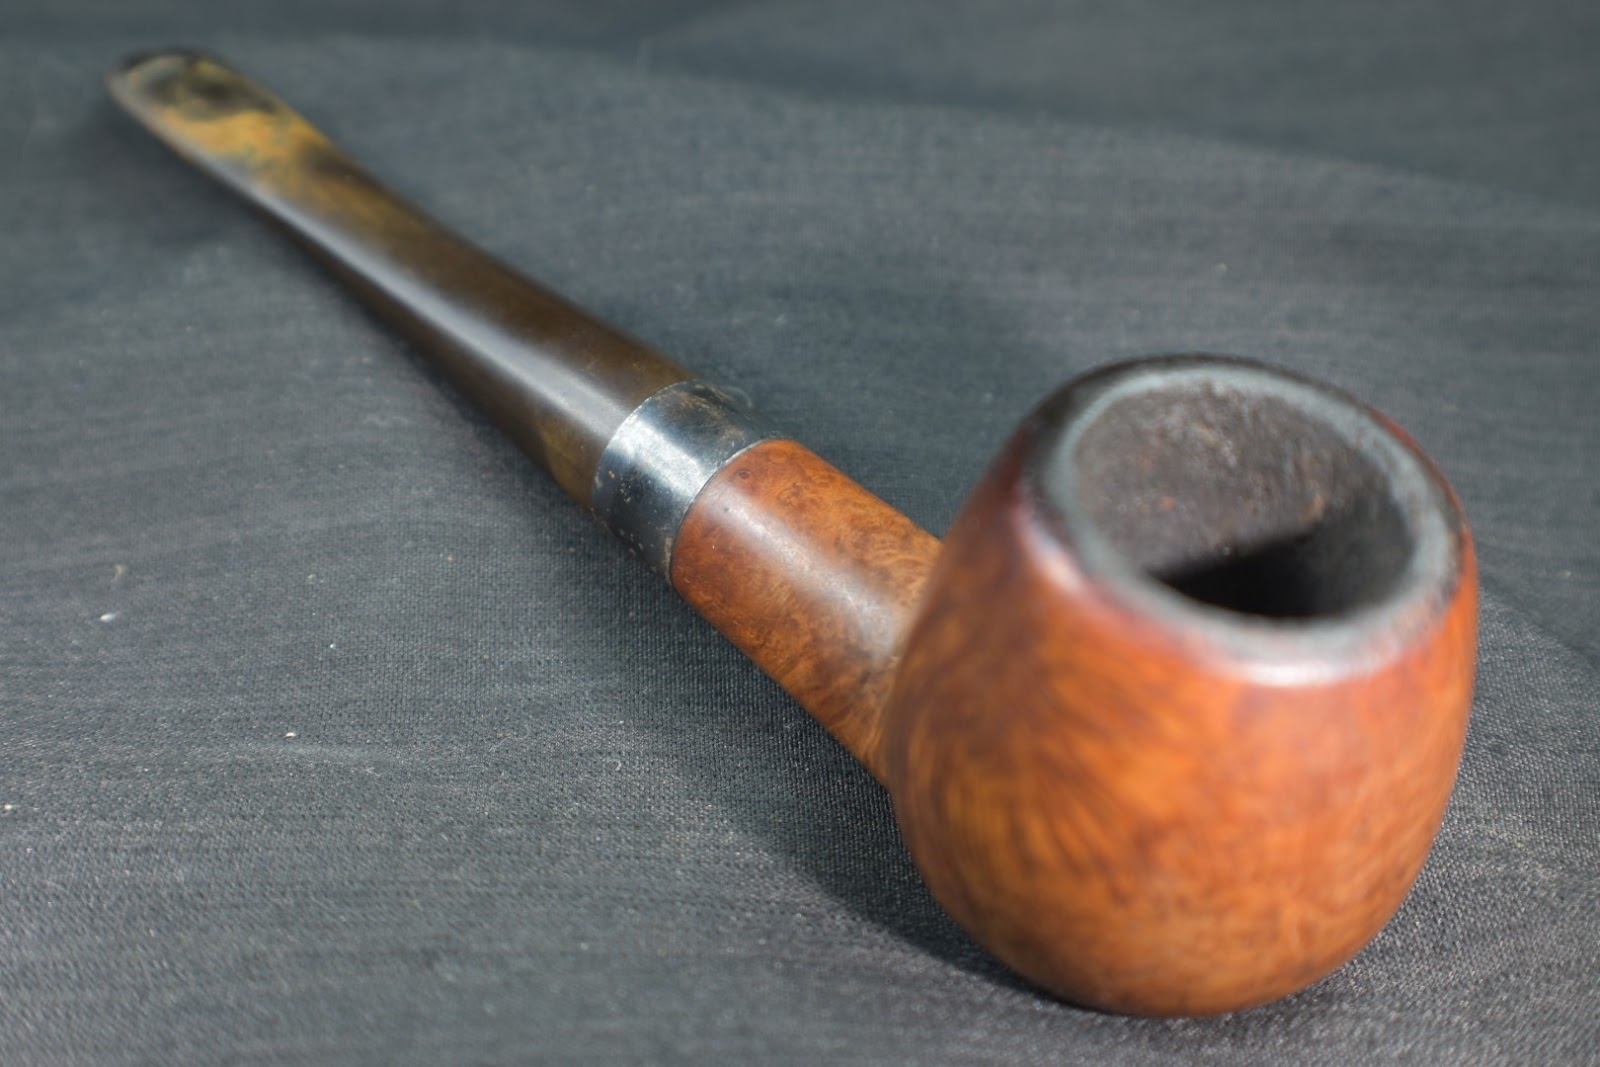


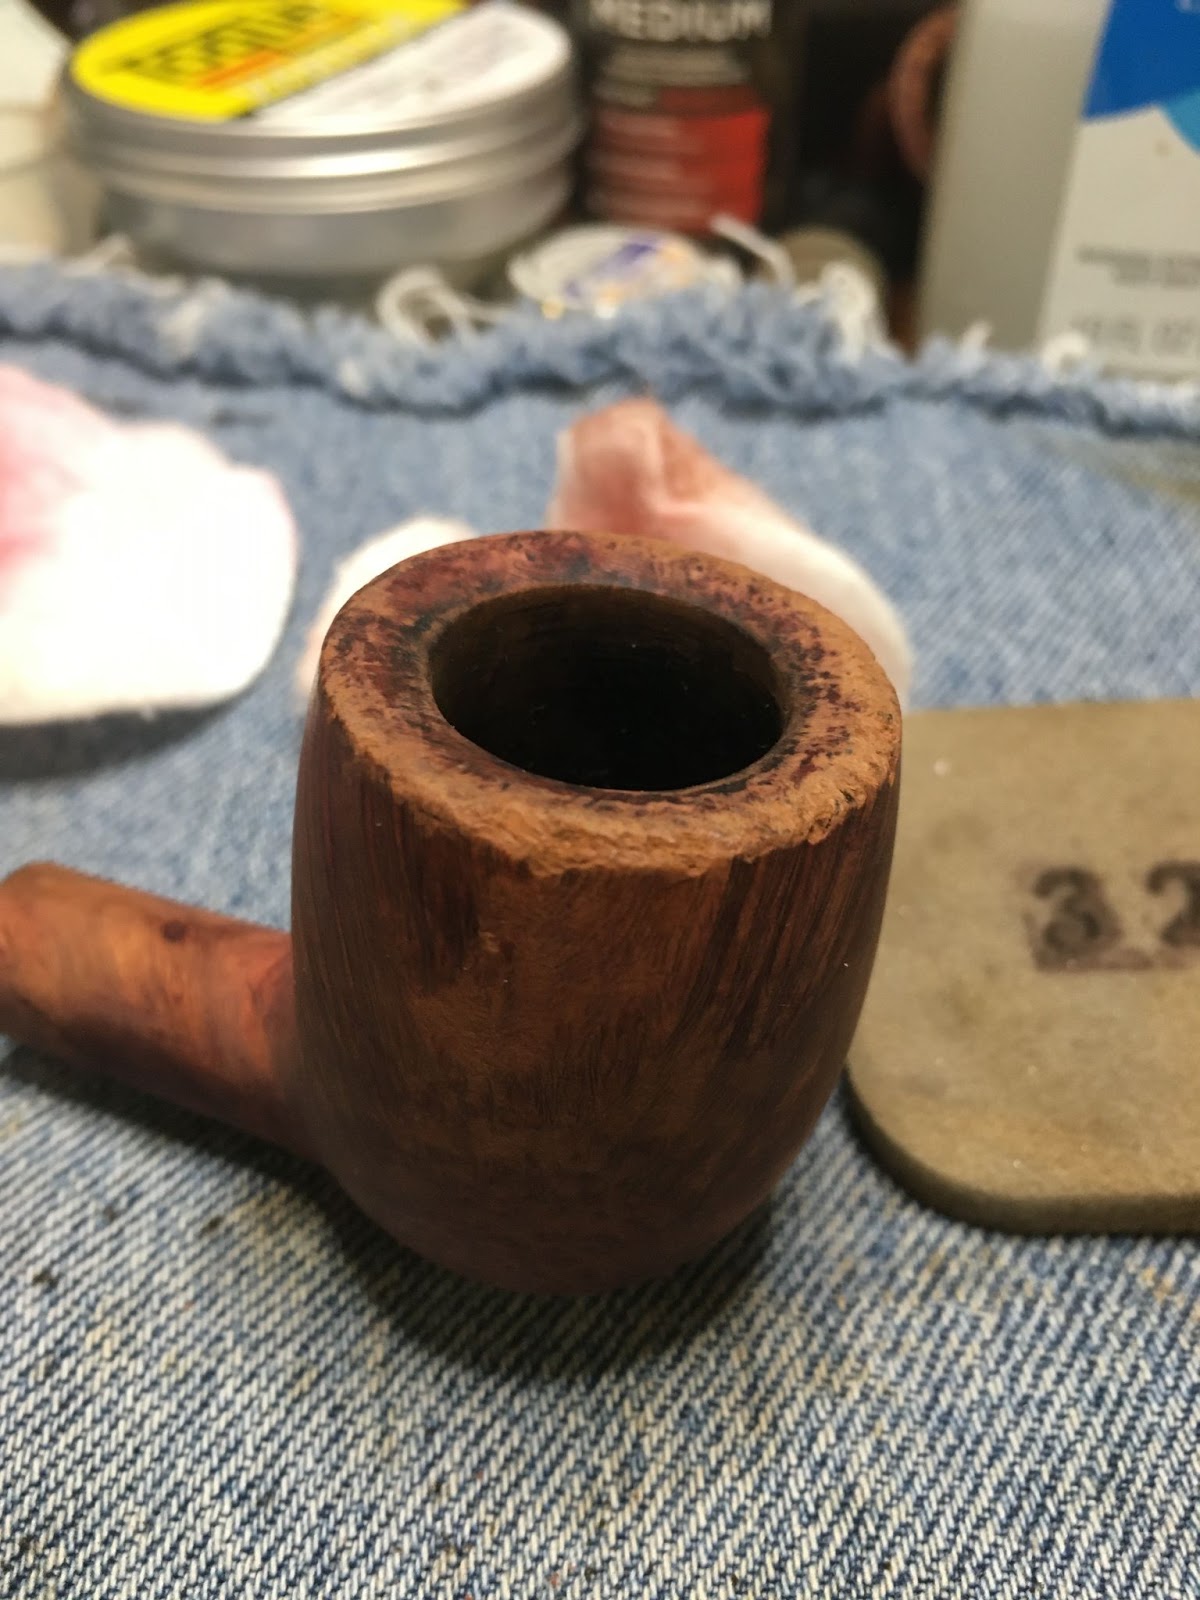
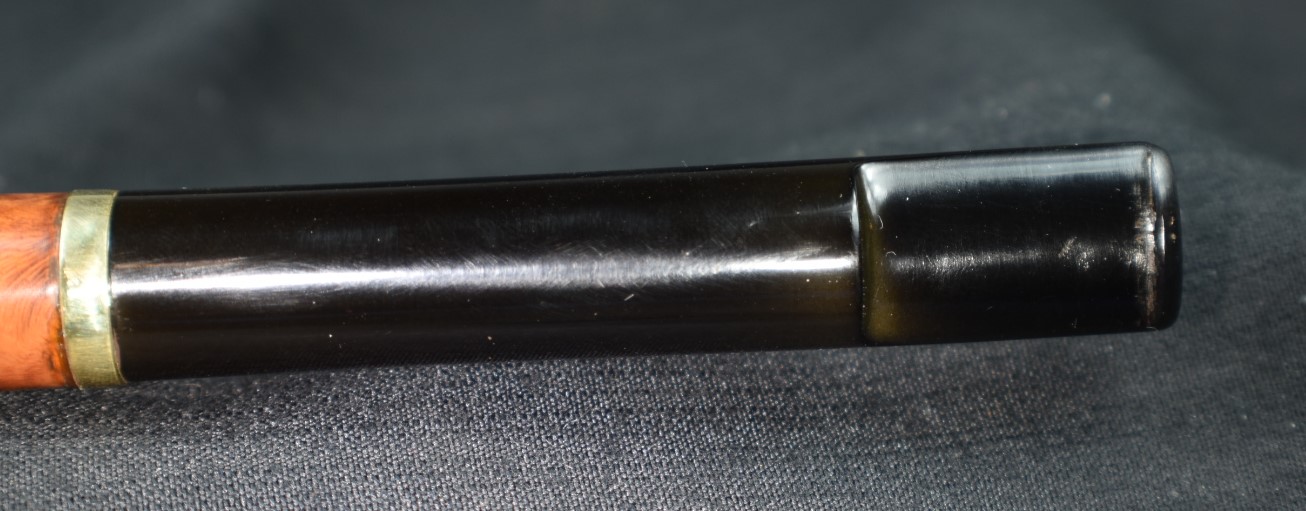
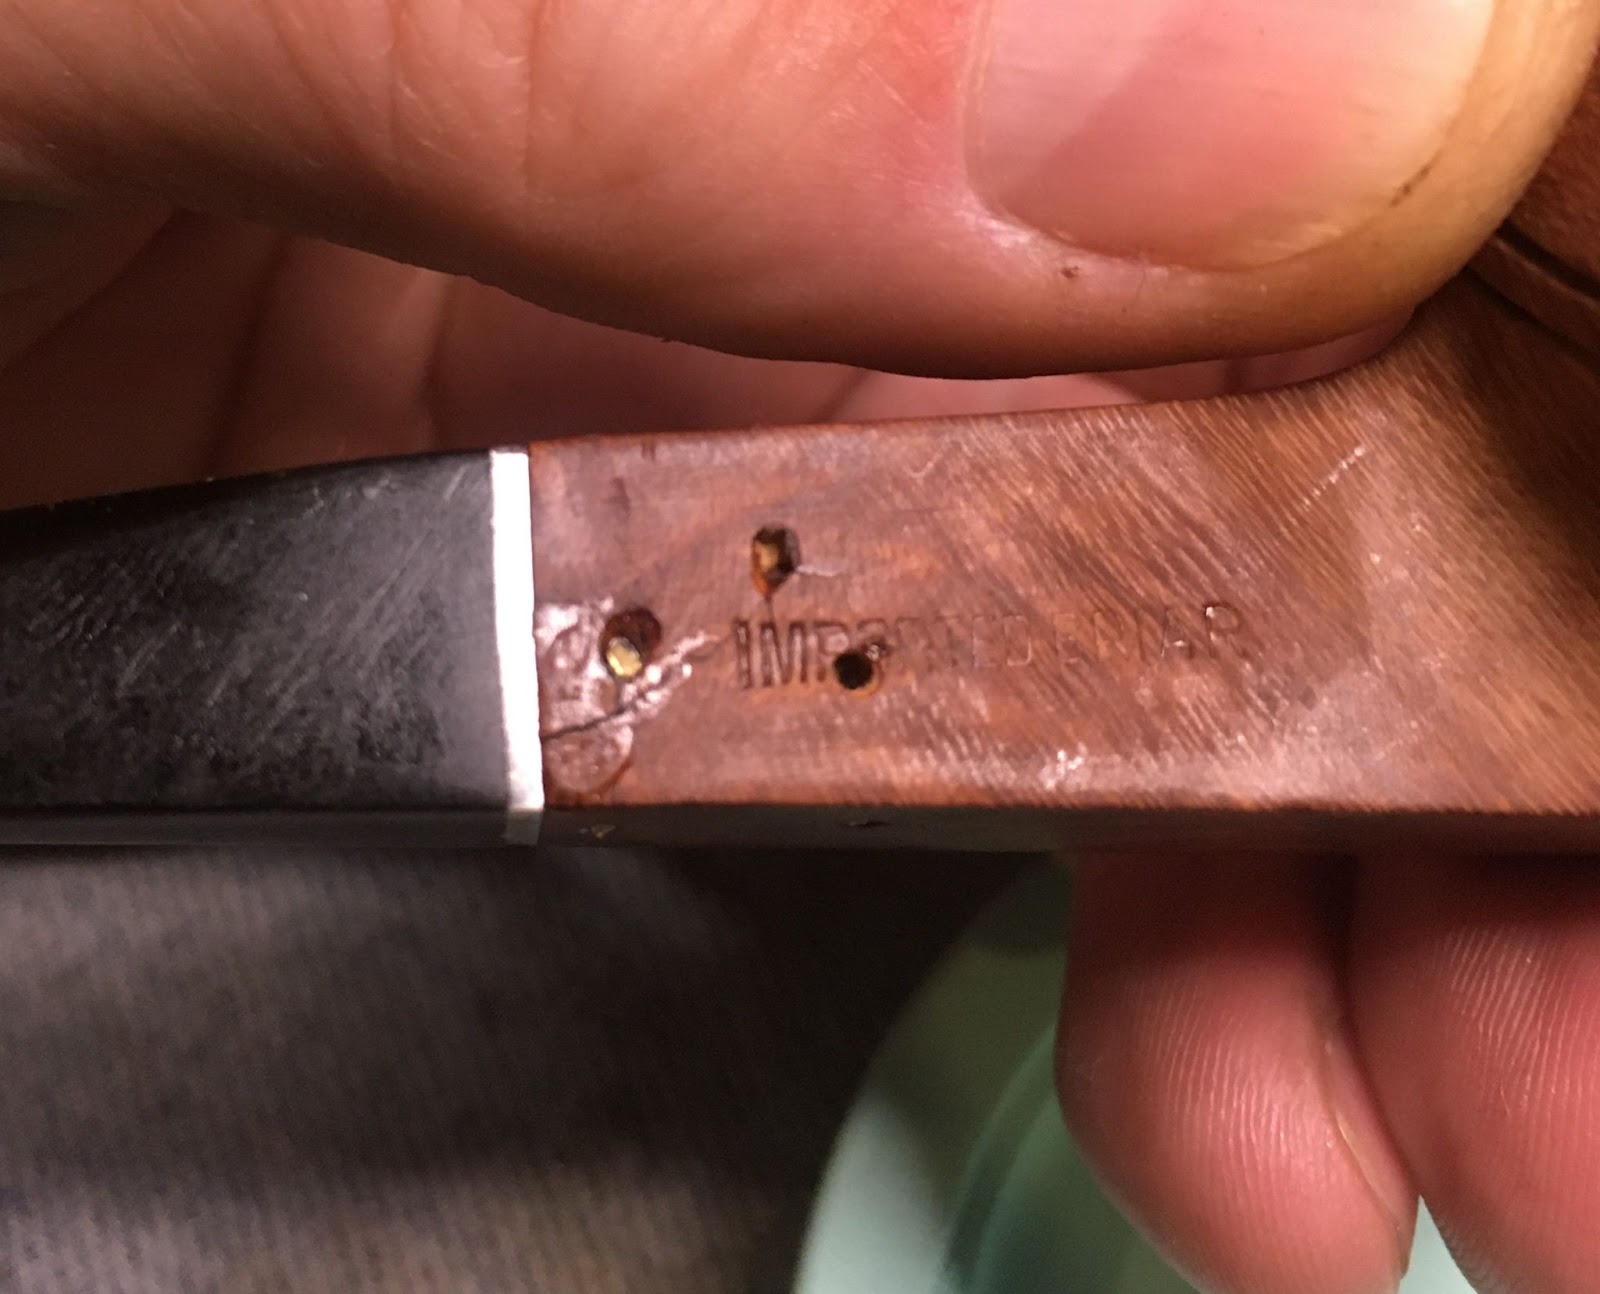
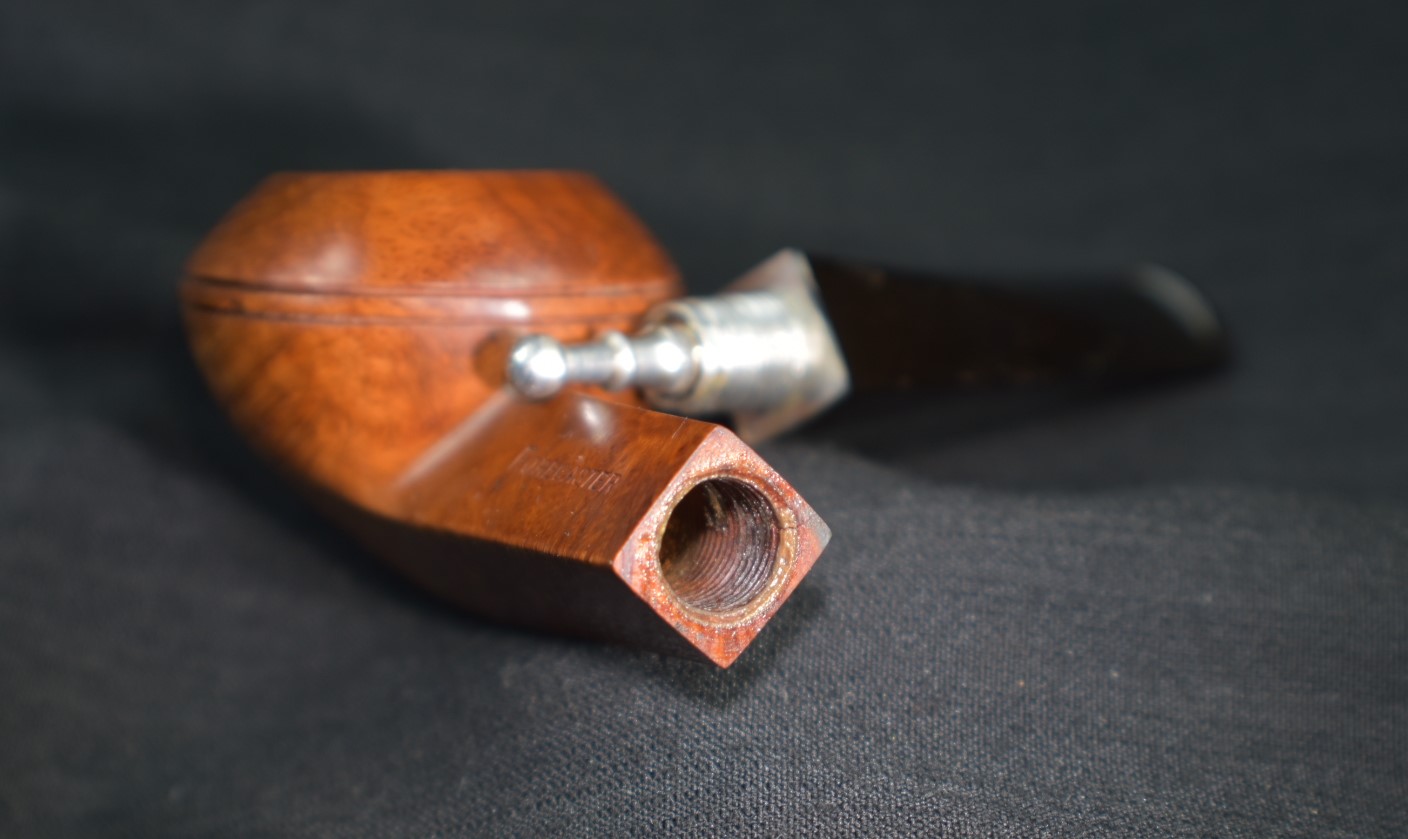
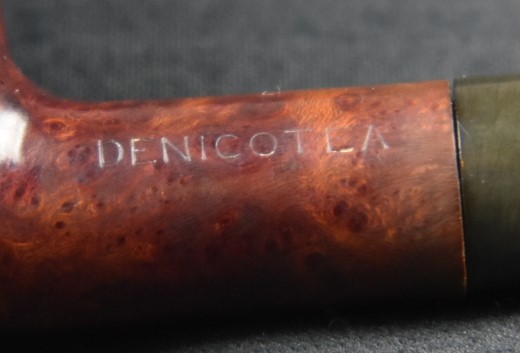
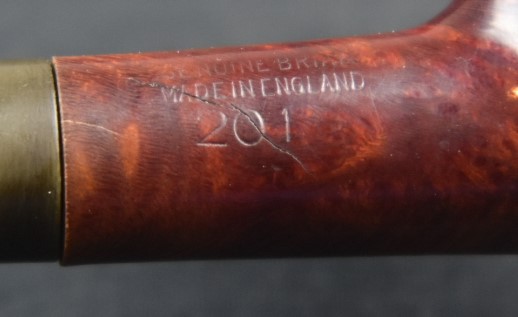
Hmm, there appeared to be several ways to go with this restoration and to several levels. The crack in the shank had been successfully repaired with a silver band albeit an oversized silver band that partially covers the stamps. There looked to be a small crack around the rim. I was not sure if it was superficial or structural. The stummel looked great without a single fill, kudos to Mr. Khoubesser for excellent briar selection. The stem would need a good deal of attention to repair the tooth dents.
Malaga Background
Piedia.org has a nice history of Malaga pipes. I will include the text here in its entirety:
“The Malaga Pipe Company was founded circa 1939 by George Khoubesser, (b.1892 d.1971), and located in Royal Oak, Michigan at 1406 East Eleven Mile road. The second generation owner’s name was Emmanuel Khoubesser (b. 1942 d. 1981), who everyone knew him as “Manny”. He was a big jovial man that was easy to converse with, always had a smile and a good joke to tell his very loyal customers. He had the ability to befriend anyone within minutes. The small store was packed with curious customers every Saturday morning looking for the latest design made earlier in the week. He also carried a full line of custom mixed tobaccos that you could sample and an array tobaccos in tins.
I was first introduced to him in 1969. I remember him taking me in the back to show me each step involved in pipe making. He was very serious about the quality of the product he sold and would never sell a flawed pipe, even if it was very minor. My step father purchased several of his pipes and really enjoyed them. He once said he’s never found a better pipe (his words).
Manny passed away in 1981 and his wife and oldest children took over the business. Malaga closed in 1999 after 60 years in business. The building still exists on Eleven mile, looking almost like it did back then, but now houses the Michigan Toy Soldier Company. I would think the pipes Manny produced are now more valuable than ever. If you happen across one of these pipes, you’ll know a little bit more about it’s rich history. Enjoy!”
(Malaga Pipe Company – Pipedia)
If your taste for the history of Malag pipes has yet to be satiated I will refer you to Steve Laug’s blog regarding the history of the brand (George Khoubesser and Malaga Pipes | rebornpipes). Steve also received a treasure trove of ephemera from the estate of one of his reader’s fathers (Malaga Pipes Catalogue of Pipes and Tobaccos | rebornpipes). Wonderful information and valuable insights from people who are far more industrious than I with providing you with background information.
The Restoration
In typical fashion this project began with a clean denim piece on the work surface.

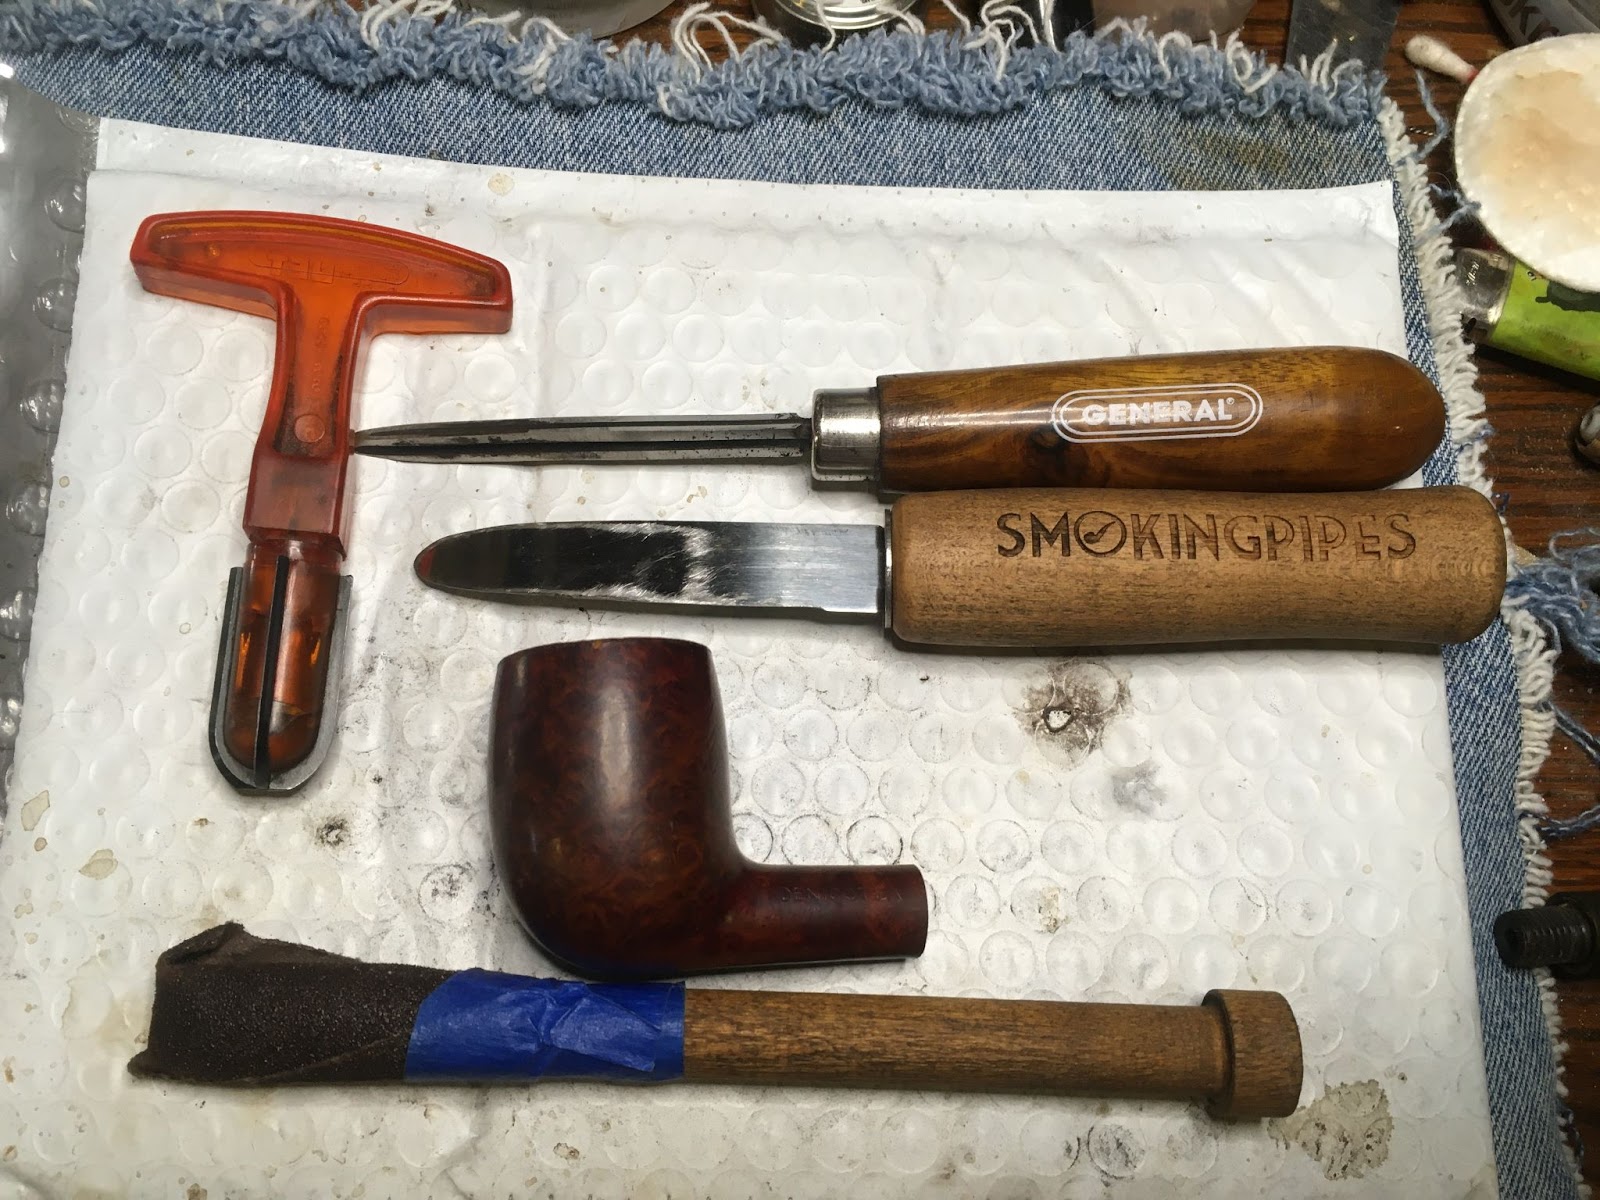
The reaming tools were assembled. The PipNets’s #2 and #3 blades could be used in the large Malaga tobacco chamber.
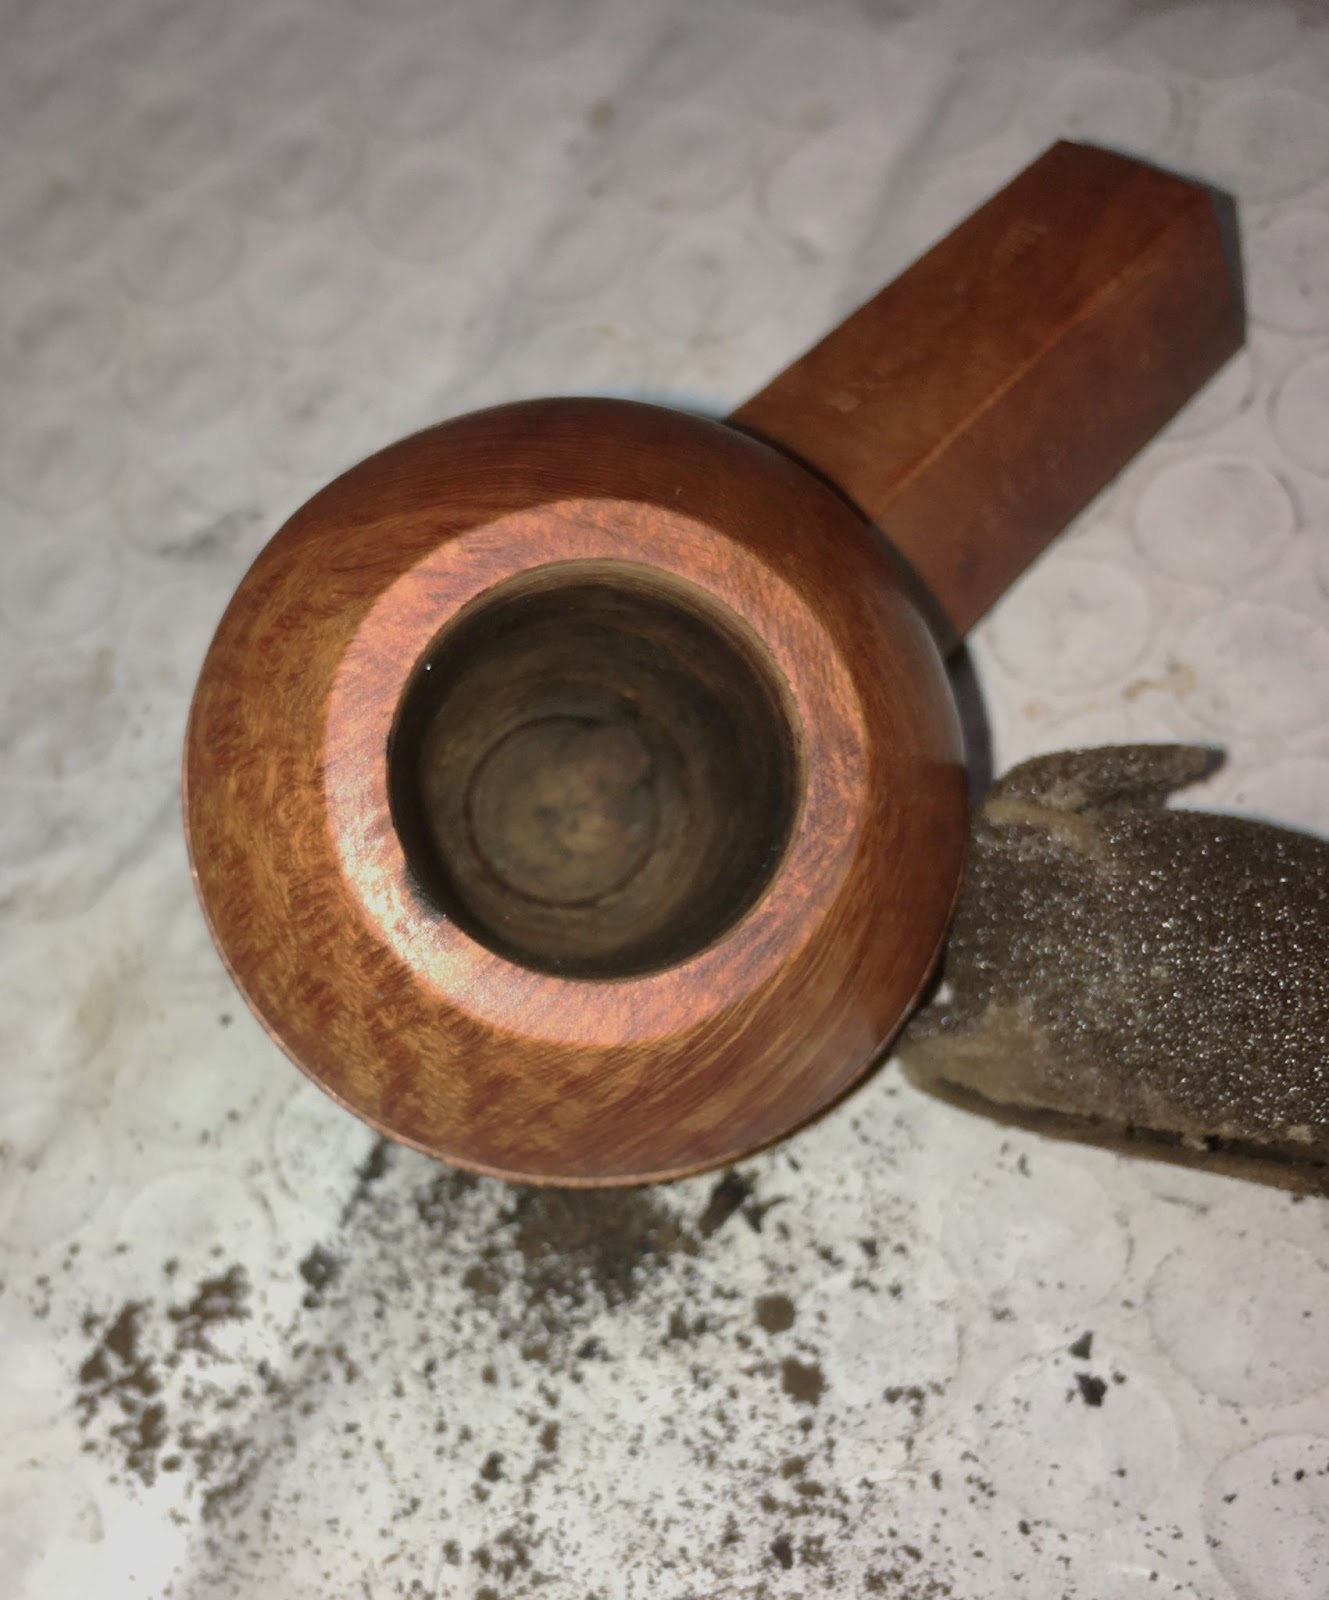
And used they were. After the PipNet the chamber was scraped with the General triangular scraper and sanded with the 220 sandpaper wrapped around a wood dowel. There was no evidence of heat damage to the interior of the chamber.

Nex was a trip to the sink. Here the stummel was scrubbed with undiluted Murphy Oil Soap and a medium stiff toothbrush.

Returning to the workbench the stummel was wiped with a cotton make-up pad wetted with 95% ethyl alcohol. Some further grime, wax and perhaps stain was removed with the pad.

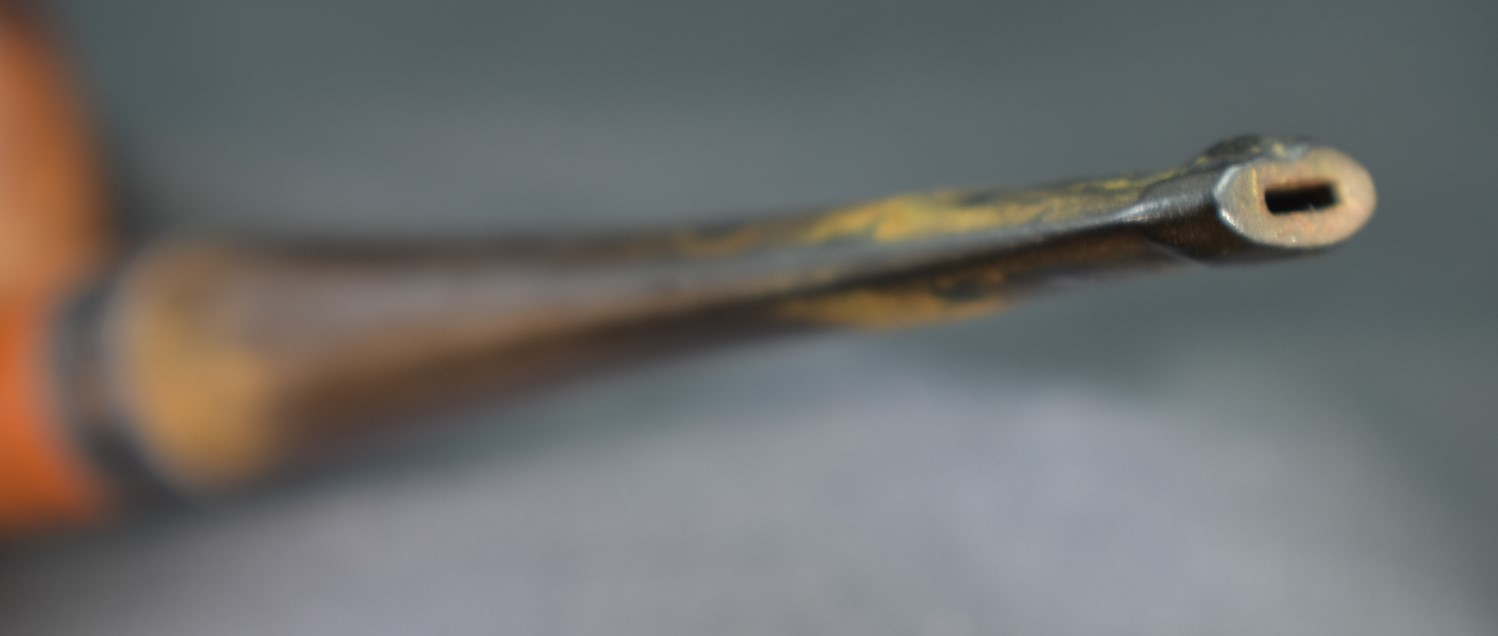
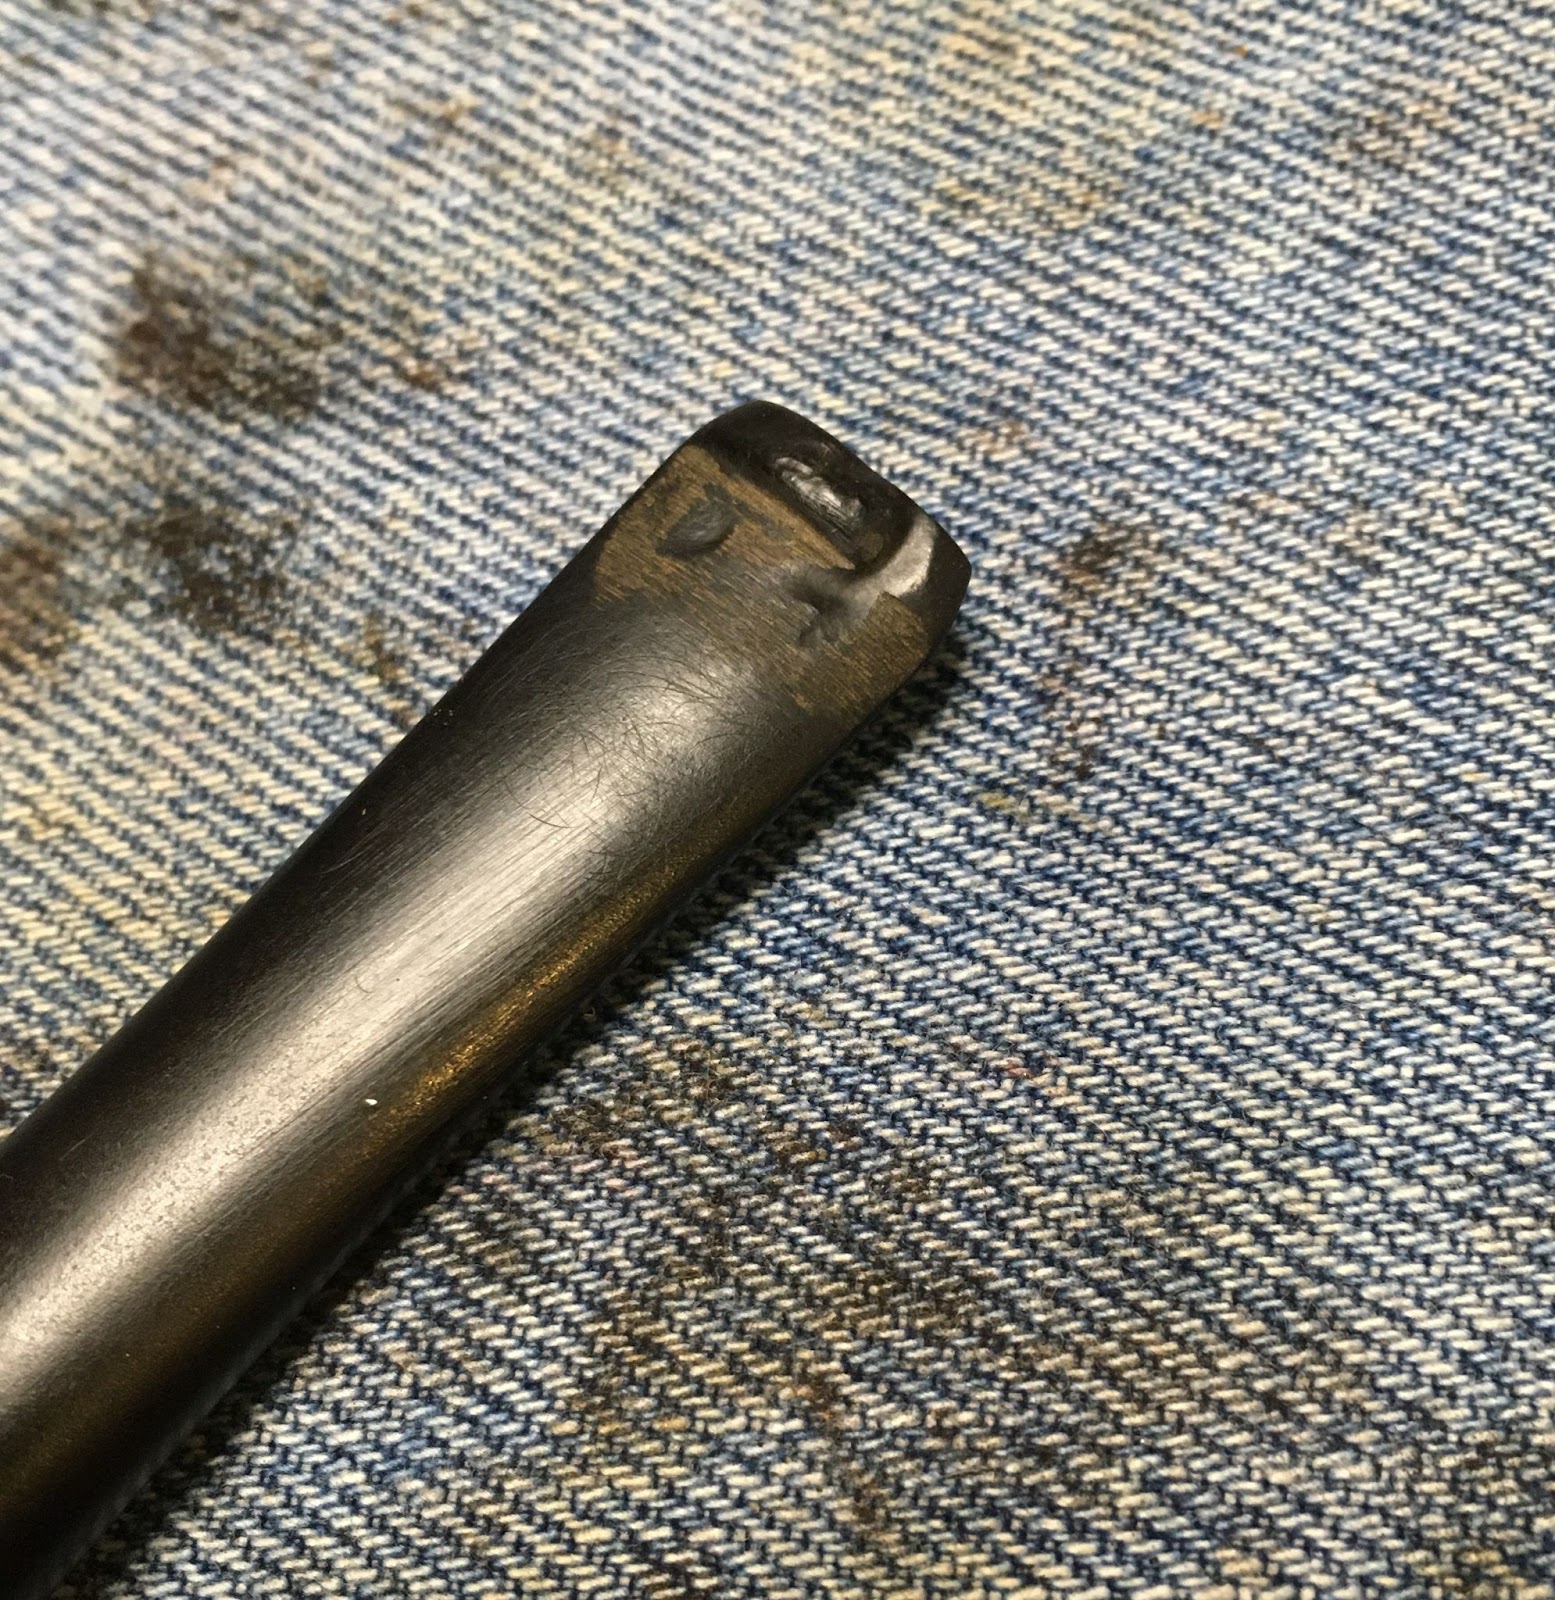
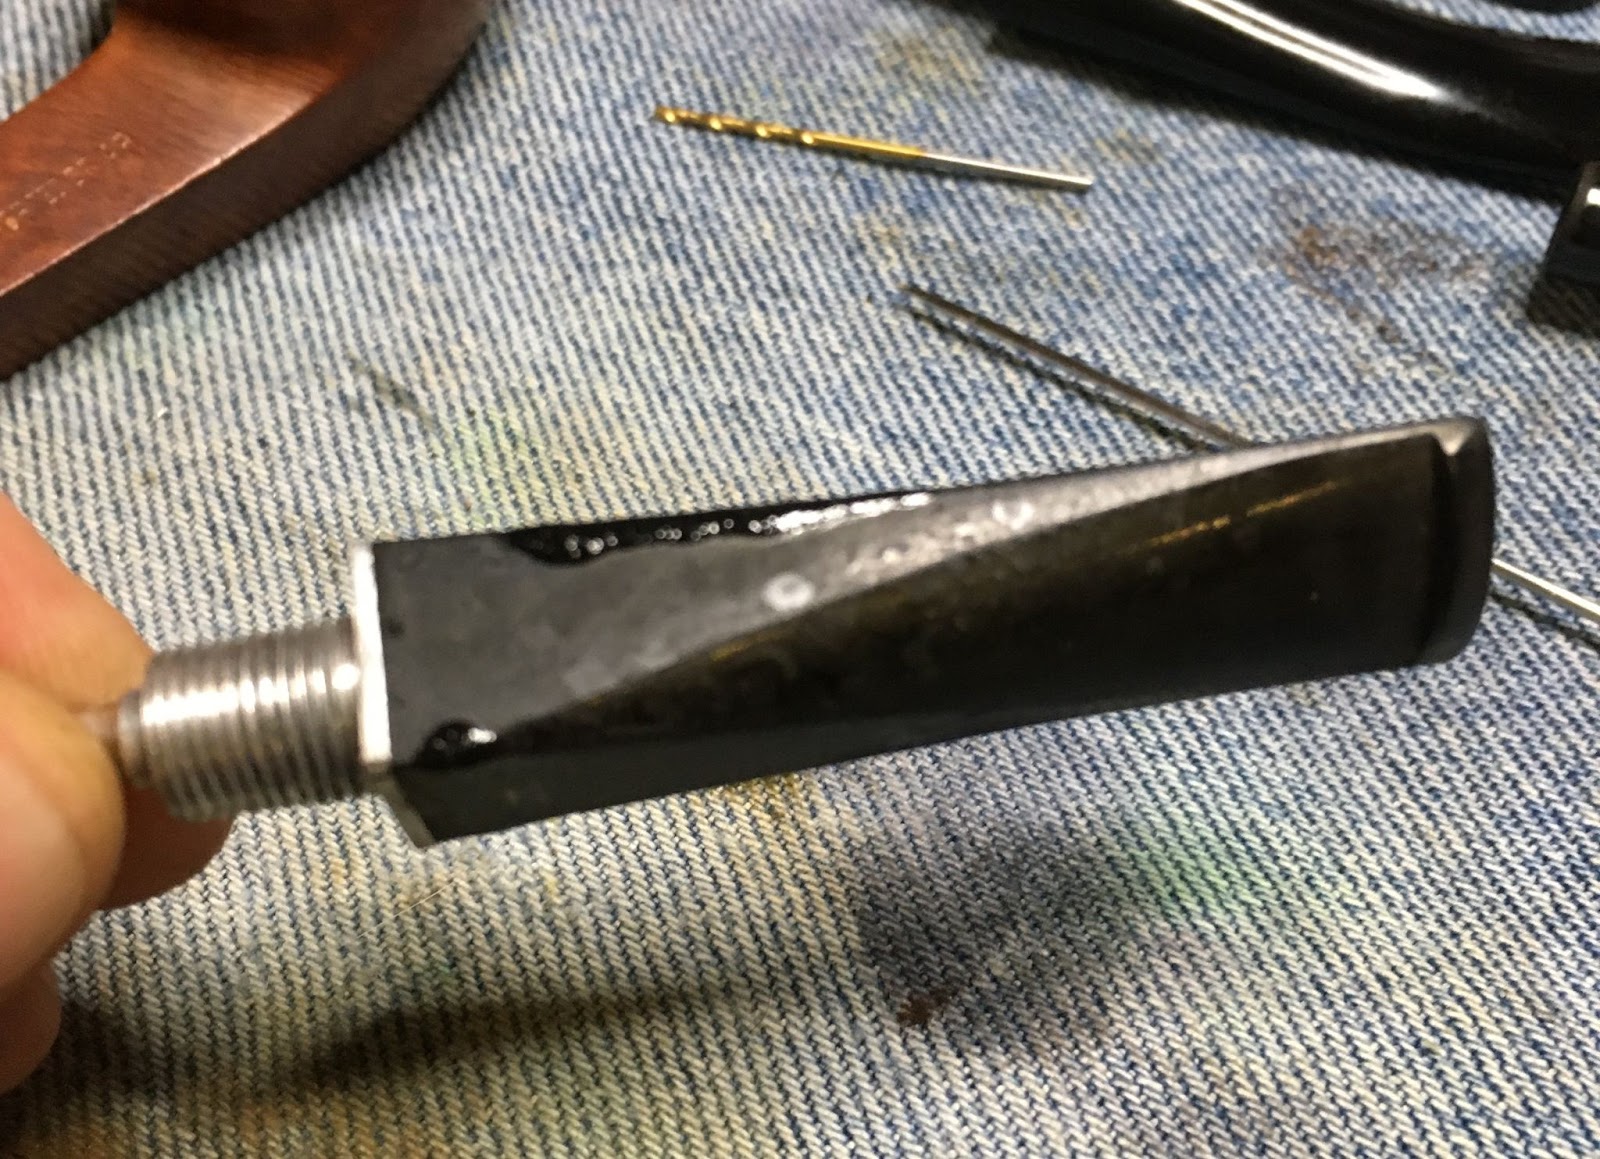
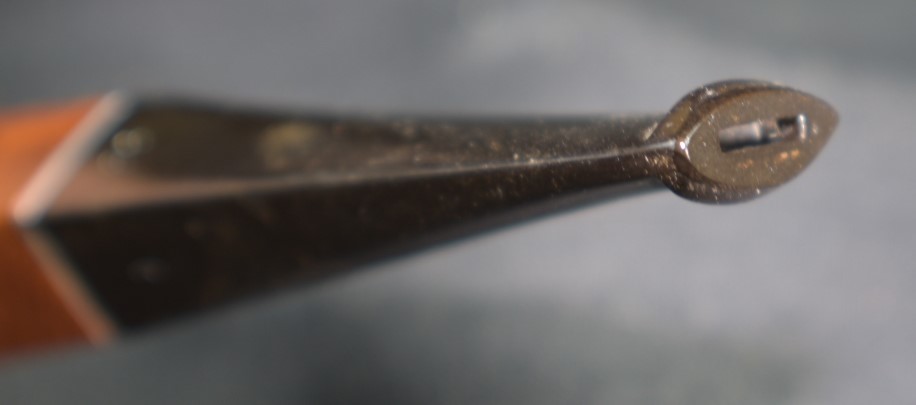
Next, I addressed the calcium deposits on the stem by scraping them with a sharp pocket knife.

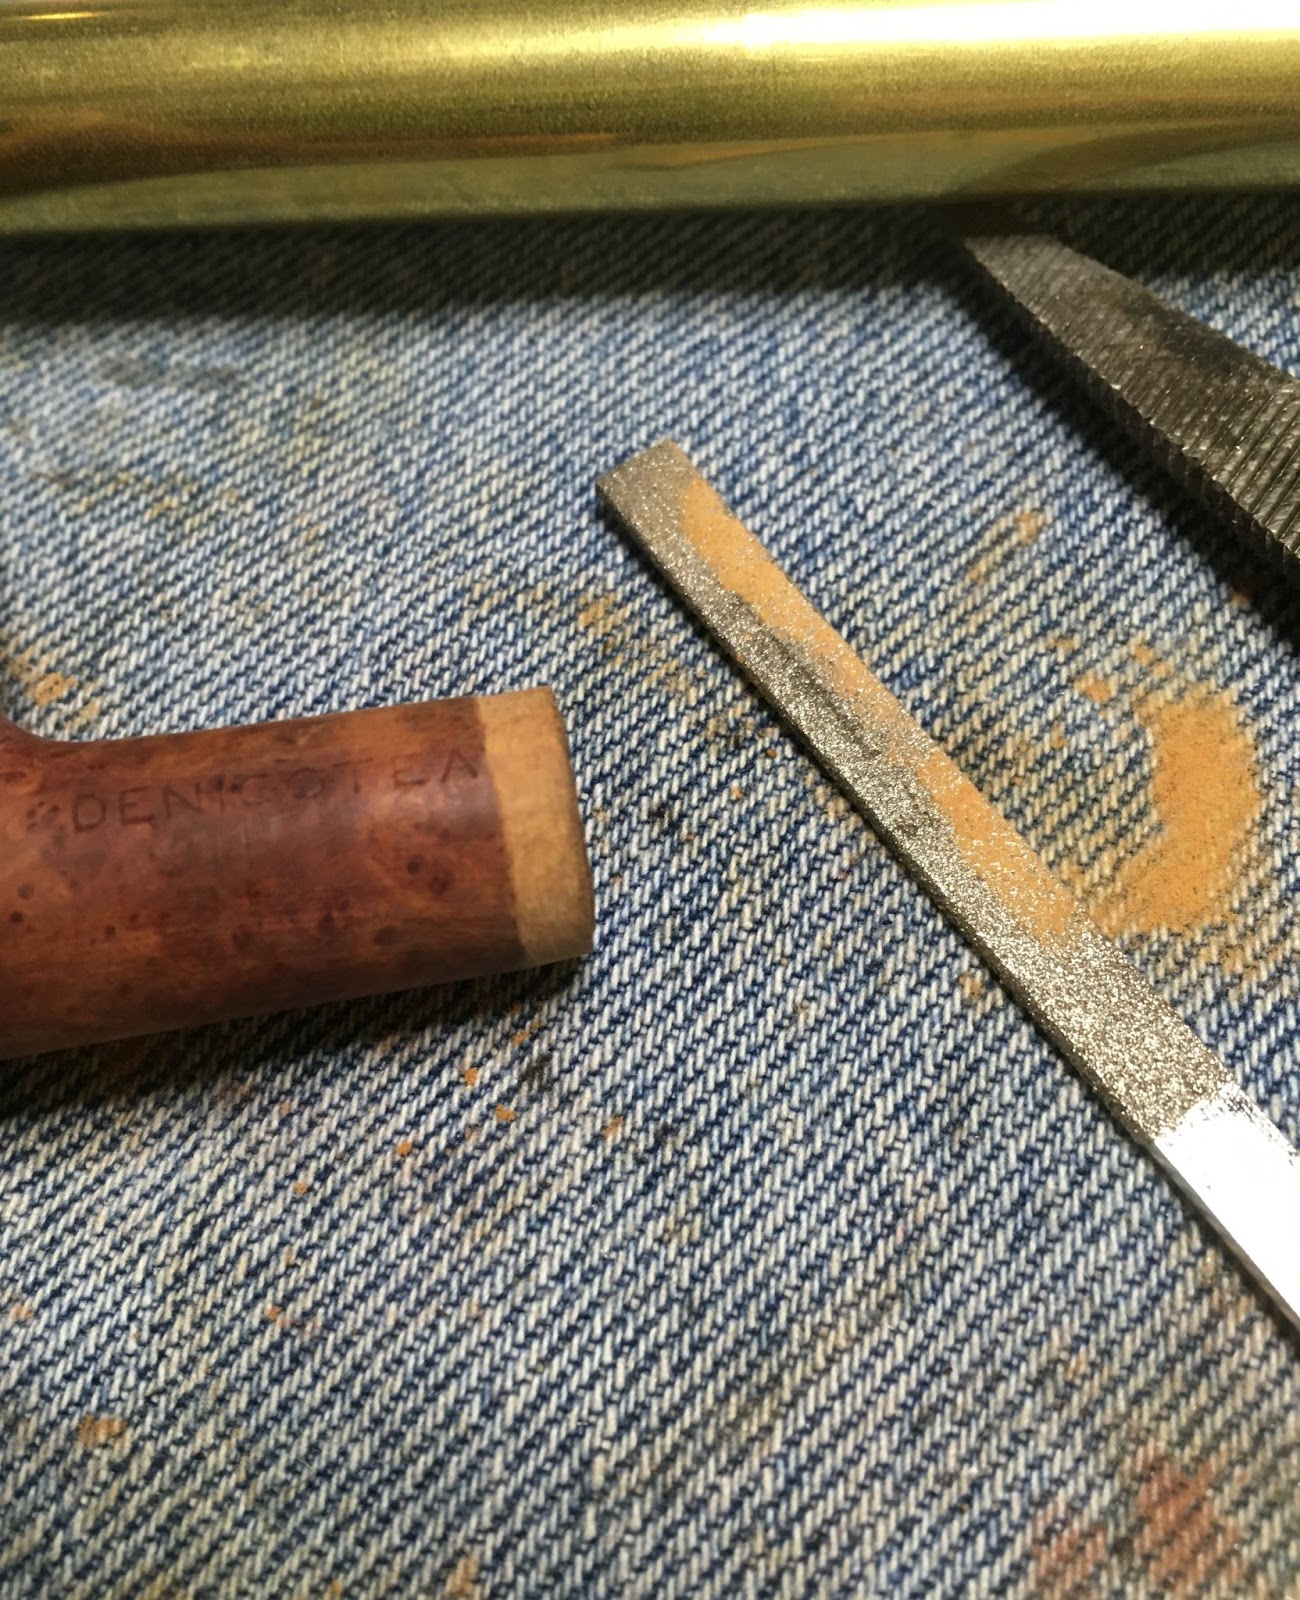
The area immediately above the button was filed with a flat needle file and the entire stem was lightly sanded with 320 then 400 grit sanding sponges. I failed to photograph the next step, apologies. After the sanding I scrubbed the stem with make-up pads and Soft Scrub cleanser. The pads were heavily stained with oxidized rubber. Several pads and Soft Scrub applied to a Magic Eraser later, the stem was cleared of oxidized rubber.
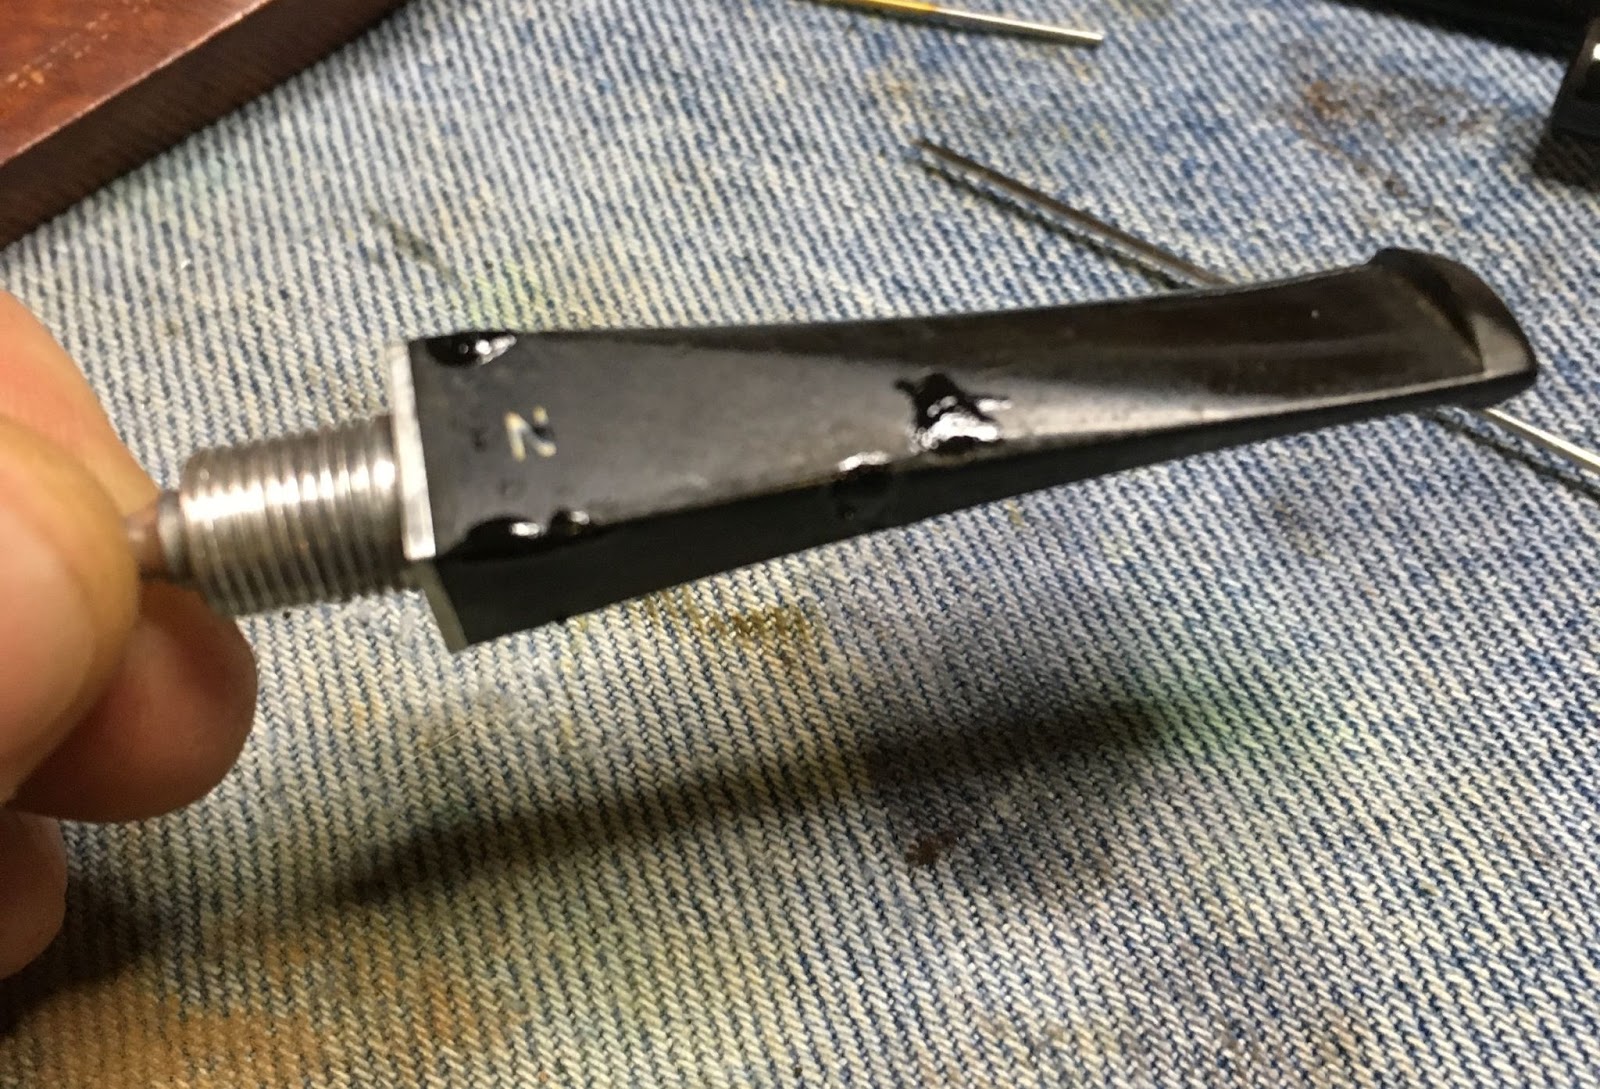
The next step was to repair the tooth dents.

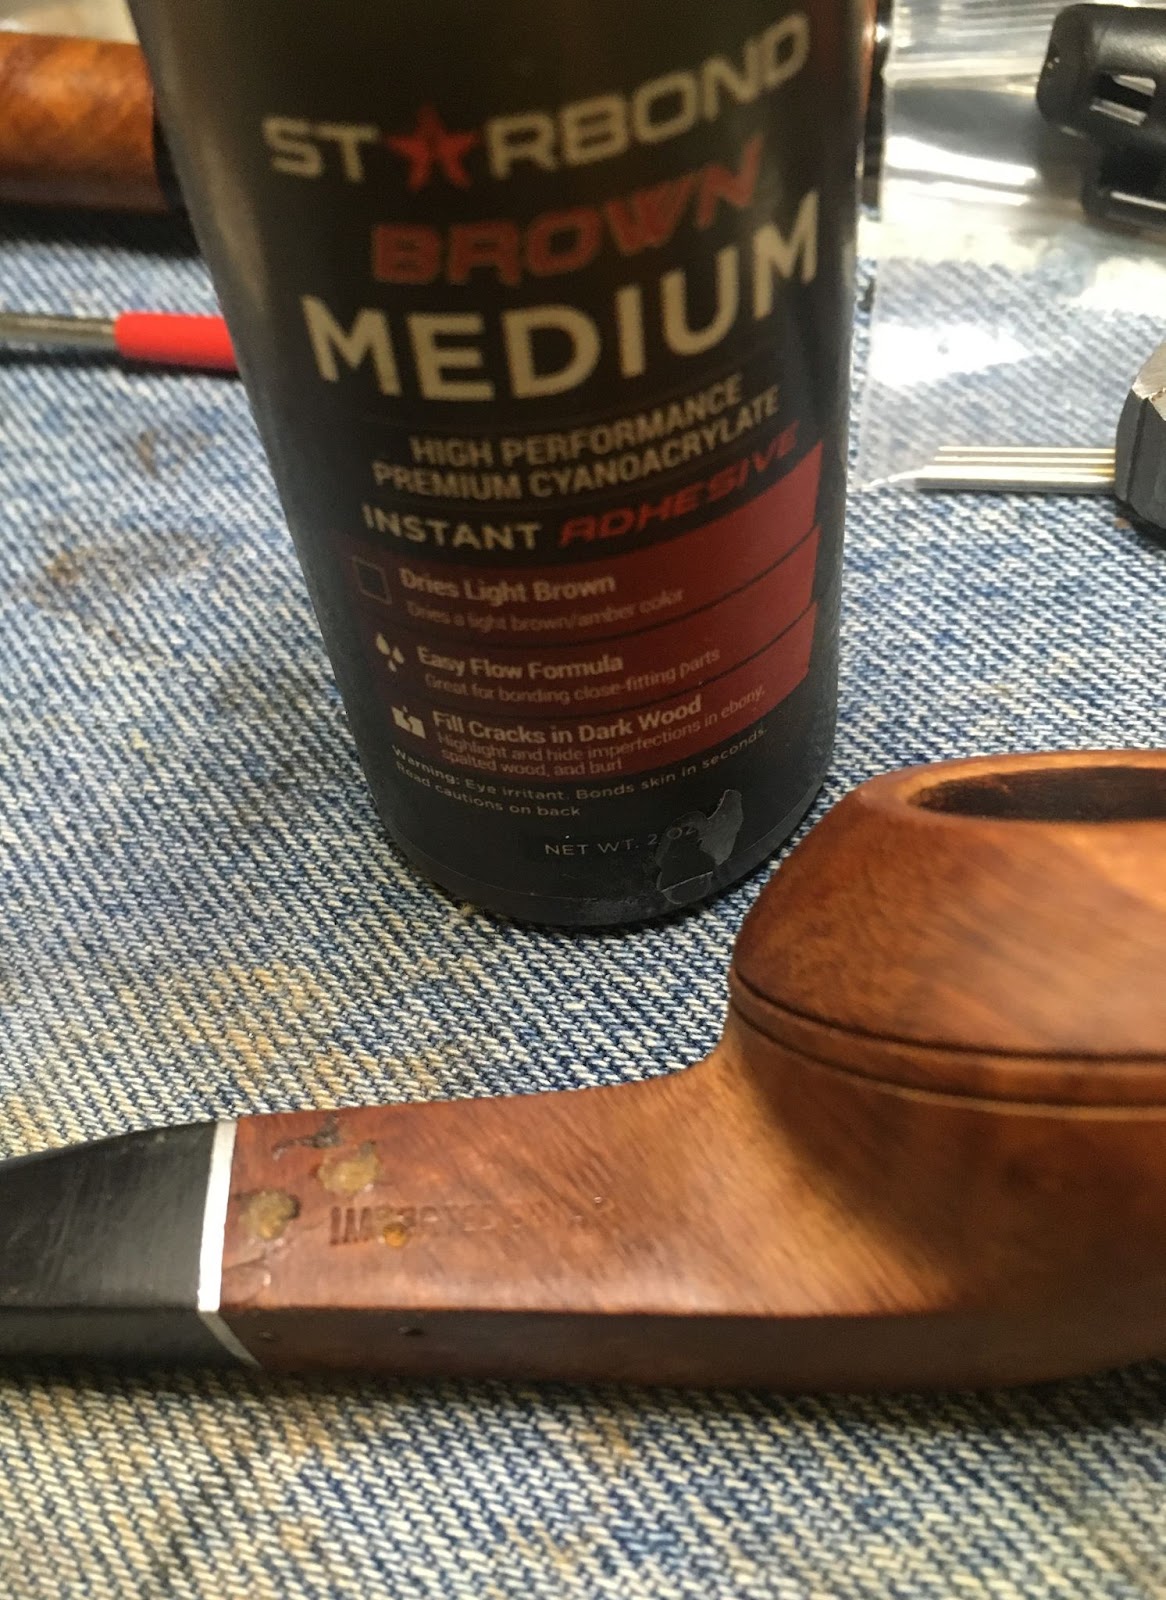
I used black cyanoacrylate (CA, super glue) to fill in the dents and rebuild the damaged button. Below are photos of the top and bottom of the stem.

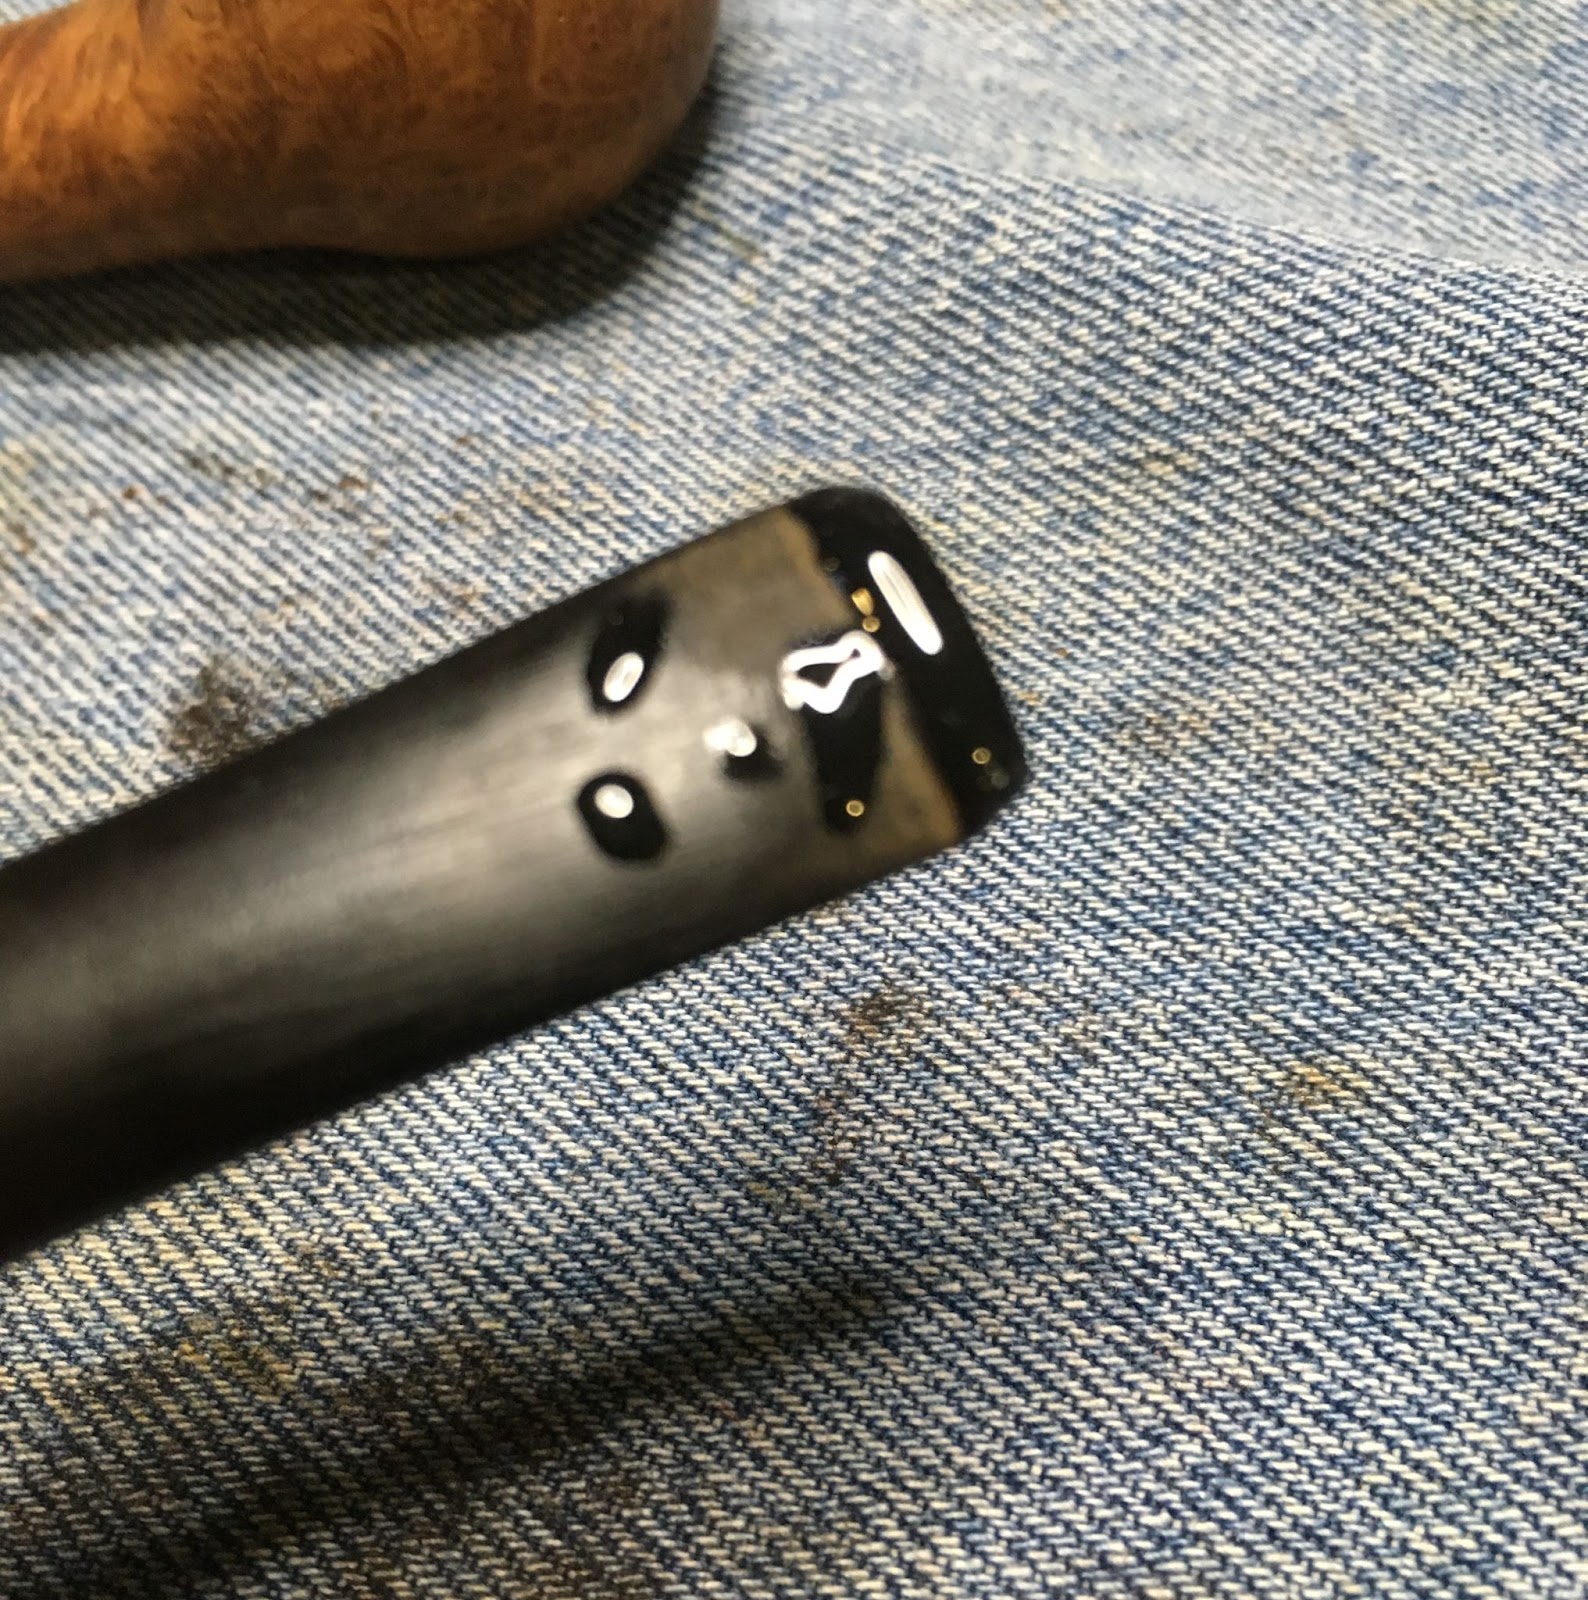
The wet CA was spritzed with a CA drying accelerator. This cures the CA within seconds. The following two photos show the cured CA.


The CA fills were filed with the flat needle file and the button reshaped.

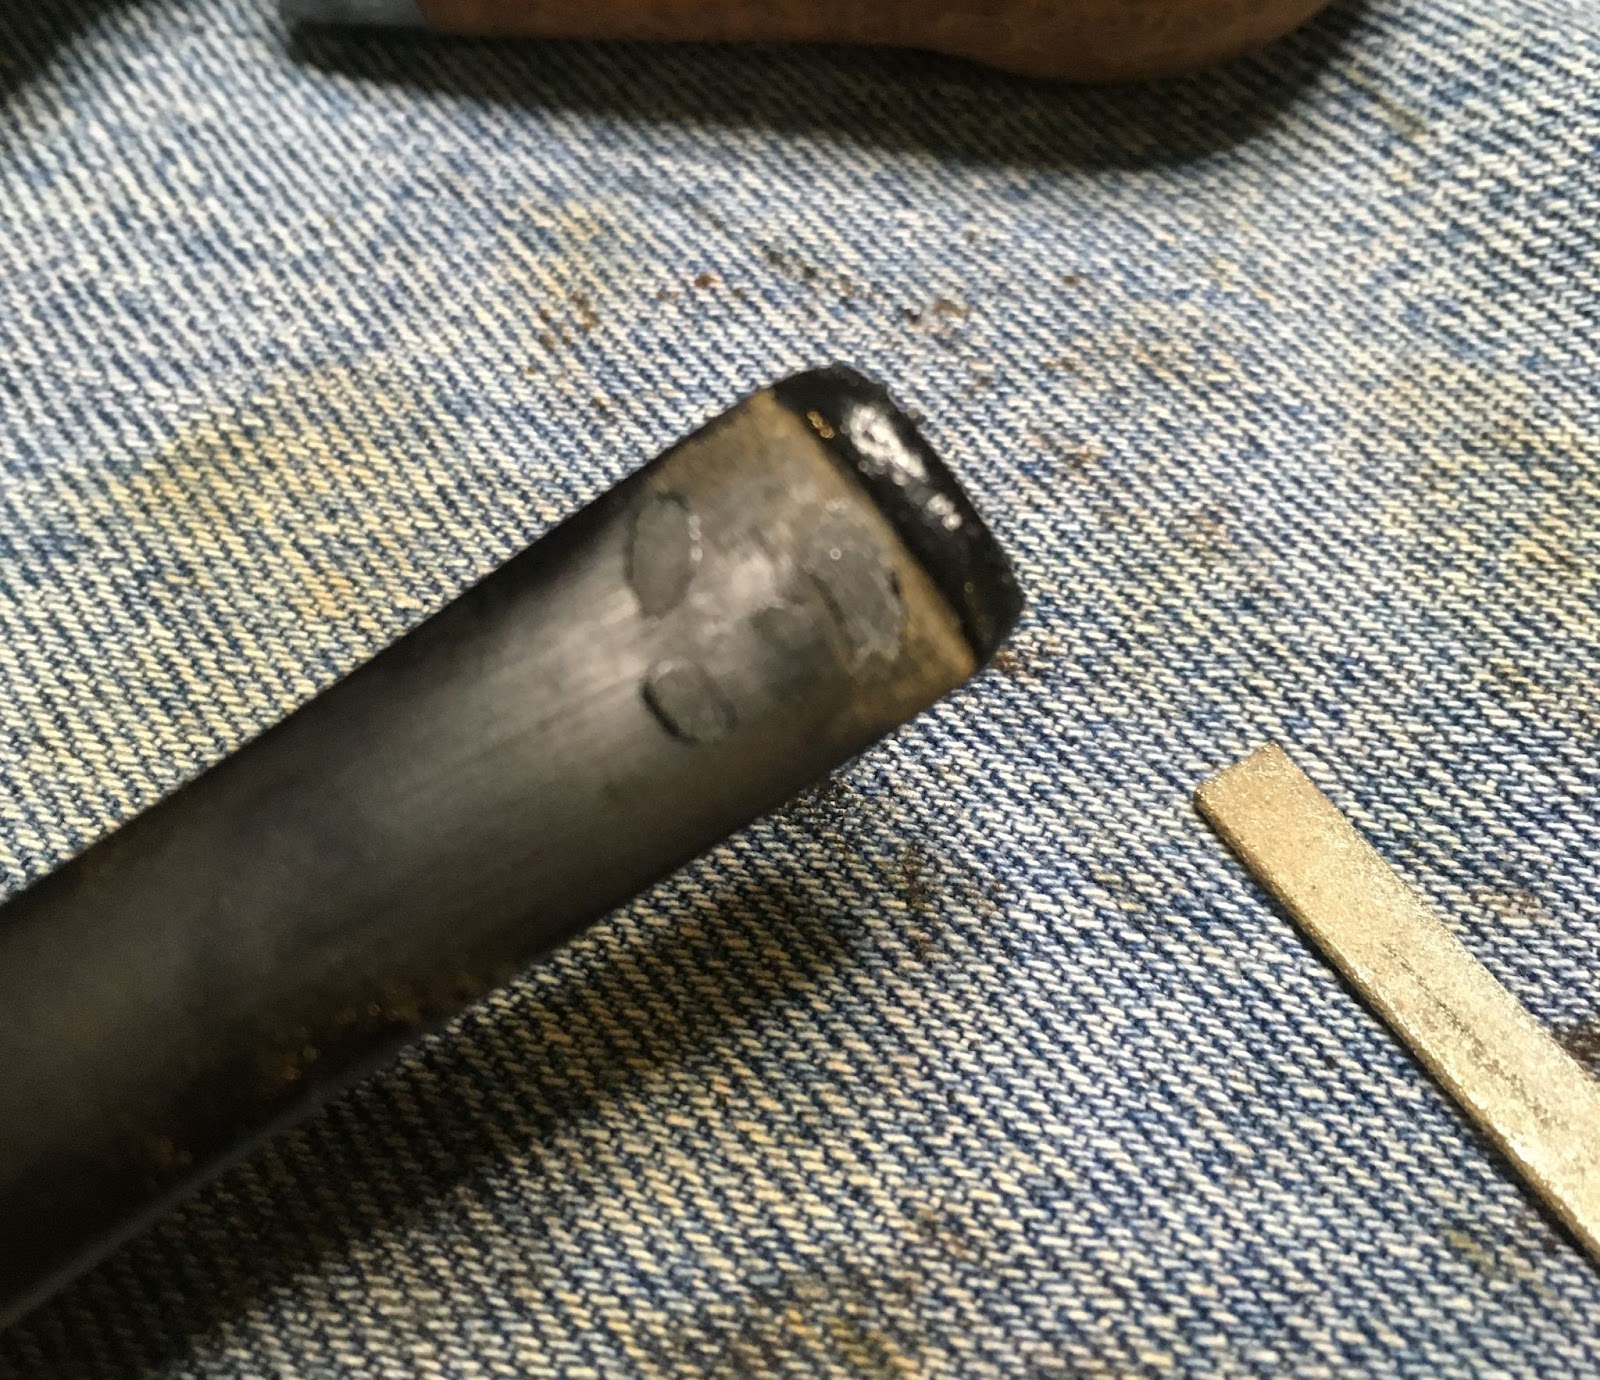
After filing the fills were sanded with the 400 sanding sponge. The improvement was great but additional thin layers of black CA were required to smooth and blend the repairs. The below two photos show the repairs prior to the additional thin layers and further sanding of the CA.


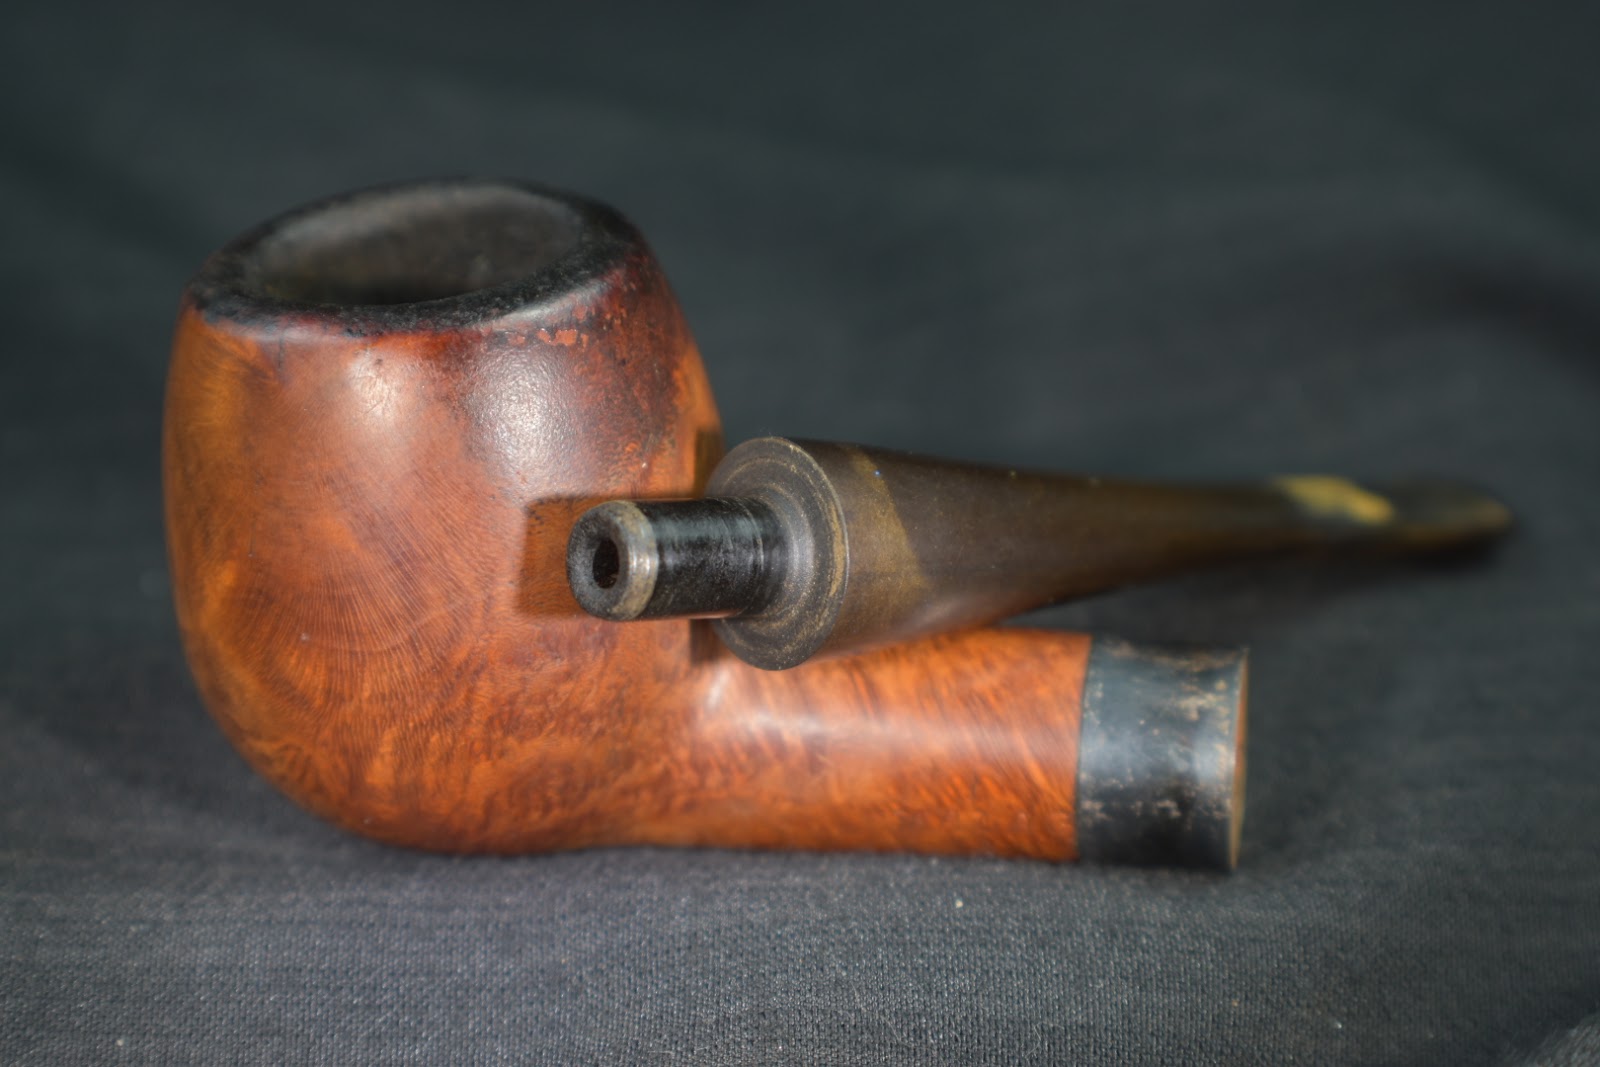
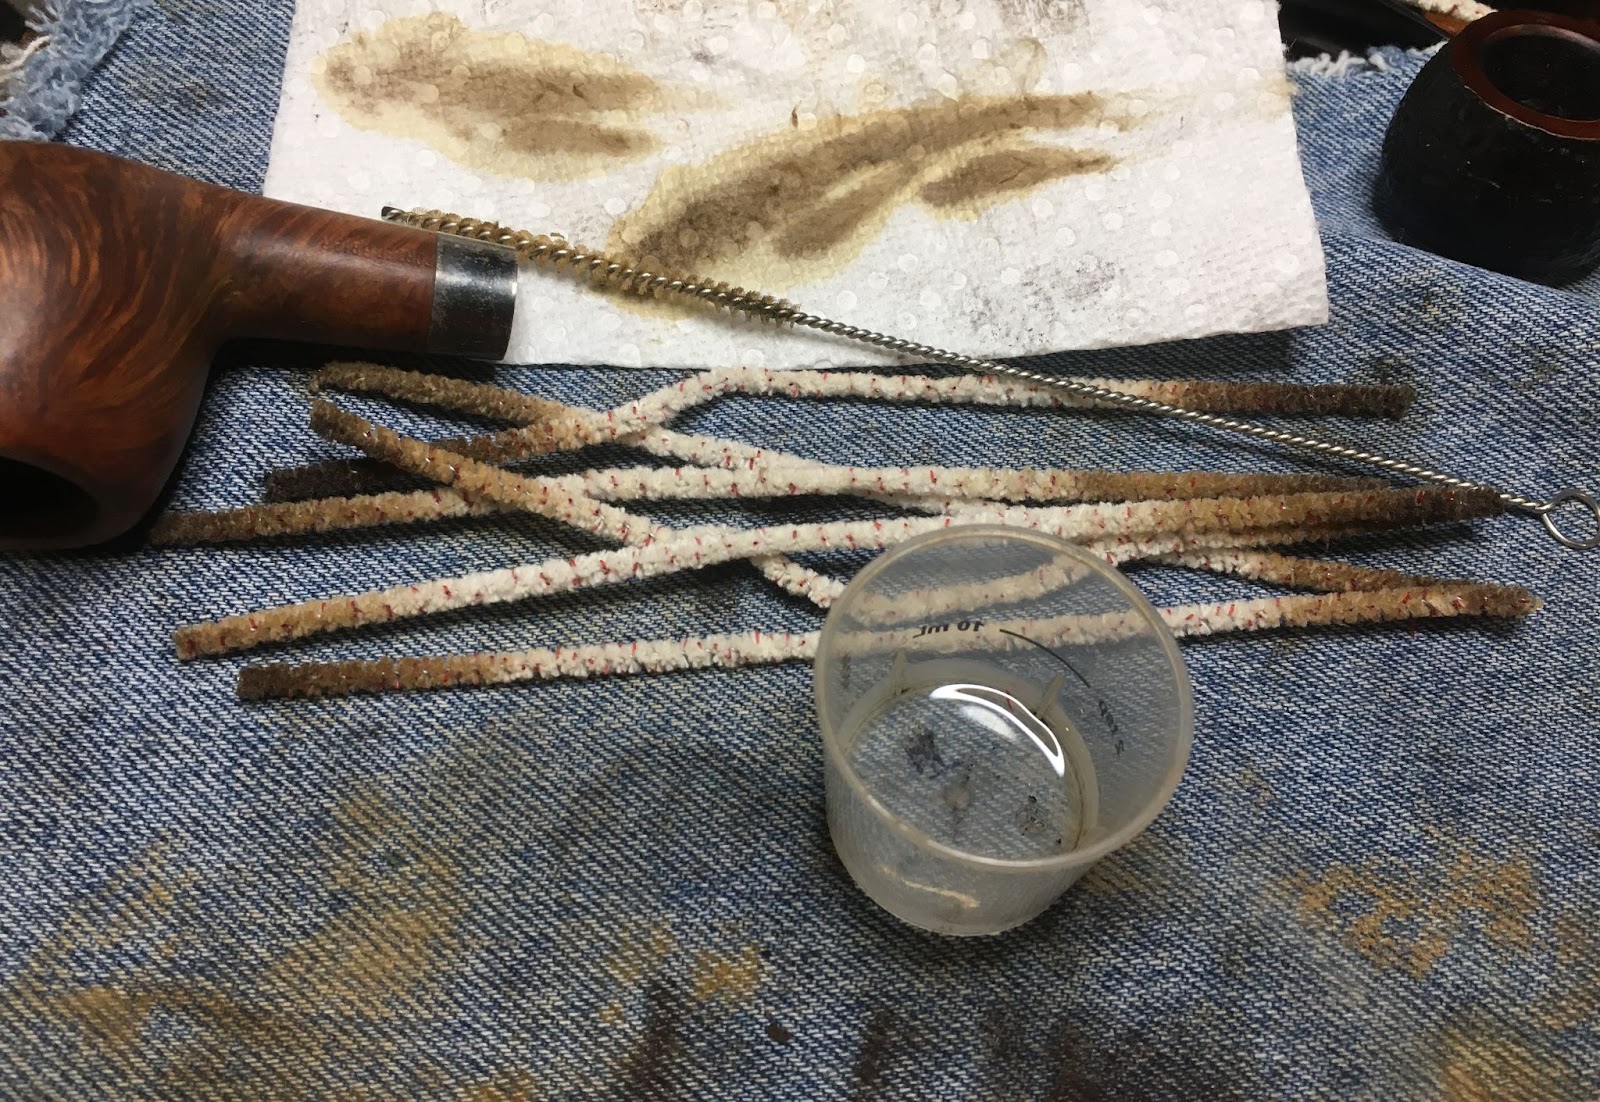
With the stem bite marks repaired it was time to clean the airway. 95% ethyl alcohol and bristle pipe cleaners were used.

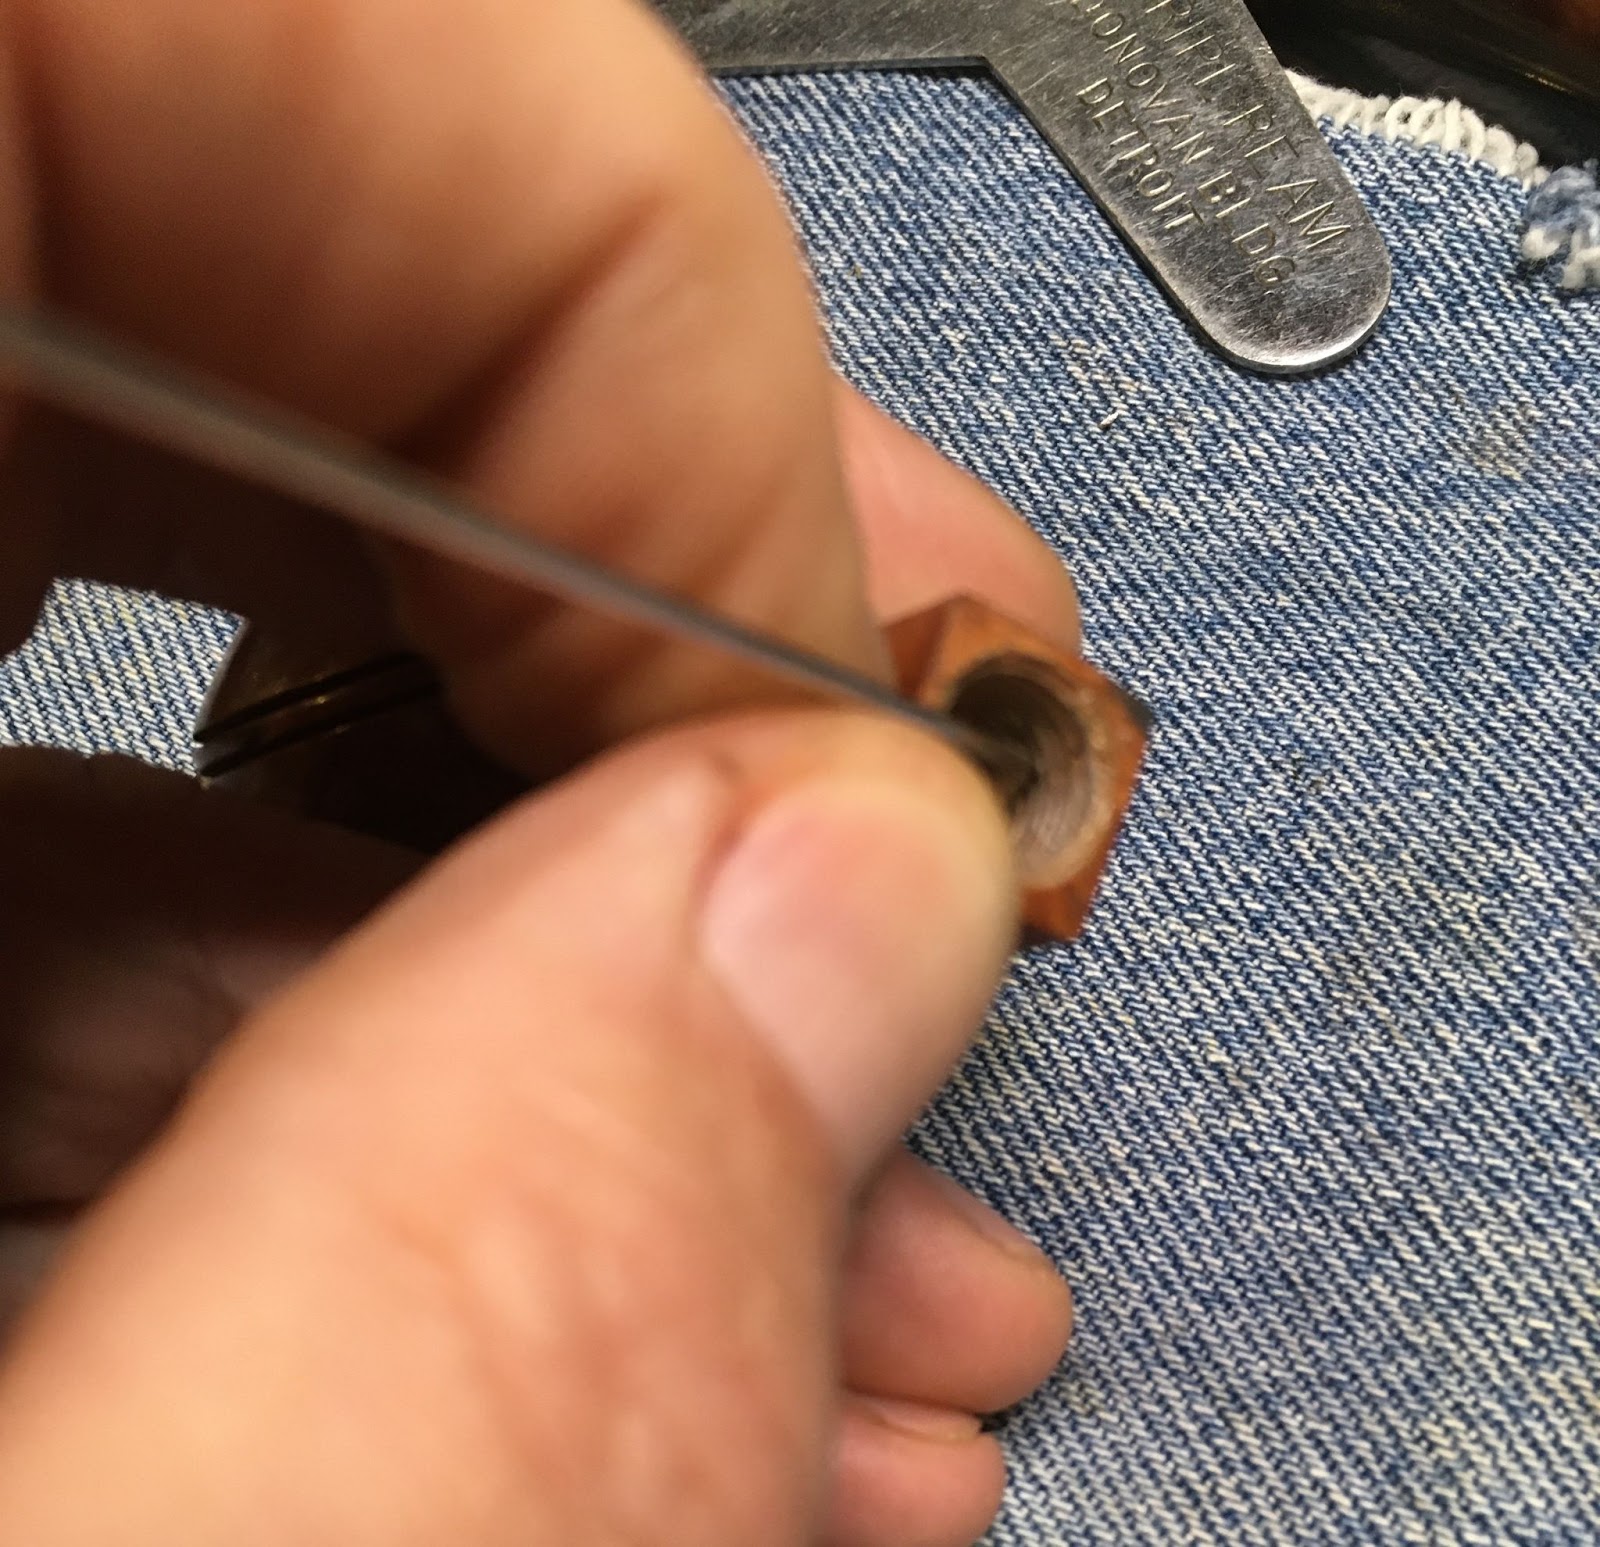
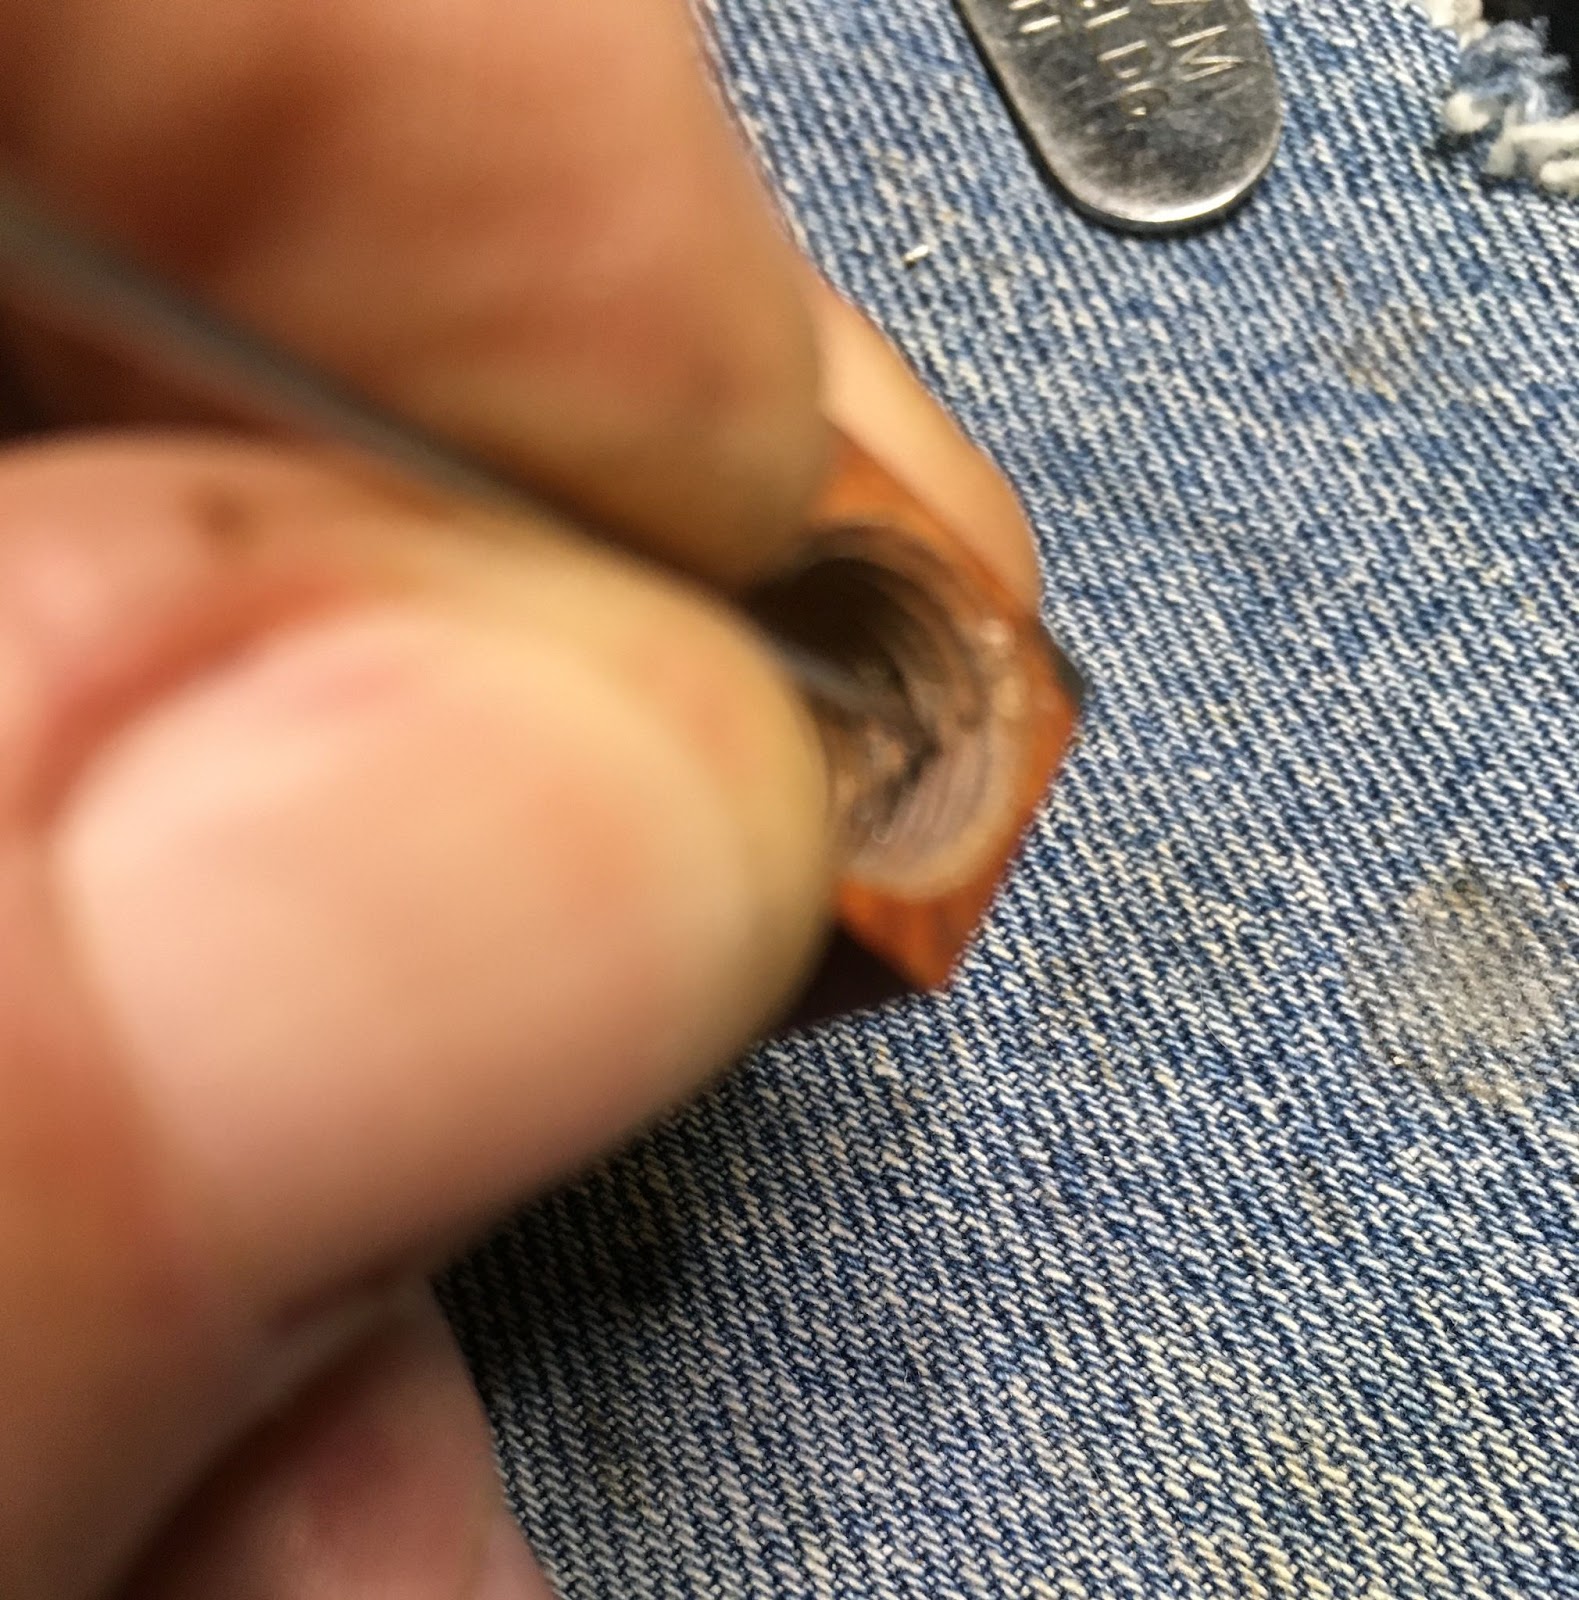
The same process was used to clean the airway of the shank. Ethyl alcohol and a nylon shank brush along with some scraping from a dental pick were added to the cleaning here.
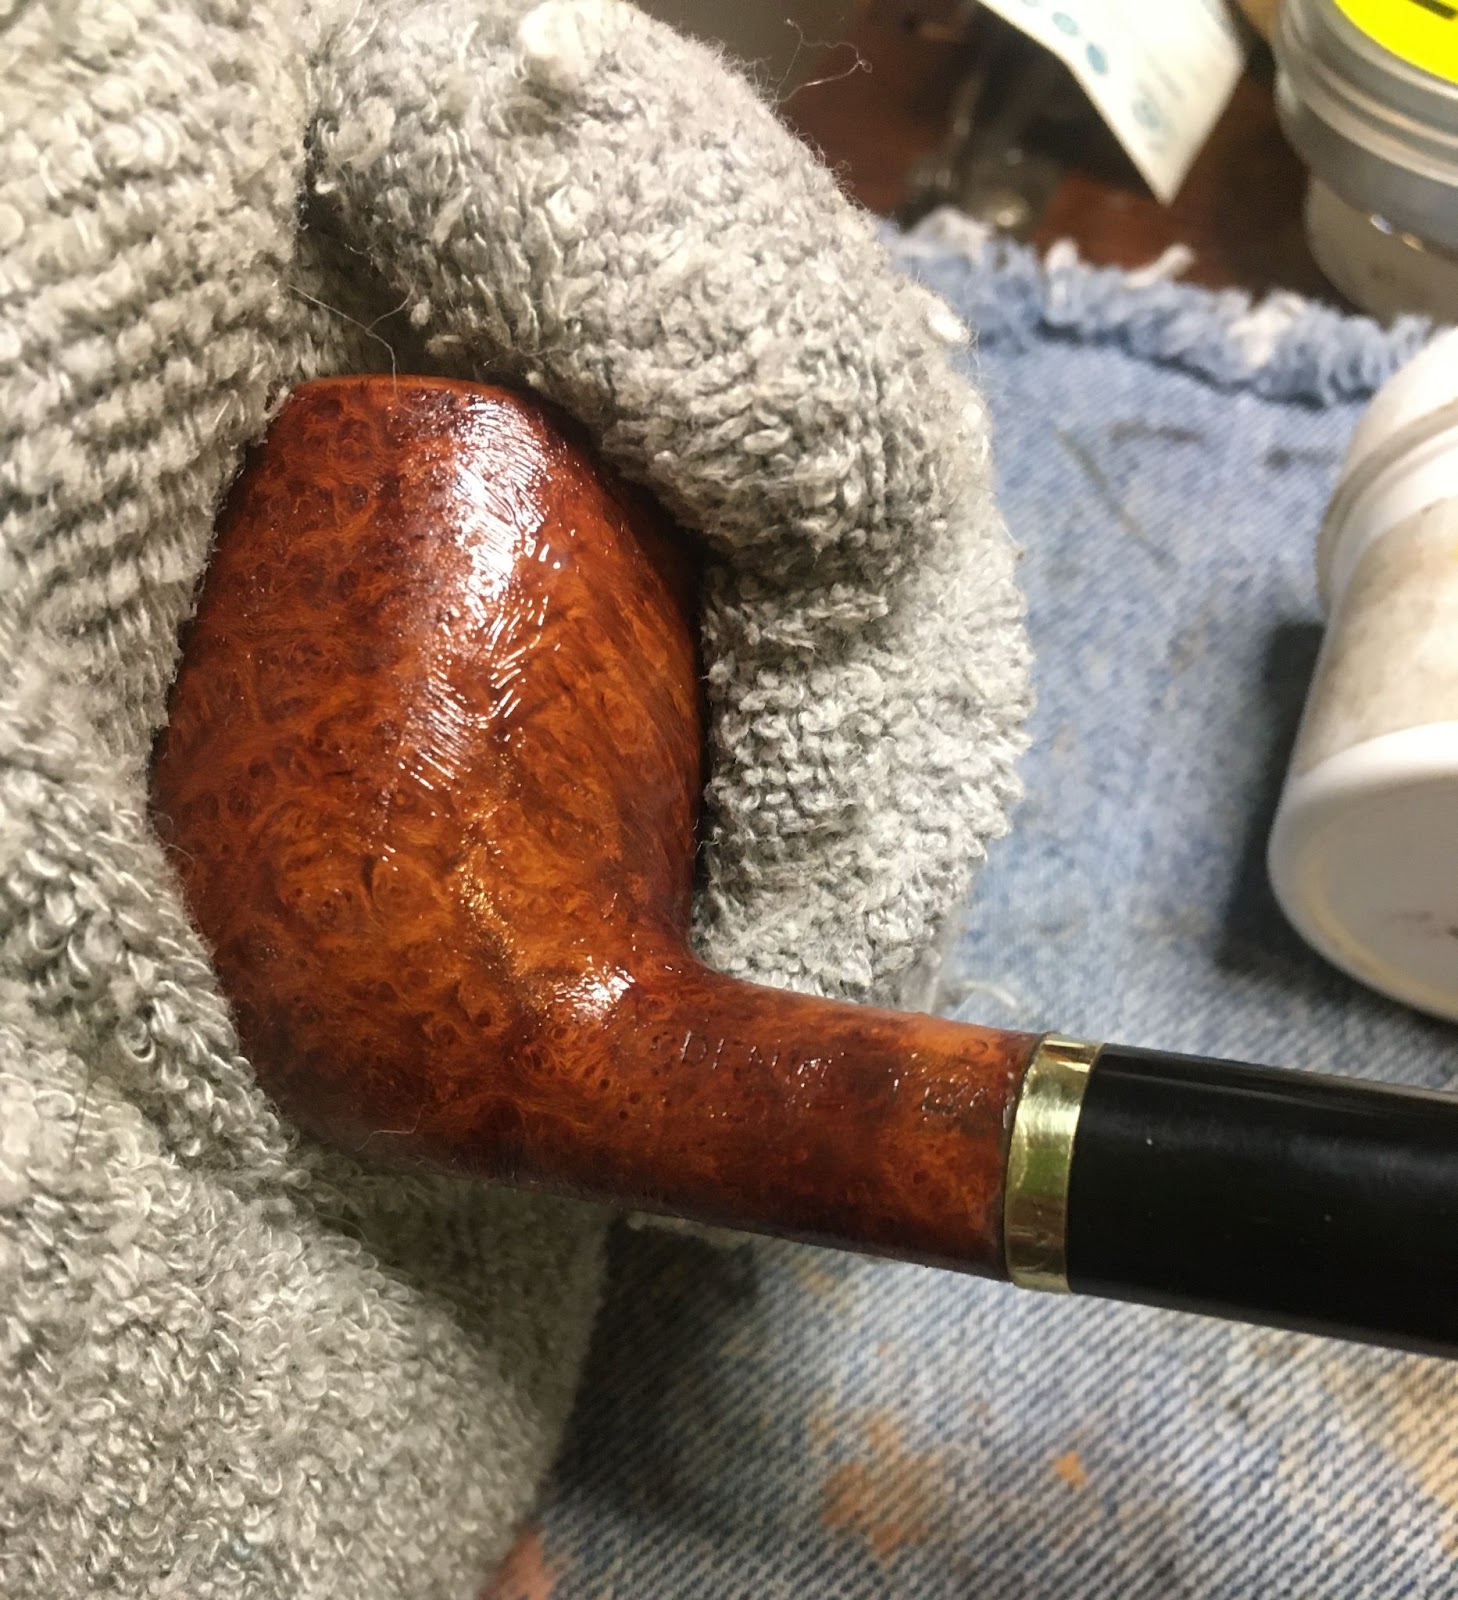
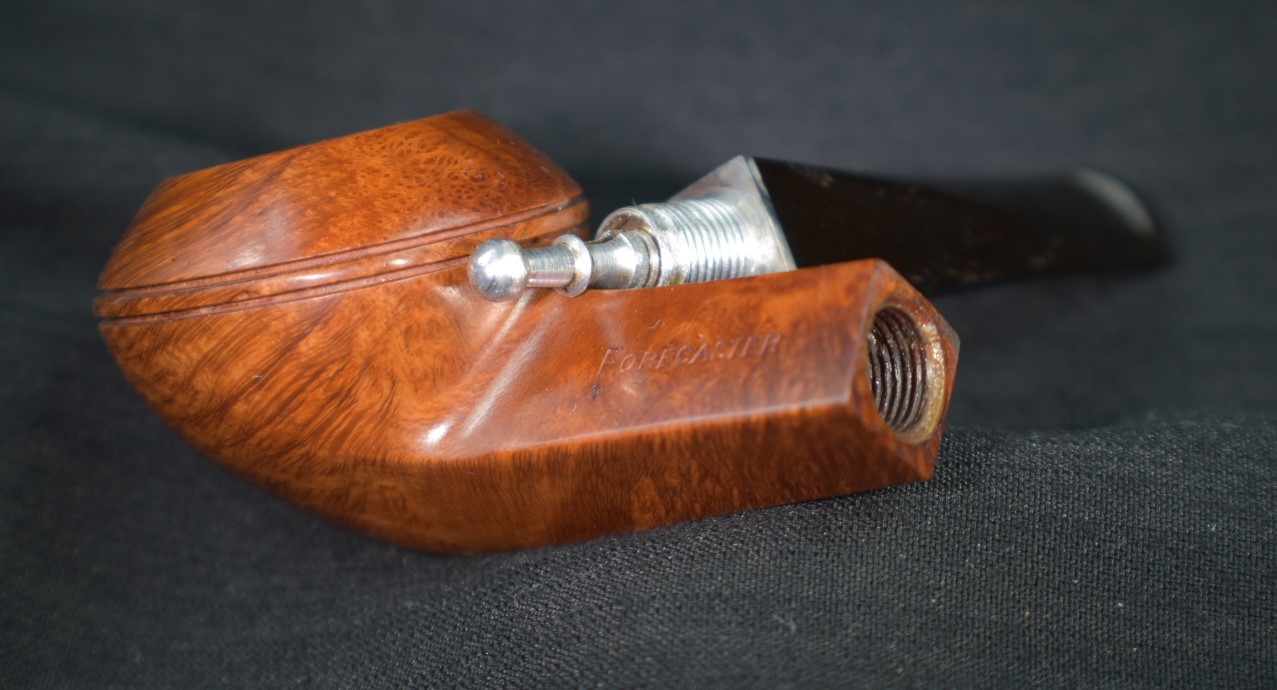
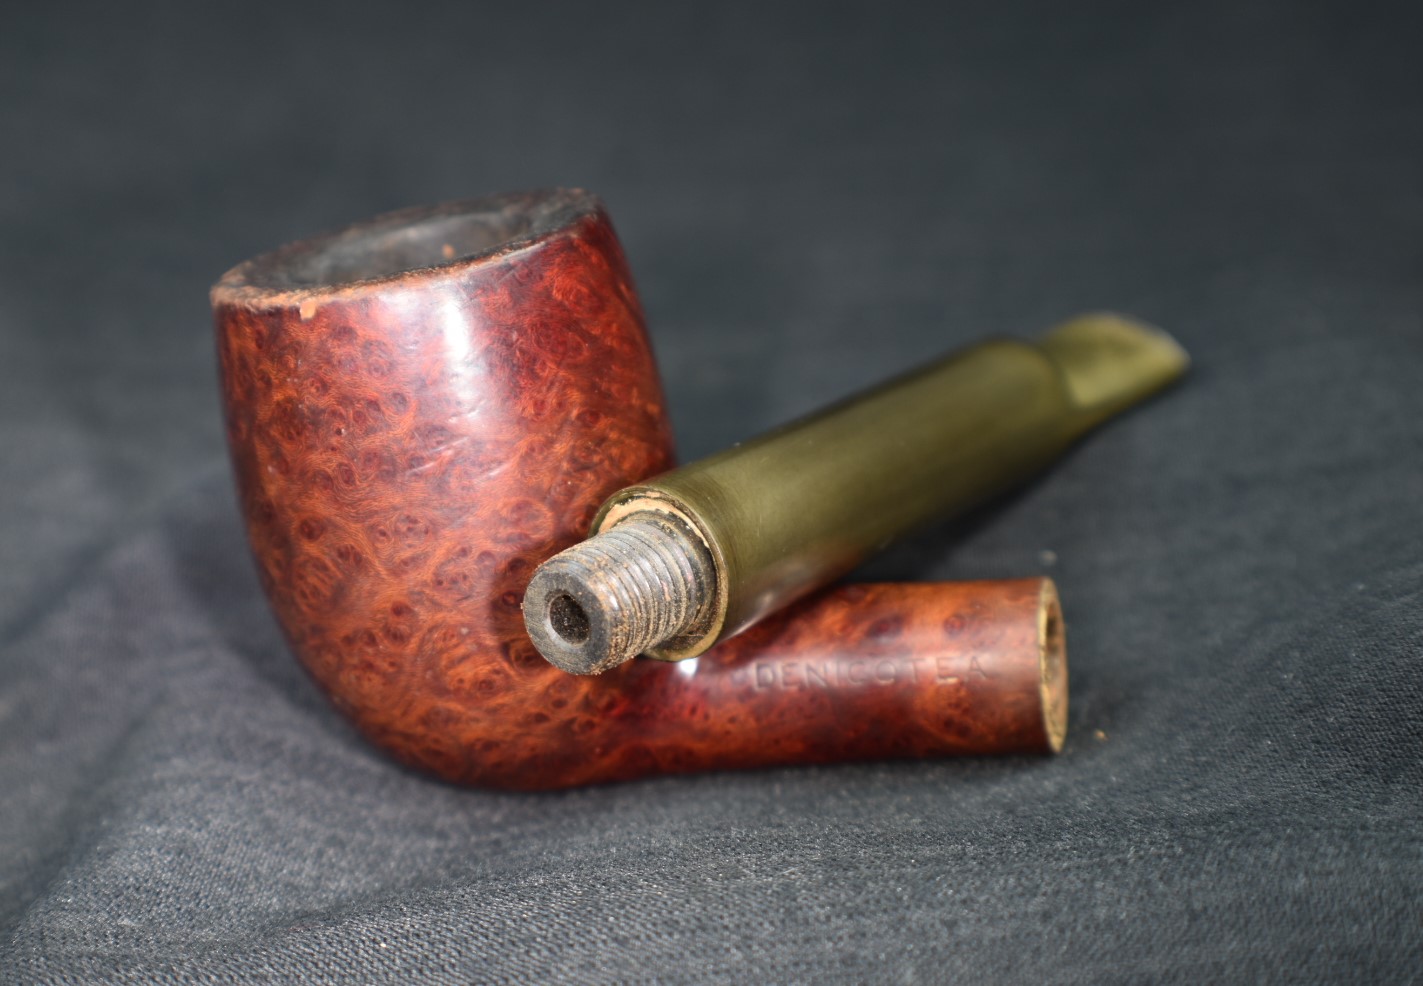
Throughout the above cleaning I was thinking about the silver band. I had tried removing it after the murphy’s scrubbing, alcohol wiping, and now again after the alcohol rich shank cleaning. If there had been glue used to fix the band I could not loosen it with water, soap, or alcohol. I tried a bit of acetone to see if that would penetrate under the band and loosen the grip of the band on the shank. Nothing seed to work. Whomever had installed this band fit it very tightly to the shank. I thought about heating it with a heat gun to try to remove it but decided that it really was a pretty well done banding. How might it look if I just polished it? I tried that.

The band polished nicely and I decided to stop worrying about it. This was going to be a personal use pipe and I was okay with having a couple of letters of the stampings covered.
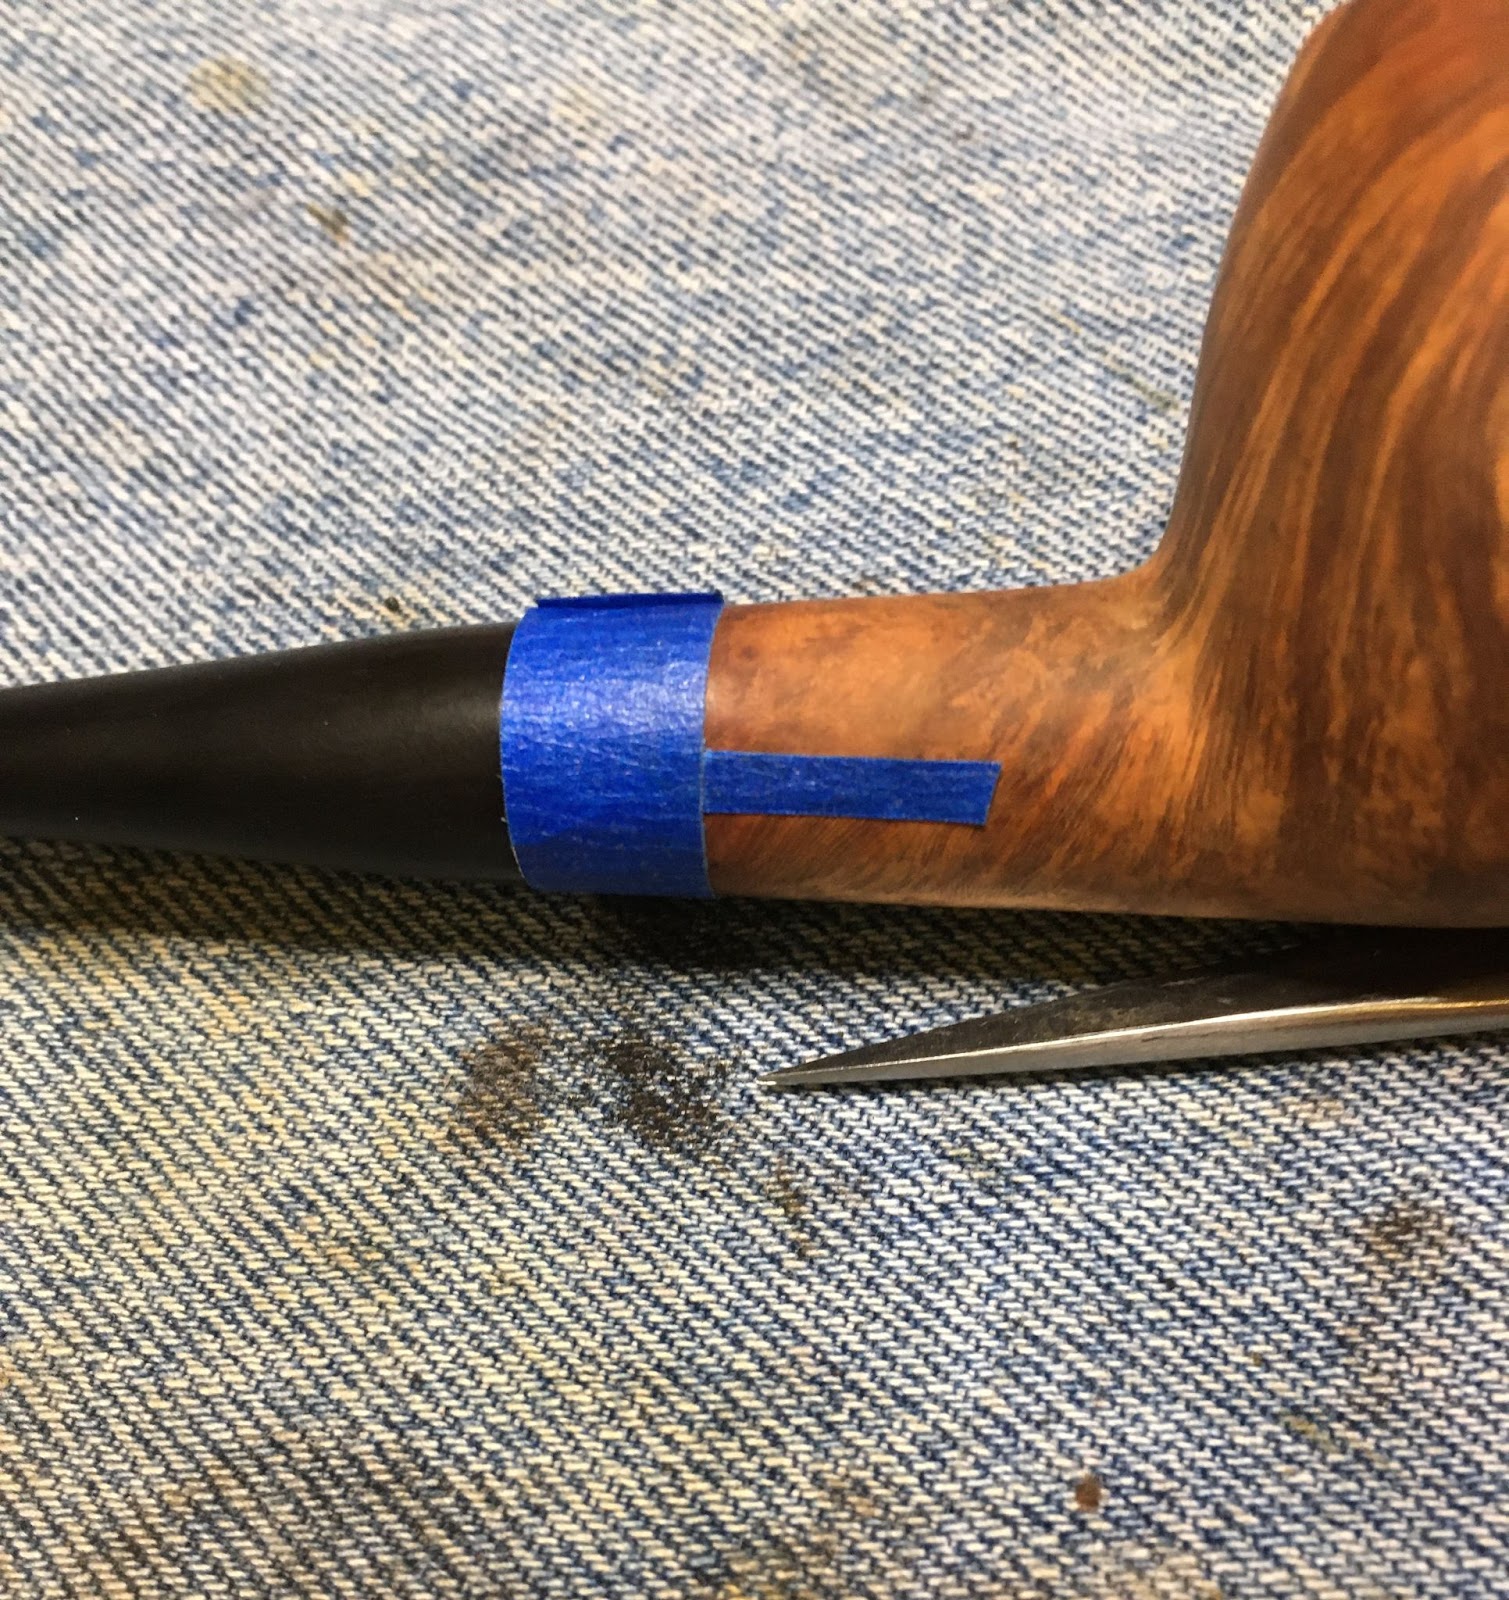
I then taped the stamps and the silver with painters tape to protect them from the sanding which was to occur next.

The stem and stummel were sanded with a sequence of sanding sponges from 400-3500. Between each sponge the stummel was wiped with an alcohol moistened make-up pad while the stem received a bit of mineral oil from my finger and was wiped with a clean paper towel.

Finishing the sanding, I removed the painters tape and vigorously rubbed any remaining adhesive off with a make-up pad and alcohol. I then used the 4000-12000 micro-mesh pads in sequence on both the stummel and stem. As with the sanding sponges, the stummel was wiped with alcohol on a make-up pad between pads. The stem received a small drop of Obsidian Oil, rubbed in and wiped with a paper towel between pads.
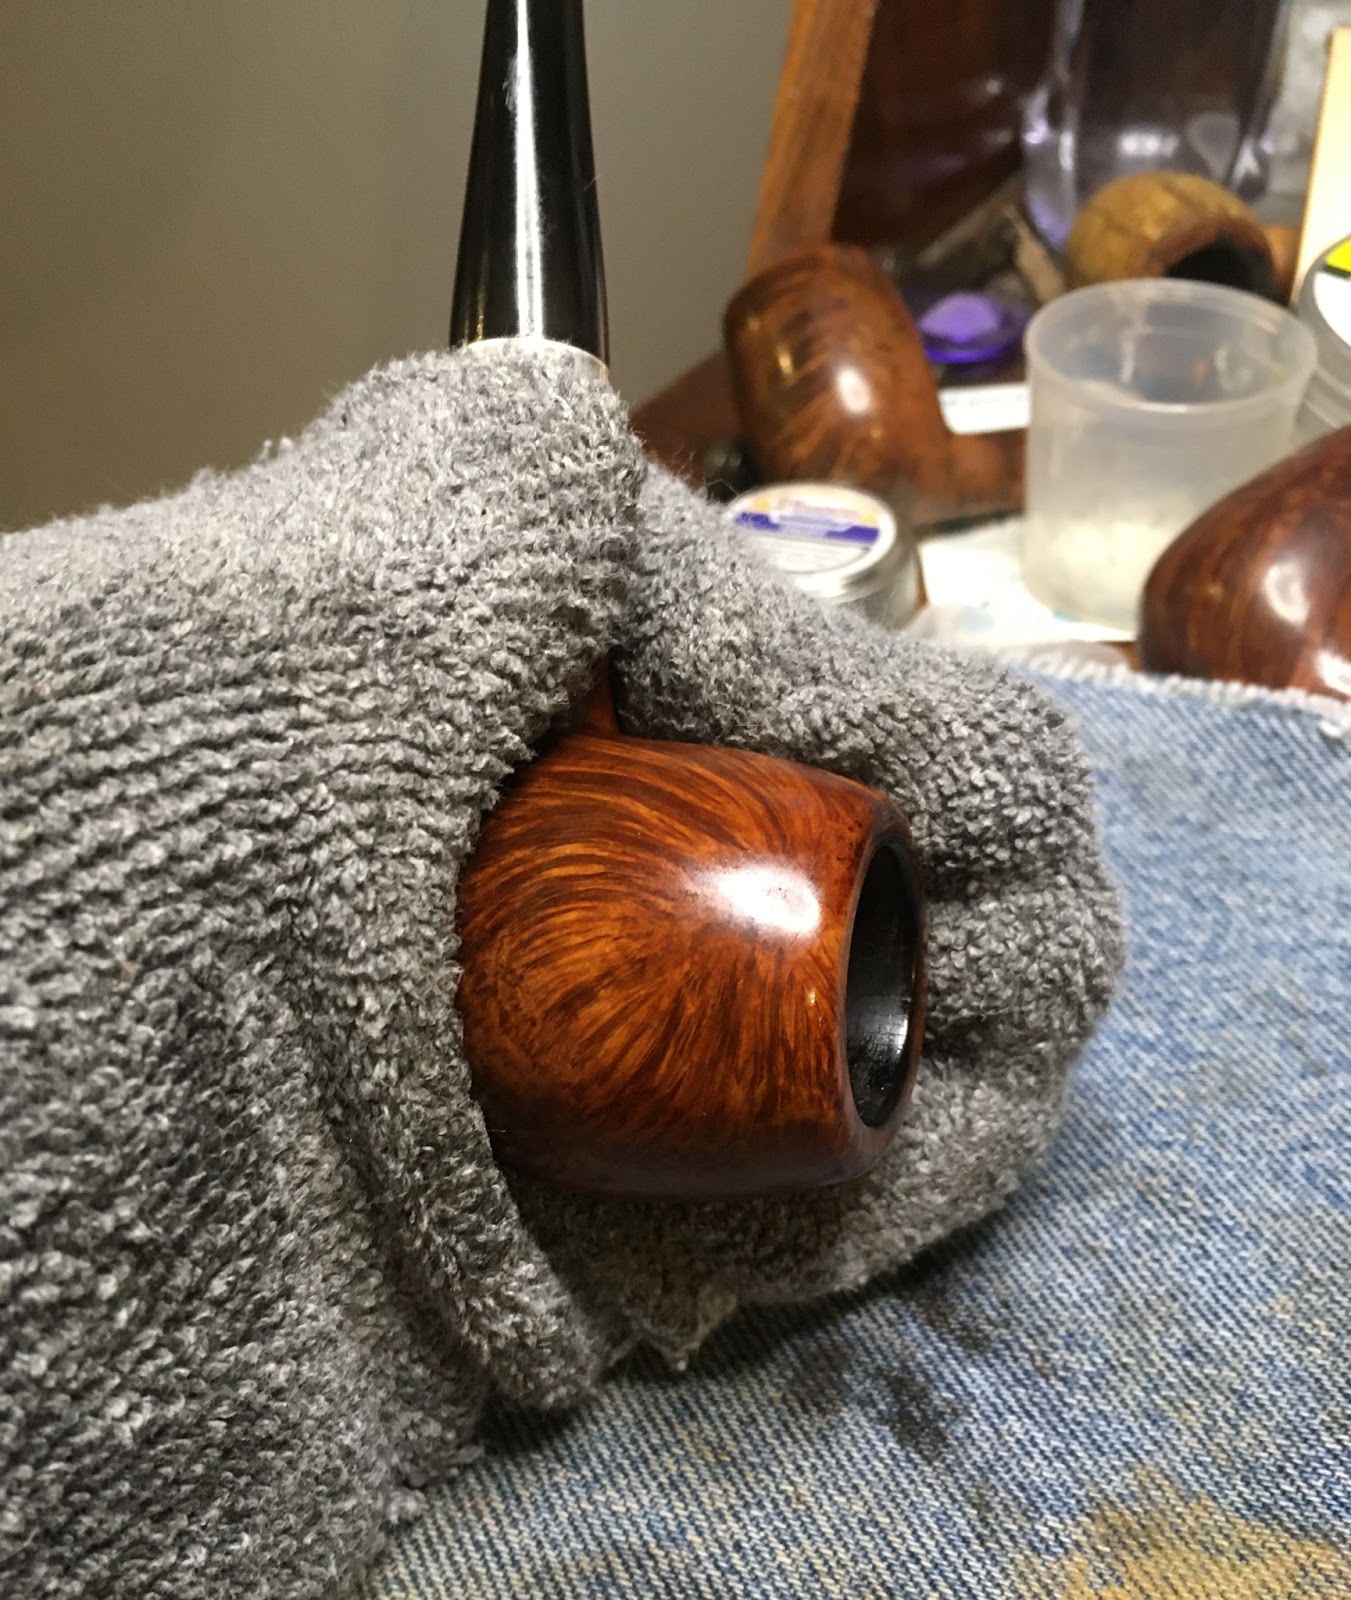
The stummel was then coated in Before and After Restoration Balm and allowed to sit for 30 minutes.

30 minutes later the excess Restoration Balm was wiped off with an inside out athletic sock. The balm had worked it’s magic and the stummel looked fantastic.
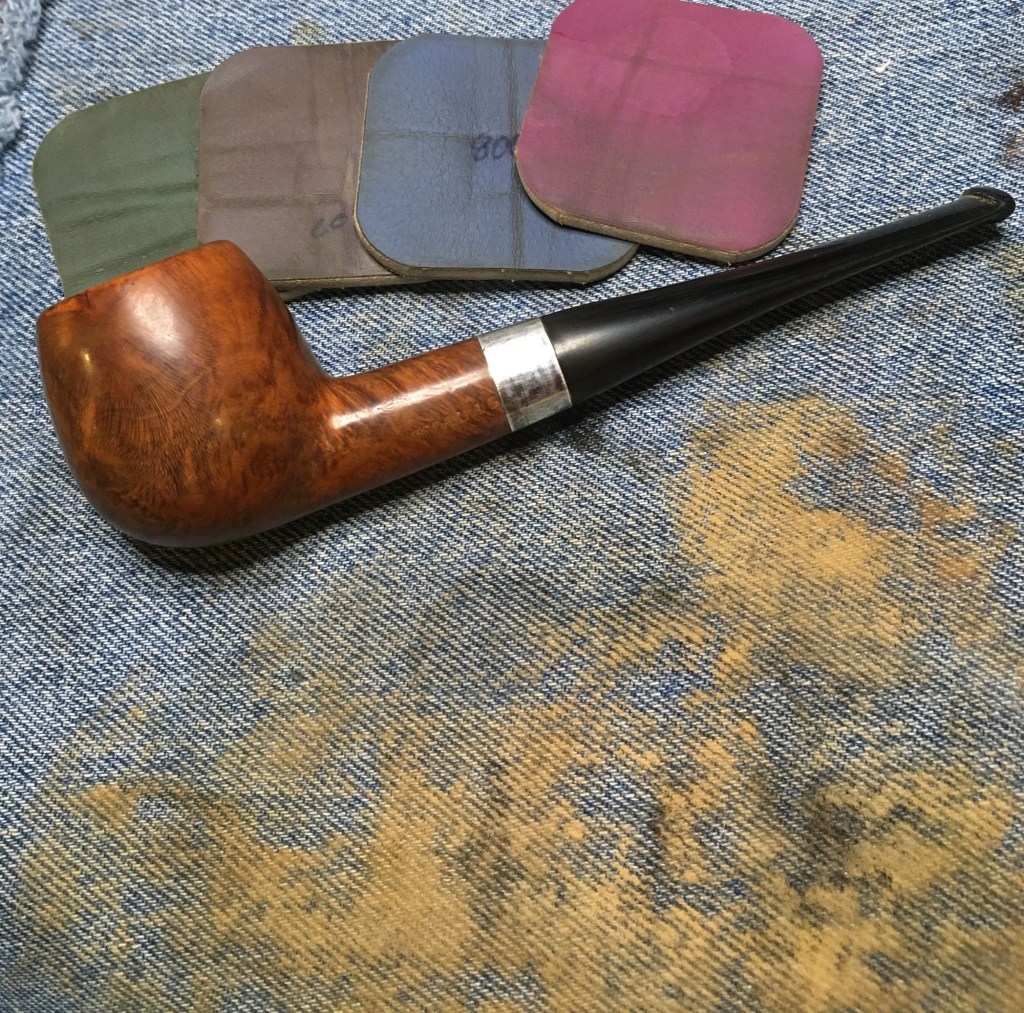
The final polishing of the stem was done with Before and After Fine Polish. This was applied by a fingertip and hand buffed with a soft cotton cloth.

The Fine Polish was followed by Before and After Extra Fine Polish applied and buffed the same way.

The final step was to take the pipe to the buffer where it received several coats of carnauba wax. After the wax was applied and buffed I hand buffed the pipe with a nanofiber polishing cloth in an attempt to improve on the already exquisite shine.
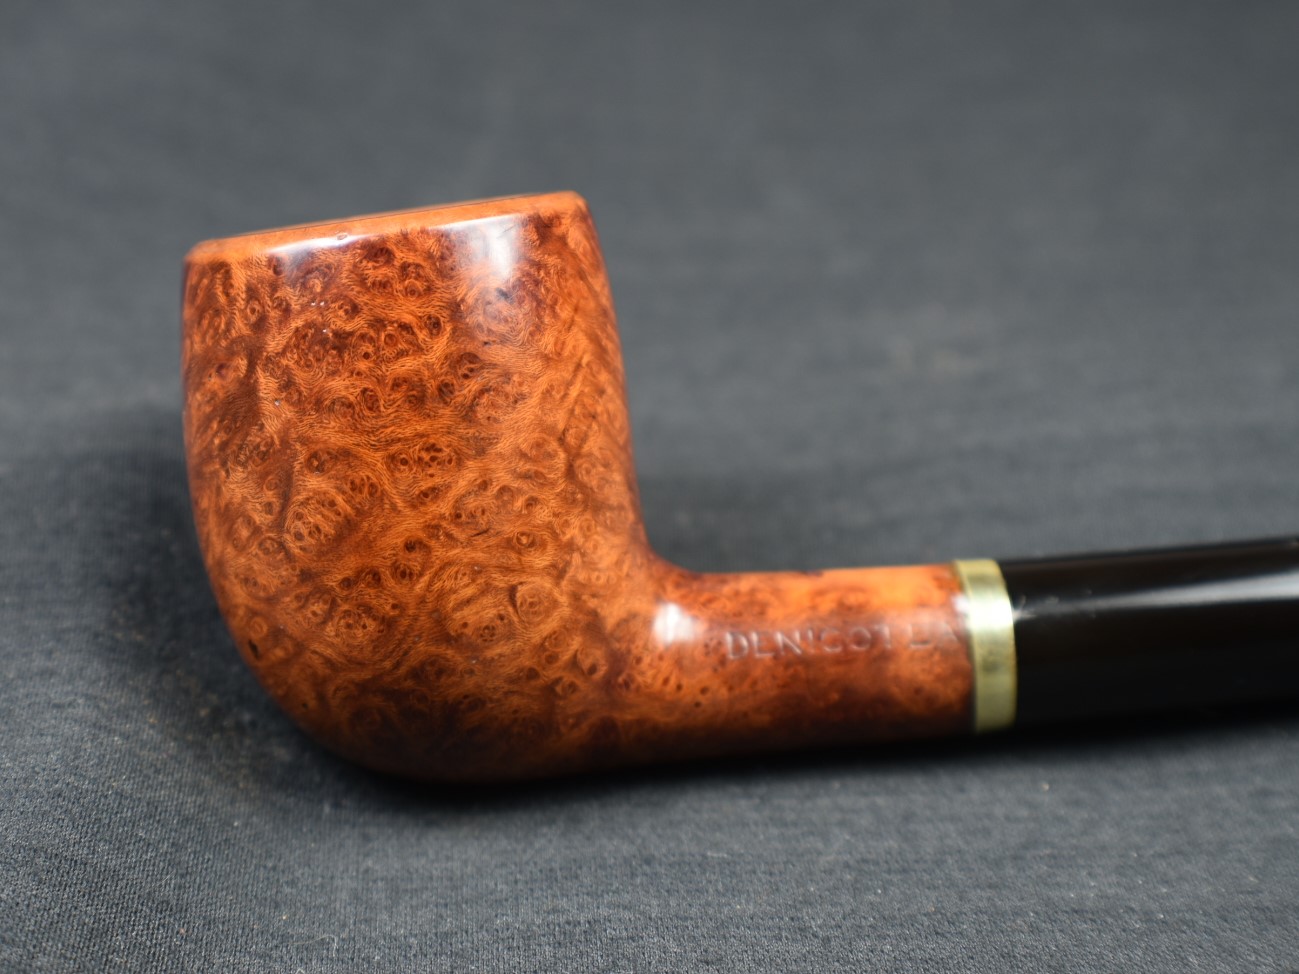
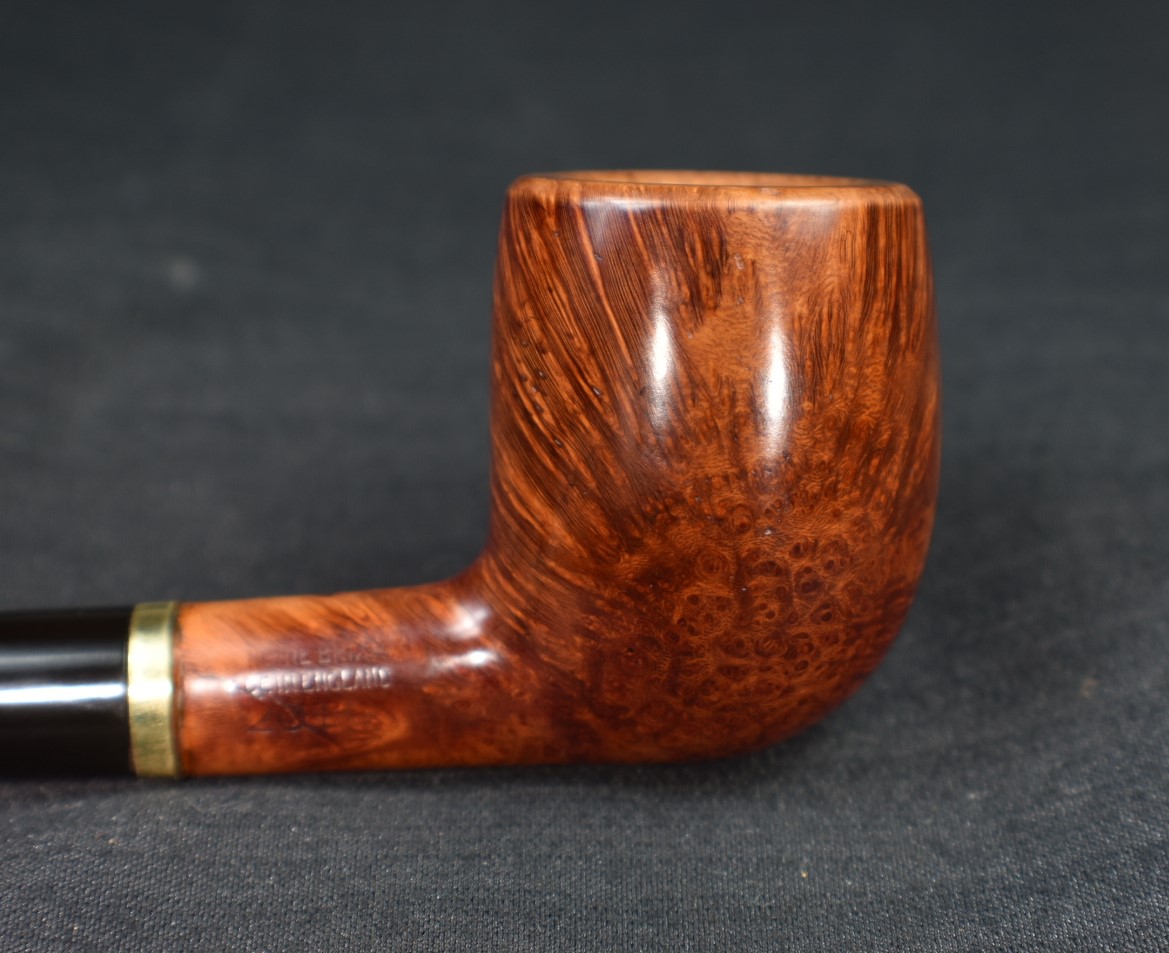
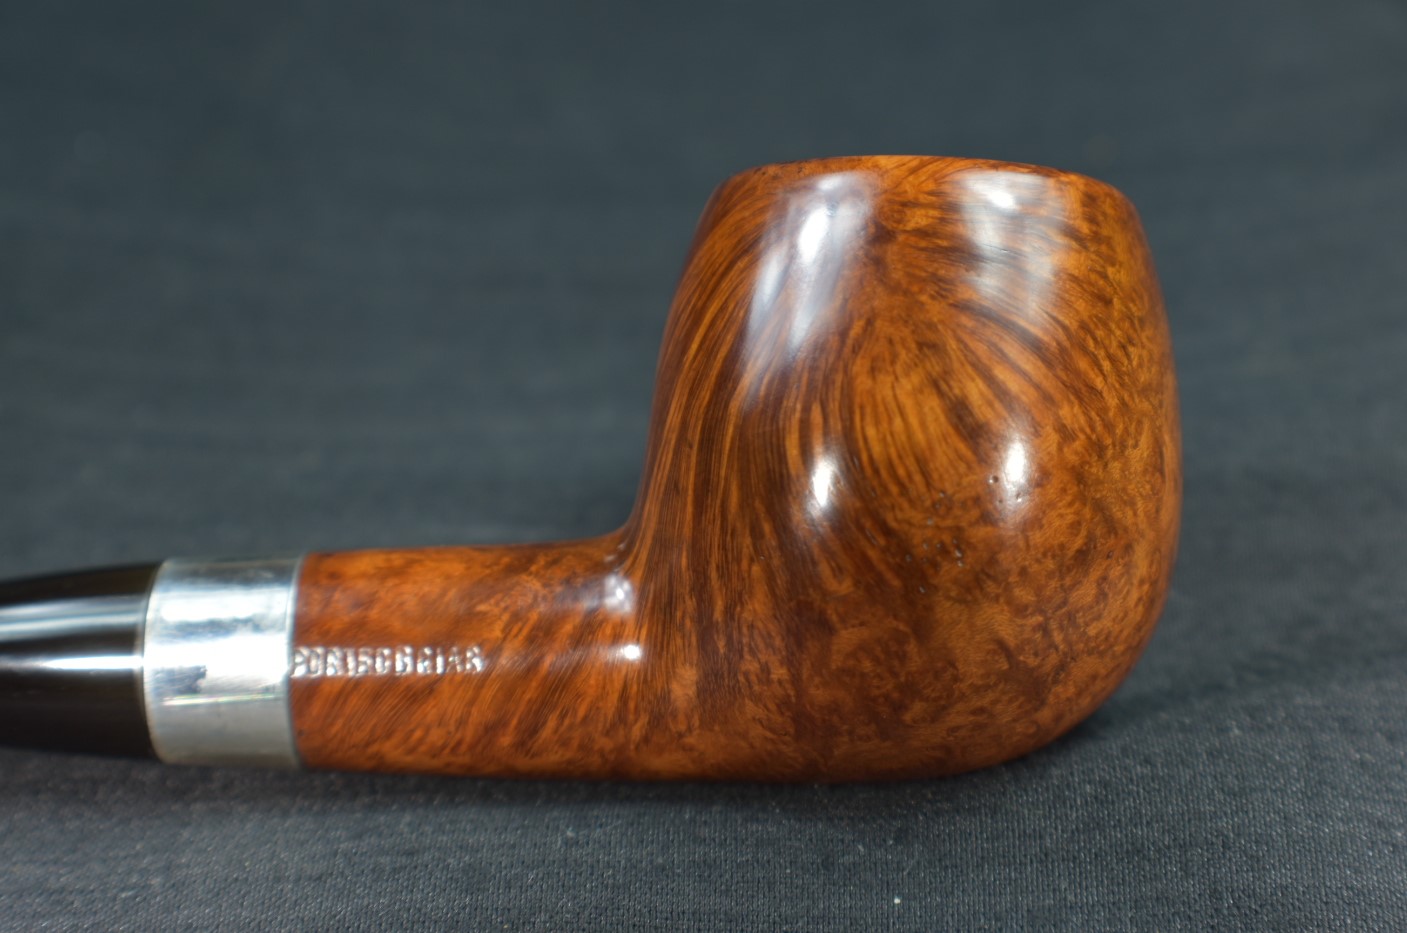
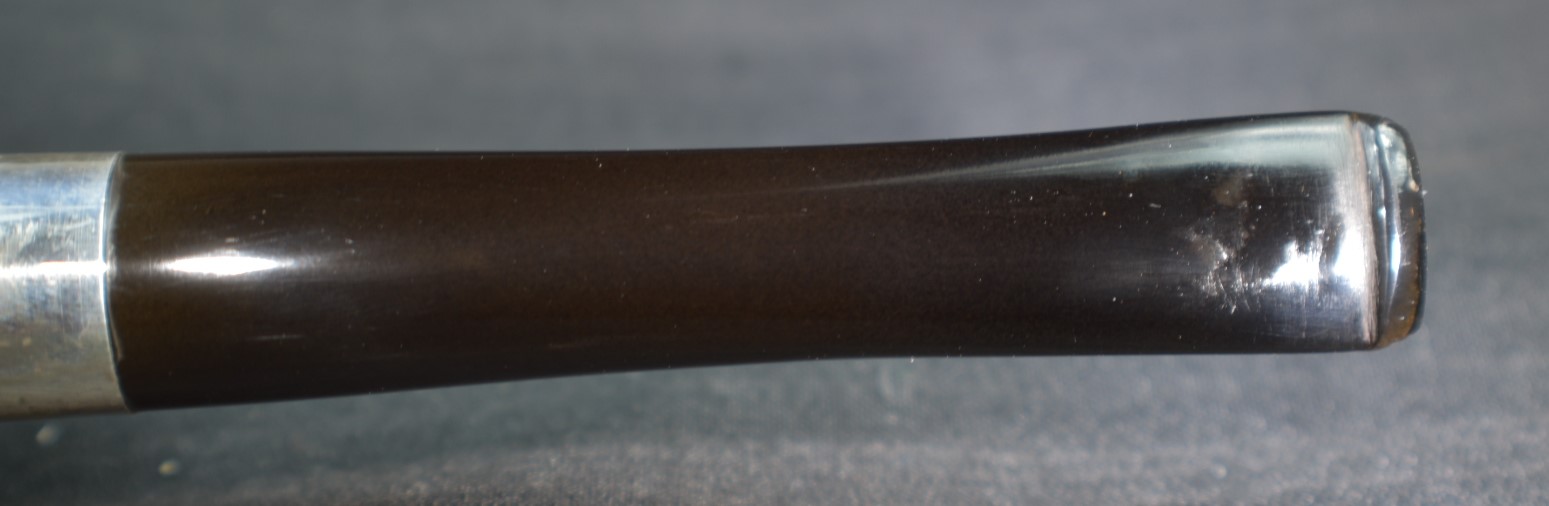
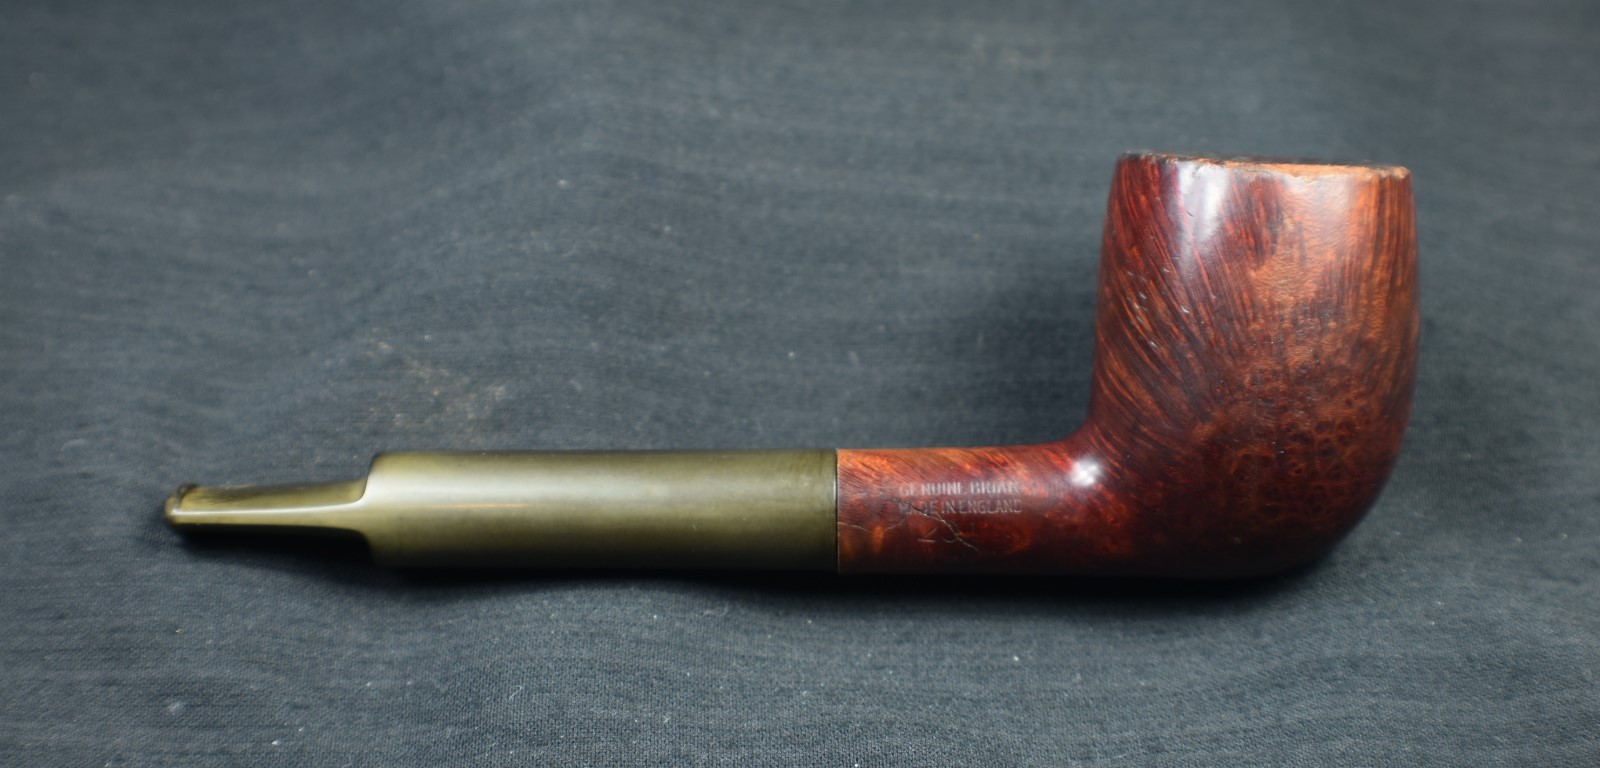
I am pleased with the restoration of this Malaga Large Apple. I have also filled the ample bowl with tobacco and given this old girl a “test drive”. Steve Laug was quite right, Malaga pipes are fine smokers. The grain of this pipe is beautiful with flame-like patterns especially on the right side. The stem also cleaned up well. I did notice a metal fleck in the rubber. This usually indicated recycled rubber and was typical during the years around the Second World War. Perhaps that gives a clue to the age of this pipe. I do wish that it had not experienced a shank crack but the repair was done well and I think the silver band looks quite acceptable. The only other flaw is the small crack on the rim. I think that is superficial and did not think that it needed any attention. The dimensions of this Malaga Large Apple are:
Length: 6.10 in./ 154.94 mm.
Weight: 1.73 oz./ 49.10 g.
Bowl Height: 1.78 in./ 45.21 mm.
Chamber Depth: 1.42 in./ 36.07 mm.
Chamber Diameter: 0.83 in./ 21.08 mm.
Outside Diameter: 1.61 in./ 40.89 mm.
I do hope that you have found something here useful to your own pipe care, maintenance or restorations. If you like this sort of thing, please click the like and subscribe buttons. Thank you for reading the ramblings of an old pipe lover.
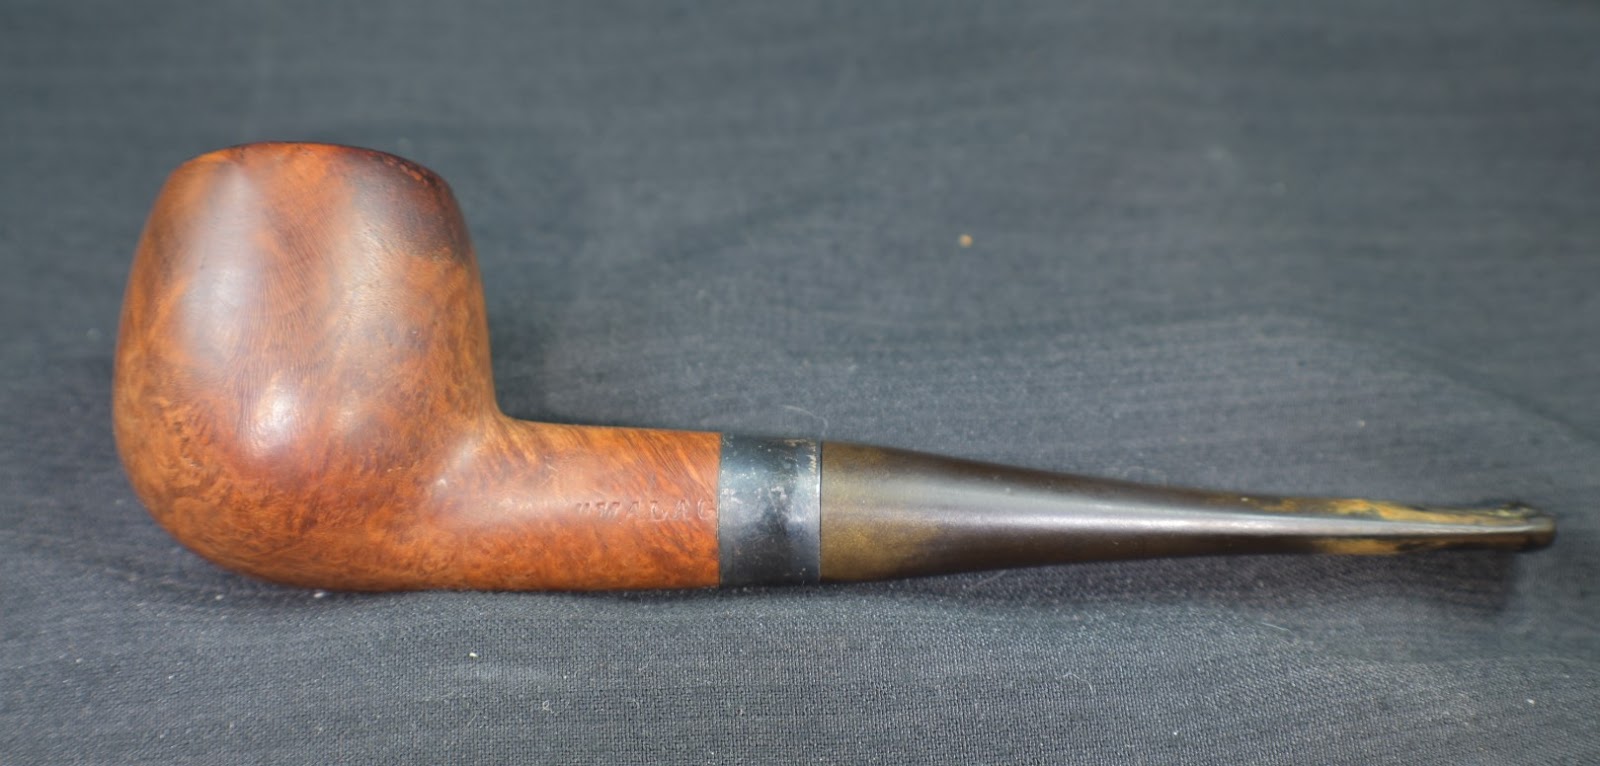
Below are some photos of the finished Malaga Large Apple.


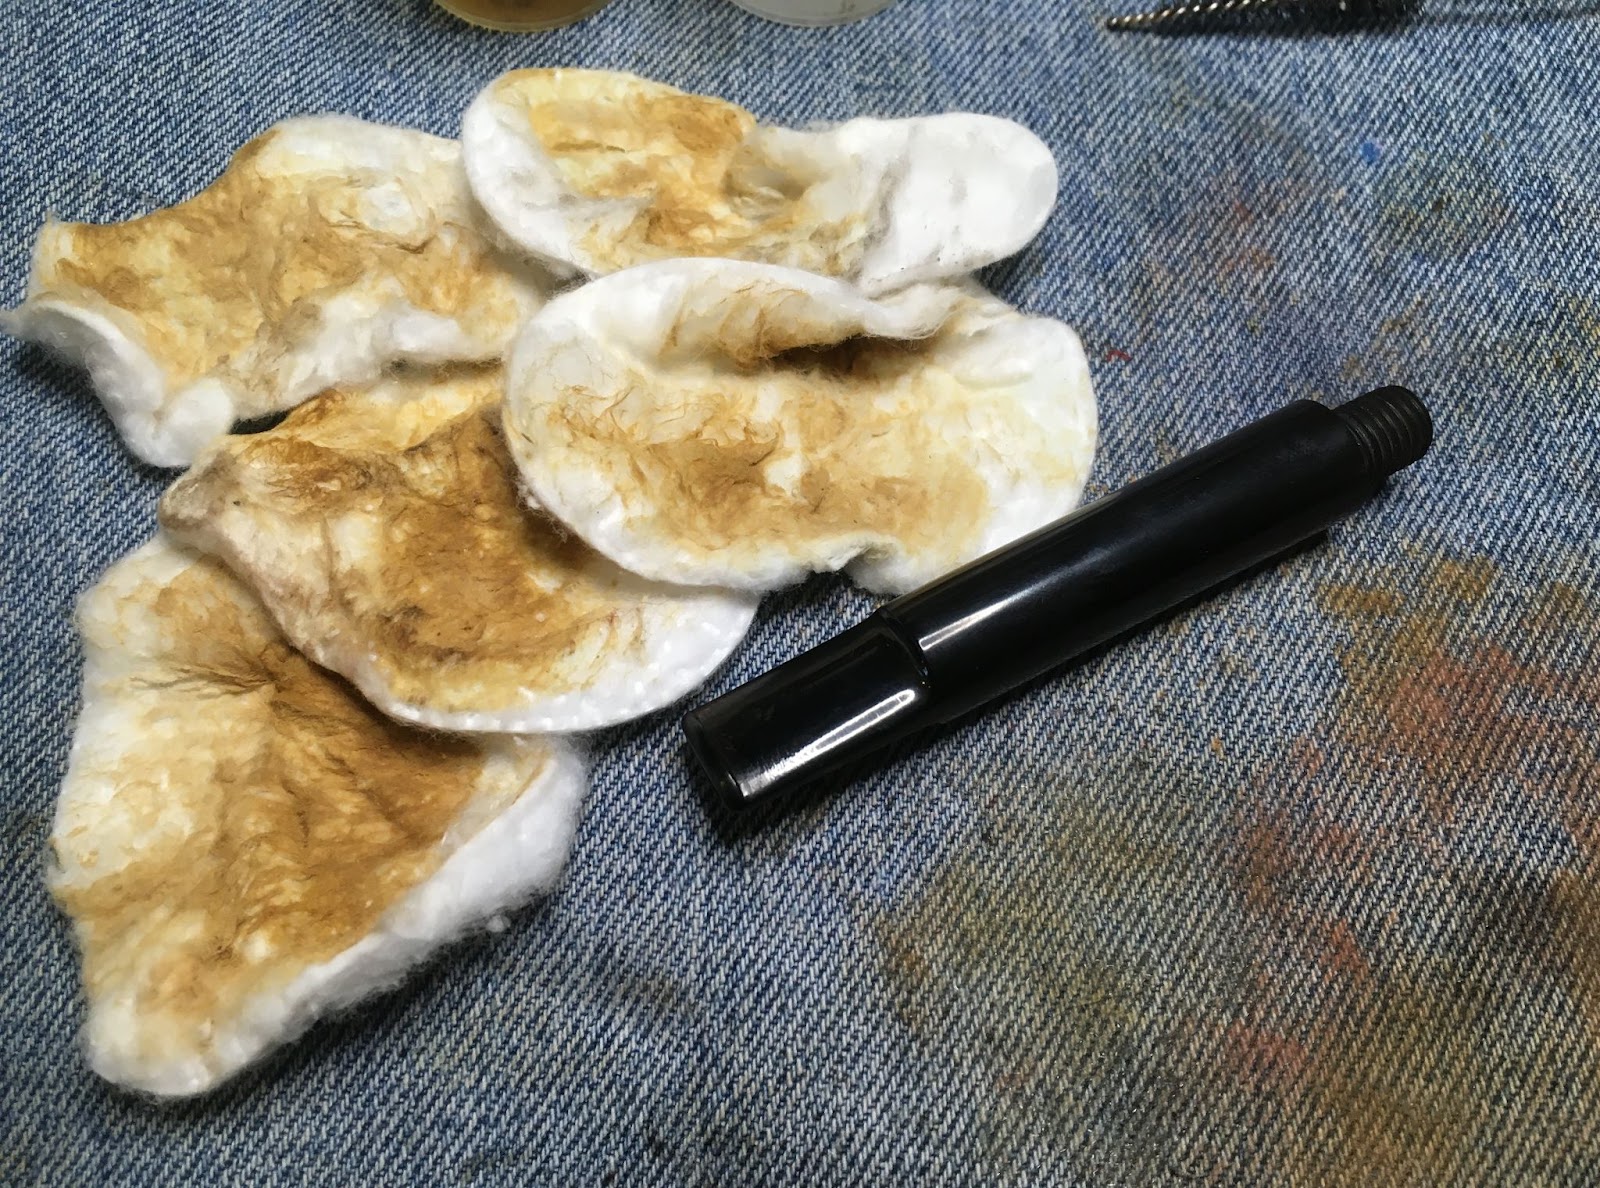
 A second make-up pad yielded similar results. I sanded the stummel with a 320 sanding sponge and wiped the stummel with a make-up pad wetted with acetone. The acetone also was removing red stain. Additional wipes finally freed the red from the briar and I was able to proceed.