
Photographed and written by
John M. Young
There it is, the apex of the Marxman line. Well in this case what is left of the apex. All that remains of this Four Hundred is the stummel. The 14 karat gold band and original stem have been lost to the ravages of time. The briar lives on clinging to her past glory. I am going to do my best to restore this former queen to her proud majesty.
Over the past three years I have only seen 3 Marxman Four Hundreds come to auction. There was one on Etsy a couple of years ago and I still kick myself for not buying it. This one and another on eBay listing for north of $200, if I recall correctly.
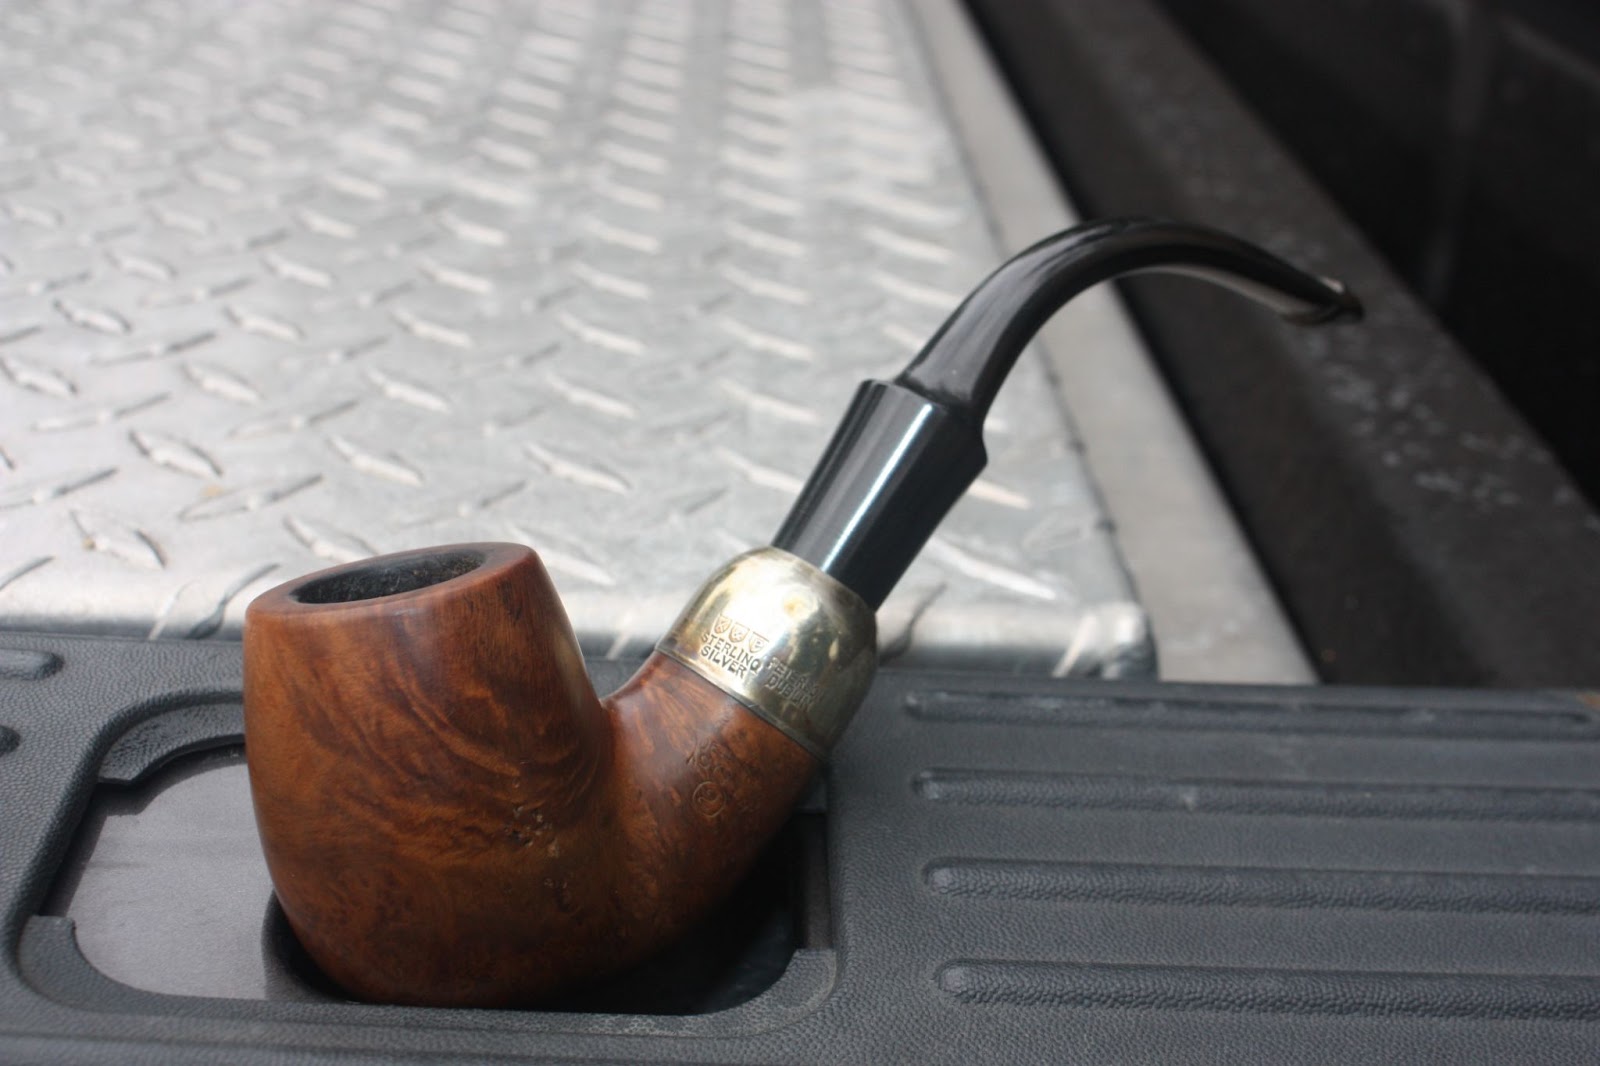
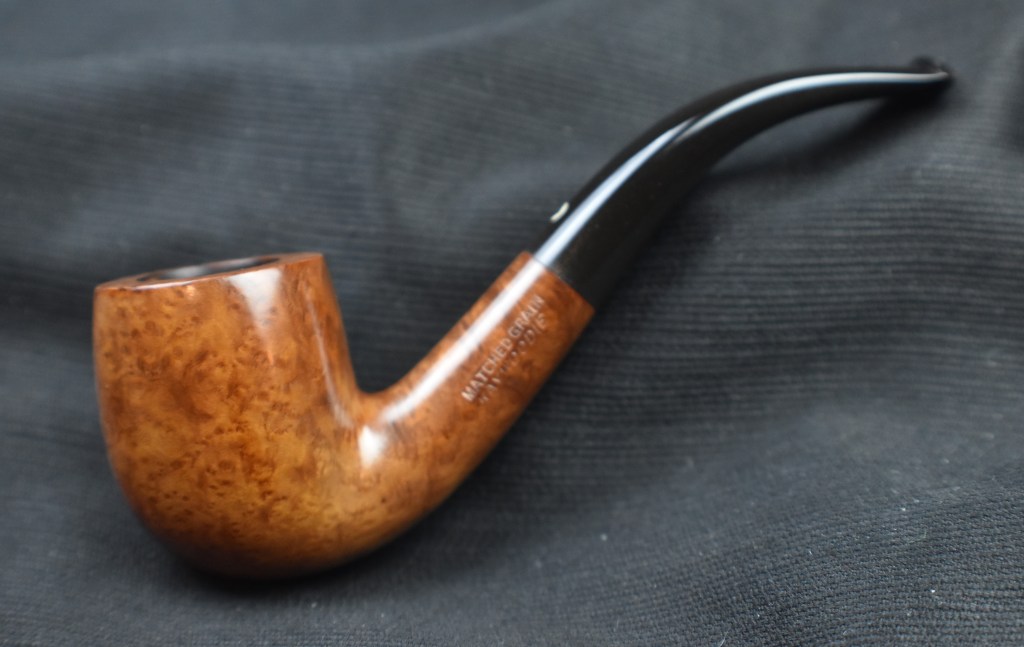
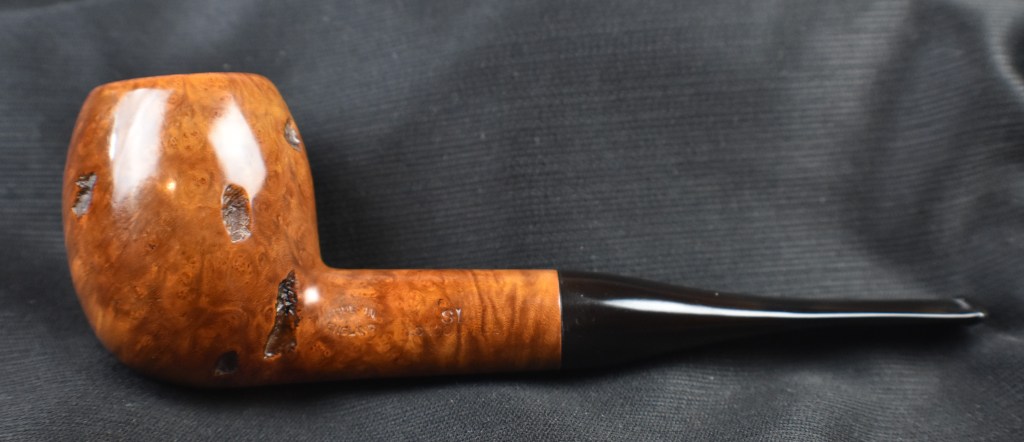
This pipe wears the stamp “The Four Hundred” in an Old English script on the bottom of the pipe, also on the bottom is “E152”. On the left shank is stamped MARXMAN within the arrow above IMPORTED BRIAR. As previously mentioned the gold band and original stem are missing. The replacement stem is stamped FRANCE around the tenon end. Below are some photos of the Marxman Four Hundred before I had done any work to the pipe.


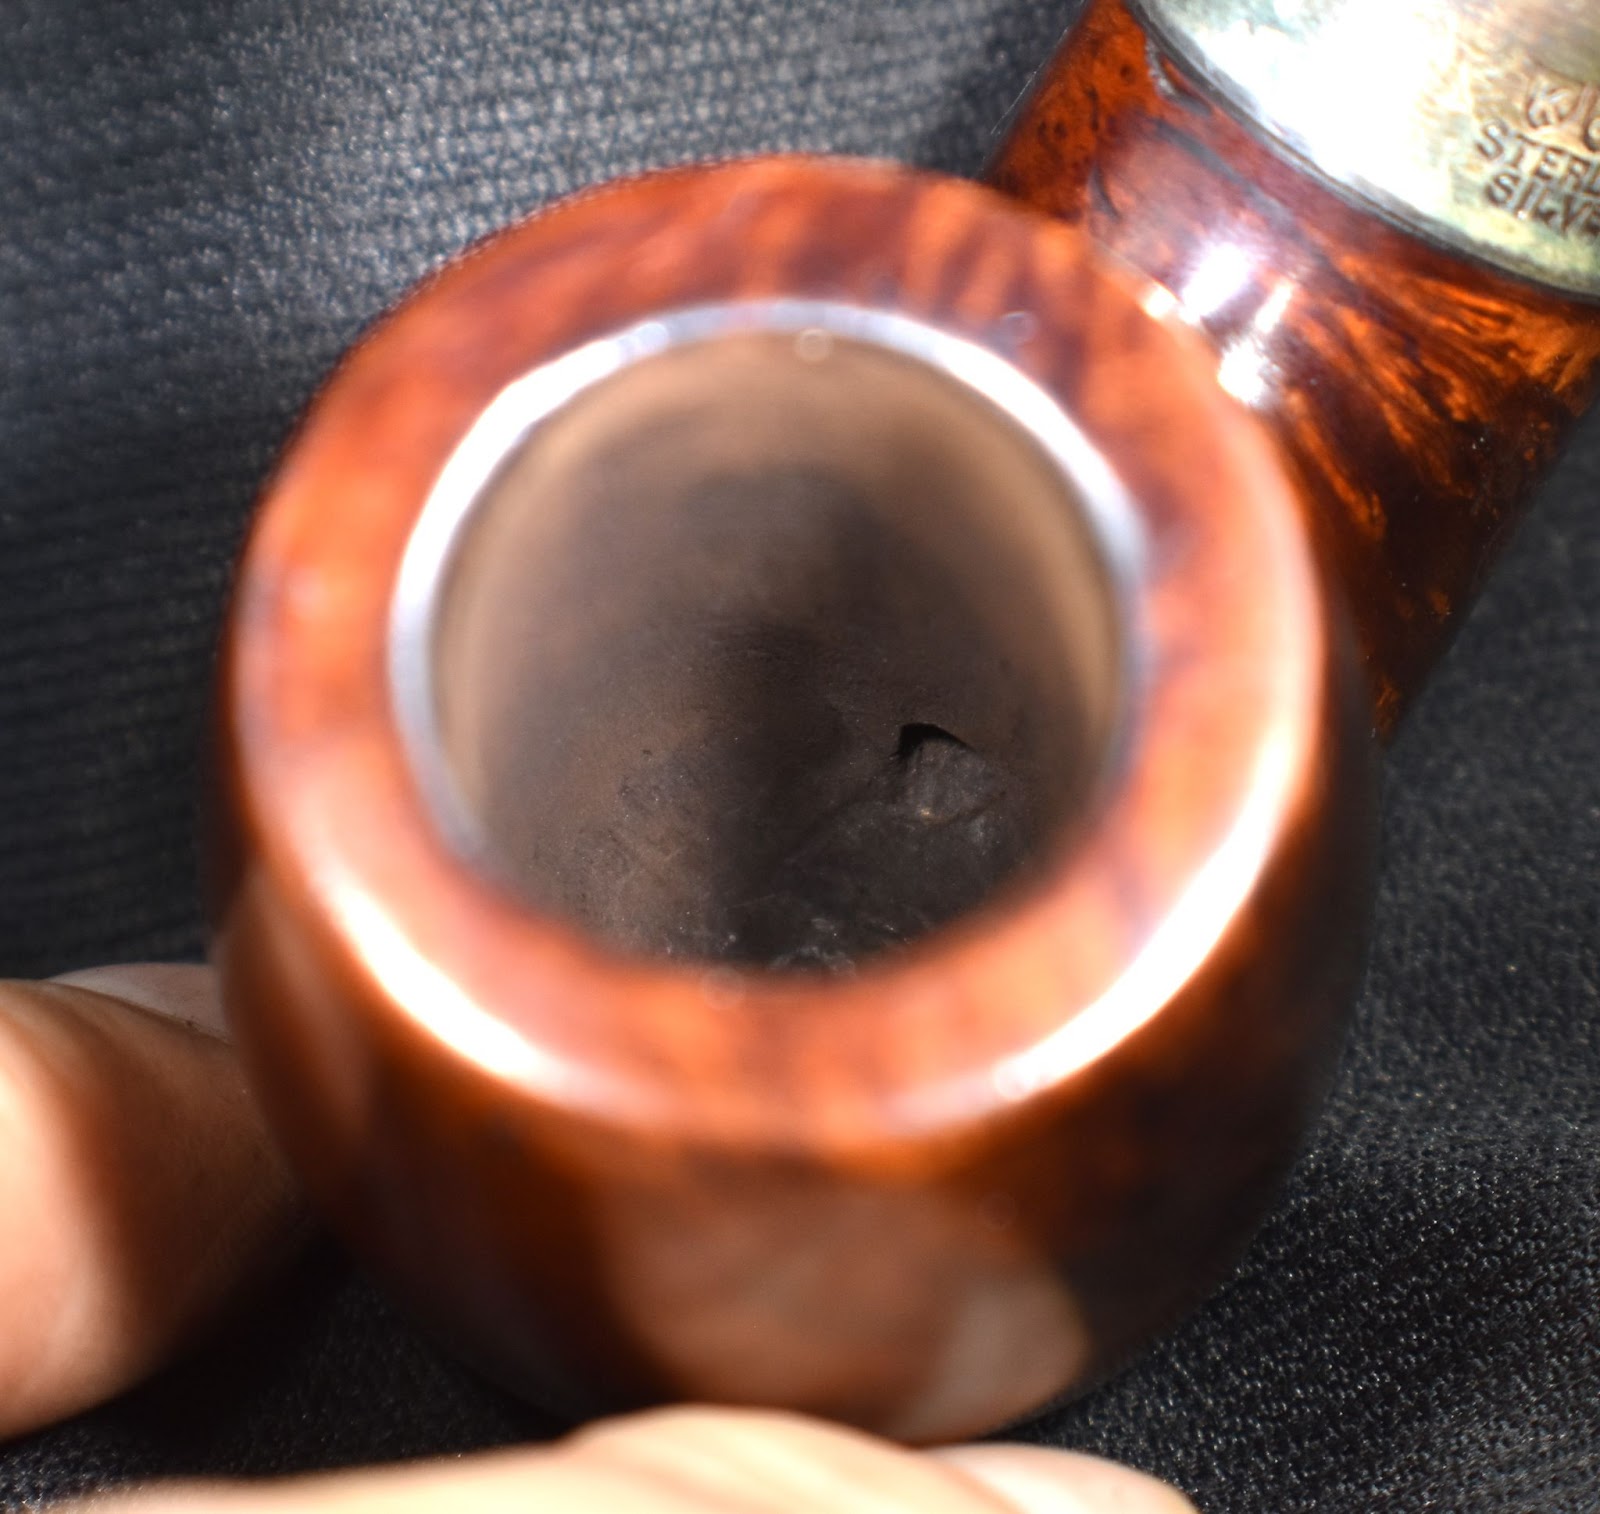
The pipe was quite dirty with years of grime on the stummel. The rim had a significant lava deposit. There was a slight superficial crack running along the front of the briar. The tobacco chamber had a substantial cake build up present and of course the ill fitting replacement stem would have to be worked on. My Four Hundred was in need of a good deal of work.
Background
According to pipedia.org: “The Four Hundred was Marxman’s best series, characterized by very large pipes. Similarly famous was the Marxman Heirloom Pipes series, with around 80 pieces produced by well-known North American sculptors, such as Jo Davidson, Cecil Howard, Charles Kopp, and RD Lewis, contracted by Bob in 1947. Today these pipes are genuine collector’s items. The series included animal and human figures, selling at extremely high prices for the time.” (https://pipedia.org/wiki/Marxman)
I have restored and blogged about several Marxman pipes over the past year. I will include a few of them here if you are interested in more of the history of the brand.
- Camel figural https://wordpress.com/post/scimansays1787.com/7445
- Jumbo C https://wordpress.com/post/scimansays1787.com/7197
- Jumbo Dublin https://wordpress.com/post/scimansays1787.com/3071
- Mel~O pear https://wordpress.com/post/scimansays1787.com/6995
The Restoration
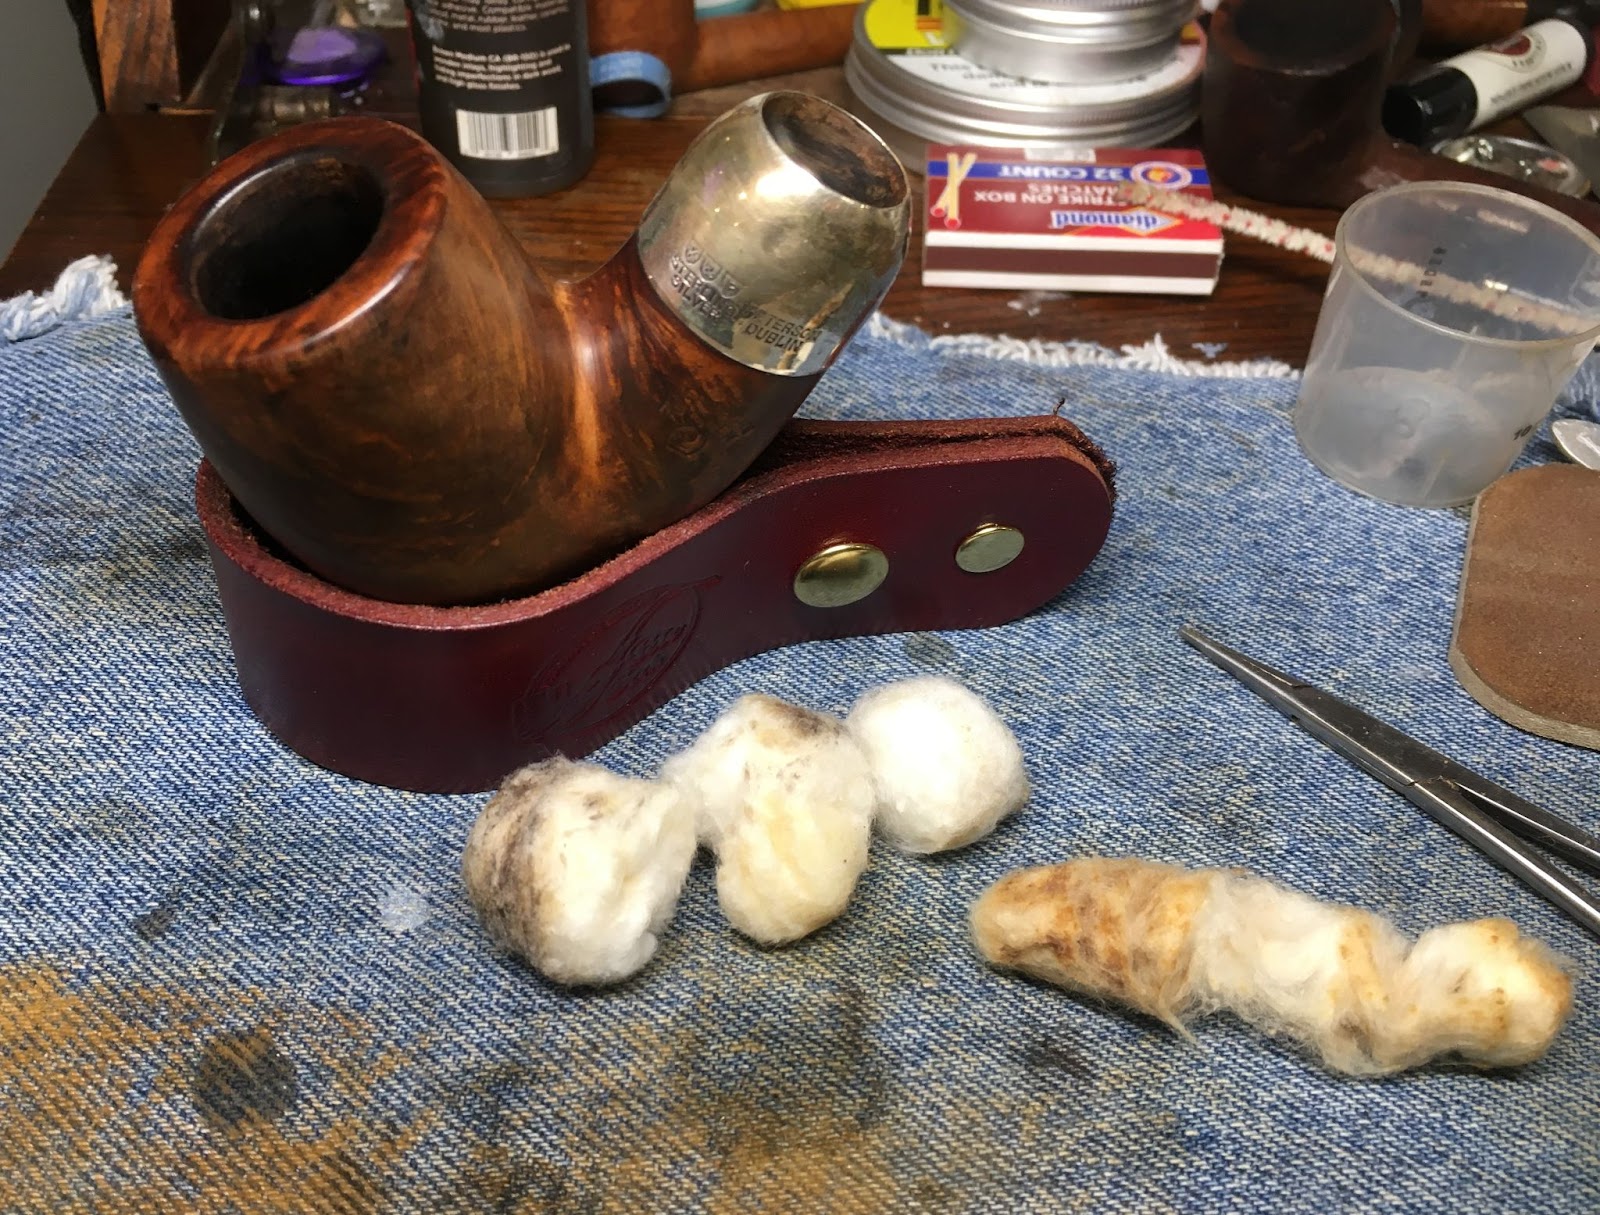
This restoration began on September 29, 2024. It is now October 29, 2024. Thank goodness for time stamps on photos. I remember the process and with the correct sequence of photos describe the restoration in detail. As usual the pipe got a clean denim piece as a work surface.

Next, the ream team was assembled. This tobacco chamber was large enough to require the large, size #4 PipNet blades along with the General triangular scraper, the Smokingpipes Low Country Reaming Knife.

I started with the PipNet and the #2 blades.

Progressing through the blades, #3 was next up.

The #4 blade was the last of the progression.

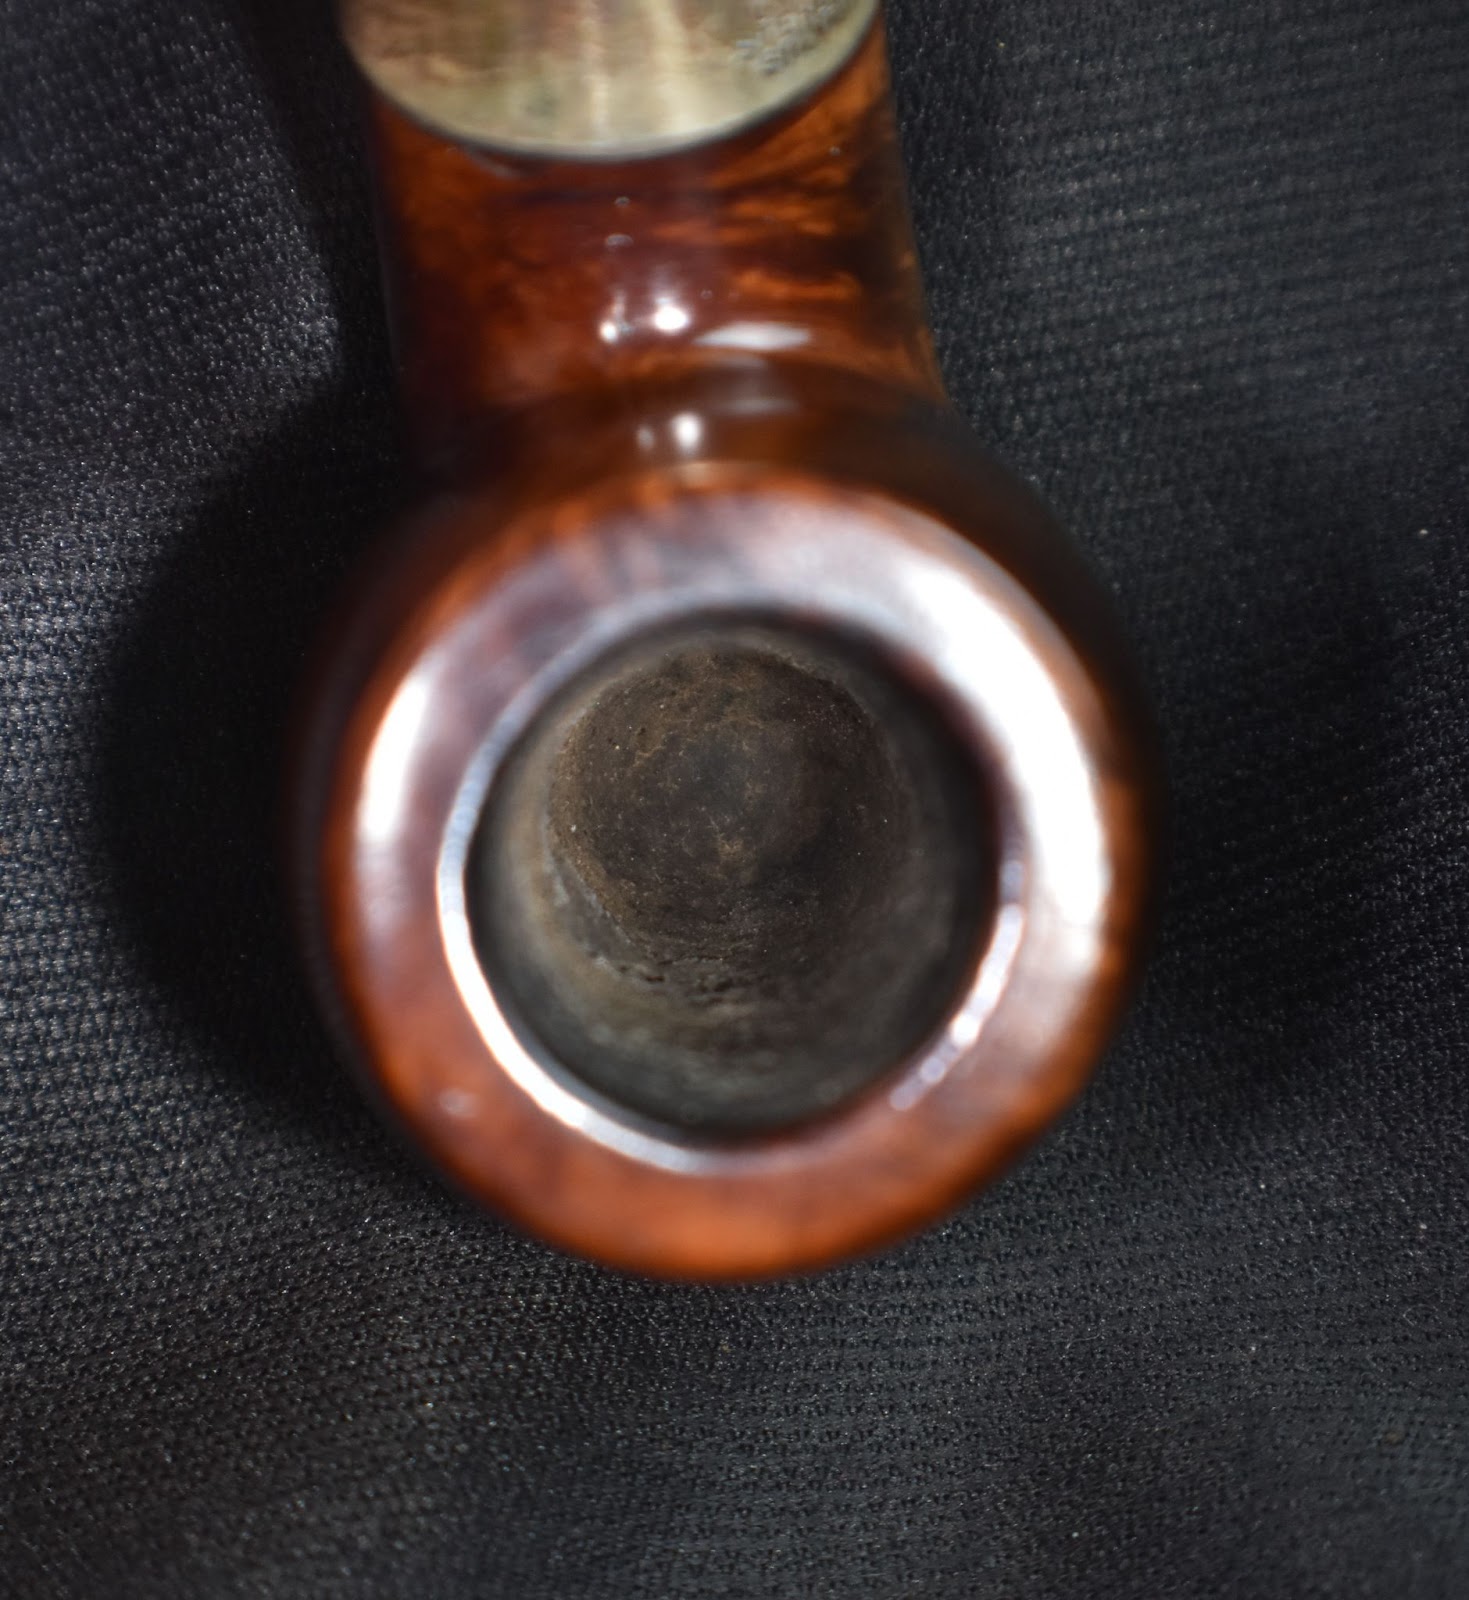
The chamber was reamed but still required sanding. This was done with 220 sandpaper wrapped around a wood dowel. You can also see from the photo below the extent of the lava on the rim.

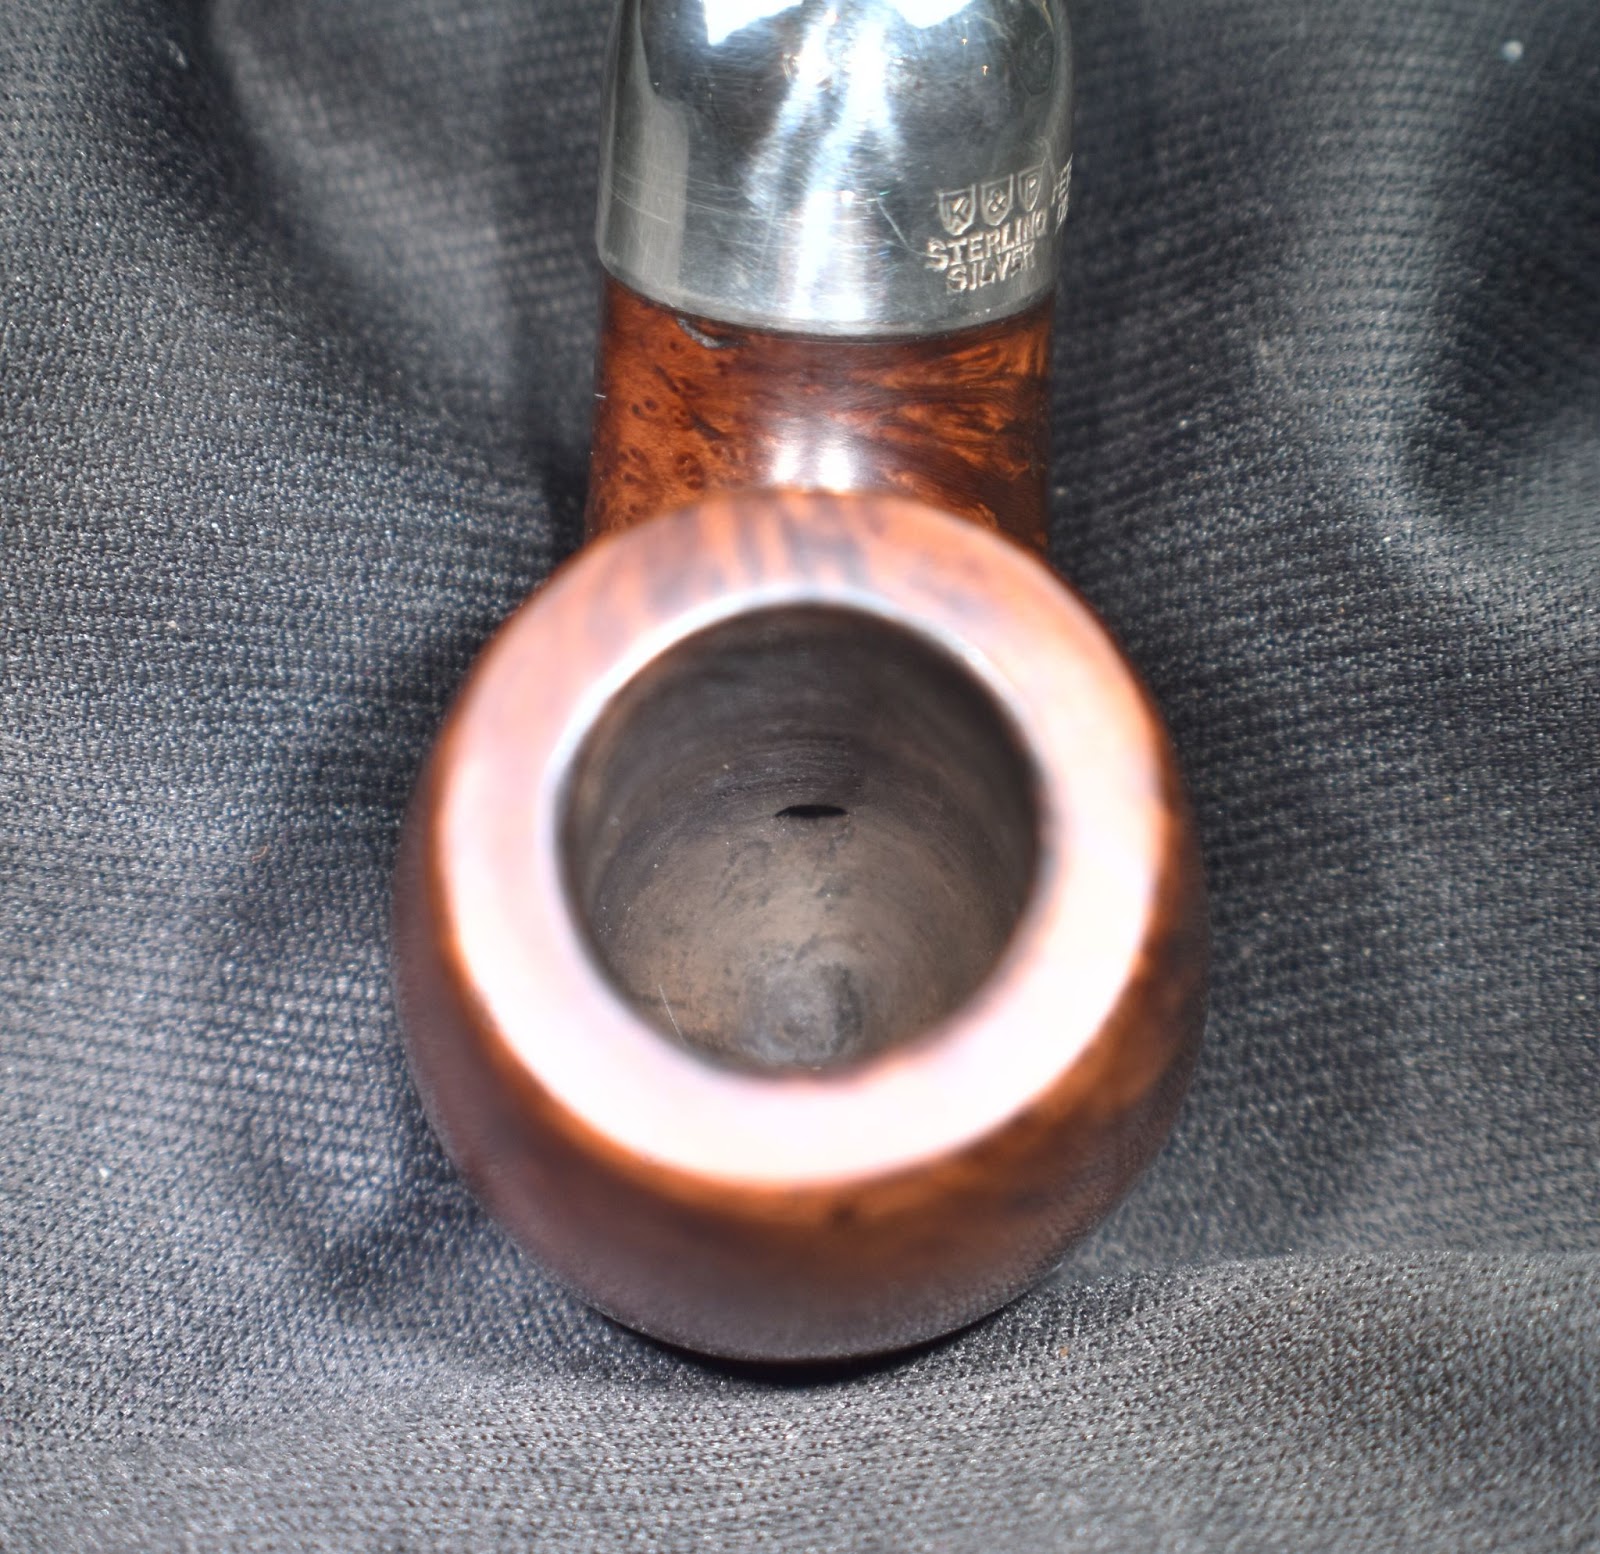
The chamber was looking far better and showed no damage from excessive heat from smoking. This surprised me, in a good way.

The mountainous pile of cake is not done justice by the below photo.

To provide a better representation of the cake it was placed into an empty snus can.

The snus can was then dumped in preparation of it’s next task – to hold some undiluted Murphy Oil Soap.

Tha stummel was placed rim down in contact with the Murphy’s to soften the lava while preserving the rim from an accidental heavy handed scraping.

After about 30 minutes I checked the condition of the lava. It had softened dramatically and was scraped away with a very light scraping with a sharp pocket knife.

The stummel was then taken to the sink for a scrubbing with undiluted Murphy Oil Soap and a nylon scrub brush. The soap was rinsed with warm water and the stummel dried with a cotton hand towel.

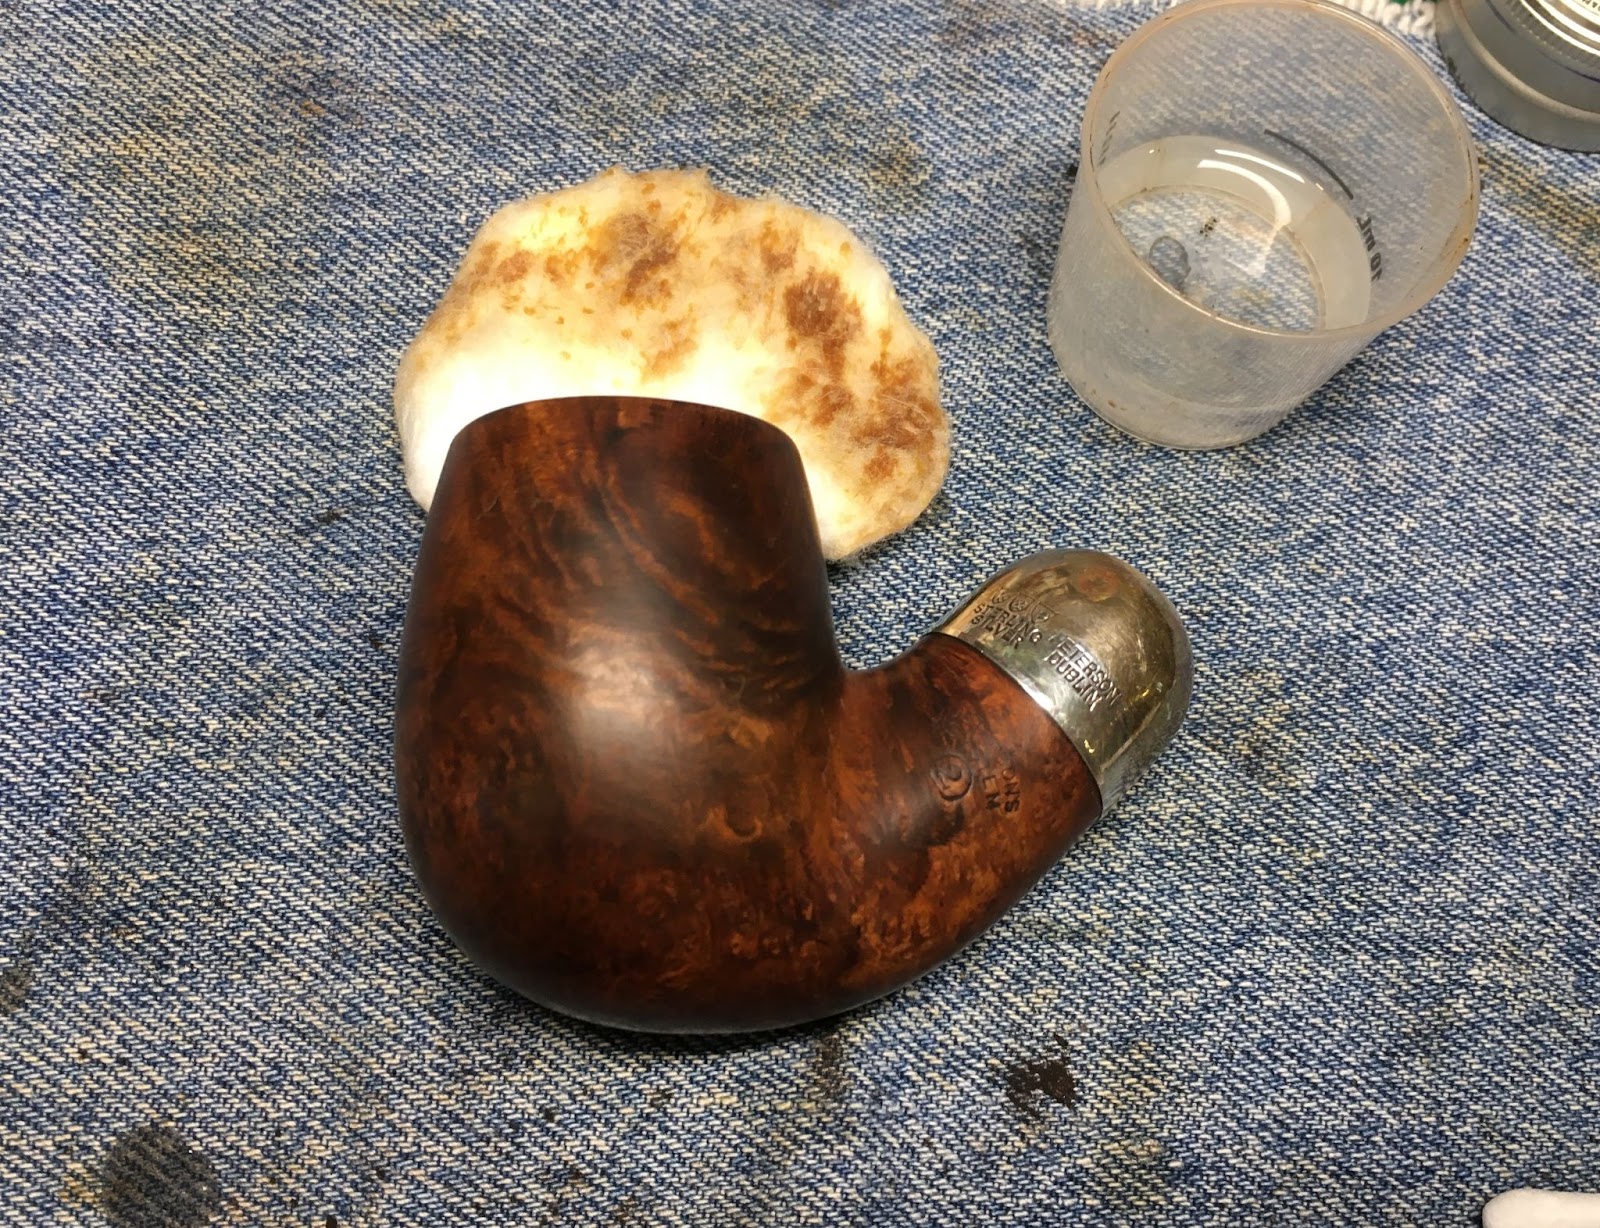
Back at the workbench the stummel was beginning to show the previous glory which it had been robbed of.

The rim, now cleaned of most of the lava, did not have any damage from doddle knocking. I had feared what was under the lava. Relief.

I used the shank boring drill from the Kleen-Reem tool to drill out the airway of the shank.

The shank was quite filthy and drilling it out helped remove a good deal of the accumulated tar.

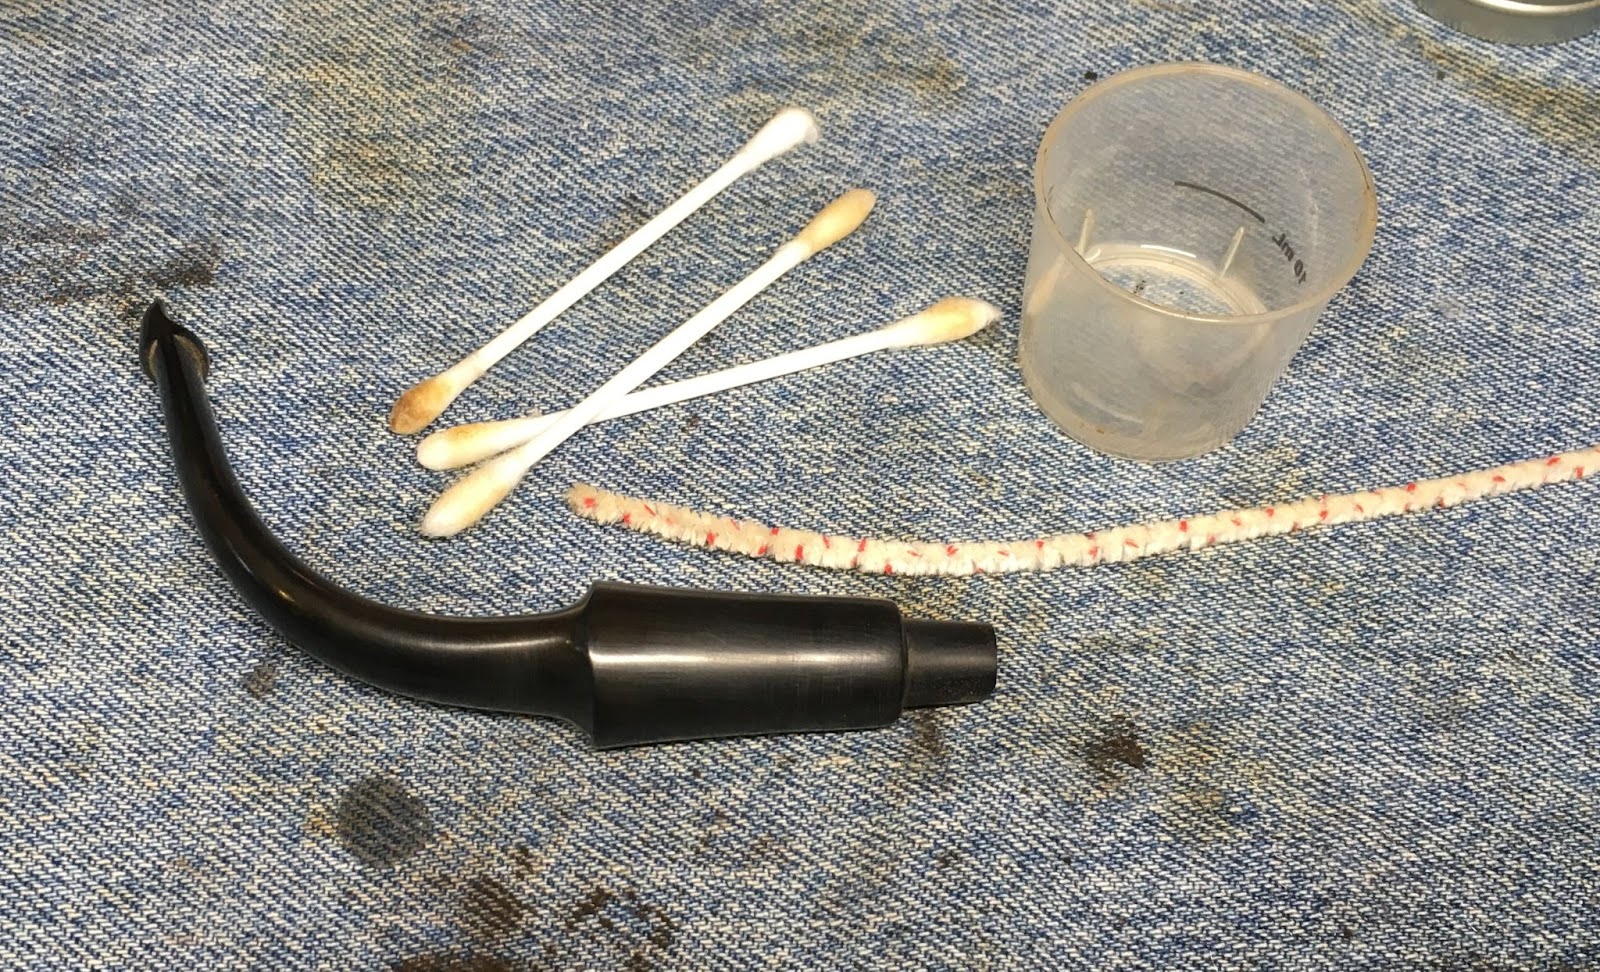
The shank cleaning proceeded with drilling, scraping with a dental scraper and many alcohol dipped pipe cleaners.

The cotton swab brigade also came around with 95% ethyl alcohol to further clear out the shank.

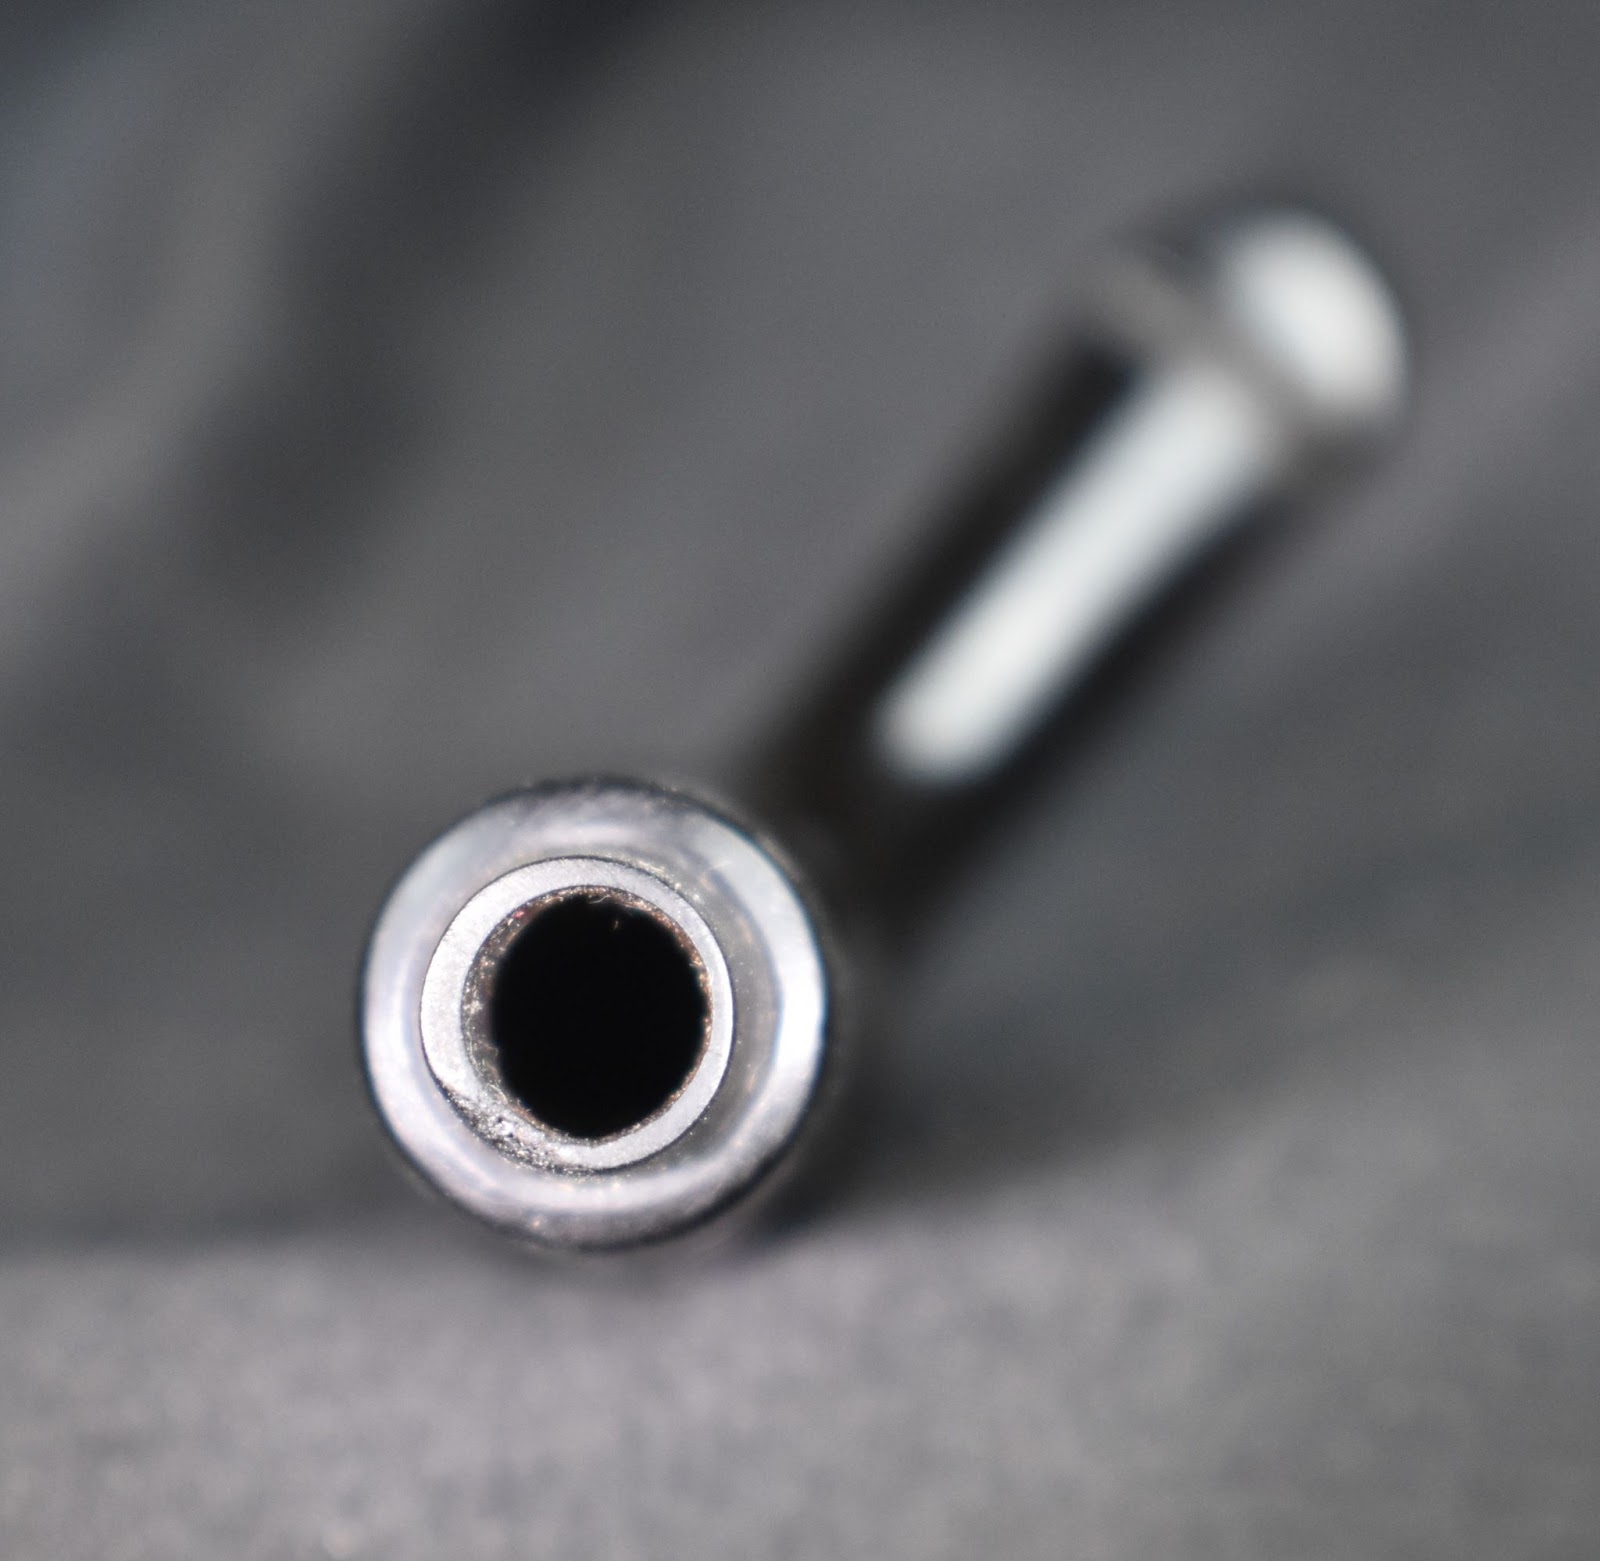
The stem was filed to a much better fit. This took considerable time and removed the FRANCE stamping completely.

The airway of the stem was surprisingly clean. Apparently the previous owner was aware of pipe cleaners and stems at least or, the old stem was just thrown out due to being as filthy as the shank.

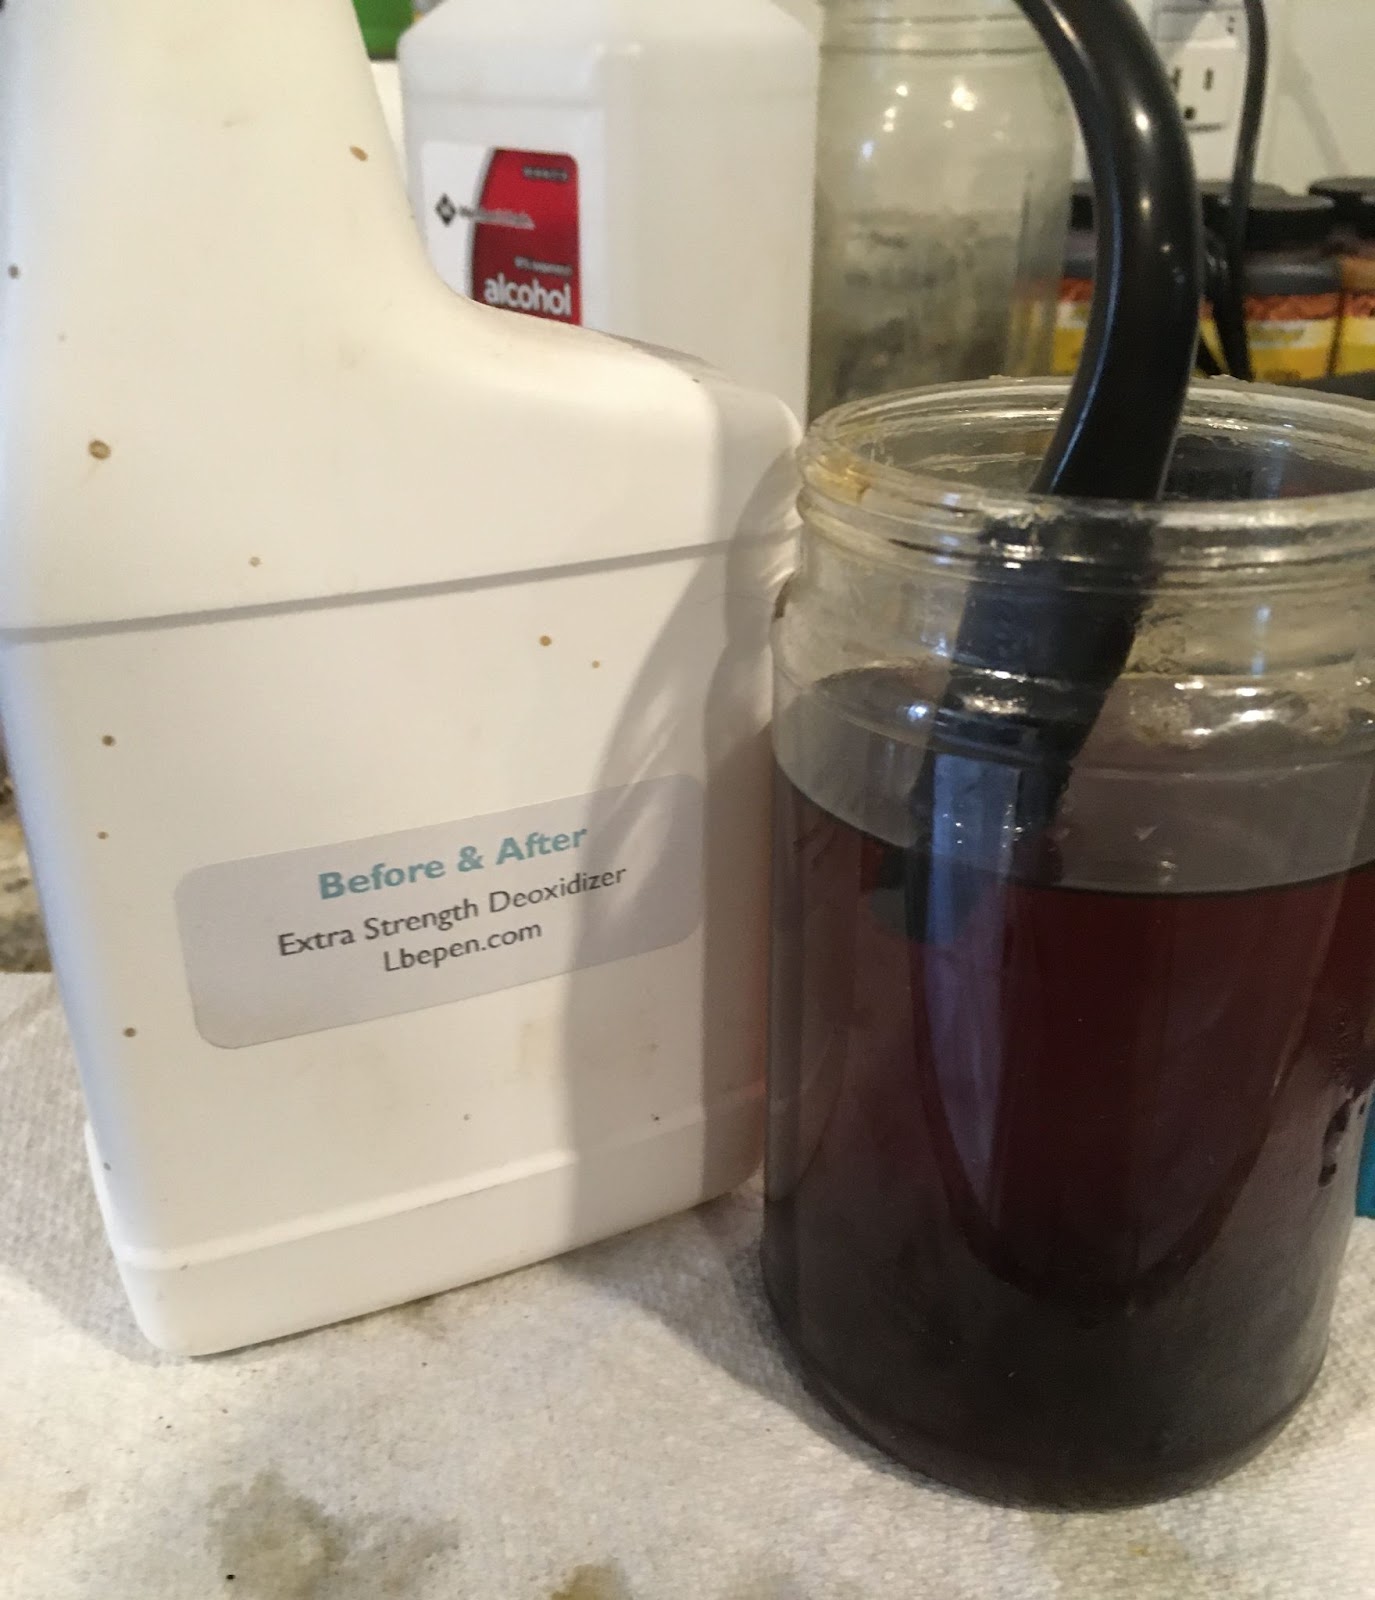
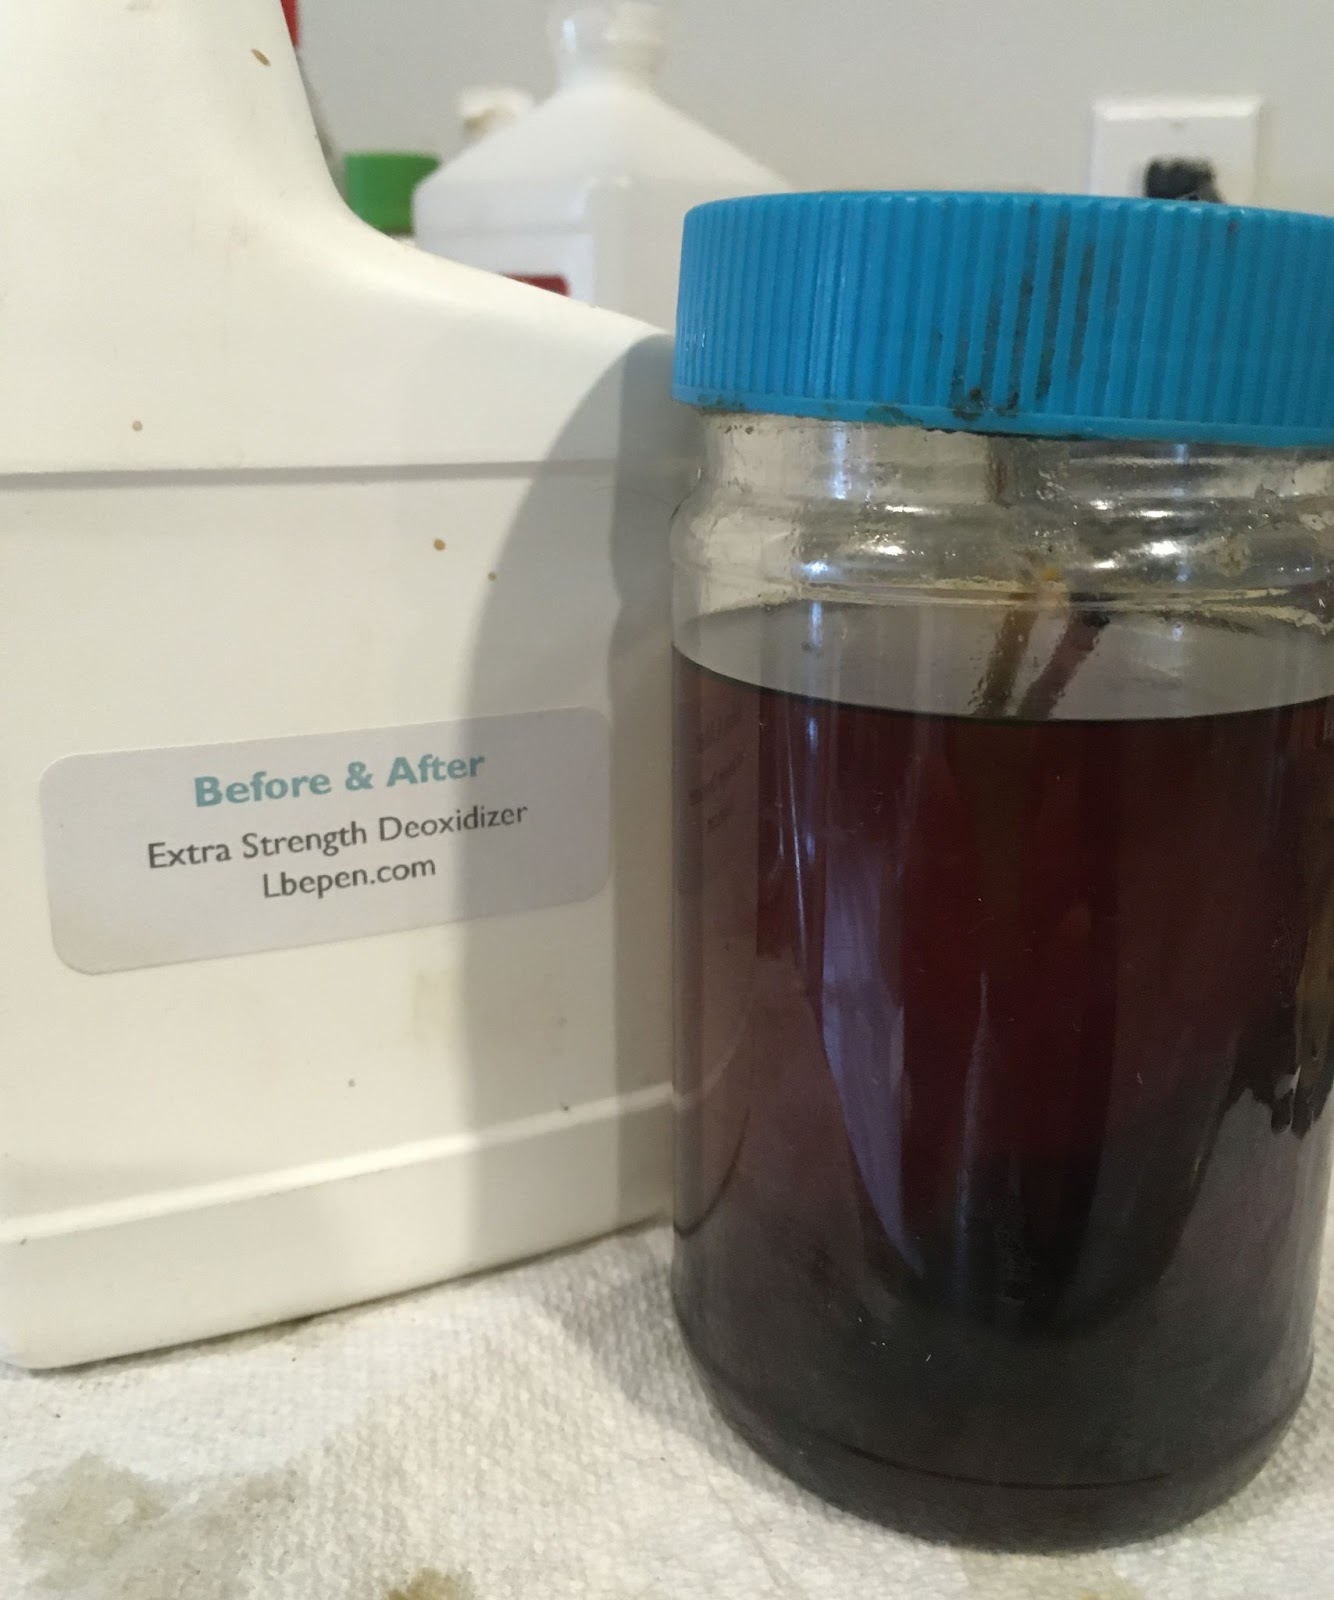
The stem was lightly buffed with 0000 steel wool in preparation of the Before and After Extra Strength Deoxidizer bath.

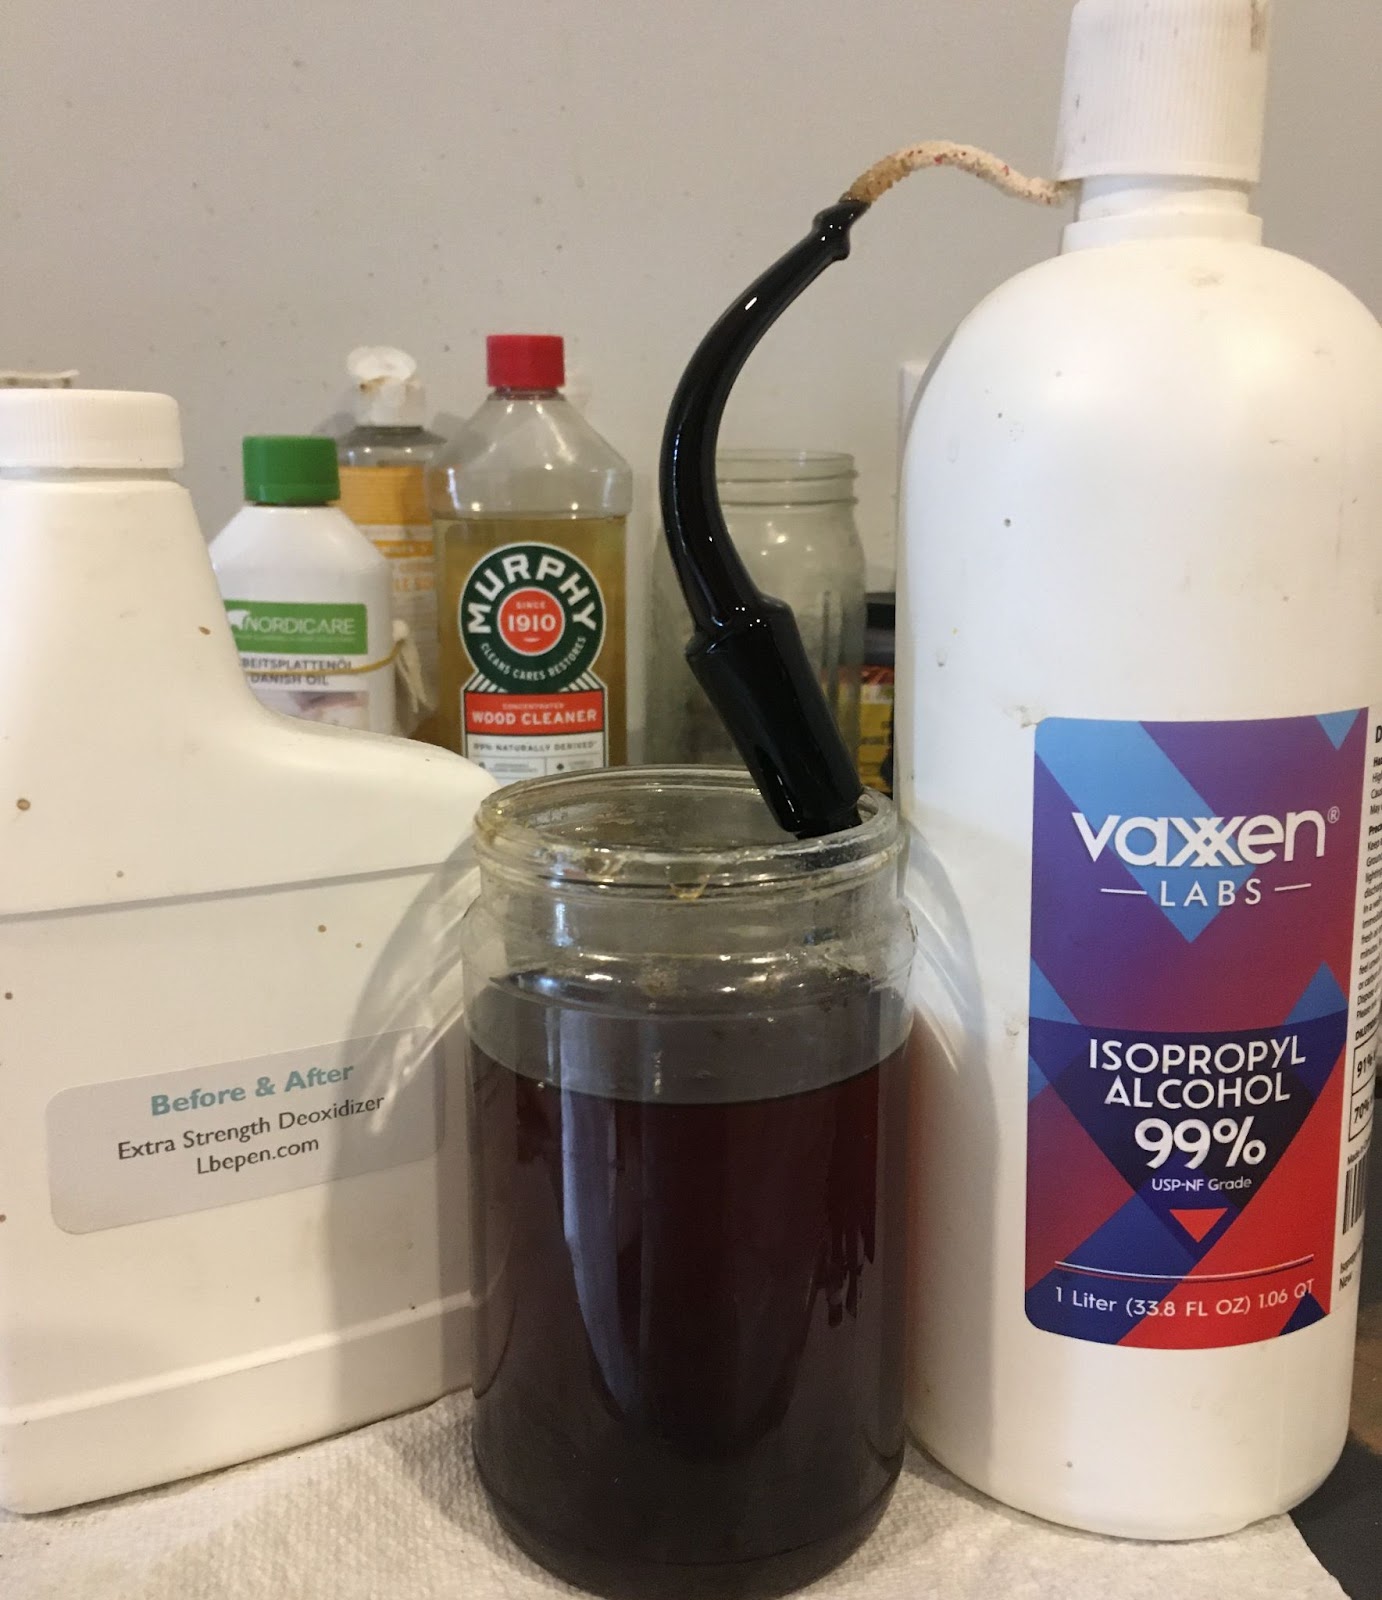
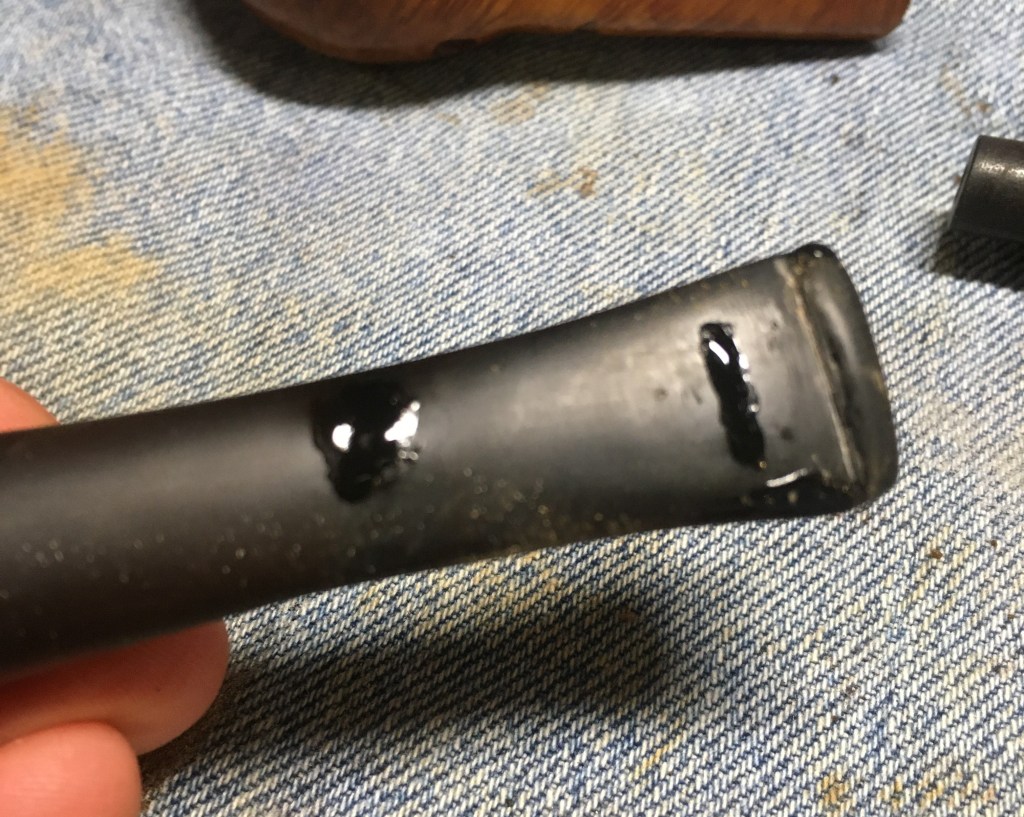
Below you can see the stem entering the Before and After Extra Strength Deoxidizer bath.

The stem was allowed to soak in the deoxidizer solution for four hours.

Once removed from the solution I allowed it to drip excess solution back into the jar for several minutes using the patented Drip-O-Matic. Available at fine retailers near you.

The stem was then rubbed with a coarse shop rag to remove the remaining solution and to abrade more of the surface oxidation which the solution had loosened.

The stem was returned to the workbench for a scrubbing with make-up pads and Soft Scrub cleanser.

At this point I paused the restoration of the Marxman for several days. I needed to find a replacement gold band. The original was a 14 karat gold band not plated, filed nor rolled but true 14K gold. With the current price of gold and over $2700/ounce I opted against this option. I reached out and called Tim West at J. H. Lowe & Co (https://jhlowe.com/). Tim is always very helpful with products and advice for restorations. He did not have anything in the 16 mm diameter that I needed. He did suggest Vermont Freehand (https://vermontfreehand.com/). Steve Norse at Vermont Freehand was very helpful and through a series of emails I was steered to their gold plated 16 mm band. Now we come to another problem with restoring pipes in October – The Las Vega Pipe Show. The entire Vermont crew was apparently in attendance at the Las Vegas show and the order had to wait until they returned back to work. Also during this break in working on the Marxman, I restored several other pipes. In the process I neglected to photograph the sanding and polishing of the Marxman stem and stummel. I normally do not like to work on more than one pipe at a time for this very reason. I am very easily distracted, undiagnosed Attention-deficit/hyperactivity disorder (ADHD) can play havoc with my ability to remain on task if allowed. And this break not only allowed it but promoted it. Long story short, The band arrived from The Vermont boys and work resumed.

The below photo shows that the original band was about 4 mm thick and the new band 7 mm. I thought about cutting the new band down but thought I should try it on first.

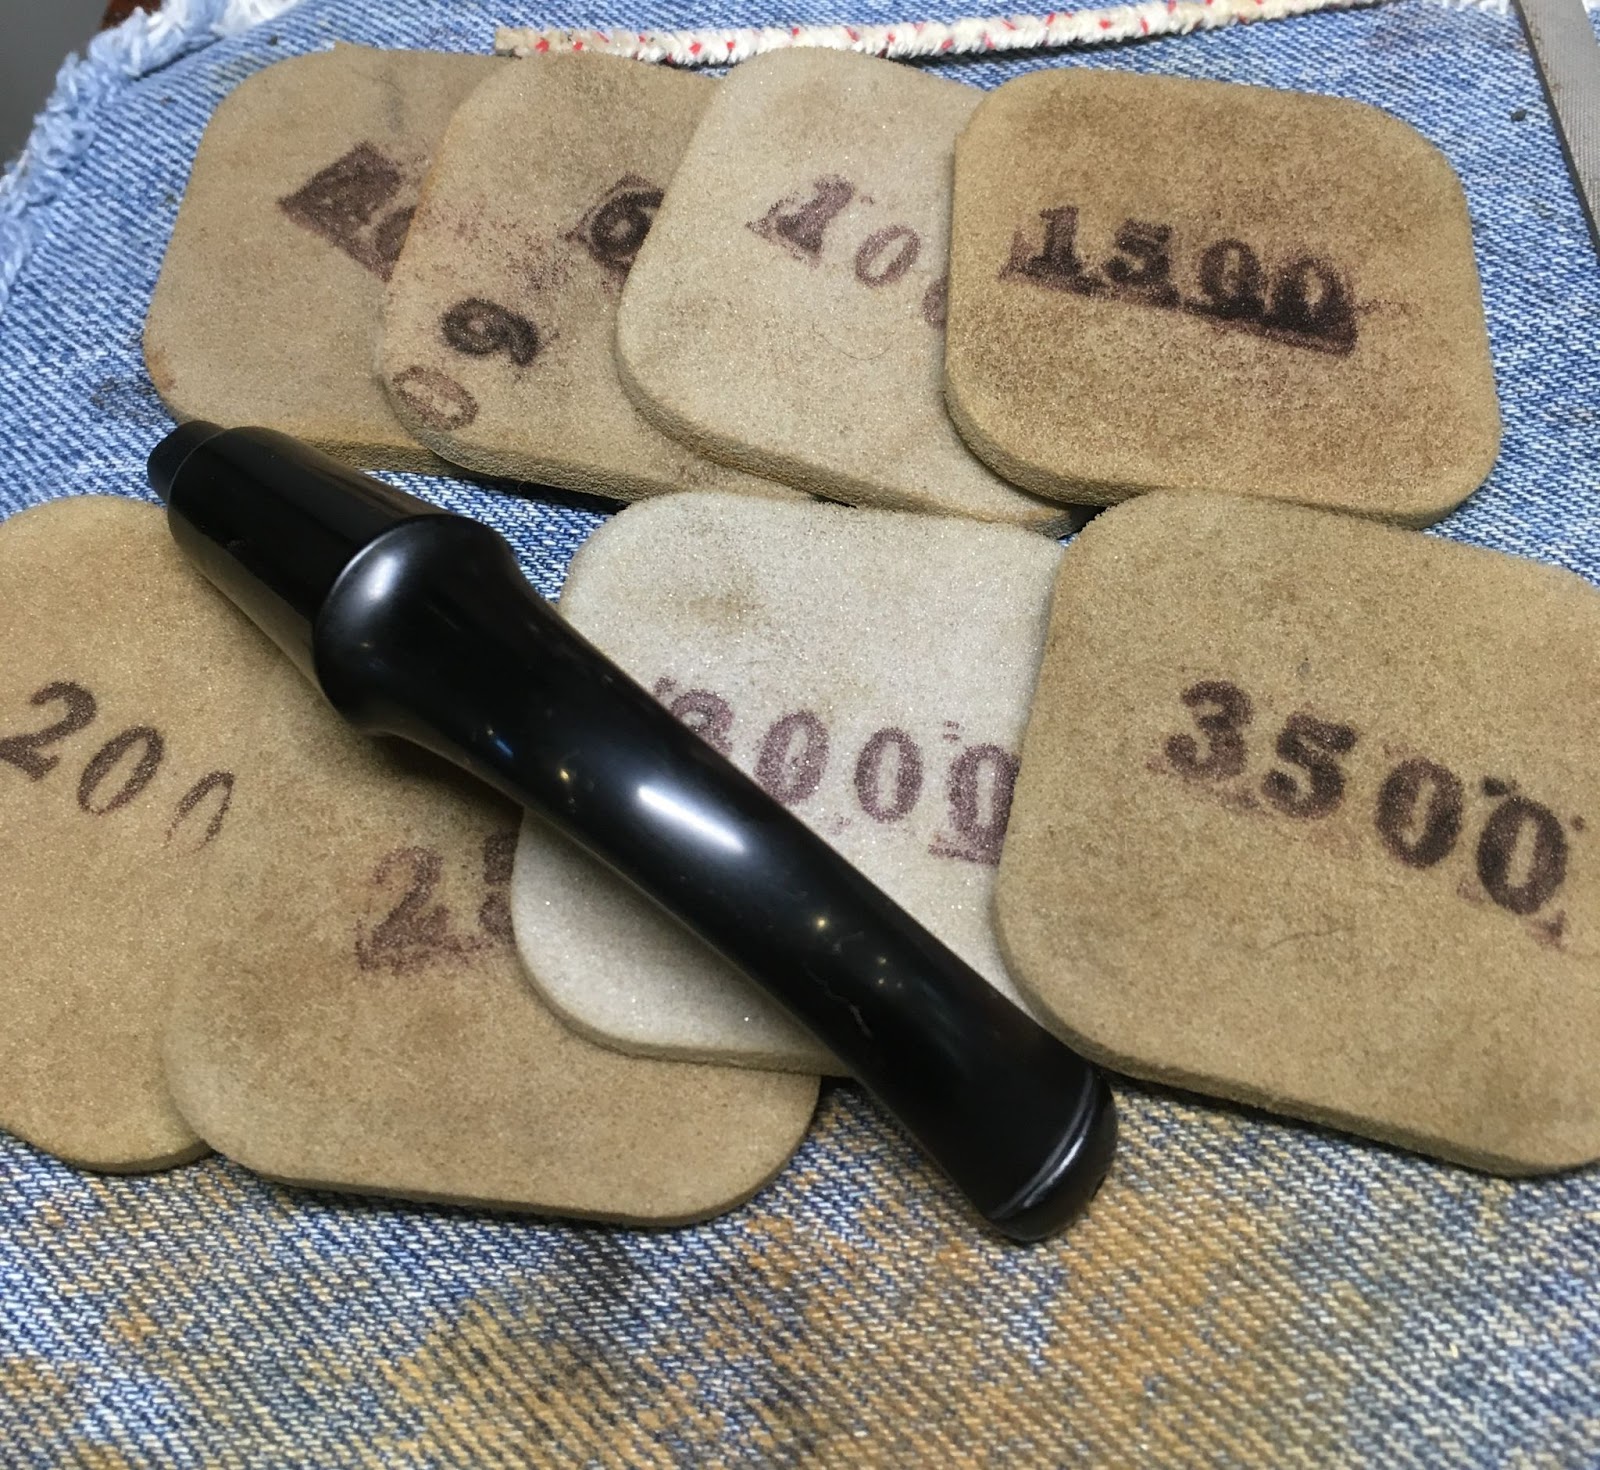
I immediately liked the way the wider band looked. The reshaped stem was a pretty good match of the original saddle stem. I admit to assuming the original stem was a saddle as many of the photos of other Four Hundreds appear with saddle stems. I have a couple of tapered stems of proper size, maybe someday I’ll be good enough at cutting a tenon to try making one for this pipe.
The gold band was affixed using white all purpose glue. Vermont and I had equally accurate measurements for this band making for a fit which was snug enough that I did not have to heat the band and force a fit.

The pipe was given a coating of Before and After Restoration Balm. The Balm was applied with a baby toothbrush to work the stuff and it’s magic into the carvings. It was allowed to sit for 30 minutes.

The brush was cleaned with dips into 95% ethyl alcohol and rubbing the bristles on the denim a couple of times.

After 30 minutes, the Restoration Bal was wiped from the pipe with an inside out athletic sock.

The pipe was taken to the buffer for several coats of carnauba wax. The rustications were wide and shallow enough that I felt comfortable using carnauba wax on them. It took considerably longer working the wheel edge into the carvings but the result looked great.

The final step was to hand buff the pipe with a microfiber polishing cloth to further raise the shine.
The dimensions of this Marxman Four Hundred are:
- Length: 7.36 in./ 186.94 mm.
- Weight: 2.48 oz./ 70.30g.
- Bowl Height: 2.21 in./ 56.13 mm.
- Chamber Depth: 1.77 in./ 44.96 mm.
- Chamber Diameter: 0.82 in./ 20,82 mm.
- Outside Diameter: 1.80 in./ 446.37 mm.
I do hope that you have found something here useful to your own pipe care, maintenance or restorations. If you like this sort of thing, please click the like and subscribe buttons. Thank you for reading the ramblings of an old pipe lover.
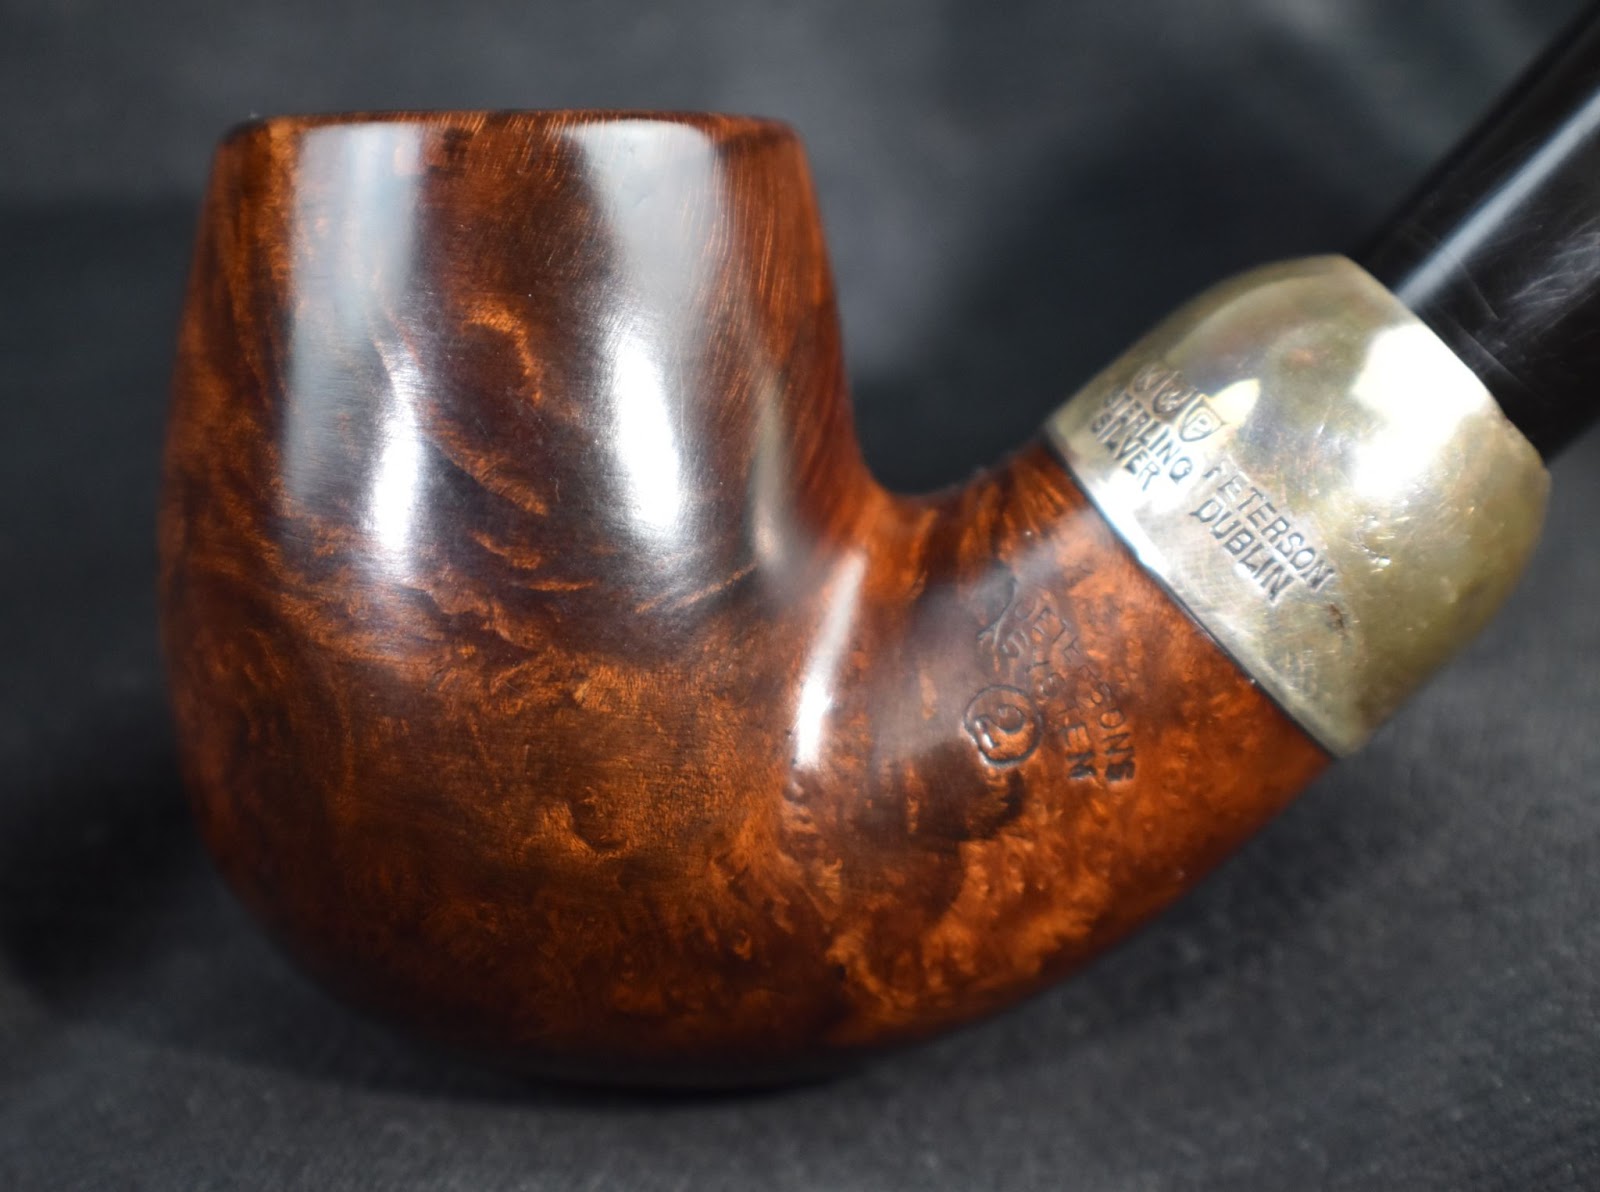
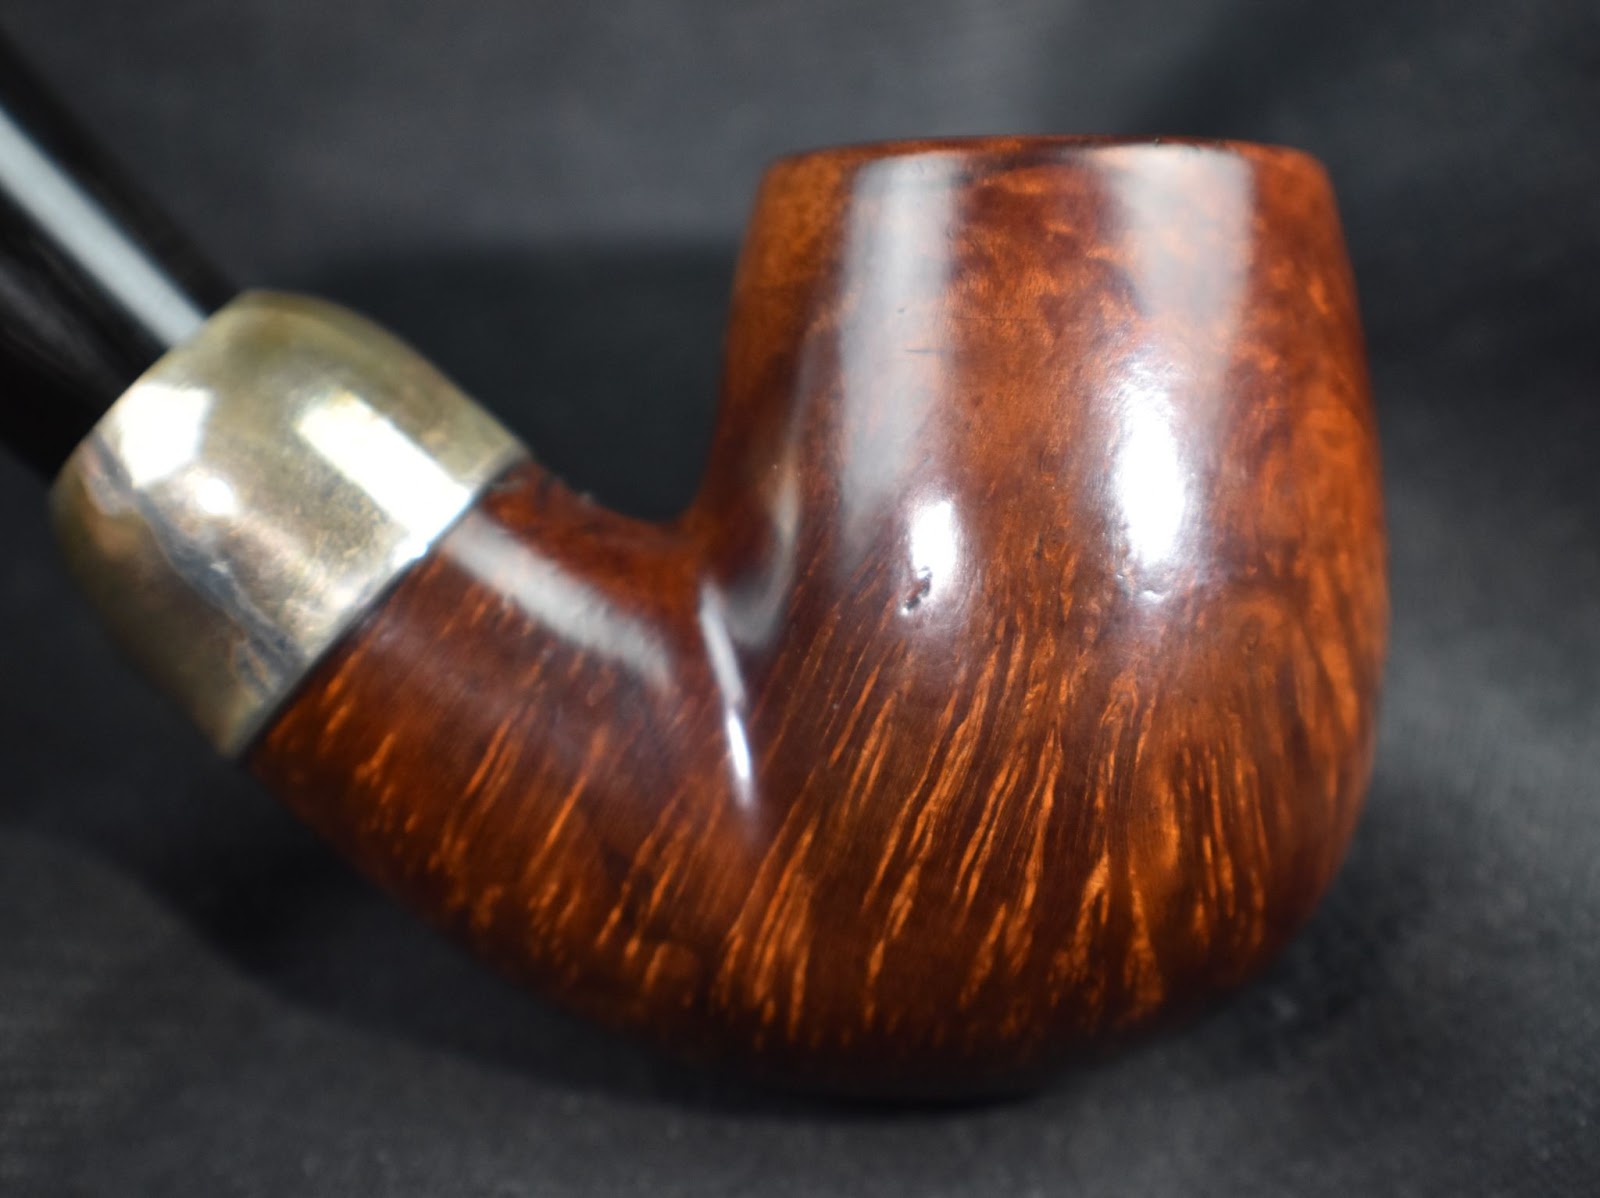
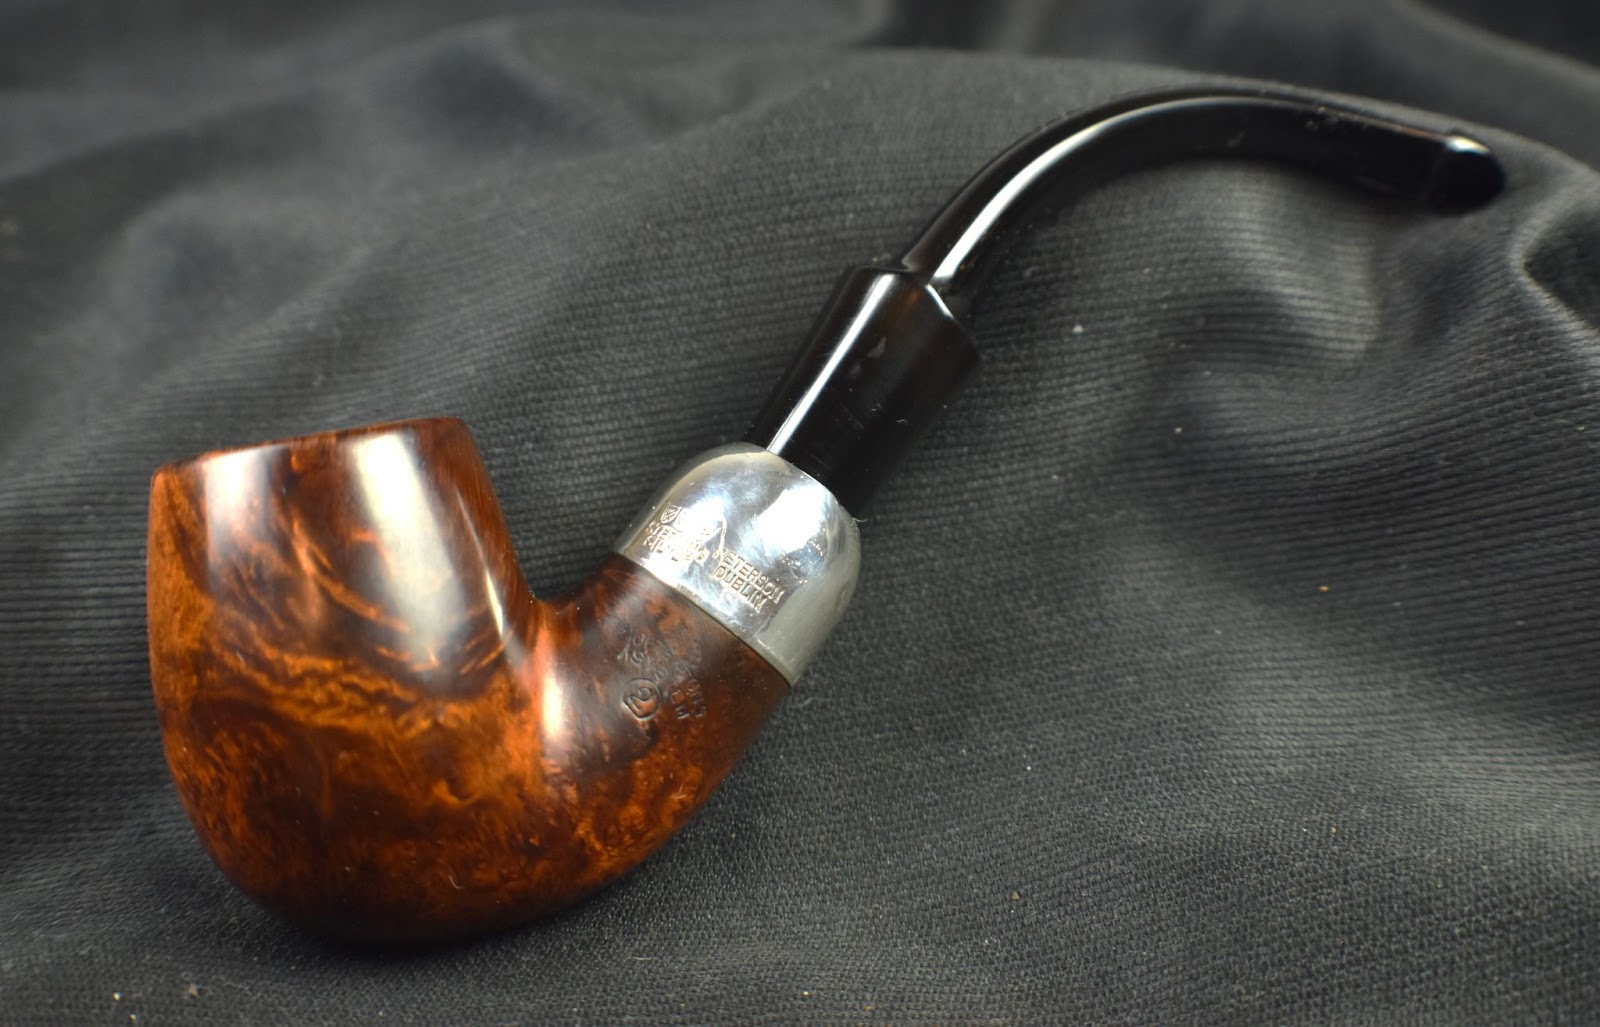
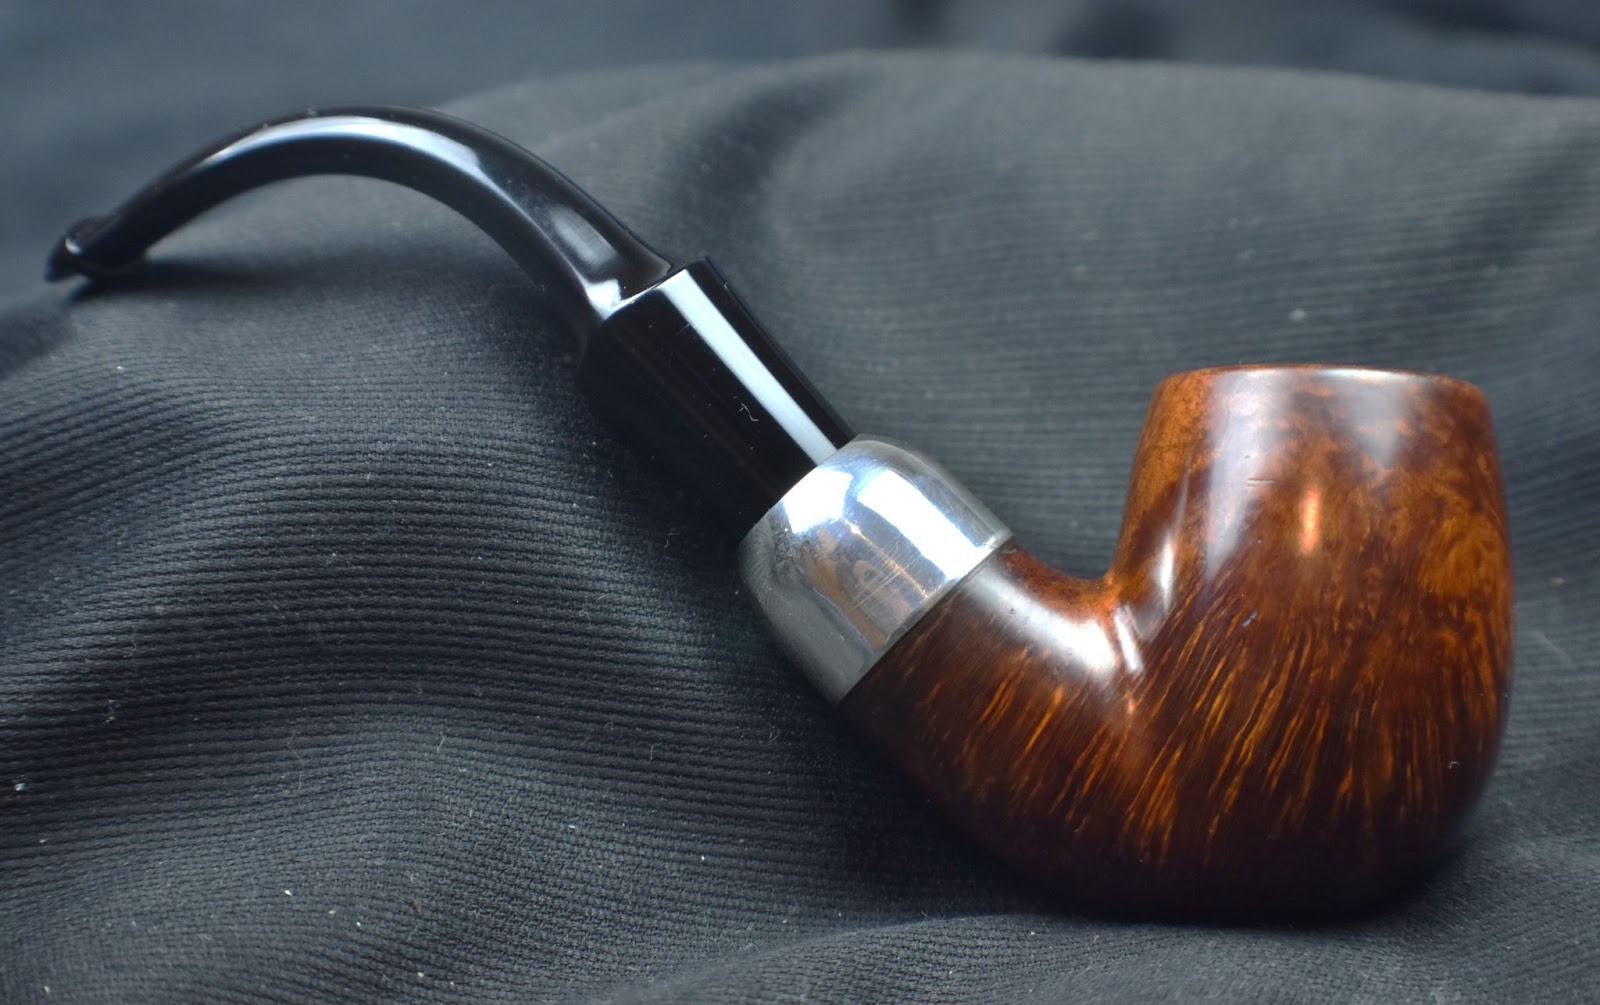
Below are some photos of the finished Marxman Four Hundred.


 were no better.


 (
(


