Written and photographed by John M. Young
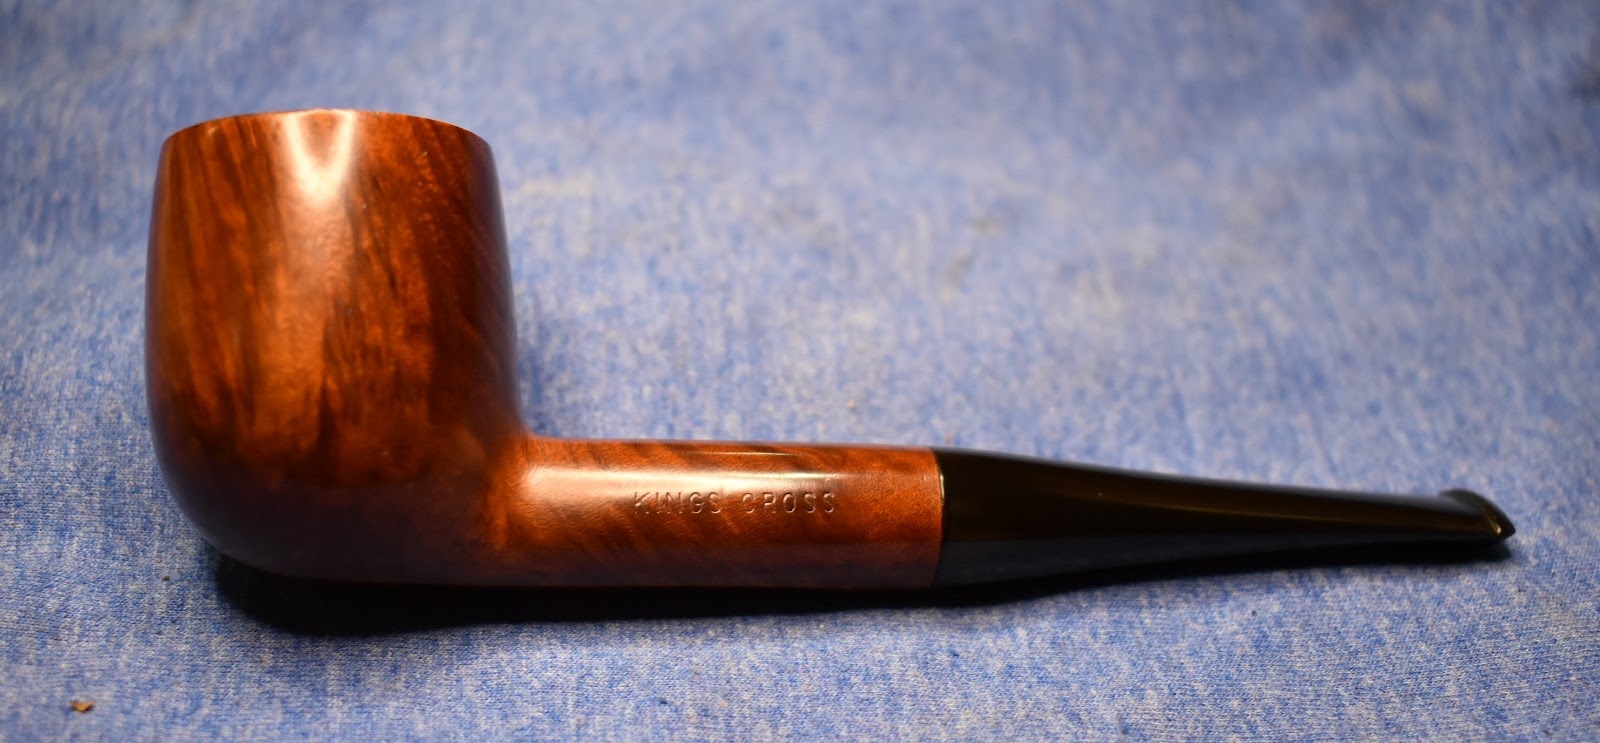
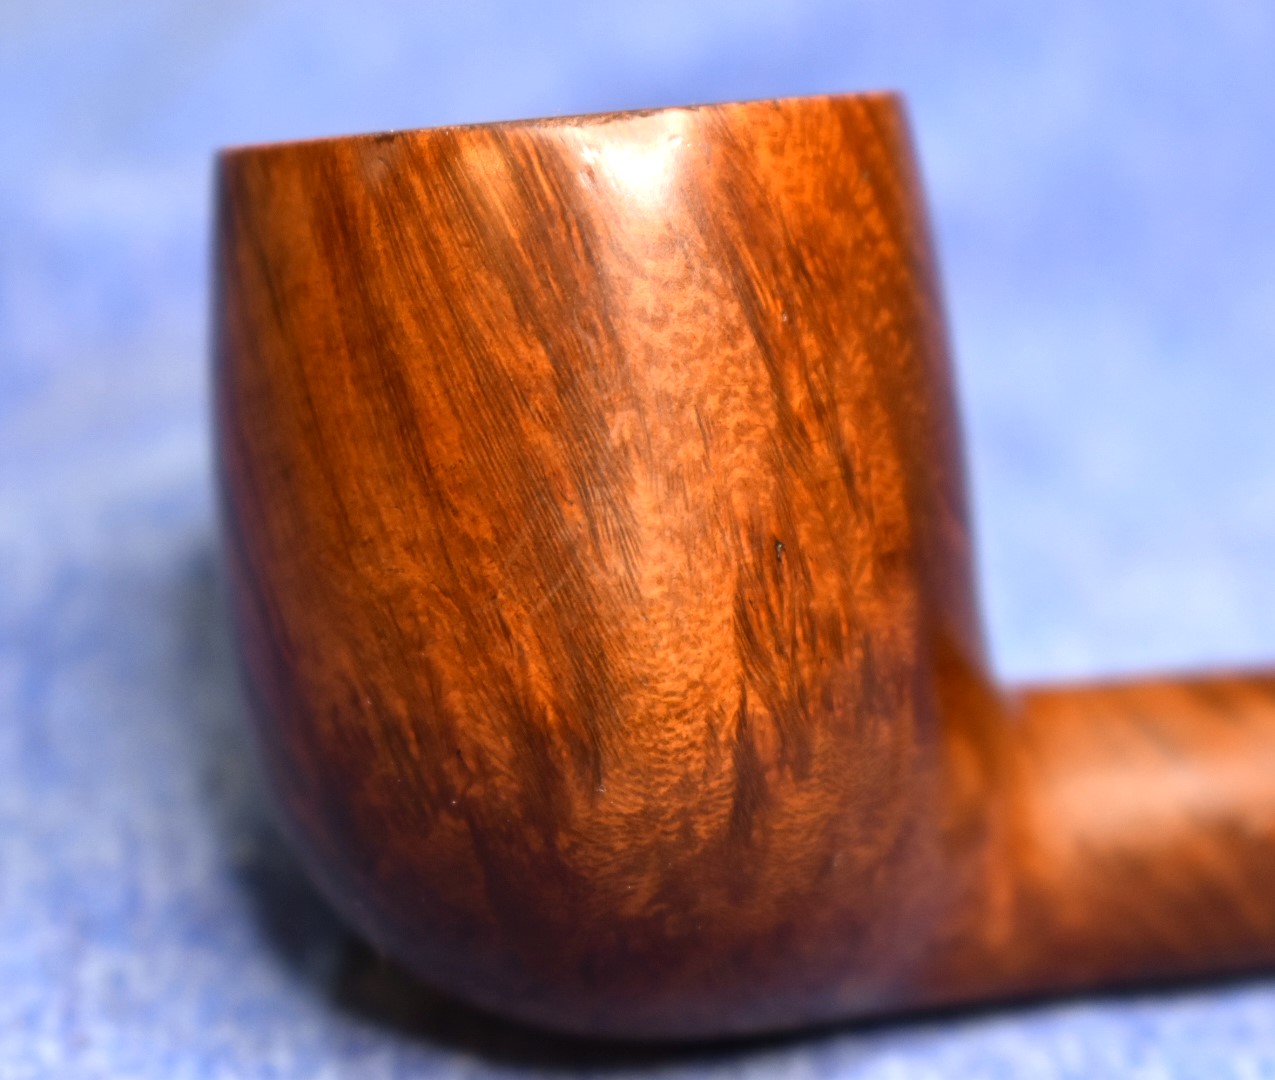
I recently won an auction for 6 Kings Cross pipes. They are a mixture of 2-Made in England, 3-Made in France and 1-no Country of Manufacture (COM) just “ALGERIAN BRIAR”. I have chosen this billiard as the next restoration subject. Below are the photos of how it appeared as I removed it from the box:


This pipe needs many things done to bring her up to snuff: Reaming, rim topping and bevel, airway cleaning, stem sanding with button building, briar and stem refurbishing and a good waxing. I accept this mission.
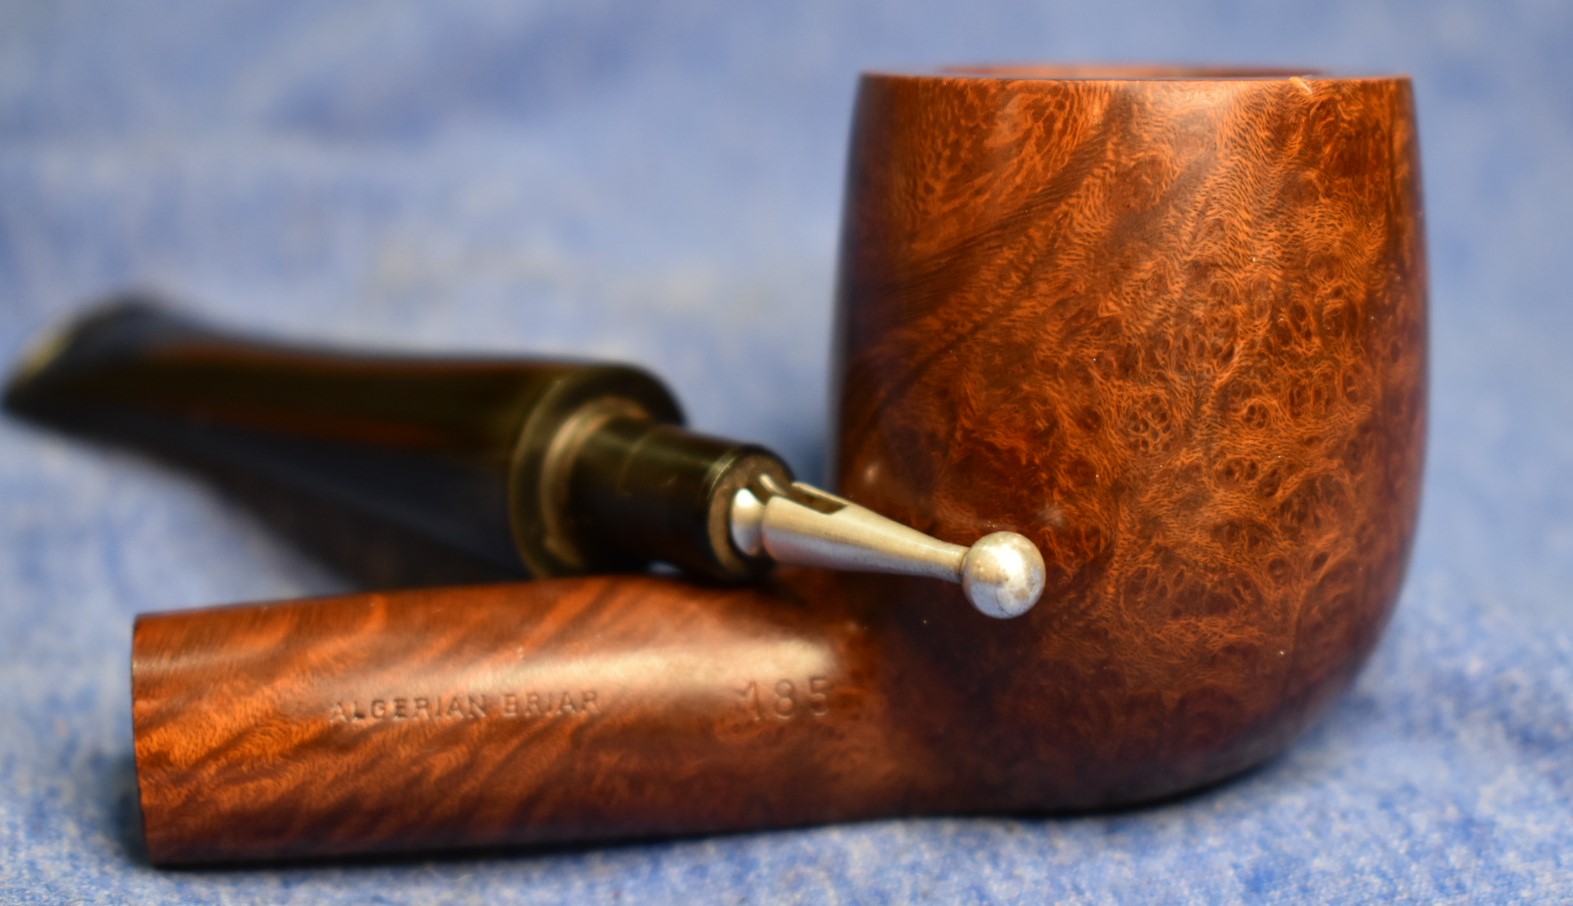
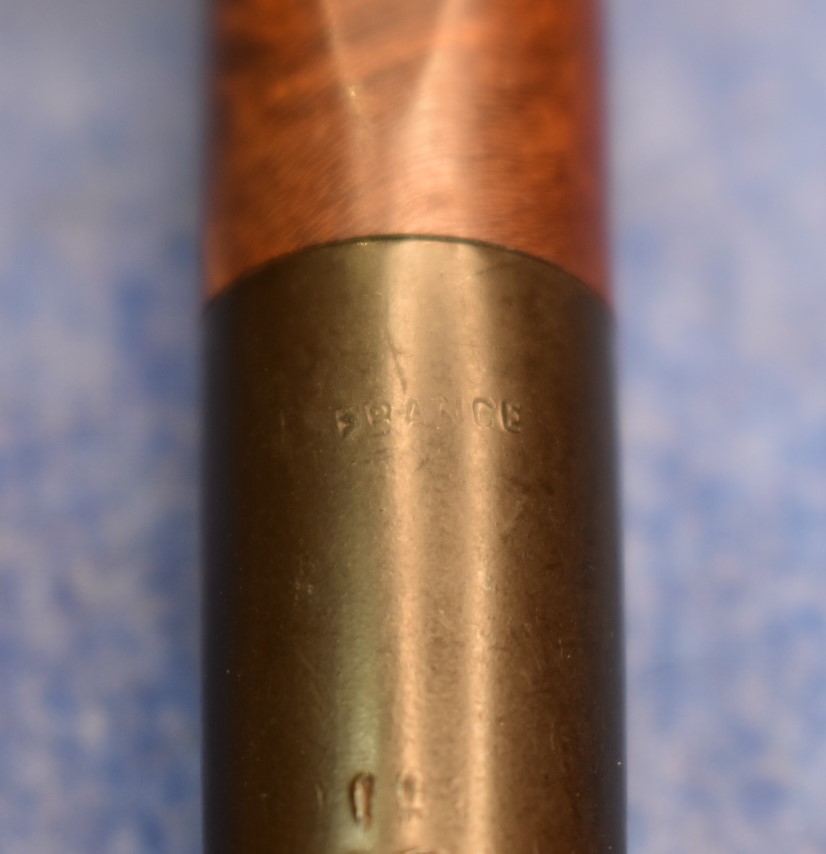
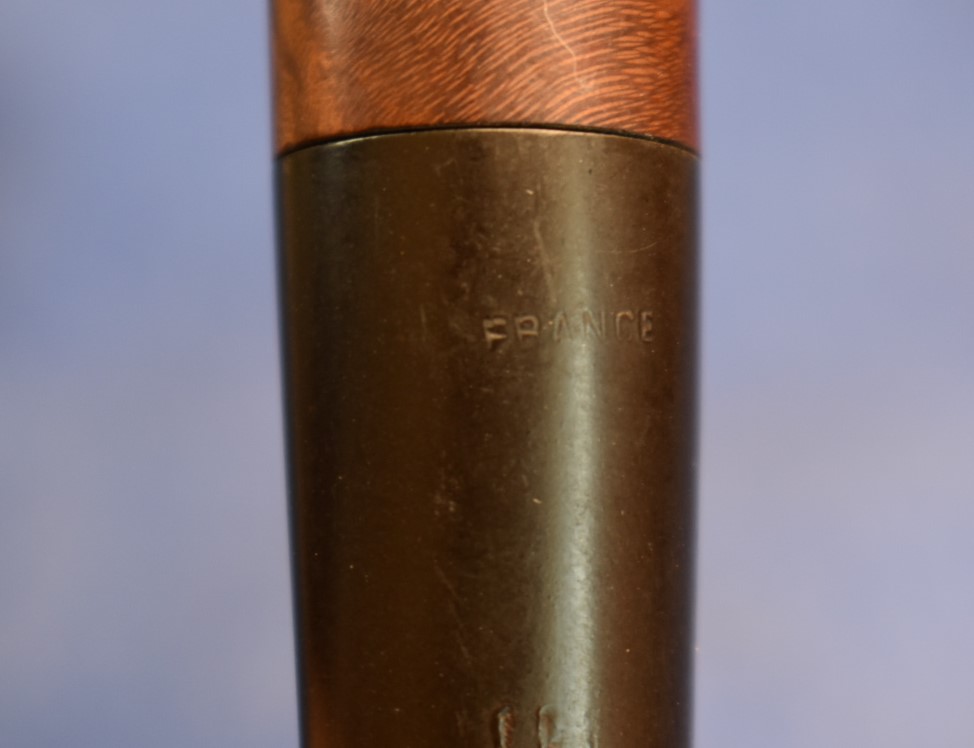
In a previous pair of restorations (Kings Cross Kruger and Kings Cross Foursquare) I discussed the Chapuis-Comoy history and this pipe shares that heritage. This Kings Cross is of a French country of Origin (COM) as indicated by the stamp on the stem. It is unfortunate that this stamp is so faint. I know it will not survive the restoration thus any COM will be lost. I guess I can take some solace in knowing that her history will be preserved with this blog and I can pass that on to the next steward of this pipe.
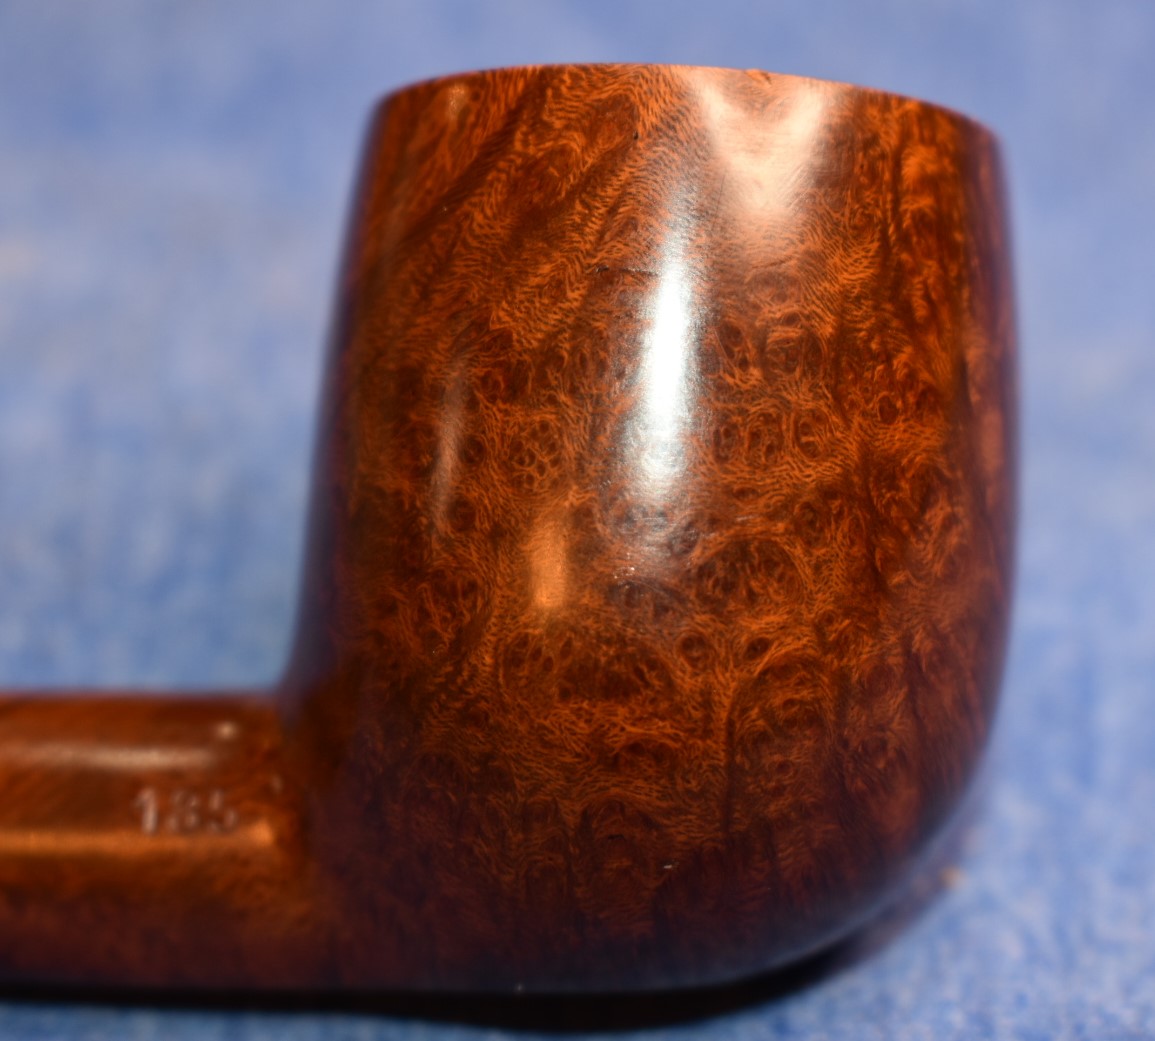
As for the provenance of this pipe we can look at the shape number “185” and take a look at the Comoy shape chart from pipedia.org:


(https://pipedia.org/wiki/Comoy%27s_Shape_Number_Chart)
That looks like a match, to me. This is indeed a large billiard with a straight stem. Both Comoy and Chapuis used the same shapes when they consolidated their production in 1988. Which means that this old girls was a product of the Chapuis factory of Saint Claude (http://www.pipephil.eu/logos/en/infos/chapuiscomoy-en.html) .

(http://www.pipephil.eu/logos/en/infos/chapuiscomoy-en.html)
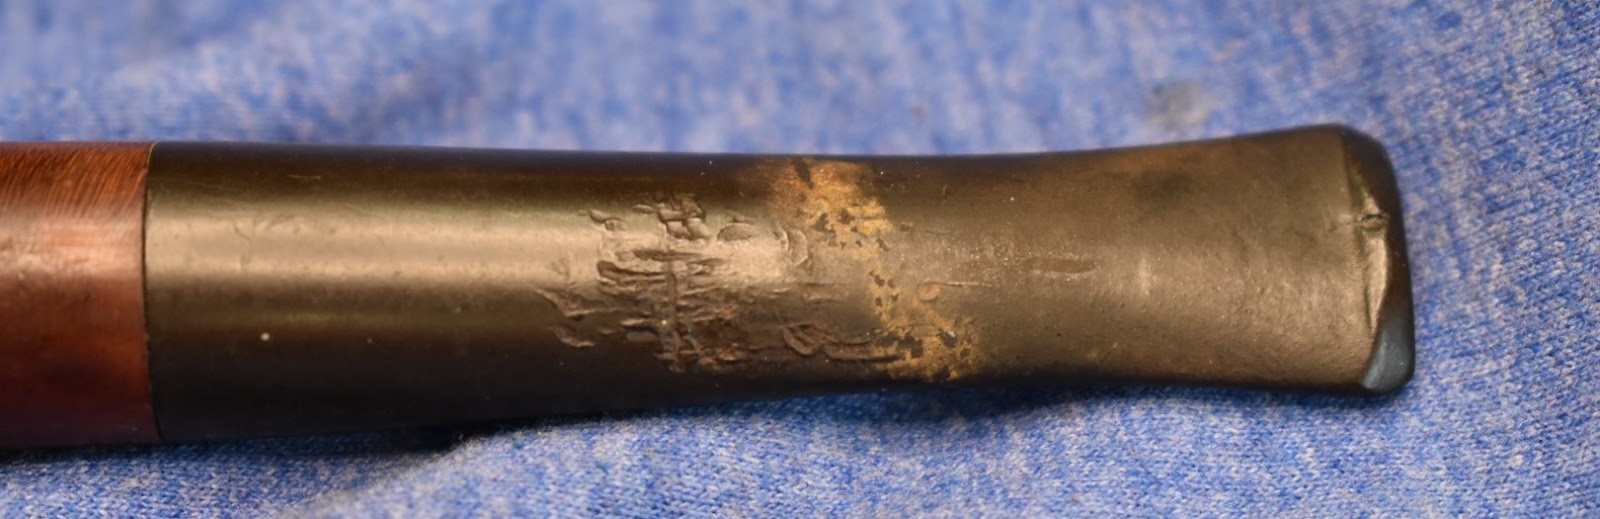
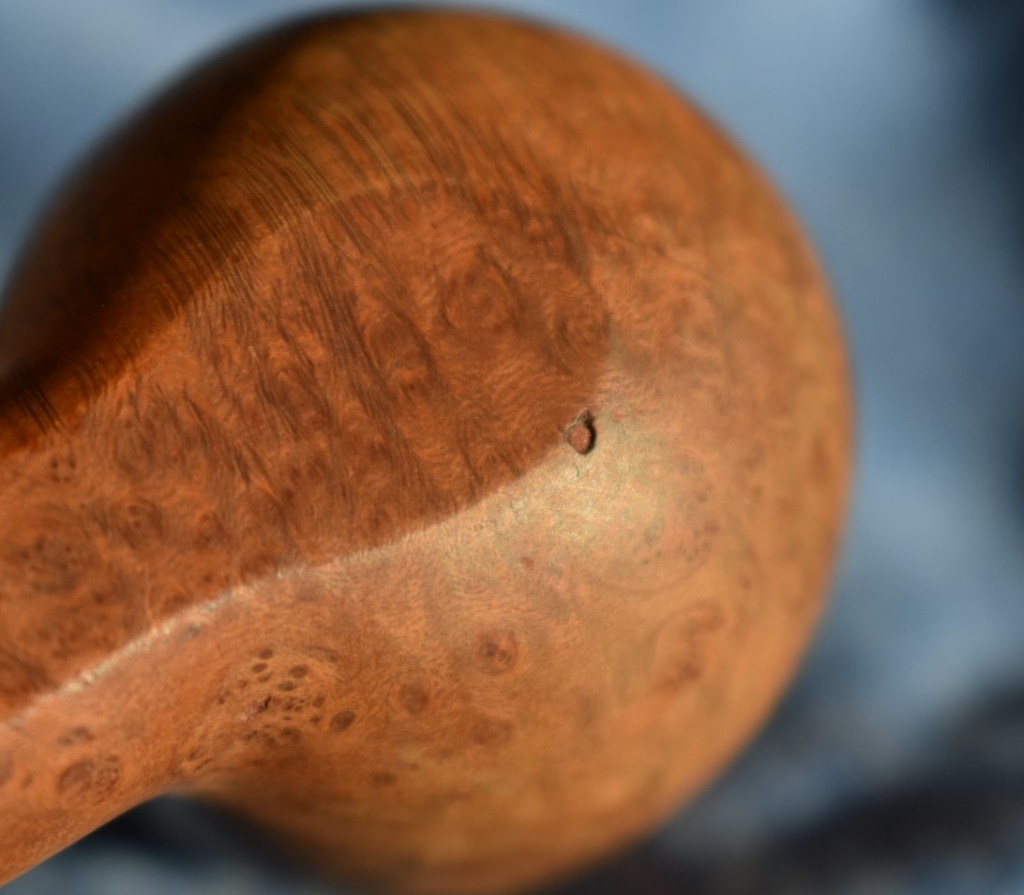
On to the restoration. Other than the stem, which looks like some arseling tried to use a vice grip to see if he could squeeze the smoking residue from the stem rather than use a pipe cleaner, the pipe looks pretty good. There are two noticeable pits that will require filling and the damage to the rim from the previously mentioned arseling knocking the dottle from the pipe against pieces of broken concrete.
Sidenote: Arseling – The Oxford English Dictionary (OED) defines arseling as meaning “backwards” and having been derived from the noun arse and the suffix –ling. Used above as a noun deriding the person who inconsiderately damaged the pipe. (https://thijsporck.com/2015/11/12/arseling-a-word-coined-by-alfred-the-great/#:~:text=The%20Oxford%20English%20Dictionary%20(OED,arse%20and%20the%20suffix%20%E2%80%93ling.)
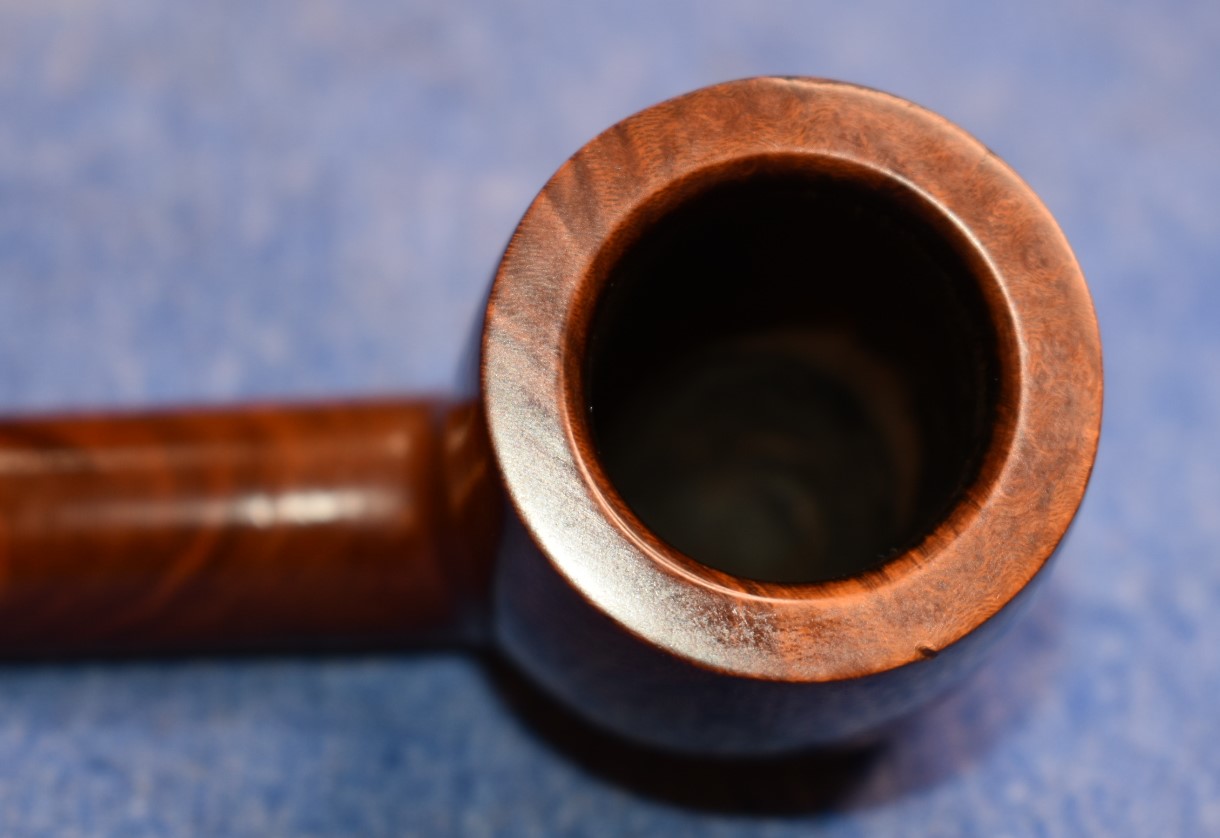
I began by reaming the tobacco chamber using the 3rd size blade on the PipNet, it is a “L” for large.
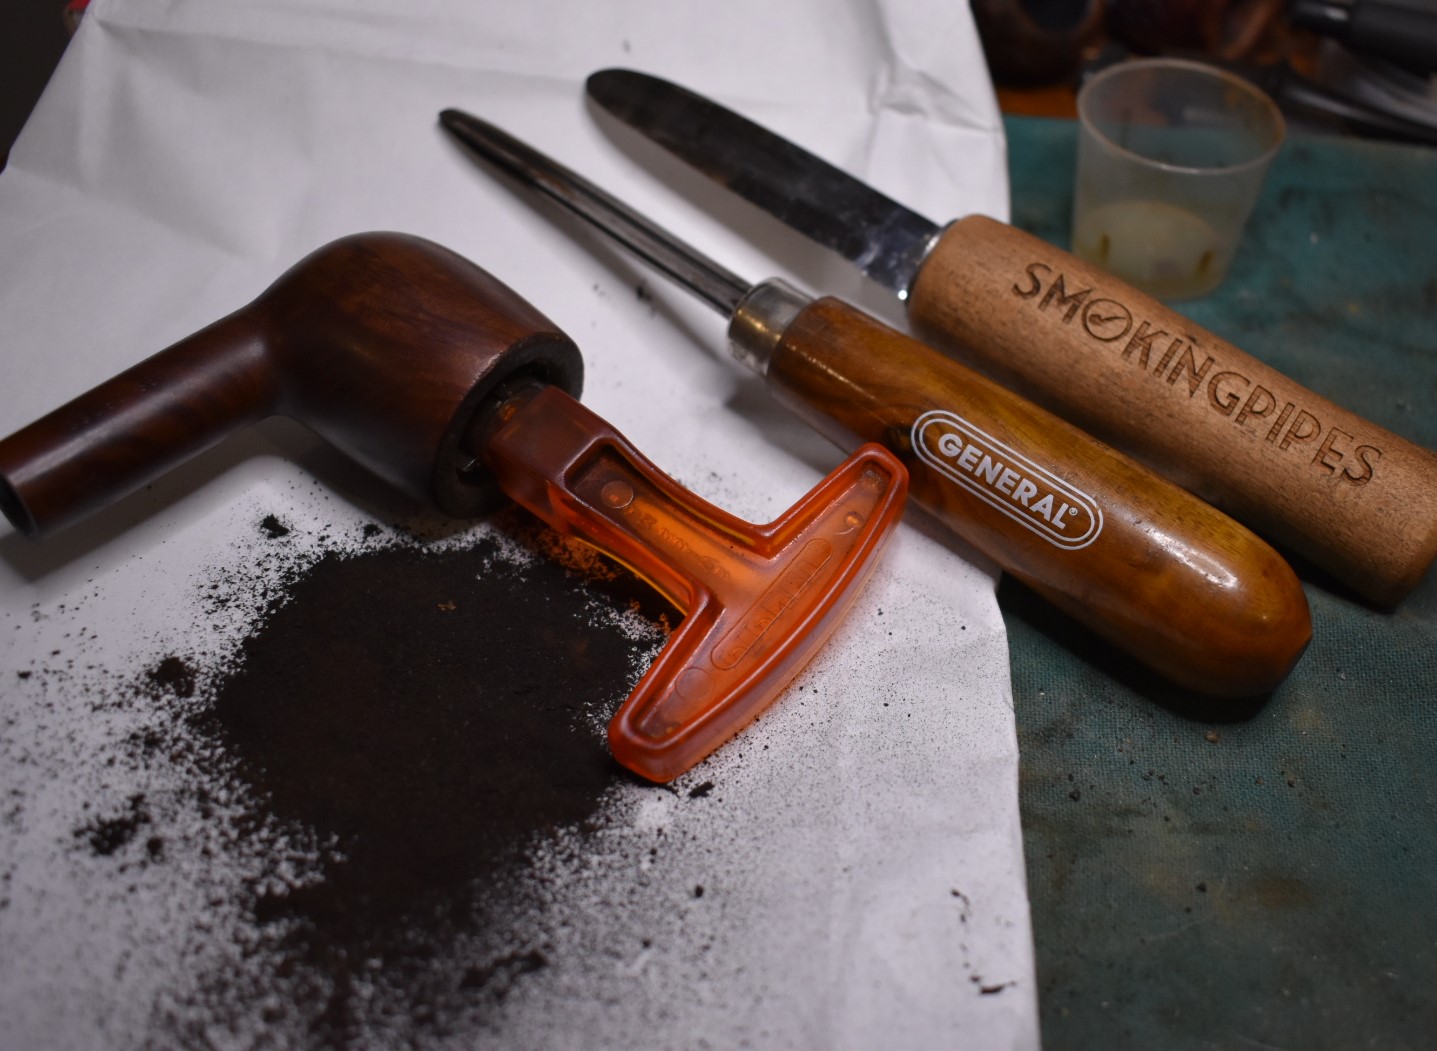
The Smokingpipes Low Country reaming knife and the General triangular scraper were also used after the PipNet. This was followed by 200 sandpaper wrapped around a wood dowel and with sandpaper on my finger. The interior of the chamber looked great. I used the edge of the knife to lightly scrape some of the lava from the rim.
Next the stummel went to the sink for the Murphy’s Oil Soap scrub. I used the Murphy’s undiluted with a medium bristle toothbrush. The stummel had years of dirt and grime attempting to hide the grain beneath. I spent a bit of extra time on the rim to address the lava remaining there. The stummel was then rinsed with warm water and dried with a cotton dish towel. Returning to the workbench I saw that there remained some stubborn lava on the rim. I worked on this with saliva and a cotton rag until I realized how dumb, I was behaving. “Hey dummy, you are going to top that whole rim.” Hmm, good thing I have a kind and loving internal voice. I returned to the sink, since that is where the counter I use for topping is. I used a piece of 200

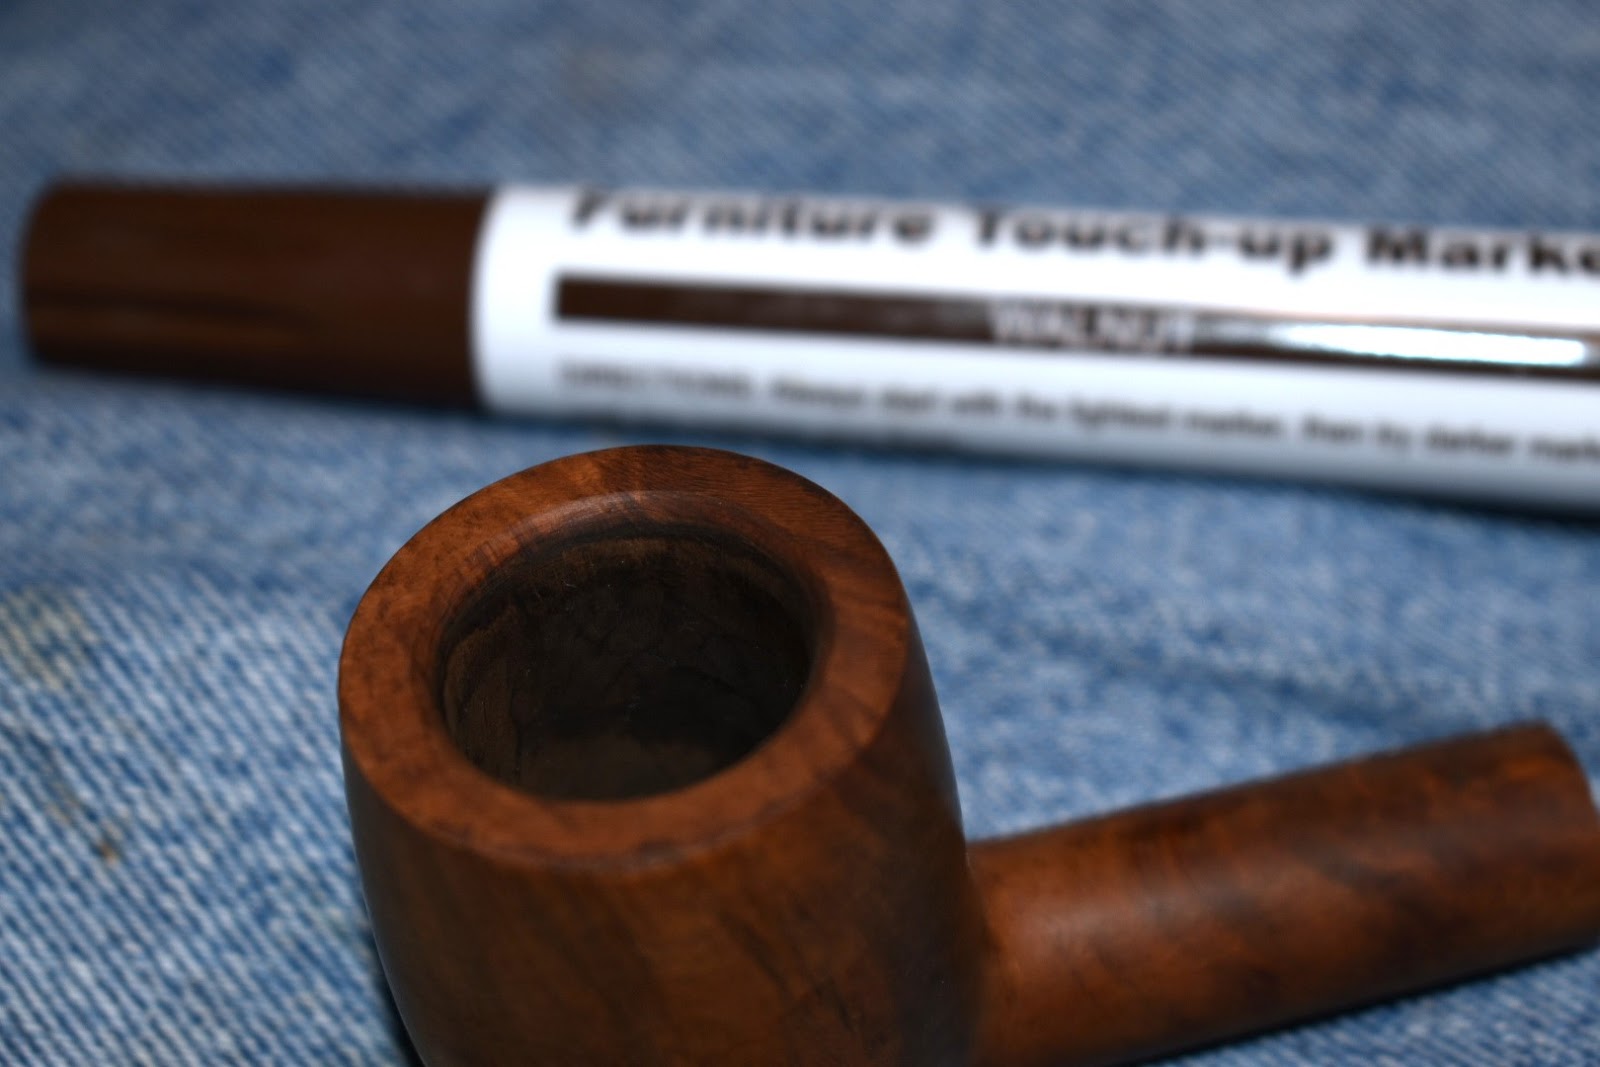
sandpaper laid flat on the counter to top the stummel. As I sanded I rotated the stummel to maintain even pressure around the entire rim. After the topping I wanted to maintain the bevel on the inside of the rim. I used a


wooden sphere wrapped in 200 sandpaper to reestablish this bevel. Different sized spheres can be used for different angles. After the topping the new rim needed a bit of stain. I used the walnut furniture touch-up marker for the initial color match and blended it with an alcohol dipped make-up pad.
With the rim complete I turned my attention to the two spots requiring fills. They were both small but in positions that would require care to maintain
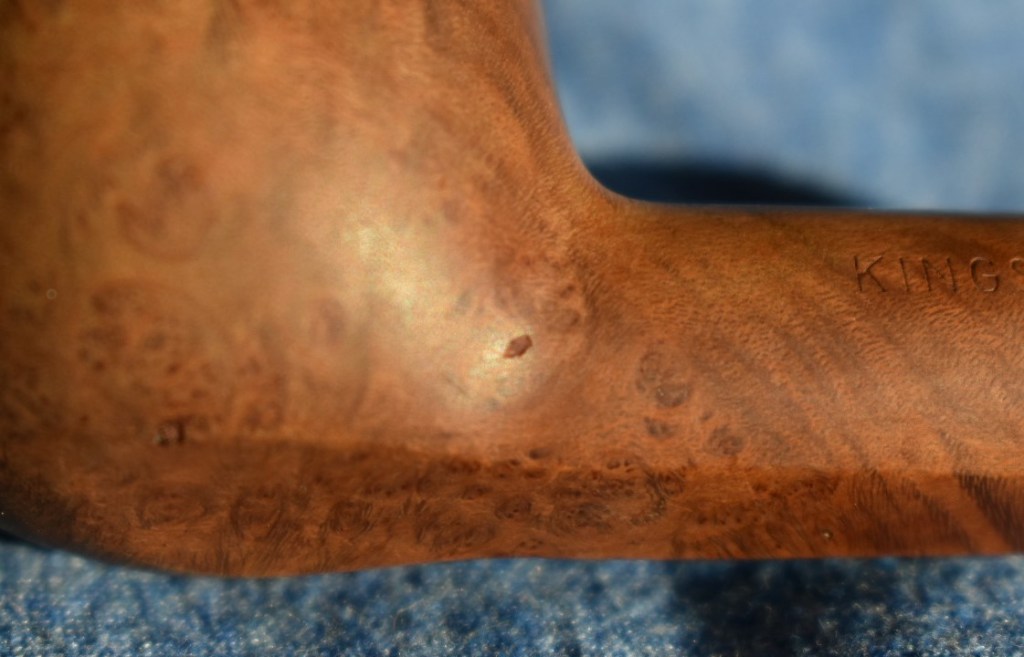


the original shape of the stummel. I chose to use cyaloacrylate (CA, super glue) and briar dust. I used a fly tying bodkin to apply a small drop of CA to the hole and placed a pinch of briar dust onto the CA. I then pushed the briar dust into the hole. This usually fills the cavity in one application and will give you a nice little CA fill spot on your index finger. The CA cures almost instantly with the briar dust and pressure. The remaining scab, for lack of a better term, was filed off using

needle files. I used the flat file for the flare area on the right fill and curved and rounded files for the shank/bowl transition. The area is then sanded with 400 sandpaper and touched-up with the furniture touch-up marker.

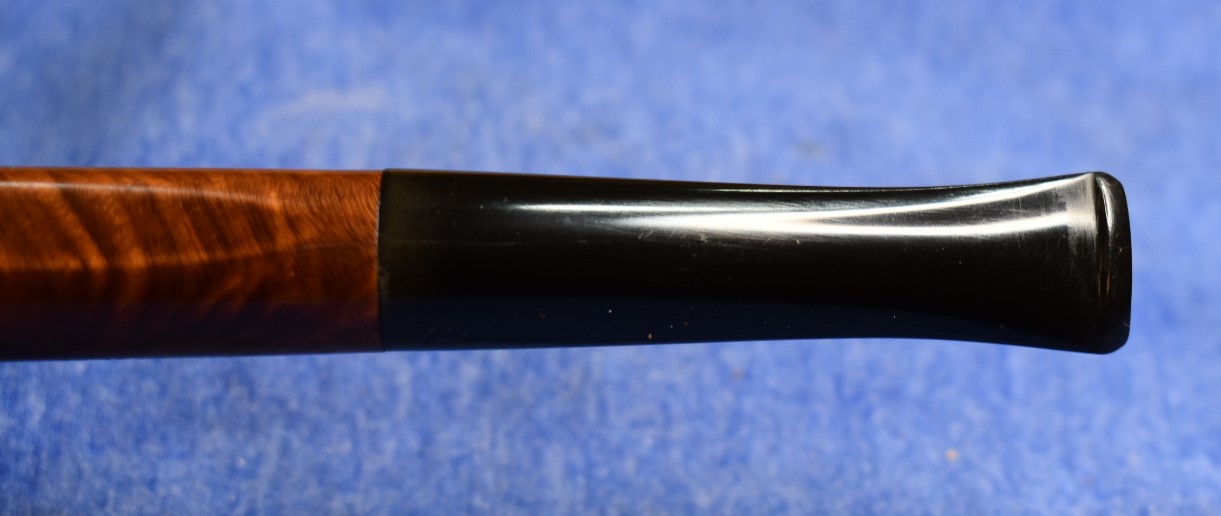
With the fills dealt with I started in on the roughest parts of the stem. I used the flat needle file to smooth the most egregious gouges on the stem then sanded them with 200 sandpaper wrapped around an emery board. I wanted the stiffness of the emery board to keep me from sanding the gouges into a curved shape. After the worst of the gouges were removed there remained a couple of depressions on both sides of the stem. I filled these with black CA. The CA was spritzed with a curing accelerator then filed smooth with the flat needle file. These areas were then smoothed with sandpaper.


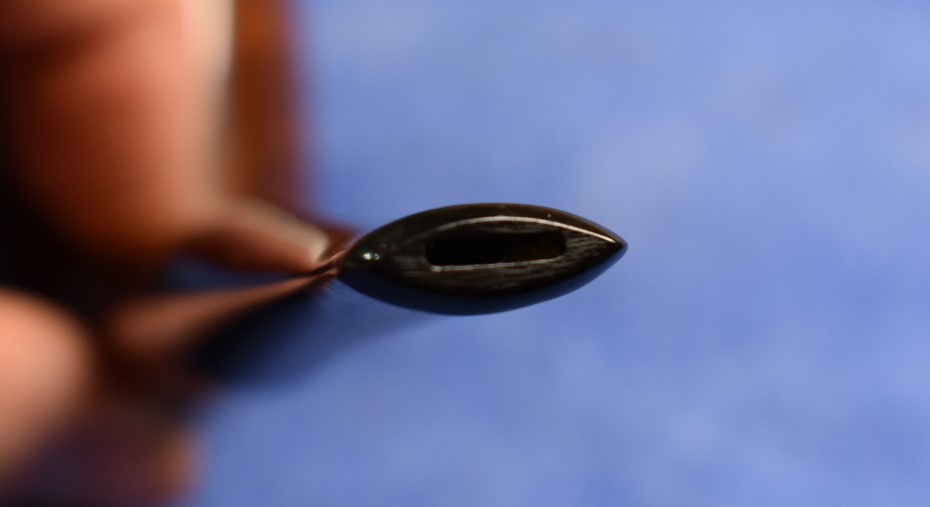
At this point I decided to build up and shape the button of the stem. I again used the black CA for this reshaping. On previous restorations, I have neglected to photo document my process of button building. This is not to preserve my “secret technique”. It is merely because I get to working on this part and get so consumed in the process that I forget to document it. This time I made an effort to show what I do. I will typically shape and sand the area shank-ward of the button. Once smooth, I use a piece of scotch tape to keep the new CA only on the button.


I apply the black CA and spritz with accelerant. You have a few seconds when the CA is soft, before the accelerant cures the CA into it’s hardened form.


While it is still soft I use an exacto knife to cut the edge of the button giving it a sharp definition towards the stem. I then peel the scotch tape off, taking with it the area beyond the cut. I will then shape the new CA button. I will repeat this until I have the desired shape. I have not seen other restorers use this technique. I doubt I am the only one who has thought of this.
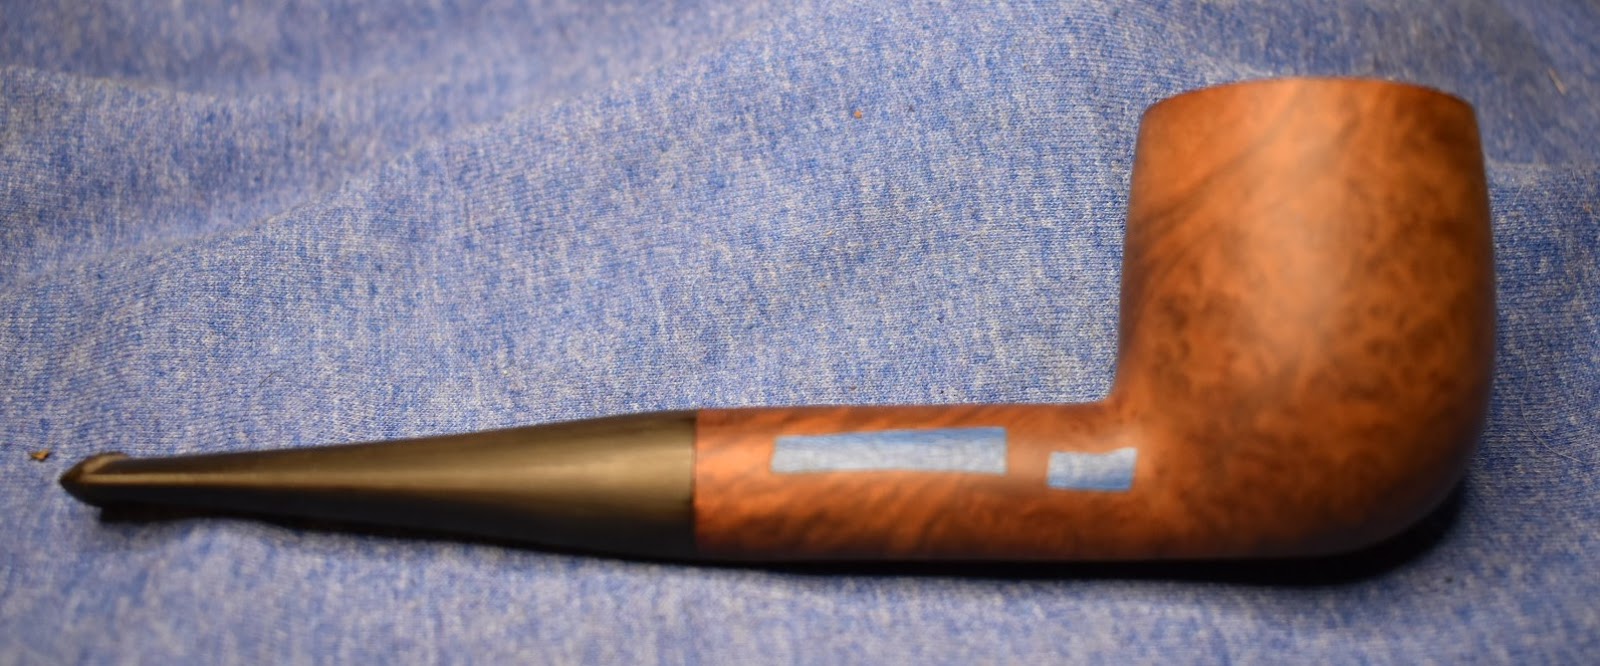
After the fills were smoothed with 400 sandpaper I prepped the pipe for micro-meshing. Since I had so much sanding of the stem to do, I left the stem and shank together for the sanding and micro-meshing. I knew that this would obliterate the “FRANCE” stamping on the stem but I did mask the stamping on the stummel to preserve them.

The micro-meshing was pretty standard from1500-1800 pad used wetted with a drop of water. The stummel was wiped with an alcohol dampened make-up removal pad while the stem was rubbed with mineral oil and wiped with a paper towel. The next micro-mesh pads were the 2200-3200 used dry with the above mentioned wiping done between each pad.

I removed the painters tape before using the 4000-12000 micromesh pads. I rubbed the areas taped with an alcohol pad to remove and tape adhesive residue and continued the micro-meshing with alternating wipes between pads.

At this stage the pipe was looking very nice. I gave the stummel a liberal coat of Before and After Restoration Balm and the stem a coat of Obsidian Oil and allowed them to while I attended to some laundry duty.
With the laundry folded an put away it was time to wipe off the balm and see how this old billiard is looking. I wiped the pipe with the inside of an athletic sock. Those little ankle high socks fit on my hand perfectly and have a wonderful terry cloth interior perfect for pipe rubbing. Oh, she is looking so much better. All that is left is a trip down stairs to the buffer for several coats of carnauba wax with the buffer.
Oh, dang it, I forgot about the stinger, again. It had been sitting in a medicine cup with some 99% isopropyl alcohol. The alcohol softed the tar-lacquer (not sure if that is a thing). I used the buffer with some white compound to polish it up then reinserted it into the stem.
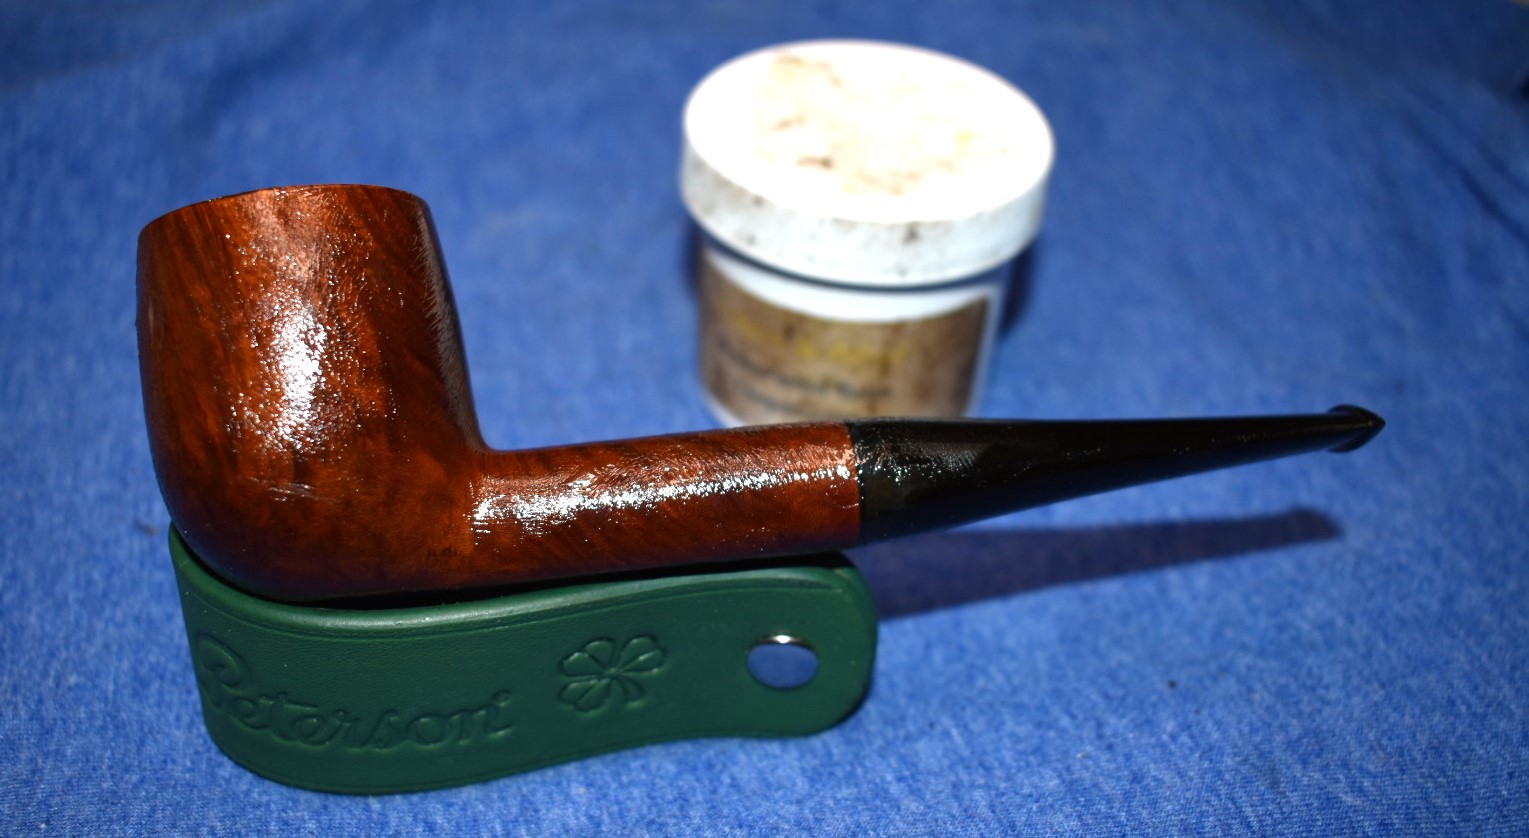
This restoration was all very straight forward. It was a good way to spend the better part of an afternoon. The briar grain shows very nicely and sets off the ebony of the polished vulcanite well. Not too shabby for a factory made briar pipe. I am sure she will make a great companion for her next owner and provide years more of quality tobacco consumption. I hope that you found some of these techniques helpful for your own restorations or were entertained. If you liked this sort of thing, please hit the like and/or subscribe buttons down there. Thank you for reading the ramblings of an old pipe lover.
Here are some photos of the finished Kings Cross billiard: