
Photographed and written by
John M. Young
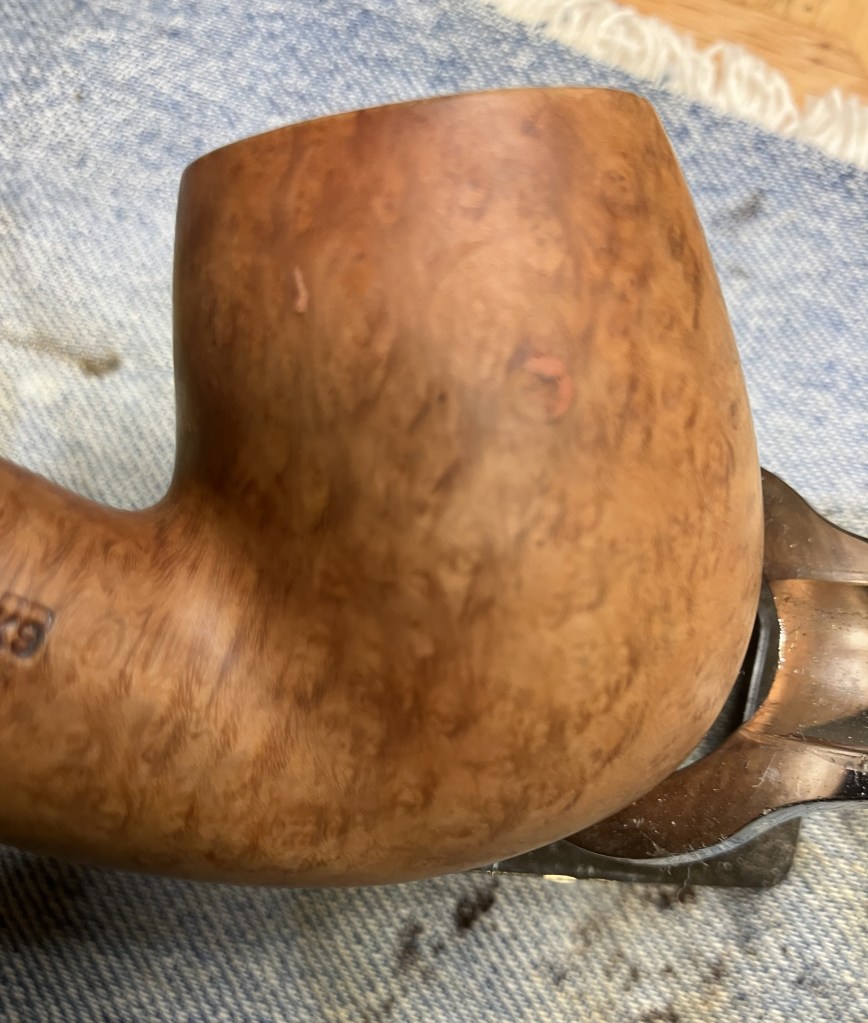
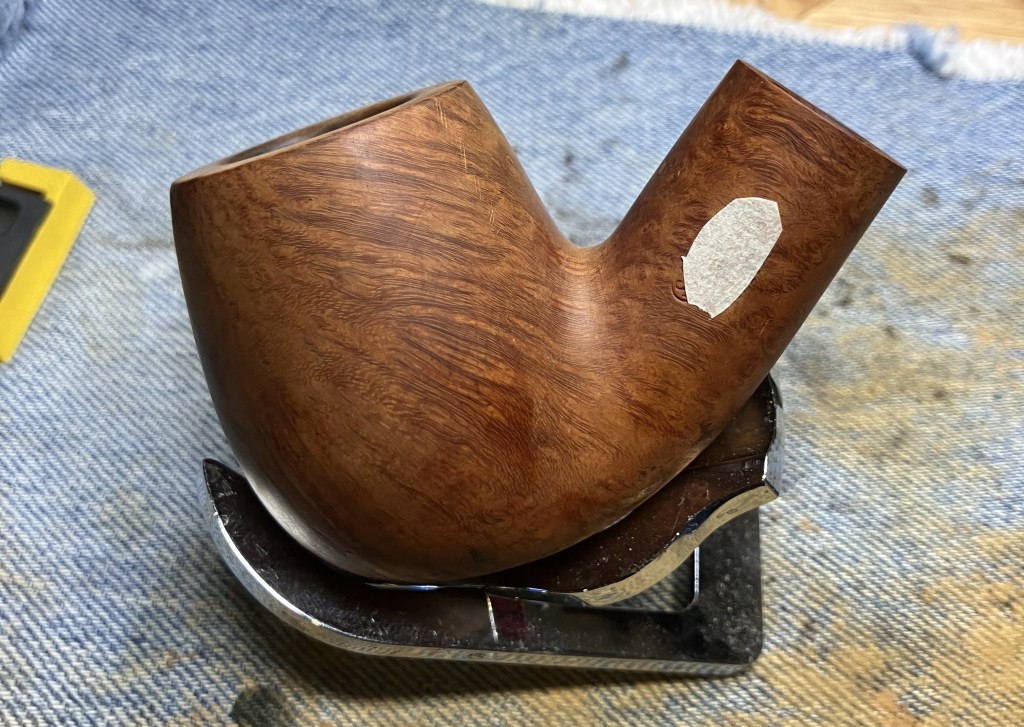
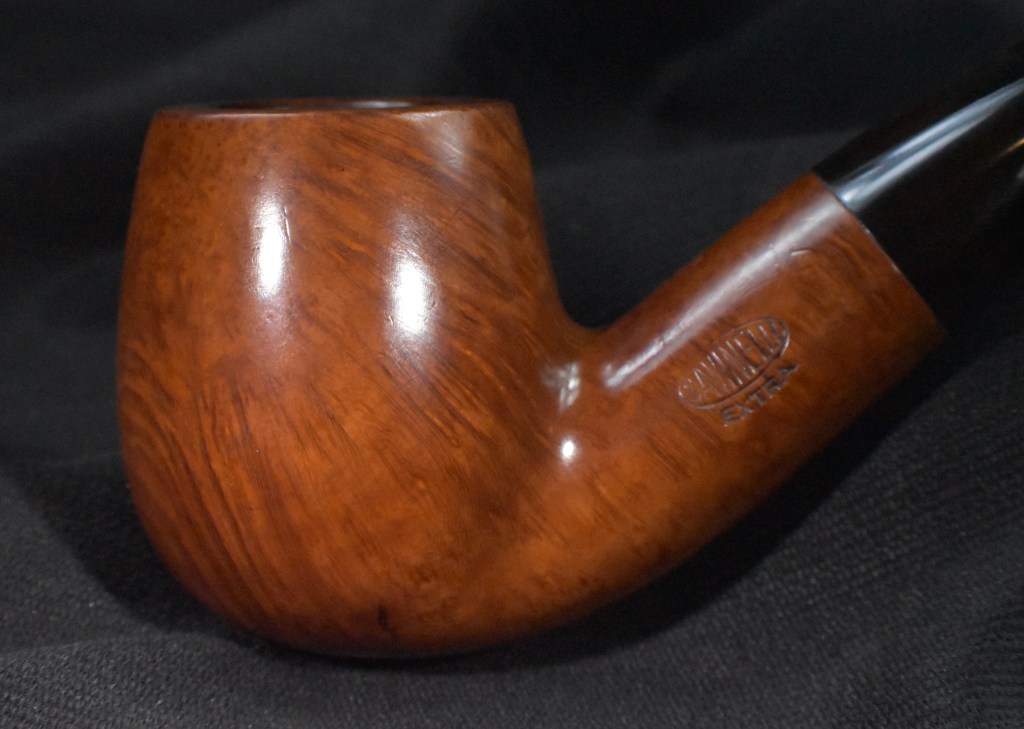
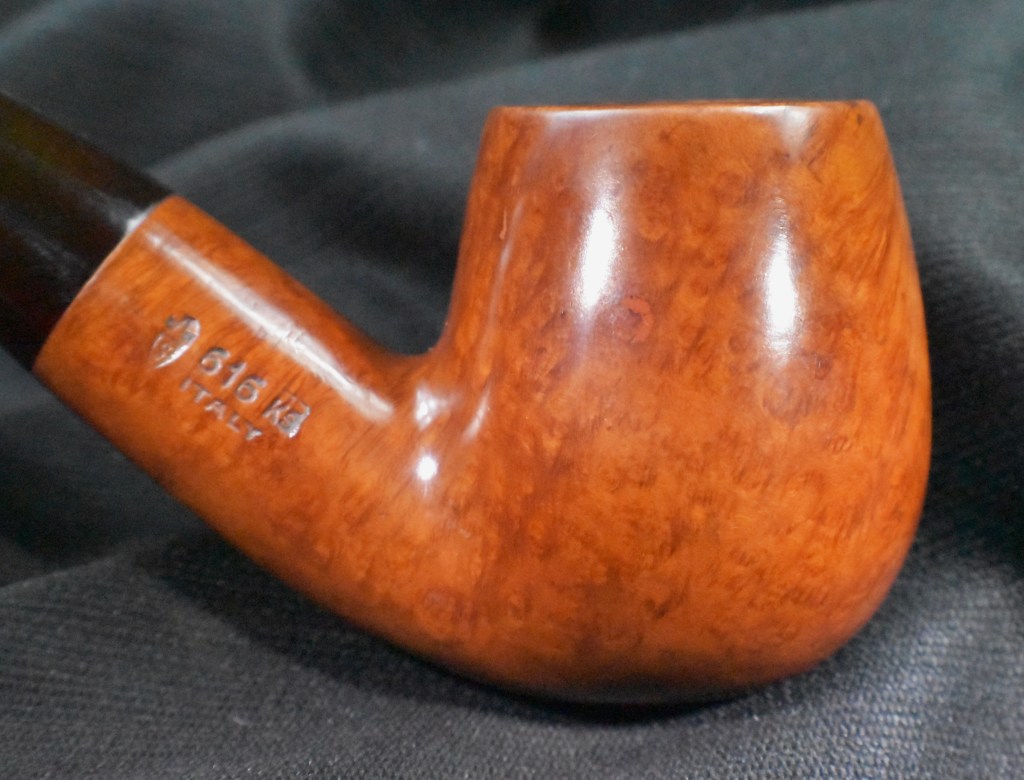
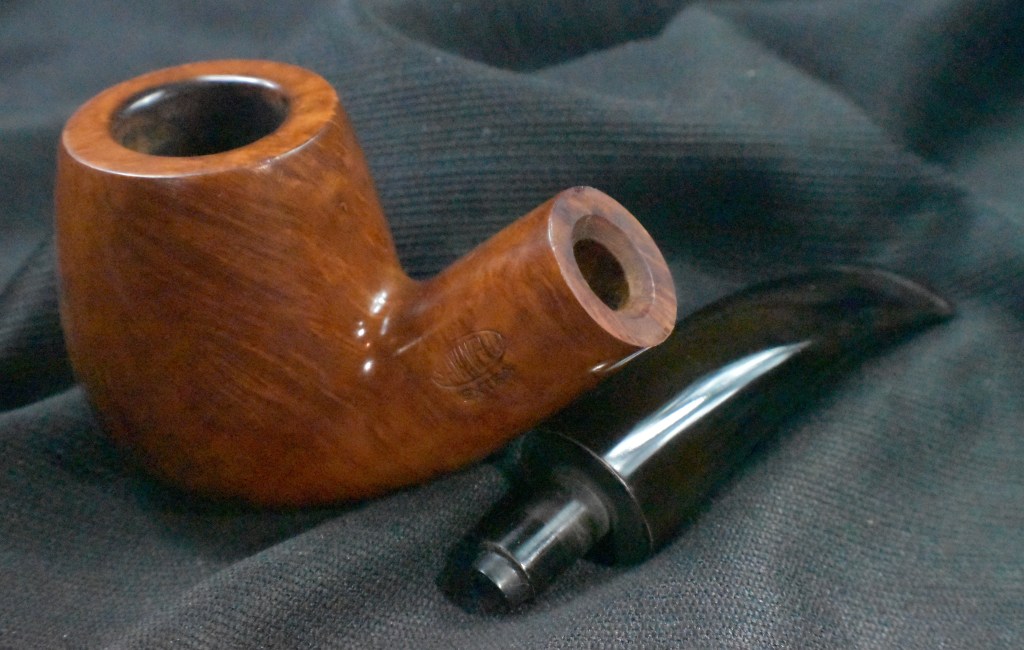
I think I have only worked on 6-10 Savinelli pipes. There have been four that I have blogged about, including this one, and another 3 or 4 that I restored before I was writing about the restorations. Some of those early Savinelli restorations were Dry System pipes, Savinelli’s take on the Peterson System and a Punto Oro Mister G. In general I have nothing but praise to give Savinelli pipes except for their vulcanite. Savinelli’s acrylic stems are a thing of beauty with wonderful color schemes and excellent workmanship. Their vulcanite on the other hand is shaped with care and precision but the darn stuff is nearly impossible to restore to the original gloss black. I think I am getting ahead of myself again. This Savinelli Extra 616 KS is an amazing pipe due to its incredible shape. It’s classified as a bent billiard but that doesn’t do it justice. It has wonderfully thick walls and a very substantial shank, making it similar in size to a Peterson 307 but larger in all the right places. Yeah, I had to compare it to a Peterson since my experience with Petes is far more extensive than with Savinelli. I picked this pipe up by making an offer on the poor pipe which no one was bidding on. The seller accepted and the rest is history. Upon arrival I took some photos of the pipe prior to working on it.

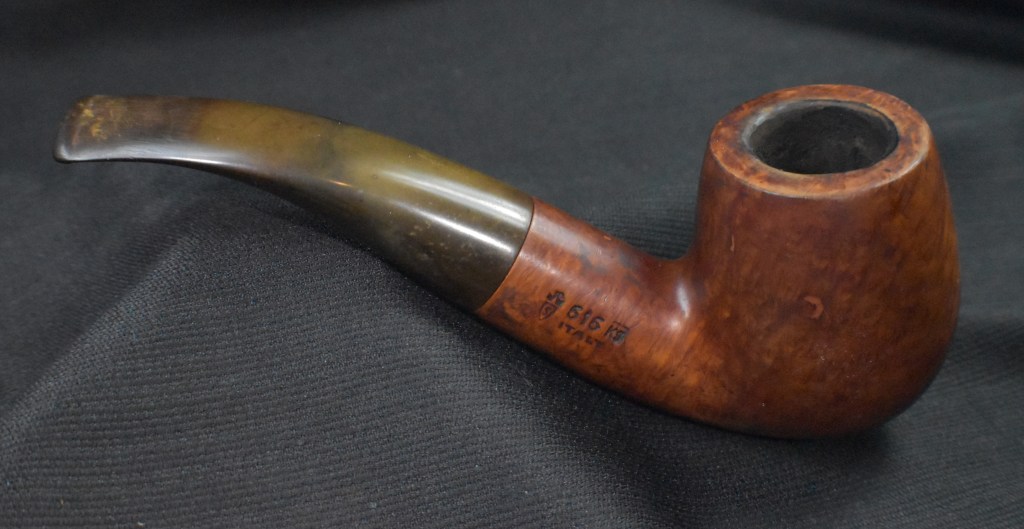


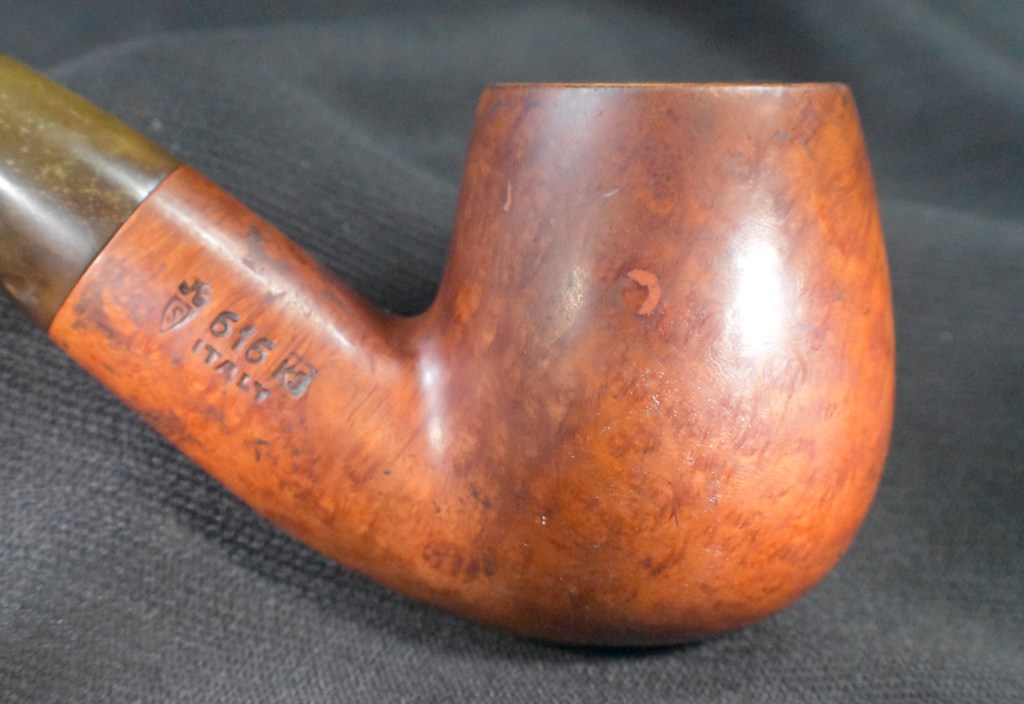


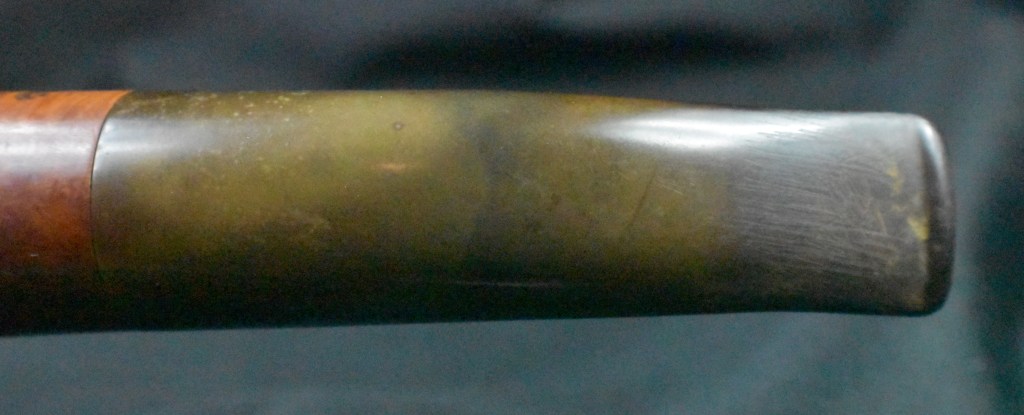
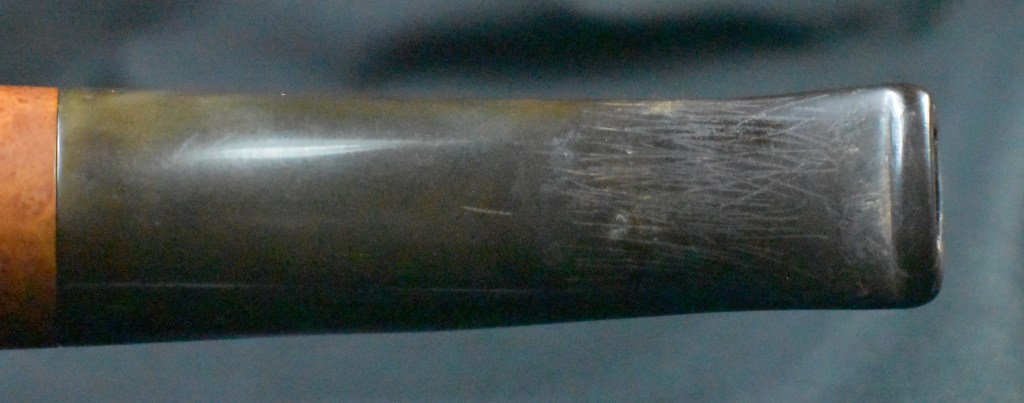


I could definitely see why many people like this shape, it has wonderful proportions and feels great in hand. This one needed some work, though. The vulcanite stem was severely oxidized. I hoped my previous experiences with Savinelli vulcanite would be different this time. The stummel had a few dents which looked easy to fill and the existing fill were all secure and intact. The tobacco chamber had a layer of cake which I hoped would not reveal hidden damage. The rim looked good with only minor lava deposits. Overall, this looked like a pretty easy restoration.
Background
Re-reading the blog about the Savinelli Porto Cervo, I thought, “why rewrite good information?” So I didn’t. Below is what I said about Savinelli in March 9th of 2024:
“First off , let me provide some history of Savinelli. As usual I employed pipedia.org and pipephil.eu for source information. The pipedia.org section of Savinelli is well written and very informative. I know I said I wanted to keep this brief but much of this is worthy of repeating, especially the “origins” of the company in 1876 and the post-WWII company as we know it.
Early Origins
“1876 was a year of breakthroughs: Thomas Edison patented the mimeograph, Julius Wolff-Eastport canned sardines for the first time, Alexander Graham Bell made the first telephone call,
Pyotr Ilyich Tchaikovsky completed Swan Lake, Melville Bissel patented the first carpet sweeper, Mark Twain published Tom Sawyer, and in Milan, Italy, Achille Savinelli opened one of the first shops exclusively focused on tobacco and smoking accessories.
That last item may seem relatively unimportant in the global scheme of advancements, but for those of us who love pipes, it was a monumental achievement, made even more difficult by the Italian government, which held a monopoly on tobacco. In addition, Achille was convinced that briar pipes represented the future of pipe smoking at a time when the market was dominated by clay and meerschaum. It may not have been obvious in 1876, but Achille Savinelli’s commitment to briar pipes would prove to be visionary.
He soon began designing his own pipes (different from the styling we associate with Savinelli today) and arranged their manufacture by local pipemakers in the Varese district of north-west Italy. The pipes became so popular that some were exhibited at the 1881 Esposizione Industriale Italiana (Italian Industrial Exposition)—the precursor to today’s Milan Fair, one of the largest trade fairs in the world.” (https://pipedia.org/wiki/Savinelli)
Post-WWII
“With his two best friends, Amleto Pomé and Mario Vettoruzzo, he assembled a team of fifteen employees to start a new business in the Varese region—the same area of northwest Italy in which his grandfather, Achille Sr., commissioned his own designs more than 60 years before.
Savinelli Pipes began production in 1948 and, although the pipes were of a superior quality and unique in their aesthetic, the brand wasn’t an immediate success. Few new brands are. It takes time for the public to catch on. Retailers were skeptical of placing Italian pipes alongside their best sellers from England or France, and customers, in turn, were hesitant to purchase a Savinelli over pipes by already established, foreign brands. Achille Jr. stood by his product, however; he knew it was only a matter of time before the world realized that these pipes were of a far superior quality, capable of competing with even the most well-established pipe manufacturers in the world. As it turns out, he was right. In less than a year, Savinelli pipes gained prestige in markets all across the world—heralded for their delicate balance of innovation and tradition, of form and function. Savinelli pipes were placed alongside the likes of Dunhill and Comoy’s in tobacconists from the United States to Europe, and, in time, this exposure modified Italy’s reputation; it was not only the premier exporter of briar, but now a premium source of fine briar pipes.” (https://pipedia.org/wiki/Savinelli)
Who doesn’t love a success story where hard work and producing a quality product pays off and builds a dynasty? A story for the soul. Anyway, the whole article is worth a read. ” (A Savinelli Porto Cervo 677KS Salvage, I mean Restoration – NebraskaPeteGeek).
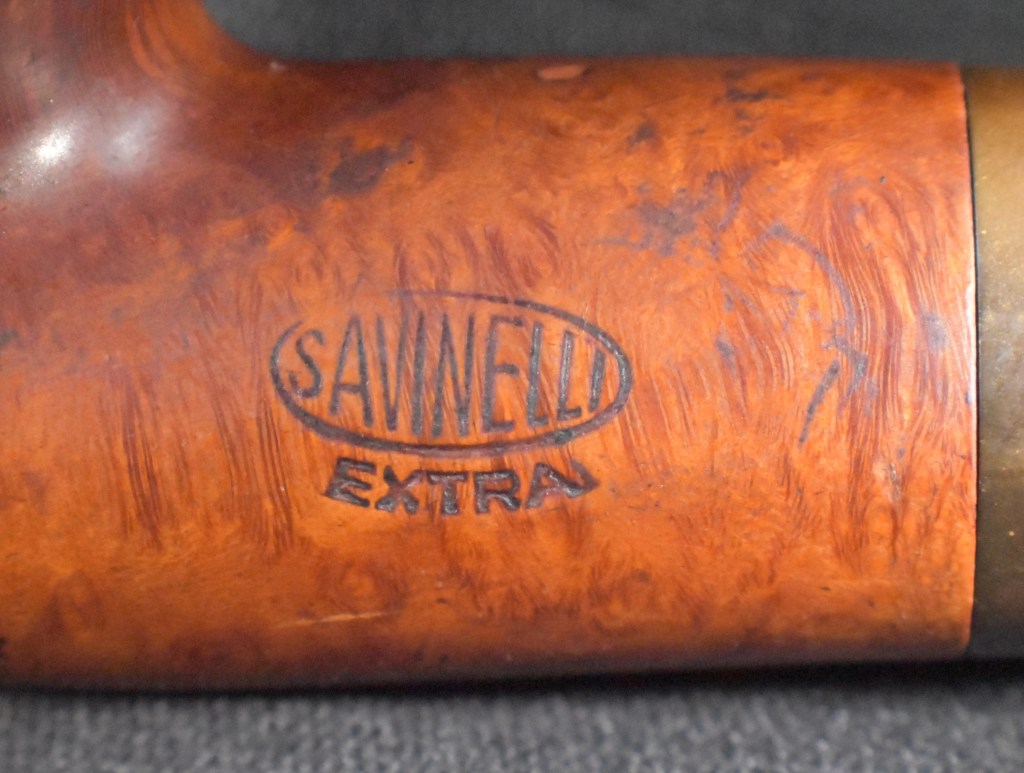
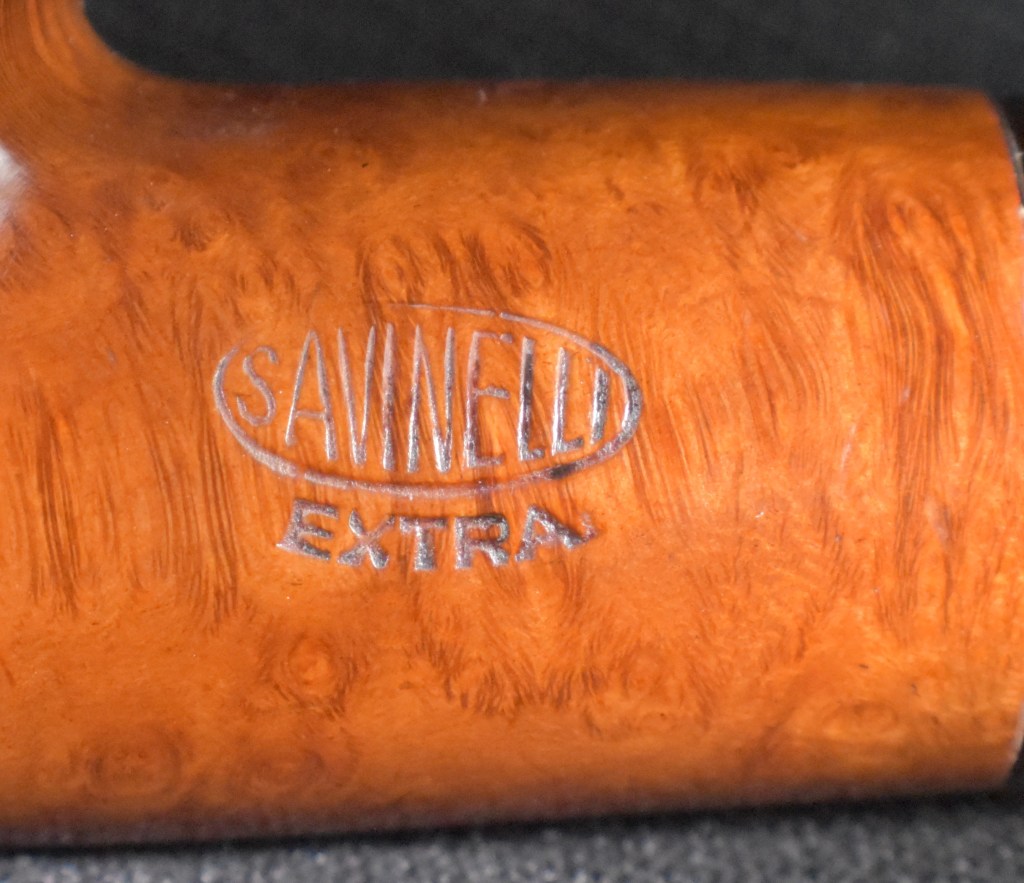
Yeah, I know, that was kind of lazy. Now about this pipe: Savinelli Extra 616 KS. According to the official Savinelli site, “Model 616 KS is one of the biggest models which Savinelli offers to its customers. The big and deep chambered cylindrical bowl is visually balanced by a thick and robust cylindrical shank. A really masculine style.” (Savinelli Pipe – FORESTA 616 KS). The number of Savinelli lines, brands, sub-brands etc… is dizzying:
- Alligator
- Amalfi
- Arnold’s – 40-50’s sub-brand
- Aurelia Ex.
- Baronet
- Bent Bob Pipes – Distributed in US
- Big Nine
- Bing’s Favorite
- Black Set
- Bruna’
- Cadet – About 1960’s
- Caffè
- Capitol
- Capri
- Capt. Warren – Distributed in US
- Caramella
- Champagne
- Chiara
- Chocolat
- Churchwarder
- Clark’s
- Columbus Series (Nina, Pinta, Santa Maria) – Made for the US market only
- Deco with silver 925 ring
- Dr. Forson – Vest pocket pipe like Roley. Unconfirmed!
- Duca Carlo
- Duca di Milano
- Duca di Paolo
- Elegance
- Estella – Rejected “Autograph” pipes
- Extra
- Fiammata – Rejected “Giubileo D’Oro” – Straight Grain
- Flammata – Subrand according to Peaceangel12000@yahoo.com Maybe confused with Fiammata?
- Fuoco
- Gaius
- Ginger’s Favorite
- Giotto
- Giubileo Oro
- Grezza
- Grand Prix – About 1960’s – Brown Leather covered
- Hercules – XXL pipes
- Horoscope
- Joker
- King’s Cross (Imported Briar) – Distributed in US
- Lady Savinelli a pipe designed for women
- La Roma
- La Una – Unconfirmed!
- Linea Artisan
- Linea Più
- Lino
- Logo
- Lolita
- Lollo – Stubby pocket pipe
- Long John
- Mediterranea
- Melange
- Melitta
- Miele
- Molinella
- Monsieur
- Natural
- New Art – Artistic designs that take additional 20 steps of production
- Night&Day
- Noce
- Non Pareil
- ObiOne
- Oceano
- Onda
- One
- Ontario
- Opera
- Oscar
- Panama
- Pannocchia
- Parade
- Petite
- Pisa
- Piazza di Spagna
- Porto Cervo
- Prince of Wales
- Punto Oro
- Qandale
- Rimini
- Riviera – Made for the international market only in the 9mm version
- Roley – Vest pocket pipe; almost identic to “Rolex” by Brebbia
- Roma
- Royal Oak – Distributed in US
- Samanda
- Savinelli Professor
- Savinelli Ecume
- Seta
- Siena
- Sigla
- Silver
- Sistina
- Soireè
- Solaria
- Spigot
- Sport – About 1960’s – Chubby shape with very short stem or mouthpiece
- Spring
- Sun-set
- Tevere
- Tortuga
- Toscana
- Trevi
- Tundra
- Vaniglia
- Virginia
- Venere
- Verona
(Savinelli – Pipedia). How anyone, even master factory craftsmen, can keep track of all that is remarkable.
The Restoration
The Extra 616 KS made its way to the workbench.

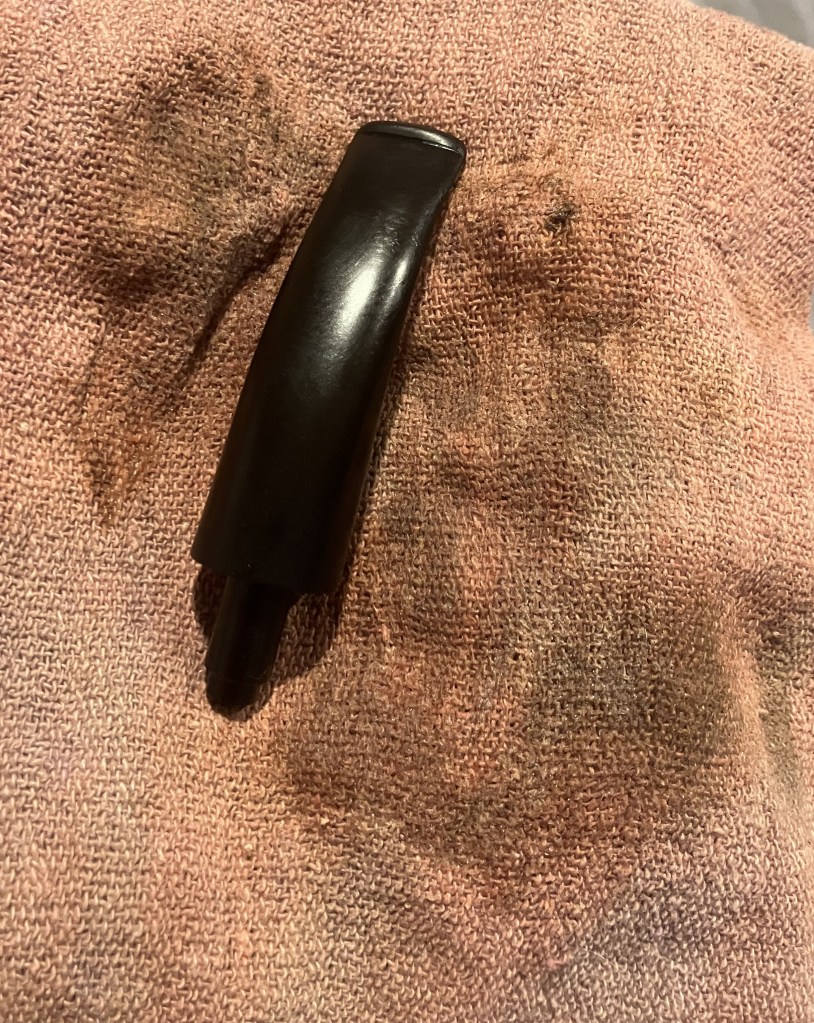
I started with the stem. The good news was there was no real tooth chatter. I used a flat file to redefine the button and remove the general tooth denting.

A wood block was used to help hold the stem for some light sanding to remove the surface oxidation.

The airway of the stem was cleaned out with bristle pipe cleaners and 99% ethyl alcohol.

I thought a 24 hour dip in the Before and After Extra Strength Deoxidizer would be adequate.

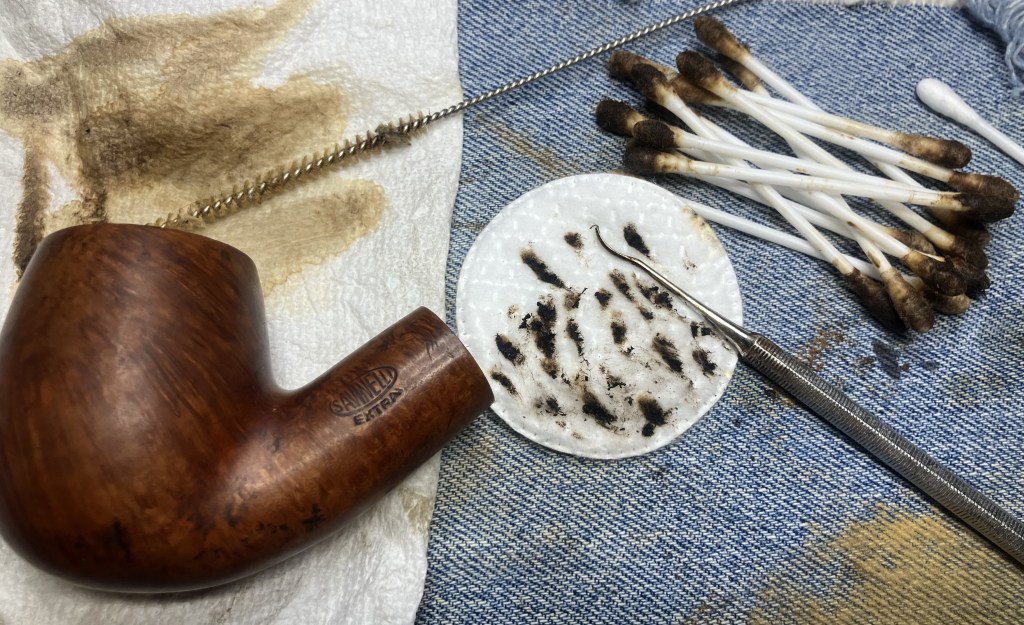
Returning to the stummel I started cleaning the shank with the unused ends of the bristle pipe cleaners left from the stem.

Numerous cotton swab, and shank brushing, all with 99% ethyl alcohol along with a good deal of scraping with a dental scraper helped clear the accumulated smoking residues.
The reaming tools were assembled.

The PippNet with it’s #2 and #3 blades did the majority of the reaming.
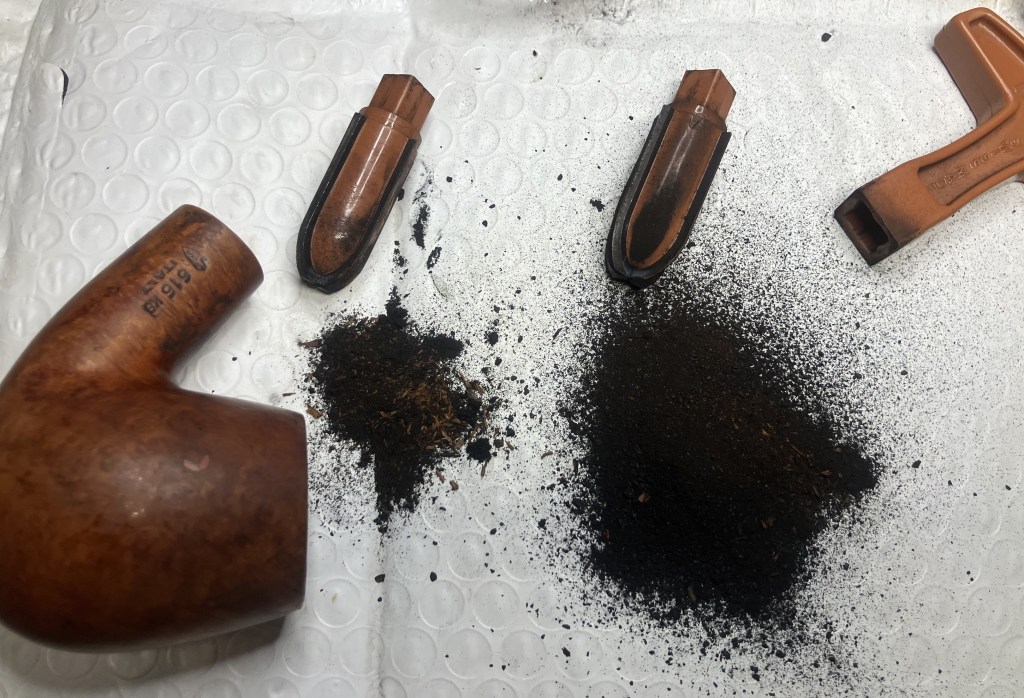
I used the General triangular scraper and the Smokingpipes Low Country reamer for some clean-up.
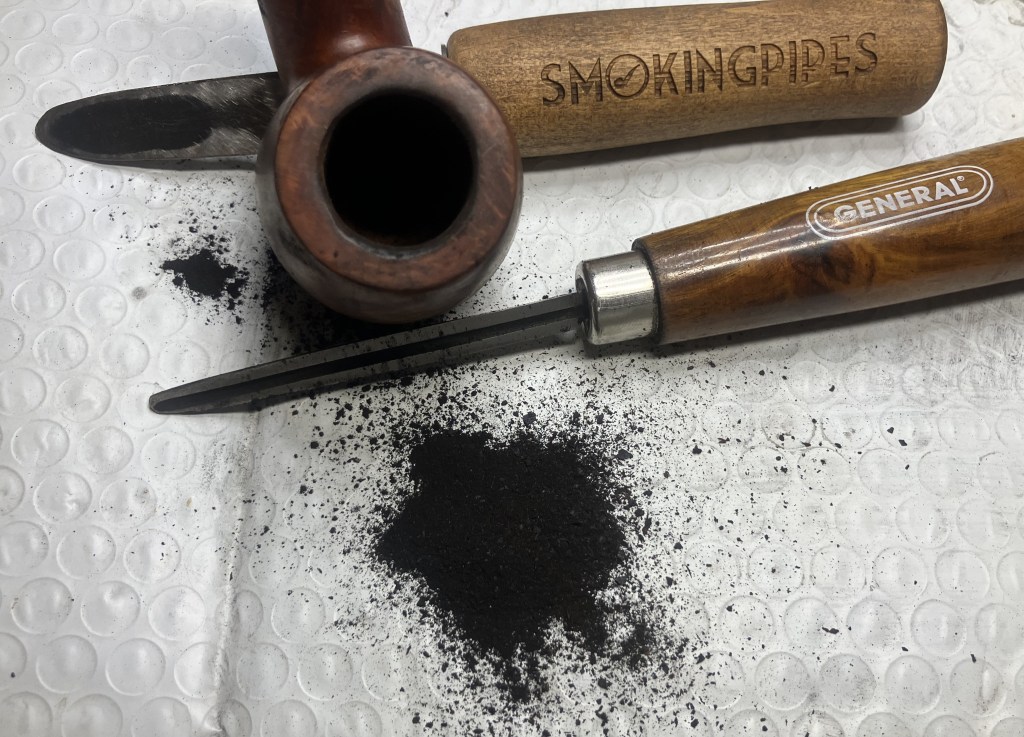
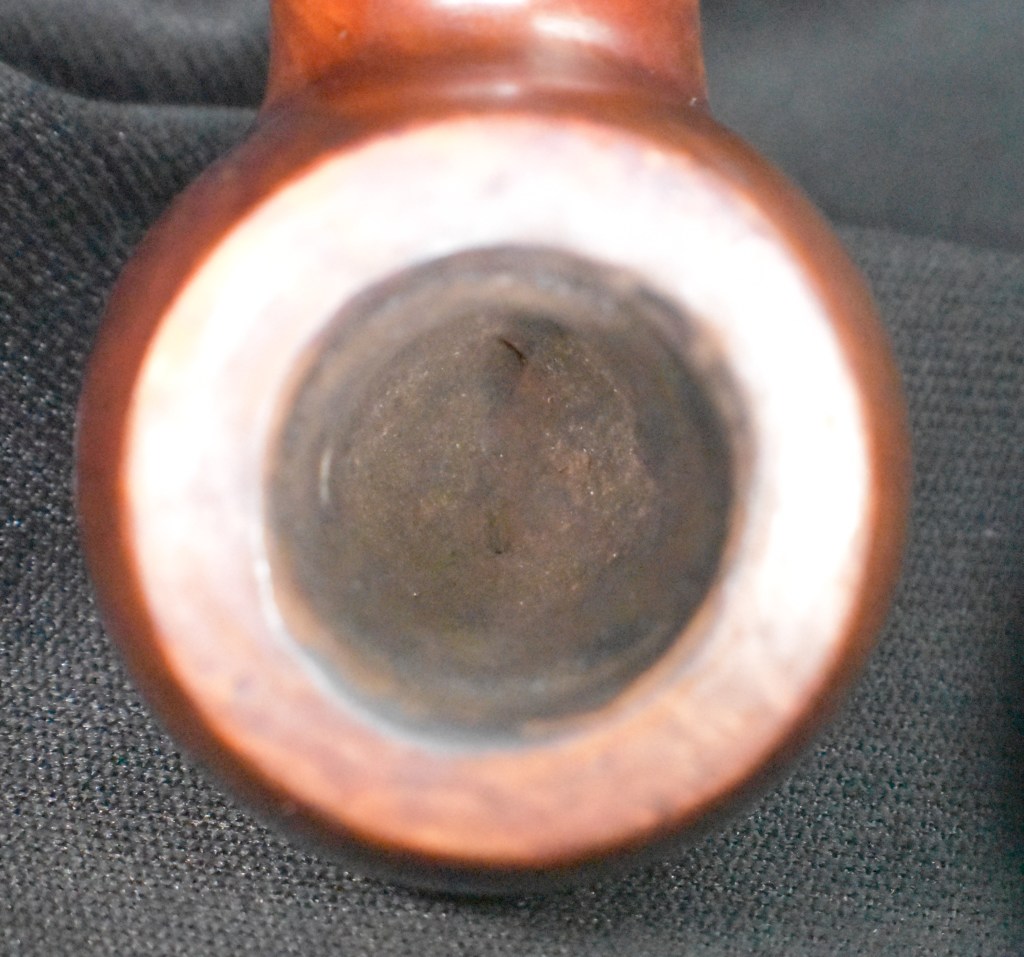
The reamed tobacco chamber looked much better.

The chamber was sanded to bare briar using 320 sandpaper wrapped around a wood dowel. No heat damage was evident.

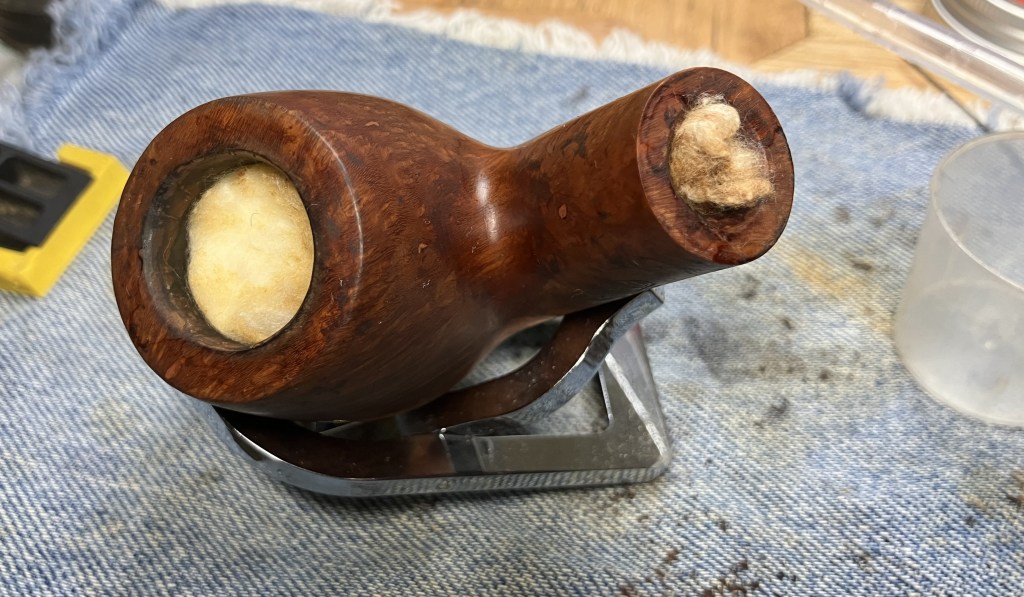
With the amount of tar and yuck in the shank airway I thought it would be best if I gave the stummel a cotton alcohol treatment. The airway and tobacco chamber were stuffed with cotton.

Normally 10 ml of 99% ethyl alcohol would be sufficient for this but the 616 KS has a very substantial bowl, so 15 ml were measured out. The alcohol would be applied via a disposable pipette.
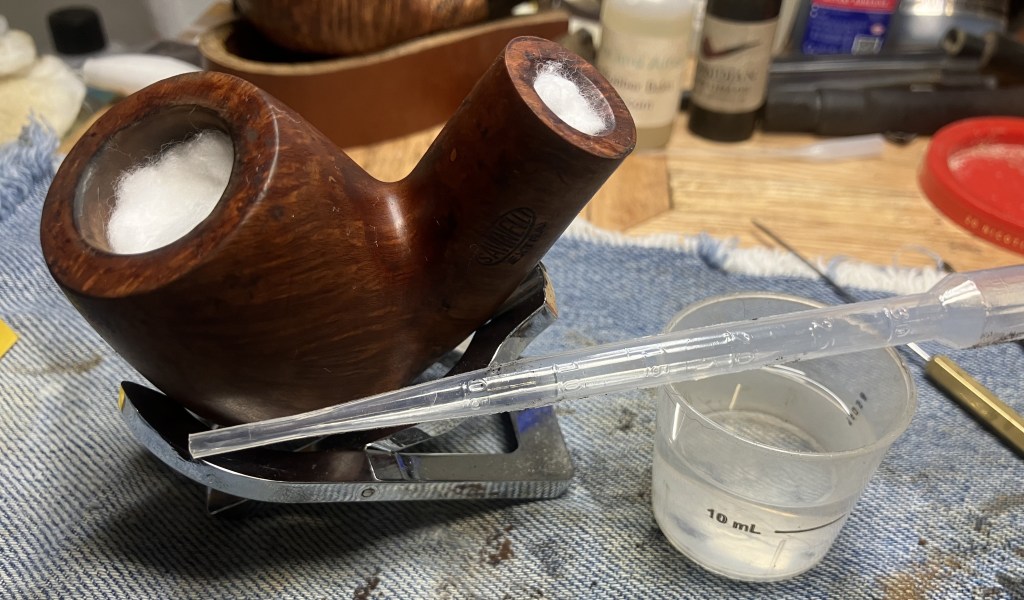
The cotton was saturated with alcohol and would be left overnight.
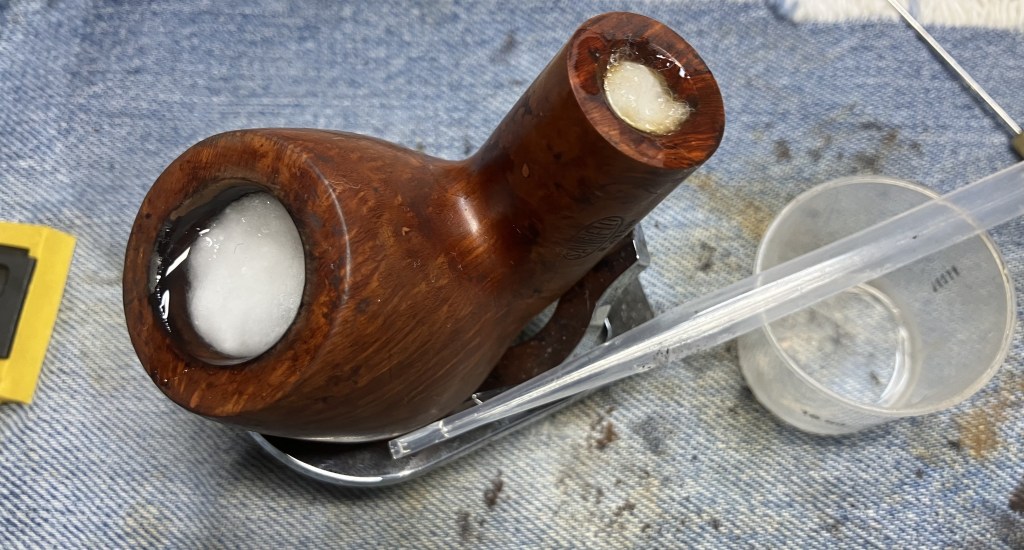
The next day the cotton showed the tell tale color of the deposited tars removed by the alcohol.
The cotton was removed and the airway was again cleaned using alcohol dipped cotton swabs and some more scraping.

The Savinelli made its way to the sink for a scrub with undiluted Murphy Oil Soap and a nylon brush. The soap was rinsed with warm water and the stummel dried with a cotton hand towel.
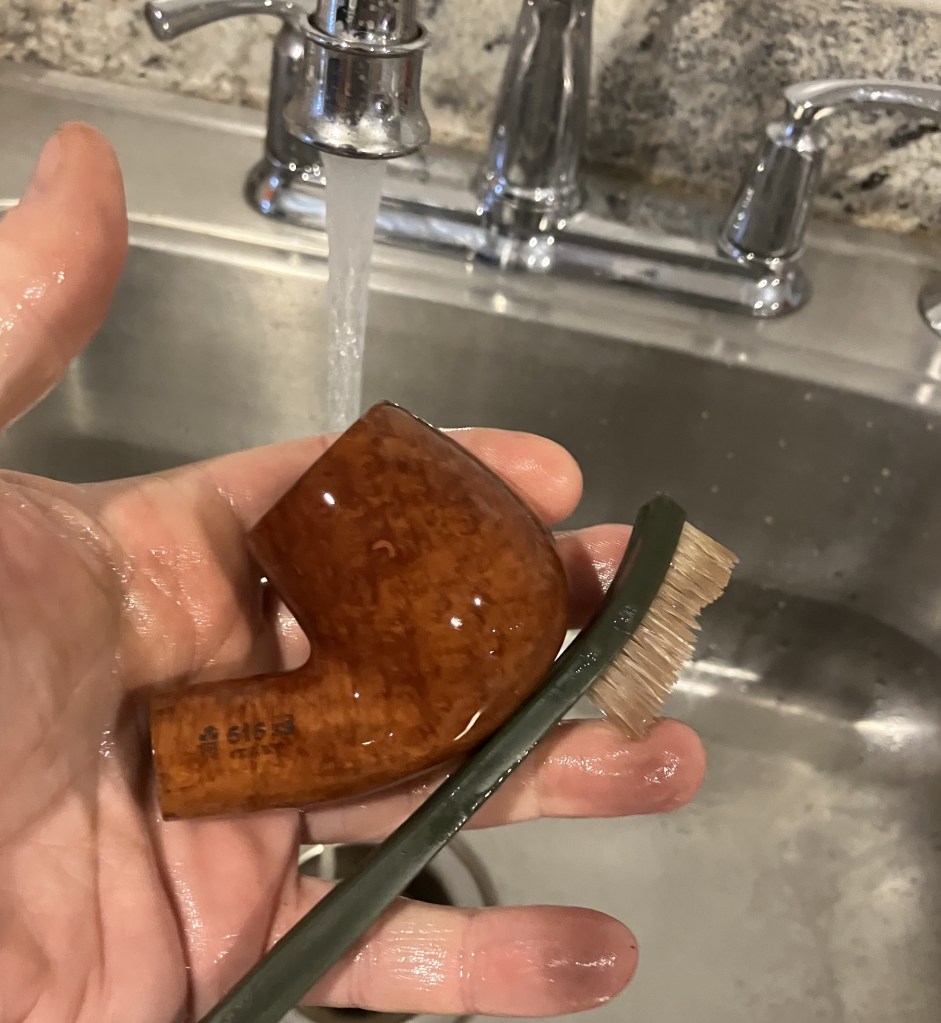
The dried stummel looked far better.
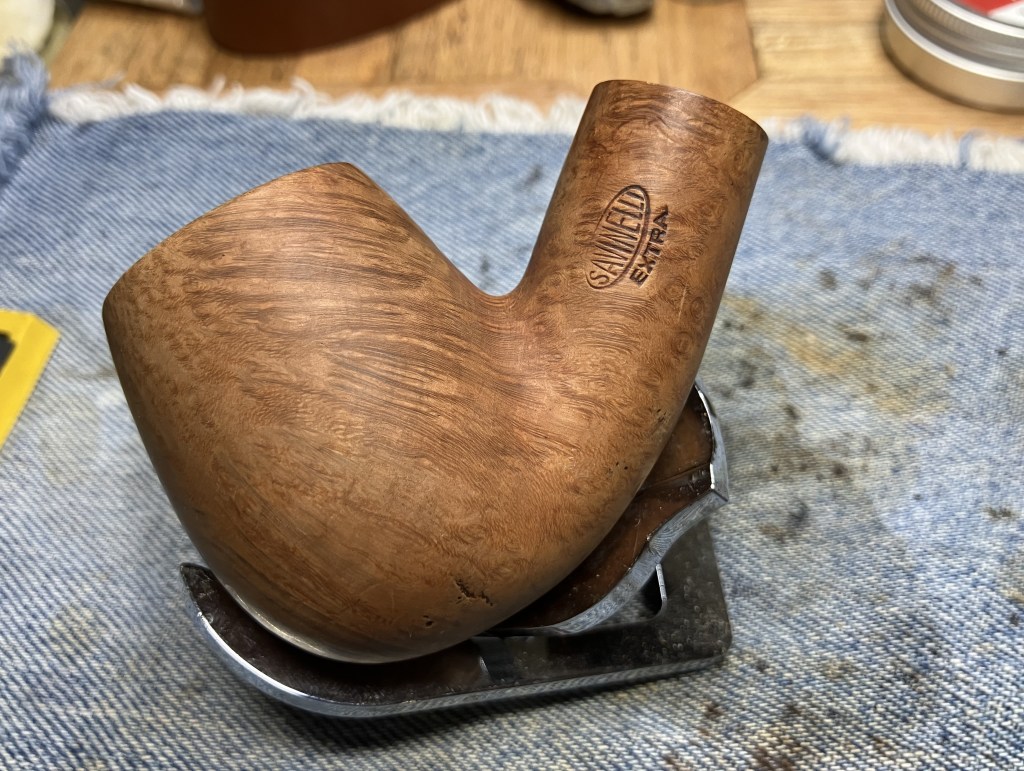
A wipe down with a make-up pad dipped in 99% ethyl alcohol removed a bit of color, probably wax and some remaining grime.
This did allow me a better look at the dents and dings in the briar.


The two old fills remained quite secure and I decided to leave them in place, even though I truly dislike their pink color.
The stem was removed from the Before and After Extra Strength Deoxidizer (deox) and allowed to drip excess solution from the stem using the patented Drip-O-Matic.

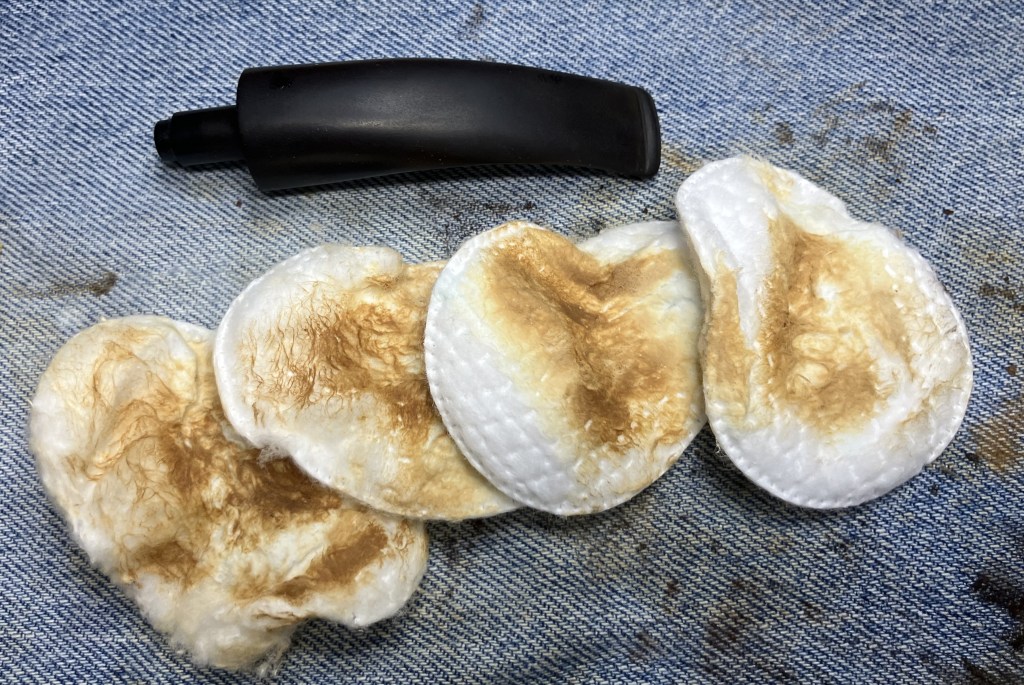
The stem was vigorously rubbed with a coarse shop rage to remove some of the oxidized vulcanite and the remaining solution. The oxidized rubber can be seen on the rag in the photo below rag

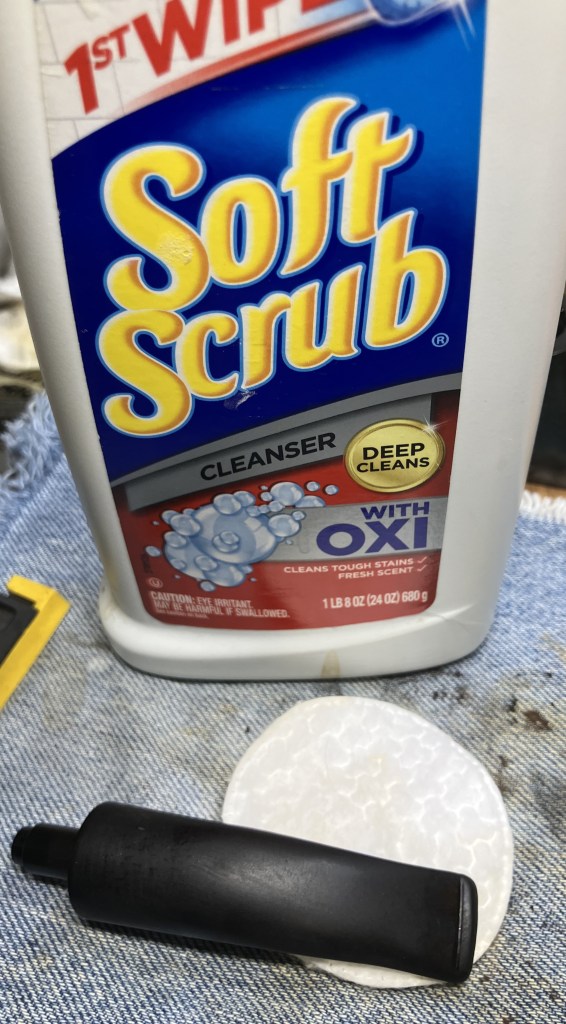
Returning to the workbench, the stem was worked with Soft Scrub cleanser on make-up pads to remove more of the oxidized material.
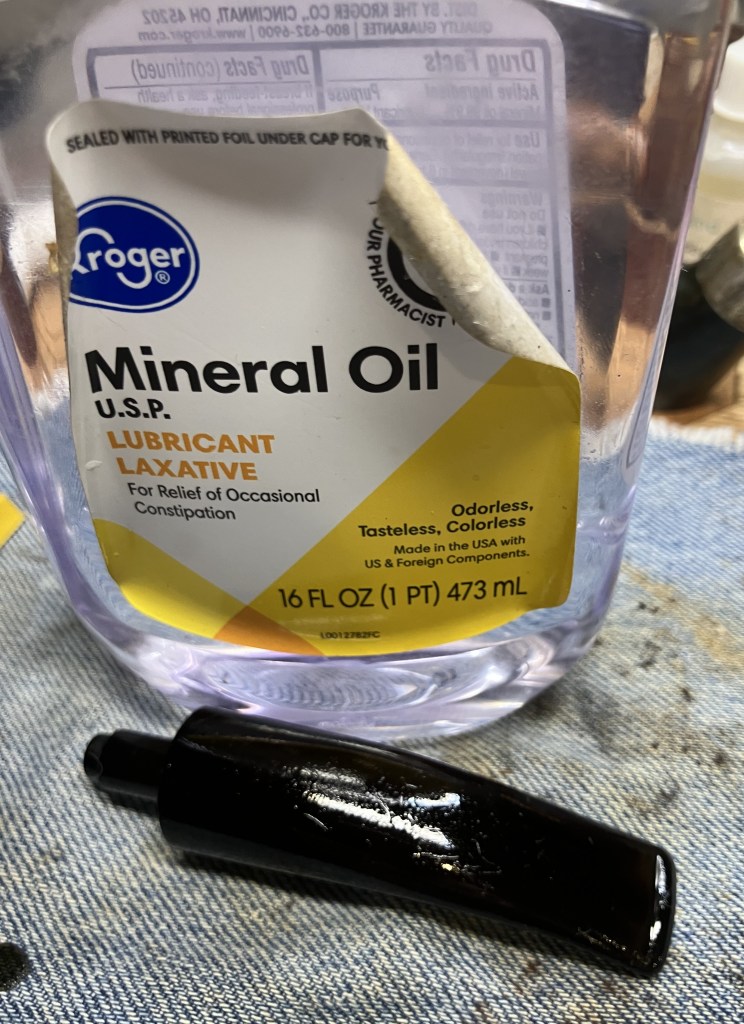
A liberal coating of mineral oil was applied to the stem to curtail further oxygen attack.
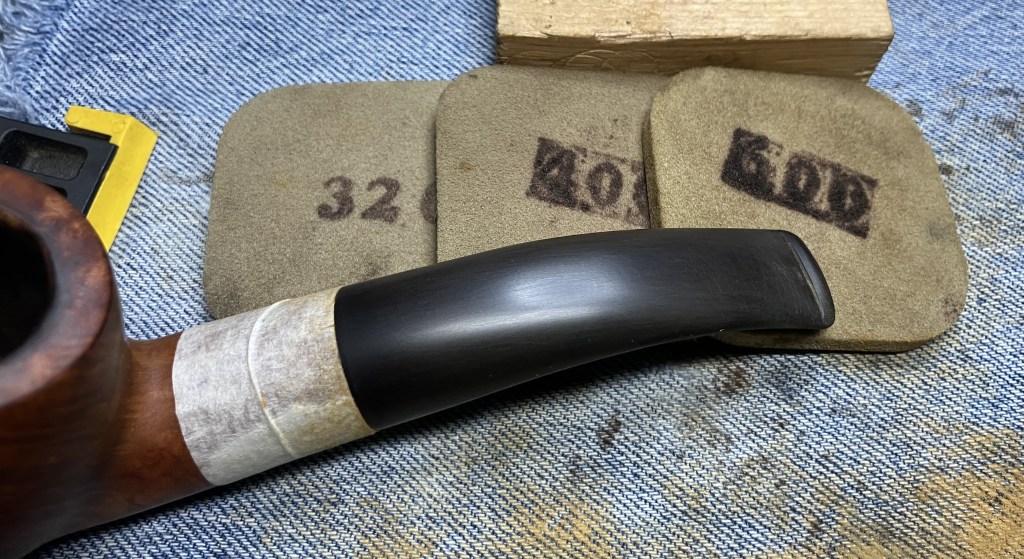
To further remove the oxidation I sanded the stem with 320-600 sanding sponges. The stem was secured to the shank and the shank masked with masking tape to prevent excessive sanding of the briar. Between each sanding sponge the stem was rubbed with mineral oil and wiped with a paper towel.
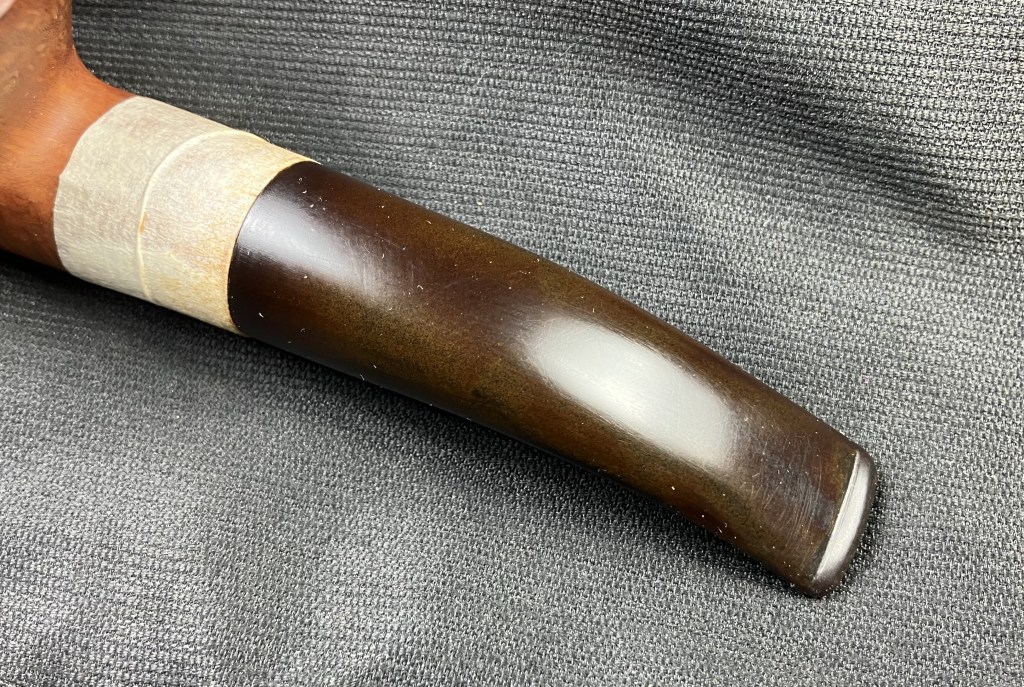
Now, under normal room light the stem looked pretty good but when placed under the bright lights of the photography table the brown of oxidation was very evident. Darn that Savinelli vulcanite.
I wiped the stem with a make-up pad dipped in alcohol to remove the oil and reintroduced the stem to the Before and After Extra Strength Deoxidizer. I left it in the solution for another 12 hours.

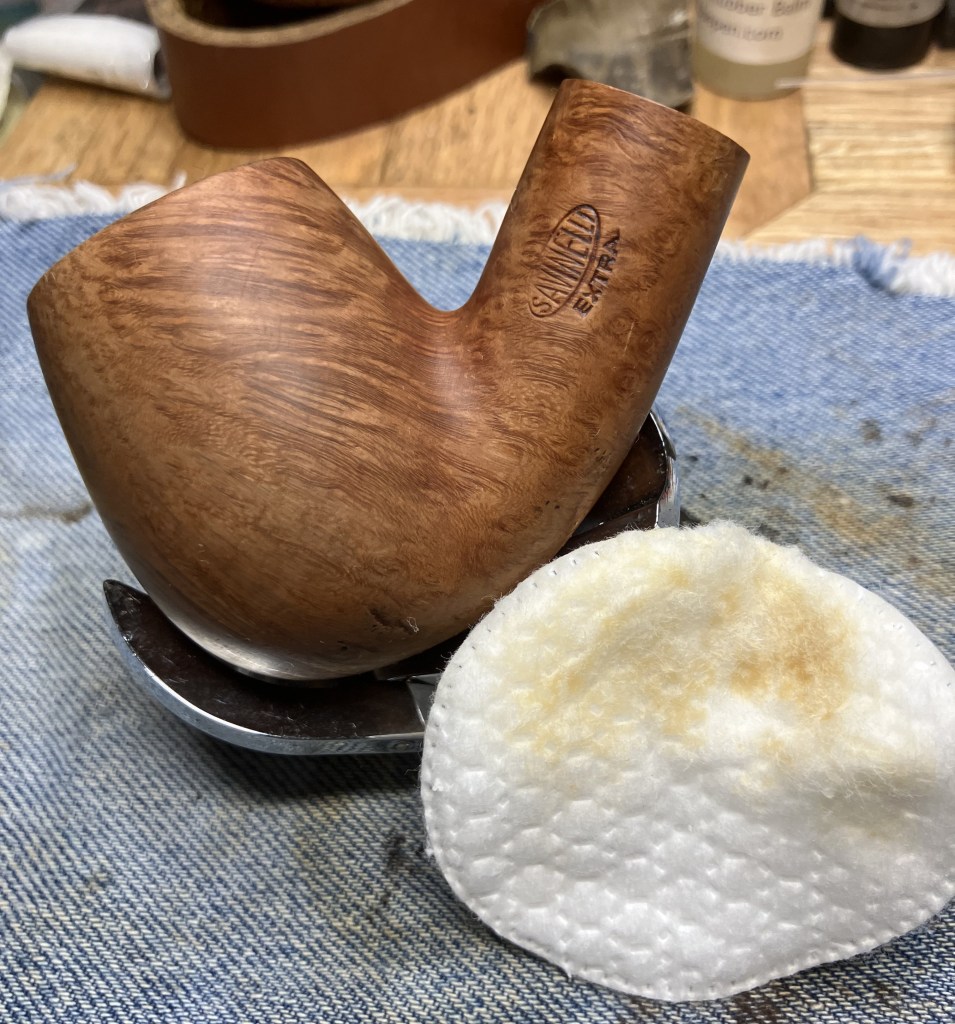
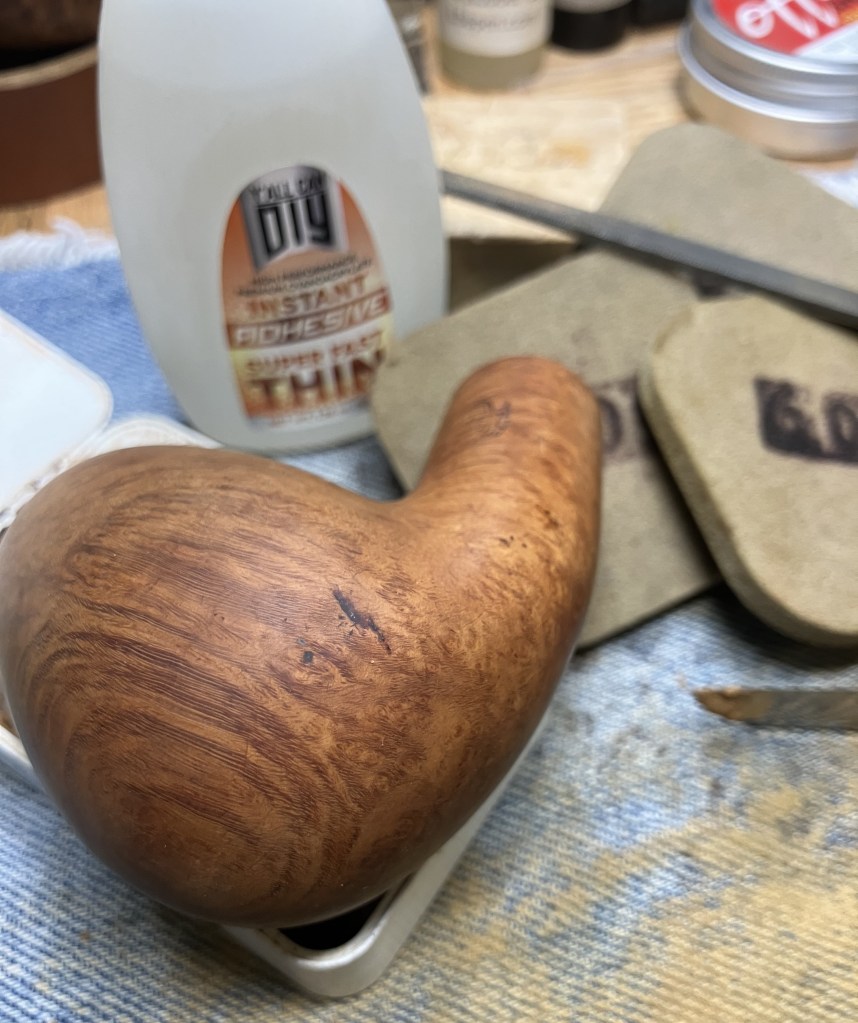
This gave me plenty of time to work on the stummel. To fill the dents and dings, I used thin cyanoacrylate and briar dust. The new fills were filed with a small flat file and sanded smooth with sanding sponges.
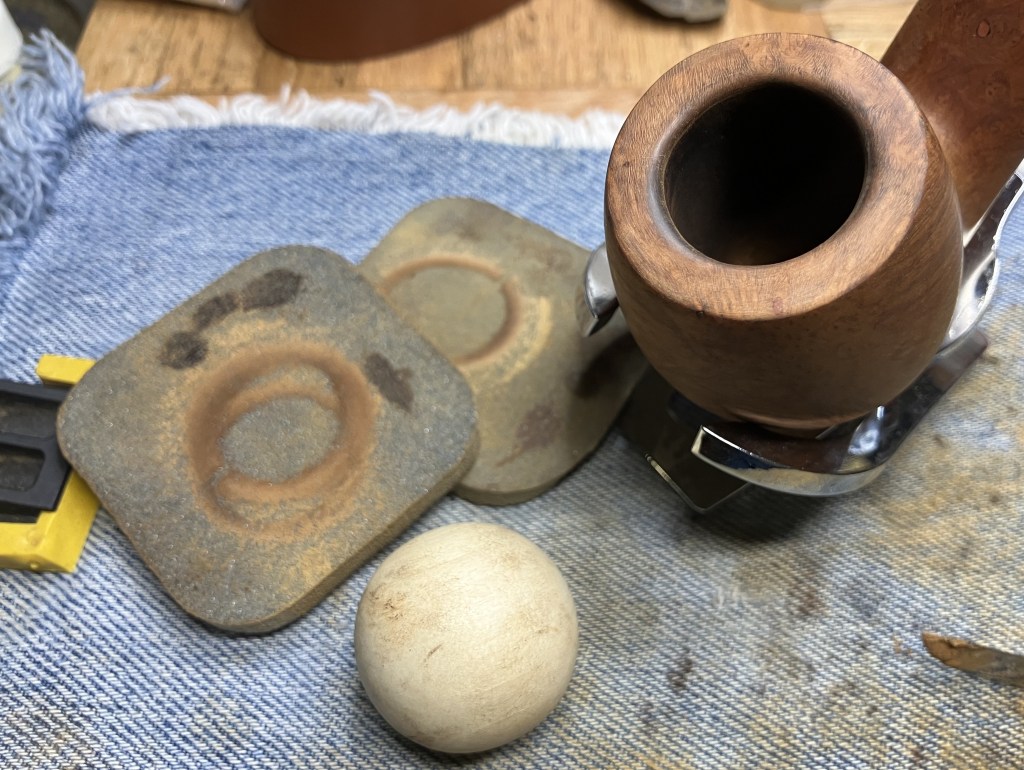
The rim was lightly topped with 400 grit sandpaper laid flat on a counter and the inner rine bevel reestablished using a small wood sphere and sanding sponges in grits 320 and 400.
The stamps were taped over with masking tape for their protection.
12 Hours later the stem was removed from deox again and allowed to drip for a few minutes.

Back onto a clean side of the coarse shop rag.

More vigorous rubbing yielded more oxidized vulcanite.
Under normal lighting it looks good.

Under bright photo lighting, not so much. Darn Savinelli vulcanite.

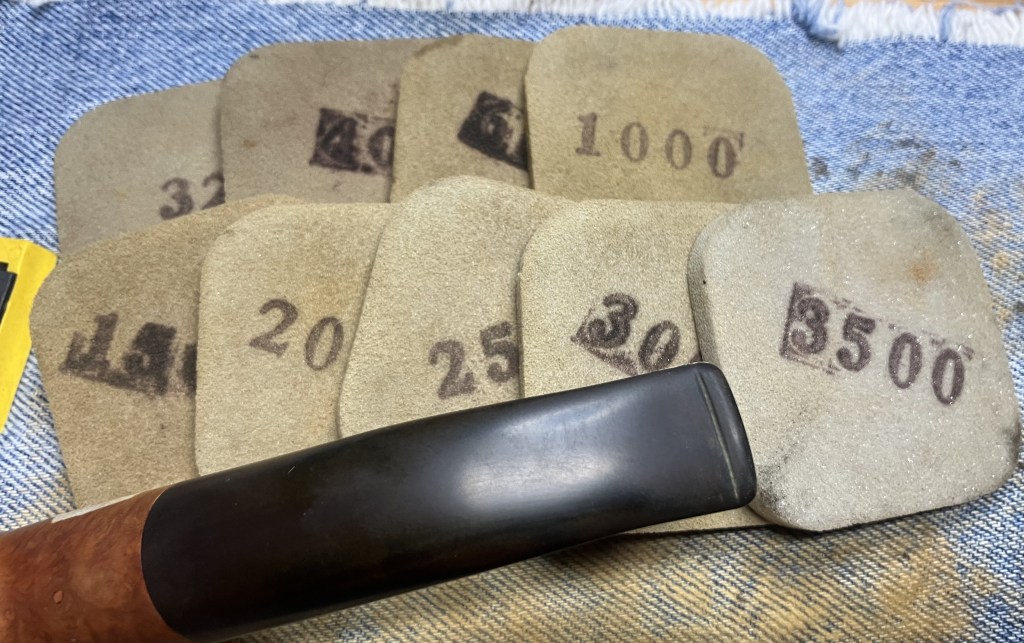
The stem and stummel both met the serials of sanding sponges from 320-3500. The stem was again rubbed with mineral oil and wiped with a paper towel between sponges. The stem was wiped with an alcohol wetted make-up pad between sponges to remove sanding debris.
The stem was then taken to the buffer where I used a rogue buffing compound to buff the stem.
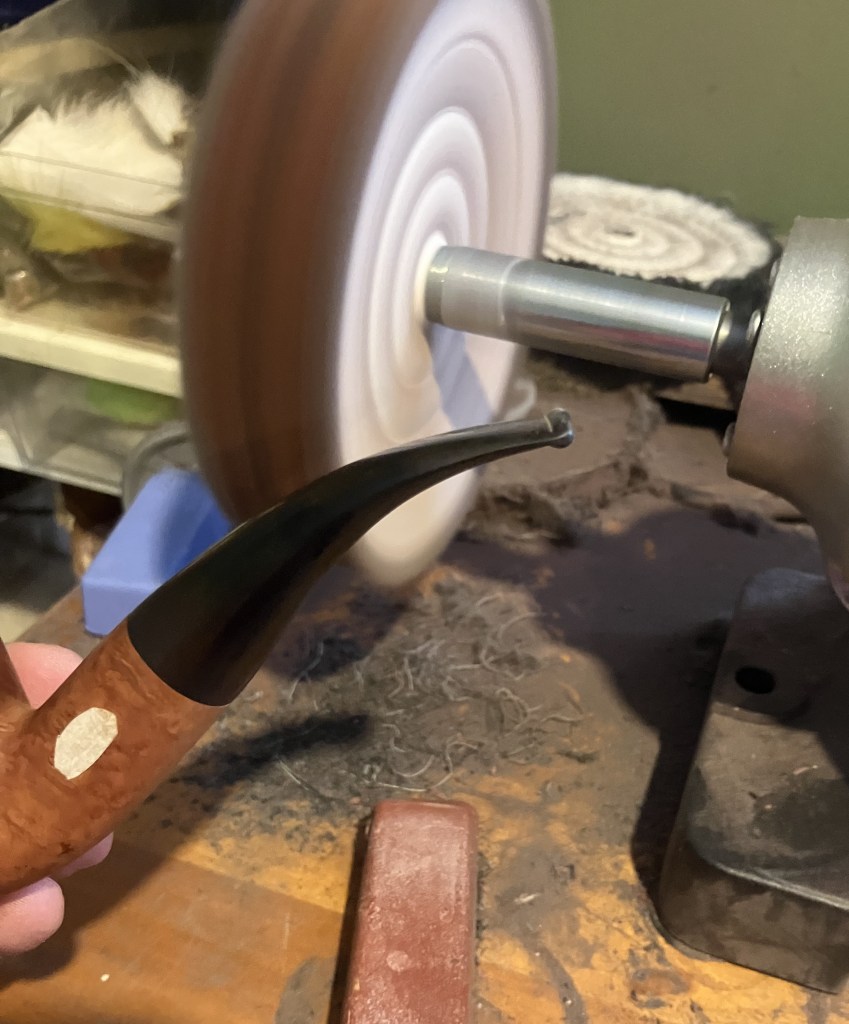
I switched wheels and then buffed with white buffing compound. The buffing had the desired effect of giving the stem a wonderful gloss finish but under bright light, brown oxidation could still be seen. Darn Savinelli vulcanite.

I returning to the workbench the stummel was coated with Before and After Restoration Balm and the stem coated with Before and After Hard Rubber Balm. These were allowed to sit for 30 minutes.

Both balms were hand buffed with an inside out athletic sock to remove the excess balms.
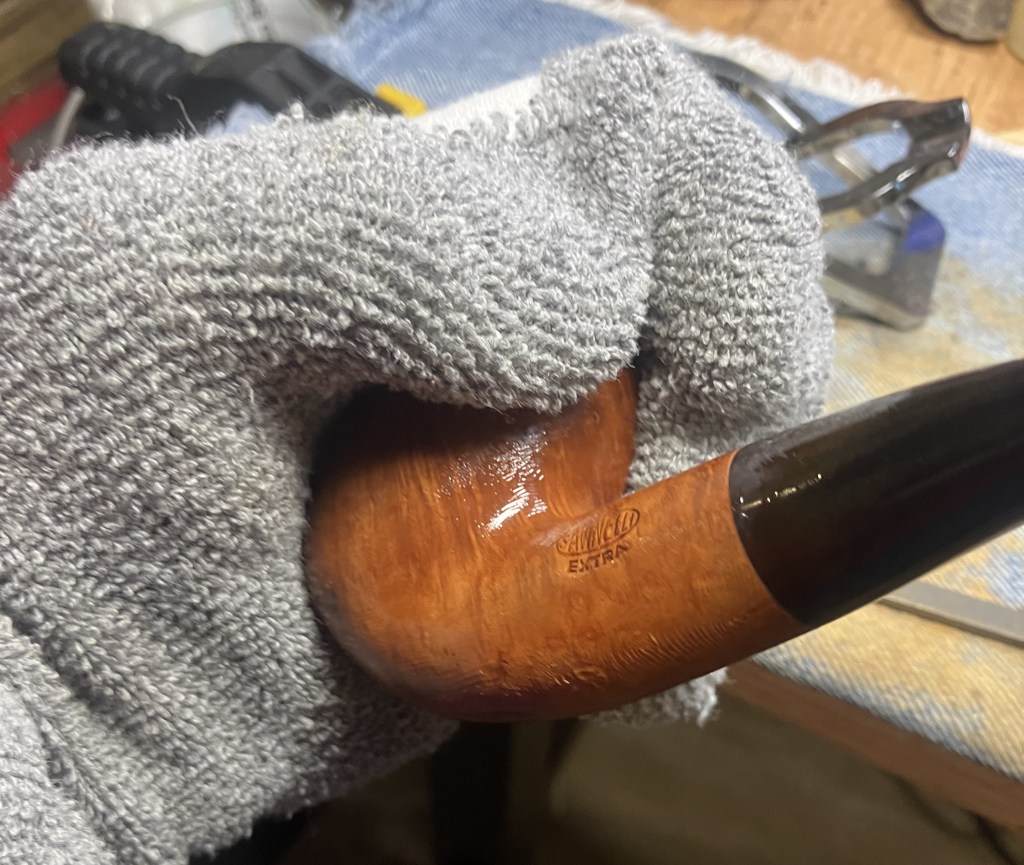
The pipe was returned to the buffer for several coats of carnauba wax.
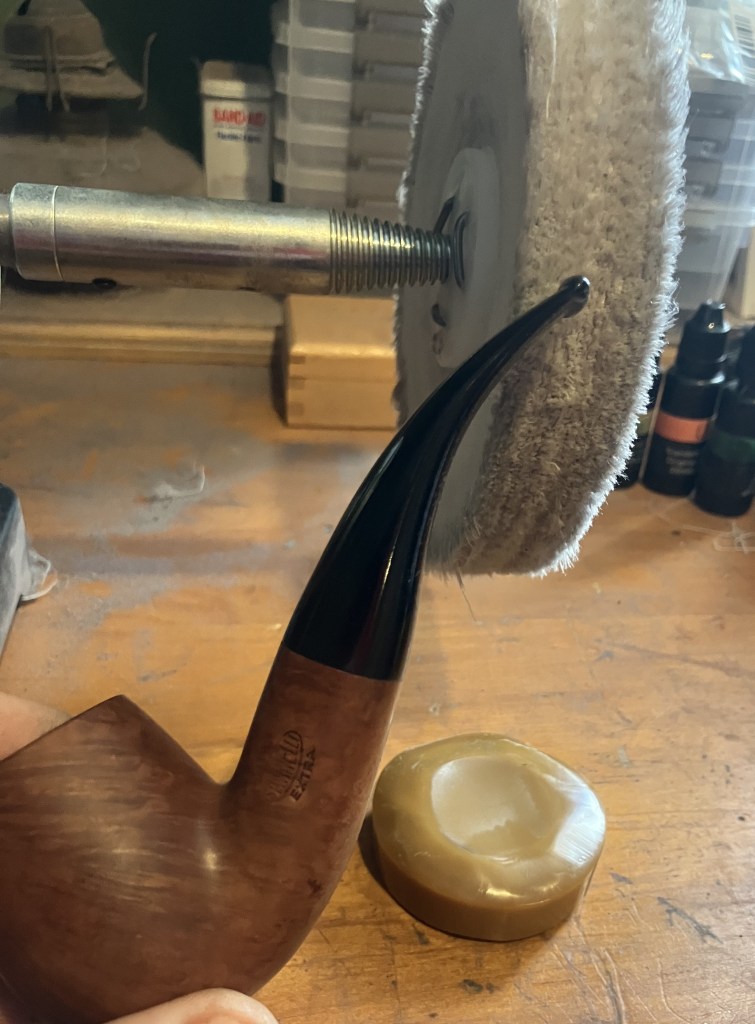
The final step was to hand buff the pipe with a microfiber polish cloth.
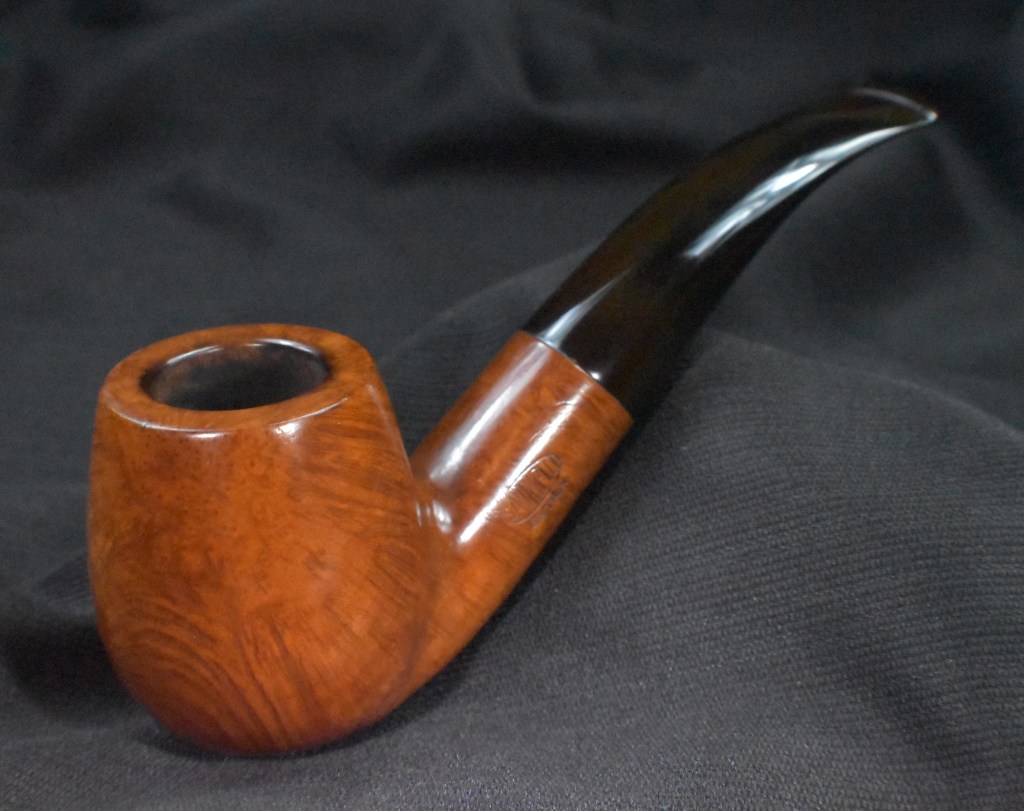
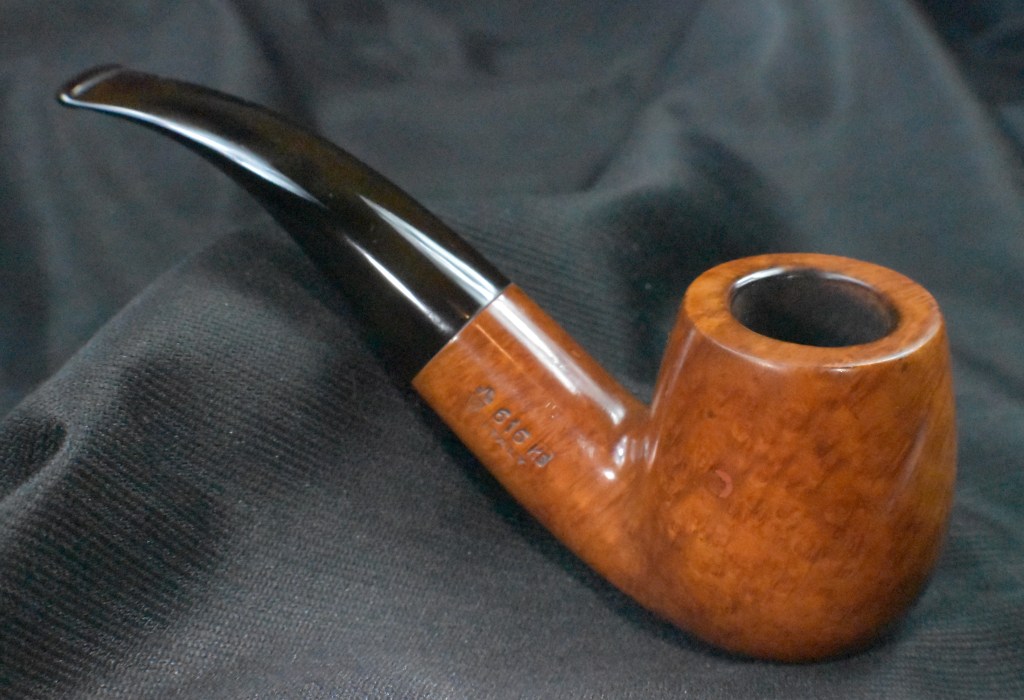
I would love to say that I think this Savinelli turned out great. Unfortunately, the oxidation of the stem stops me from saying great. Acceptable, is a better term. The stummel turned out very nicely and the polish of the stem is beautiful. I think the only way to remove the oxidation would be to sand the shank and stem together and reduce the thickness of both to get to non-oxidized vulcanite. This would alter the dimensions of the pipe overall and I do not think that is worth it. I again say, “darn Savinelli vulcanite”. For those thinking about purchasing an estate Savinelli, I recommend going with models which have acrylic stems unless the oxidized vulcanite suits your fancy. This is still a wonderful pipe and will be a great smoker.
The dimensions of the Savinelli Extra 616 KS are:
Length: 5.58 in./ 141.73 mm.
Weight: 2.25 oz./ 63.79 g.
Bowl Height: 2.13 in./ 54.10 mm.
Chamber Depth: 1.84 in./ 46.74 mm.
Chamber Diameter: 0.83 in./ 21.08 mm.
Outside Diameter: 1.74 in./ 44.20 mm.
I do hope that you have found something here useful to your own pipe care, maintenance or restorations. If you like this sort of thing, please click the like and subscribe buttons. Thank you for reading the ramblings of an old pipe lover.
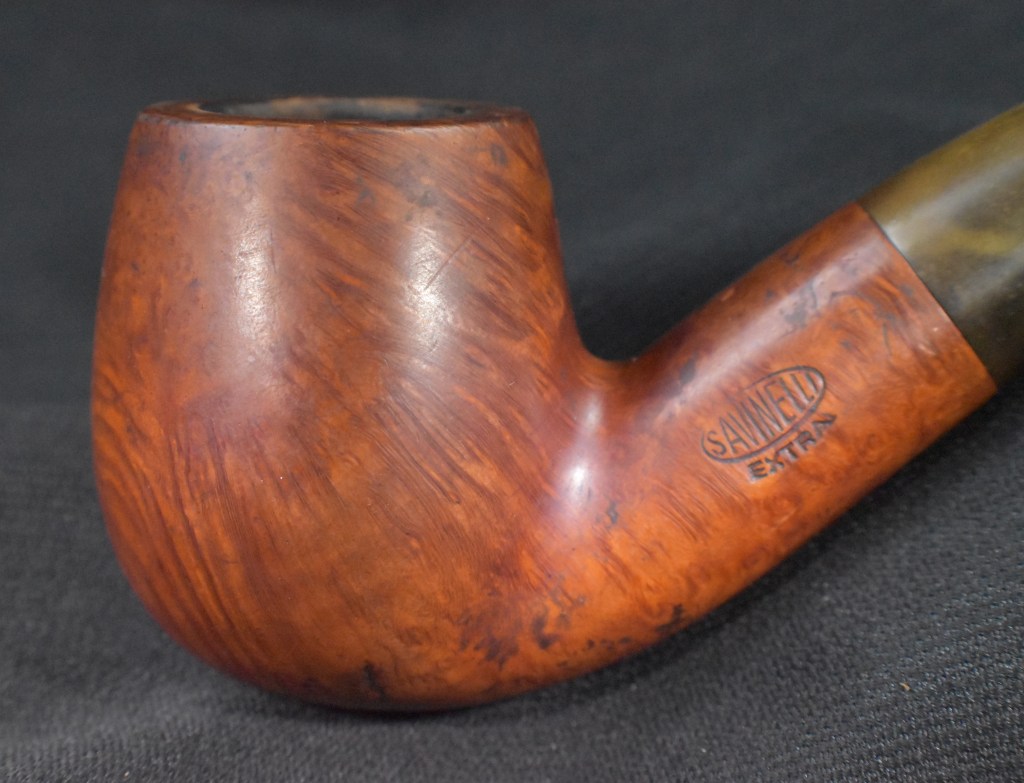
Below are some photos of the finished Savinelli Extra 616 KS.
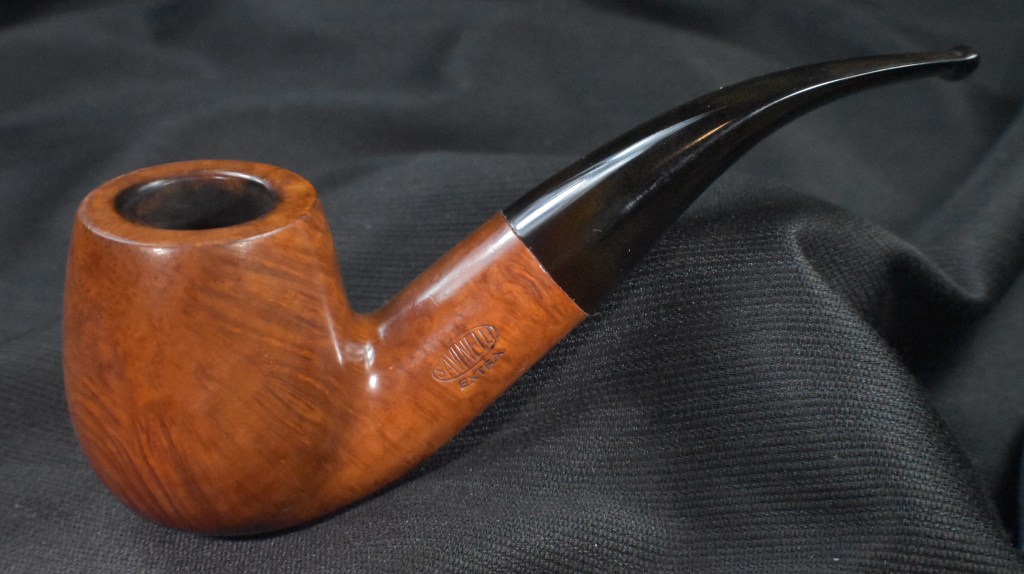


 This all leads me to say with some certainty that this Jima was made in France in the 1970s.


