Photographed and written by
John M. Young
Just when I think I have moved on from my fascination with World War Two pipes I get drawn back in. Though this old pipe is more of a reminiscence of my youth and the semi annual visits to Sears for new school clothes. The candy counter was within the first 20 yards of the entrance and I could usually count on a white paper sack with a dollar’s worth of Swedish fish to help tide me through the horrendous task of trying on new clothes. I do not recall seeing pipes under the glass counter. I do recall that this was the only way I had ever seen Swedish fish though. Why the mention of Sears in this introduction? Well, I guess you will just have to read the “Background” for the answer to that question.
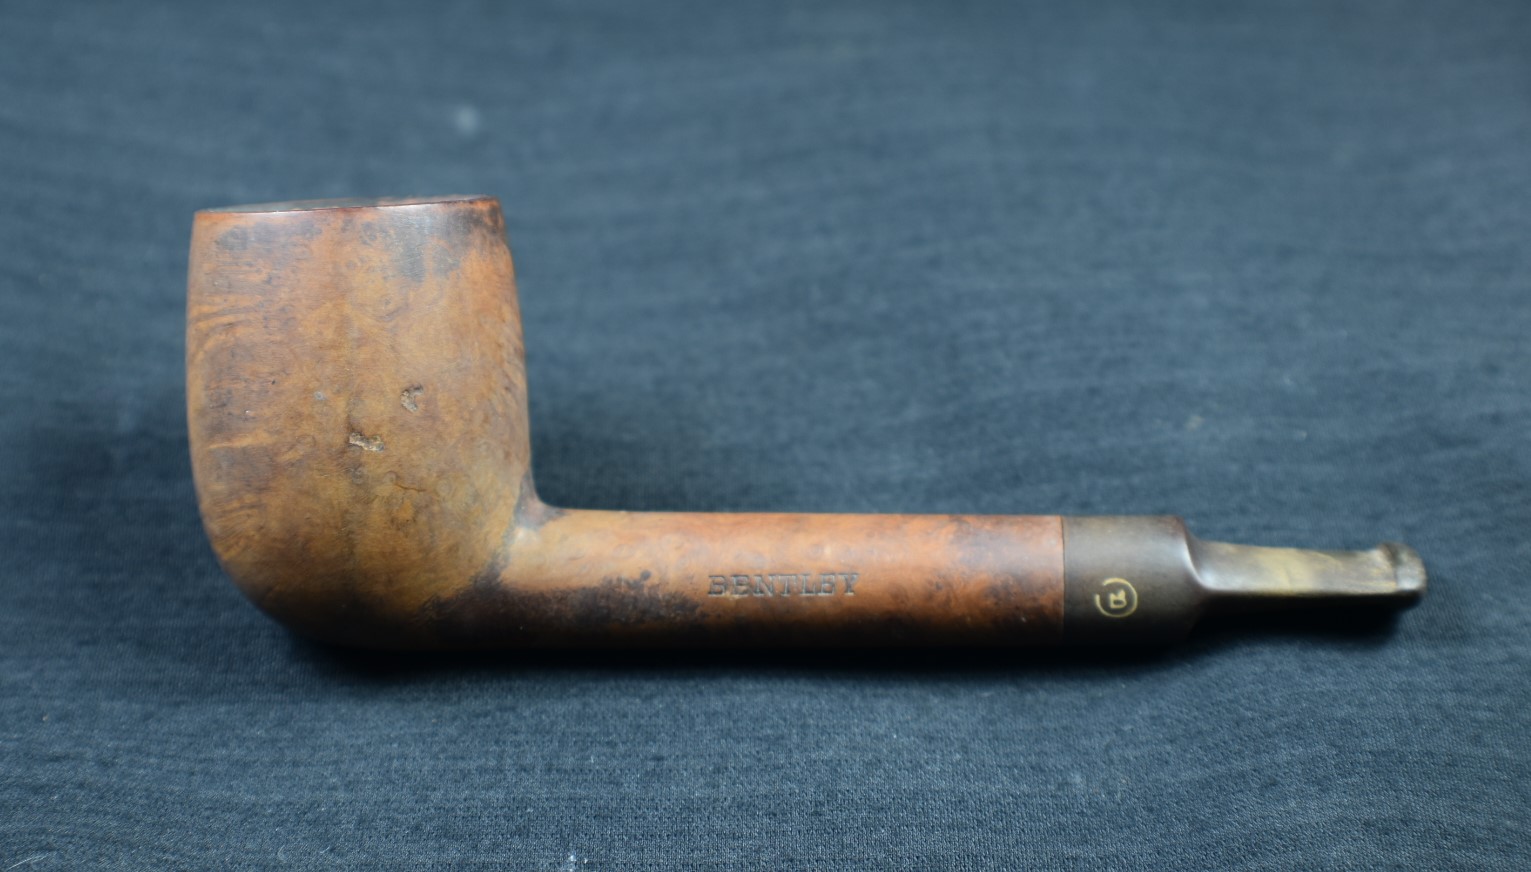
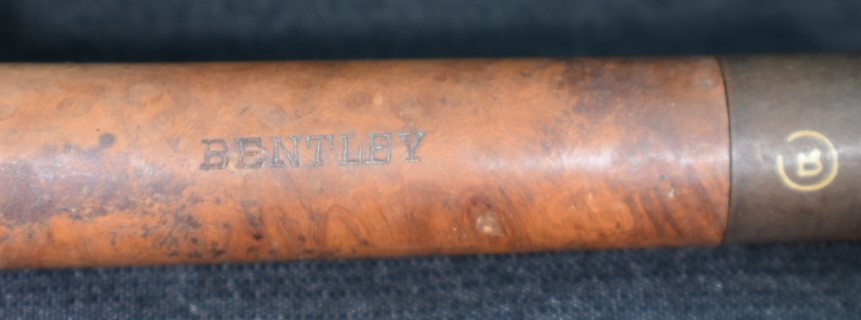
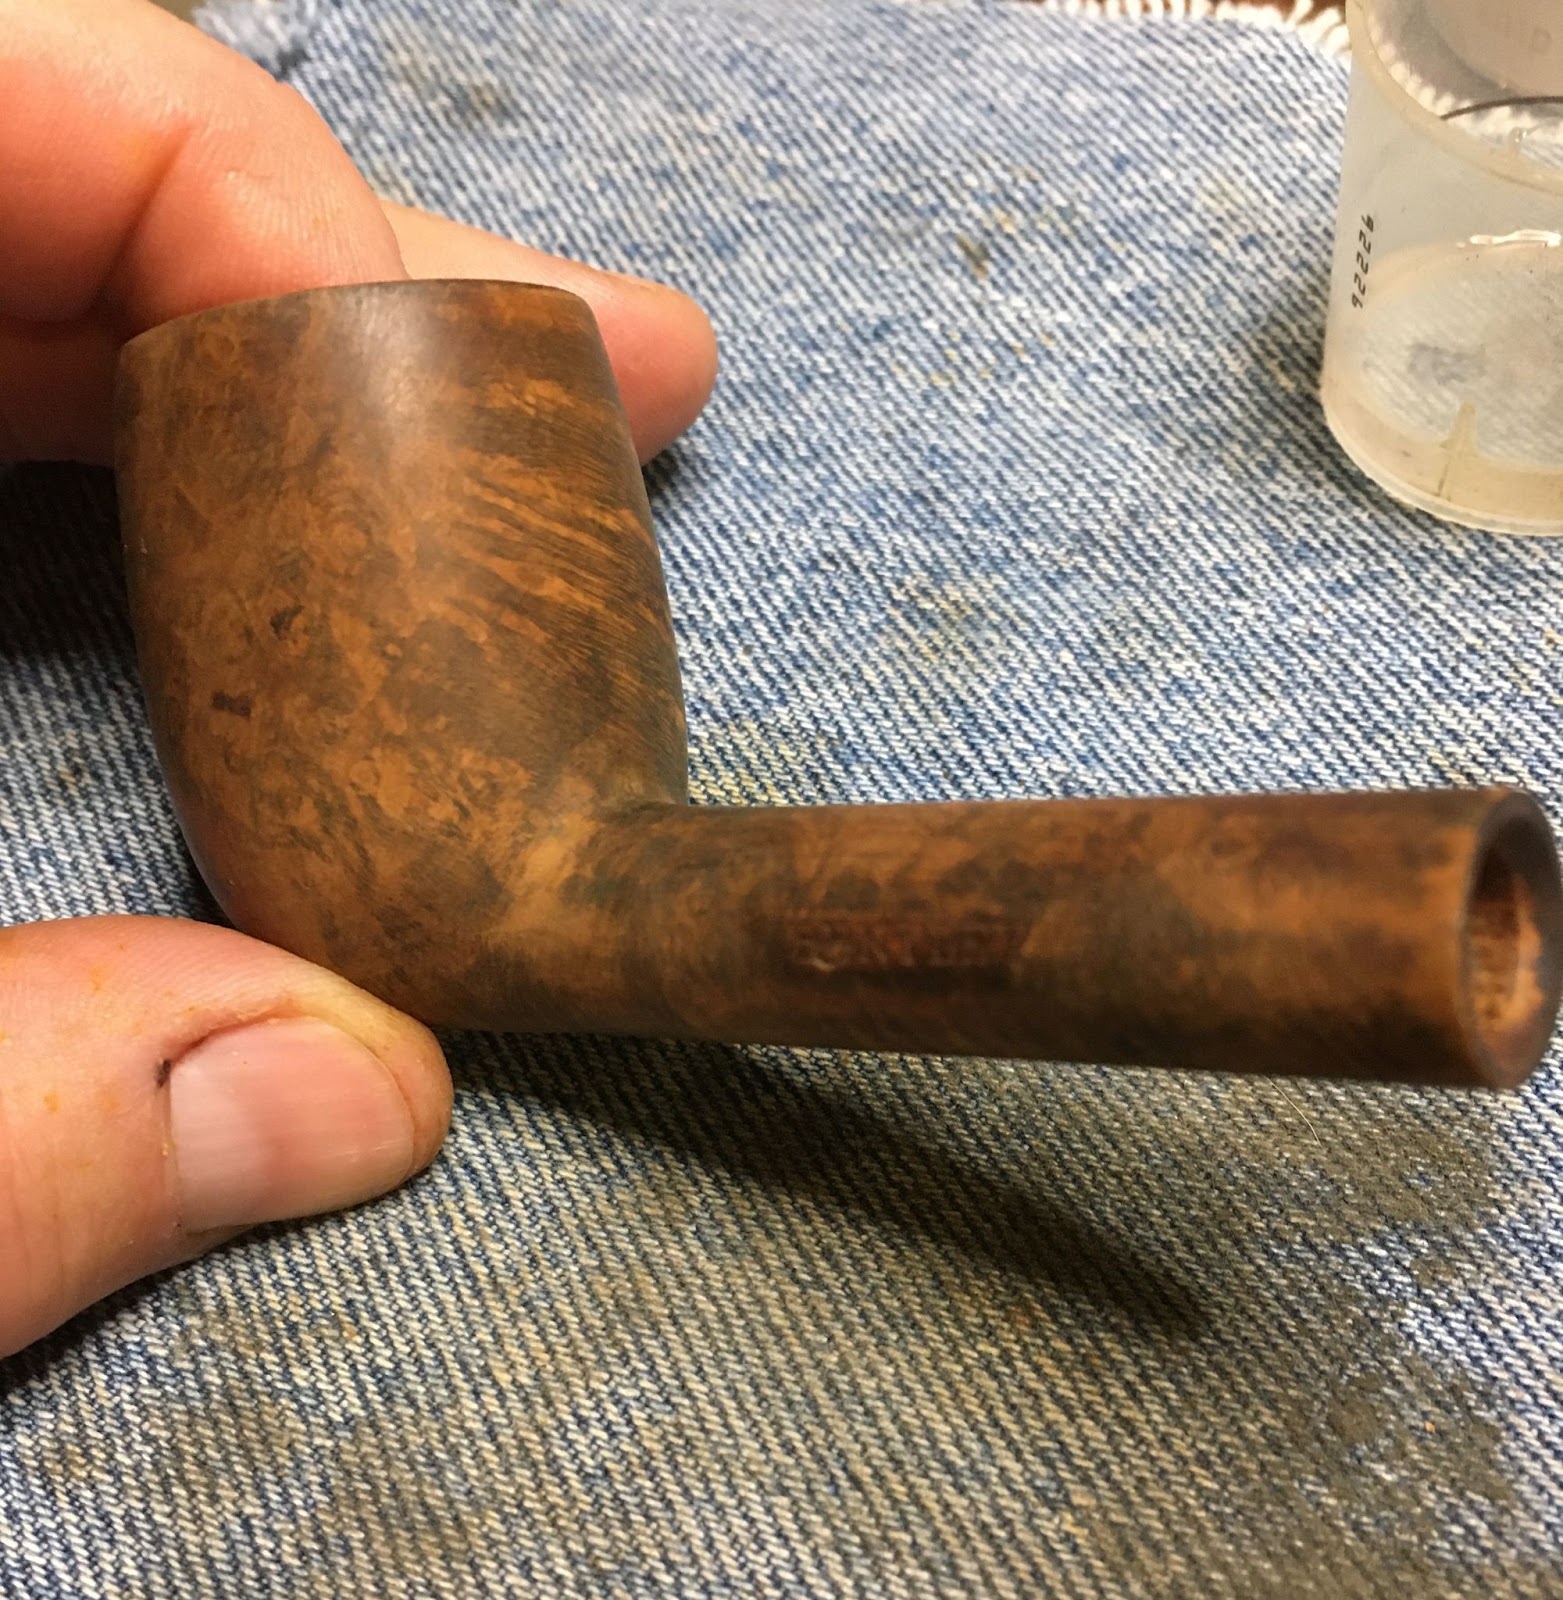
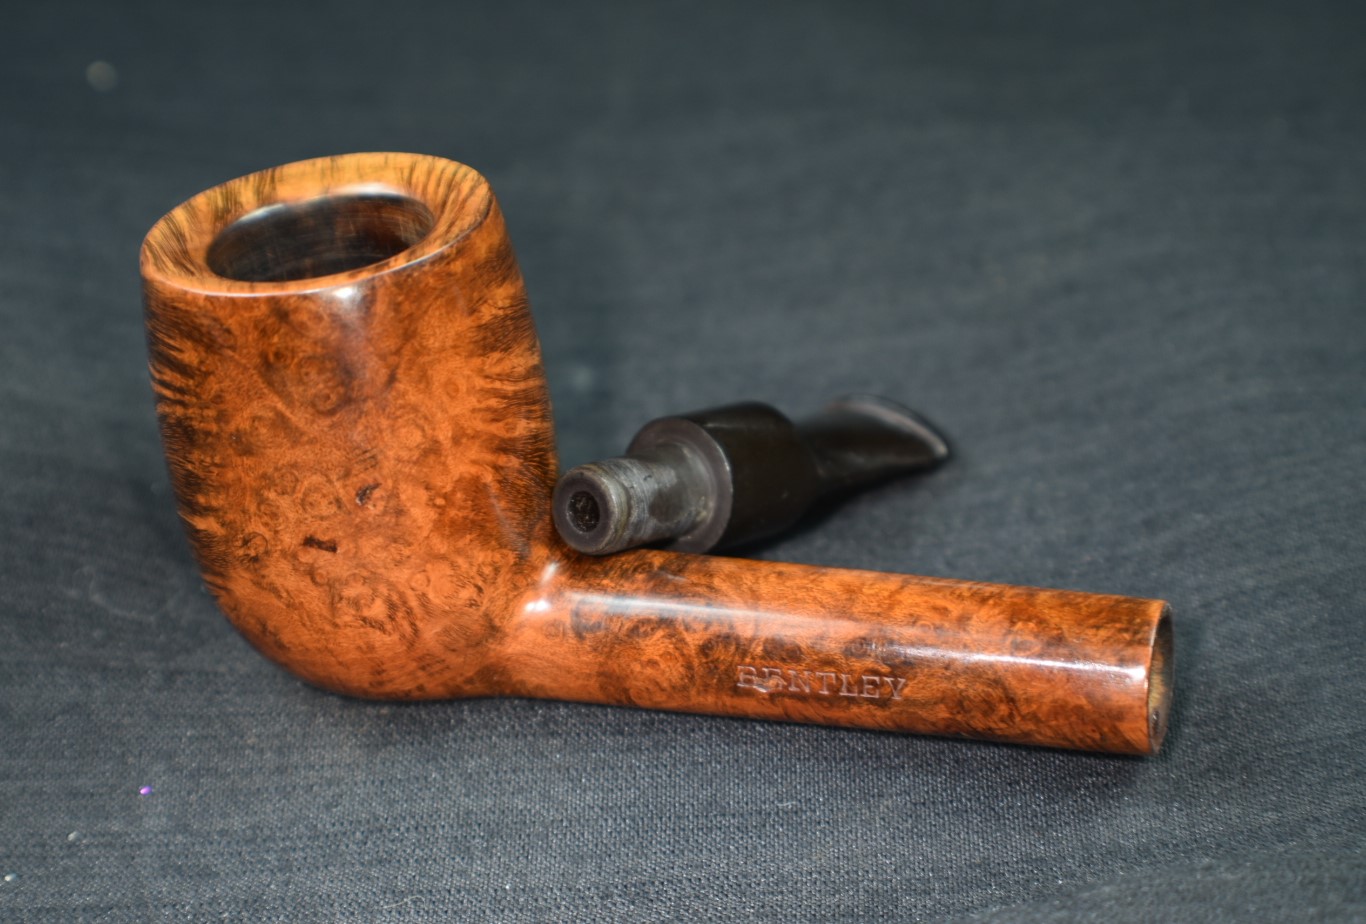
This lovely old Yorkshire Natural appears to live up to it’s name – natural. There seems to be little stain and no finish coating. The stamps on the left shank read; Yorkshire (script style lettering) arched (concave up) over NATURAL over ALGERIAN BRIAR arched (concave down).


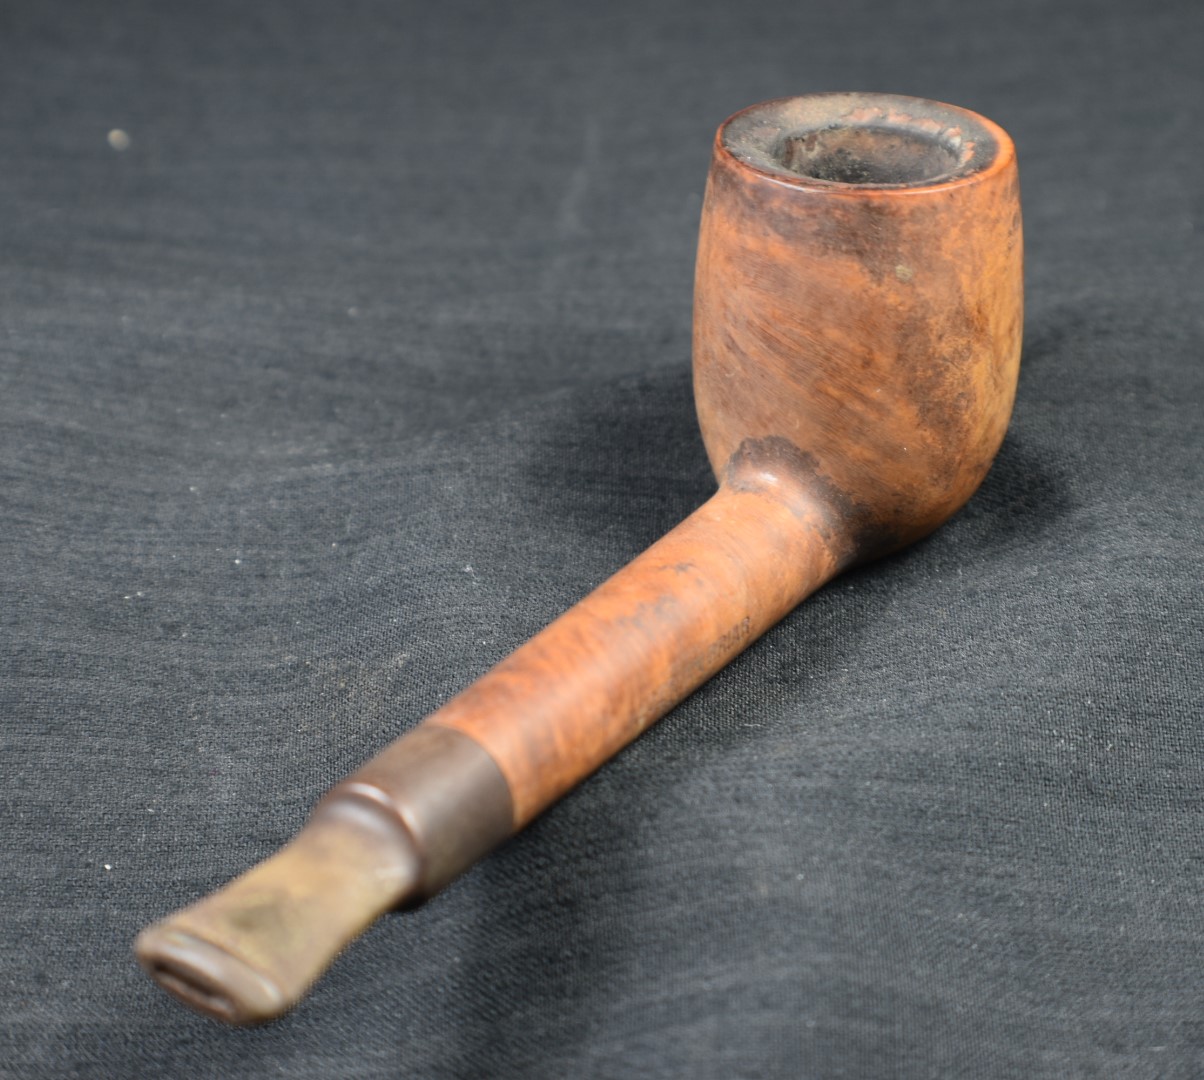
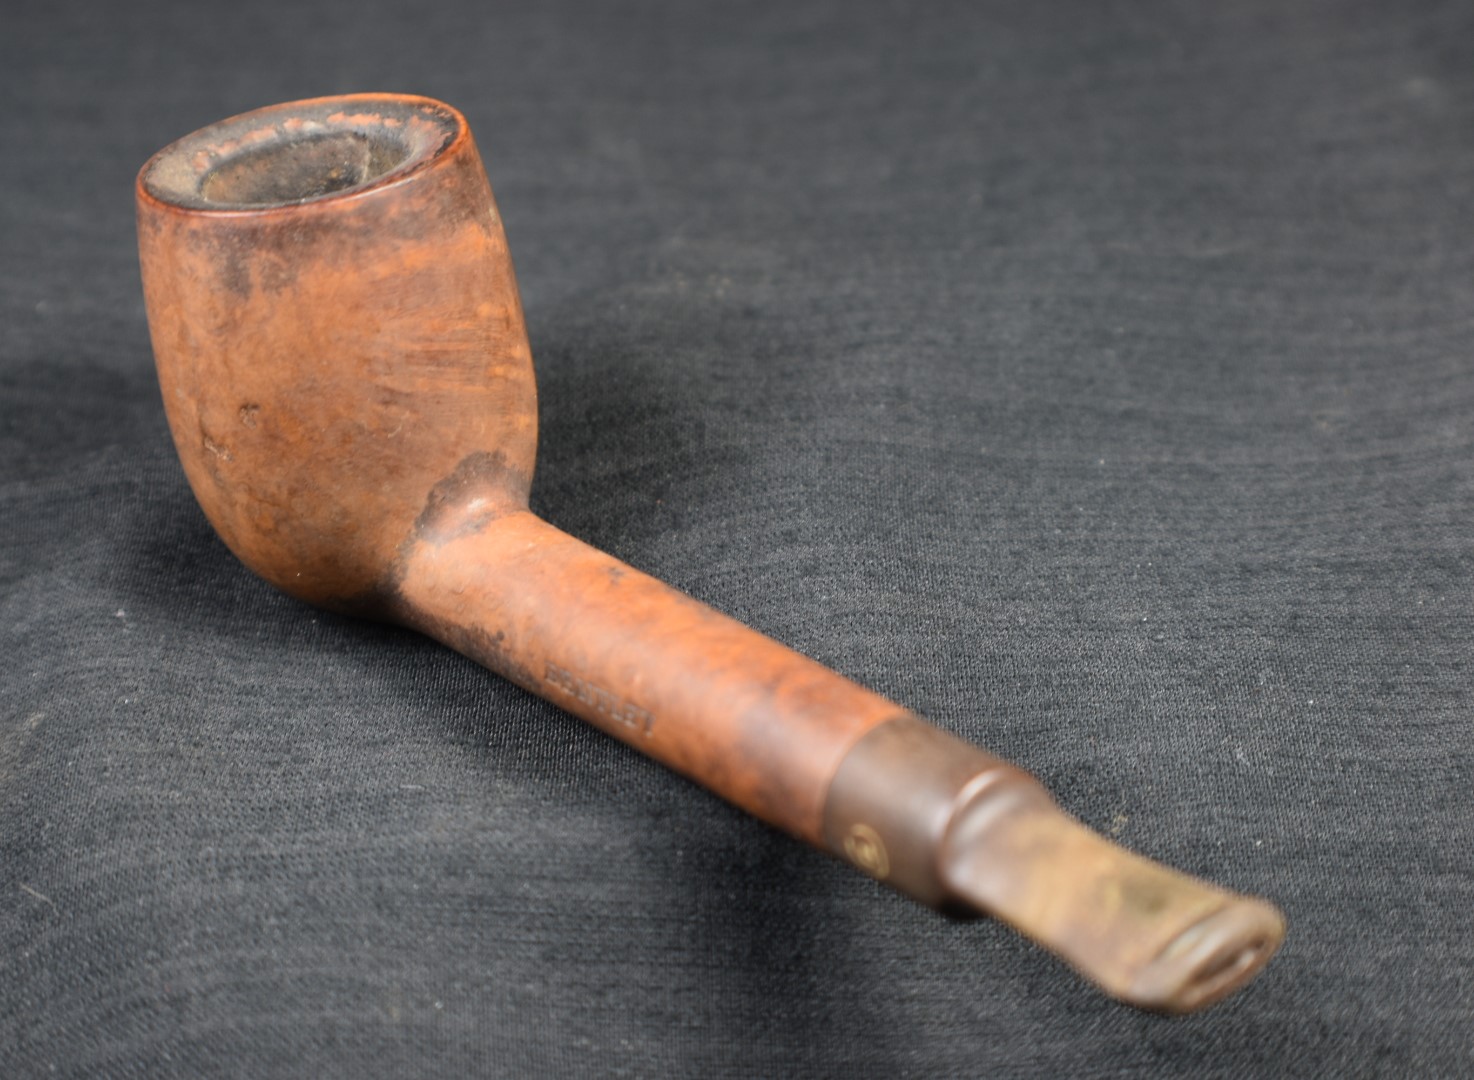
This was looking like a straightforward restoration. Yes there were a lot of fills that I wanted to redo but other than that the pipe was in great condition. The stem was not badly oxidized and the bowl was not heavily caked.
Background
OK, you have waited long enough. Here is the reason for my back to school clothes /Swedish fish stroll down memory lane. According to pipedia.org, “Yorkshire Pipes was a brand sold exclusively through Sears Roebuck Catalogs, as seen in this 1941-42 catalog page. They were made in France of Algerian Briar, and some of the model names were: Bond Street, Royal, Aristocrat, Natural and Straight Grain. They were not stained nor finished with laquer, and had a natural honey color.”


Quote and photos fromYorkshire – Pipedia.
Also from the pipedia.org entry is an image of a 1941-42 Sears and Roebuck catalog:

For a second source confirmation of the heritage of the Yorkshire Natural in hand, I turned to pipephil.eu. Here I found the below images. Again it is confirmed that Sears & Roebuck sold the Yorkshire brand of pipes but here they mention that the pipes were made by Gasparini.

This creates a bit of confusion in my old damaged brain. The pipedia.org entry states a French manufacturer and the pipephil.eu entry states Gasparini. Last time I checked, Gasparini was and is an Italian maker. In examining the stamps the Yorkshire Natural that I have has stamps identical to the image from pipedia.org on the far right. So, I’ll say that this old girl is a French made apple from the 1940’s-1950’s. I know, not very specific with either part of the provenance. That might be the reason this blog is free – lazy Gen-X slacker of an author…
This next part is a little thought that I had and found entertaining. The location of the Sears of my youth was Omaha (yeah, that’s where I grew up). Sears was at a mall called Crossroads Mall. It was opened in 1960. The below photo shows the Sears entrance in 1961 with a crowd of people waiting to get in. I actually remember sitting there like that once.

The second photo below, is an image of Sears from 2019 taken from the same side of the building.

(https://omaha.com/photos-crossroads-mall-through-the-years/collection_086b8140-a744-5e25-a662-8e2aaba4858b.html#40). The entire mall lasted a mere 59 years, three generations of people. Now I find the fact that the entire mall was built, utilized and destroyed in about ½ the time that this single little pipe from the same company has been around, amazing. Businesses and buildings come and go but the pursuit of a relaxing smoke and the contemplation that it brings is a human pursuit which has survived for centuries. Enough of me blathering on let’s get to the restoration.
The Restoration
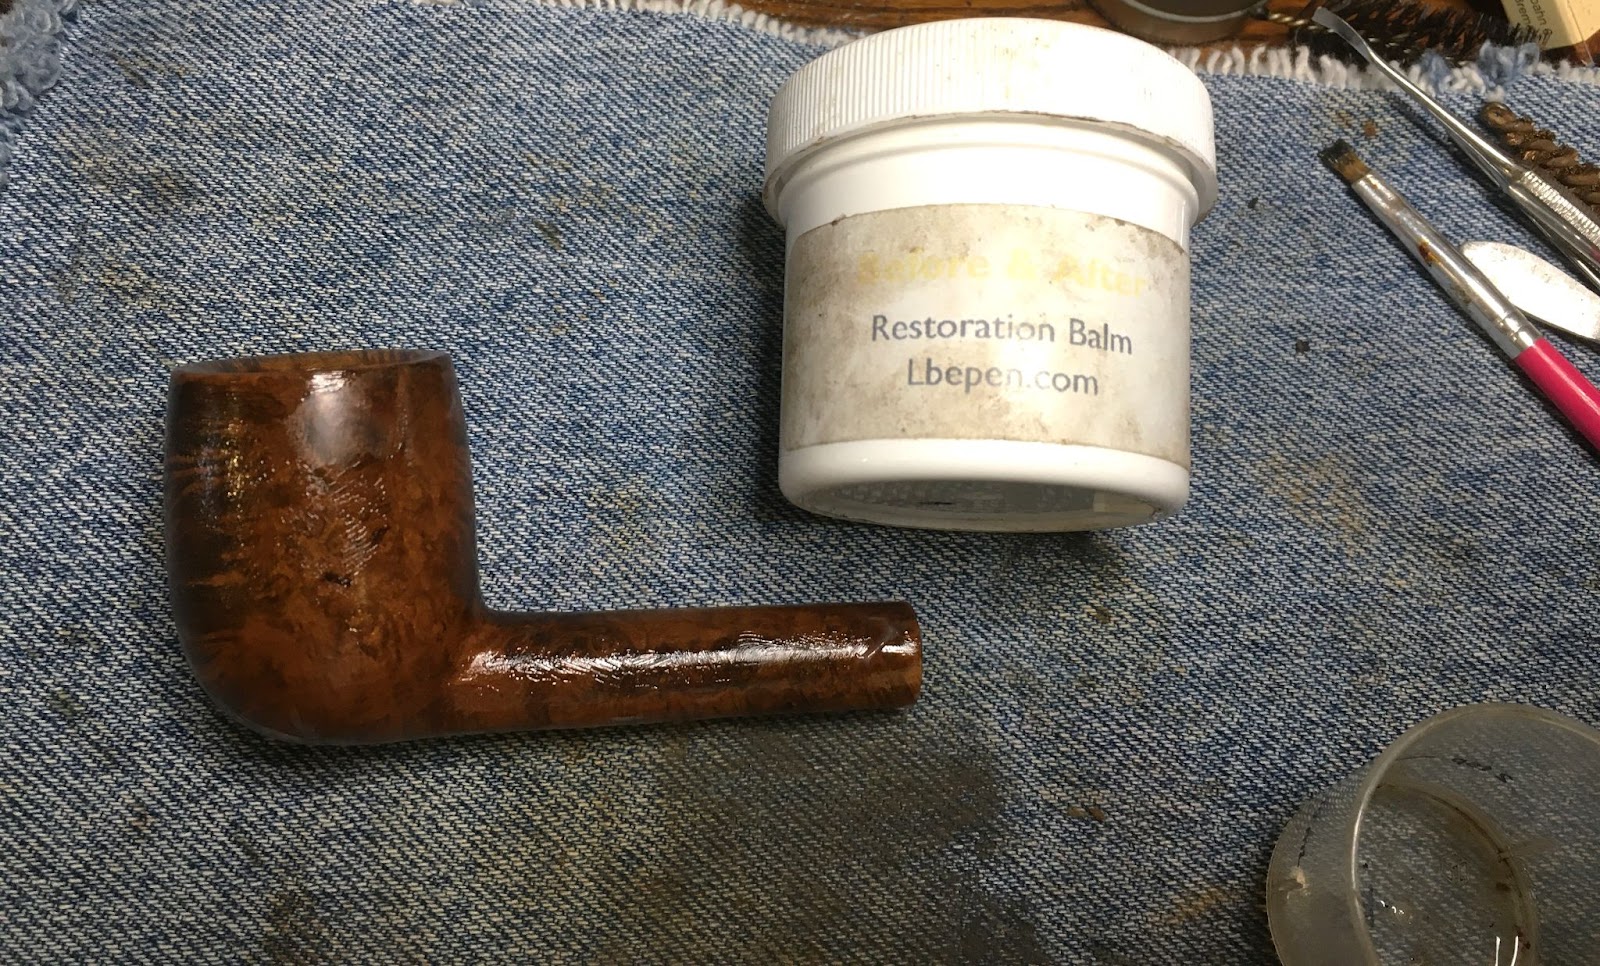
Here is our star taking up position on a clean piece of denim on the workbench.

The reaming crew was gathered; PipNet with #2 and #3 blades, Smokingpipes Low Country reaming knife, General triangular scraper (with the tip ground off) and 220 sandpaper wrapped around a wood dowel all atop a plastic coated shipping envelope.

The PipNet with the #2 blades did the lion’s share of the work, again. The #3 blades were too tight of a fit so the Kleen Reem pipe tool was used. It actually was a touch too small when fully extended but I pressed sideways with it around the bowl. The scrapers were used to finish the scraping.

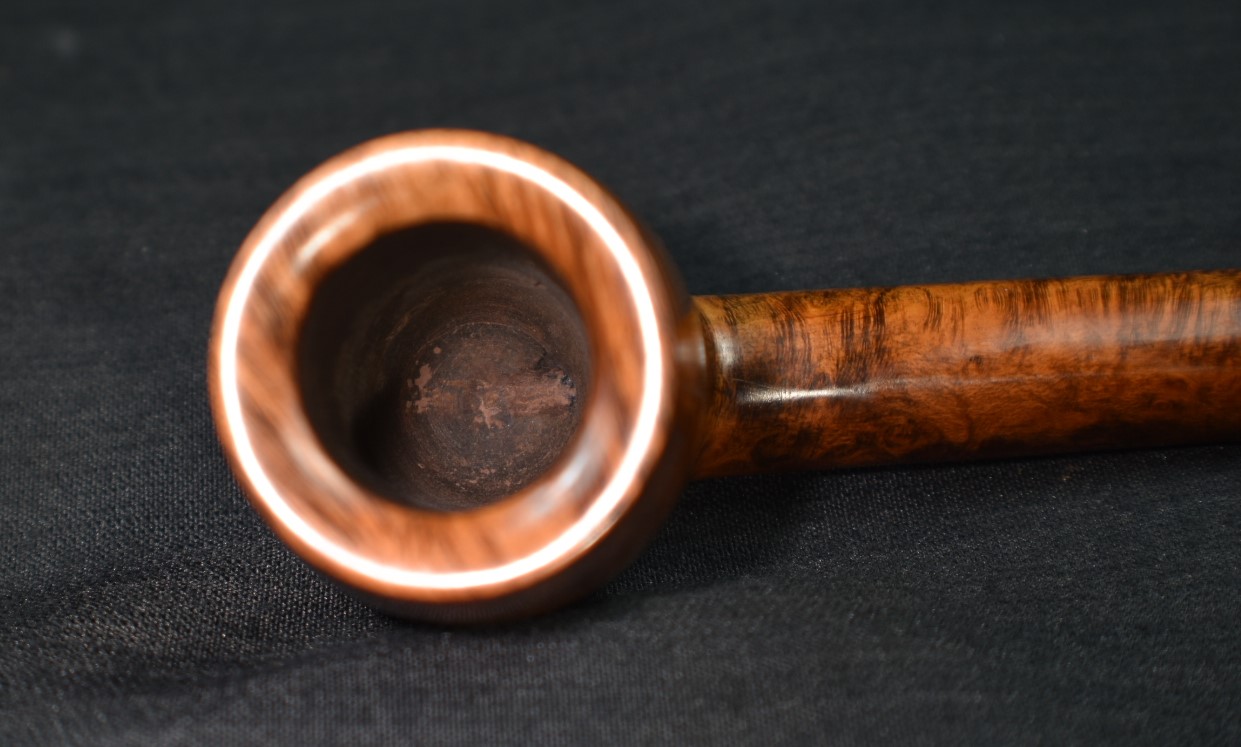
The reamed bowl showed no signs of any damage from excessive heat. The chamber was sanded with 220 sandpaper on the wood dowel and 320 sandpaper with my finger.

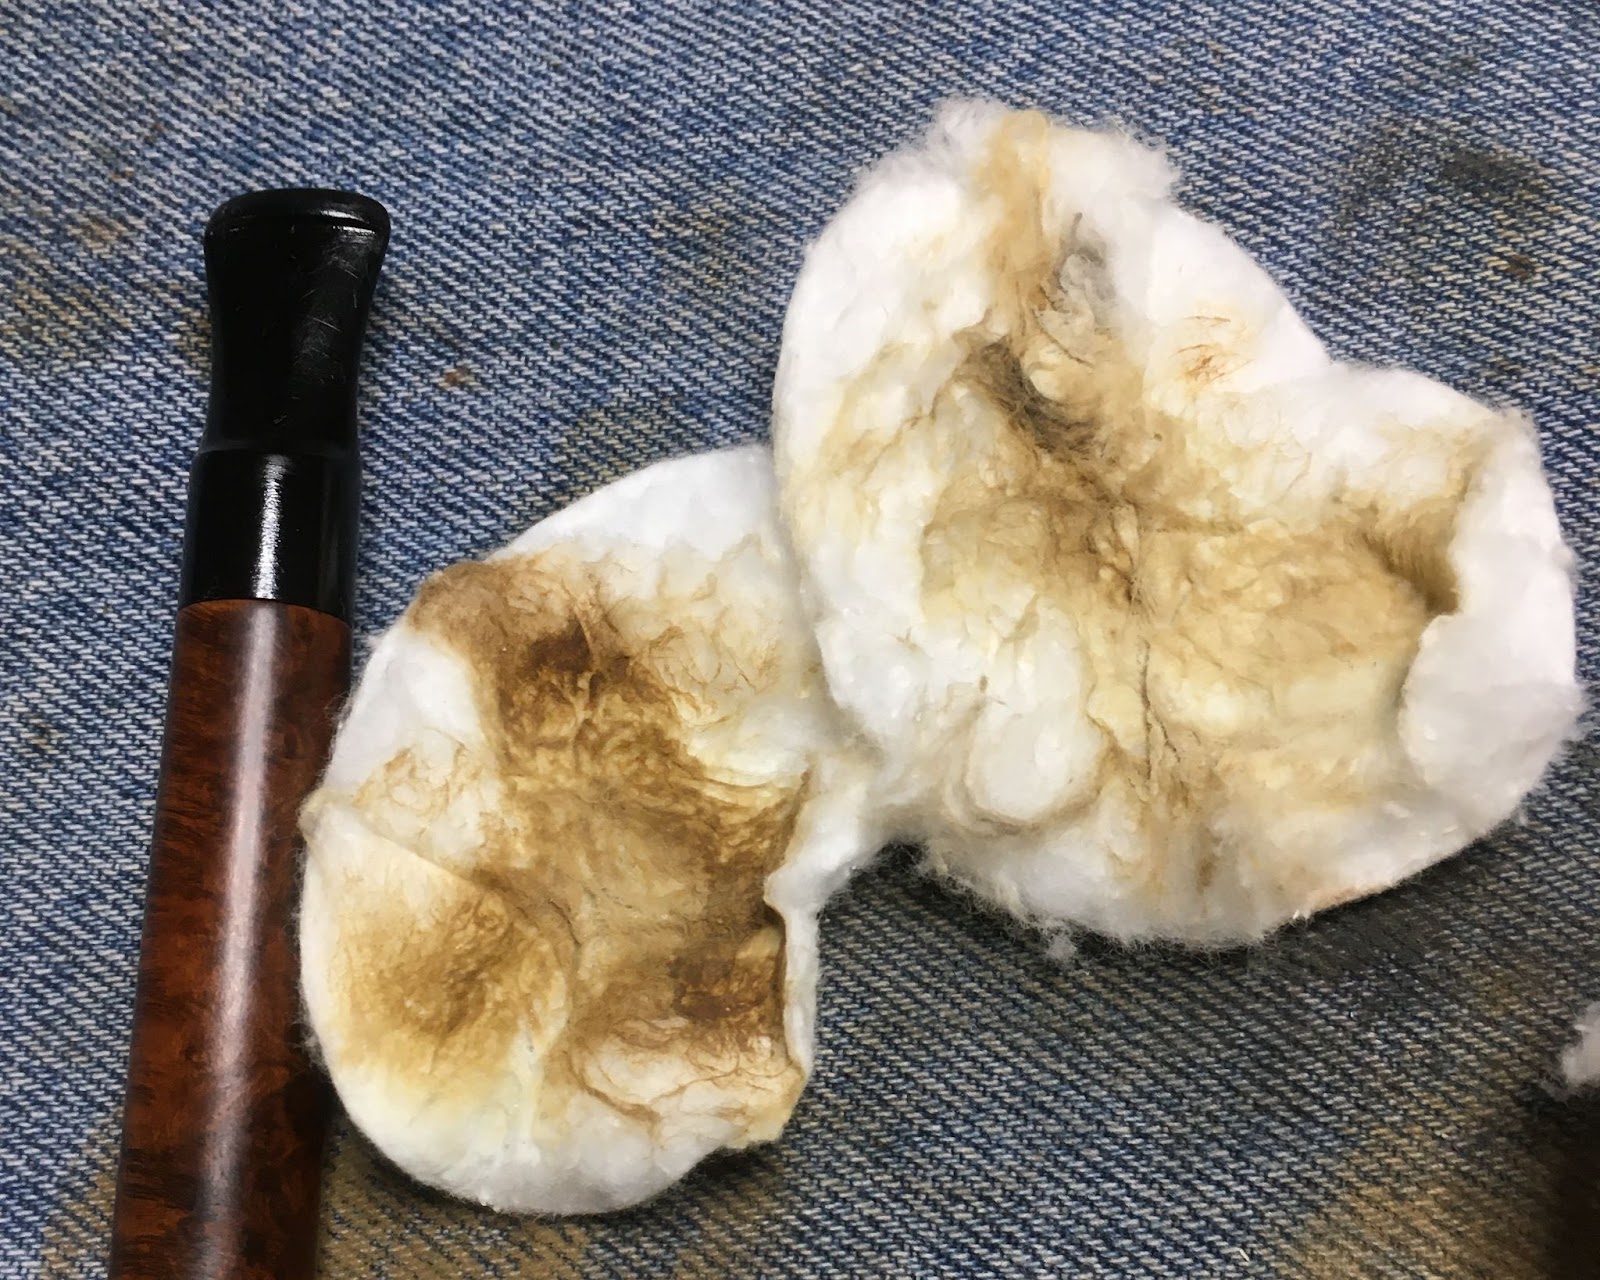
The shank was far dirtier than I figured it would be. The initial wetting of the airway with 95% ethyl alcohol on cotton swabs produced a heavily blackened cotton. I then poured 3-4 ml of the alcohol into the bowl and scrubbed with a nylon shank brush. I then poured the alcohol into a medicine cup. This airwar would require a lot of scraping with the dental pick to clear as much of the accumulated tar as possible before further scrubbing.

Several scrapings later, the scrubbing with the nylon shank brush and the cotton swabs started to work their way through the accumulated smoking residue and eventually the airway was cleaned.

The stem proved much easier to clean than the shank. Apparently the previous steward was not averse to using a pipe cleaner on occasion. The airway was cleaned with bristle pipe cleaners dipped in 95% ethyl alcohol.

I then took the stummel to the sink for a scrubbing with undiluted Murphy Oil Soap and a nylon scrub brush. The soap was rinsed with warm water and dried with a cotton hand towel.

Back at the workbench the stummel was wiped with a make-up pad dipped in 95% ethyl alcohol. Very little color came off the briar indicating that surface was bare wood. Most of the color on the pad below was from the rim.

I began picking the old fill from the pits on the surface of the stummel. I counted 14 as I went along. The fills were generally solid and required a bit of force with the fly tying bodkin to get them out. ?Why take them out, then?”, you ask. Because I didn’t like the color.

To refill all 14 of the newly excavated pits, I used brown cyanoacrylate (CA, super glue) and briar dust. I dipped the fly tying bodkin into the CA then applied a small amount to the pit and worked it into the hole. I then used the dental scraper to scoop up a tiny scoop of briar dust and piled that onto the wet CA. The dust was then pressed into the pit with the heel of the scraper. Excess dust was brushed off with a brass brush. I only did about 2-4 holes at a time to avoid the CA curing before I had pressed the briar dust into the pit.


With all 14 pits refilled, I used a small flat file to file the CA/briar dust bump off. Then sanded the area with a 400 grit sanding sponge. After all of the pits had received one application and were sanded, I reapplied CA and additional briar dust. The process was repeated until the pits were smooth and flush with the surrounding briar. The stummel was then sanded with a 600 grit sanding sponge and wiped with a make-up pad dipped in ethyl alcohol.


I lightly topped the rim using 320 and 400 sandpaper laid flat on the countertop.

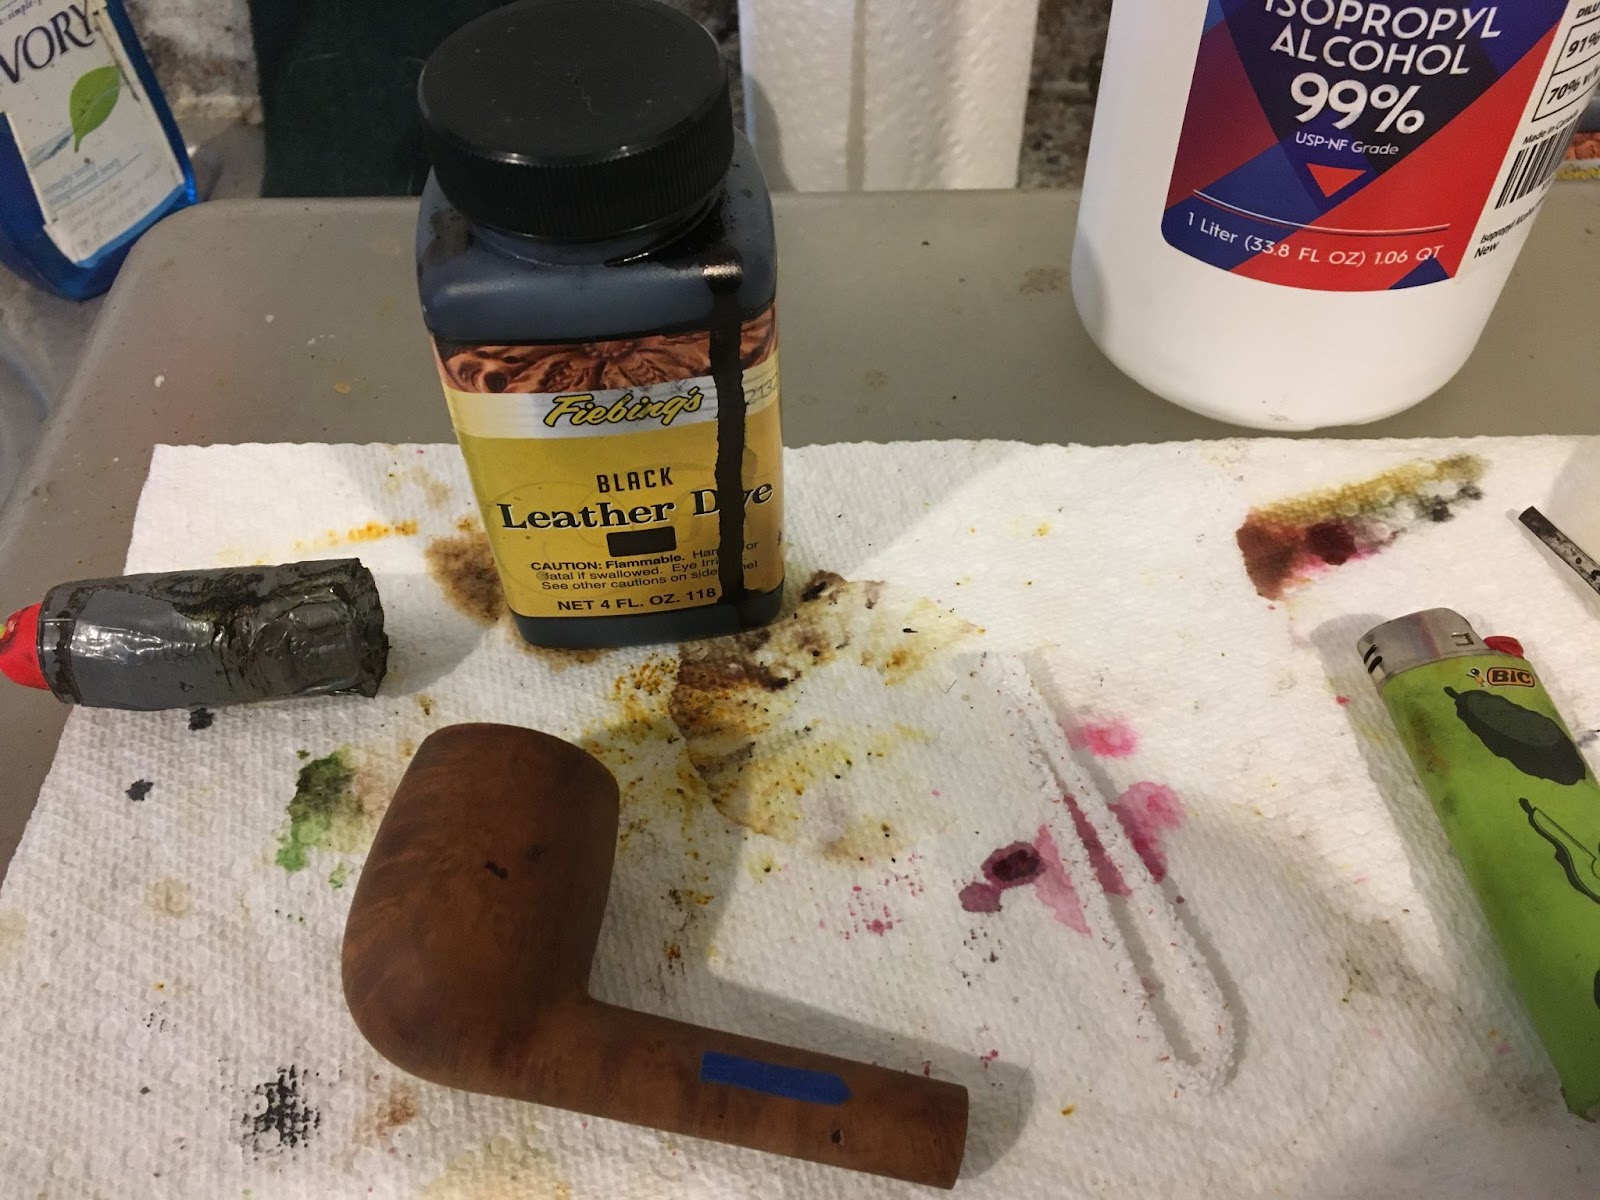
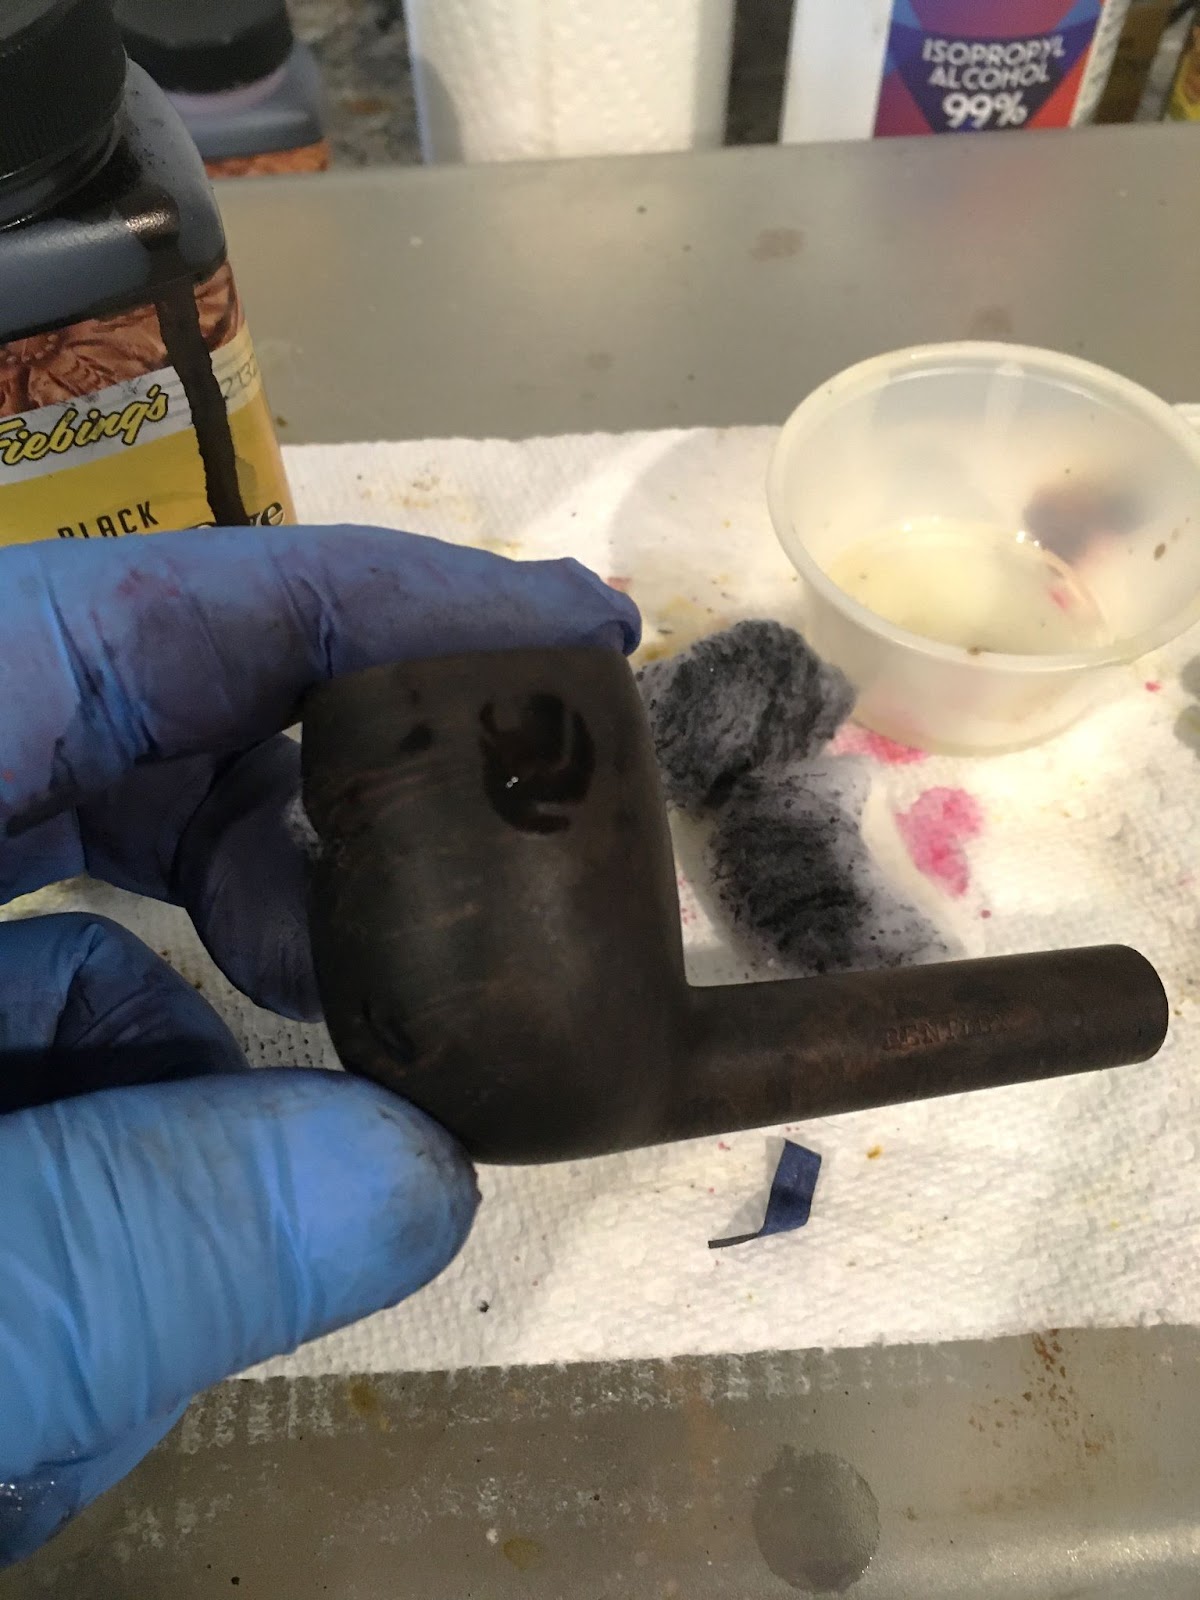
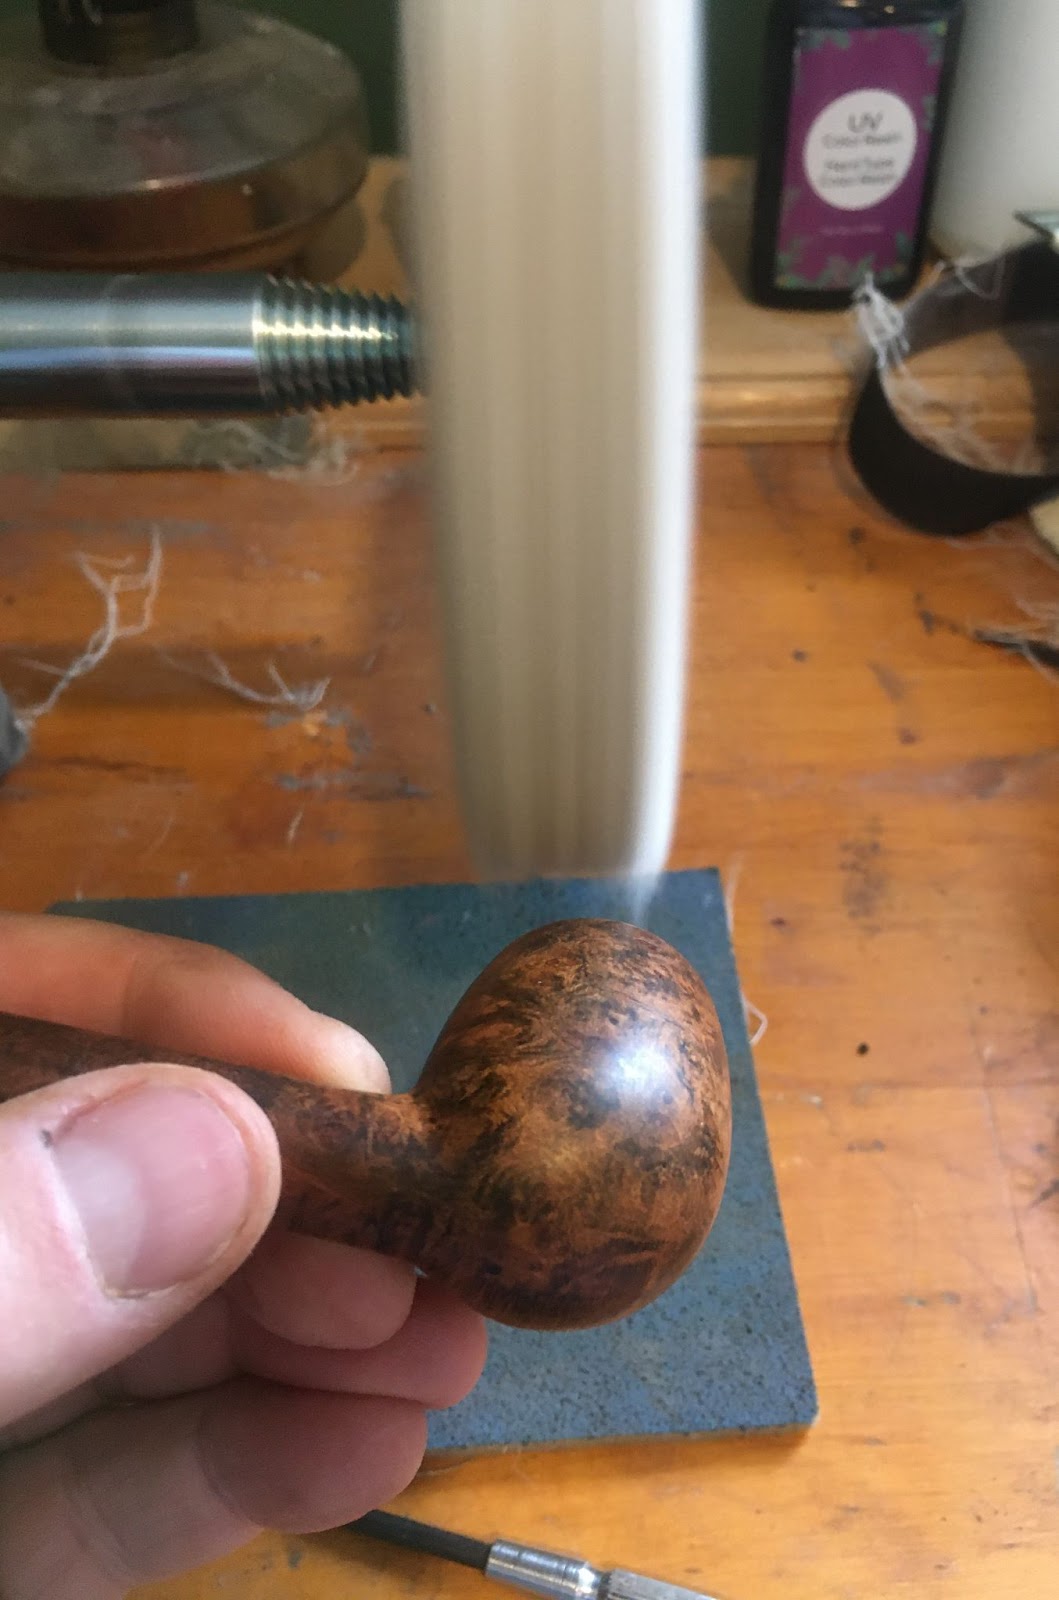
The stummel was stamped NATURAL. I wanted to keep this color finish true to the stamping. My first reaction to a stummel with this number of pits would normally be to give it a contrast dye of black. That would certainly conceal many of the fills but would also violate my sensibilities of maintaining the natural color of the stummel. To lighten the aged briar I decided to treat the wood with an application of oxalic acid. This “bleaches” the surface of the briar and can significantly lighten stained briar. If you are interested in a more heavily stained project see the W.O. Larsen restoration. The oxalic acid was applied with a cotton swab. I wetted the entire exterior 2-3 times and let it sit for 30 minutes before rinsing with copious amounts of was while scrubbing with a toothbrush.

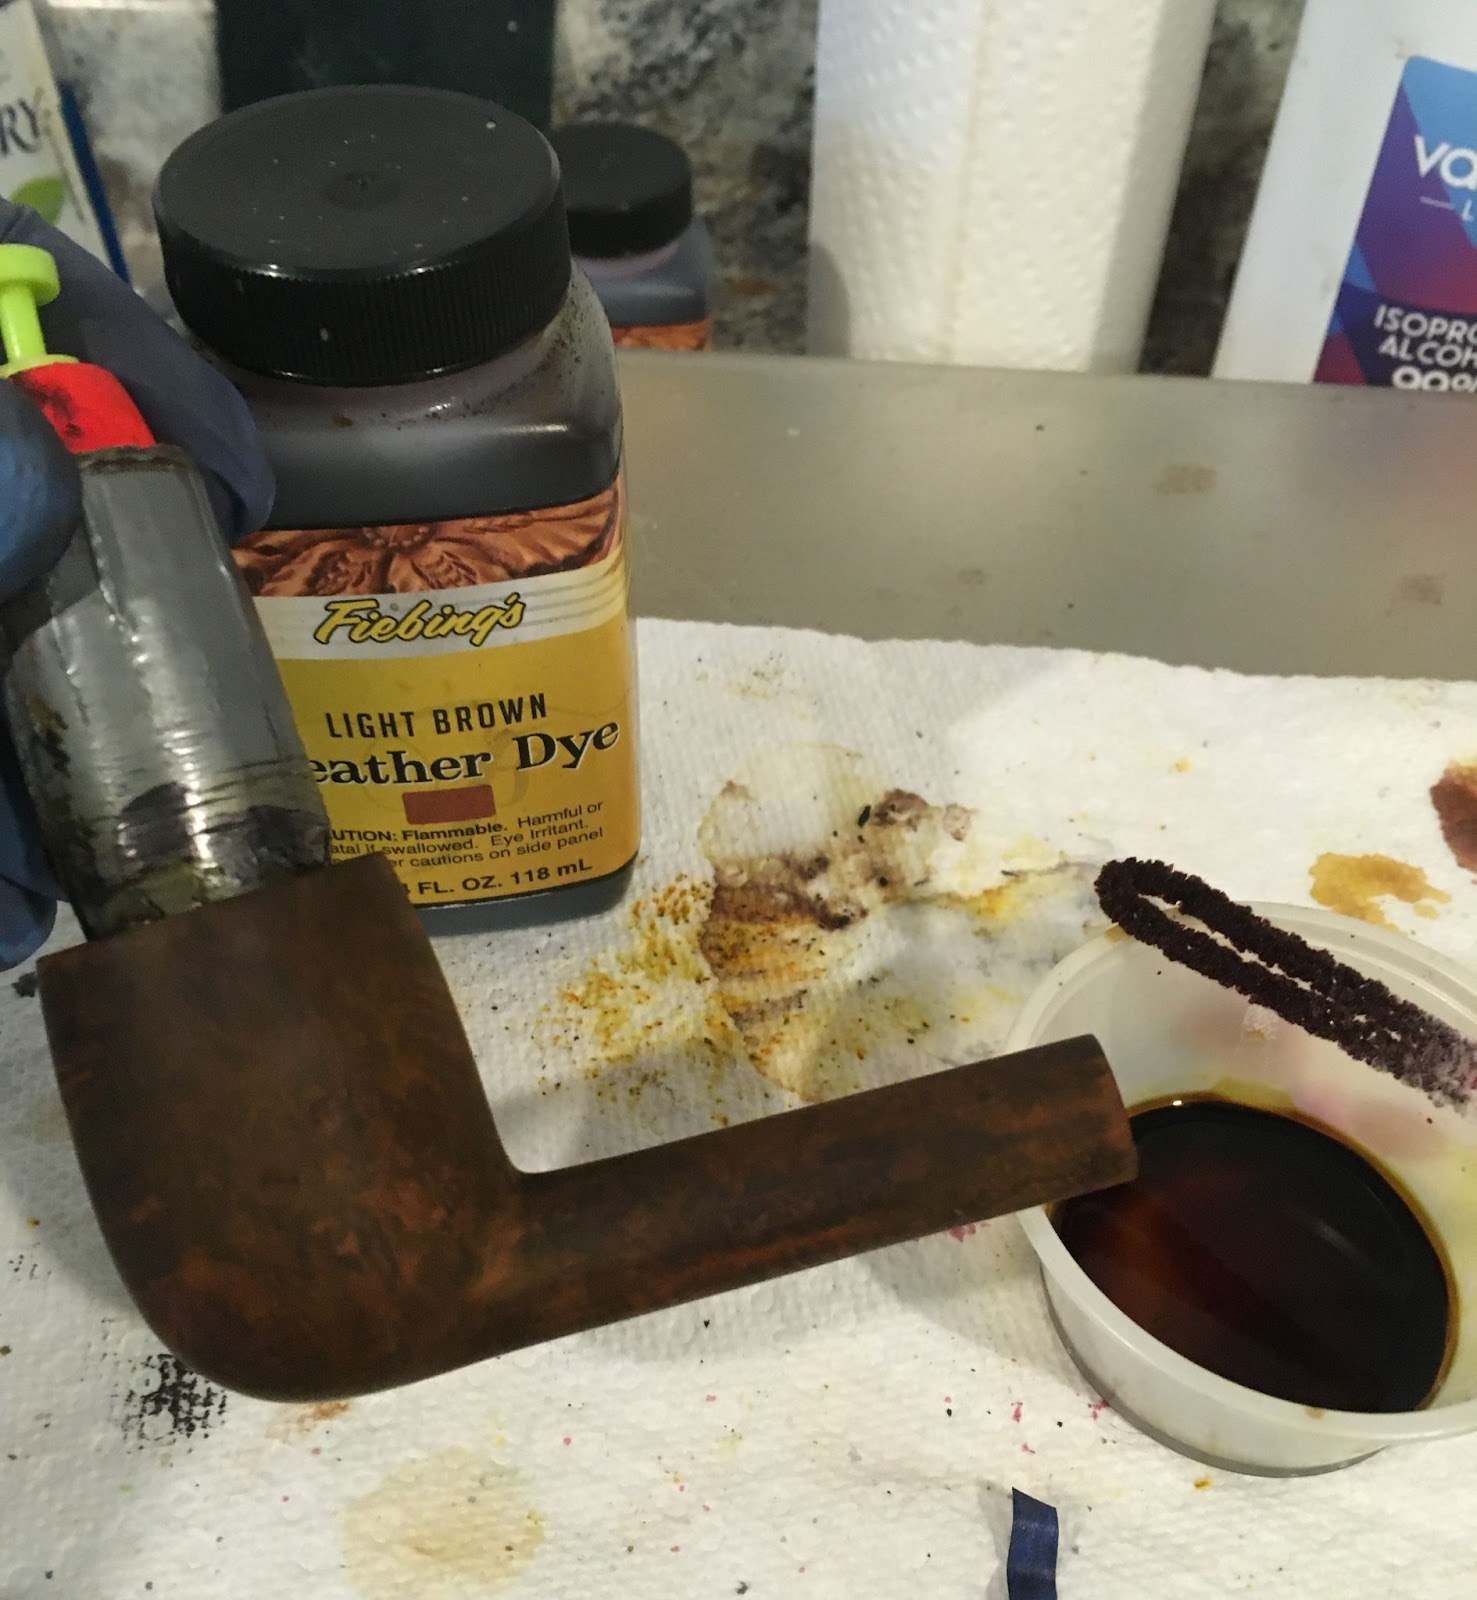
Once dried the stummel looked a bit lighter and more vibrant than it did prior to the oxalic acid.

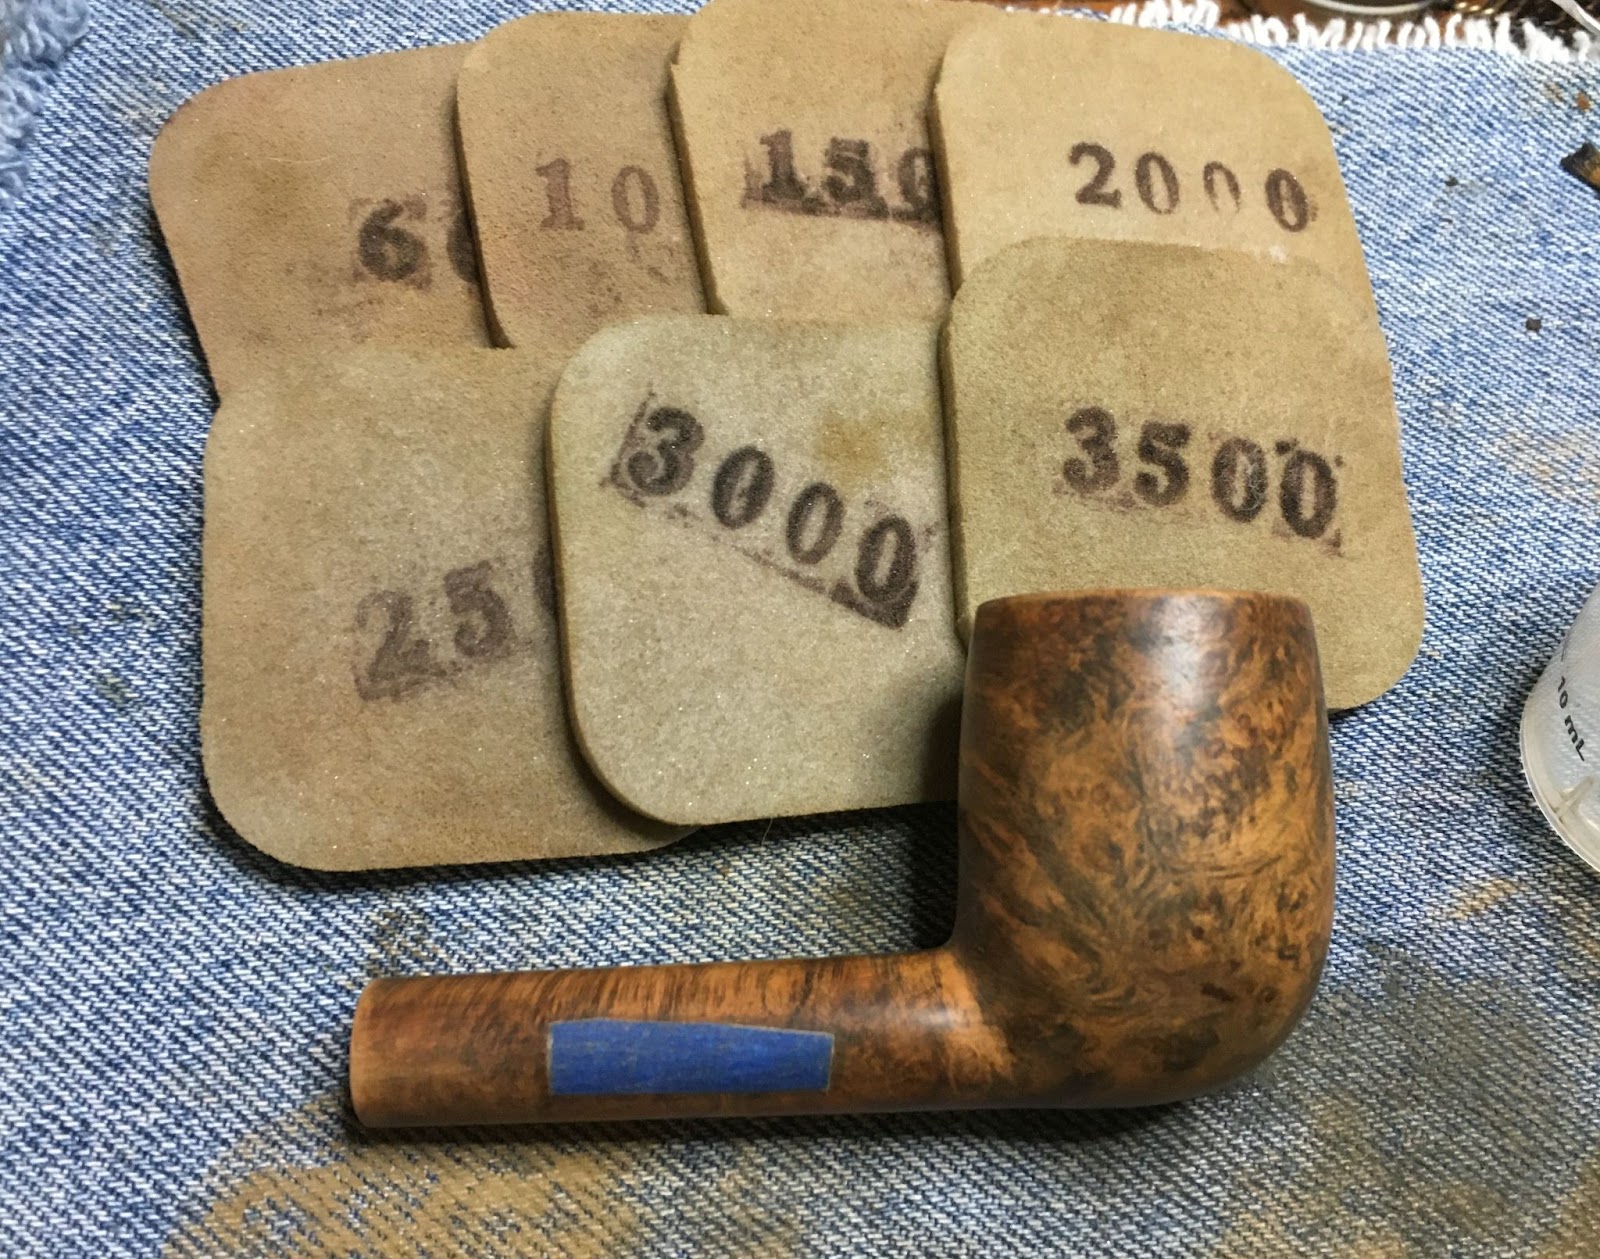
The stummel then had painters tape placed over the stamp and was sanded with a series of sanding sponges 1000-3500. Between each sponge I wiped the stummel with an alcohol dampened make-up pad.

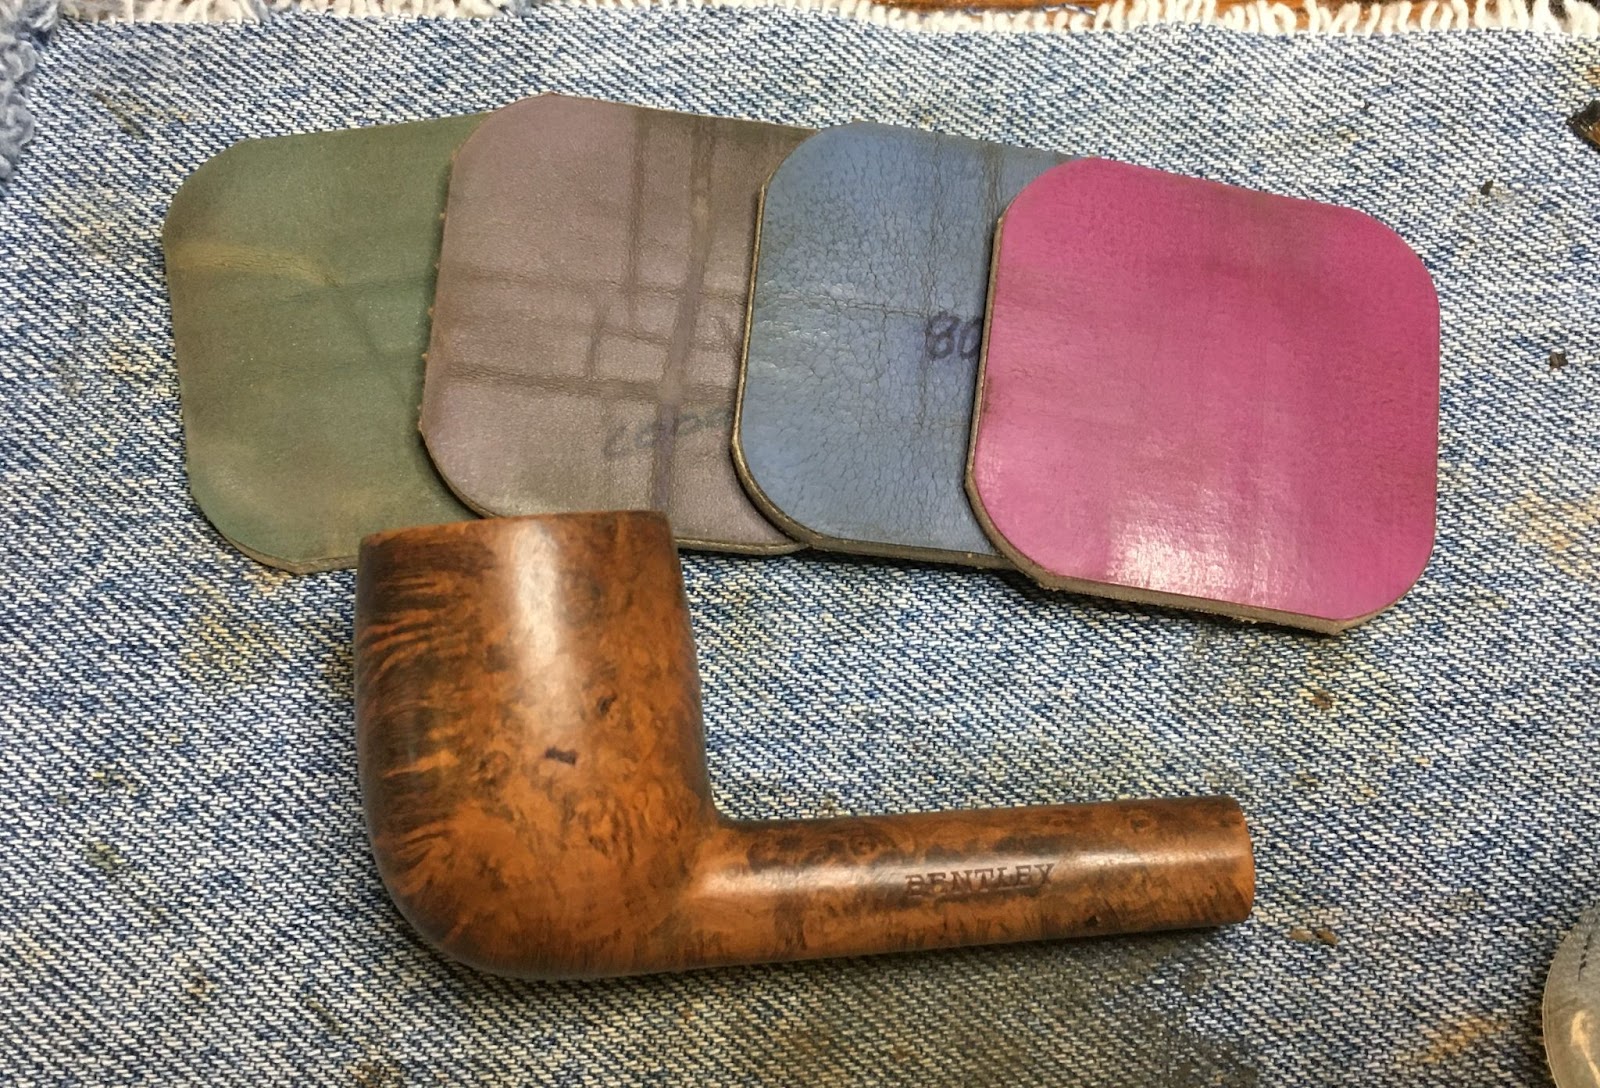
The stummel was then micro-meshed with 4000-12000 pads. Between the pads I wiped the stummel with make-up pads wetted with ethyl alcohol.

The stummel was then given a coating of Before and After Restoration Balm and allowed to sit for 30 minutes.

After 30 minutes the Restoration Balm was wiped from the stummel using an inside out cotton athletic sock. The grain looked wonderful.

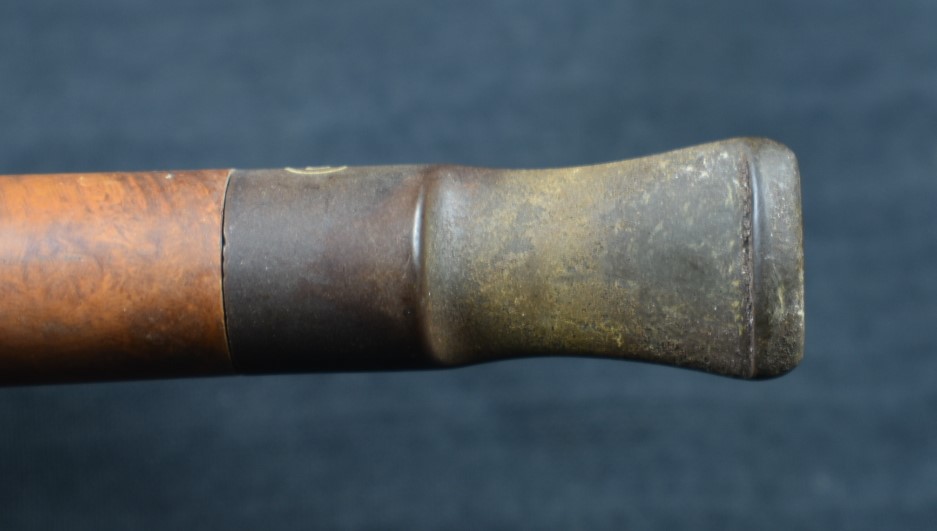
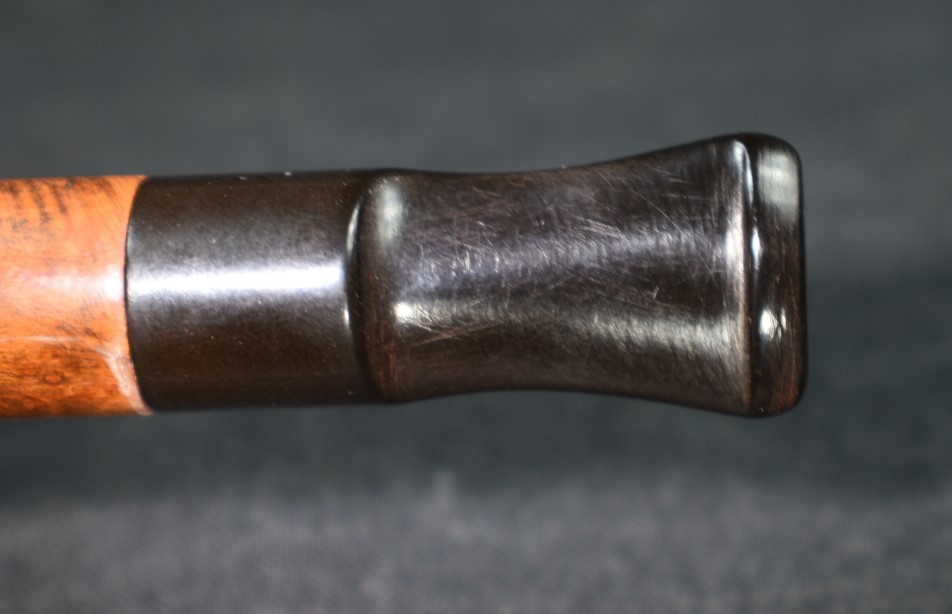
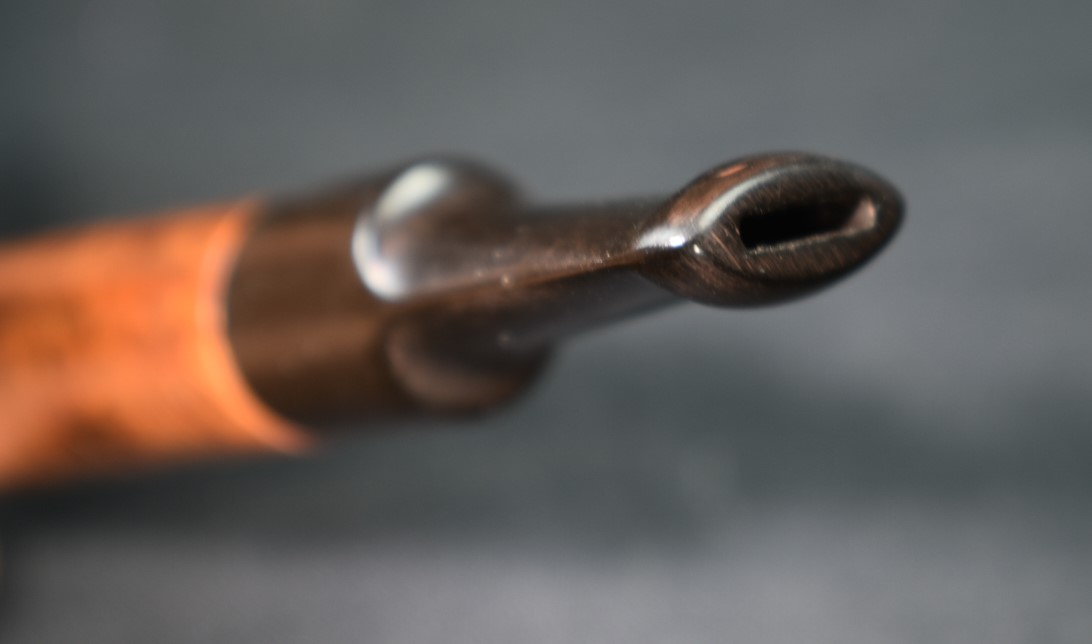
Unfortunately the stem did not look as wonderful. I used a small flat file to smooth the bite zone of the stem. The tooth dents were too deep to file them away without significantly thinning the stem. Filling the depressions with black CA was the chosen repair. I applied a coating of black CA from the button back 1 cm on the top and bottom of the stem. Both sides were then spritzed with a CA drying accelerator. I then shaped the button and smoothed the stem with the flat file. I then started smoothing and blending the patch with 320-600 grit sanding sponges. Between the sanding I rubbed mineral oil onto the stem with my fingertip and wiped away the excess with a dry paper towel.


The shank was taped with painters tape to protect it from the stem sanding. I needed them together to keep from rounding the joint where the stem meets the shank and to provide a handle for the stem.

The stem was sanded with a series of sanding sponges from 600-3500. Between sponges I rubbed the stem with mineral oil and wiped the excess with a dry paper towel.

I then polished the stem with micro-mesh pads 4000-12000. Between each pad I rubbed the stem with Obsidian Oil and wiped the excess with a paper towel.

At this stage I looked at the stem under the bright lights at the photography station. There was still a faint brown visible. I reapplied the painters tape to the shank and took the stem to the buffer. There I buffed the stem with white diamond buffing compound. After wiping the stem with a make-up pad moistened with ethyl alcohol I returned to the bright lights and the brown was gone. I returned to the bench and used Before and After Fine Polish of a soft cotton cloth.

The Before and After Extra Fine Polished was used after the Fine Polish with the same cotton cloth.

The pipe was returned to the buffer where I applied several coats of carnauba wax to both the stem and stummel. The final step was hand buffing the pipe with a microfiber polishing cloth to raise the shine before the final photography session.
I am very pleased with how this Yorkshire Natural Apple turned out. The grain of the briar is beautiful. Yes all the fill detract from the finish but it was an everyman’s mail order pipe from Sears and Roebuck. The stem polished up well and provides a sharp contrast with the light natural briar. Both stem and stummel sport a high gloss finish that complements the other. The shape of the robust apple bowl feels great which is good because the length and mass of the pipe are a bit much for a comfortable clencher. Perhaps one of those rubber cushions would help.. The dimensions of this Yorkshire Natural Apple are:
- Length: 5.61 in./ 142.94 mm.
- Weight: 1.48 oz./ 42.10 g.
- Bowl Height: 1.78 in./ 45.21 mm.
- Chamber Depth: 1.32 in./ 33.53 mm.
- Chamber Diameter: 0.80 in./ 20.32 mm.
- Outside Diameter: 1.59 in./ 40.39 mm.
I do hope that you have found something here useful to your own pipe care, maintenance or restorations. If you like this sort of thing, please click the like and subscribe buttons. Thank you for reading the ramblings of an old pipe lover.
Below are some photos of the finished Yorkshire Natural Apple.