
Photographed and written by
John M. Young
I had never worked on this shape before, some might call it a pot, others a bullnose. Either way I found it interesting and I have a soft spot for basket pipes with an interesting shape. The thick walls and wide acrylic stem were the clincher. And honestly, the double brass bands just were an elegant bonus. This beauty was spotted on eBay and I was able to collect the prize as I was the only bidder and a tough over $15 seemed like a good deal. After the obligatory wait for shipping, The chubby cherub arrived. The only stamps were MADE IN ITALY on the bottom of the pipe. Below are some photos of the pipe in the pre-work or before condition.
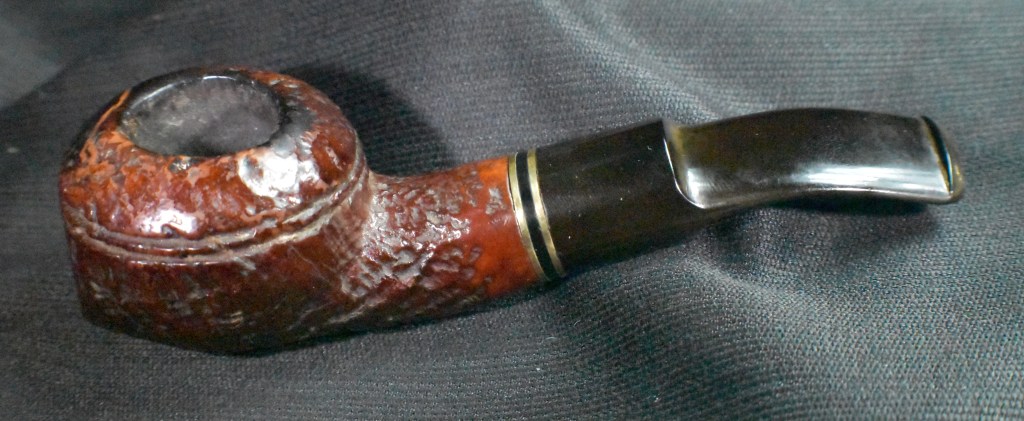
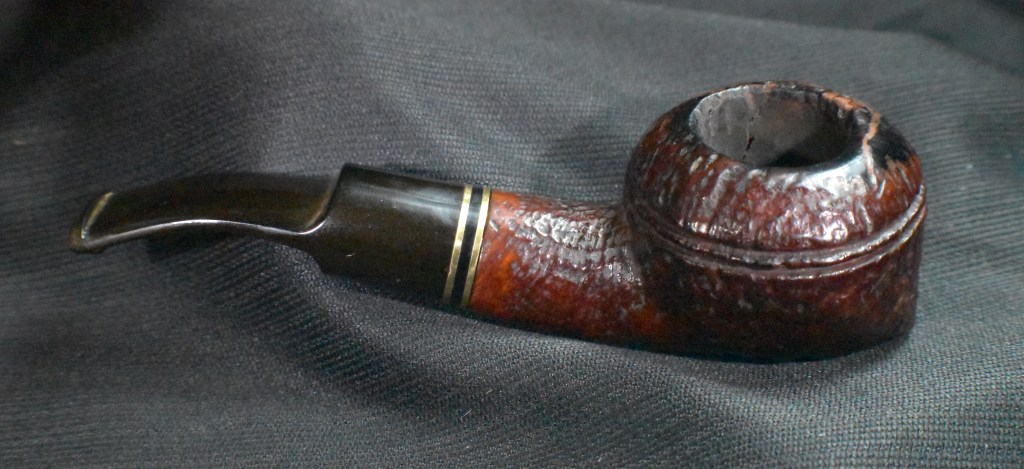

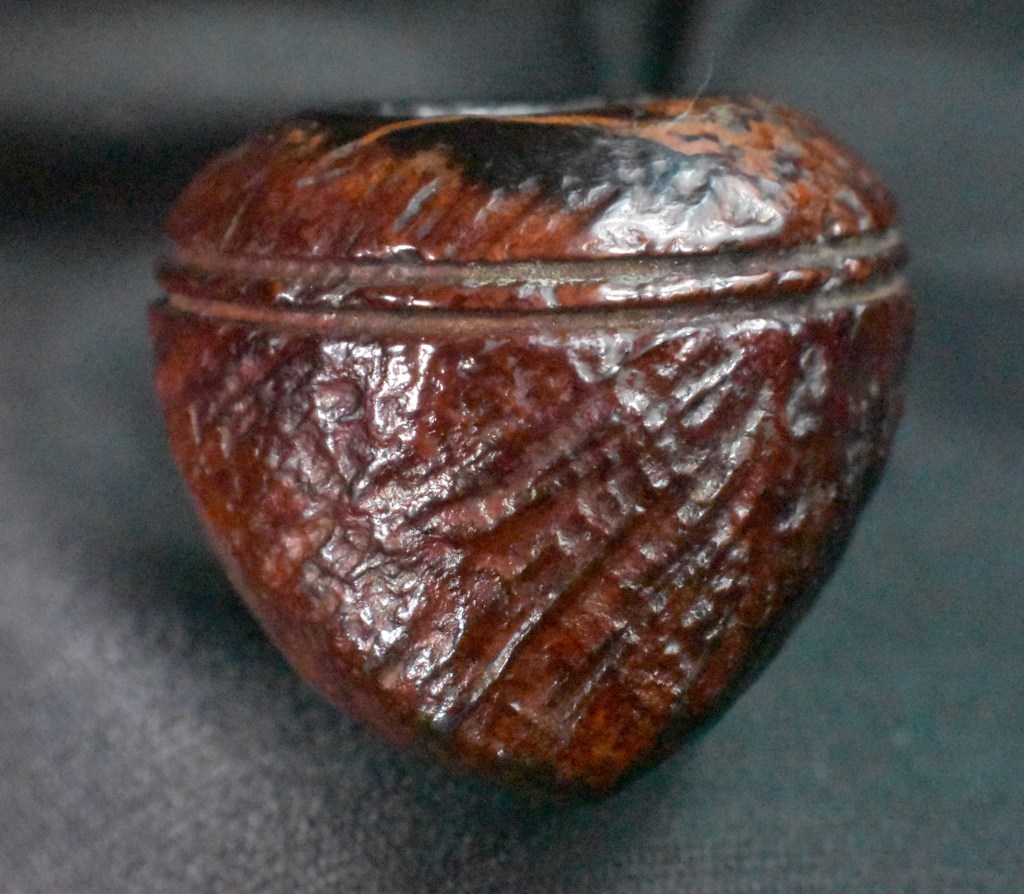
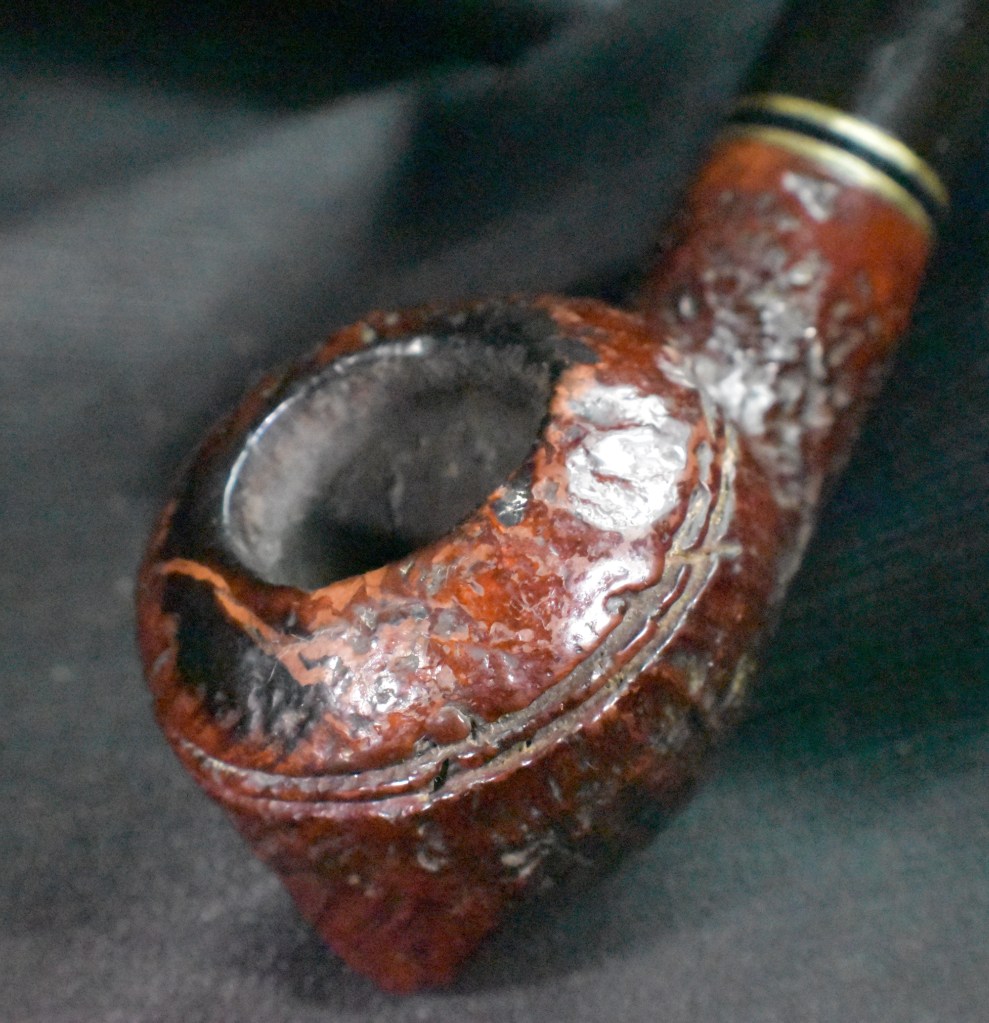
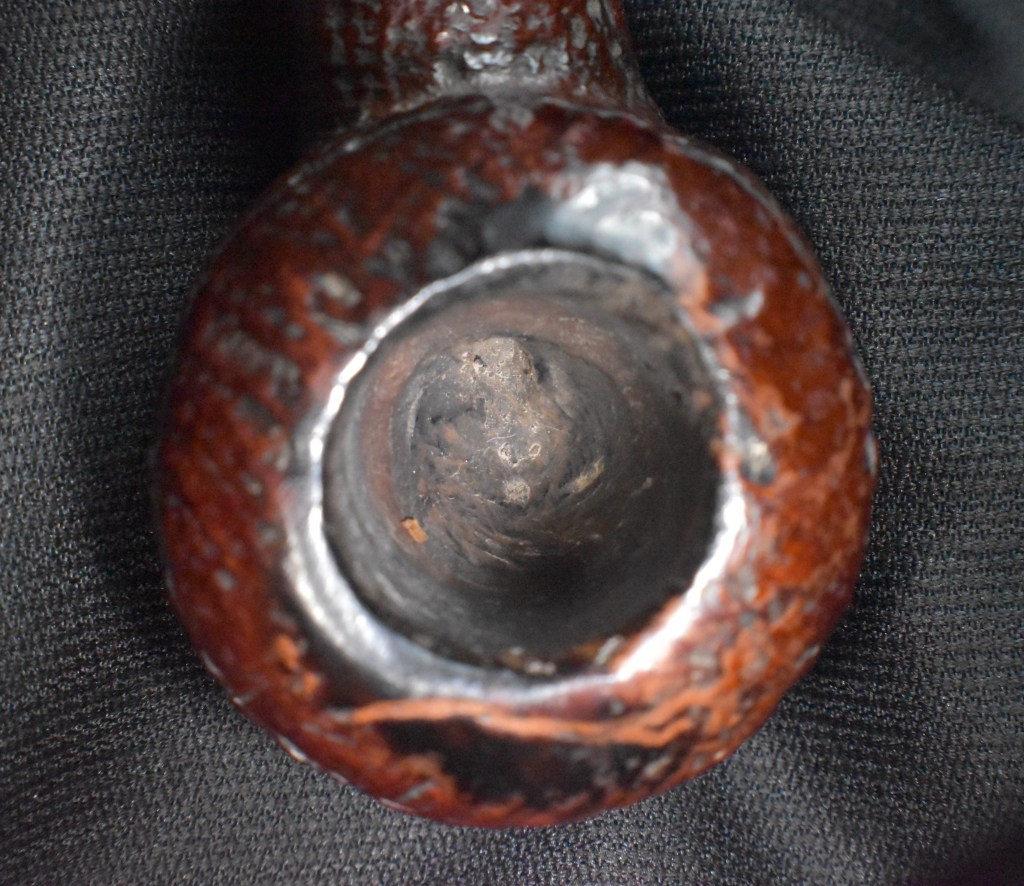
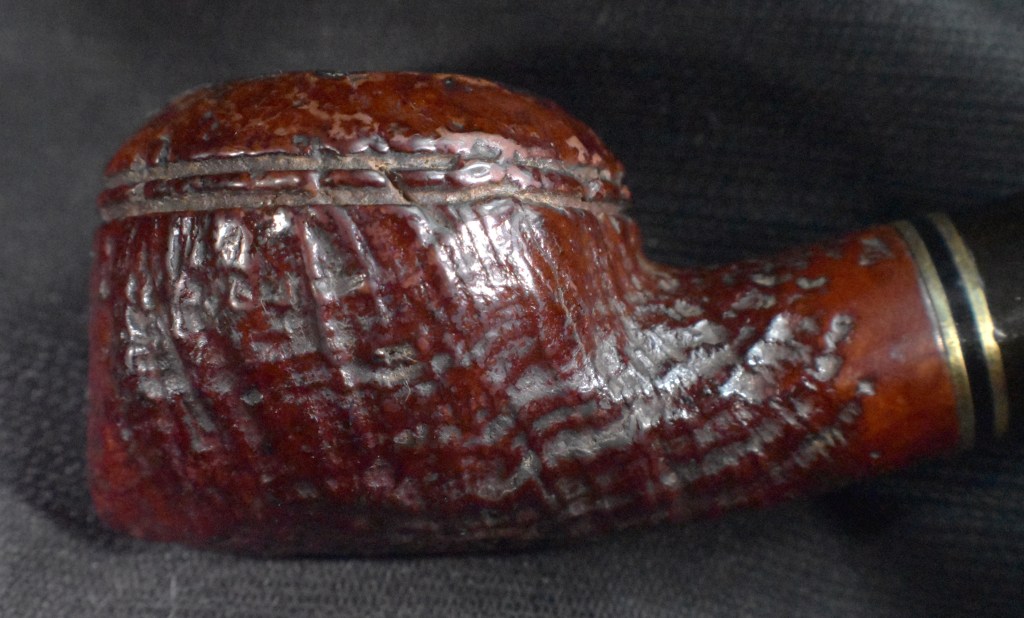


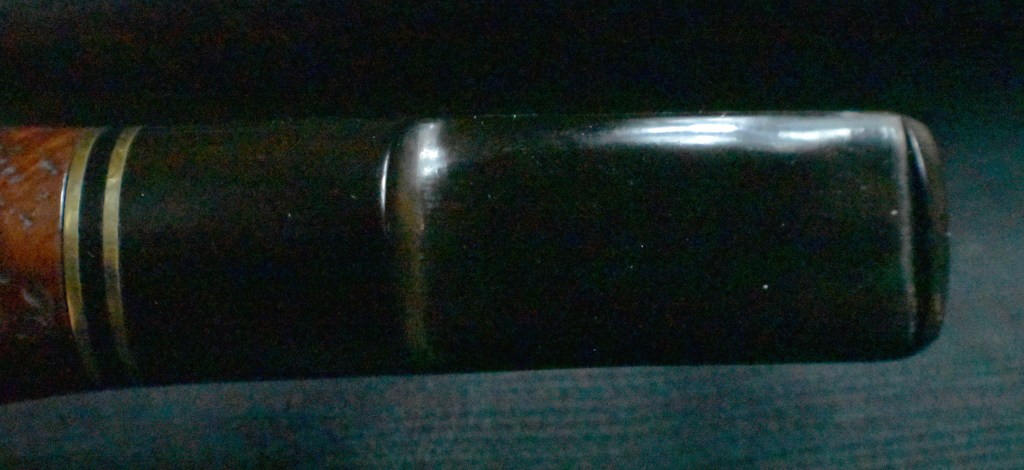
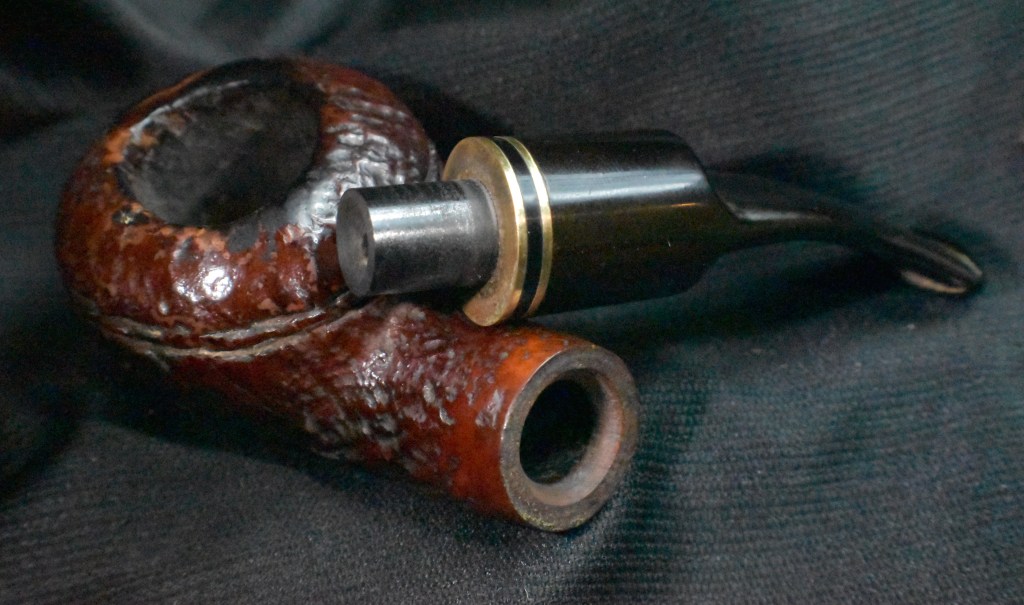
The stem looked to be in very good condition, slightly oxidized, maybe. The stummel on the other hand showed signs of extensive fills. The gloss clear coat was an obvious attempt to conceal the fills and perhaps to help “glue” them together. The tobacco chamber seemed quite out of round. I couldn’t tell by initial inspection that the rim was all filled, charred or just lava covered. Oh well, it would still be a fun project.
Background
Pipes like this are nearly impossible to research. No shape number and a very standard country of manufacture (COM) stamp provide little to work with. I thought maybe, the double brass band would provide a clue.
The Restoration
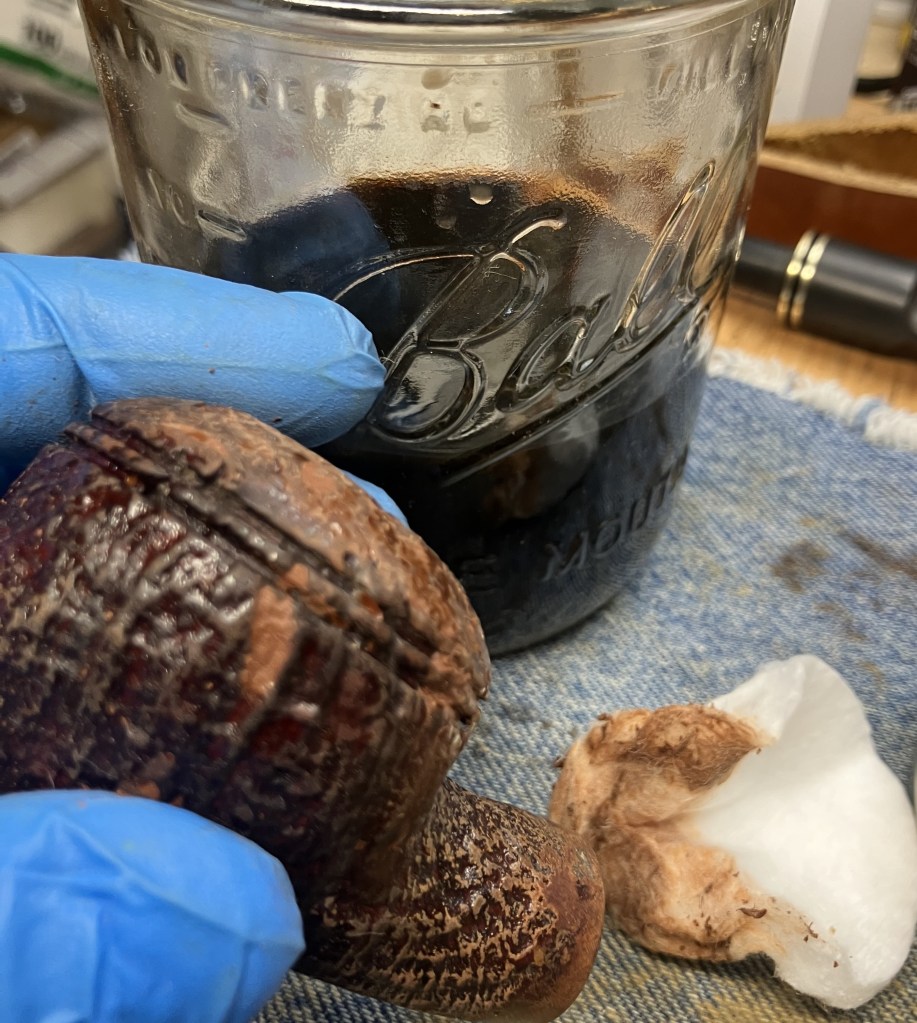
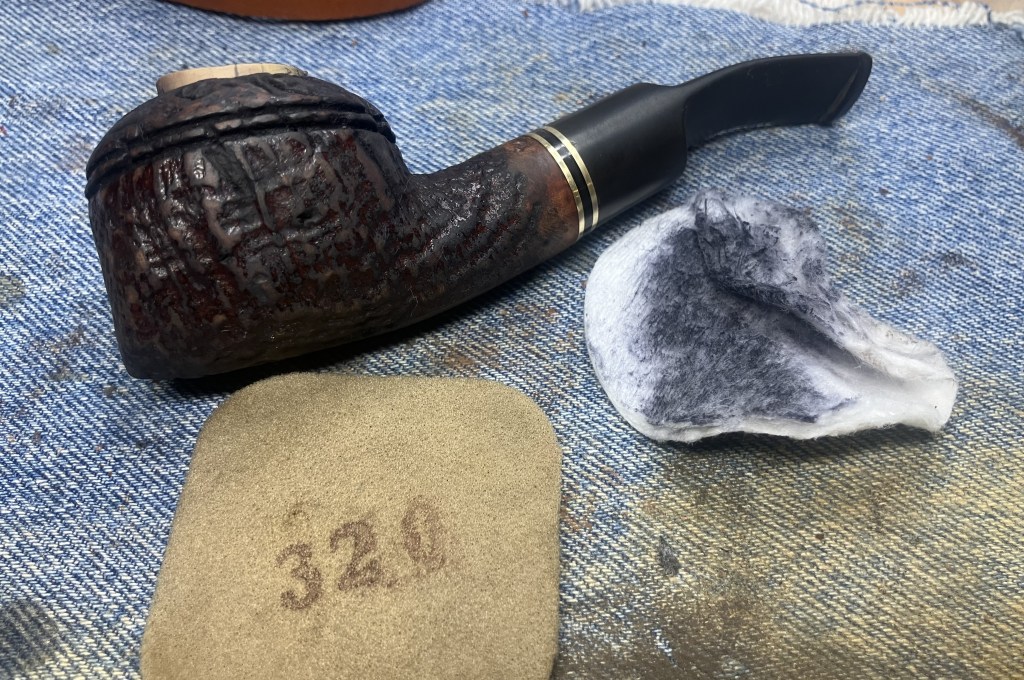
The pipe made it to the workbench and a clean denim piece.

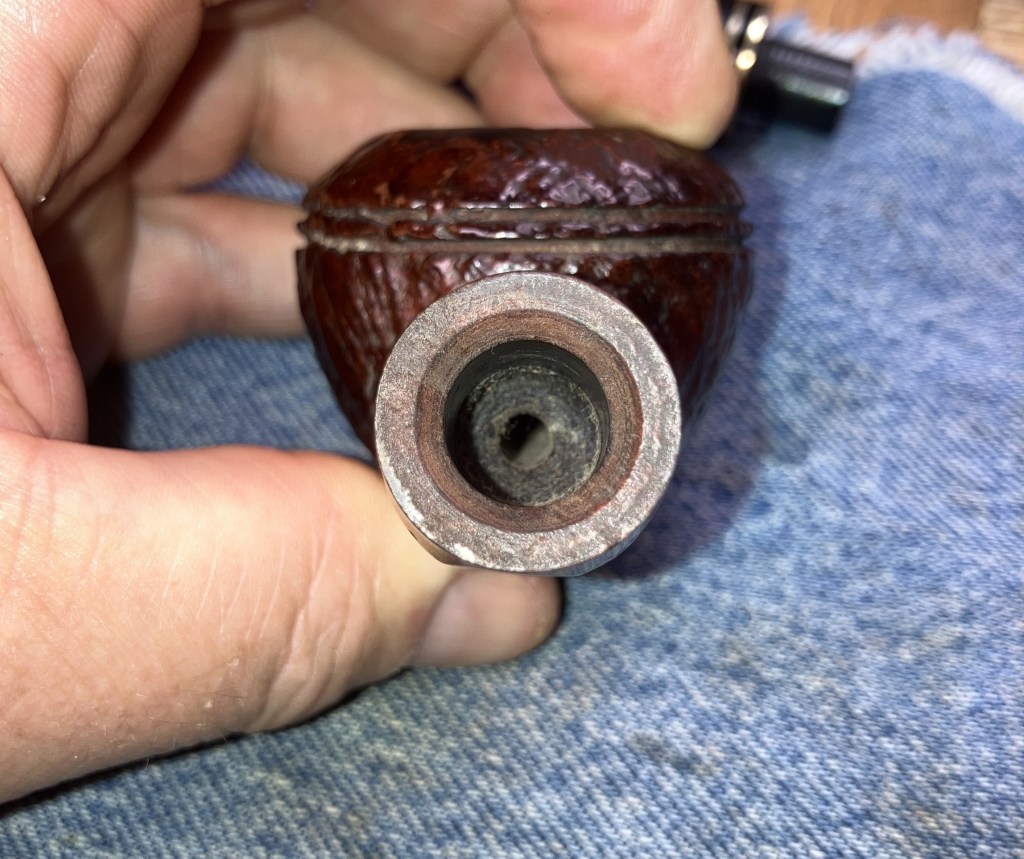
I examined the drillings. The draft hole was well centered and looked good.
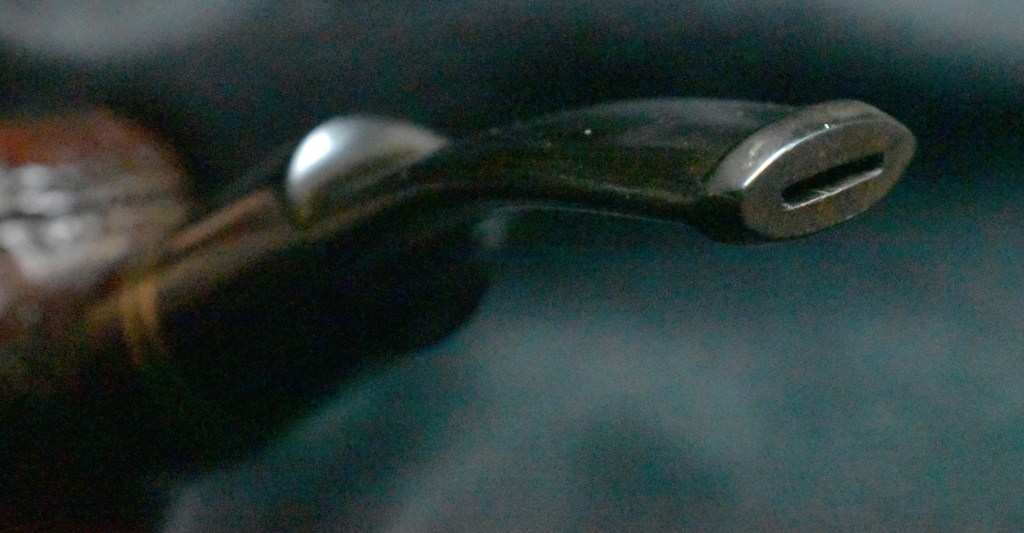
The hole through the stem was off centered, but there was a nice chamfer cut.

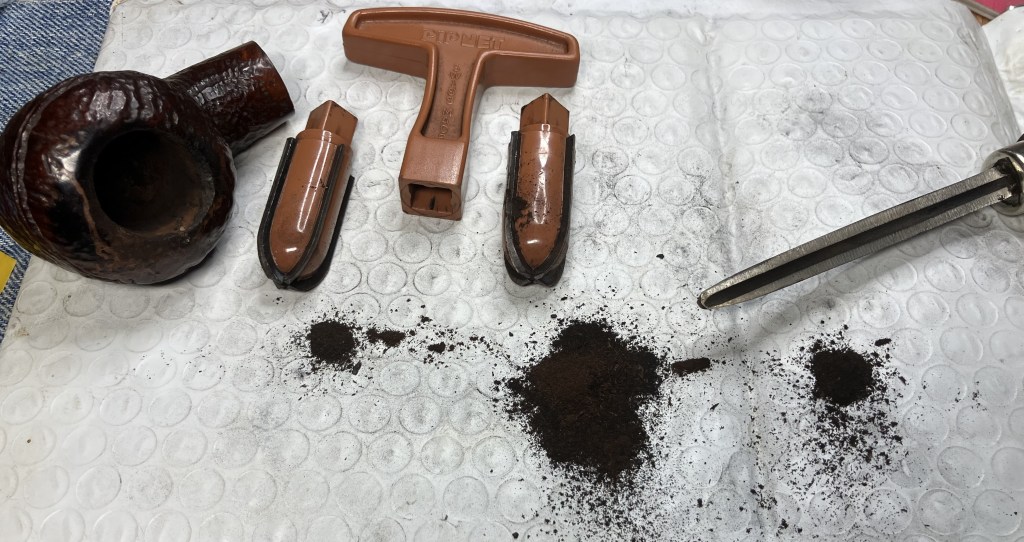
I assembled the ream team. This tobacco chamber was wide and would require the PipNet #3 blade and perhaps the #4.

It turned out that the #3 PipNet was sufficient. A little bit of clean-up was done with the General triangular scraper.
The chamber was sanded with 320 sandpaper wrapped around a wood dowel.

At the point I wondered if I should scrap the whole project. There were two surface cracks in the briar within the chamber. These would most likely be a source of chamber charring or burning with use.
There was a third pit within the chamber on the opposite side. This would be another spot where damage from smoking the pipe could lead to issues.

The “out of round” issue was mainly cosmetic and on the rim, not the tobacco chamber itself.

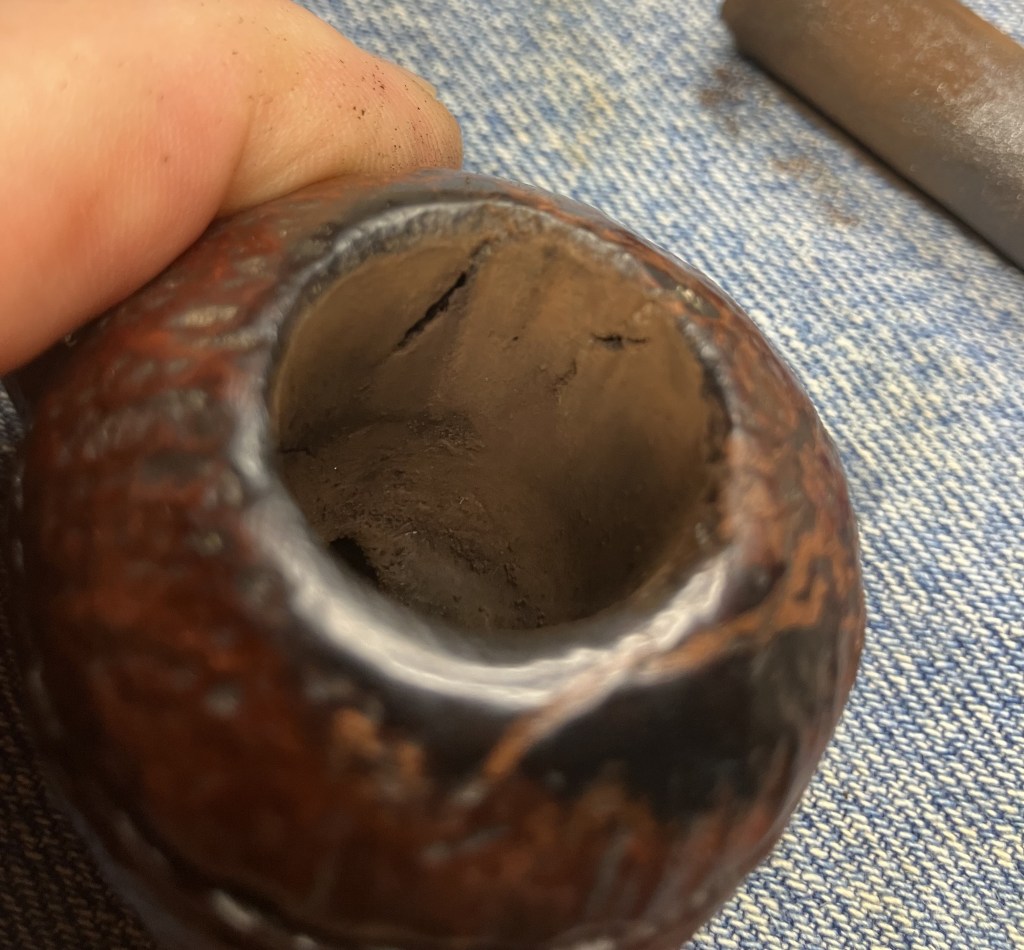
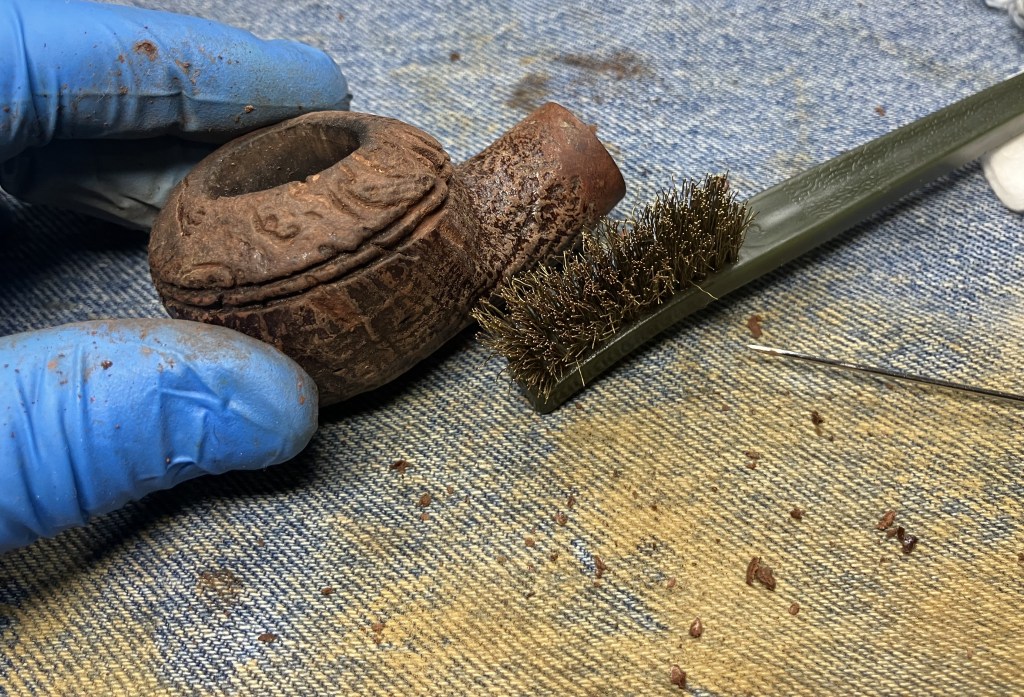
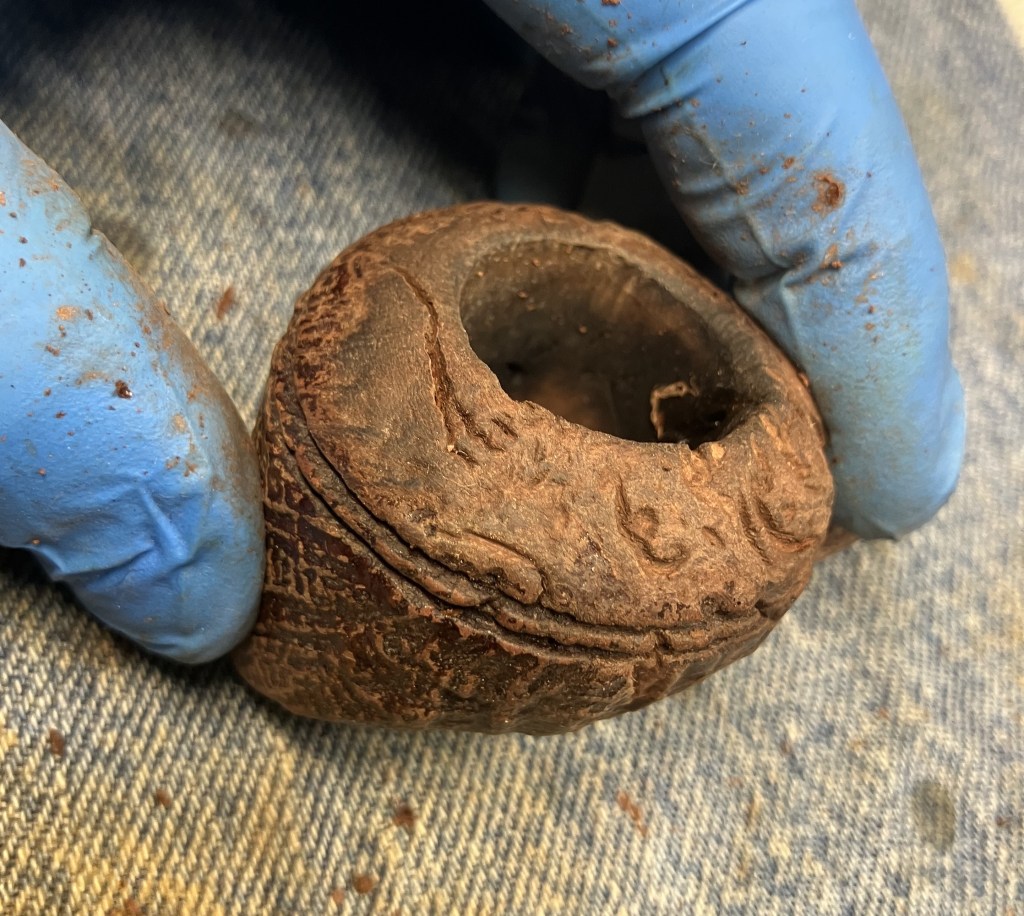
The rim looked to be encased in a layer of lava or smoking residue.

I moistened the rim with saliva and allowed it to soften the lava for a couple of minutes. The rim was then carefully scrapped with a sharp pocket knife blade. The result allowed me to see that the rim was indeed heavily filled with putty or filler.

I cleaned the shank with several cotton swabs, a nylon shank brush and a dental scraper. There was also copious amounts of 99% ethyl alcohol used.

The stummel was taken to the sink for a scrub with undiluted Murphy Oil Soap and a nylon brush. The soap was rinsed with warm water.

The stummel was dirty, so a second scrub with more Murphy’s and a brass brush was used. This was then rinsed with warm water and the stummel dried with a cotton hand towel.

Back at the workbench the stummel was wiped with a make-up pad wet with 99% ethyl alcohol. Little color was removed and the remaining finish seems to be unaffected by the alcohol.

I tried a wipe with acetone on a make-up pad. This did have an effect on the finish.
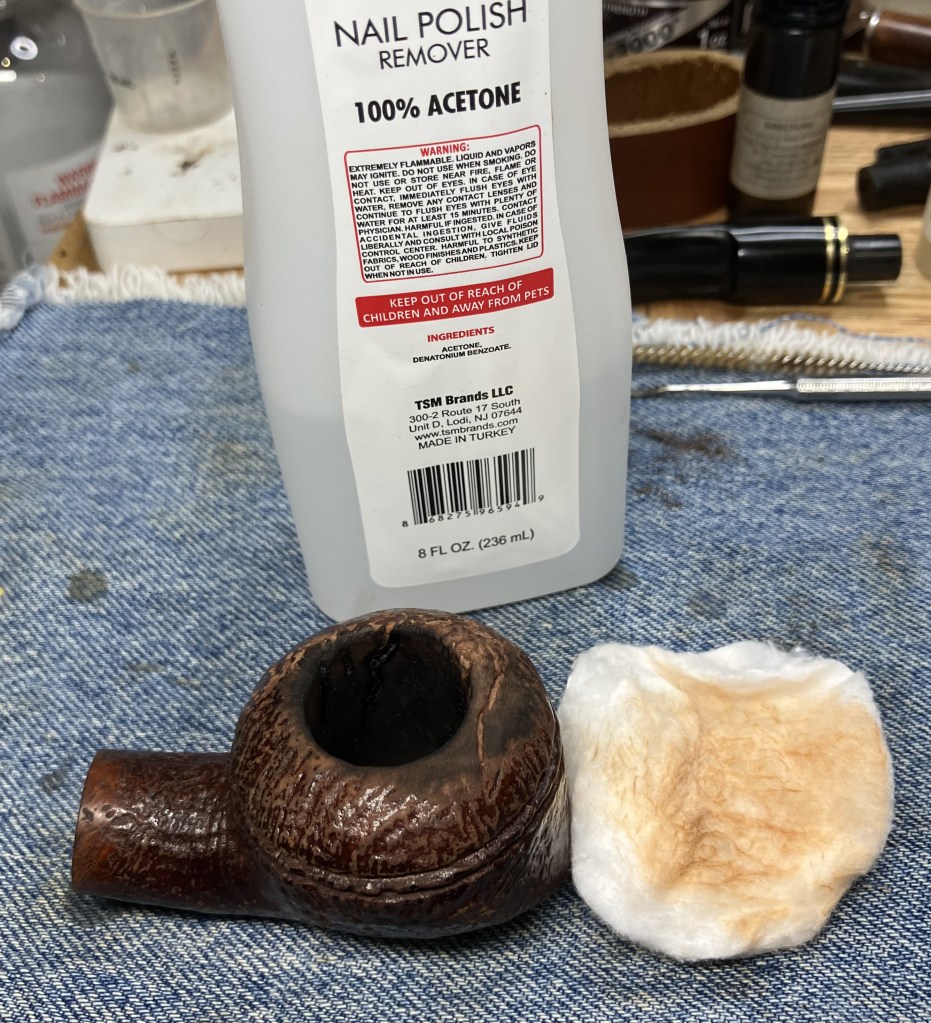
I decided to let the stummel soak in an acetone bath for a couple of hours.

During this down time, I worked on cleaning the stem. The stem access through the slot was difficult, at best. I could barely get a pipe cleaner through. This was not due to dirtyness, just a poorly made draft. I used an emery board to sand the interior of the button and improve the daft.
I finally got the draft opened up with Falcon Extra Thin Pipe cleaner, the Vermont Freehand slot tool and more sanding with the emery board.

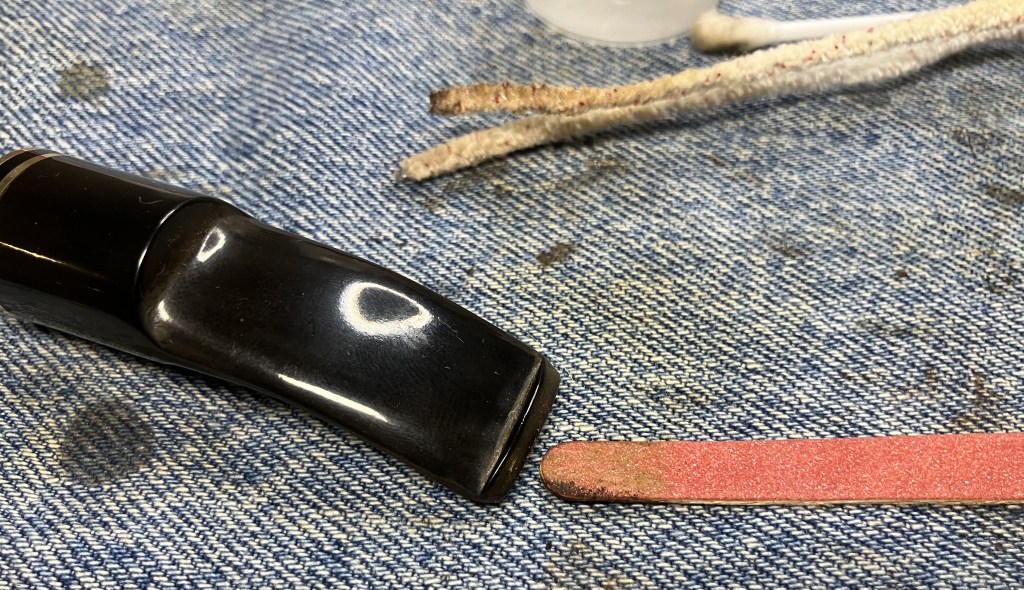
I filed the end of the stem above the button to smooth it on both the top and bottom sides.
The initial carving of the stem was not very smooth. After my file work it was much improved.

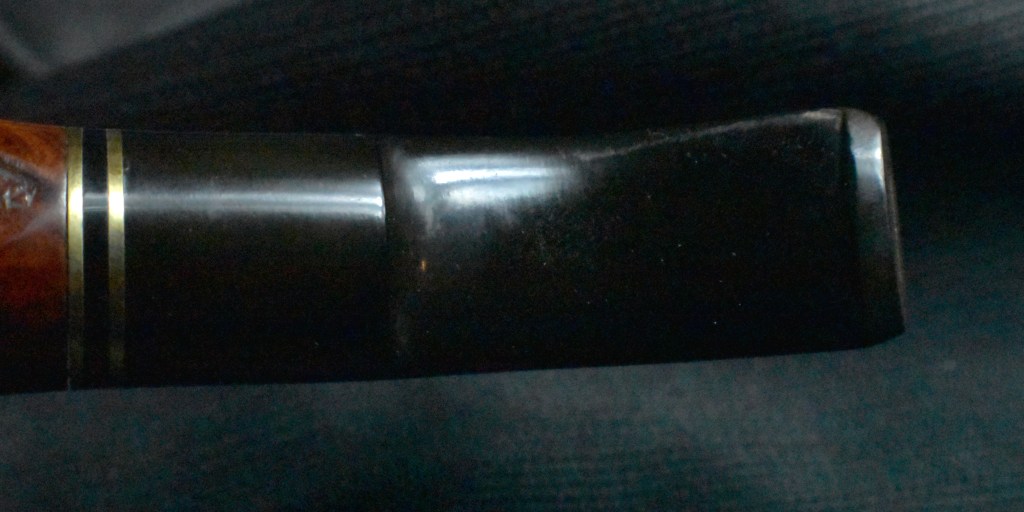
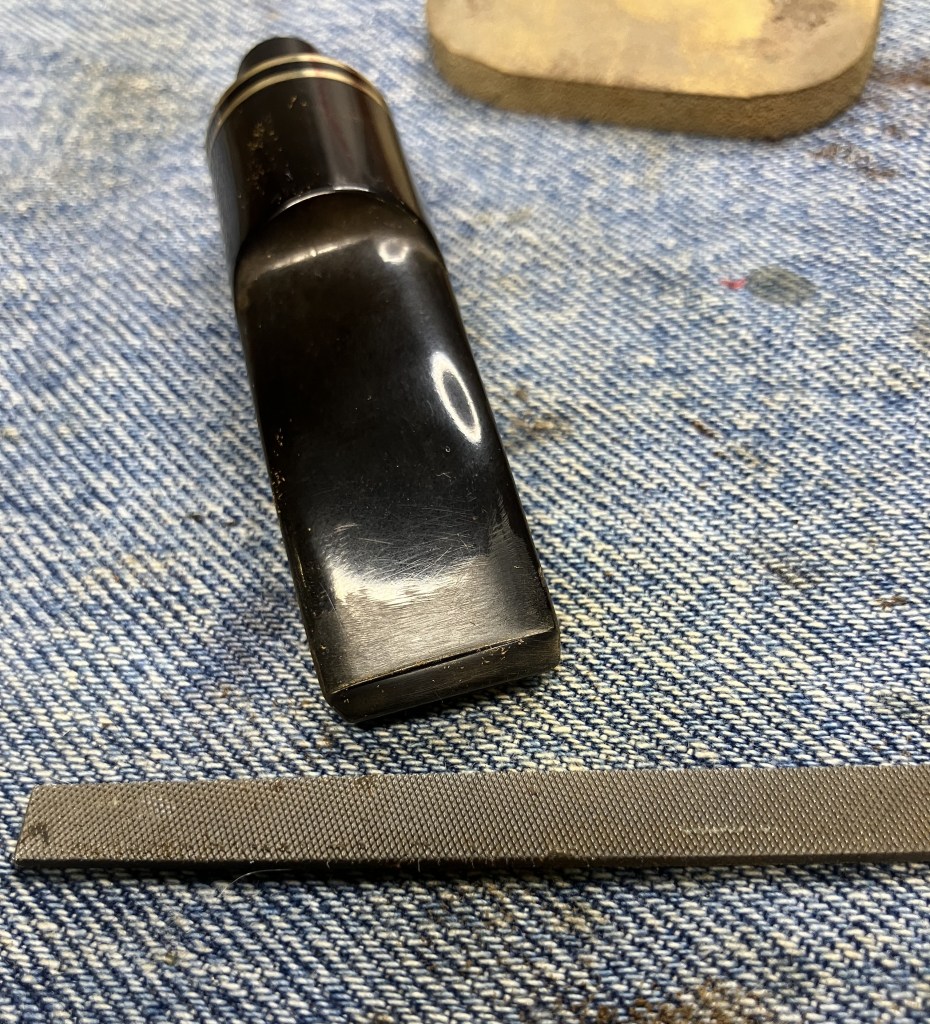
Below you can see the reshaped stem after sanding with 300 and 400 sanding sponges.

The stem was sanded with a series of sanding sponges from 320-1000 grits. Between sponges the stem was wiped with a paper towel to remove sanding debris.

After the sanding I reattached it to the pipe and took the stem to the buffer. Here I used red compound to polish the stem. I have been working on bettering my stem polishing skills. Like nearly everything, practice makes perfect. I will never claim perfection, but I am getting better at buffing and polishing stems.
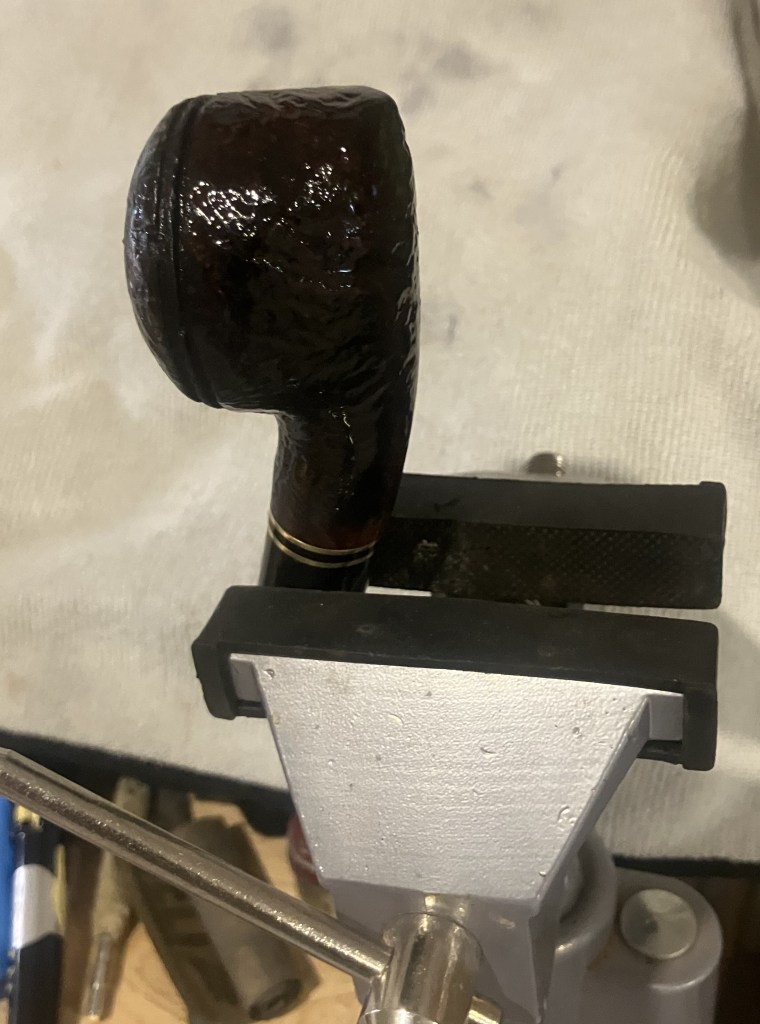
After two hours in the acetone, I removed the stummel. The clear coat that the Italian maker used was some darn tough stuff. I rubbed the stummel with a make-up pad wetted with acetone.
I then used the brass brush dipped in acetone to remove more of the clear coat as well as some of the fill material.
The fills were very soft and I picked out much of the material.

Below you can see more of the grooves left by picking out soft fill.
There was one large surface crack that was picked free of fill, seen below along the front rim. I decided to fill in the cracks and pit within the tobacco chamber with J-B Weld epoxy. I figured that I could do the same with the crack on the rim.

Below is the one pit in the chamber now filled with epoxy.

Below are the two cracks within the chamber also filled with epoxy. I also built up the rim with a bead of epoxy in an attempt at concealing the “out-of-round” rim.

24 hours later, I used a sharp knife to shave away most of the excess epoxy. I then sanded it smooth to the surface with 320 sandpaper.

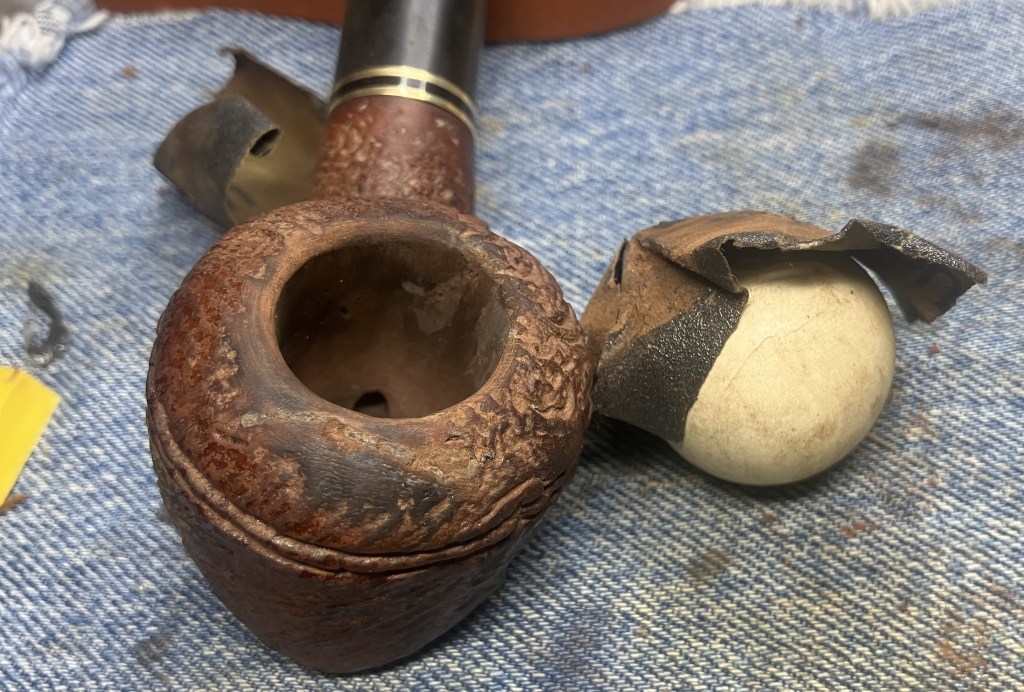
The rim was re-beveled with a small wooden sphere wrapped in sandpaper.
Once I was pleased with the sanding, I prepped for dying the briar. I know the original pipe was red with brown but I wanted to conceal all the fills so I went with an all black. Fiebing’s Black Leather Dye was the choice. A folded pipe cleaner was the applicator. A wine pottle cork was used to plug the bowl to keep dye from the tobacco chamber and a lighter was used to flame the dye, burning off the solvent/alcohol.

I left a bit of the original brown at the shank end. My plan was to lightly sand the high spots of the rustications allowing the brown to peek through the black. Three coats of dye were applied and flamed.

The dye was flamed then allowed to dry for an hour.

Once dried, I lightly sanded the stummel revealing the browns underlying the new black dye.

The stummel was then wiped with a make-up pad wetted with 99% ethyl alcohol.
I gave the pipe a total of three coats of Danish oil applied with a cotton swab.

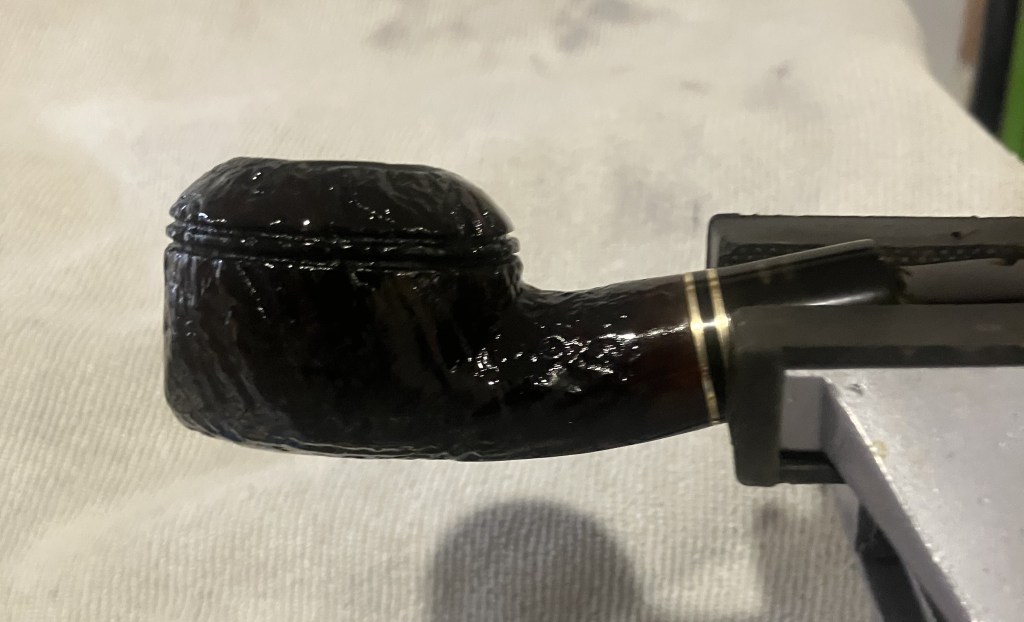
Below is the pipe and its first coat drying.
Below is the third coat drying.
The pipe was then given a couple of coats of carnauba wax. Extra care was given to buff with the grain of the sandblast patterns to avoid building up wax in the grooves.
The final step was a hand buffing of the pipe with a microfiber polishing cloth.
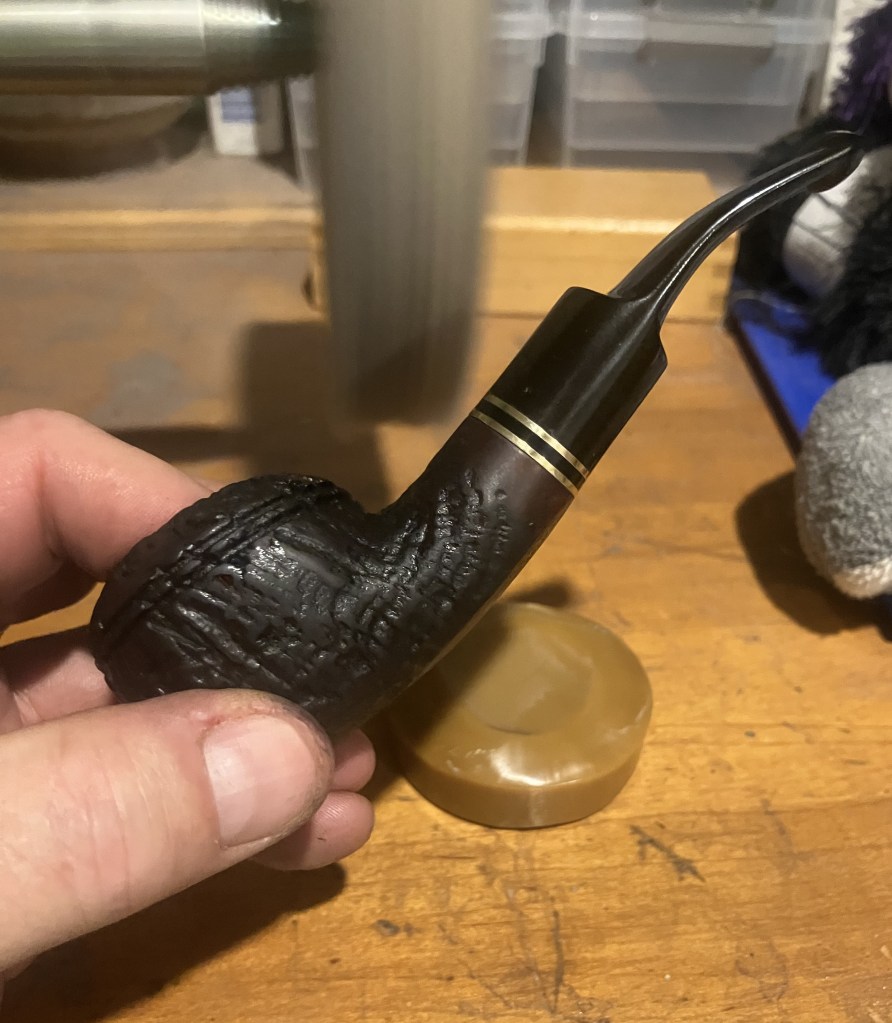
This pipe with its various pits, cracks and flaws was nearly discarded. I am glad to say that it smokes wonderfully and has now become another fishing pipe. Yeah, that is hardly a great endorsement or title, but I spend a good deal of time fishing and typically do not want to subject my best quality pipes to those less hospitable conditions. The wide stem is very comfortable to clench and the bend makes it even better. I love the wide bowl for my favorite Balkan and English blends. This old pipe will not be a winner of a beauty pageant even with the beautifully polished stem and brass bands, but she is more than a utilitarian addition to the fishing pipe club.
The dimensions of this No Name Italian Bullnose are:
Length: 5.19 in./ 131.83 mm.
Weight: 2.06 oz./ 58.40 g.
Bowl Height: 1.51 in./ 40.64 mm.
Chamber Depth: 1.20 in./ 38.35 mm.
Chamber Diameter: 0.80 in./ 20.32 mm.
Outside Diameter: 1.75 in./ 44.45 mm.
I do hope that you have found something here useful to your own pipe care, maintenance or restorations. If you like this sort of thing, please click the like and subscribe buttons. Thank you for reading the ramblings of an old pipe lover.
Below are some photos of the finished No Name Italian Bullnose.


