Photographed and written by
John M. Young
I have wanted to work on a cavalier style pipe for quite some time. Unfortunately, they always seem to exceed what I am willing to pay for them. Perhaps this is what piques my interest even more, peoples’ apparent desire to obtain a cavalier. They must be good smokers, eh? Well, I came across this estate lot on eBay and it had a cavalier, along with a couple of other interesting pipes. The description called it a “Bireba” and it had a wonky looking band. I figured what the heck, I’d never heard of Bireba and it looked like a fun pipe to work on.

I won the auction for what I considered a reasonable price and the pipes made the short 185 mile journey from Lawrence Kansas to the wilds of southeast Nebraska. Upon arrival I couldn’t figure out why such a poor fitting band was even put on this pipe. I first thought that it was a repair of a cracked shank. The mortise was in perfect condition. Then I thought, decorative, but why such a poor fit.
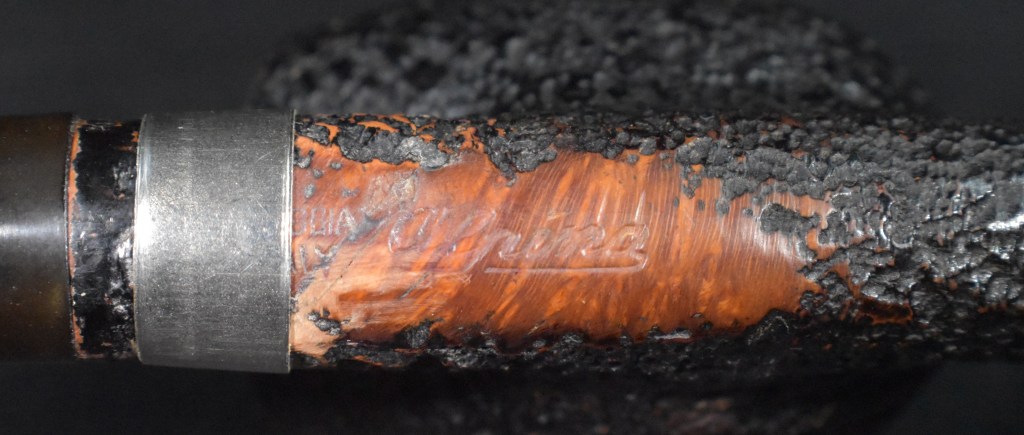
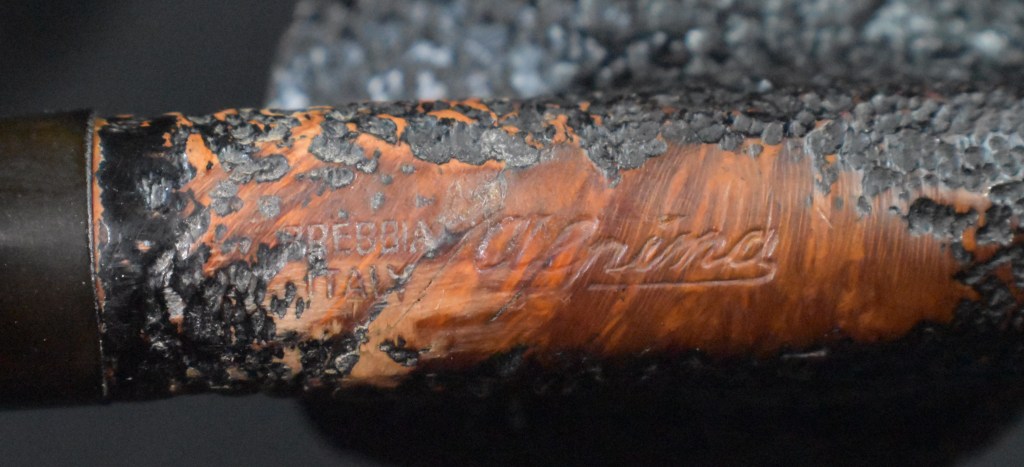
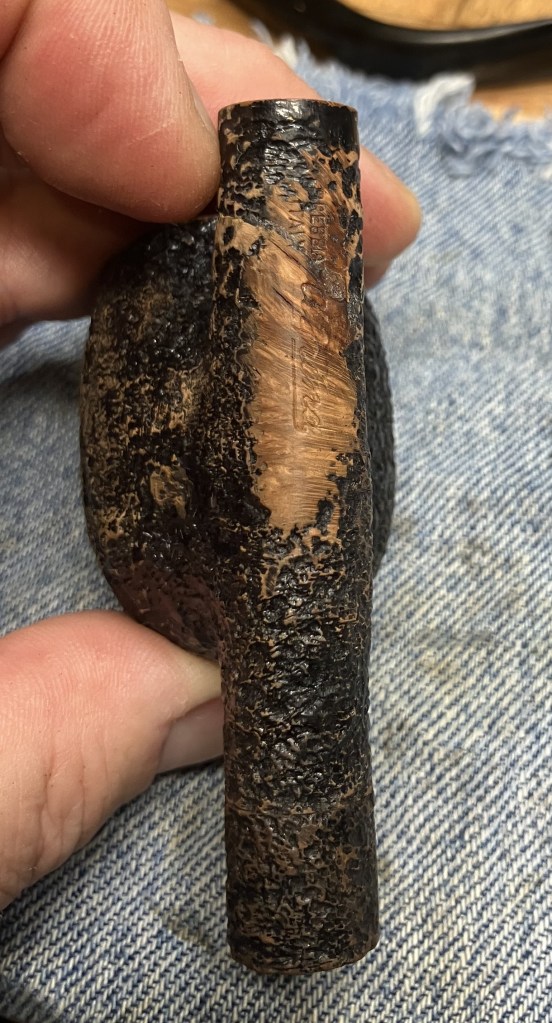
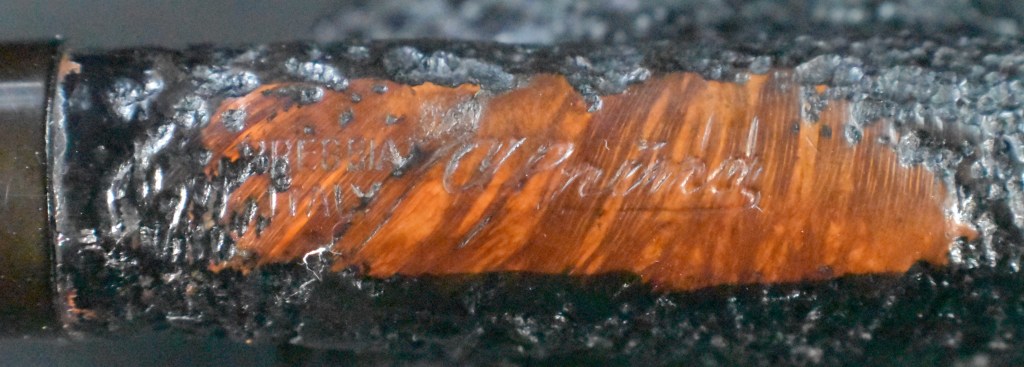
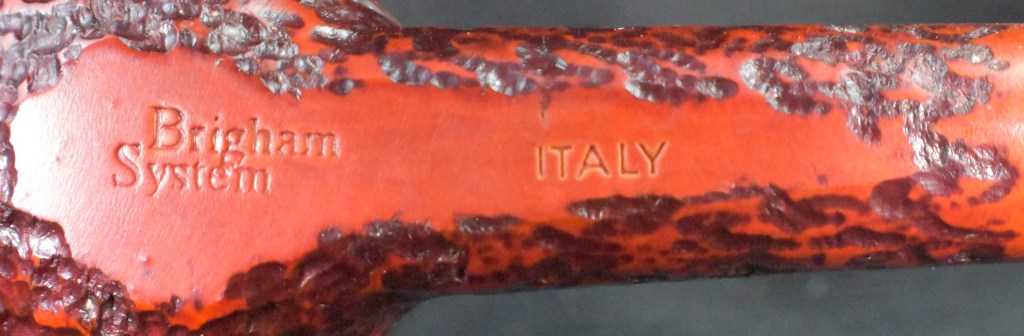
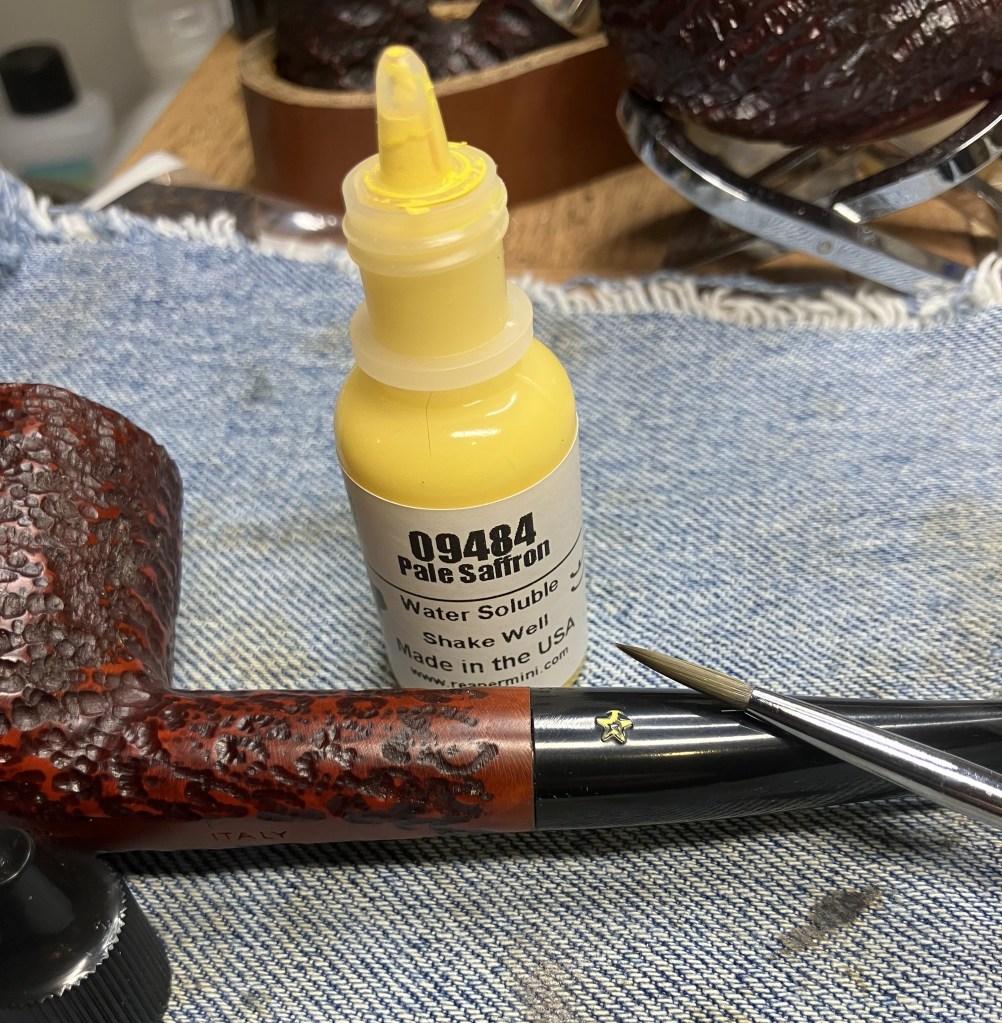
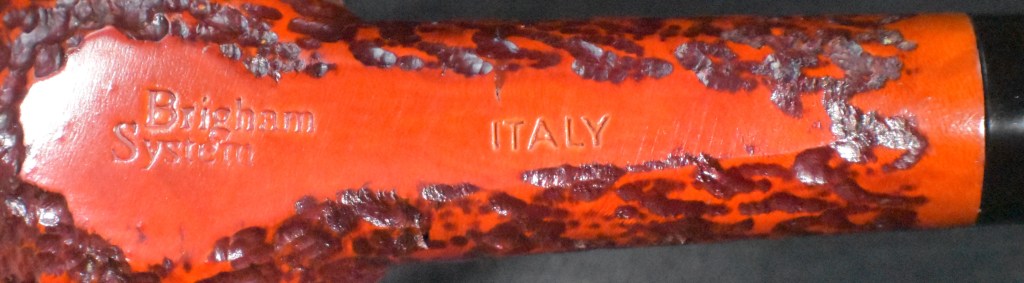
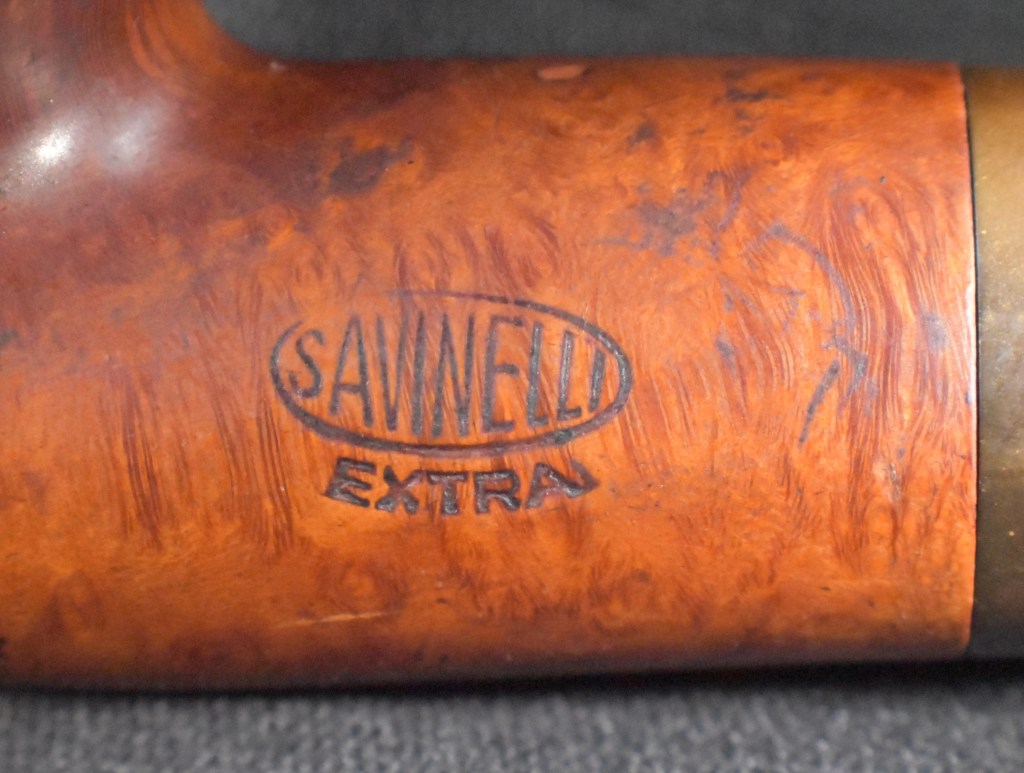
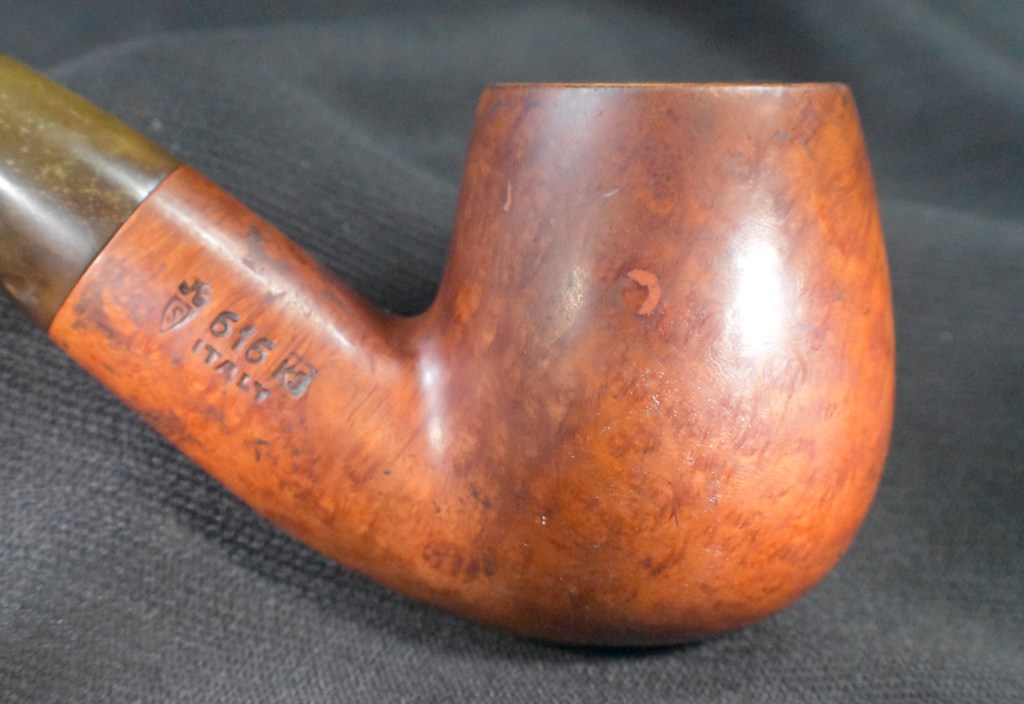
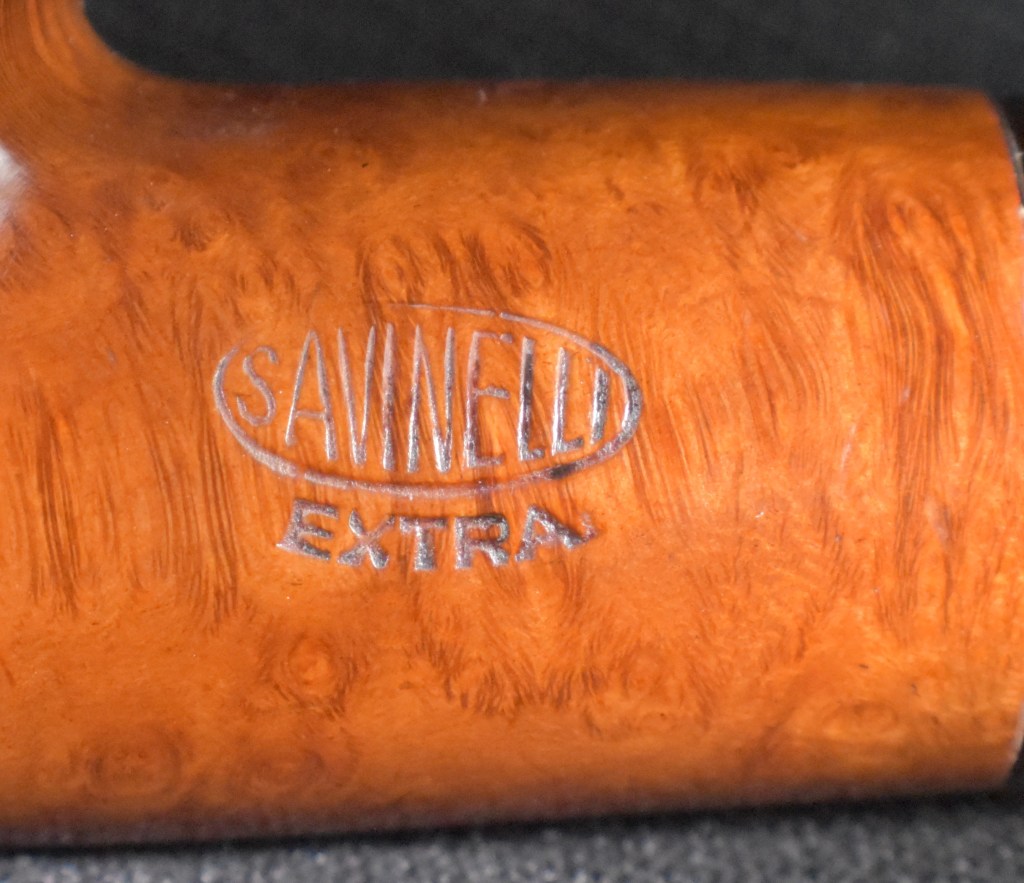
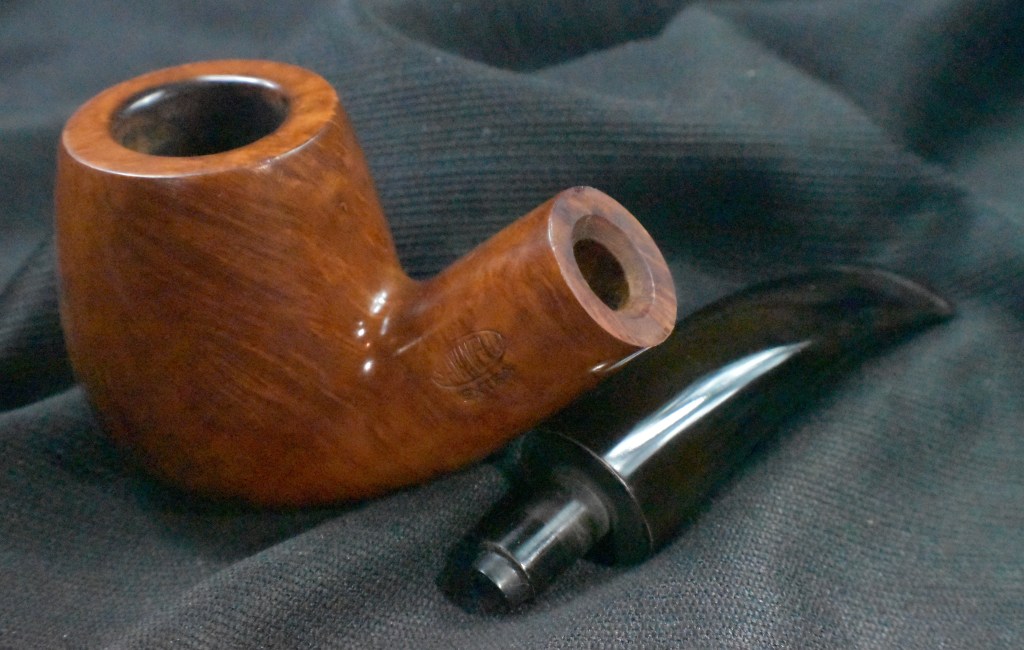
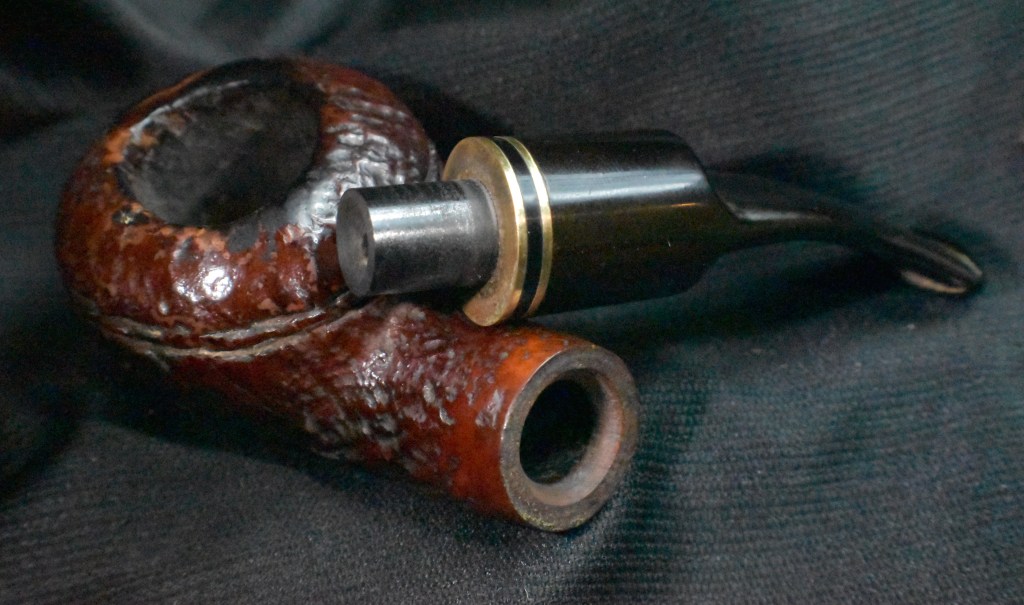
The band seemed too loose to be of any real purpose. The finish was worn away from the band sliding up and down the shank. It was while inspecting the stampings under the band that I discovered this pipe was actually a Brebbia. I thought, “Cool, I’ve never worked on a Brebbia before” and “Sweet, I didn’t pay what Brebbias normally cost.” The stampings read, BREBBIA over ITALY offset was the Alpina in a scrolling cursive with the tail of the final “a”sweeping below forming an underline. Anyway, here are a few photos of the pipe prior to working on it.
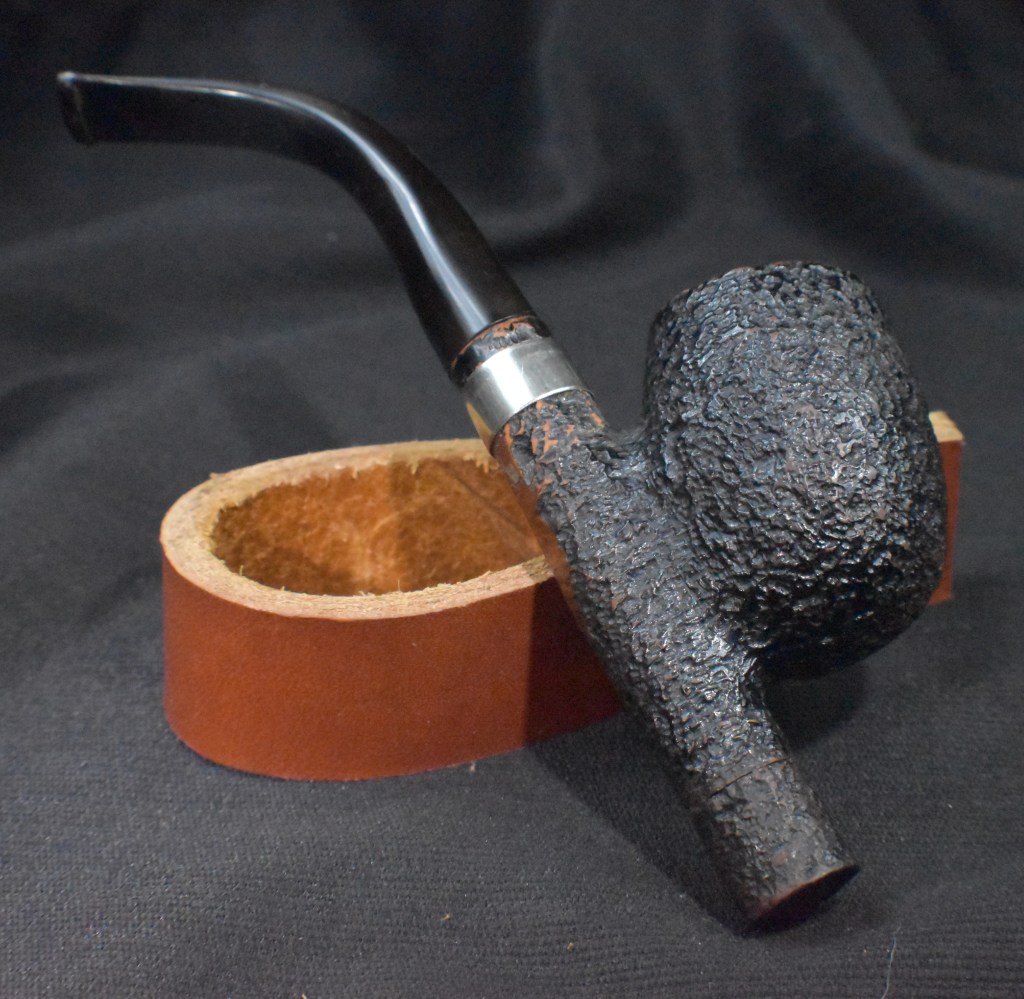
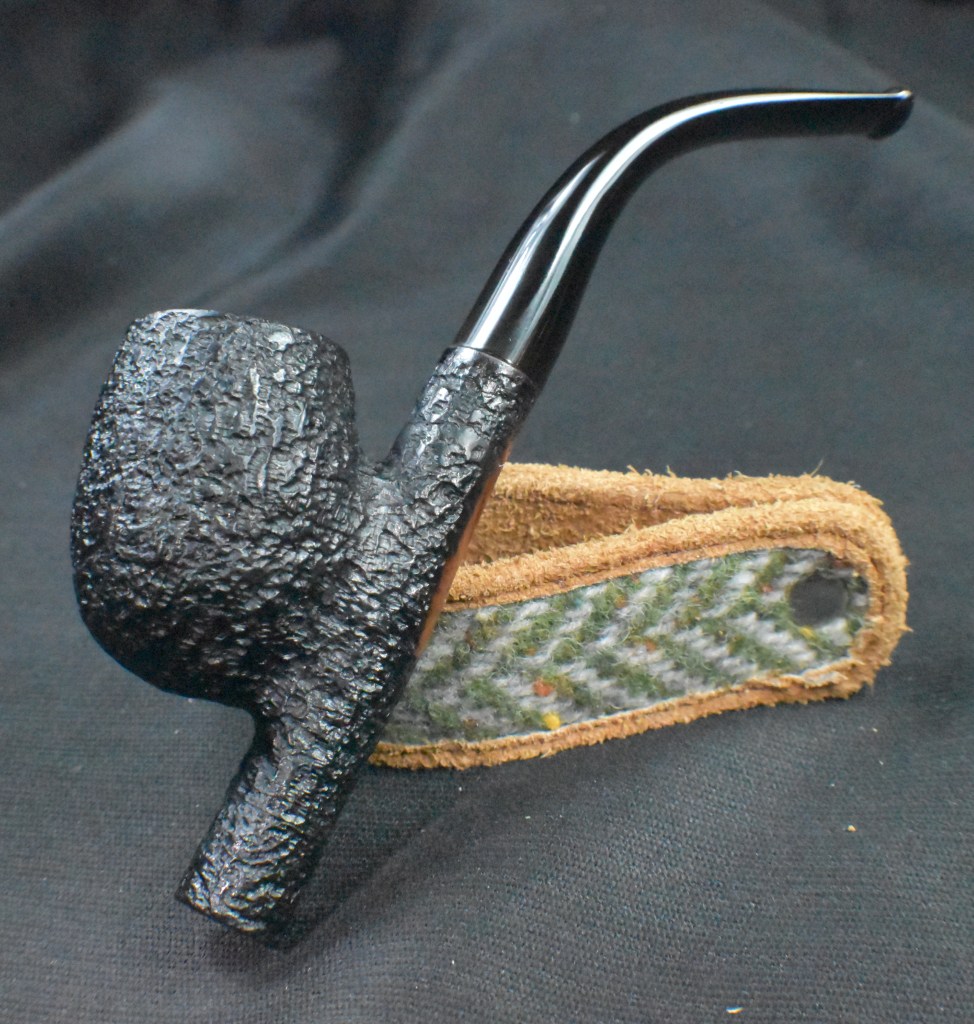
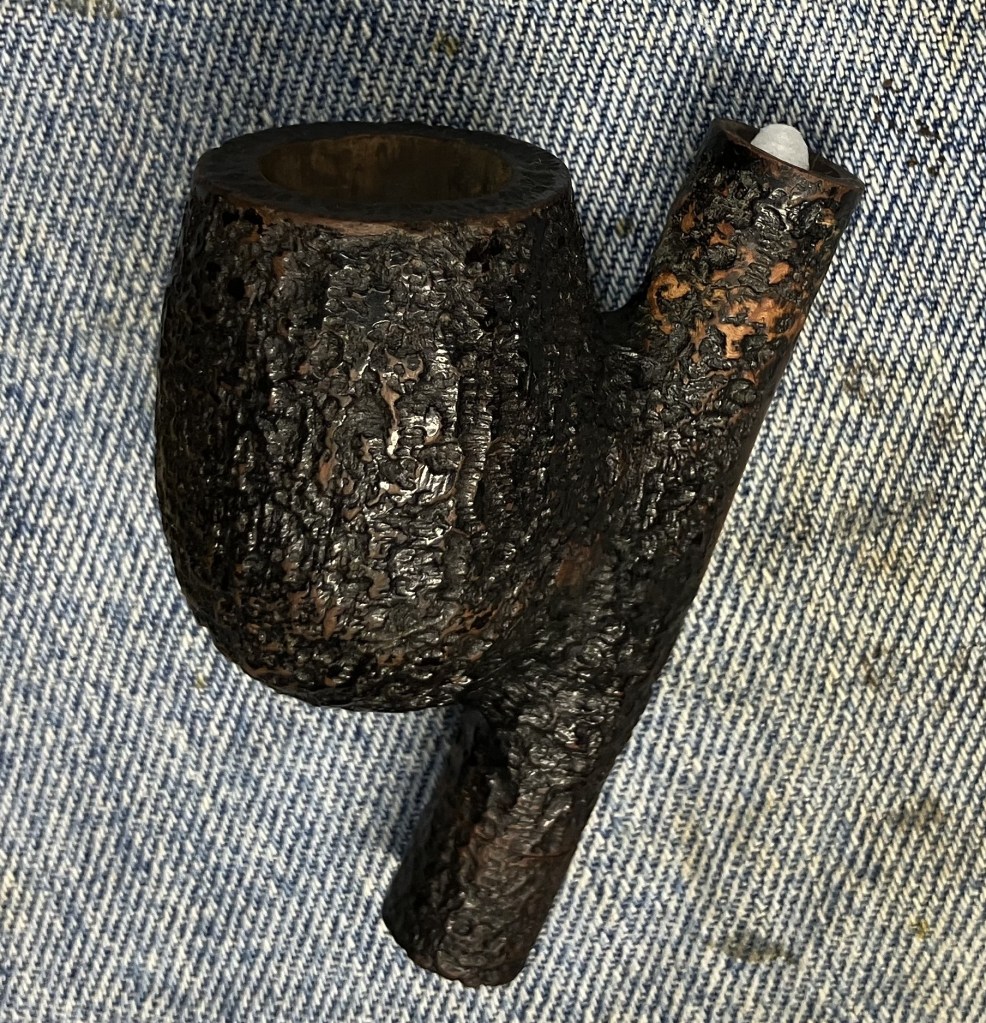
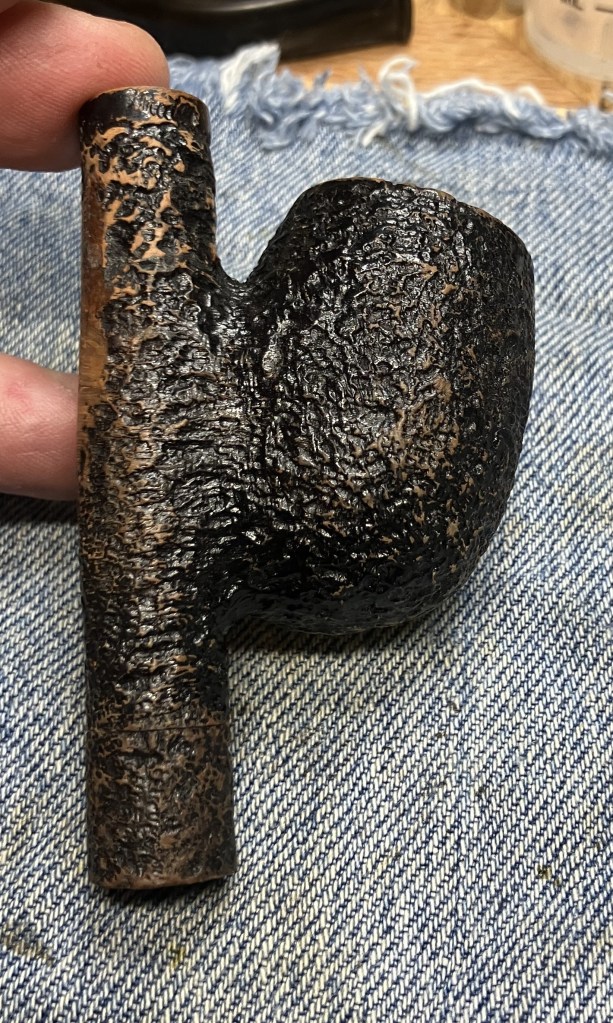
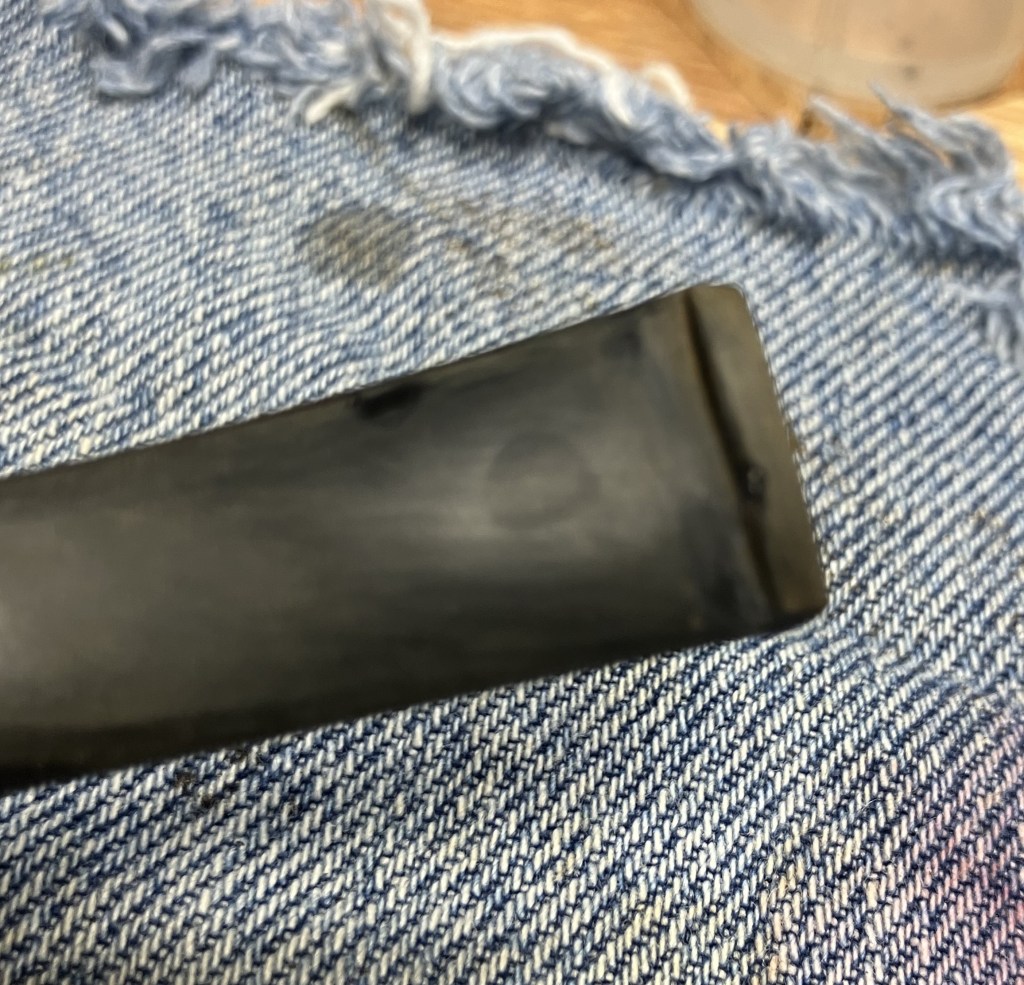
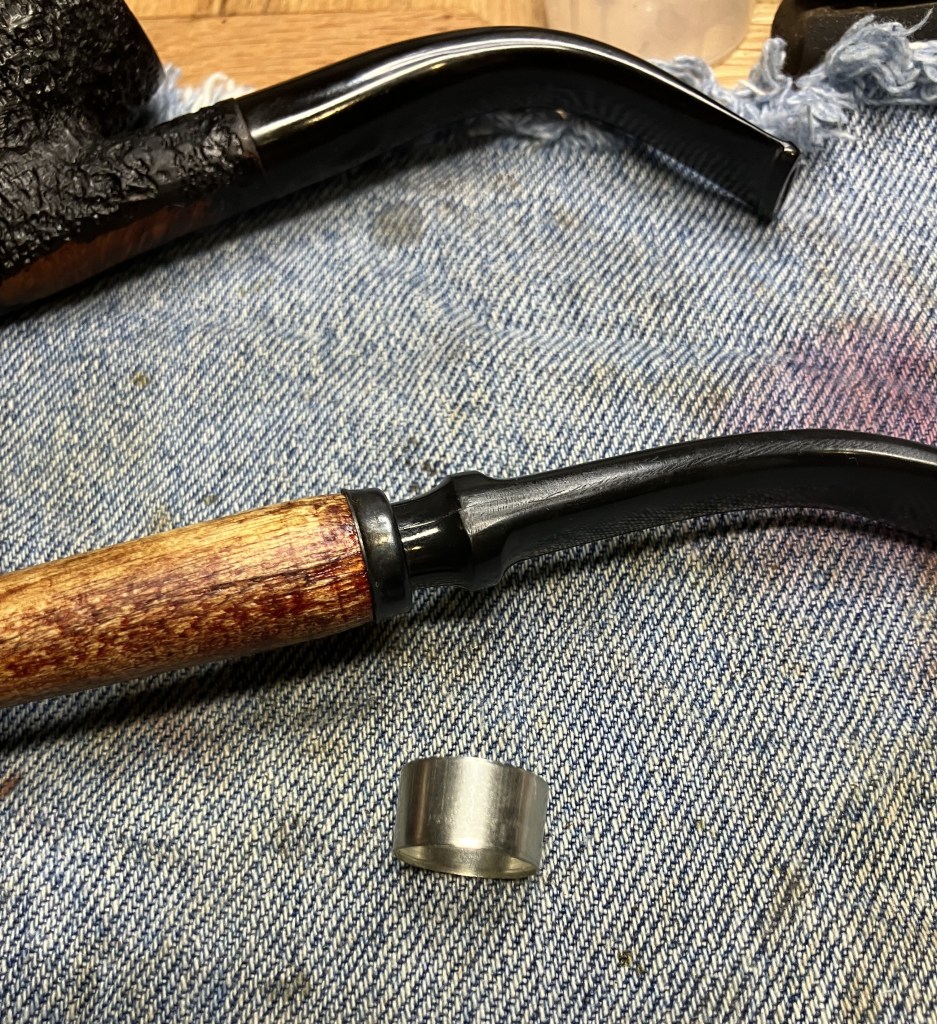
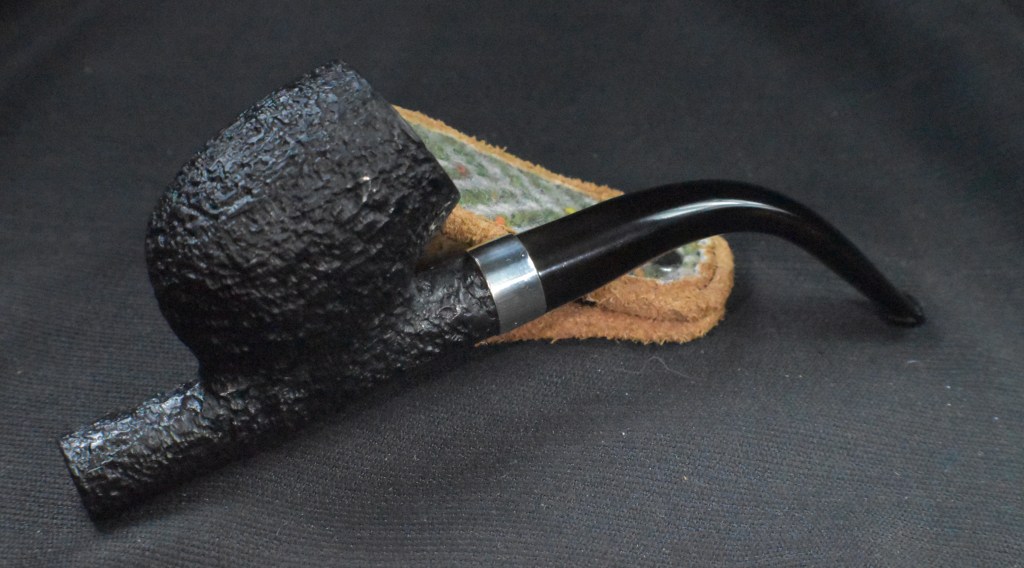
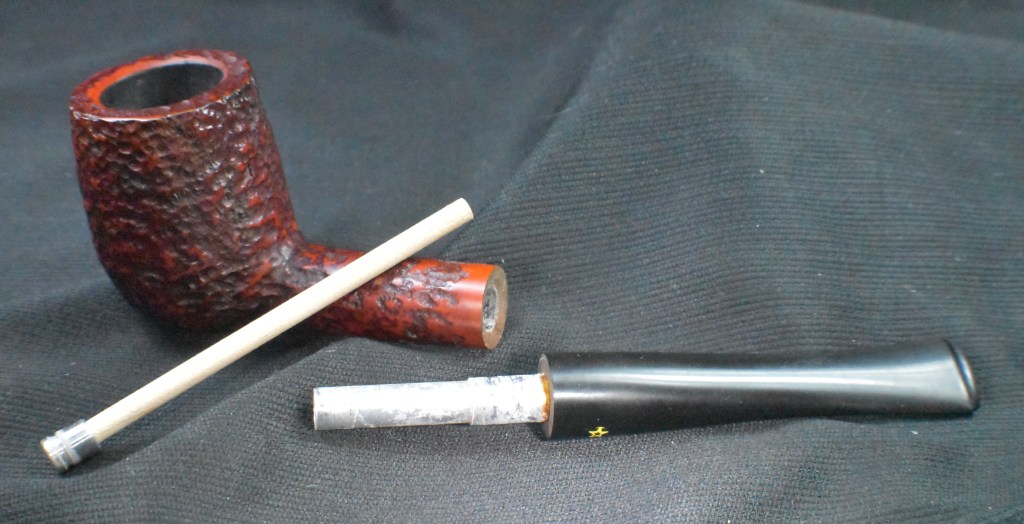
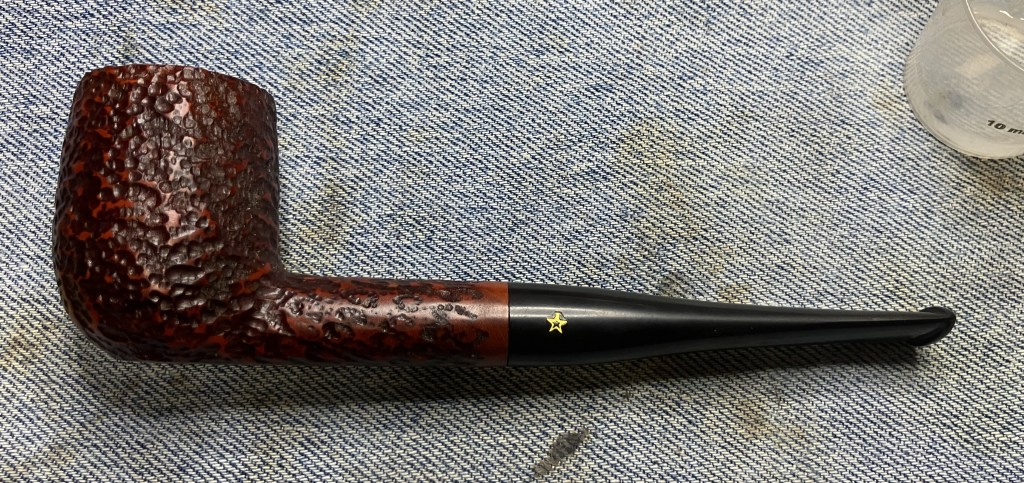
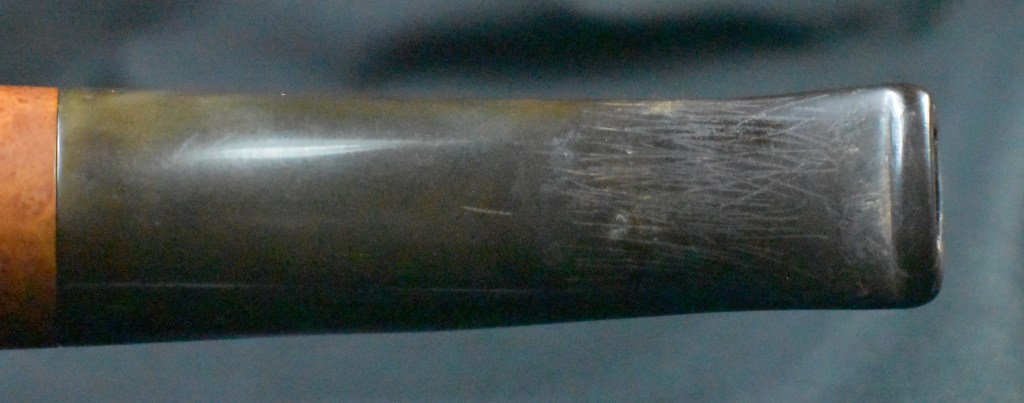
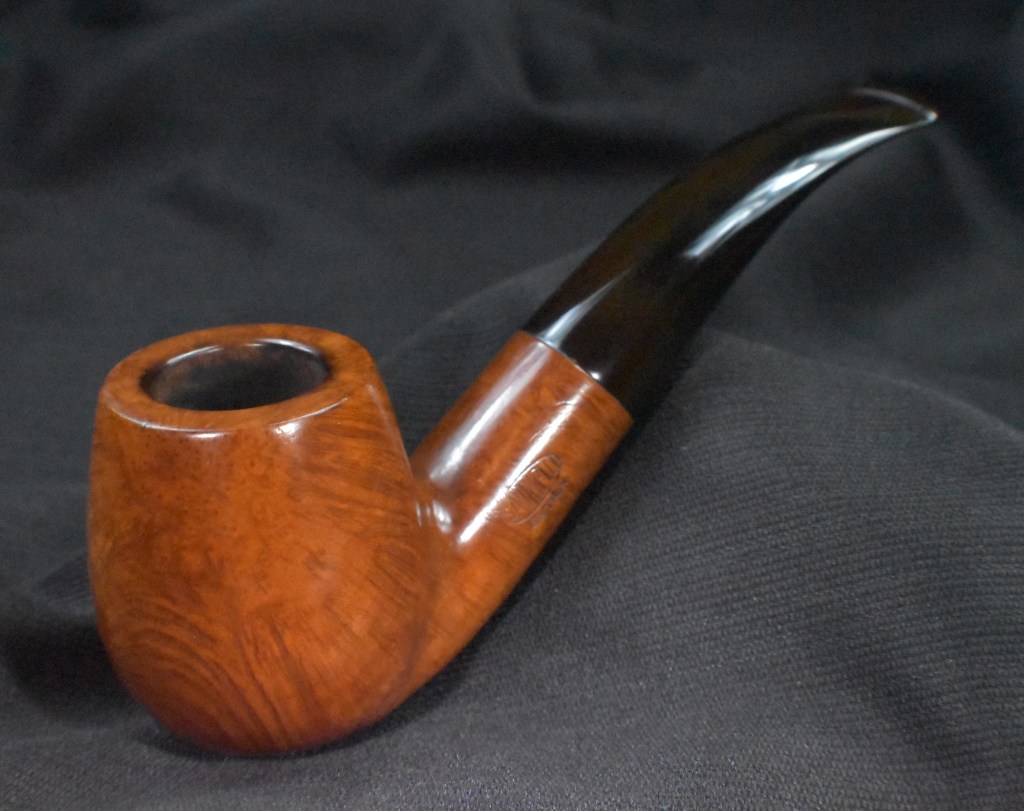
A shot of what I first saw.
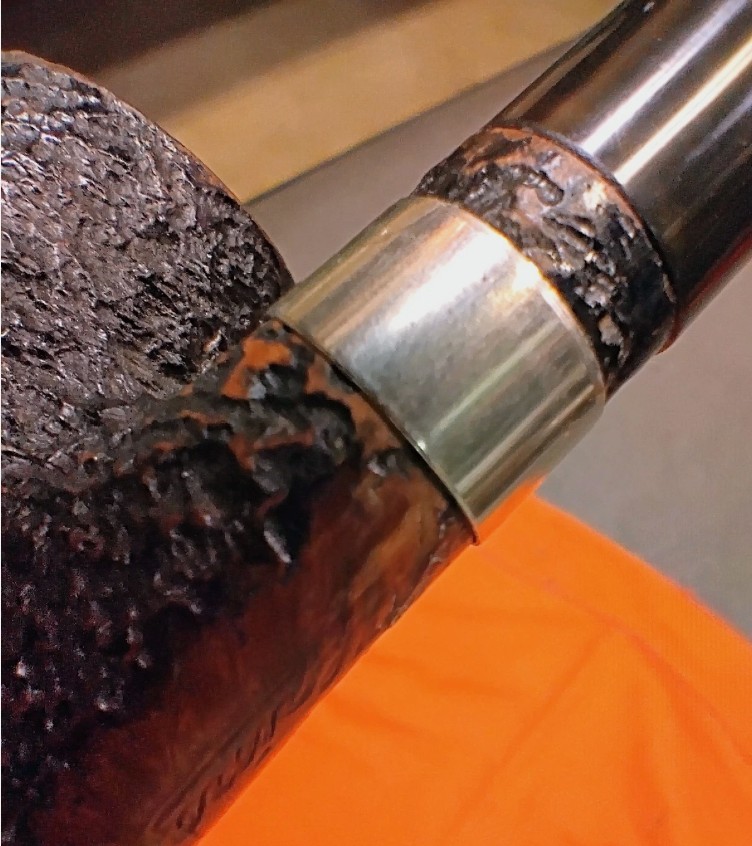
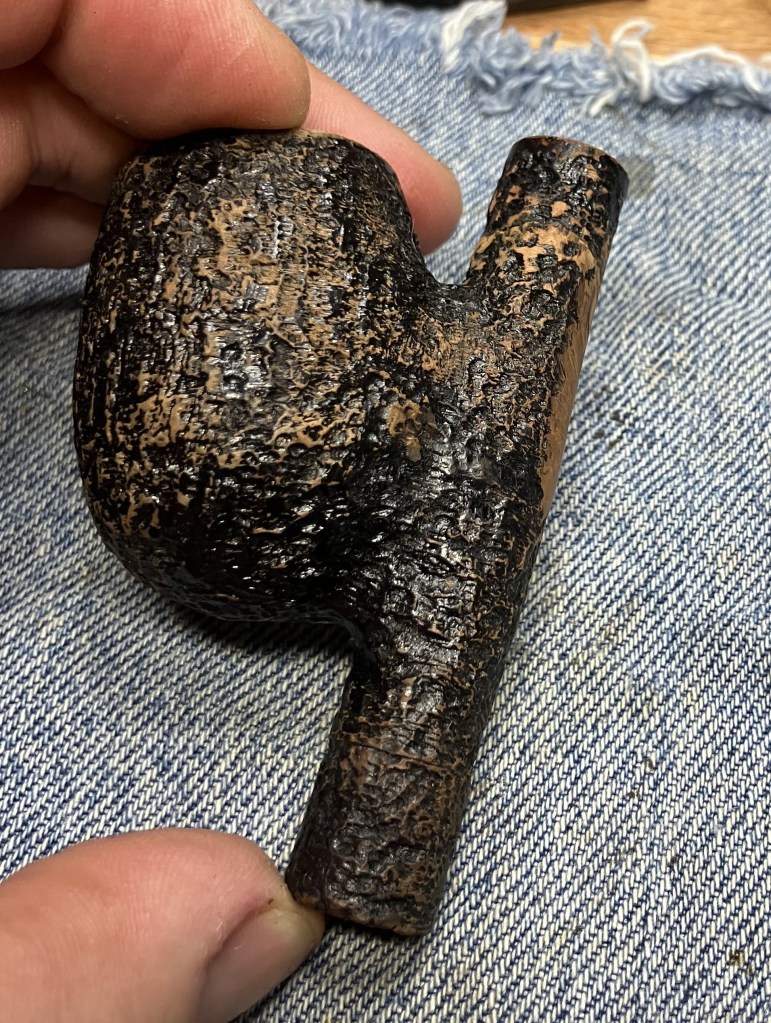
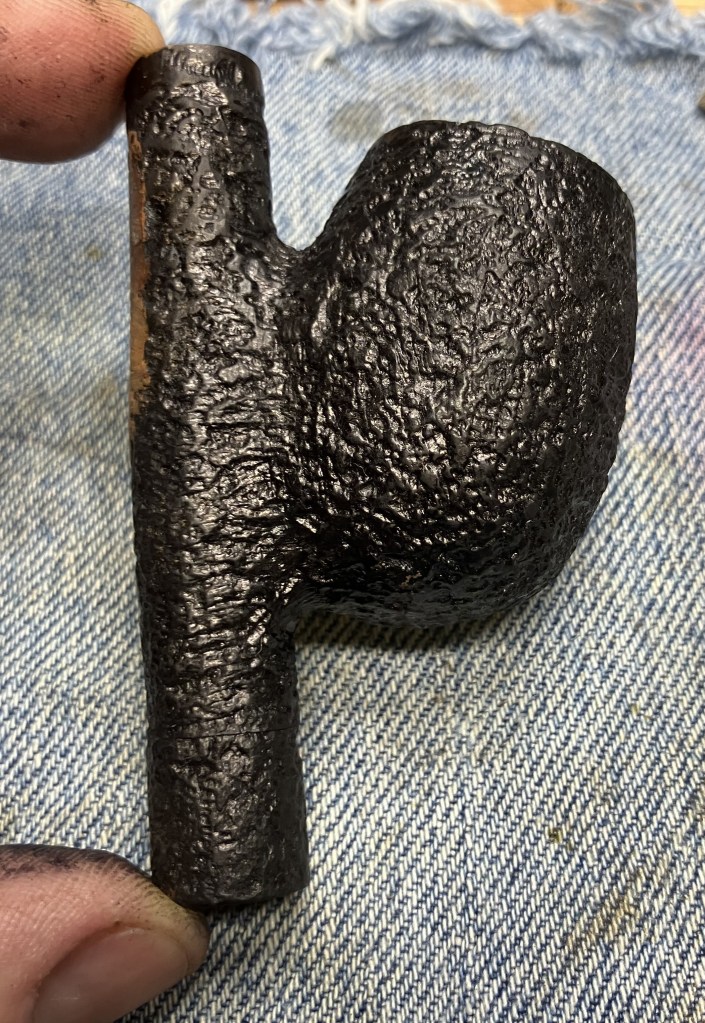
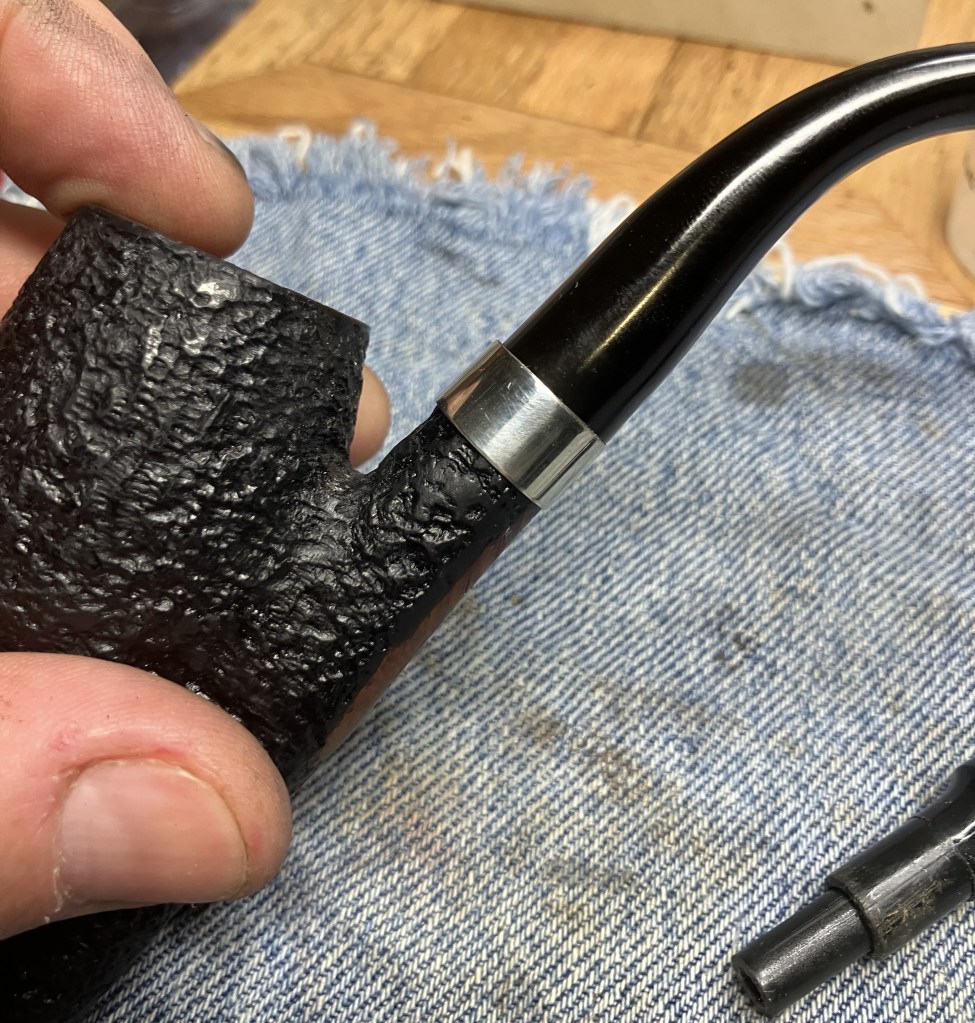
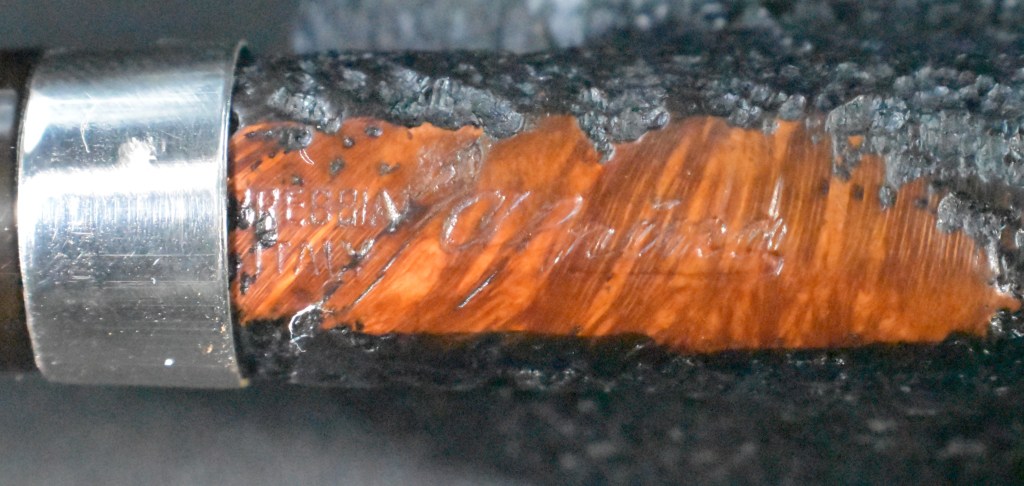
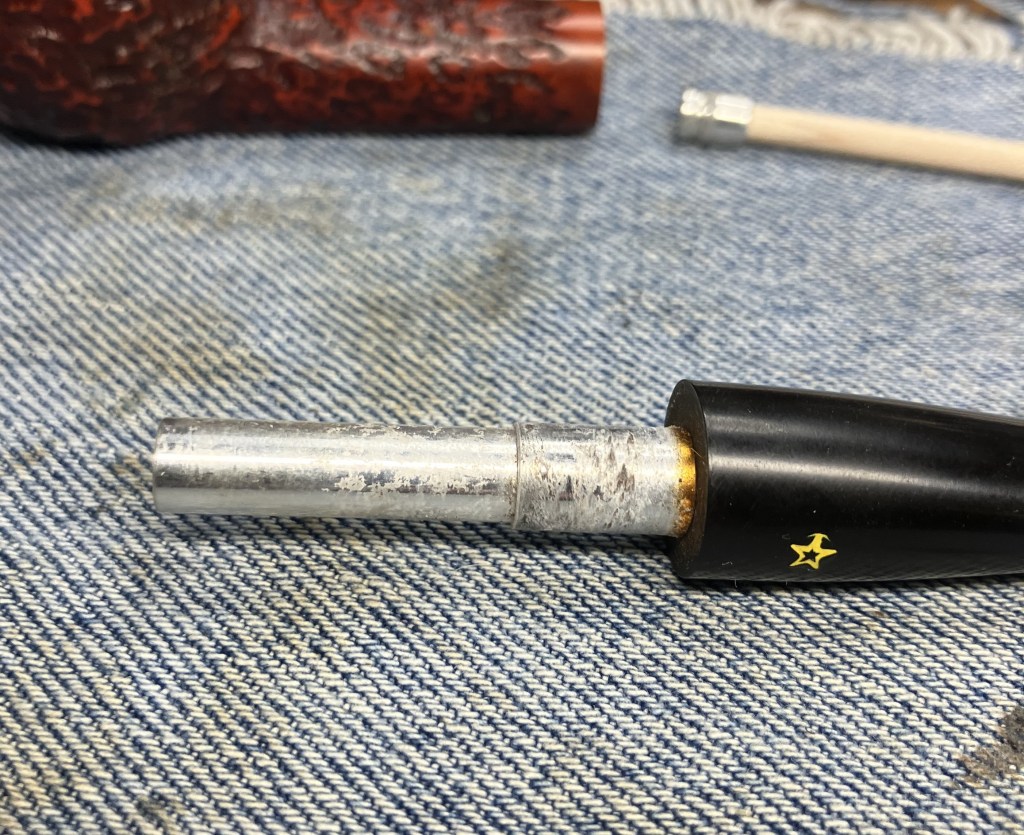
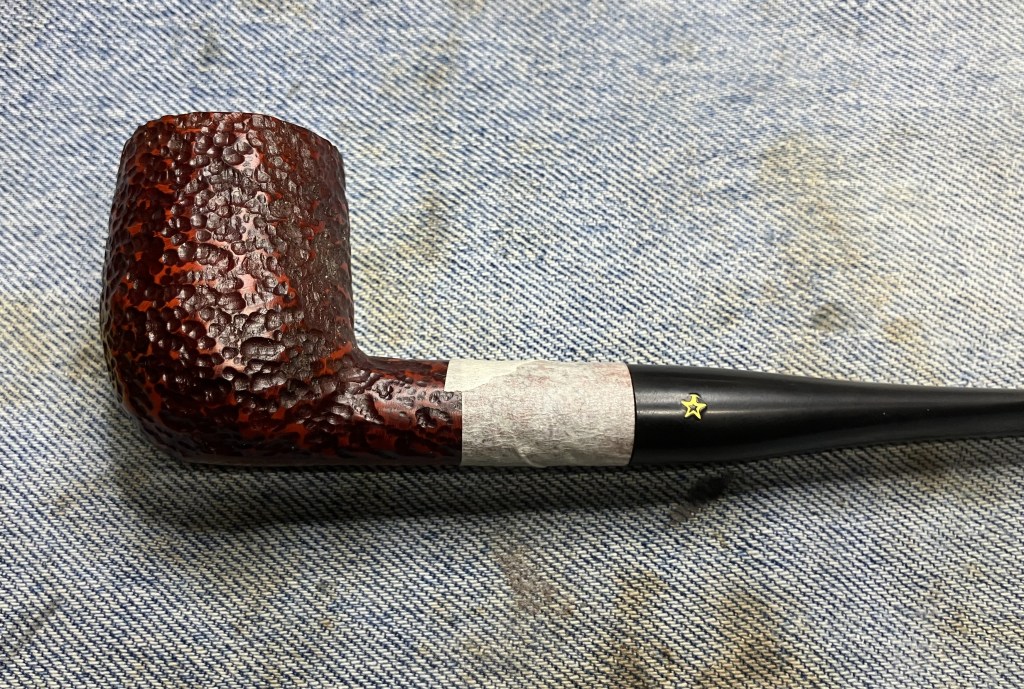
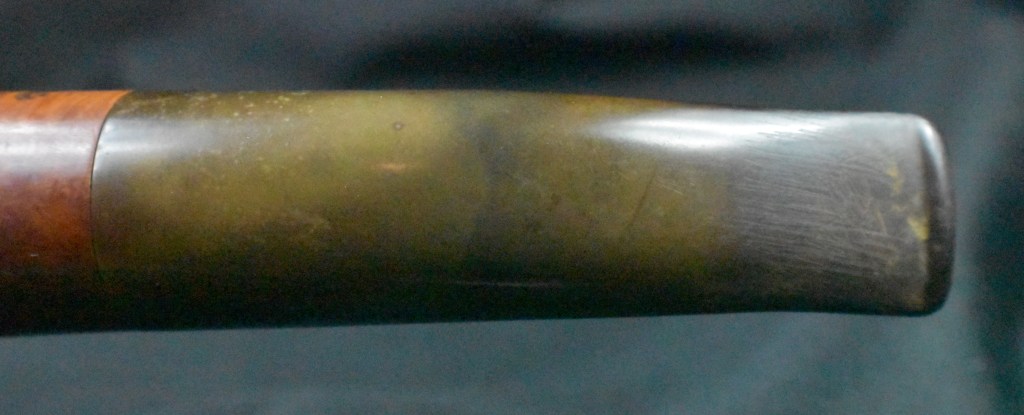
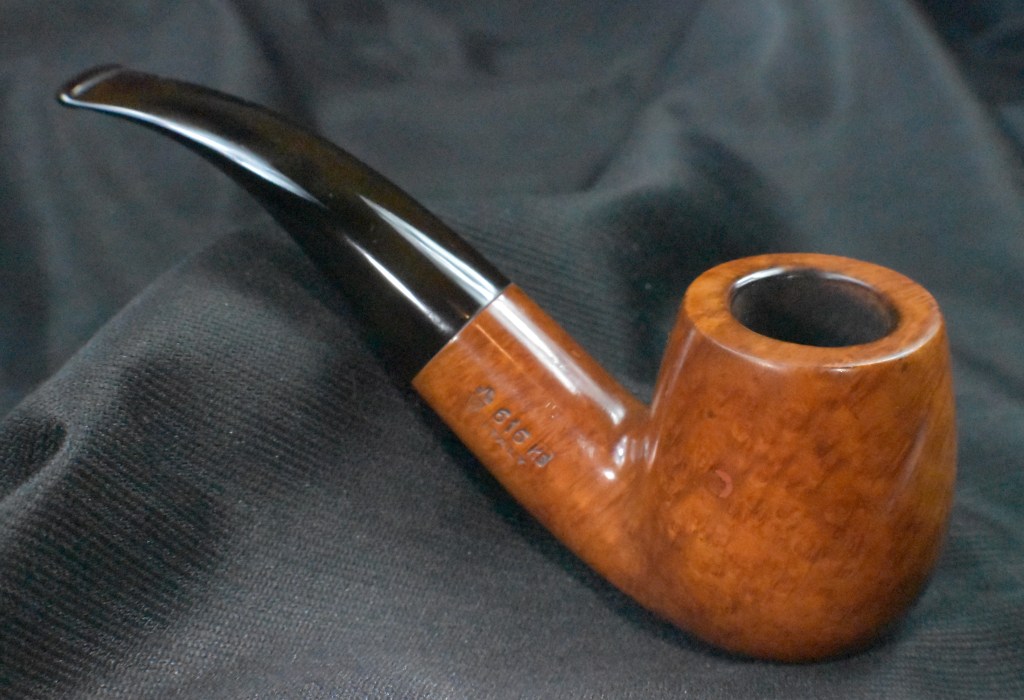
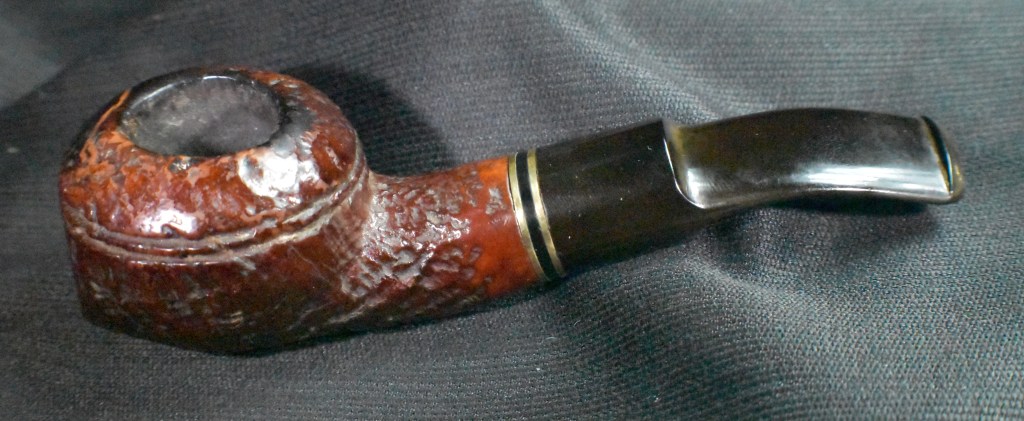
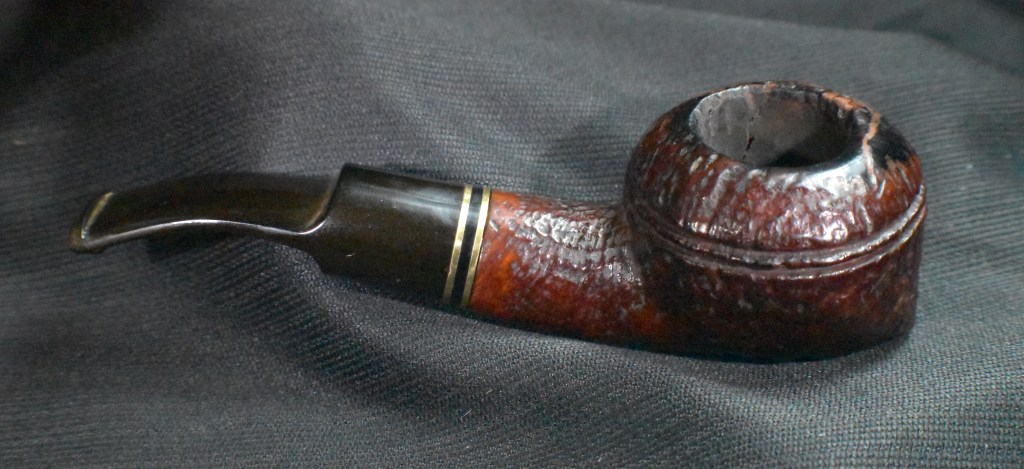
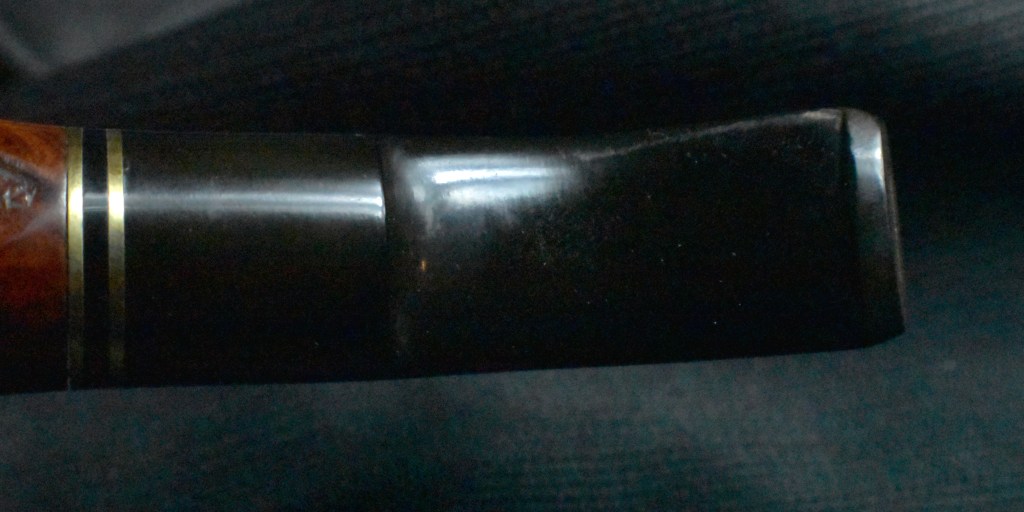
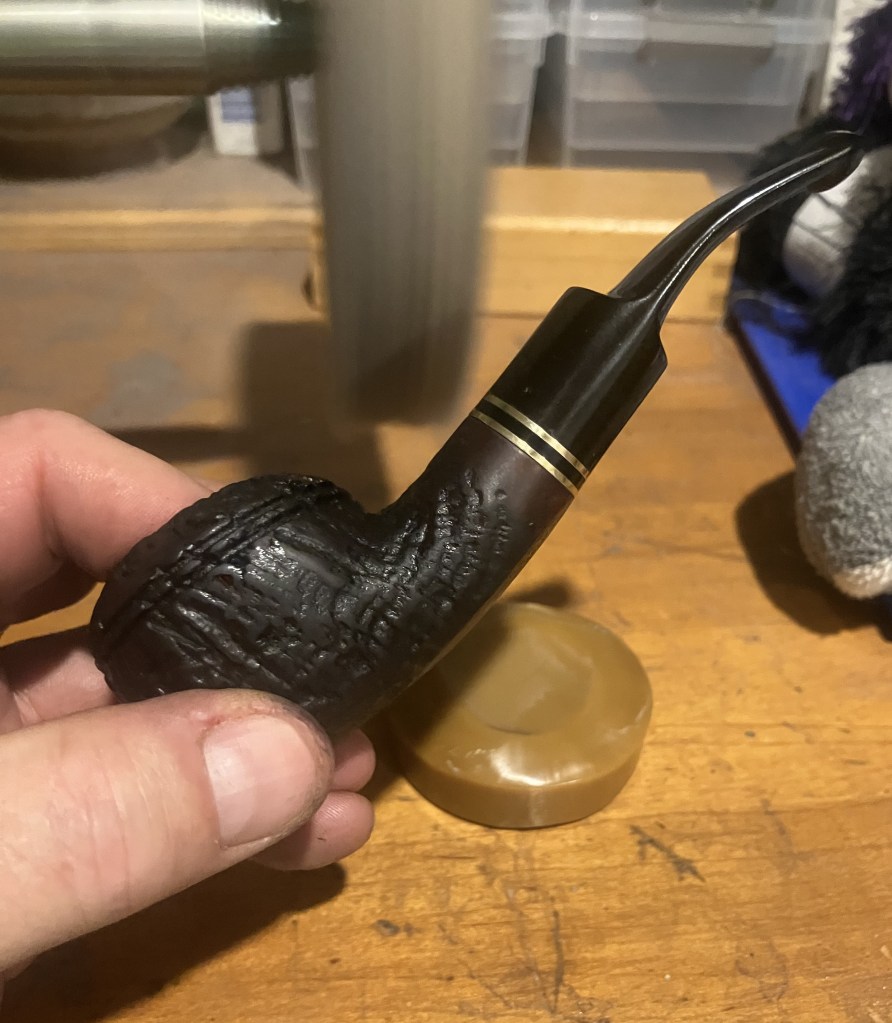
Here is a shot with the band in its “proper” place.
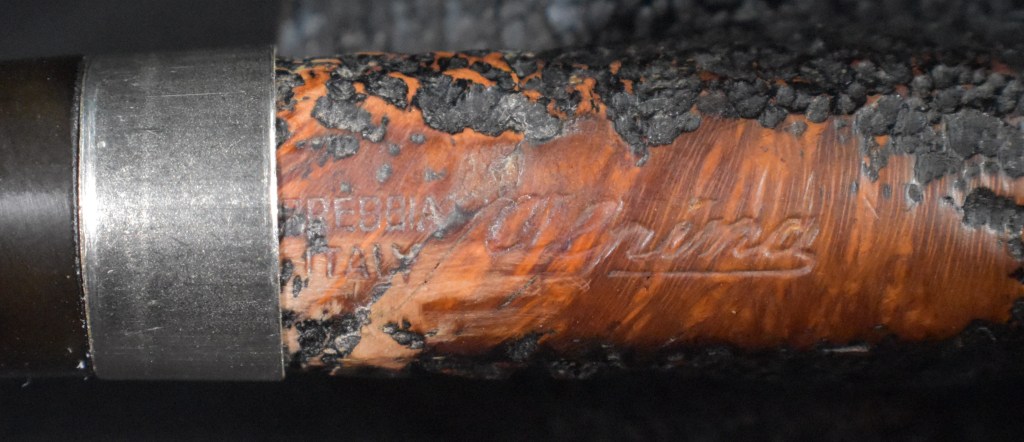
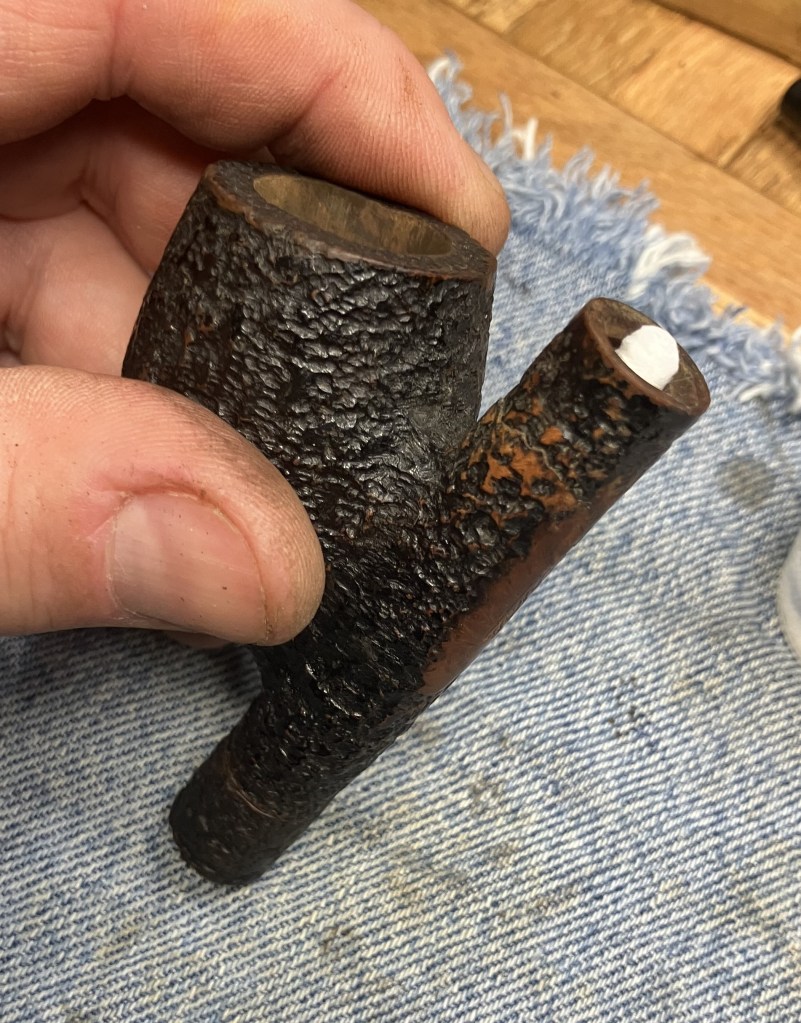
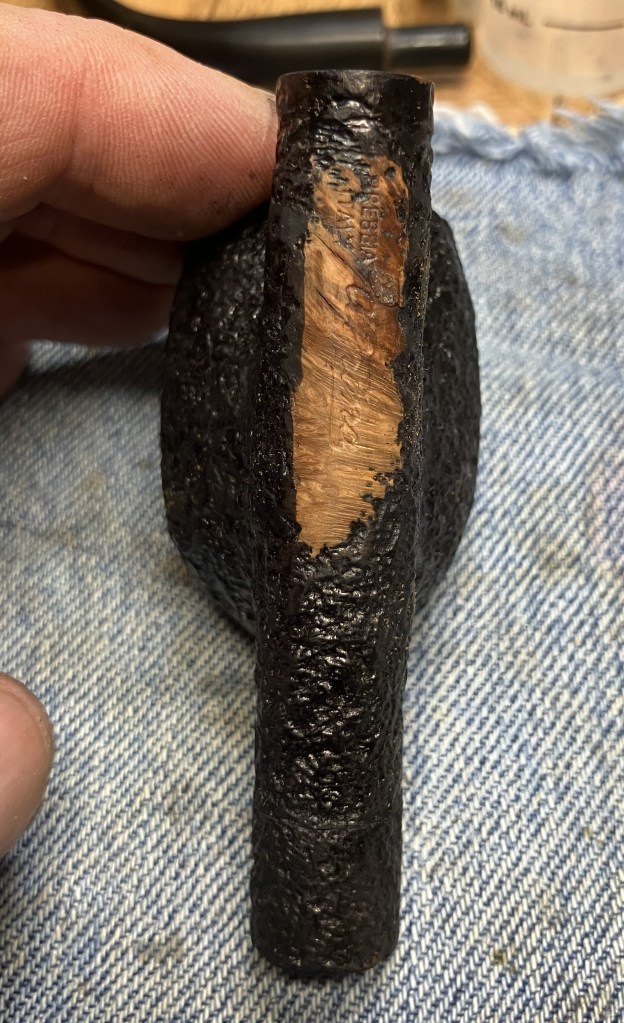
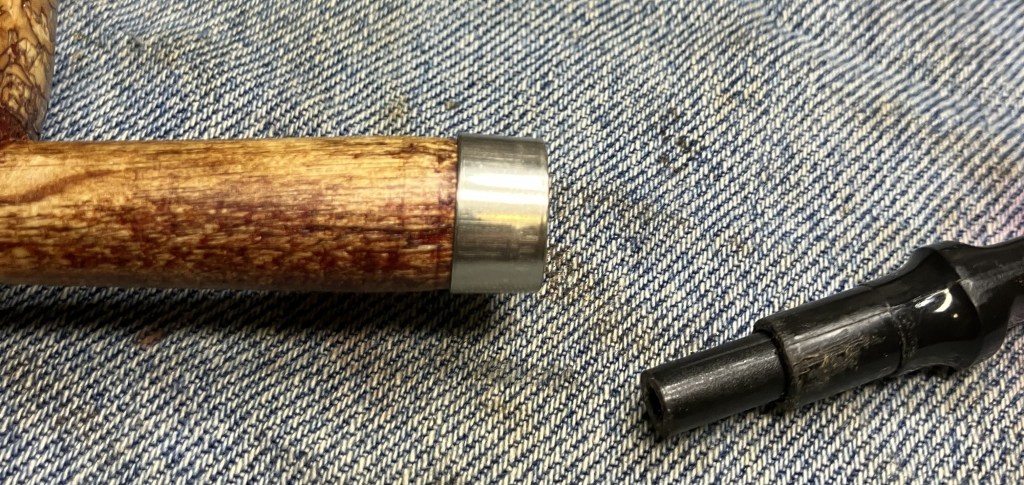
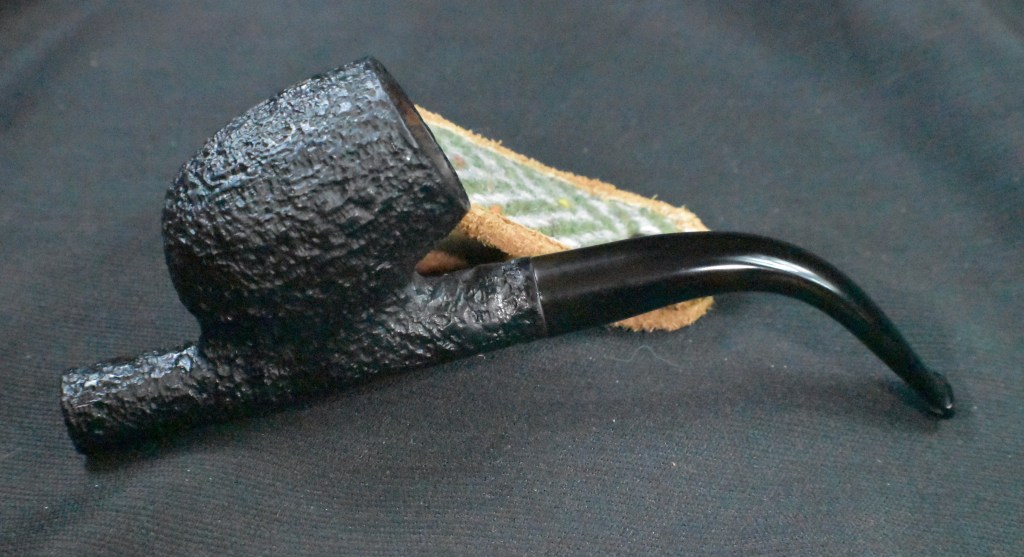
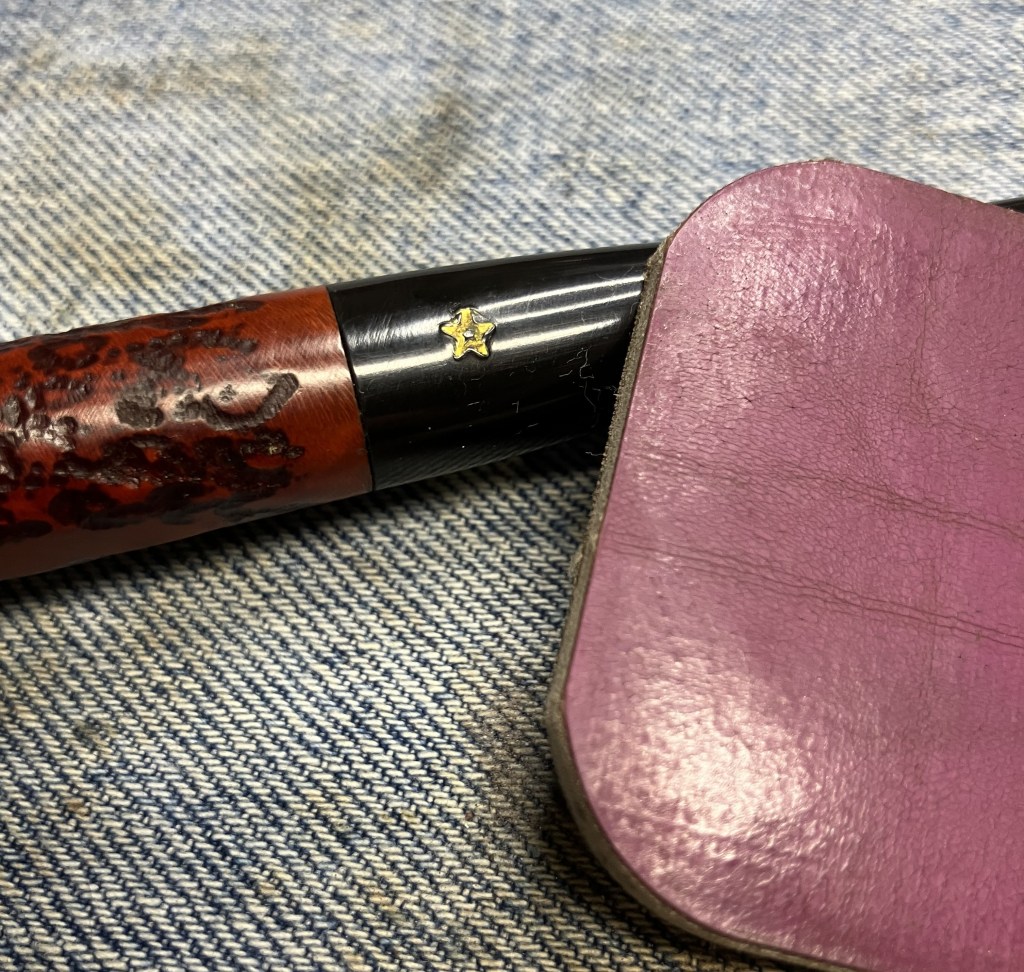
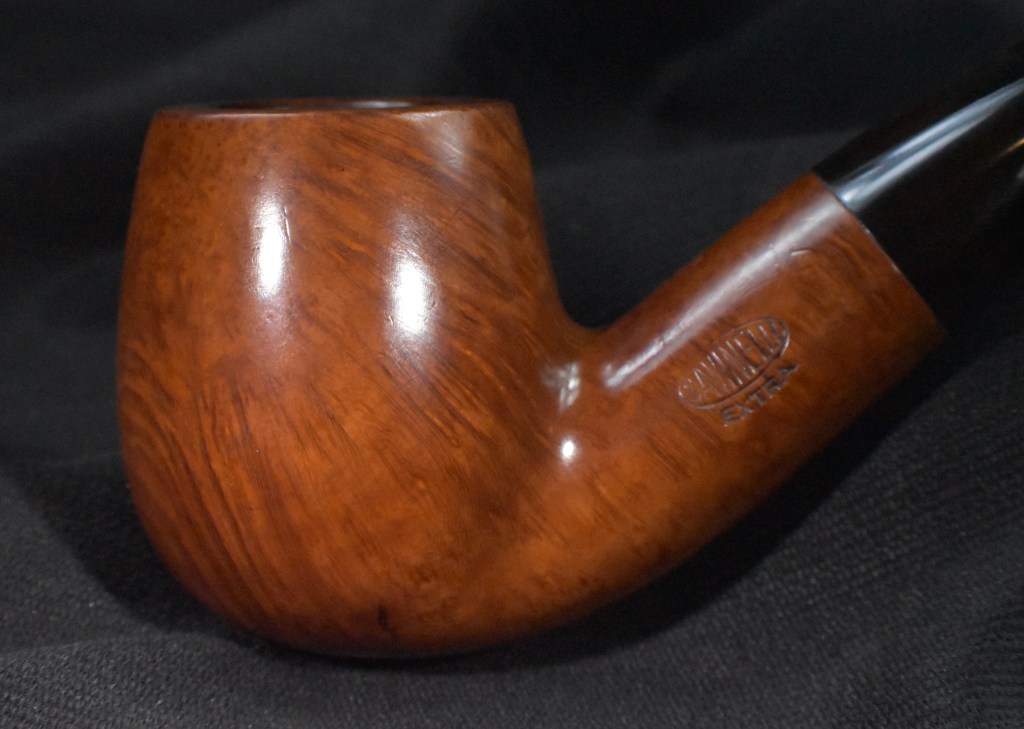
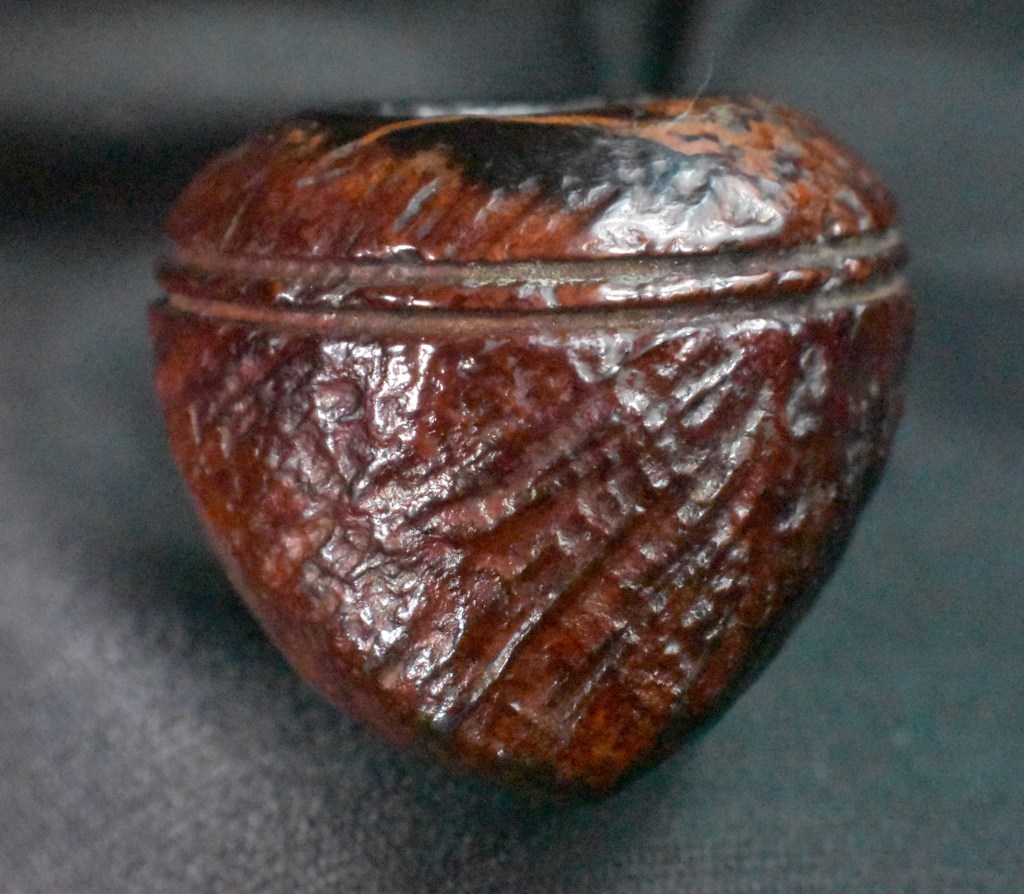
Finally a photo of the stampings without the band.
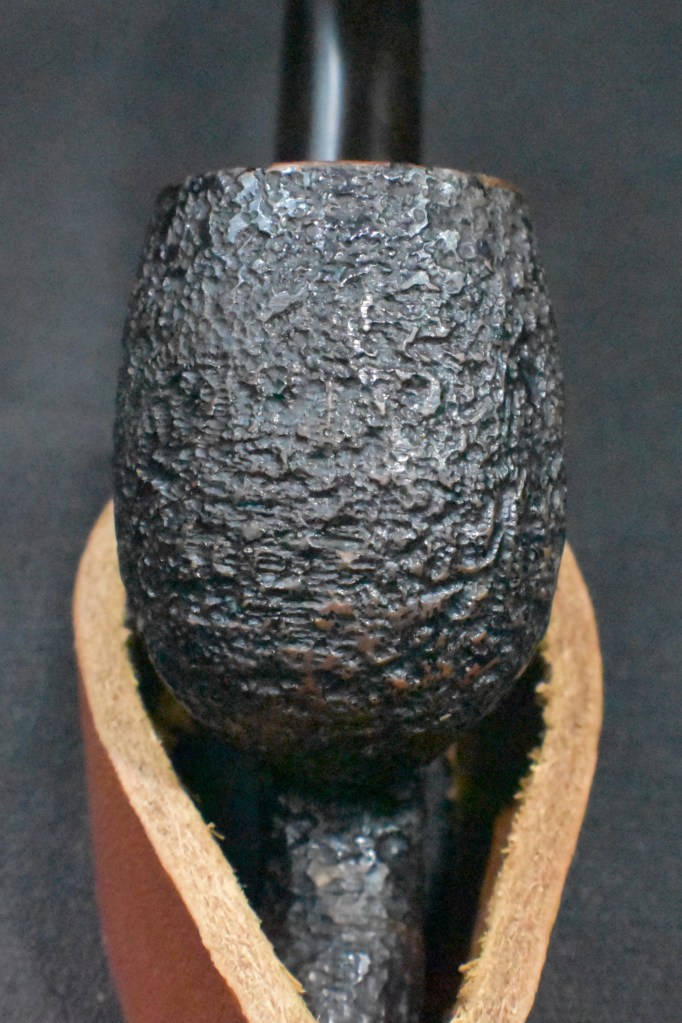

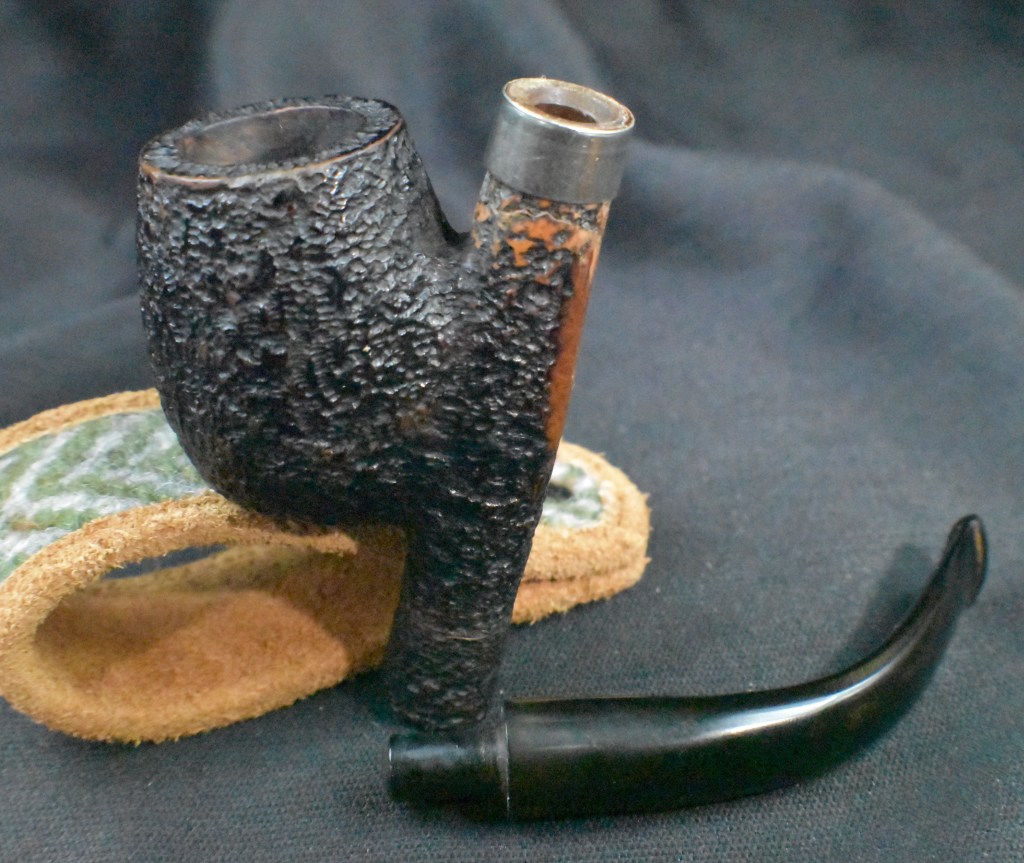
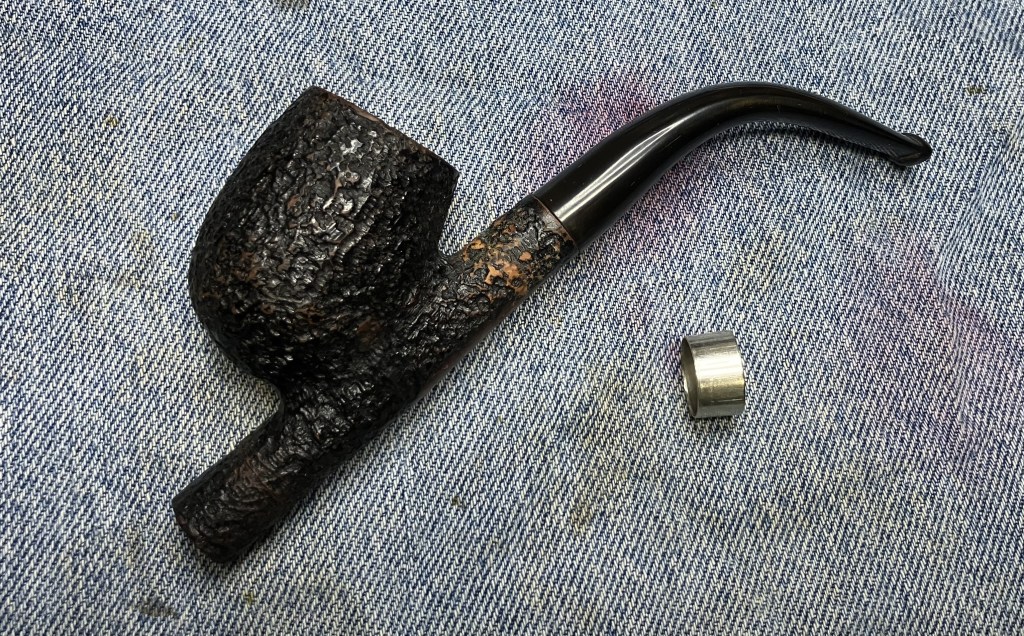
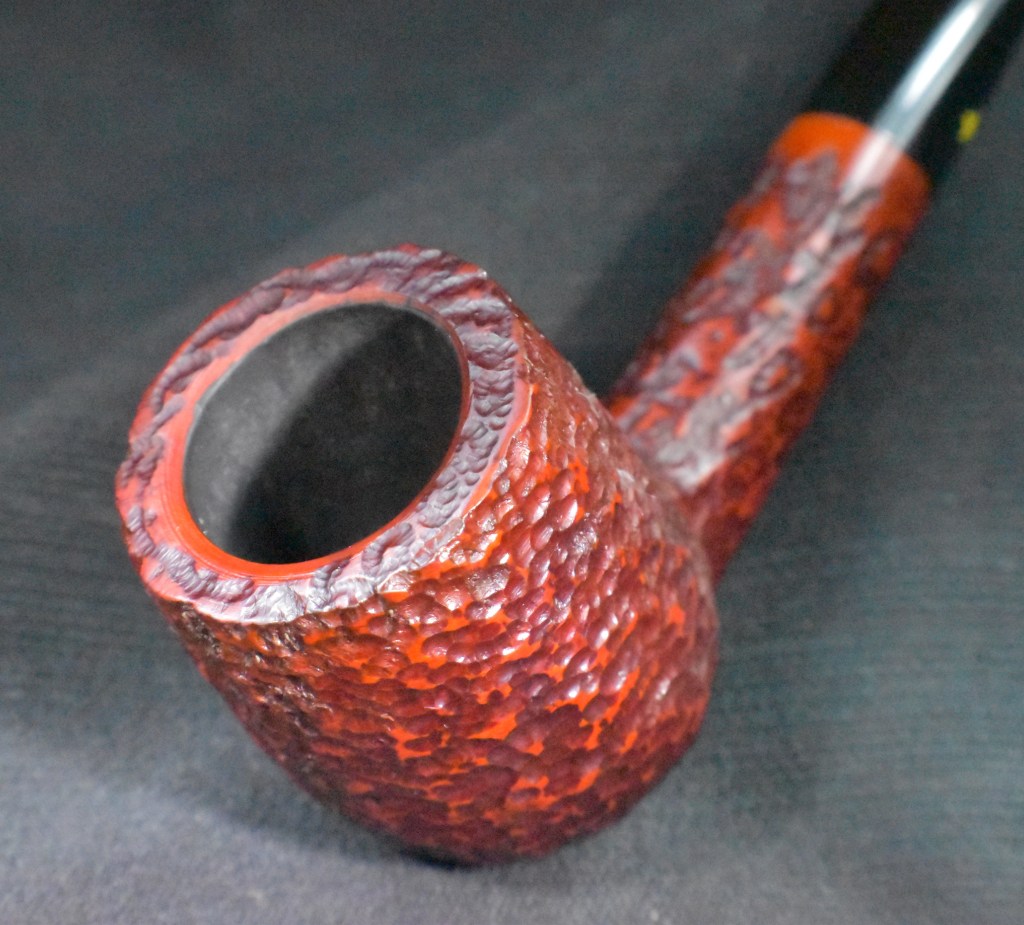
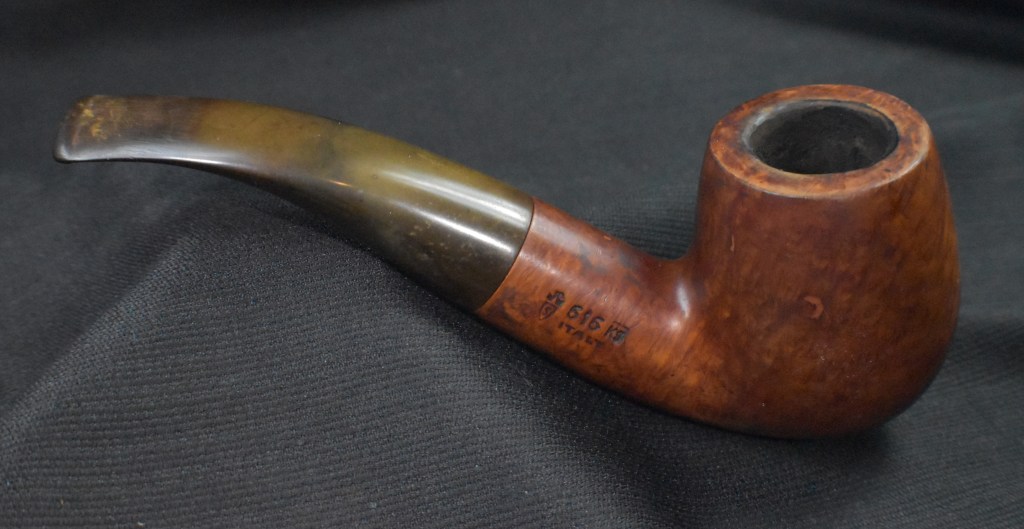
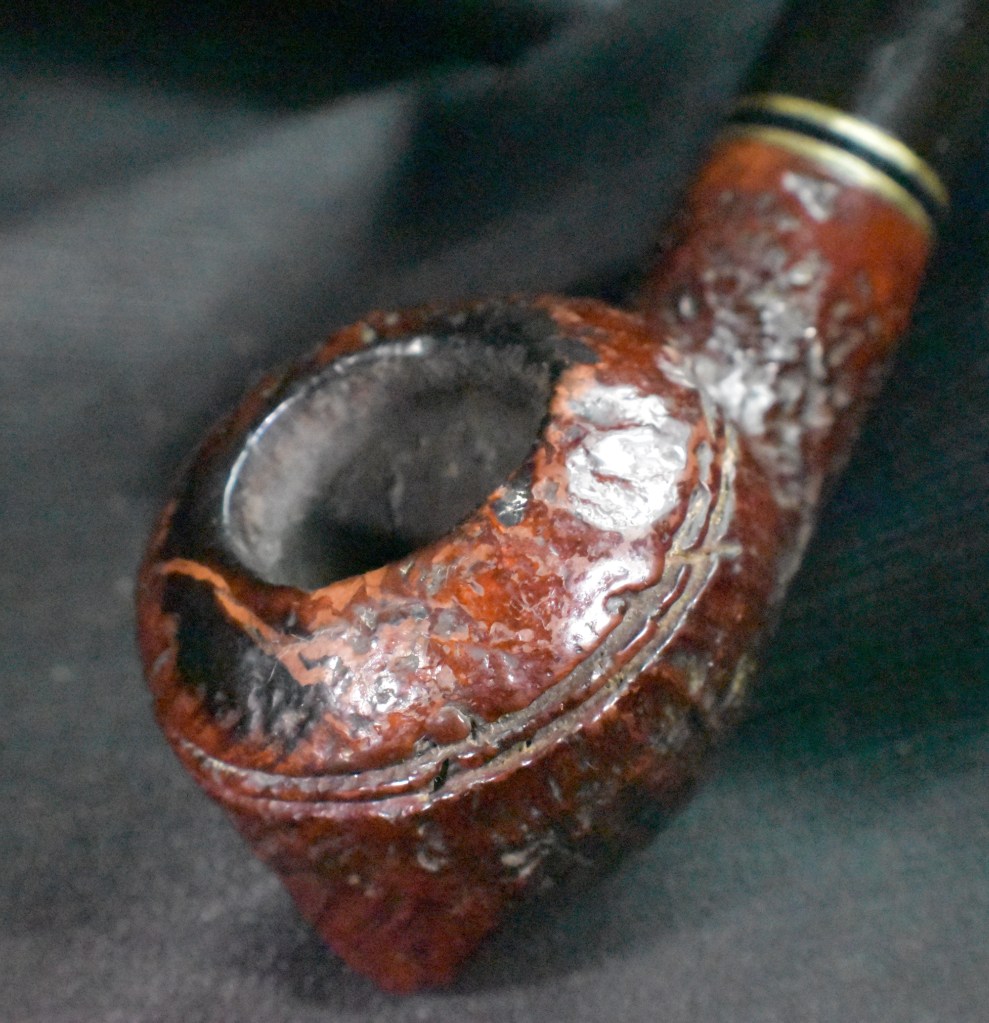
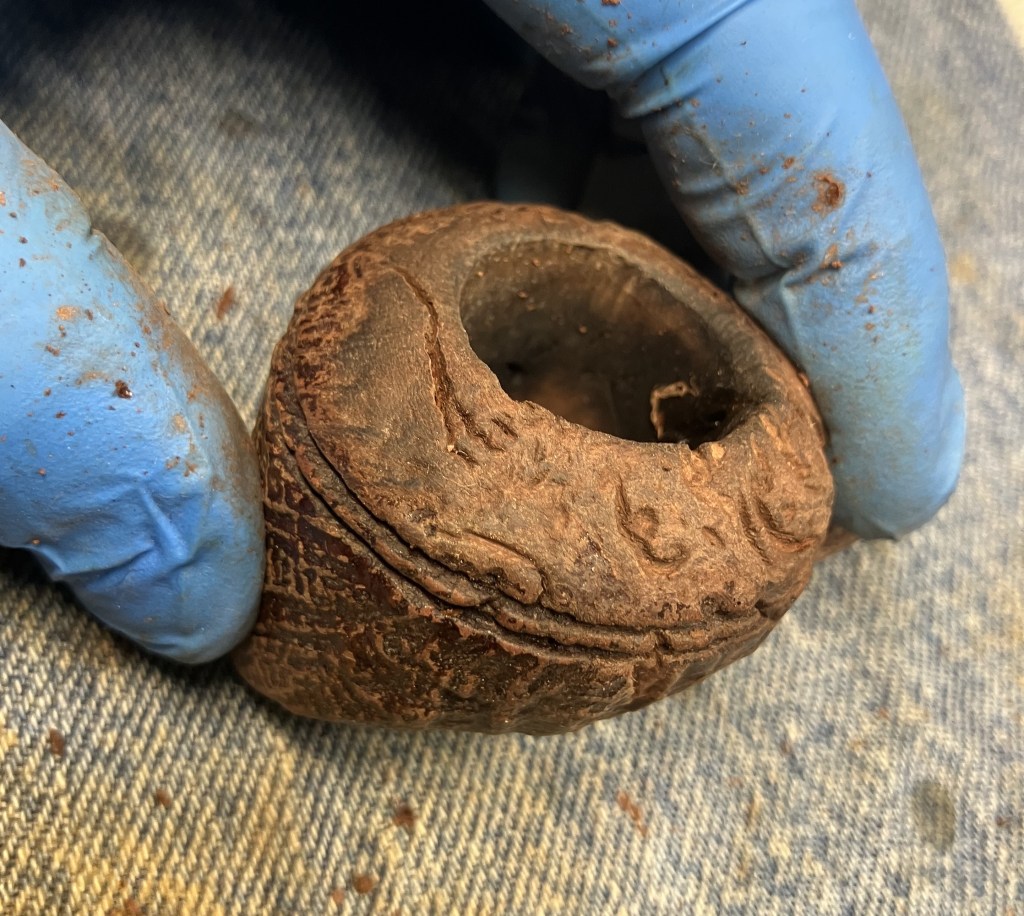
Bah, cavalier pipes are difficult to photograph. This pipe was in relatively good condition. Yeah, the finish was worn through the factory black dye, especially where the band rubbed through. The tobacco chamber looked either recently reamed or seldom used. The stem has some minimal oxidation and a couple of tooth dents. Overall this looked like a relaxing restoration.
Background
I started researching Brebbia with a look at what pipephil.eu had to say. Brebbia appears to have used a wide array of stamps, lines and logos over the years, here are a few: Brebbia — Pipes : Logos & Markings. Alas, none of the examples were of a Brebbia Alpina.
Next stop on the research express was pipedia.org. This entry was relatively short, so I included it in its entirety, minus the photos:
“Pipe Brebbia Srl, or better the M.P.B. (Manifattura Pipe Brebbia) was born in 1953 from the denouement of the association between Achille Savinelli and Enea Buzzi in 1947, where the first was employed in the marketing and the second in manufacturing of pipes under the name of Savinelli. It was made in exclusive up to 1953 and extended without further rights up to 1956.
The production, which is always careful and perfect, has continued in a traditional way for 60 years, using old lathes for the first steps, but finishing every piece by hand.
The secret of their manufacture, if we may put it this way, is the respect for the traditions with the experience acquired in several years of successful work, which could be summed up in two words: high quality.
The factory is currently managed by Enea’s son, Luciano.
For the last few decades, many of Brebbia’s pipes have been made by a number of small, otherwise independent pipe manufacturers, being marketed under the trade name Brebbia. For the northern European market, 9mm filter pipes are being produced, some of which employ VAUEN‘s Konex system (which ensures a good seat of the filter).” (Brebbia – Pipedia)
I was unable to find any information about the Alpina line. A quick Google search of “Brebbia Alpina tobacco pipe” did turn up this:
(Brebbia Estate Pipe Alpina Functional Cavalier UNSMOKED! – SmokersHaven.com). Notice the pipe does not have a band. This further confused me as to why the example in hand was sporting a band. I also found the official Brebbia site, Pipe Brebbia | Official Website and Online Shop. Here there was a very nice history of the company section, History. This is recommended reading for those more interested in the brand and history. Nothing was found about the Alpina line or the dates of production.
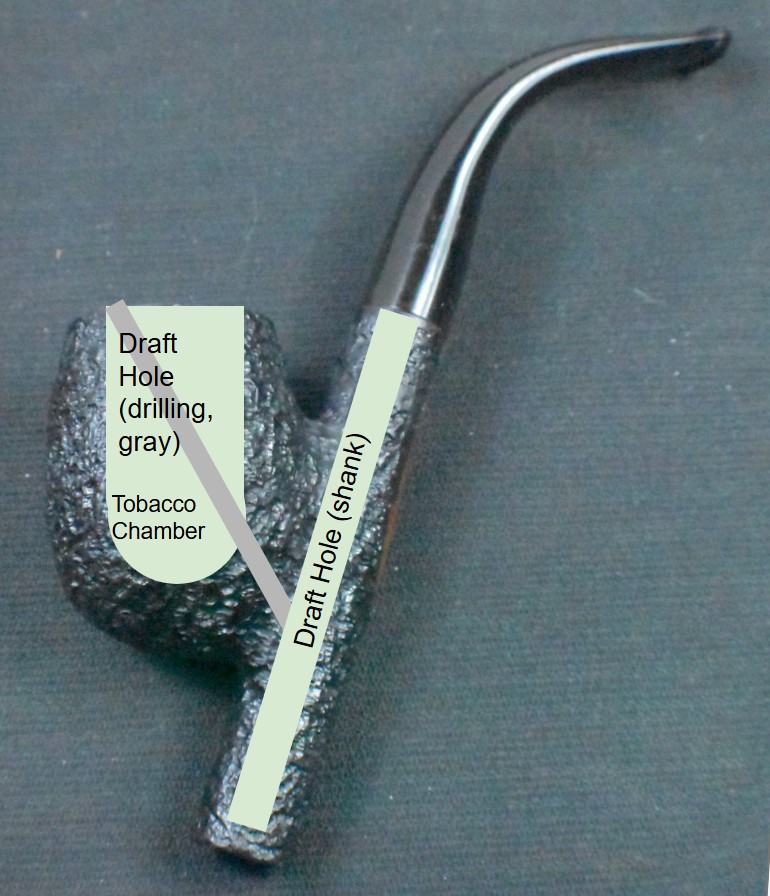
Before I begin the next section, I think a quick diagram of the drillings of this pipe might be helpful. Below, I took a photo of this pipe and overlaid the drillings (not perfectly to scale). The tobacco chamber and the draft through the shank are in a light green. The drilling of the draft hole from the tobacco chamber to the shank is done in a light gray. If you want a pipe that you can run a pipe cleaner through the stem and exit via the tobacco chamber, this pipe is not for you.
The Restoration
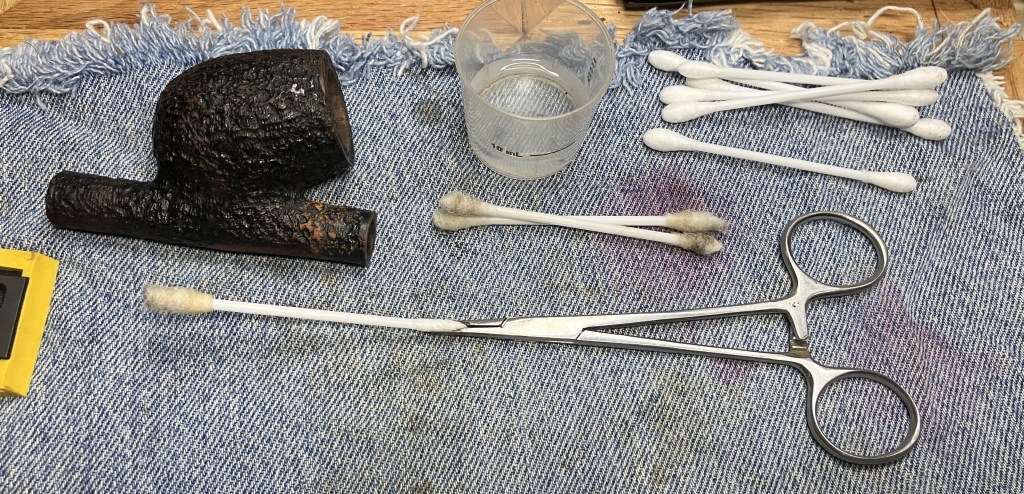
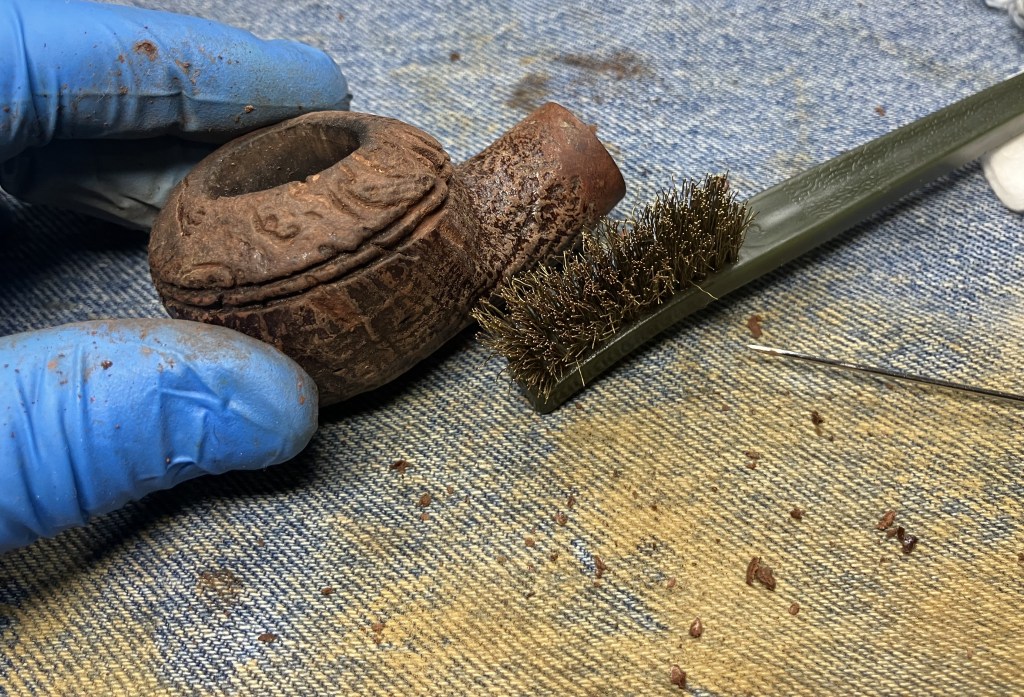
The pipe made its way to the workbench and a cleanish piece of denim. The confusing band was removed.
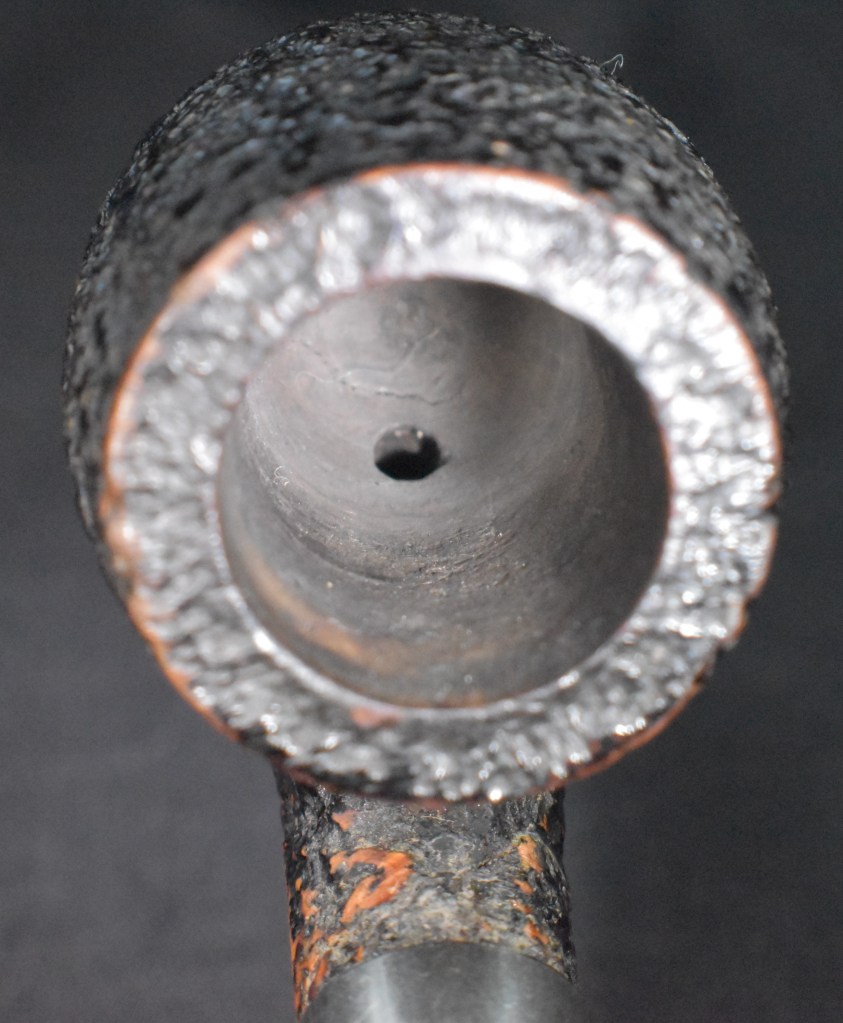
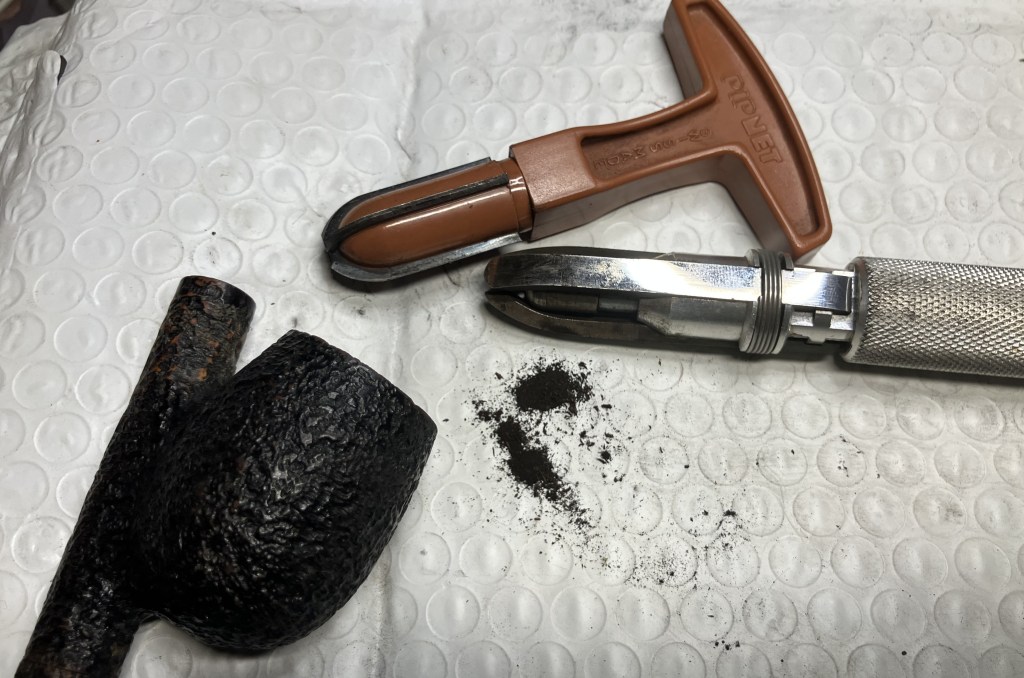
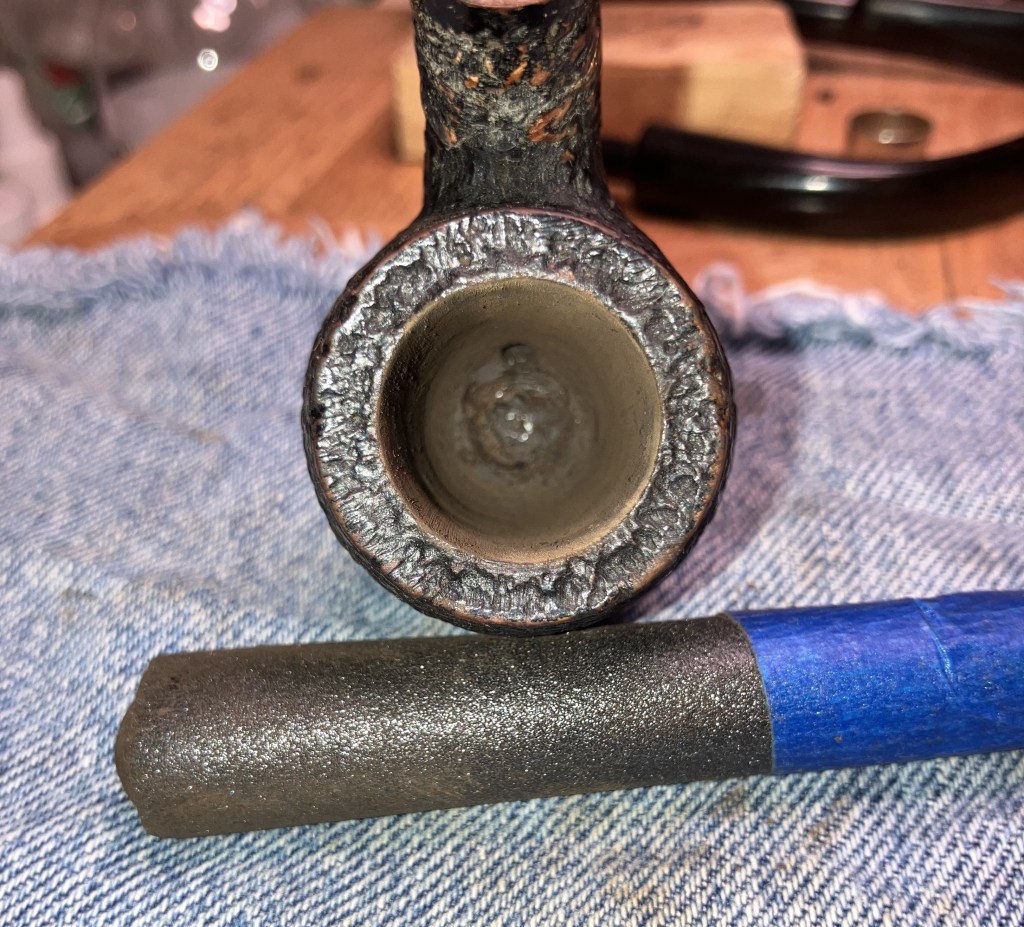
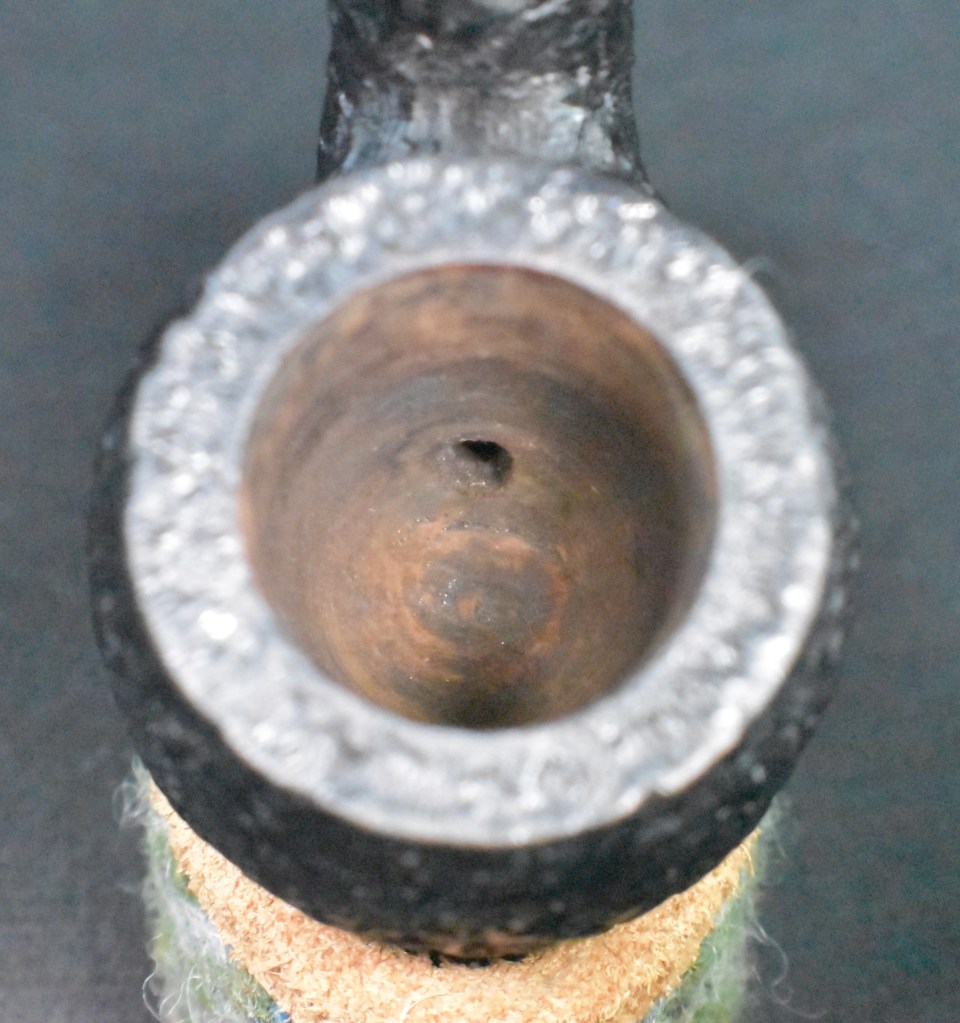
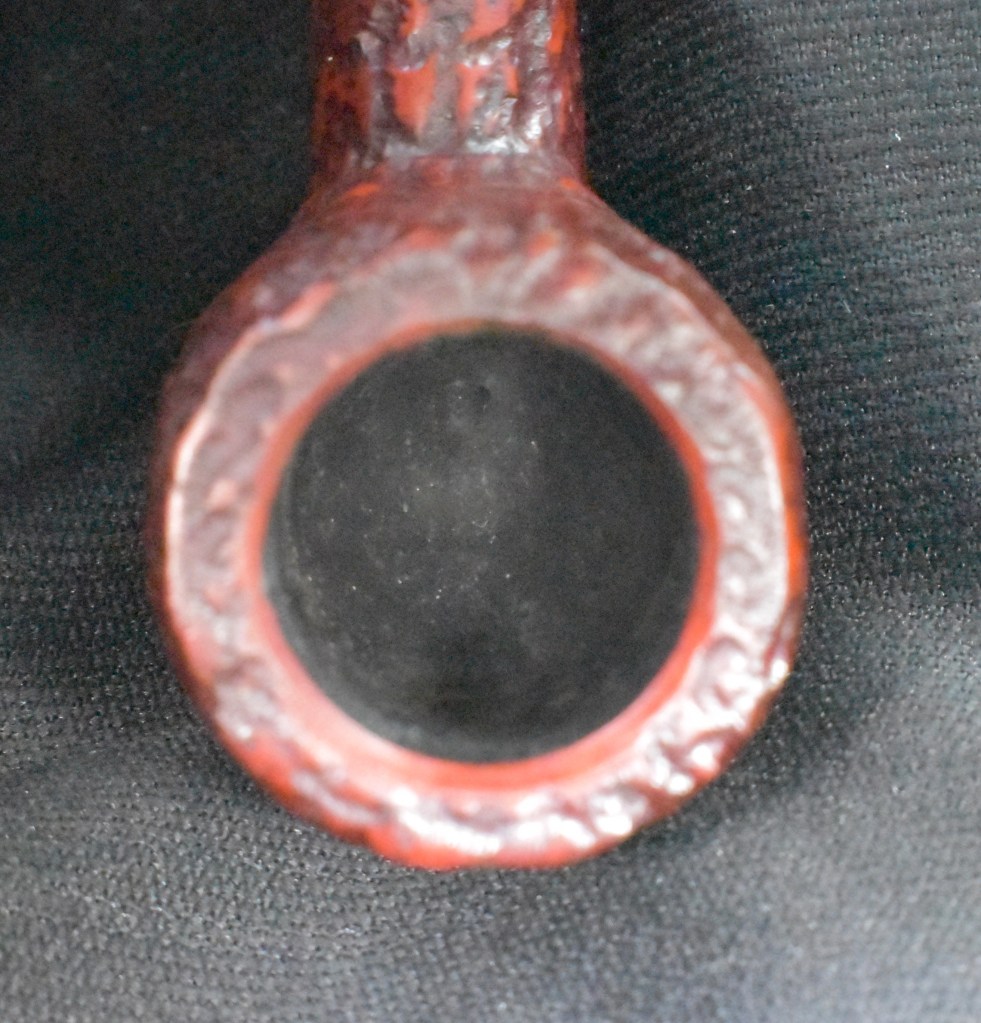
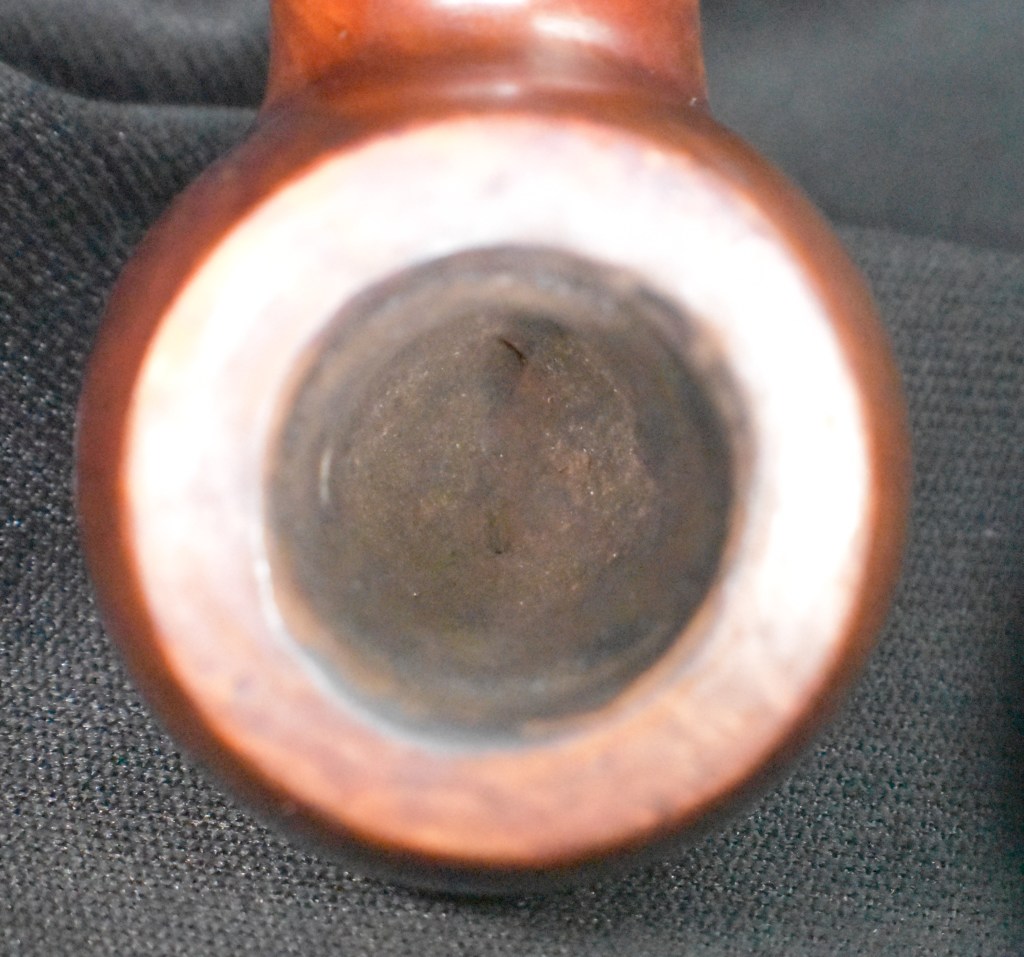
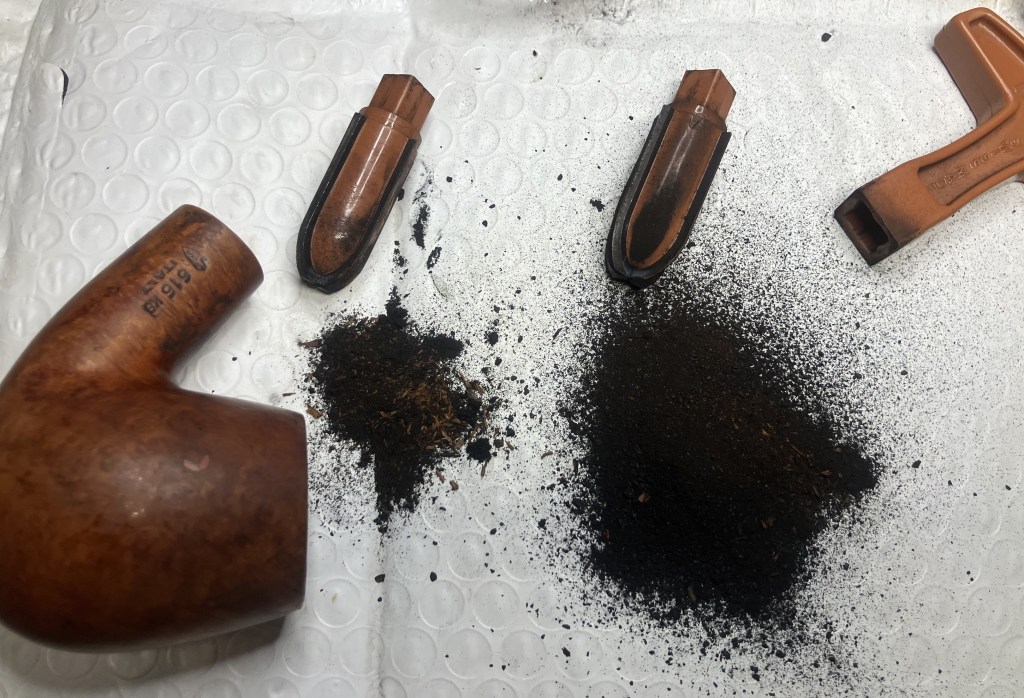
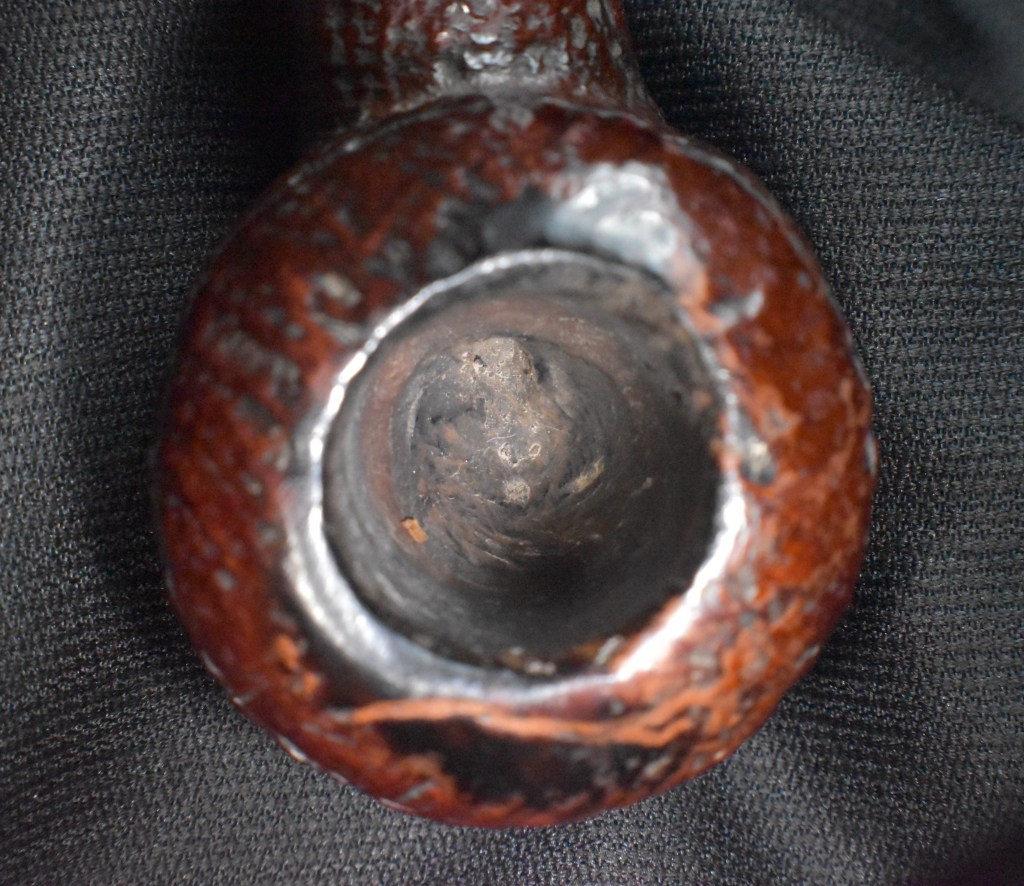
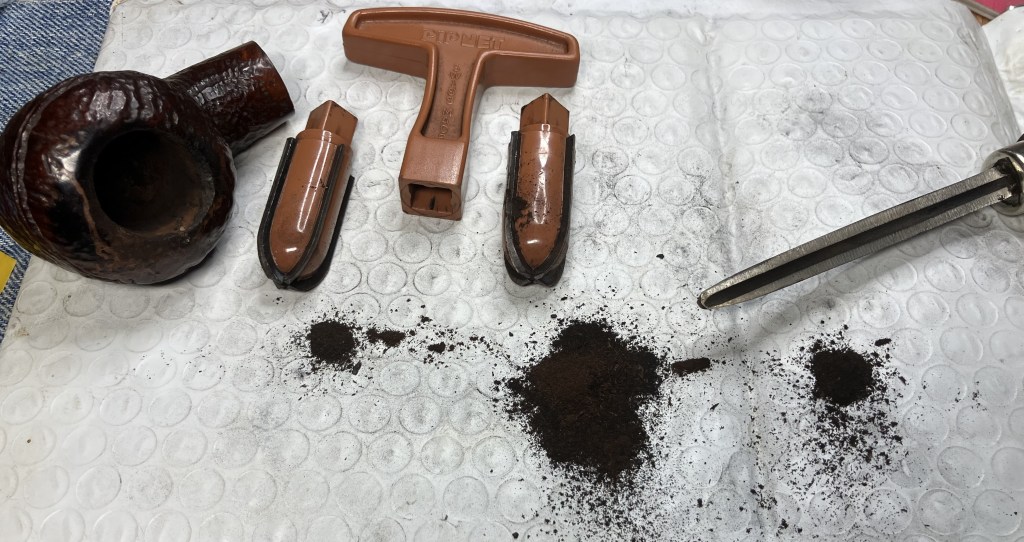
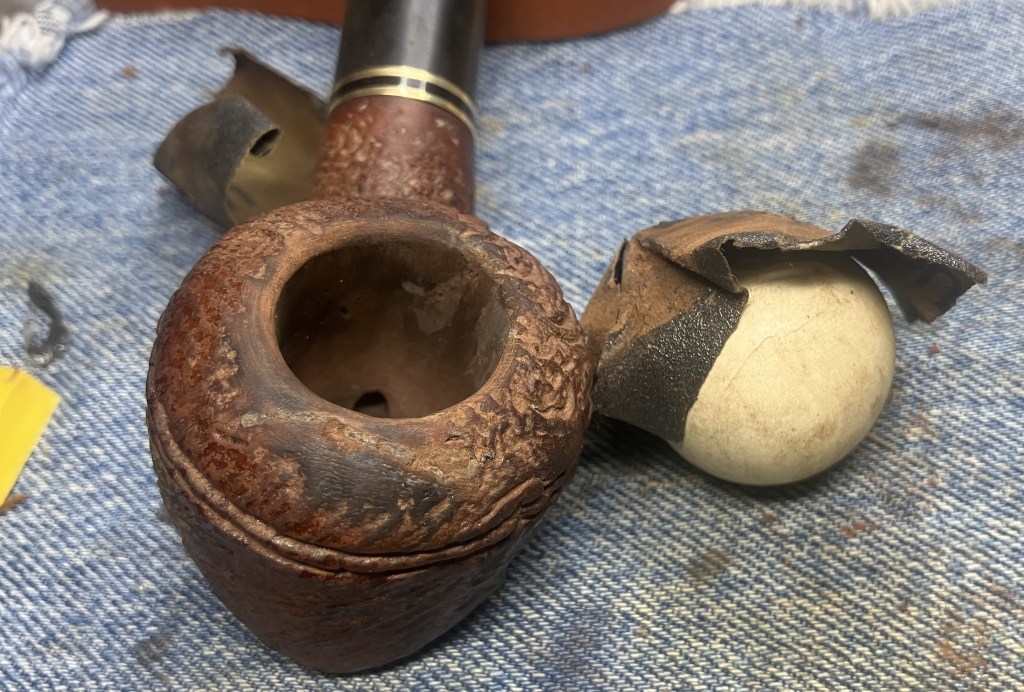
I began with reaming the tobacco chamber. I thought that the PipNet would be the correct tool.
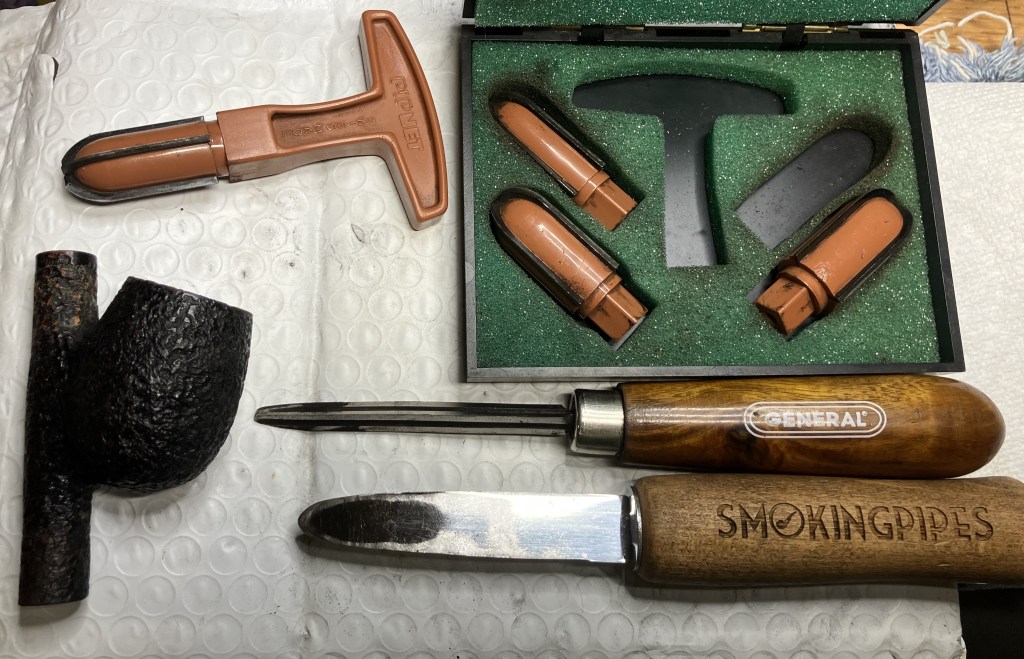
The conically drilled chamber proved my supposition wrong. The Kleen-Reem was the correct tool. Either way there was little for the reamer to do.
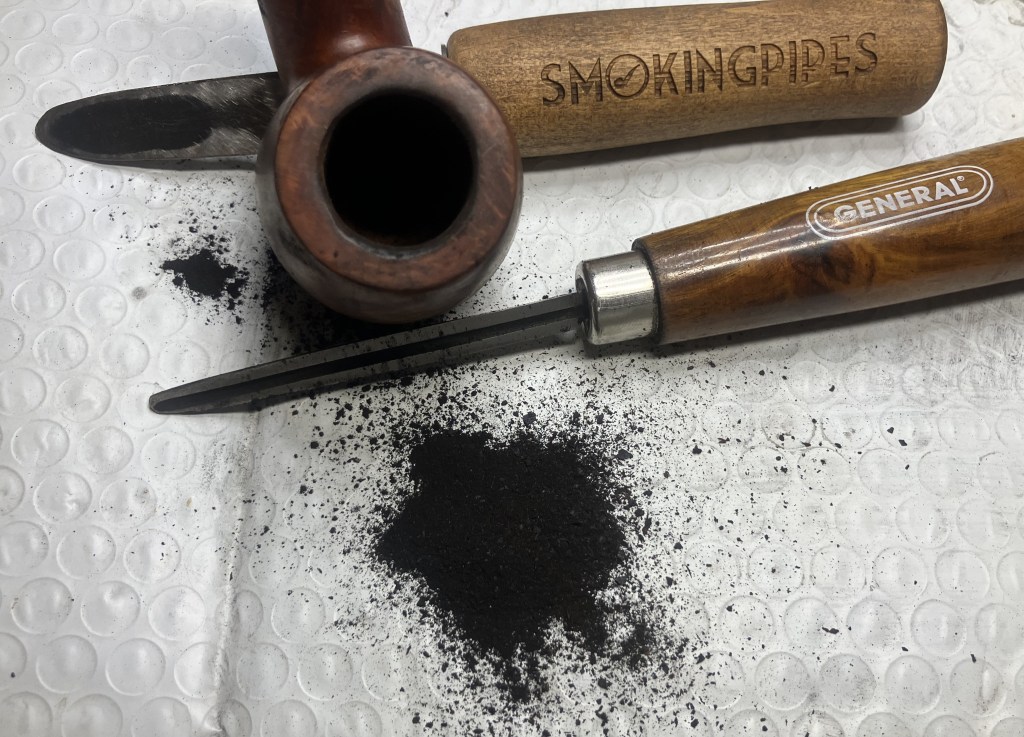
The scrapers were used to remove the little cake at the button of the chamber.
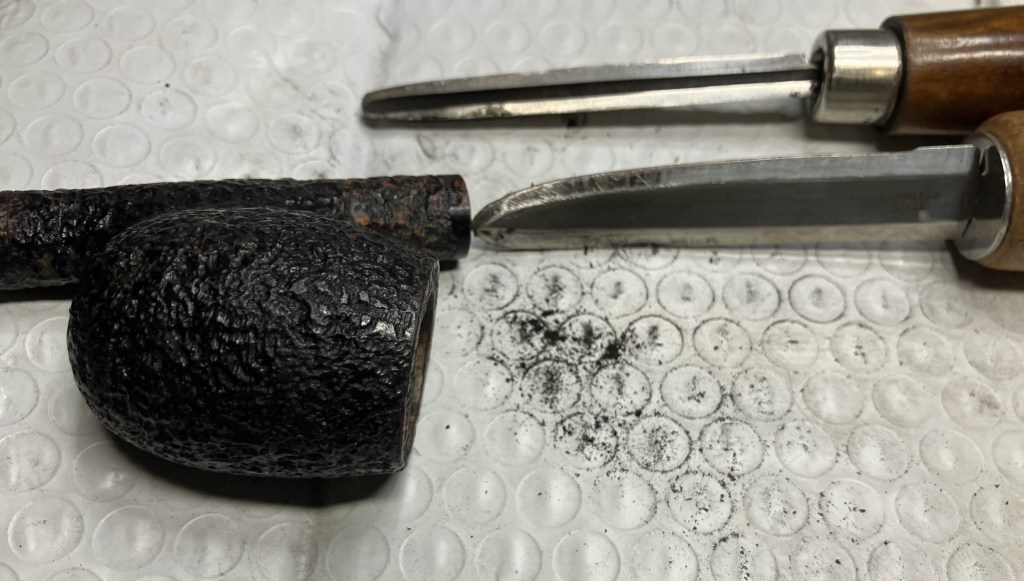
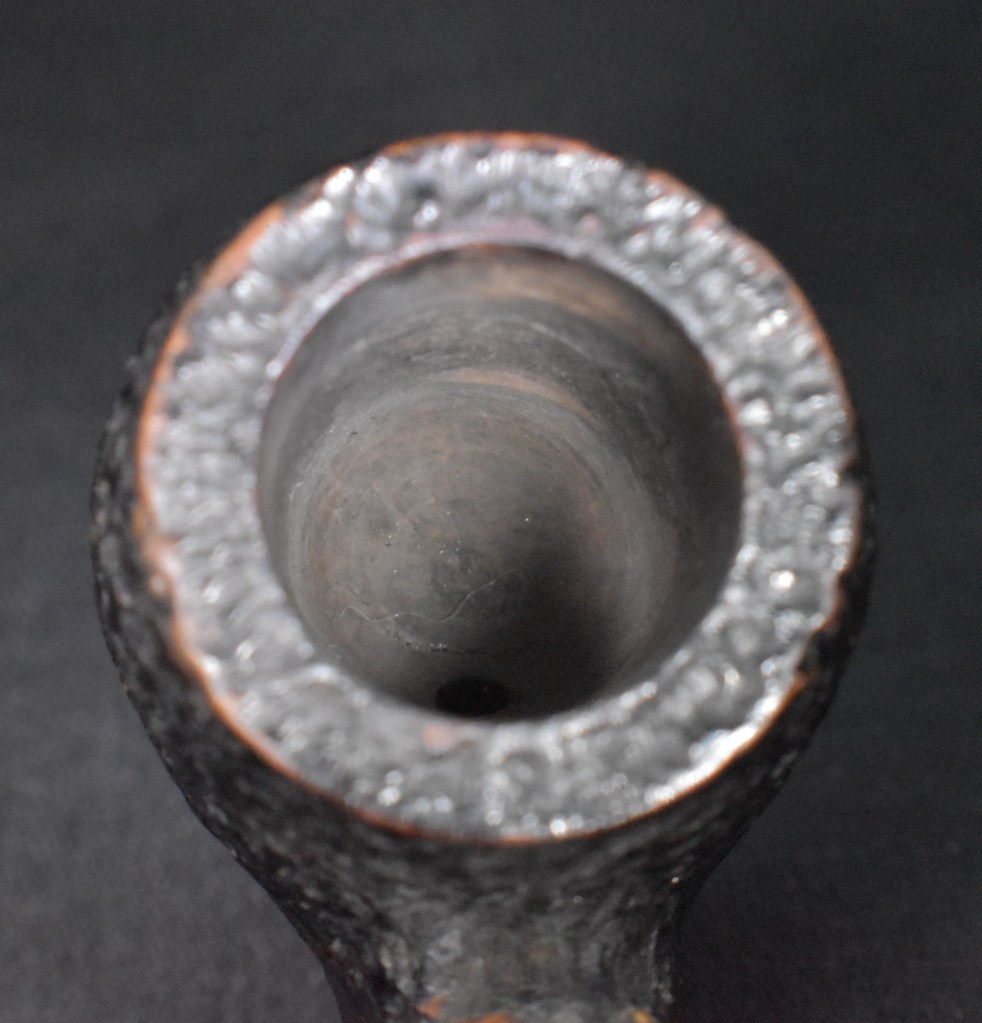
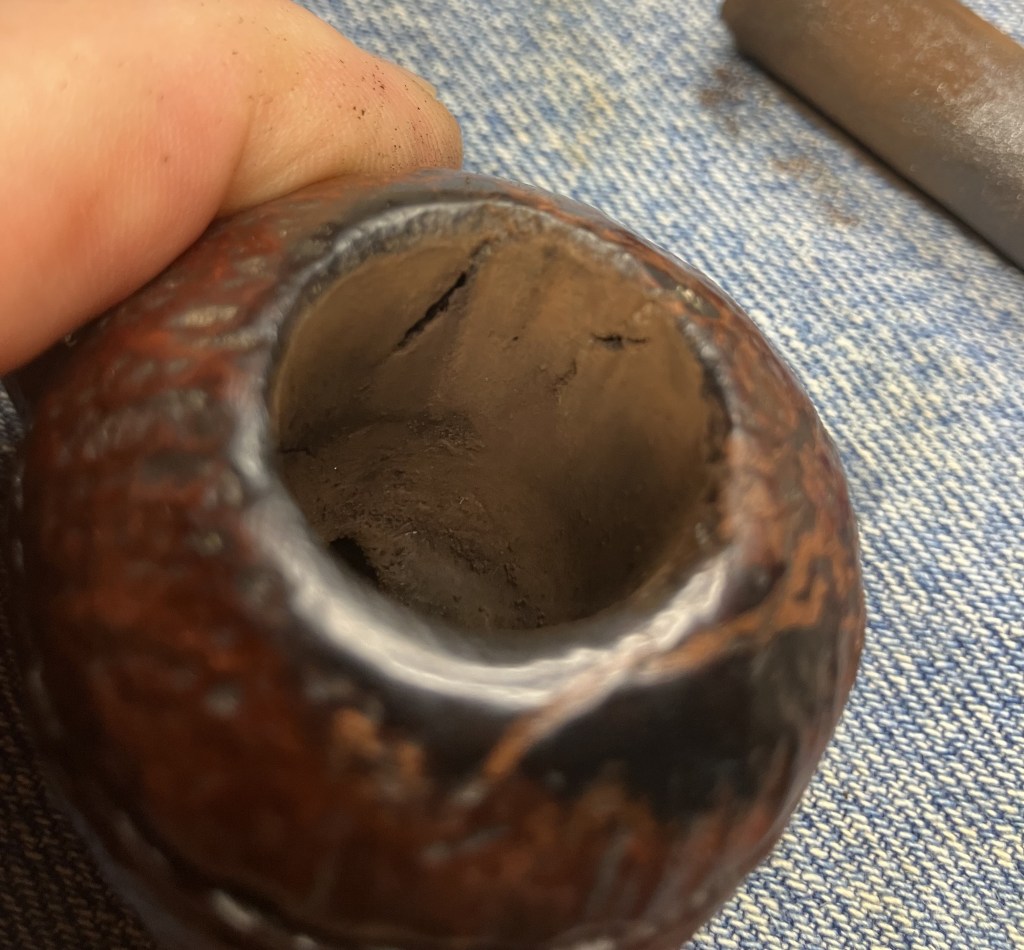
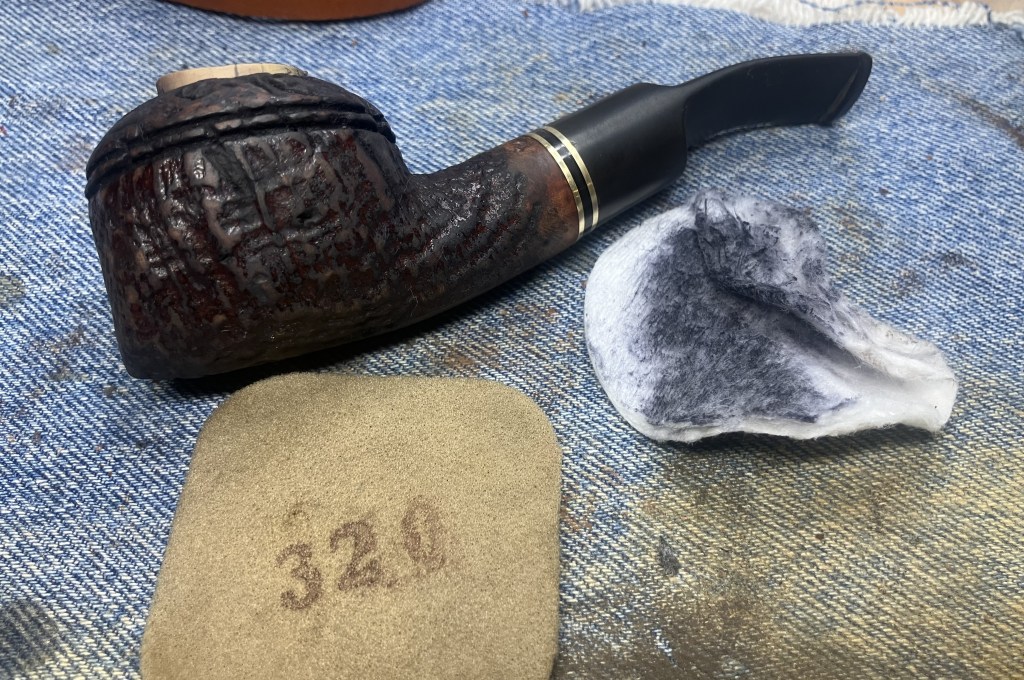
Sanding with 320 sandpaper wrapped around a wood dowel showed that the chamber had no signs of any heat damage.
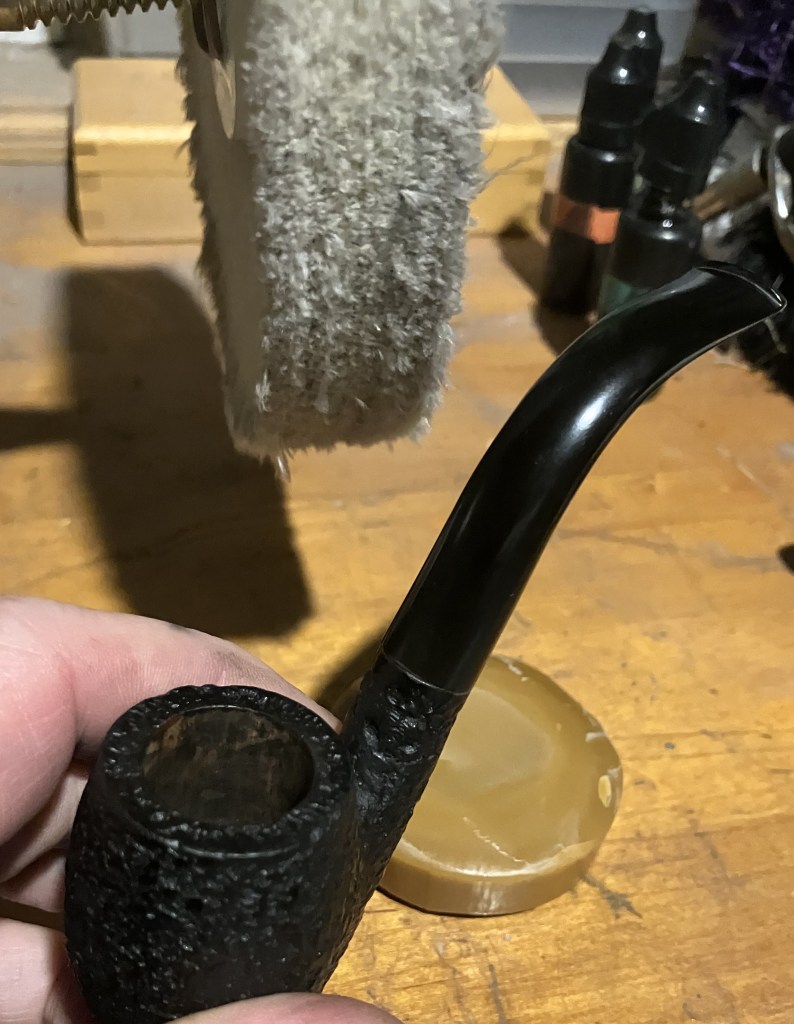
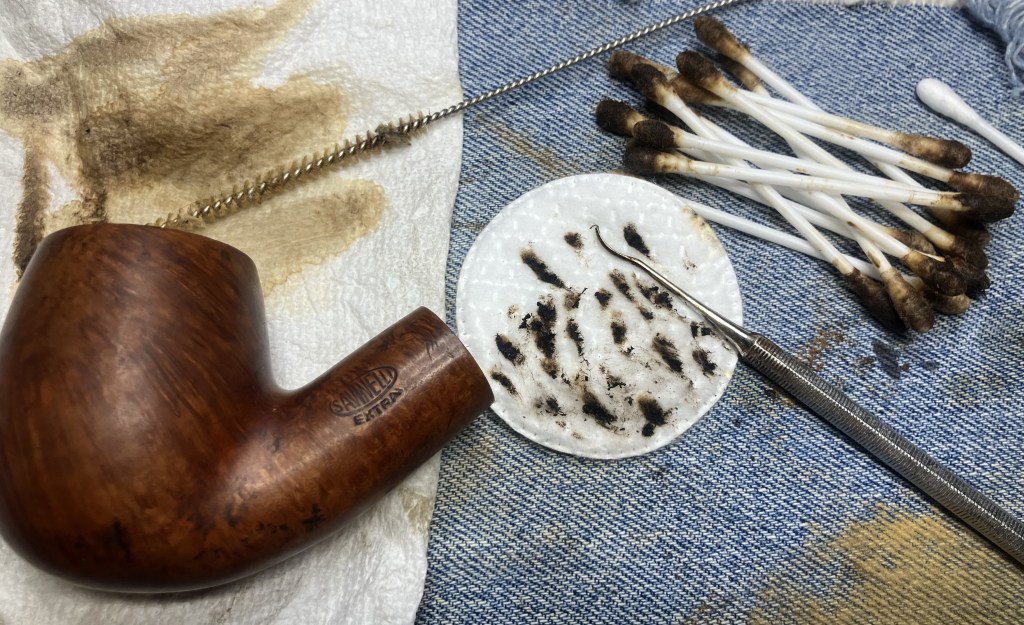
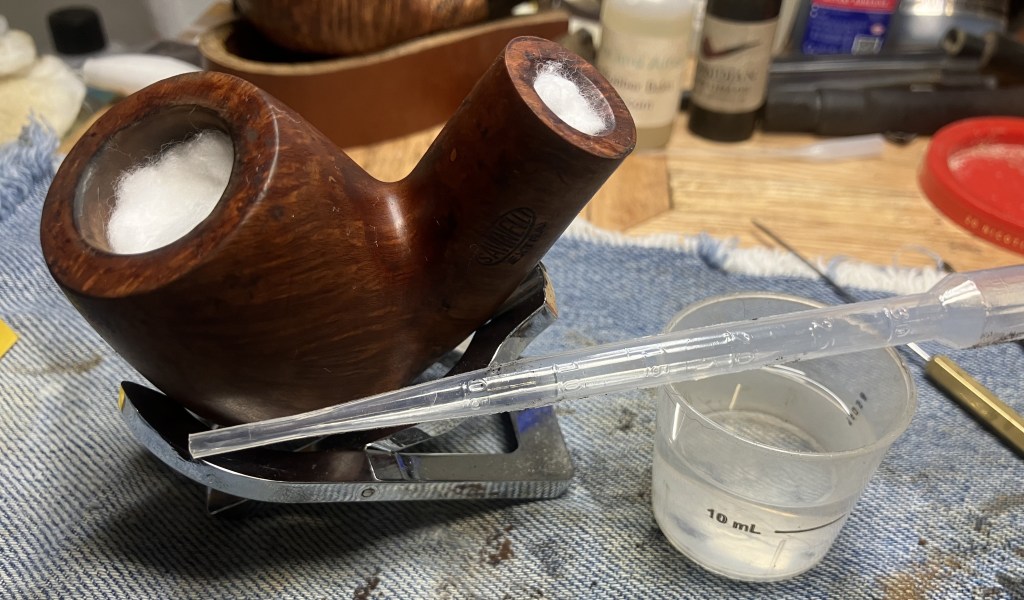
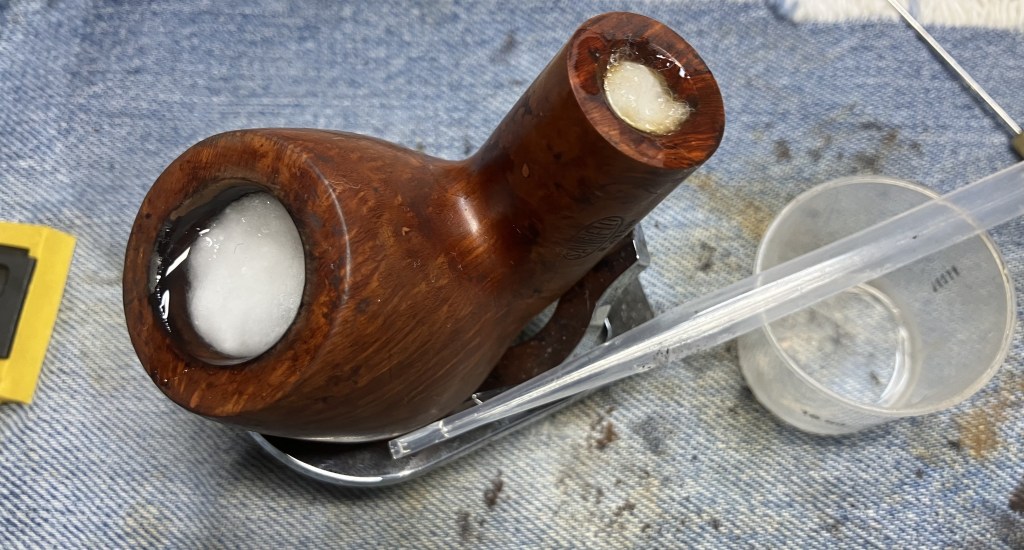
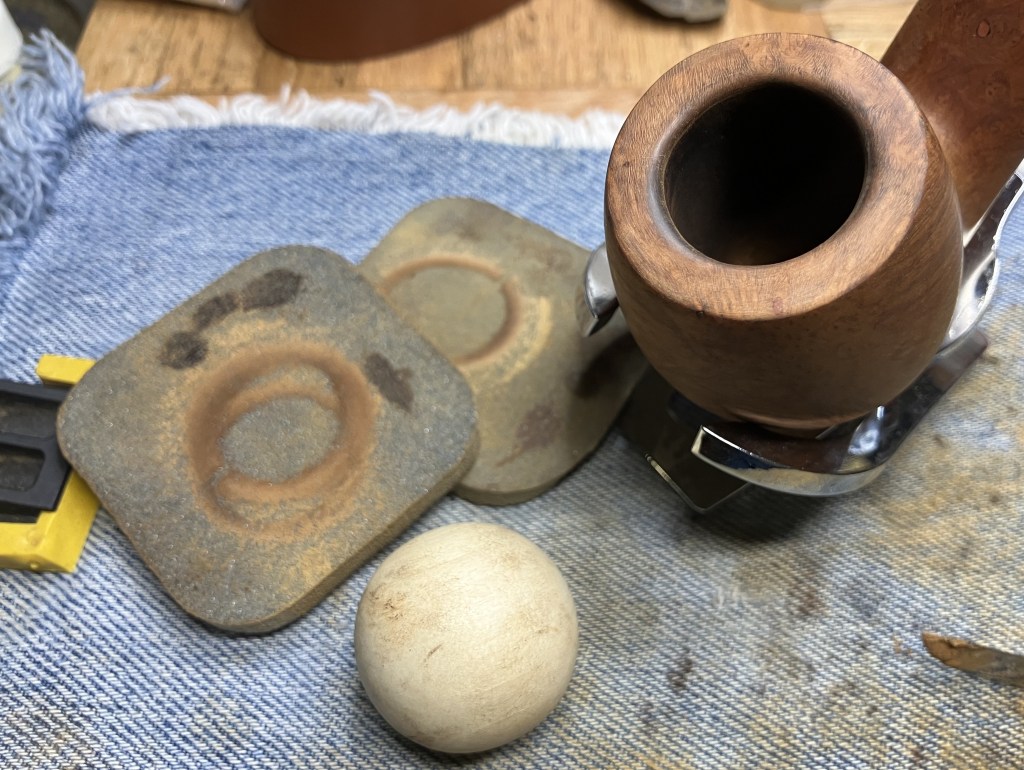
Next came the shank cleaning. This was surprising. There was some cake in the tobacco chamber. Given, not much, but the shank was much cleaner than I would have thought.
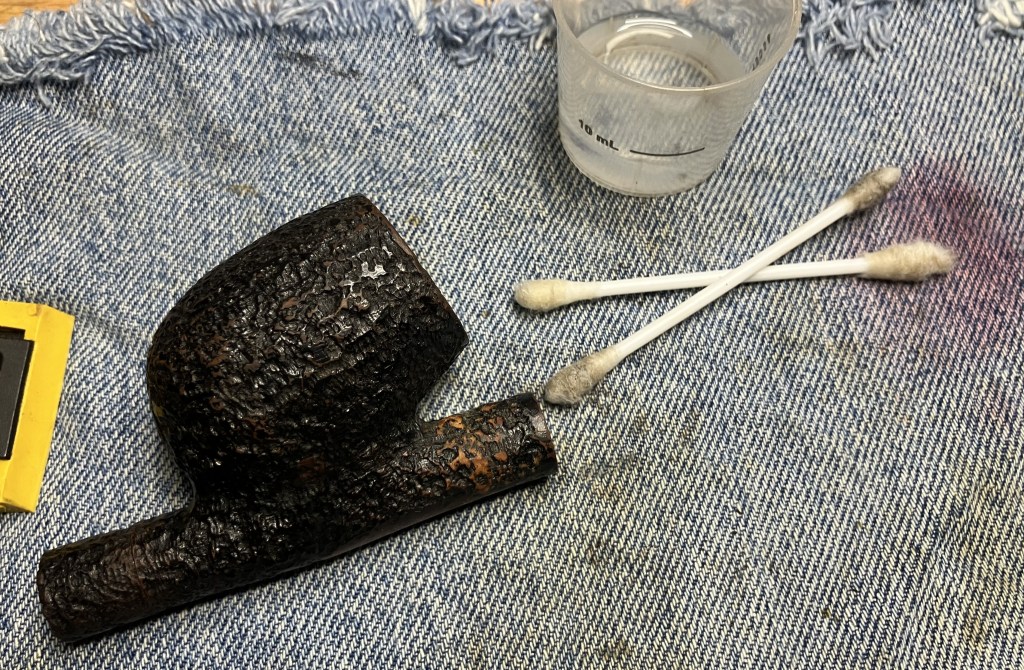
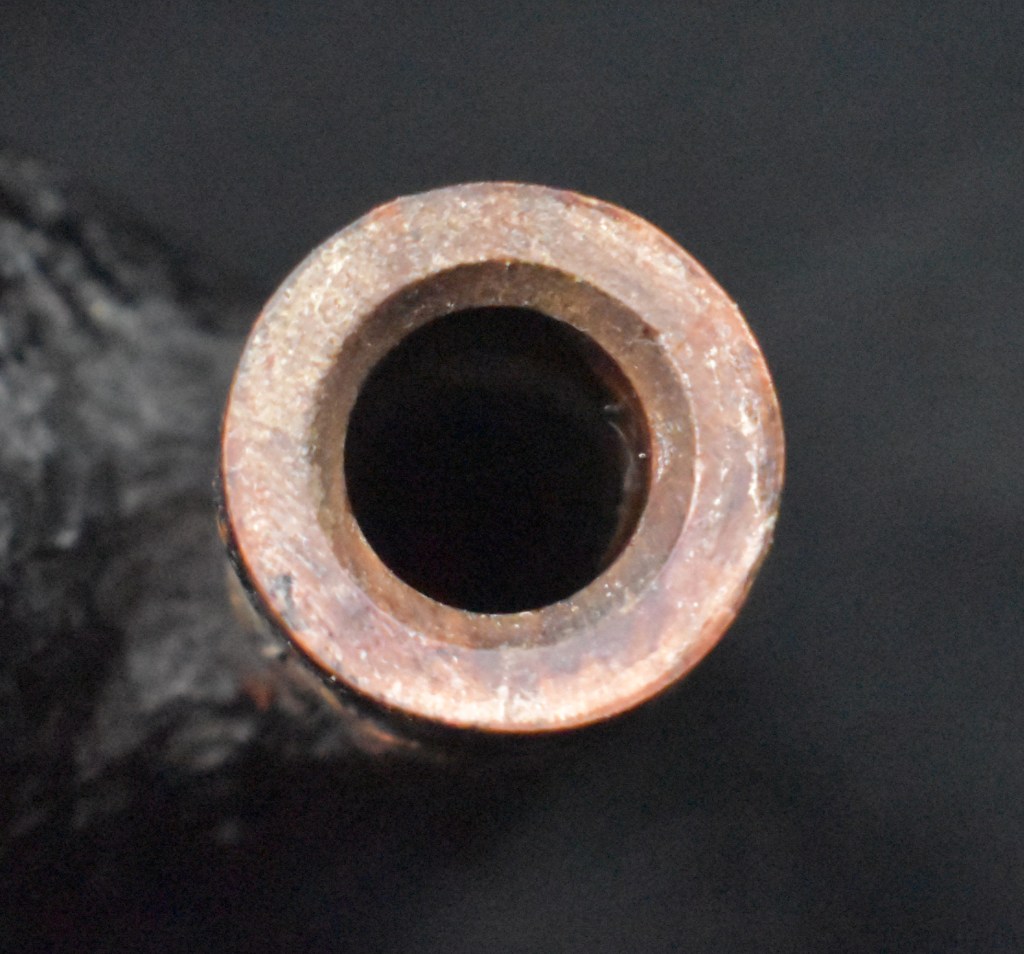
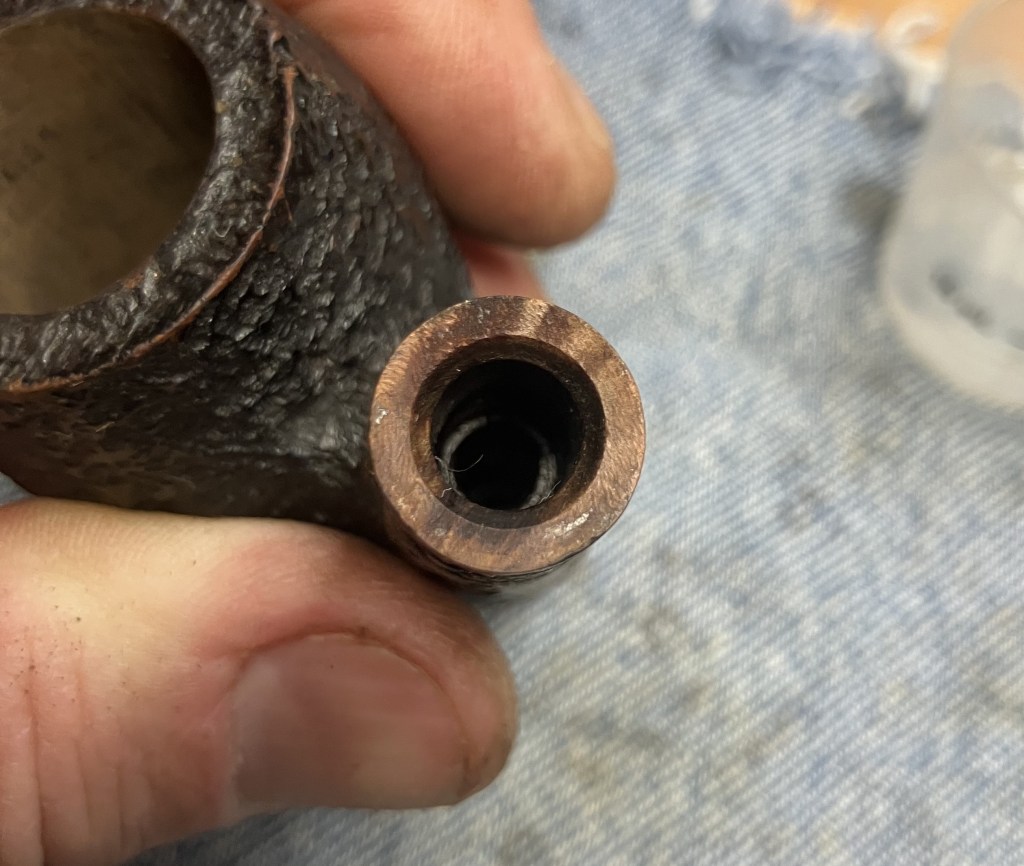
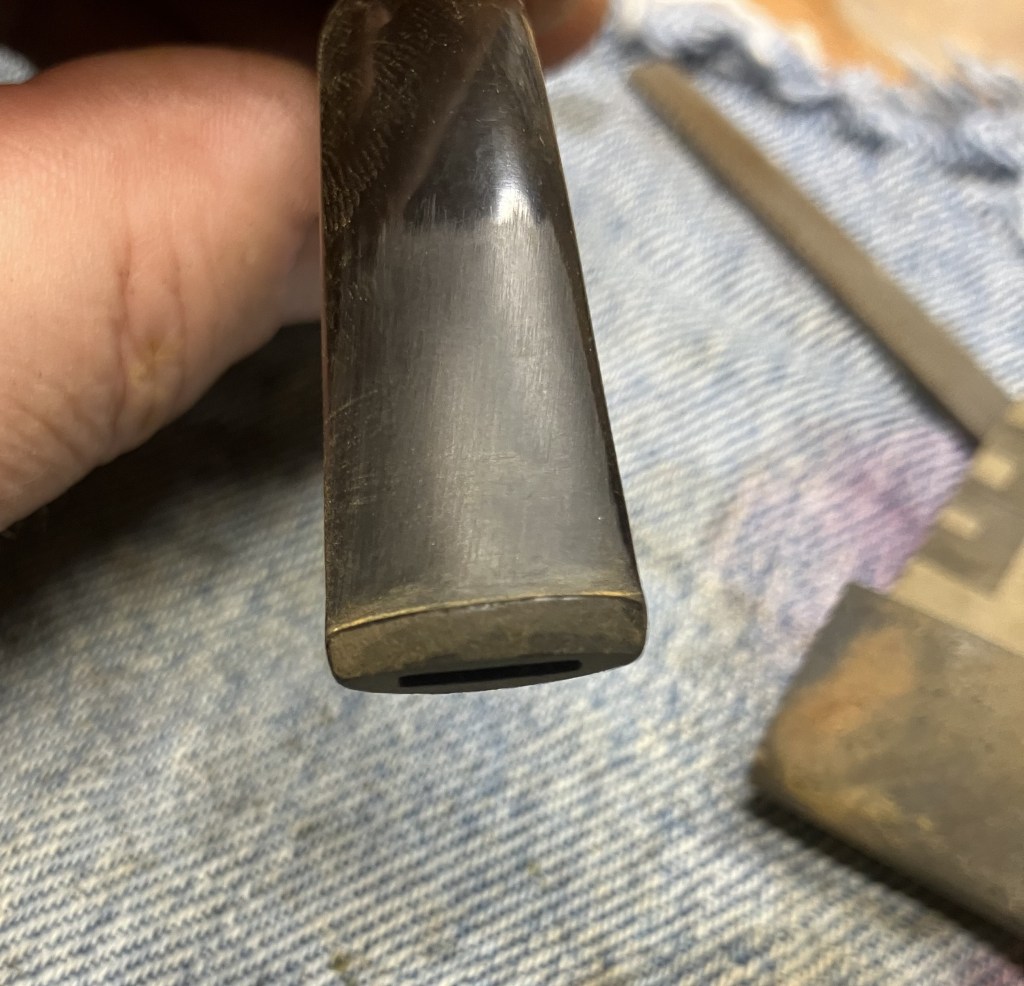
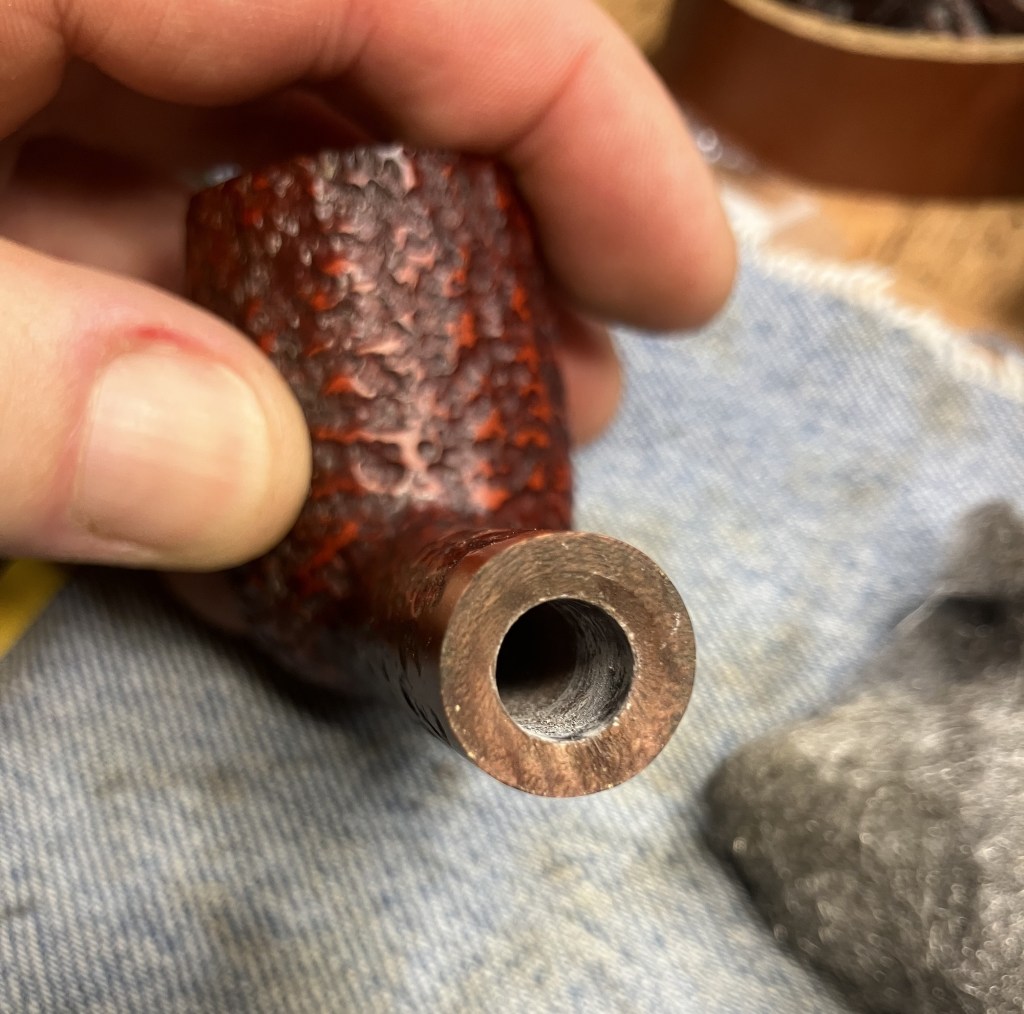
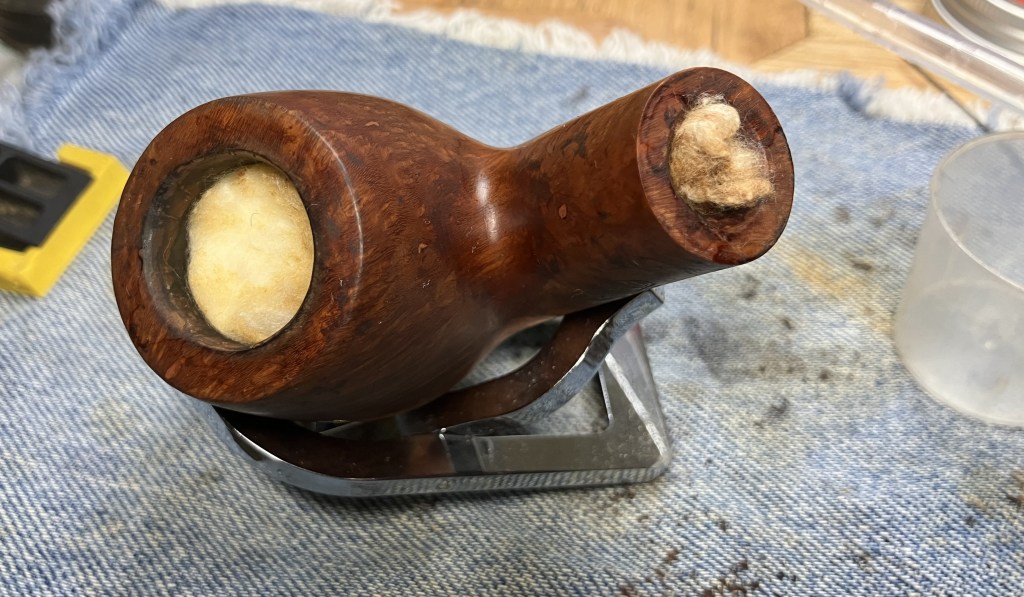
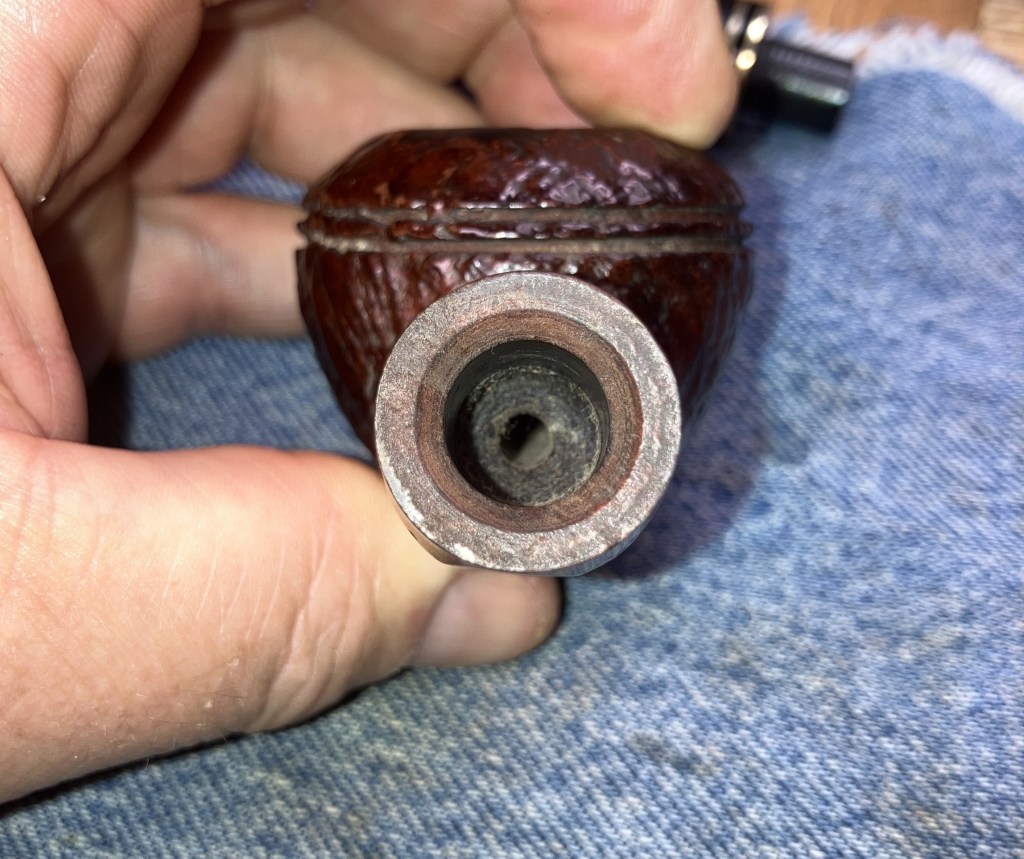
Surprise number two, was the depth that the shank was drilled.
Nearly an entire cotton swab fit into the drilling.
I was not expecting that.
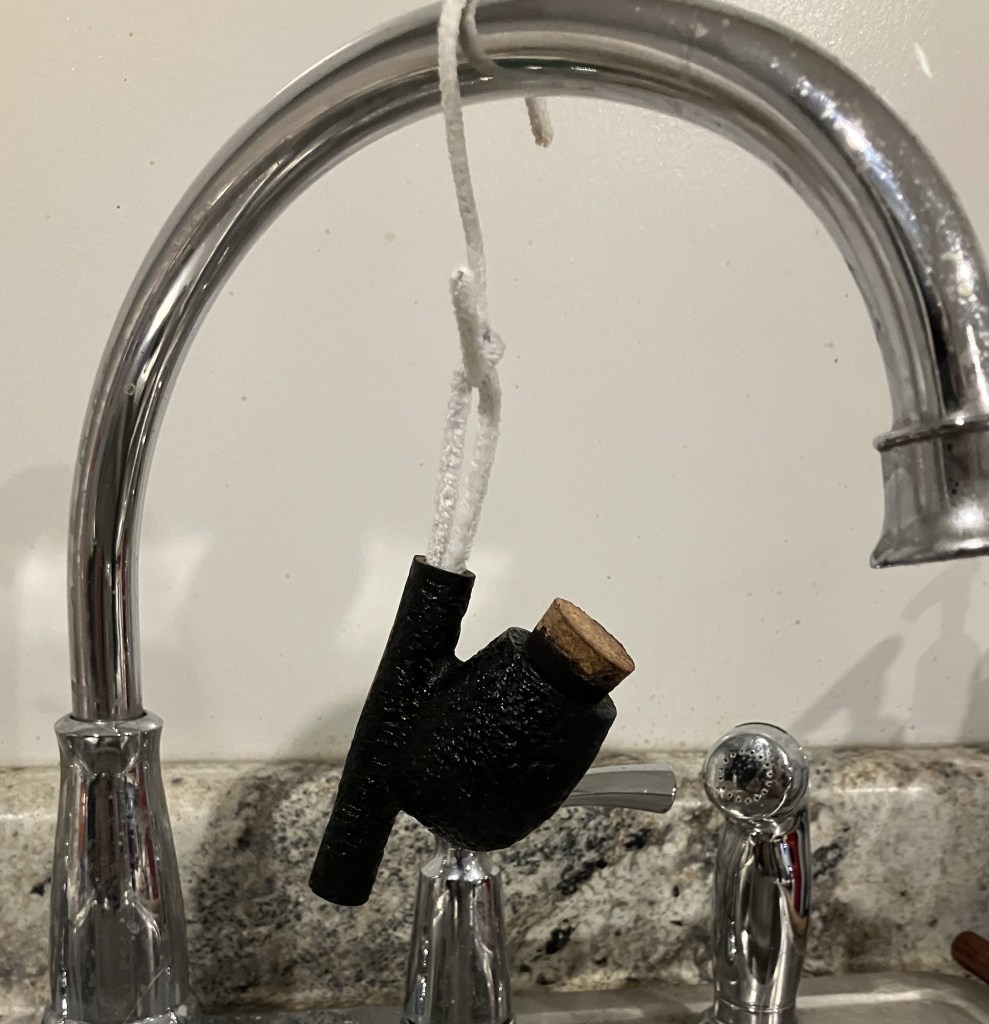
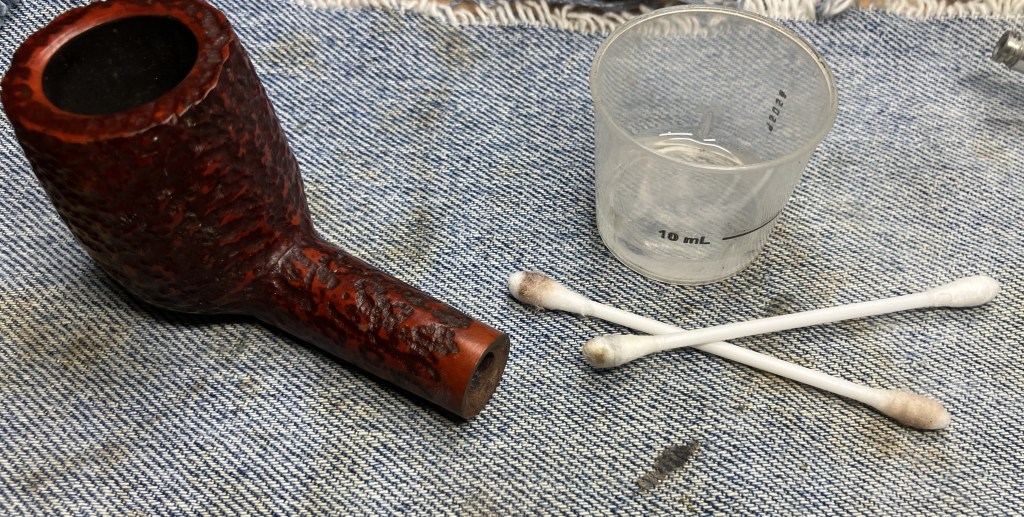
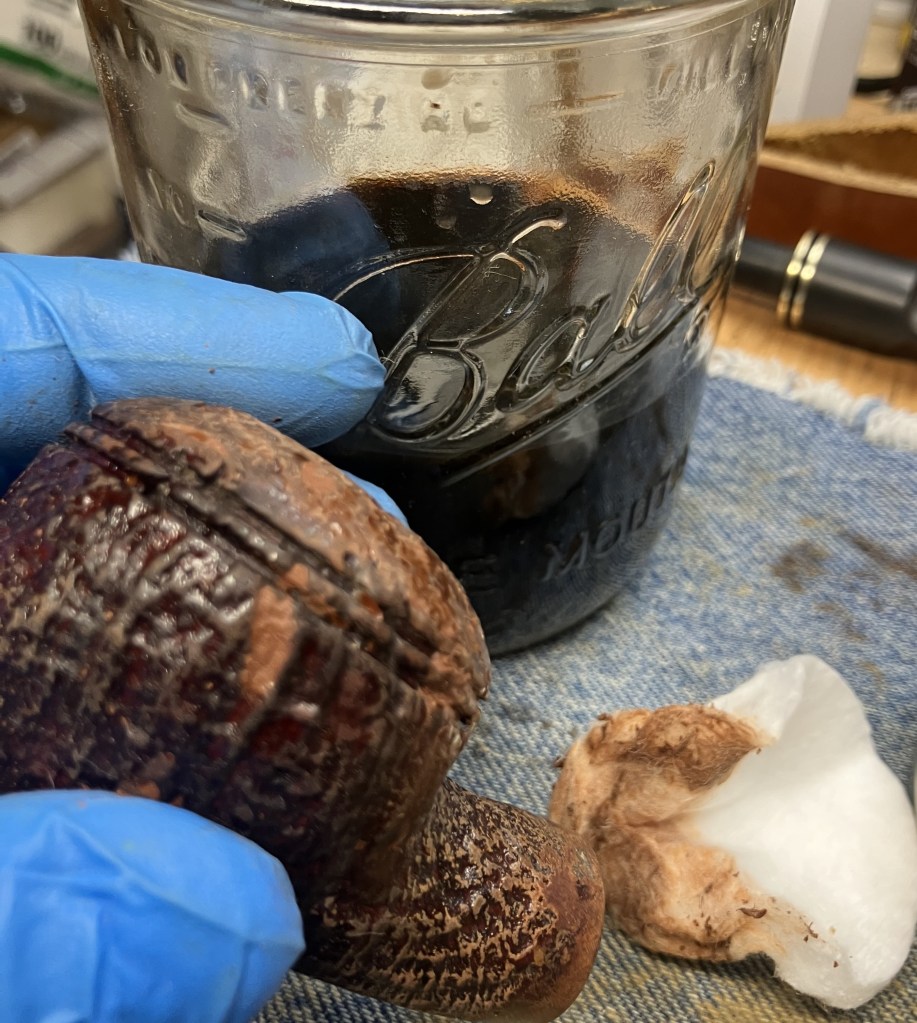
I used a forceps to hold the cotton swabs and dipped them in 99% ethyl alcohol. This pipe was showing signs that it had either been well cleaned by a previous steward or it had not been smoked very much.
The stem cleaning was next. Here I used bristle pipe cleaners and 99% ethyl alcohol.
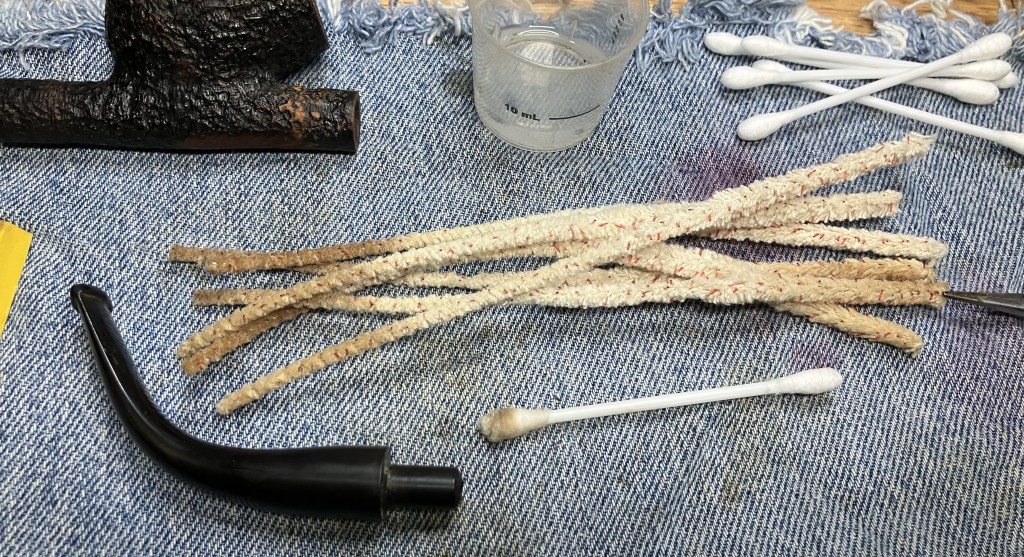
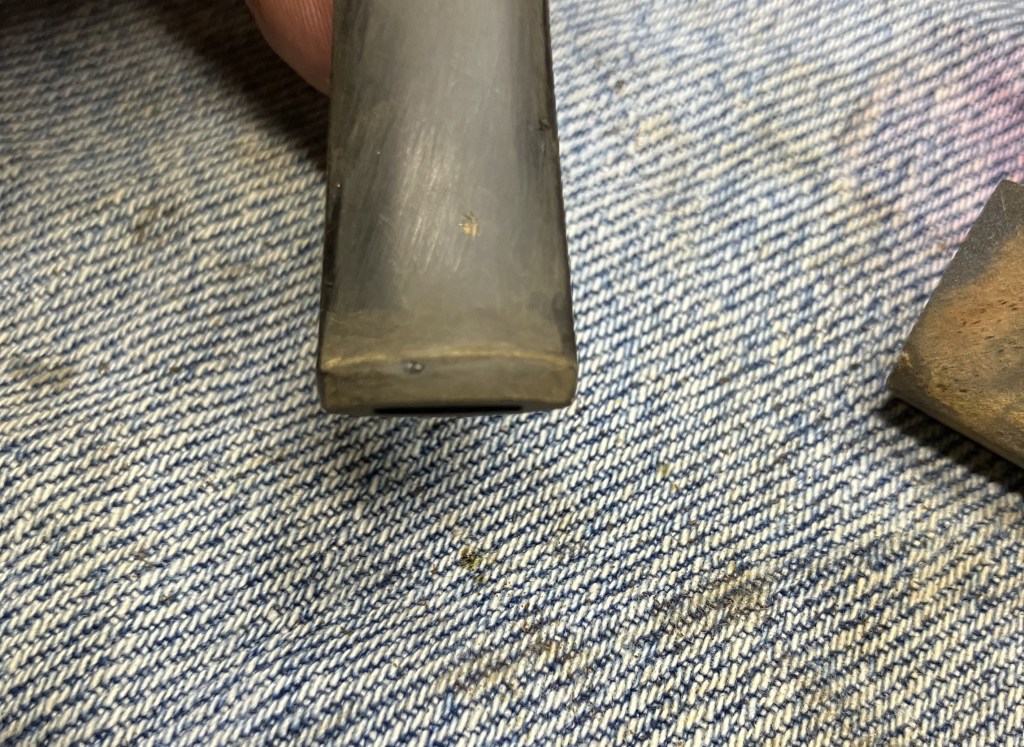
The mortise was drilled slightly smaller than the draft hole.
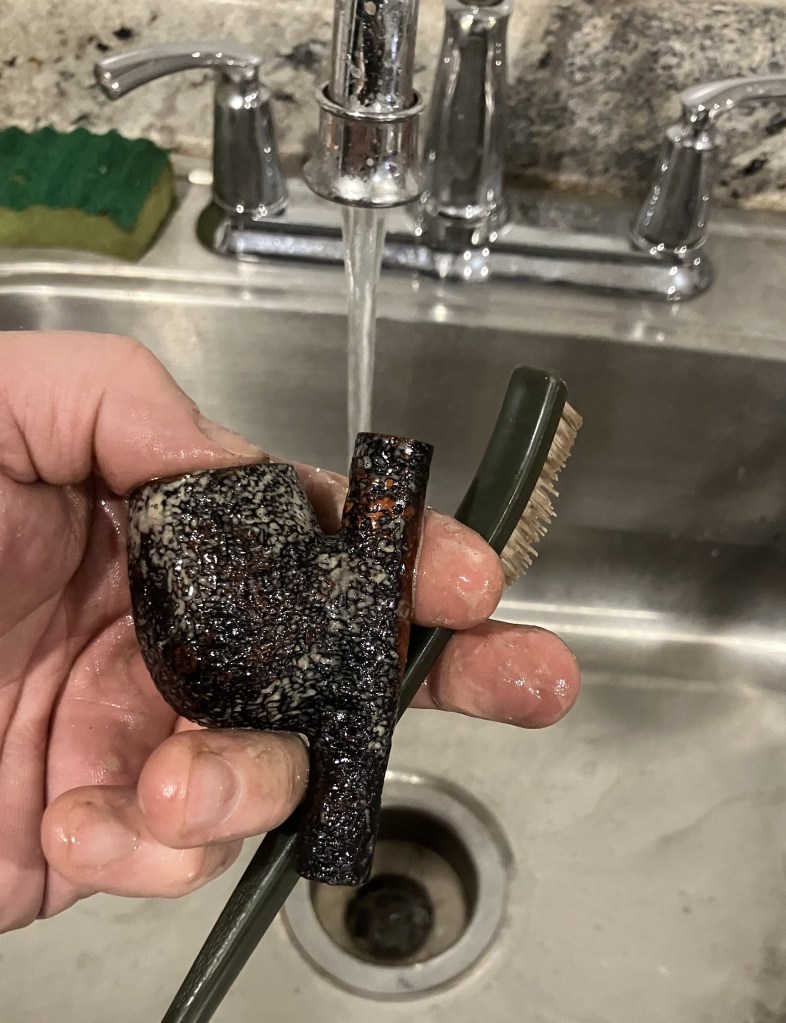
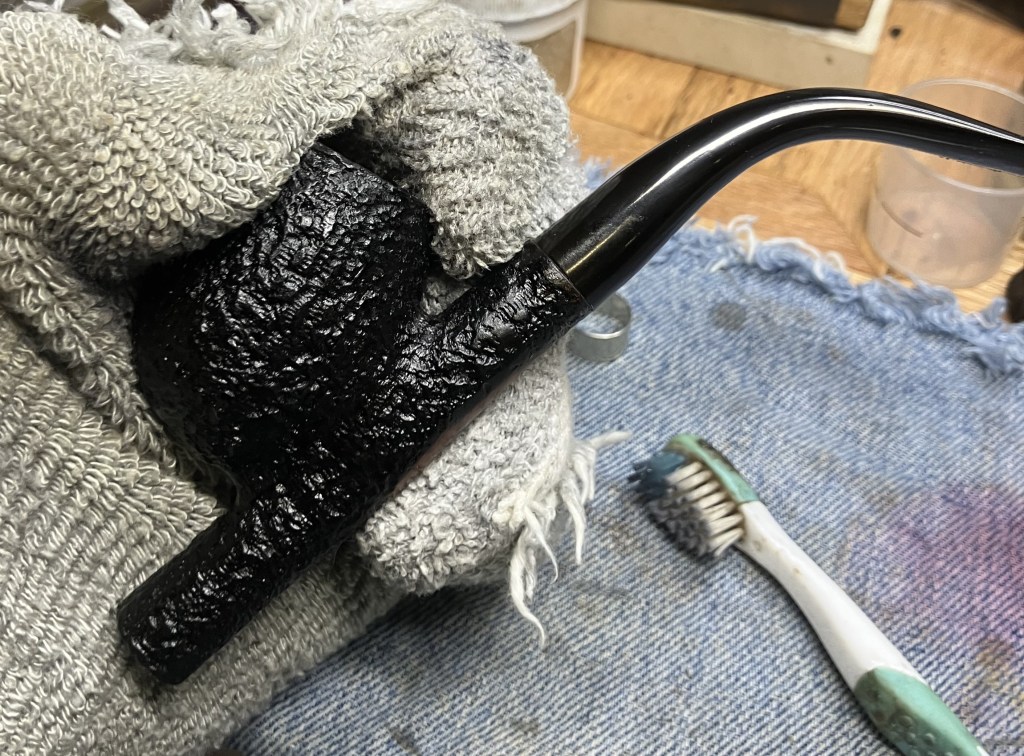
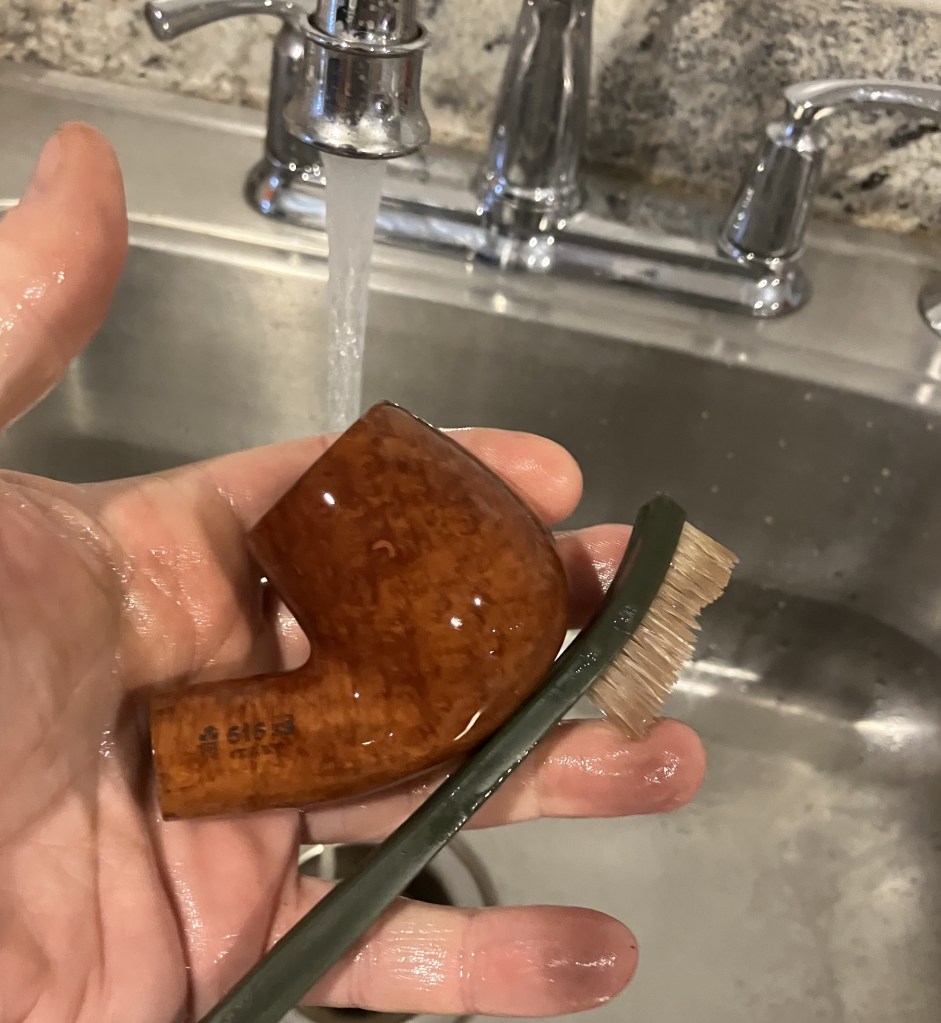
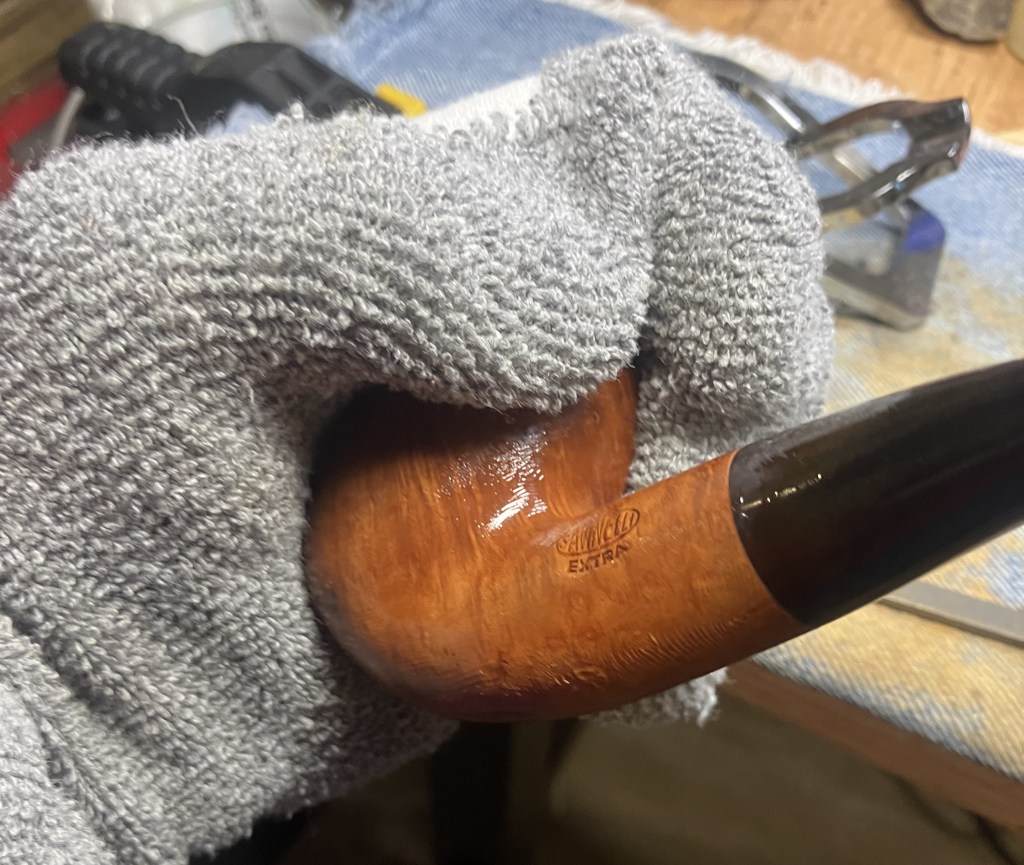
The stummel was taken to the sink for a scrubbing with a nylon brush and undiluted Murphy Oil Soap. The soap was rinsed with warm water and the stummel dried with a cotton hand towel.
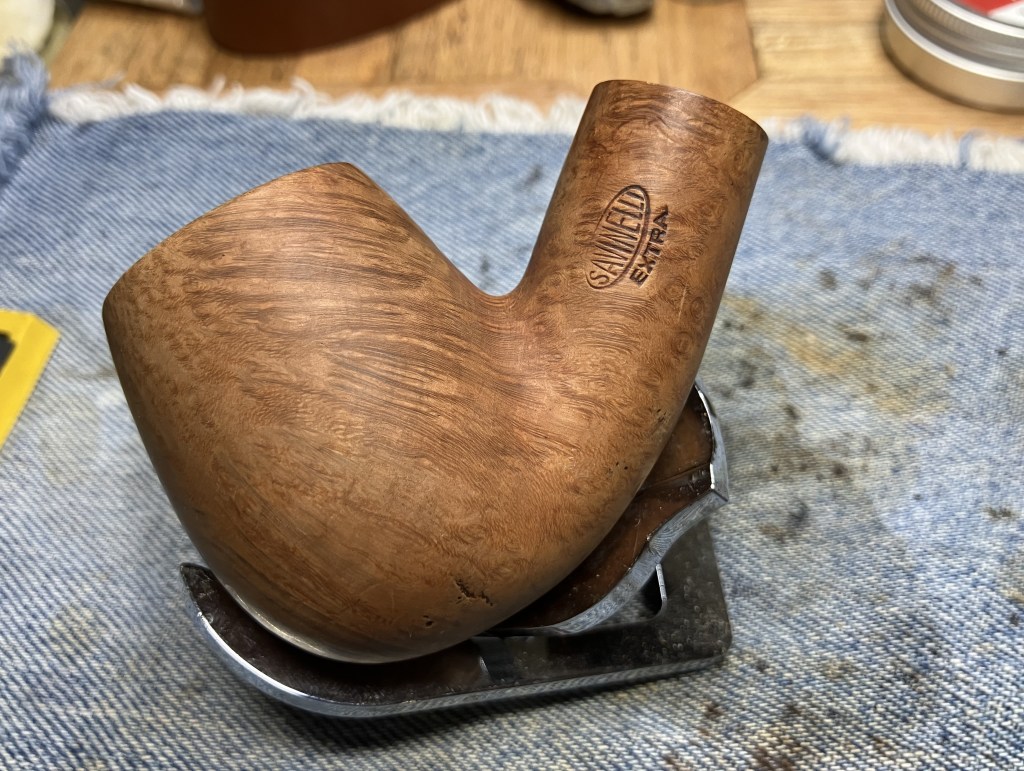
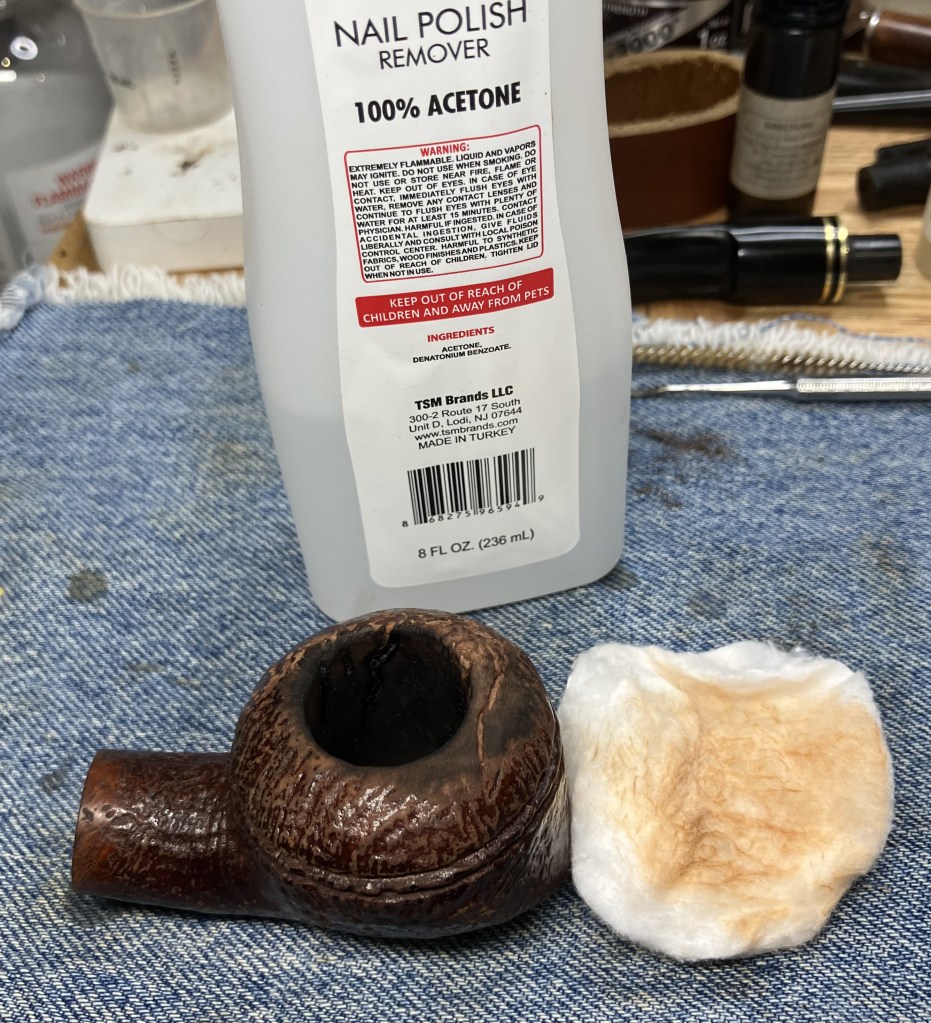
Back at the workbench it was obvious that the scrub had removed even more of the black finish.
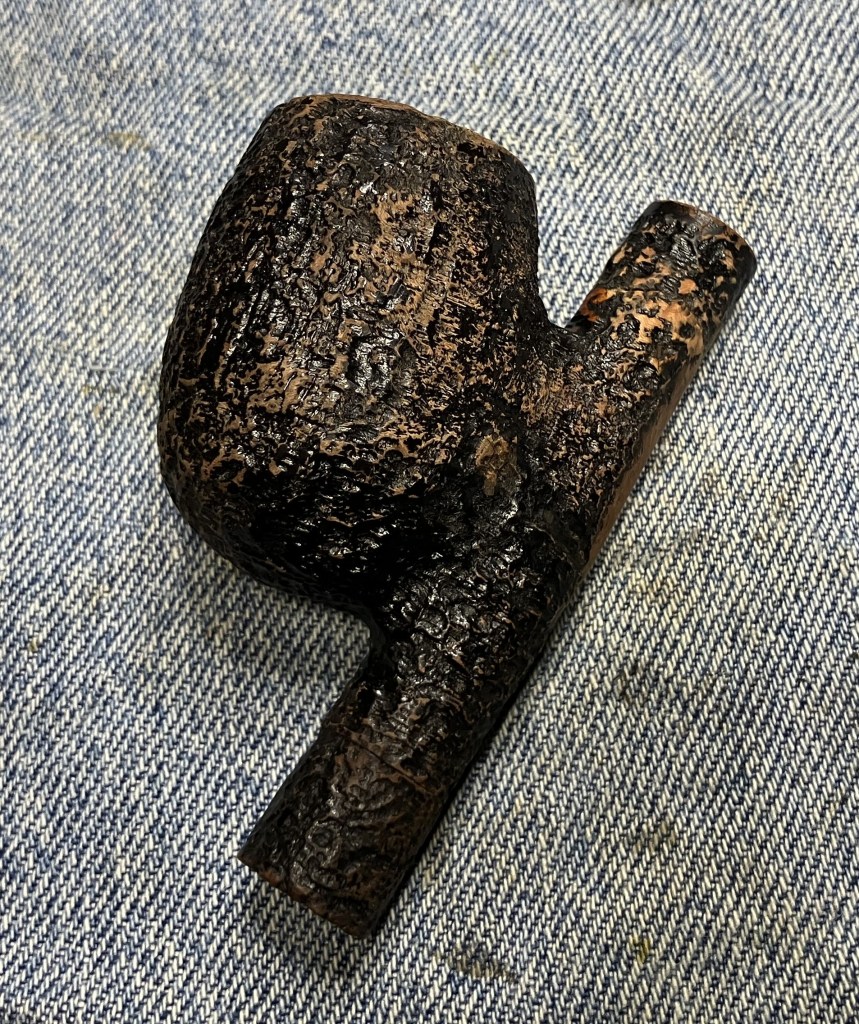
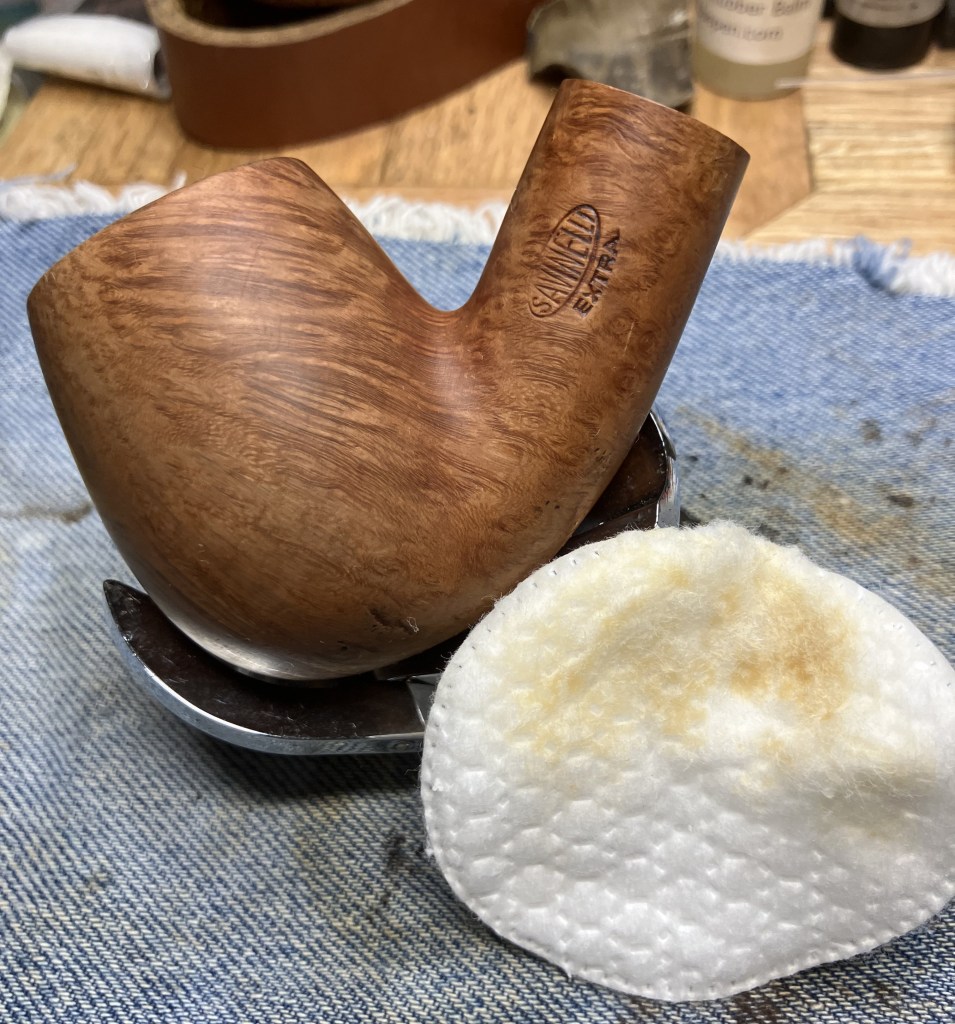
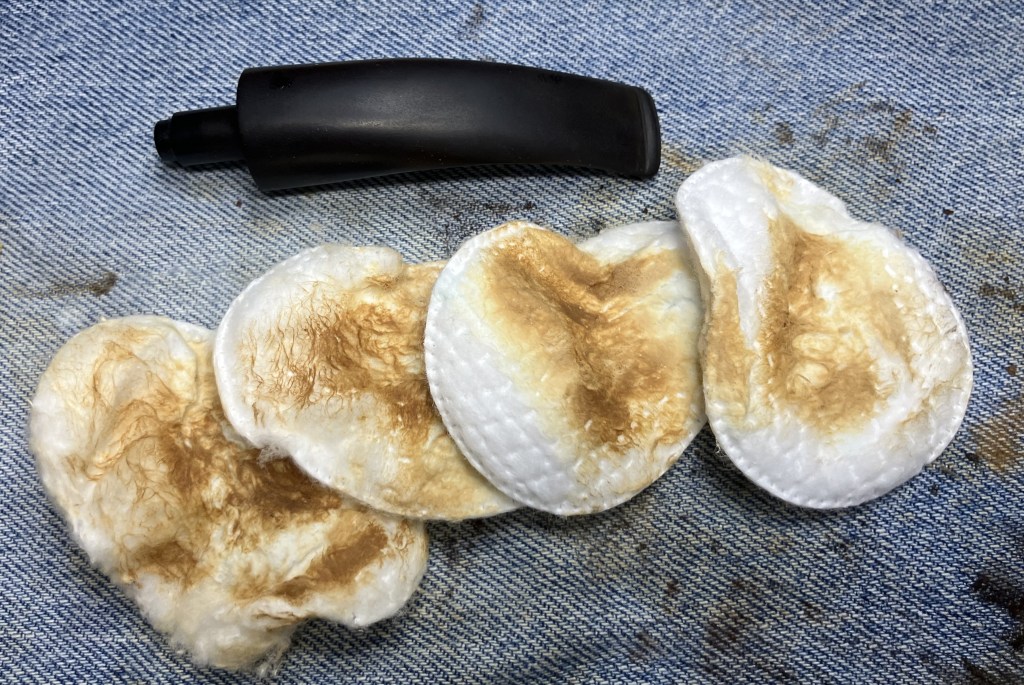
A thorough wiping with a make-up pad dipped in alcohol removed a little more of the black.
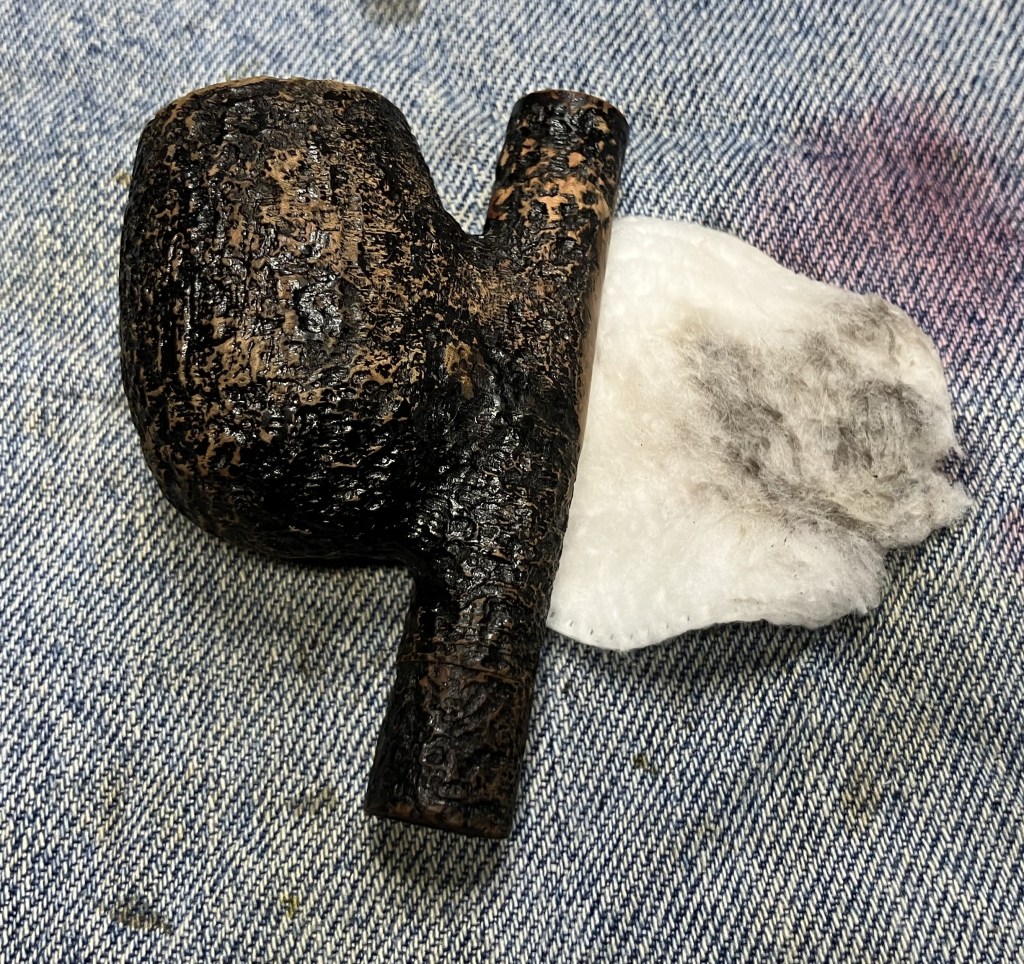
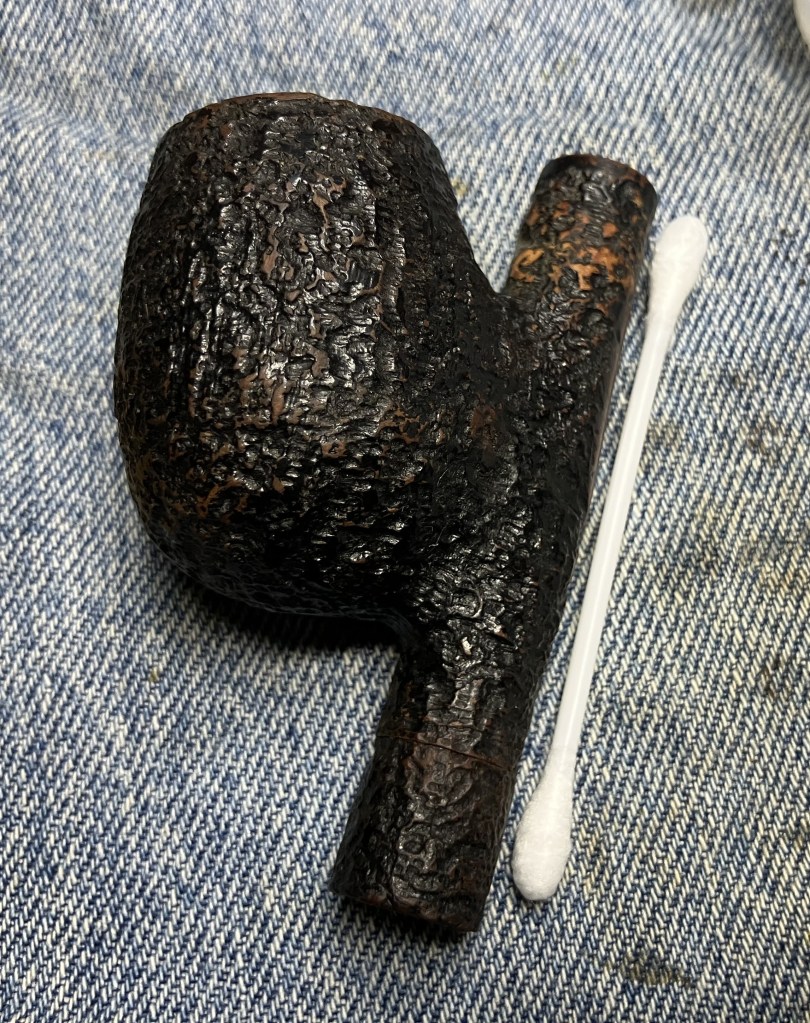
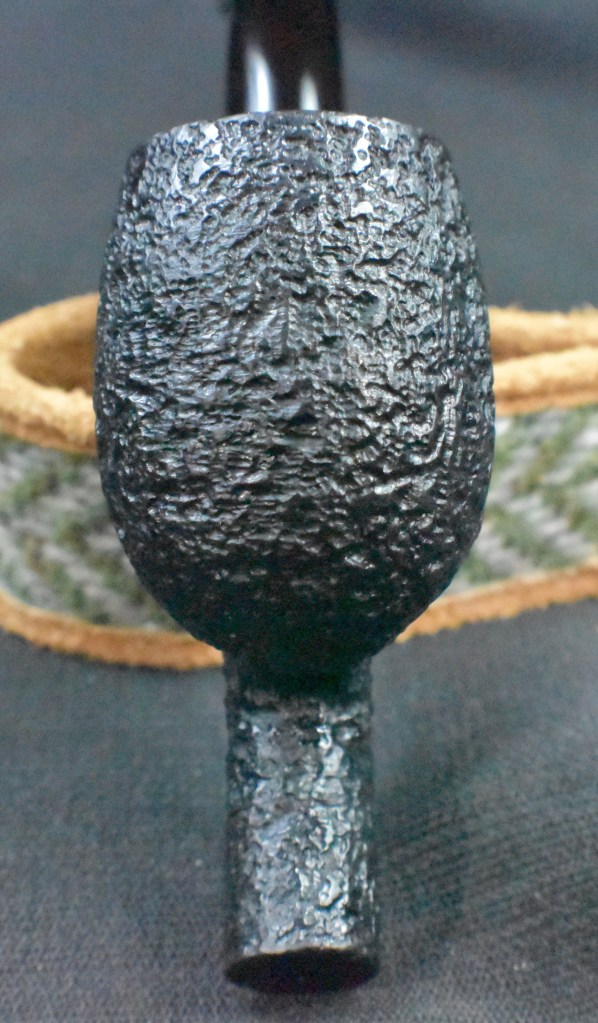
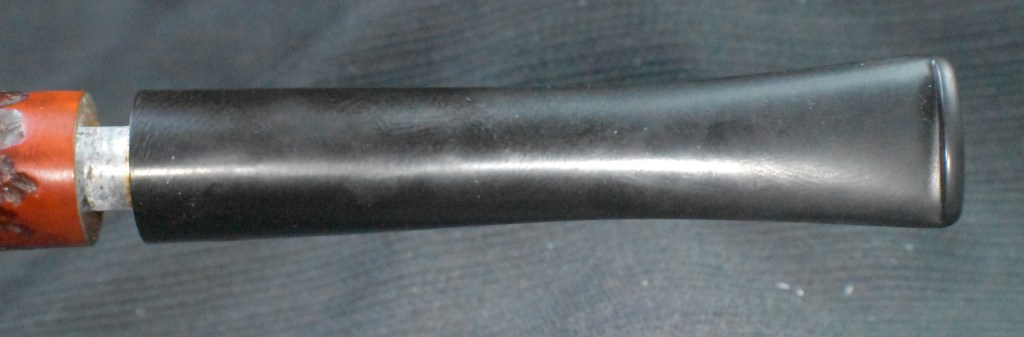
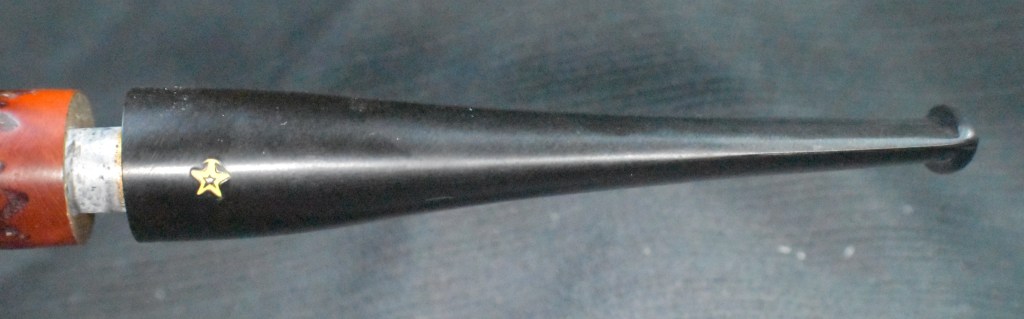
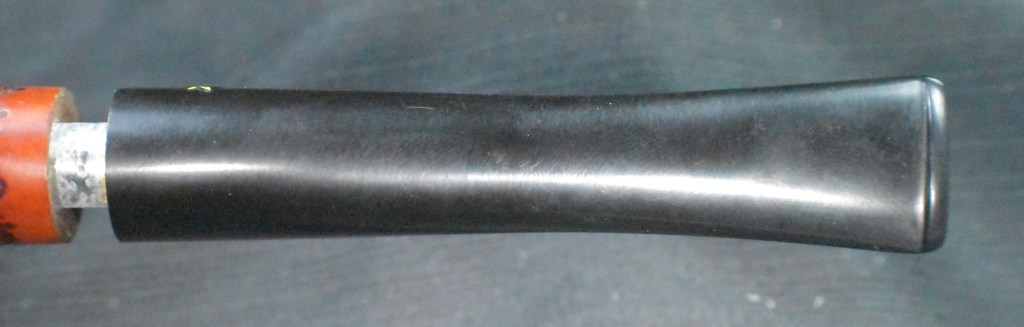
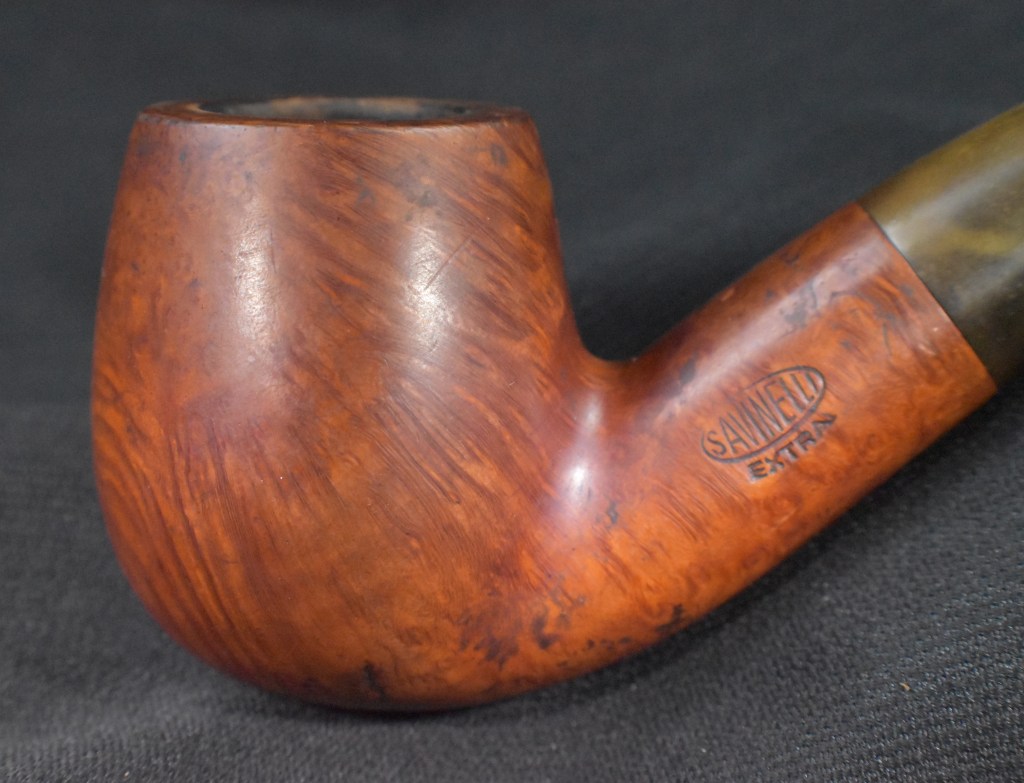
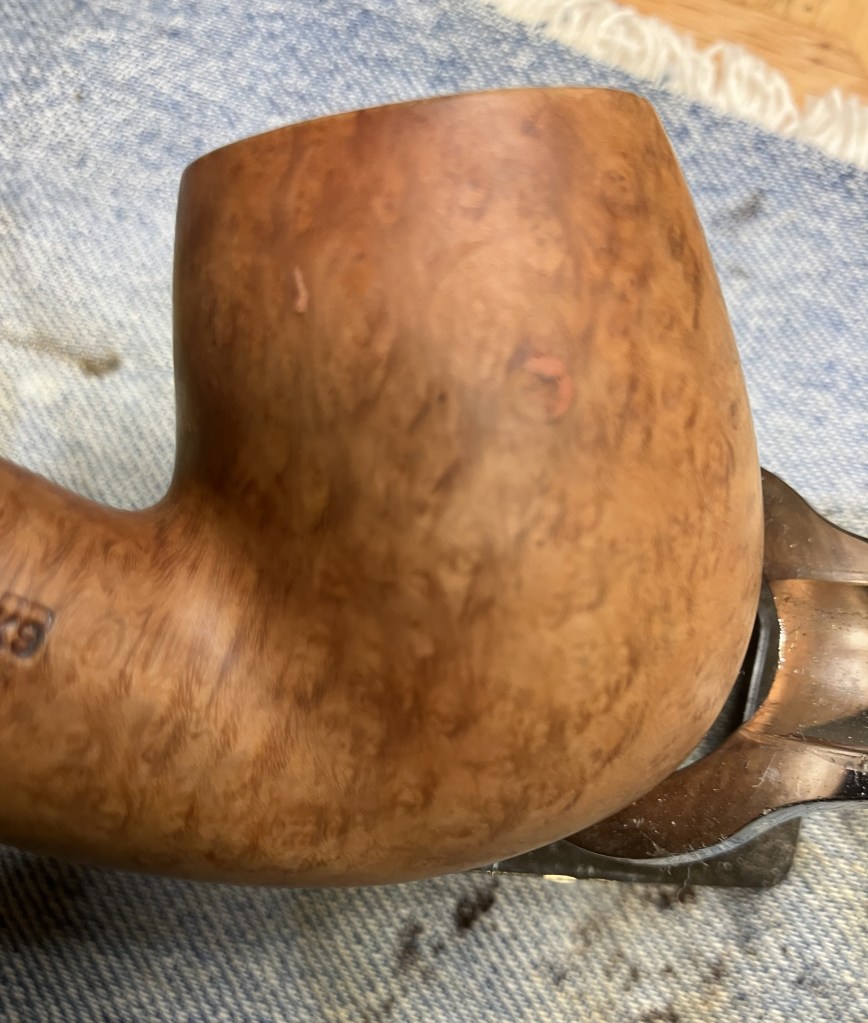
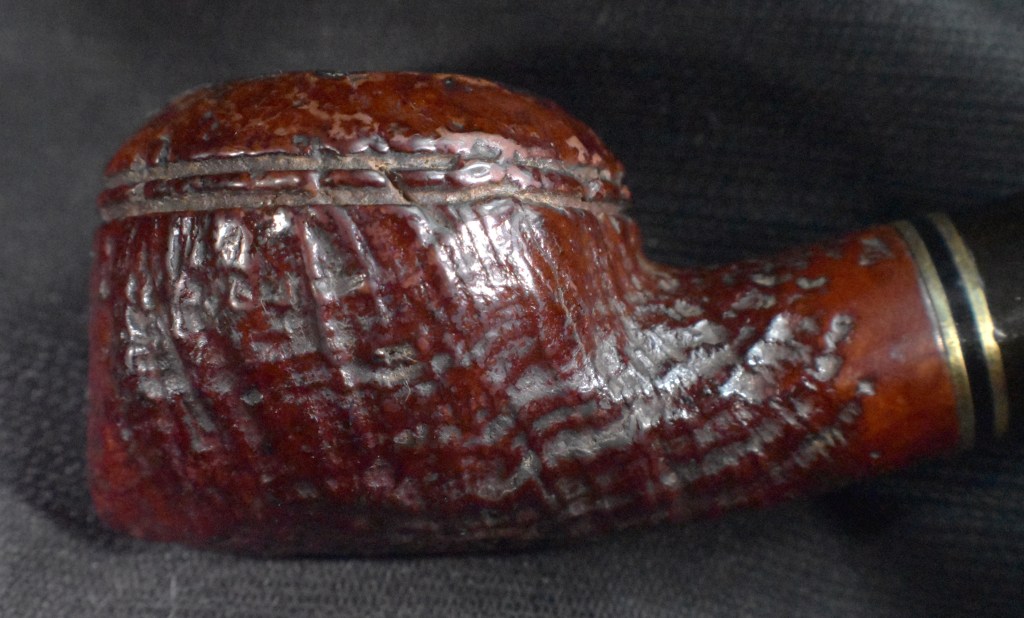
Below are photos showing the sides, front and back of the pipe.

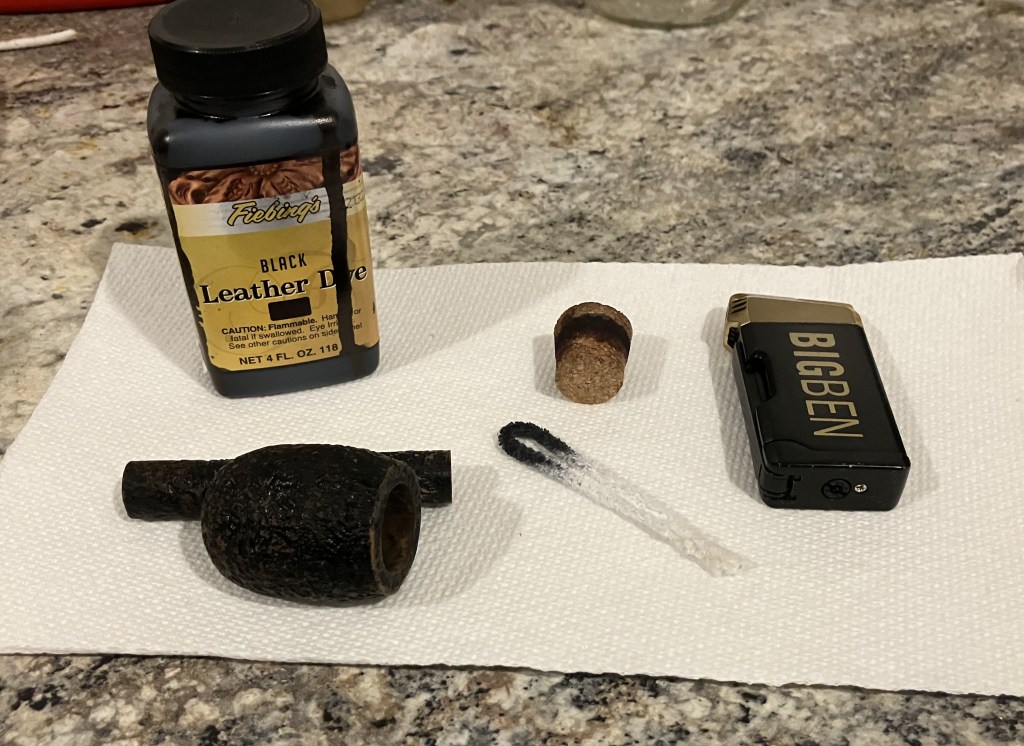
To remedy the worn black finish, I chose to apply Fiebing’s Black Leather Dye. Below is the dye kit; a cork to plug the tobacco chamber, a folded pipe cleaner as the applicator and a lighter to flame the dye heating it and evaporating the dye’s solvent (alcohol).
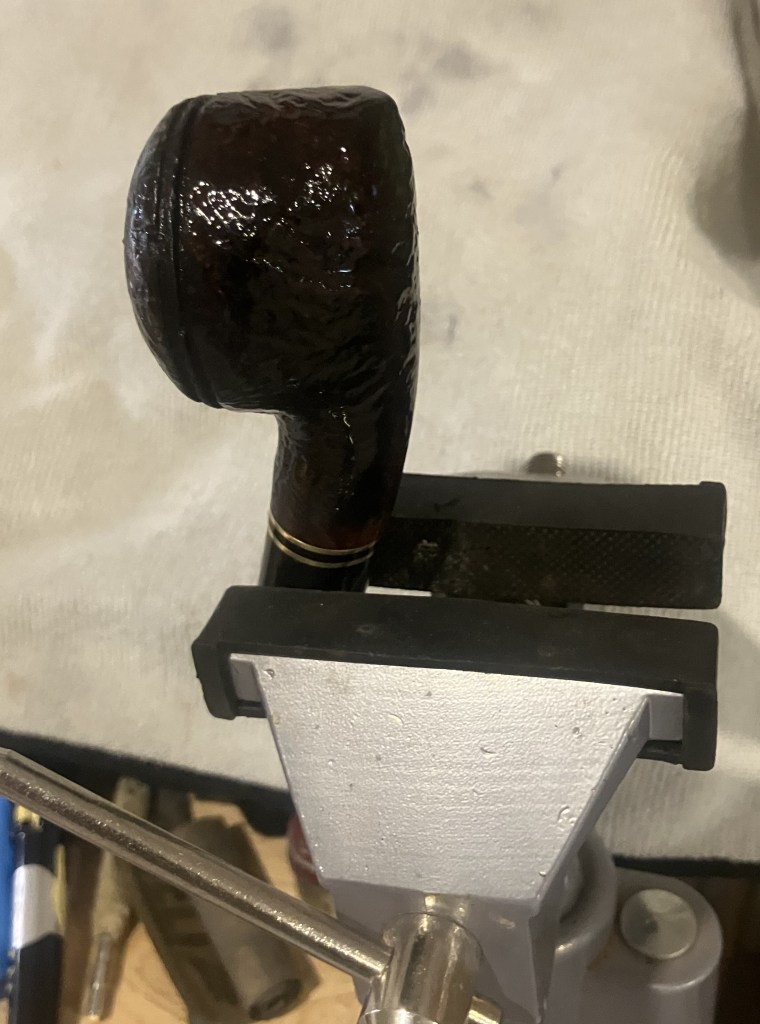
Several coats of black dye were applied with a couple flamings. The stummel was allowed to dry for about an hour.
Yeah, there is a reason I need at least 3 layers of paper towels under me when dying a stummel.

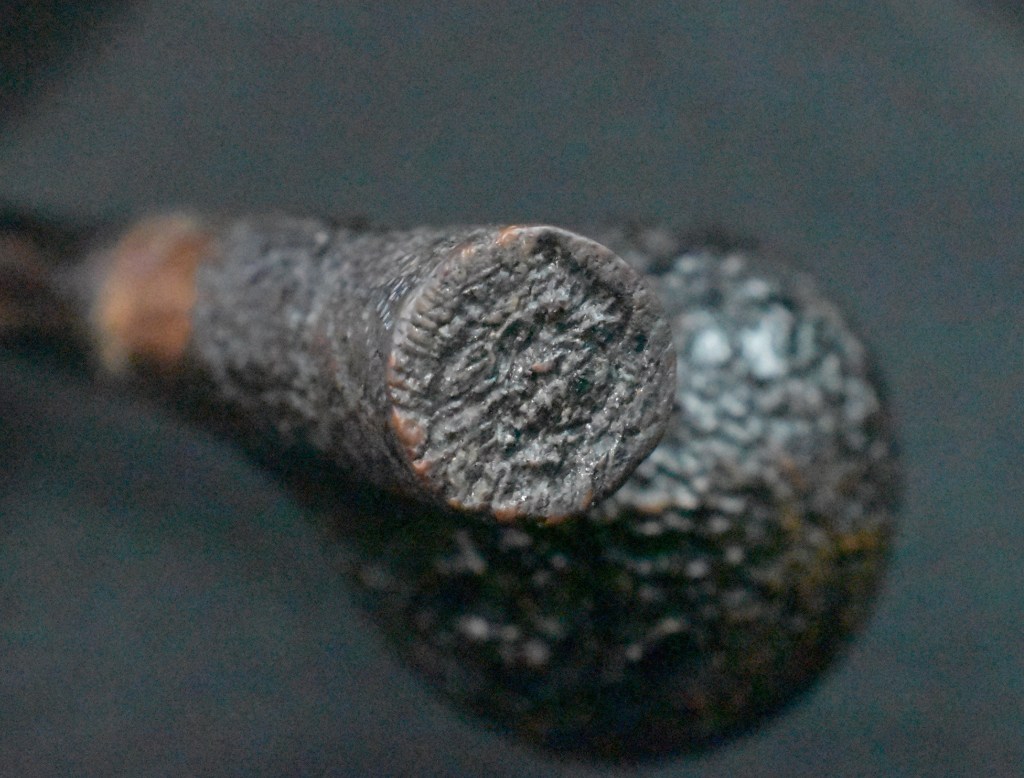
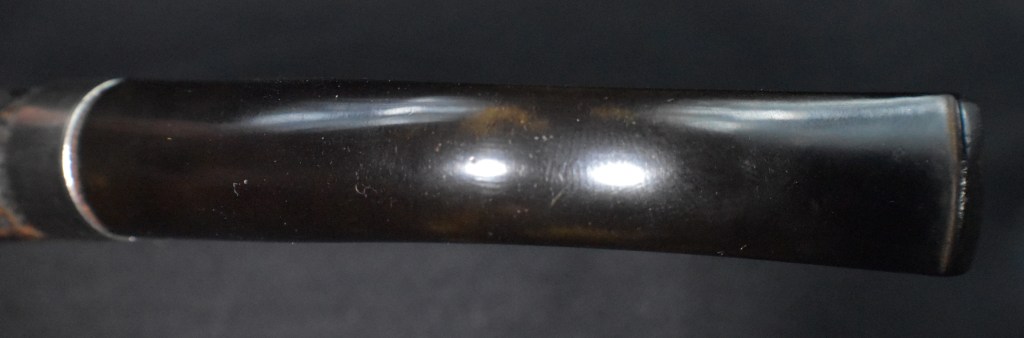
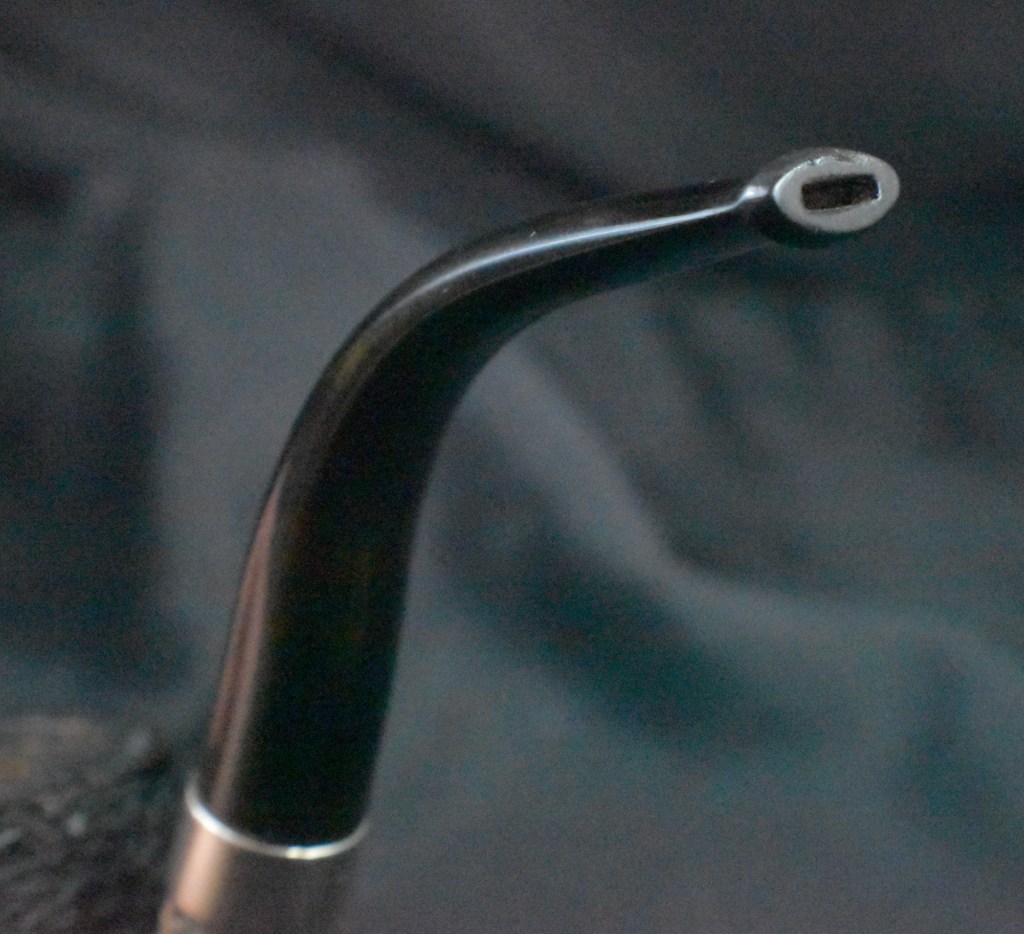
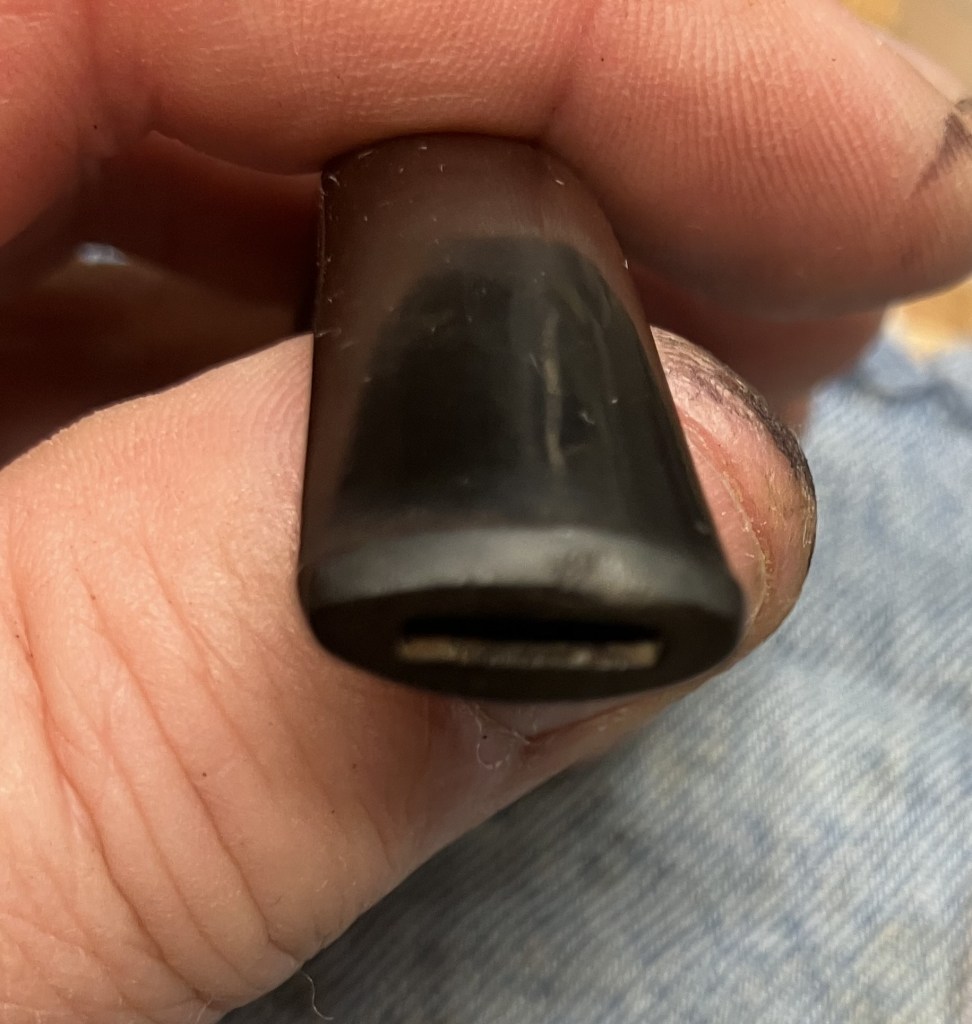
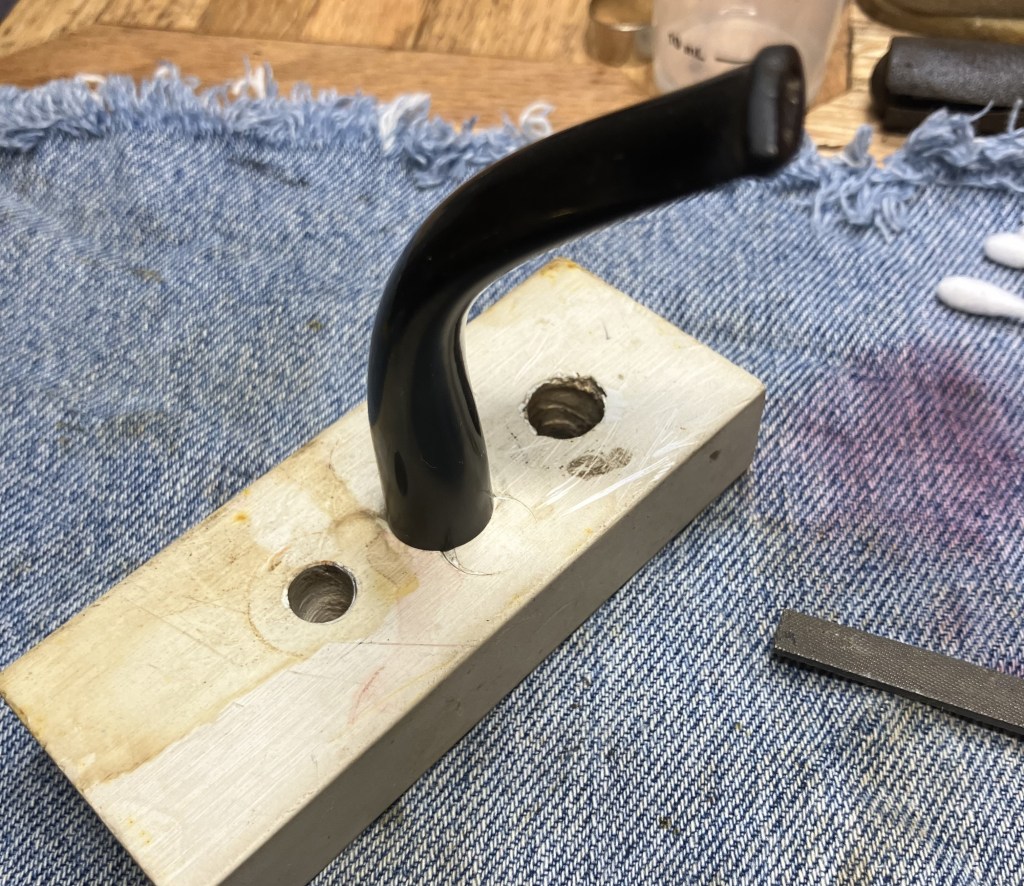
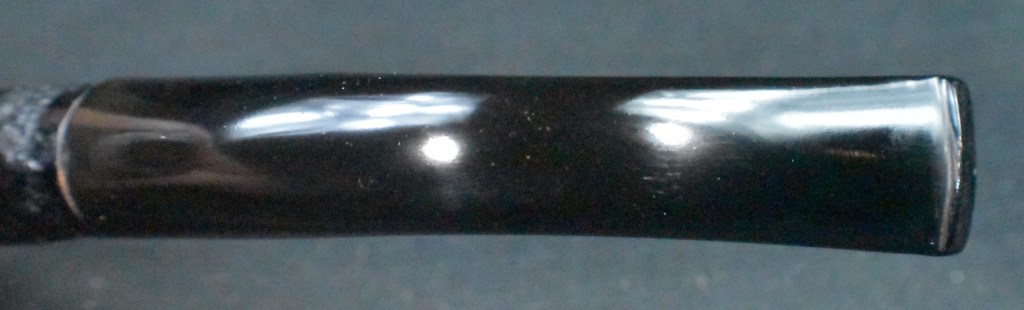
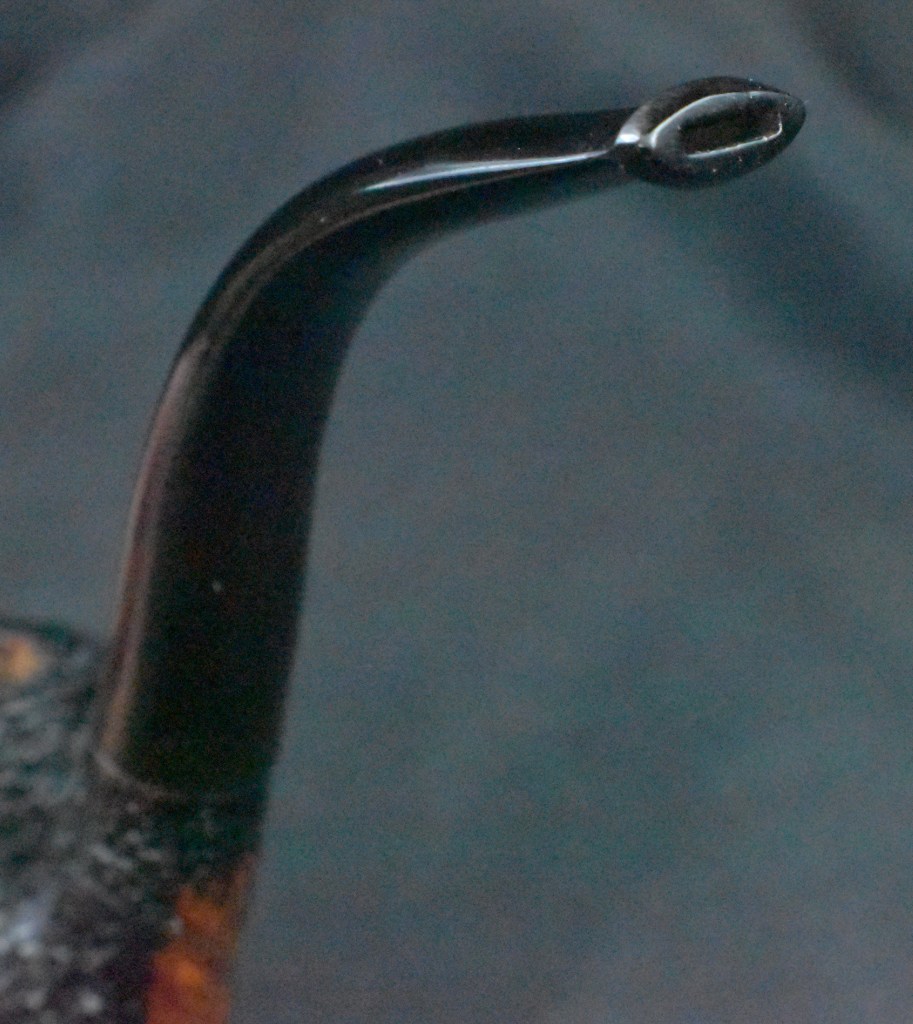
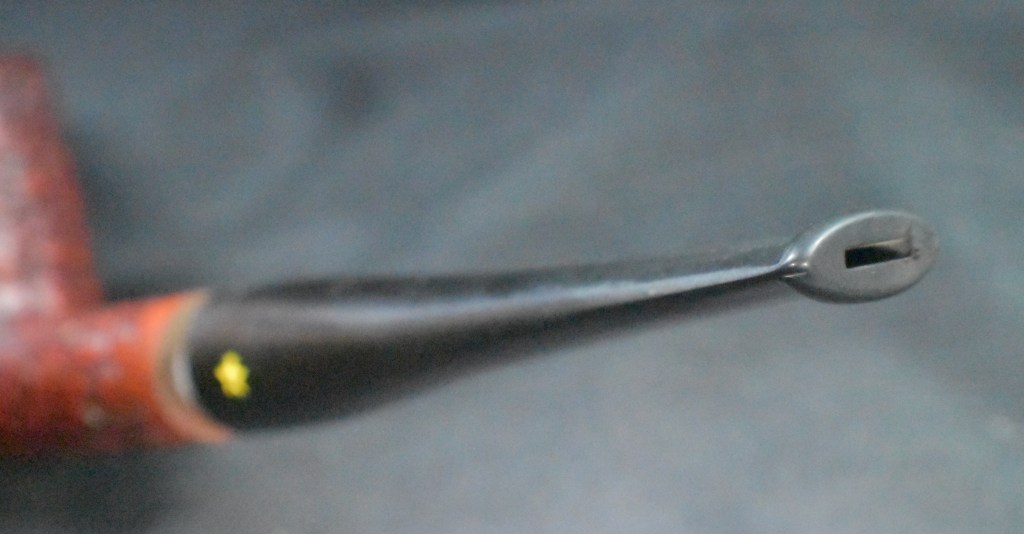
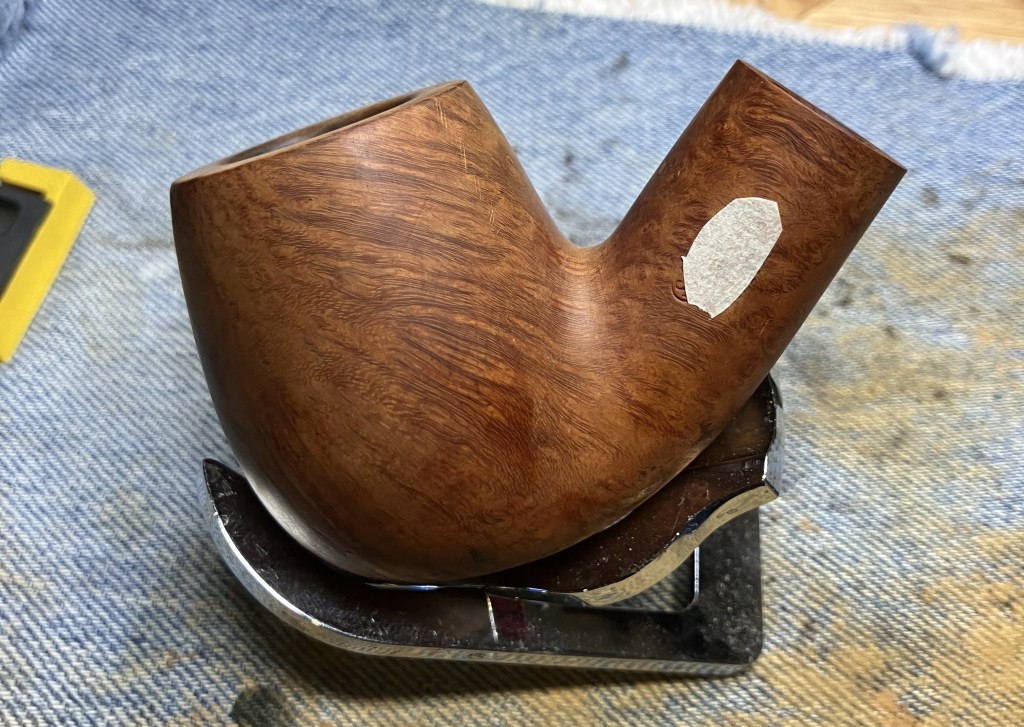
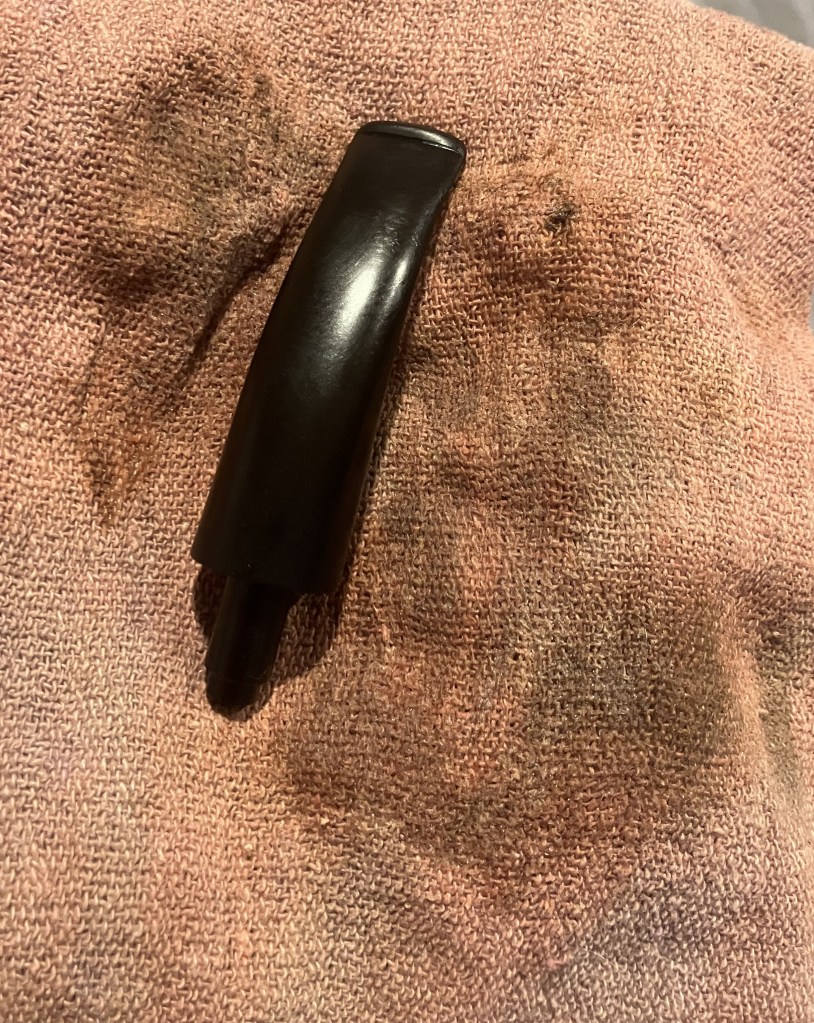
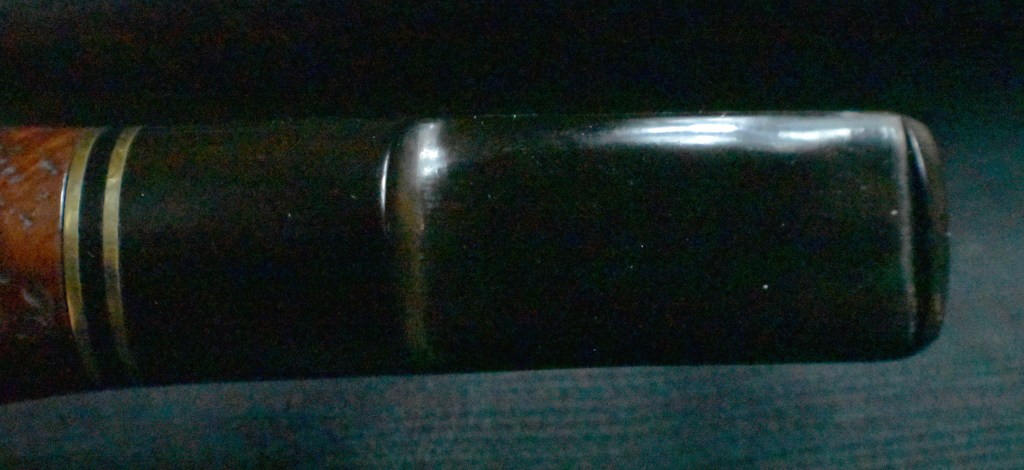
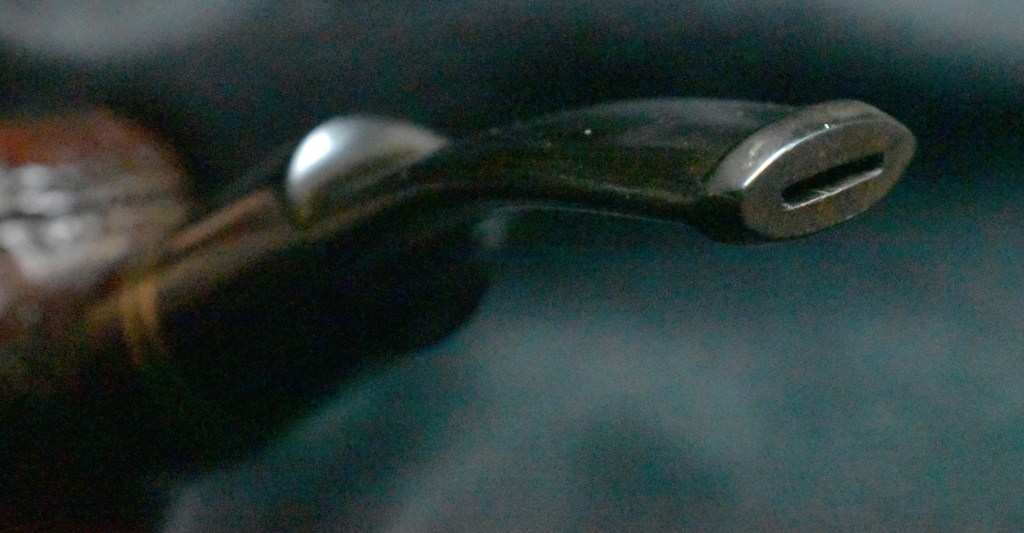
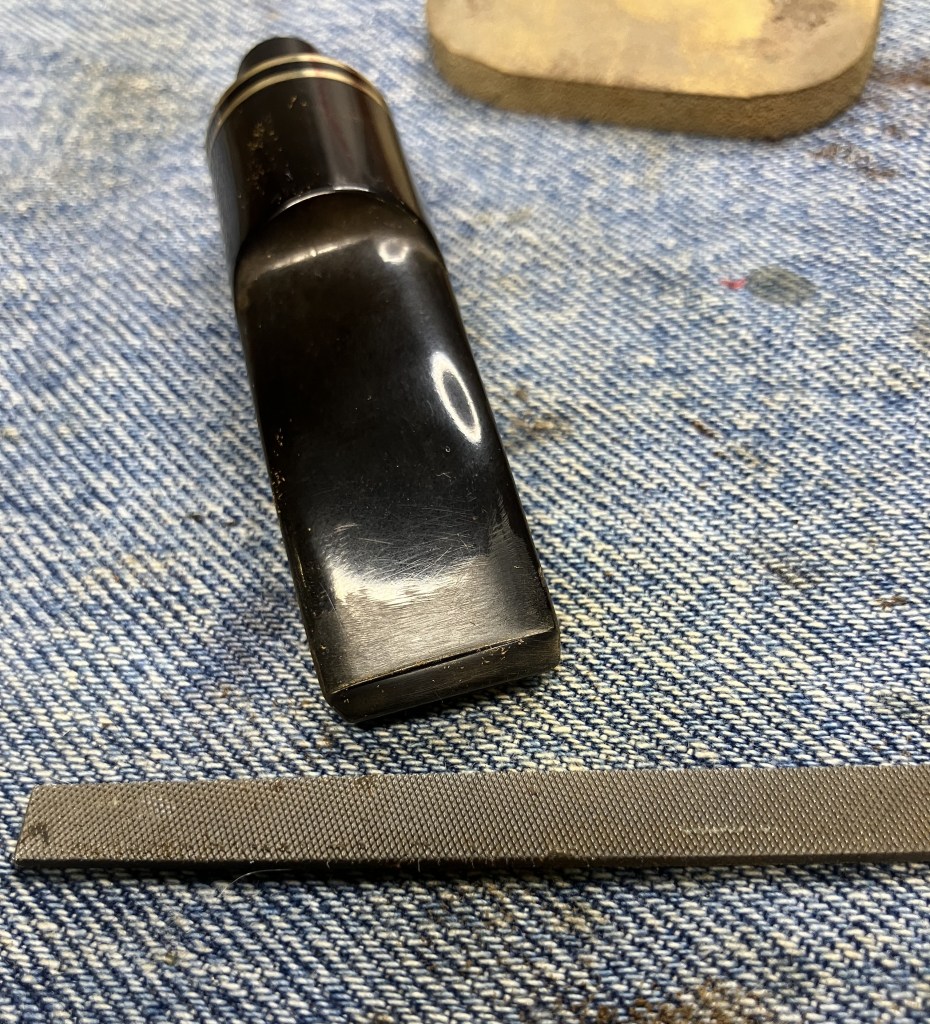
During the drying time, I turned my attention to the stem. There was bite damage to the top of the button.
To hold the stem I used a wood block in which I had previously drilled various size holes for this very purpose.
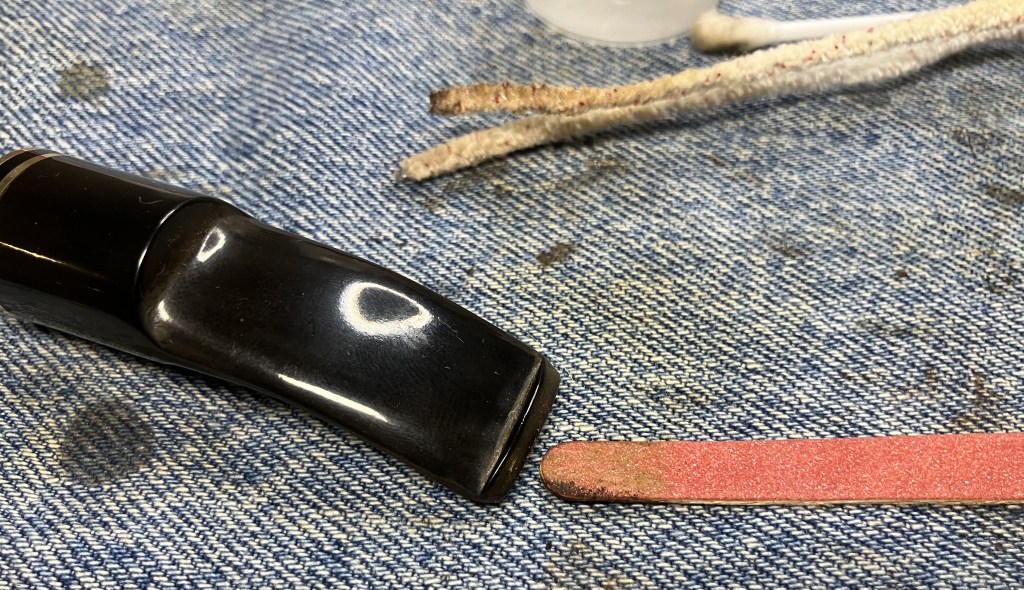
The underside of the stem had additional bite marks.
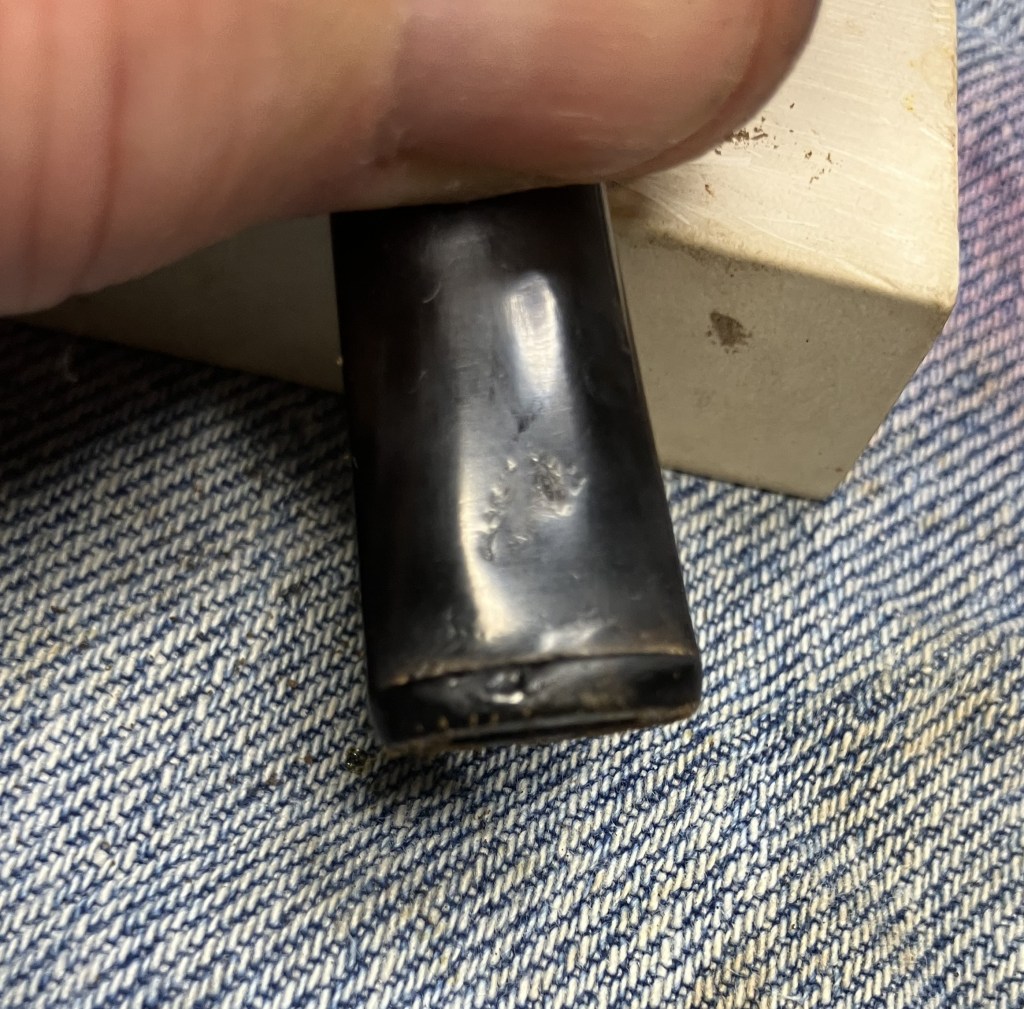
I used a fine flat file and sanding to try to reestablish the button and remove the tooth damage
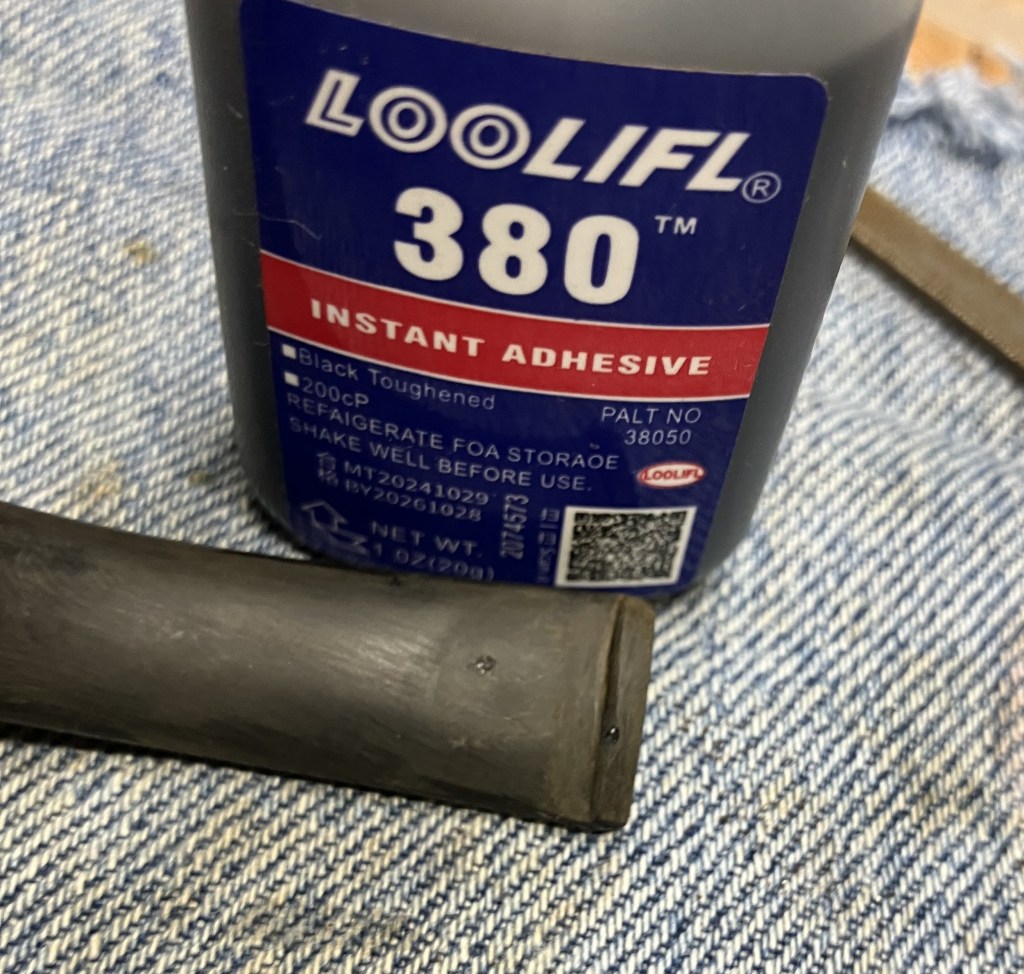
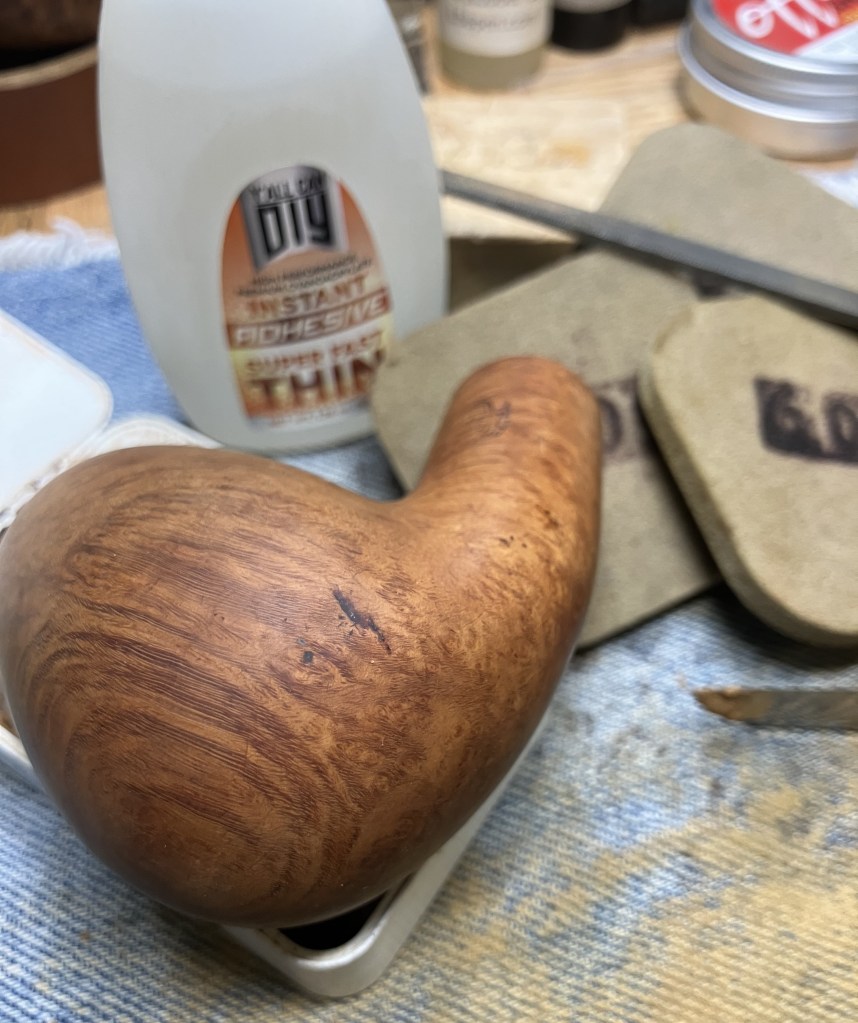
This met with success except for one small tooth dent that I needed black cyanoacrylate (CA, super glue) to fill and repair.
One drop of black CA is all that was needed.
This drop was spritzed with a CA drying accelerator.
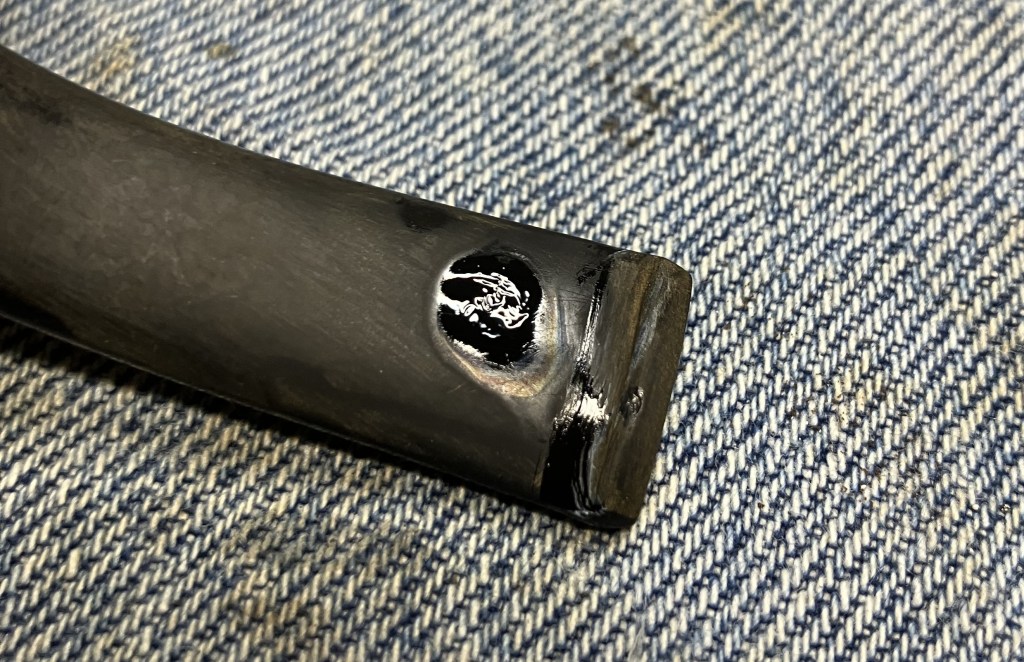
The drop was then filed and sanded smooth.
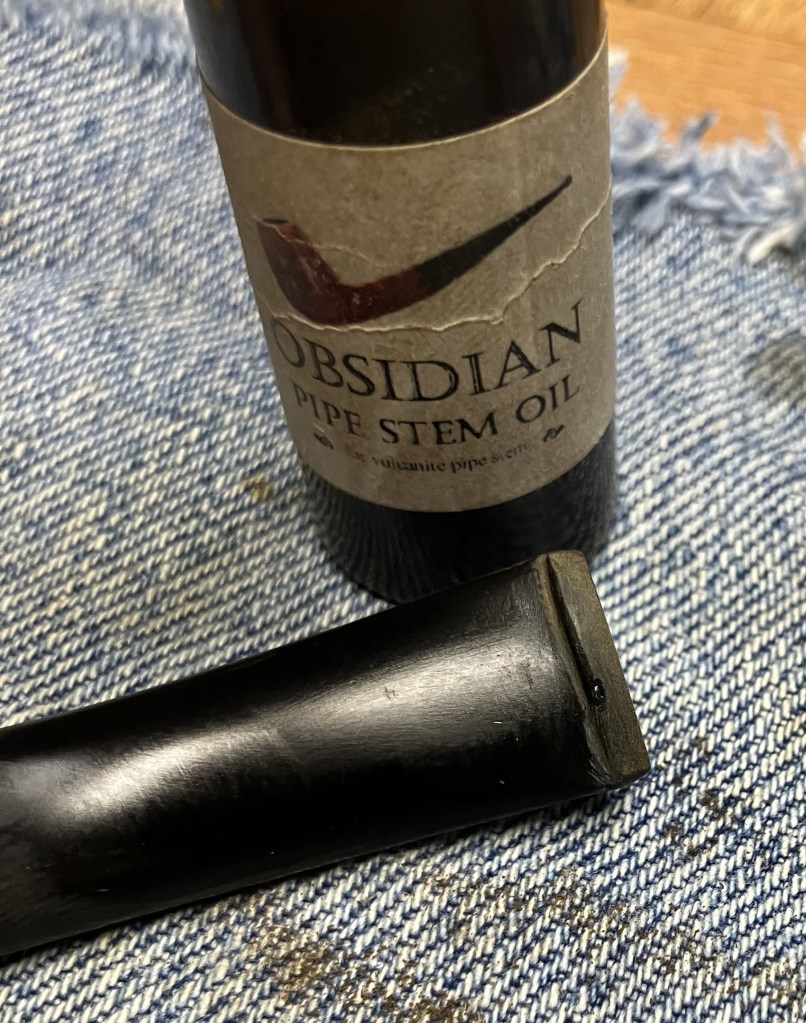
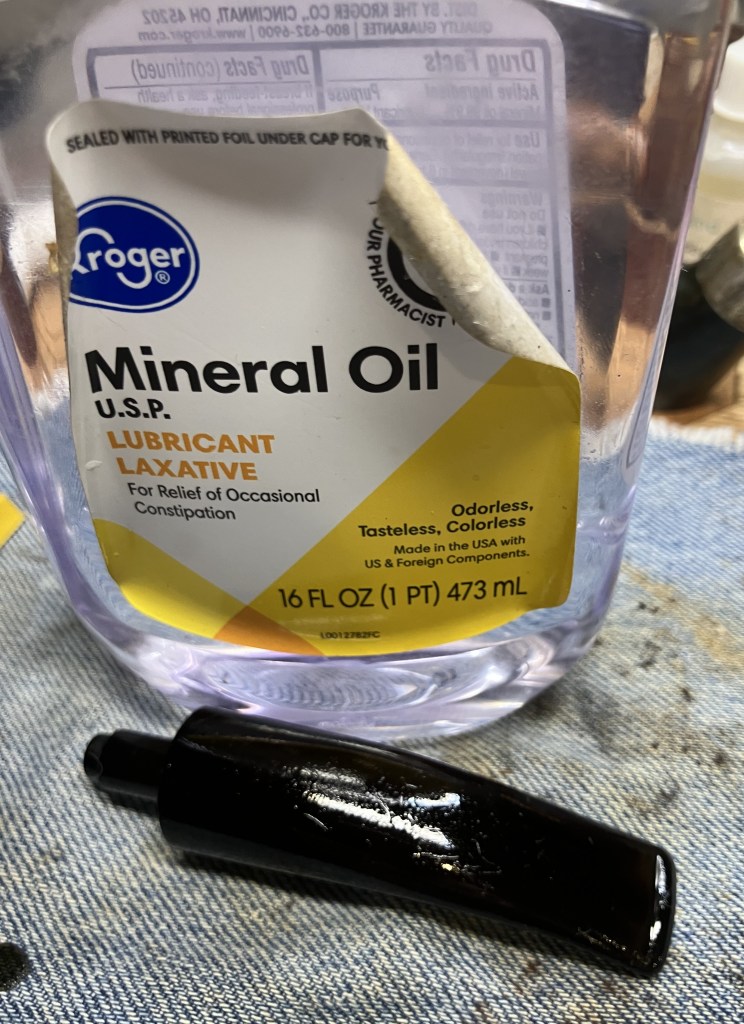
I rubbed on a little bit of Obsidian Oil to see if the fill was noticeable. It was nearly invisible.
I retrieved the stummel. The black dye looked good and the wear marks were gone.

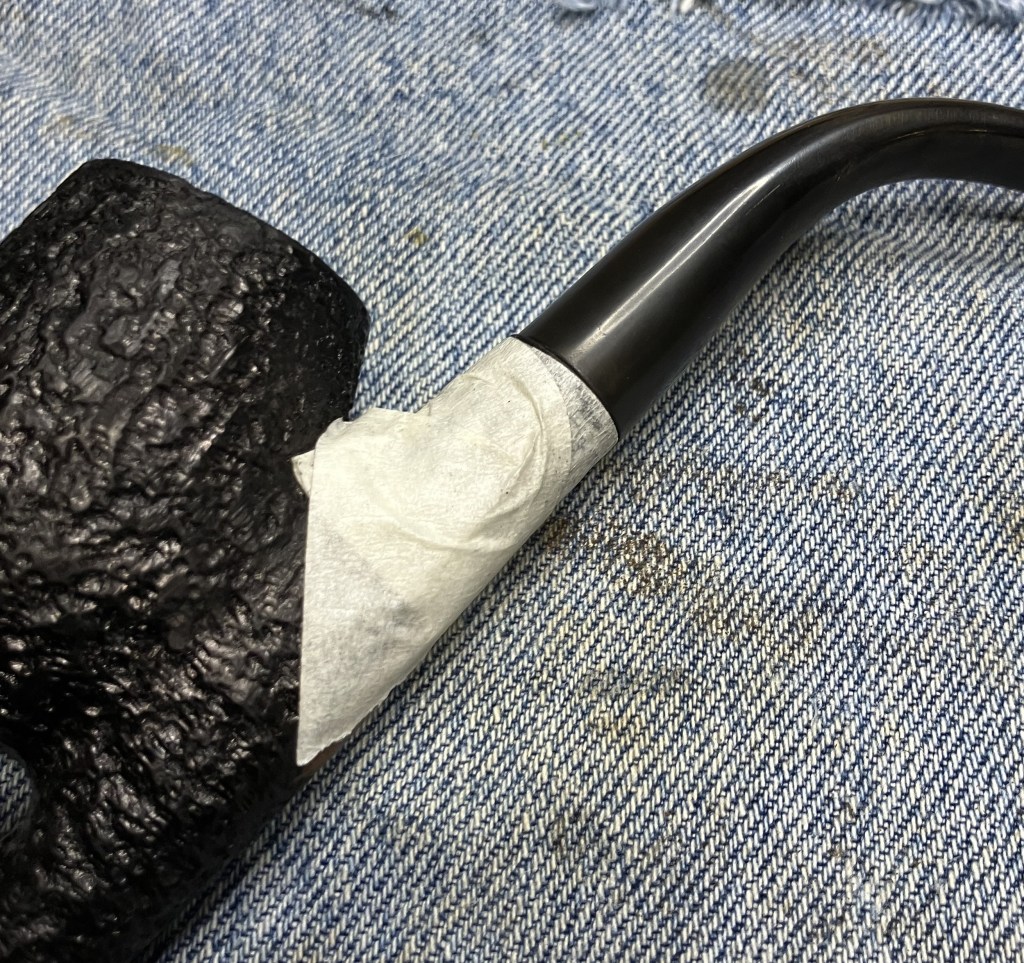
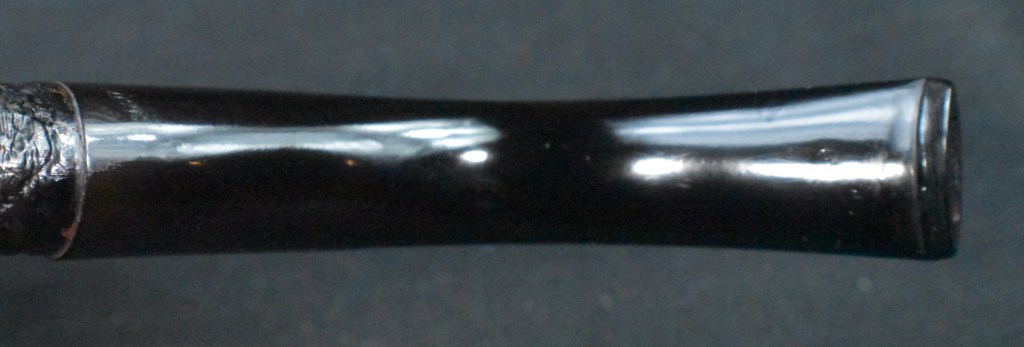
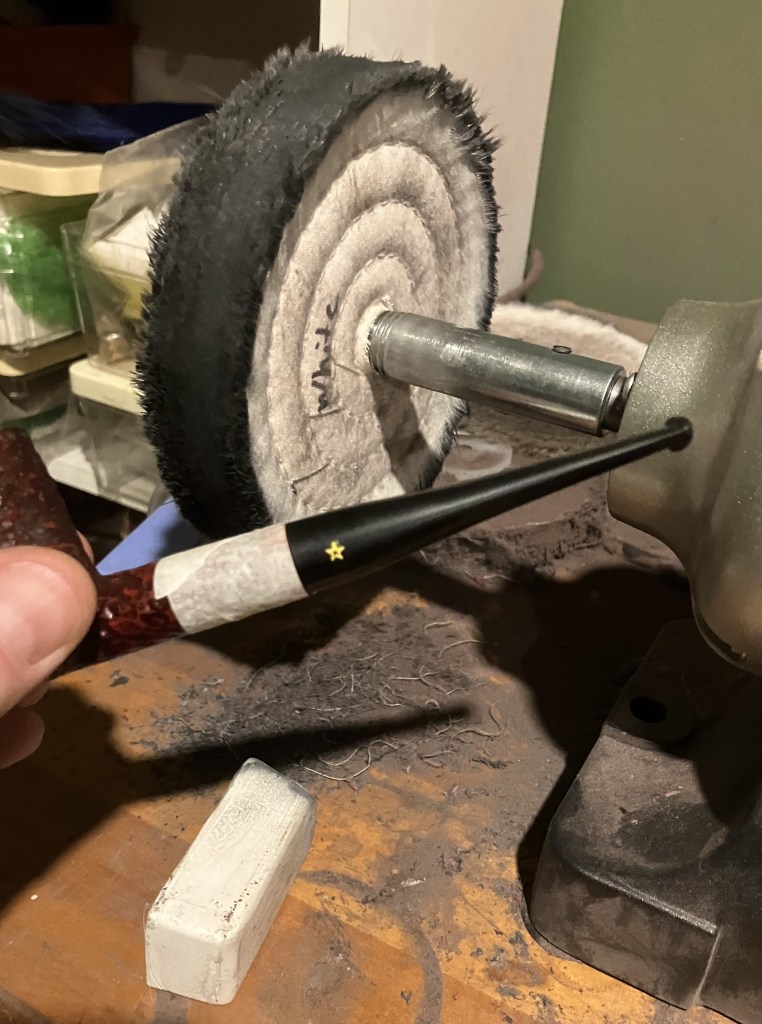
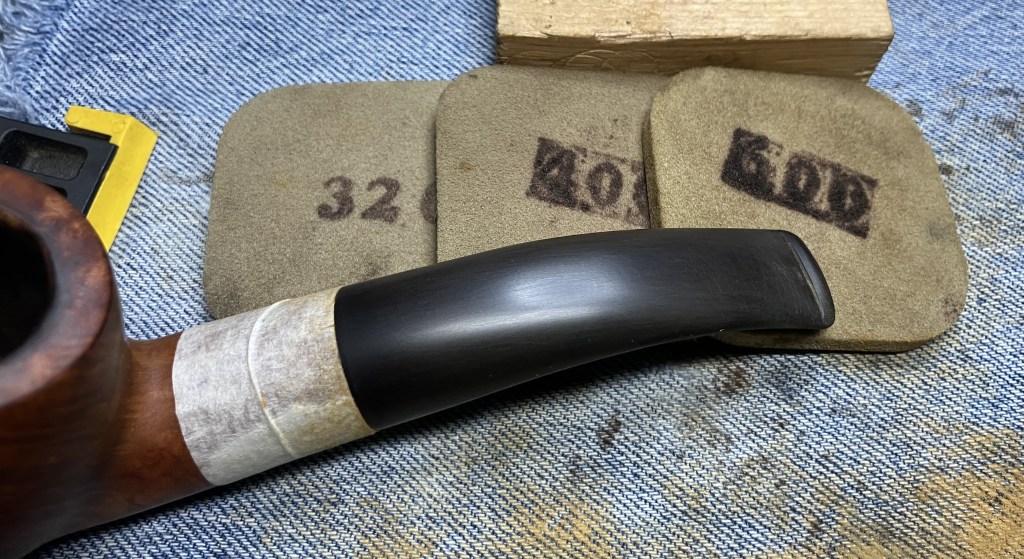
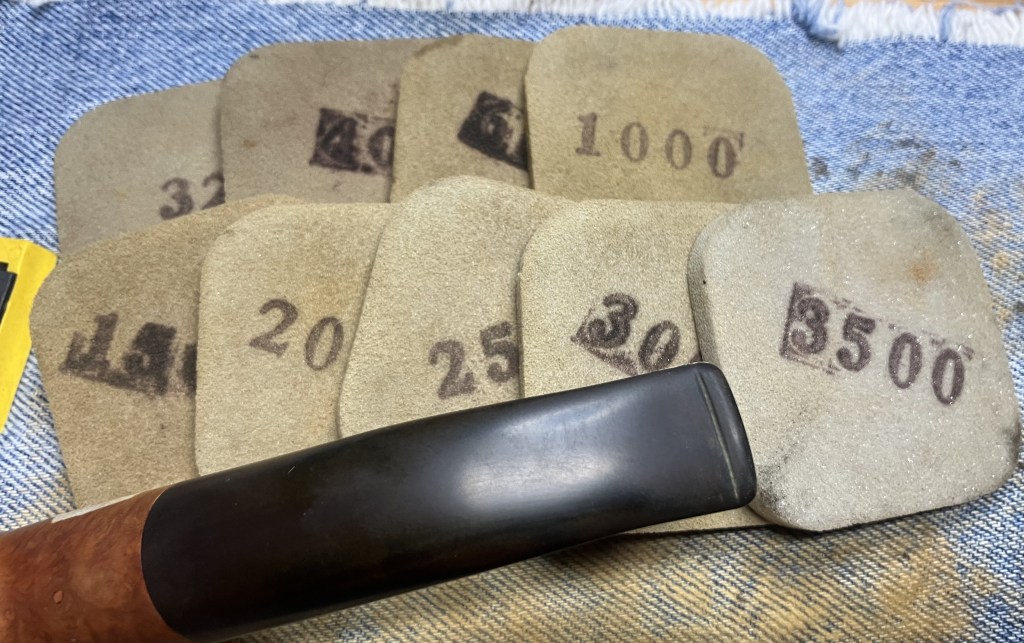
Next, I masked off the shank and fitted the stem. I had sanded the bite zone of the pipe to 1000 grit with sanding sponges during the repairs to the button. I thought that the rest of the stem would be fine if I just buffed the stem at the buffing wheel. Besides, I wanted to work on my buffing skills.
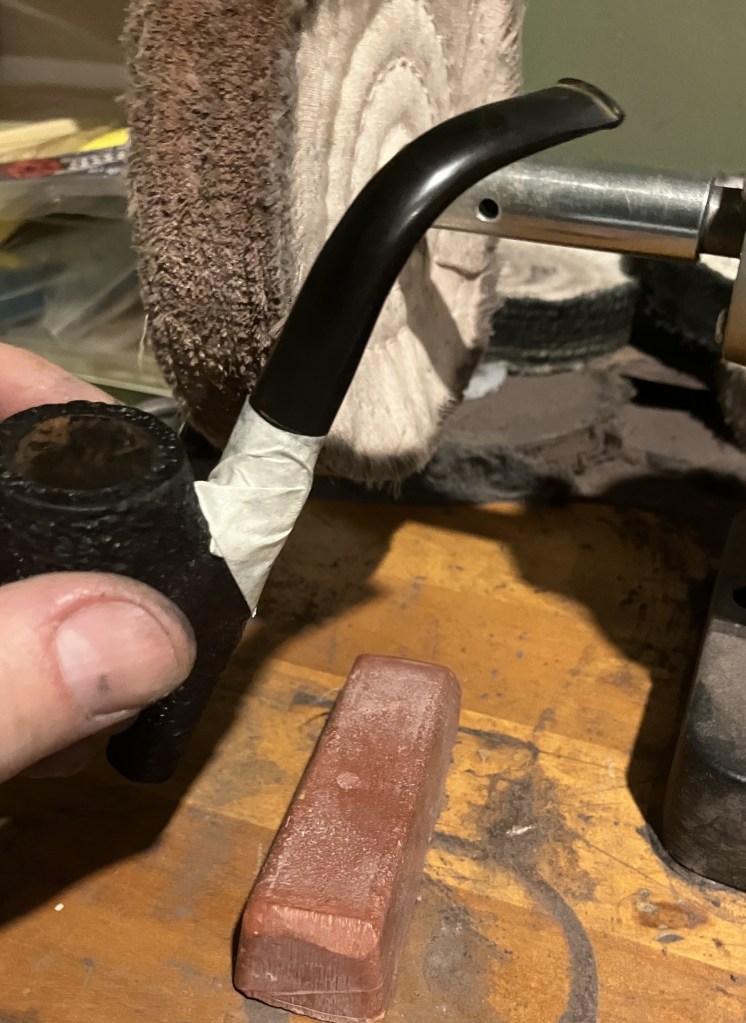
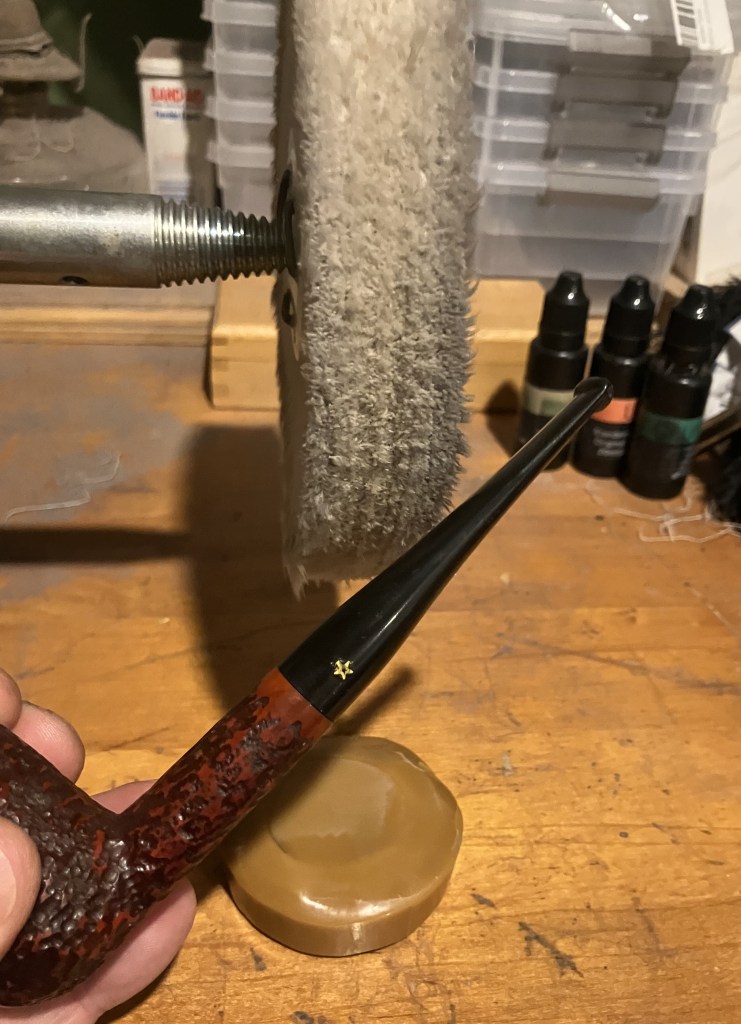
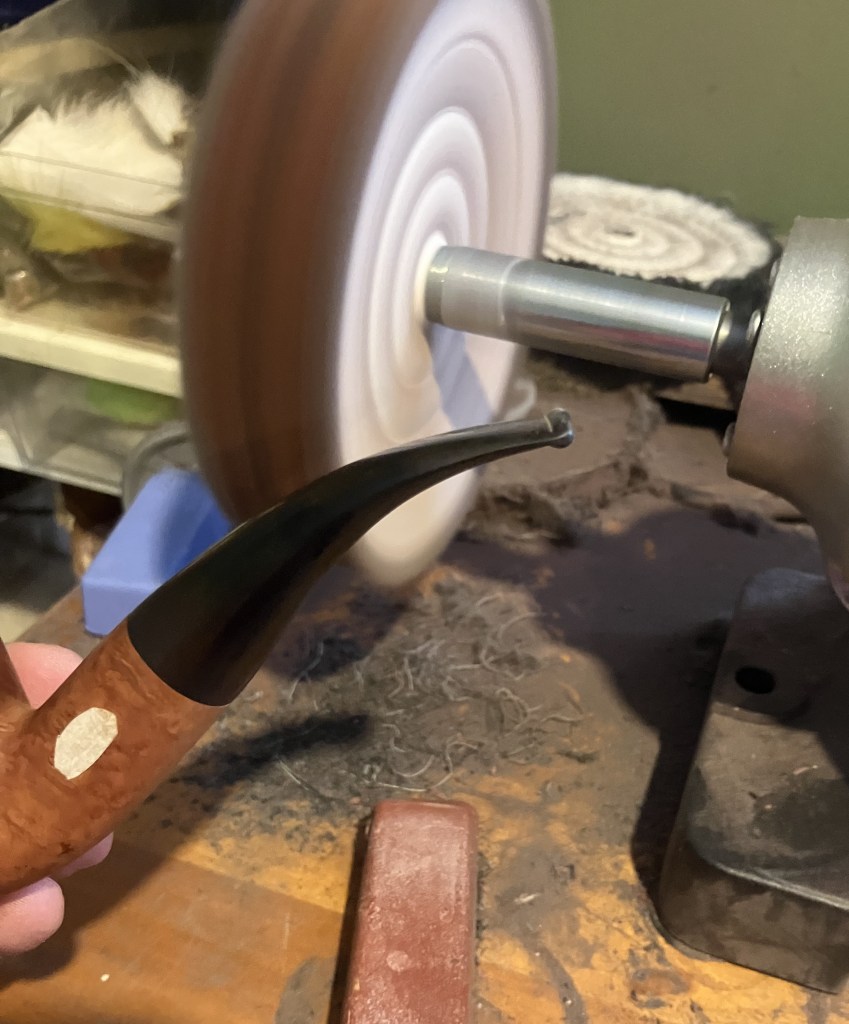
Starting with the rouge buffing compound and the dedicated rouge wheel, I buffed the stem.
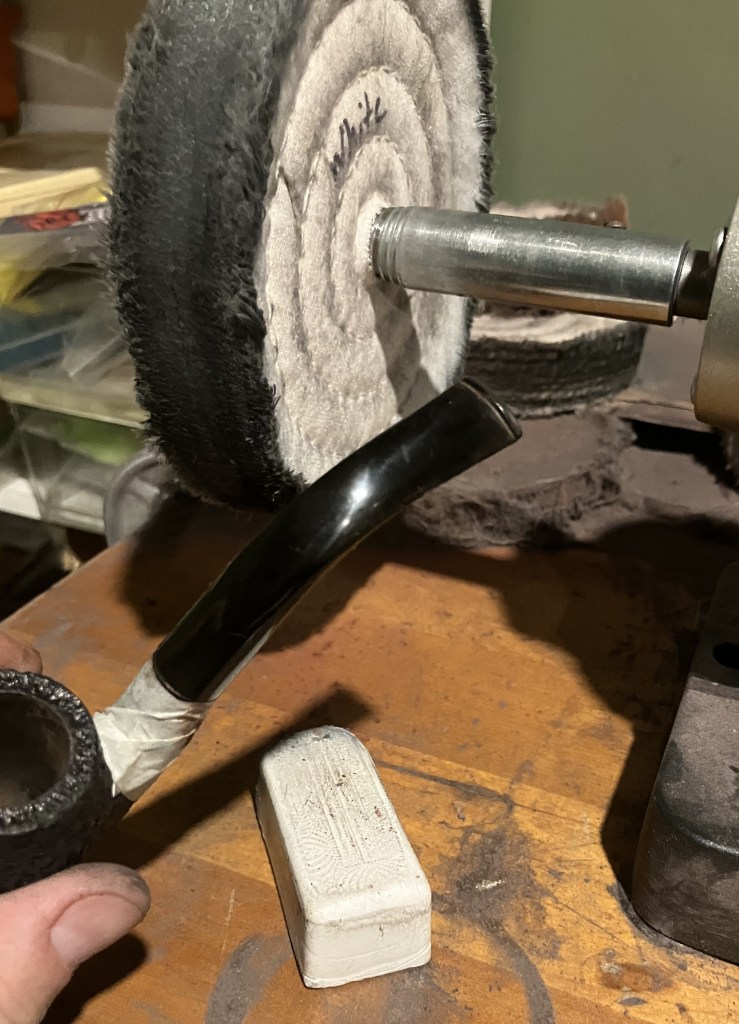
I wiped the rouge compound from the stem then switched wheels and proceeded to use white compound.
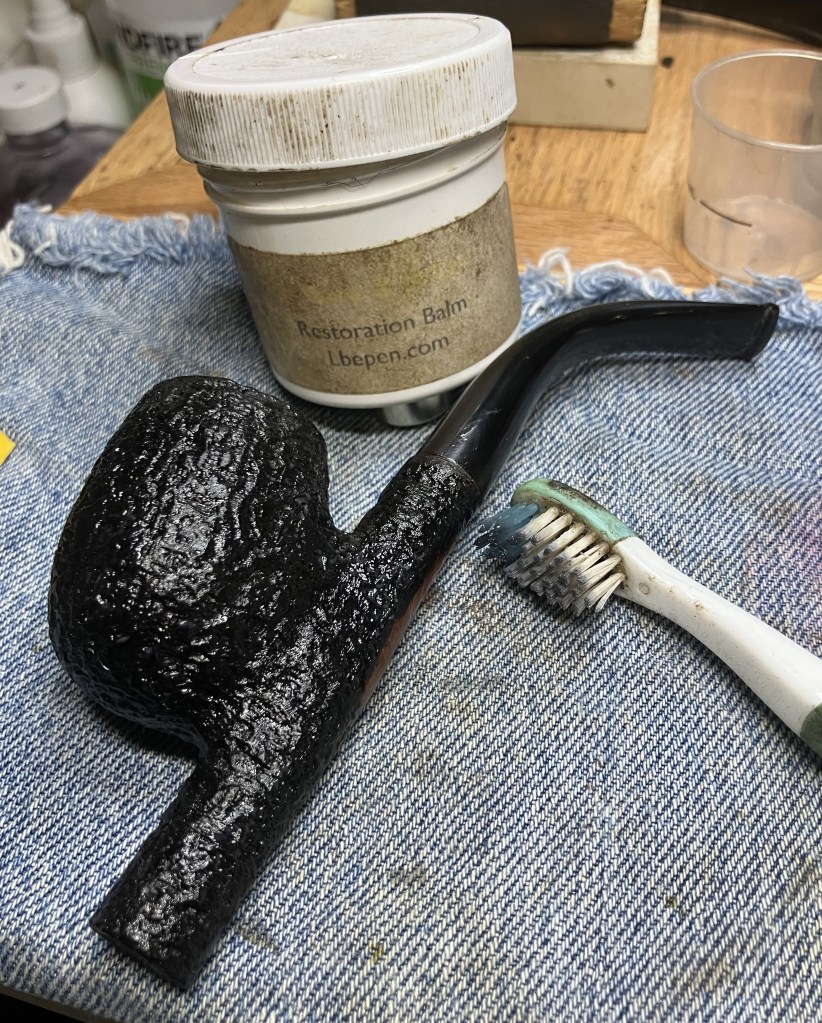
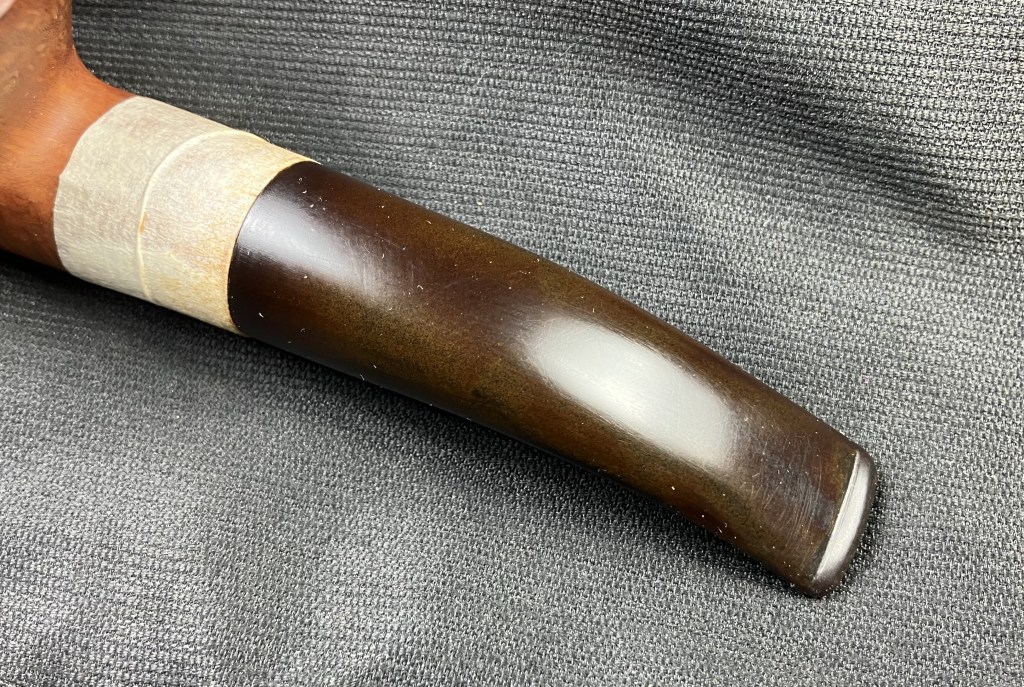
The stem looked great. I removed the masking tape and applied a coat of Before and After Restoration Balm with a baby tooth brush. This was allowed to rest for 20 minutes.
After the resting, the stummel was hand buffed with an inside out athletic sock to remove the excess balm.
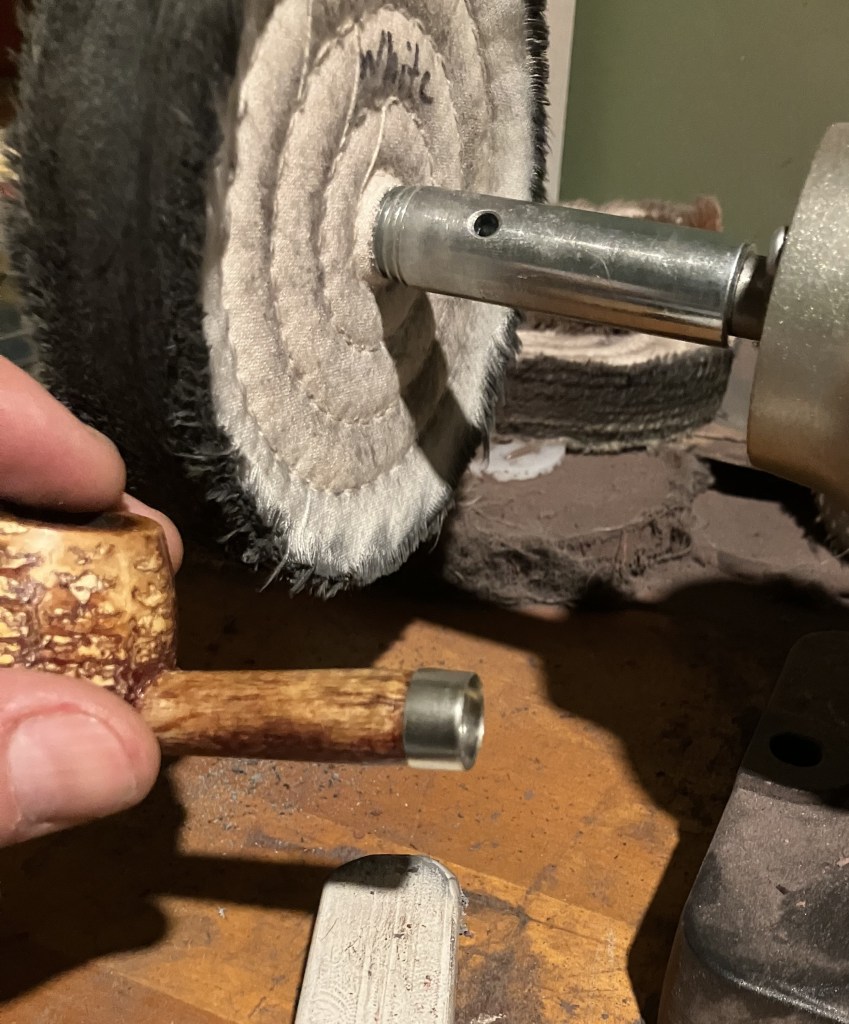
I figured that I should buff the band as well. Maybe the next owner of this pipe would want the band and if so, it should look good. I used a corn cob pipe shank to hold the band during the buffing.
The band fit over the cob’s band and was snug.
Back to the buffer.
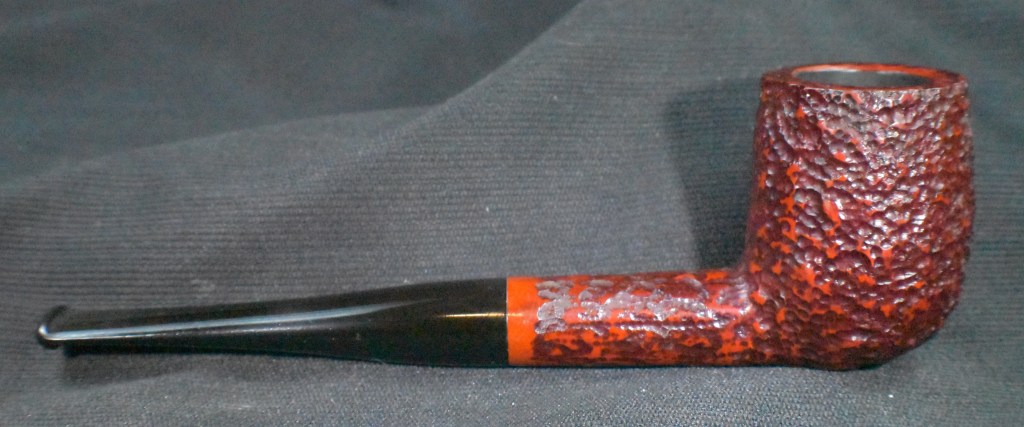
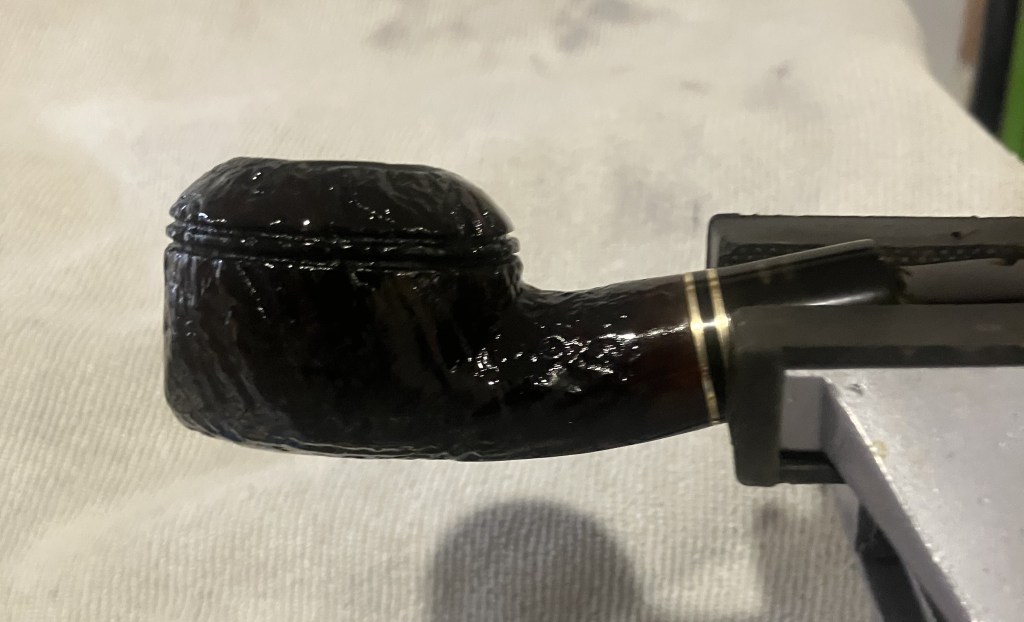
Below you can see the polished band on the pipe.
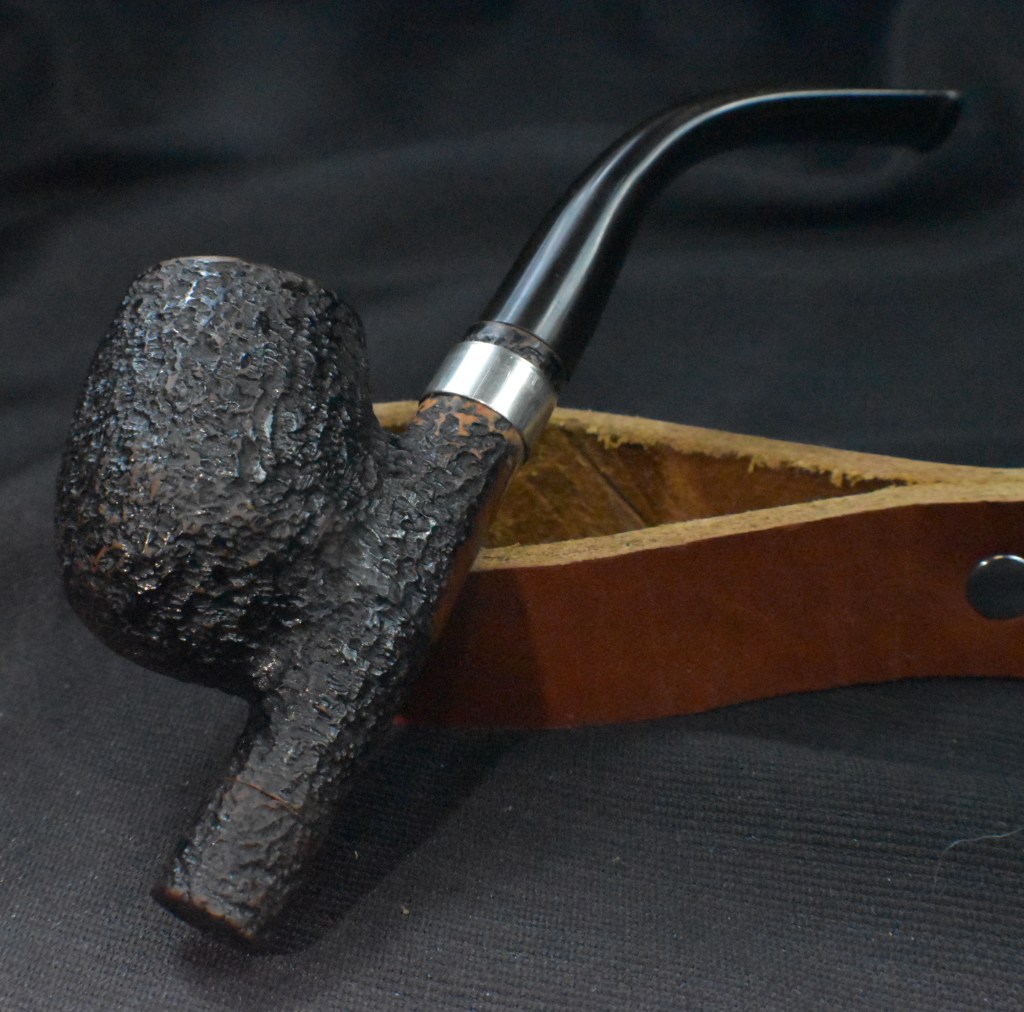
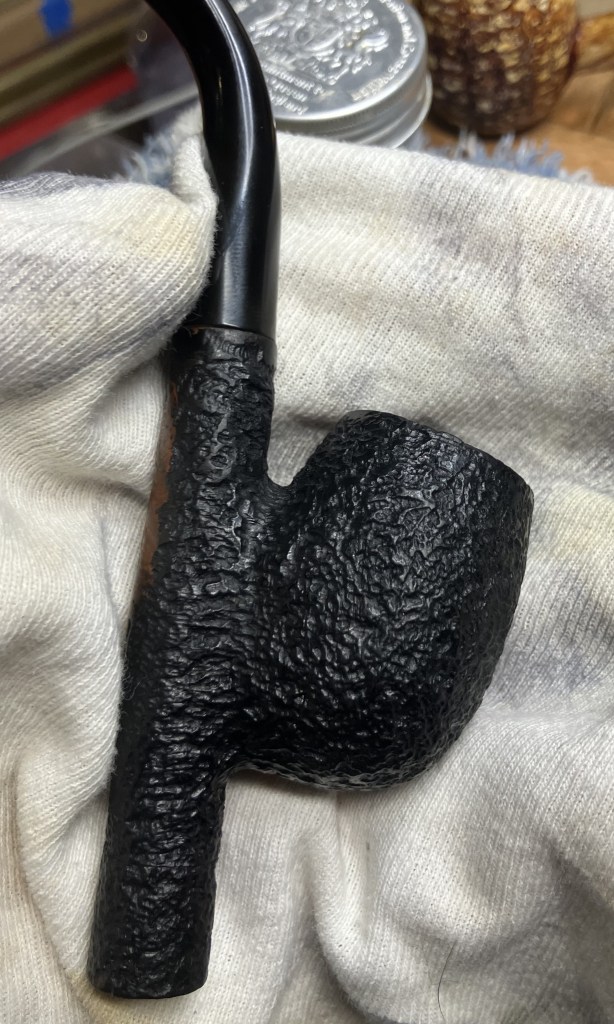
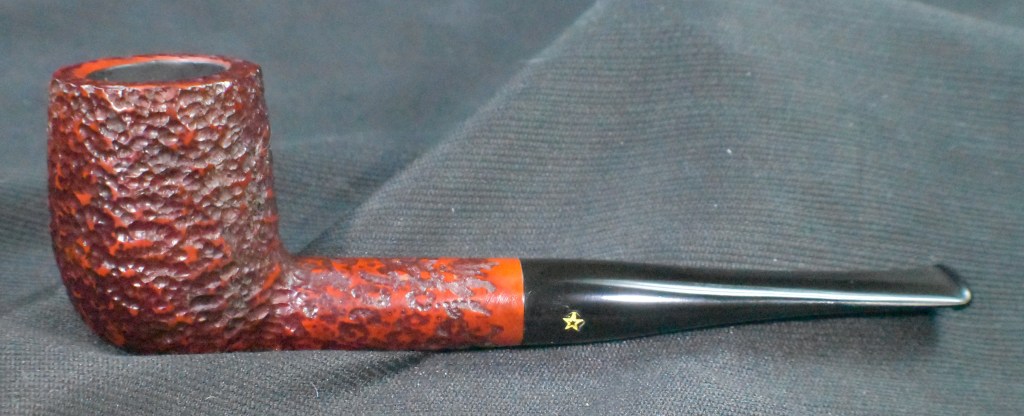
And the pipe without the band.

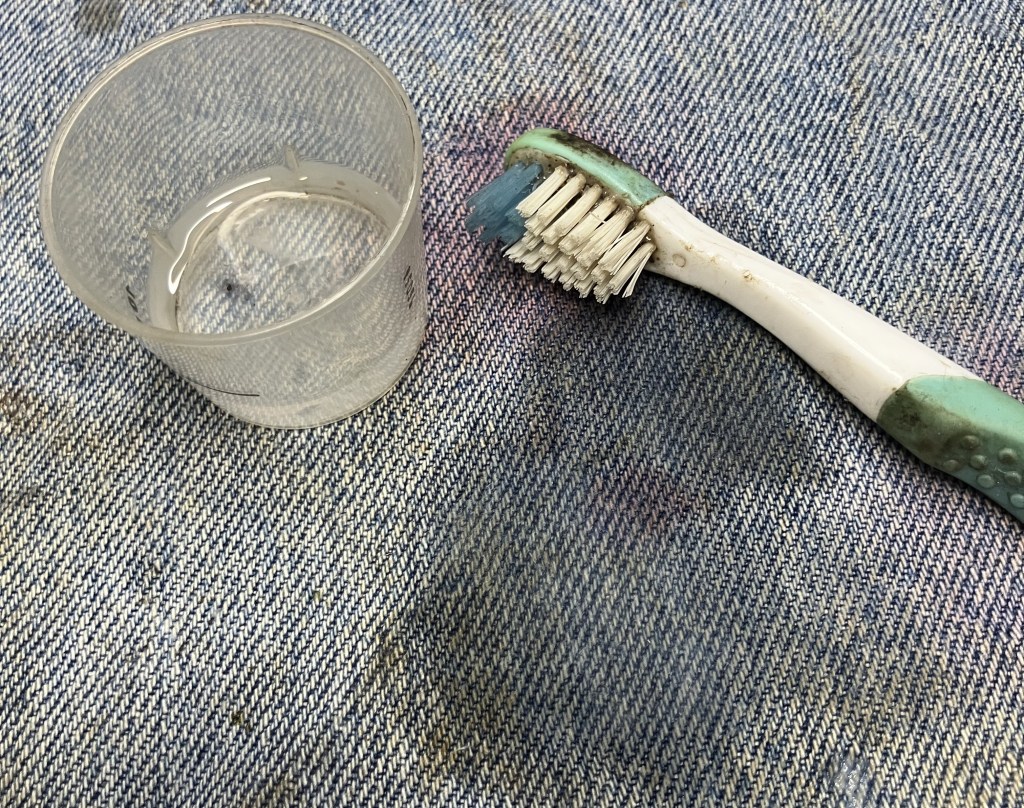
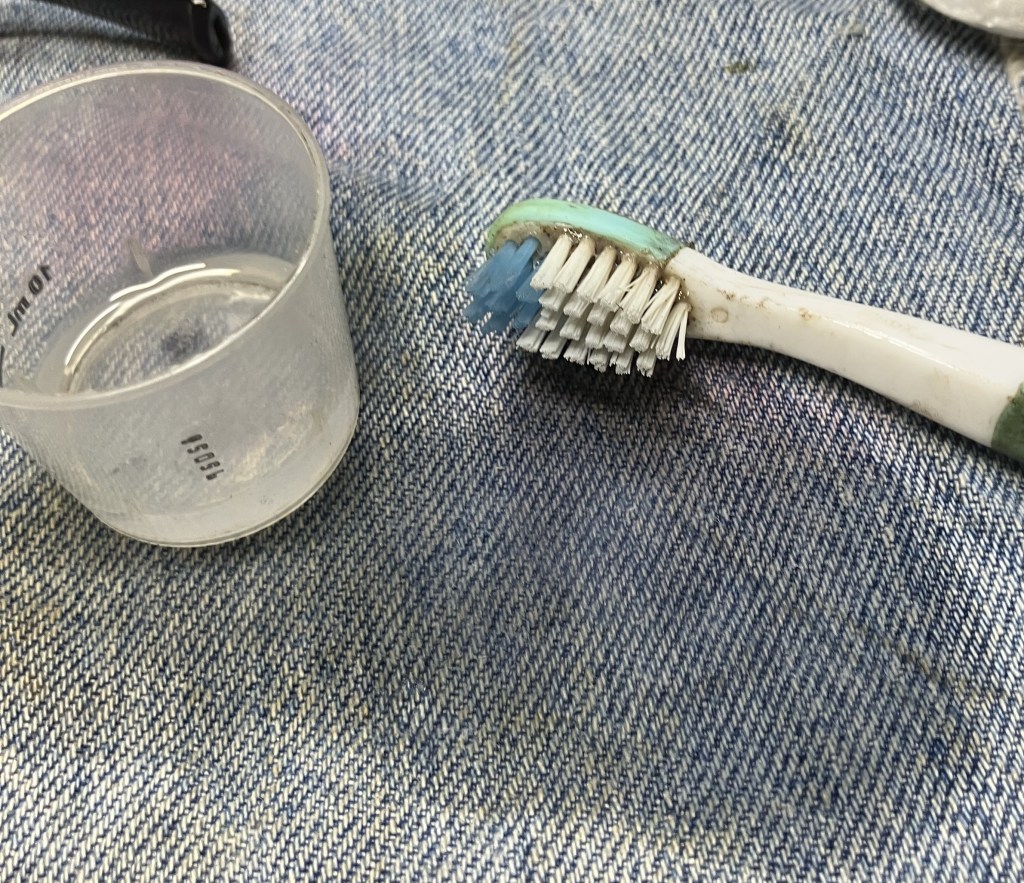
Well, it looks like someone came and used my baby tooth brush and did not clean it when finished. Hmm, I wonder who that could have been? Oh well, cleaning the brush was done by dipping it in 99% ethyl alcohol and brushing the denim work-top protector a couple of times.
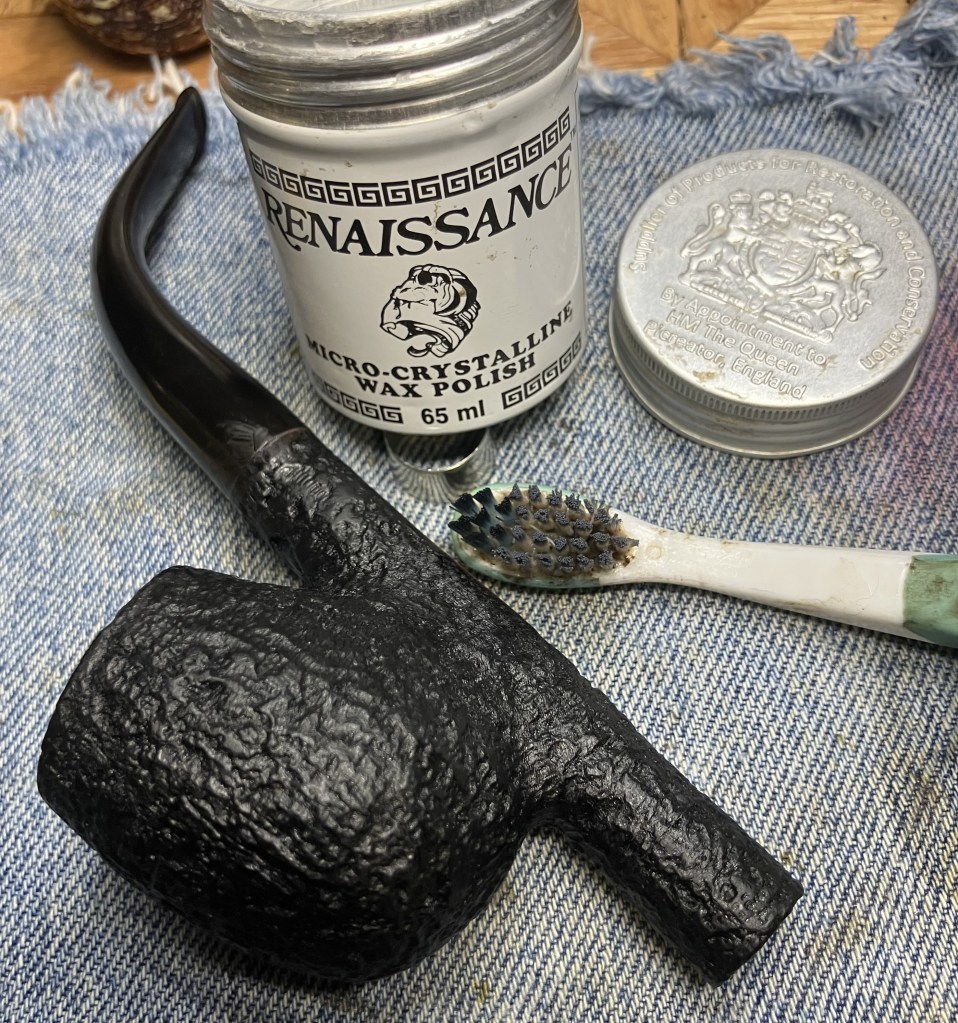
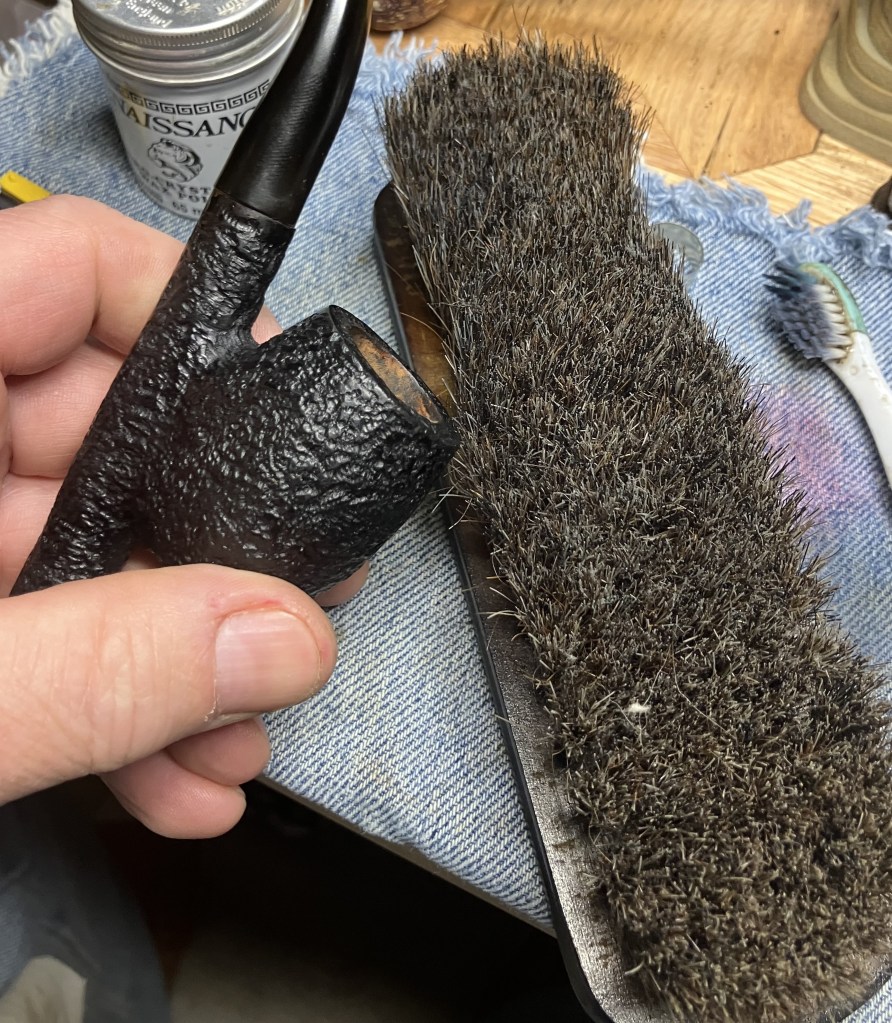
I like using Renaissance Micor-Crystaline Wax for rusticated pipes. “How much wax?”, you ask. About this much.

Baby tooth brush time, the little brush works very well to work the wax into all of the rustication crevasses.
As per the label instructions the wax was hand buffed with a soft cloth.
A little bit of shoe shine brush work to make sure there is no accumulated wax “white” film in the depressions.
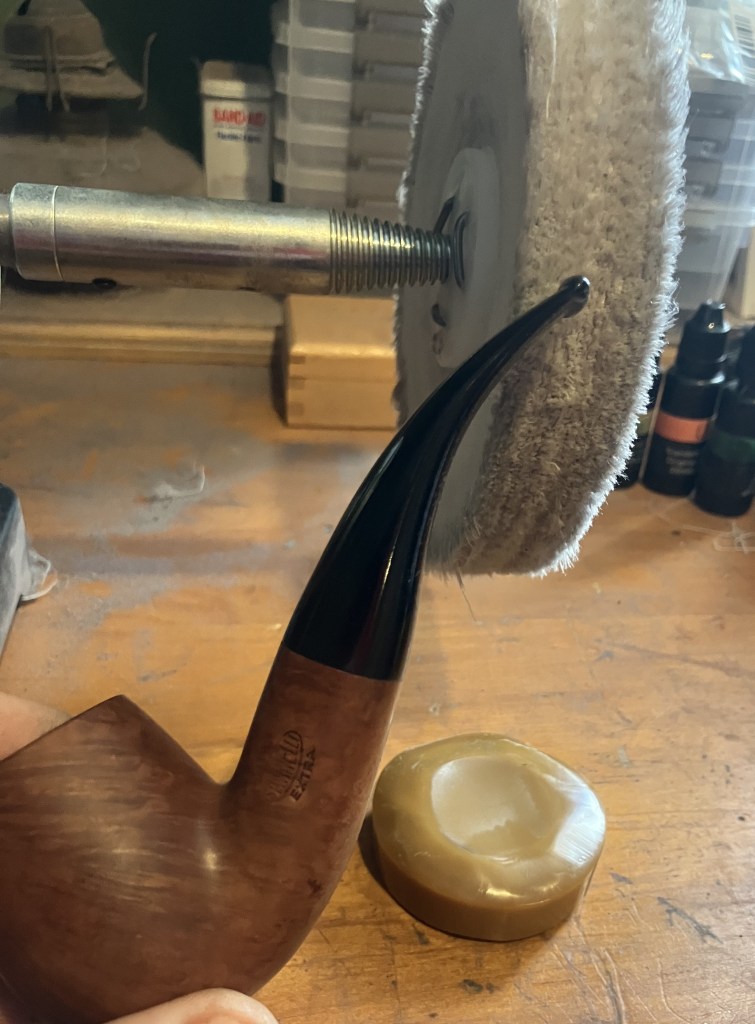
The stem and stamping area received several coats of carnauba wax applied with the buffer.
Normally this would be the end but I wanted to clean the baby toothbrush after the Renaissance Wax in case the granddaughters come over for a grandpa sleep-over. Just kidding, I have toothbrushes for them.
This Brebbia Alpina Cavalier turned out very beautifully. I still don’t know what is going on with the band but then my input wasn’t asked for or needed when this pipe was made. The black dye returned the pipe to its original colors. The button reshaping turned out very nicely and appears as original as well. The stem polished up very nicely and the glossy black provides an interesting contrast with the rusticated black briar. The drillings of this pipe should allow the moisture from the smoke to condense out and drip the liquid into the large chamber or shank extension. This should act as a very large reservoir for accumulating liquid. Kind of like a Peterson System pipe on steroids. The band could be customized and included if the next owner would prefer it on or off. The dimensions of the Brebbia Alpina Cavalier are:
Length: 5.76 in./ 146.30 mm.
Weight: 1.55 oz./ 4394 g. (with band)
Bowl Height: 1.78 in./ 45.21 mm.
Chamber Depth: 1.36 in./ 34.54 mm.
Chamber Diameter: 0.71 in./ 18.03 mm.
Outside Diameter: 1.39 in./ 35.31 mm.
I do hope that you have found something here useful to your own pipe care, maintenance or restorations. If you like this sort of thing, please click the like and subscribe buttons. Thank you for reading the ramblings of an old pipe lover.
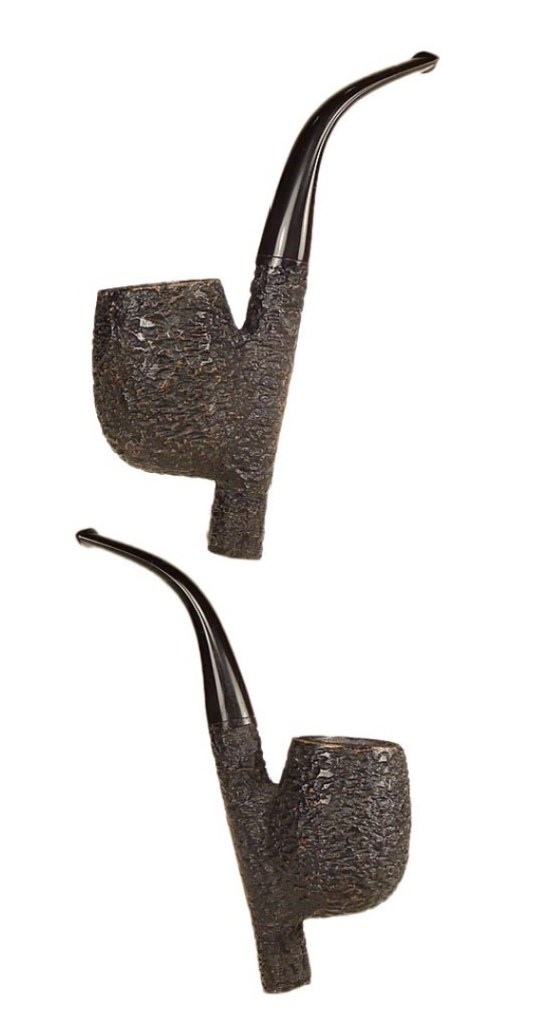
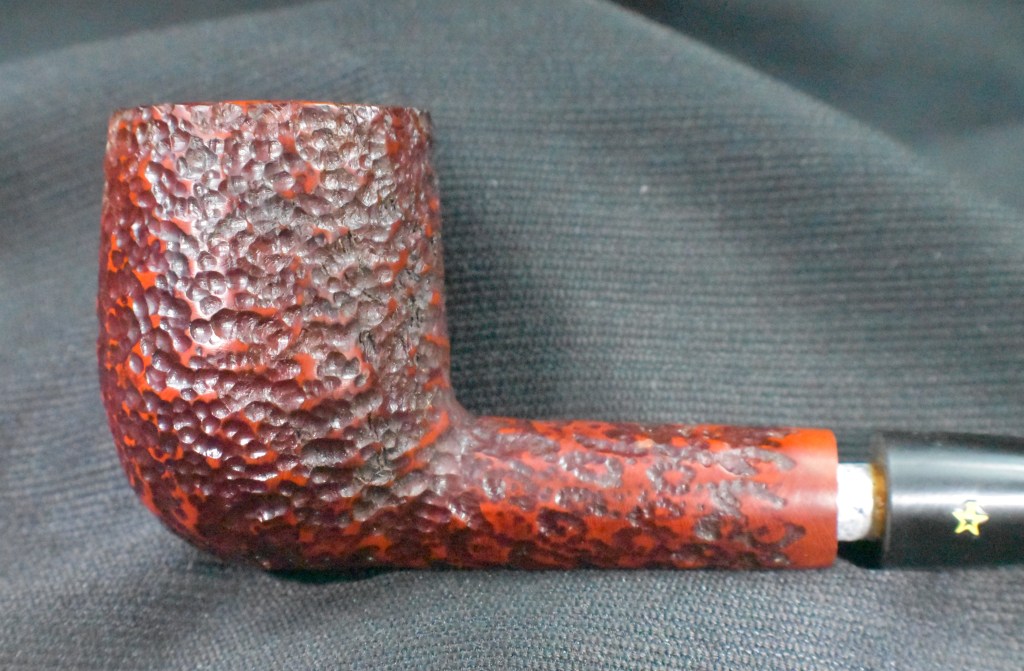
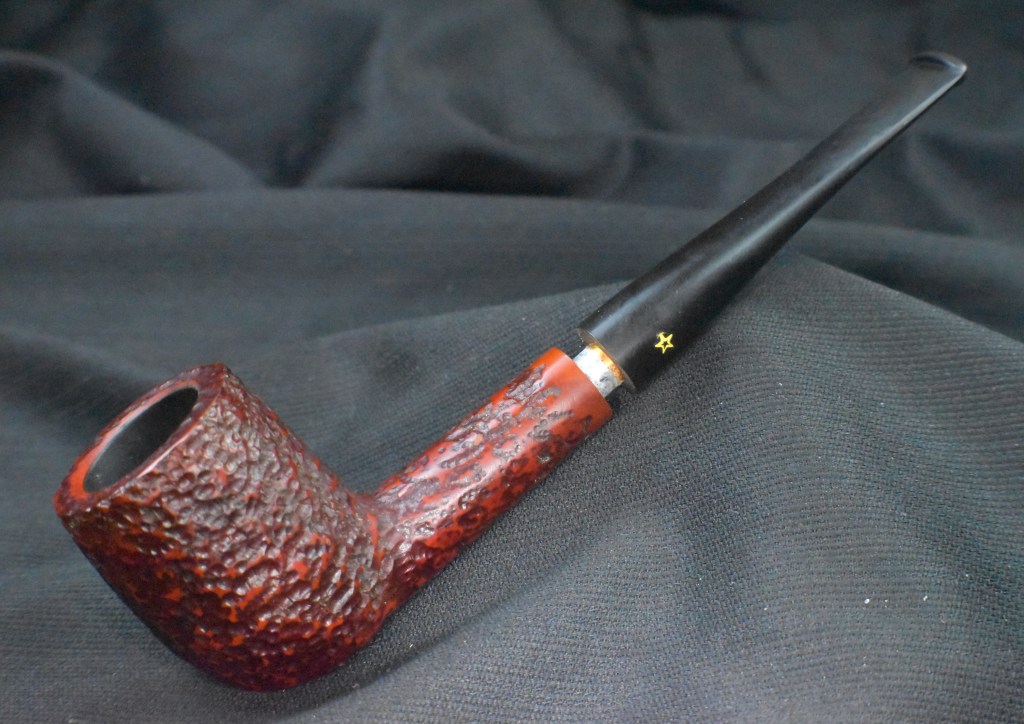
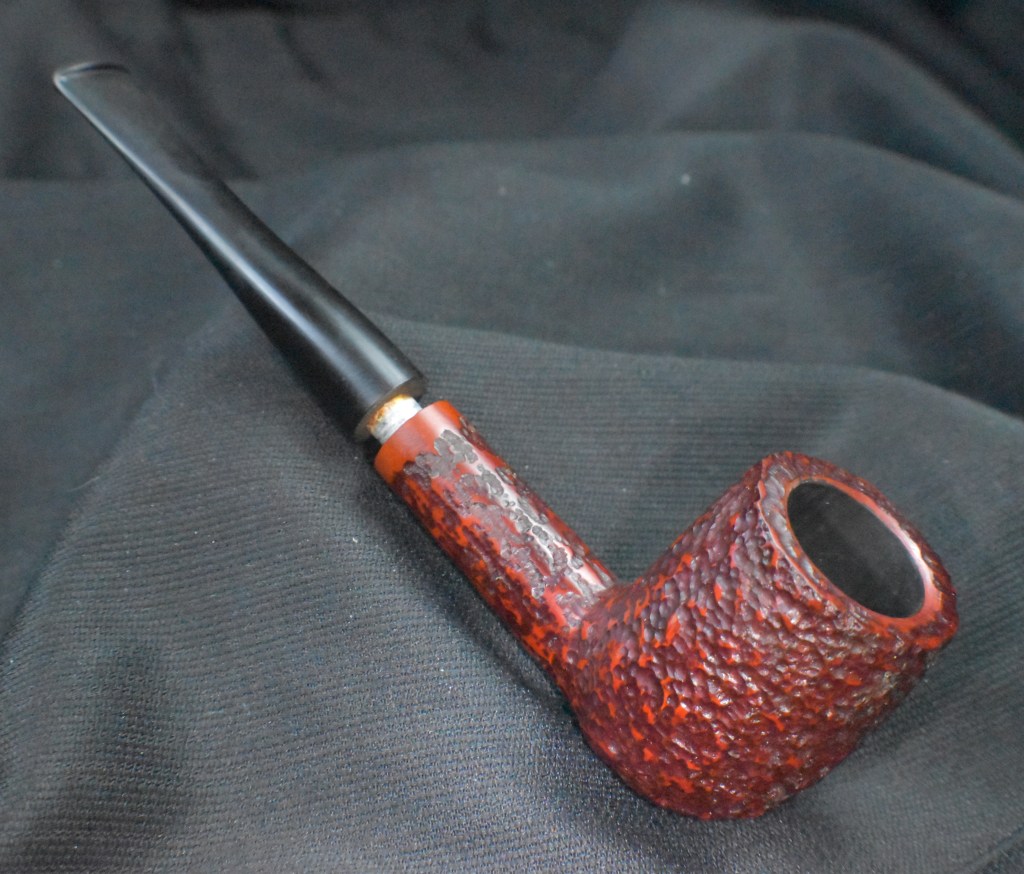
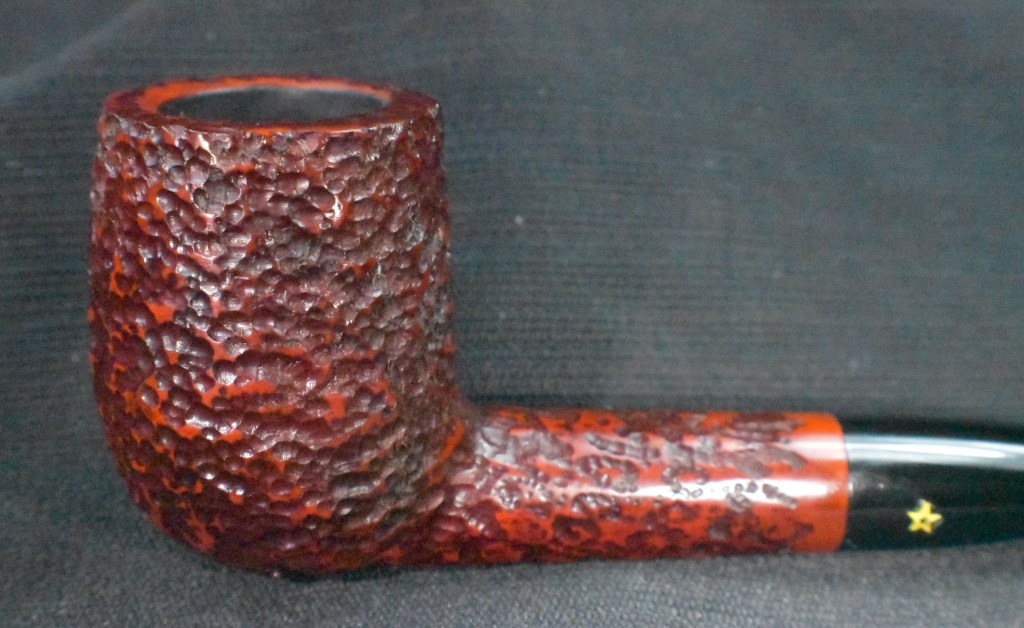
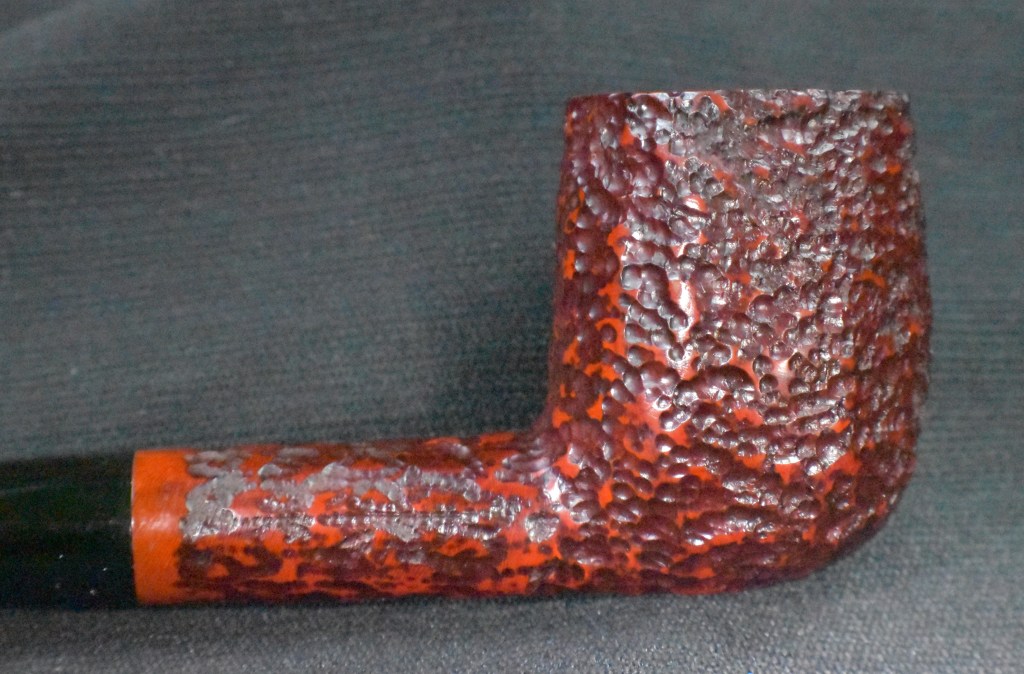
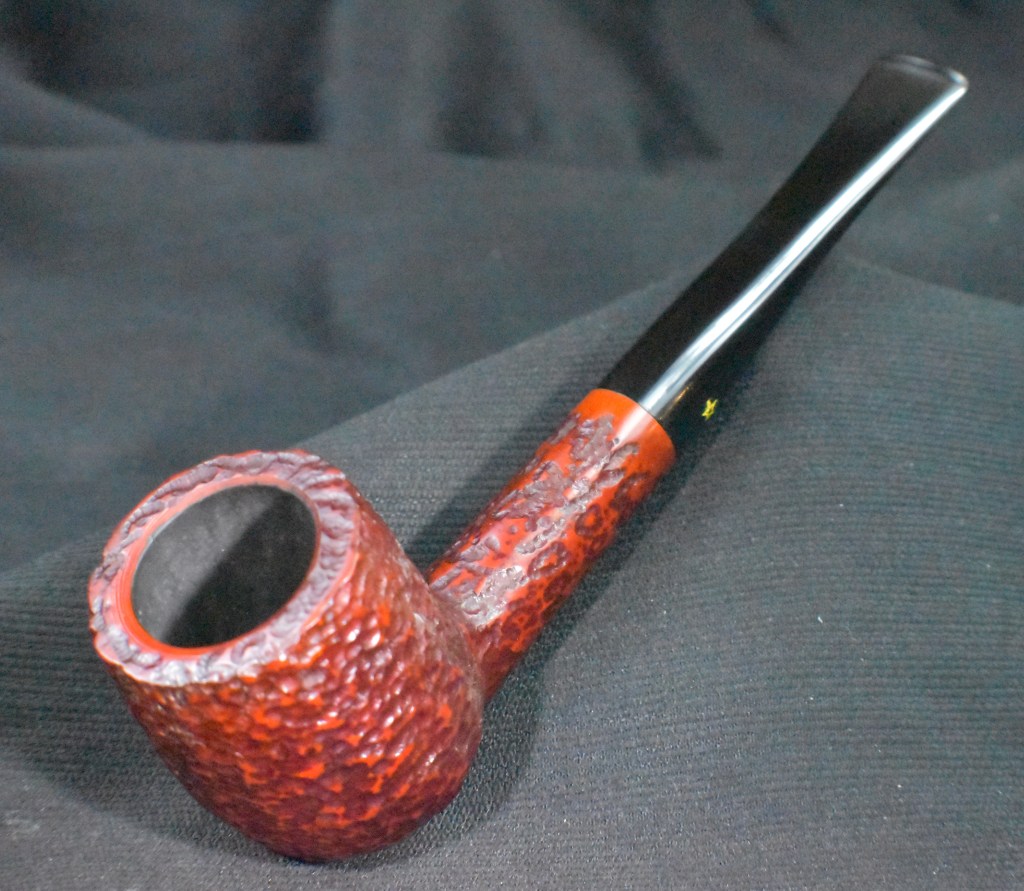
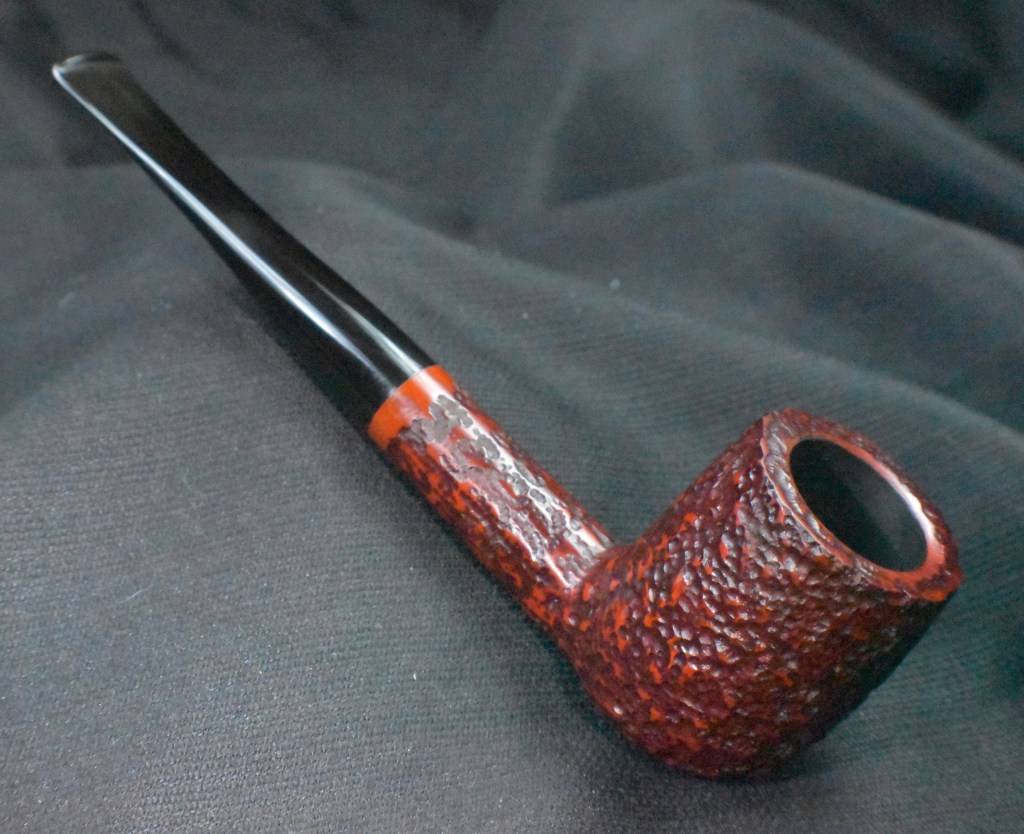
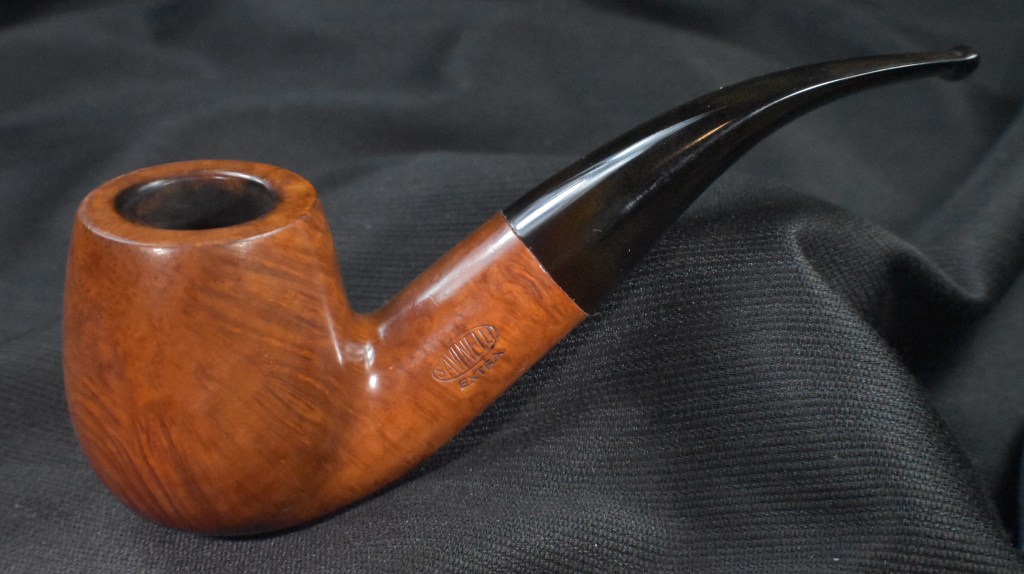
Below are some photos of the finished Brebbia Alpina Cavalier.

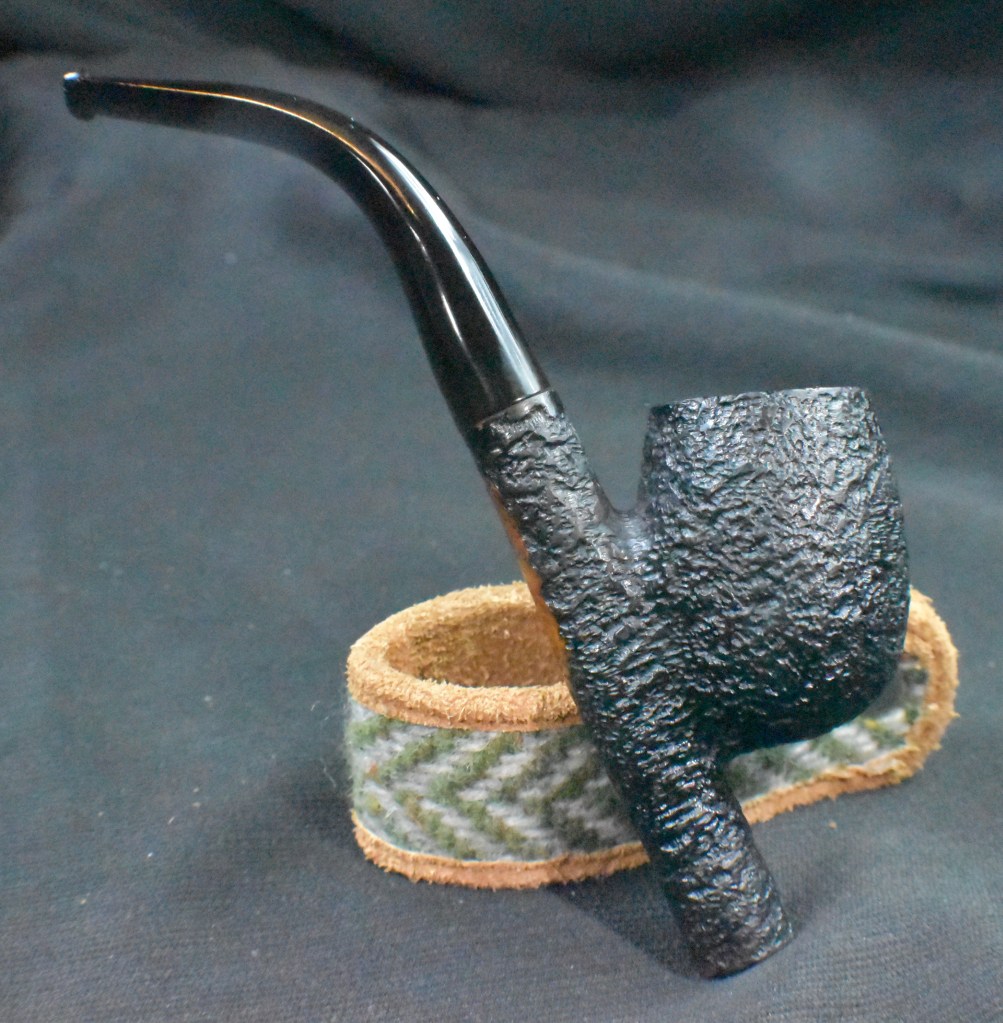

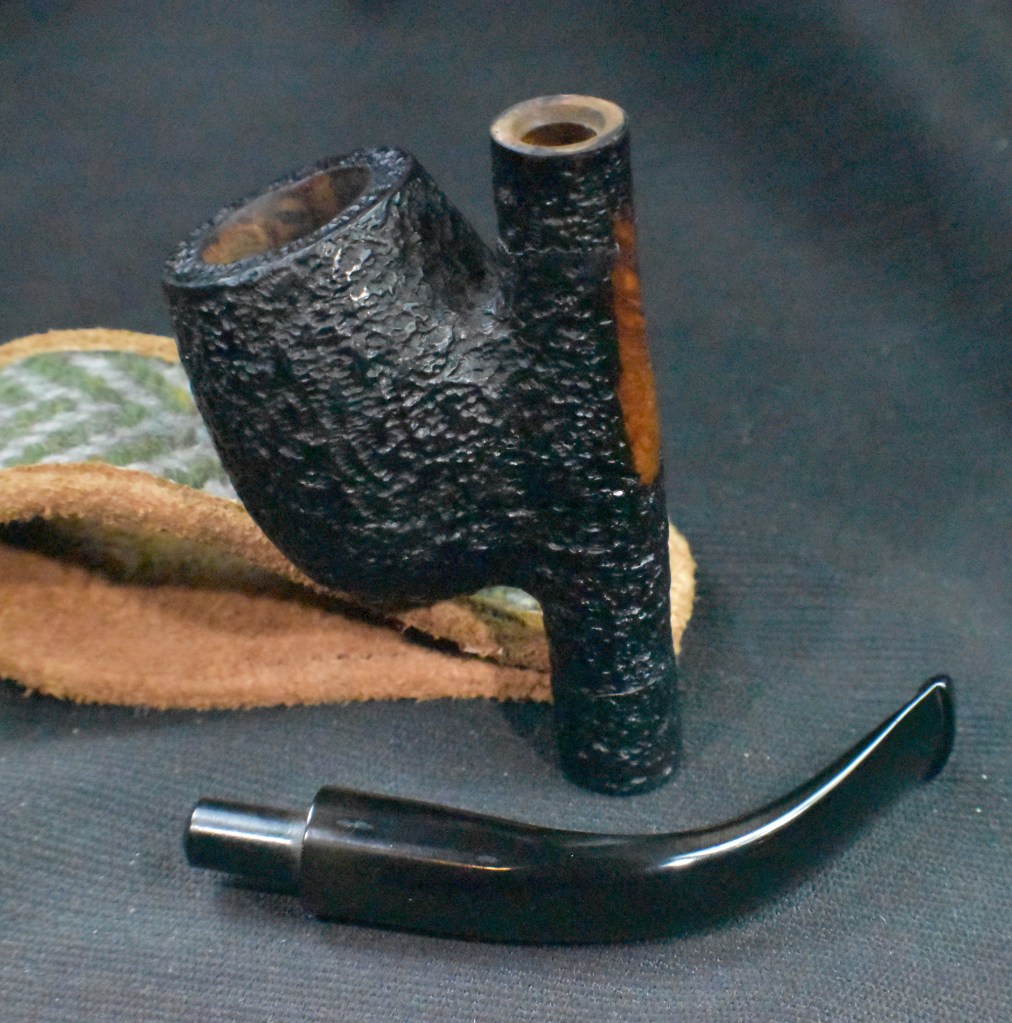
Finally, photos of the finished pipe with and without the band. If you are interested in this pipe let me know which you would prefer. I can glue the band in place for you, if that is the way you would like it or leave it off. I will include it with the pipe if you prefer it unattached.


 (
(


