Photographed and written by
John M. Young
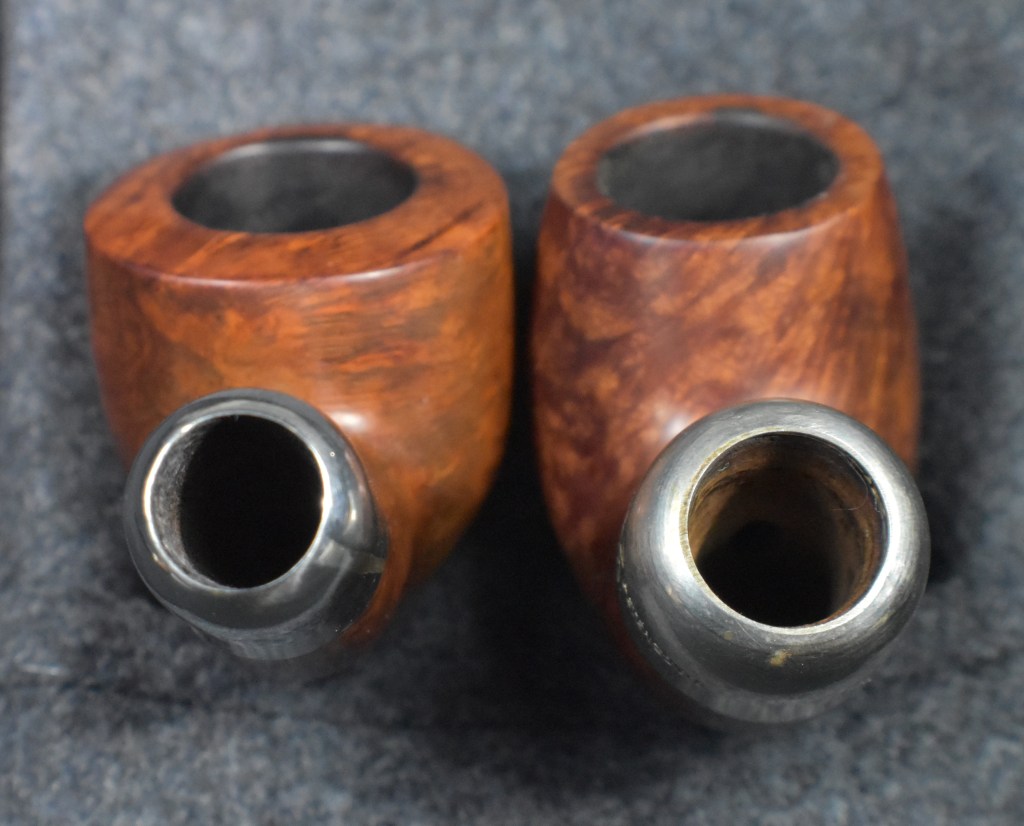
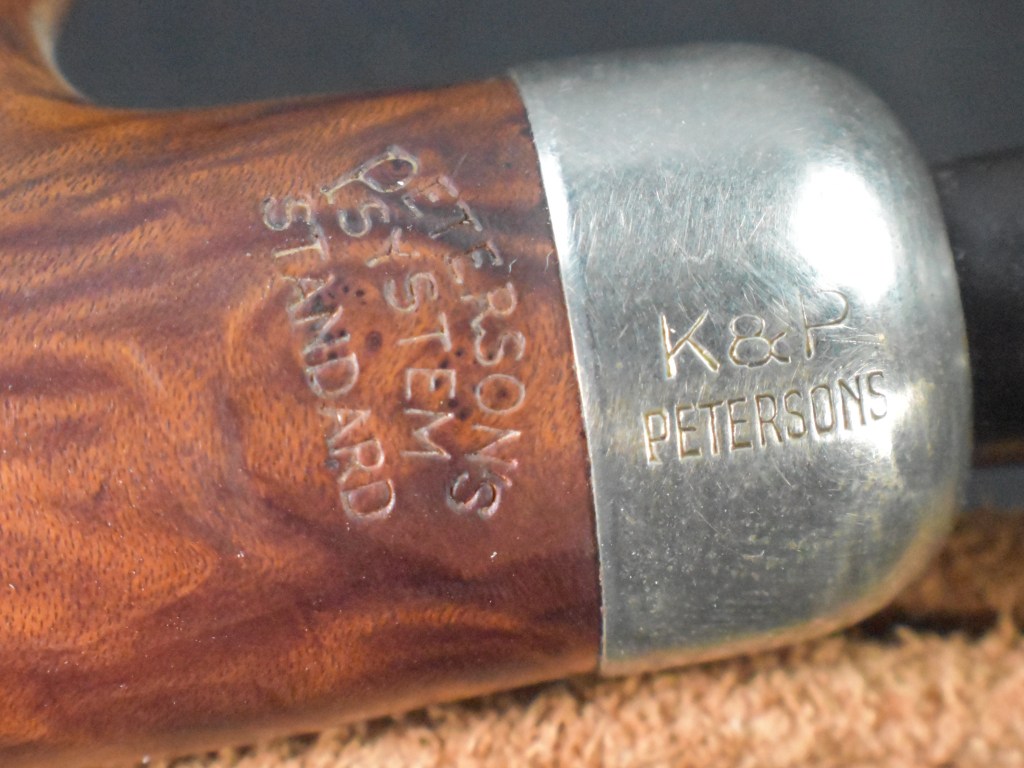
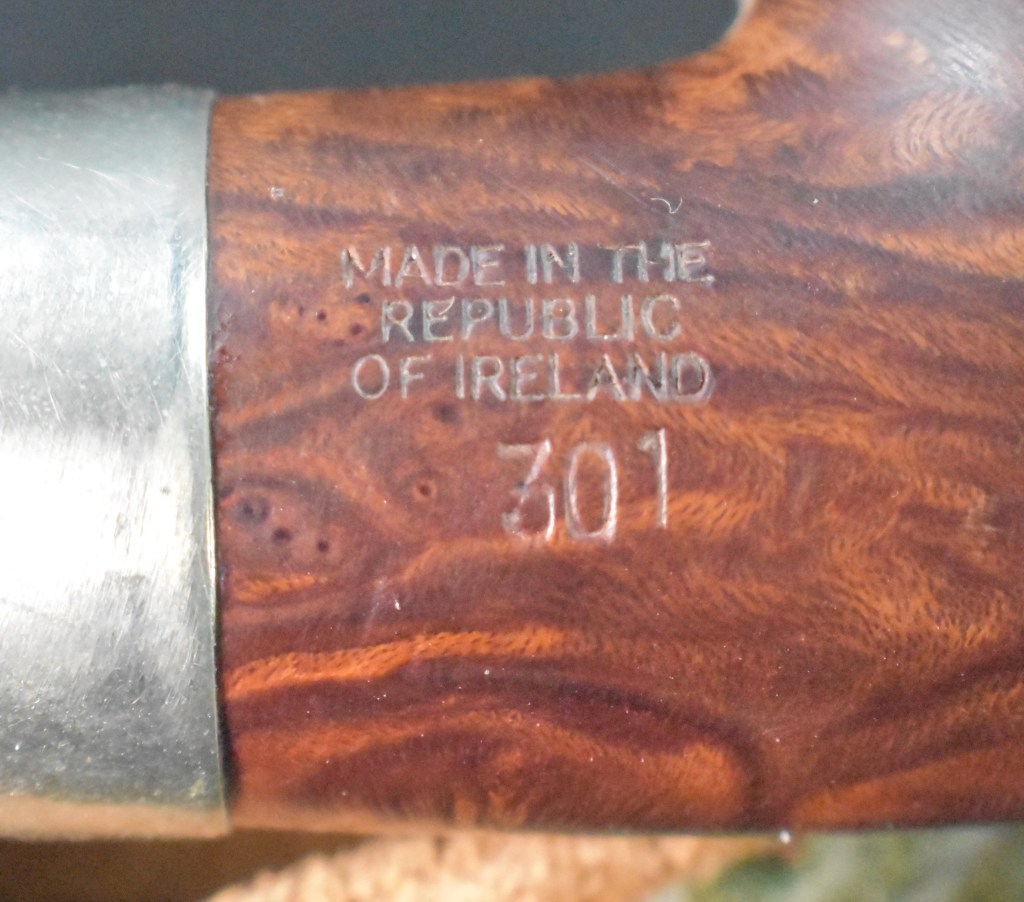
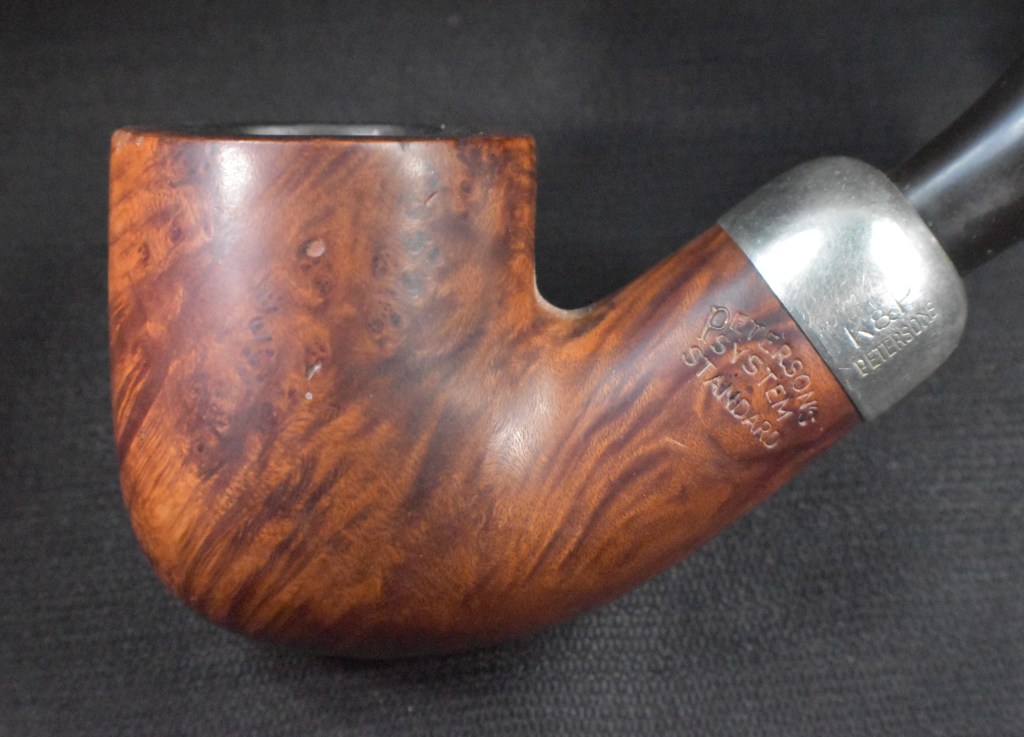
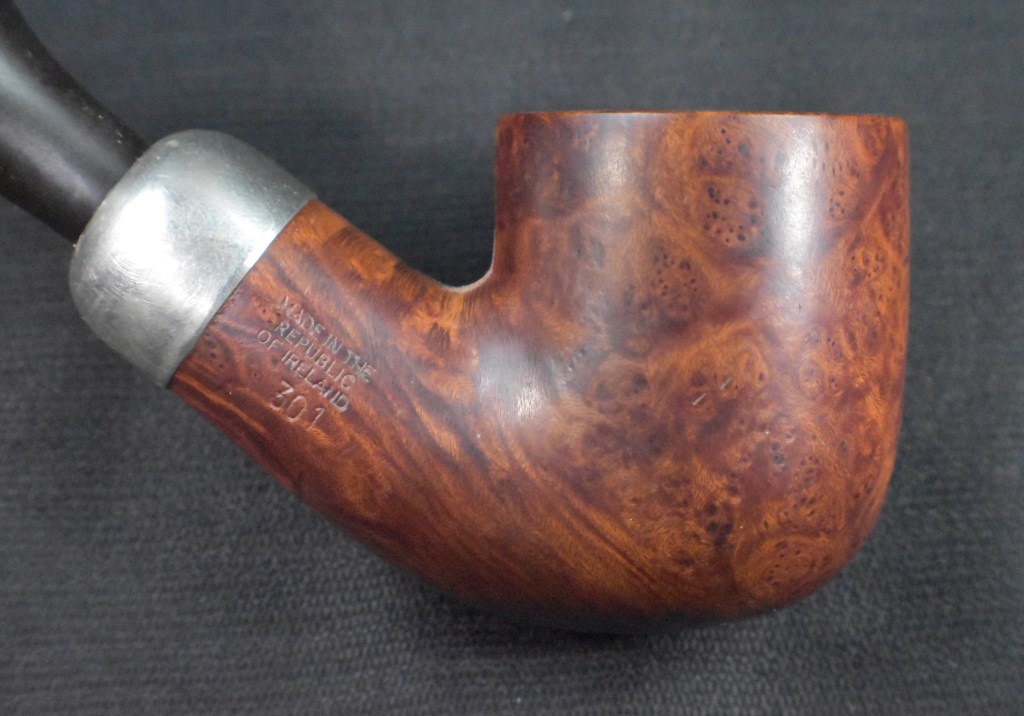
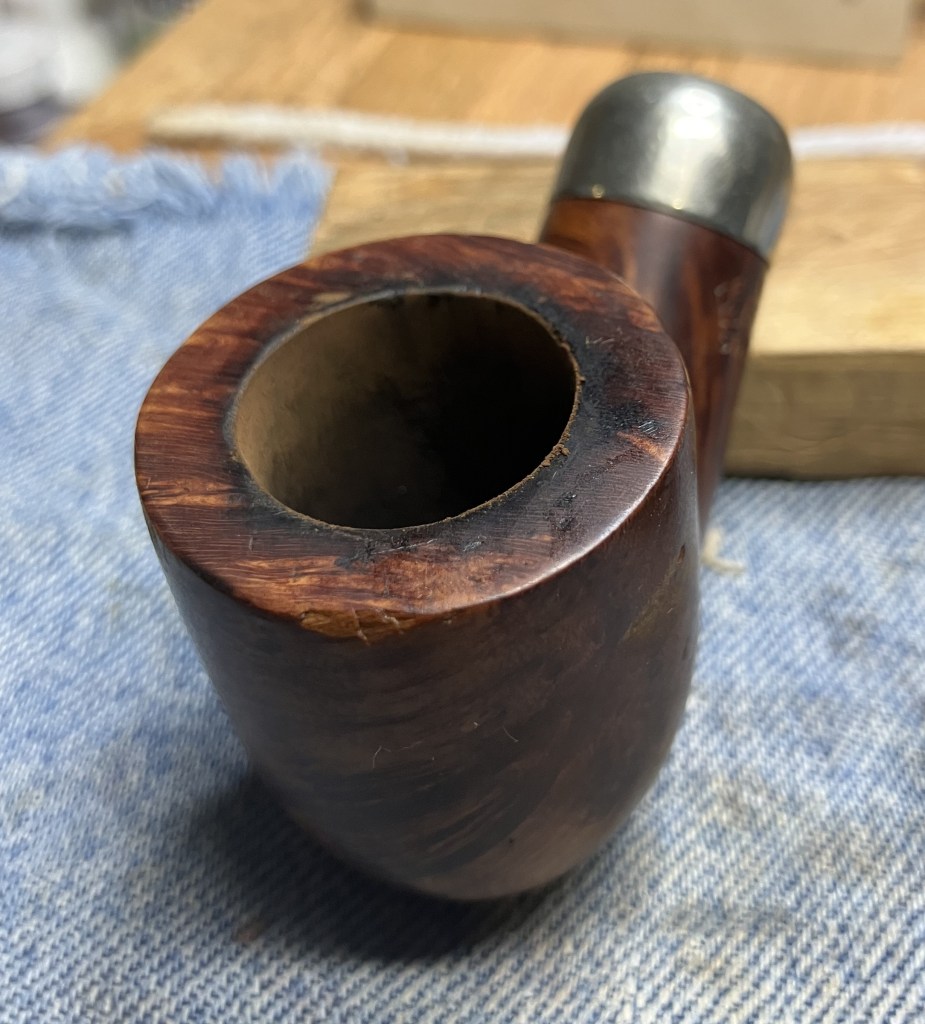
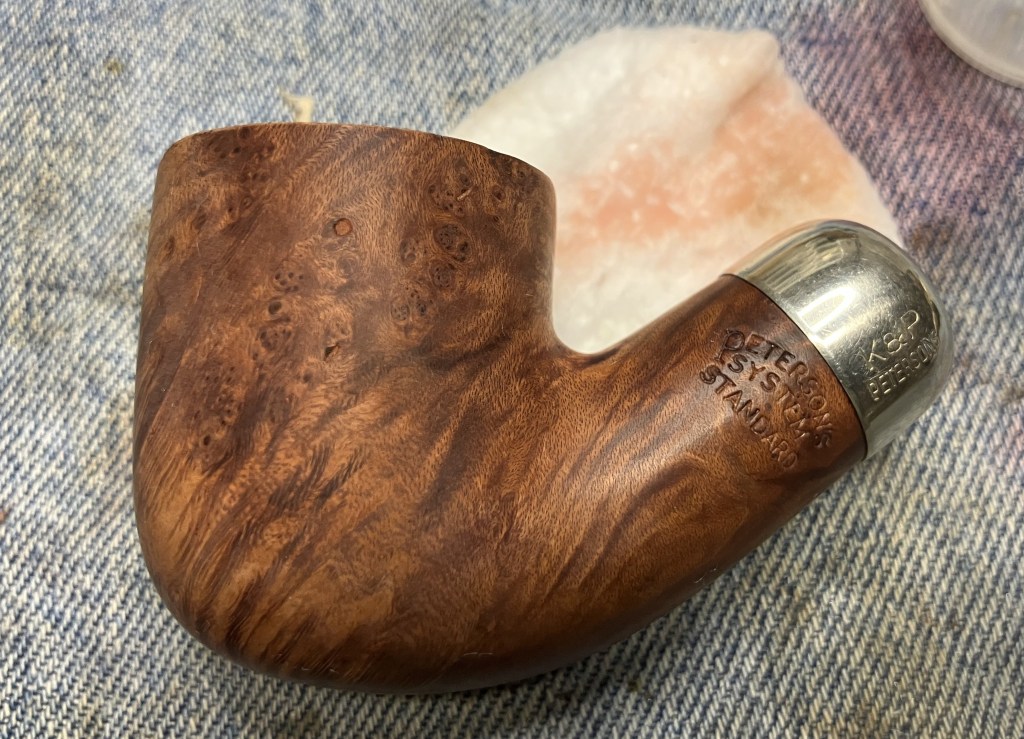
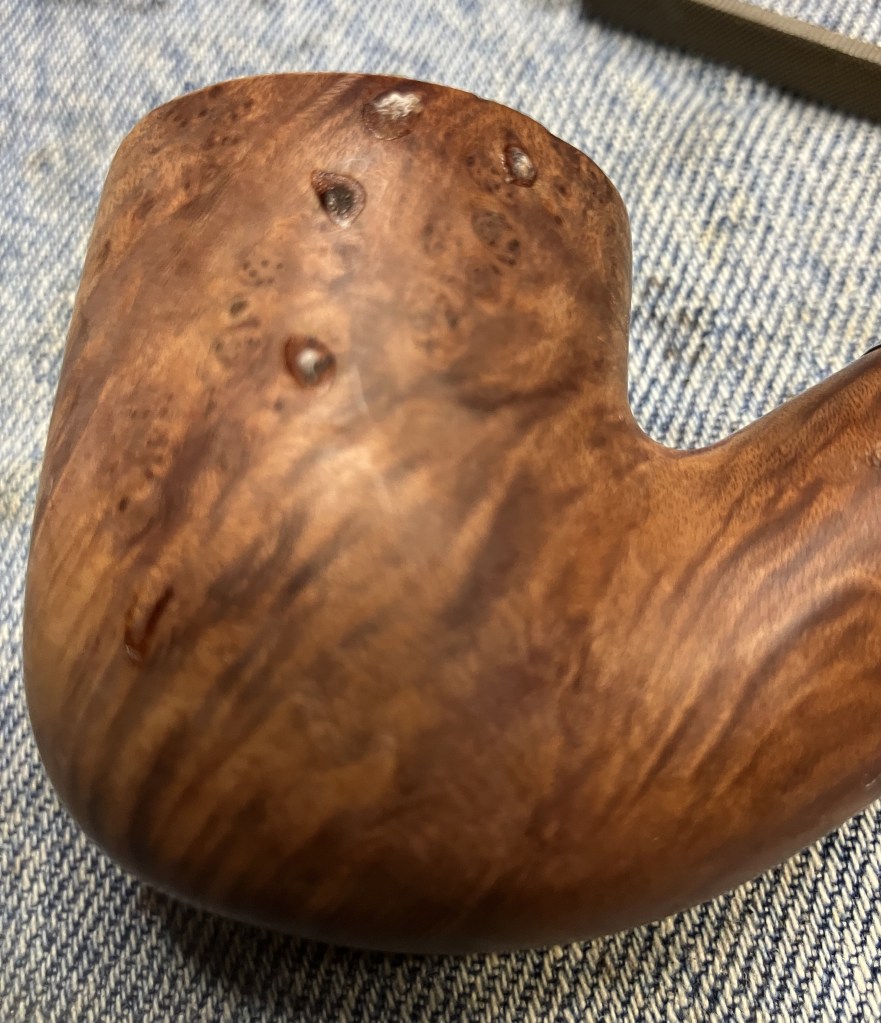
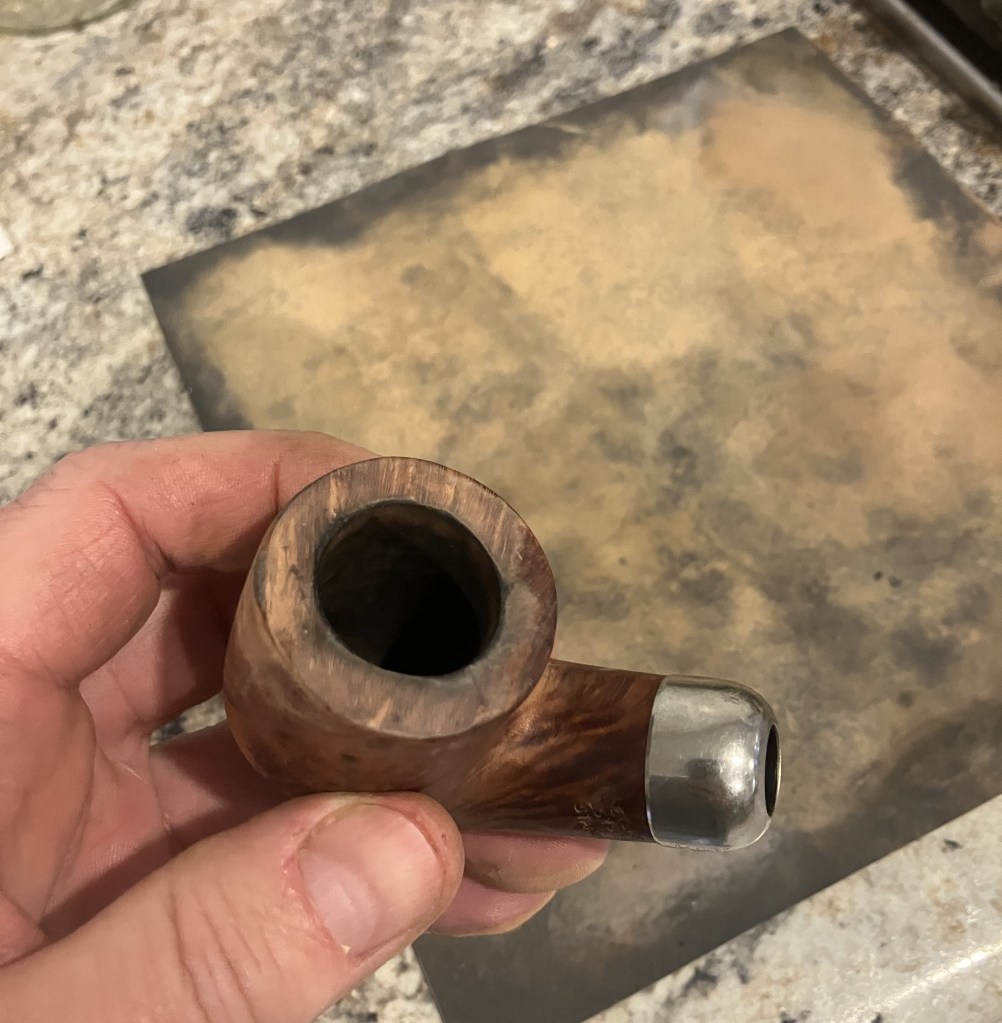
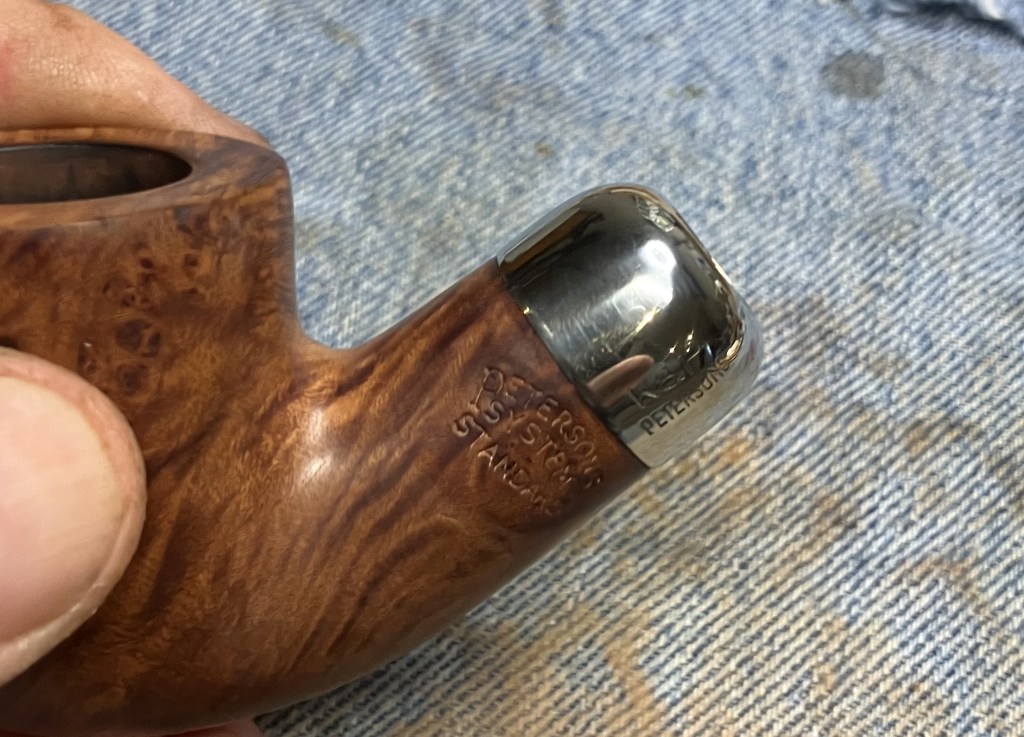
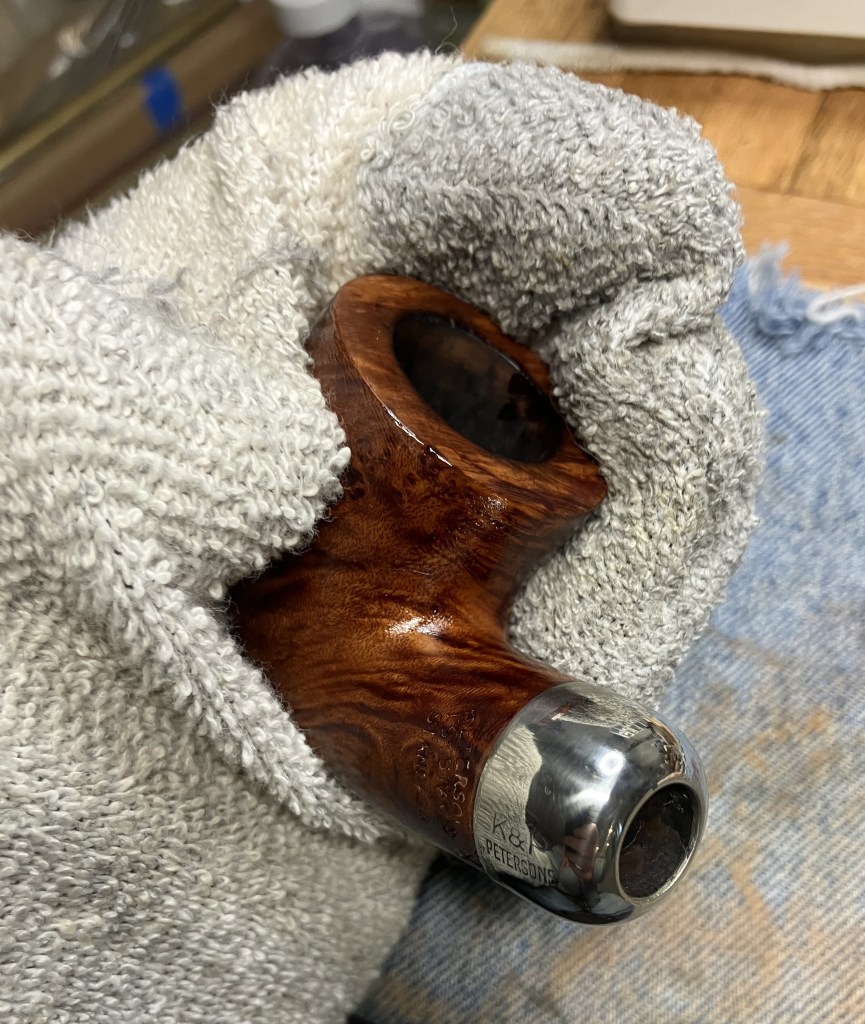
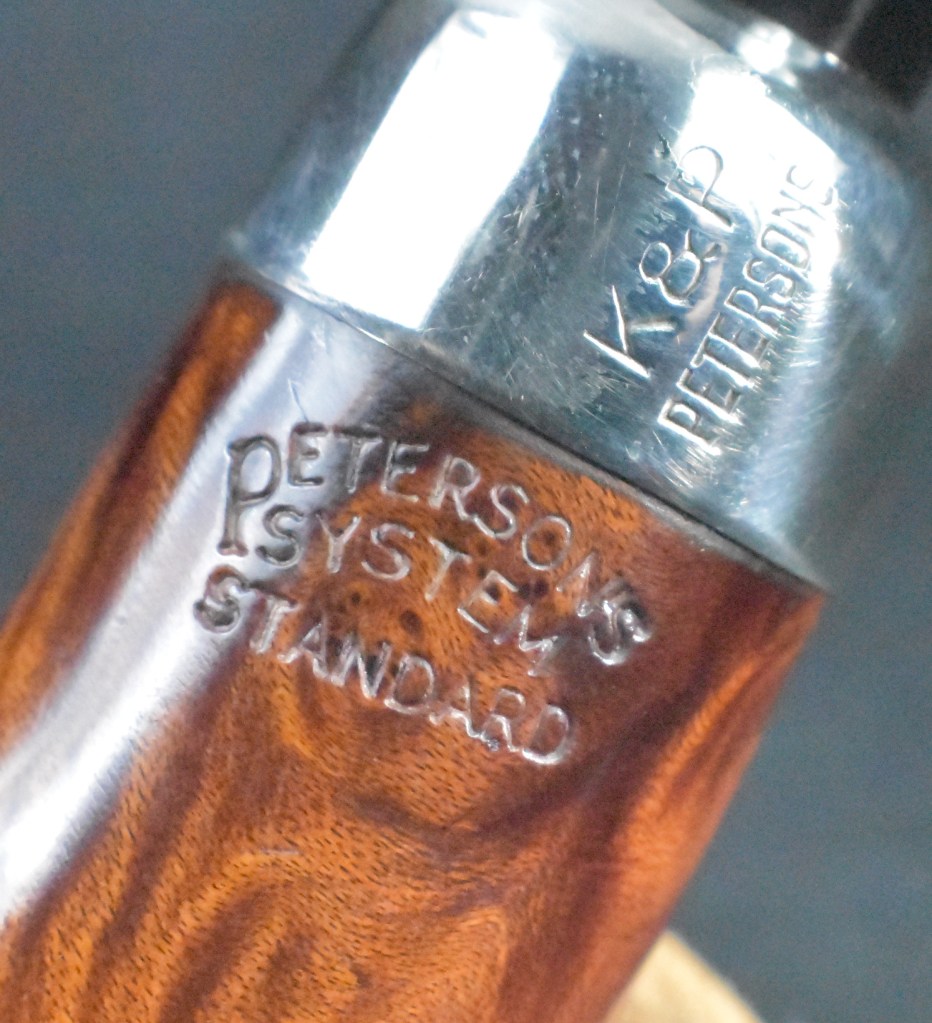
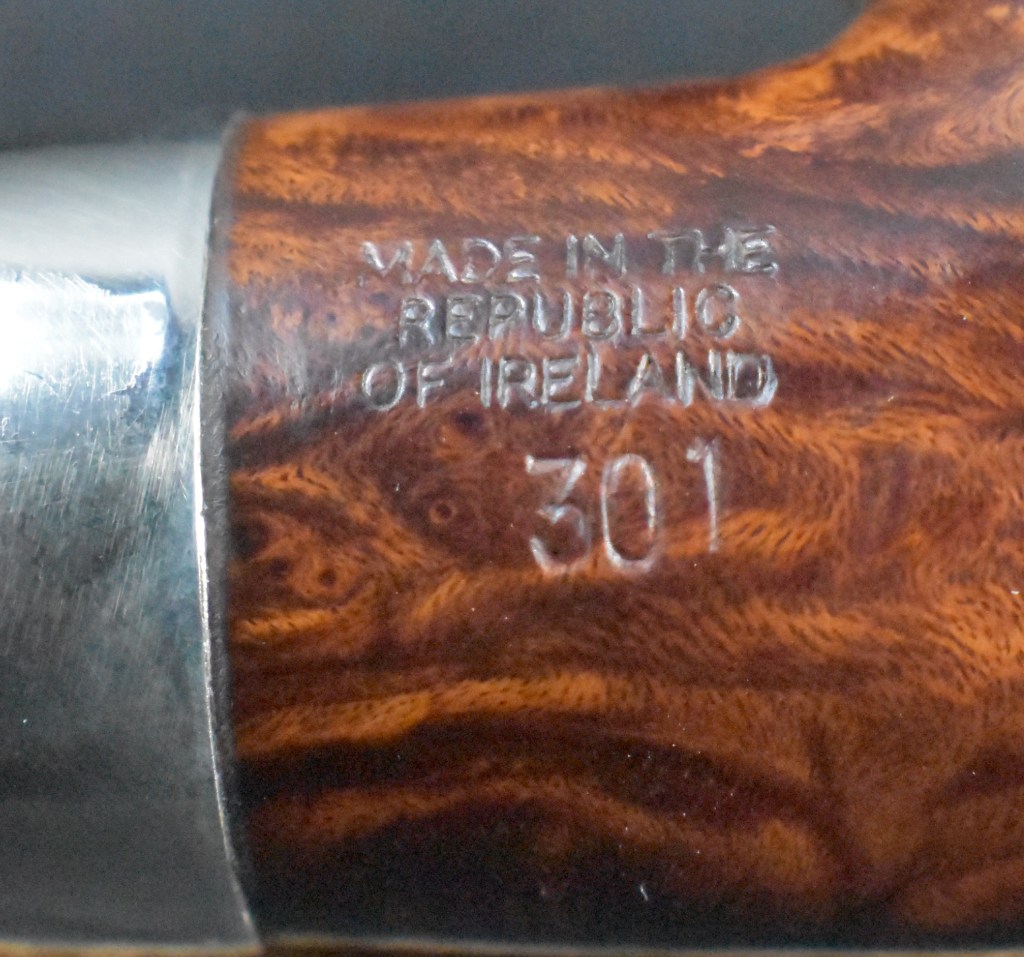
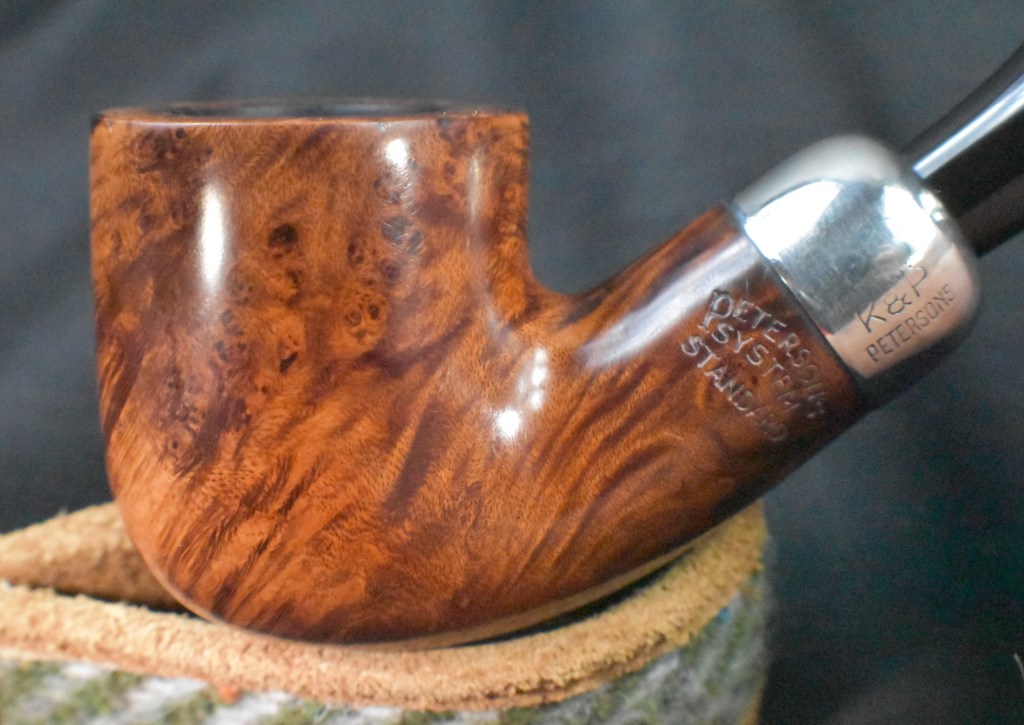
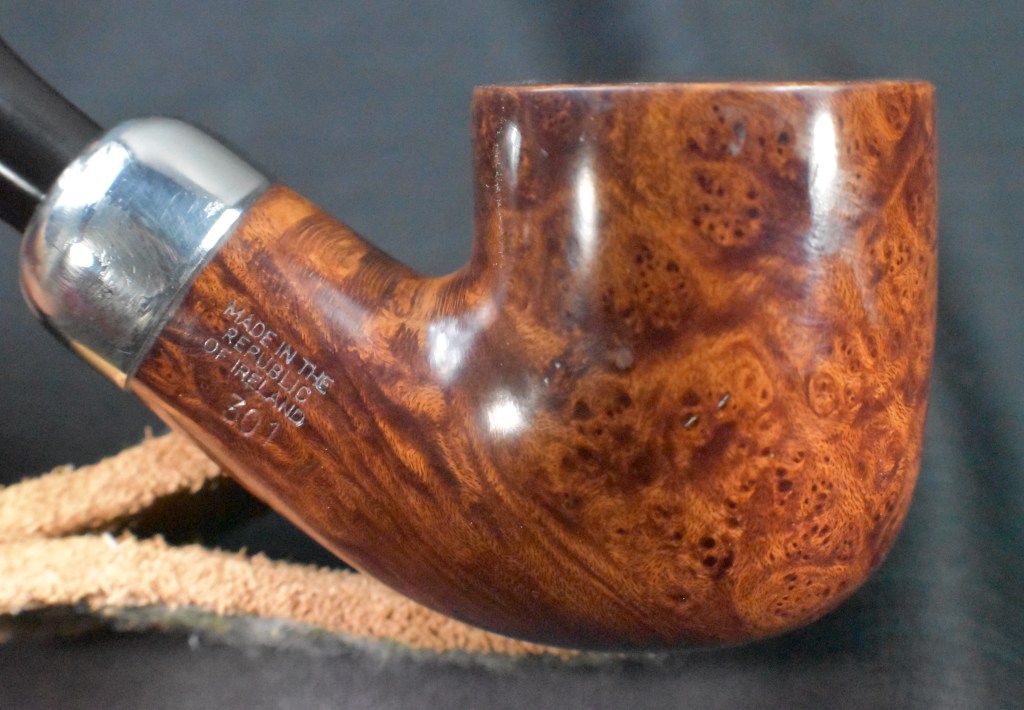
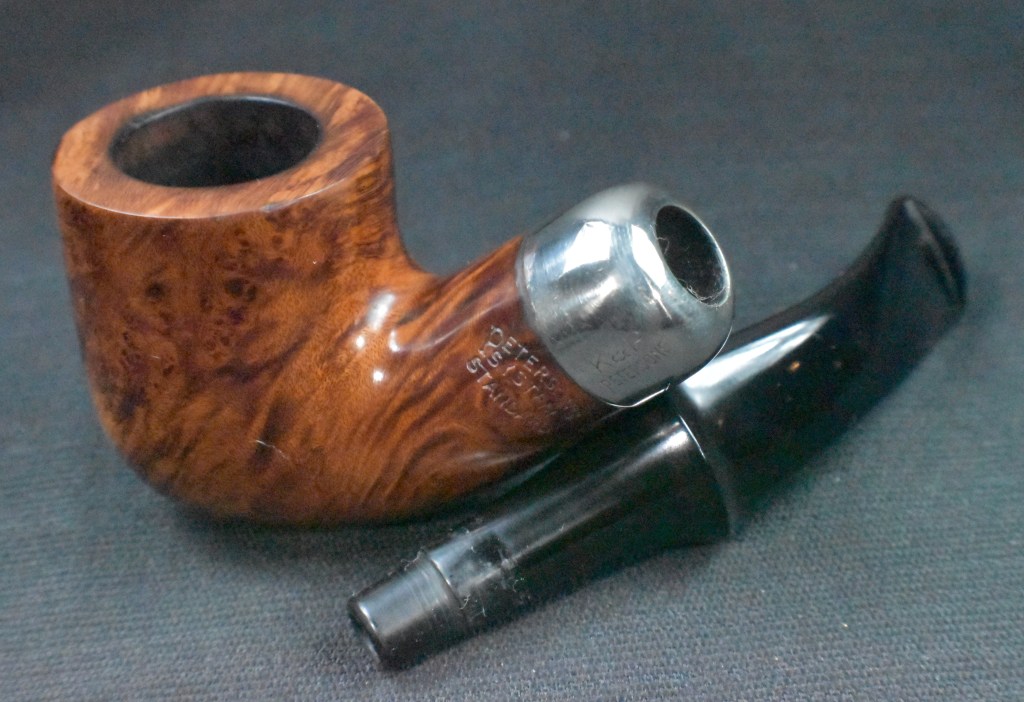
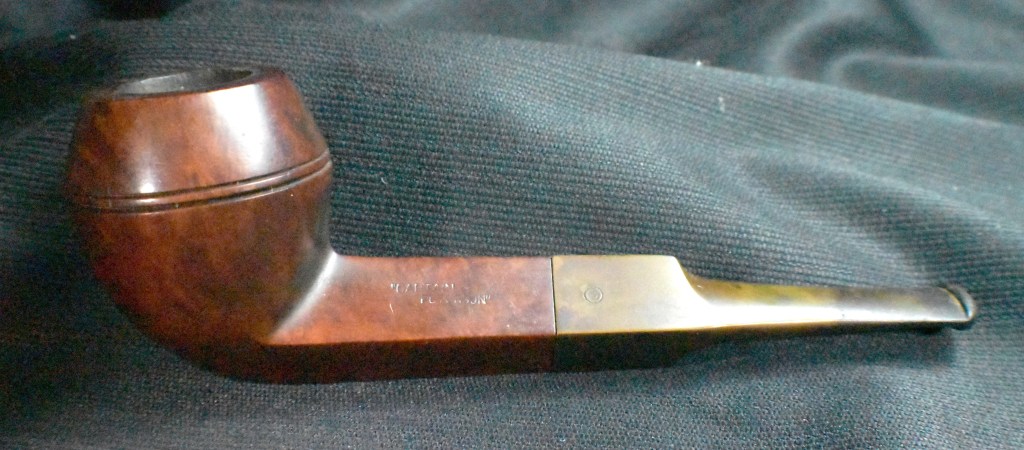
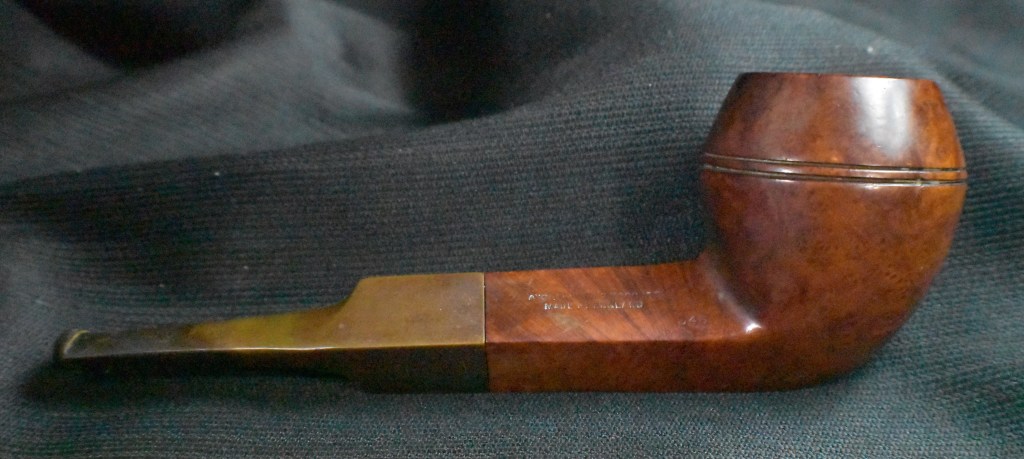
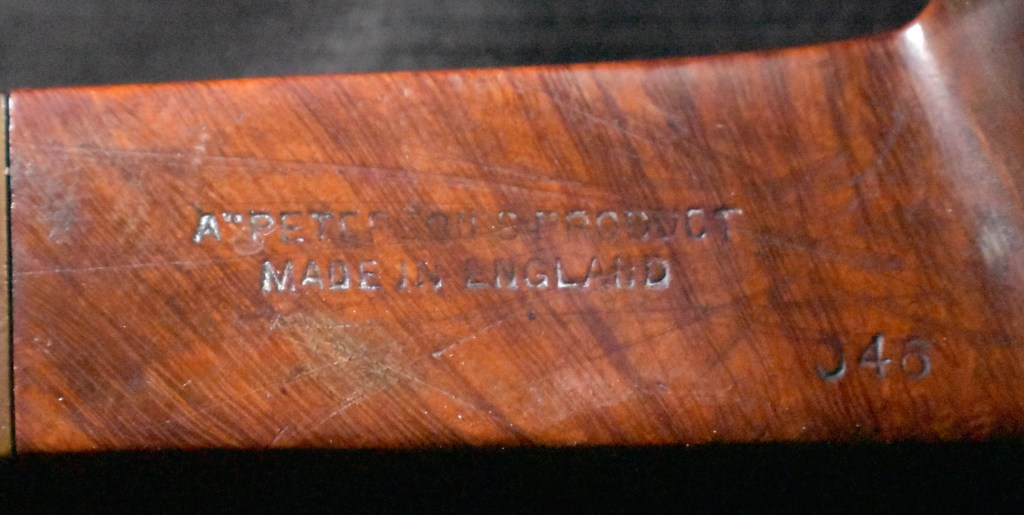
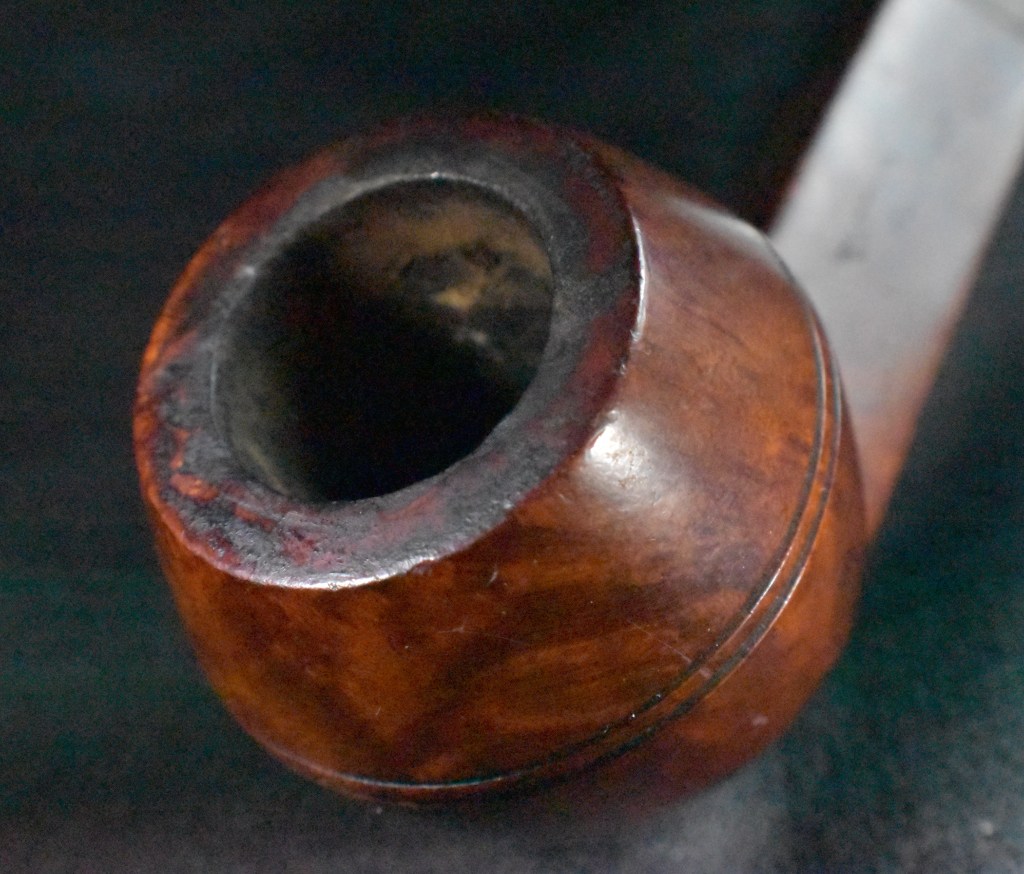
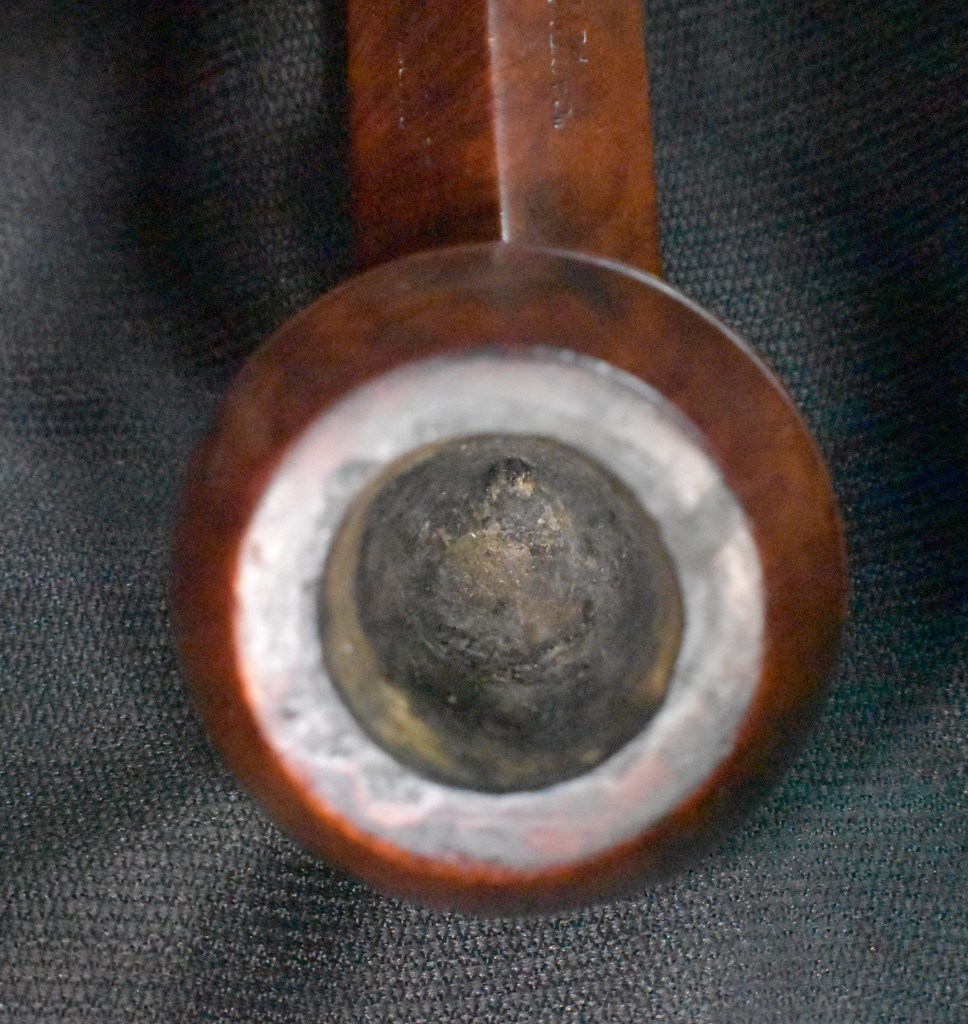
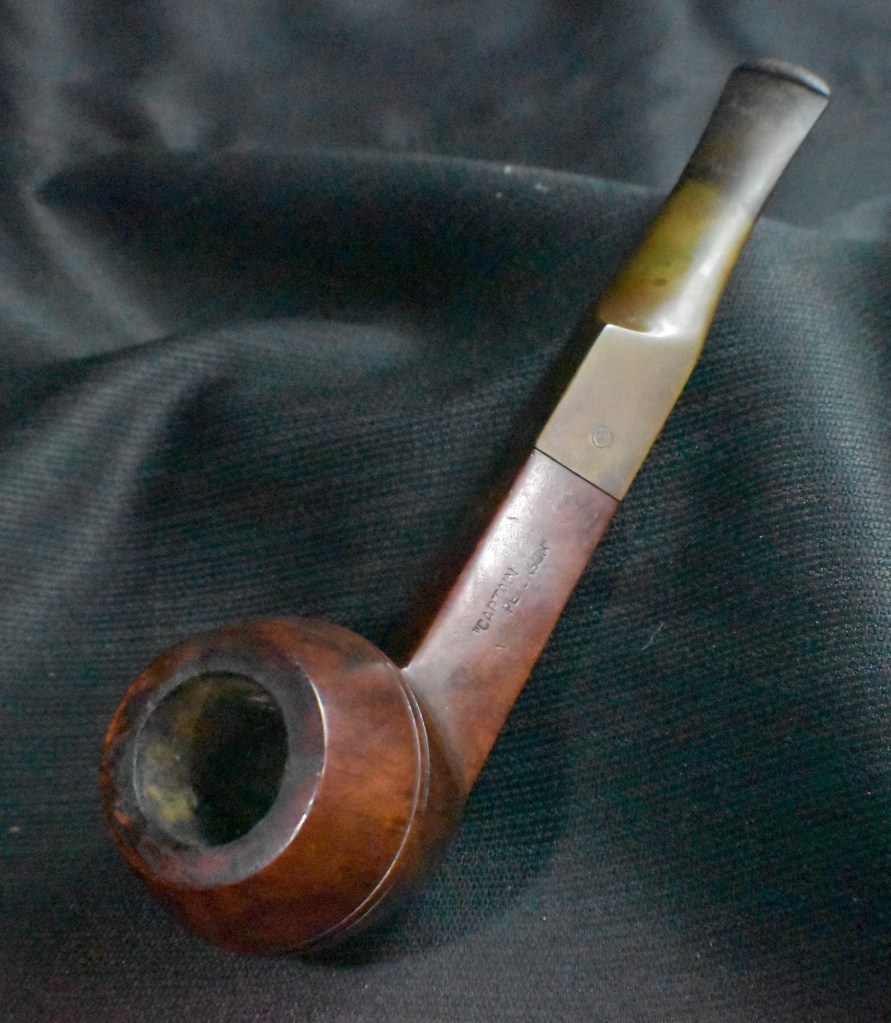
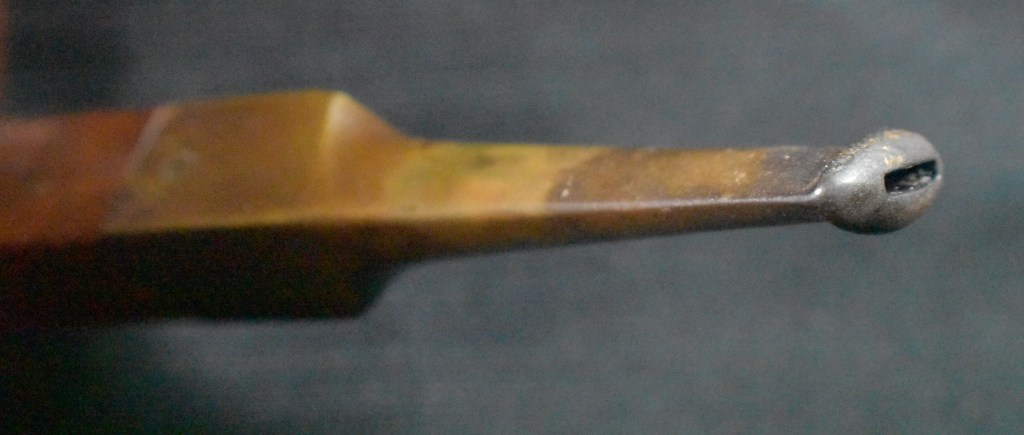
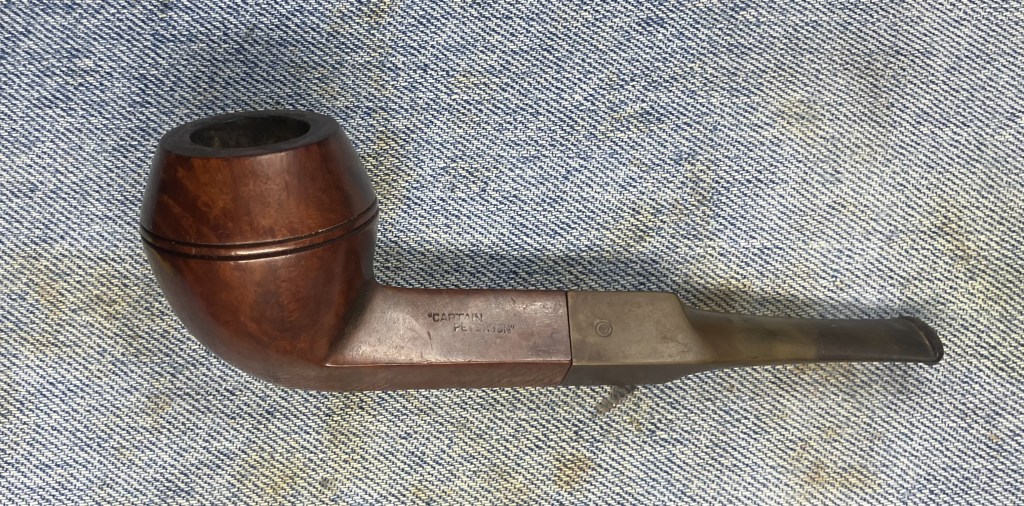
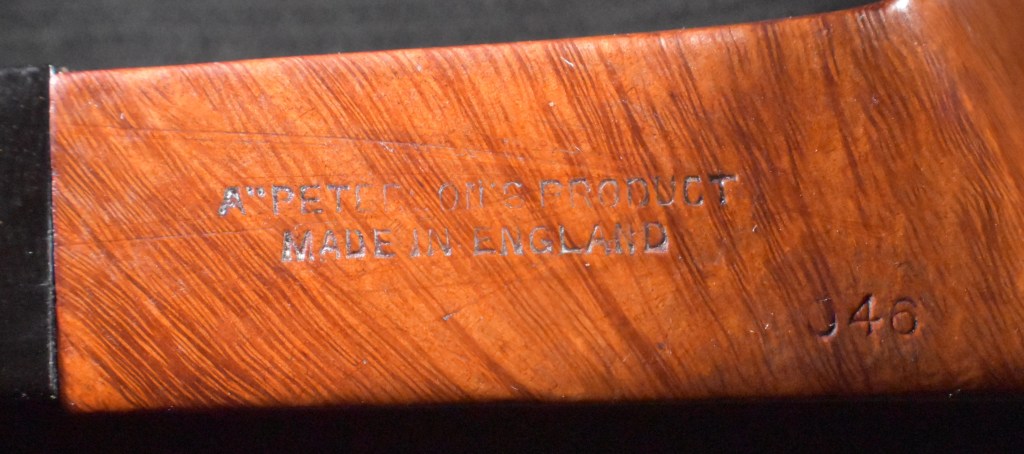
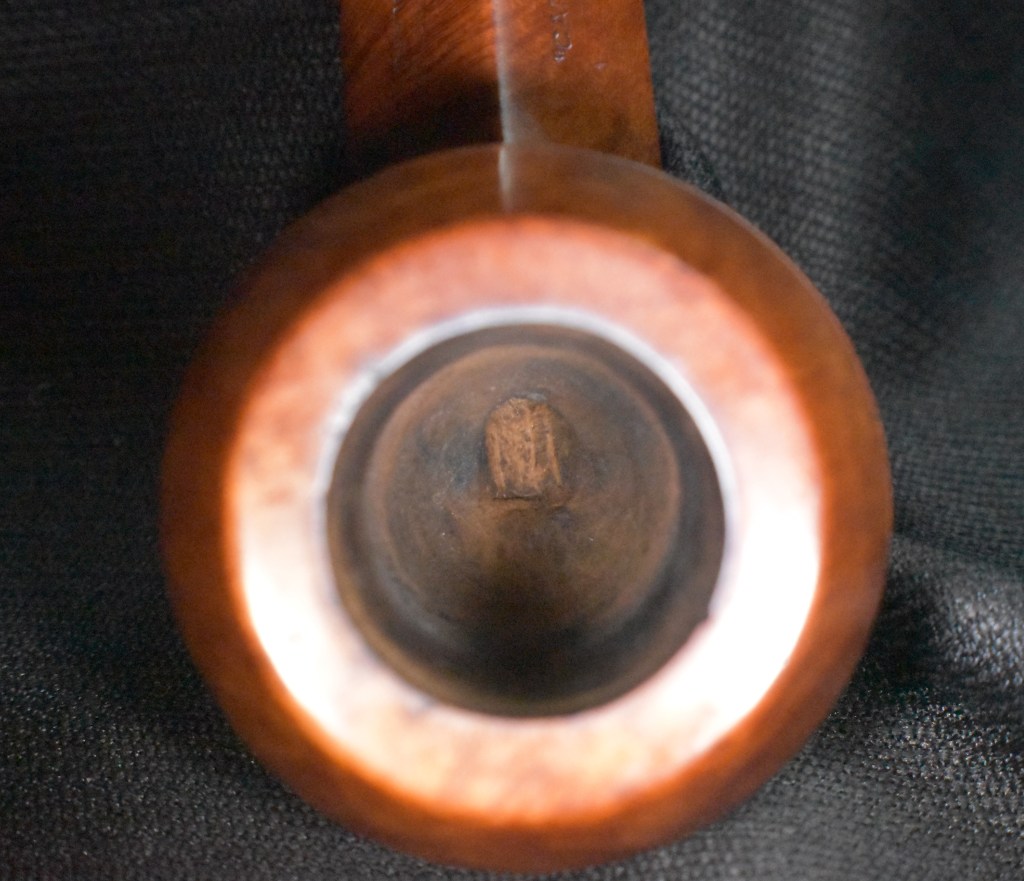
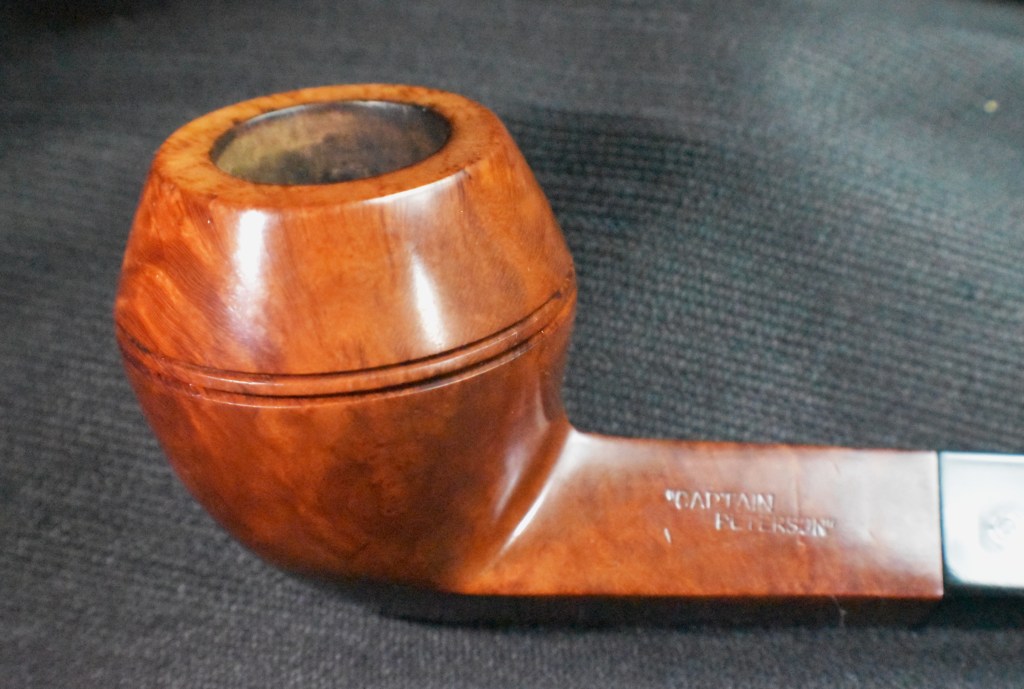
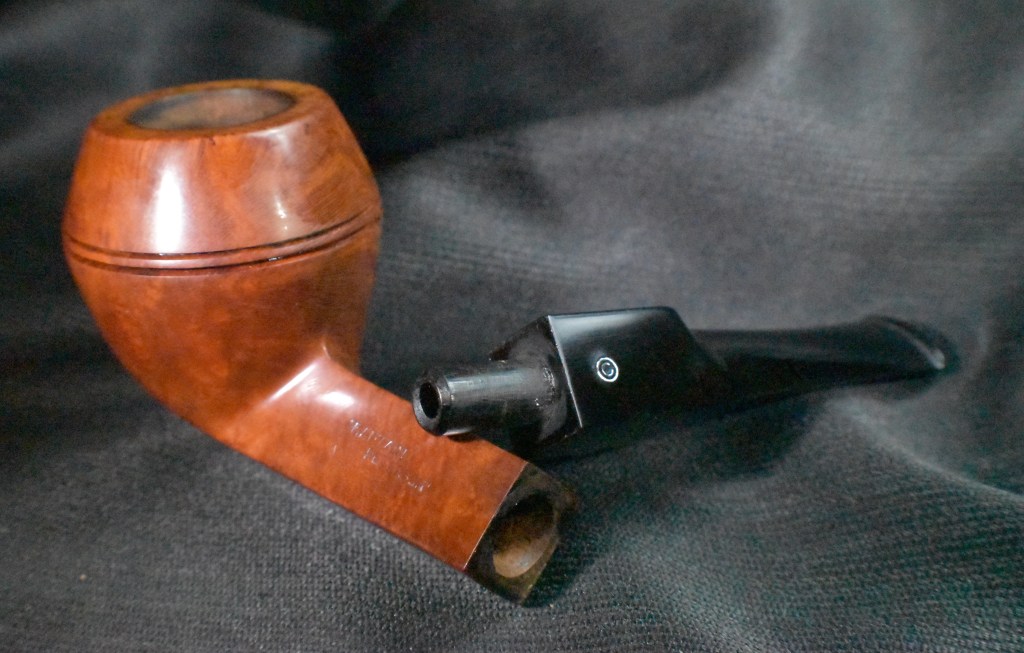
It seems strange to me that of all the Peterson pipes that I own, I have shown few restorations of them. This is because I was not documenting or blogging about them when they were restored. The blog has only been a lifestyle since October of 2023 and these pipes were acquired and restored long before that. This 301 is a re-restore. “Huh?”, you say. Well It was a pipe that I purchased on the estate market cleaned up and used for several years. Now someone has expressed an interest in acquiring their own 301 and asked if I had one available. Since pipes were made for smoking and this lovely Pete does not get very frequently used, I decided it would be better off with a companion who would use it. Where it came from originally is a question I cannot answer. Likely an eBay auction though. When it was purchased, also unknown, but probably early 2020s. The pipe was stamped PETERSON’S Over SYSTEM over STANDARD on the left shank and MADE IN THE over REPUBLIC over OF IRELAND over 301 on the right shank. The stampings are all crisp and clear. There was no signature P on the stem which I felt as if it was missing something without it also lacking was the faux hallmarks on the nickel ferrule. It was only stamped with K&P over PETERSONS. Below are some photos I took of the pipe before beginning this restoration.
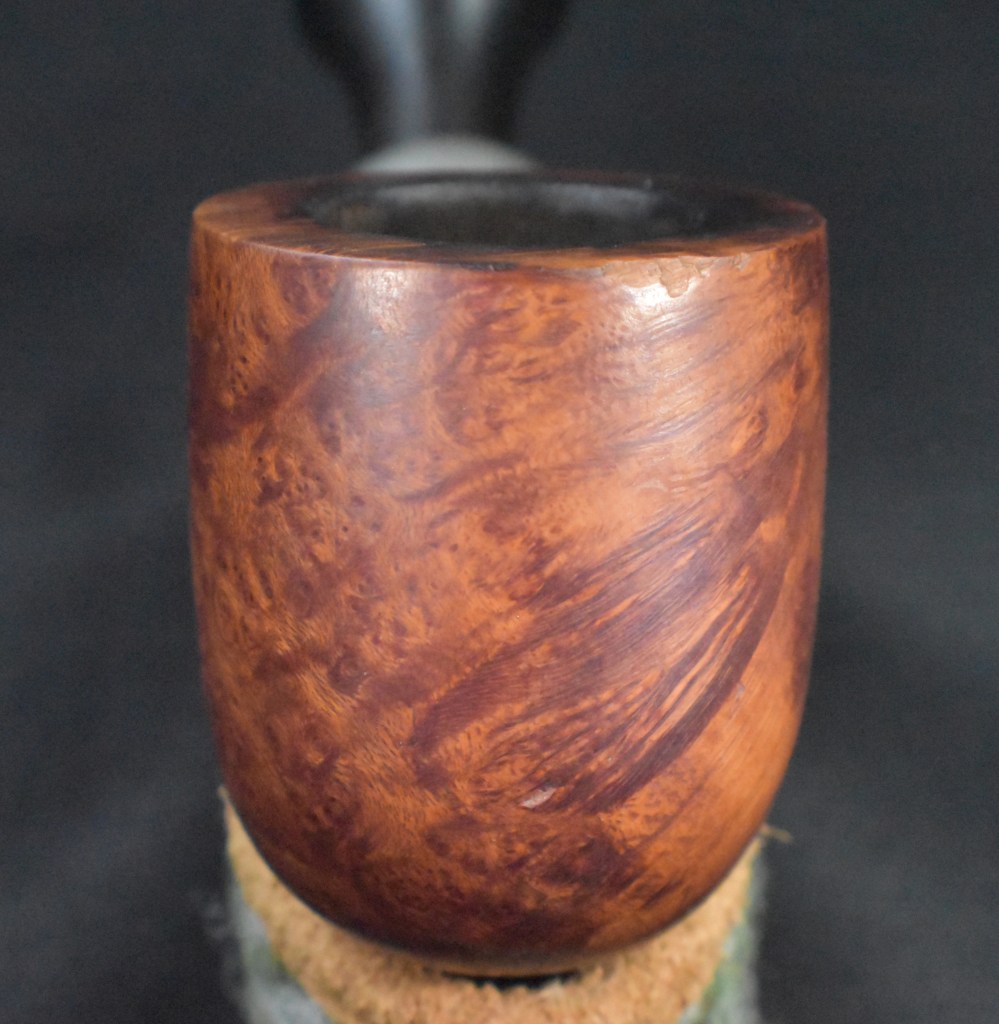
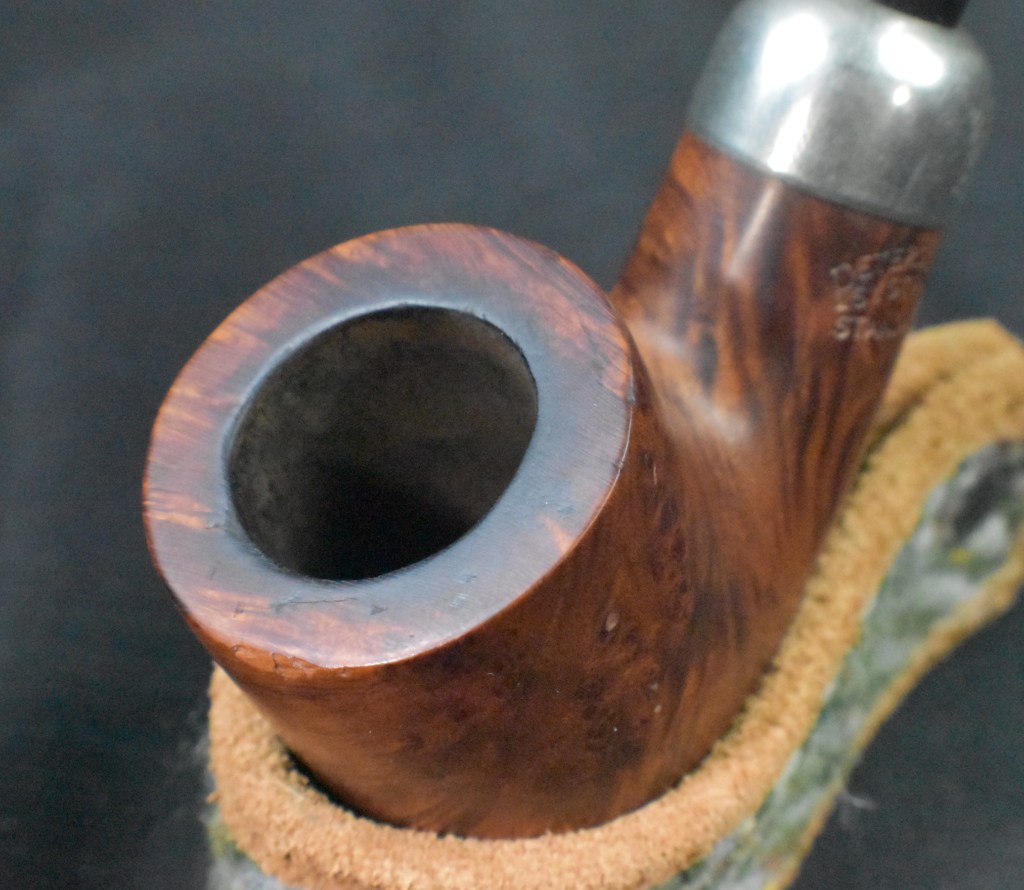


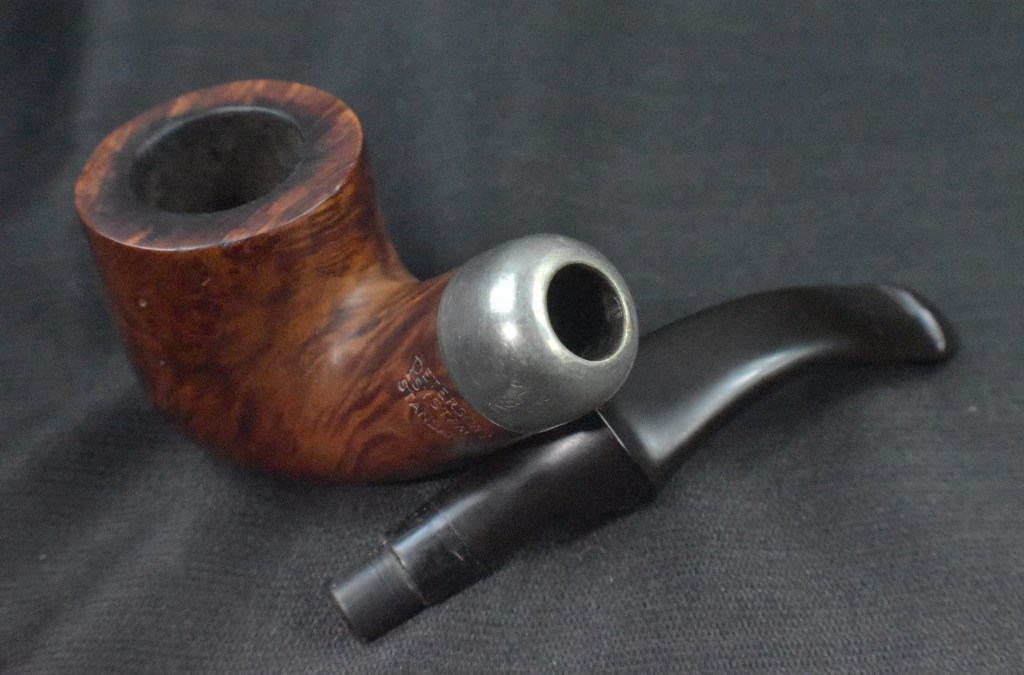
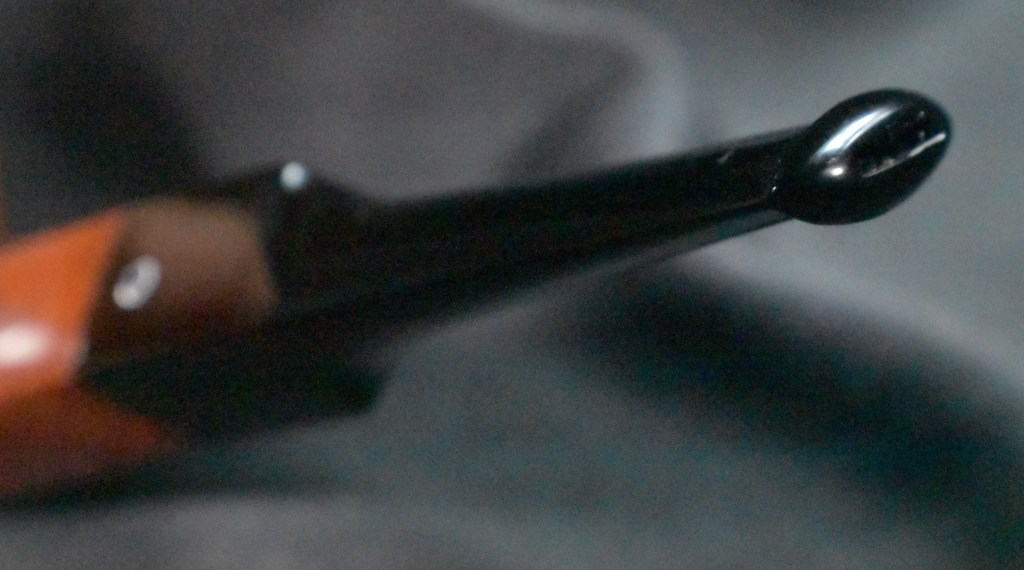
The pipe was in good shape overall. There were some tooth dents on the stem and slight oxidation. I apparently did not restore the stem, other than removing the oxidation, from when I first got the pipe. The tobacco chamber had been reamed, again probably from my cleaning. There were a few spots where the old fills were failing and a spot on the front of the outside rime where the pipe had been knocked. In general a “light” restoration was required.
Background
If you have read my previous blogs, thank you, and you are probably aware that I am a fan of Peterson pipes. Like many Peterson fan boys, or Pete Geeks as some call us, I could go on ad nauseum about Peterson pipes, their history and the remarkable innovations that made Peterson pipes the legend that they are. I will refrain from doing this again and give you a few sources of information which will allow you to read about the history of the company. For a great history Mark Irwin and Gary Marlburg’s book is a must read for a Pete Geek.
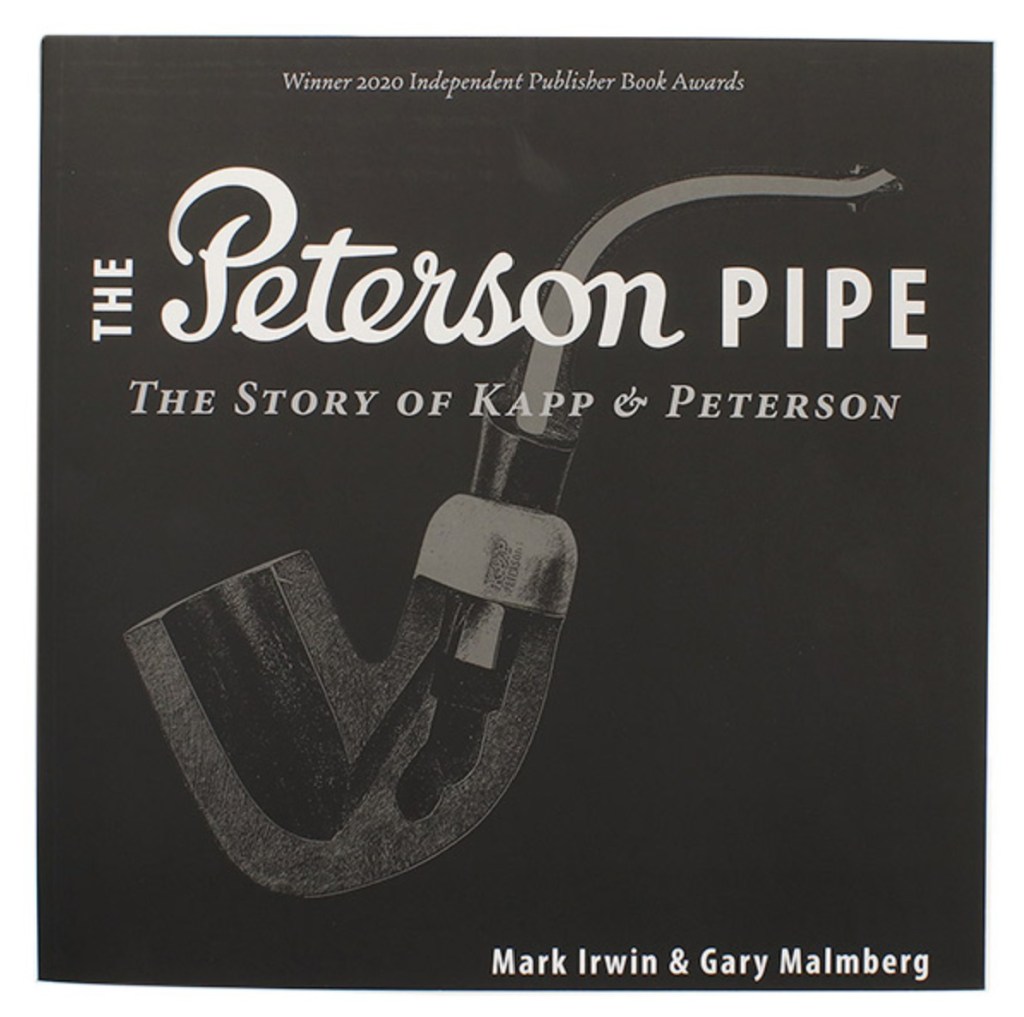
(Available at https://www.smokingpipes.com/accessories/books/moreinfo.cfm?product_id=471478) Given the price is a bit high but worth every penny for a Peterson aficionado.
The next site is pipedia.org’s History of Peterson by Jim Lilley (Peterson – Pipedia)
Next, the pipephil.eu site for all things logo: Peterson: historical pipes — Pipes: Logos & Markings (pipephil.eu) They also have a few other links to things like the Peterson timeline and P-lip information.
The last source is Peterson Pipe Notes. Mark Irwin has blogged about many particular Peterson lines, features and histories over the years. I can wholeheartedly recommend his blog and free subscription at

https://petersonpipenotes.org/ His posts are searchable for specific items of interest and will open an entire hoard of rabbit holes for you to delve into. Yes, you will get emails but only for things like the weekly blog post and occasional Peterson pipe drops (like the Peterson Pipe Notes Pipe of the Year) or offers for cool Pete Geek merchandise.
The Restoration
The 301 made its way to the workbench for a second time. Well, not the current workbench, this workbench is only a couple years old but you know what I mean.
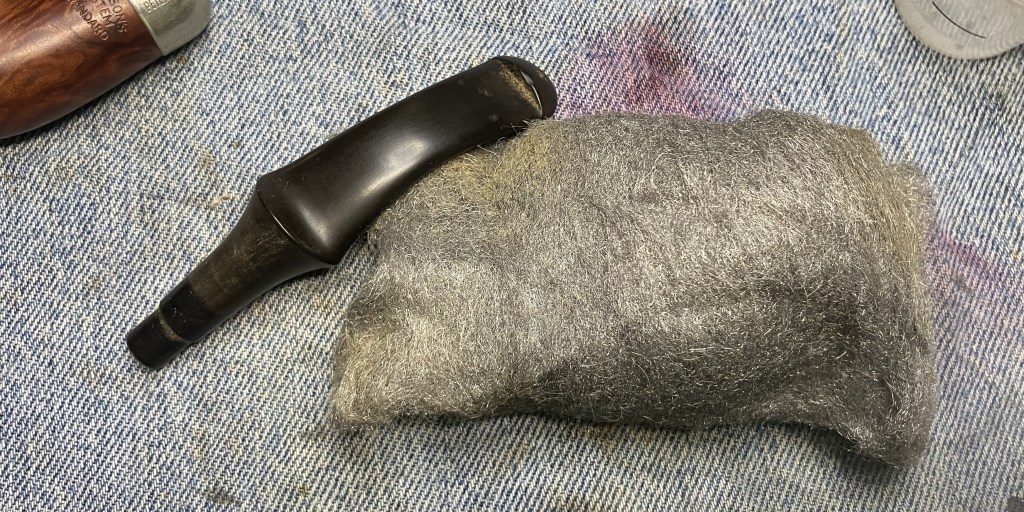
I started with a light rubdown of the stem with 0000 steel wool.
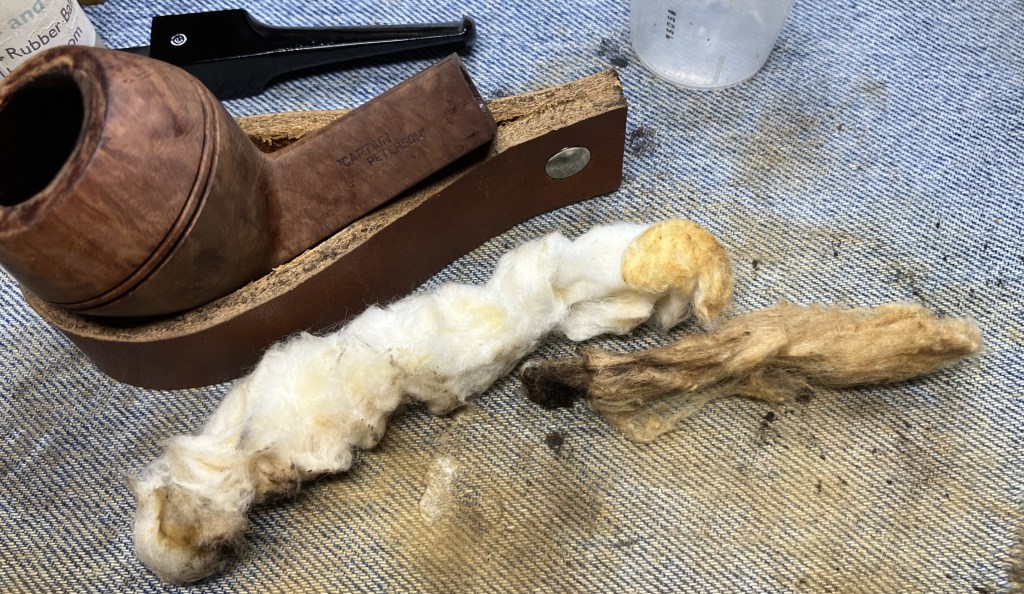
That was followed with a cleaning of the inside of the stem with 99% ethyl alcohol, pipe cleaners and cotton swabs.
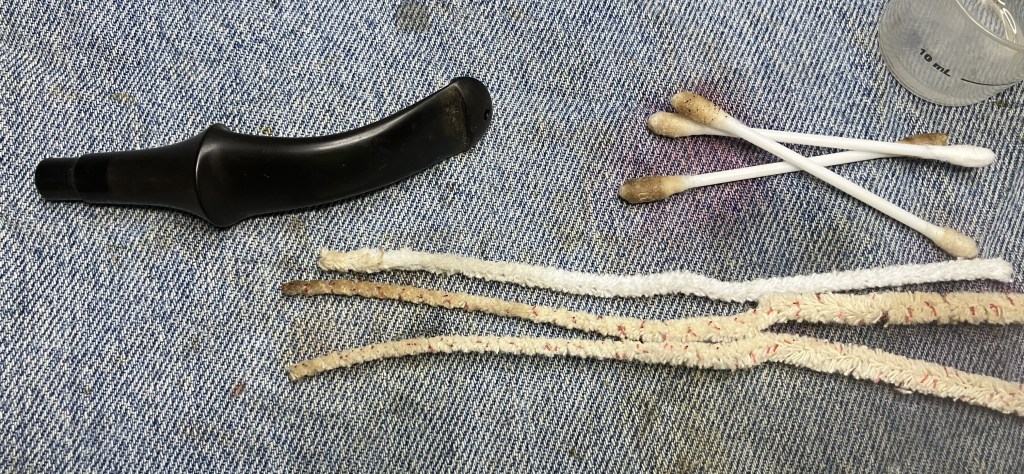
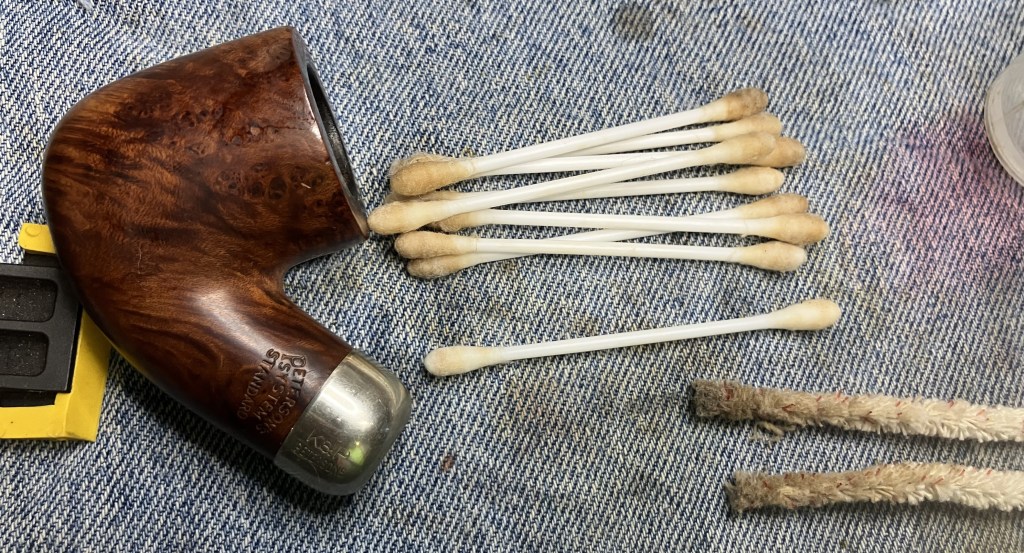
The shank was cleaned in similar fashion. Whew, I would have been embarrassed if this pipe was dirtier than that.
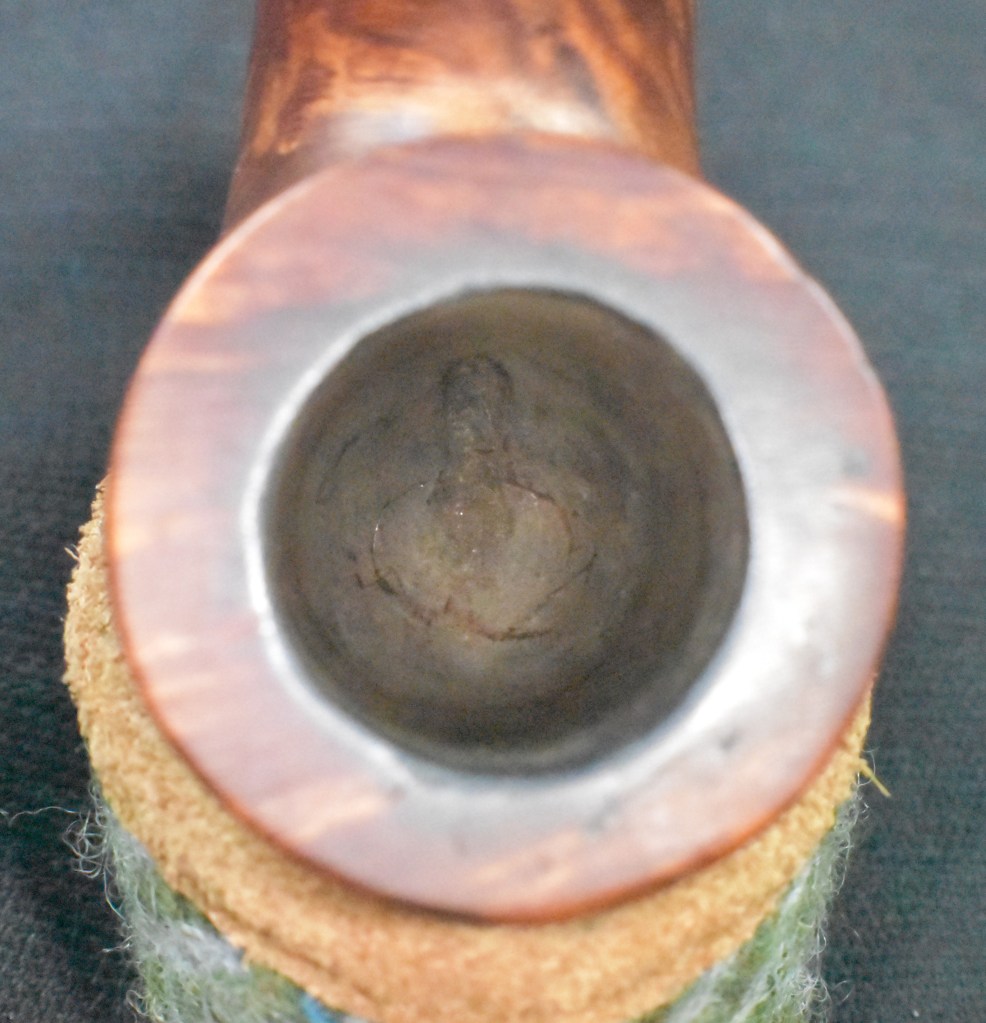
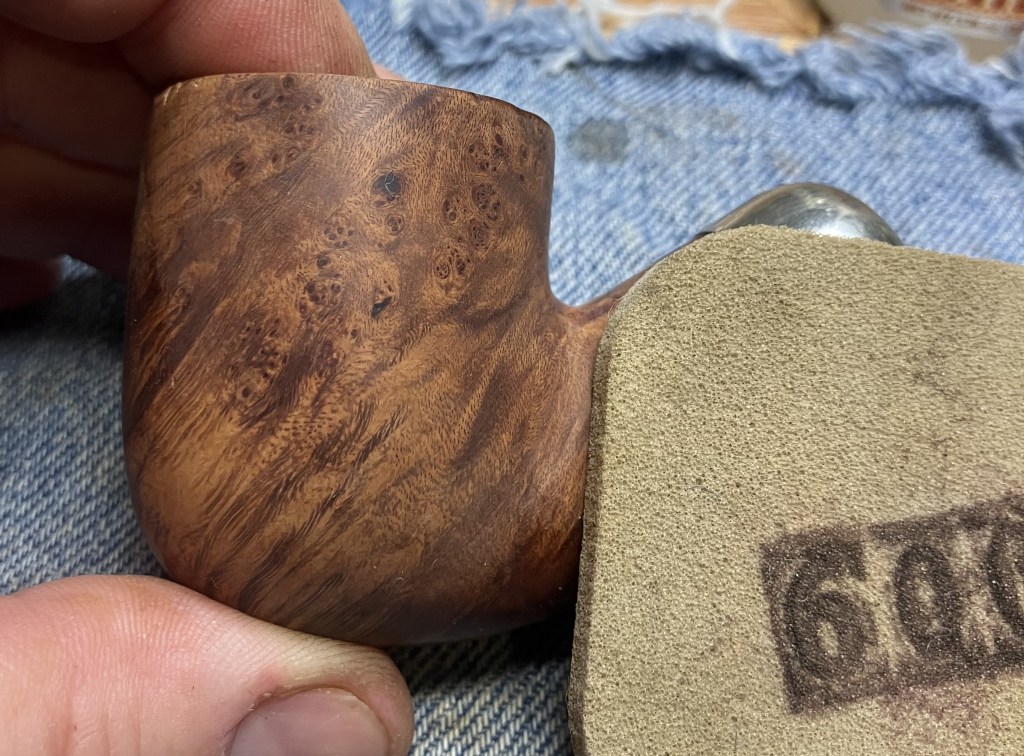
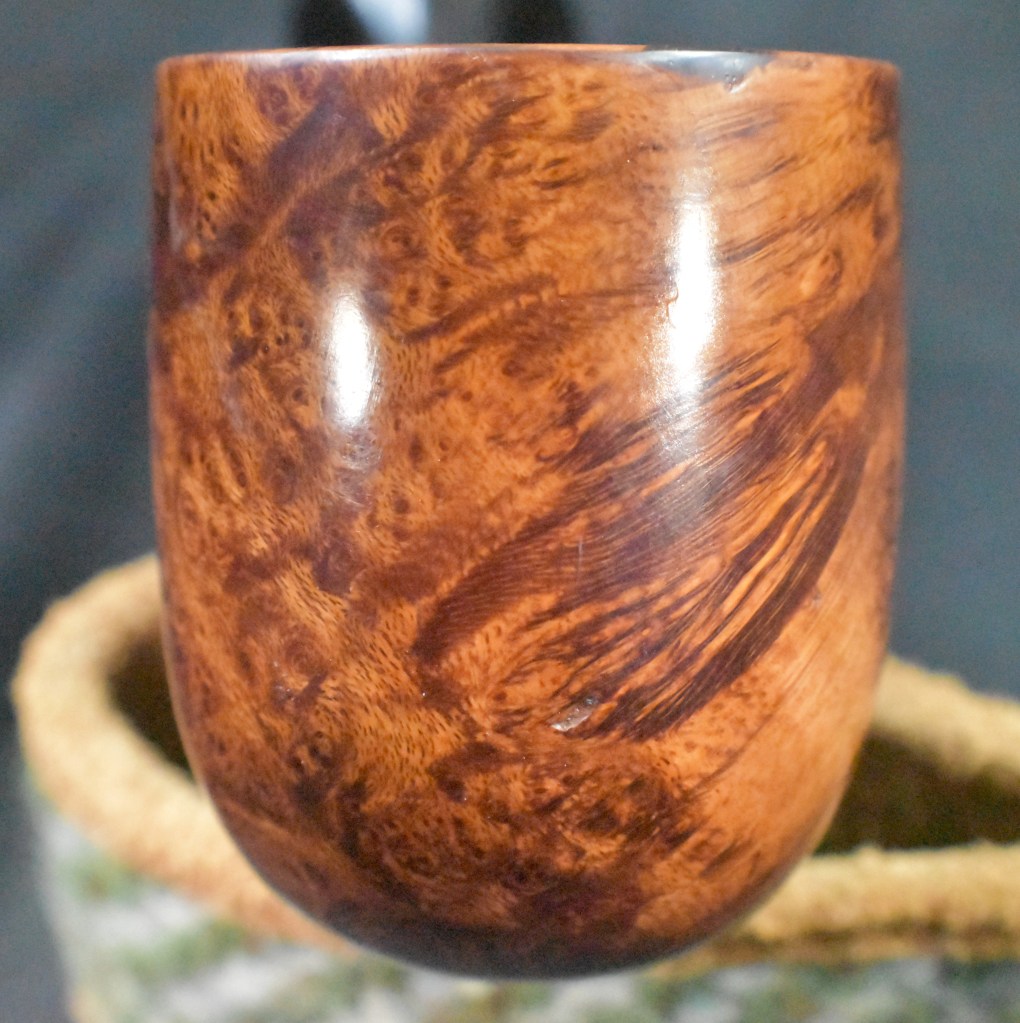
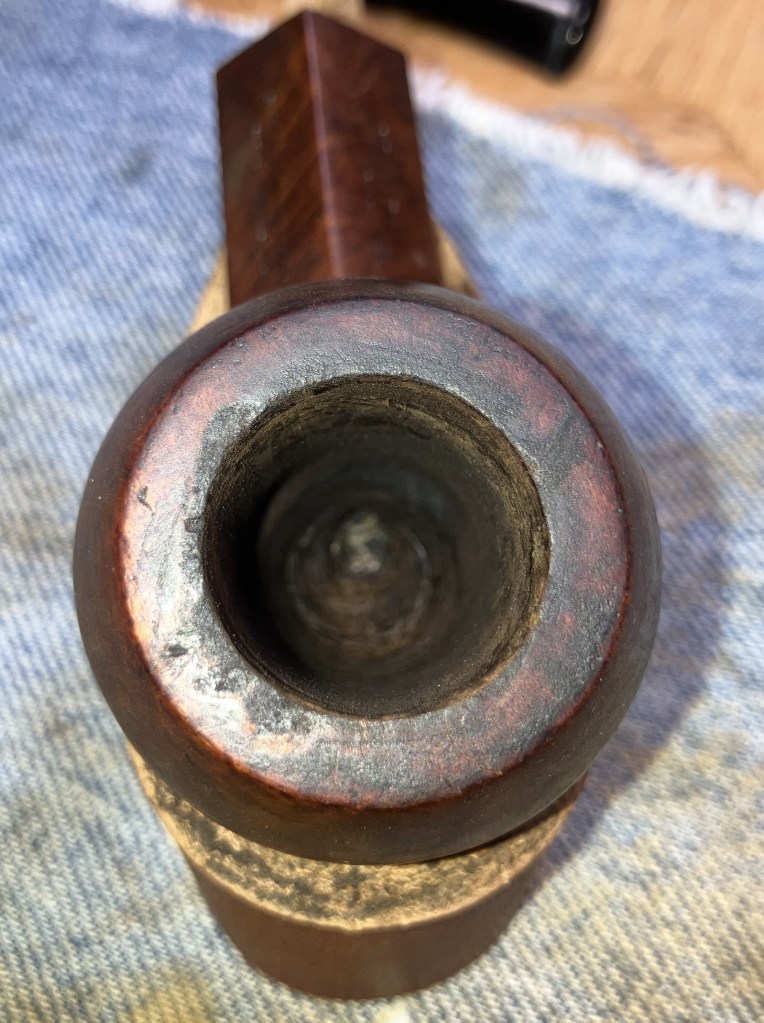
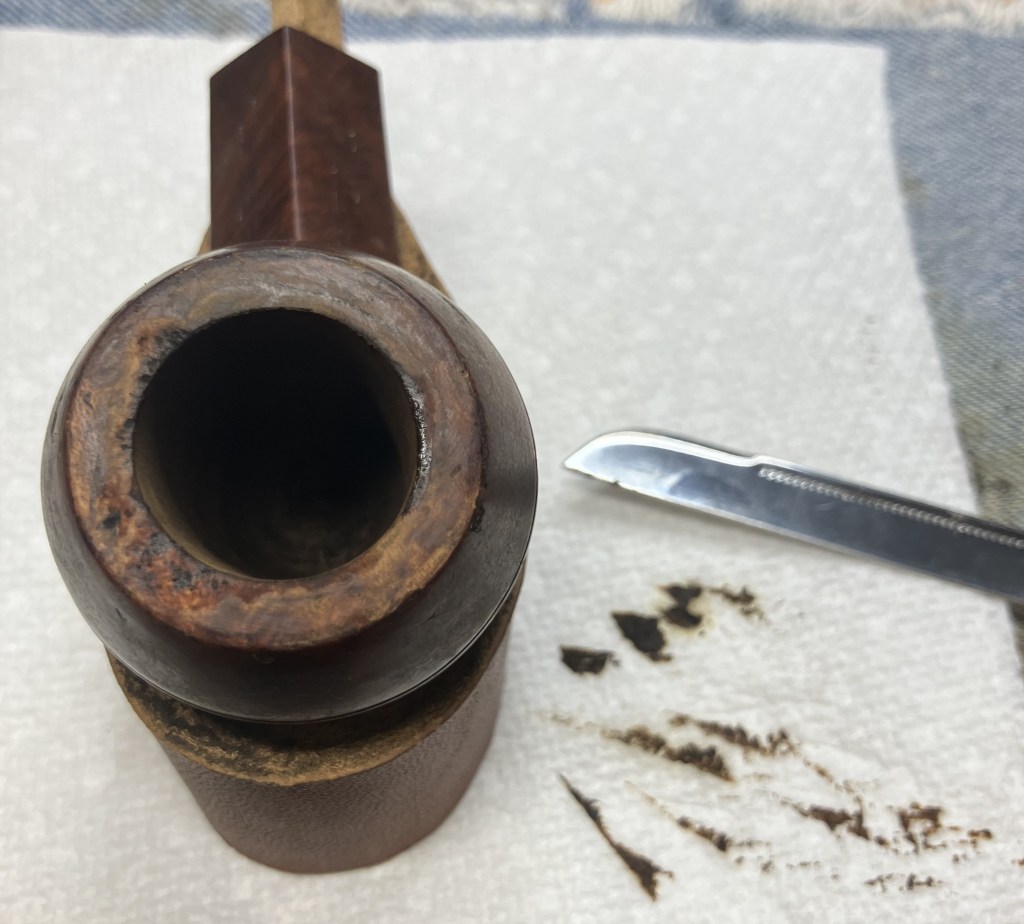
The tobacco chamber was sanded with 320 sandpaper wrapped around a wood dowel and by 320 on my finger. There was no sign of any heat damage to the chamber.
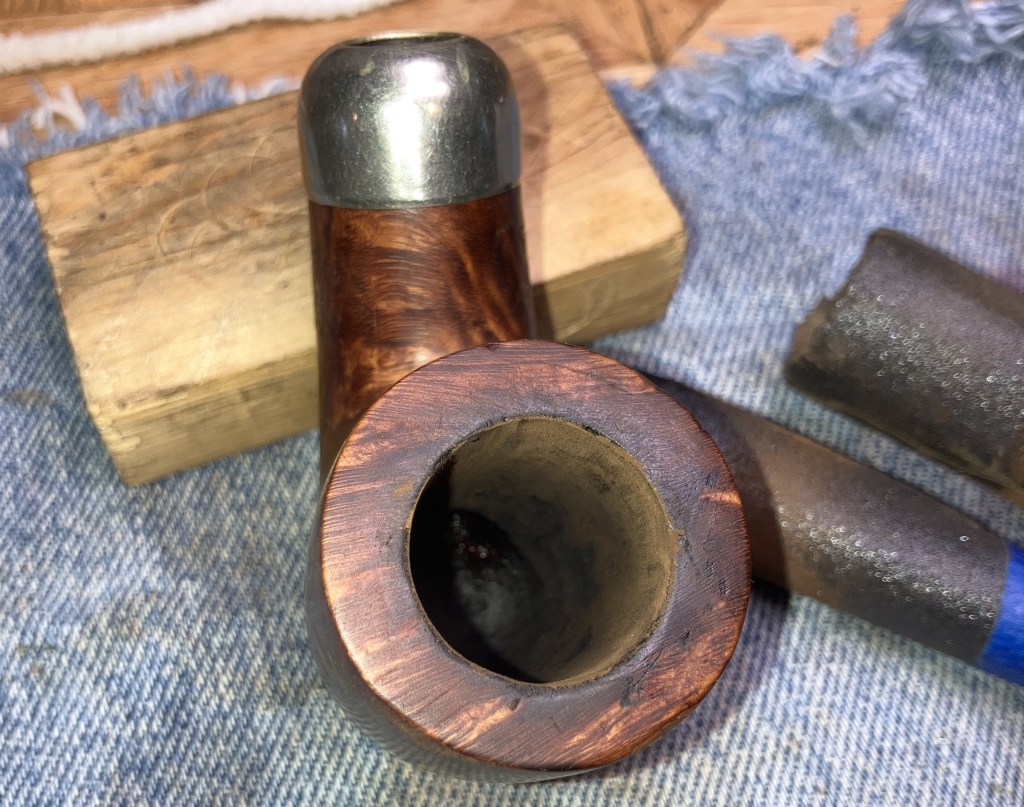
The rim did have a very light lava residue and a few dings.
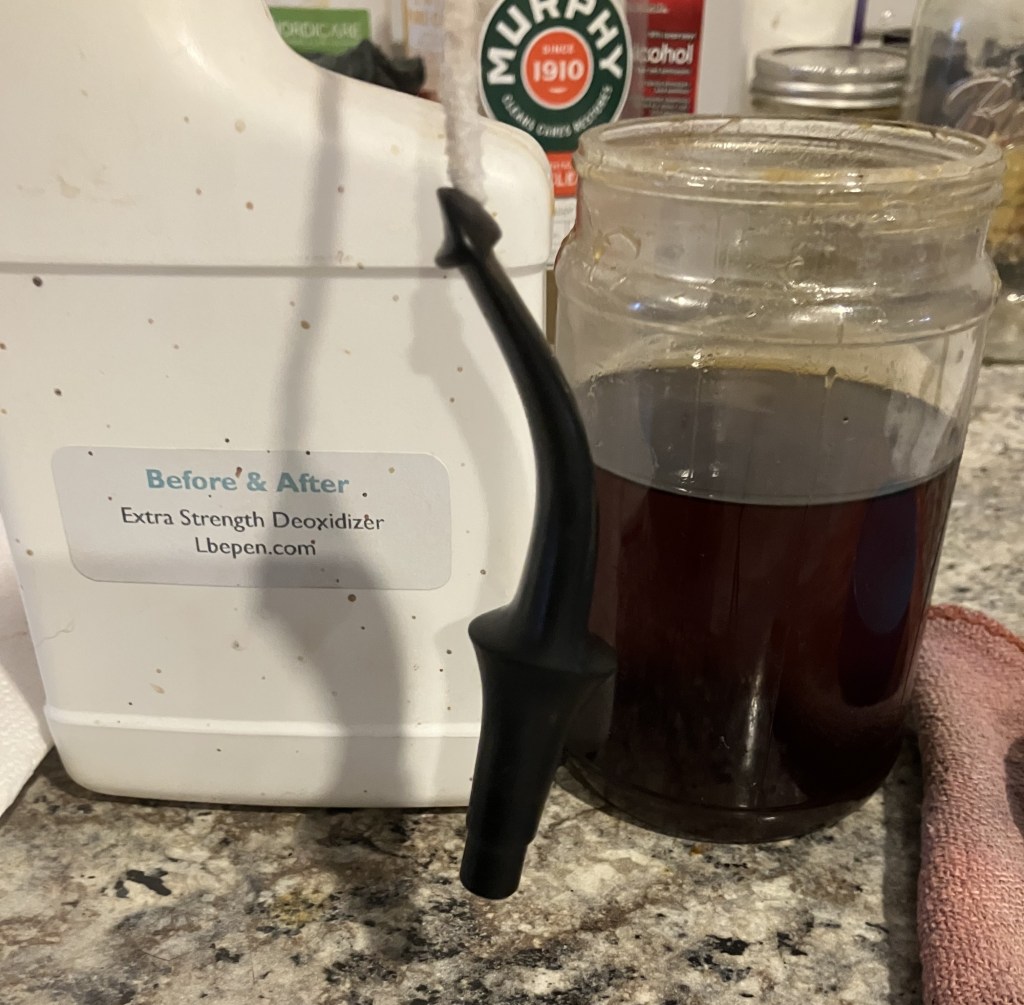
The stem was suspended in Before and After Extra Strength Deoxidizer (deox) by inserting a pipe cleaner into the button and hanging it in the solution. I figured that 6-8 hours would be plenty of time for this stem.
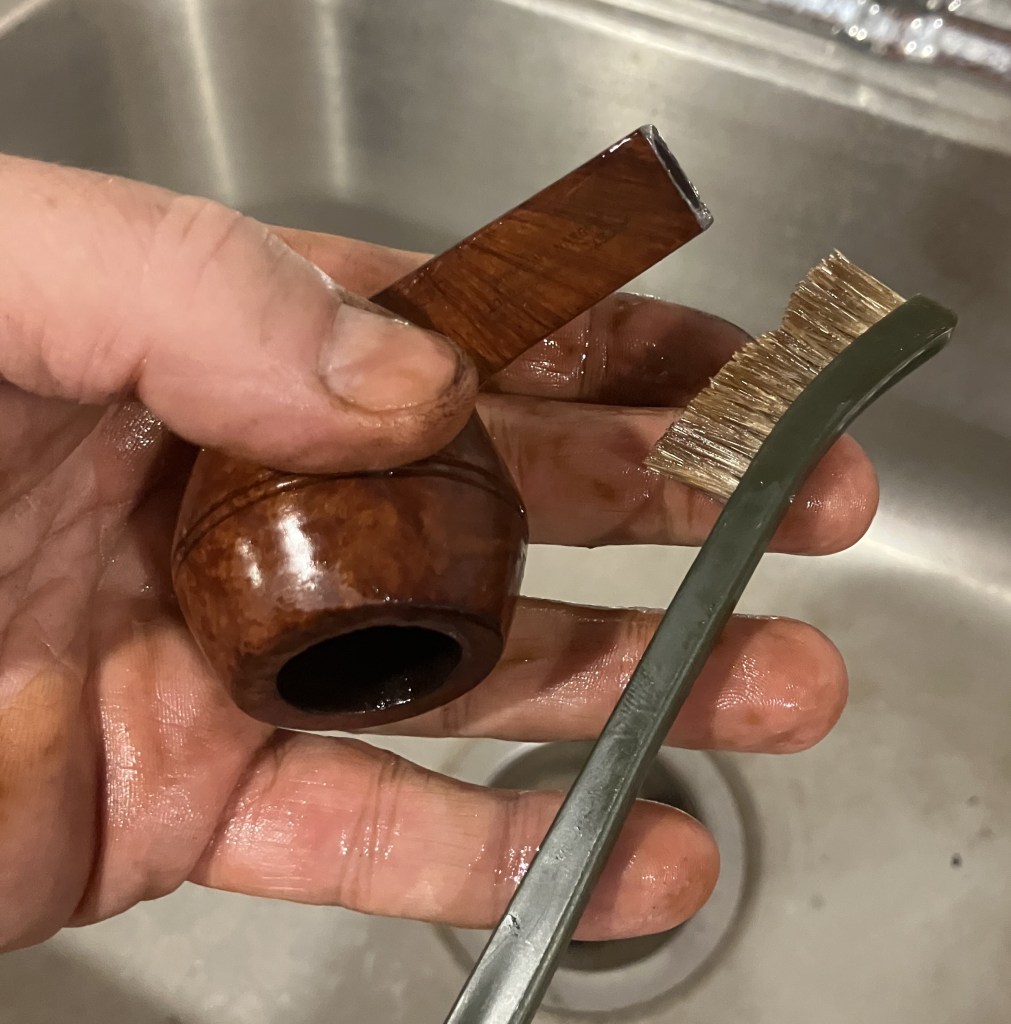
The stummel was scrubbed with undiluted Murphy Oil Soap and a nylon brush. The soap was rinsed with warm water and the stummel dried with a cotton hand towel.
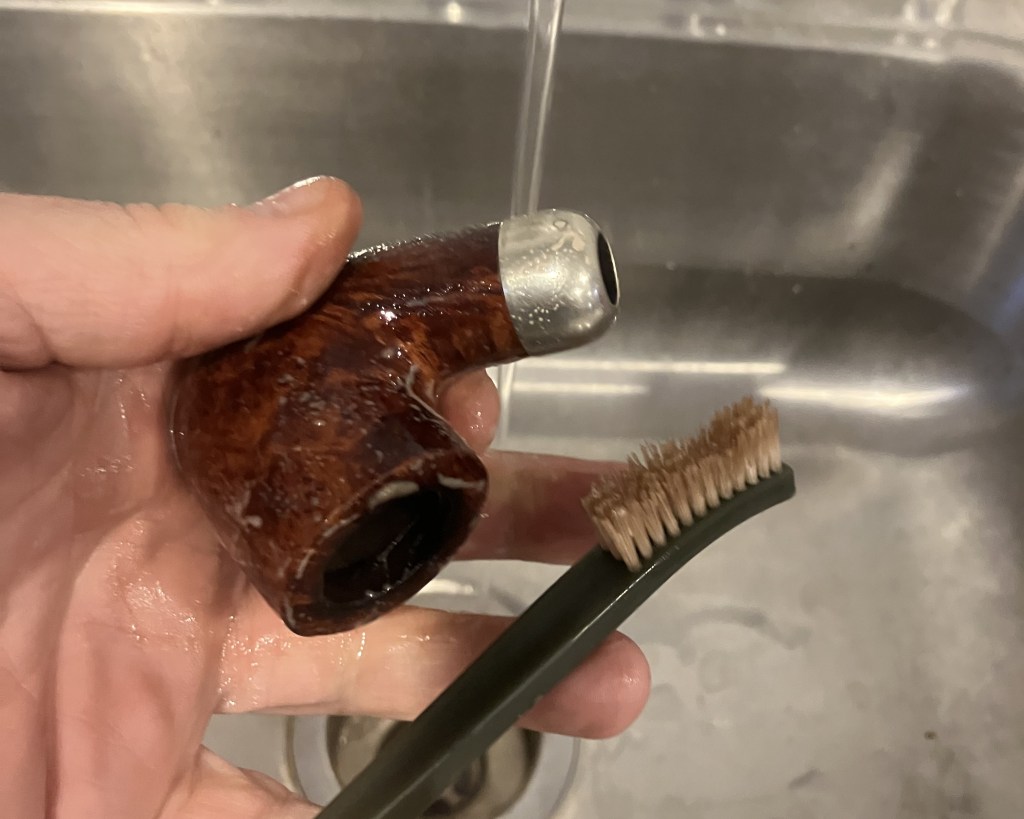
The scrub did soften the fill material as well as removed the dirt and most of the wax on the briar.
A wipe with 99% ethyl alcohol removed any remaining wax and a bit of the original stain as can be seen on the cotton make-up pad.
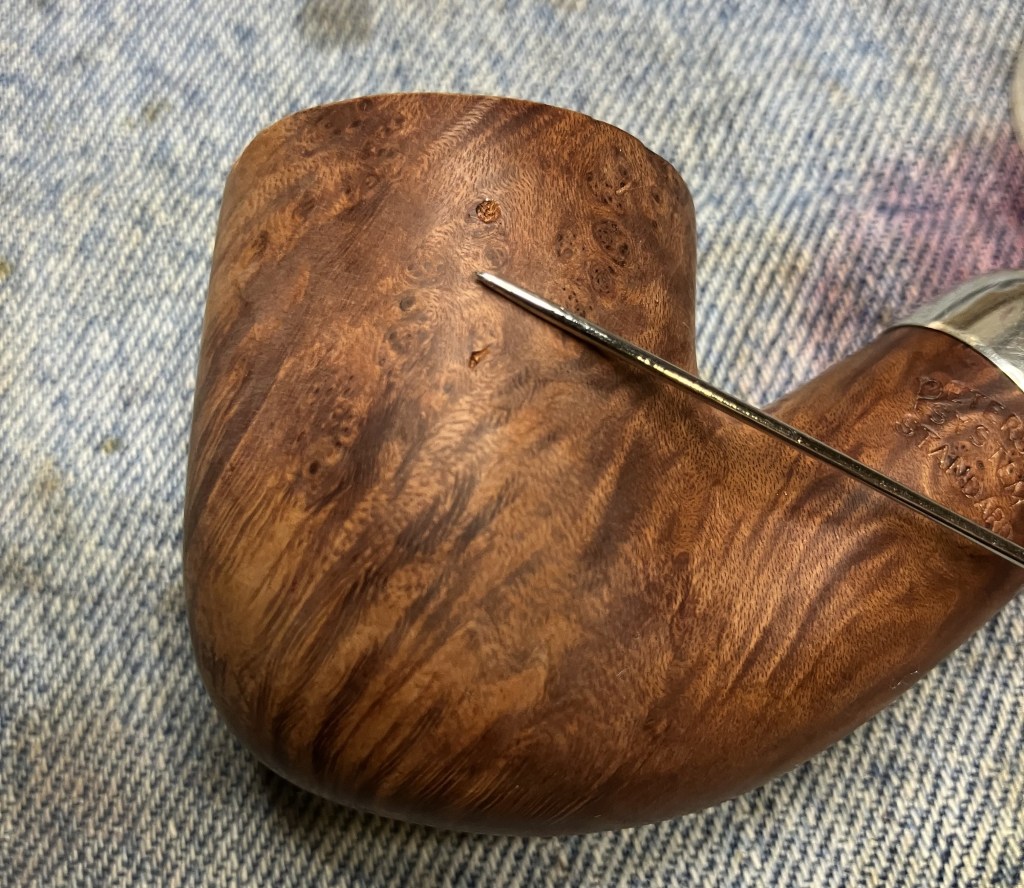
The old fill material was picked out using a fly tying bodkin.
The new fill would be made of Briar dust pressed into the pits then topped with thin cyanoacrylate (CA, super glue). Below is a photo of a dental scraper which makes a fine little scoop for the briar dust and has a flat underside used to press the dust into pits.
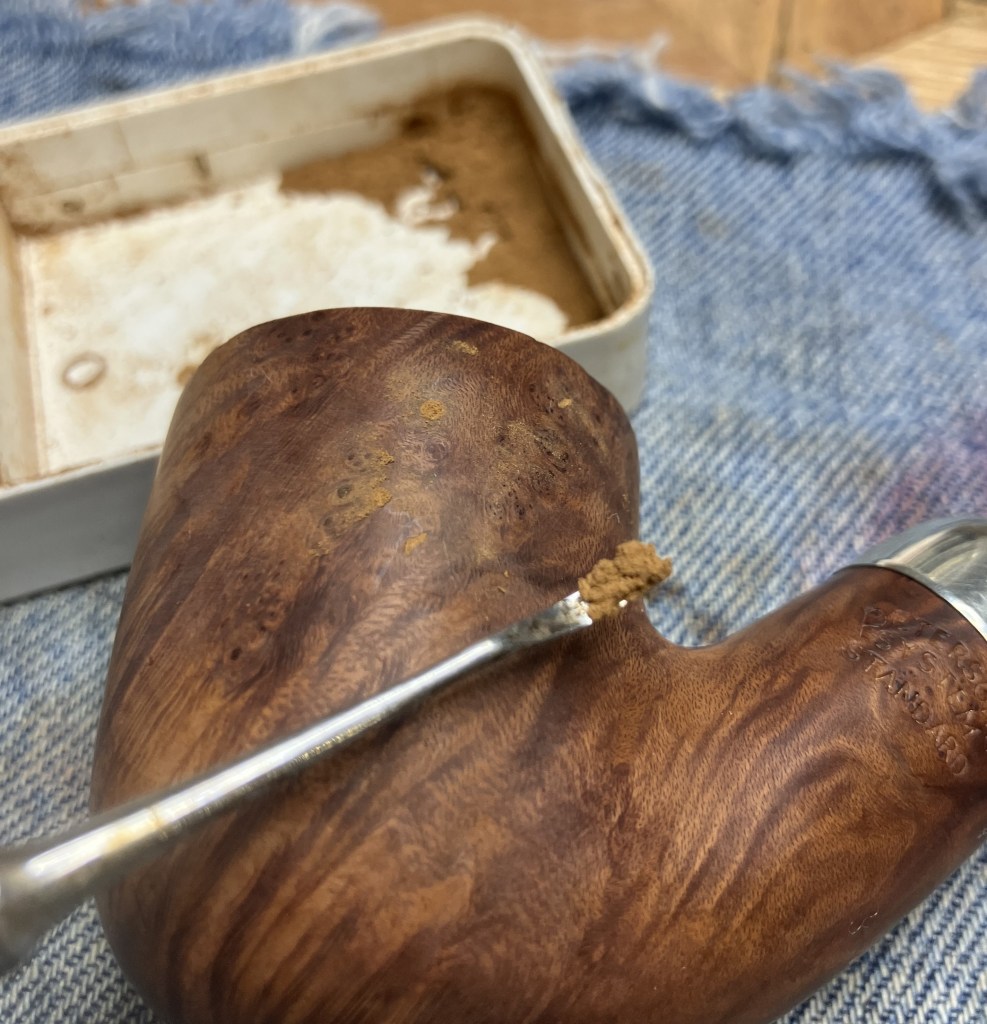
Thin CA works best for this type of fill.
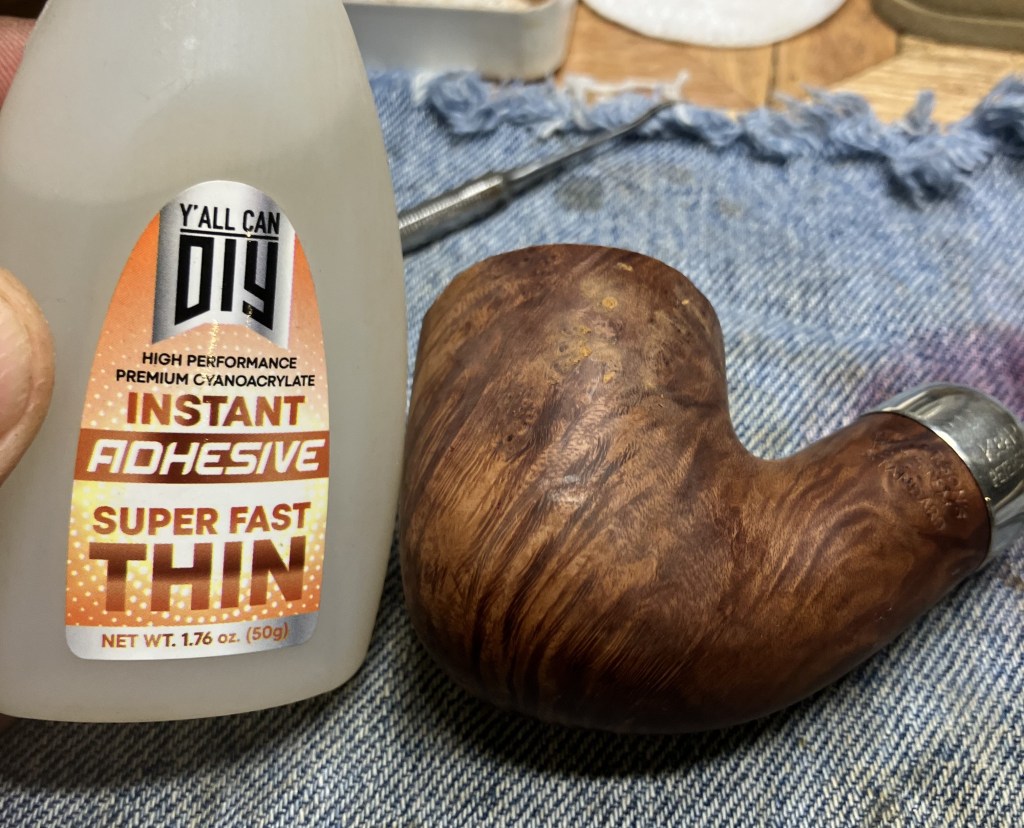
The disposable fine tip applicators are a godsend for delivering tiny drops of CA to the new fills.

I allowed the CA to cure on its own rather than applying a spritz of a drying accelerator. 20 minutes later the drops looked like little scabs.
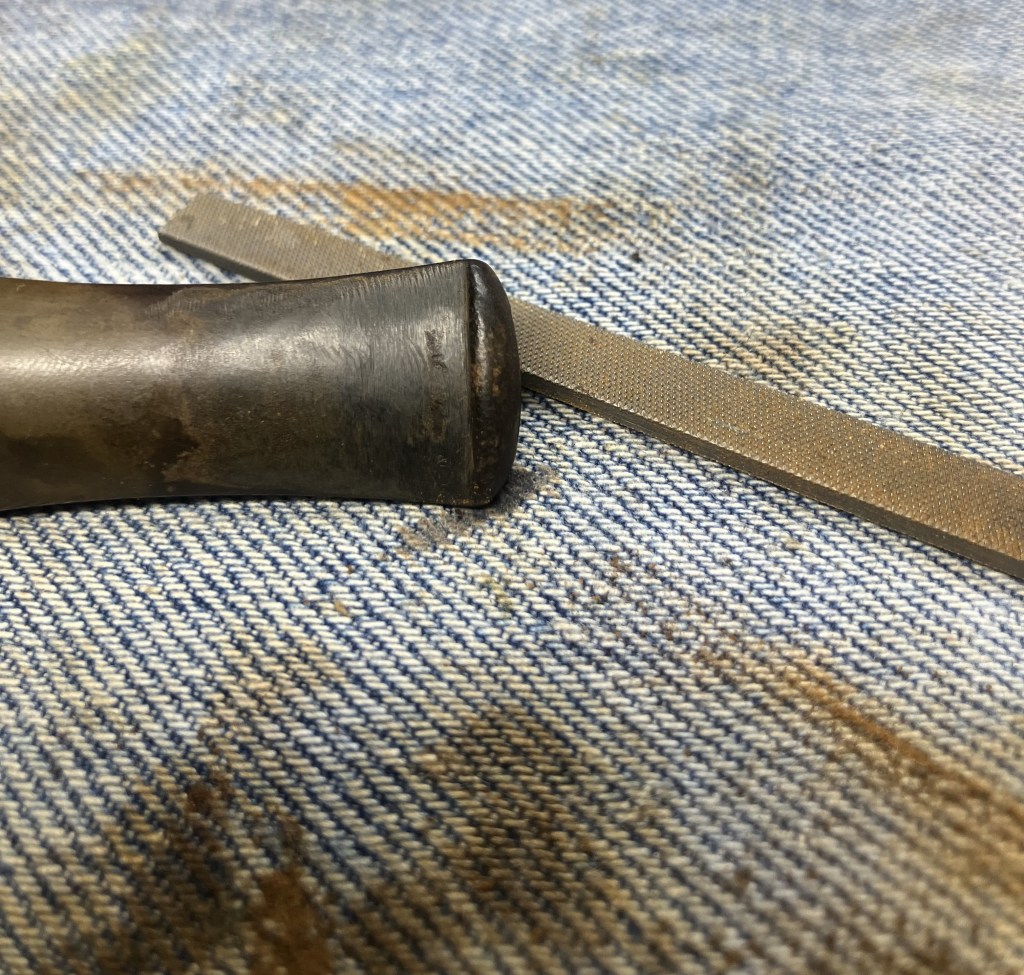
These were filed with a small flat file.

After filing the new fills were sanded with a 600 grit sanding sponge. If any holes or voids were visible then a second application of briar dust and CA were used.
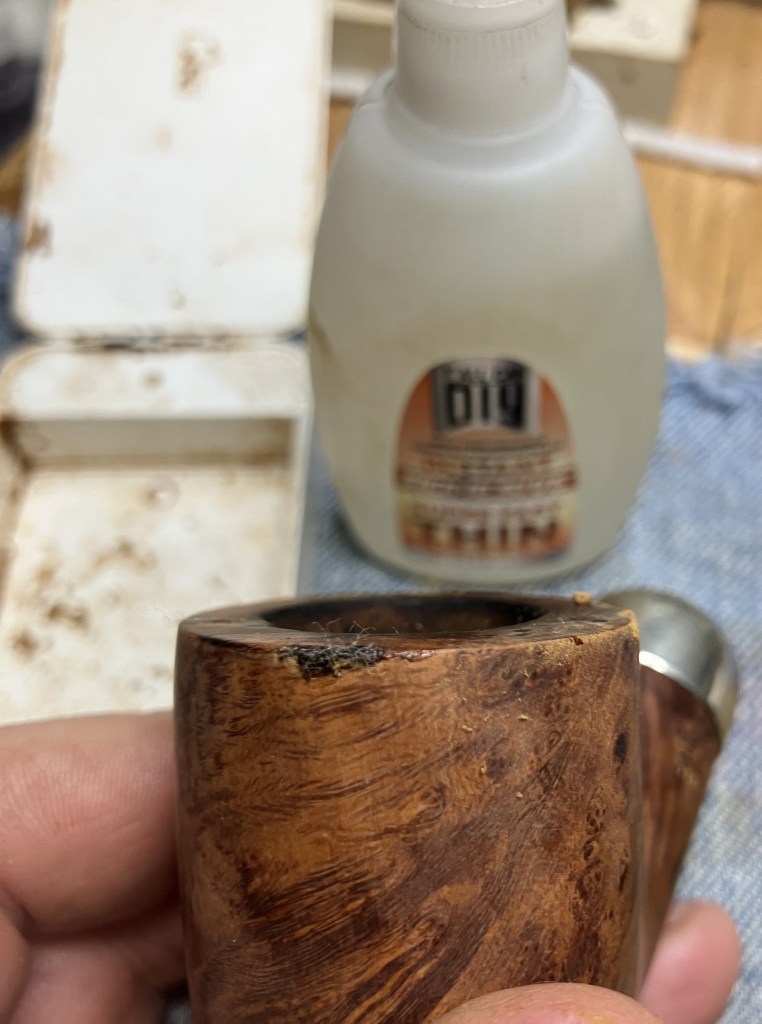
The damage to the front of the rim needed a similar repair.
Here, I applied the CA to the damaged area first, then pressed the rim into the container of briar dust. This pressed the dust into the wet CA. Fling the new fill material and repeating with additional CA and briar dust to build up the damaged area.
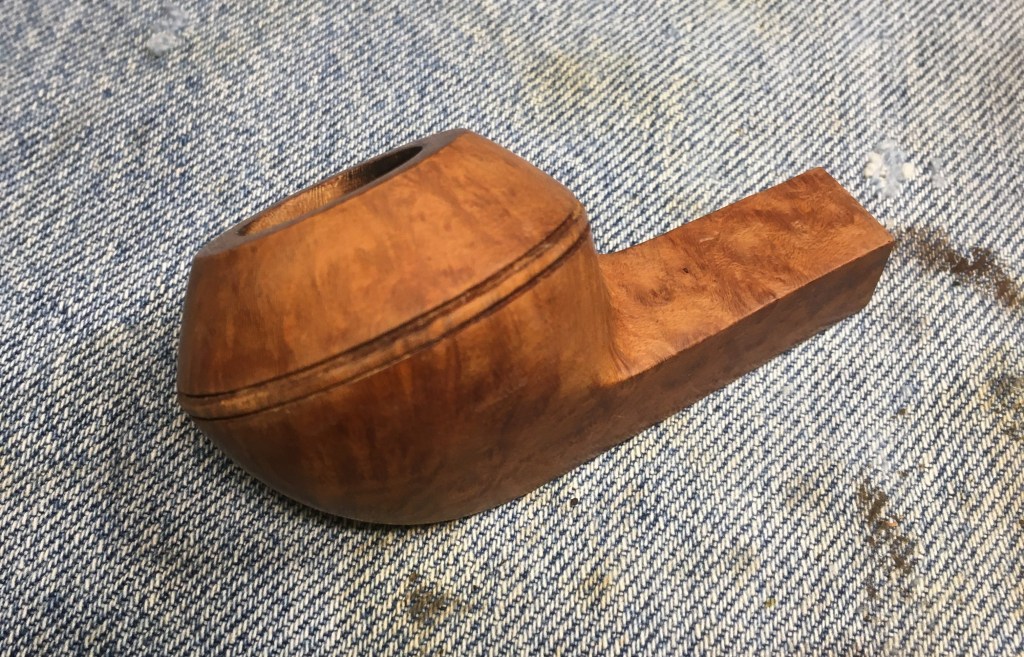
With the rim fill needing to be flattened to match the rim, I decided to lightly top the rim. This was done with 400 grit sandpaper laid flat on a countertop. A figure eight pattern was used while sanding. Bah, the sandpaper was getting full of dust.
I cleaned the sandpaper at the sink and repeated the light stopping of the rim.
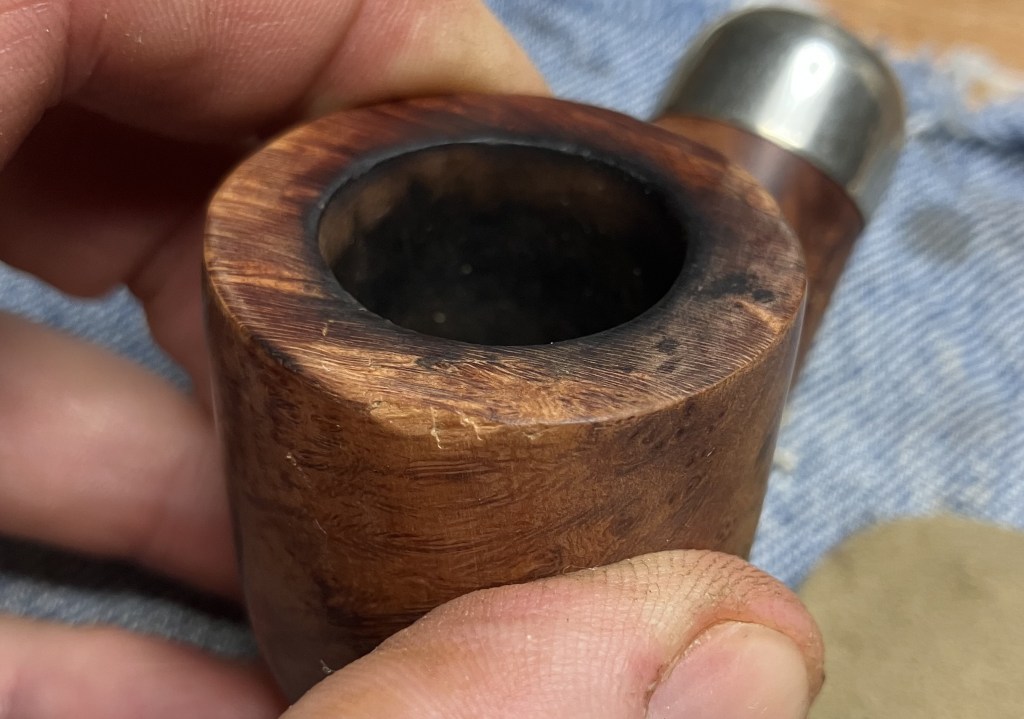
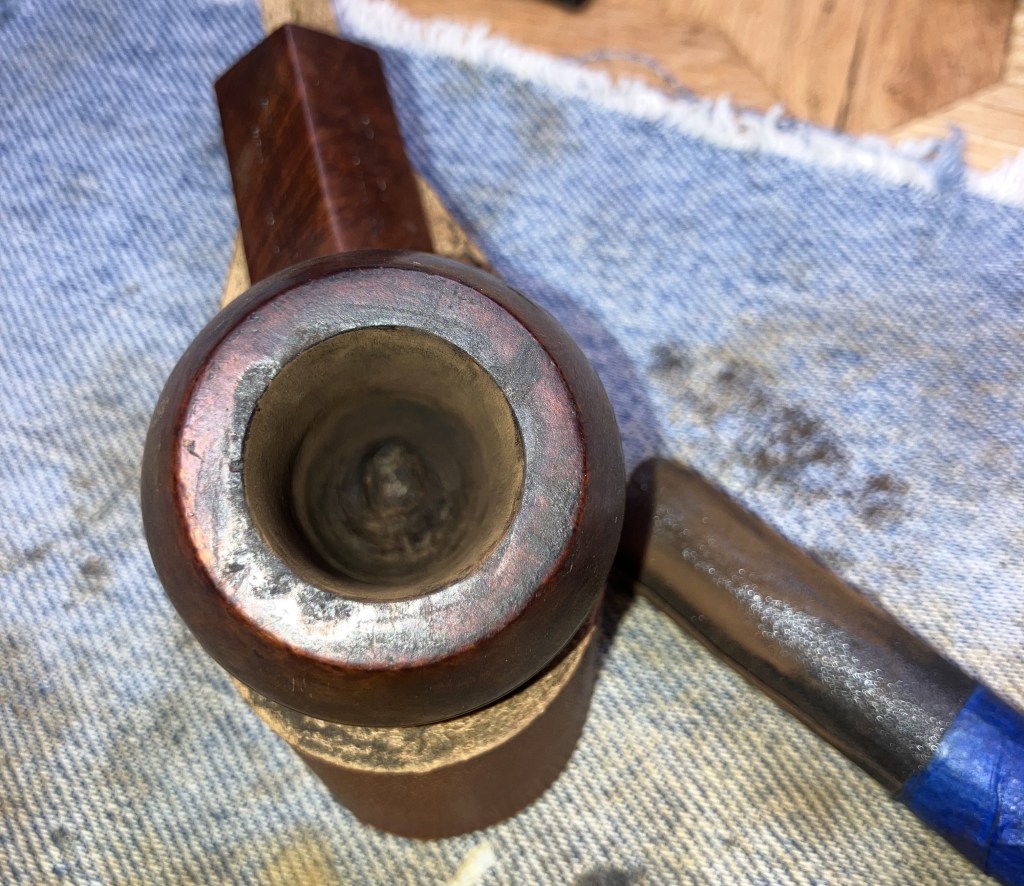
The rim looked much better but now the inner rim showed light charring from lighting the tobacco.

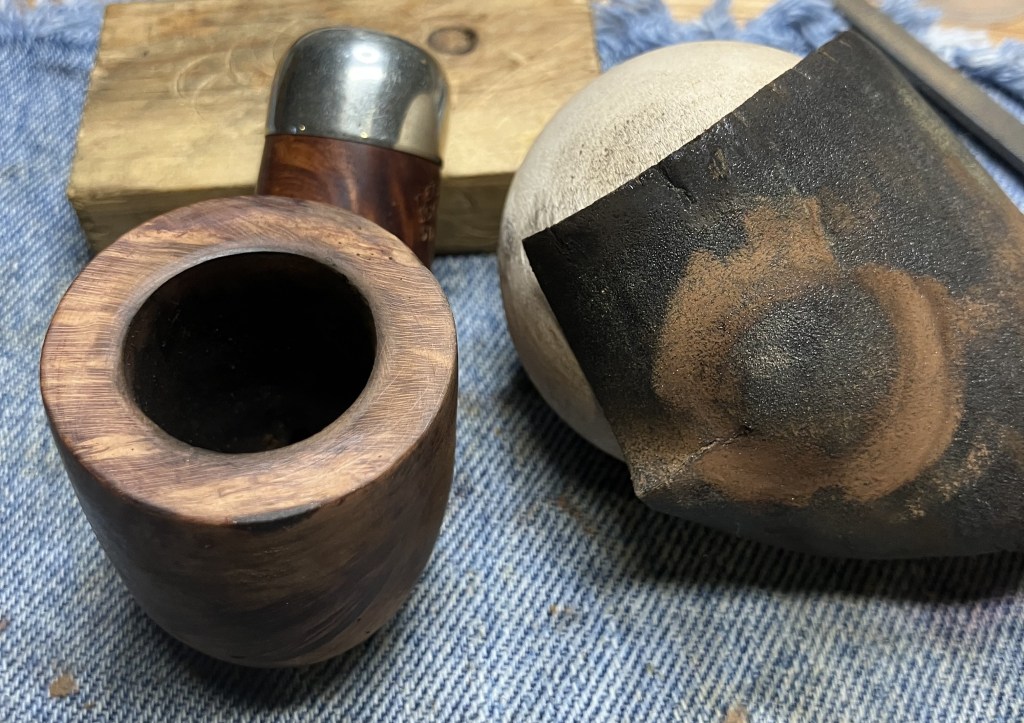
A 2 inch wooden sphere was used with a piece of 320 sandpaper to uniformly sand the inner rim. This does add a slight bevel to the rim which was not a feature of the original pipe.
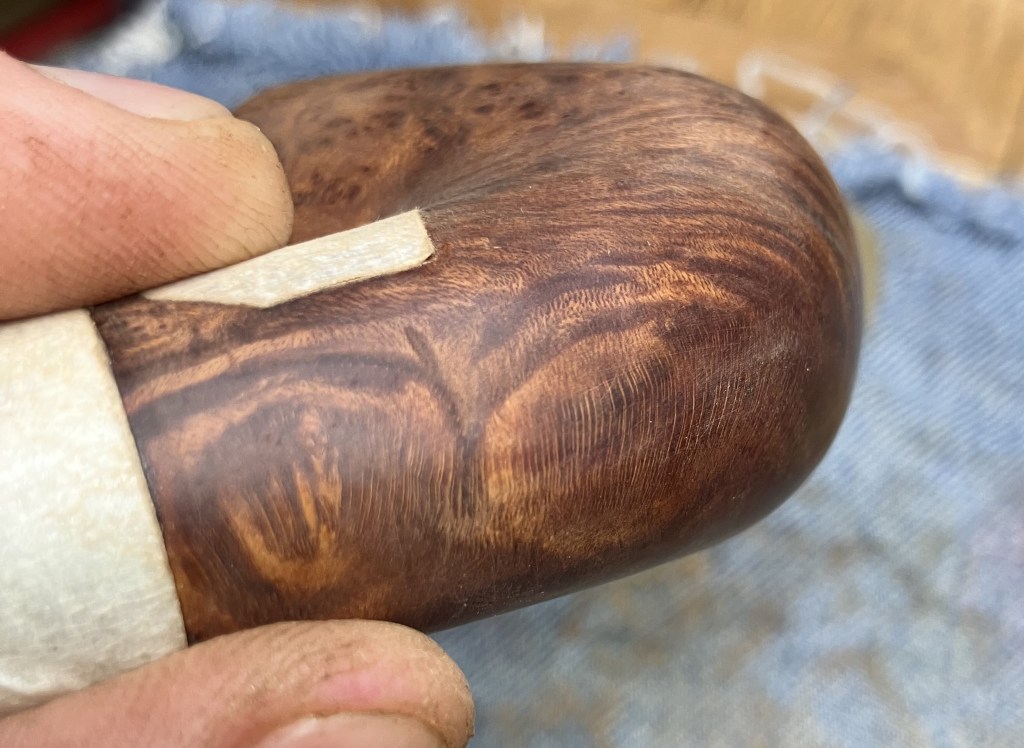
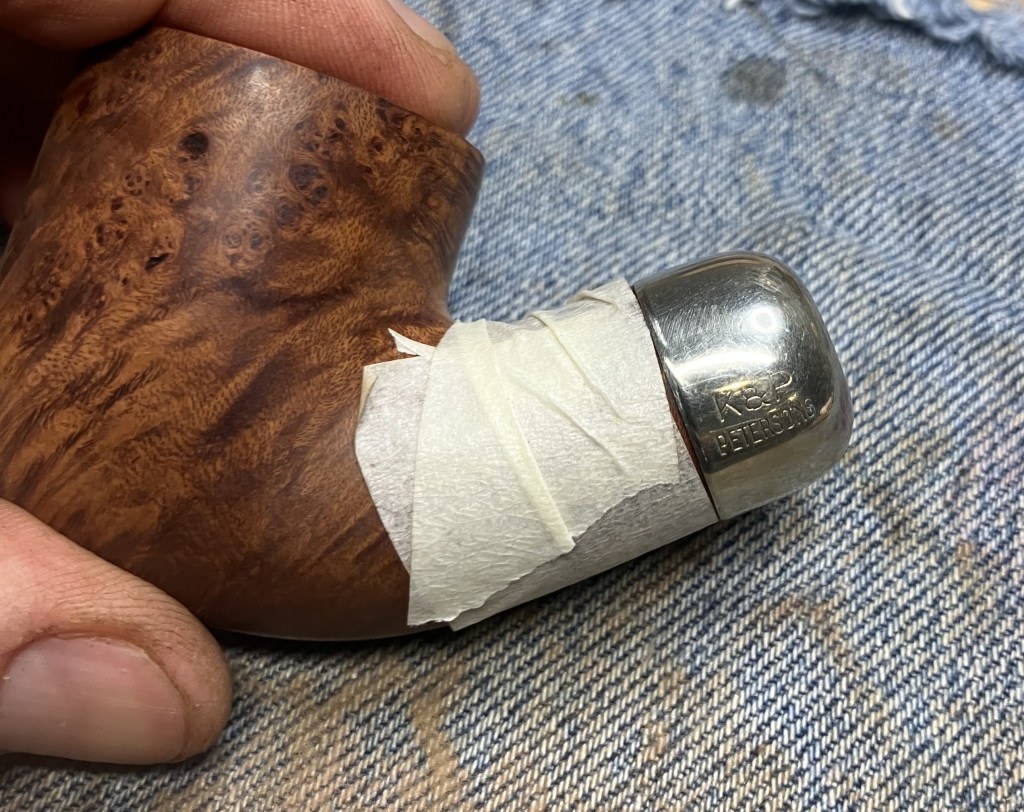
The ferrule and stamps were masked to protect them from sanding.
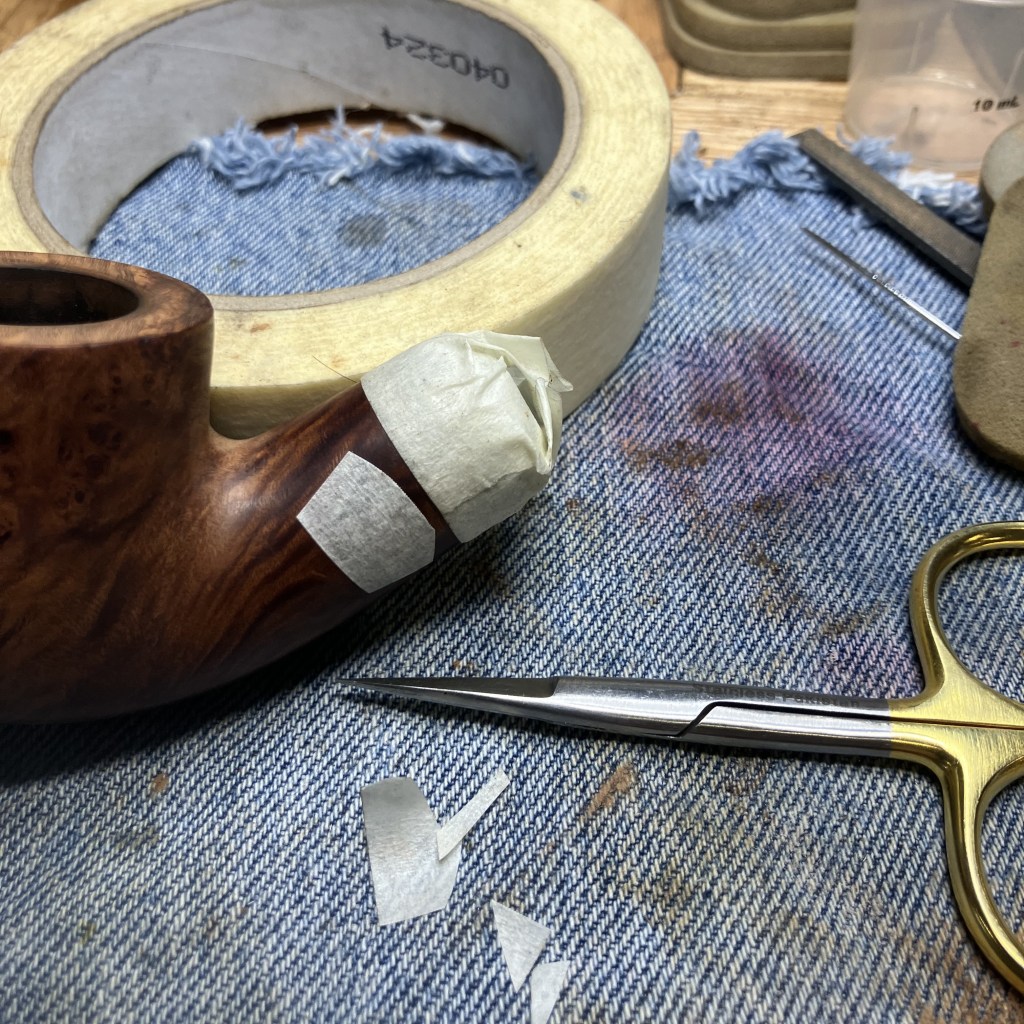
Both the left and right sides.

After the first little bit of sanding I discovered a small dent that I hadn’t noticed. It lined up with the wood grain concealing it.
It bothered me so much that I got out the iron and a wet cloth. This steaming will usually raise dents very well.
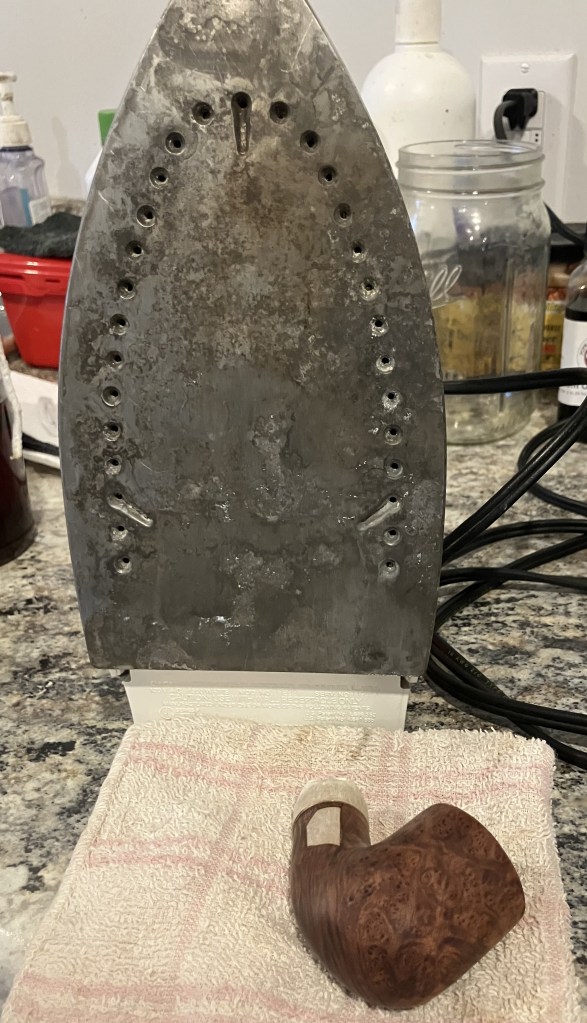
It did and the dent was no longer assailing my limited sensibilities.
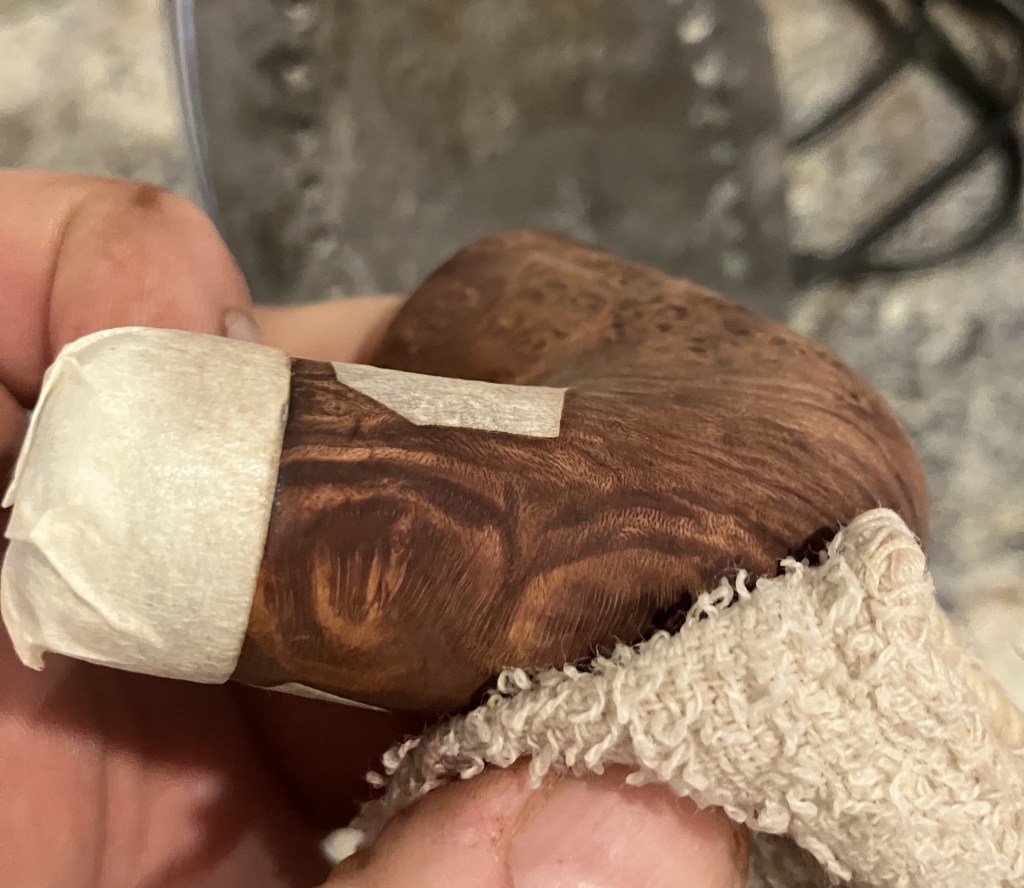
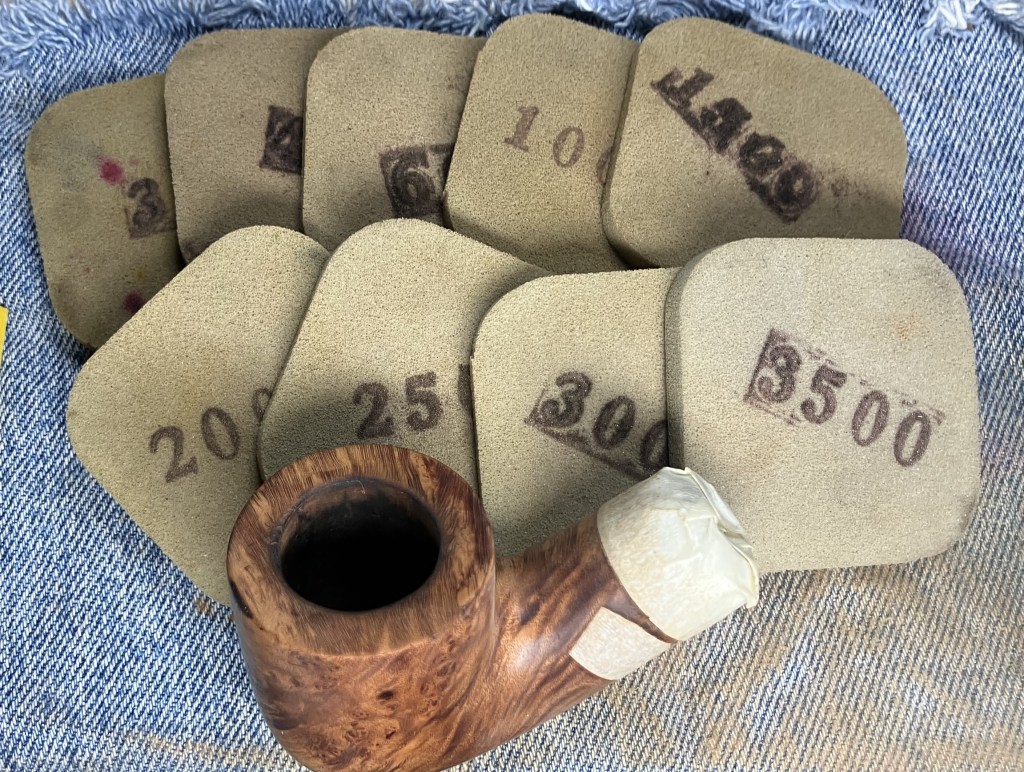
The sanding resumed with a series of sanding sponges from 320-3500 grit. Between each sponge the stummel was wiped with an alcohol wetted make-up pad to remove sanding debris.
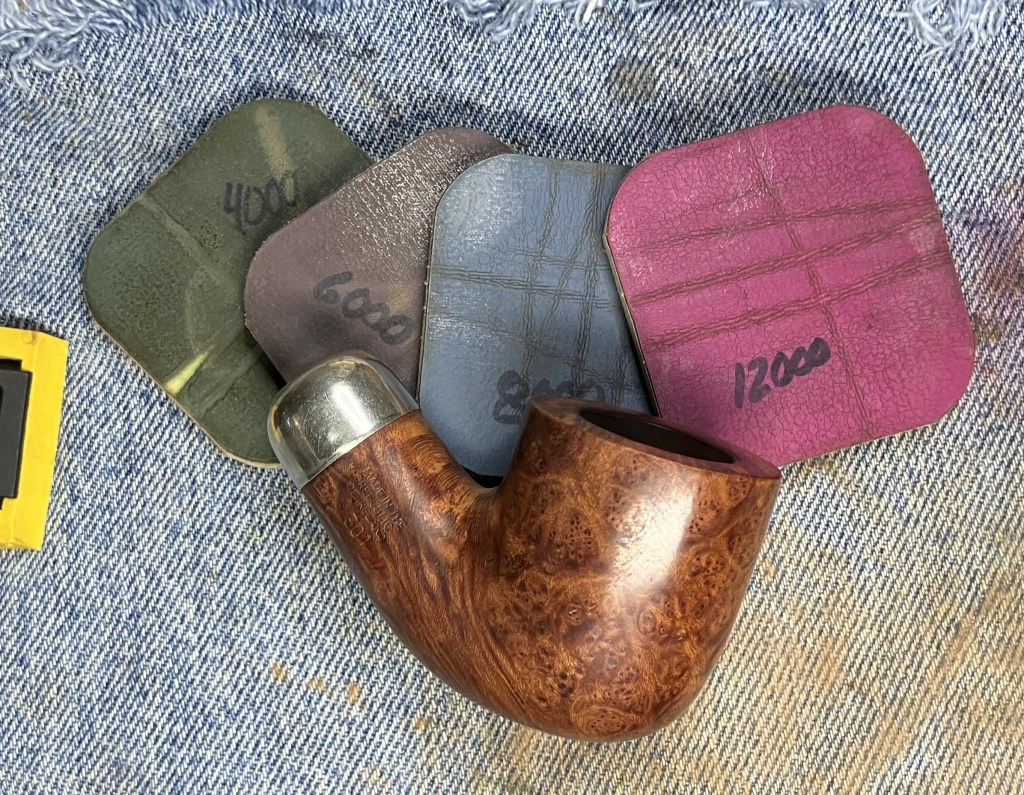
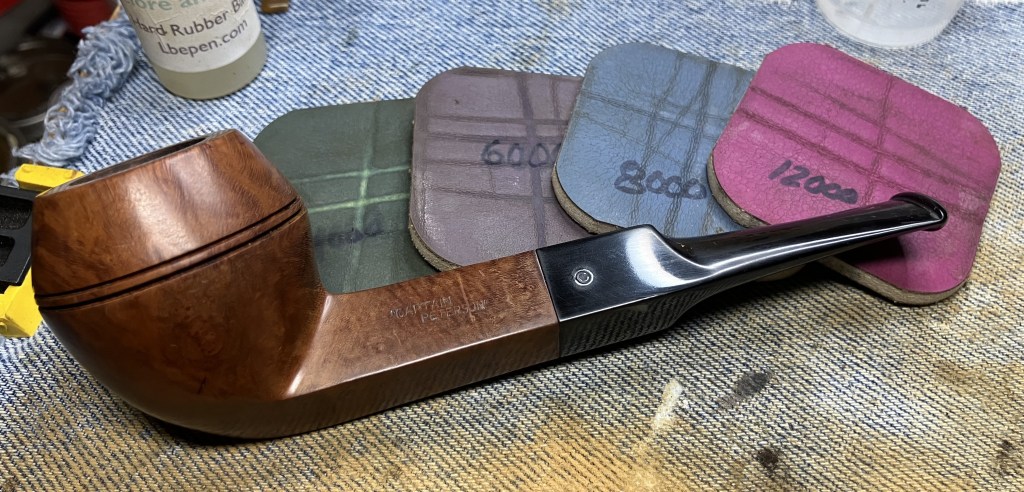
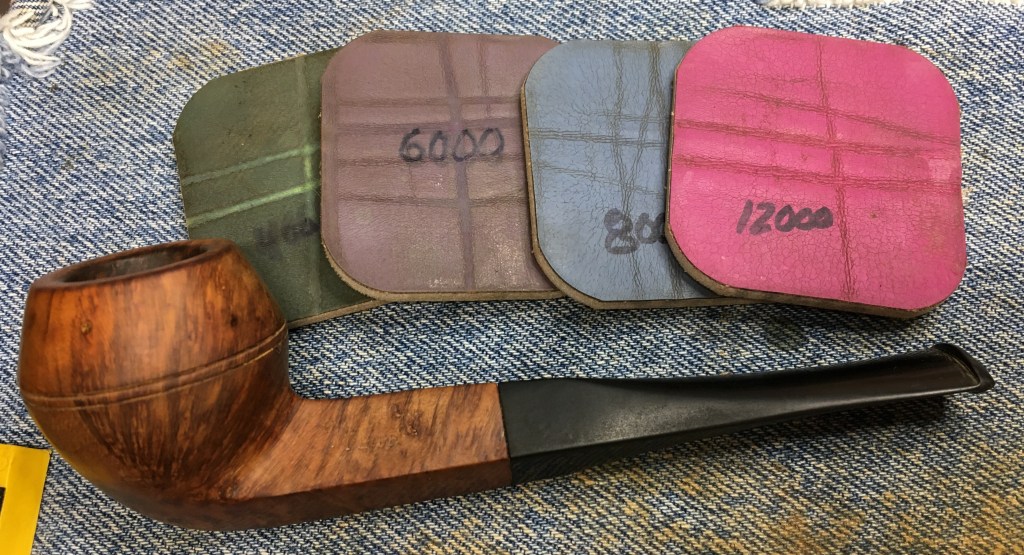
The sanding sponges gave way for the micro-mesh pads. I went with 4000-12000 with wipings between each pad as with the sanding sponges.
The shank was masked off to protect the newly sanded shank from the buffing wheel.
The ferrule was buffed with white buffing compound and the dedicated wheel.
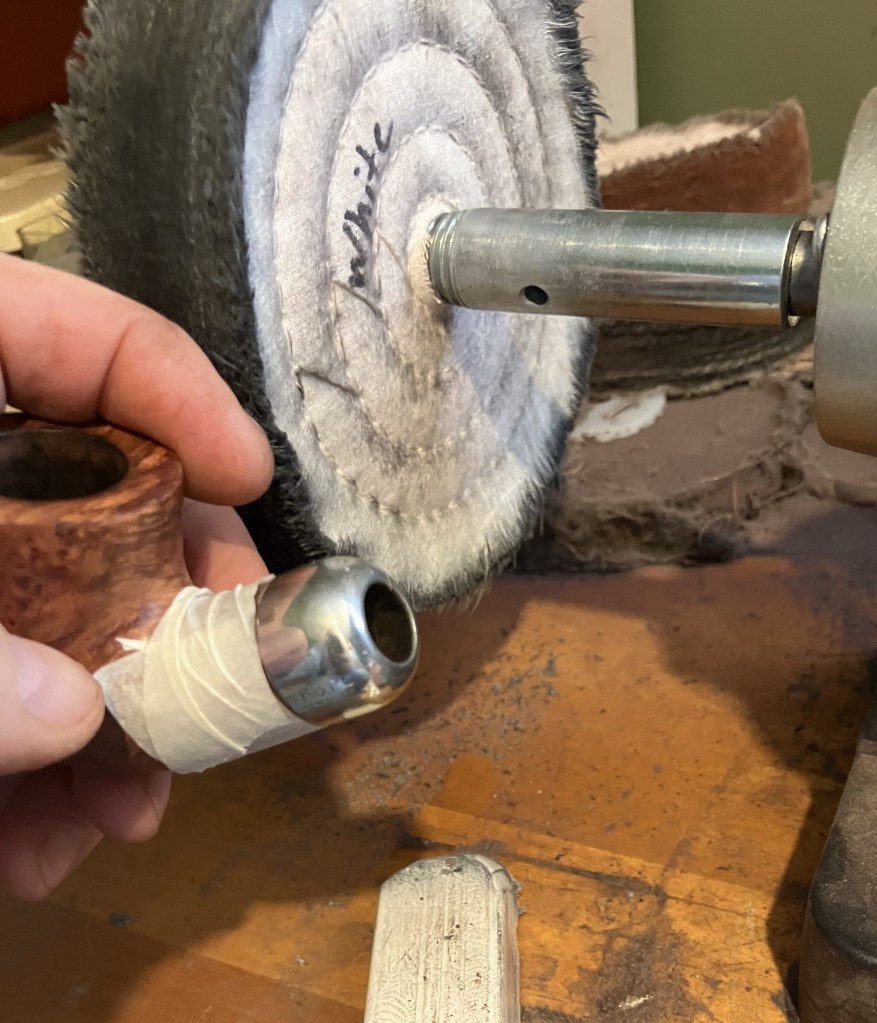
The results were quite nice.
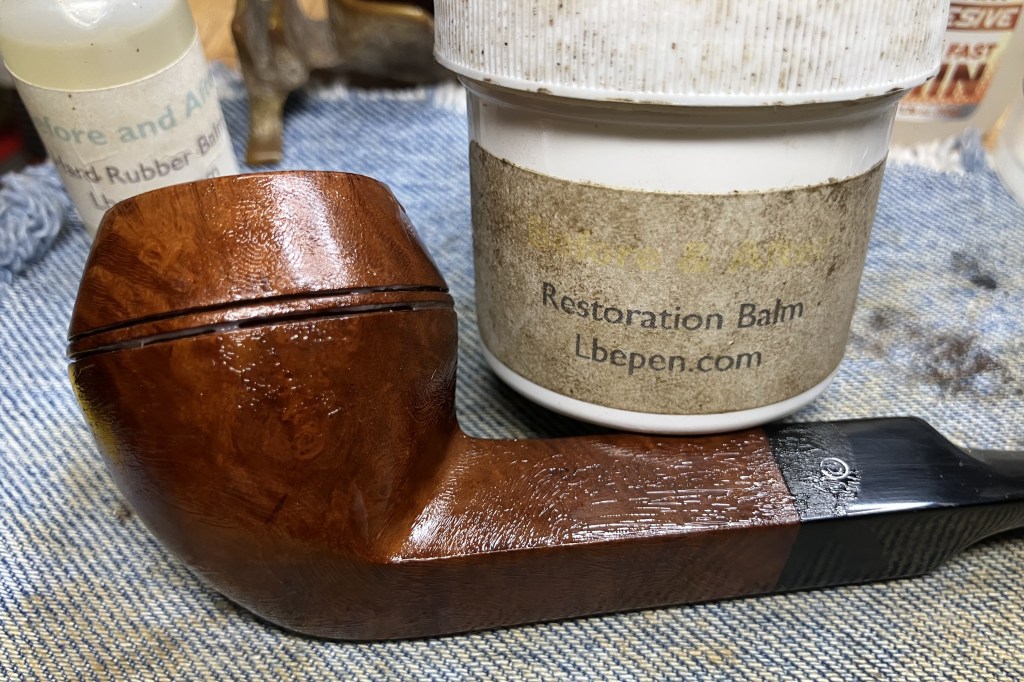
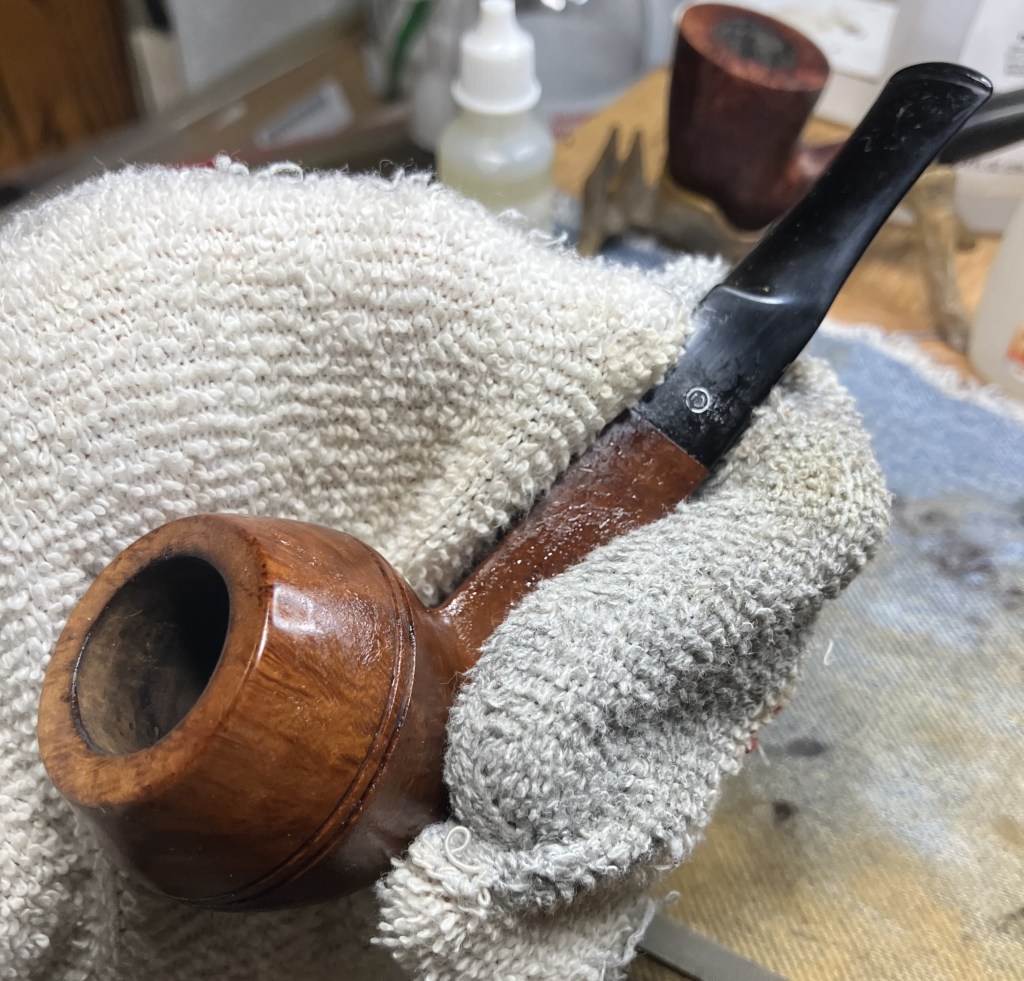
Before and After Restoration Balm was the next step. A nice thick coating over the briar was allowed to sit for 30 minutes.
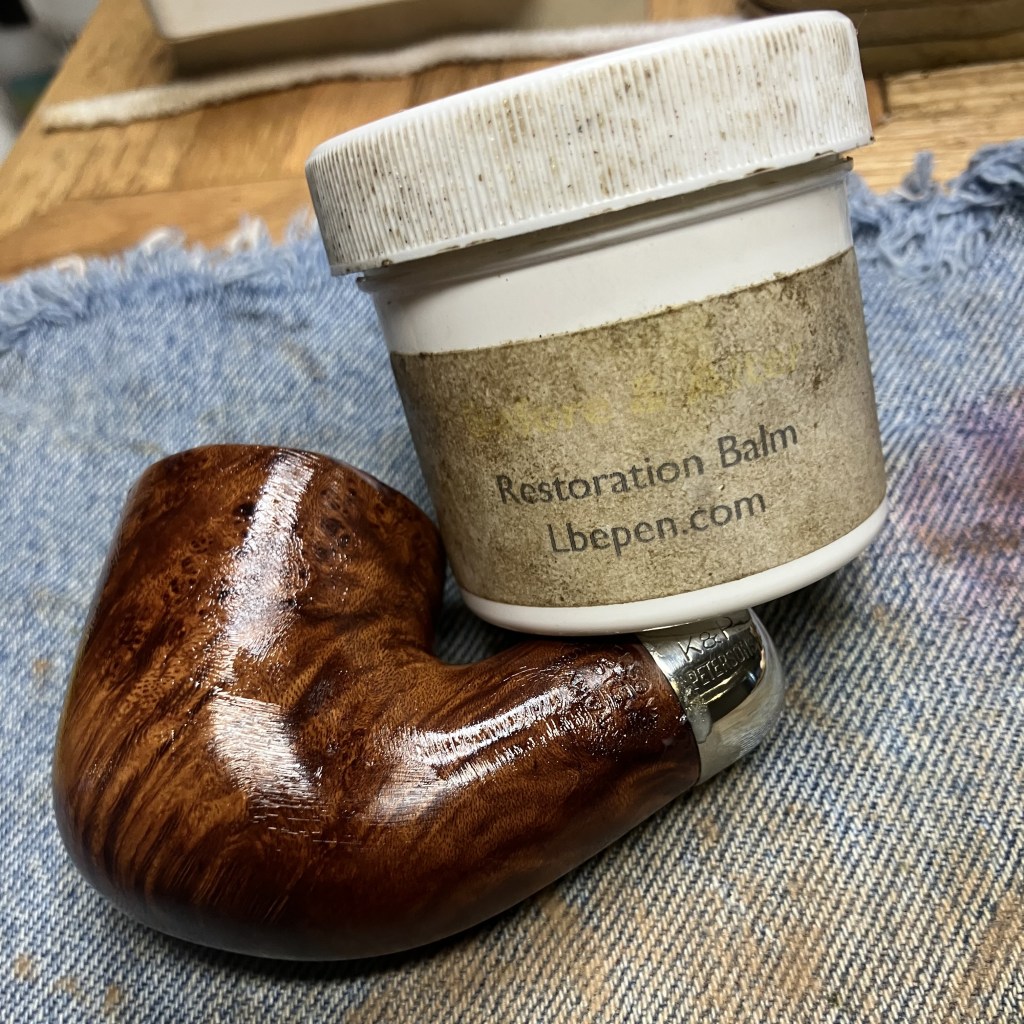
An inside out athletic sock was used to wipe away the remaining balm and hand polish the stummel.
It was time to remove the stem from its deox bath. It had been in the solution for over 8 hours. The Drip-O-Matic 3000 was rebuilt and allowed excess deox solution to drip back into the container for a few minutes.
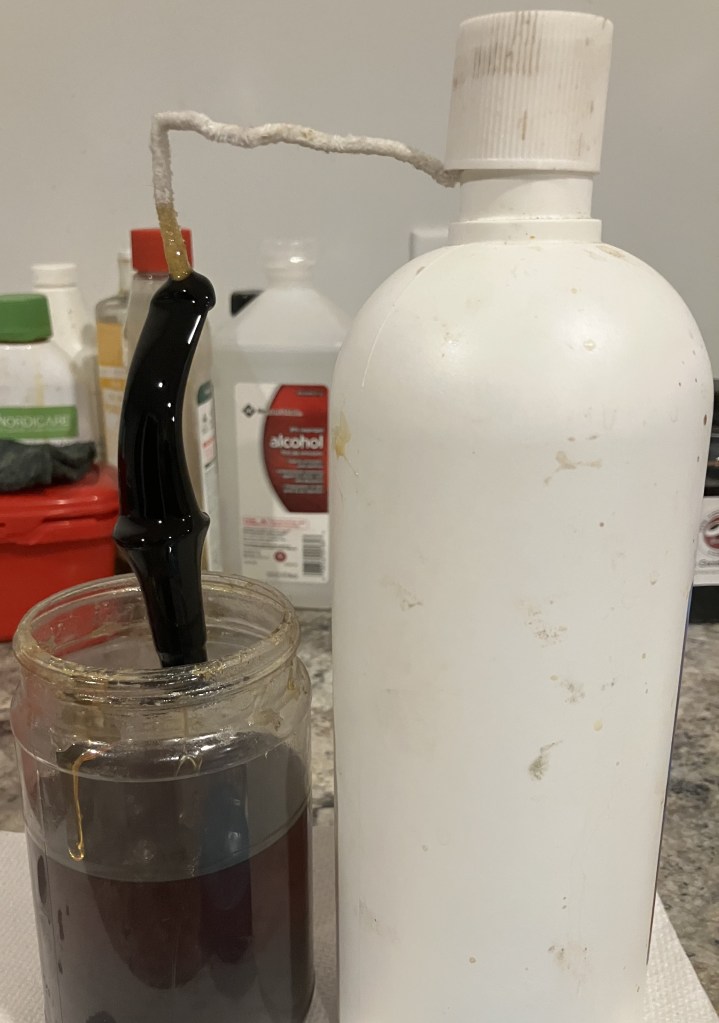
A coarse shop rag was used to wipe away the remaining solution as well as to buff away the softened oxidized vulcanite. The residue can be seen in the photo below.
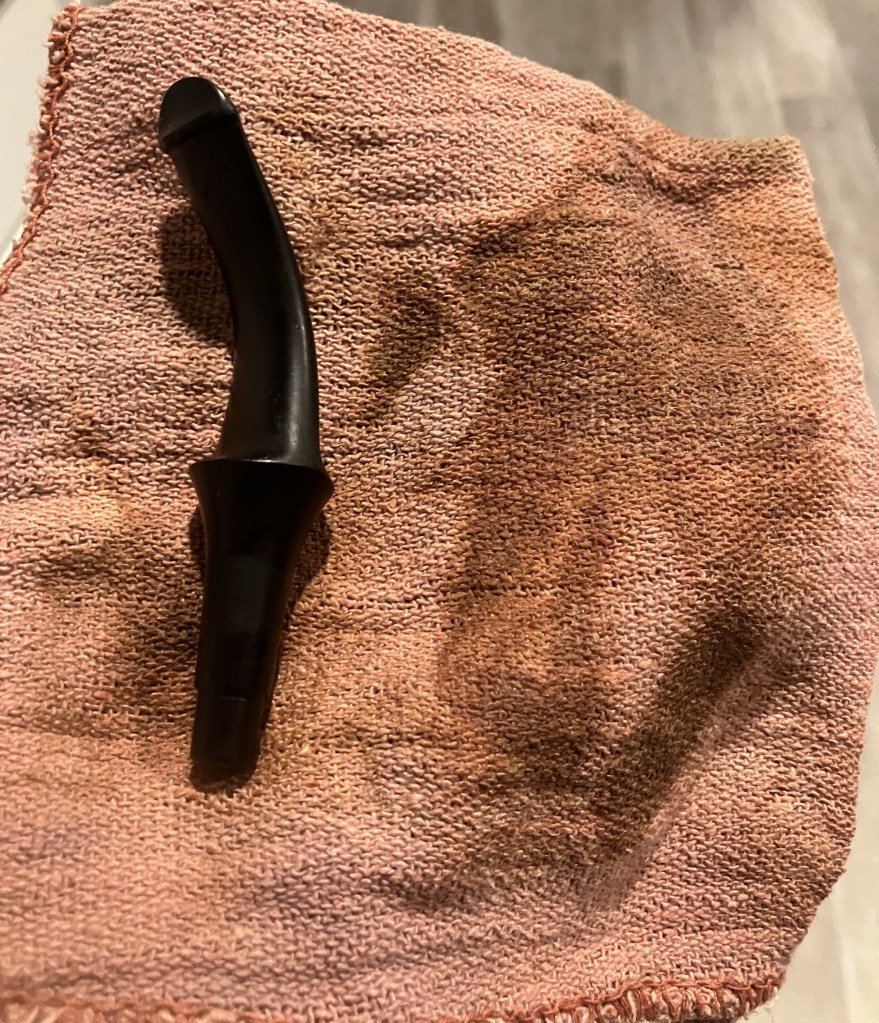
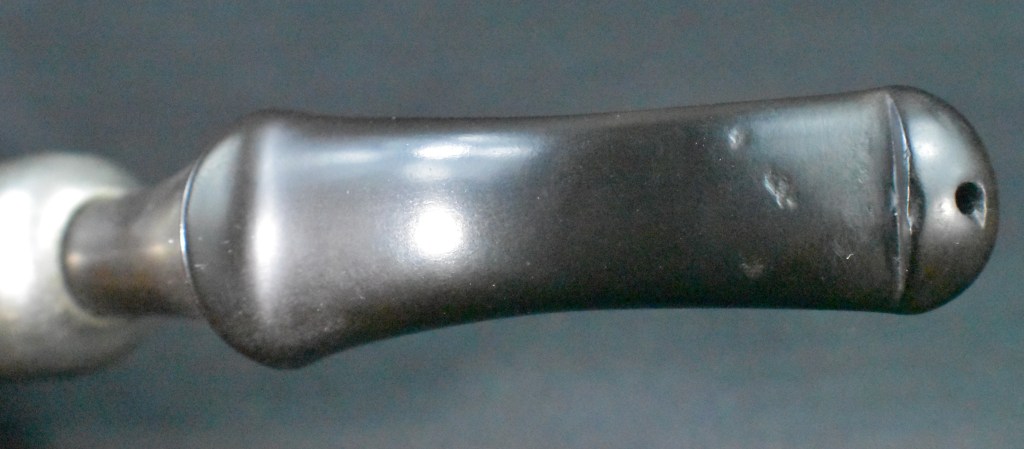
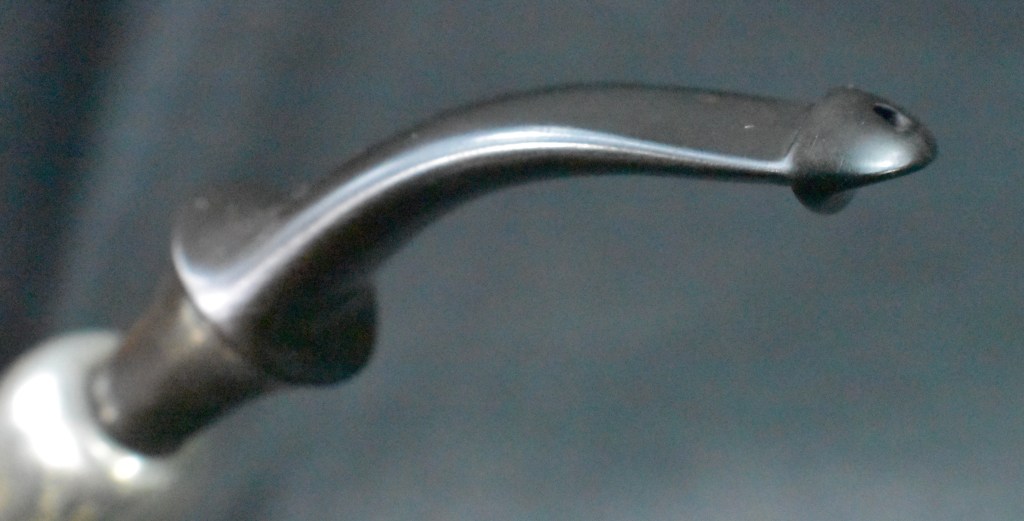
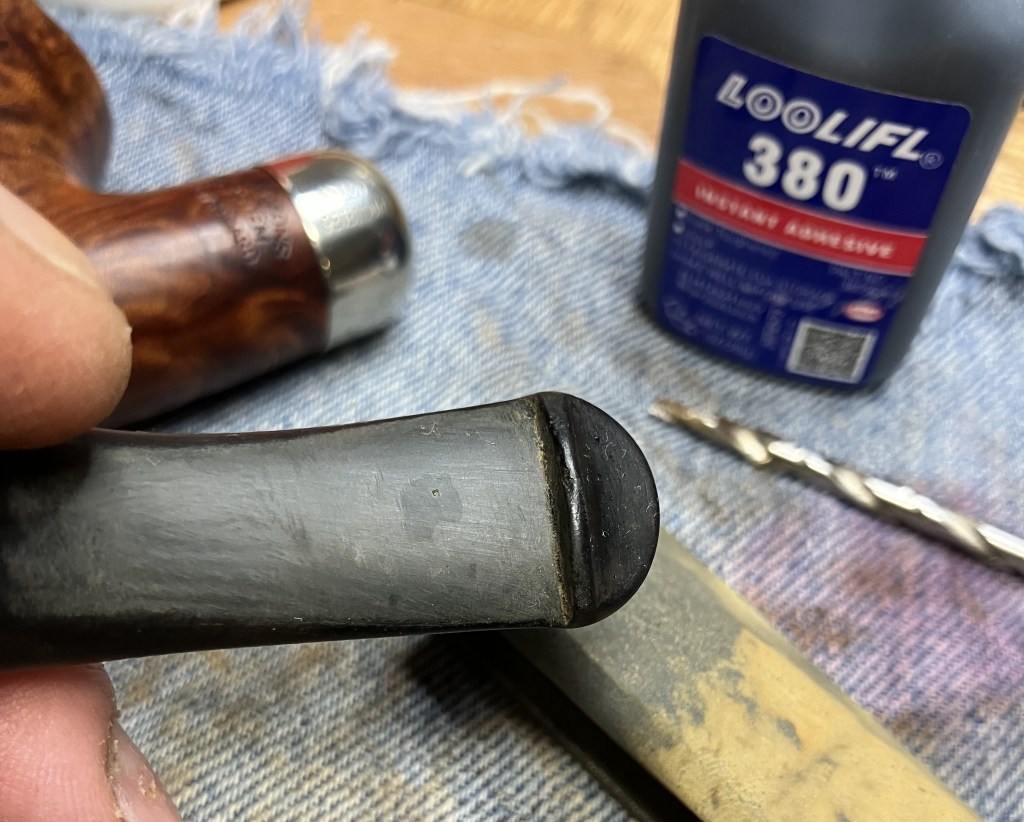
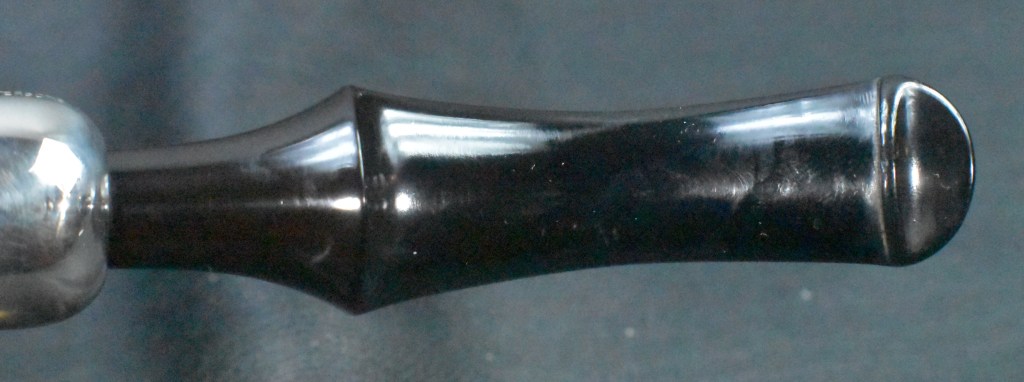
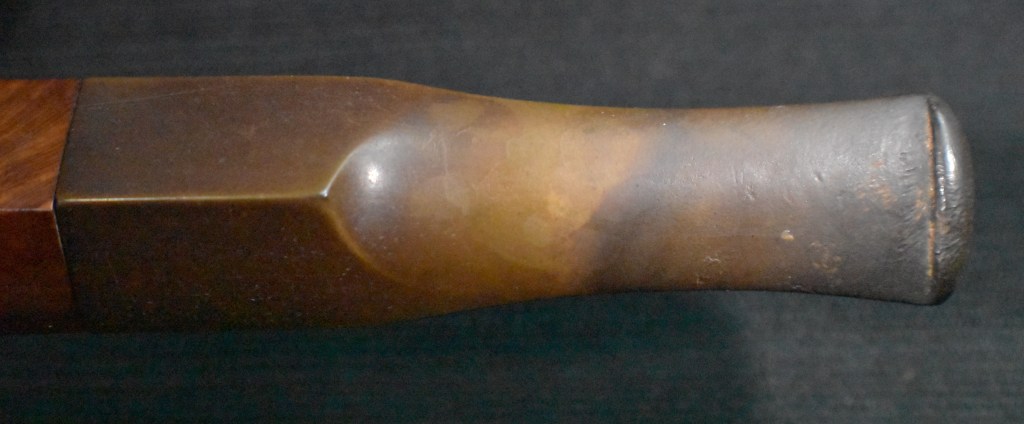
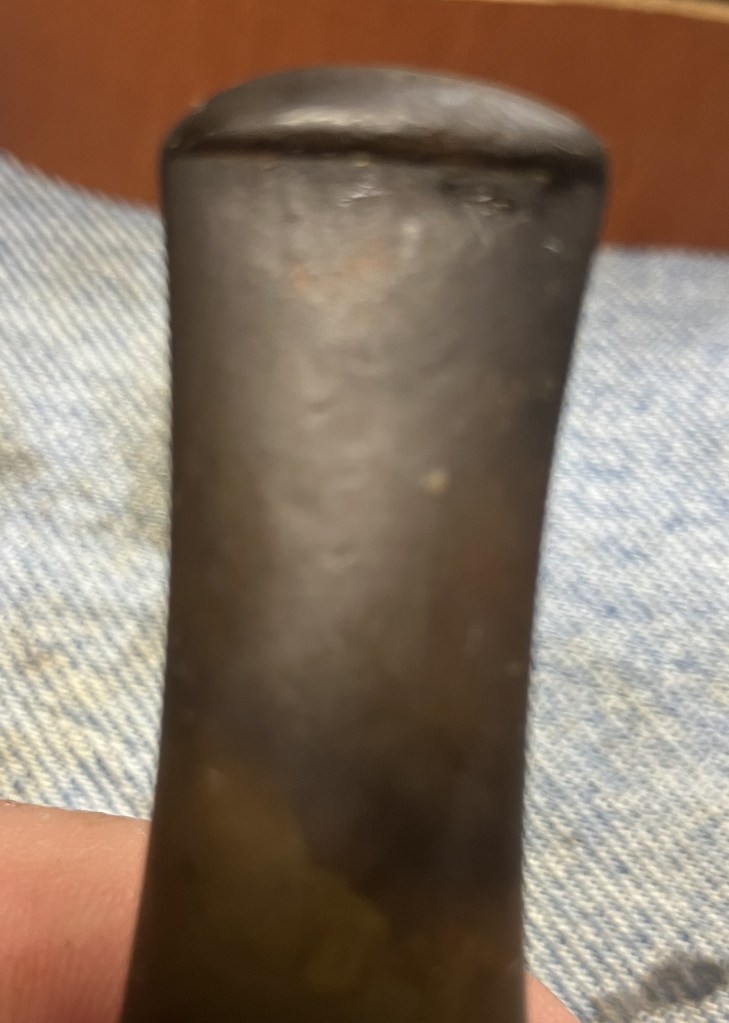
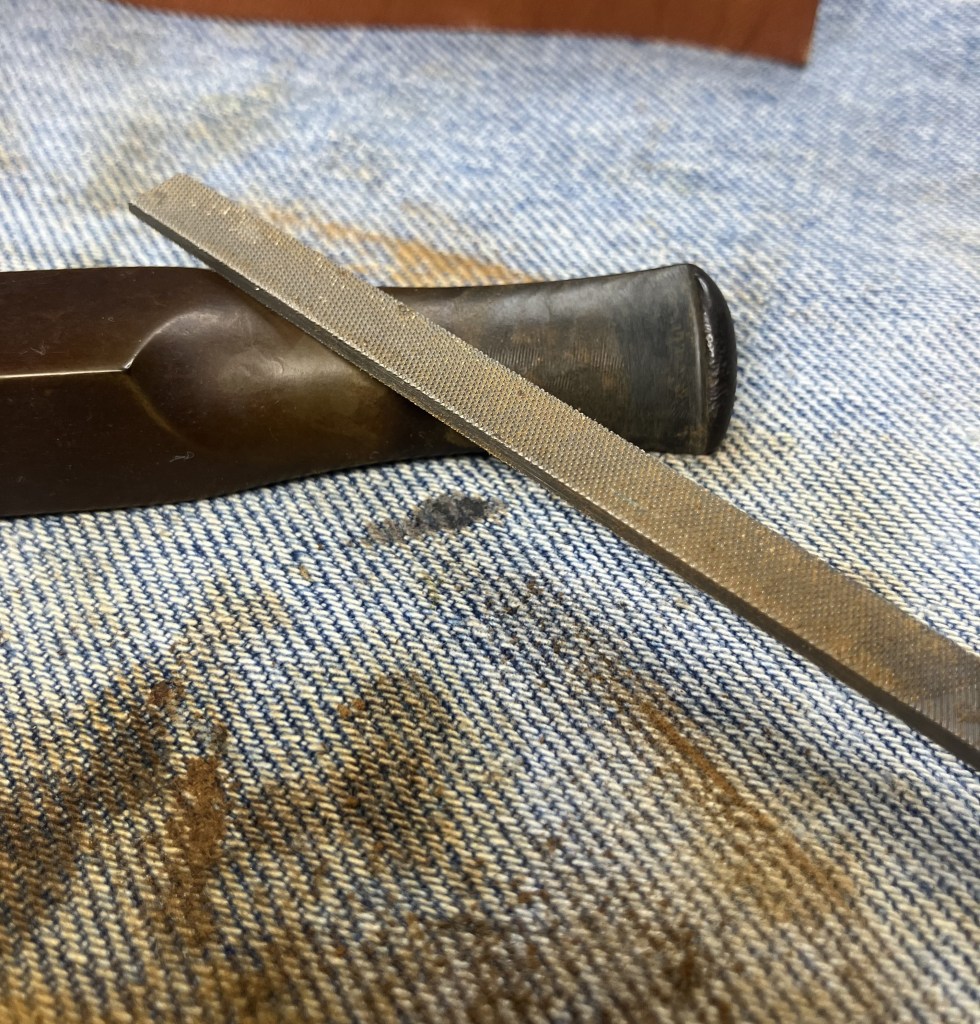
The bite zone of the stem was filed with a small flat file to reestablish the button’s edges and reduce the dents from Chompy, the previous owner.
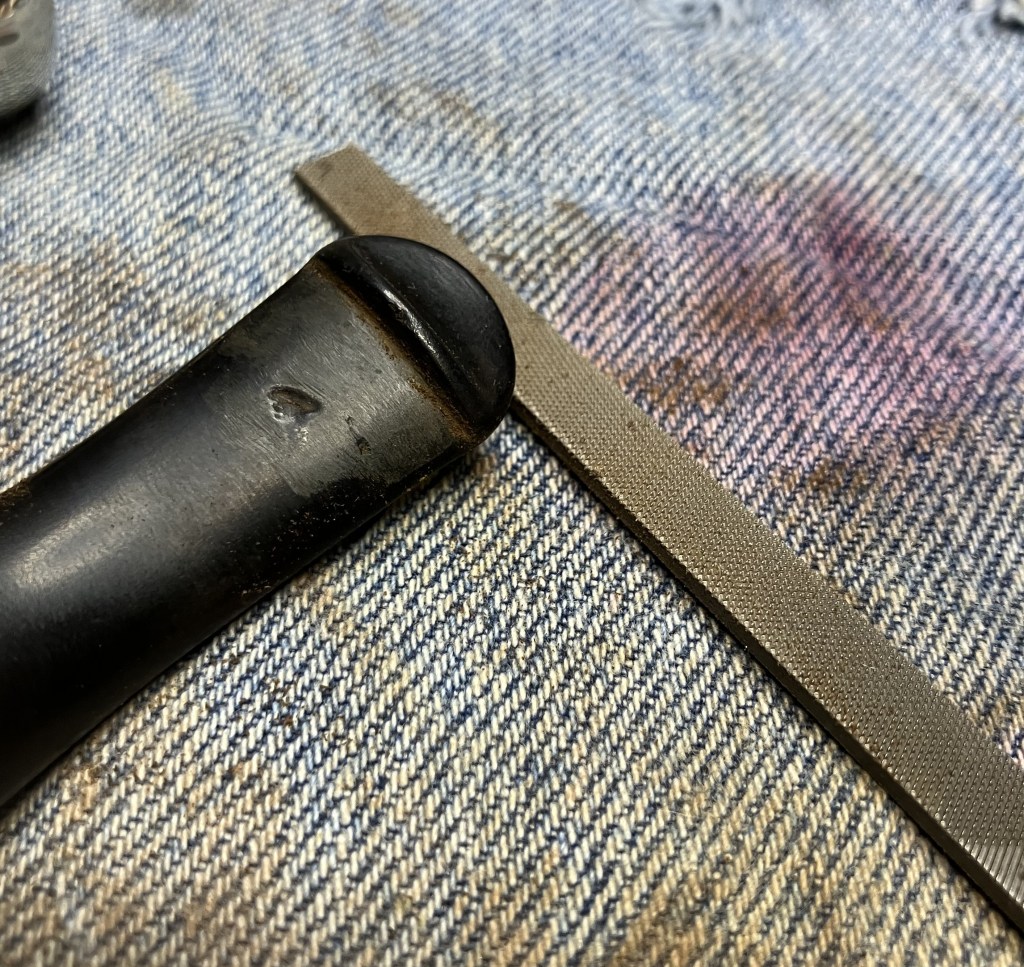
Filing was done on both the bottom and top bite zones. Darn that Chompy.
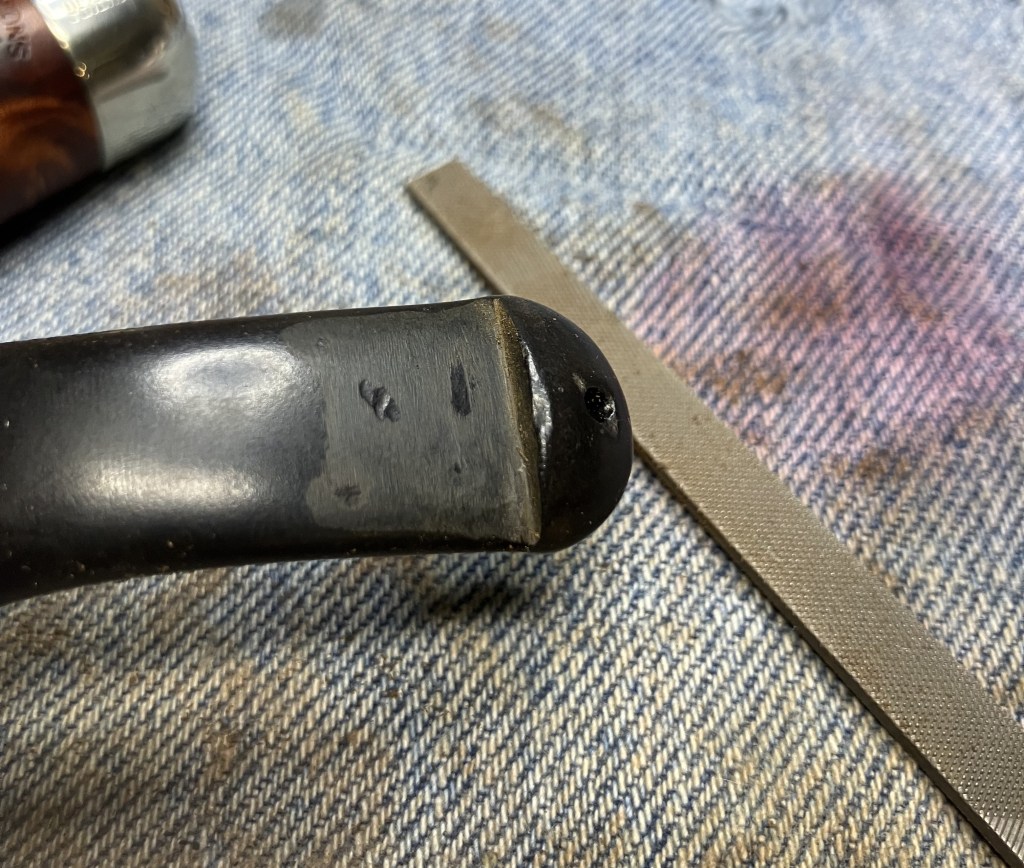
Some of the dents required the use of a black CA to fill the depressions.
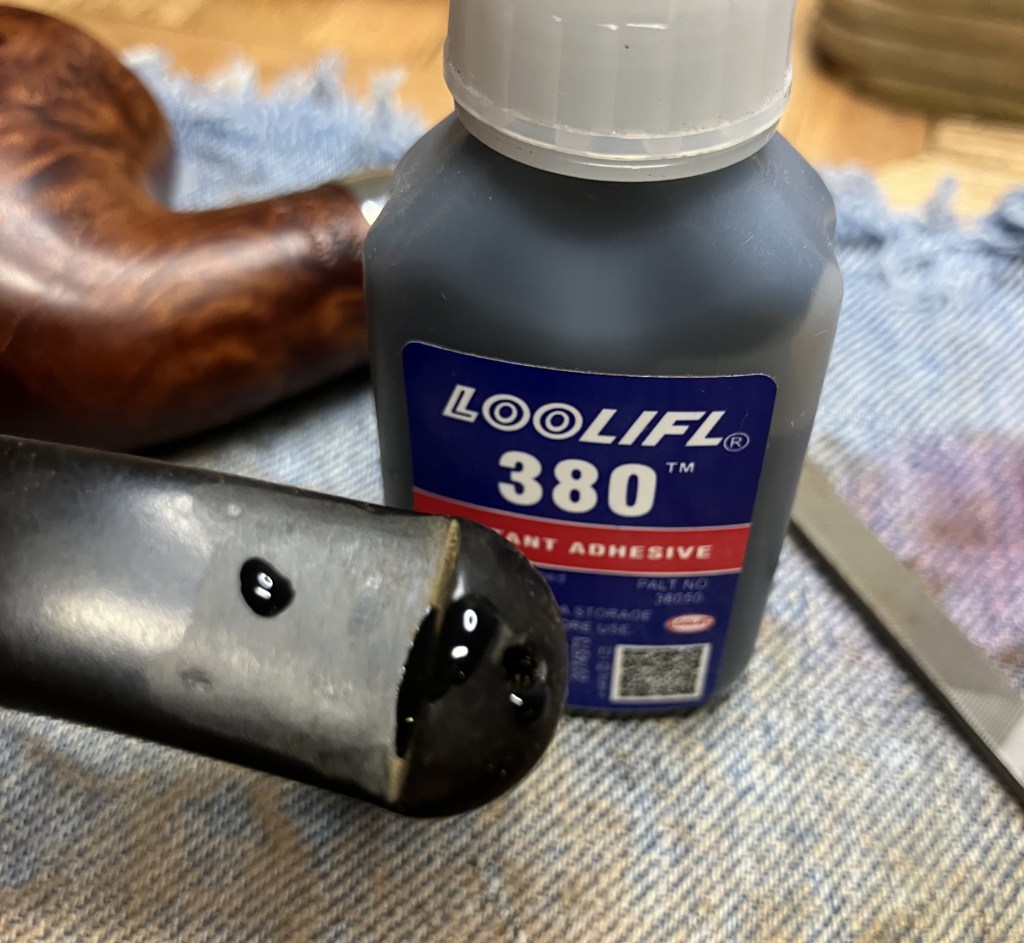
I did use a CA drying accelerator for curing these fills. They were then filed and sanded smooth. Some required additional applications of CA.
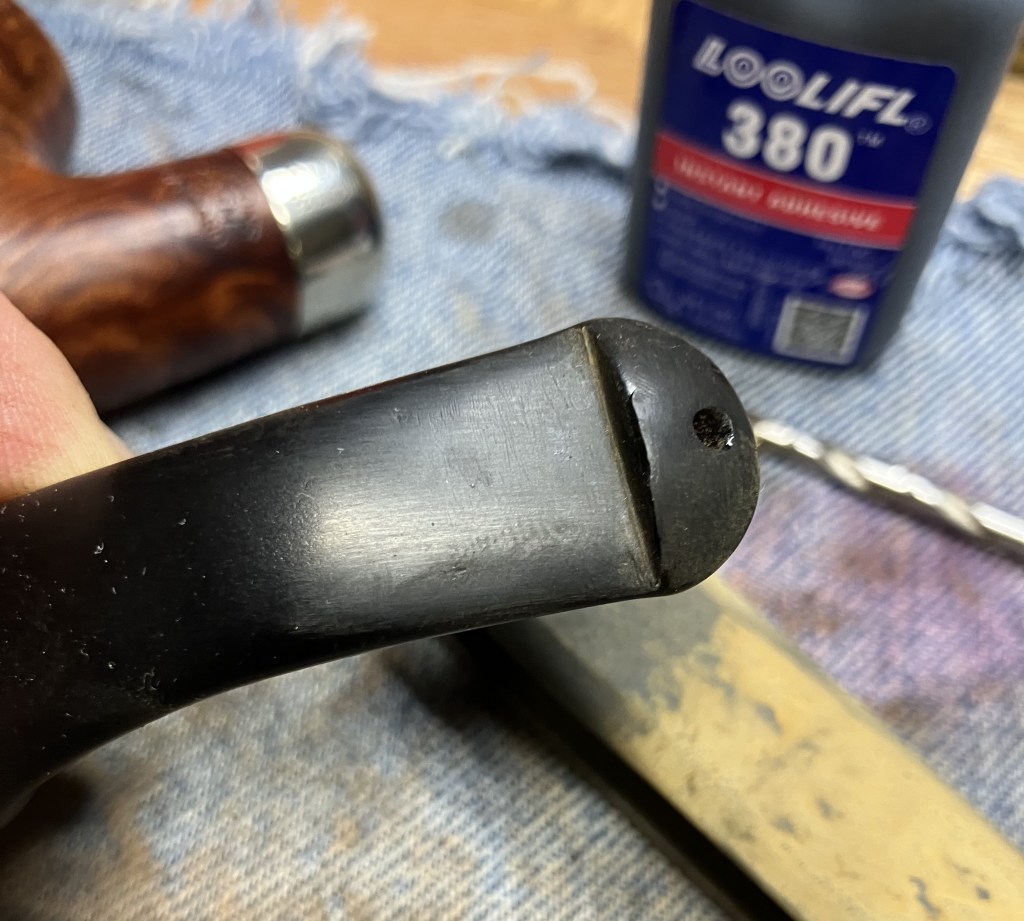
Below you can see the larger dent still had a tiny spot that required a second drop of black CA.
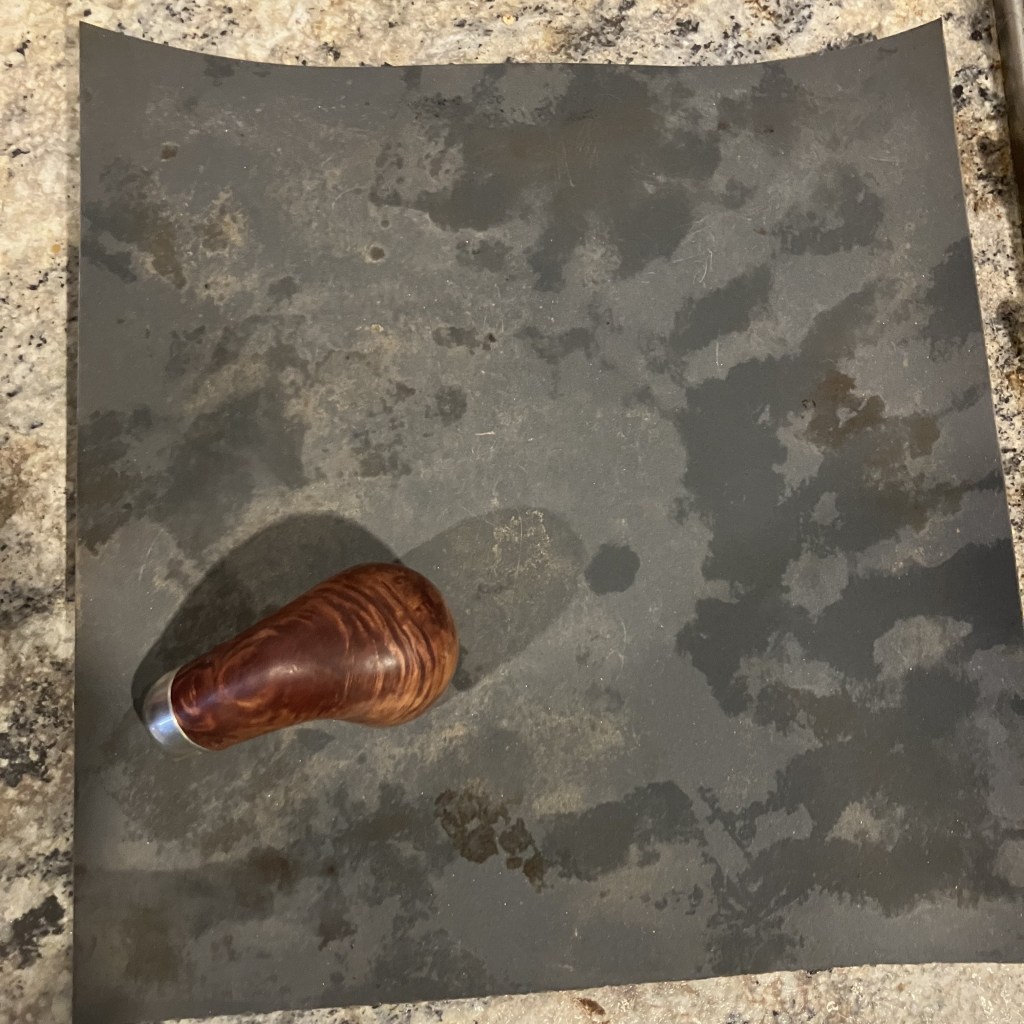
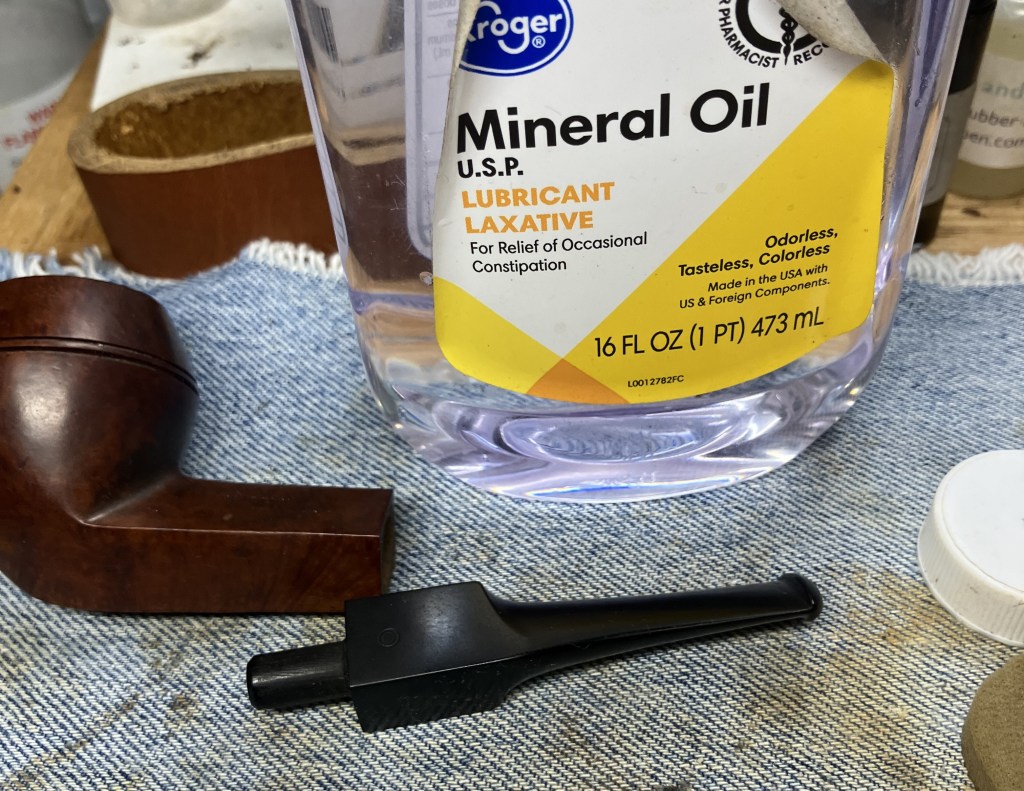
The stem got a similar sanding regimen, the series of sanding sponges 320-1500. Wiping between sponges was mineral oil and paper towels rather than alcohol and make-up pads.
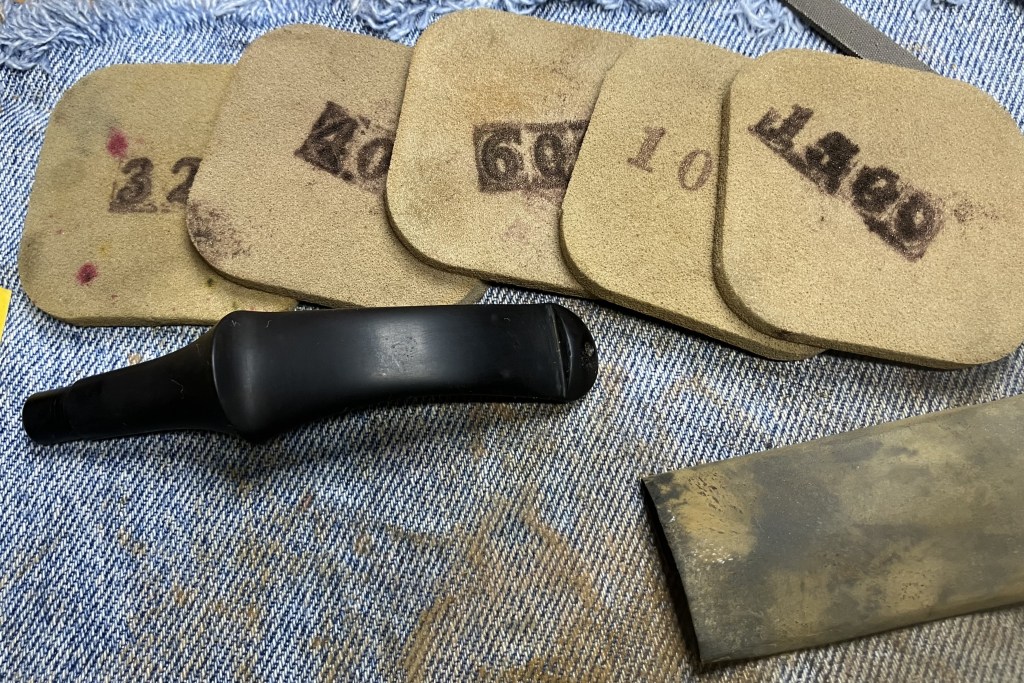
It was getting late so I gave the stem a liberal coating of Mark Hoover’s Before and After Hard Rubber Balm and went to bed. I doubt that letting the vulcanite soak in this product does anything but it made me feel good about myself and I slept well.
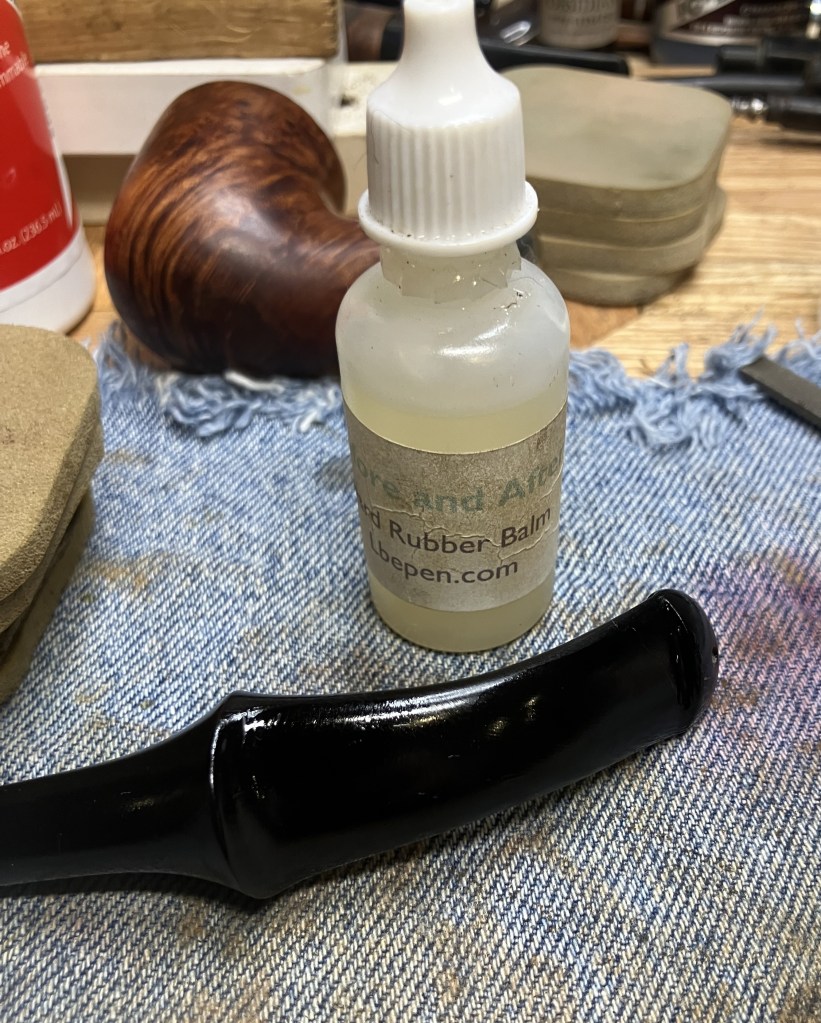
The next morning I wiped the Hard Rubber Balm from the stem and continued sanding with 2000-3500 grits sanding sponges.
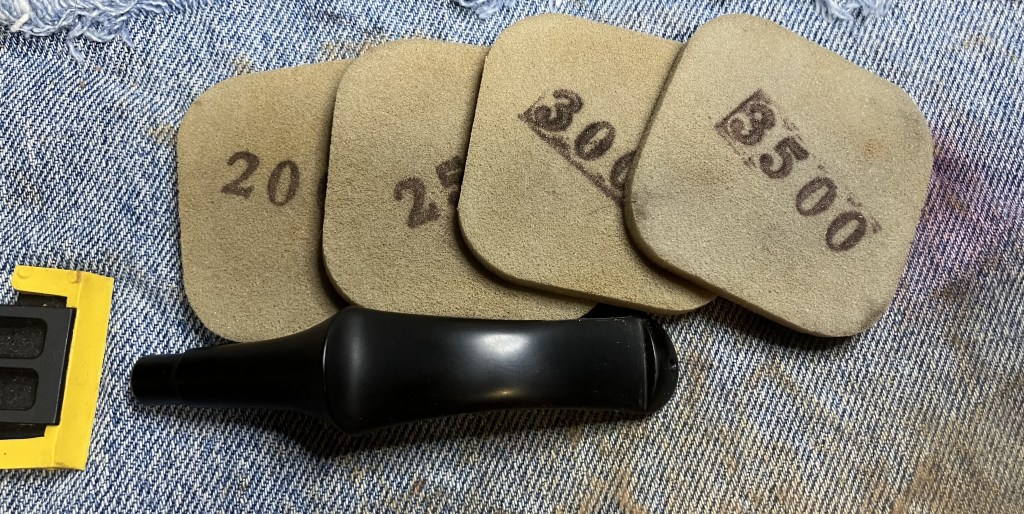
I opted to polish the stem with white buffing compound rather than going to the micro-mesh pads. I have been trying to work on my buffing skills.
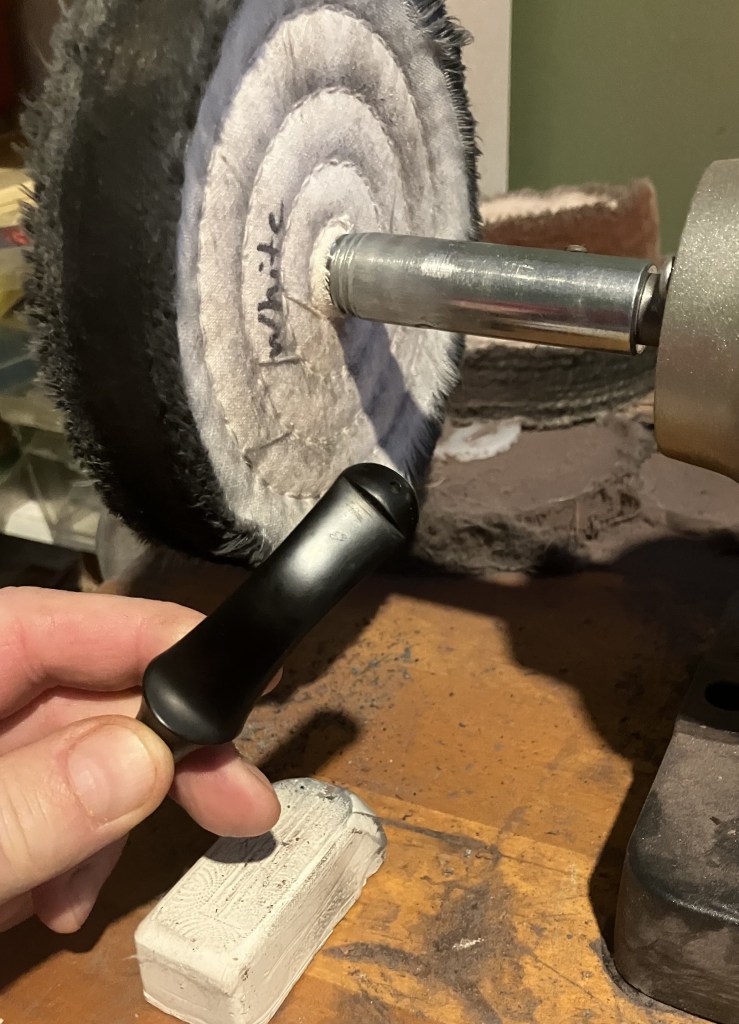
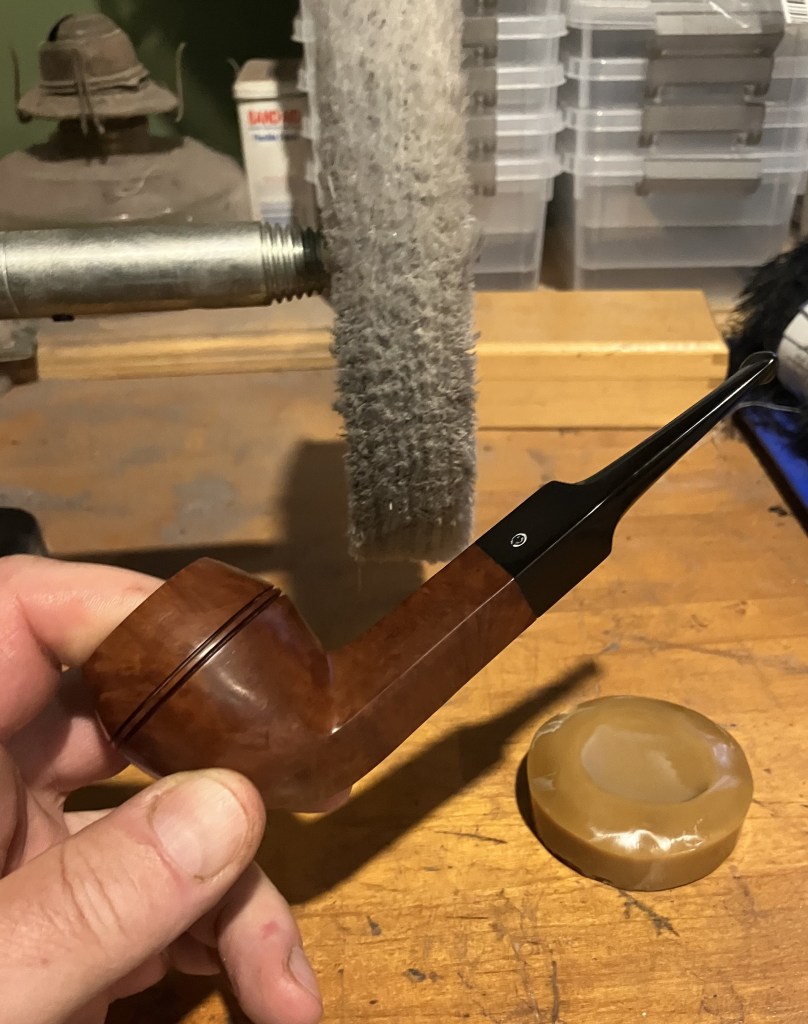
With the stummel finished and the stem buffed to a beautiful gloss, I coated both with several layers of carnauba wax at the buffer.
The final step was a hand buffing with a microfiber polishing cloth which raised the level of shine to a stunning point.
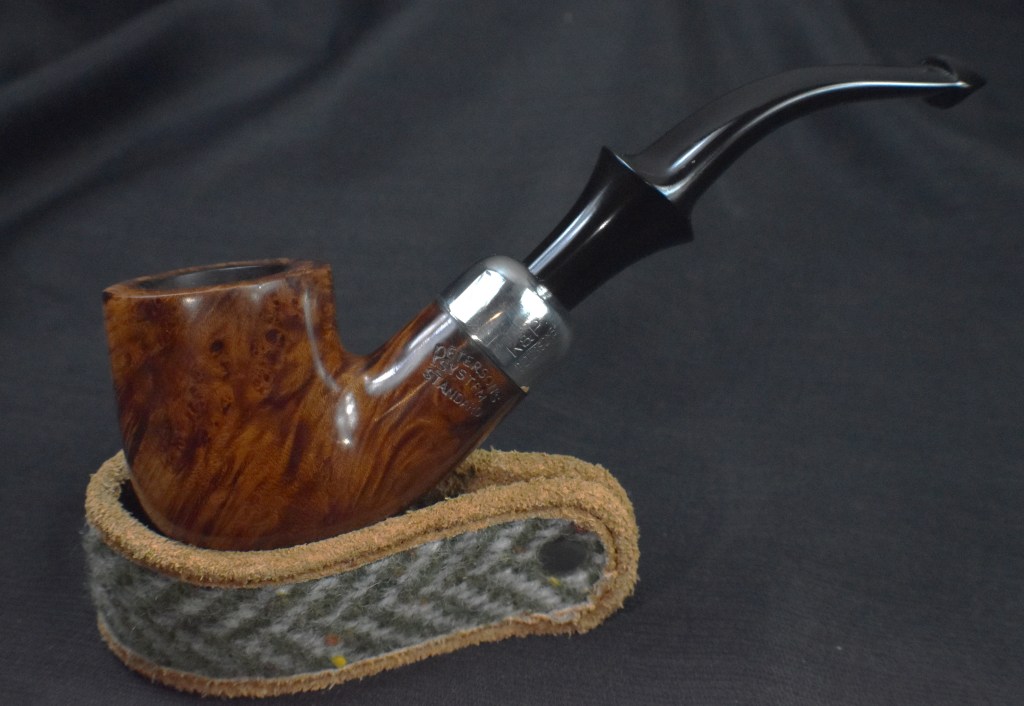
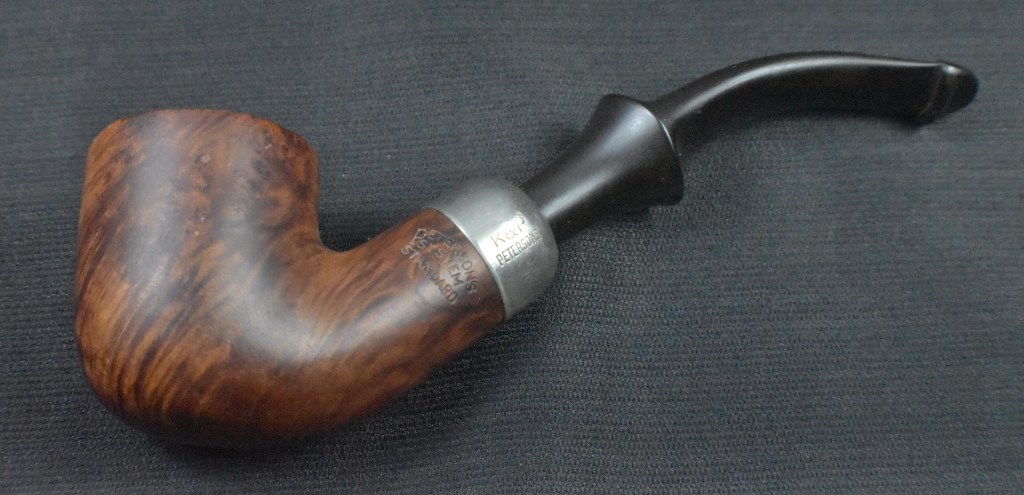
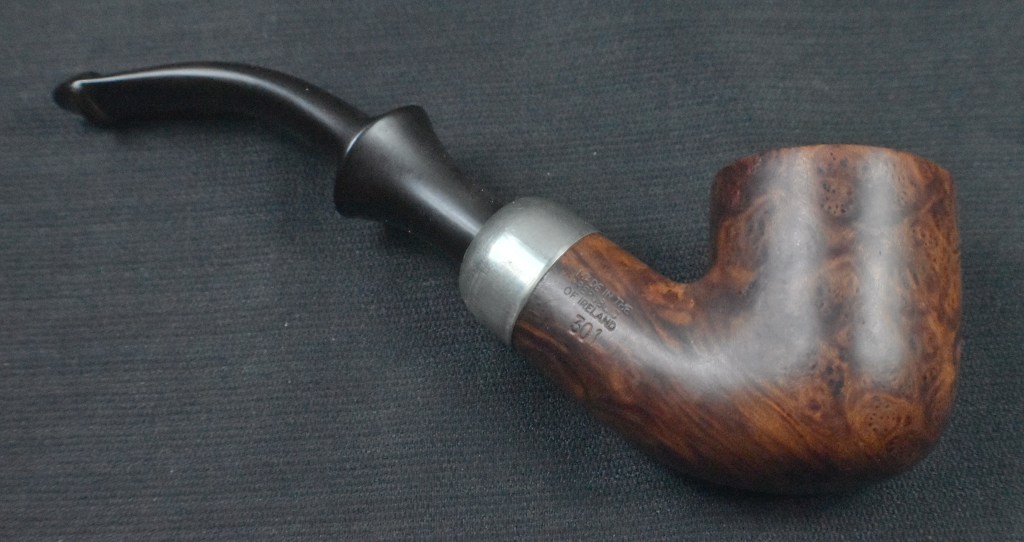
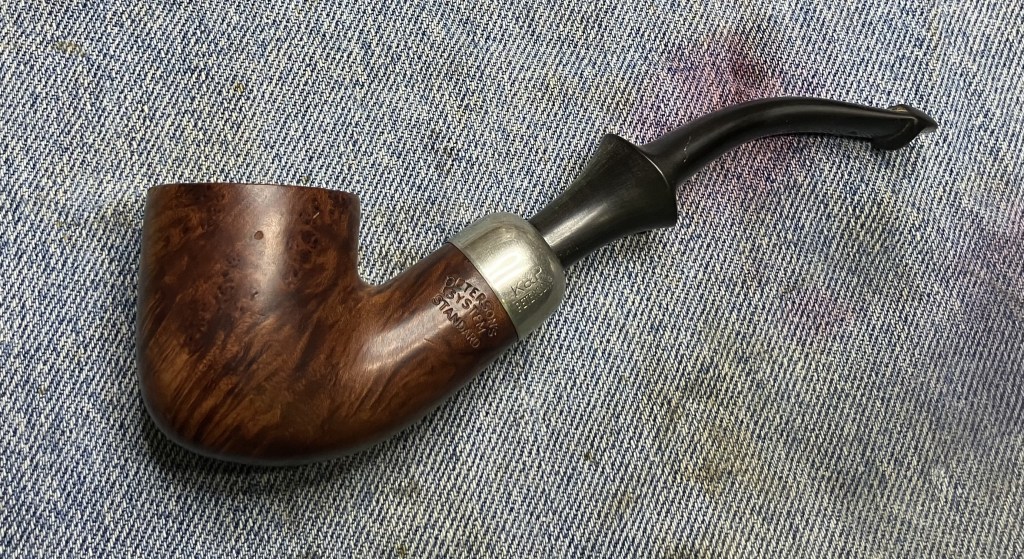
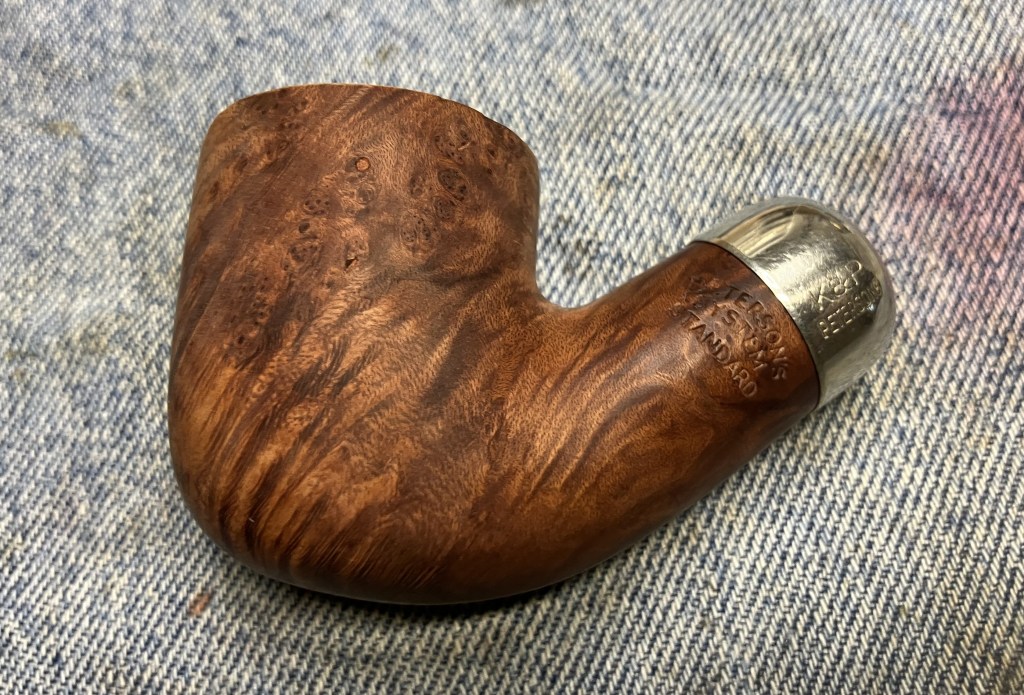
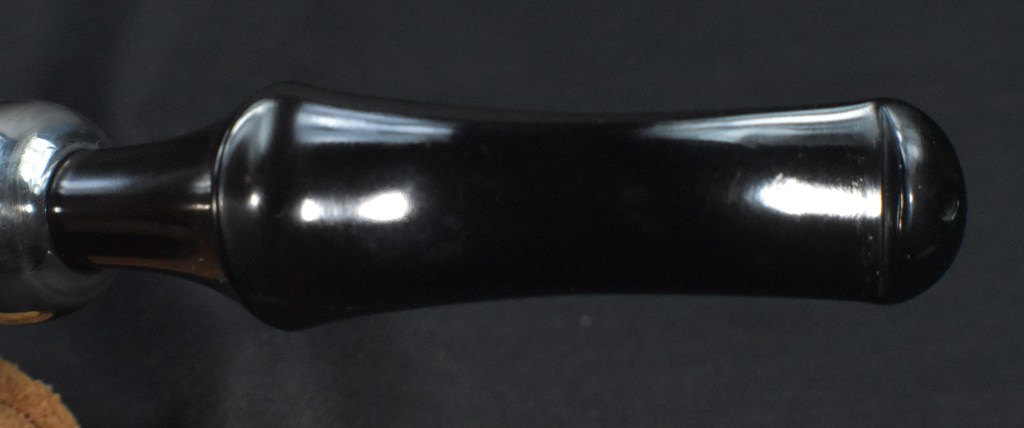
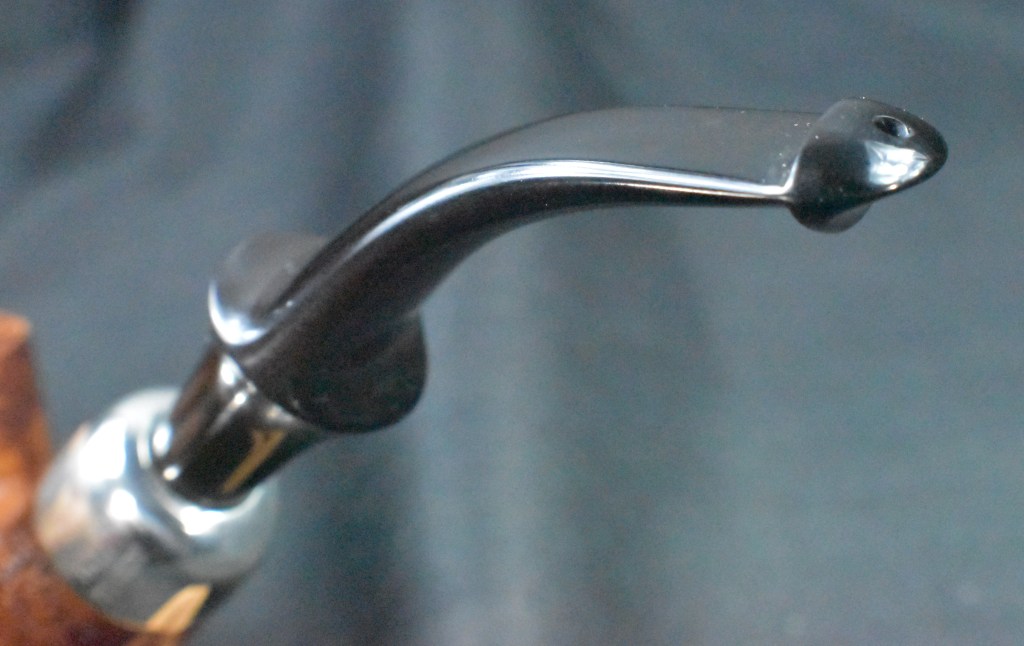
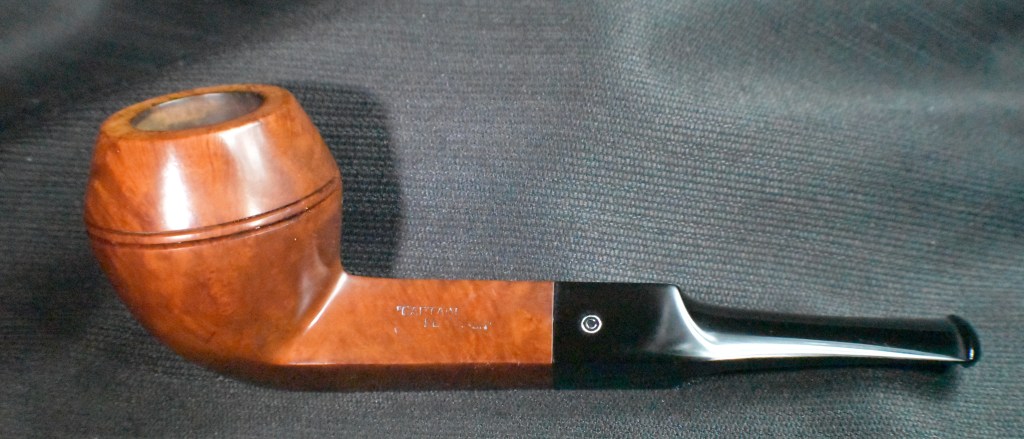
Another Peterson System Standard 301 that looks as good or better than when it left the factory in Dublin. Peterson is known to sand to 400 grit before polishing. This pipe has a finish that is sanded and polished finer than that. The “Comfort Lip” stem cleaned-up and polished beautifully. The original stain or dye on this briar was maintained and enhanced during the restoration. The nickel ferrule also polished-up very well. This shank strengthening feature is a lovely transition from the smooth finished briar to the glossy black vulcanite. The dimensions of the Peterson System Standard 301 are:
Length: 5.74 in./ 145.80 mm.
Weight: 1.69 oz./ 47.91 g. (with band)
Bowl Height: 1.80 in./ 45.72 mm.
Chamber Depth: 1.51 in./ 38.35 mm.
Chamber Diameter: 0.81 in./ 20.57 mm.
Outside Diameter: 1.44 in./ 36.58 mm.
I do hope that you have found something here useful to your own pipe care, maintenance or restorations. If you like this sort of thing, please click the like and subscribe buttons. Thank you for reading the ramblings of an old pipe lover.
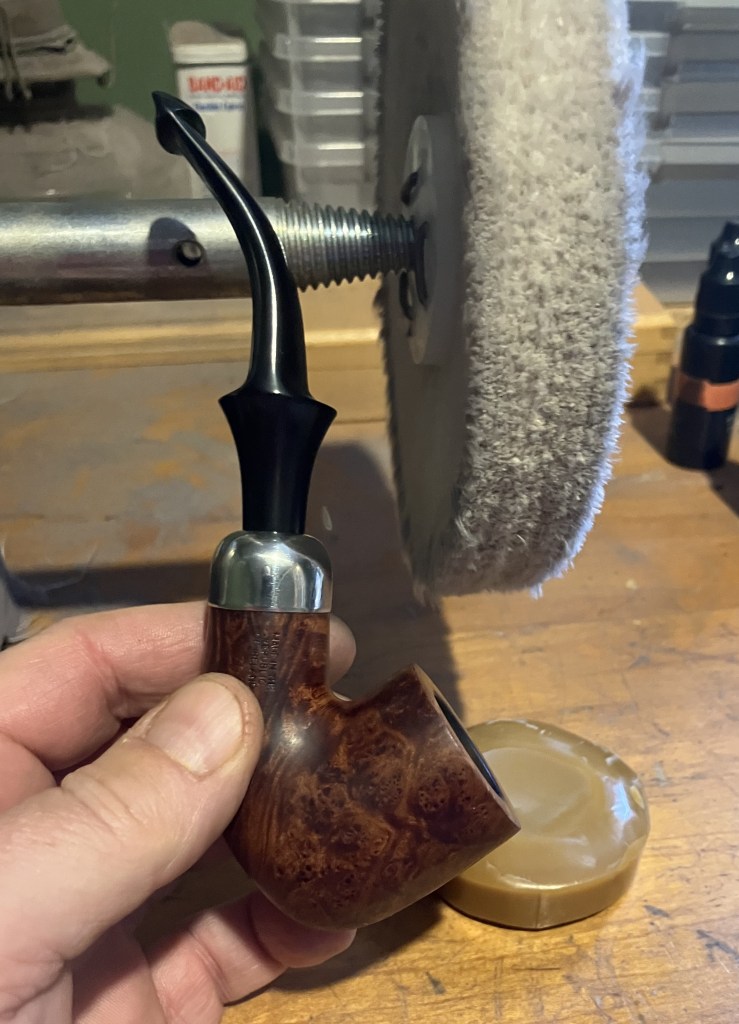
Below are some photos of the finished Peterson System Standard 301.


 The “Donegal Rocky” (in quotation marks), released in 1945 or so, was Kapp & Peterson’s first rusticated line. Not that K&P hadn’t rusticated pipes previously, they just that they hadn’t devoted an entire line to rustication. And they were apparently proud of it, because they gave it a sterling mount along with a black finish and white-stamped P on the mouthpiece.
 It was part of K&P’s “Product Line,” what I call gateway pipes and others might call an entry-level pipe, as you can see in this shape chart from the 1945 catalog. Like the Shamrock (European version) and “K,” it was originally a fishtail line.

 It’s worth remarking concerning the removable stinger. This spike-ended aluminum tube is easily removed, leaving the P-Lip mouthpiece strictly a graduated-bore regulation affair.