Written and photographed by
John M. Young
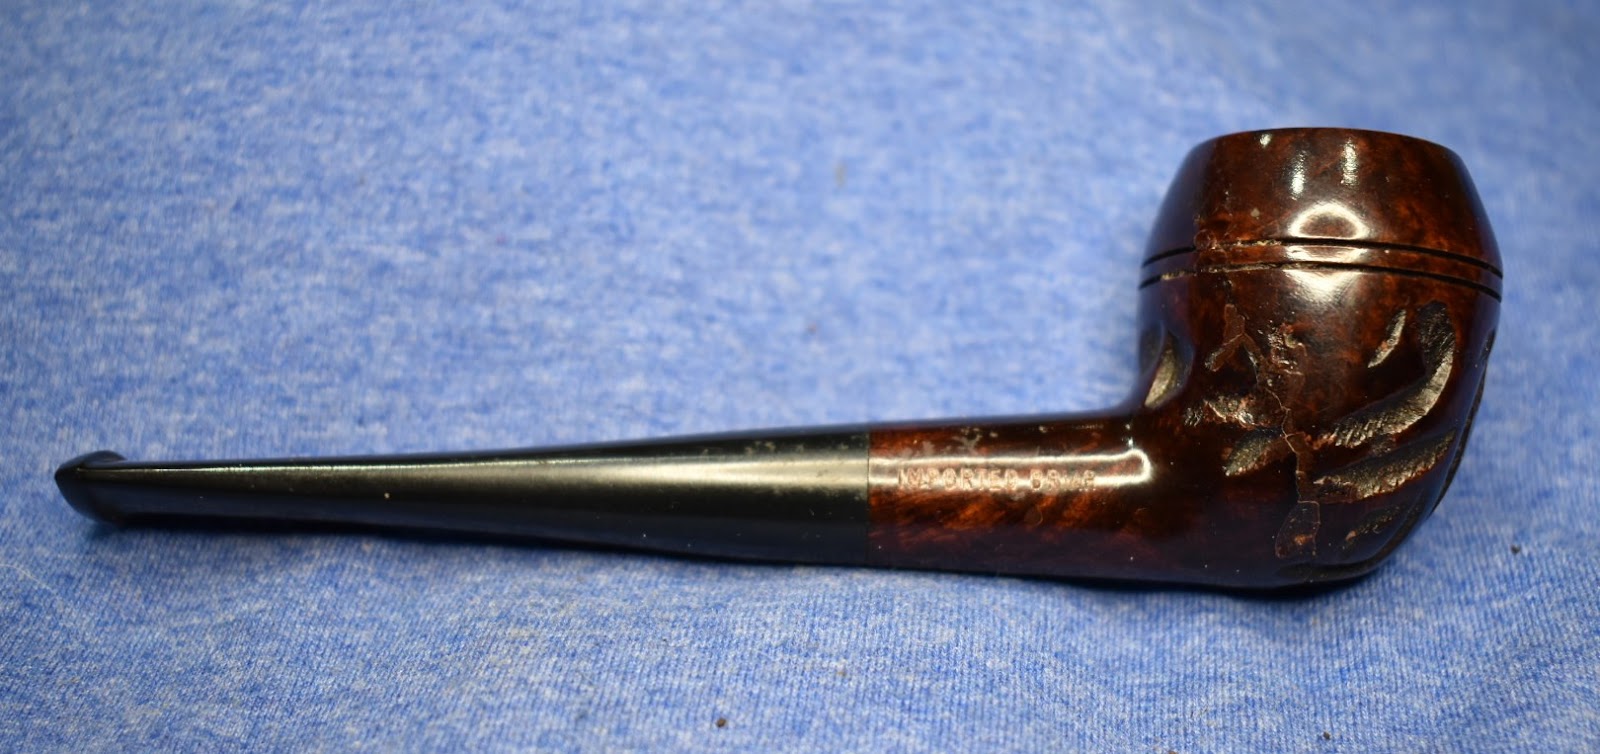
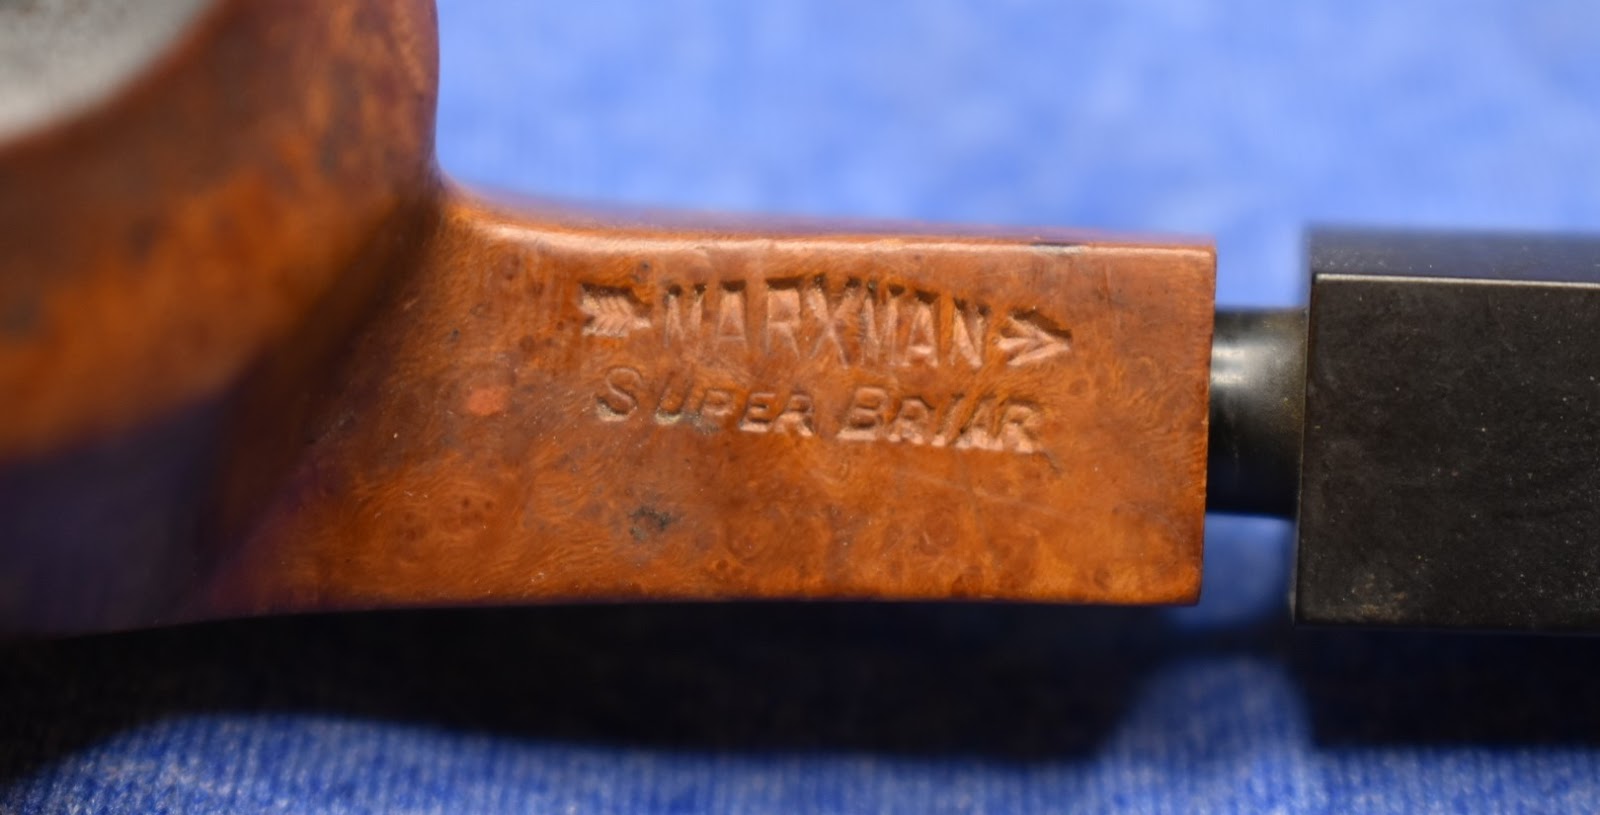
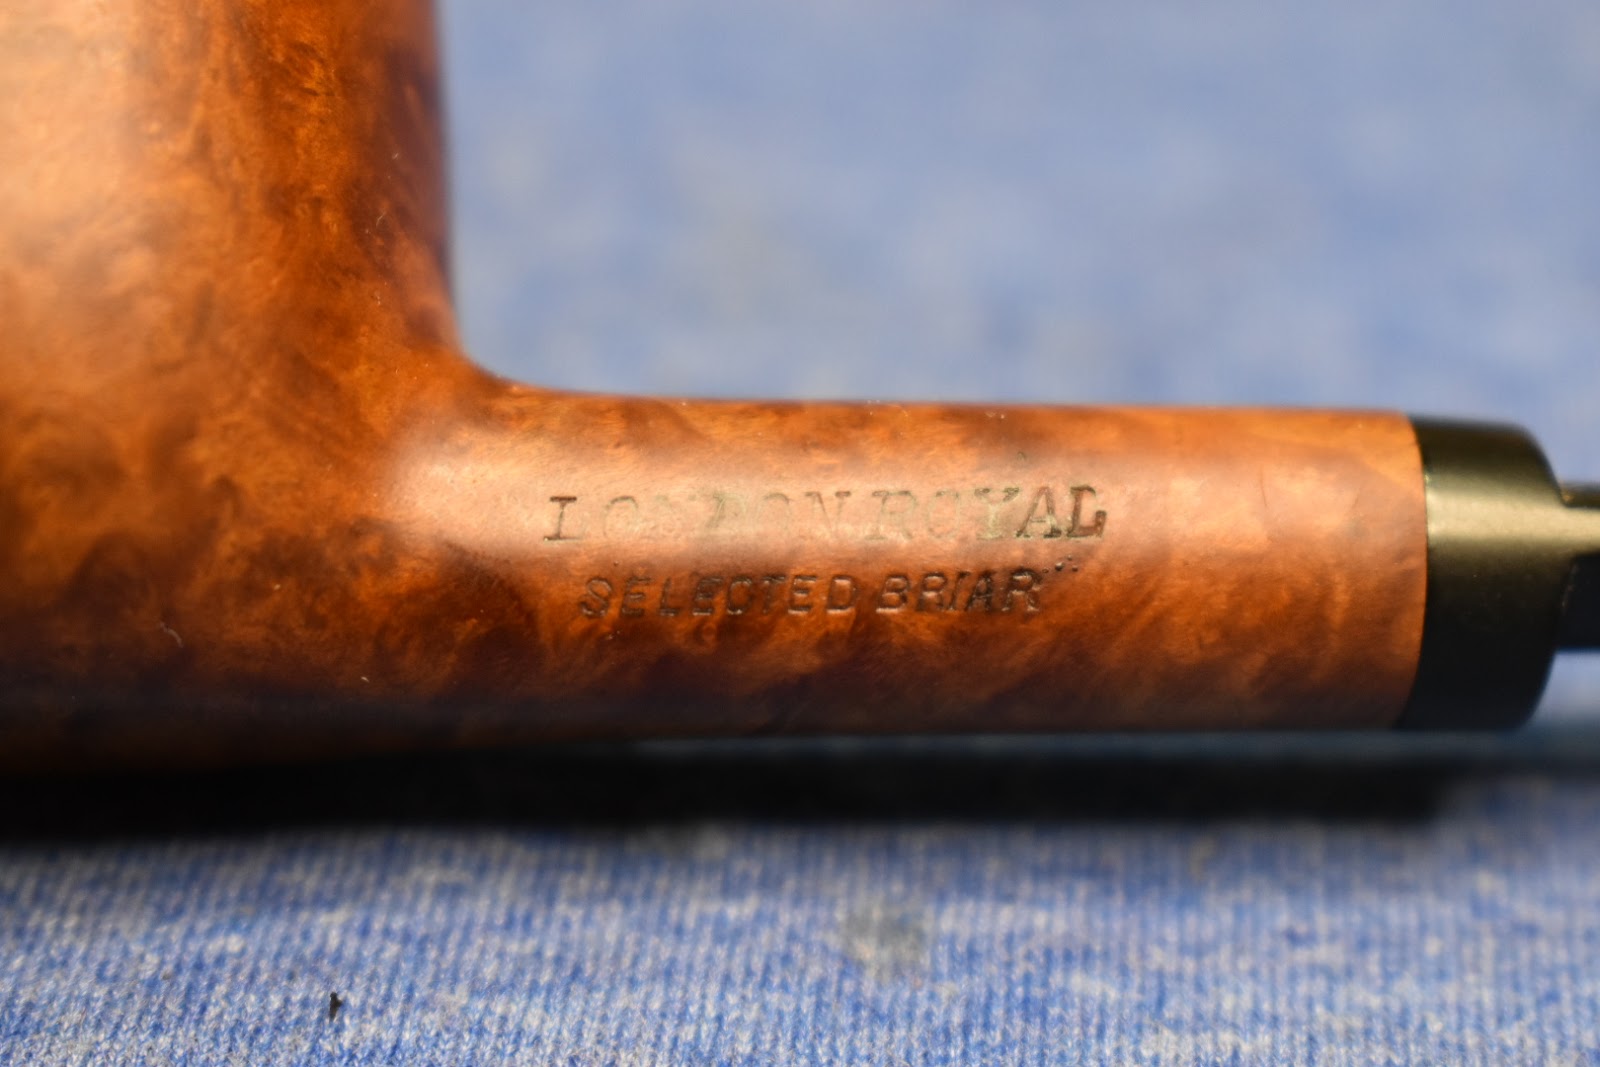
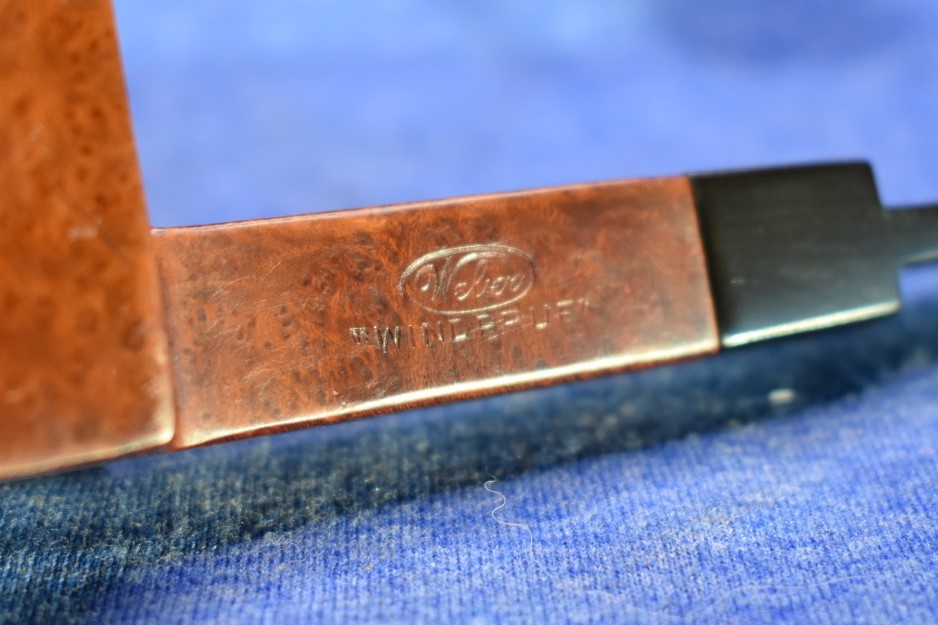
This is not the pipe I set down to restore. I actually started a different pipe and got to a point where I did not have the materials I needed to finish it. That one will be a great story to blog about. Stay tuned. I wanted something to fill the afternoon and this Winthrop jumped out at me. I had never heard of Winthrop.
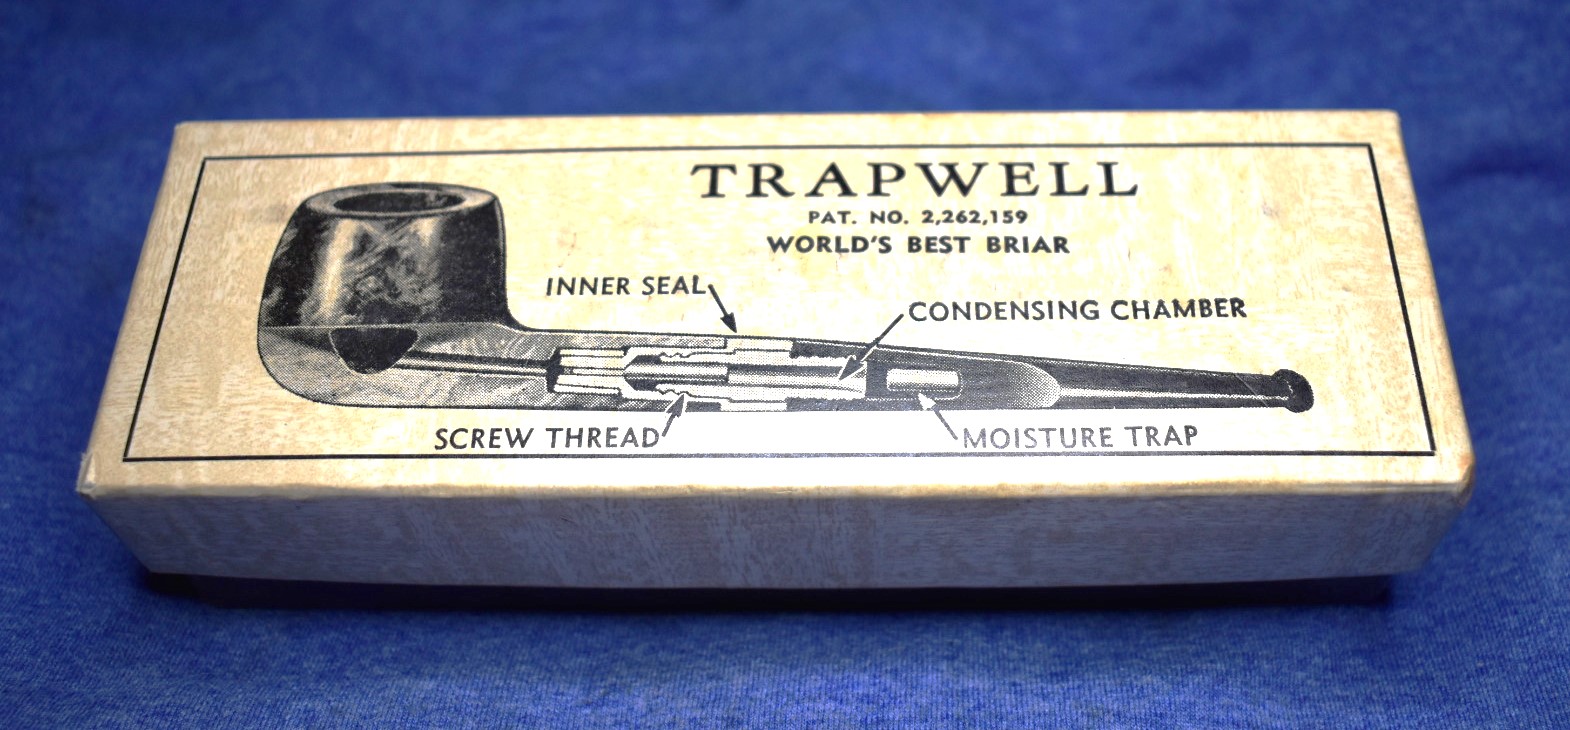
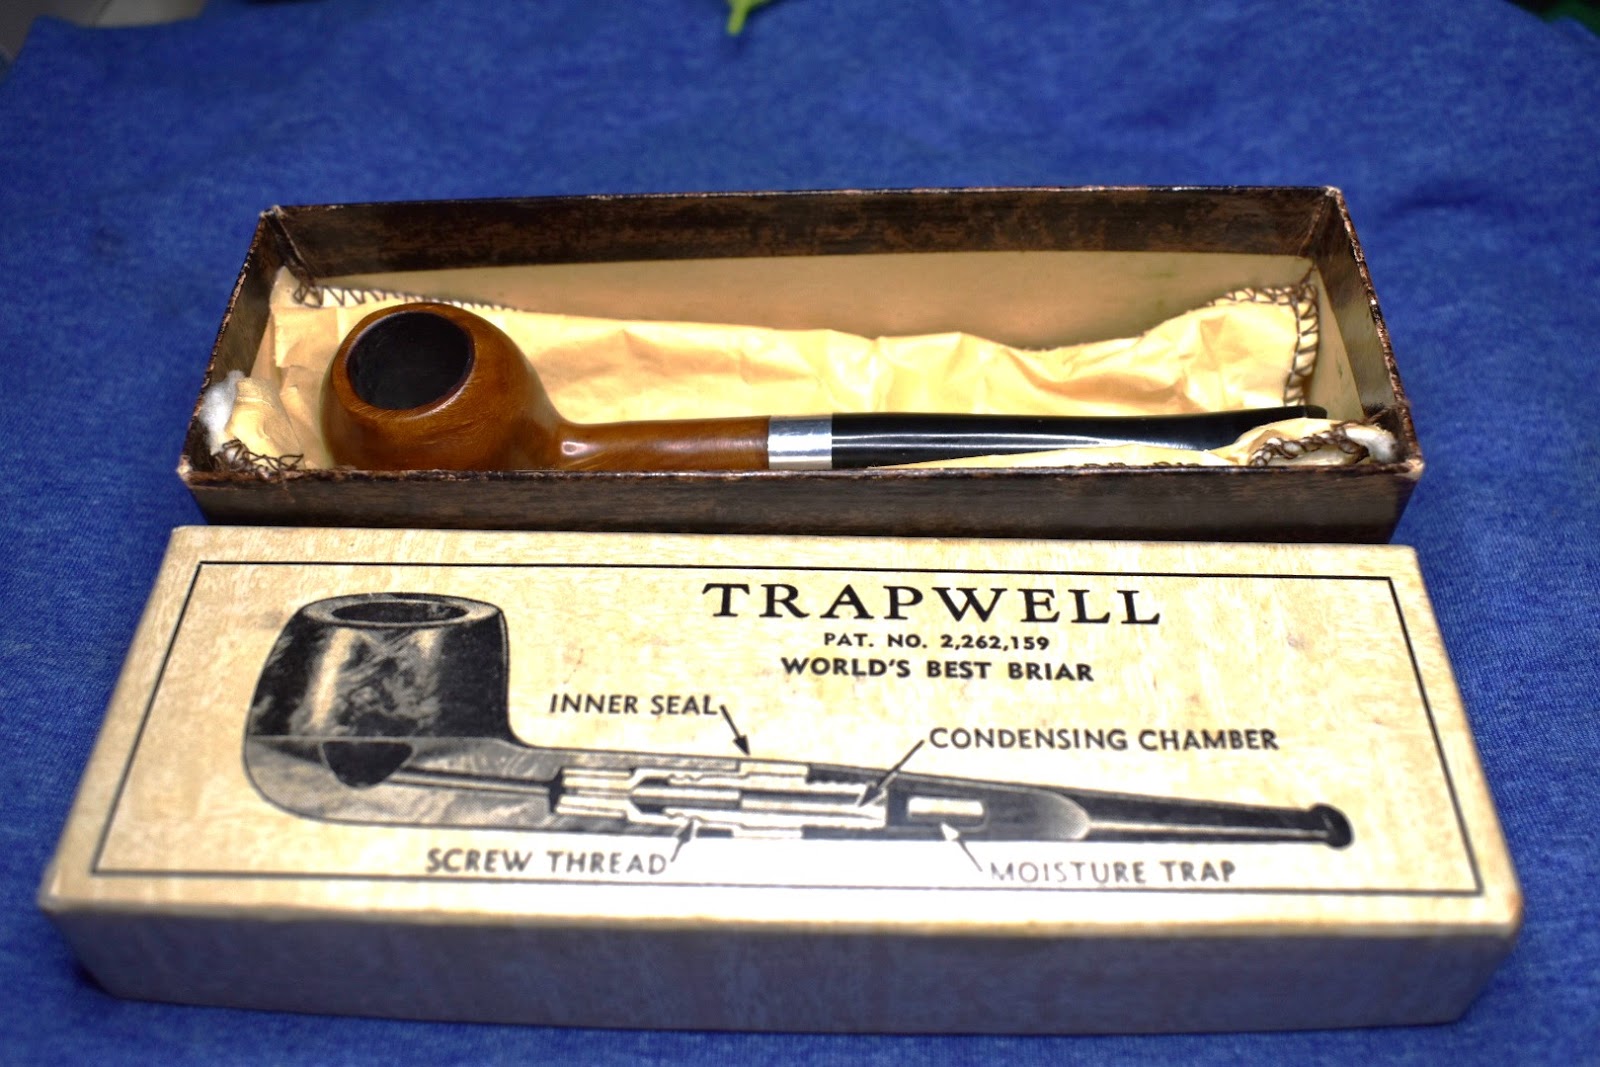
I searched the usual information outlets; pipehil.eu for logo leads and pipedia.org for maker information. Two strikes. I wasn’t “out” but I was running out of swings. I then turned to Steve Laug’s rebornpipes.com blog. He has been writing up restorations for darn near a dozen years. I will frequently search his site to see if he has restored a pipe and use his blog as a starting point for research. Steve had nothing on Winthrope. I’m going to call that a “ball”, not a strike. I wasn’t ready to return to the bench, yet. I searched the internet and found this lead: “RARE OLD VINTAGE ANTIQUE WHITCOMB’S WINTHROP BRAND CIGAR BOX – LABEL – TOBACCO.”

Ball 2. I searched a bit for Whitcomb’s Cigars and found this:

I’m calling that another “ball”. That put me at 2 strikes and 3 balls.
For my last swing I posted the following on pipesmokermagazine.com forum: “I am sure that there are folks out there who can enlighten me about Winthrop. I got this as part of an estate lot. Relatively thick walls, screw in tenon (similar to a Kaywoodie without the 3 or 4 holes), saddle stem. Photos of pre-restoration.
No mention of it in pipehi.eu nor pipedia.org. Heck, Steve Laug hasn’t even restored one.”,
Once again Briar Lee came to my rescue. Briar Lee, by the way, is a fine gentleman on the forums who is an absolute wealth of knowledge and a fellow Marxman pipe lover. Here is his response to my post:
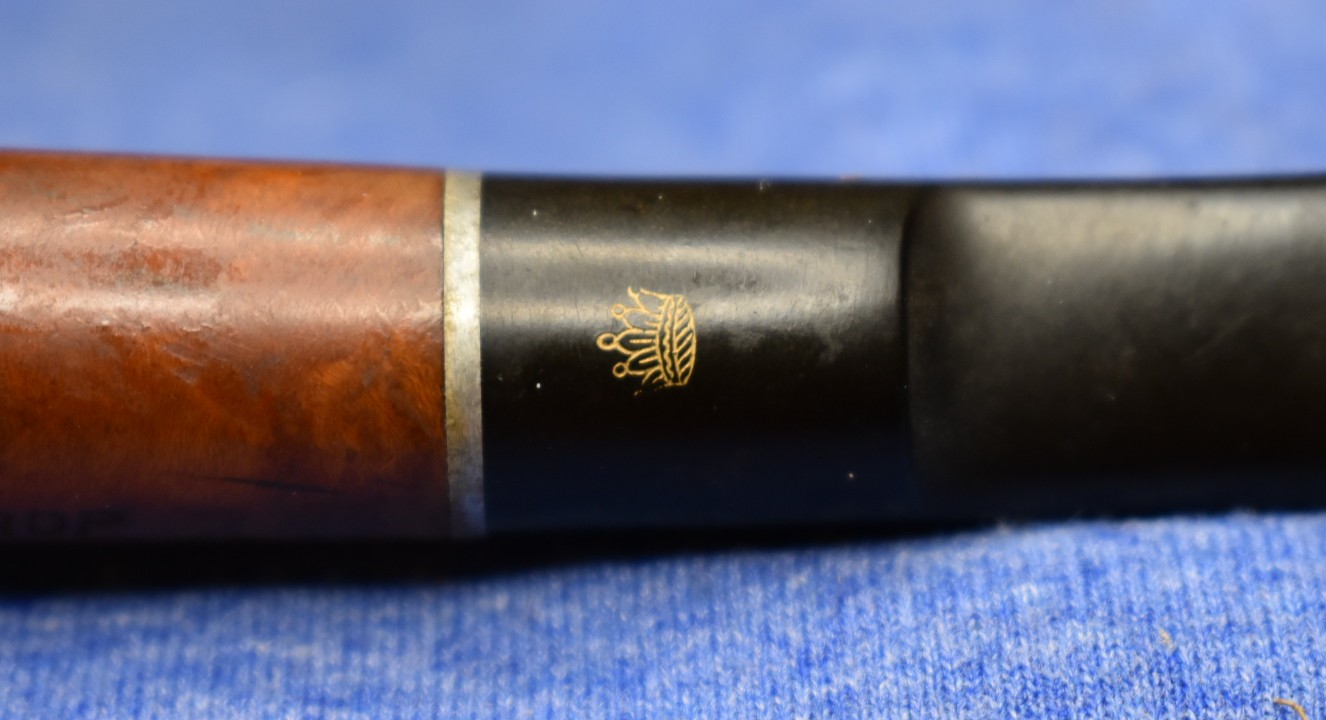
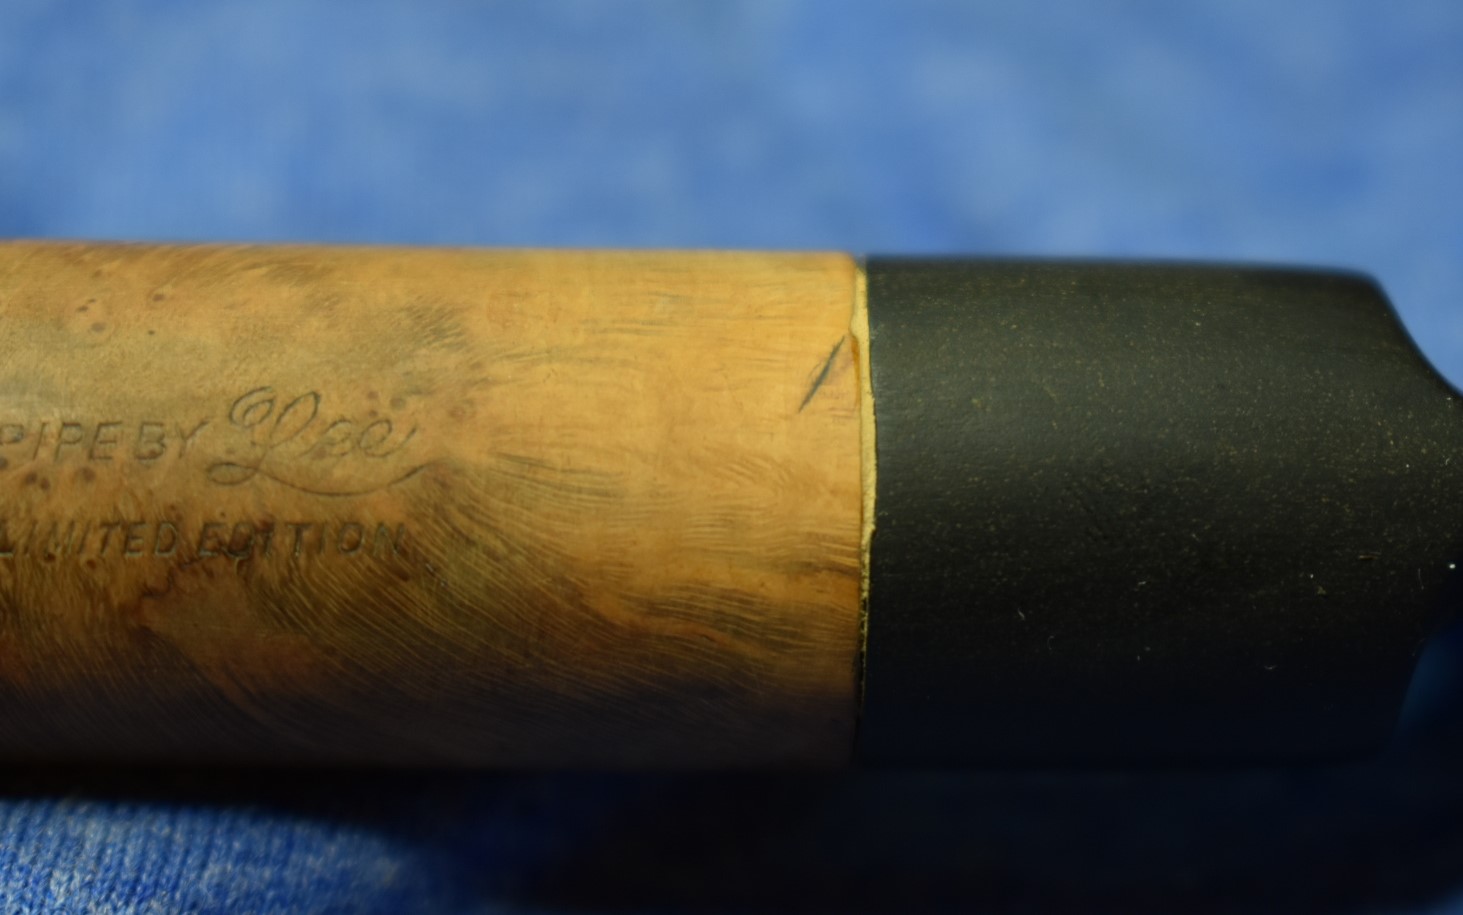
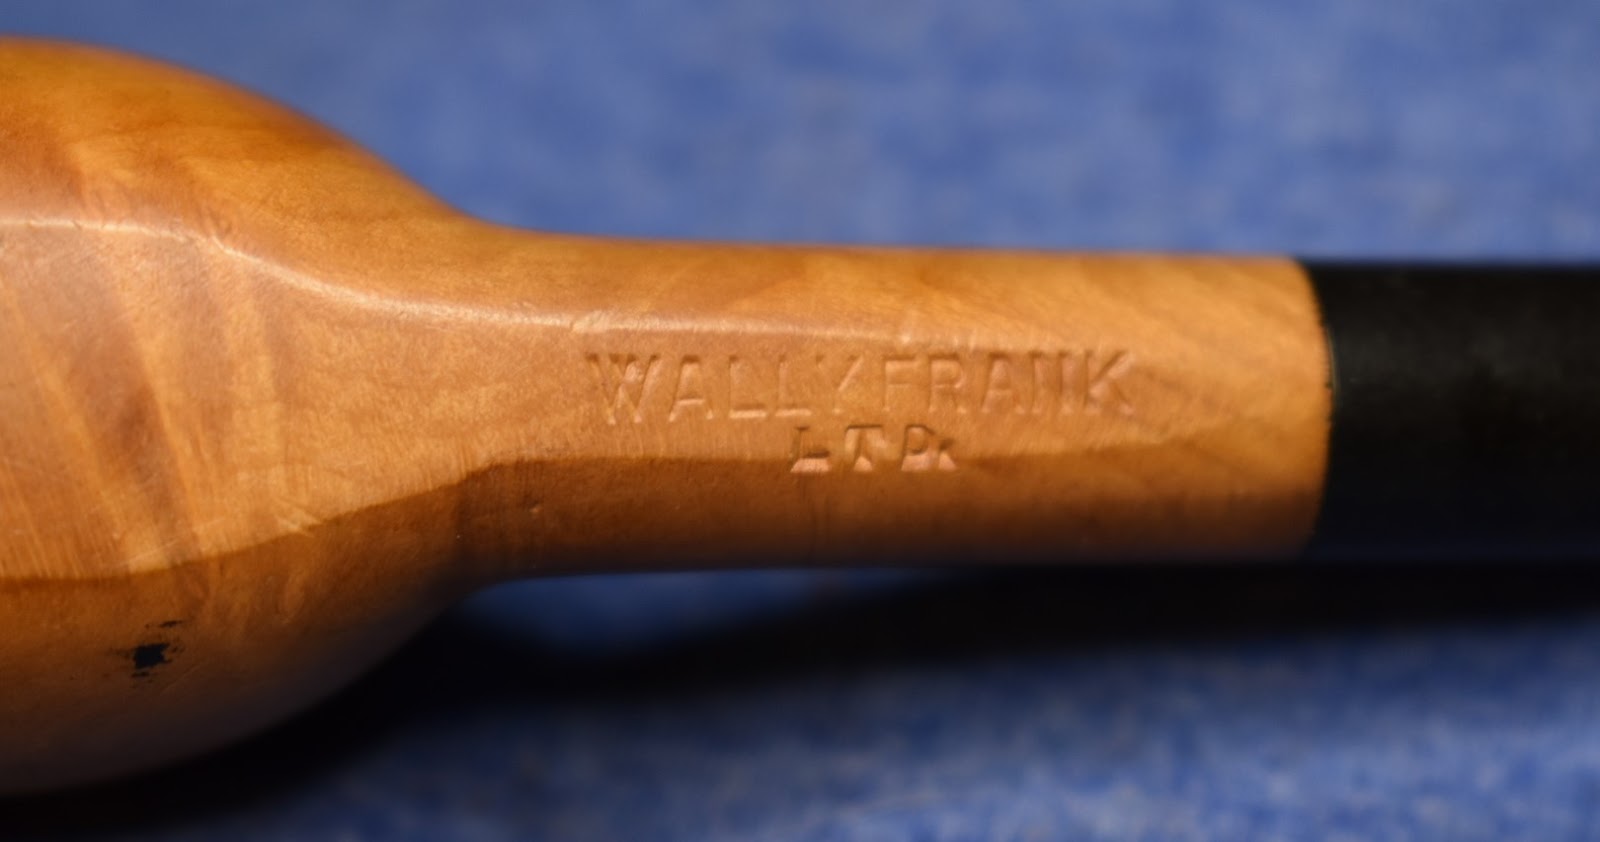
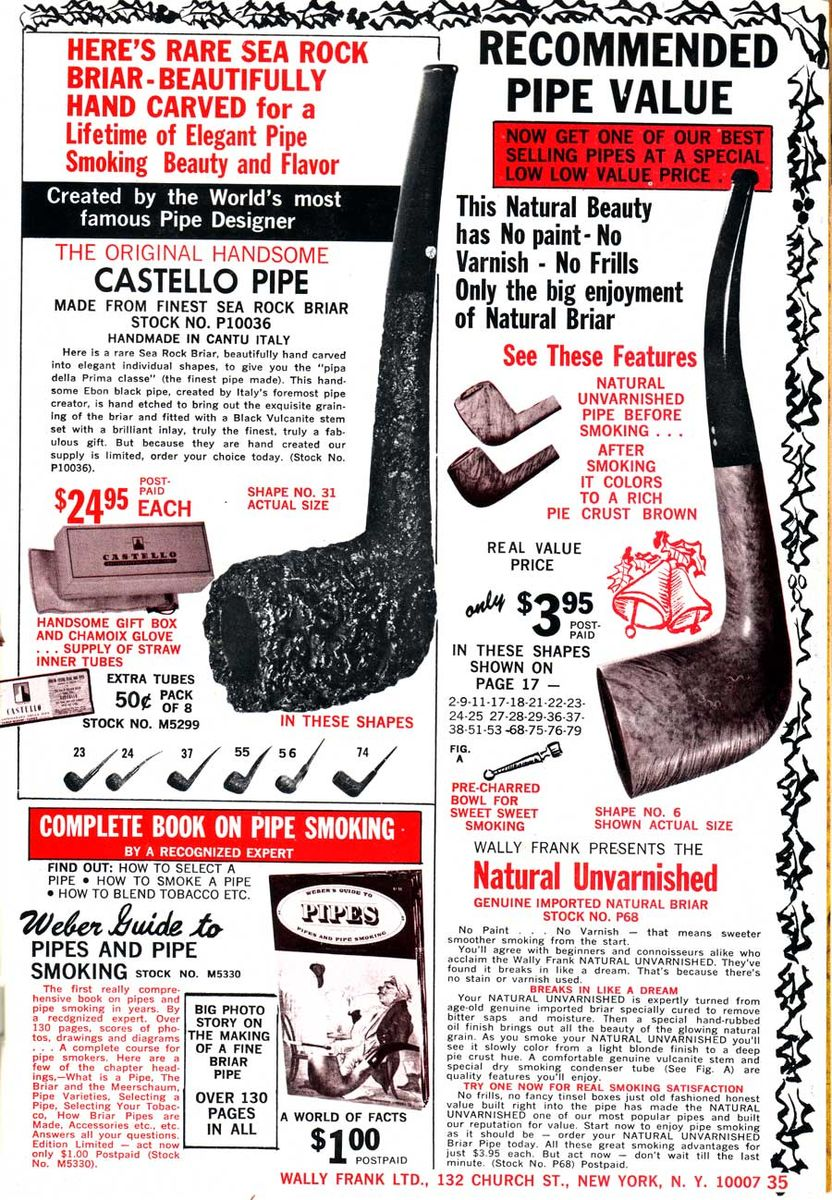
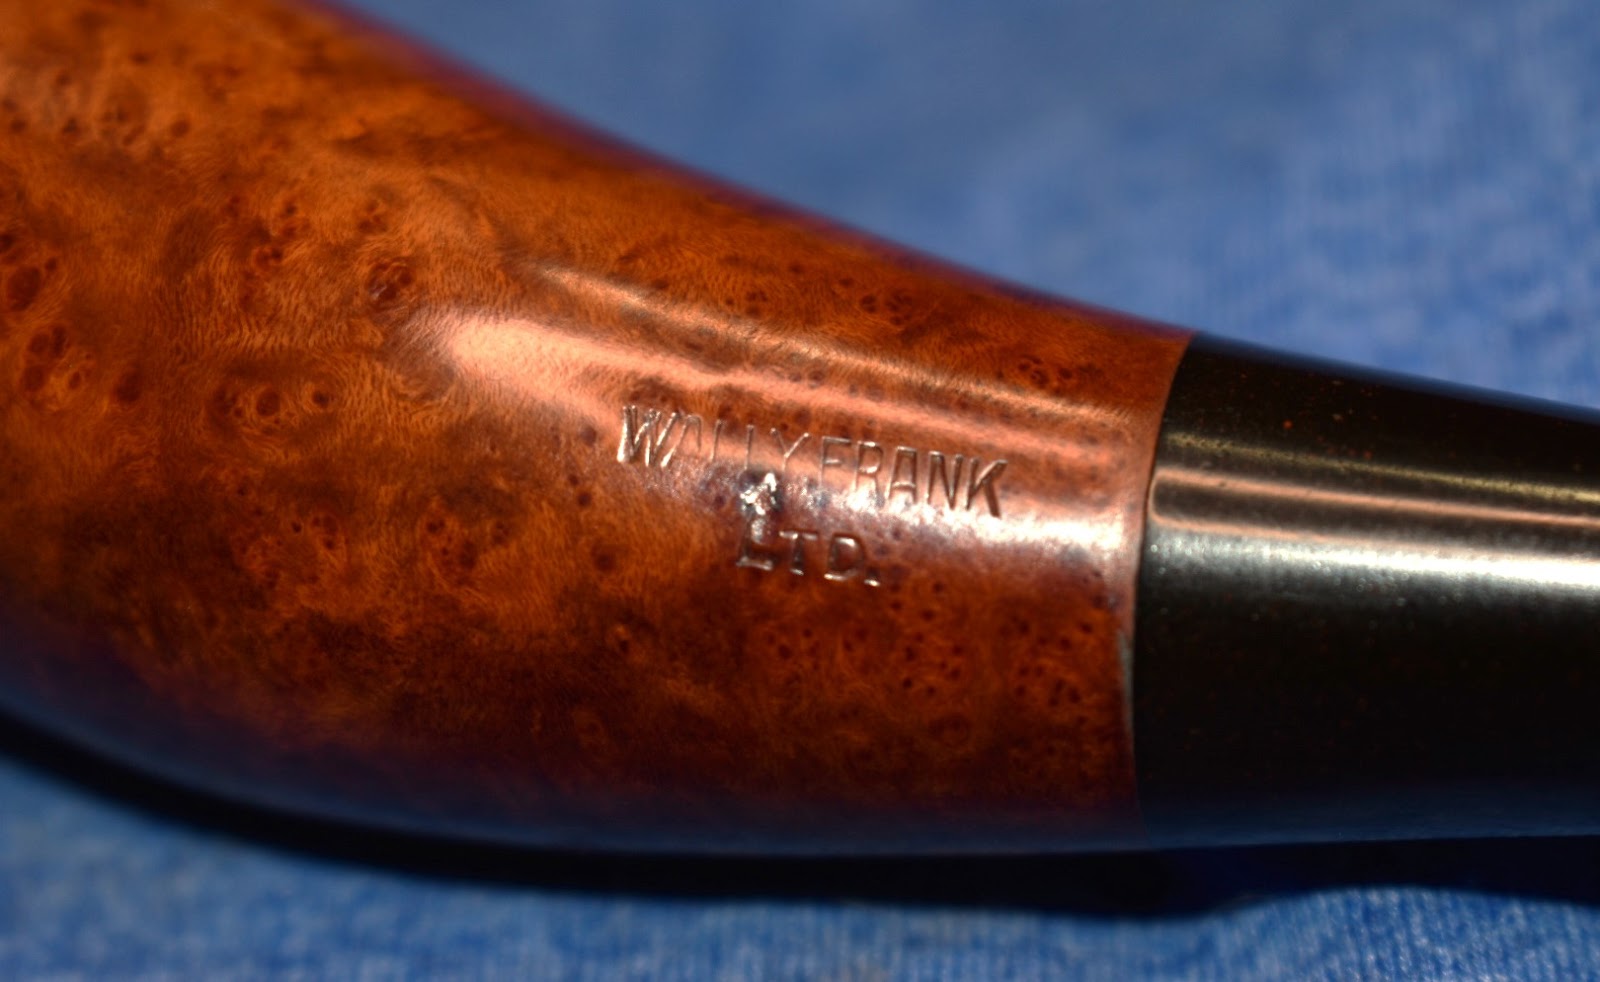
“That font just screams Wally Frank catalog, 1940s. It was a style he used. [photo]
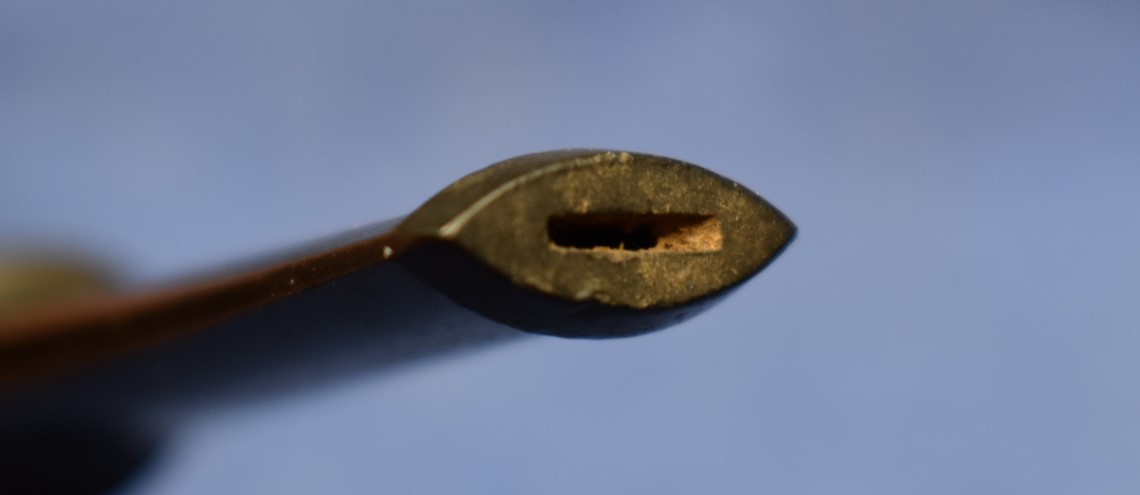
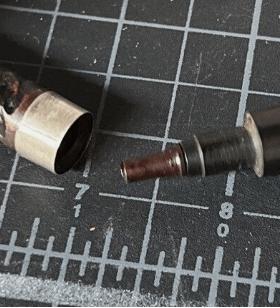
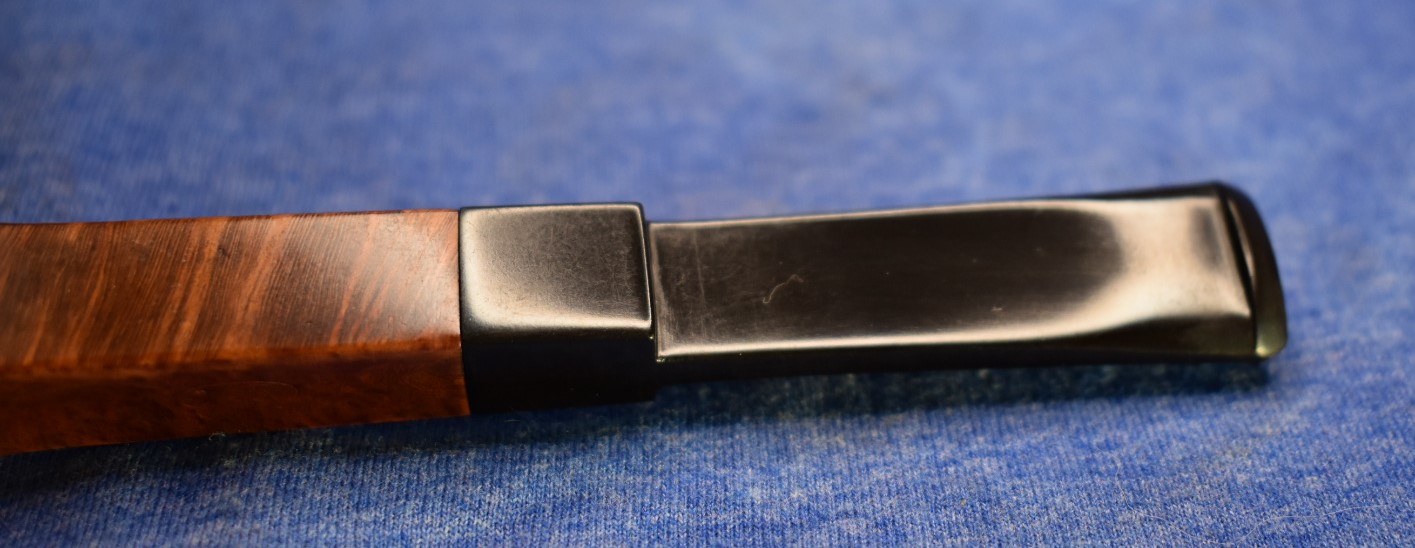
It is actually a Briarlee type stinger, it’s removable, and has a full aluminum disc mortise. [photo] There are three Winthrops listed on eBay tonight. [photo x3]
They look high quality factory pipes of the forties, likely a Wally Frank contract.
Lee could certainly have made those, but so could other New York City pipe makers.
That likely was a $2-3 pipe, with lots grain figure, in a catalog where a very good pipe was $1 to $1.50.” (https://pipesmagazine.com/forums/threads/can-anyone-tell-me-about-this-brand-winthrop.102598/#post-36957469)
Maybe not the exact manufacturer but, that is far better than my imaginative conjectures. And, sticking with my baseball themed analogy, the umpire says, “Ball 4. Batter, take your base”.
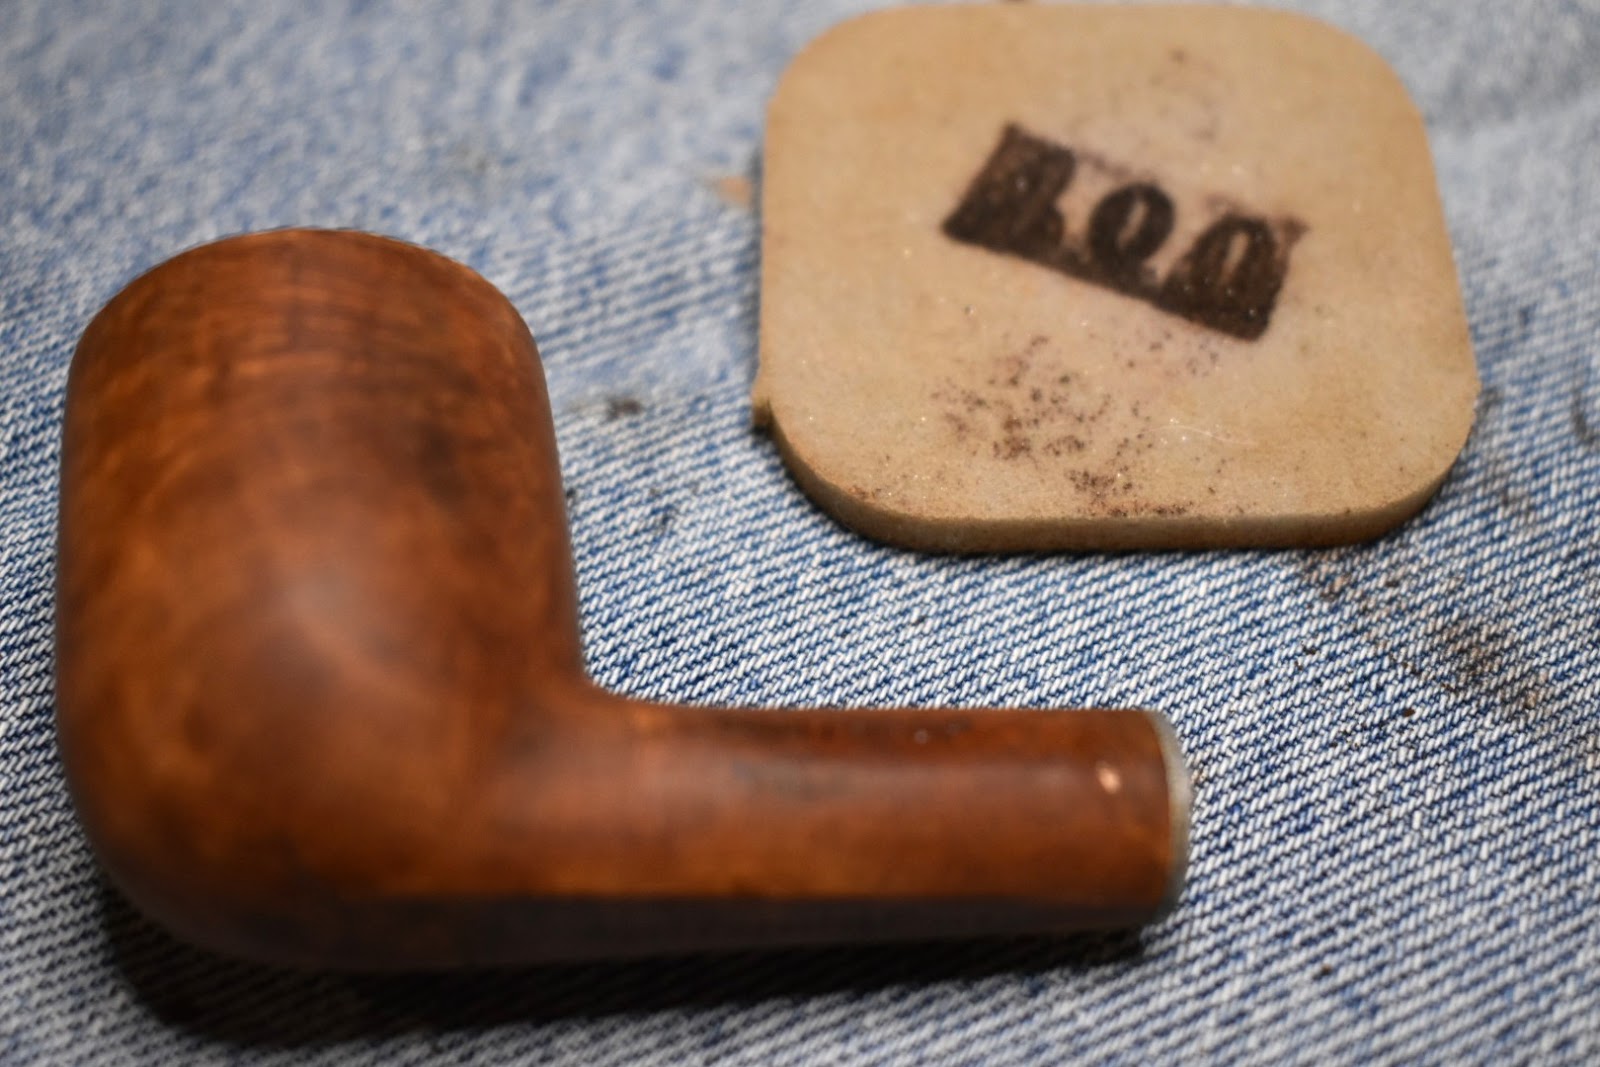
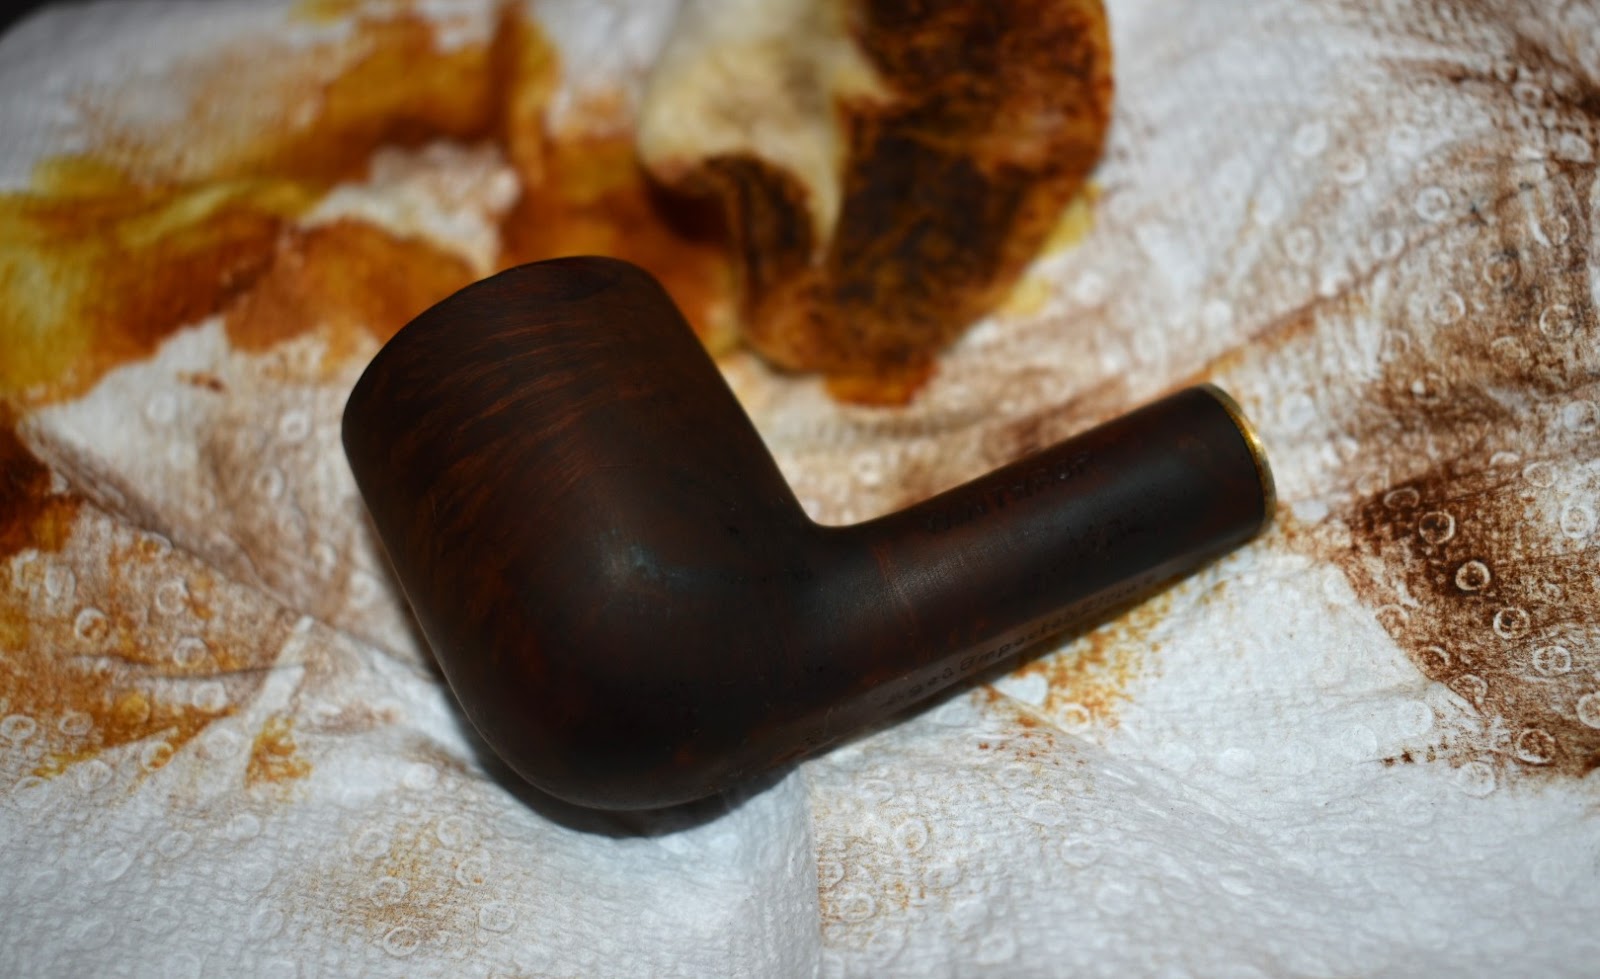
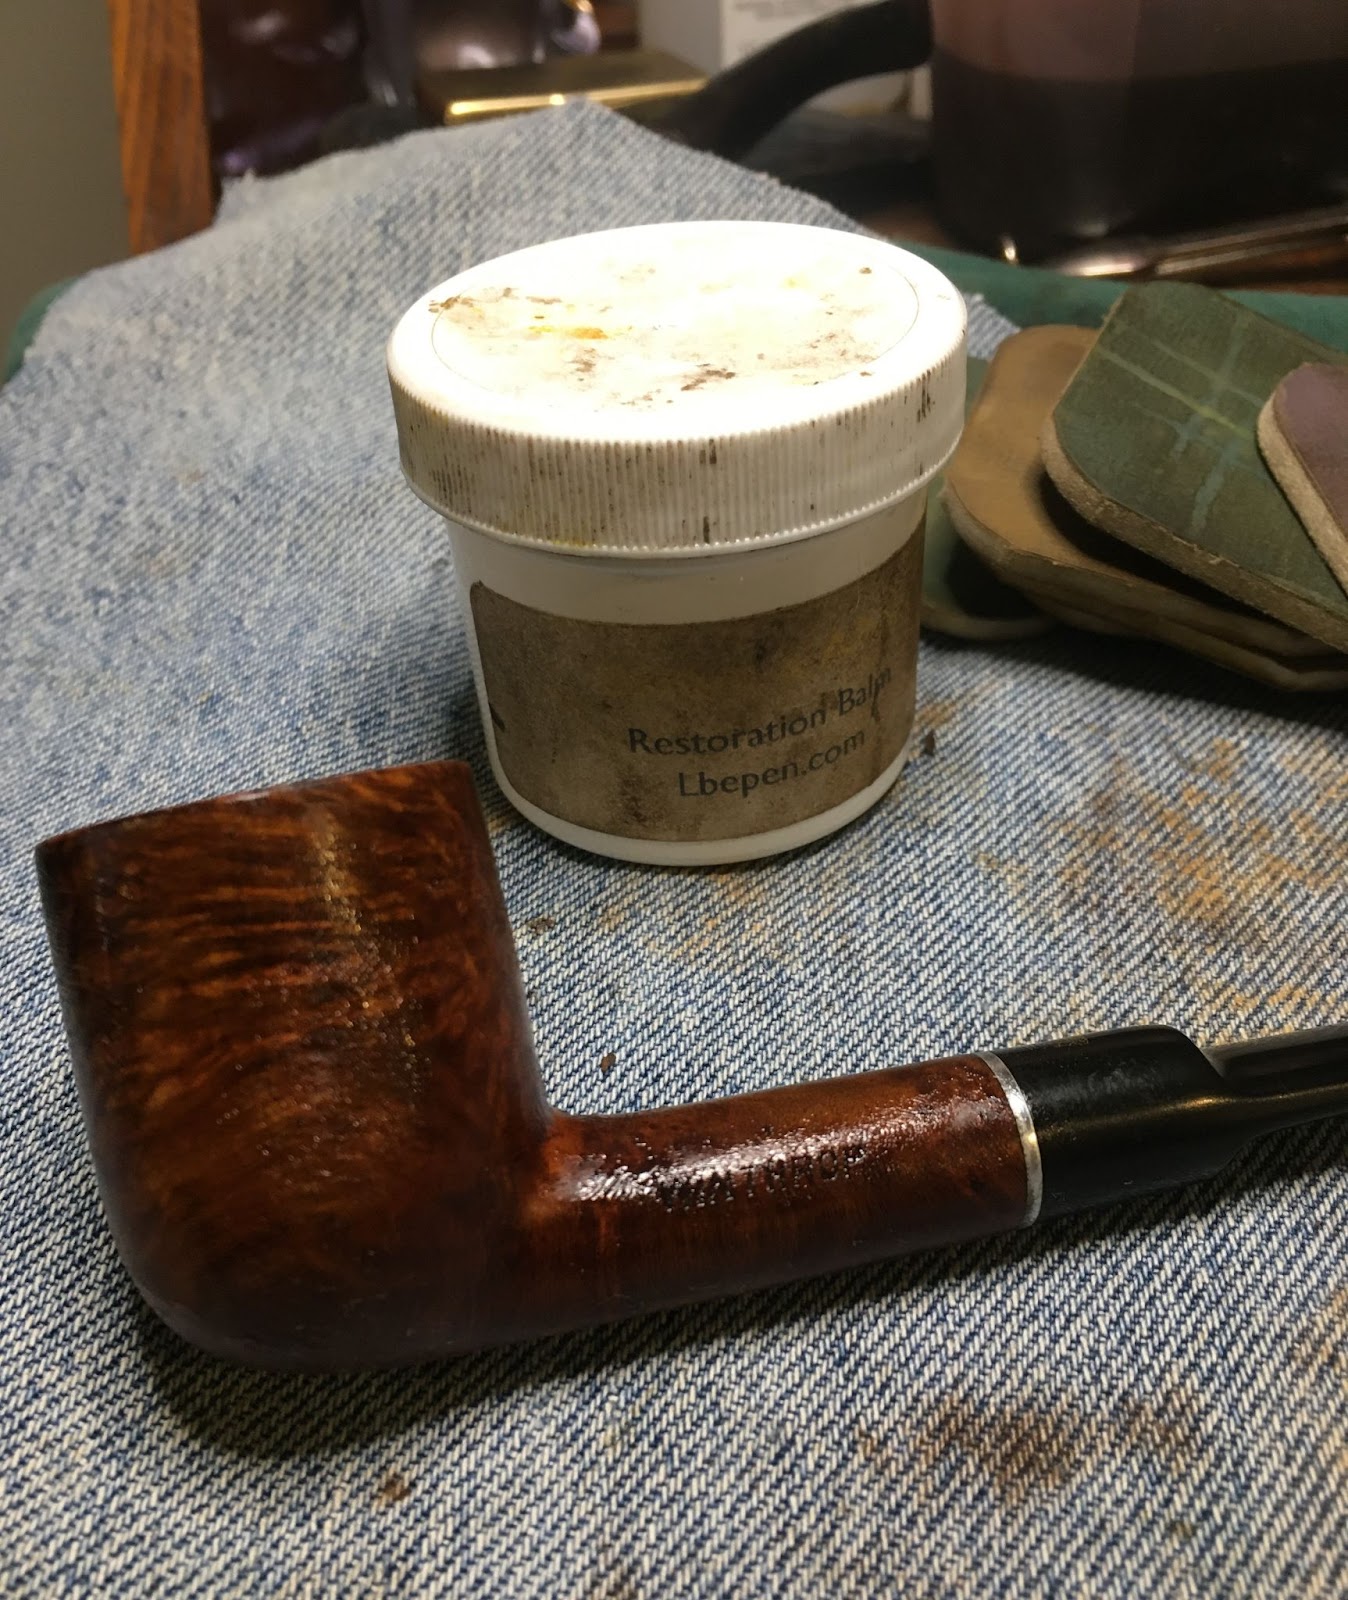
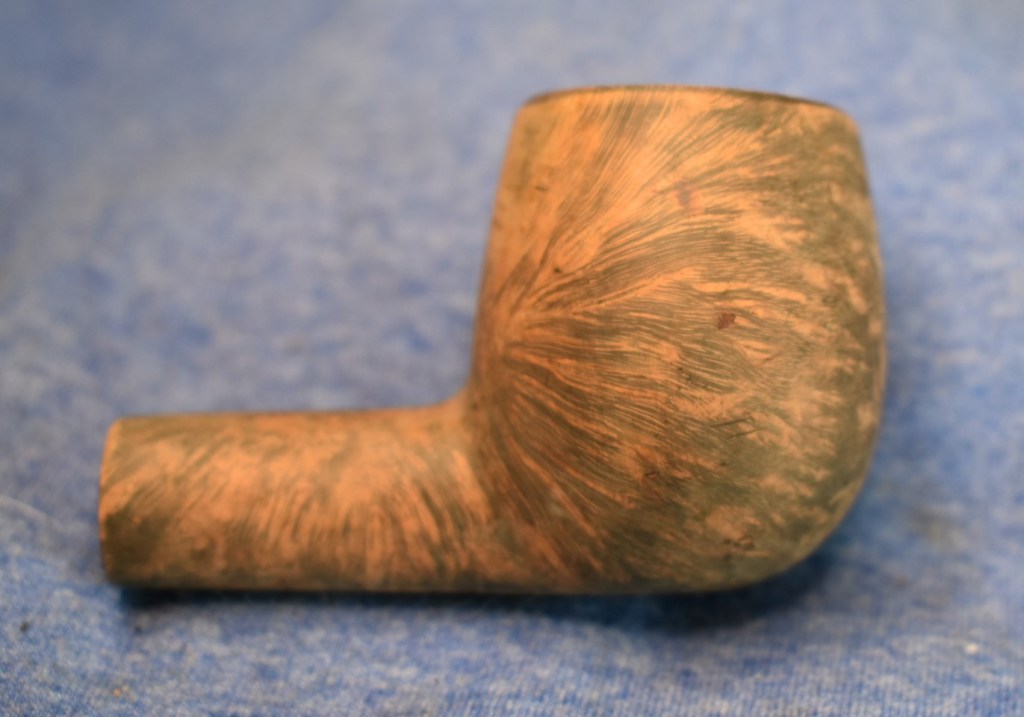
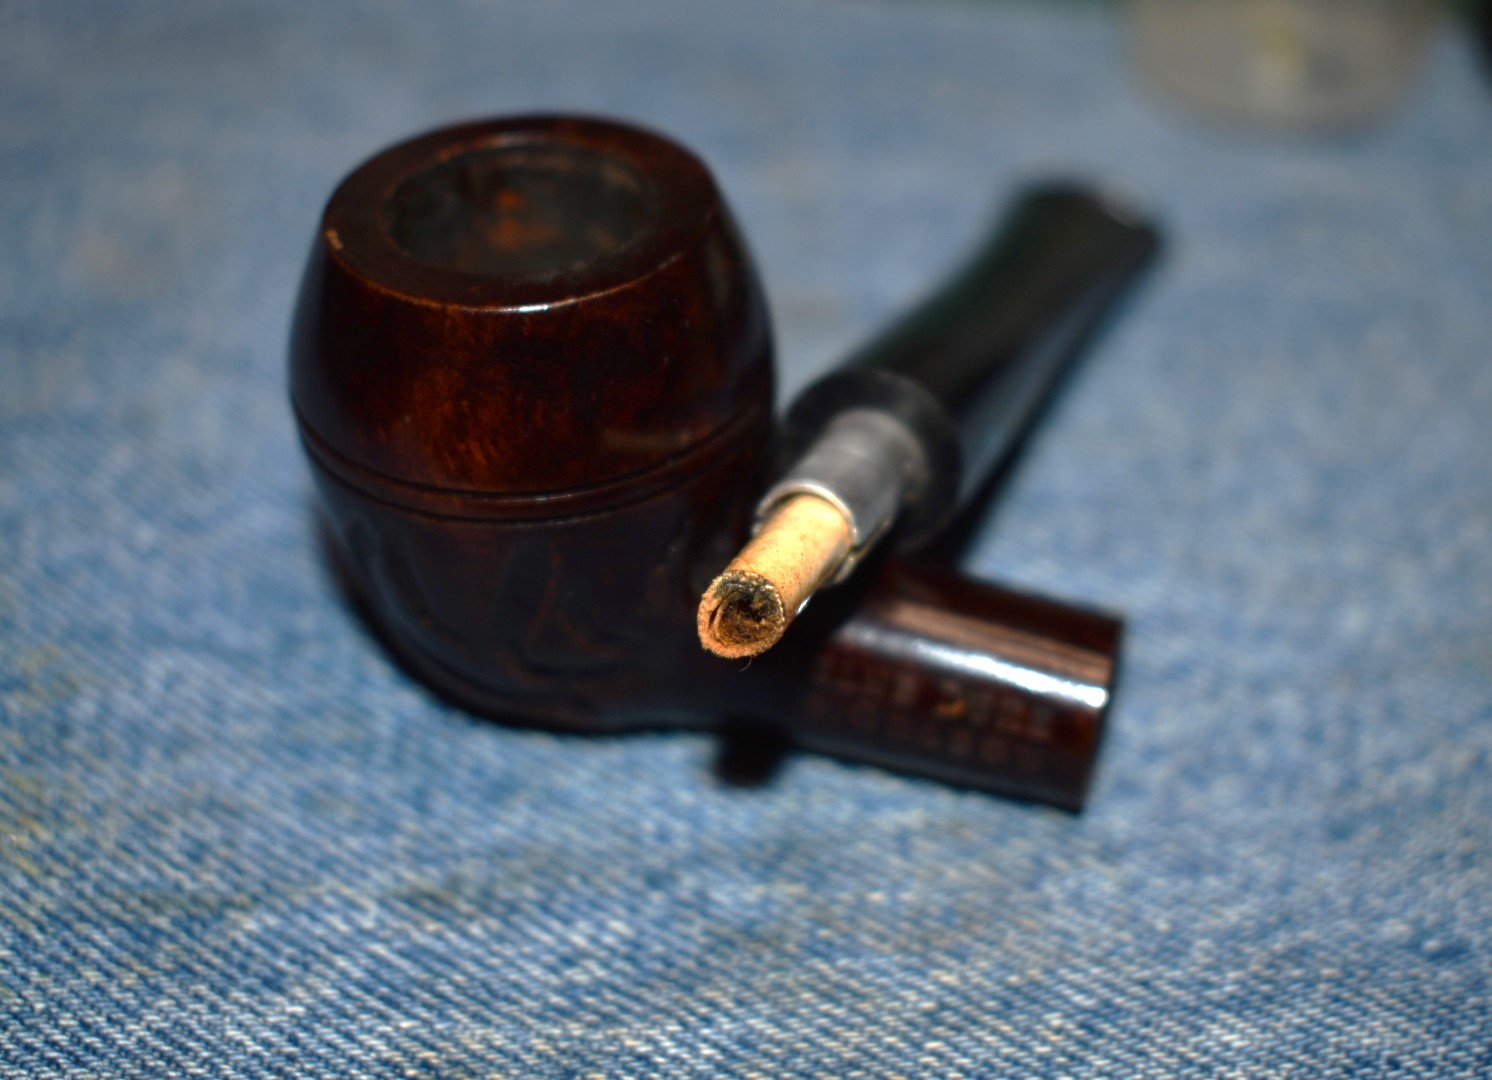
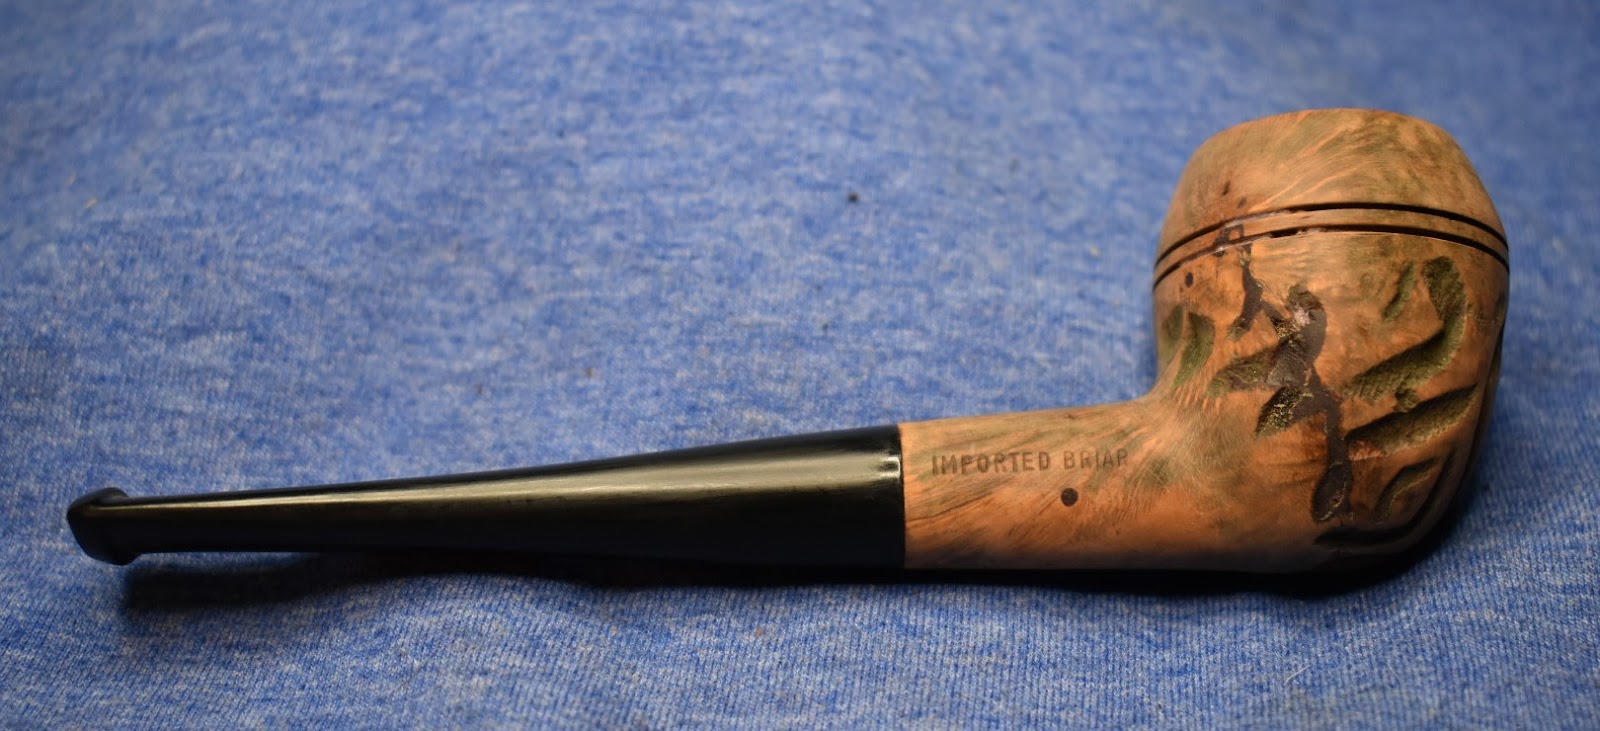
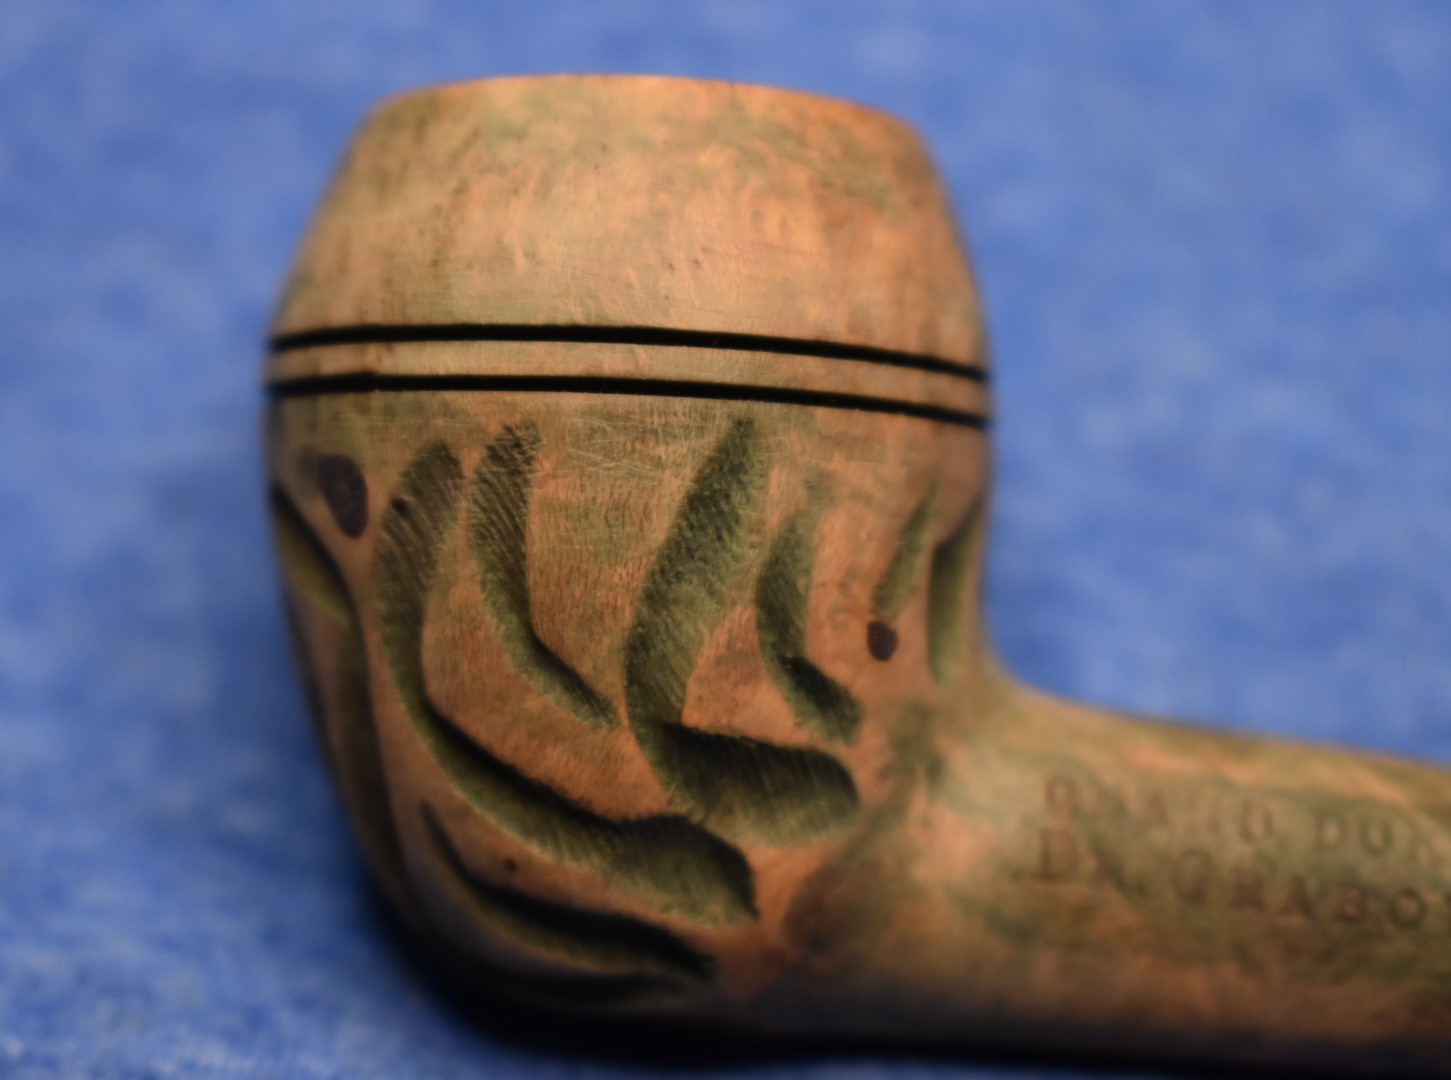
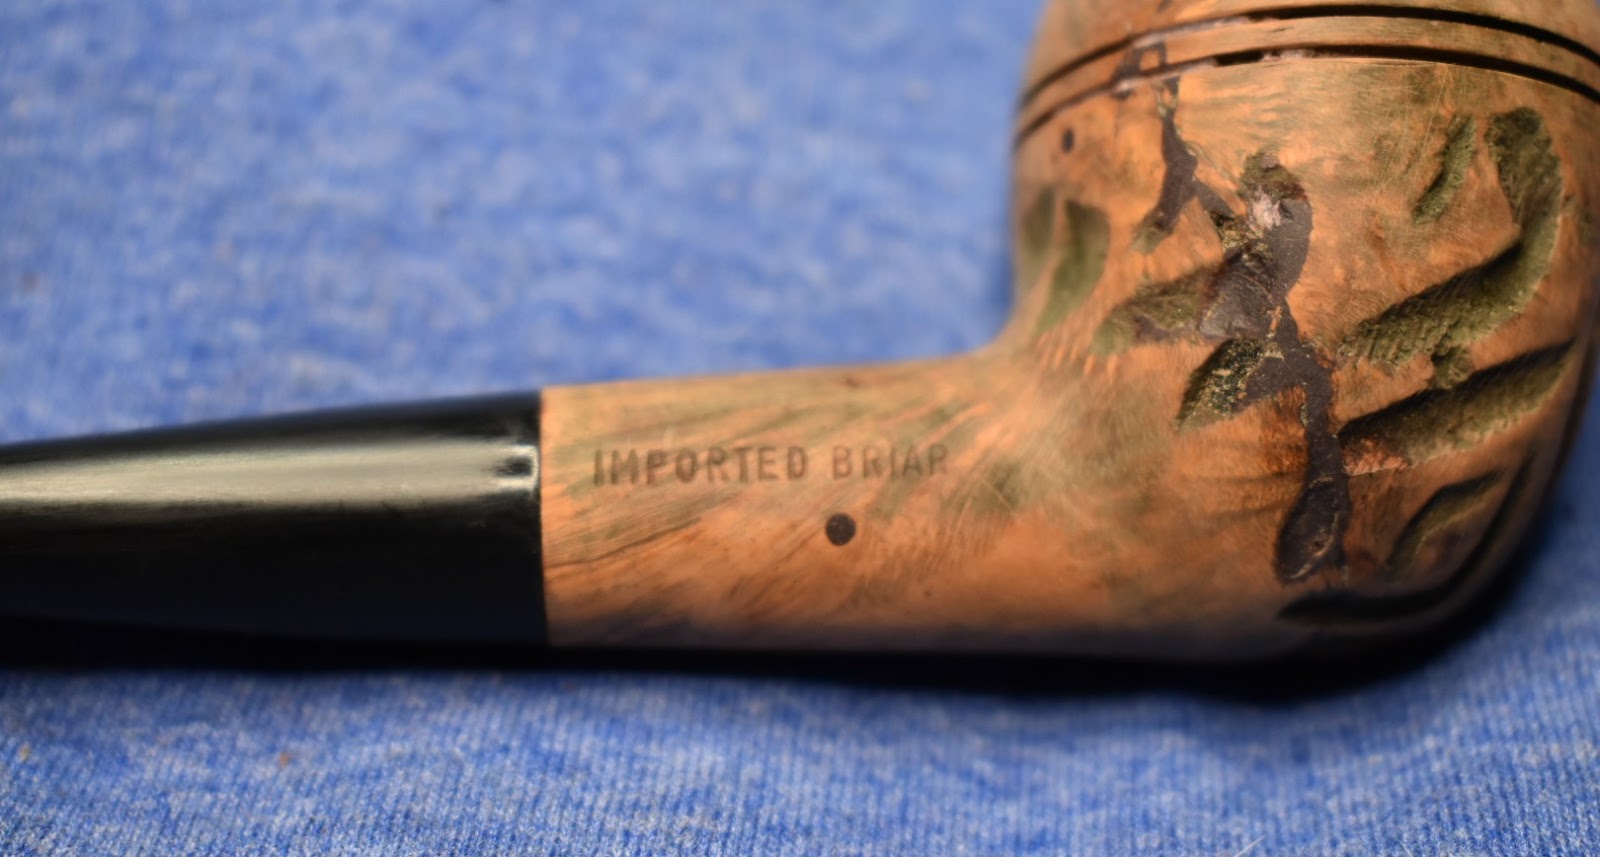
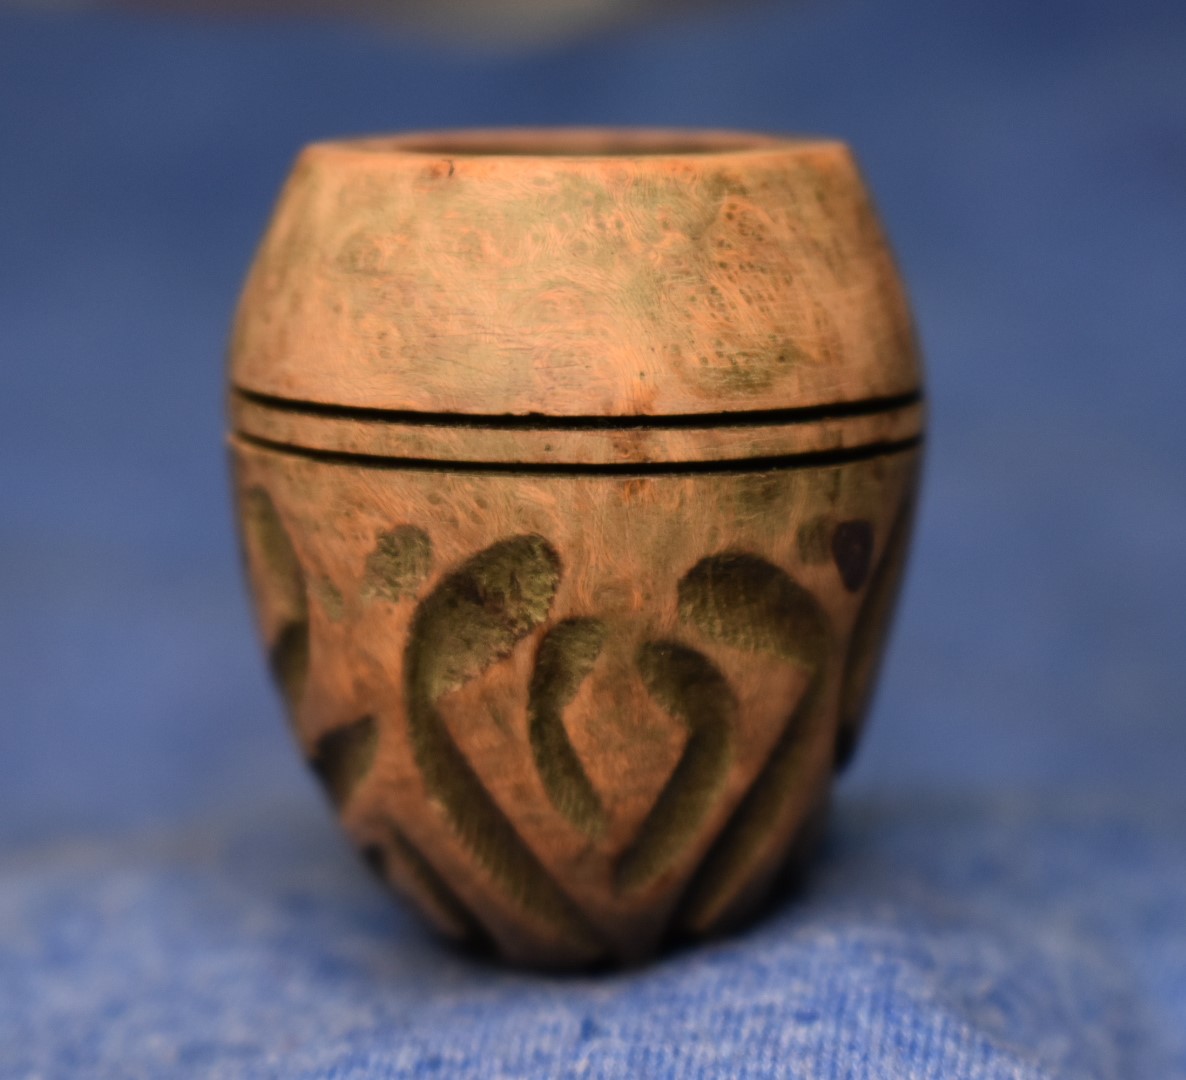
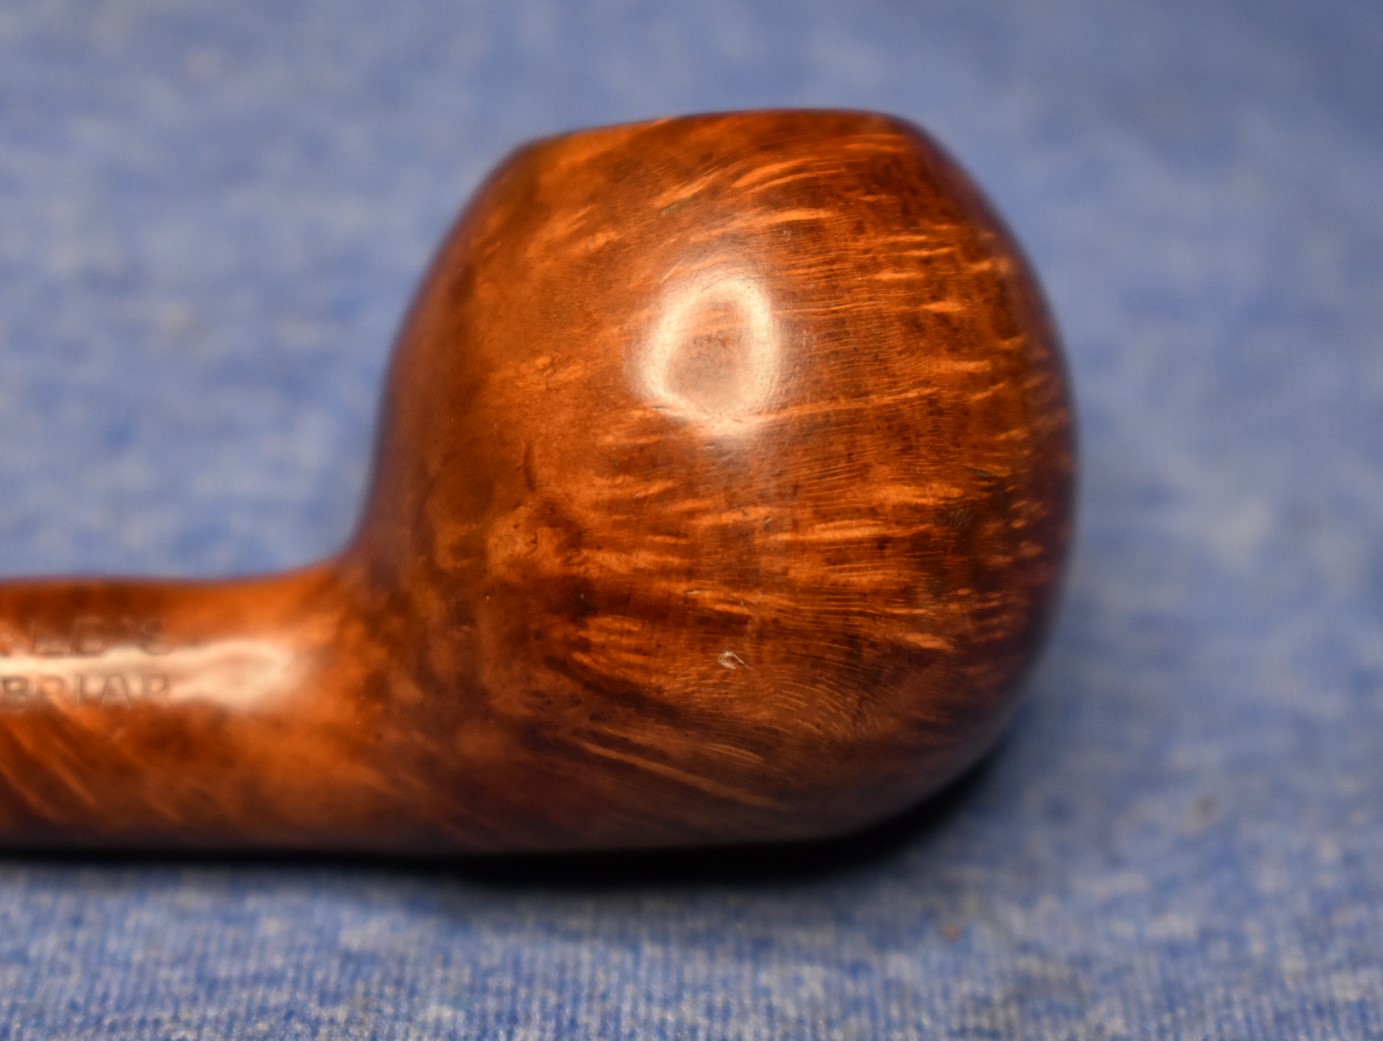
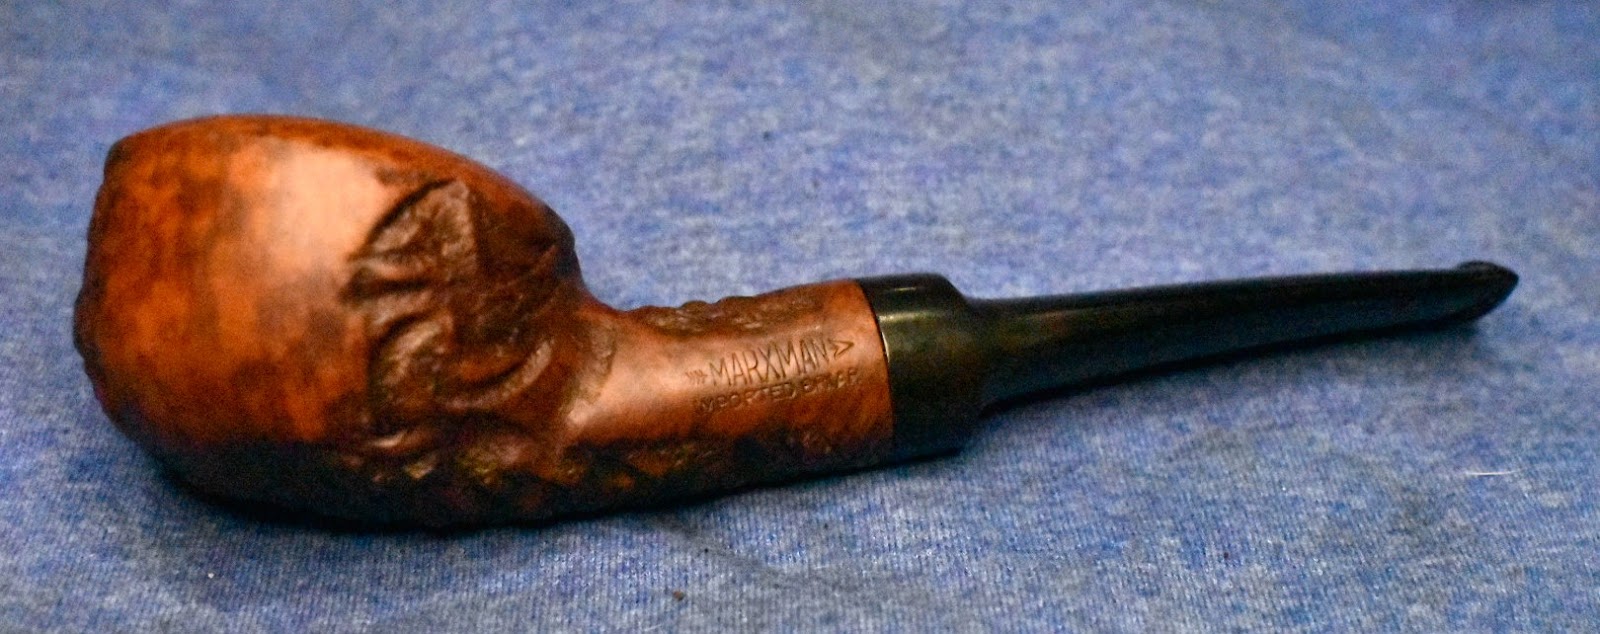
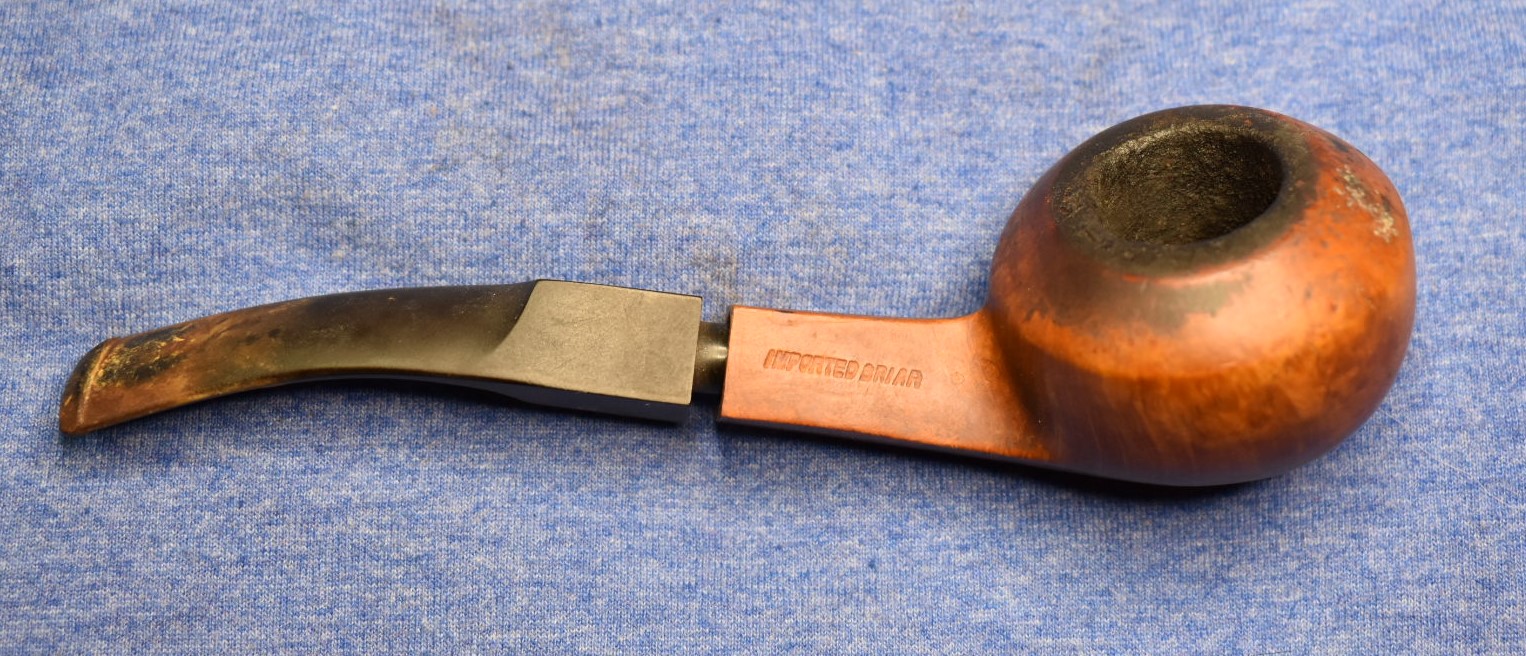
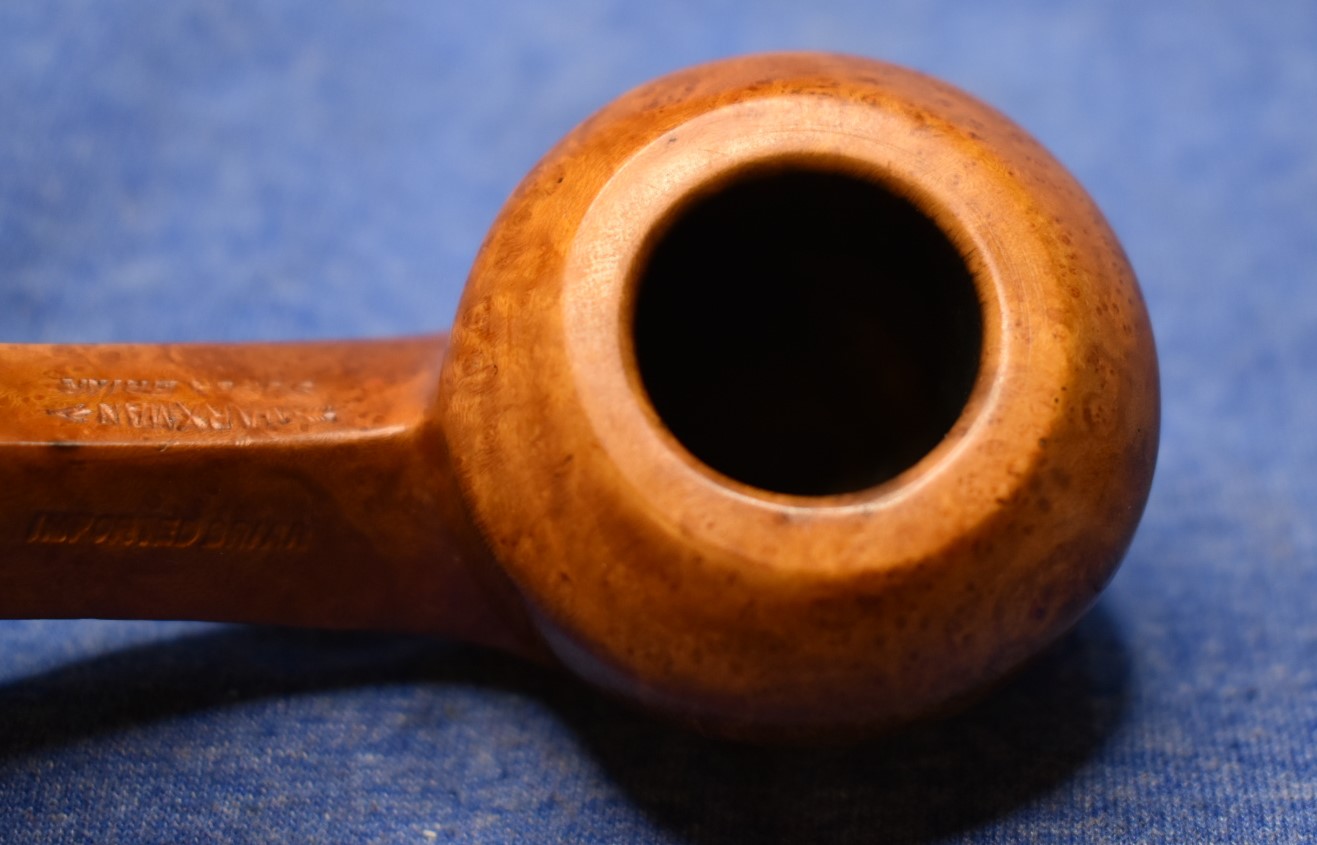
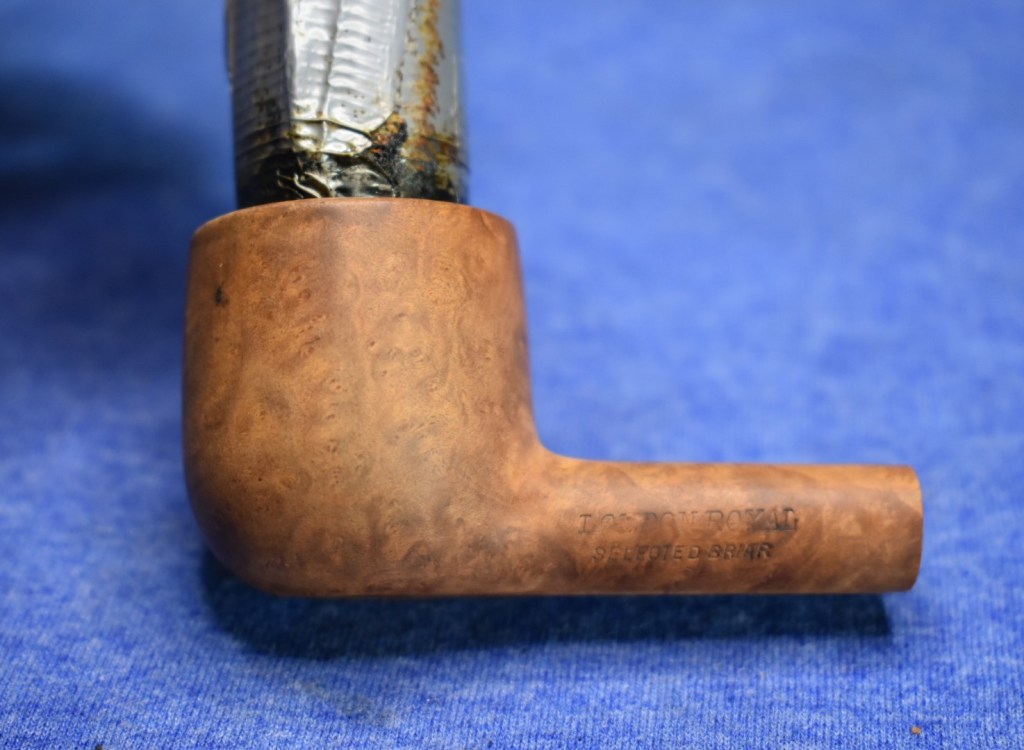
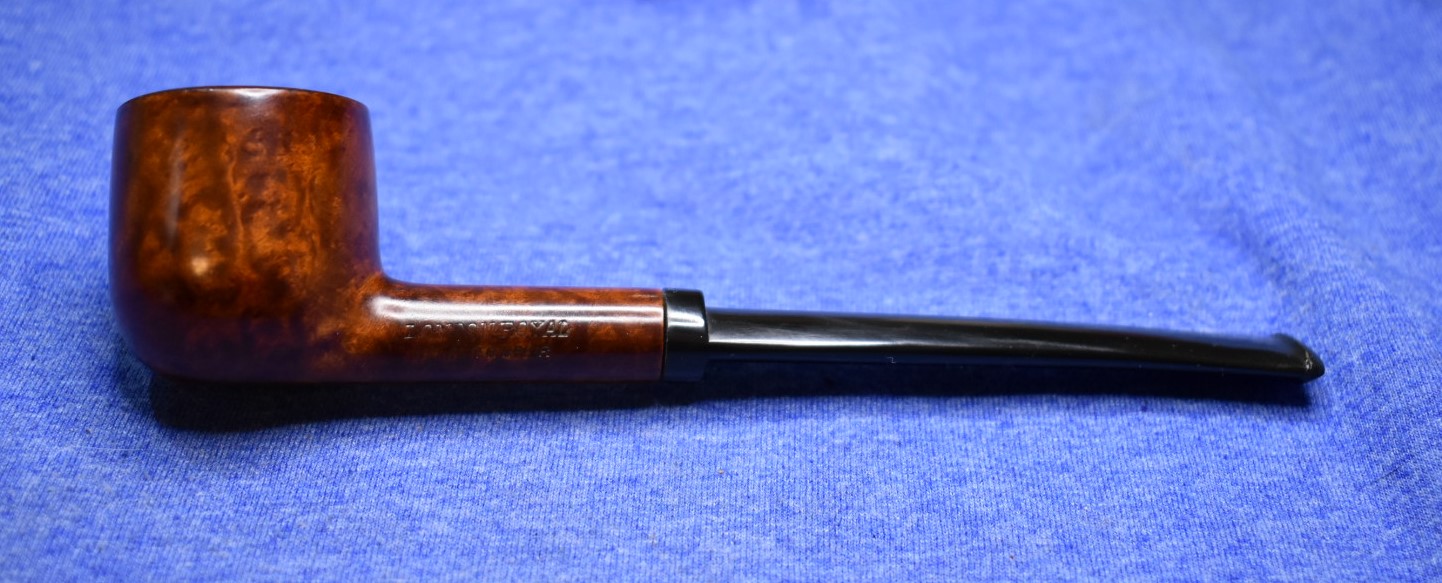
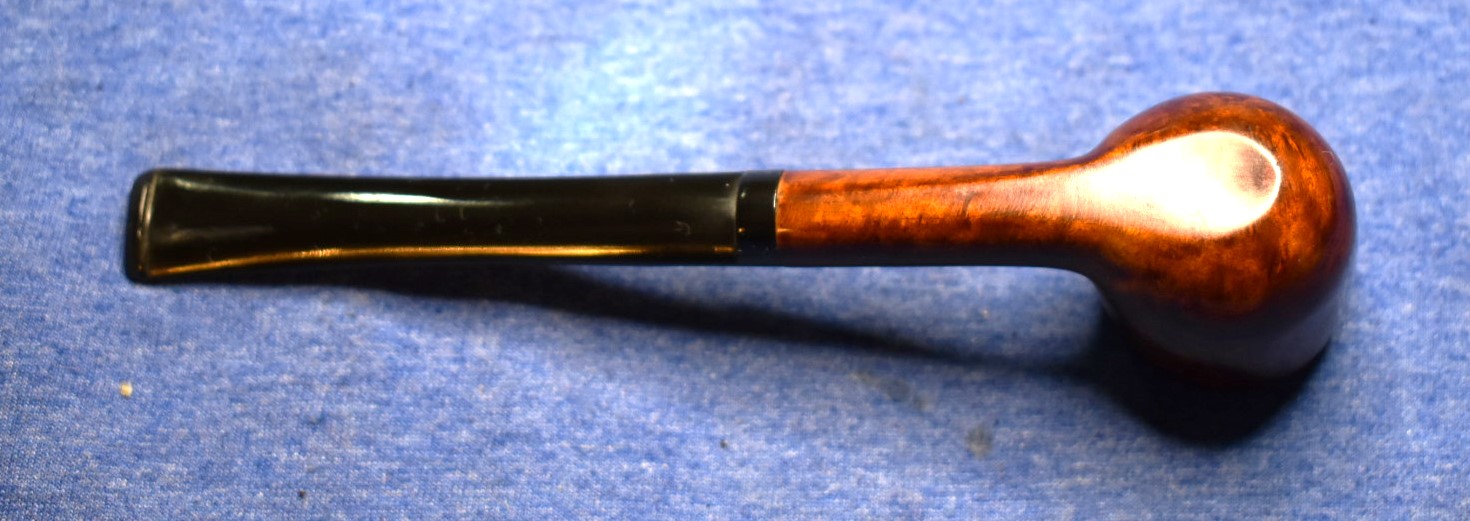
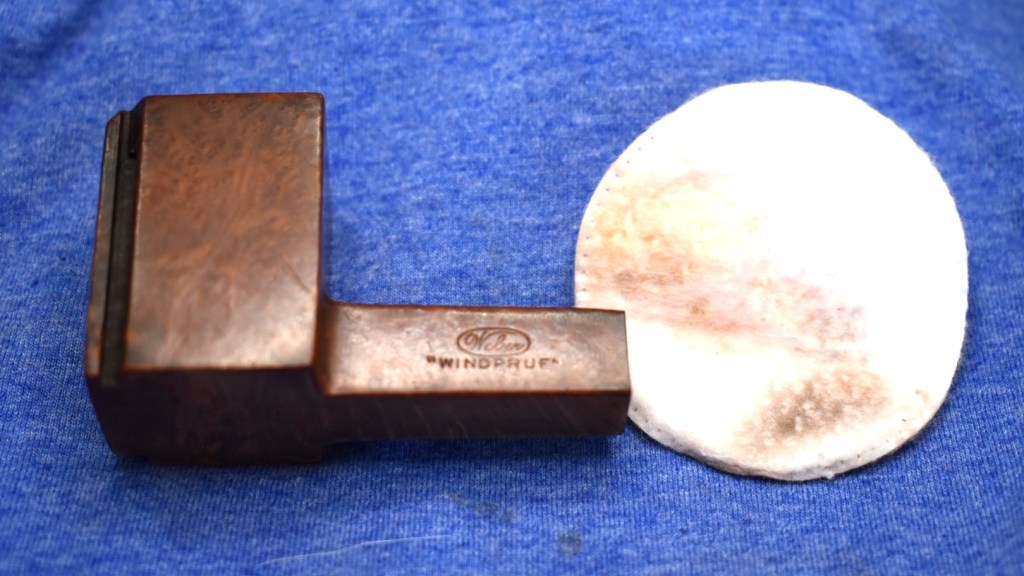
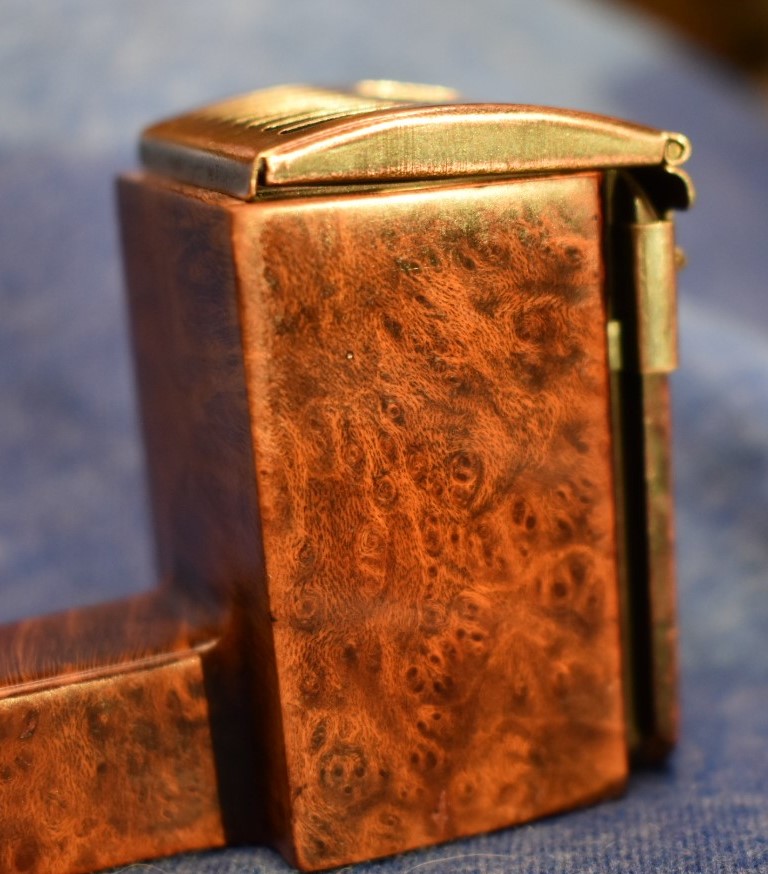
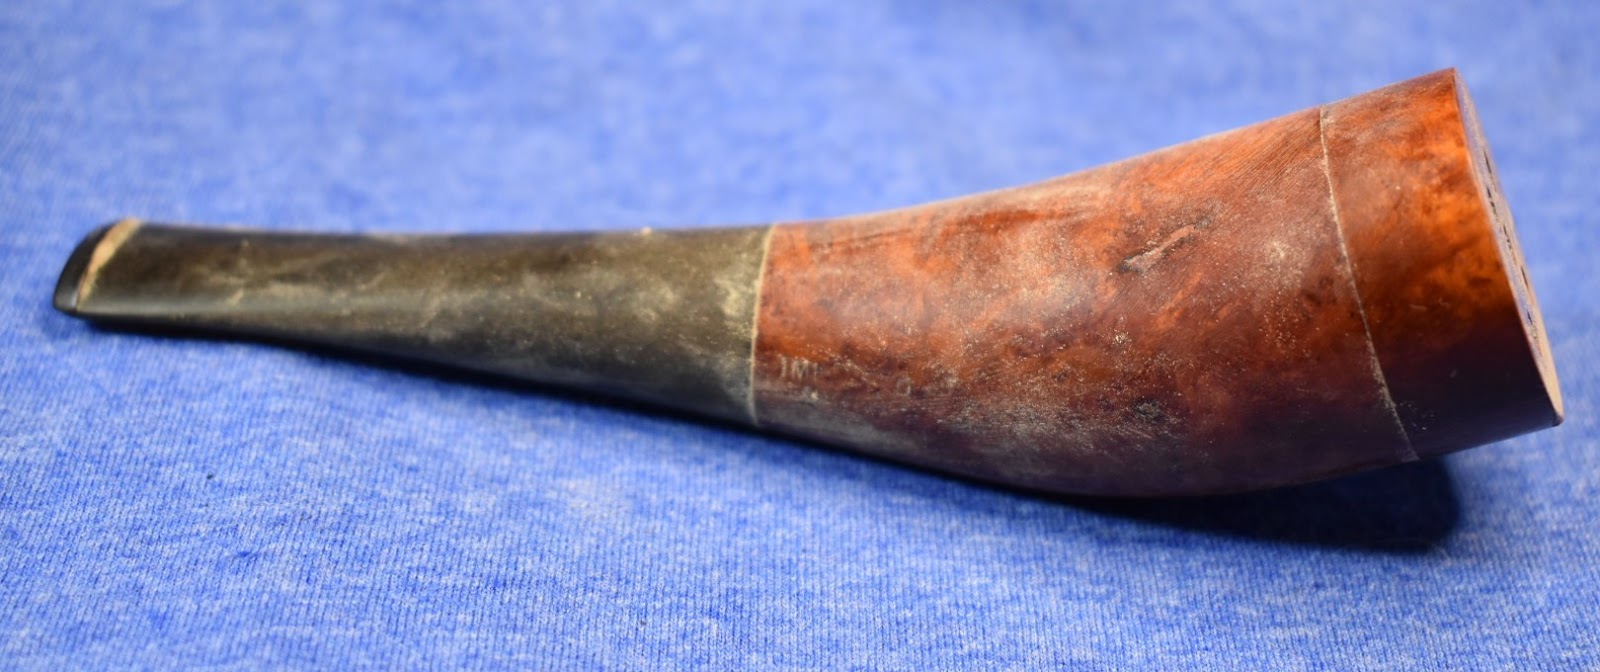
Here is the pipe that caught my attention as it appeared emerging from the “do me next” box.

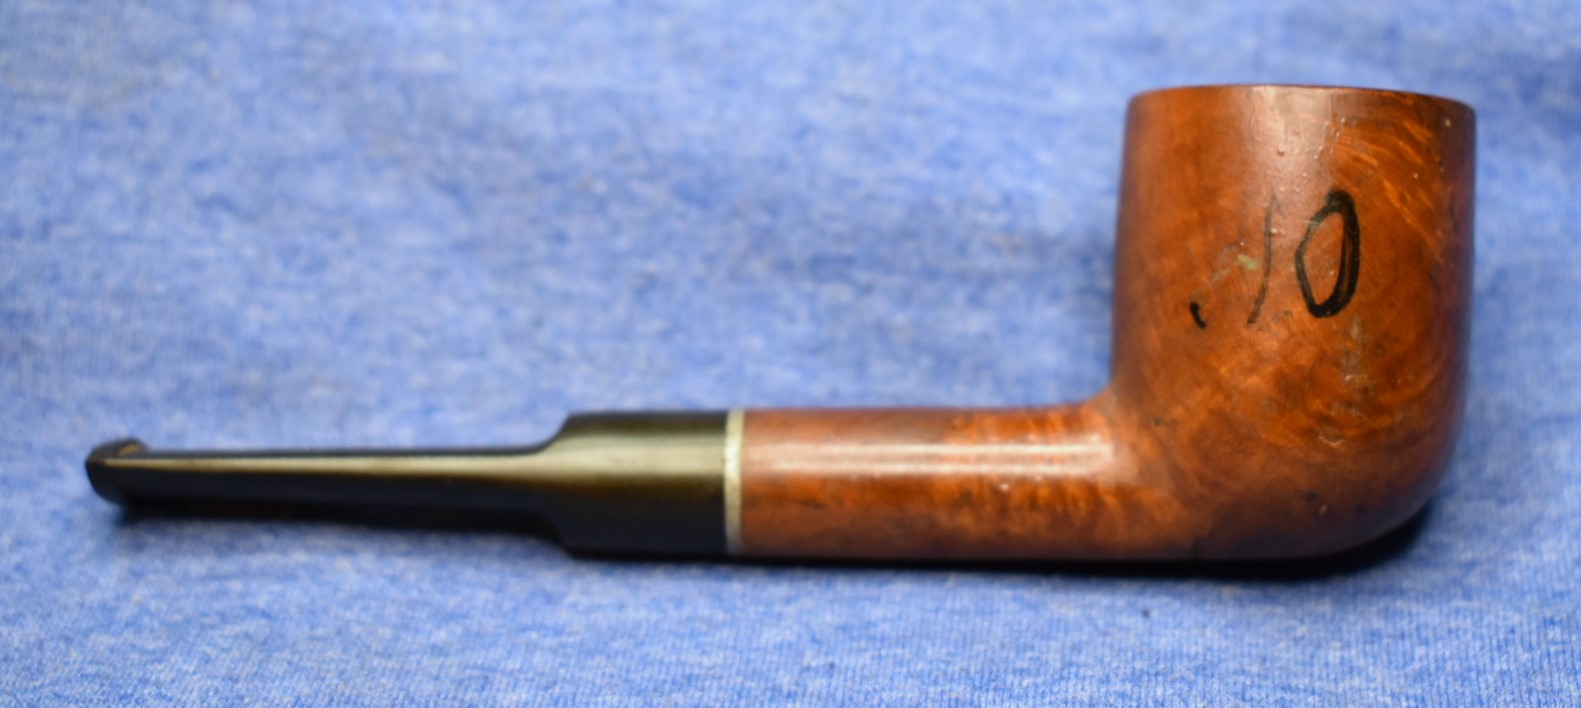

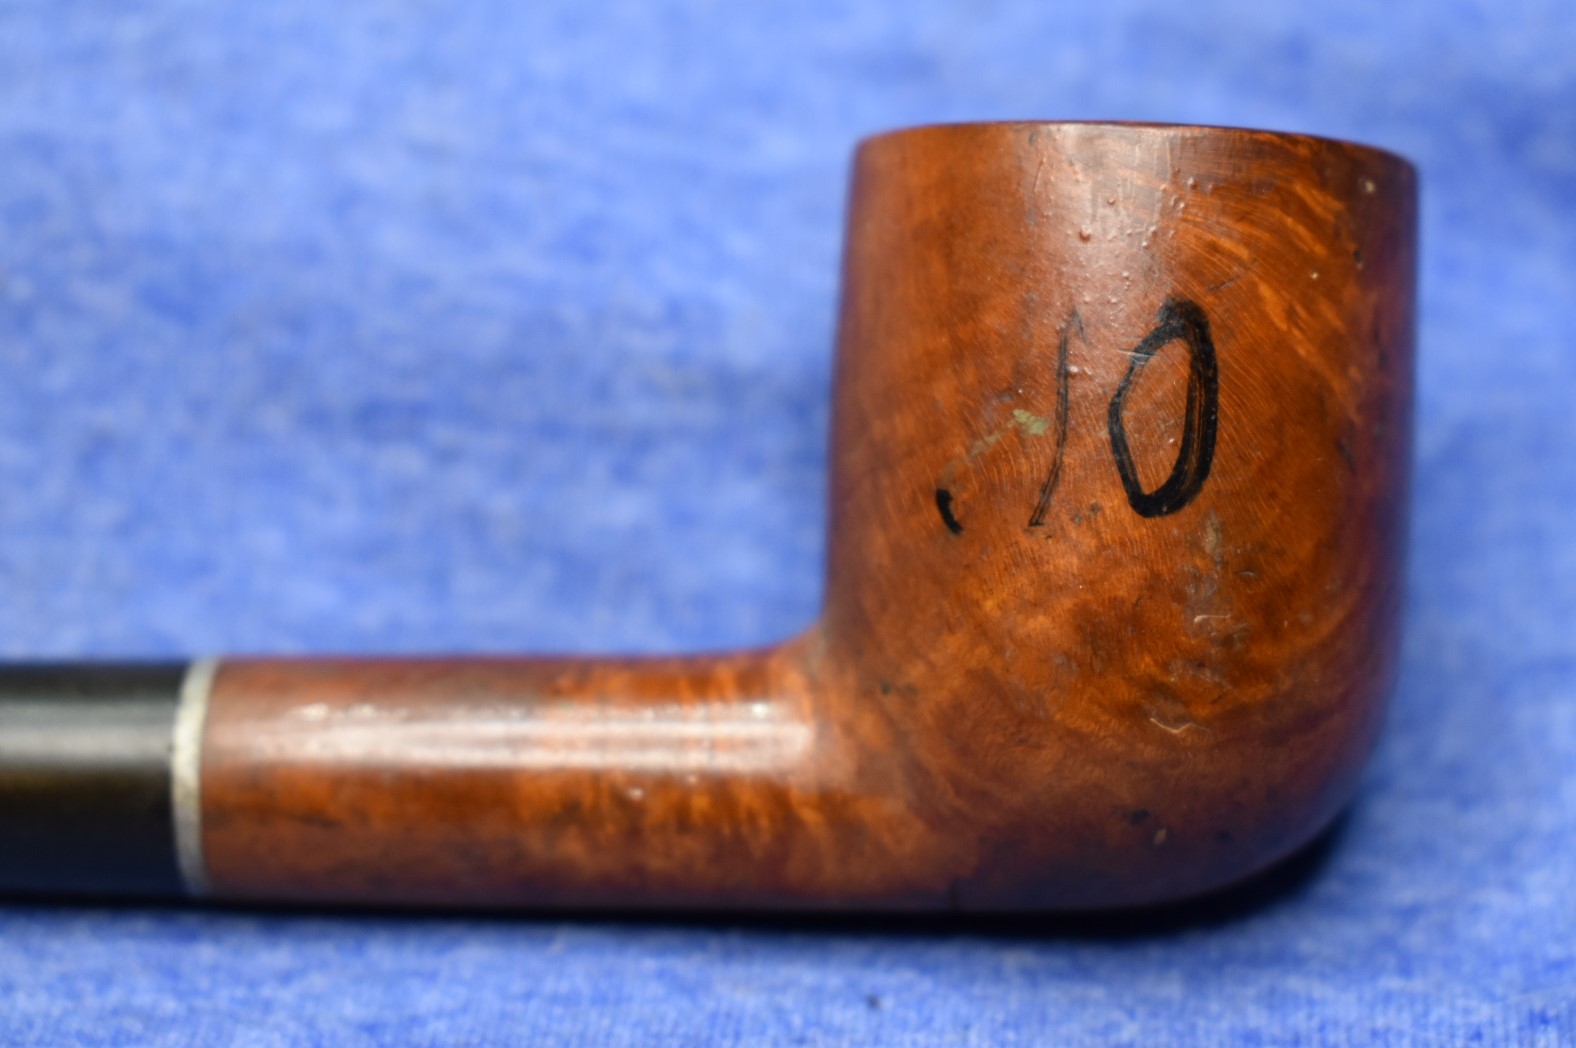


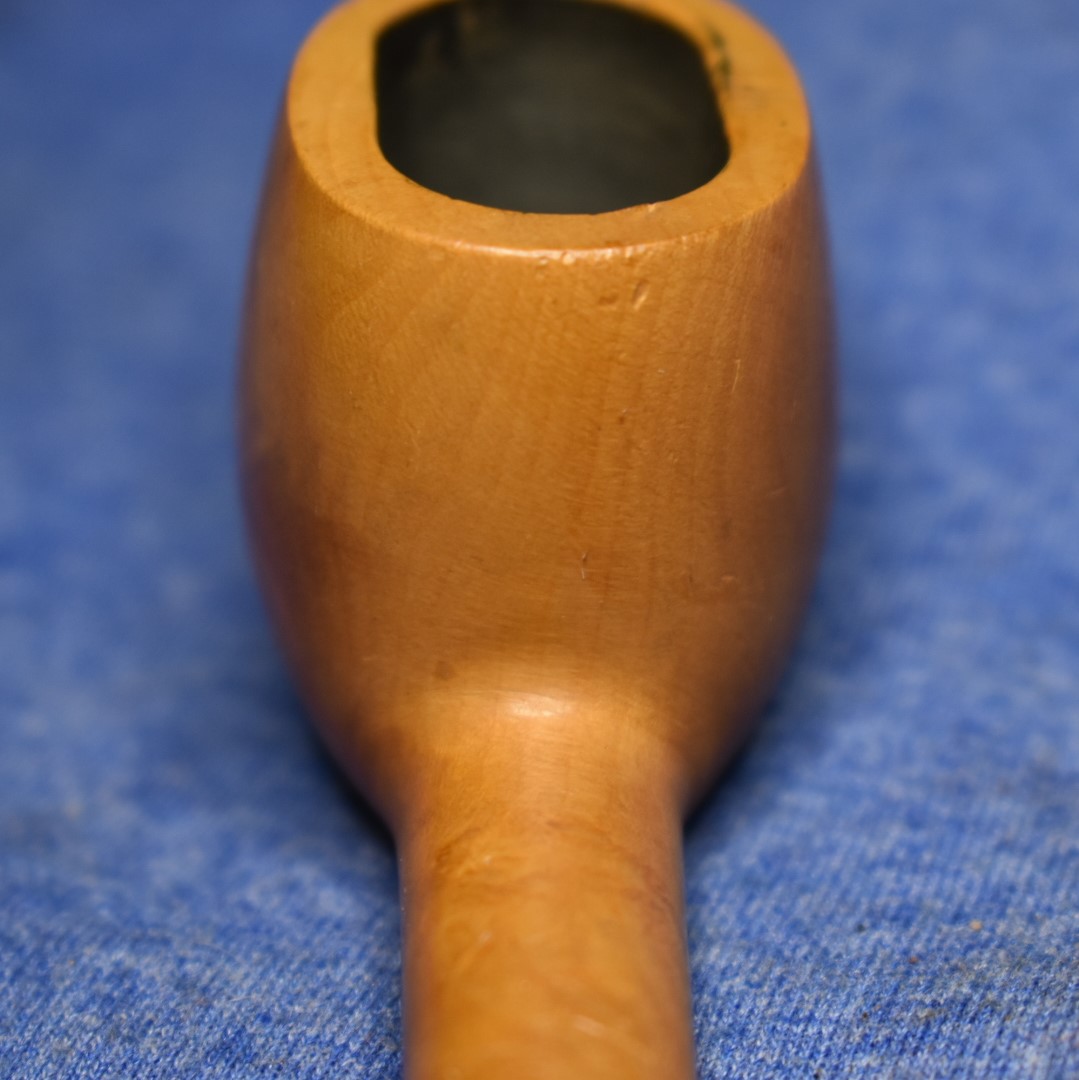
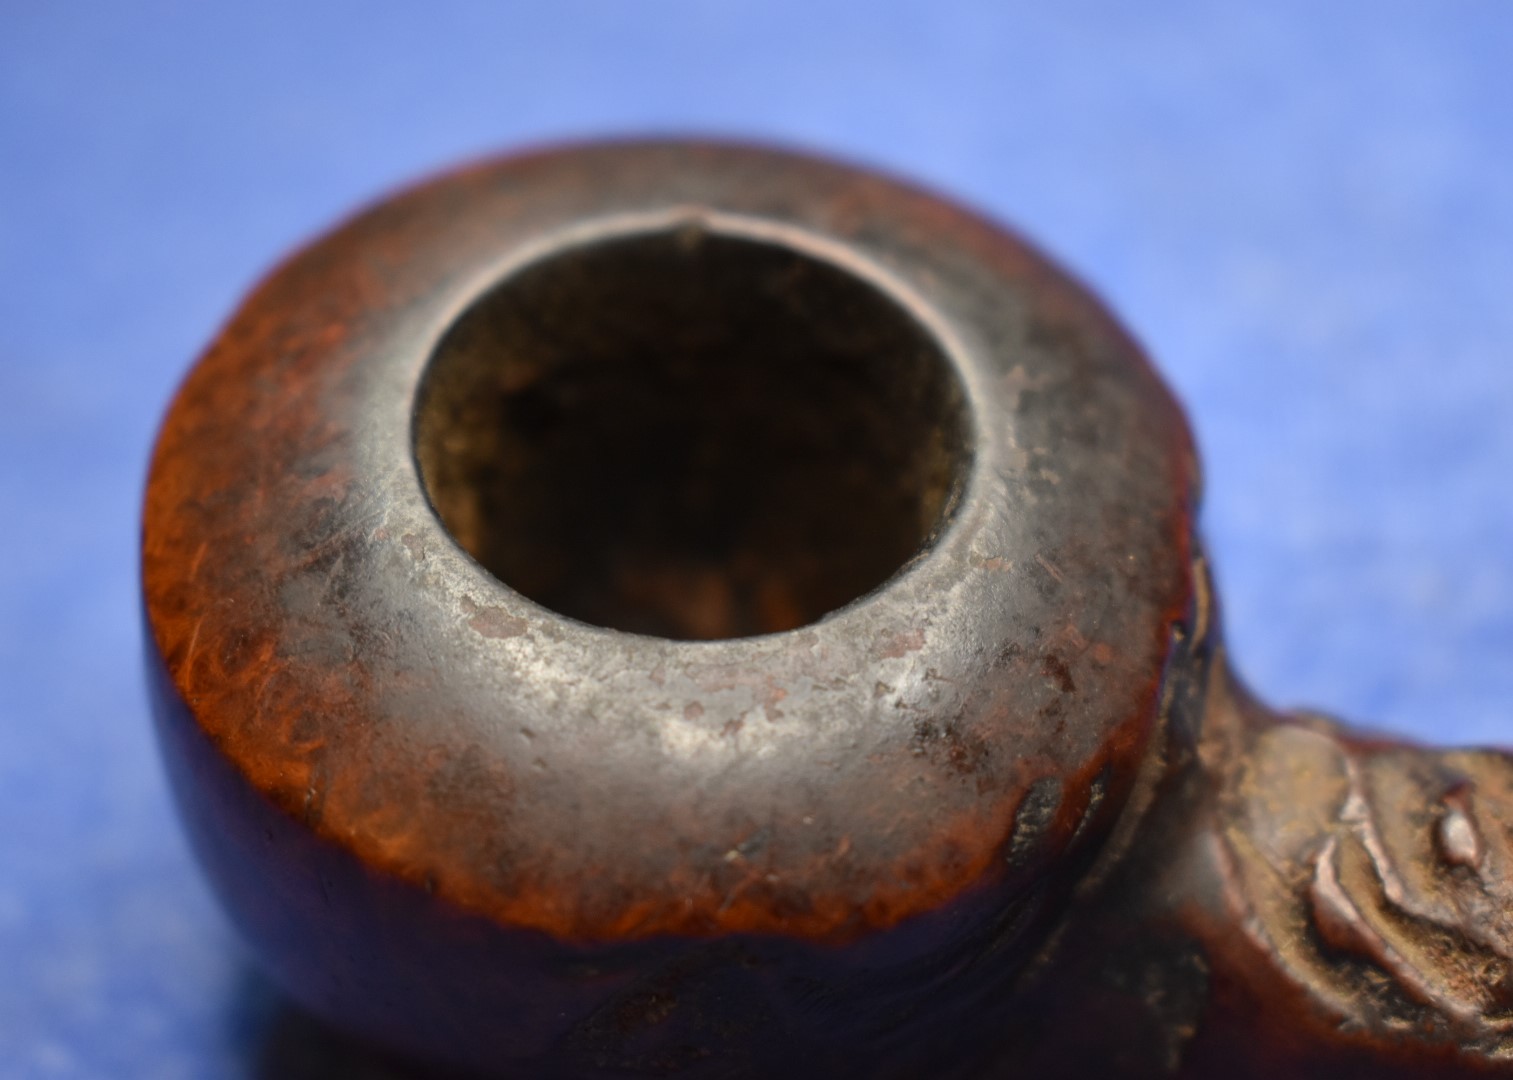
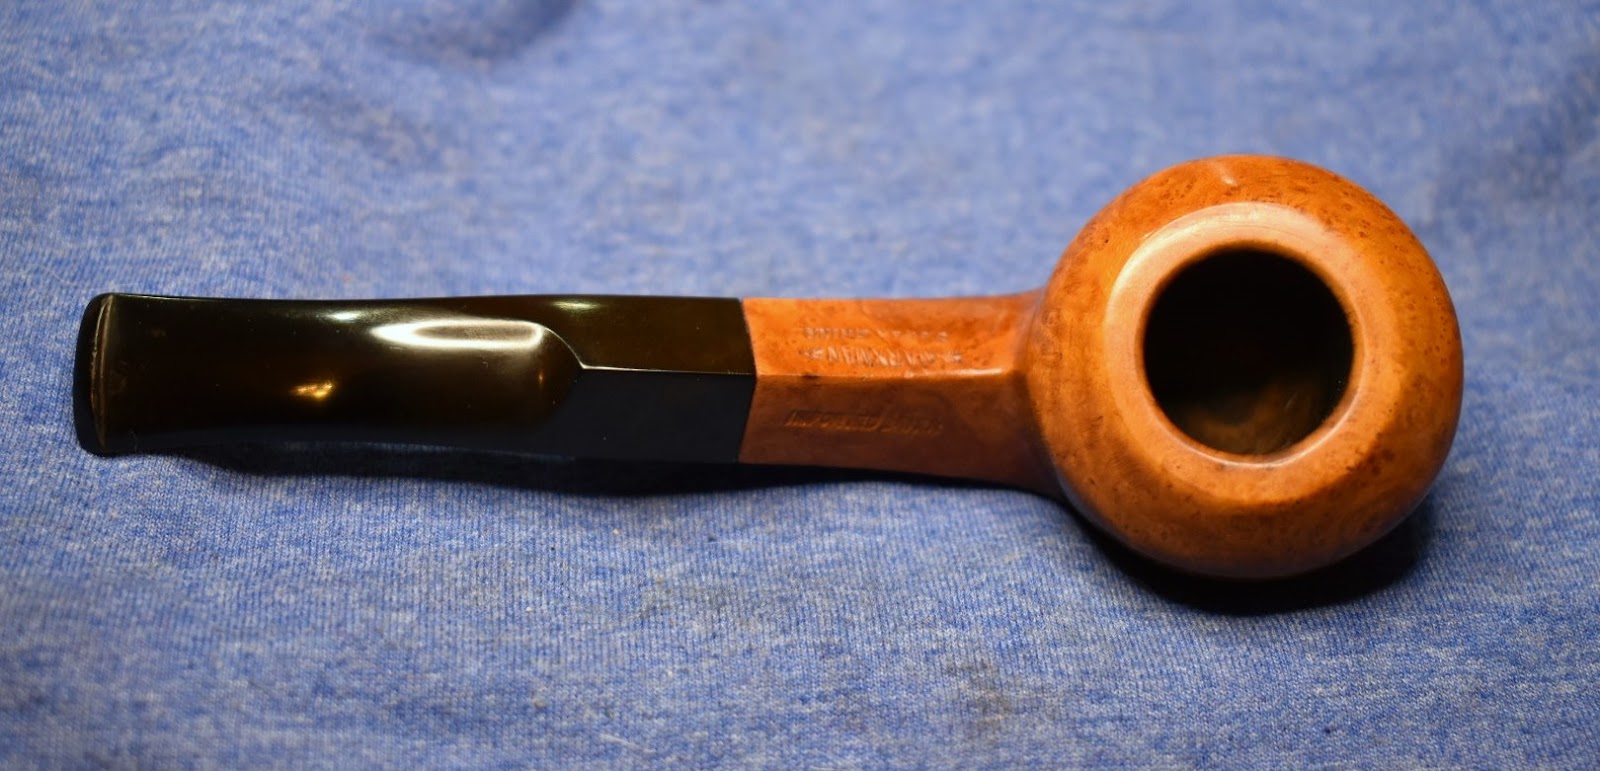
The Winthrop didn’t look too bad for a 1940s pipe. Yeah, she had some scars from rough relationships but, don’t we all? I figured a good reaming, cleaning finish removal, maybe a dye-job, some sanding and she’d look like a brand new pipe. Well, newish, anyway.
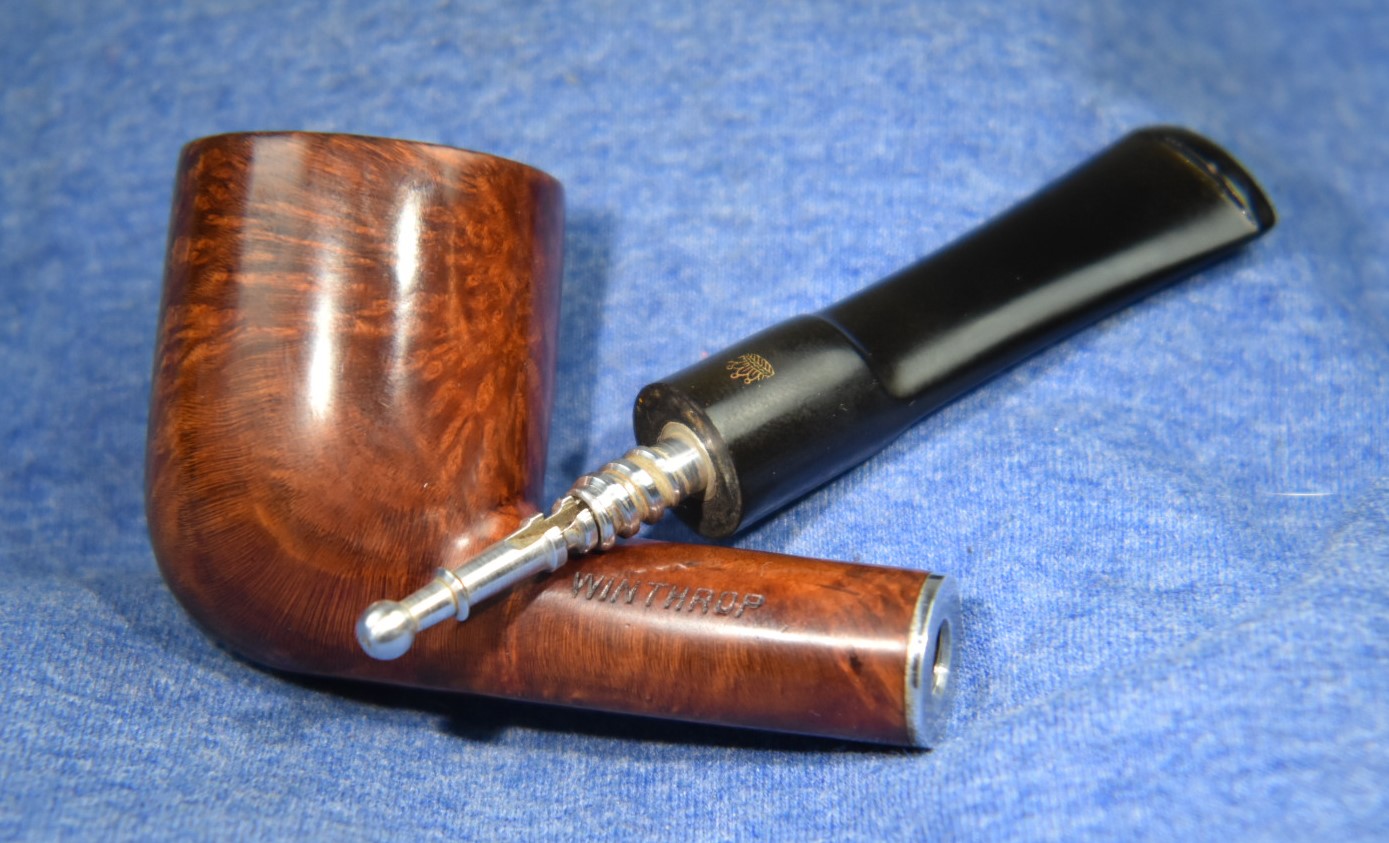
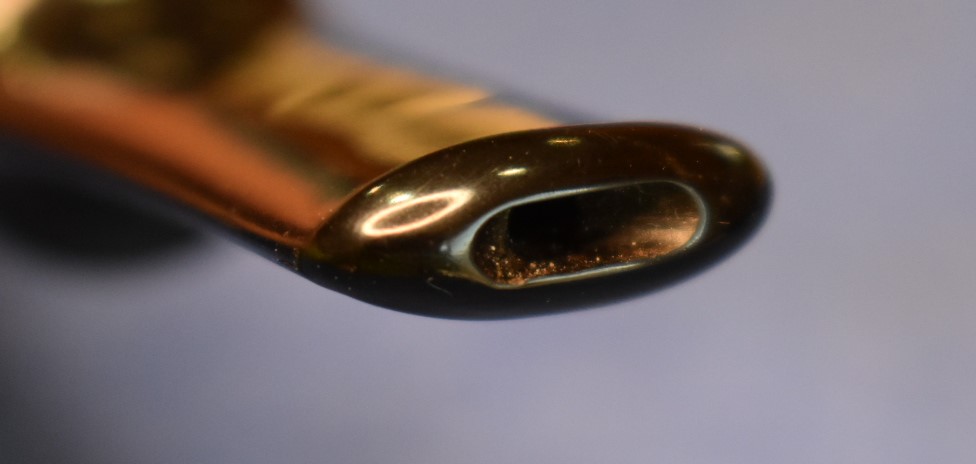
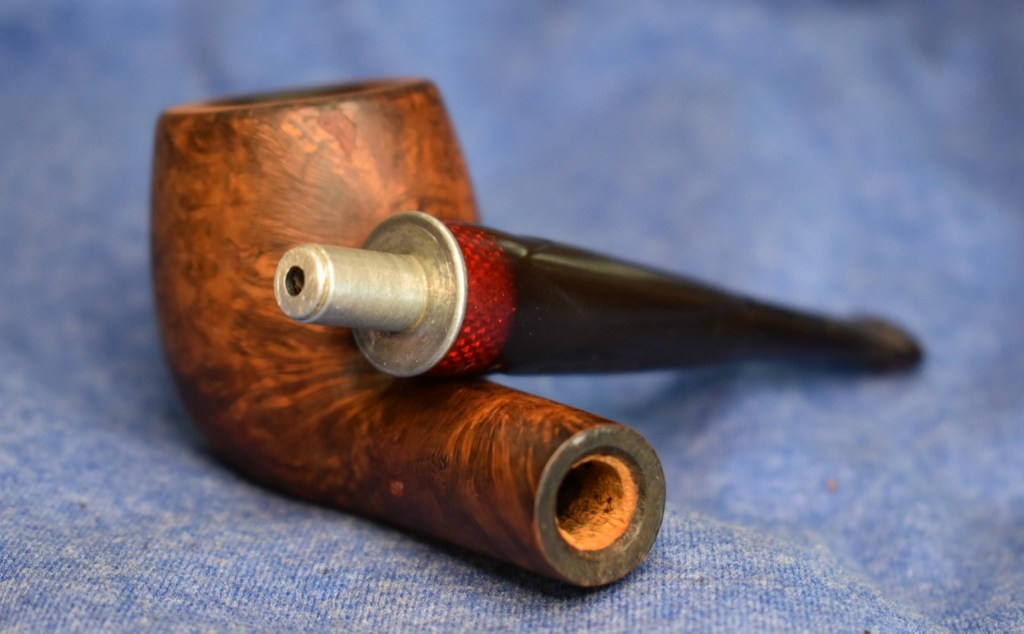
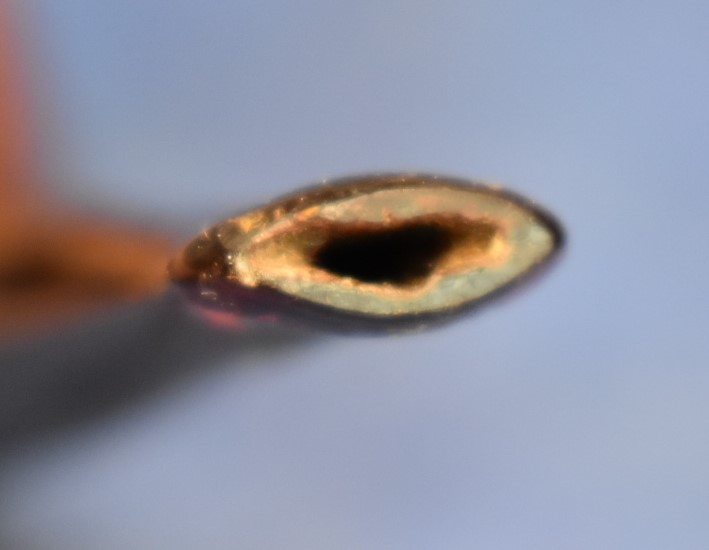
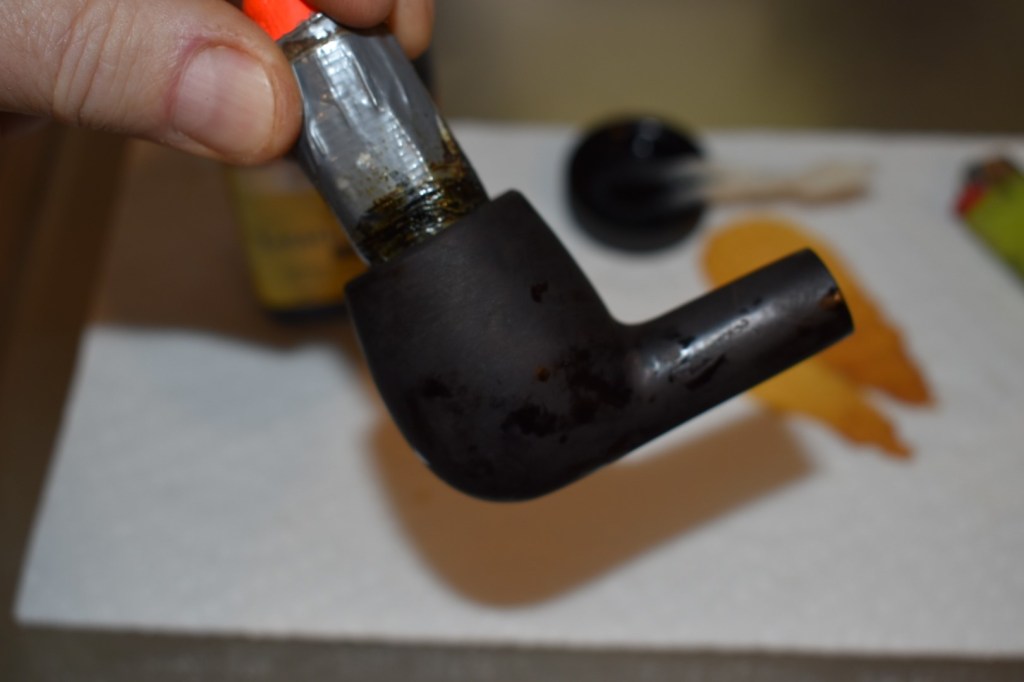
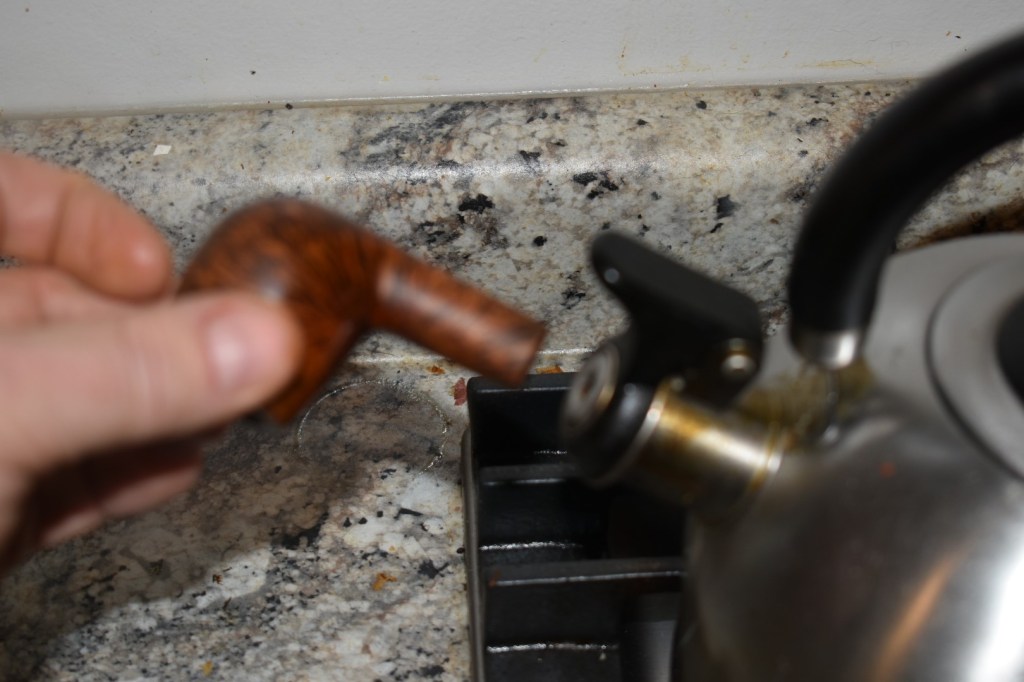
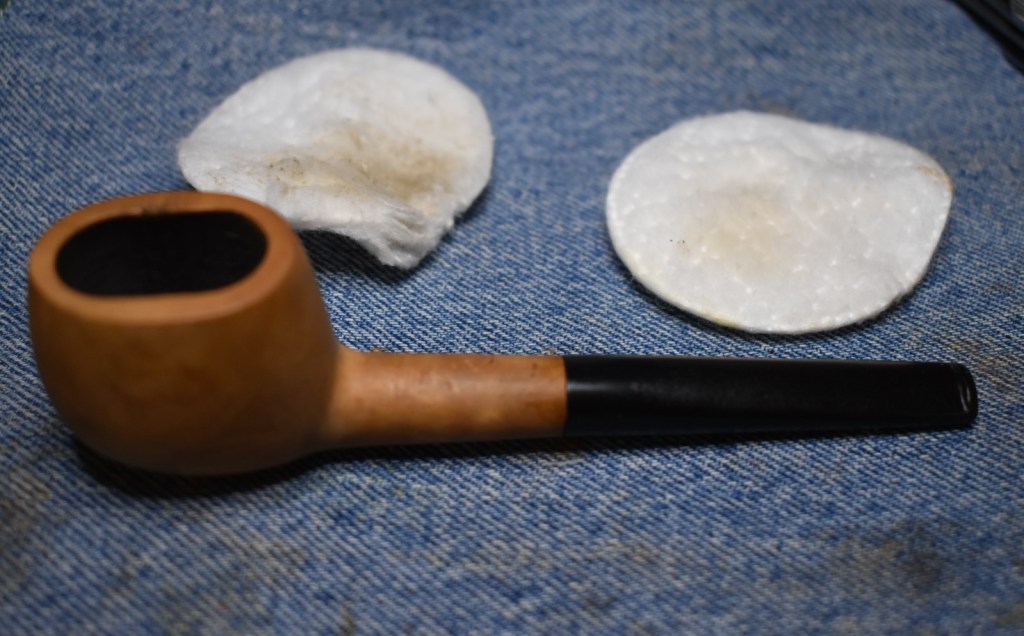
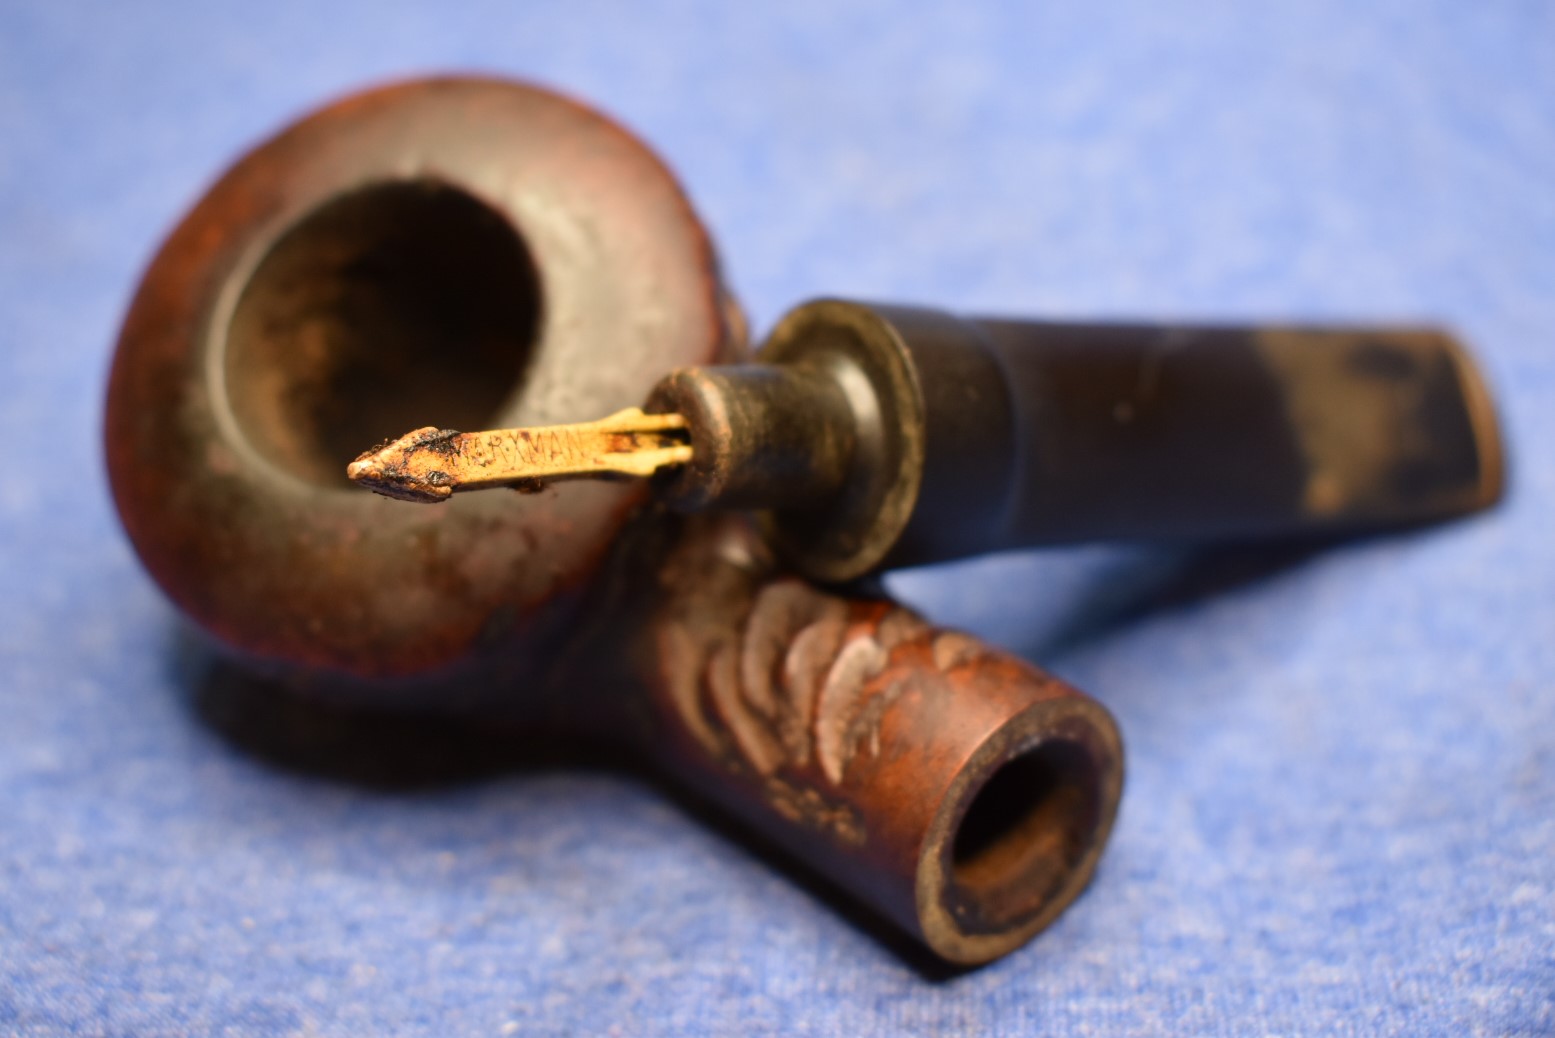
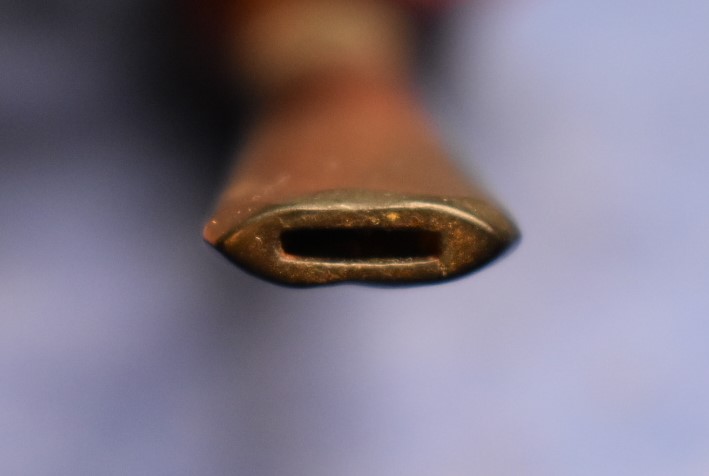
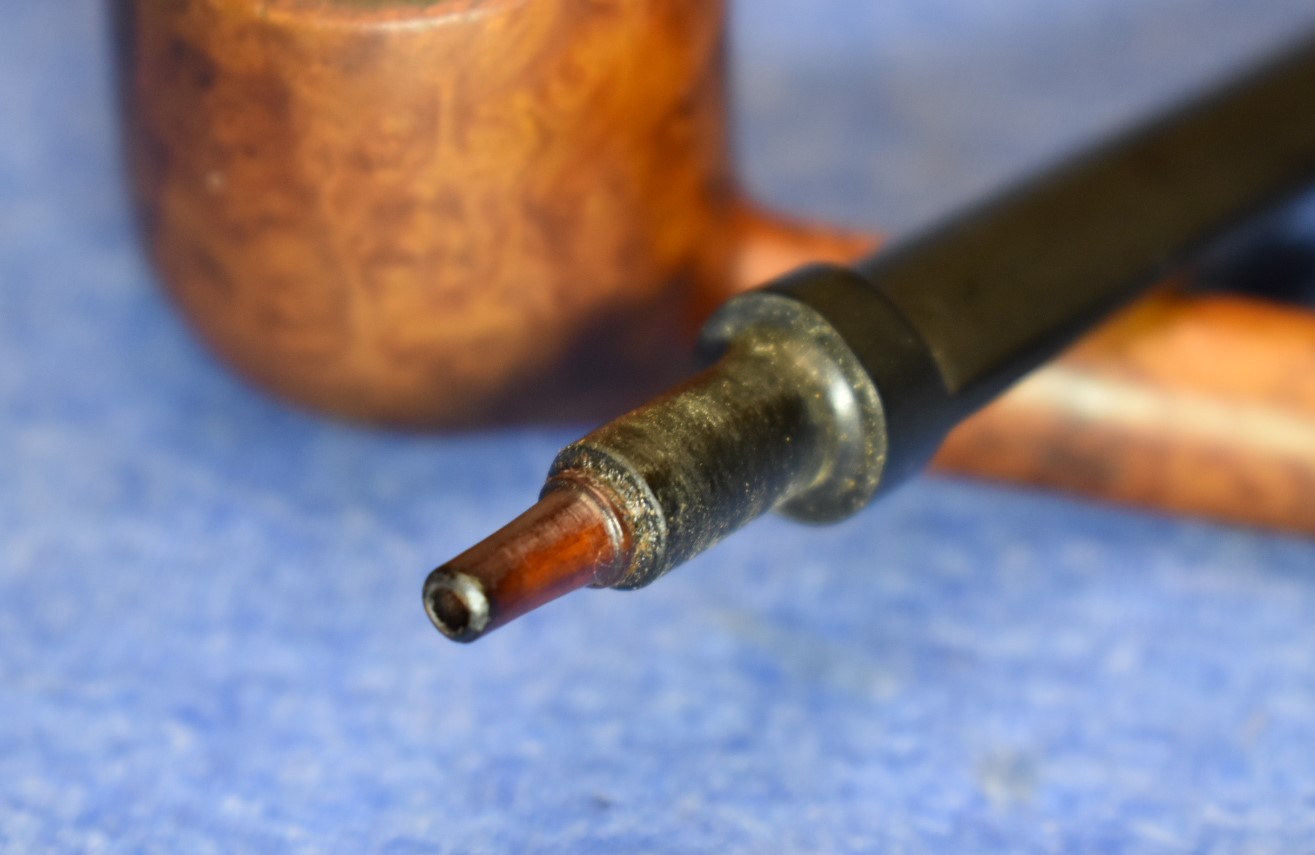
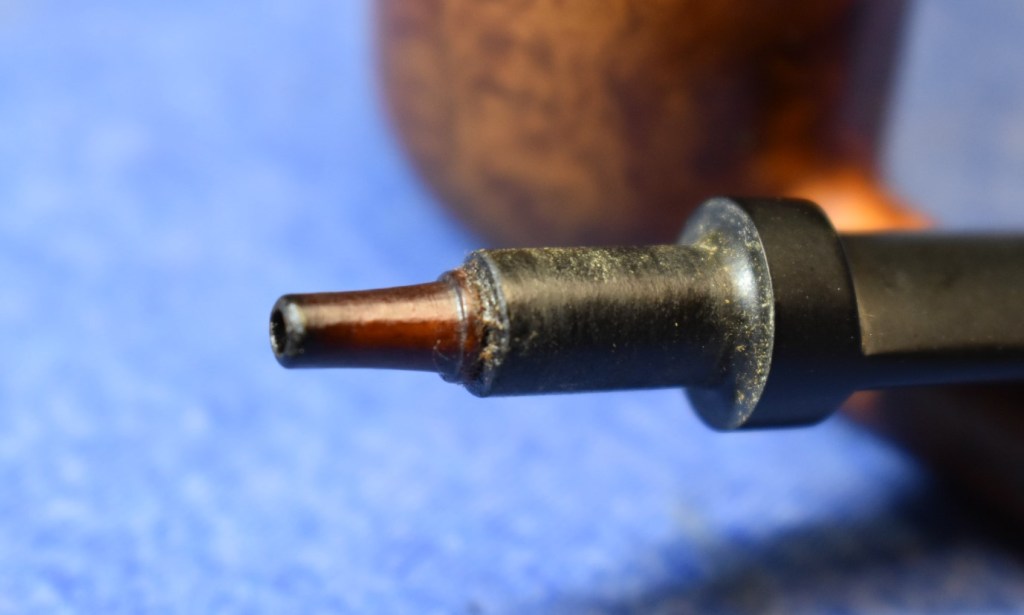
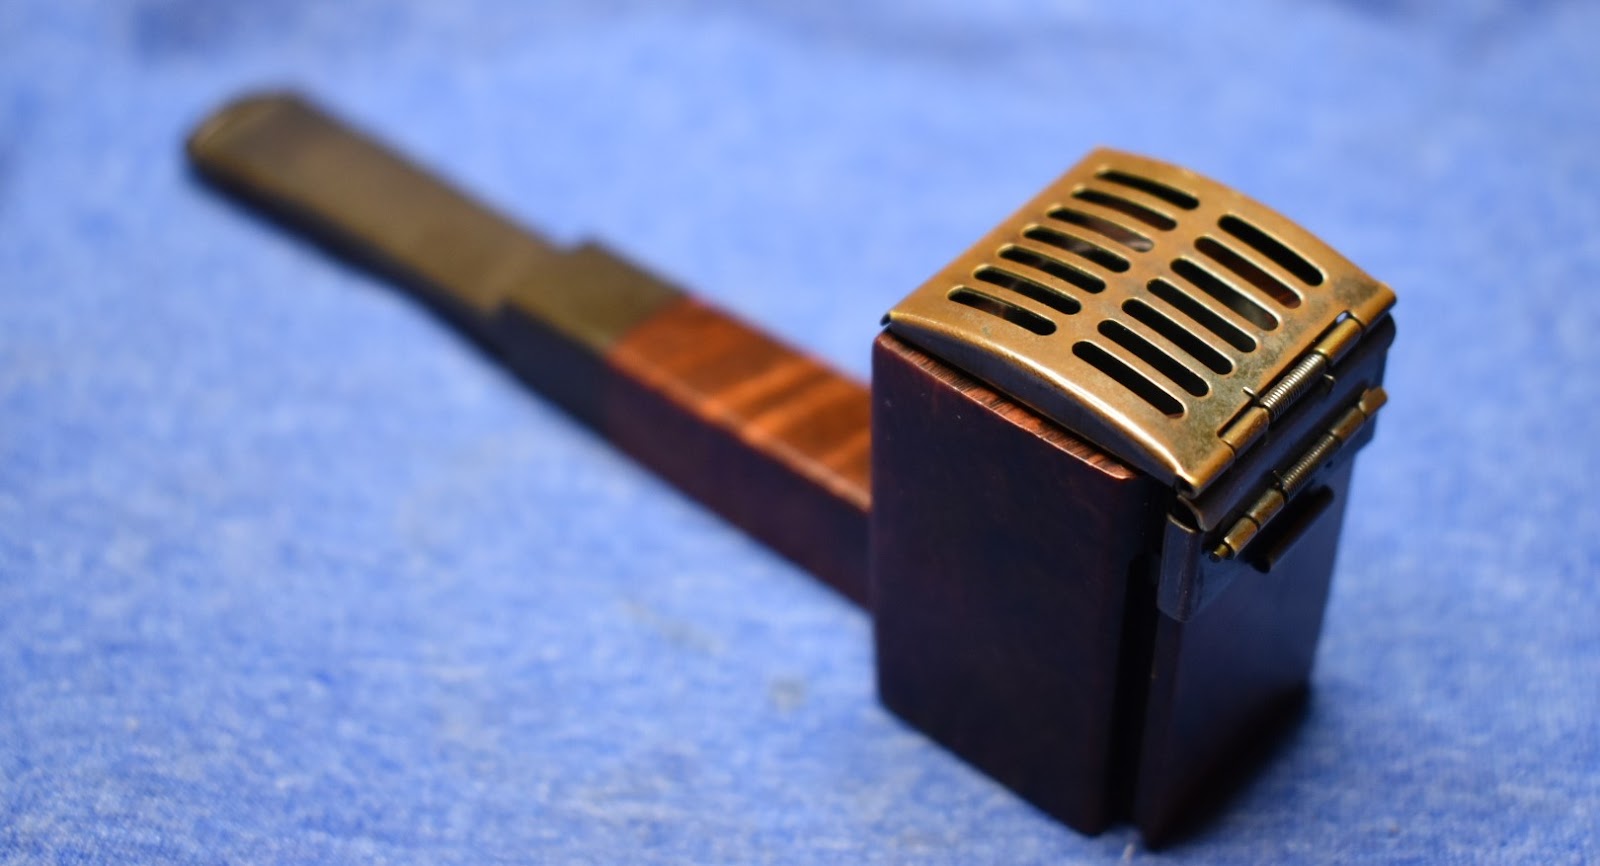
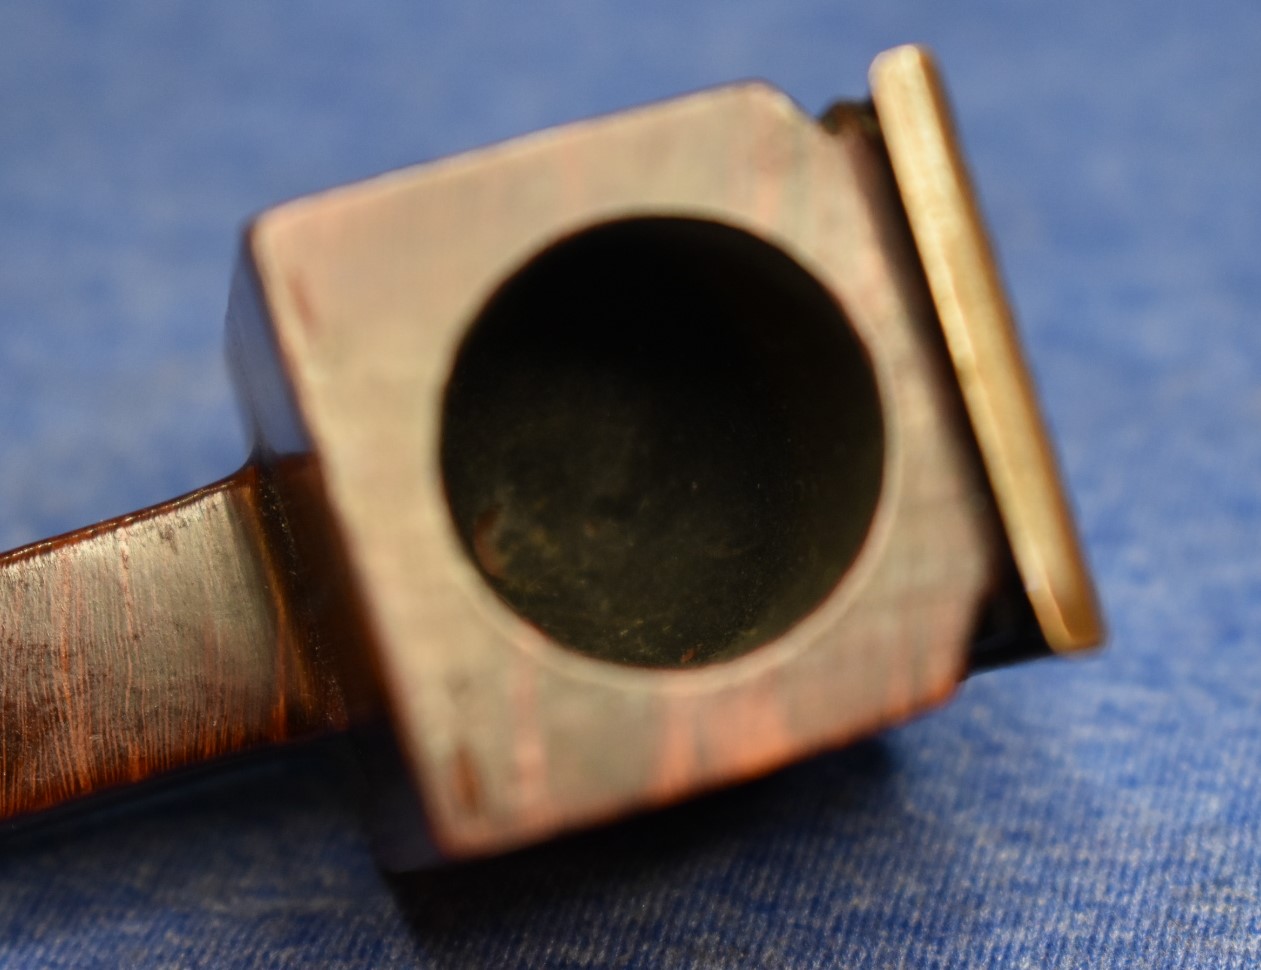
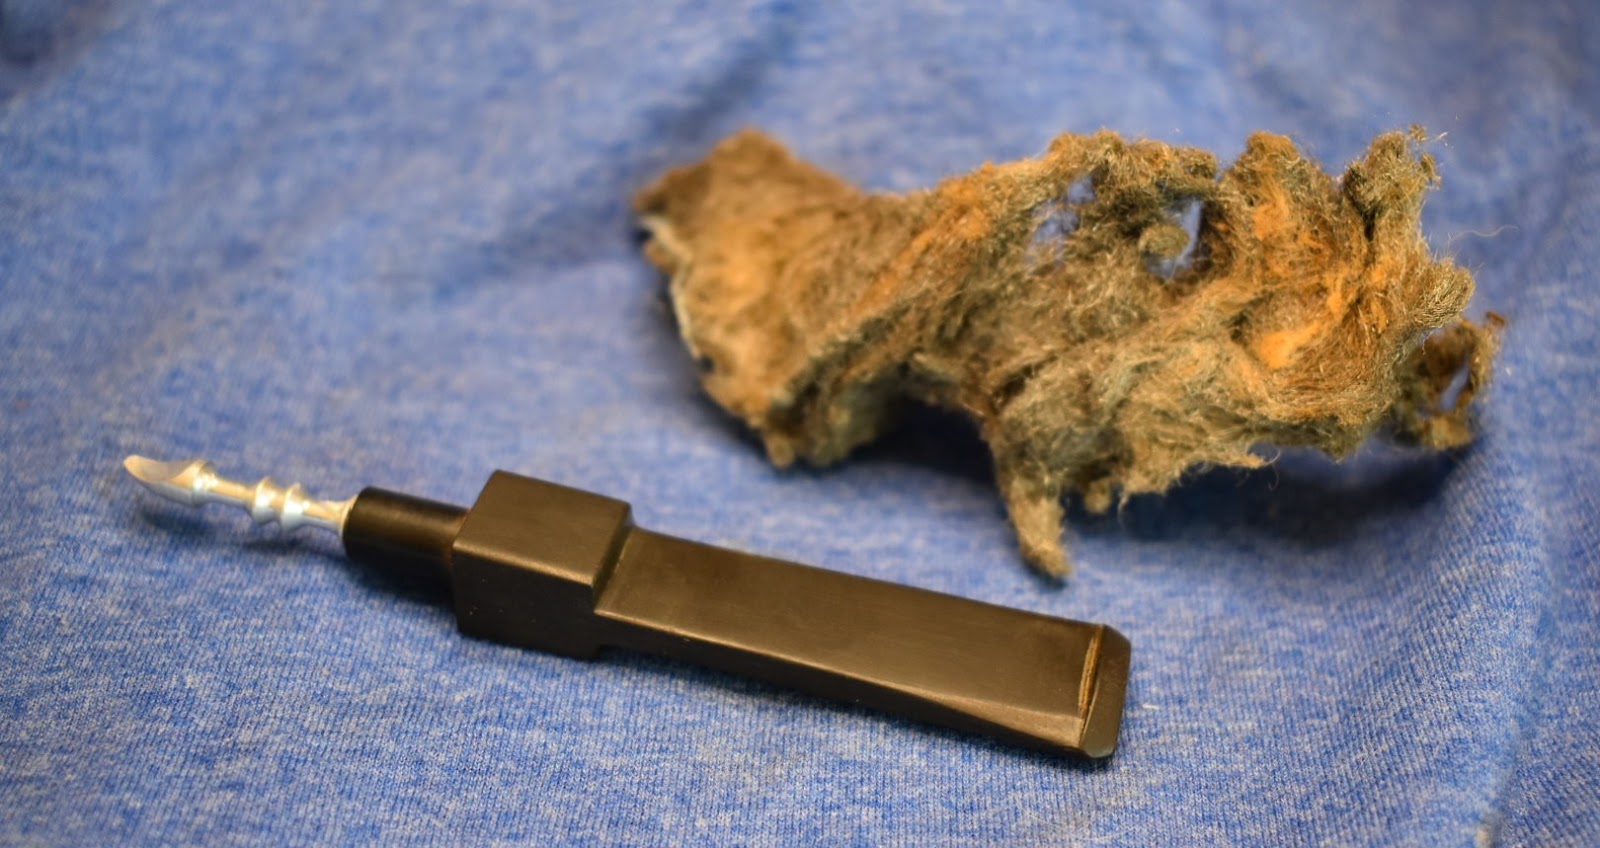
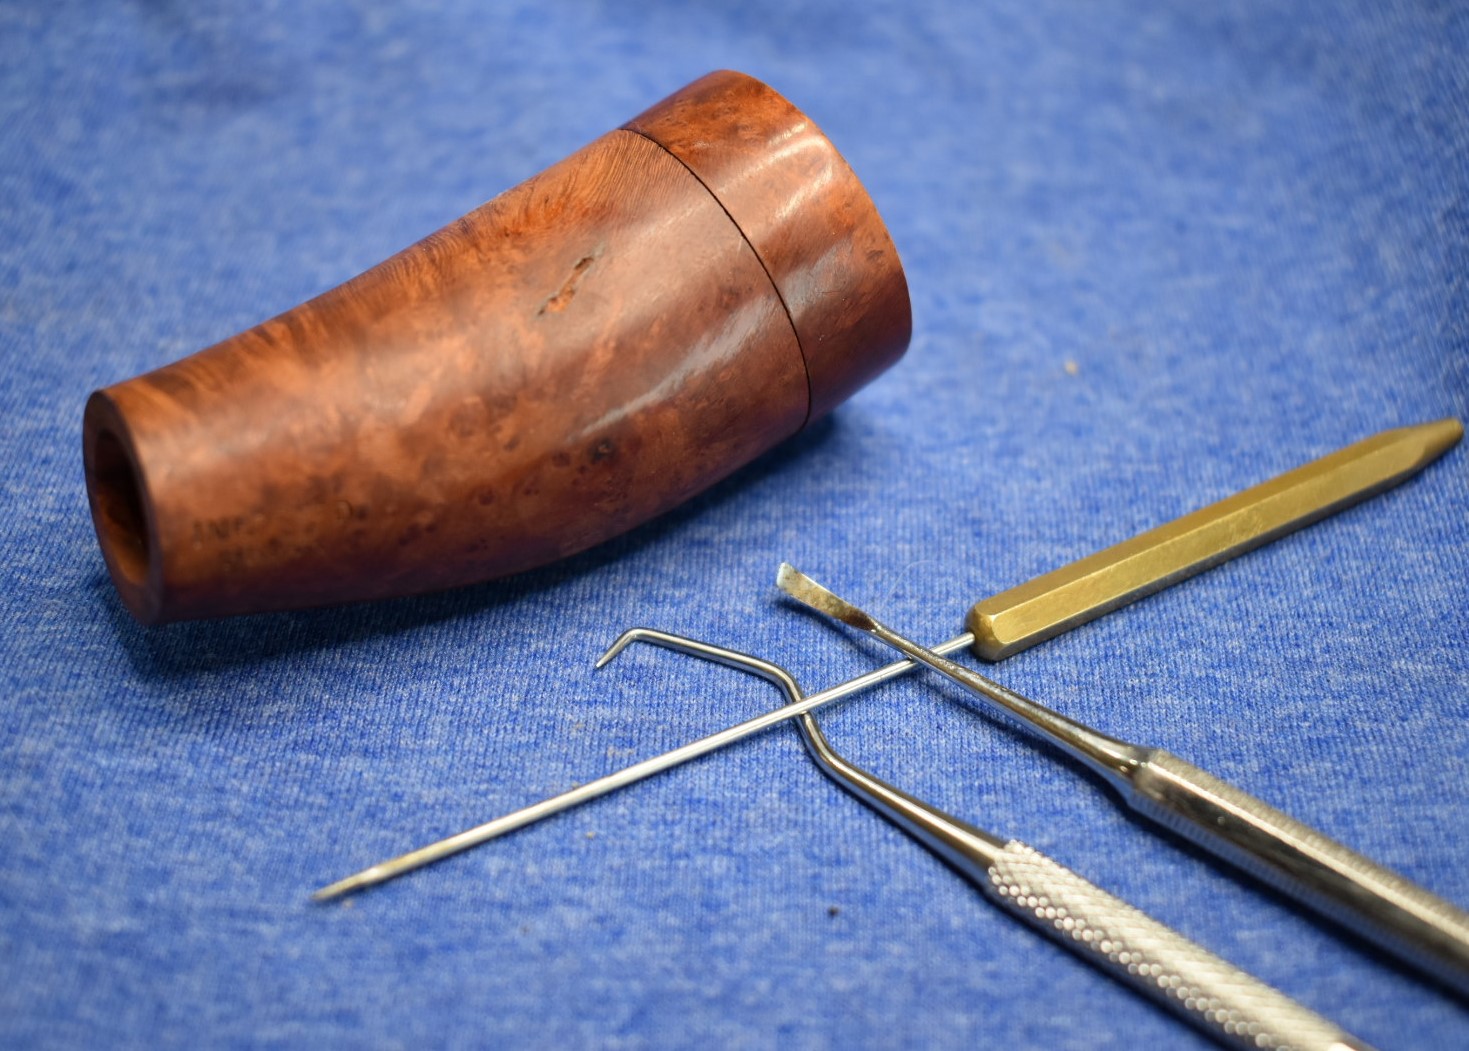
I started to prepare to ream the tobacco chamber. I removed the stem and saw a very interesting stinger. Now, I am not a stinger fan, generally. This just looked to be a quality piece of work. Fairly heavy aluminum, well machined, good fit with the mortice. What’s this, it comes apart? Cool. Given, I had to use a pocket knife to get it to come apart the first time and the photo shows the cleaned-up version, I was initially impressed. I dropped the removable stinger into a medicine cup with some 99% isopropyl alcohol to soak. I then started running

alcohol dipped bristle pipe cleaners through the stem. That was an ADHD moment, there, I was supposed to be reaming the tobacco chamber.
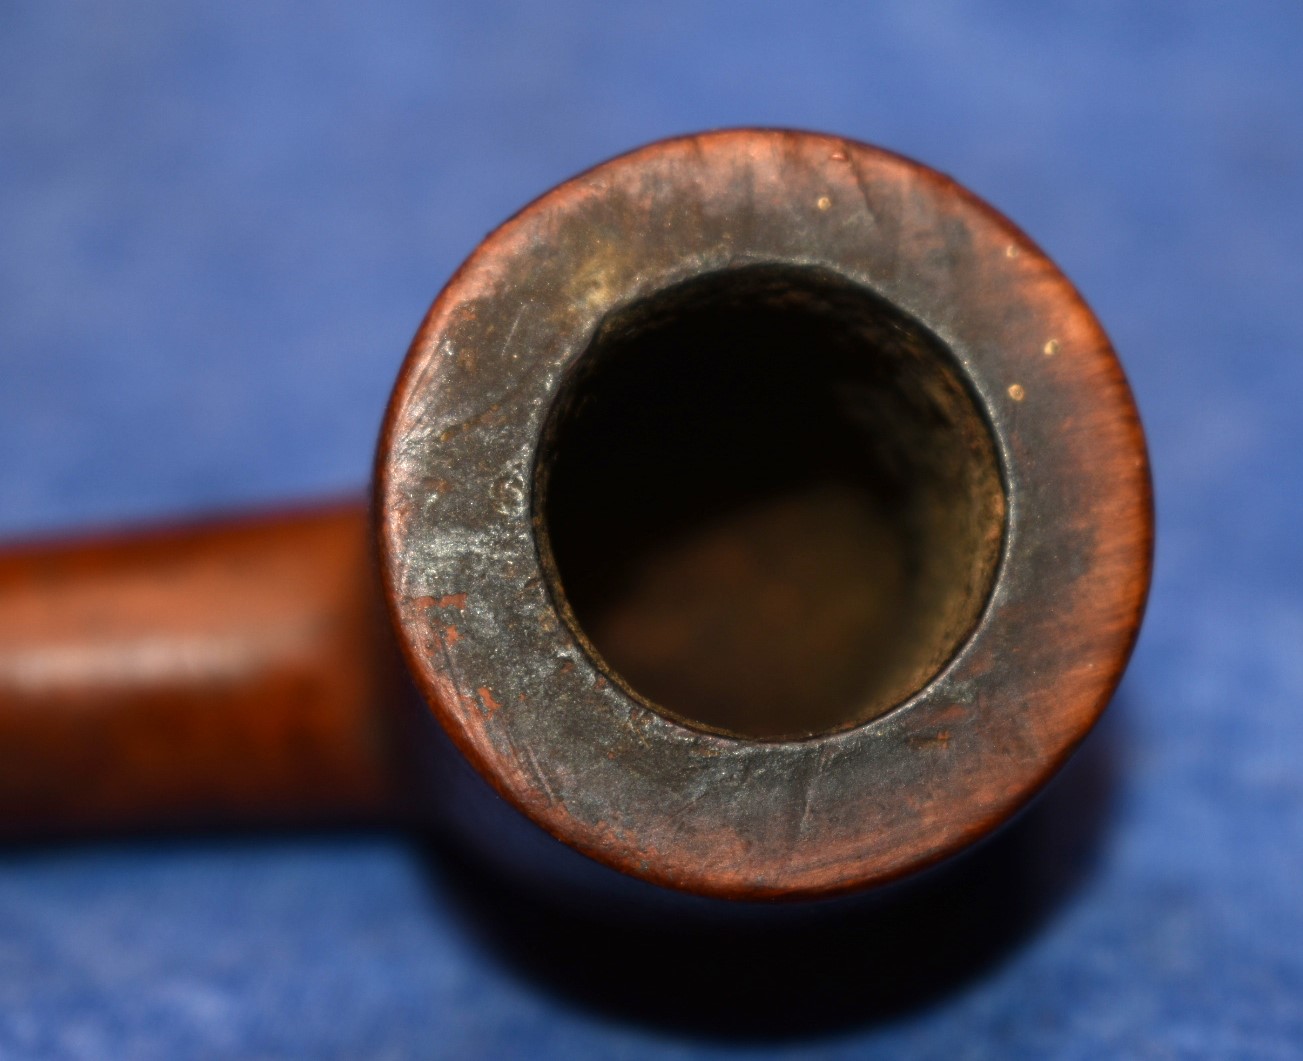
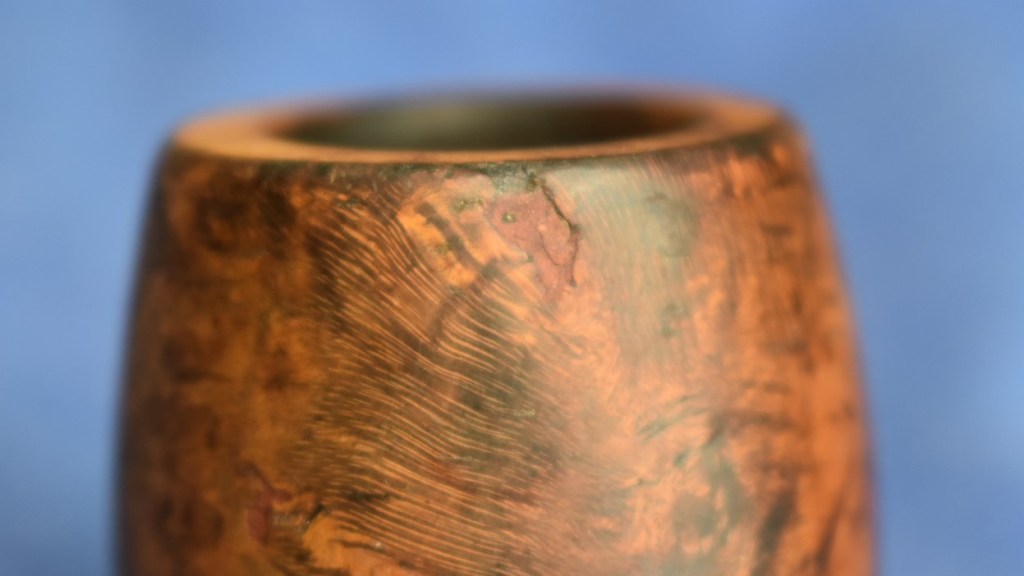
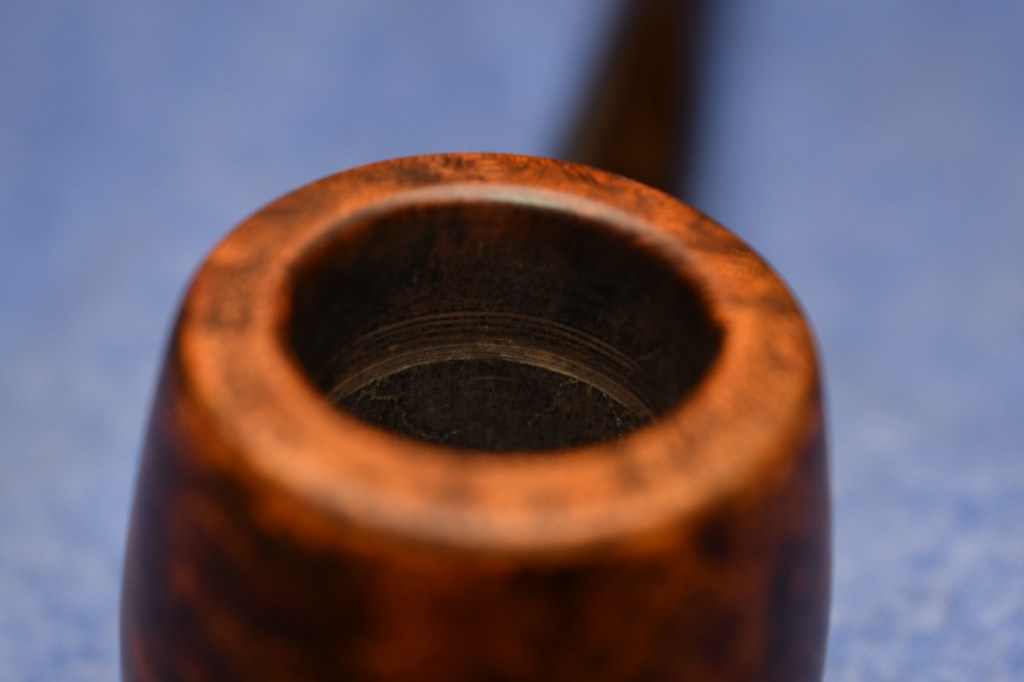
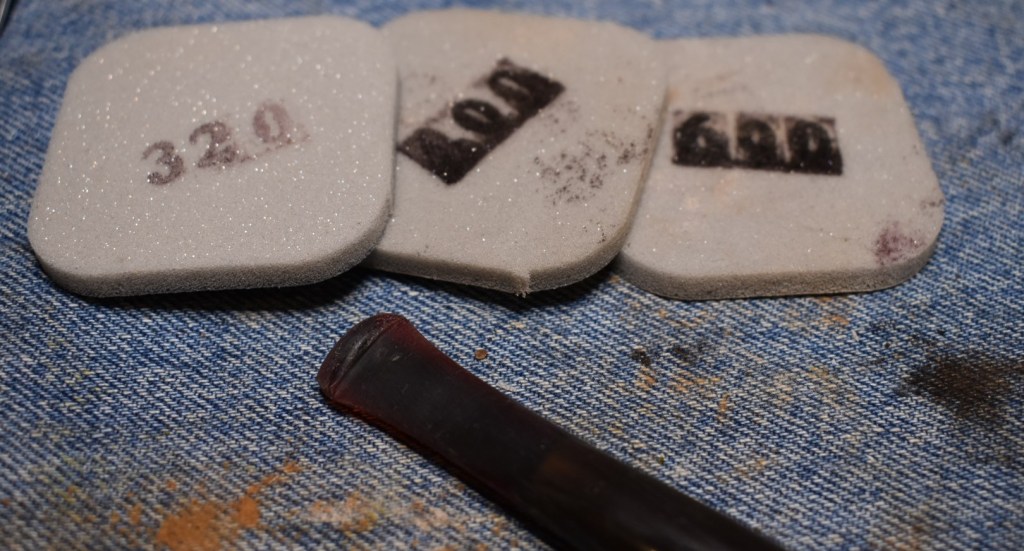
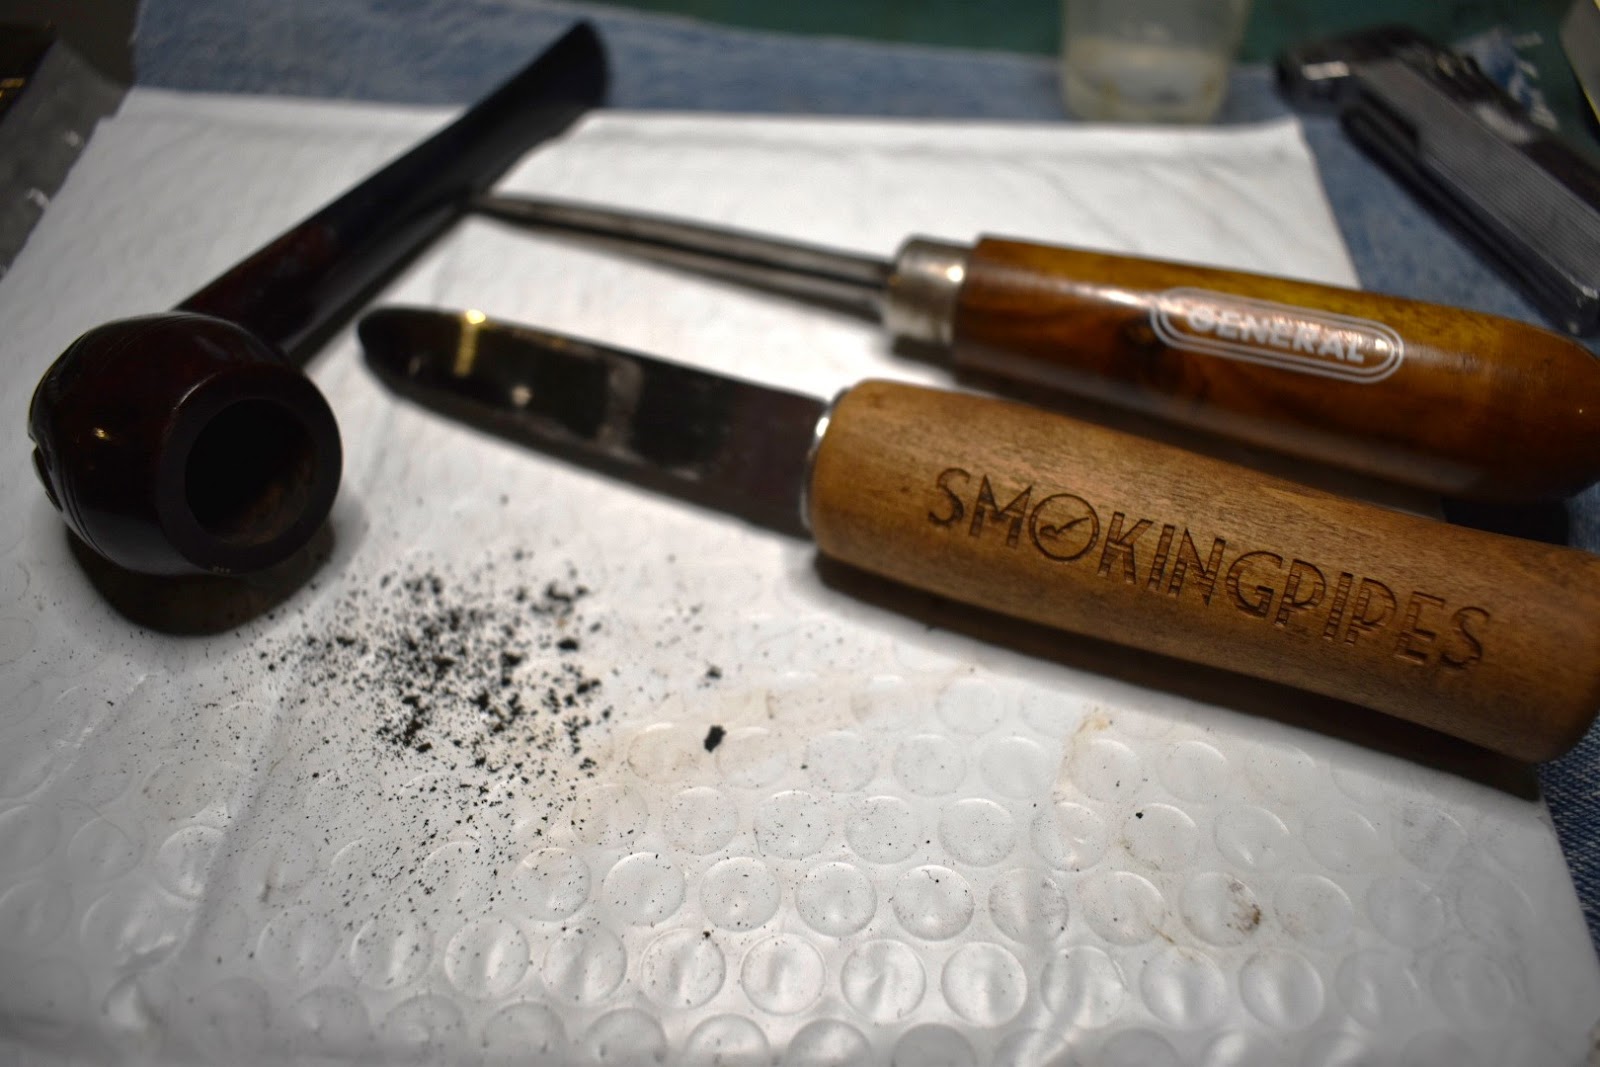
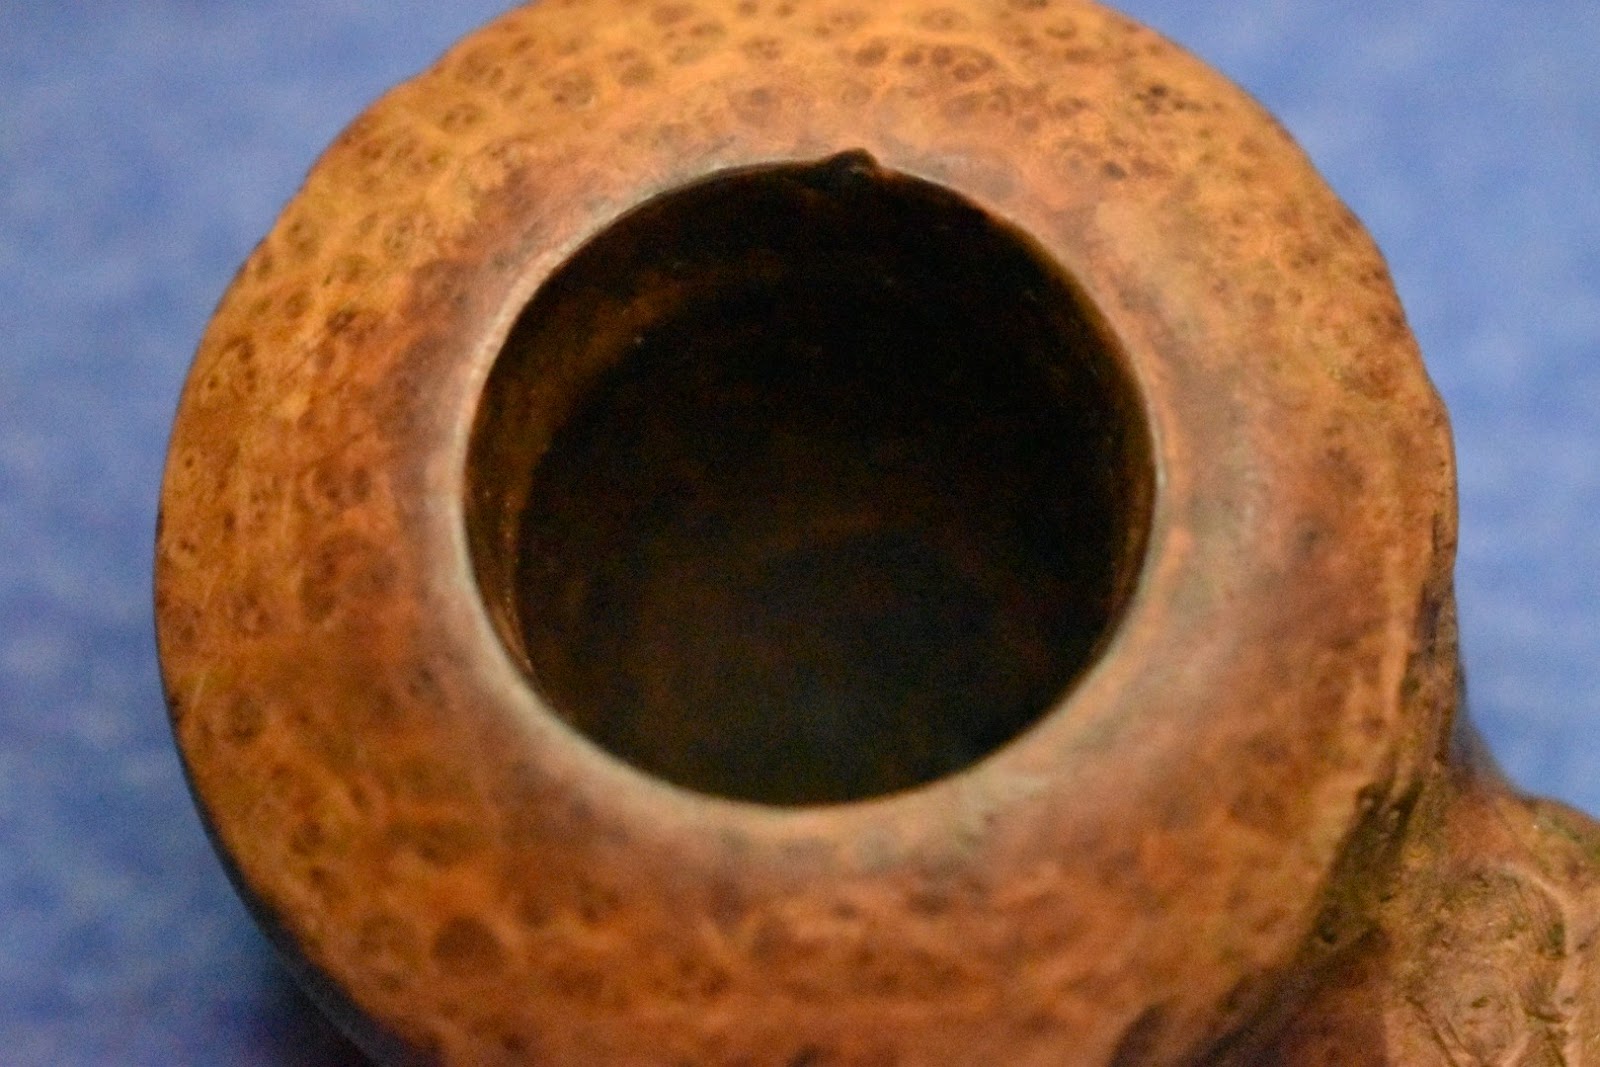
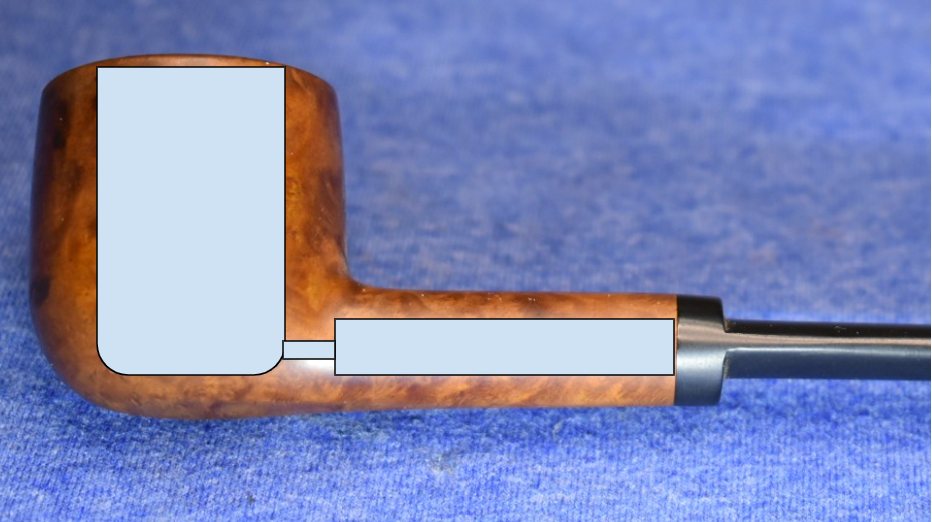
Okay, back to reaming the tobacco chamber. I used the Scottie stainless steel reaming tool as the Pipnet tool has a broken #1 blade. The Smokingpipes Low Country knife and the General triangular scraper were used to further rid the chamber of carbonized material. The chamber was then sanded with 220 sandpaper wrapped around a wood dowel. THe chamber looked google with no evidence of heat damage.

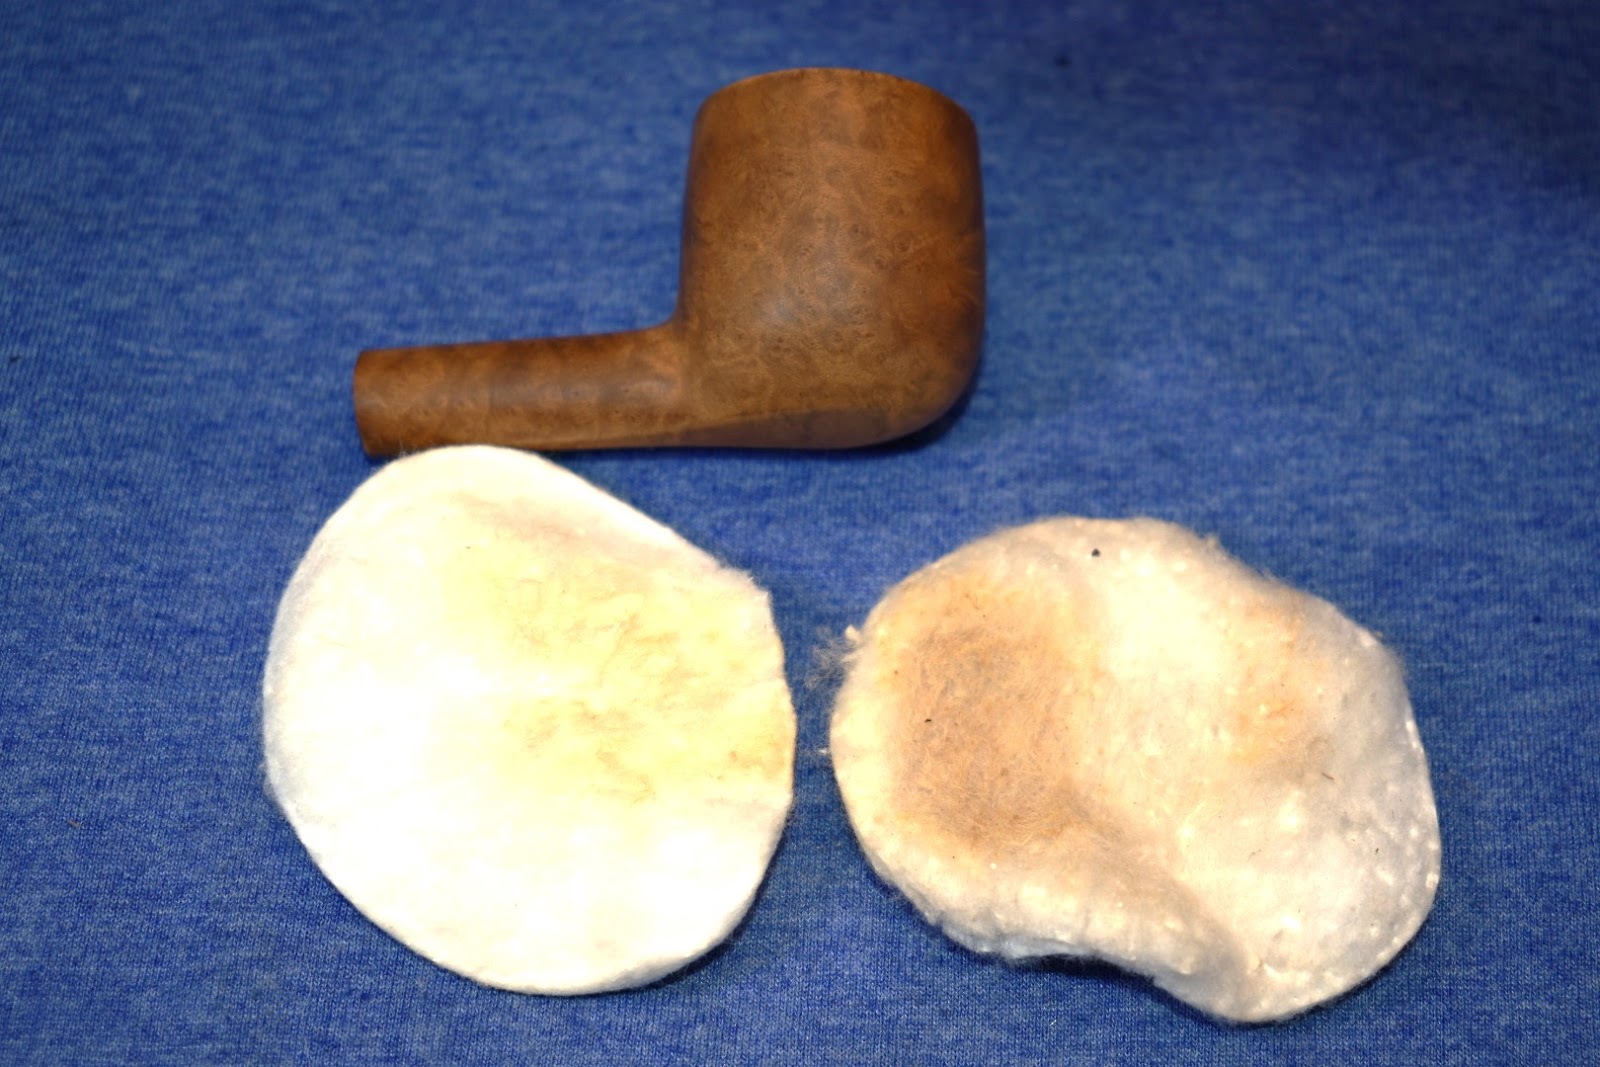
I started cleaning the airway in the shank with cotton swabs dipped in 99% isopropyl alcohol. They came back looking dark. I then poured about 3 ml of the alcohol into the bowl and let it drain into the airway. I then used a nylon brush to scrub the shank interior while holding the stummel at an angle so the alcohol could dissolve the tars and remain in the stummel rather than staining another
pair of jeans by dripping it on my lap. After the scrub I used cotton swabs to scrub the airway. These absorb the loosened tar and remaining alcohol.

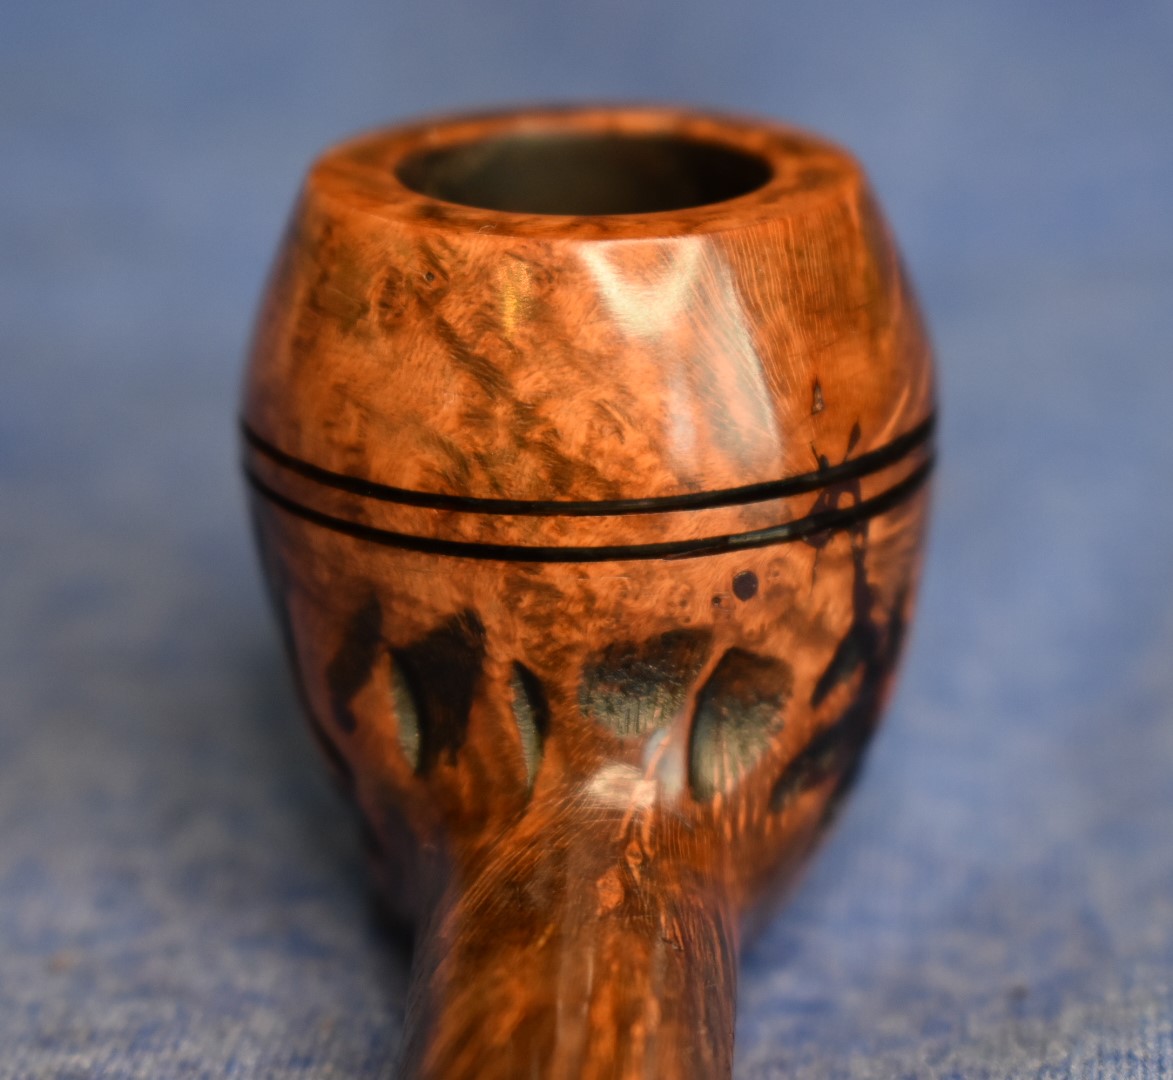
The photo is after the first 3 ml of alcoholI repeated the process with 3 ml of fresh isopropyl. This was done 3-4 times before the cotton swabs came back clean.
I then applied an even coat of saliva onto the rim and scraped the rim with a sharp pocket knife. I held the bladed perpendicular to the rim and lightly scraped away the lava.
With the interior and rim cleaned, I took the stummel to the sink for the Murphy’s Oil Soap scrub. The Murphy’s was used undiluted and scrubbed with a medium stiff bristle toothbrush. The stummel was rinsed with warm water and dried with a cotton dish towel. I returned the stummel to the workbench and wiped the bowl off with a make-up pad wetted with 95% ethyl alcohol. The ethyl alcohol removes an existing finish better than the 99% isopropyl alcohol. The pad came back with a good bit of color indicating that it was dissolving the old finish.
I continued with a fresh pad and continued until I was no longer seeing any color on the make-up pad. I then tried a make-up pad wetted with acetone – a little more color came off.

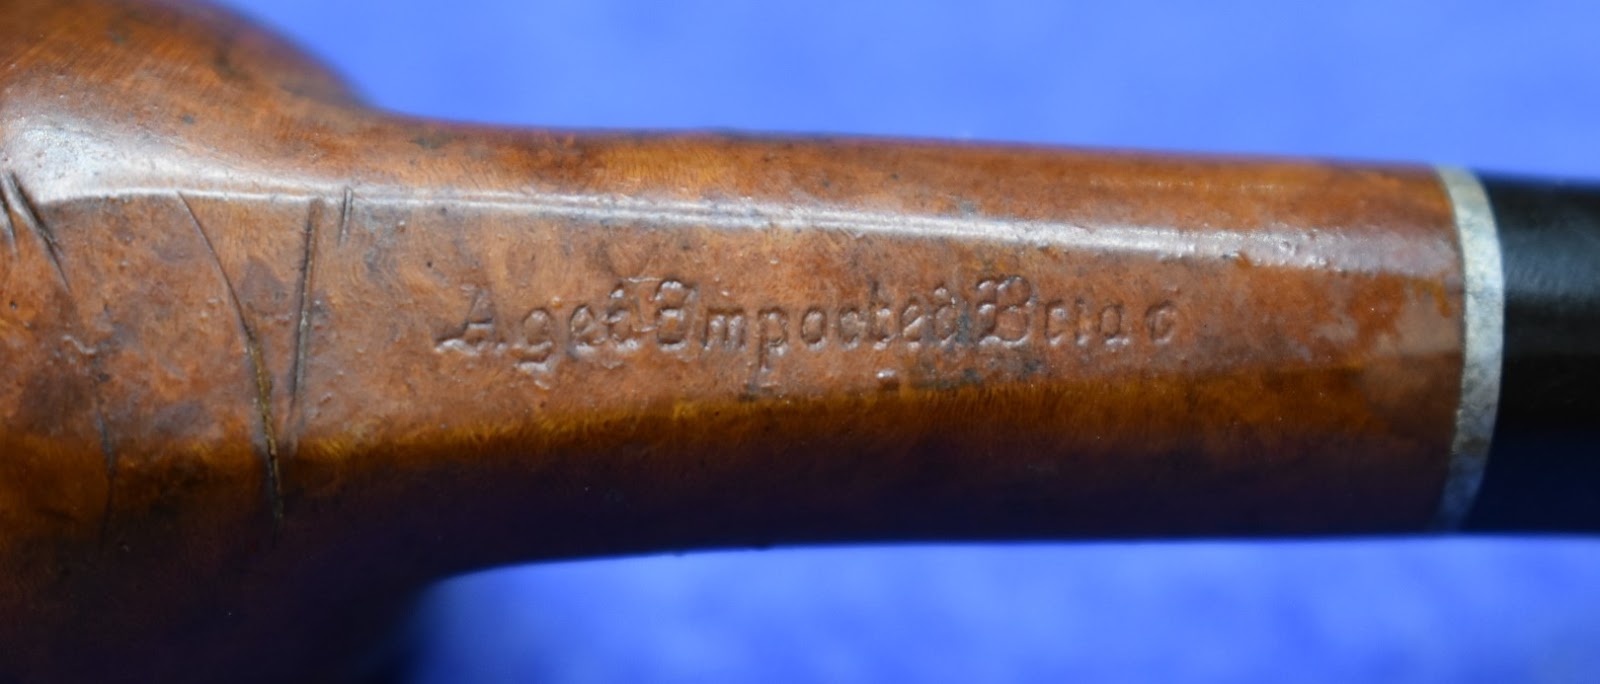
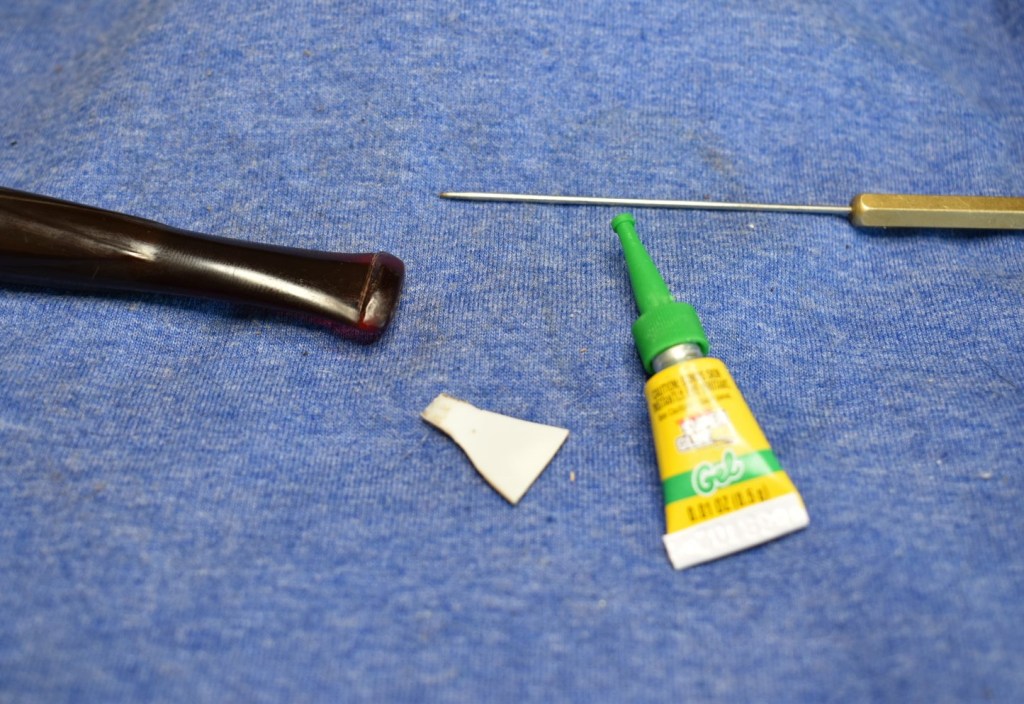
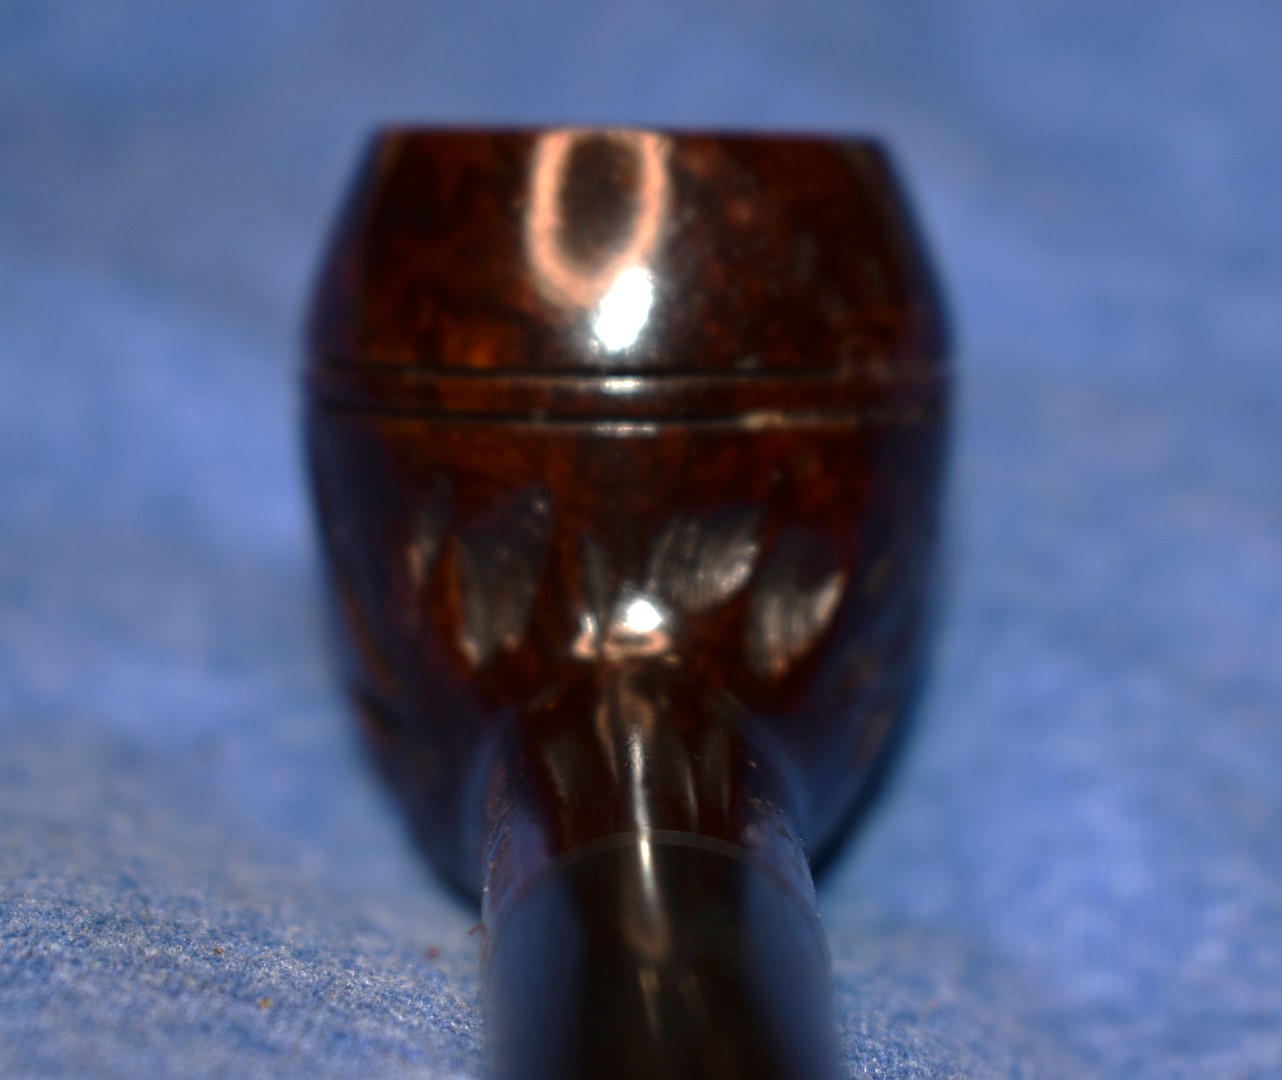
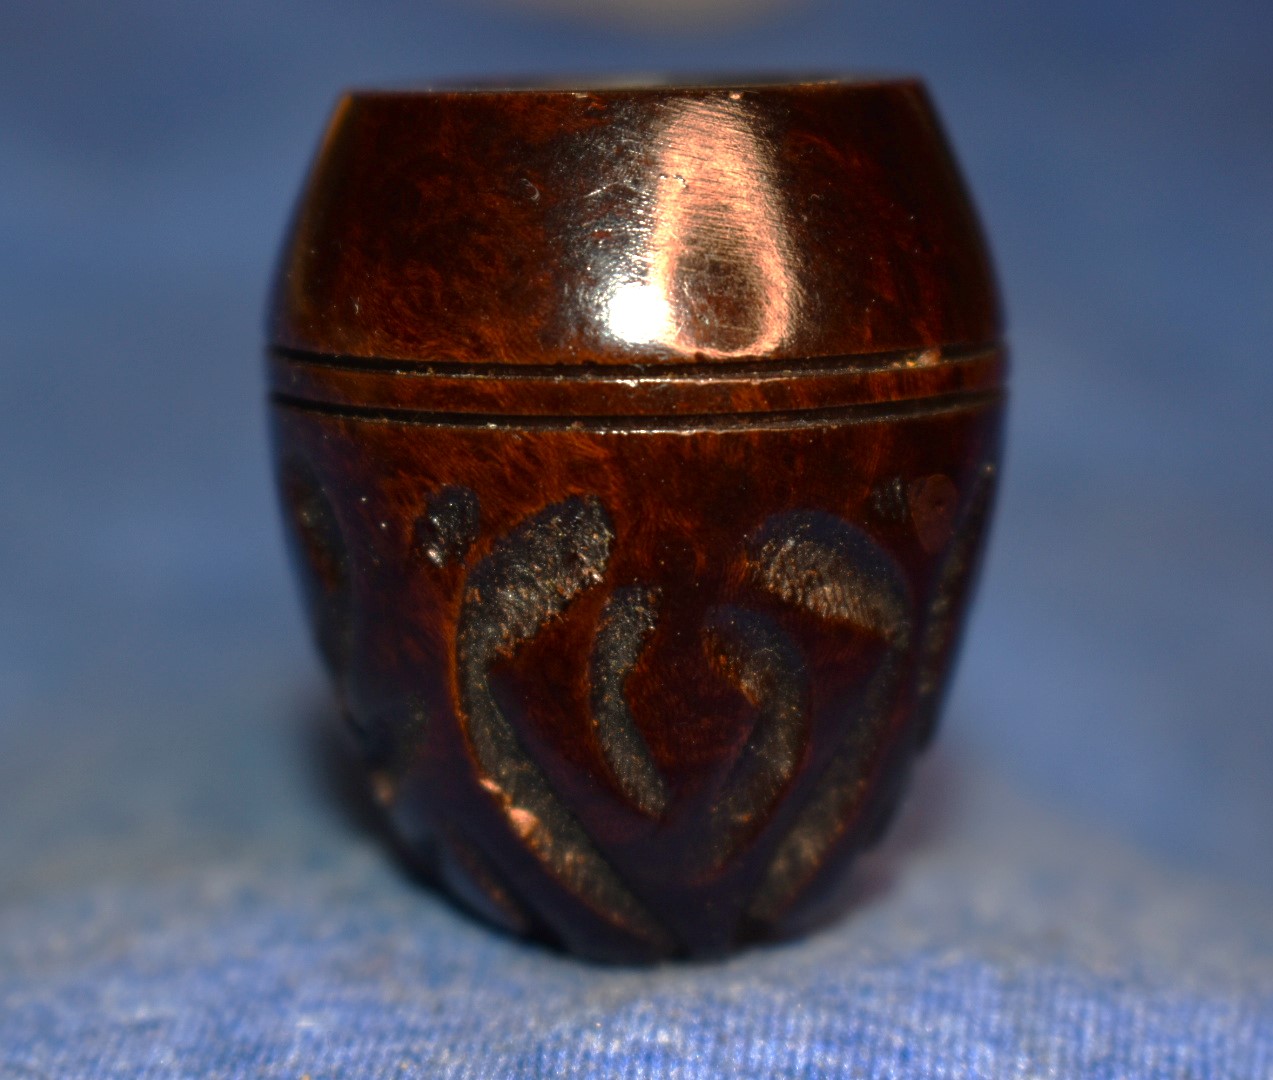
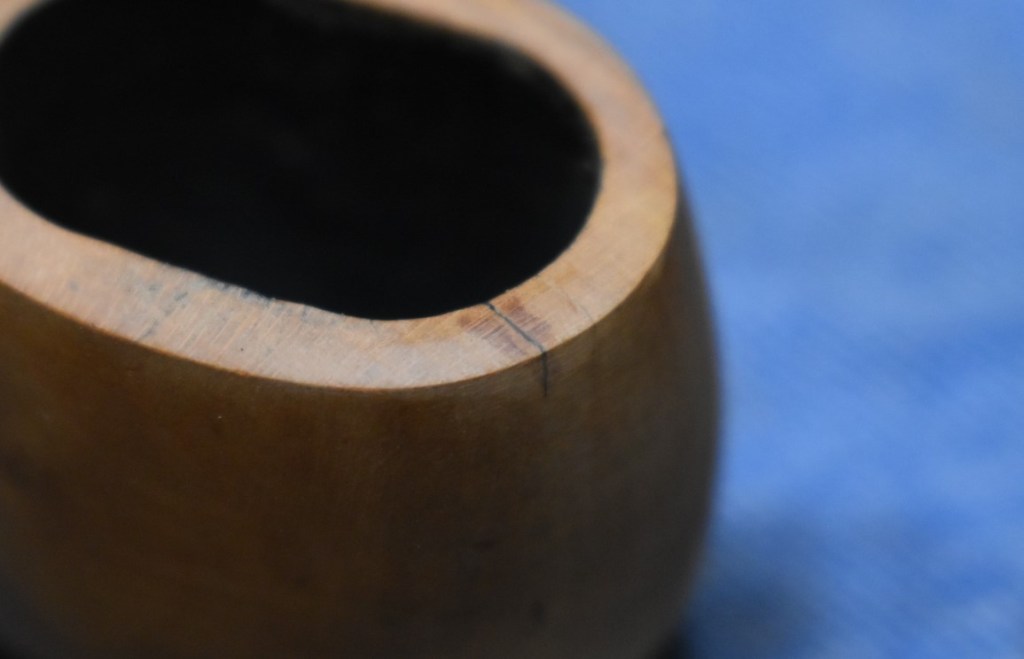
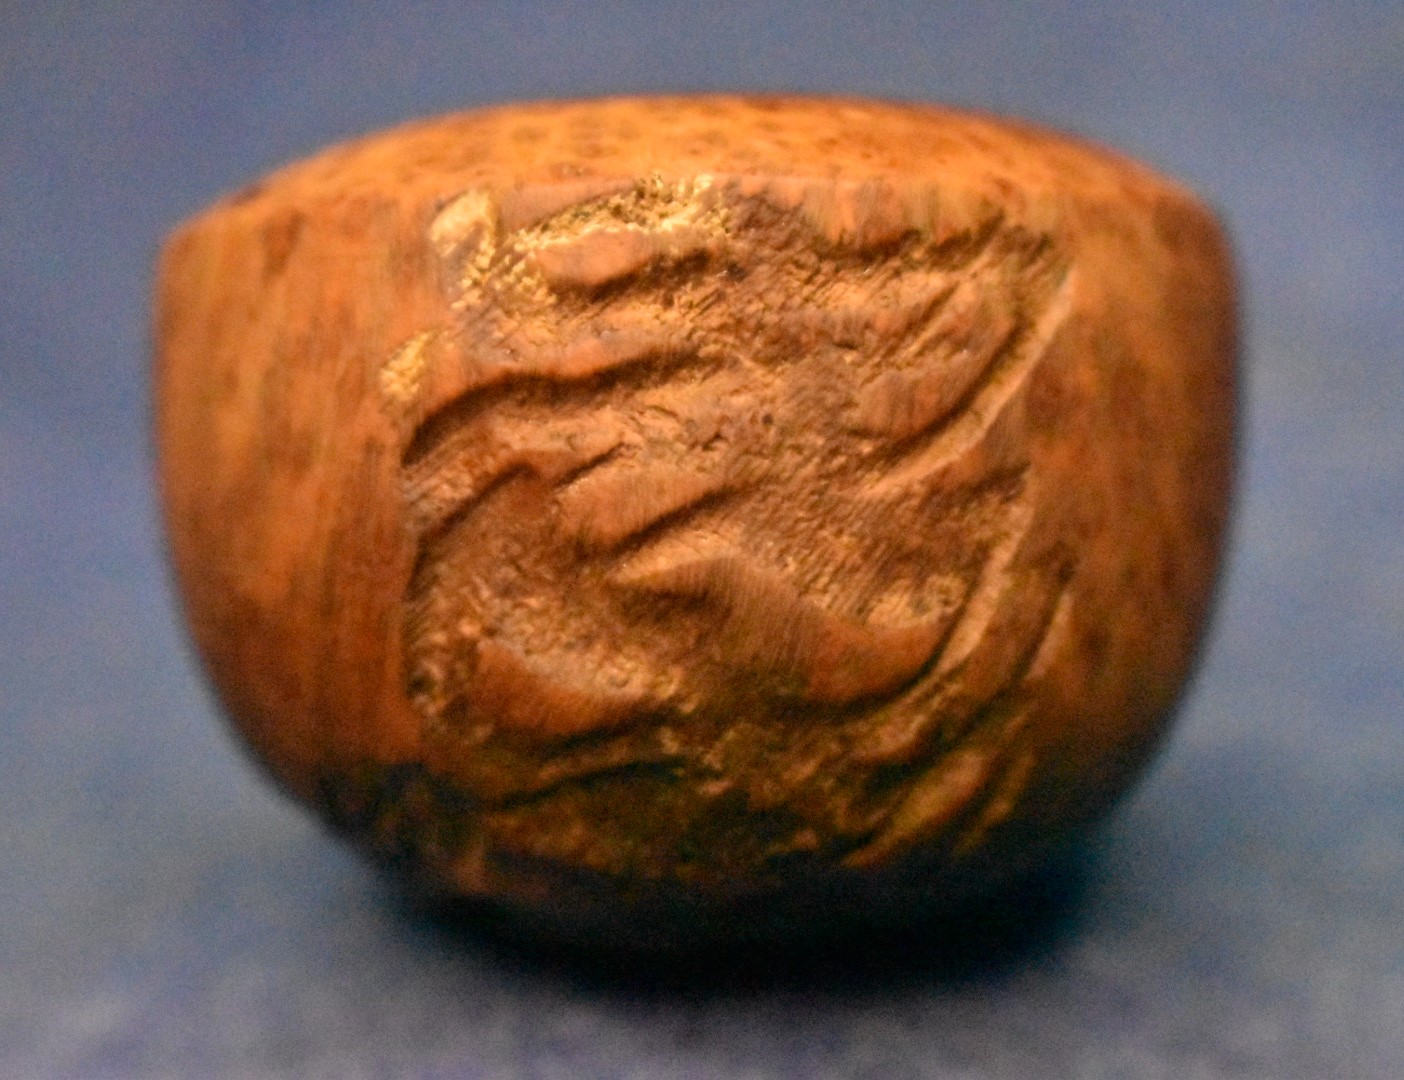
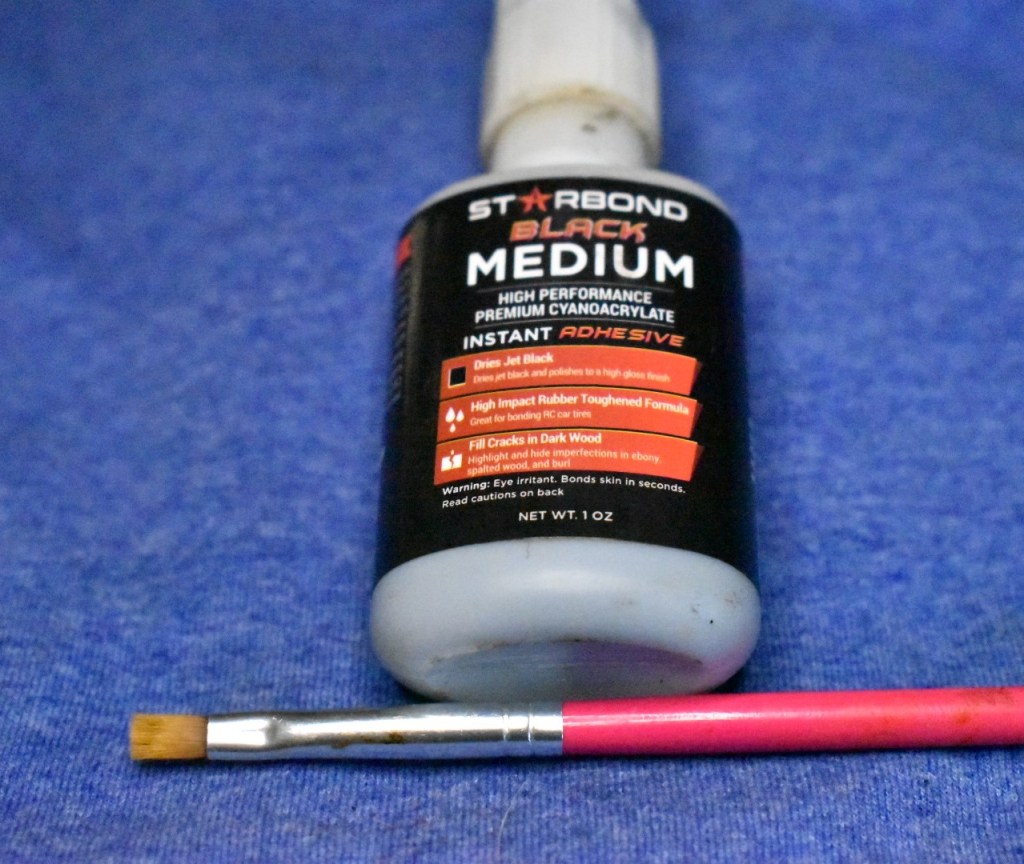
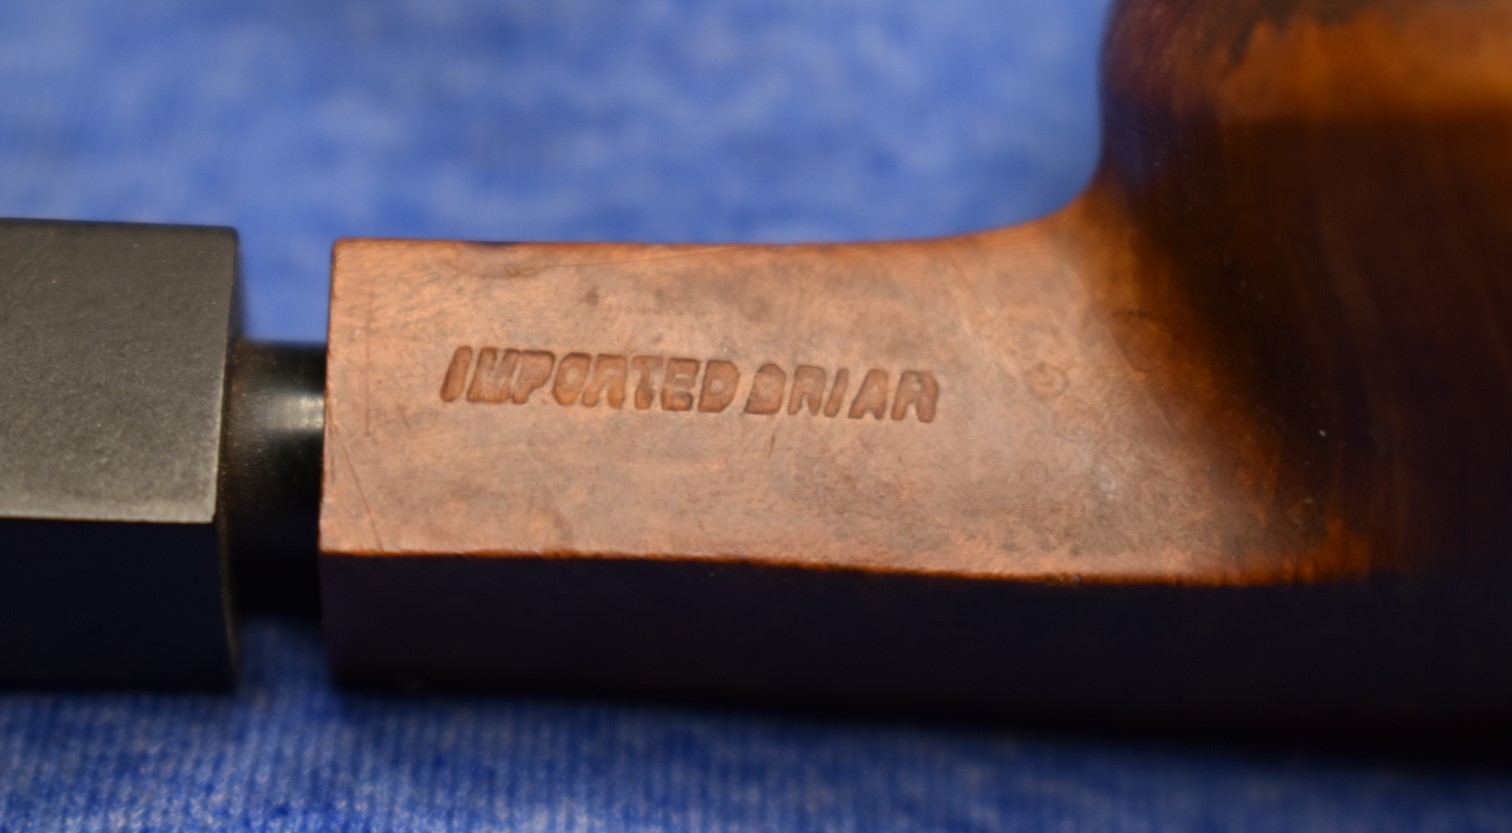
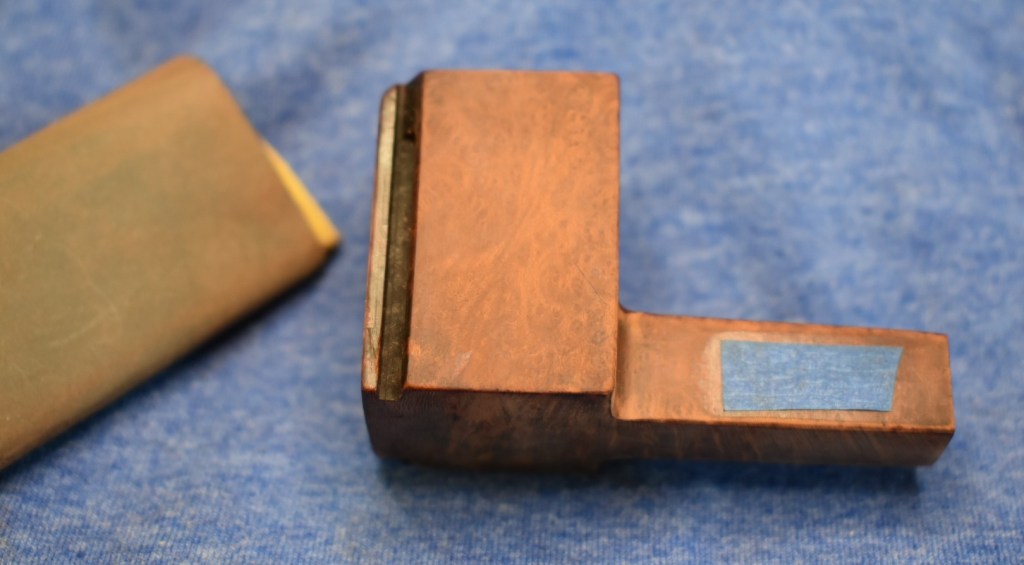
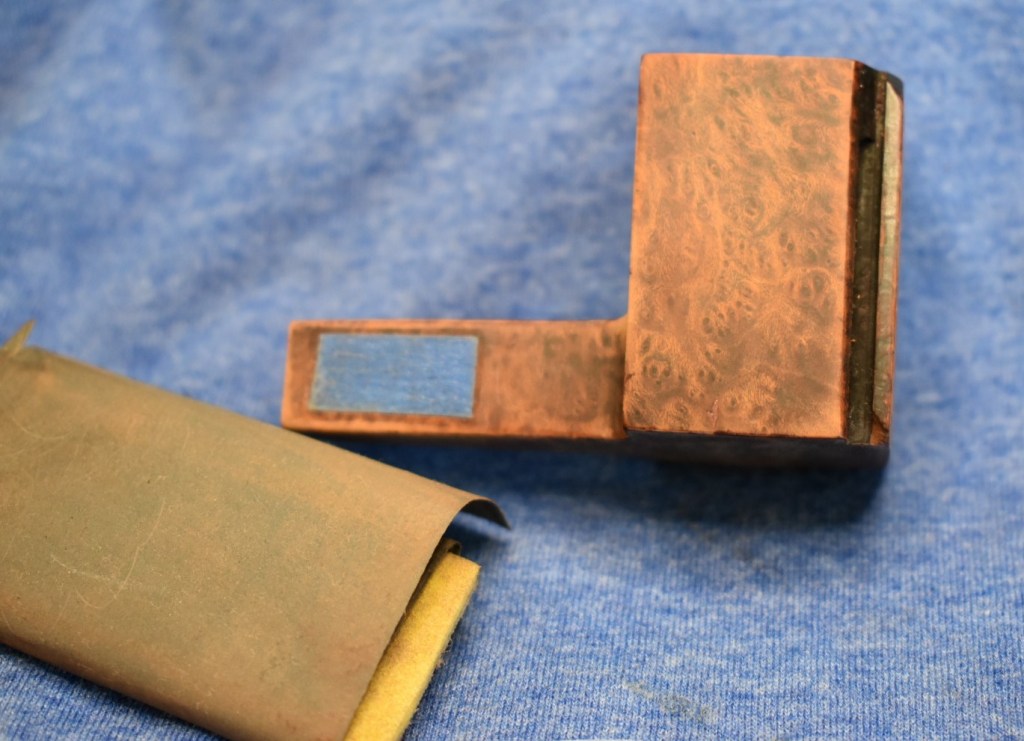
With the finish removed I could see a couple of spots that I needed to fill with cyanoacrylate (CA, super glue) and briar dust. Gave the stummel a light sanding with a 400 sanding sponge. This revealed a small pit on the end of the shank. I dug out the old fill with a fly tying bodkin. There were also several cuts in the bottom of the stummel that needed to be filled.
For the pit on the shank I pressed briar dust into the pit and placed a small drop of Thin CA onto the dust. Ist absorbed and set up almost instantly. I smoothed the fill with a 400 sanding sponge. The gashes on the bottom of the stummel were a little more difficult. I did not want to damage nor did I want to get any CA into the stamping. I placed a small drop of Thin CA into the gash and started sanding it immediately. The hope was that some sanding dust would get into the gash, mix with the CA and form a fill in place. I had to repeat this process a few times.
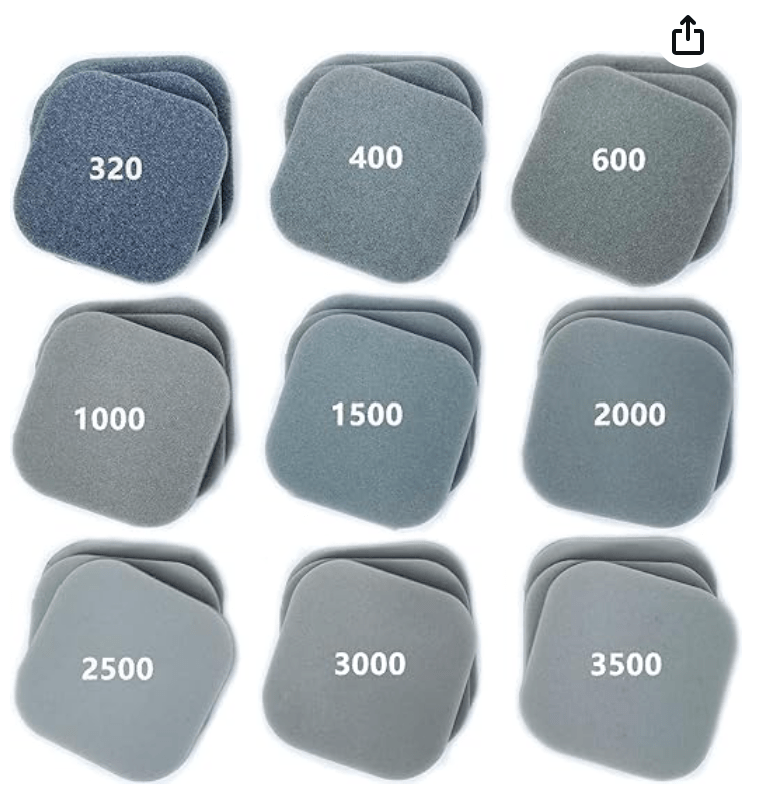
With the fills addressed I covered the stamps with painters tape and sanded the stummel with the 600 and 1000 sanding sponges. I thought that I might be able to use a dark brown dye then sand the stummel leaving a nice contrast stain and accentuating the briar’s grain.

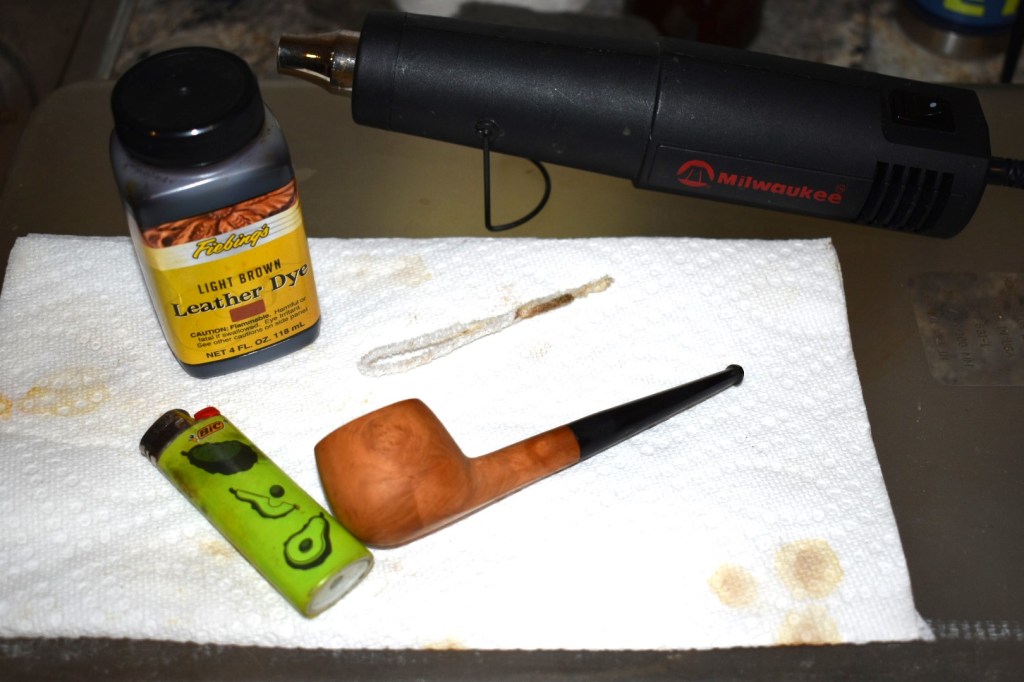
I prepped the dyeing area and gathered the needed items. Fiebing’s Dark Brown Leather Dye, a folded pipe cleaner, disposable lighter and the duct tape wrapped styrofoam fishing bobber.

I used the folded pipe cleaner as an applicator for the dye. The fishing bobber was inserted into the bowl to stop dye from entering and give me a handle to hold the stummel. Most people use a wine bottle cork for the bowl plug/handle. I applied two coats of dye and flamed the wetted stummel with the lighter.

After allowing the stummel to dry for a few minutes I used a paper towel to wipe the excess stain from the stummel.
I returned to the workbench and spayed a make-up pad with 99% isopropyl alcohol. Holding the stummel in paper towels, I wiped the stummel to remove additional dye.
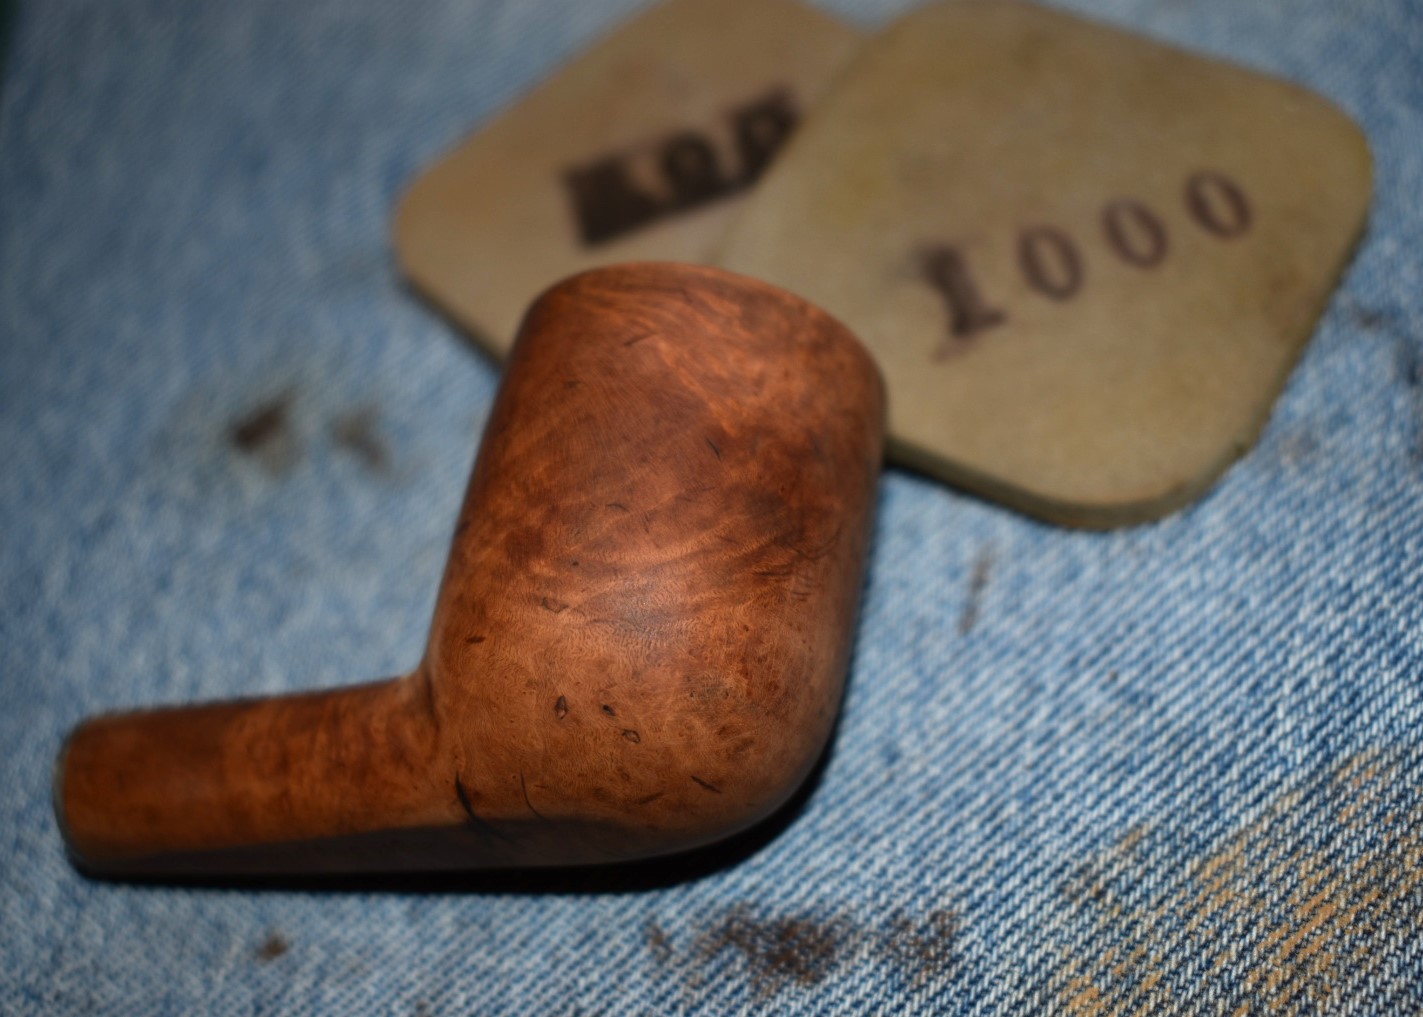
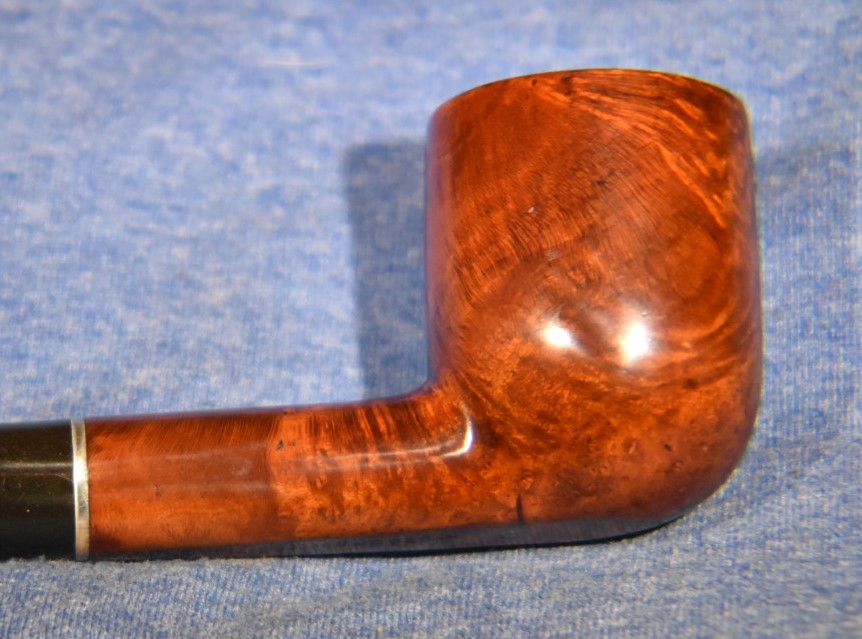
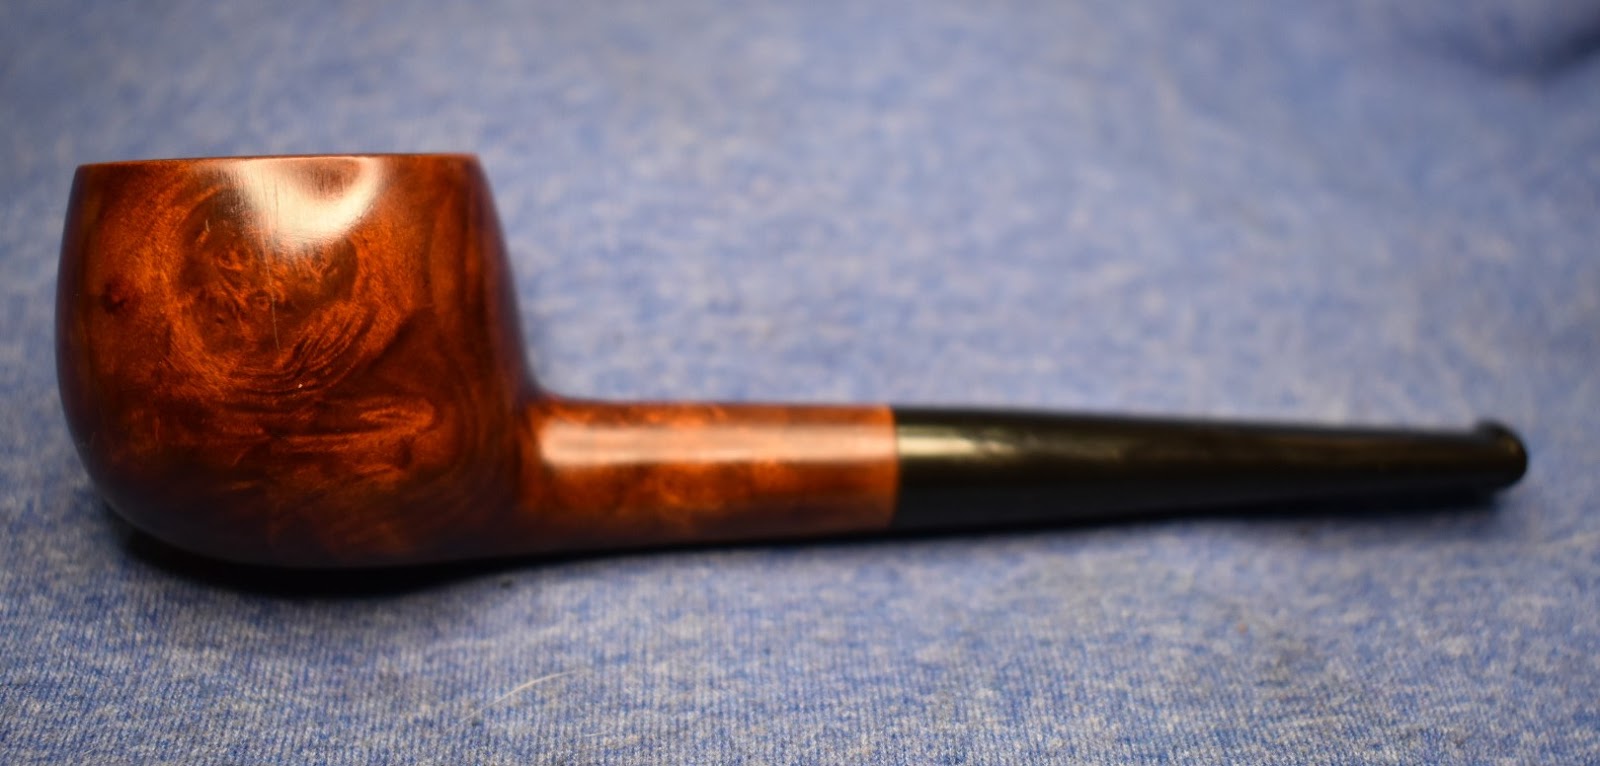
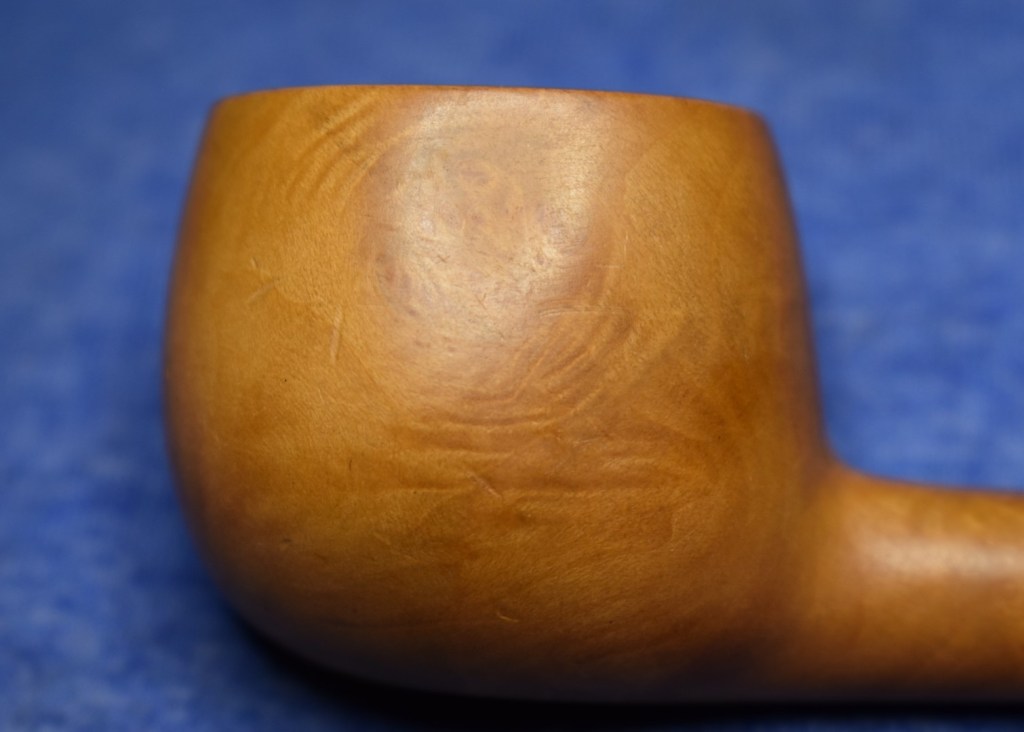
After the stummel had been wiped and dried, I began sanding with a 400 sanding sponge. I wanted to remove the outer layer of dyed briar leaving behind the areas that absorbed more dye. It didn’t work as planned, I probably should have used a black dye. Oh well, it’s still a lovely color of brown and is more like the original. I continued sanding using the sanding sponges 600-3500. Between each sponge I would wipe the stummel off with an alcohol dampened make-up pad. The dyed and sanded stummel looked like this when I was done with the sanding sponges:
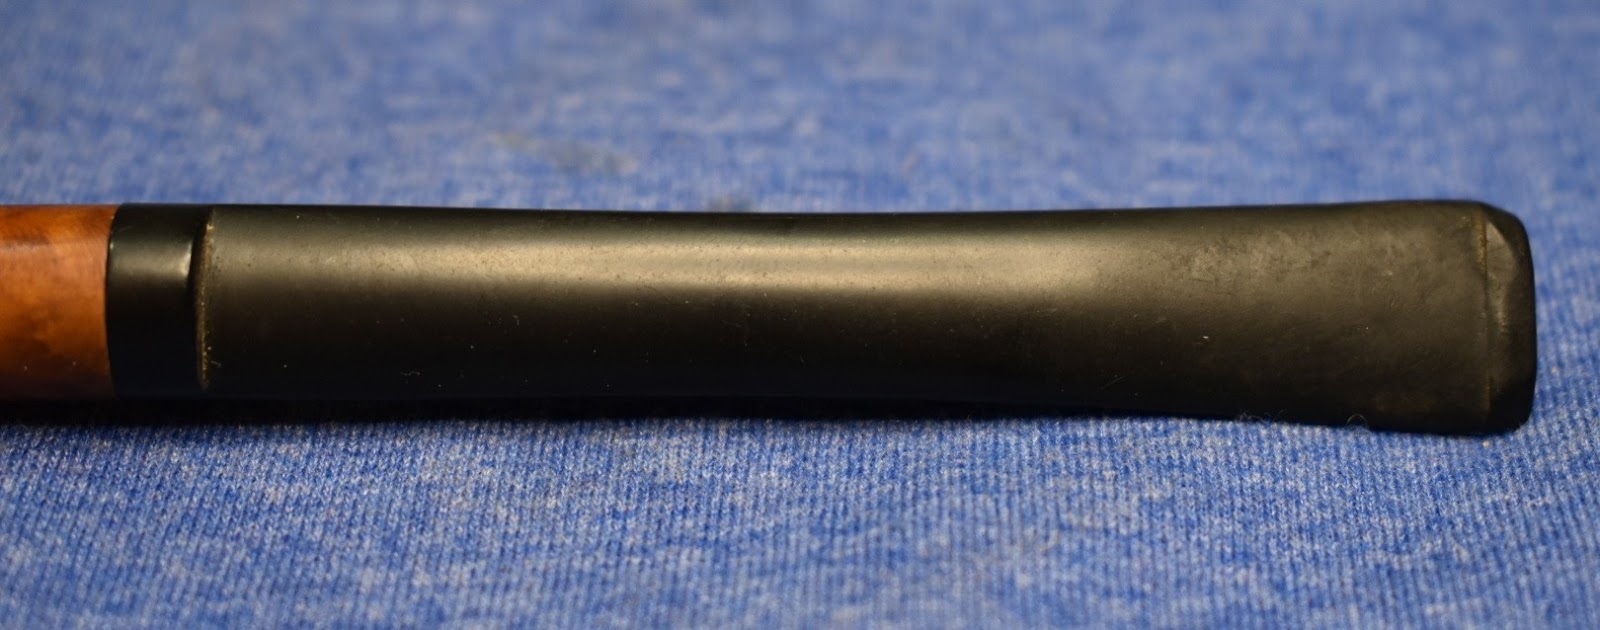
The stummel still needed to be micro-meshed. I figured I would do the stem and the stummel at the same time. This meant that I needed to work to the stem.
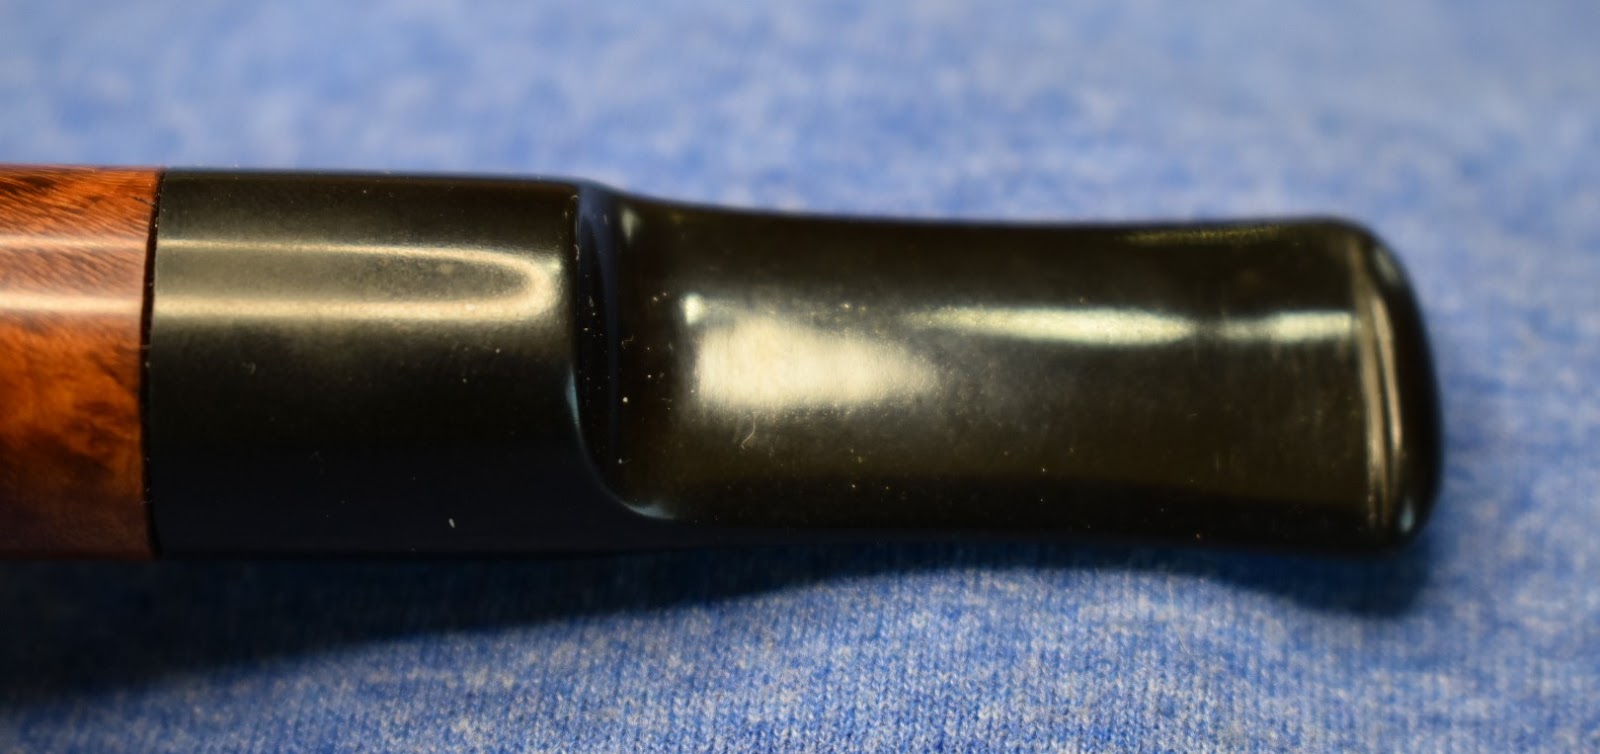
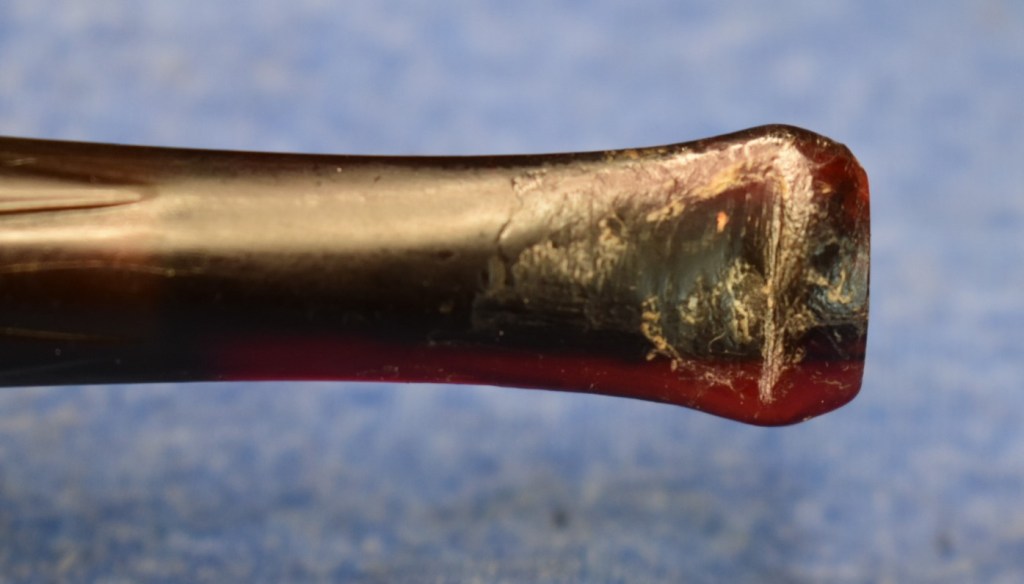
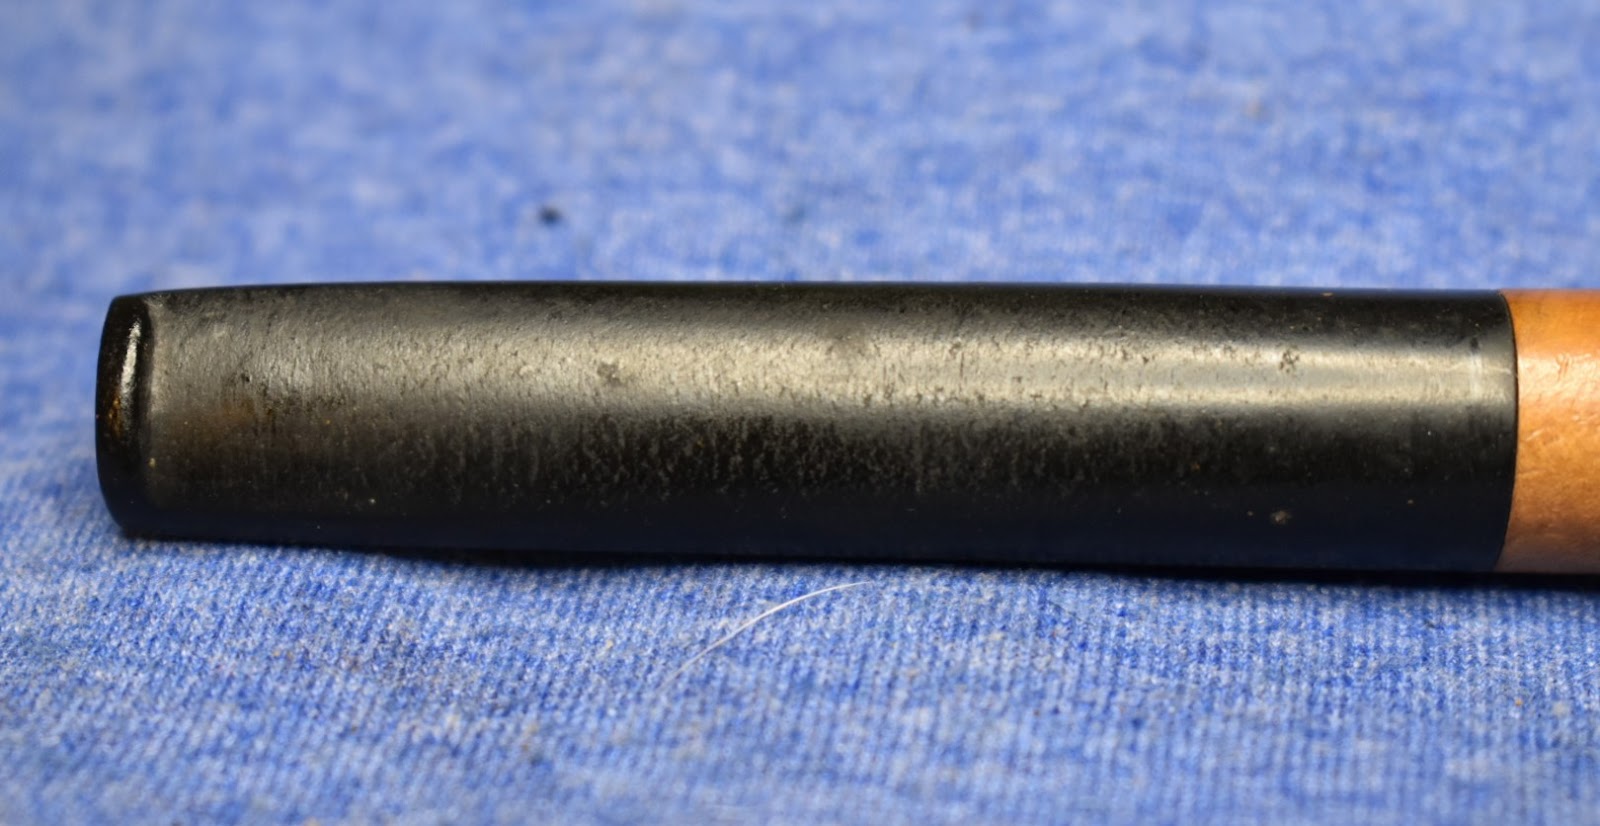
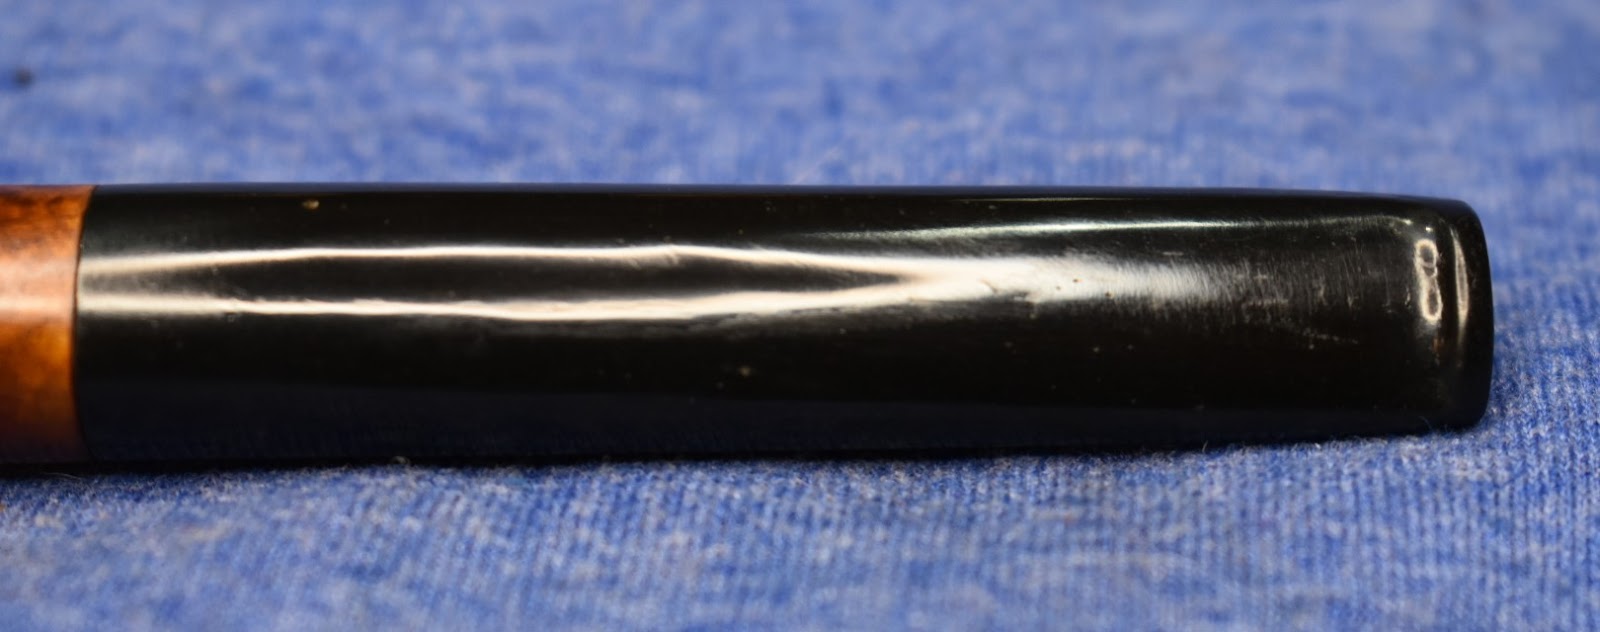
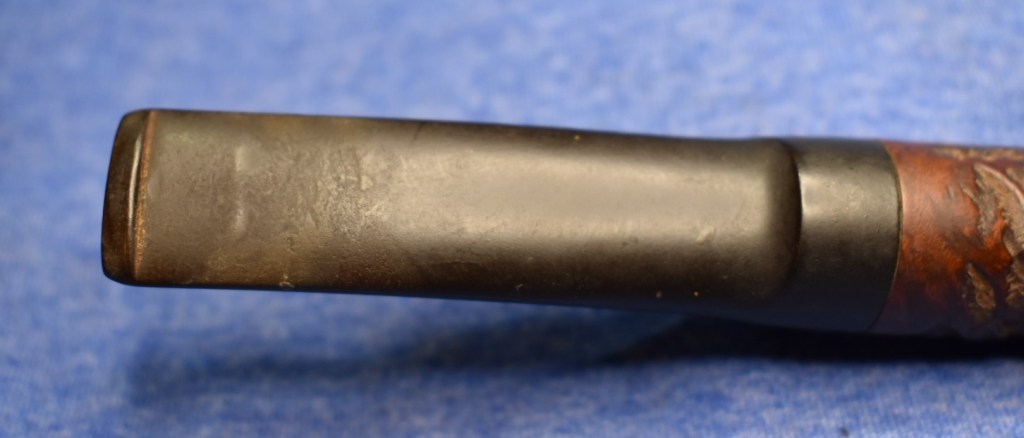
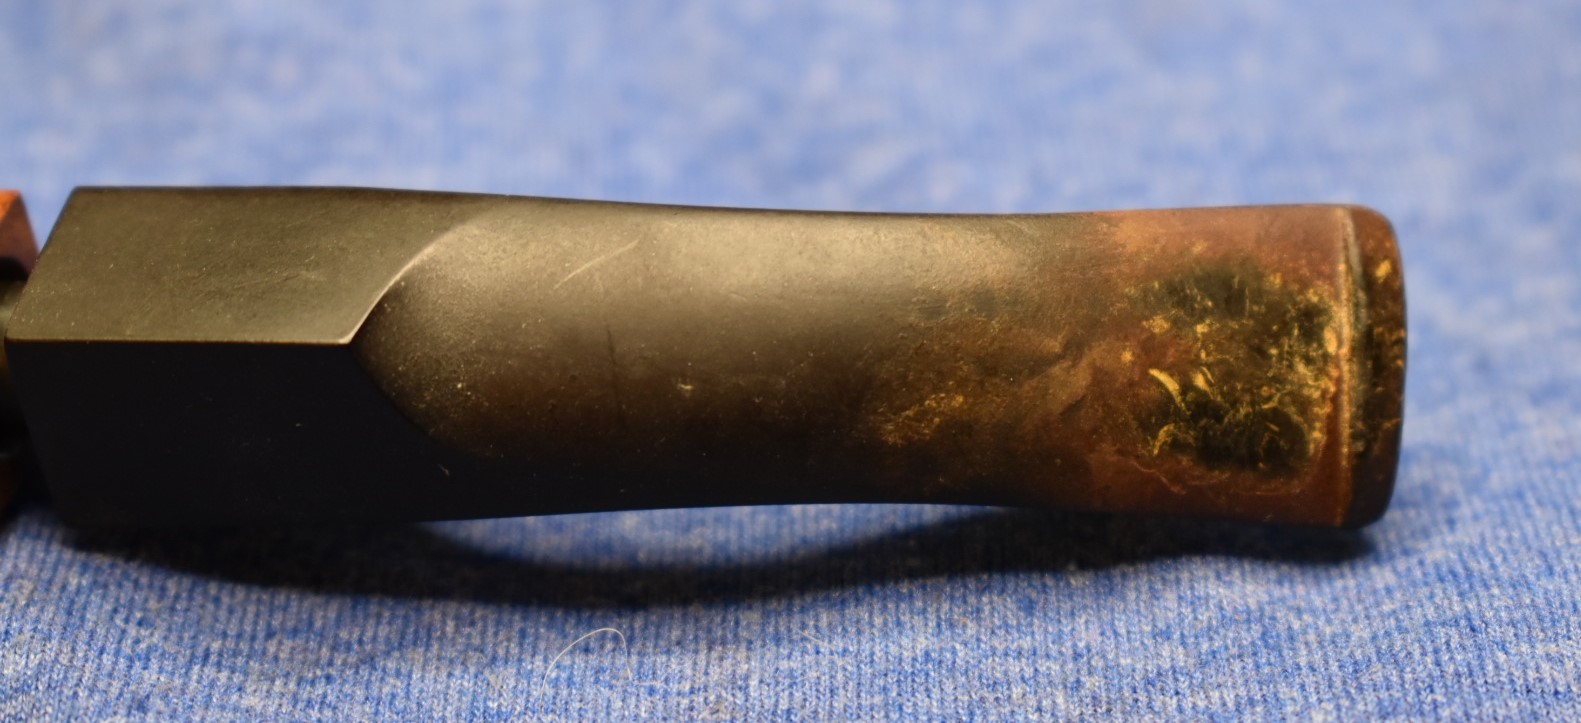
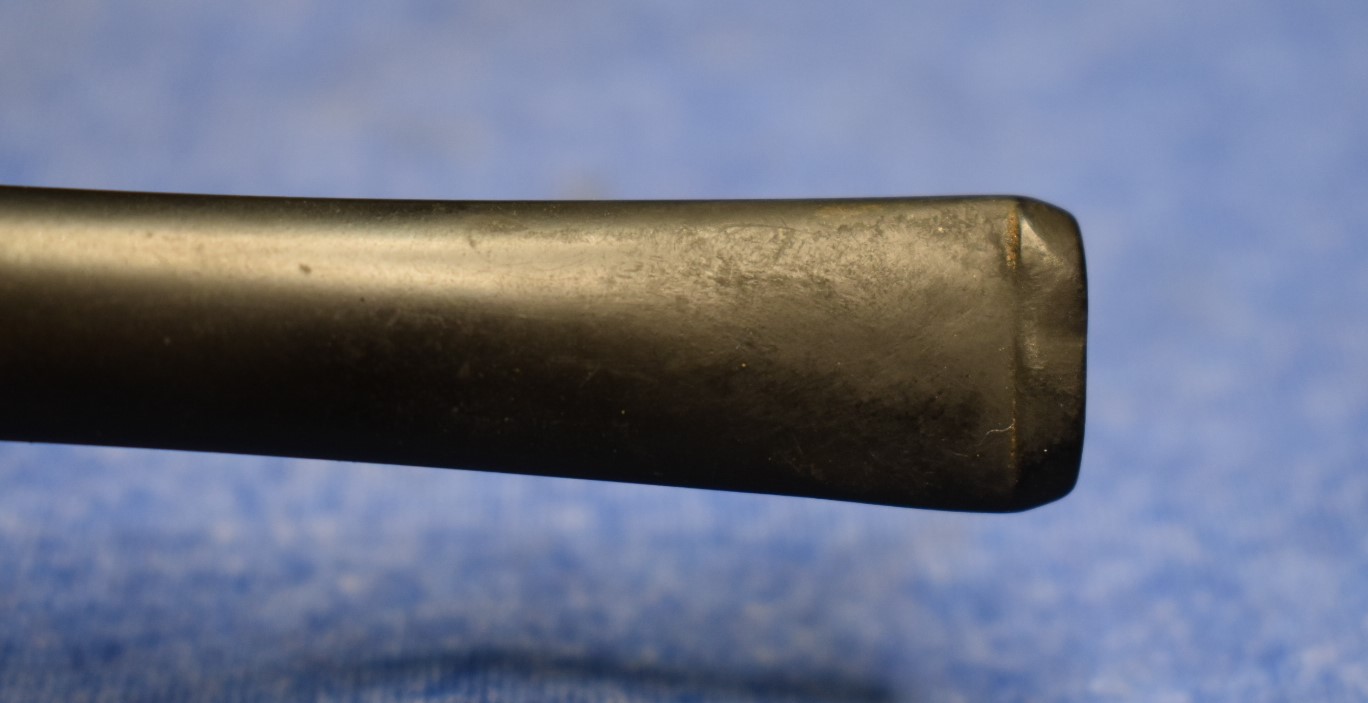
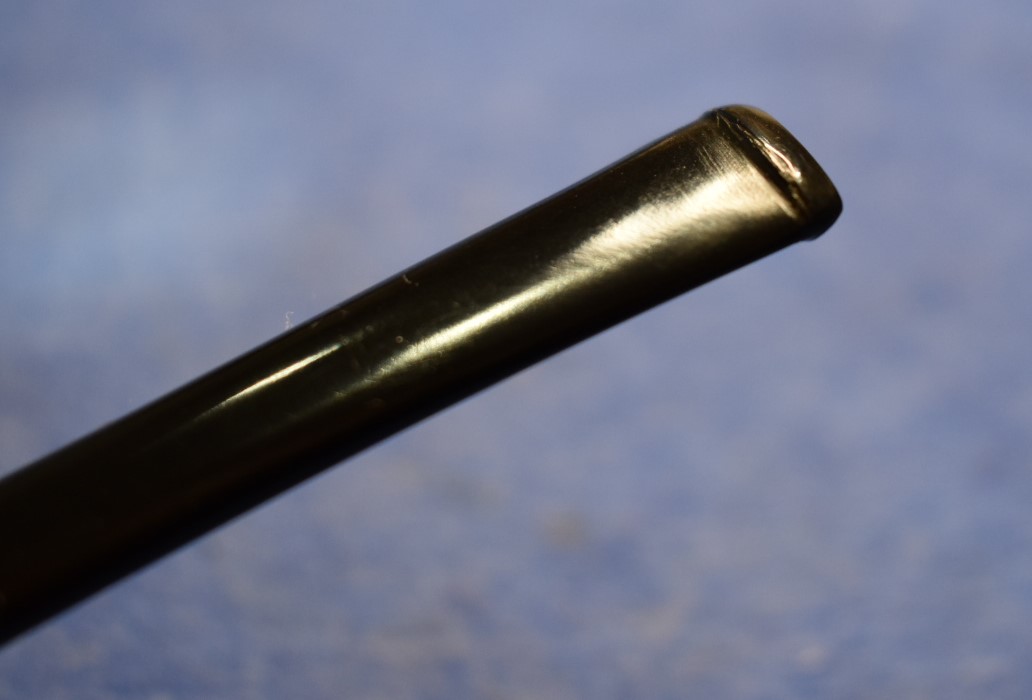
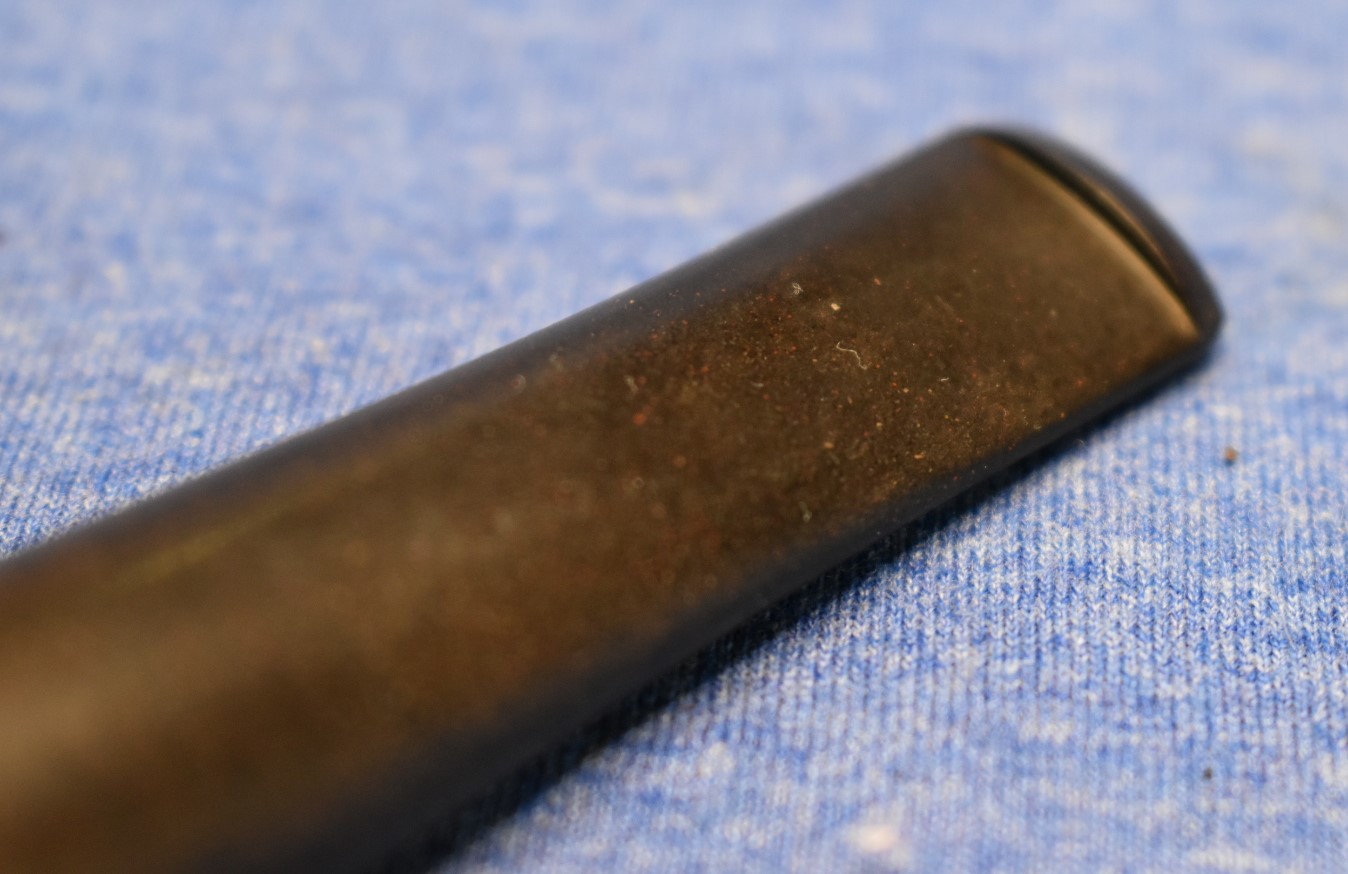
The stem had quite a bit of teeth chatter or, maybe a previous owner liked to
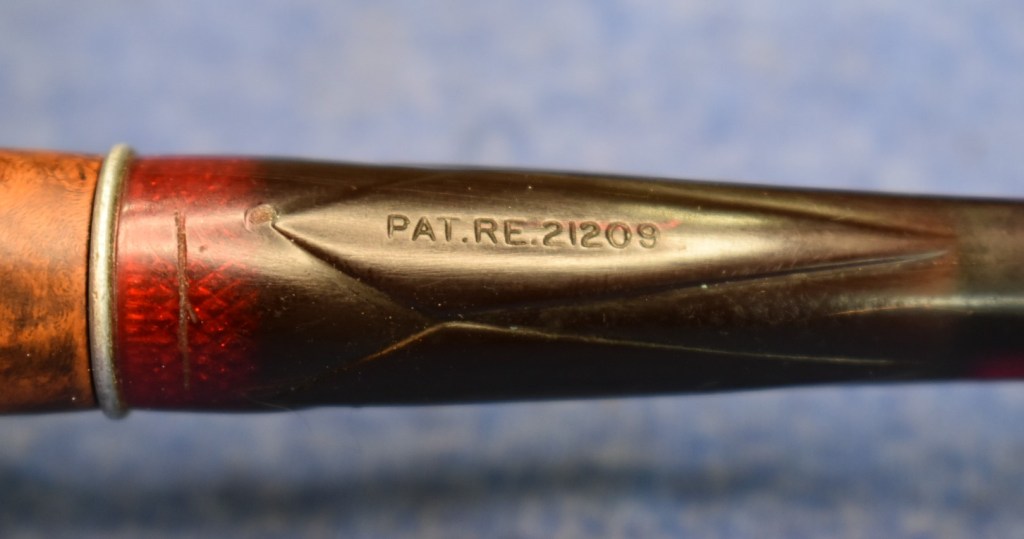
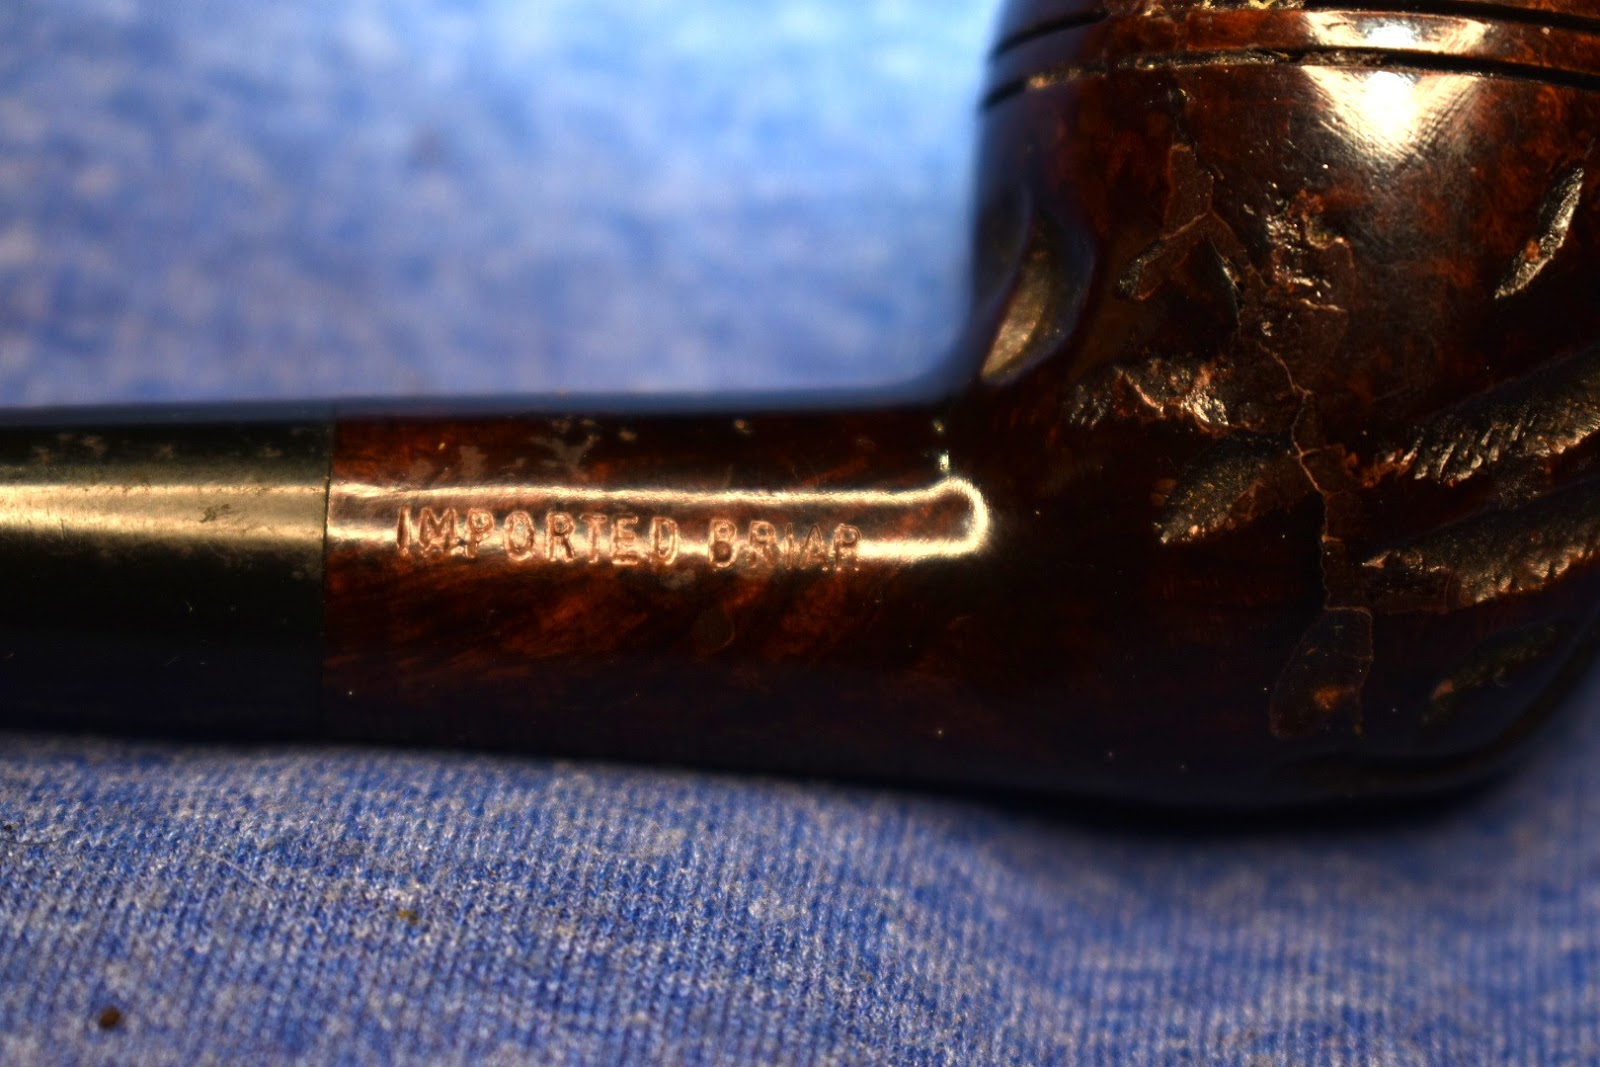
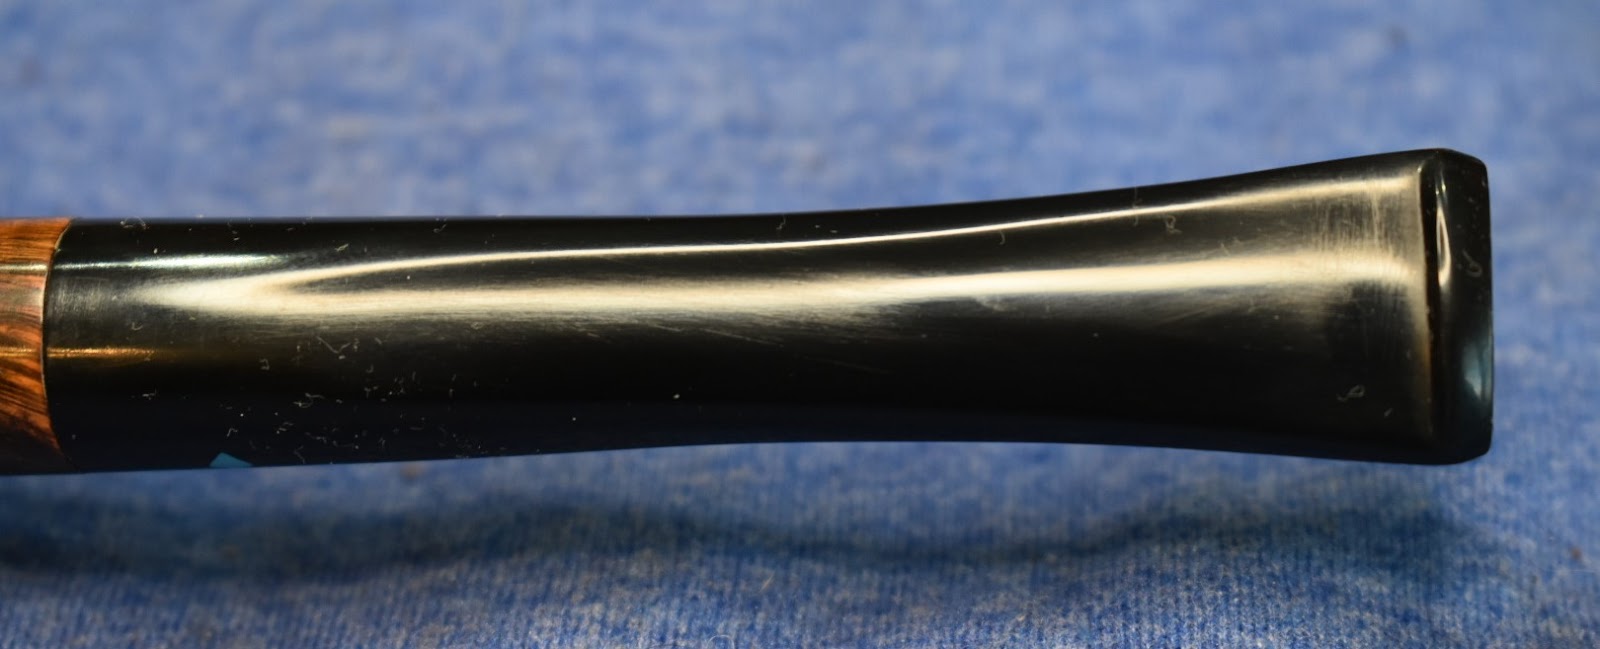
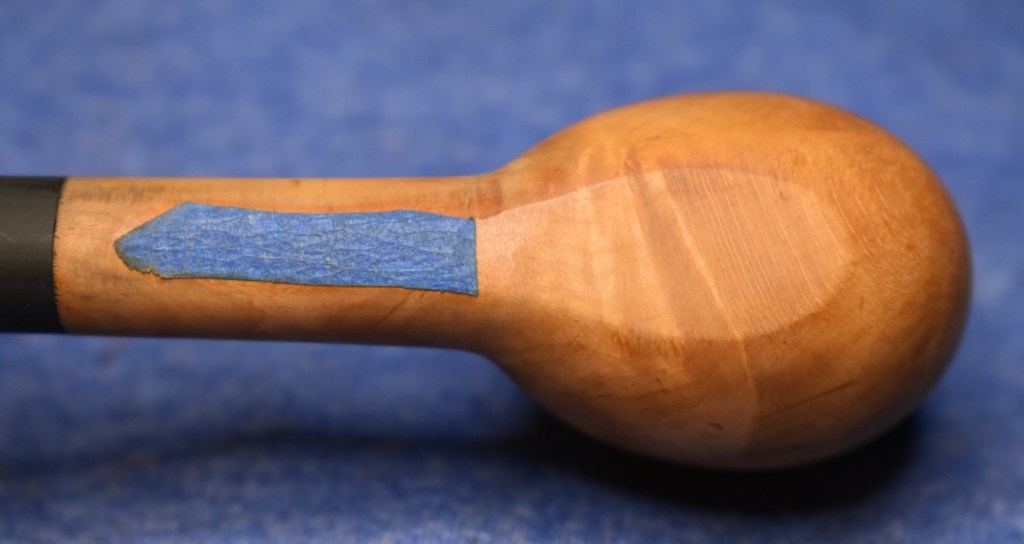
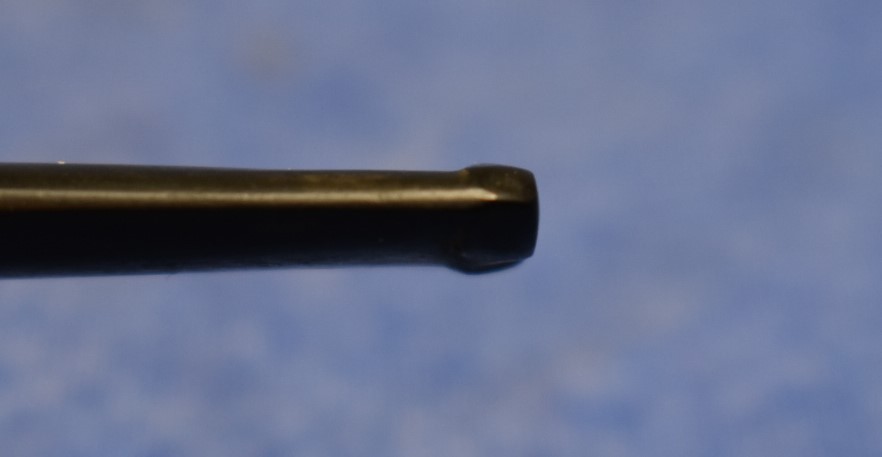
smoke while waking during sandstorms. Either way it needed a good sanding and micro-meshing. The stem did not have any browning indicative of oxidized vulcanite yet when sanded the color was a yellow-brown like oxidized vulcanite – weird. I sanded using the sanding sponges from 600-3500. Between each sponge I applied a layer of mineral oil with my fingers and wiped it off with a paper towel. These new sanding sponges are excellent at getting into the corner where the button meets the stem. I almost forgot to tell you that I covered the stem logo with a piece of painters tape to protect the logo.

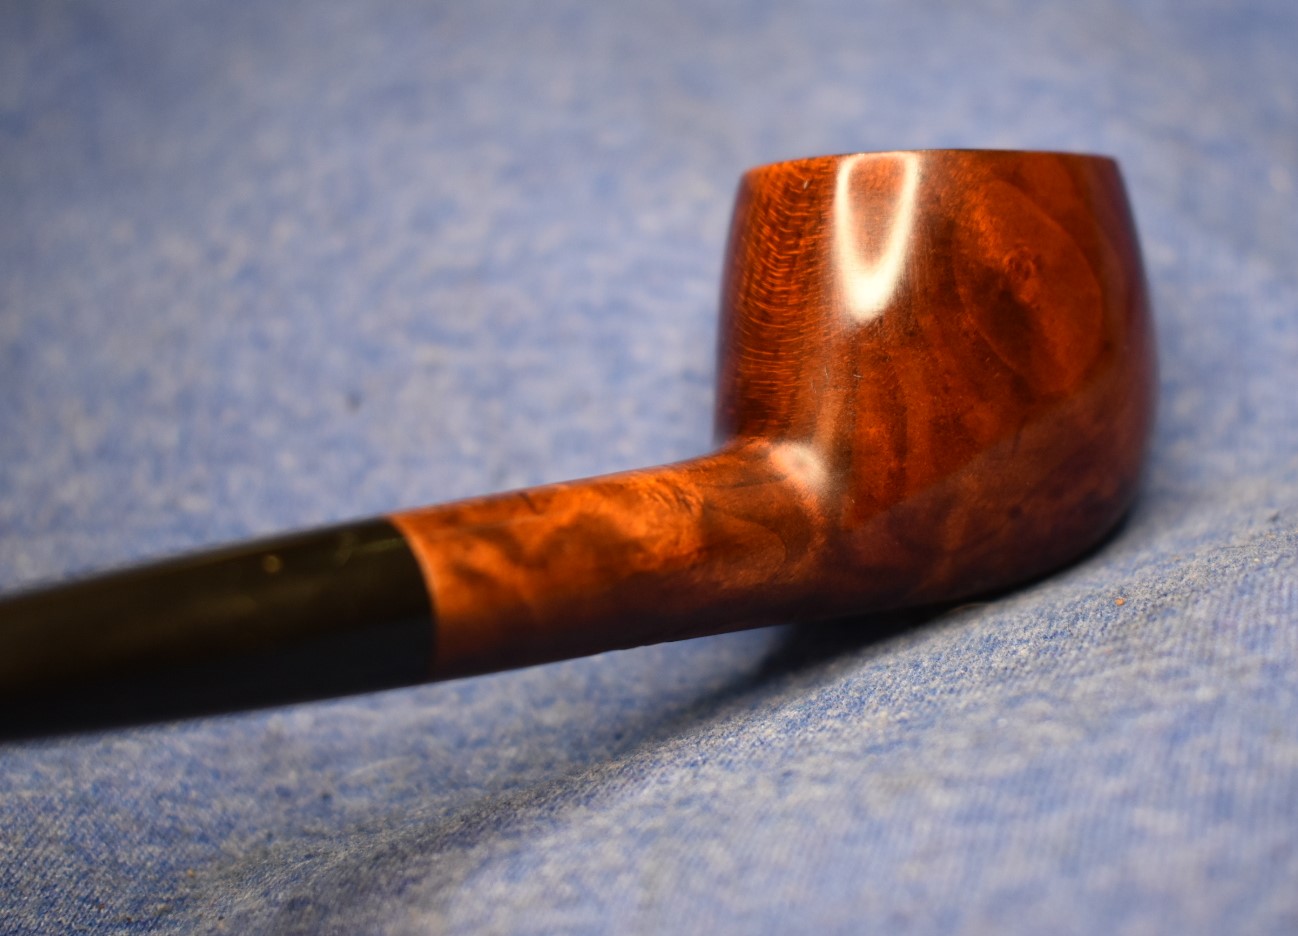
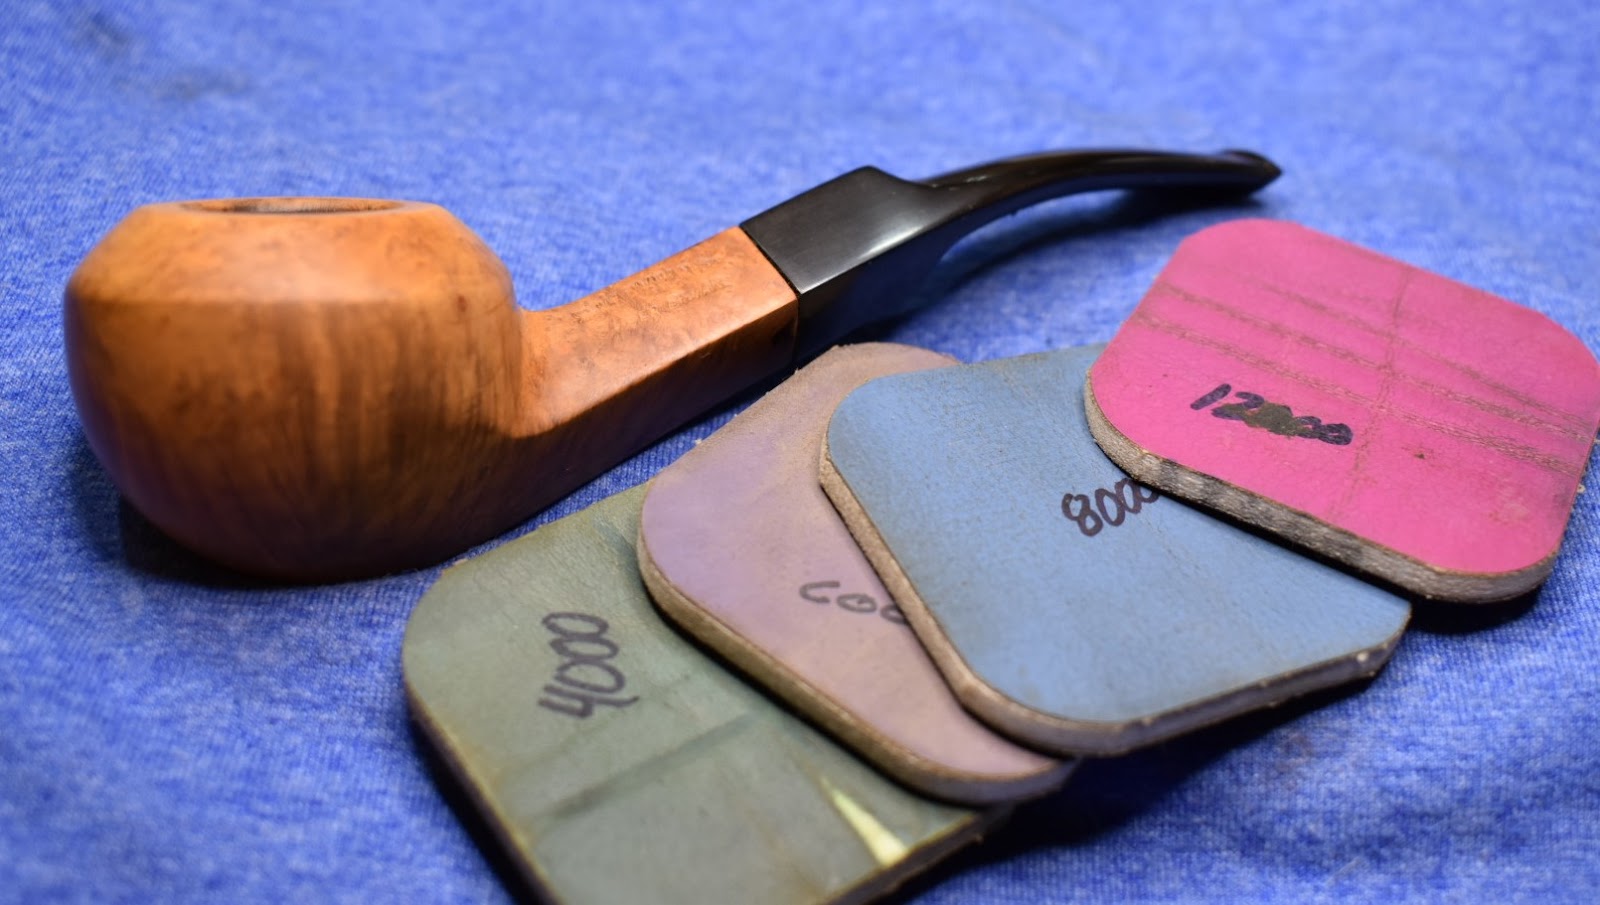
With both the stem and stummel now ready for micro-meshing I reapplied new painters tape of the stamps and logo. I started with the 2400 micro-mesh pad and moved through the whole series through the 12000. Between each pad I wiped the stummel is a make-up pad wetted with 99% isopropyl alcohol and the stem with mineral oil on my fingers wiped with a paper towel. The stummel
received a coating of Before and After Restoration Balm and was allowed to sit for about 30 minutes. For the final polishing of the stem I used Before and After Fine then Extra Fine Polish.

The polish was applied with my finger and vigorously rubbed with a cotton rag for each polish.
.


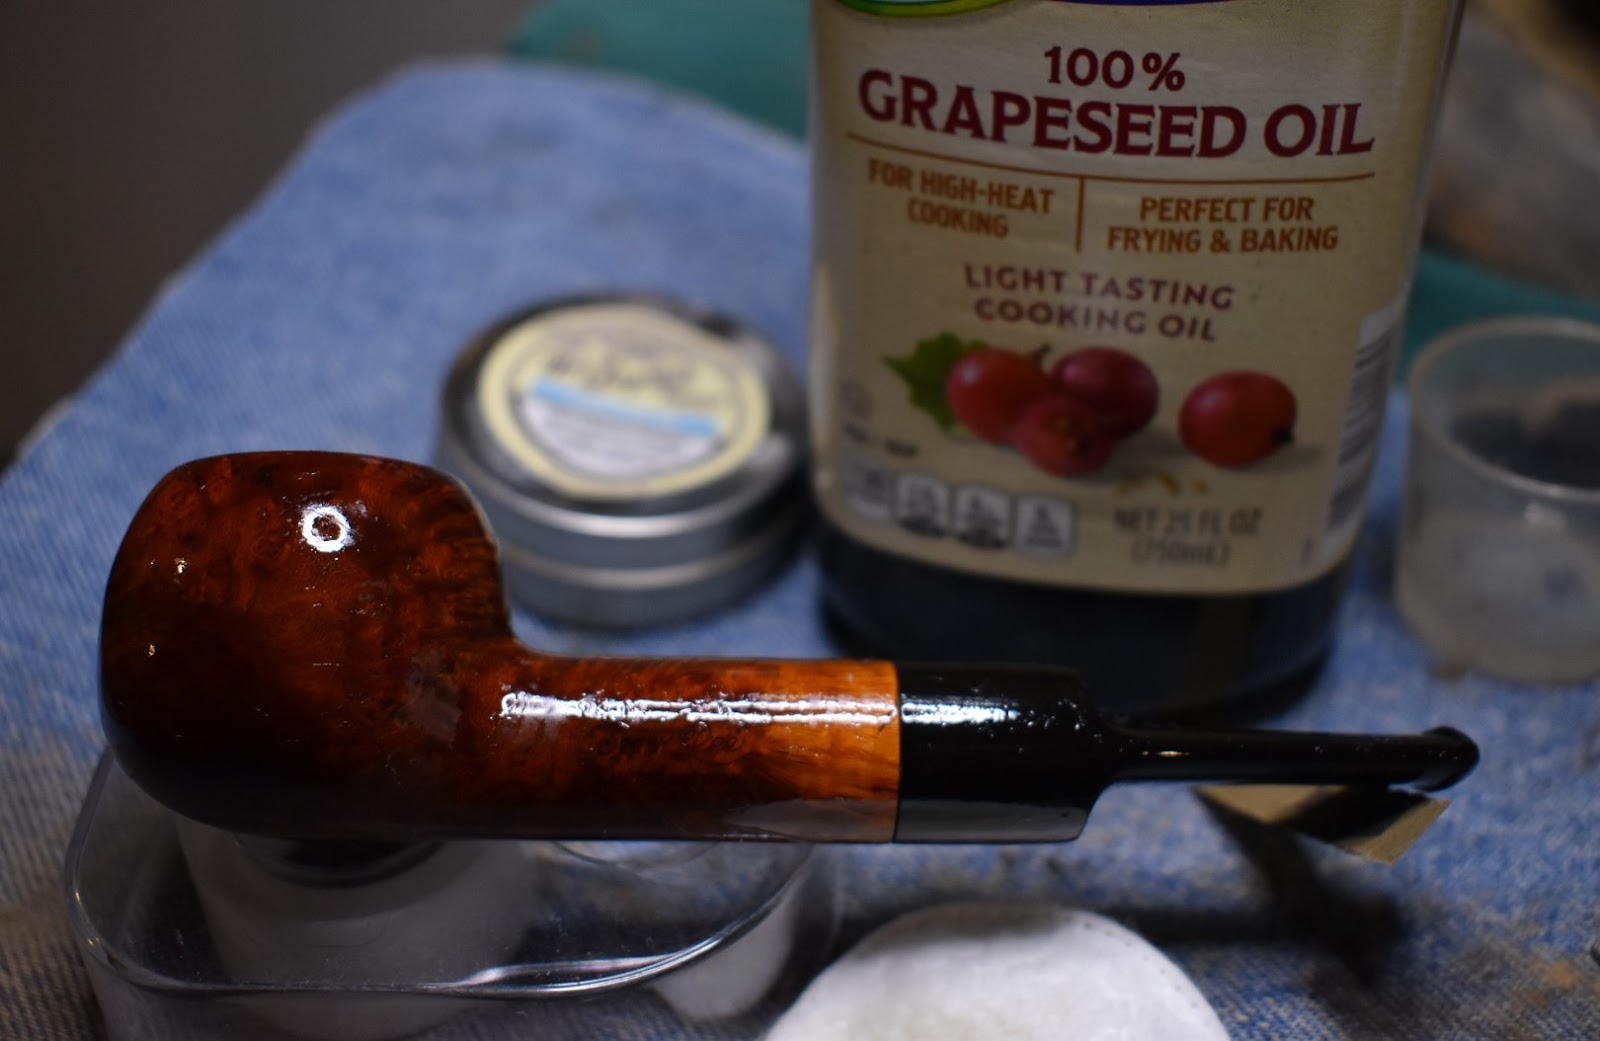
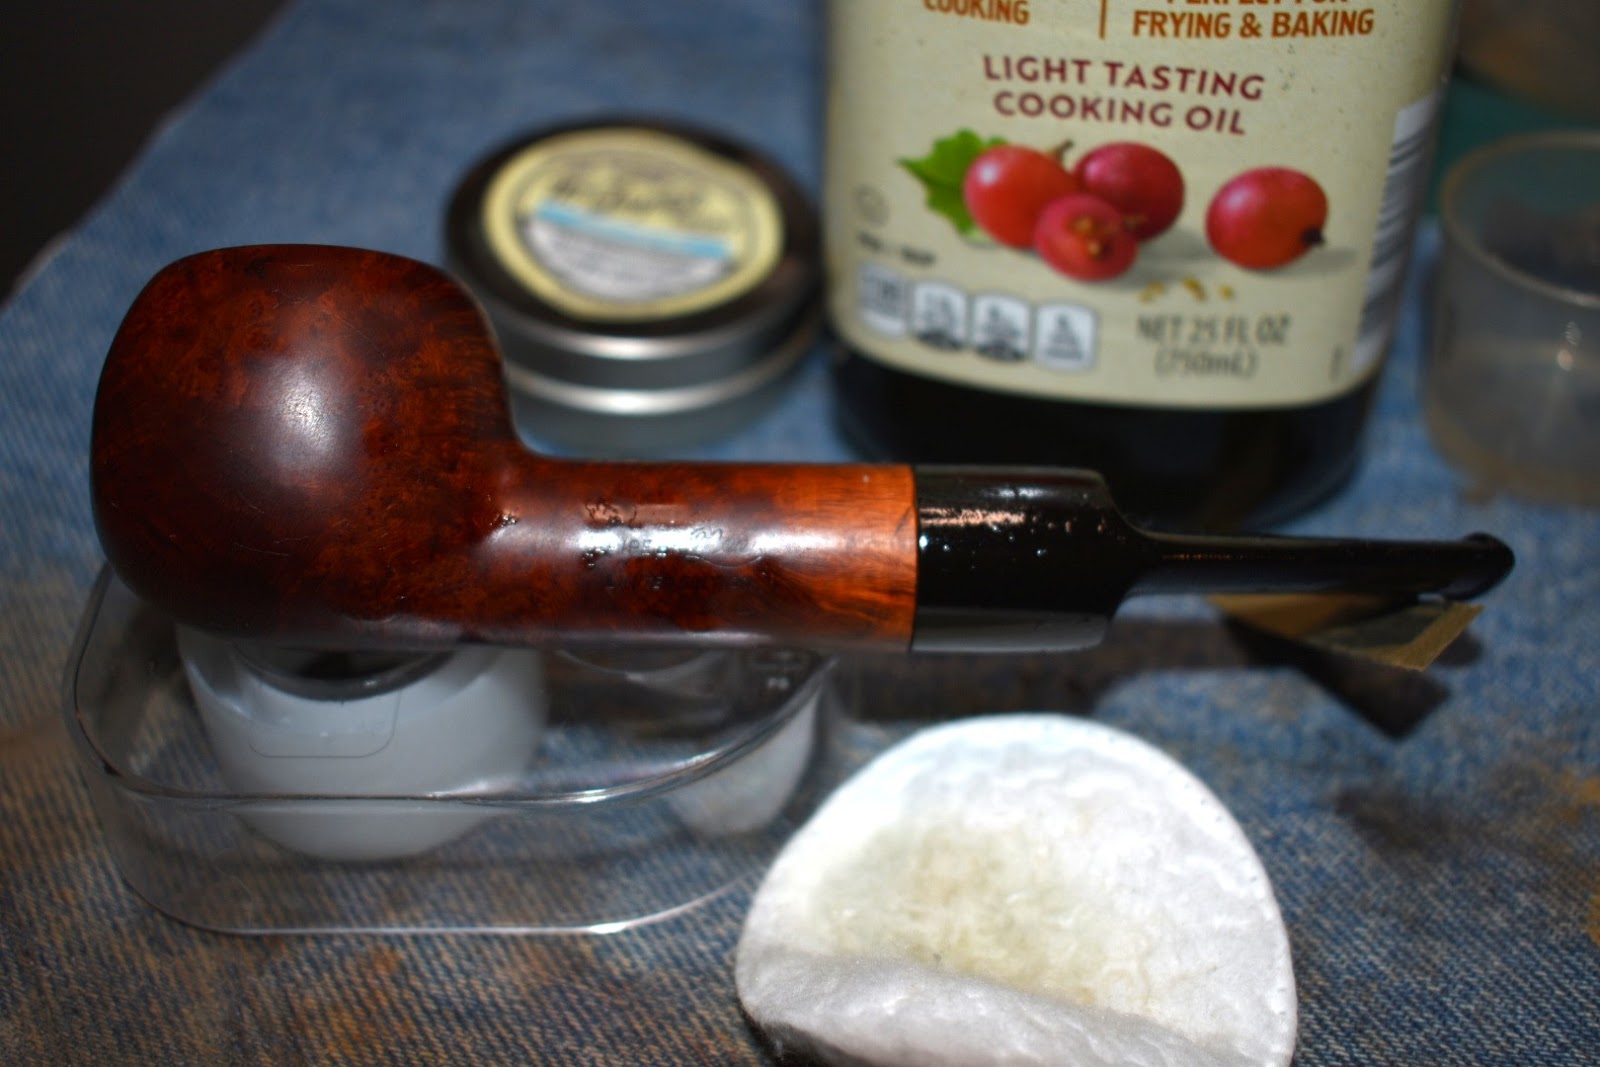
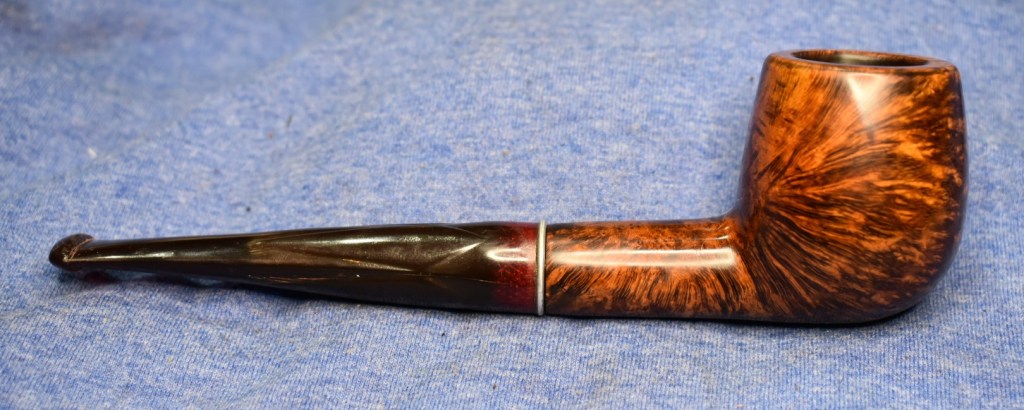
The last thing this old pipe needed was the final few coats of carnauba wax applied with the buffer. After the waxing I gave the stem another drop of obsidian Oil, hand buffed the stummel with a nanofiber polishing cloth and took some photos.
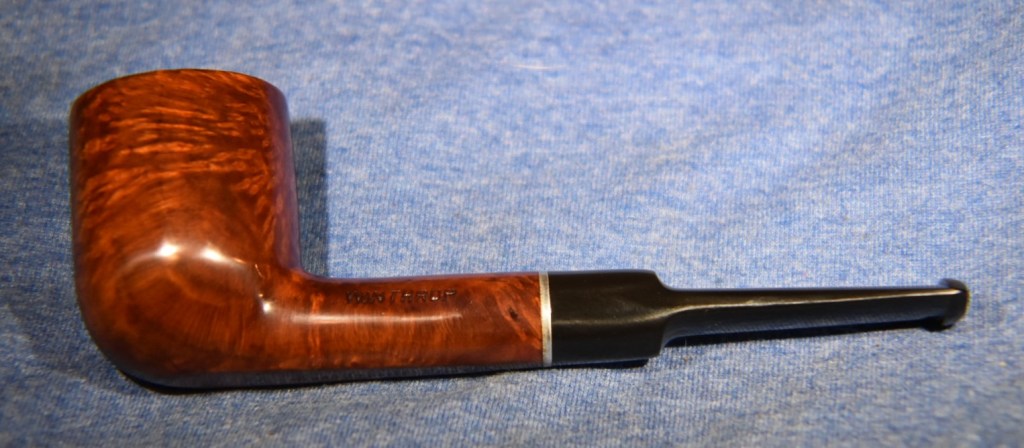
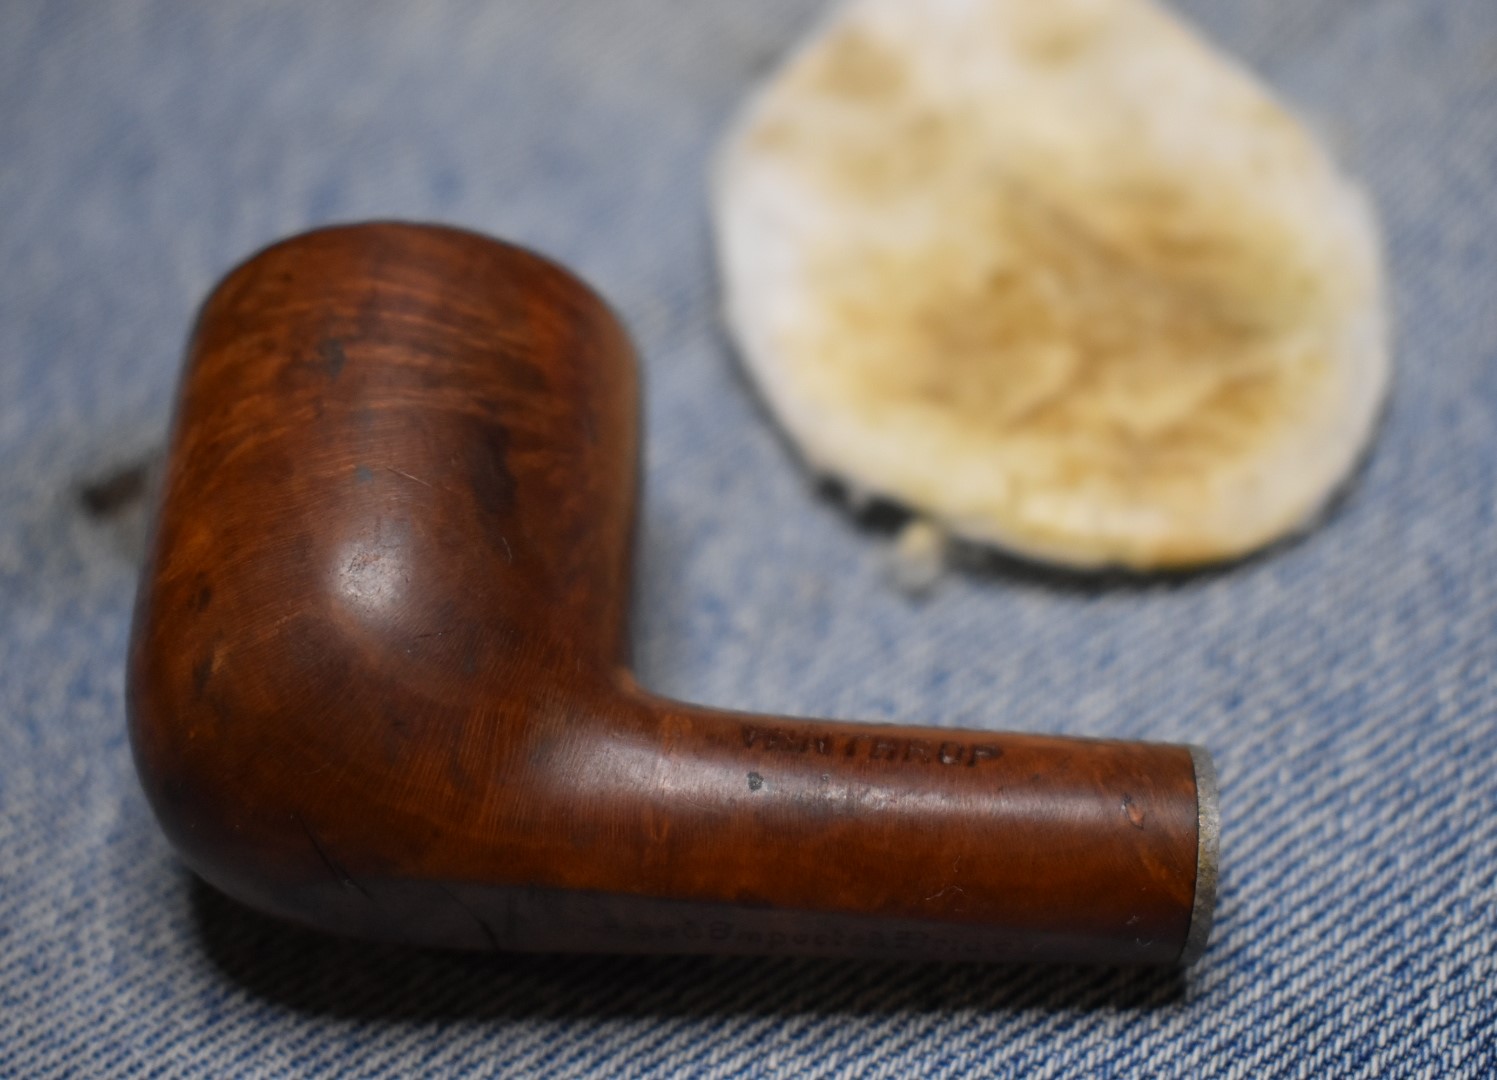
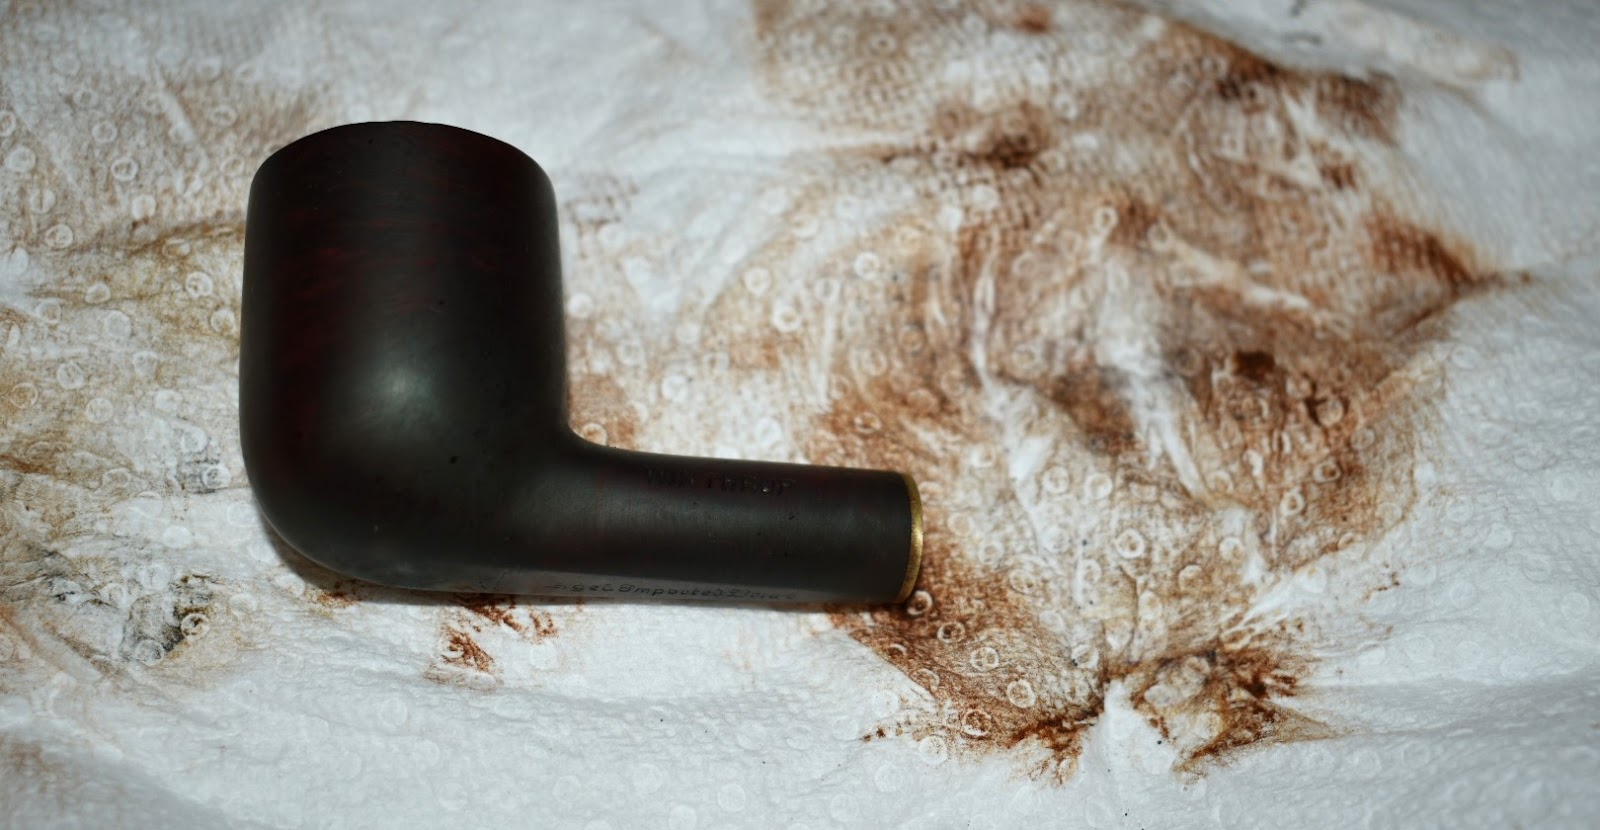
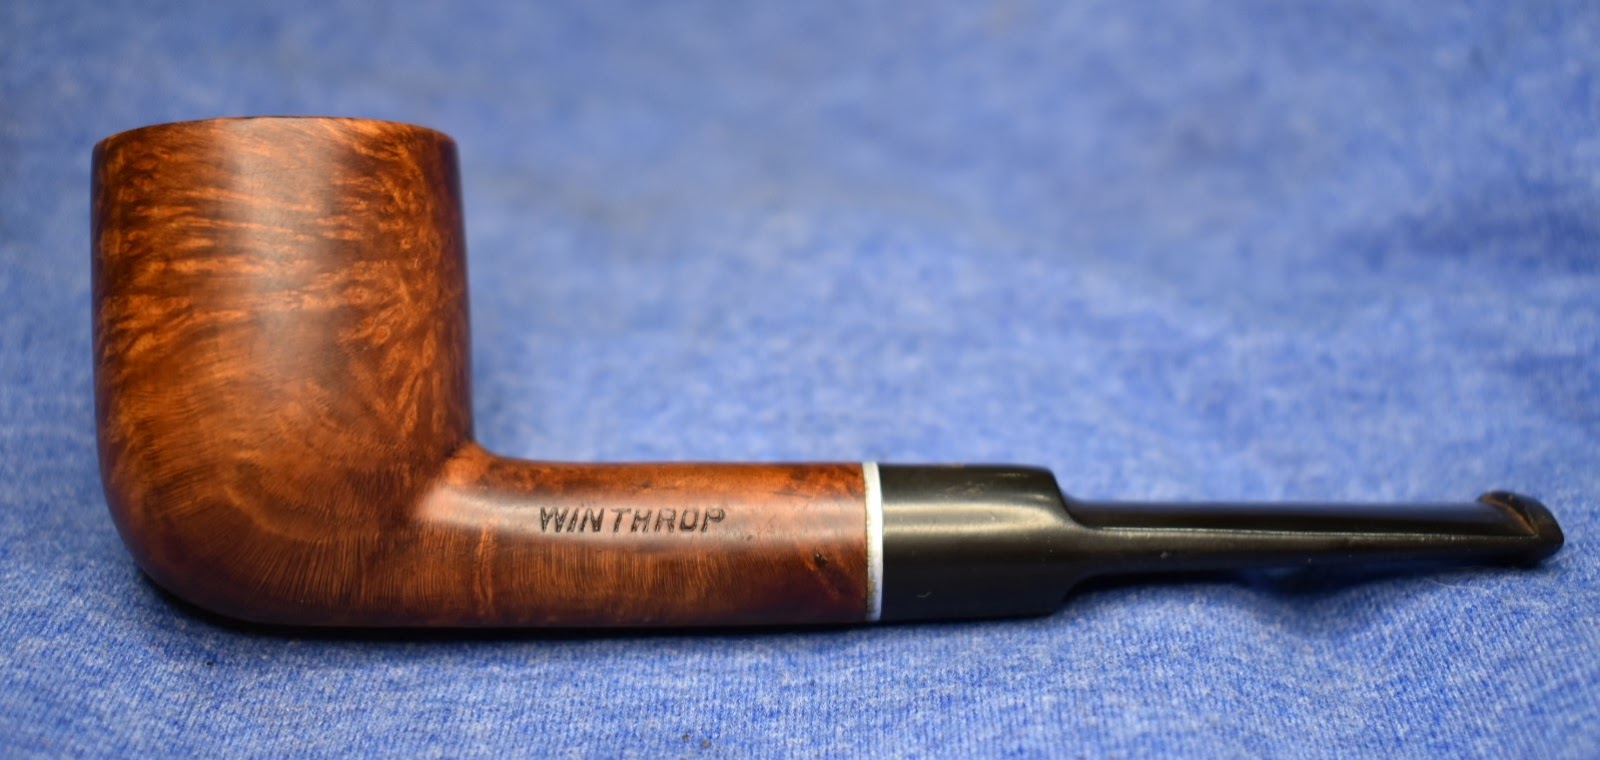
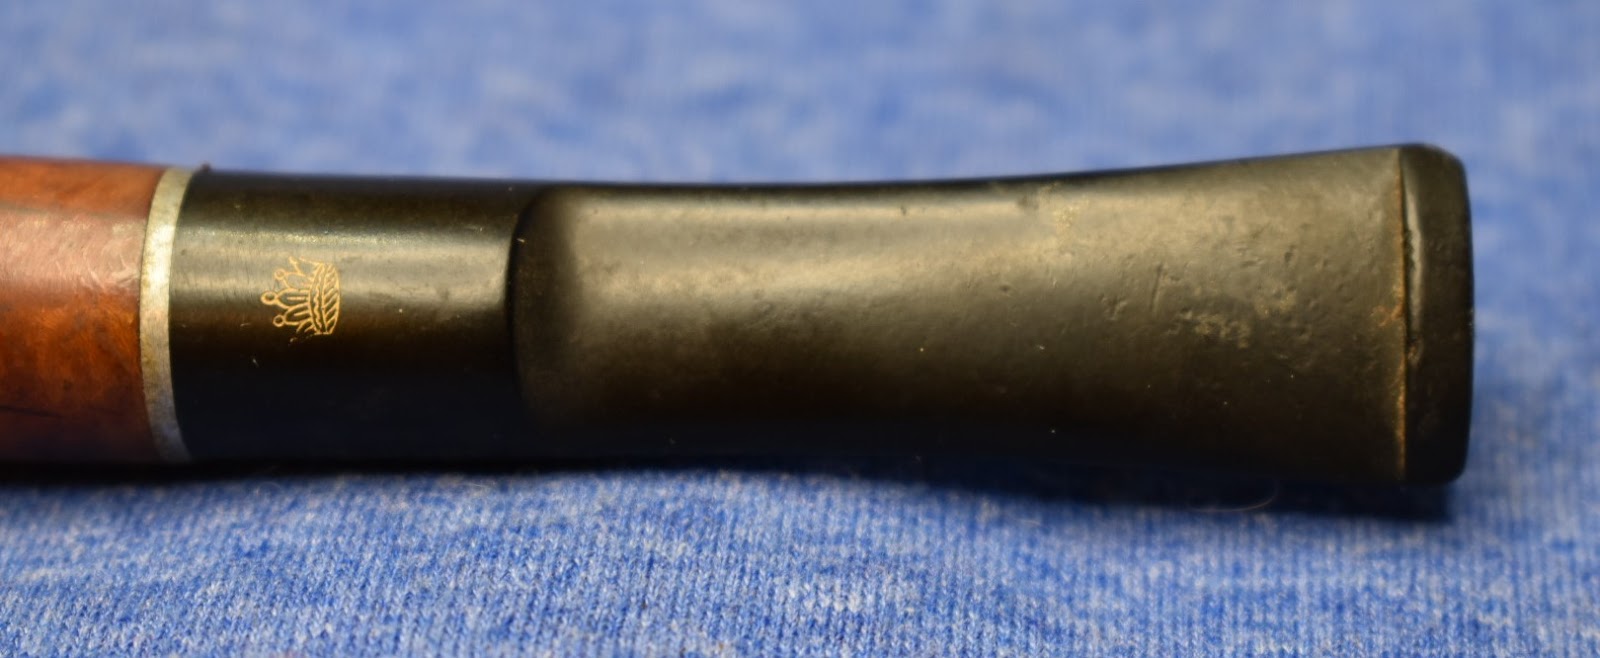
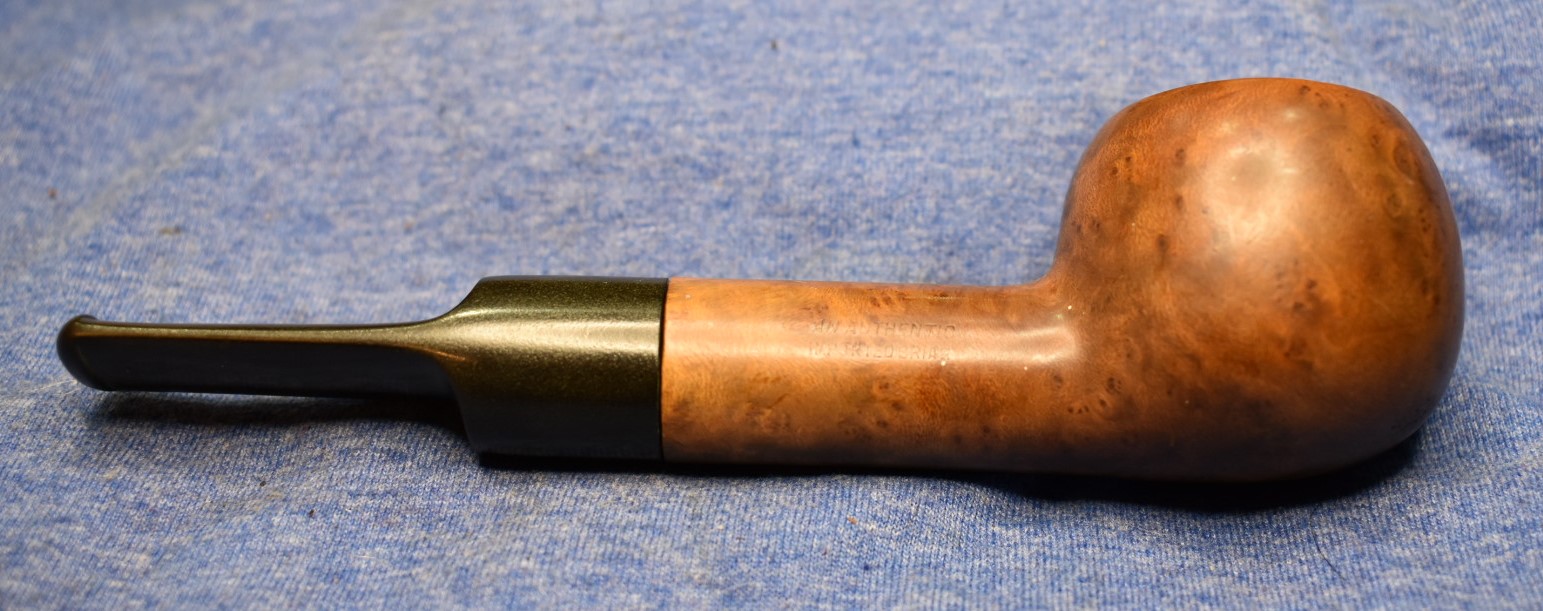
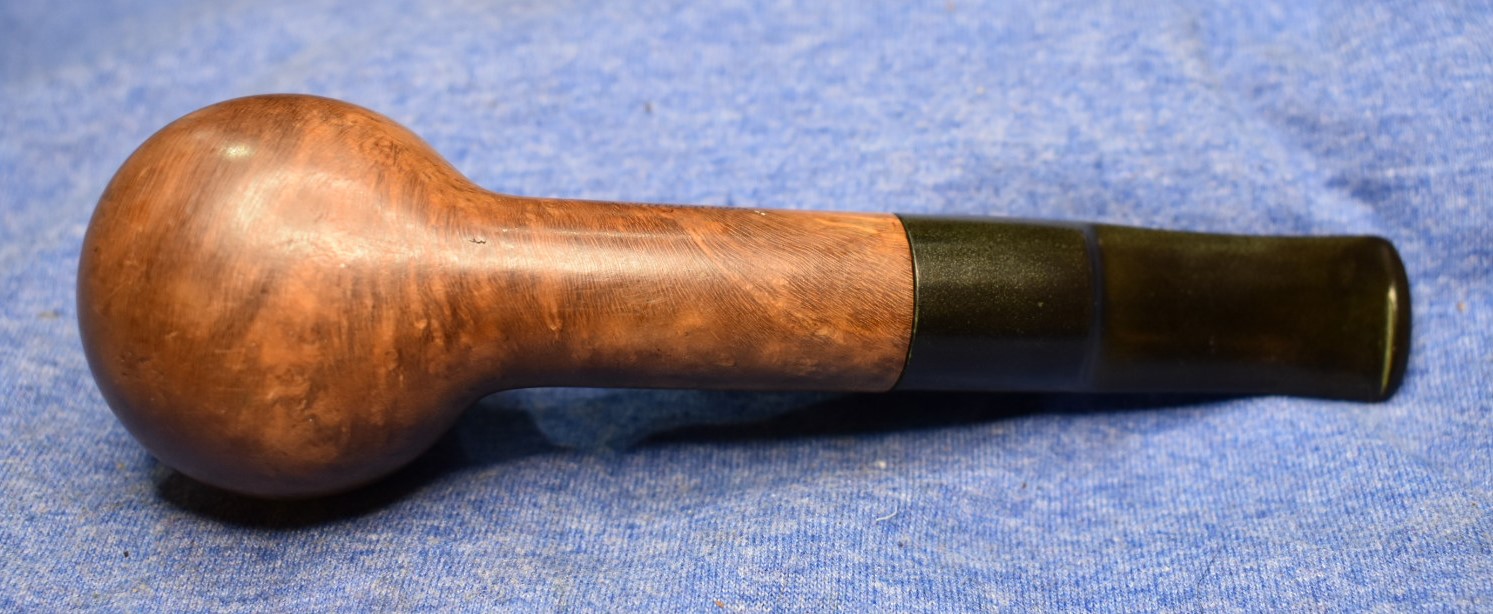
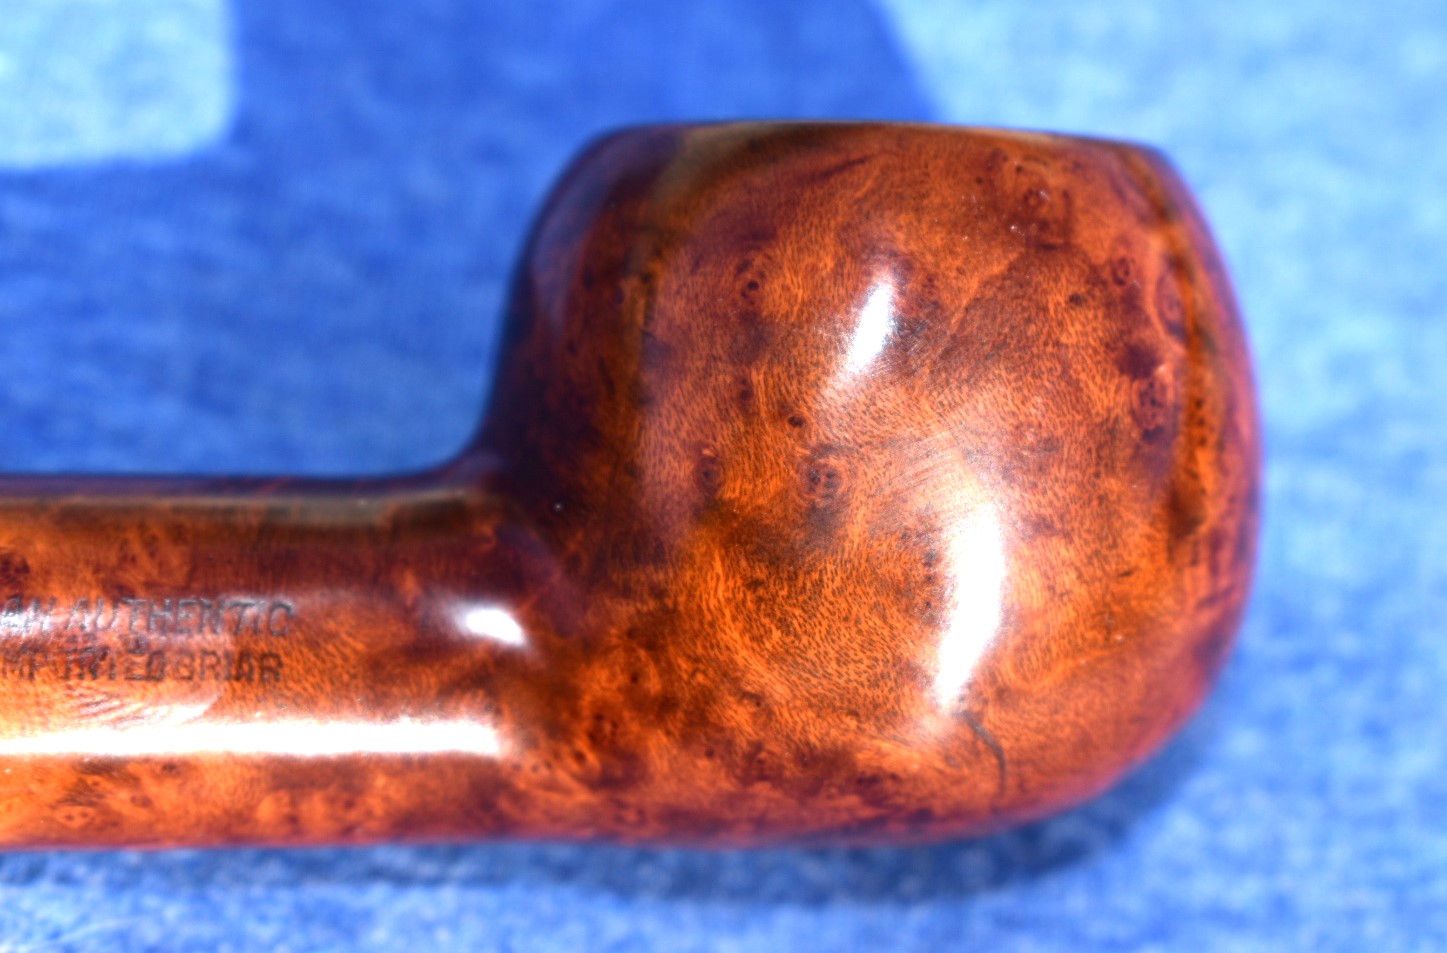
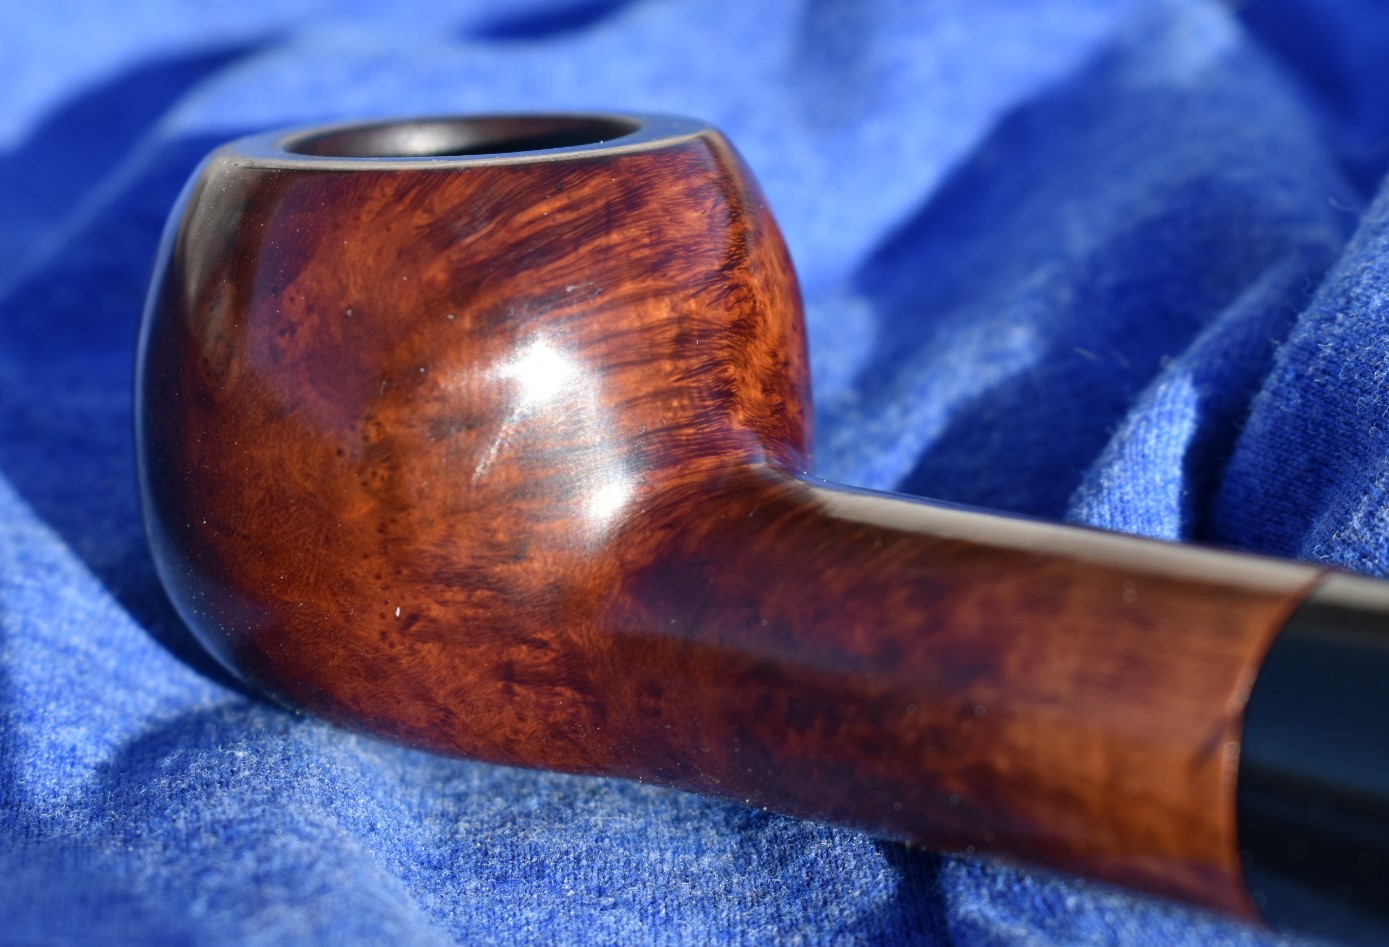
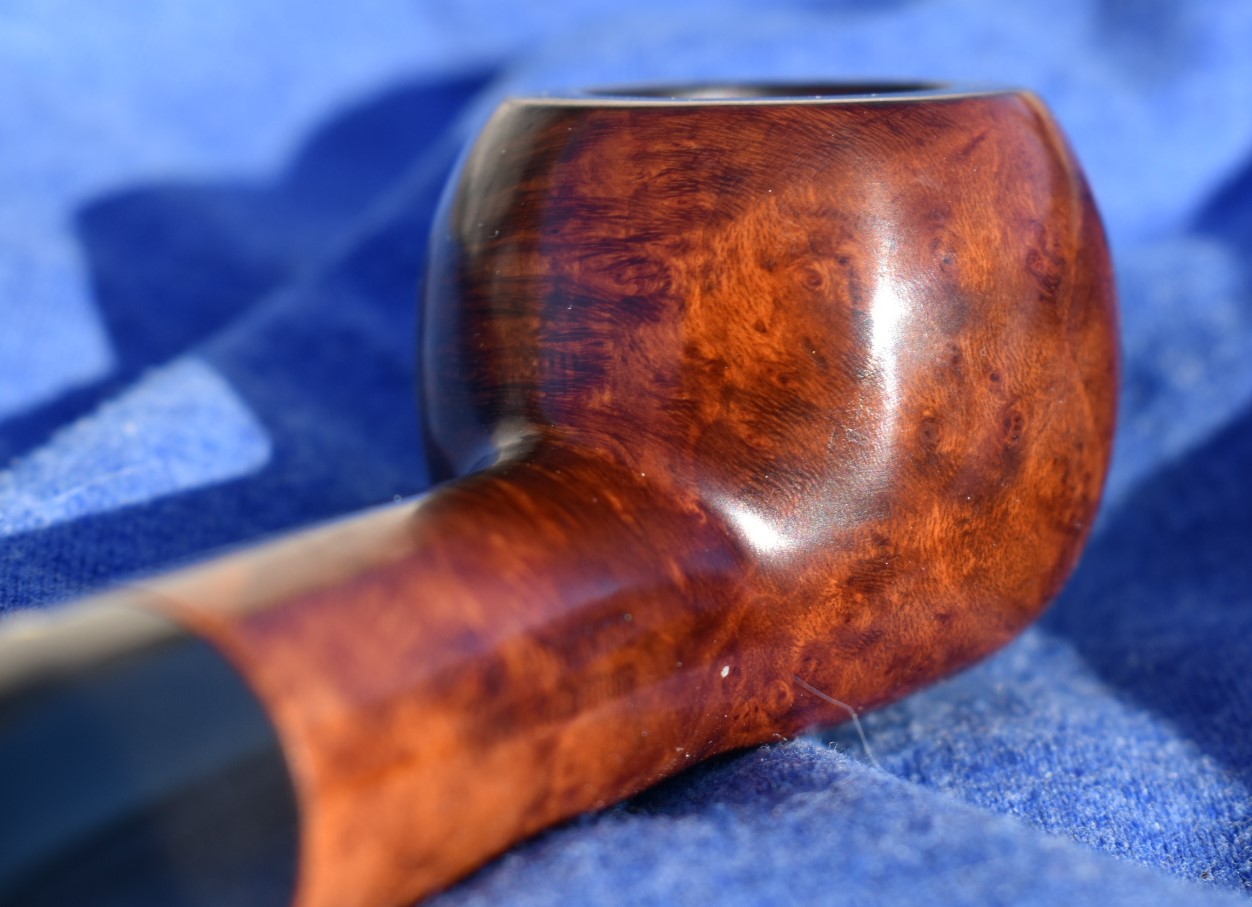
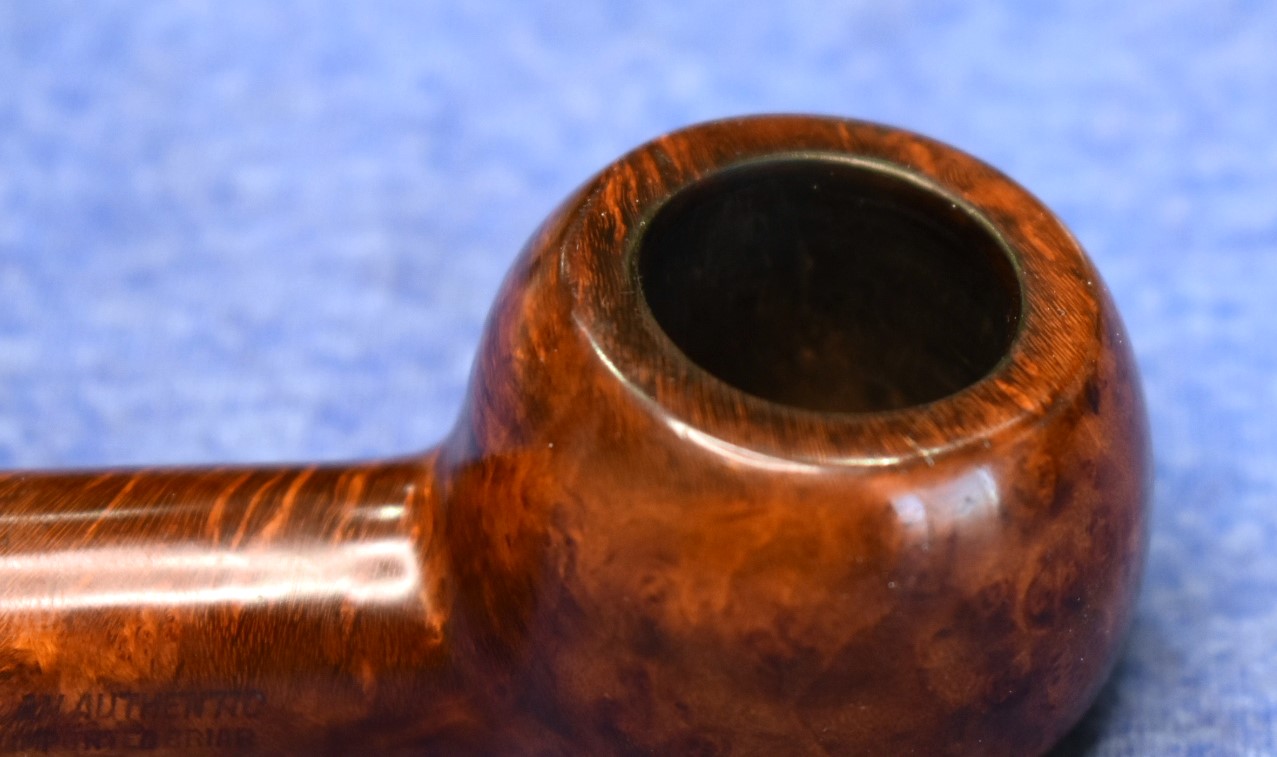
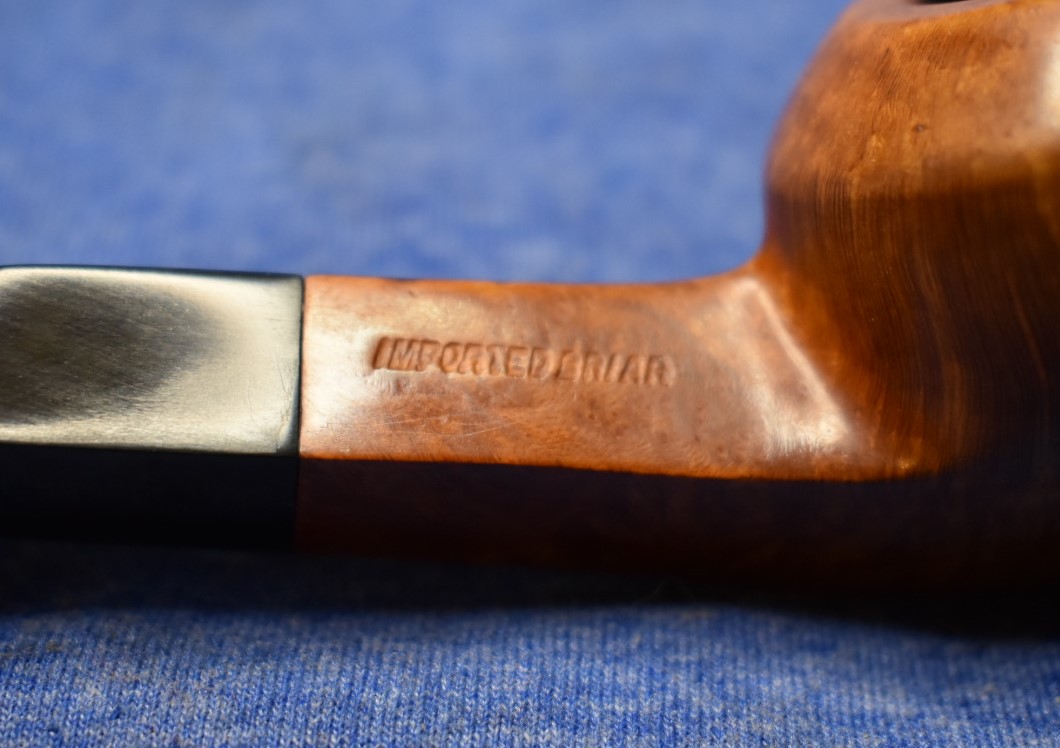
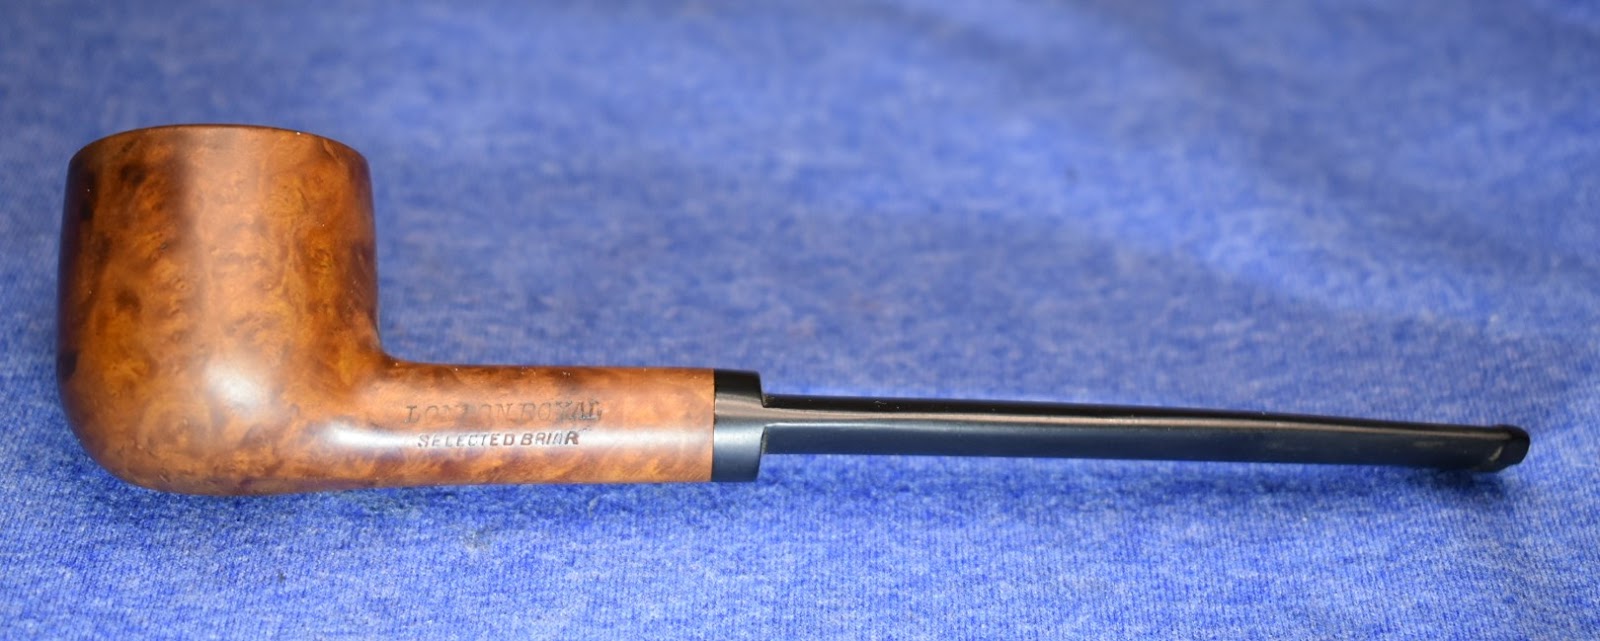
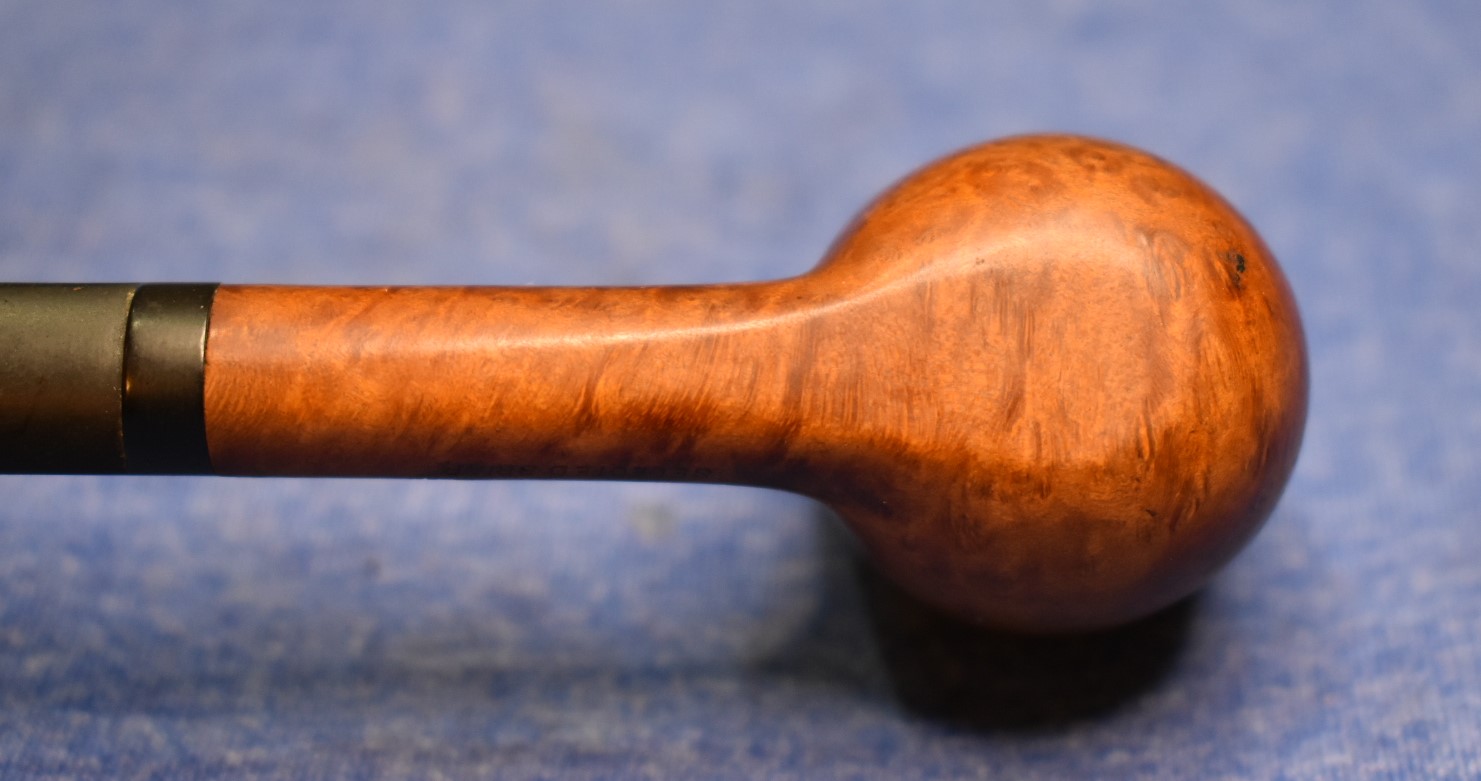
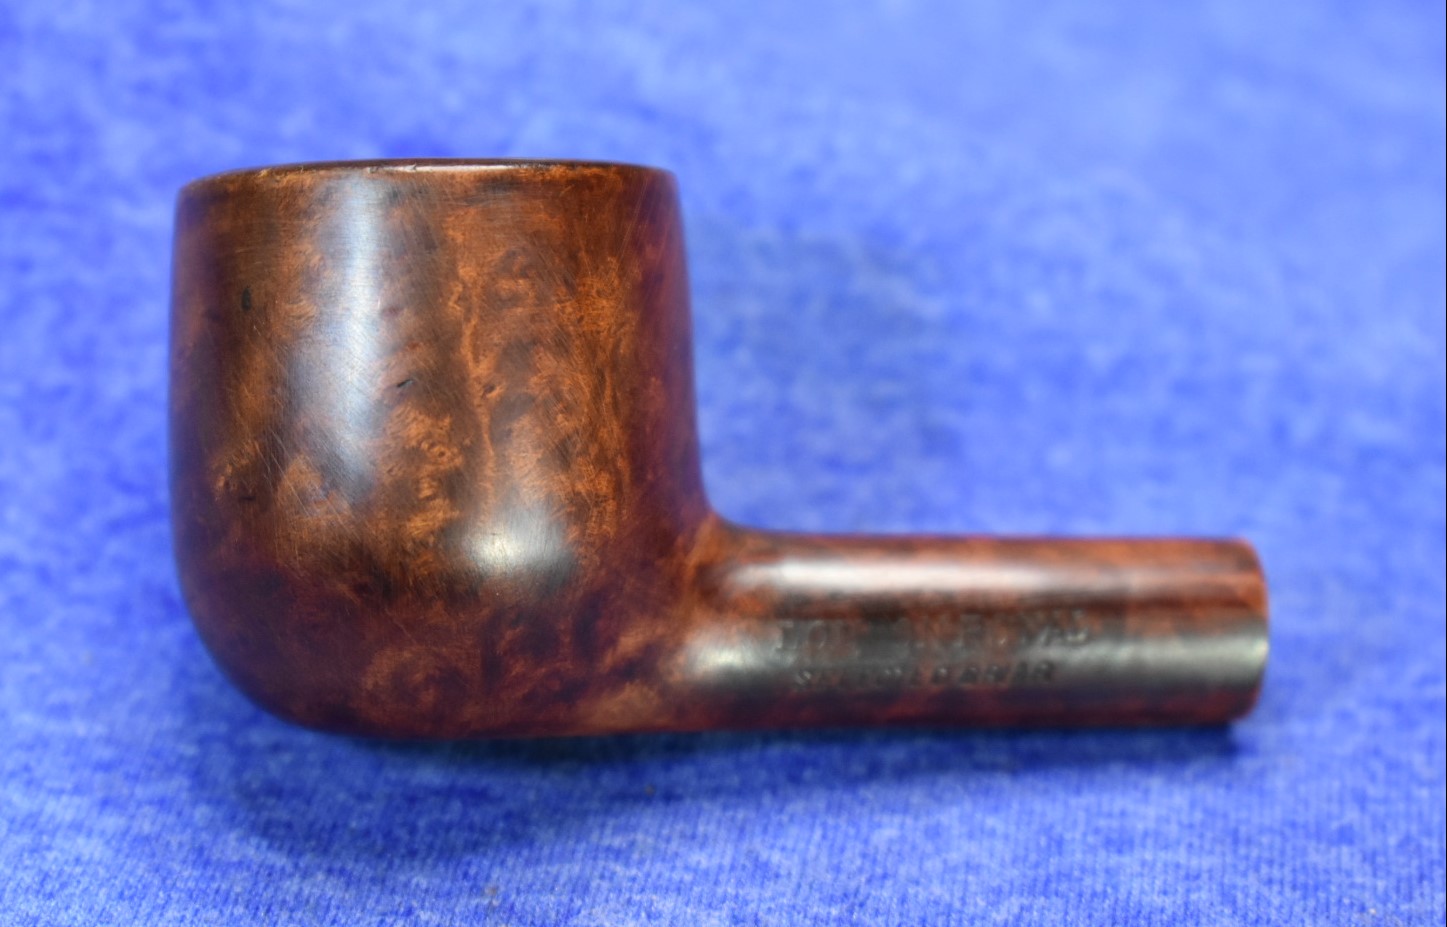
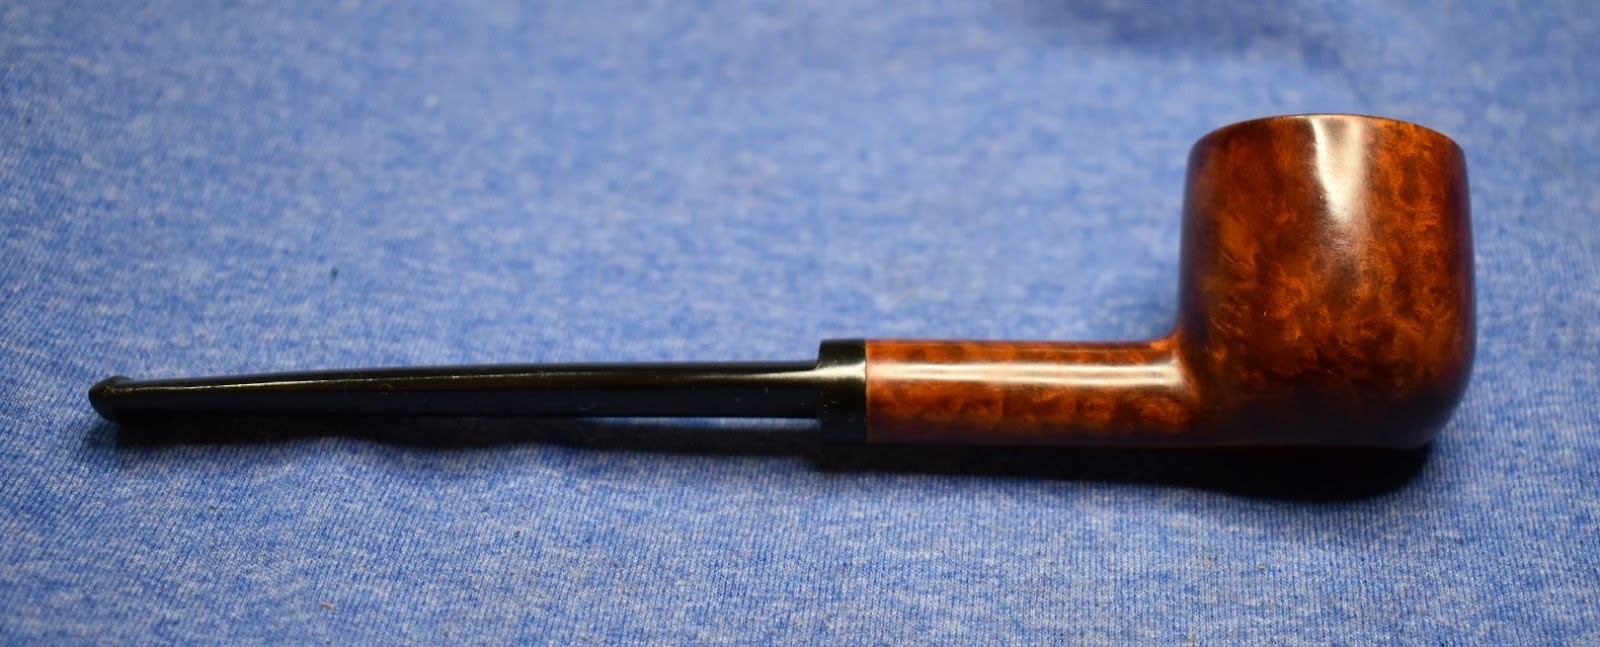
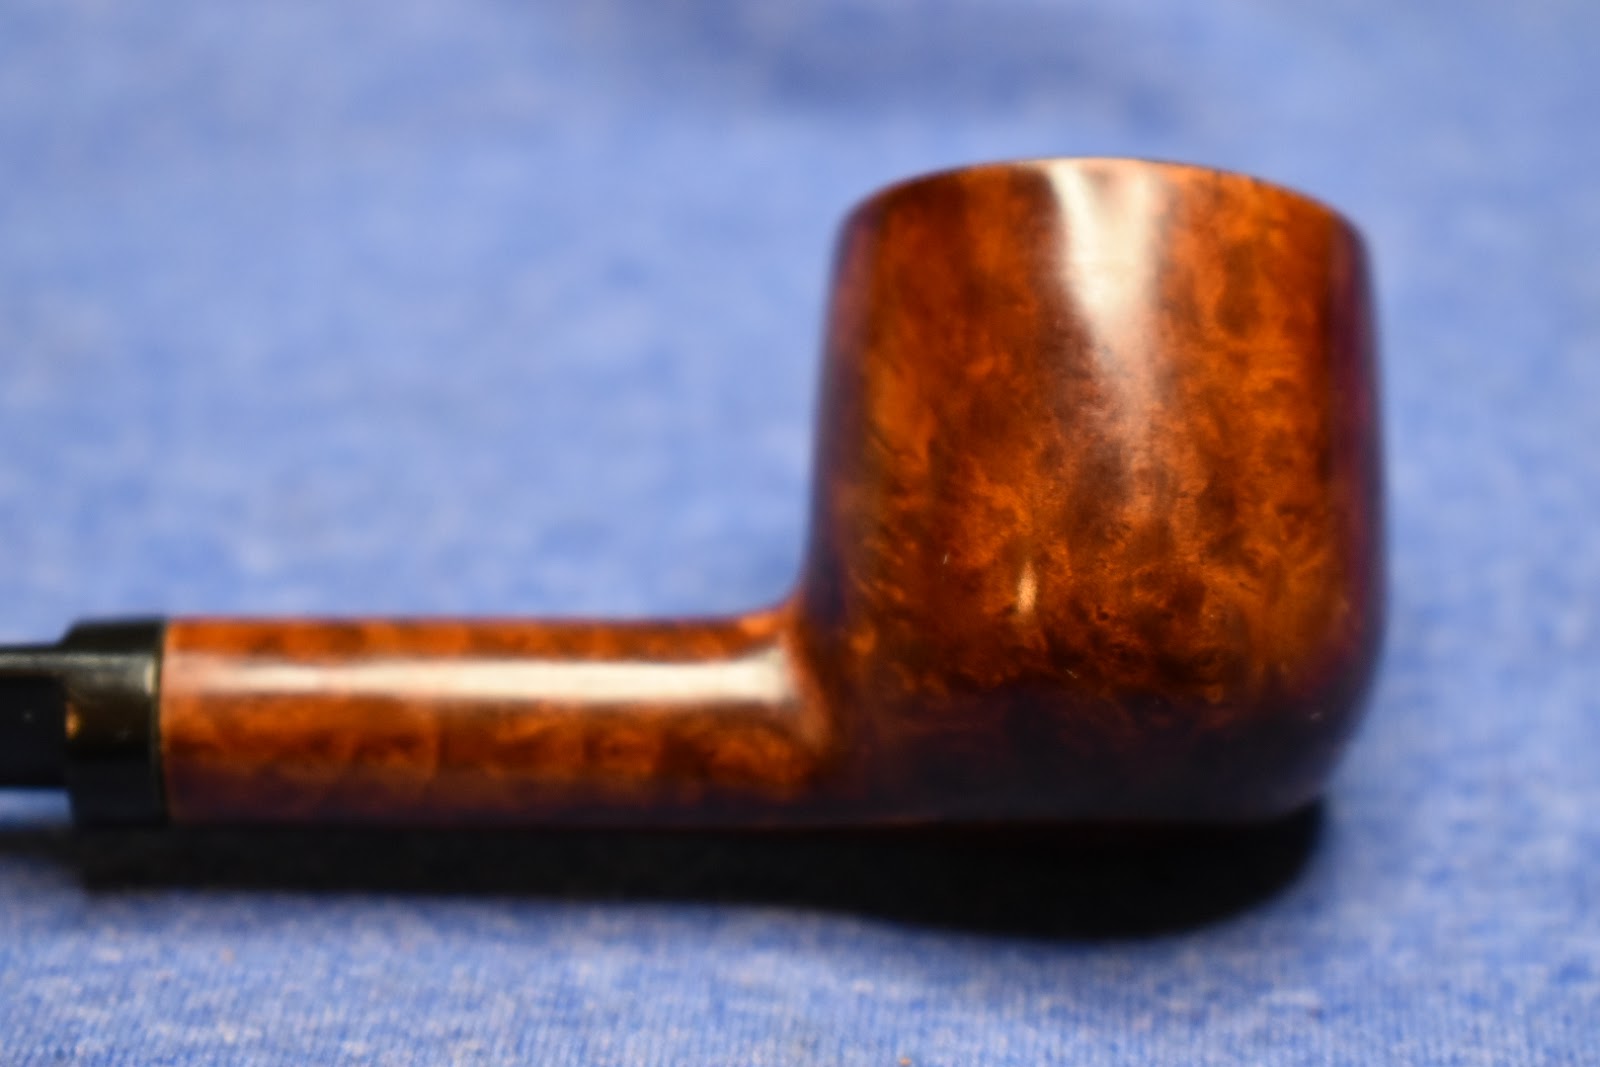
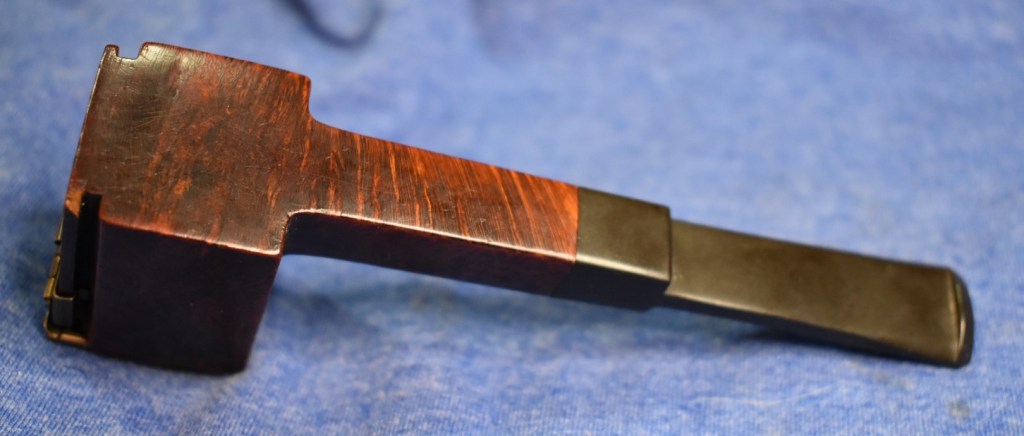
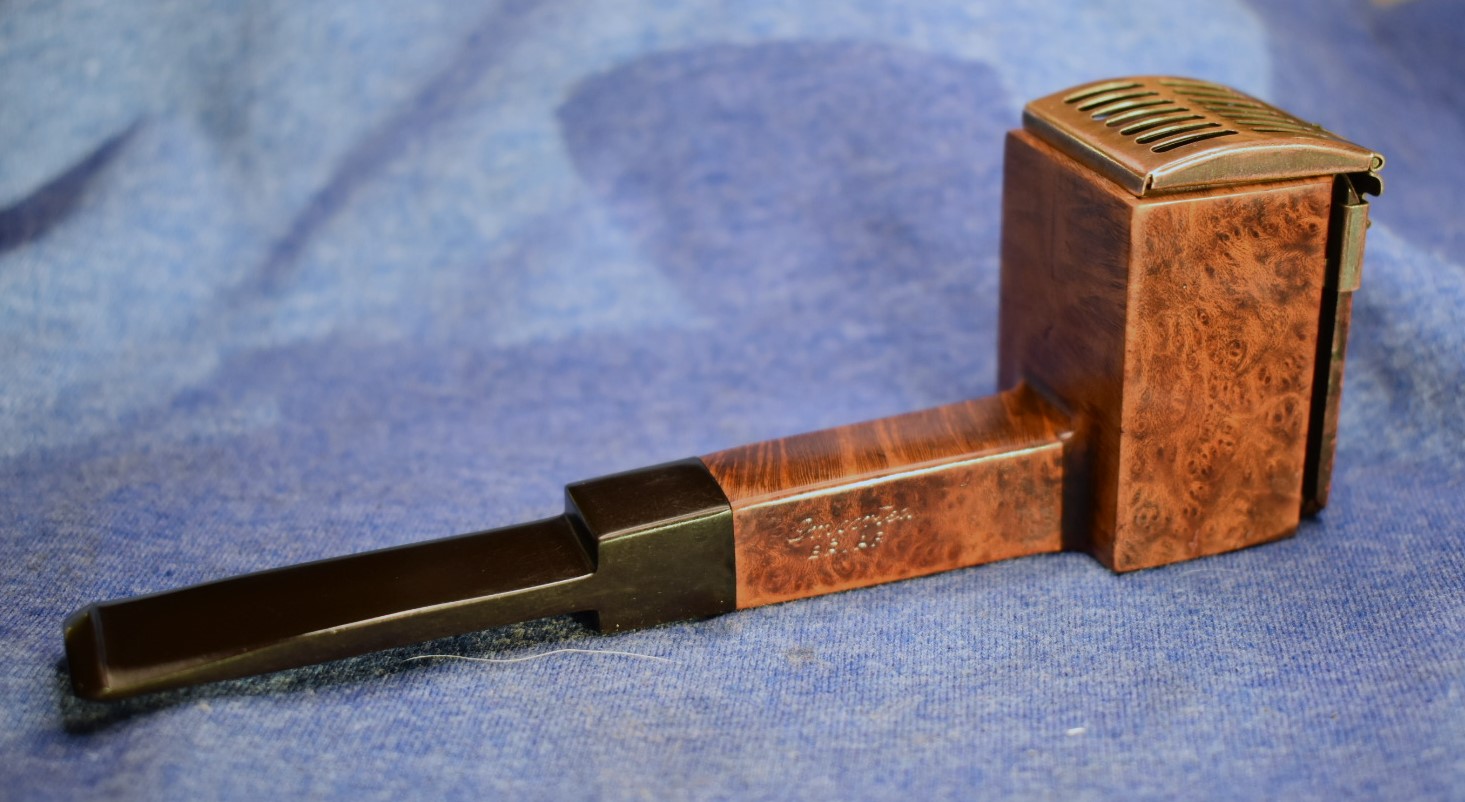
This old Winthrop Saddle Stem Billiard may have an unknown providence but it certainly did clean up nicely. The briar is thick, well drilled and though the grain isn’t great it certainly doesn’t hurt my eyes. The aluminum work of the mortise and tenon is well done and precisely machined. The stem material, whatever it is, proved to be hard to finish, never really taking on the ebony glow of high quality vulcanite or ebonite. Overall this is a very well made factory produced pipe. It will undoubtedly provide years of enjoyment for its next partner. I hope that you have found some of the techniques used here helpful in restorations of your own or were at least entertained. Thank you for reading the ramblings of an old pipe lover. Almost forgot again, if you like this kind of stuff please hit the like and subscribe buttons.
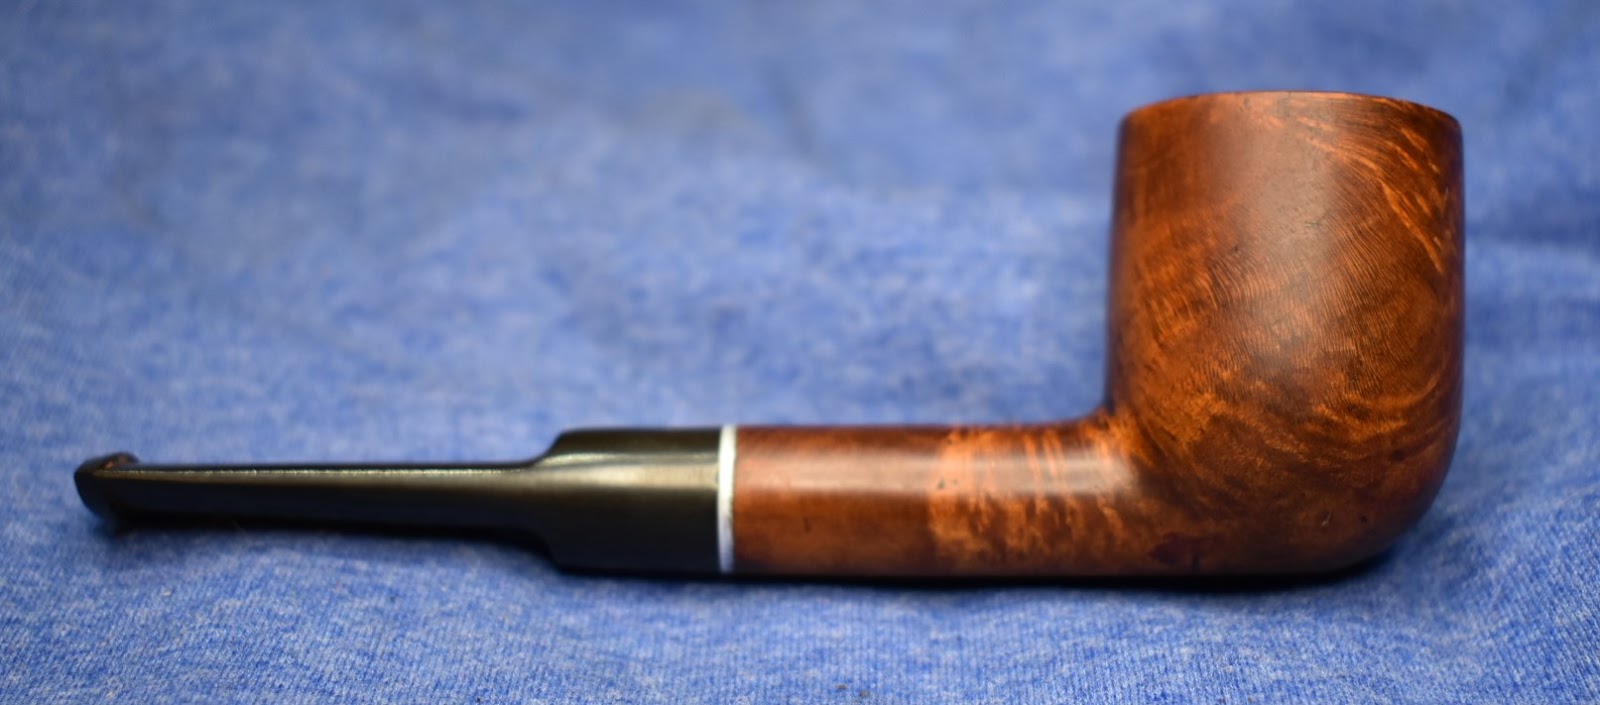
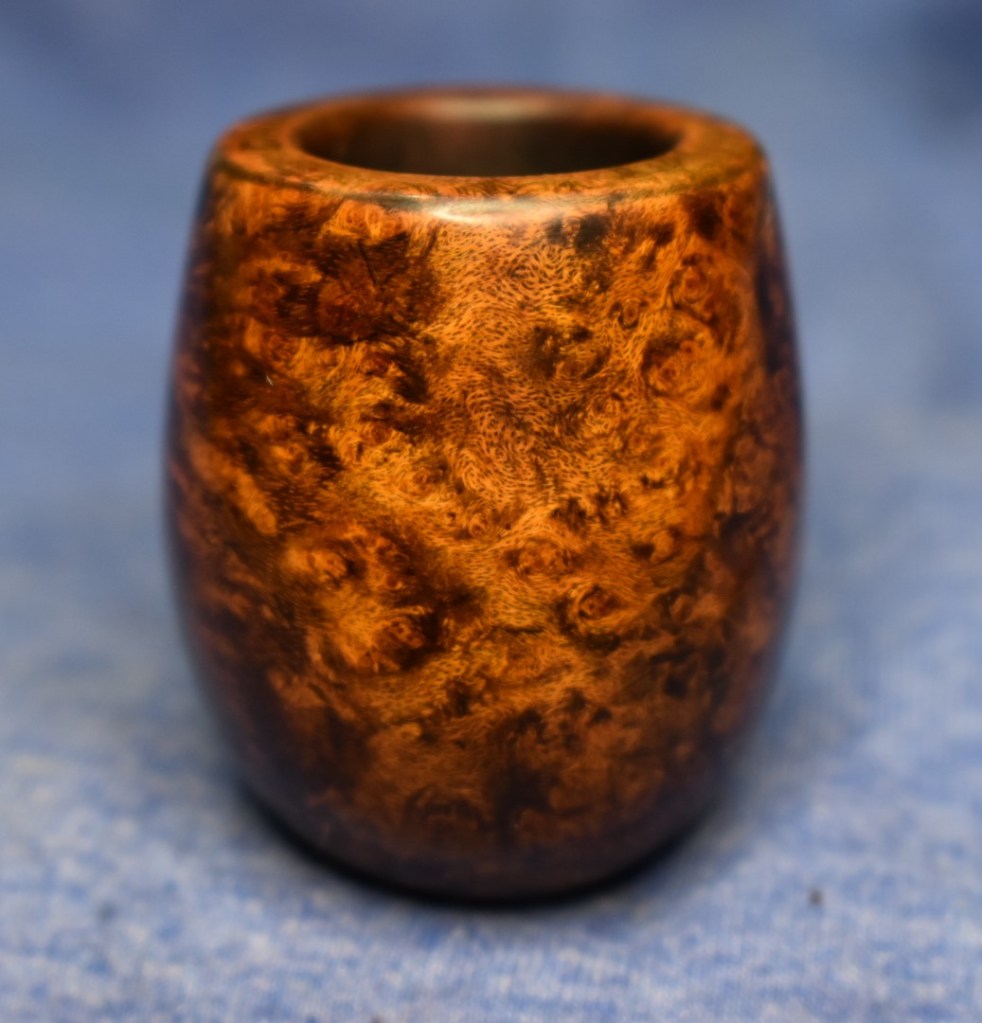
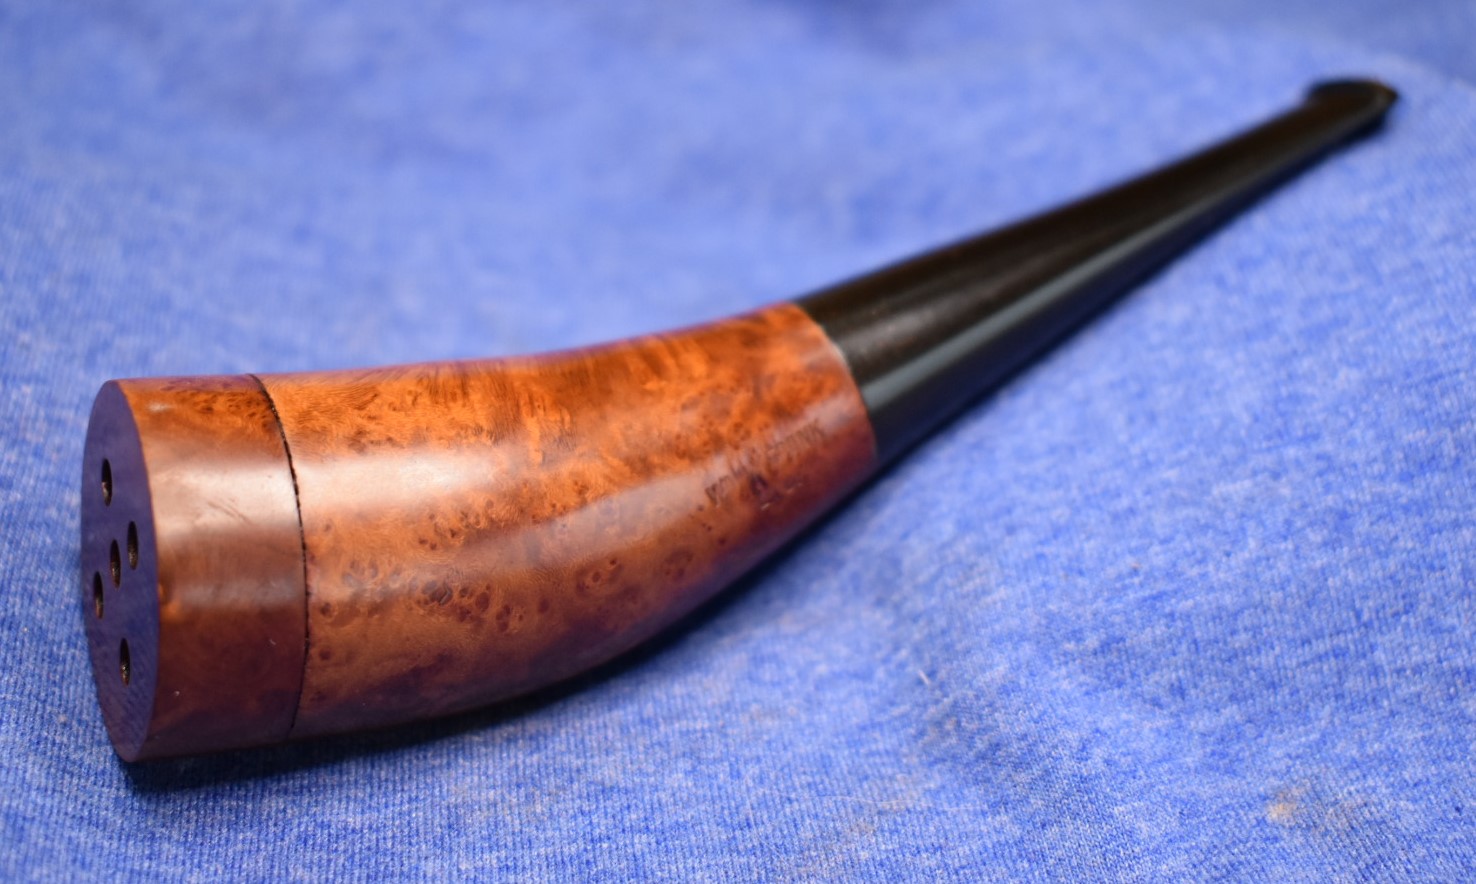
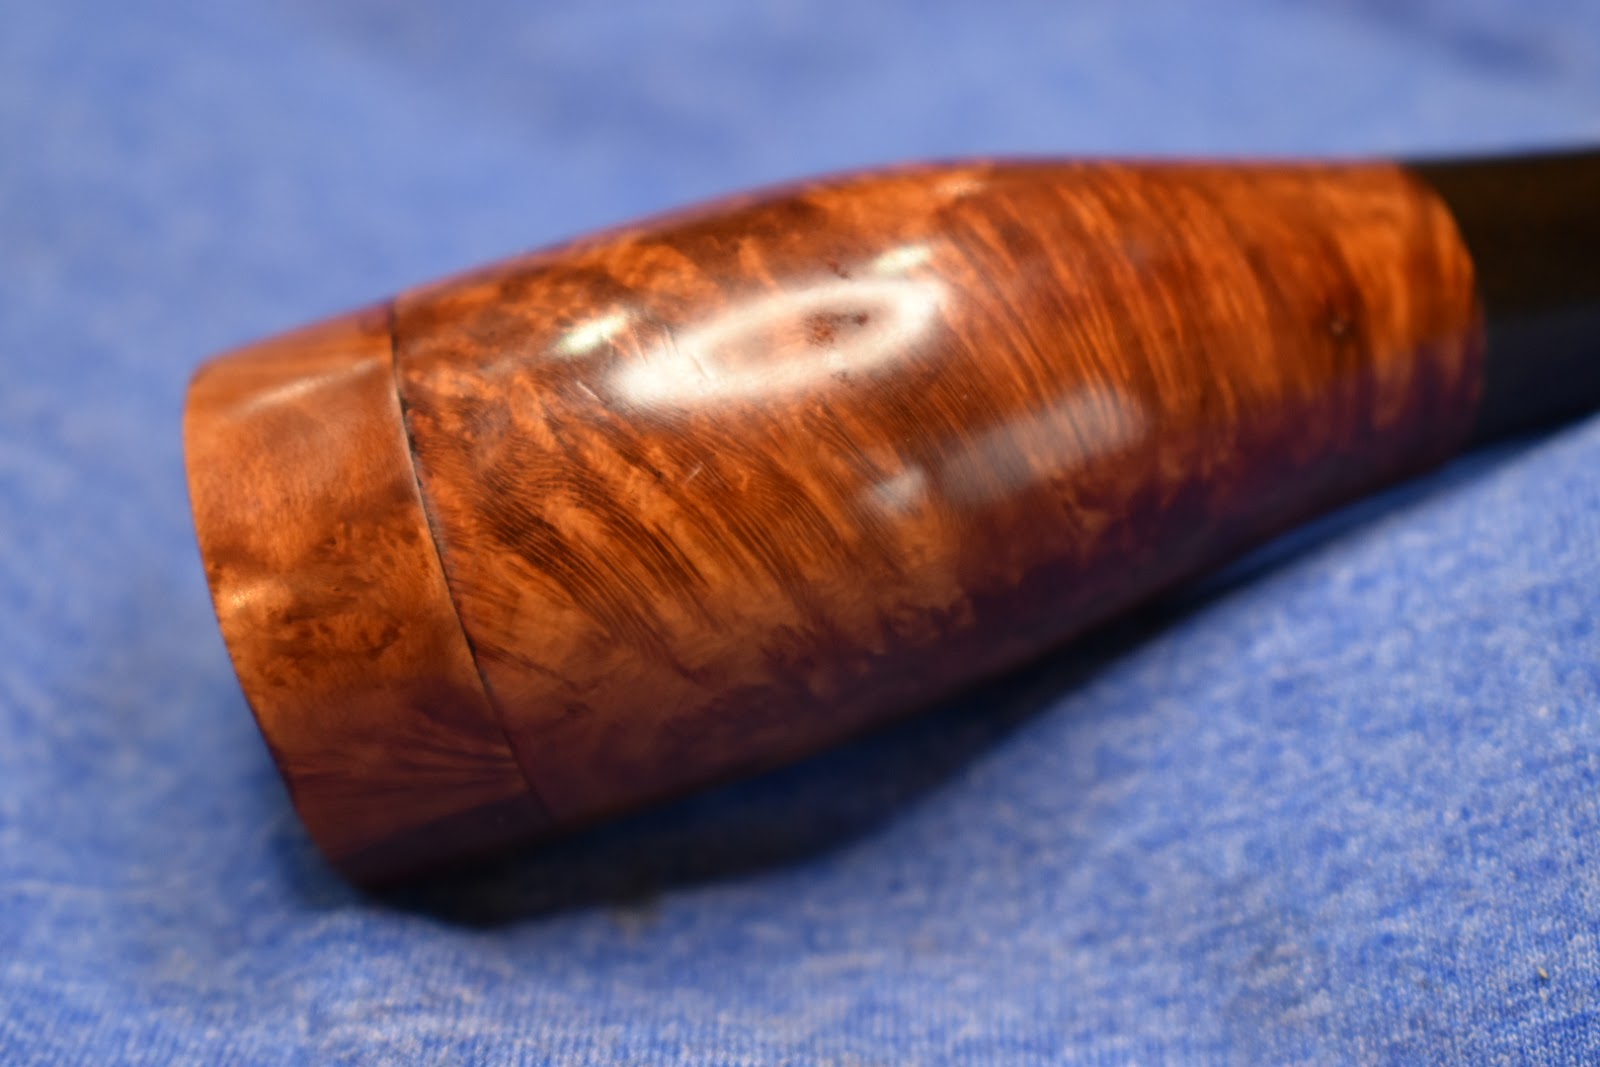
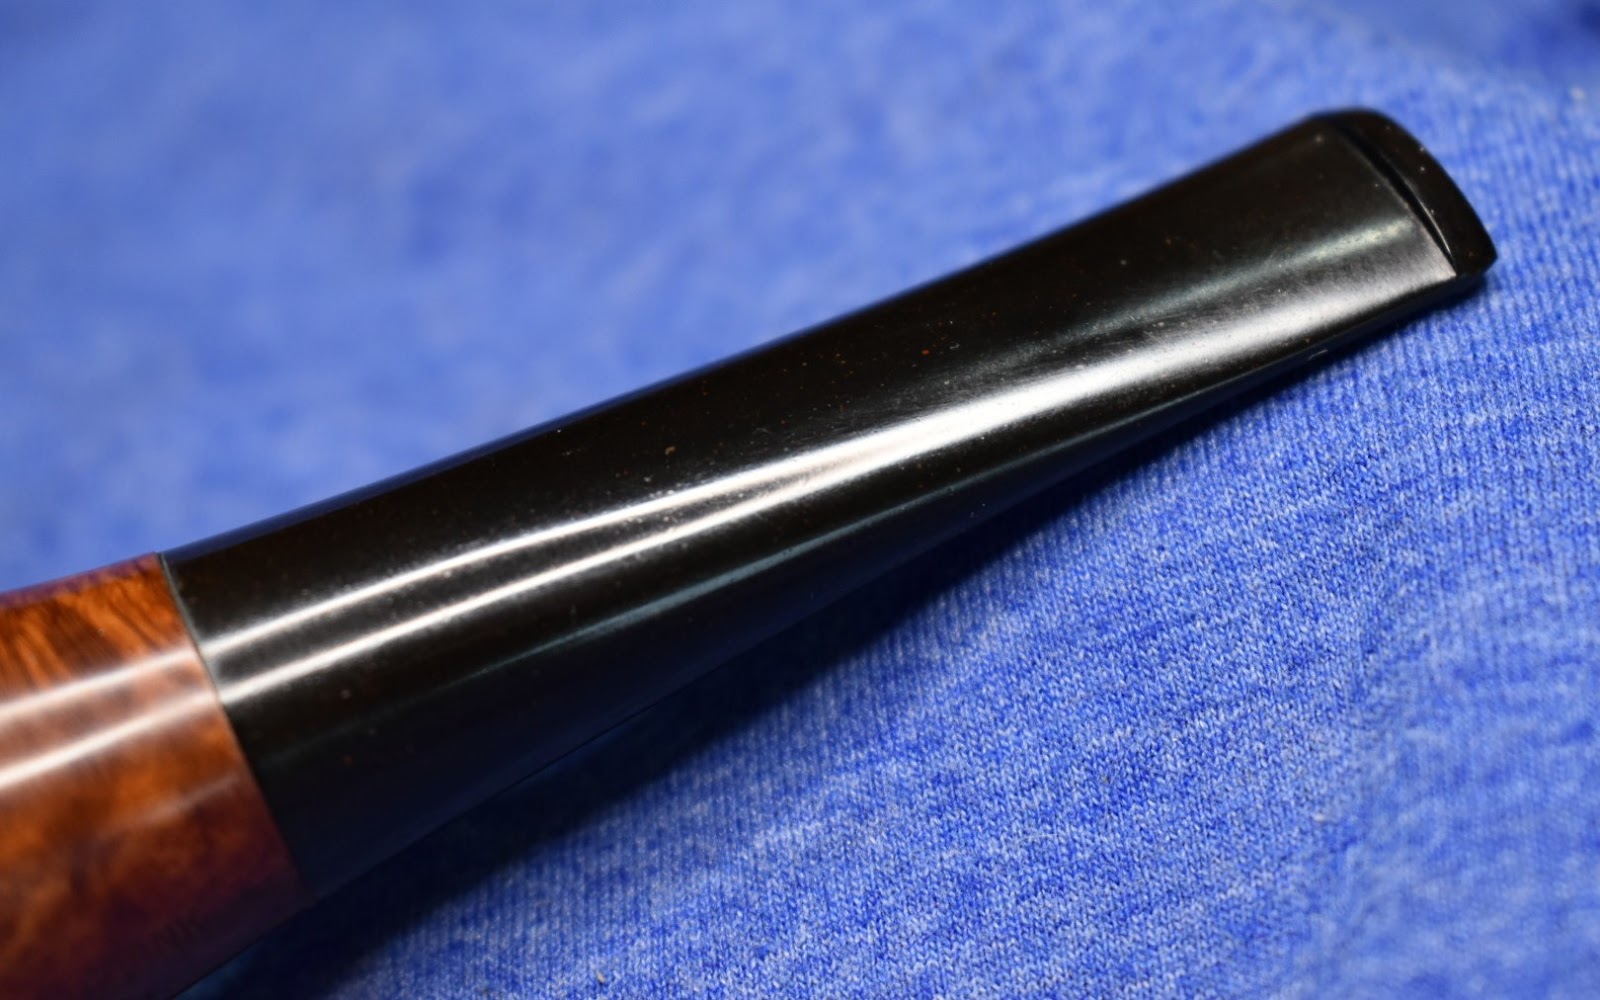
Below are some photos of the finished Winthrop Saddle Stem Billiard.


 I repeated the process with the entire series of micro-mesh pads. Between each pad I would apply a drop of Obsidian oil and wipe with a paper towel. I then used Before and After Fine Polish followed by the Extra-Fine Polish. The following photos are after the micro-meshing and polishing:


 (photo by J.M. Young)


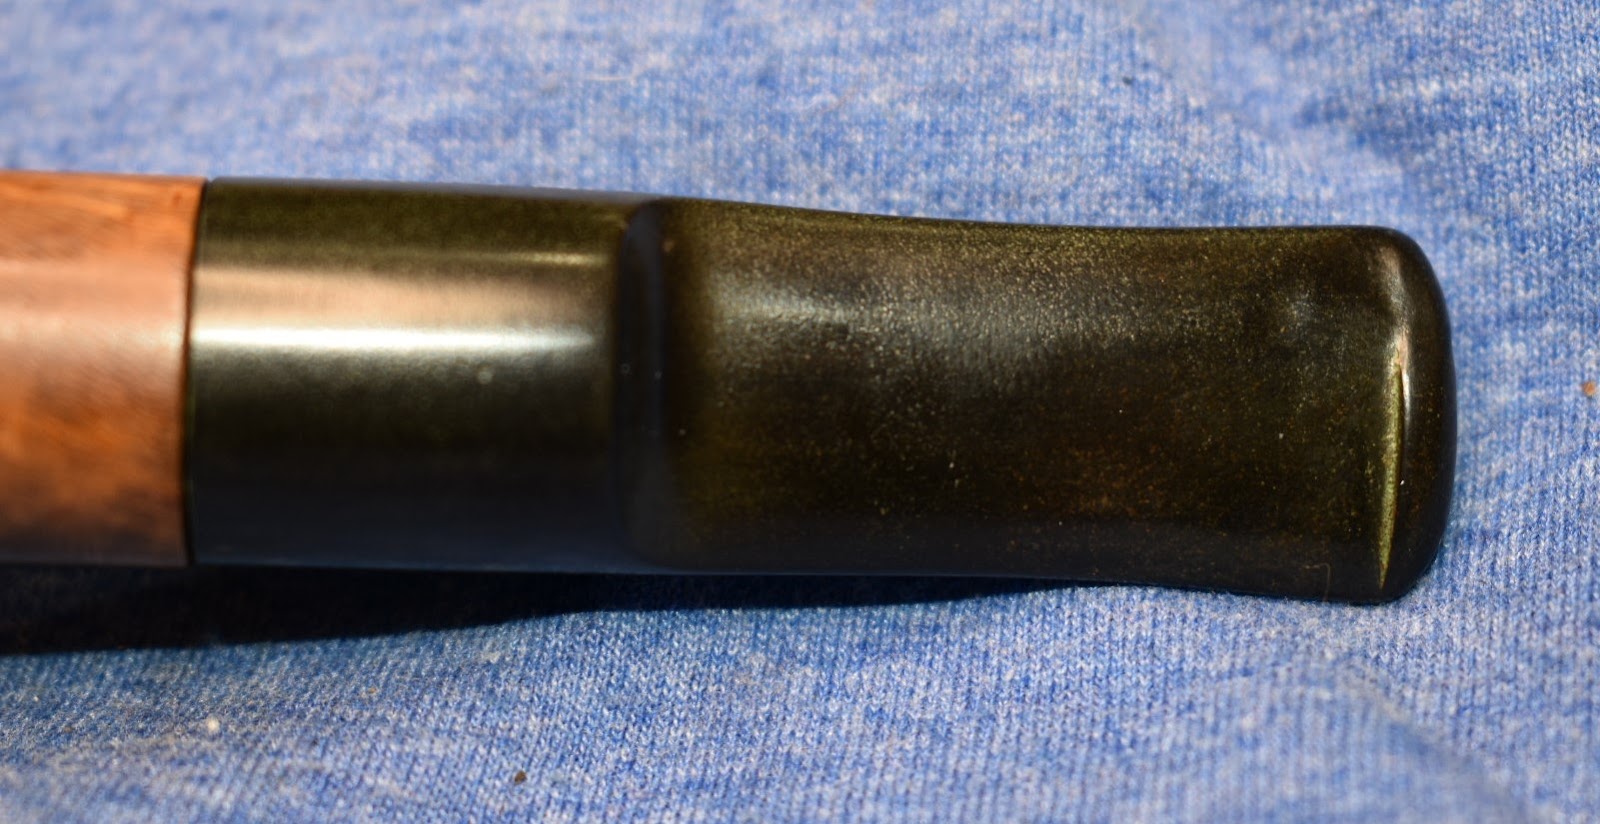
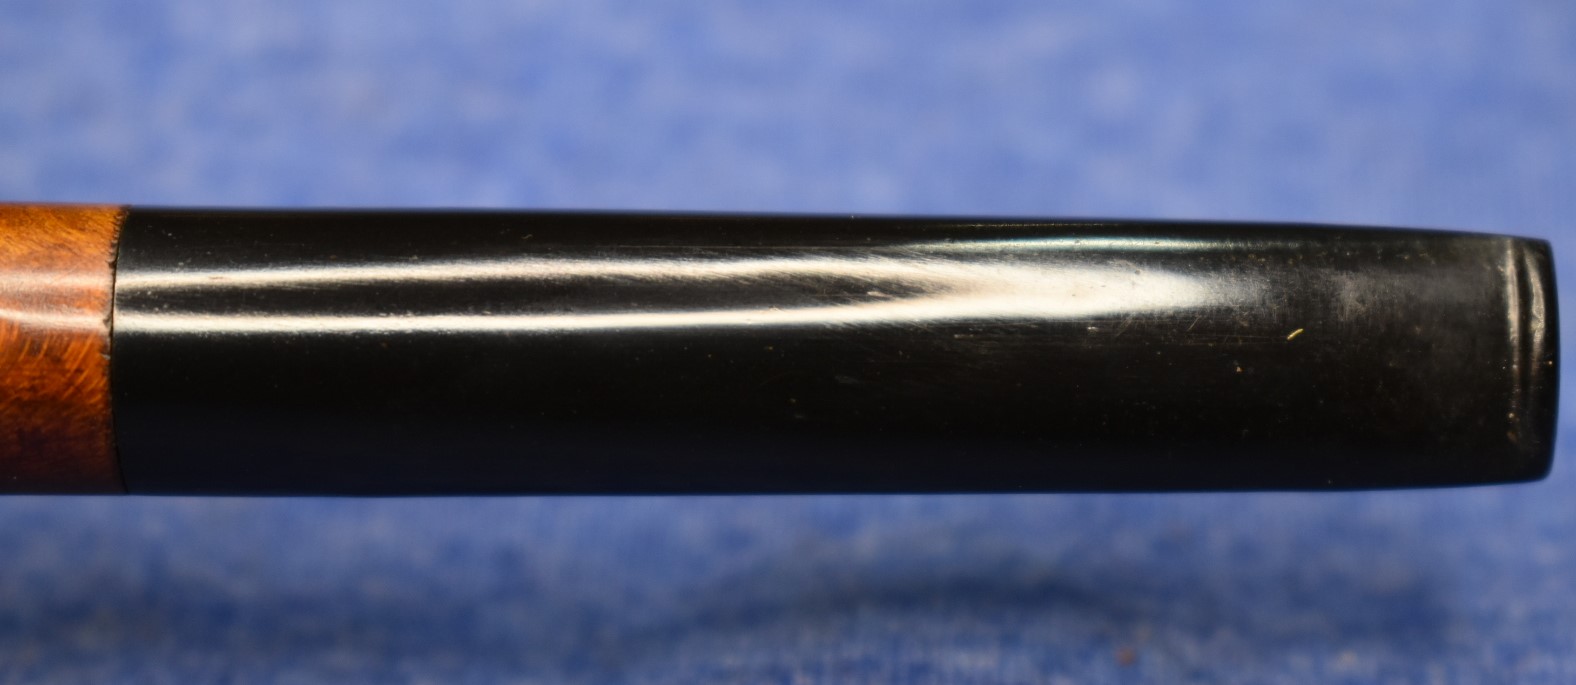
 I took the pipe to the buffer for the application of several coats of carnauba wax. Once finished I gave the pipe a final buffing with a microfiber cloth. I took the pipe upstairs for some photographs. I had some sunlight to work with and wondered if I would like the lighting with the low angle nearly winter sun. With the bright light I could see oxidation on the stem below the button. I did not like this and returned the pipe to the workbench and the 400 sandpaper. After the sanding the same micro-meshing procedure was repeated for the upper end of the stem. That made it look much better in both normal and brightly lit settings.


 Okay, I’ll give you that one.
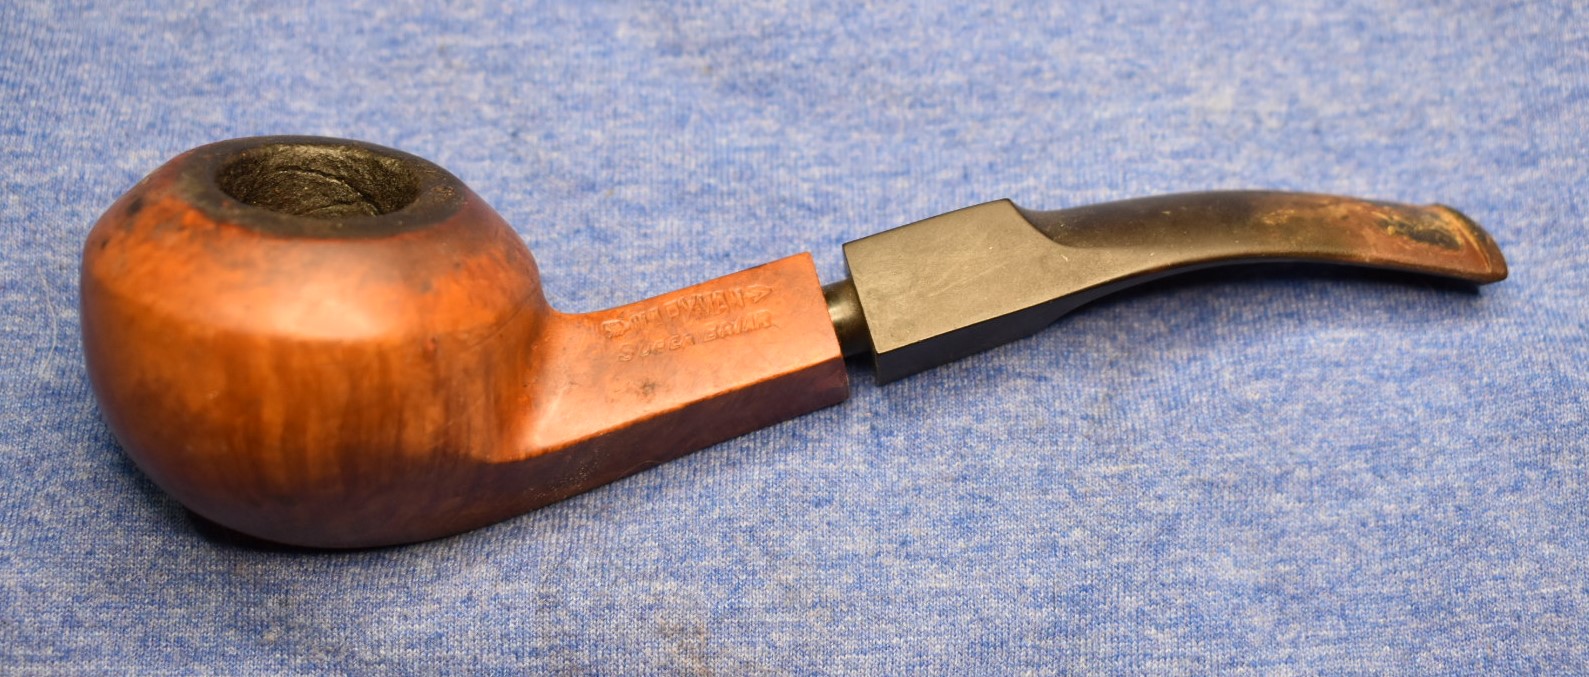


